woodrat
-
Posts
835 -
Joined
-
Last visited
Content Type
Profiles
Forums
Gallery
Events
Everything posted by woodrat
-
 Thanks Steve and Bob. I like challenging feedback. It's almost like I need to do a third model to get rid of the errors in the second :'{( But that's getting a little OCD!
 -
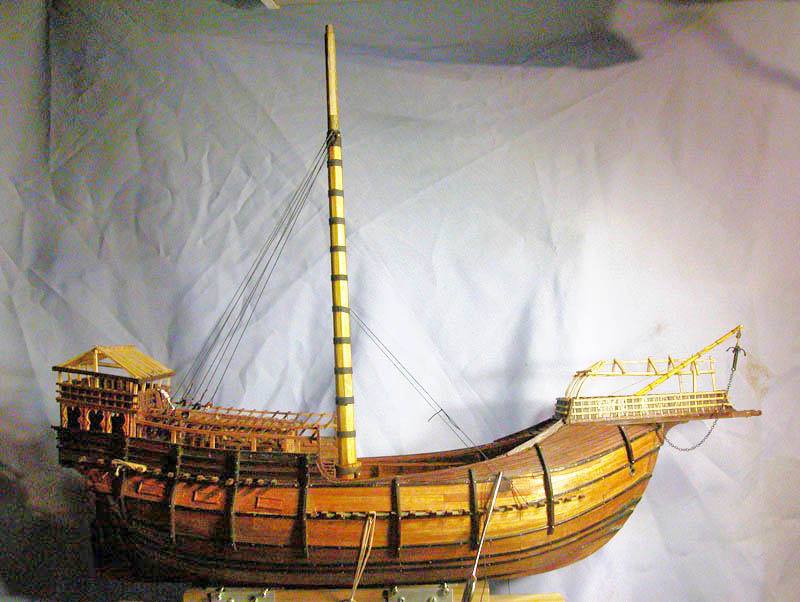
I think maybe I could have put a bit more sheer on the poop but I think I got the forecastle pretty right. A lot of contemporary illustrations show ridiculous amounts of sheer so I tried to be guided by the Trombetta pics. Cheers. Dick

- 632 replies
-
- 13
-

-
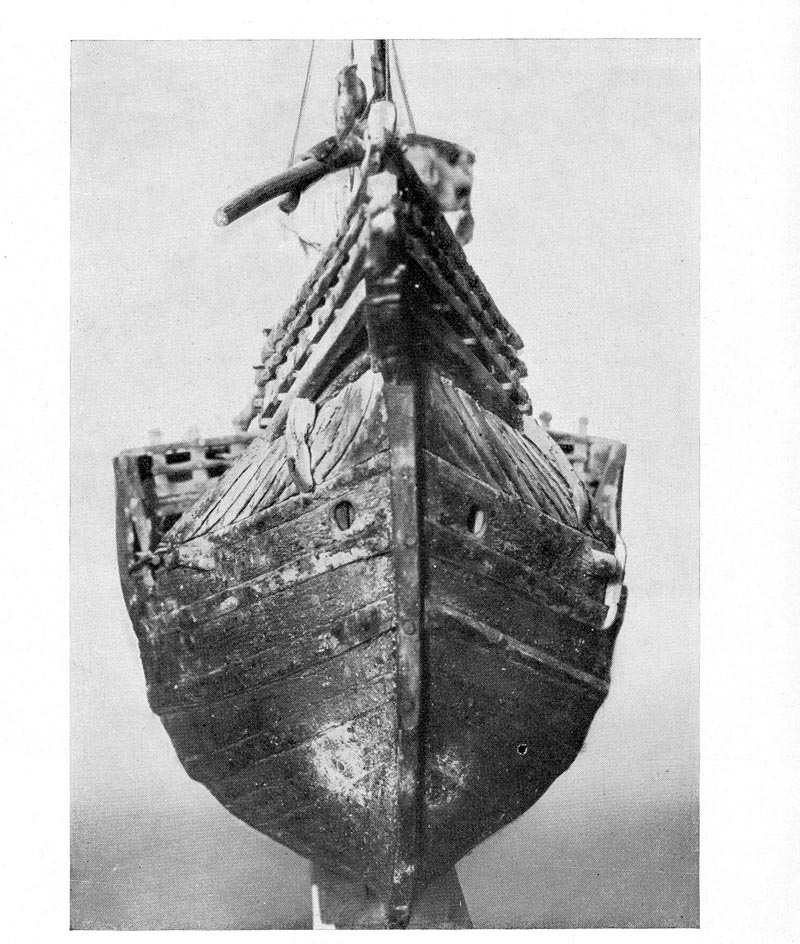
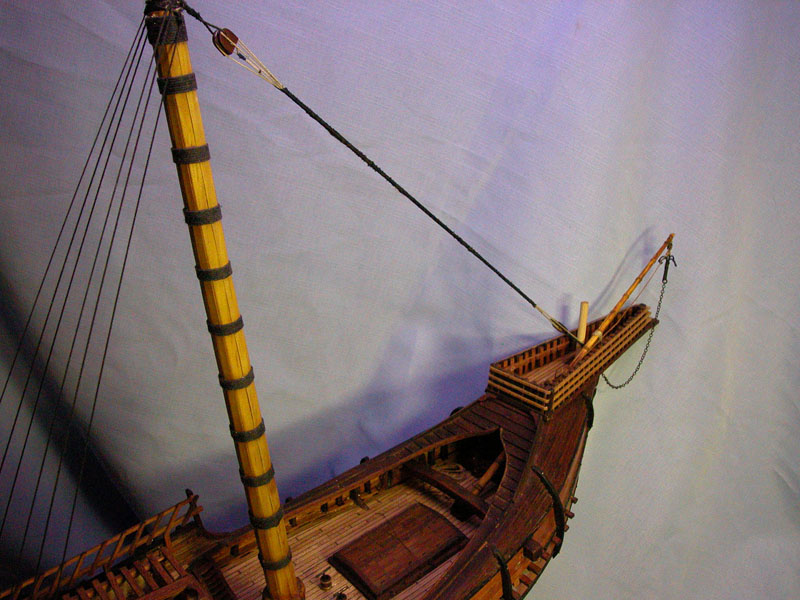
It is thought that access was via the lapstrake planking of the great arch behind the forecastle. Some reconstructions show a ladder into the forecastle but I elected not to put one in because of space restrictions. I could be wrong. I am sure that there would have been a lot of variation. Mariners of those time did not have unions or occupational health and safety officers. They took a lot of risks we would find terrifying e.g. reefing a sail without footropes. Dick
-
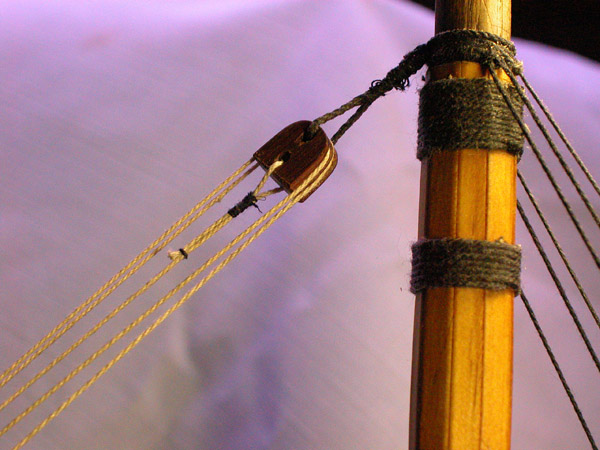
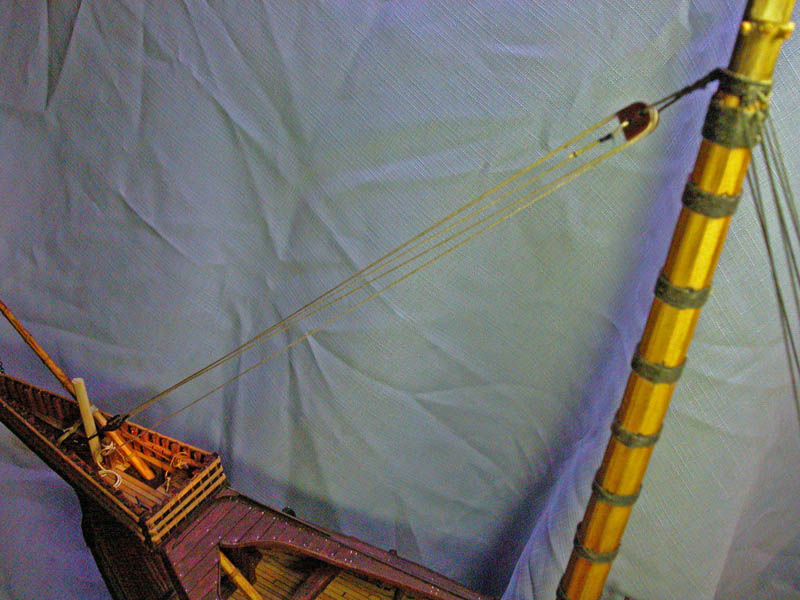
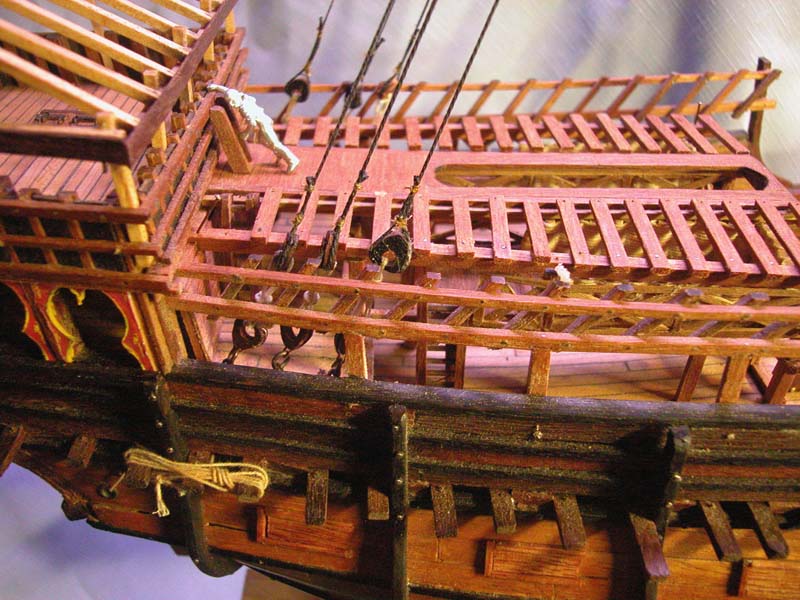
This to show the mainstay completed with canvas wrap to prevent chafing on the mainsail the single blocks for the shrouds Dick

- 632 replies
-
- 13
-
-
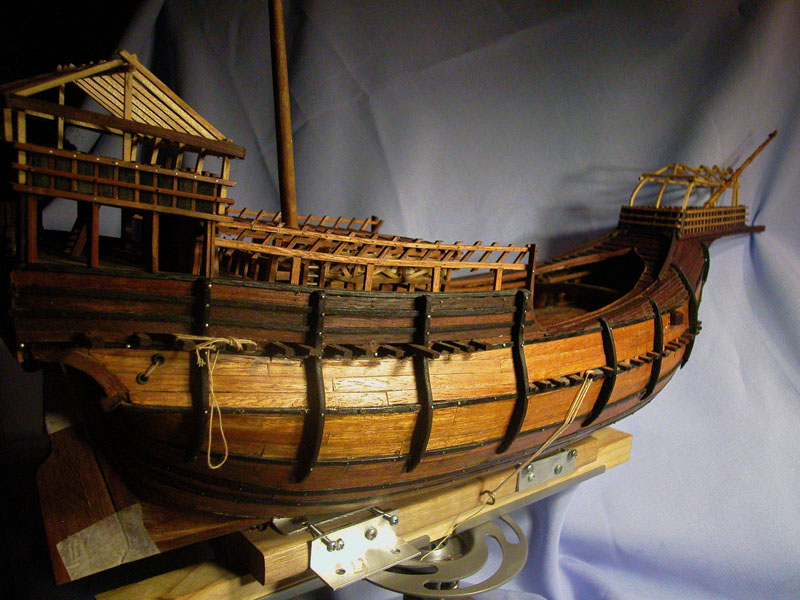
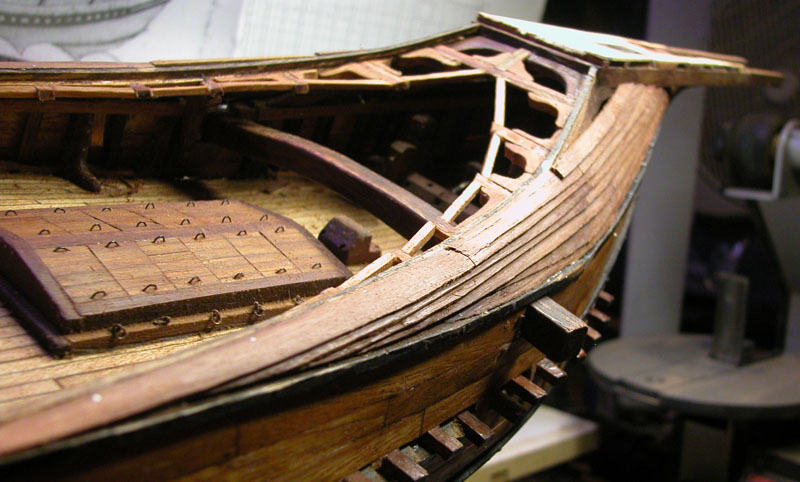
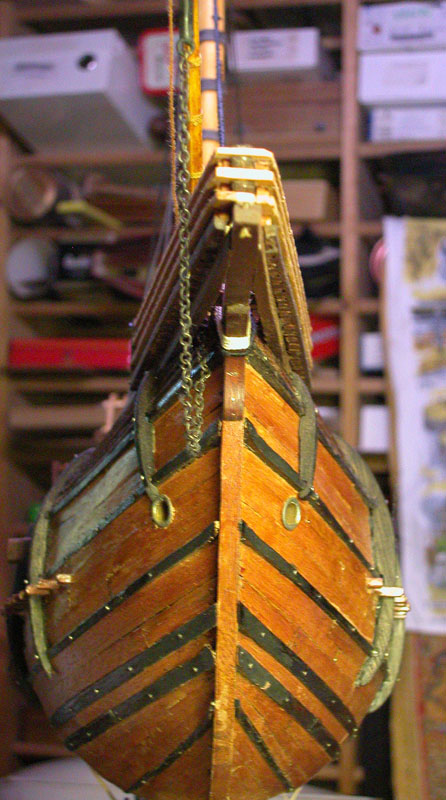
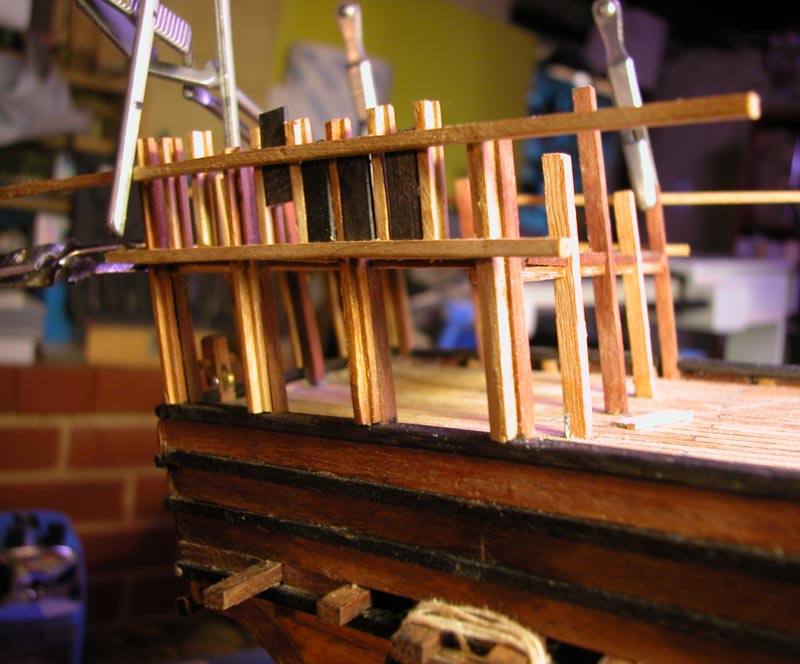
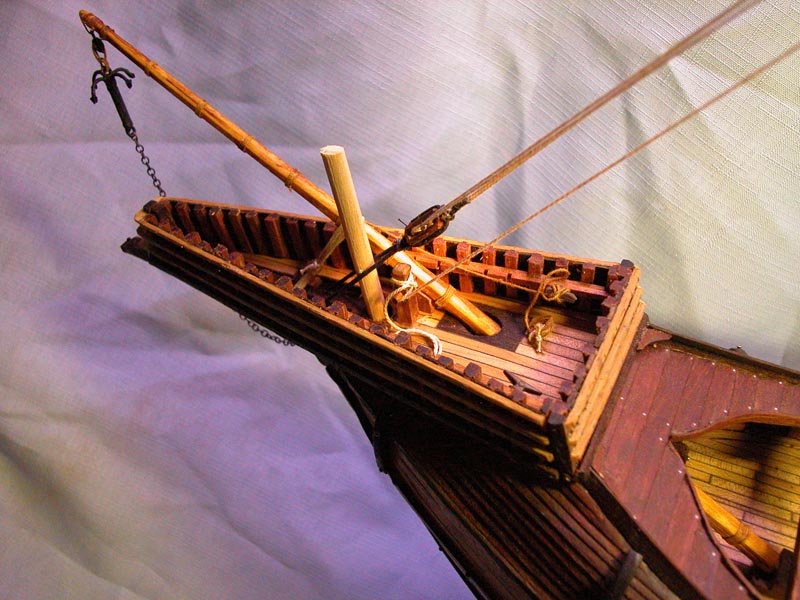
Possibly. It is also the reason why the forecastle in my model is narrower than many other models. This produces a sort of tumble-home ( also see the Mataro model which shows this tumble-home)and makes the structure less topheavy. Note the considerable bracing the the structure which I feel is necessary for strength. This is entirely guesswork as the illustrations give no hint as to framing of superstructure Dick


-
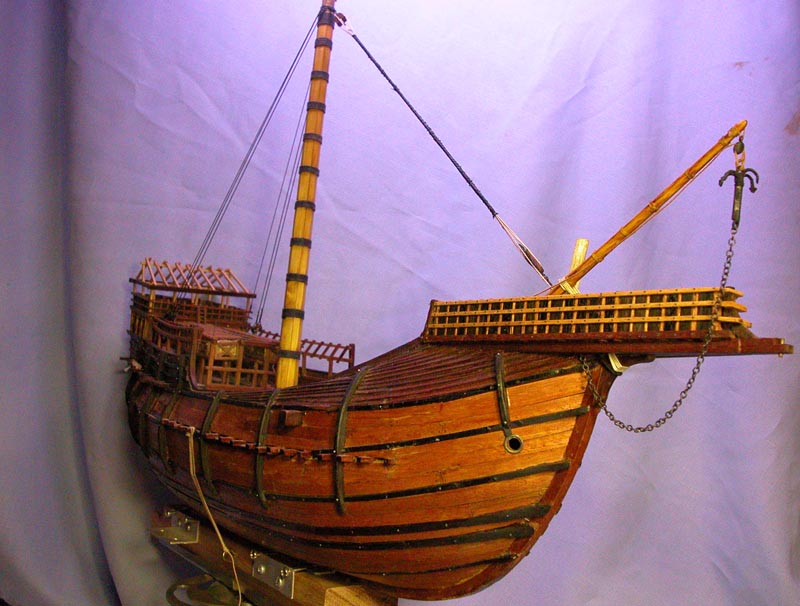
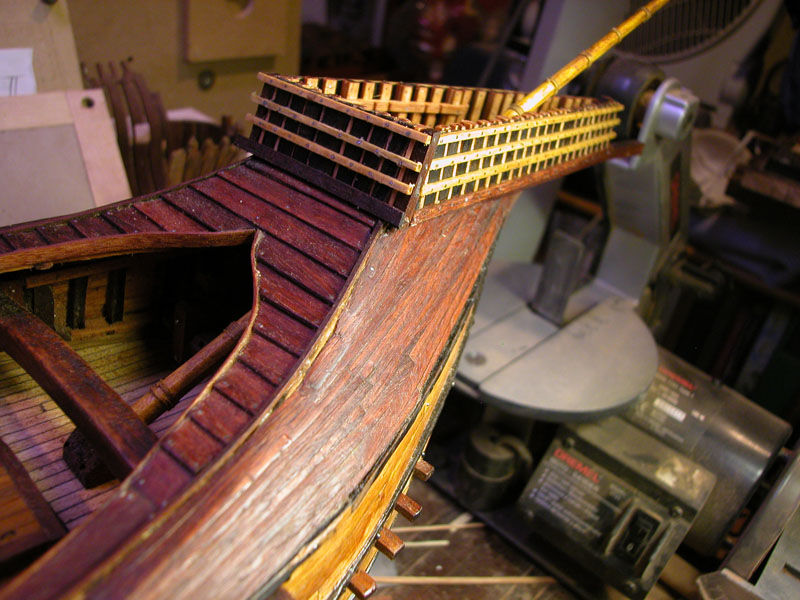
Many didn't.. I am sure that when possible they ran for a port to avoid such seas. Much of the castles could be cut away in an emergency and you will notice that the slats on both castles are removable so as to reduce windage in heavy seas Cheers Dick
- 632 replies
-
- 11
-
-
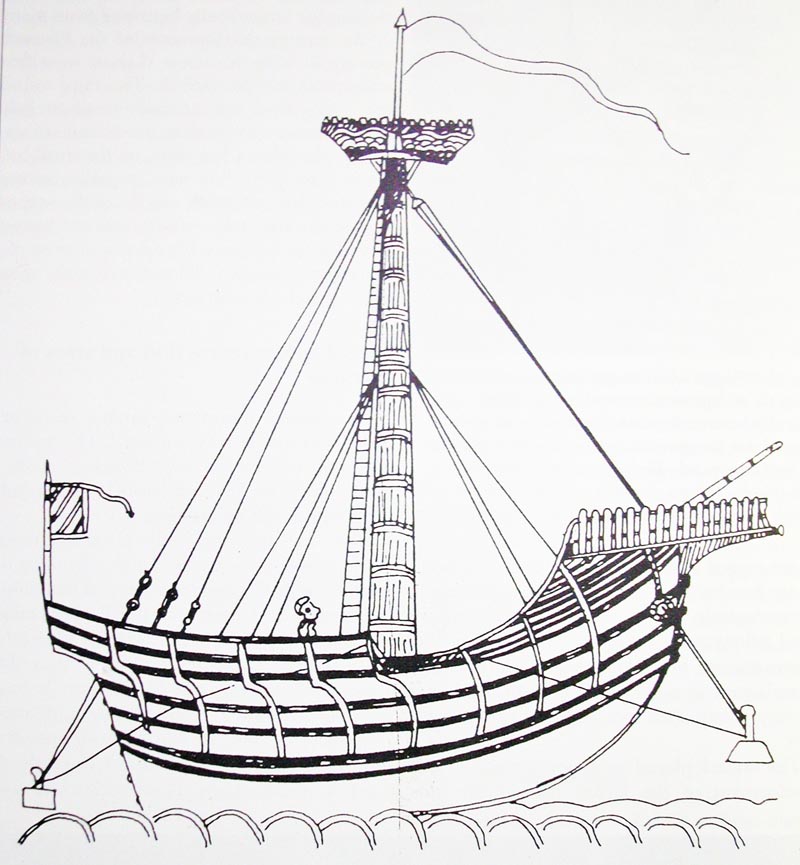
On a separate note, I have been going through my books trying to find any evidence to support the presence of a spritsail in mediaeval vessels. I have found none yet although most modern reconstructions of carracks show one. The bowsprit seems to be obliquely sited adjacent to the foremast (if there is one) and functions to attach the forestay, bowlines and the grapnel anchor. At this stage I would question putting a spritsail on a mediaeval vessel. Dick
-
Yes, Steven. Its just a bit of dowel I have used to indicate where the foremast will be when I make it. Perhaps you could post the links to Pinterest. Thanks Robin. The fore and mizzen masts would have been pole masts, not "made" like the main mast Dick
-
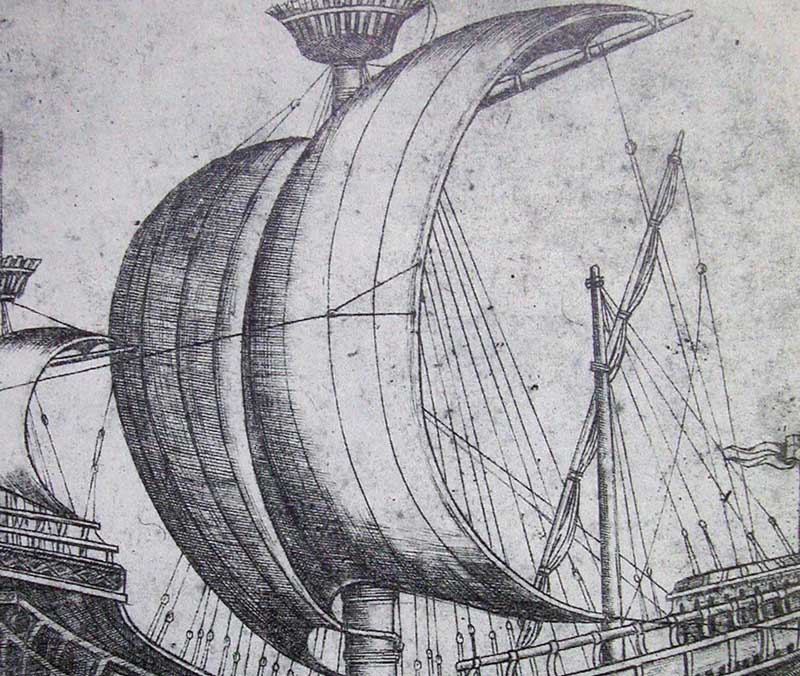
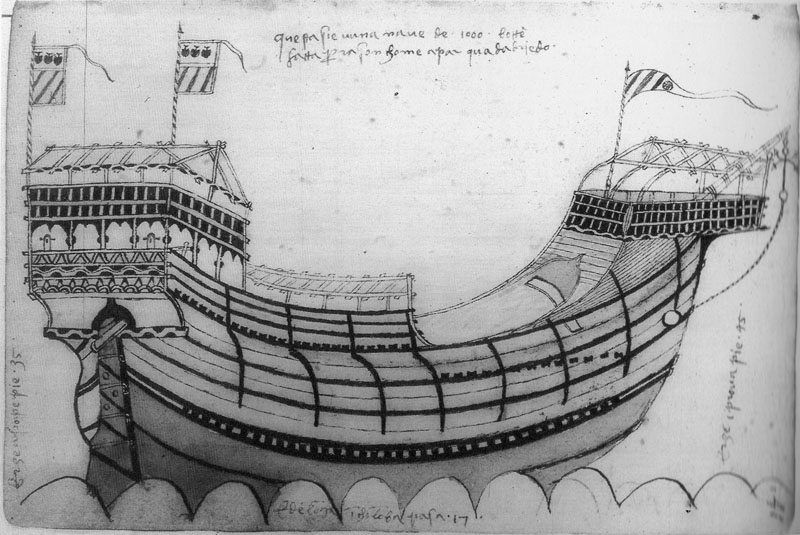
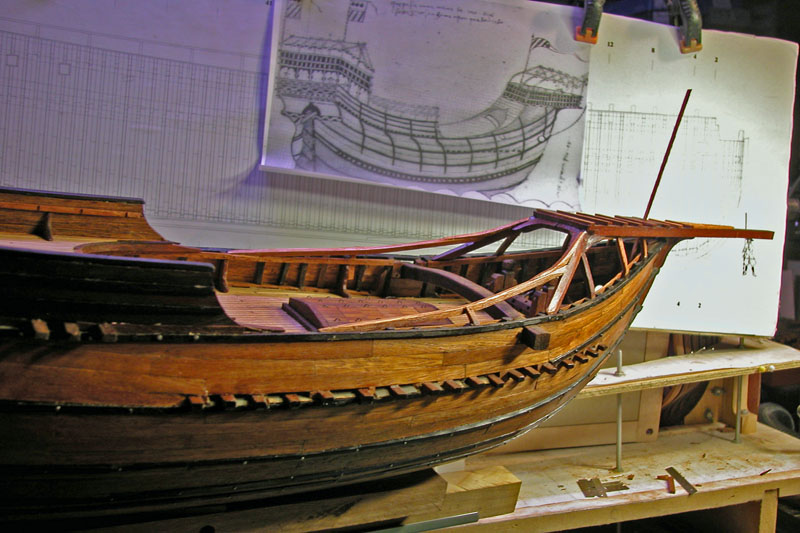
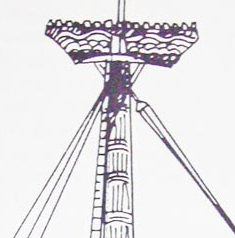
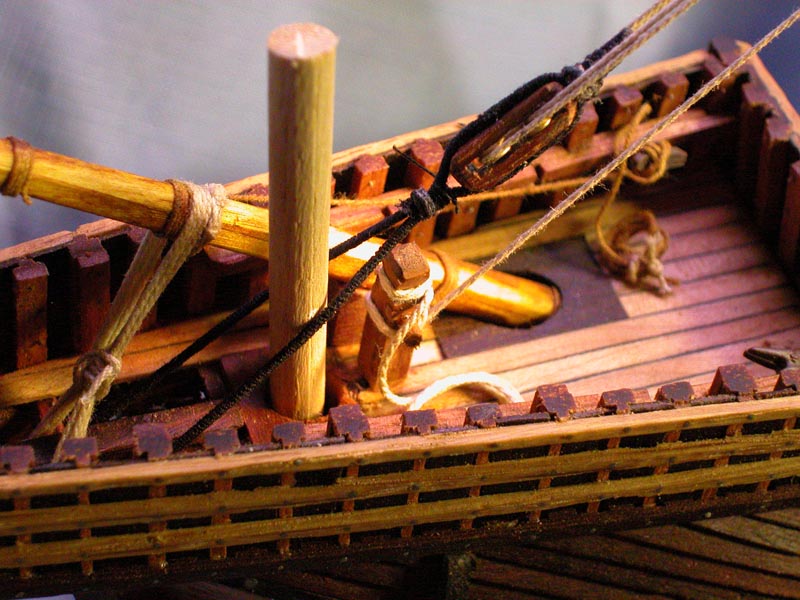
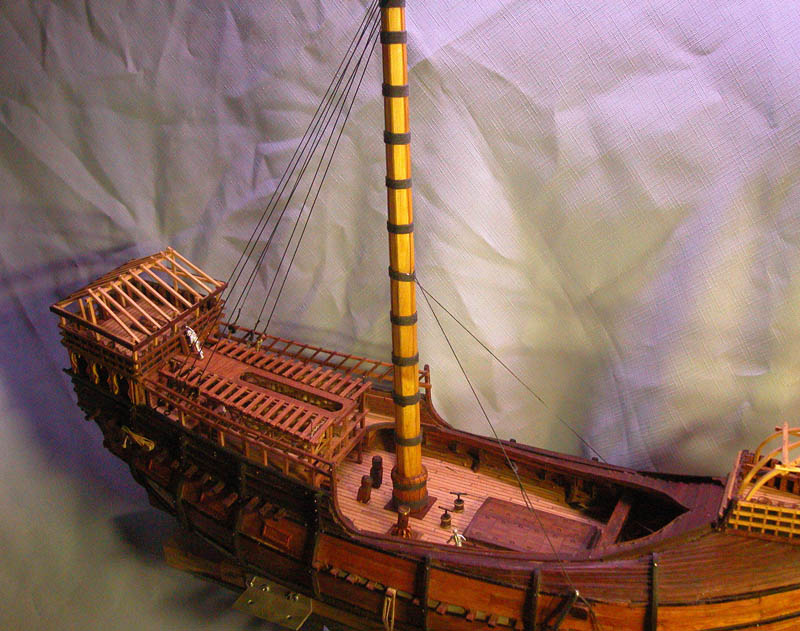
Apologies for the delay in posting. I have been overseas. after a lot of thought the mainstay (stazo) has been done in accordance with the appearances in the Zorzi manuscript which seems to show a large upper block with a number of ropes issuing presumably to a lower double block . This is much different to later practice. The collar of the mainstay passes either side of the foremast and around the knee of the stem. Also seen is the gammoning of the bowsprit which also goes around the knee of the stem. Dick
- 632 replies
-
- 16
-
-
The most likely source of information on the rabbetting for the garboard strakes would be be the Yenikapi wrecks, I feel. Dick
-
Thanks for all the encouragement, chaps. I have written a draft for the introduction. Dick
-
Will do, Druxey. That is the crux of the whole project i.e. to educate myself and others on the way shipwrights may have constructed a stout vessel without the use of plans and how the mariners may have rigged and sailed them. I would be standing on the shoulders of many giants such as historians of Venice, nautical archaeologists and other model builders. Beside this, the actual making of the model is light relief. My meagre nautical library has greatly inflated since starting this project as books are my main research source, being a hemisphere away from the primary sources in Europe. I am also hampered by my lack of italian language. By the same token, I don't wish to clog the article too much abtruse material so as to maintain "a conversational tone" as the editor puts it. Dick
-
I agree, Carl. Paul Fontenoy, the NRJ editor was enthusiastic about writing up an unusual subject like this and I will submit an article. I think it should be best published in 3 parts as a series: The hull reconstruction The superstructure Masting and rigging But of course, this is the prerogative of the editor Cheers Dick
-
Thanks Mark and Druxey. This is something I have considered. I have sent an email to Paul Fontenoy, the editor NRJ, to enquire whether this is suitable. Certainly, I claim no credentials as a nautical archaeologist or historian but the topic is of interest to many ship modellers because of the popularity of vessels such as the Santa Maria. Indeed, to do the subject full justice would be equivalent to a Ph.D thesis and I certainly don't have time for that! Dick
-
Most kind, Steven. The next step is the mainstay which appears to have a strange looking pulley at the mainmast and presumably at the foot of the foremast with a collar going around the knee of the stem. This is why I left some of the planking off the forecastle deck. The shrouds have been made and go on after the mainstay. Dick
-
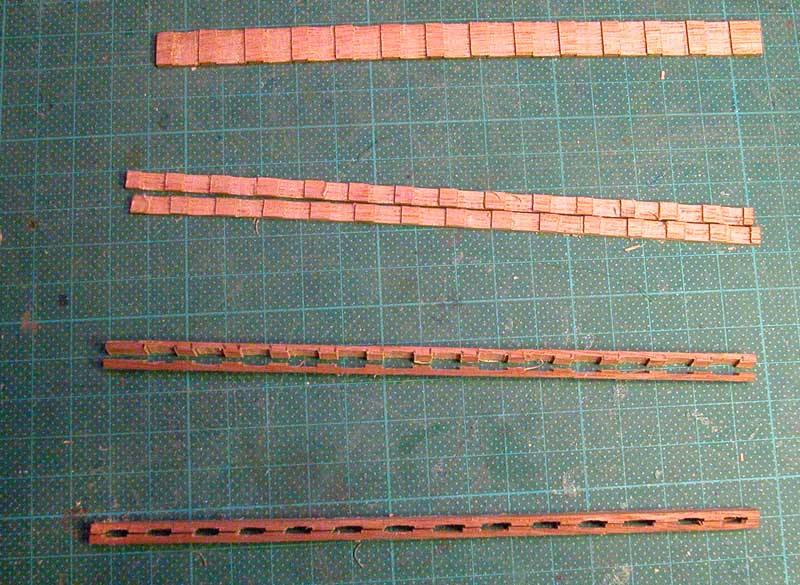
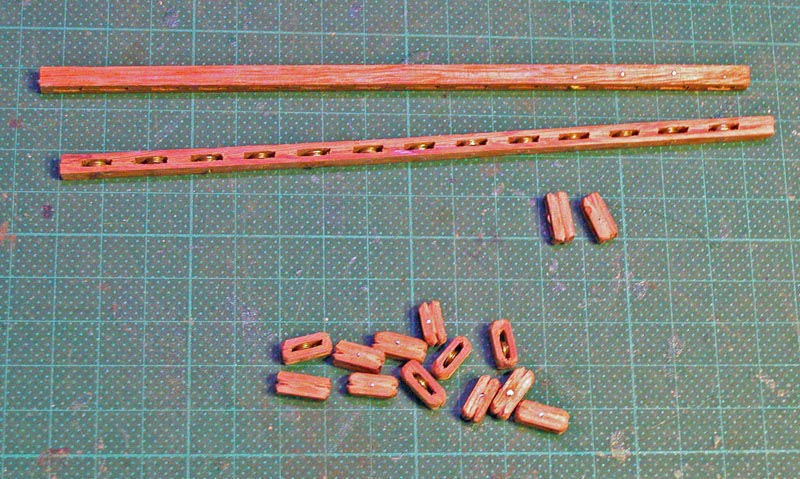
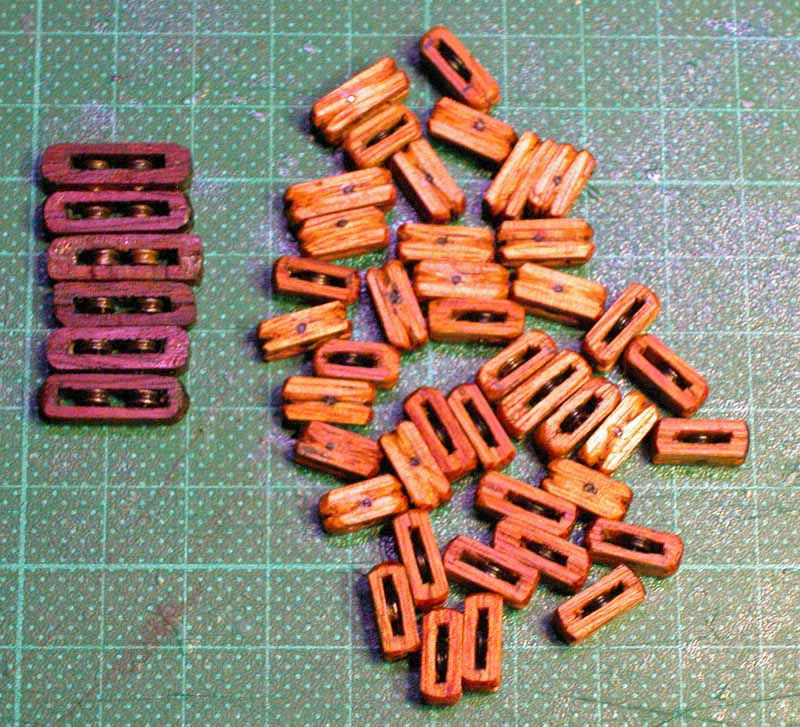
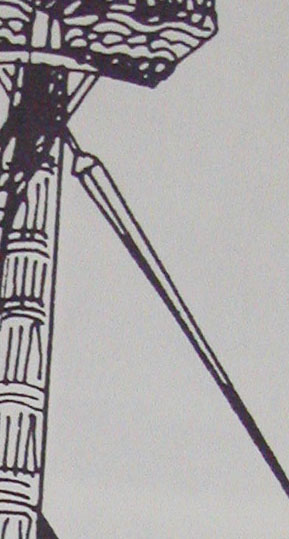
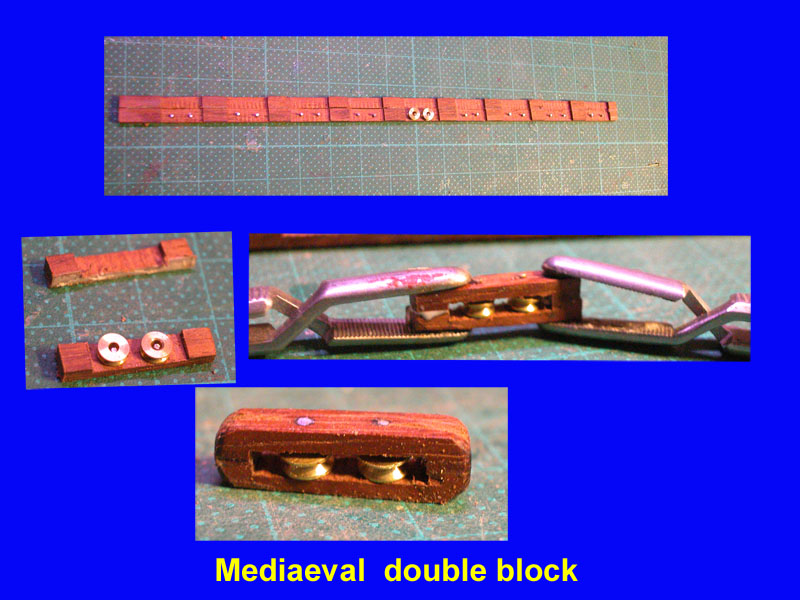
Blocks on mediaeval ships were somewhat different to those we are used to on later vessels. For example this is my concept of a double block with the pulleys set in-line instead of side-by-side I have installed the backstays first while holding the mast with temporary forestays much as seen in the Trombetta illustration. This sketch I believe was made while the mast was being set up. this shows the use of hearts for the backstays Cheers Dick


- 632 replies
-
- 16
-
-
Thanks Steven. I wasn't being very clear before. My concern is that torsion may occur AFTER the shell is removed from the plug. Is this something that others have seen with this type of construction? It has happened to me. Dick
-
Just a thought. With a long narrow hull like this would it be advised to put it into a jig during planking and applying longitudinal members so as to prevent torsion of the hull? Dick
-
Thanks, Druxey. A very modern looking painting for the era. Reminds me of Hieronymus Bosch to a degree. The ships are rather fanciful. Cheers Dick
-
Thanks Carl. Nice web-site. Warning! Naming mediaeval ship types from different countries can do your head in. Dick
-
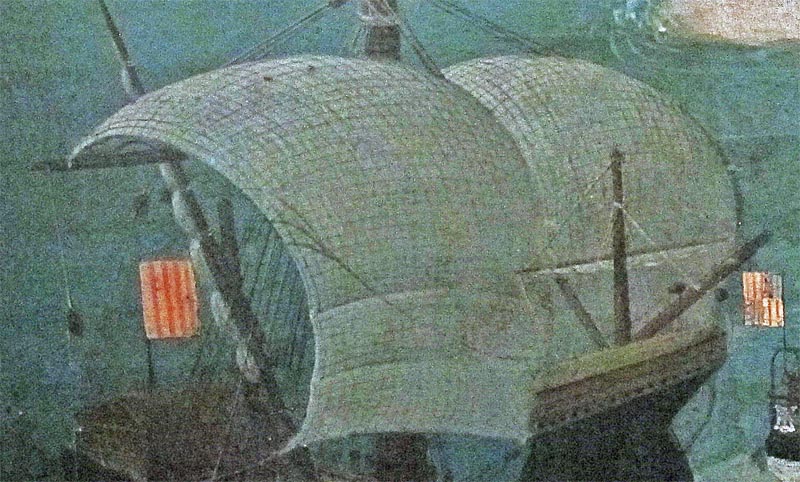
Thanks, Carl. I believe they all had mainstays and in front of the sail. Some artists occasionally omit them even Carpaccio. I cannot conceive how the mainstay could be behind the sail. This must be an error. The best illustrations show a triple or quadruple mainstay which seems to be served or puddened to prevent abrasion on the mainsail. Dick
-
Spot on, Druxey. Many illustrations show this band from the midpoint of the foot of the sail around the mainmast. Some pictures show similar bands also from the bonnet(s). These are the reason that the centre of the billowing sail has a "cleavage". It may be that this was necessary a. to prevent the sail rubbing on the mainstay, b. splitting in the middle or c. I don't have a clew. cheers Dick

-
Thanks, Carl. Let me know if I am going too far astray. Druxey, I am mainly concerned in producing realistic seam lines on the sail. Some illustrations show just longitudinal seams but many show a cross-hatched appearance. I like your idea of using dilute acrylic paint to stiffen the silk which may also be able to reproduce this appearance. I dont really want to print pictures on the sails although this would be good for flags. Dick