


Jack Panzeca
-
Posts
233 -
Joined
-
Last visited
Content Type
Profiles
Forums
Gallery
Events
Posts posted by Jack Panzeca
-
-
Hi David B,
Thanks for following. I feels great to be working on the build again. I did hang out in the shipyard while my hand was mending but it was only wishful thinking. When I retired I moved my office to the shipyard so I am always around the smell of sawdust. If you want a larger file of the Sedona picture just let me know. Check out www.27birds.com for more photos. I have not updated it in years but it will give you an idea of my other hobby. Someday soon I will add the new stuff.
Hi Keith W,
Thanks for checking in. Good suggestion, it would look more like the original.
And thanks to all for the likes.
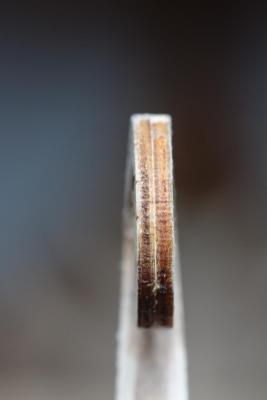
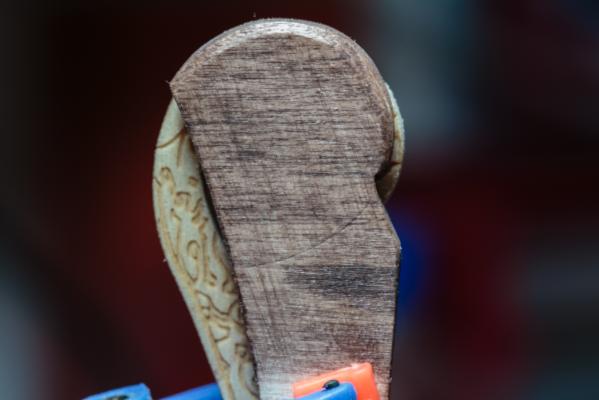
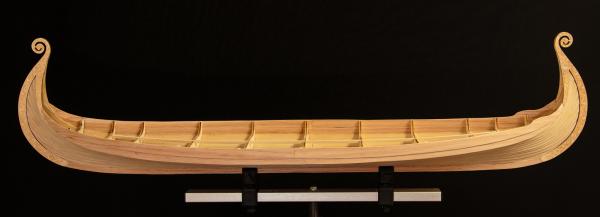
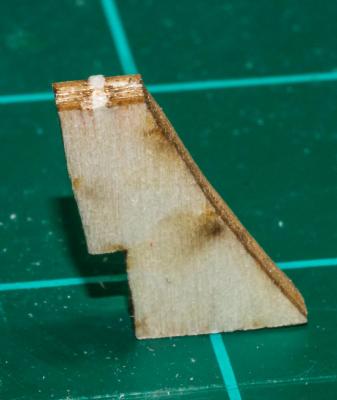
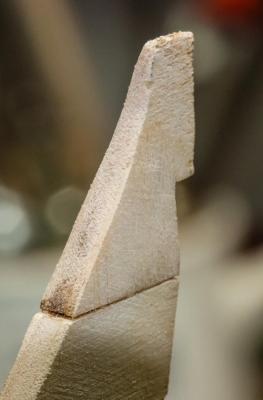
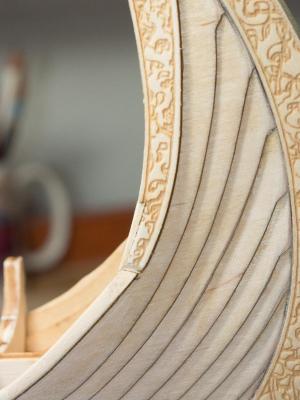
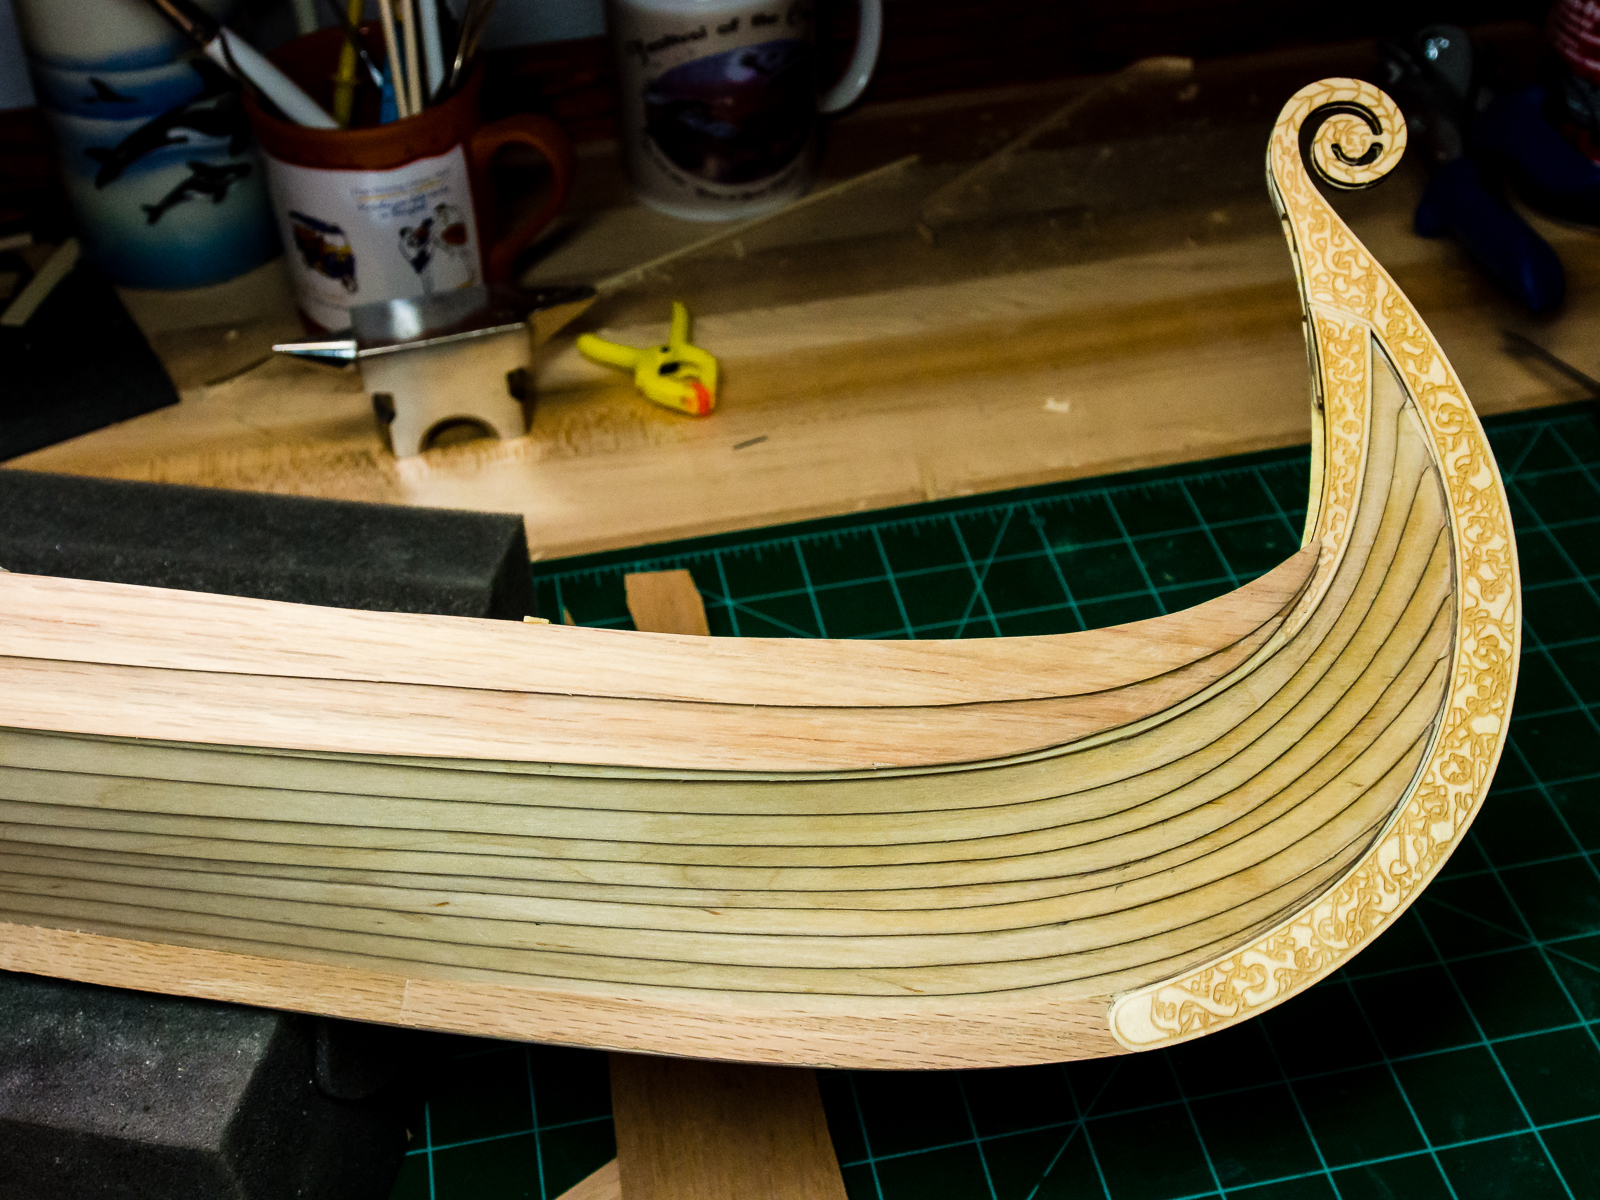
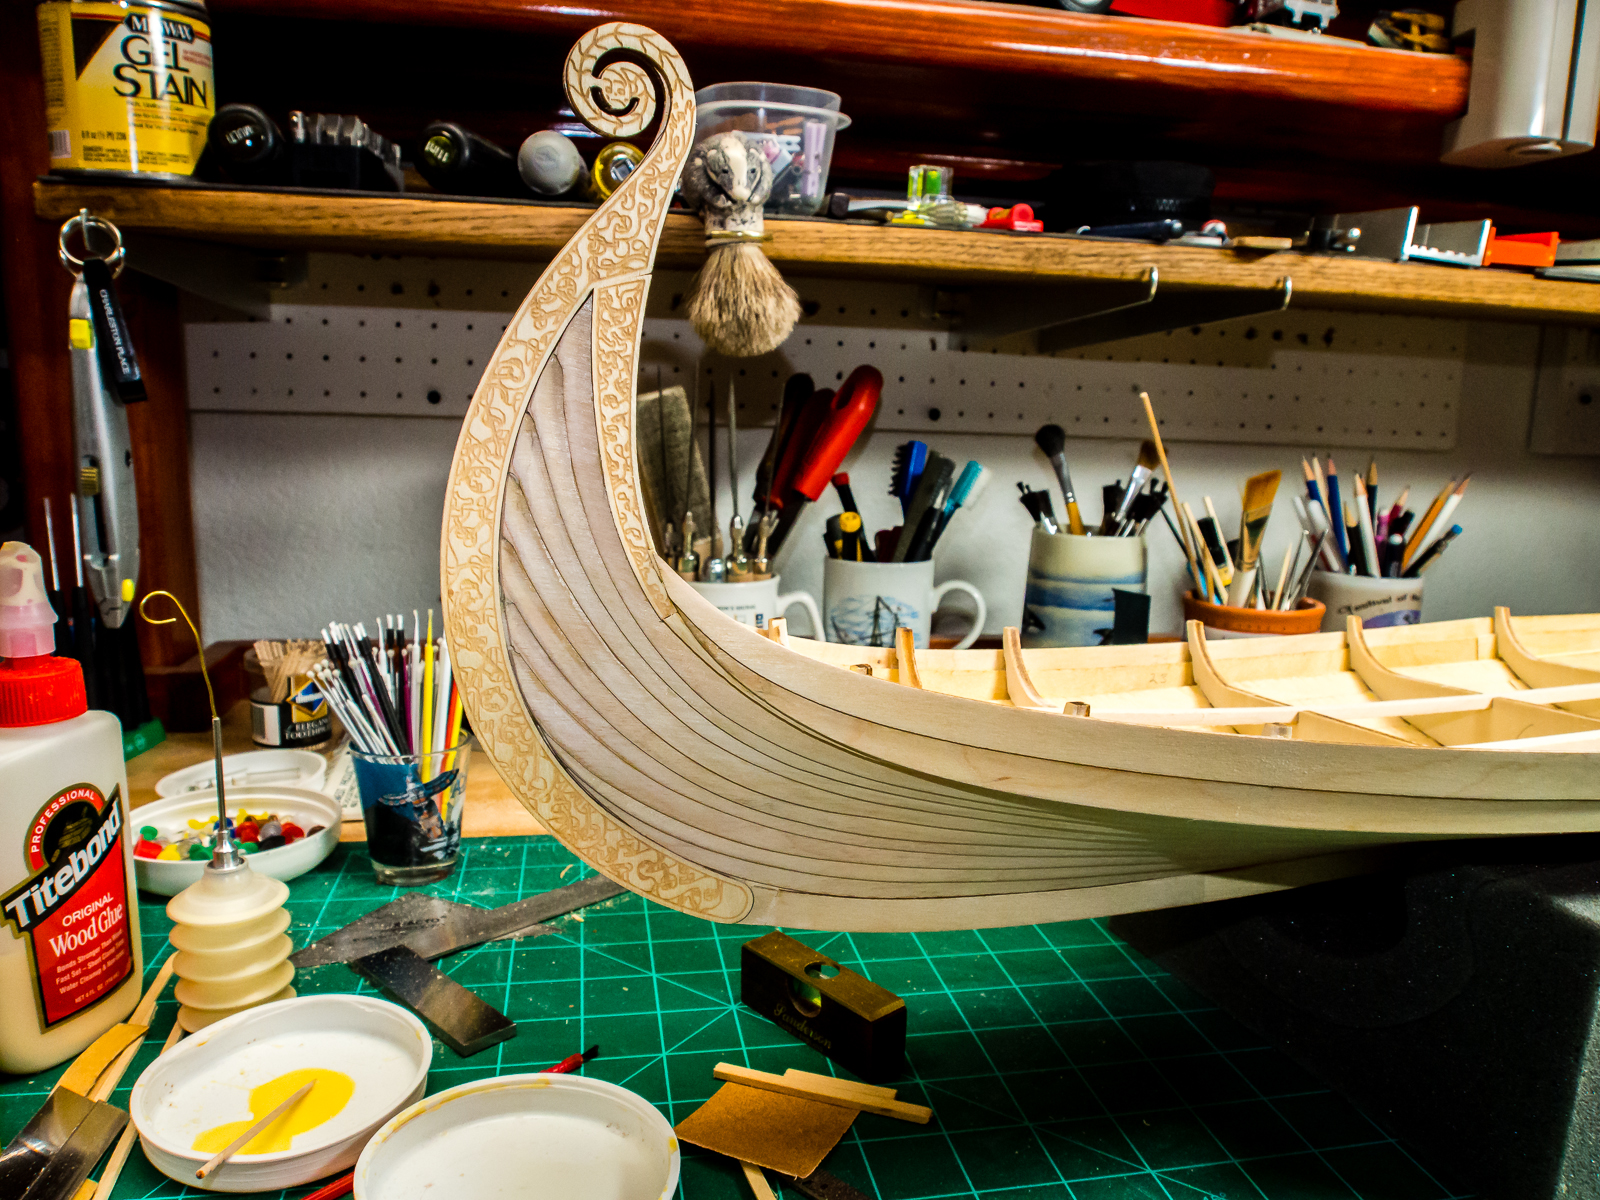
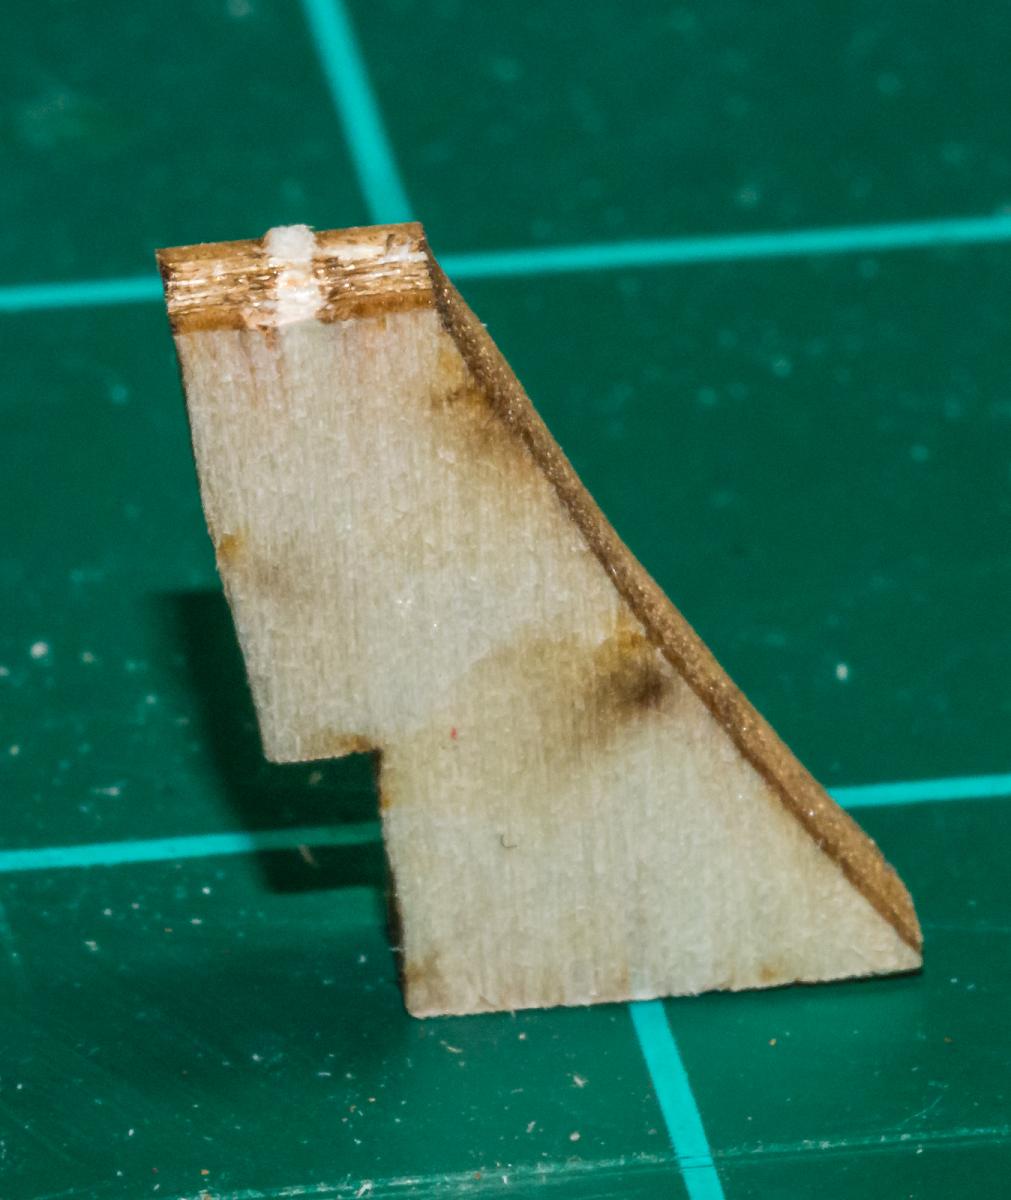
Here are some test pics. The first 2 show the end as it is now. I made pieces from scrap of the same material. I sanded the edges round and used a walnut stain on one and a medium oak on the other. We had discussion earlier about staining the ship dark like the museum original or a lighter color more like the ships when new. The walnut definitely hides the plywood ends better. Personally I like the look of the lighter stain but the walnut may be more practical. David B was this the test you had in mind?
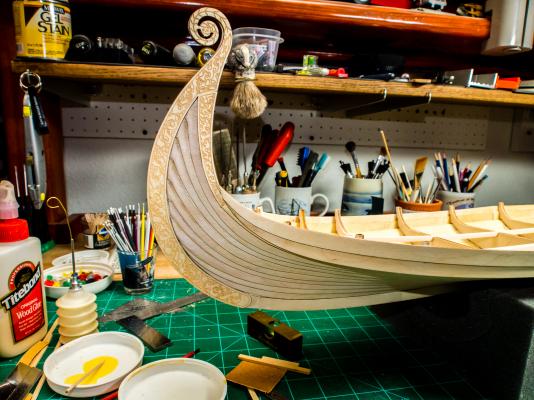
My choices seem to be to leave the scrolls flat and cover them with veneer (not as easy as it sounds on that tight curve) or sanding the edges round and staining. I could not get the veneer to curve around the scroll and then bend over the rounded edges. Carving any scrollwork that the sanding erases should be achievable since it is very basic.


-
Well I finally got the use of my right hand back. It took three weeks when I optimistically thought it would be one week. The little finger is still a long way from straight but it at least it is no longer (to paraphrase Bindy) stuck out like a poser drinking tea. I feel a little lame whining about my little finger while Vivian is still in serious dry dock.
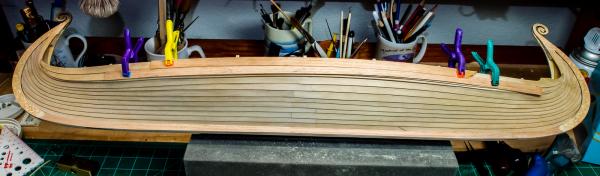
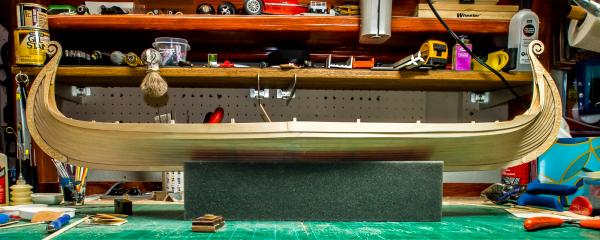
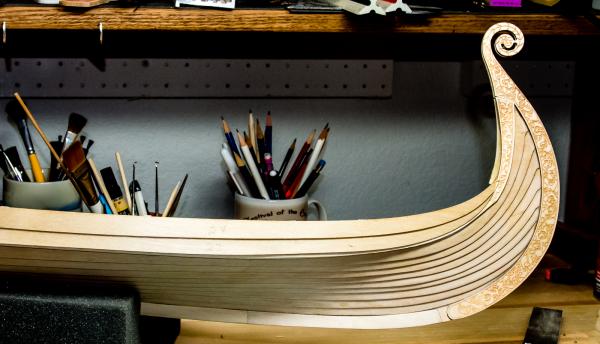
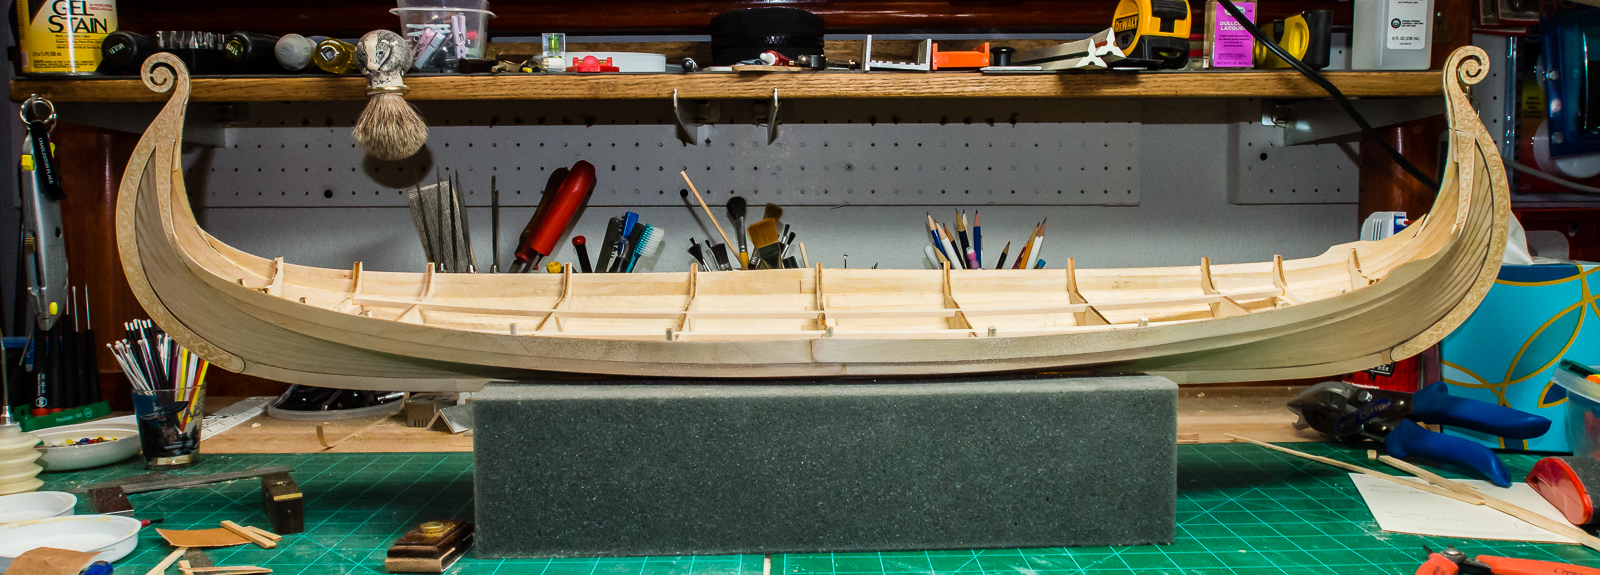
I finished cutting out the gunwales and placing them. It took a few tries. The oak really is a nice improvement. I also completed the oak veneer on the keel between the scrollwork.


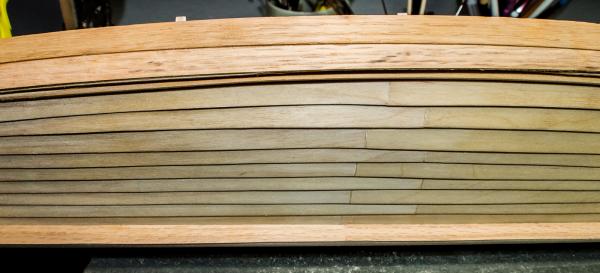
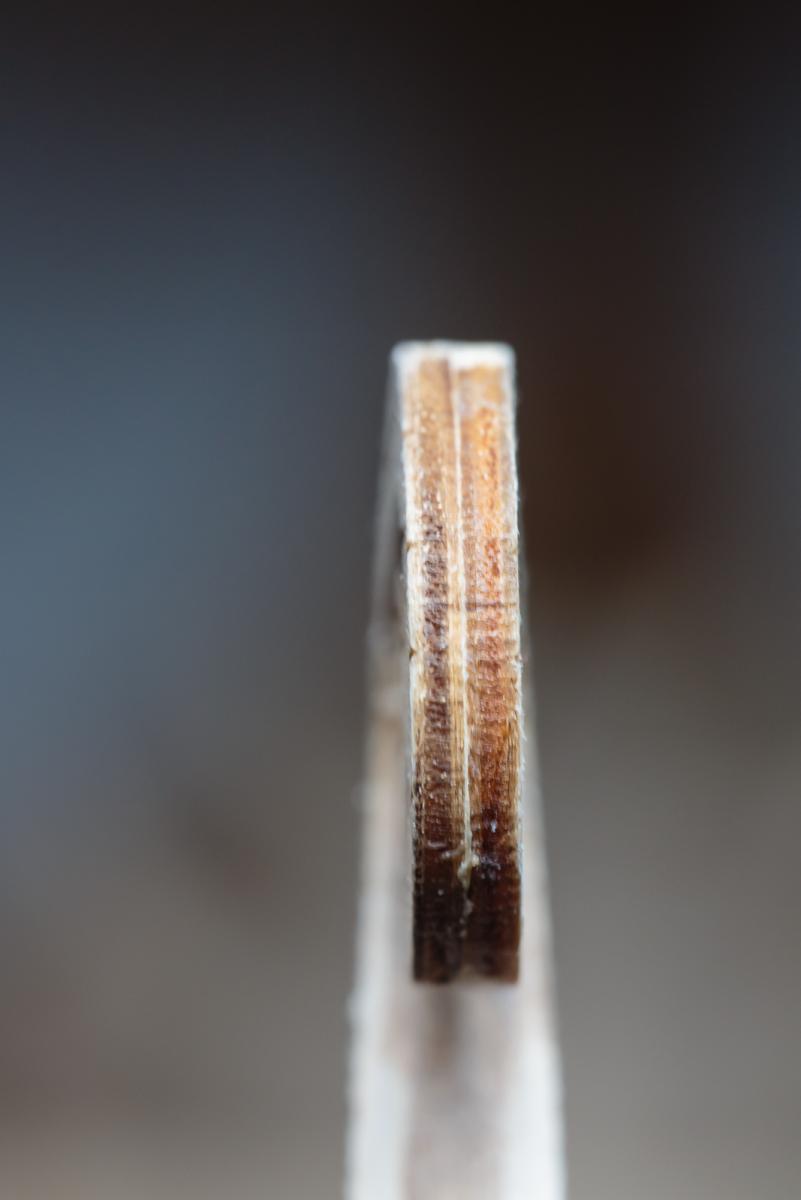
The next step before I start on the inside is the keel edge. It is plywood with the scrollwork and oak veneer applied. I could sand it and stain it but I think it will still be ugly. If I stain it a relatively light oak it will be hard to hide the layers.I have been thinking of covering it with oak veneer.
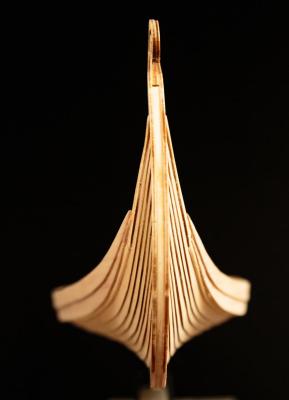
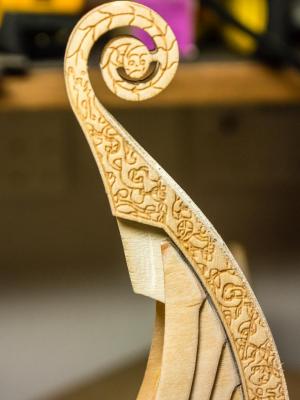
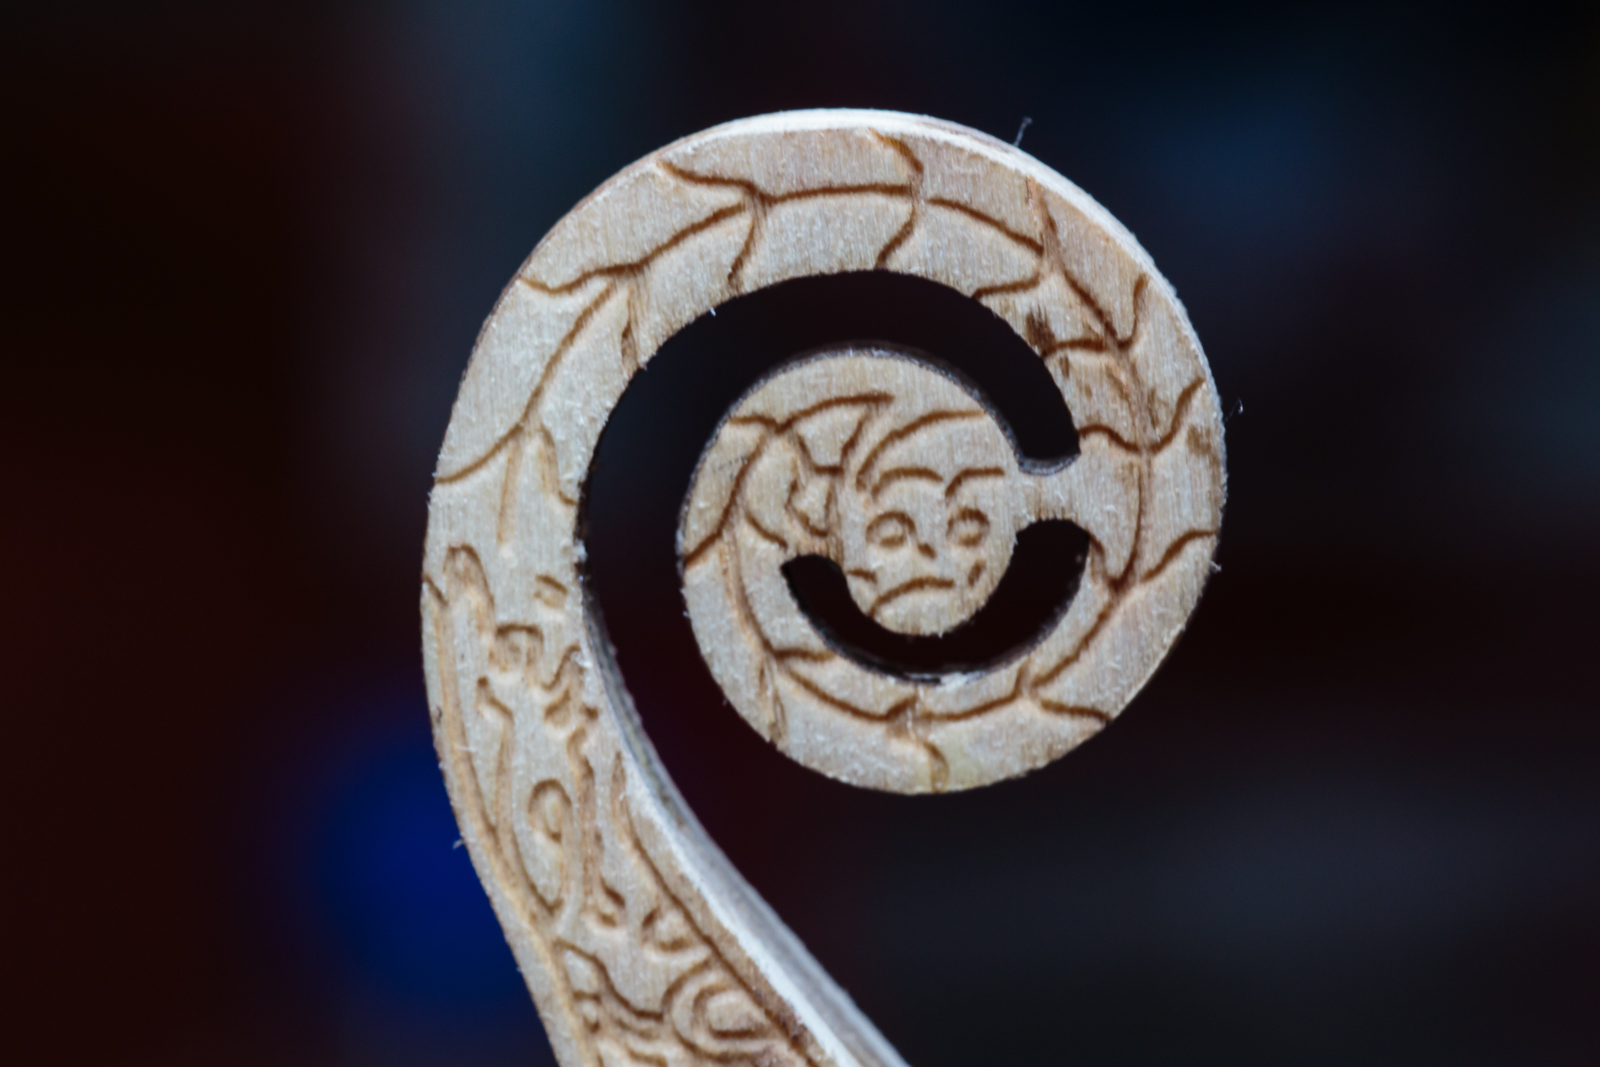
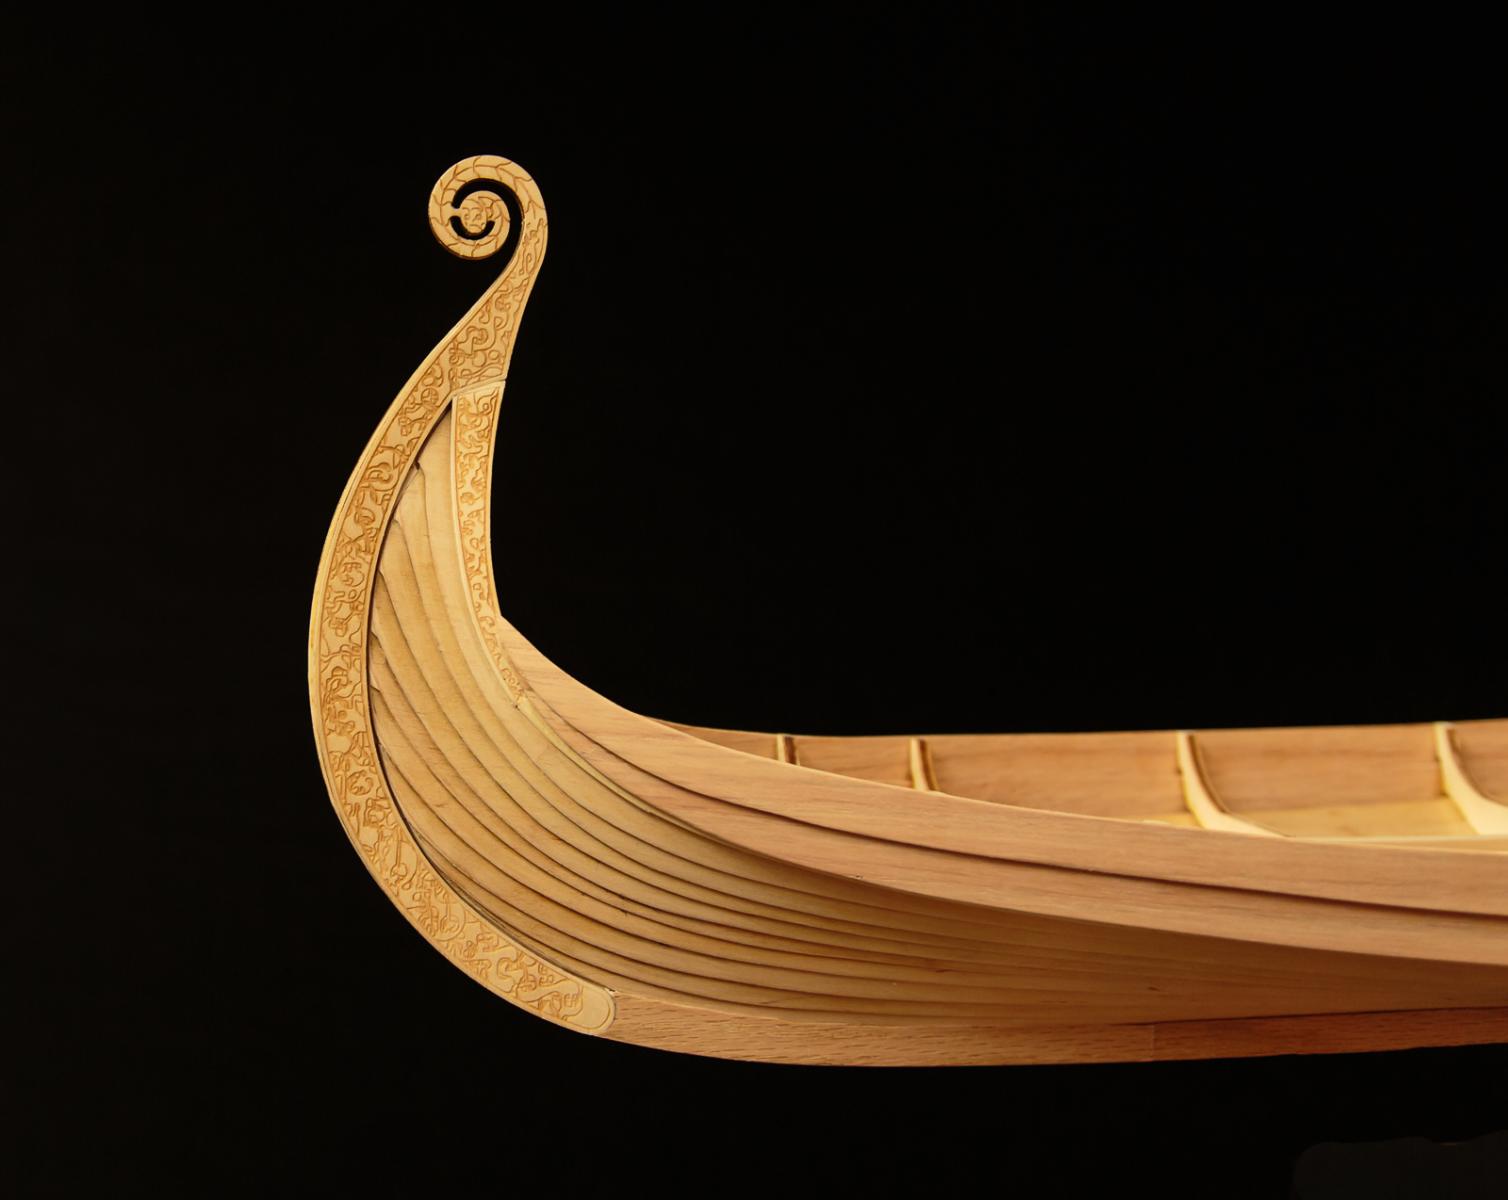
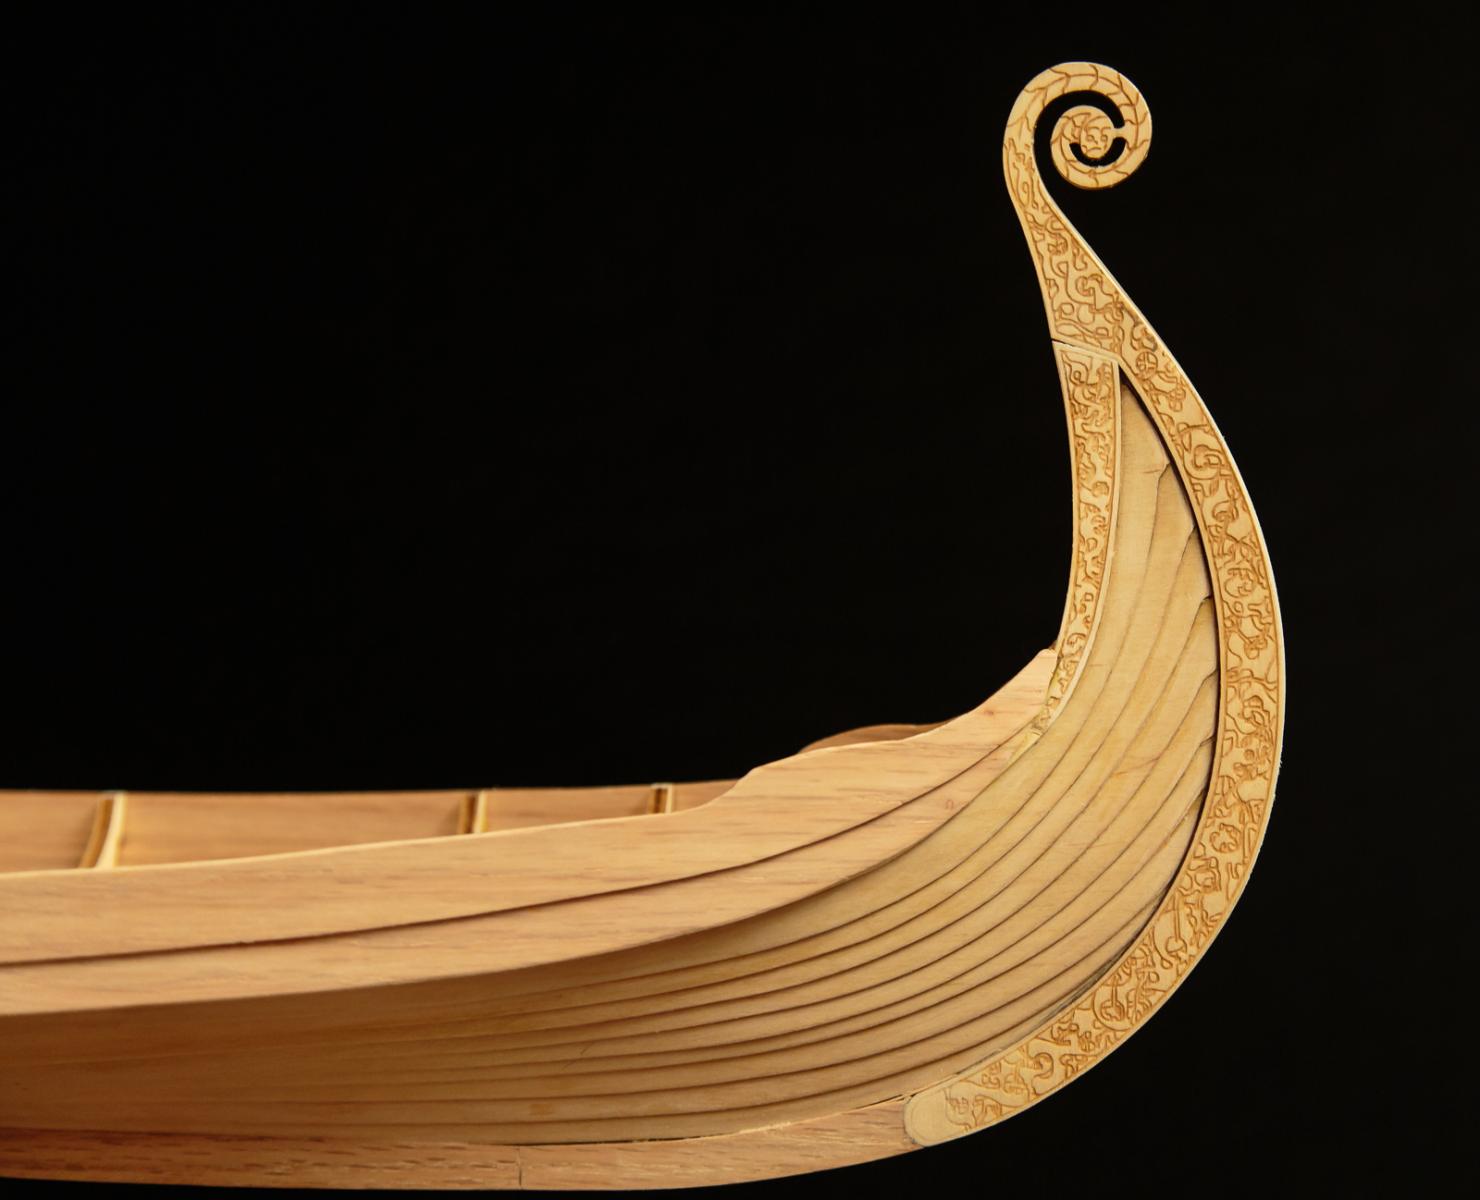
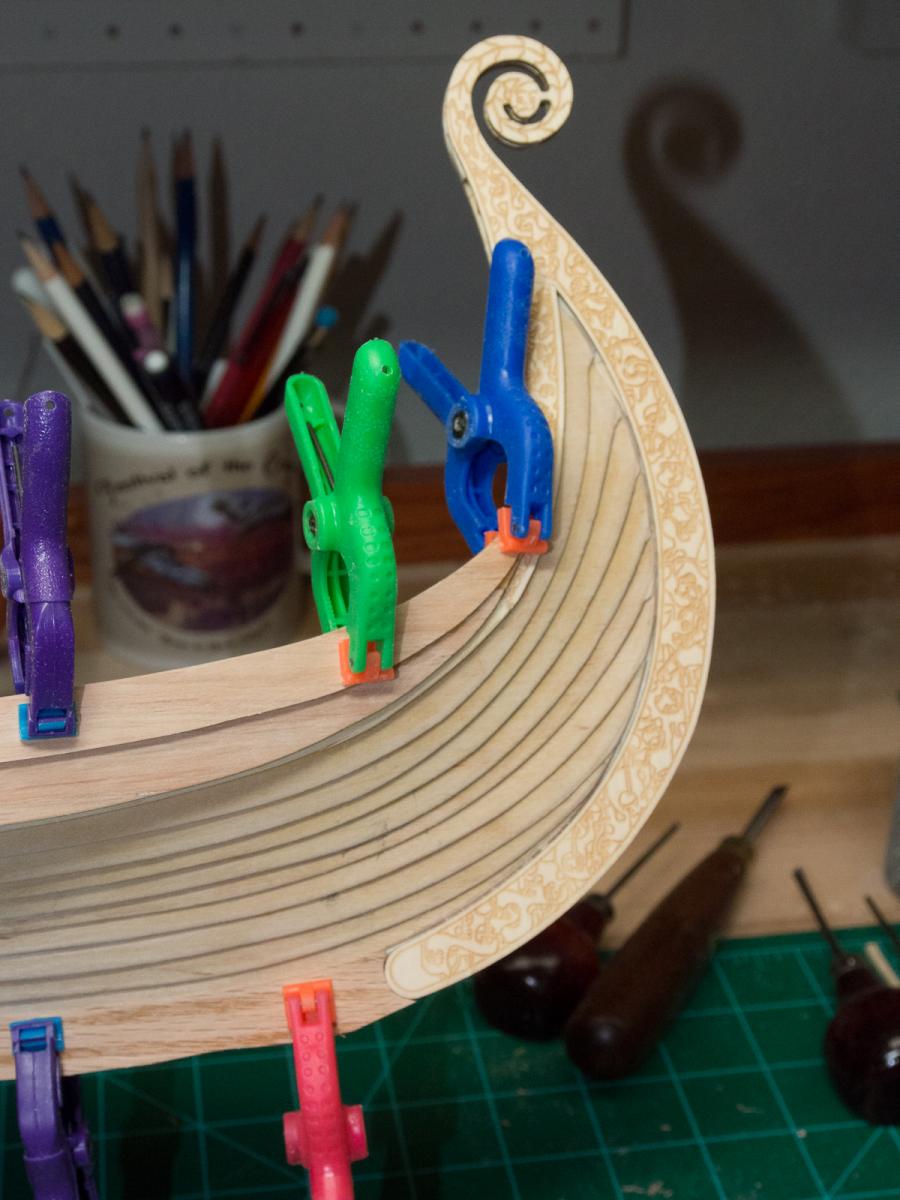
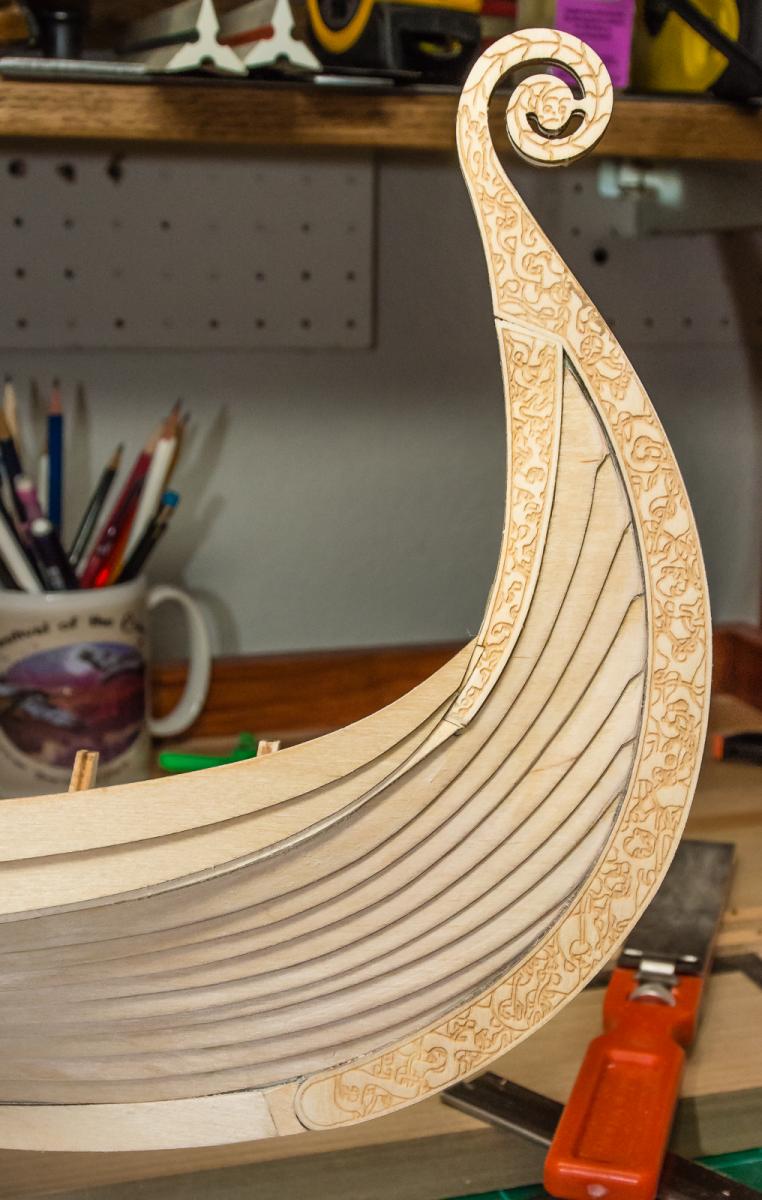
The Oseberg scrolls at the top of the stem and stern look rounded so that presents a problem wrapping all the way around. I will try dry fitting as many options as I can think of and decide which way to go. Suggestions always welcome.

- dgbot, CaptainSteve, Bill Hime and 4 others
-
 7
7
-
Hi Ulises,
This is a great looking project! You are off to a wonderful fast start. A beautiful ship and a really large model. Good luck on your new build.
-
Hi Marc,
I just went through your build log, nice job. I will bet that you are happy to be almost finished with your busy season here.
I noticed your avatar changed to a spring hat. Nice.
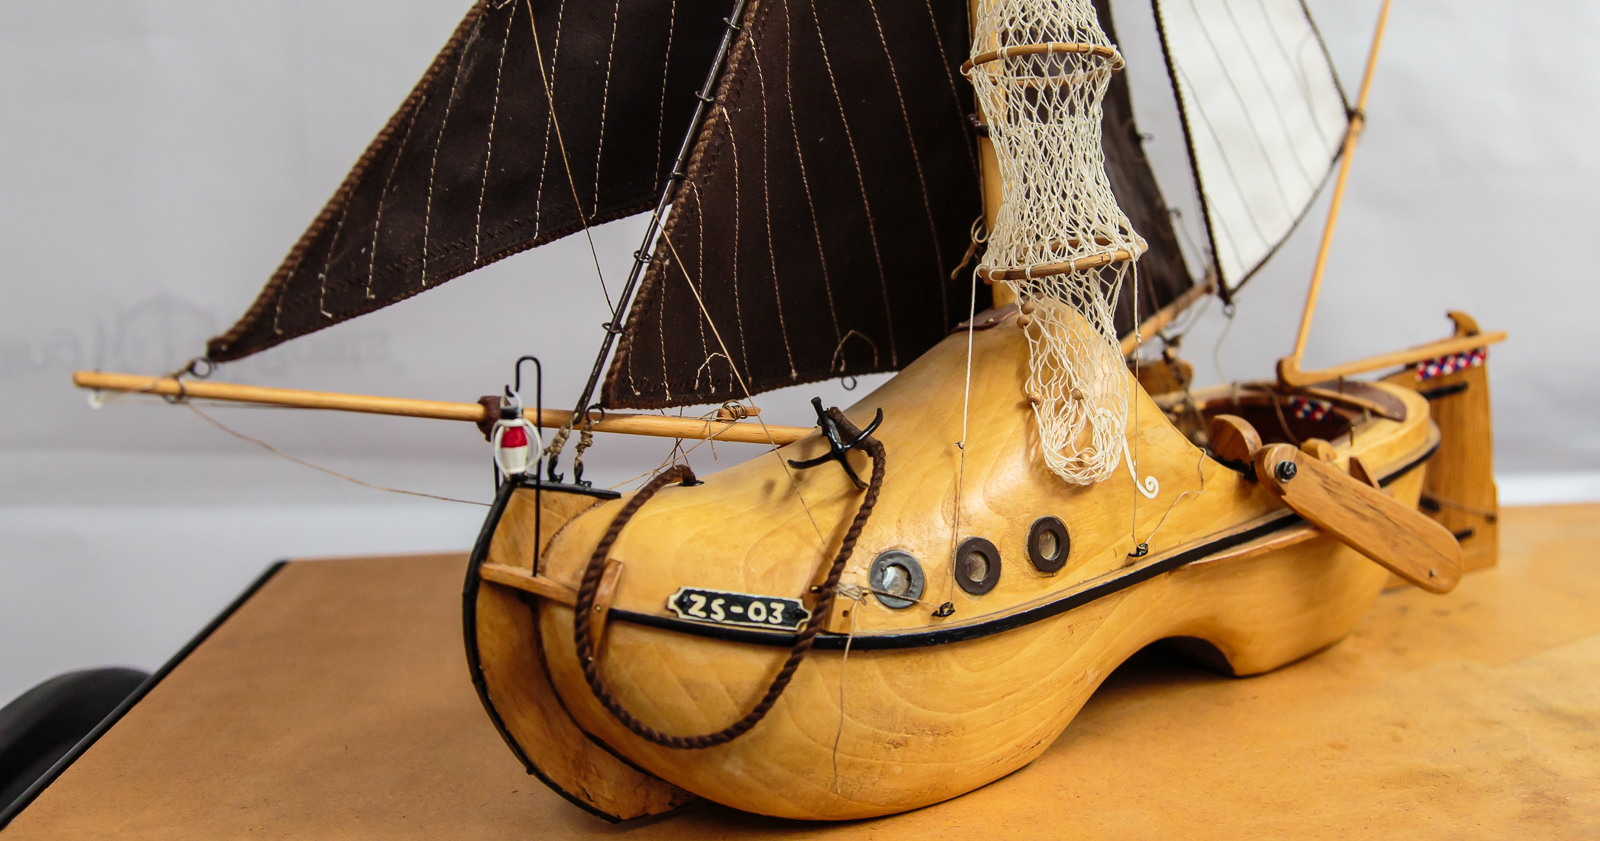
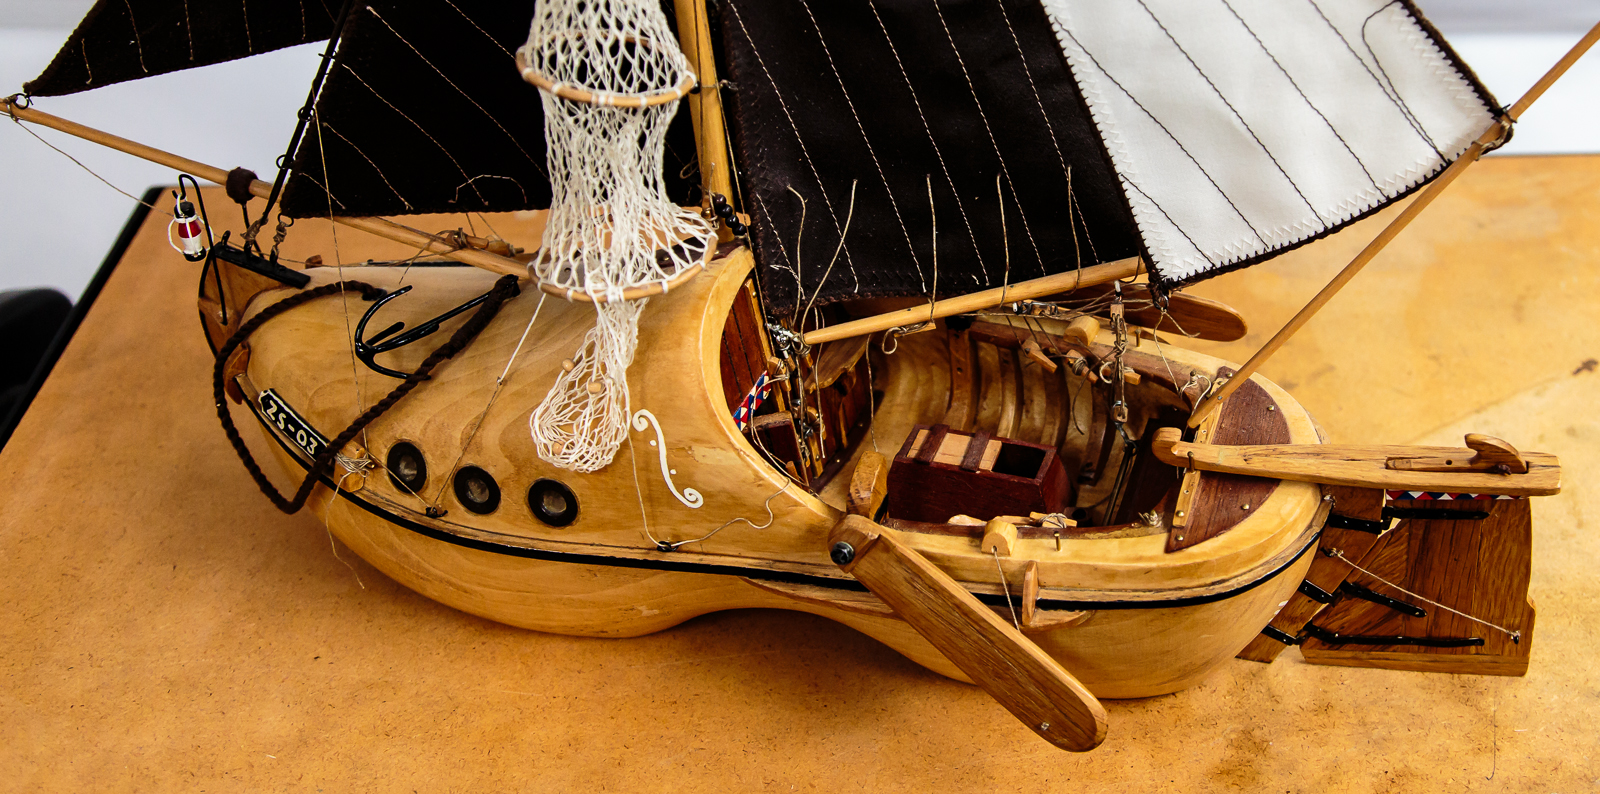
Years ago I visited Amsterdam and was busily buying wooden shoes to take home to family and friends. I happened upon this rather special wooden shoe and decided that I had to have it.
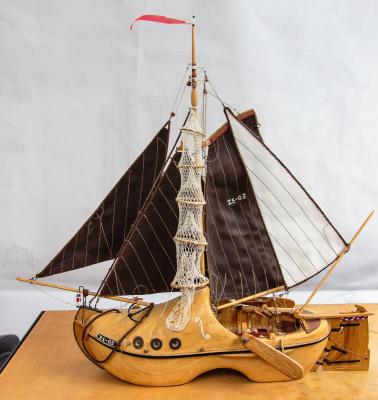


The pennant and the top of the mast had broken off in shipment and I did not notice until the packing had been disposed of. That resulted in some serious dumpster diving until it was recovered.
Great work on the yacht.
-
So sorry! That is truly heart breaking. Curiosity and cats I guess. Can't live with them can't kill them. Happy that it is repairable but rework is never very satisfying. Good luck with it. HMB Endeavour is next for me, I may nave to wait until the cats die of get too old to jump and climb.
-
Thanks Tom And David B,
This is sunset shot. The sky was lightly overcast and allowed Cathedral Rock to glow a little bit. The color in Sedona is wonderful. I did make it to the Vortex the next evening but it was heavily overcast with no sunset at all. I shot a few images but nothing I would show to anyone. Coming down from the plateau near the Vortex is where I fell. I had to cross a small notch in the slickrock and was thinking that I needed to be very careful because of the loose rock bits. Bam! head first onto the deck. I broke the fall with my knee and right hand with the camera in it. Minor damage all around. The little finger was the worst but it is slowly becoming useful again. I can't wait to start modeling again but the thought of spending time using a saw with one finger sticking out where it does not belong is a little scary.
Tom and Wacko thank for the likes.
-
I am back from a business trip (I know, I am supposed t be retired) and I stopped in Sedona Arizona for a few days to enjoy my other hobby, photography.

The bad news is that I fell off a rock and damaged my camera and myself. It is amazing how debilitating a disabled little finger is. It is improving rapidly so hopefully I can get back to my build in a few days. I am happy to be back and catching up on the true works of art underway on this wonderful forum.
- Bindy, flying_dutchman2, mtaylor and 3 others
-
6
-
-
-
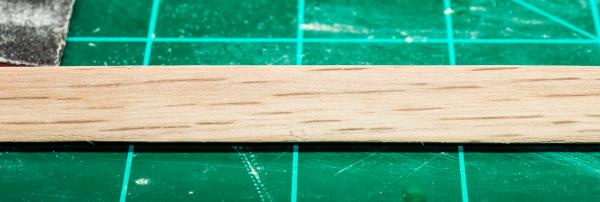
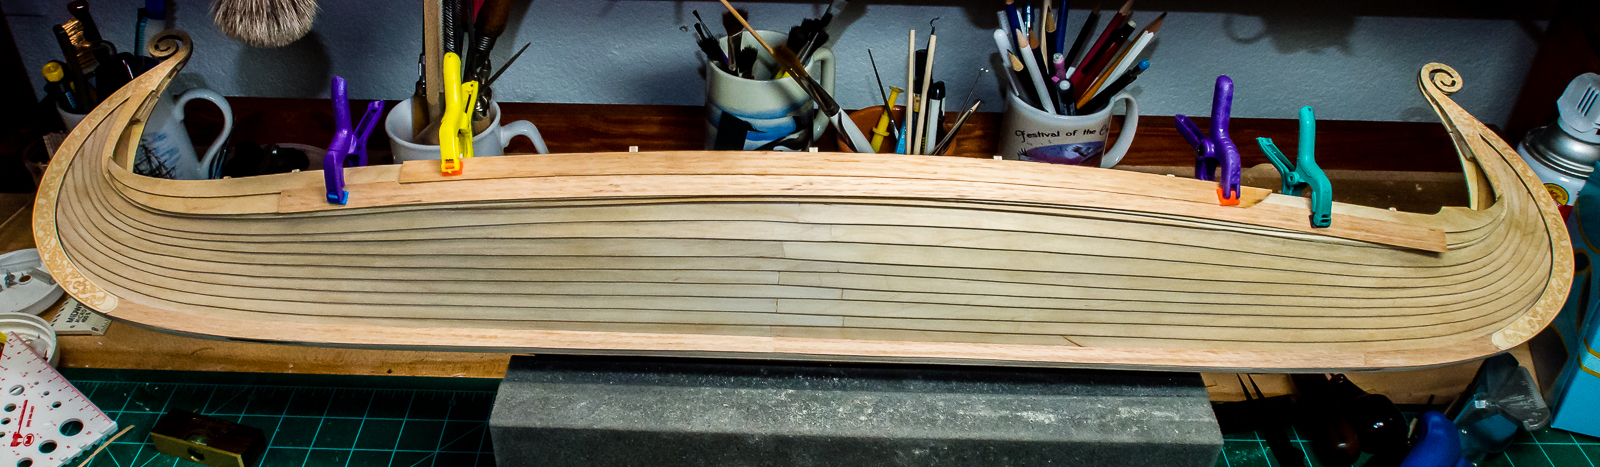
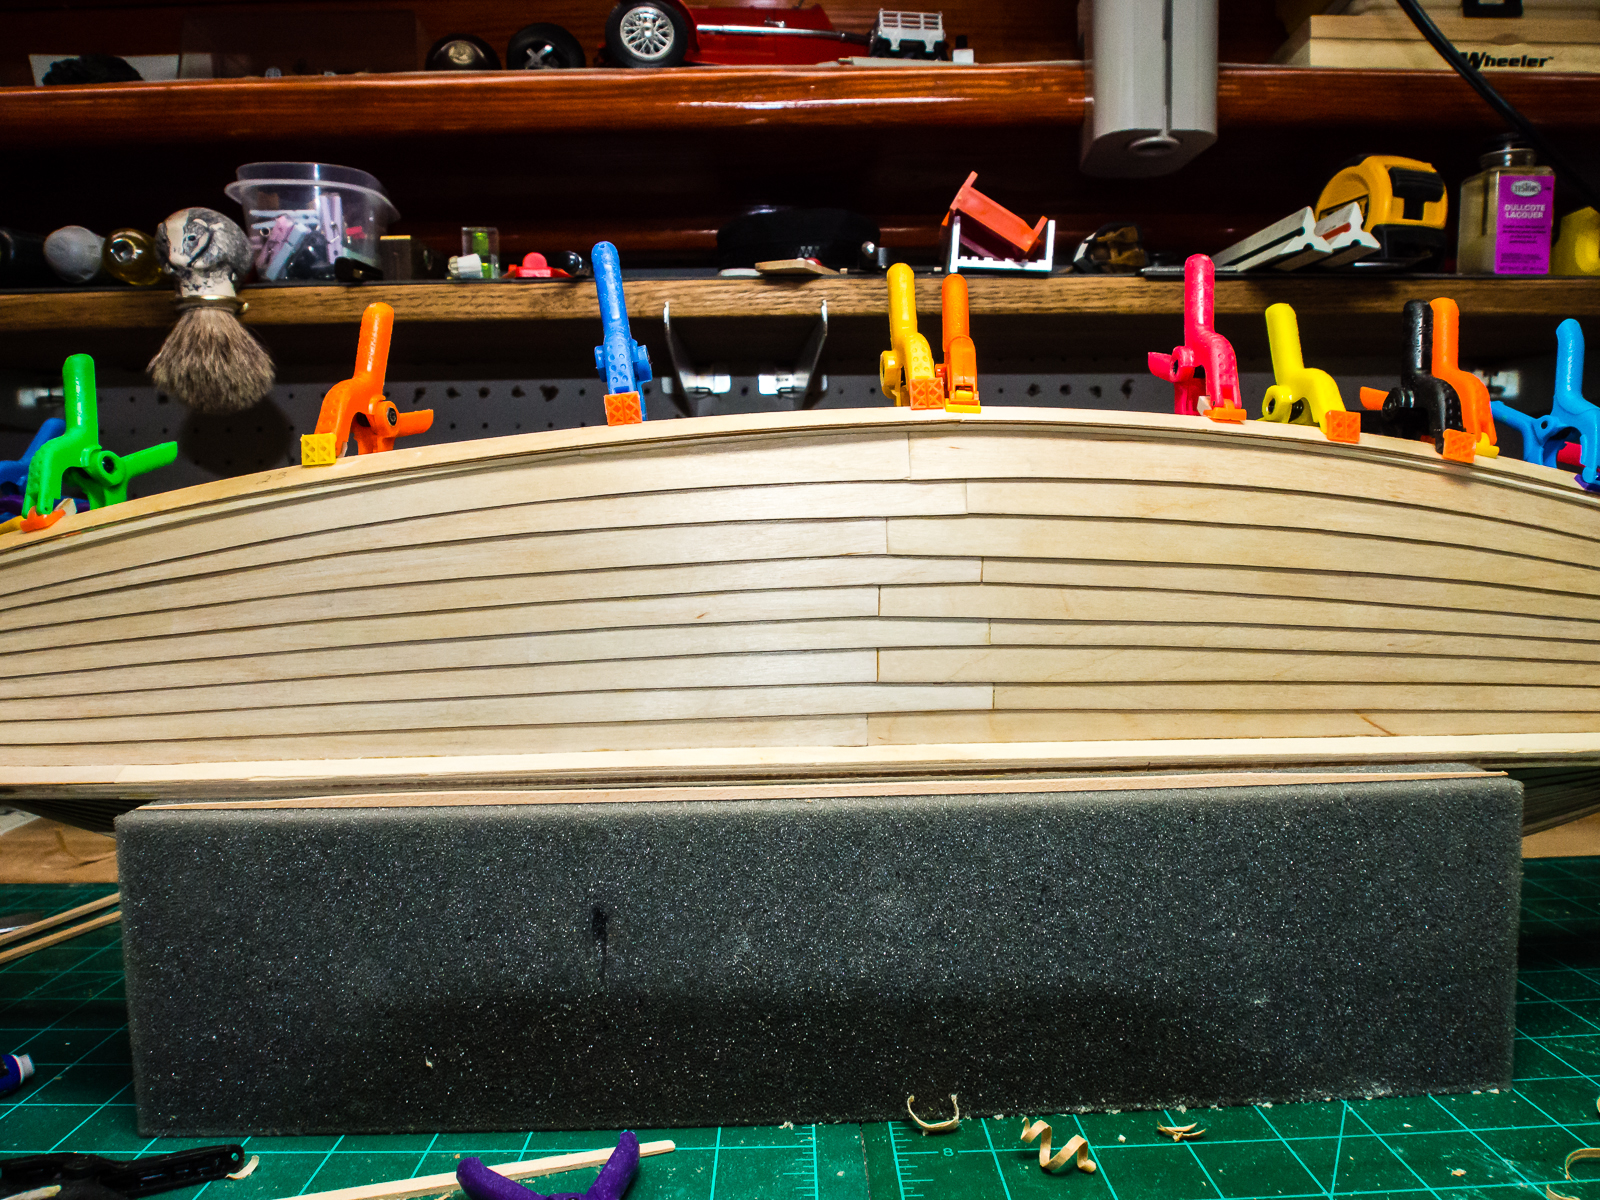
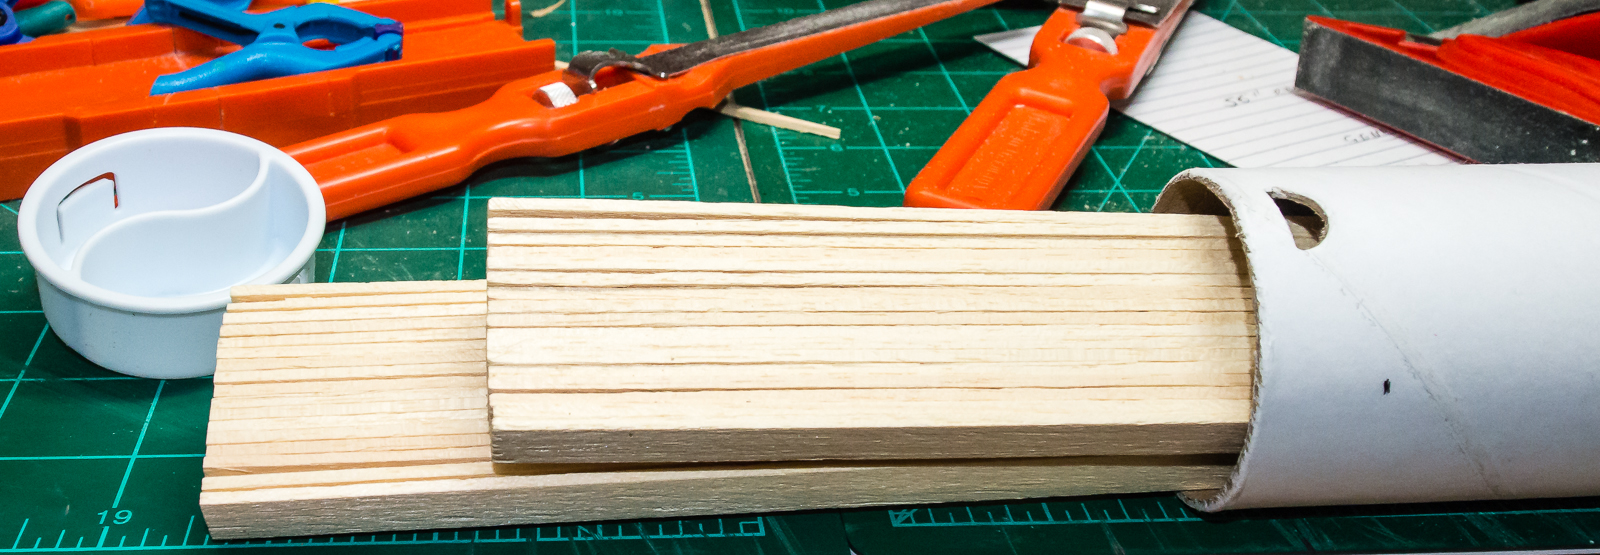
After a day of indecision when I woke up this morning I realized I had to cut the new planks. I removed the plywood planks and used them as the pattern for the new oak planks. I used 1/6th inch thick red oak to cut out the pattern with a scroll saw. I cut them a little oversize since the originals did not fit as well as they should. After dry fitting I did a little final shaping with a 1 inch belt sander. Finished them off with a couple of passes through the thickness sander.

Making them a little wider really helped to place them a little higher and get them level without leaving a lot of bulkhead to cut off.

Hopefully they will tie in nicely with the oak deck planks.
- klimi, ofencer29350, WackoWolf and 4 others
-
7
-
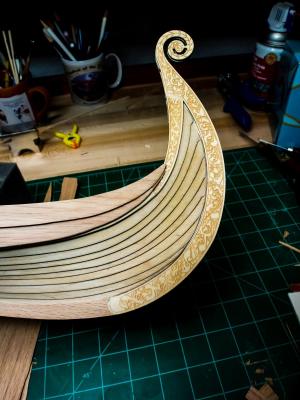
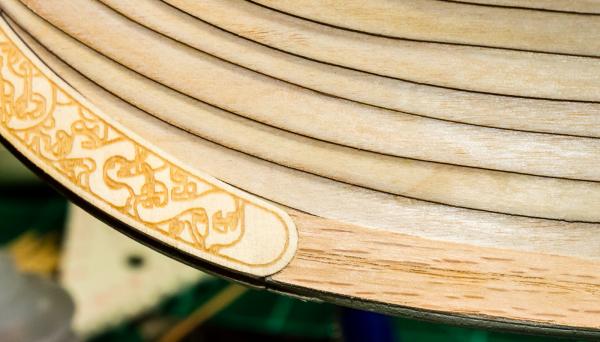
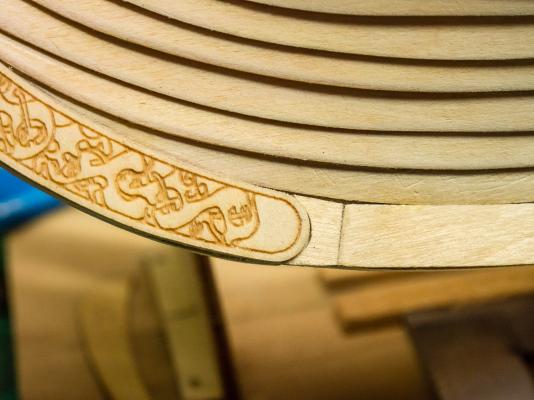
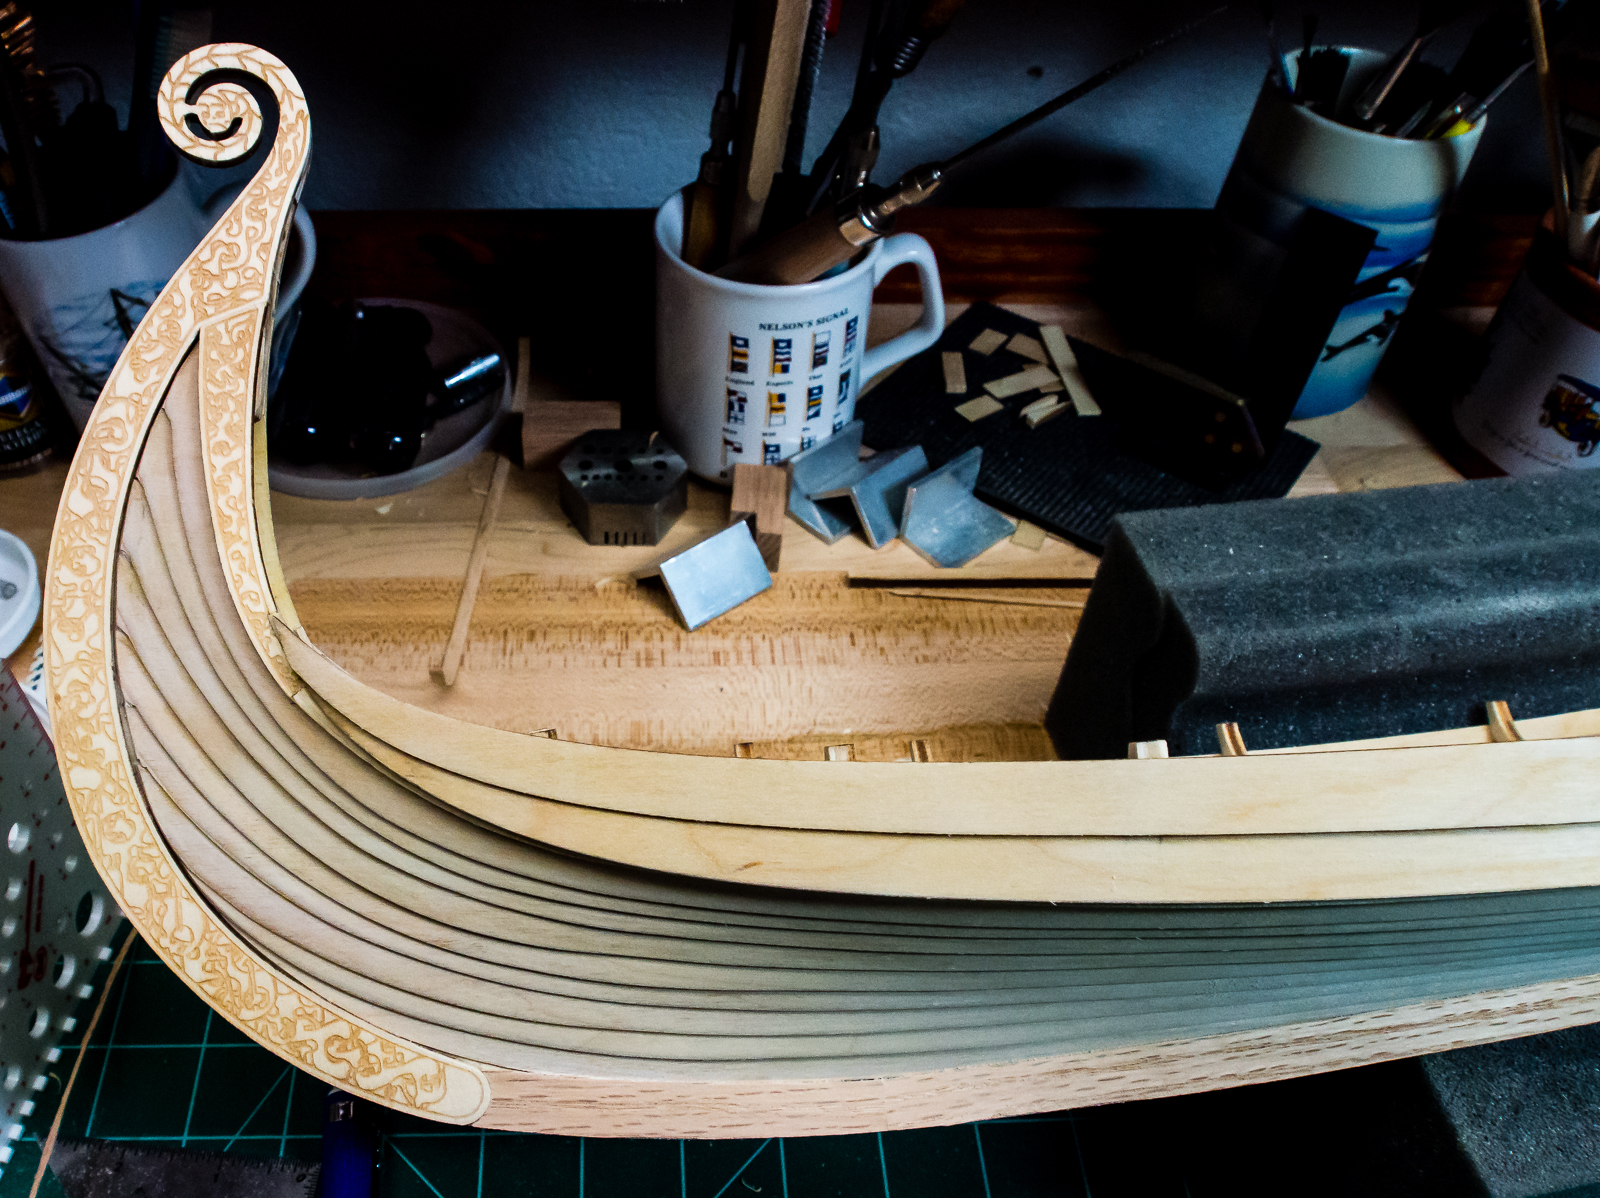
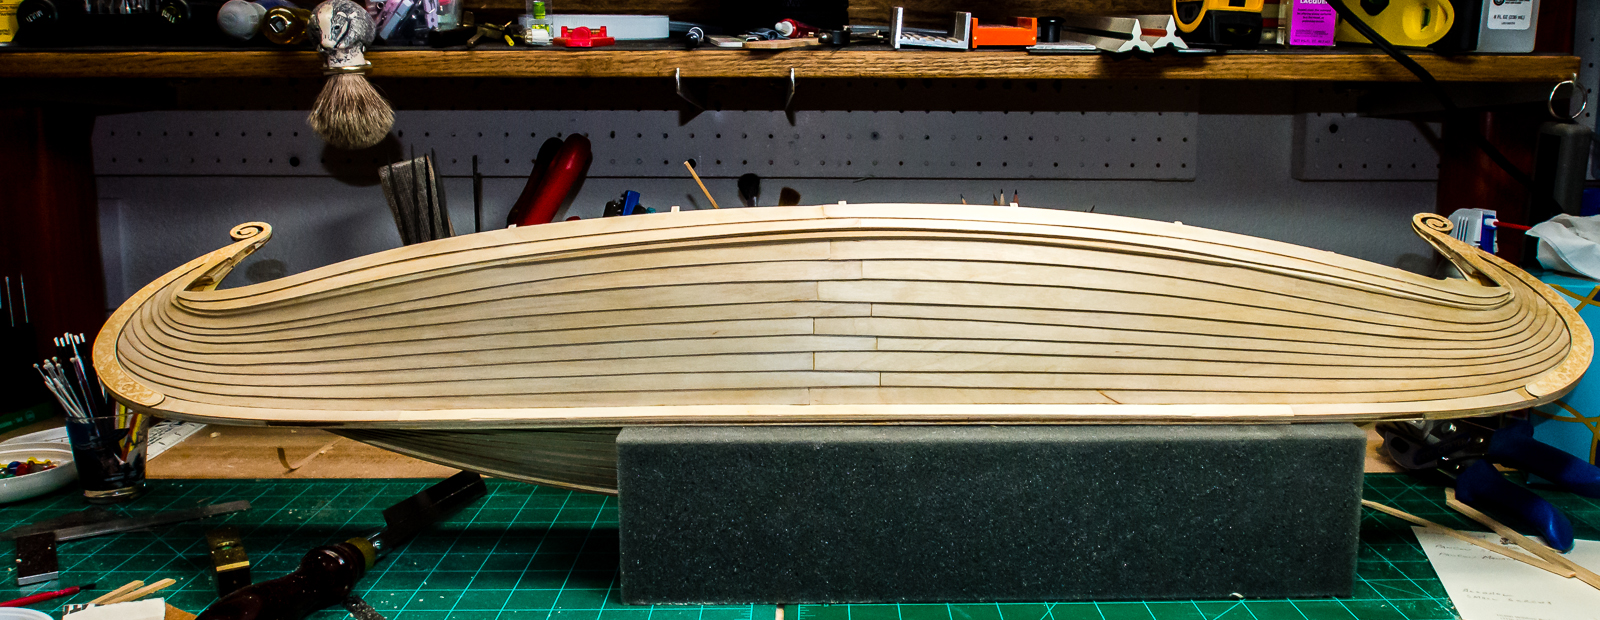
I added oak veneer to the keel and it flushed up nicely to the scrollwork. The first two pictures show what it looks like without and with. I plan to cover the exposed plywood ends with oak and plank the deck as well with oak.

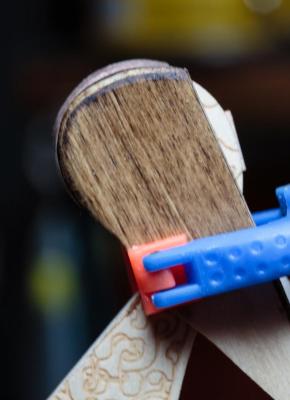
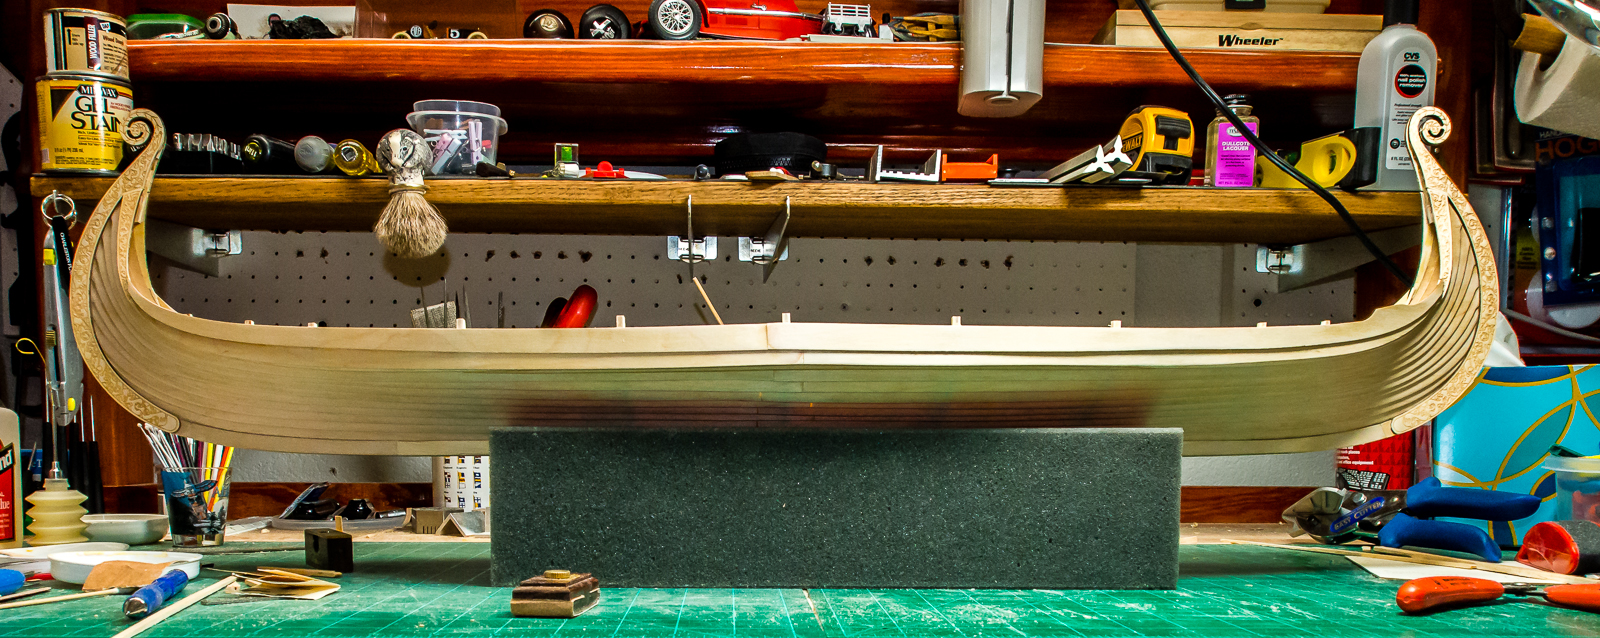
The gunwales or sheer strakes (or whatever the Viking equivalent is) are not the best kit pieces and you can see in the third picture they look sort of unexciting. They will have shields on the upper plank so most of it will be covered.
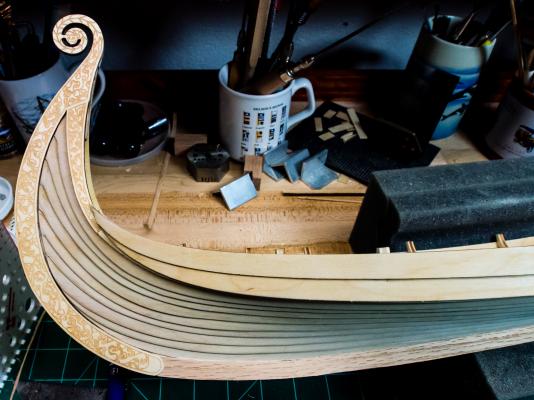
I clamped a couple of scrap pieces of oak to the ship to get an idea of how it will look.
I have enough oak on hand to do both sides I am just not sure if it is worth the time and effort. Also not sure if it will make the rest of the hull planks look weak. Stain tests with the oak and plywood might help me make up my mind. Advice is very welcome.
-
Hi Von_Kossa, I was careful and it ended up looking good.
Thanks Wacko, real life has intervened the last few days and limited my hobby time. More soon.
Thanks David B, I appreciate you dropping by.
Welcome Louie da fly, the link to the images is great. You are the second to mention that the ship was lighter in life before burial. I plan to use oak to cover the plywood ends and for hull planking. When I get to the stain tests i will definitely try some lighter shades. I am very fond of medium oak myself.
Thanks WackoWolf, jbford and Bindy for the likes.
-
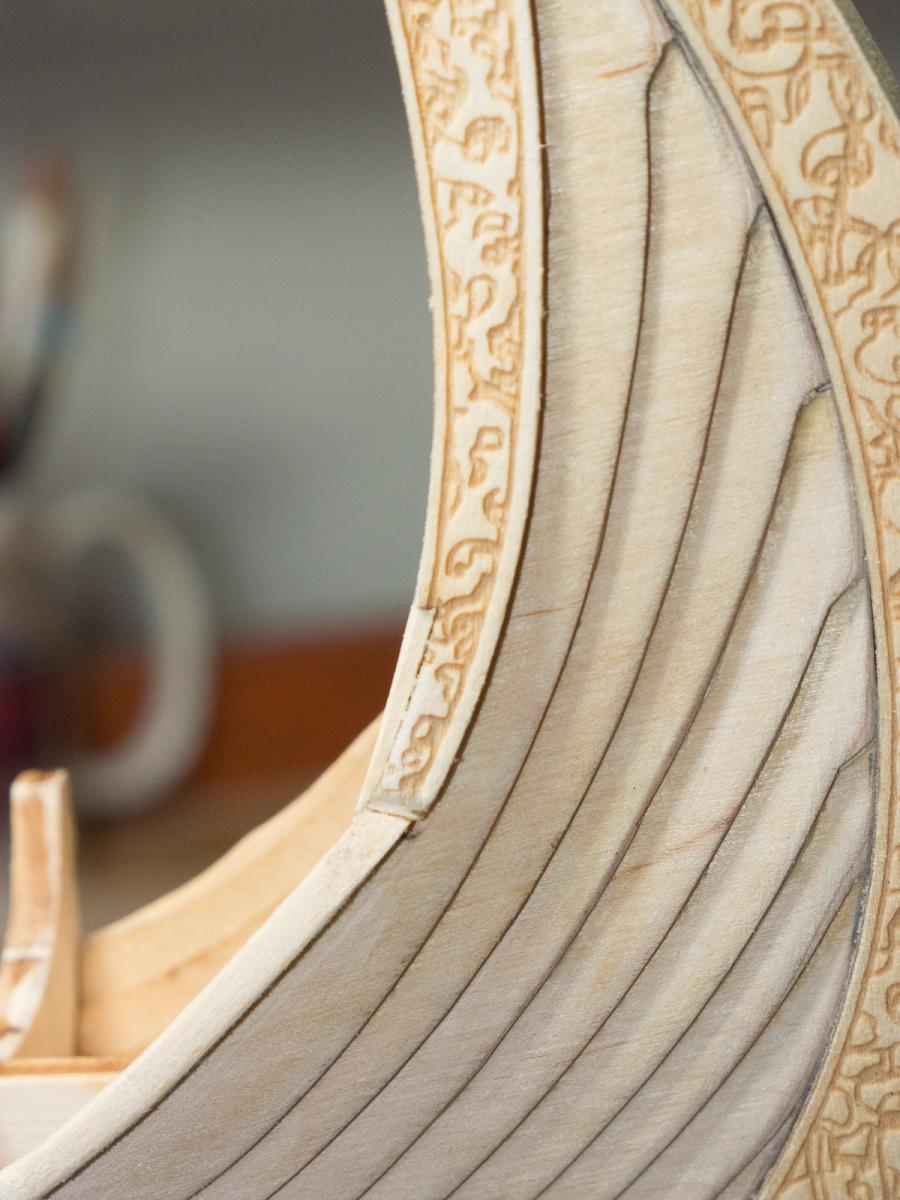
I had to cut back the planks in the curve to allow the scrollwork to fit. Better that than reduce the size of the scroll which is the most important visual detail.

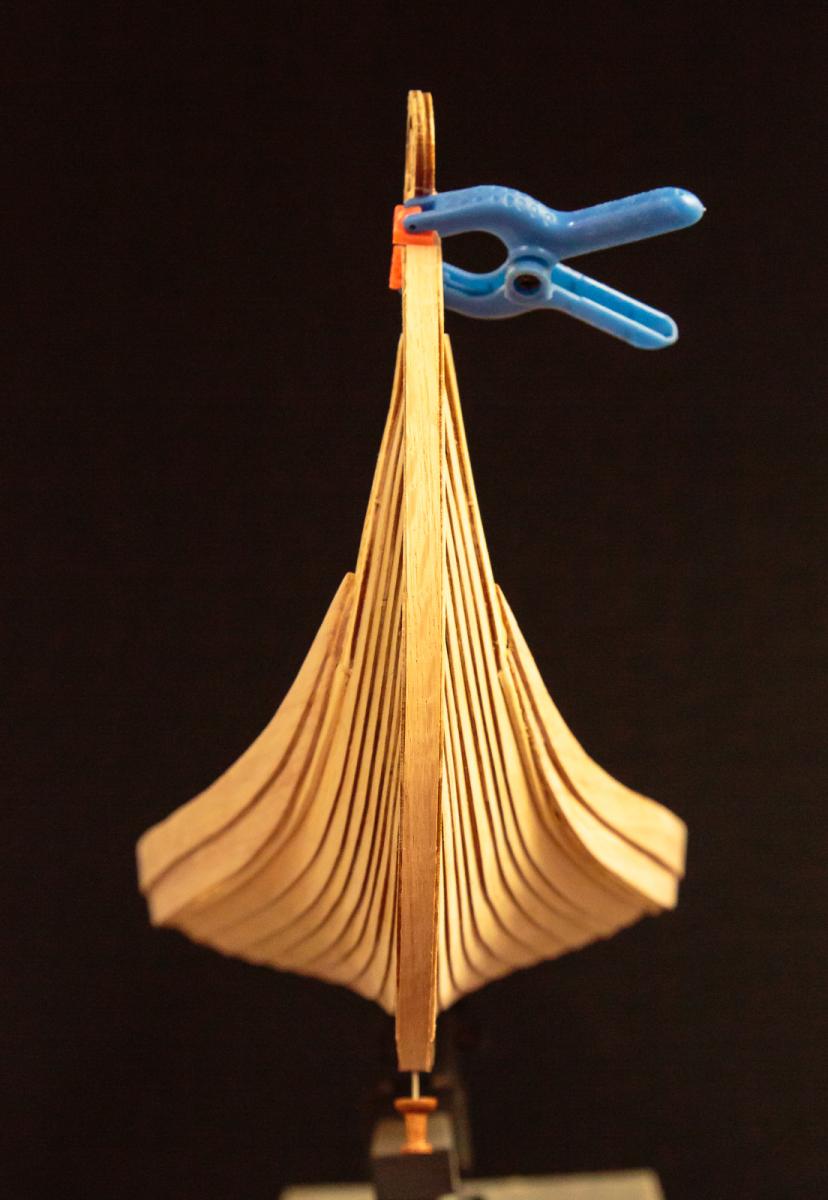
Von_Kossa and I both ran into the same problem with the top two planks that form a vertical band. If you follow the bulkheads those planks lift to the center. They are also a little fat on the ends. They must be dragged down to get them level which leaves a fair amount of bulkhead to be cut off. The bulkheads are also cut with the profile for those two planks too deep. It takes a lot of sanding to cut them back far enough that the planks lay against each other. It is still a little high (I missed it) which I will have to cut back. I am holding off on the scroll pieces on the inside of the stem and stern to avoid damage as I work.
This sure is fun!


-
I am new to this and I completely missed the "Likes".
So, Bindy, edmay, SwordofConan, WakoWolf, Senior ole salt, Vivian and Curtis W, thank you very much for the "Likes" and the encouragement.
This forum makes the build so much more fun than building without like minded observers around.
Thanks again. Back to watching the glue dry.
-
It all depends aon the stuff you are using. Aged brandy is for a nice carafe and a cigar. Wild Turkey is for glue removal.
David B
I agree entirely! Both uses suit me just fine. I have been spending a lot of time with the second use lately and when I finish the hull and scrollwork I will definitely spend some time with the first.
-
Von_Kossa: Thanks for the generous words. I only finished one side of the stern. It is going a little faster on the other ¾ since I figured it out on the first quarter. The last two planks were challenging for me as well. I glued them 3 times before I got them right. I love alcohol.
David B: Thanks for dropping in for a look and the kind words. This is a really enjoyable project.
Bindy: Thanks for your usual encouragement. I am watching your log for the big surprise!
- Bindy and Kurt Johnson
-
2
-
Your package is on the way. I picked up a red oak plank and have started cutting it into deck planking. I am still a long way from needing it. Your deck is looking great. The mast fish is beautiful, definitely worth all the work that you put into it.
-
The Obechi is on the way. I cut the bundle in half and put it in a small mailing tube. I will ship it in one hour.

-
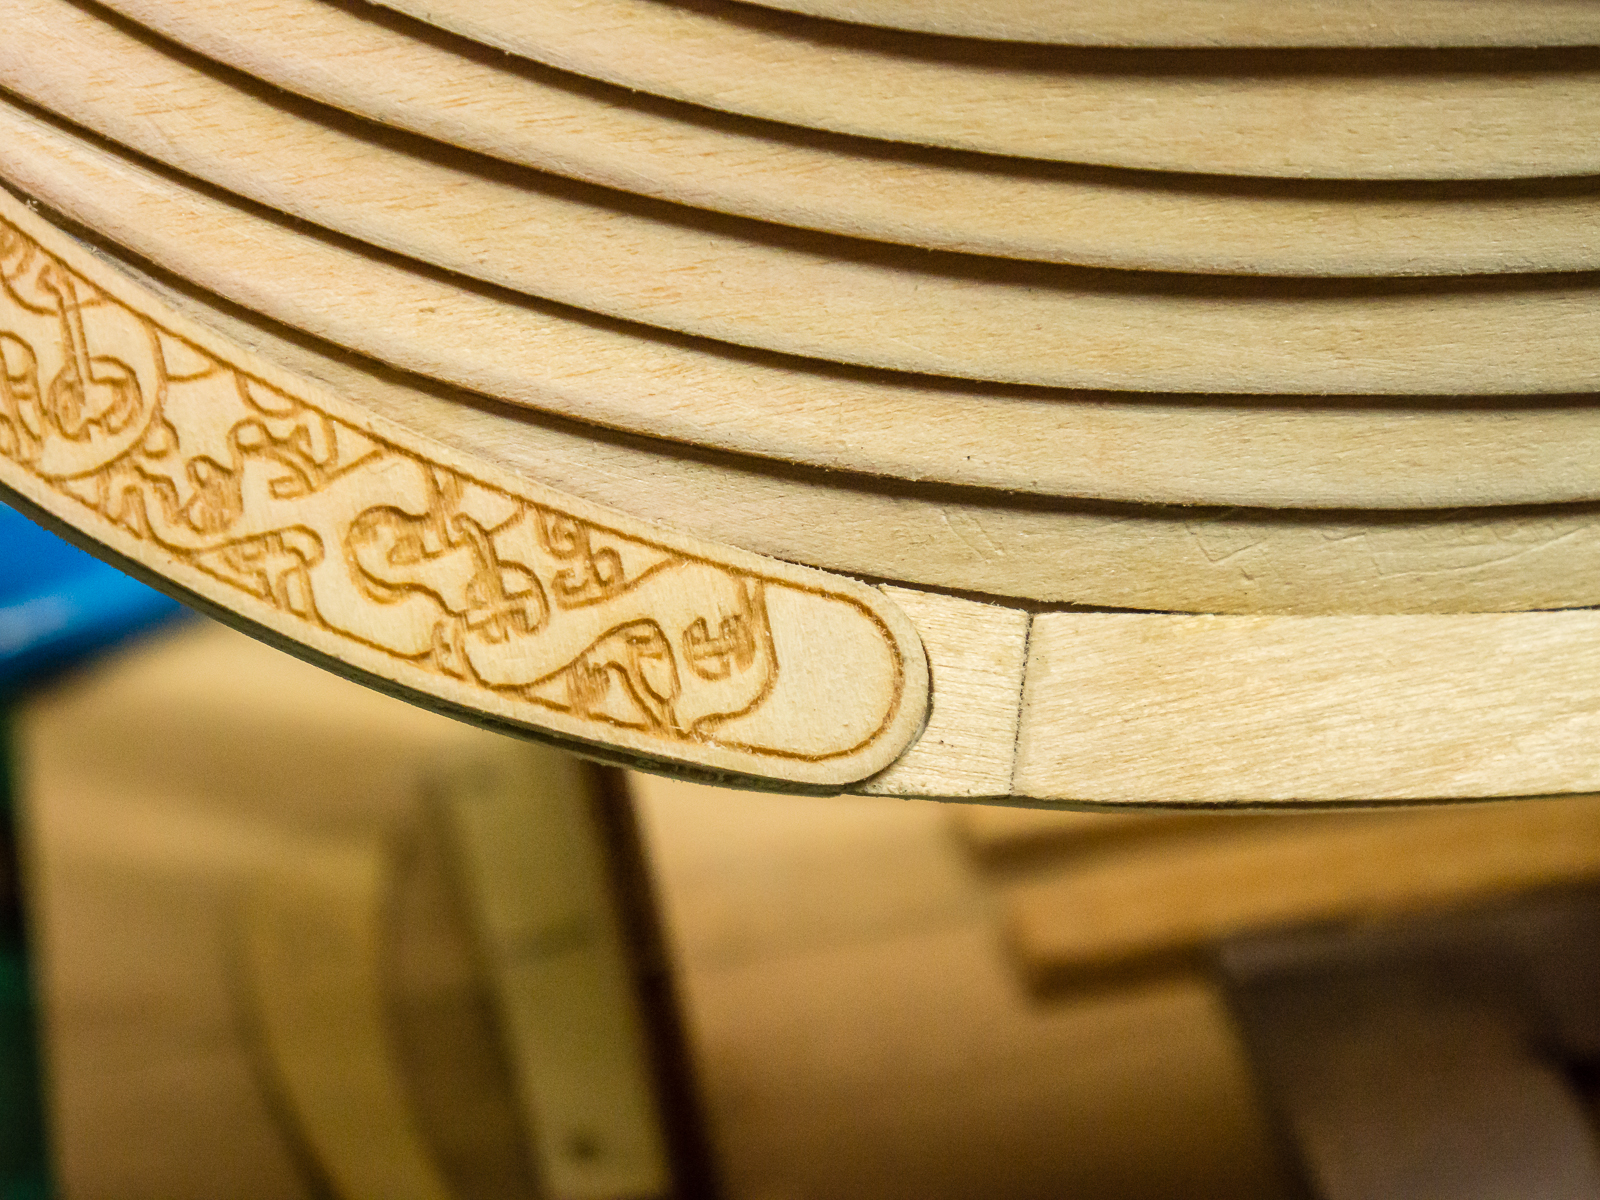
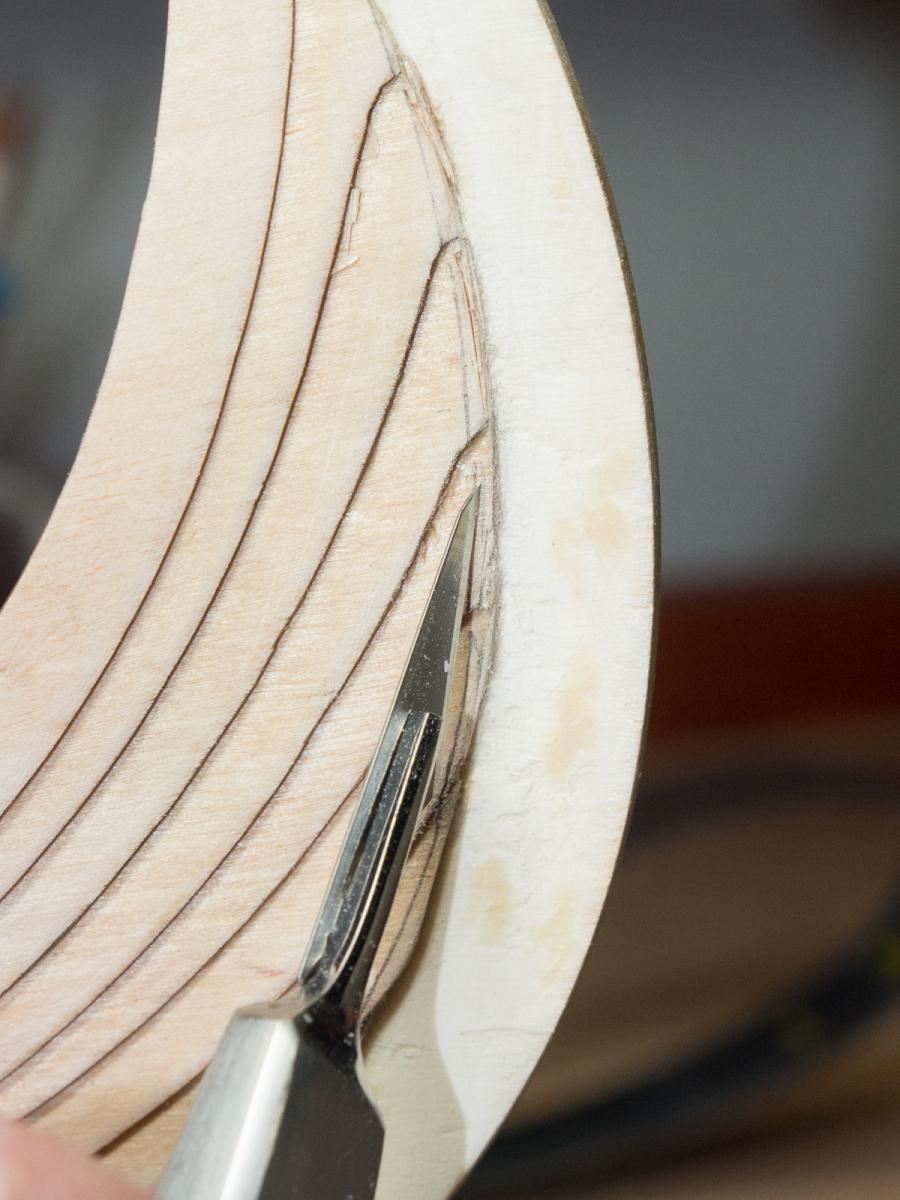
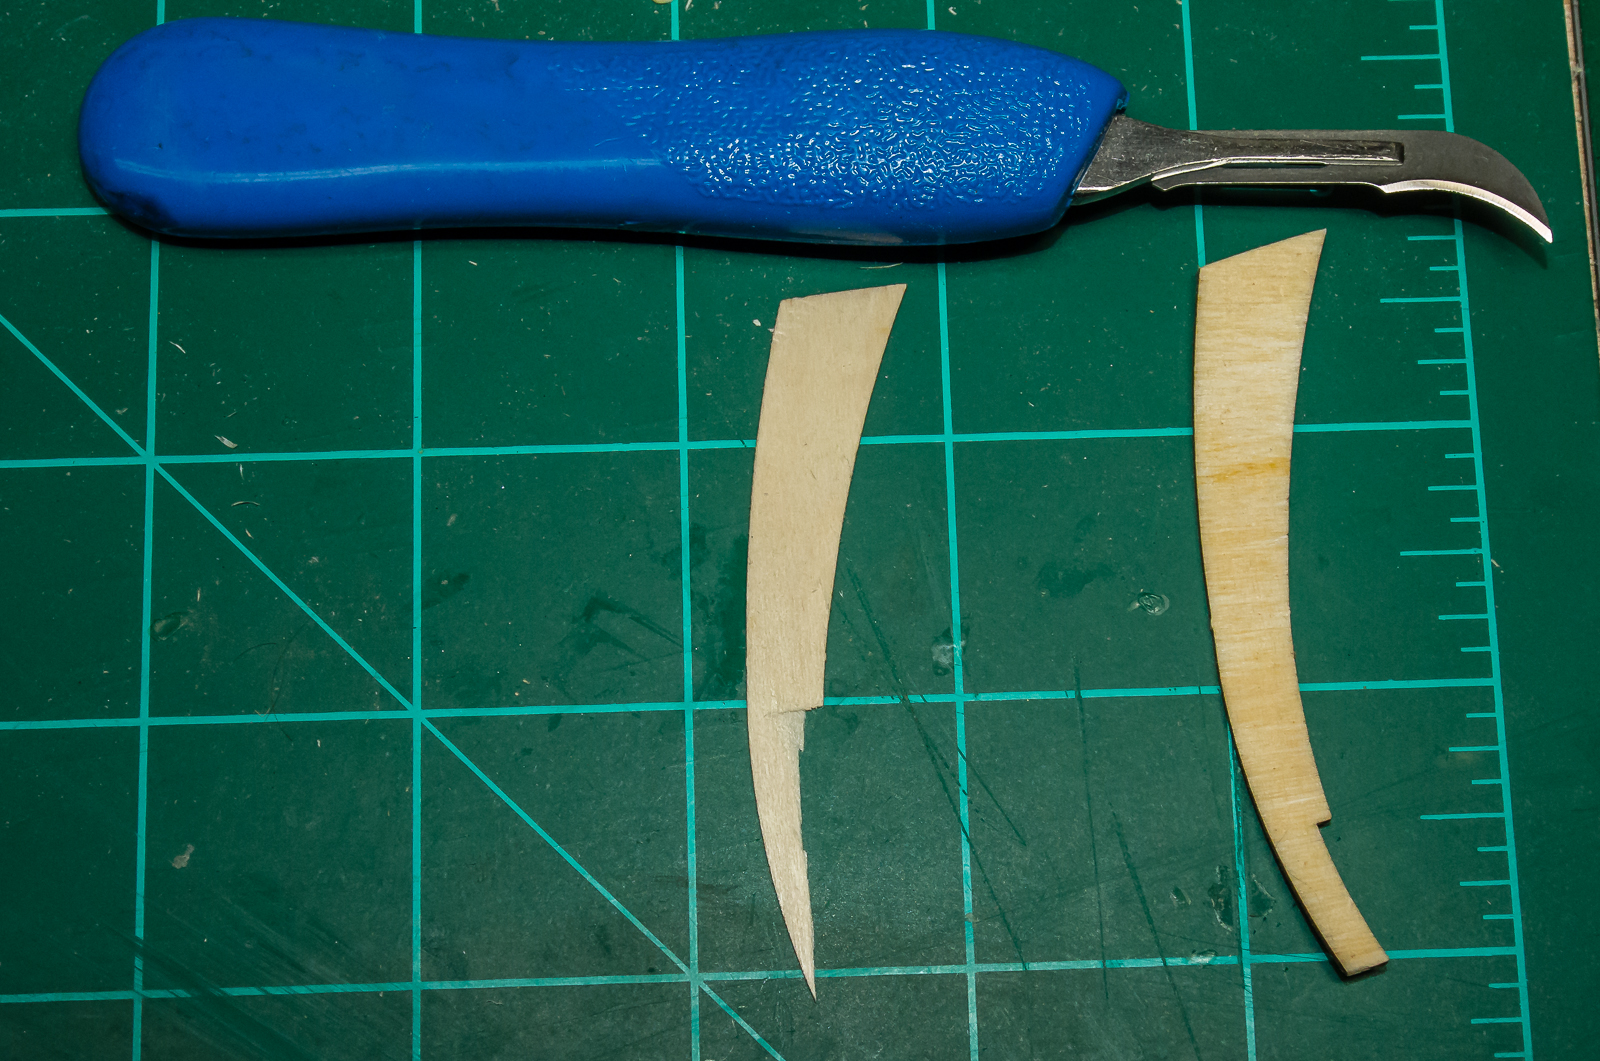
I stripped off the back layer of the inside piece of scrollwork with a scalpel blade so that it would lay flat with the rest of the scrollwork.

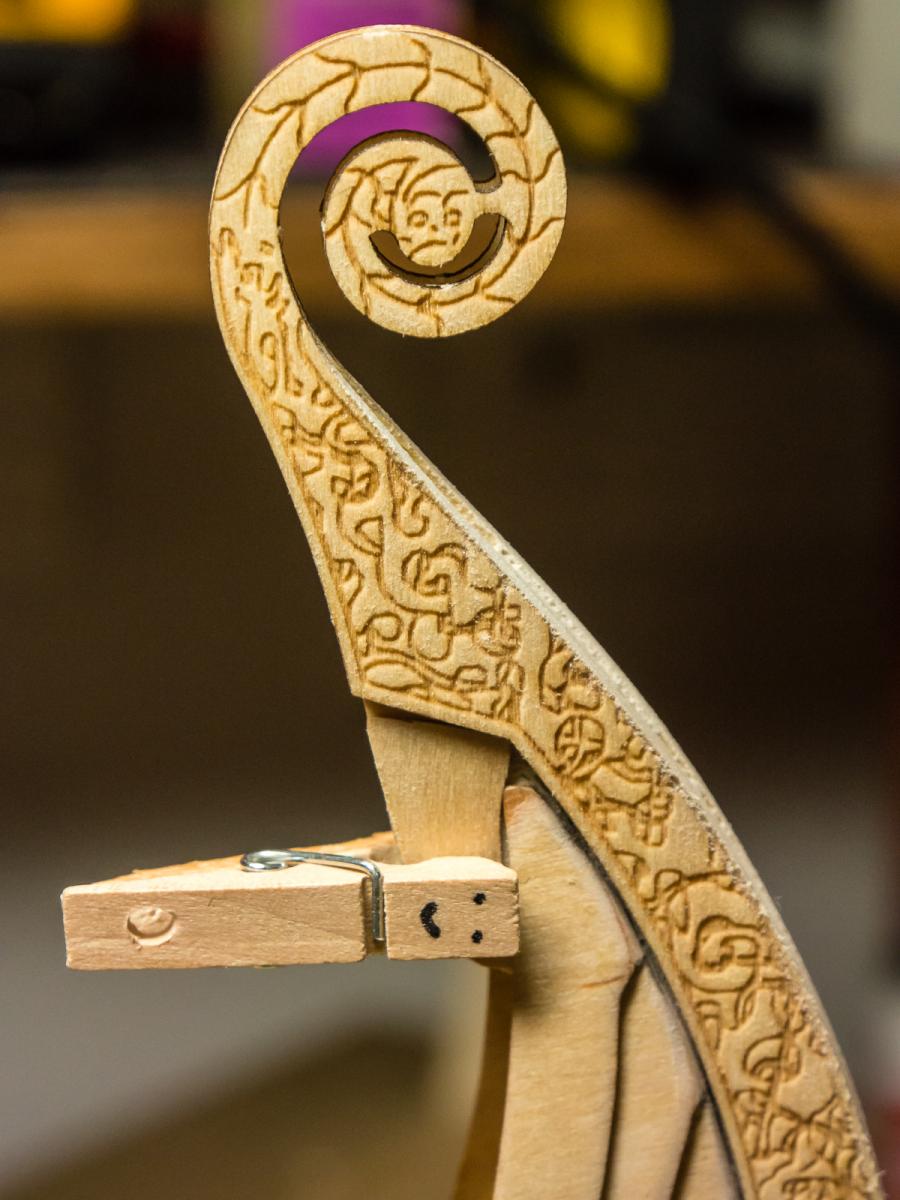
There is a spacer at the top of the scrollwork where it pinches together. It is sanded down and glued to the top of the structure. There is also a small spacer needed where the scrollwork meets.

Another small piece cut to fit at the bottom of the scroll. Also, a full hull length spacer at the top of the hull planking to give the last two vertical planks a place to land. Obechi was specified but it would not take the bend without cracking so I used basswood. I soaked it and bent it with a curling iron.
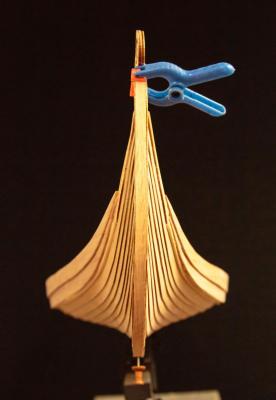
Added the last two vertical planks.

-
I have 17 pieces. Please send me a private message with your shipping address and I will send them right away.
- Salty Sea Dog, Keith_W and shoule
-
3
-
Well, this will surely be useful. It will be interesting to see how the stain reacts to the glue. Also i wonder if you get different results if you use water based stain or oil based stain.
Regarding the color of the original ship, it didnt look like it do in the museum. When it sailed it was most likely alot brighter but because of the age and where it has been it is now almost black, but it sure looks cool.

I also like the way it looks in it's current dark state. When I get the stain tests done I will try to a series of pictures. It is difficult to have the photos look accurate since all monitors are different and getting the color balance correct is also a challenge.
-
Thanks Wacko! I have been working on the scrollwork, the filler piece and the last two layers of planks. They all tie together in the curve and there has been lot of trial and error. Hopefully I will have new pictures tomorrow or the next day. Thanks for dropping in.
-
If Billing Boats cannot help let me know. I am not planning to use the Obechi deck planking on my model. I am cutting oak planks so I can send the whole bundle to you. It is a long way from Texas so it might take a week or two. If you need it let me know and I will ship right away.
Your planking looks great.
-
I am impressed. What else can i say. Keep it up!
I think we will have the same problems, when we will stain the ship. I also applied the stripes glue with a toothpick and also got glue all over the place.
You go first with the staining and i follow, what do you say?

I like the Minwax Gel Stain Walnut in my first tests out of the 3 other stains I tried. The goal is to get as close as possible to the real ship. I will glue a couple of scraps and see what the joints look like when stained. I will send pictures when I finish.
As usual thanks for your kind words and your help and support.


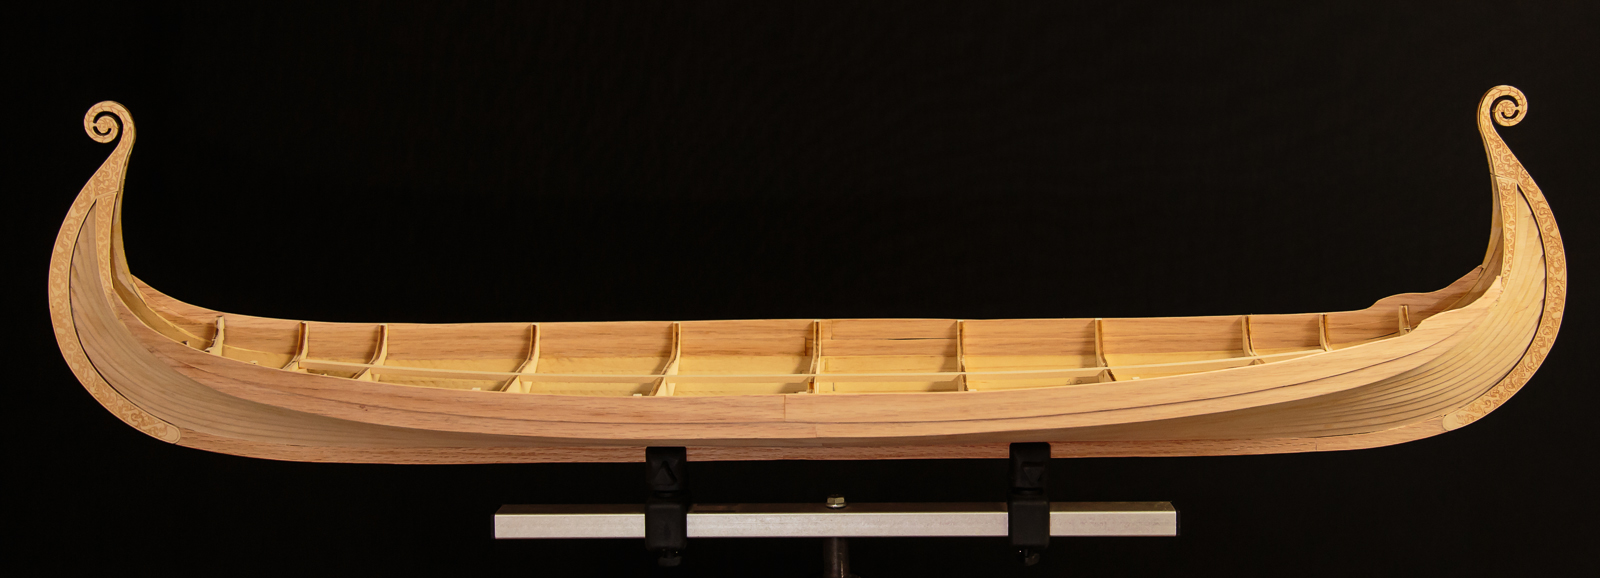


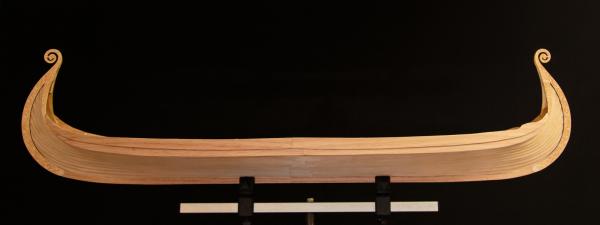
Oseberg Viking Ship by Jack P - FINISHED - Billing Boats - 1/25 Scale - 9th Century - (Modified)
in - Kit subjects built Up to and including 1500 AD
Posted
I decided to take a break from the hull and do something a little different. I put together he mast foot and as others have found it is not very nice. It is lots of plywood stacked together with a plywood top. The center part is a little thinner than the top so if I planned to use it I would have to fill the sides as well.
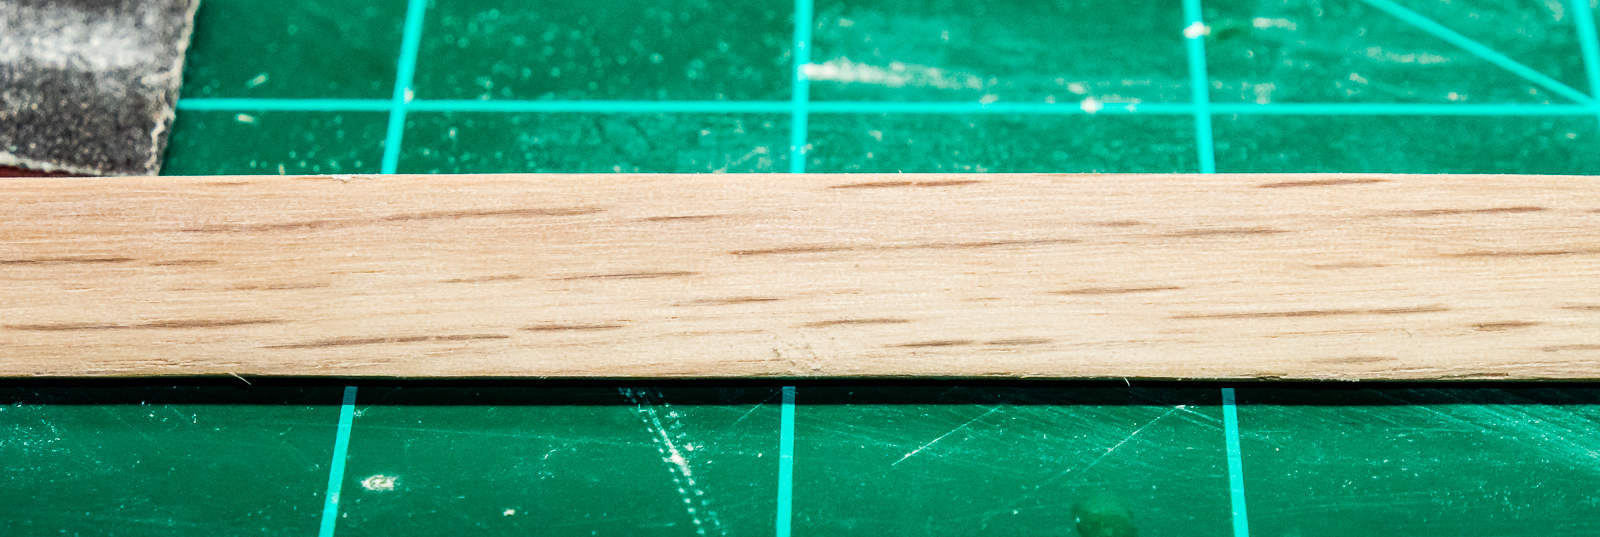
I used a ¾ x ¾ x 5 inch piece of red oak instead. I think it was meant to be a pen blank.
I used a band saw to cut the major curves and a 1 inch belt sander to refine it.
I will drill the hole for the mast and do the finish sanding later but I was really pleased with the way it turned out. I bought a couple of spares in case I messed up. I am sure they will come in handy later on.