
boris279
-
Posts
168 -
Joined
-
Last visited
Content Type
Profiles
Forums
Gallery
Events
Everything posted by boris279
-
 Yes what can I say on that ?, oh yes some ohhhh’s and aaaa’s absolutely beautiful done !!
 -
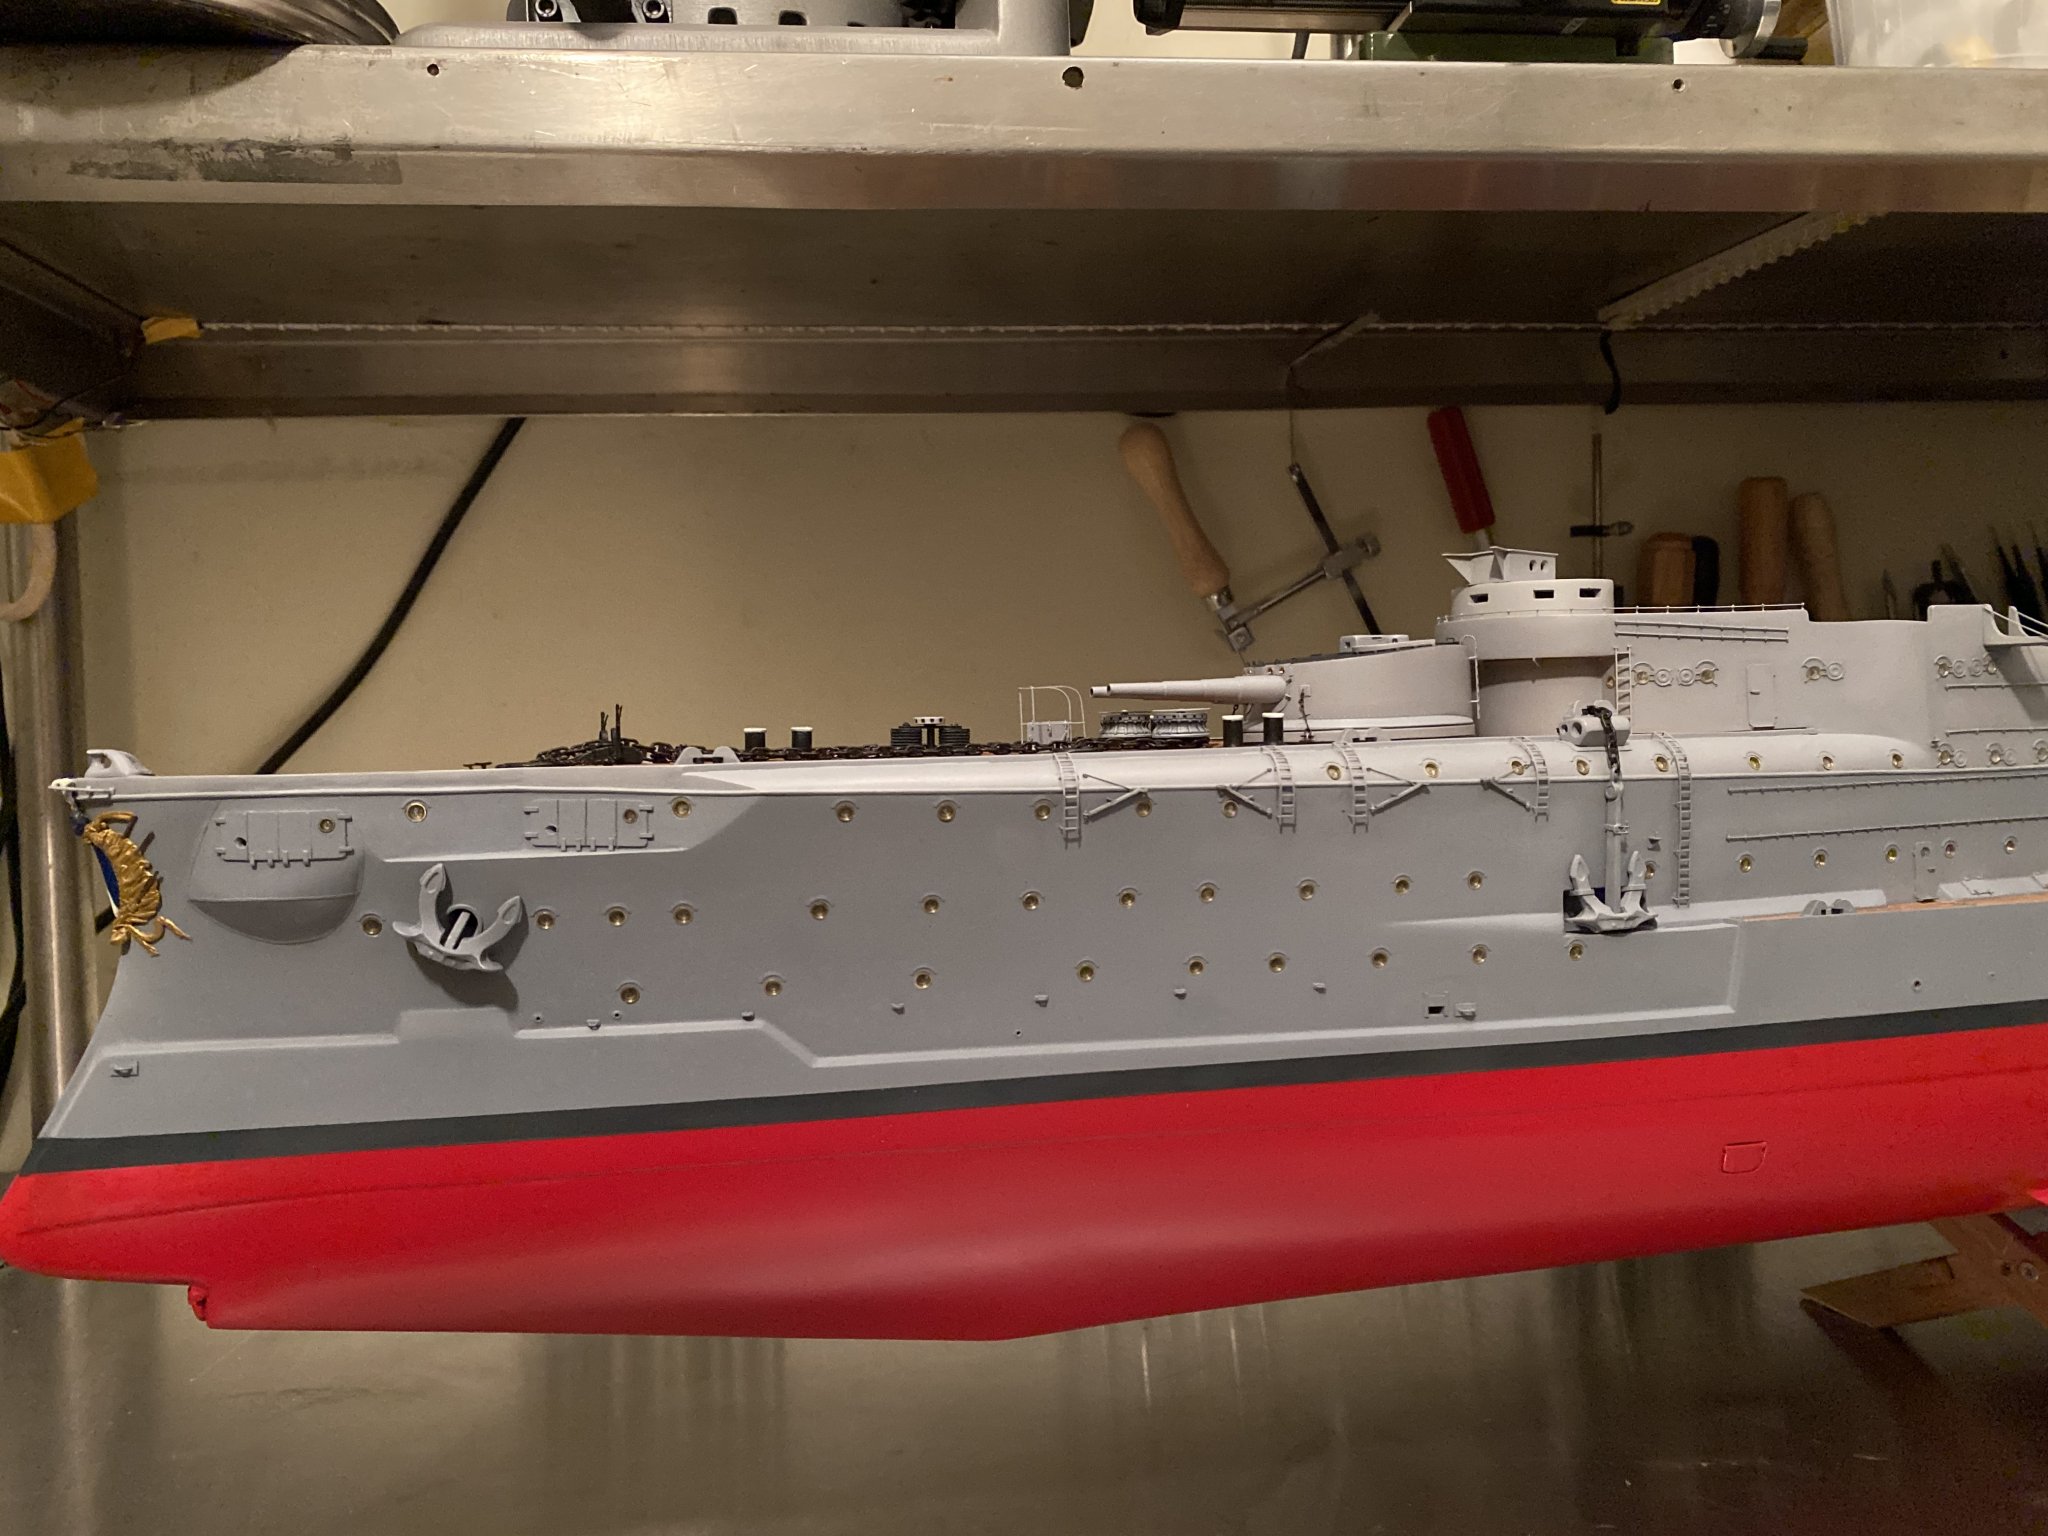
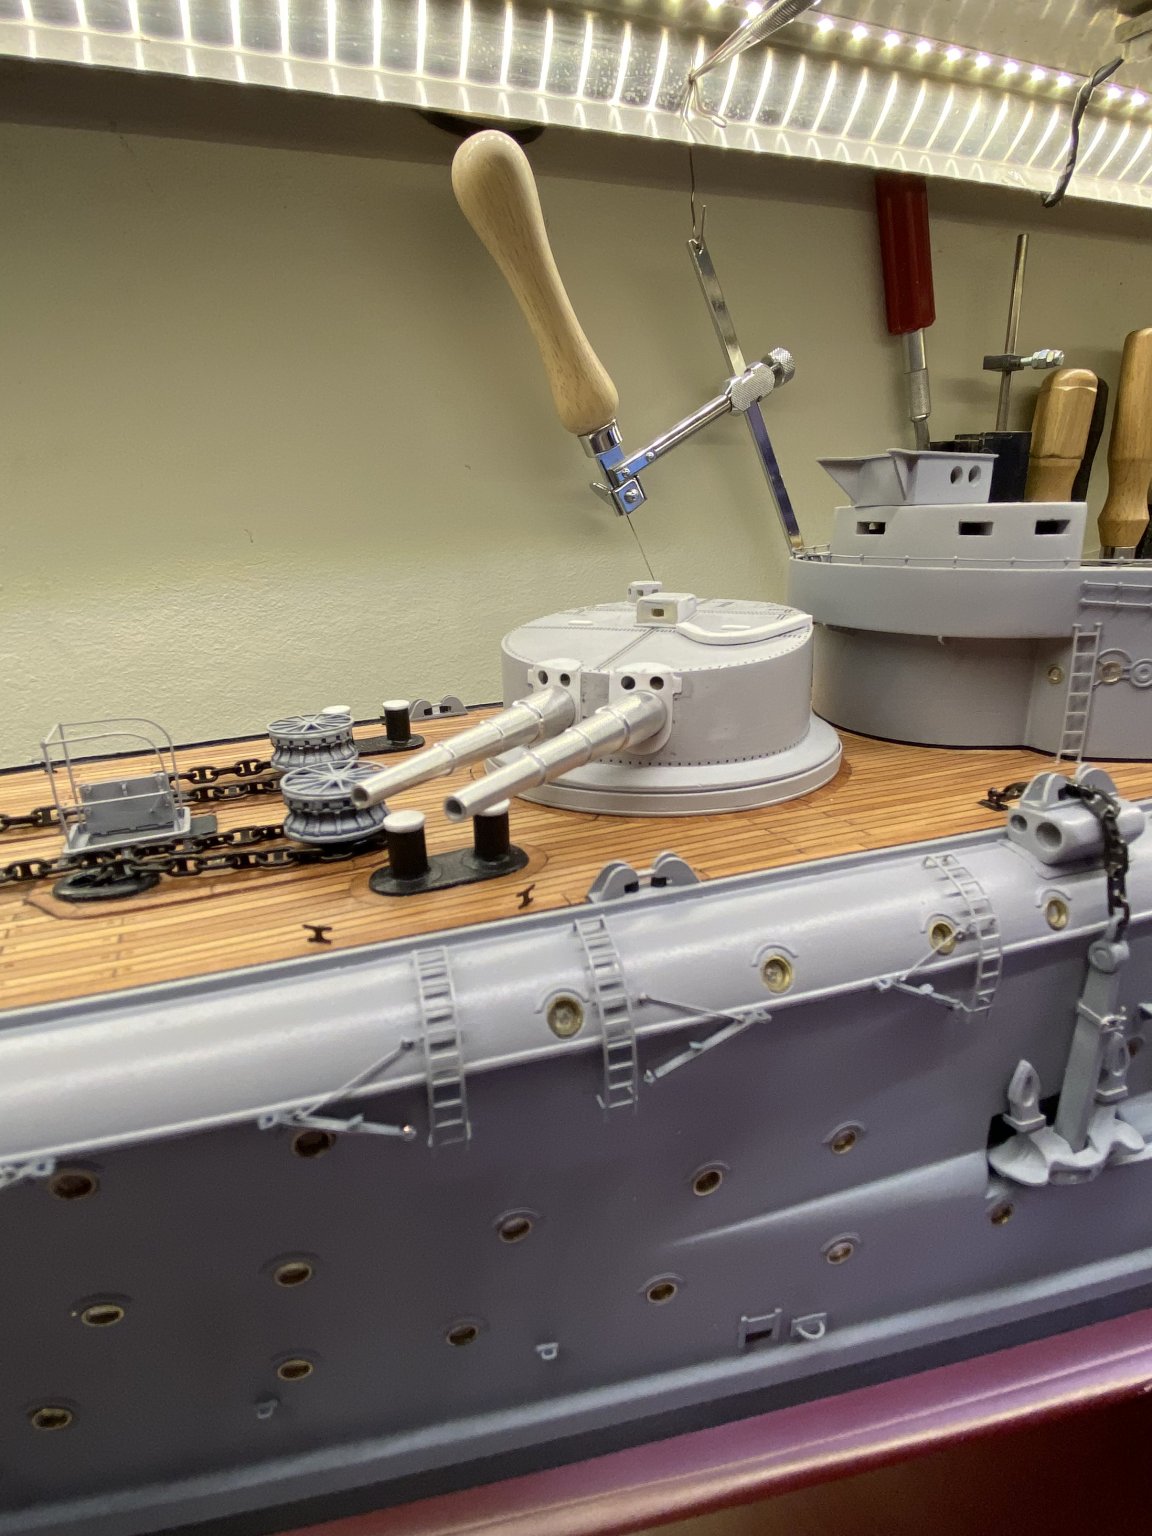
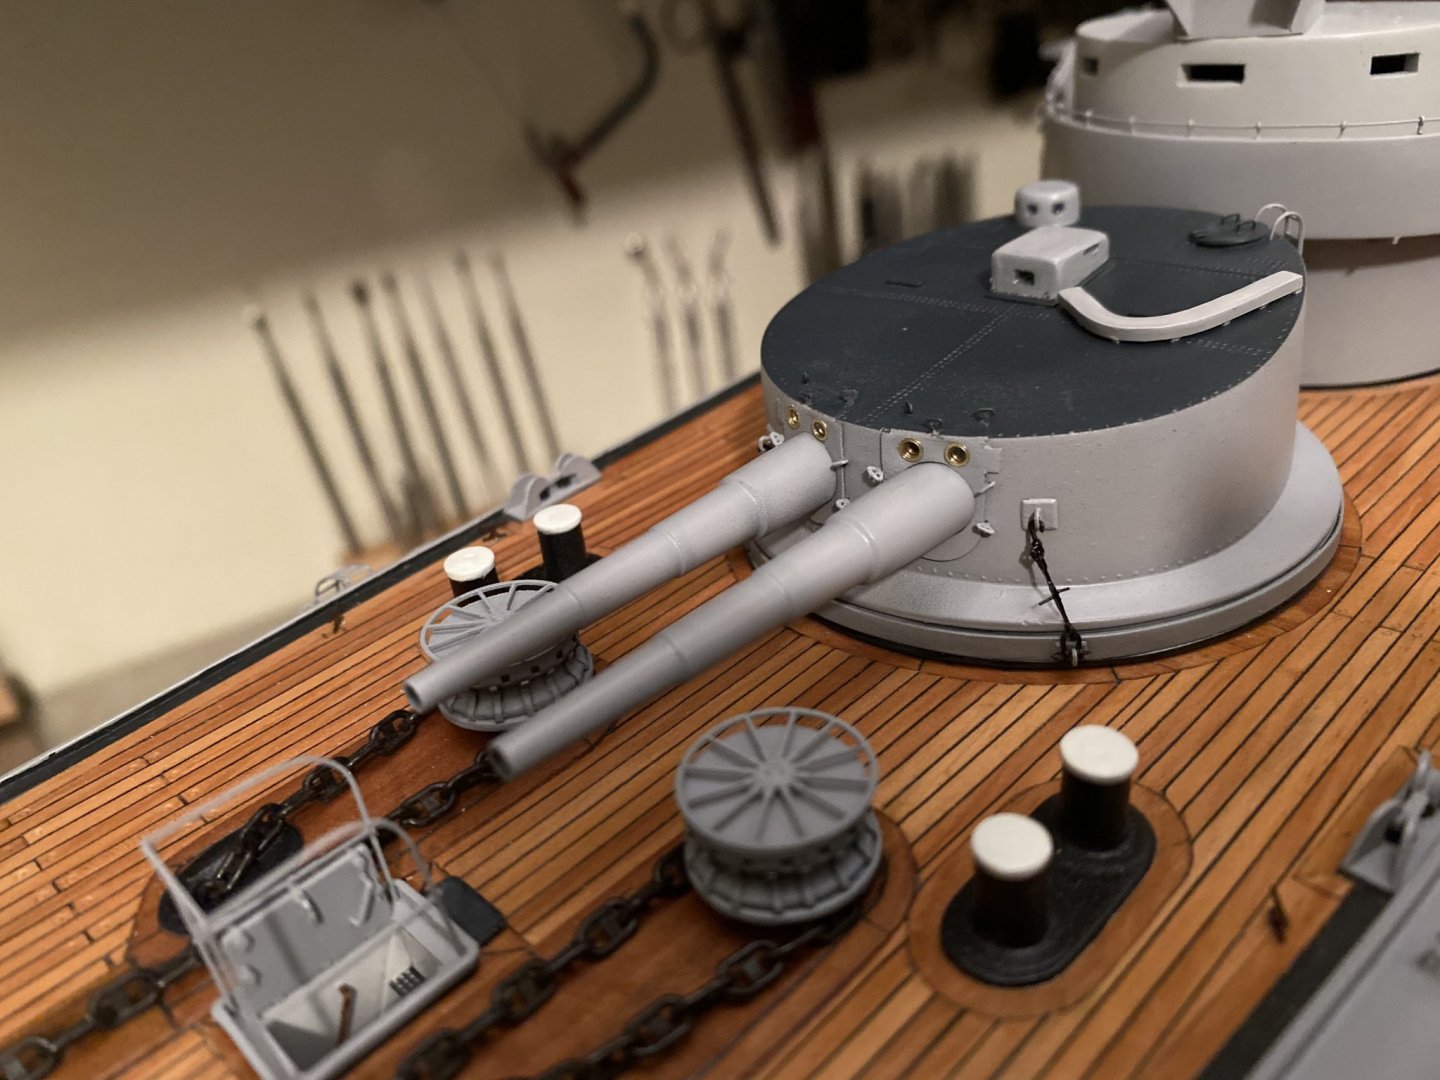
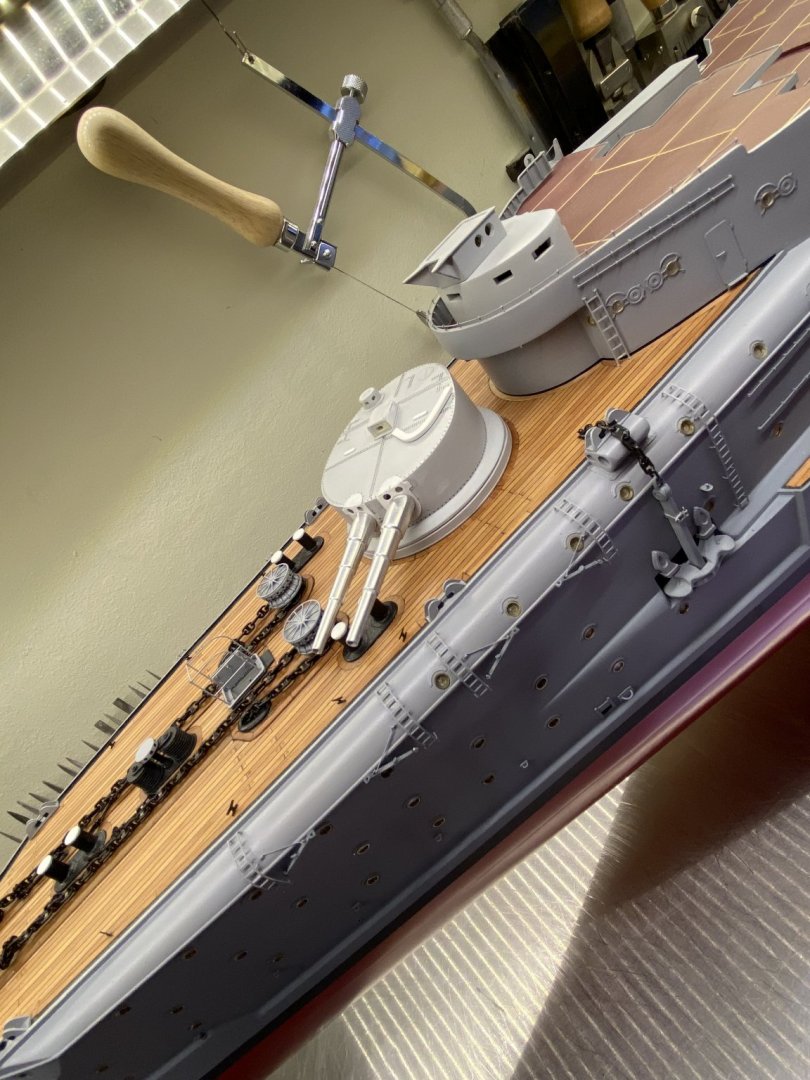
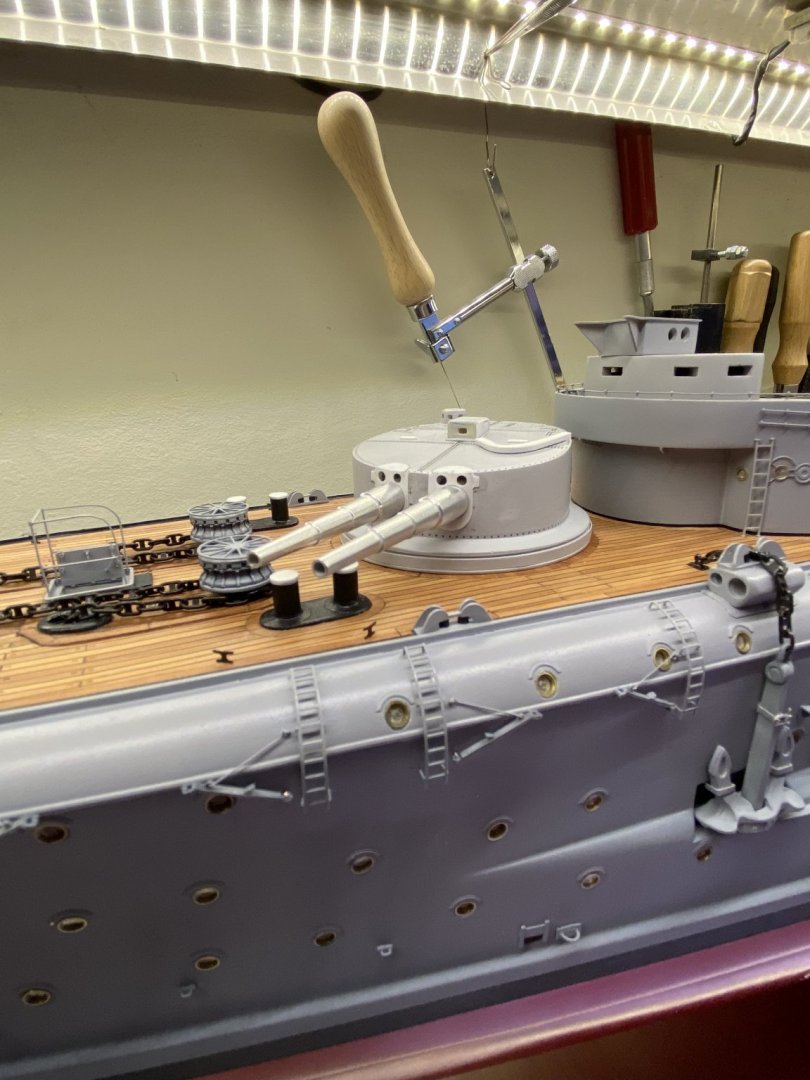
Thanks for the nice words and thumbs up finished the first tower, below a few pictures
- 202 replies
-
- 16
-

-
- battleship
- scharnhorst
- (and 2 more)
-
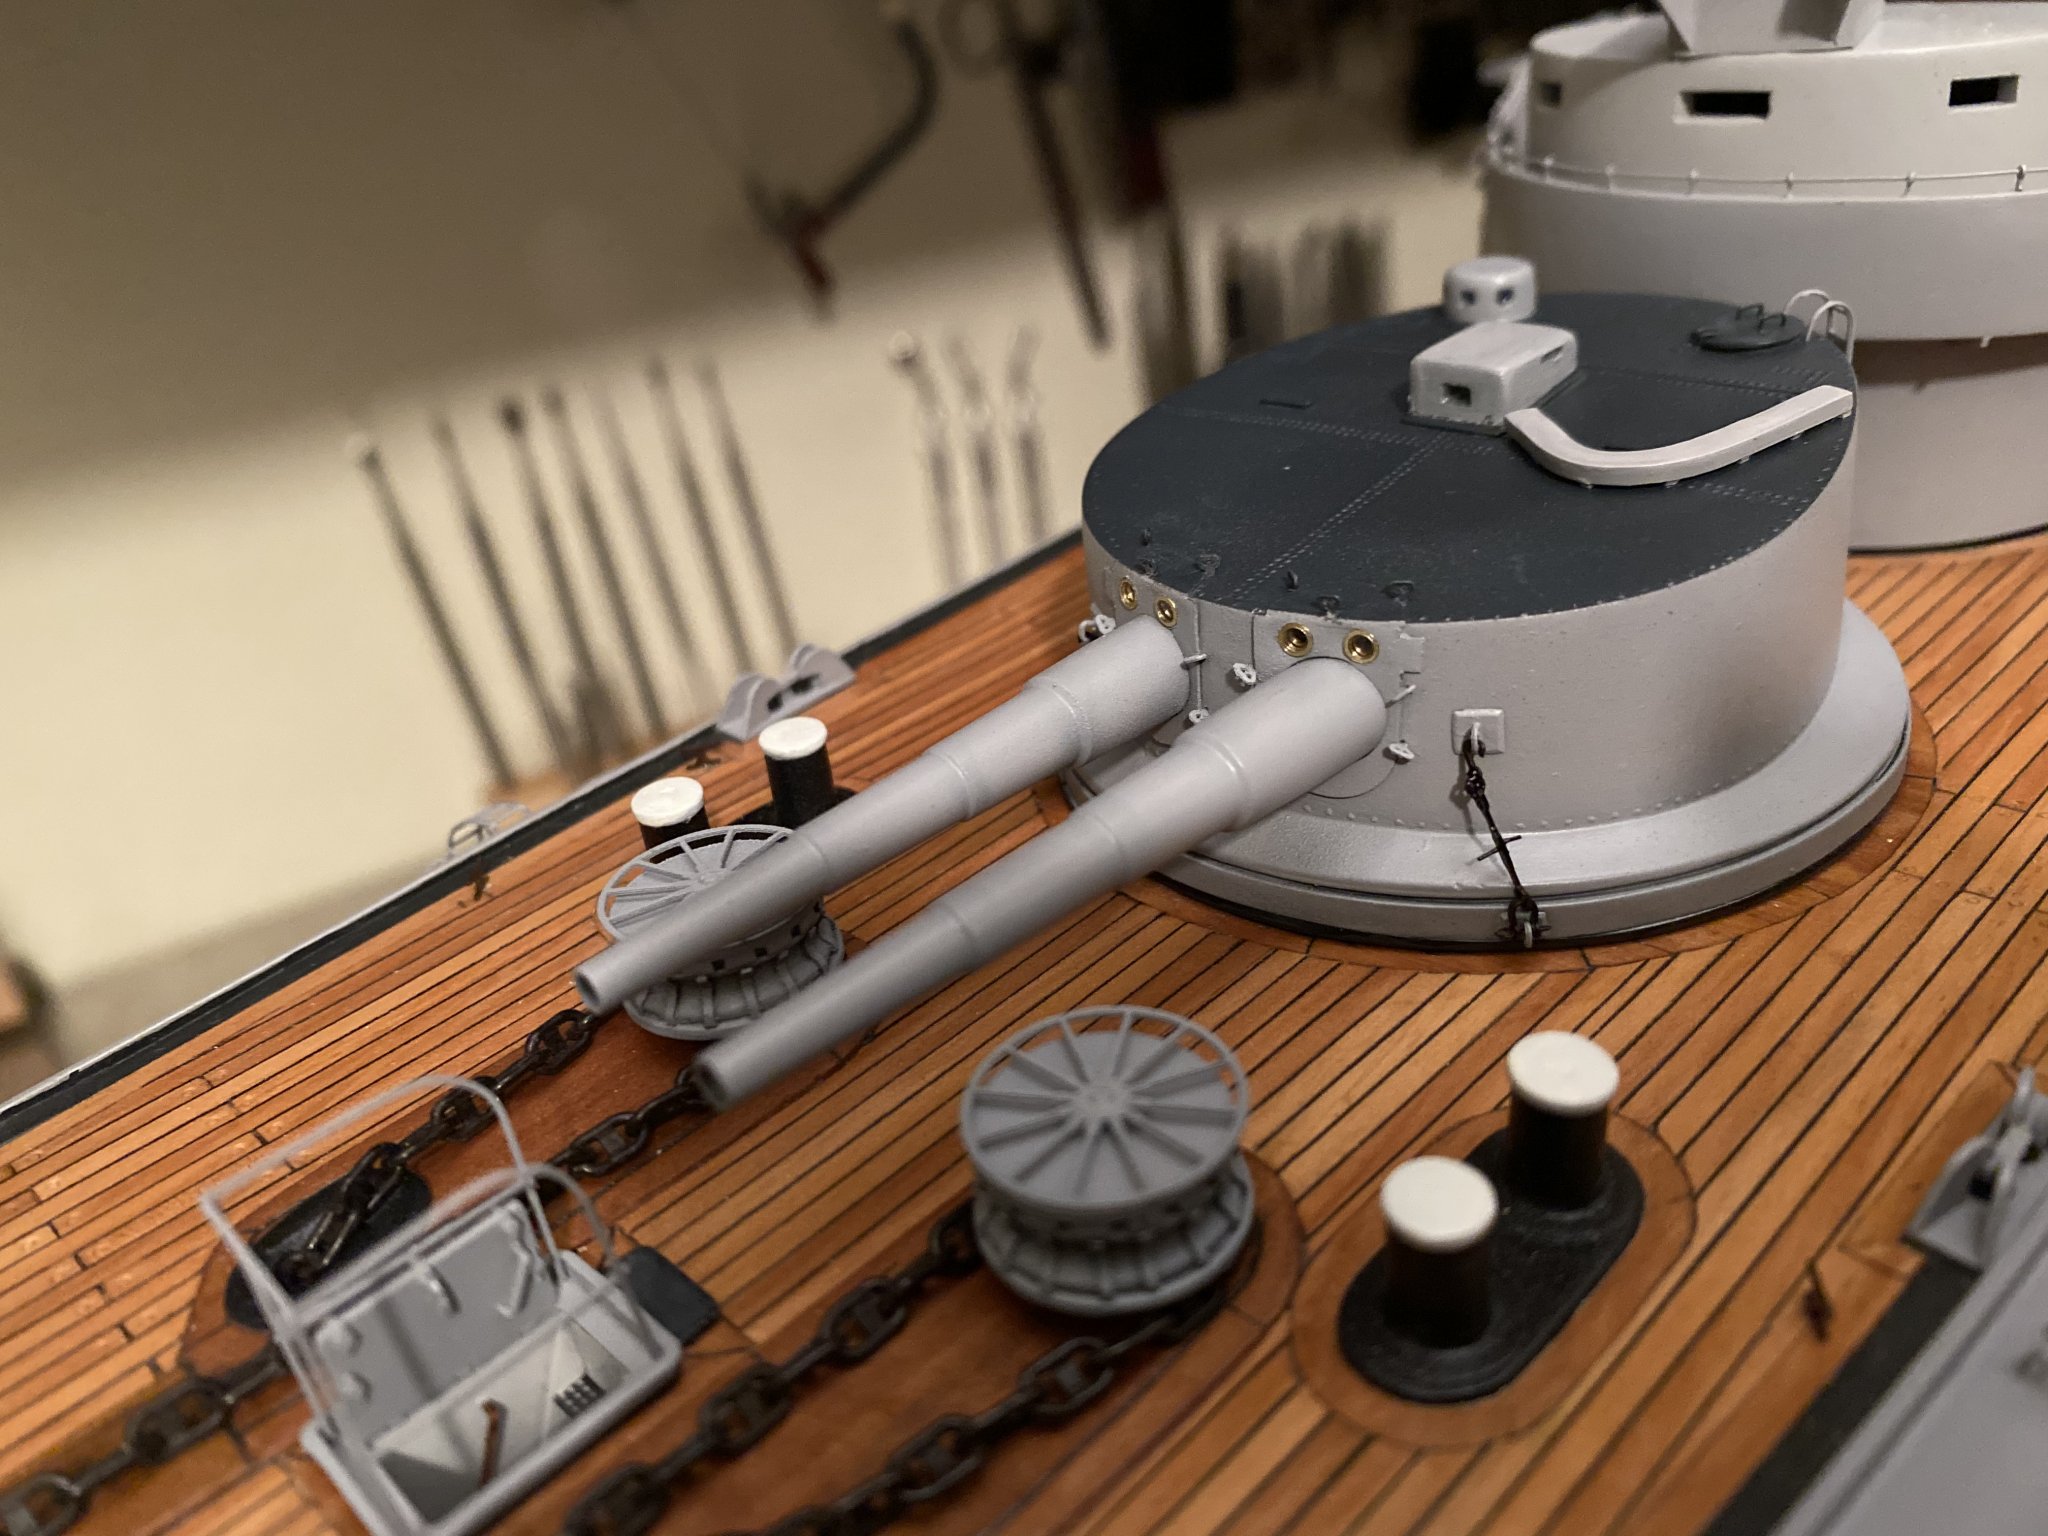
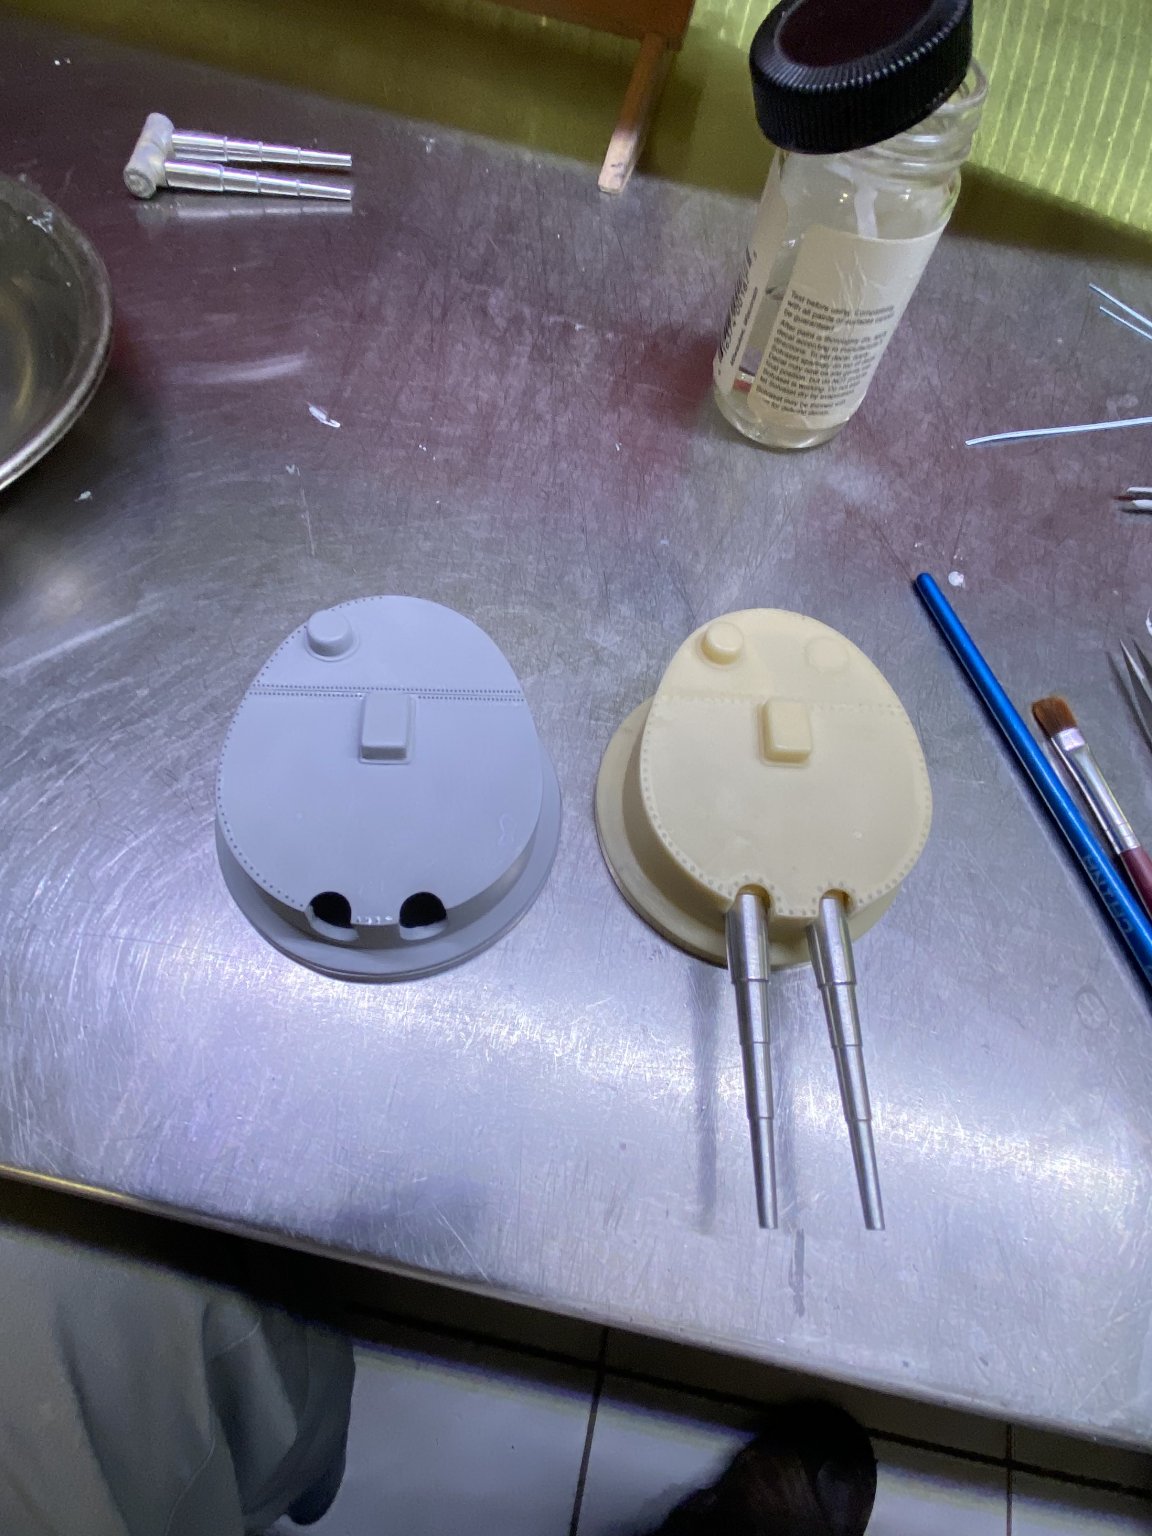
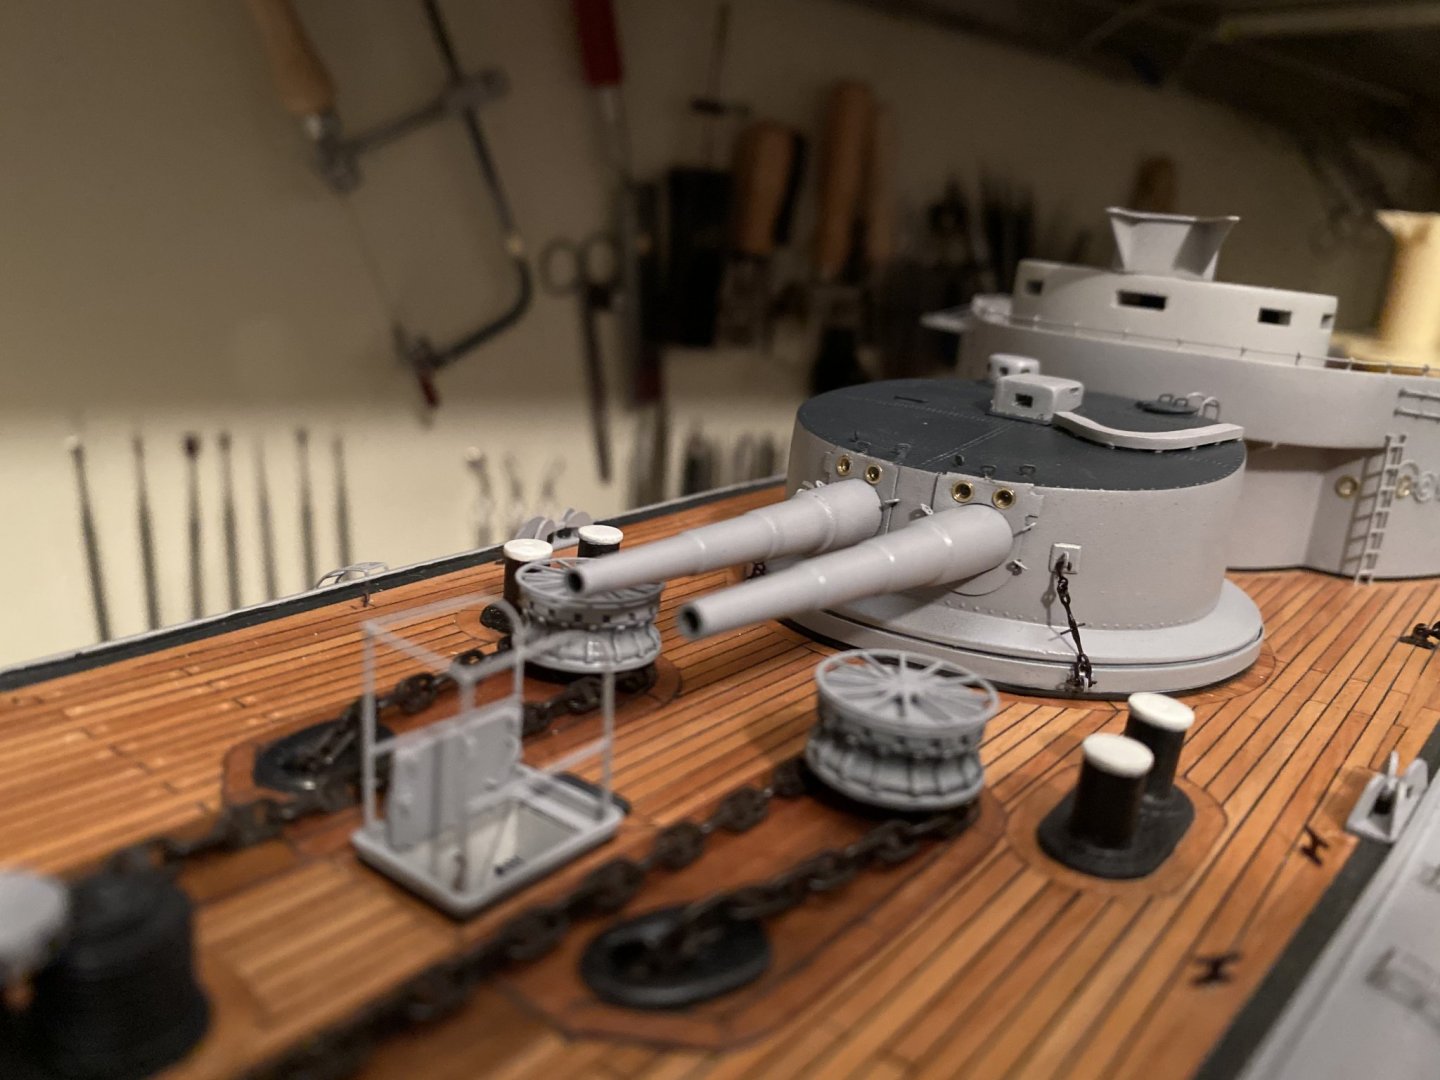
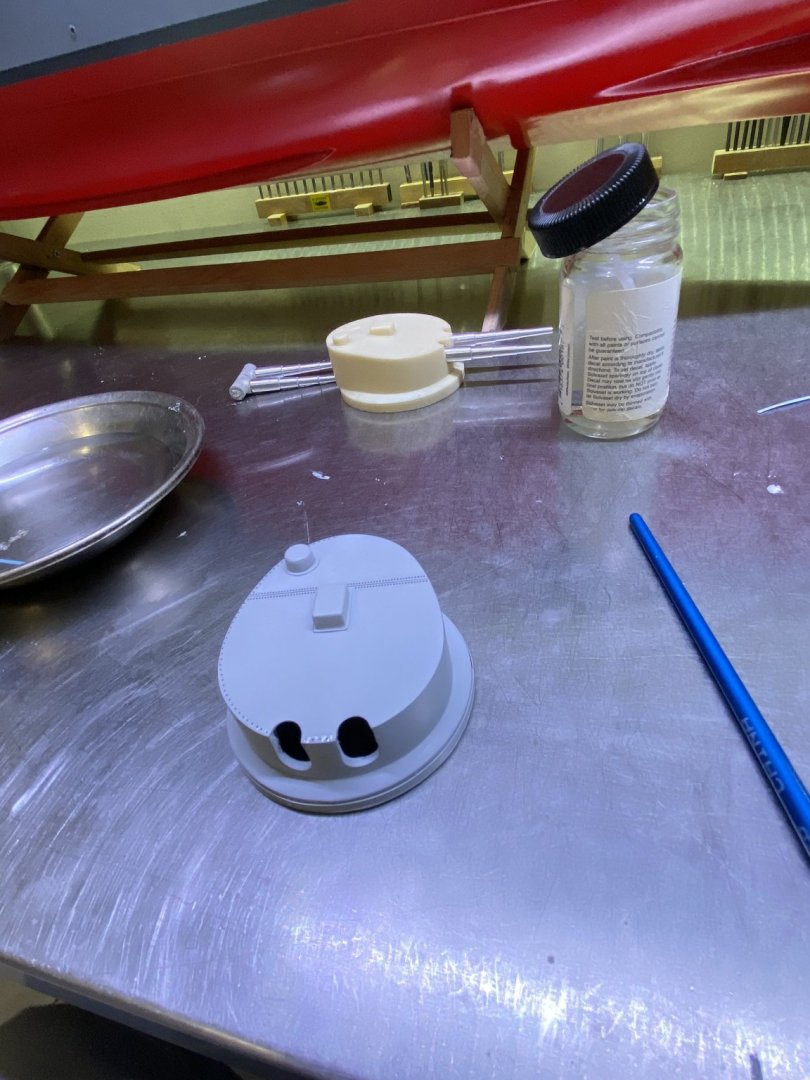
Thank you very much for all the thumbs up. started to work on the first gun tower. As it is a partly kit, I decided to remake the tower again, did not like the one that came with the hull. after studying old pictures and looking for some existing models I came to the following result. below a few pictures. (Still work in progress)

- 202 replies
-
- 20
-
-
- battleship
- scharnhorst
- (and 2 more)
-
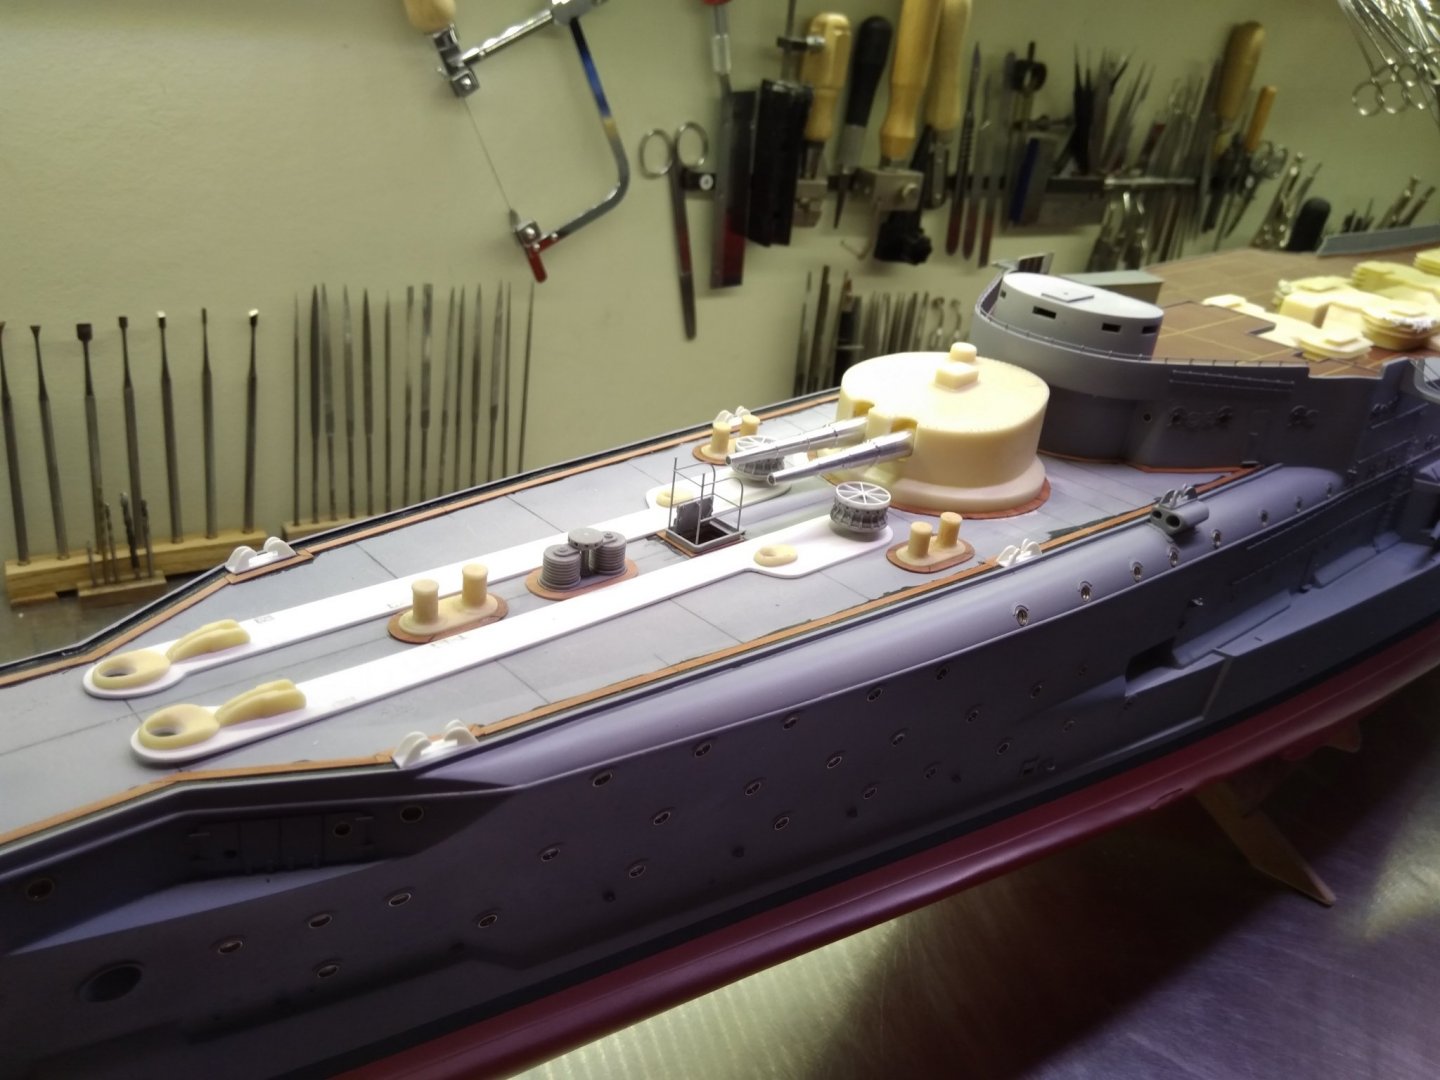
Everyone thanks for the thumbs up. “Small” update made the kind of small davits (don’t know the real name ,sorry ?!?) between the stairs that are mounted on the hull. below a few pictures
- 202 replies
-
- 16
-
-
- battleship
- scharnhorst
- (and 2 more)
-
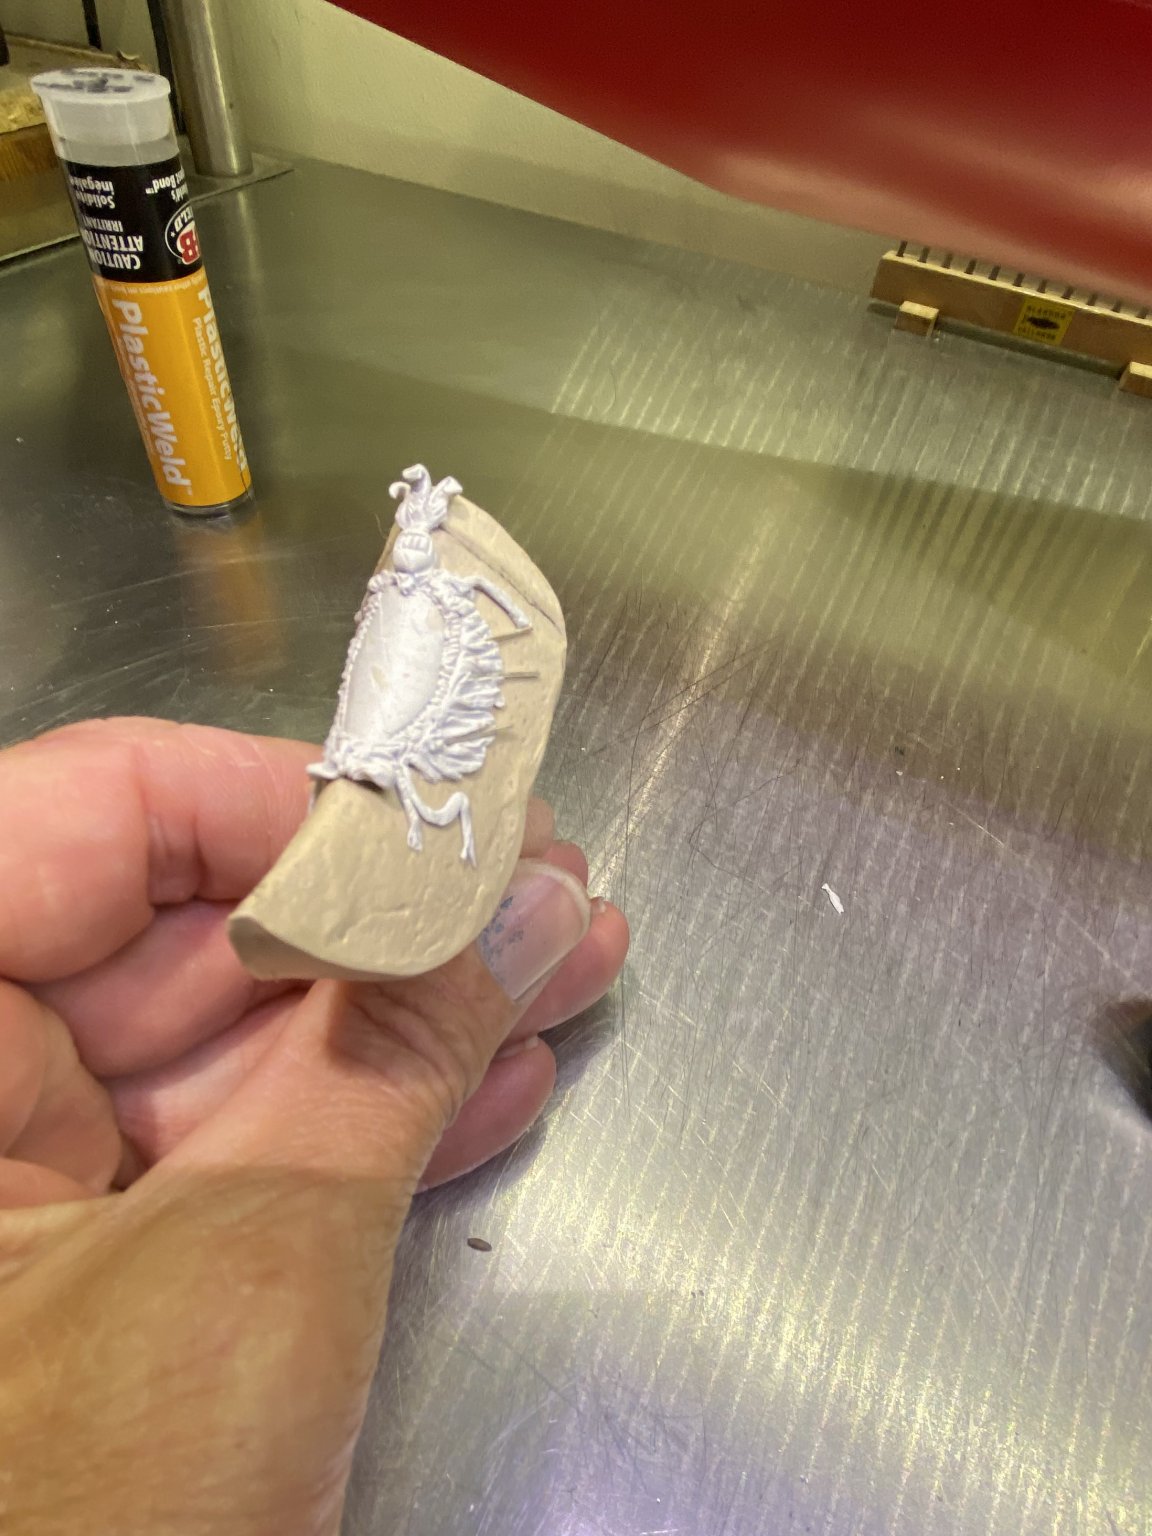
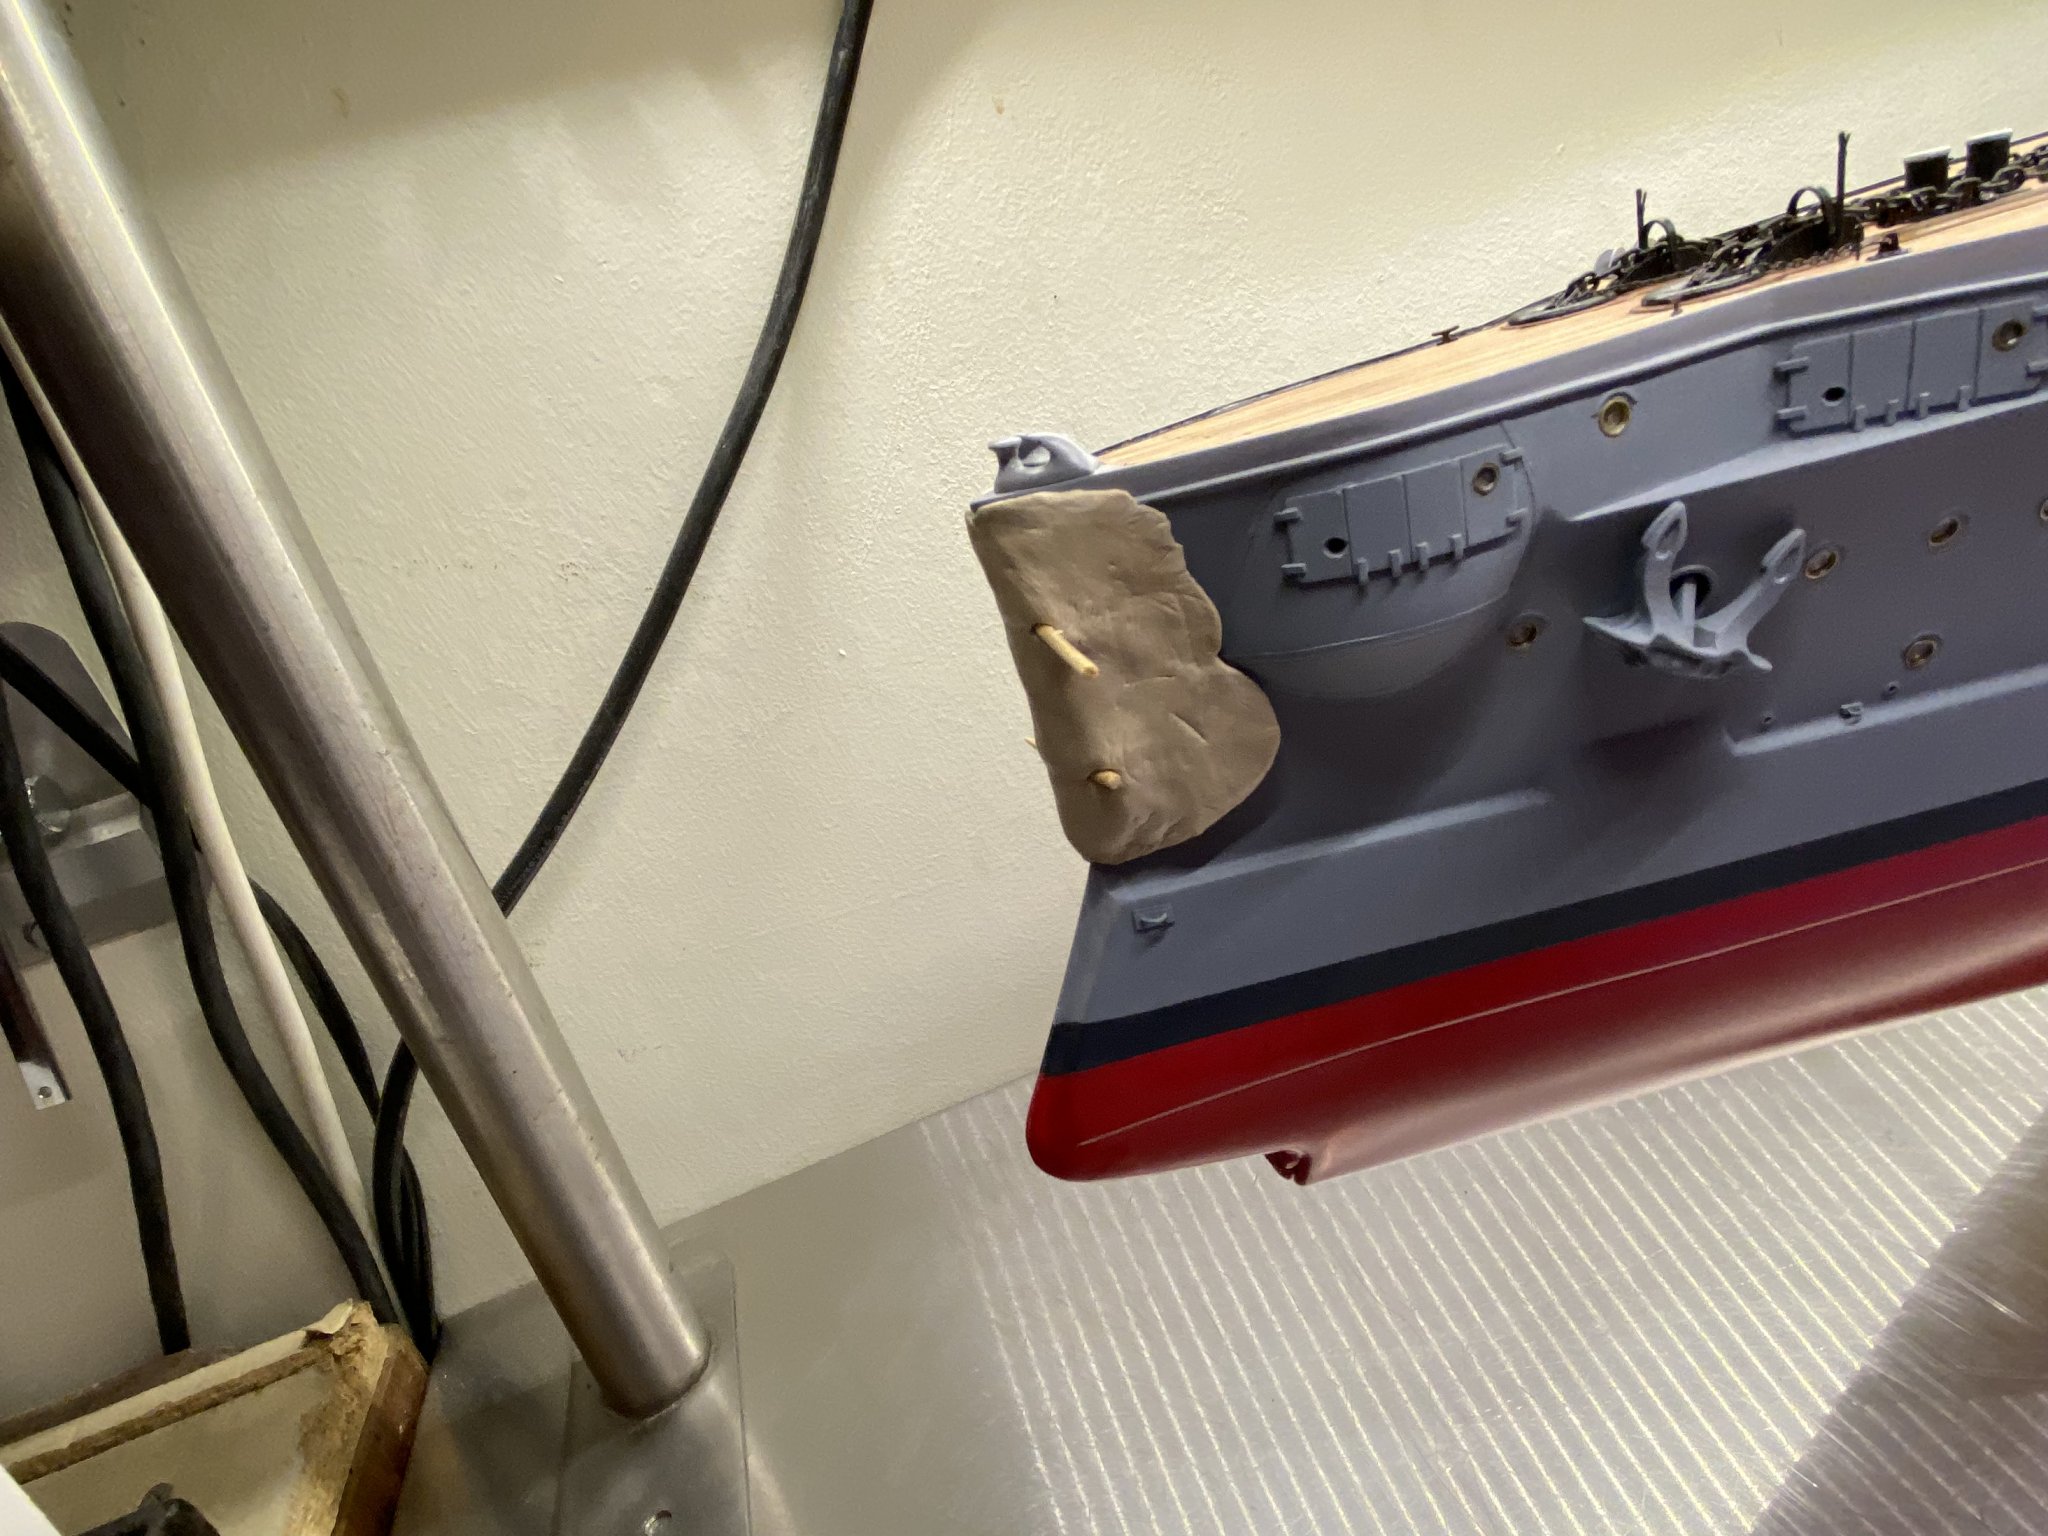
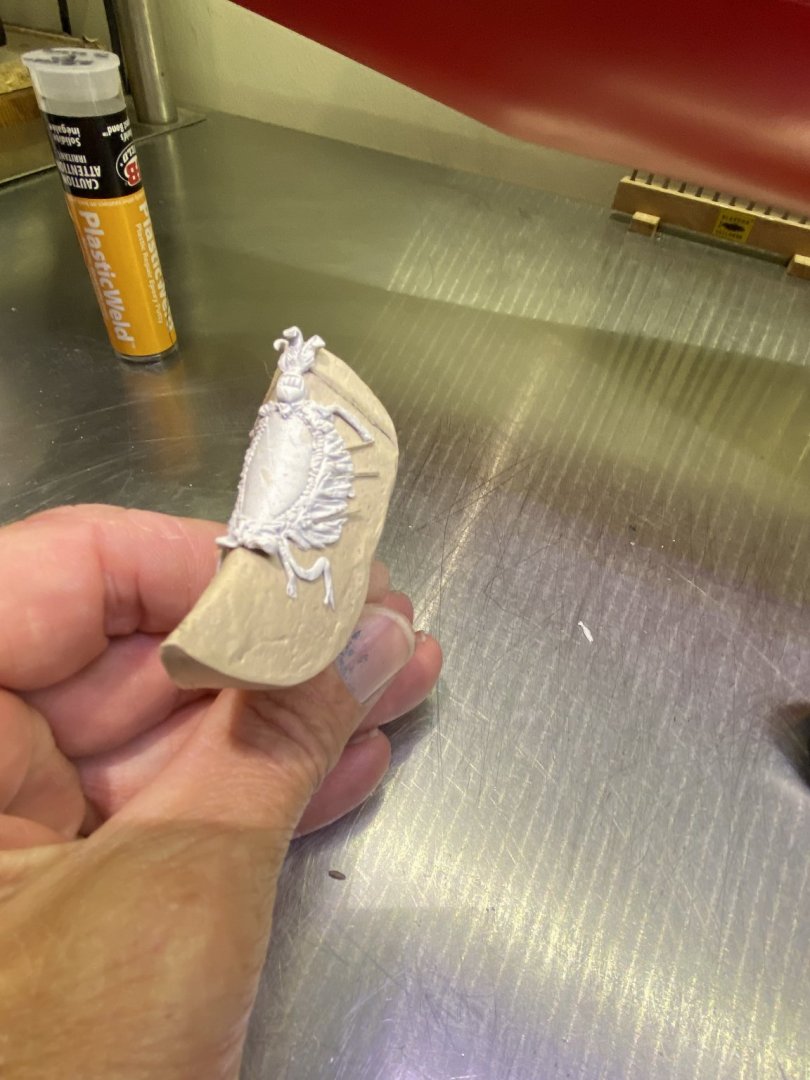
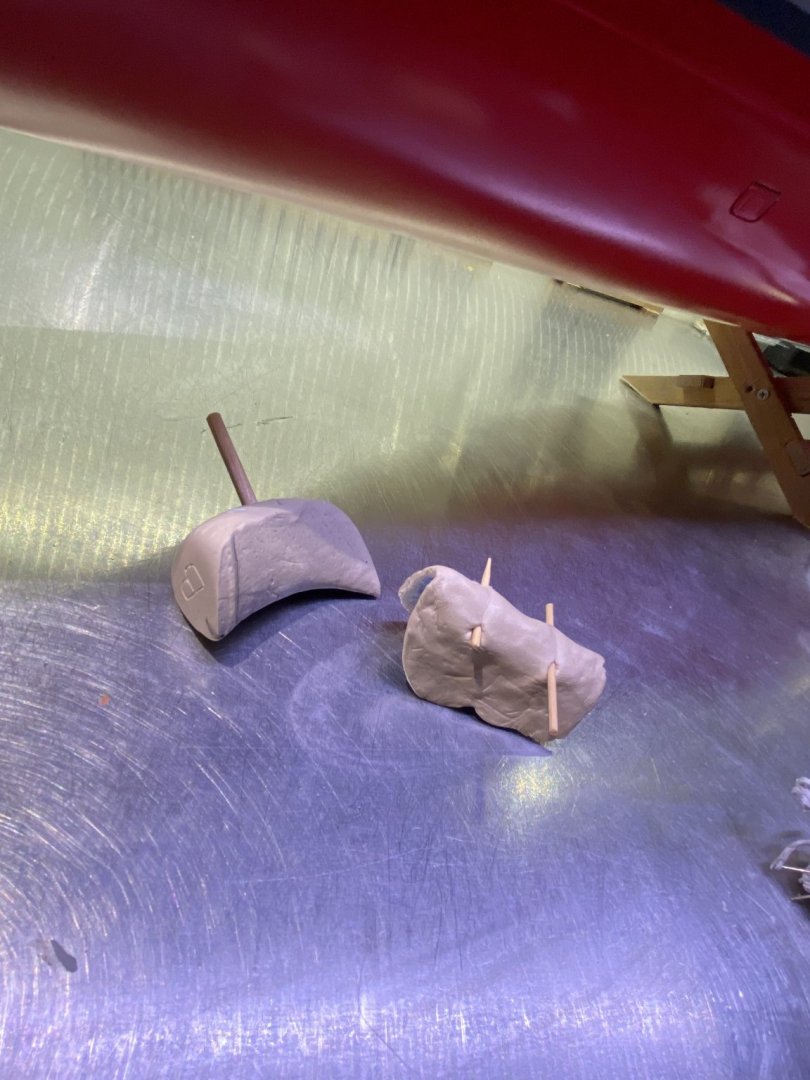
Keith, The idea came more or less, because i did not have a choice, so sometimes you have to be inventive. i went out to the "local hobby shop" to buy fimo polymer clay, to make the decorations and to make a kind of copy of the bow section to work from. but due to the fact that i live on a island and modeling is something that i absolutely not alive on this island, i came out empty handed, so i went to the building market, and found wood repair epoxy putty and a plastic repair epoxy putty, so i bought 2 types, the wood epoxy has to be hard dense and fine structure for the copy of the bow section, to make a negative copy and a positive copy, but with a medium till fast reaction/cure time and the plastic epoxy with a medium/ long reaction/cure time, and super fine structure i protected my bow with some tape, and added the wood epoxy on the bow section(negative), after that it is almost set I removed the epoxy from the bow section, let it cure completely 1 hour, than i treated the inside with some light grease, applied the wood epoxy on the inside(positive), and removed it when it was completely cured. than i treated the positive very very lightly with some white grease. builded up my decoration from the plastic epoxy, on the copy of the bow section, shaped it with micro carving and clay tools. let the epoxy almost cure completely, than i used a sewing line to remove the decoration from the bow section, let it cure completely 3 hours. some primer, paint and ready !! hope it helps you. The brand of the epoxy putty i used is J-B Weld.
- 202 replies
-
- 8
-
-
- battleship
- scharnhorst
- (and 2 more)
-
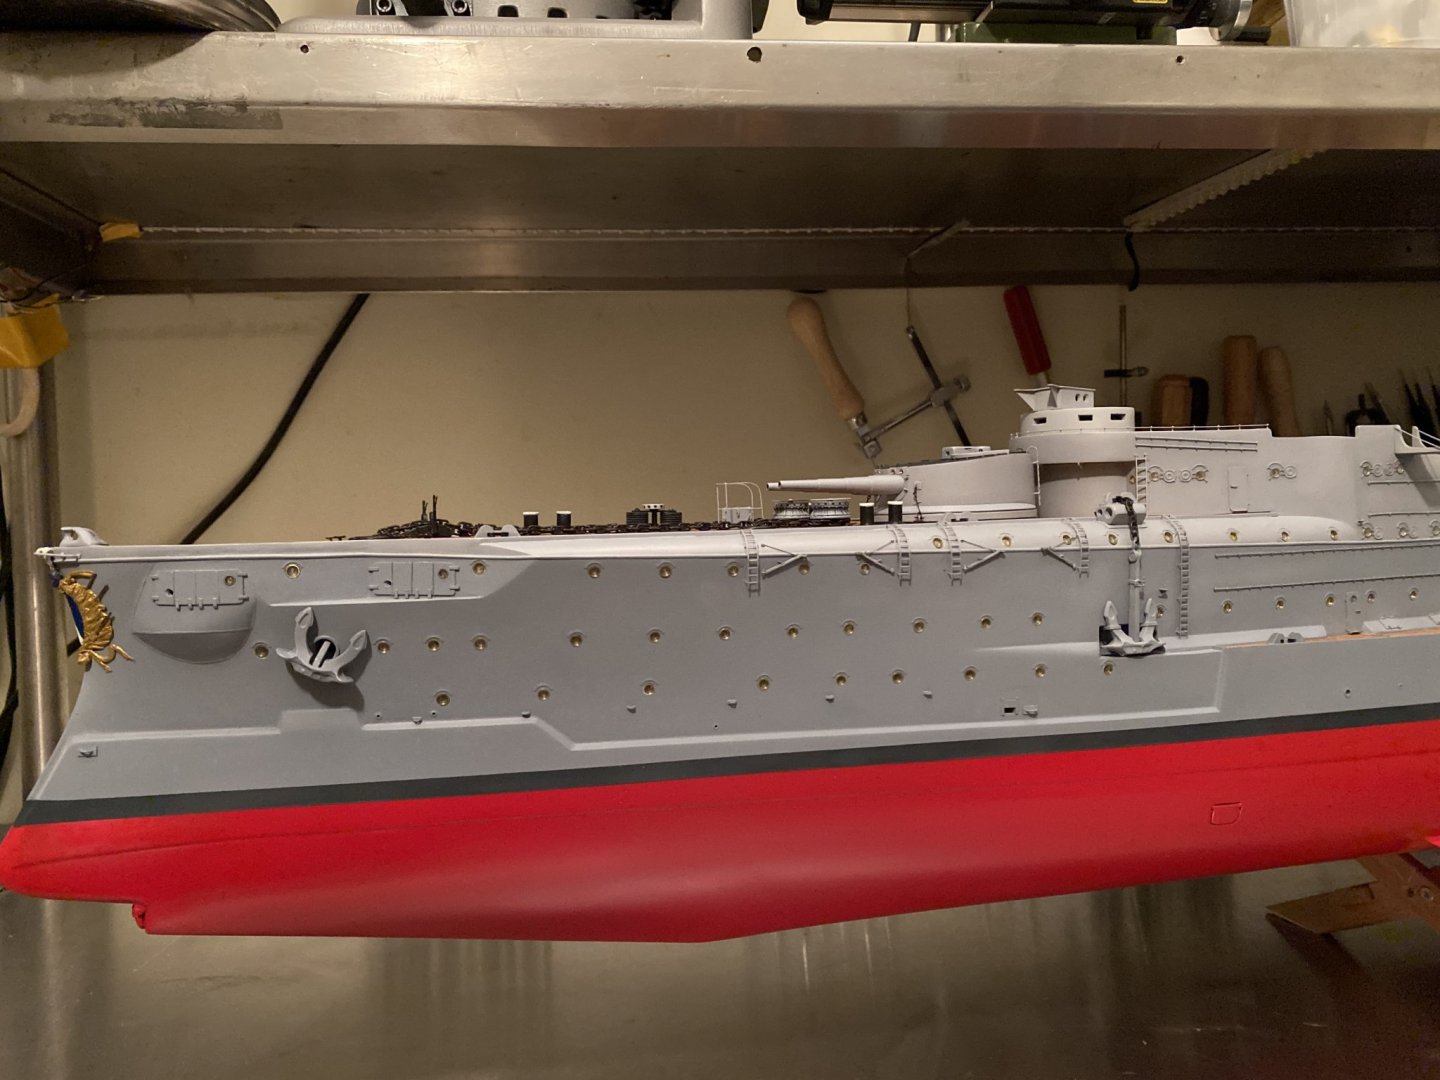
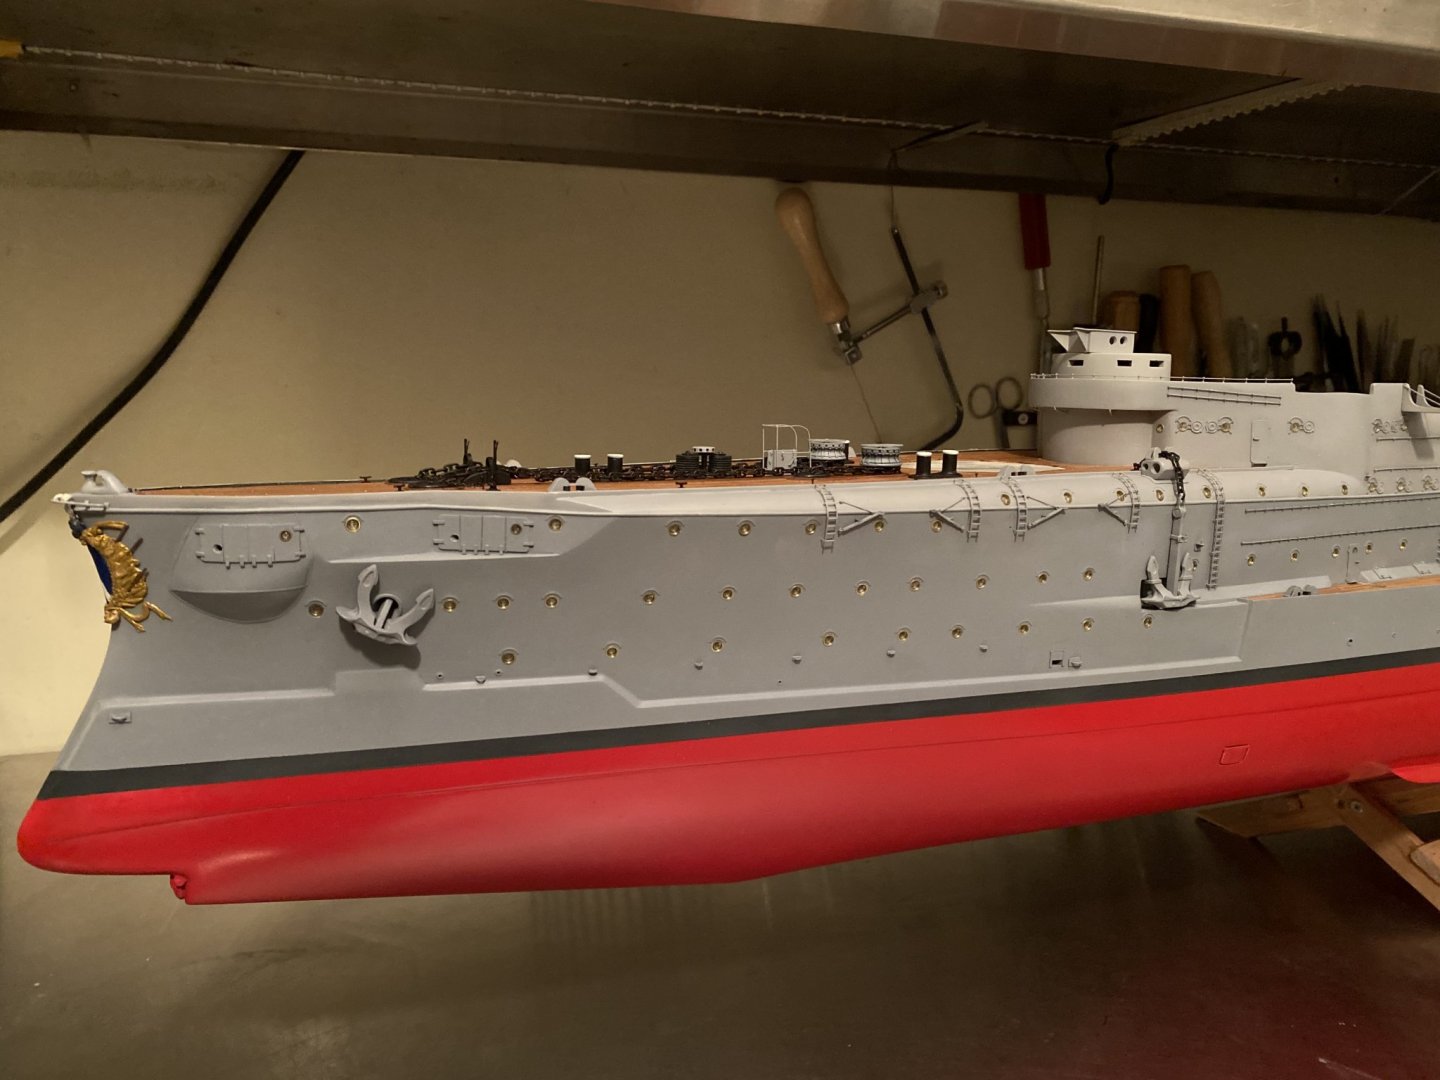
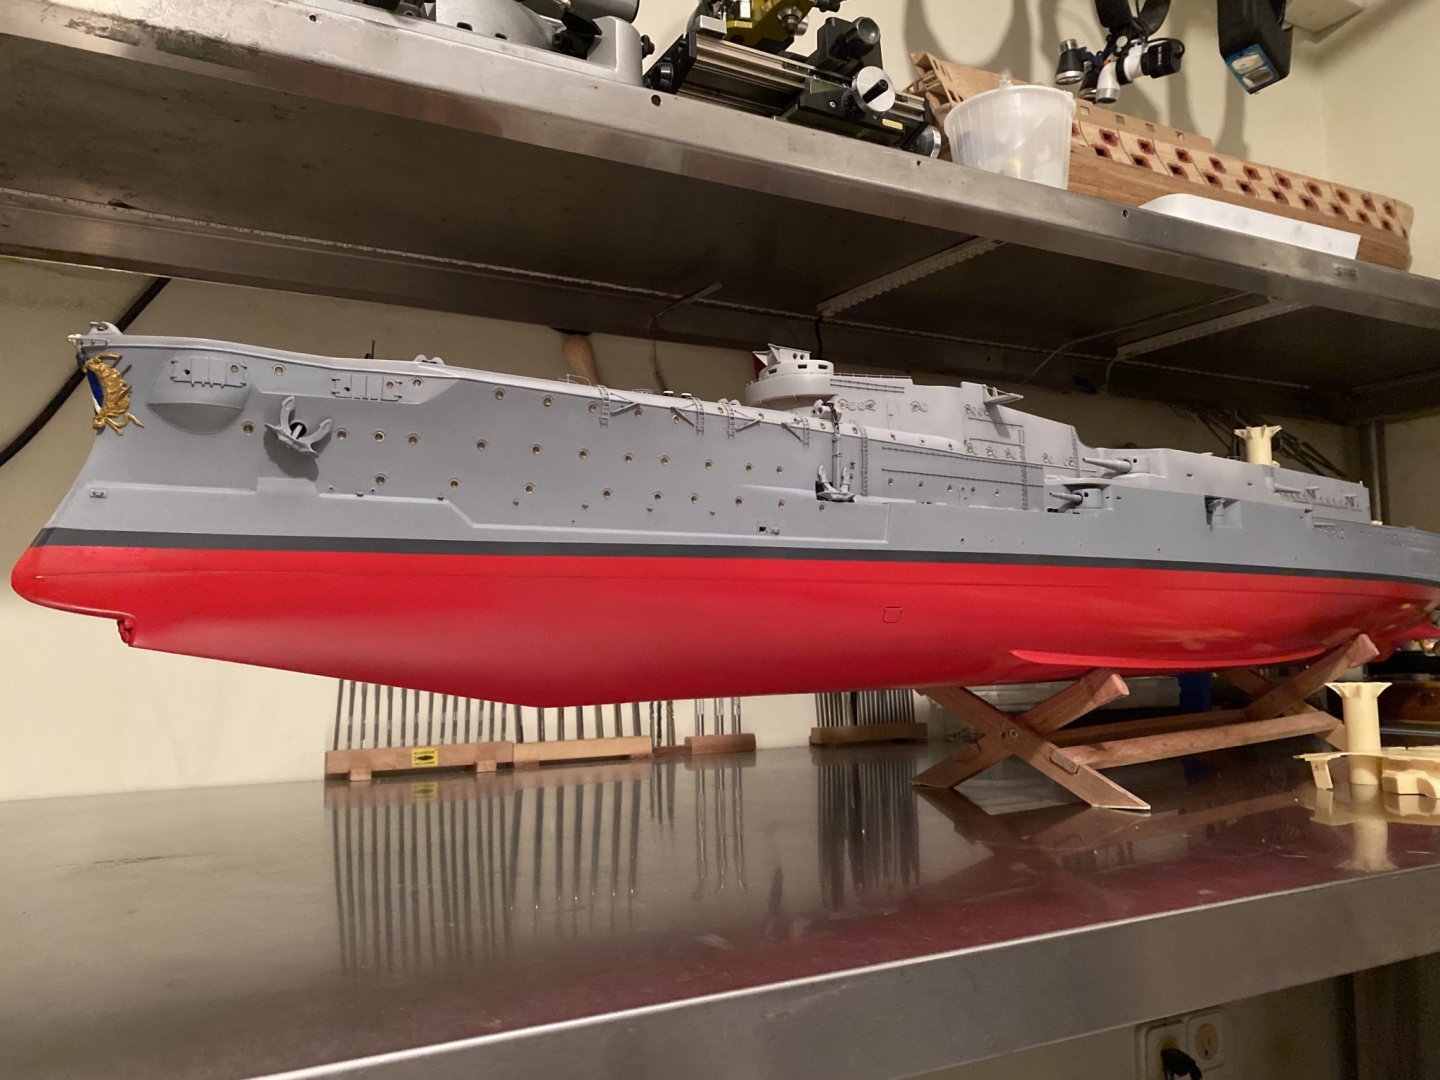
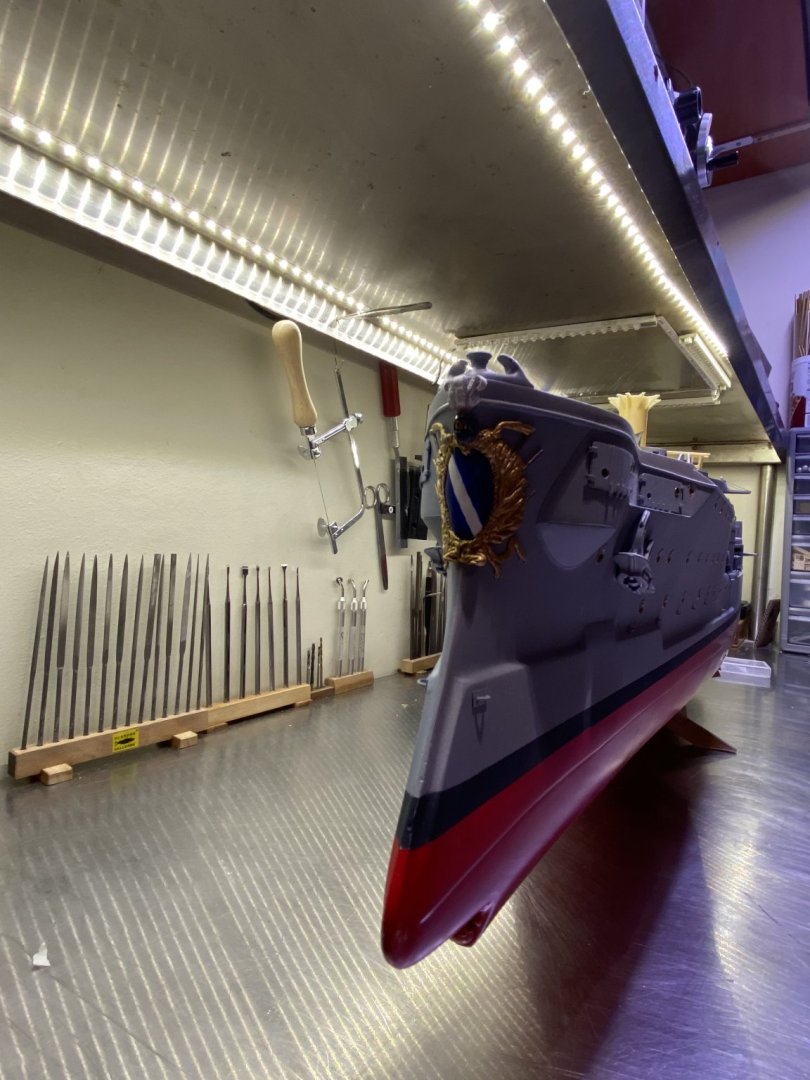
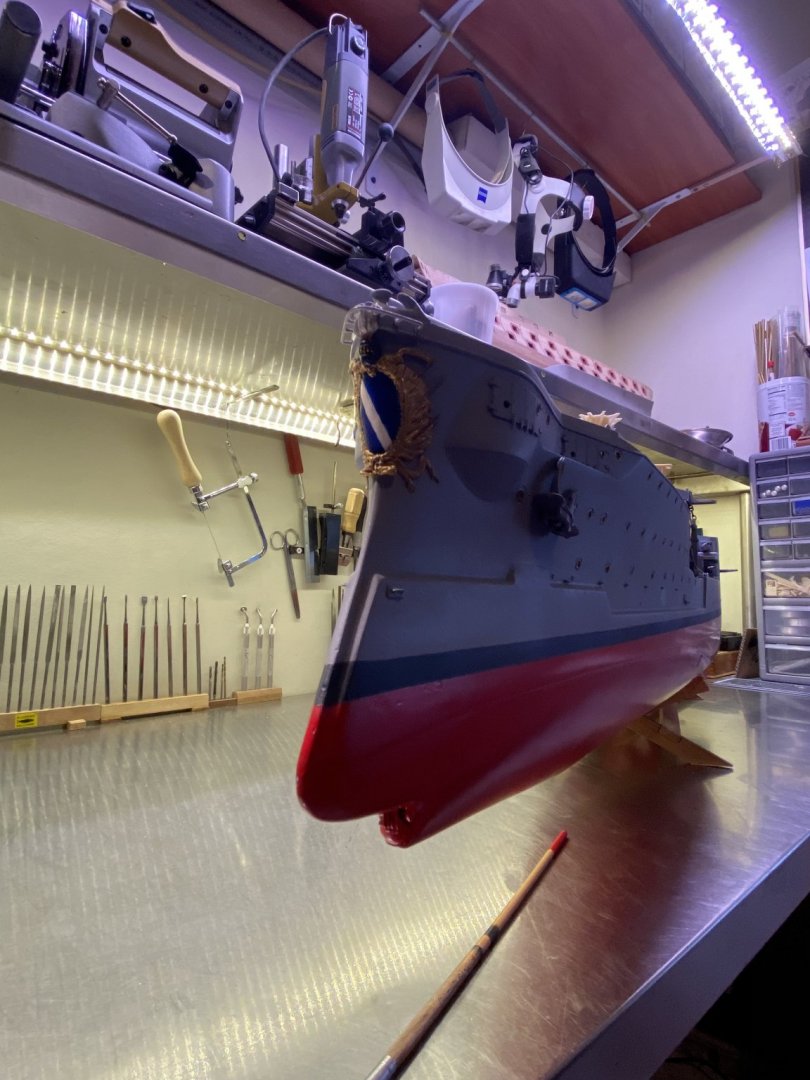
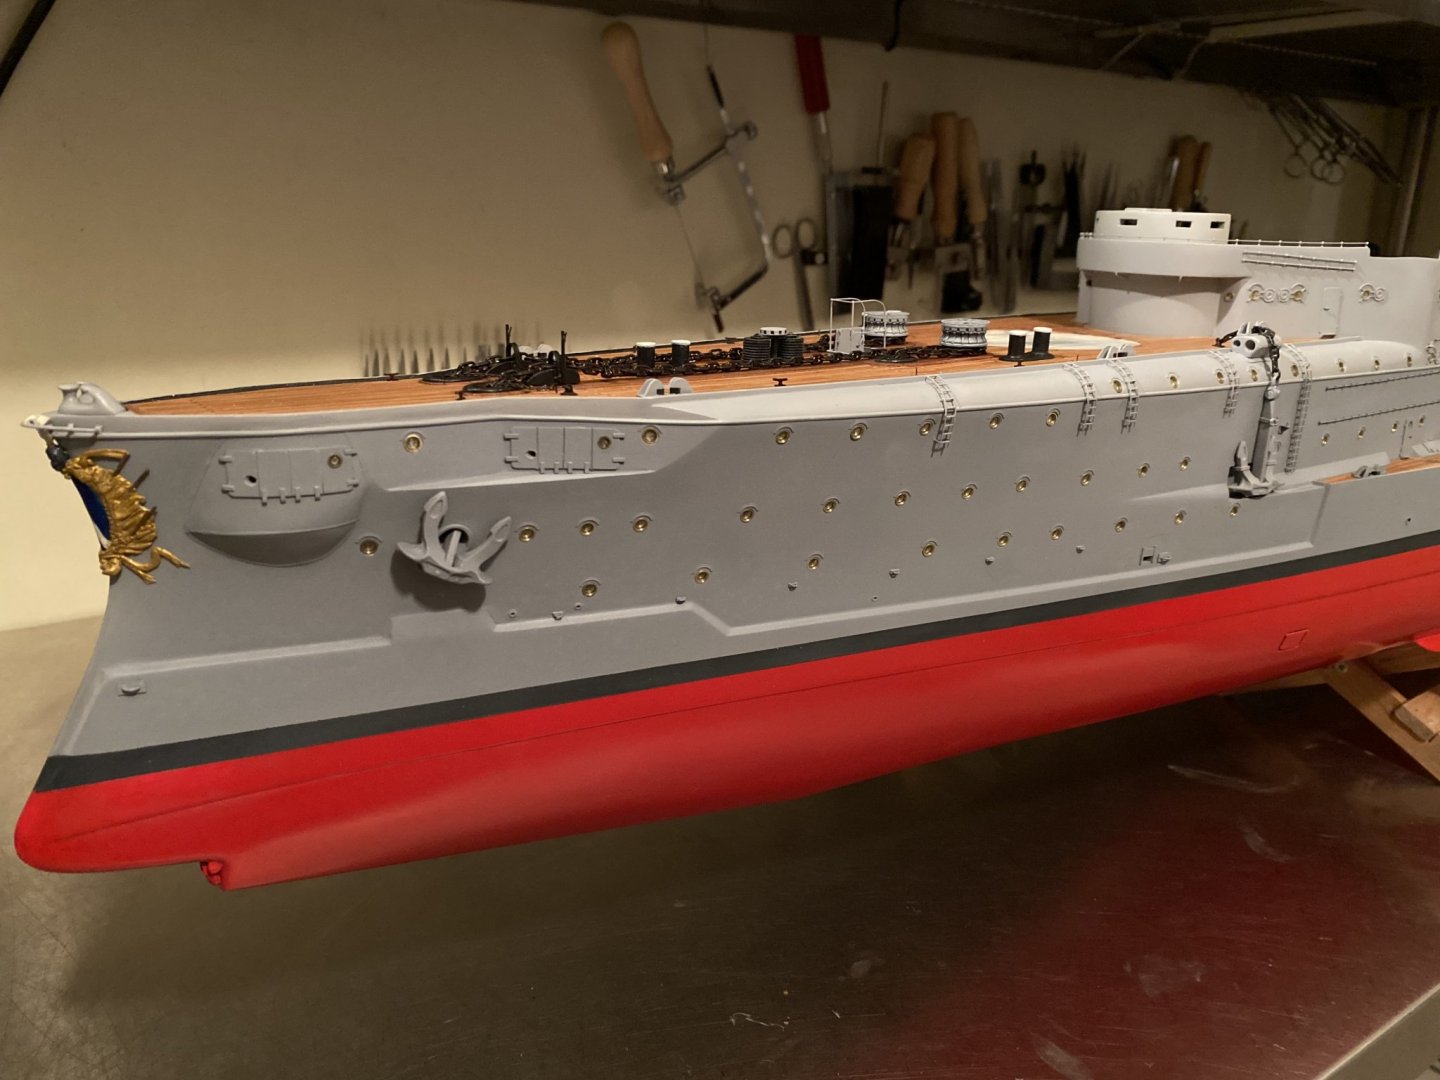
Because it’s still Christmas time and decoration time, I decided to decorate my lady too 😀 Made the decoration for the bow some of the stairs and the spare anchor. below a few pictures . Would like to wish all of you over here, happy days to come, and a good and prosperous 2020.

- 202 replies
-
- 19
-
-
- battleship
- scharnhorst
- (and 2 more)
-
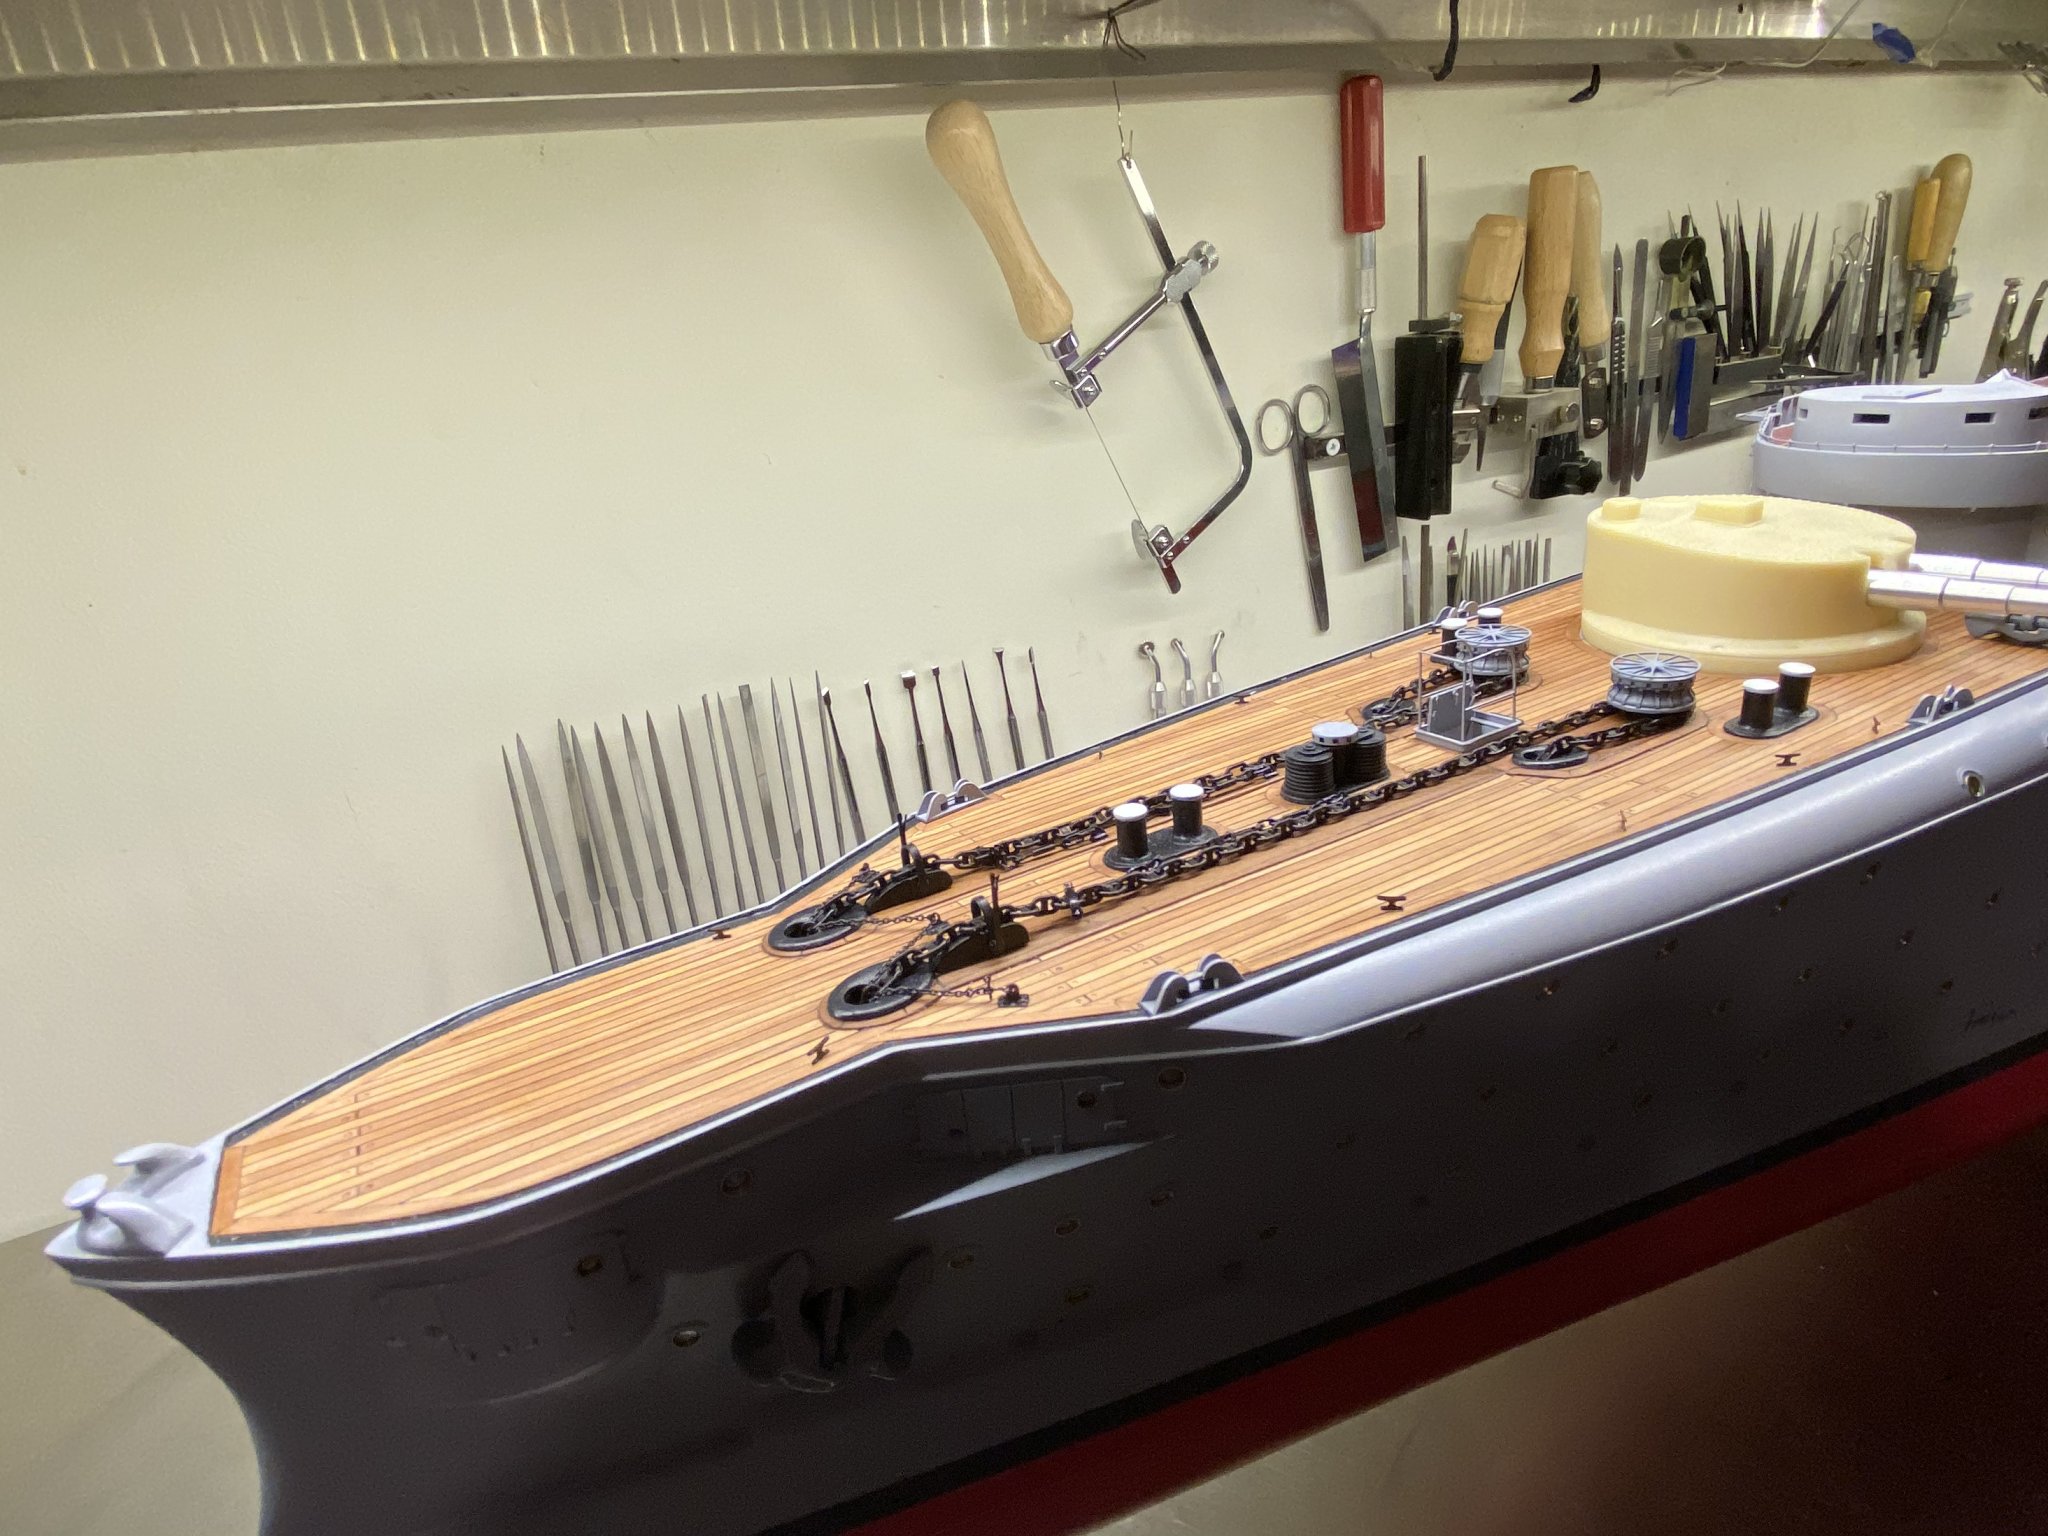
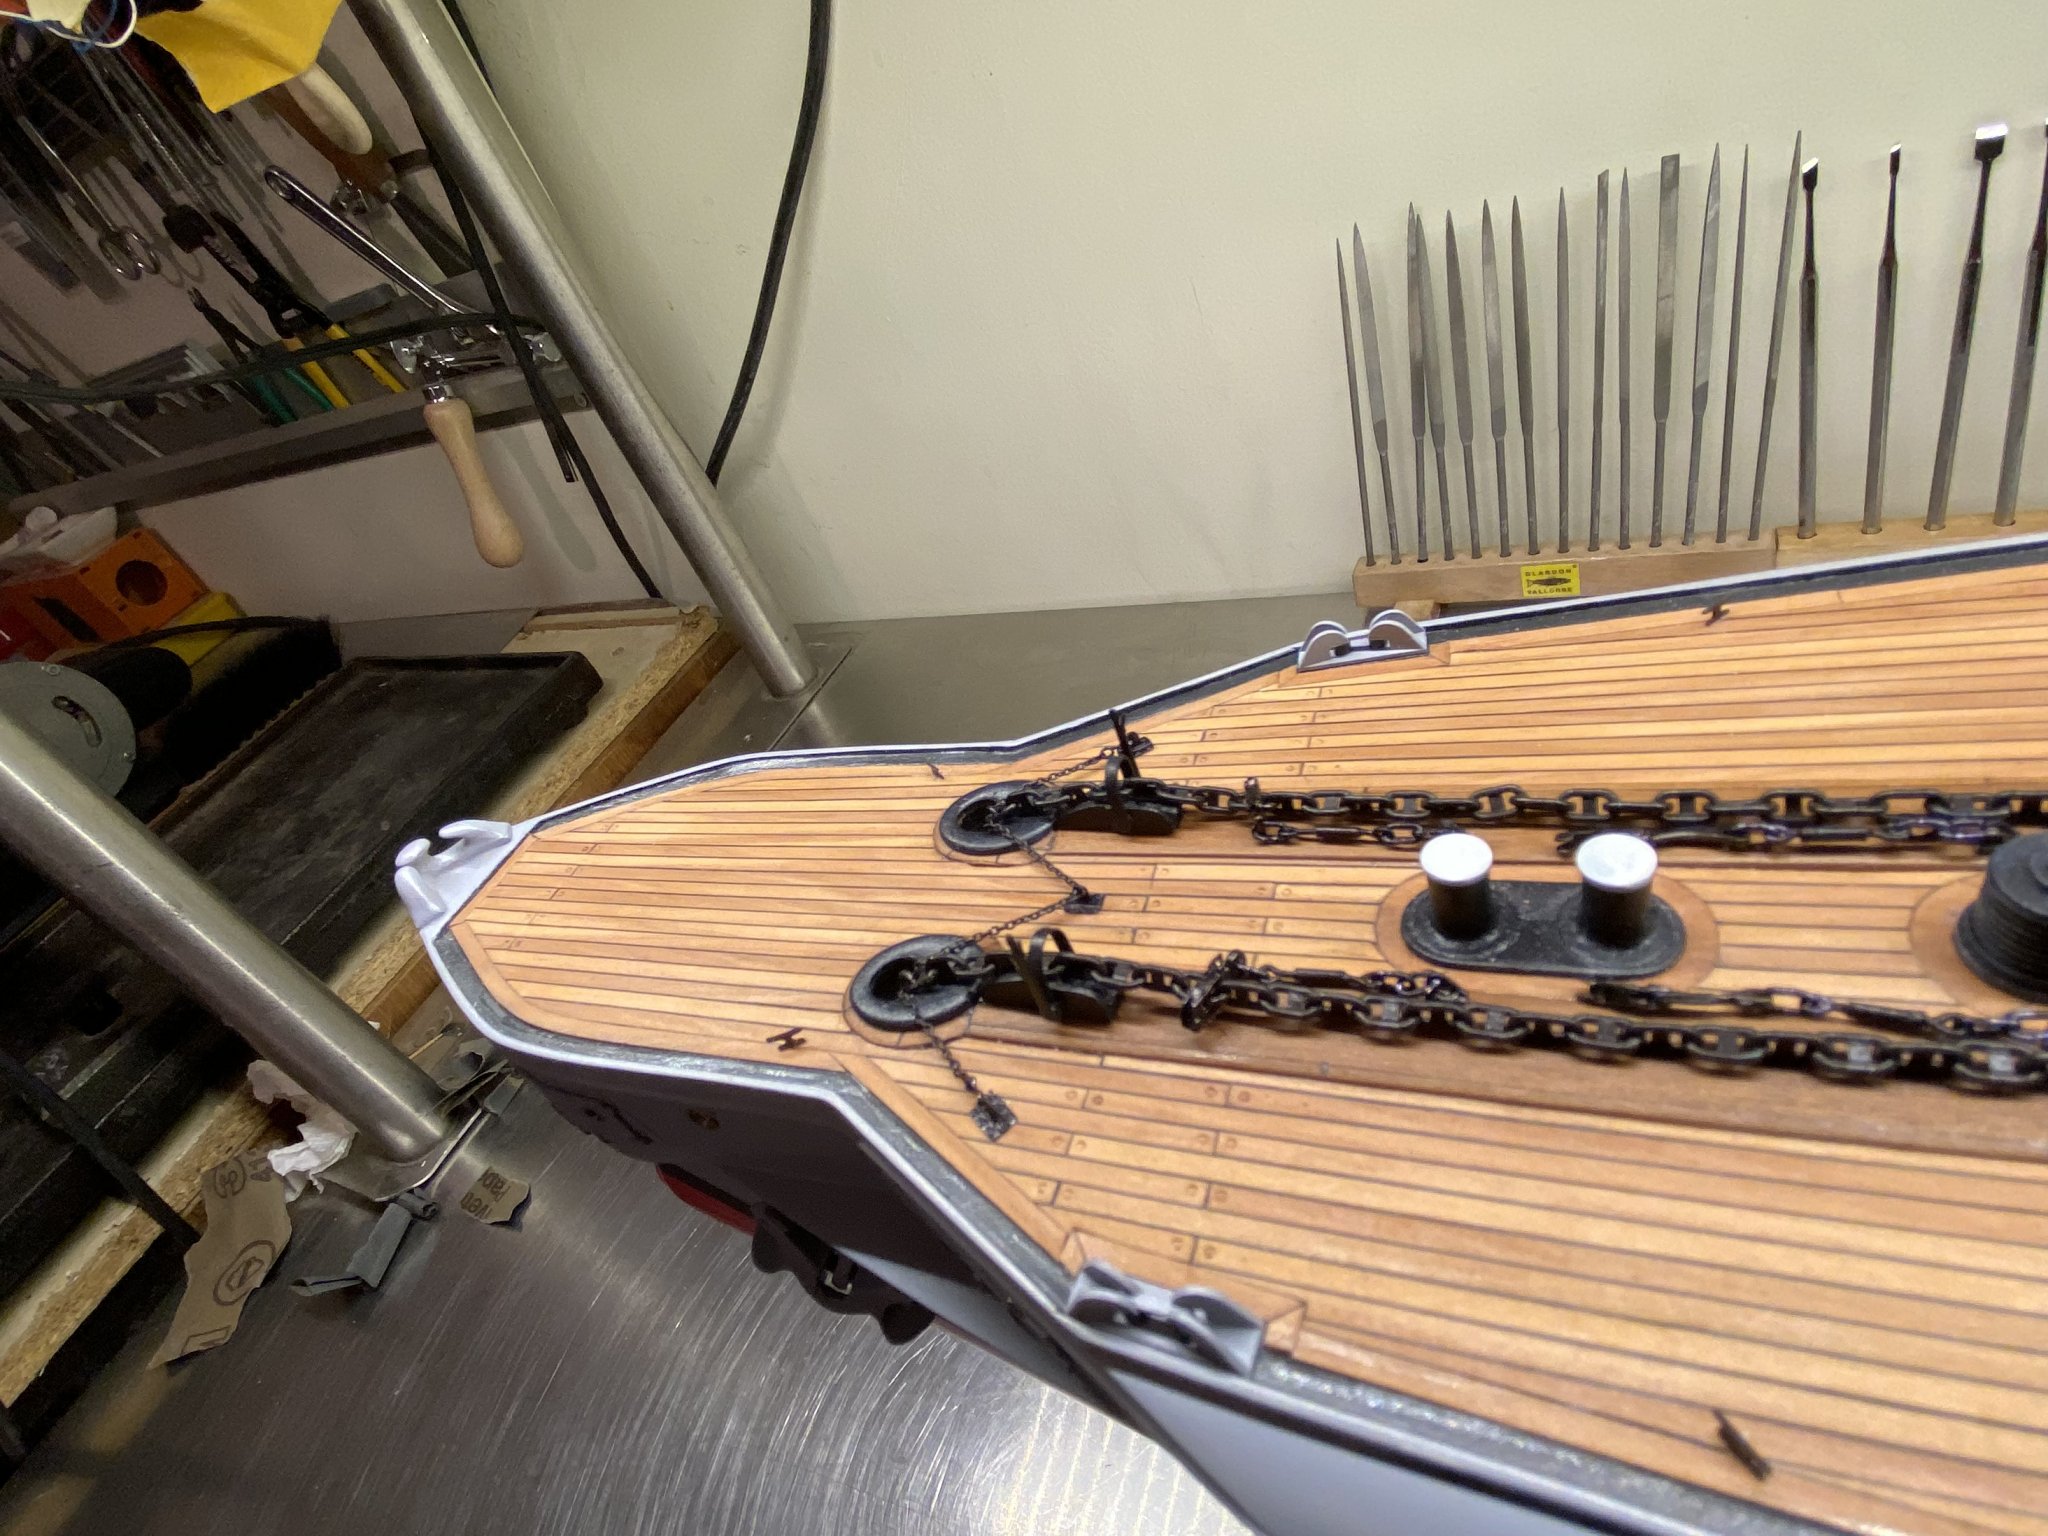
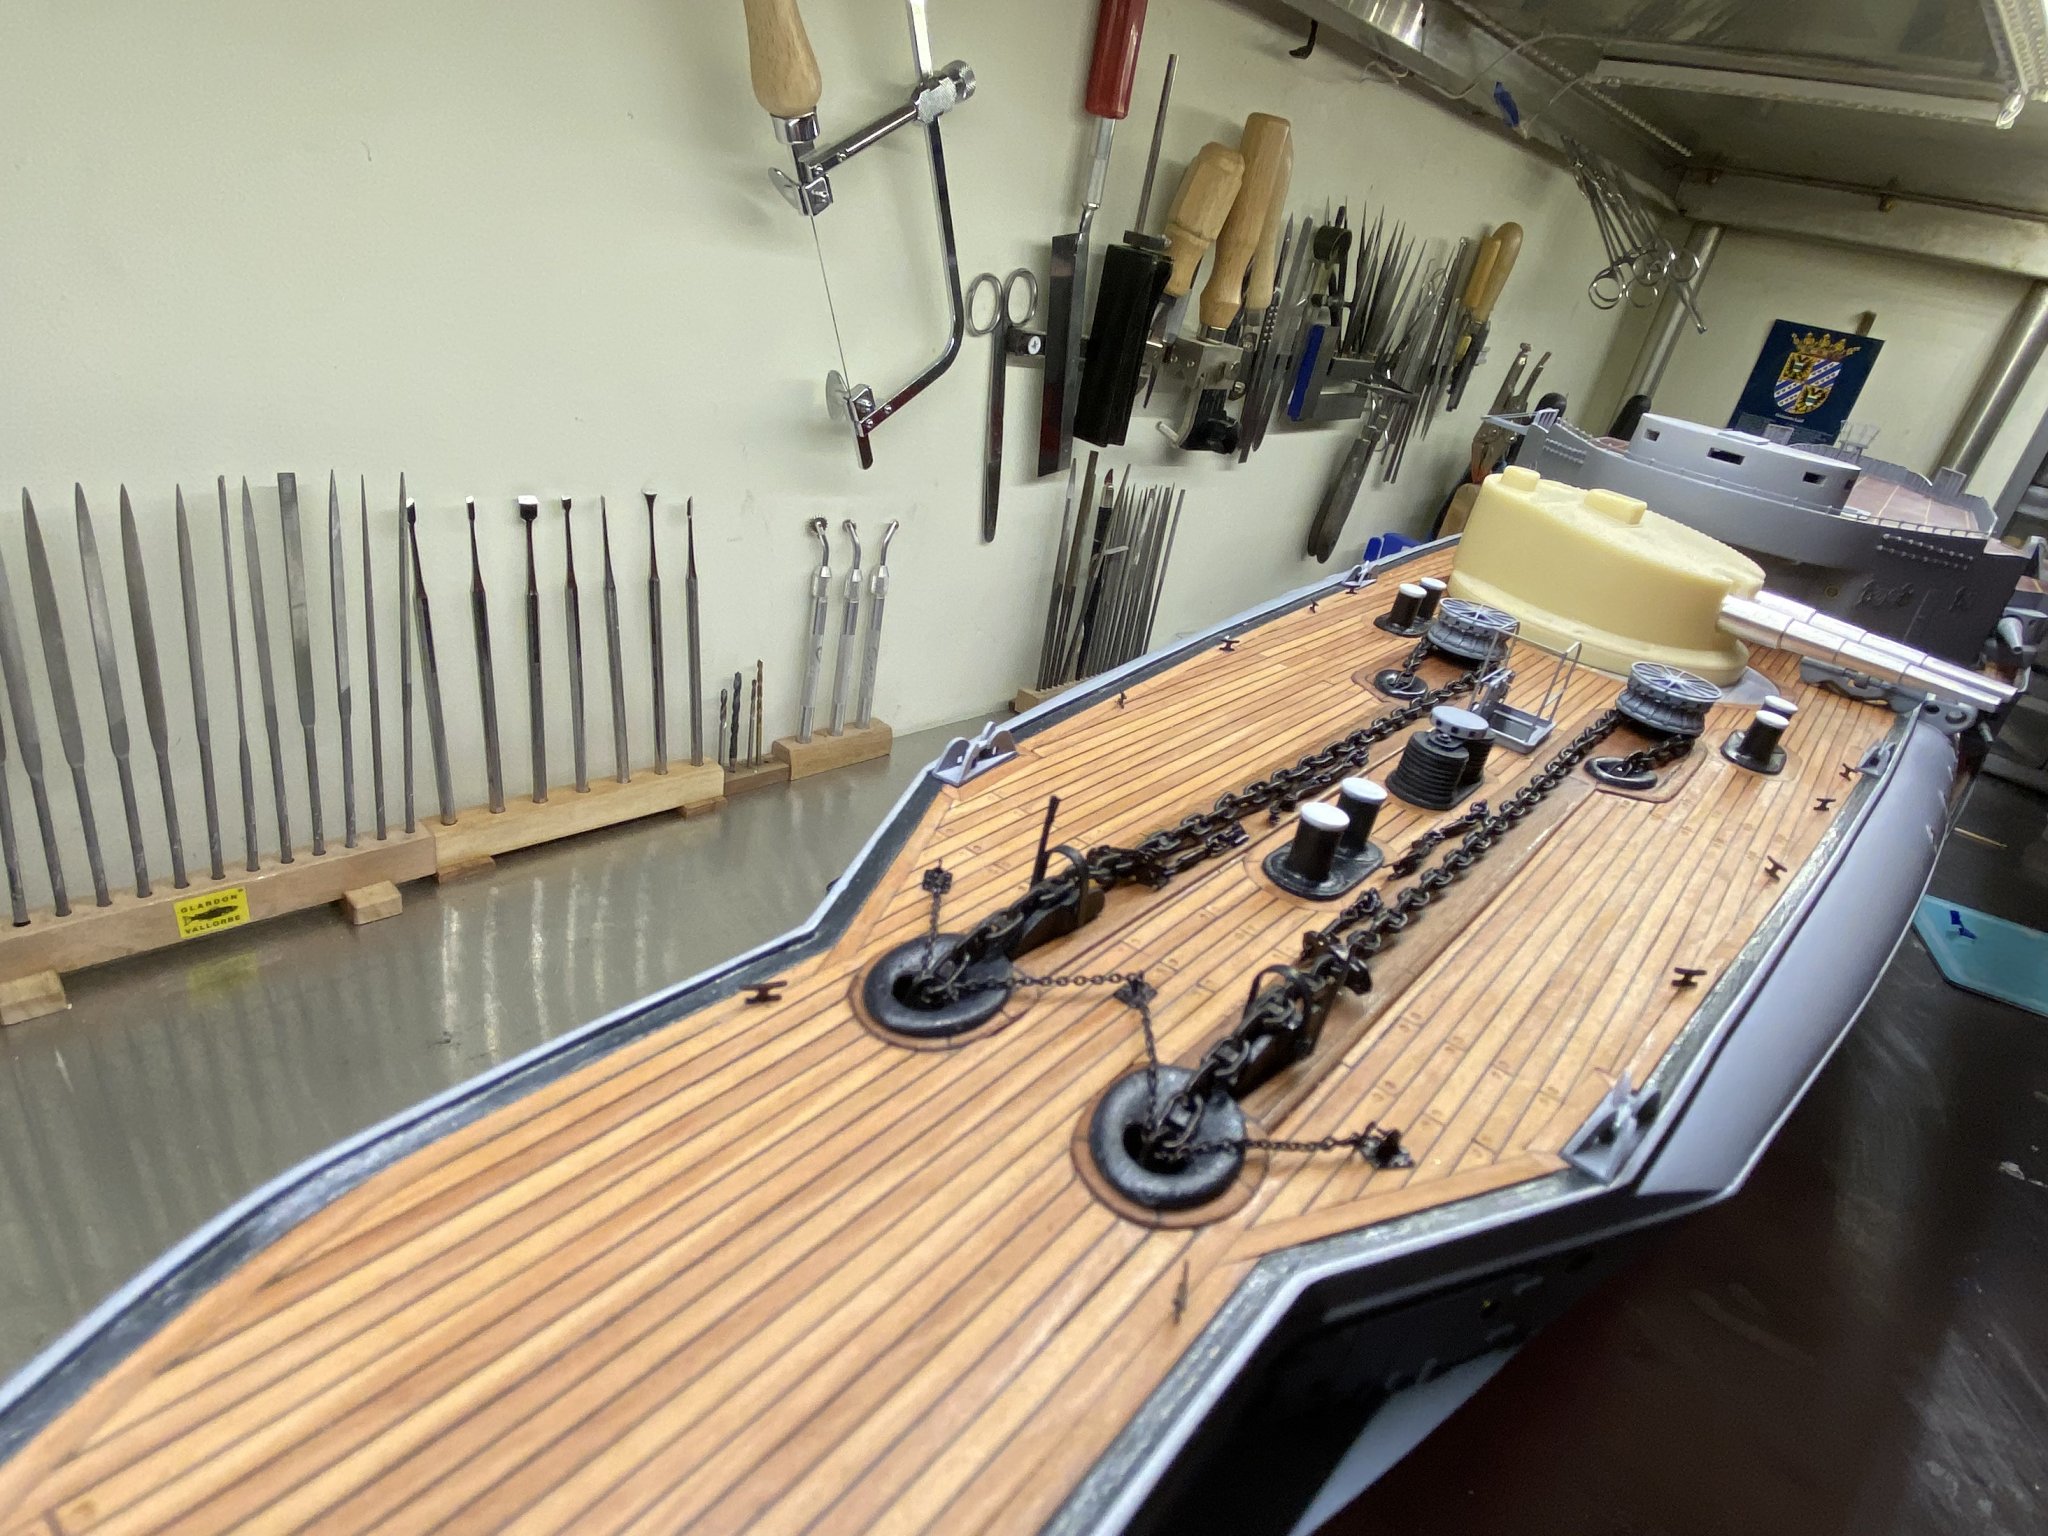
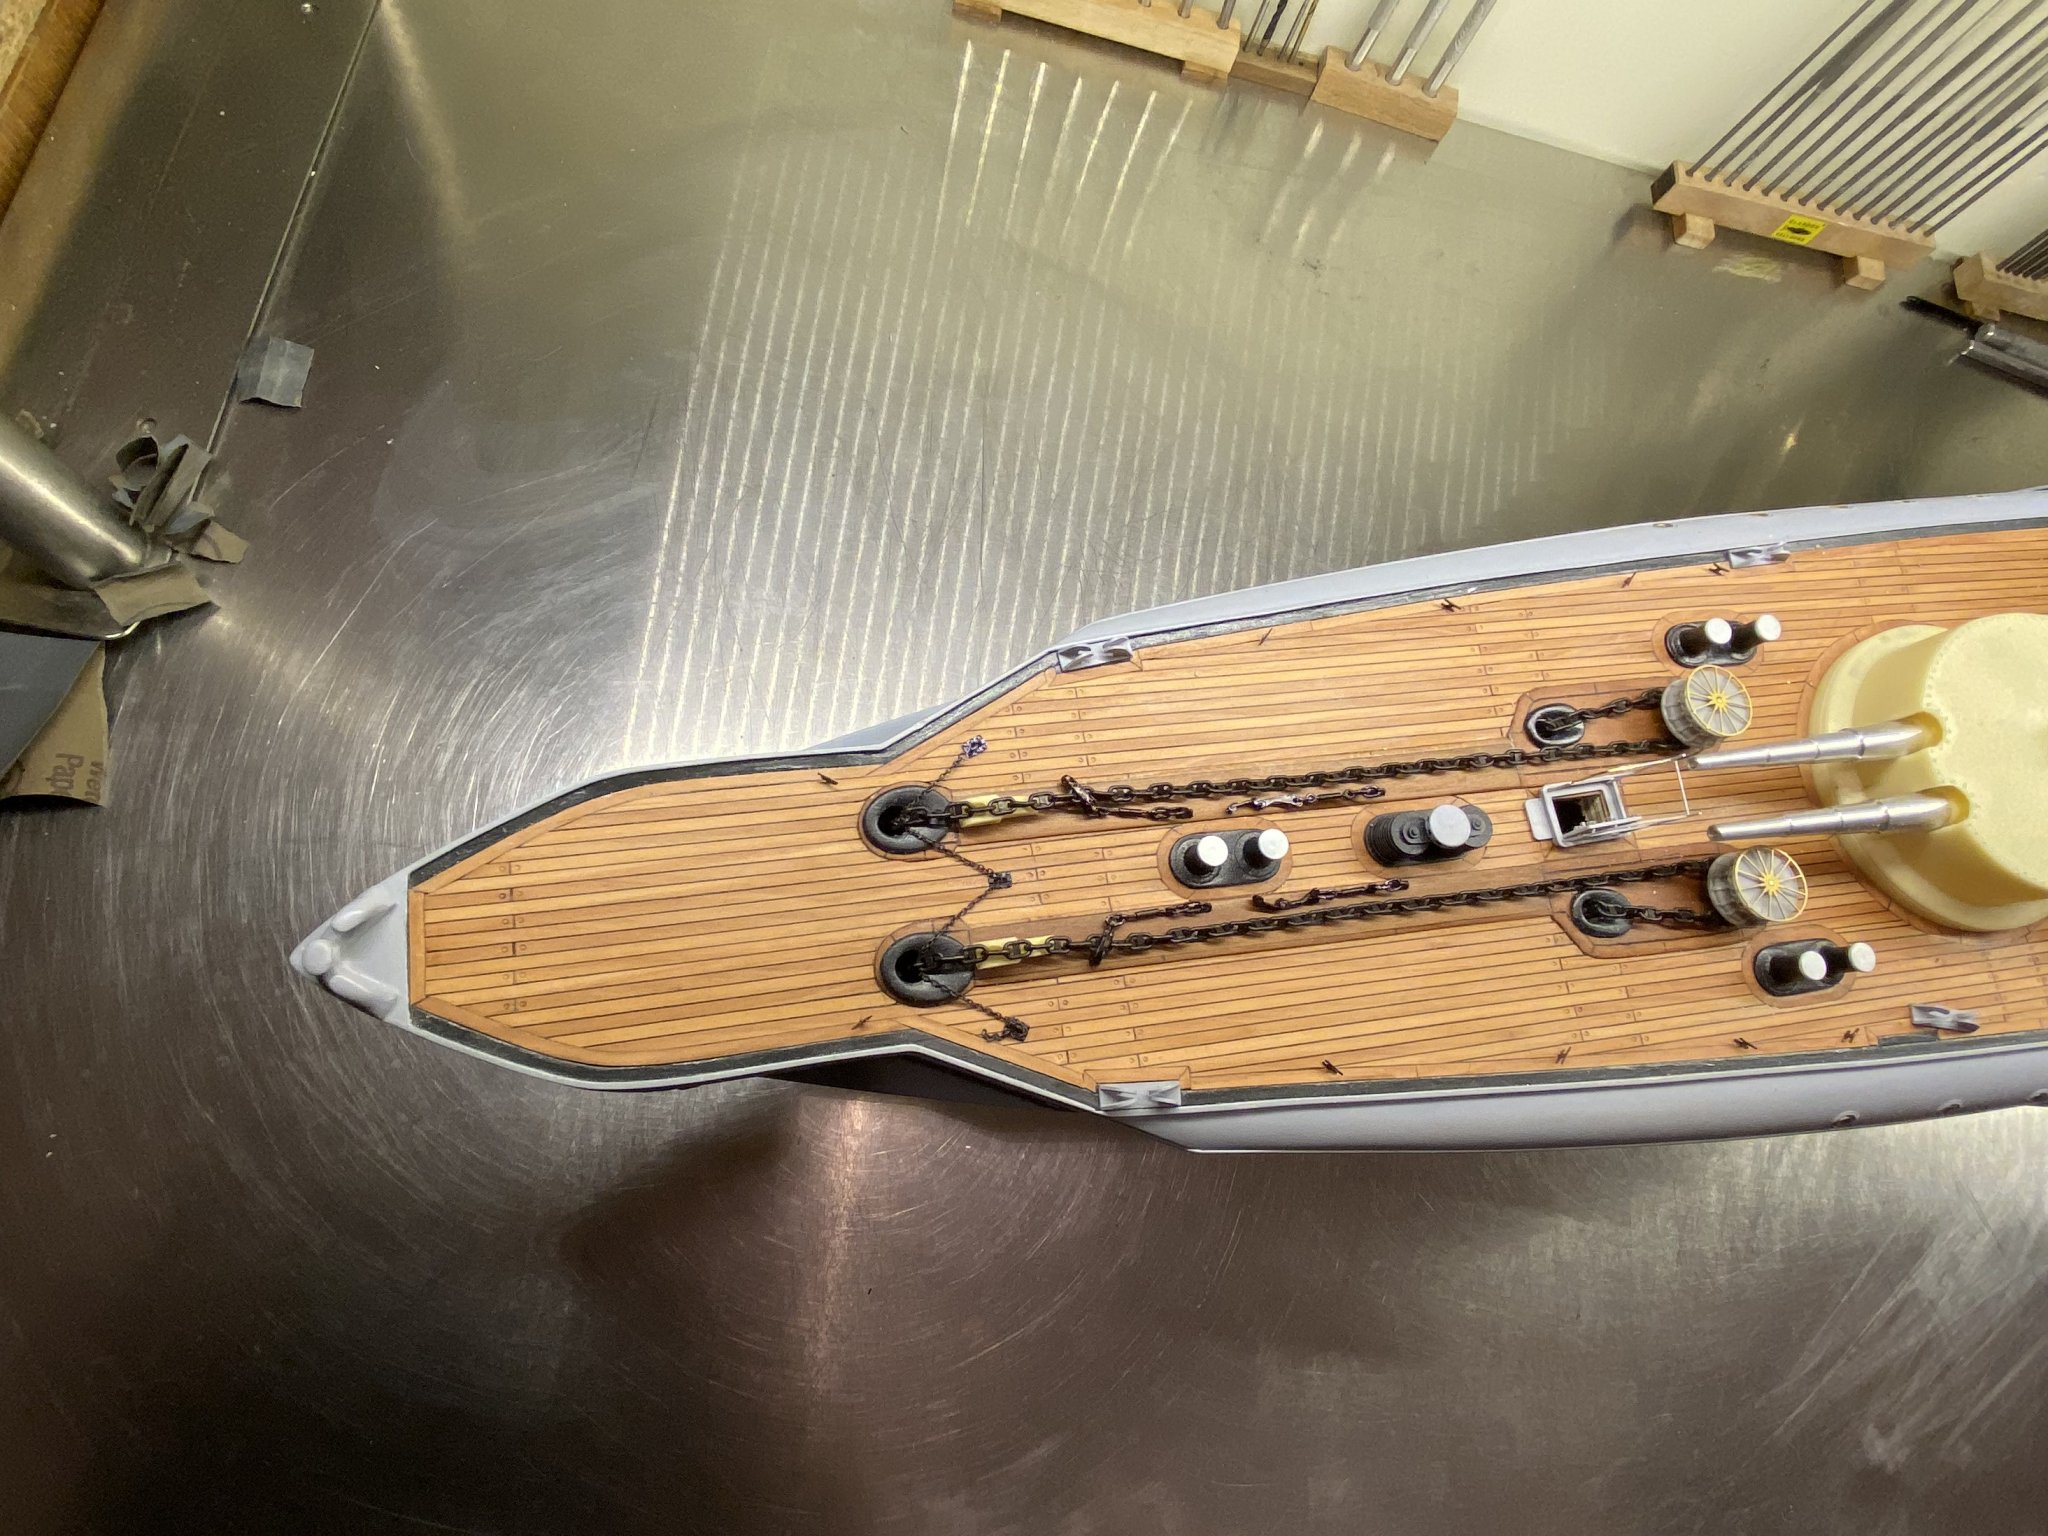
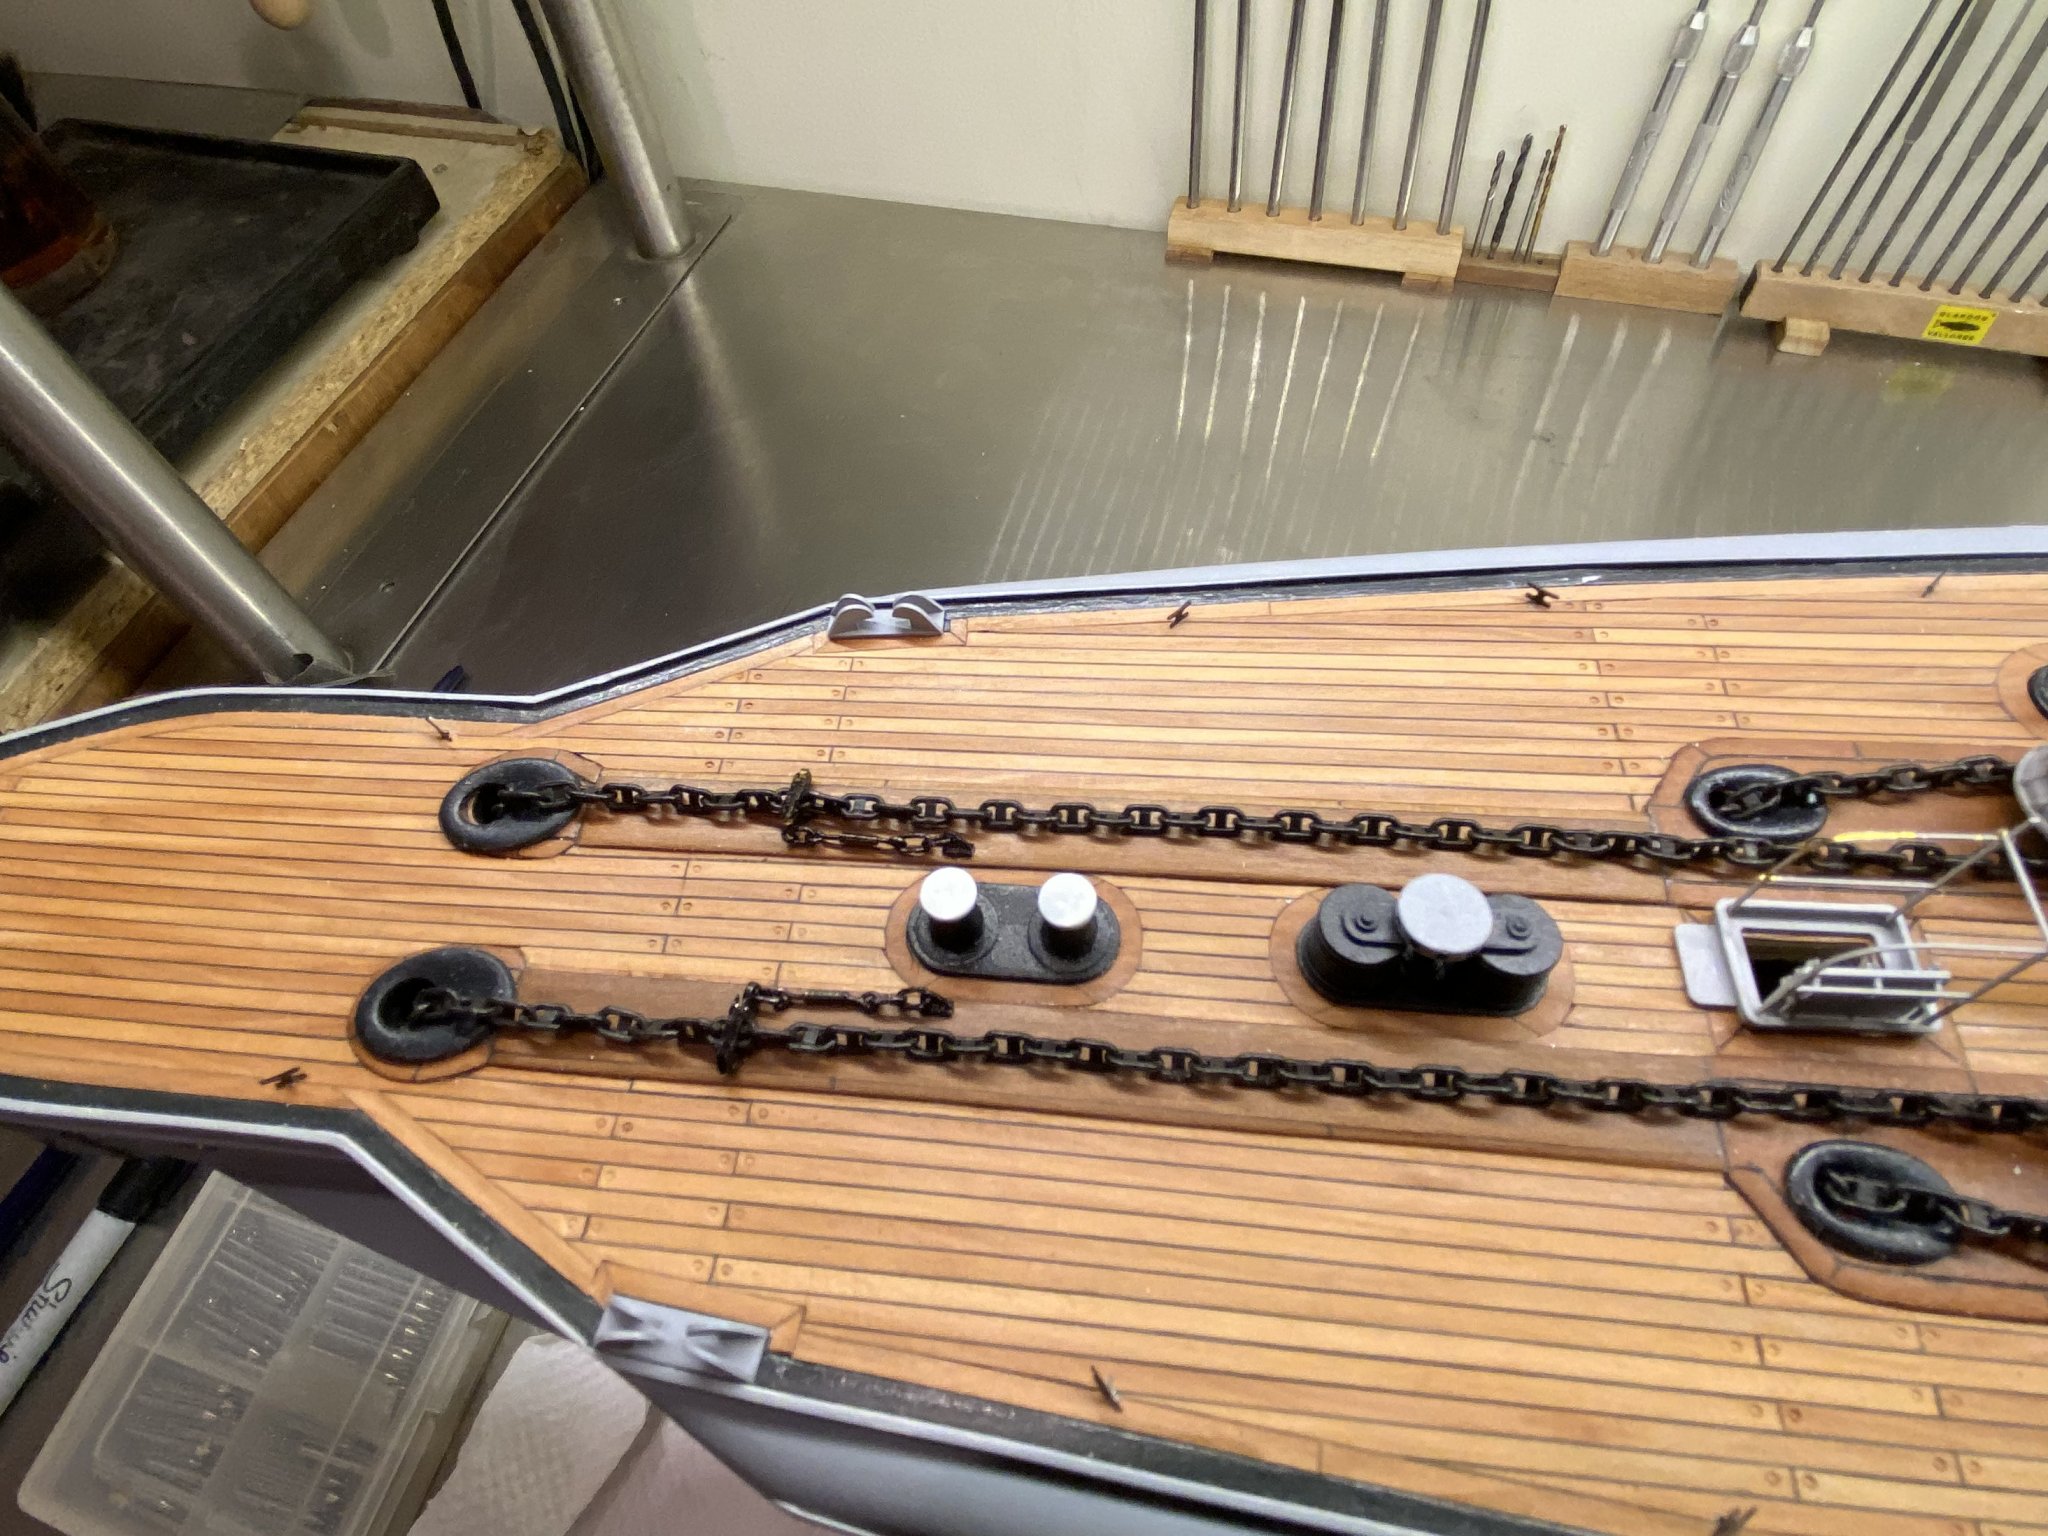
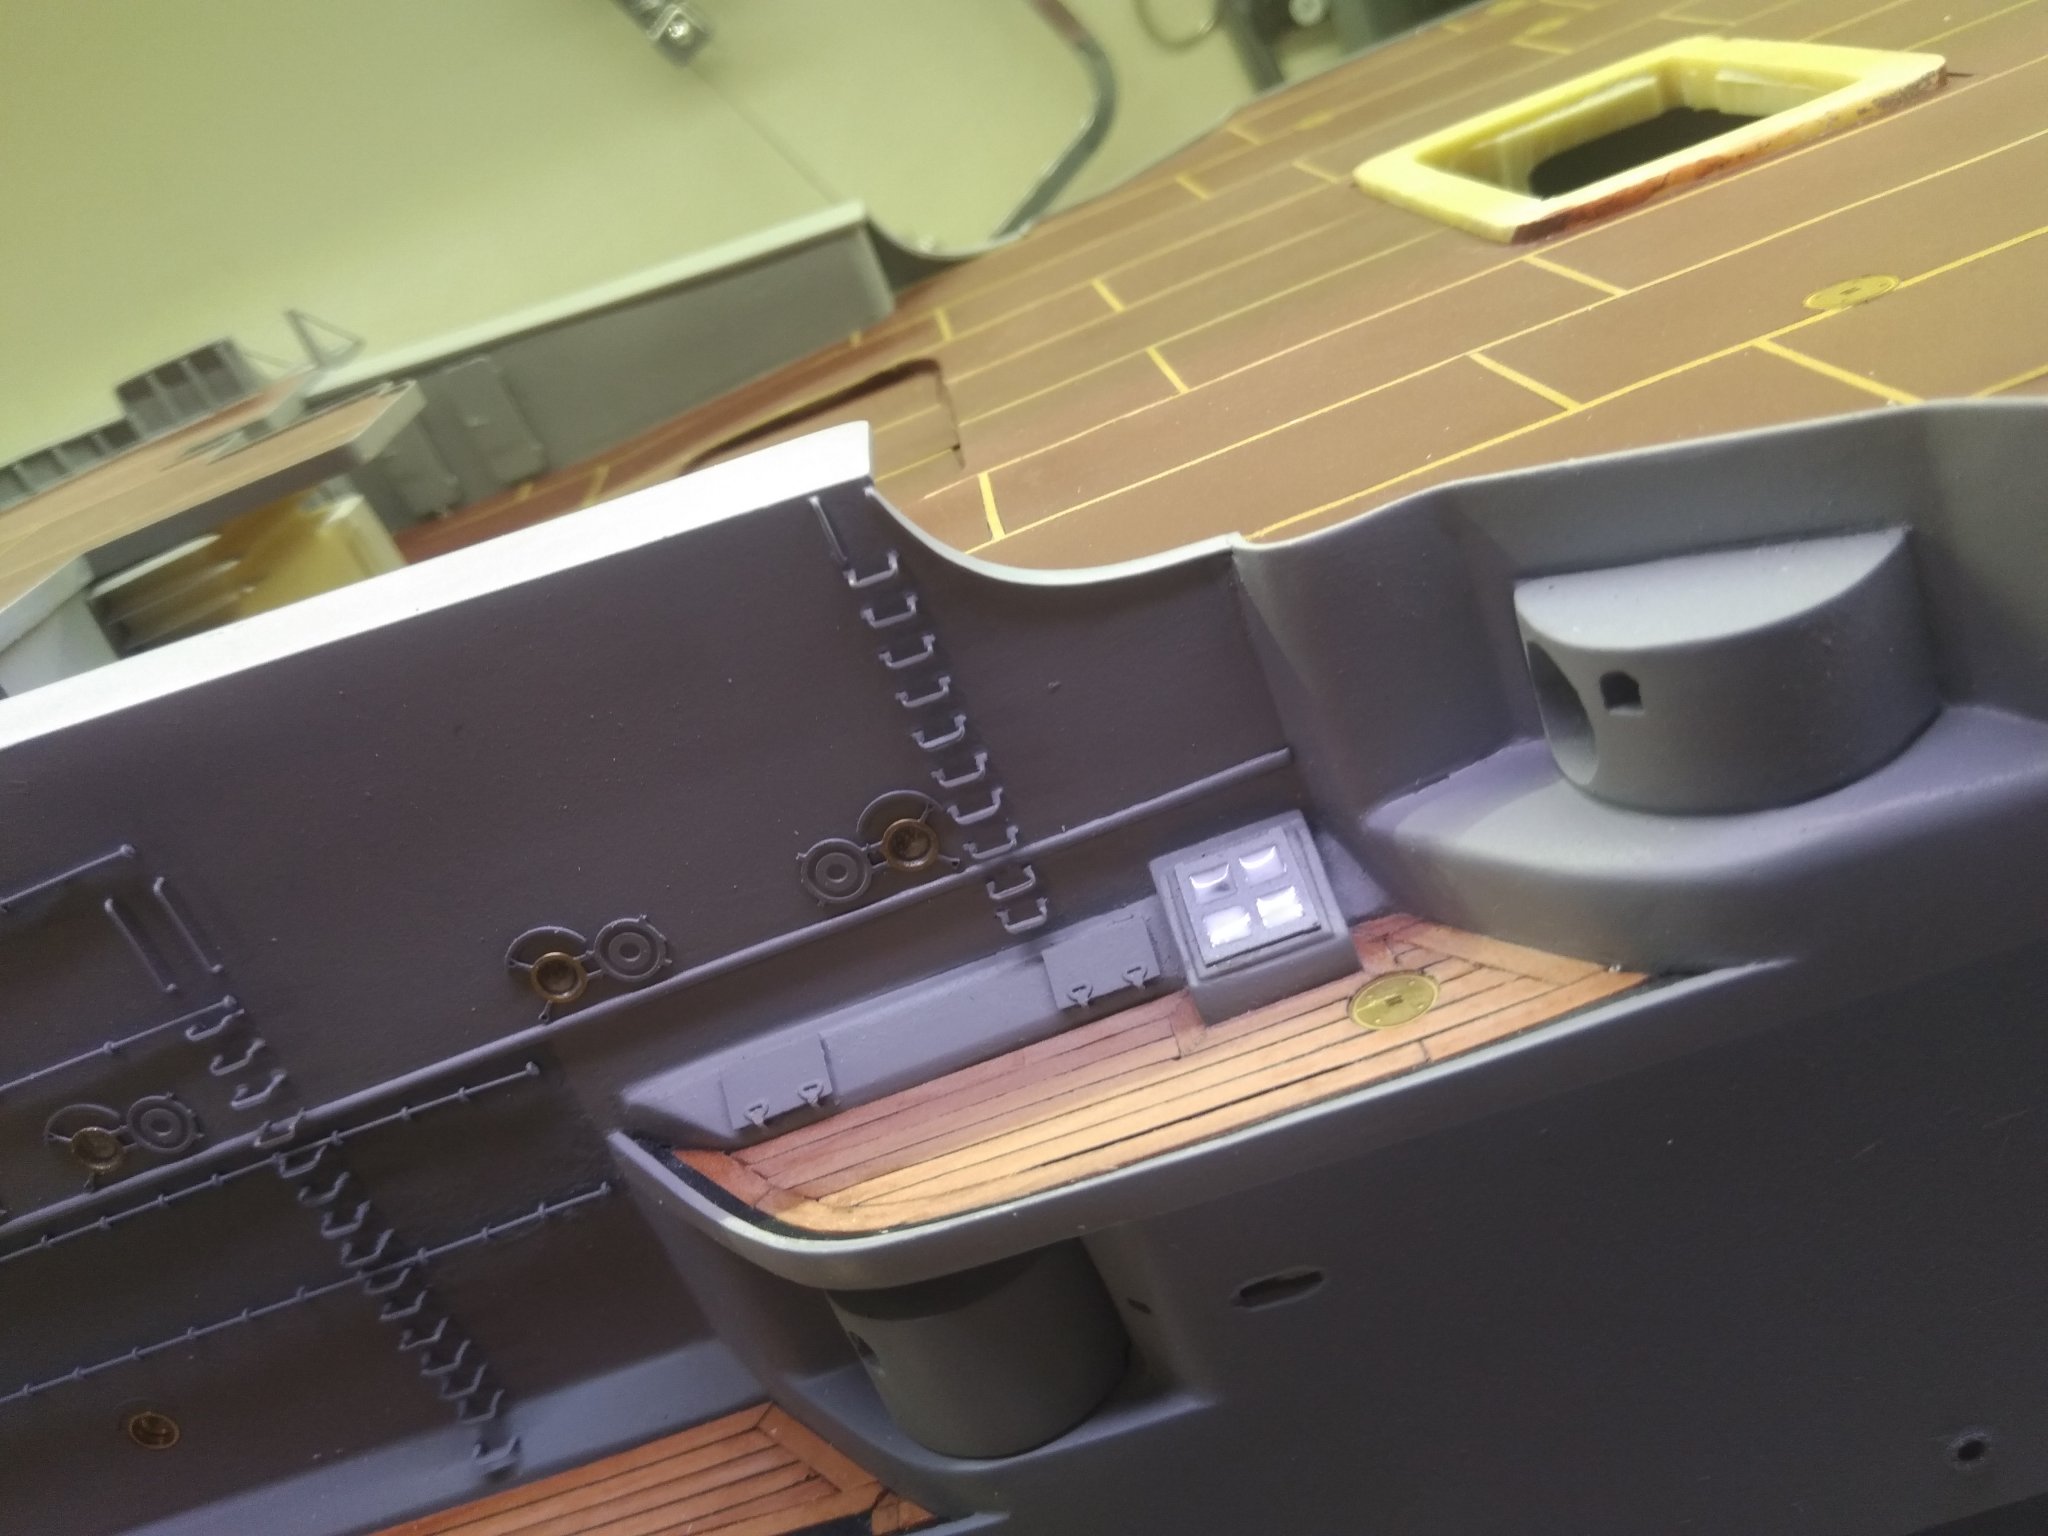
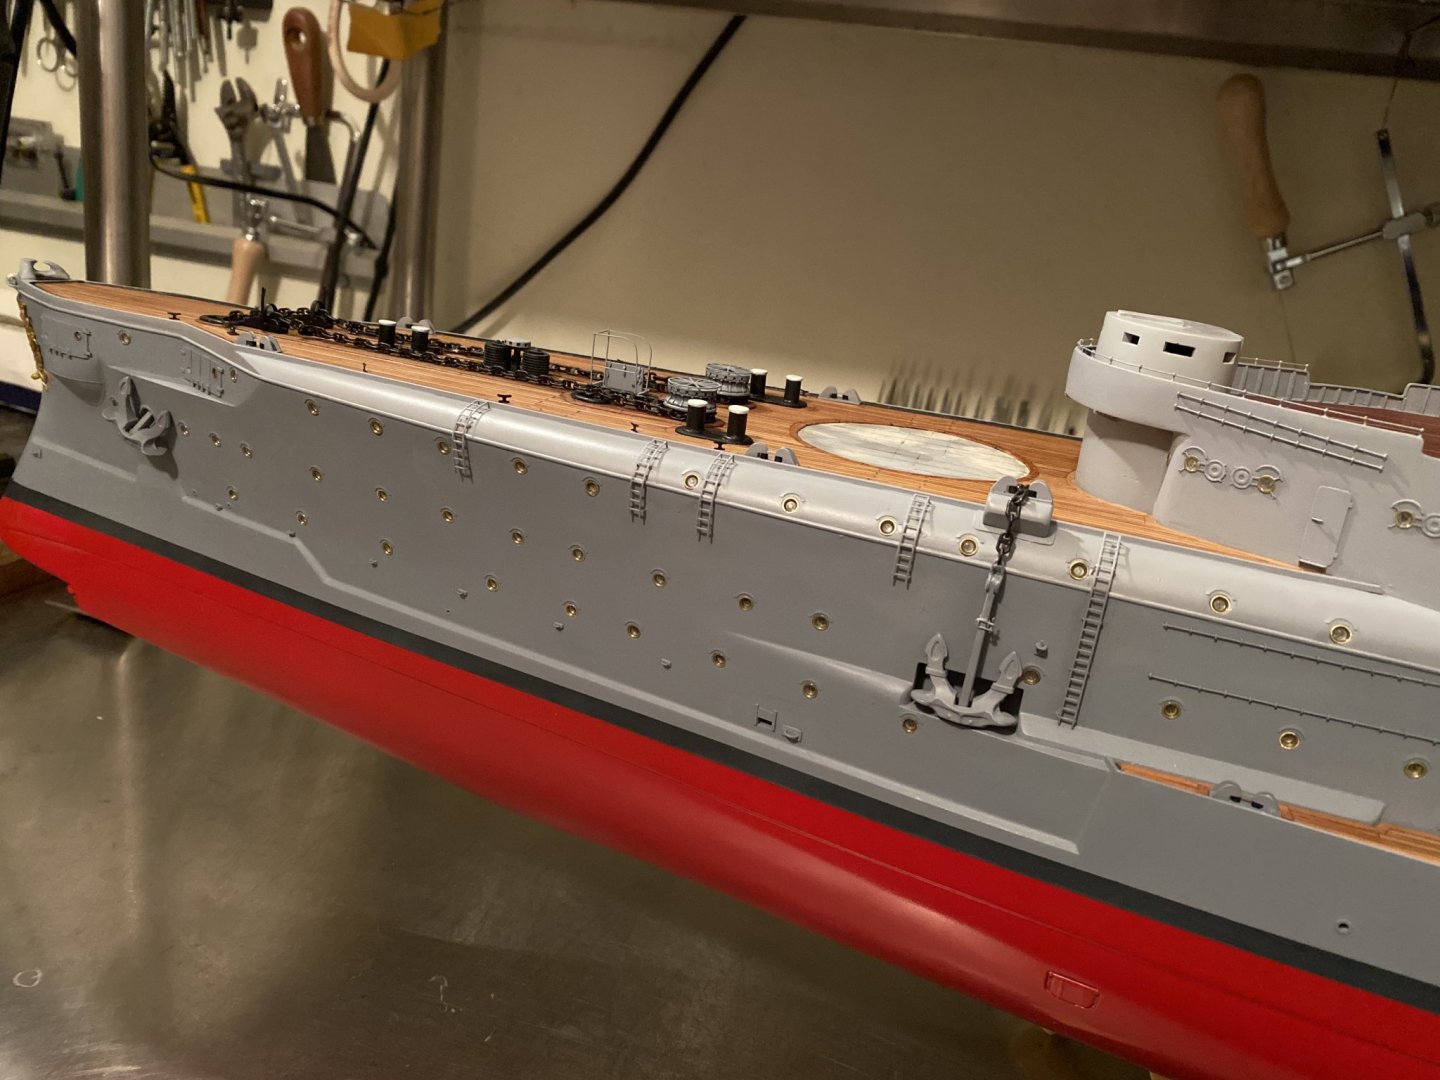
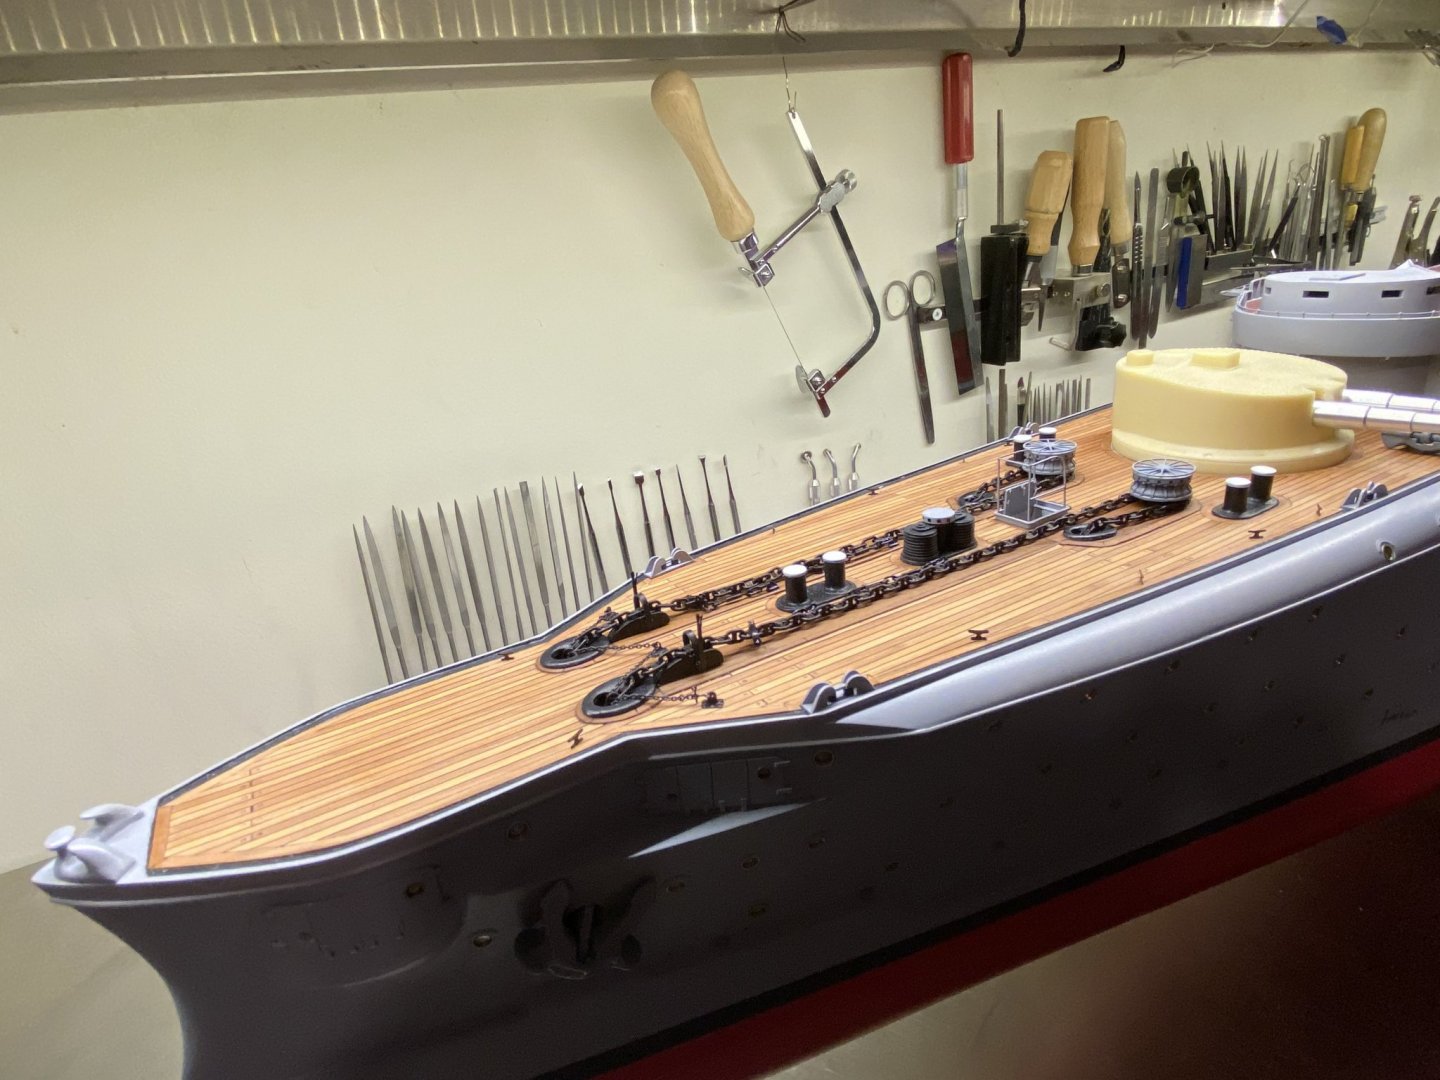
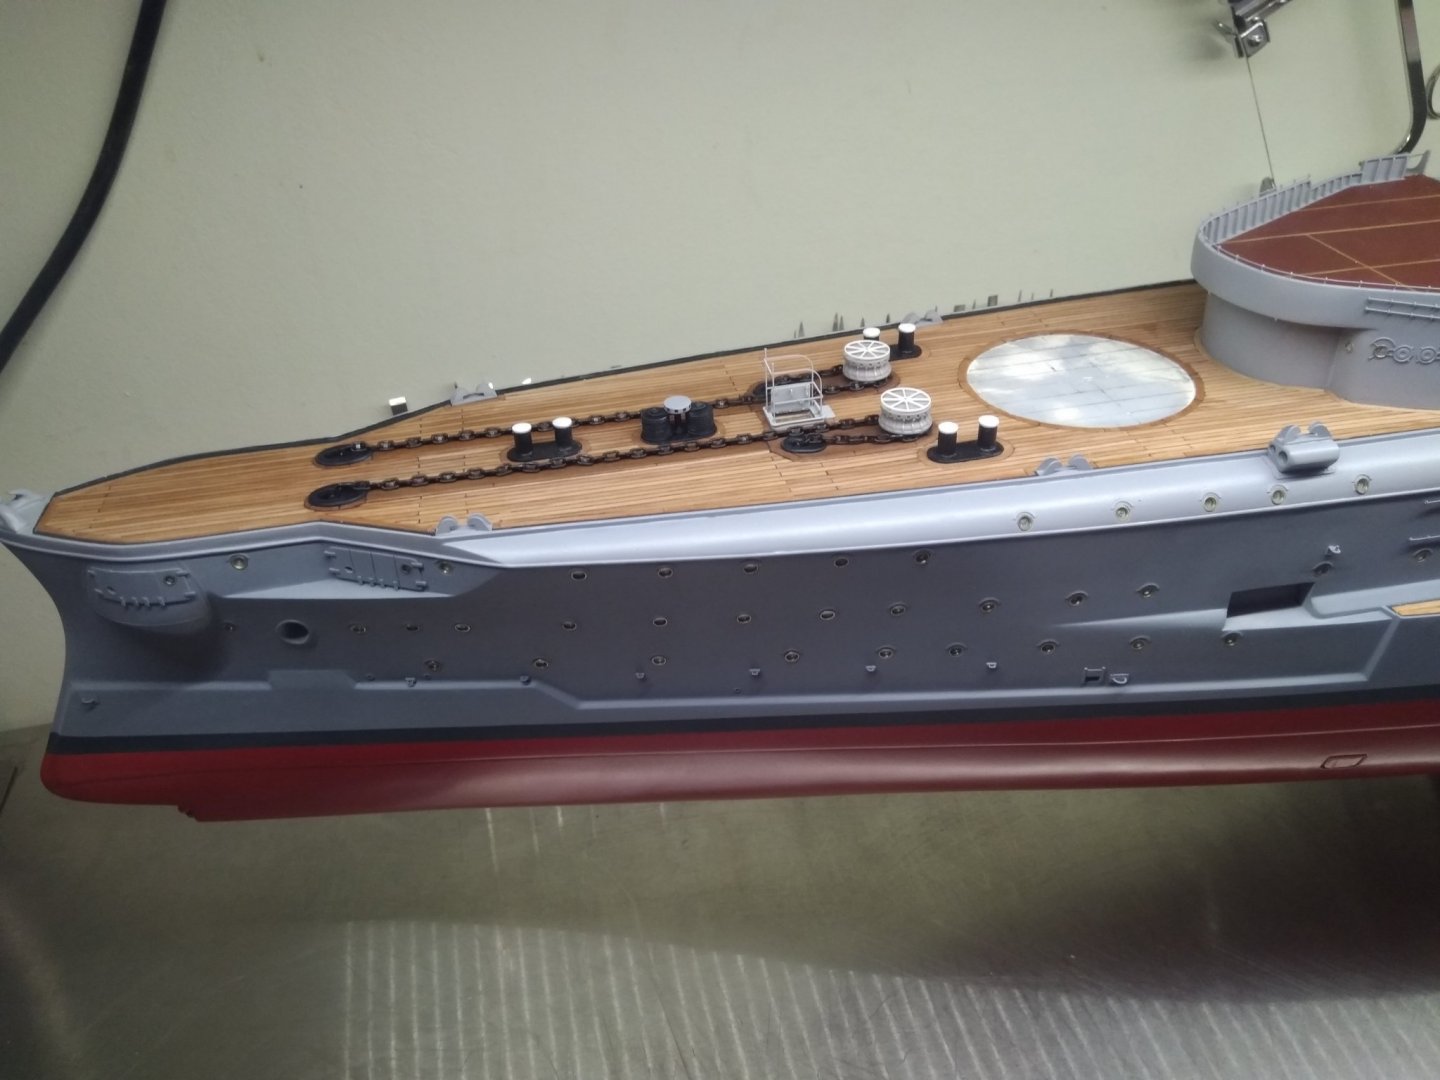
Thanks everybody for the thumbs up and kind reactions finished the chapter anchor chains and all is related too it below a few pictures


- 202 replies
-
- 15
-
-
- battleship
- scharnhorst
- (and 2 more)
-
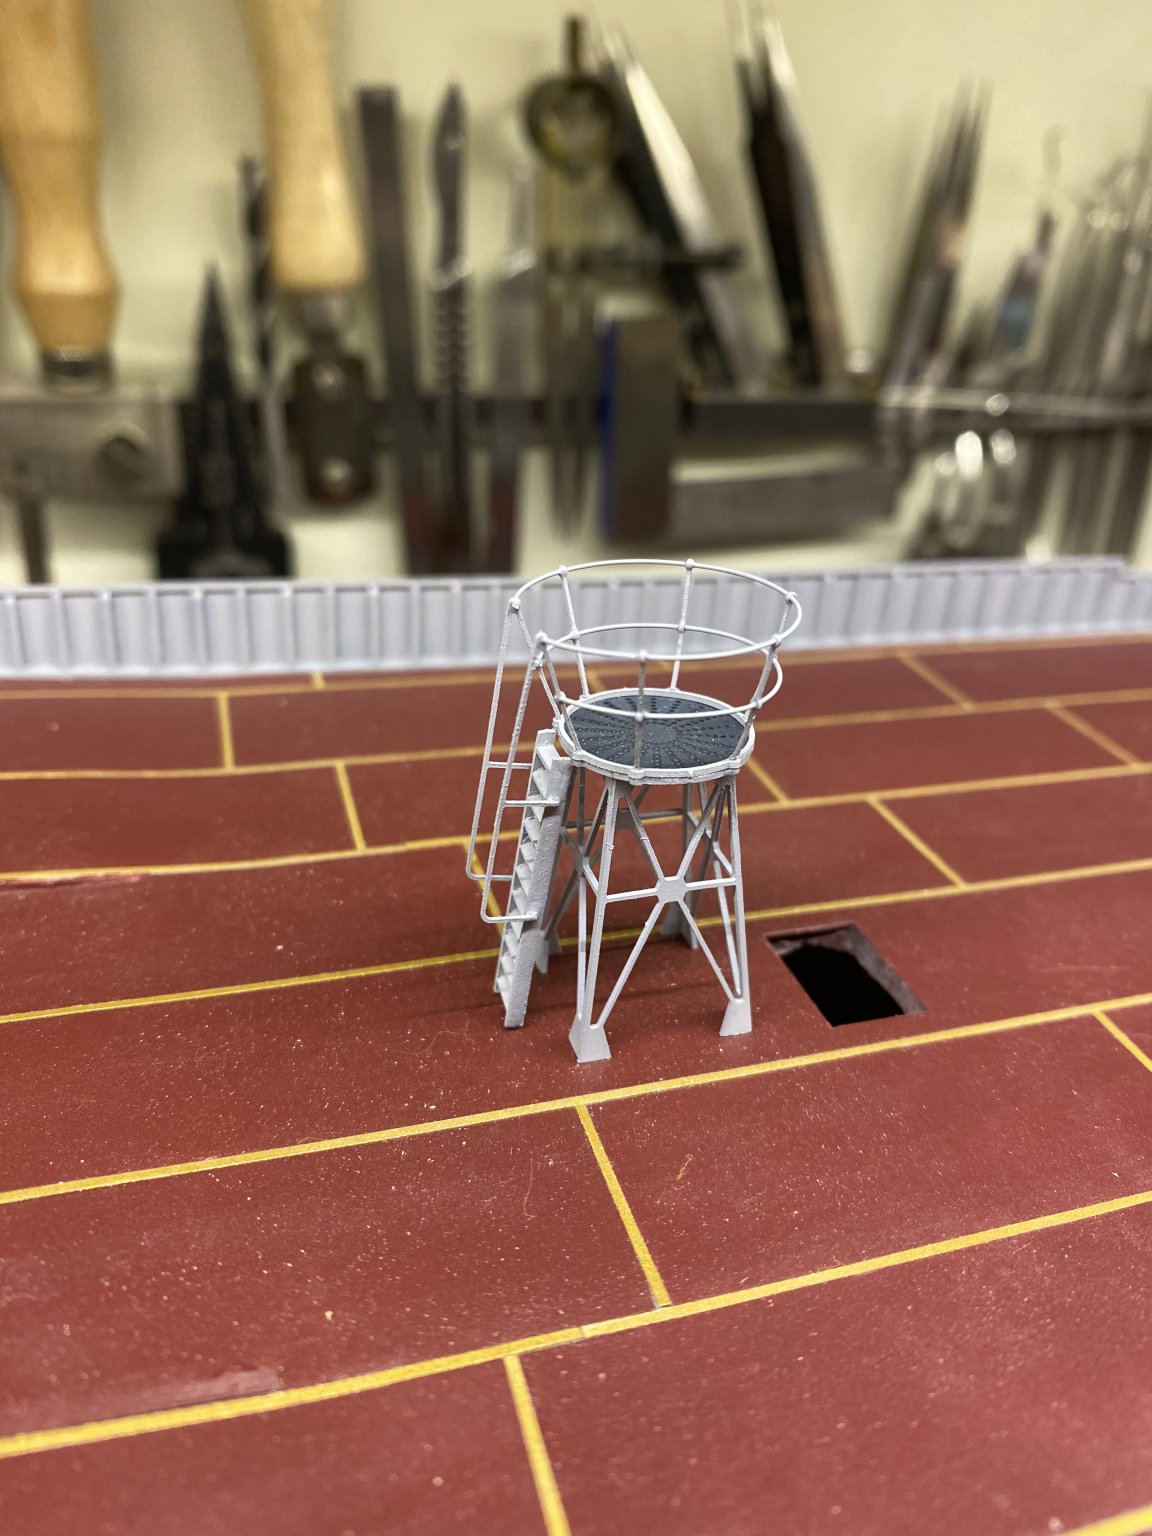
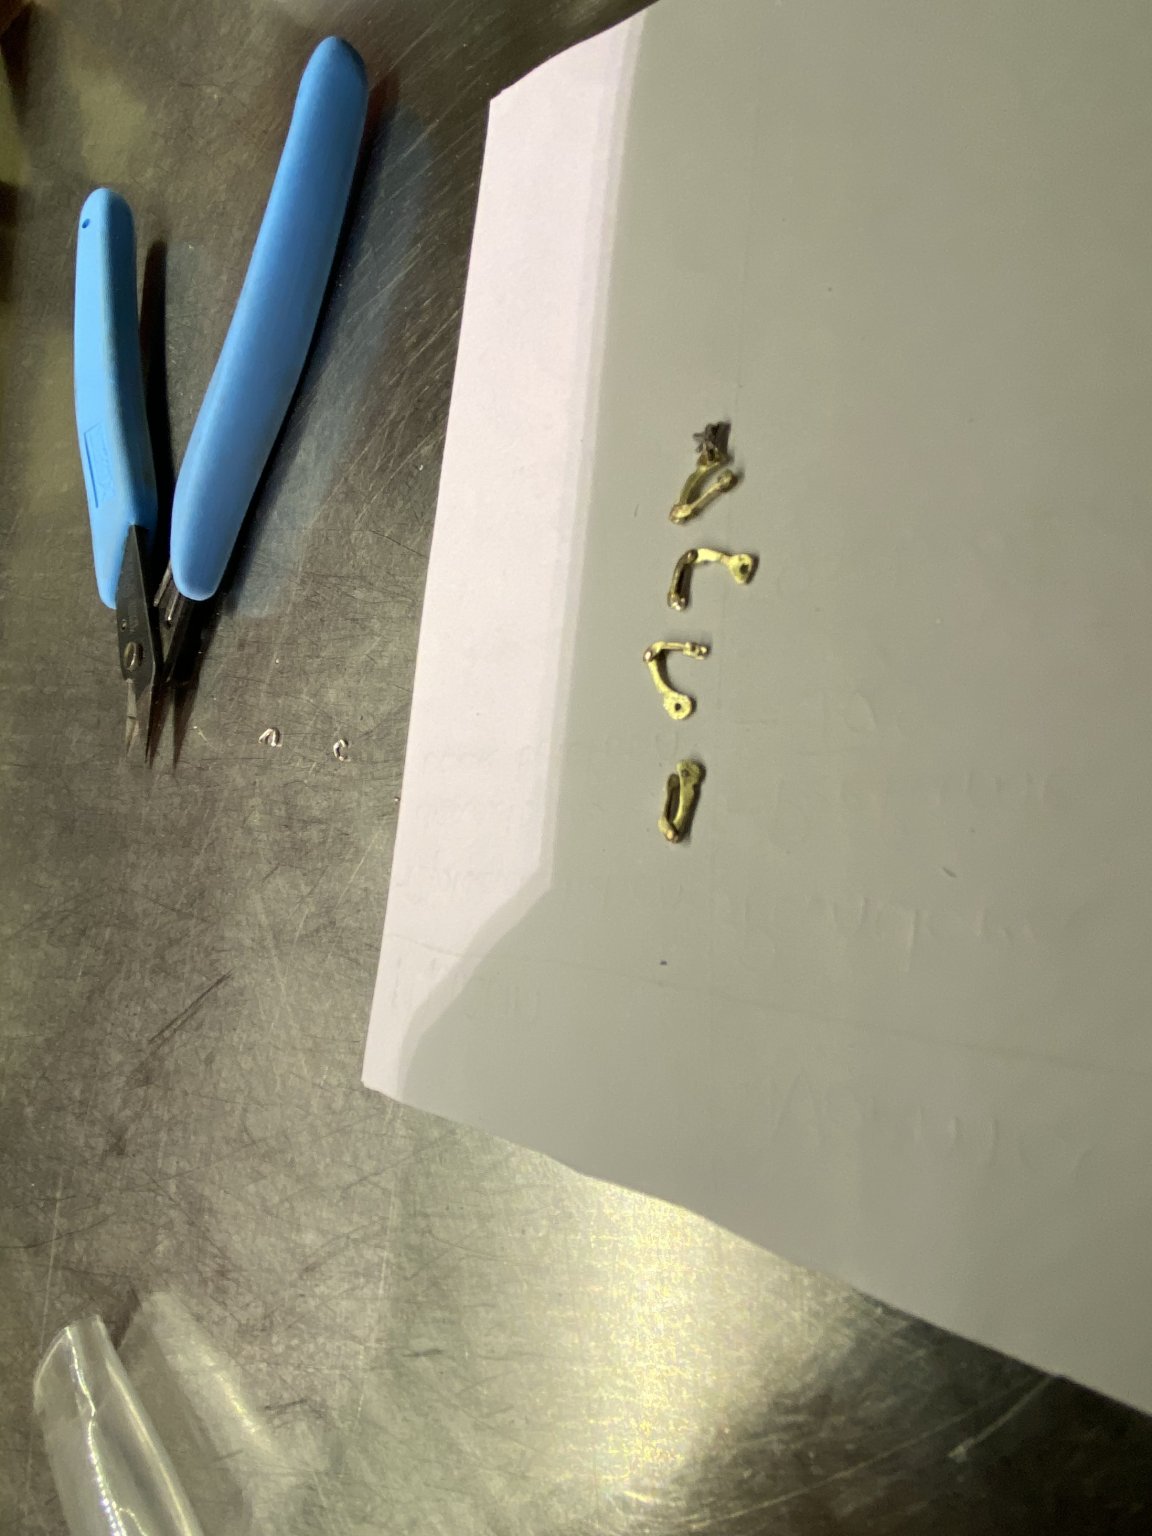
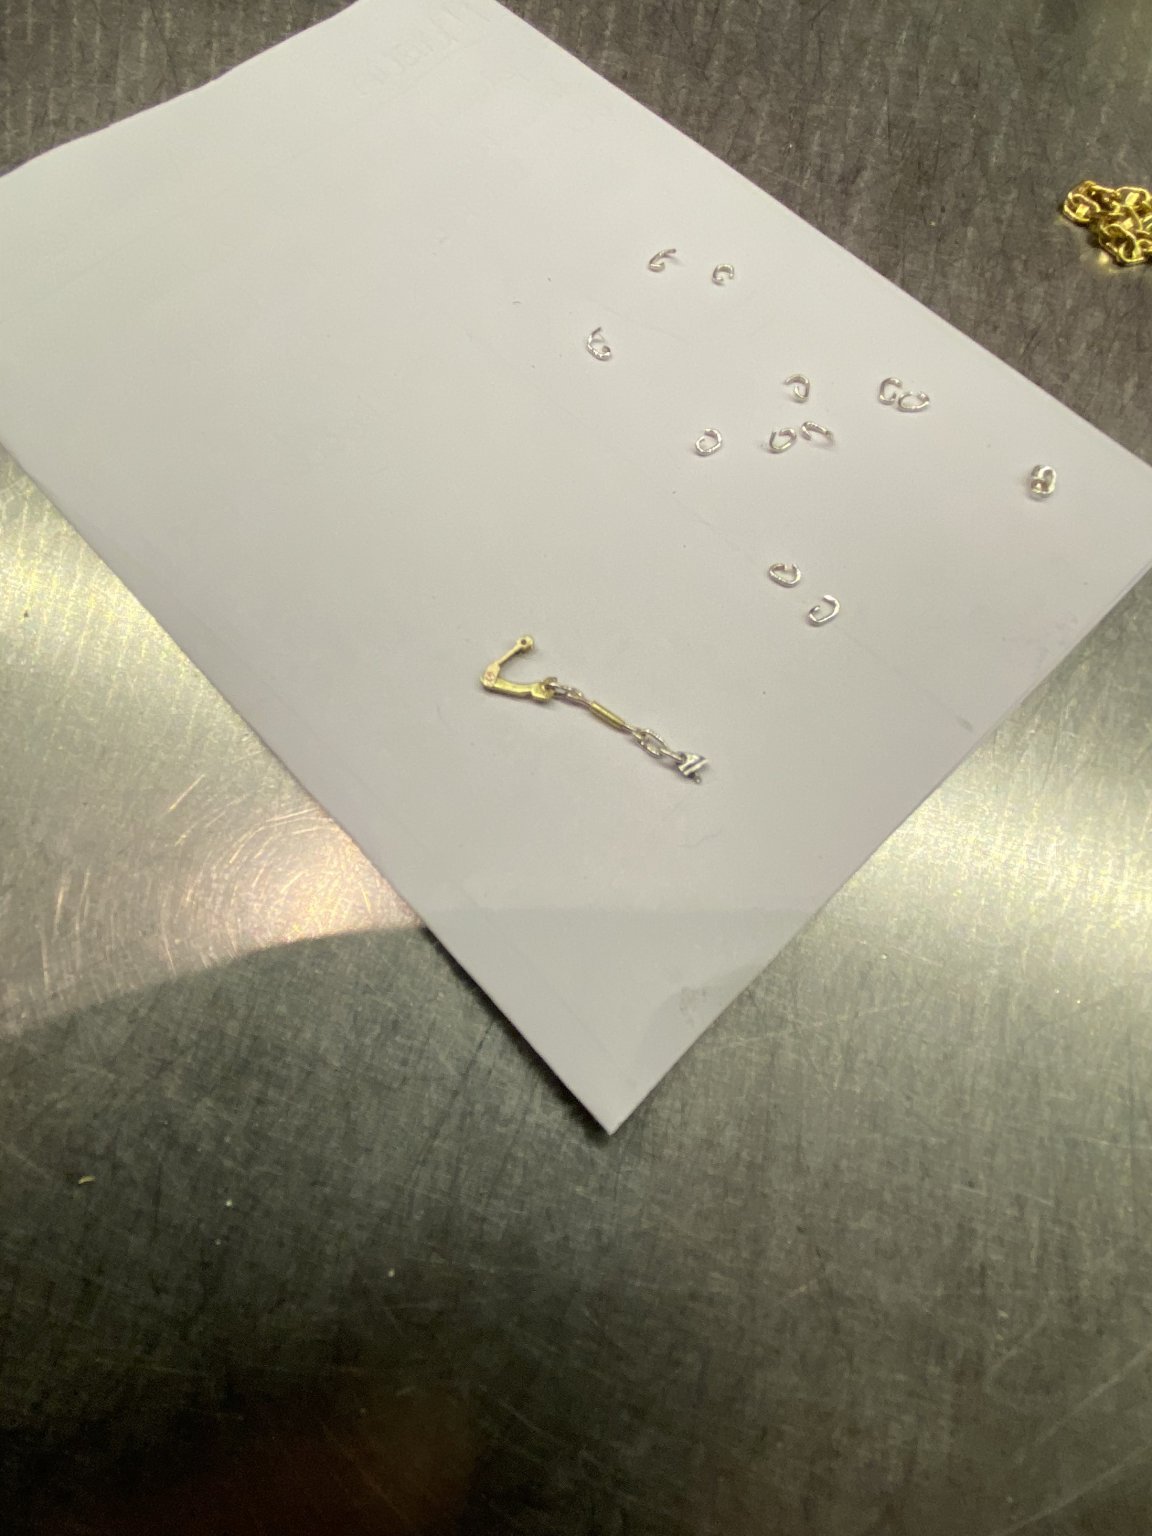
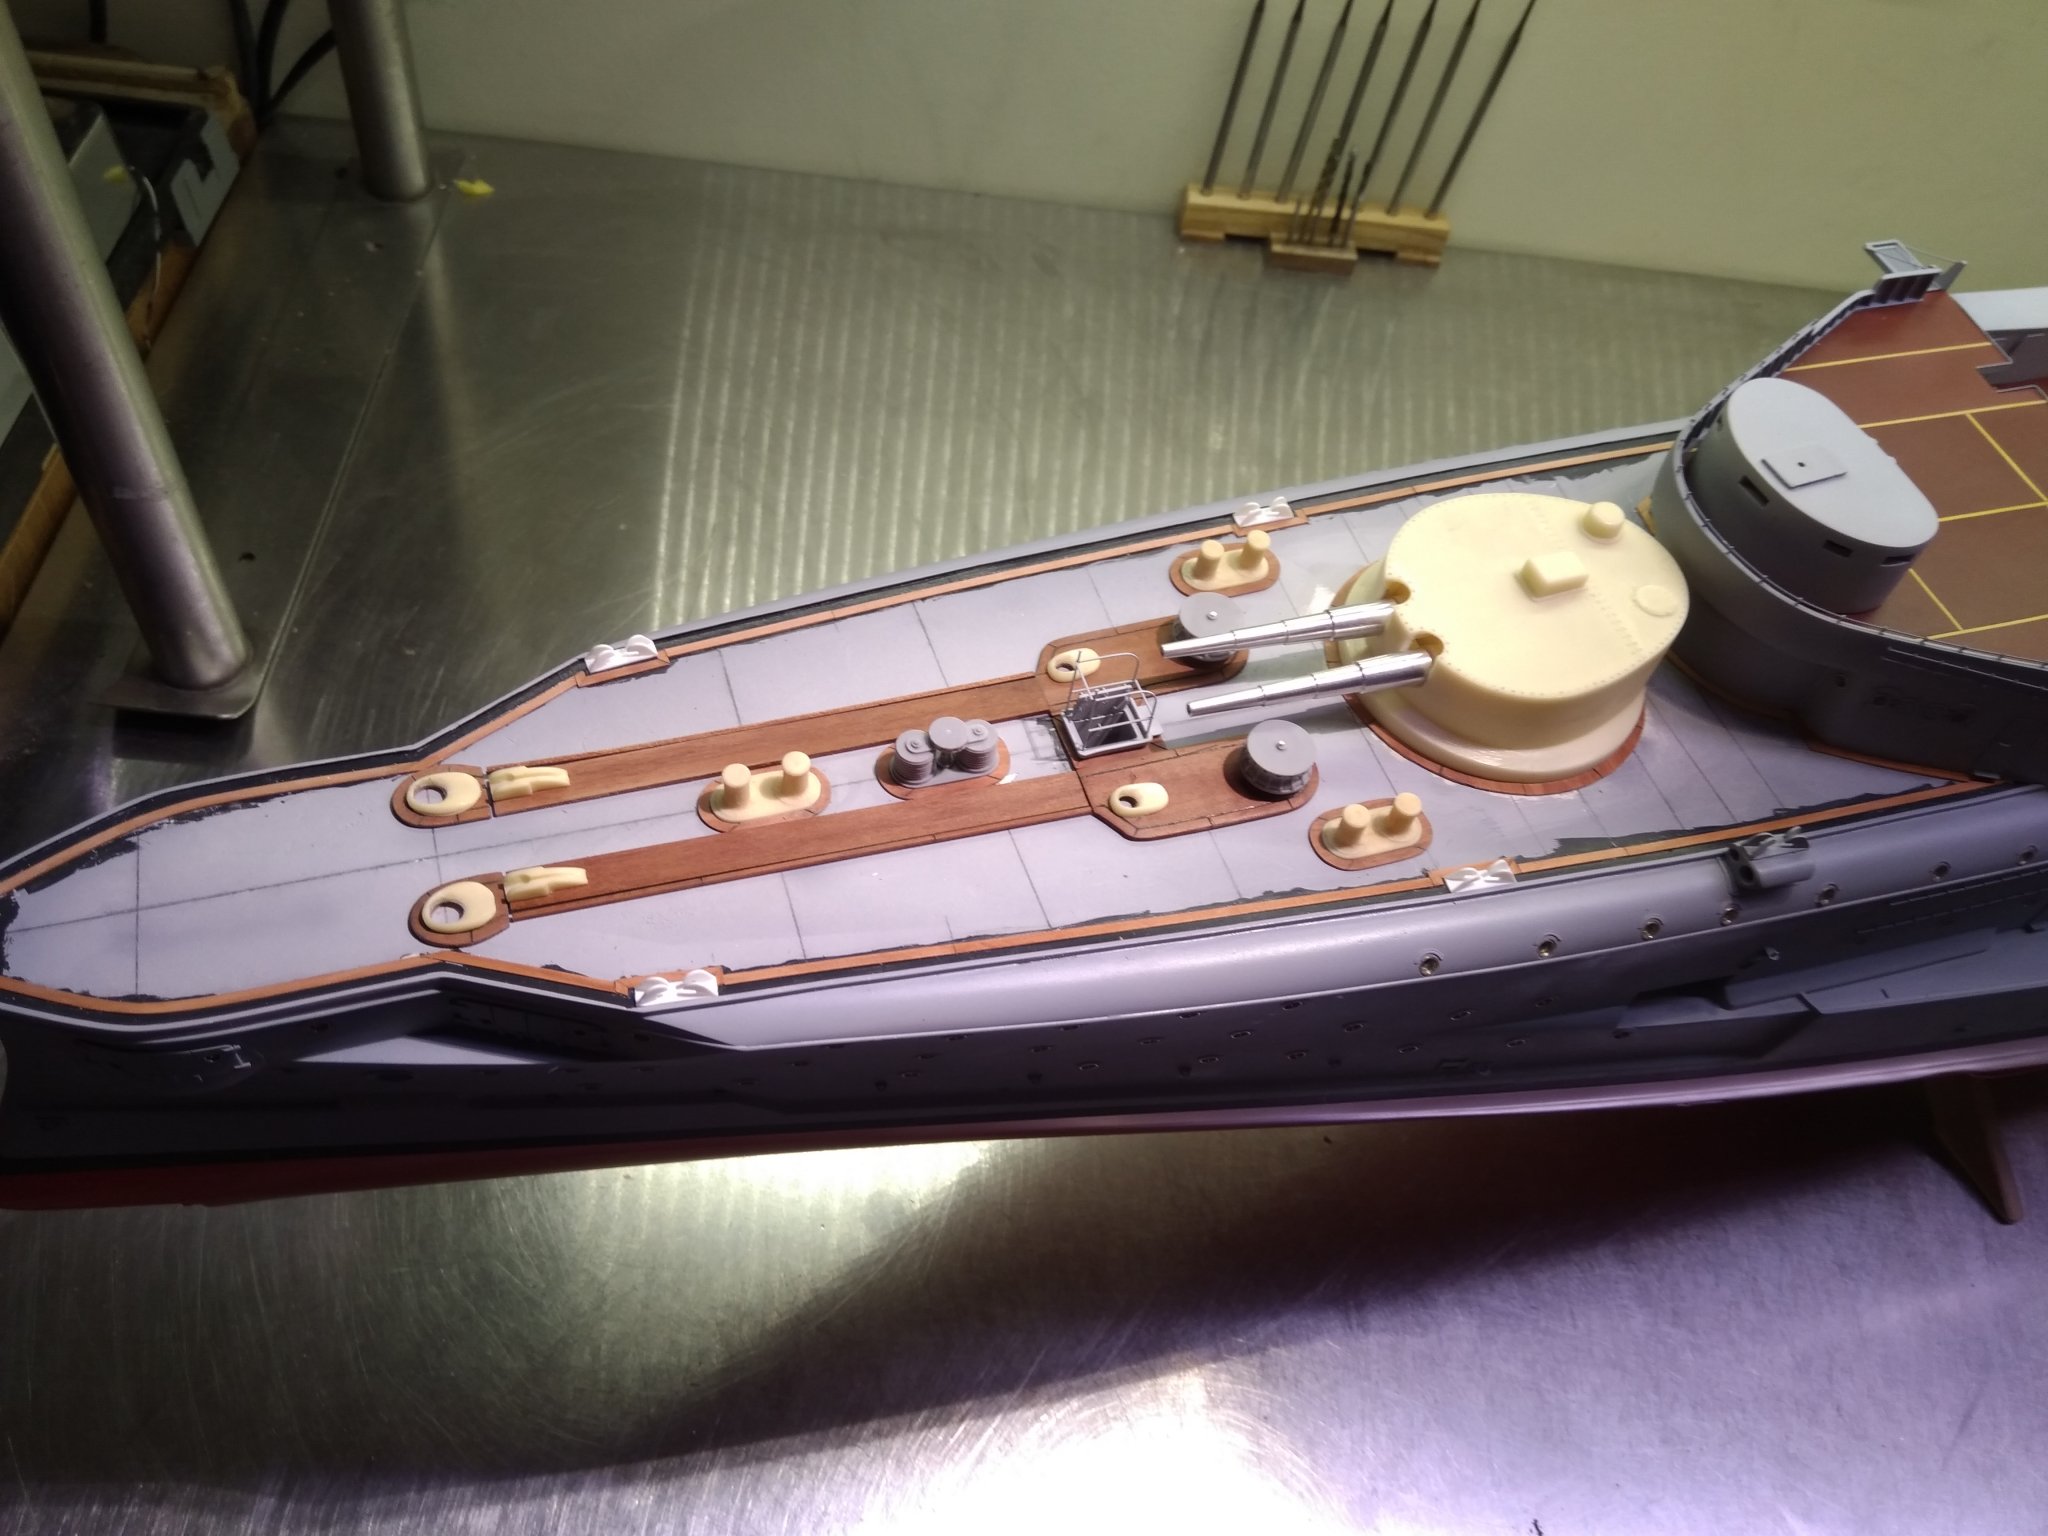
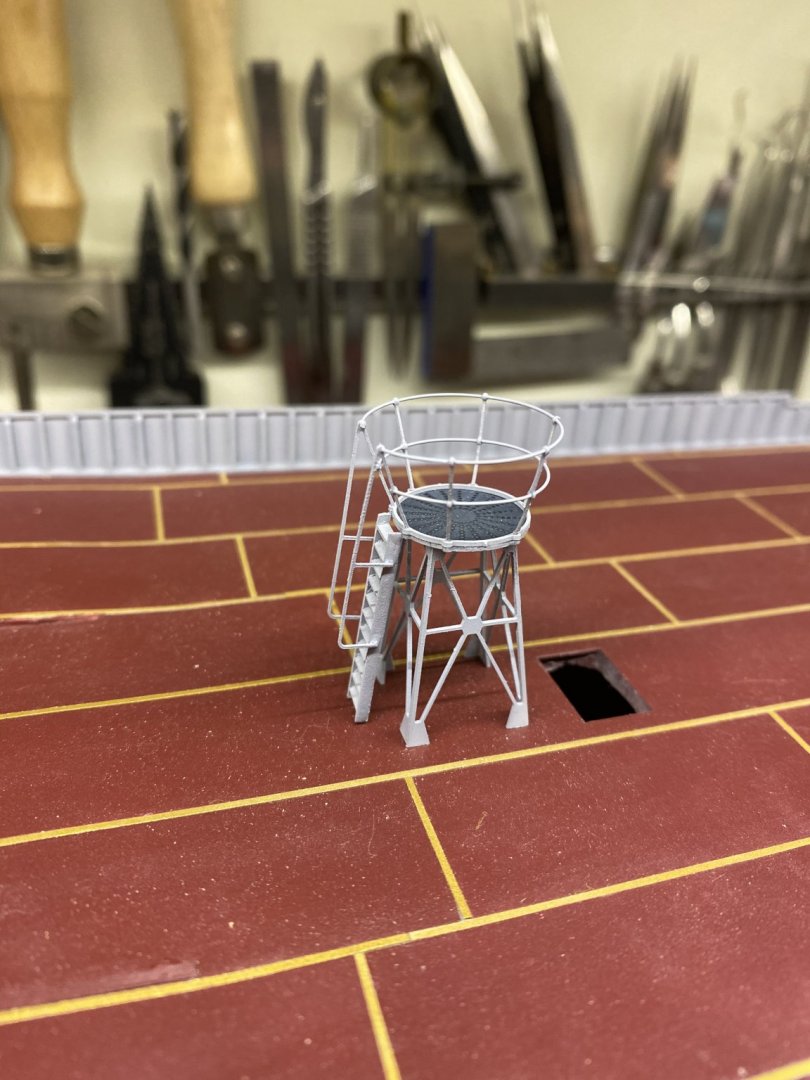
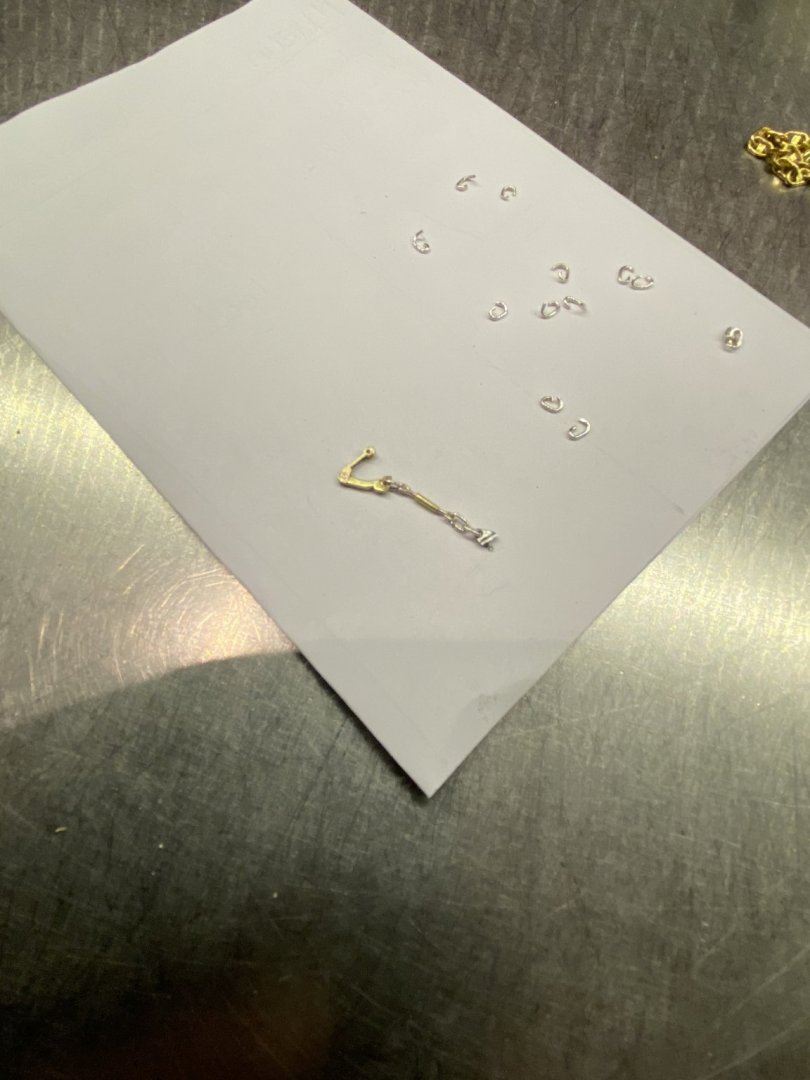
Made the pelican hooks for the anchor chains, after a afternoon drilling, grinding, and sanding this is the result also made the platform tower used for the compass


- 202 replies
-
- 19
-
-
- battleship
- scharnhorst
- (and 2 more)
-
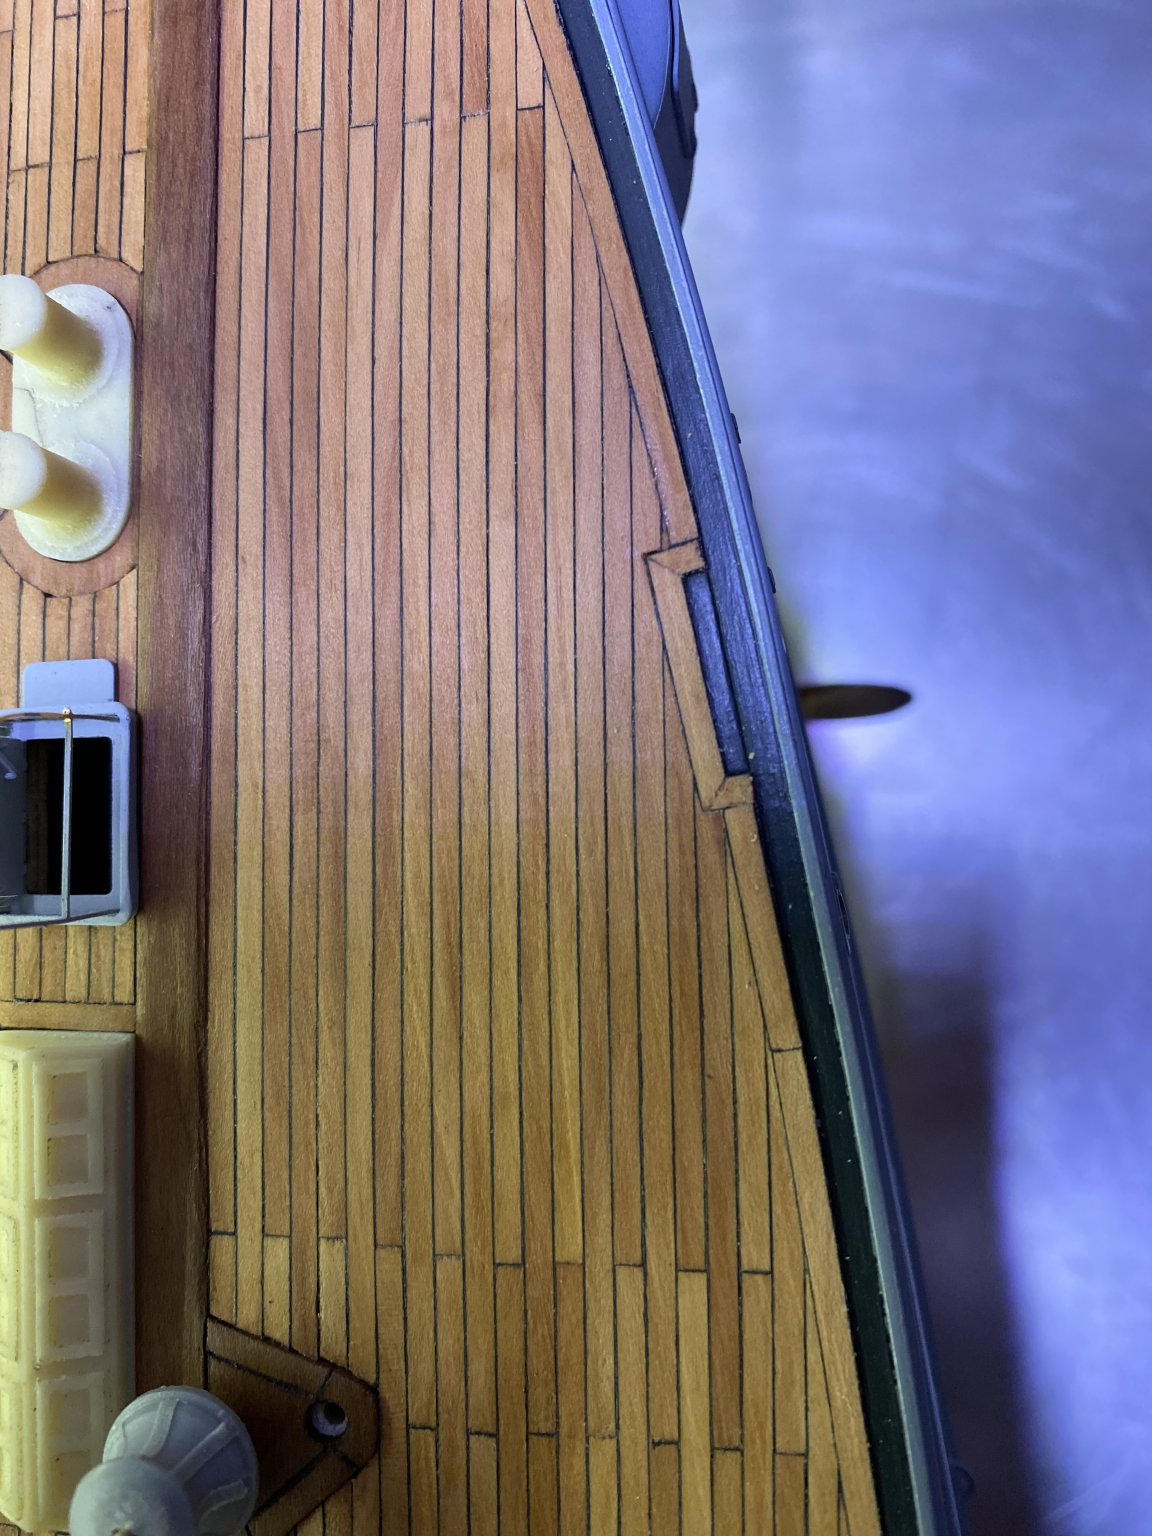
first I tried it with pvc electrical tape, stuck to one side of the wood and then saw boards of it so I had cut a stock to work from. but discovered that the glue from the tape will come loose for a while. had tried several types of PVC tape from cheap to expensive, all more or less the same result This is mainly due to the warmth that we have here in the Caribbean. That's how I came up with the idea of painting the wood on both sides in black and then saw boards of it the two sides laid together, give me the perfect caulking seam.
- 202 replies
-
- 5
-
-
- battleship
- scharnhorst
- (and 2 more)
-
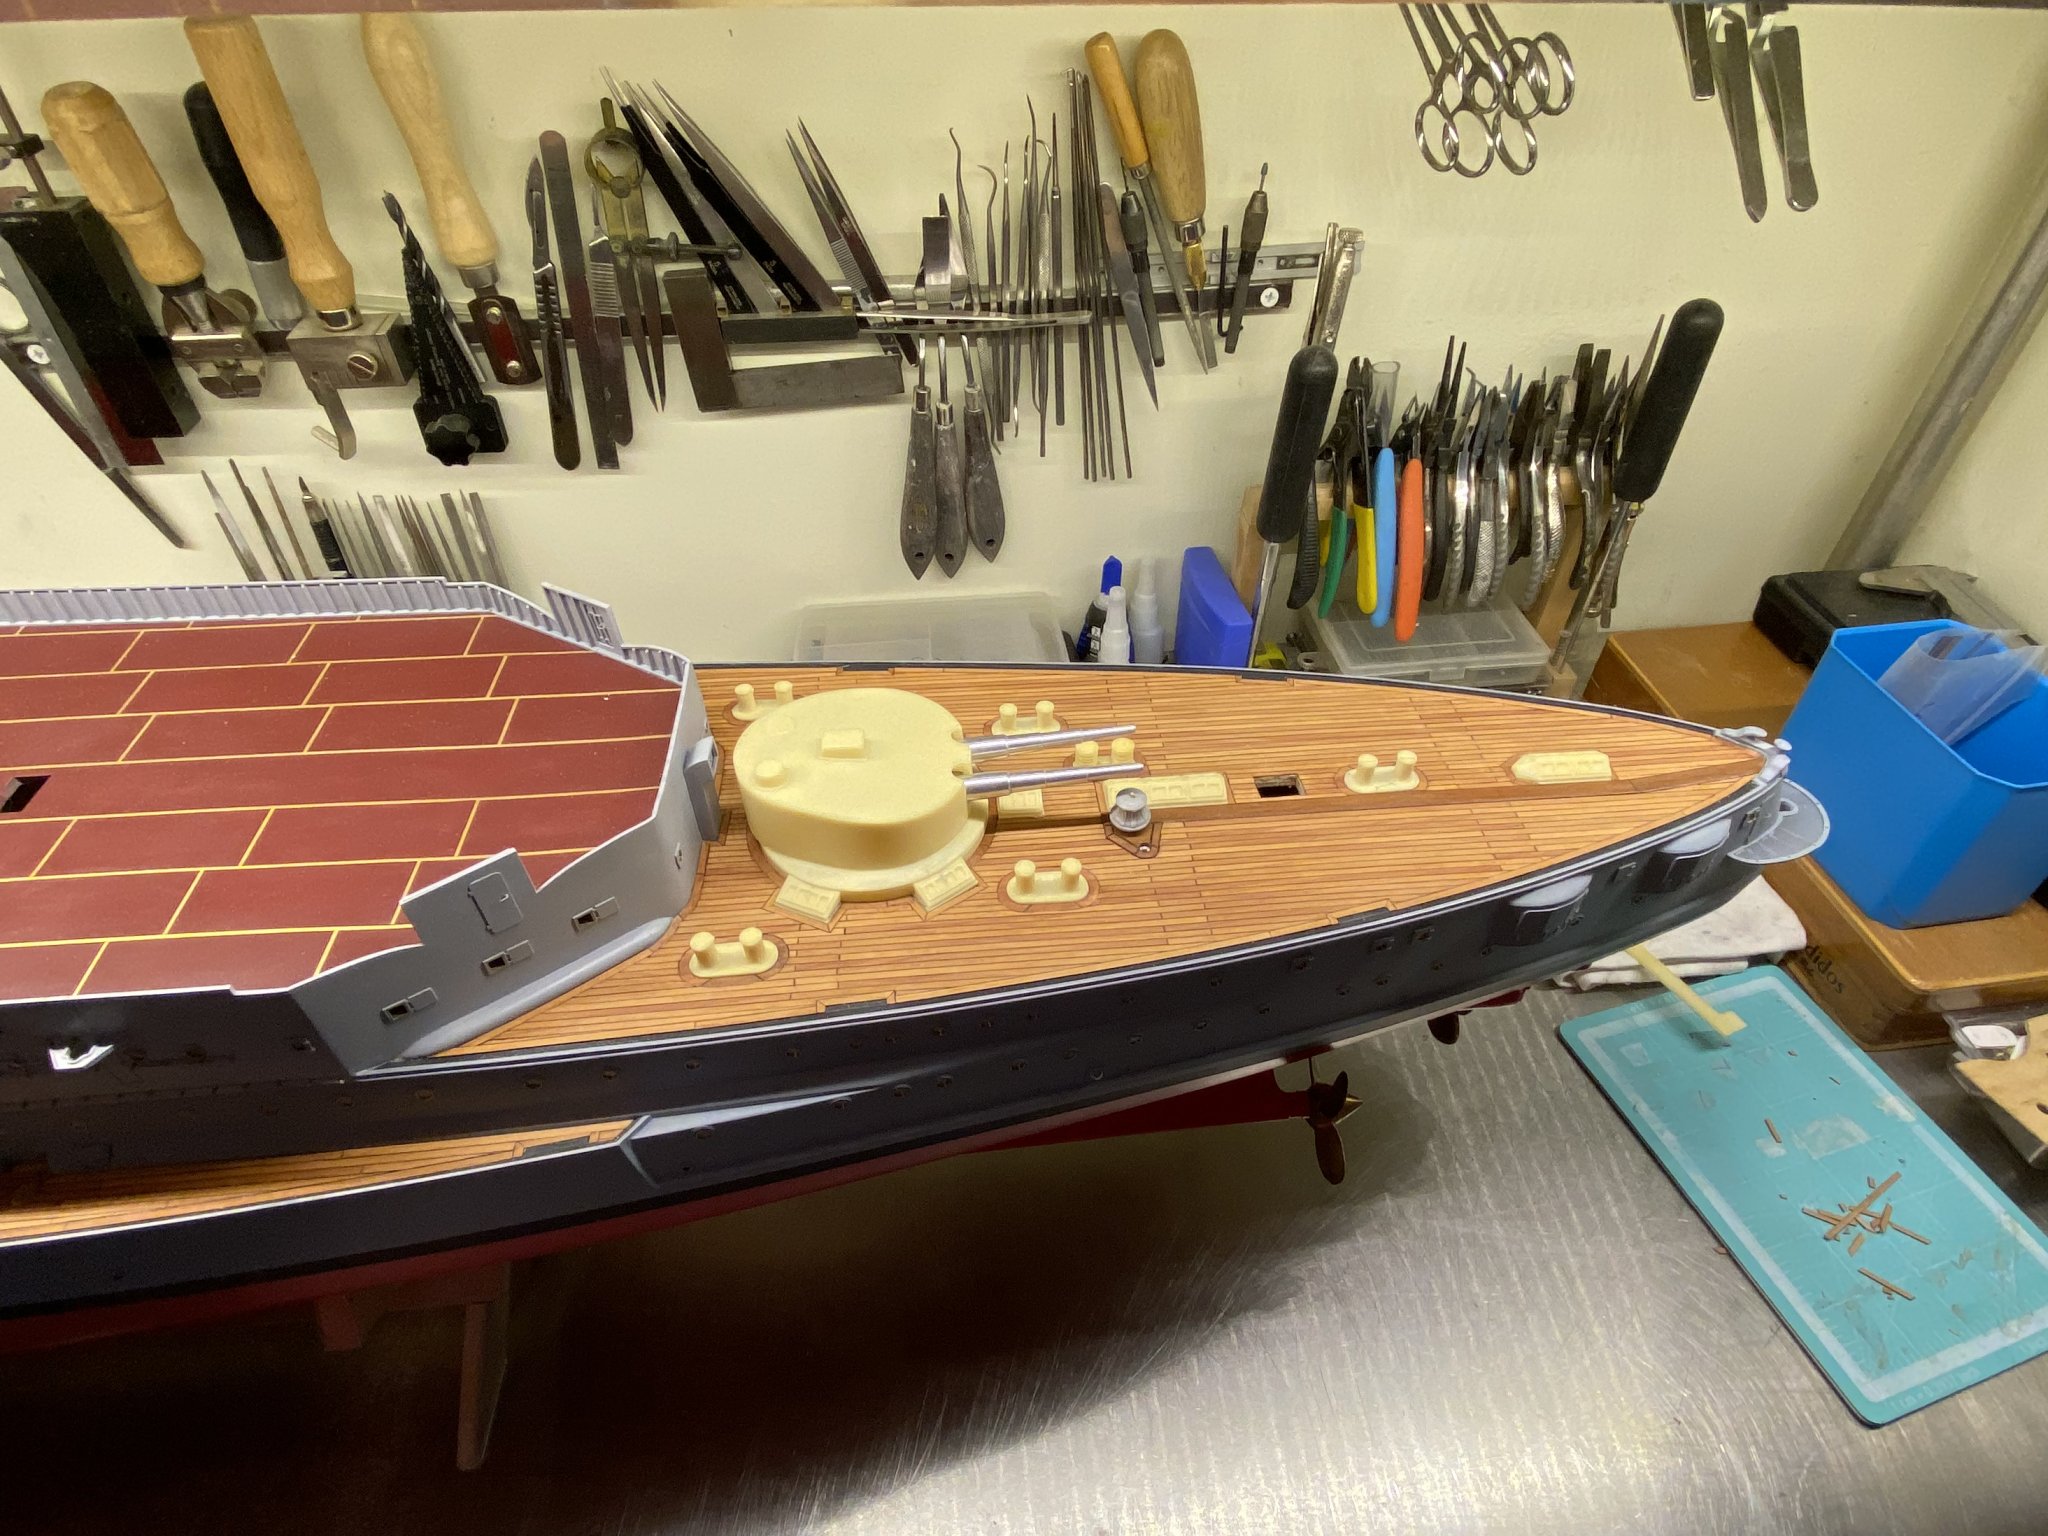
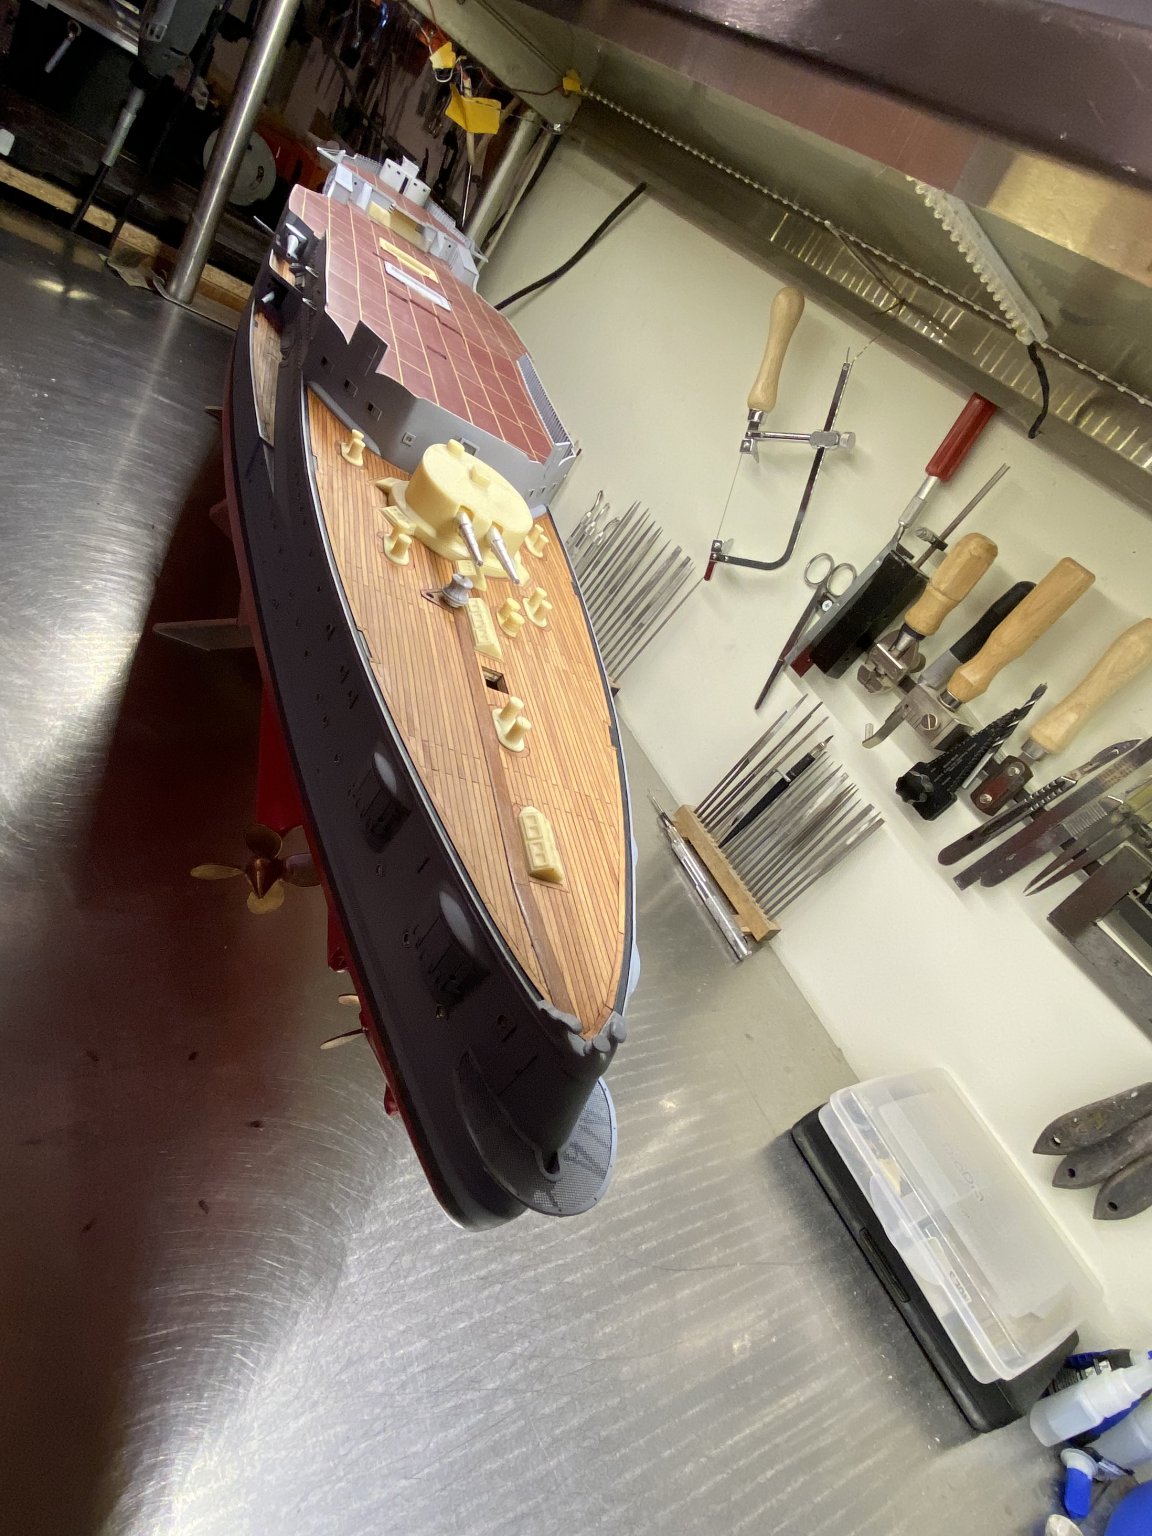
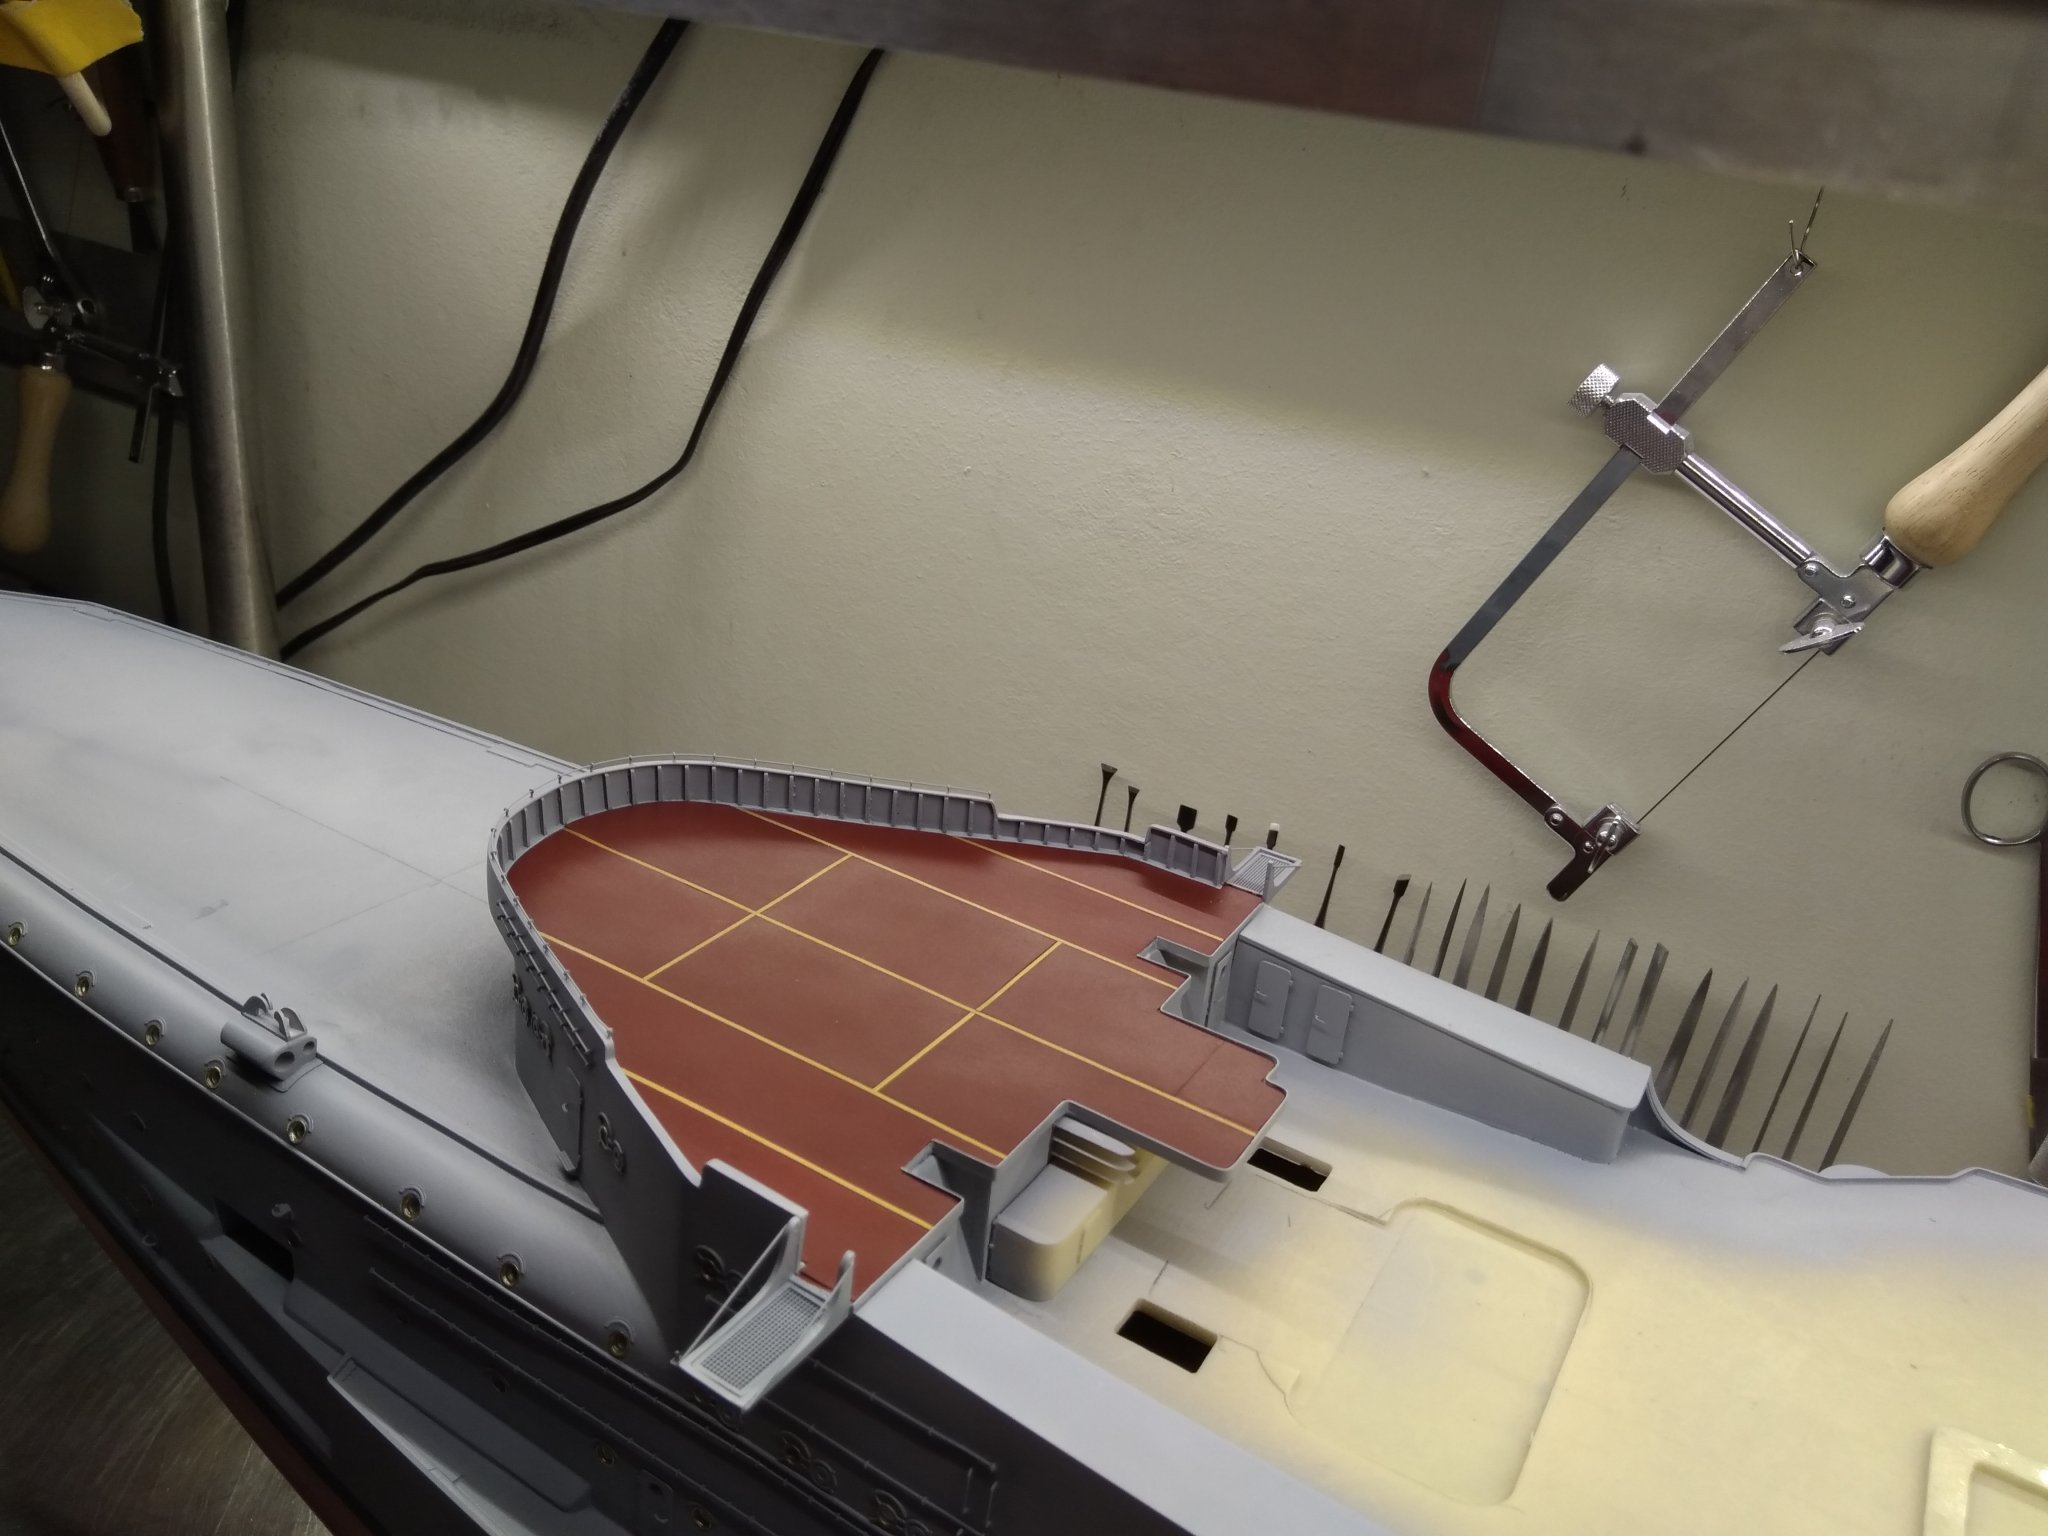
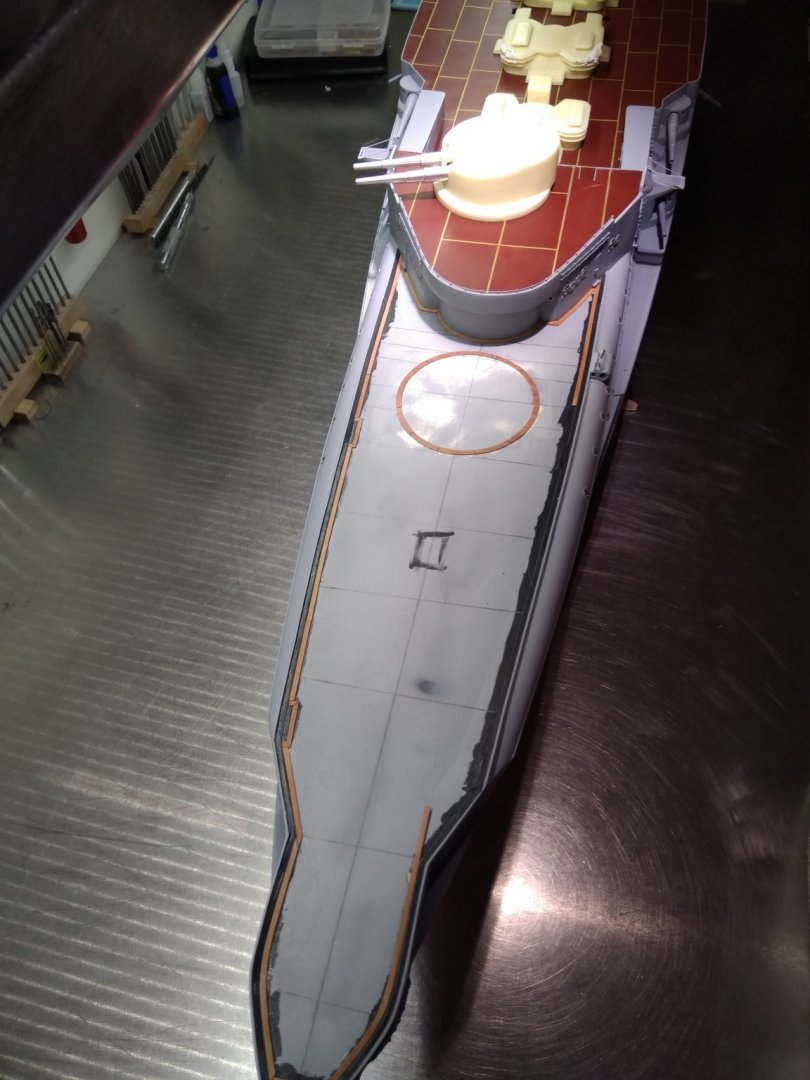
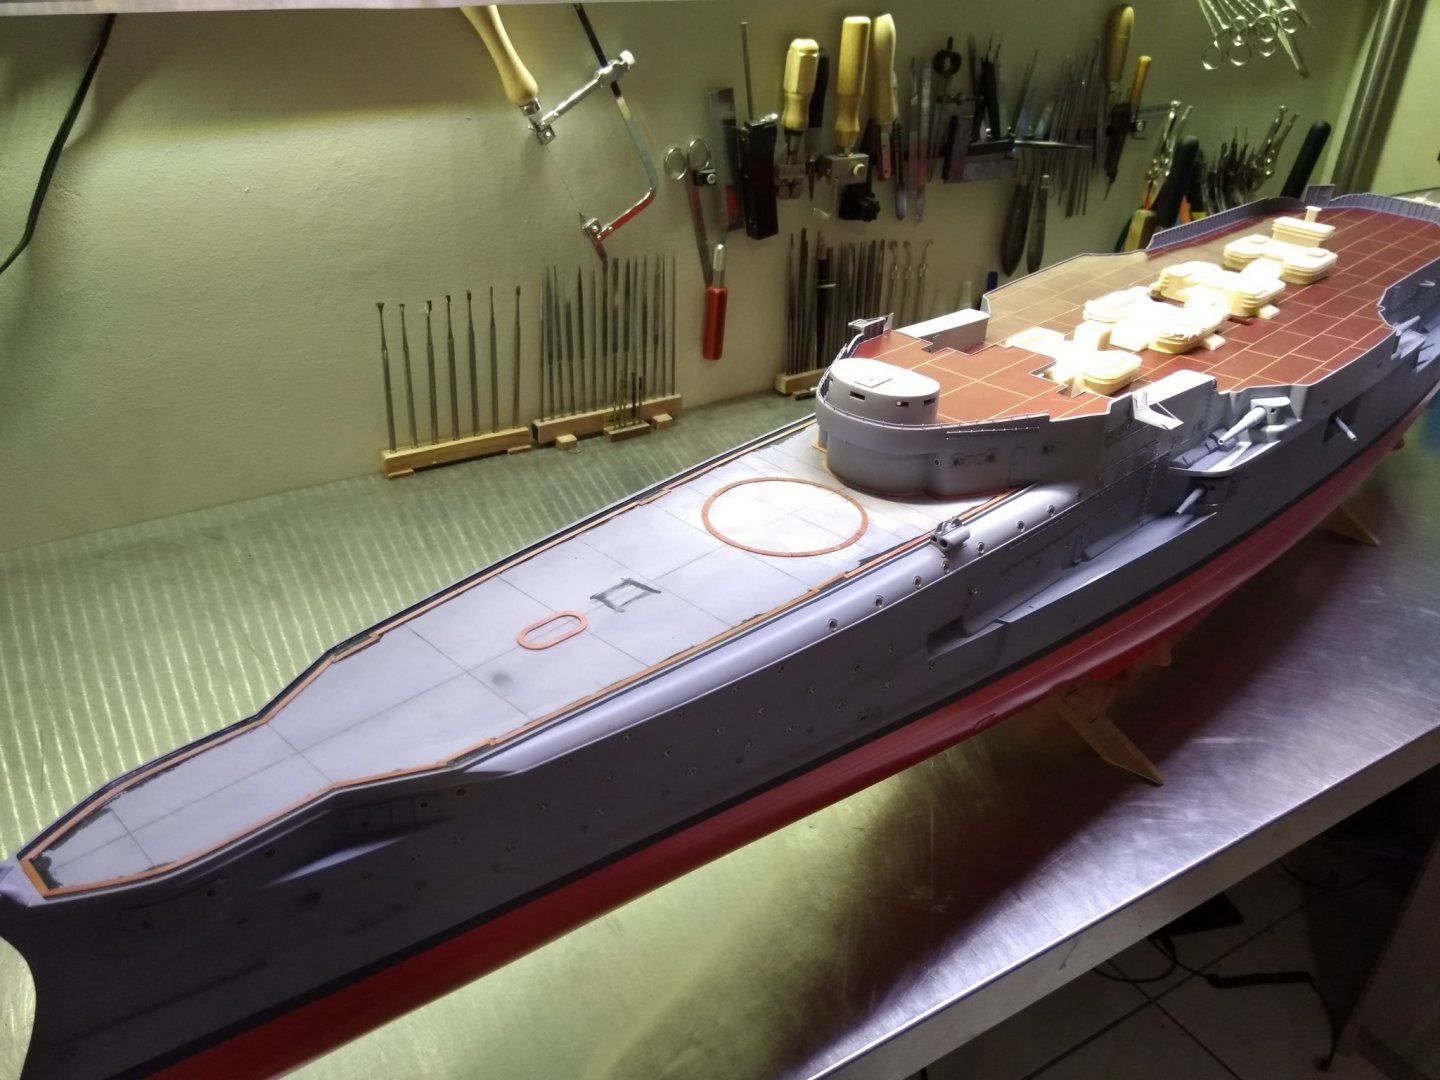
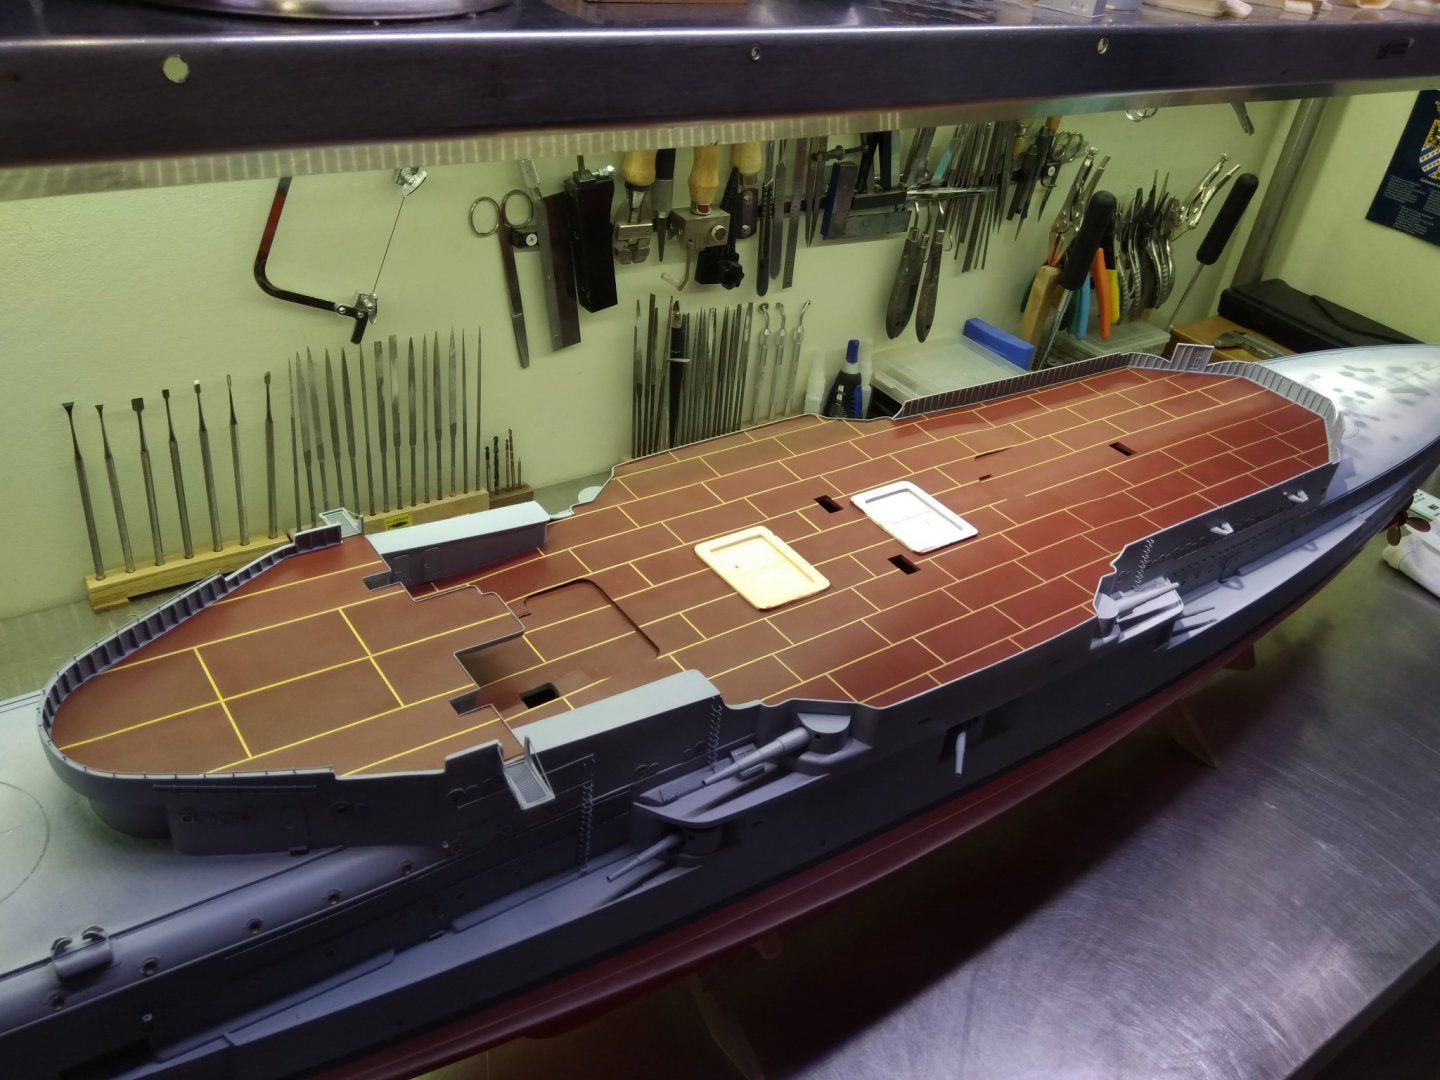
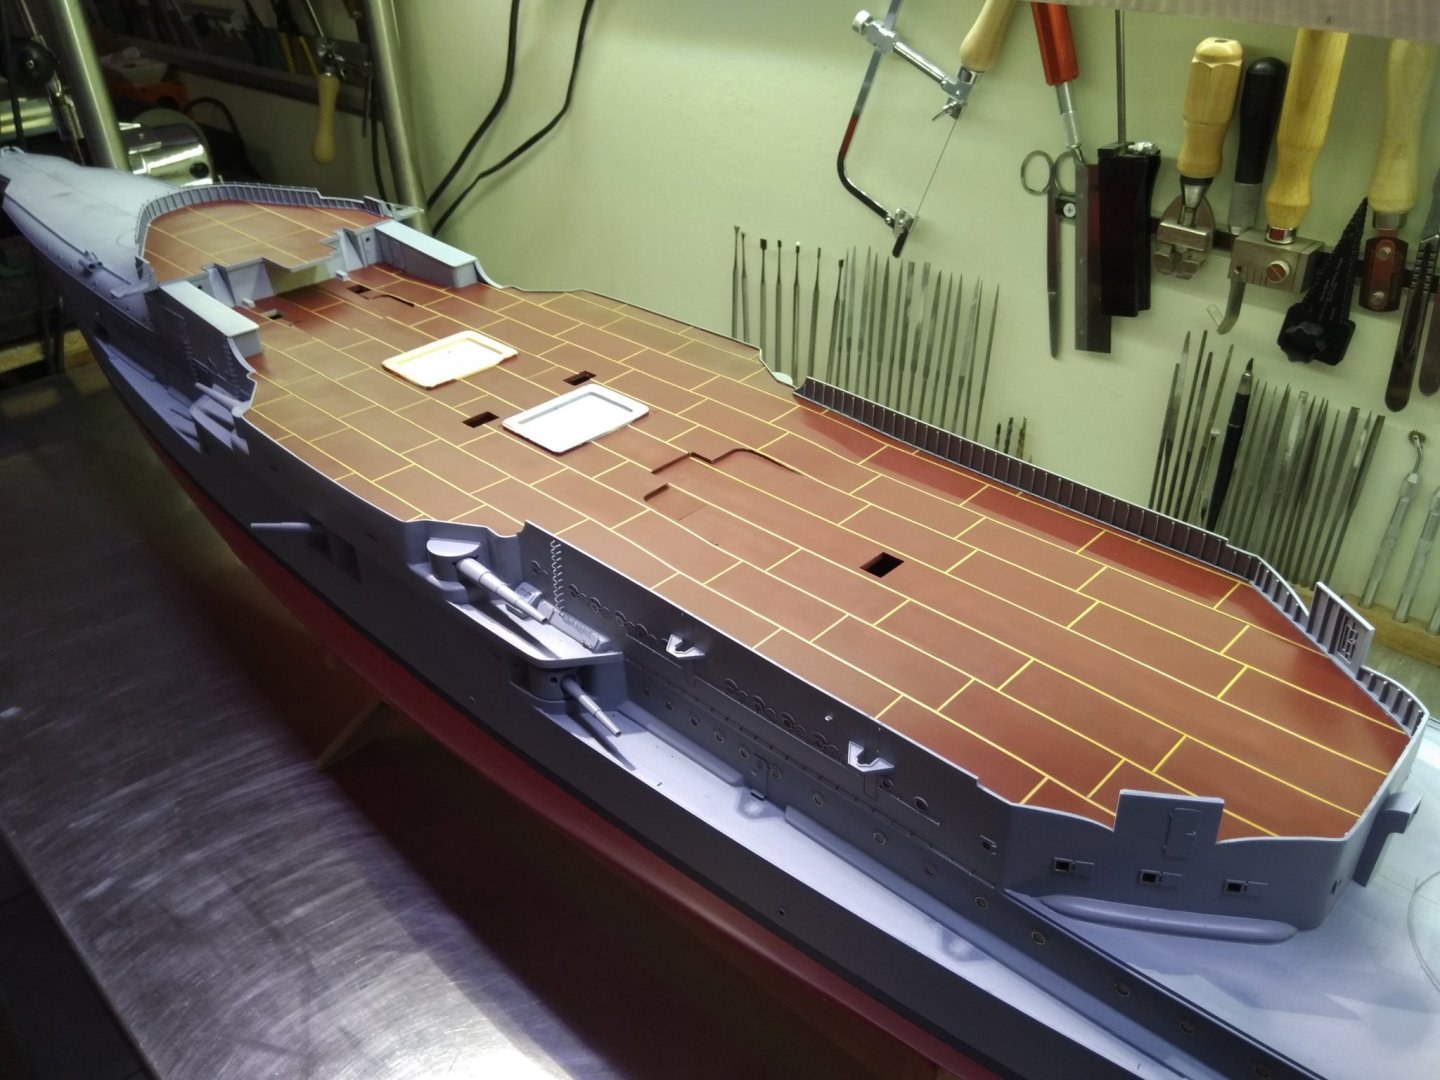
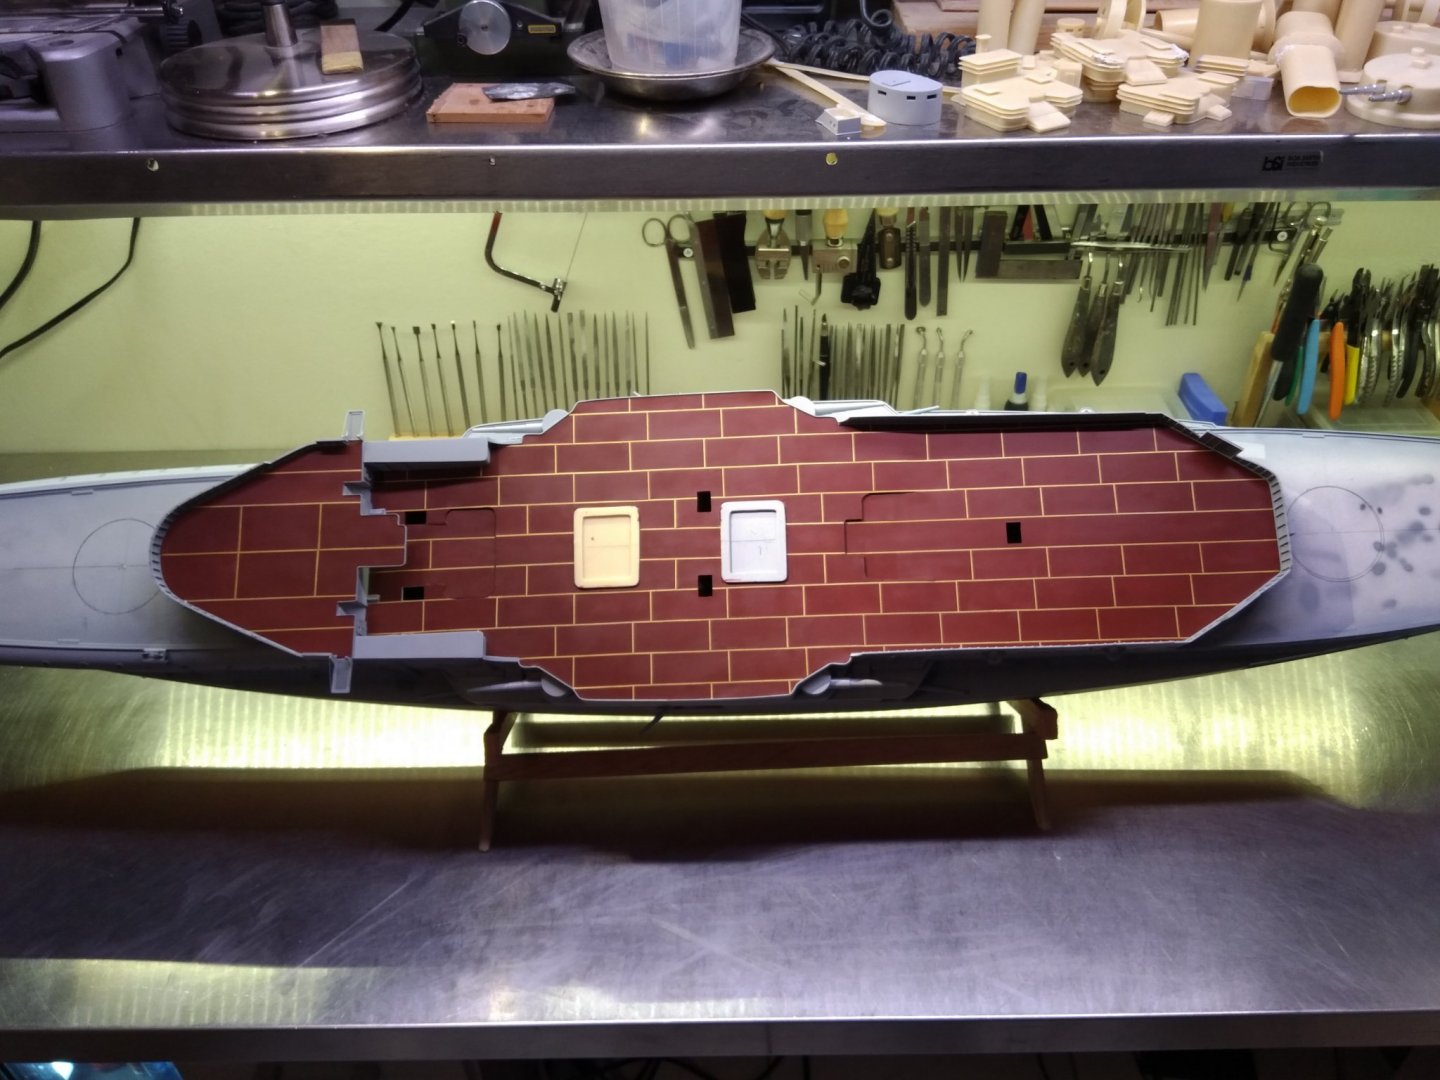
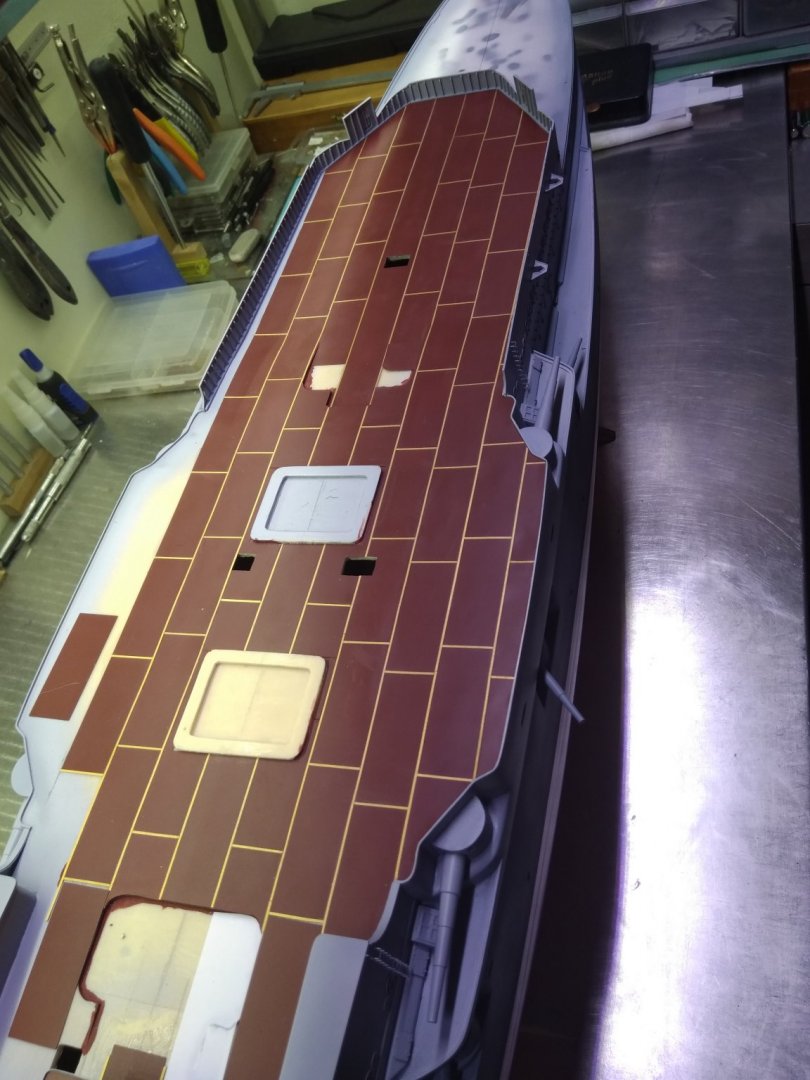
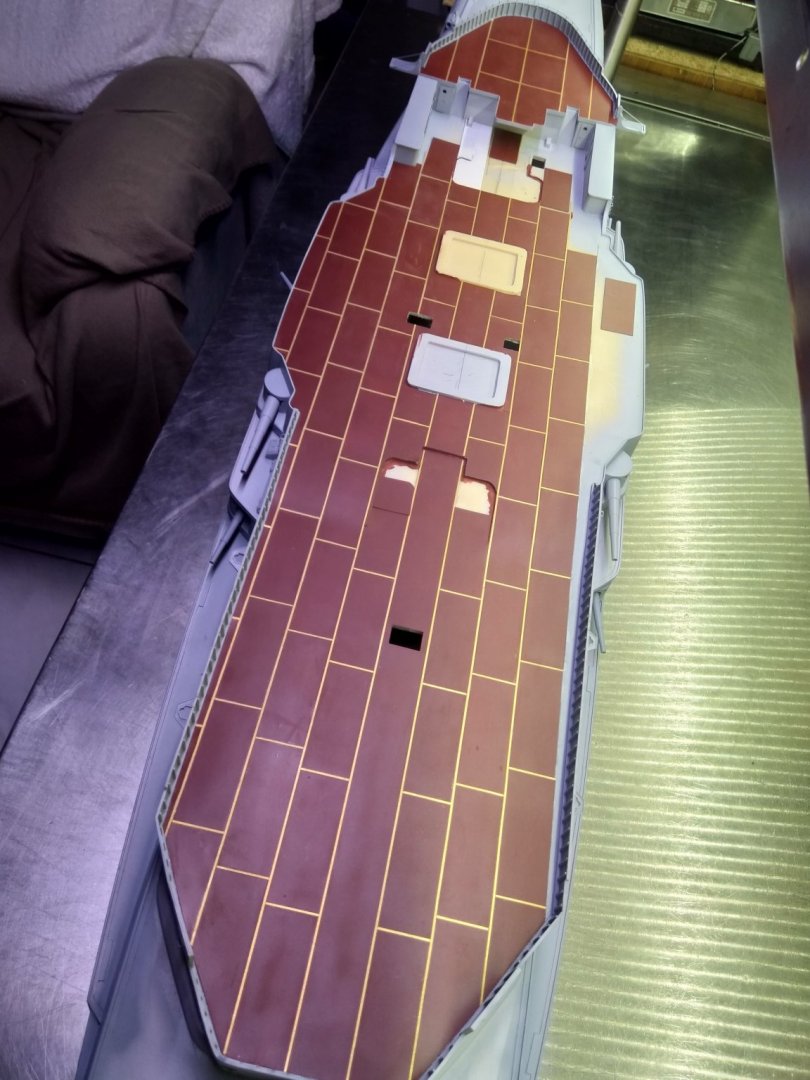
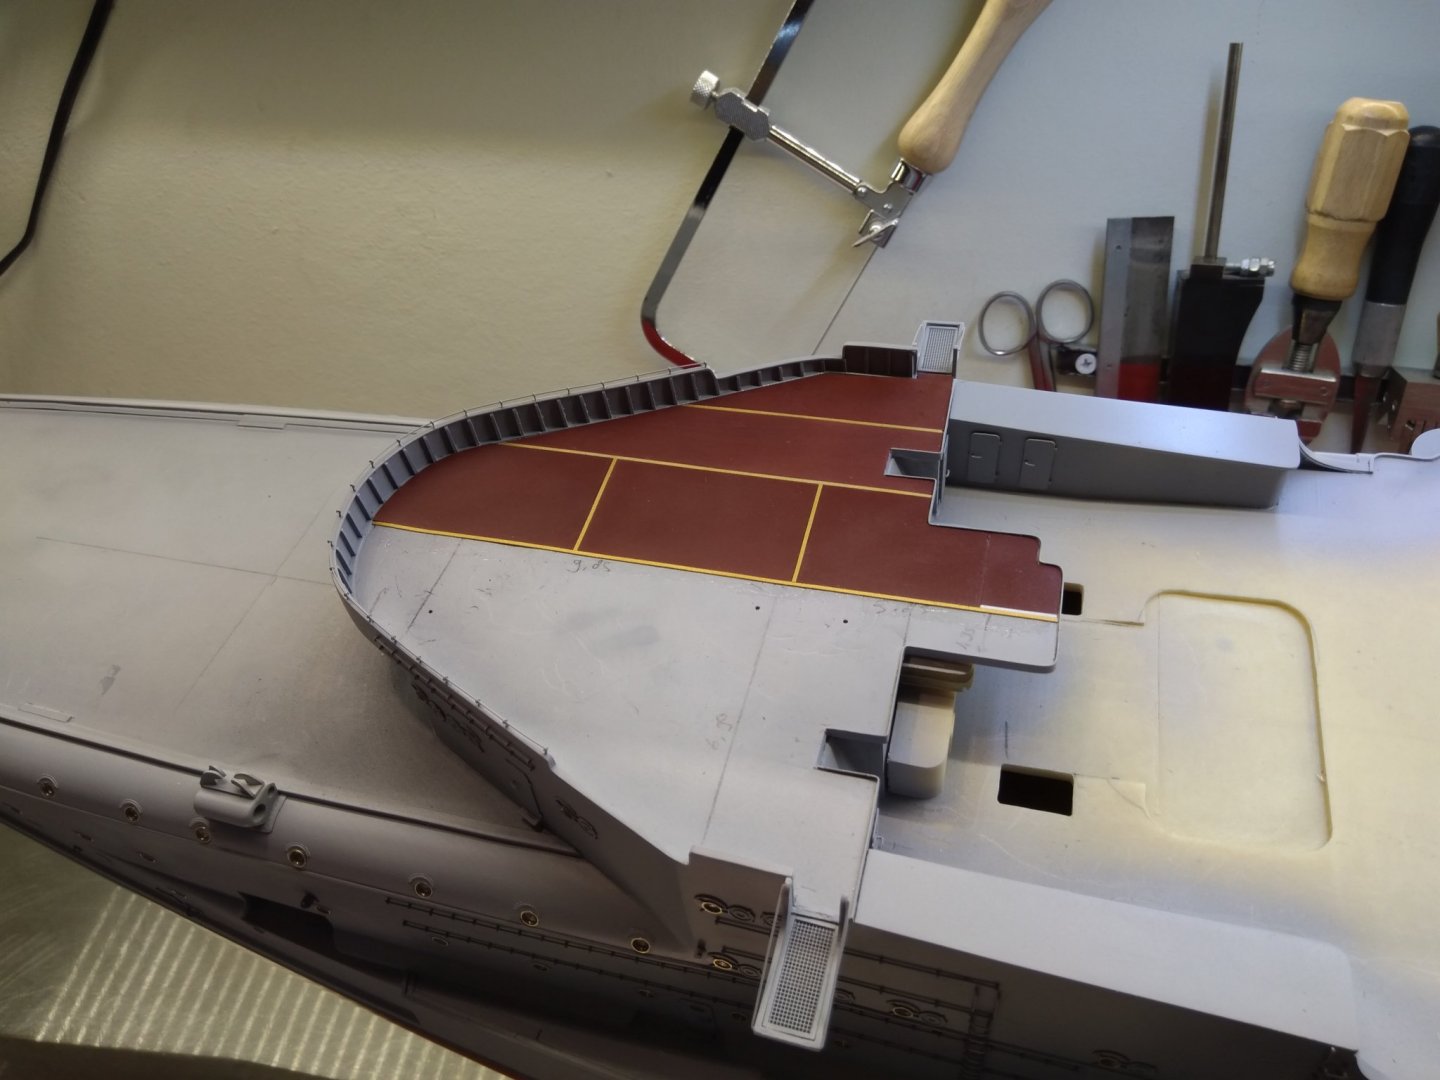
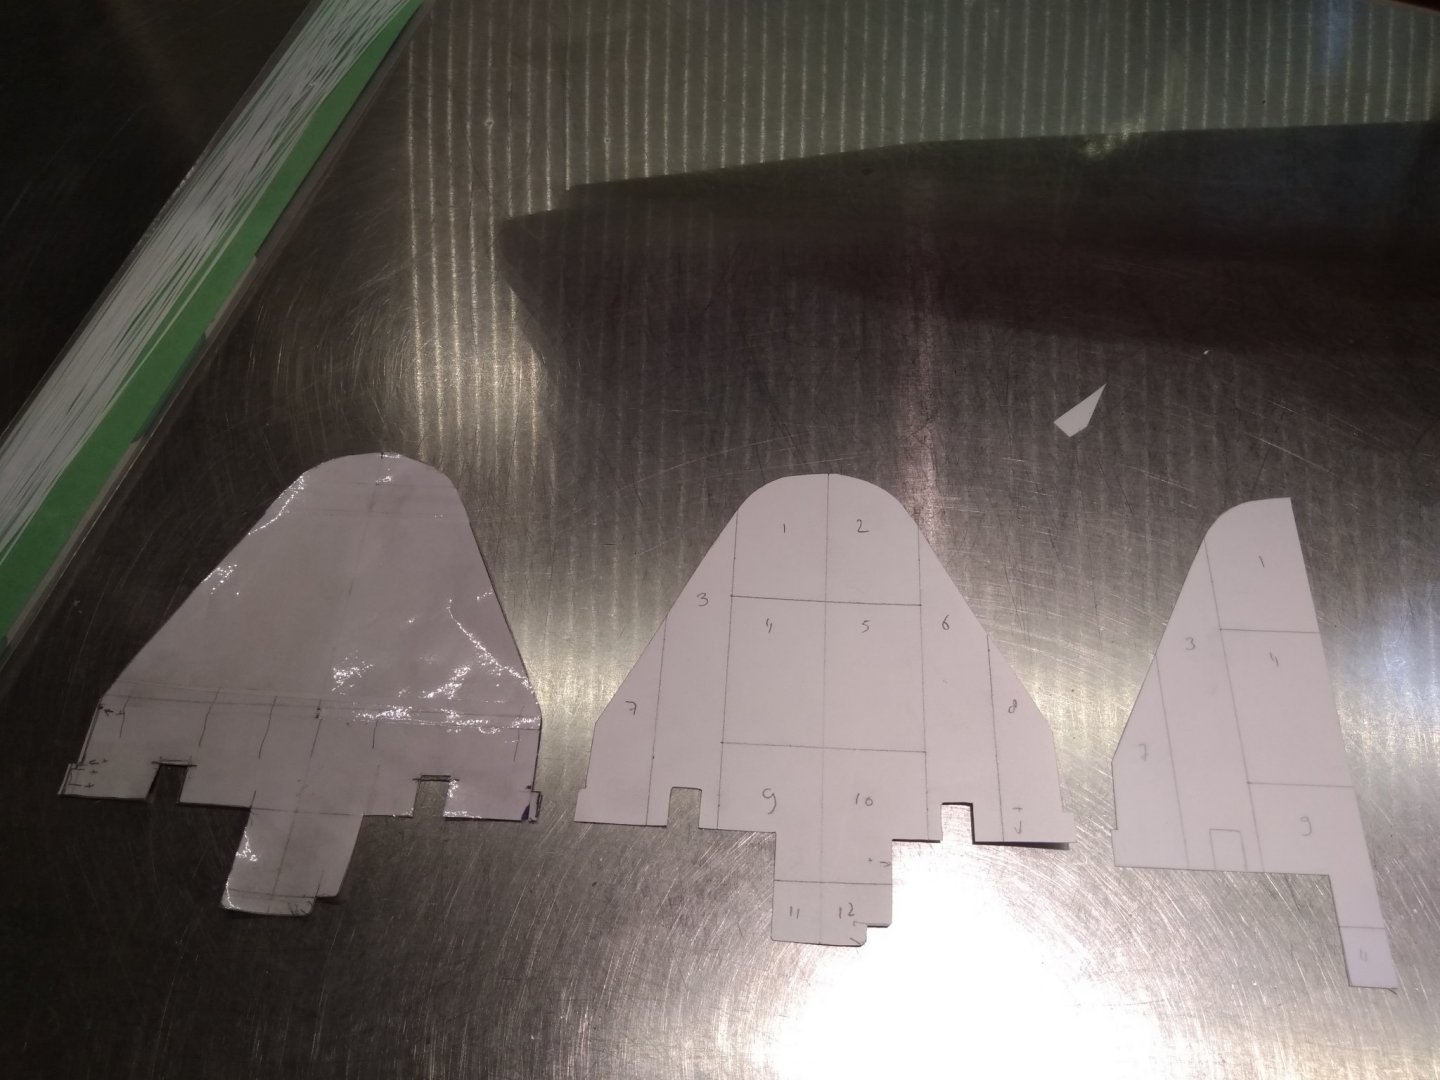
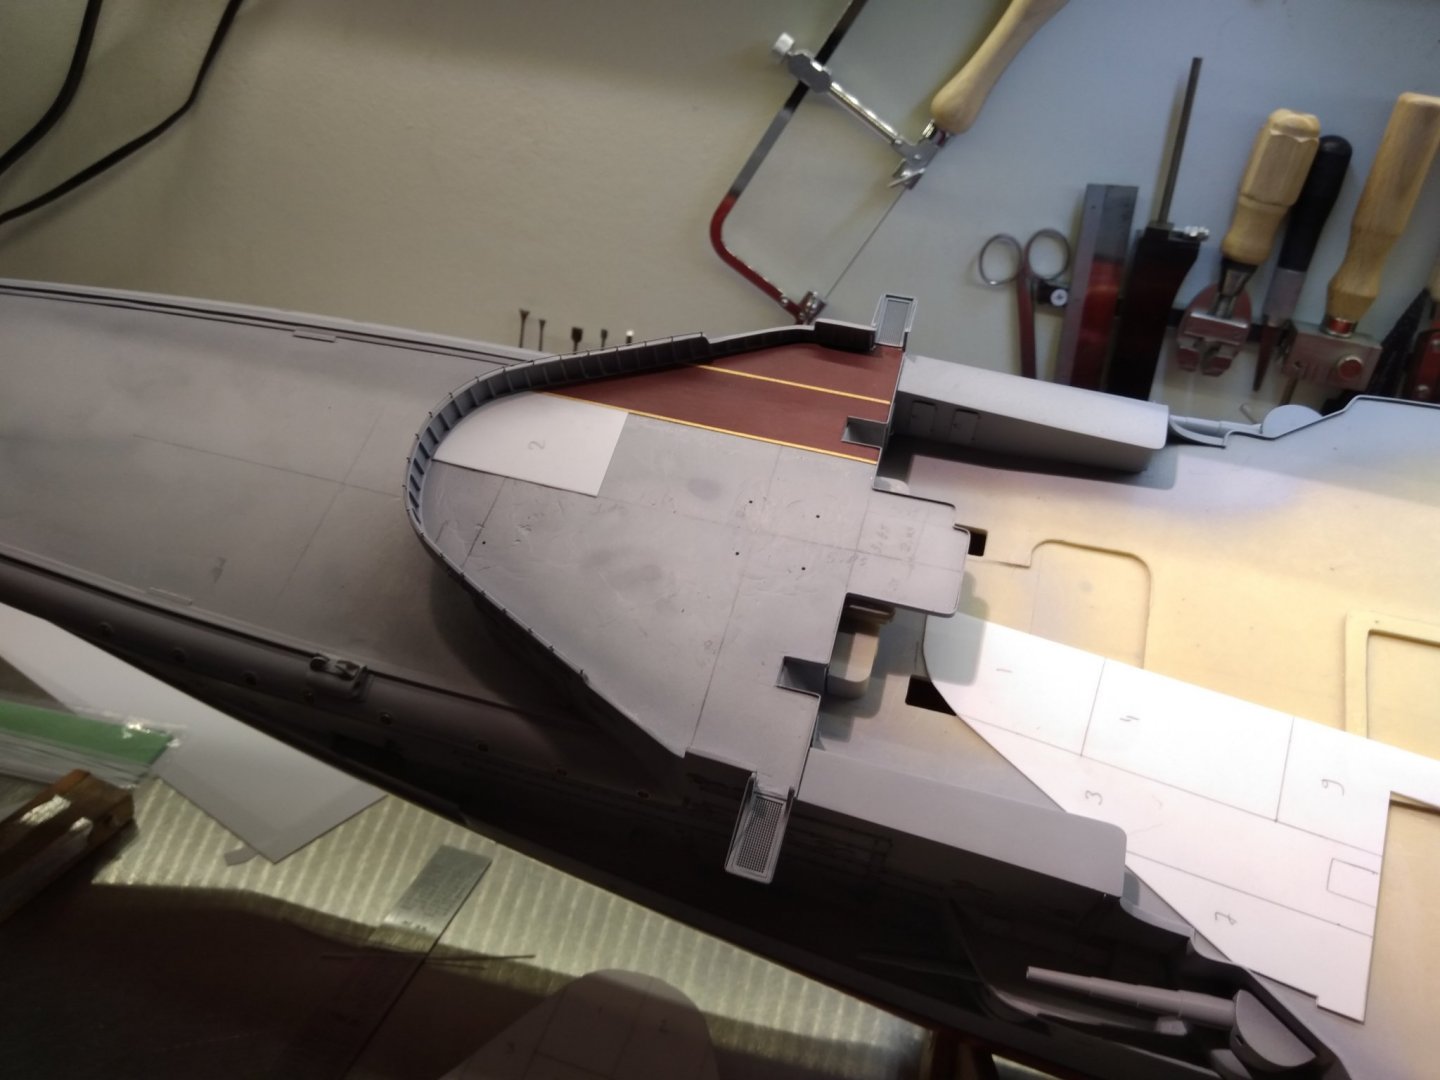
Finally I finished the last part of the deck, it was quite a puzzle but I am happy with the result. now I can make a start with rebuilding the turrets and deck attributes.


- 202 replies
-
- 22
-
-
- battleship
- scharnhorst
- (and 2 more)
-
Gerard, Thanks for respond, I saw it today too, great that they finally found her, hopefully in the future they will leave her in peace, and respect the fallen, Remarkable to see how good was the condition of the wood on her frond deck. speaking about deck, still working on the last part of her deck, quite a puzzle too go. below a few pictures.

- 202 replies
-
- 15
-
-
- battleship
- scharnhorst
- (and 2 more)
-
Finished all the lower decks and coal hatches, up to the last part of the puzzle. The back deck, witch will be complicated, because of all the deck housings and other small stuff.

- 202 replies
-
- 16
-
-
- battleship
- scharnhorst
- (and 2 more)
-
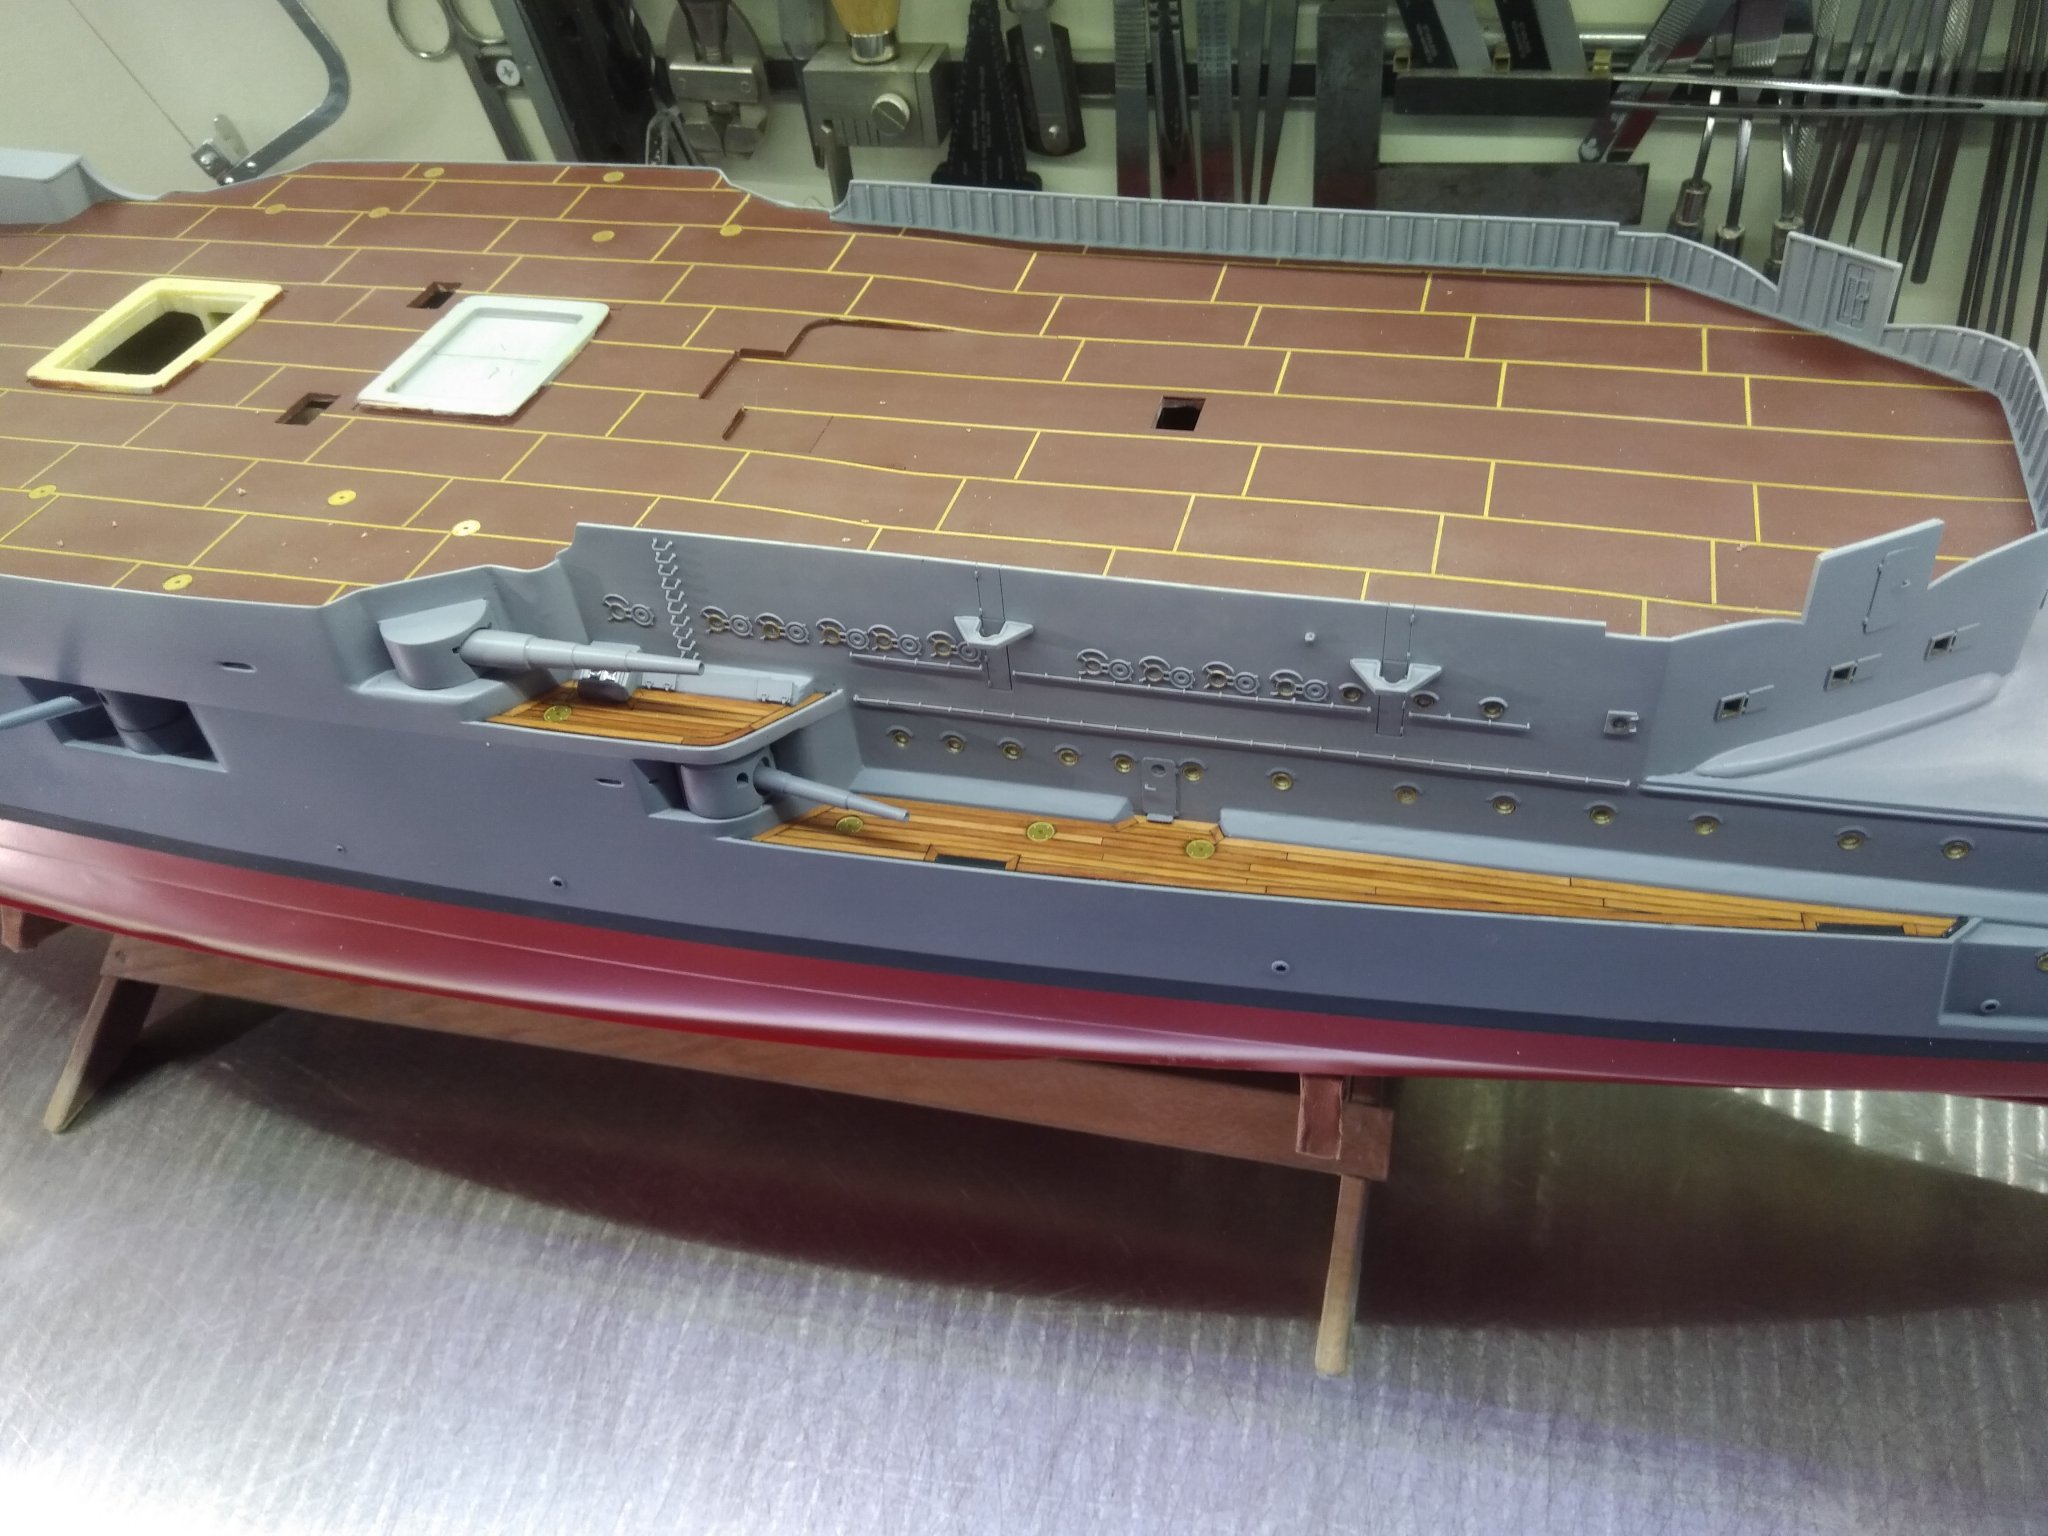
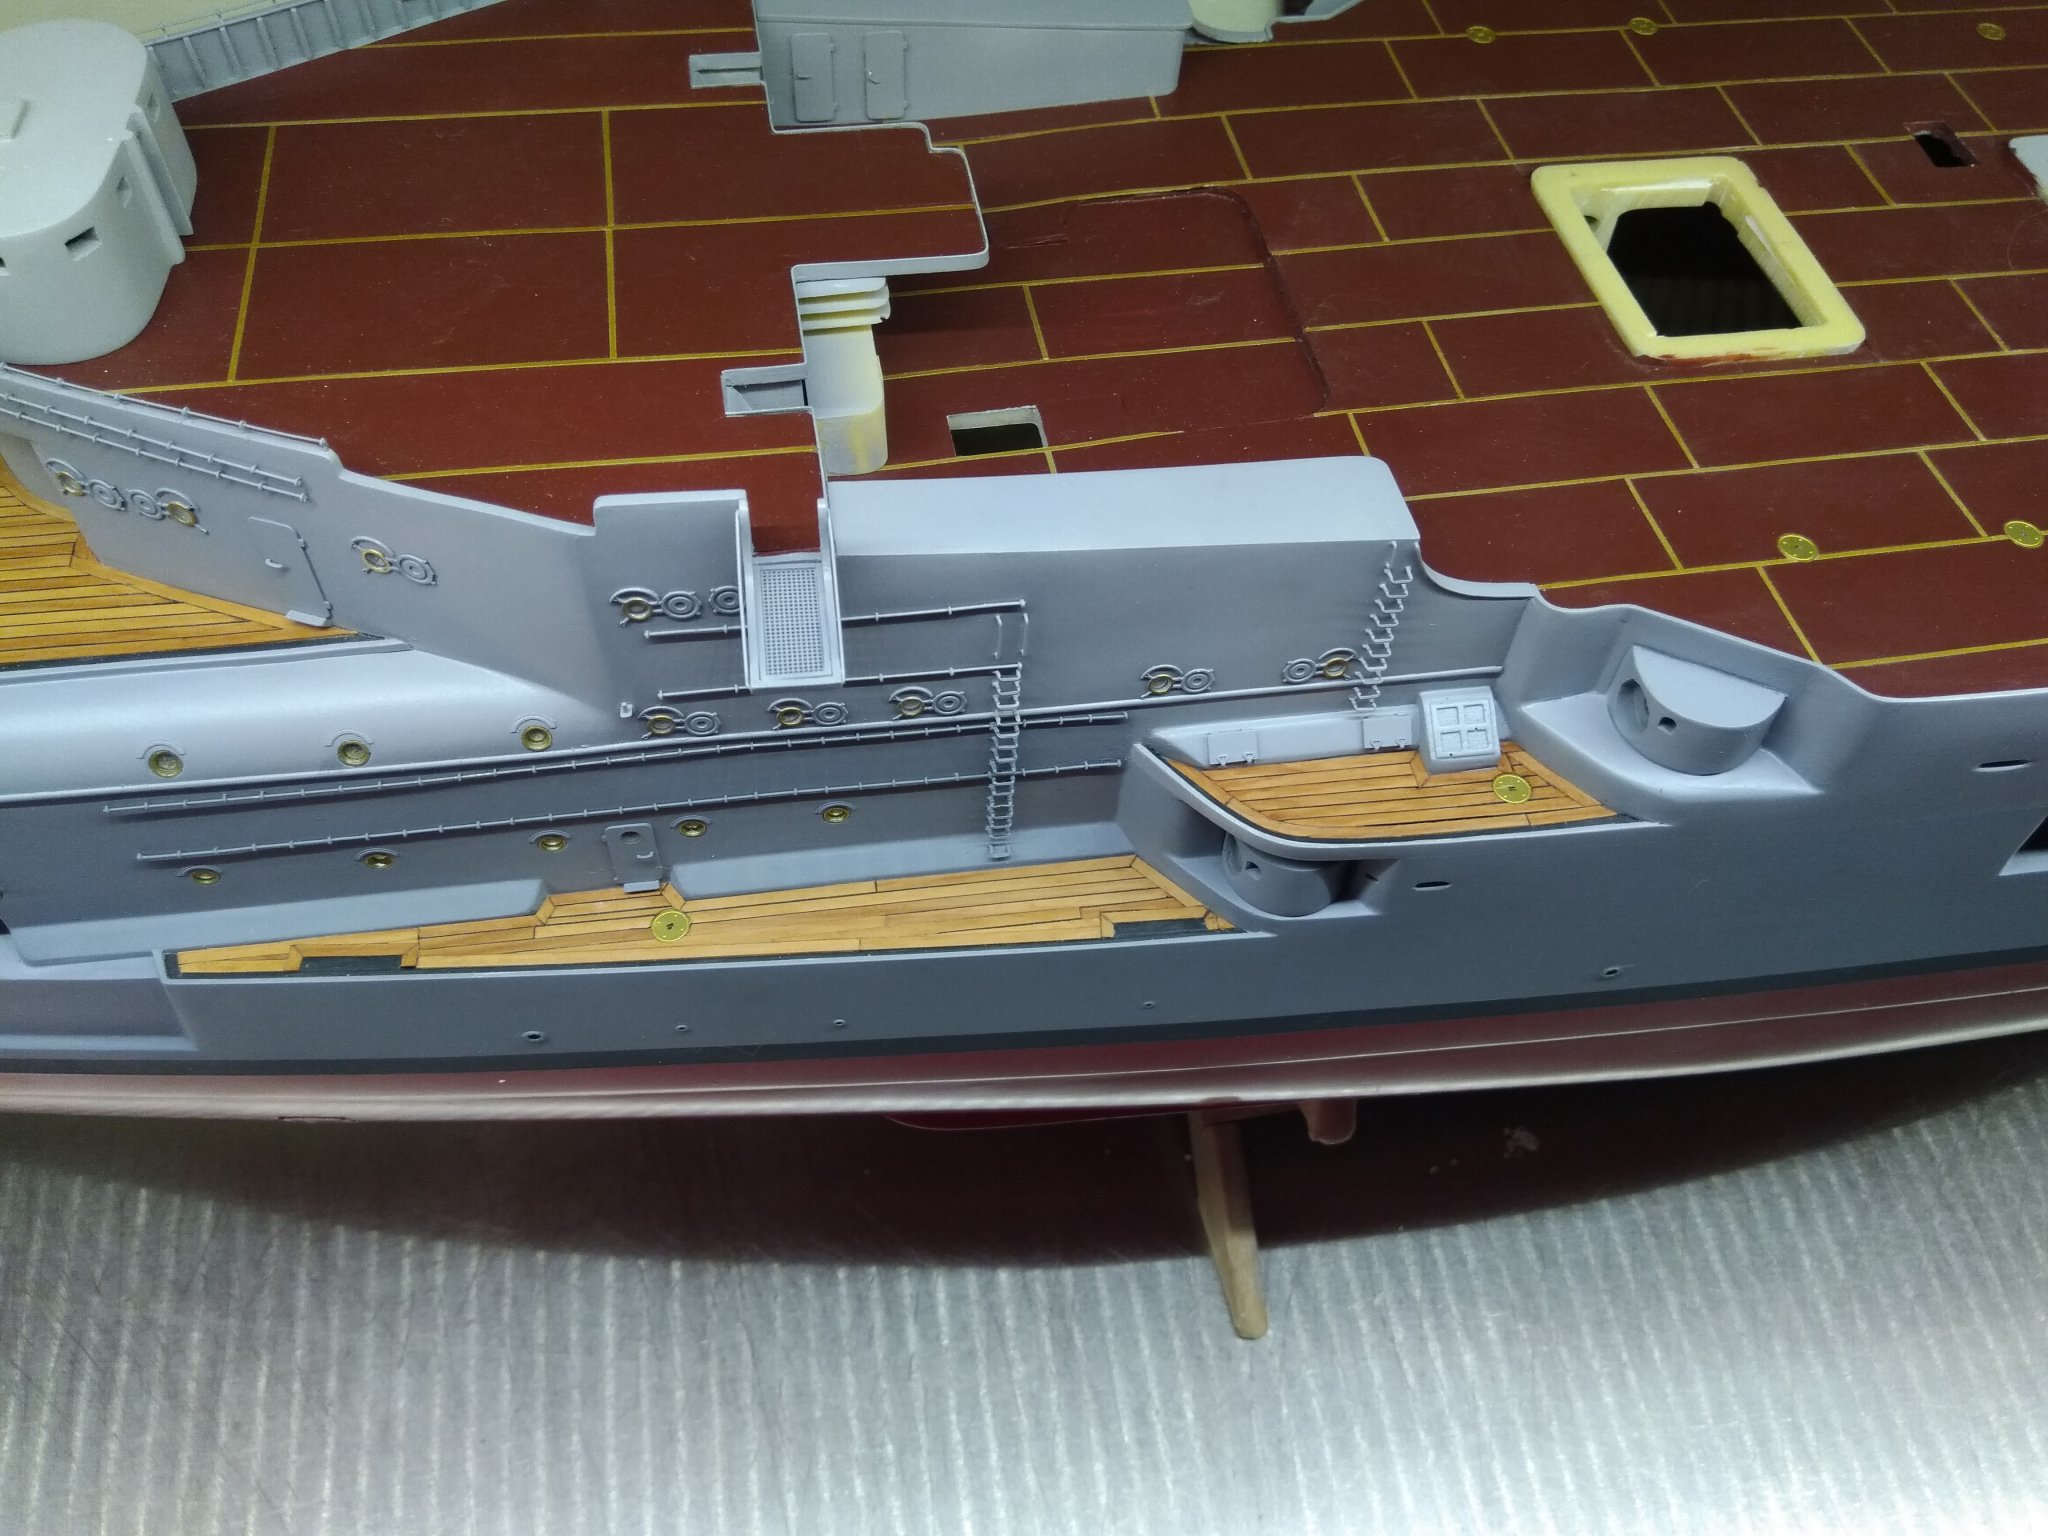
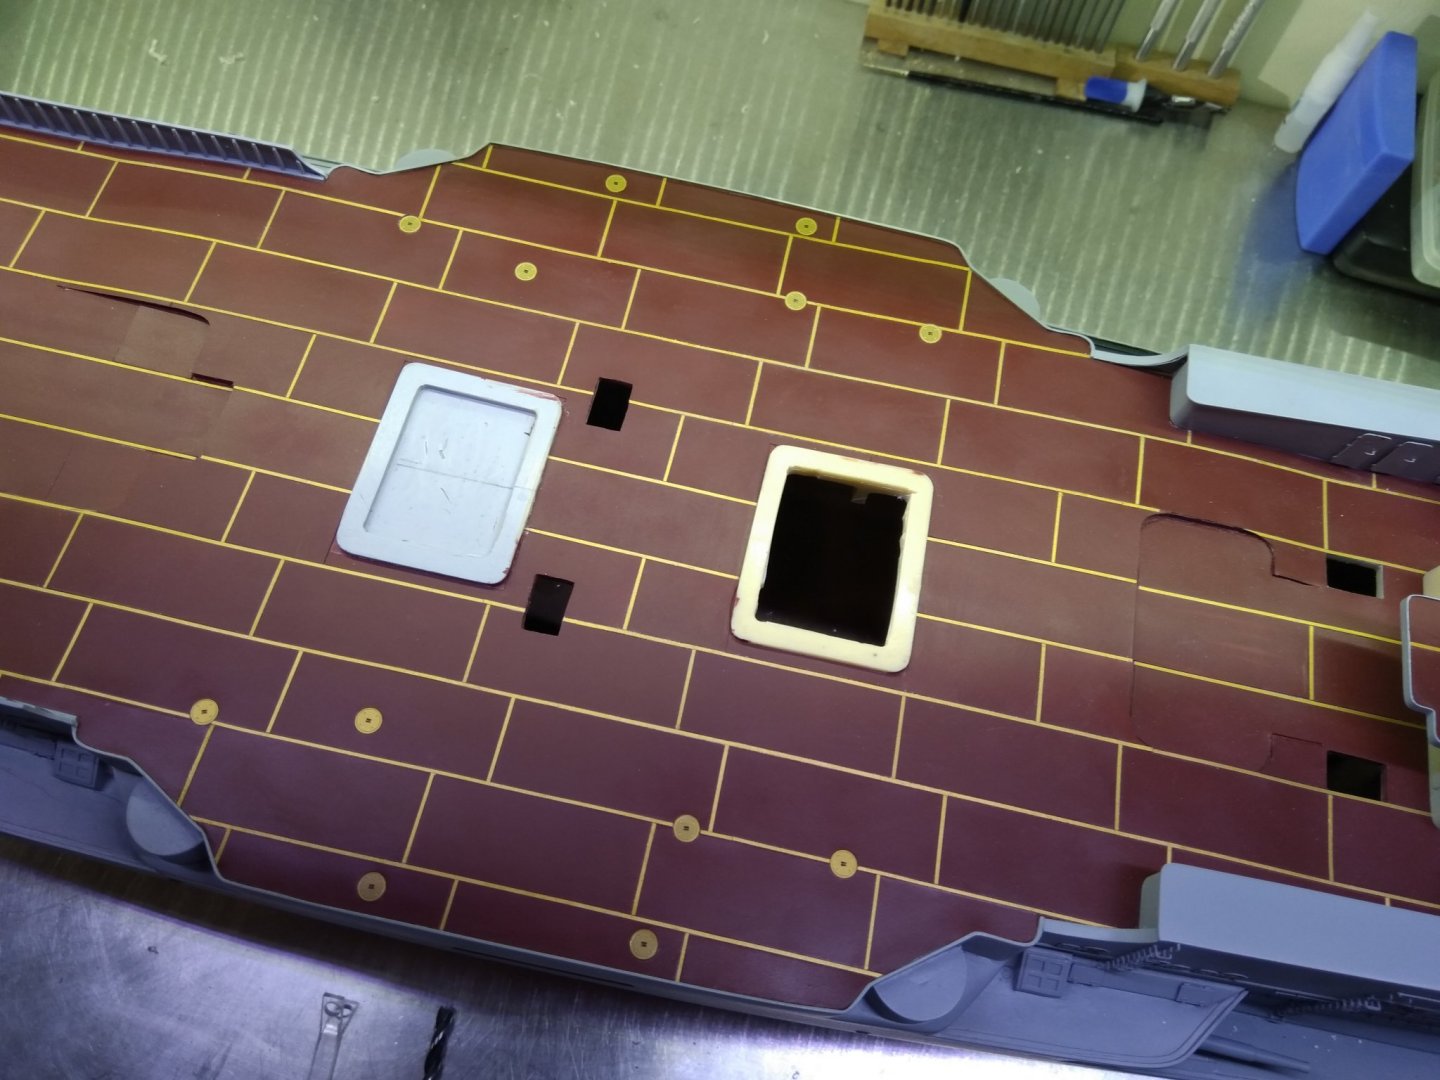
Thanks for the thumbs up and kind words. Update: Finished the other 2 decks of the gun citadel. And made some of the windows Also made the coal hatches in the decks. And did some work on the front deck. Below a few pictures, telling more than words..


- 202 replies
-
- 15
-
-
- battleship
- scharnhorst
- (and 2 more)
-
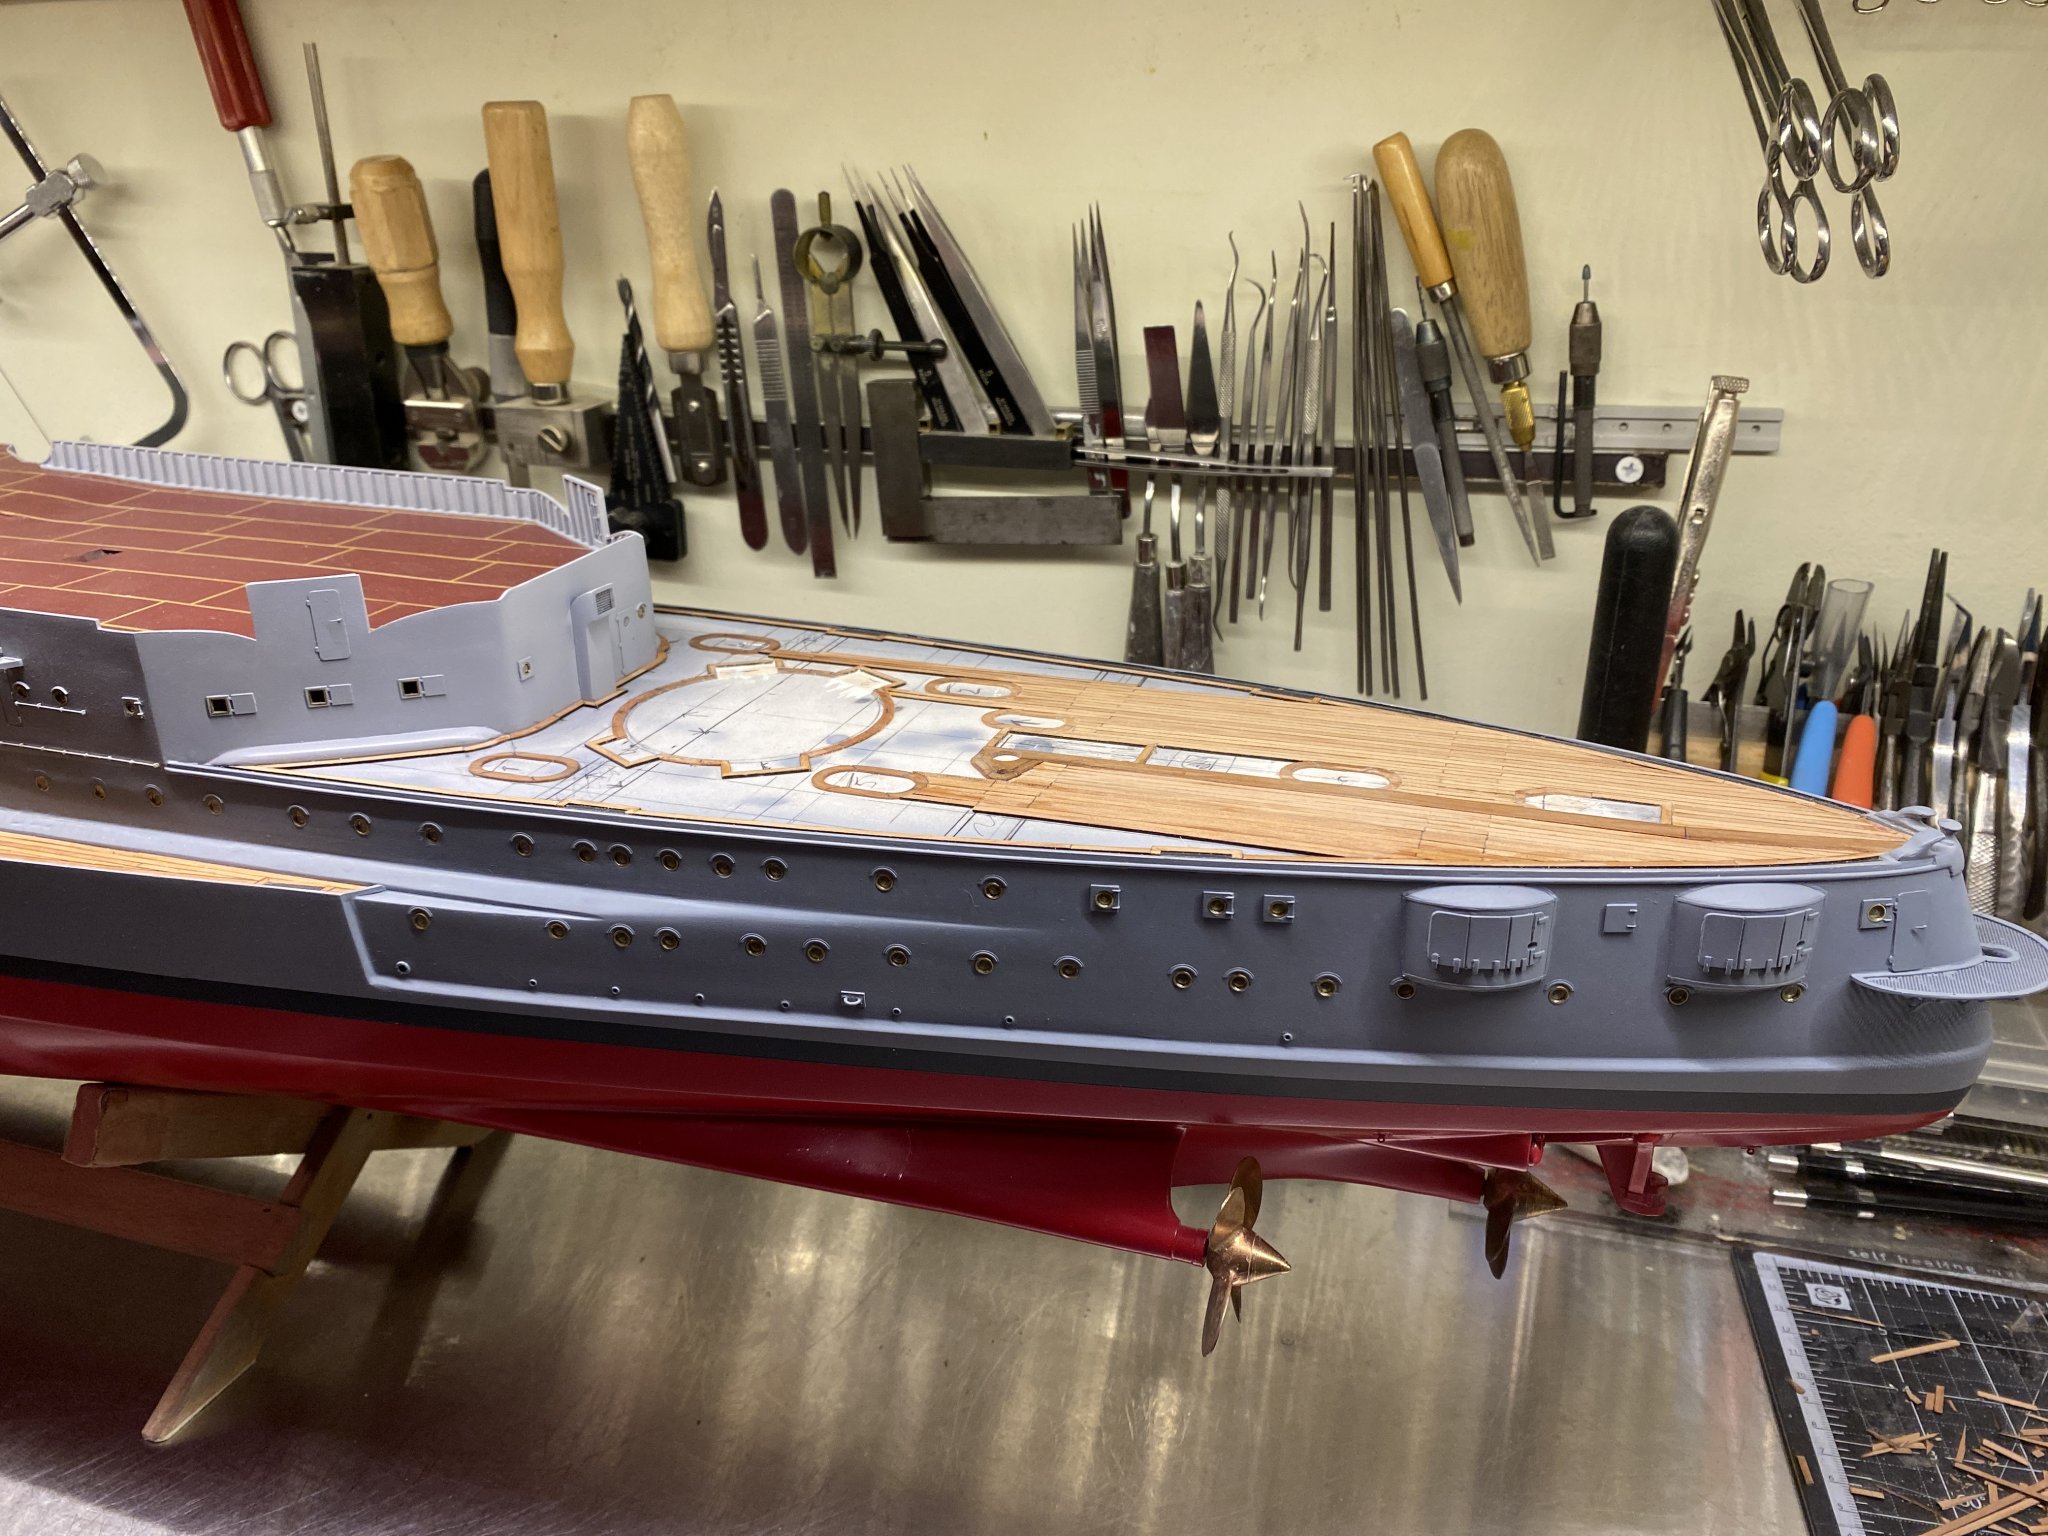
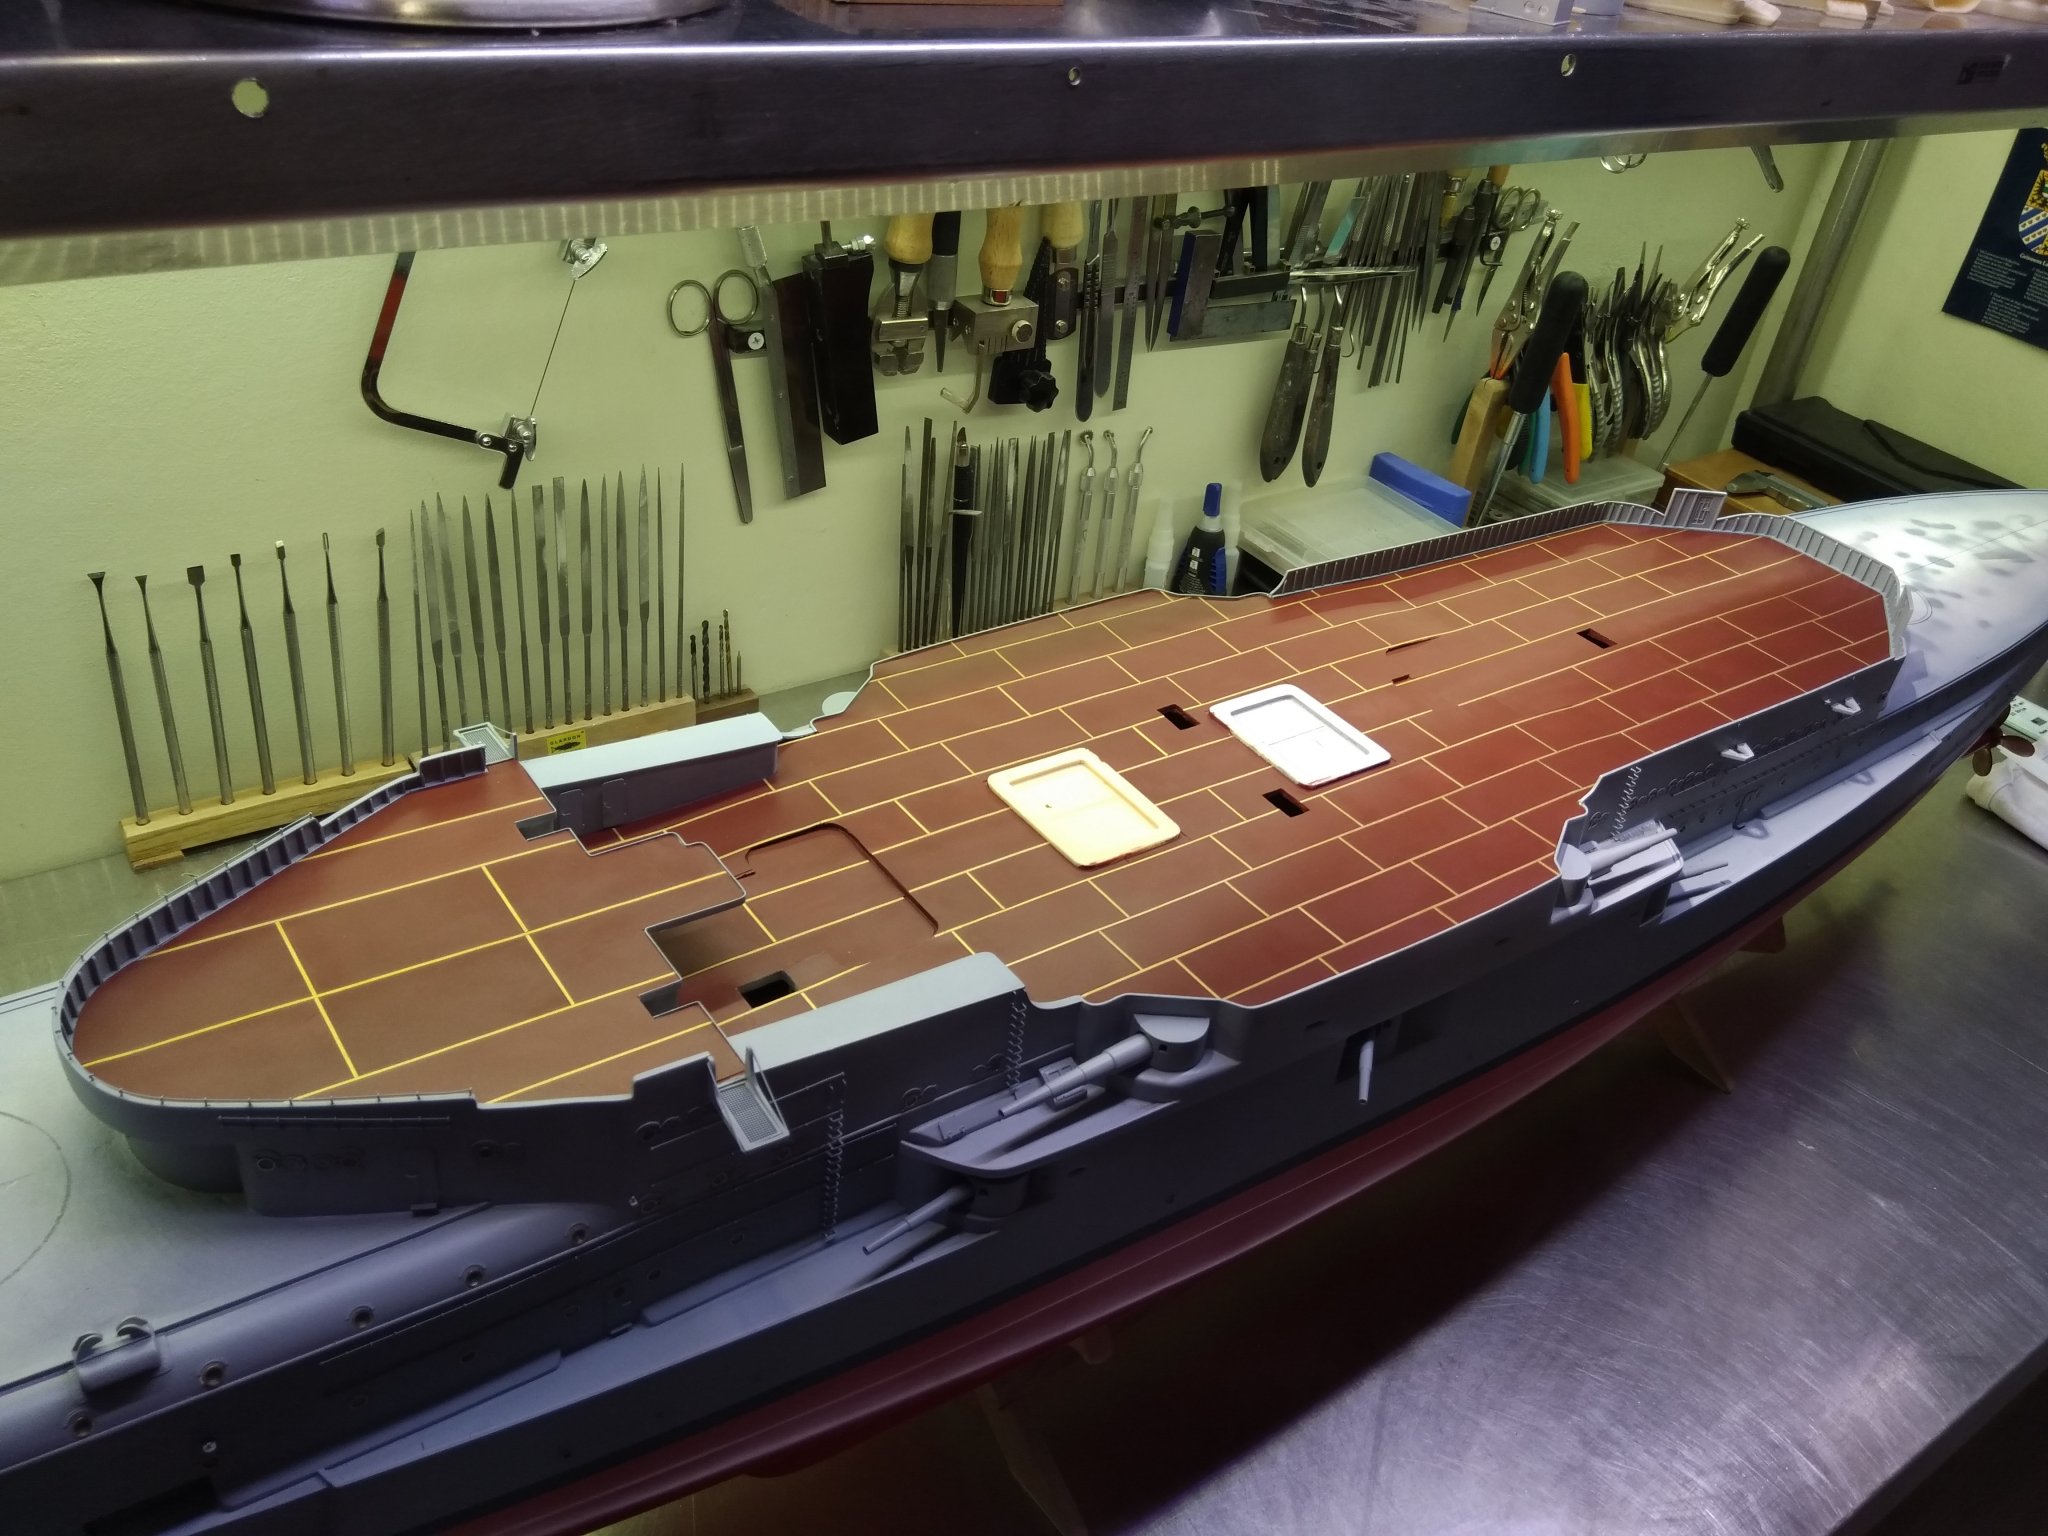
Gentlemen thanks for the thumbs up. Finished the first part of the planking of the decks, quite a puzzle, but i am happy with the result,I'll Do not know exactly if the pattern used for the planking is correct, looked at a lot of pictures from other models of the Scharnhorst and not 1 is the same, So i decided to choose for this pattern, not the easiest way to go, But the easiest way is not my way
- 202 replies
-
- 22
-
-
- battleship
- scharnhorst
- (and 2 more)
-
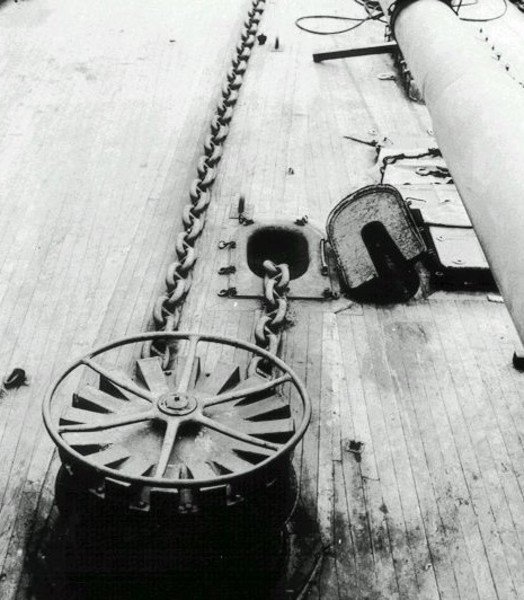
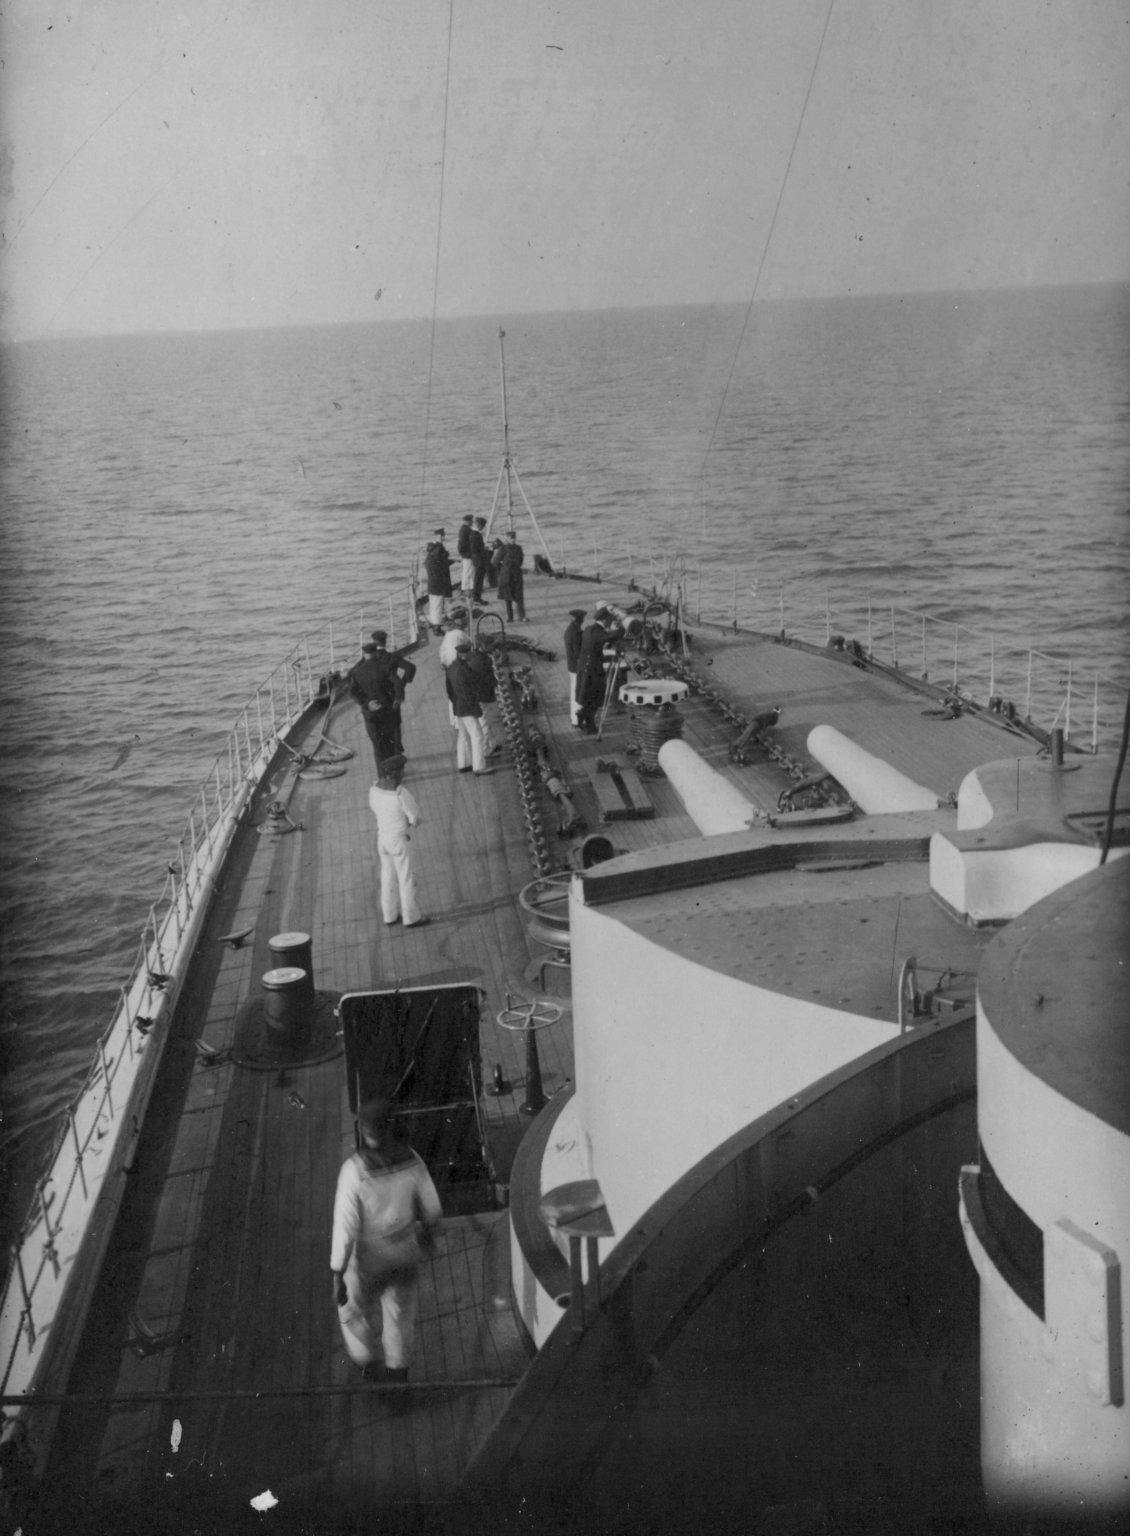
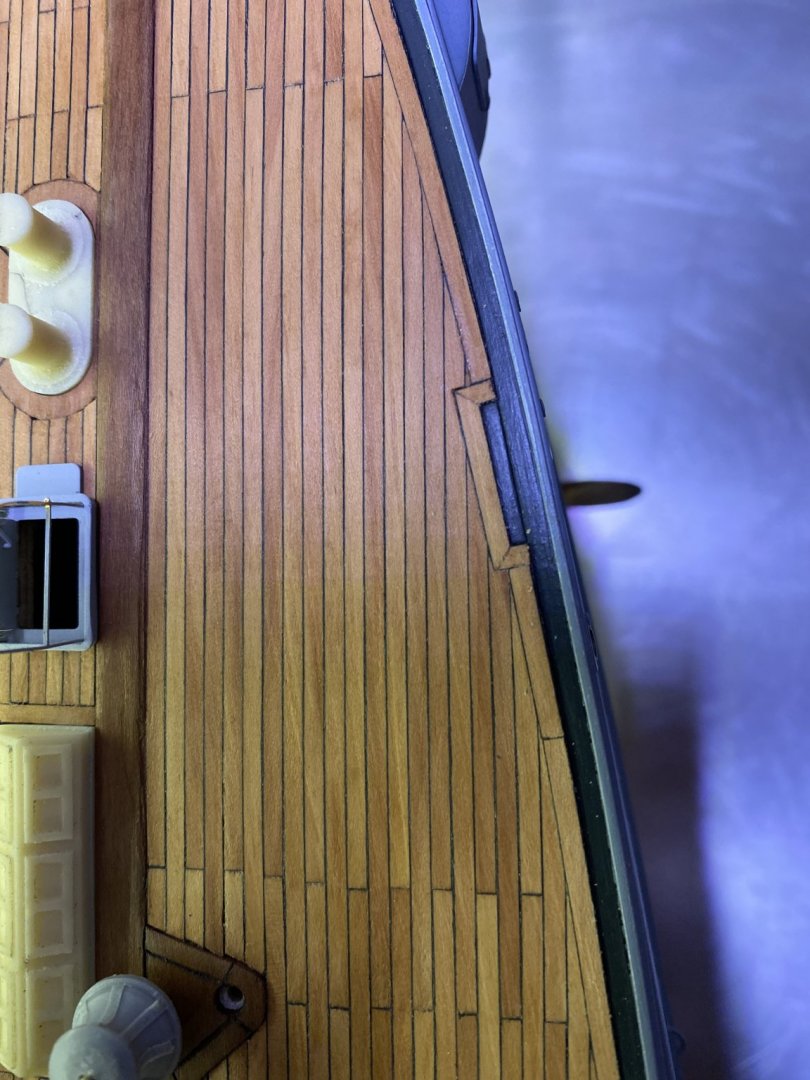
After some studying of some pictures, I decided that below the chain run was a wooden dek. And not steel/ iron So I decided to remake everything again from wood.
- 202 replies
-
- 2
-
-
- battleship
- scharnhorst
- (and 2 more)
-
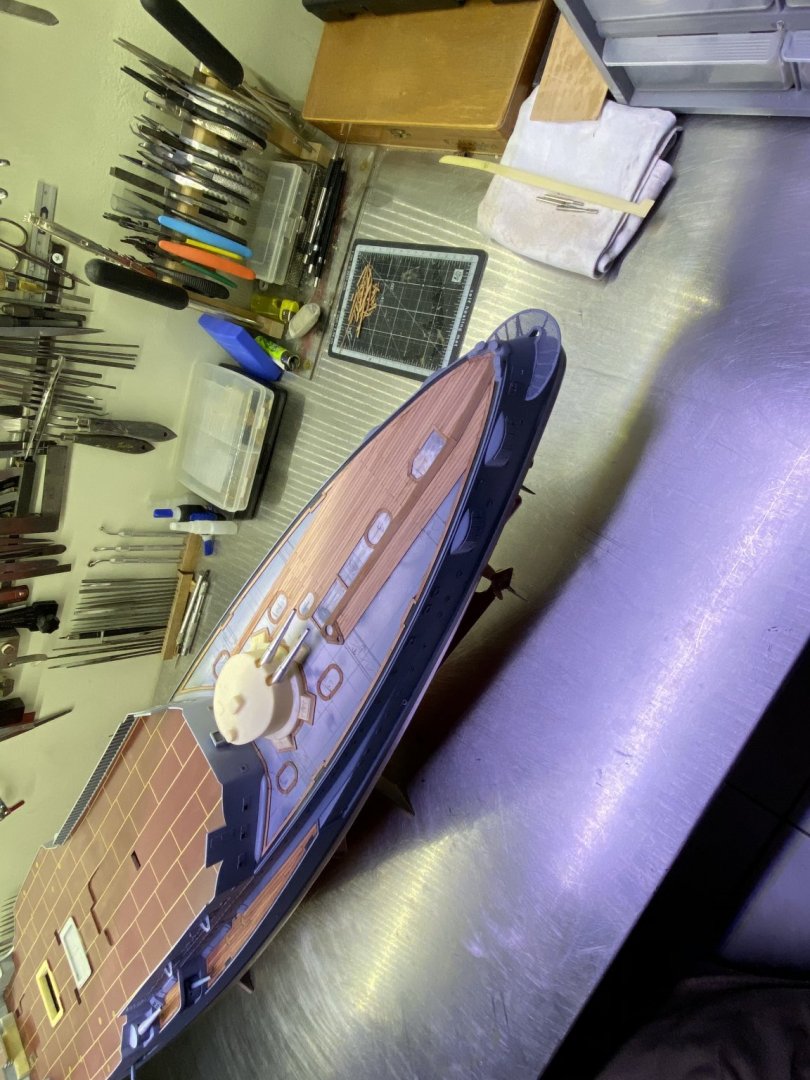
And today I received a unexpected visit of the building inspector, to see if everything goes by the rules. After the necessary "threats" I received the Ok to continue my building activities.
- 202 replies
-
- 12
-
-
- battleship
- scharnhorst
- (and 2 more)
-
And the story continues. Started with the wooden decks.

- 202 replies
-
- 17
-
-
- battleship
- scharnhorst
- (and 2 more)
-
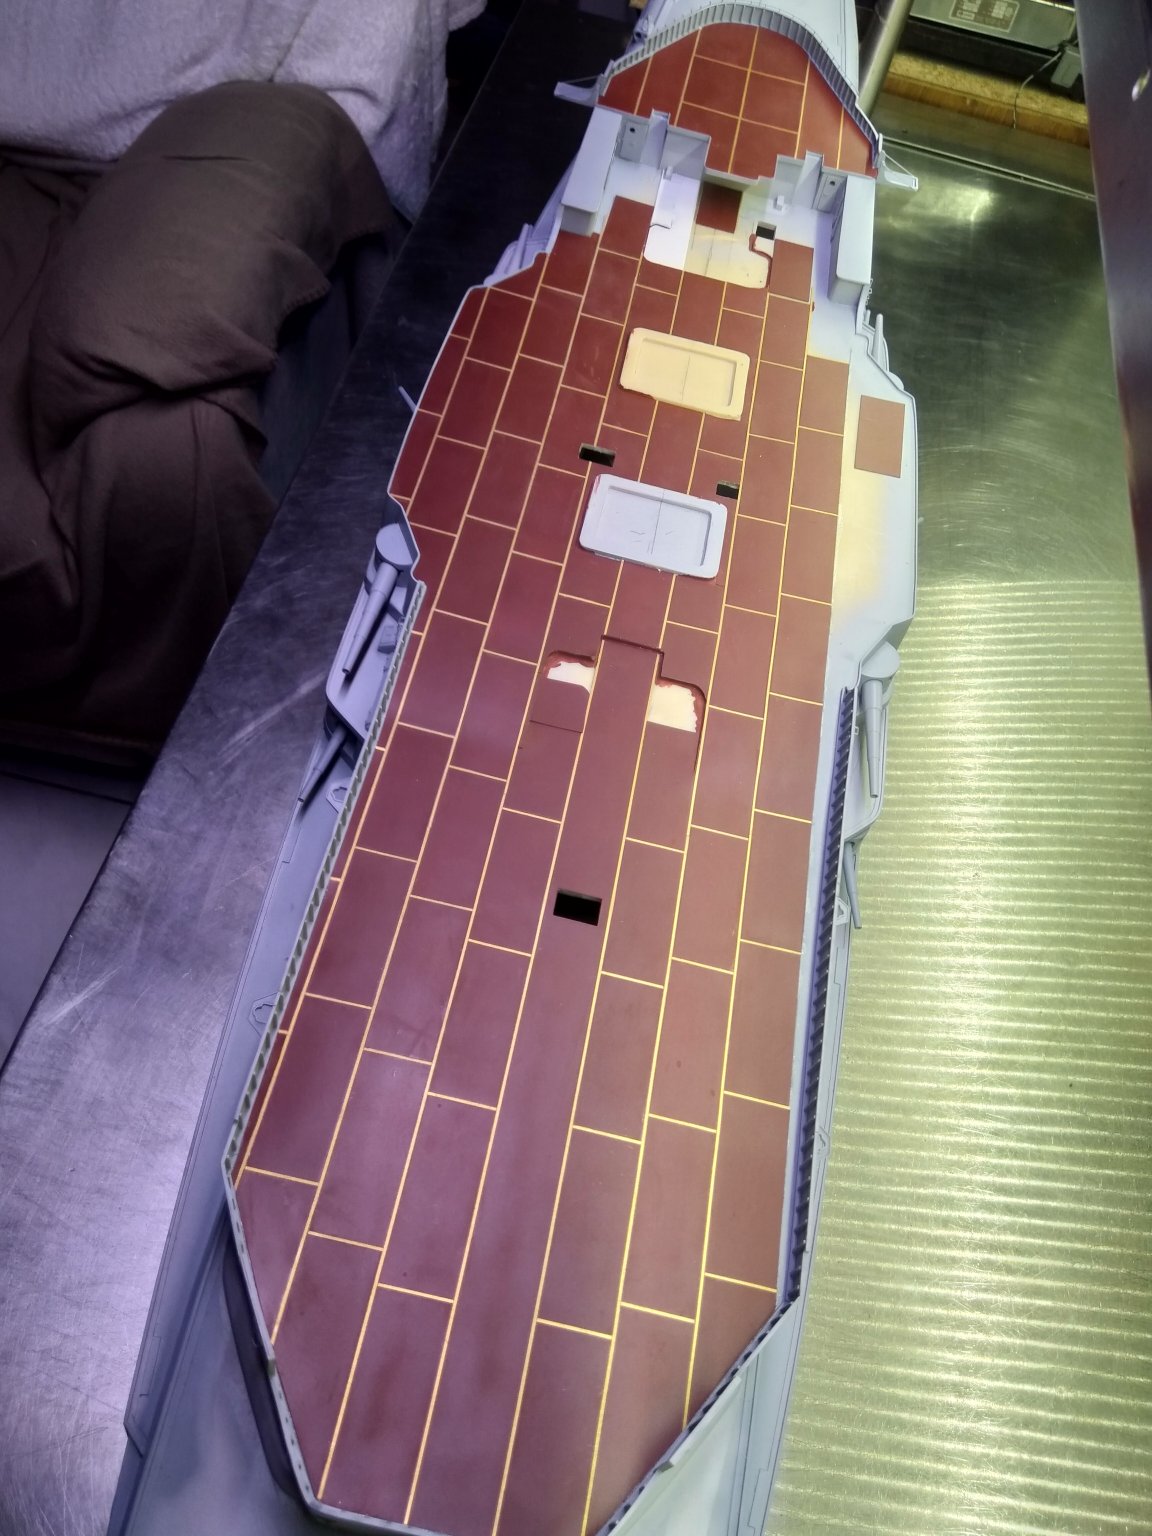
Gentlemen, Thanks for the thumbs up. Finished the Linoleum Puzzle 🙂 So now I can start with the wooden decks.
- 202 replies
-
- 16
-
-
- battleship
- scharnhorst
- (and 2 more)
-
Still working on my puzzle,and as with a real puzzle keeping the most difficult pieces for the last.
- 202 replies
-
- 16
-
-
- battleship
- scharnhorst
- (and 2 more)
-
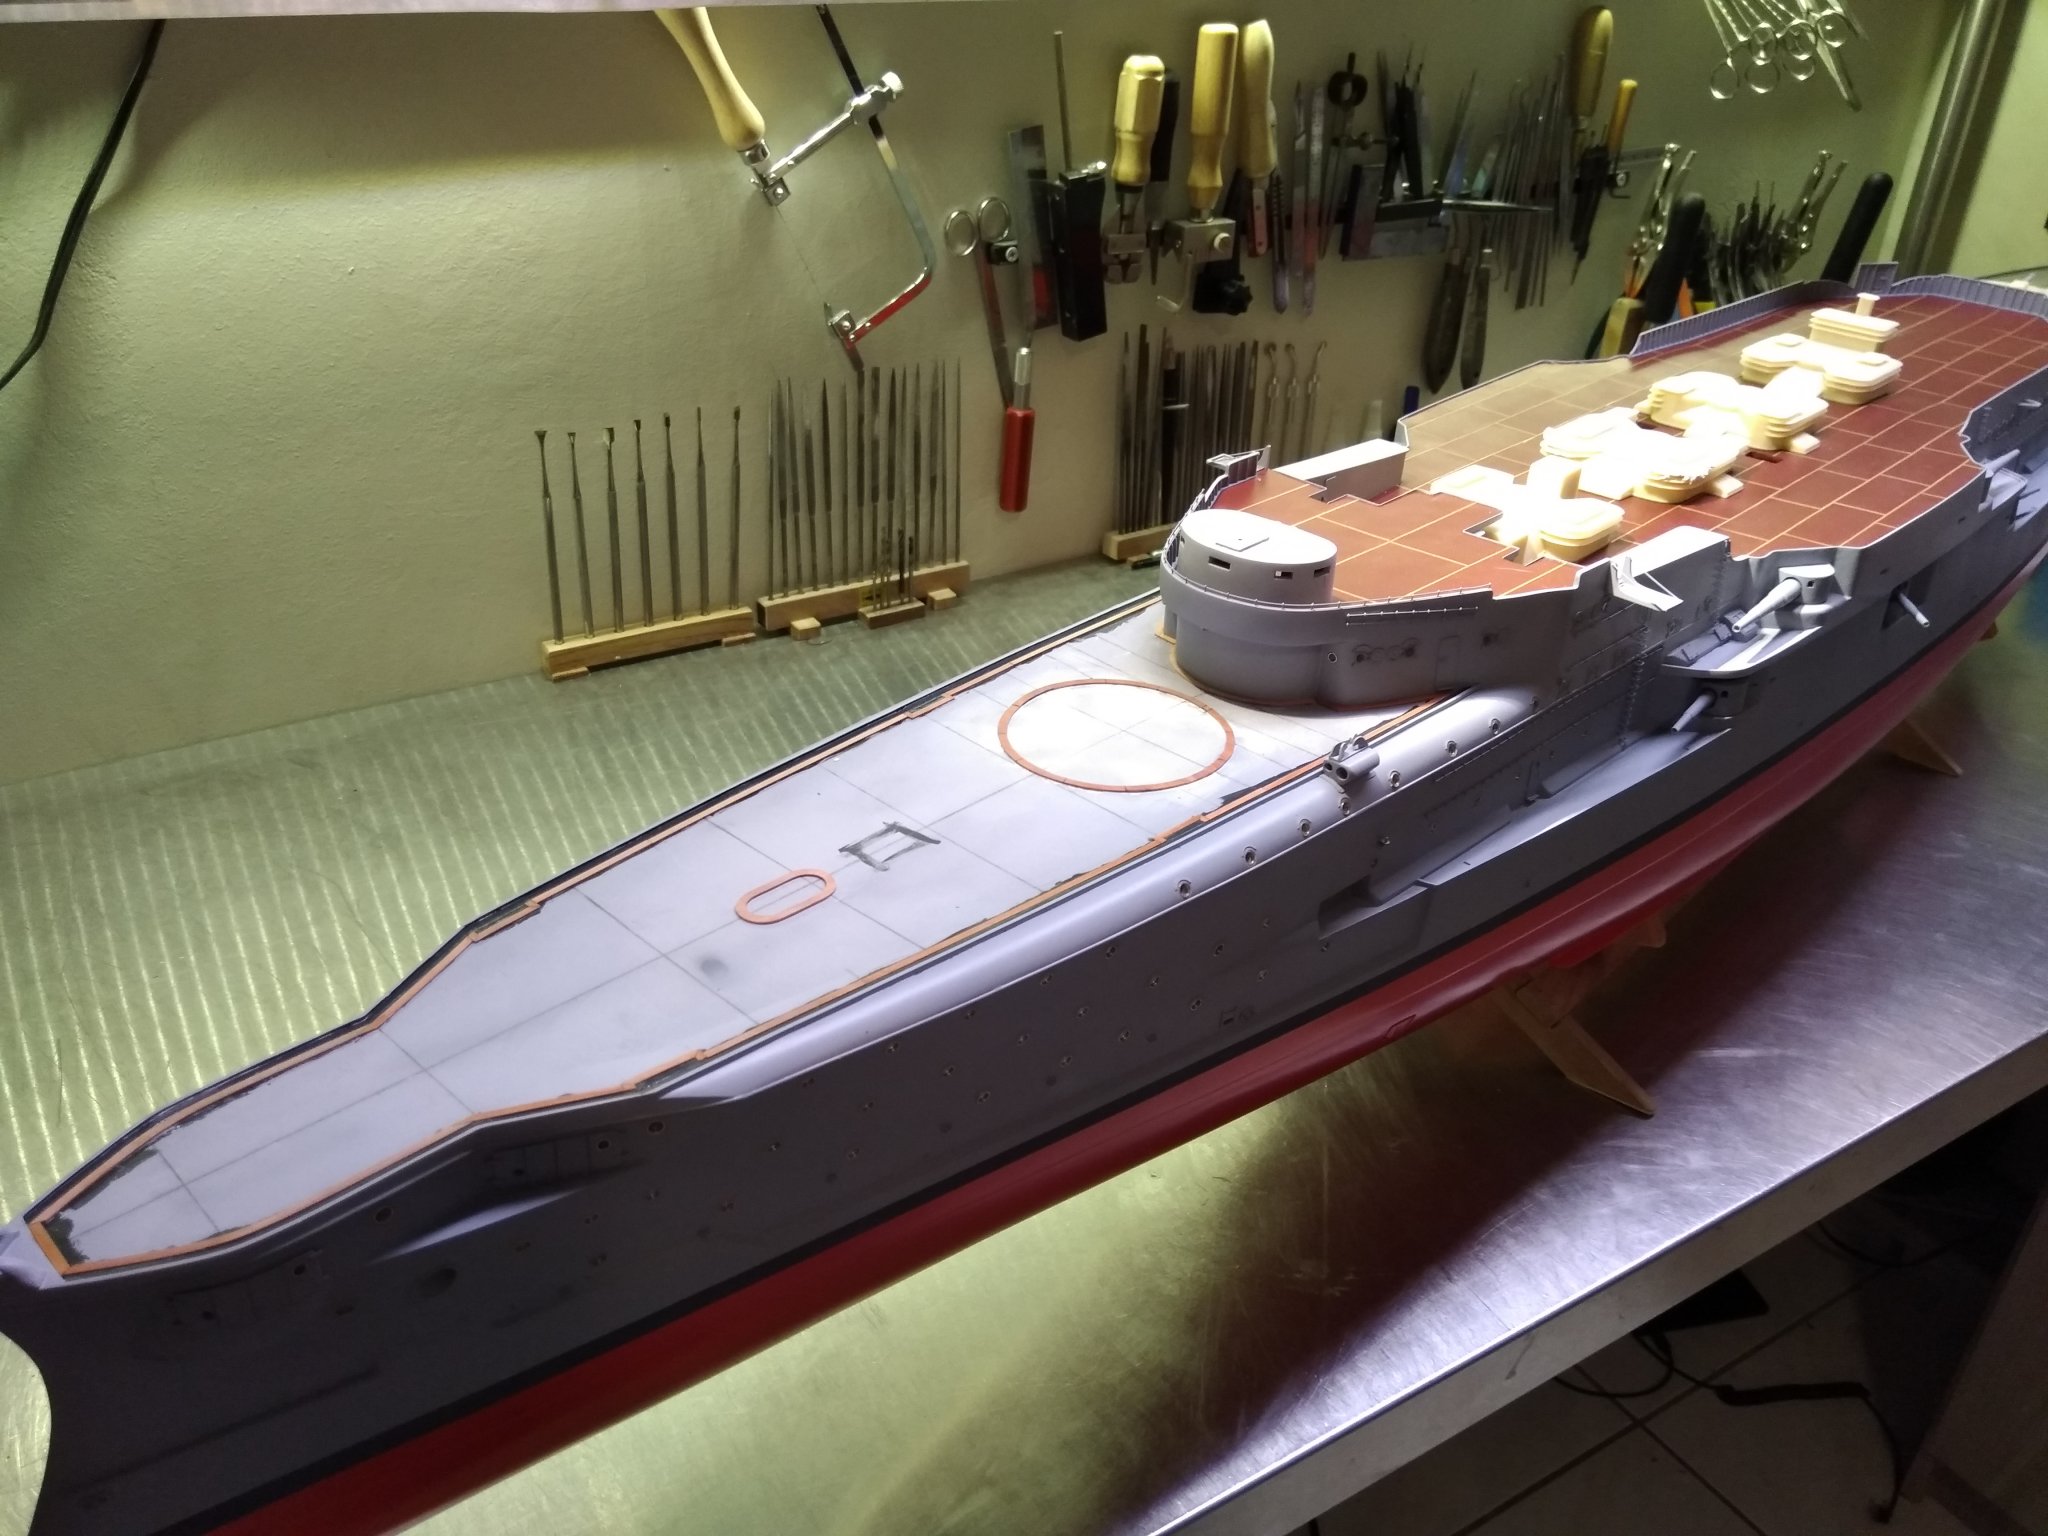
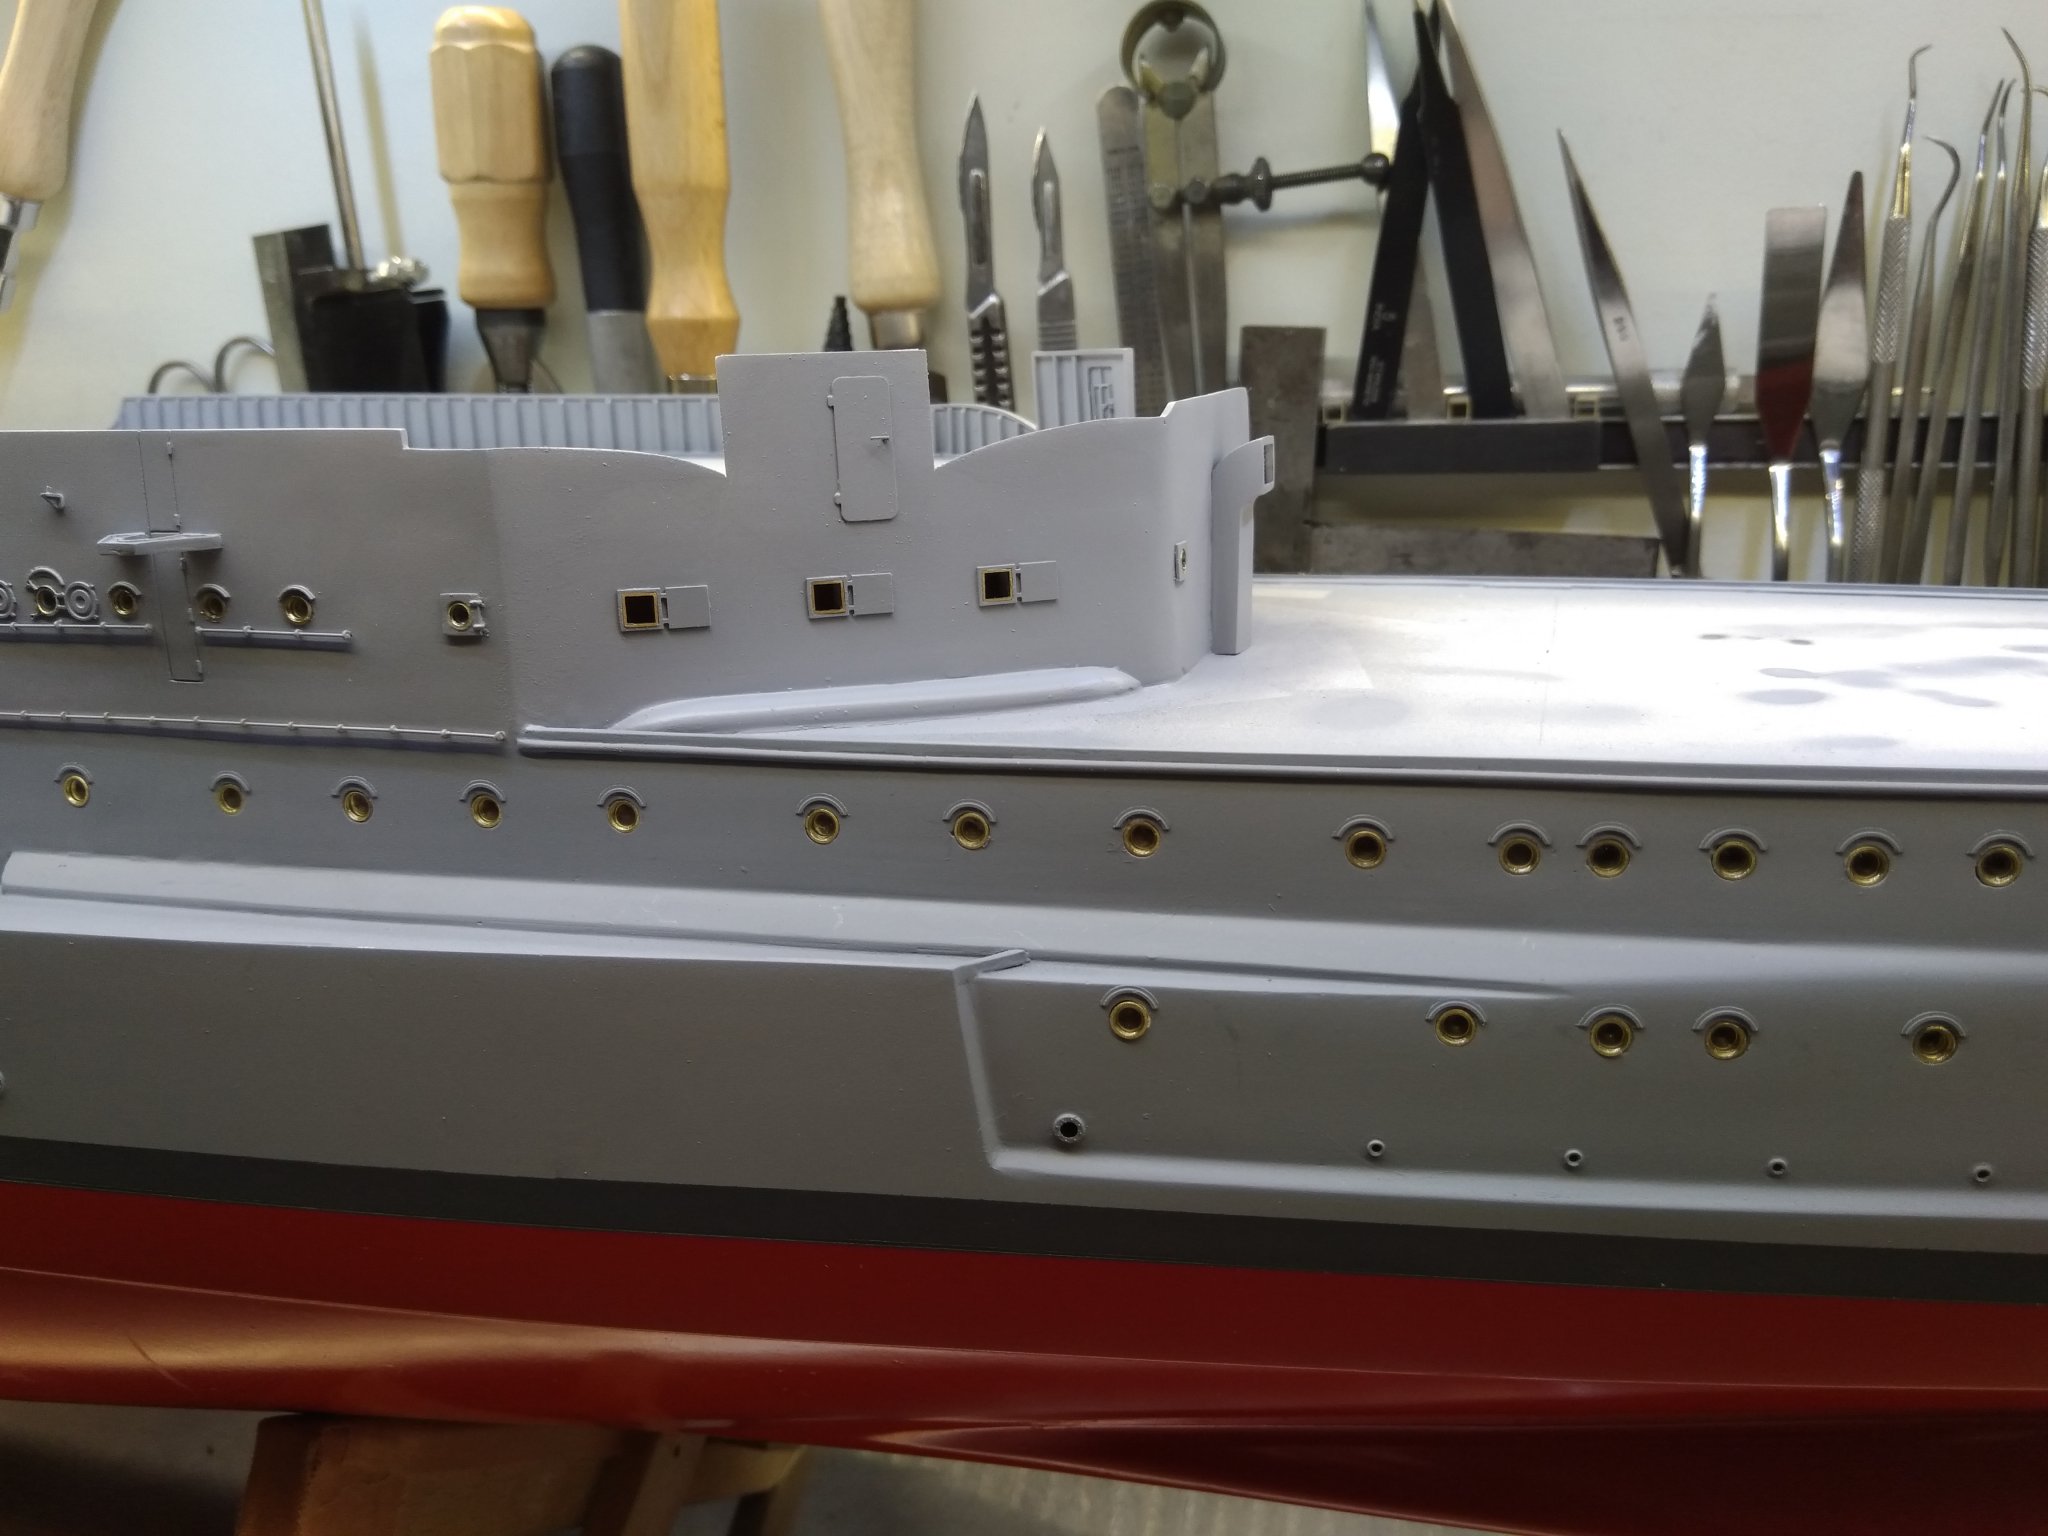
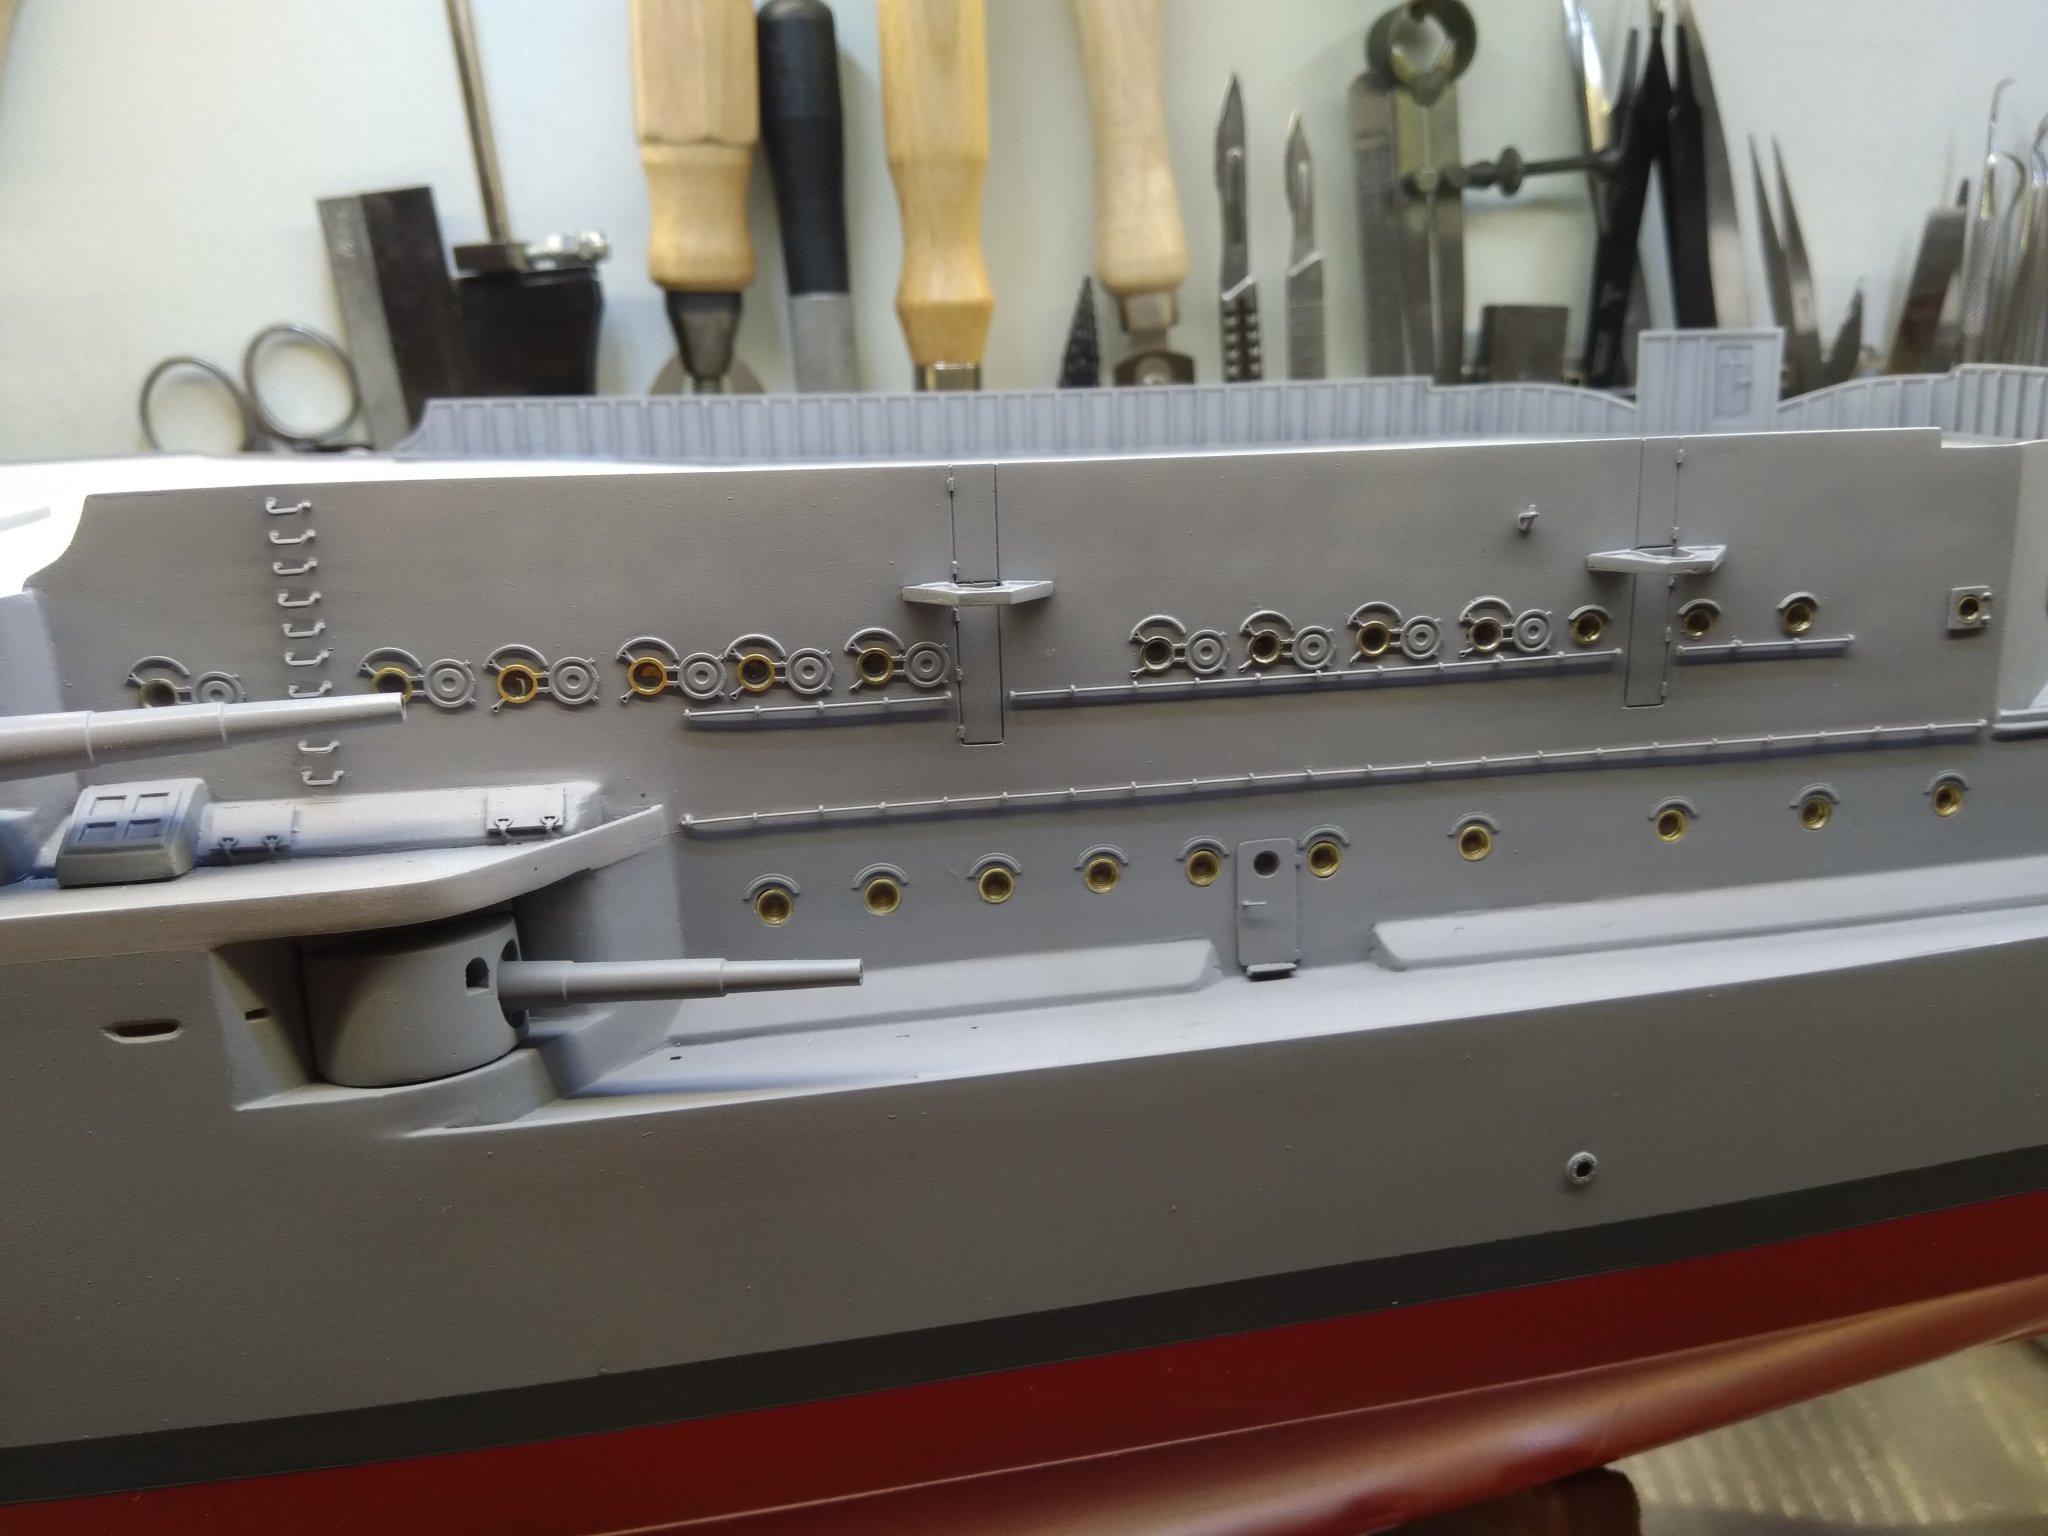
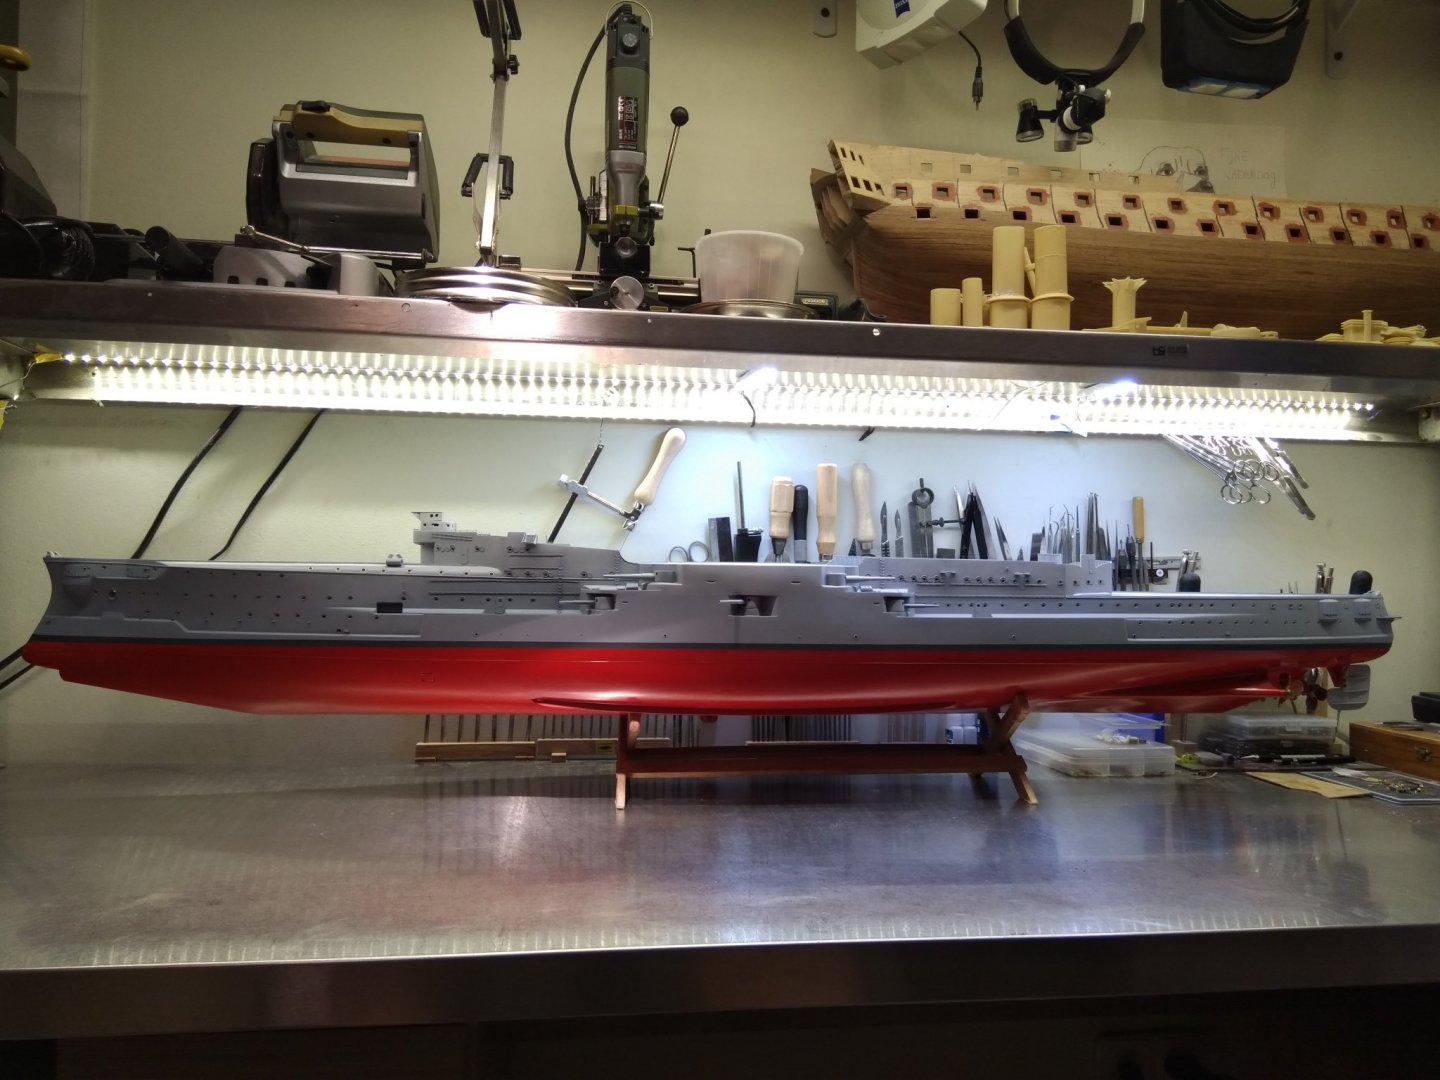
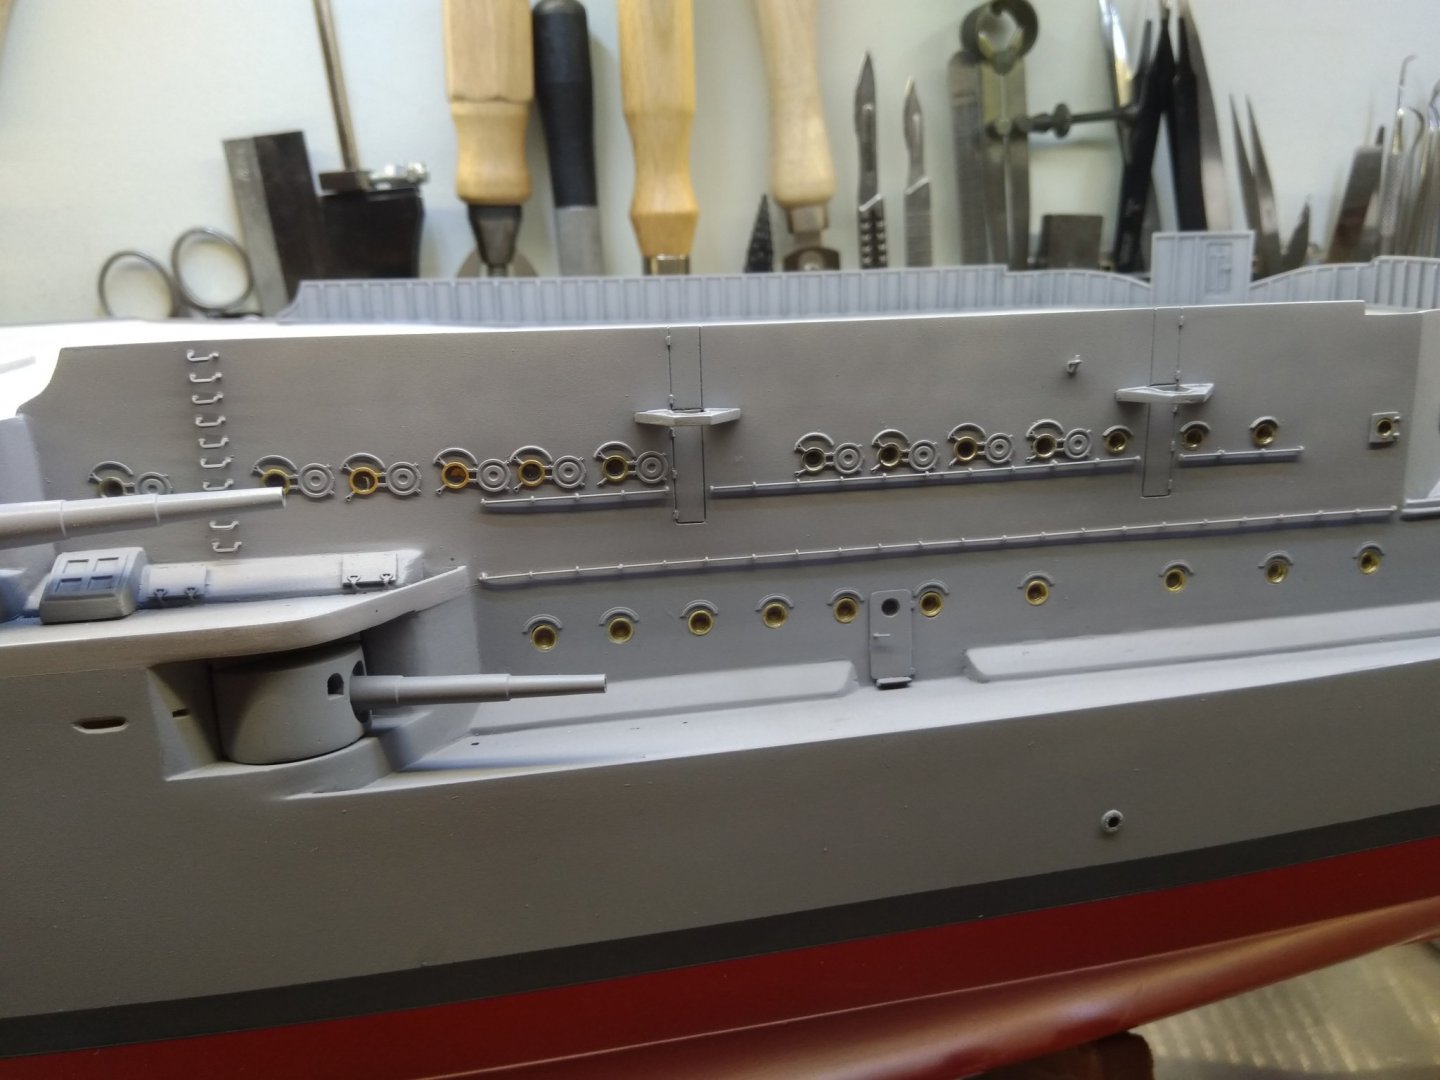
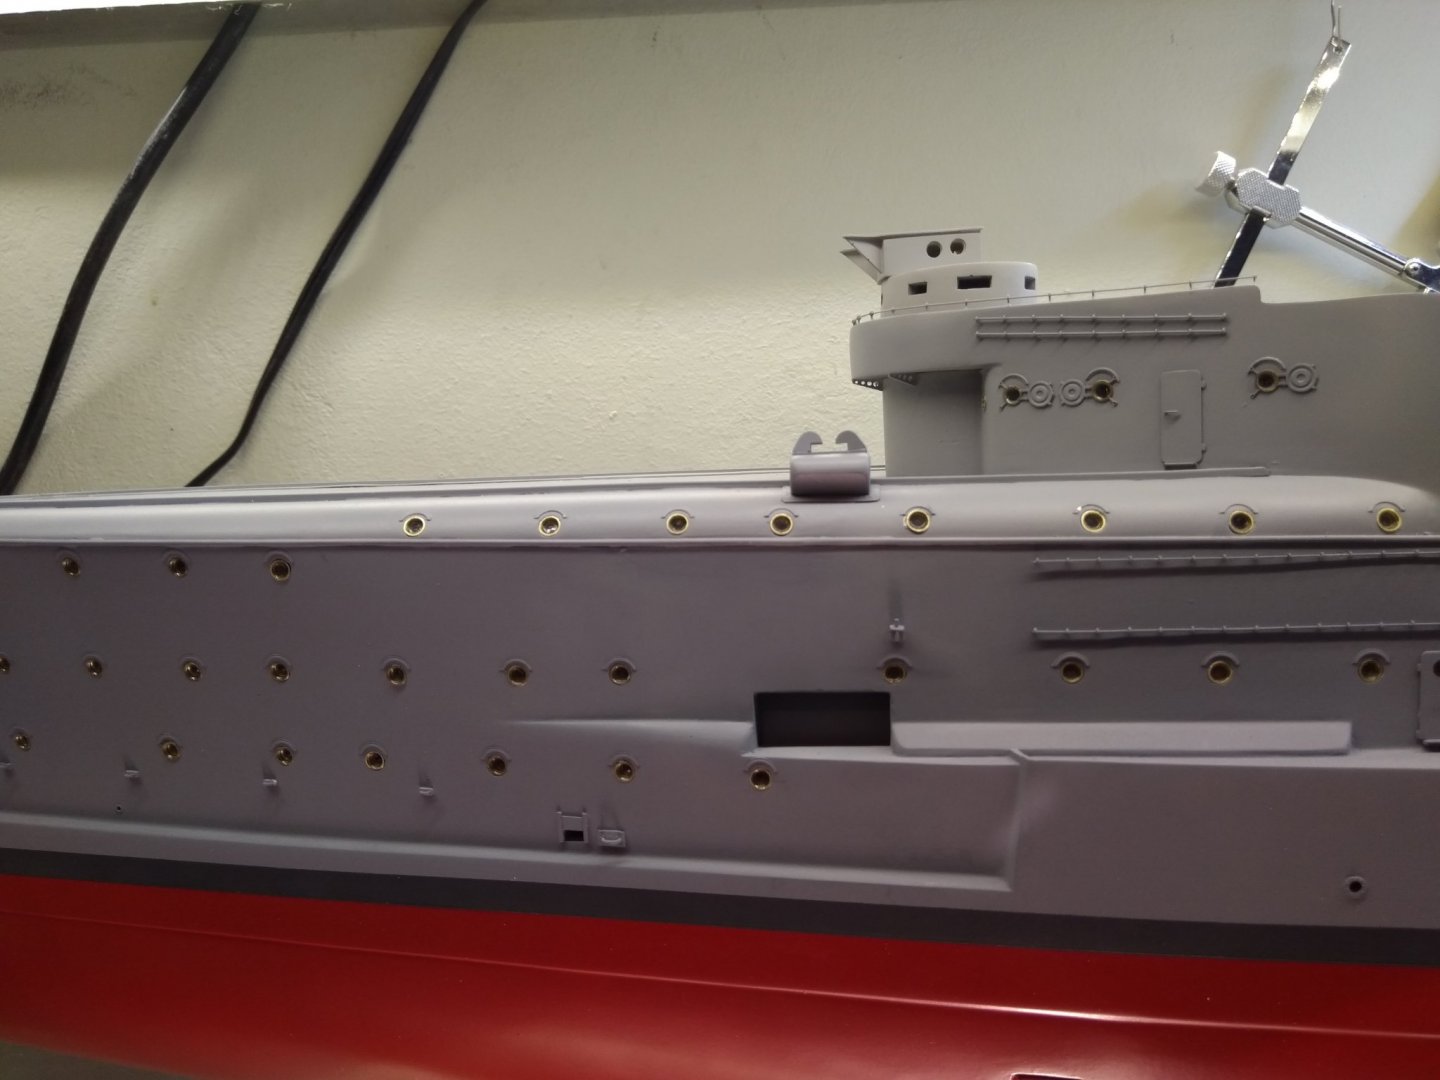
Finished all the portholes, doors and windows on the hull. Also made the recess In the hull for the spare anchor. Started with the bridge deck to make the linoleum floor with brass strips. Below a few pictures

- 202 replies
-
- 17
-
-
- battleship
- scharnhorst
- (and 2 more)
-
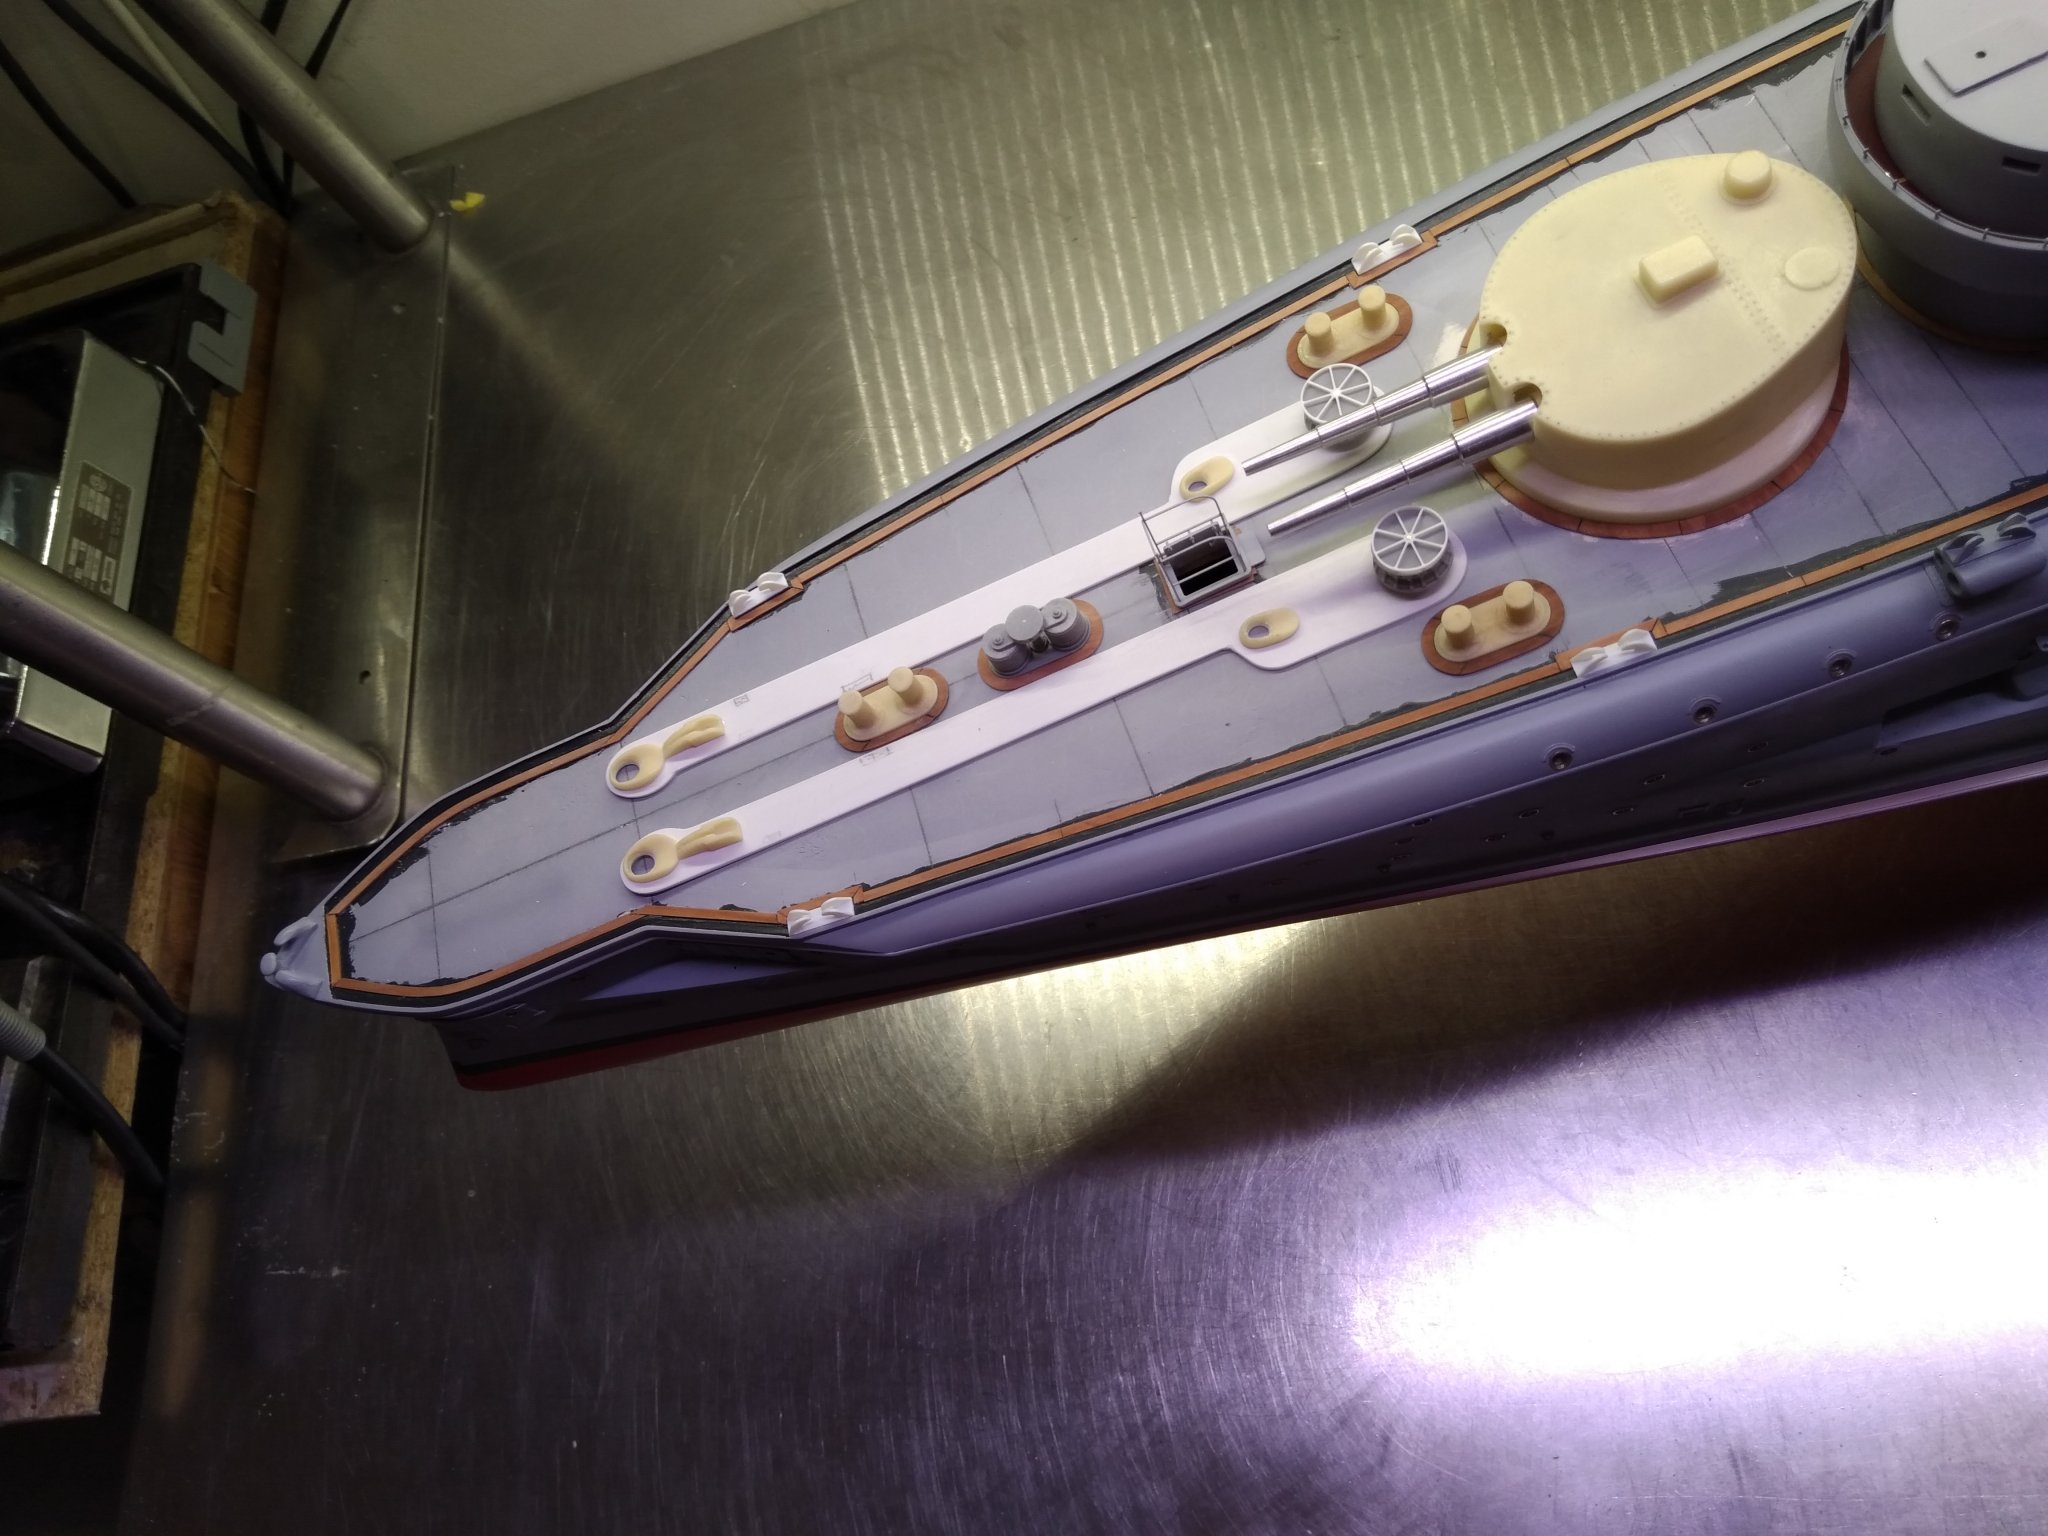
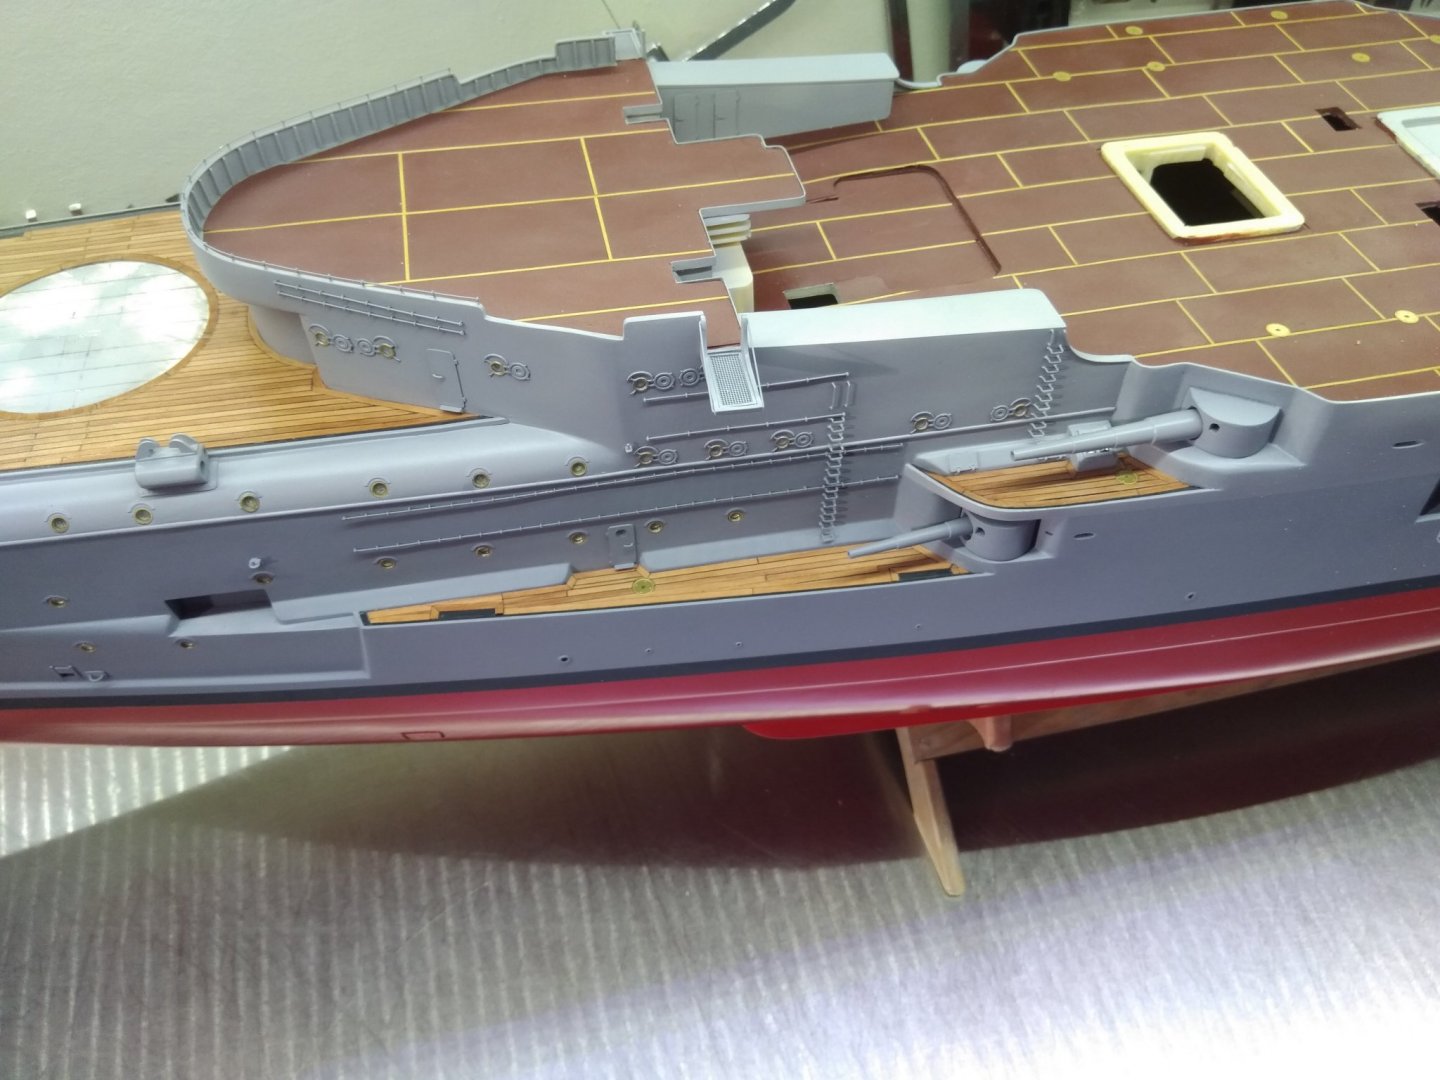
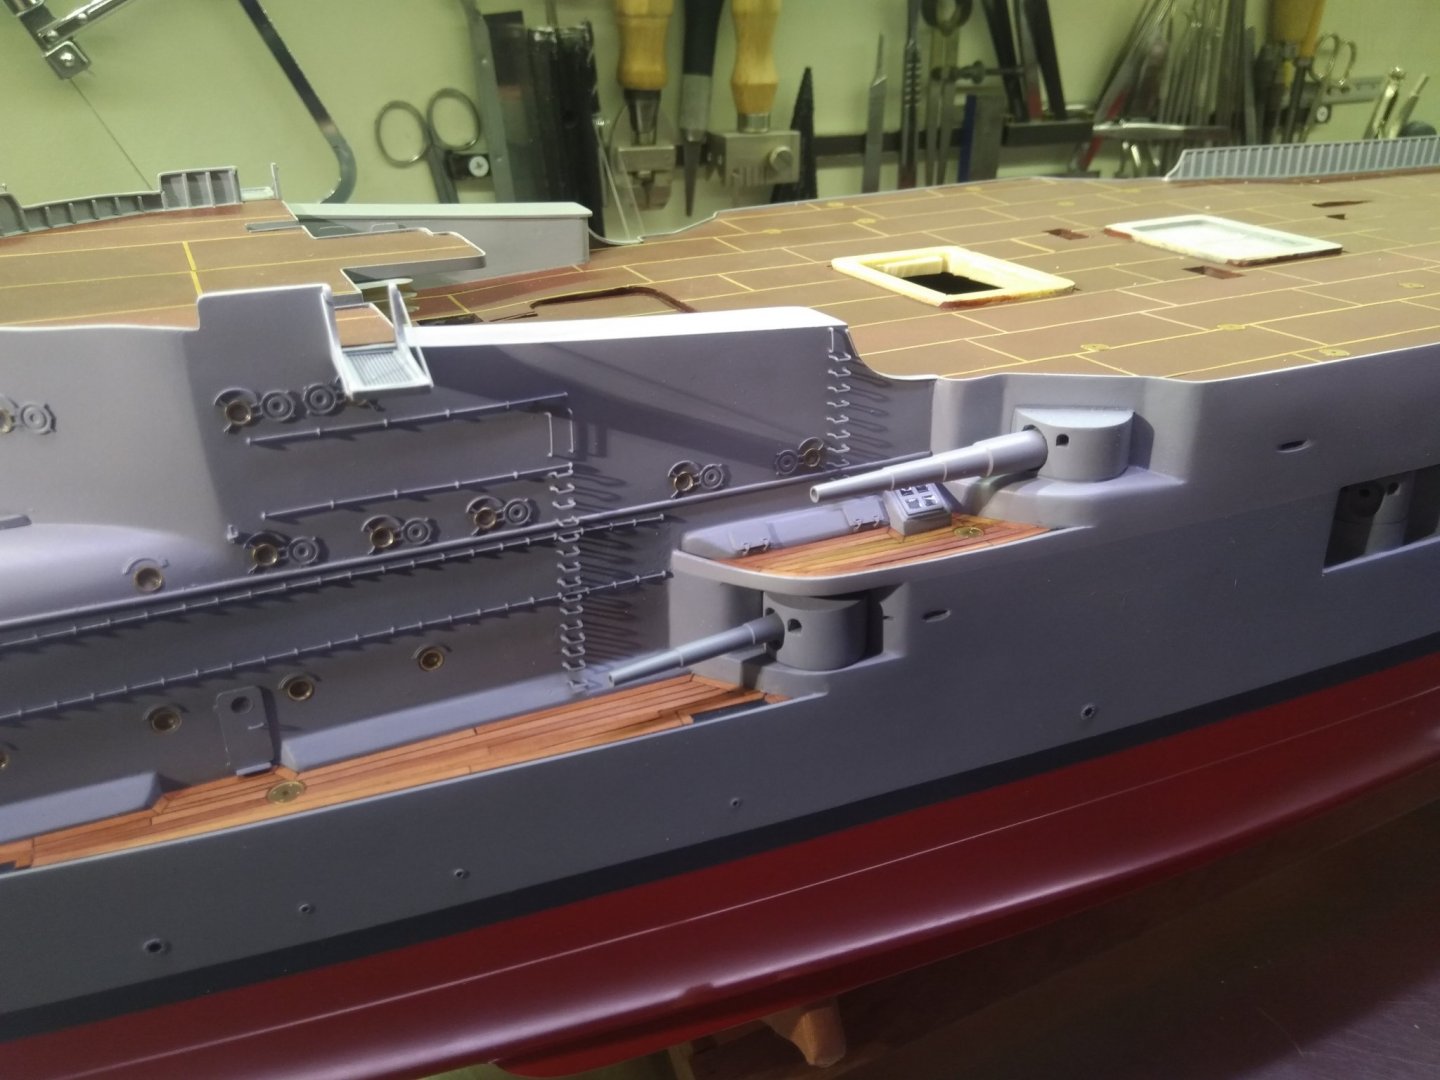
Nicolás, The part marked on the picture is a torpedo tube The scharnhorst was equipped with four 45 cm submerged torpedo tubes, One was mounted in the bow, one on each broadside and the fourth was placed in the stern.
- 202 replies
-
- 3
-
-
- battleship
- scharnhorst
- (and 2 more)