
boris279
-
Posts
168 -
Joined
-
Last visited
Content Type
Profiles
Forums
Gallery
Events
Everything posted by boris279
-
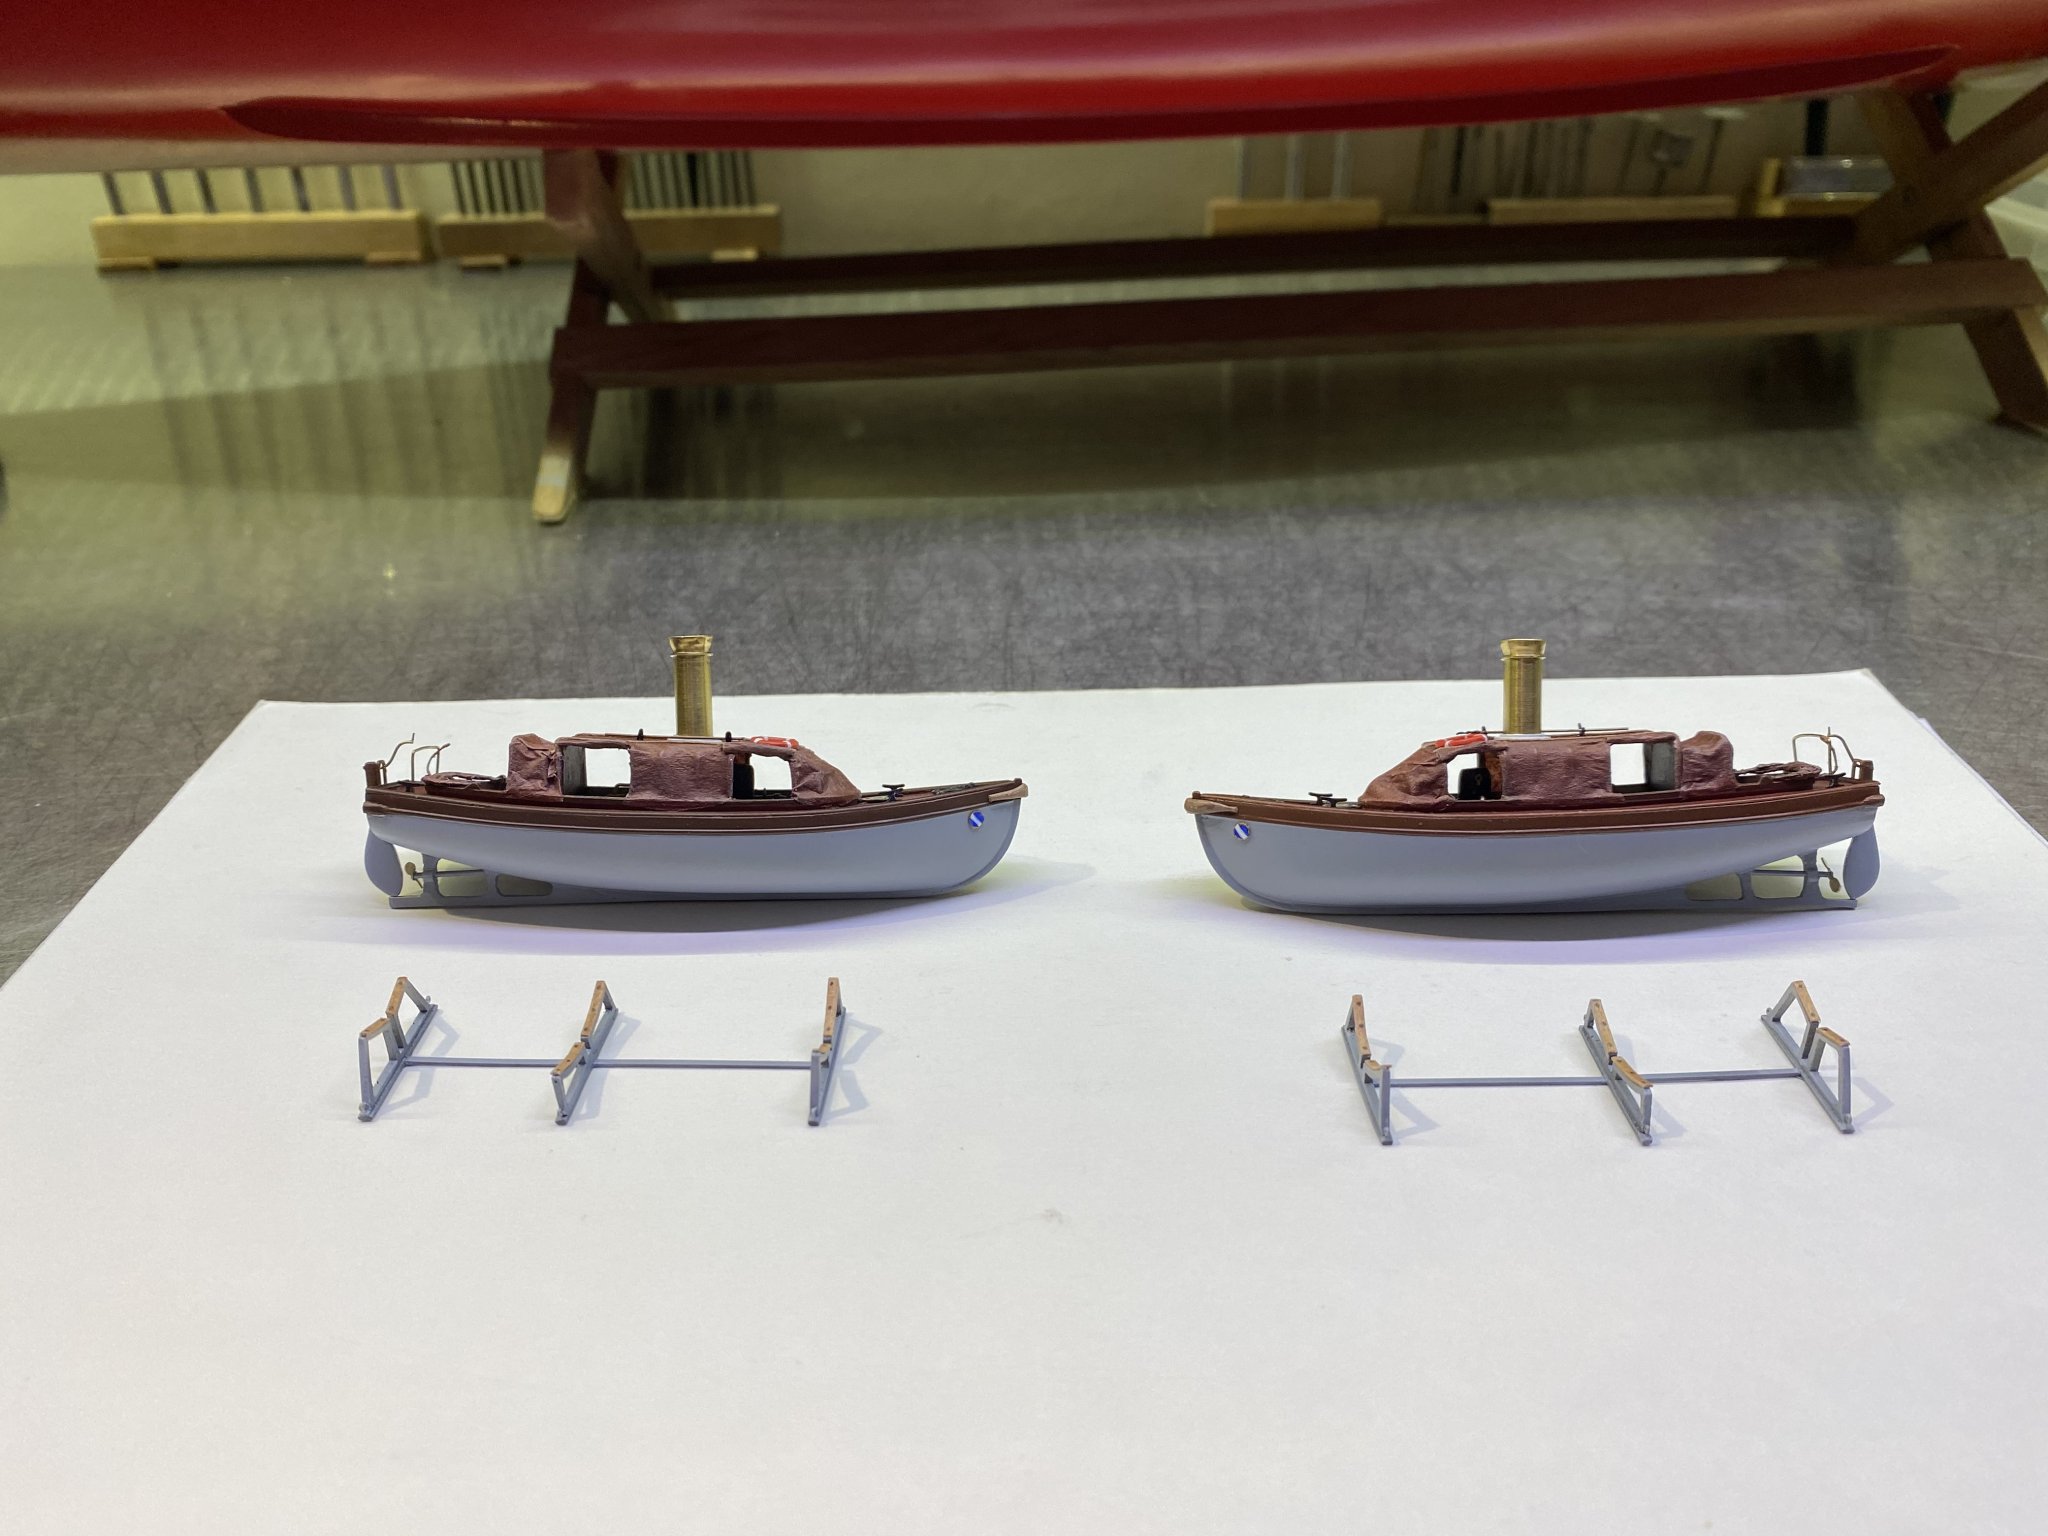
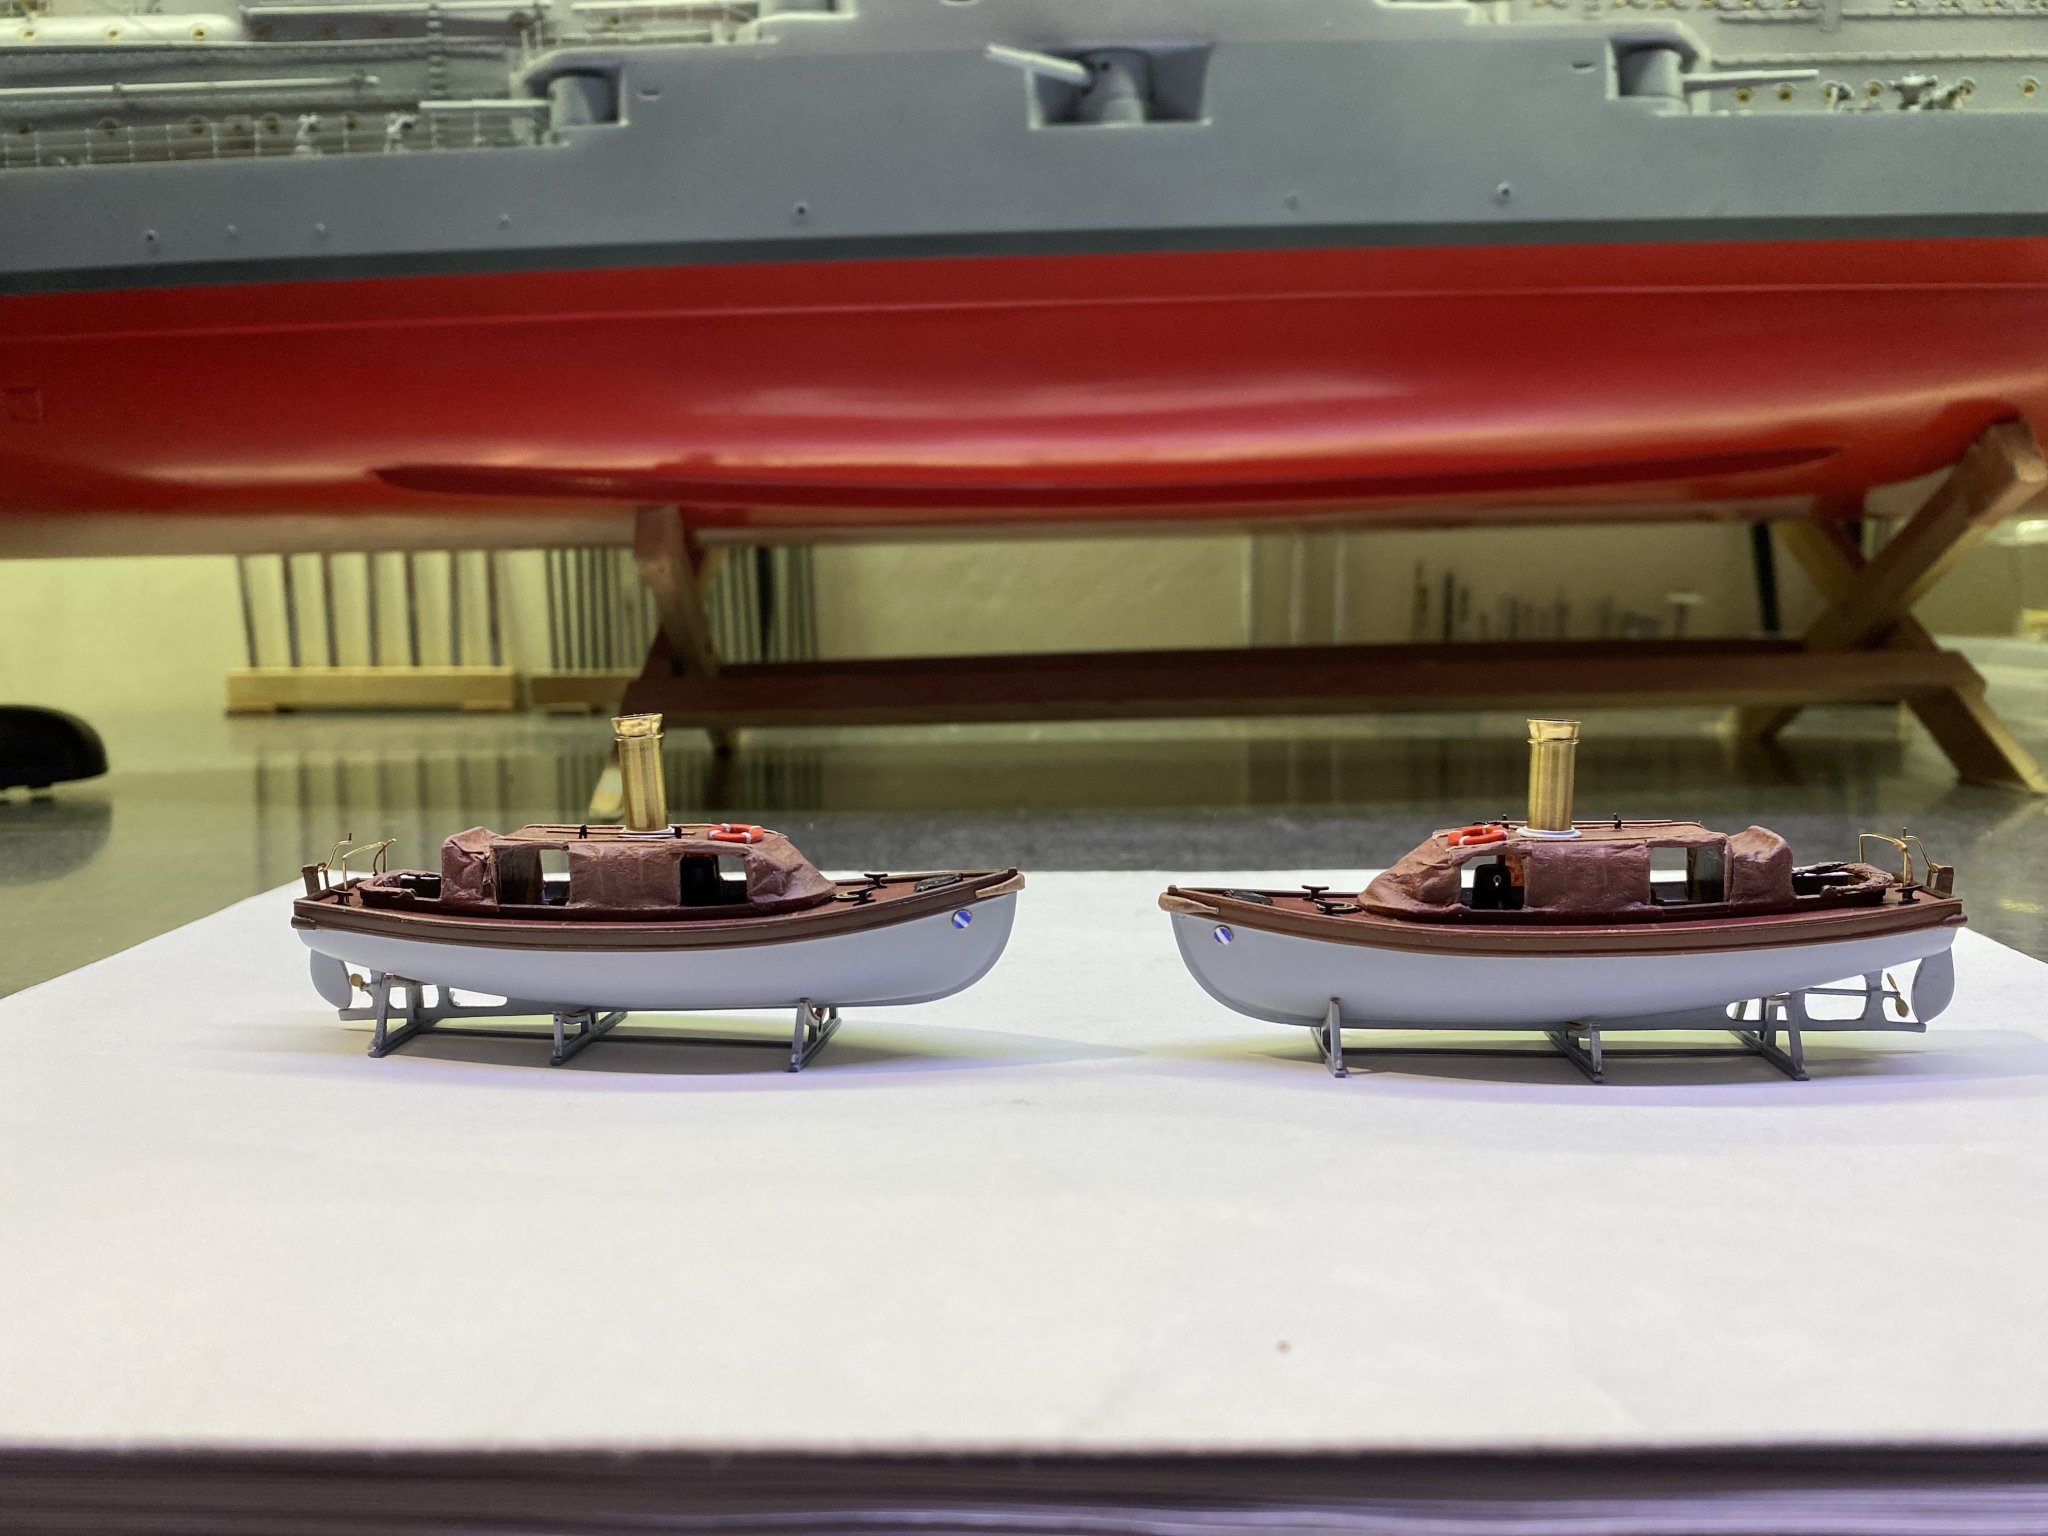
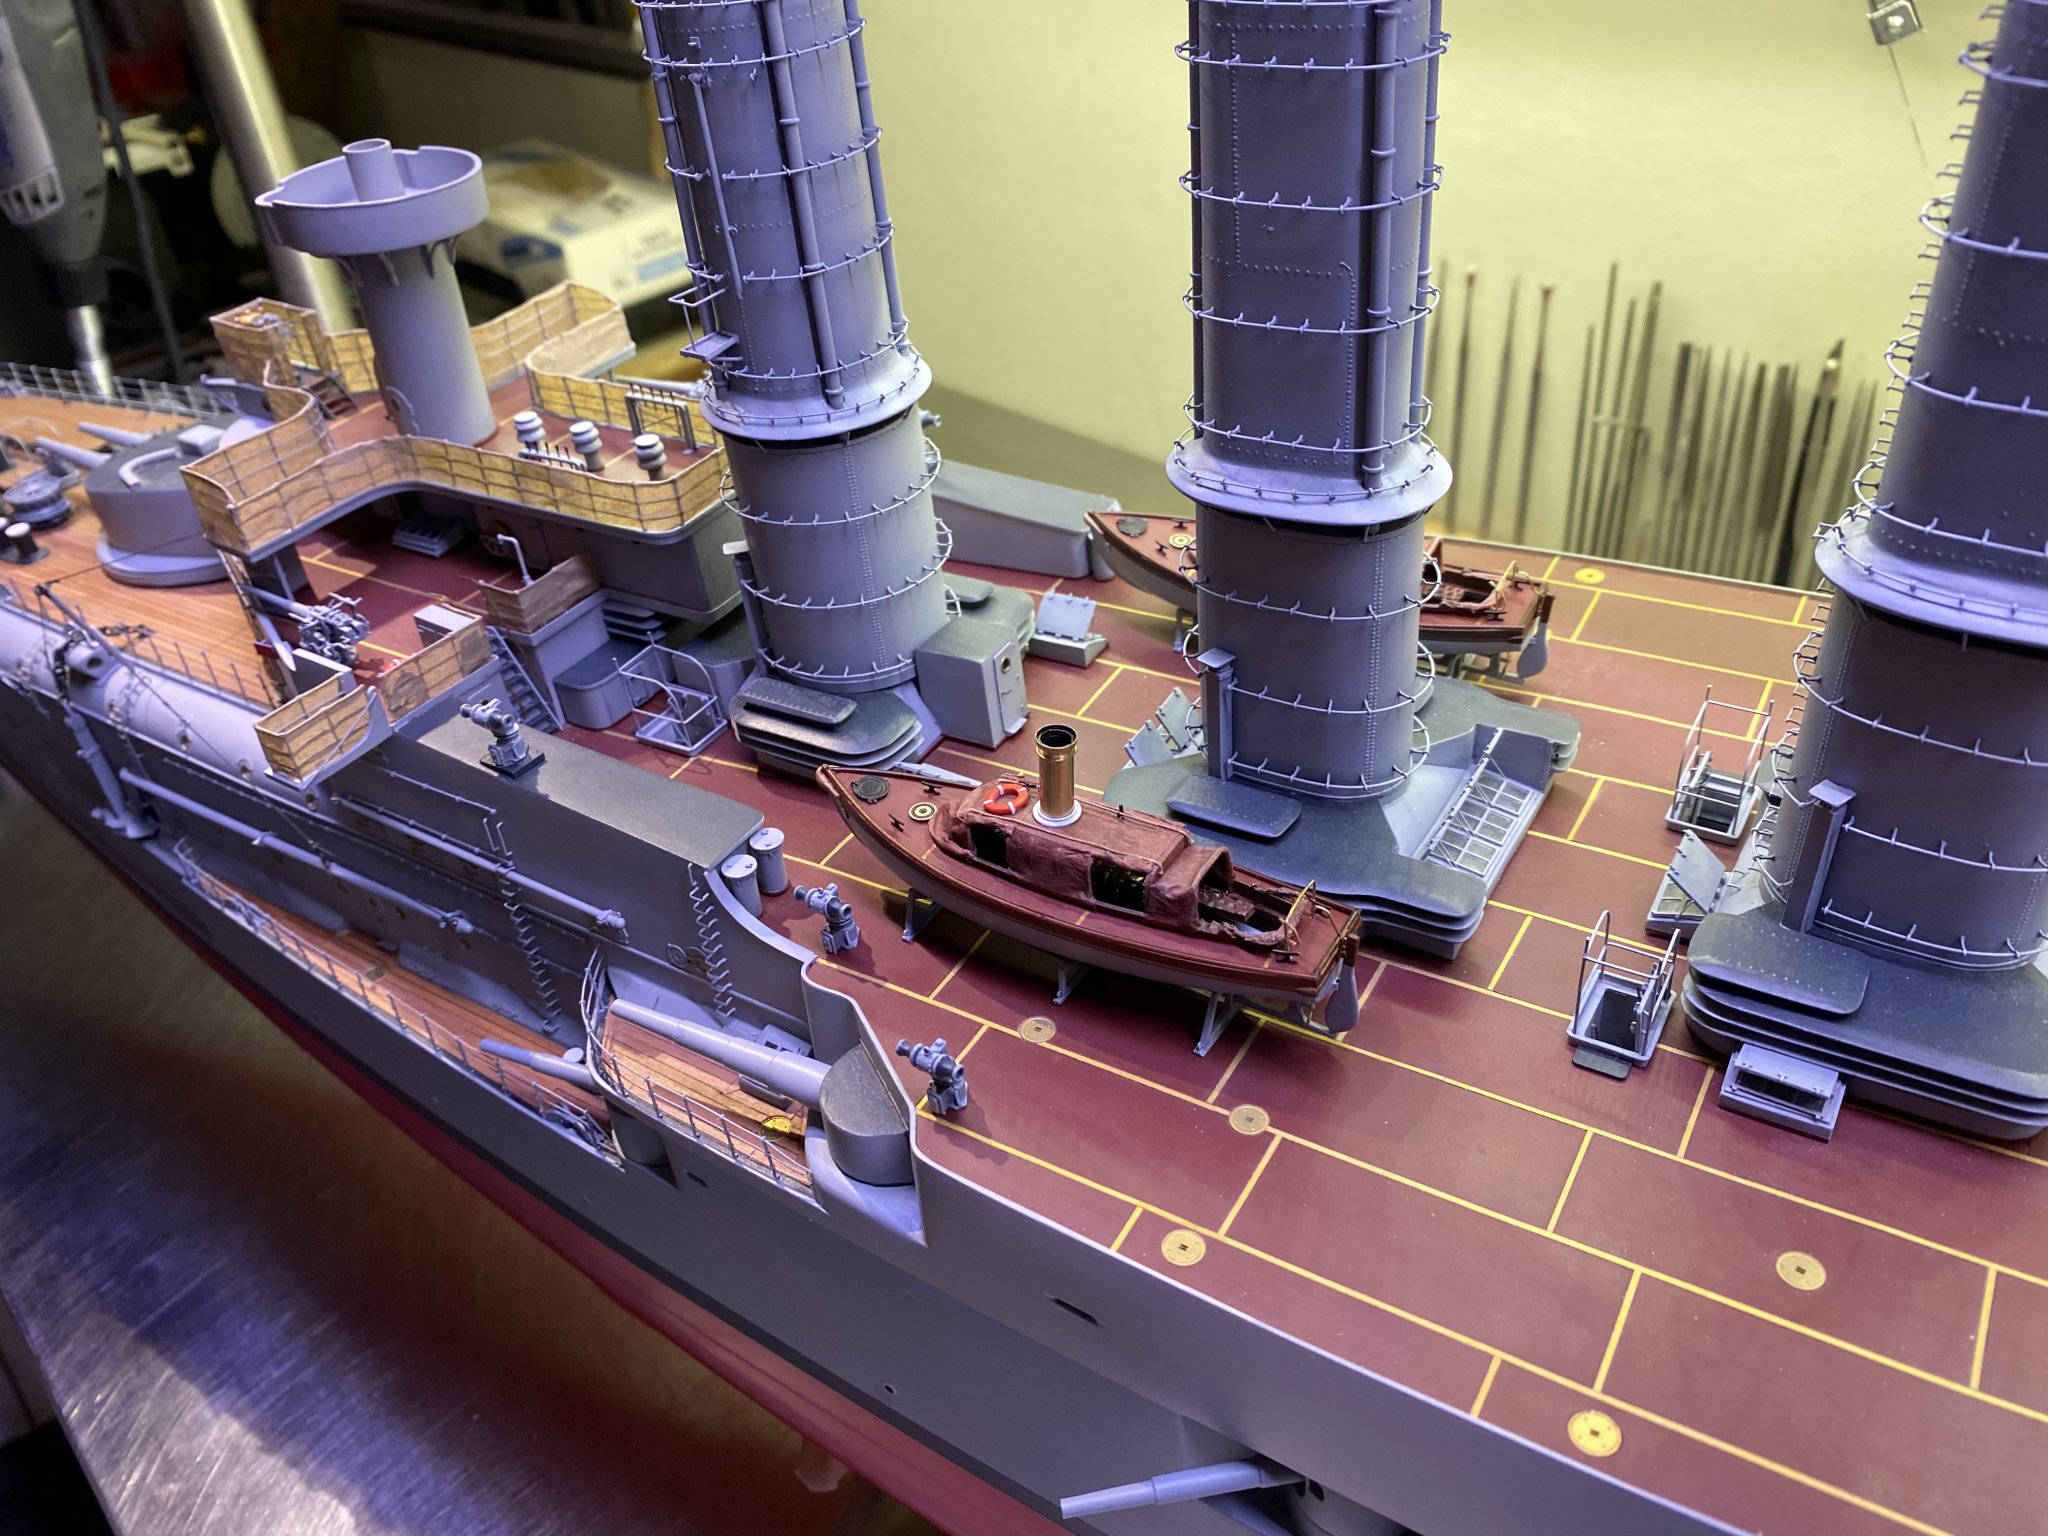
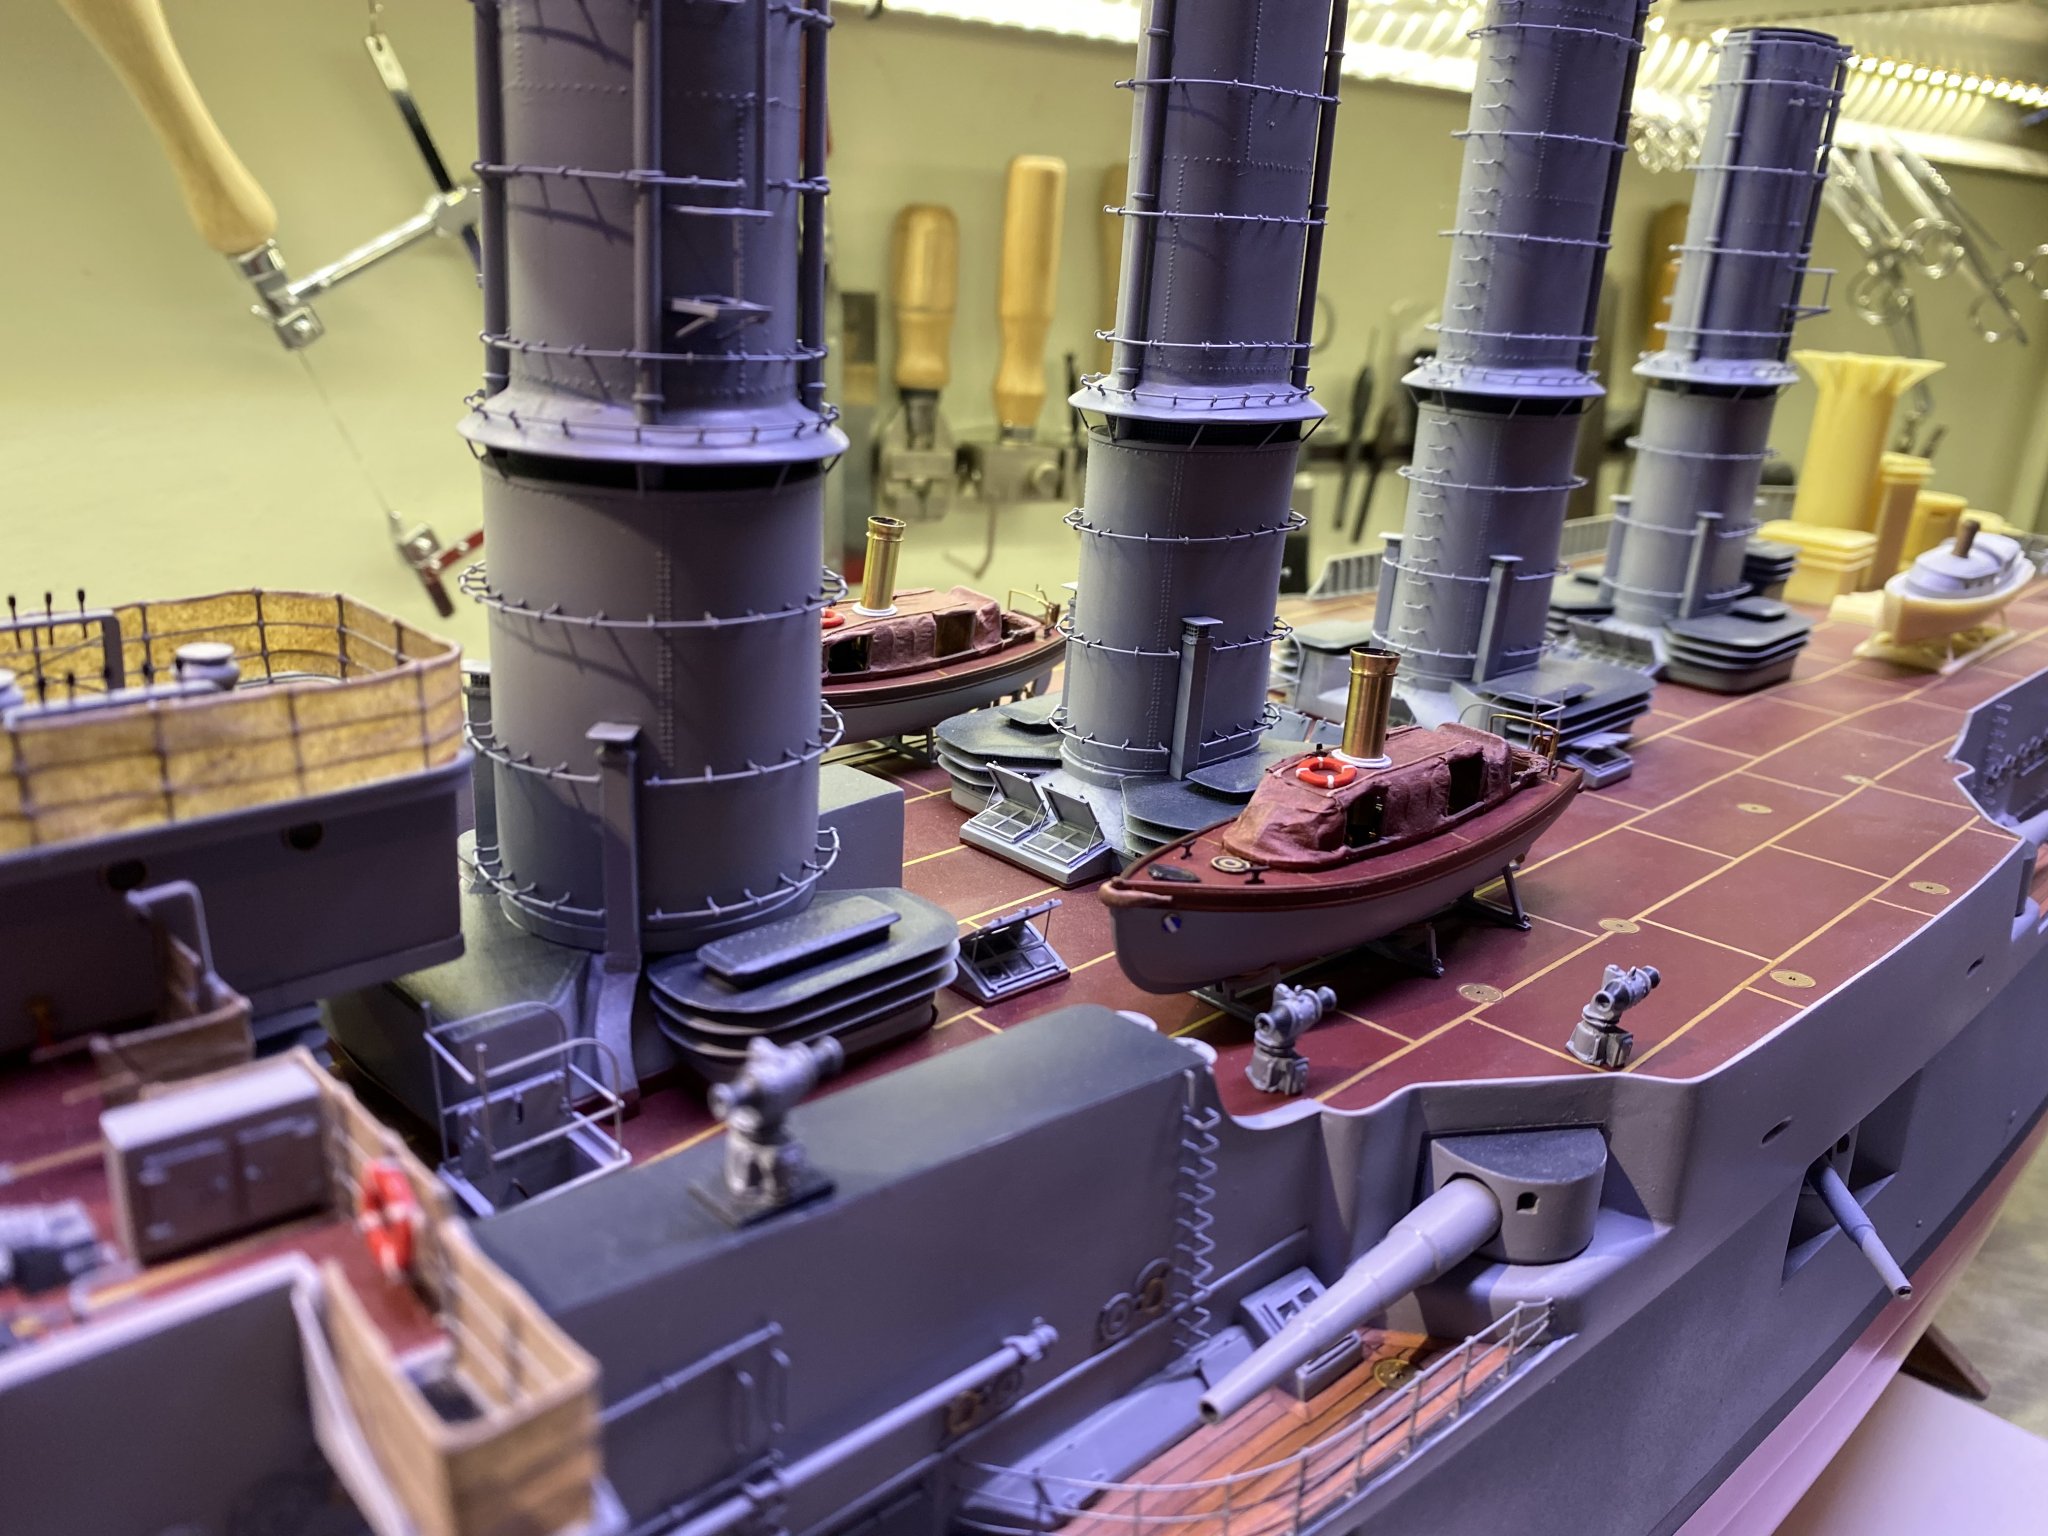
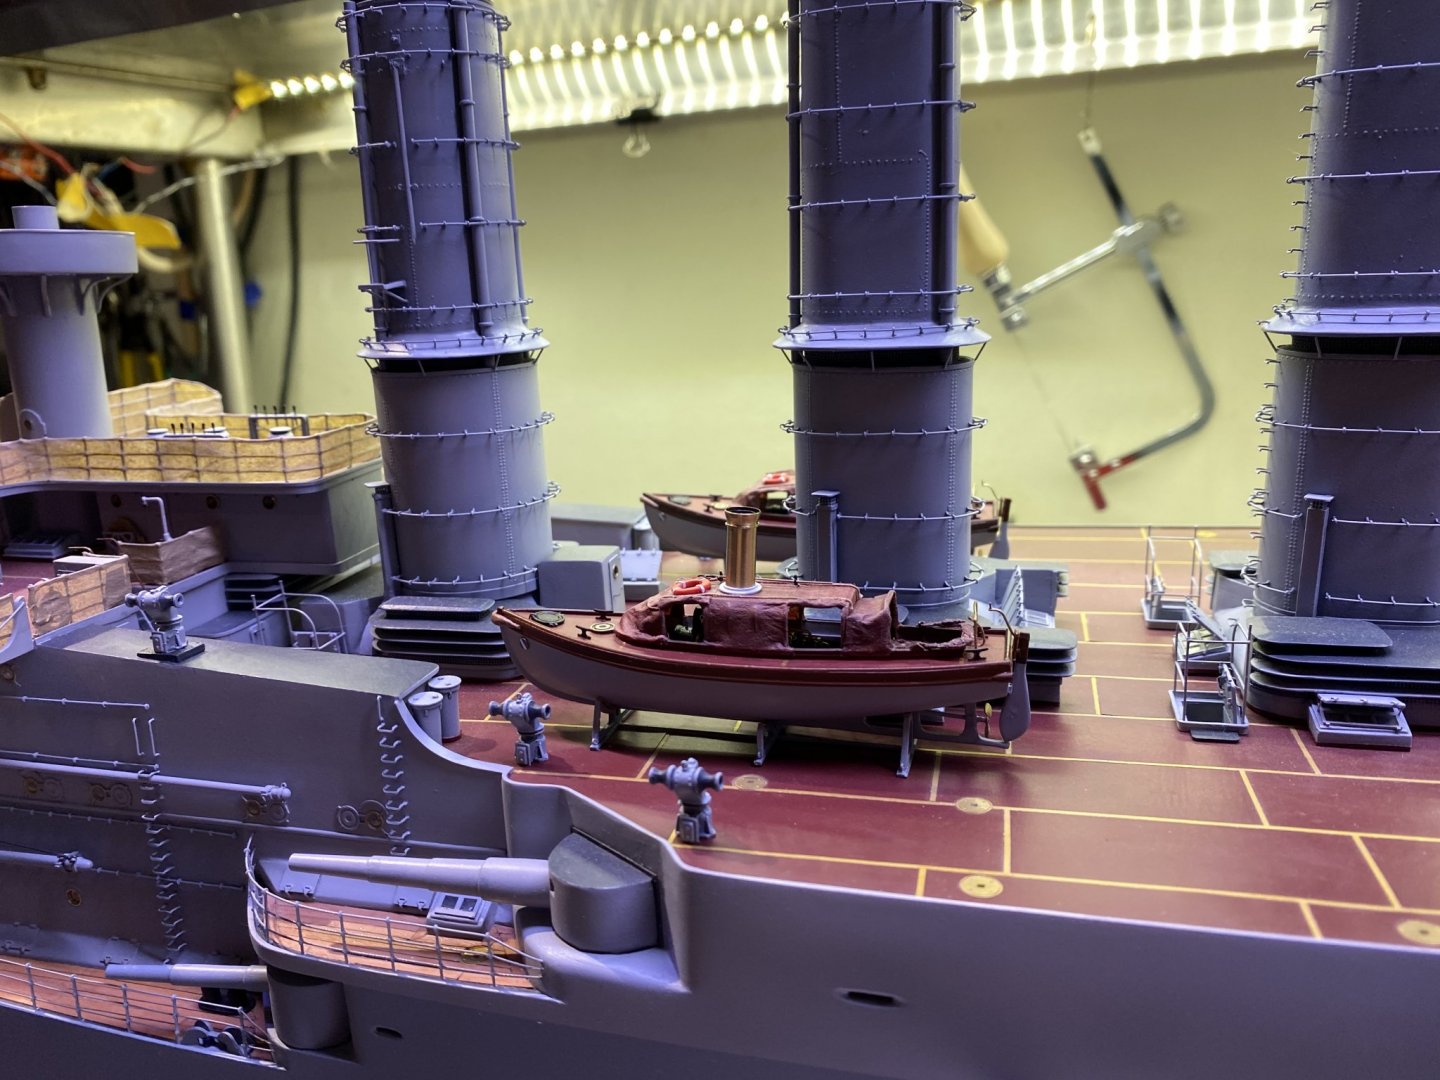
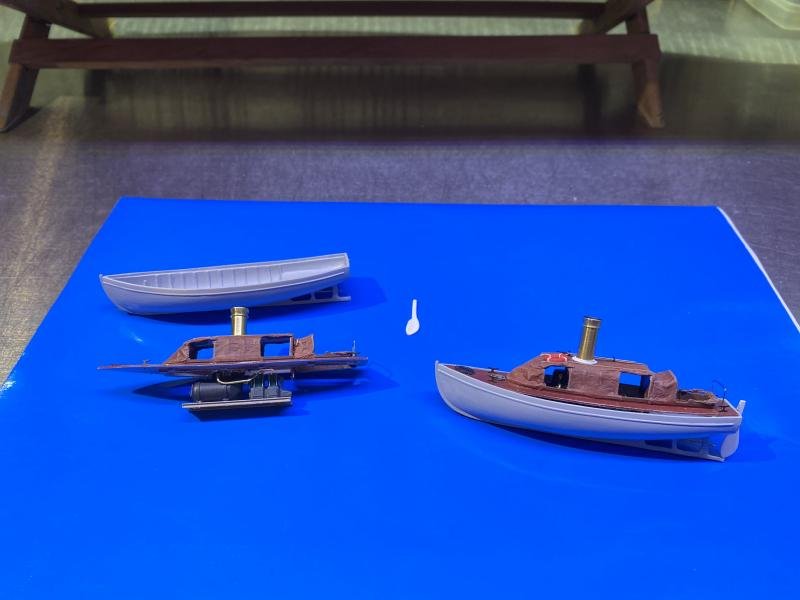
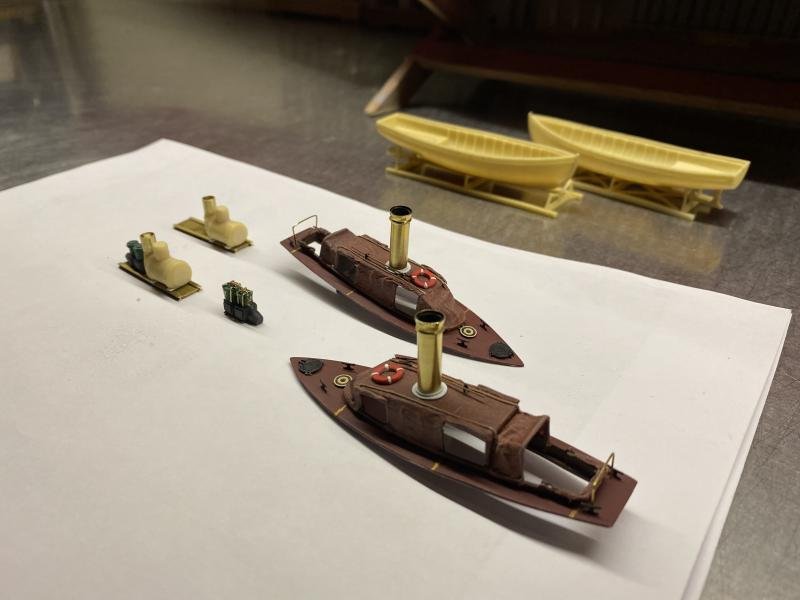
 first everyone thanks for the thumbs up Update : I think that I can close the steam launch chapter, I consider them more or less ready, so small details left but that I will apply on a later moment. still one motor sloop left but that’s a other chapter on a other time. below a few pictures.


- 202 replies
-
- 16
-

-
- battleship
- scharnhorst
- (and 2 more)
-
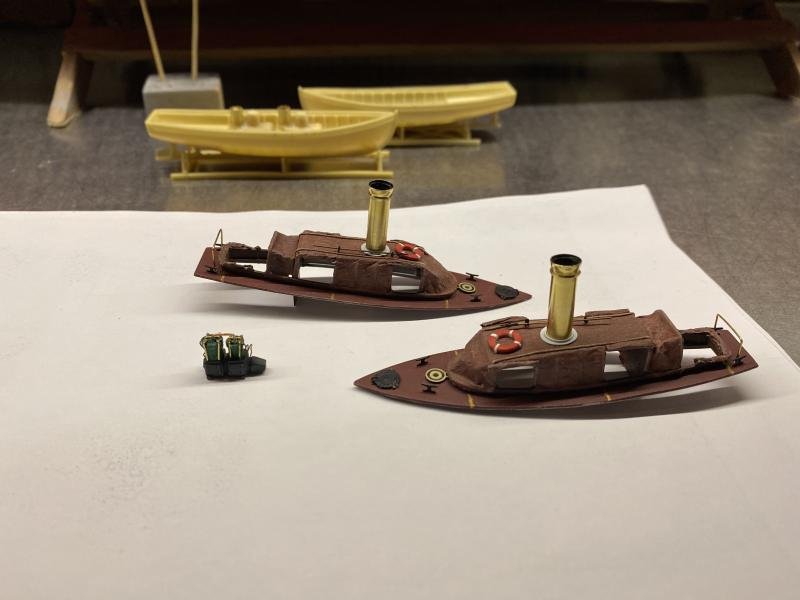
small update Thanks for the comments and thumbs up Still working on the steamboats, have made tarpaulins, the steam boilers and machinery and some details to the upper structure this far. Now working on the propeller shaft and rudder blade and some other details on the hull.
- 202 replies
-
- 15
-
-
- battleship
- scharnhorst
- (and 2 more)
-
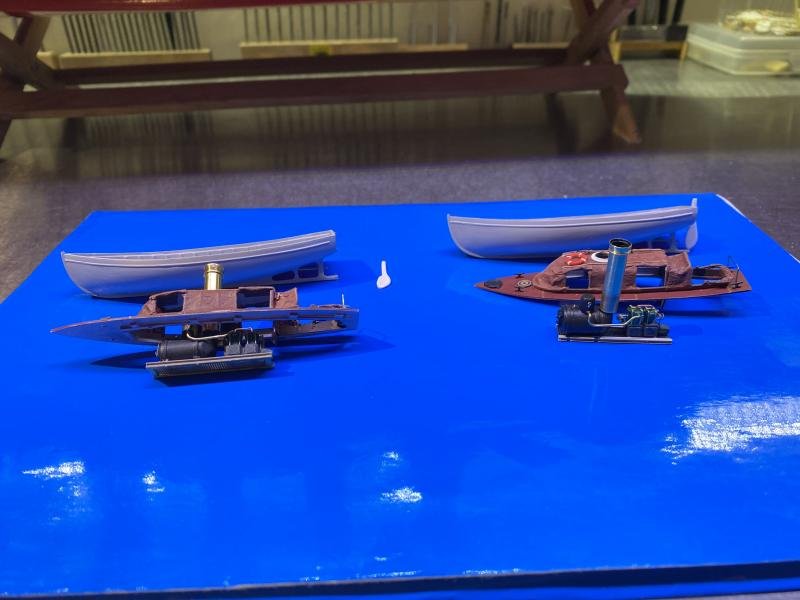
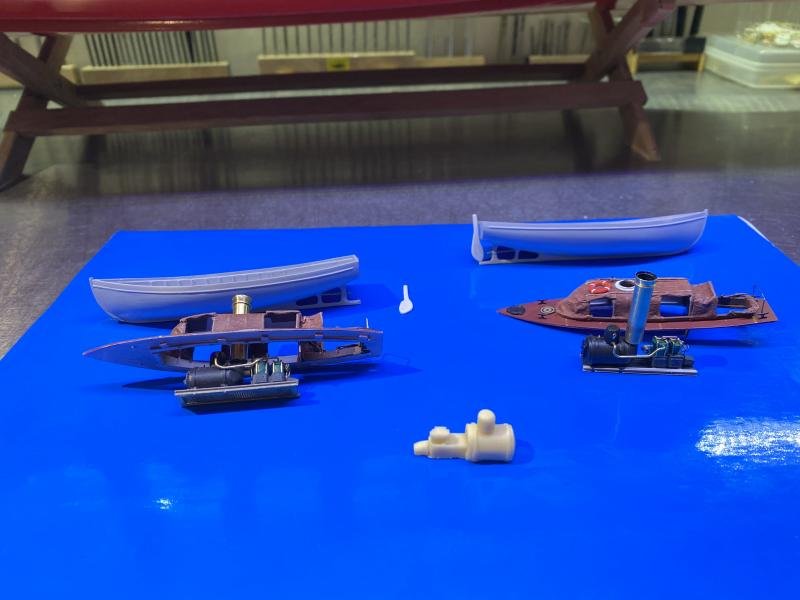
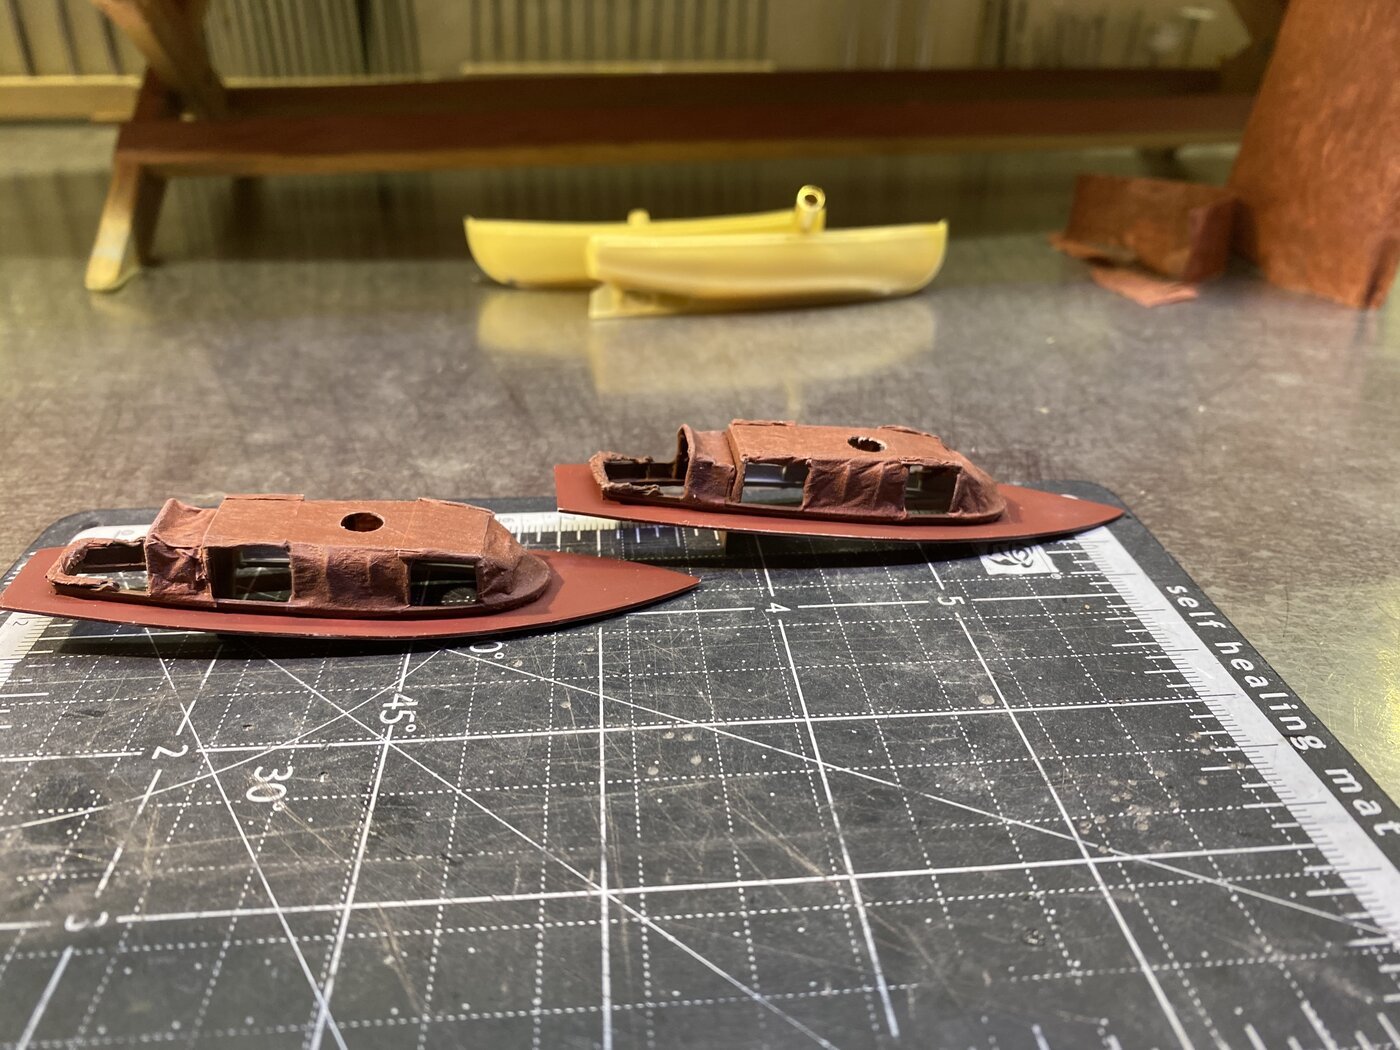
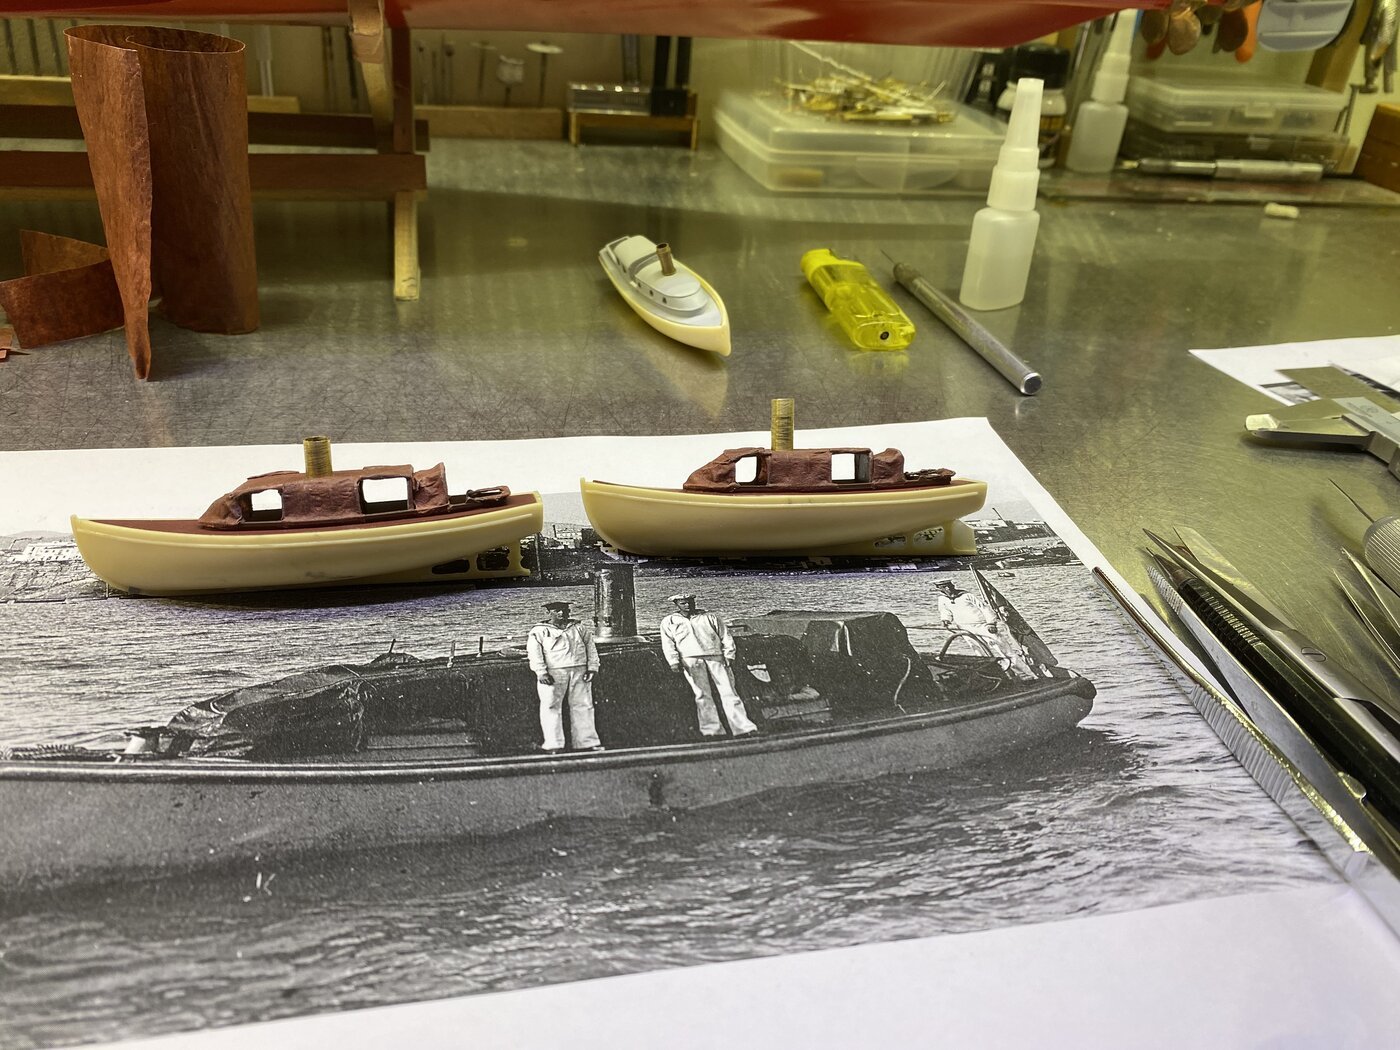
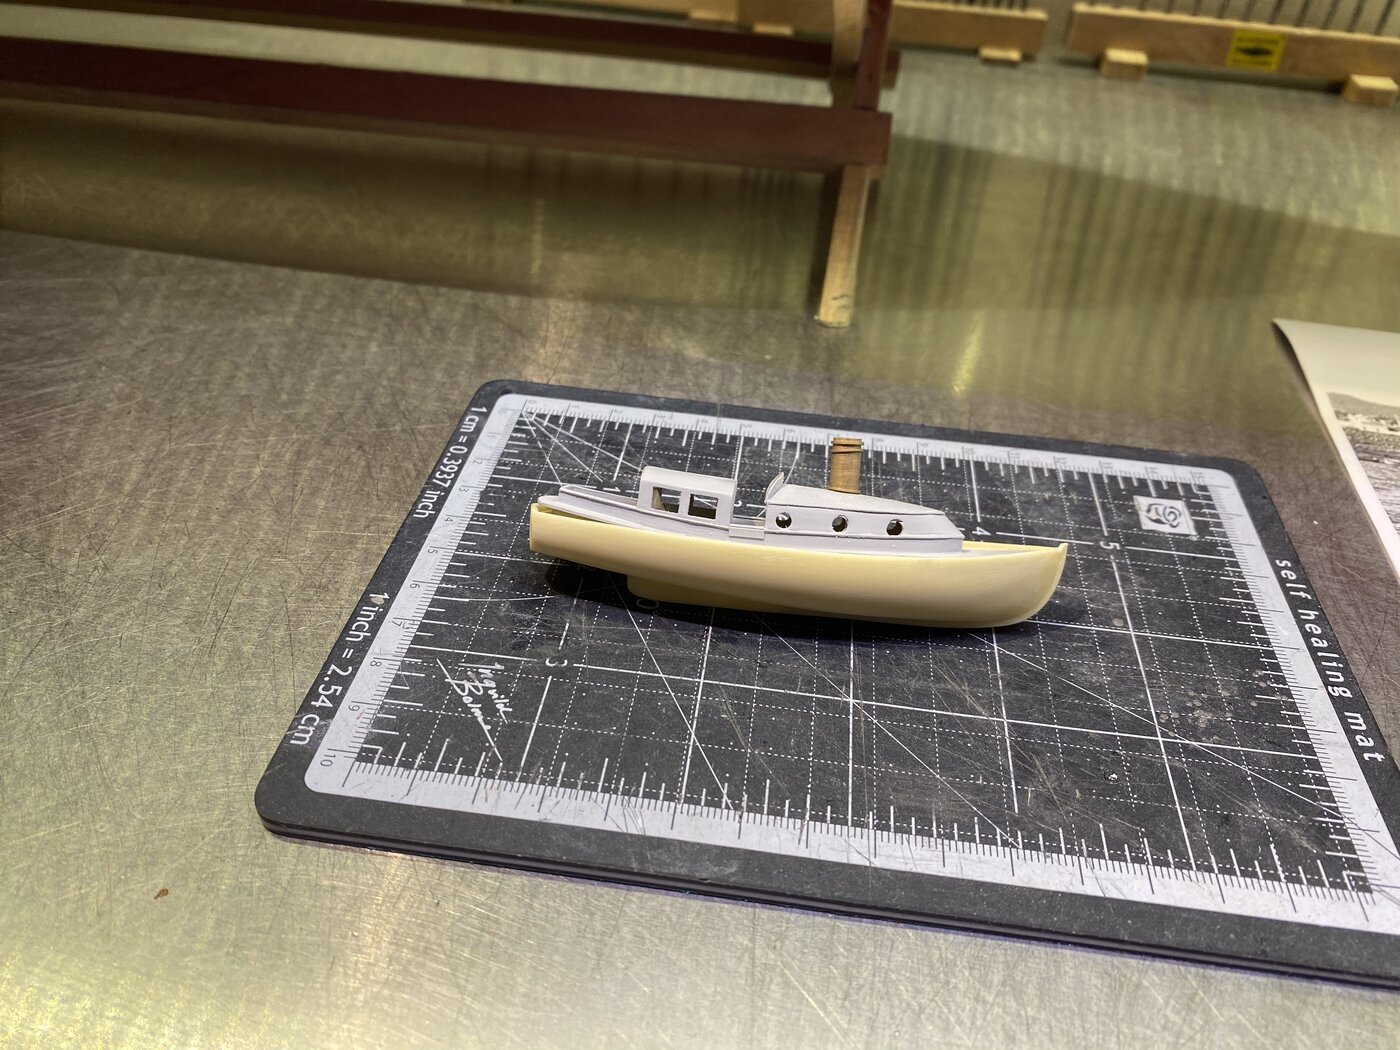
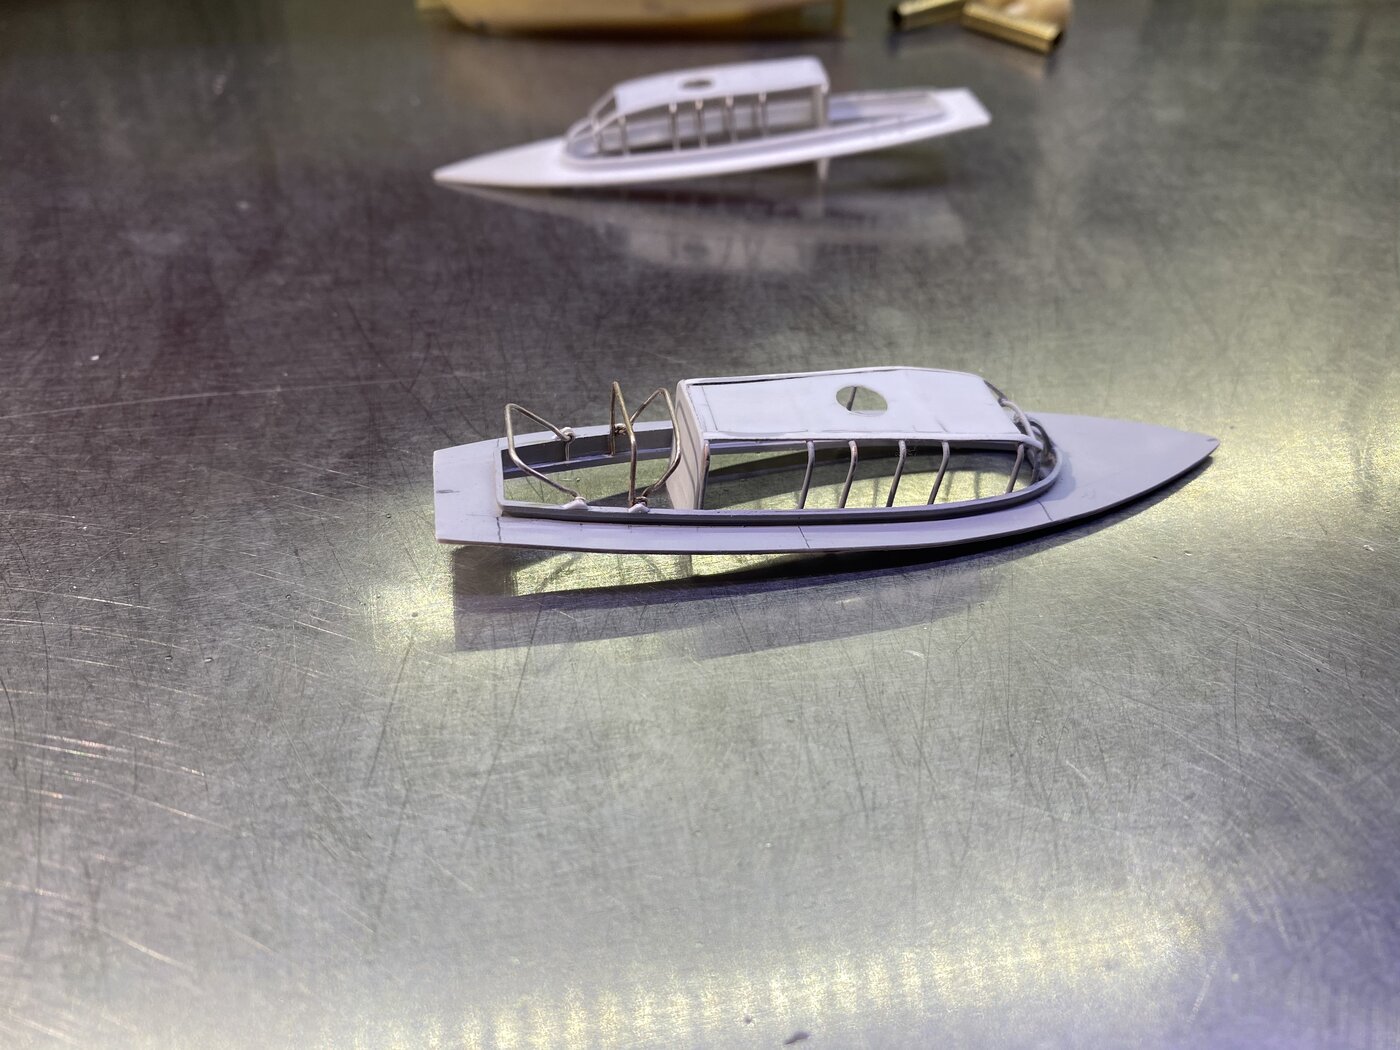
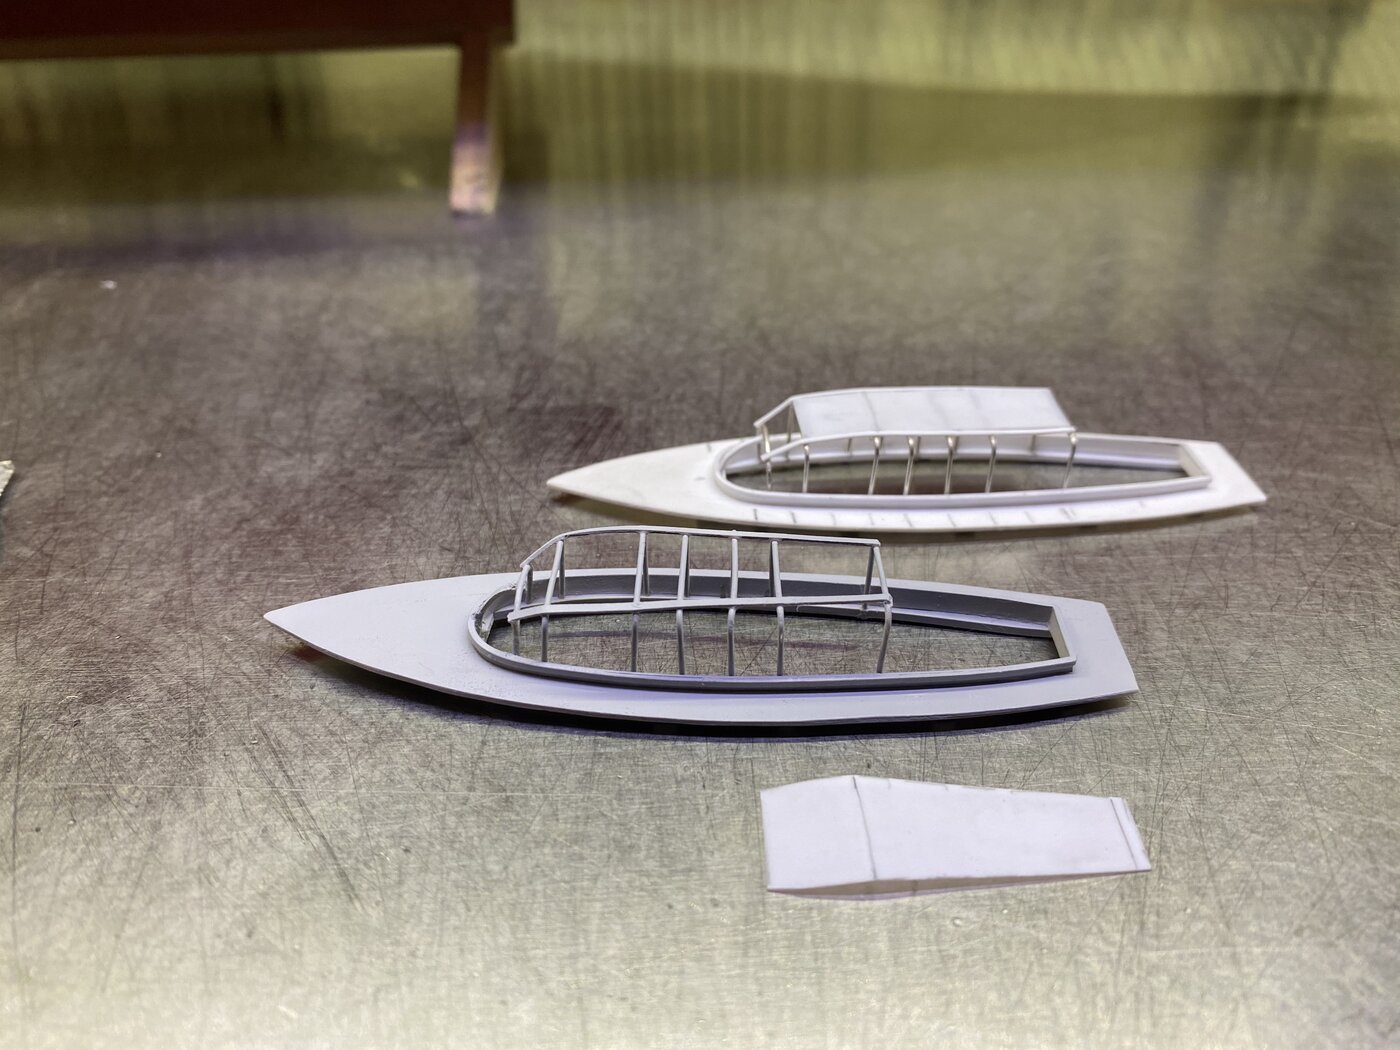
So I started making the 2 steamboats and motorboat, What in itself is still a nice complex puzzle, this because of the fact that there is not much image (reference) material, and of the material what is there is very diverse. But okay i made the choice to equip the Scharnhorst with 2 steam and 1 motor sloop. I've made a start with this, will keep the hulls of the sloops, but the further decks and superstructures I will continue to make myself. The housing of the steam sloops was a construction of frame and tarpaulins, I made a start with this, the motor sloop had a fixed superstructure. Below some pictures, it’s still a work in progress but as always pictures say more as words.

- 202 replies
-
- 18
-
-
- battleship
- scharnhorst
- (and 2 more)
-
I go tired of all the time saying beautiful, fantastic, awesome, incredible and stunning work but that are the only words that come up when I look at your amazing work, Oh yes and amazing too !! keep up the ........ work all the best Boris
-
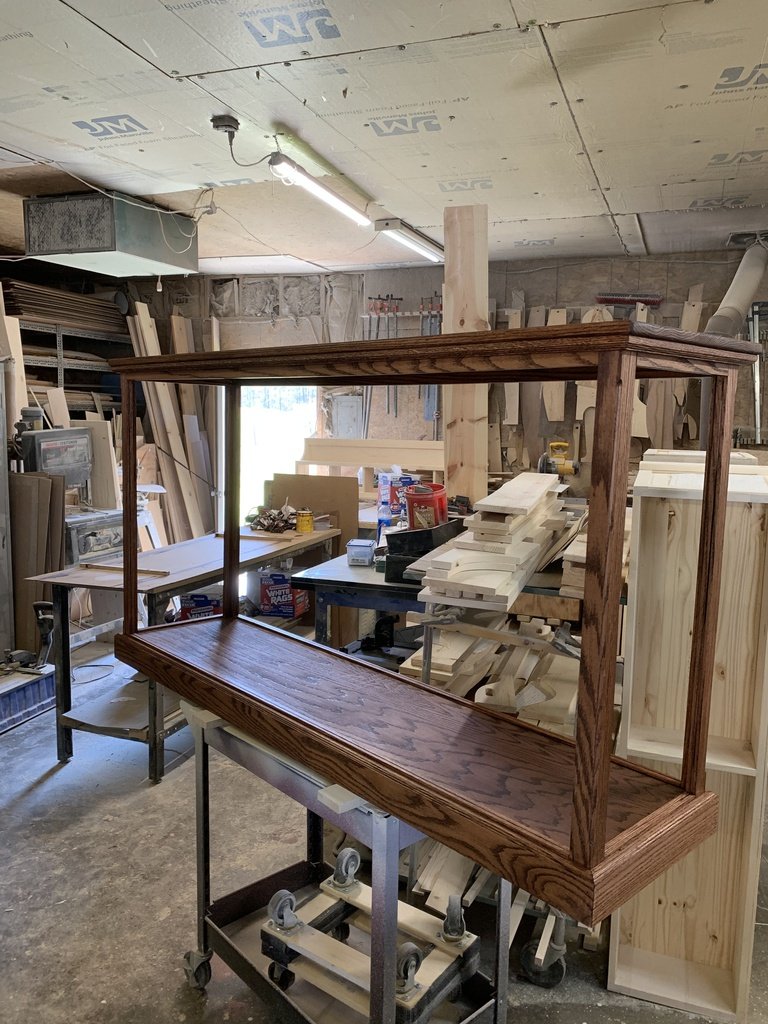
Thanks for the comments and thumbs up And we're going a little further The last 2 parts of the railing where made, as well as the deck-hatches , all the coal winches and the boat stands for the steamboats. And also from the United States I received a message, that the display case is ready, took some time (because of the situation) but is finally ready, and will find its way here these days. Beneath some pictures, always say more as words.
- 202 replies
-
- 18
-
-
- battleship
- scharnhorst
- (and 2 more)
-
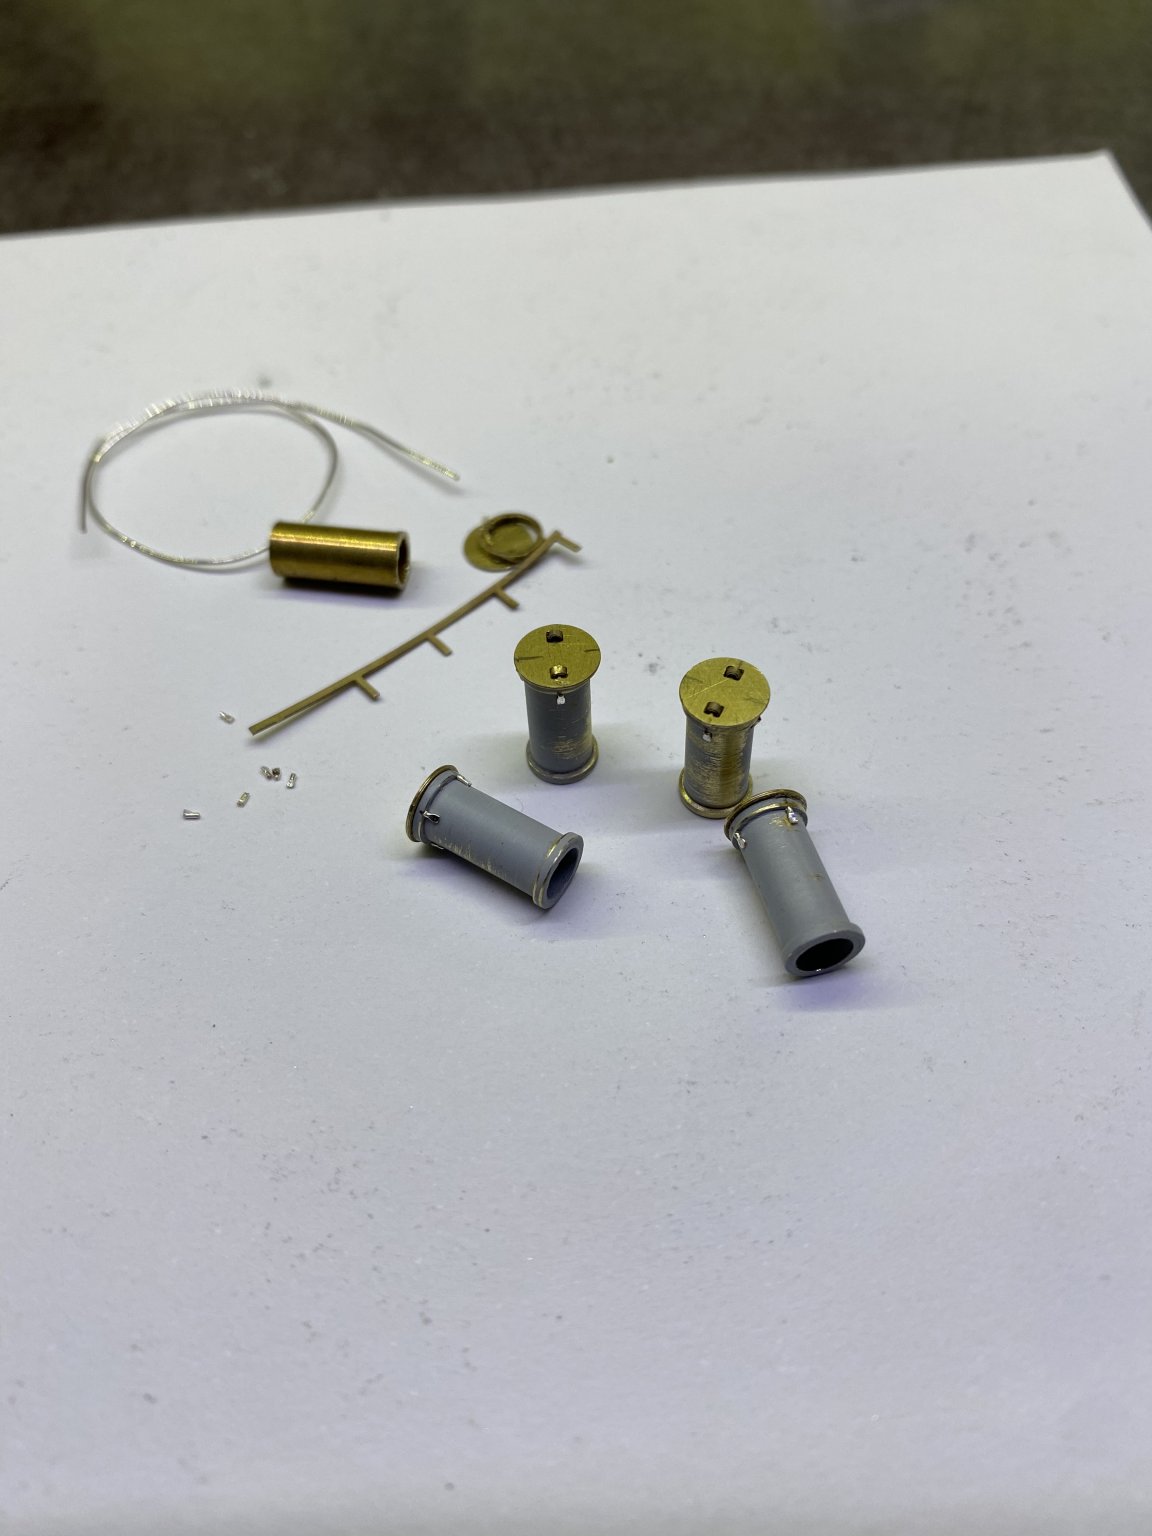
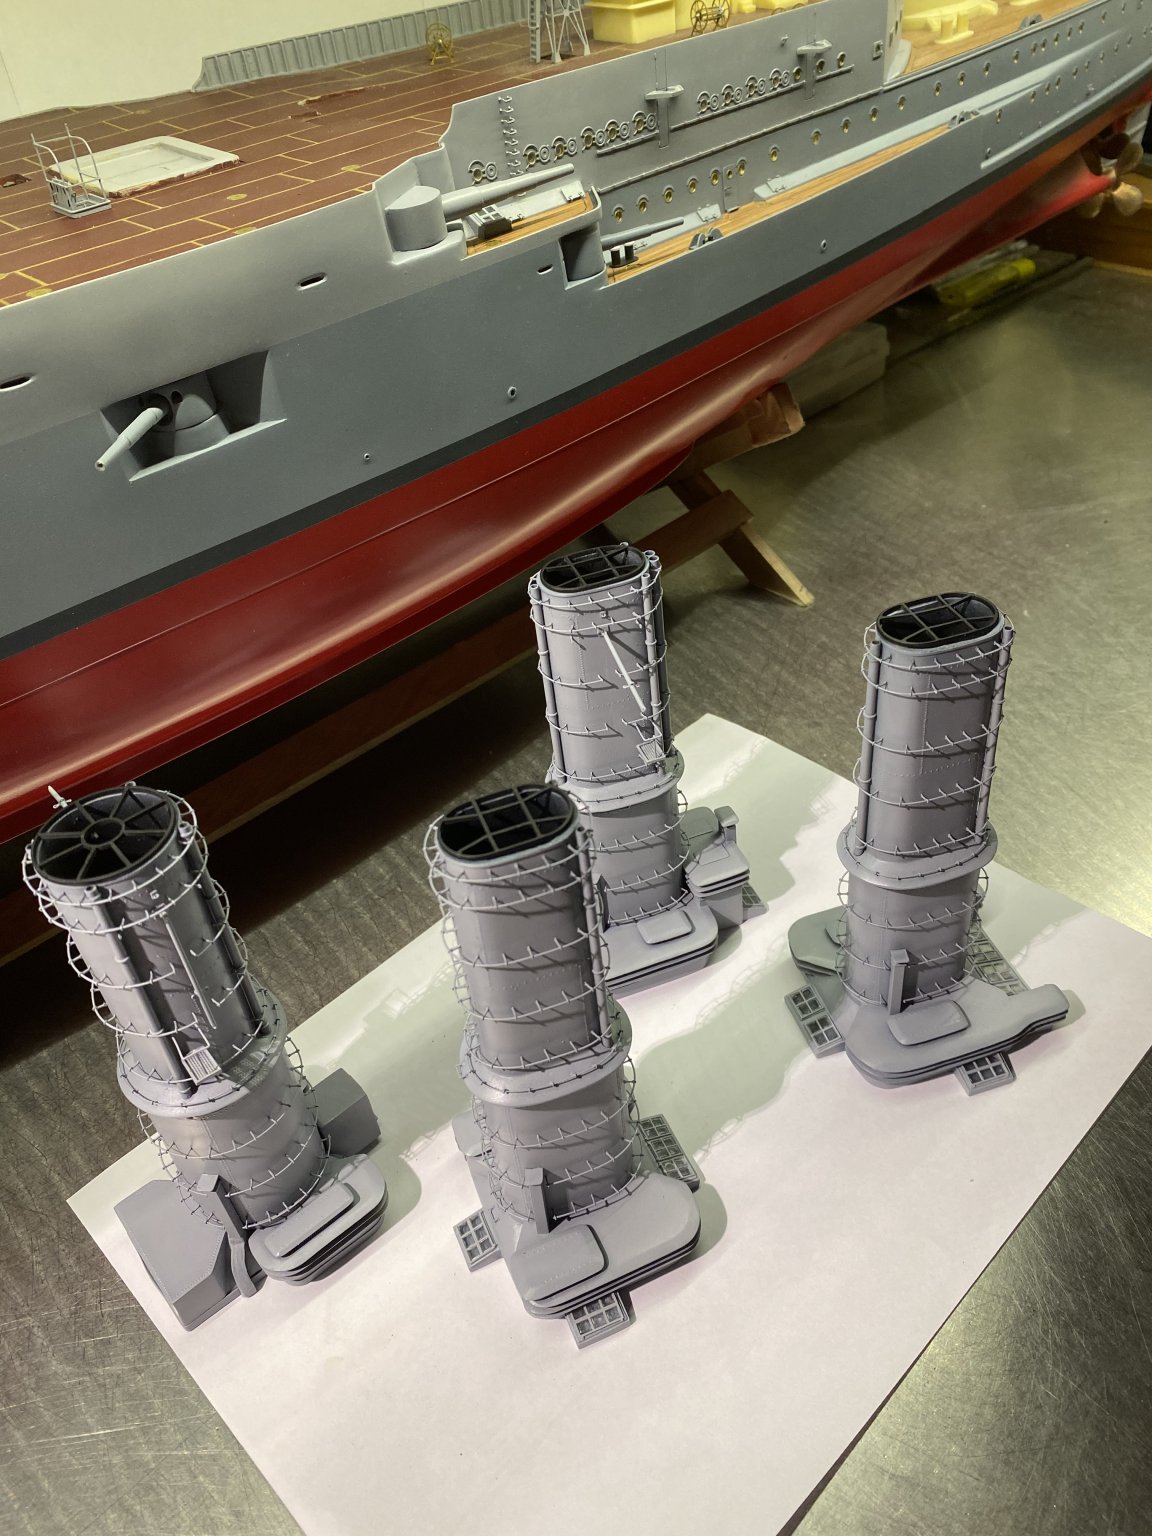
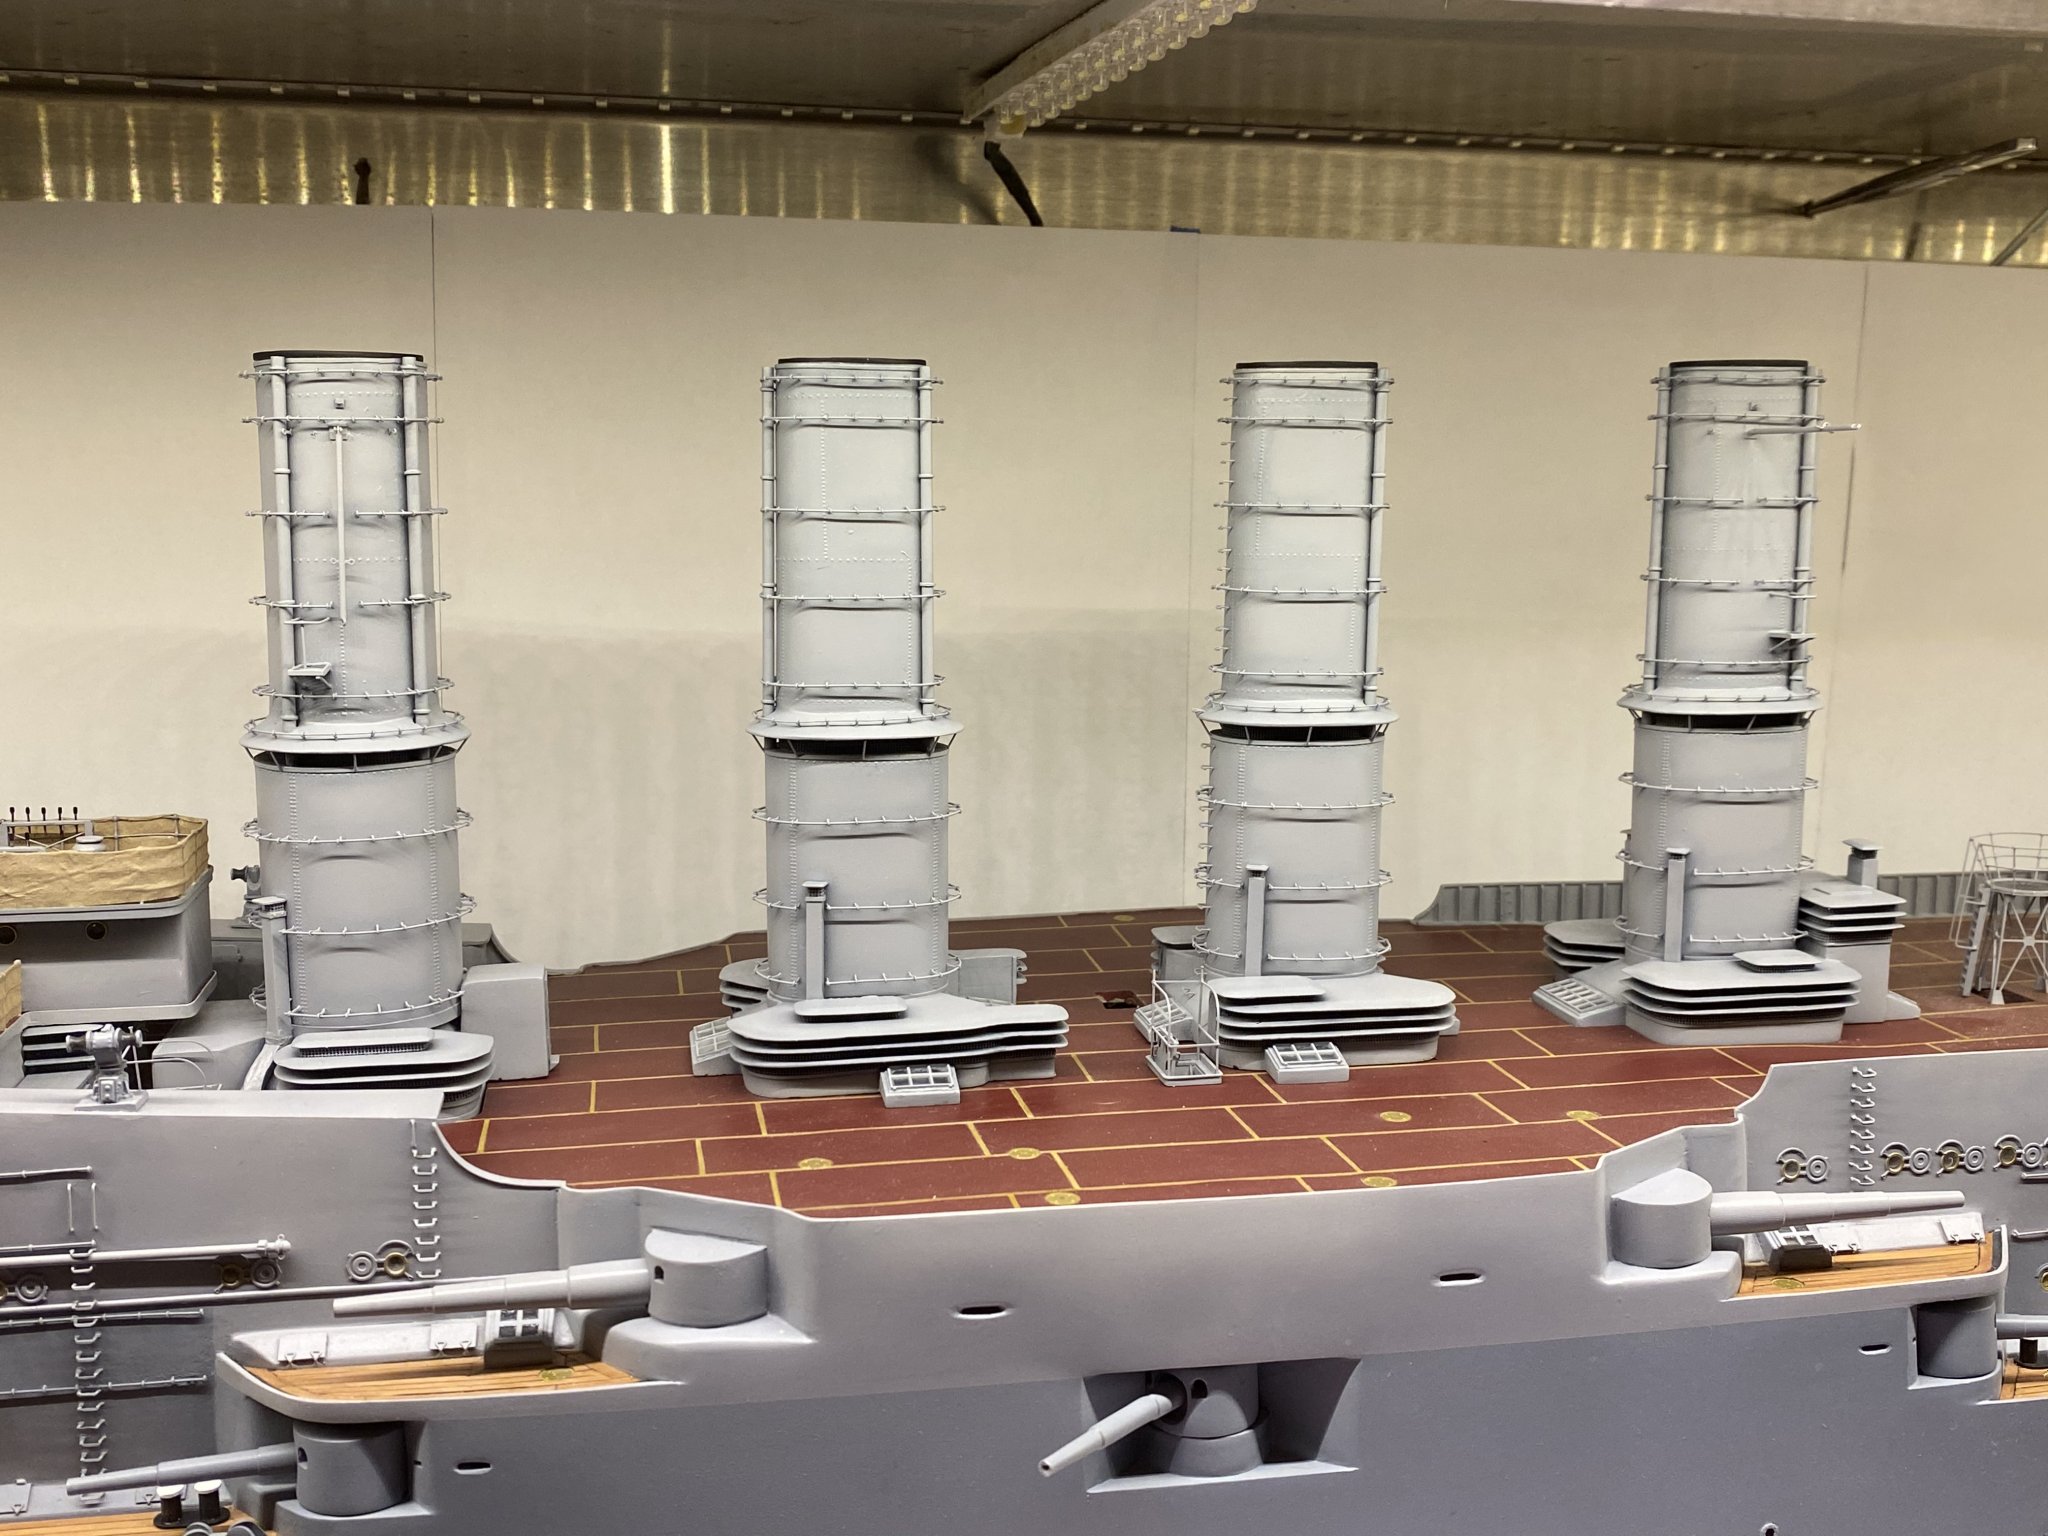
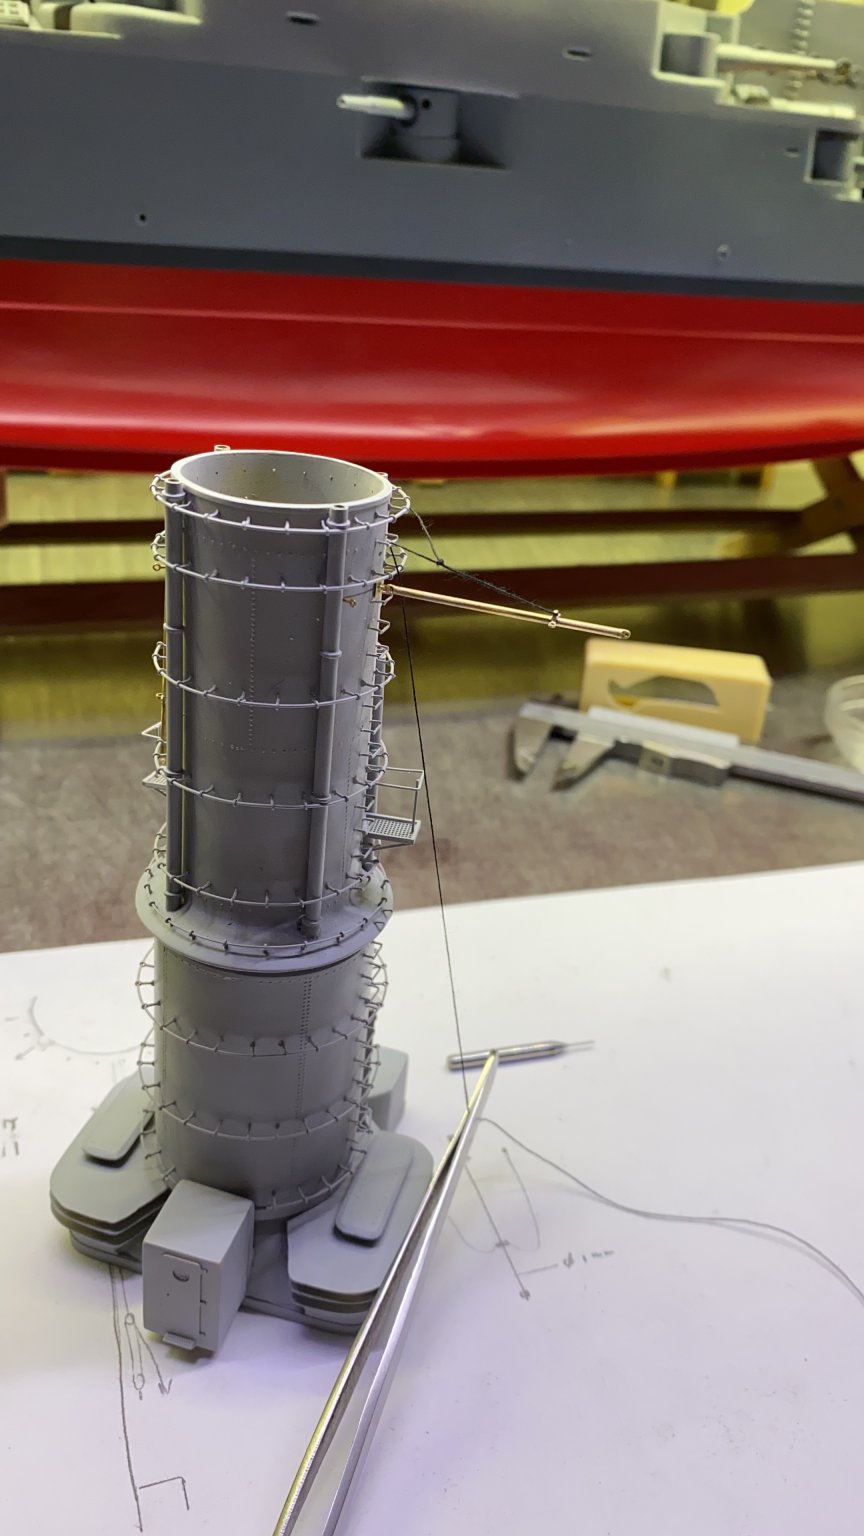
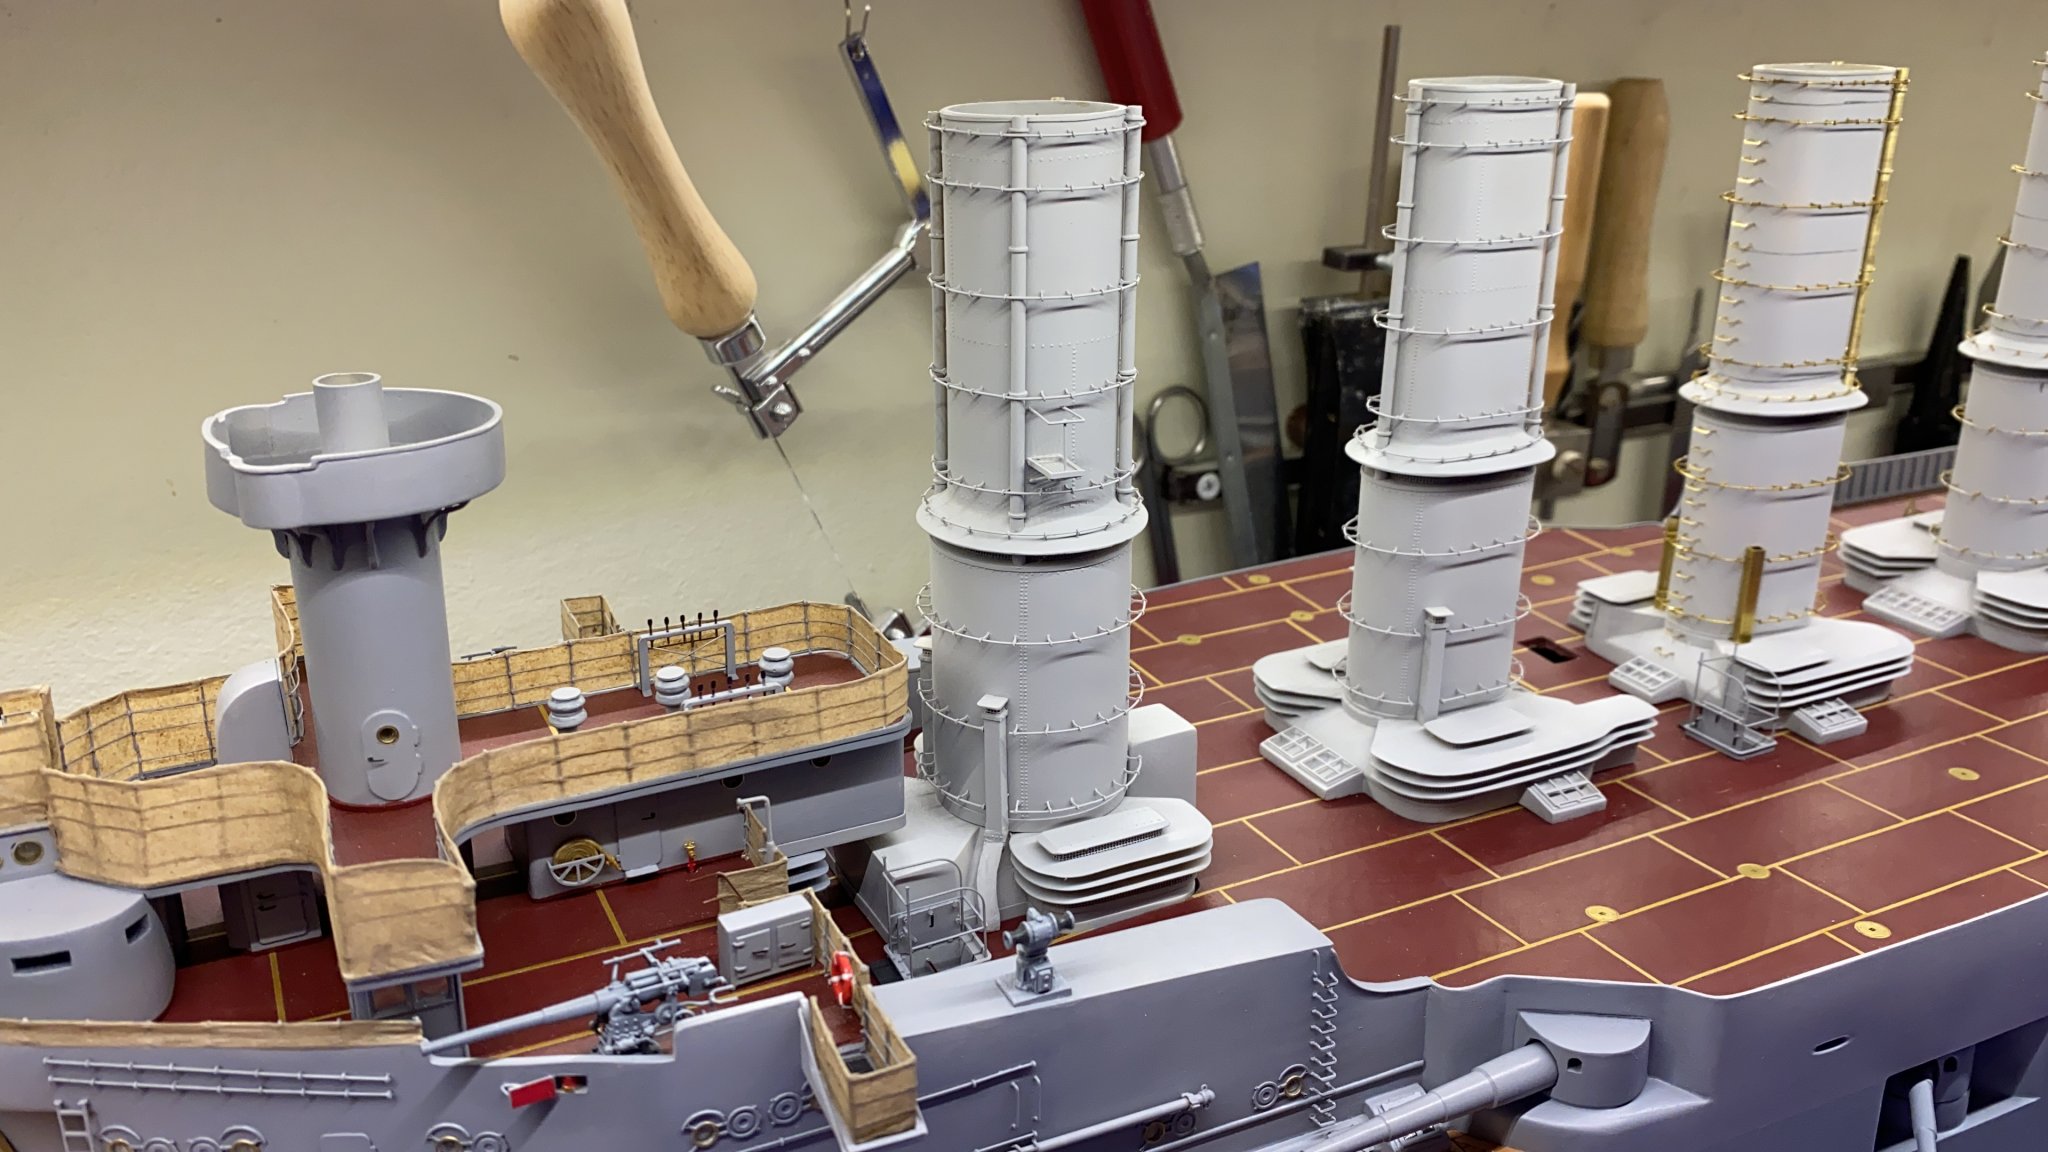
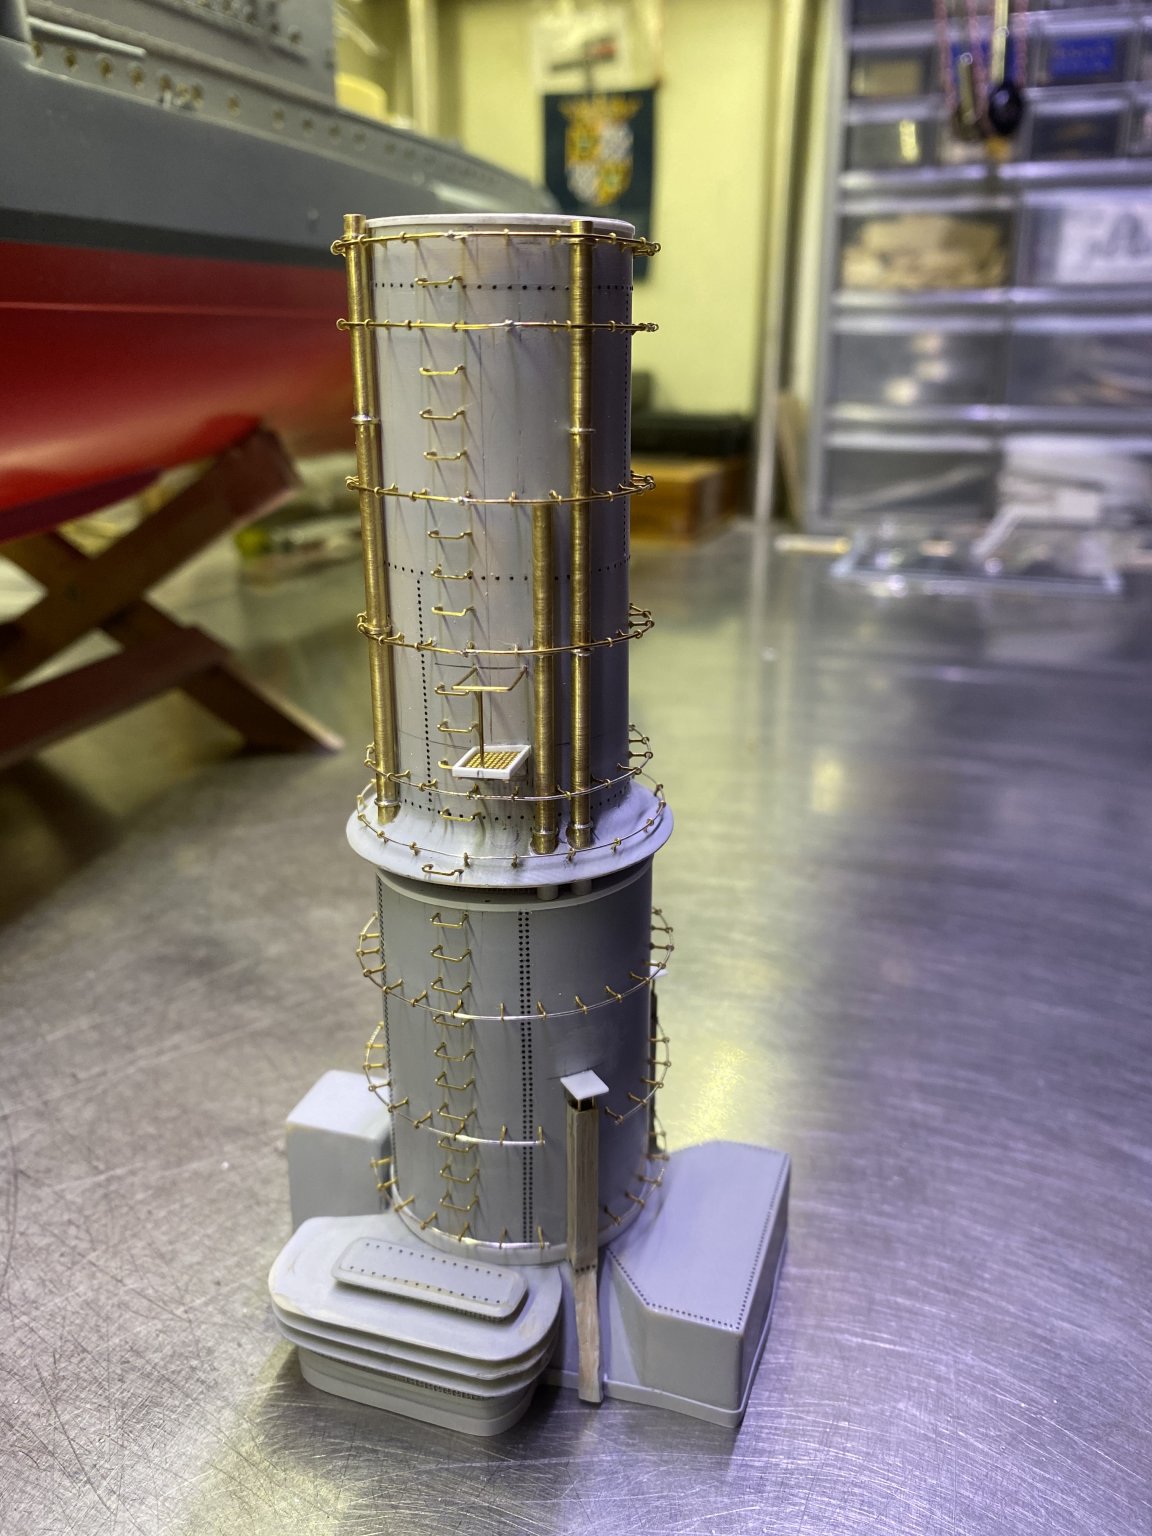
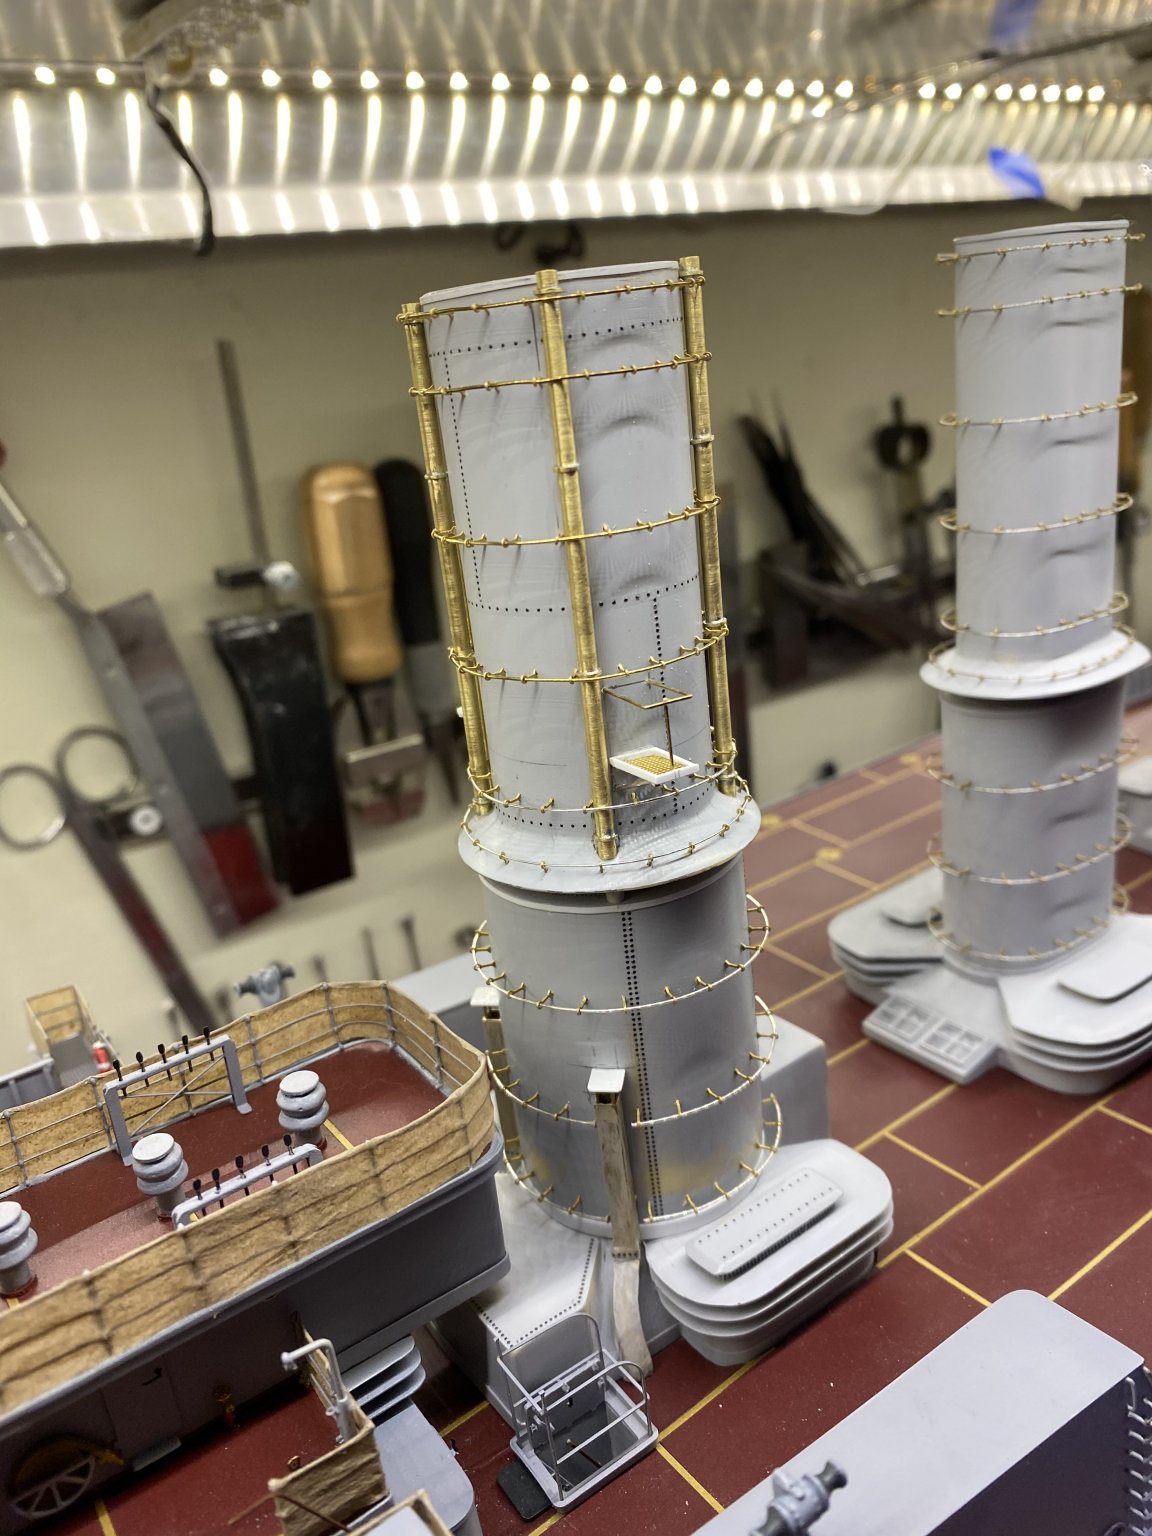
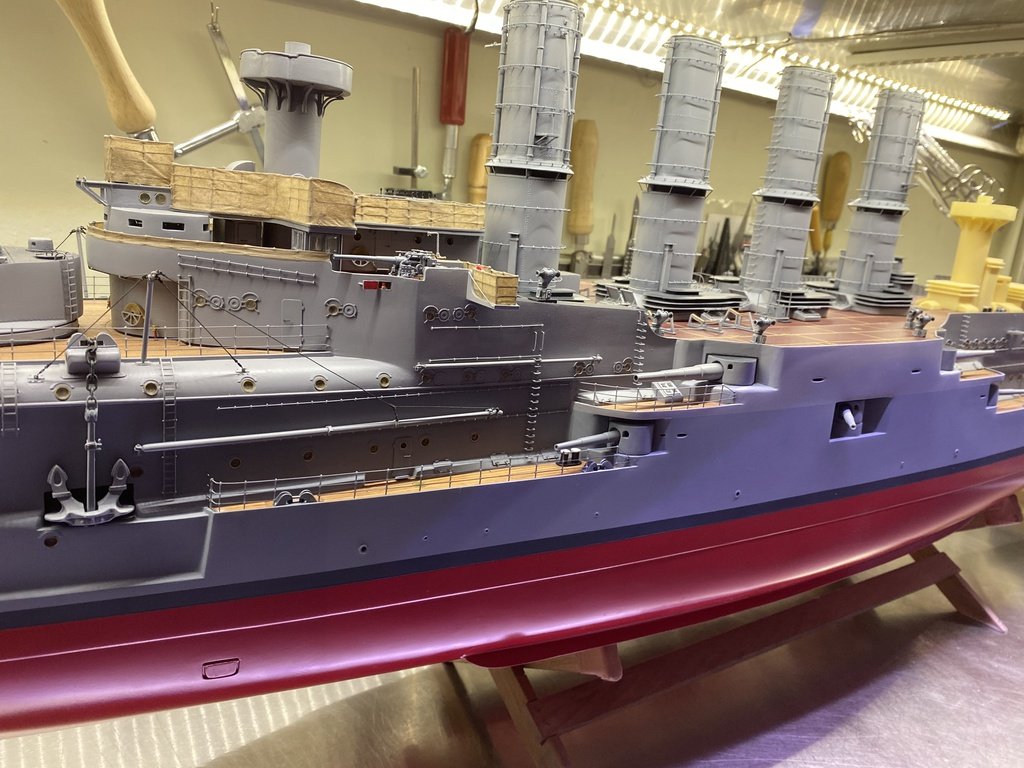
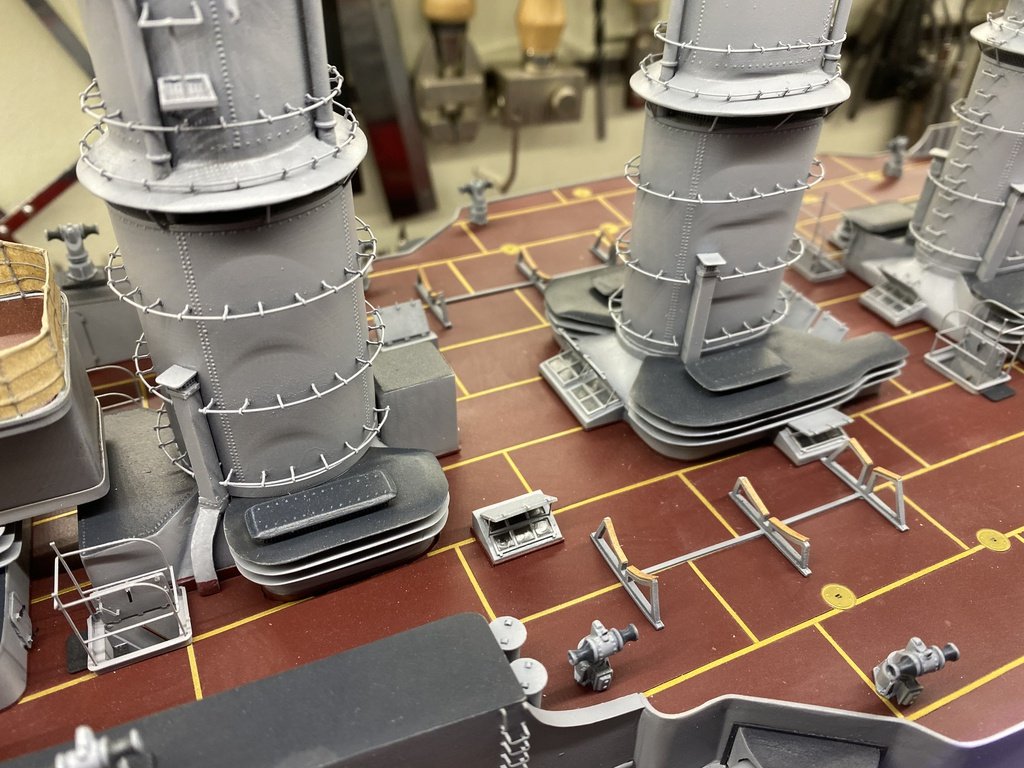
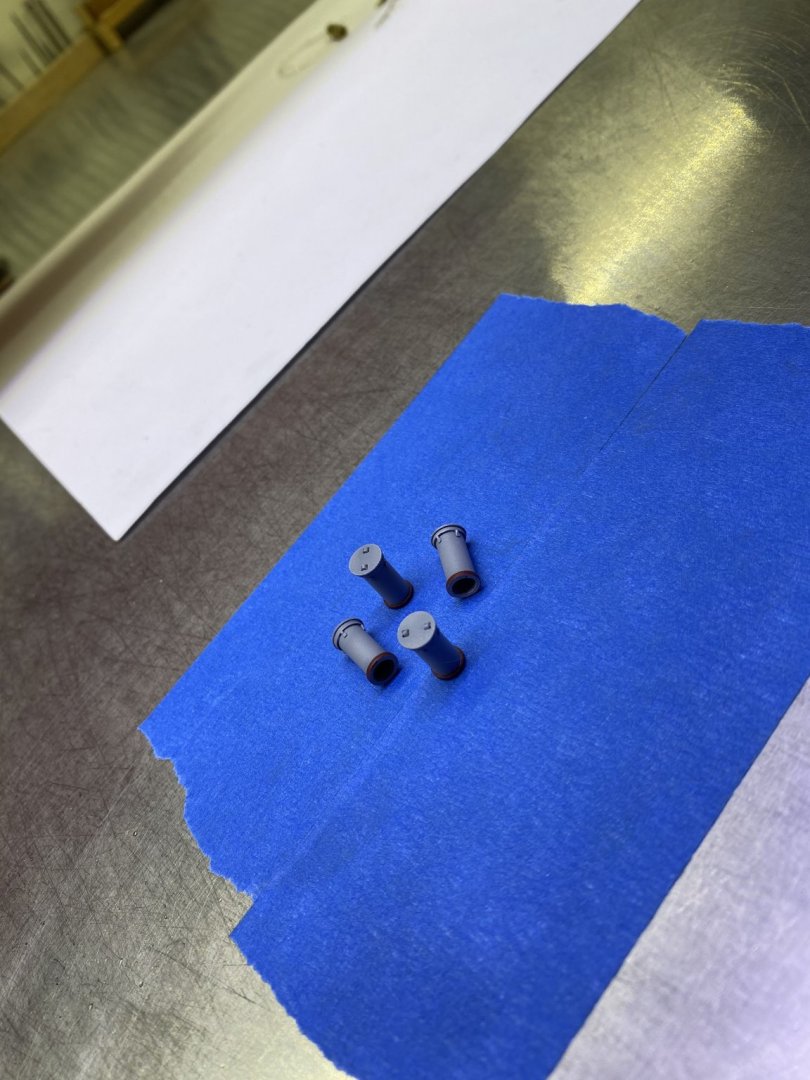
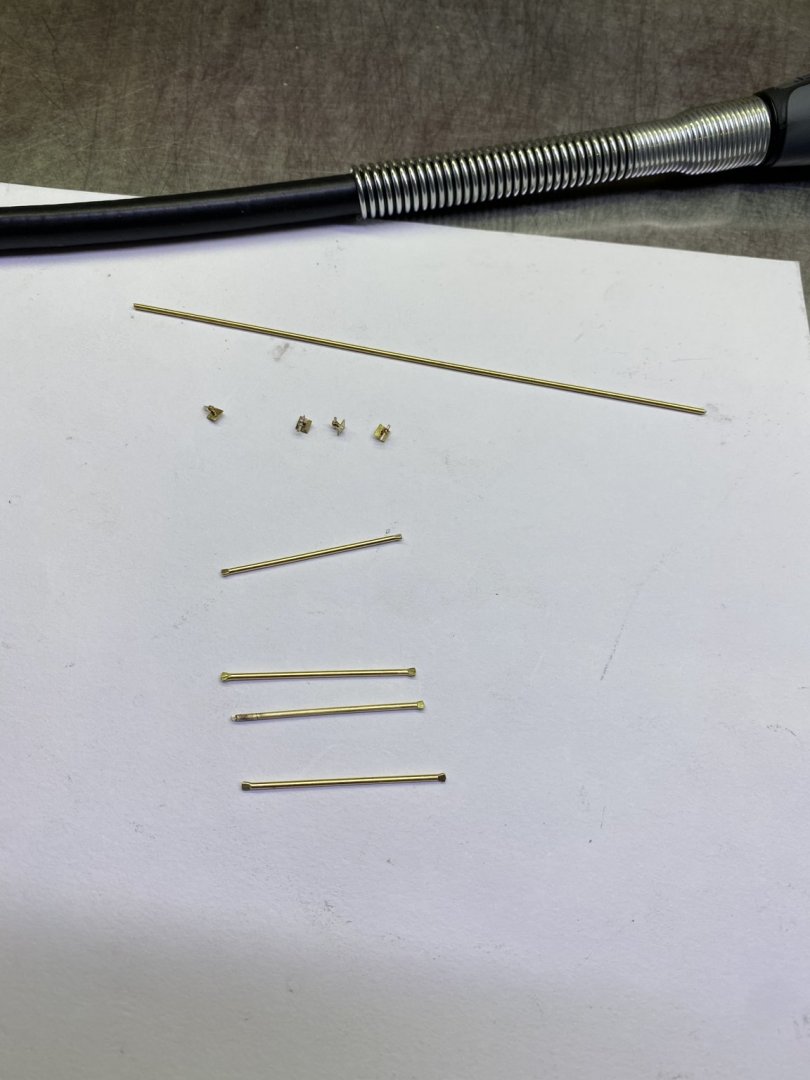
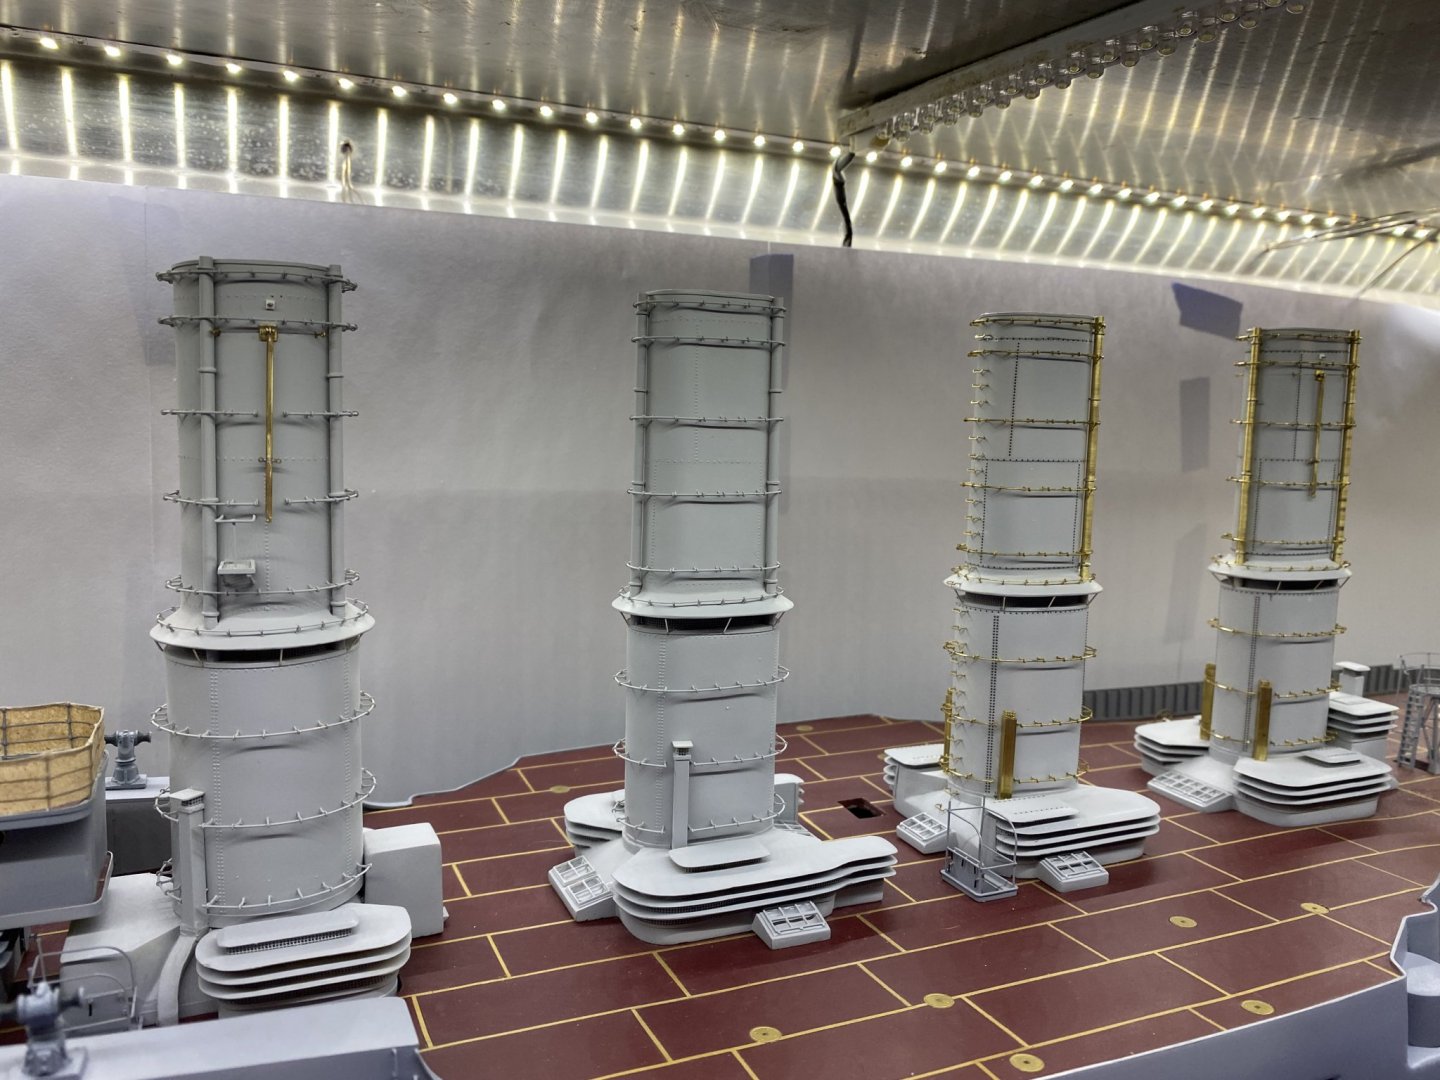
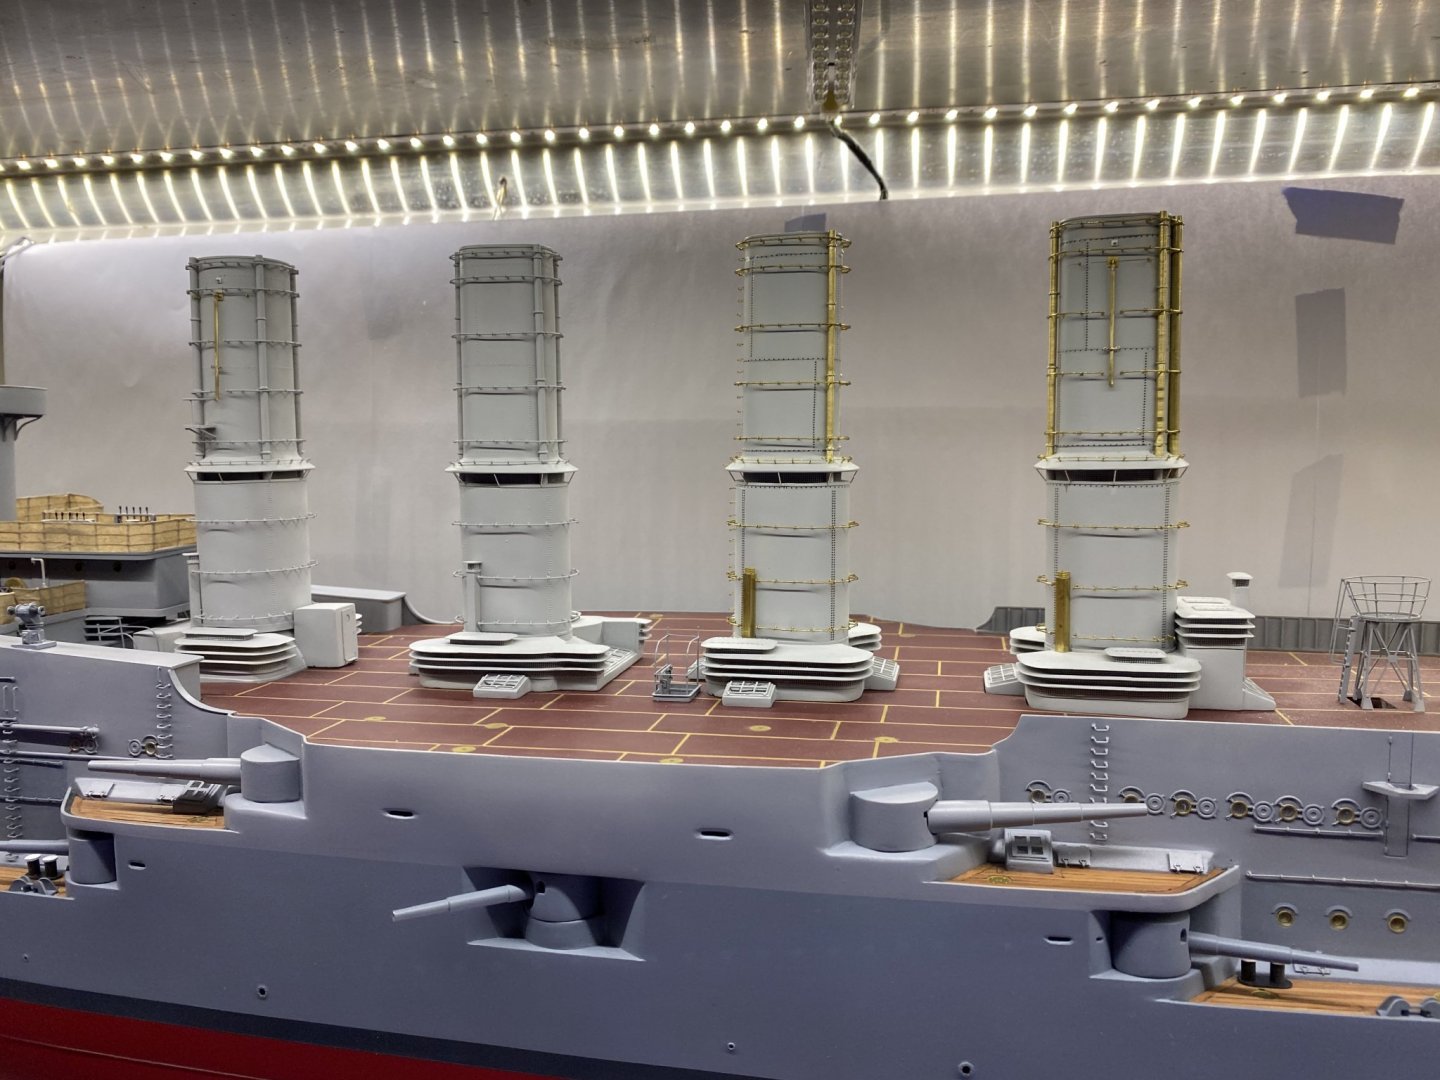
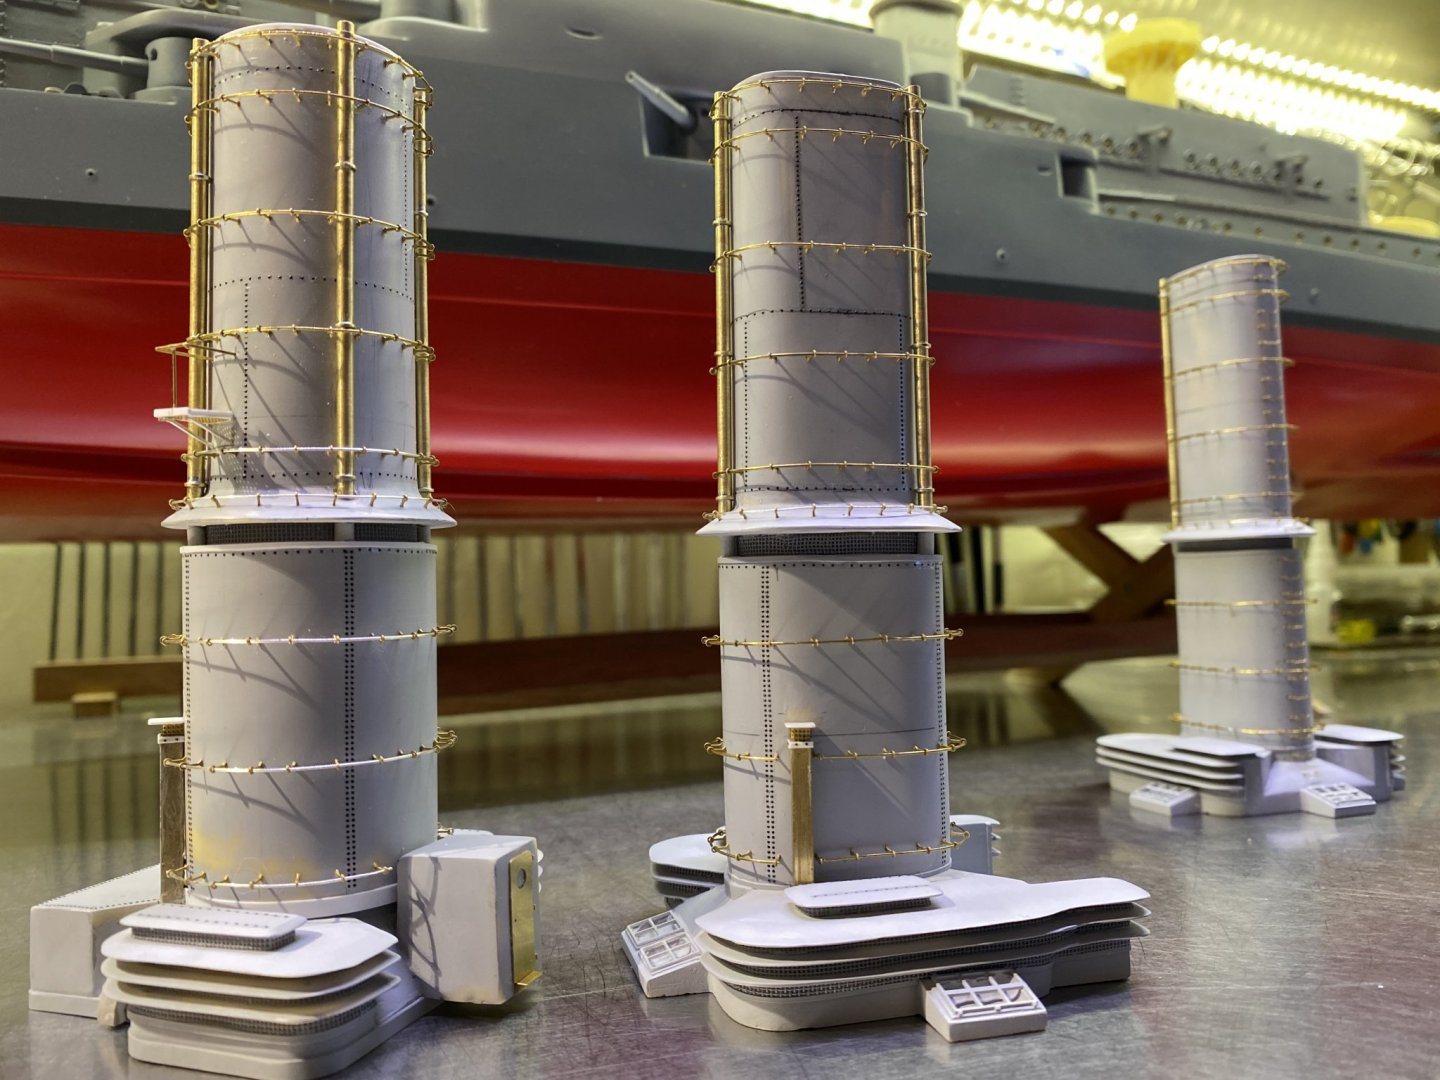
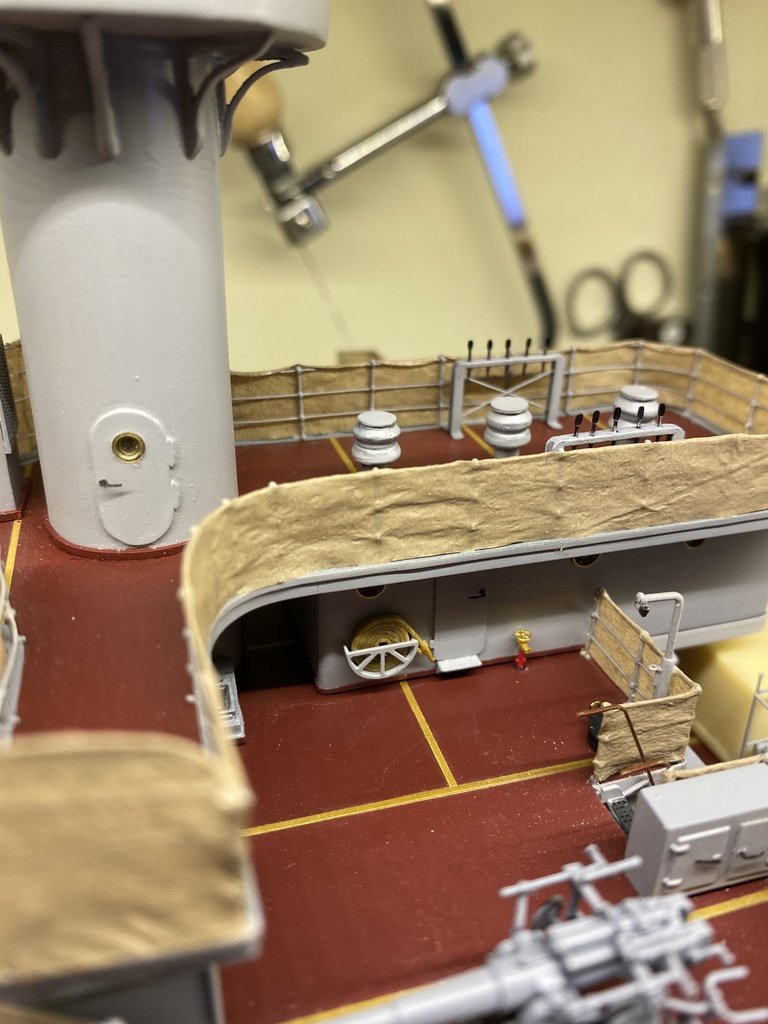
Thanks everybody for the responses and thumbs up. Continued with making a set of skylights. And I made 4 cylinder shape objects ??? could not find any real clear information in my plans and pictures, so with the little information I had about the objects, I had to improvise and Came with this:


- 202 replies
-
- 14
-
-
- battleship
- scharnhorst
- (and 2 more)
-
Well done !! I see you have great skills with brass. but your skills with wood are also great! Great job ! all the best.. Boris279.
-
didn't see this one neither, nice collection of brass you have there, like your work !
-
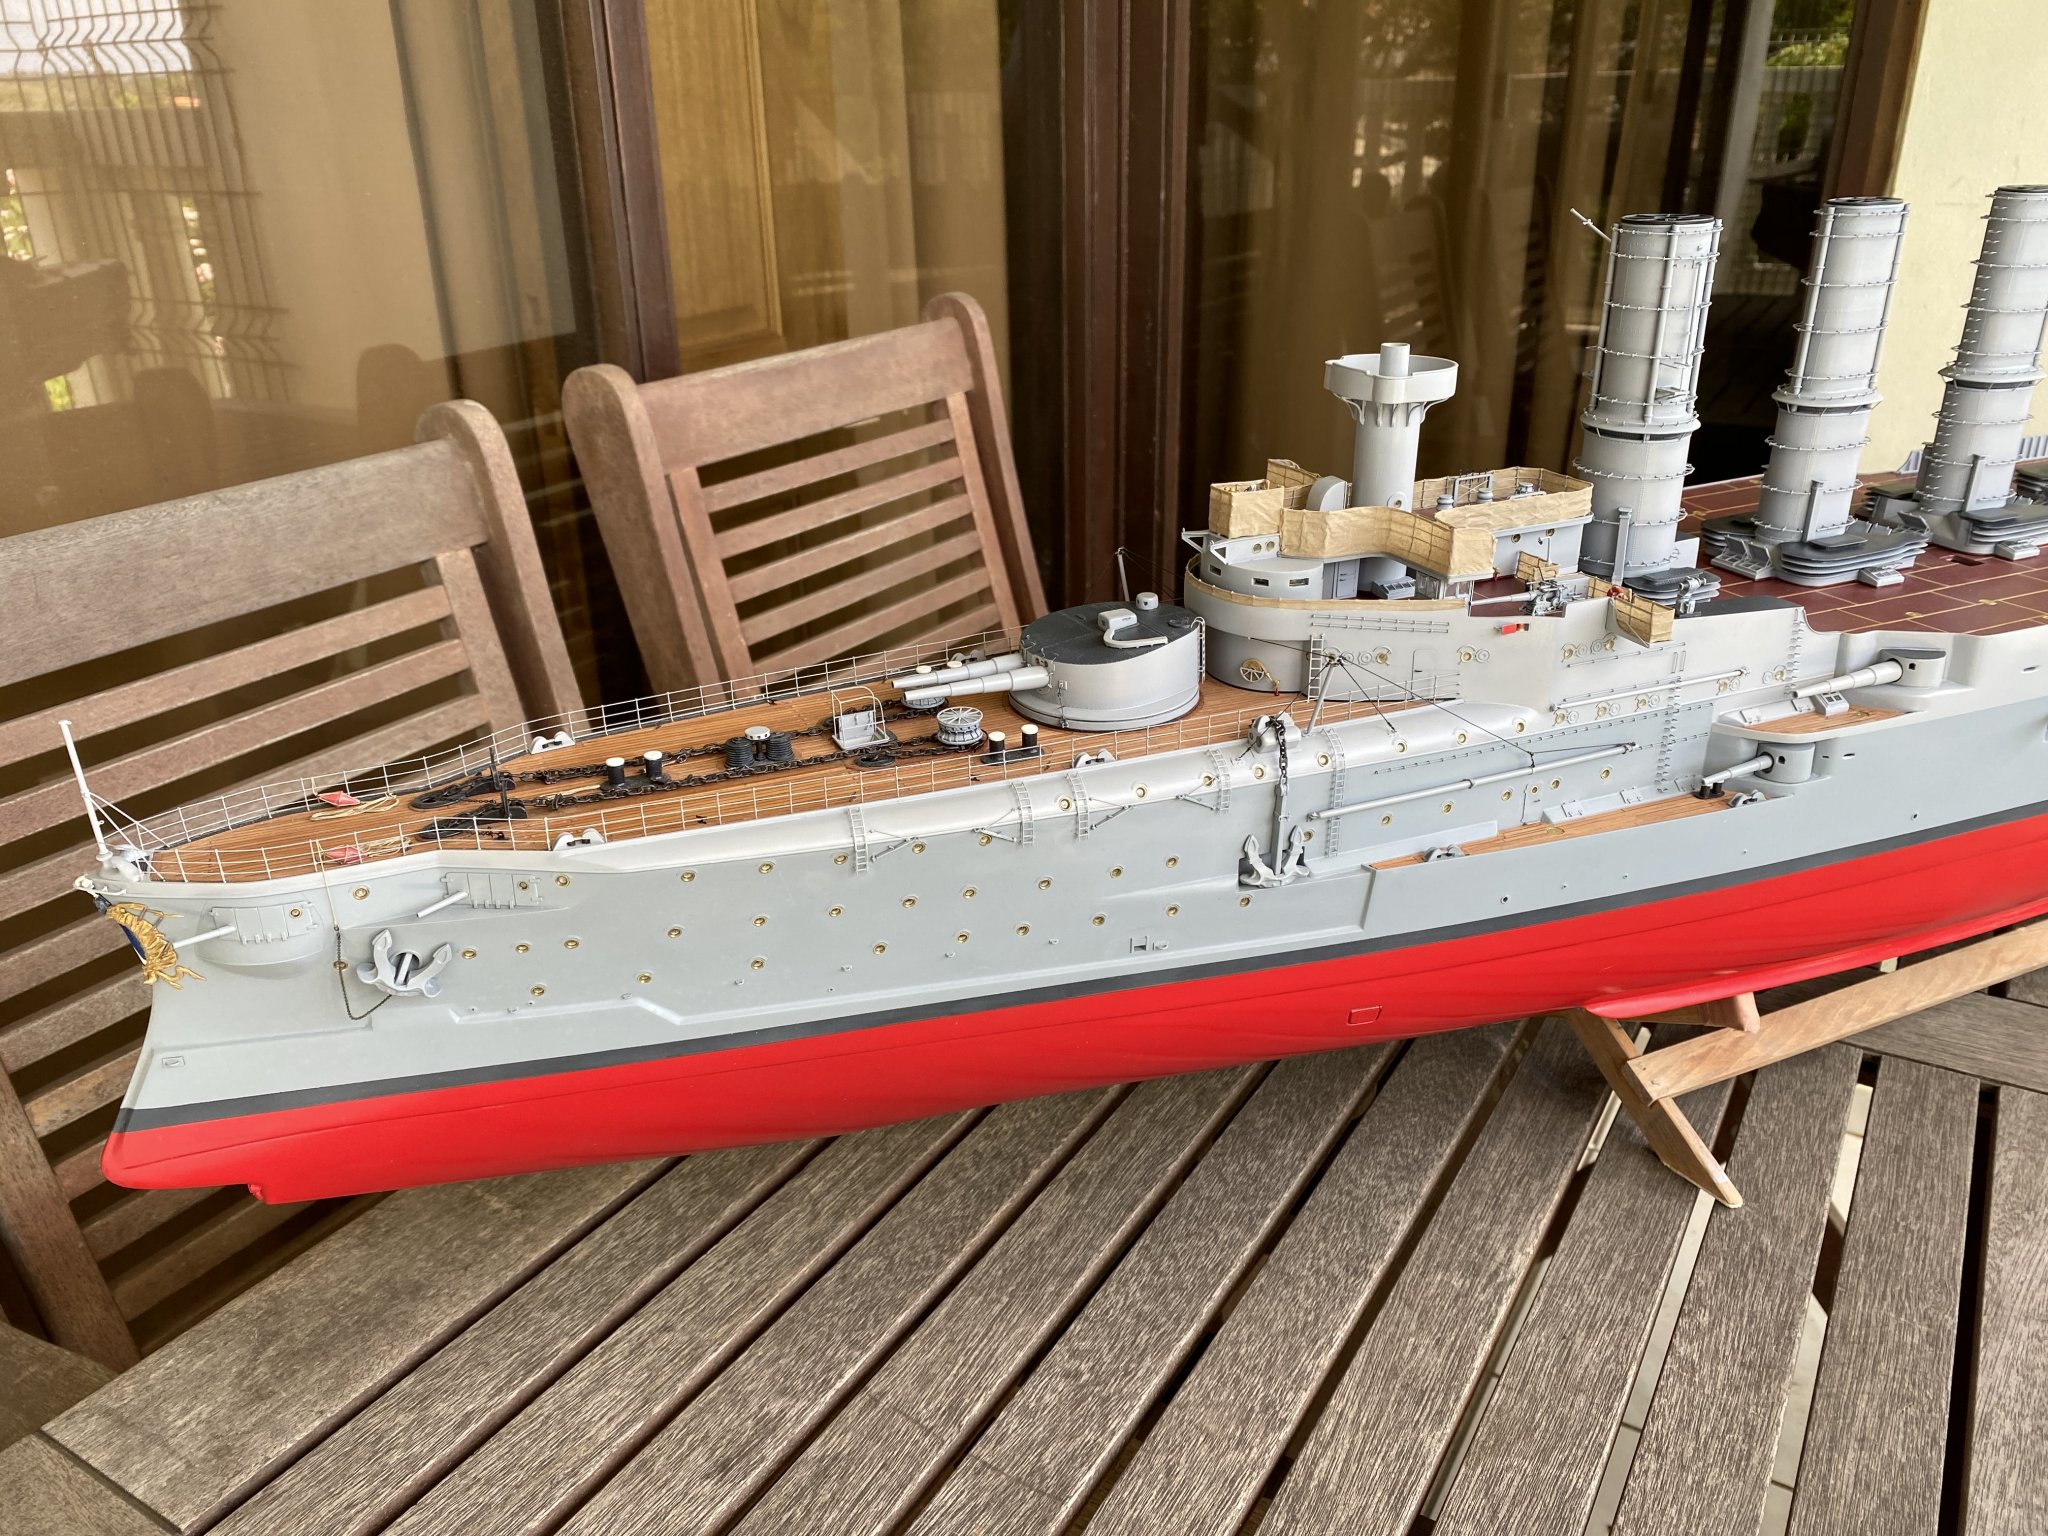
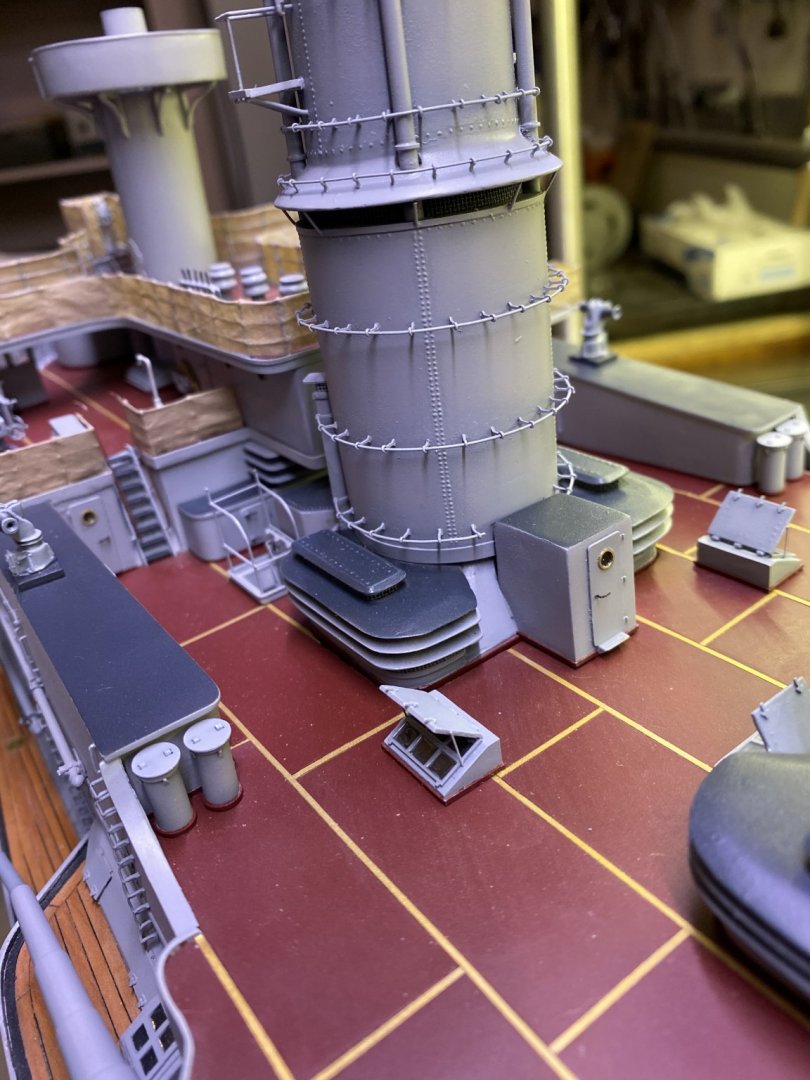
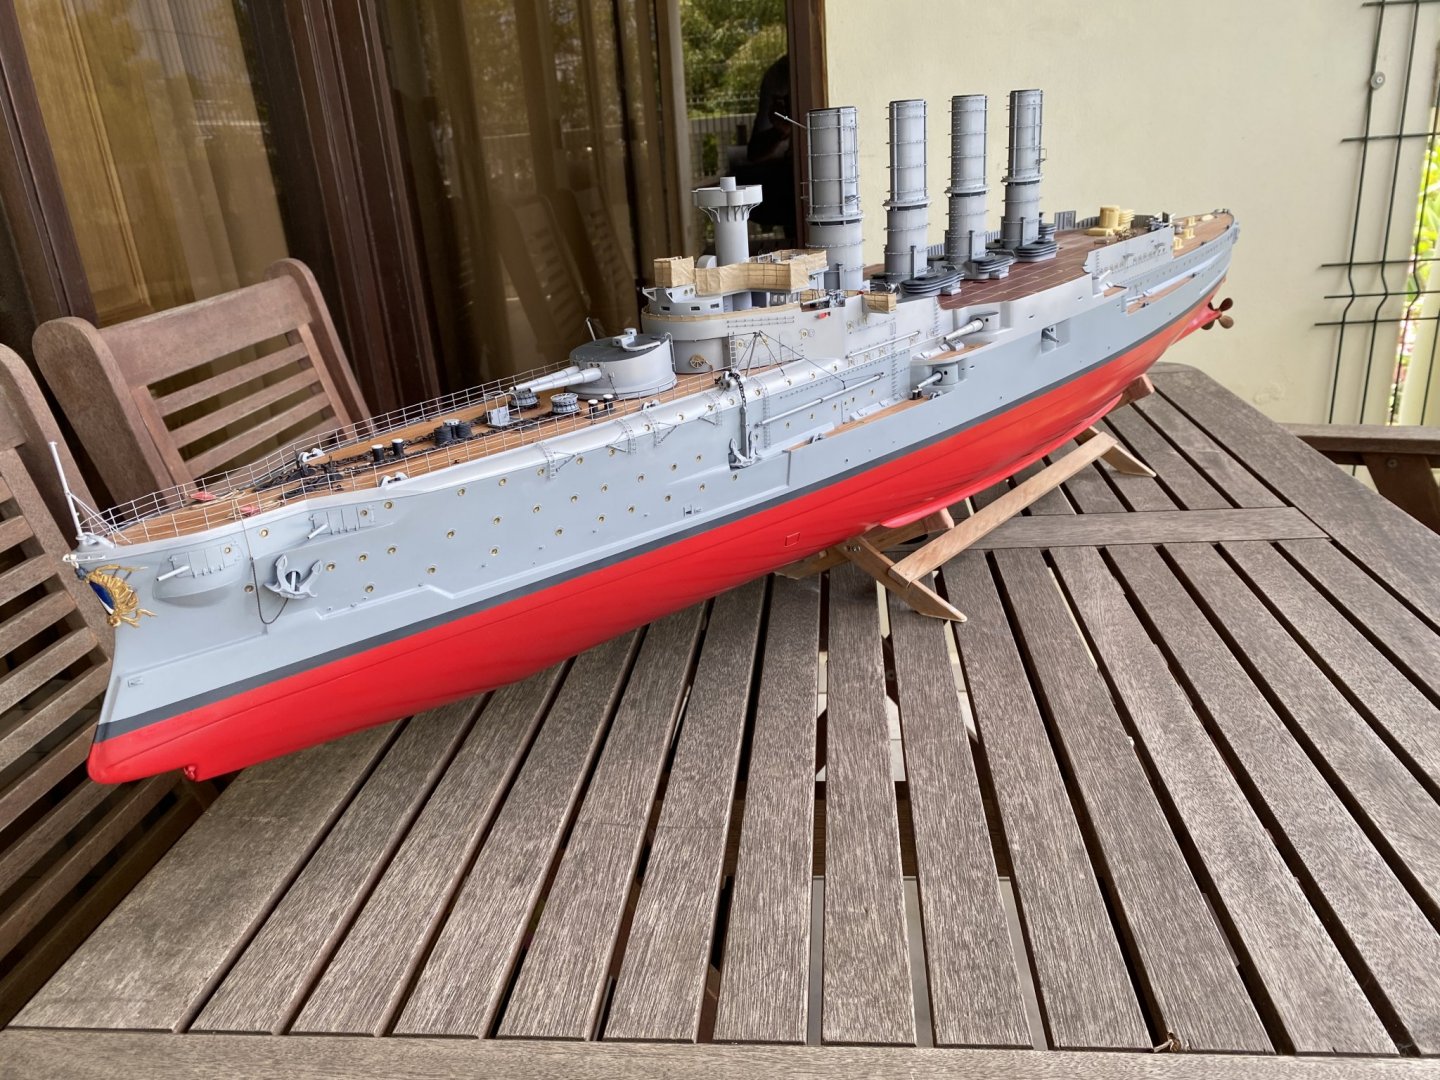
Thanks everybody for the comments and thumbs up. Made the hatches to close the engine room windows. also painted the rooftops of the stowaways on both sides, and added some small details to the doors, and because today was a nice day I brought her outside to take some pictures. all the best


- 202 replies
-
- 21
-
-
- battleship
- scharnhorst
- (and 2 more)
-
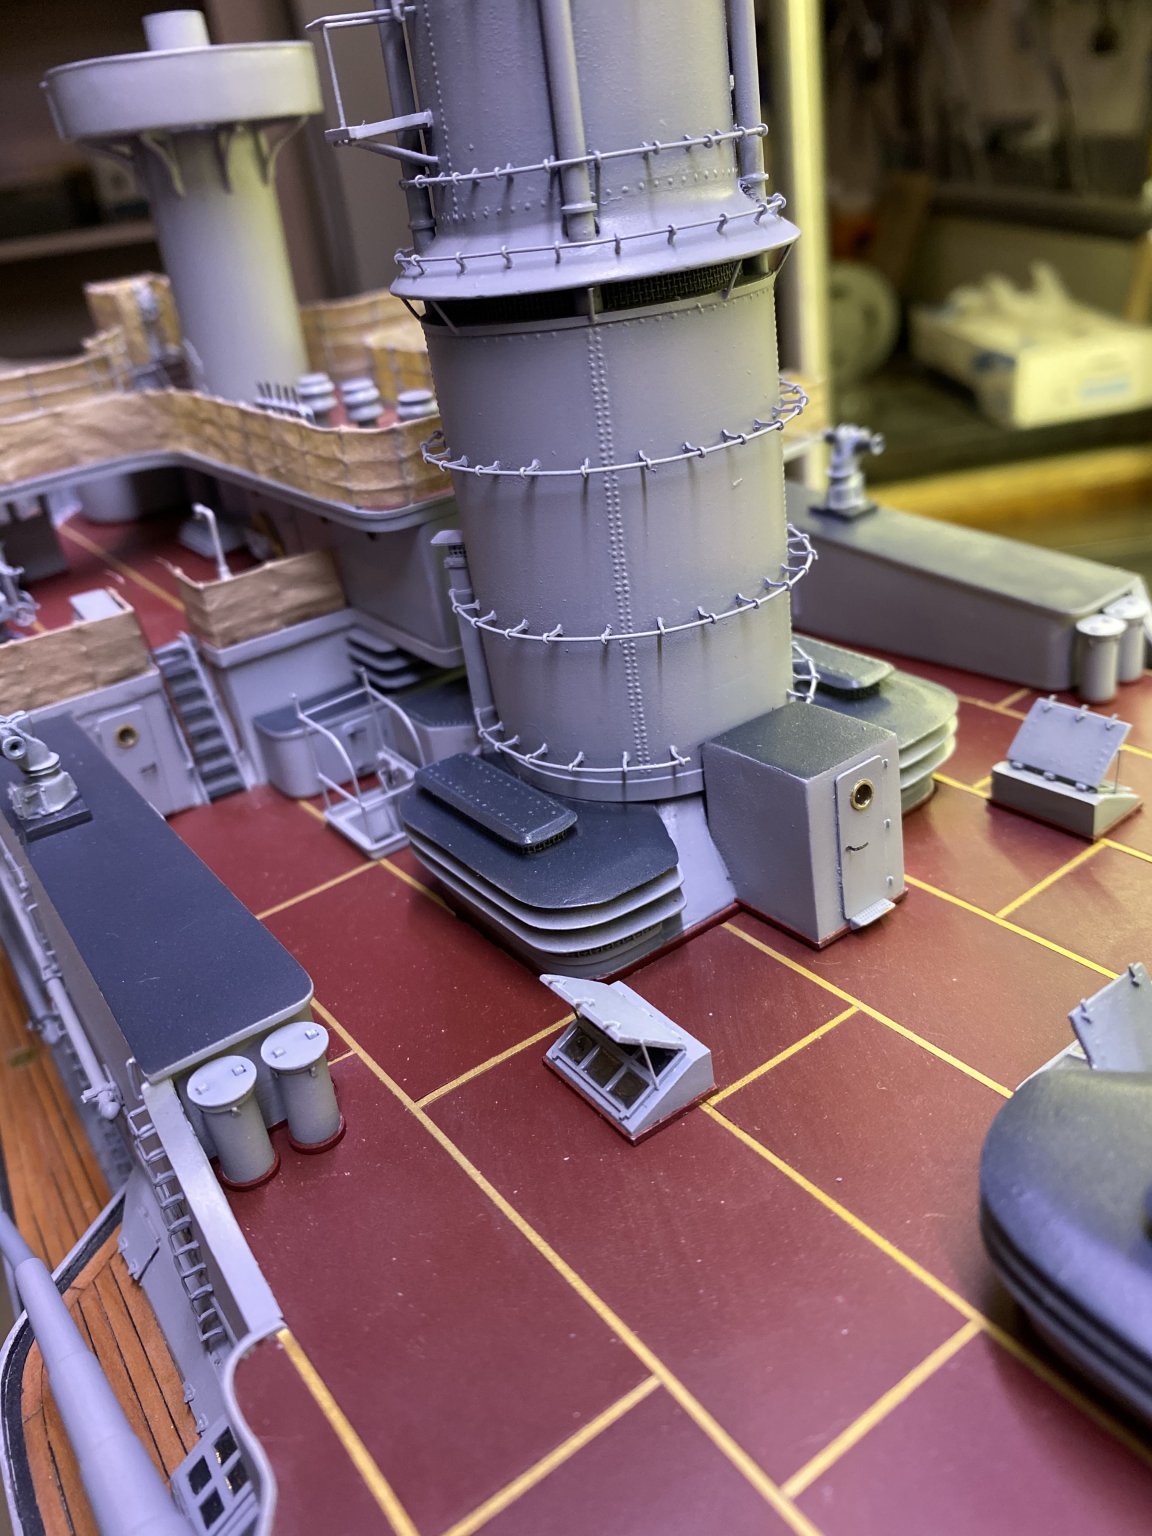
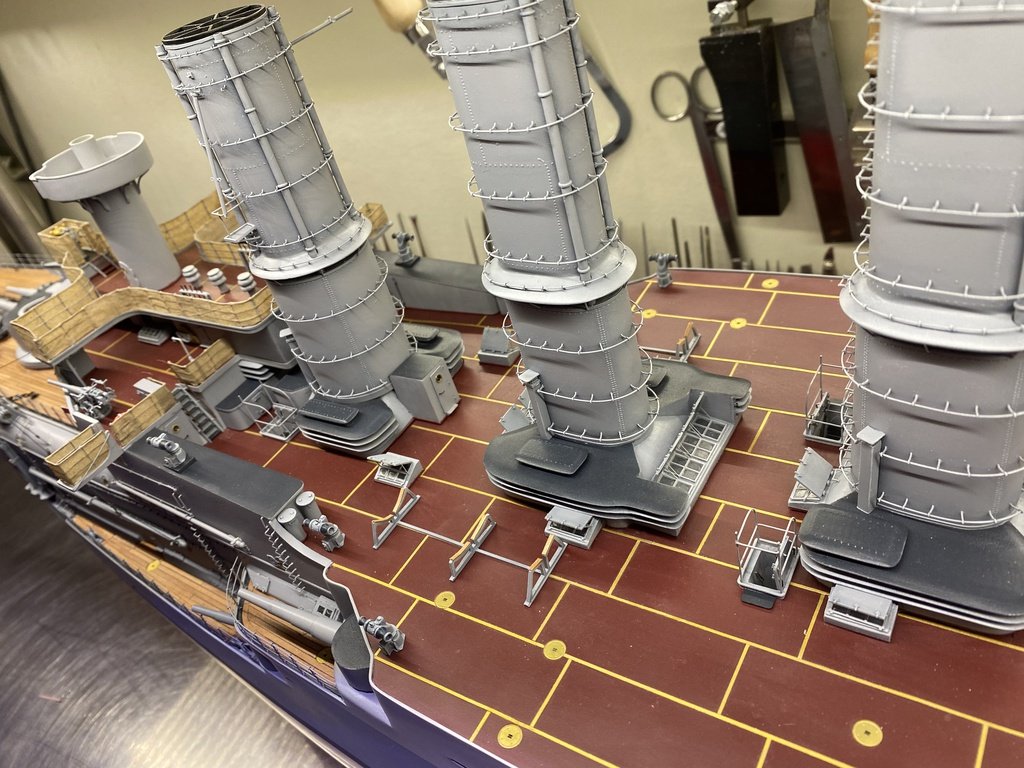
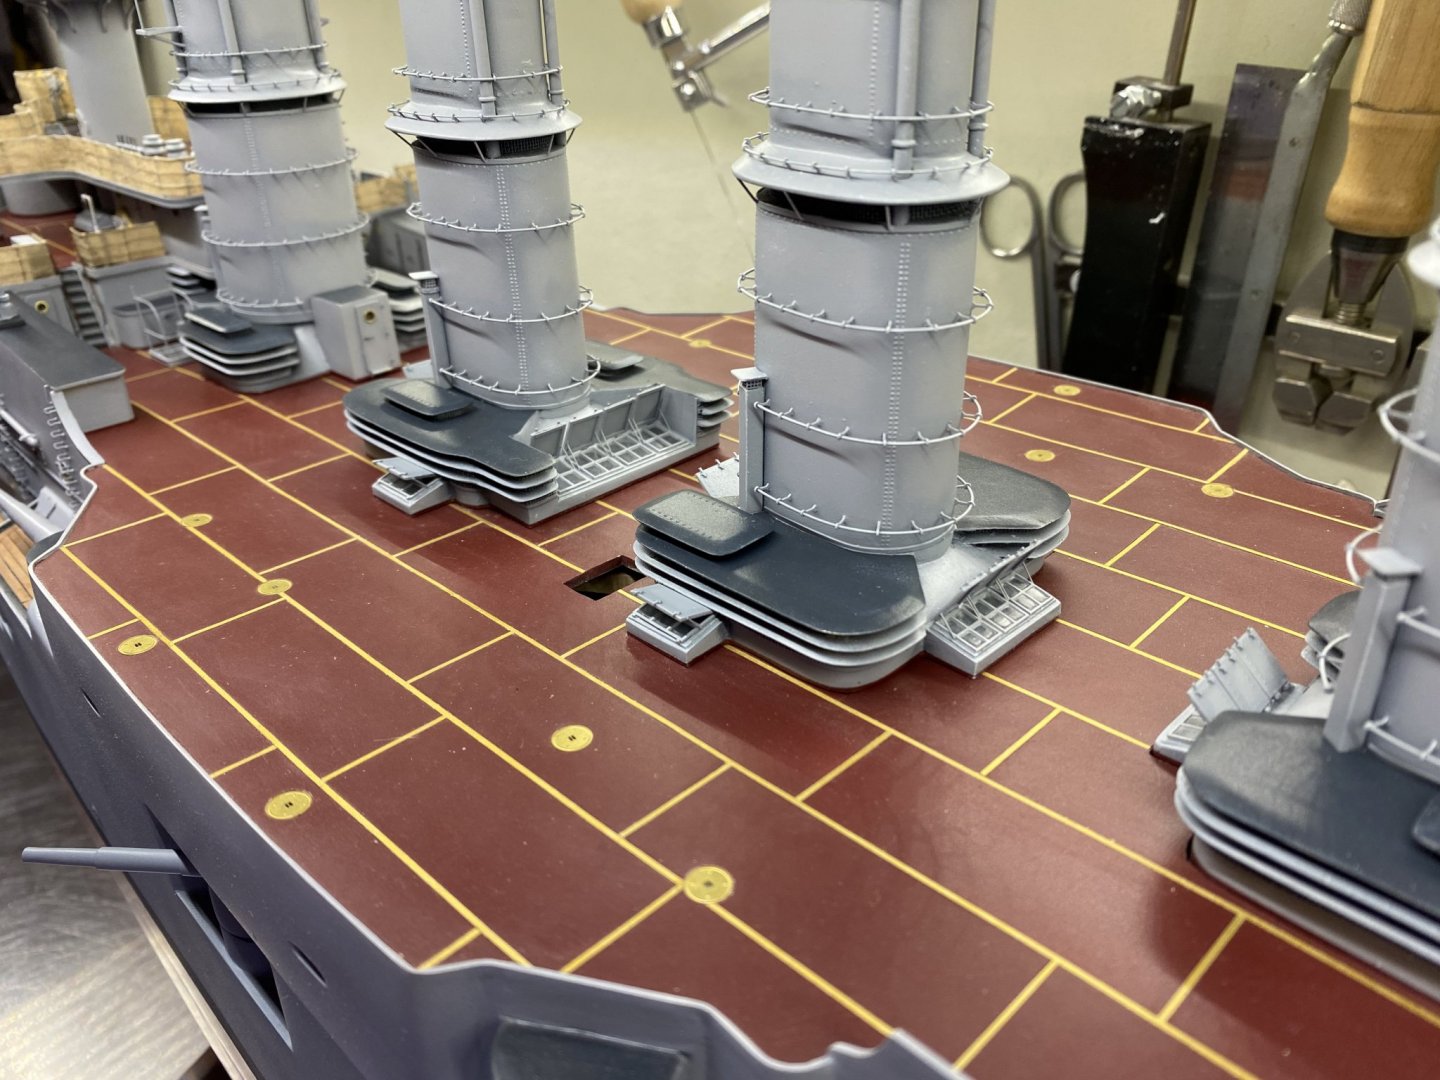
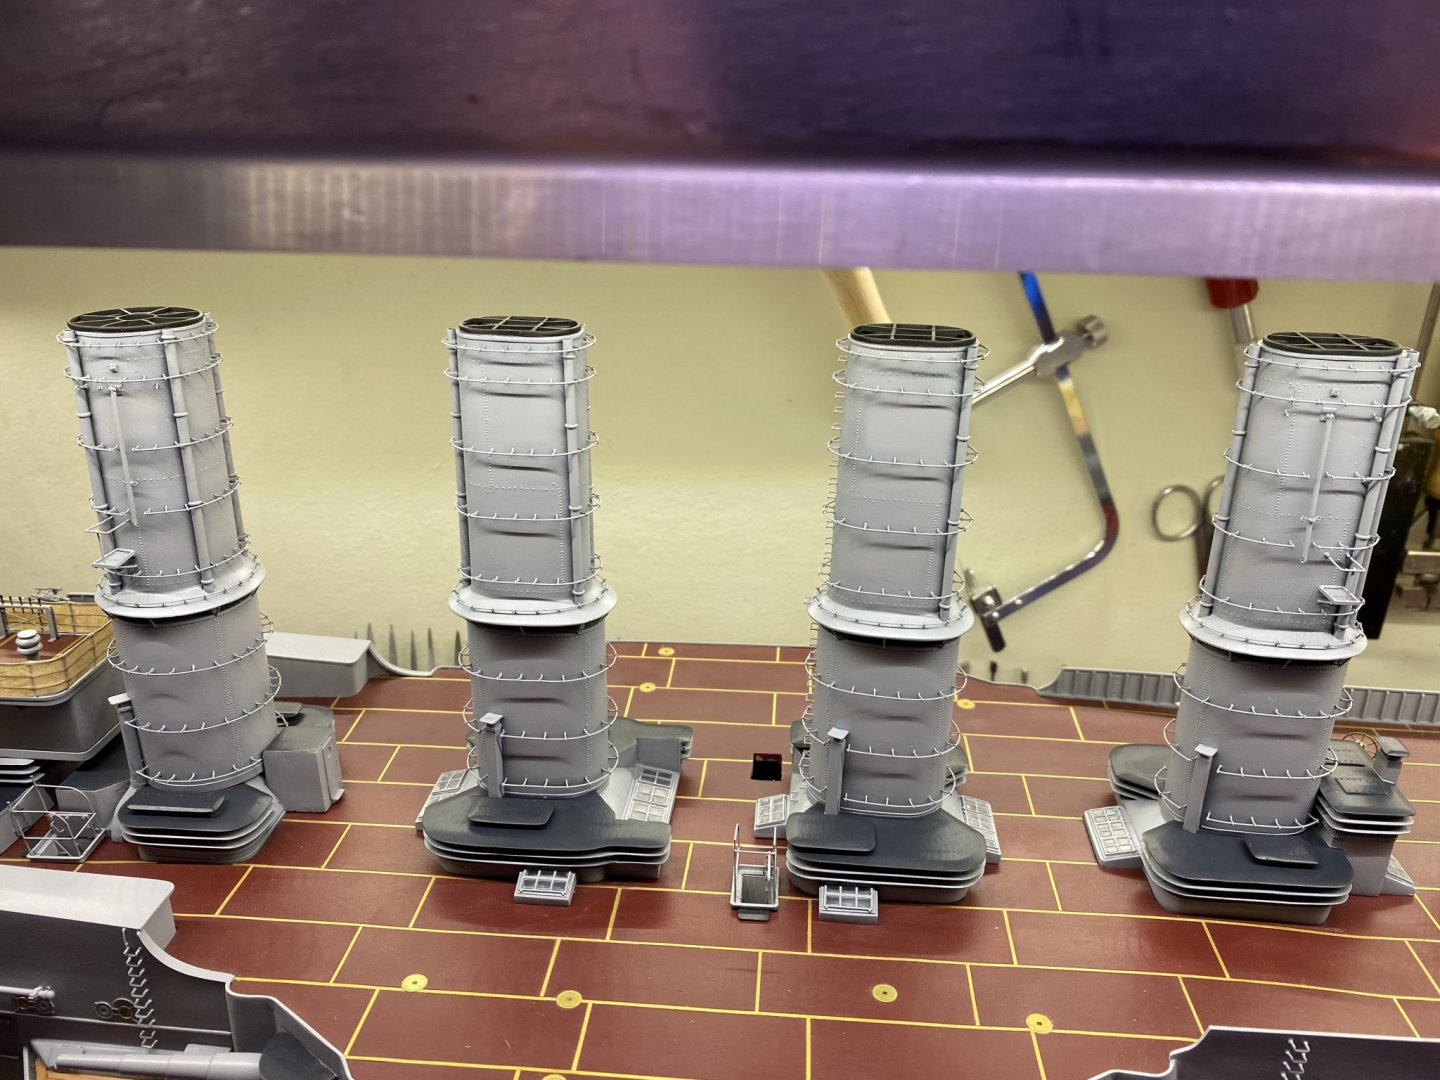
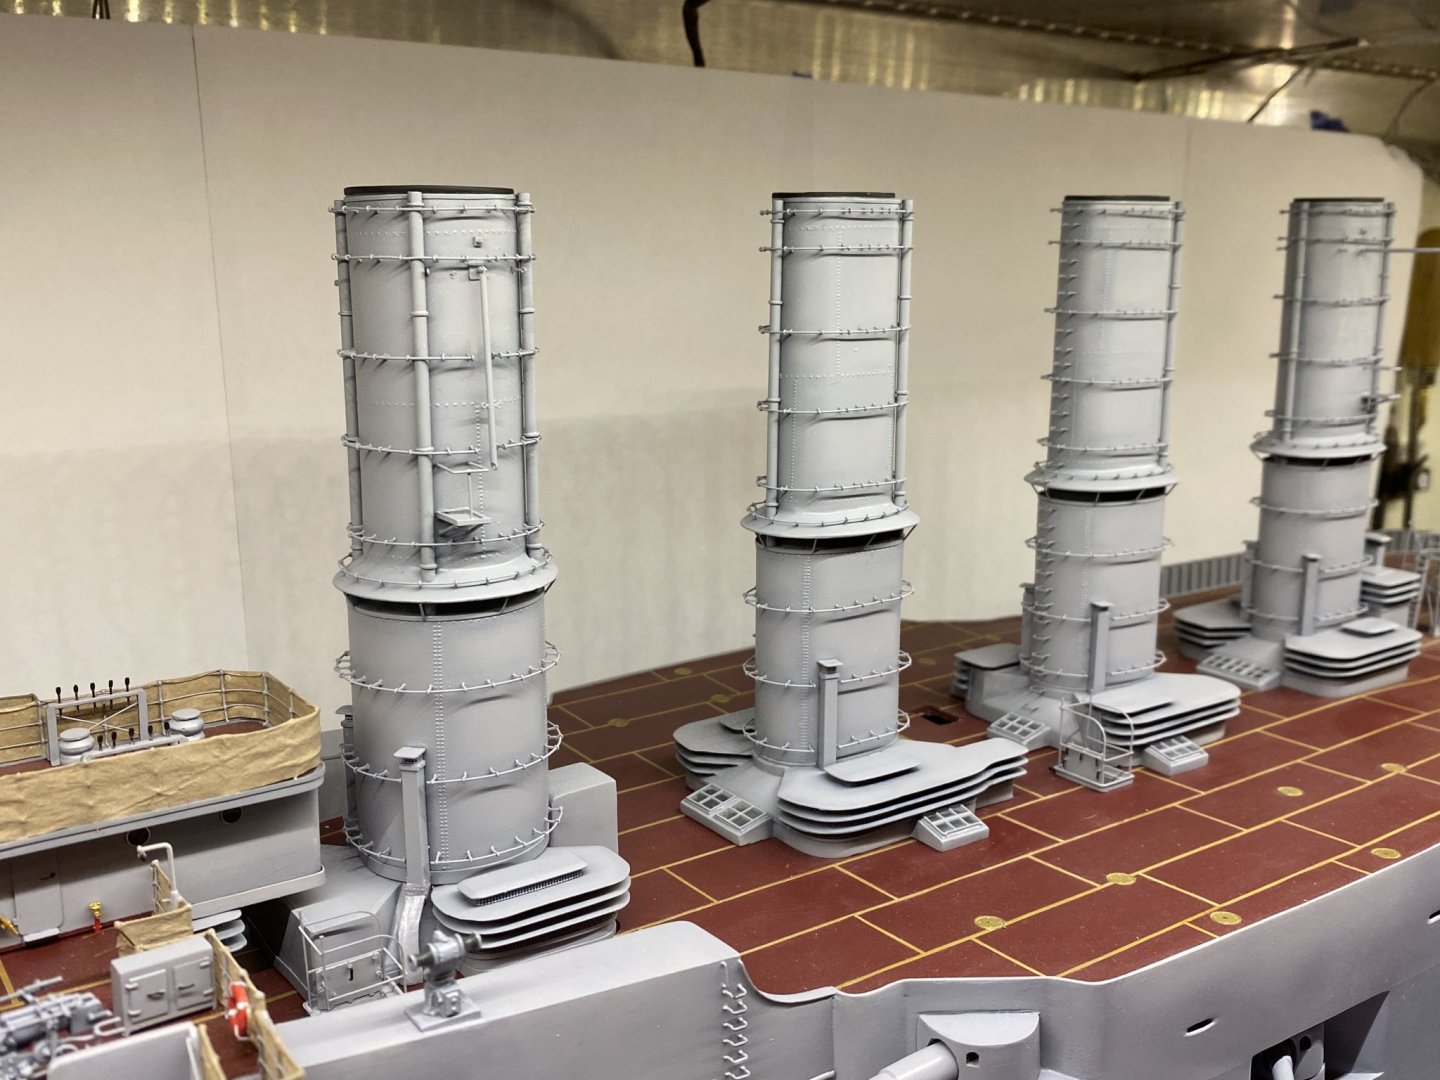
thanks everybody for the nice words and thumbs up Roof tops of the air intakes are done. next step: the plinths around the funnels.

- 202 replies
-
- 18
-
-
- battleship
- scharnhorst
- (and 2 more)
-
Thanks everyone for the response, and thumbs up. just a small update, started with the painting of the roofs of the air-intake dark grey, after studying serval pictures i cam to the decision to paint them in this color below a few pictures
- 202 replies
-
- 14
-
-
- battleship
- scharnhorst
- (and 2 more)
-
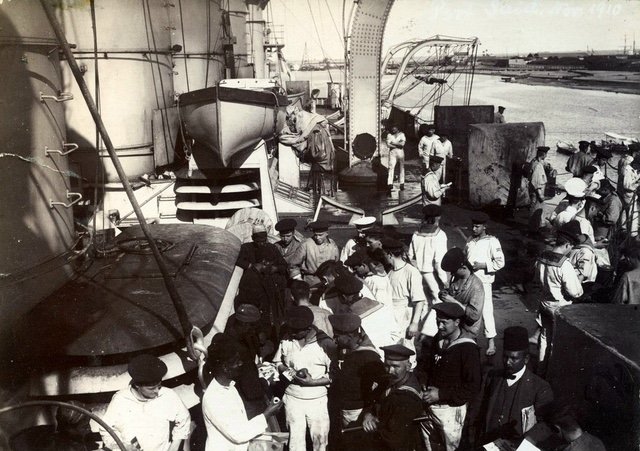
@shipman My reference, are the Wischmeijer plans, which I purchased in Germany from Zinnecker Modellbau. and I use pictures that I collected over many years looking on the internet,(when you still could find pictures from better and higher quality as it is now) unfortunately the Scharnhorst and Gneisenau only had a 7 year lifespan. so there are not much pictures to find. (some pictures of “ships” but not usable for details) And for the rest I use pictures of the preceding Roon class cruisers for reference, which also has a lot of similarities with the Scharnhorst class. And I also post my build on a German forum, which is also a great source for ships of Kaiserliche Marine time period, “marine Modellbau und mehr“ (it’s in German language) That guys over there helped me also many times a lot !. all the best.
- 202 replies
-
- 3
-
-
- battleship
- scharnhorst
- (and 2 more)
-
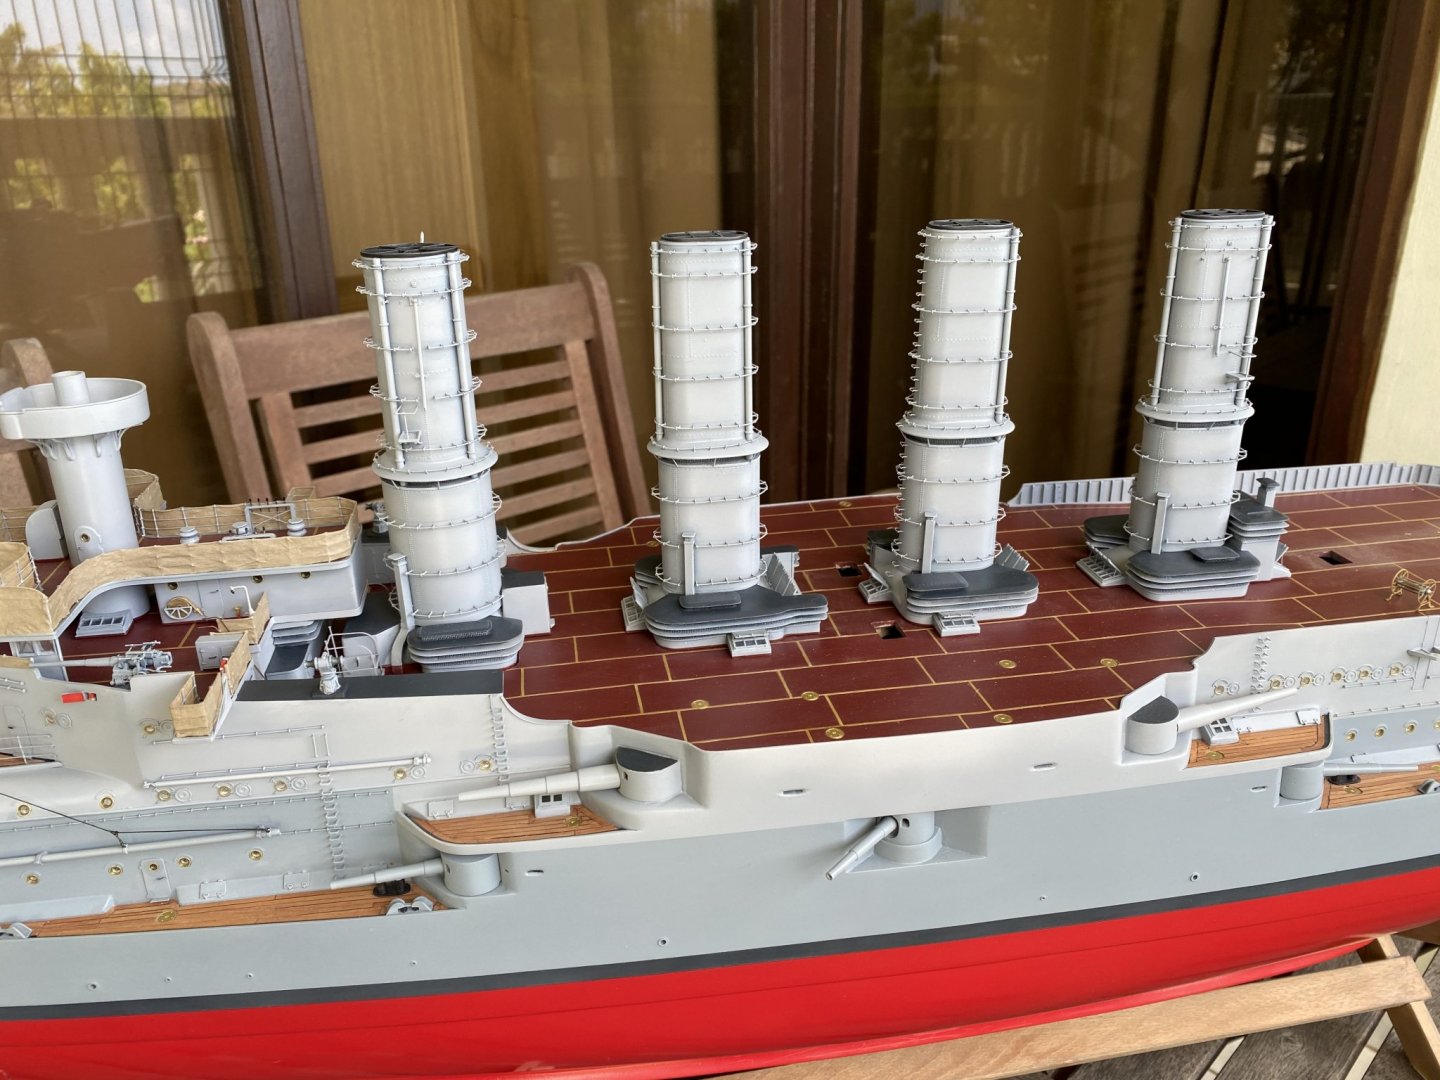
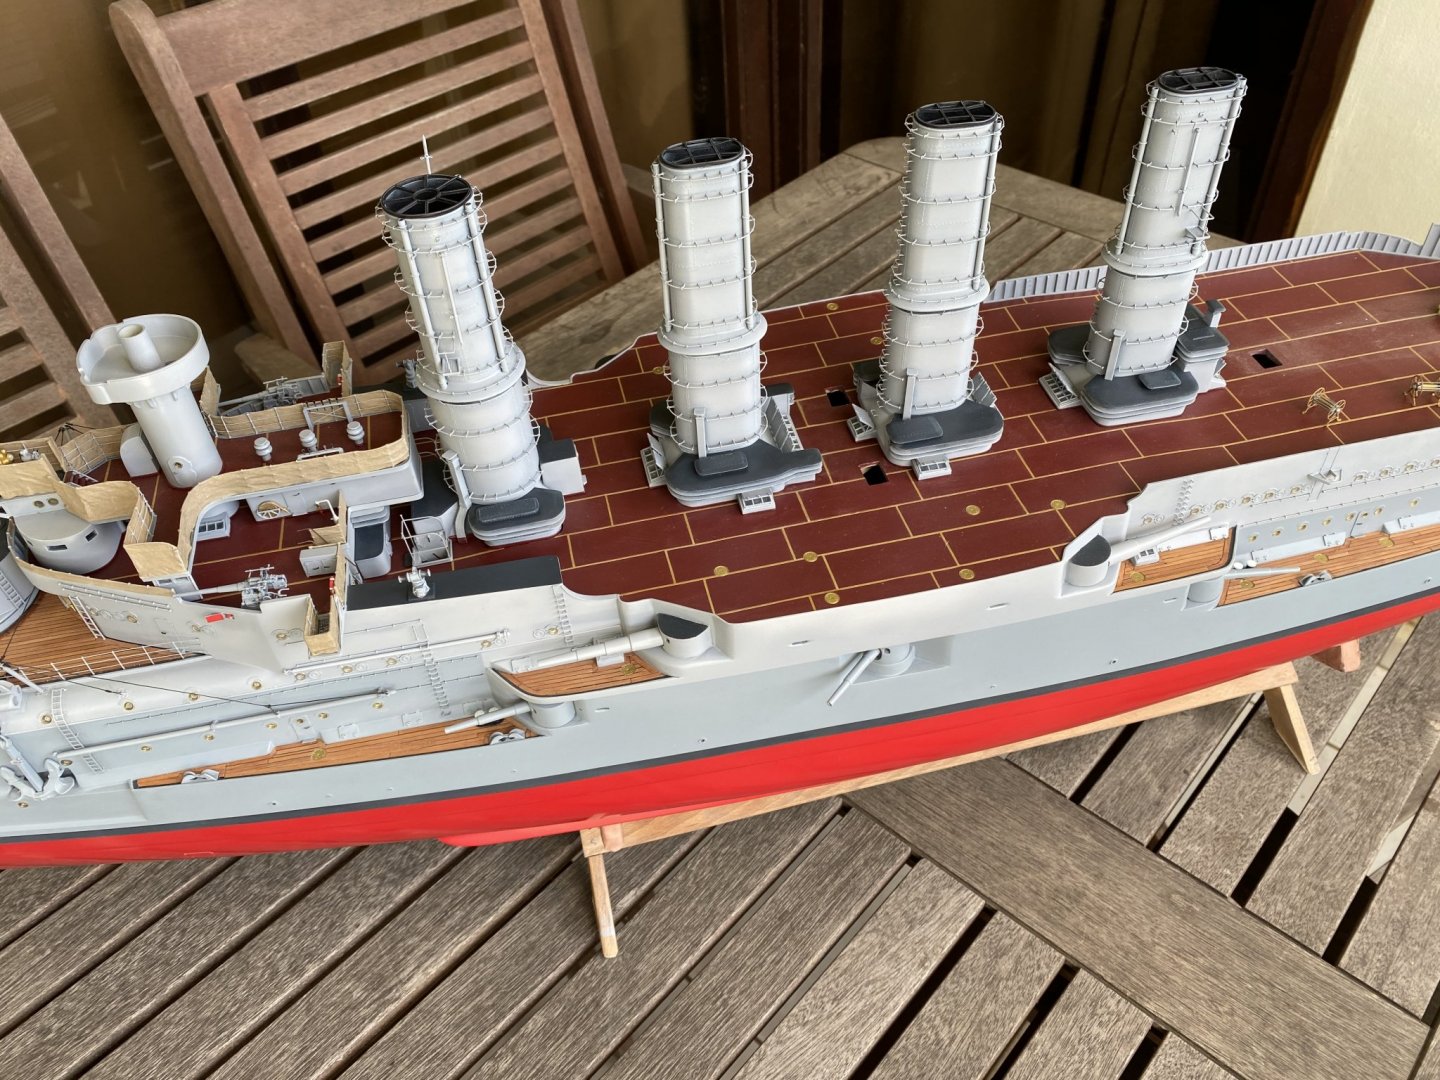
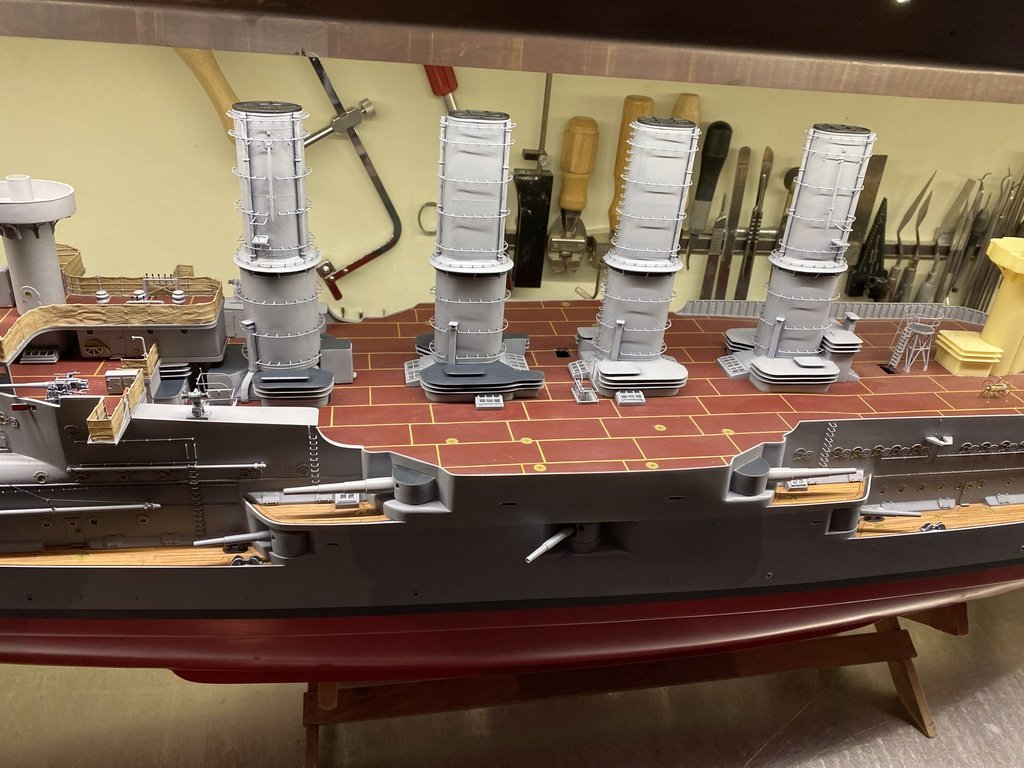
Everyone thanks for the thumbs up painted the funnels, still need to add some details but the beginning is there!


- 202 replies
-
- 20
-
-
- battleship
- scharnhorst
- (and 2 more)
-
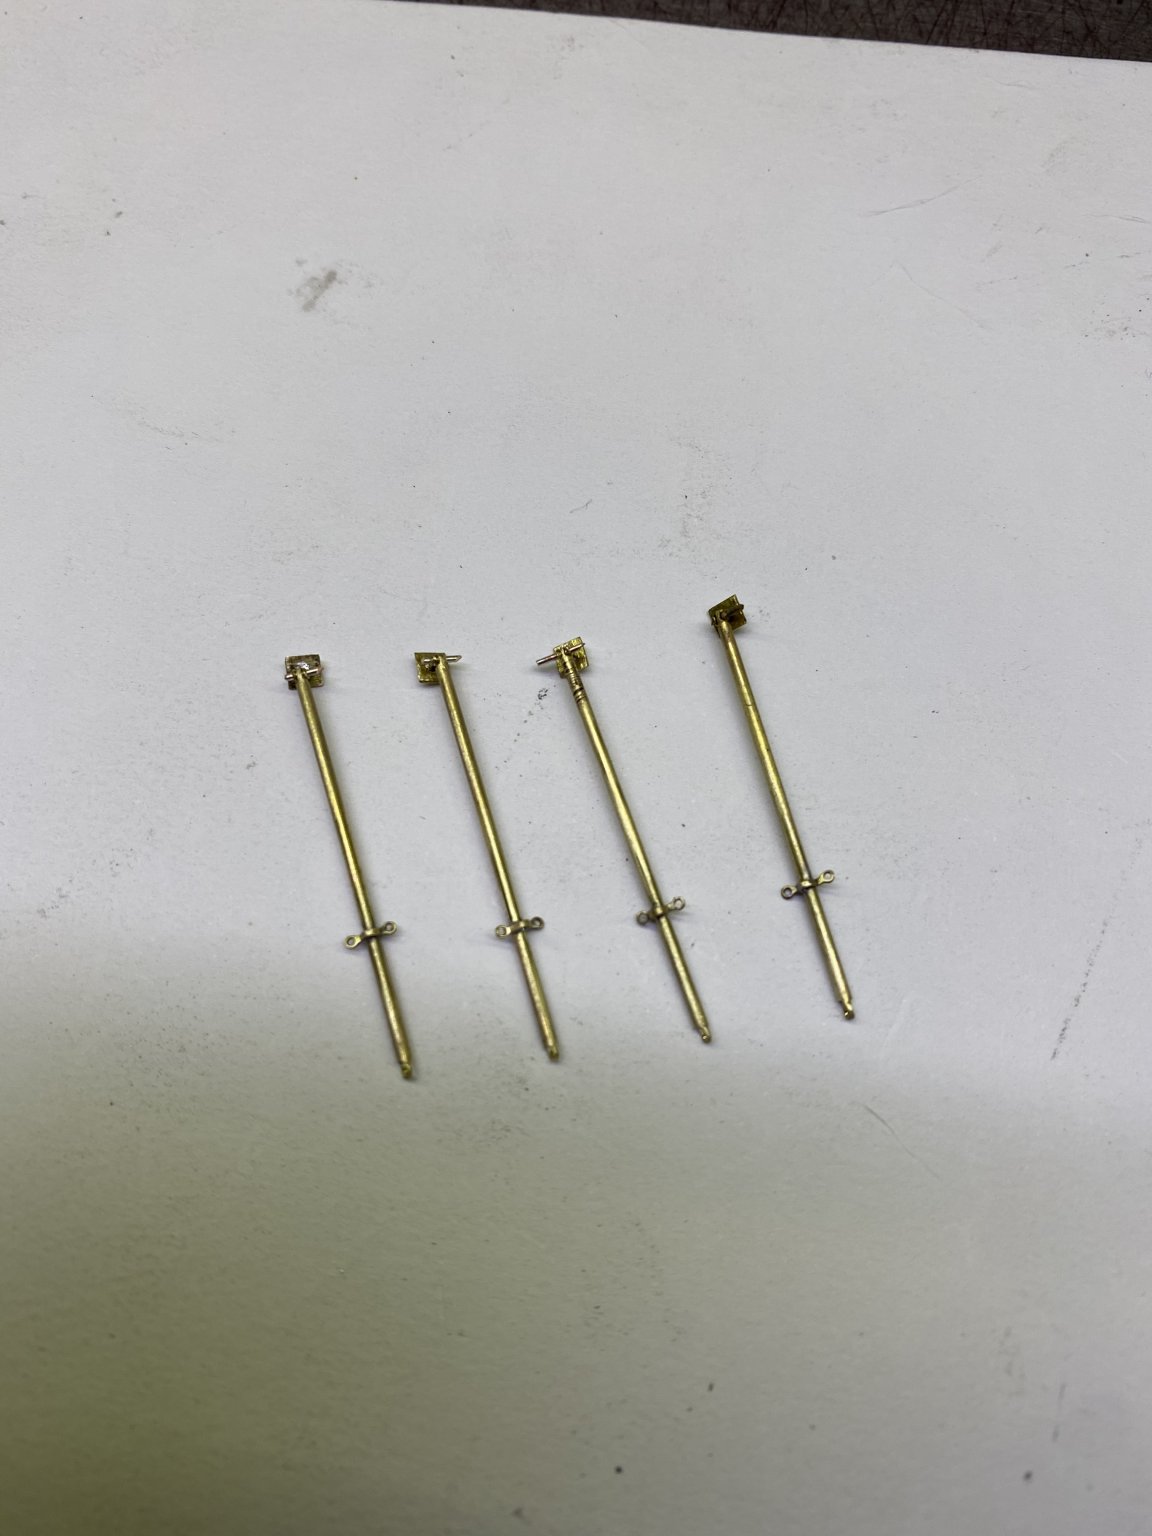
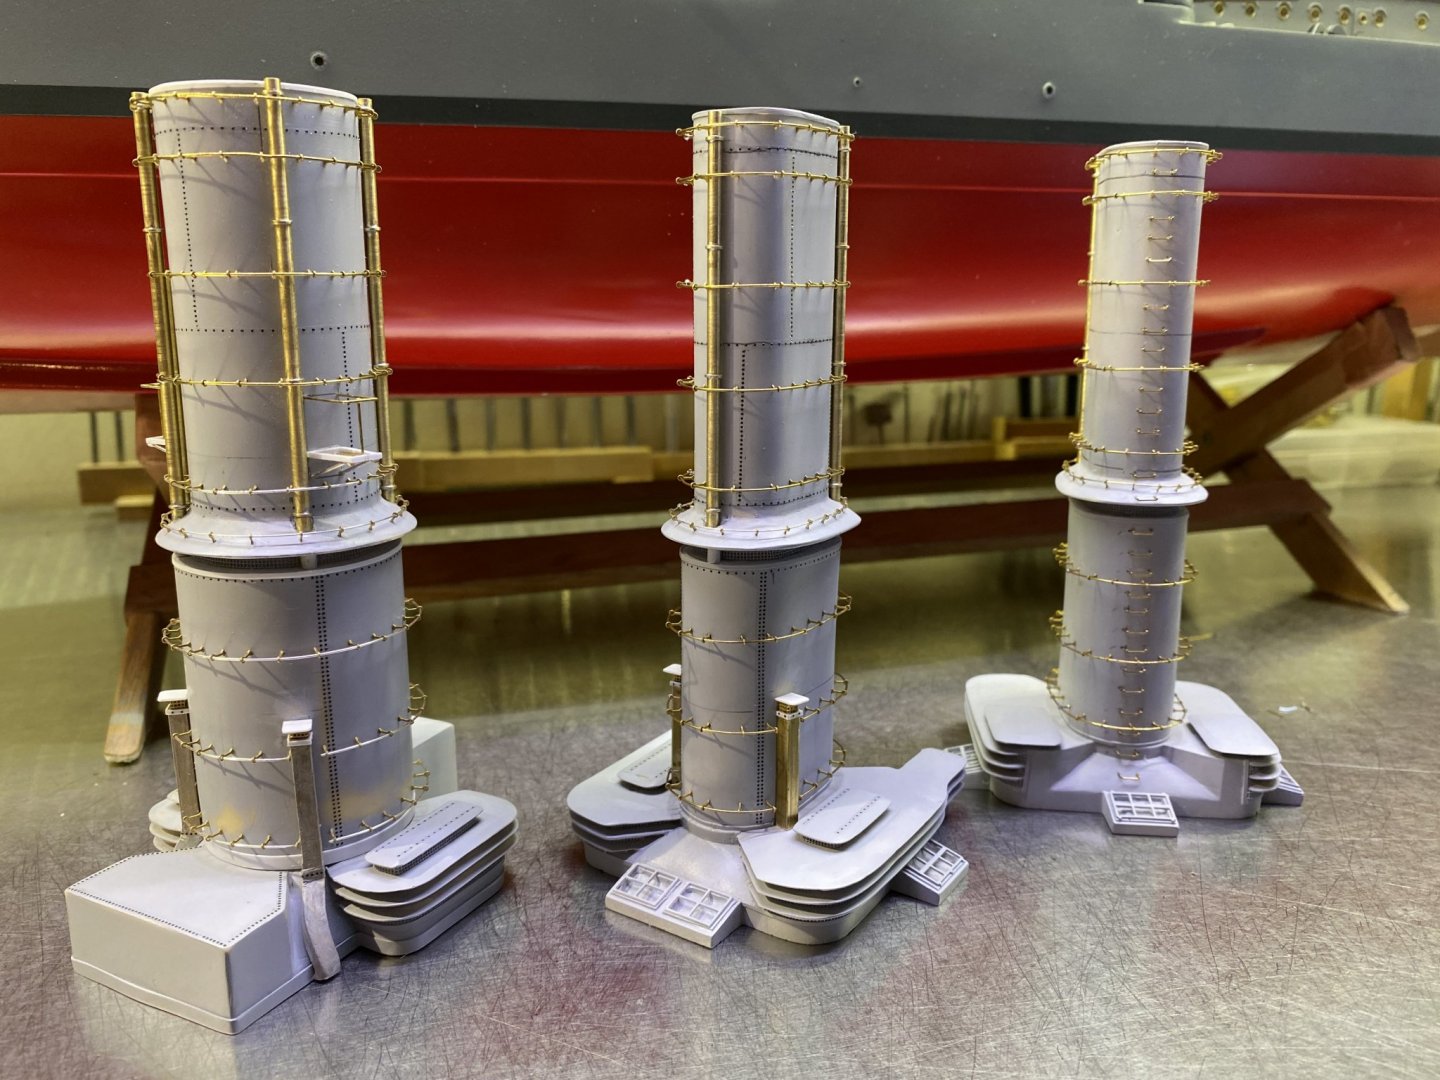
Thanks for the reply and thumbs up and the story continues made the last 2 funnels and the contraption used for the signaling flags, few small details left, and they are ready to be painted. below a few pictures


- 202 replies
-
- 15
-
-
- battleship
- scharnhorst
- (and 2 more)
-
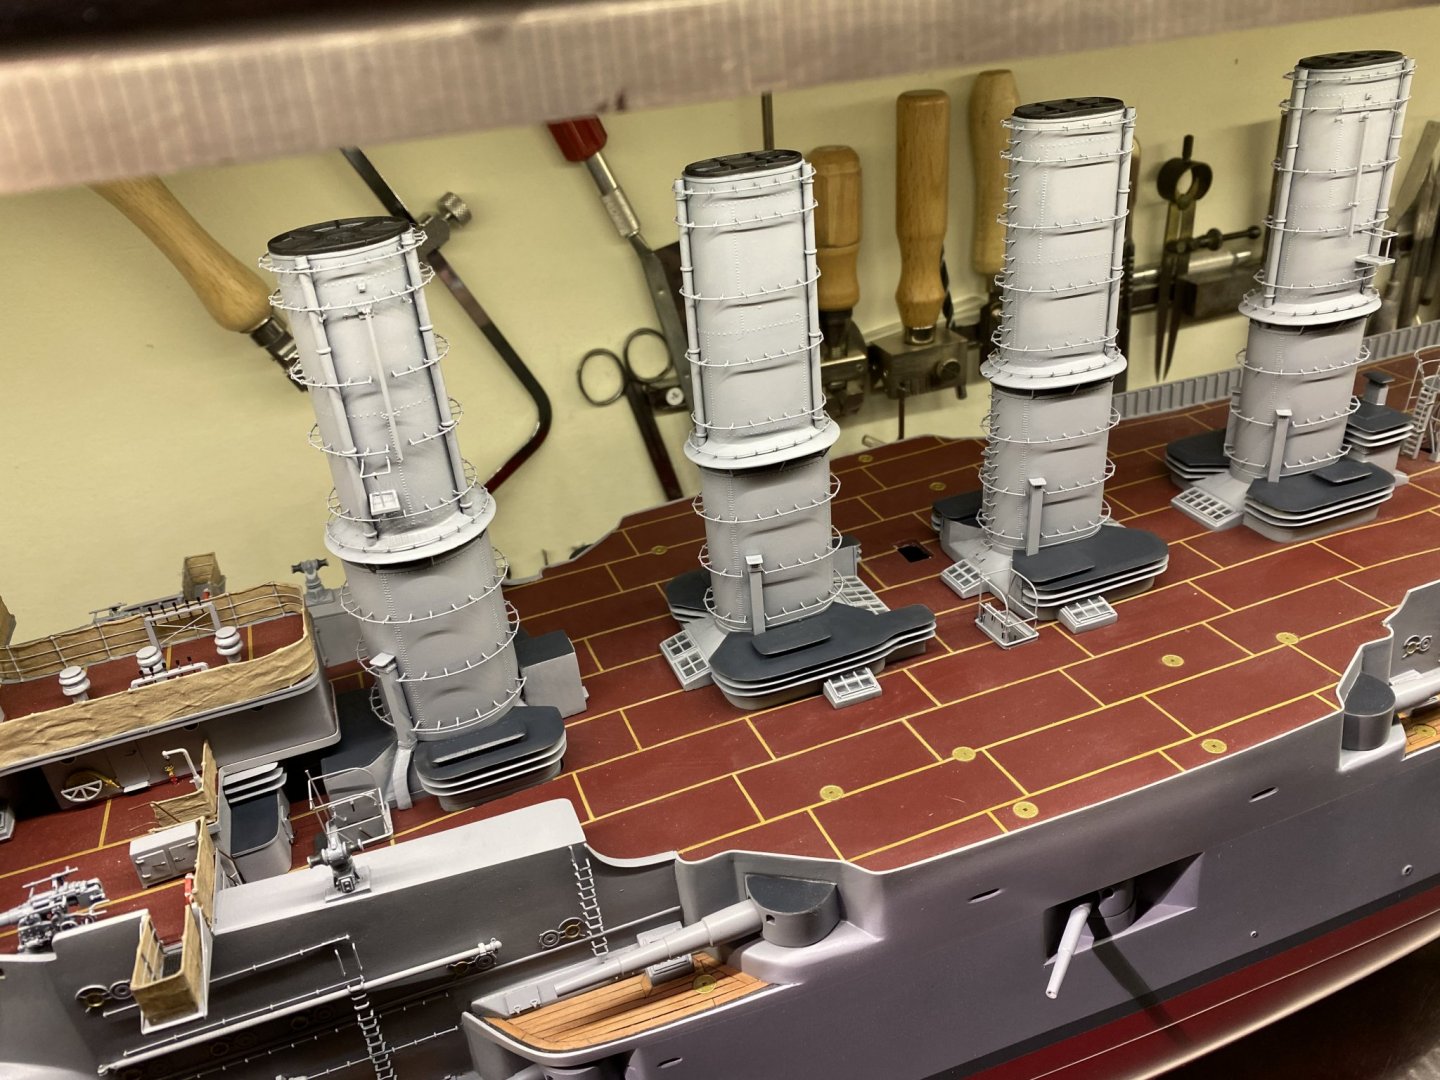
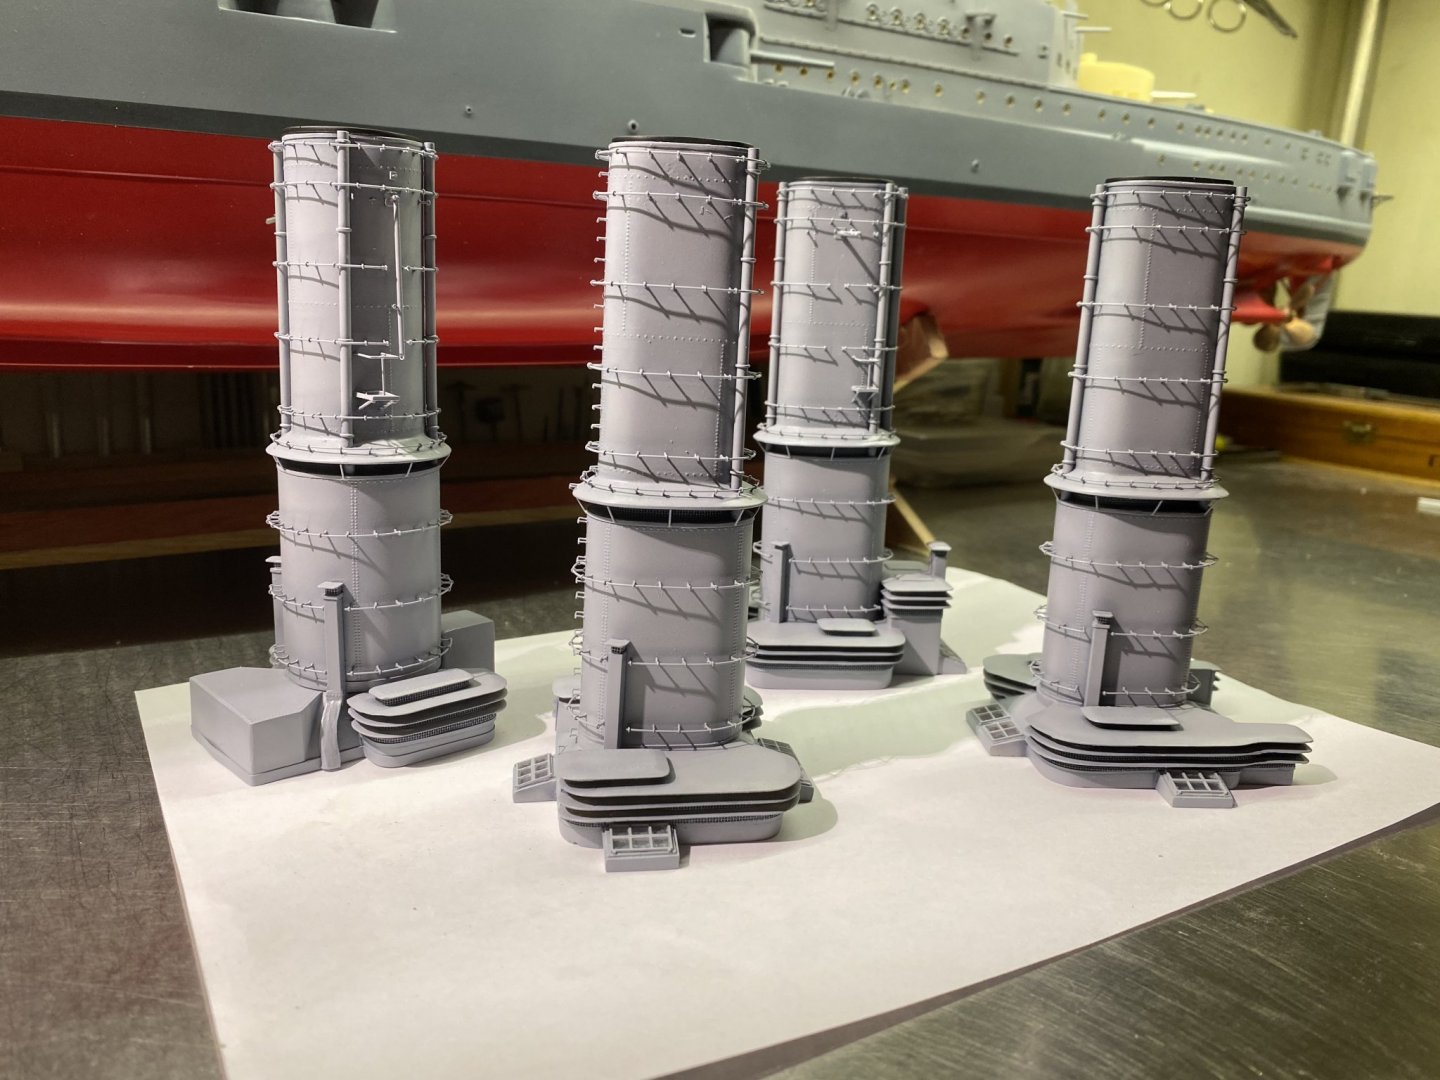
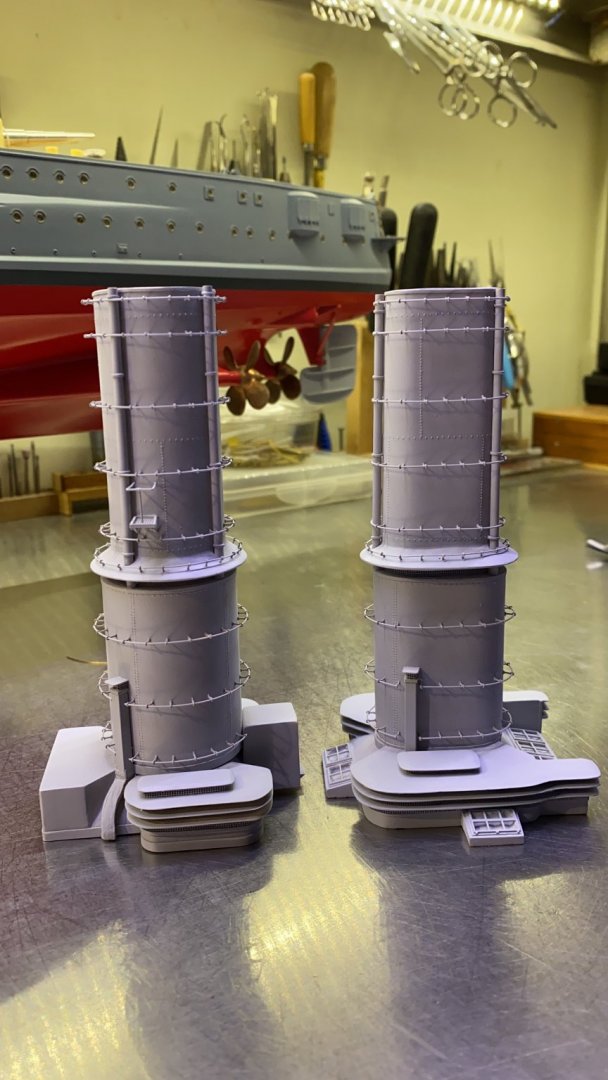
Thanks everybody for the nice words and the thumbs up Finished the first two funnels and spray painted them with a layer of primer. Still two to go

- 202 replies
-
- 21
-
-
- battleship
- scharnhorst
- (and 2 more)
-
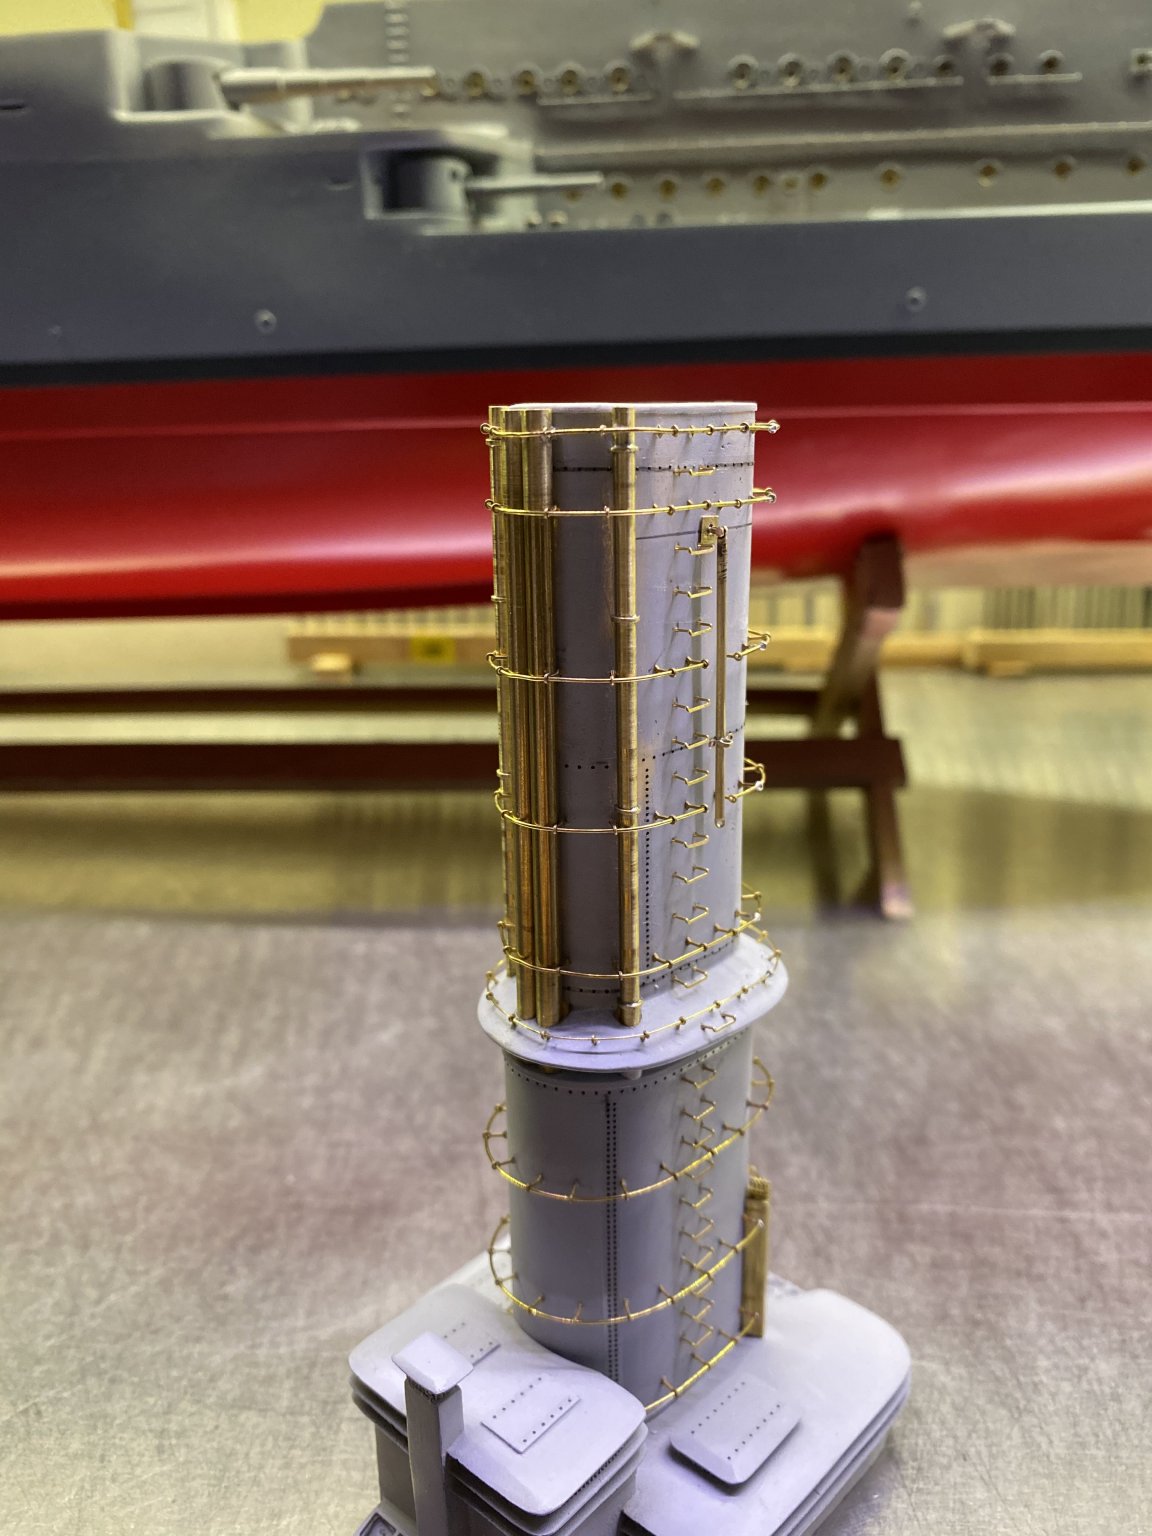
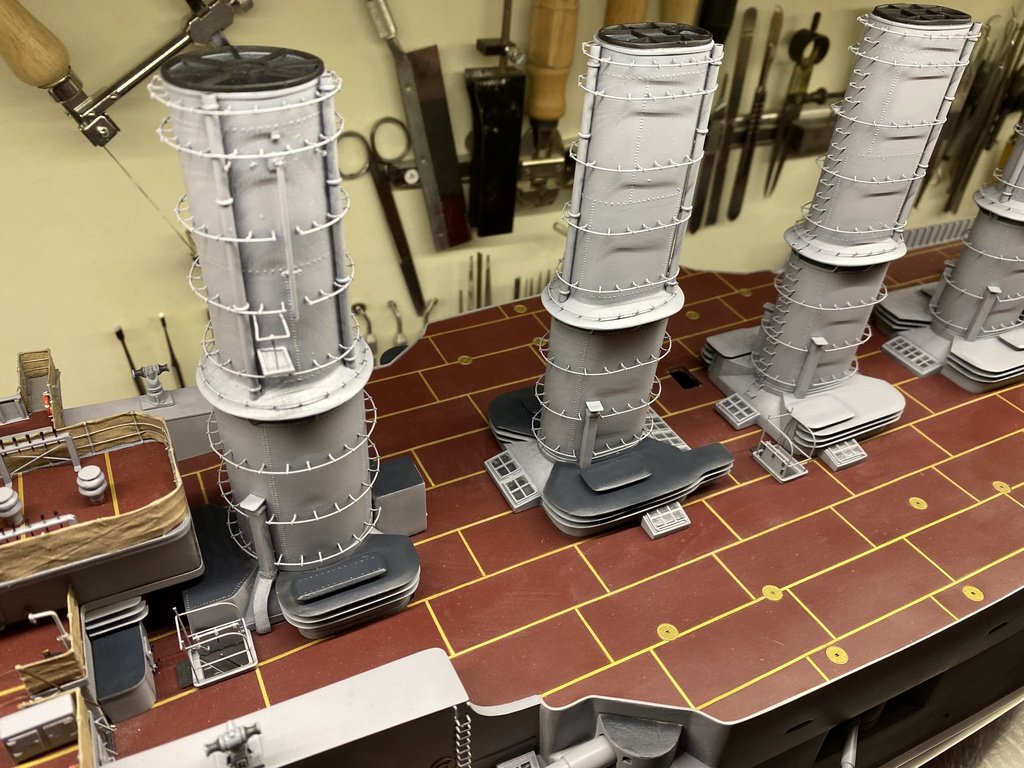
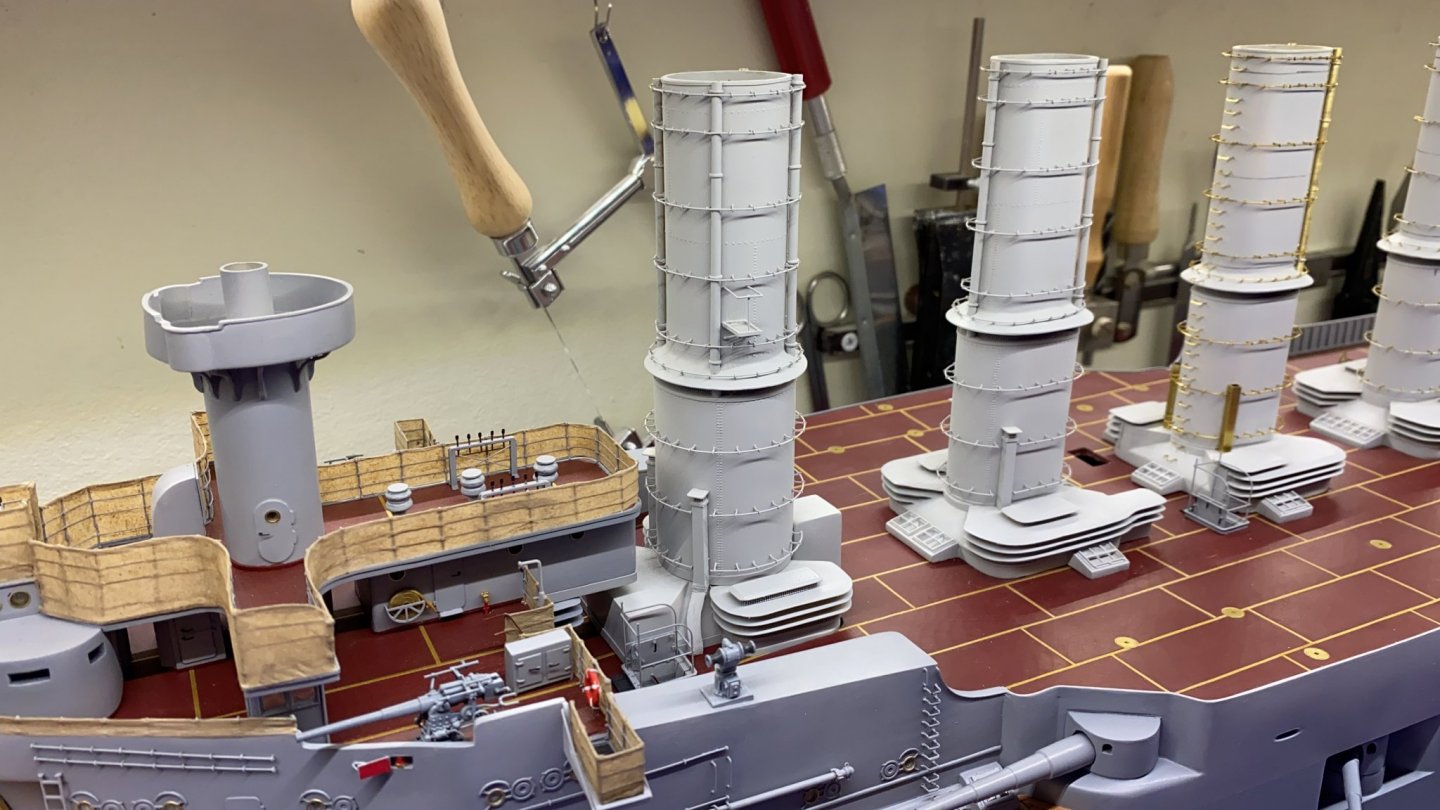
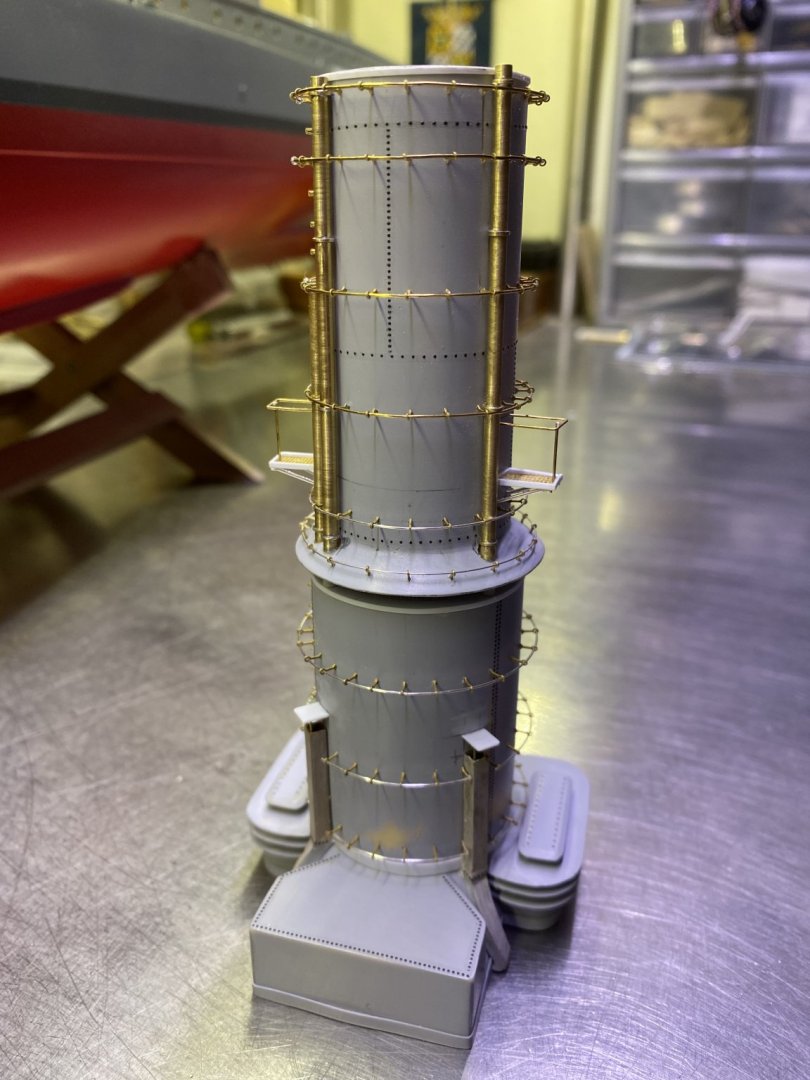
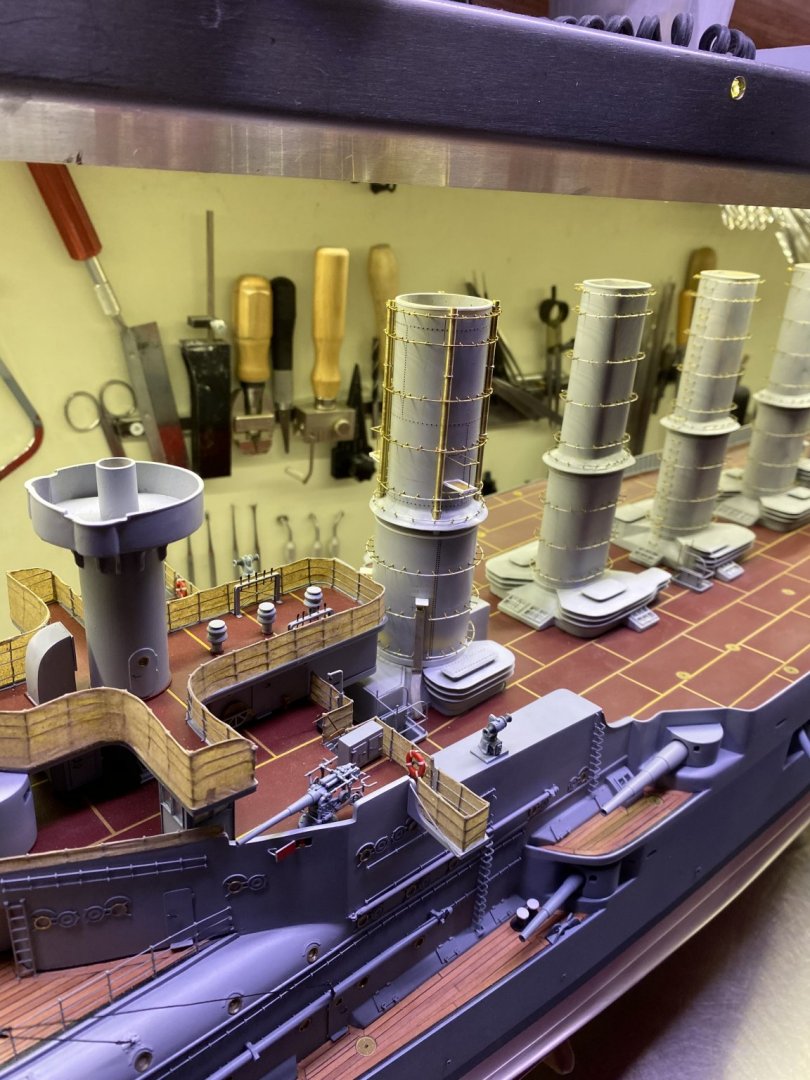
Thanks everybody for the nice words and thumbs up !! First is started with the funnels to made them in there basic shape. after that I start to detail every funnel, started with the first funnel, that is more or less ready, still need to ad some details, that I will make and place after they are all painted. below a few pictures for a impression


- 202 replies
-
- 21
-
-
- battleship
- scharnhorst
- (and 2 more)
-
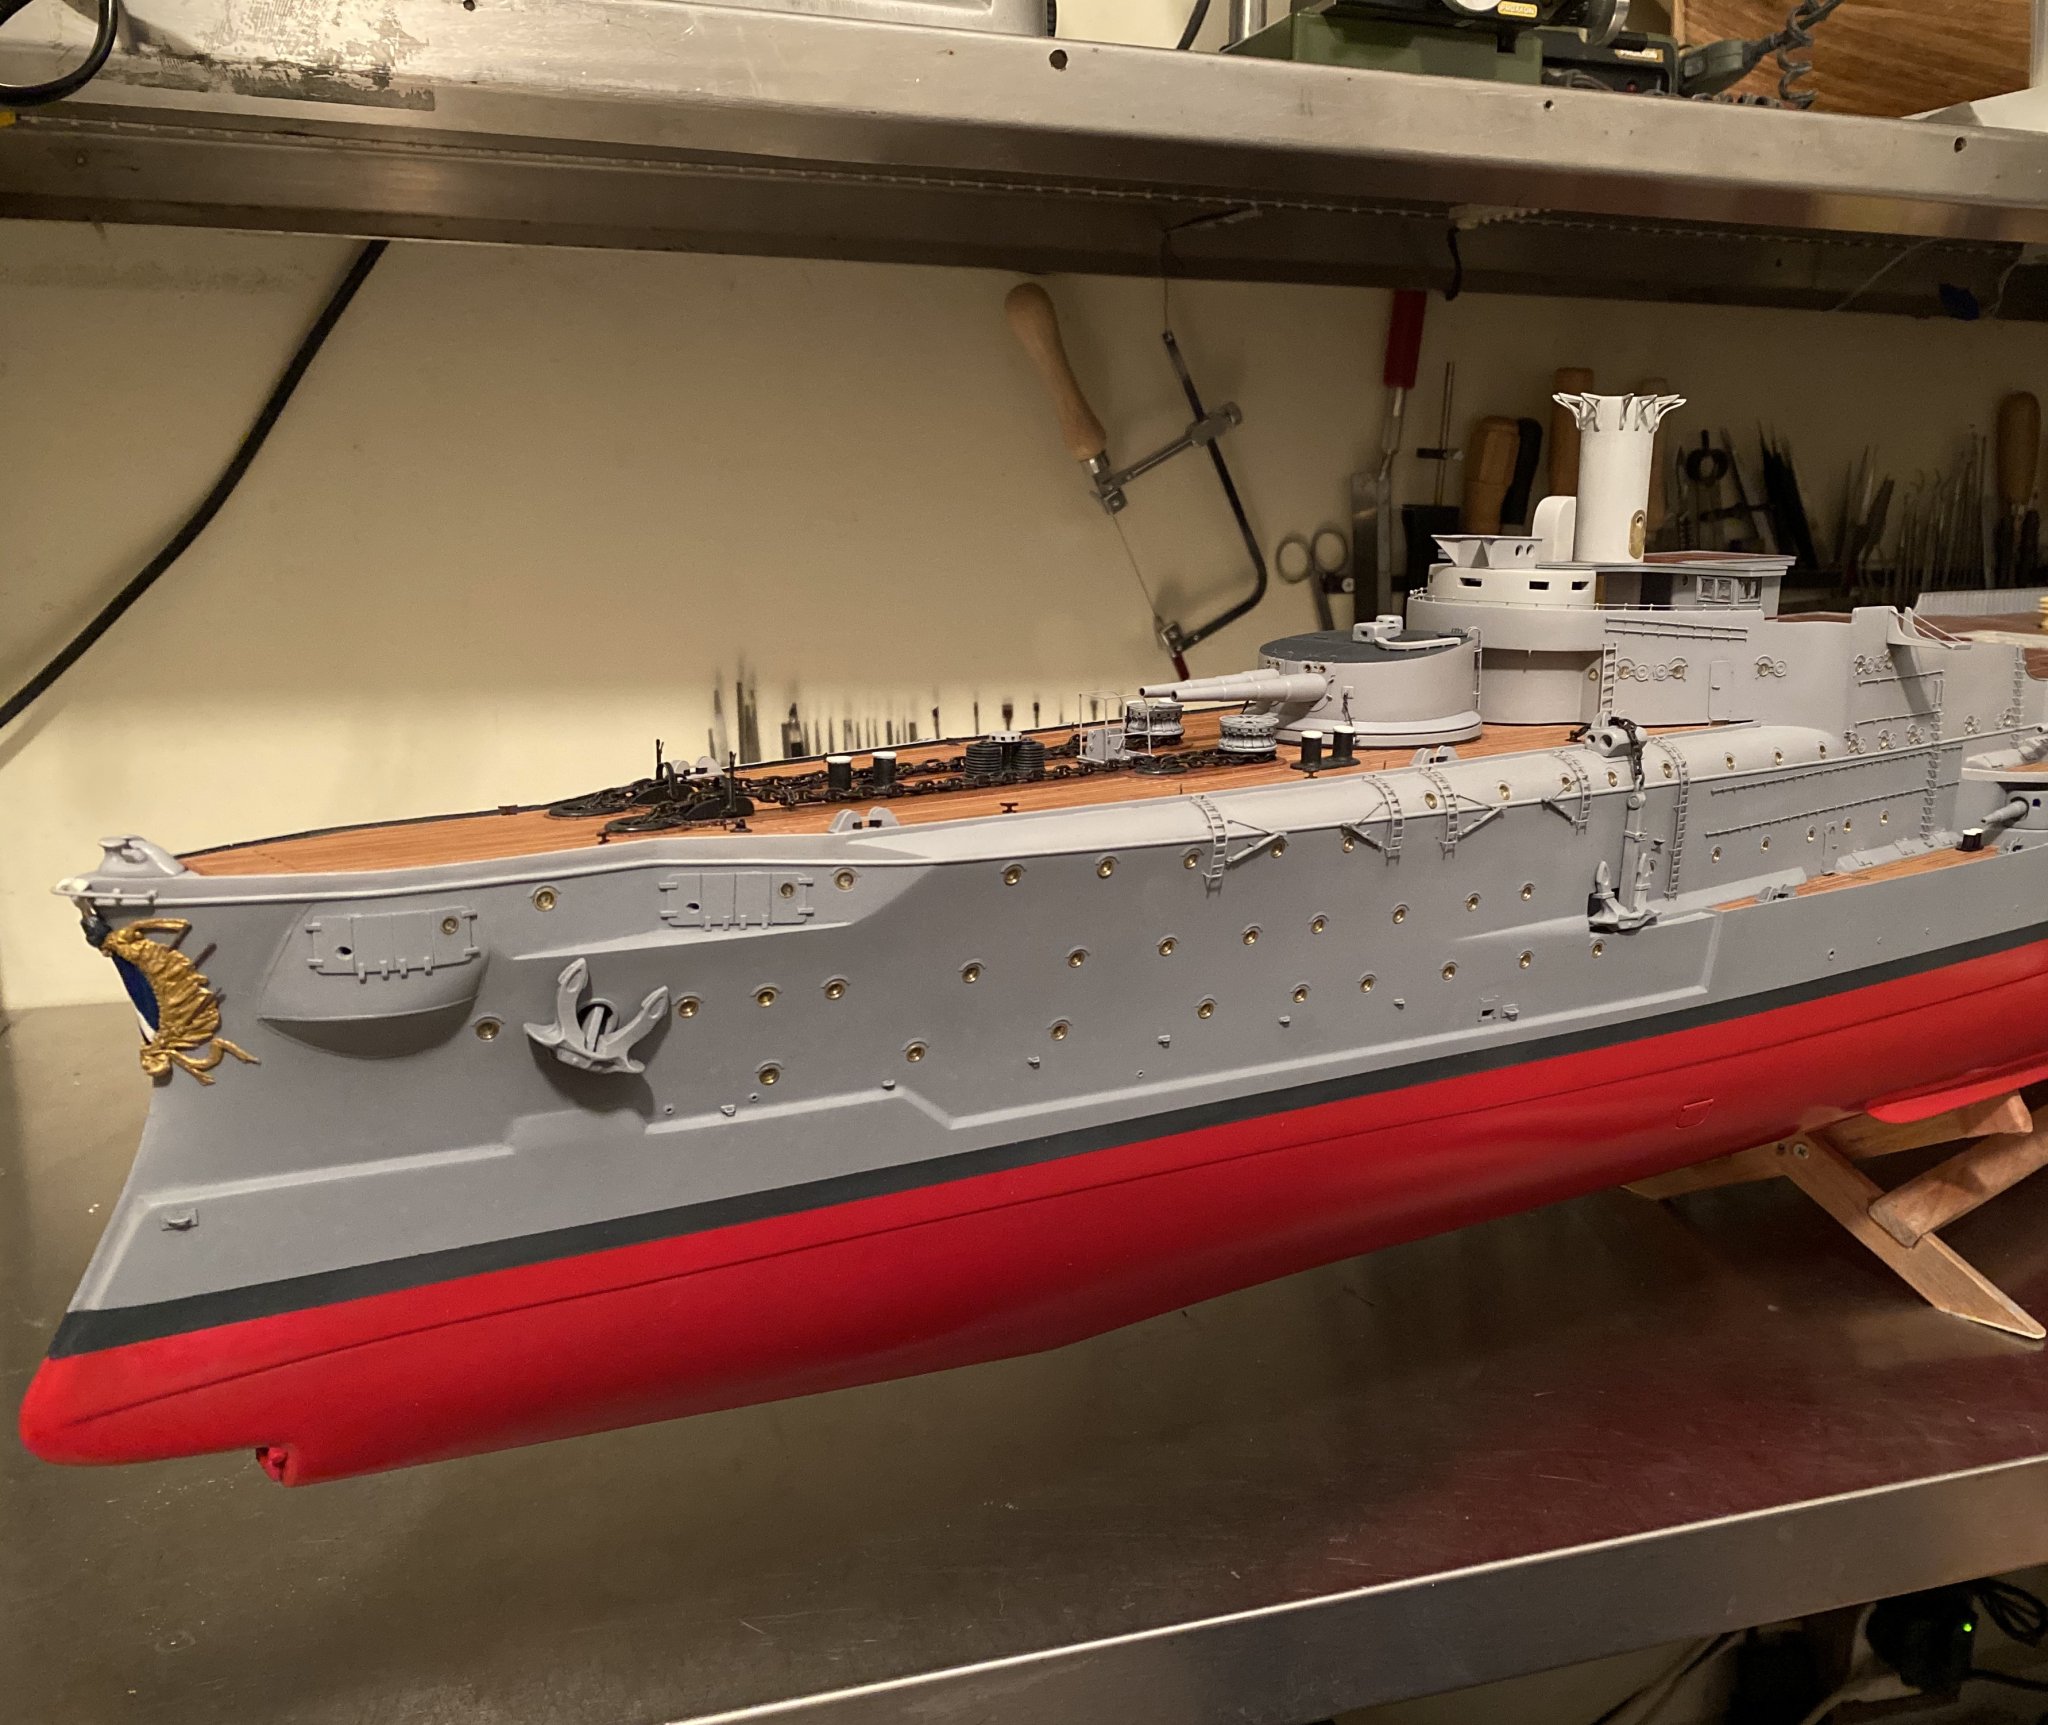
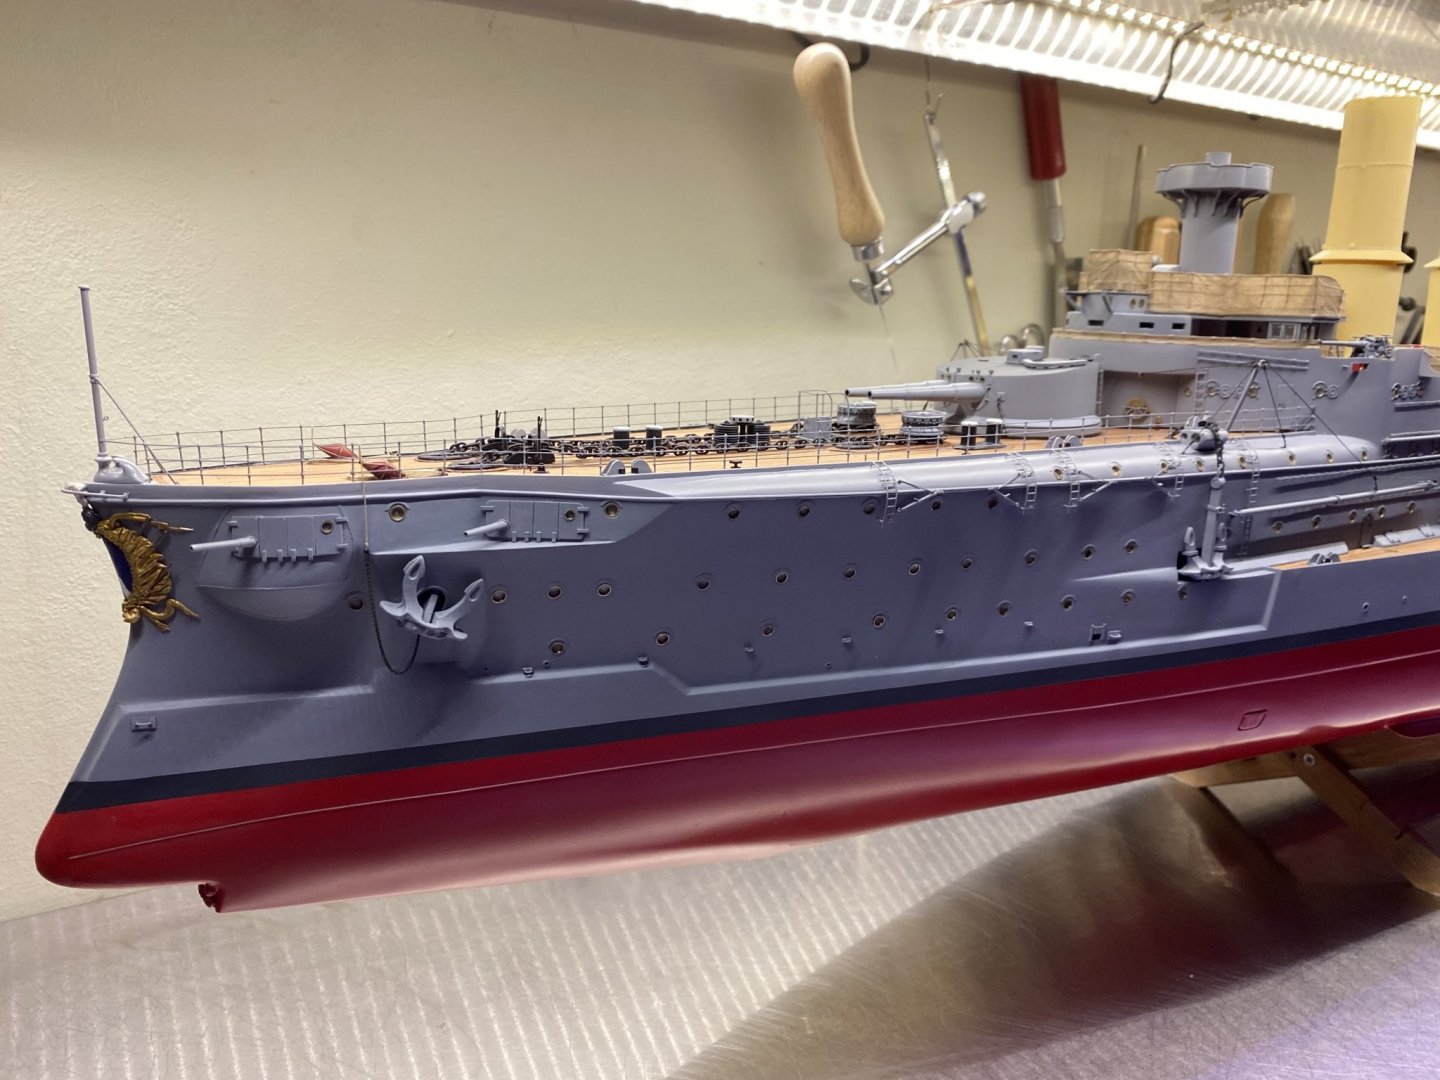
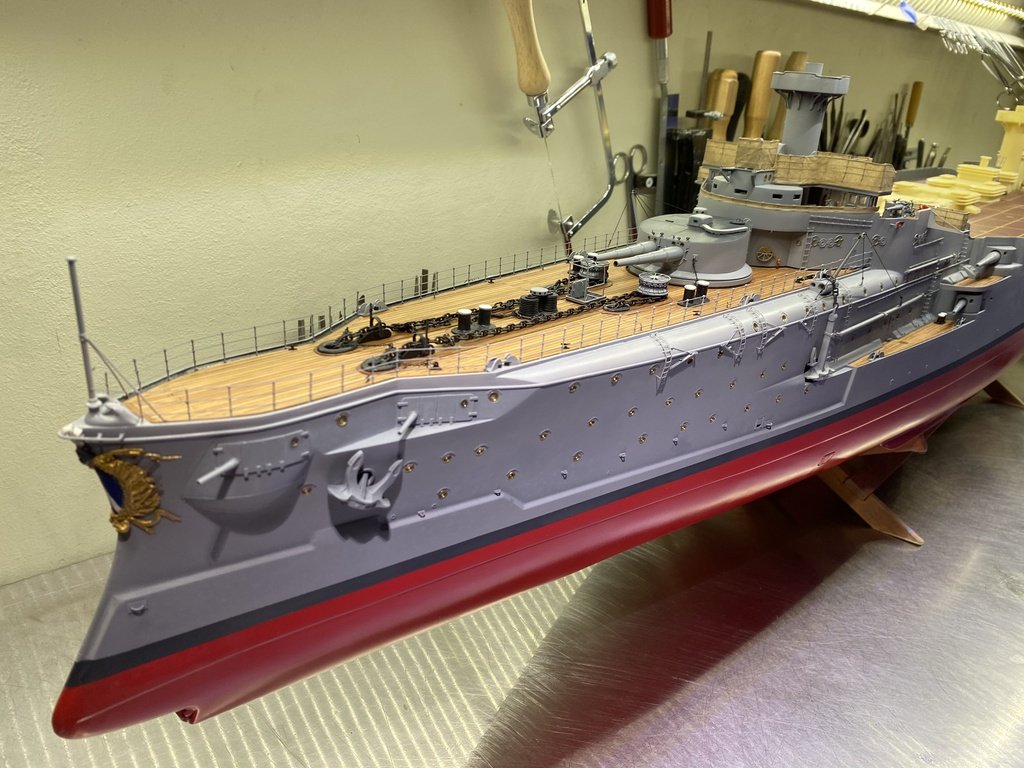
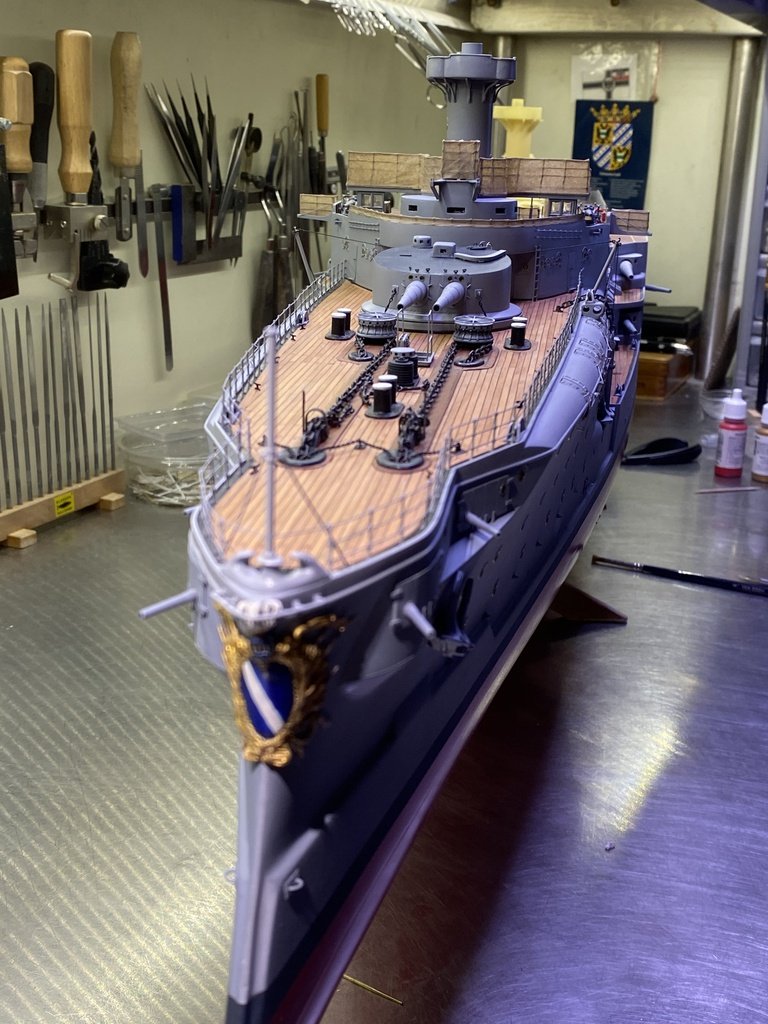
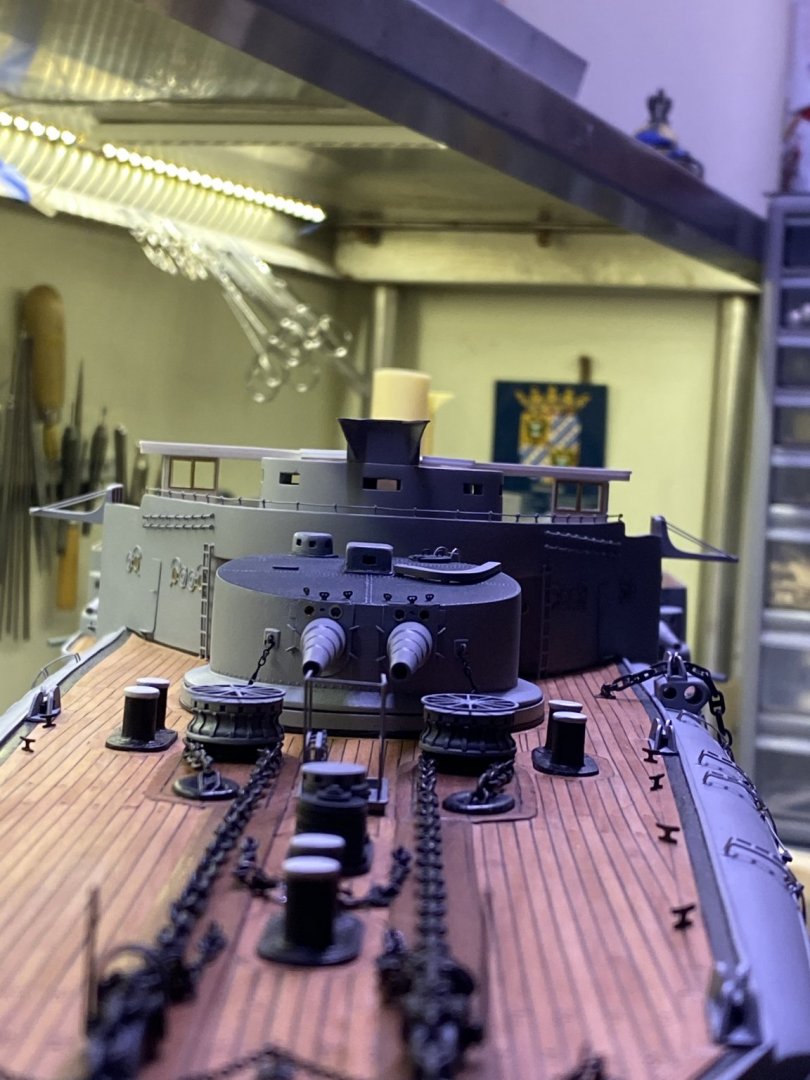
Everyone thanks for the kind words and thumbs up front part, bow section is done, made the anchor buoy, and some small details. Next part, the funnels !!
- 202 replies
-
- 15
-
-
- battleship
- scharnhorst
- (and 2 more)
-
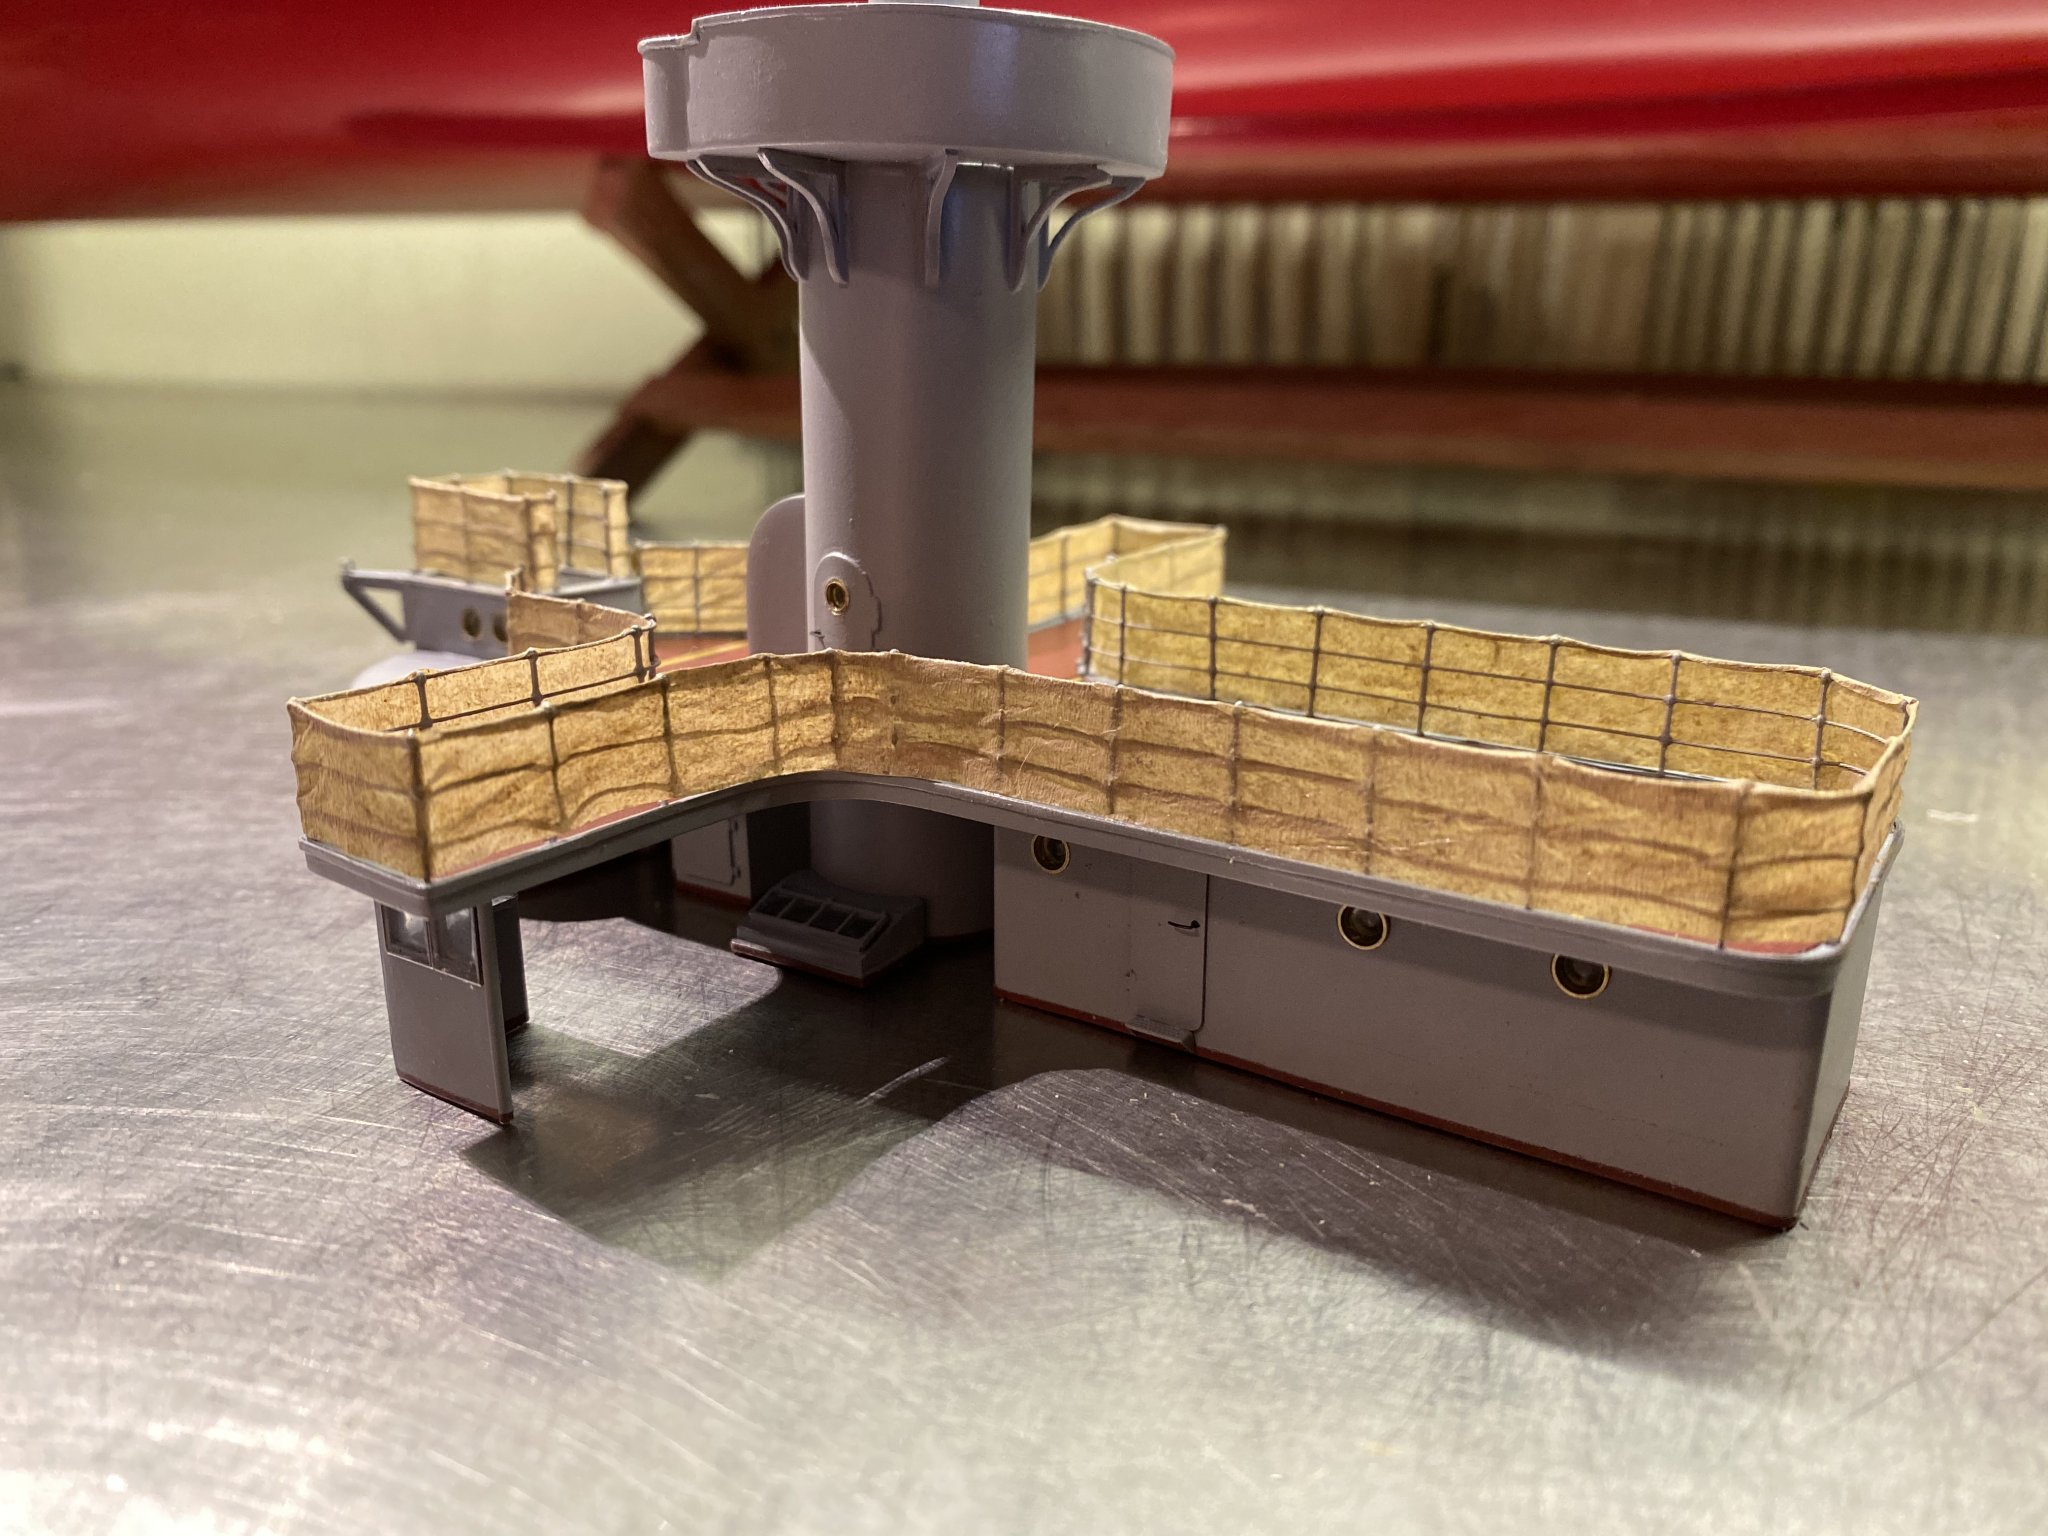
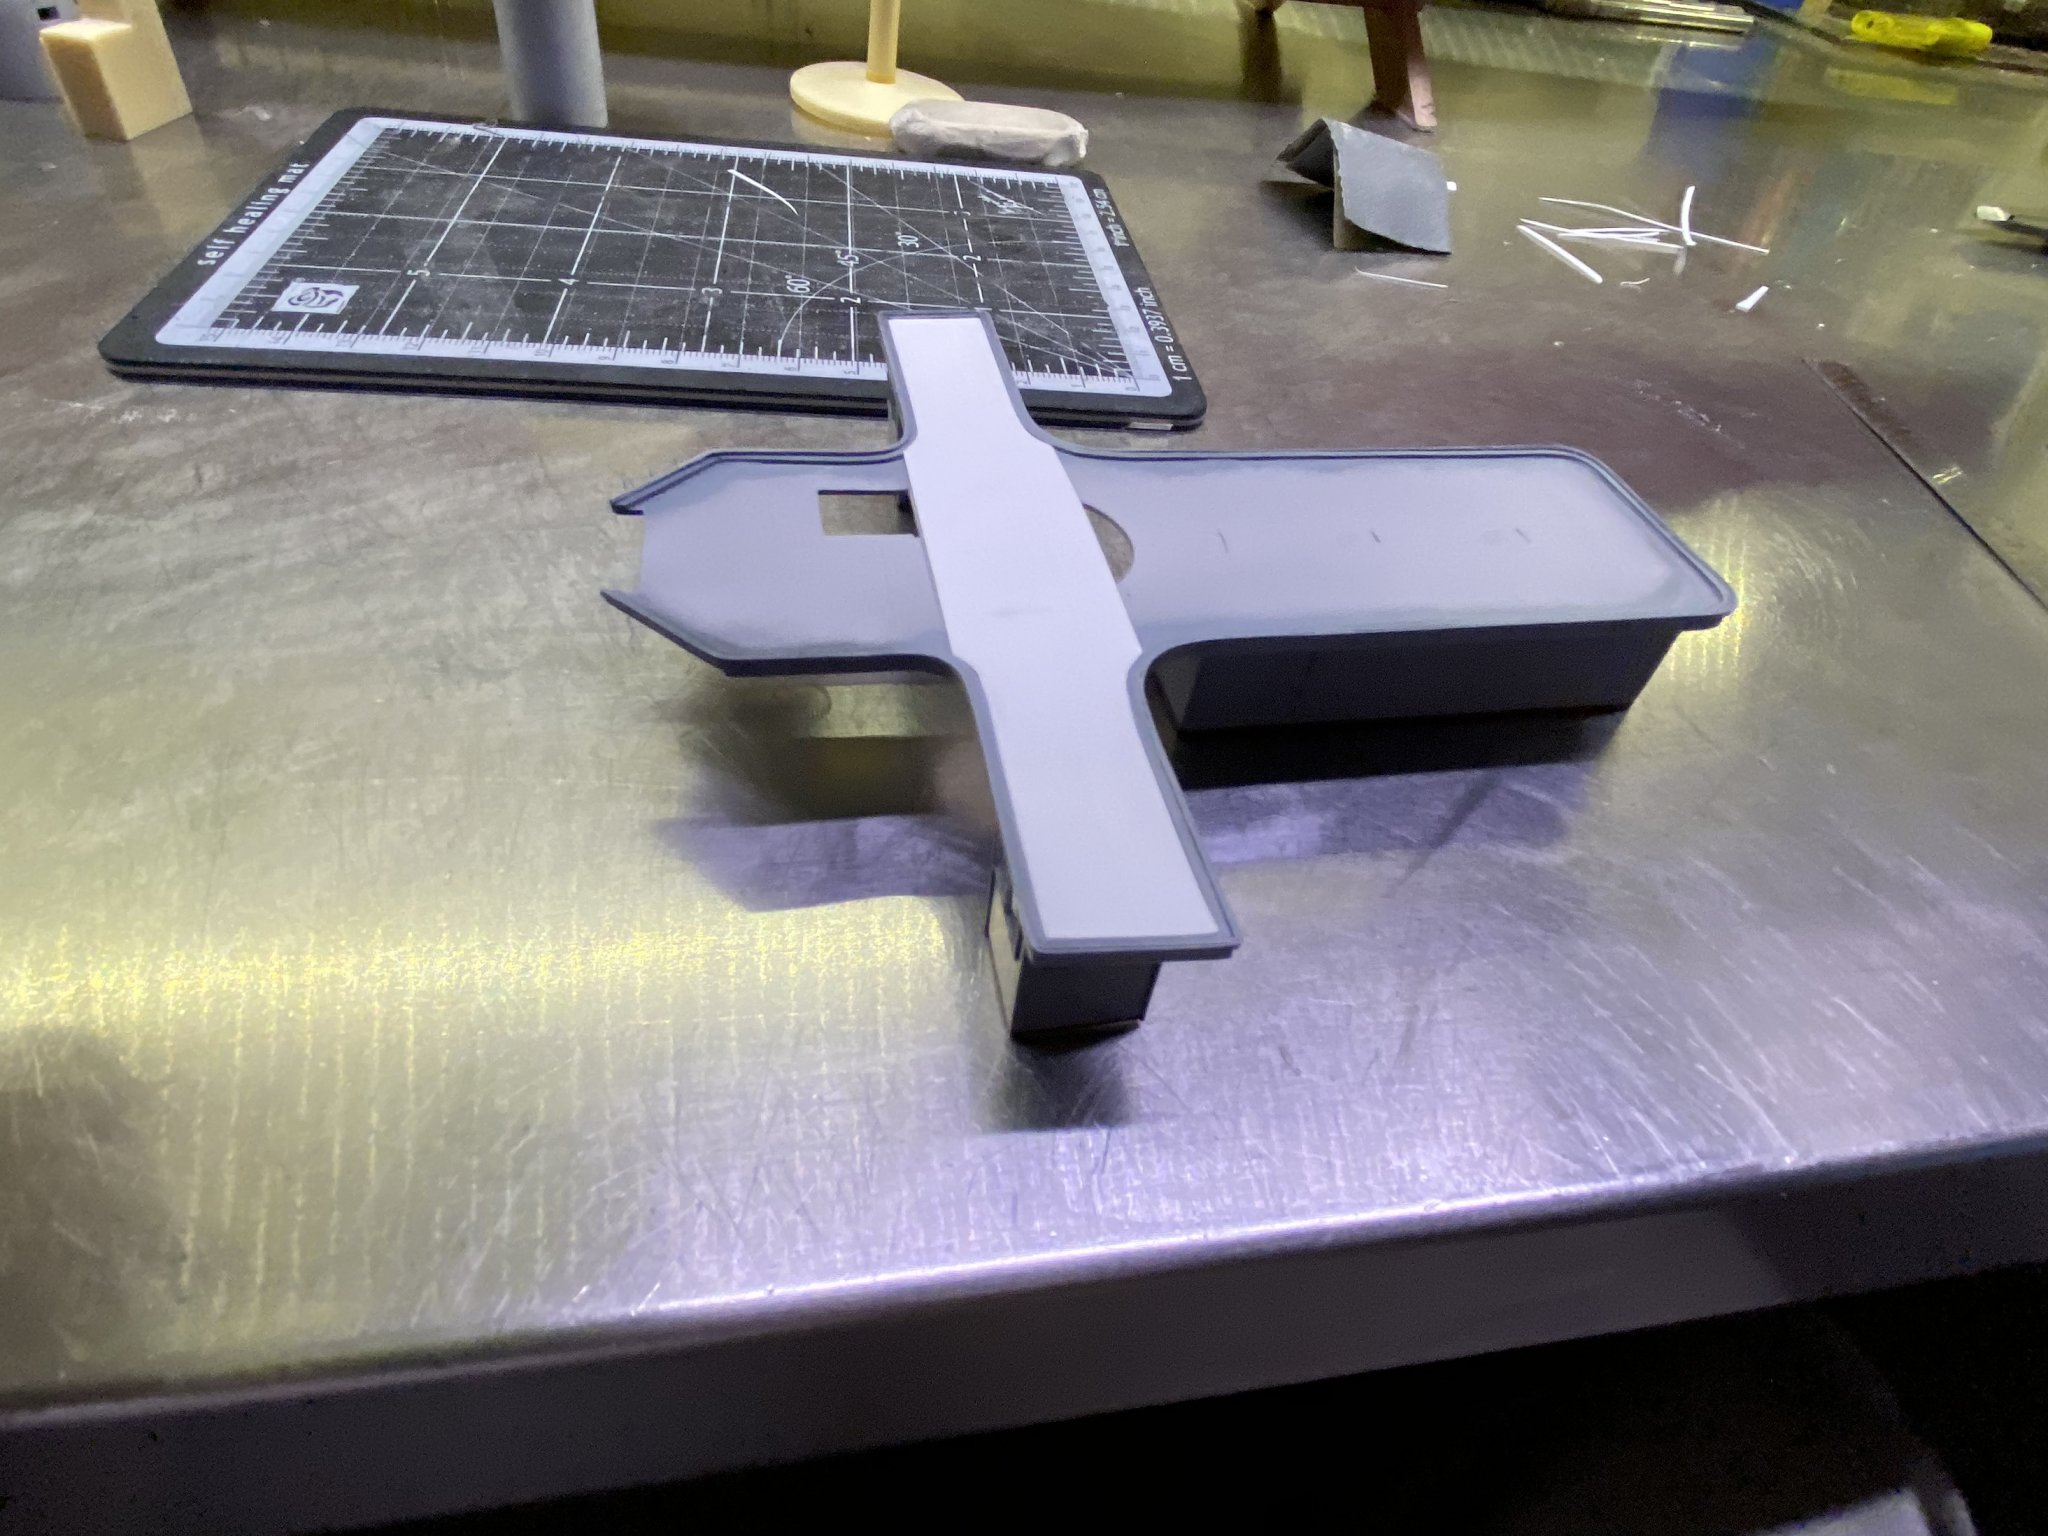
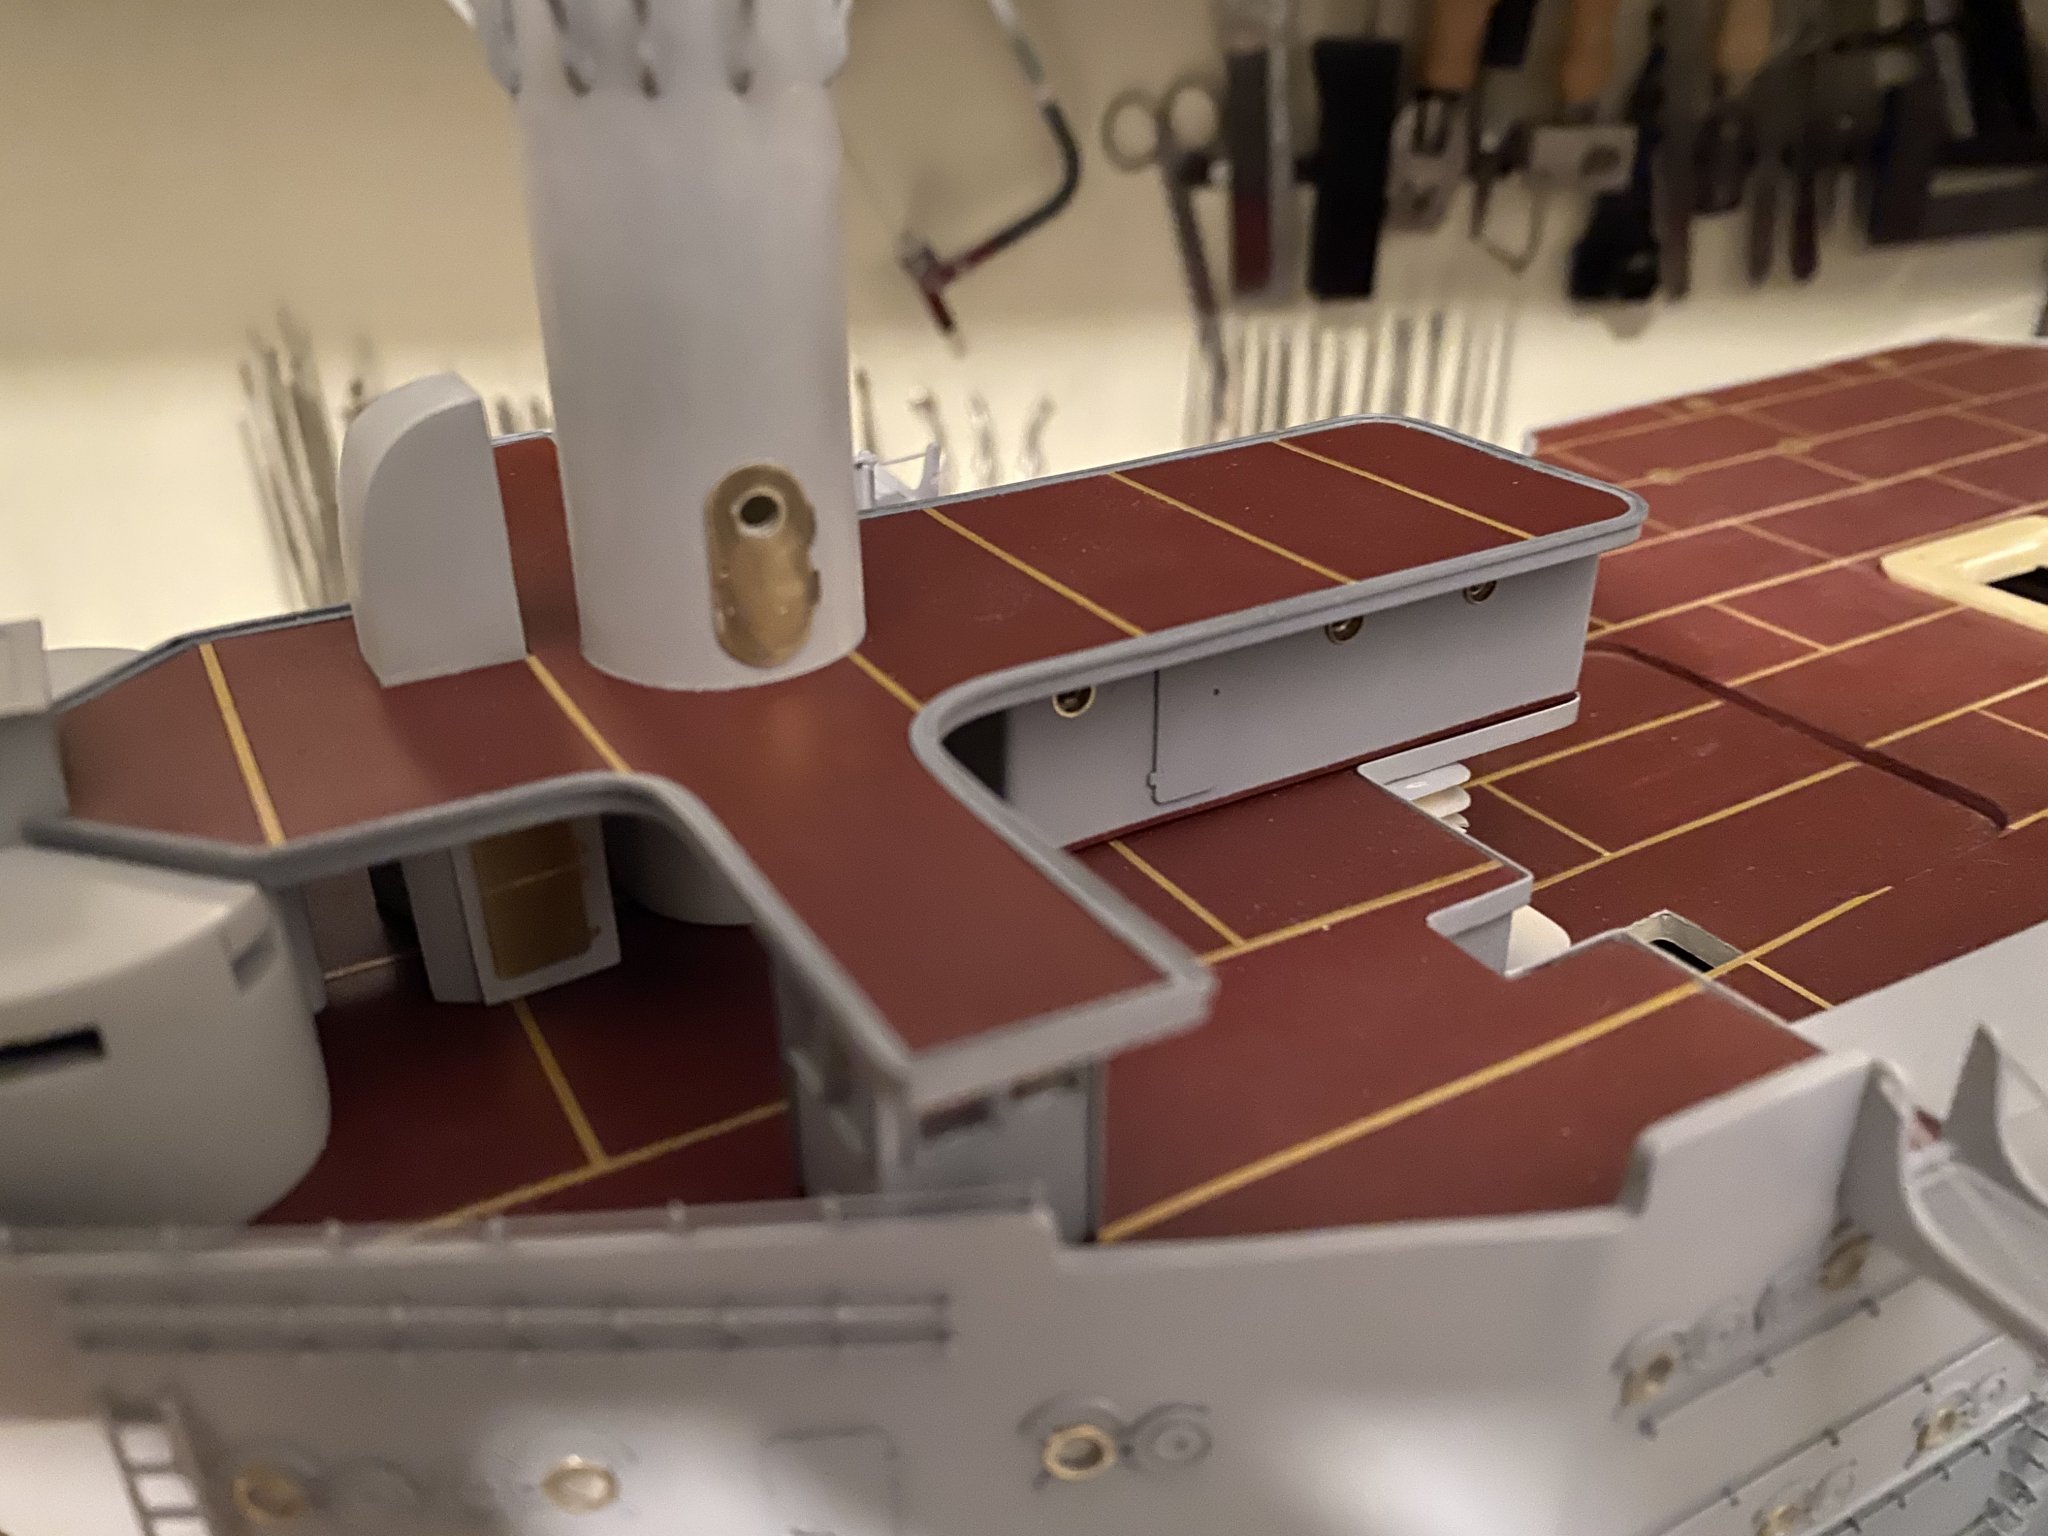
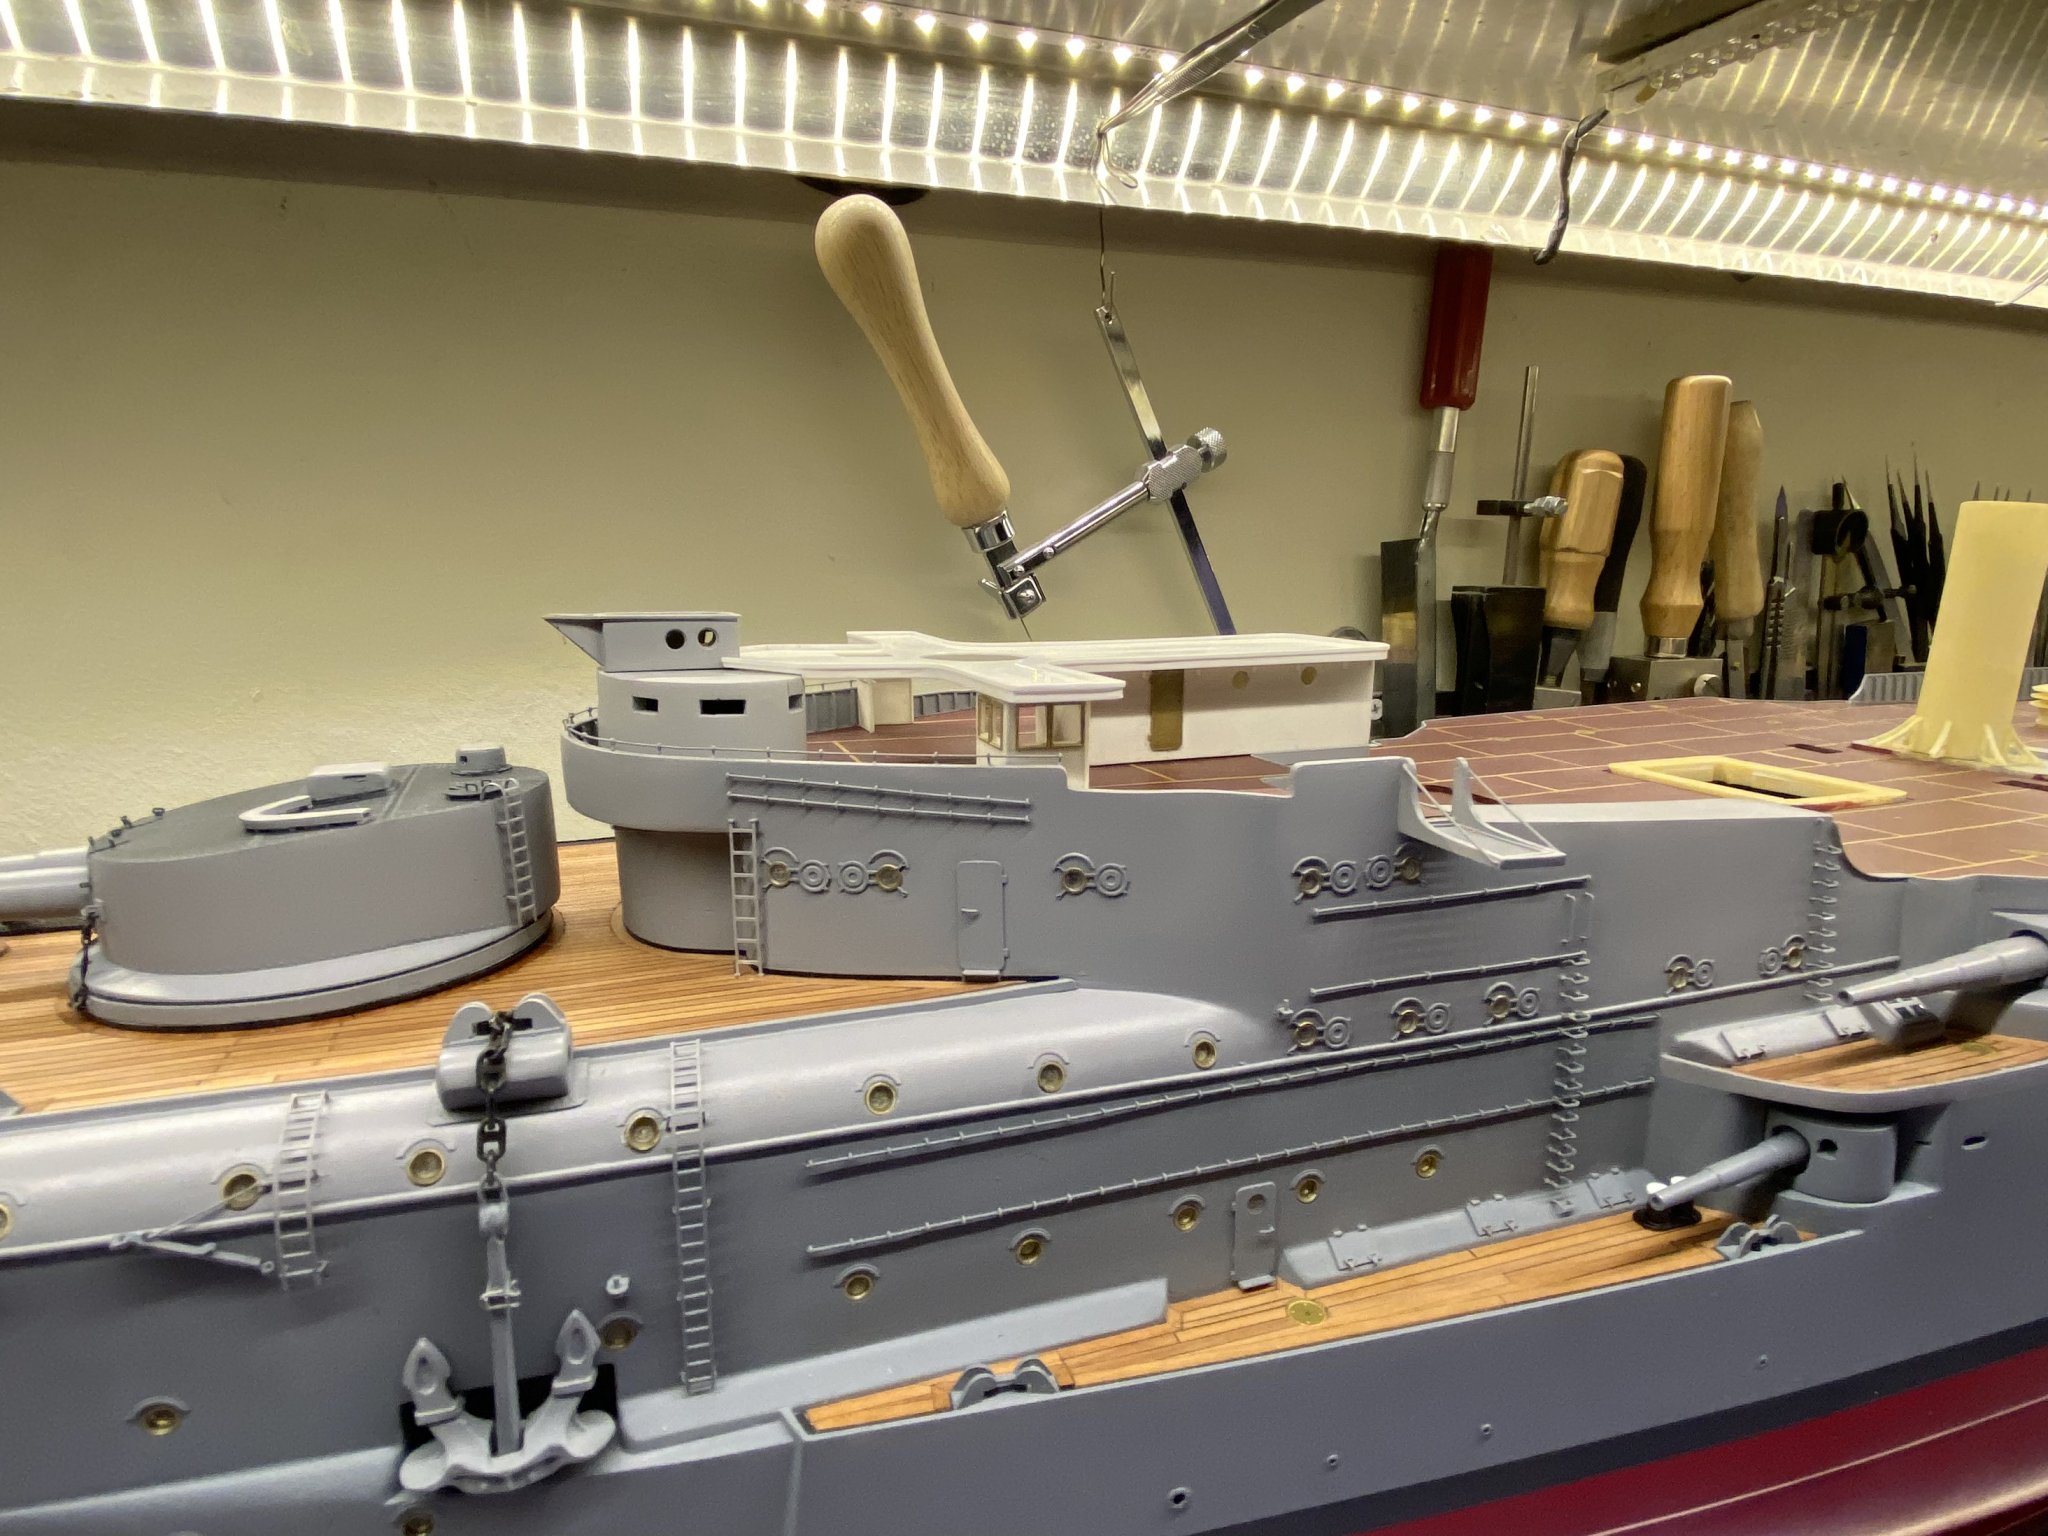
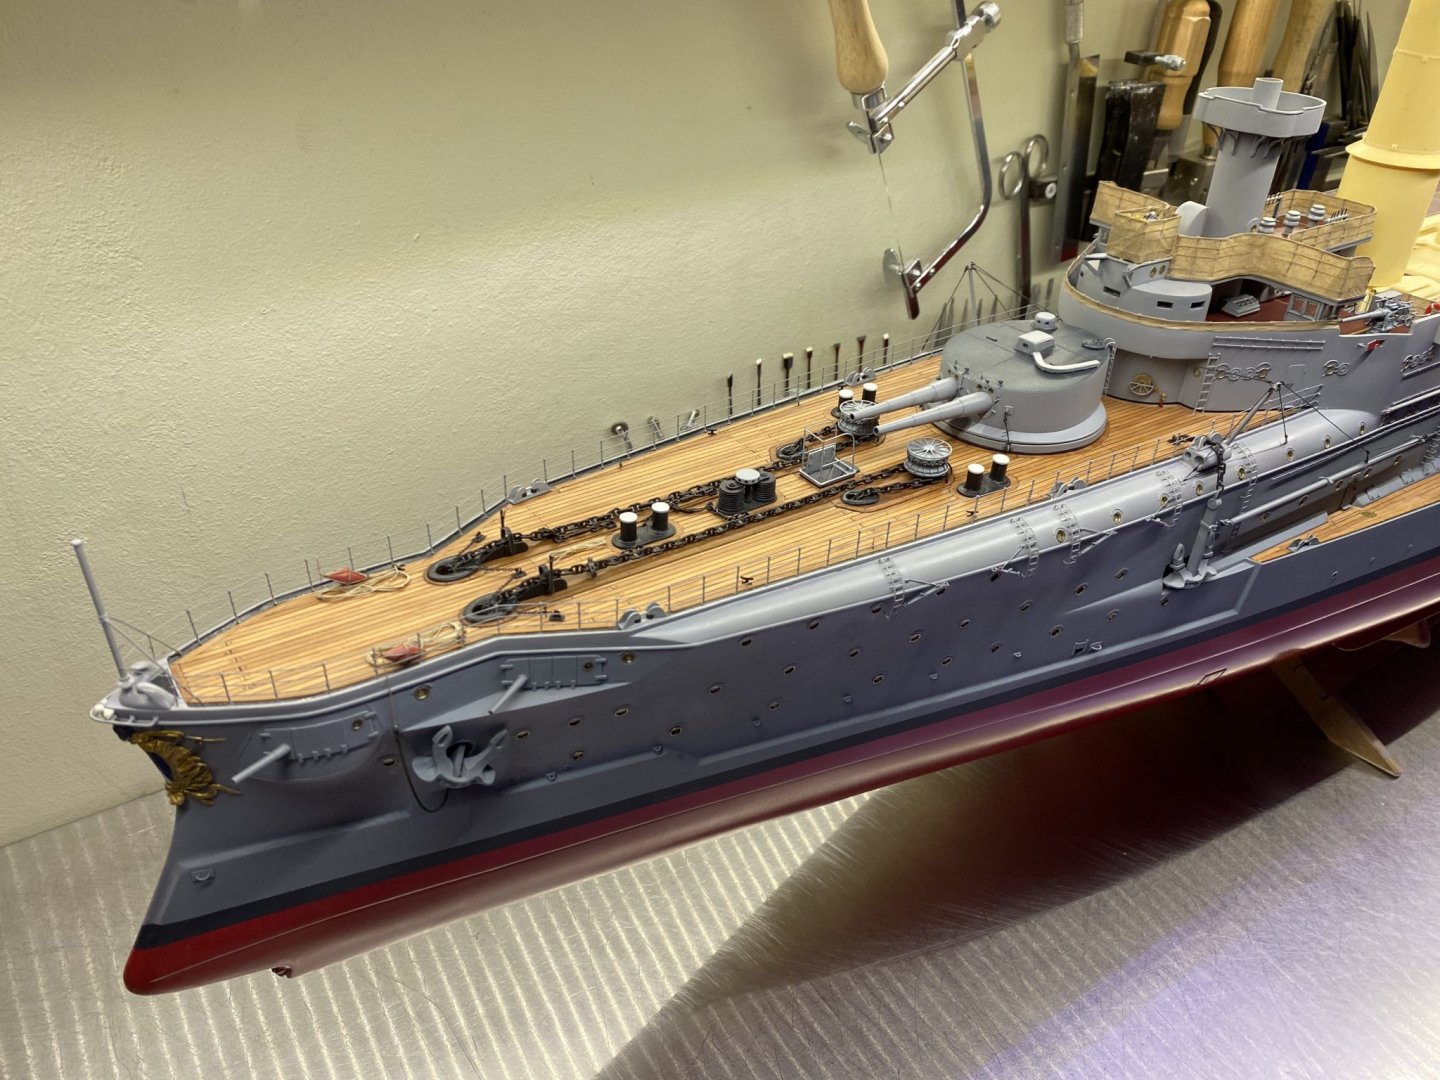
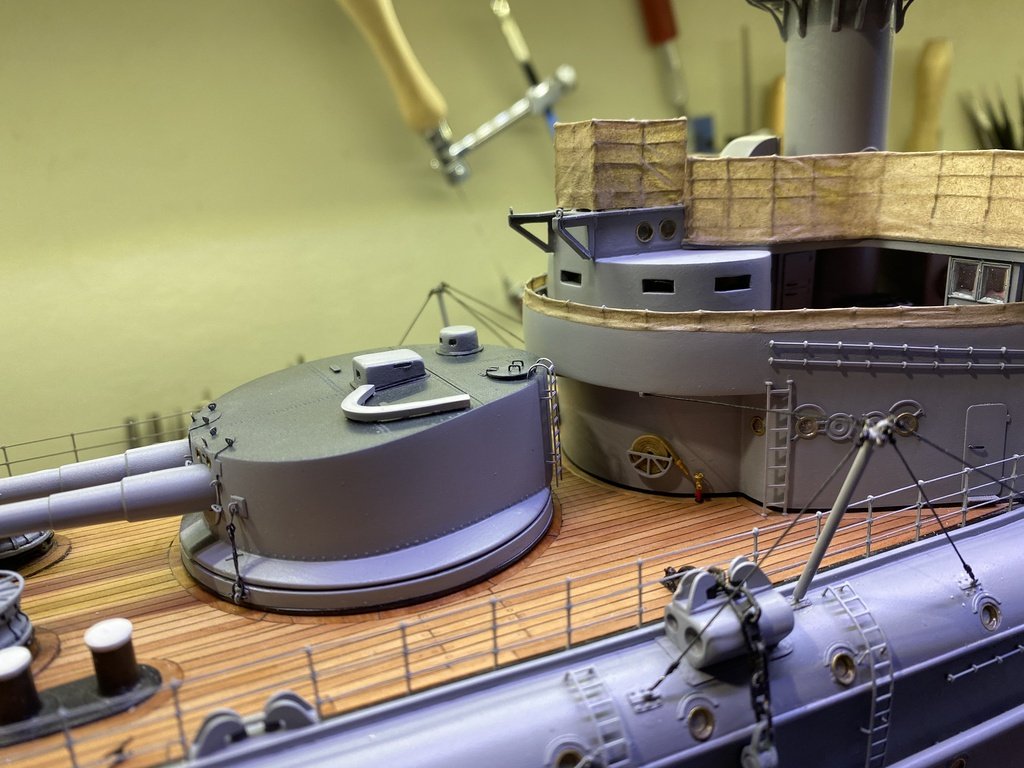
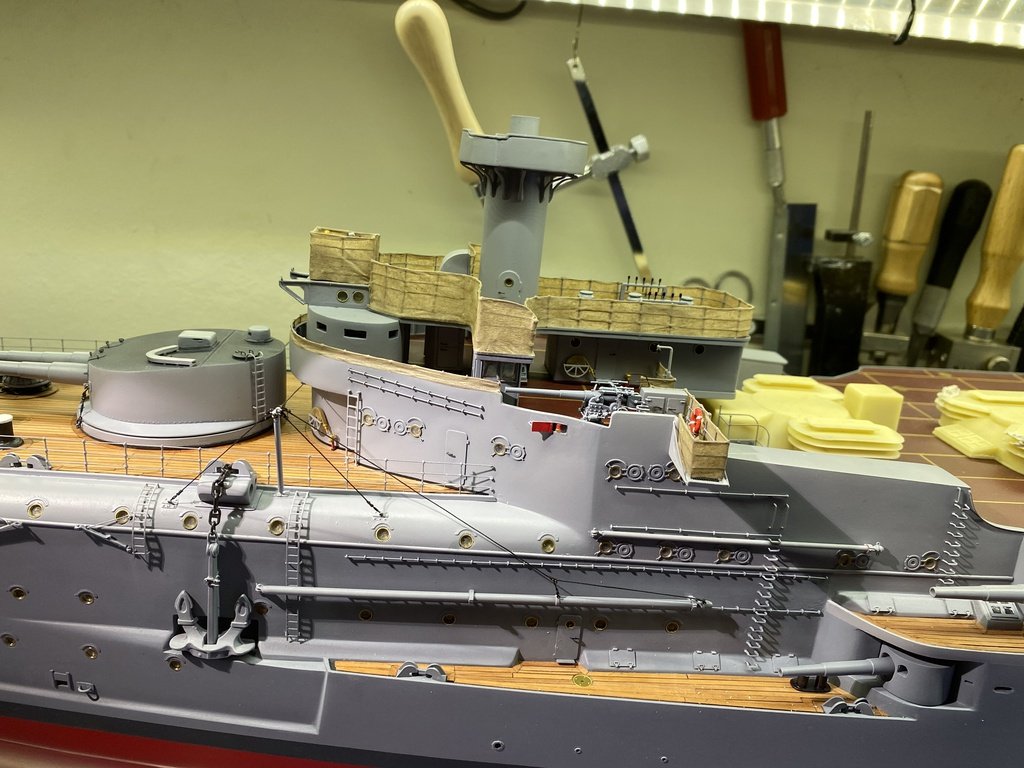
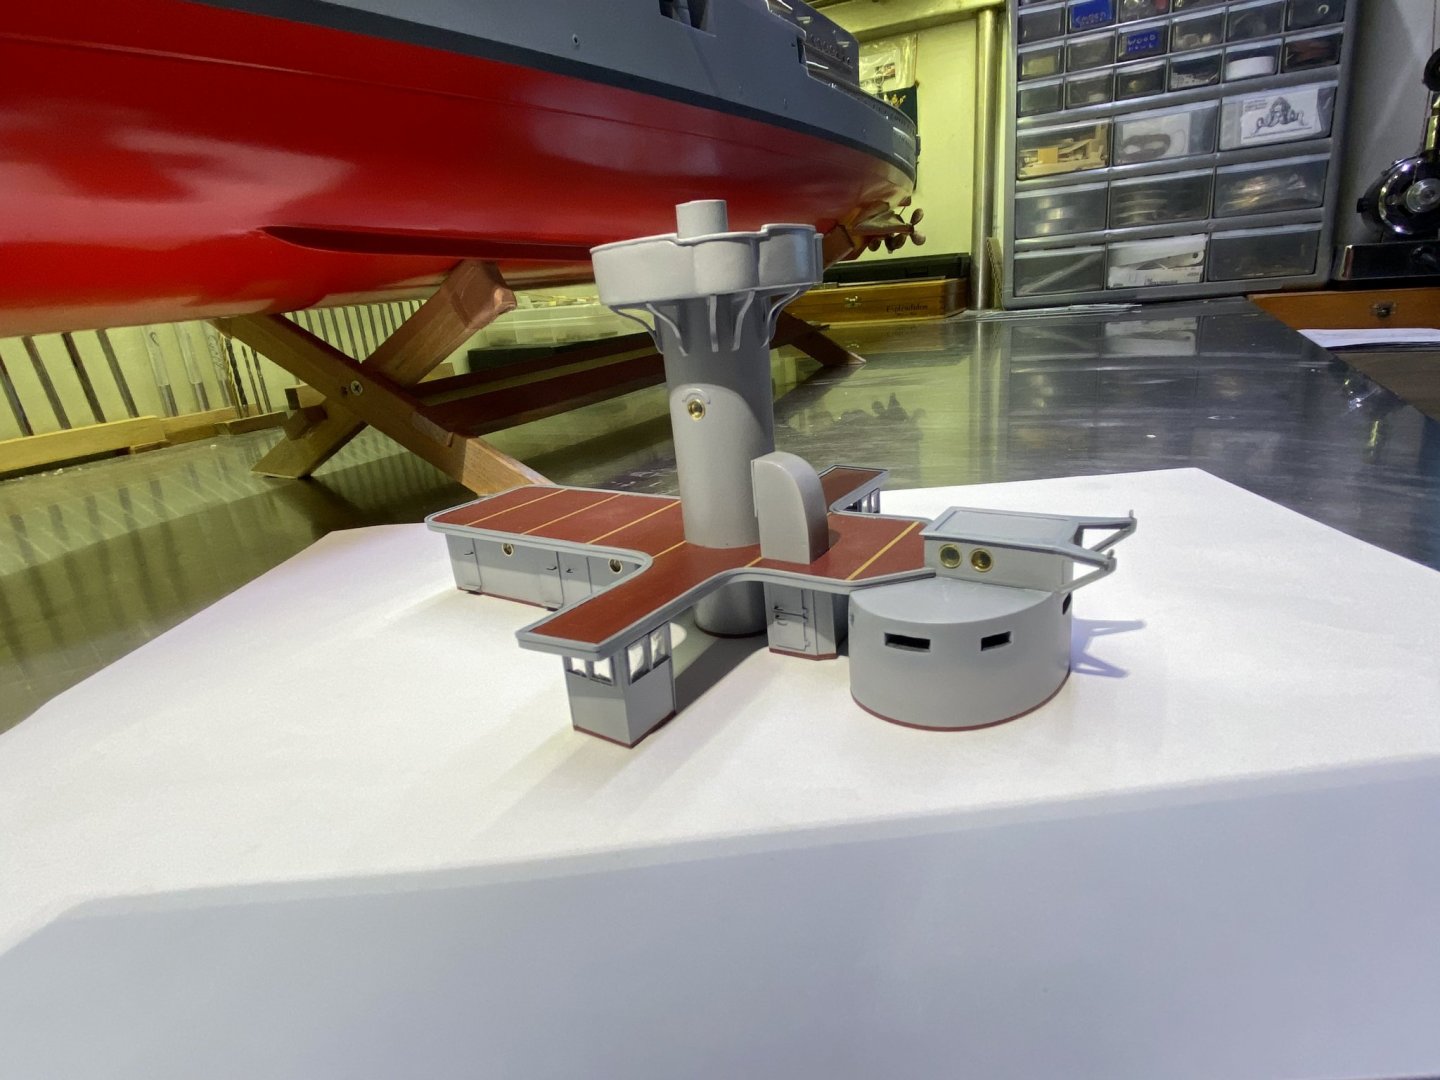
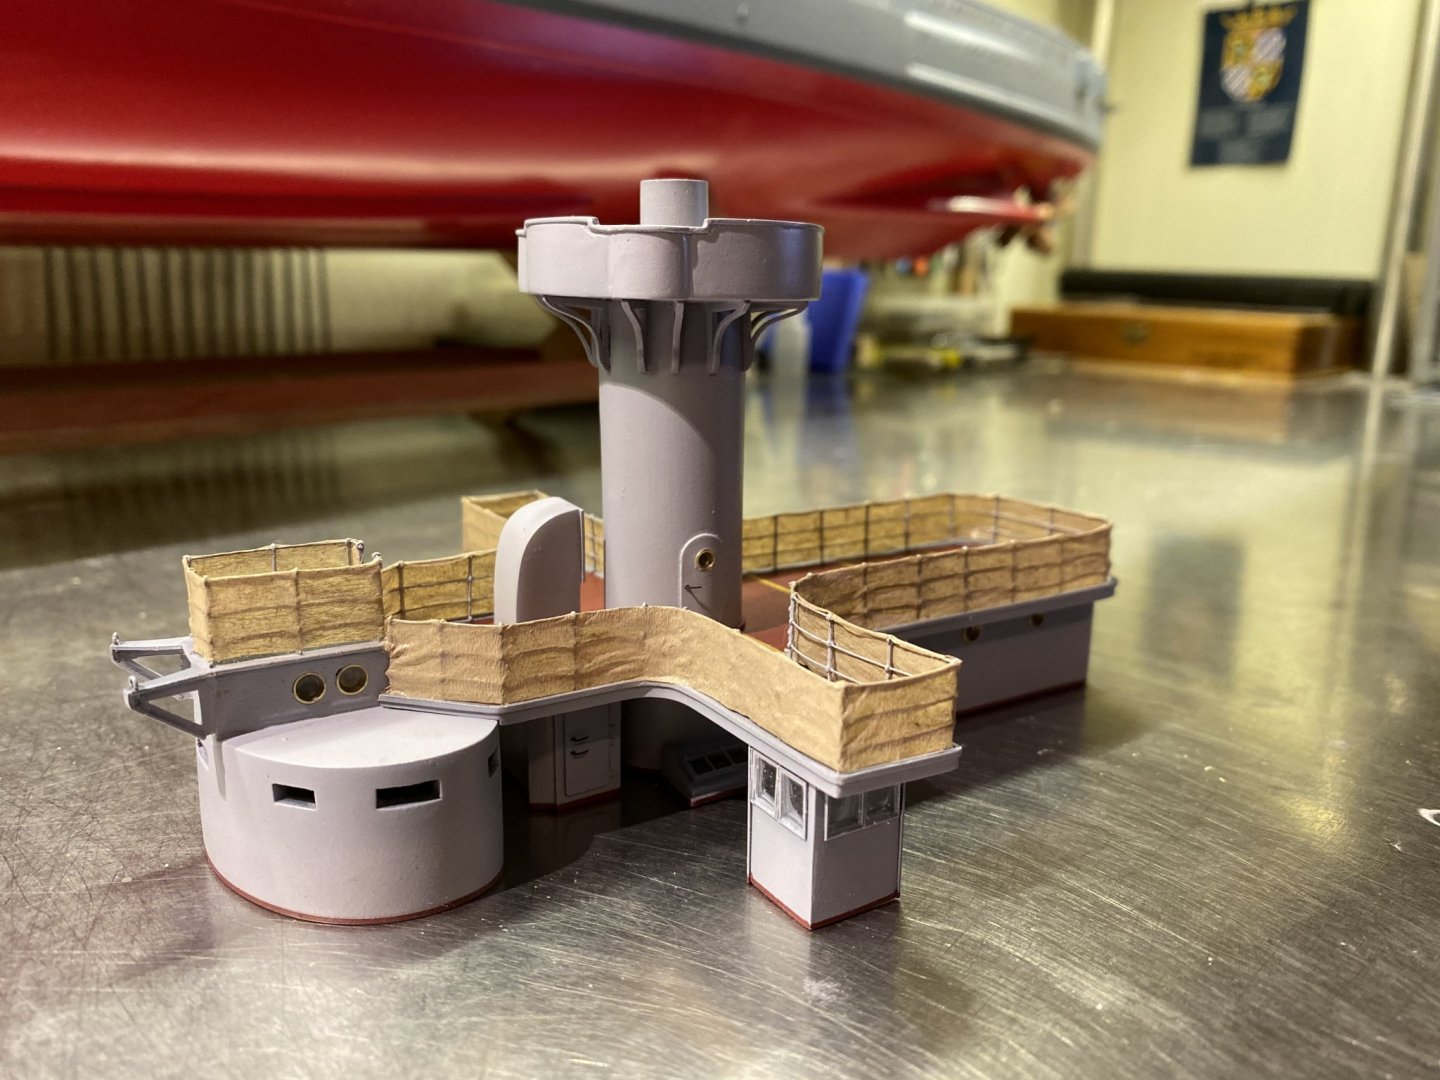
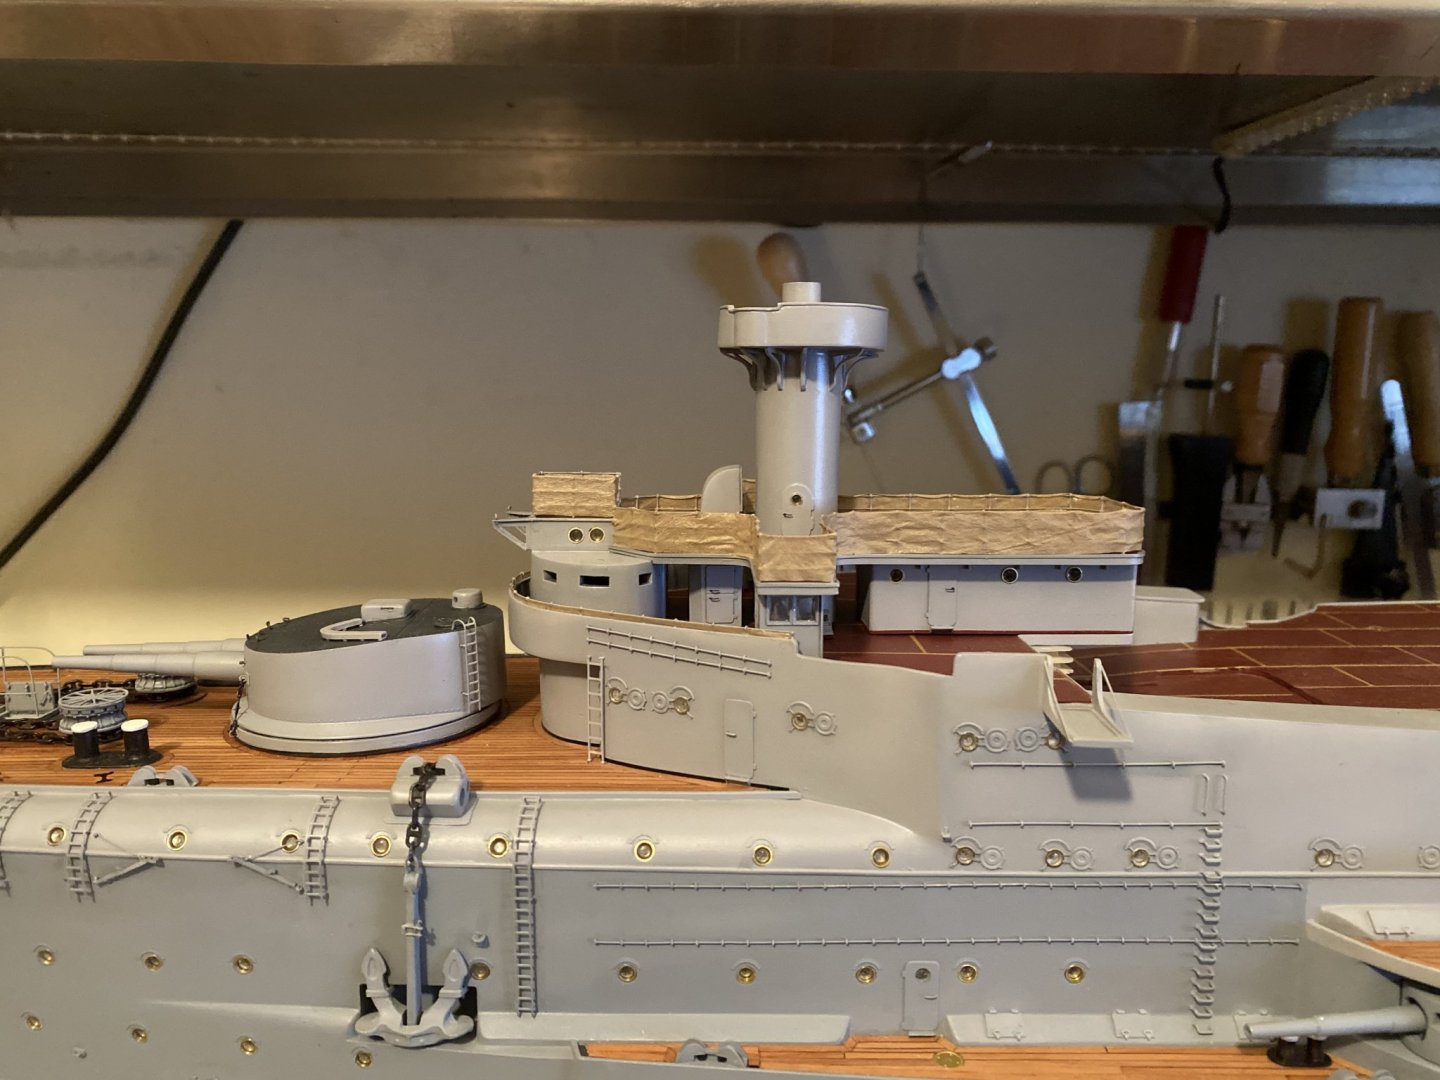
some time ago, But still working on the Scharnhorst, did some work on the bridge and the frond did not take much pictures during the construction of the parts, but made the compass, steering wheel, air-exhaust, belaying point for the signal flags, fire hydrants, changed the railing again was to low, and placed the railing and flagpole, navigation lights and the ammunition hedges and cranes. just a few things left on the list, and the frond and bridge are ready, so i can start with the smokestacks !!
- 202 replies
-
- 26
-
-
- battleship
- scharnhorst
- (and 2 more)
-
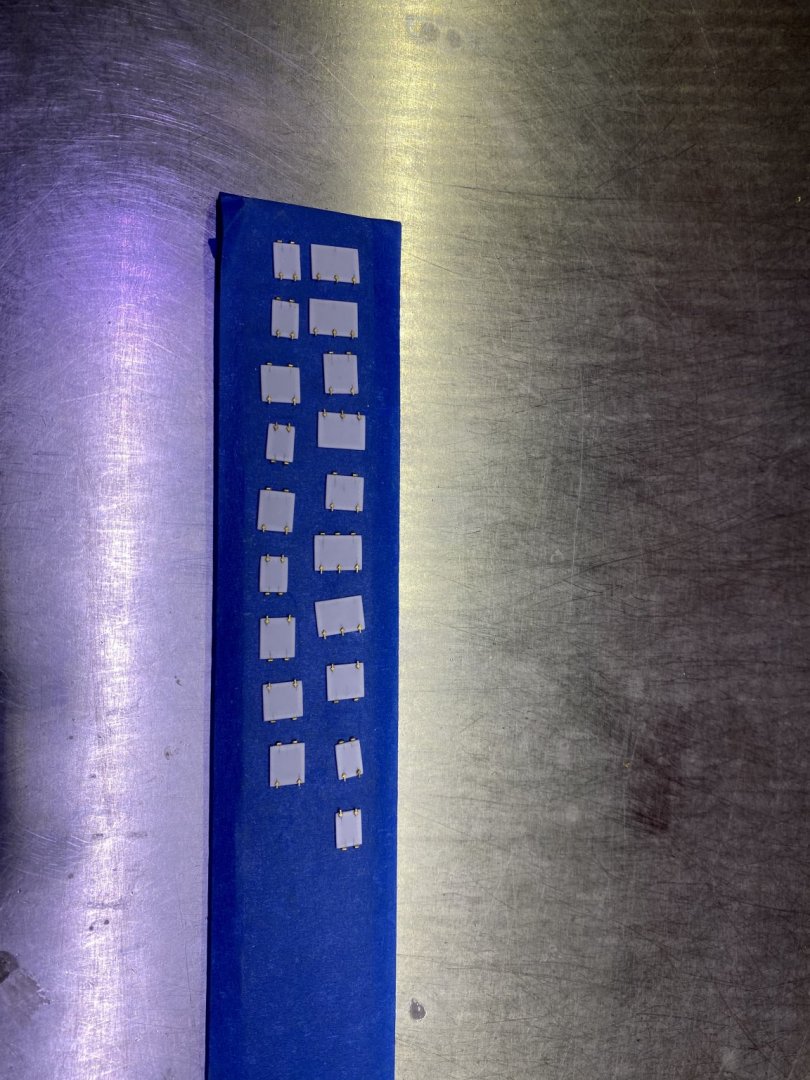
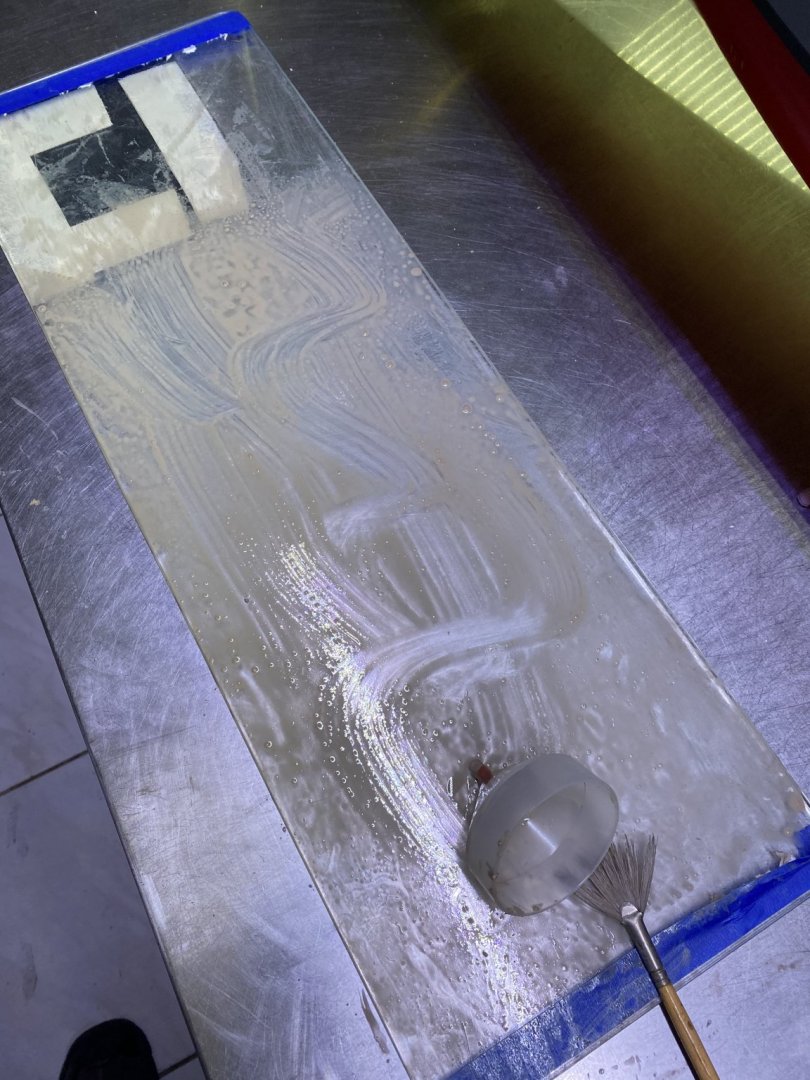
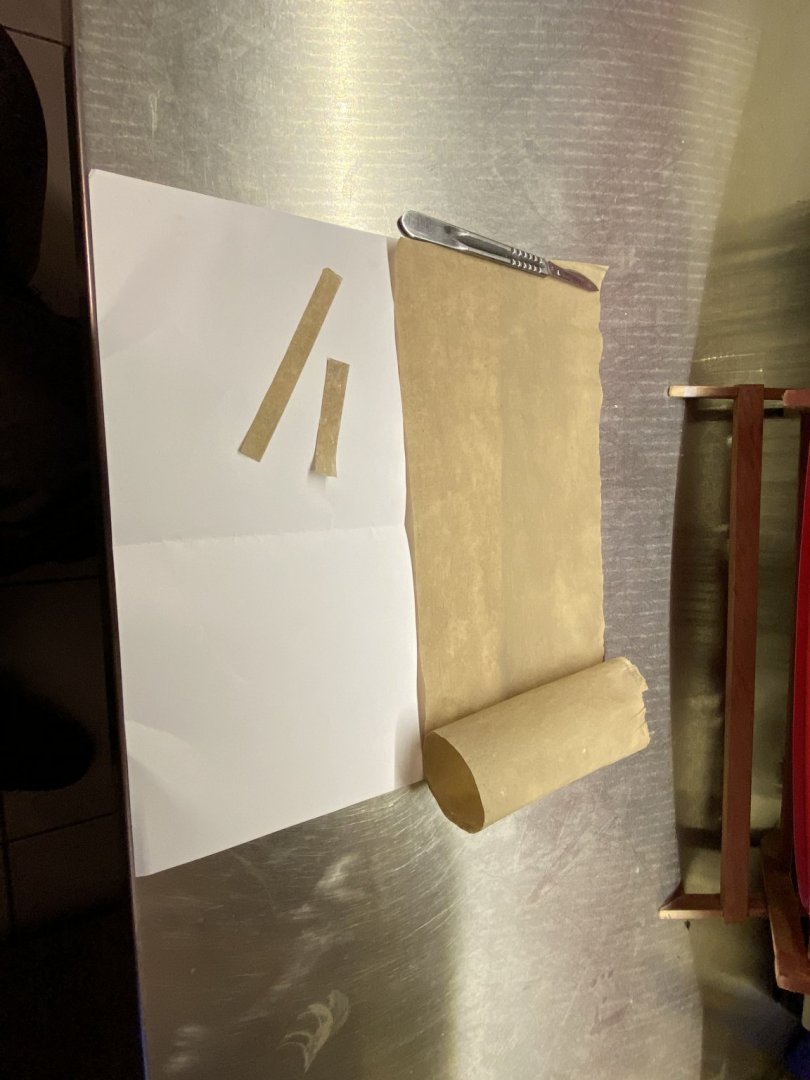
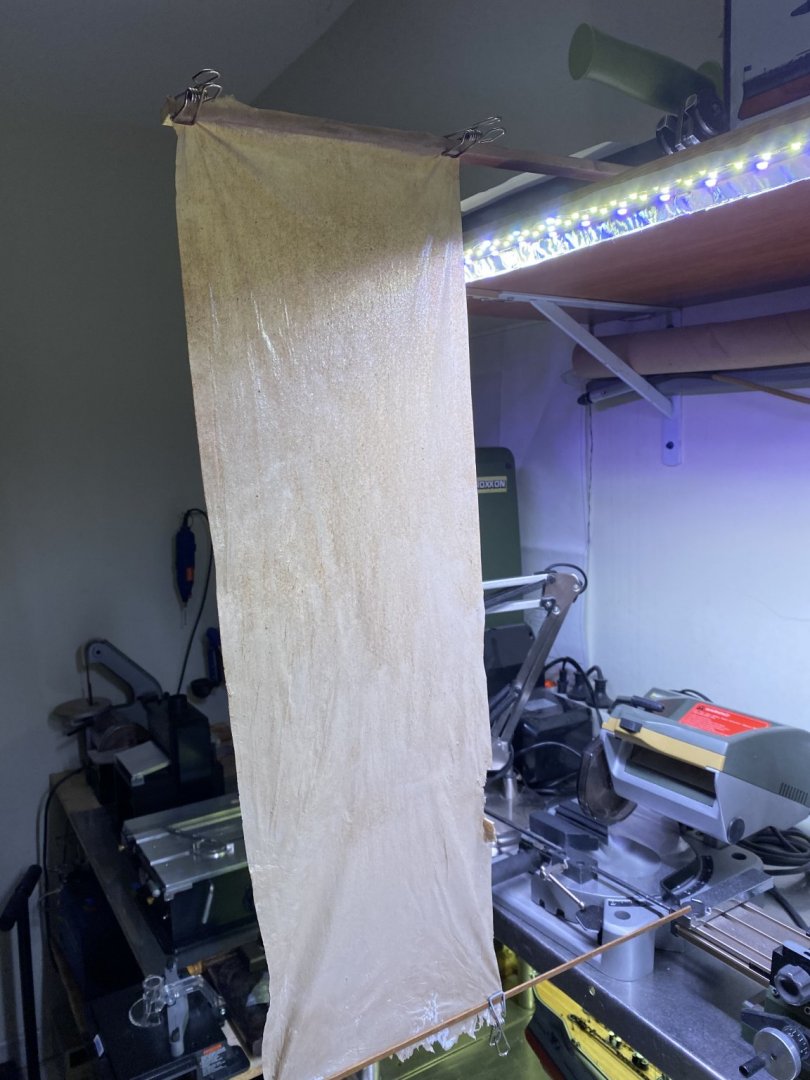
It’s Tork paper wipper painted (soaked)with a mix of acrylic varnish and paint (dark crème) when dry, cut to small strips then I soak them in speakglue, and when the glue is almost dry, I place the strips like tape, Then I form them with a small brush and a hairdryer. after one day drying and hardening, I spray it with a mat varnish.
- 202 replies
-
- 9
-
-
- battleship
- scharnhorst
- (and 2 more)
-
And the story continues a bit, made he railing and tarping

- 202 replies
-
- 14
-
-
- battleship
- scharnhorst
- (and 2 more)
-
Everyone thanks for all the thumbs up And the story continues!


- 202 replies
-
- 18
-
-
- battleship
- scharnhorst
- (and 2 more)
-
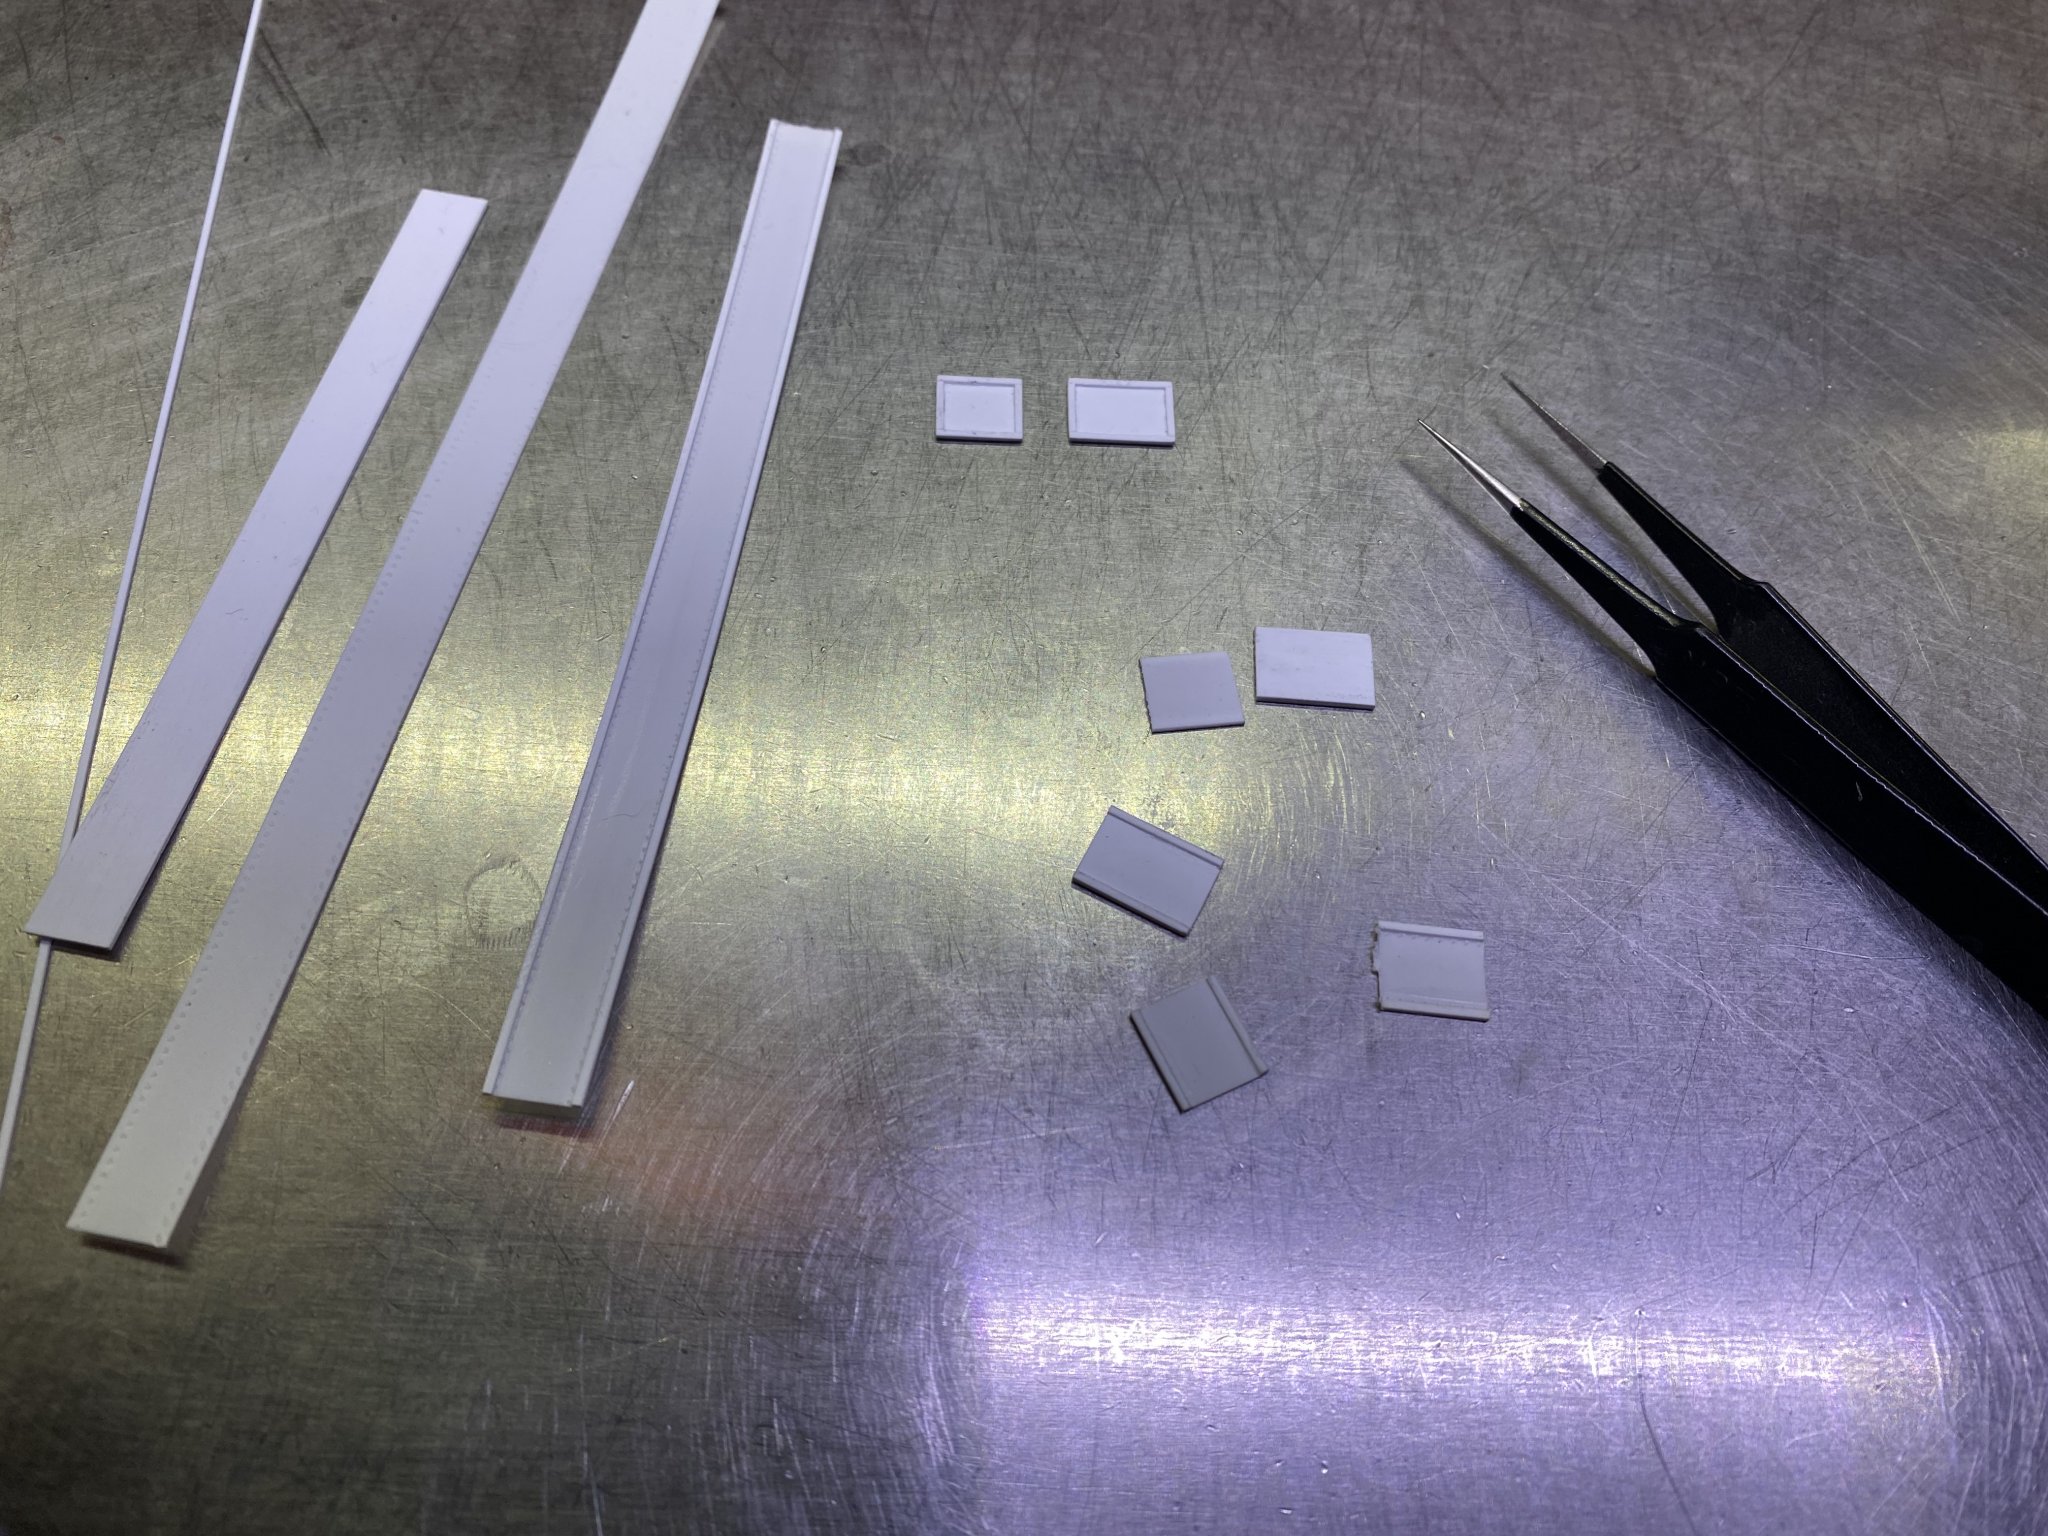
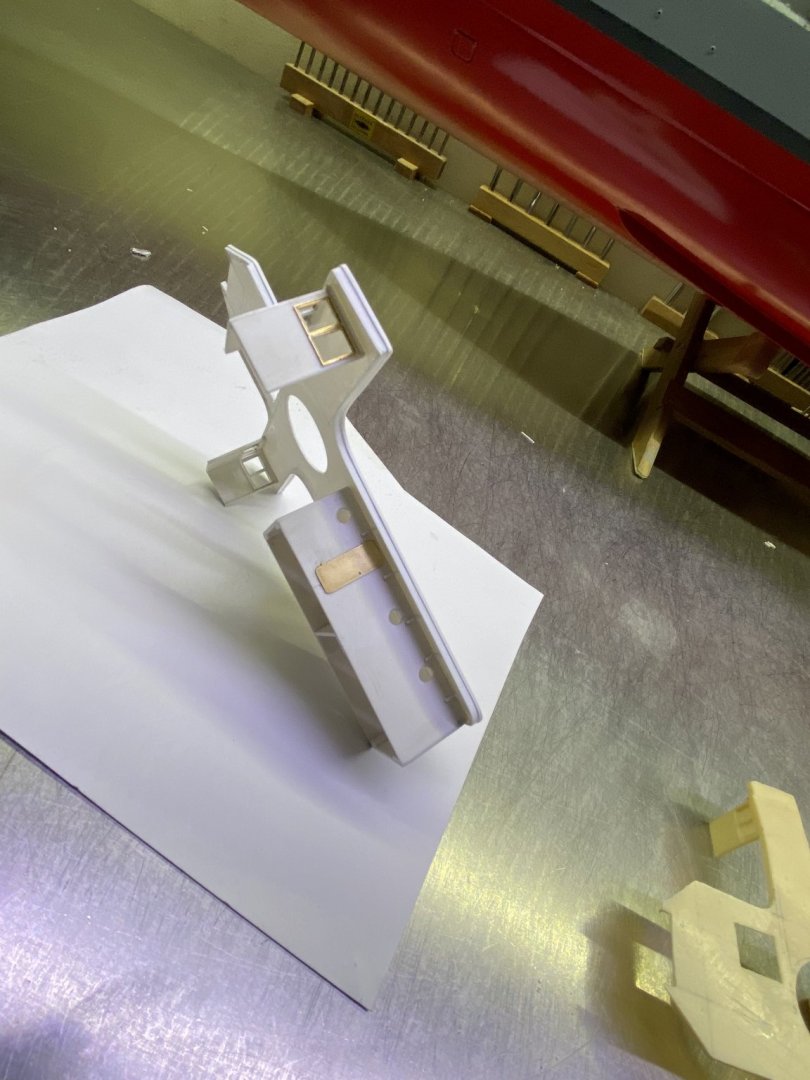
Did not take pictures during the construction, will do next time. but use simple brass sheet 0.3 mm what I glue on a piece of hardwood, for the doors, and for the window frames I use plastic card. than I make the shape on a proxxon micro mill the doors are easy to make, the window frames are more delicate, I use Micro drills and routers used in the pcb board fabrication, they are easy to find on the internet. I make the basic window frames in basic shape, and because they are glued on plastic card, I can shape them very easy with Swiss precision files to the exact shape, when they are in the exact shape, I carefully slide them of the plastic with a very thin knife. and when it is necessary I use a lighter to carful burn the frame clean of glue. (Second glue, burns very easy)
- 202 replies
-
- 7
-
-
- battleship
- scharnhorst
- (and 2 more)
-
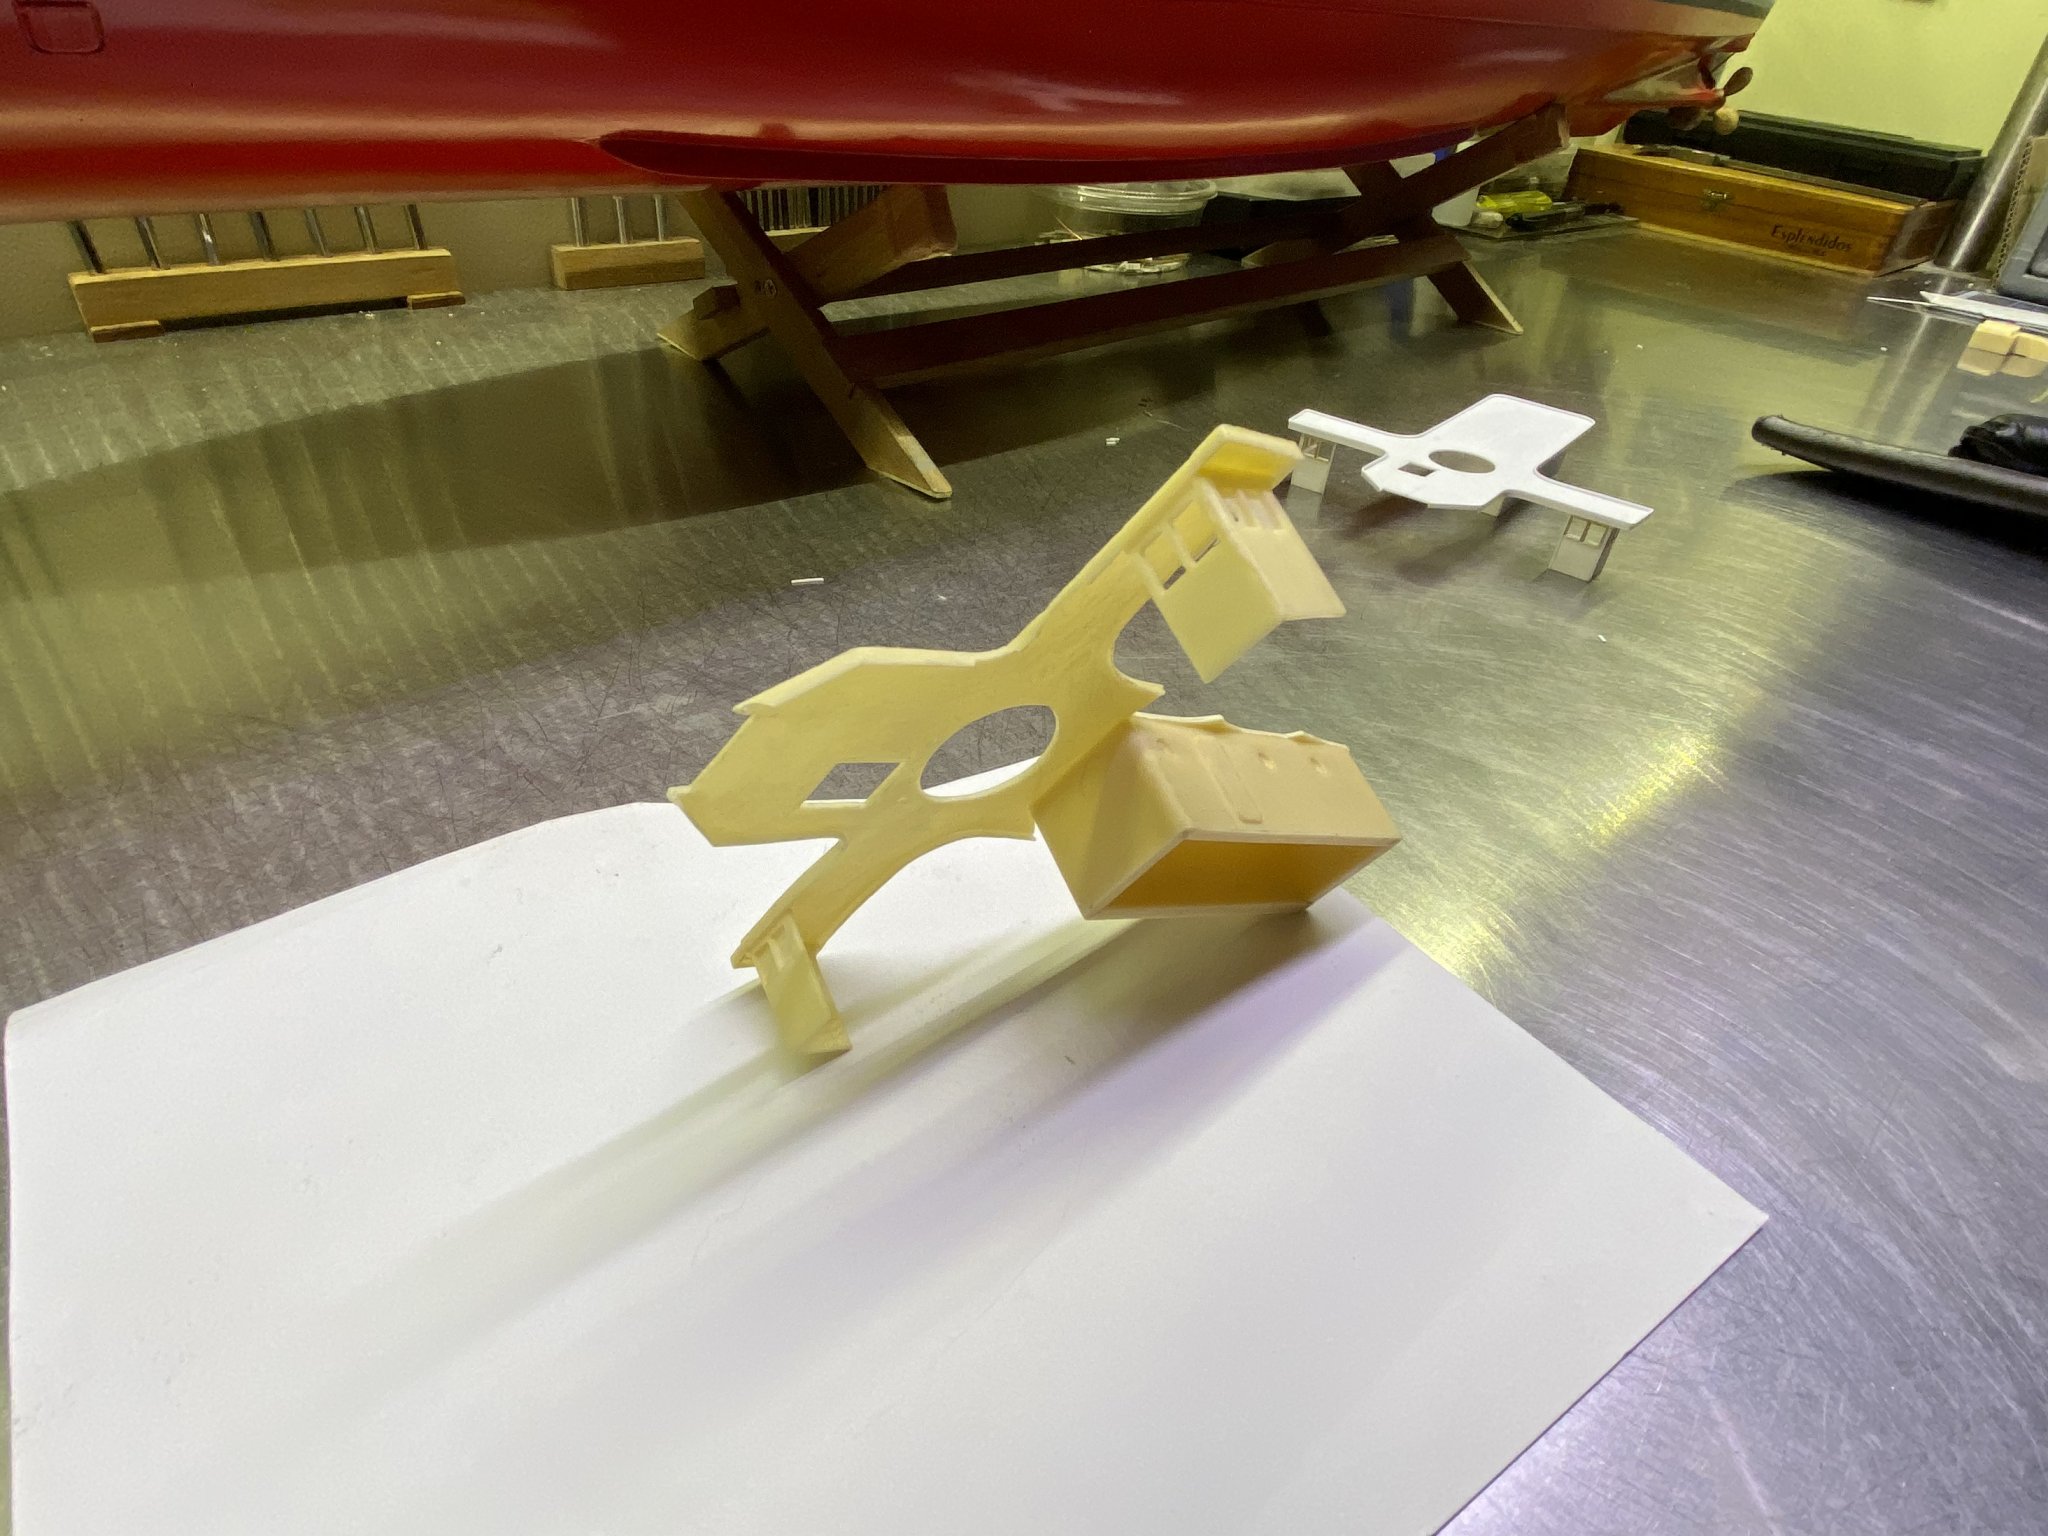
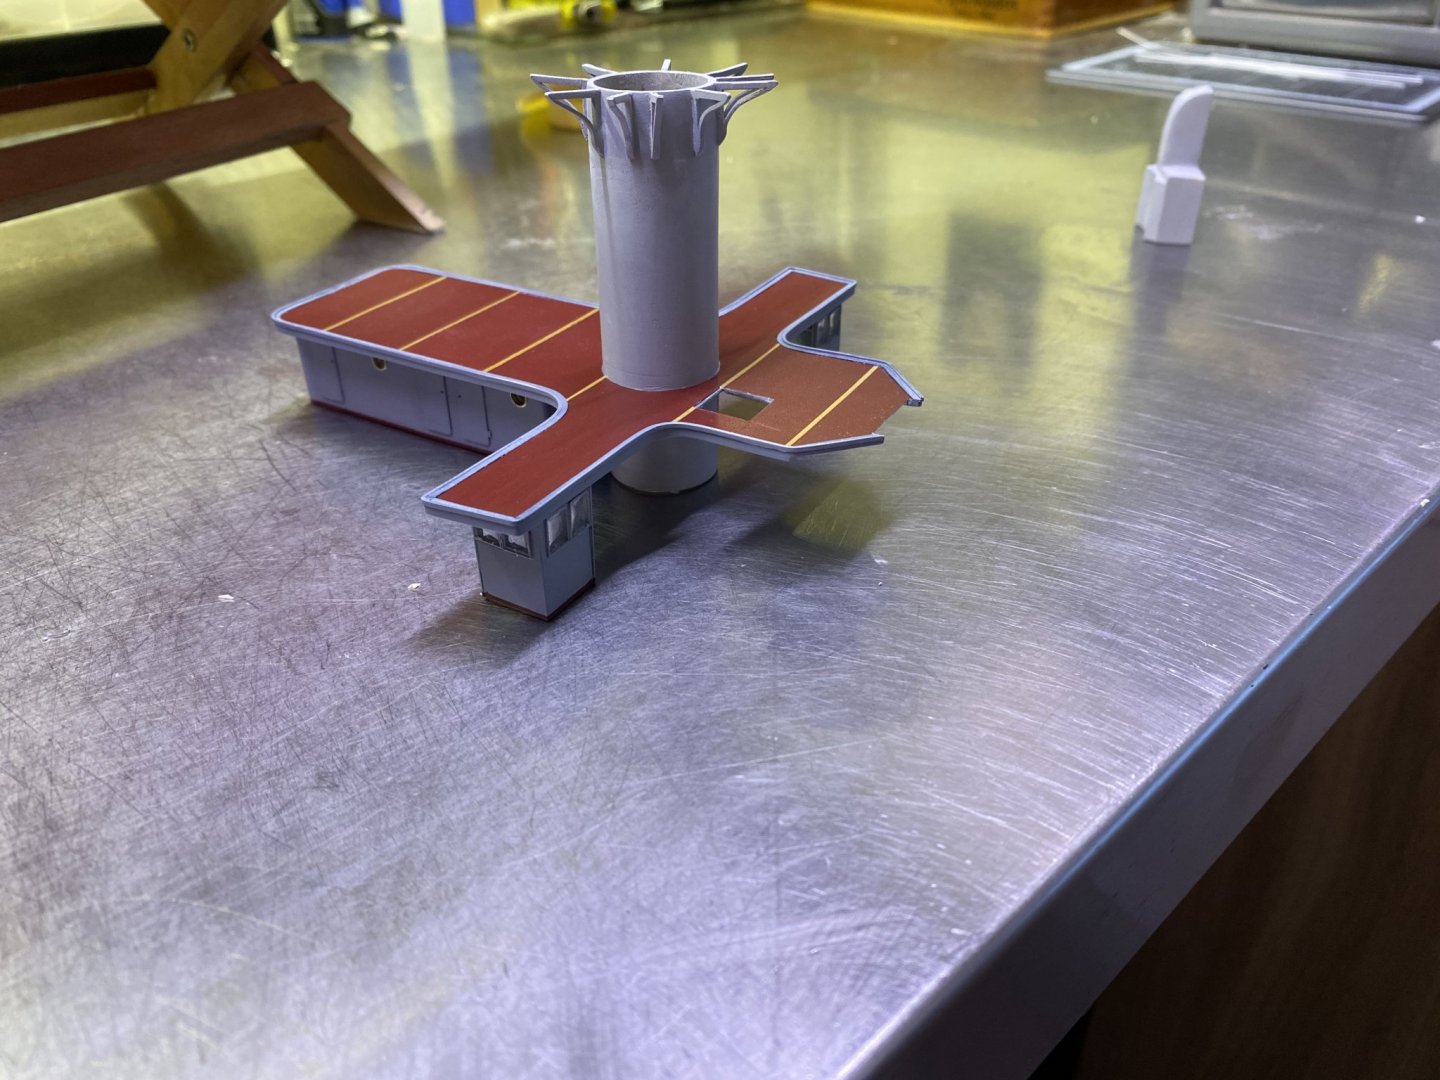
Everyone thanks for the kind words and thumbs up !. started with the construction of the bridge still a lot of work to be done, but the beginning is there.


- 202 replies
-
- 13
-
-
- battleship
- scharnhorst
- (and 2 more)