-
Posts
1,034 -
Joined
-
Last visited
About kpnuts
- Birthday 10/26/1957
Contact Methods
-
MSN
Ken.pithouse1@hotmail.com
Profile Information
-
Gender
Male
-
Location
halstead essex
-
Interests
models art films drawing\painting
Recent Profile Visitors
-
 druxey reacted to a post in a topic:
Bugatti Type 35b by kpnuts - Italeri - 1/12
-
 druxey reacted to a post in a topic:
Bugatti Type 35b by kpnuts - Italeri - 1/12
-
 Egilman reacted to a post in a topic:
Porsche Carrera GT by CDW - FINISHED - Tamiya - 1:12 Scale - PLASTIC
-
 Old Collingwood reacted to a post in a topic:
Porsche 911 Carrera 3.2 Coupe by gsdpic - FINISHED - Revell - 1/24 - Plastic
-
 Canute reacted to a post in a topic:
Porsche 911 Carrera 3.2 Coupe by gsdpic - FINISHED - Revell - 1/24 - Plastic
-
 Egilman reacted to a post in a topic:
Porsche 911 Carrera 3.2 Coupe by gsdpic - FINISHED - Revell - 1/24 - Plastic
-
 Jack12477 reacted to a post in a topic:
Porsche 911 Carrera 3.2 Coupe by gsdpic - FINISHED - Revell - 1/24 - Plastic
-
 king derelict reacted to a post in a topic:
Porsche 911 Carrera 3.2 Coupe by gsdpic - FINISHED - Revell - 1/24 - Plastic
-
 king derelict reacted to a post in a topic:
Porsche 911 Carrera 3.2 Coupe by gsdpic - FINISHED - Revell - 1/24 - Plastic
-

Porsche Carrera 3.2 by kpnuts - Revell - 1/24 - PLASTIC
kpnuts replied to kpnuts's topic in Non-ship/categorised builds
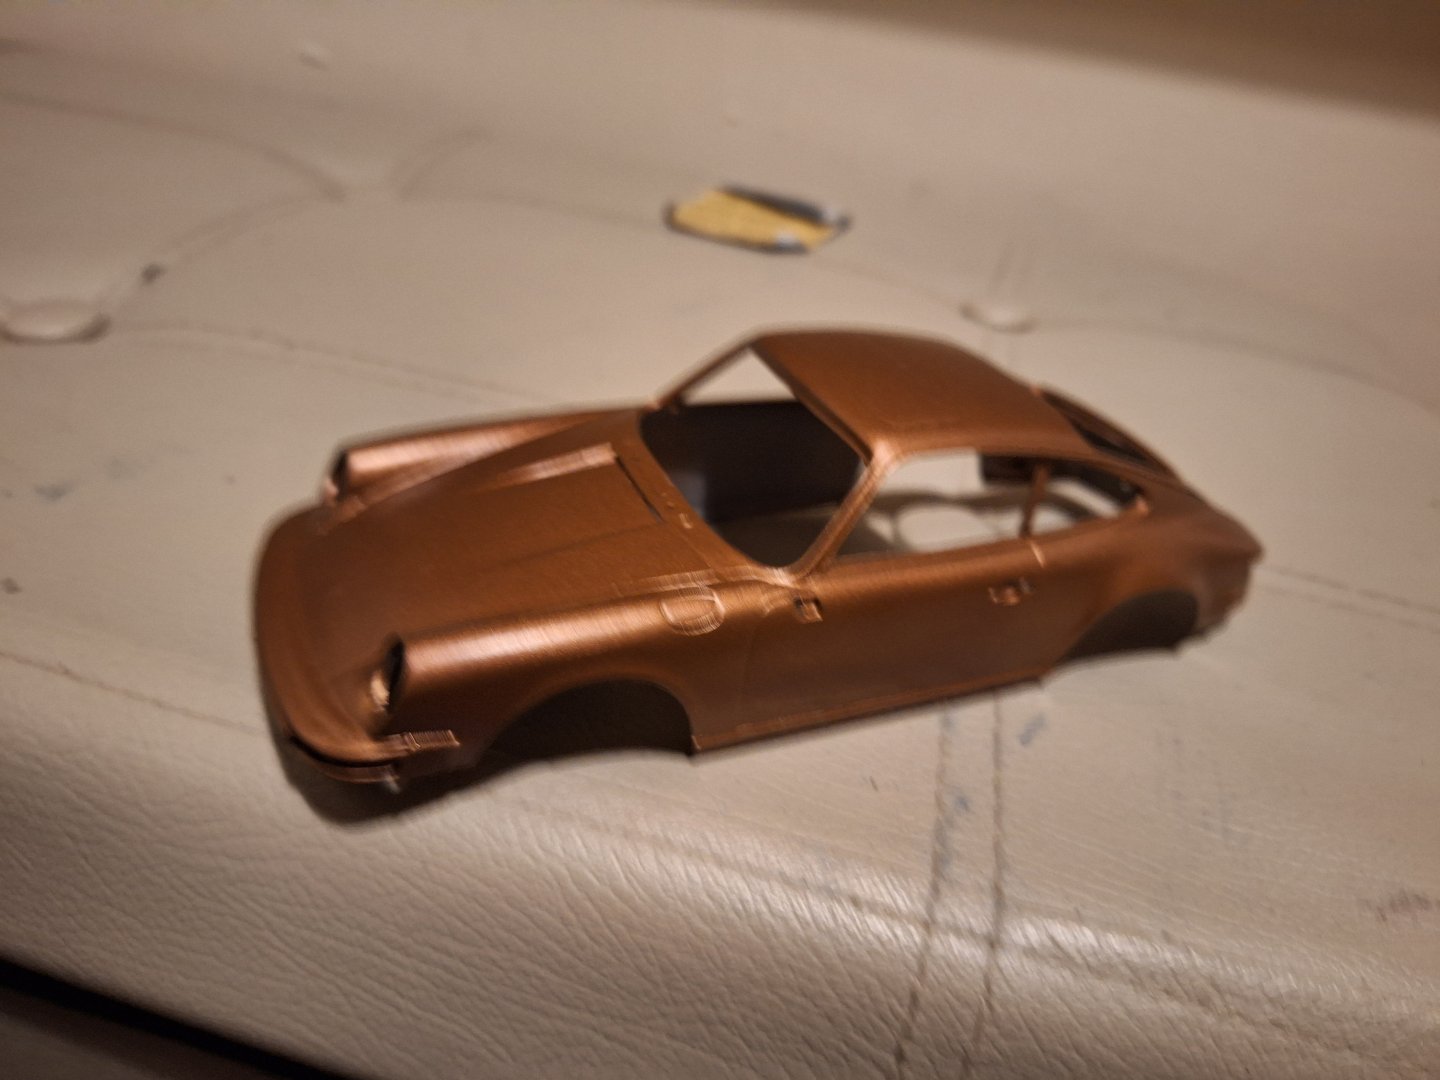
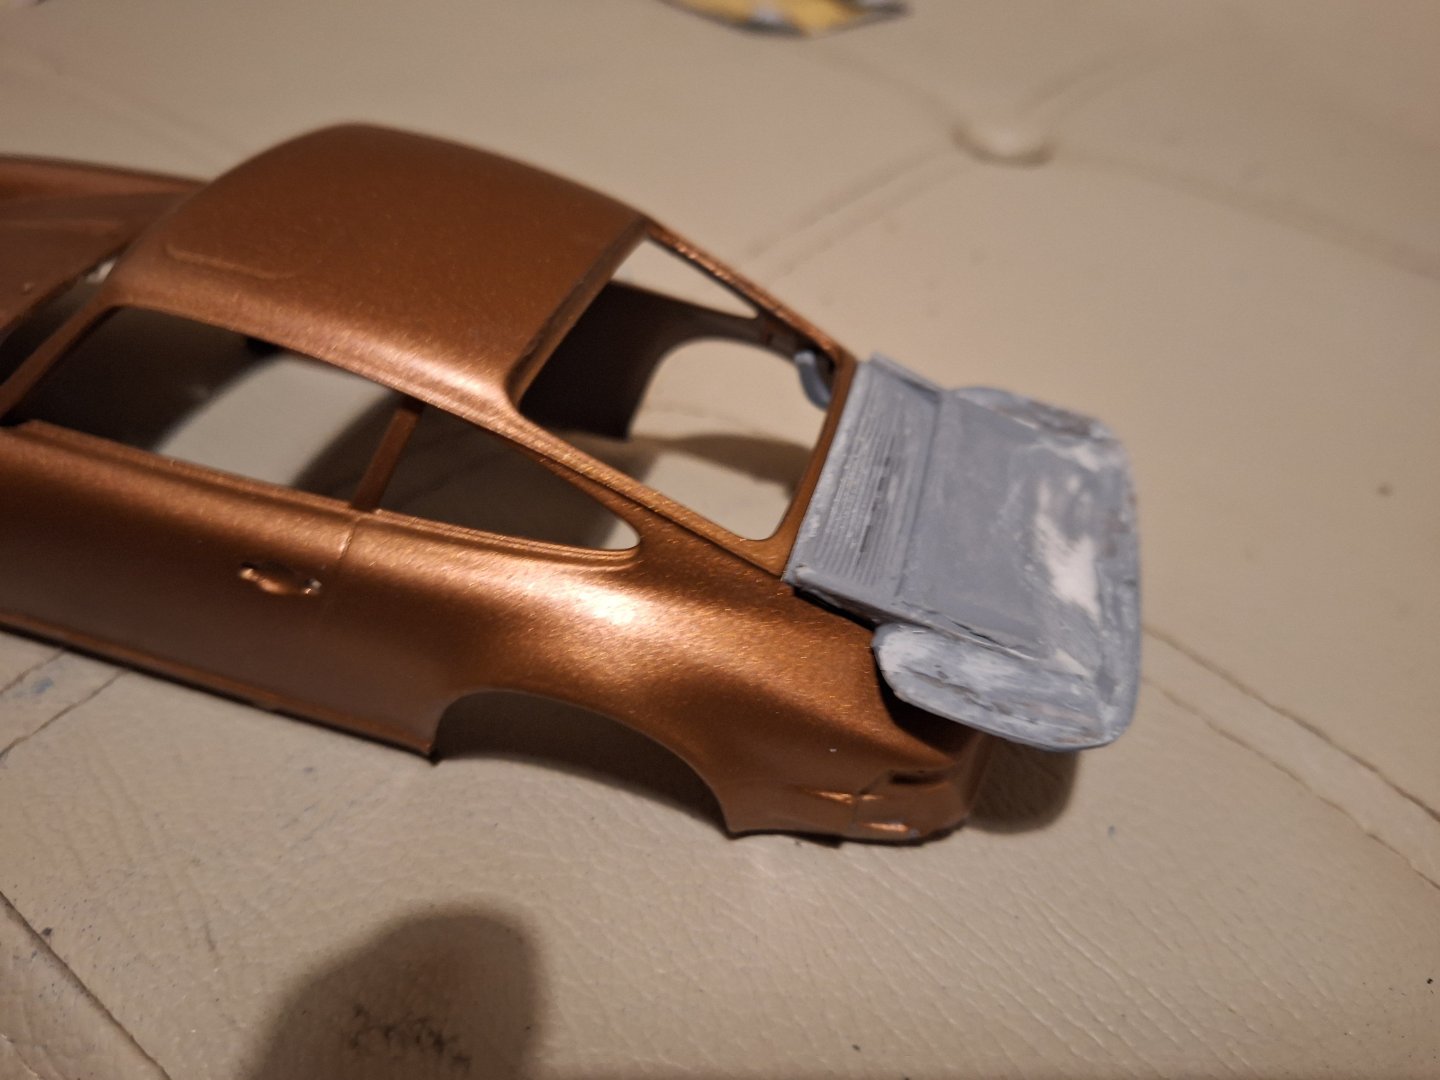
I didn't look for one tbh I got this one cheap in lidl and thought on a whim I would make it a whale tail to match the workshop managers car. -
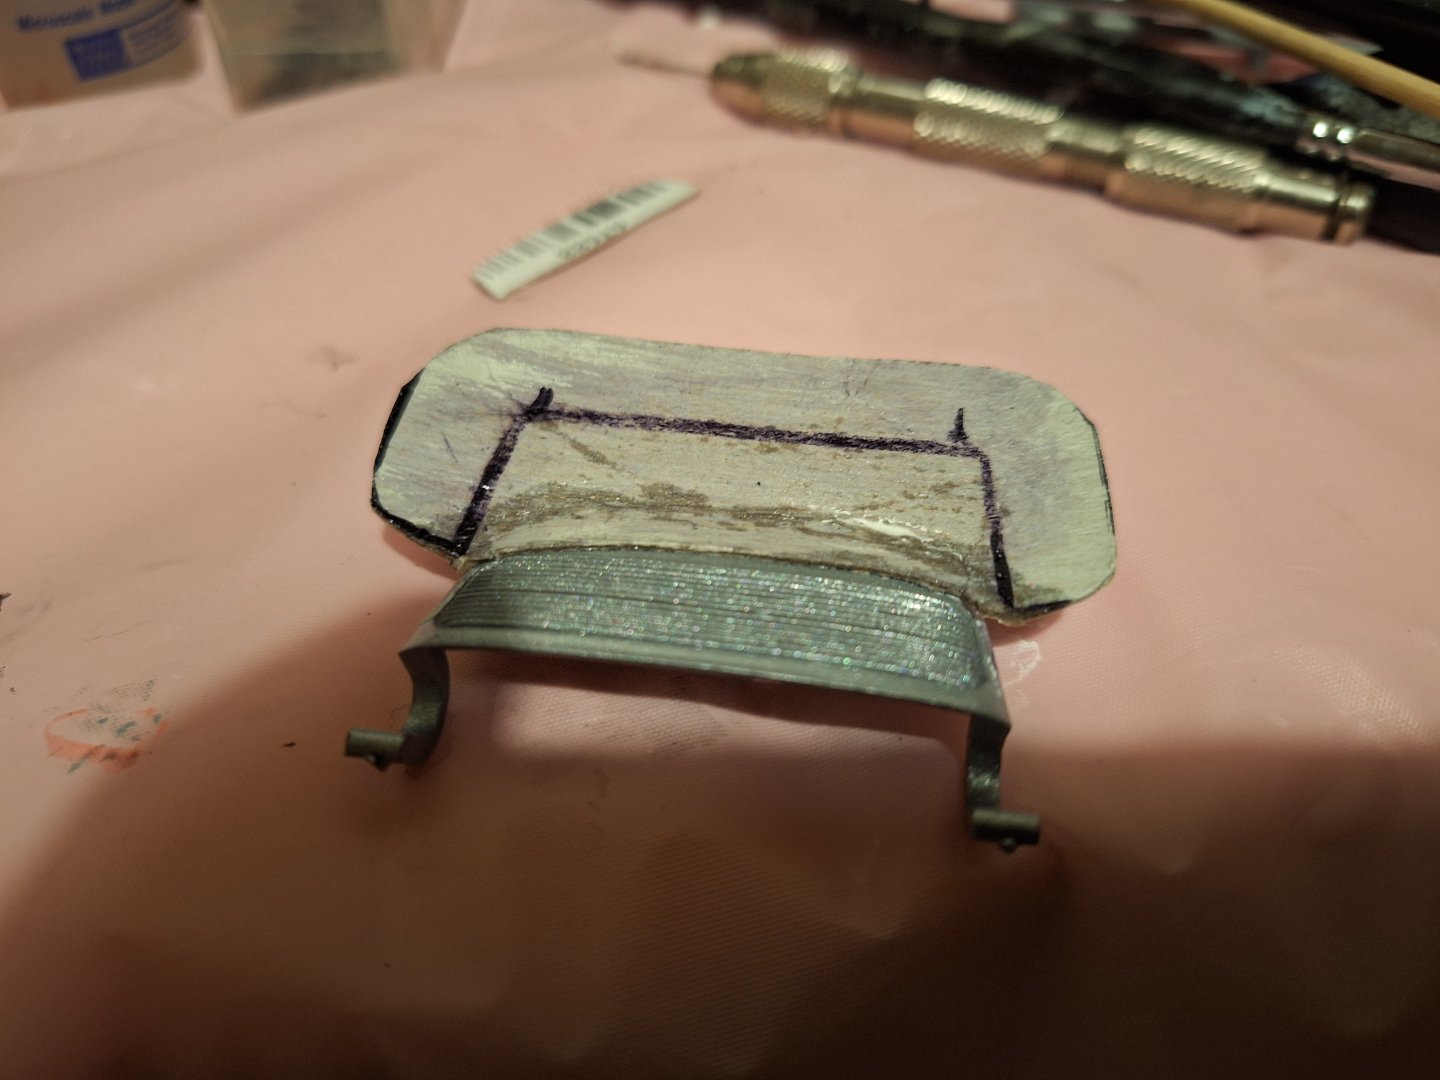
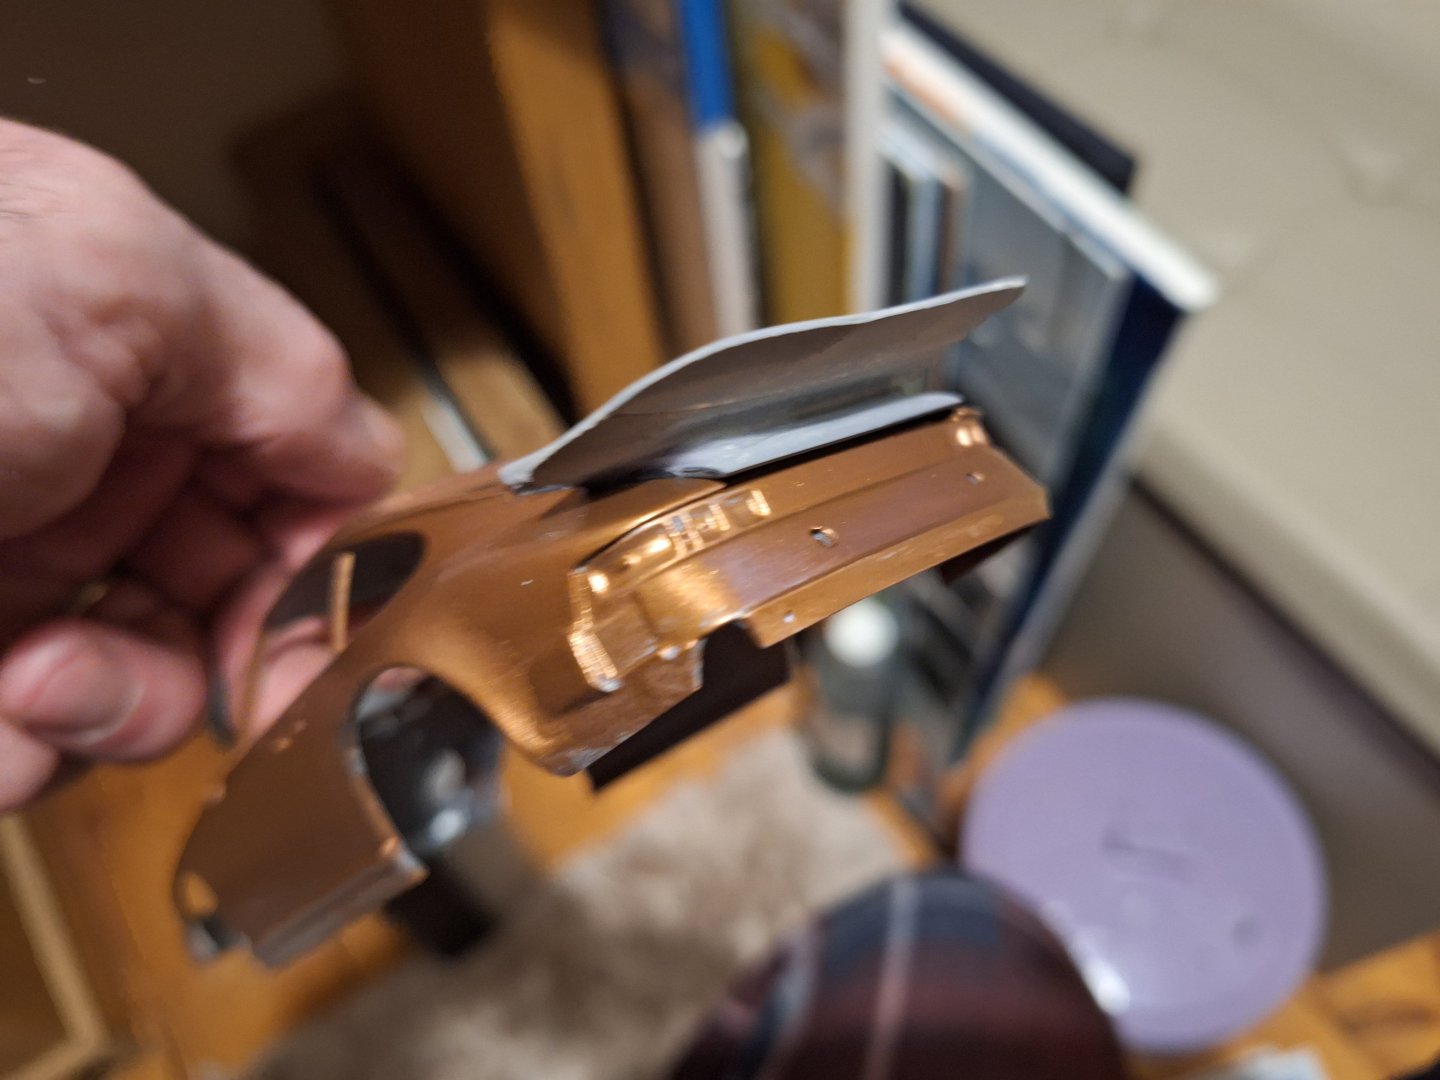
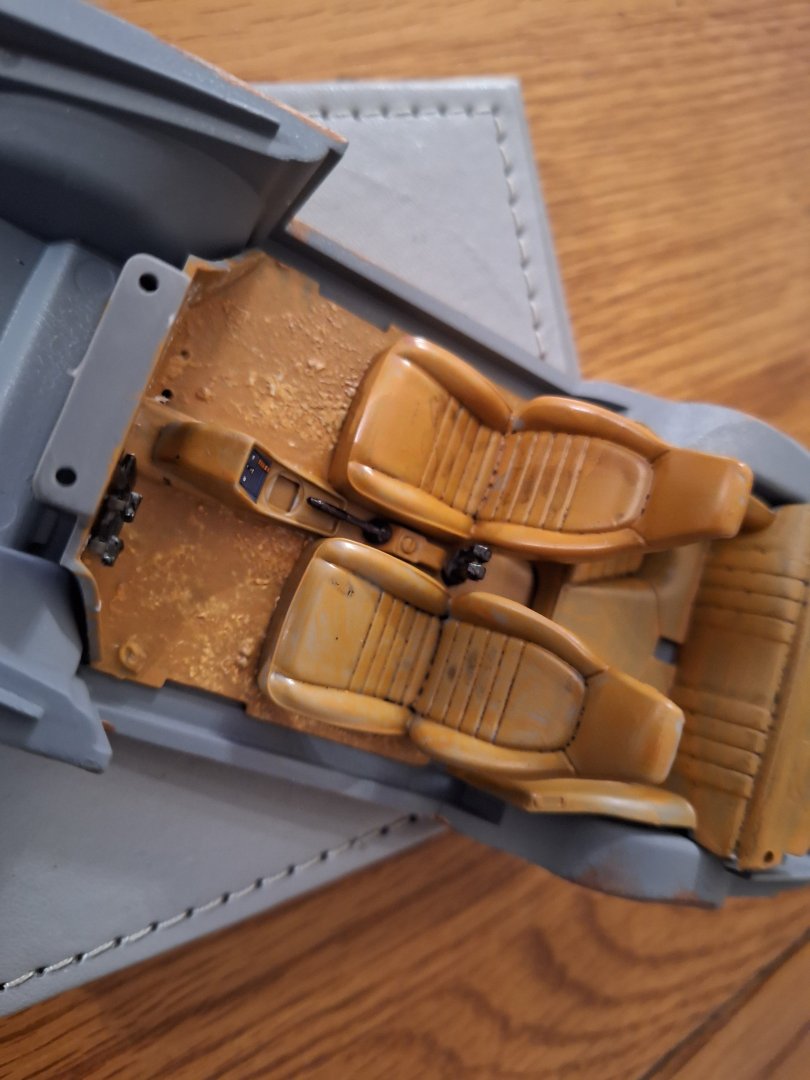
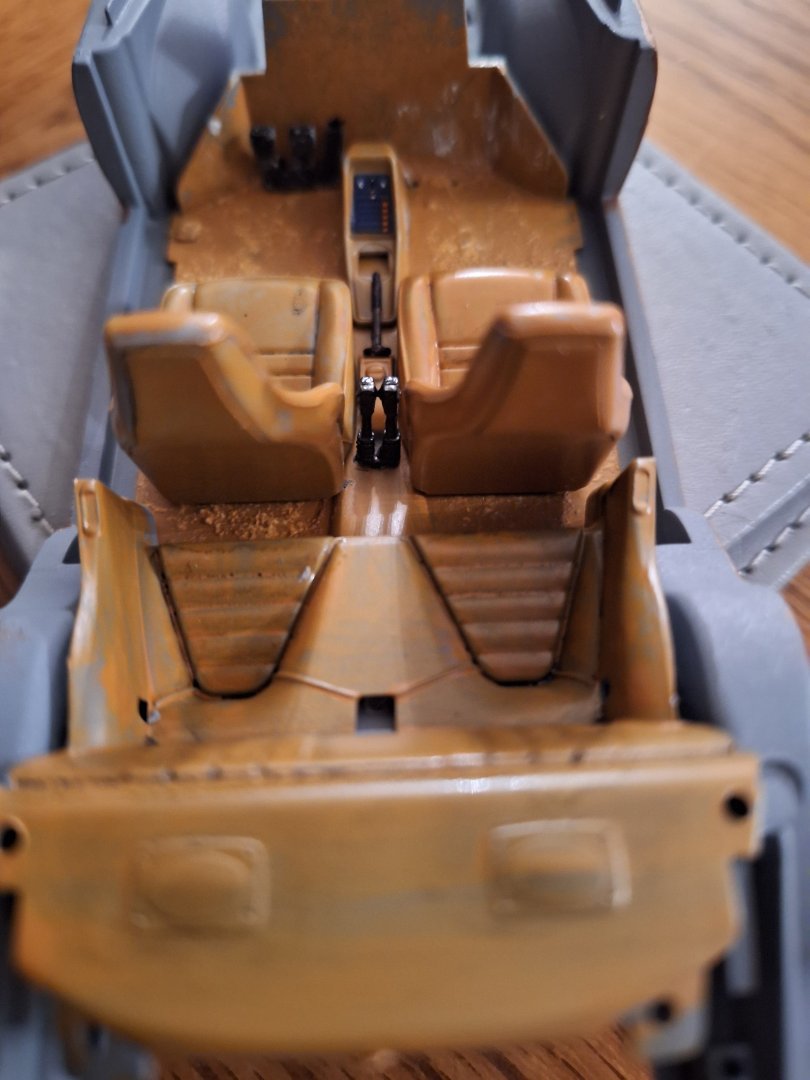
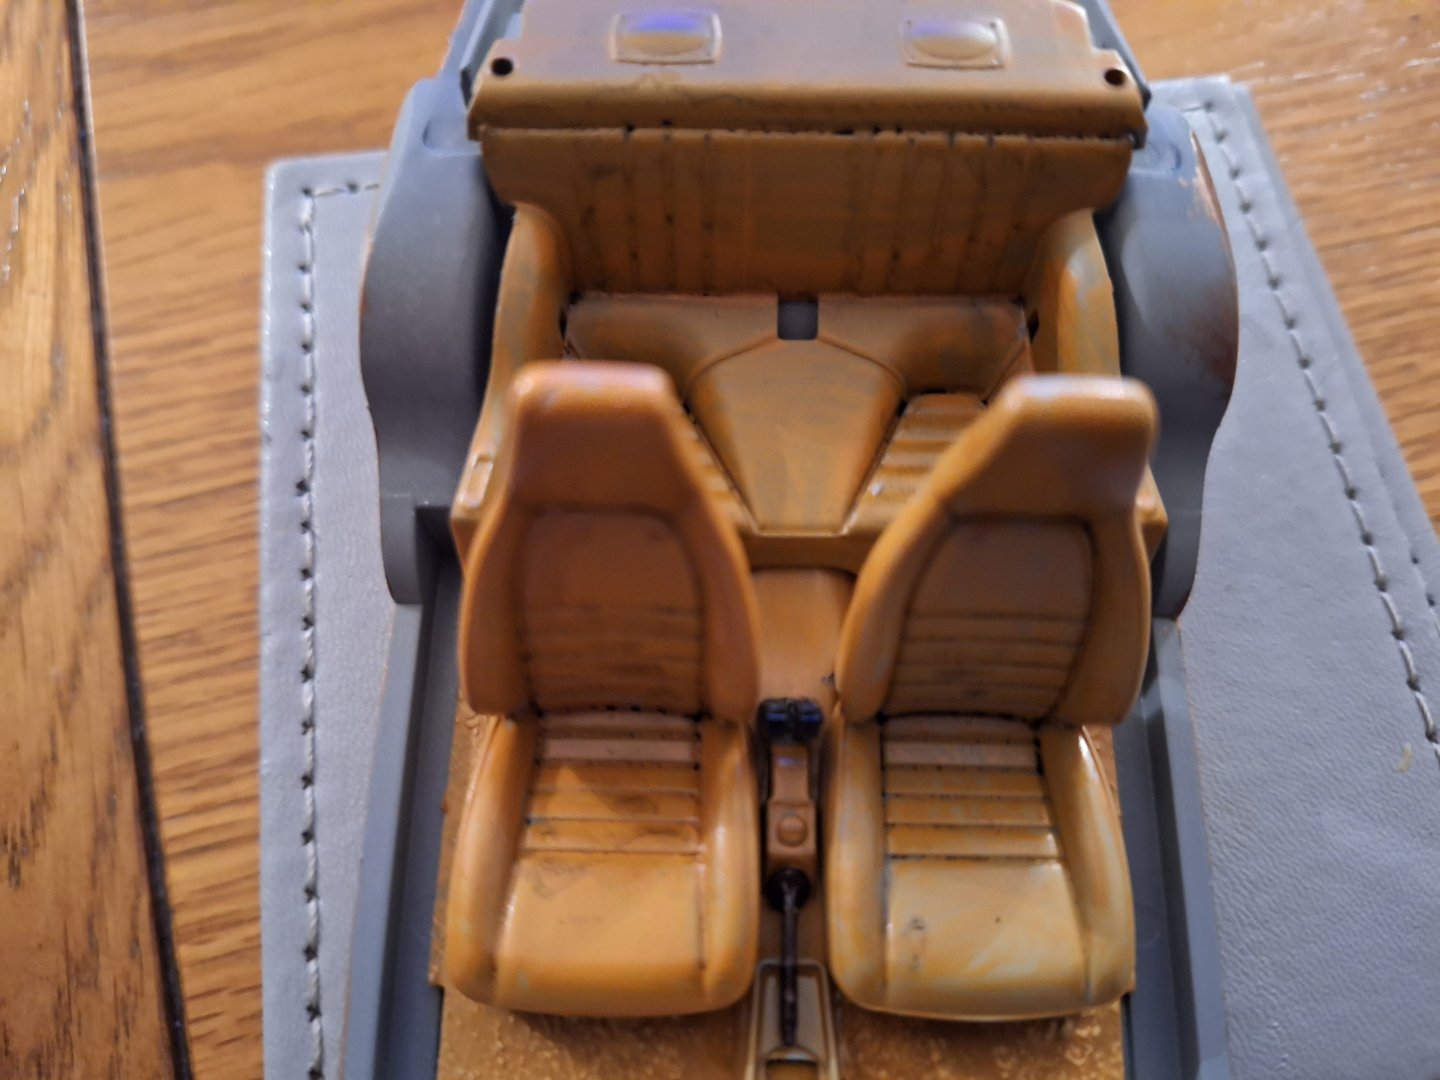
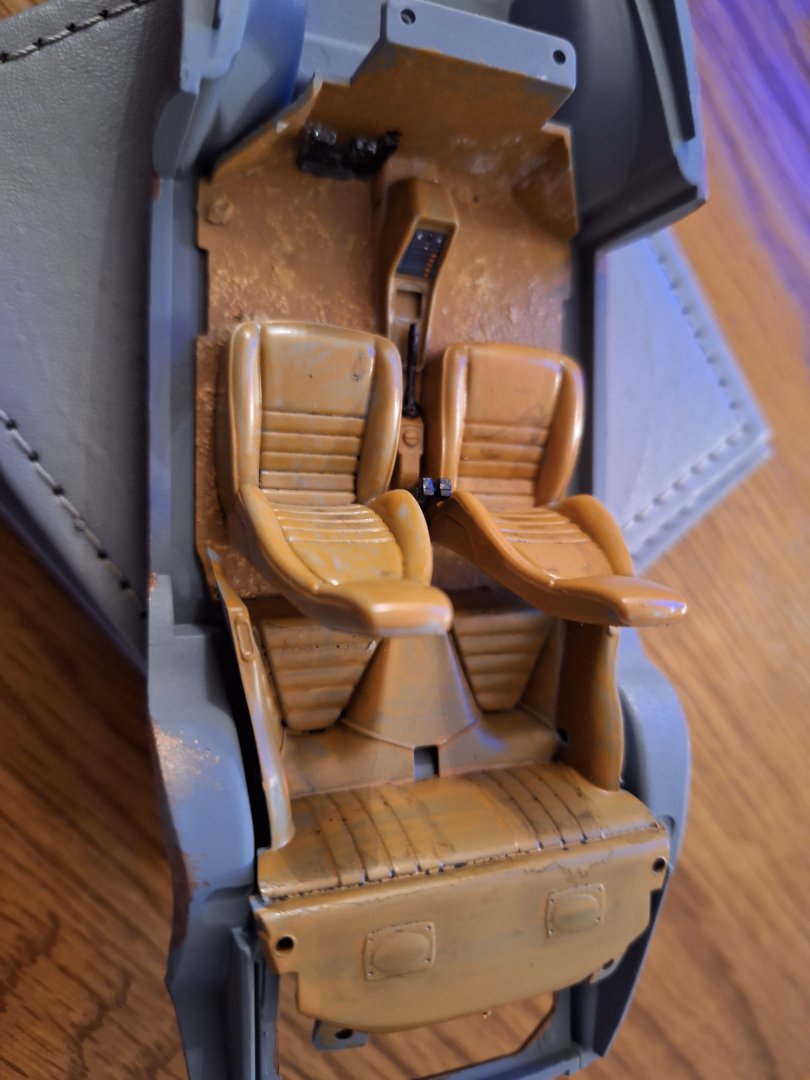
Hi all sorry been away for a while (got sidetracked by my art for a while) but I'm back now. Our workshop manager has one of these but his has a whaletail (how hard could it be i thought) well let me tell you it's not easy as it seems this is my final try at it (5th go) His car is in copper metallic so that's what I went for, his engine and gearbox are different too so some changes required there too.
-

Ferrari 250 GTO by CDW - Model Factory Hiro - 1:12 Scale
kpnuts replied to CDW's topic in Non-ship/categorised builds
Any start date on this one -

Martini Porsche 935 by kpnuts - FINISHED - Tamiya - 1/12
kpnuts replied to kpnuts's topic in Non-ship/categorised builds
I would just like to say on the site where the tutorial is posted, I notice I'm now a deleted member(we had a falling out as it was a free site originally and you now have to pay to be a member) they told me I was always welcome to return (provided I paid) seems that's not the case now, I notice they keep all my posts though as a guest. -

Bugatti Type 35b by kpnuts - Italeri - 1/12
kpnuts replied to kpnuts's topic in Non-ship/categorised builds
Thanks guys, well that was a daft mistake, still this one was special order, he wanted it heavier for better road holding so had it made out of iron, think I got out of that quite well, and a very convincing story if I do say so myself😄 -

Bugatti Type 35b by kpnuts - Italeri - 1/12
kpnuts replied to kpnuts's topic in Non-ship/categorised builds
-

Bugatti Type 35b by kpnuts - Italeri - 1/12
kpnuts replied to kpnuts's topic in Non-ship/categorised builds
-

Bugatti Type 35b by kpnuts - Italeri - 1/12
kpnuts replied to kpnuts's topic in Non-ship/categorised builds
-

Bugatti Type 35b by kpnuts - Italeri - 1/12
kpnuts replied to kpnuts's topic in Non-ship/categorised builds
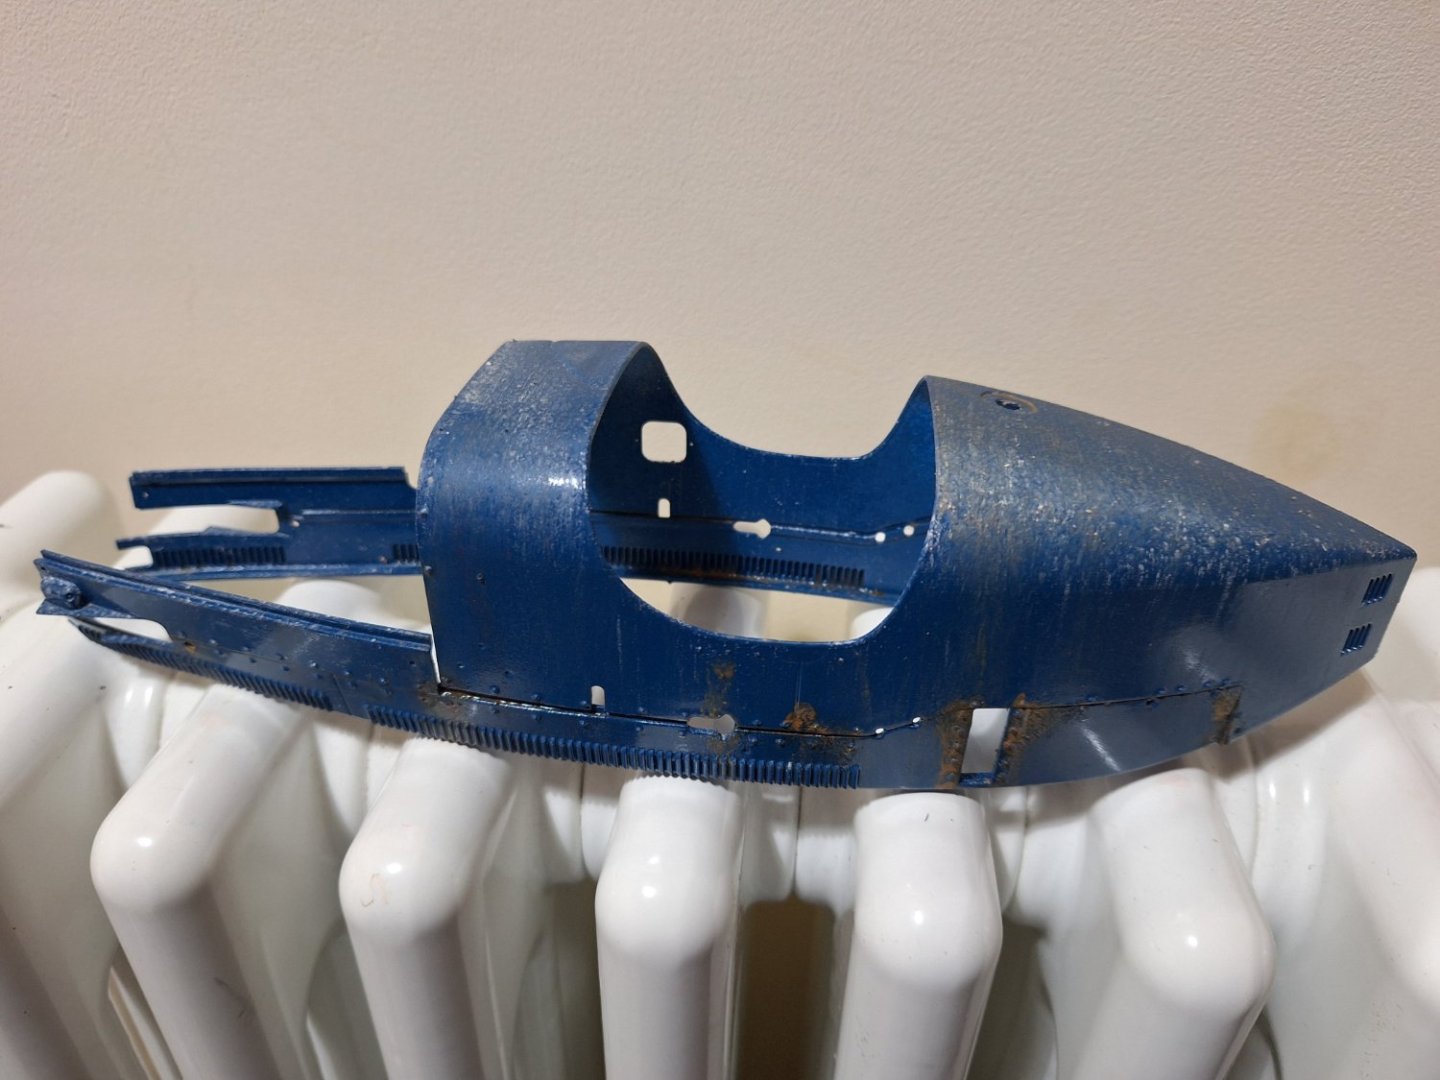
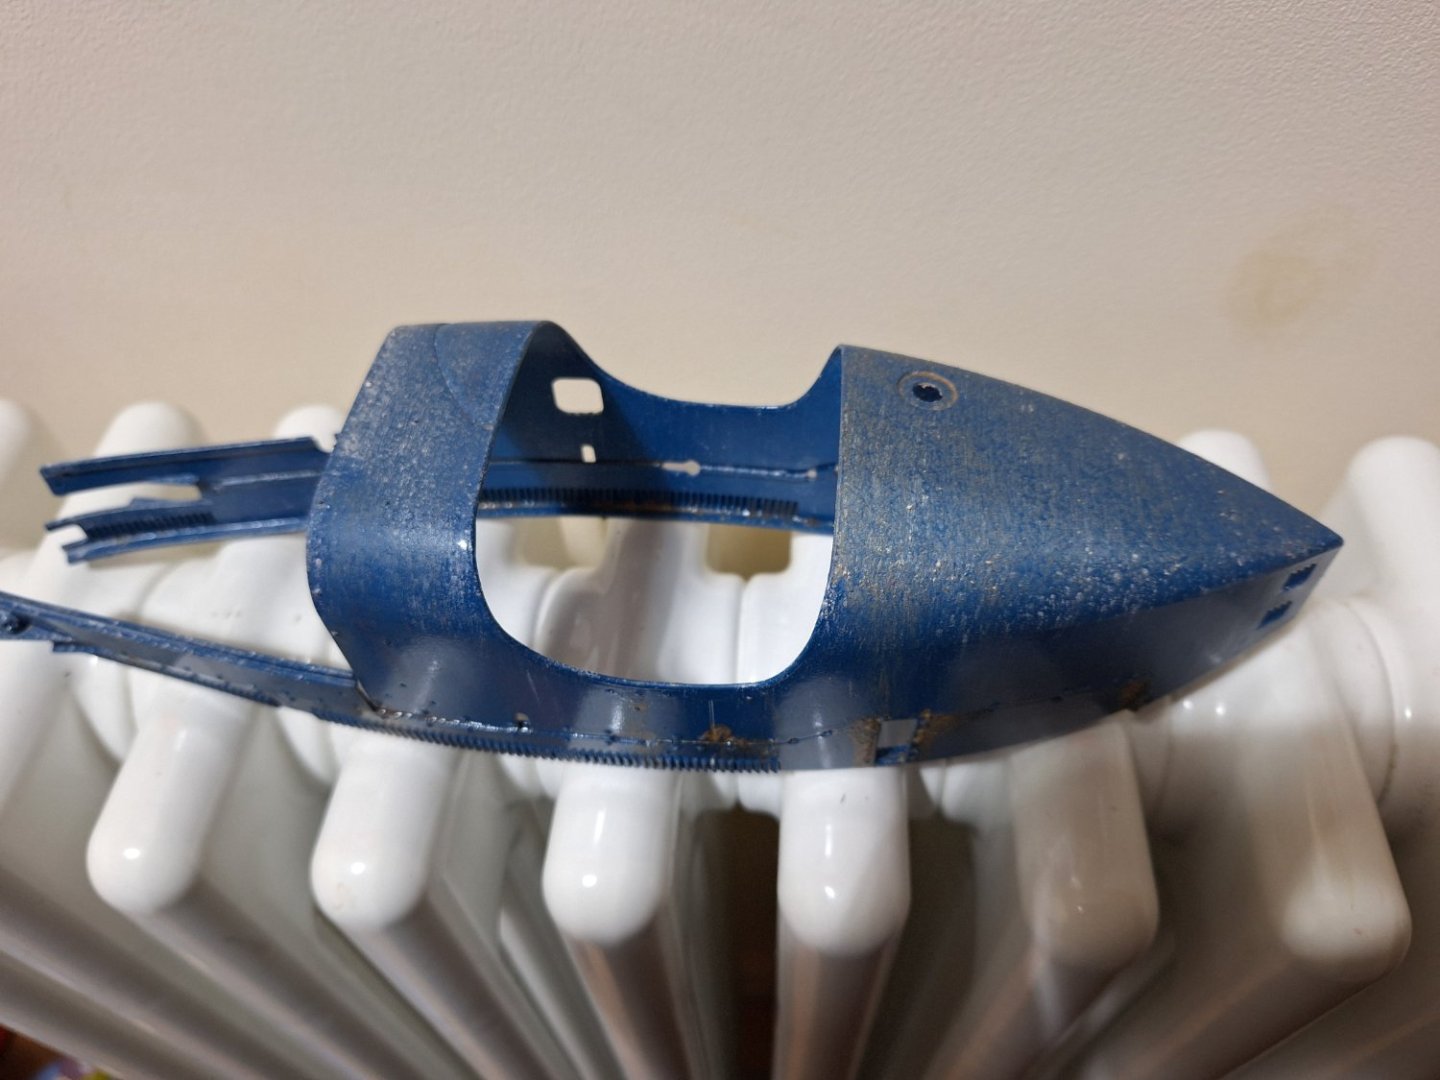
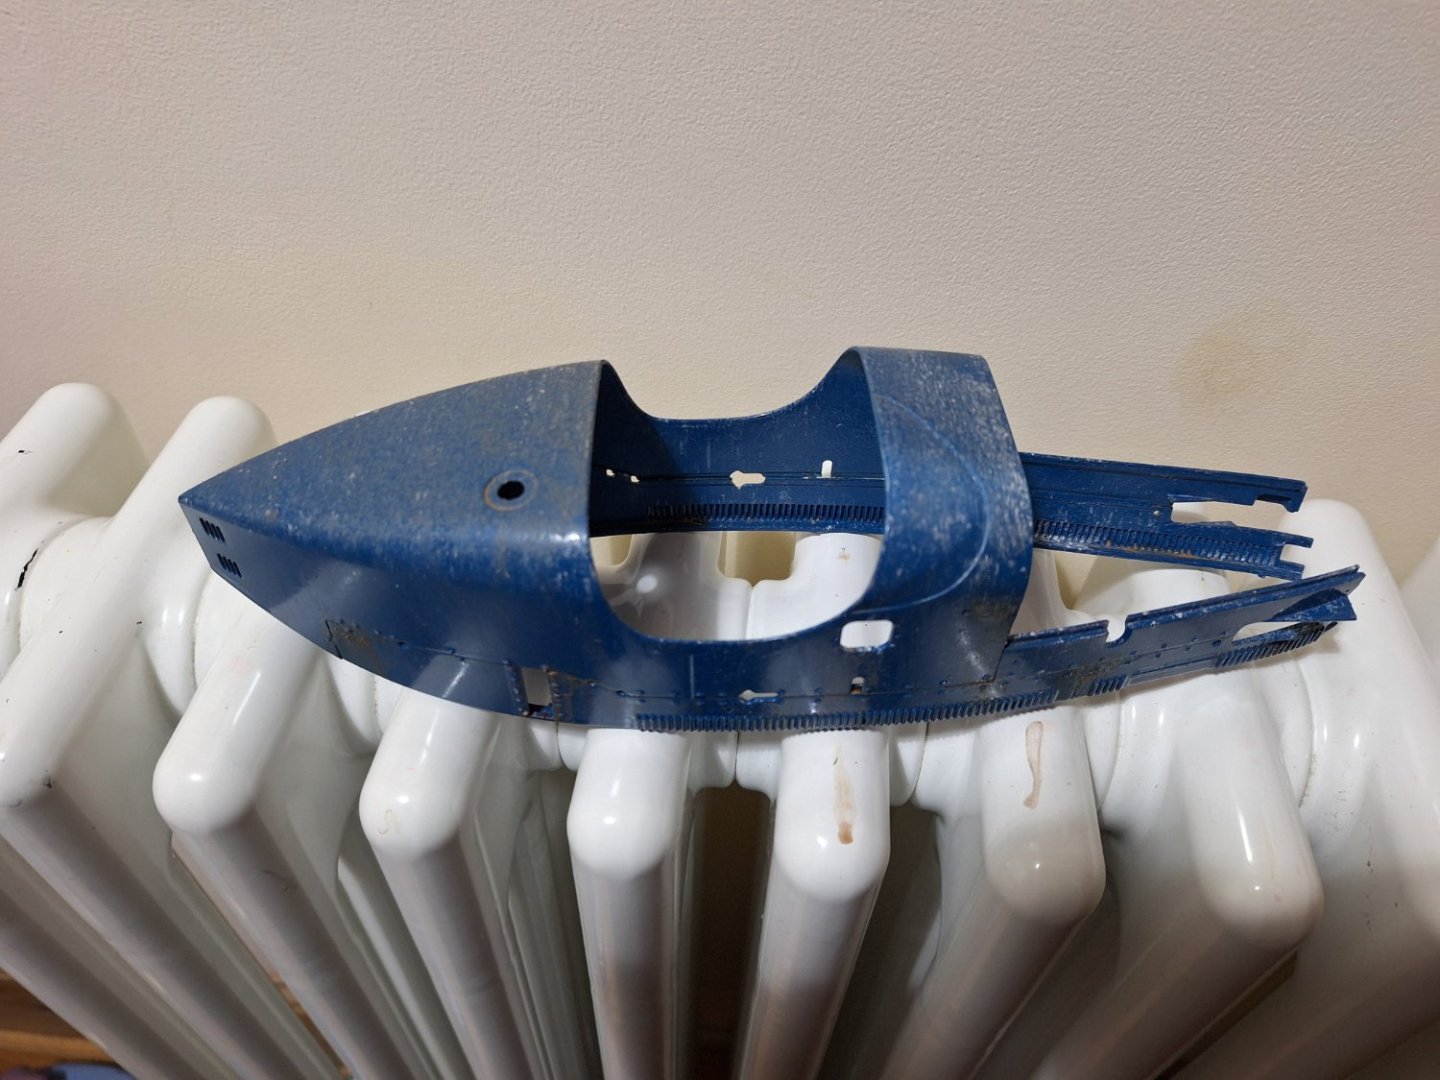
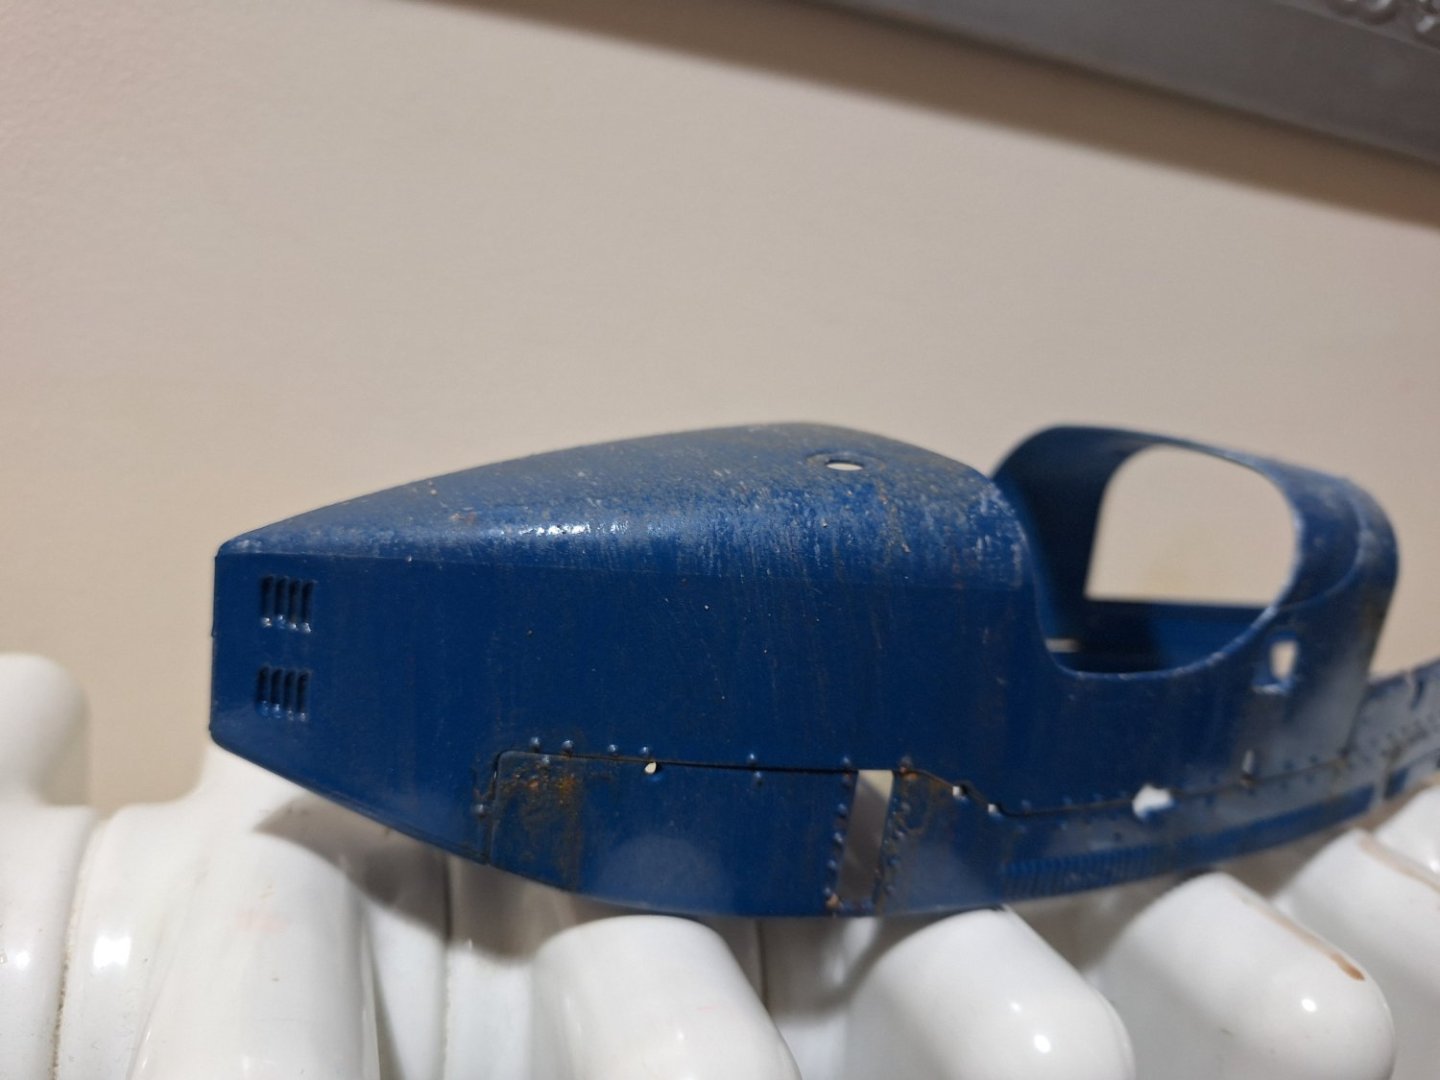
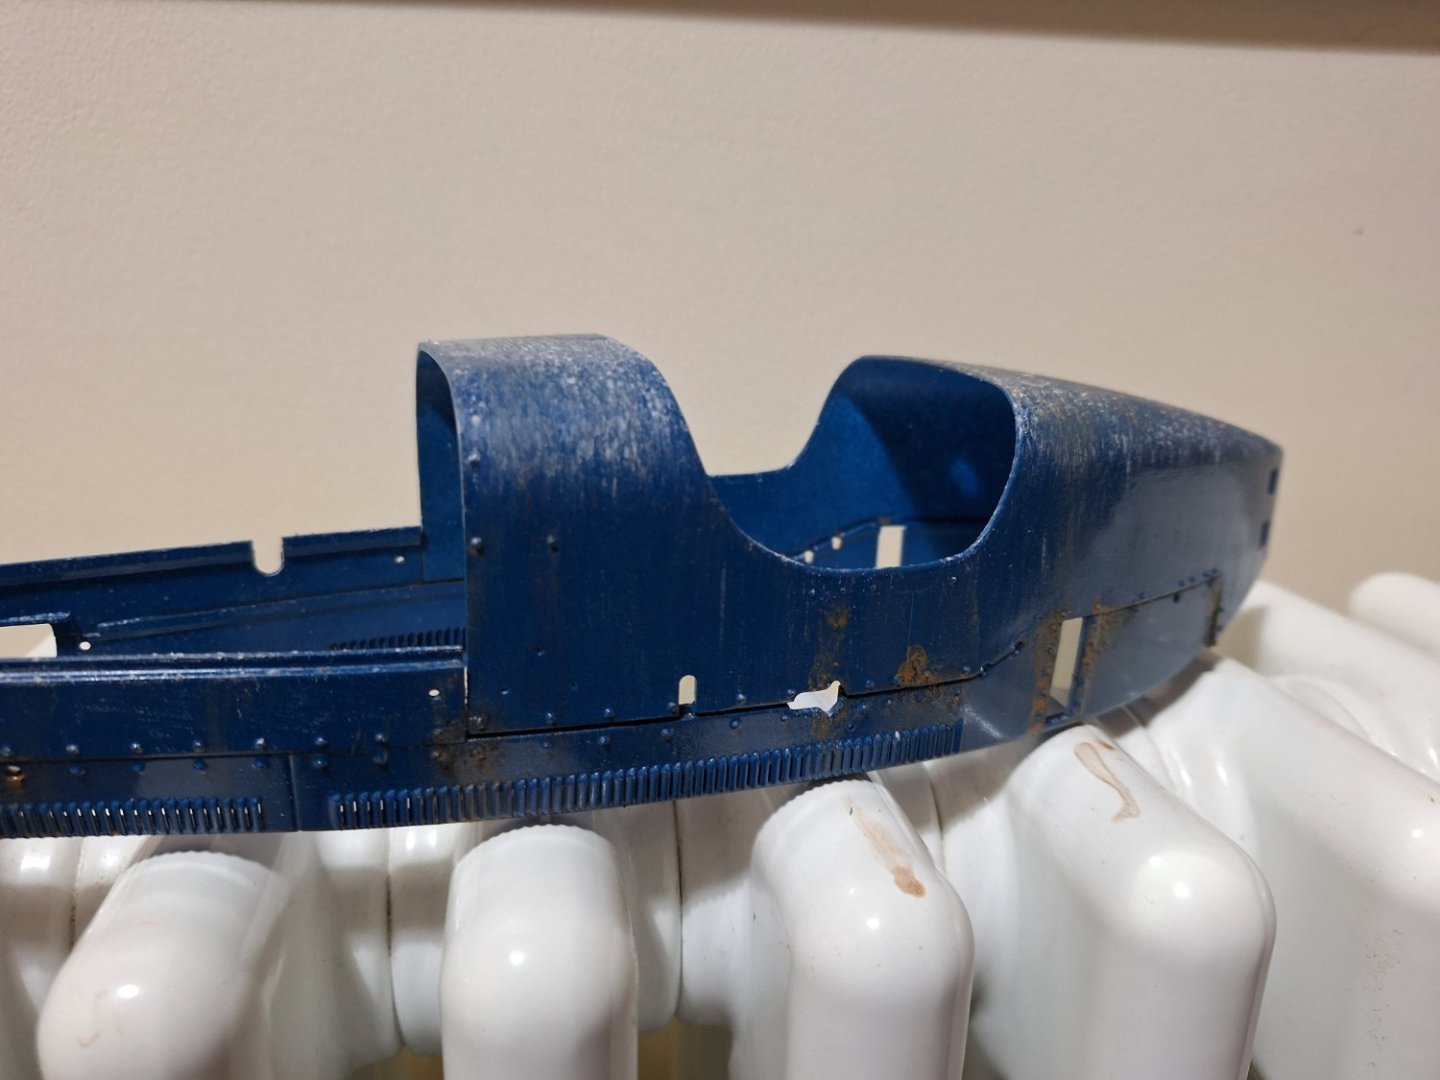
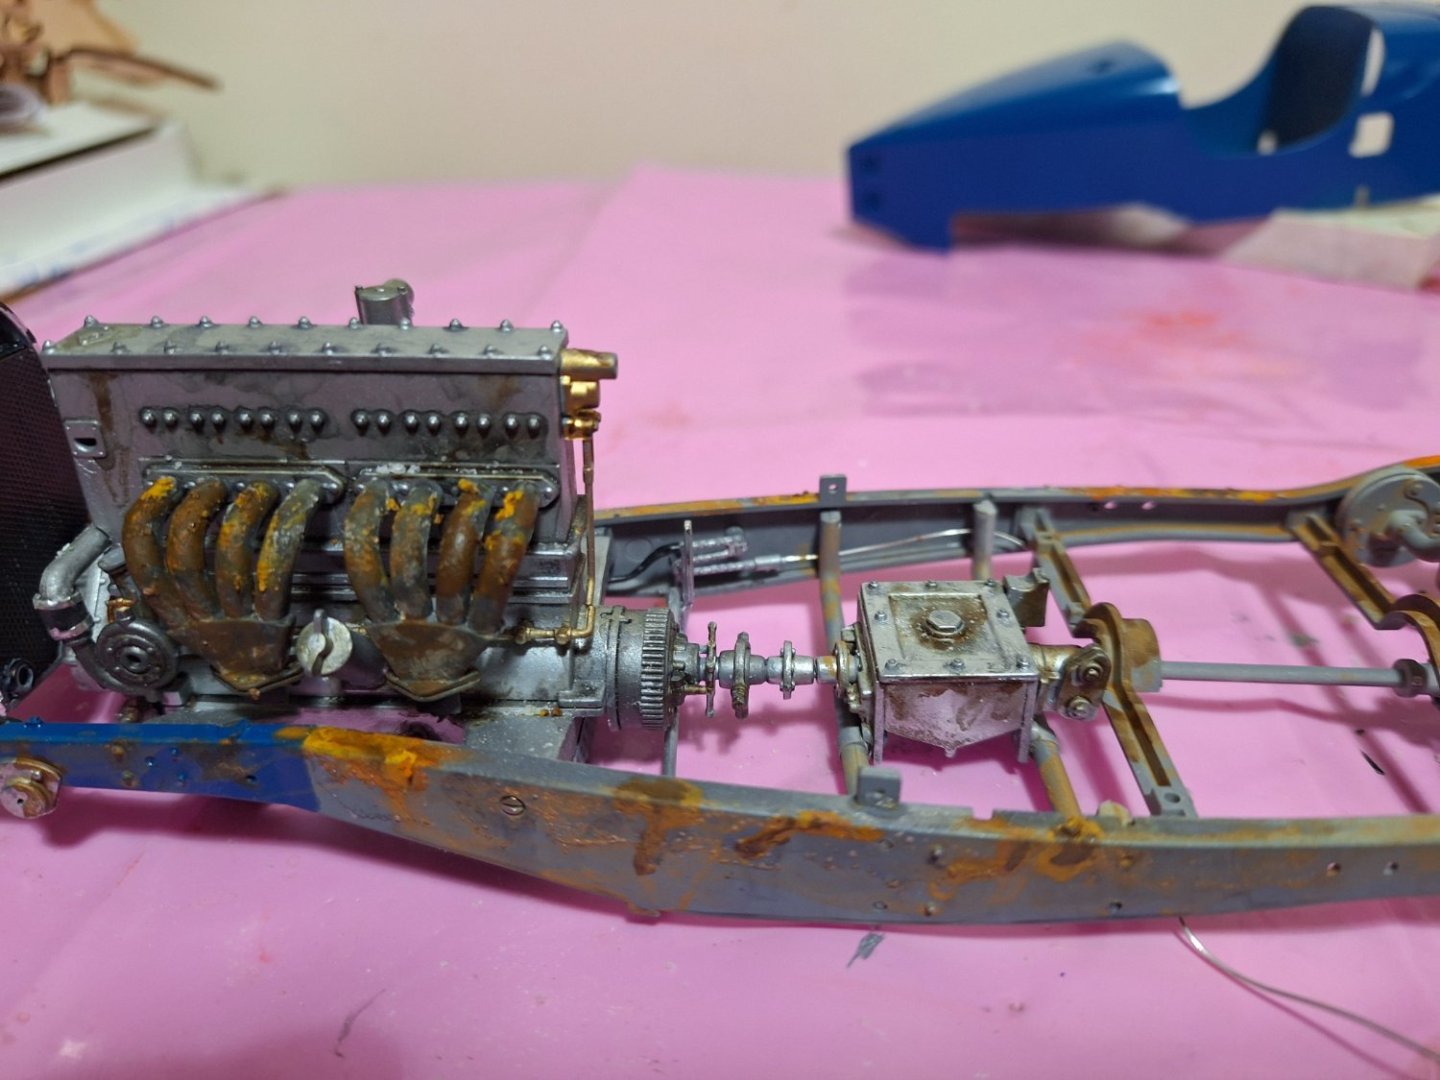
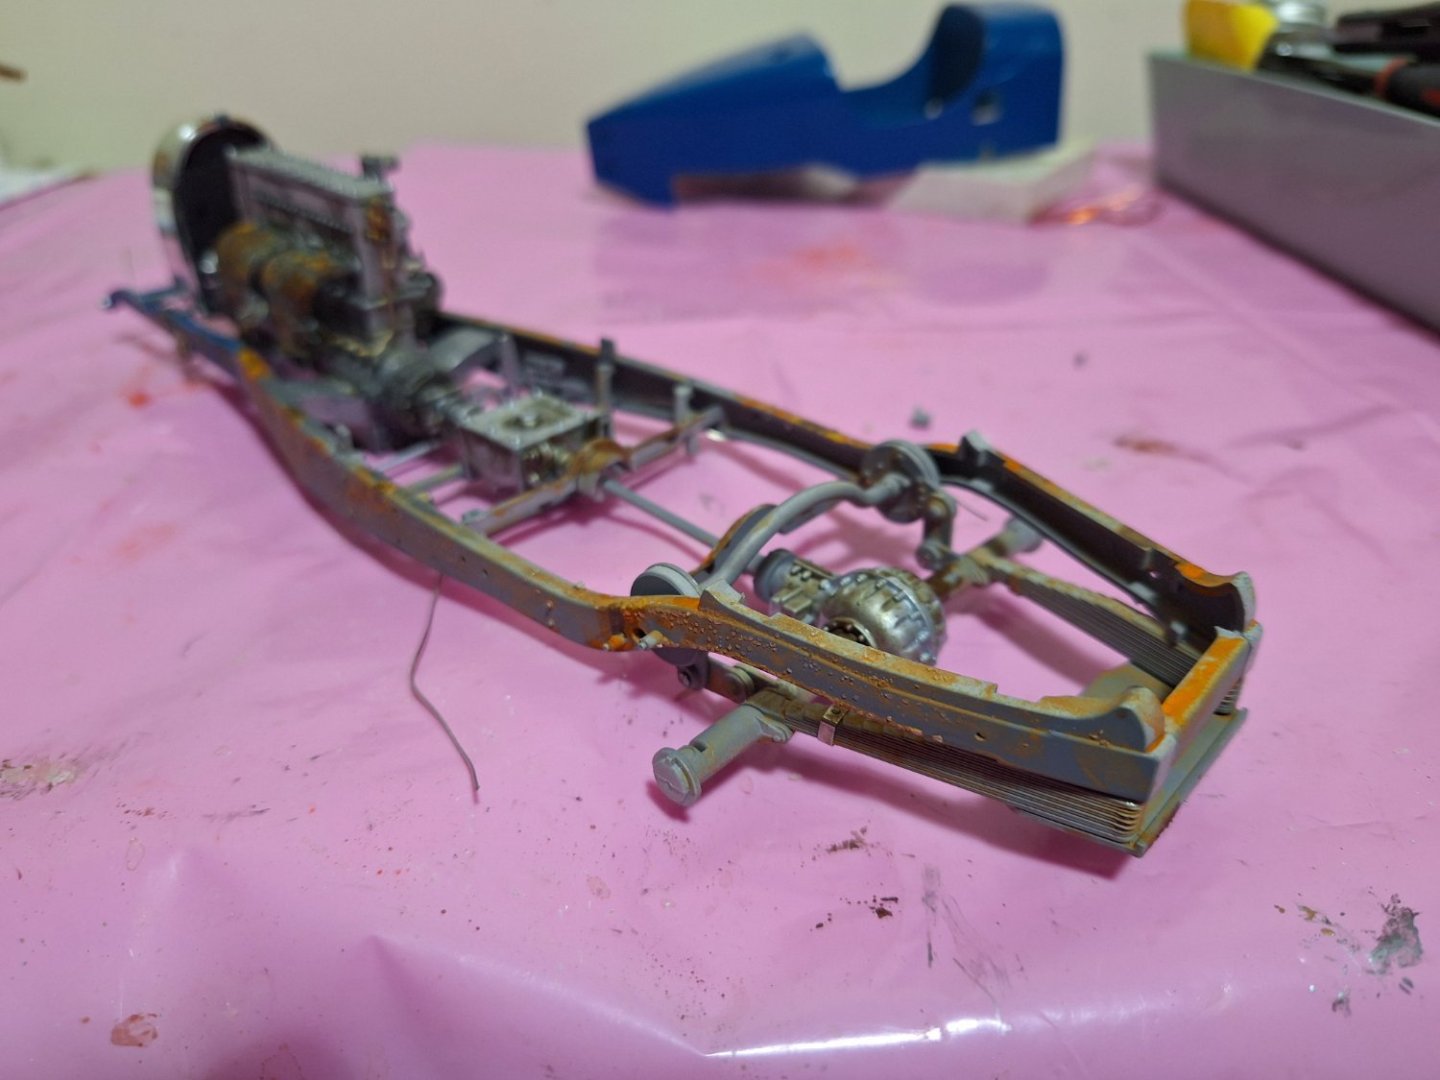
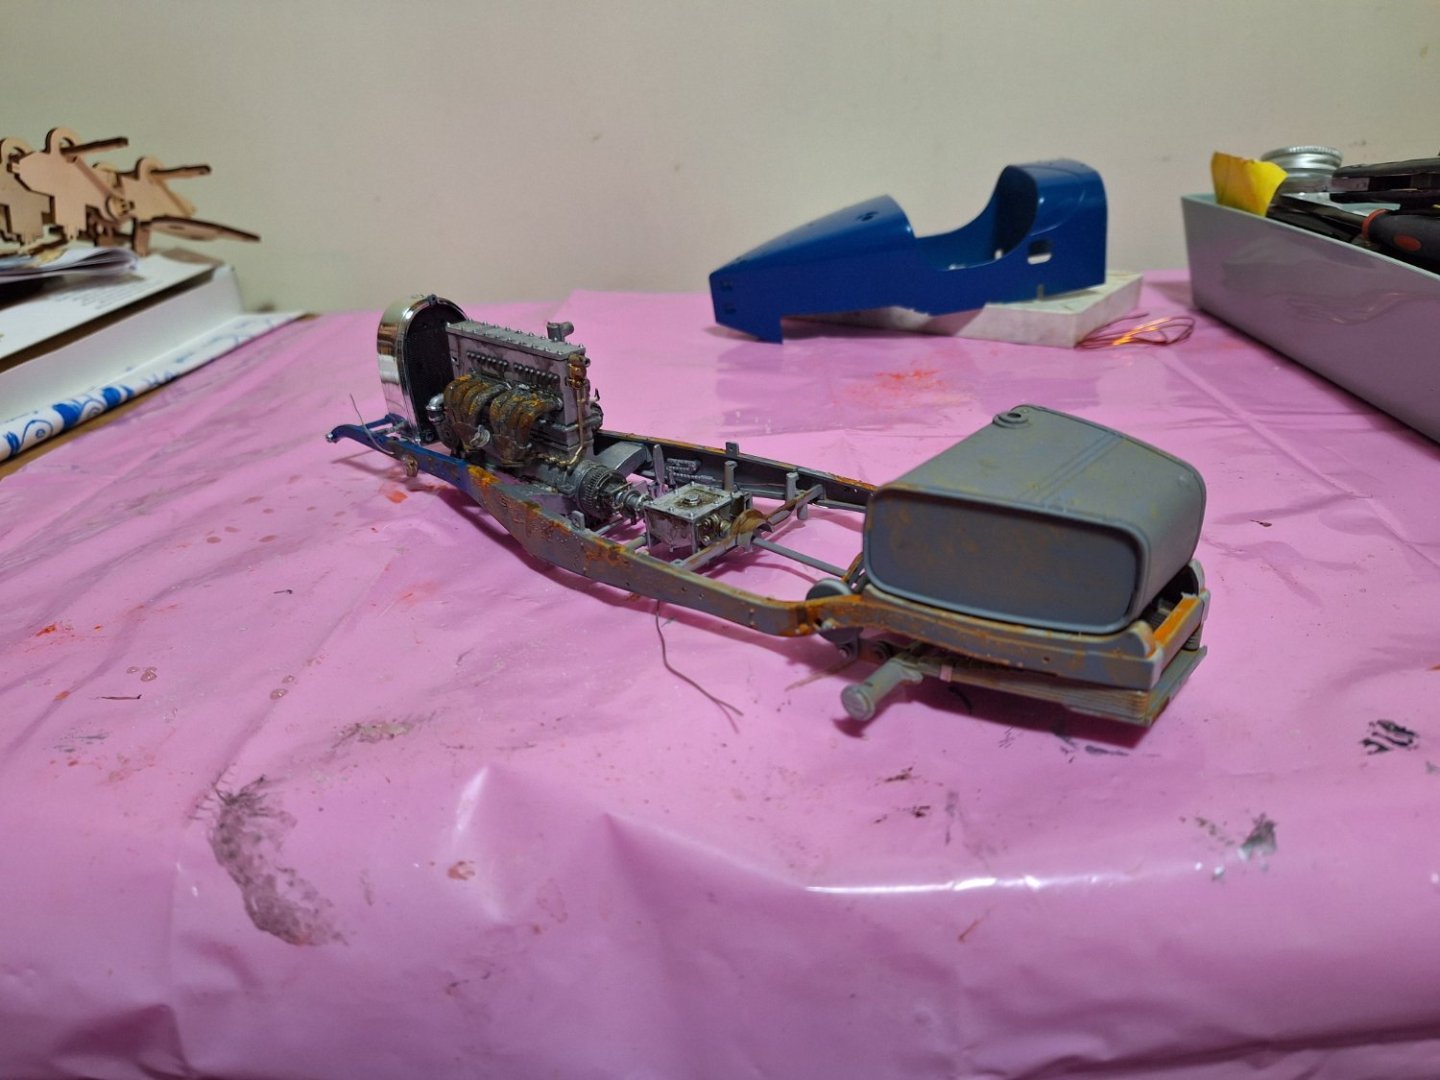
I have a story for that, a wealthy banker stored it in a barn at the start of ww11 so the Germans didn't get hold of it and maybe died or went abroad and forgot about it. -

Bugatti Type 35b by kpnuts - Italeri - 1/12
kpnuts replied to kpnuts's topic in Non-ship/categorised builds
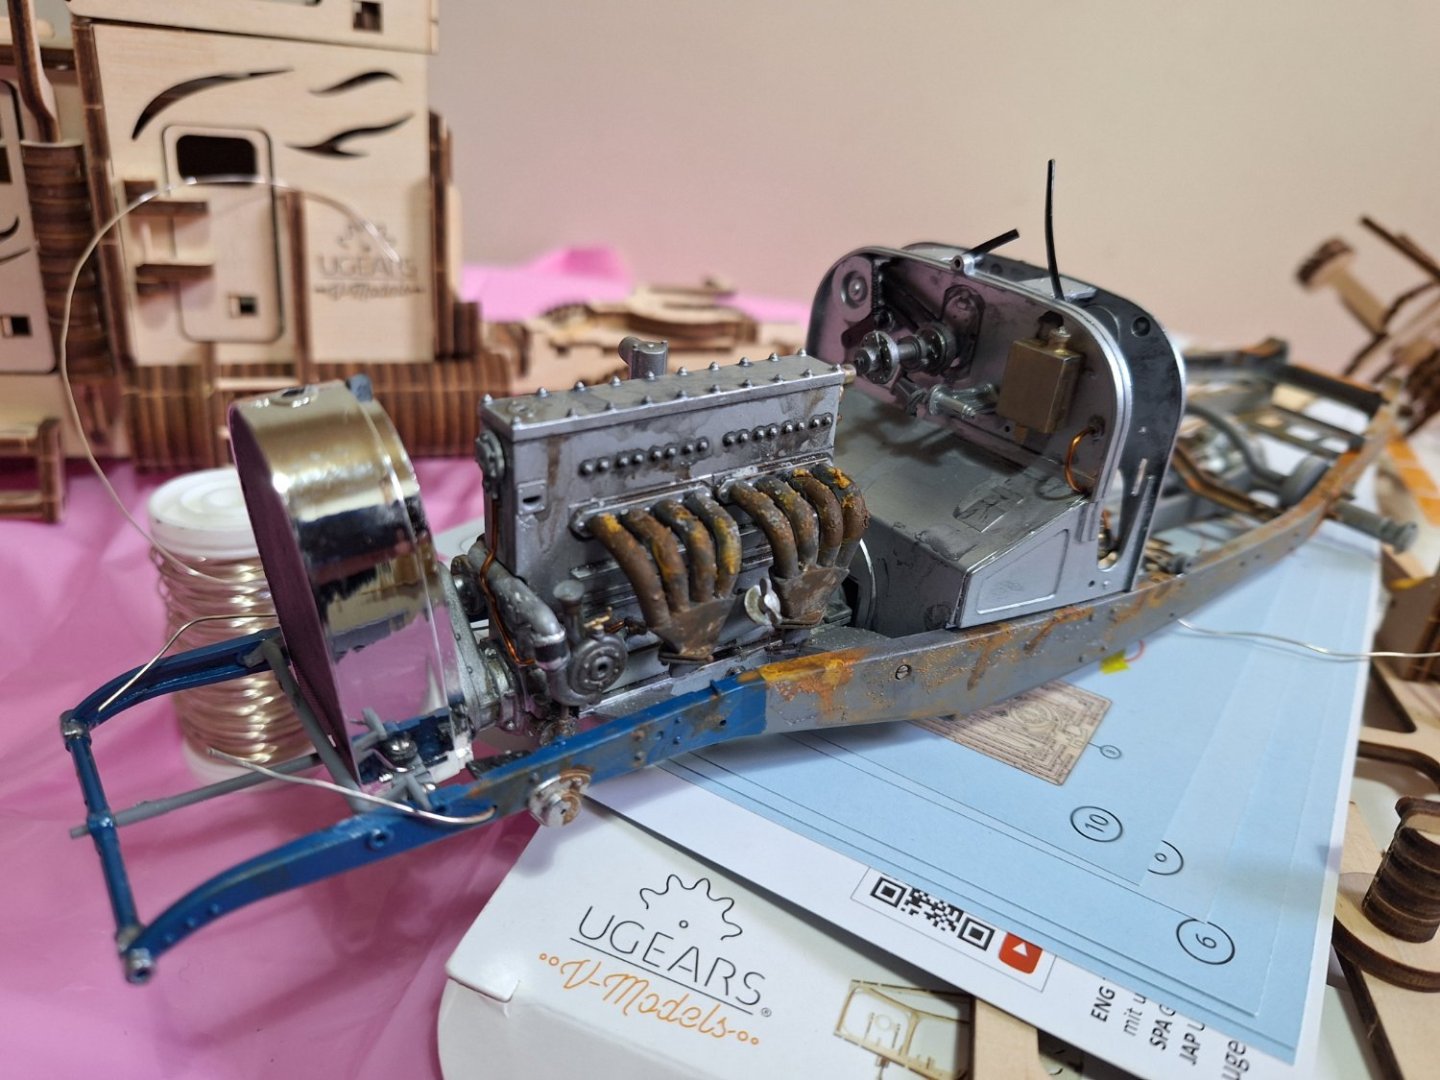
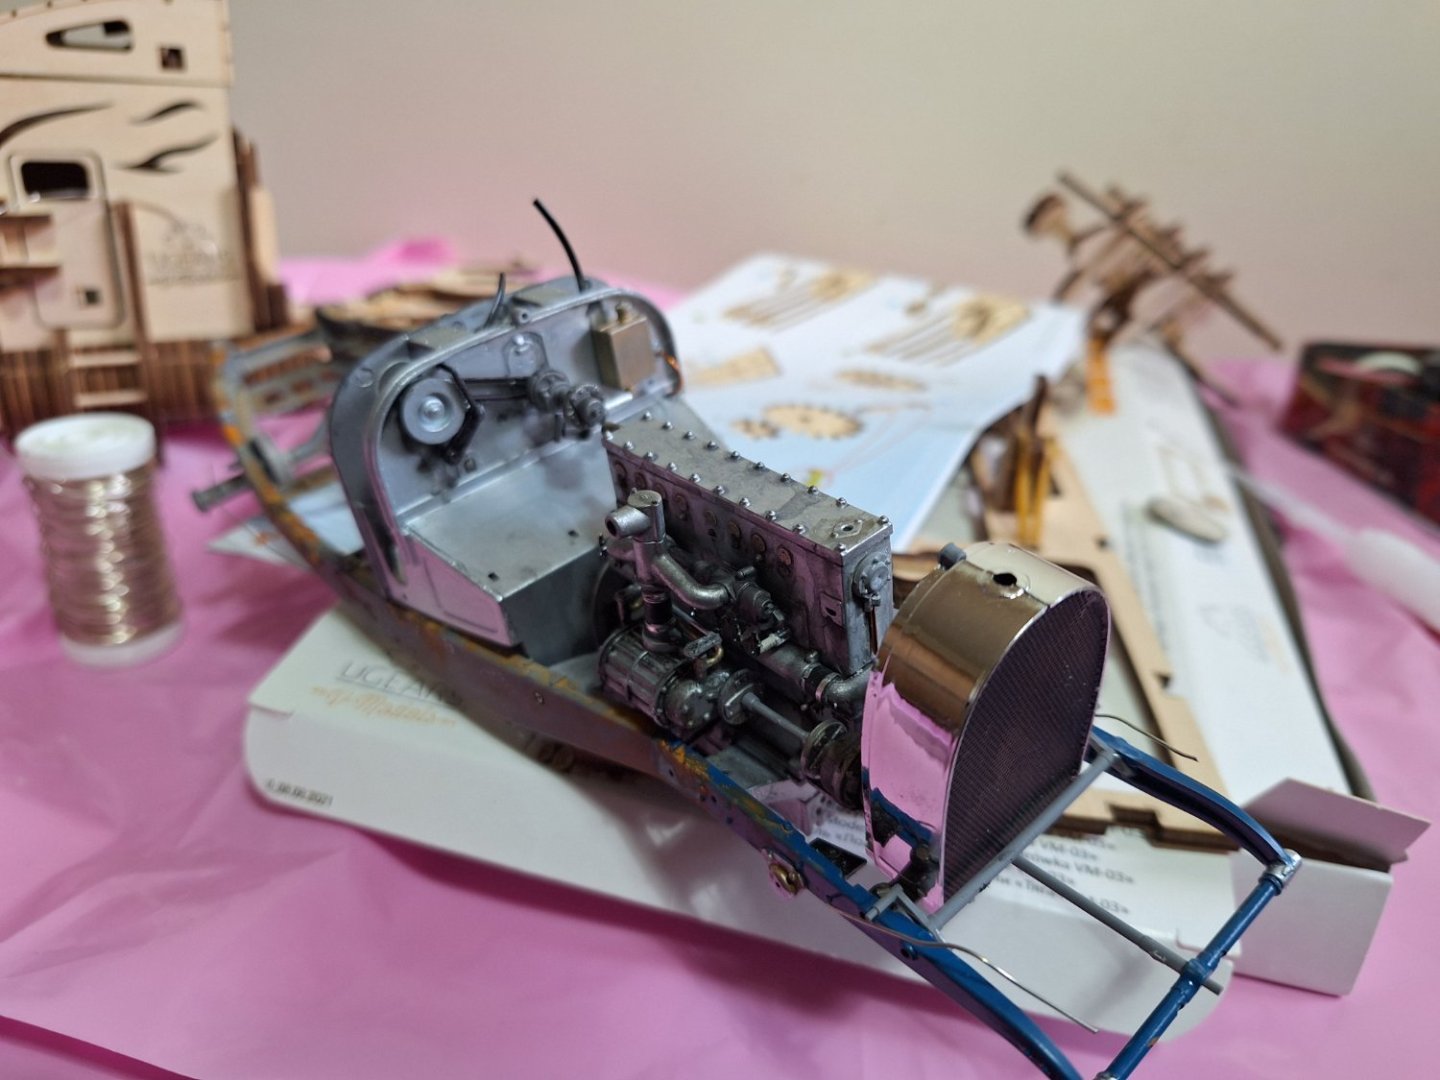
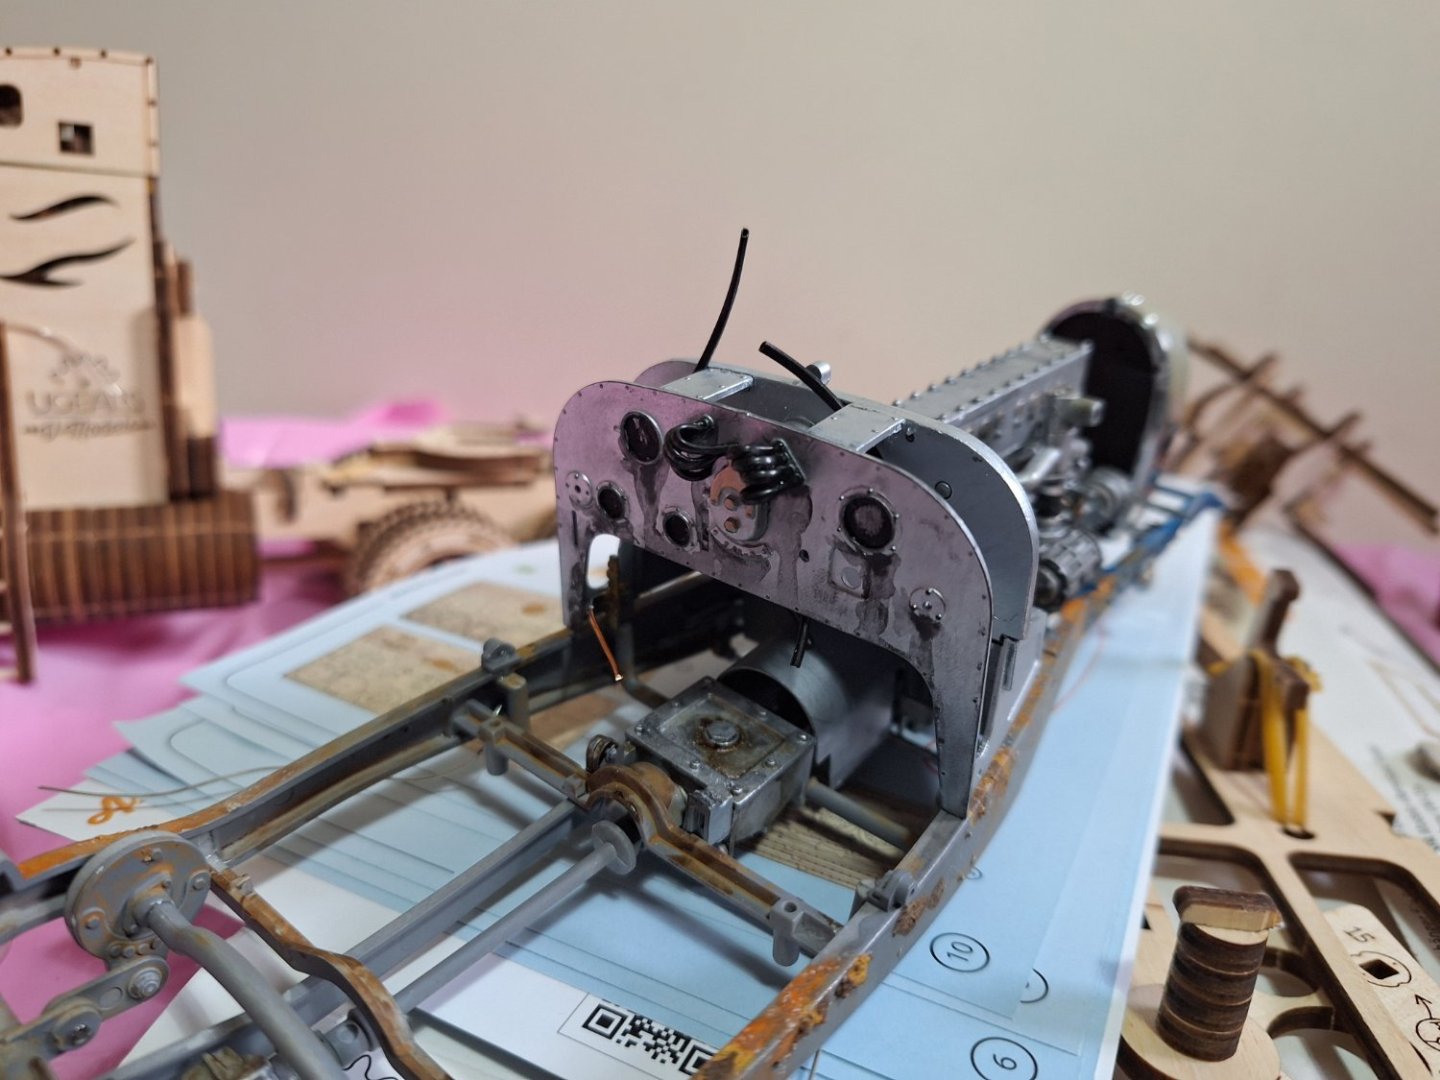
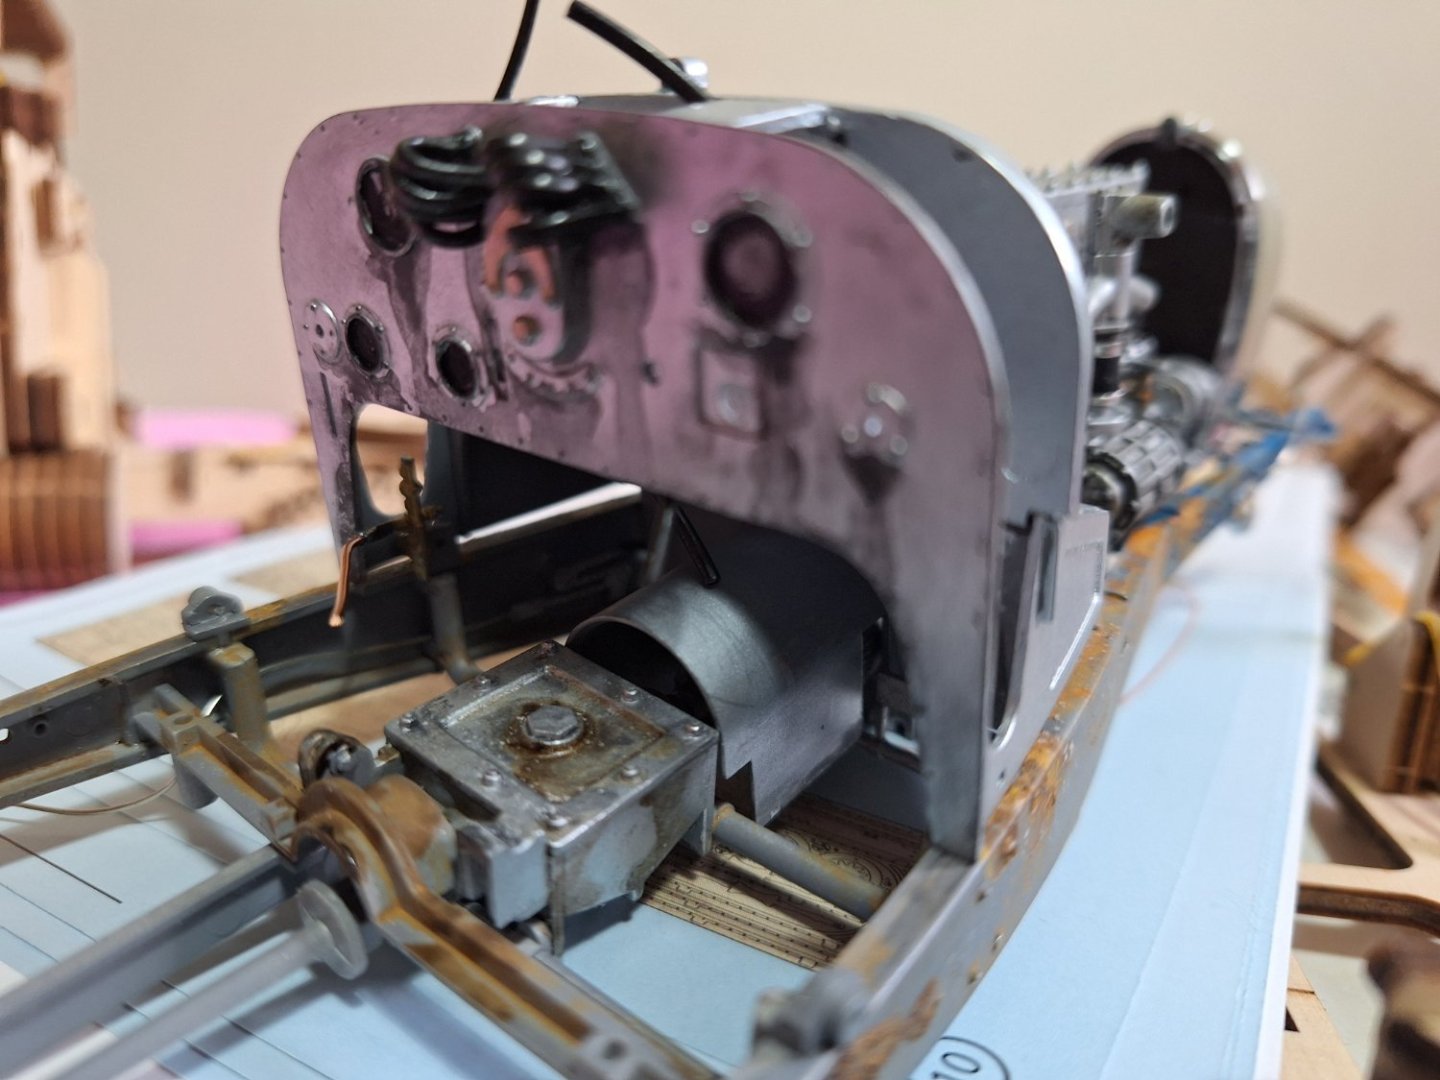
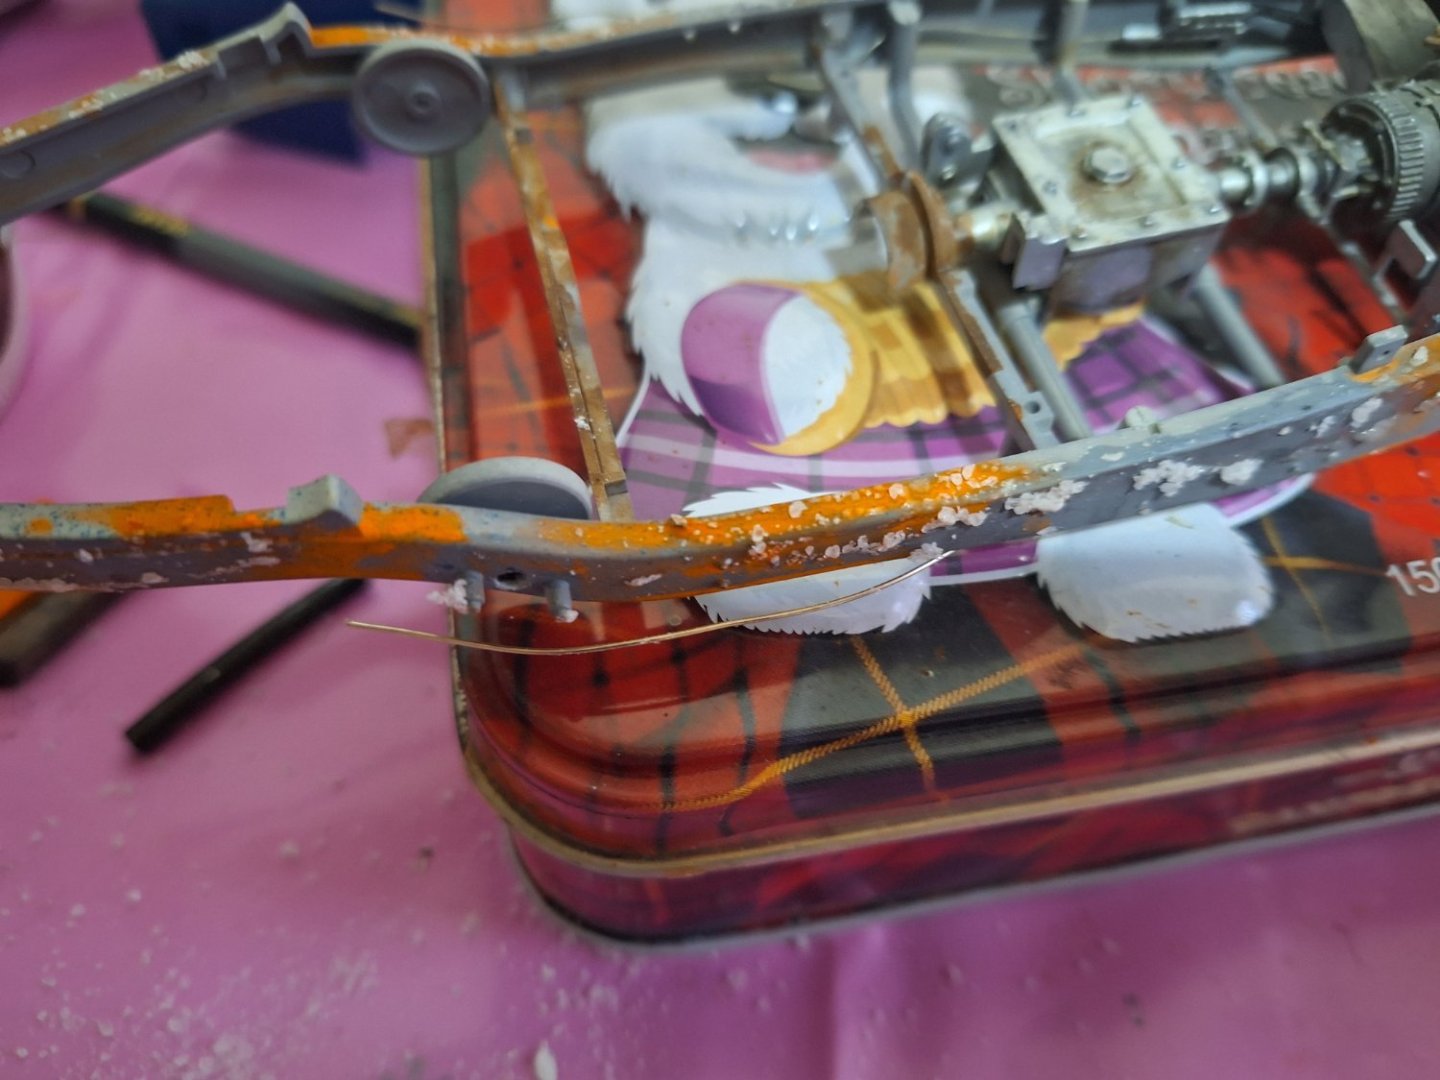
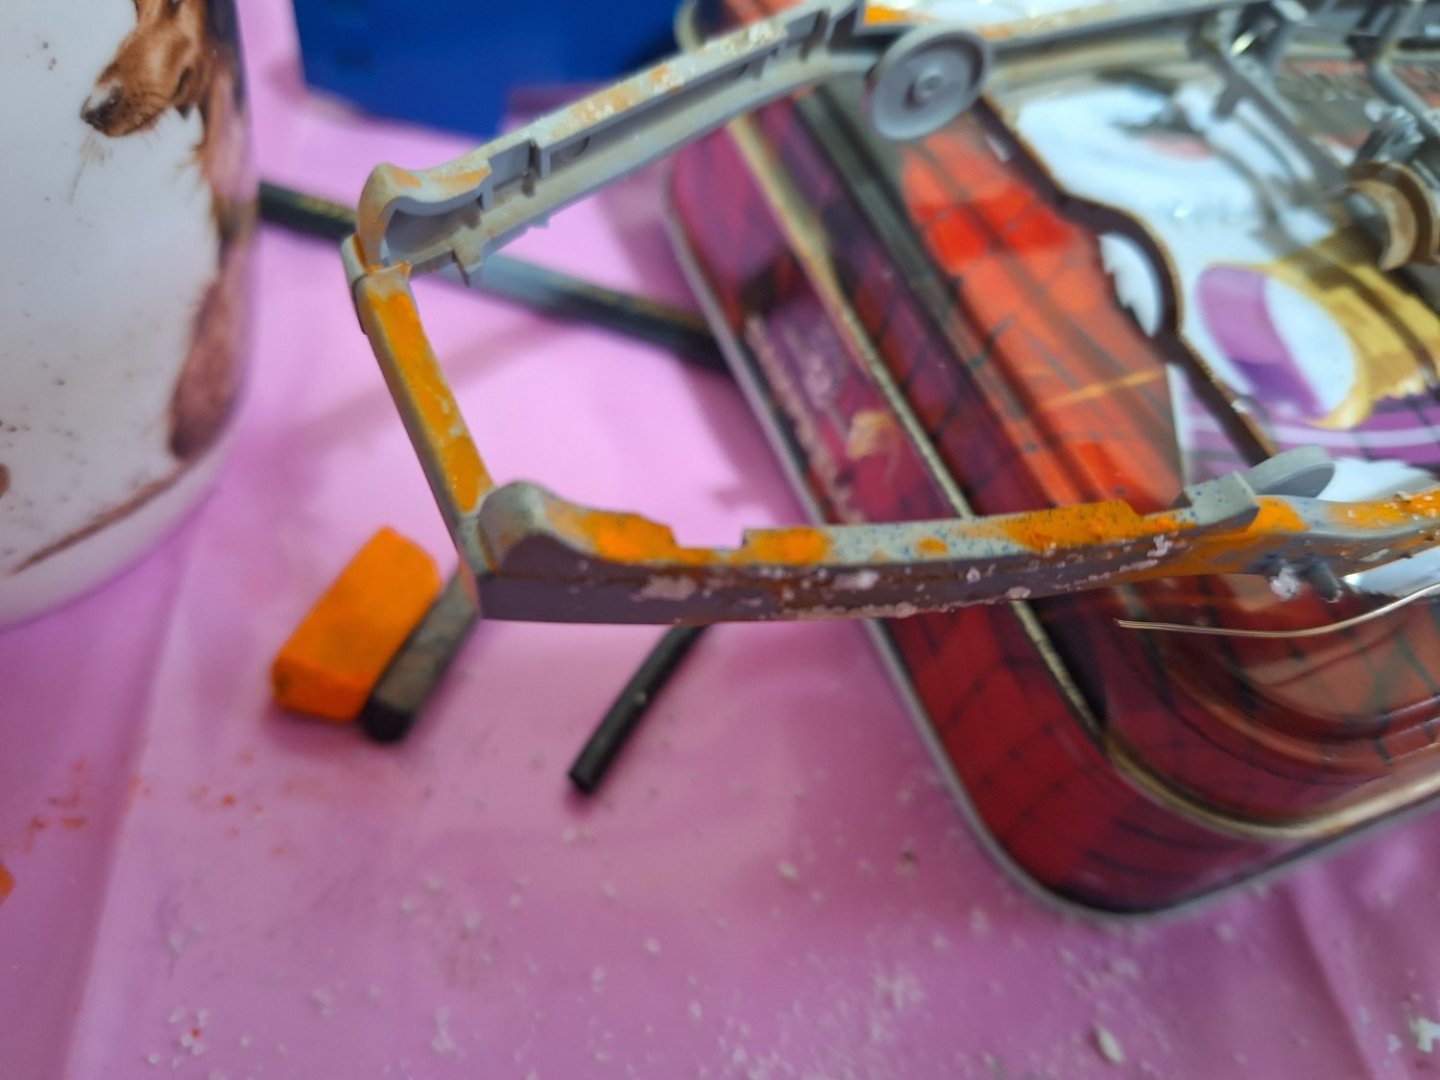
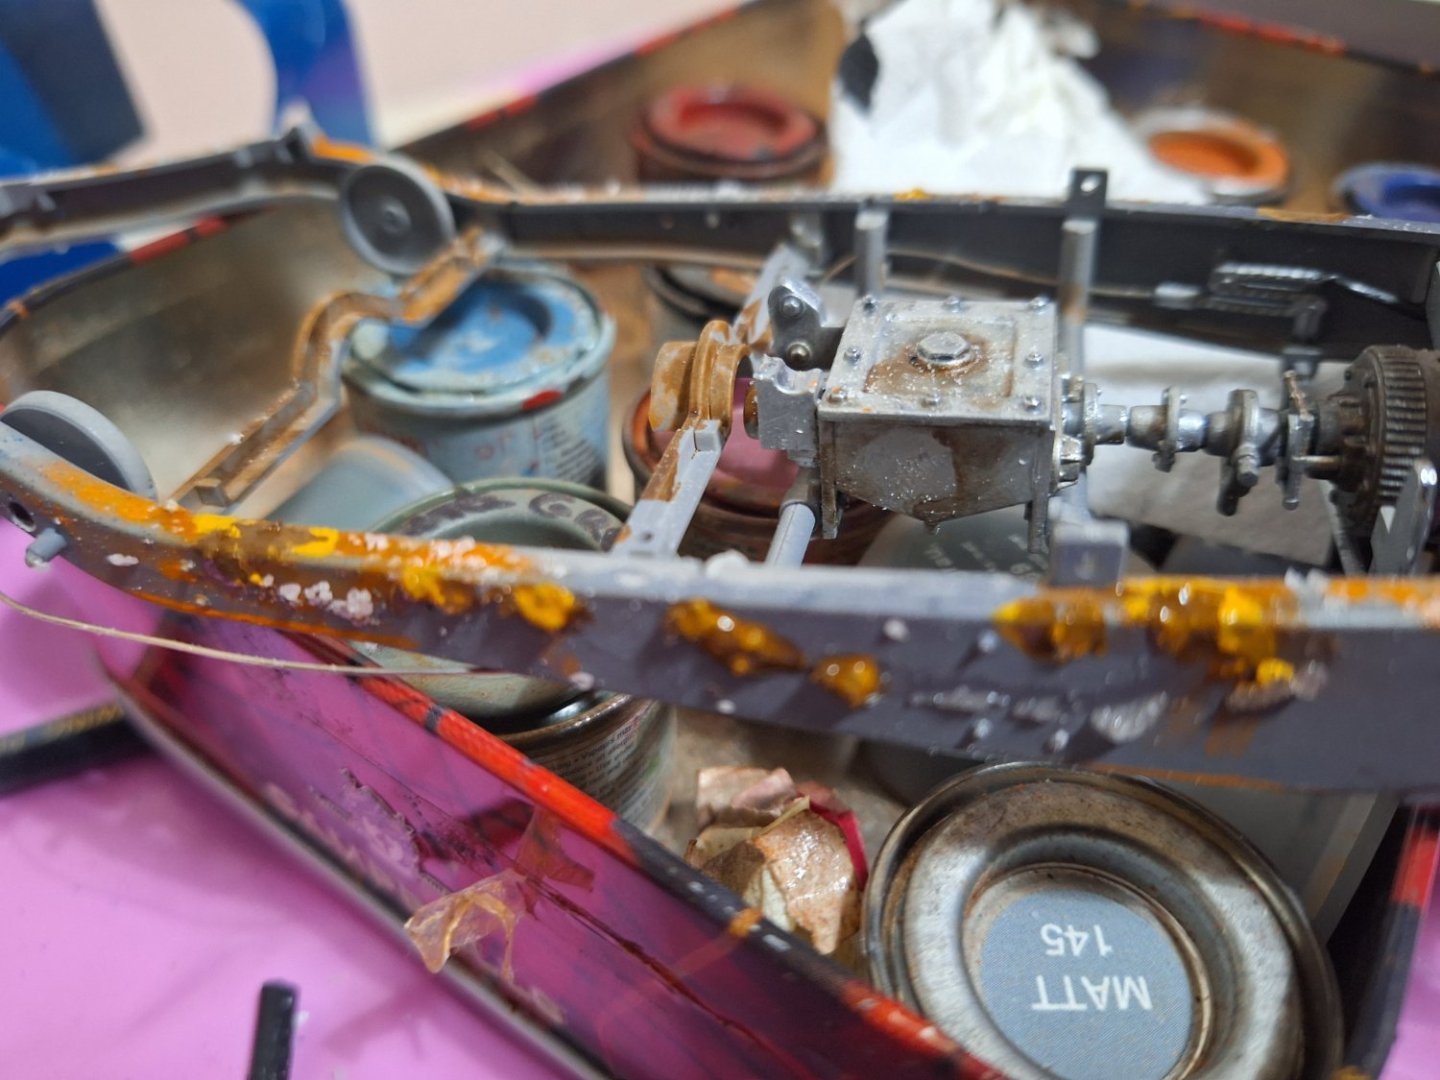
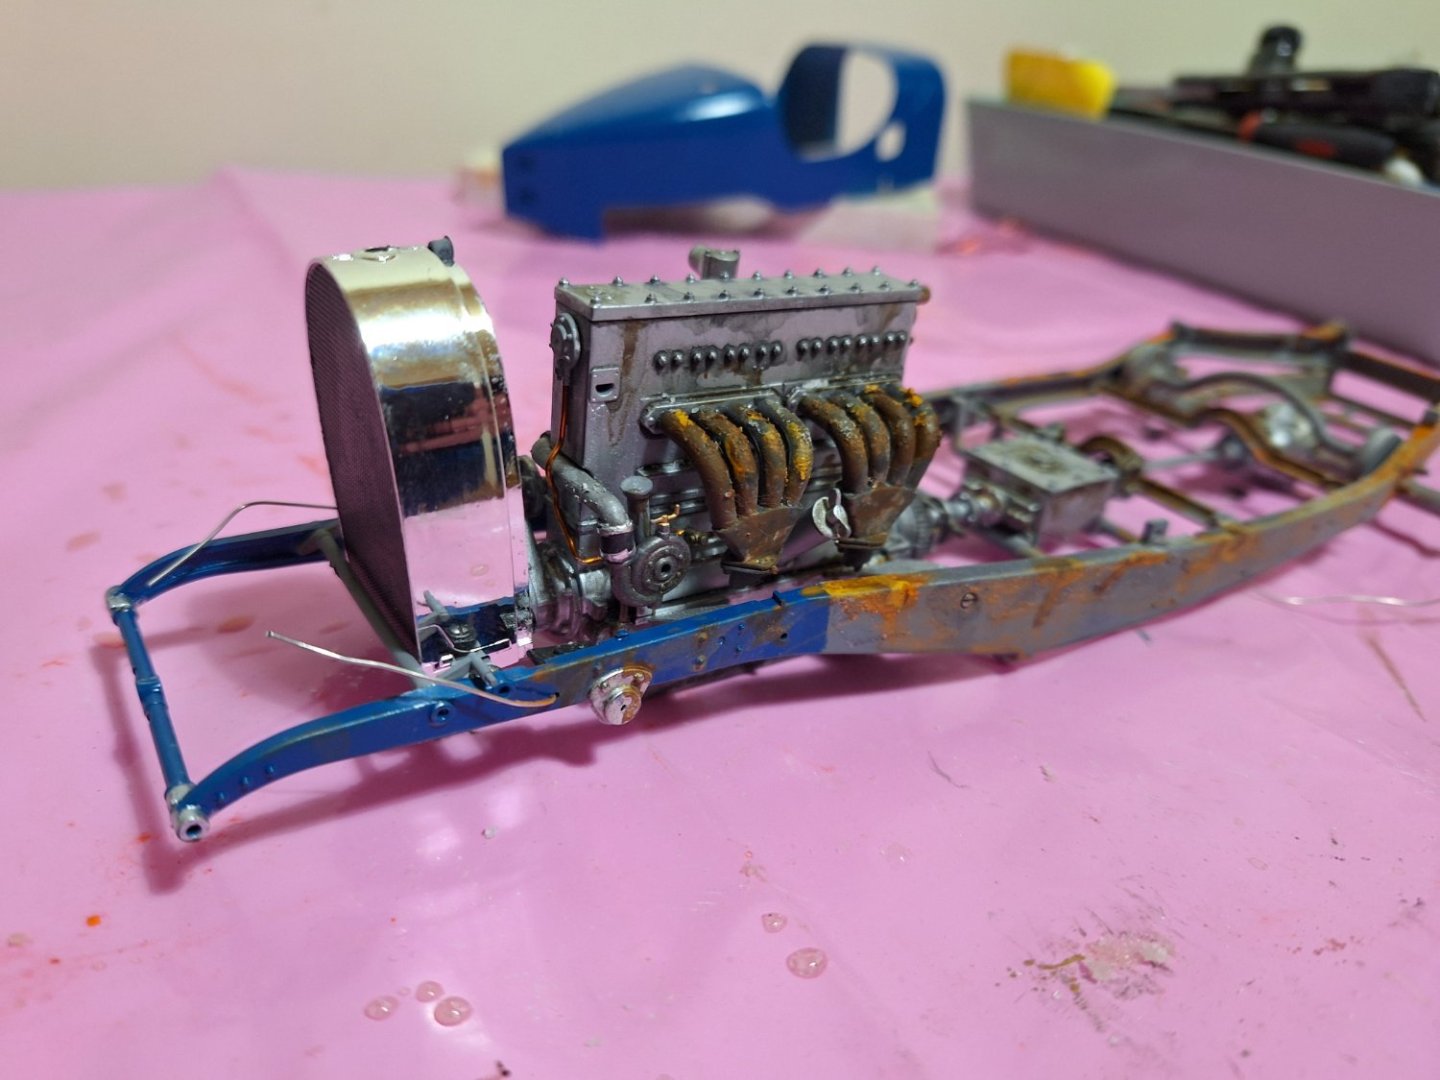
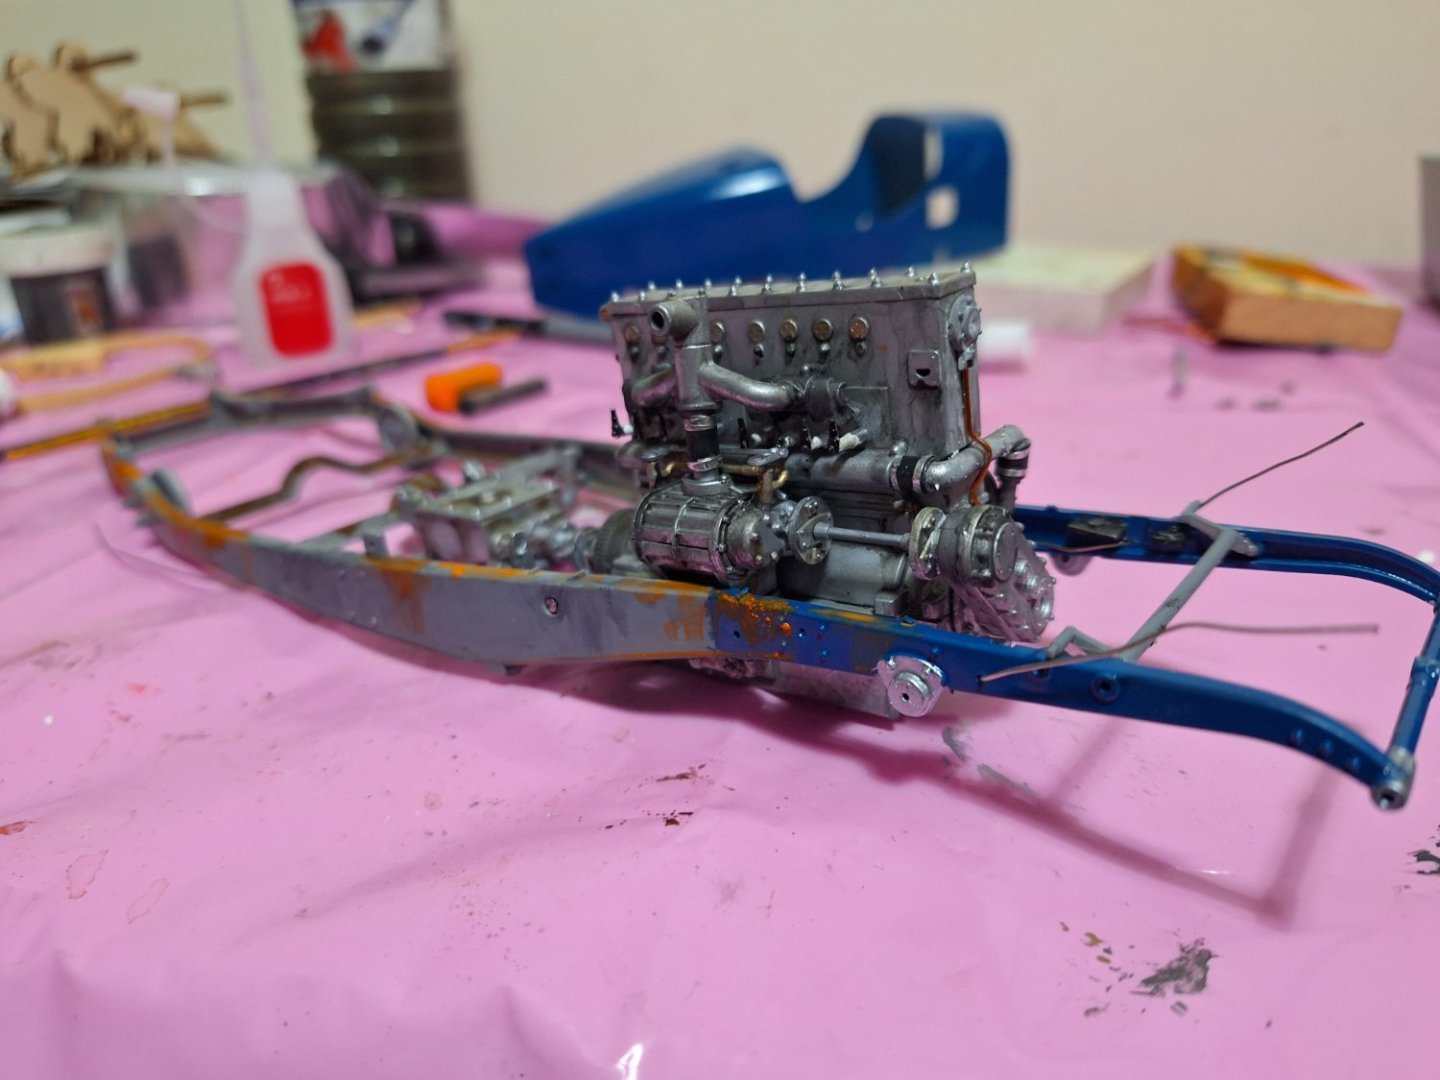
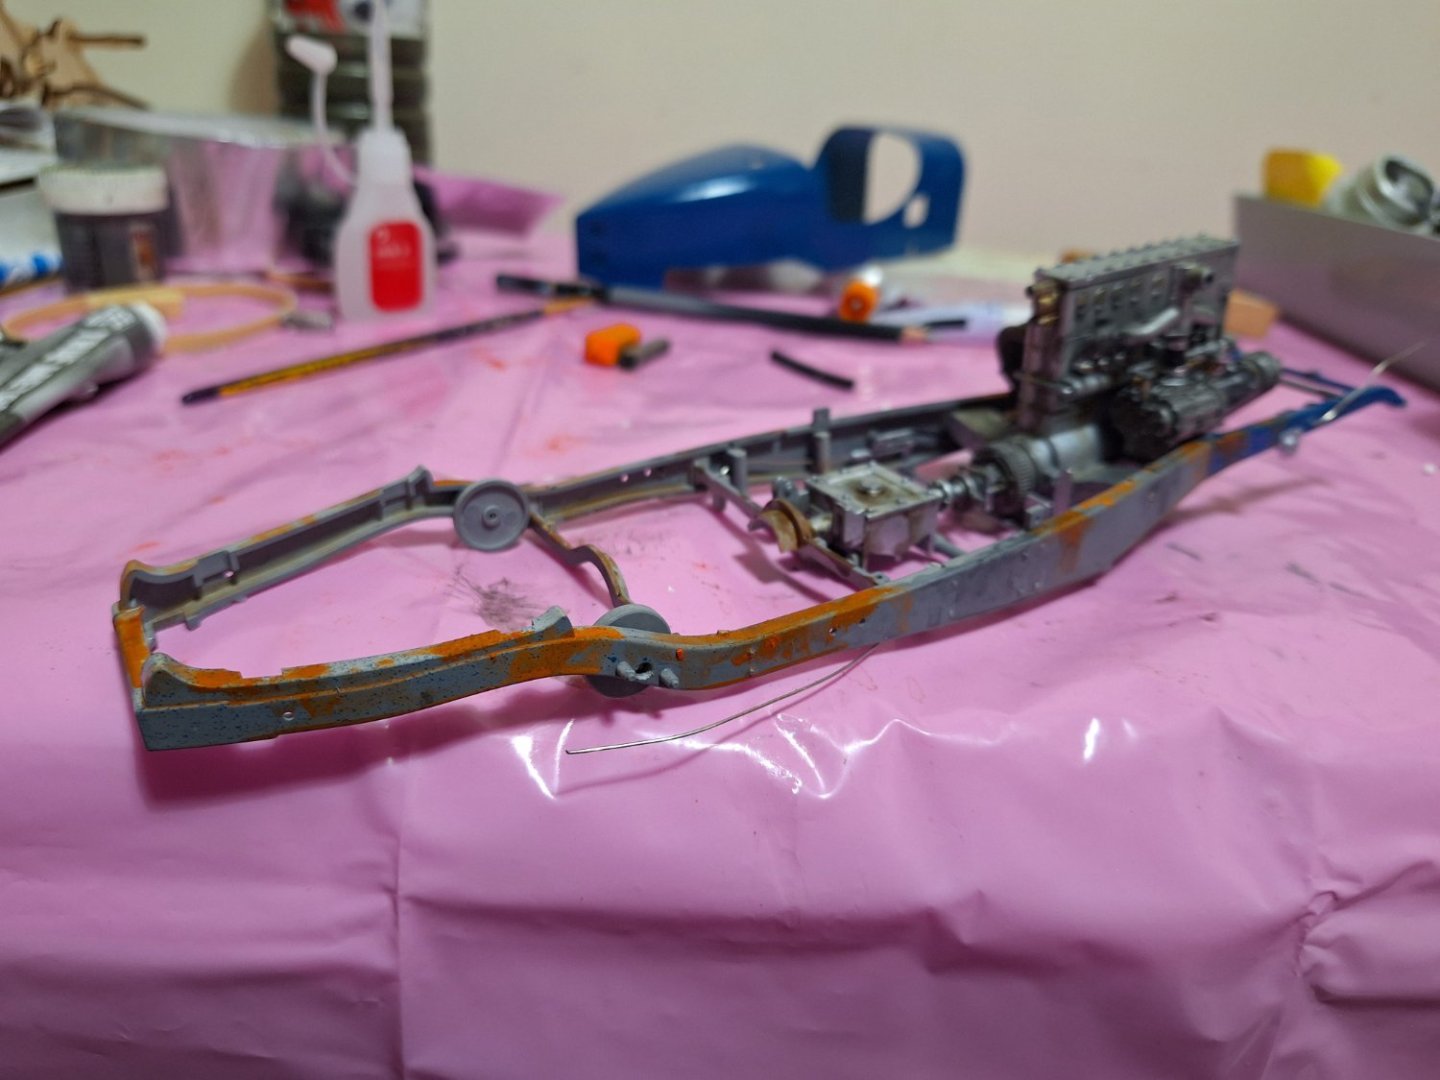
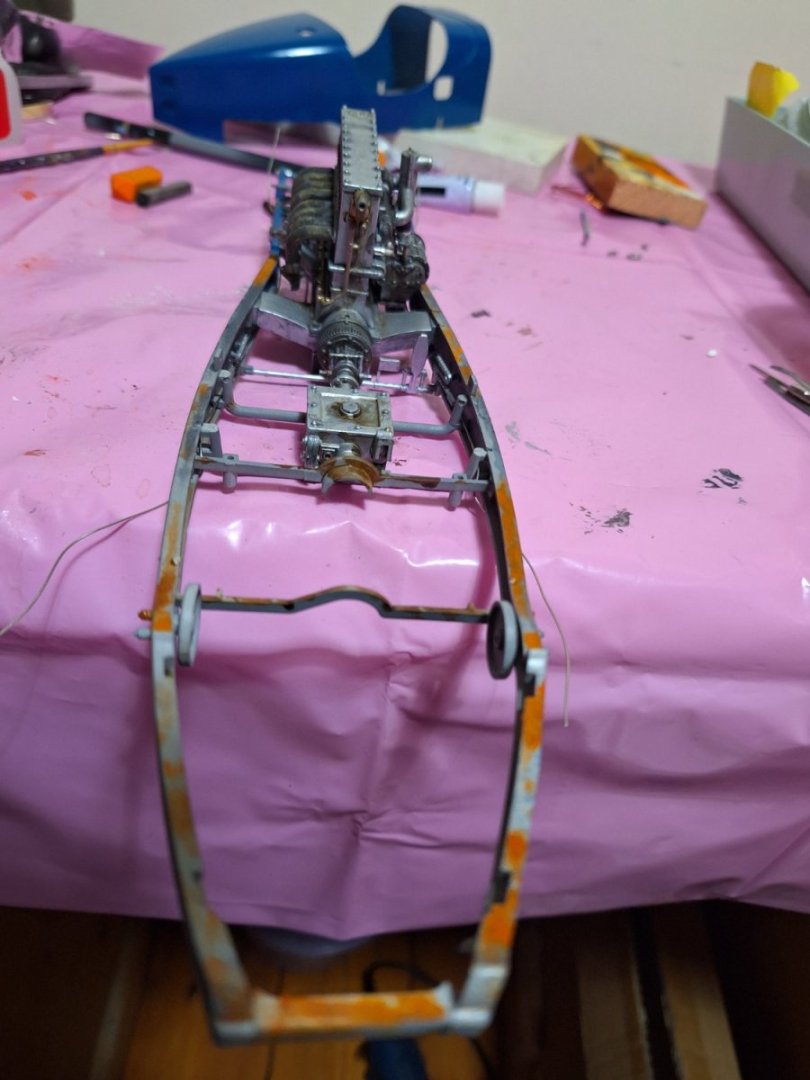
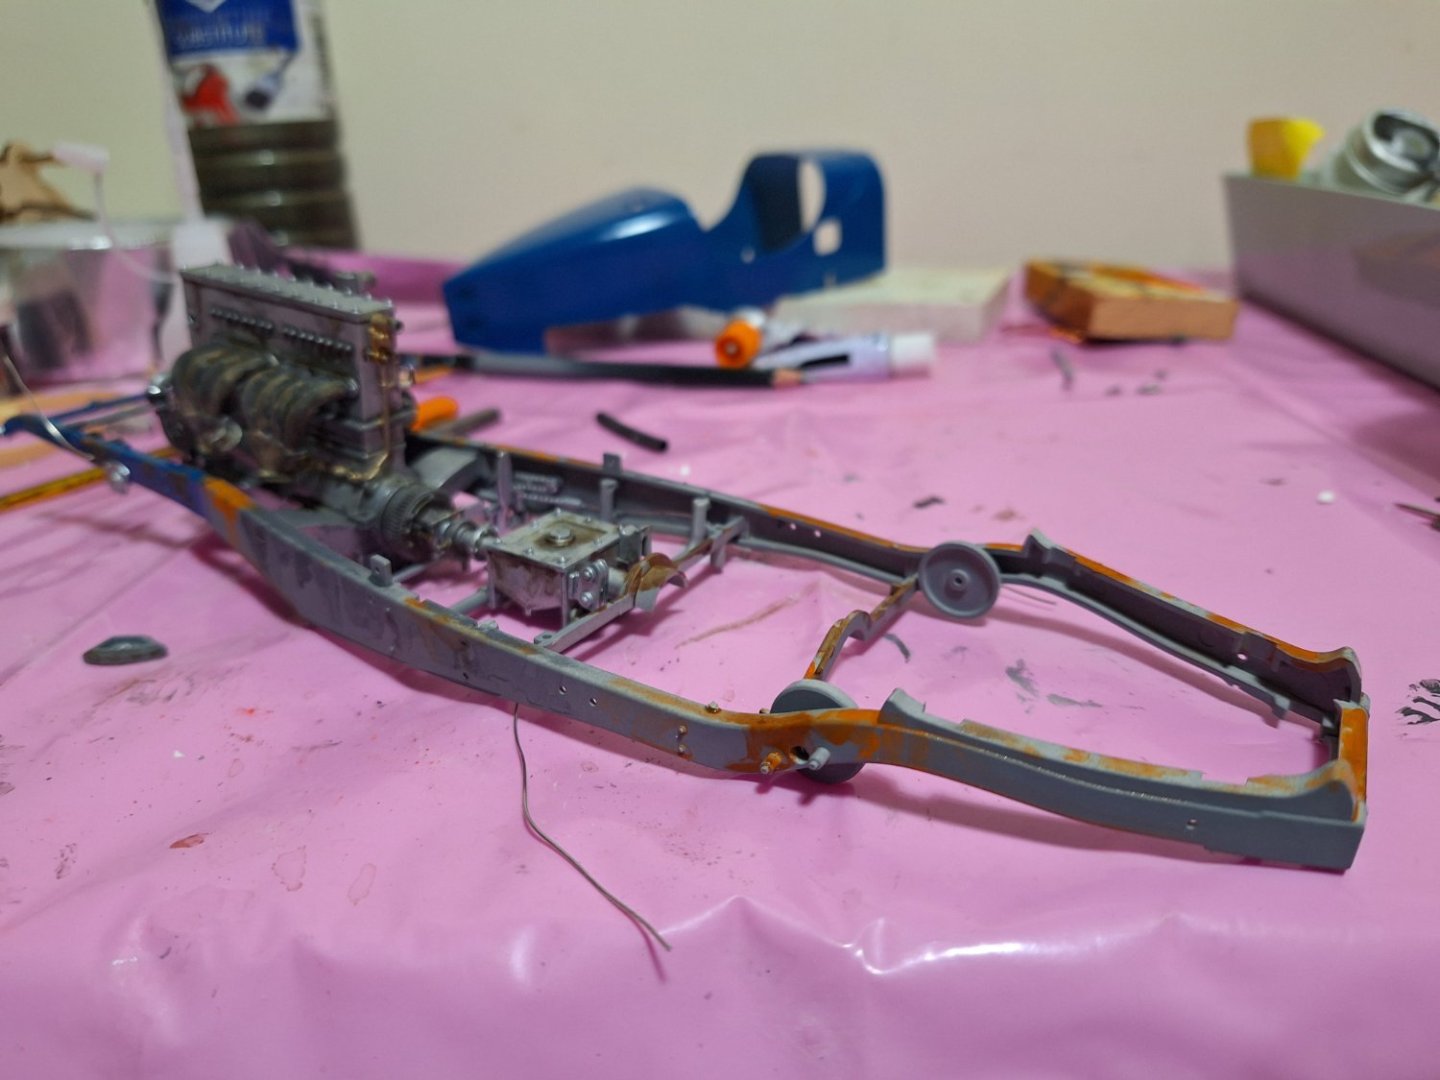
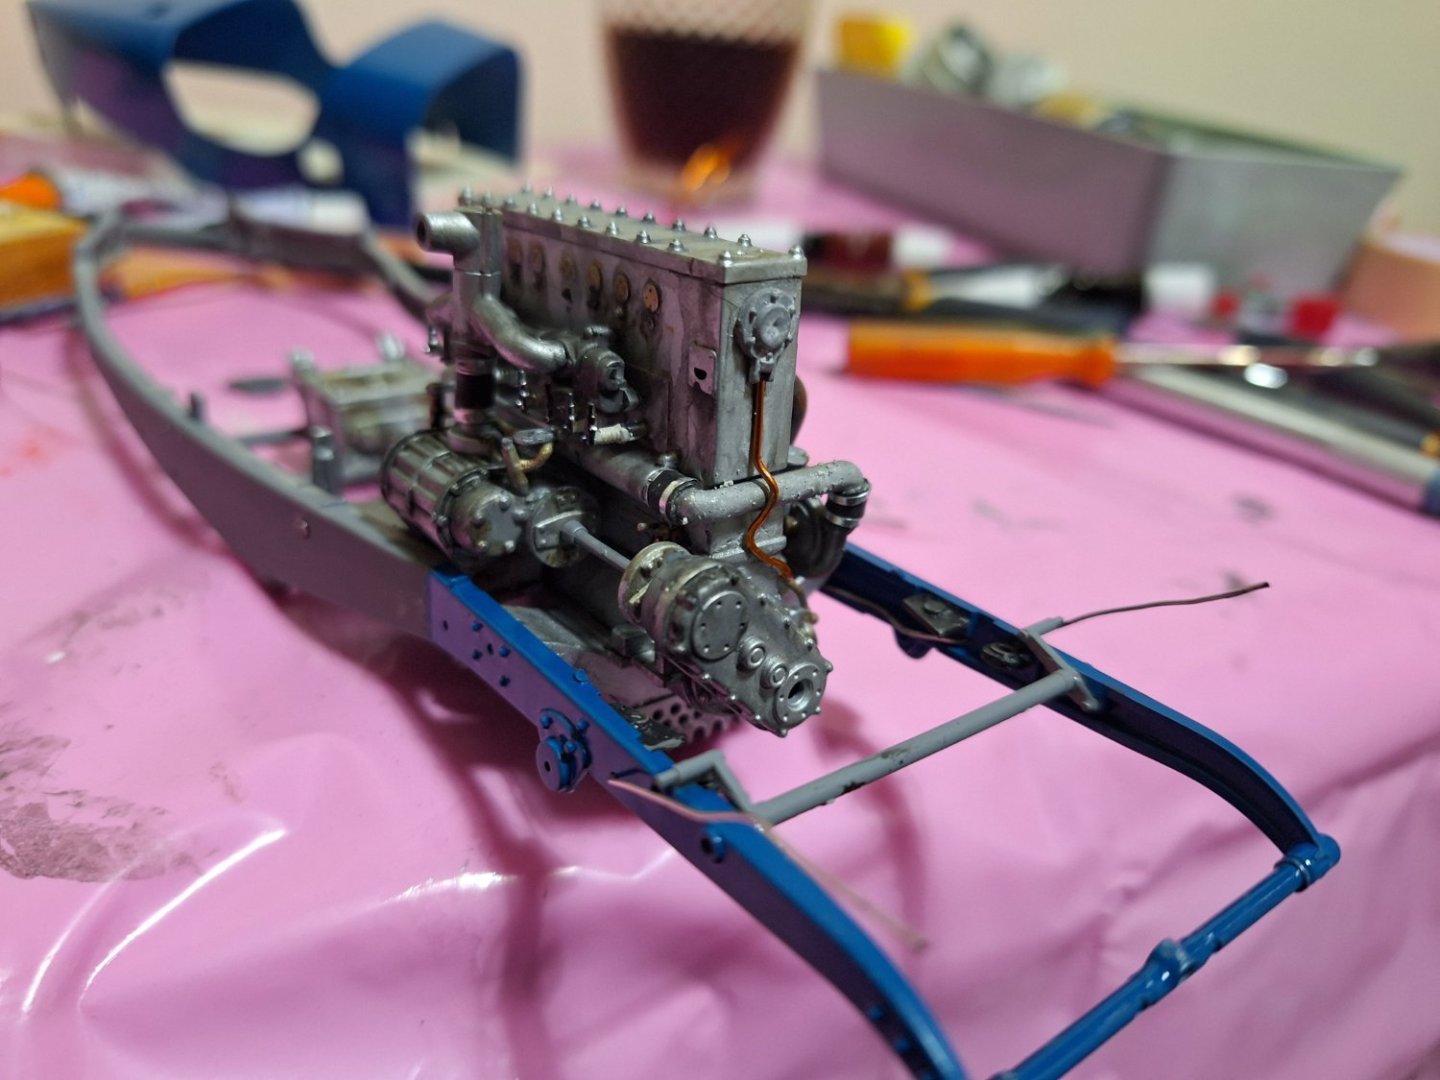
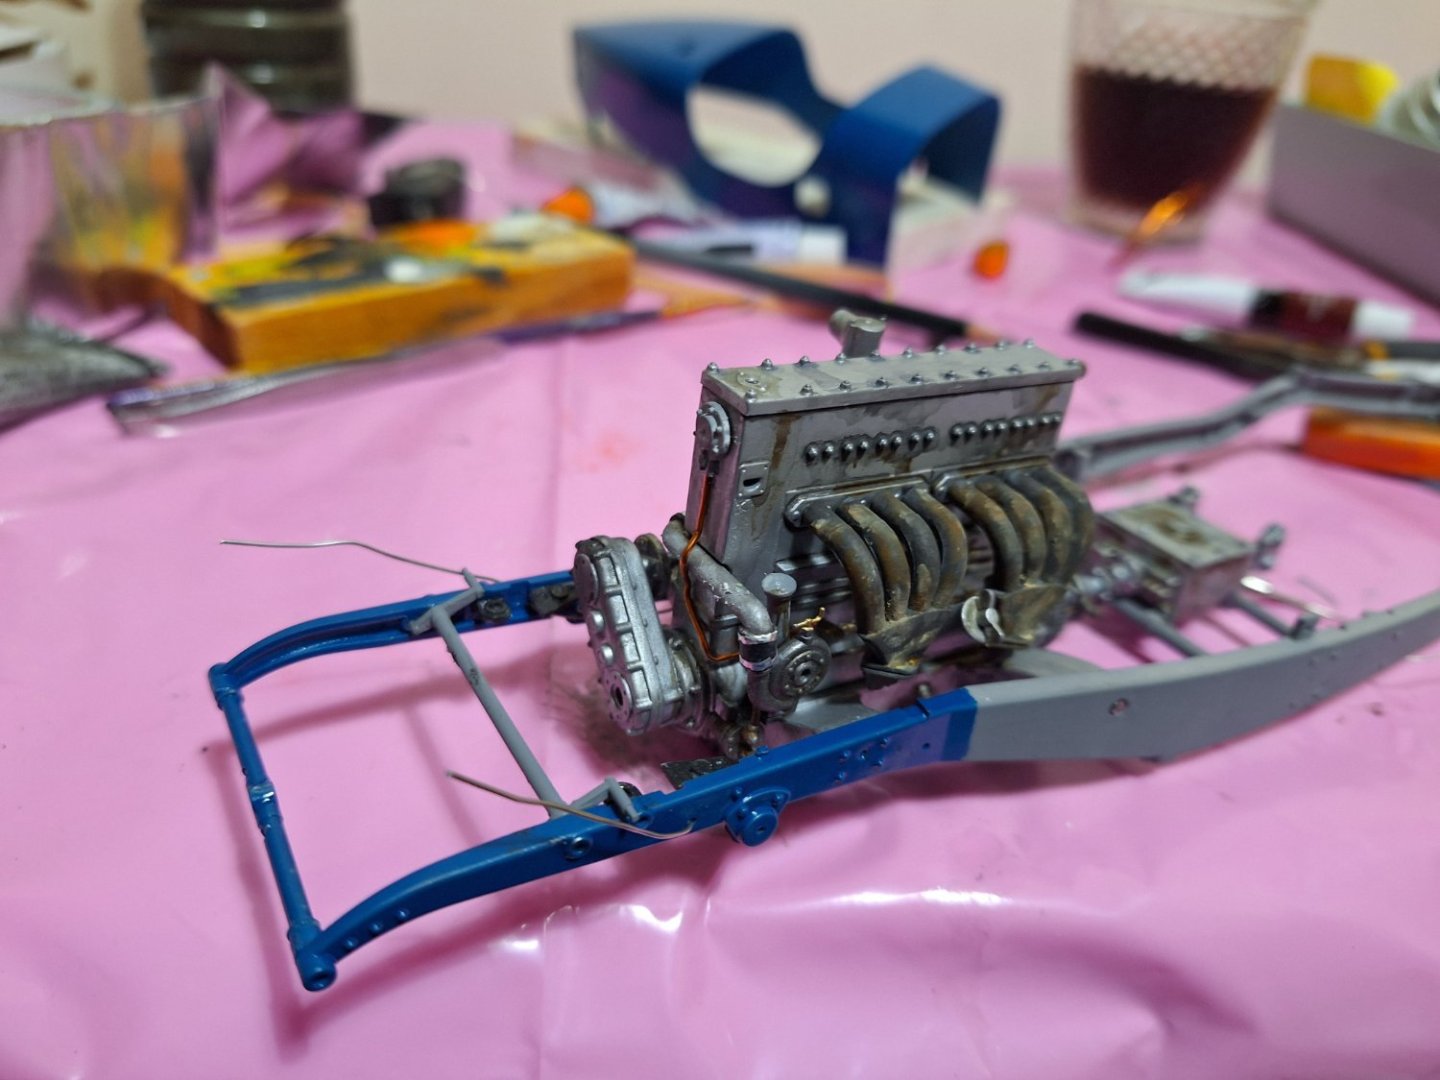
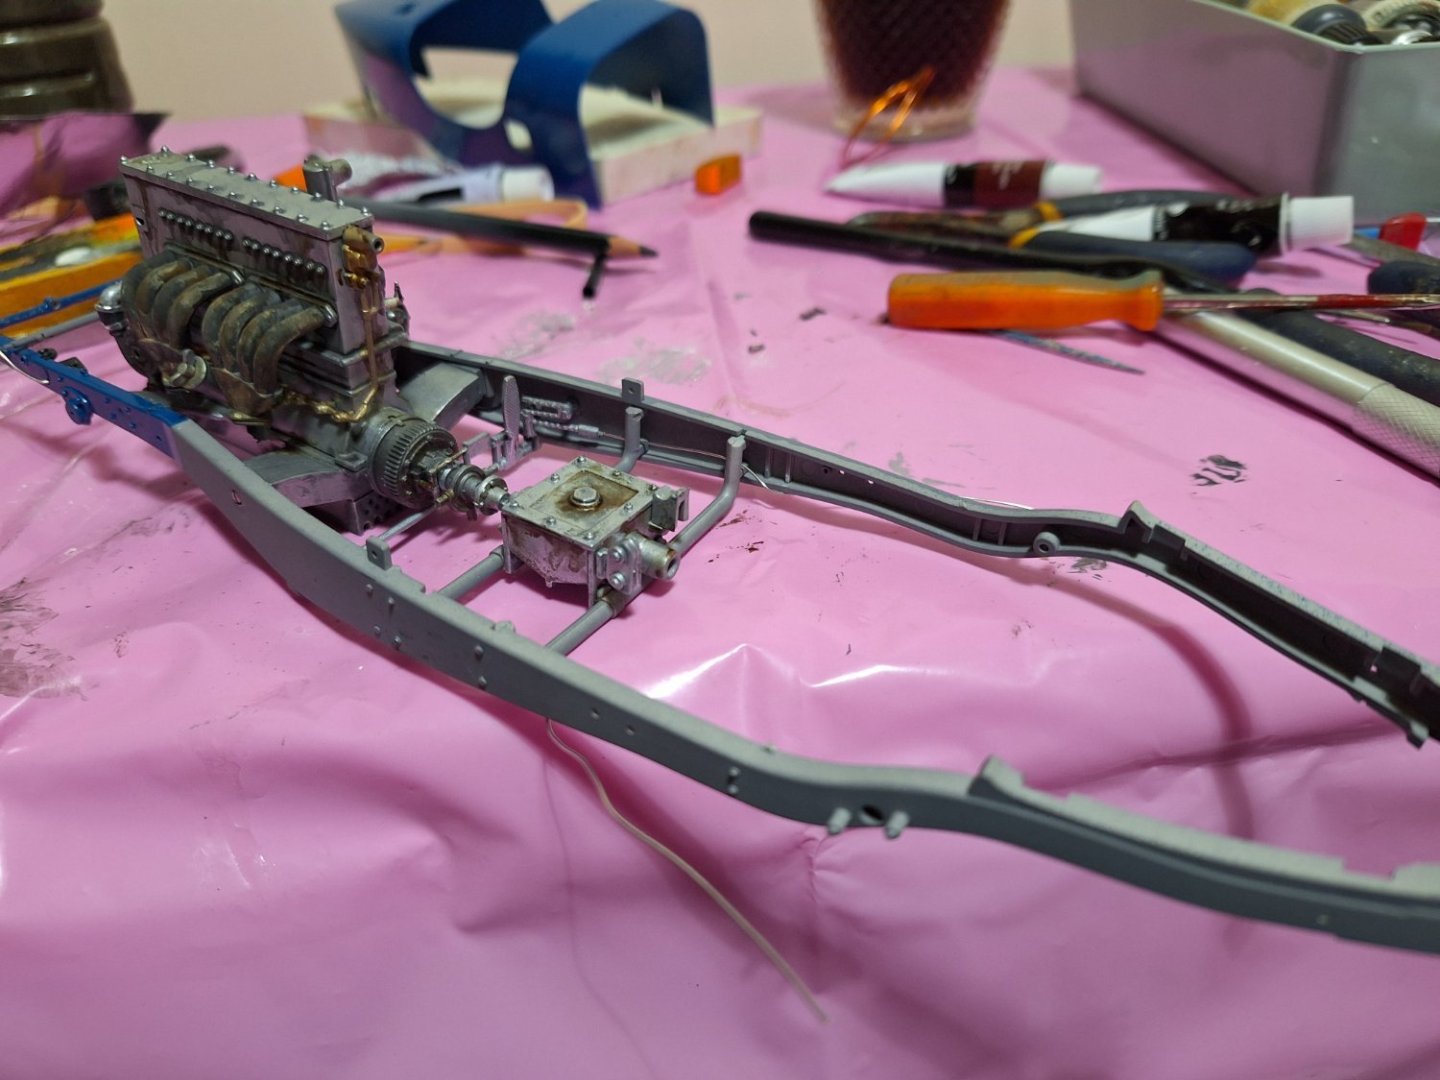
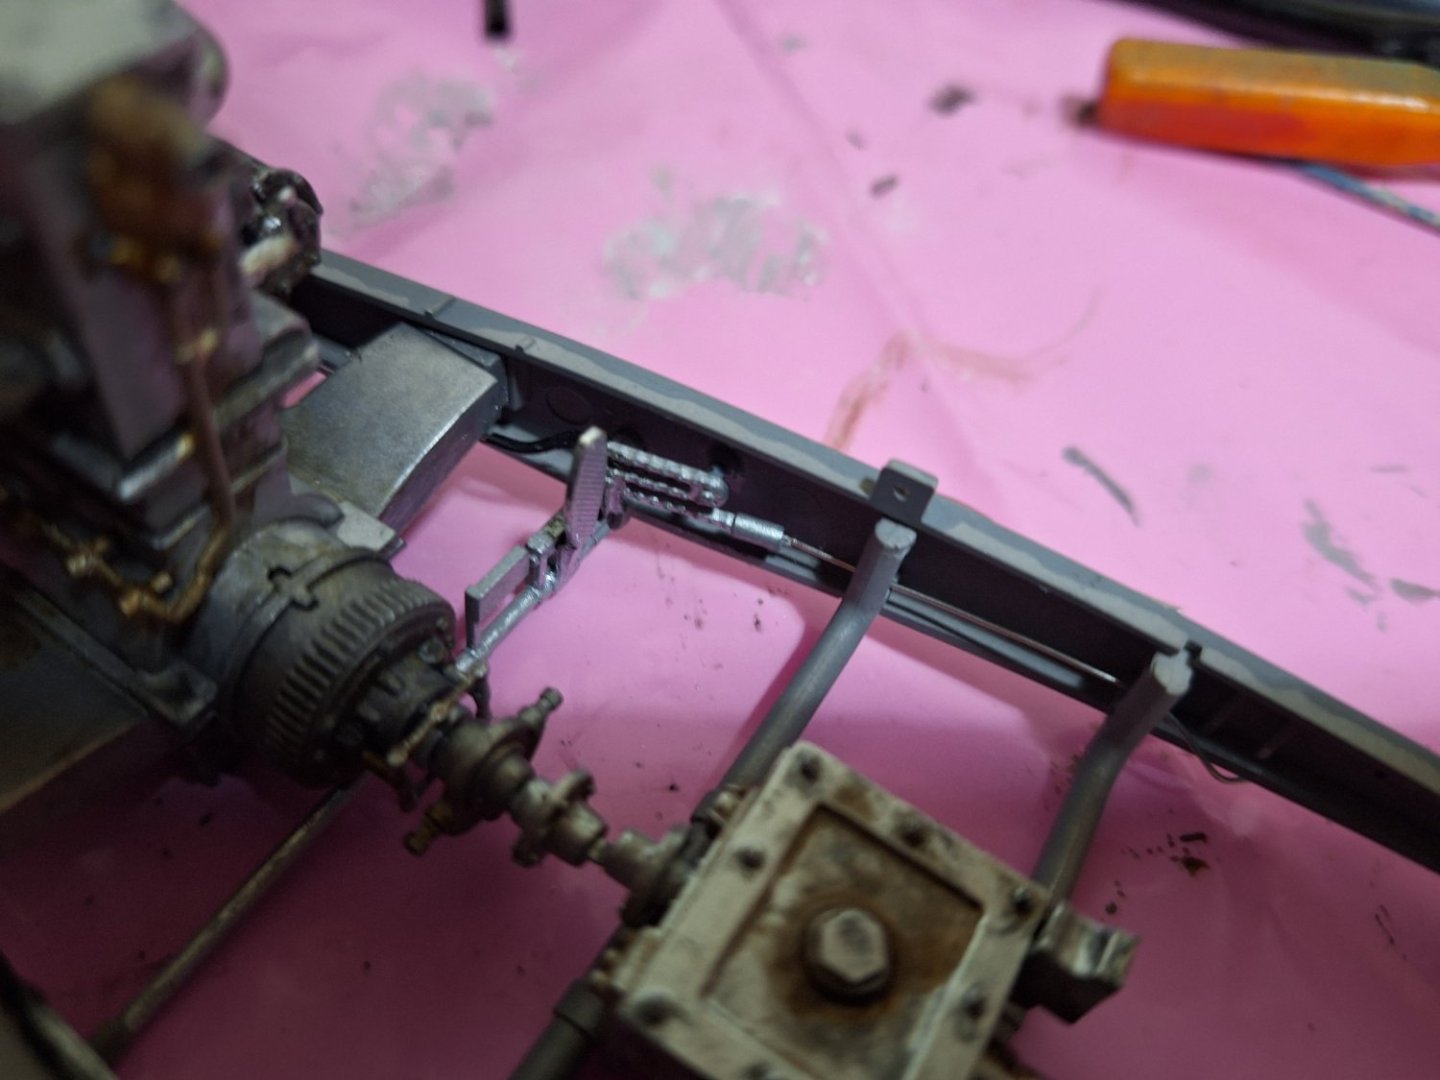
Started dirtying up the chassis, got so many ideas about staging this wreck, I really want to show the chassis and engine separate from the bodywork, thinking in a barn with body parts piled up somewhere, so many ideas. -

Bugatti Type 35b by kpnuts - Italeri - 1/12
kpnuts replied to kpnuts's topic in Non-ship/categorised builds
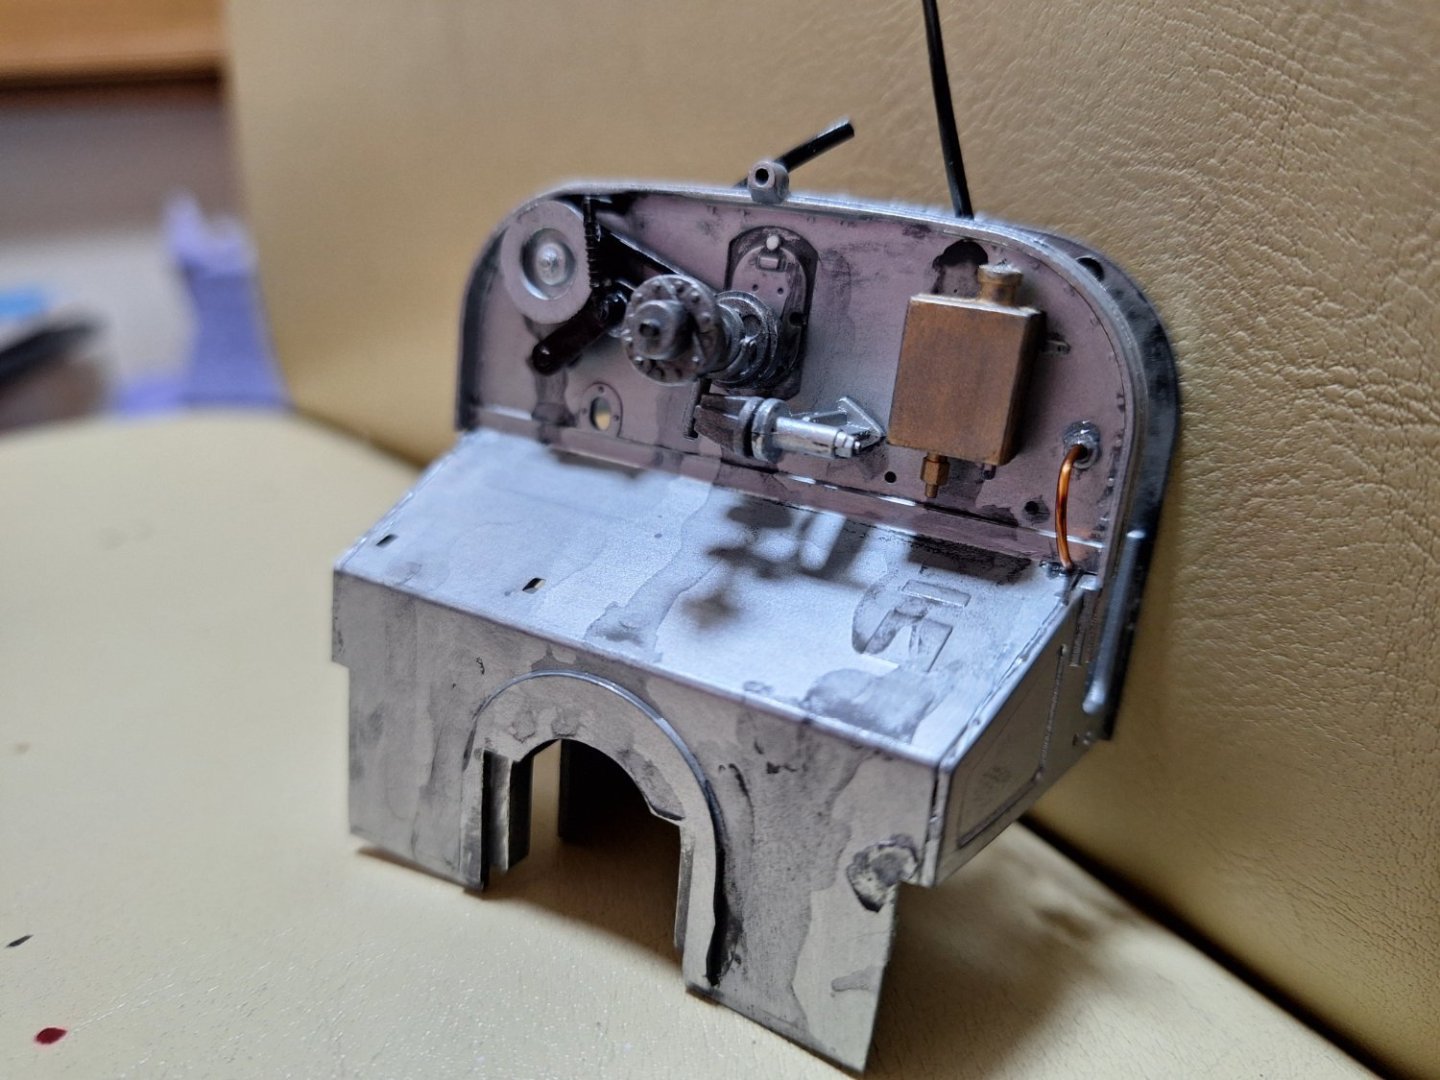
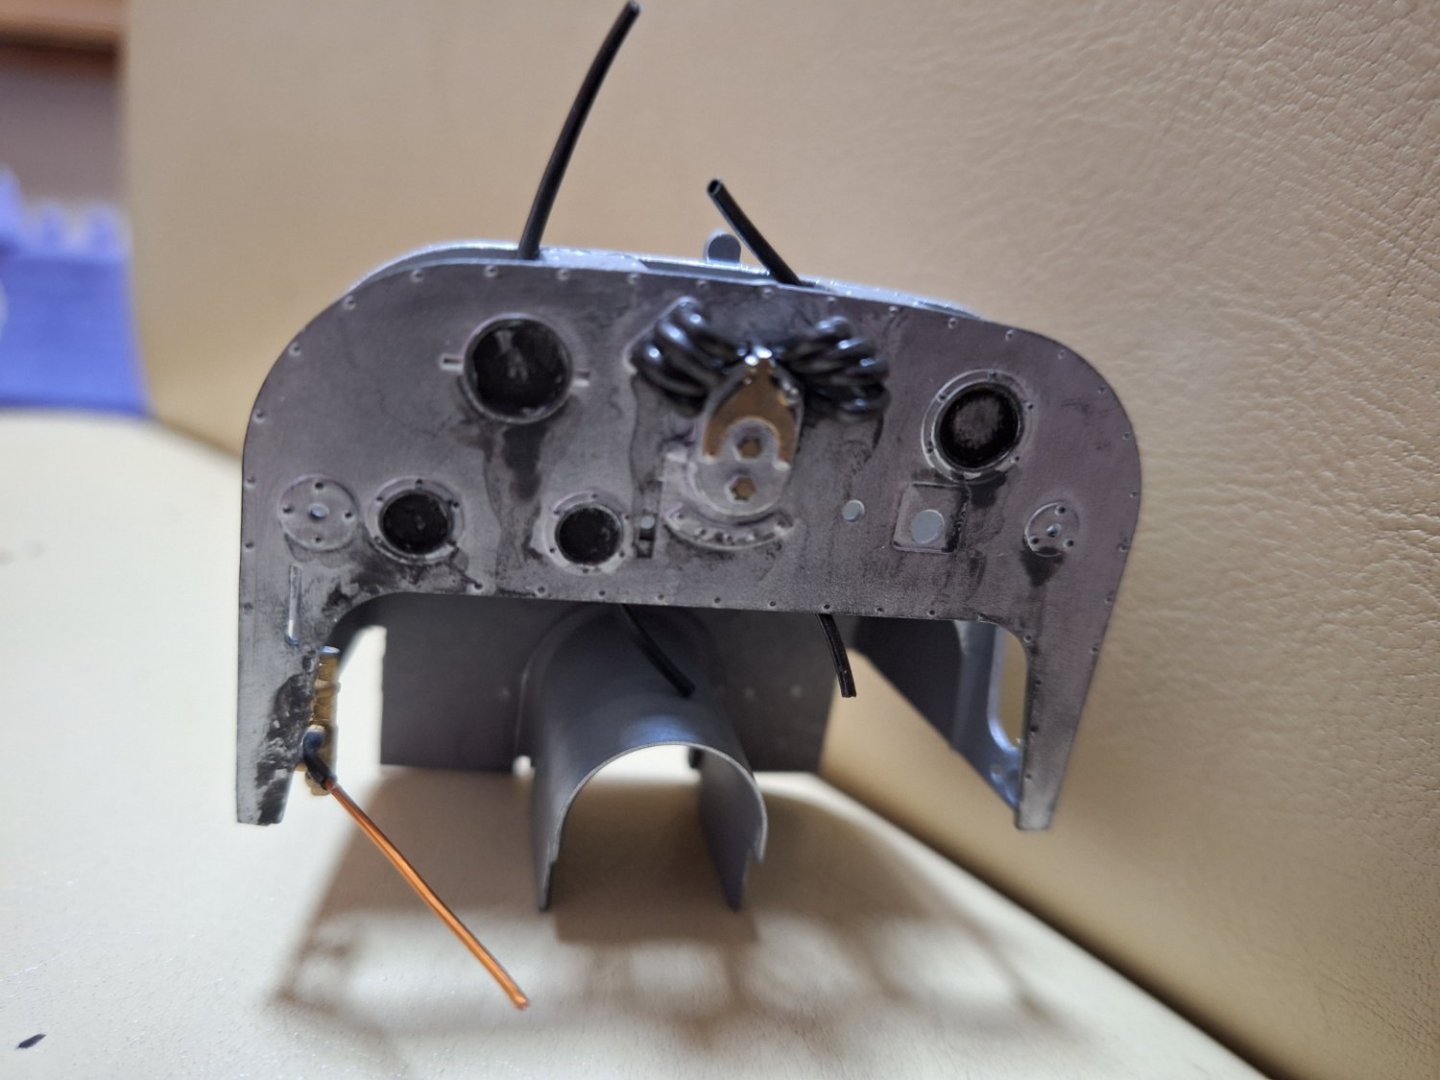
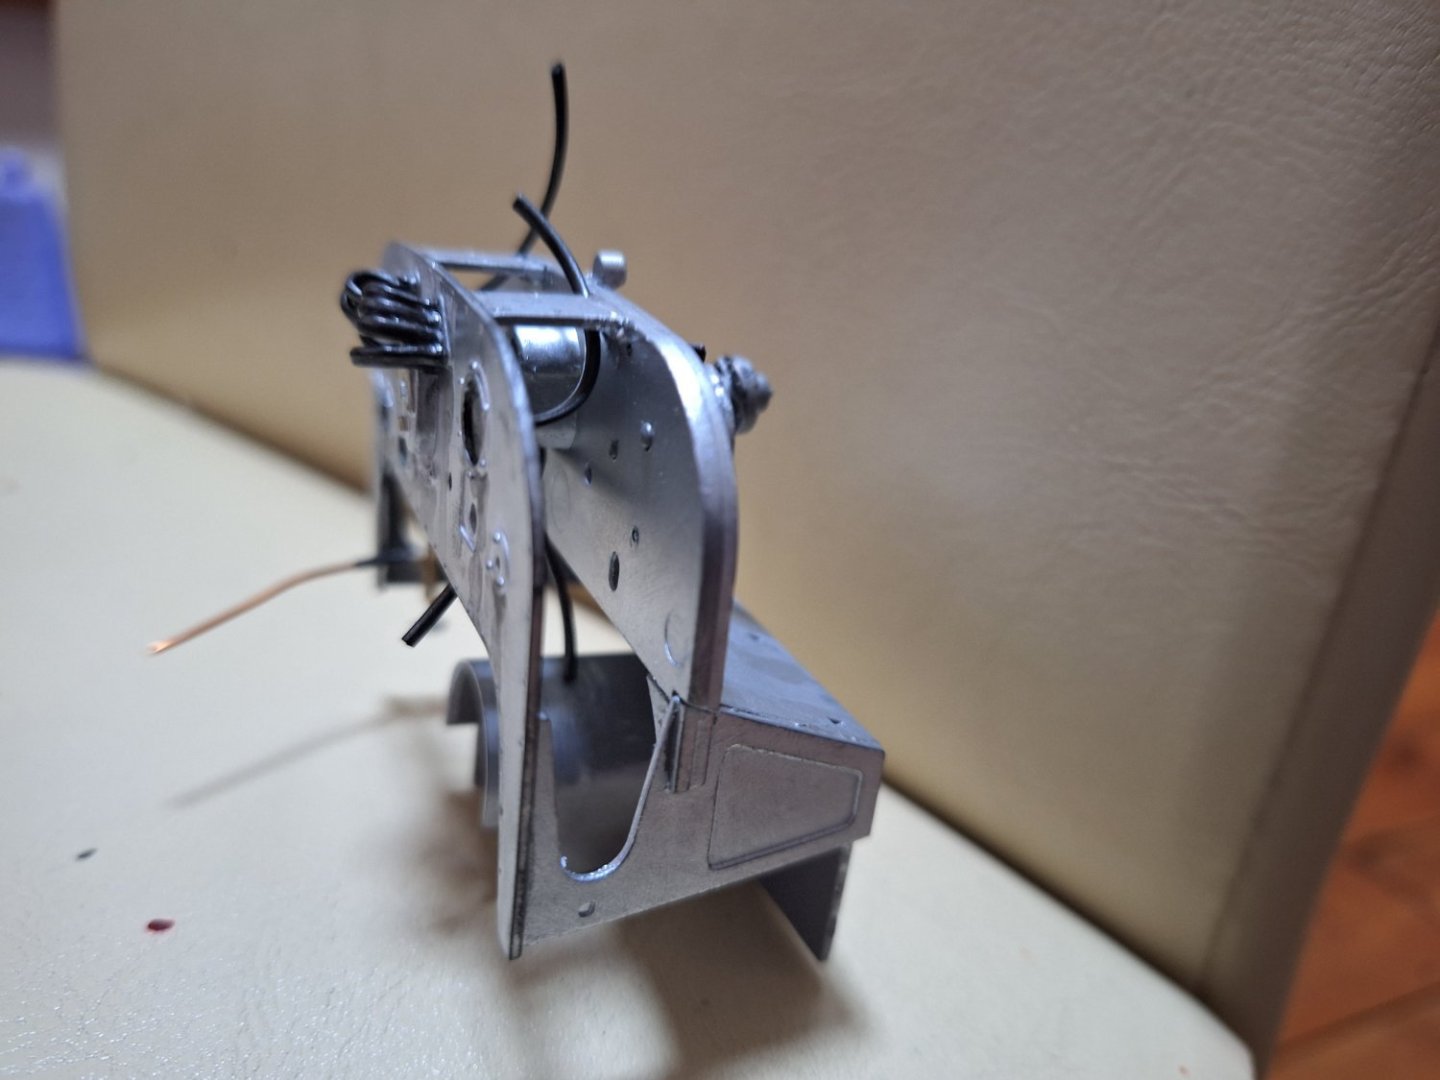
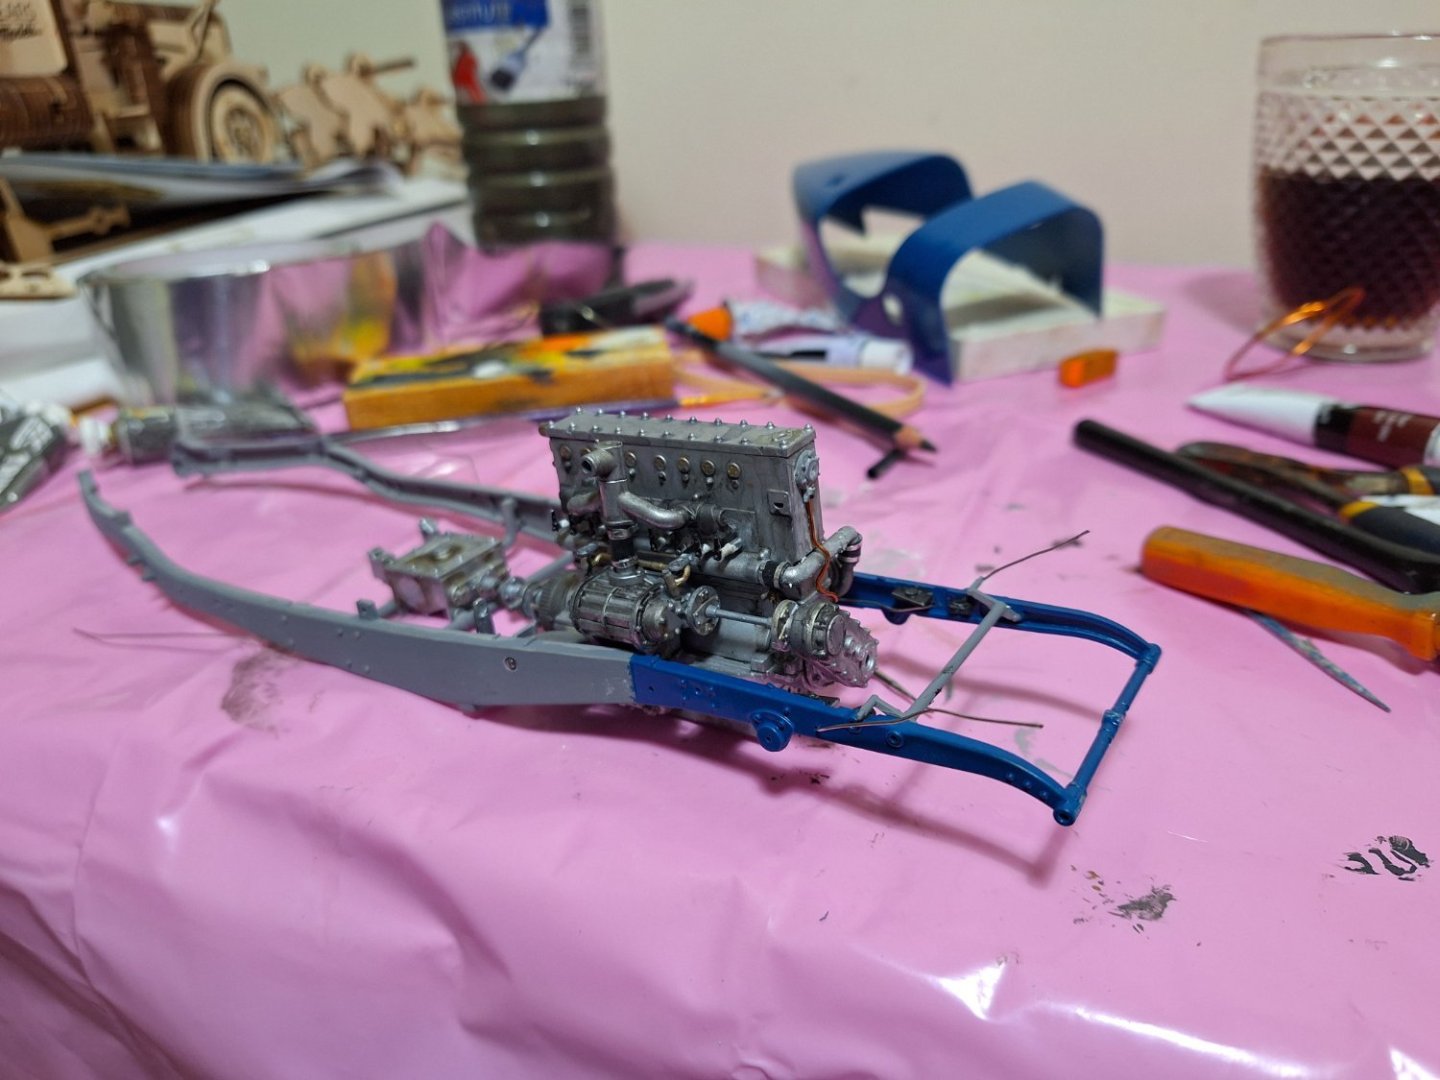
So I'm getting less and less impressed with this kit, the instructions would have you in stages 1 and 2 glue parts 32c and 33c in then in stage 8 would have you attach the silver wire with the vinyl tube the chain is very fragile and the tube is a very tight fit, thus its an impossible task (at least without risking breaking the chain, also you have to add the silver wire to a slot in the back of parts 32c and33c which is on the inside and so can't be seen. I had to carefully remove the parts to attatch the wires then glue the parts back in with the wires already attached. They would have been better saying to attach the wires at stage 1 before you glue the parts in place, doing that would not interfere with any assy after that and would make life so much easier.
About us
Modelshipworld - Advancing Ship Modeling through Research
SSL Secured
Your security is important for us so this Website is SSL-Secured
NRG Mailing Address
Nautical Research Guild
237 South Lincoln Street
Westmont IL, 60559-1917
Model Ship World ® and the MSW logo are Registered Trademarks, and belong to the Nautical Research Guild (United States Patent and Trademark Office: No. 6,929,264 & No. 6,929,274, registered Dec. 20, 2022)
Helpful Links
About the NRG
If you enjoy building ship models that are historically accurate as well as beautiful, then The Nautical Research Guild (NRG) is just right for you.
The Guild is a non-profit educational organization whose mission is to “Advance Ship Modeling Through Research”. We provide support to our members in their efforts to raise the quality of their model ships.
The Nautical Research Guild has published our world-renowned quarterly magazine, The Nautical Research Journal, since 1955. The pages of the Journal are full of articles by accomplished ship modelers who show you how they create those exquisite details on their models, and by maritime historians who show you the correct details to build. The Journal is available in both print and digital editions. Go to the NRG web site (www.thenrg.org) to download a complimentary digital copy of the Journal. The NRG also publishes plan sets, books and compilations of back issues of the Journal and the former Ships in Scale and Model Ship Builder magazines.


