

drtrap
-
Posts
904 -
Joined
-
Last visited
Content Type
Profiles
Forums
Gallery
Events
Posts posted by drtrap
-
-
I don't know if I asked it before...
What kind of lighting and placement of it (top, bottom) dou you suggest for the case I'm preparing for?
Thank you
-
-
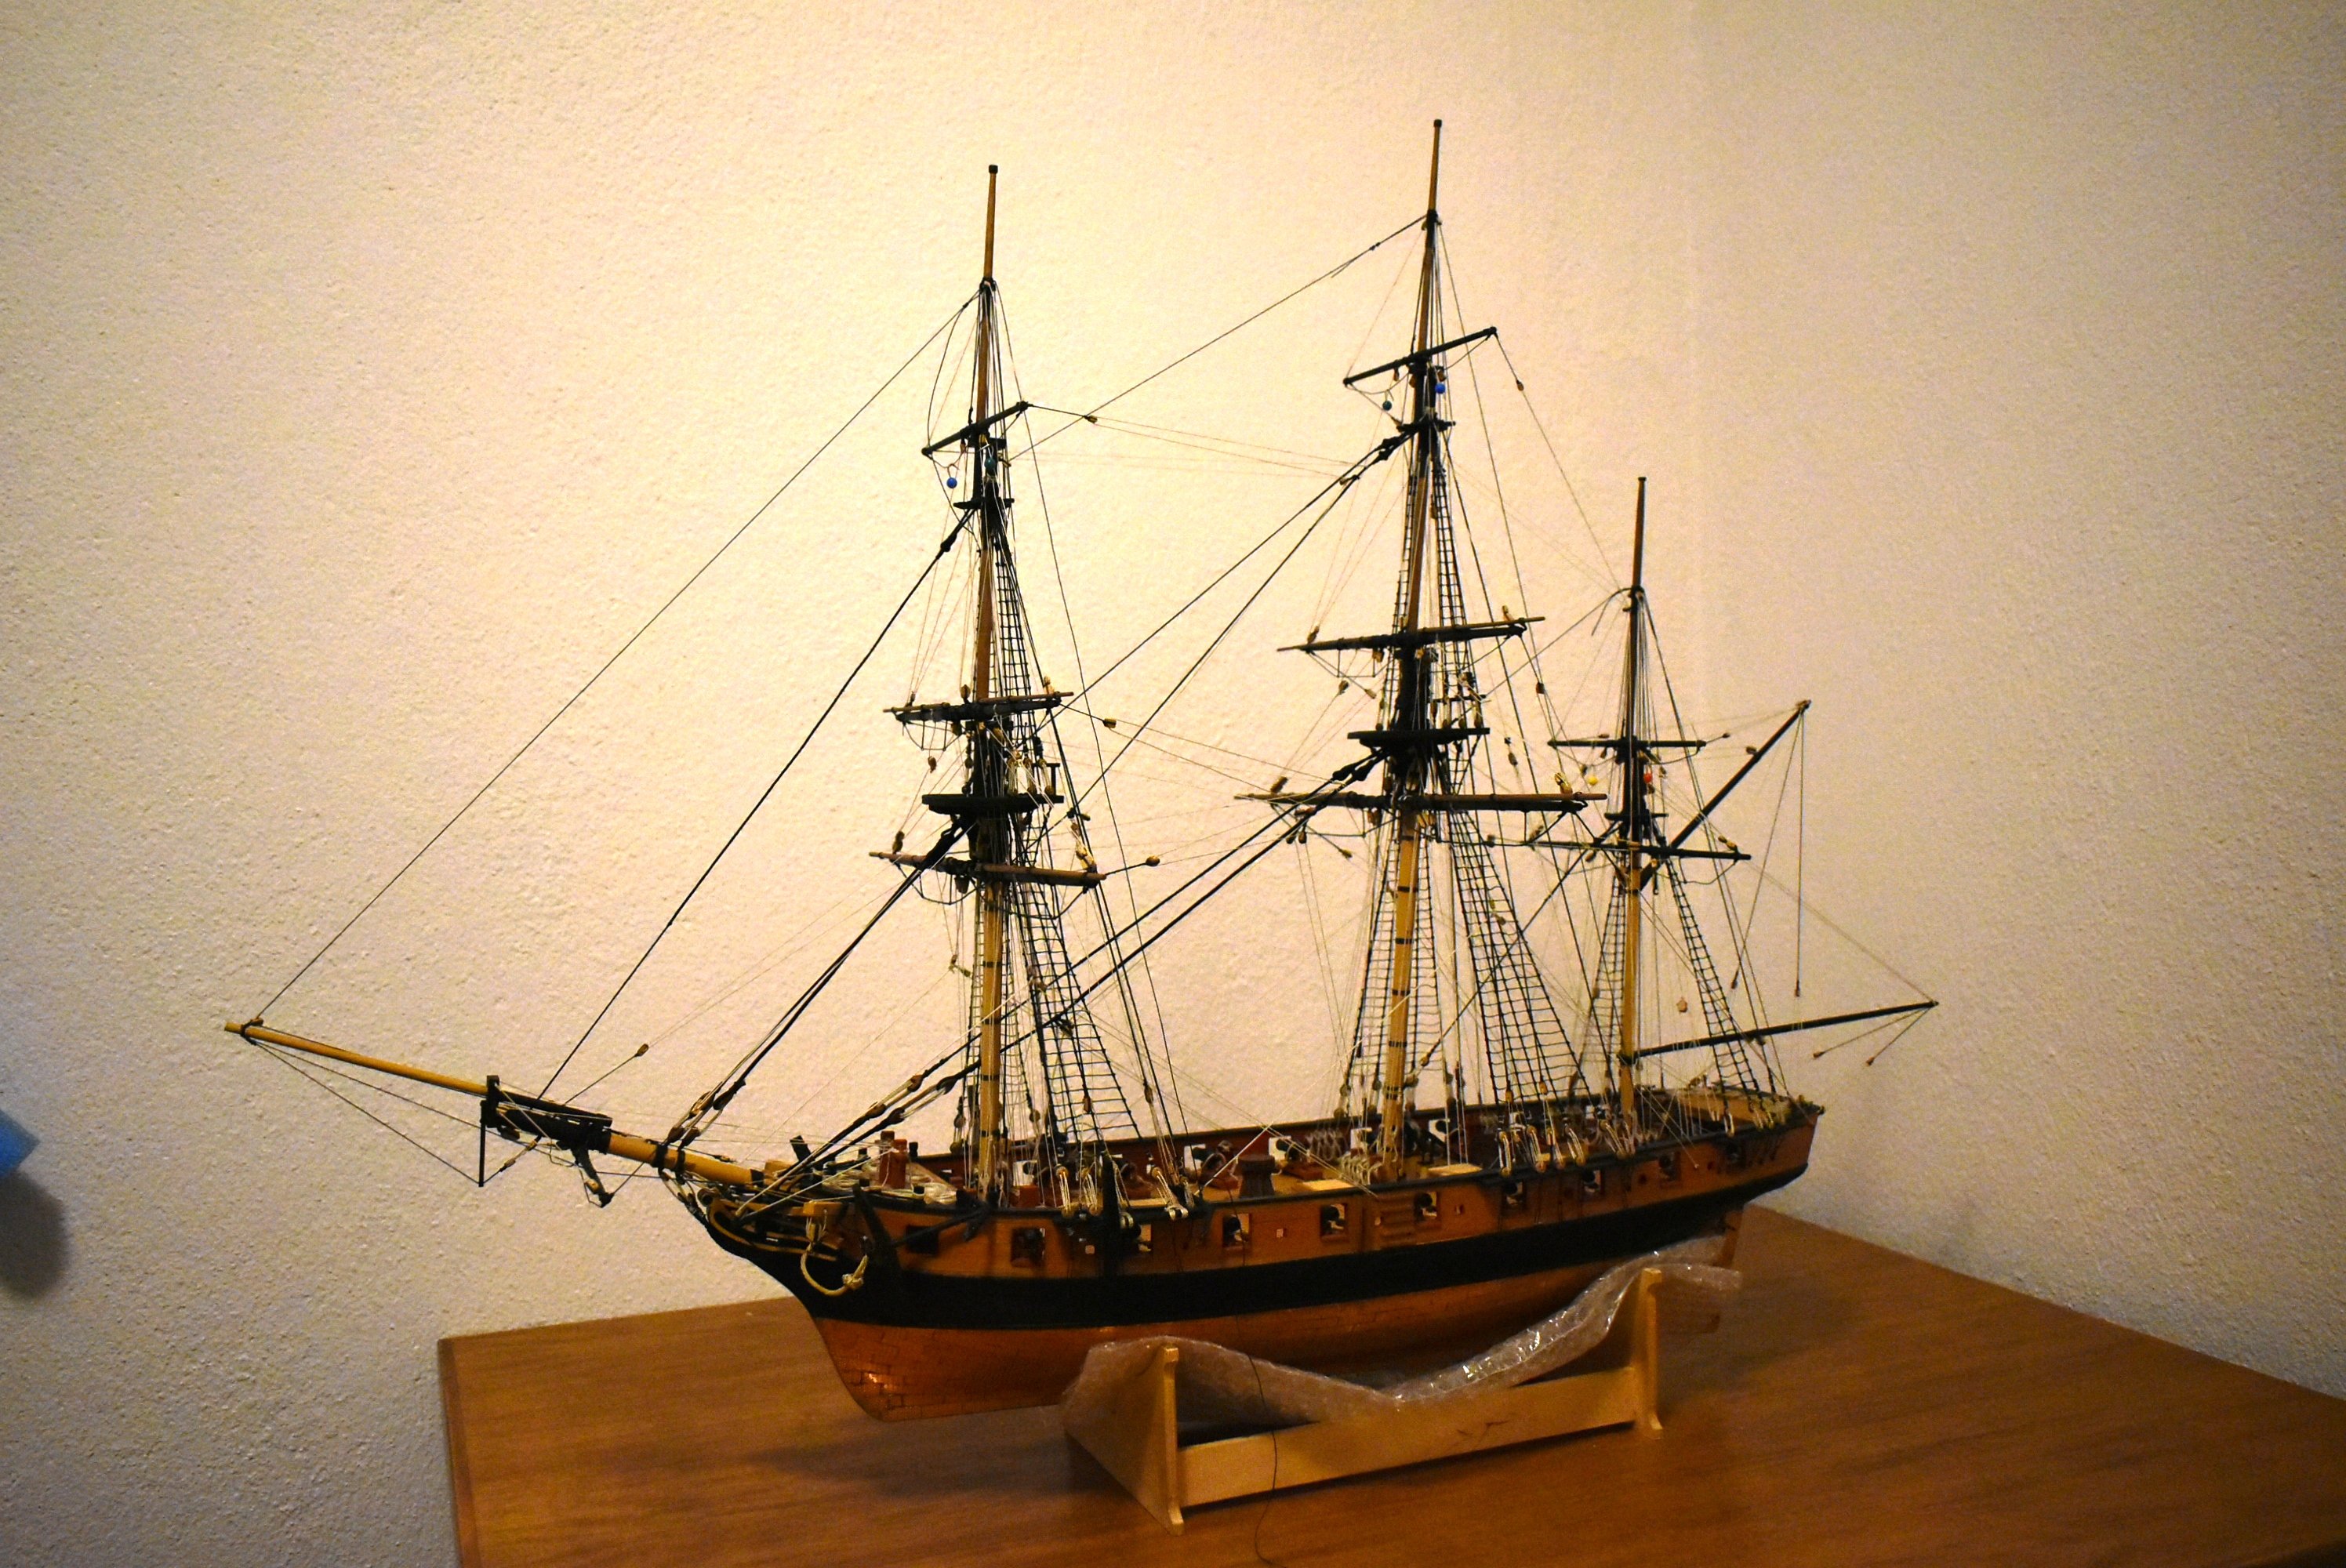
Of course all these photos are not the finals but I'm very close to the end
Some final touch up and trimming is needed

- Beef Wellington, ccoyle, Mr Whippy and 8 others
-
 11
11
-
-
-
-
-
Greetings to everyone, despite the many professional obligations the shipyard continues its work all this time, I will be with you soon with several photos from the completion of the ship after a long time, thank you
- Beef Wellington, egkb and AJohnson
-
3
-
-
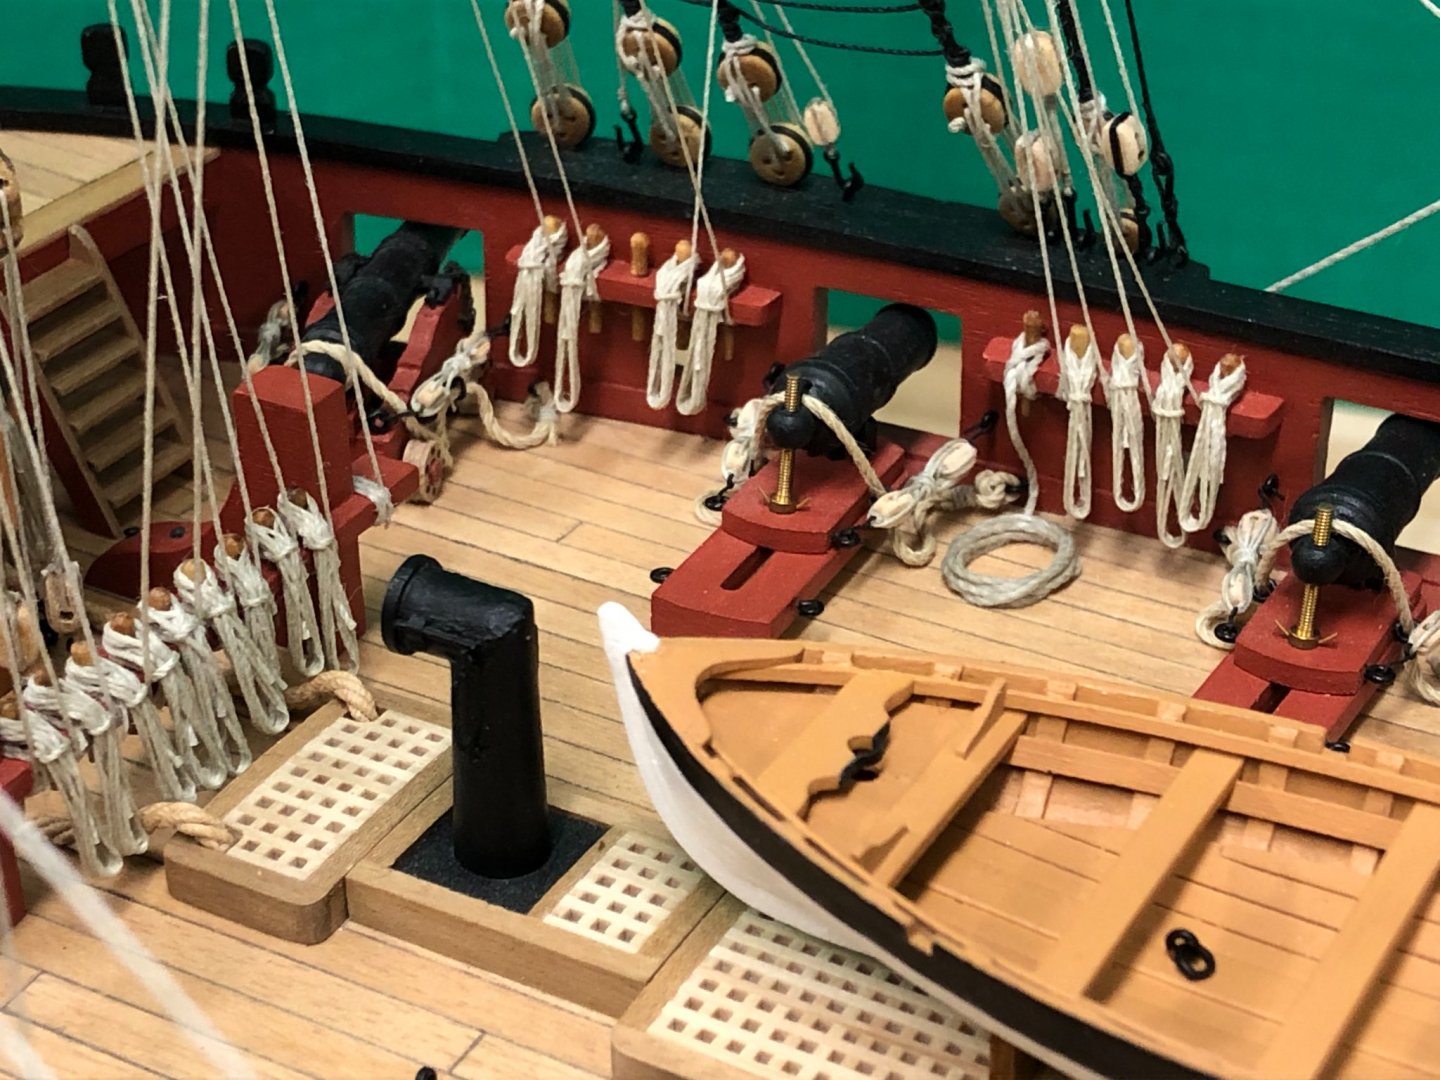
I'm closing this section with these pics, I'm pretty happy so far
Thanks

- AJohnson, RossR, Beef Wellington and 4 others
-
7
-
-
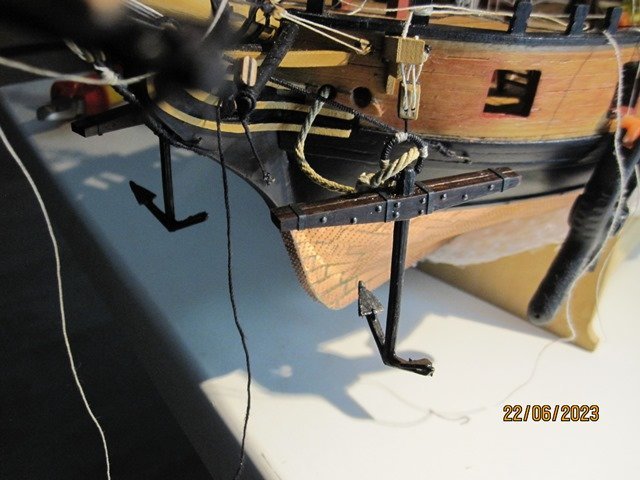
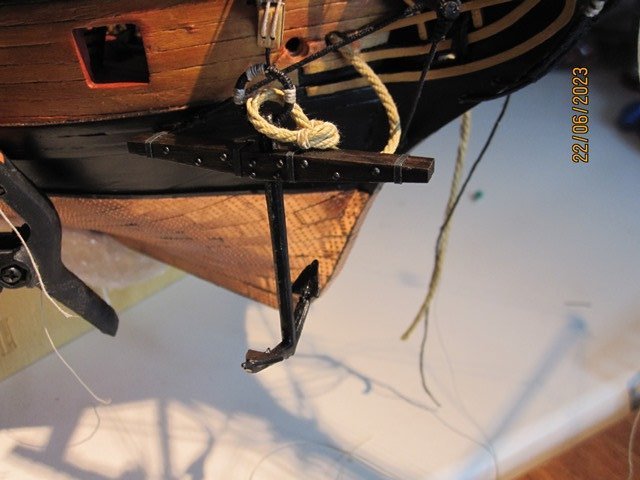
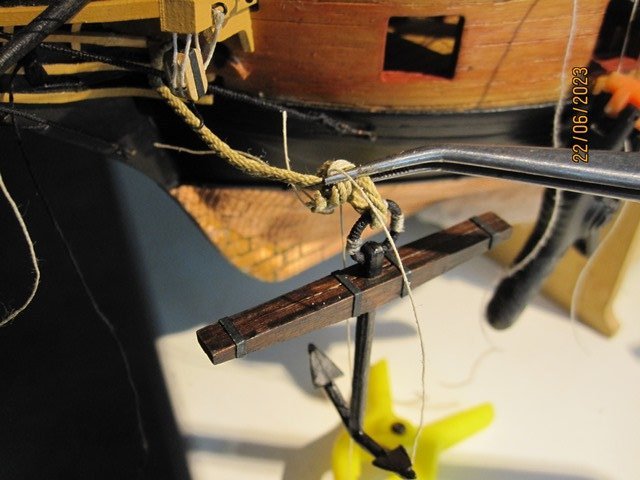
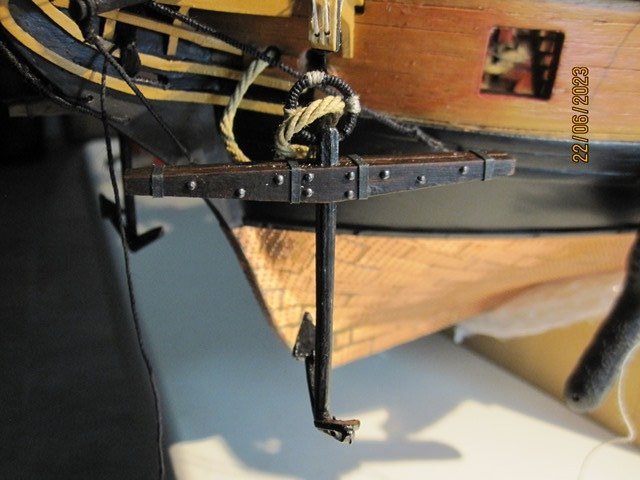
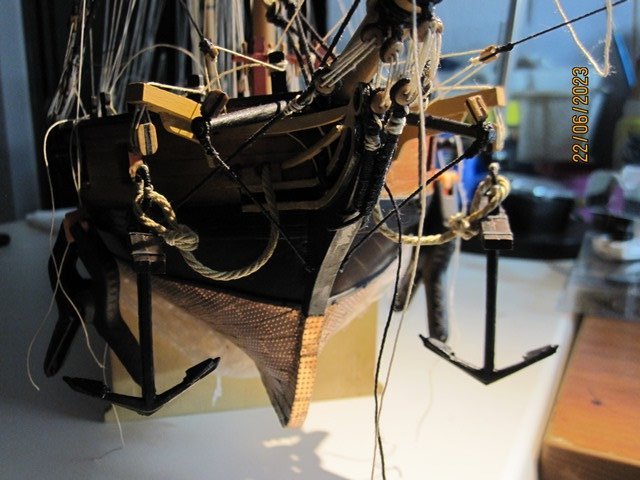
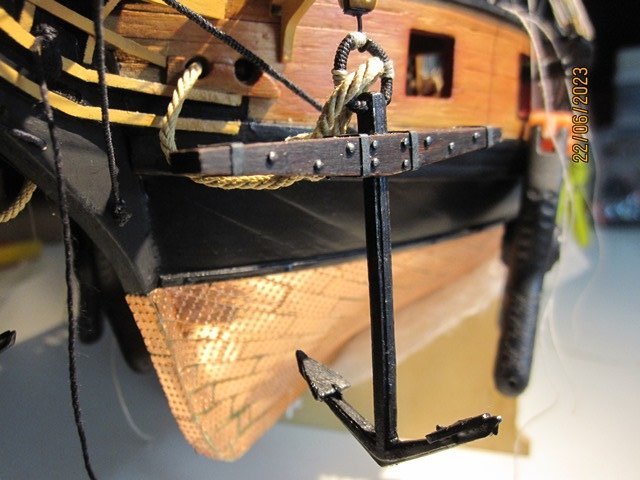
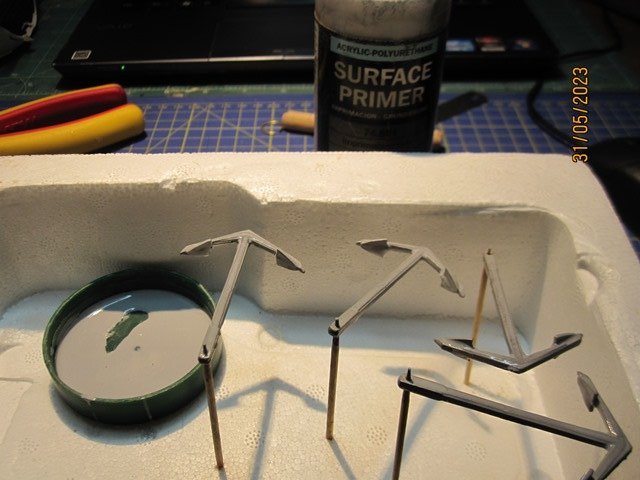
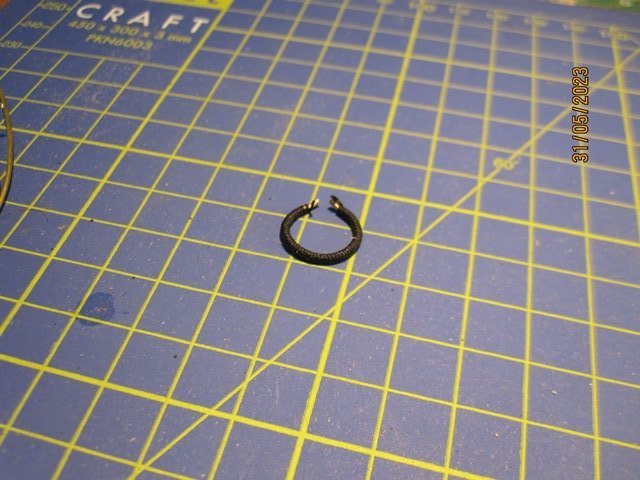
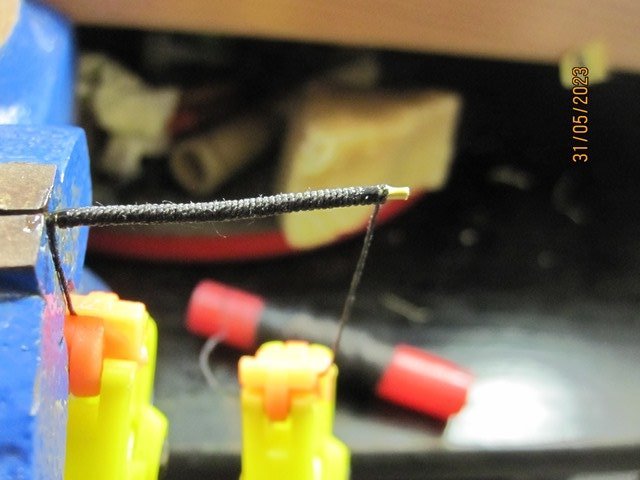
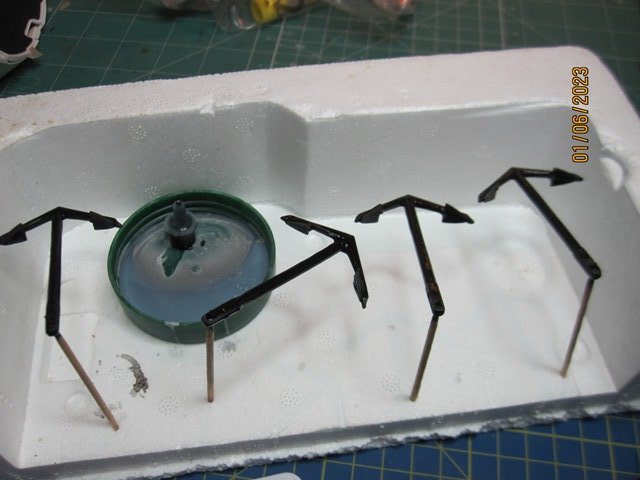
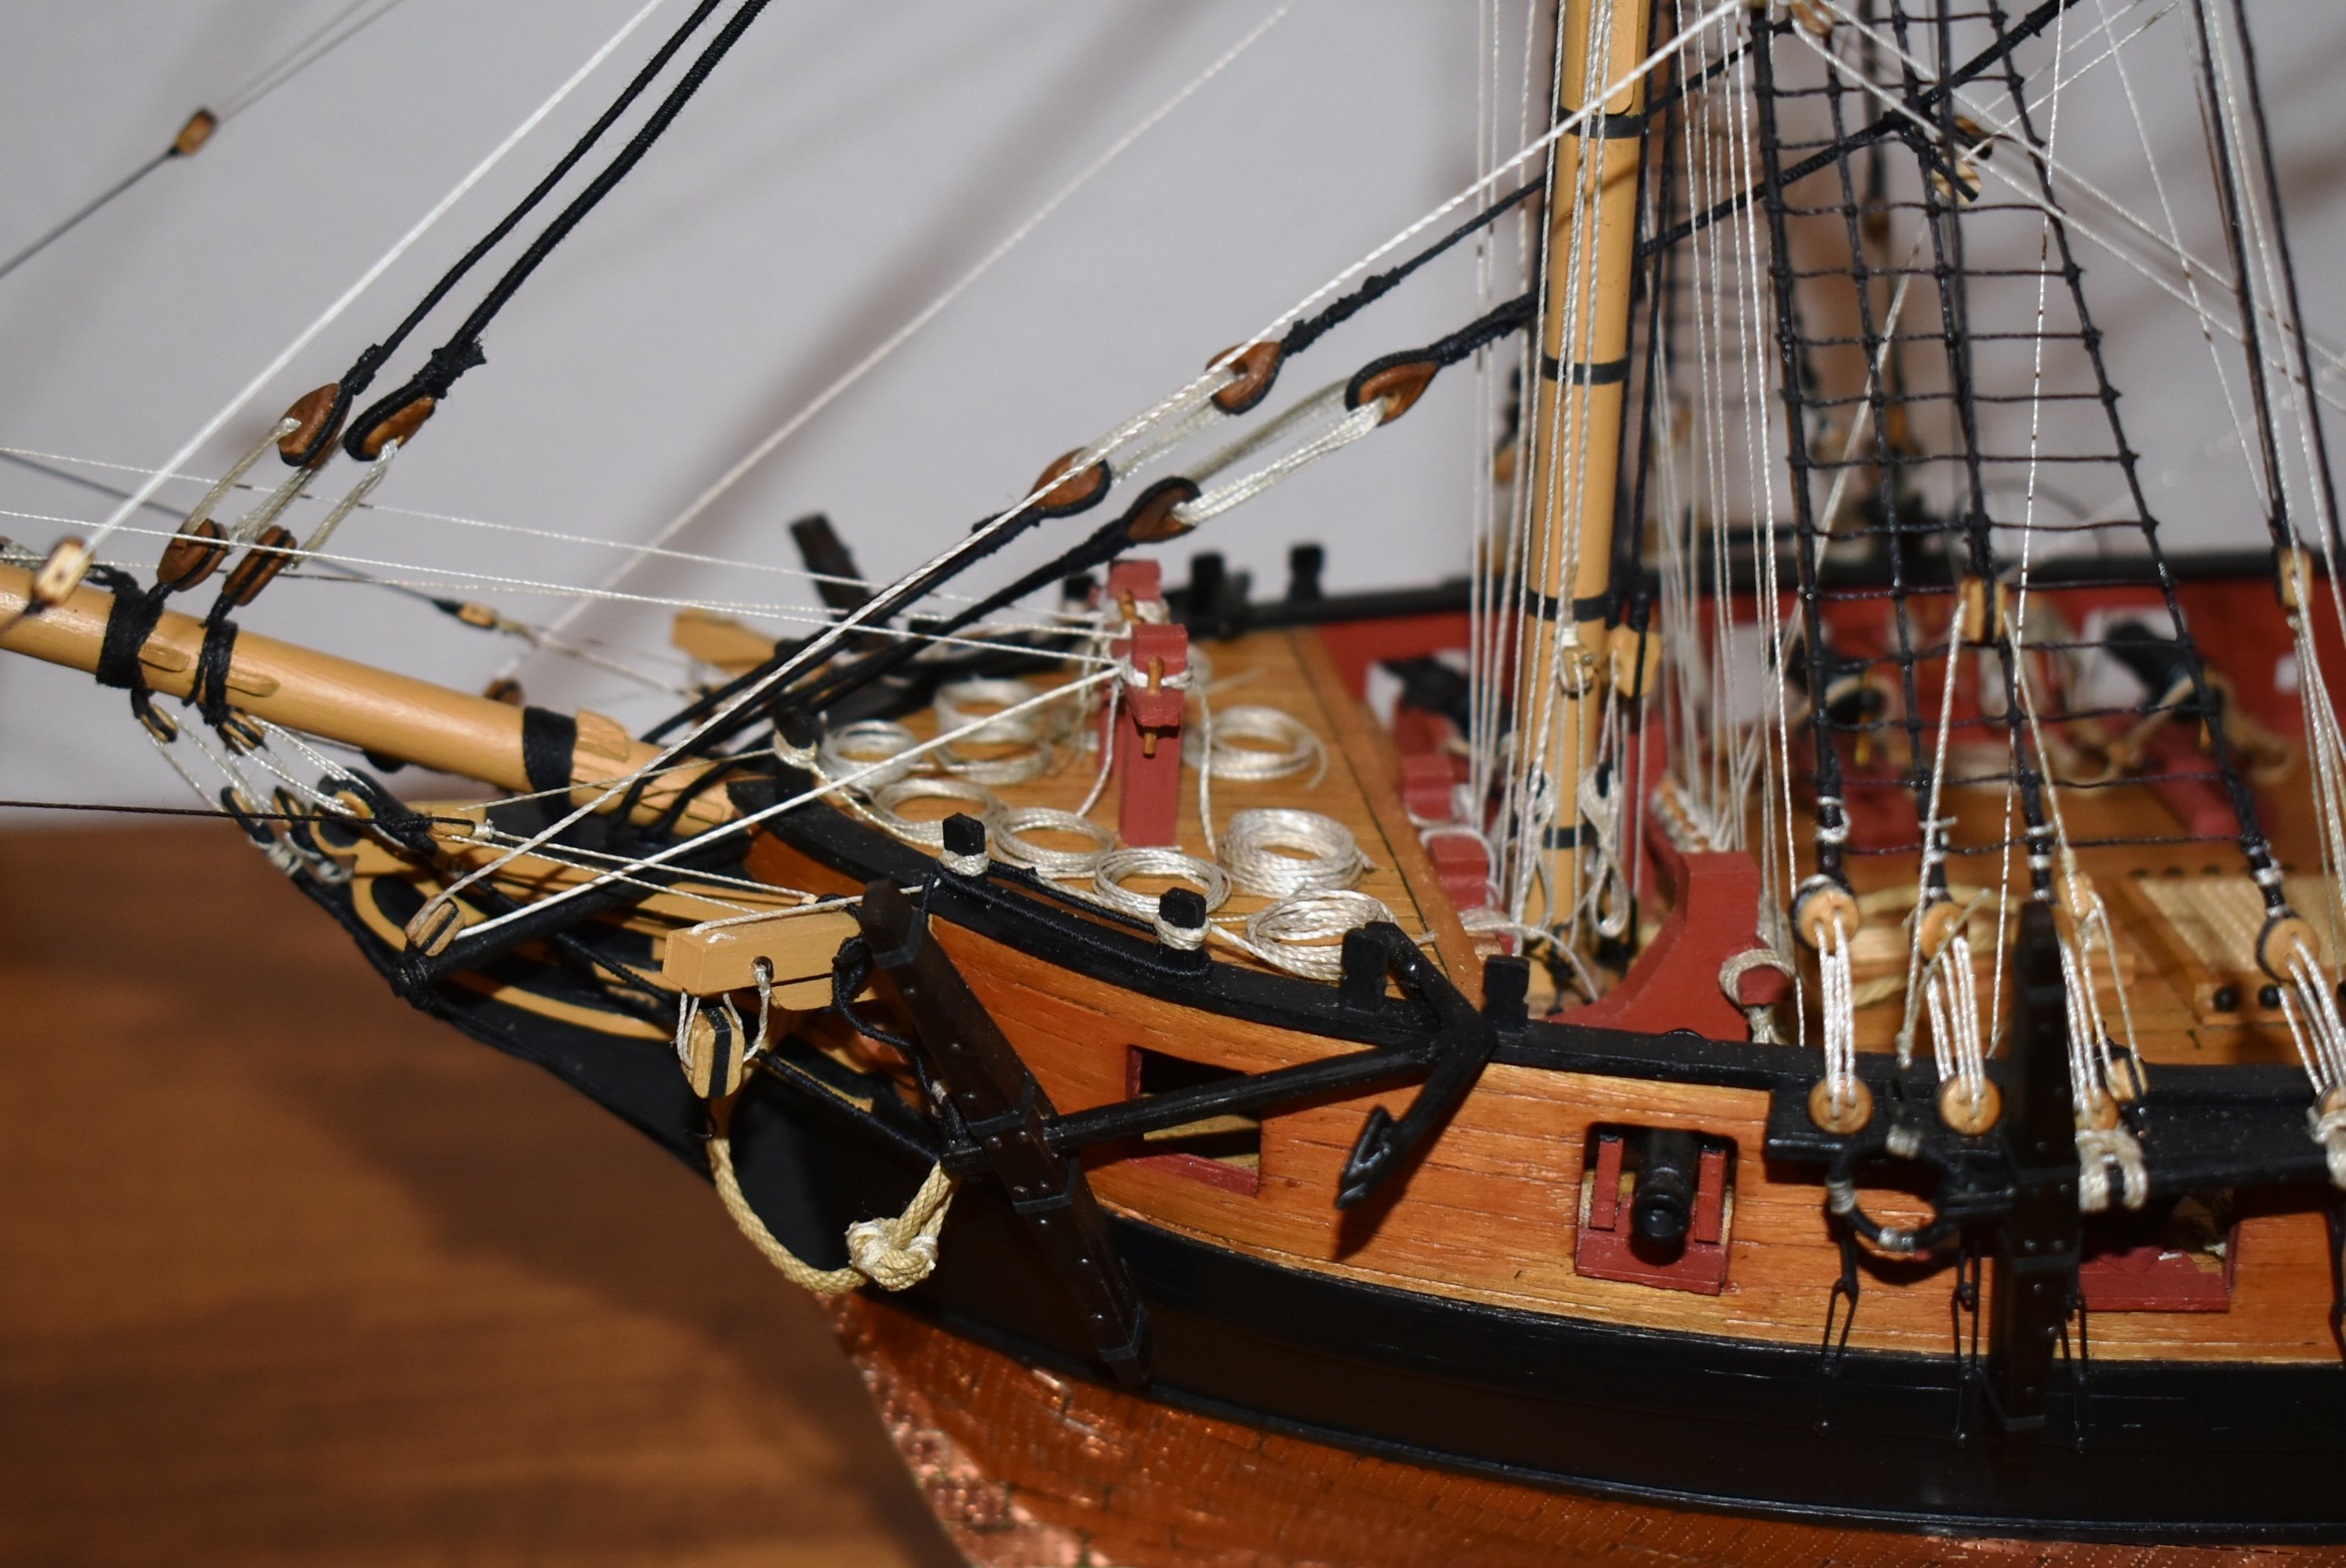
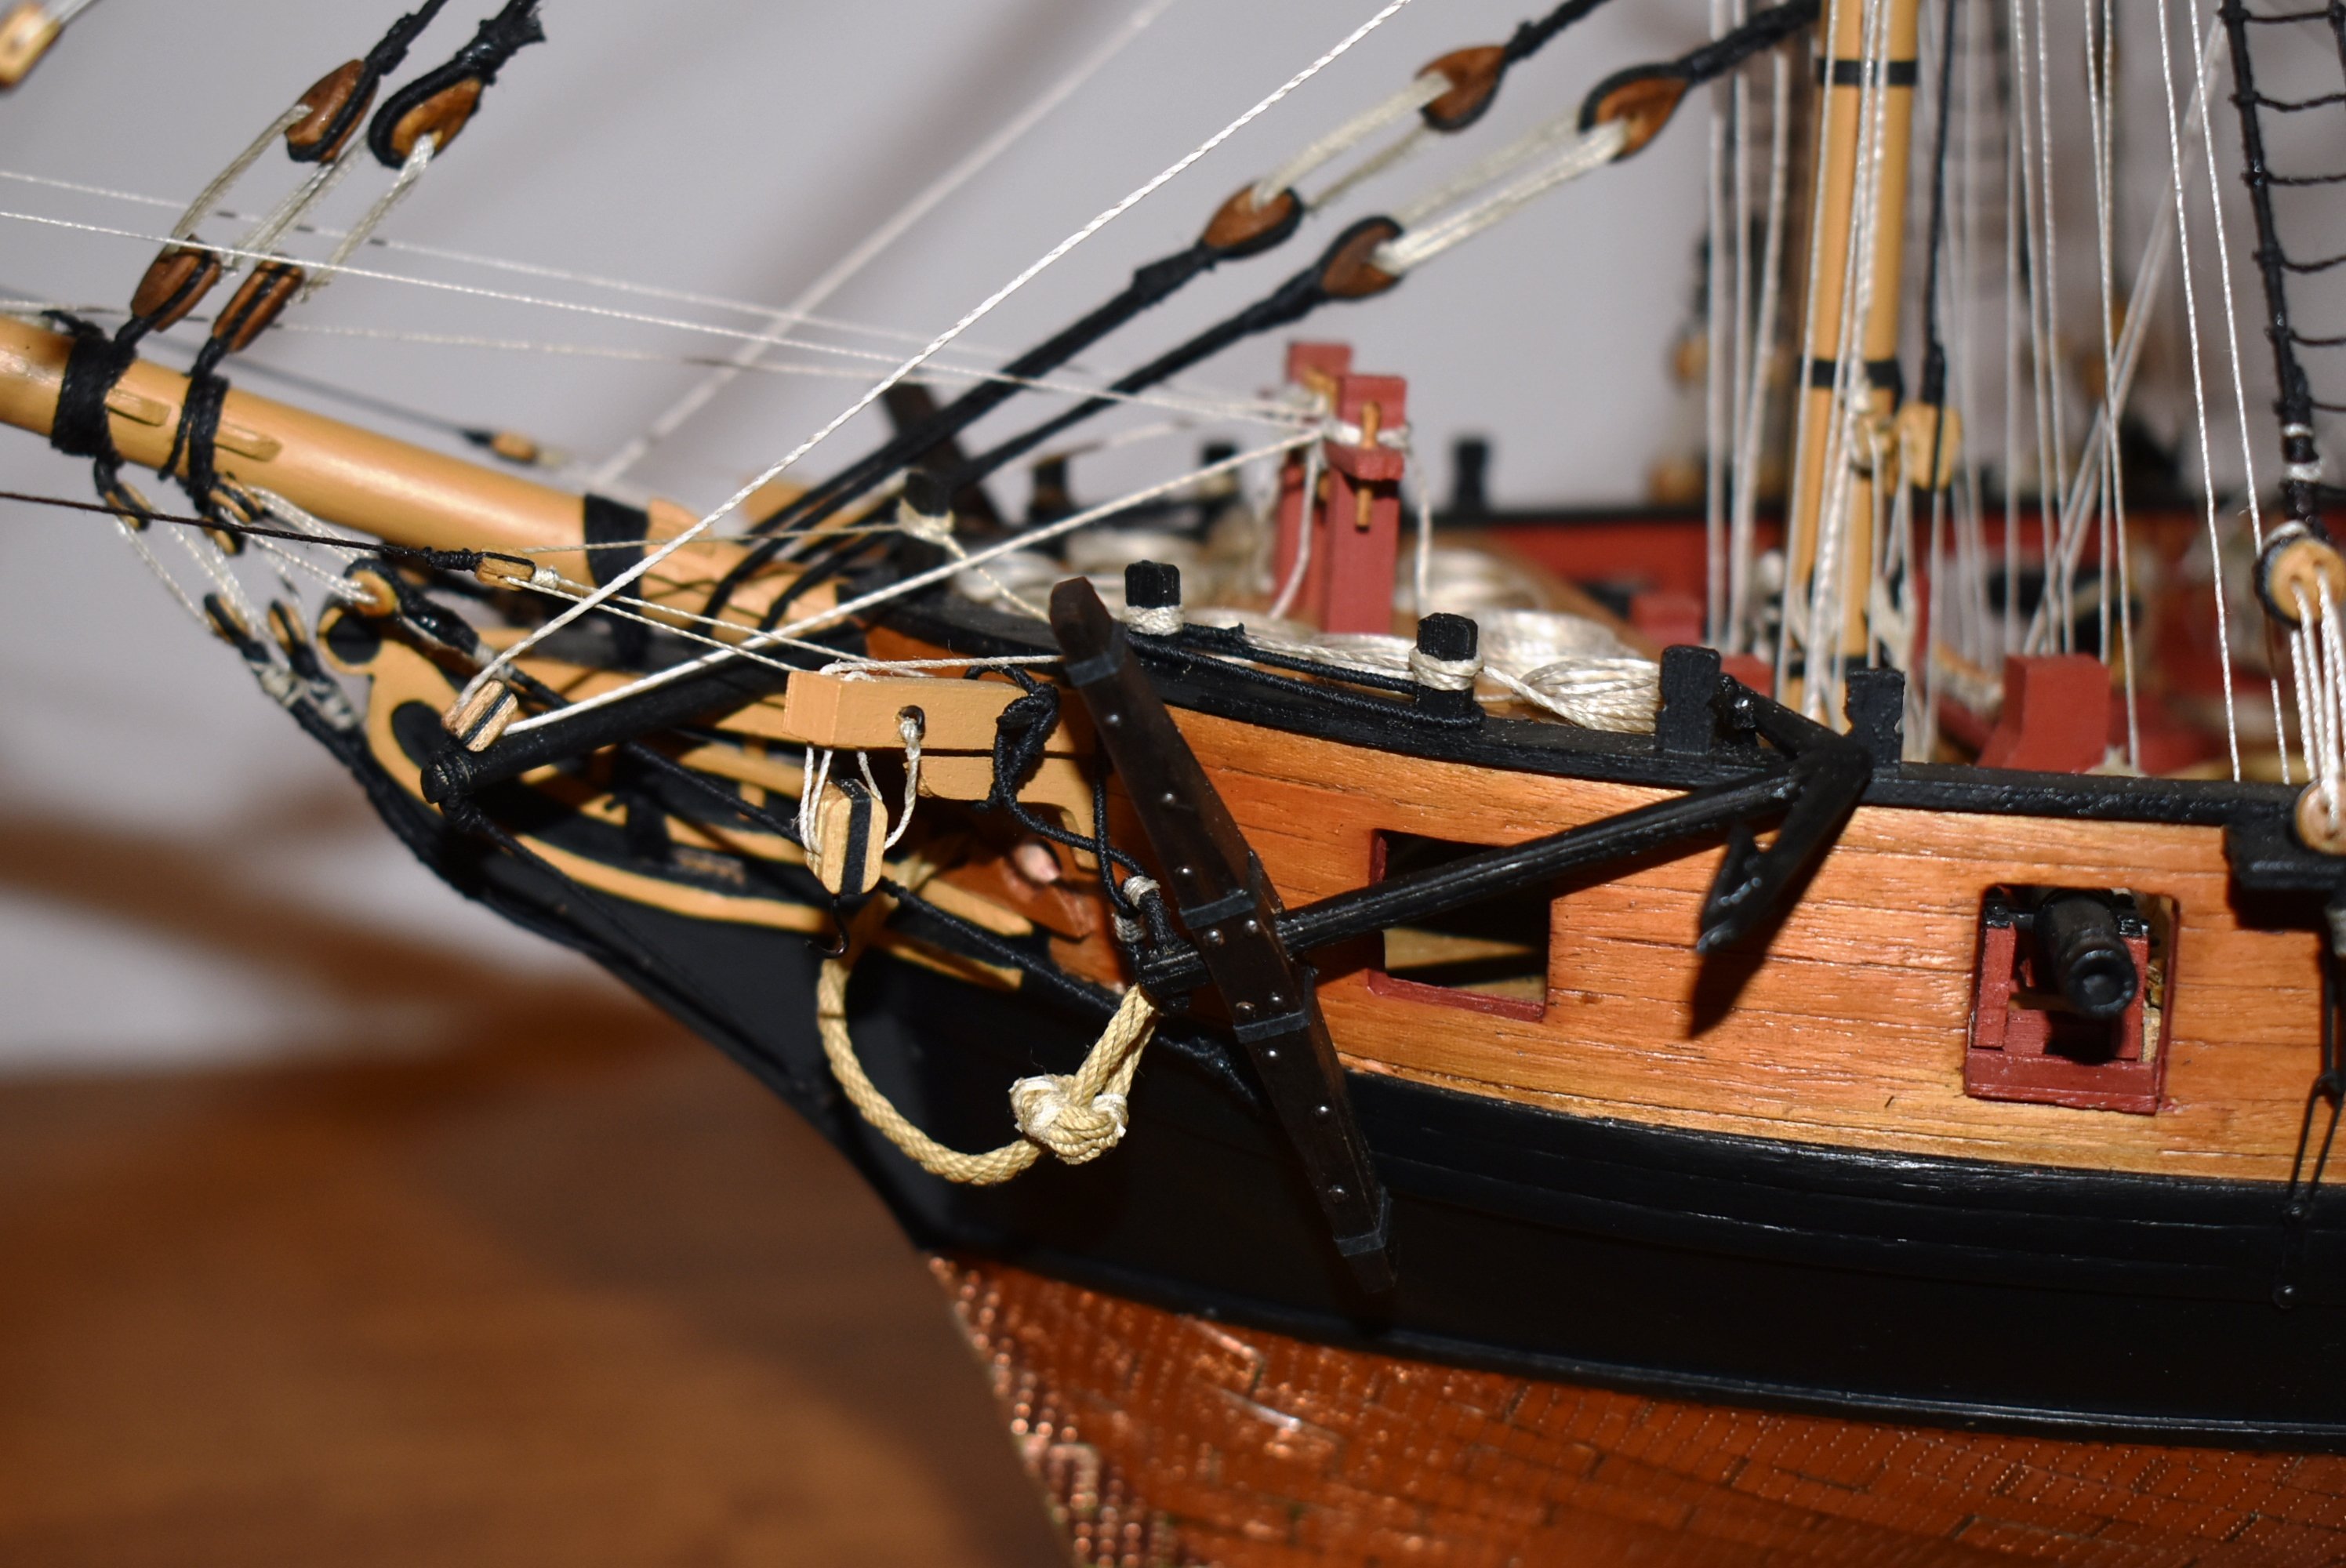
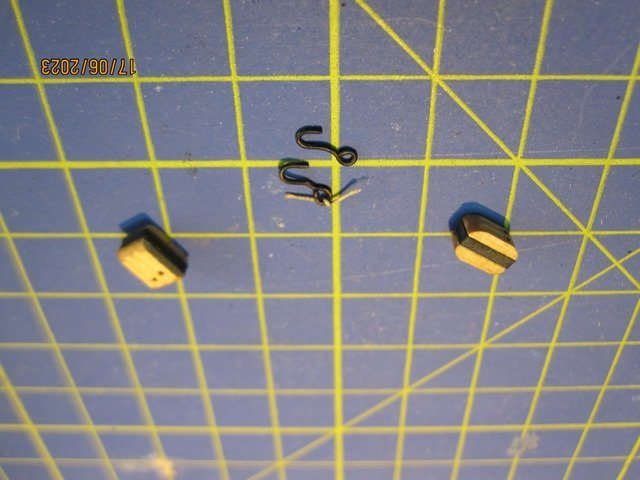
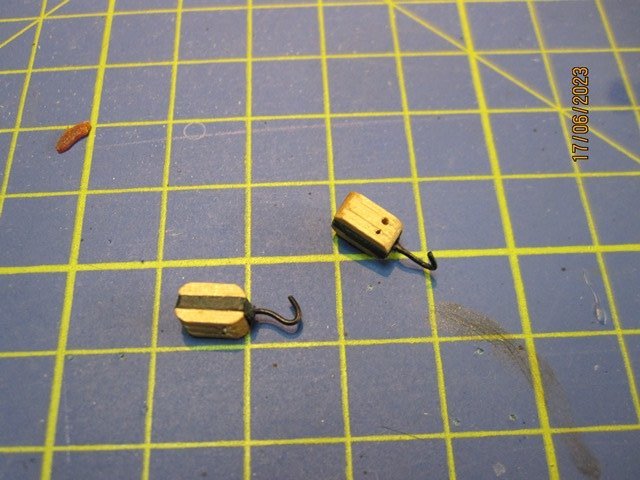
The anchors dpt was so busy all these days...

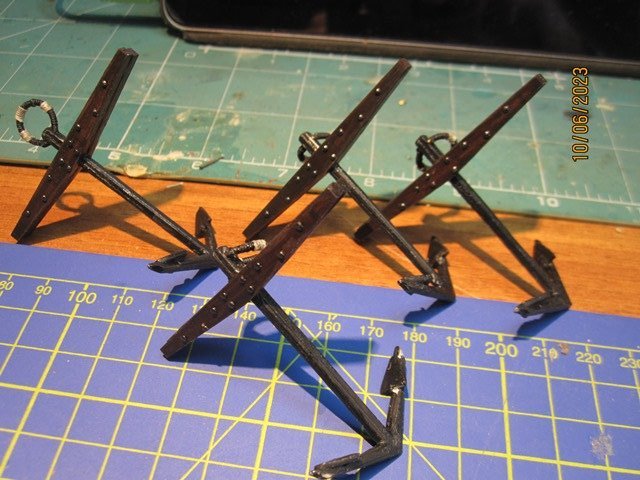
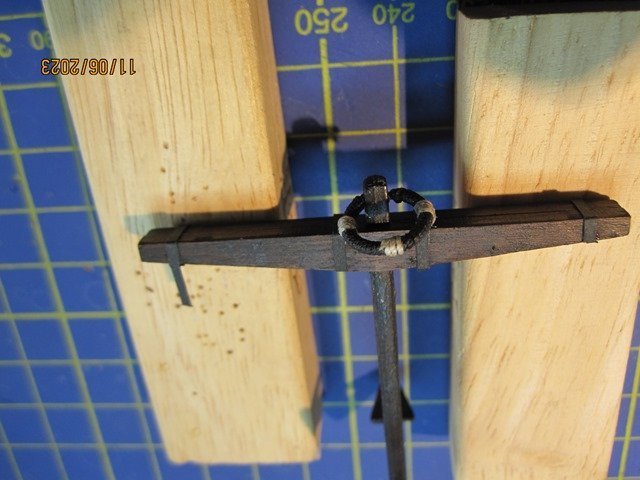
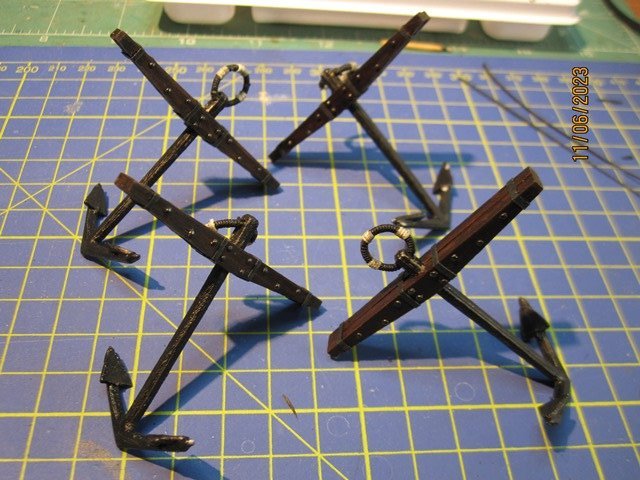
- BenD, AJohnson and Beef Wellington
-
3
-
-
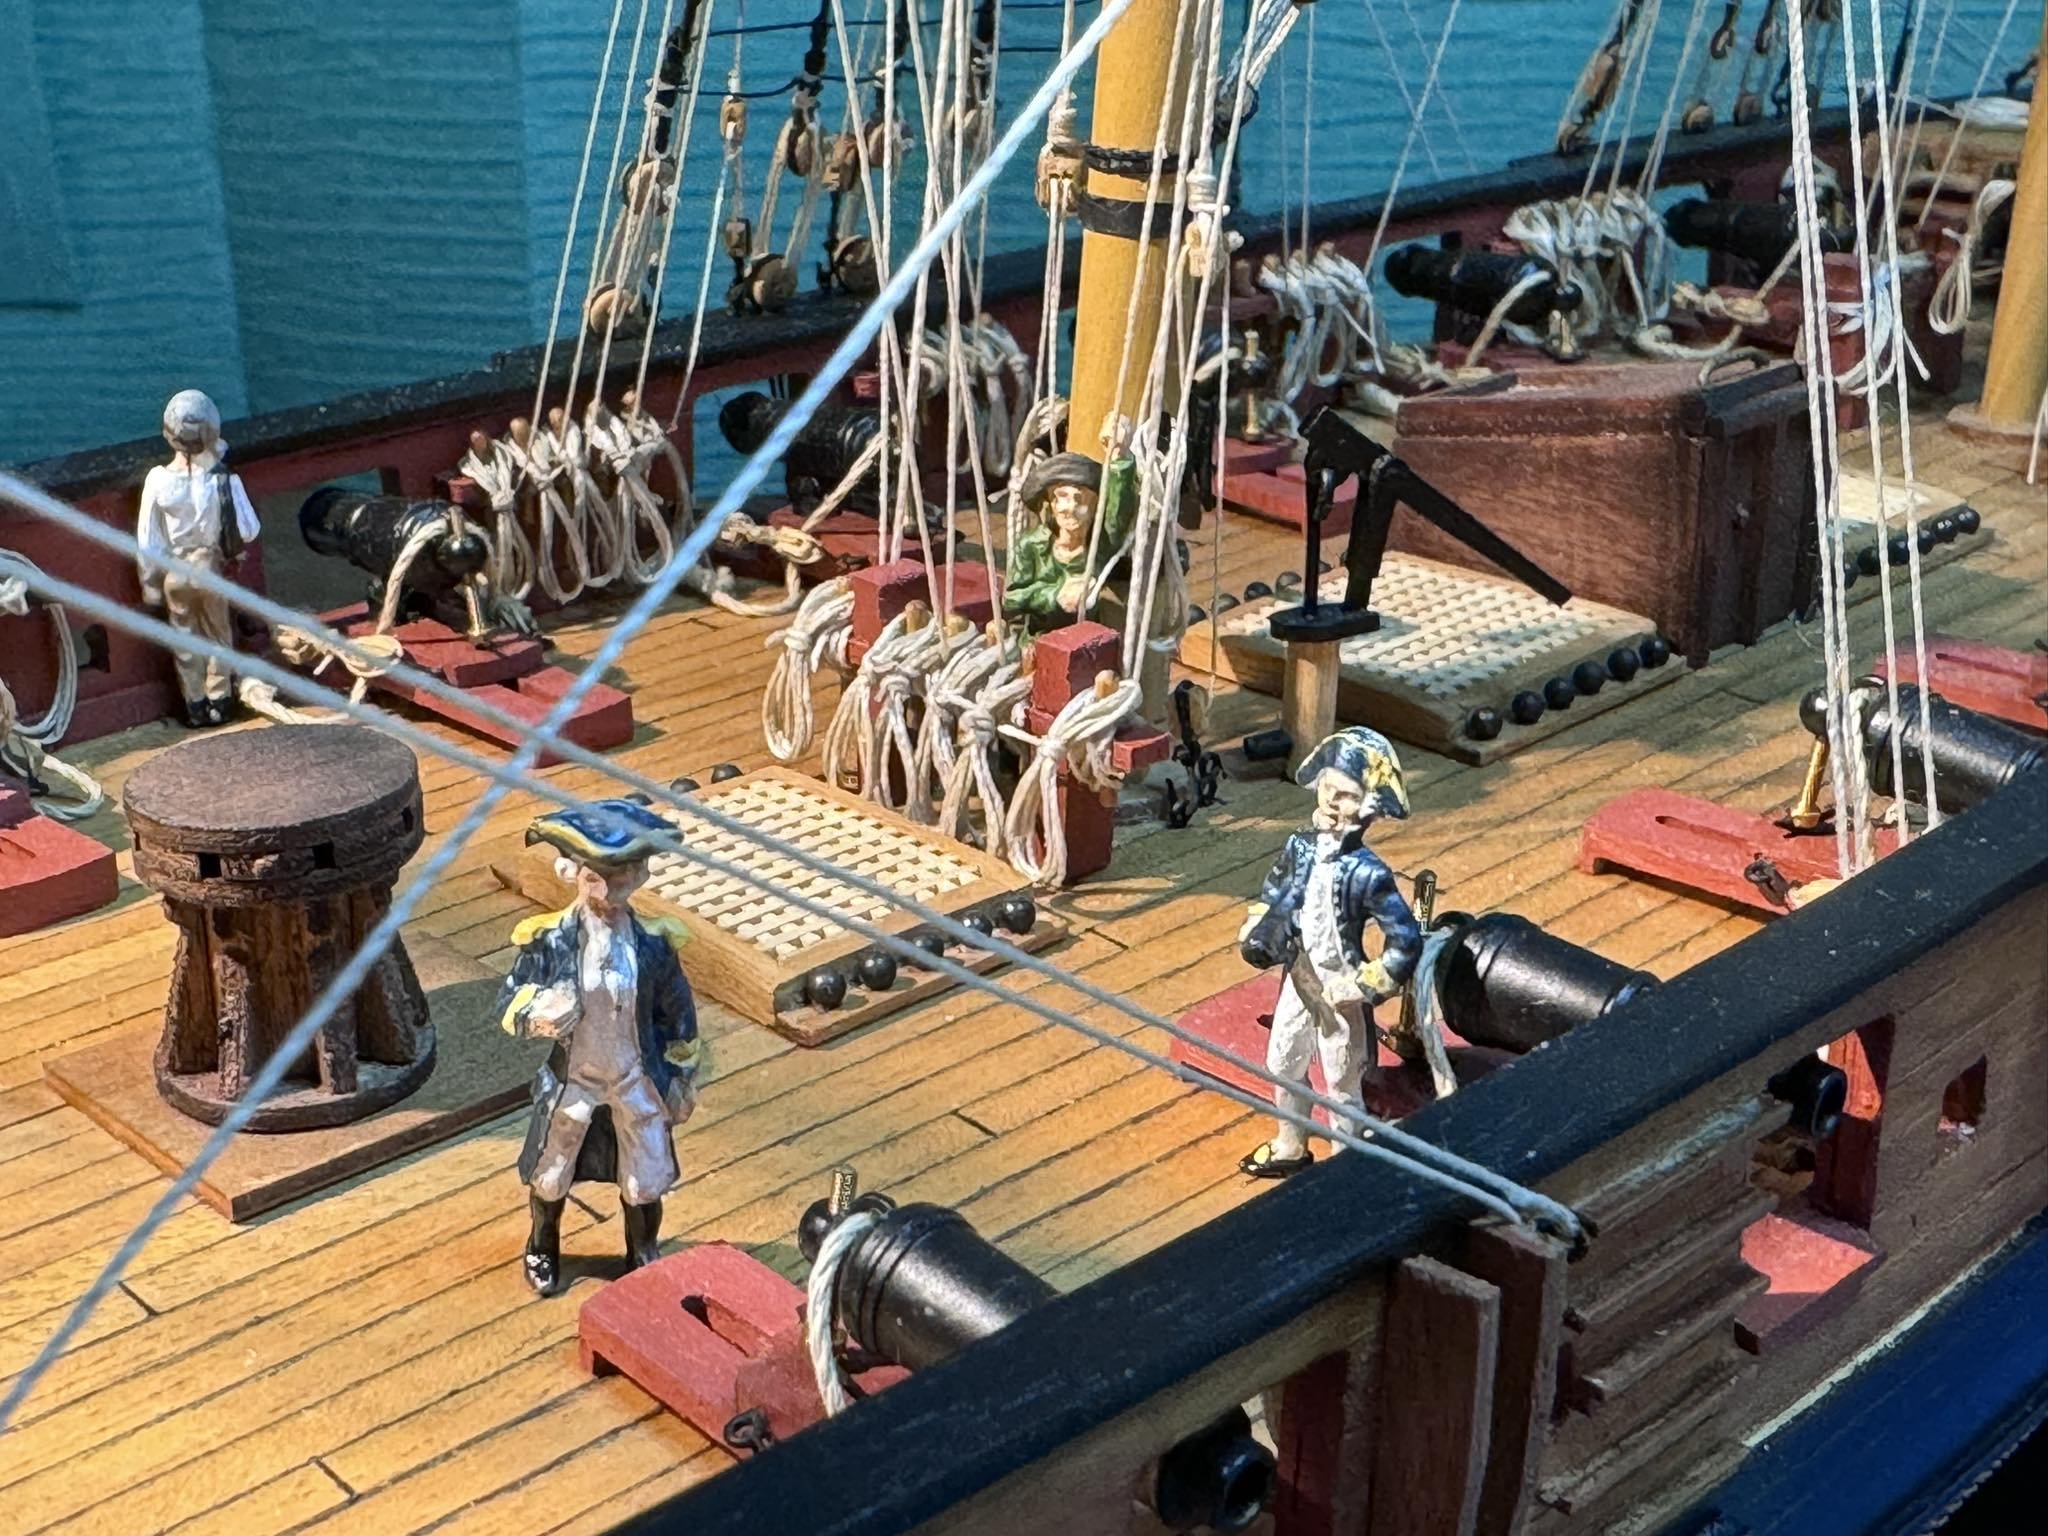
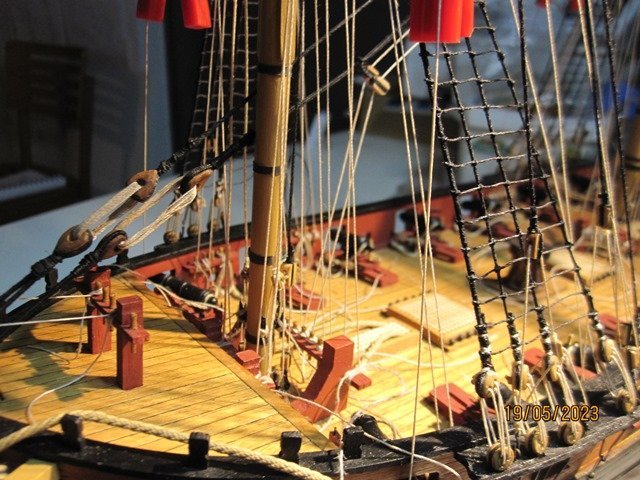
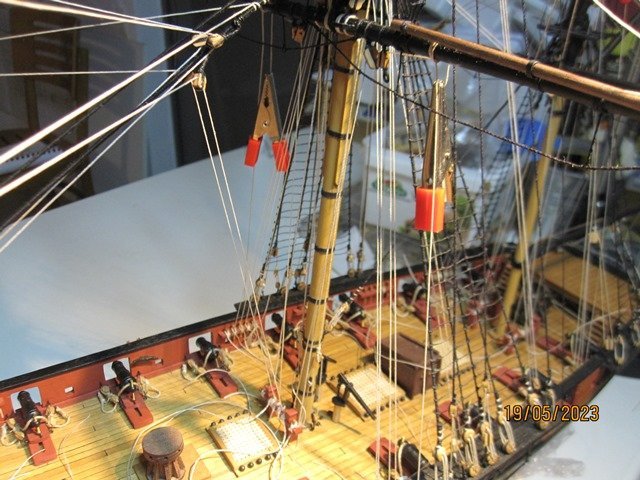
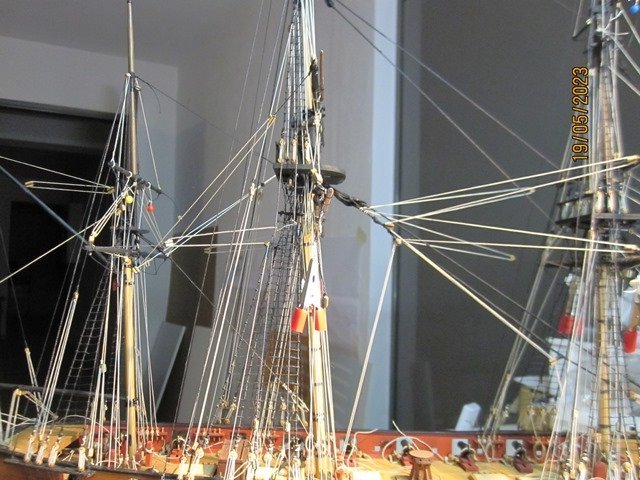
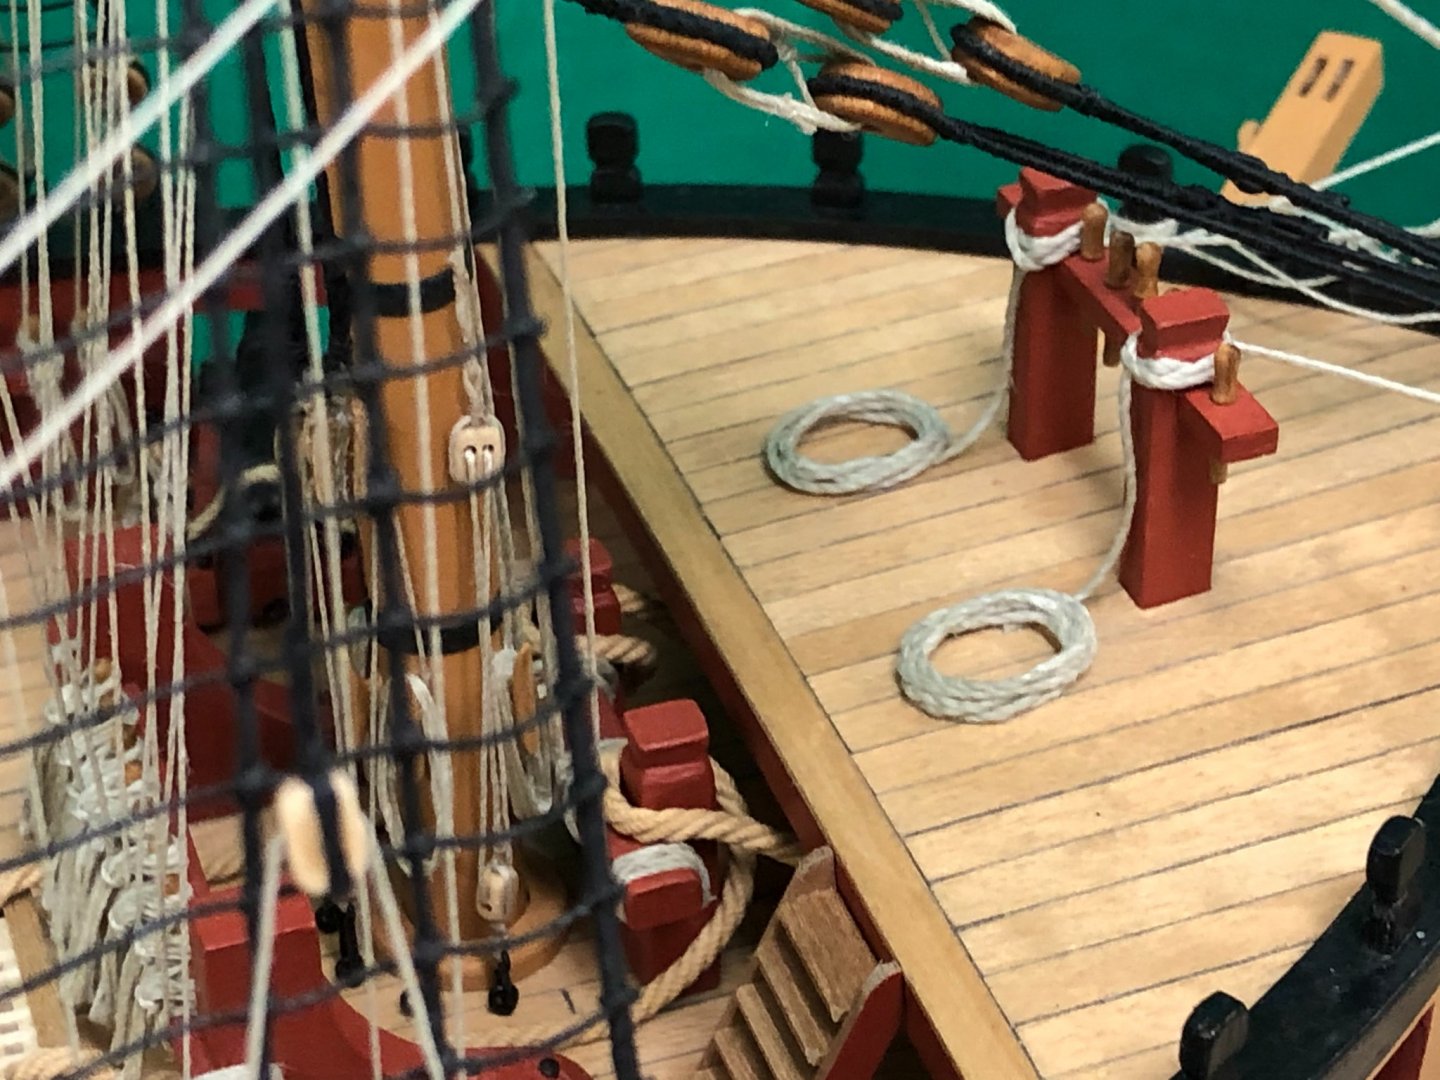
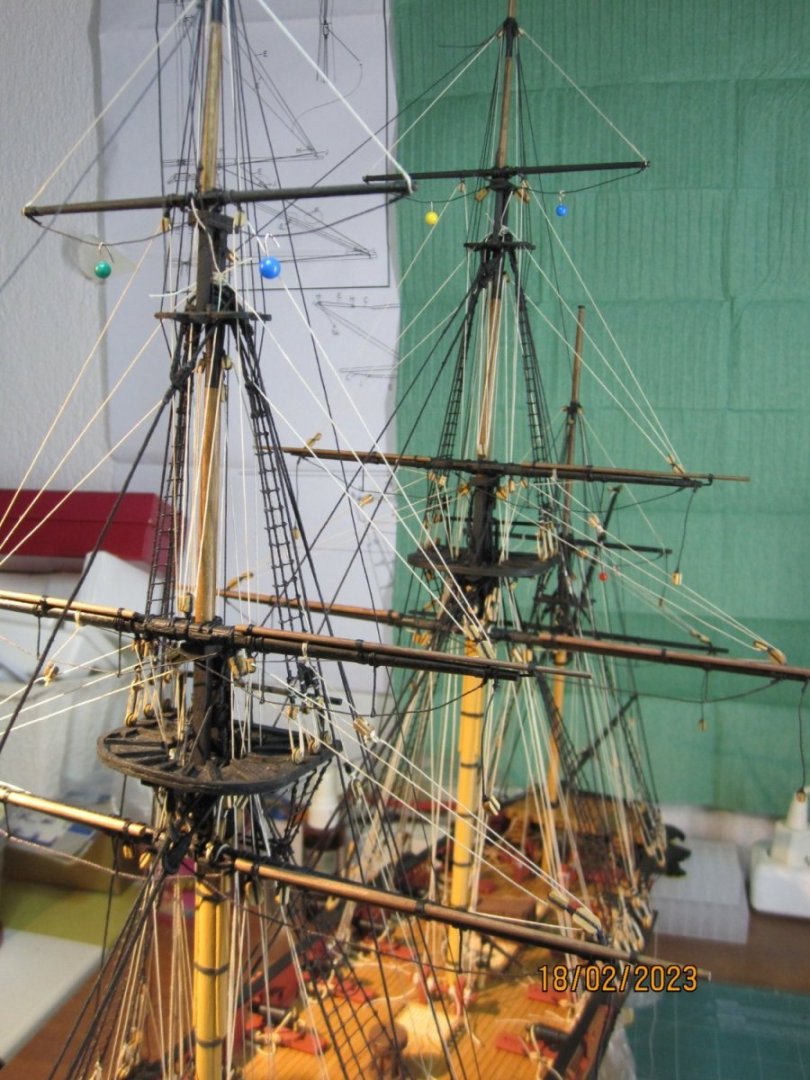
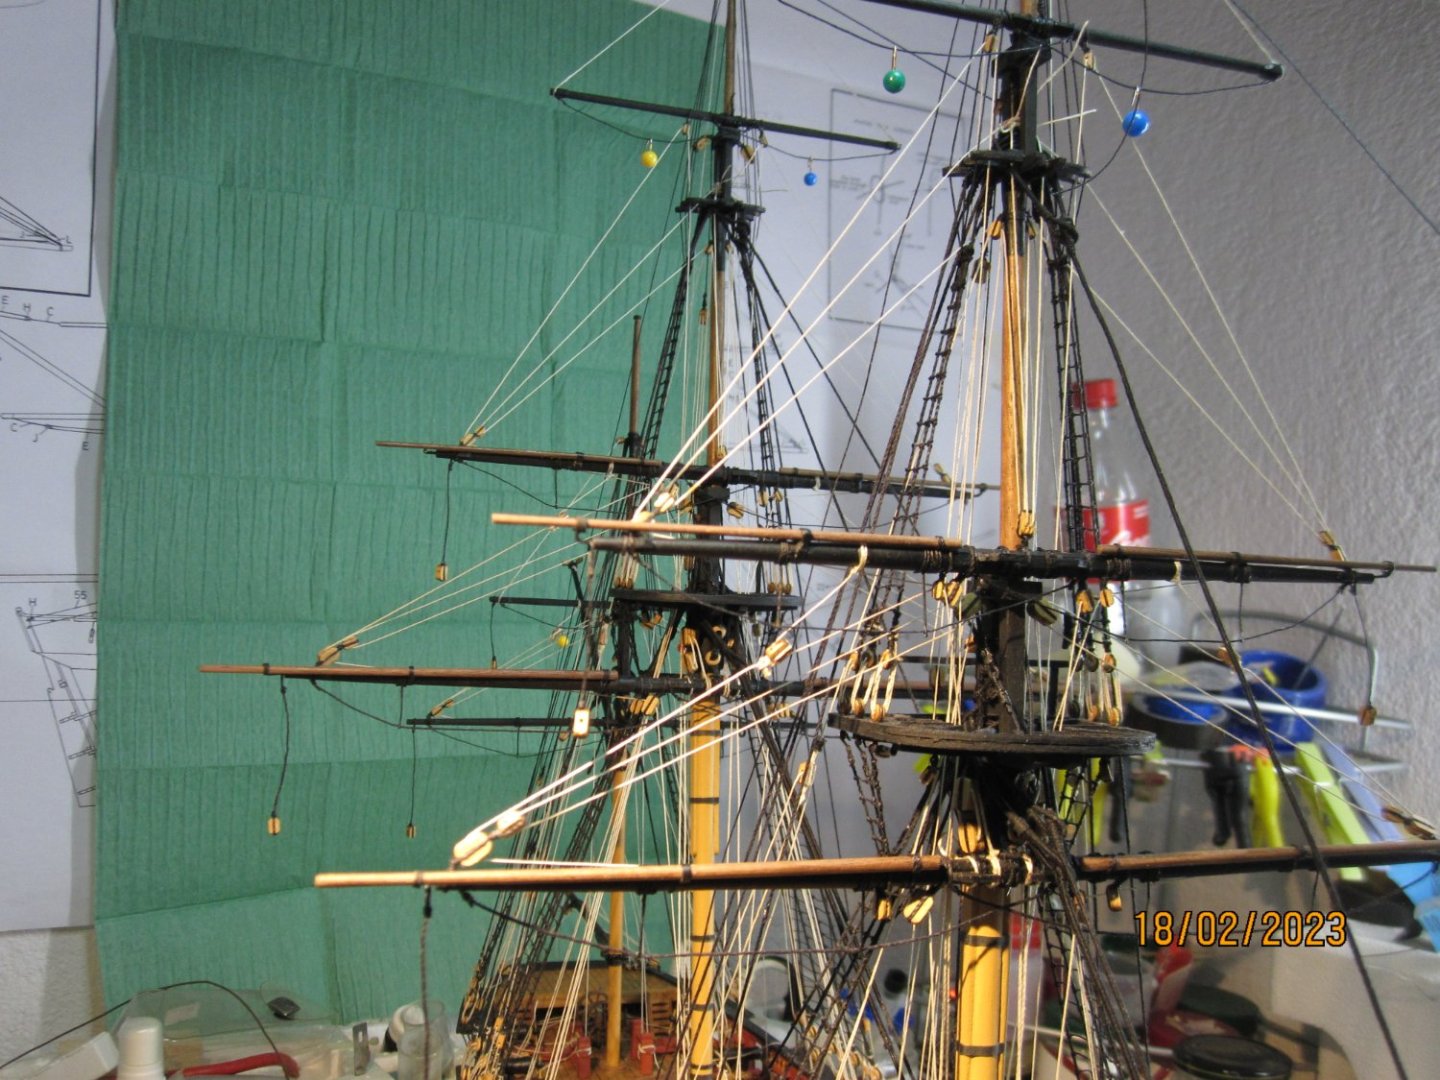
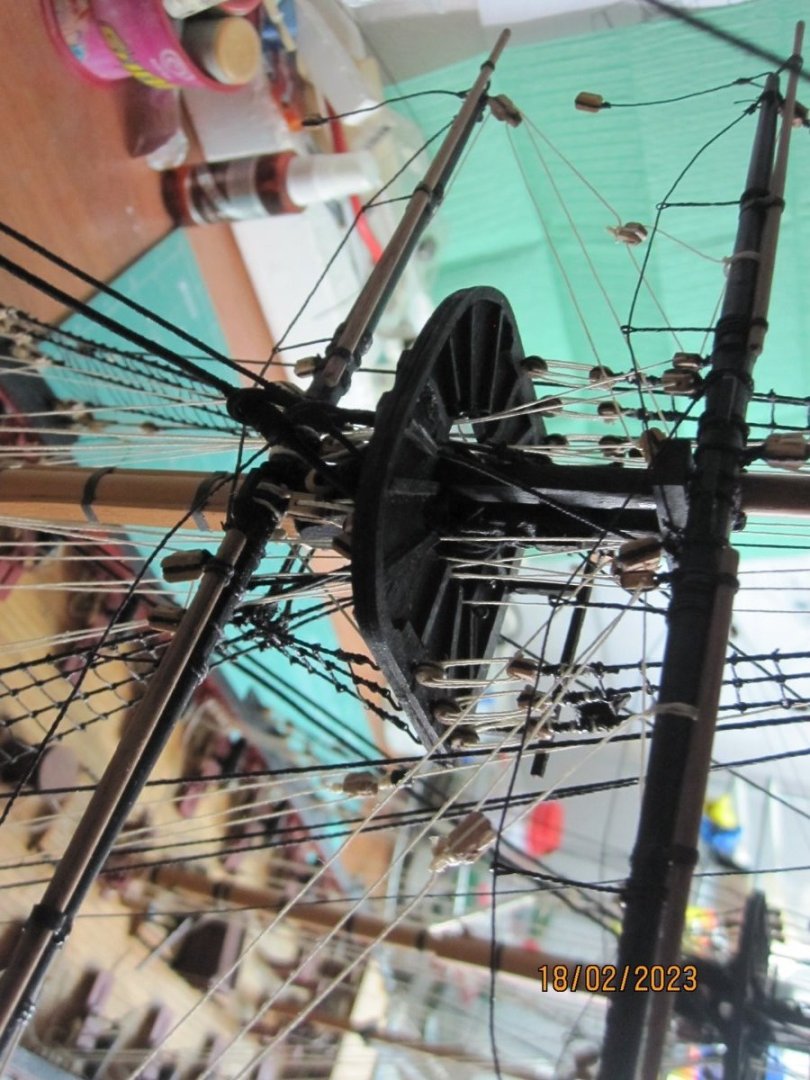
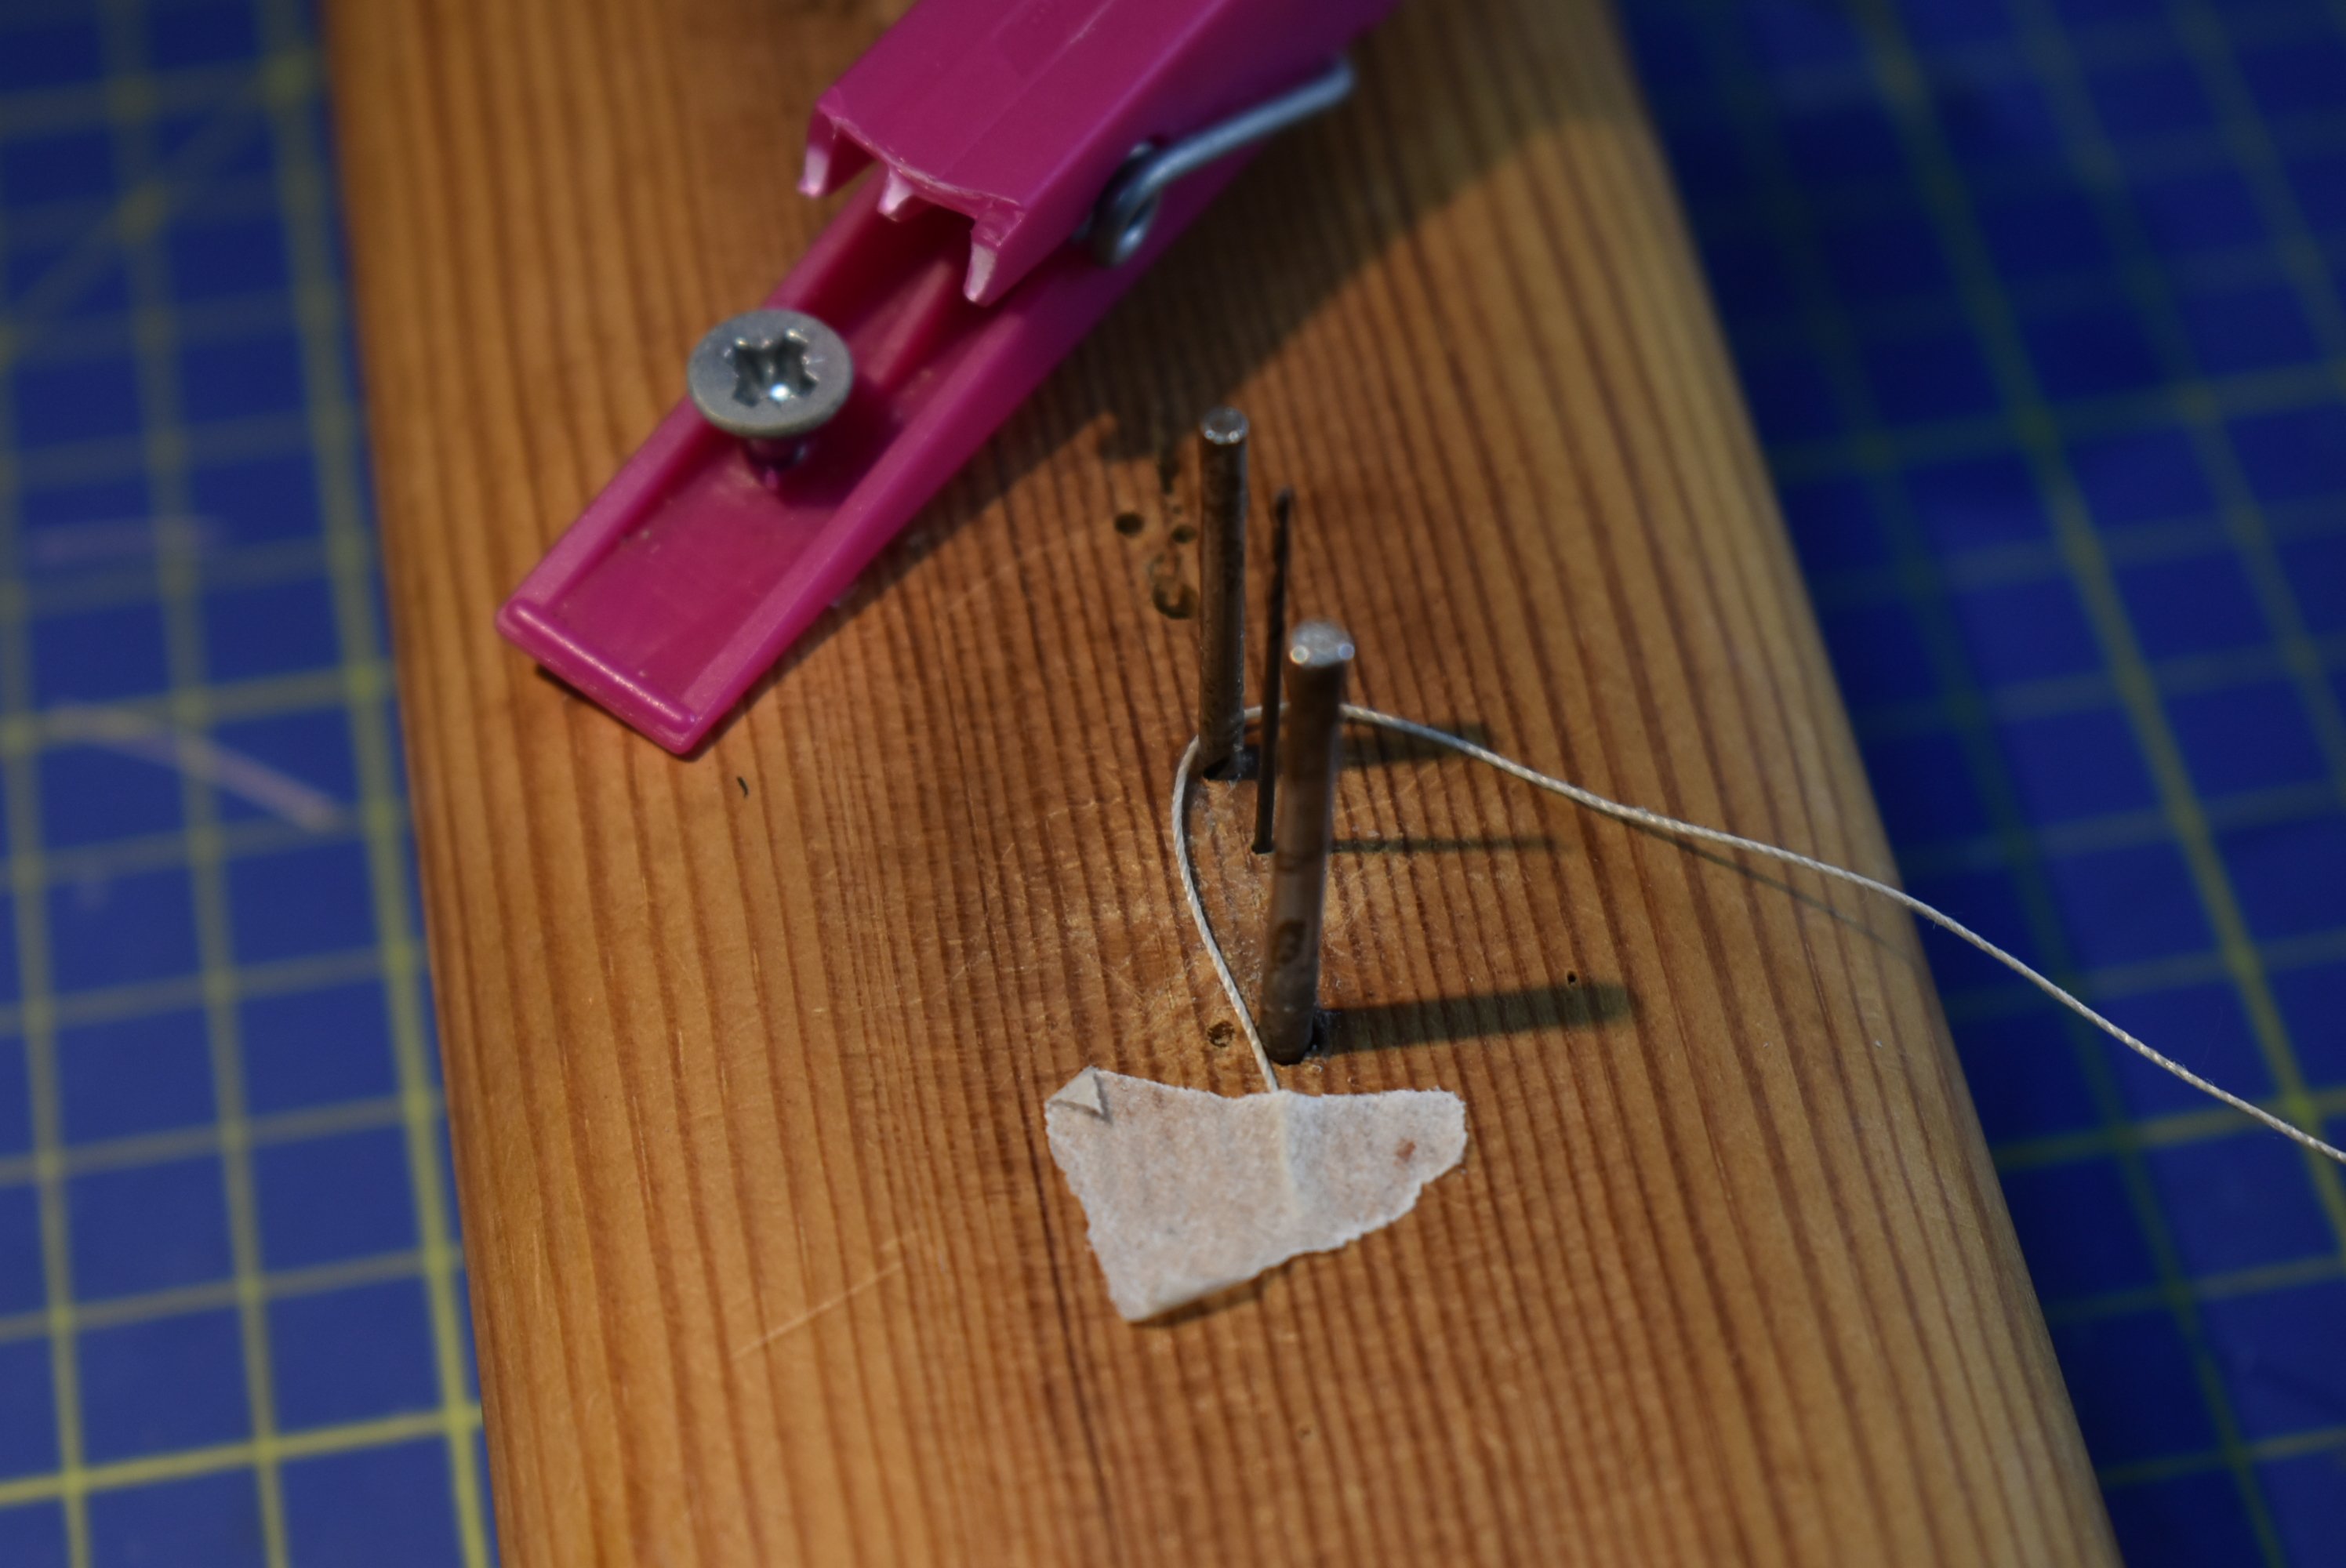
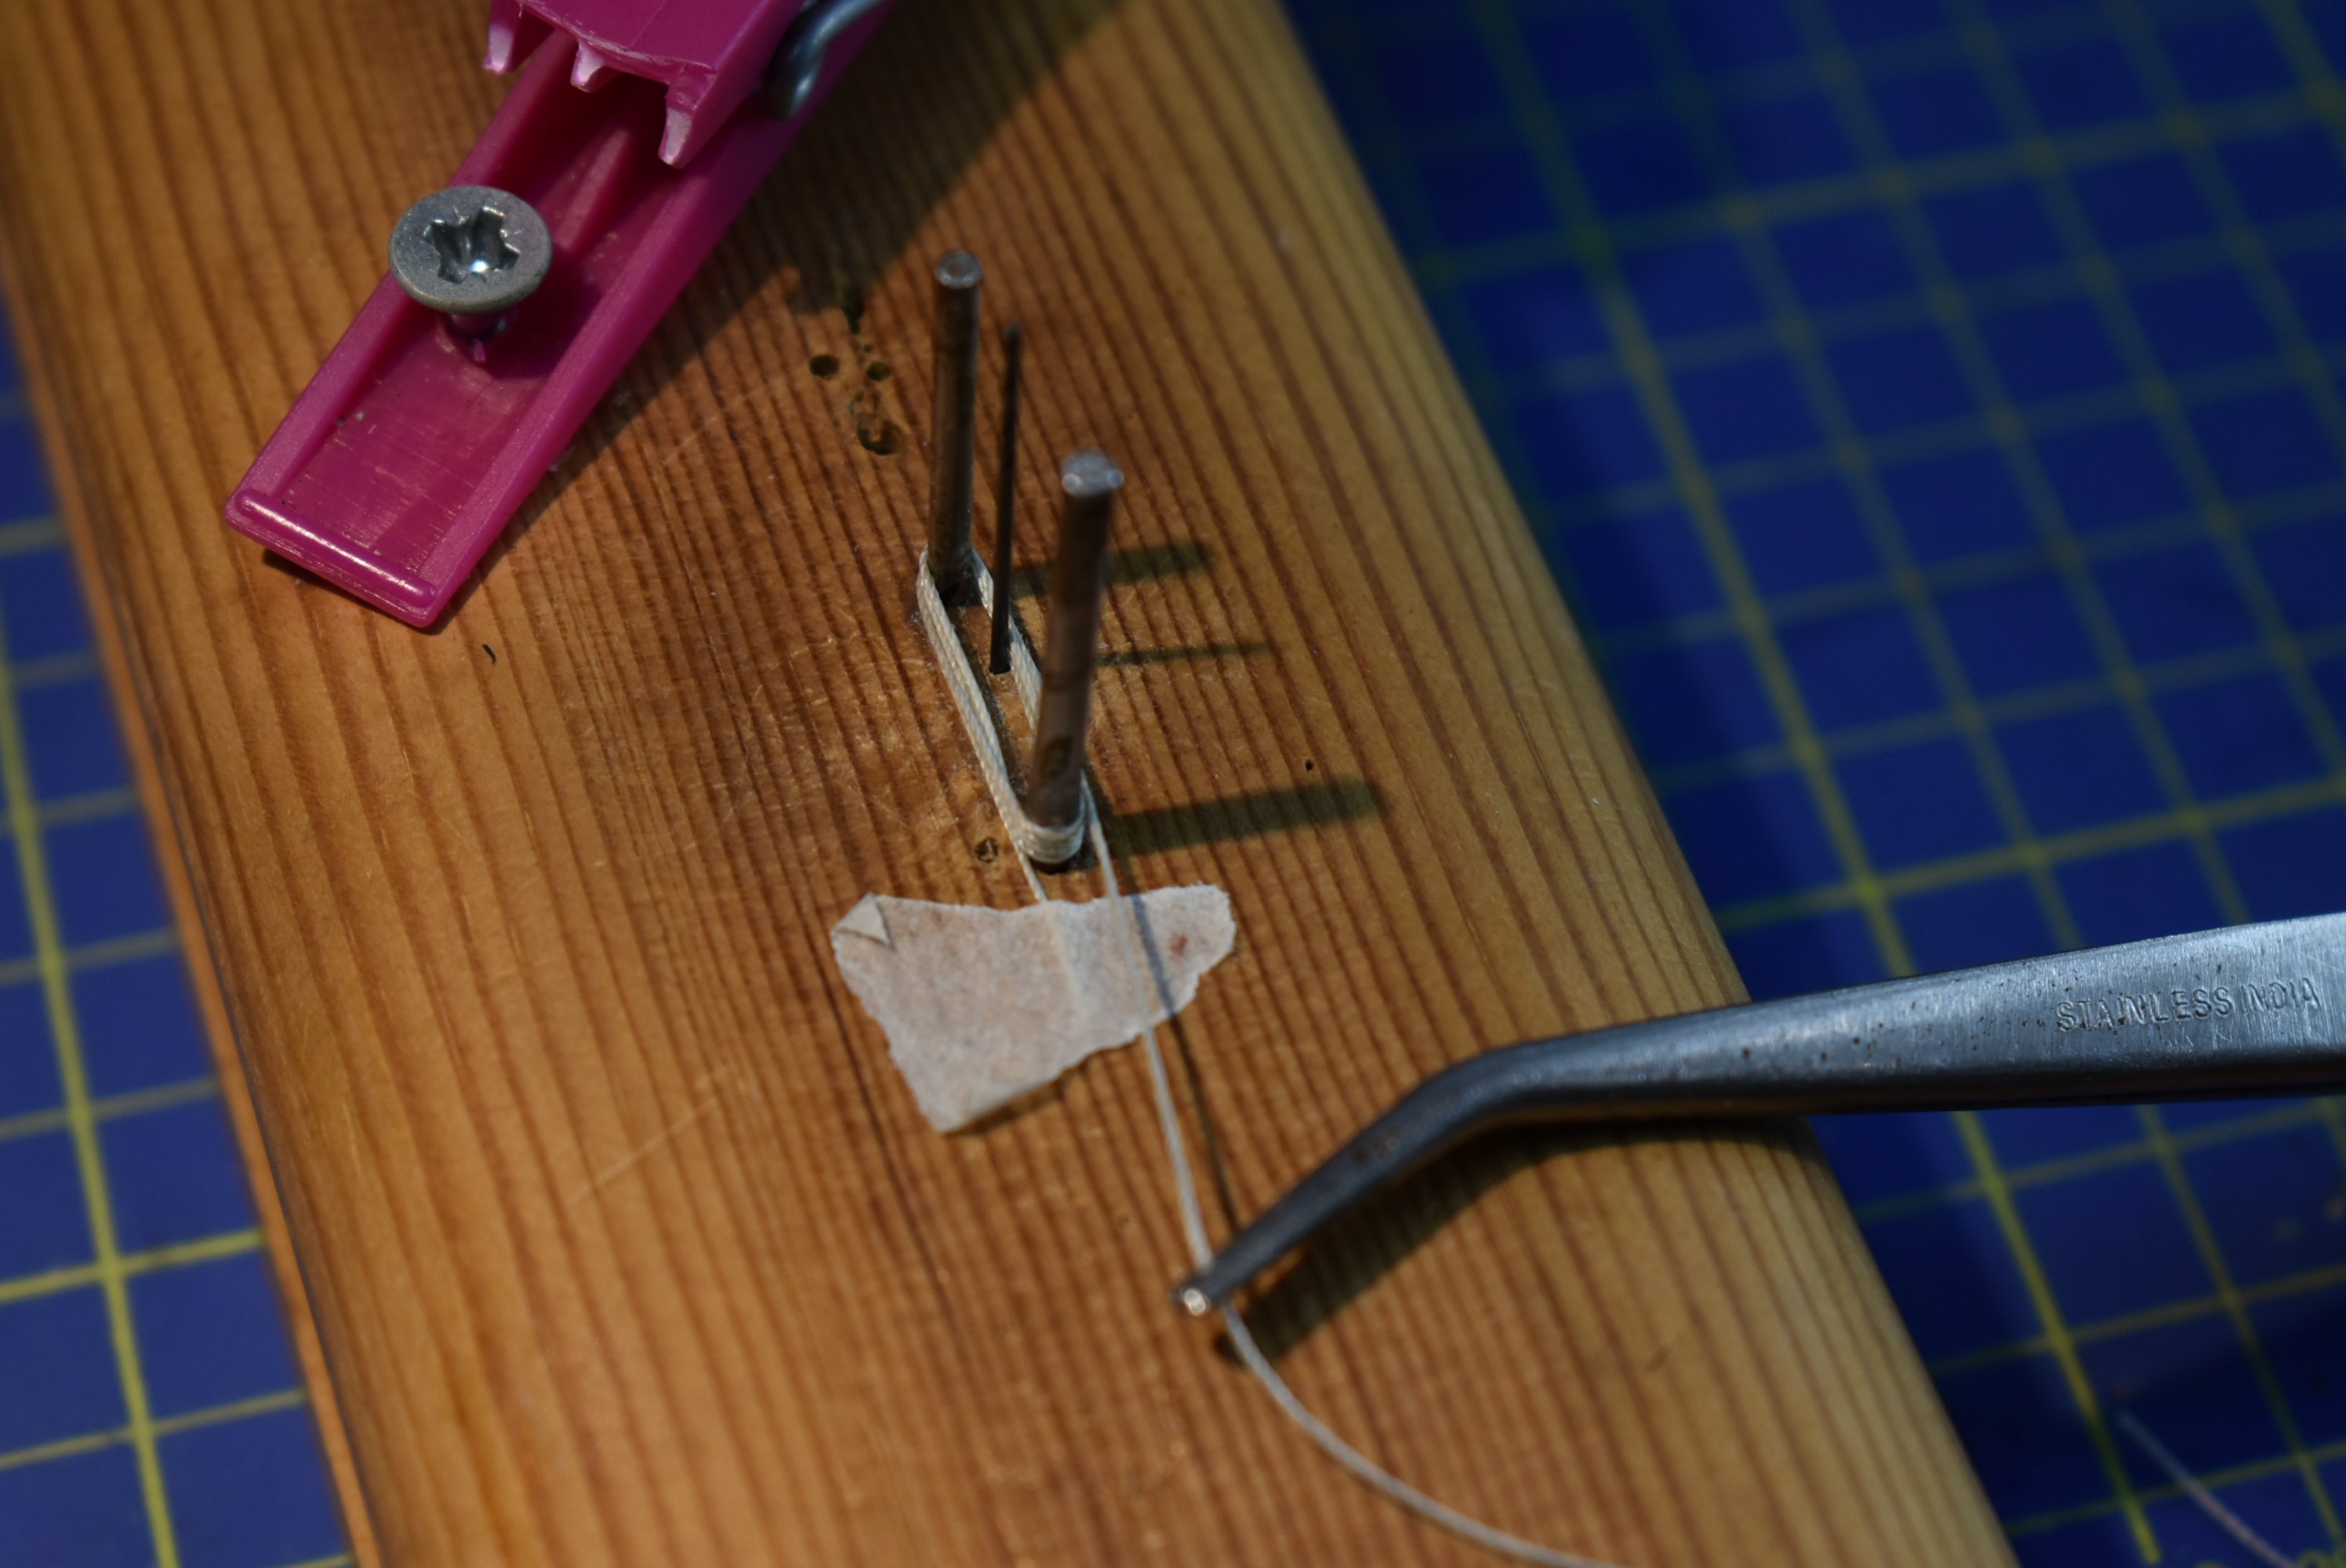
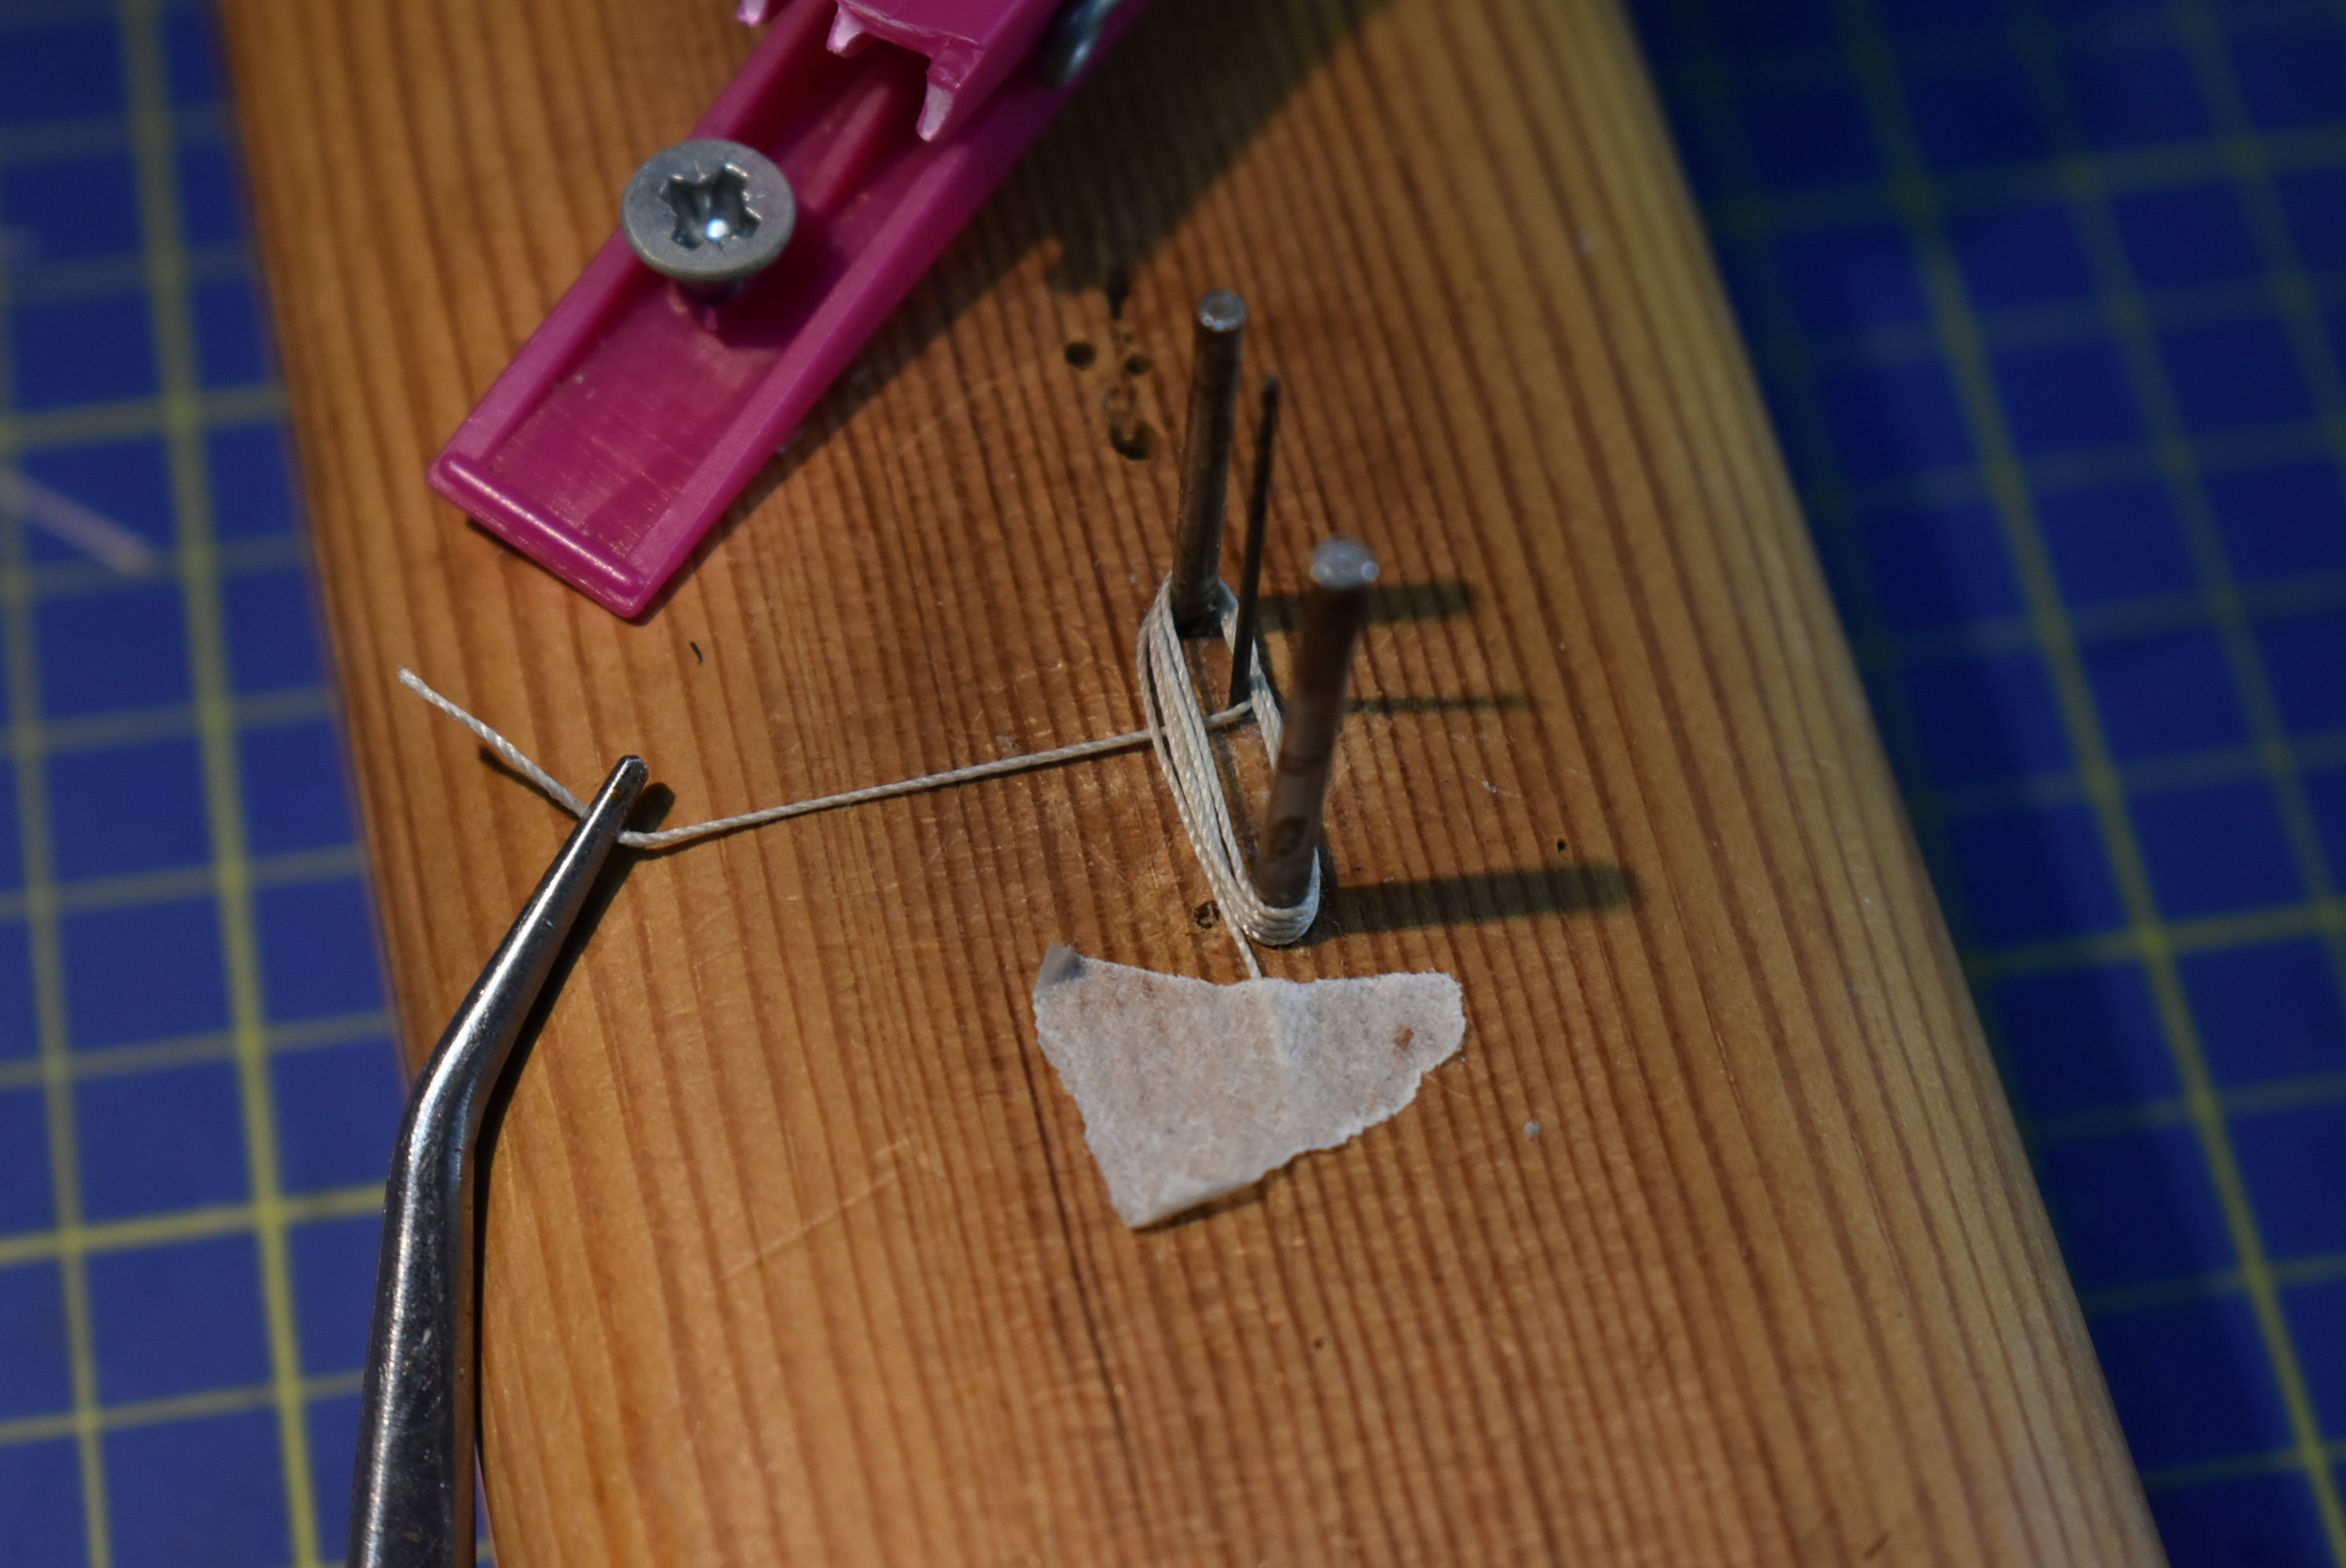
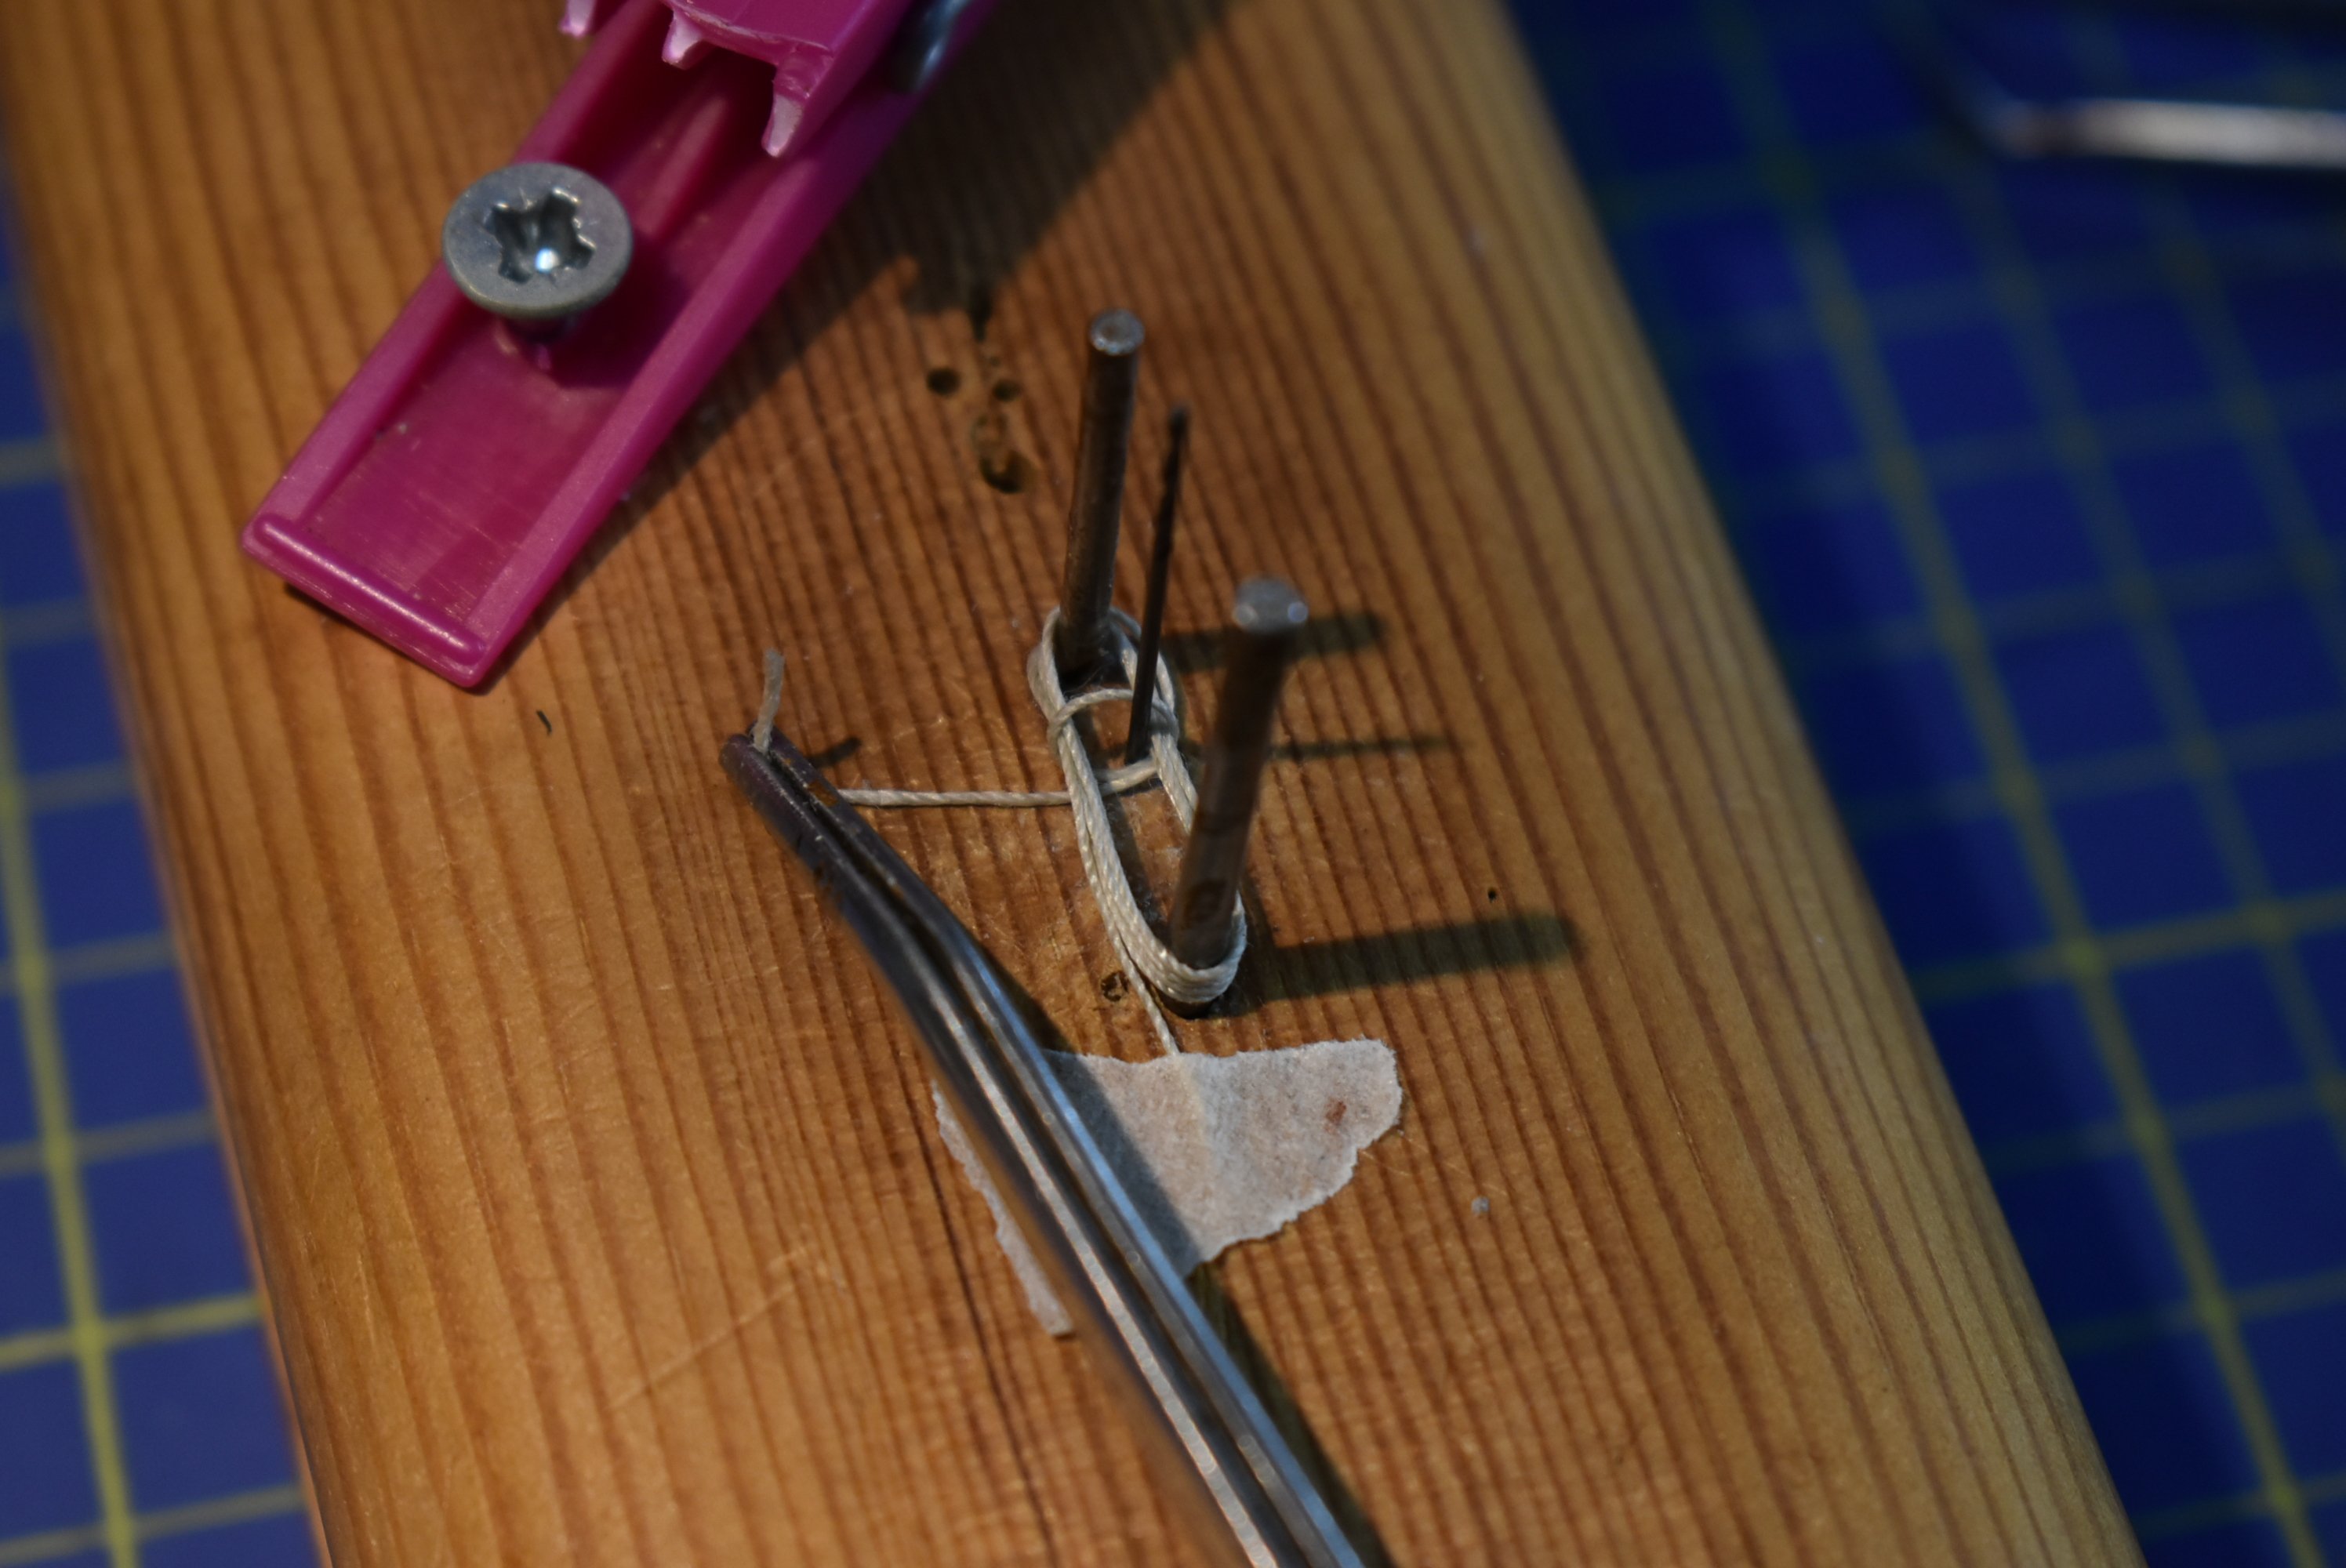
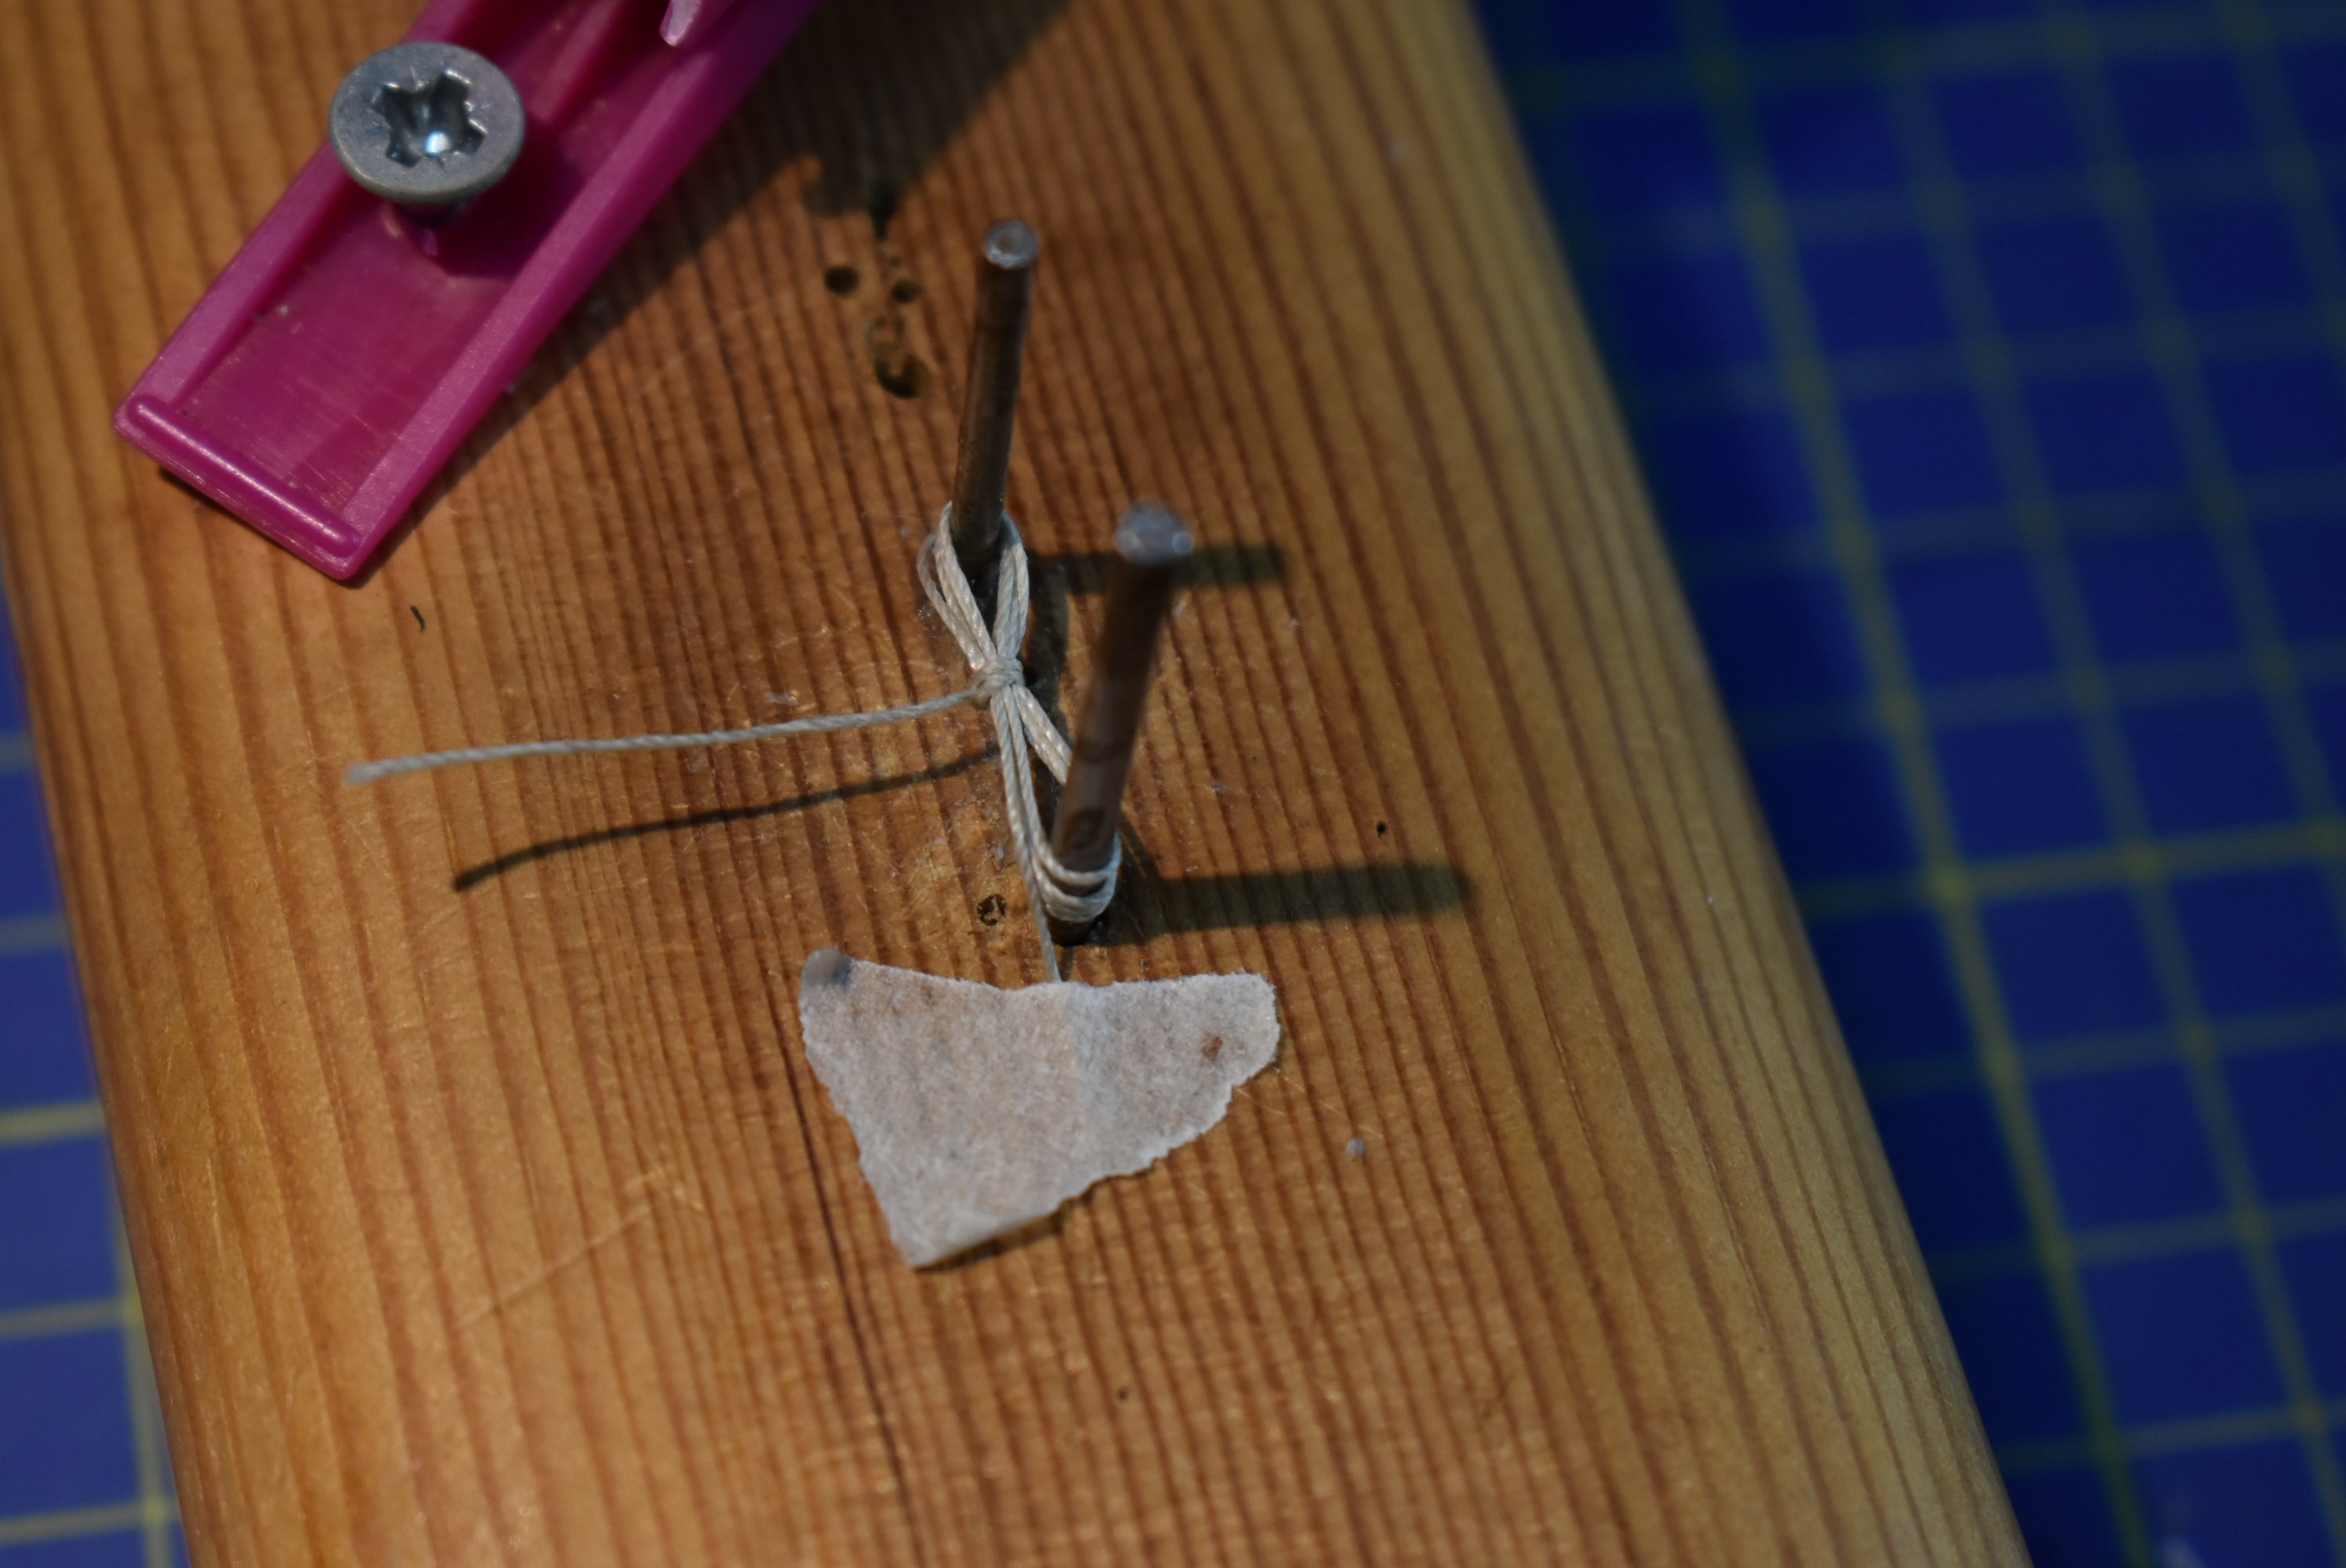
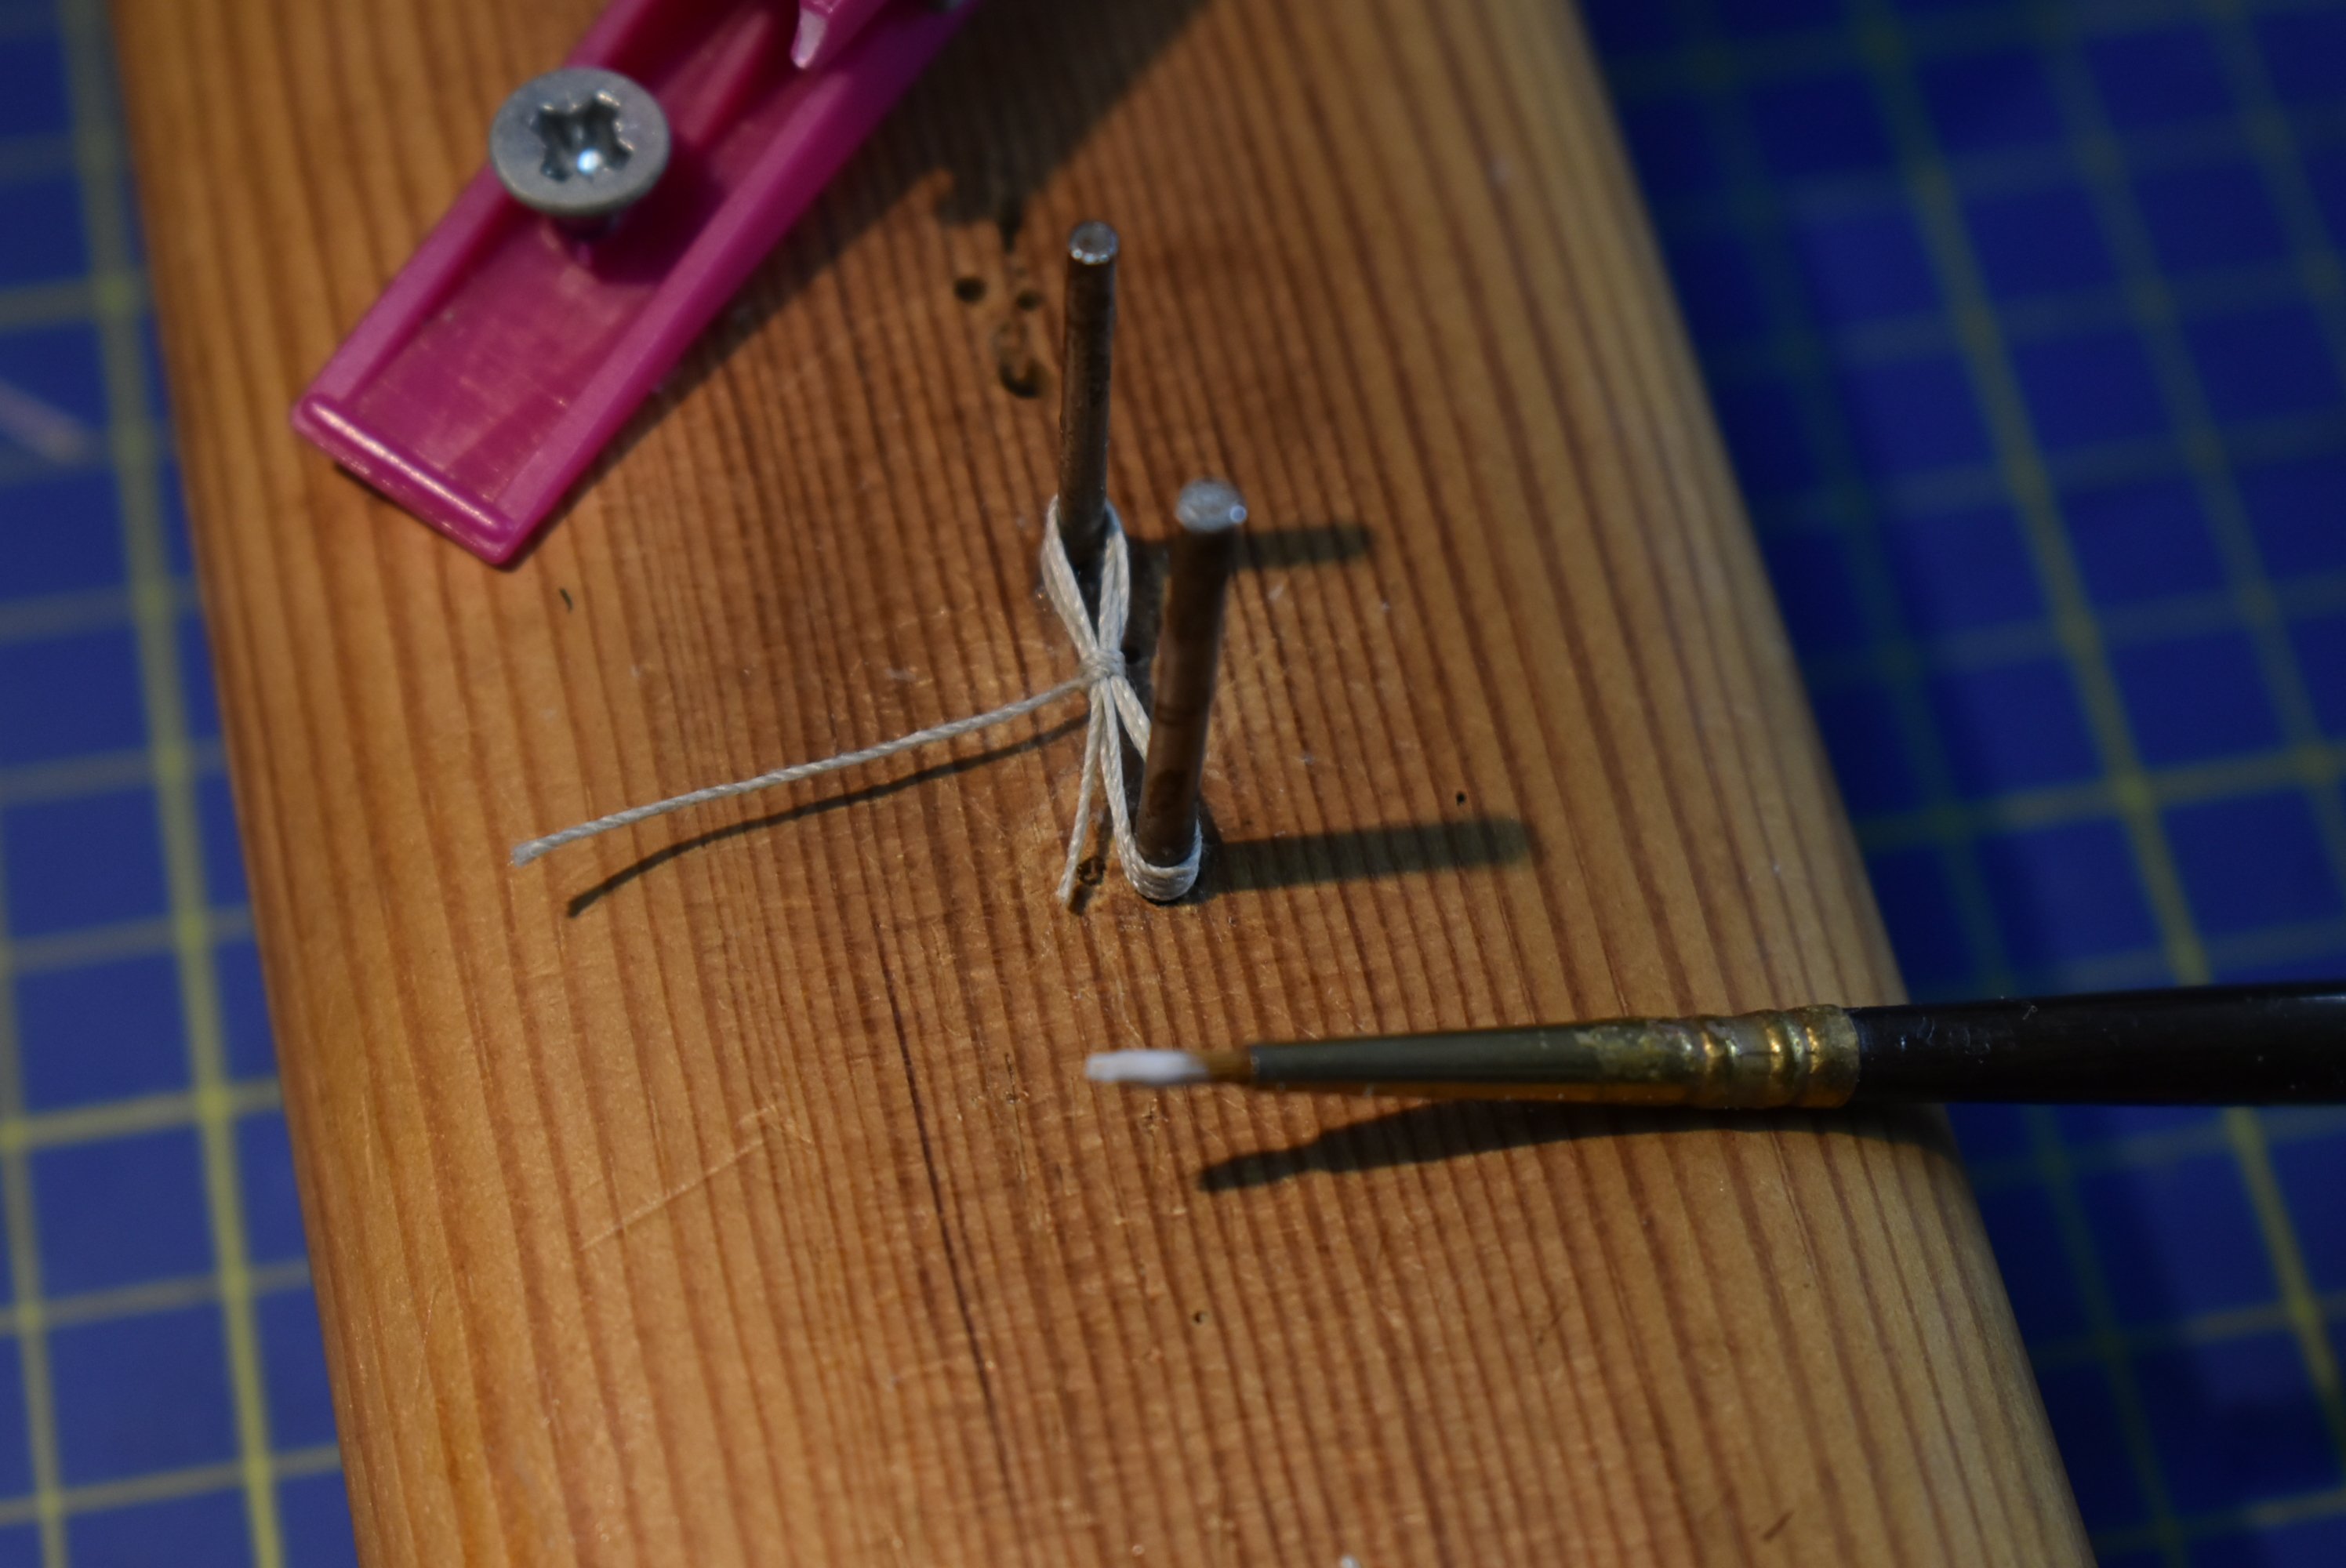
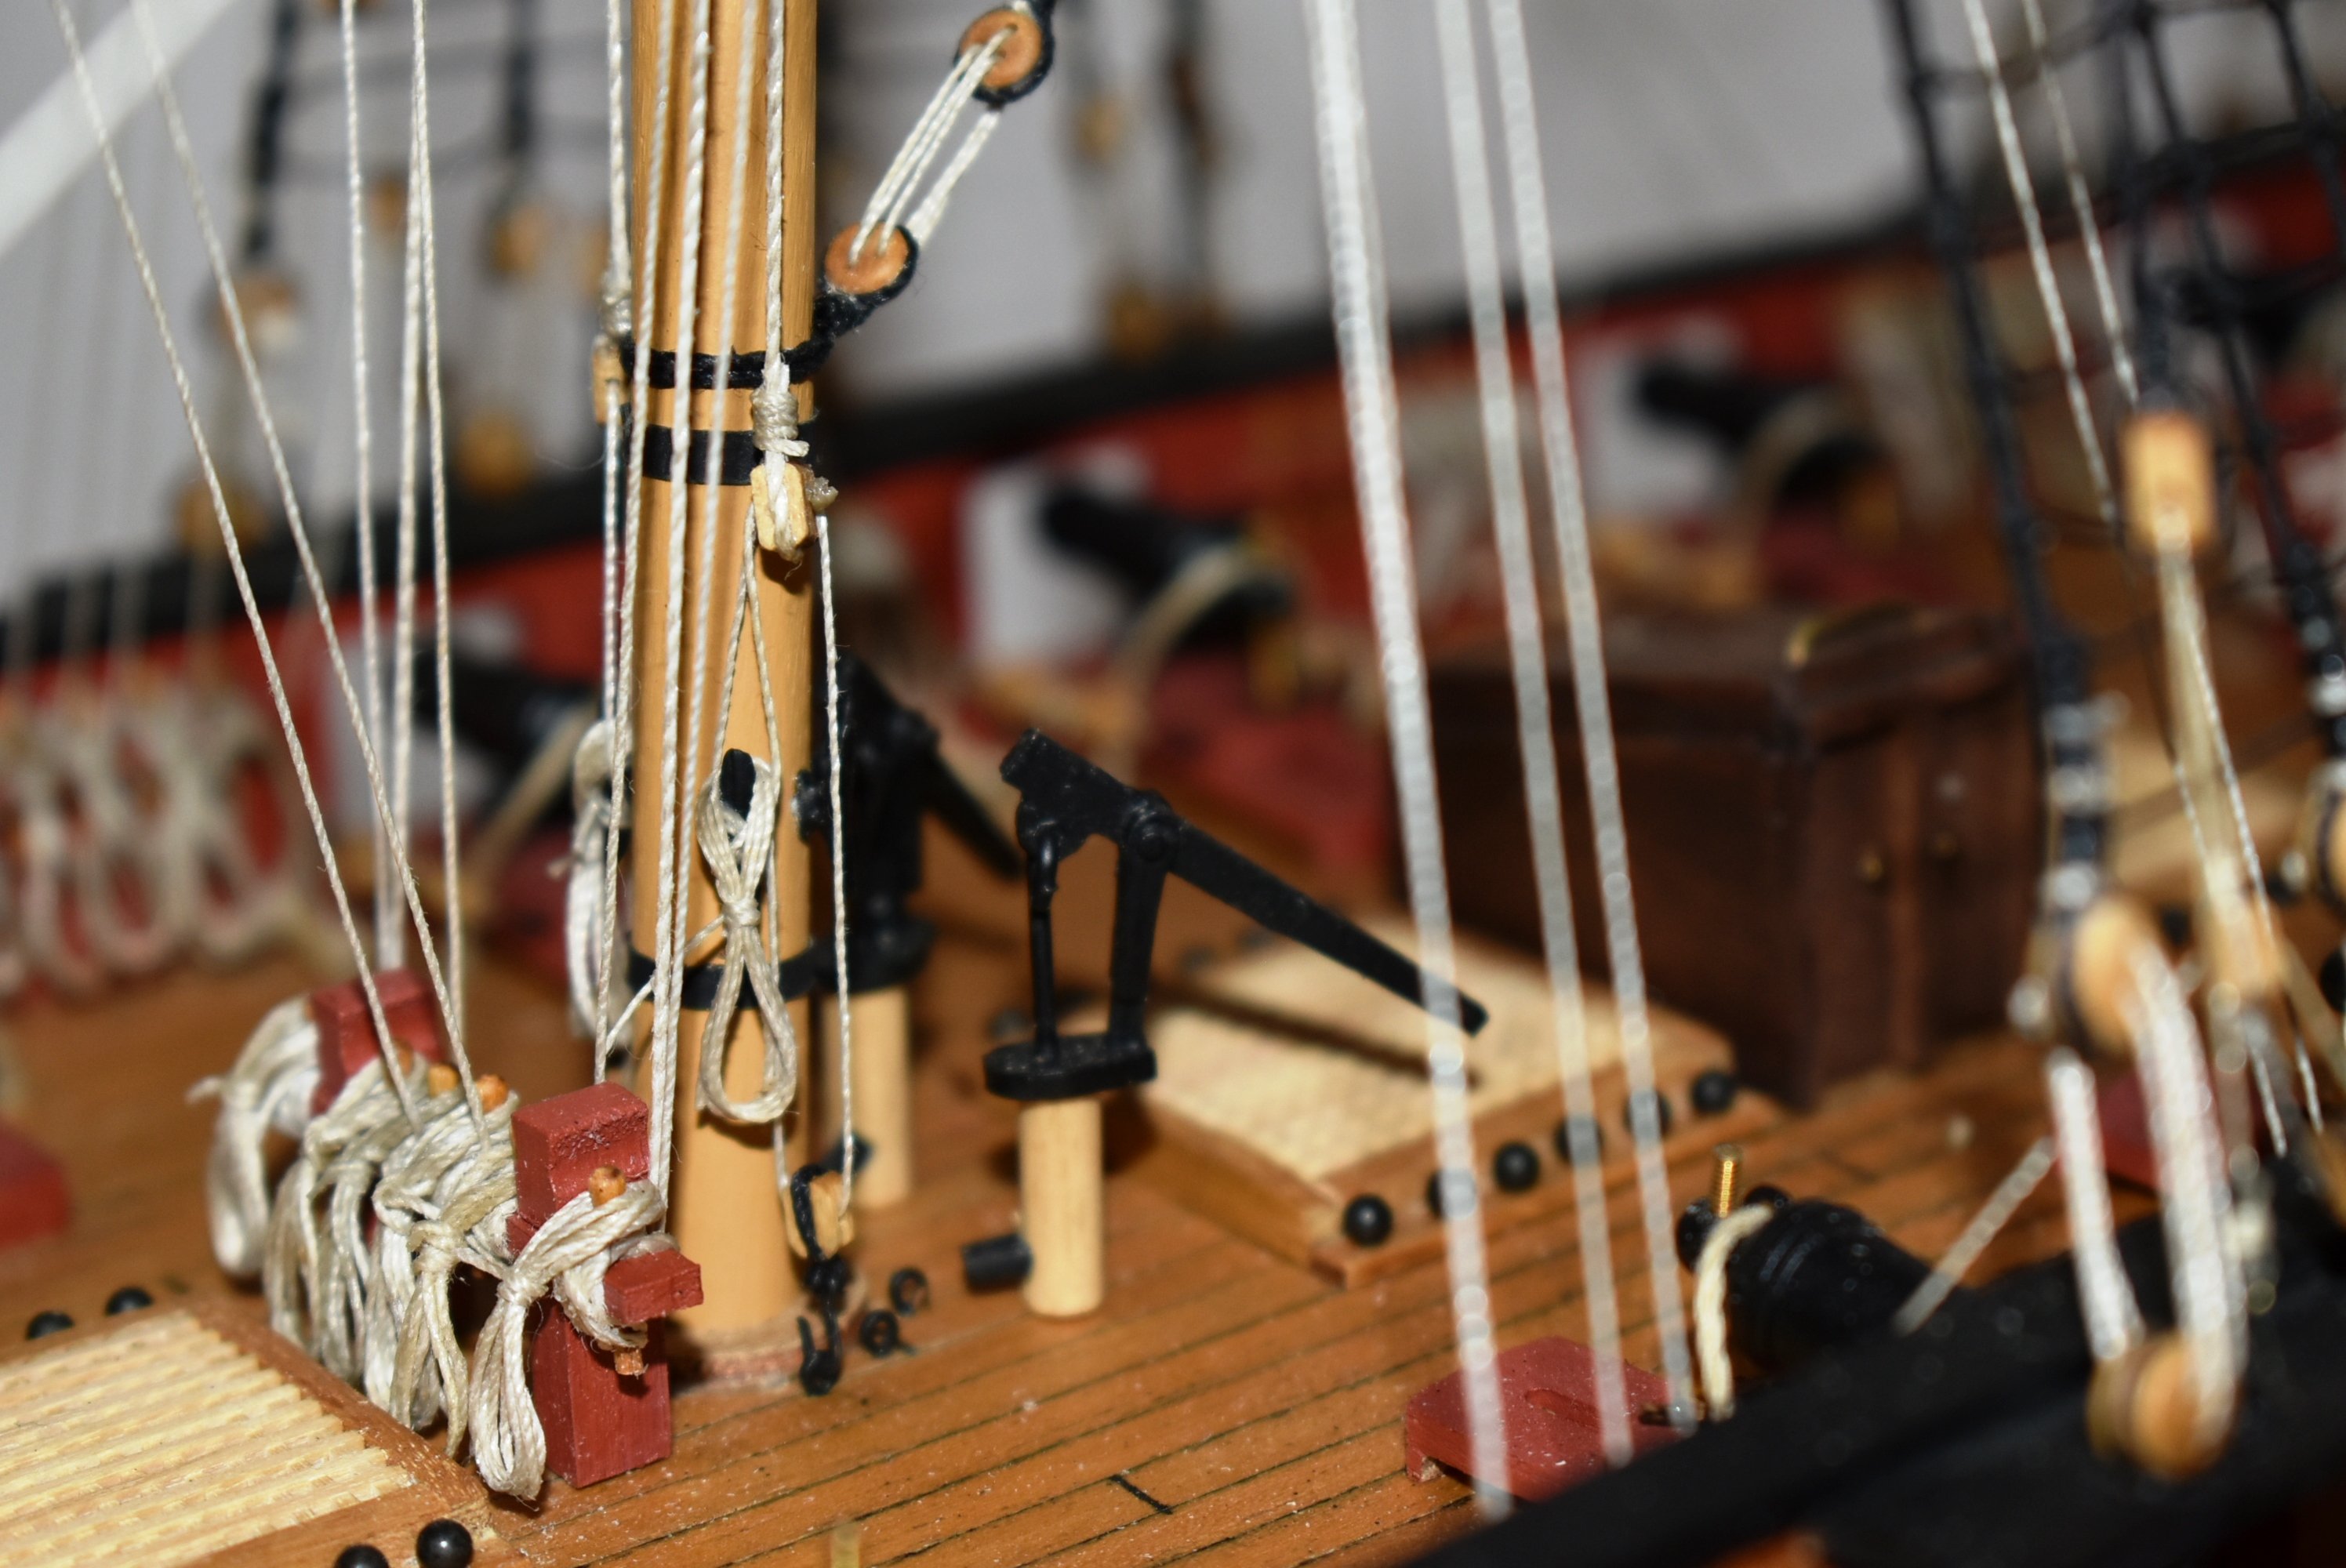
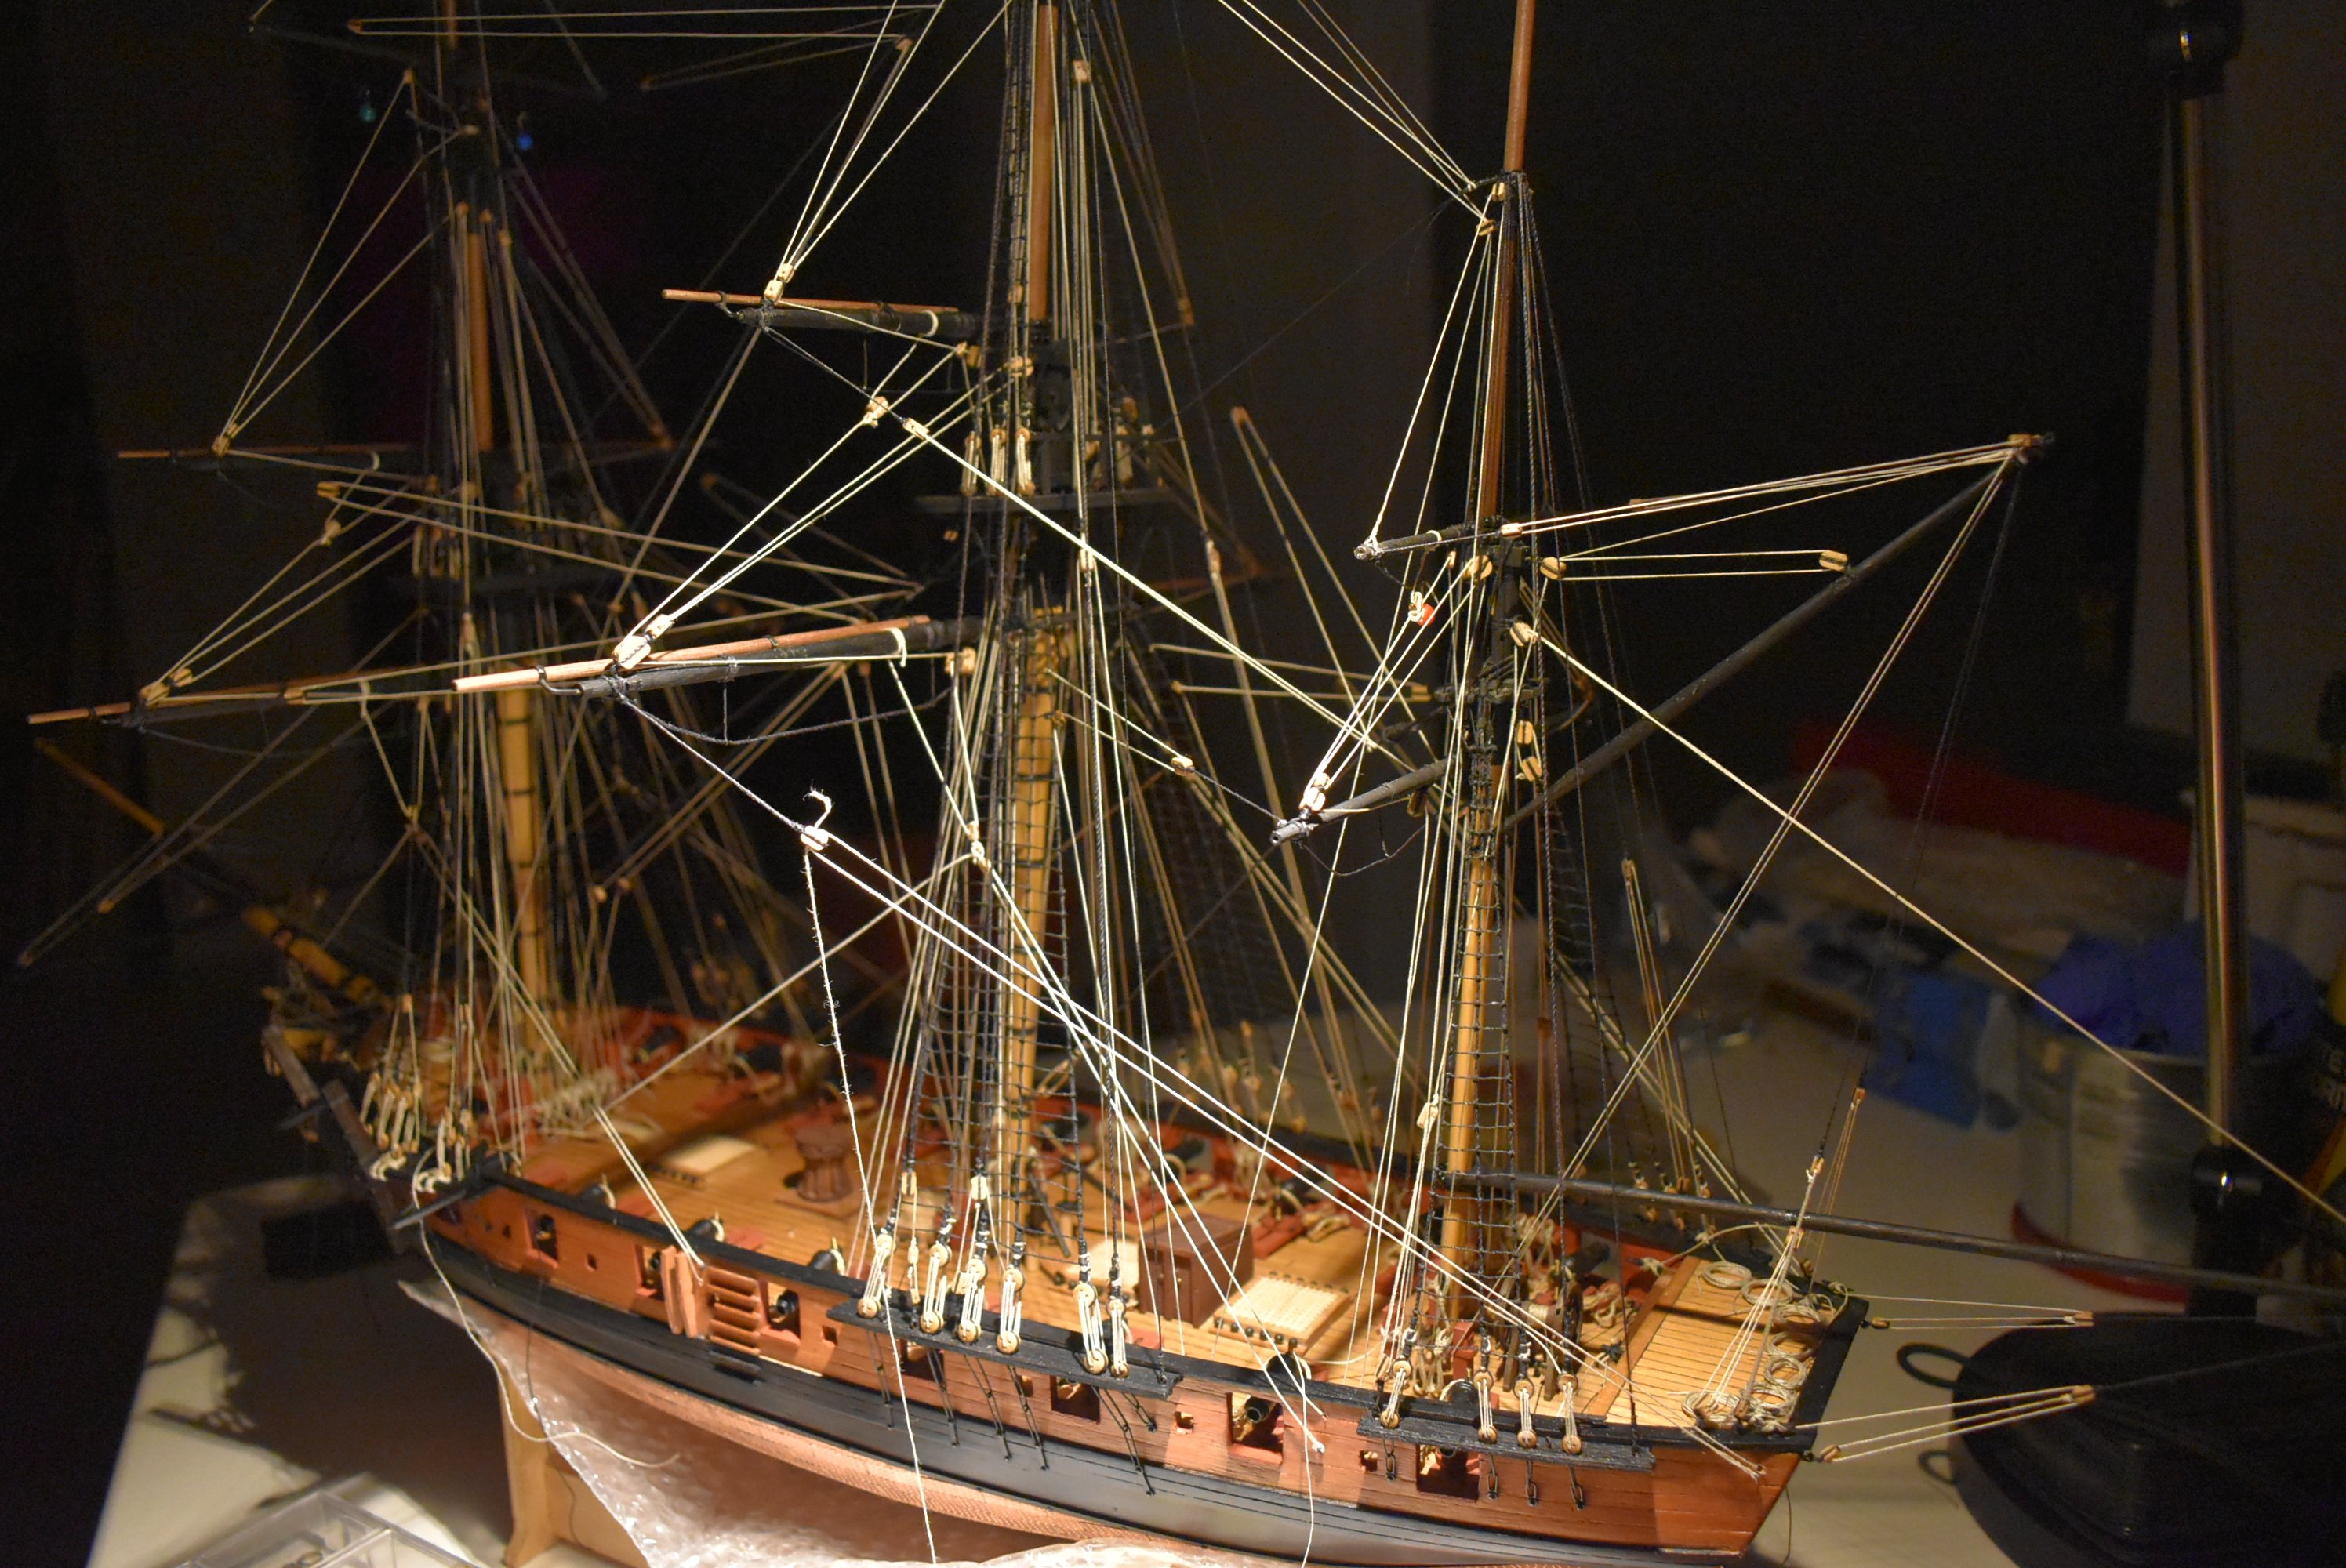
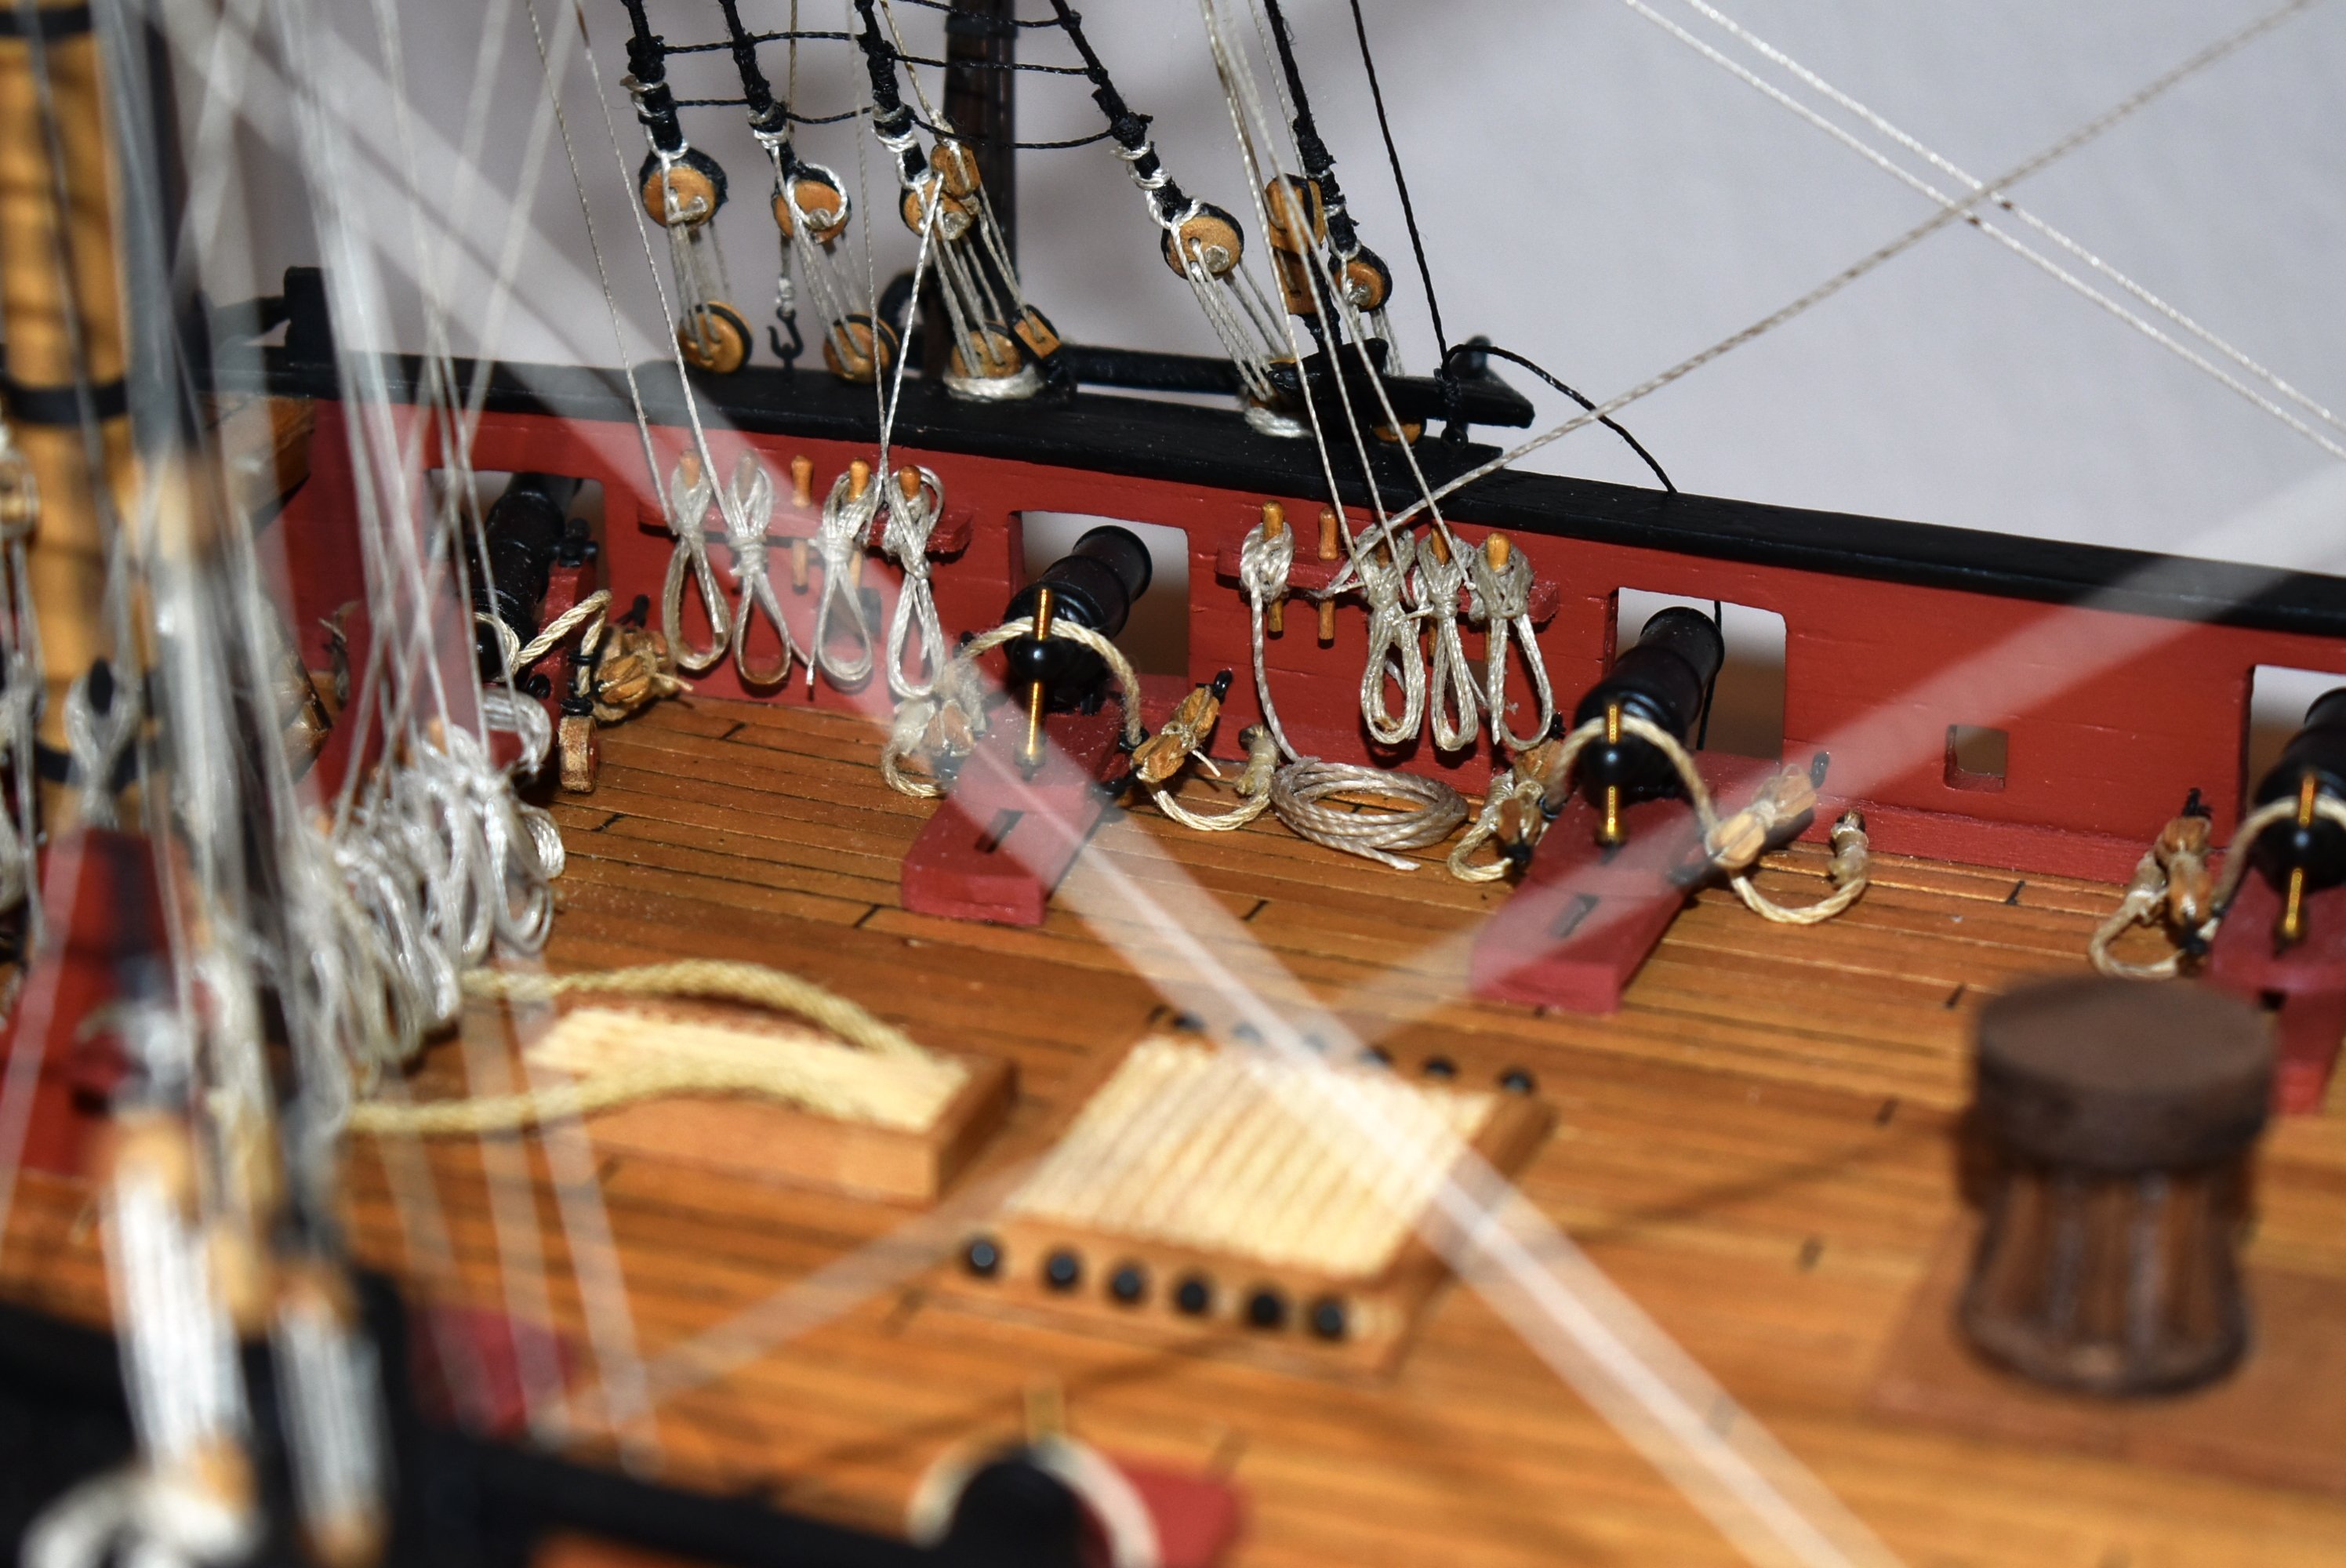
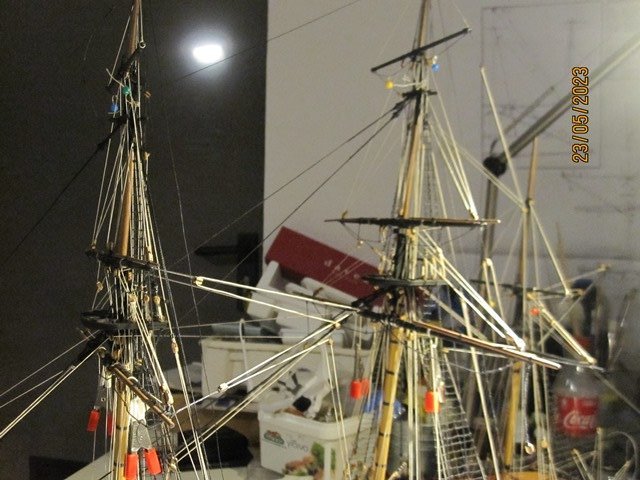
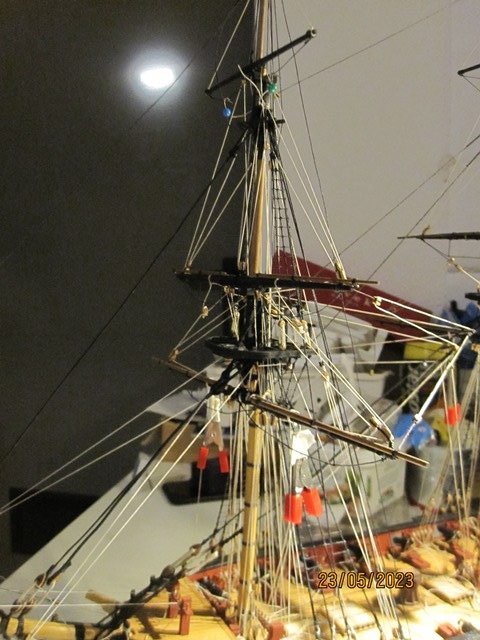
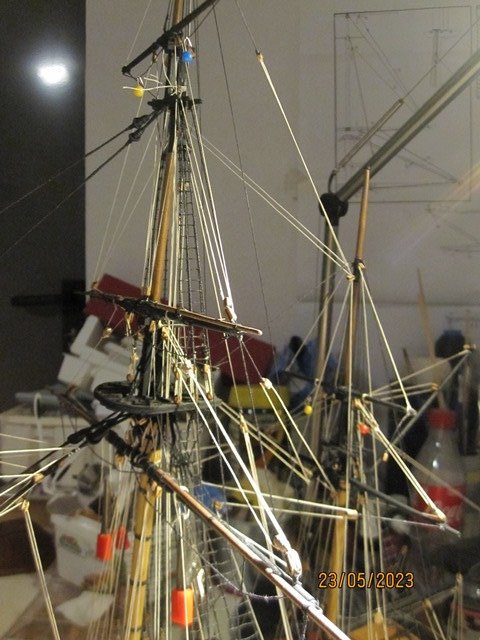
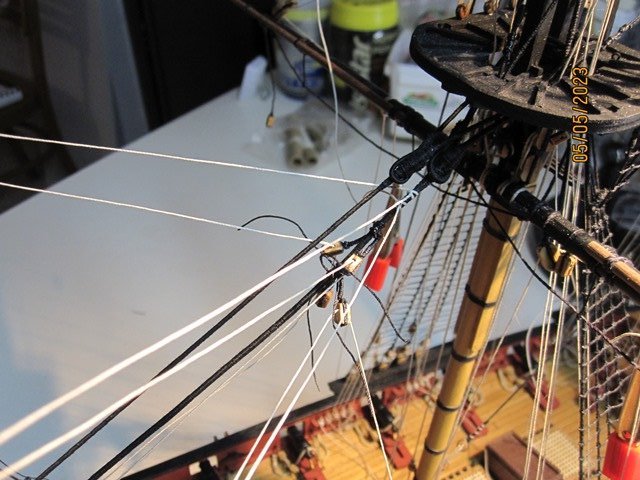
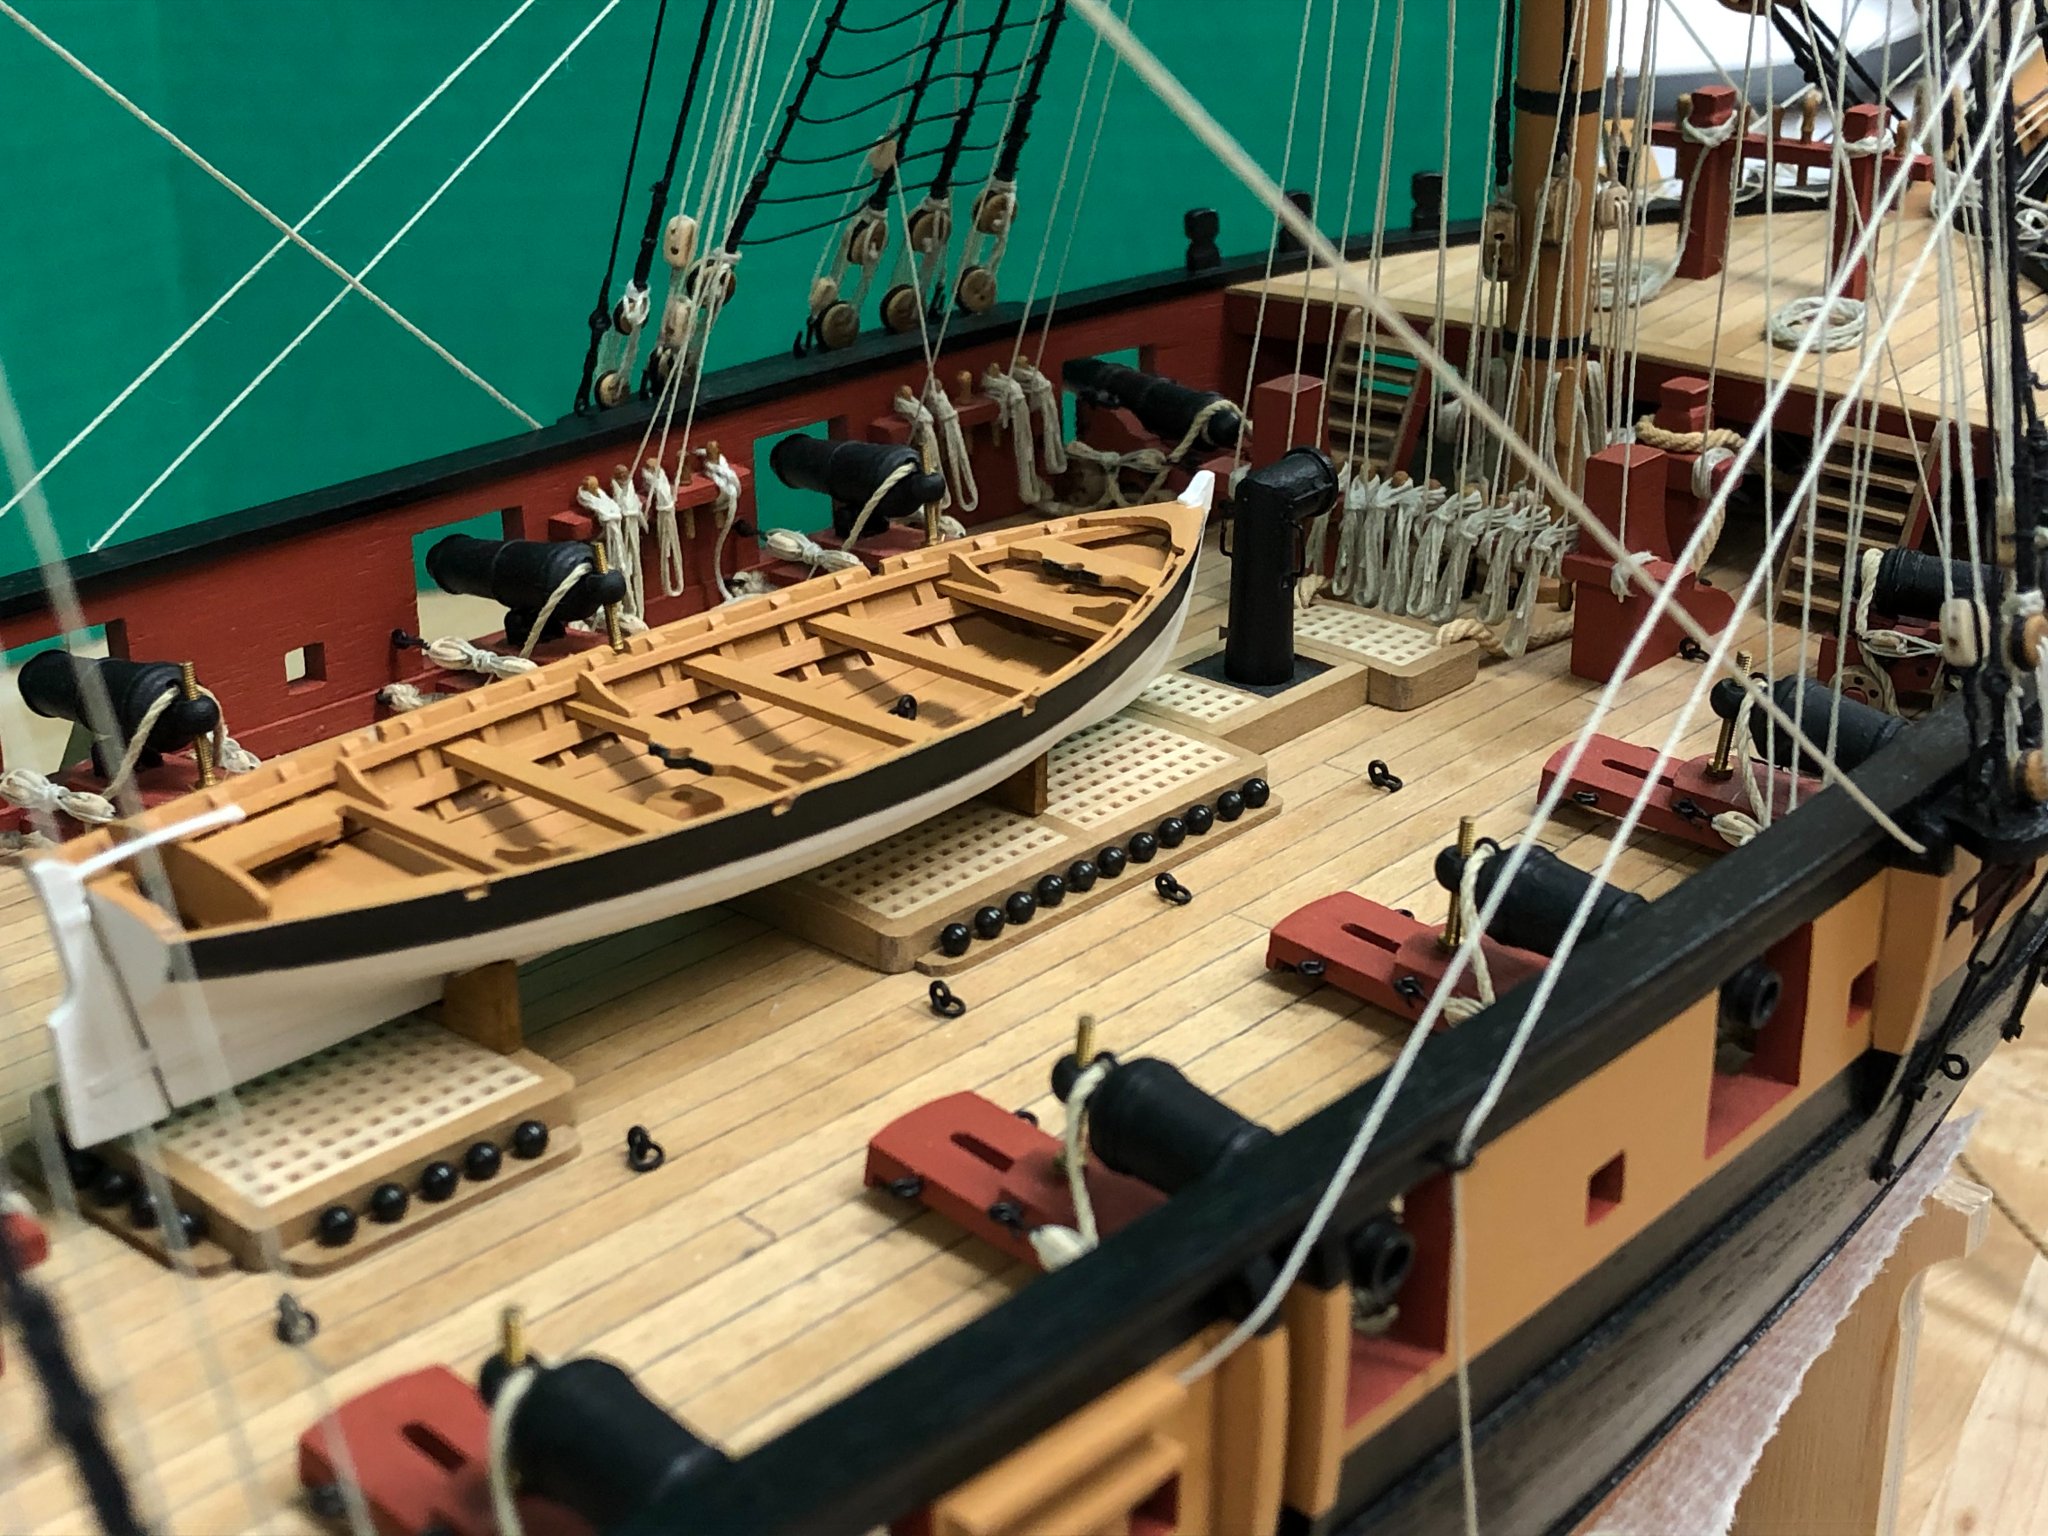
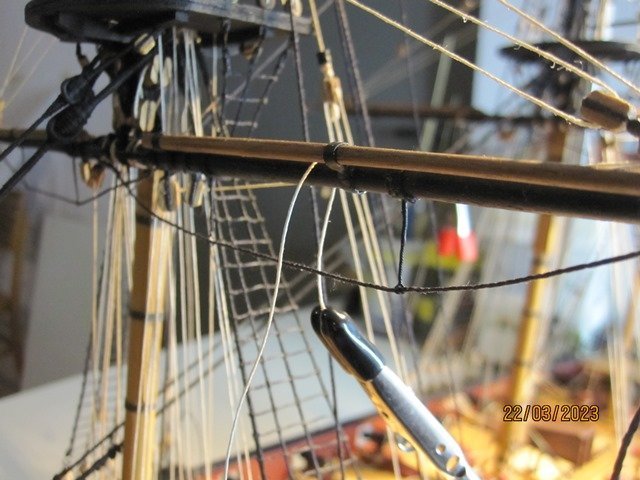
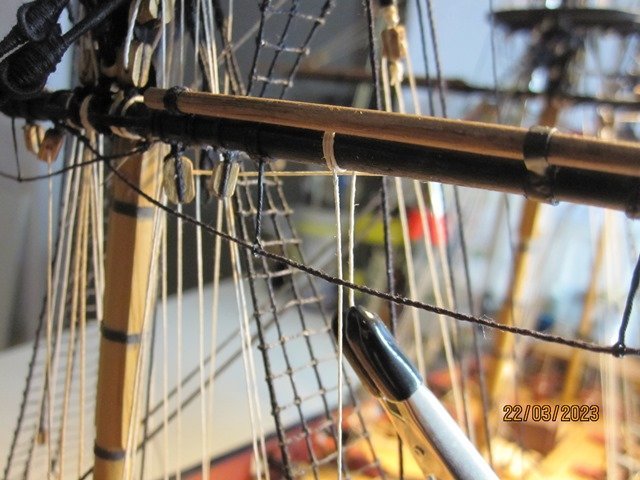
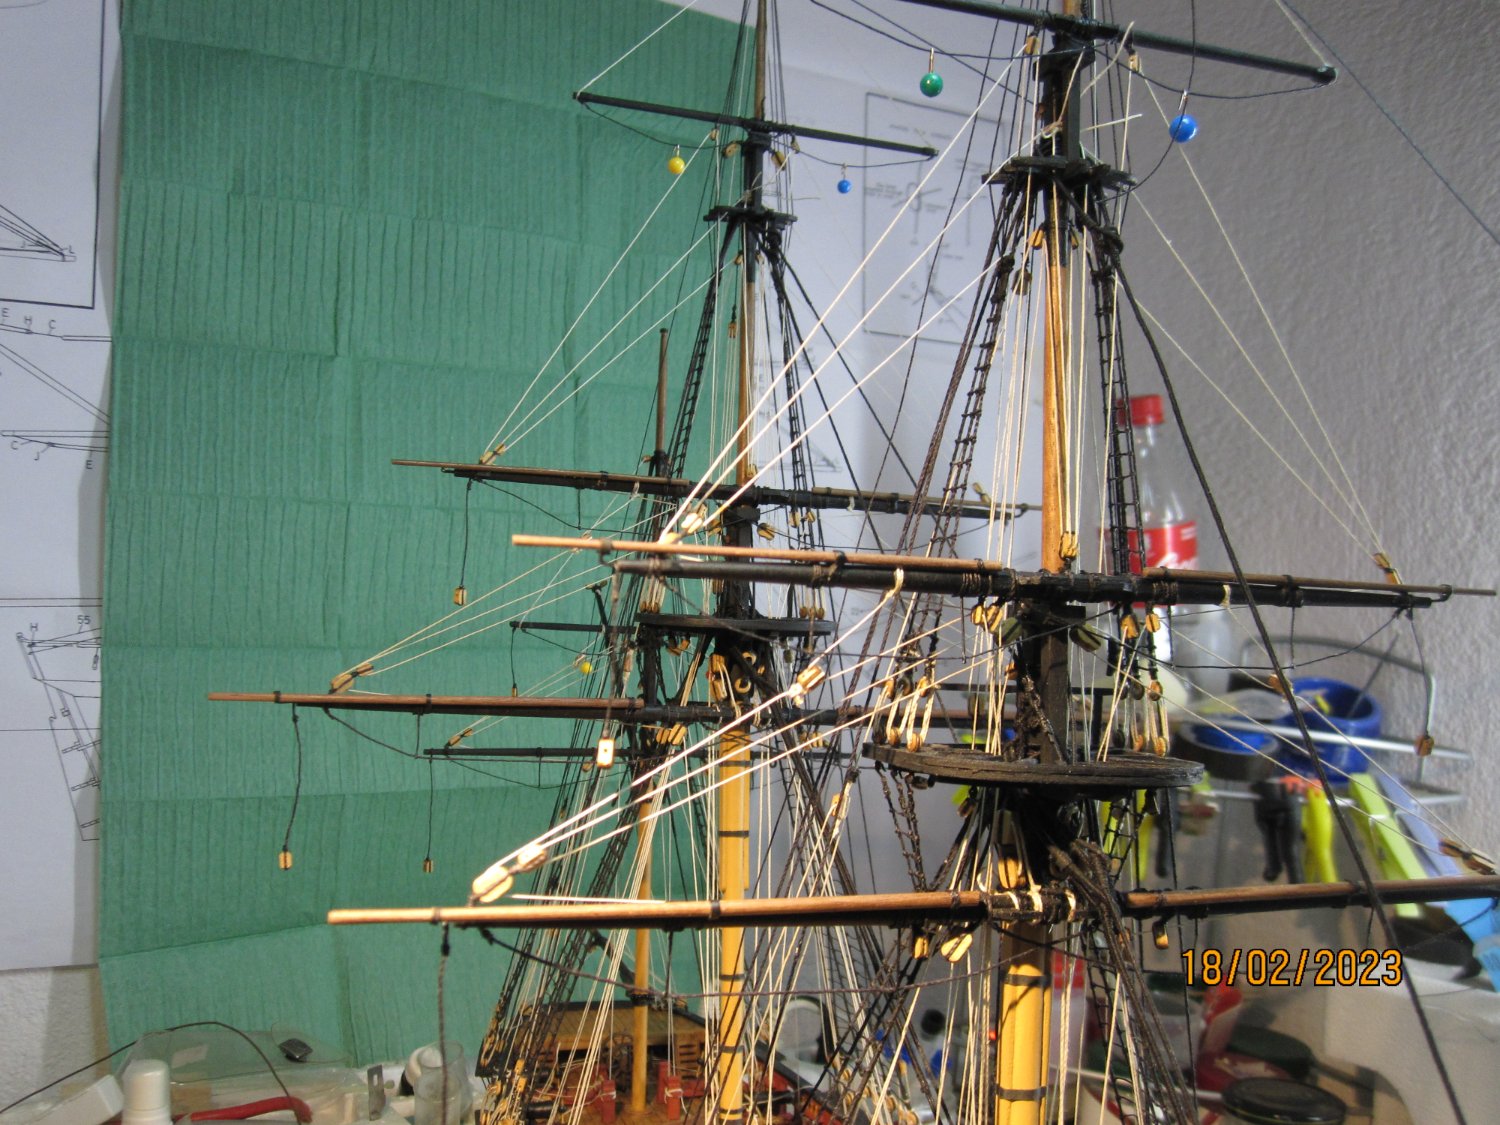
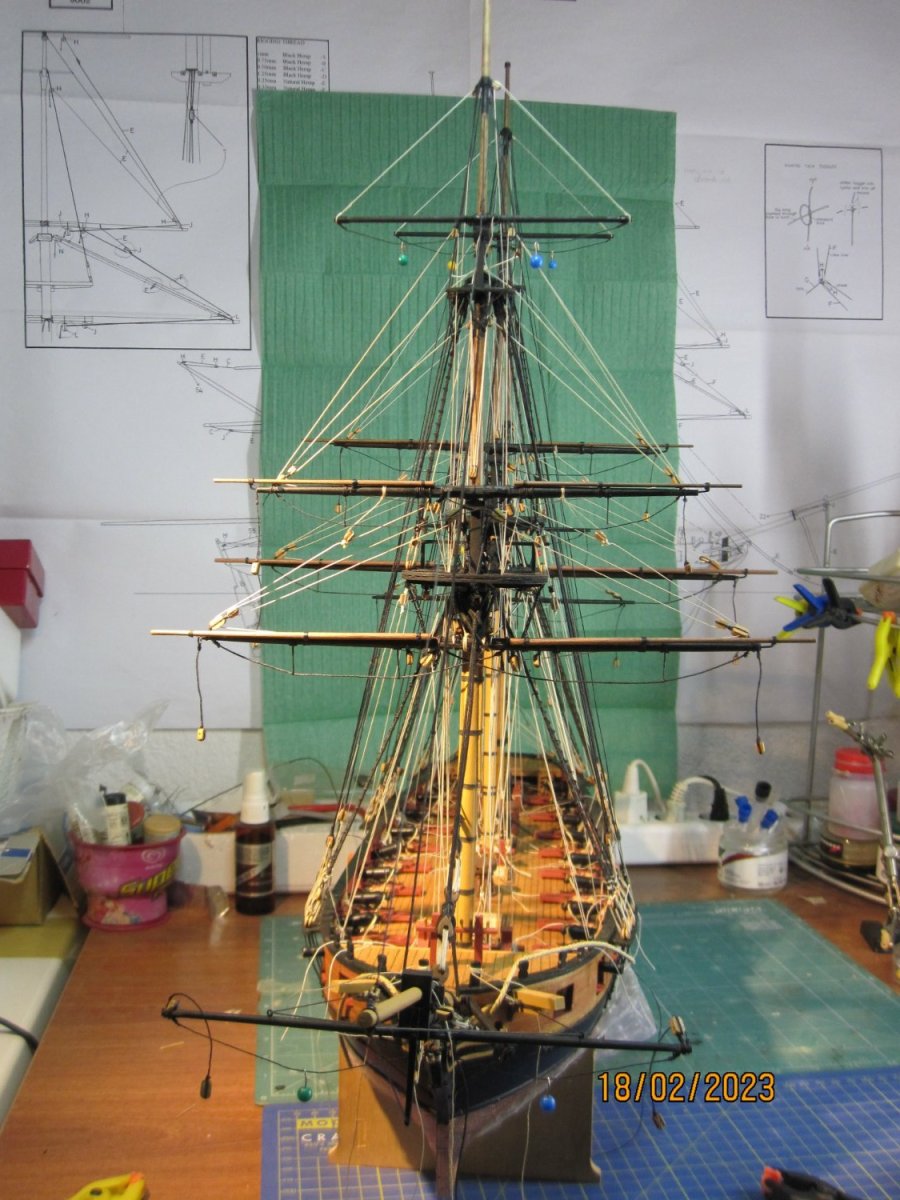
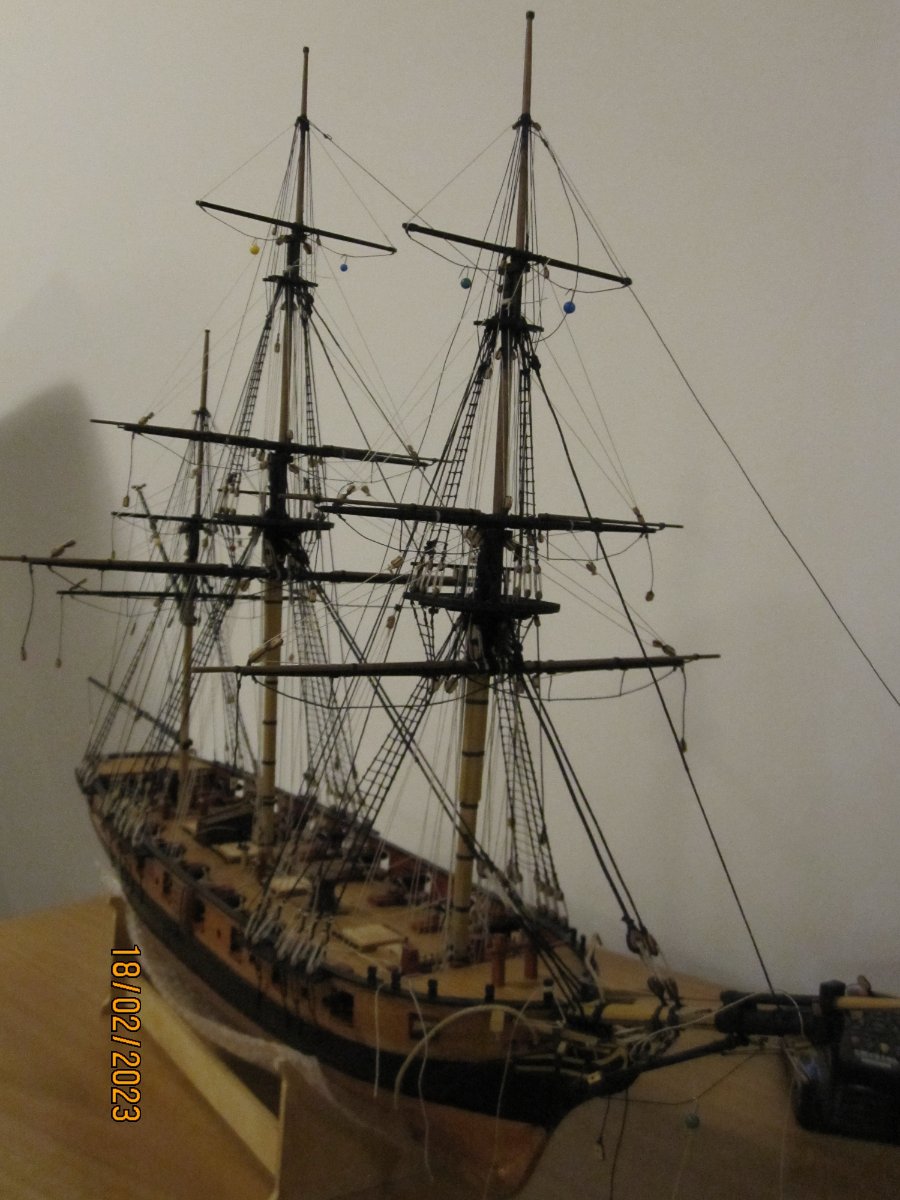
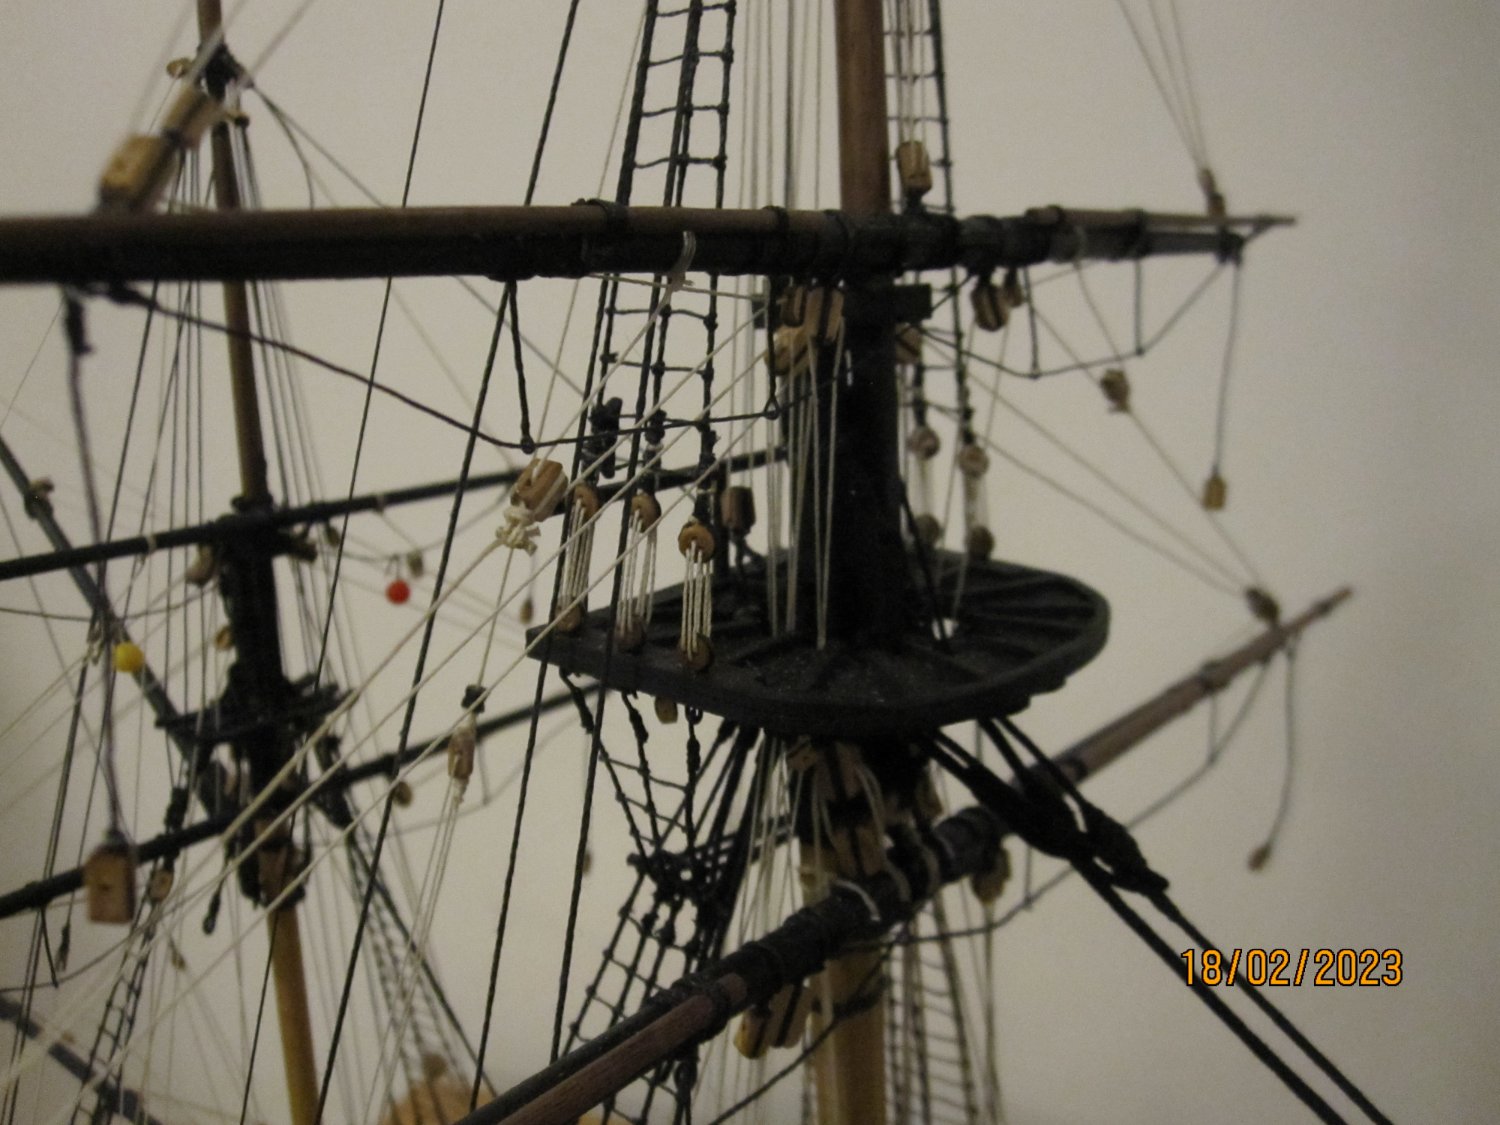
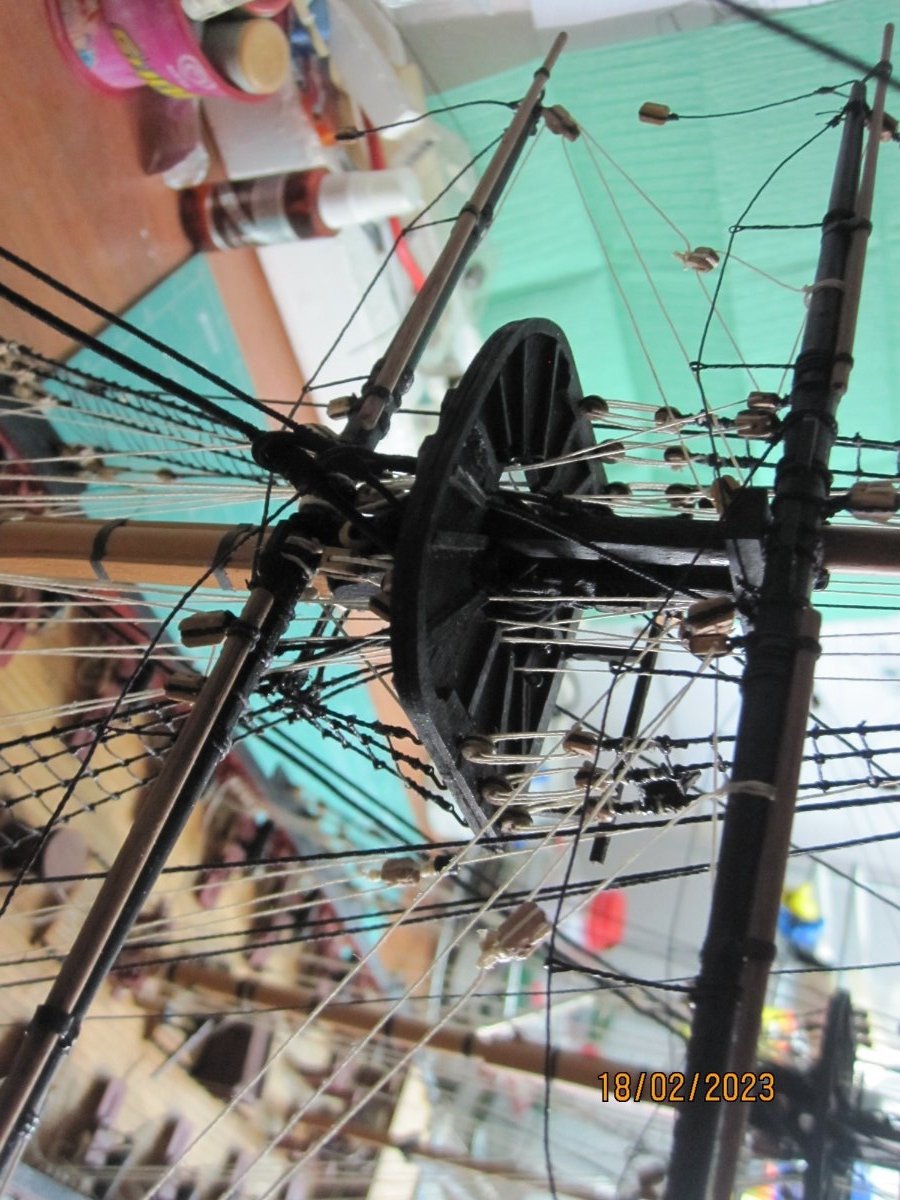
Small, current updates of my work
I've left a lot of spaghetti-threads on the deck just to feel secure enough before I freeze or trim them down.
A real symmetry of the lines and the respective tension of the threads is needed at this stage
- RossR, egkb, Beef Wellington and 3 others
-
6
-
-
-
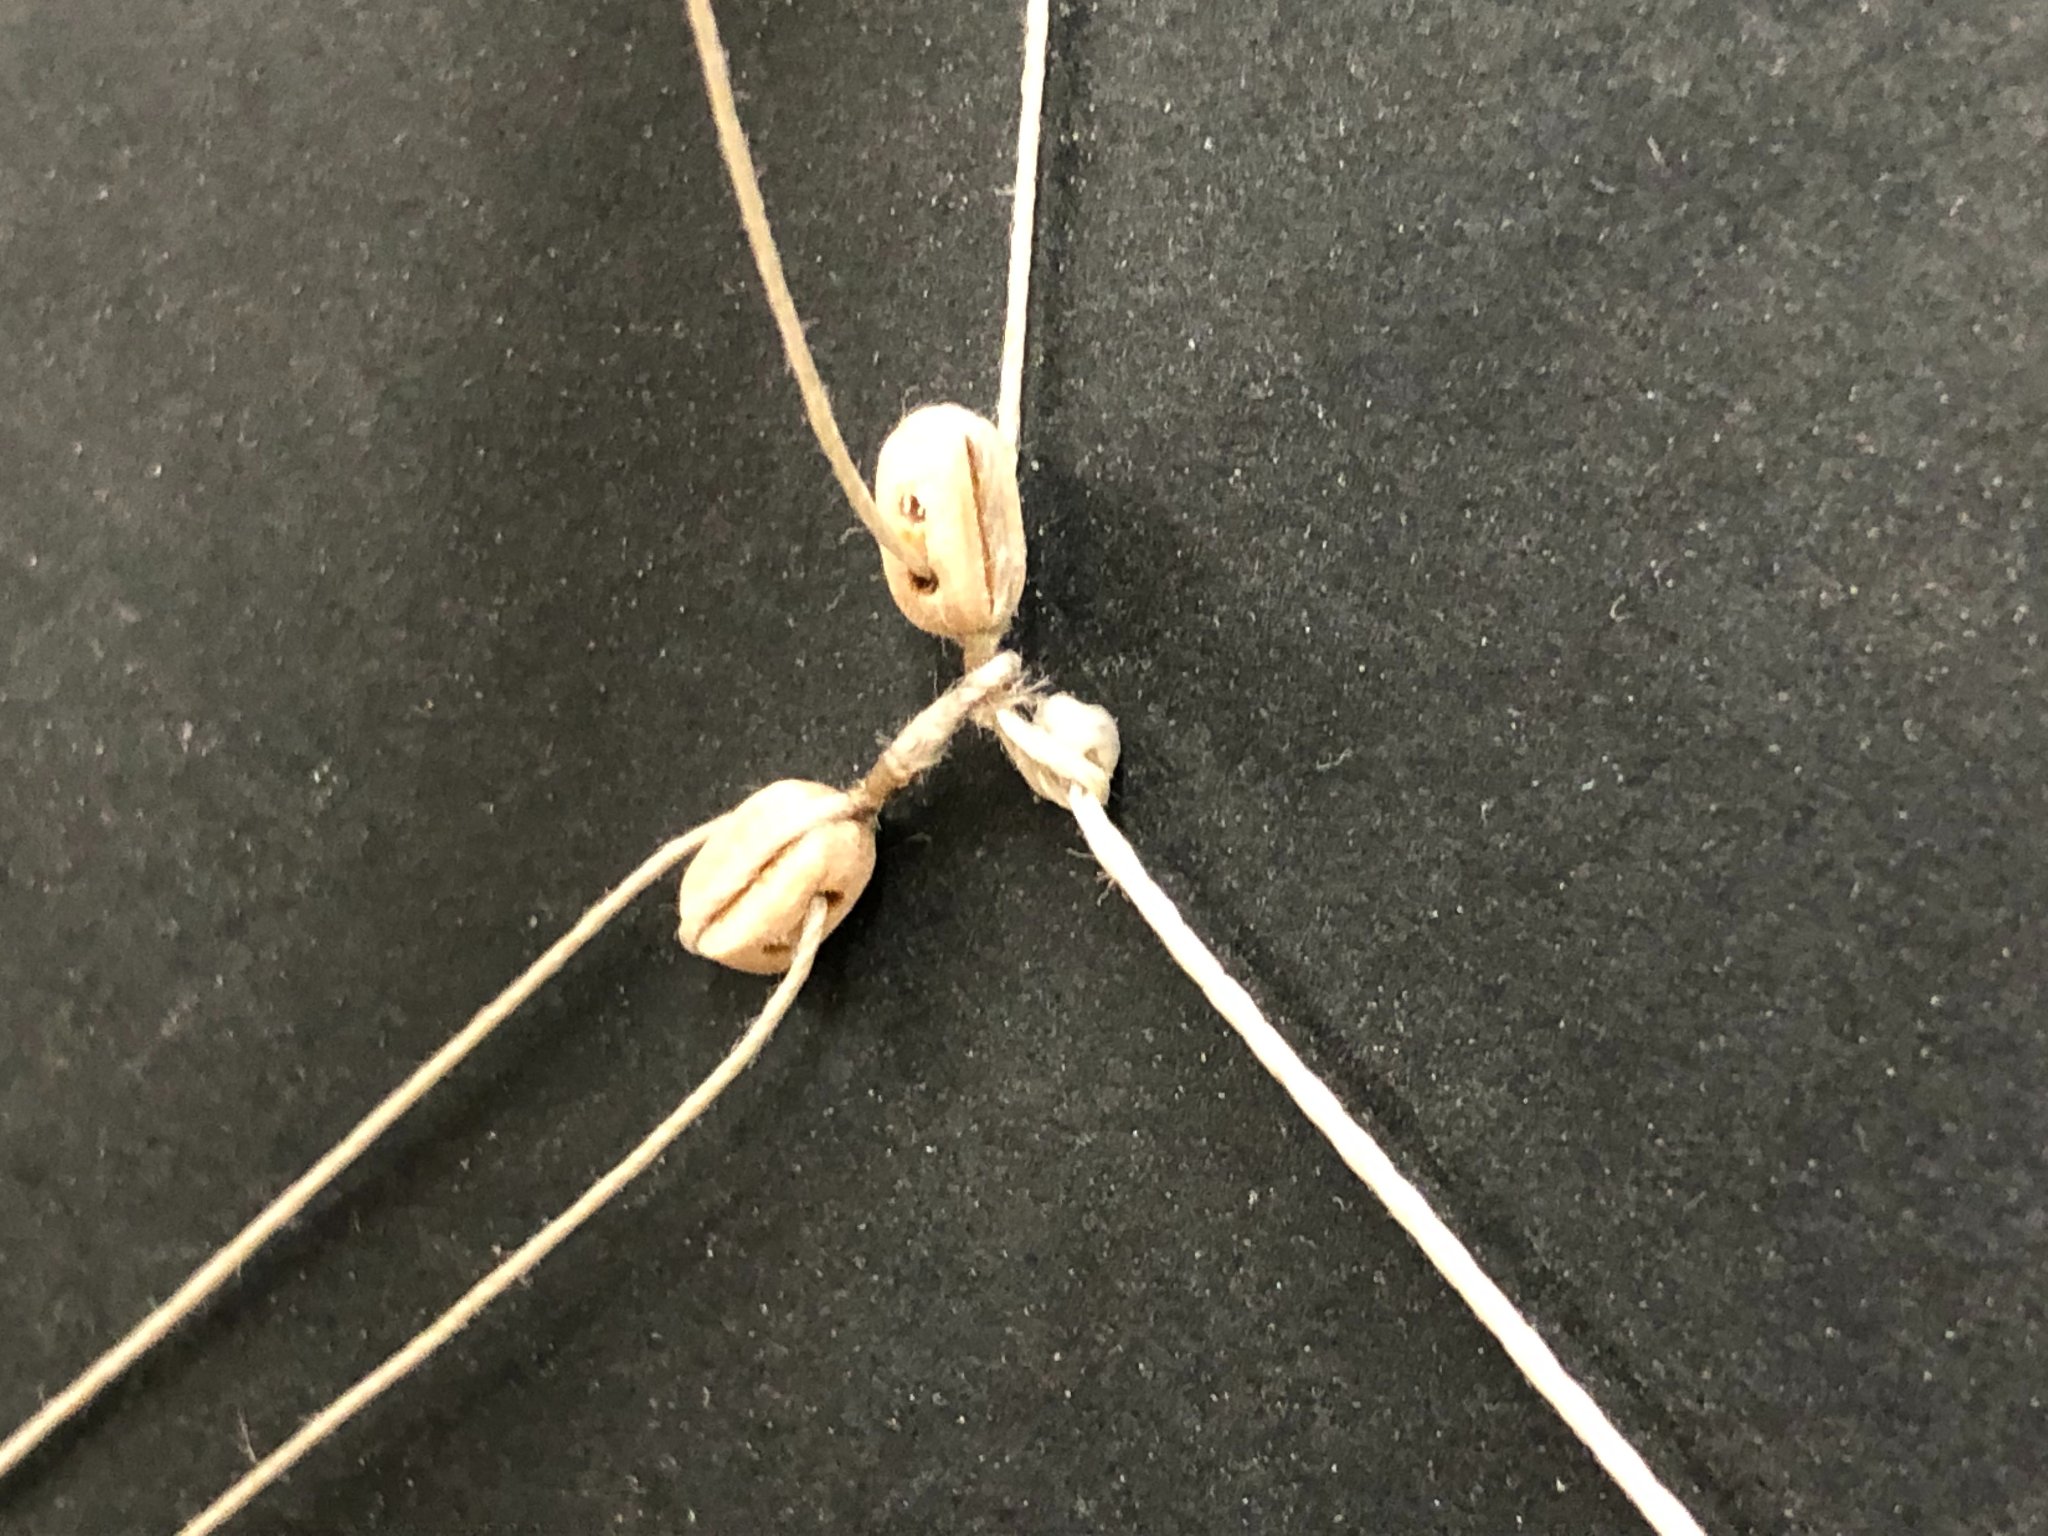
12 hours ago, Beef Wellington said:
Hi Stergios, hopefully I can answer your question. The problem is that at real world scale, the lines that are secured to the braces would not pull the stays out of their natural position because they are so much more massive. Without dealing with this at this scale, the braces would pull the stays out of their natural line which is what I wanted to avoid. The approach used weighted the stays down enough to keep them in their natural position while the braces were given a little tension, then dilute PVA was brushed onto the braces so that when dry, they retain a 'taught' profile, even though there is no longer any real tension. Seem to recall I just used plastic clips or simply tied other thread around the stay to counteract the force of the braces. In the situations where the brace goes through 2 blocks on the stay, these were handled sequentially, waiting for the PVA to fully dry before moving on. Good news, if it doesn't quite work out as you'd like, you can re-wet the line and repeat the process until you're happy.
Dear Jason, thank you for replying so promptly!
-
On 12/14/2020 at 1:43 AM, Beef Wellington said:
About time I caught up with myself...
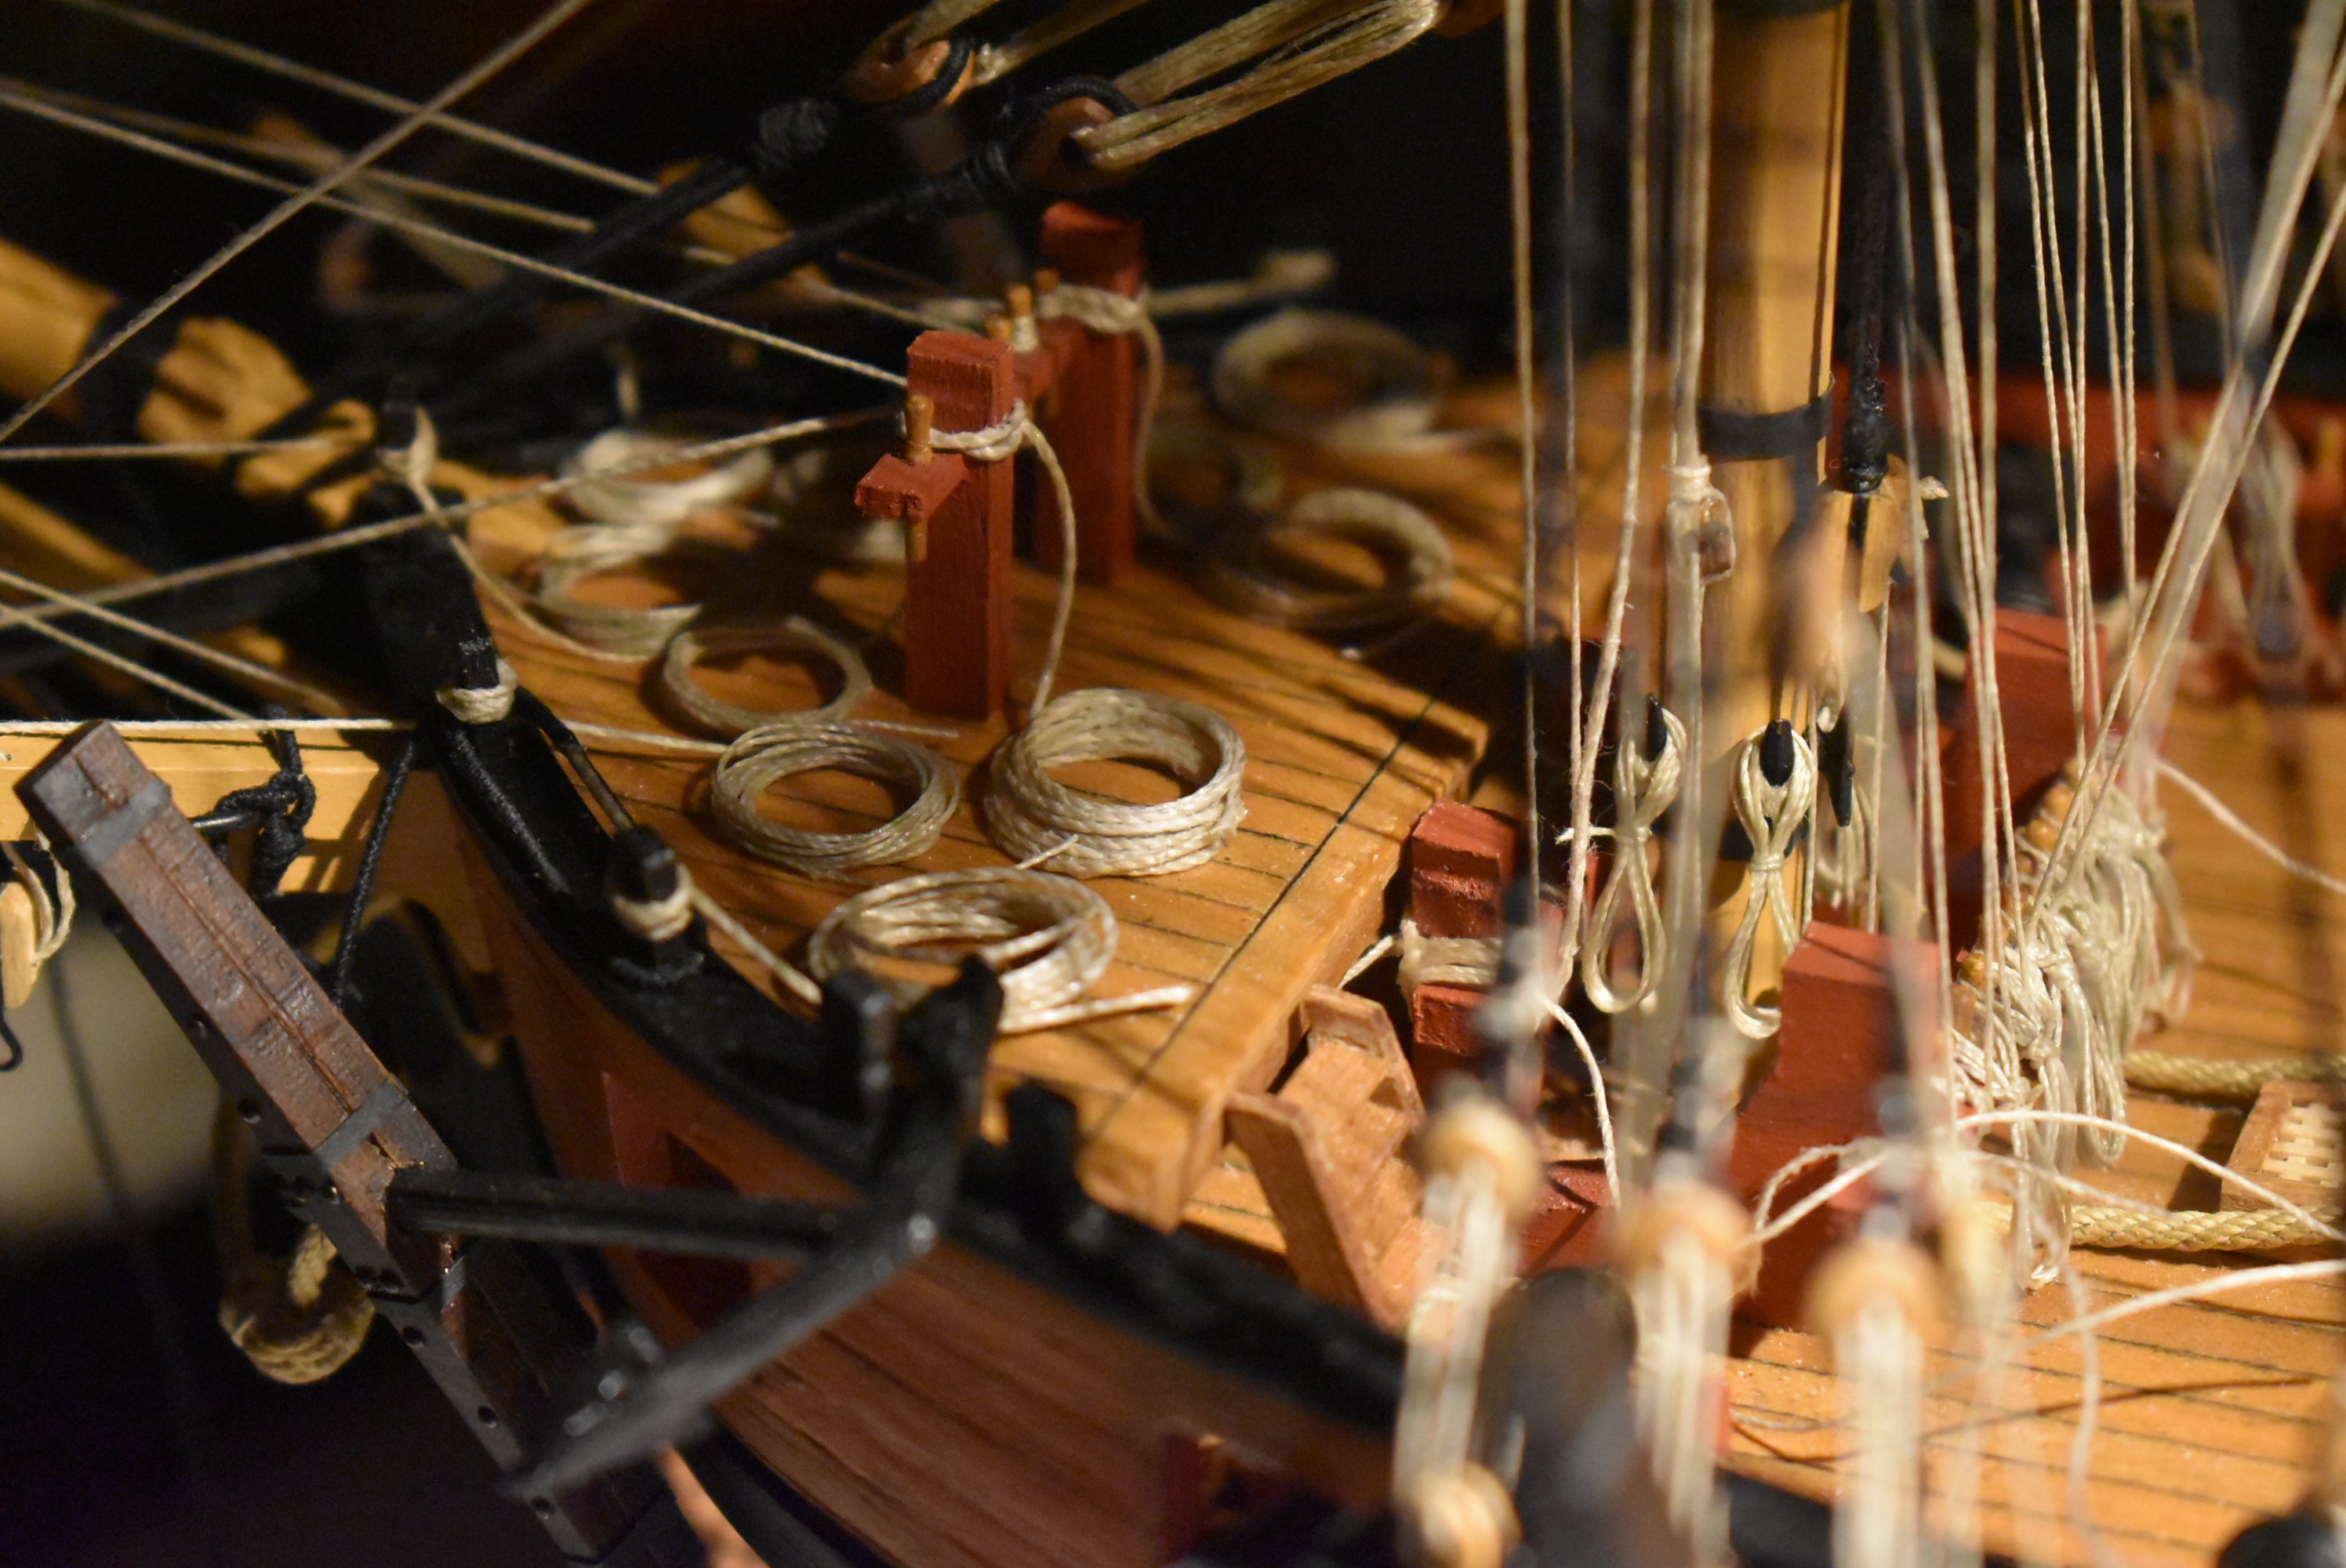
@Ben - I'm going to have to stand guilty as charged! Appreciate your post, this was something that I have been wrestling with for some time and fully recognize that the approach taken is a compromise. My thinking has been as follows, and I suspect that every model builder will arrive at a different place. Your coils are certainly excellently executed!
- Quality of rope used: Having used the Syren line on 'Jason', there is just no comparison between good quality custom rope and the 'stuff' supplied in kits. My skill levels are just not up to achieving consistent coils following a seamanlike practice (that look anywhere near acceptable).
- Scale: This seems to be a variable from modeler to modeler, but to my eye many of the coils using this technique just do not look right at scale, especially when many pins are used on a rail adjacent to each other. Much of the rope used per kit instructions are much thinner than your prototype - mostly kit supplied 0.25mm line which is not very substantial and subject to gravity making floating 'ovals' distracting
- Quantity of rope (on the actual ships): Looking at many older photographs of ships, the one thing that stands out to me is that the quantity of belayed rope used on contemporary working vessels just looks far more voluminous for whatever reason than that seen on modern 'museum' ships, maybe because of longer working lengths, necessity to be worked by many hands etc etc.
The bottom line though is that there is enough on this build that continues to bother me (both mistakes and things that I have since learned) to push me to continue with an eye to completion. I'll apply for parole at the duly appointed time...
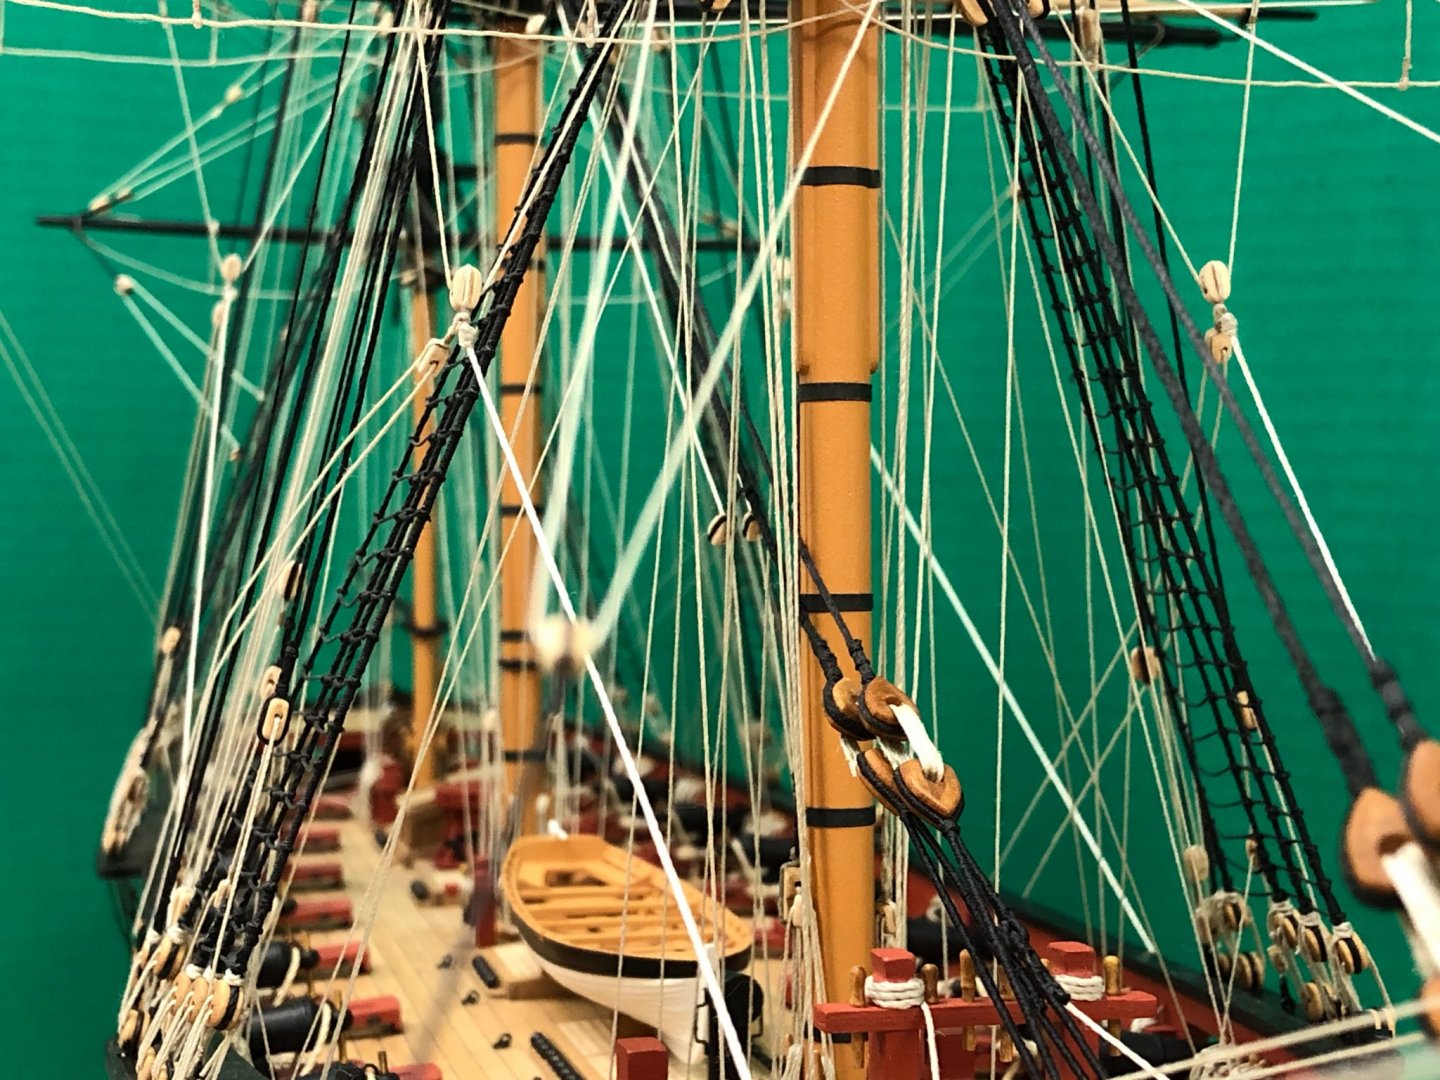
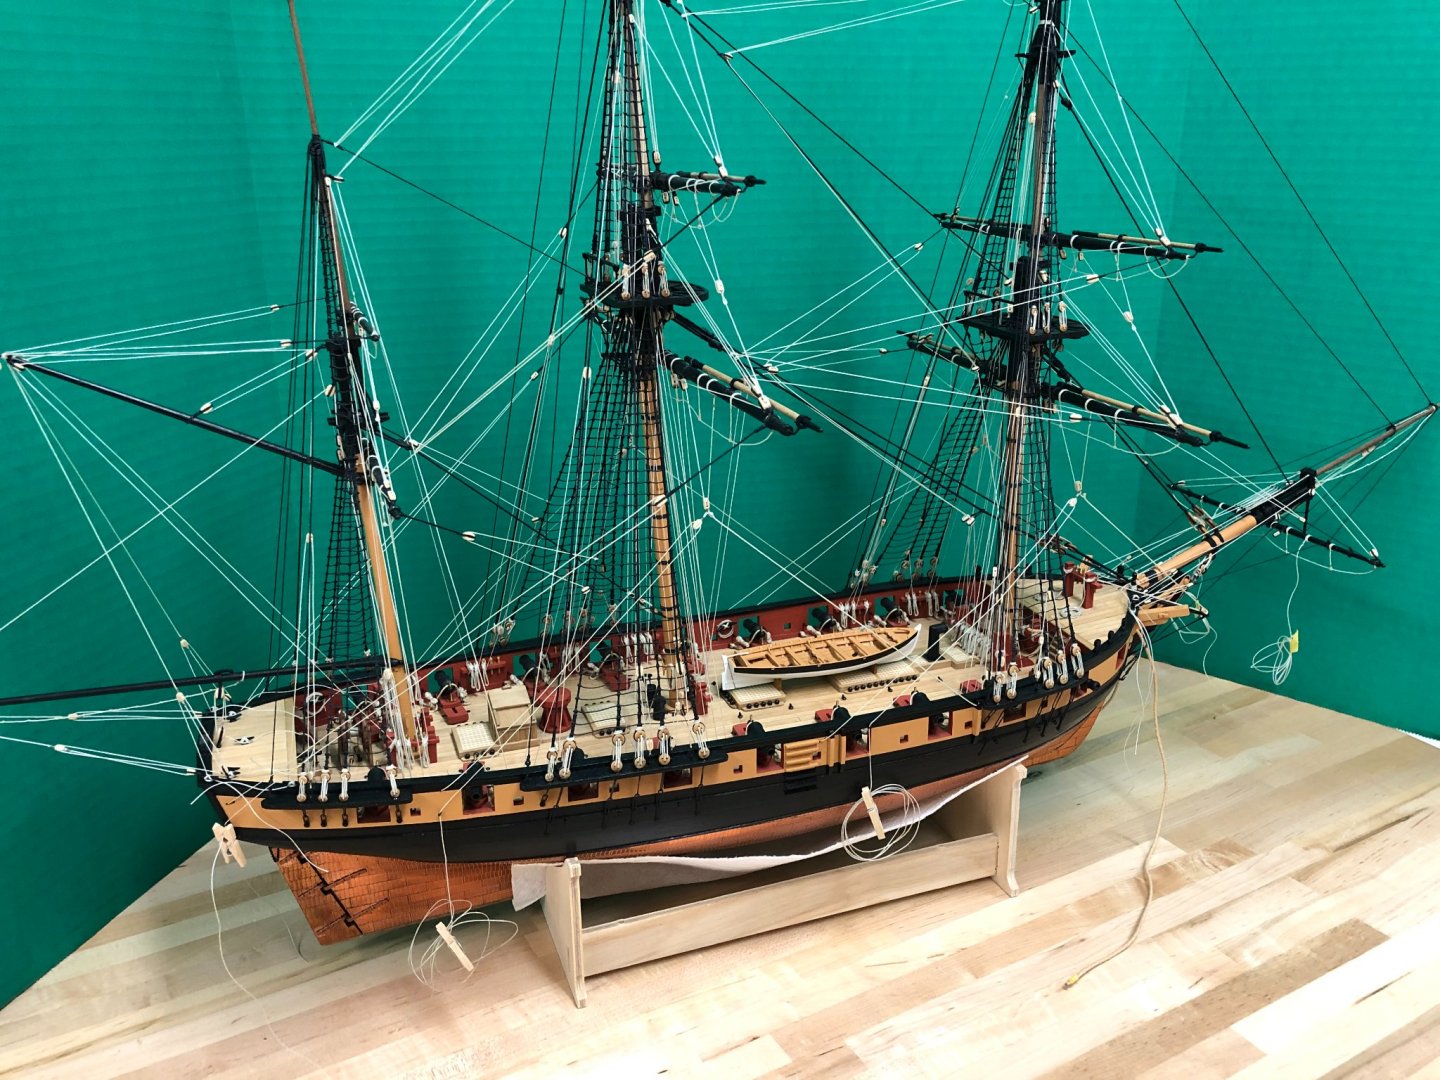
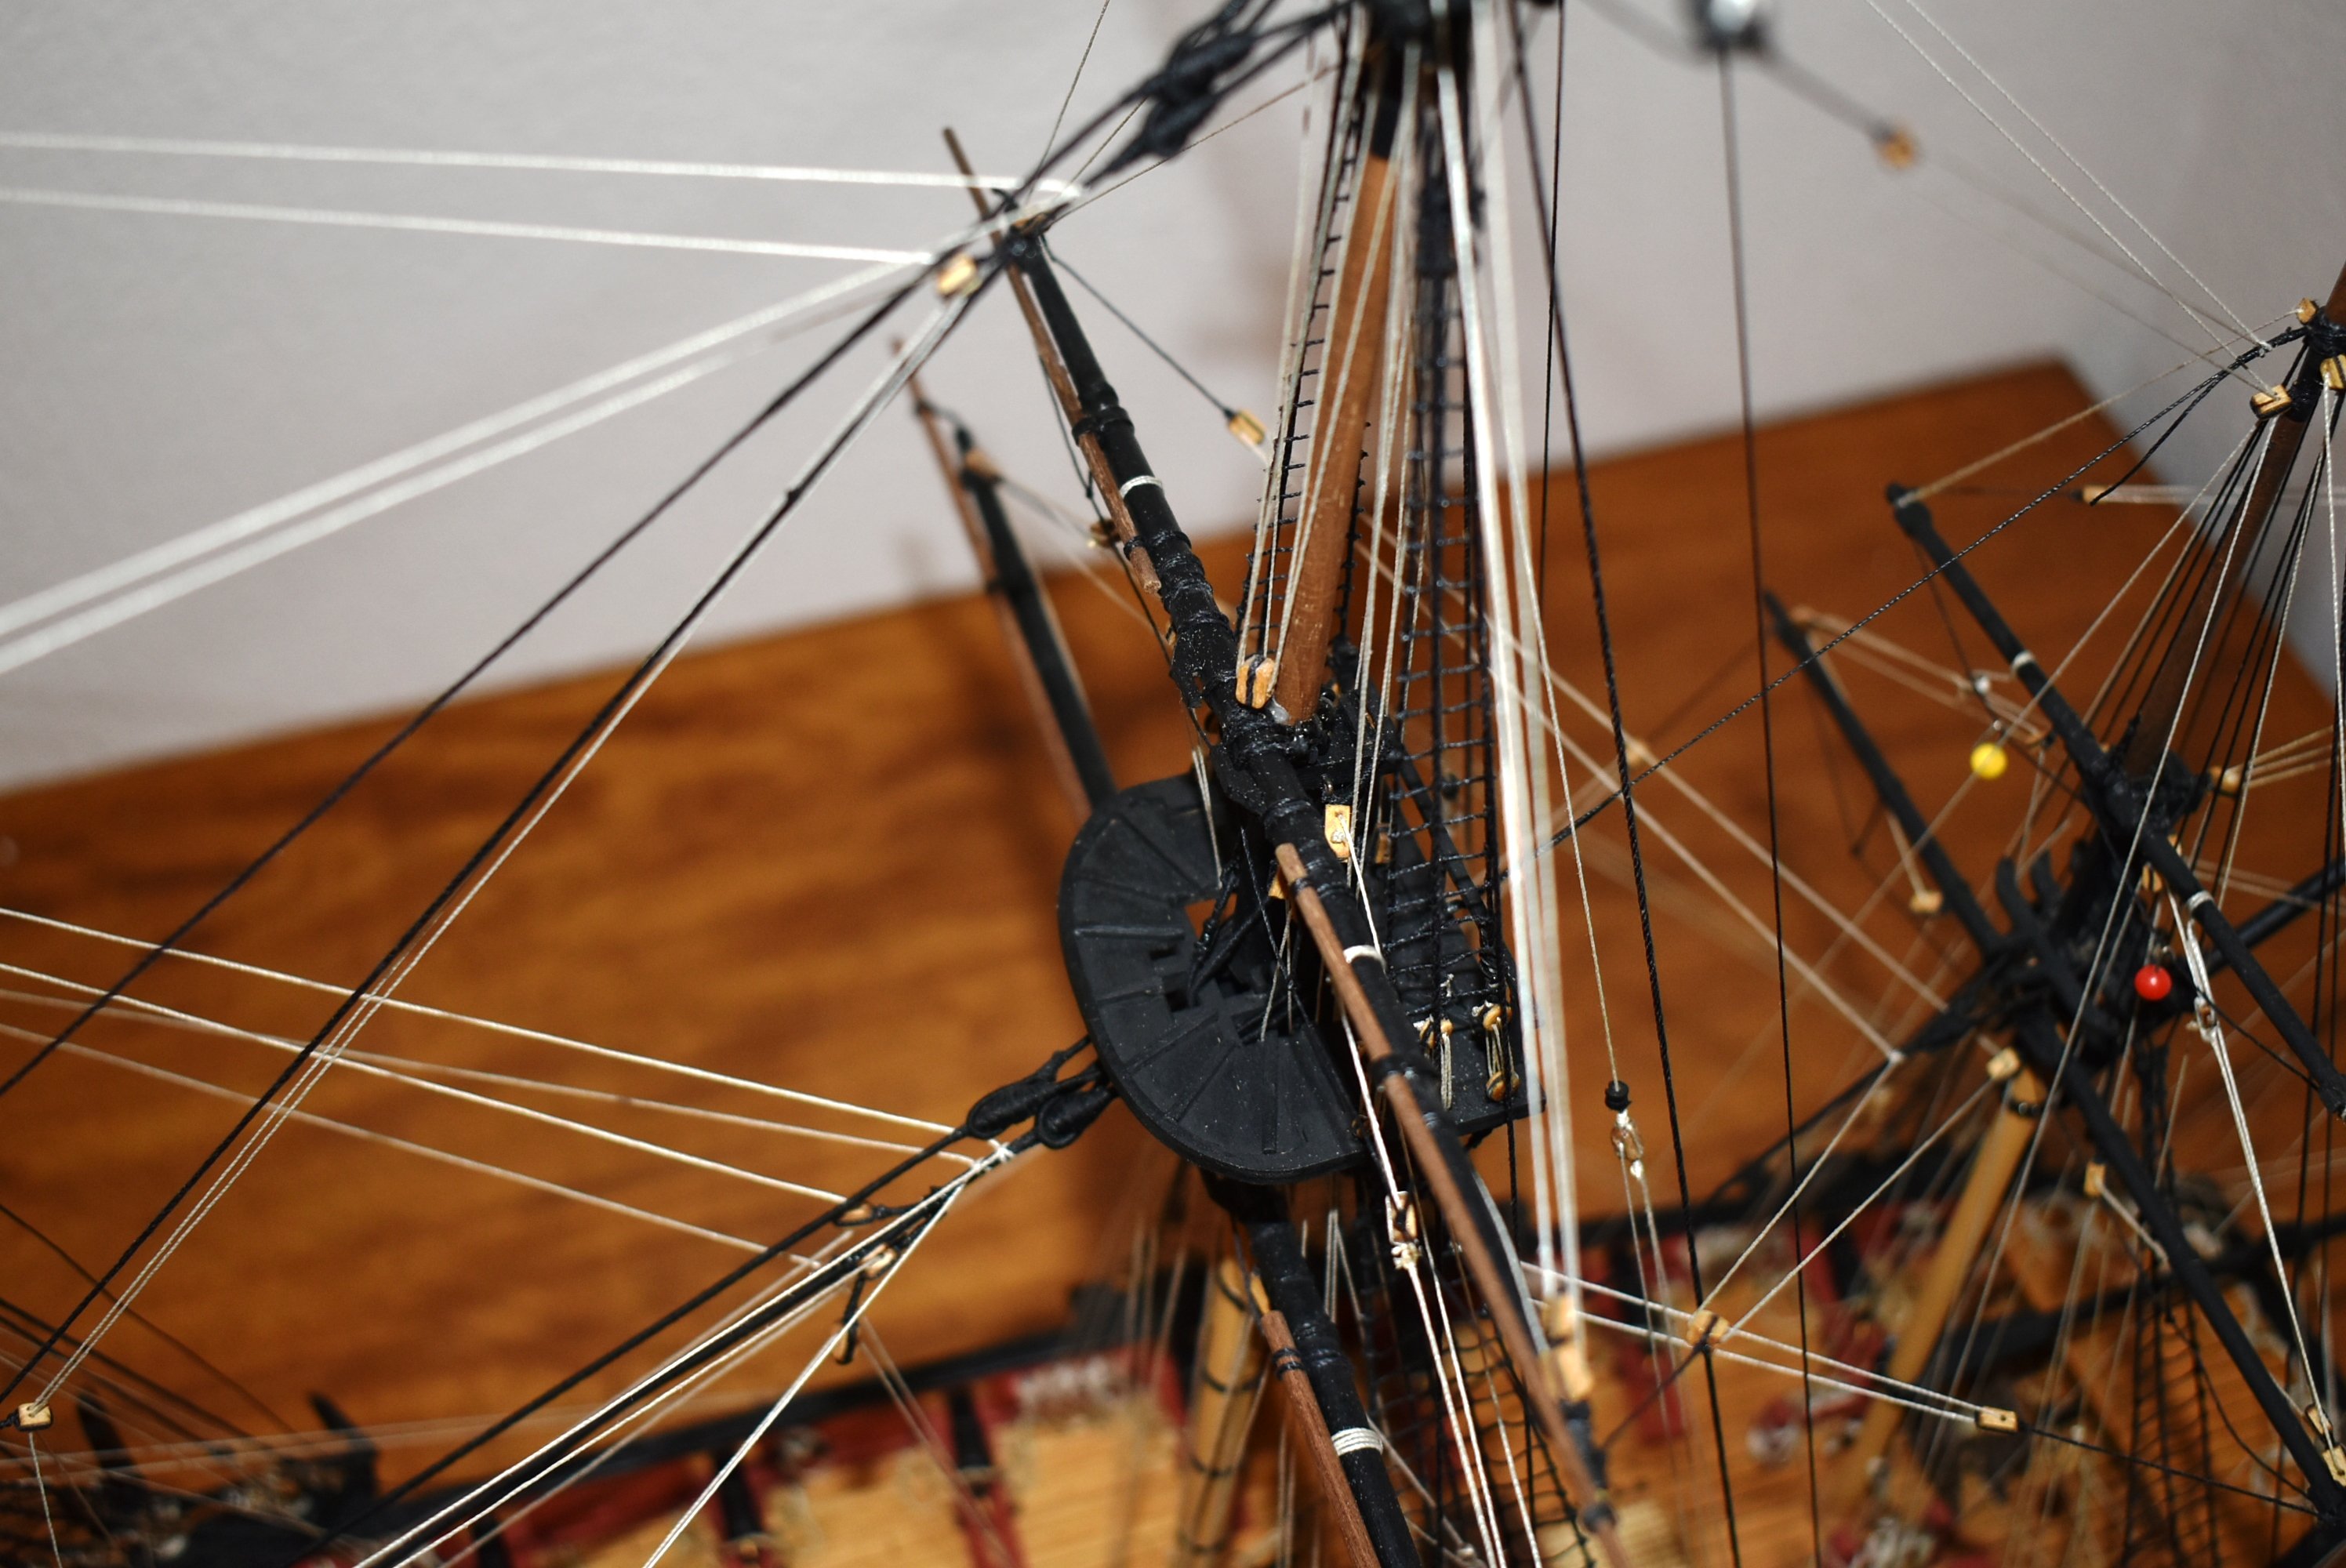
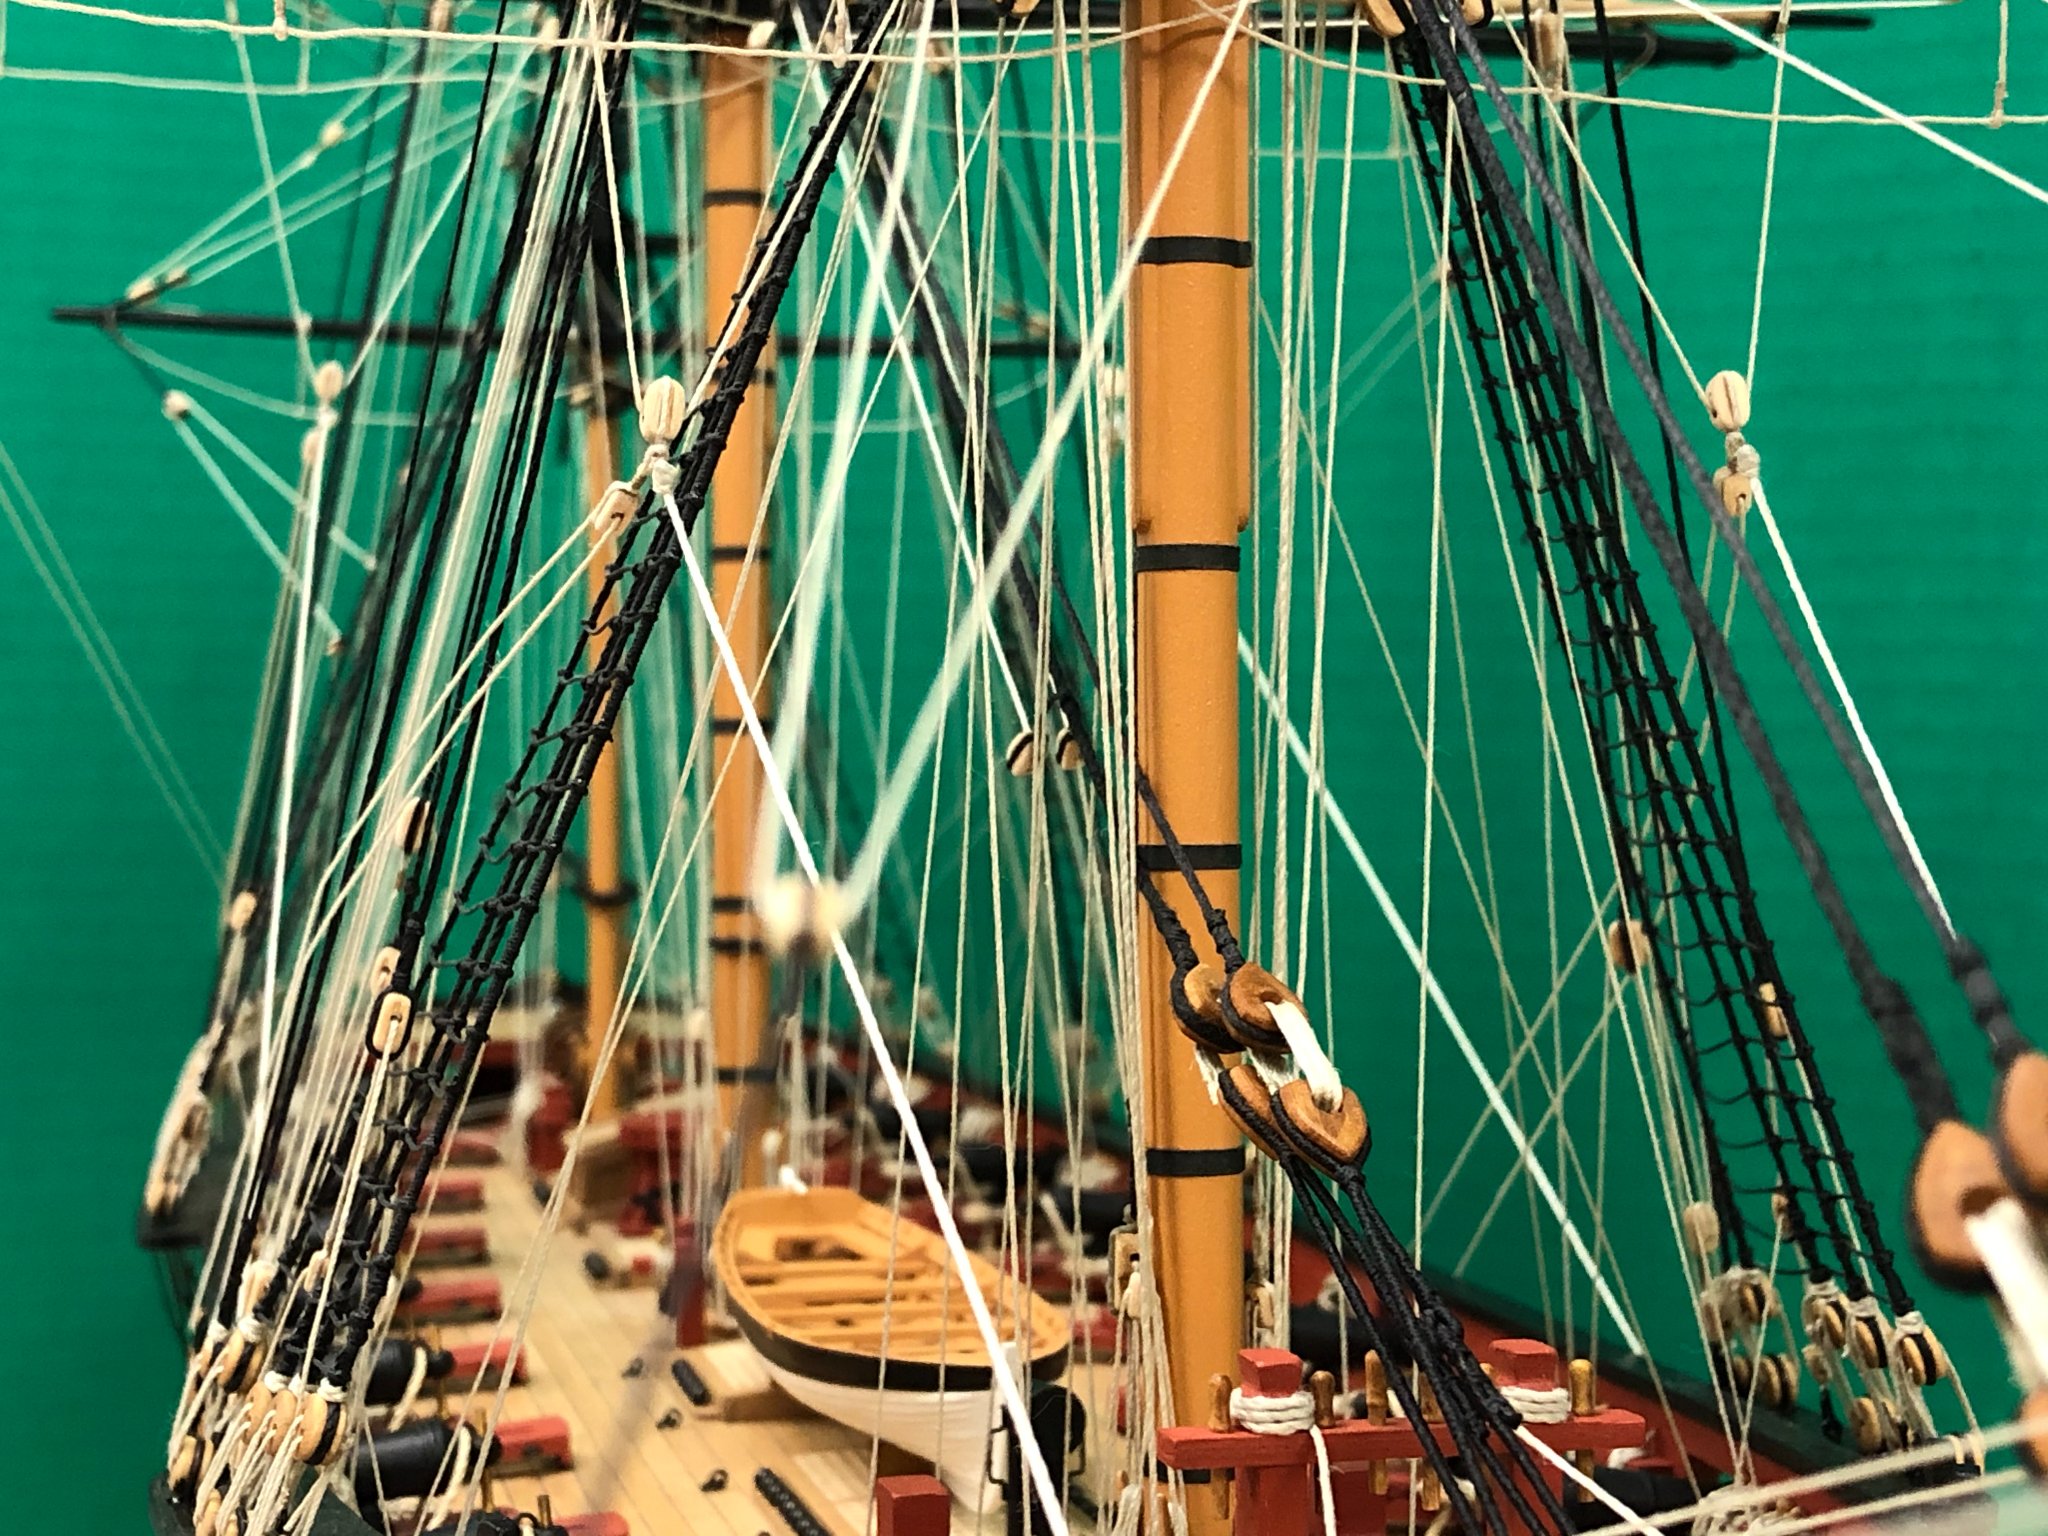
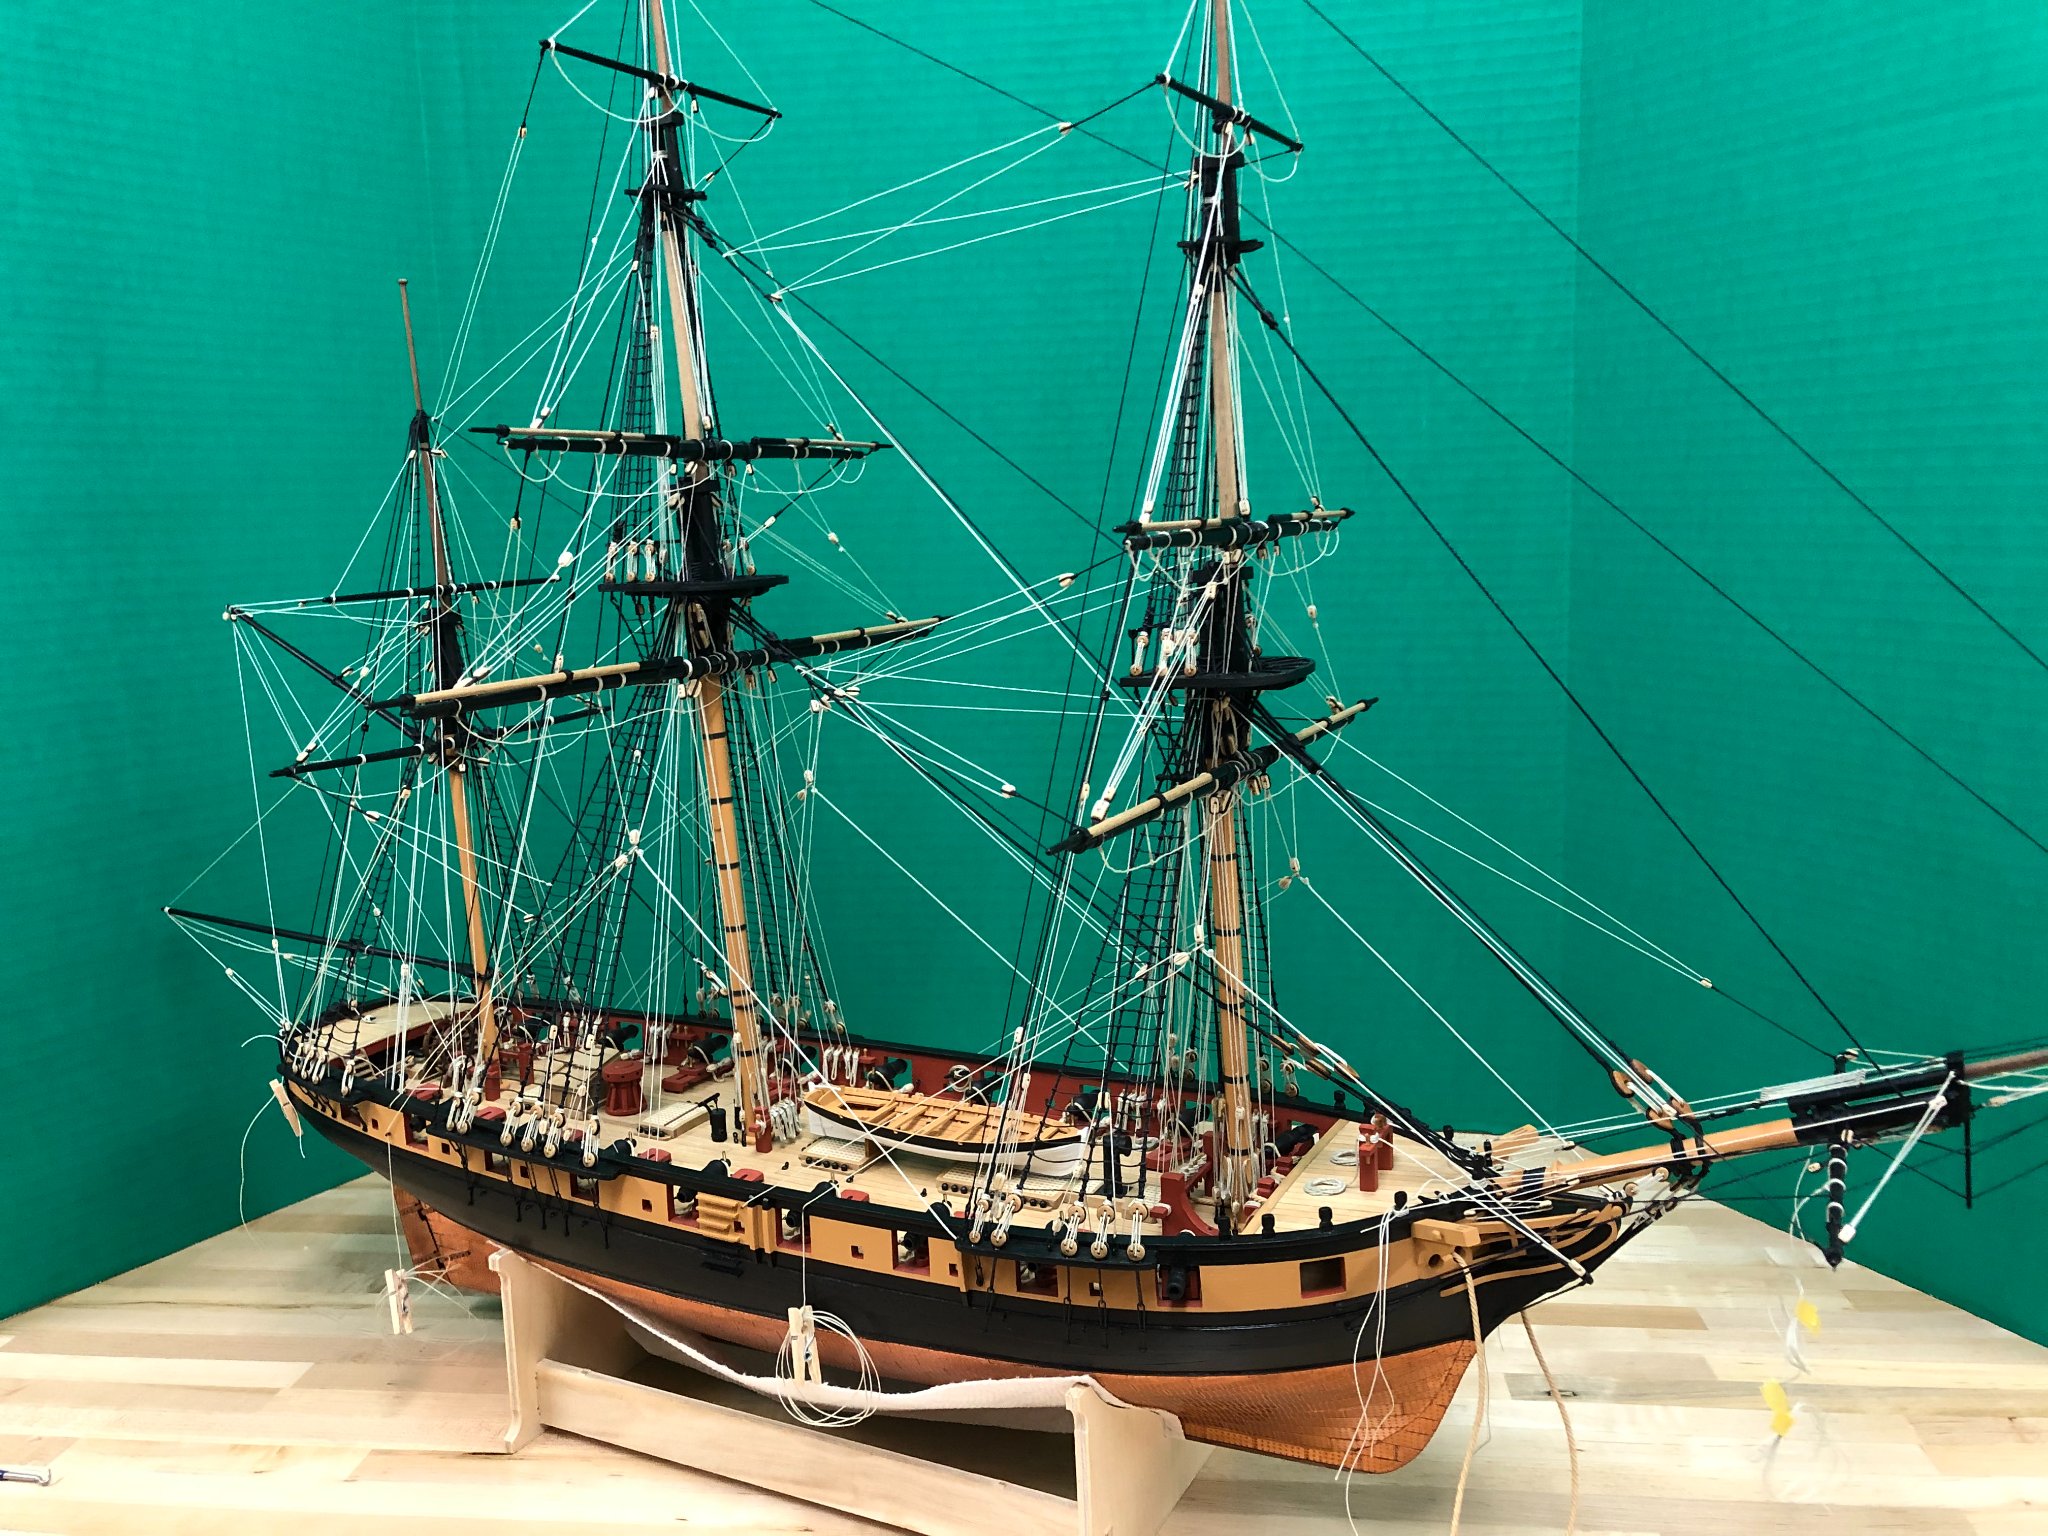
Rigging (almost) complete:
After nearly 7 years, with all the main rigging elements in place, I can start to smell the scent of completion. The only outstanding rigging feature (in addition to some remaining decorative coils) are the spritsail sail sheets which will be added when I'm confident that the anchor placement won't cause problems.
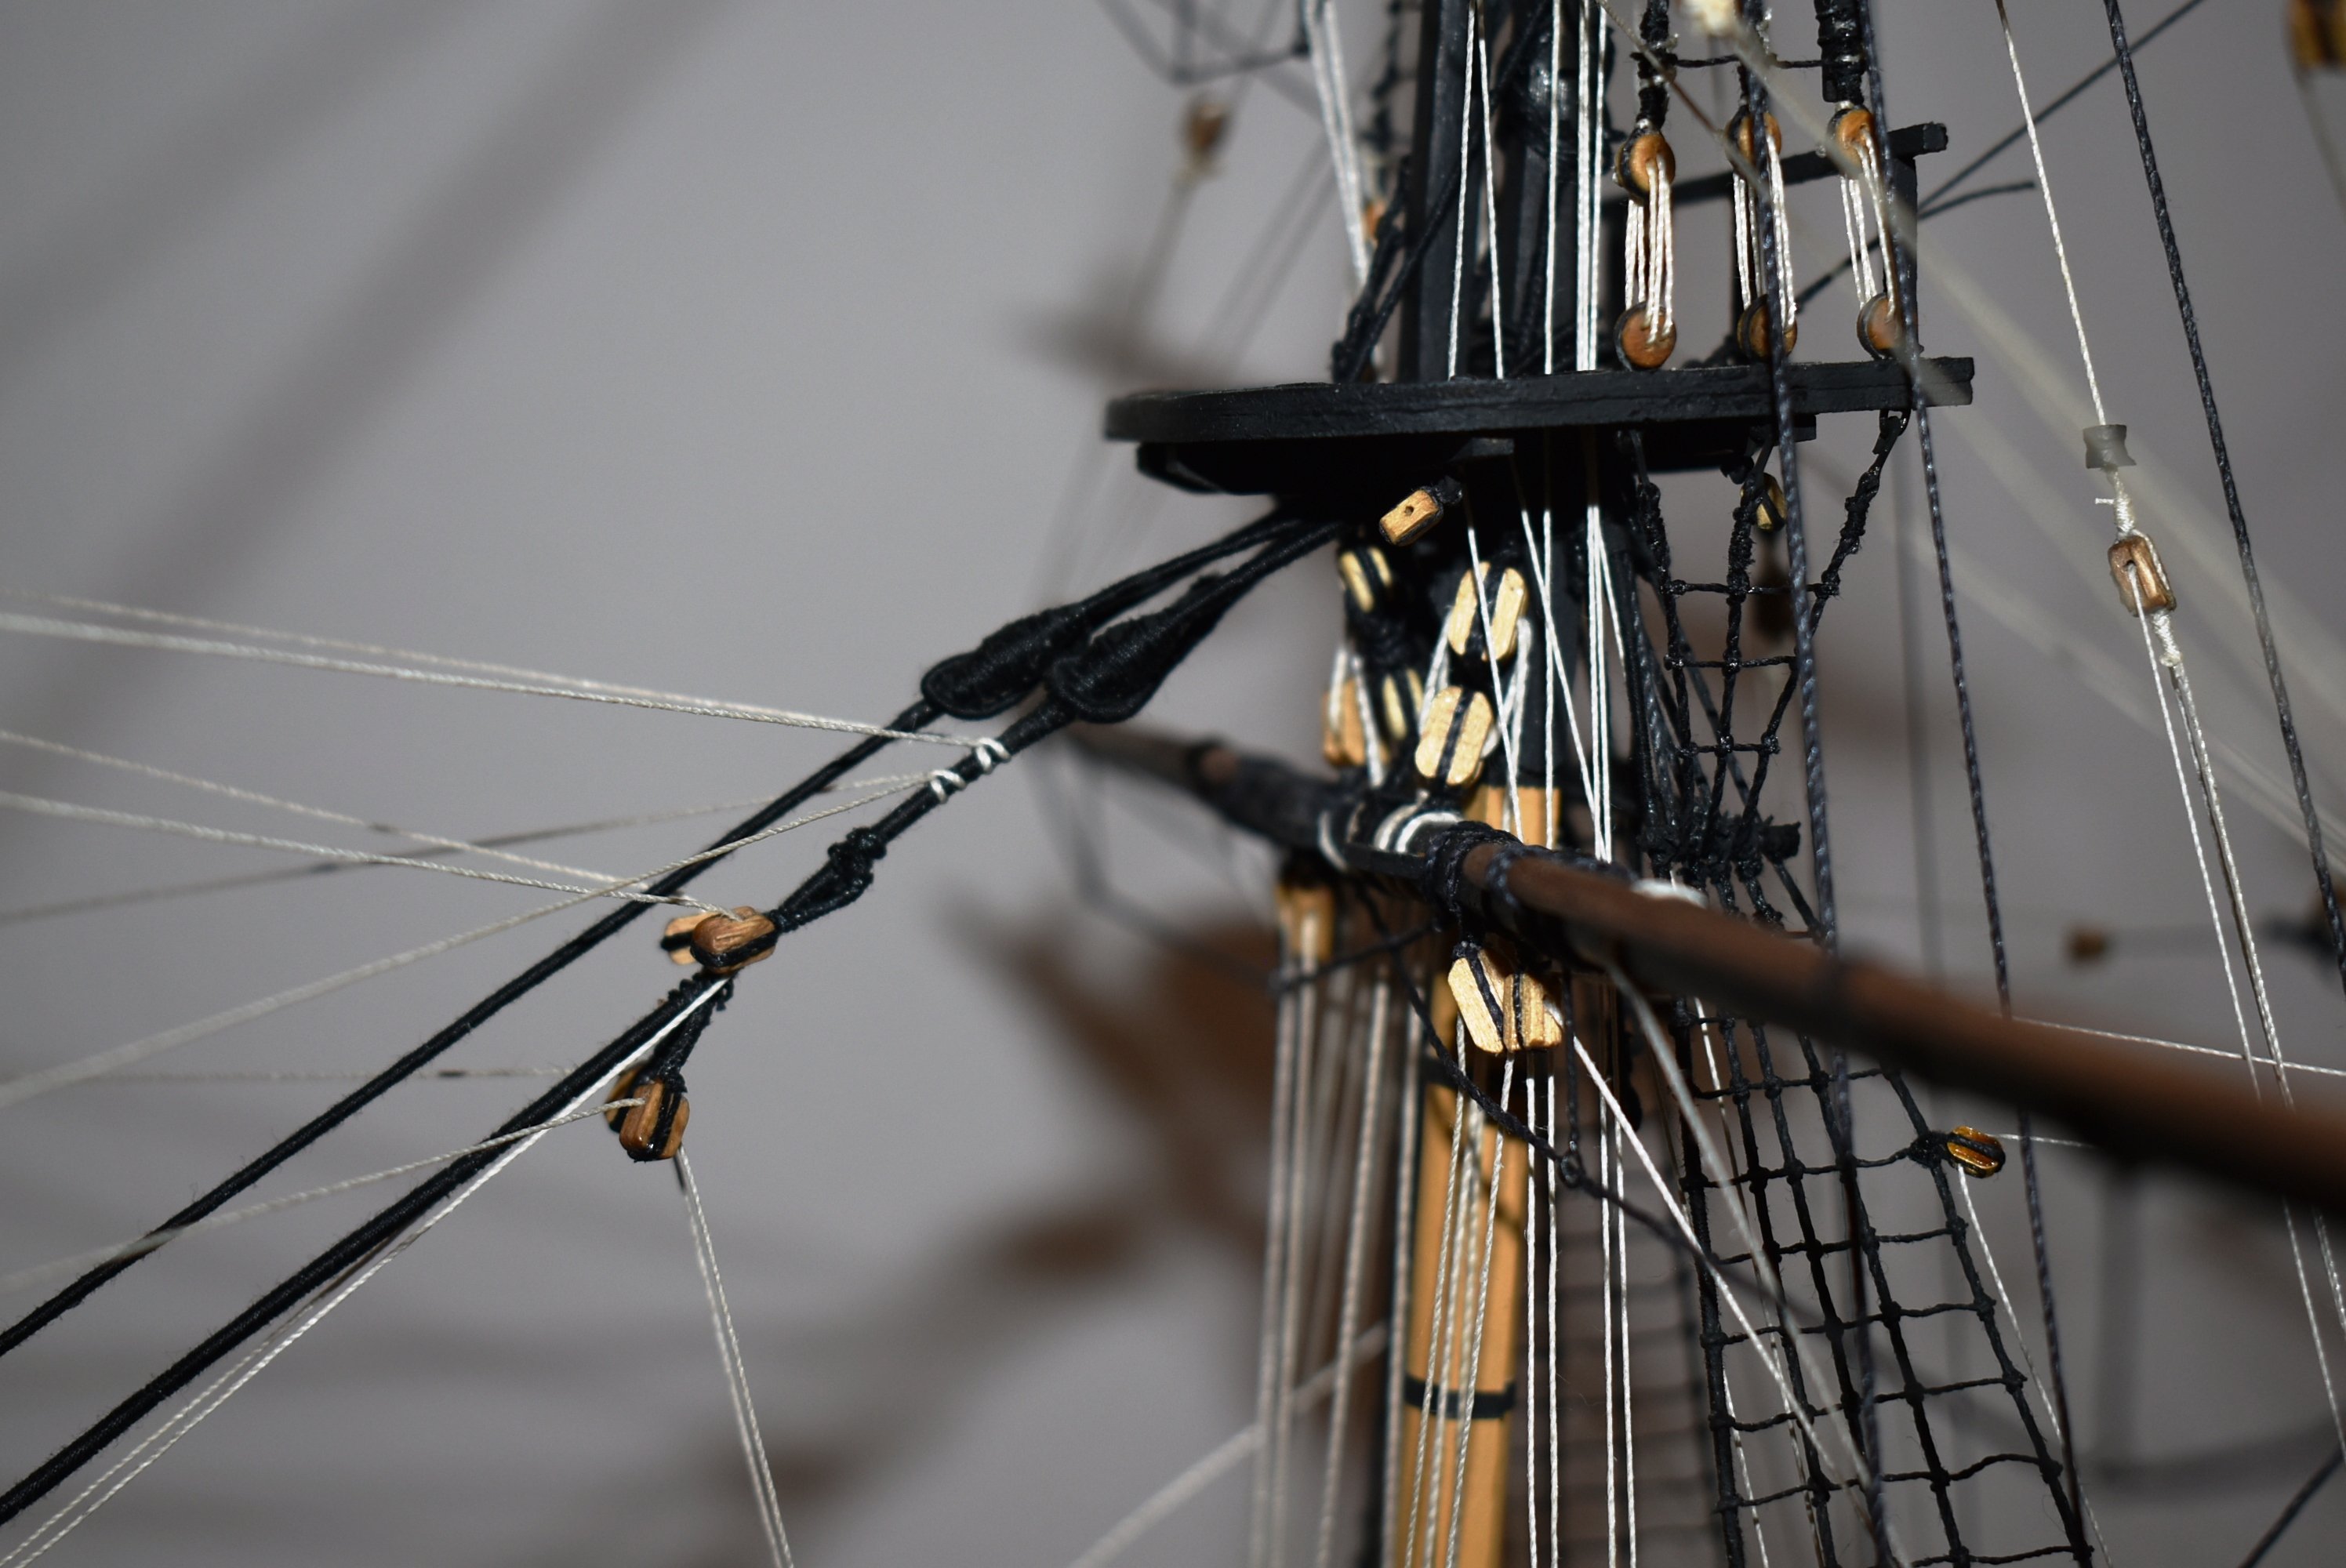
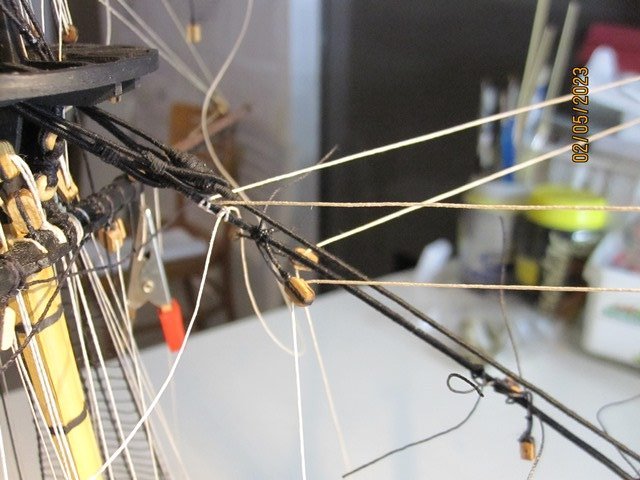
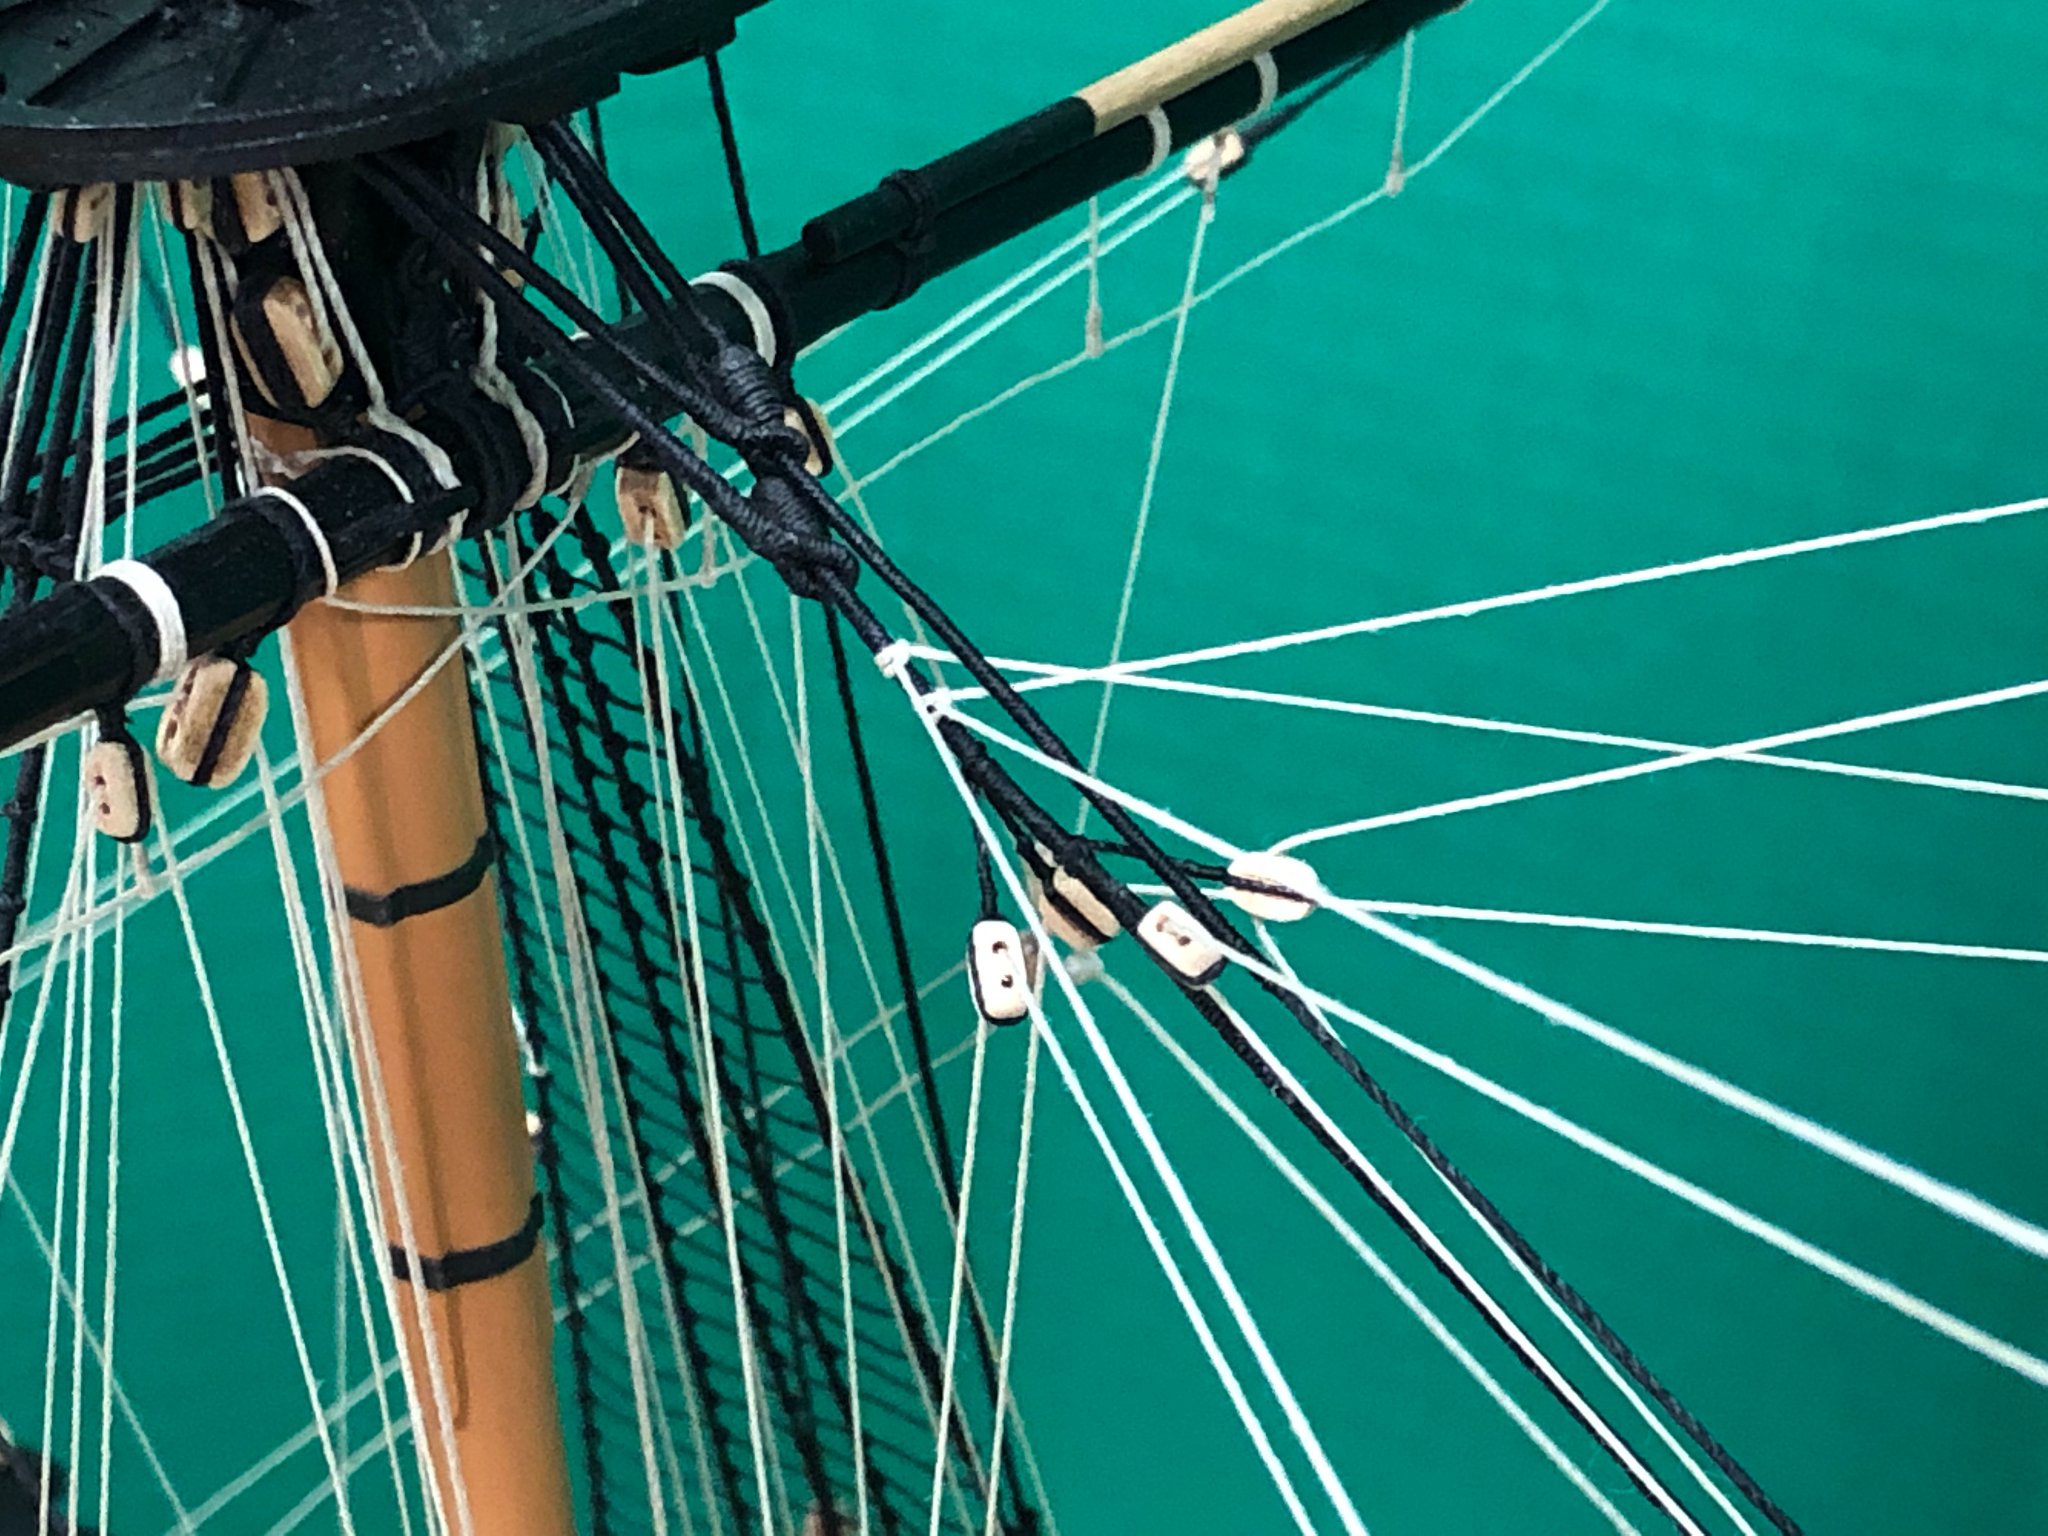
Braces:
One of the bigger challenges were the braces, mainly because many of these are bent onto various stays. At this scale the rope doesn't behave well, and preventing the stays being pulled into all sorts of unnatural alignments by the much thinner braces, and keeping the braces taught, meant taking this very slowly, ensuring line had time settle into place and in many cases using dilute PVA while attempting to keep the stays in position. This proved to be especially challenging for the fore and fore topsail braces which bend to the main stay in one rather tight spot.

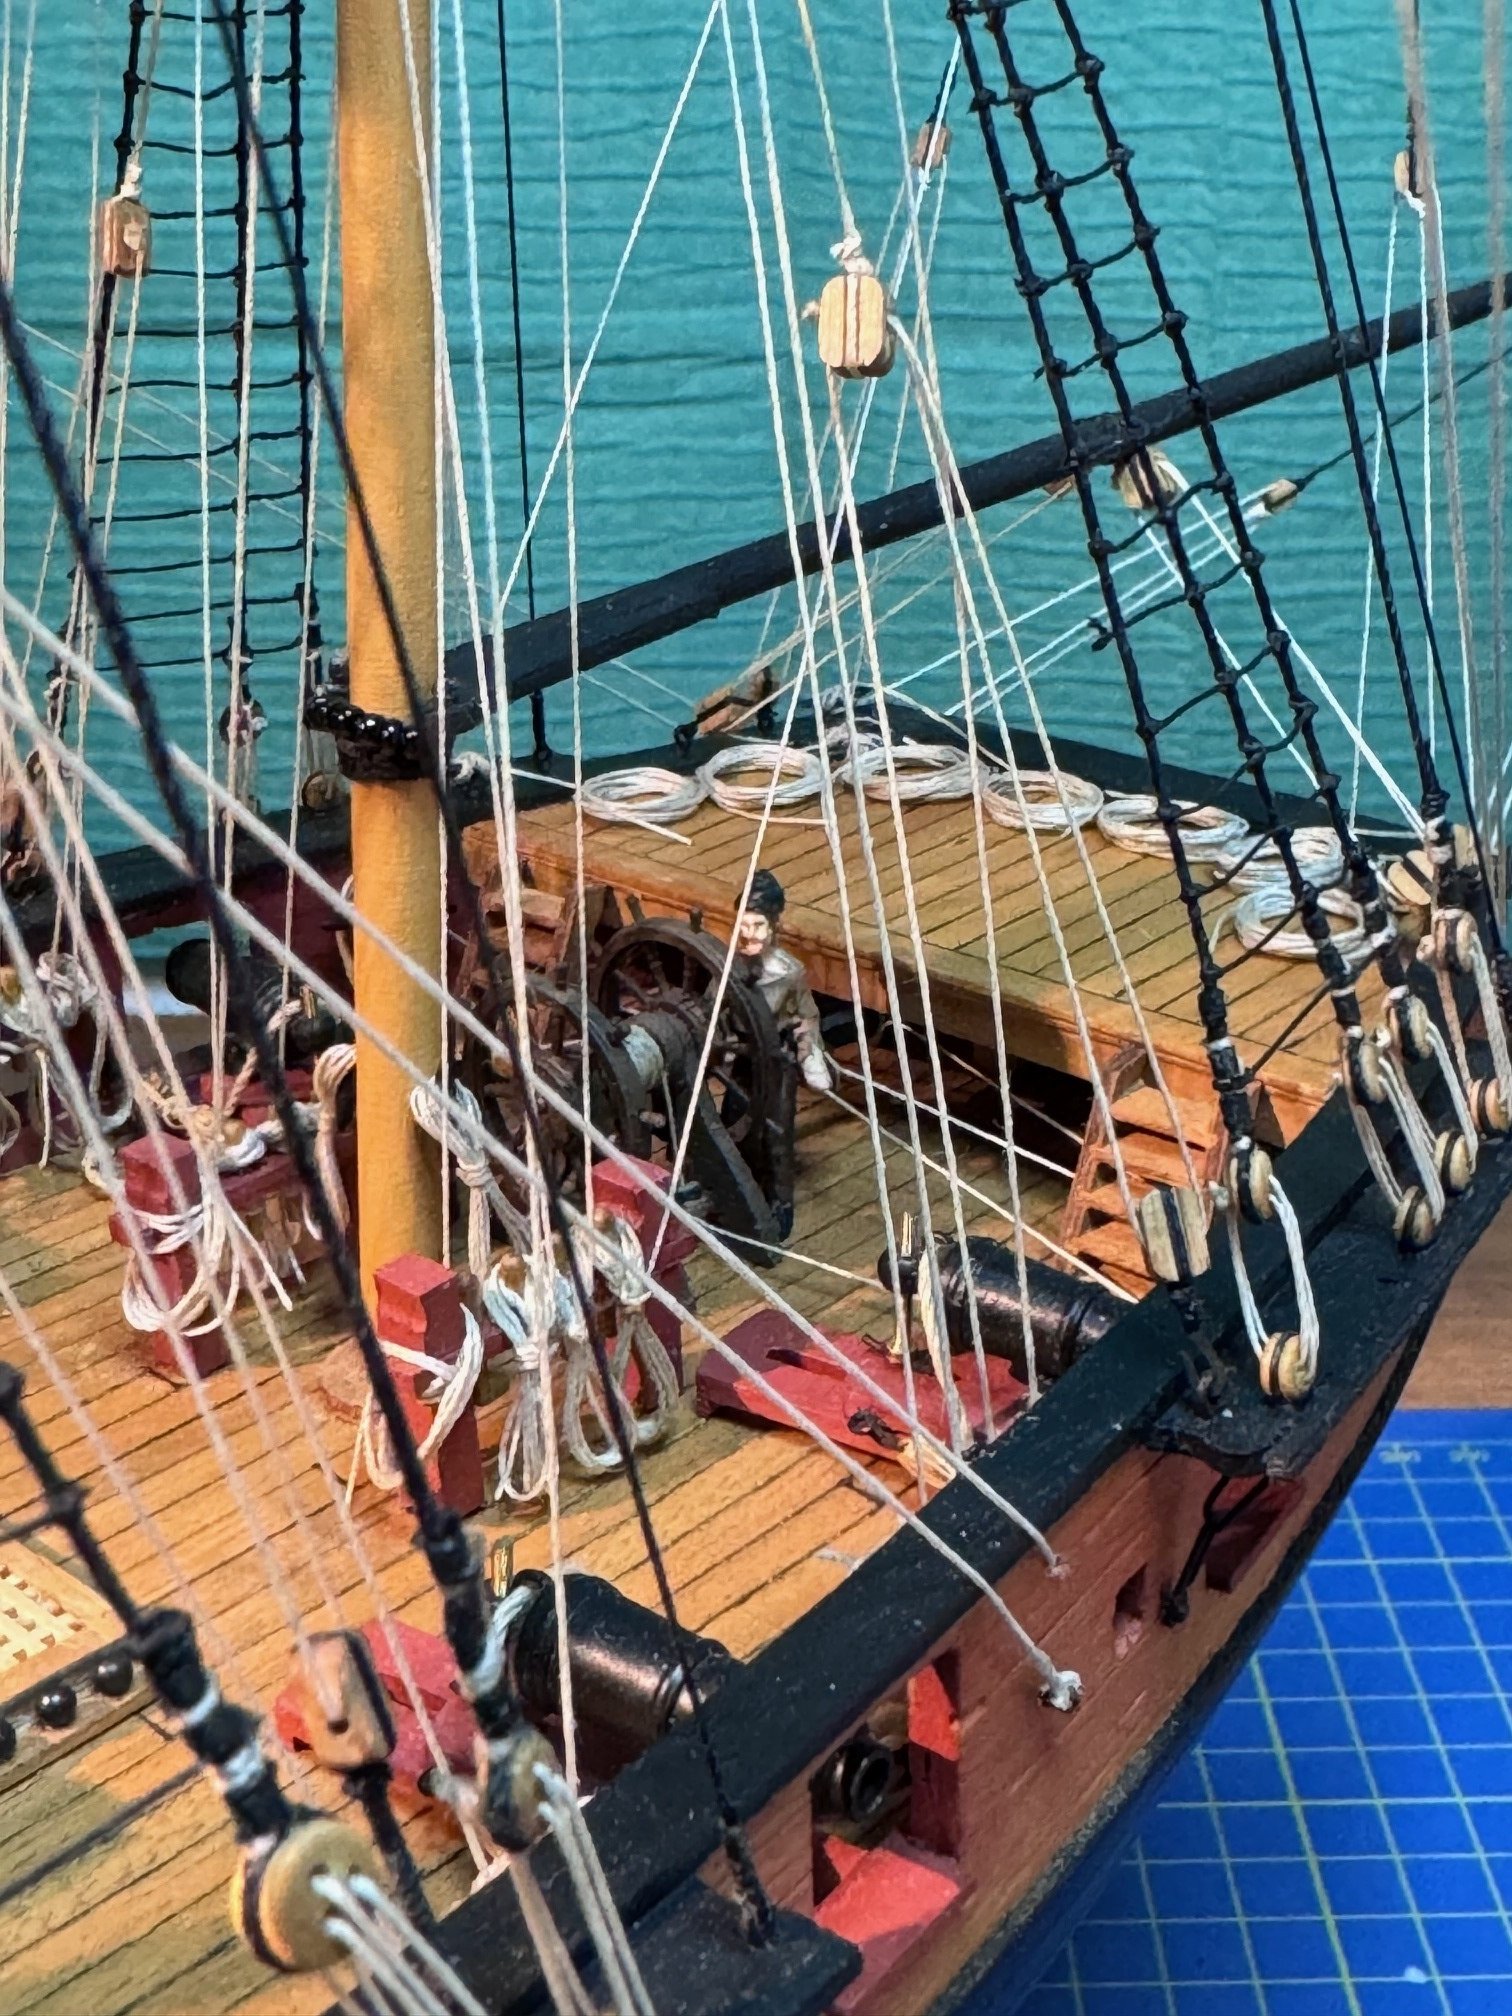
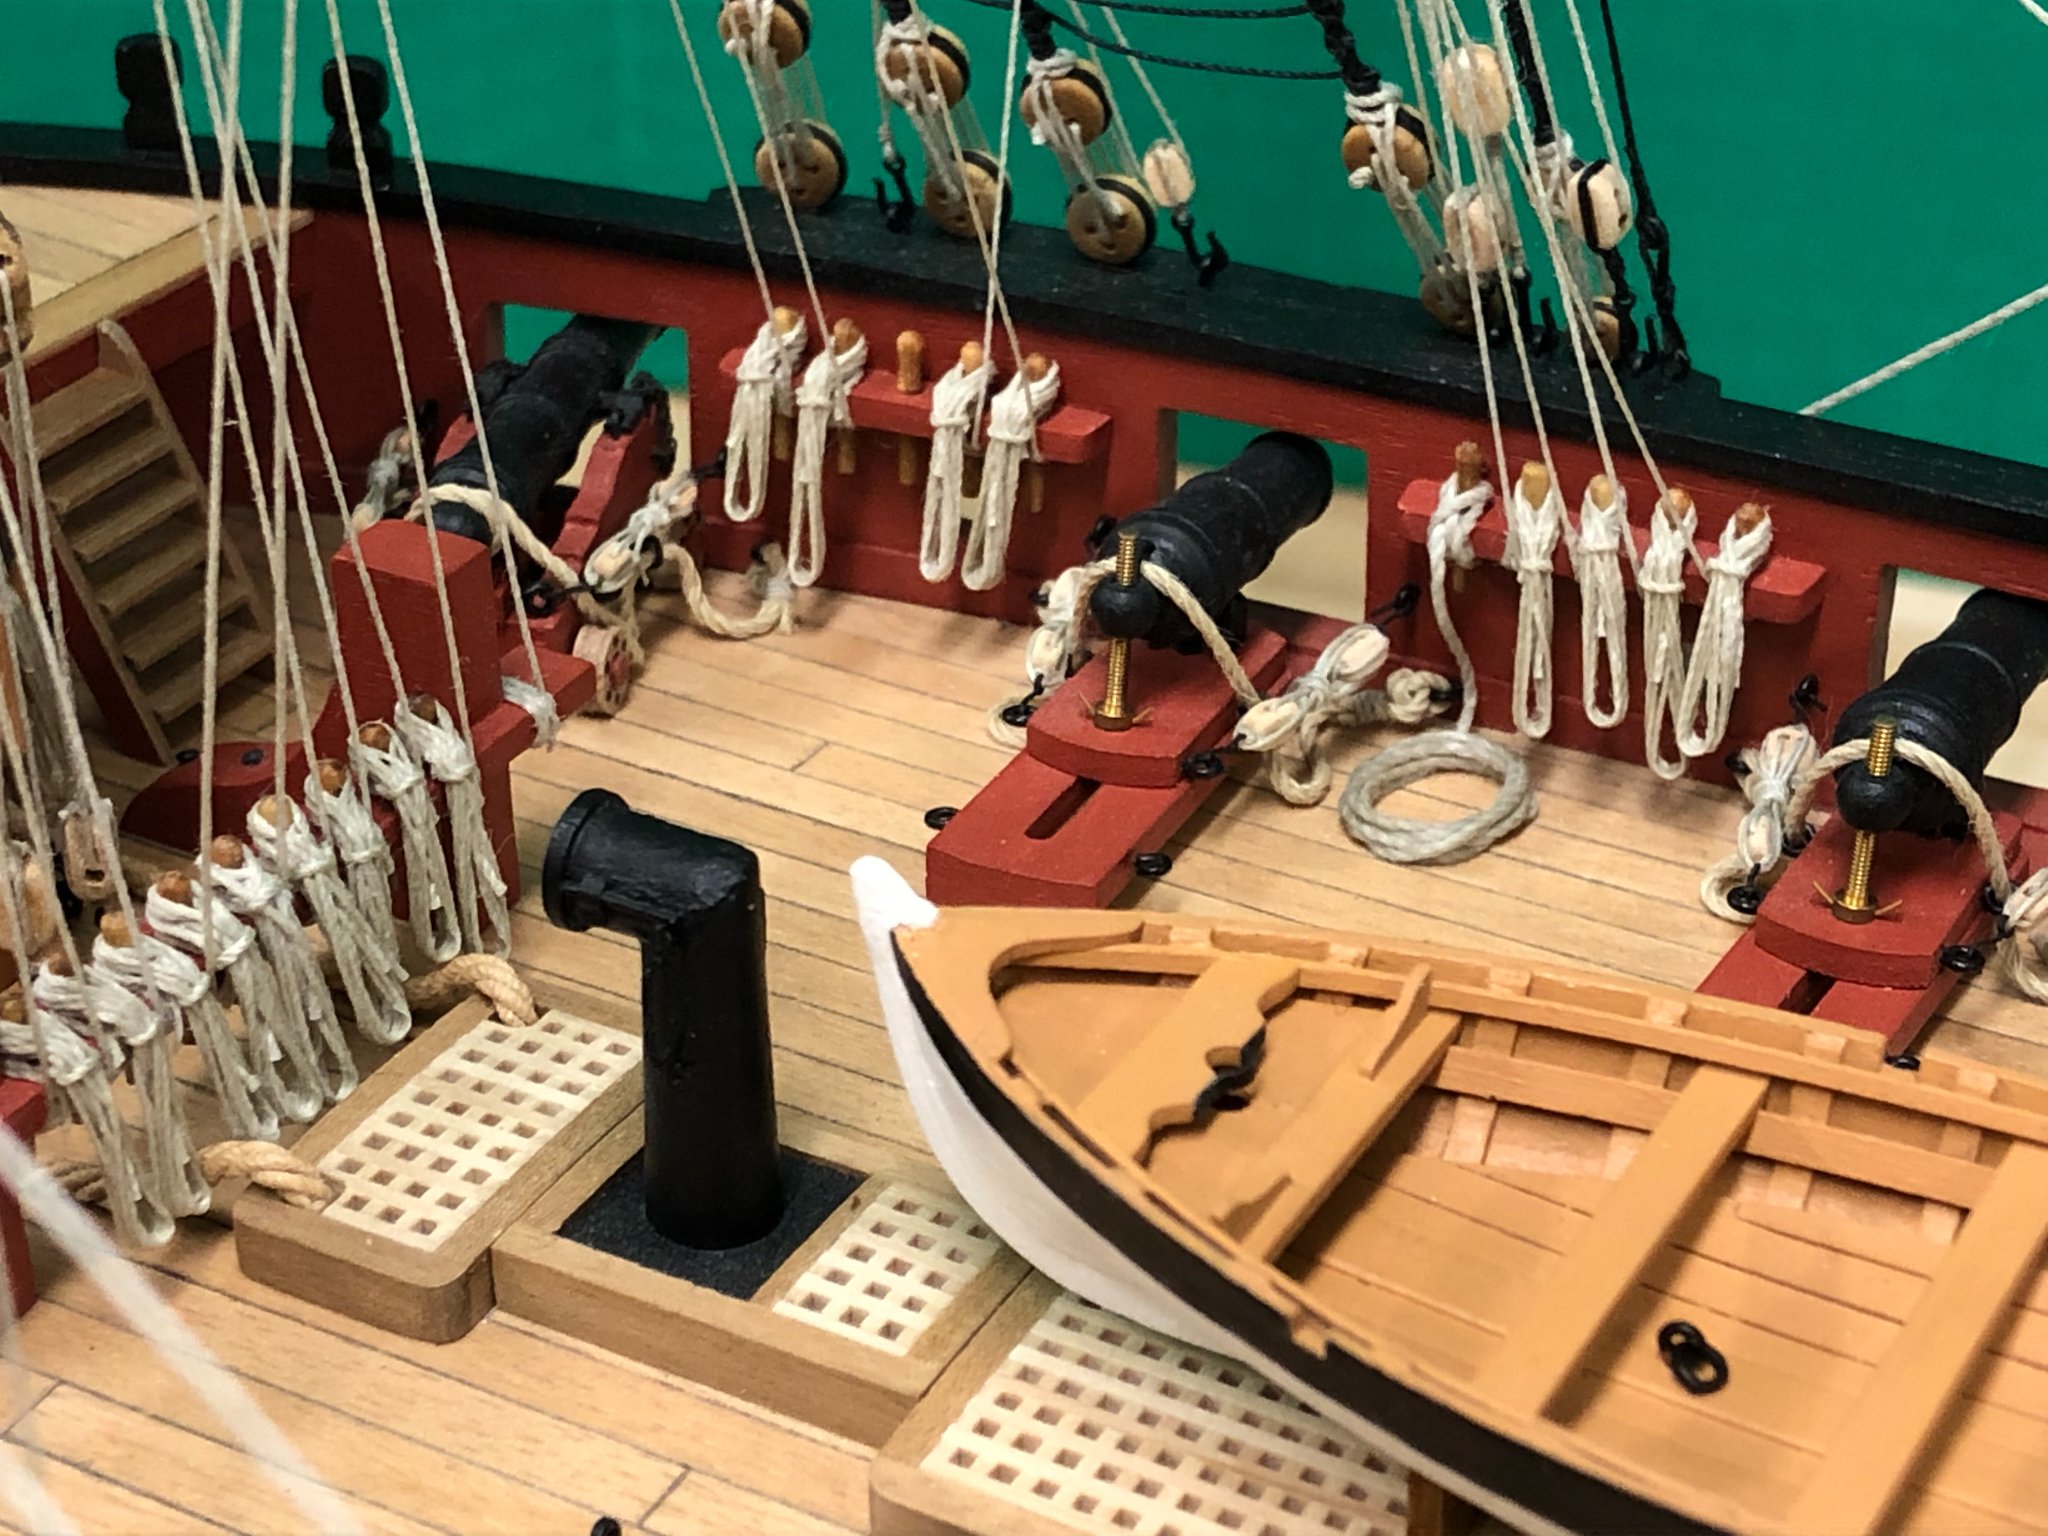
Sheets, tacks and cluelines:
Petersson was a big help here to illustrate how these worked in practice as the instructions are simplified. Given that both the main and fore require these, with 3 belaying points for each, some planning is needed to ensure sufficient working room as once in position access is even more severely limited. The tack is the most substantial of the running rigging used and 0.75mm rope was used as per instructions. At this thickness, it proved necessary to coil rope on the deck after belaying to pinrails.
I took the same approach to BE on his Pegasus build in having the sheets and tacks go outboard of any standing rigging, although the sheets are yet to be finally secured.
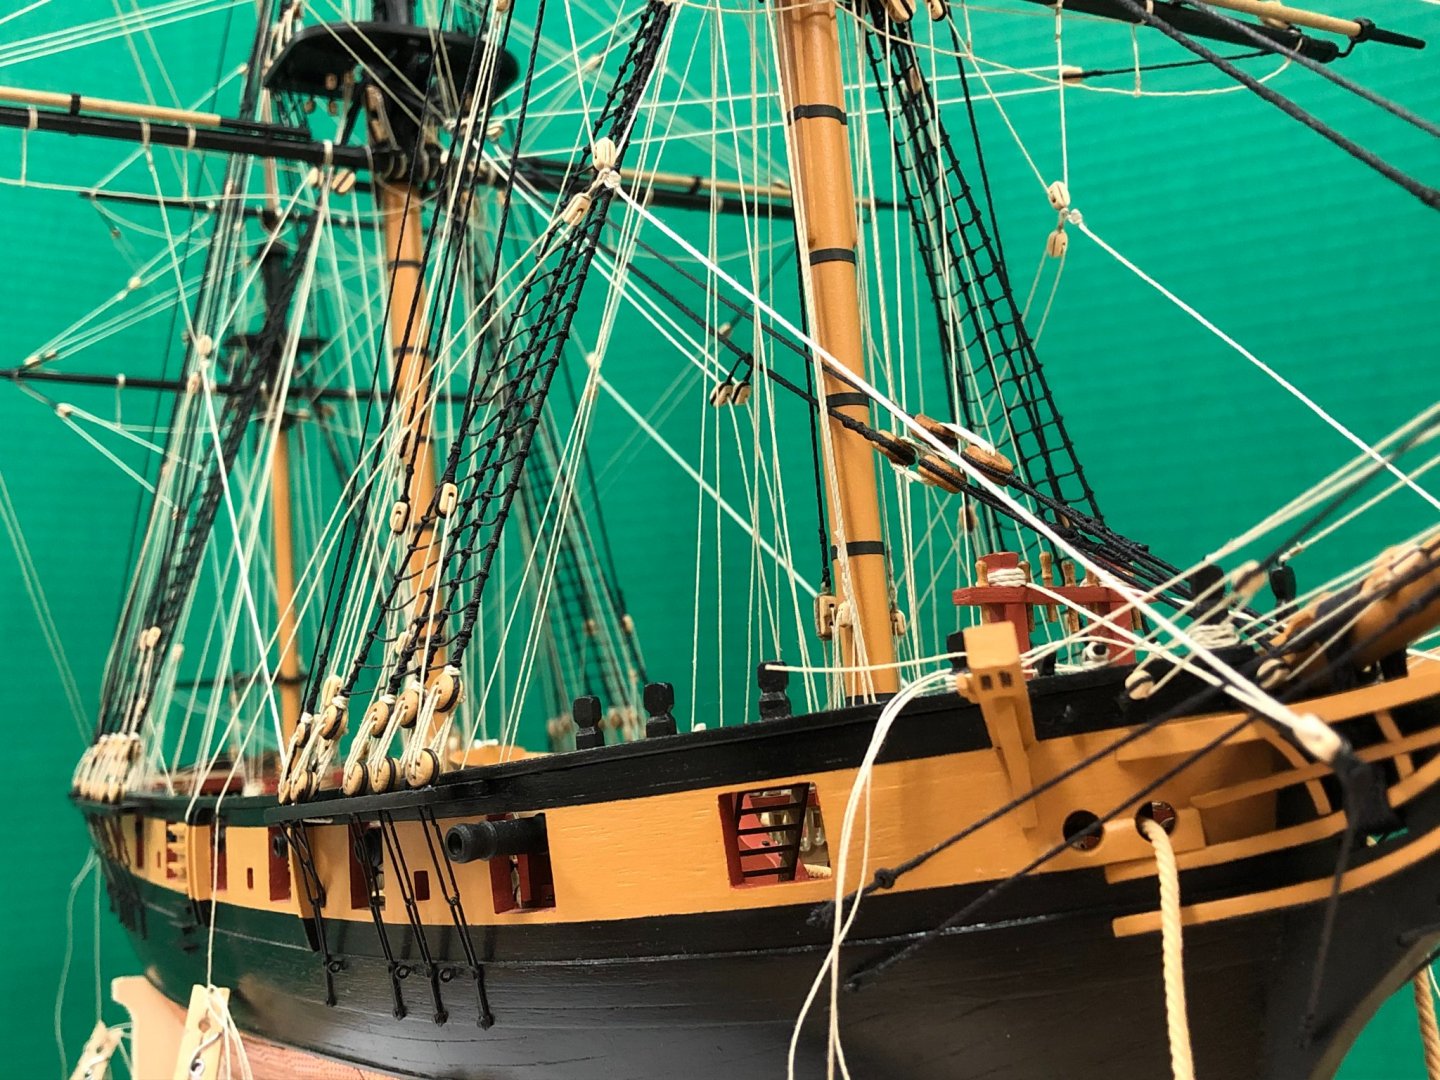


And finally, some overall shots..


Hi Jason could you please be more specific about the above mentioned technique with the diluted glue to keep the alignment of the lines the best I can?
I understand there is a technique to stabilize/fix the best I can those rope lines, but so far I haven't discovered i to make things easier…Thank you
-
-
-
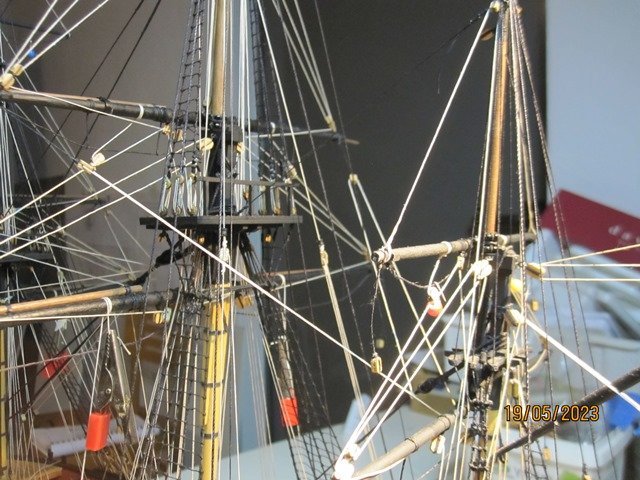
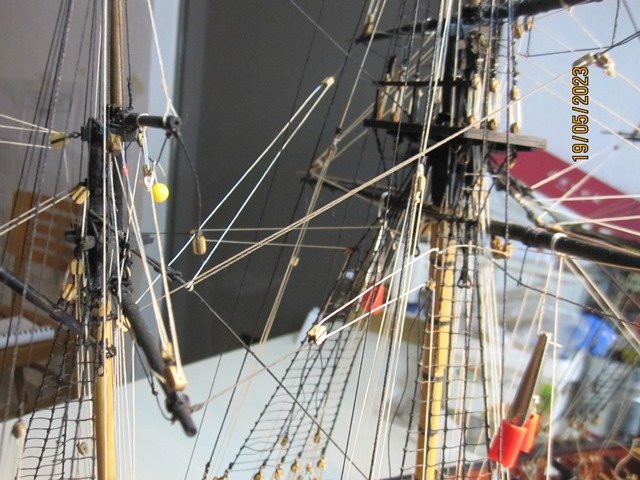
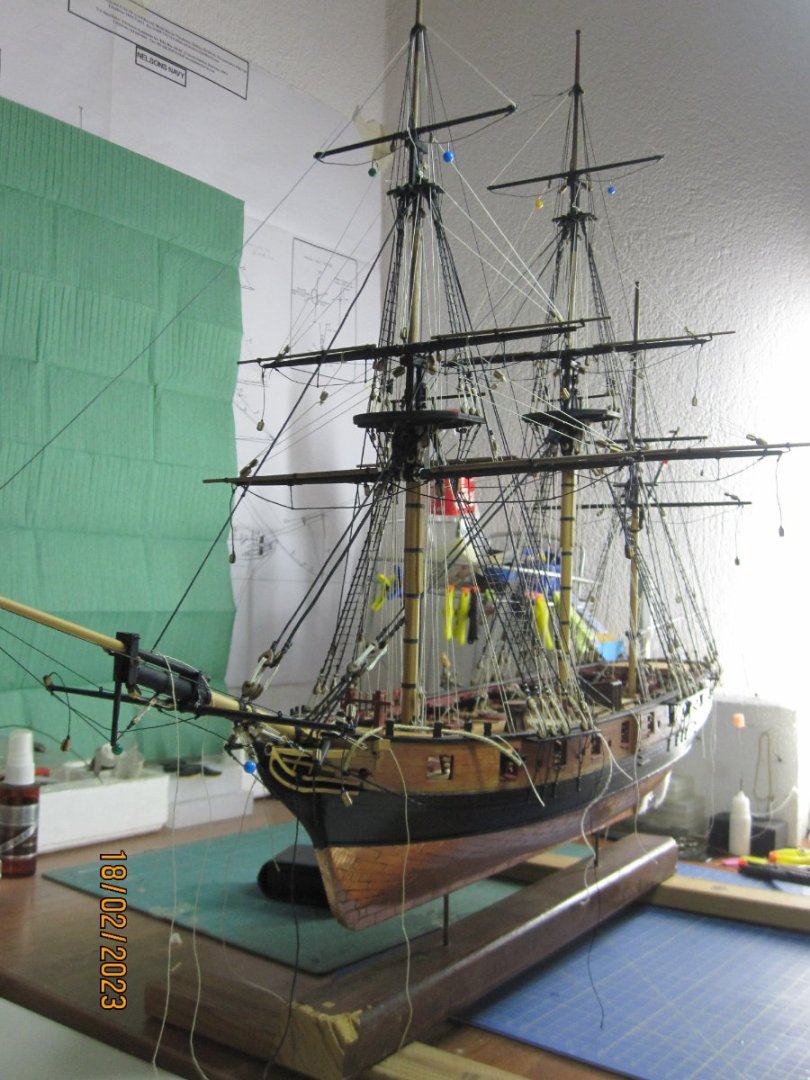
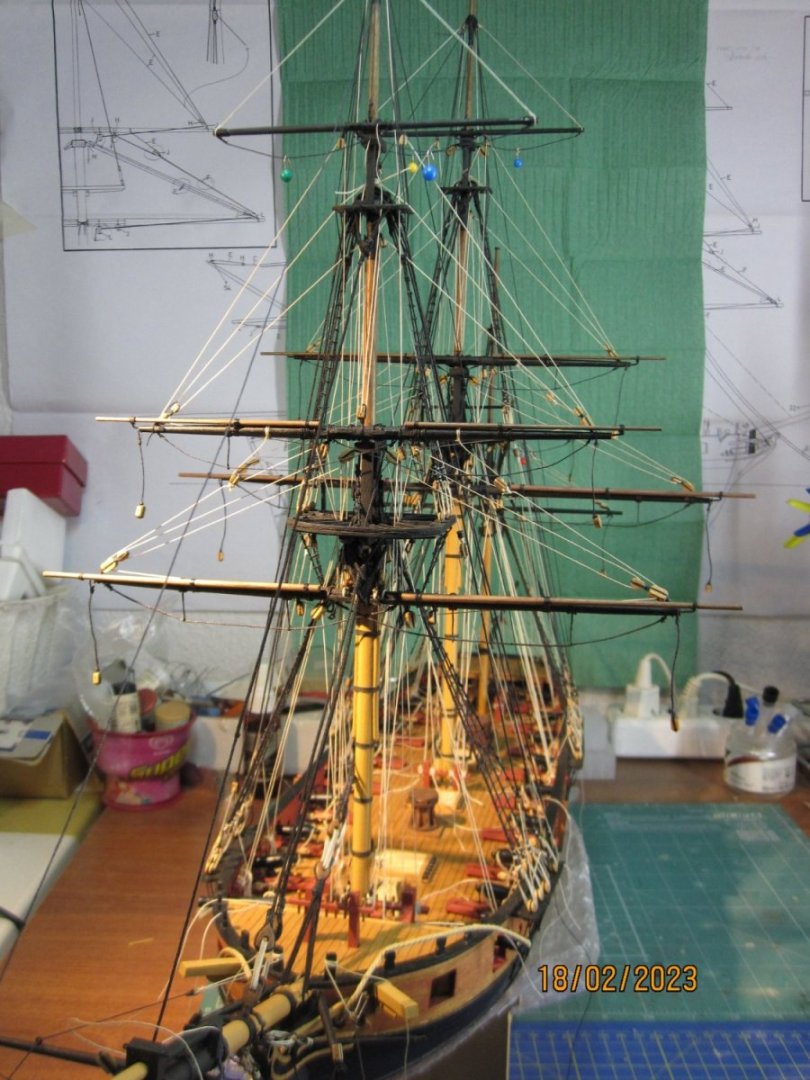
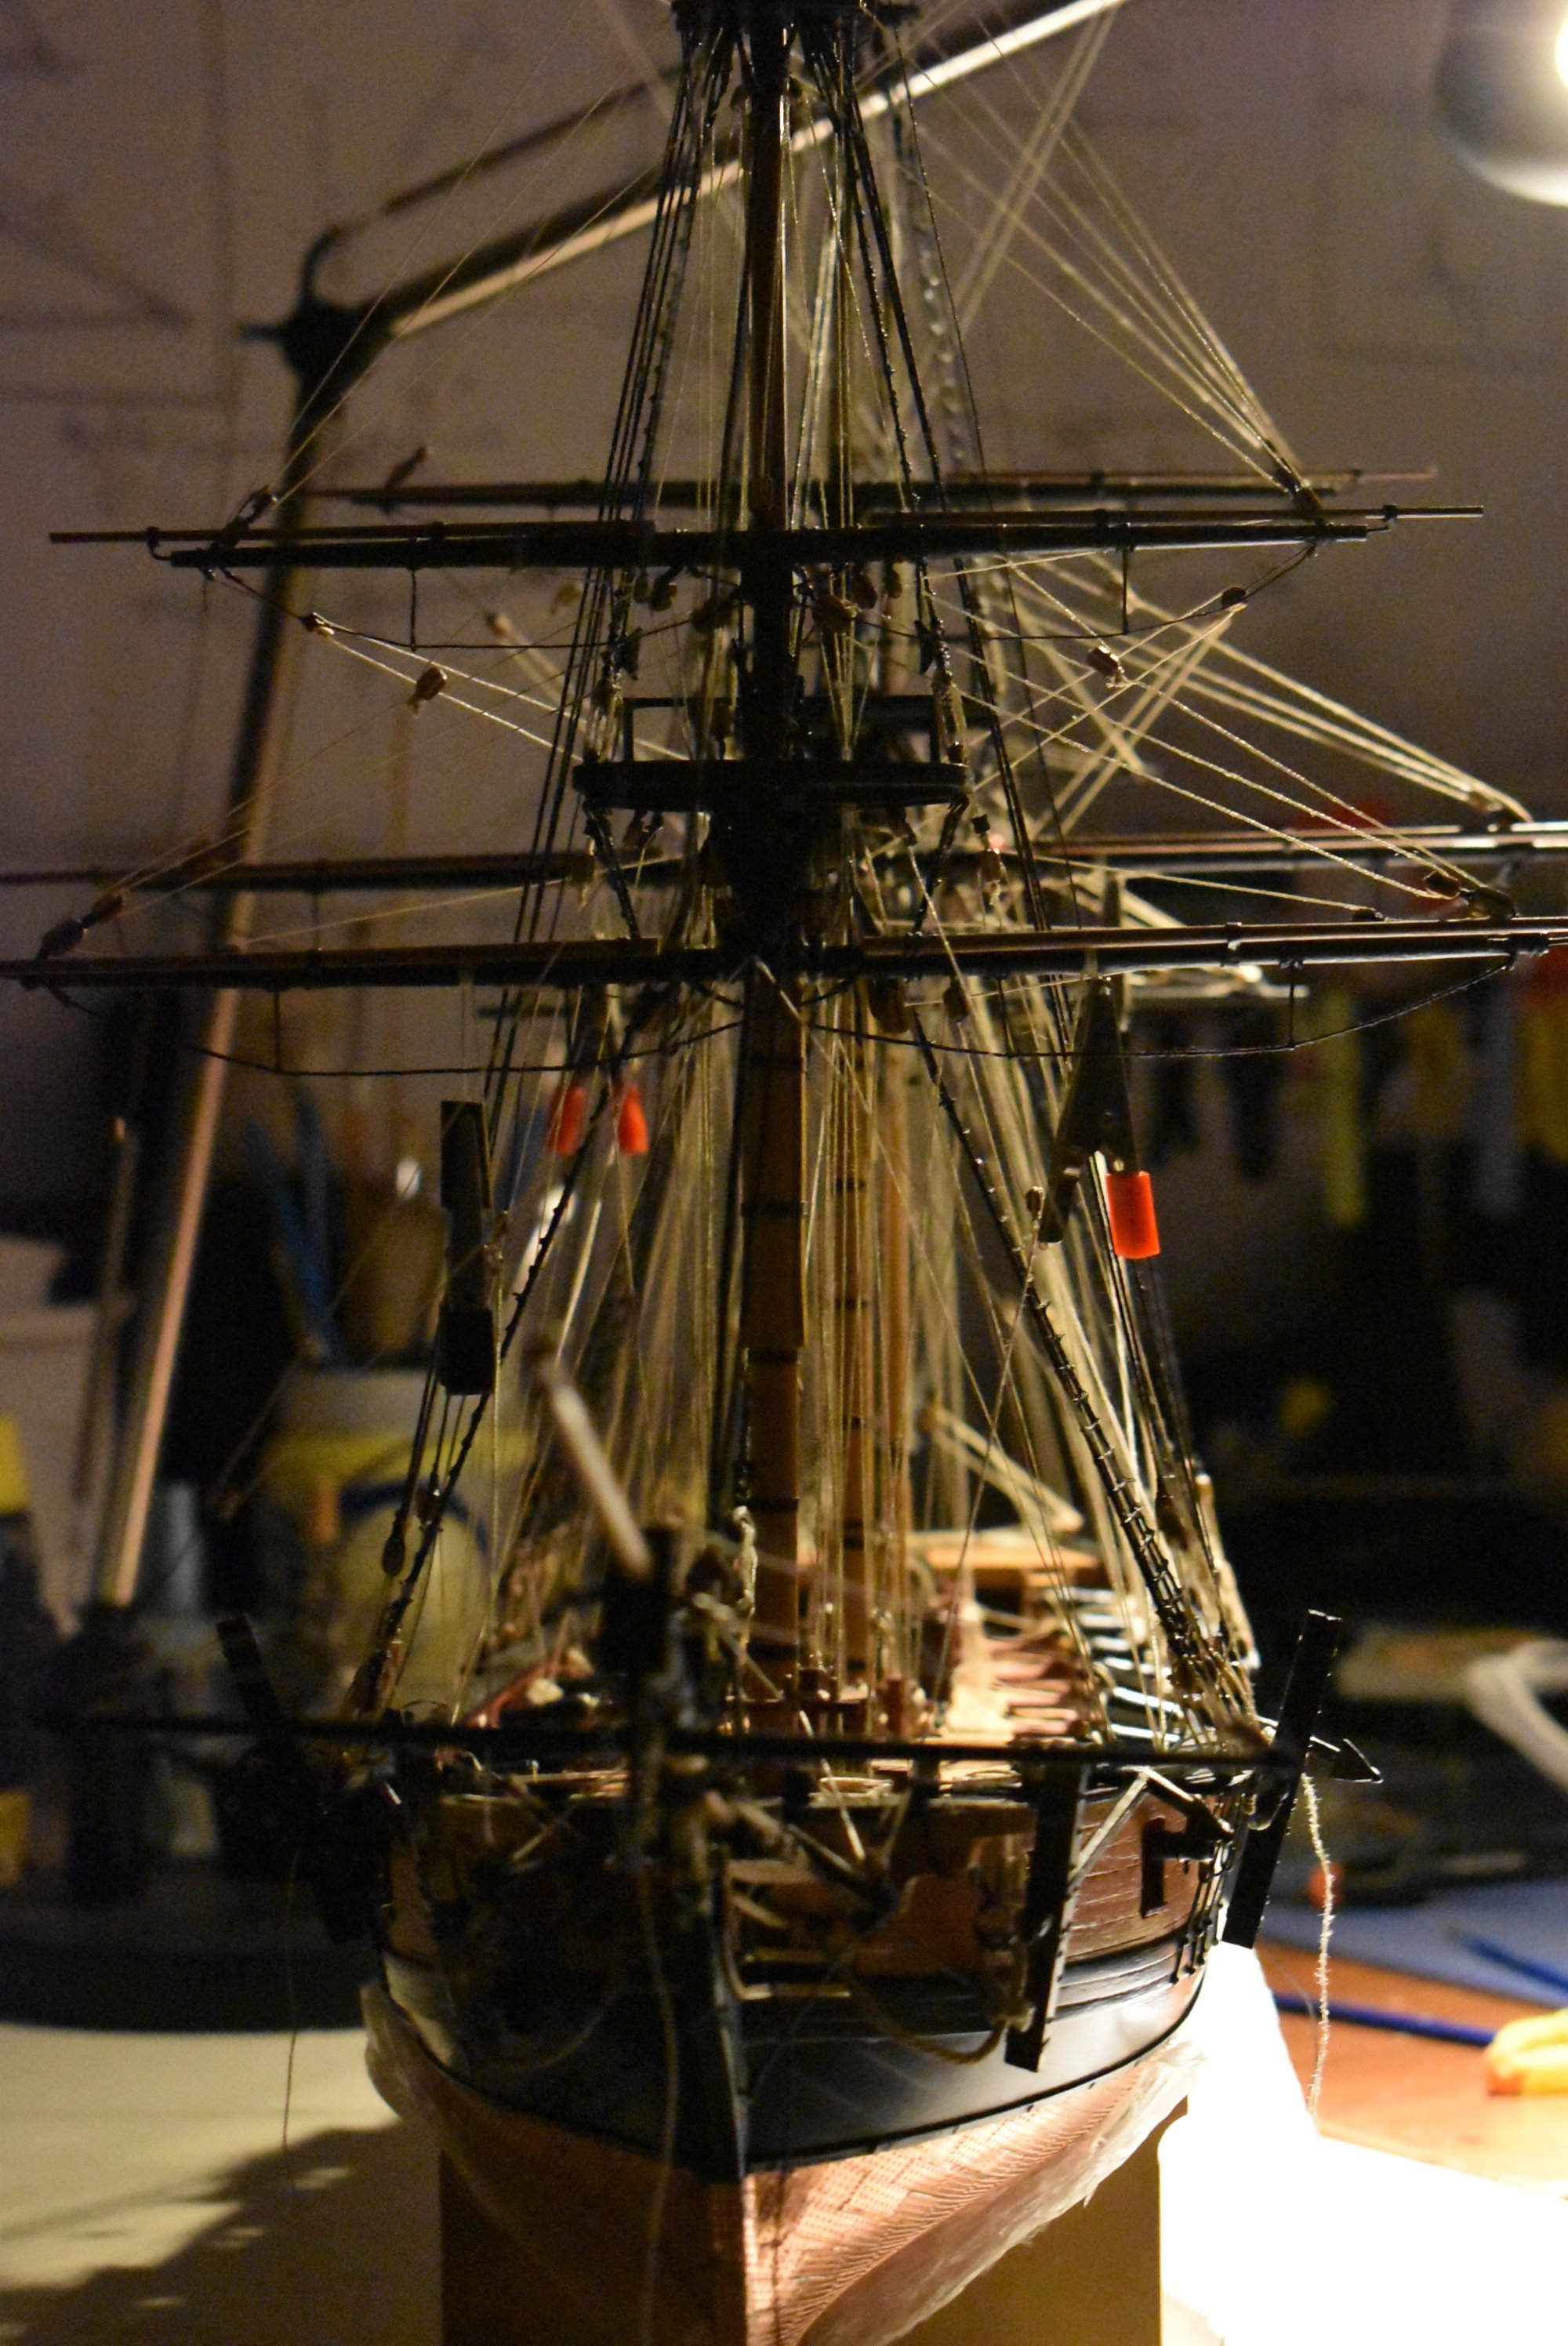
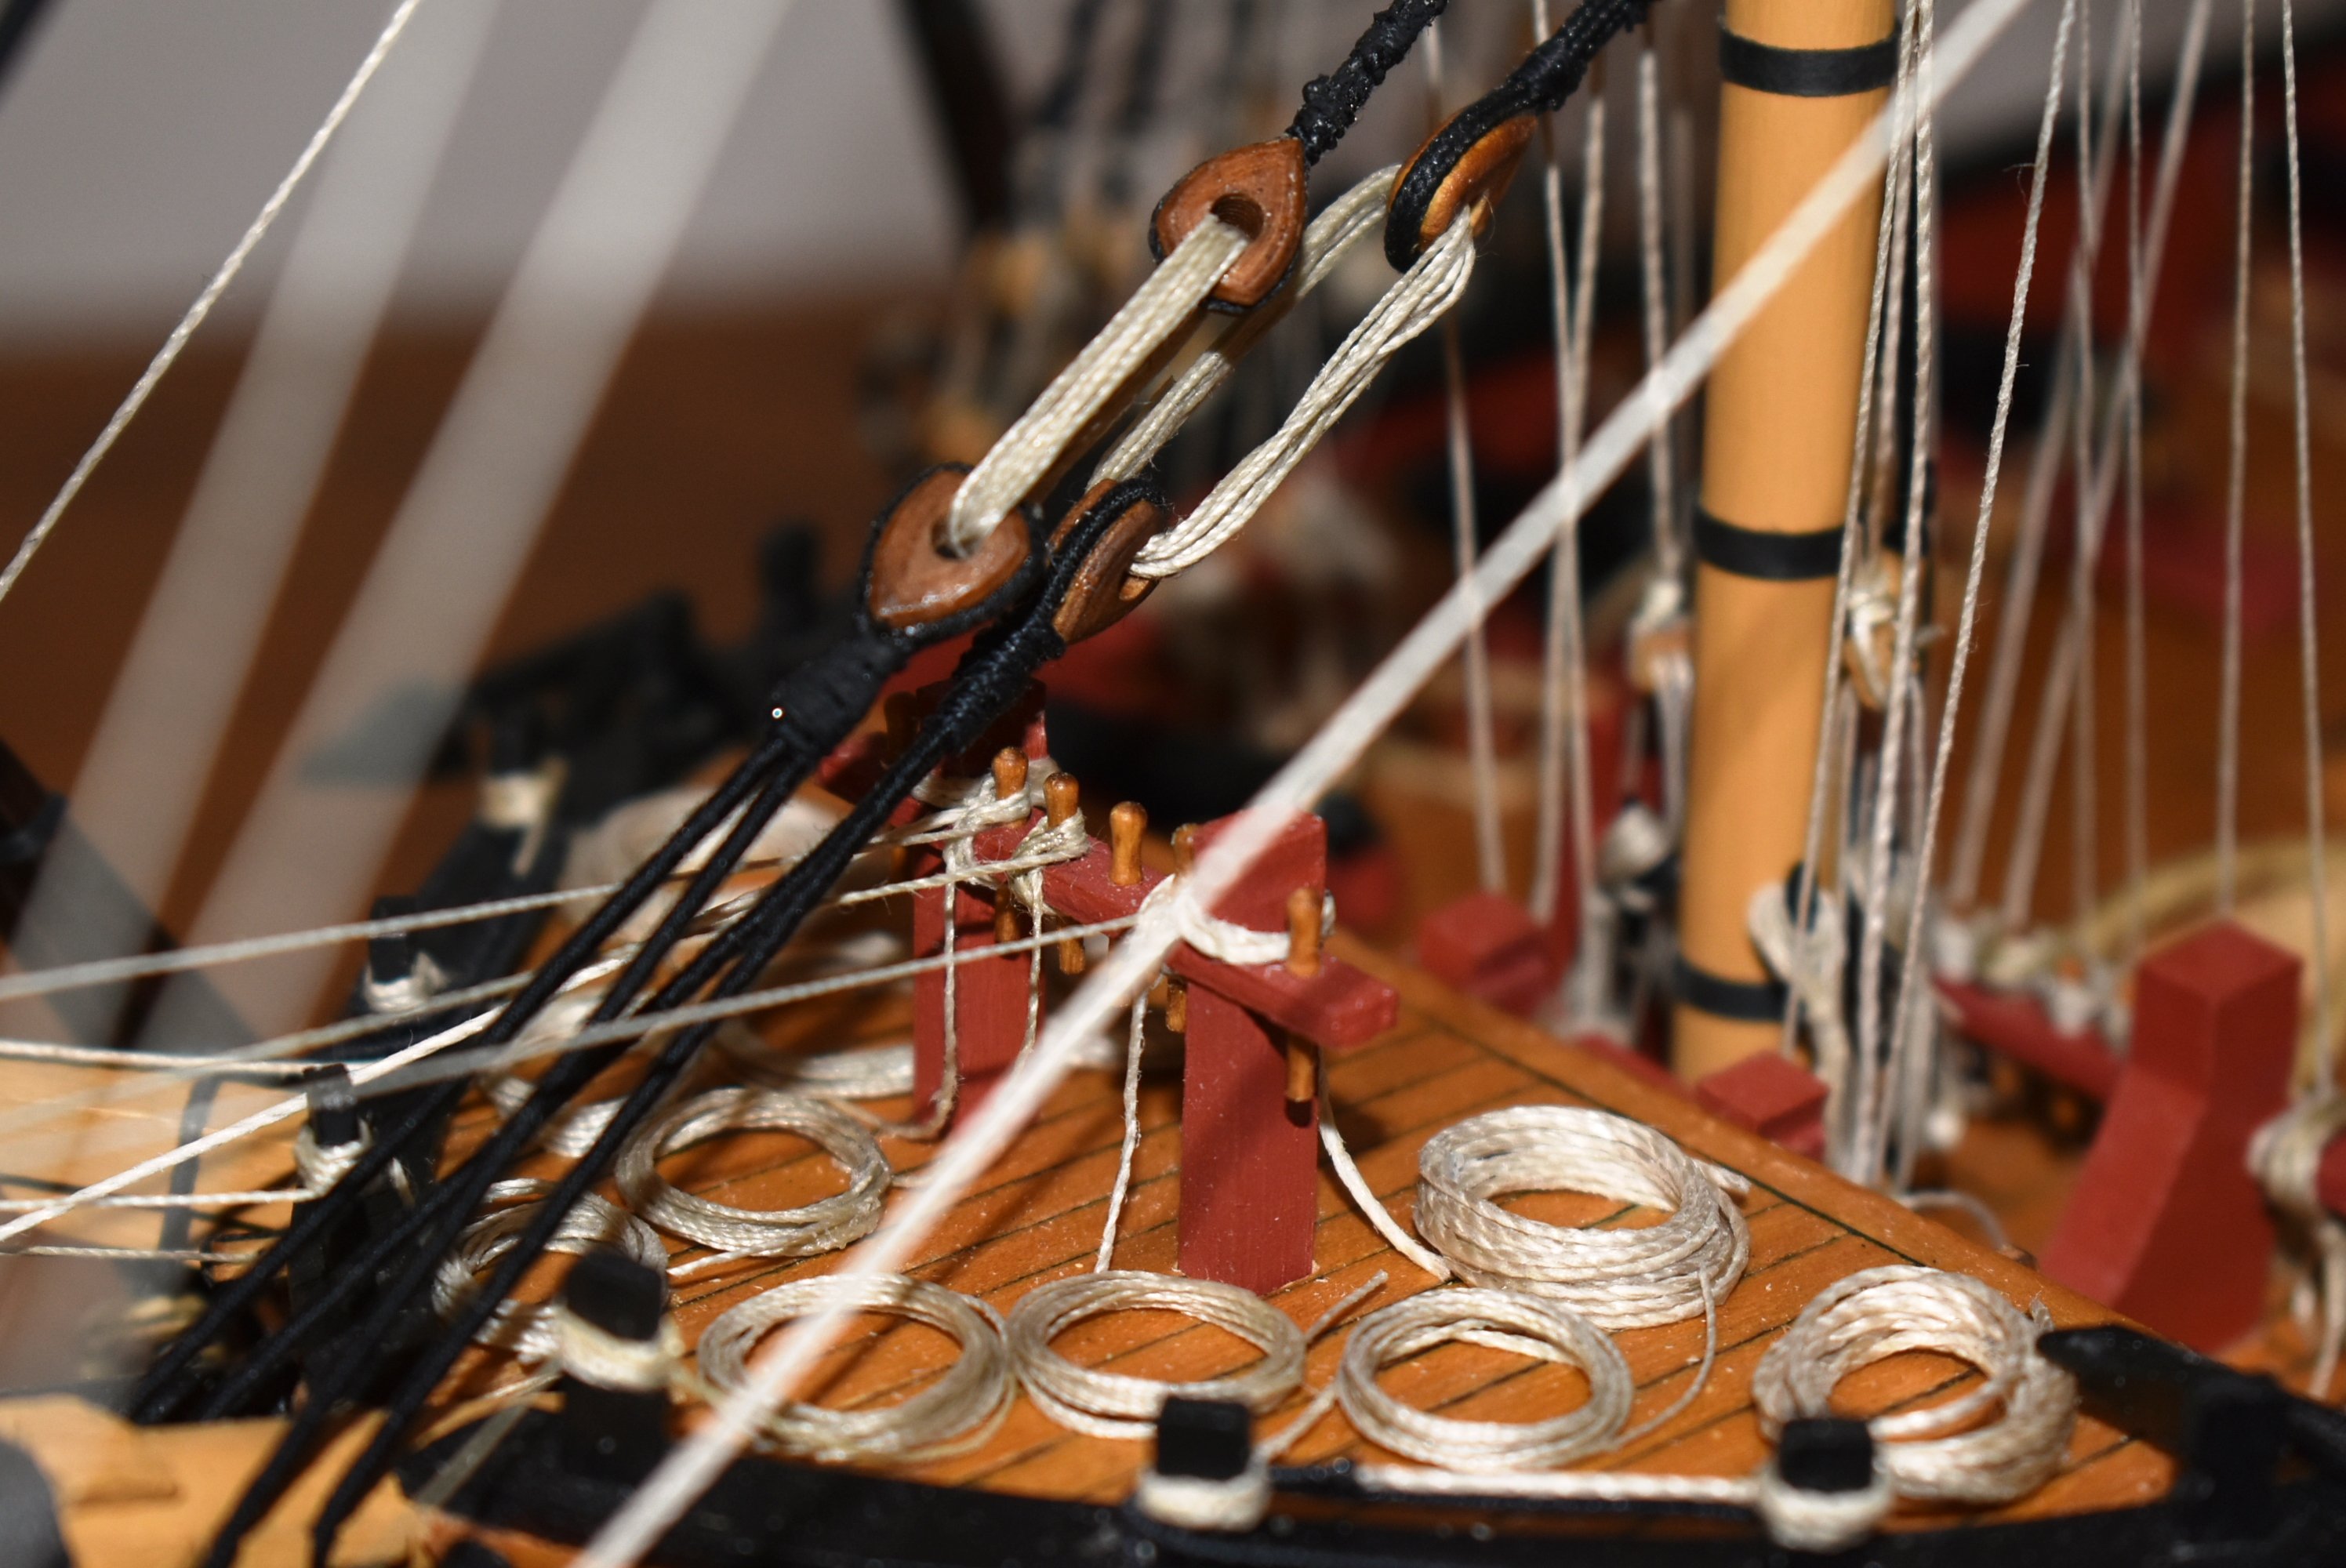
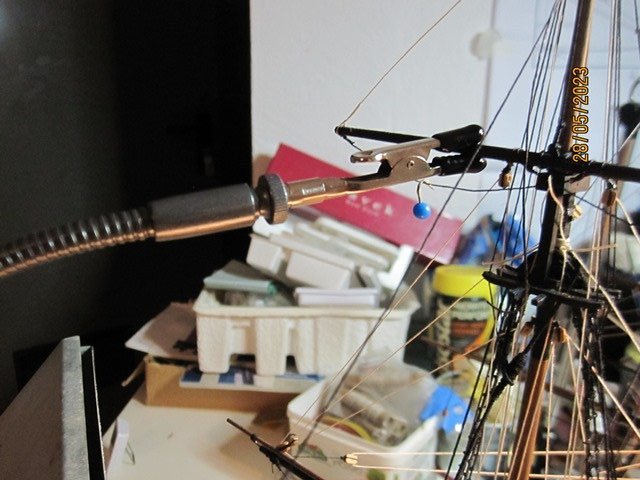
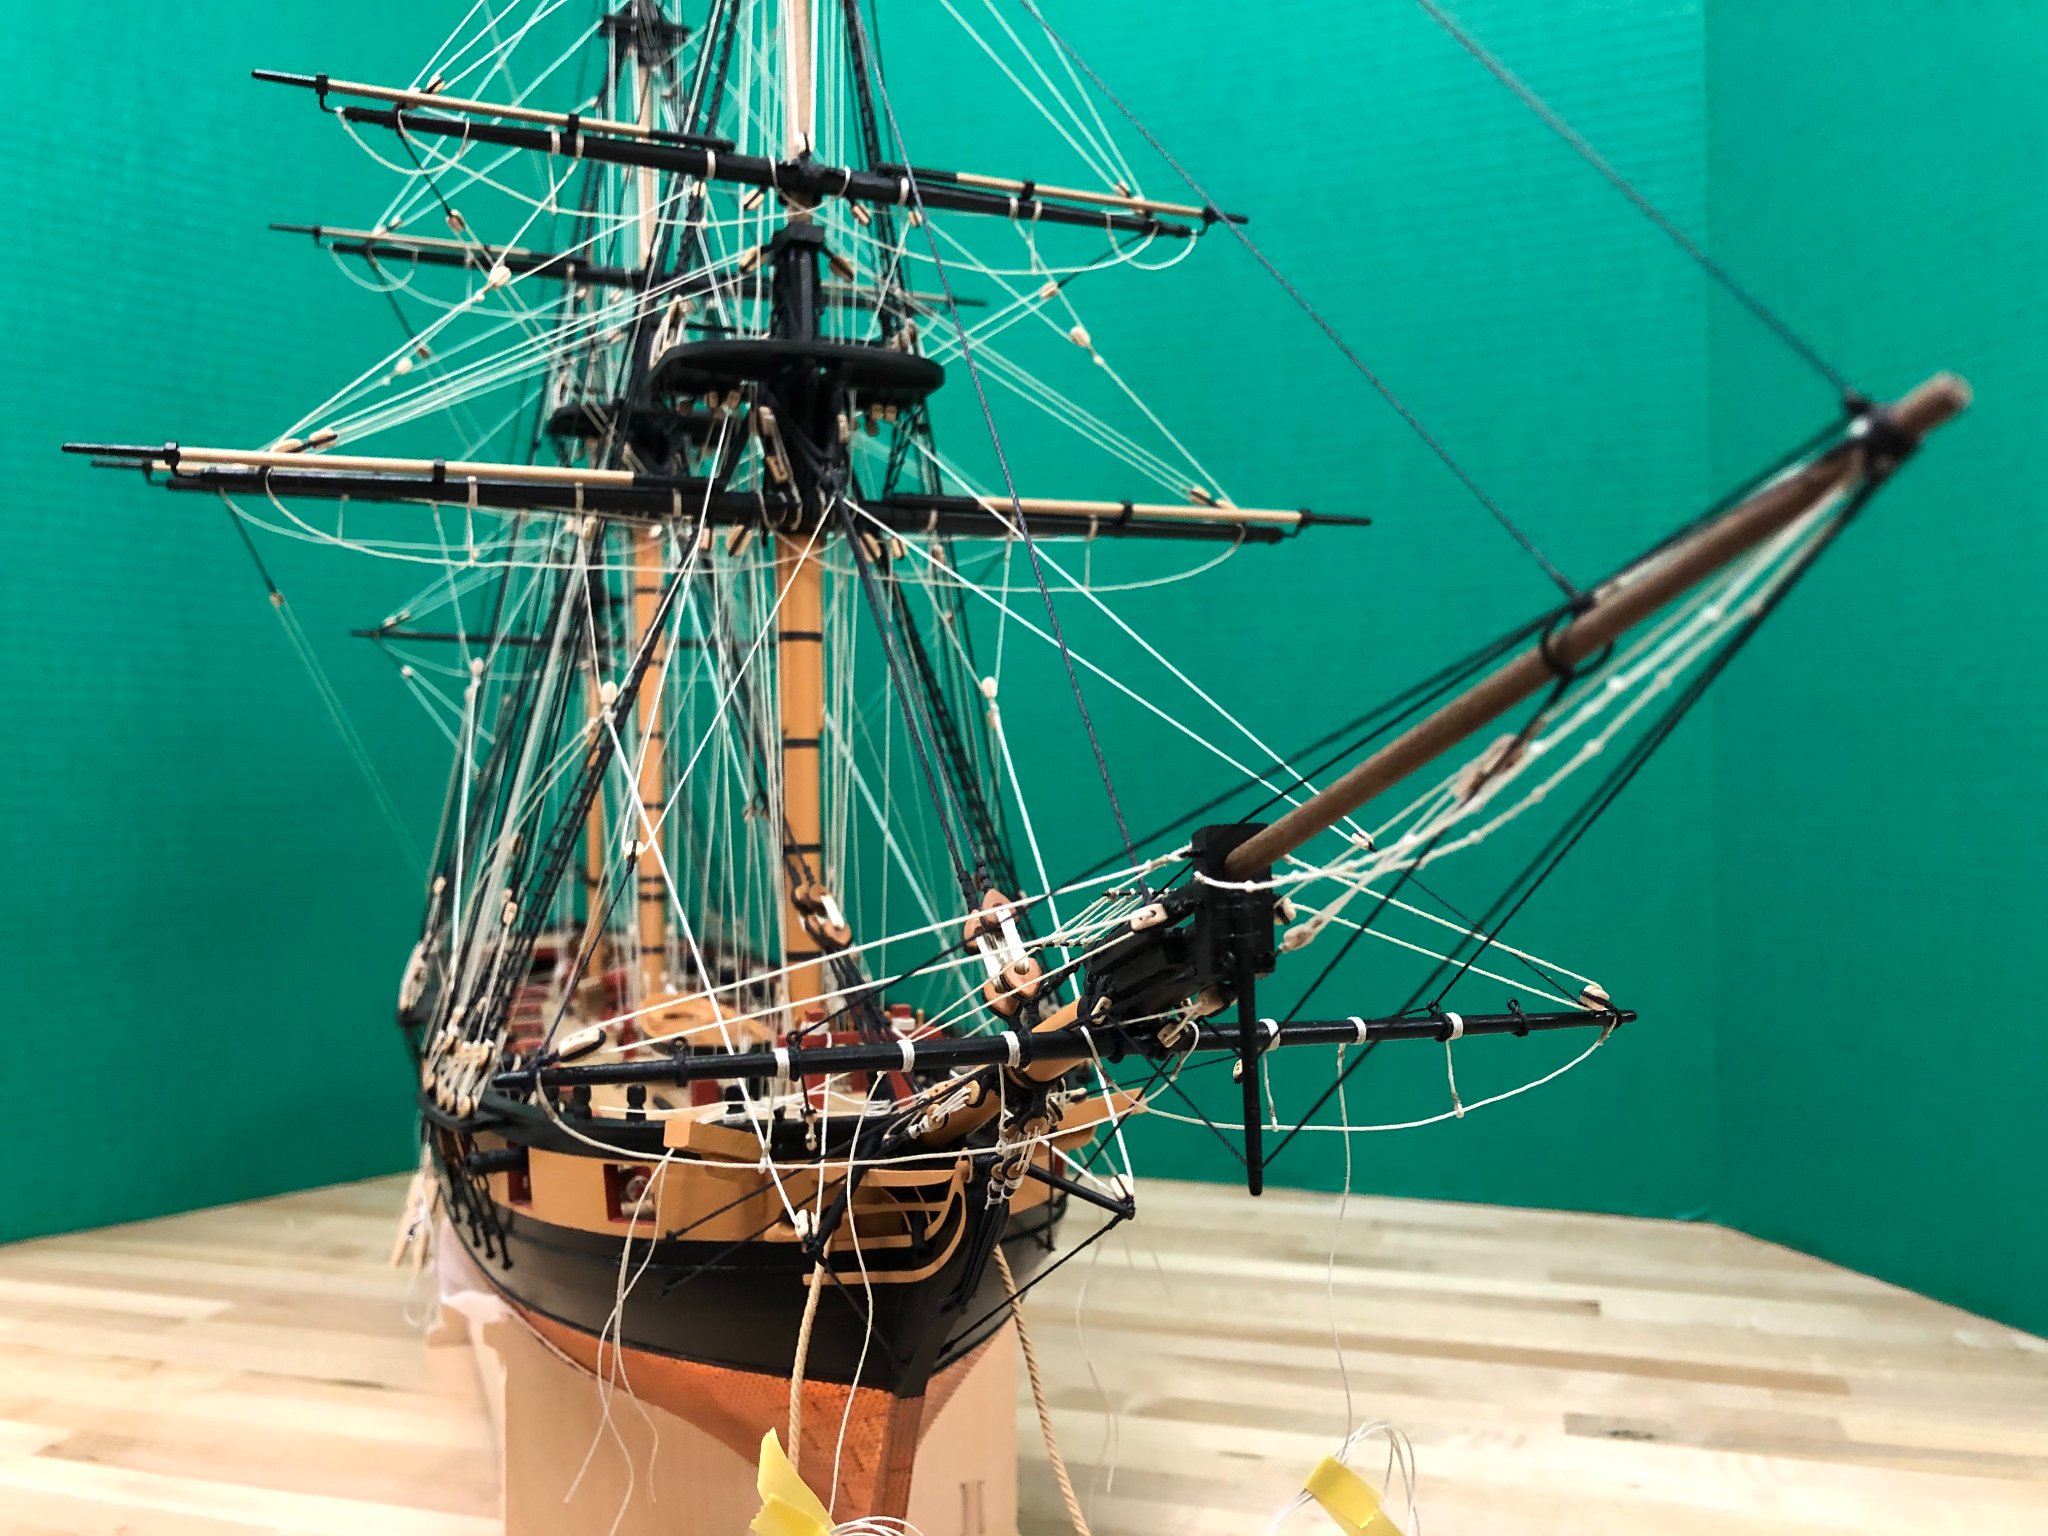
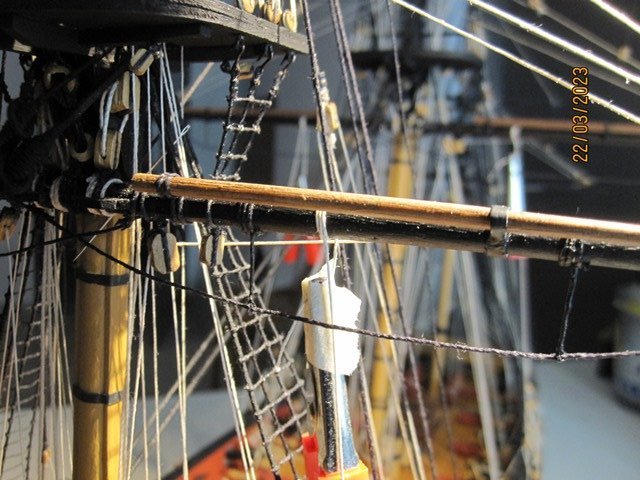
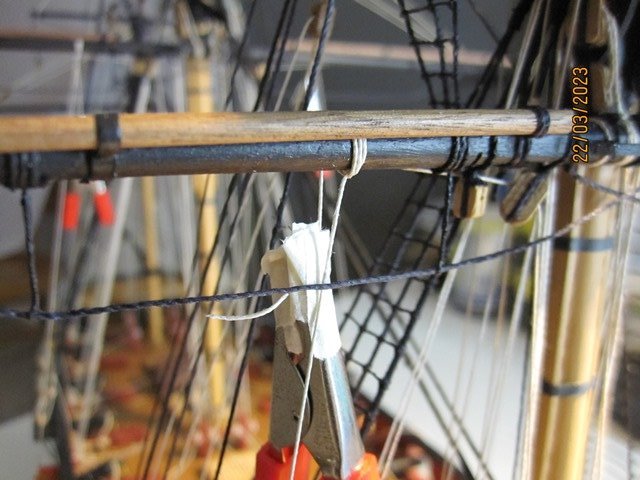
Last weeks are spent trying to understand strategy and the correct way to fix the braces….
Starting from top to bottom, from front to back, some tips important that I should know in advance…??
A real headache again")
- egkb, Beef Wellington and AJohnson
-
3
-
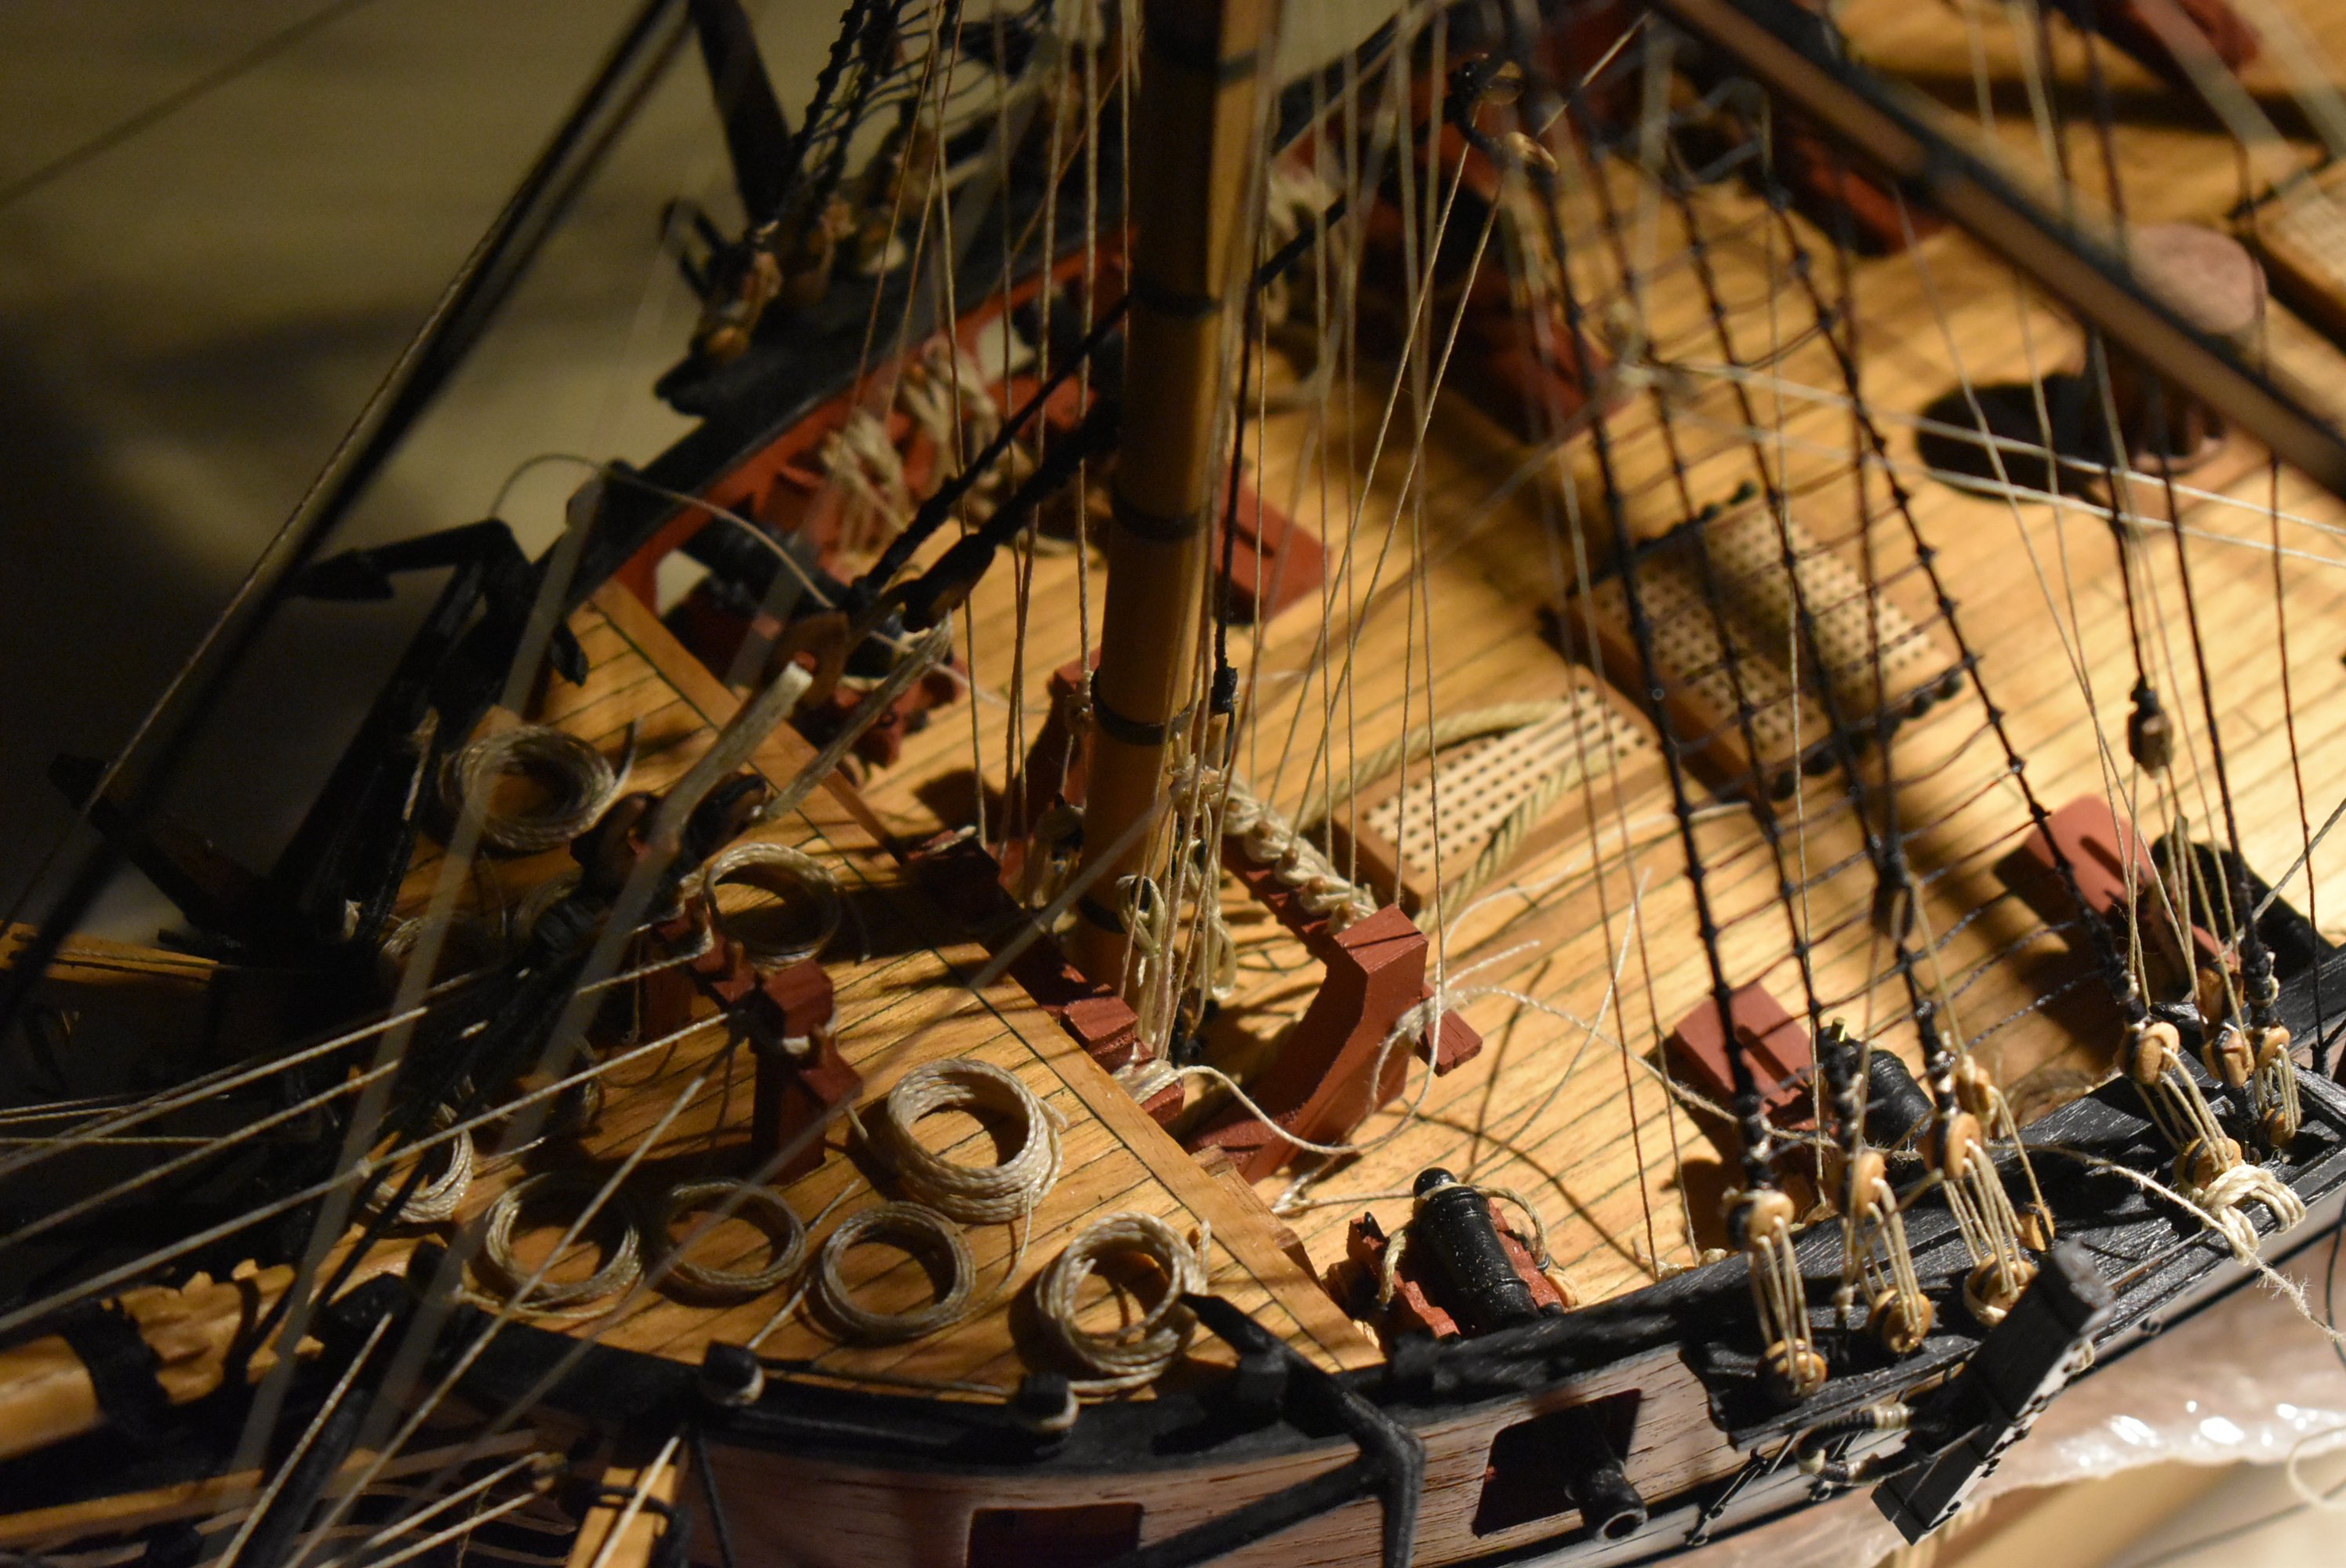
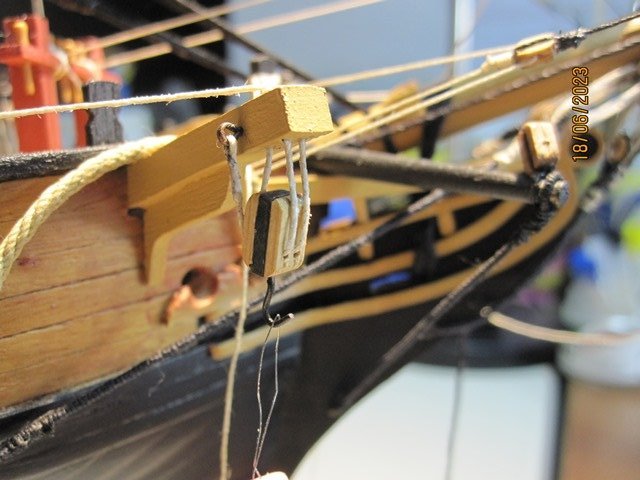
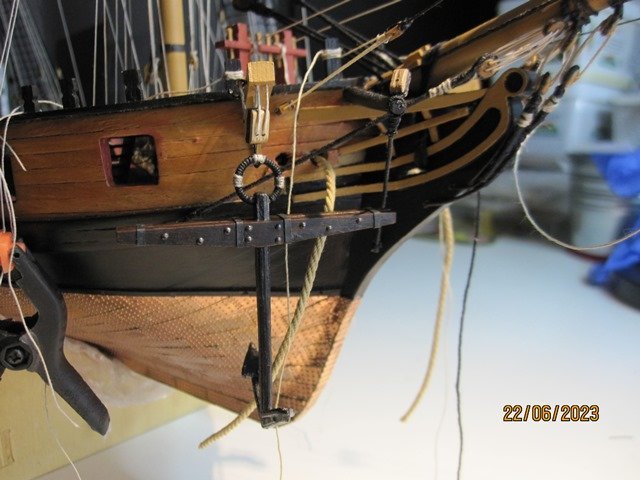
I ve left a lot of spare fittings and rope-threads to improve later as a final touch up procedure.
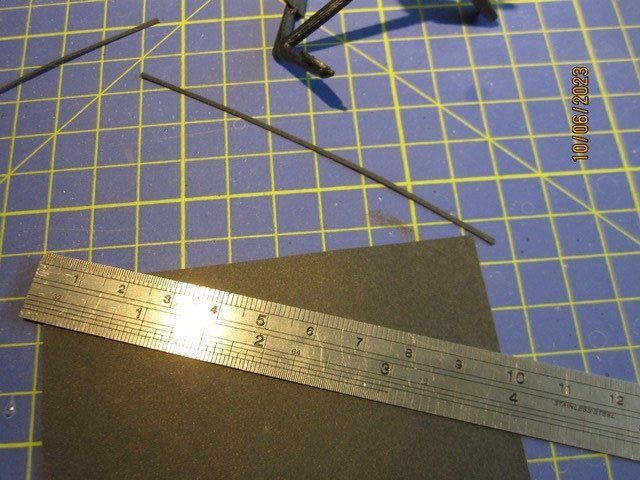
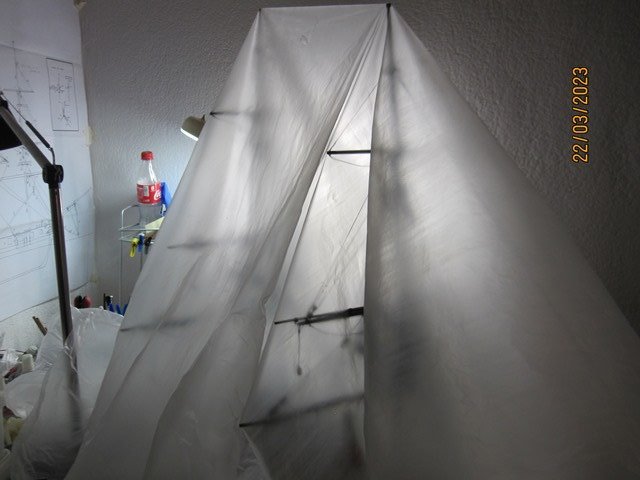
Now I really feel that i'm close to the finish. I plan to create a custom made base and to support/stabilize the keel with those two 2mm metal rods.
I hope the model to be stable and safe
- Beef Wellington, chris watton, AJohnson and 1 other
-
2
-
 2
2
-
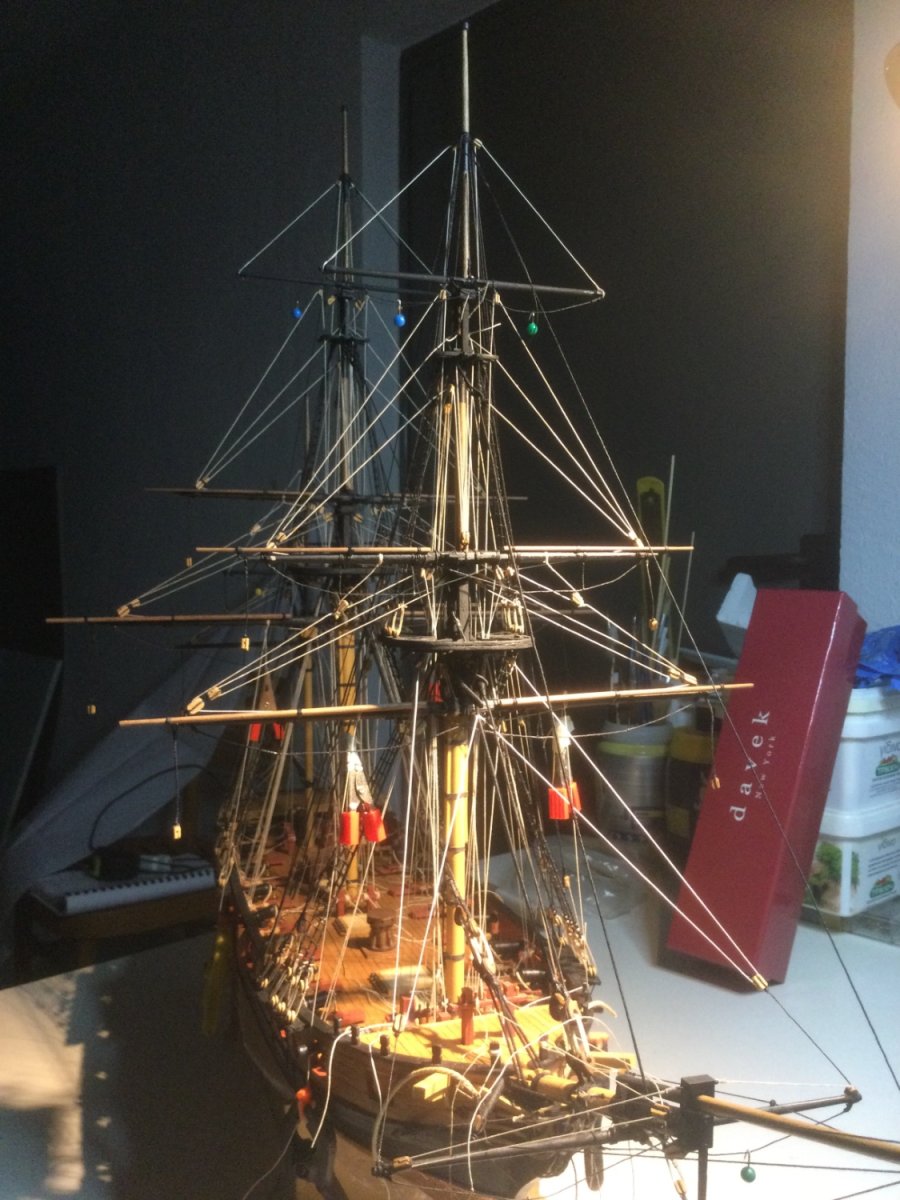
After a long time I think I've fisished all the masts clues and cluelines.
I'm about to upload some pics.
Thank you


-
13 hours ago, ccoyle said:
Always be mindful that a glass case of the size needed for Snake will be quite heavy.
Hi ccoyle, and thank you for the reply/comment.
Yes I know what you are saying, just trying to make some choices for the model that will last longer over time. Thanks again


HMS Snake by drtrap - Caldercraft
in - Kit build logs for subjects built from 1751 - 1800
Posted
Hi Eamonn!
Thank you")