Javlin
-
Posts
1,681 -
Joined
-
Last visited
Content Type
Profiles
Forums
Gallery
Events
Everything posted by Javlin
-
That came out Quite Nice Greg!!
-
She was the Brits answer to the Jug Craig and so much HP in the end.
-
Thank You Sir she was fun and a challenge.I shy away from washes and such afraid to ruin a pretty plane but a Tempest like a Jug cry out for those results!
-
Thanks Phil I enjoyed this build it was a challenge I have seen others on other forums drop the build and one on YT as much that Special Hobby replied to the builder.The kit is definitely a builder making a Nice representation of the the A/C if I say so myself.I am thinking of ordering the SP WhirlWind in 1/32 another kit were people do not like their instructions once you to the WW/LG area?This is my 2nd SP Kit and yes both required attention in that part of the A/C but a challenge is fun sometimes over the shake-n-bake kits.I think the next build will be Eduard's Mk XVI Spitfire started some time ago I may actually clear out a few ole builds.I need to start on another floor cabinet like the other one things are getting full!!
-
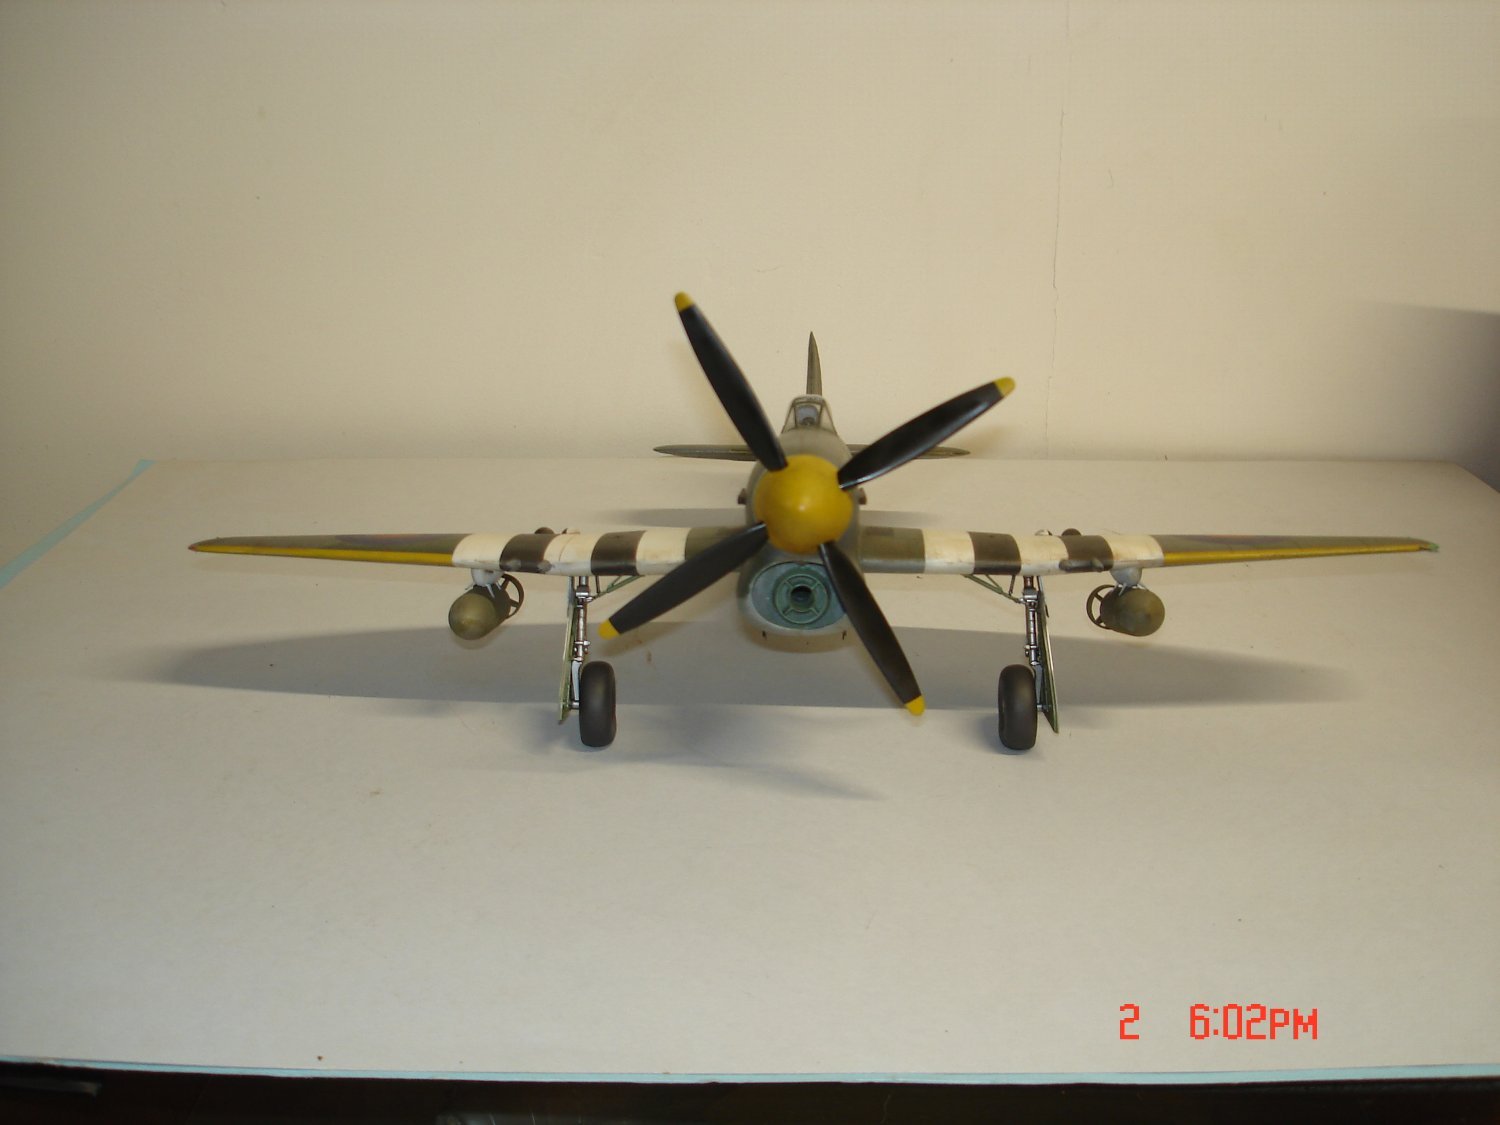
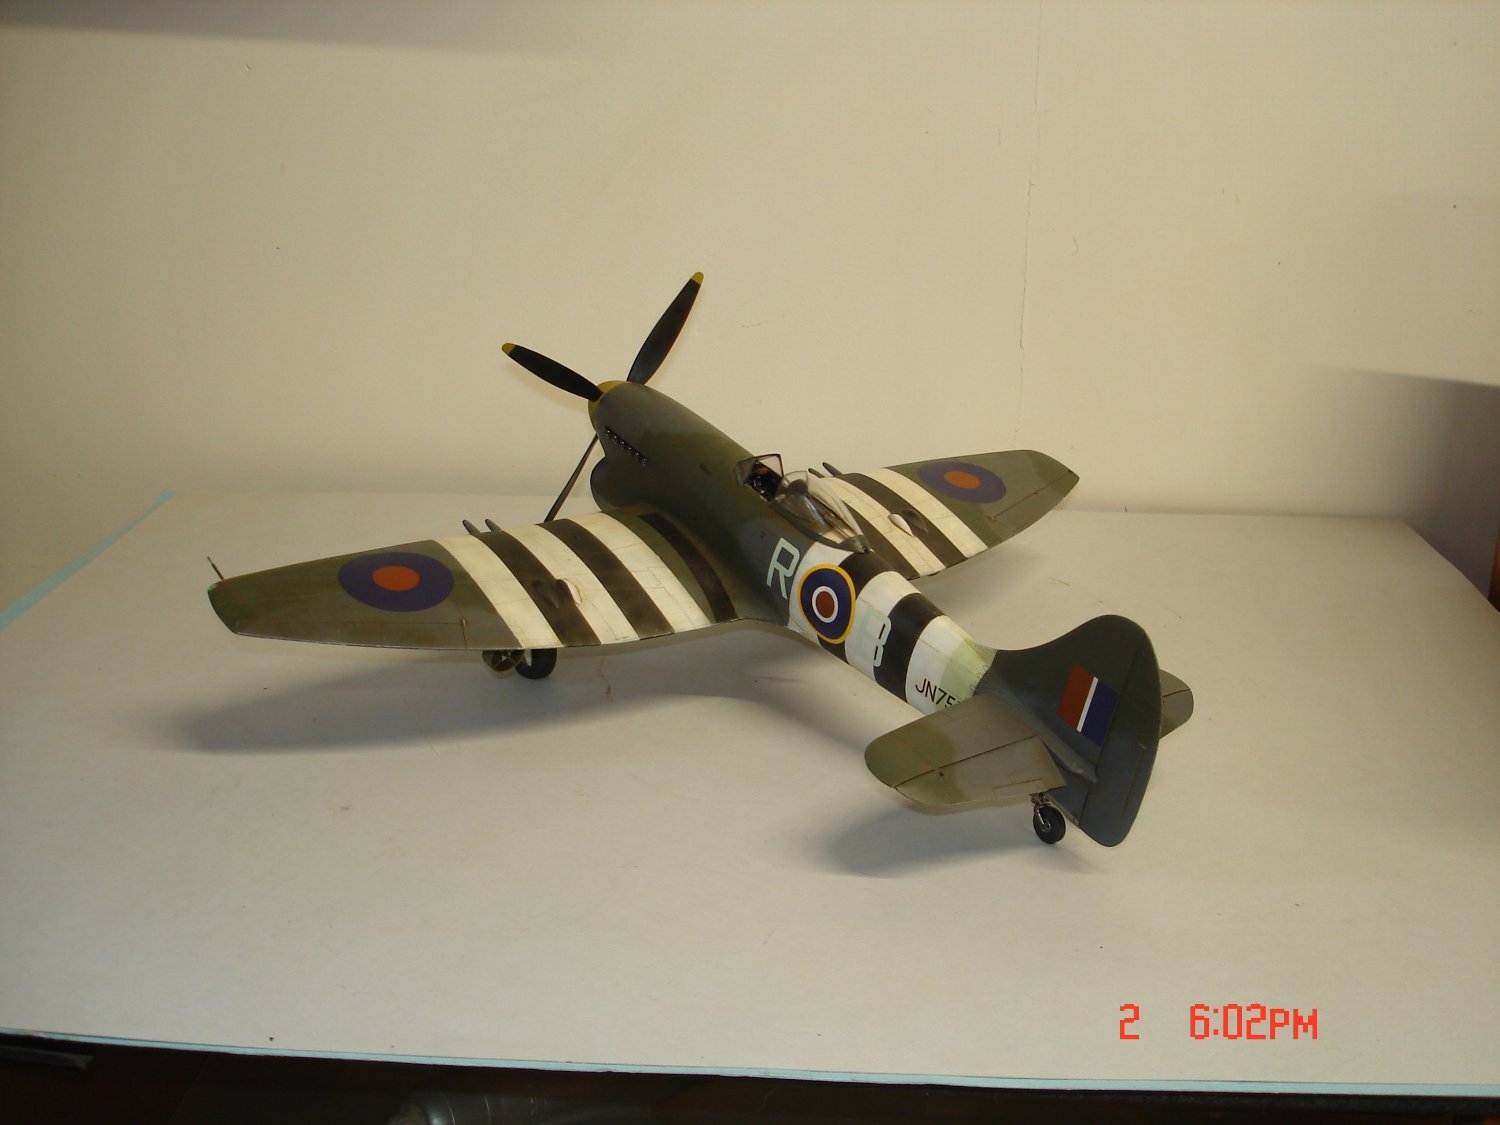
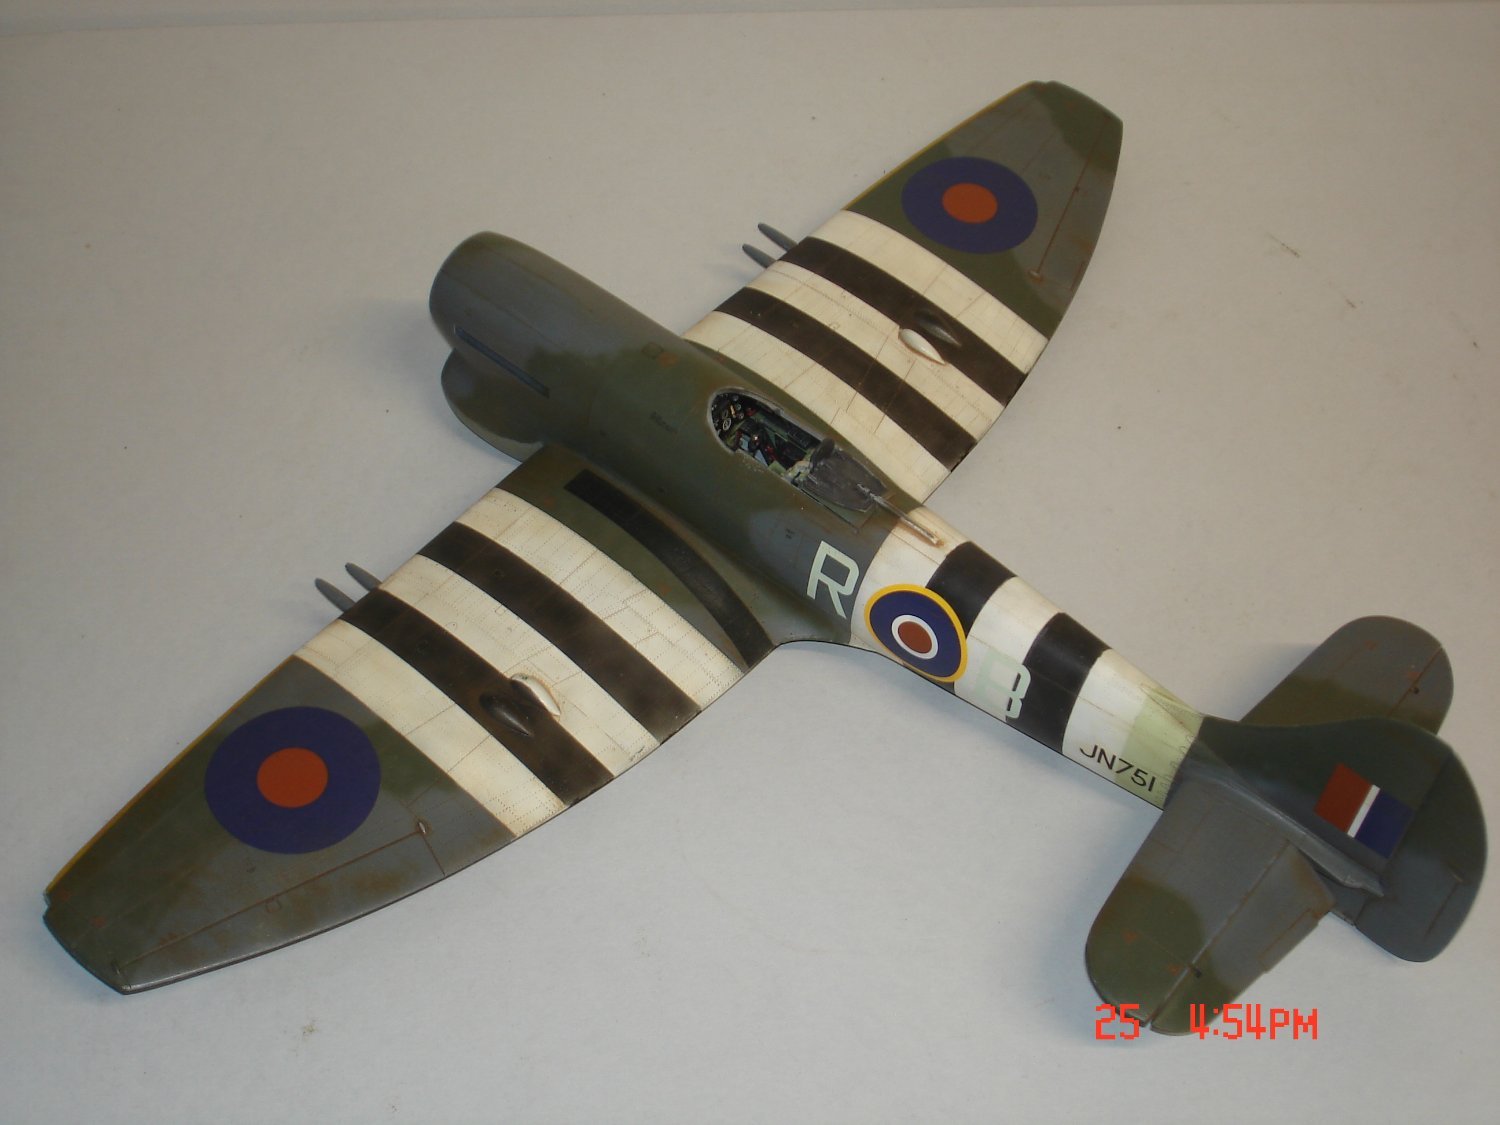
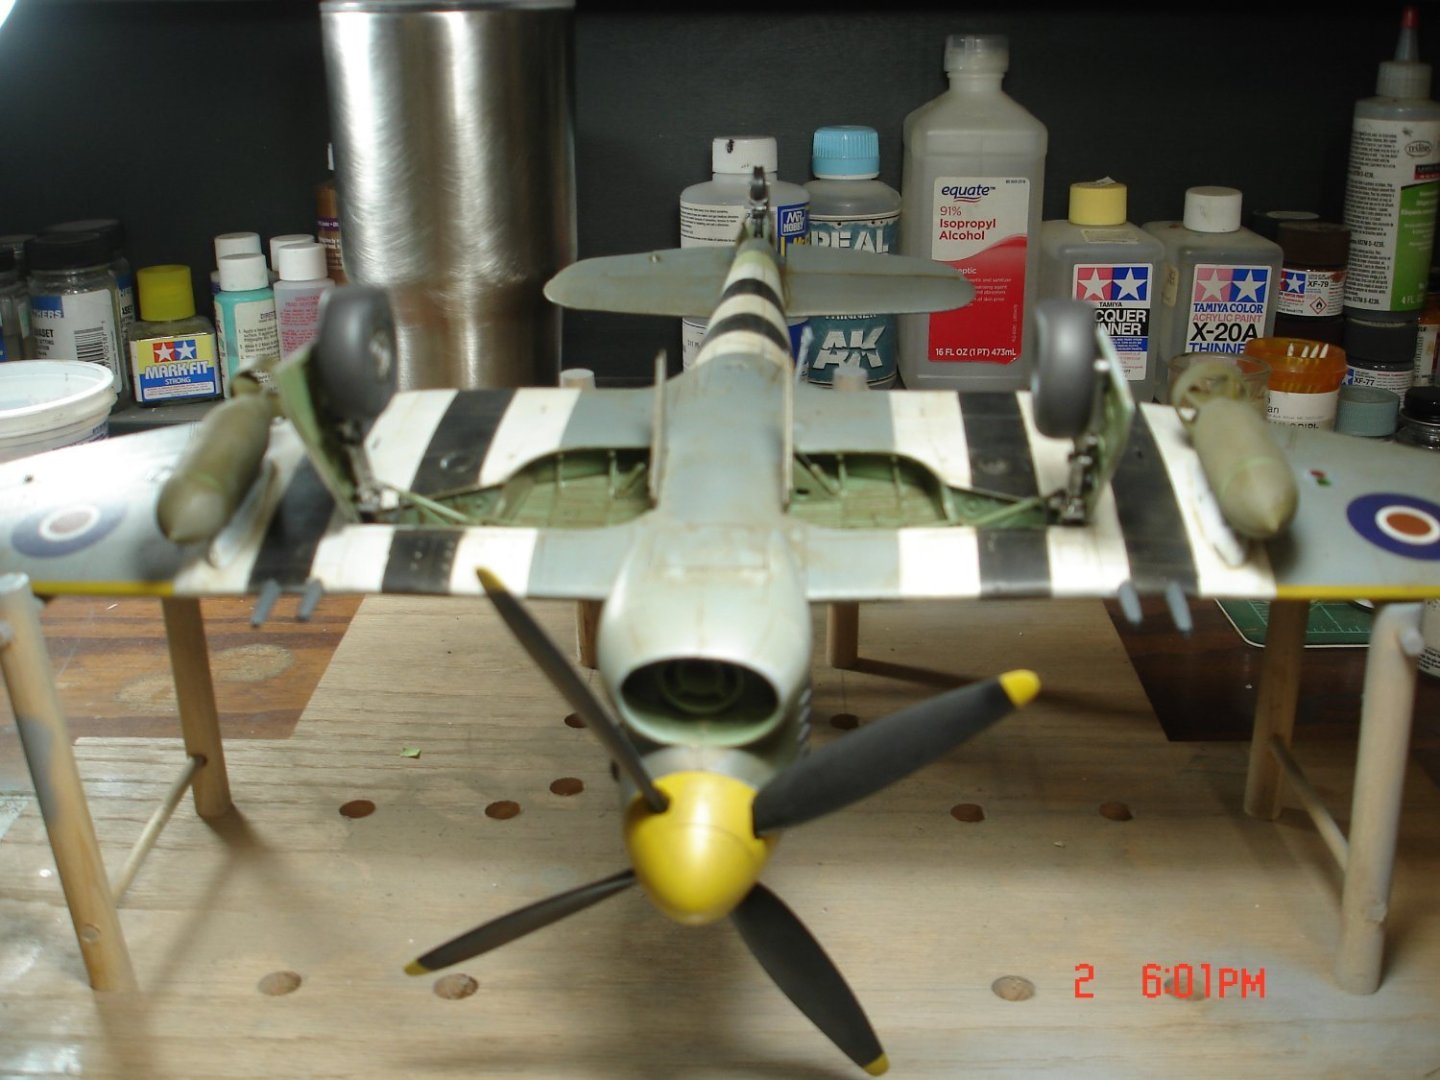
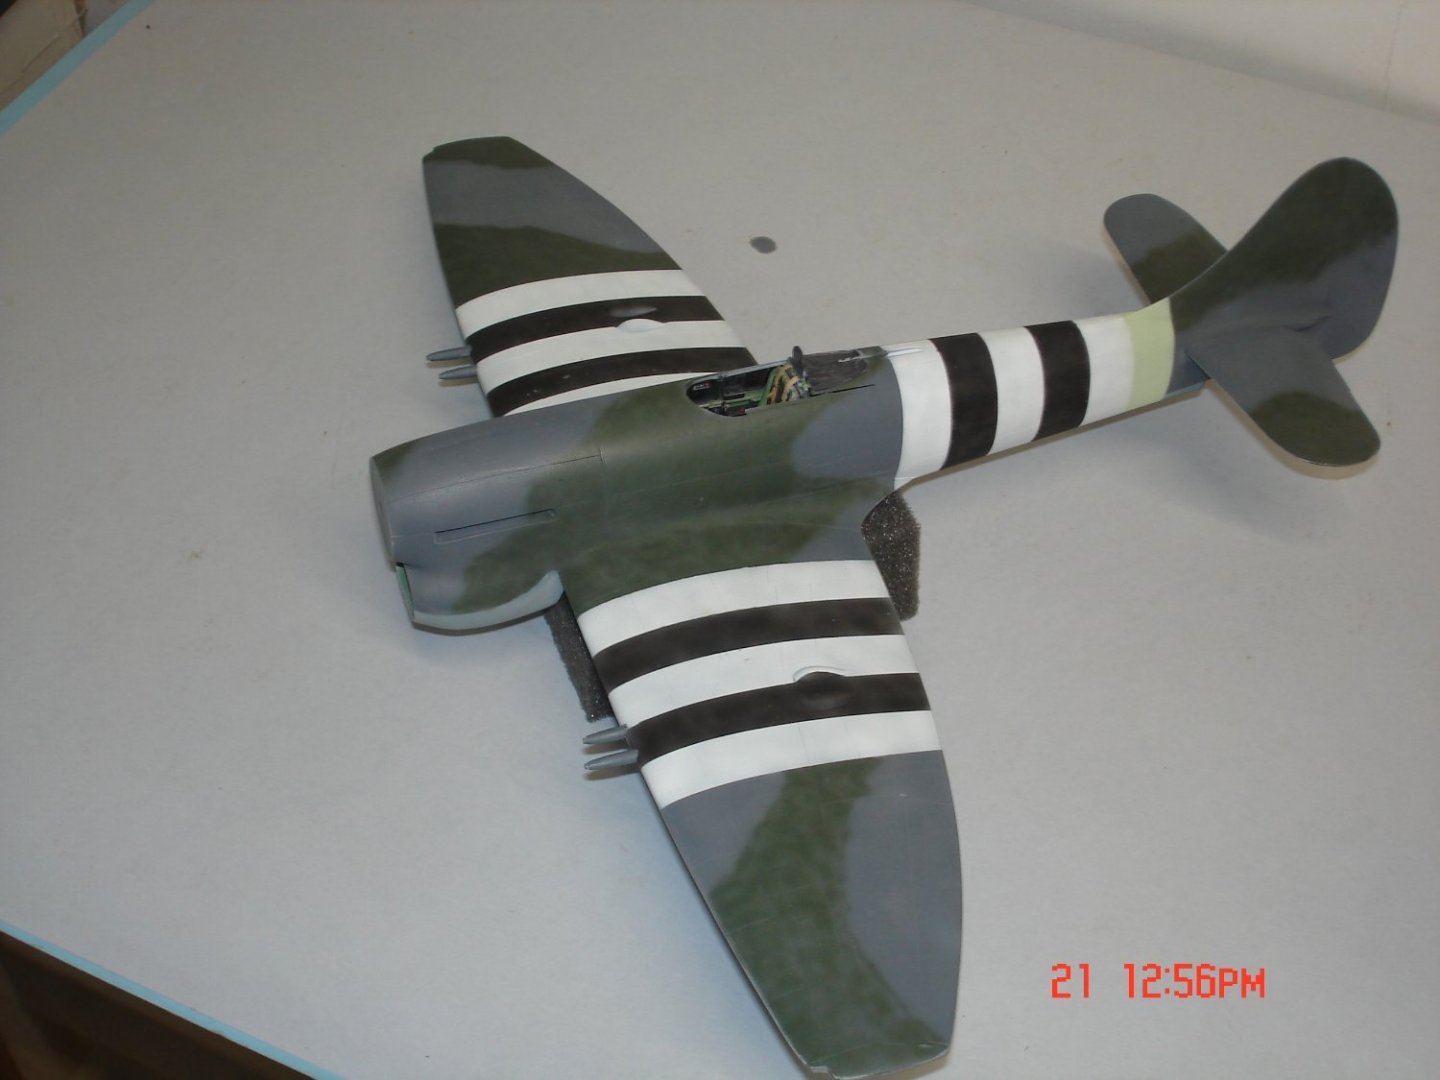
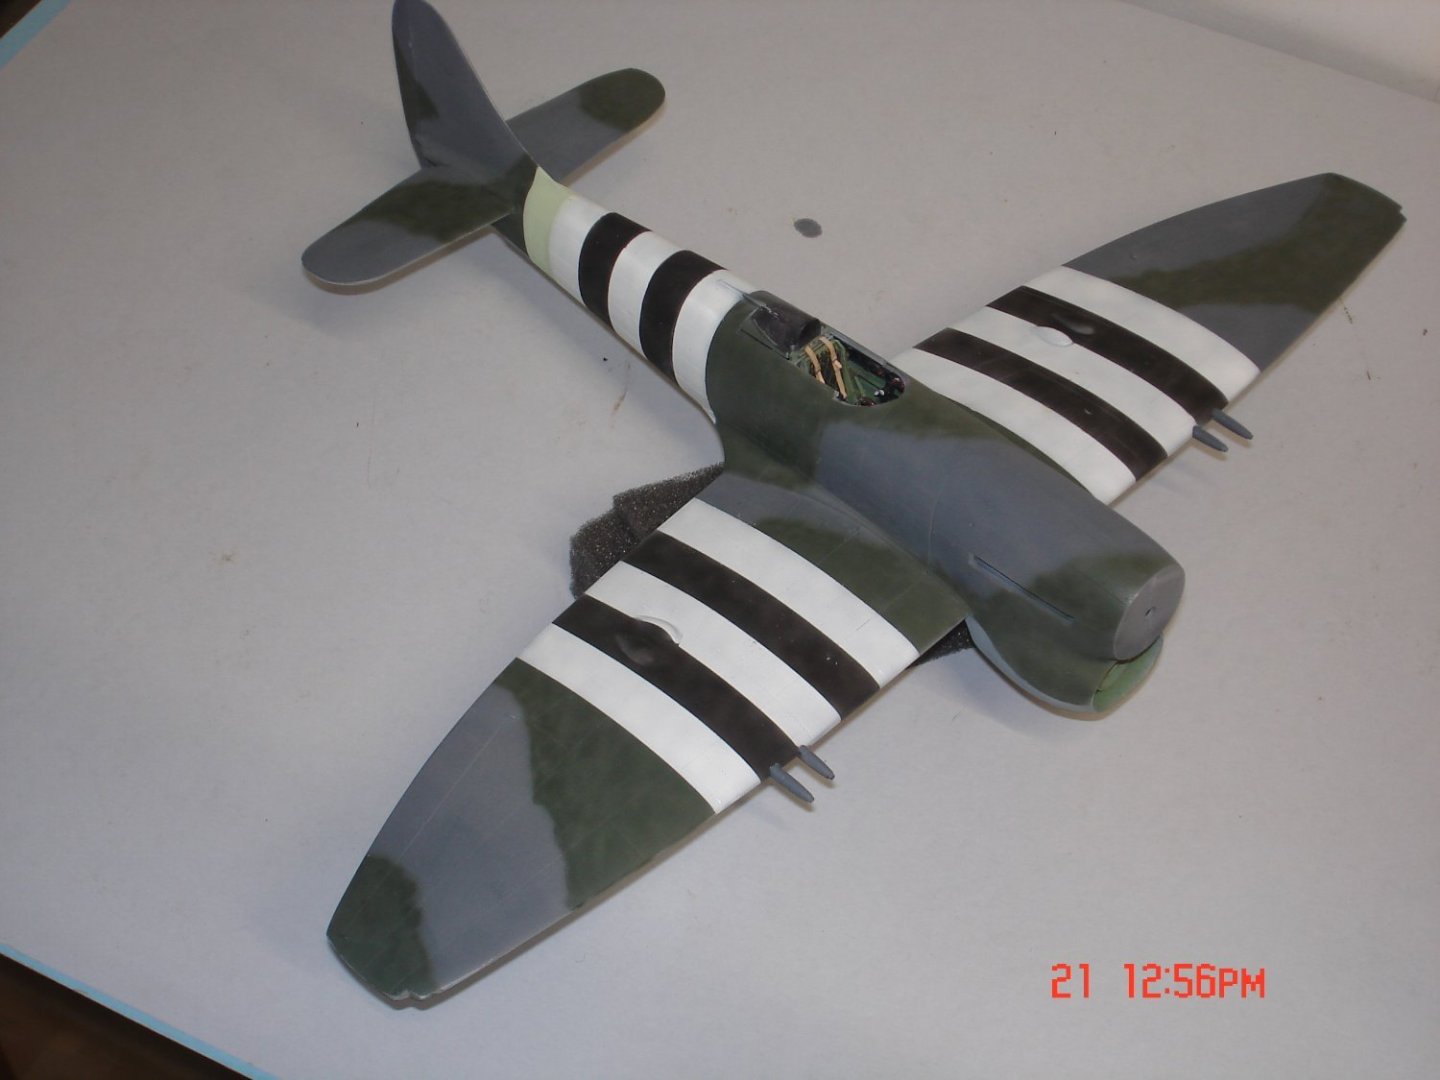
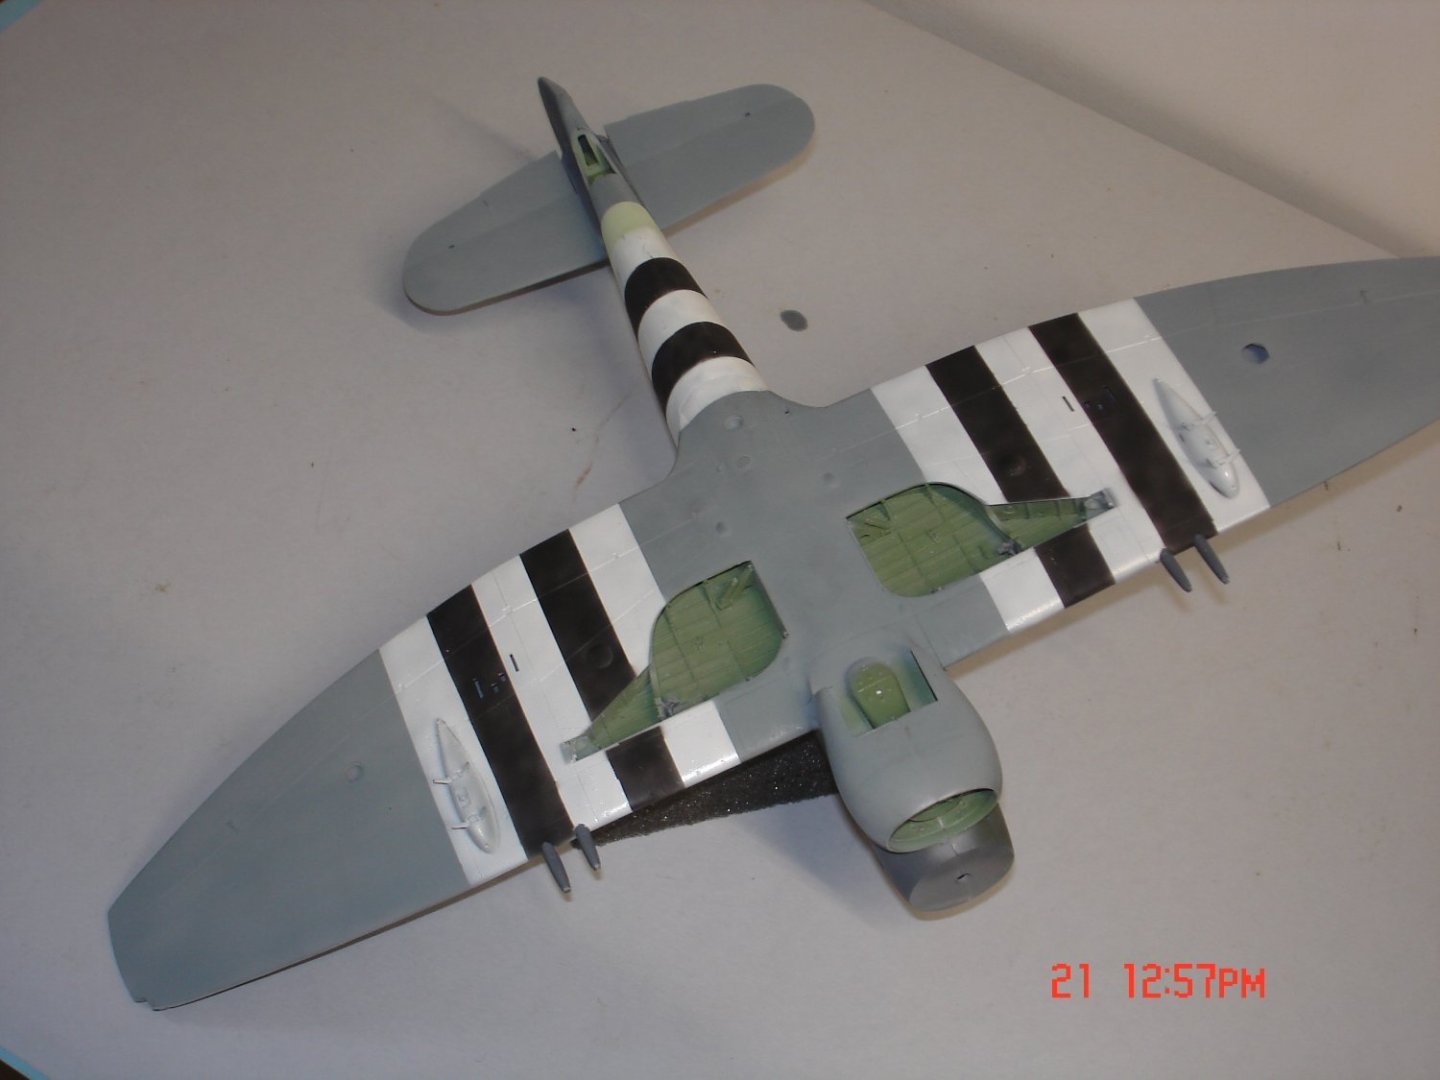
Alright time to move on fellas to the next project.The inner door actuators kept braking off so made them out of .015" guitar string with a brass head then drilled the body of the actuator and just glued to the door only(bad pic).I used Alcad smoke first time ever using it easy just went a little heavy on the R/side of the plane.The bombs got a wash of Tamiya brown right on MrColor and then Tamiya grey wash both done with a q-tip did not touch the paint.Thanks for looking and the likes.


- 59 replies
-
- 14
-

-

-
Thanks Craig I could of left her as is I went to go look at pics of the exhaust flow/pipes color and these crates were pretty well maintained not that I did not see some with flight hours.Live and Learn got some practice though
-
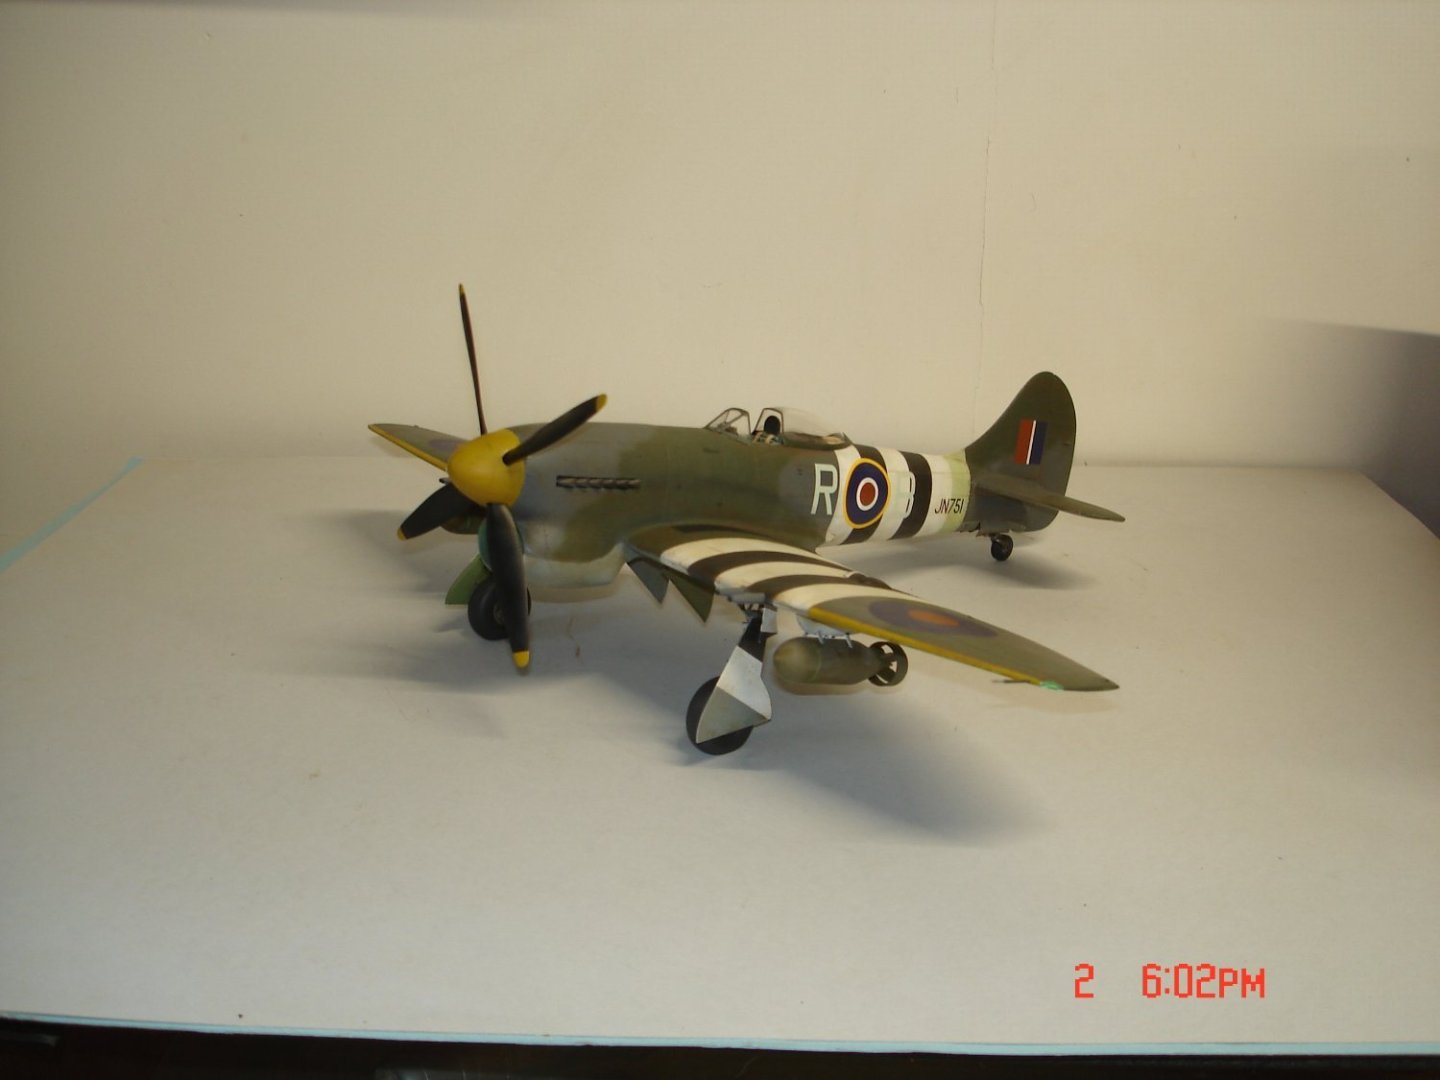
This is going slower than expected but I bit the bullet and did a weathering just sloshed the Tamy Brown and let it sit overnight.I think it will pass some areas on the side of the fuse R/side the future was thin and ate through in the sense the more I wiped the stickier it got and went "gotta fix that".I used a sponge and tweezers litely dipped in the respective color and all worked out just did not want brush marks.I usually go semi-gloss but seeing she's been a workhorse since D-day went dead flat.I am about to gloss black the LG and do the silver.I still at best guess another week of work on this one little stuff bombs and canopy and weathering the WW always more.She's not the best as far as weathering but I seldom attempt this part out of fear I dove.


- 59 replies
-
- 11
-
-
Vincent Black Shadow by CDW - Revell - 1:12 Scale
Javlin replied to CDW's topic in Non-ship/categorised builds
That's me Craig once it hits the shelf beyond these pages no one will likely see it. -
you know those American boys eat well.
-
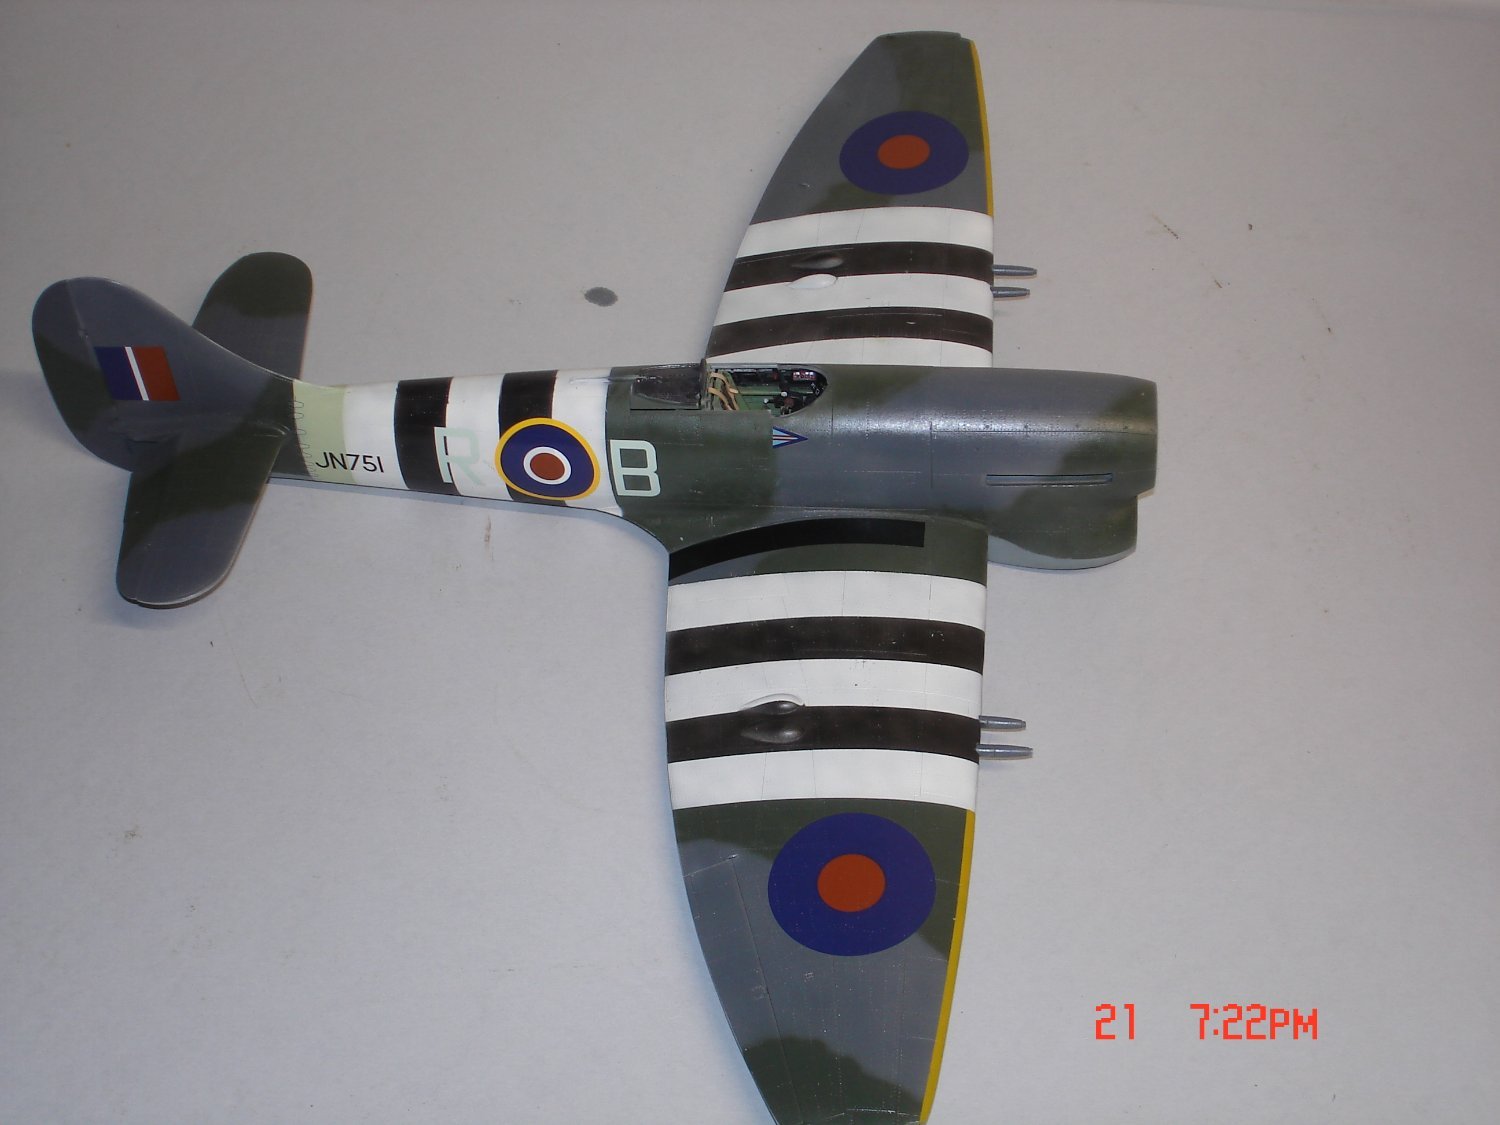
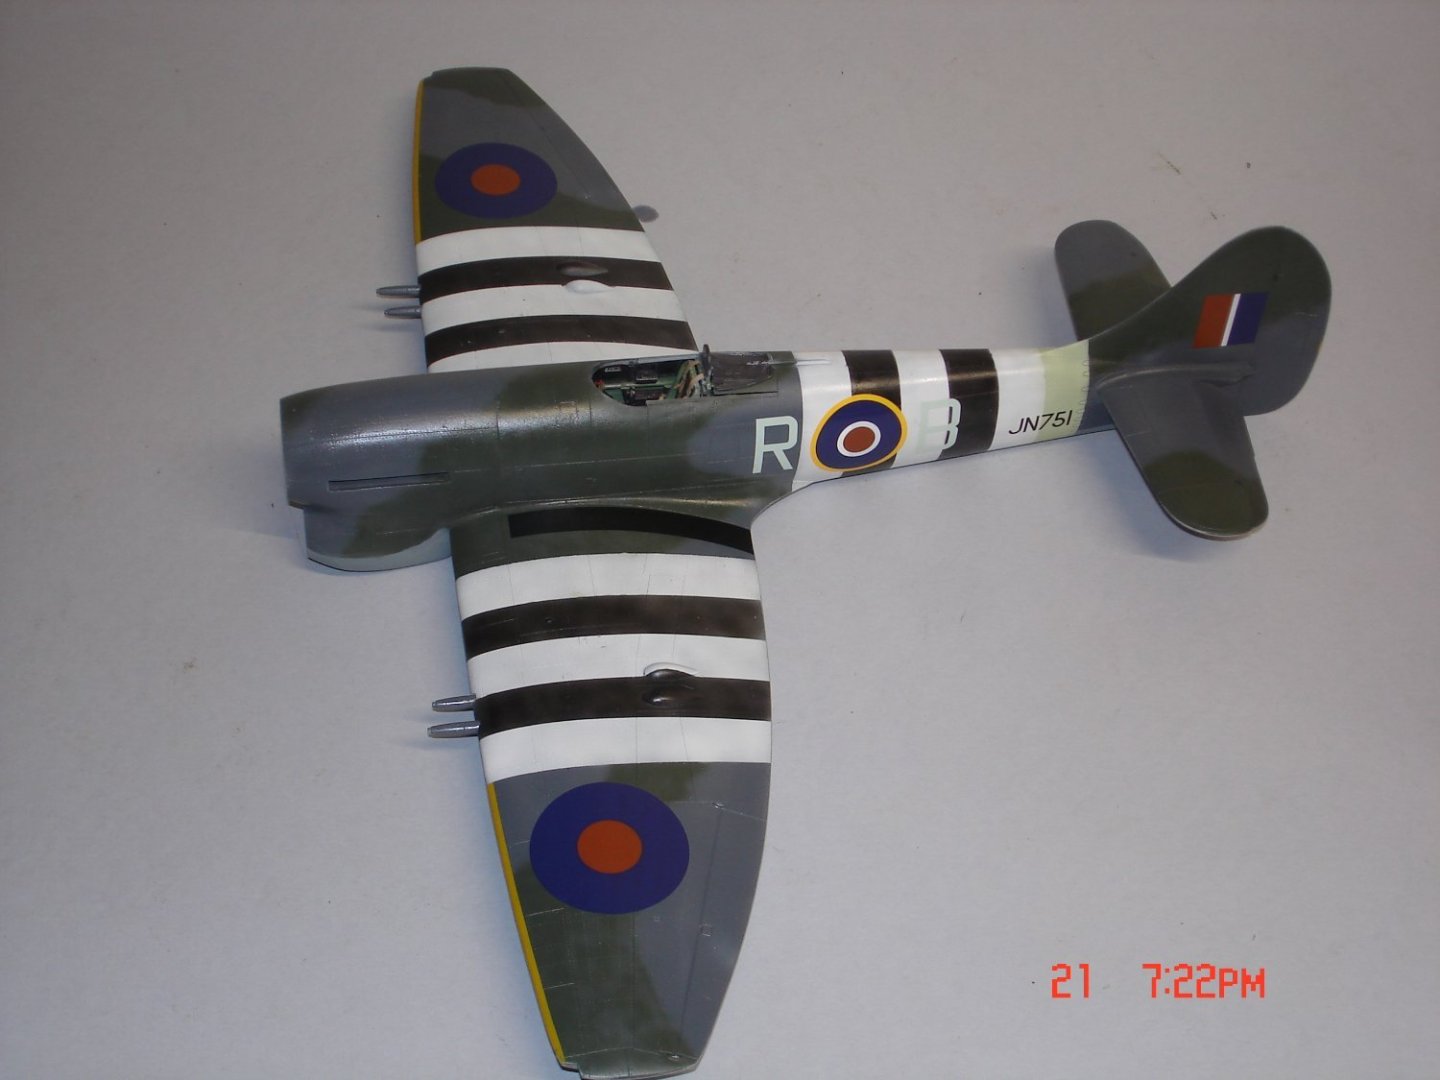
I think I got lucky on the camo all by accident notice the two tone upstairs a slightly soft edge now look at the bottom tape off never recognized that before that's how I did it.
-
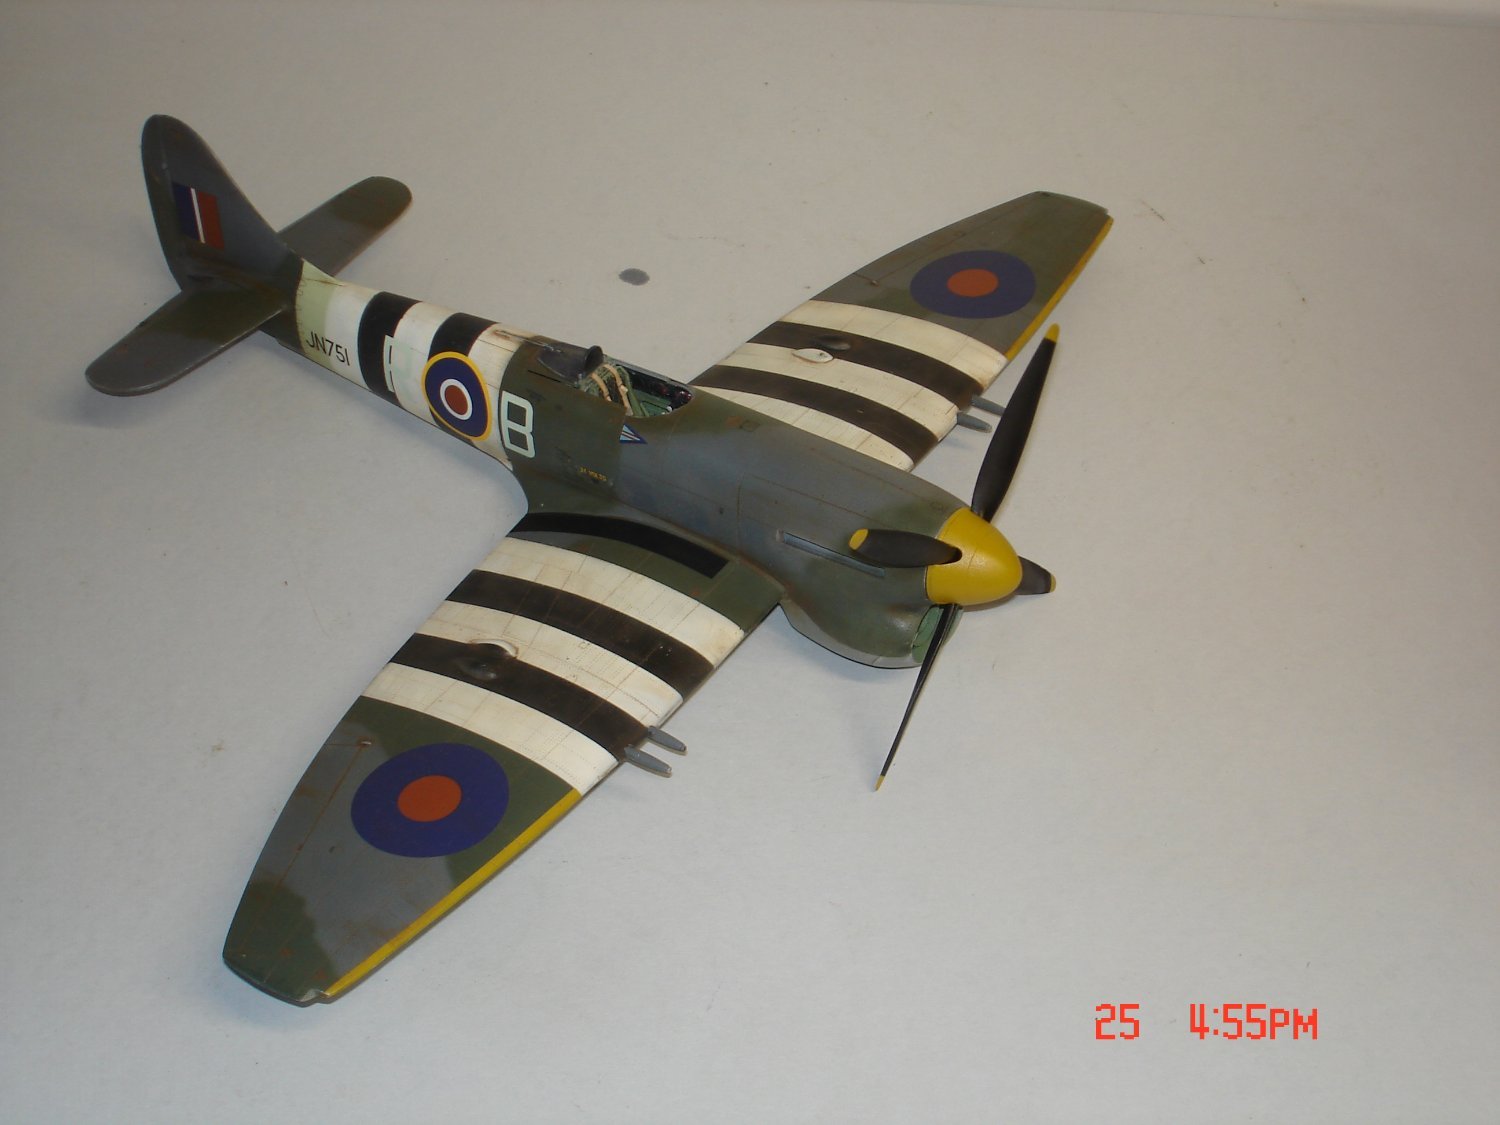
I see and know there is truth in what is being mentioned but knowing the Brits with their precision about their camo in A/B scheme somewhere along the line those stripes would of gotten better by both the Army Air Corps and the British,willy nelly probably went out the window.The stencils are complete,glass dipped and prop built/painted.The actual L/G placement seems to be an area of concern for a few who ditched the kit that will not happen here!
-
You got it going Greg before long you will have this mastered as well as your ship builds
-
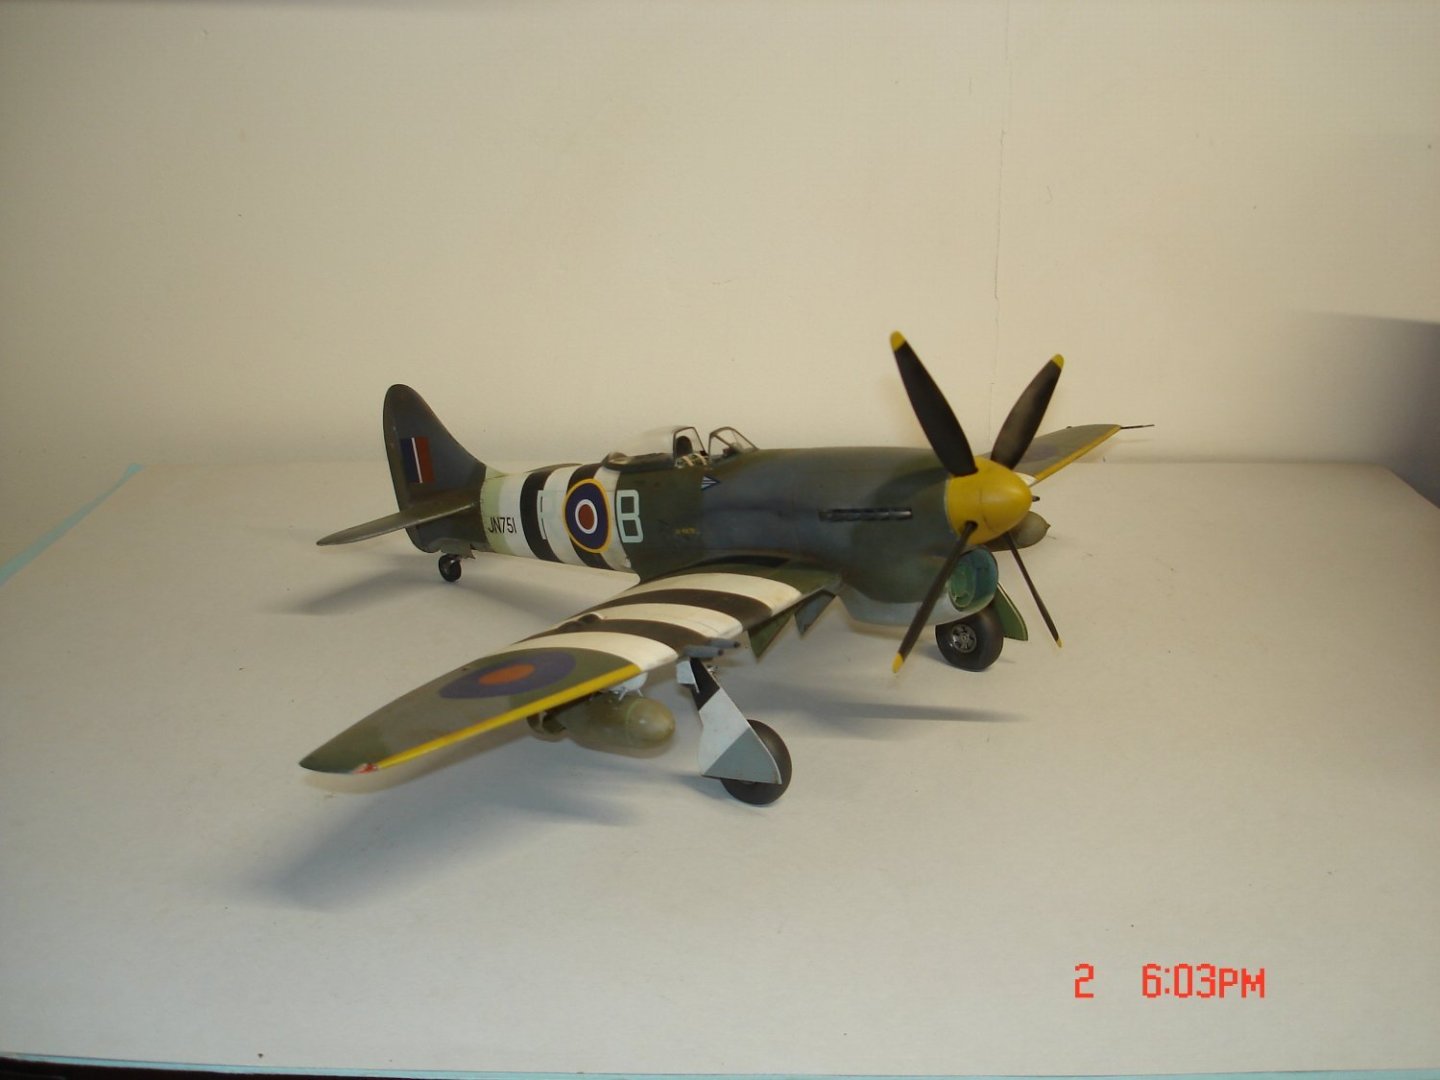
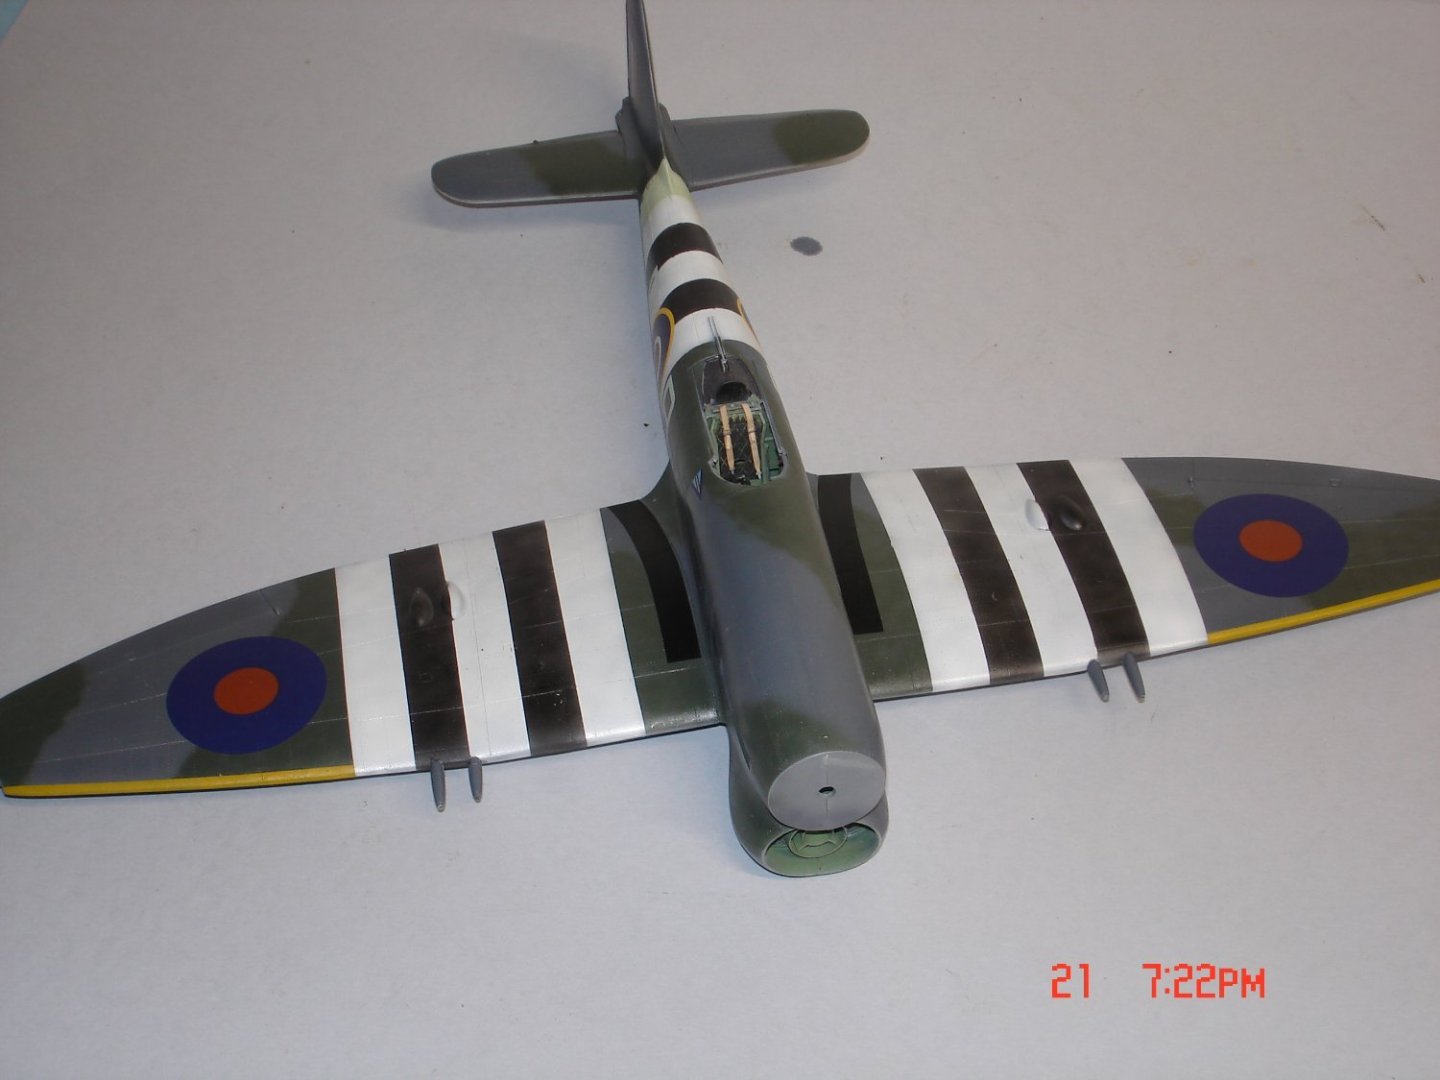
The main decals have been applied stencils remain for another day.I also painted the prop just need to finish the blades.It's been a good productive day.

- 59 replies
-
- 12
-
-
I have heard the same Andy but when you put it to scale even a half **** job would look decent from a distance.I appreciate the kind comment the plane has about 4 coats of clear but I forgot the yellow leading edge.
-
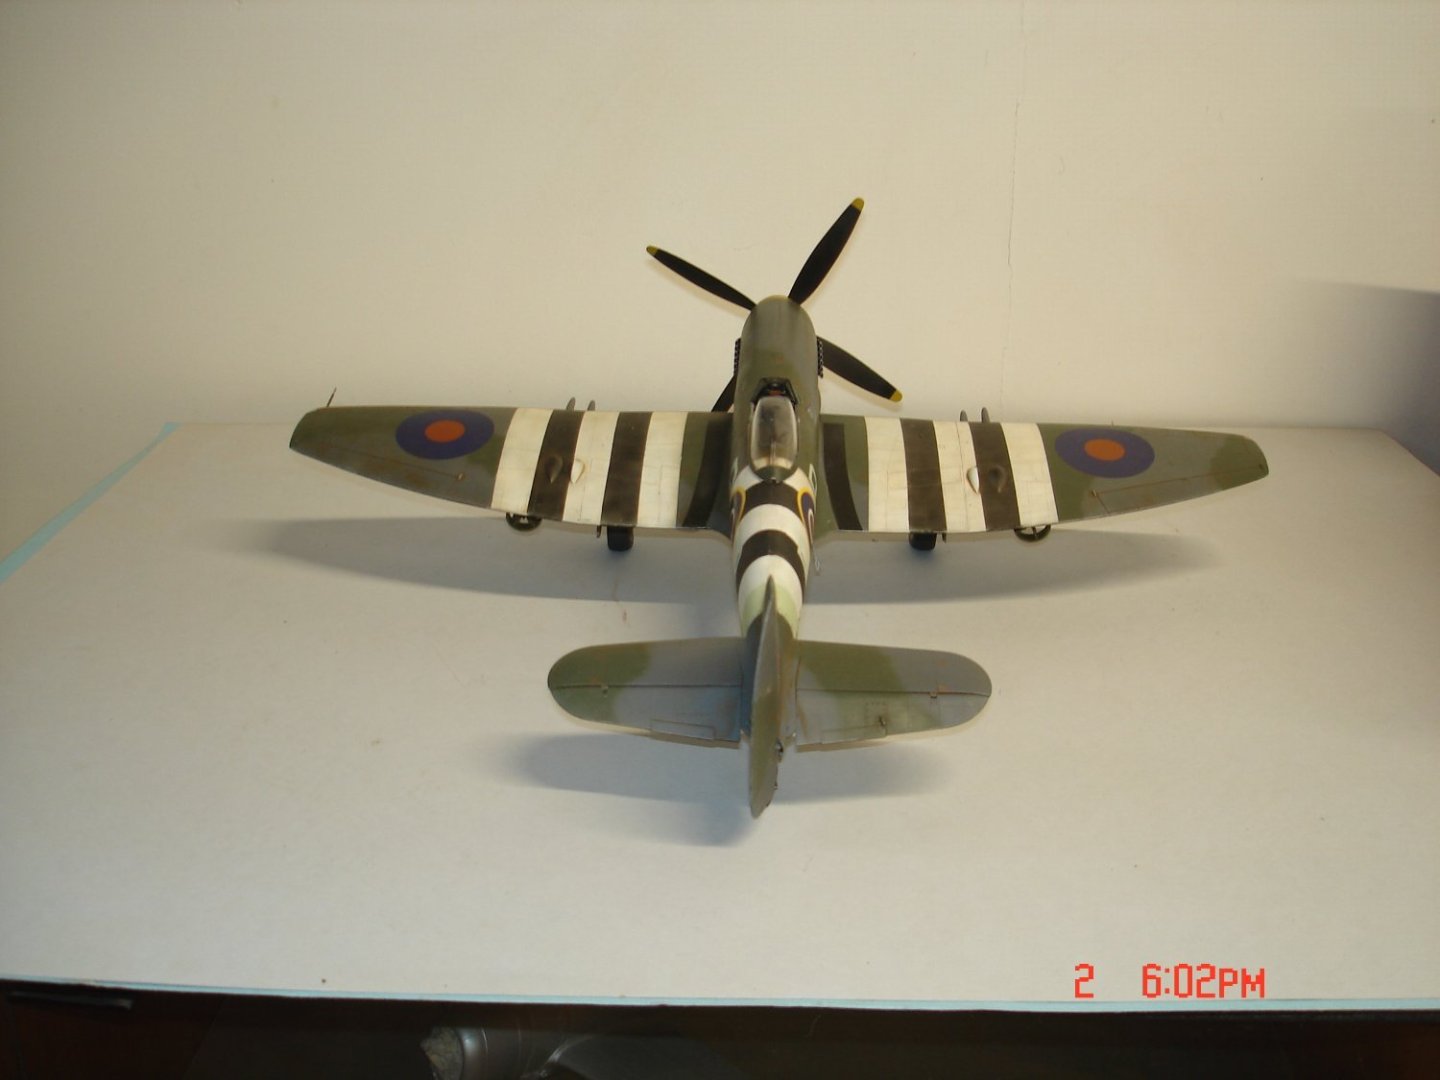
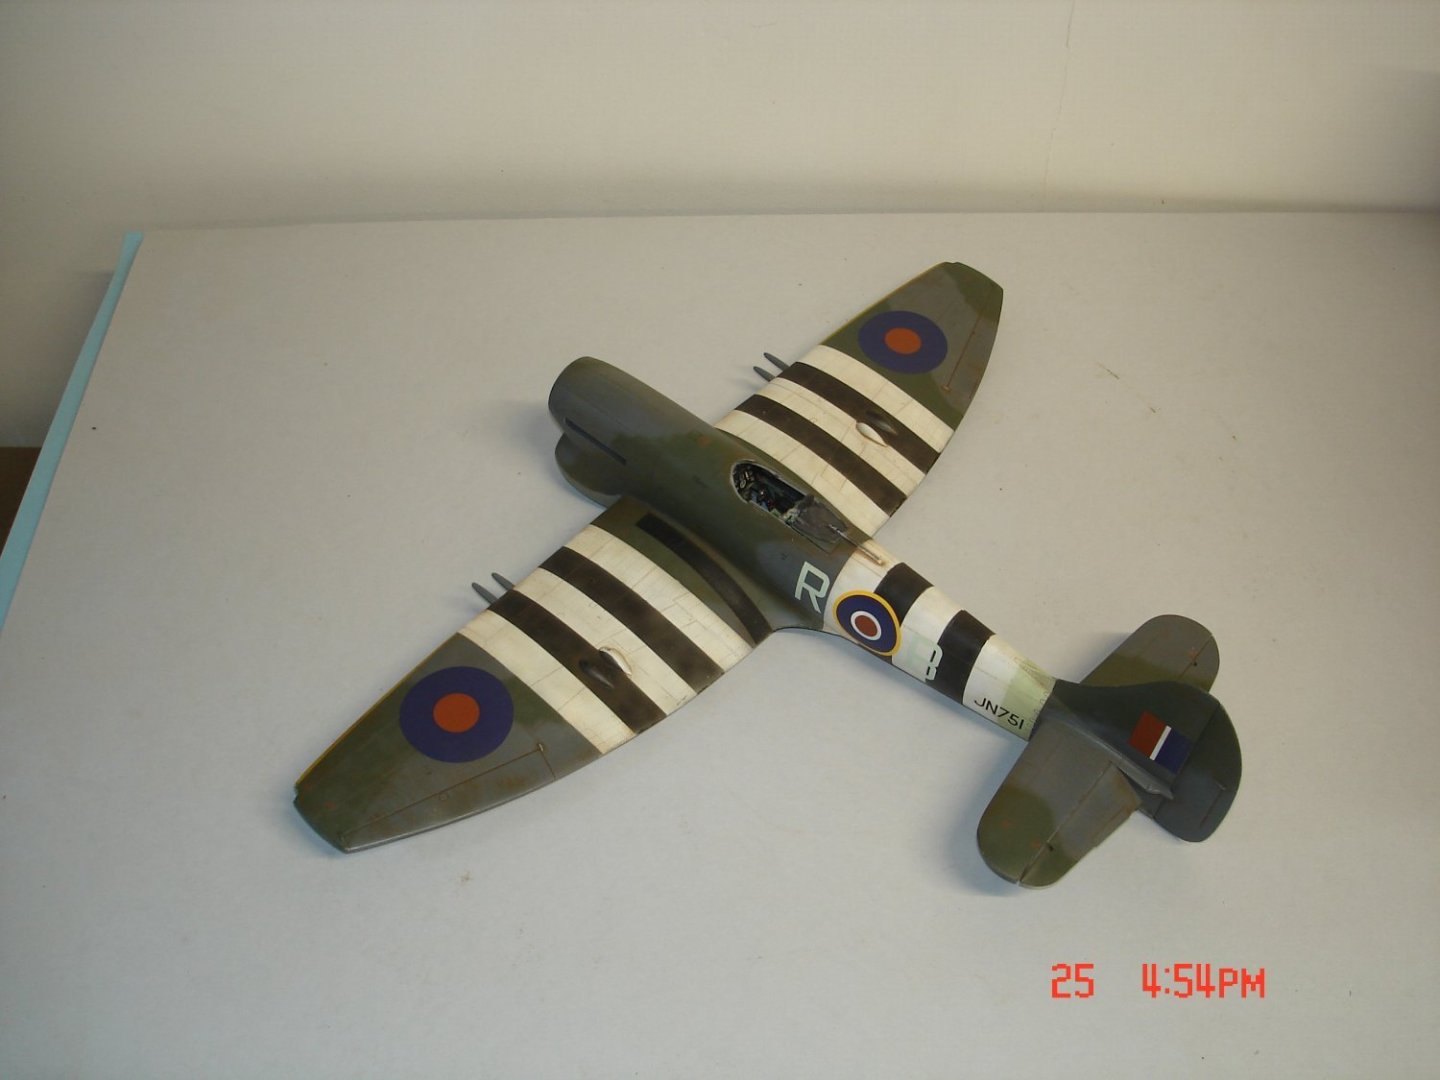
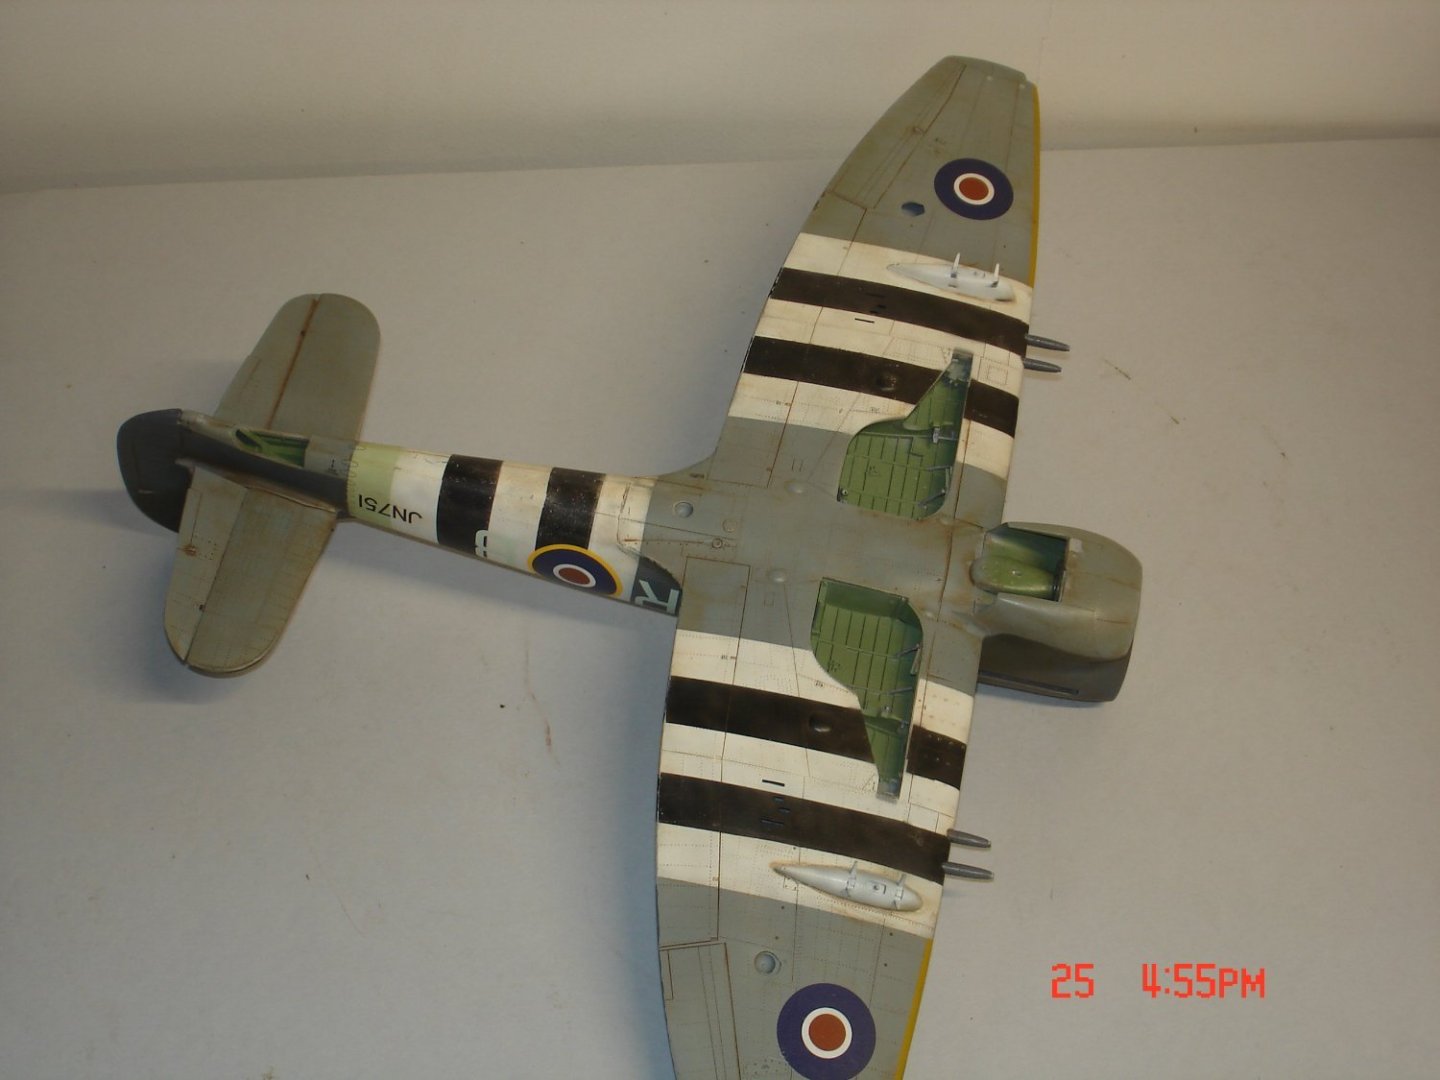
The stripes have been laid it seems I am progressing more and more to a splotchy pattern with my paint.The white was laid down uneven 2.8" using 18" stripes which was roughly 9/16" in width the last white stripe in the middle had to eyeballed to be even usually 1/32" was missing.I painted the black first with falt black splotchy again and then came back with a Nato black to fill in here and there but never completely.I had the minimum of clean-up in the end.

- 59 replies
-
- 10
-
-
In 1/72 Greg I would not do every single piece of rigging if you got over half of it it would look good but that's just Me.
-
I went to the NorthShore IPMS meet today with five kits she came in 2nd with some competition.The winner was a Nice P-47 but if he was a 100 I was 95,96 or 97 the judges spent some time.My 1/32 P-47 Hase Mrs. Ceasar came in last 2nd to a dive bombing 1/24 Stuka w/o a pilot?Don't get me wrong a Nice build I felt we were about even had more work in my plane.

- 49 replies
-
- 10
-
-
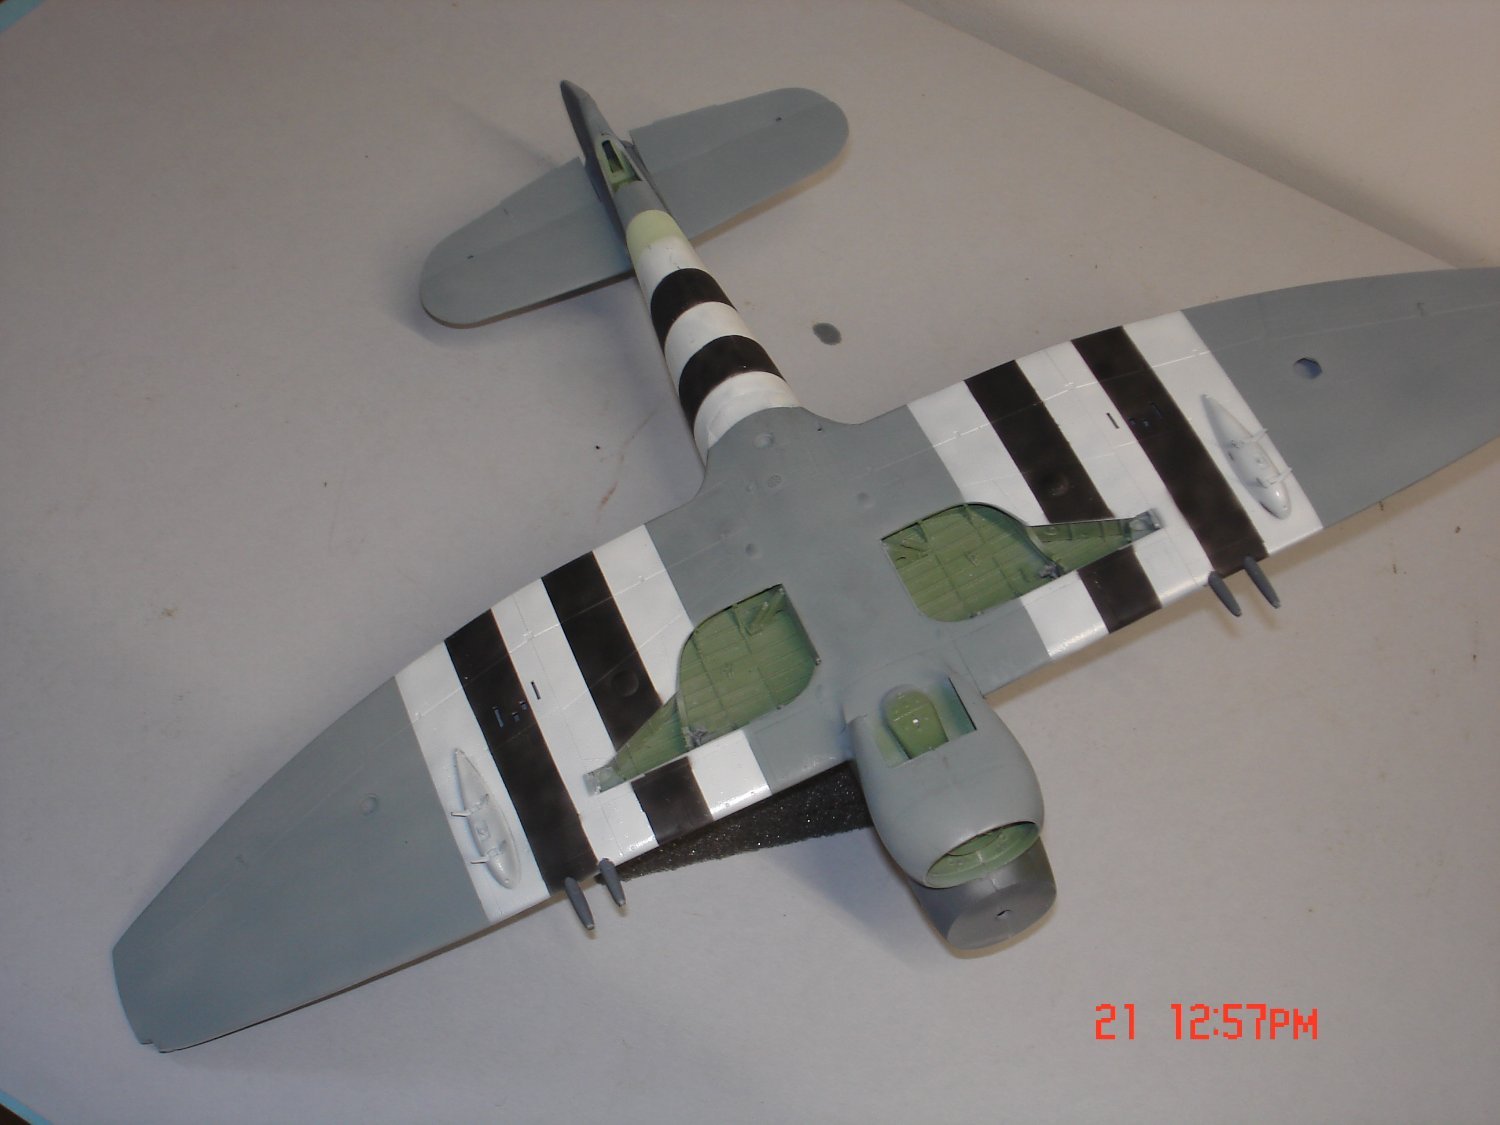
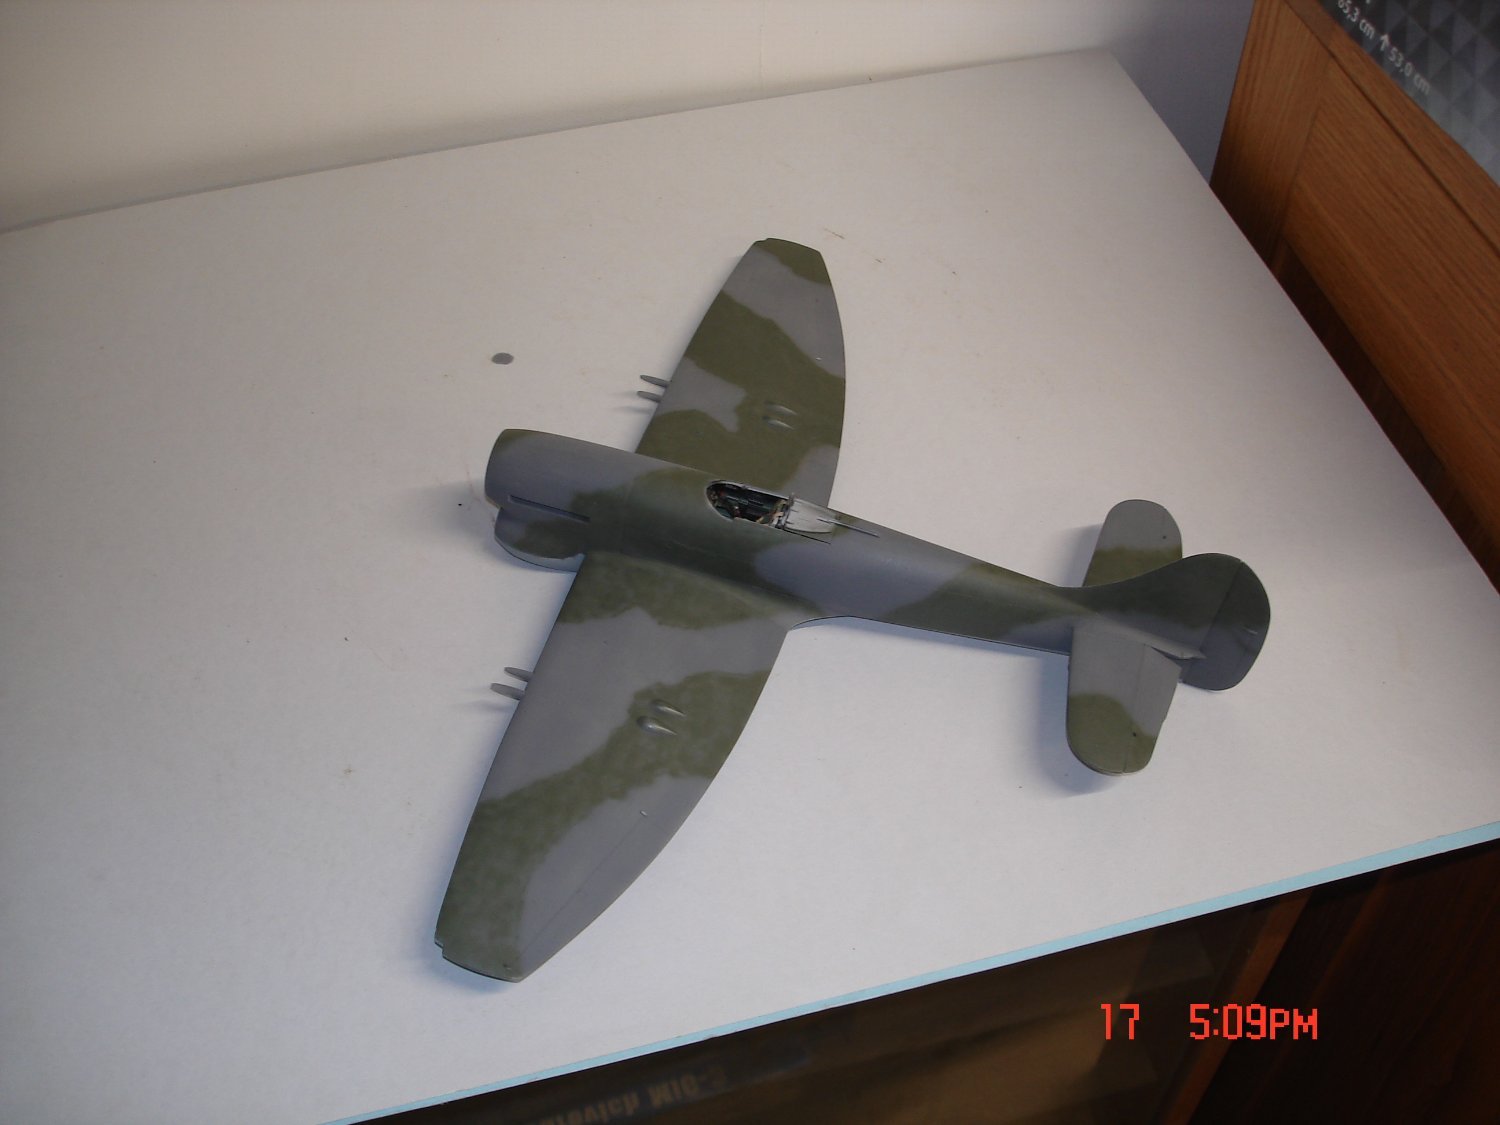
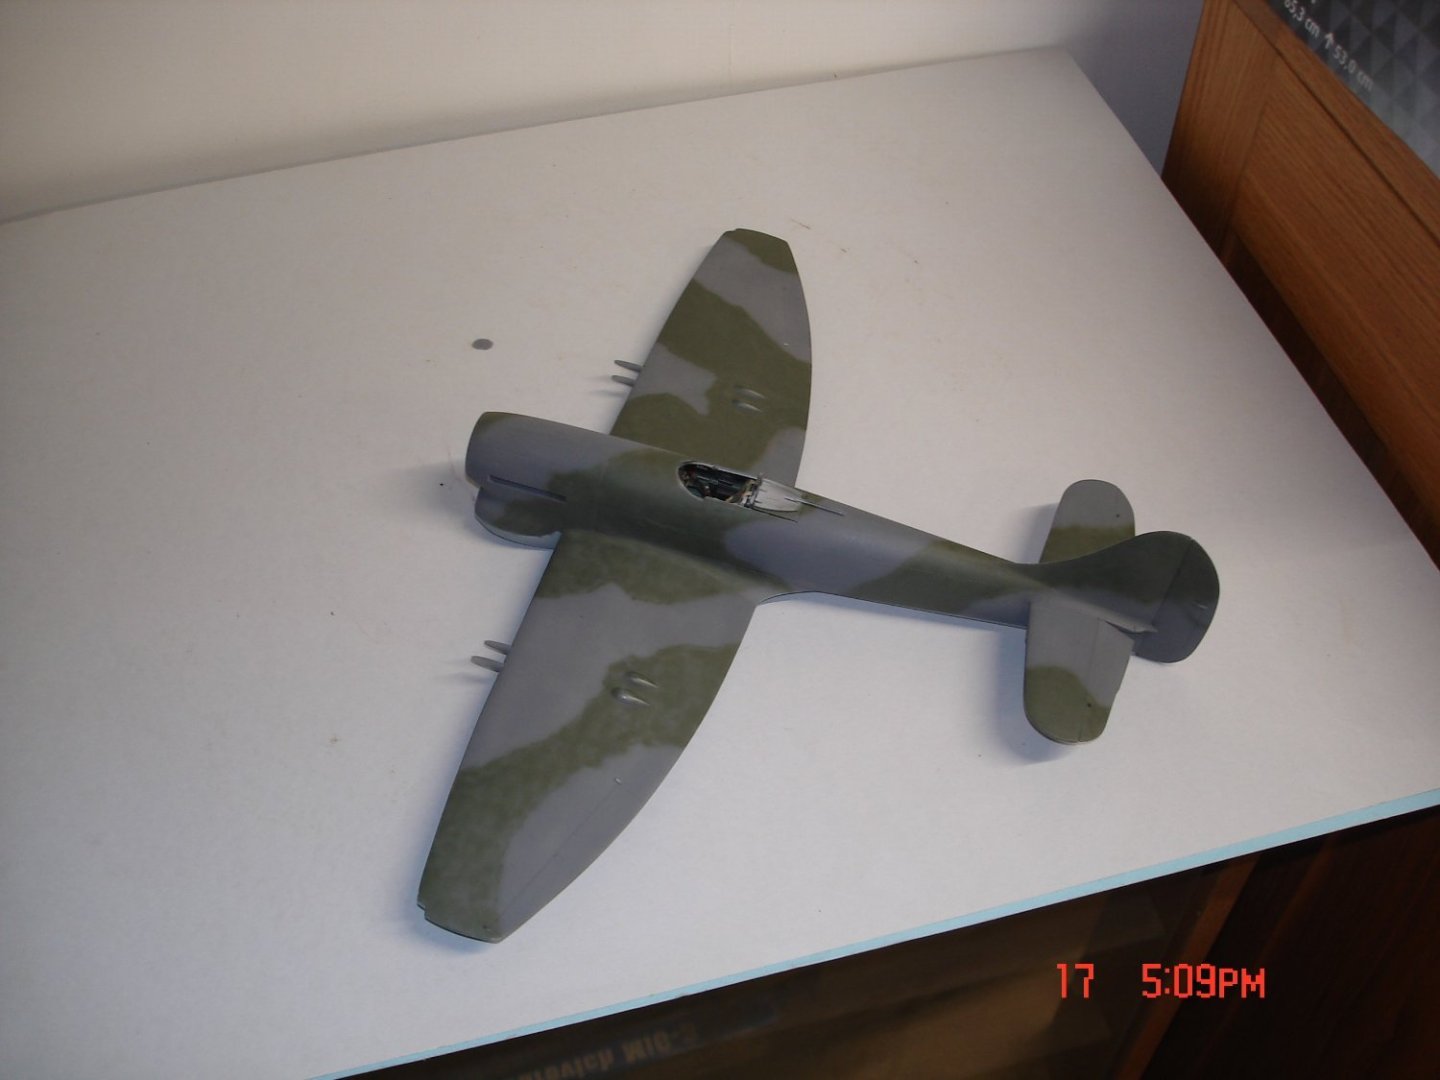
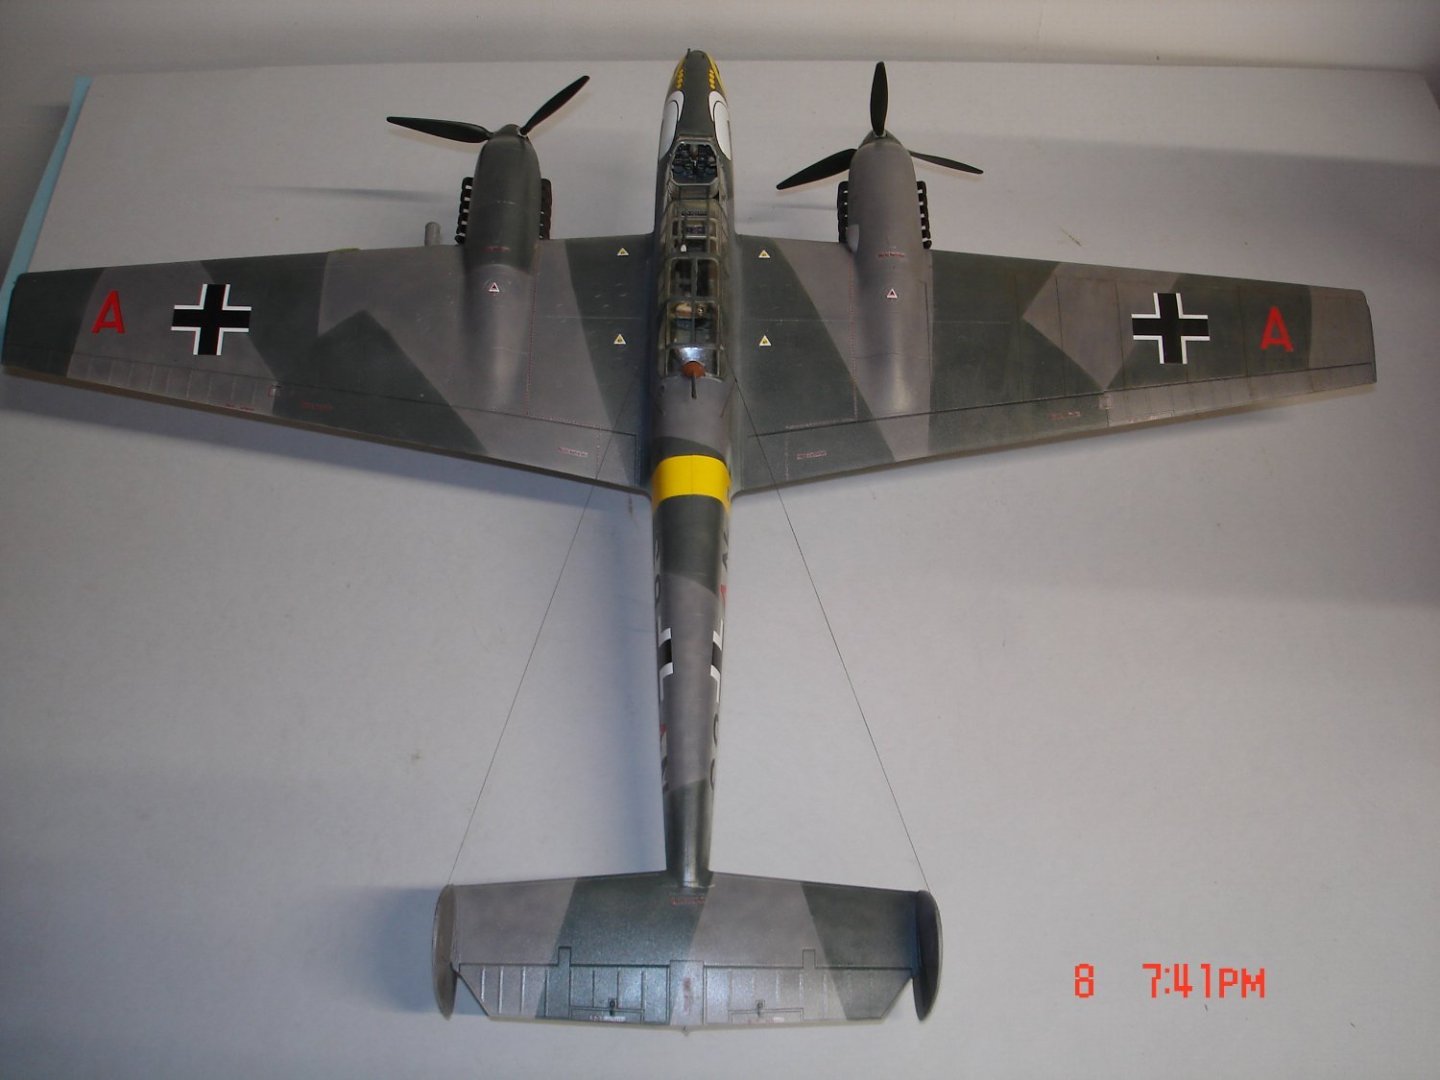
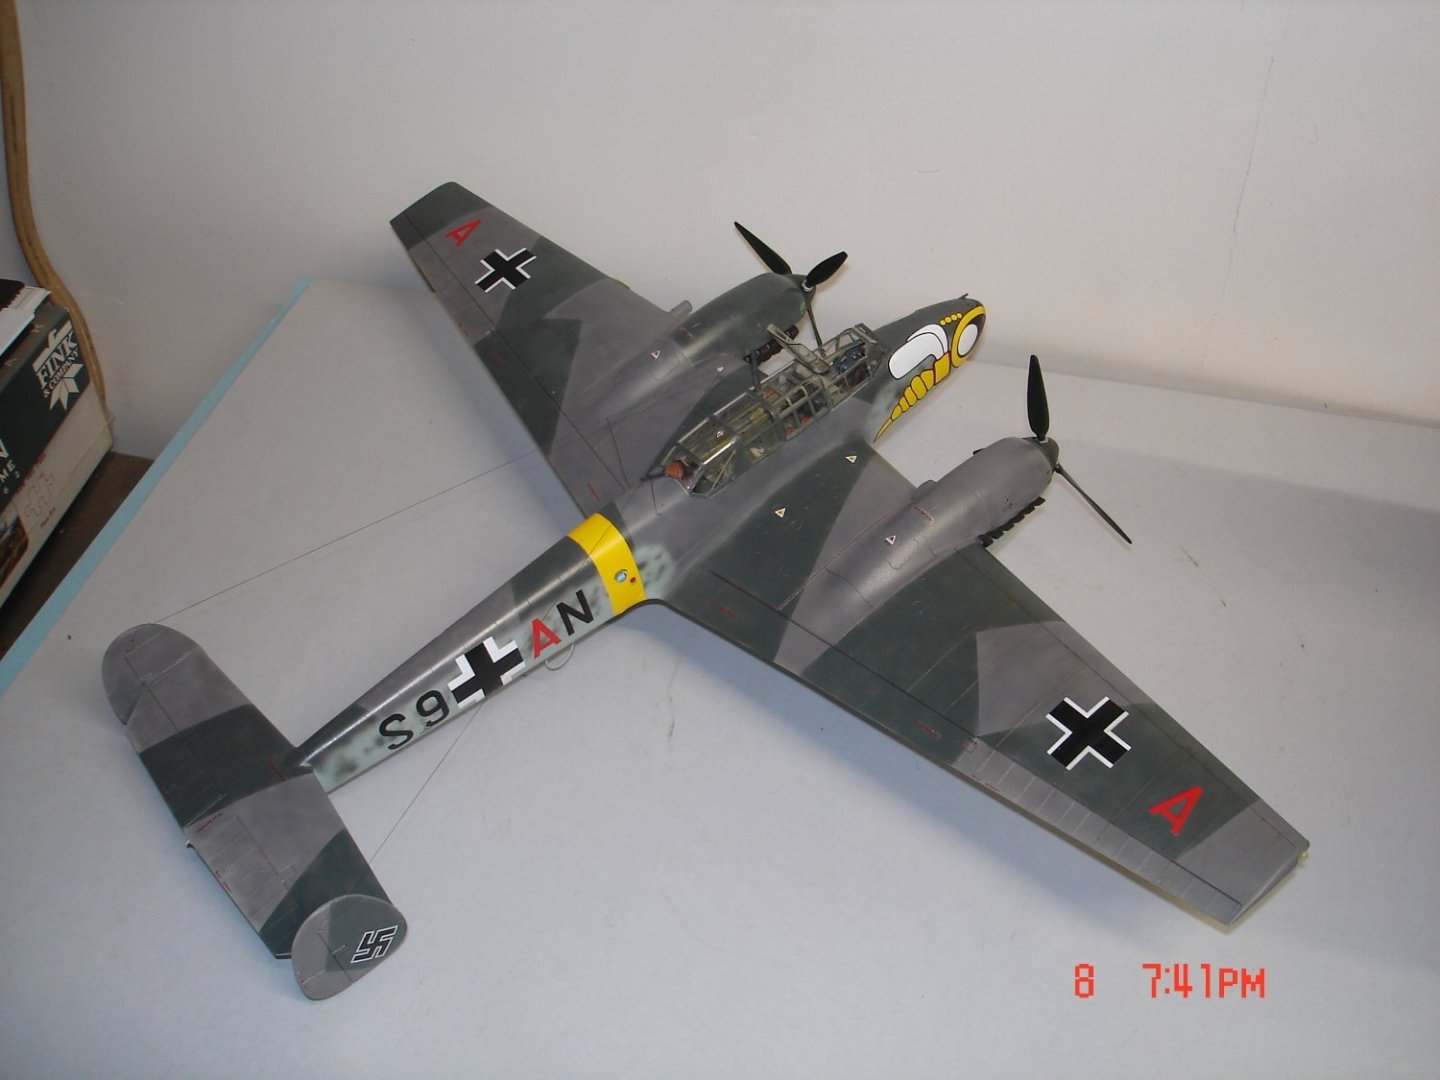
The paints on this one are all MM enamels(freehand) we move on to invasion stripes from here.
- 59 replies
-
- 11
-
-
I have not talked the show she came in 2nd last place the judge said the only keeping from a win was the SG form the men on the decks everybody he said commented on the ship.The winner was a scrap built wooden ship I do not remember Today I was at the NorthShore meet in LA. again no competitors I want competition Chikuma was 1st and Yahagi 2nd
-
Curtiss BF 2C-1 by CDW - FINISHED - Hasegawa - 1:32 scale
Javlin replied to CDW's topic in Non-ship/categorised builds
She looks quite Nice Craig. -
Getting close to finish on this one might notice a little panel line work on the outer R/wing don't know if I proceed The antenna is done and those ASK decals for the swastikas are thin and brittle 4 to get 2.

- 45 replies
-
- 18
-
-
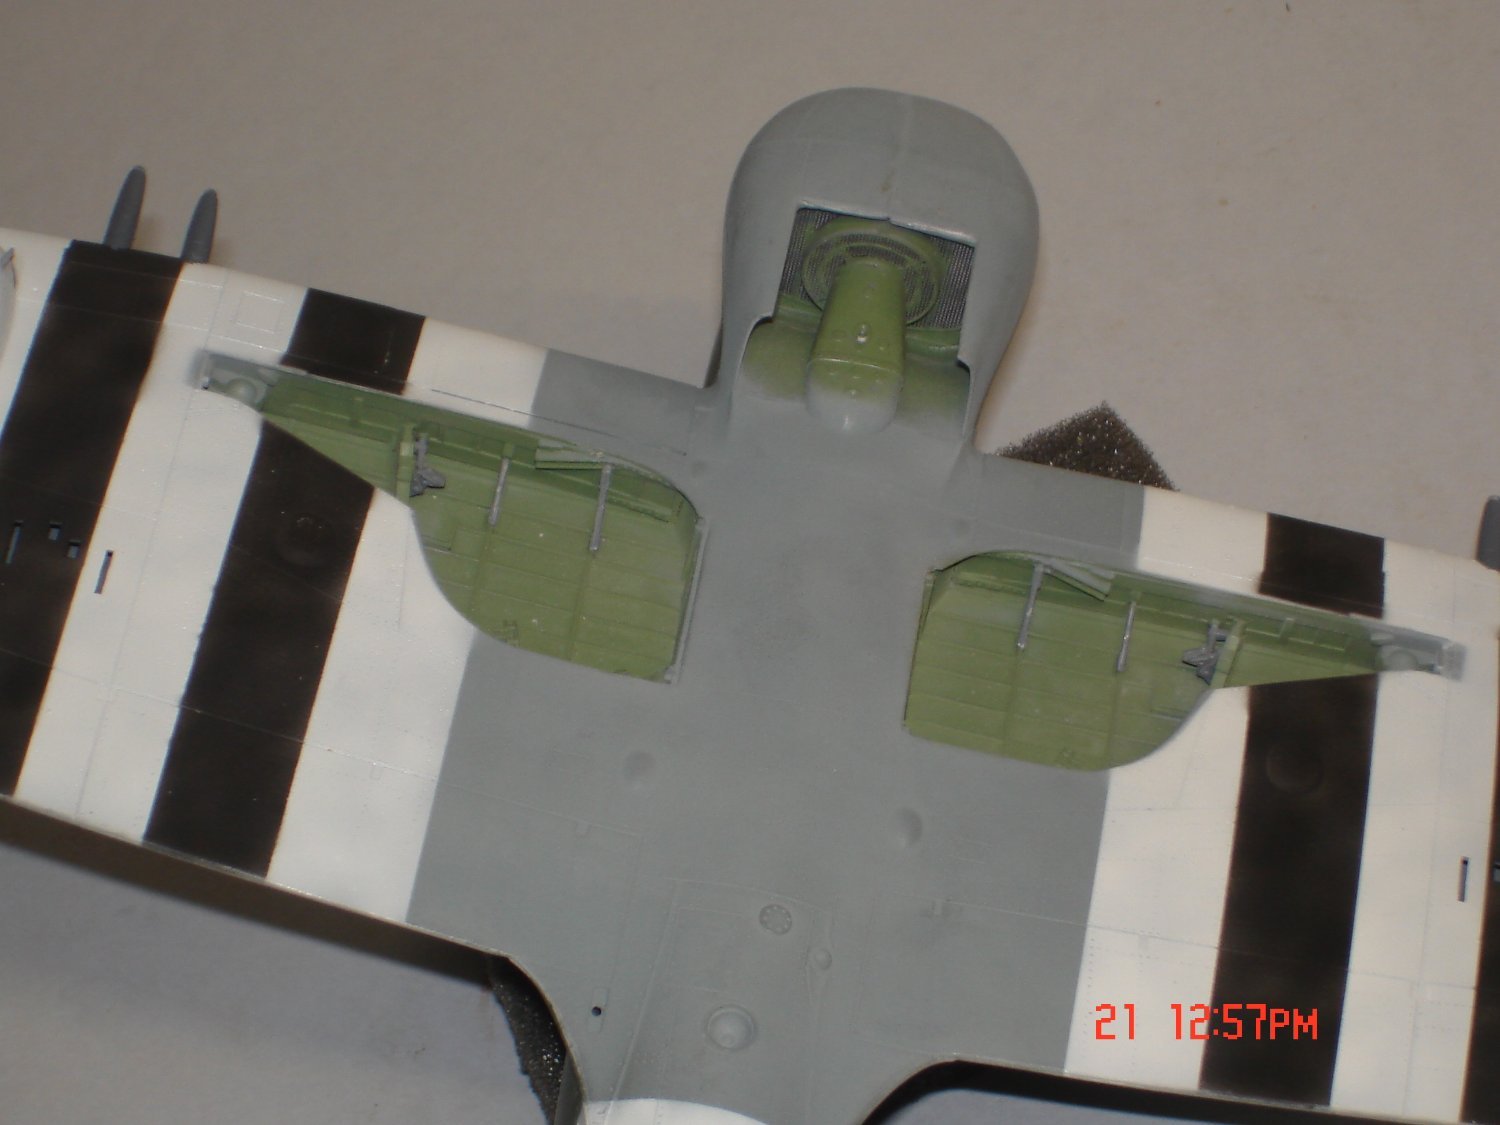
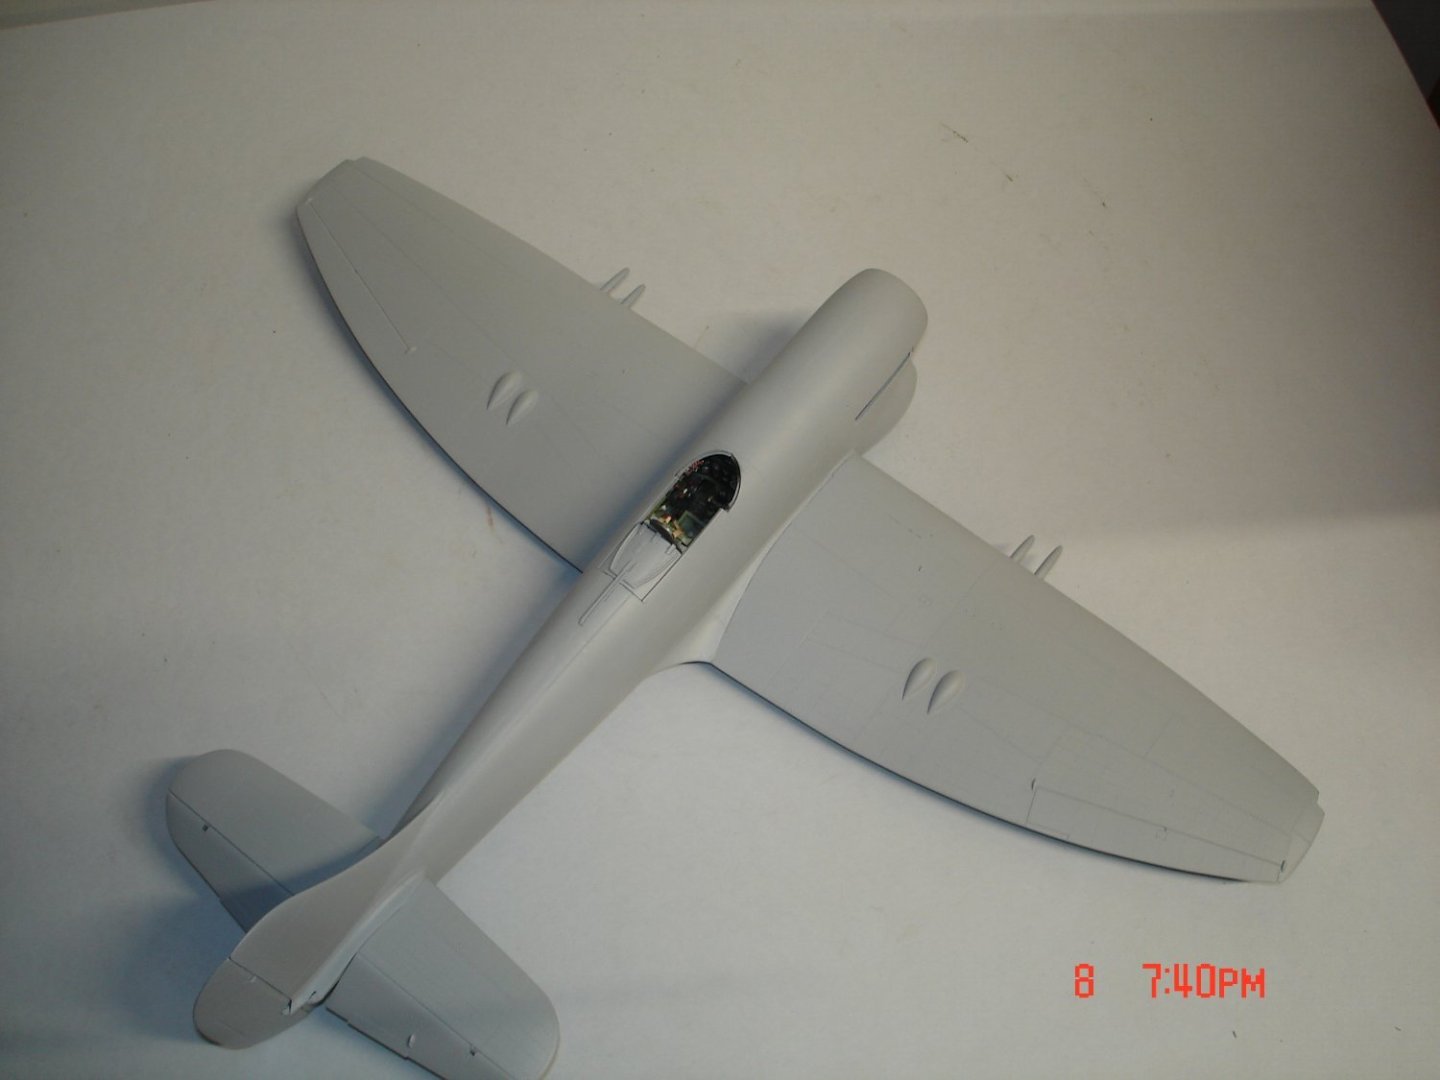
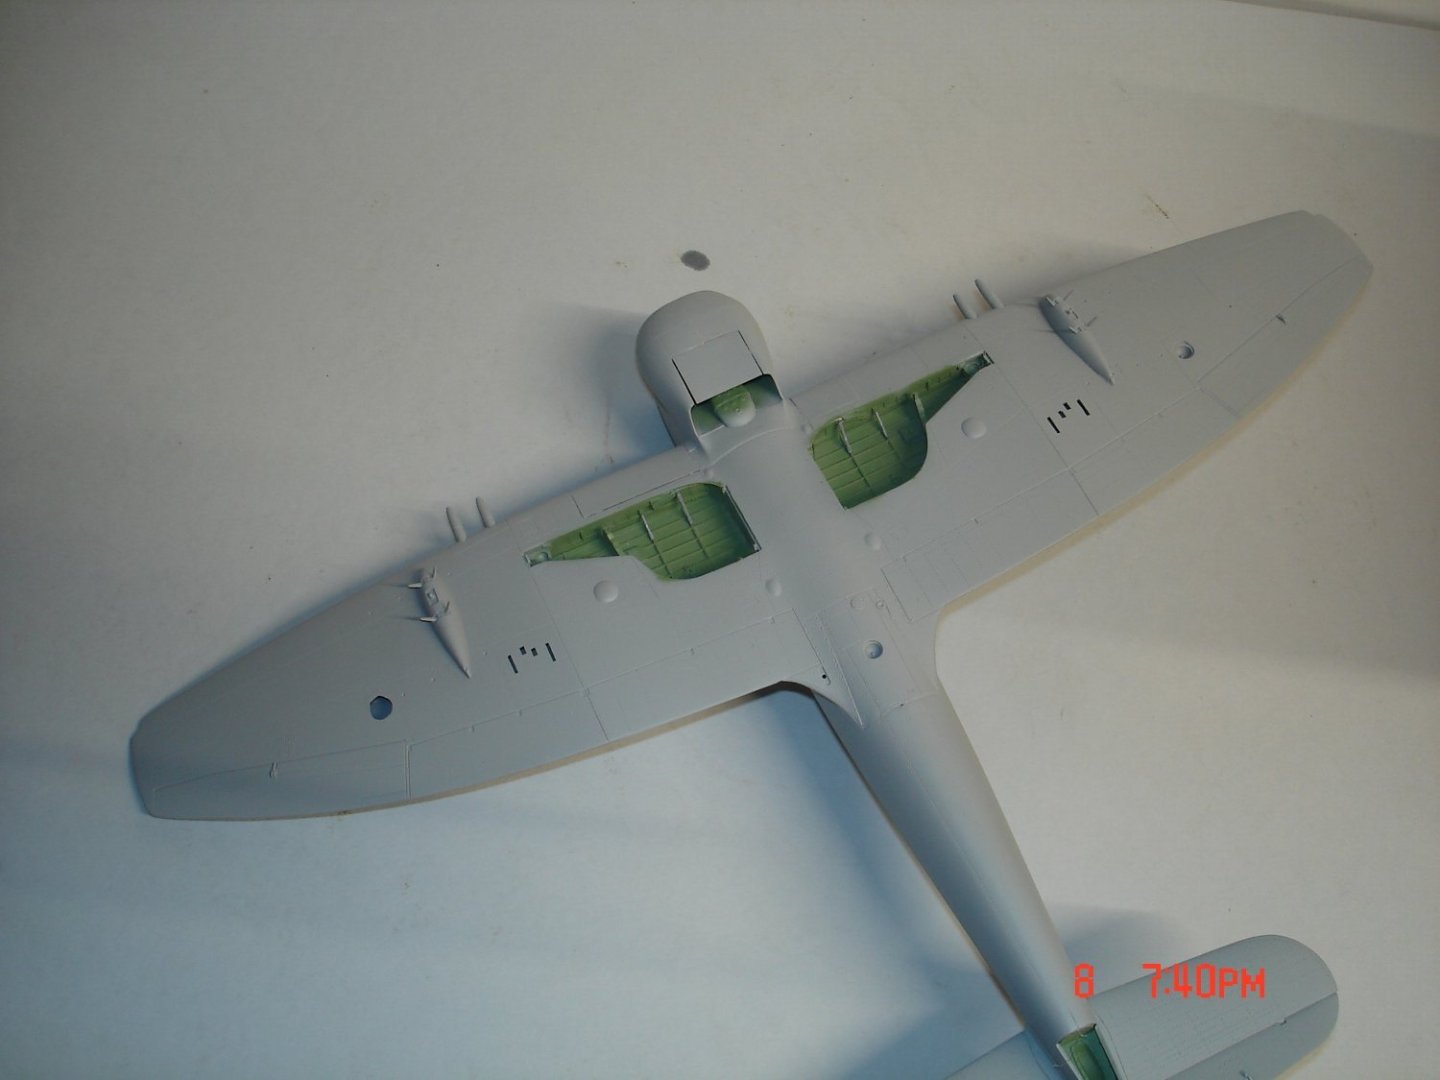
The primer has been applied was very little filler was needed the biggest area was were the lower wing met the fuse underneath a piece of .020" card stock was inserted and sanded.I had a little step between at the wing root R/side figured do more than good going after it.
- 59 replies
-
- 12
-
-
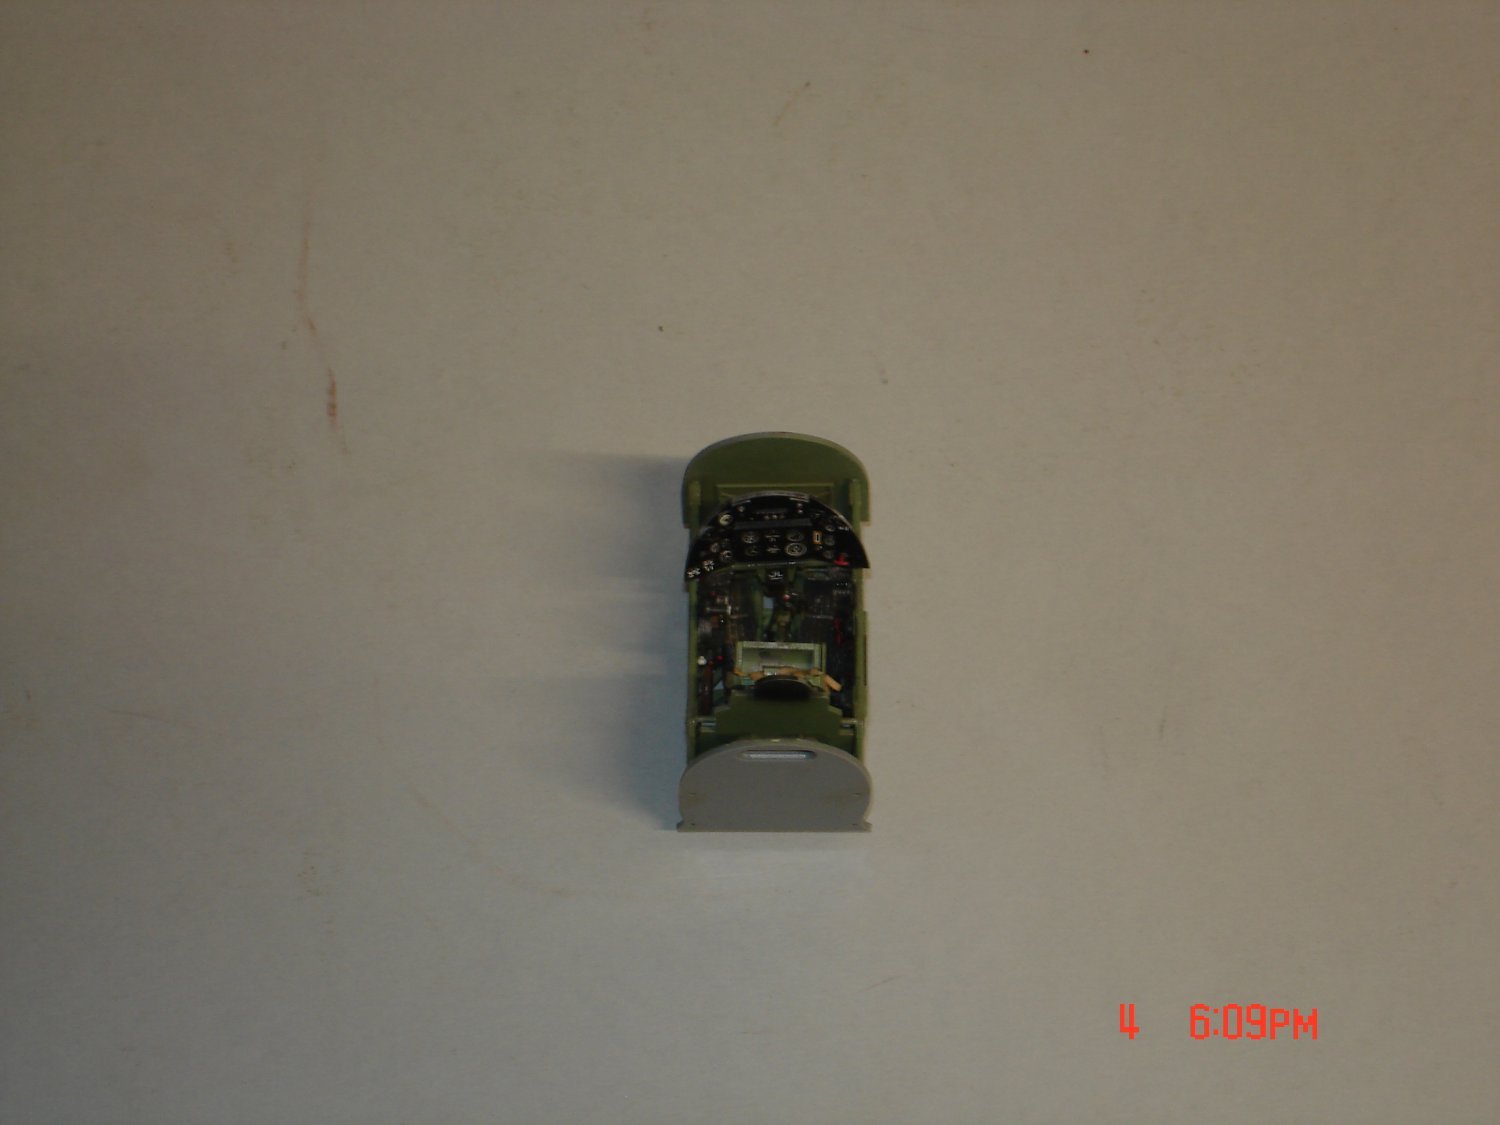
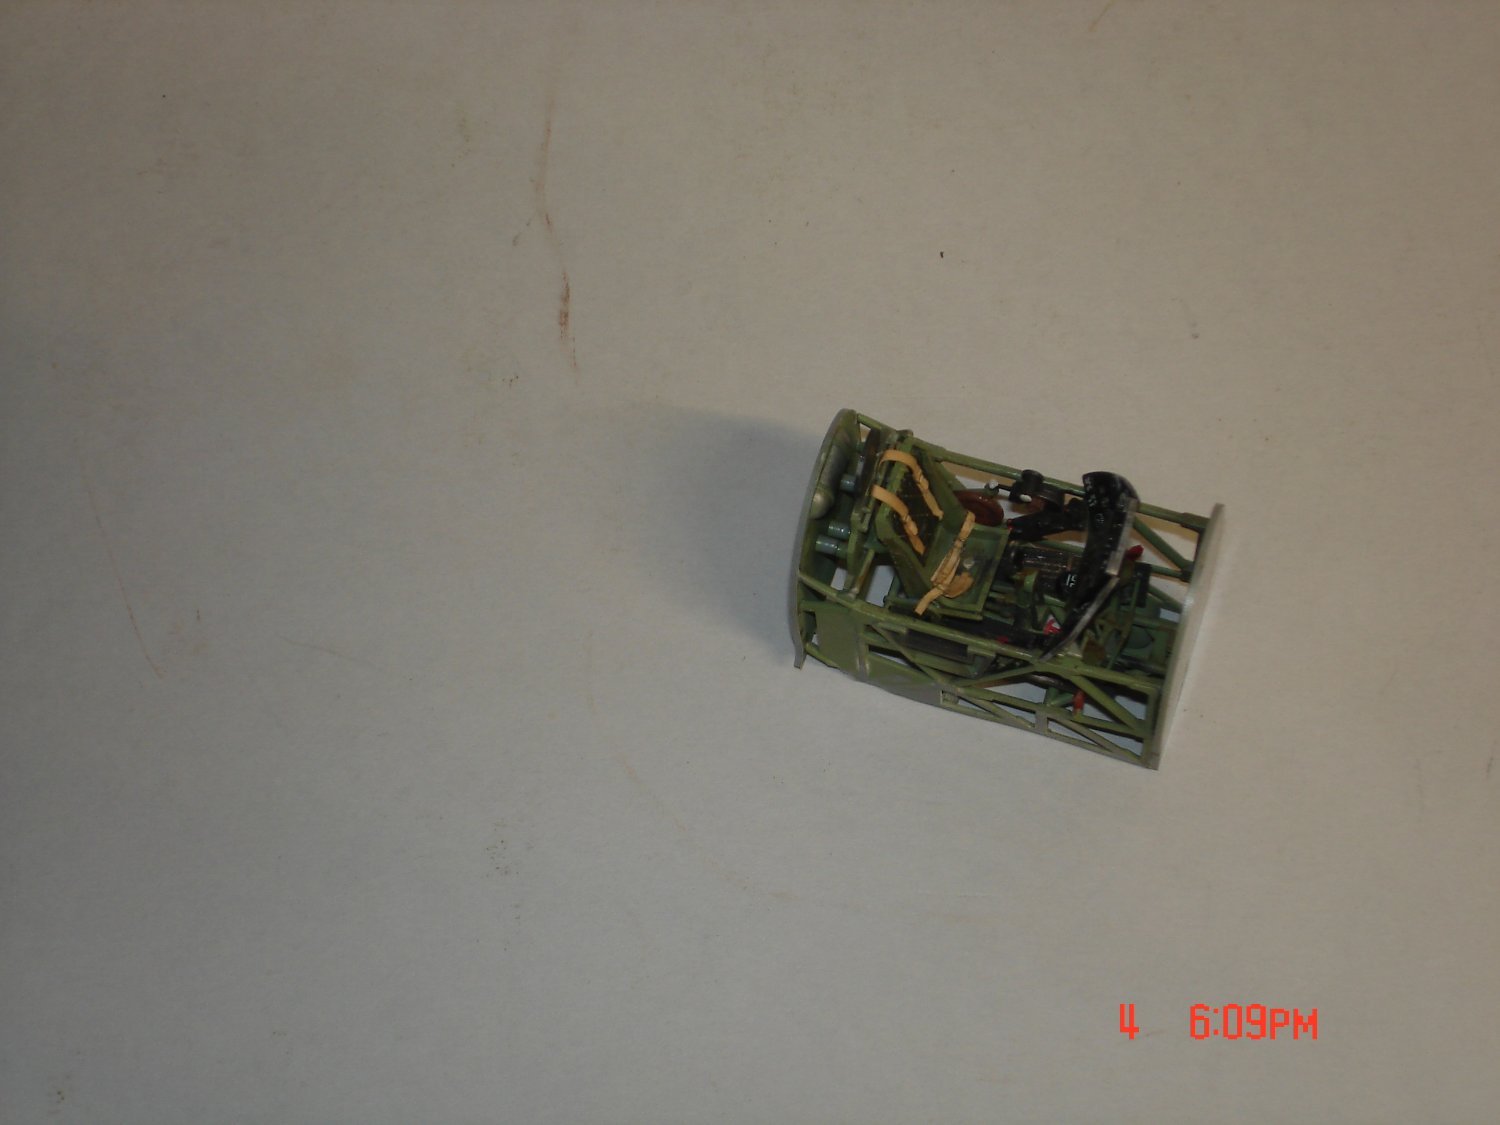
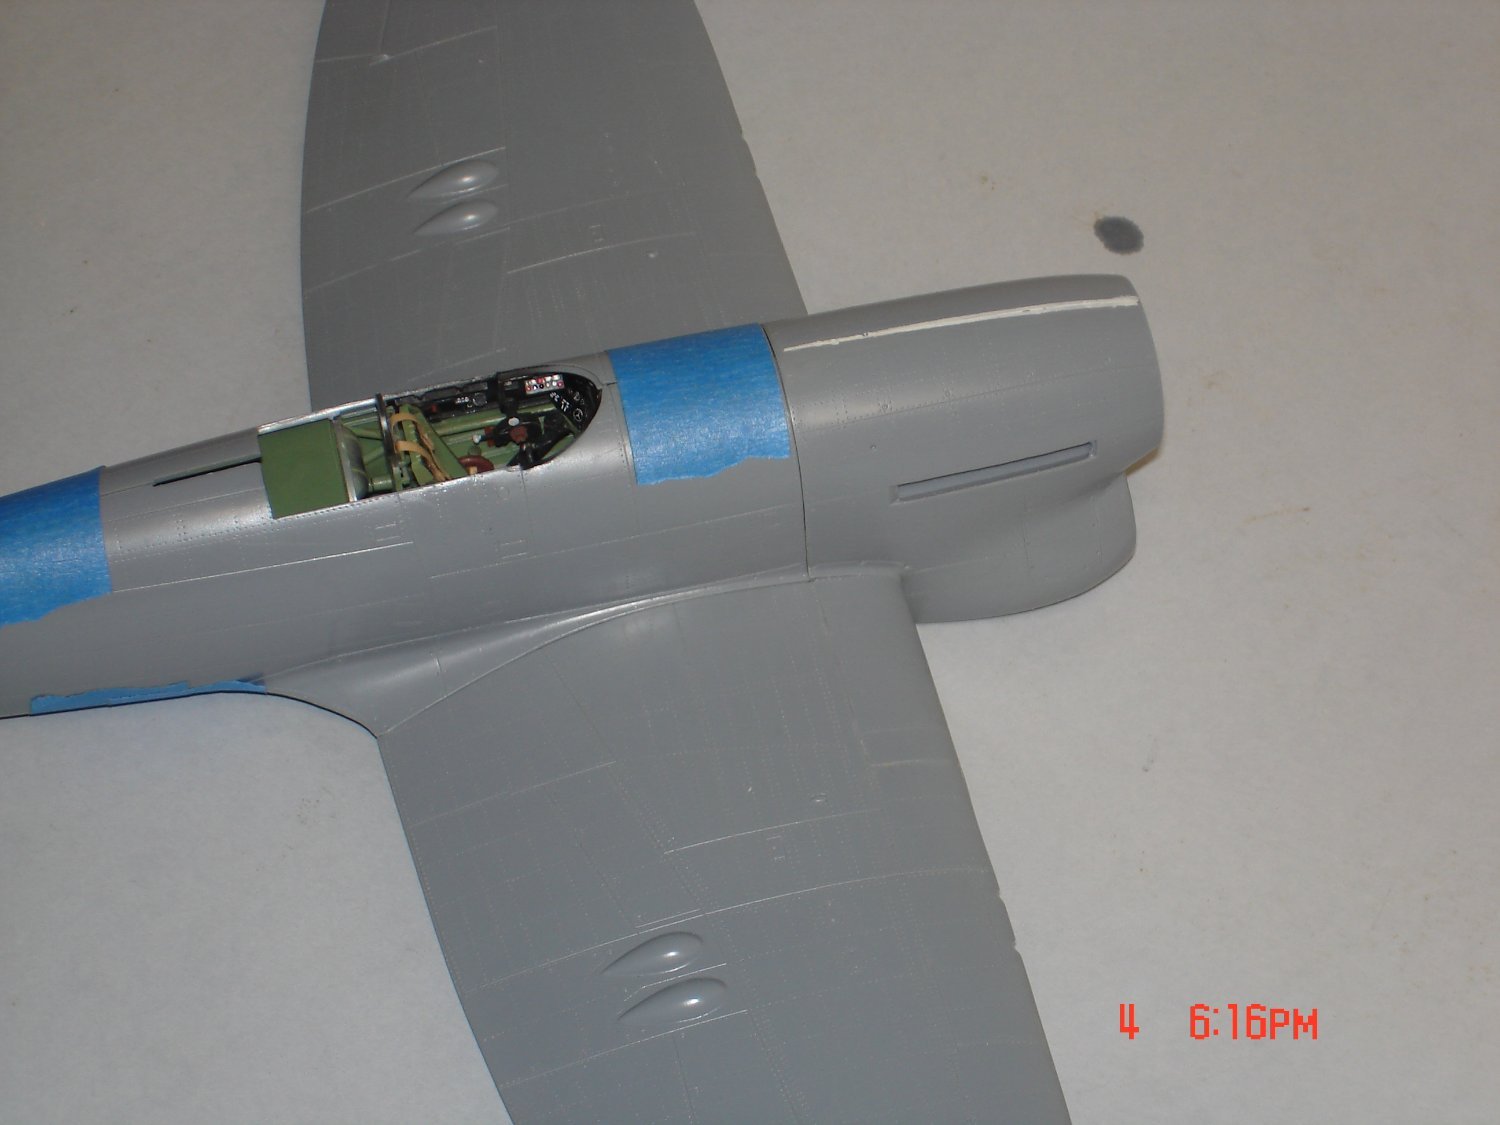
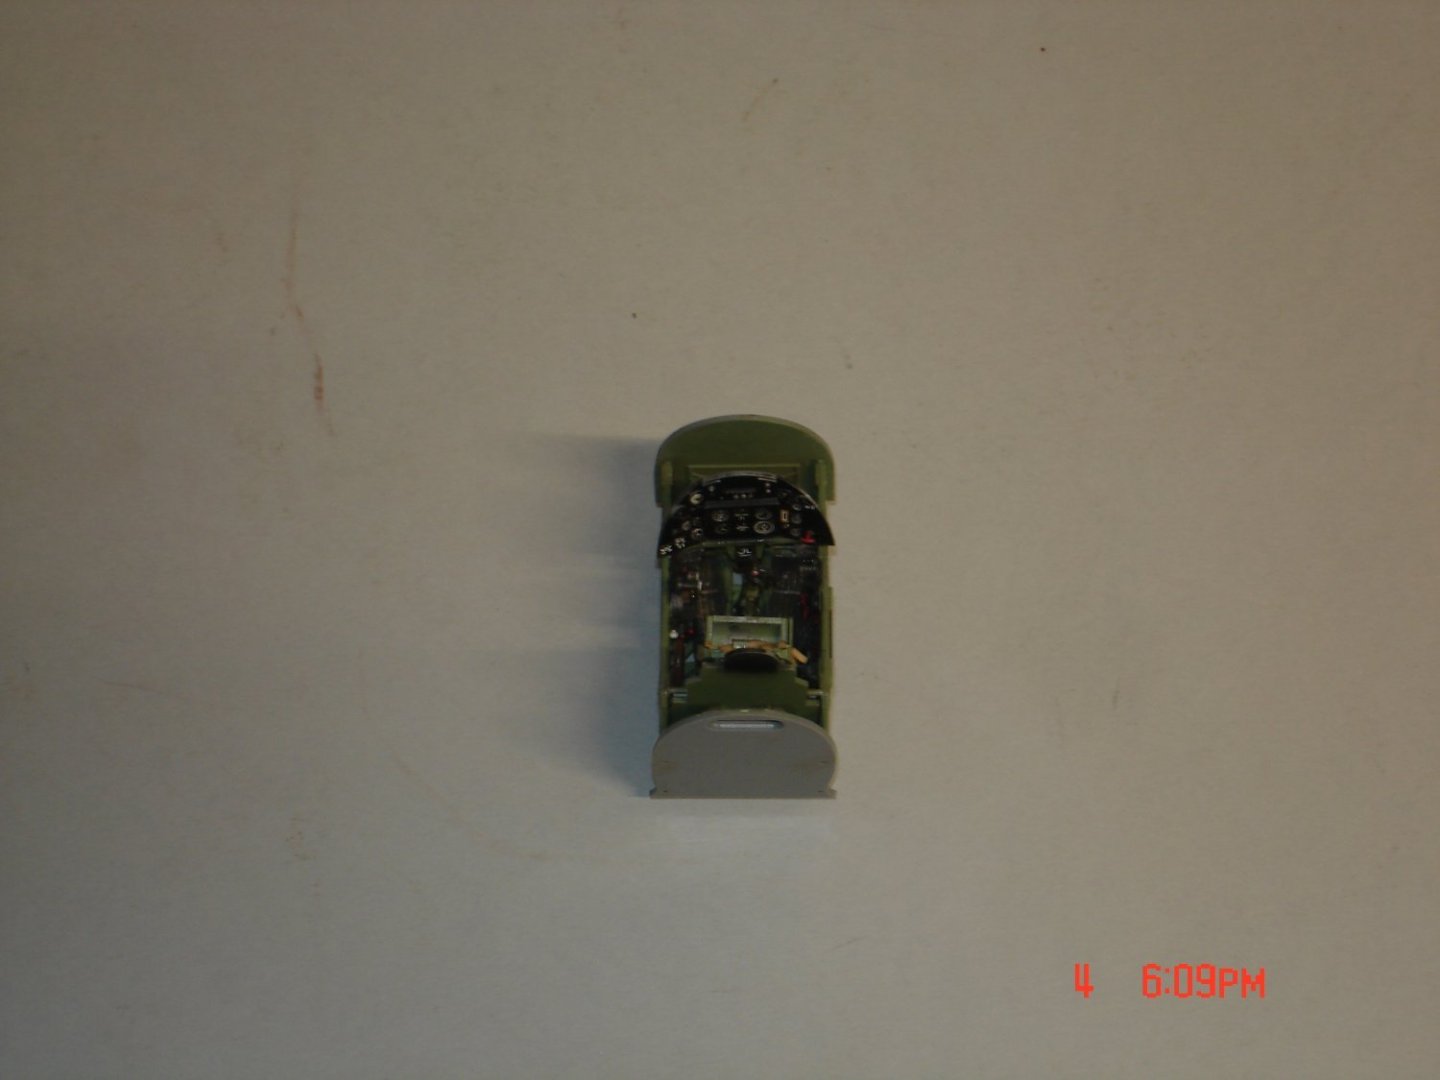
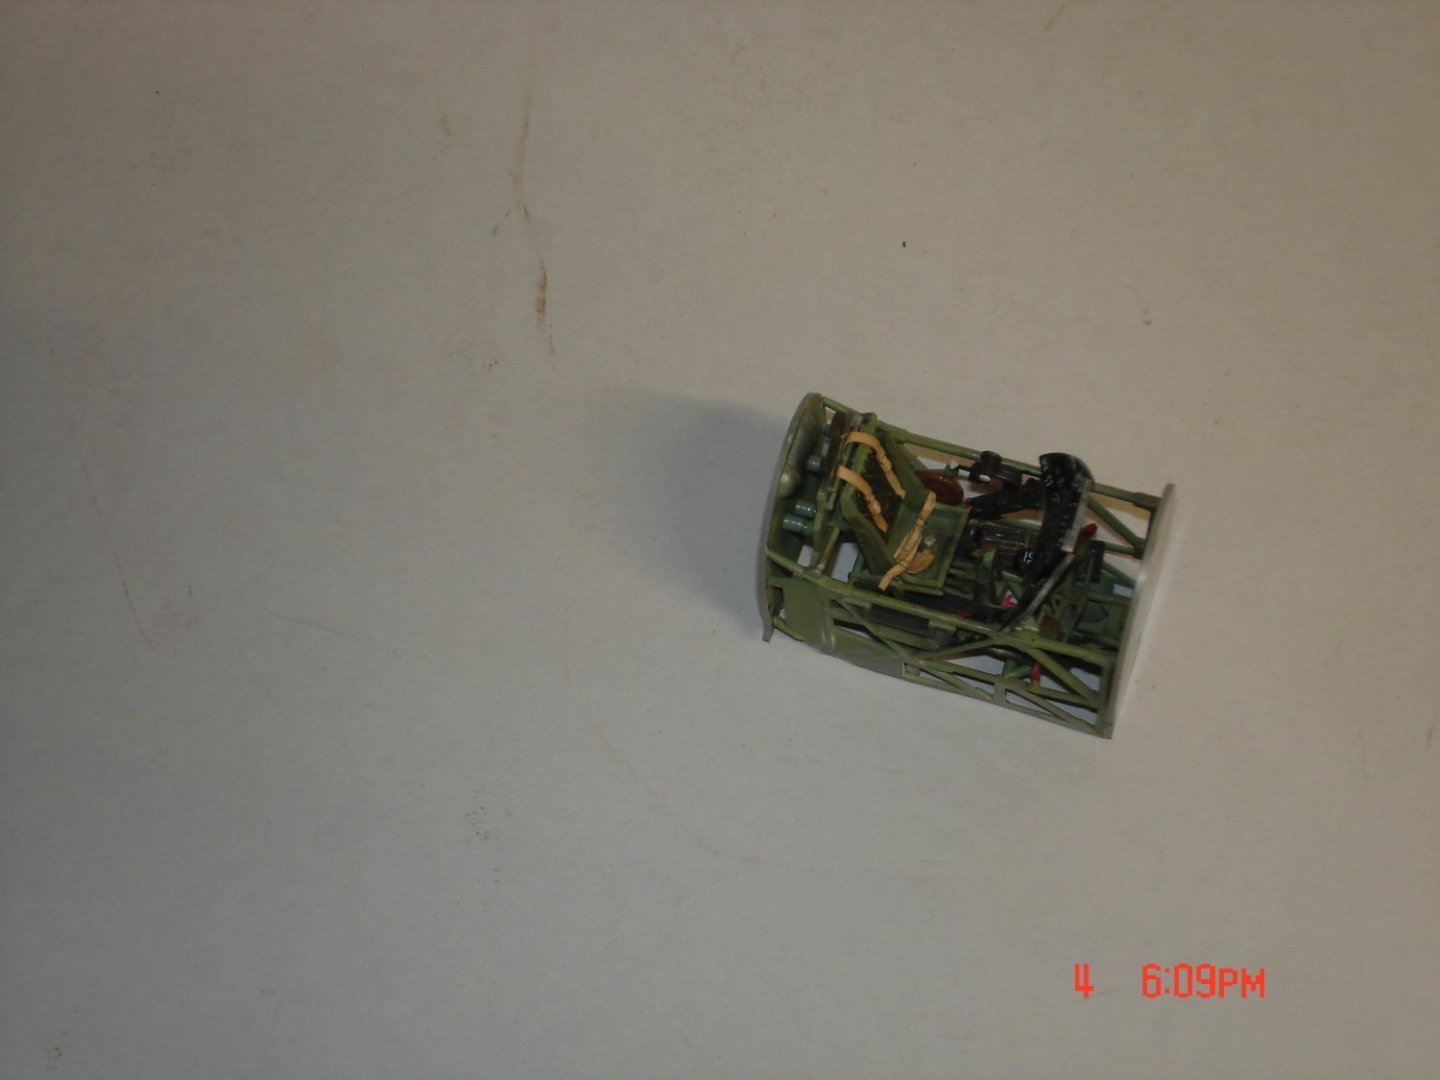
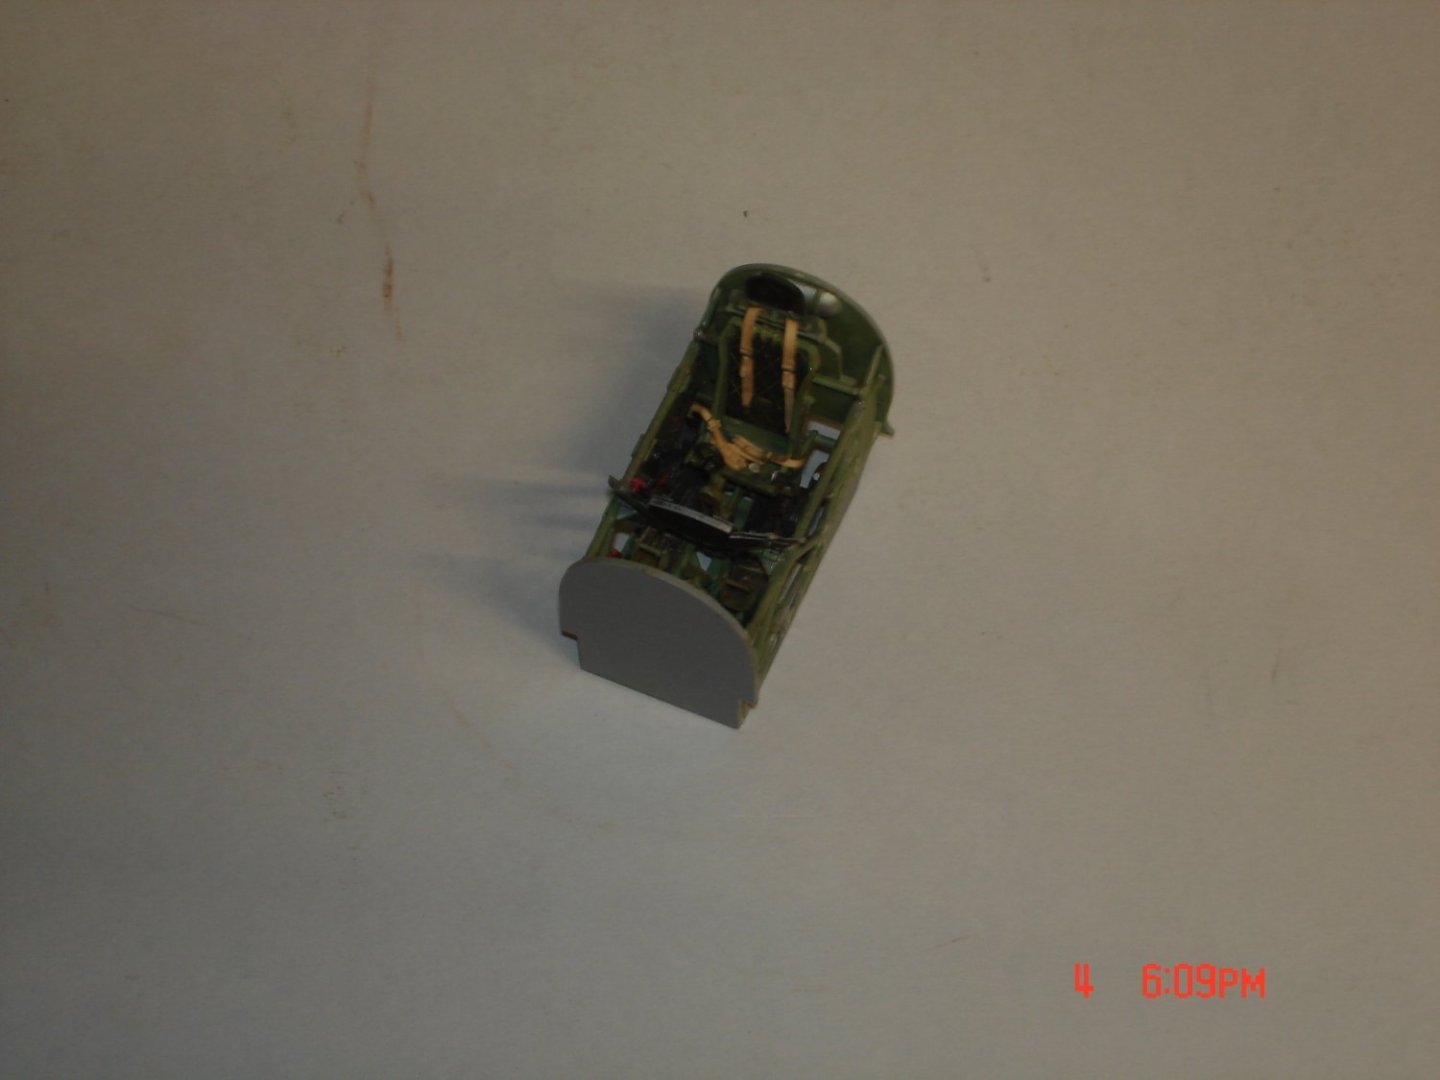
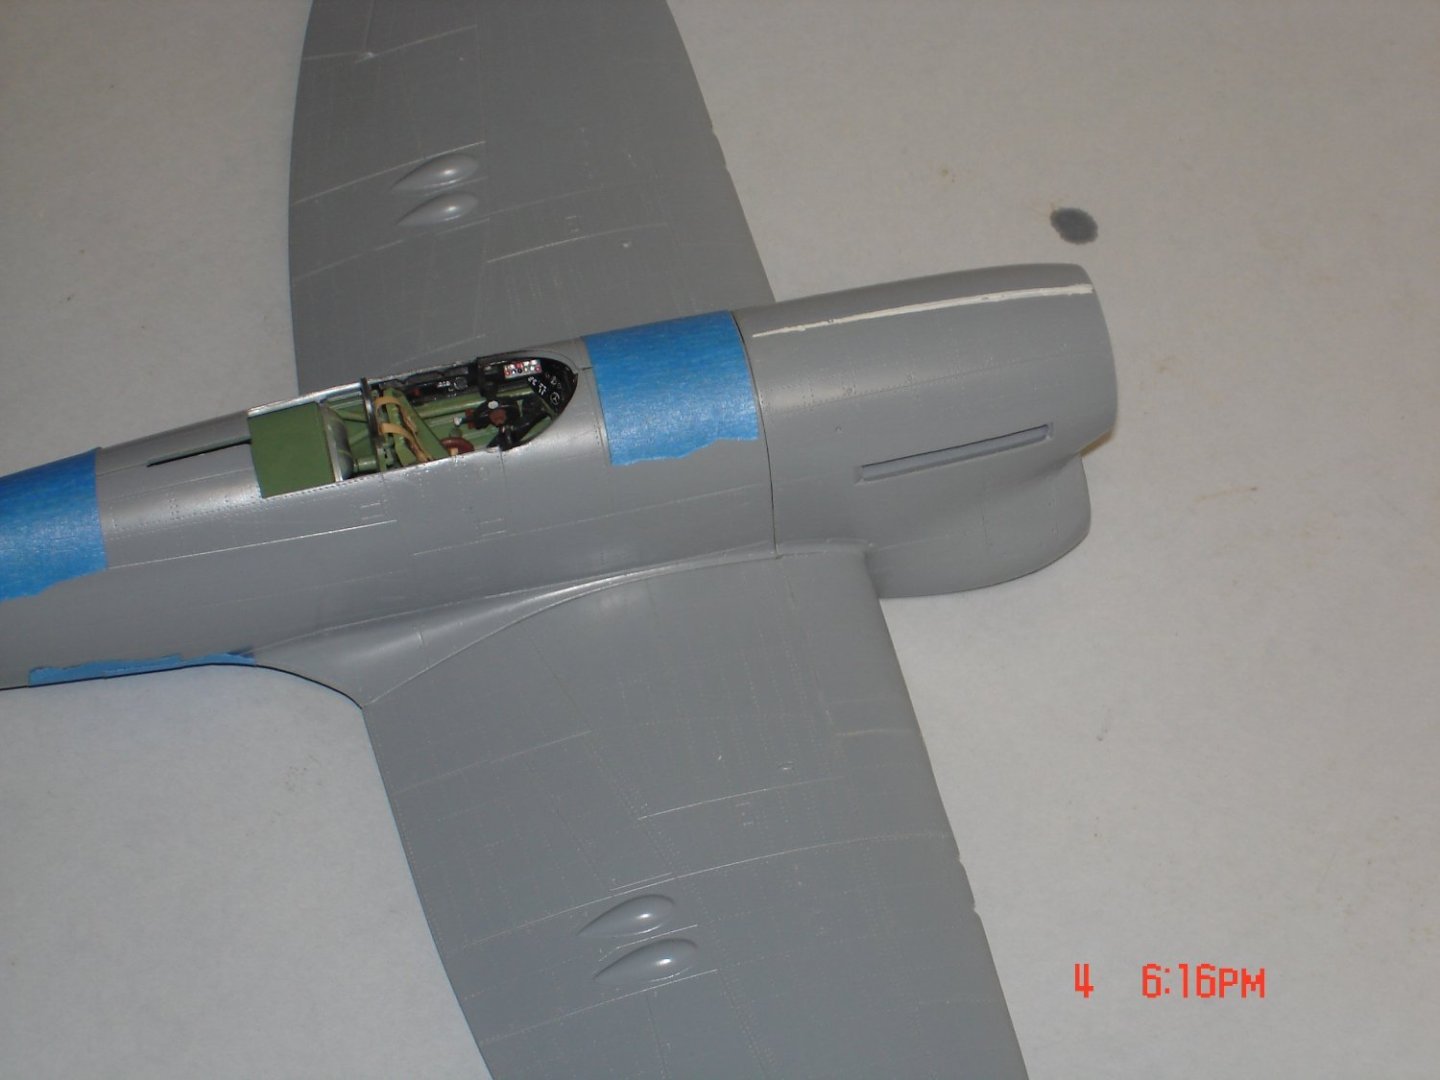
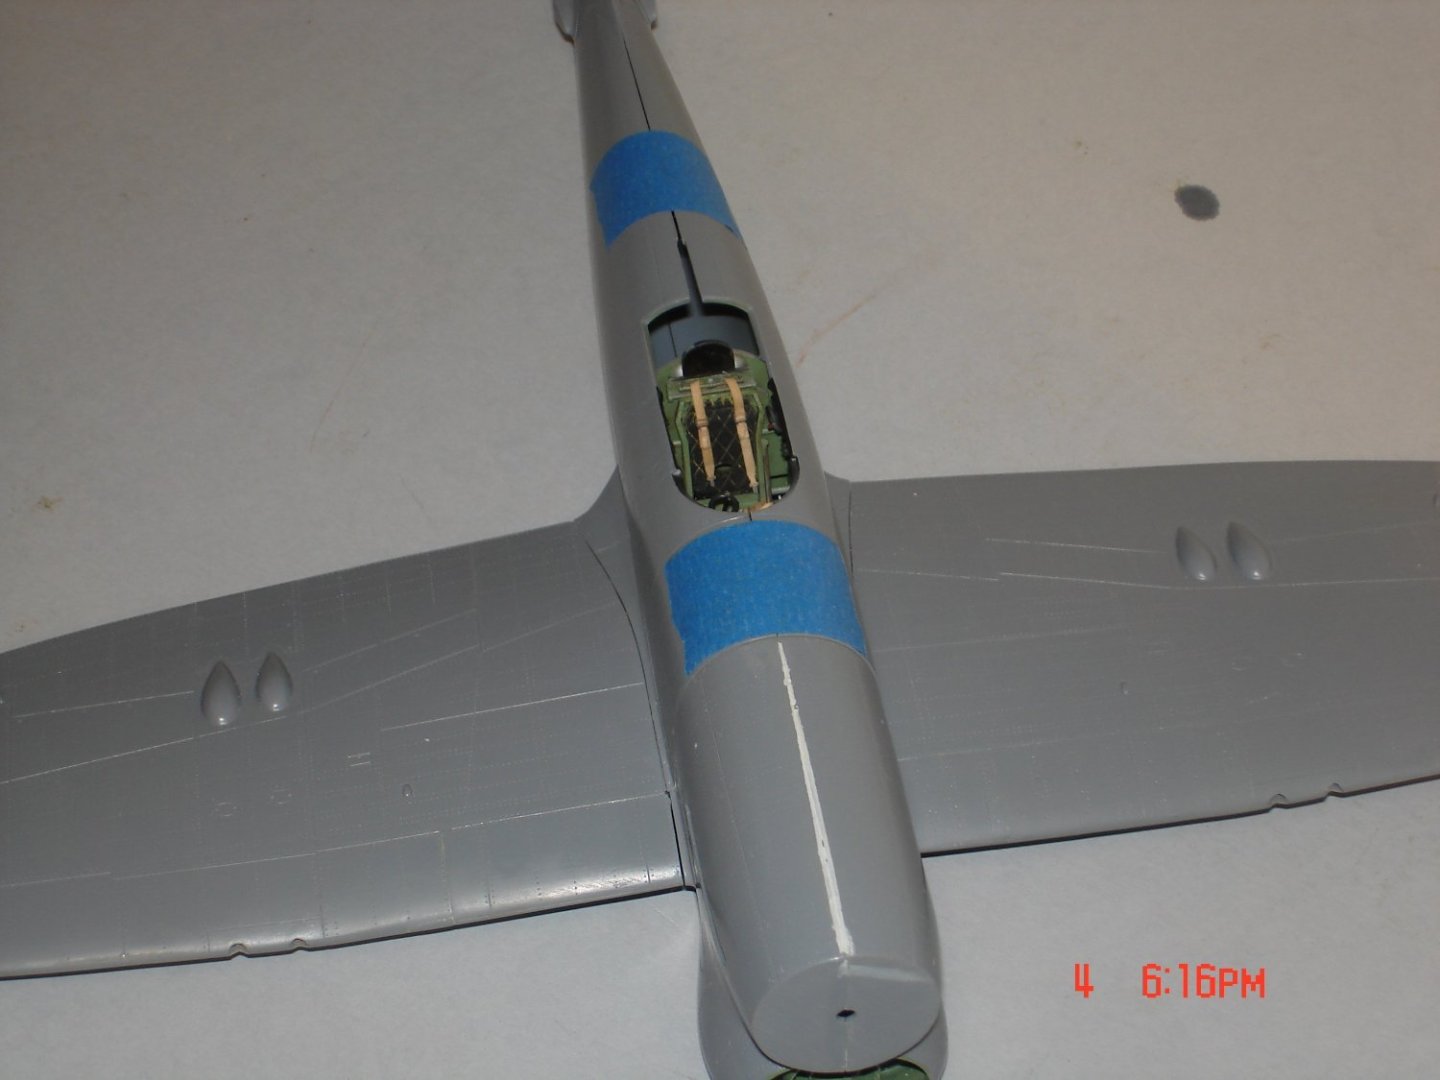
The copit is complete and let me tell ya building the seatbelts well let's be Nice a chore with Quinta on the scene that skillset was weak.The belts are RB Productions with a little of Tamiya dust applied.The very rear bulkhead while tight it opened the fuse outwards tightened up the fuse/wing seam even more so me likey.I am trying to loosen the bulkhead right behind the seat with the plate it's off to the right maybe 1/32' if that WD40 and Acetone were mixed and lightly applied no luck may just live with it. The nose to fuse is just about as good as it gets she has had her challenges "Yes" but I have kinda enjoyed them abit.That's all for now guys got to put in a little more work tonight on her.

- 59 replies
-
- 13
-
-
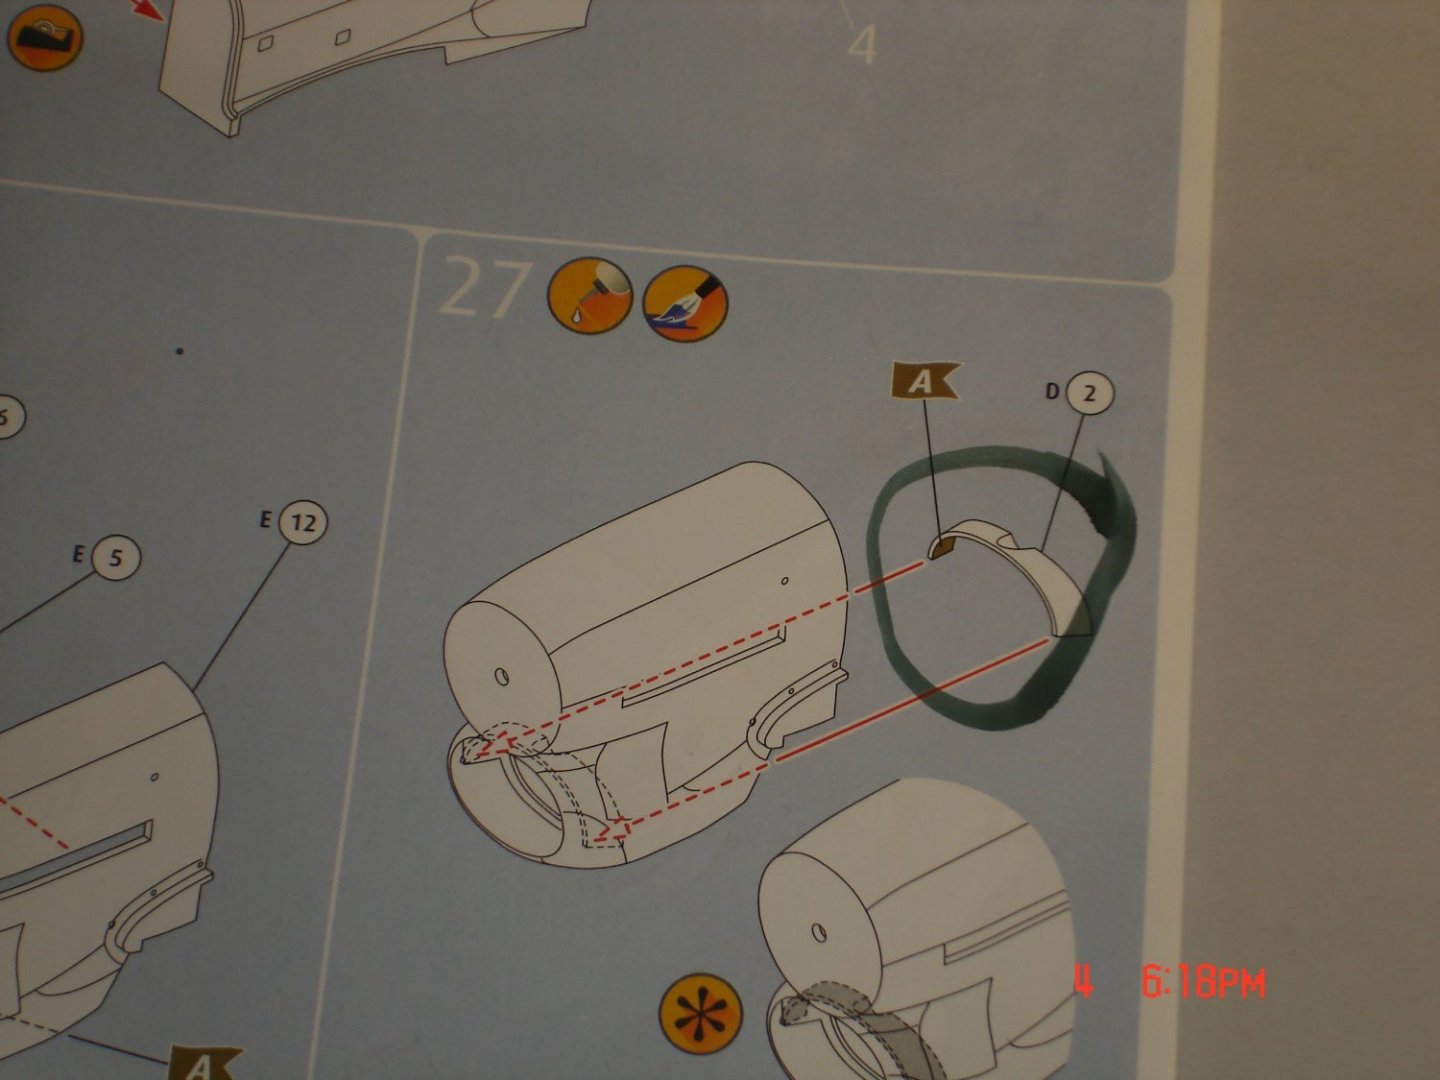
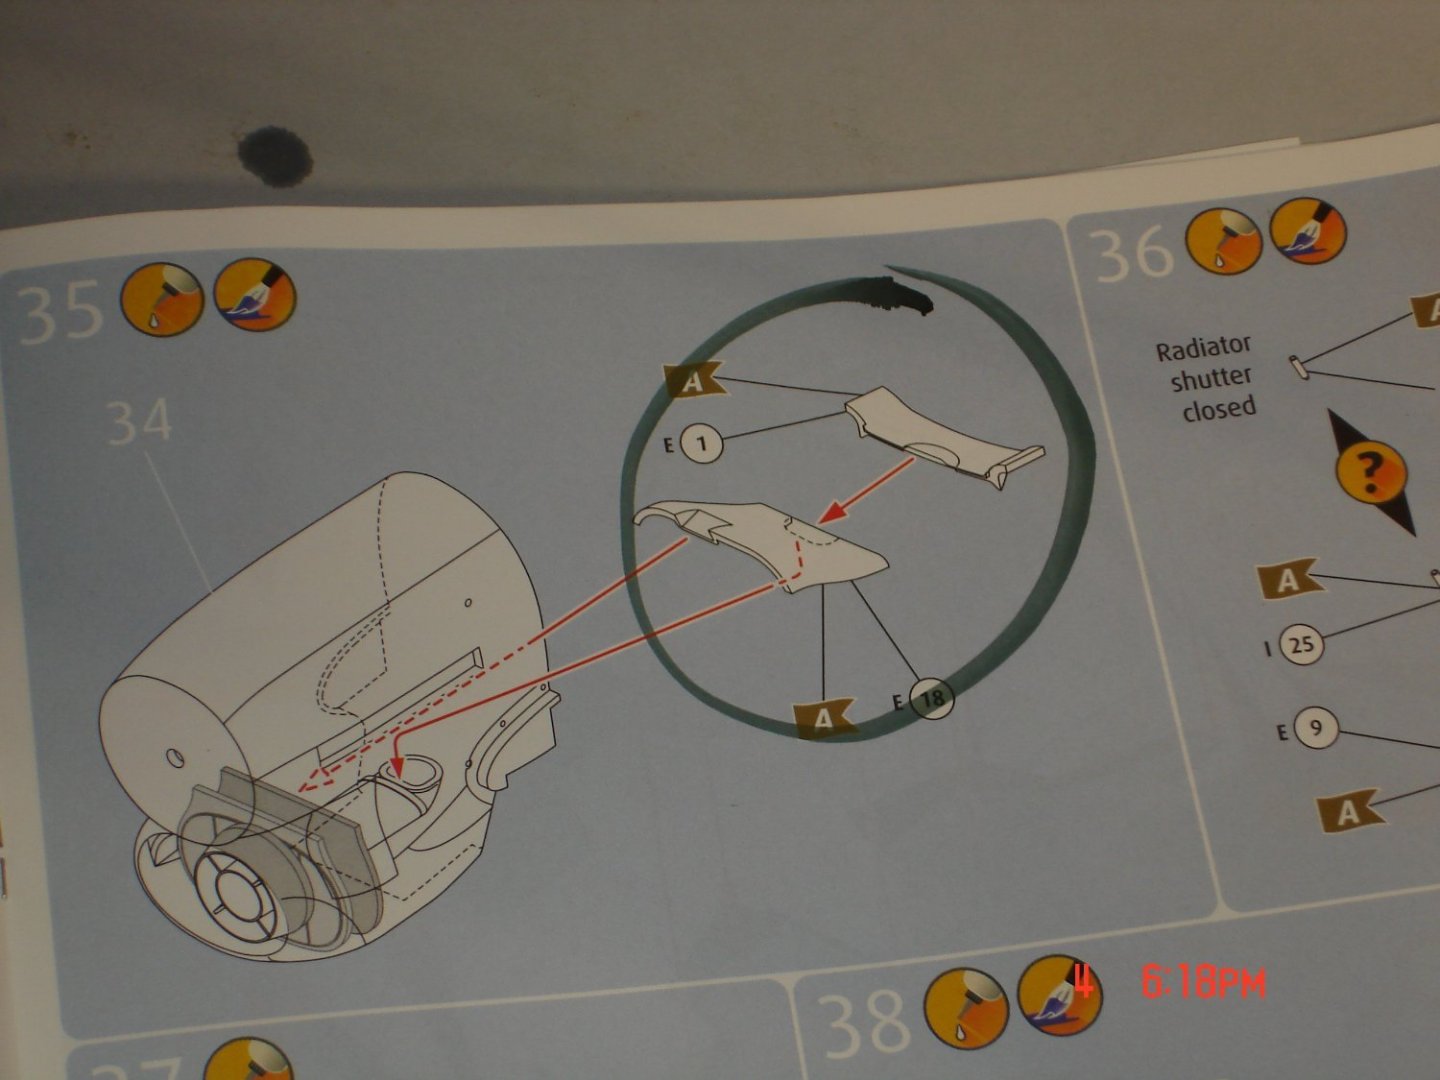
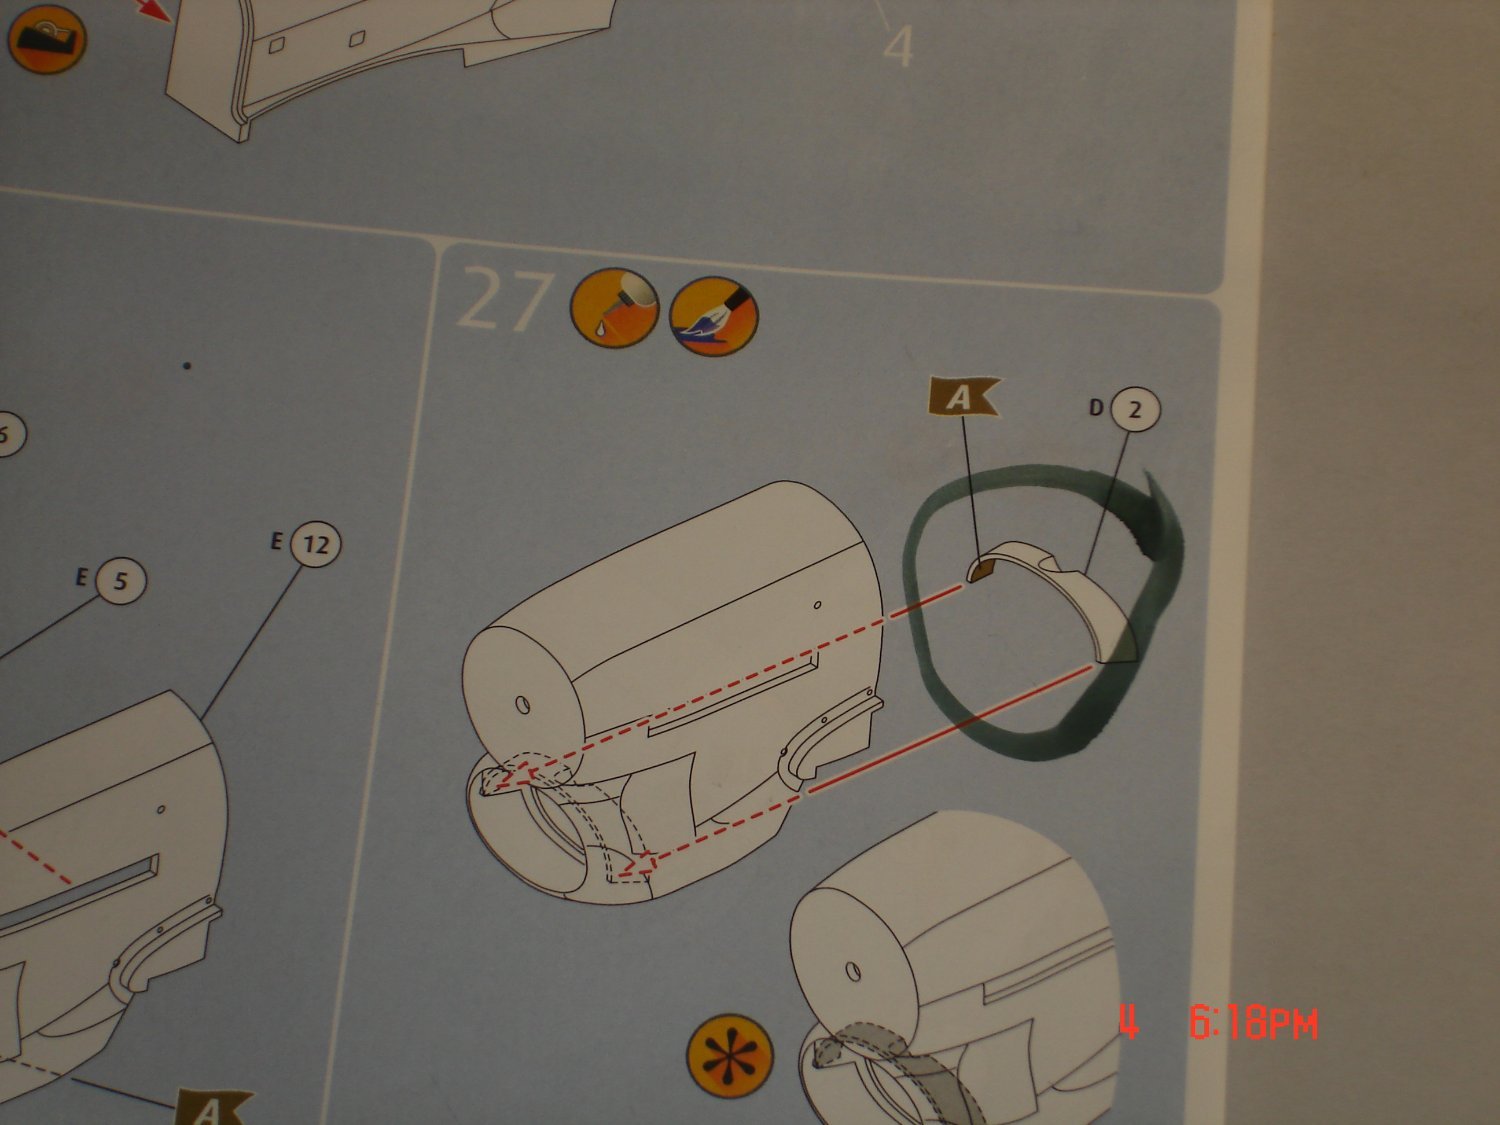
My first post tonight is going to be about procedure and Don't Forget the Part!.I was building the nose and having some issues wondering why is was such a PITA getting part H9/H43 and H10/44 to get a good alignment within the nose cavity?I continued to build I built up E2/E3 but did not glue in yet I went an grabbed E1/E18 part of the lower fuse and front wingroot while providing a roof inside the nose...it was about 1/32" off coming out the back of the nose.I had to file E1 and sub-assembly #34 accordingly all because I forgot to install D2 in the nose which would of aided on a positive blocking plate for H9 and H10.Just a heads up it works this is one part of the build you follow the instructions to the T.I got it all worked out just extra work for me.