HOLIDAY DONATION DRIVE - SUPPORT MSW - DO YOUR PART TO KEEP THIS GREAT FORUM GOING! (89 donations so far out of 49,000 members - C'mon guys!)
×


CurtisW
-
Posts
53 -
Joined
-
Last visited
Content Type
Profiles
Forums
Gallery
Events
Everything posted by CurtisW
-
Thanks Alistair. I've read your build log also. Very nice work. I'll try my best. These are really beautiful vessel.
-
Really nice build. I hope I can do half as good as you.
-
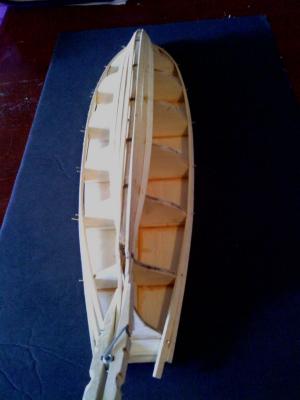
Hello everyone, Time for an update. I test fitted the bulkheads and marked the rabbet line. Most of the bulkheads fit perfectly, a few will have to be shimmed. I like that its easier to add than to take away. Next up cutting the rabbet. I’ve never cut a rabbet before, seems tough. First time for everything I guess. By the way I’ll be using Bob Hunt’s practicum for this build.
-
Ryland, I purchased the Bob Hunt practicum about a month before I purchased the kit. Been reading it over and over. Hope everything is as good as it seems. Curtis
-
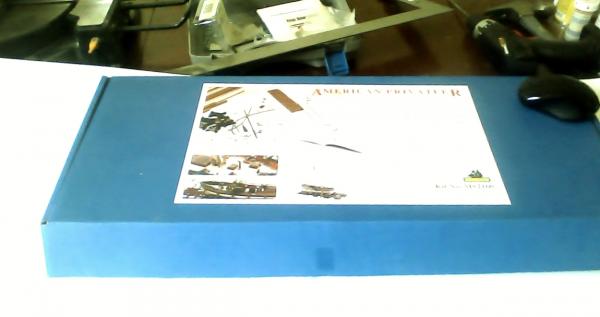
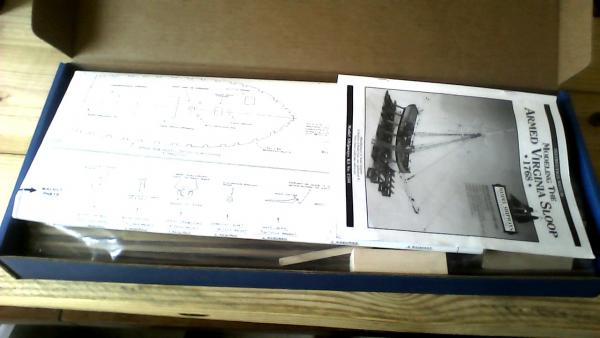
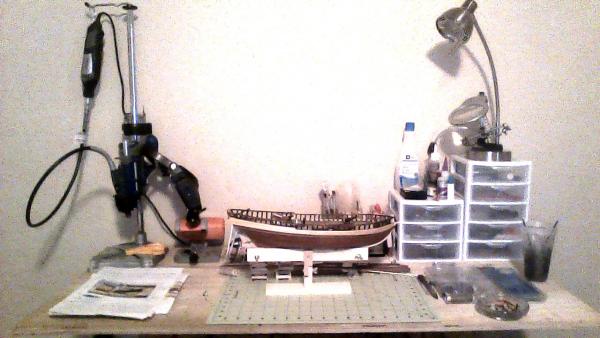
After reading the build logs on the Armed Virginia Sloop by MS I decided to give it a try. I am currently building the Virginia 1819 by AL and am up to the masts and rigging (not my favorite part). So to breakup the monotony I am going to start the AVS. The kit arrived a couple weeks ago after waiting for 2 weeks for it to arrive (backorder). Since then I have been watching the box. I finally gave in to temptation and opened it. Everything was included when I did the inventory. I am not too pleased however with the walnut planking strips the edges are very rough and would require sanding almost every edge. Any suggestions? Anyway a few pictures of the contents of the box and the infamous shipyard.

-
ROYAL CAROLINE 1749 by Doris - 1:40 - CARD
CurtisW replied to DORIS's topic in - Build logs for subjects built 1501 - 1750
Doris, Your work is exquisite as always. Looking forward to your next post. Curtis- 883 replies
-
- 1
-

-
- royal caroline
- ship of the line
- (and 1 more)
-
ROYAL CAROLINE 1749 by Doris - 1:40 - CARD
CurtisW replied to DORIS's topic in - Build logs for subjects built 1501 - 1750
Hello Doris, You are doing such wonderful work with paper and card it amazes me. Maybe I'll give it a try one day. Keep up the great work.- 883 replies
-
- 1
-
-
- royal caroline
- ship of the line
- (and 1 more)
-
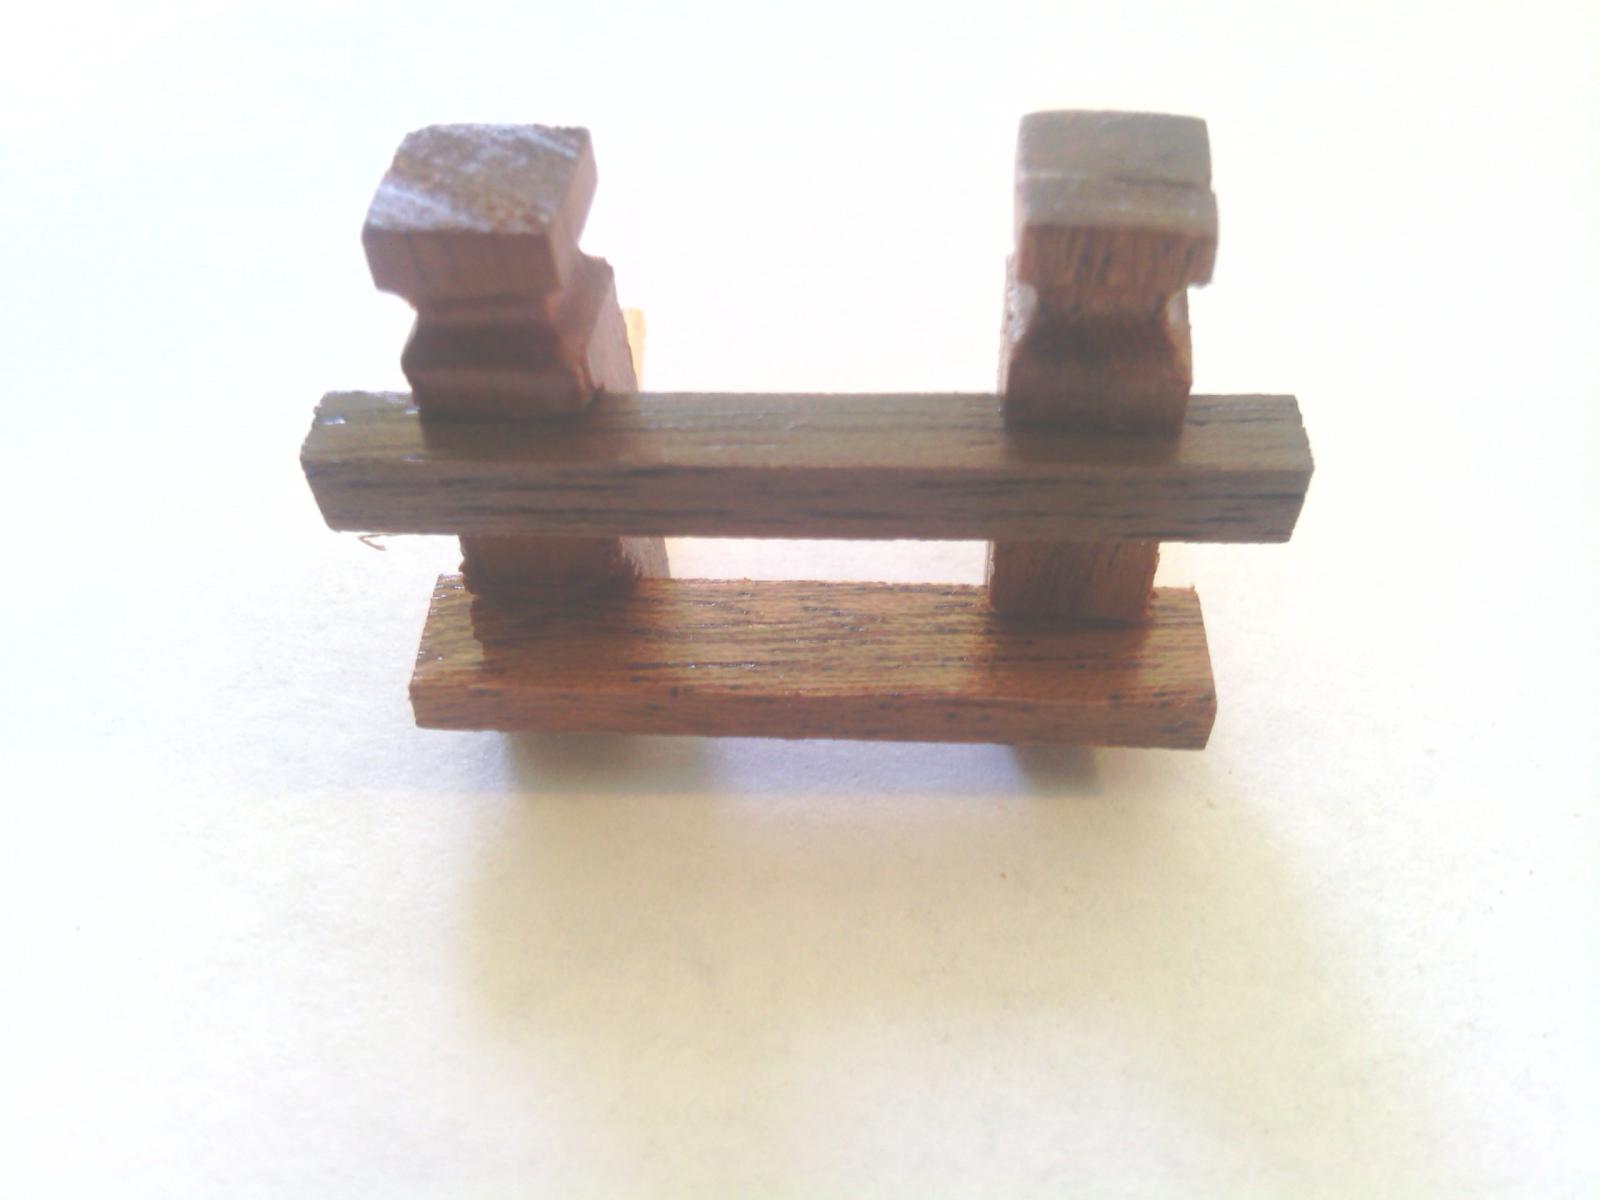
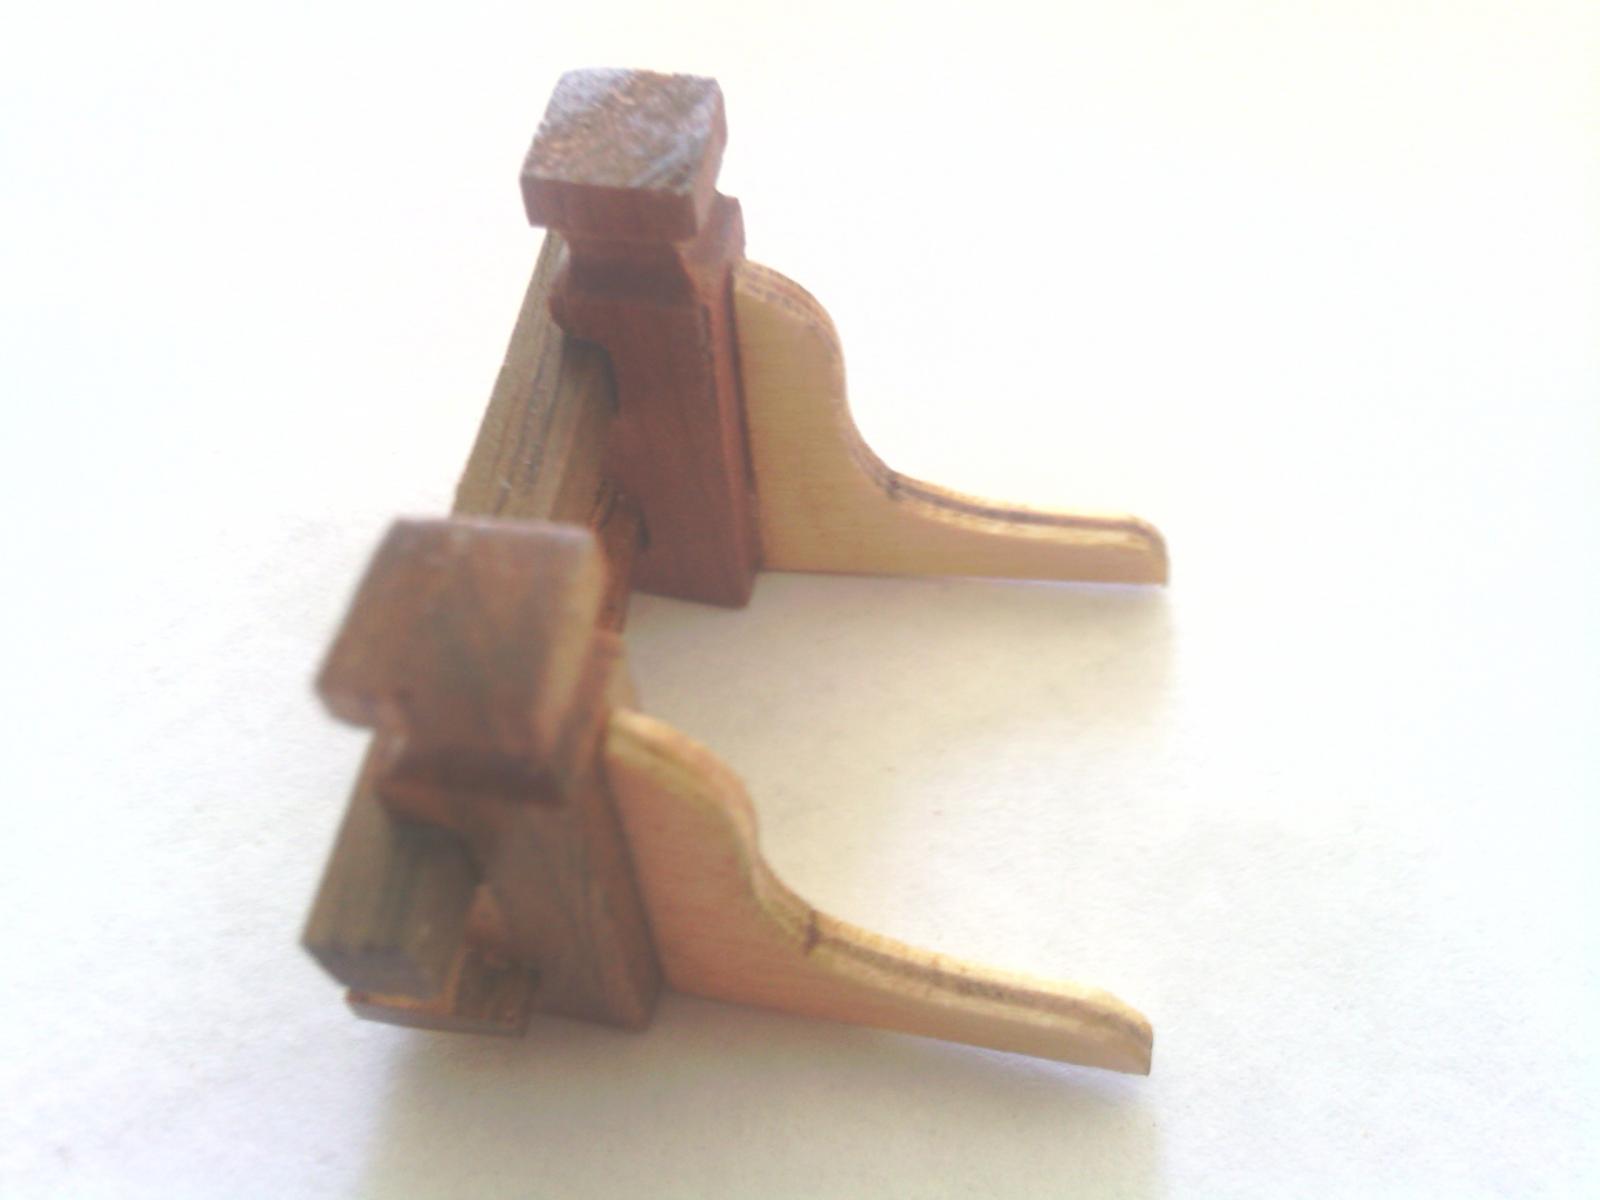
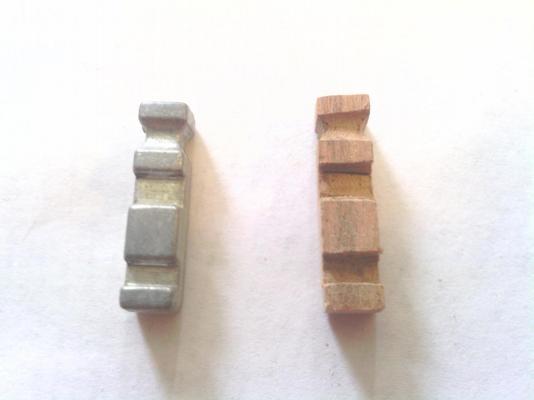
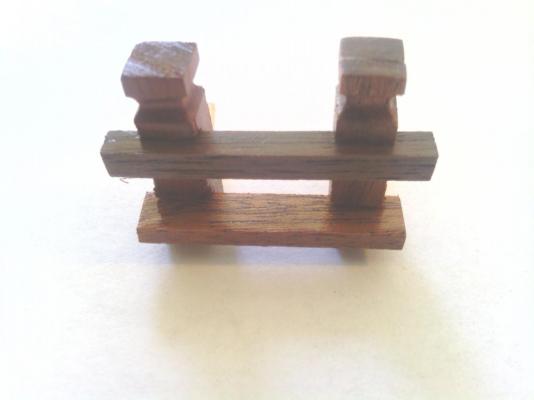
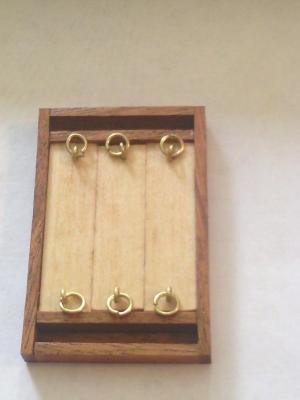
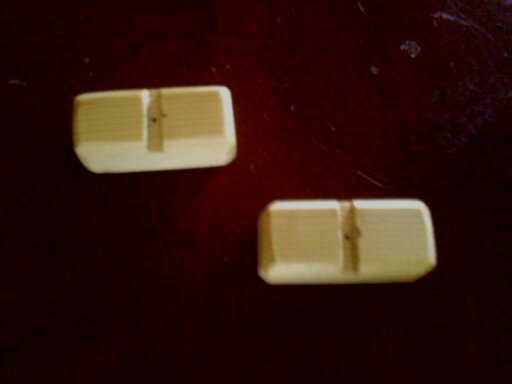
I found out I like building the deck furniture more than planking. I've scratch built the knightsheads, the kit supplied ones were not realistic (metal), hard to get the look of wood with metal. Hatch/Cannonball Holder


-
When sewing, let the machine pull the cloth. You just try to keep it straight. Hope this helps. Good luck . Cant wait to see the sails.
- 78 replies
-
- 1
-
-
- model shipways
- bounty launch
- (and 1 more)
-
I just happened to run across your build log. Great work. I was riveted and amazed. THANKS a lot for your rigging tutorial. It will help me a lot. Curtis
-
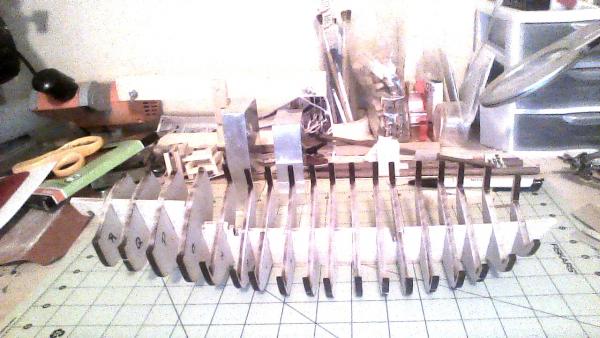
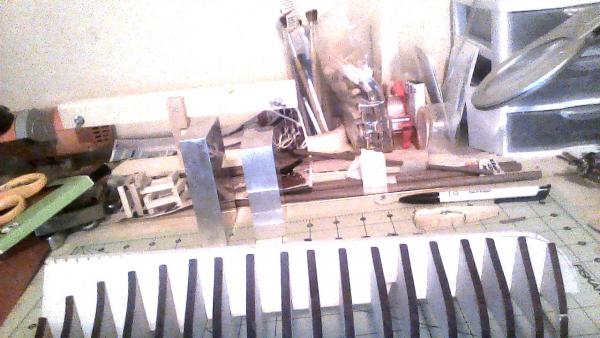
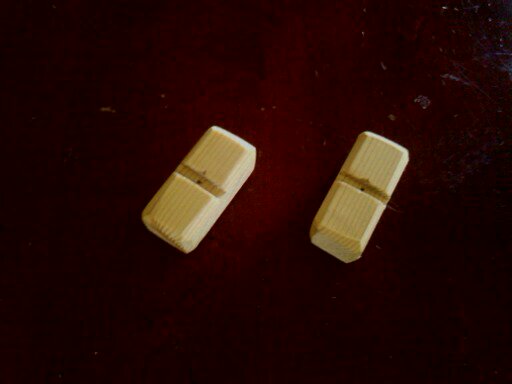
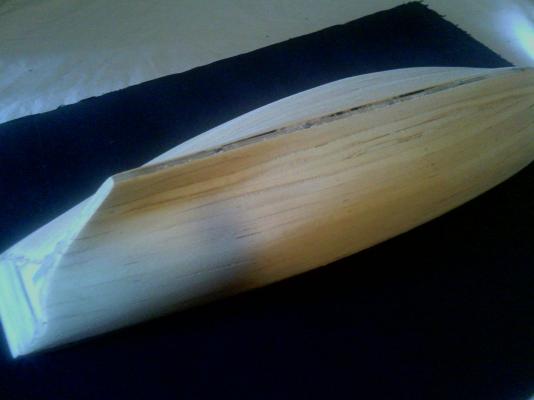
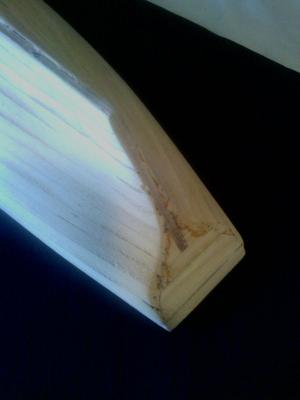
That didn't take long at all. With my trusty saw and router I now have a stand and stations.
-
Just looked in on your build, VERY NICE work. I will be following intently as I plan on building the same ship in the near future.
-
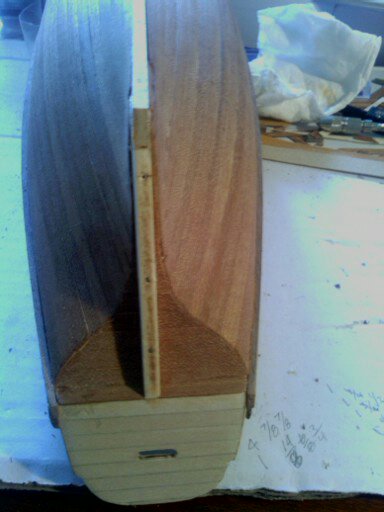
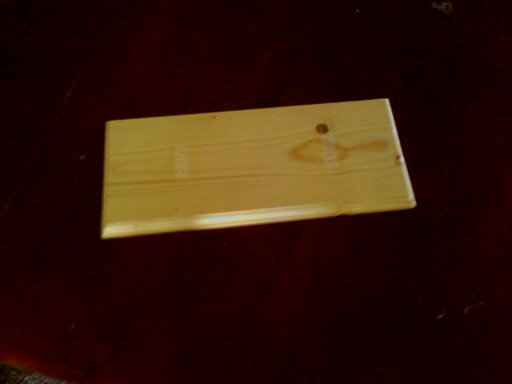
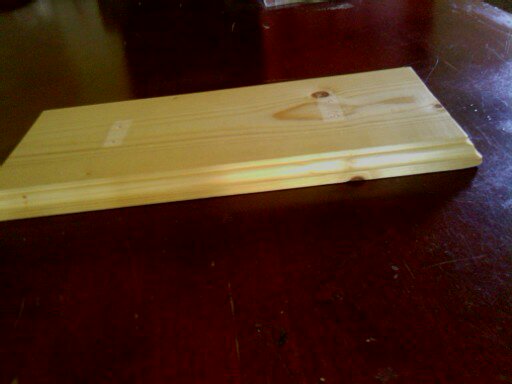
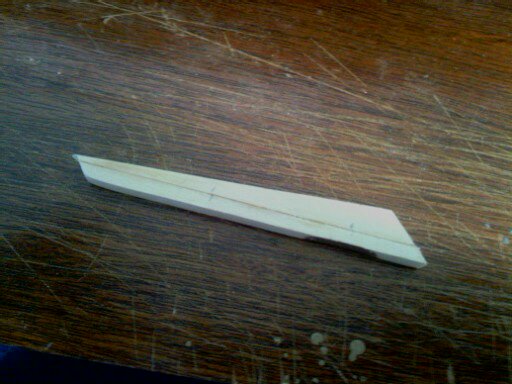
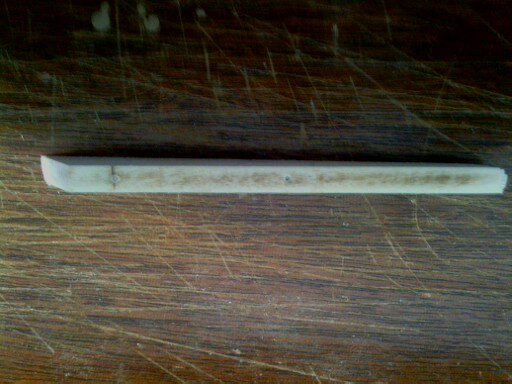
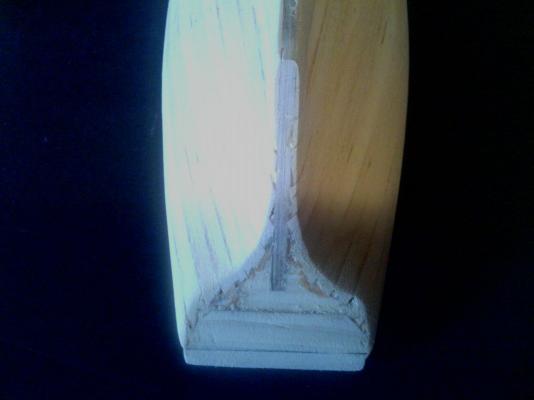
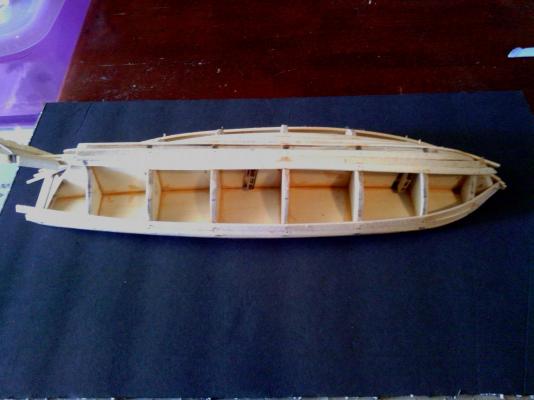
I had to modify the stern post as the kit supplied one was a little too small. It turned out ok so I laid the keel in along with the stringers on the deck. I have some time on my hands and I found a piece of 1x6 pine board in the storeroom so I think I'll make a display stand so my beauty can have a home.


-
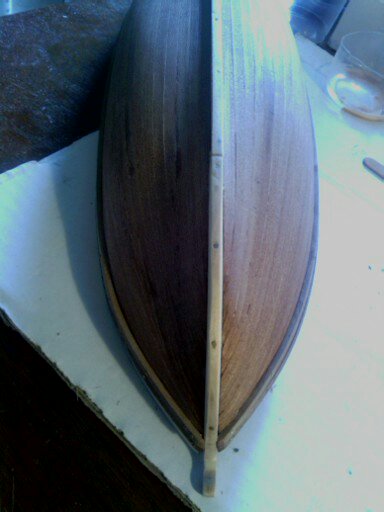
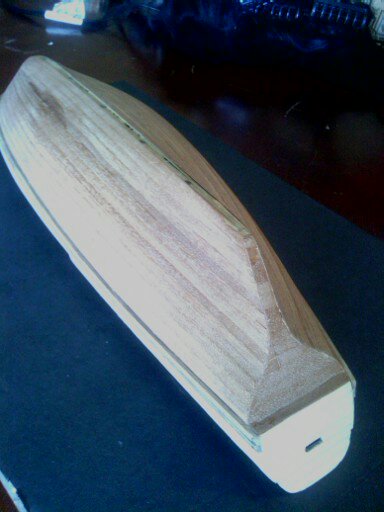
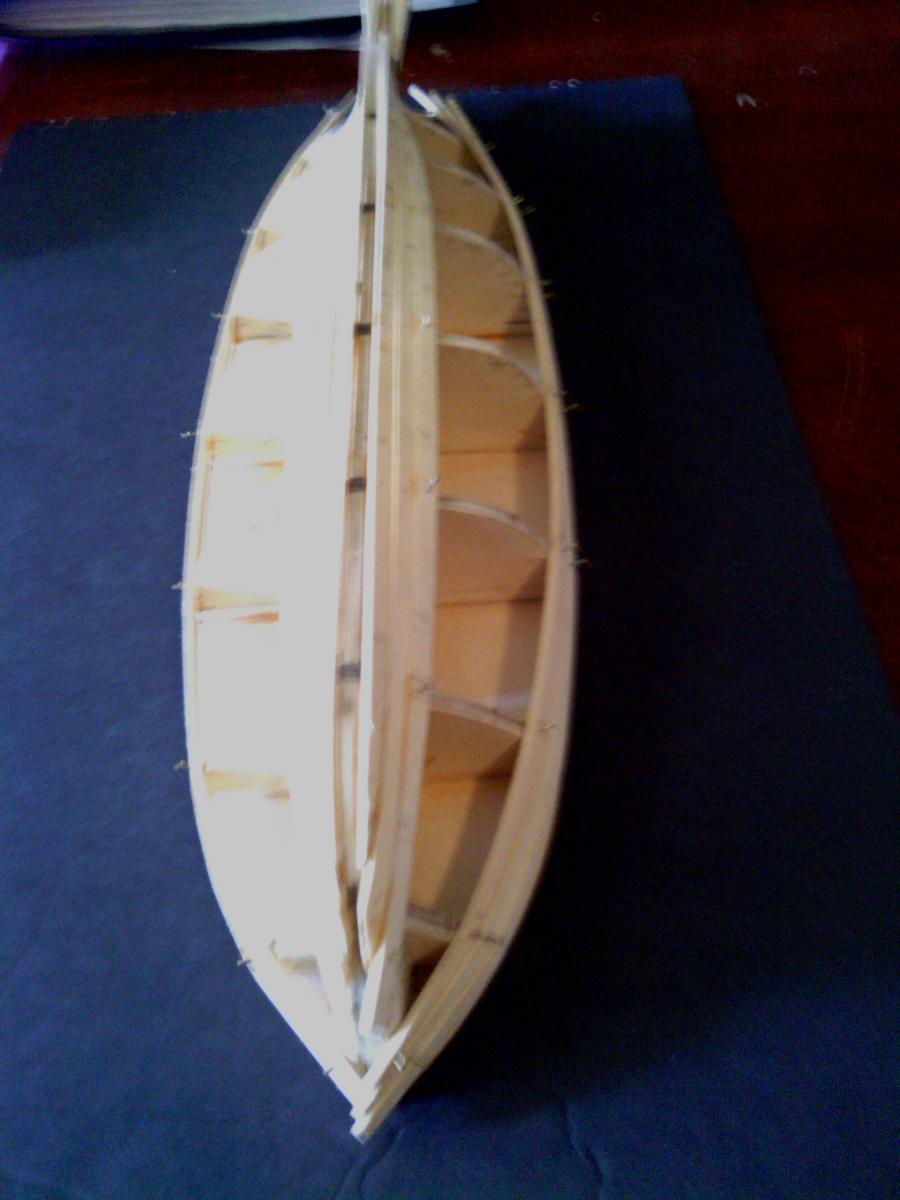
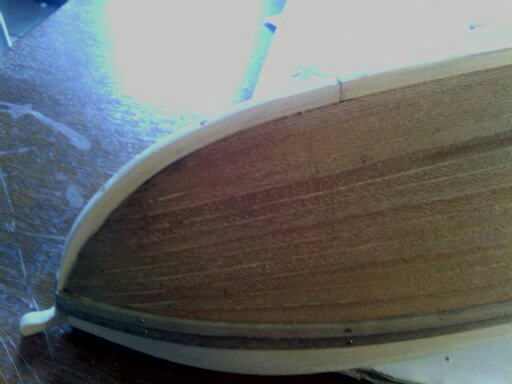
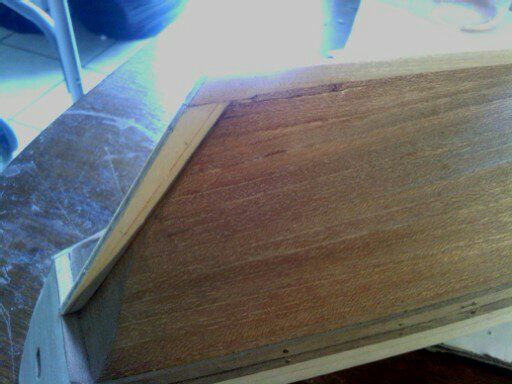
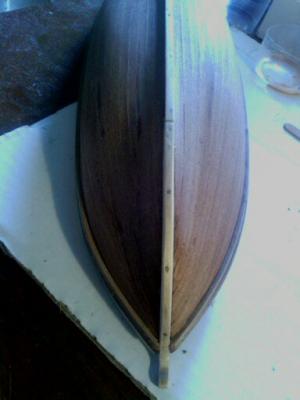
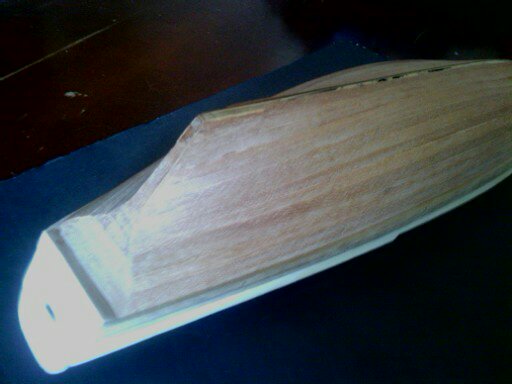
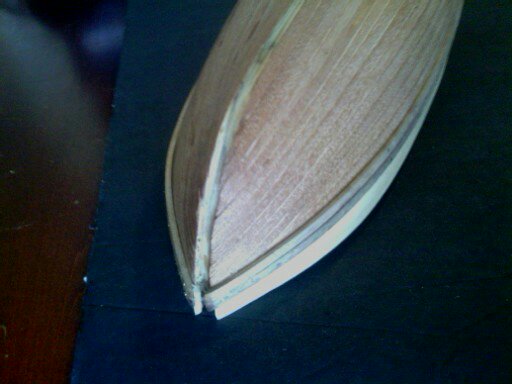
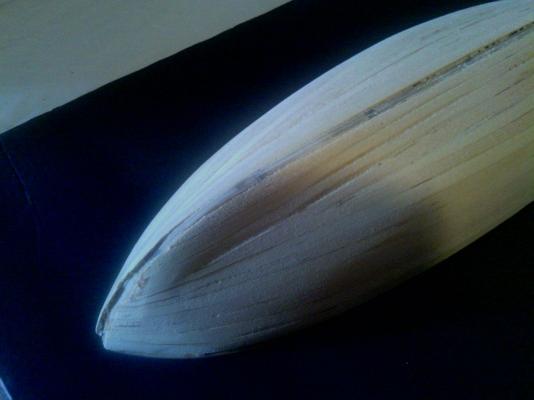
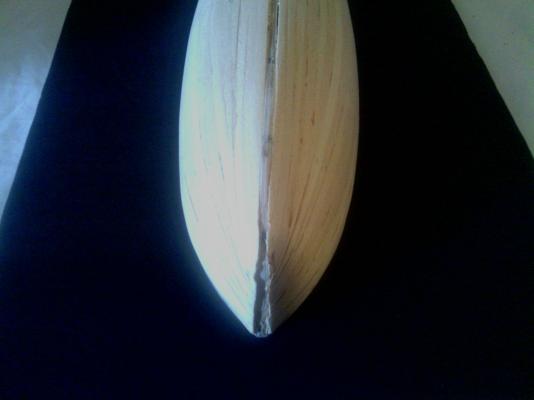
I have been working on the second layer of hull planking, however, I did not take pics of the process only the final outcome which is better than I expected. Photos with the rubbing strakes are included. Next up the stem and stern posts and keel. Hope they all fit the way they are supposed to.


-
Hello nick, I just read your log and you are doing a wonderful job. I will follow along intently. I have 2 sons ages 7 and 9 who always want to help me. I hope they turn out like you with your patience and attention to detail. Wonderful build enjoy it.
-
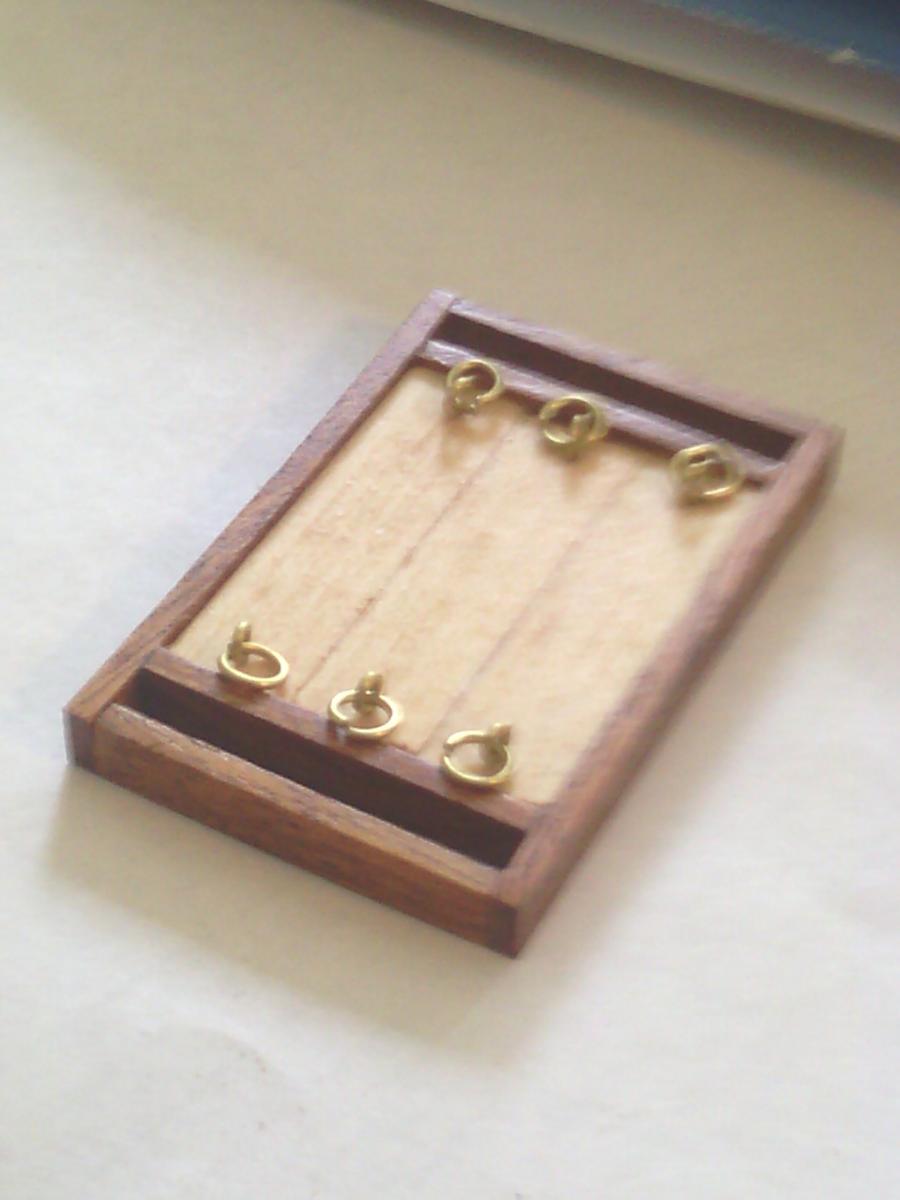
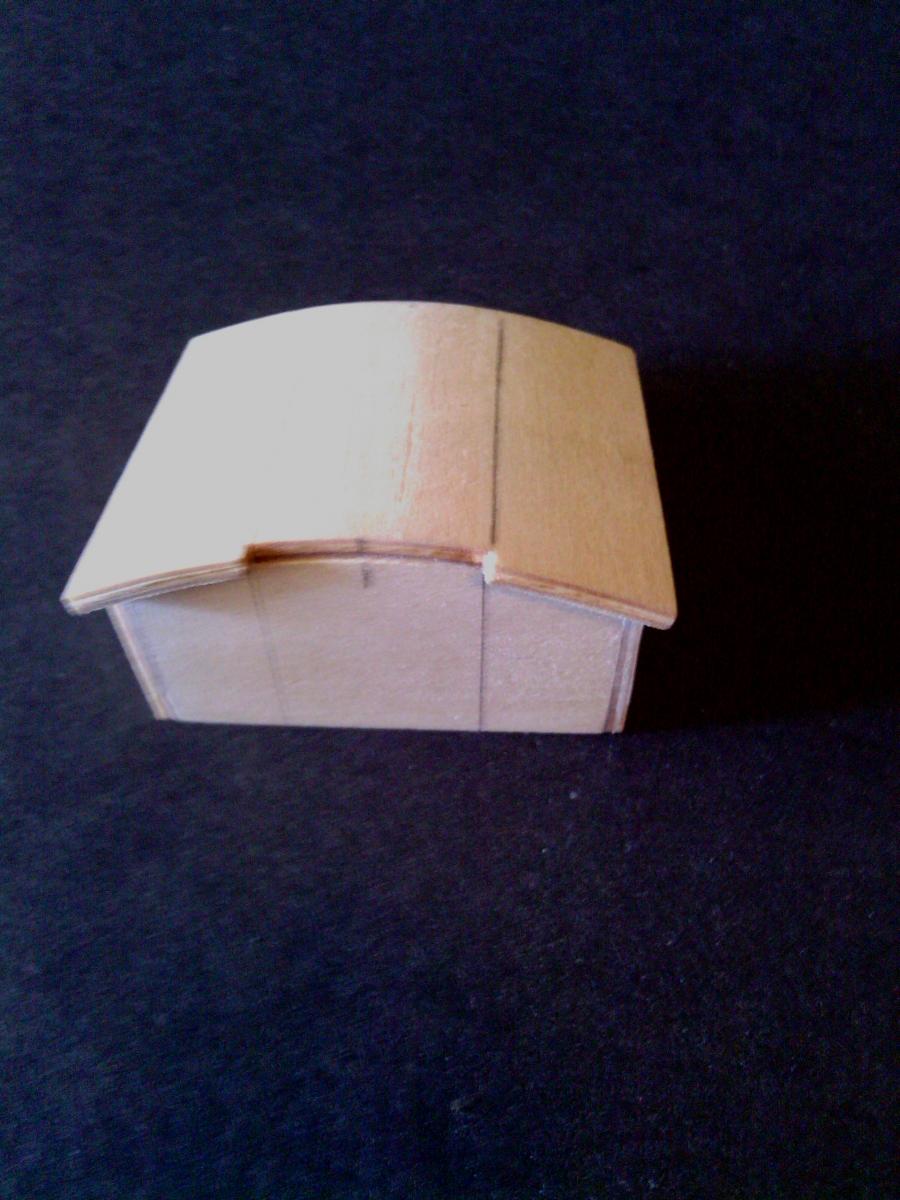
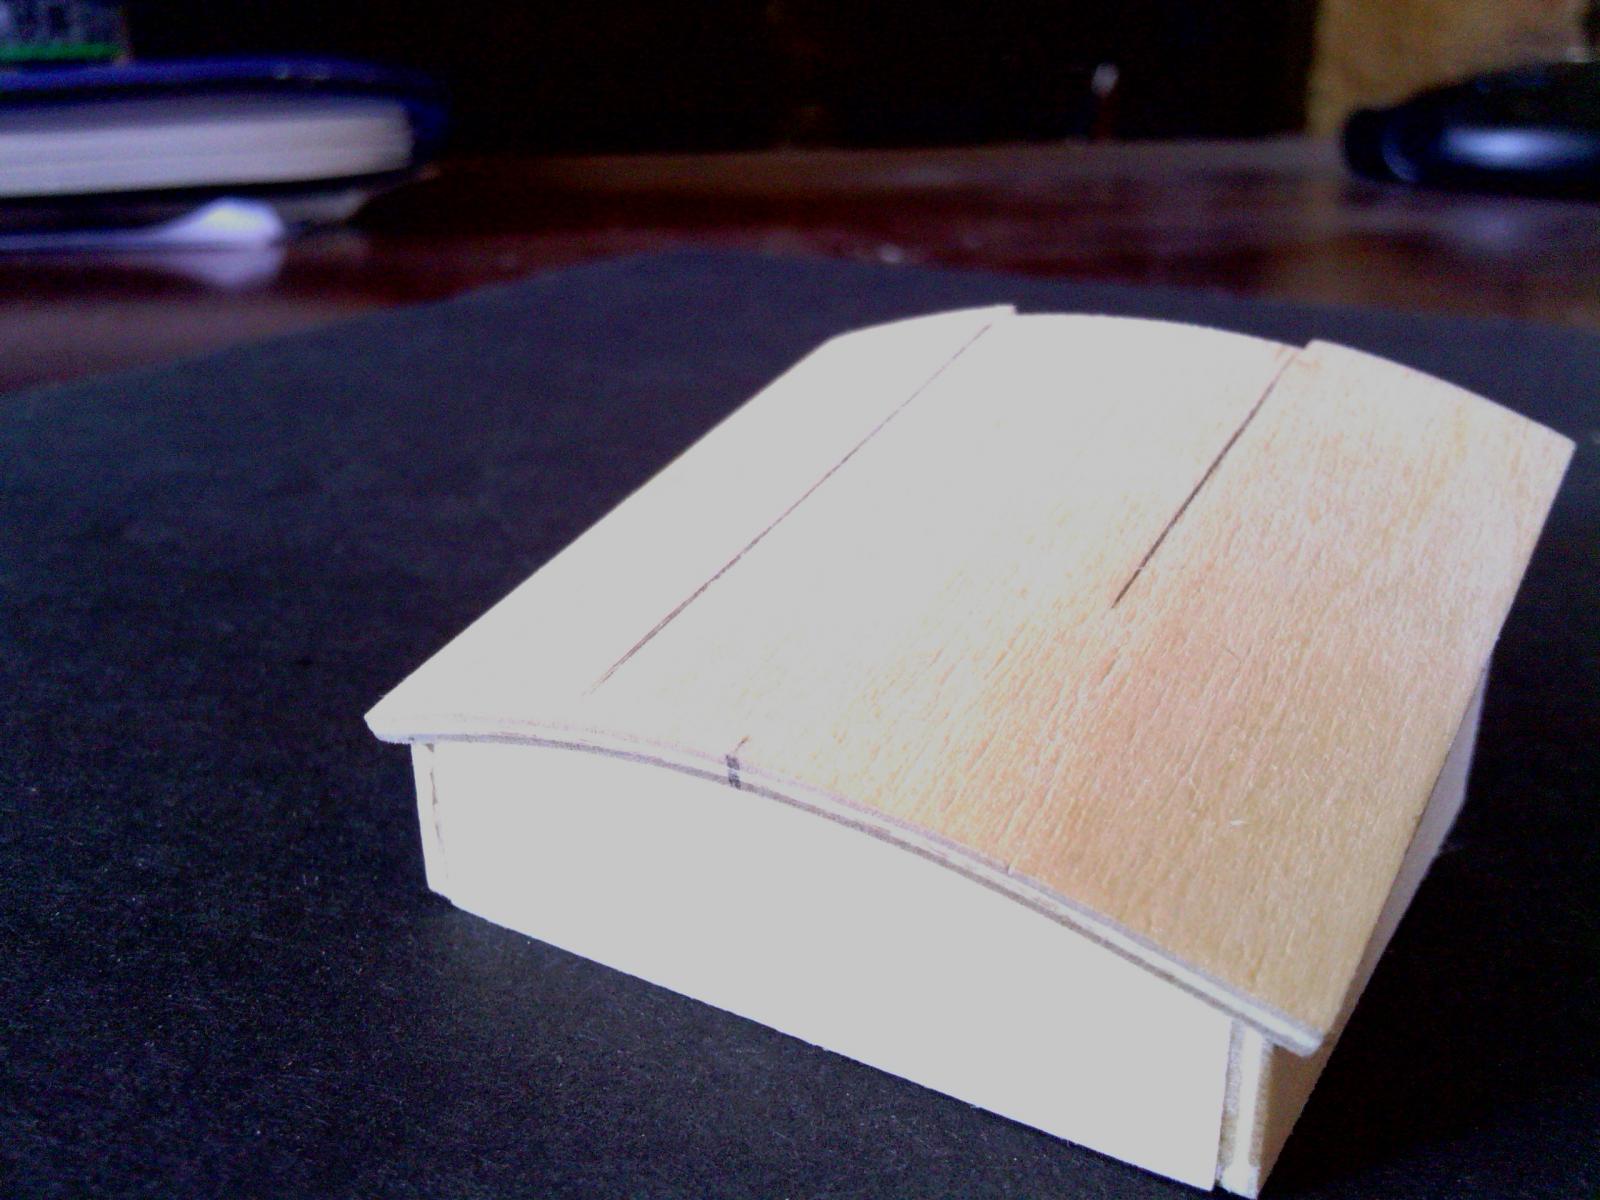
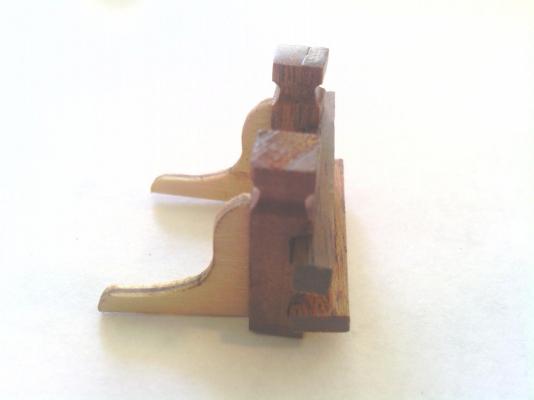
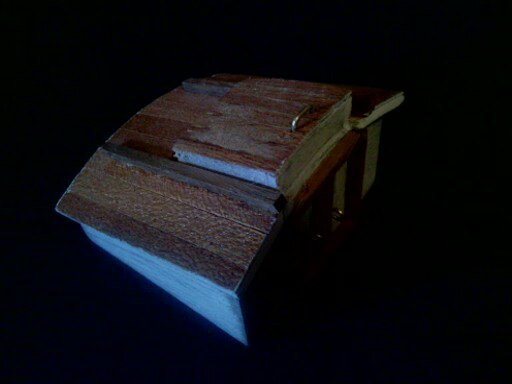
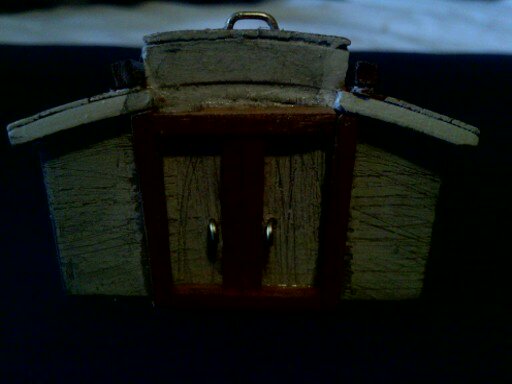
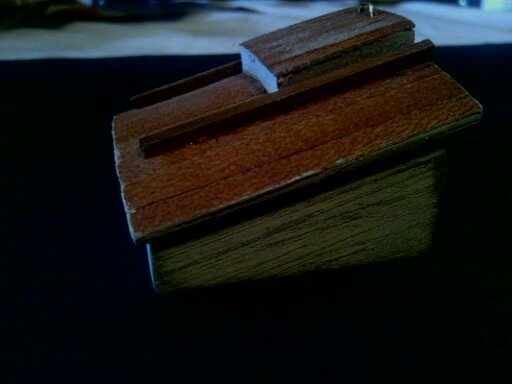
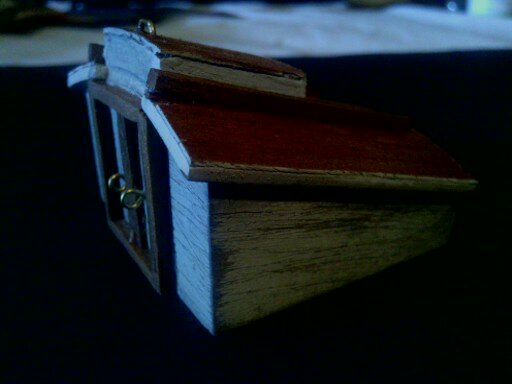
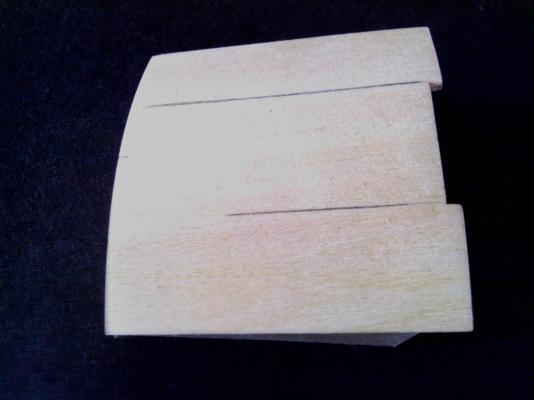
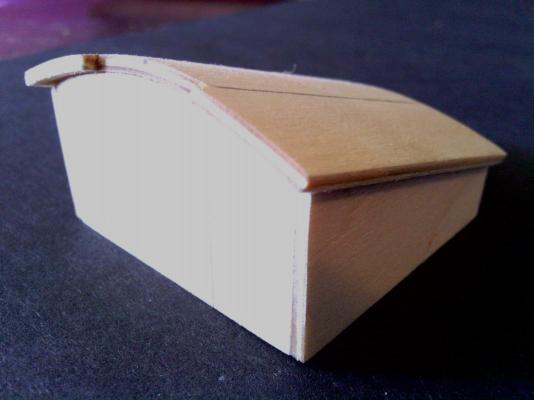
While taking a break from sanding the hull I decided to finish up the companionway. The kit said to use 2x2x5mm applewood for the handle on the sliding hatch which to me would have been too bulky. Instead I bent a brass nail and snipped off the head. It now looks much more realistic. Too much rum before the crew whitewashed the walls.
-
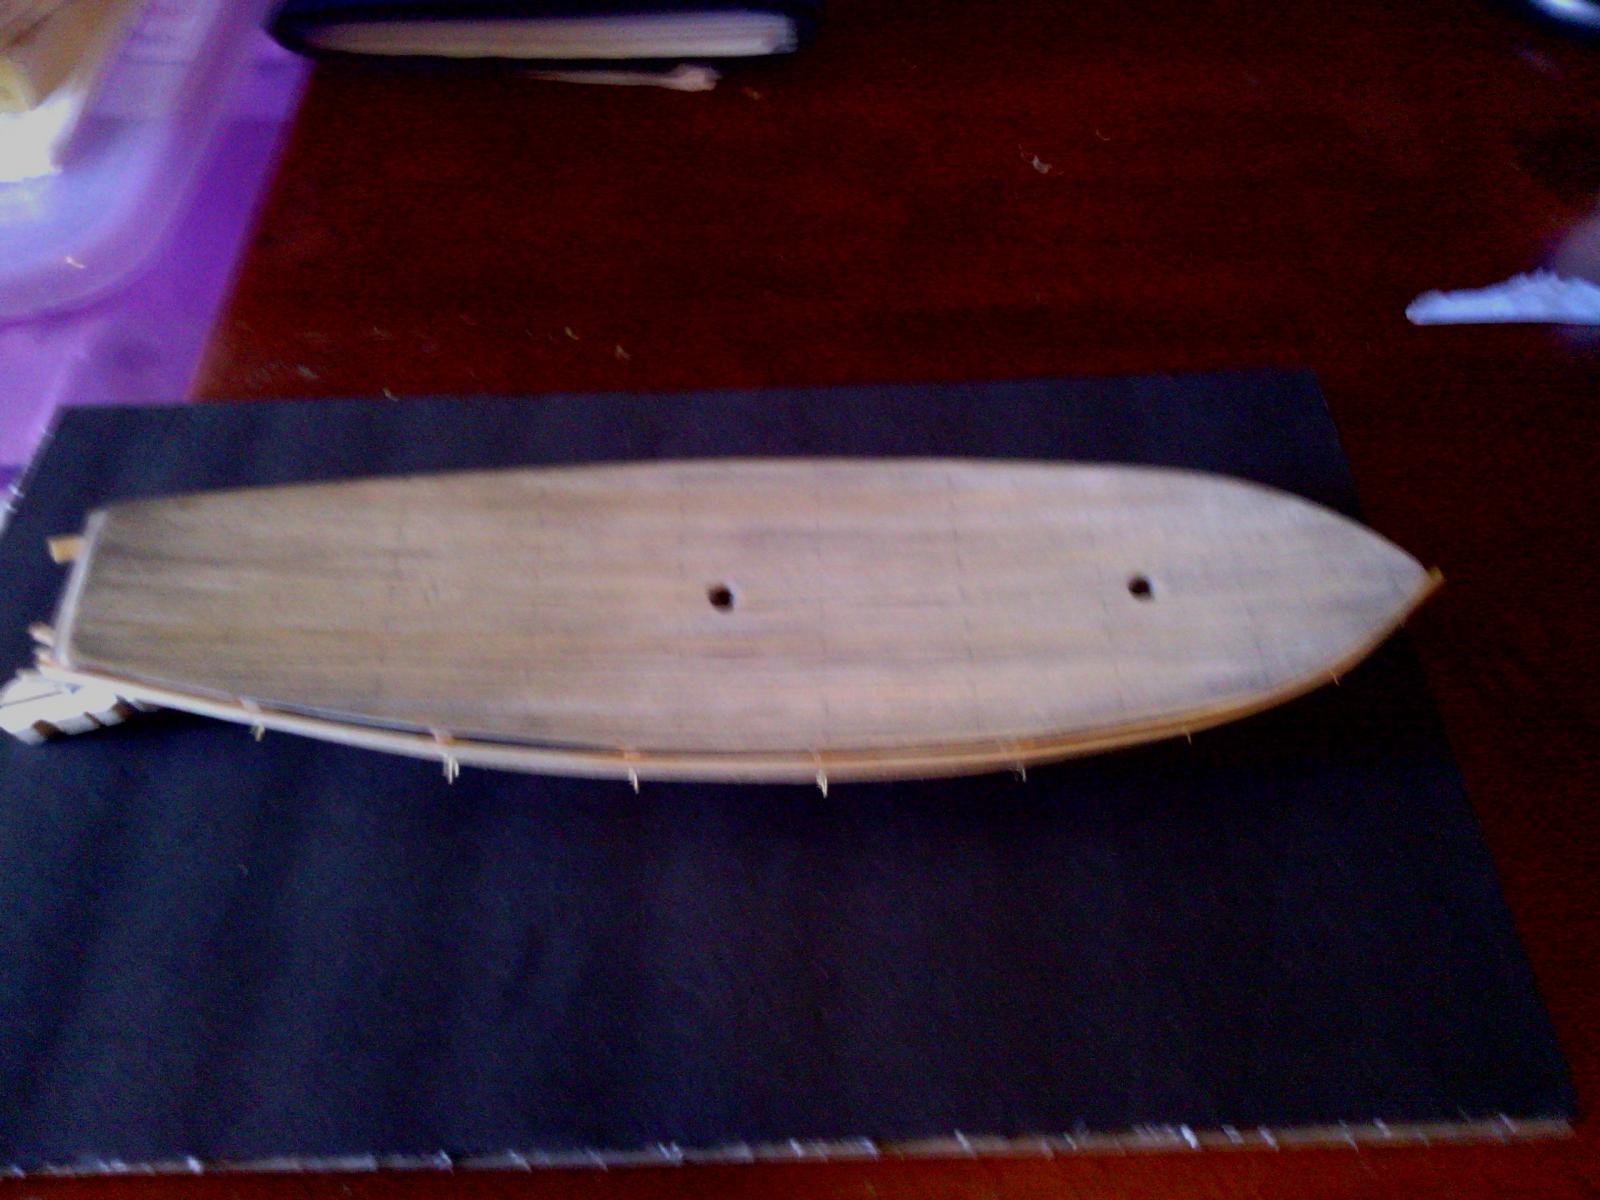
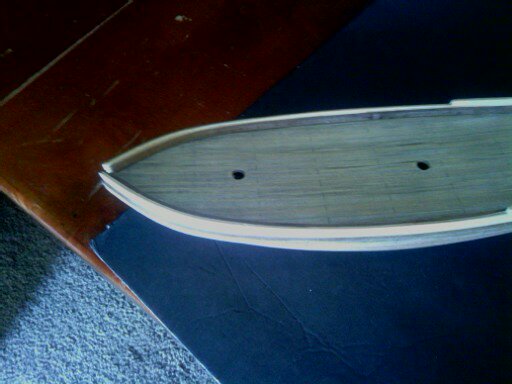
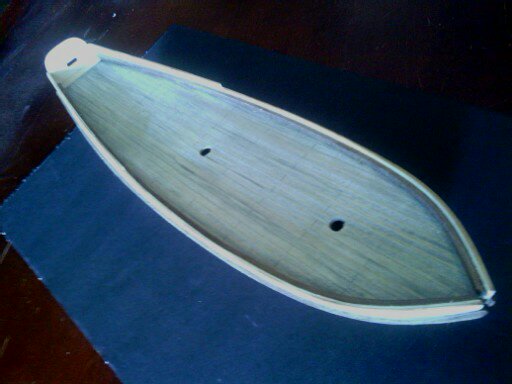
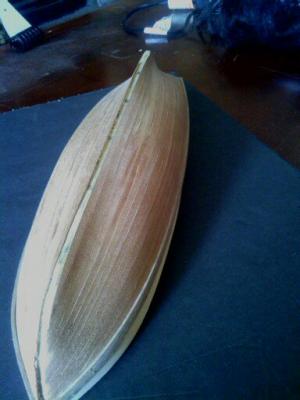
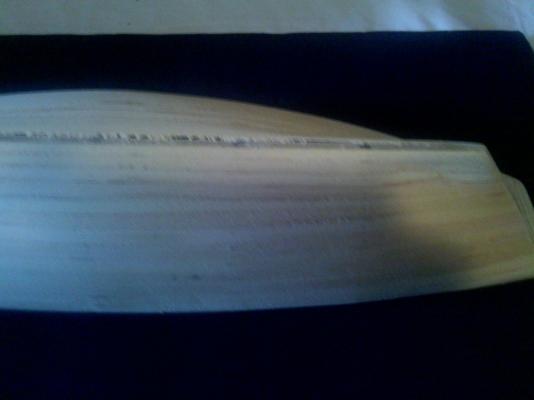
Since my last post I've been working on planking the hull. The first layer is done and I've been sanding, sanding, sanding. A little wood filler and some more sanding, sanding, sanding she'll be ready for the second layer.
-
Nice work Steve, wish I had some of your lovely tools. Curtis
-
Looking good Andy' I have 2 boys who want to help at least it keeps them from the video games.
-
Thanks Andrew, I'm just trying and learning. My dream is a scratch build, so I have to learn. Thanks for your support.
-
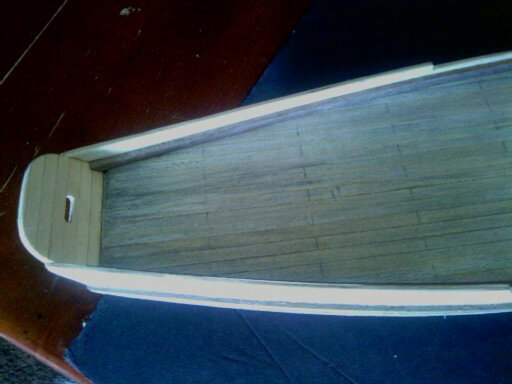
Since my last post I've bee working on deck planking which I tried to weather but it did not turn out the way I wanted. Anyhoo its a learning process and I learned. I've also begun the first layer of hull planking and started on the deck structures. Its been fun so far. I wont GIVE UP THE SHIP. p.s. Thanks for your help Andy it worked


-
Thanks Andy, I only let mine soak for about 10 minutes. I'll try the longer soak time, that would probably help a lot. Curtis
-
Hey Andy, Nice work on the hull. I just started on my hull planking and was wondering if all you used was hot water to soak the planks and how long did you let them soak. My first few planks started to break at the stem when I tried to bend them around the curve. Curtis
-
Thanks for the support. I'll be posting more pics soon.
-
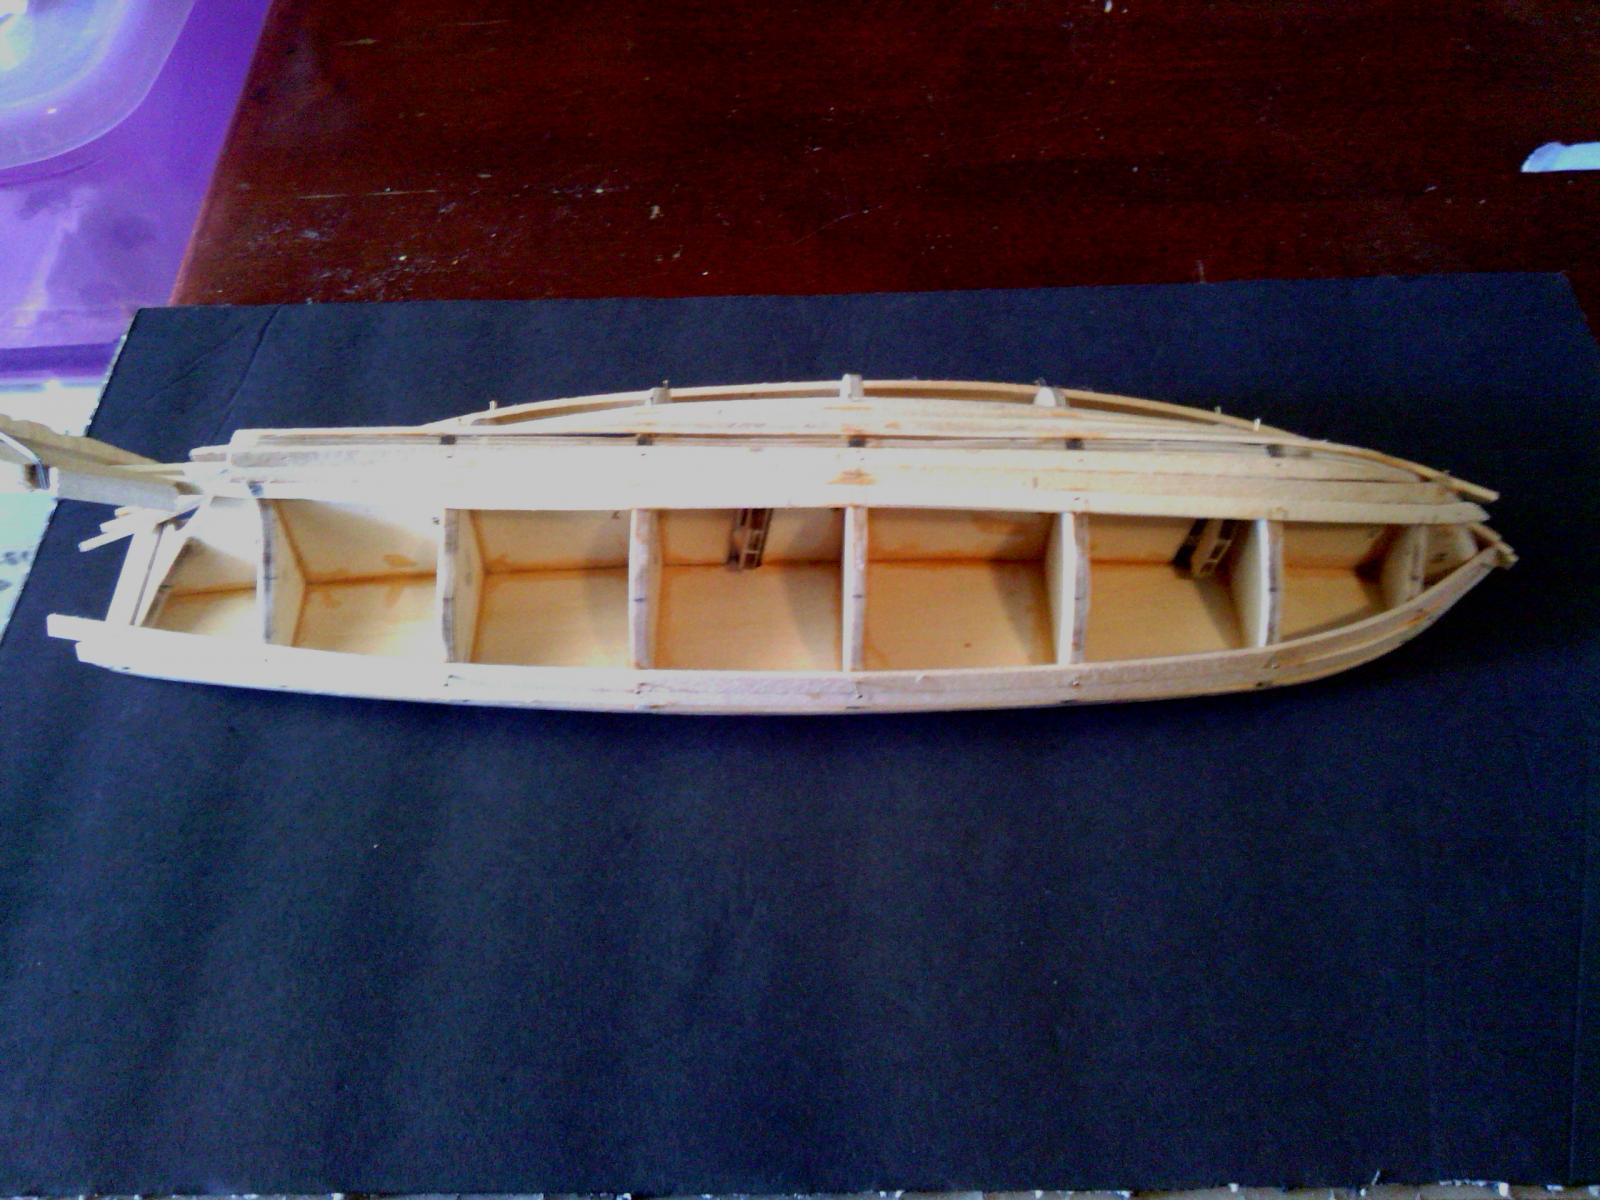
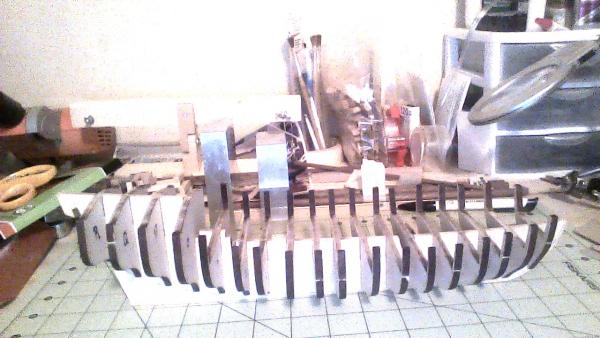
I started this build log a little late. I purchased the kit to pass the time while I am recovering from an auto accident. I have built plastic models in the past and always wanted to try my hand at a wooden ship. This is it. Here goes. The bulkheads, false deck and false keel have been glued up and work continues on shaping the knightsheads. Its been fun so far. Next planking which is something I would appreciate any advice on the best way to go about it.