
timo4352
-
Posts
126 -
Joined
-
Last visited
Content Type
Profiles
Forums
Gallery
Events
Posts posted by timo4352
-
-
Does the Pinky give you wide enough material to spile the planks like the plans show? I haven't even opened the box on mine yet.
The instructions say that they do. They also say that the supplied material is based on 8 foot scale plank lengths - so don't try doing full length planks or you may run out of material, I guess. 3 planks to a strake is what the plans call for.
-
-
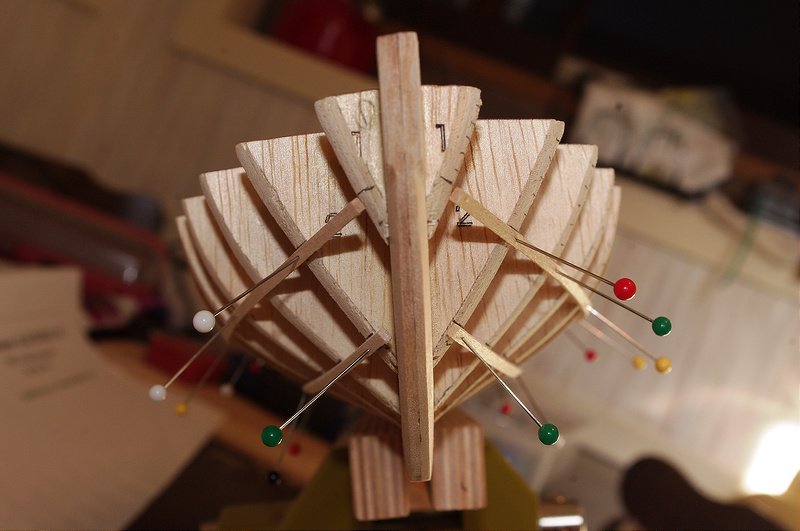
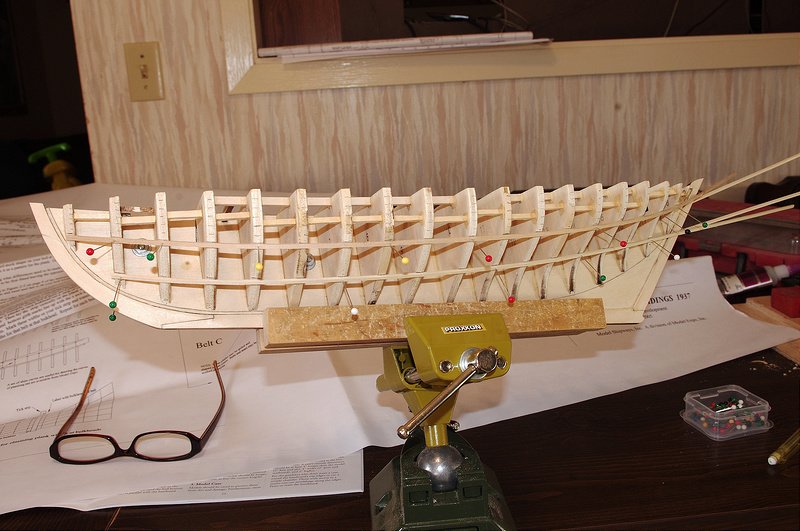
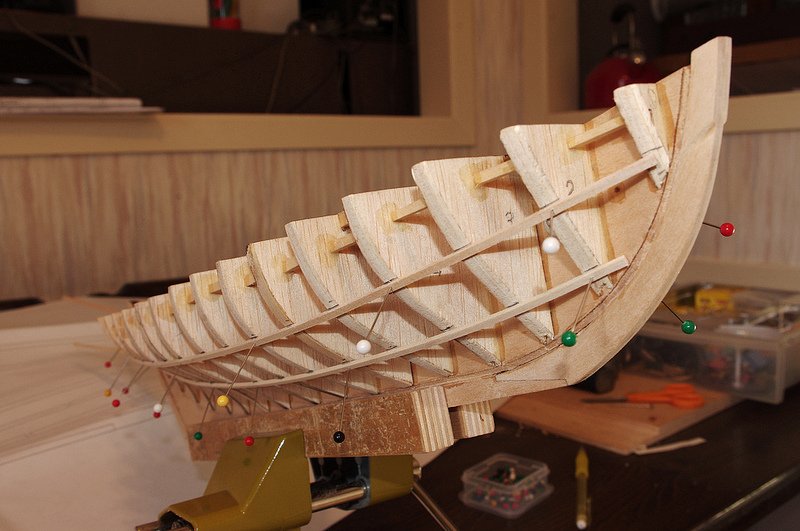
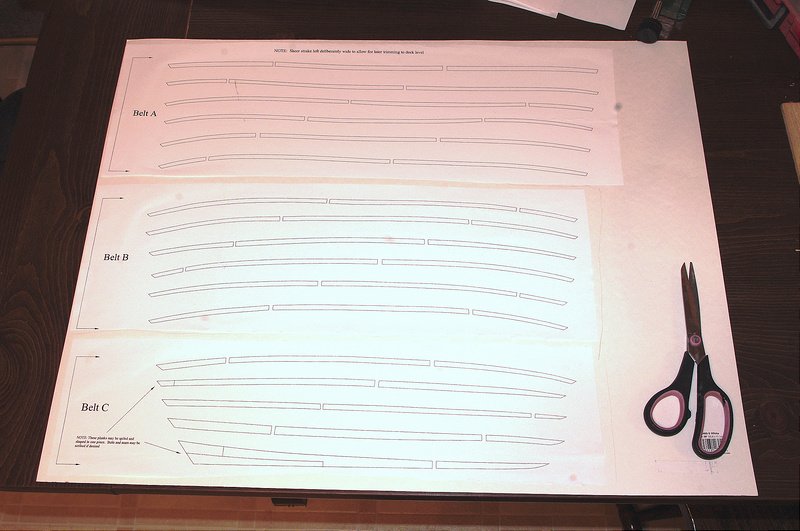
Here's a couple shots of the starting of lining off - and the sheet of plank shapes from the plans. I've glued it to poster board an I'll cut them out to see how they fit the boat. I don't know if any other kits include plank shapes like this? It seems like a nice touch, especially for a beginner.
I have taken all those pins out and cut them short and re-installed them to make working on the hull a little less cumbersome.
- alde, Senior ole salt, egkb and 2 others
-
 5
5
-
I'll be following along, Len.
It looks like a nice kit. Good luck and enjoy!
-
Thanks Eamonn. Just trying to follow the plans as close as I can. The plans set that came with this model is really amazing. All these type of details are included there.
Plus, this was something I didn't get quite right on my 1:1 build, and I wanted to do better this time.

I've started lining off the hull - I think this is gonna take a while............. The plans come with a sheet for cutting the plank shapes - and I at first was thinking that I would be able to trace them , cut them , and put them on the boat. I now think it's gonna be just a bit more complicated than that.....

There's 17 strakes - per side = 34 strakes
And... 3 planks per strake = 102 planks in all
That'll keep me busy for a while
-
-
Hold on there cowboy! You aint ready fer plankin" yet!

Read the instructions again first Tim!
So I had a few more things to complete before any planking starts. Now the carlings and deck beams are done. There is a couple of deck support blocks that needed to go in there. Two blocks were added to the sides of the center keel to create the step for the main mast - this is very important - you cannot get to this after the deck is planked! I also tapered the stem and sternpost now so I don't screw up the planking by trying to do it later.
Now I gotta go read those instructions again, before I do anything rash.
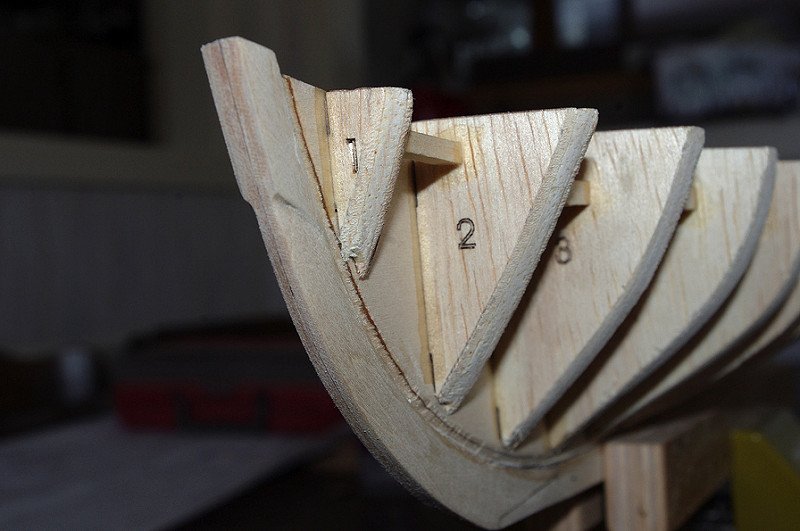
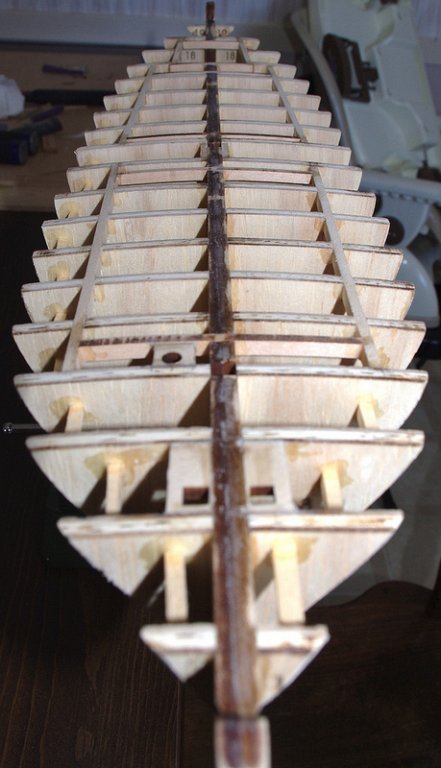
- Senior ole salt, alde and dgbot
-
 3
3
-
Sorry guys, I didn't even wait for a response - I just went and did it!
 I used the dremel tool with the cut off wheel and cut the notches in the bulkheads. It worked great. Cleaned the slots up with a square needle file and glued in the front carlings in one piece each. I had to clean up the table for dinner so I'll get back to the others later. I need a real modeling bench - we just don't have the extra room in the house...
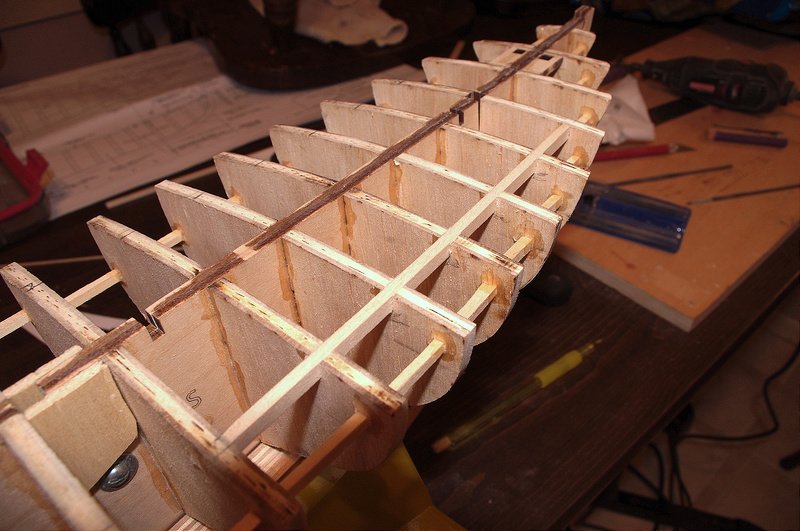
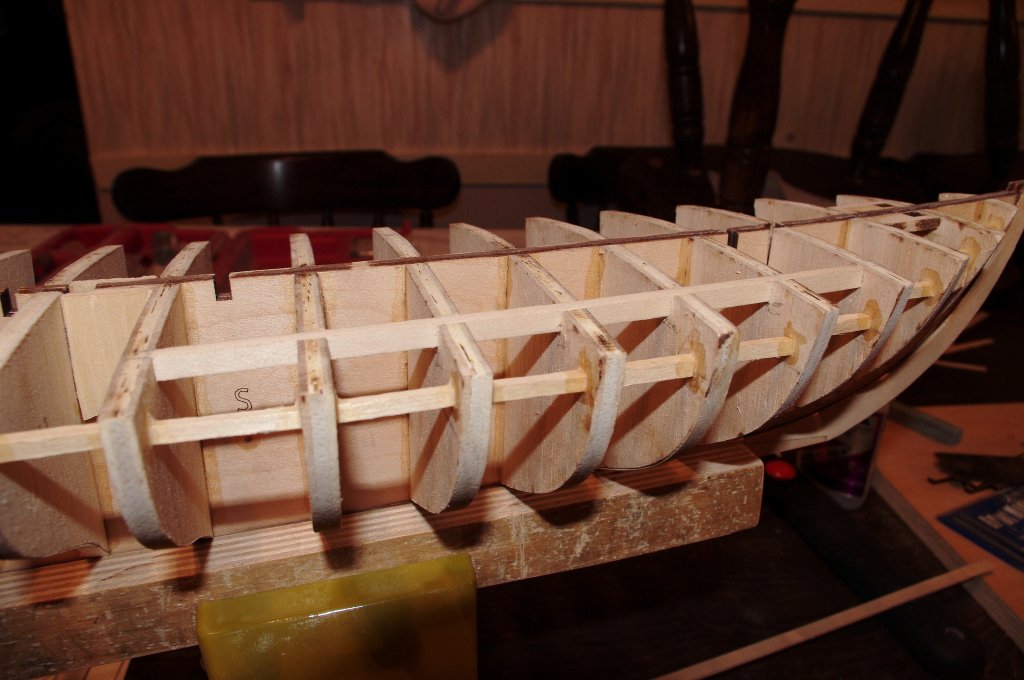
- hamilton, egkb, Senior ole salt and 2 others
-
 5
5
-
So now a question does arise on my build... I am getting ready to do the deck beams and carlings. The plan sheet says to fit many seperate carlings in the spaces between the bulkheads. There will be a lot of small cuts and fitting to do it this way. It seems to me that a better way would be for me to cut notches in the bulkheads and fit the carling as one continuous piece. I know if I was building the thing full size, that is what I would want to do.
Any thoughts or comments from past Pinky builders? Or maybe you did the same thing on a different model you've built?
Or maybe I shouldn't do this - this way at all?

I am leaning towards it - it seems to simplify the job, and once glued in I think it will be stronger this way as well.
Tim
-
One more suggestion, Jay
Consider this clamp on / bolt down type. It doesn't sound like the suction cup base type can be trusted to hold from what others have said. I guess that one can also be bolted down if you wish...
I originally thought I would be bolting mine down to a working board, but since I'm still working on the kitchen table this clamp on job is perfect for now.

Tim
-
Disaster has been thwarted.


-
Tim, in reference to your 2nd picture above: When the ball is in that position, can it freely rotate? In other words, in that picture could you rotate the ball so that your ship and vice jaws are vertical? My current vice's ball "locks in" at that position, and thus I can't rotate the vice to other angles, which is often not helpful!
Thanks for the great review and your input!
Cheers,
Jay
Jay,
You can rotate it a full 360 degrees, and lock it in any position in between in that horizontal position.
To add to Max's comment - i forgot to say the vise is made in Germany. Seems it's always quality stuff coming out of Germany.

-
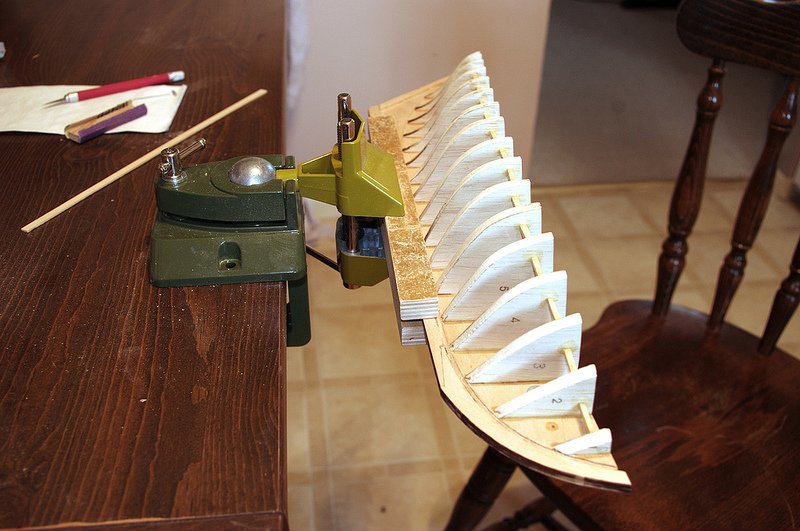
Wanted to add here how much I like this vise. I'm sure having this third hand will make a huge difference in the ease of assembly and final outcome of this model... and the next...
I made up some extended jaws to take the place of the metal ones.
Now let's get this fairing done and start planking.

-
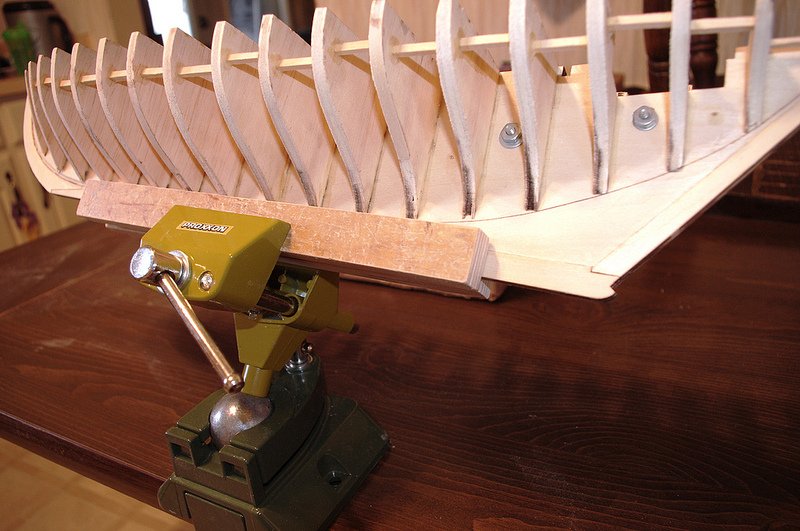
One last addition here for the benefit of future modelers searching for info on this vise - I made up some extended jaws for the vise. They take the place of the metal jaws. They came out at around 9-1/2" long - just happened to be the size stock I had work with at the time. Now there is a much wider grip on the keel. A couple pics:

-
-
-
My vise arrived today and I am impressed! This thing is really built well. I like that when you open it up the jaws do not flop around at all. Very precise feeling. The only thing I could complain about was the screw that goes in the bottom of the ball was not in place from the factory. Of course all I have to do is tighten the screw and that's good to go. A little grease on the clamp screw and ball and socket, and she'll be good to go. I got the clamp on / or screw down base. I have no trust in suction cup thingies. I'm very pleased with this purchase.
 Thanks for the replies, guys.
Tim
-
-
I'm starting to develop a little knack for the fairing process. I found one bulkhead that I got glued in a hair too high. One out of 38 aint bad

A little extra fairing should cure that. The instructions keep saying "don't rush into the planking" - so I'm trying to go slow and get this fairing done right!
Heck, if I can do a bang up job on the planking, I might even finish it bright! (wishful thinking newbie!)

-
Thanks Michael. Good to know.

I chose this base over the suction base. You can take the clamp off and bolt it down also, if you wish. I'm thinking I'll bolt it to a hefty working board and use it that way. Does your suction base work OK for you? Those kind of things never seem to hold for me reliably. I was worried about it coming loose at an unopportune time.

-
Hey guys - I just took a chance and ordered this Proxxon vise. It seemed a little better made than some. A few bucks more - I hope it's worth it. Anybody used one? Do you like it? I needed something for the Pinky build I'm working on now.
I'll of course let you all know my impressions once I get it and try it out.
Tim
-
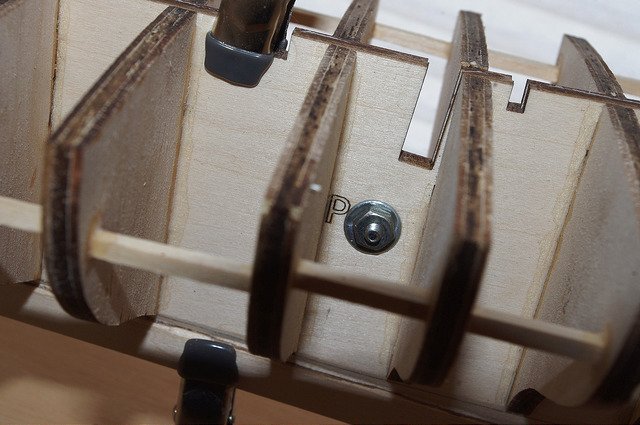
Ready for the North Sea!
I put five little bolts in there. They look huge, but they are little 1/8" bolts... But that scales to 3" diameter bolts - so they are huge!

- egkb, aliluke and Salty Sea Dog
-
 3
3
-
That sounds like a good idea. I'll have to shop around for some balsa blocks I guess. And now that I think of it, I think I might want to put some small nuts and bolts and washers in there, bolting the two halves together. It'll be cheap insurance against the glue failing between the two halves. Yeah - that's the ticket!

Tim
-
Thanks hamilton. I've seen yours on the forum. Came out great. Not too many of these seem to have been built - or not posted here anyhow - just a small handful that I've found.
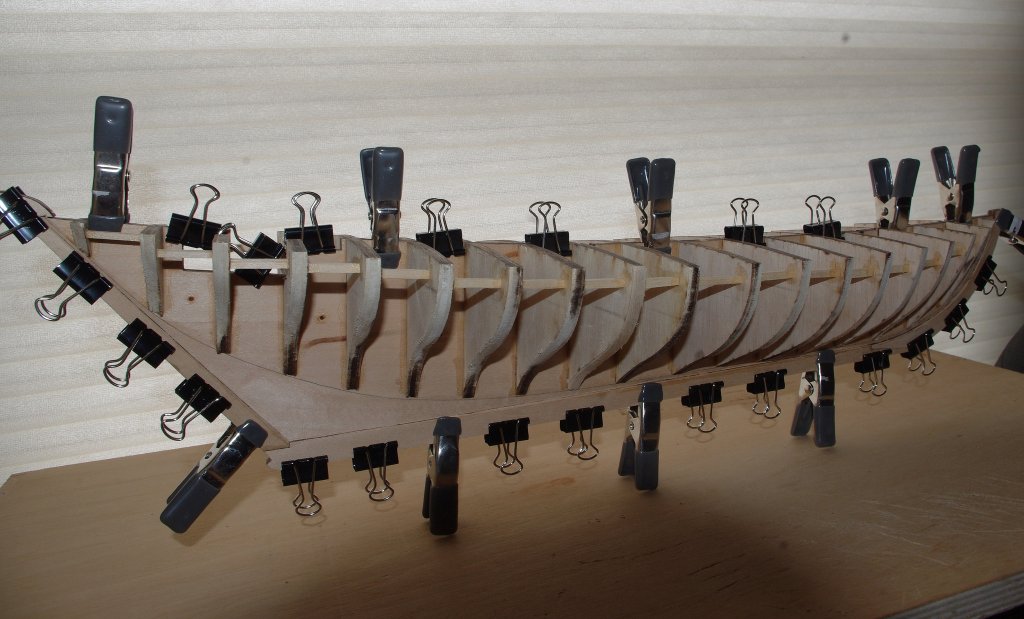
Today I started fairing the bulkheads. I wasn't too happy how it was going. The whole hull half wanted to move around a bit despite being pinned to the board.
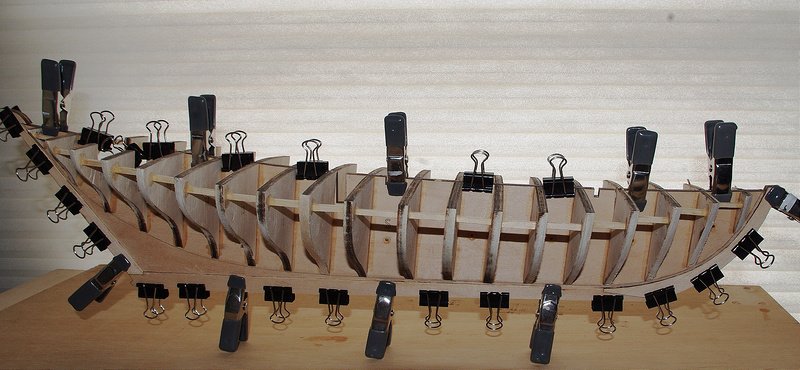
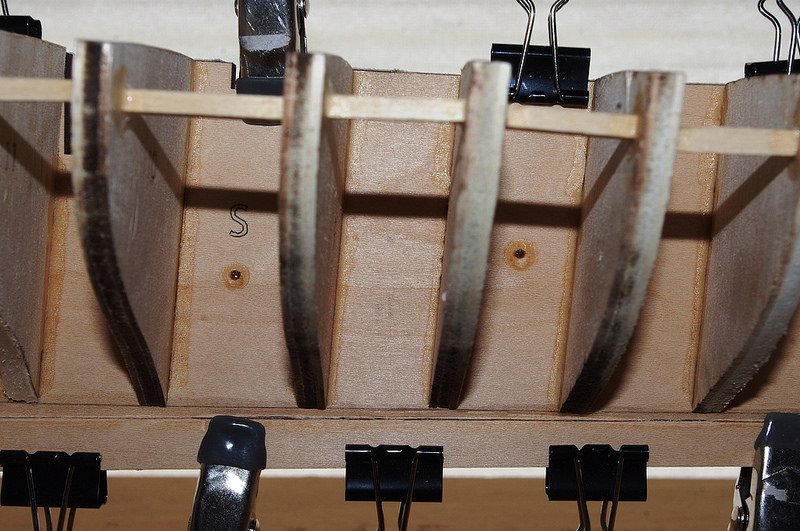
I thought it best to assemble the halves - I'll fair it as one unit instead of two. Makes more sense to me. I've got to get some kind of vise figured out to hold it now...
I stuck the two halves together with a few clamps to align them. The ran a bead of glue around the edges. Added more clamps. And the drilled holes though one half to the other and shot glue in the holes. All according to the instructions. I may drill some more holes here and there and shoot glue in them also for added insurance.
Hope I did all that correctly



Glad Tidings Pinky Schooner by timo4352 - Model Shipways - scale 1:24
in - Kit build logs for subjects built from 1901 - Present Day
Posted
Well, I have finally made it to planking!
But first I re-did my lining off - I wasn't happy with the first attempt so I started over from scratch. Re- marked the belts and all the plank lines. Then I cut out one of my posterboard planks to see how it fit - pretty damn close! So I started cutting a couple planks, and got my first one glued on! - only 101 more to go! The one pic shows the posterboard plank next to a real one. The majority of the planks are quite narrow as you can see.
I know the last plank to go on is usually called the whiskey plank - is there a name for the first? Beer plank maybe?
I promise I won't show a pic of every plank as it goes on!