Mike Dowling
-
Posts
1,235 -
Joined
-
Last visited
4 Followers


Recent Profile Visitors
5,411 profile views


-
 Ian_Grant reacted to a post in a topic:
Amerigo Vespucci by Bill97 - OcCre - 1/100
Ian_Grant reacted to a post in a topic:
Amerigo Vespucci by Bill97 - OcCre - 1/100
-
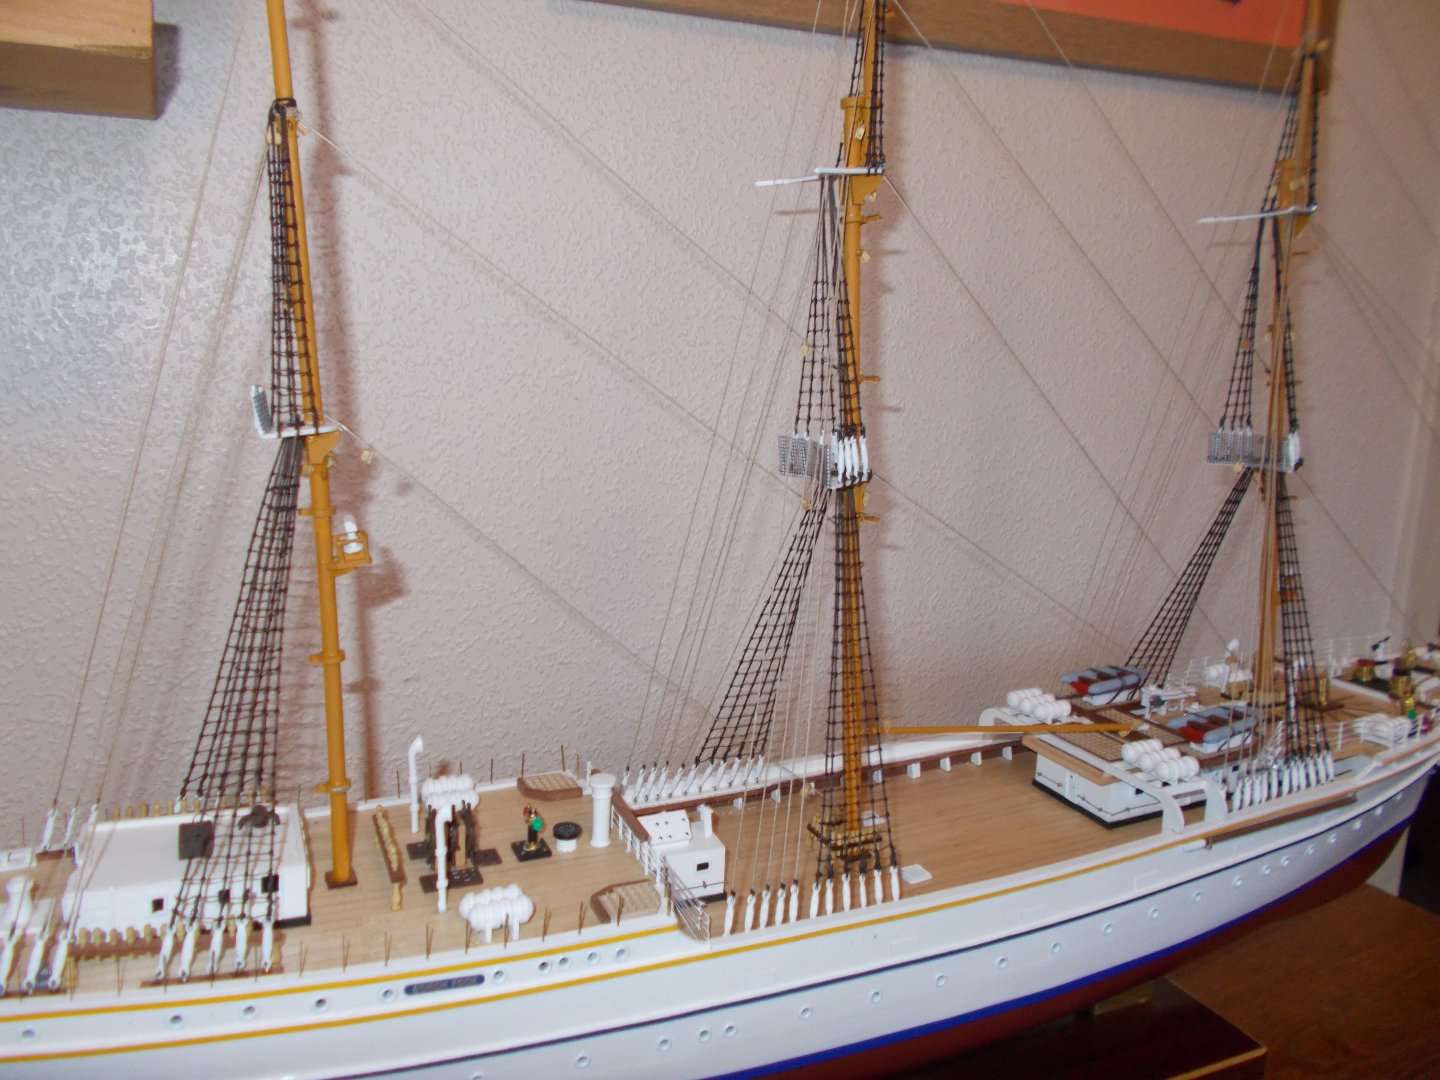
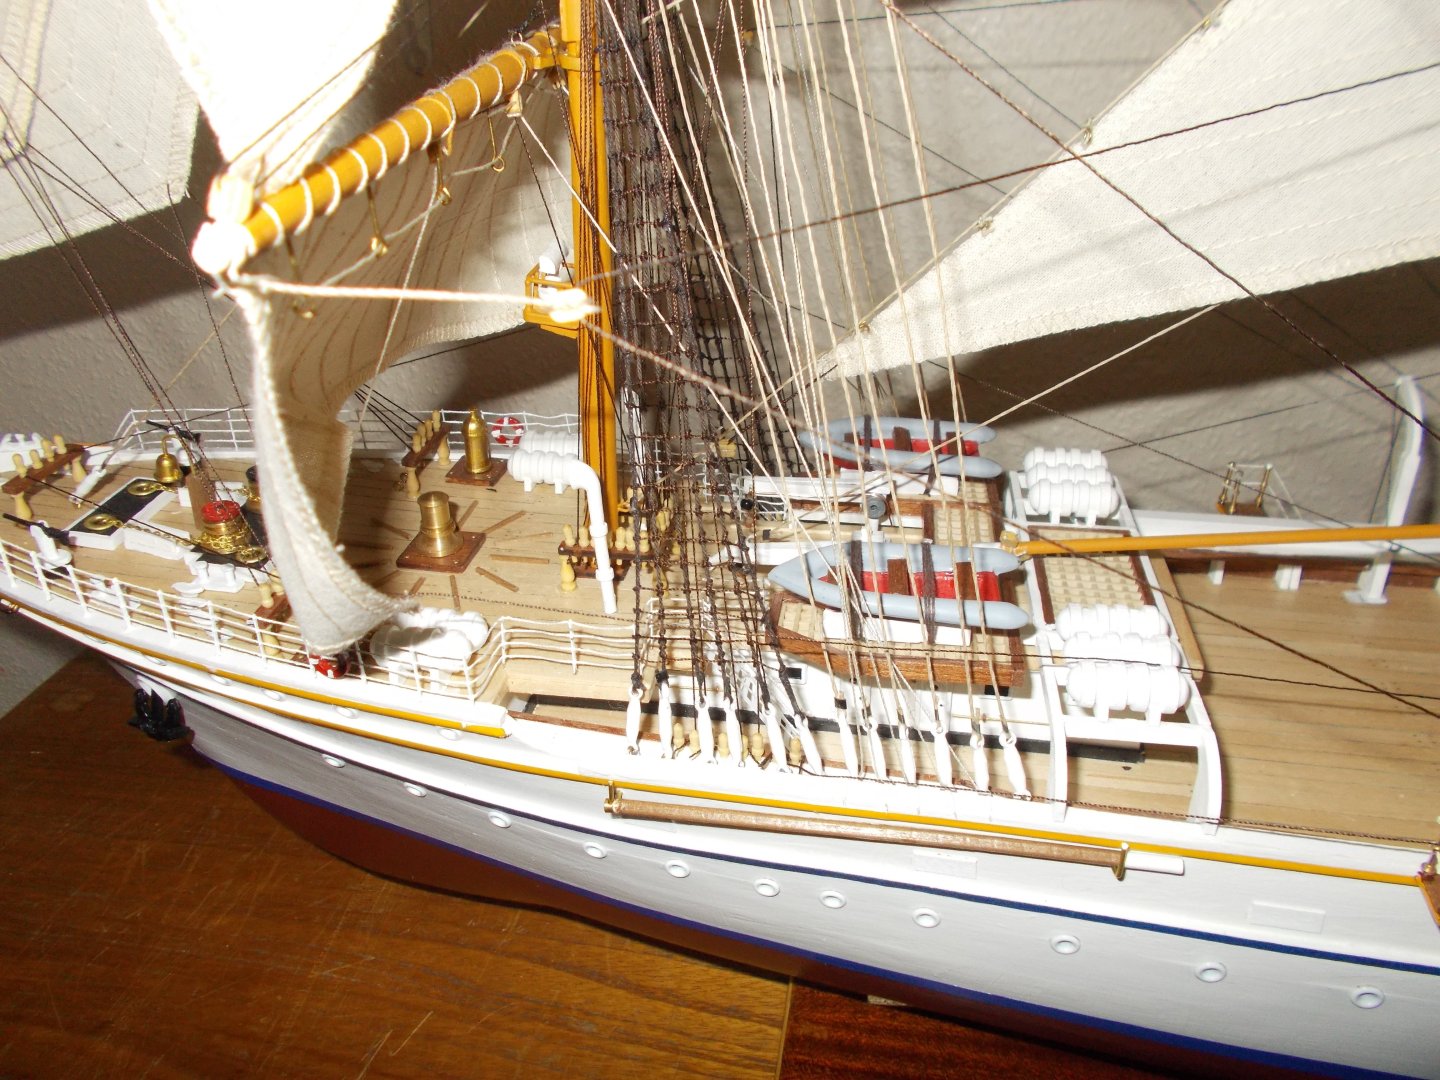
They are guns. Remember this is a navy training ship.
-
Mike Dowling reacted to a post in a topic:
What is CA glue and how does it work?
-
Mike Dowling reacted to a post in a topic:
Amerigo Vespucci by Bill97 - OcCre - 1/100
-
Mike Dowling reacted to a post in a topic:
Artesanía Latina - News and information
-
Very nicely done and a splendid idea.
-
Nice job on the planking, well done.
-
Mike Dowling reacted to a post in a topic:
Old Builder new problem
-
druxey reacted to a post in a topic:
Old Builder new problem
-
druxey reacted to a post in a topic:
Old Builder new problem
-
Keith Black reacted to a post in a topic:
Old Builder new problem
-
Knocklouder reacted to a post in a topic:
Old Builder new problem
-
It's strange, I can do most of the things I used to do and am also right handed but I have huge trouble writing especially noticeable when trying to sign something. Still, We persevere.
-
Mike Dowling reacted to a post in a topic:
Old Builder new problem
-
Keith Black reacted to a post in a topic:
Old Builder new problem
-
I think others have already said it but, in case it helps, I had a stroke last year and basically lost control of my right side. Perseverance my friend is what it's all about. I am sure your therapists have talked to you about 'neuroplasticity' which is the posh way to say brain rewiring but it does happen albeit slowly. Keeping trying to do difficult things helps that happen and will make your recovery faster. Keep up what you are doing and just remind yourself of the 'oh, I couldn't do that last week', moments. They really do happen.
-
shipman reacted to a post in a topic:
Oseberg by Mike Dowling - FINISHED - Amati- modified
-
GrandpaPhil reacted to a post in a topic:
Jabeque Cazador by mikiek - OcCre - 1:60
-
mikiek reacted to a post in a topic:
Jabeque Cazador by mikiek - OcCre - 1:60
-
Sorry, I had a look at the photos I took but they are all of the finished boat, no building pictures which might have been helpful to you.
-
I know this was a beast to fit but I am not quite sure what your problem is. I have just had a look at mine and I don't think there are any frames as such to fix it to at that stage. The whole thing slopes out to the sides and it is only the bottom edge that you need to glue at this stage. As long as you can glue the strip to the hull which it sounds as though you are ok with you should be alright. I will have a look later in case I took any pictures while I was building mine. Don't give up, it makes a nice model when finished.
-
Mike Dowling reacted to a post in a topic:
HMS Victory by FifeModels - Artesania Latina - Scale 1/84 - Anatomy Version
-
mikiek reacted to a post in a topic:
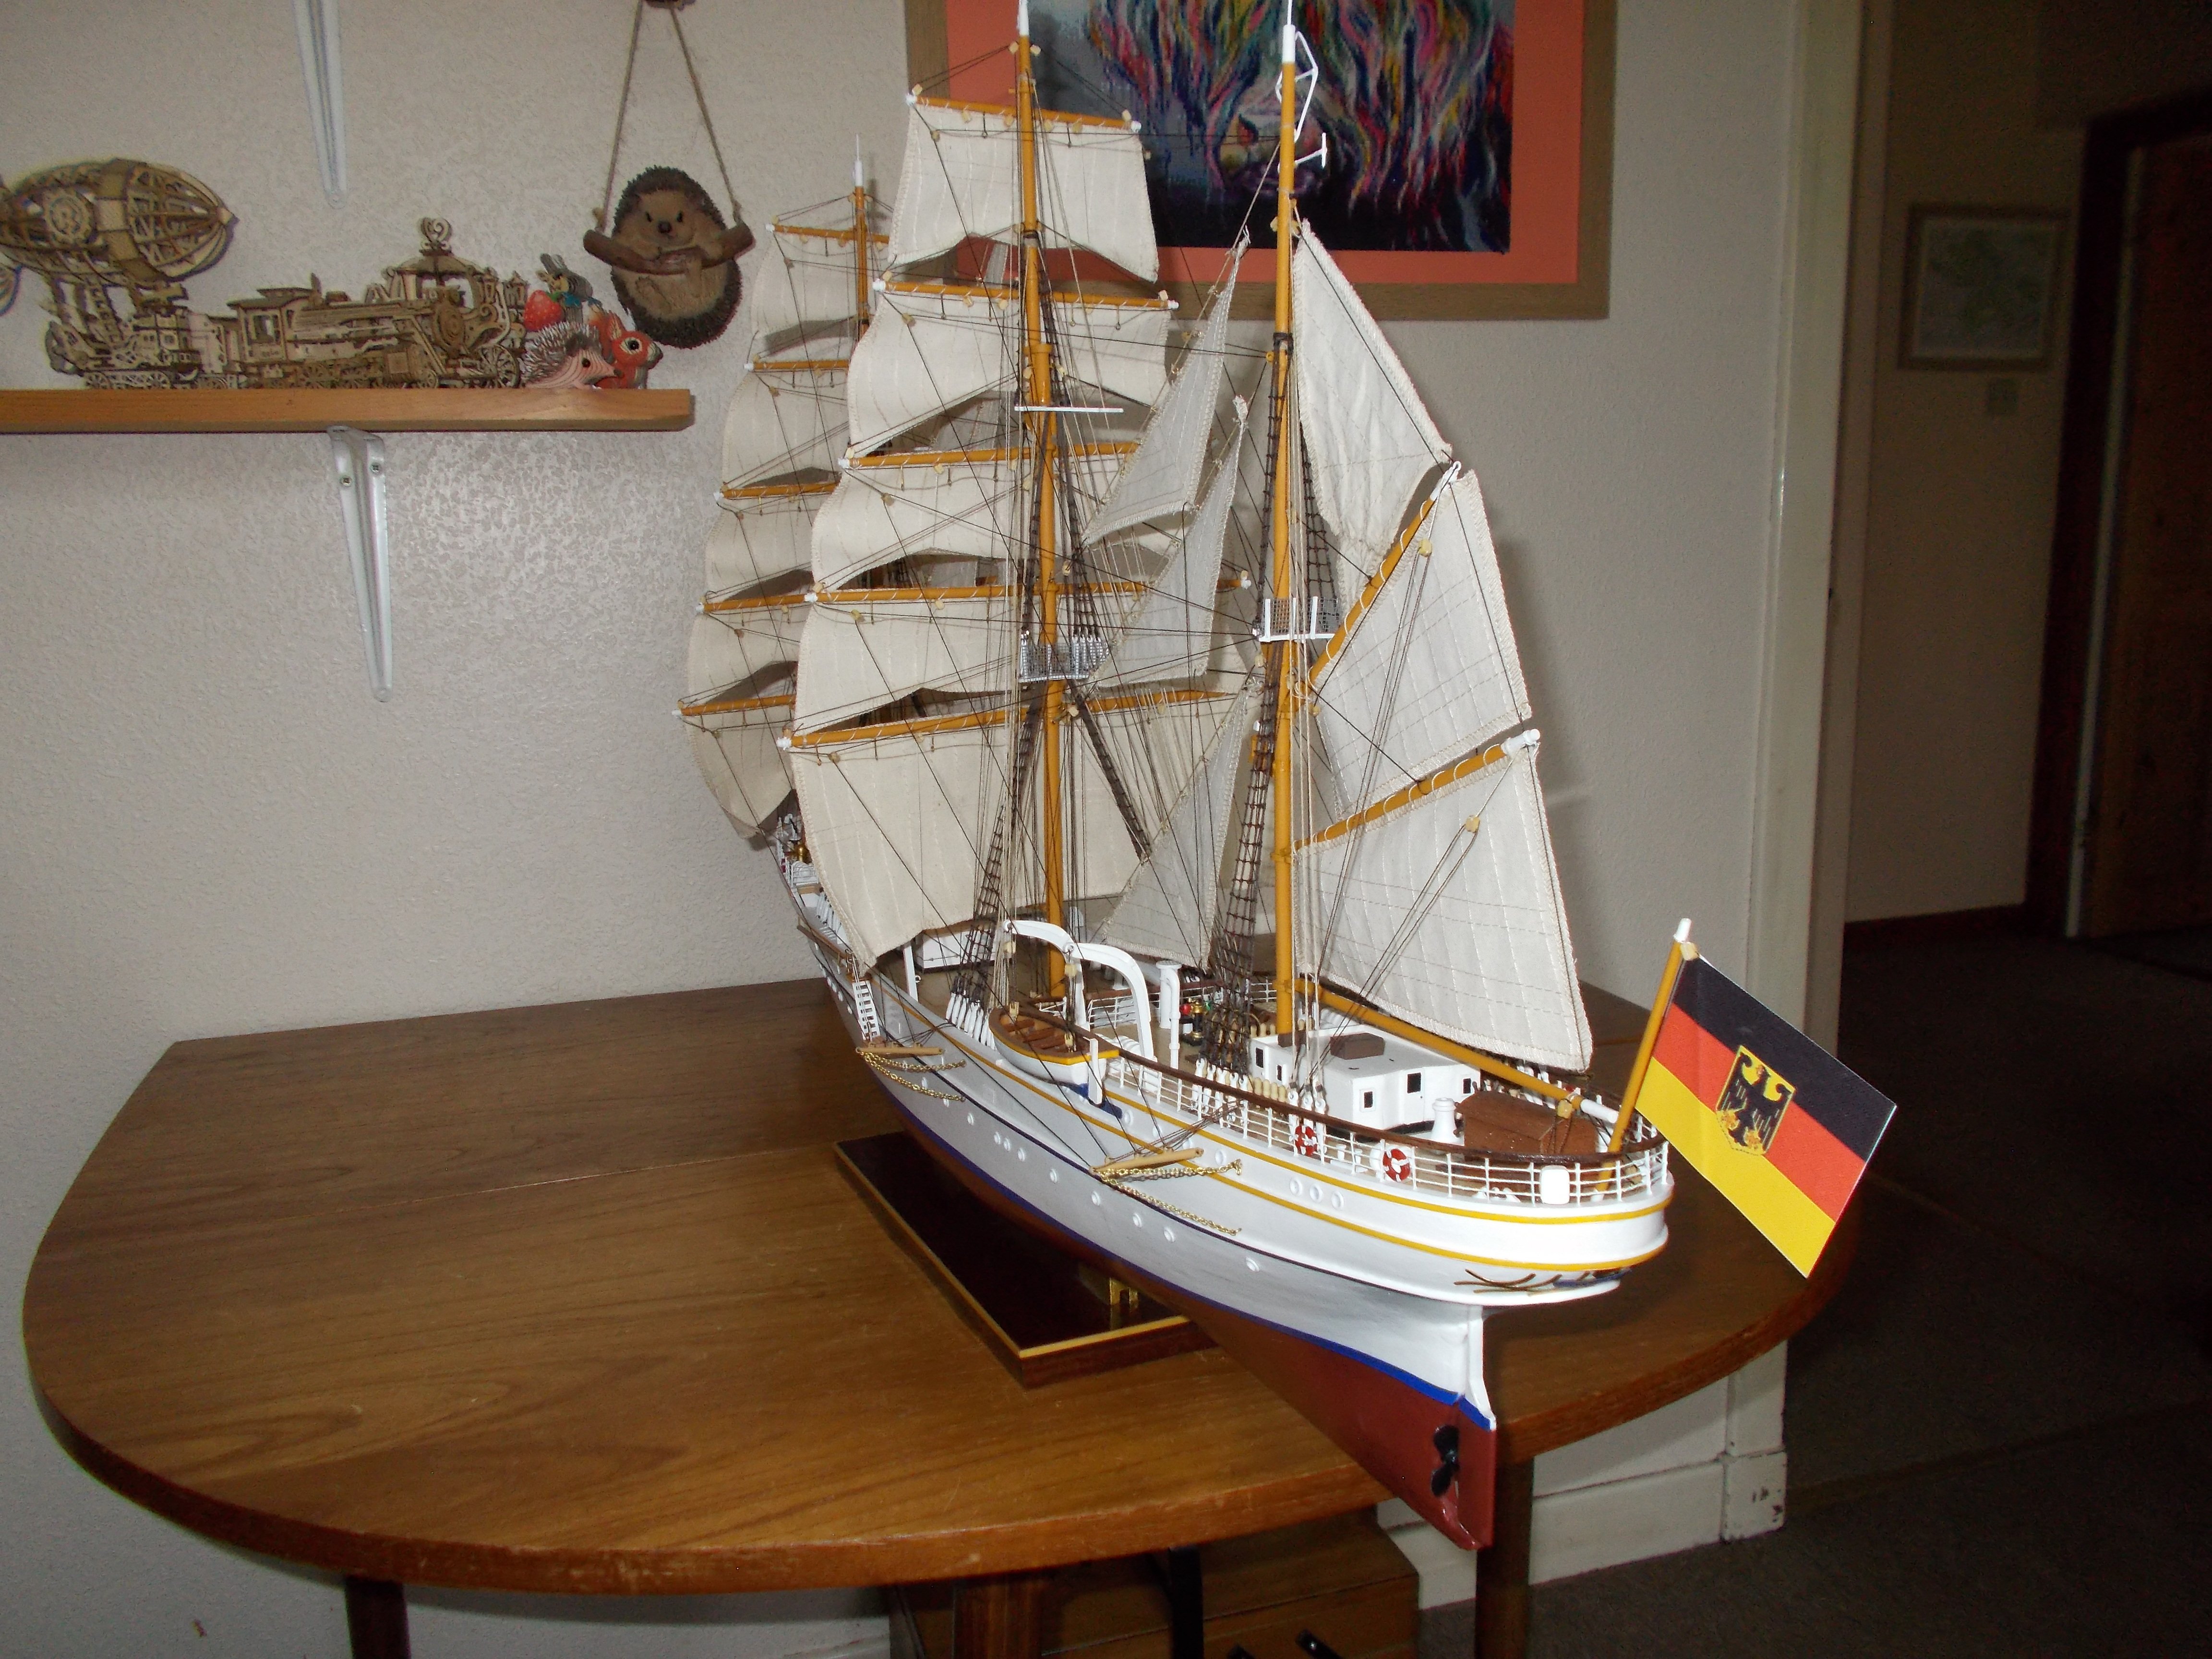
Gorch Fock by Mike Dowling - OcCre - 1:95
-
Mike Dowling reacted to a post in a topic:
Jabeque Cazador by mikiek - OcCre - 1:60
-
I have to say that this is not an easy piece to fit at all but, when I did mine I didn't plank it inside or out until fitted because as you rightly say it makes the piece even thicker. I think I broke one side trying a dry fit so didn't even try on the other side. I soaked the pieces for as long as I dared so that they didn't de-laminate and bent them bow and stern before gluing and fitting with loads of clamps. It all worked out in the end.
-
Mike Dowling reacted to a post in a topic:
HMS Victory by FifeModels - Artesania Latina - Scale 1/84 - Anatomy Version
-
Mike Dowling reacted to a post in a topic:
Jabeque Cazador by mikiek - OcCre - 1:60
-
Mike Dowling reacted to a post in a topic:
HMS Victory by FifeModels - Artesania Latina - Scale 1/84 - Anatomy Version
-
Hi Dominic, long time since I heard much from you. You must have been saving hard for this kit!!! Tell me, why is one compartment copper lined?
-
Did you forget to soak the bulwark before trying to fit it?
-
Looks pretty good to me.
-
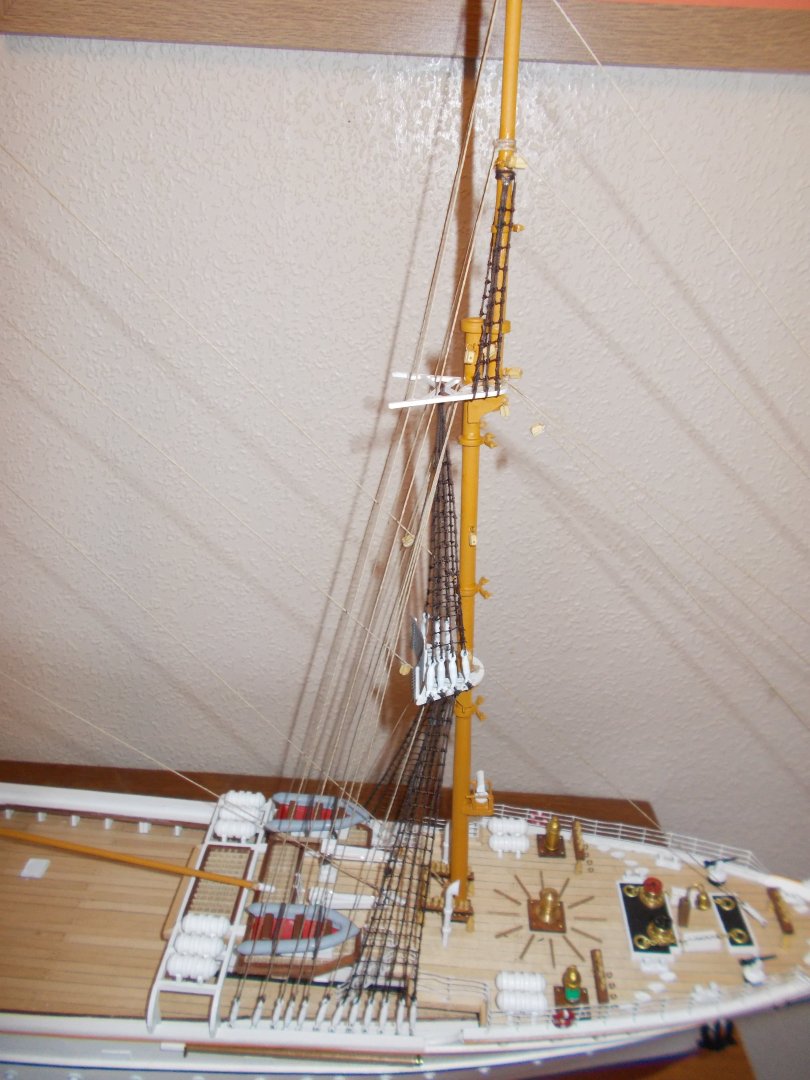
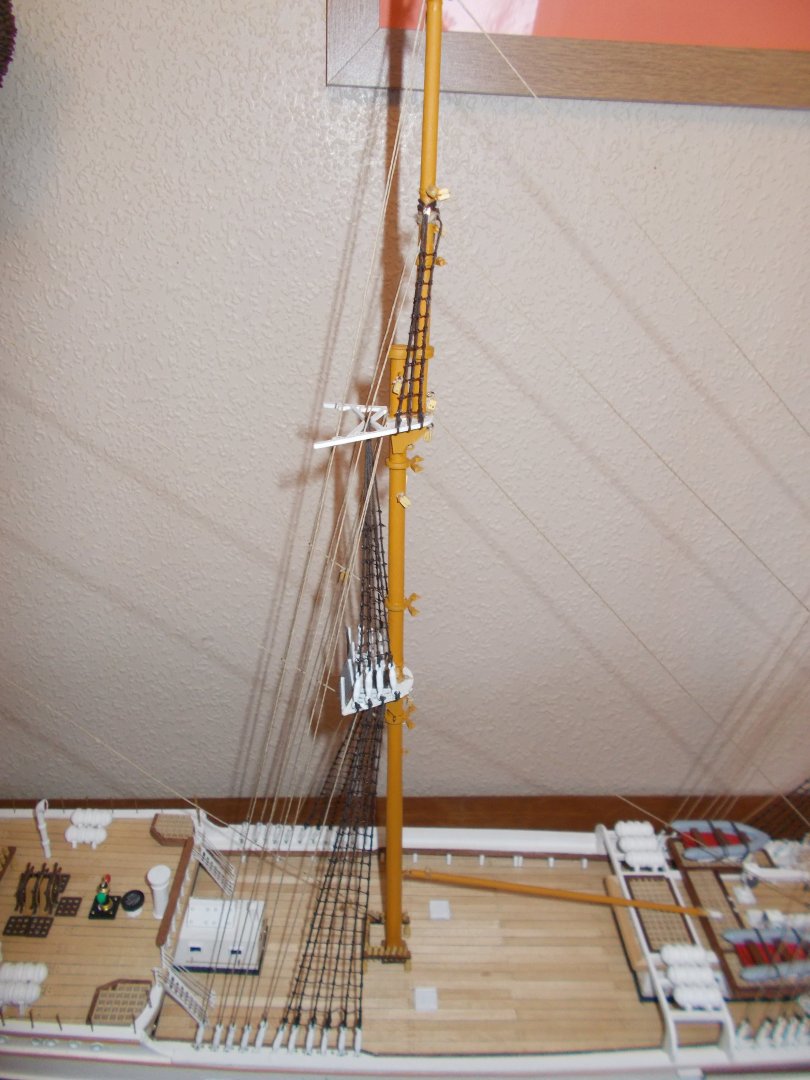
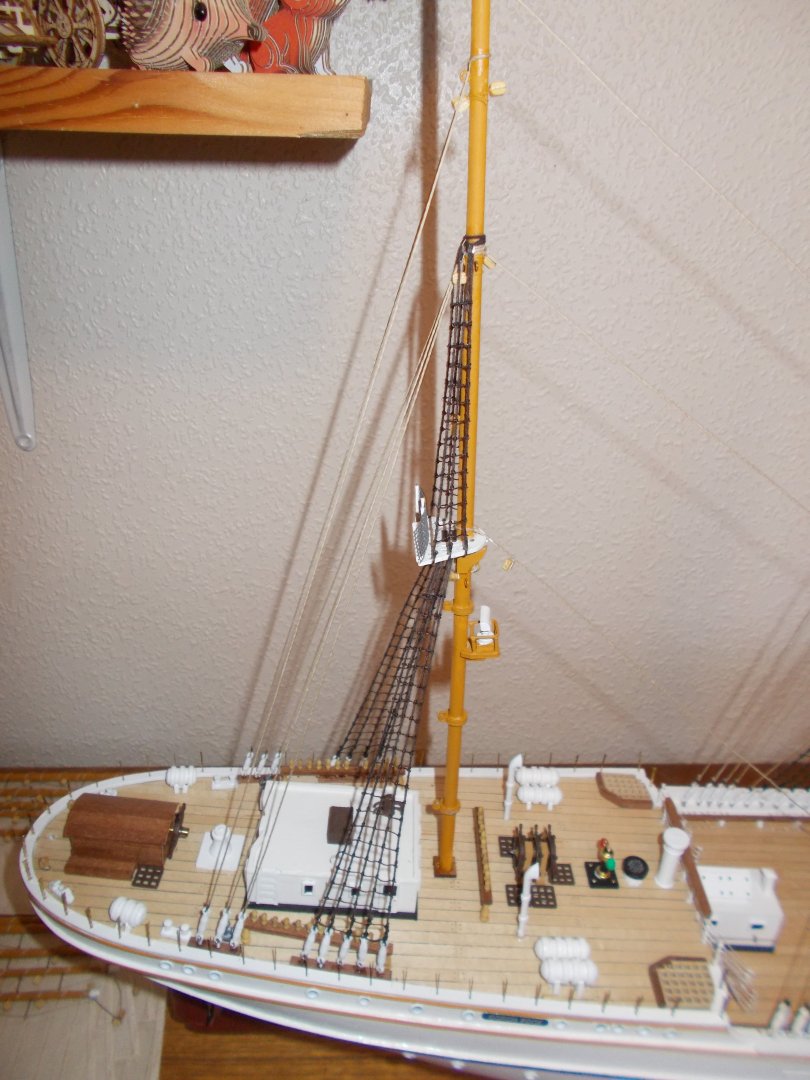
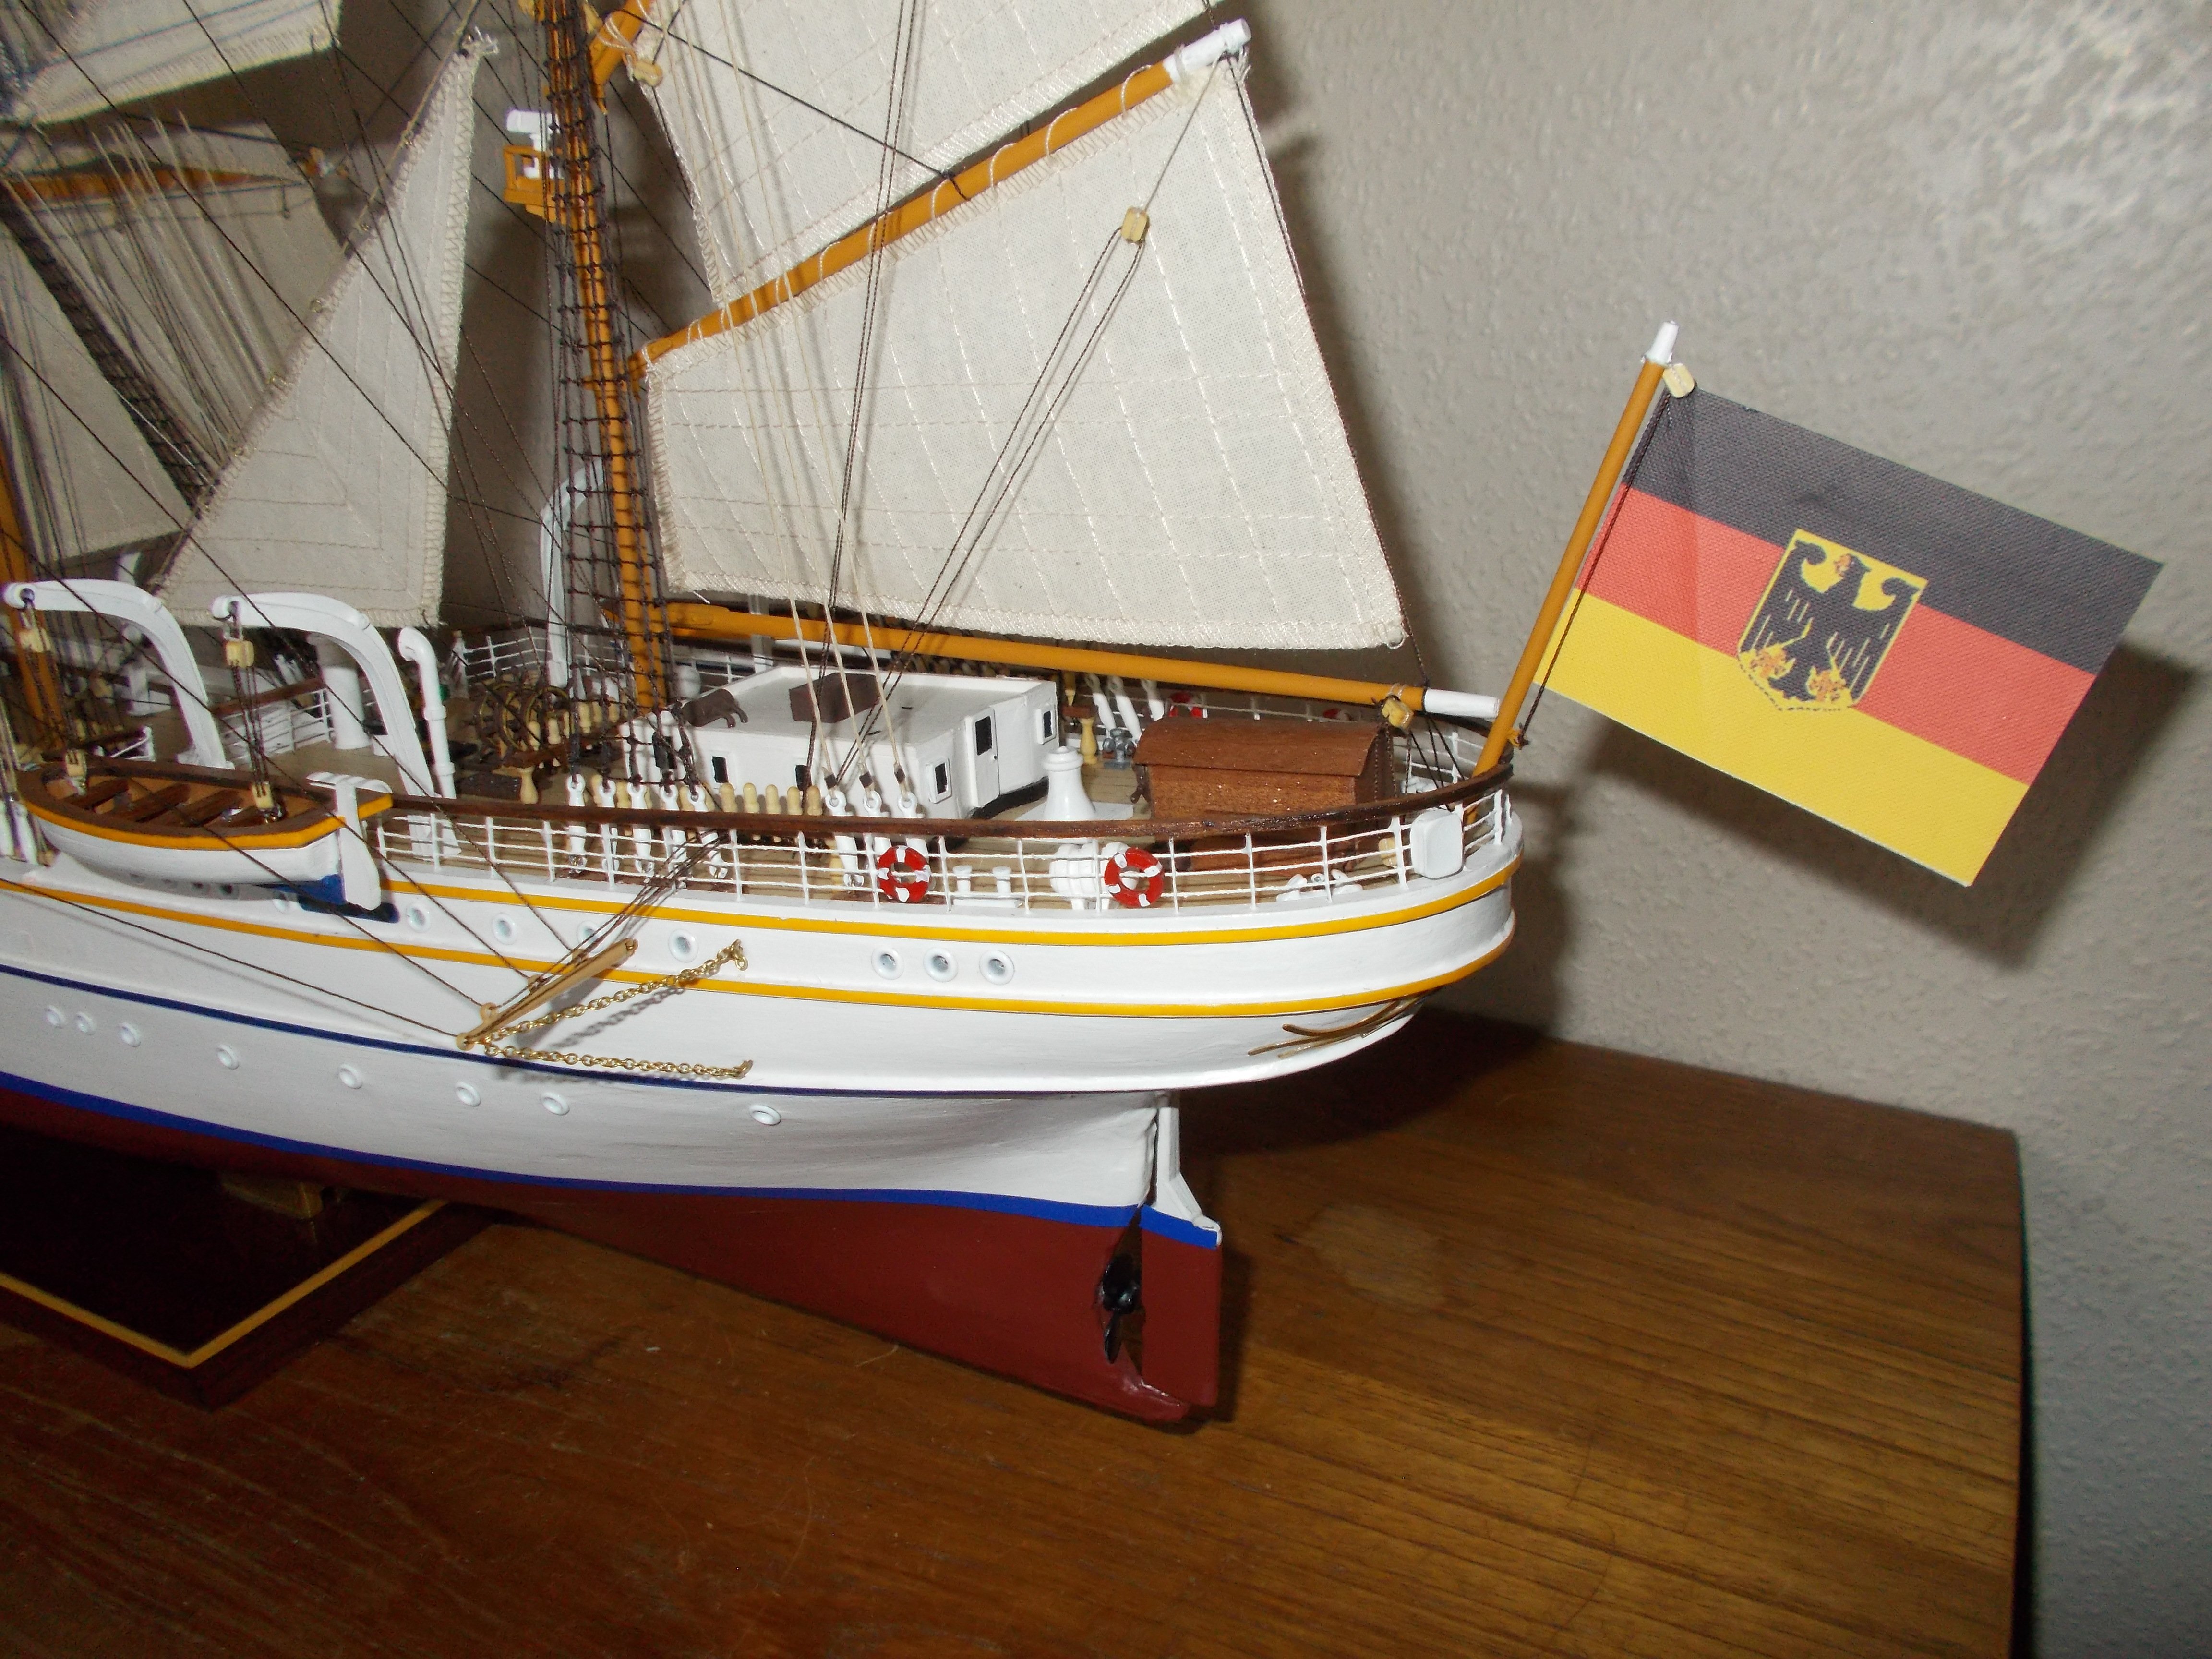
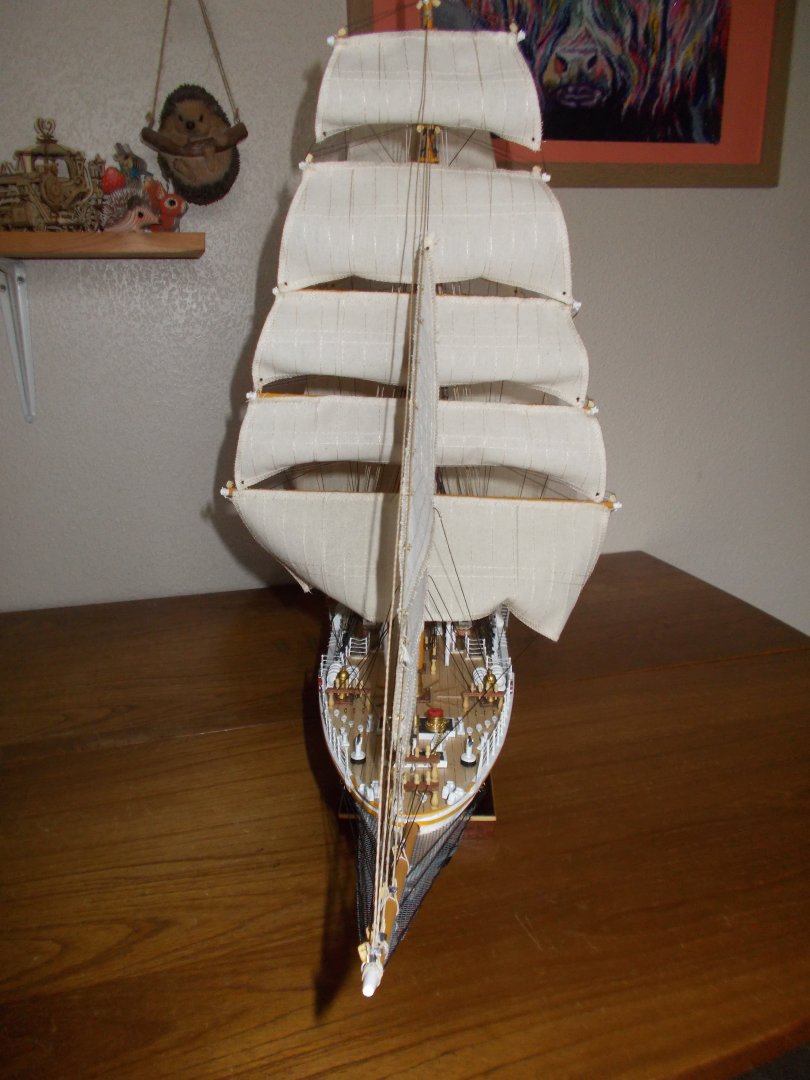
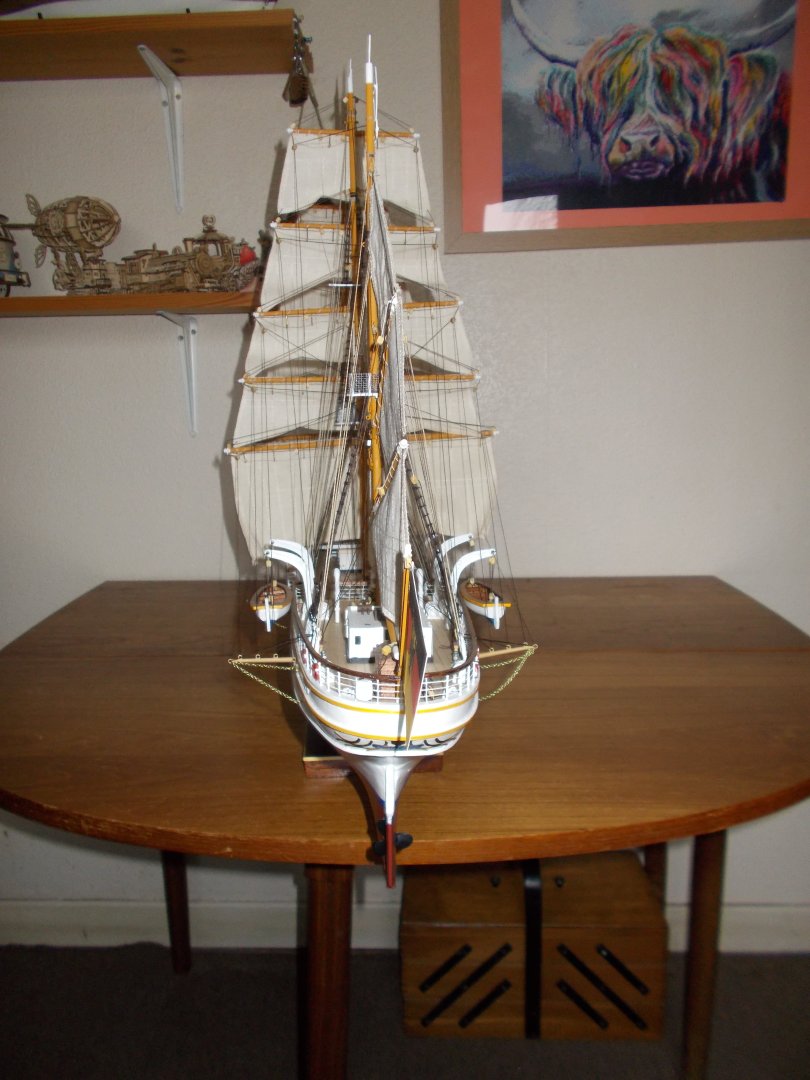
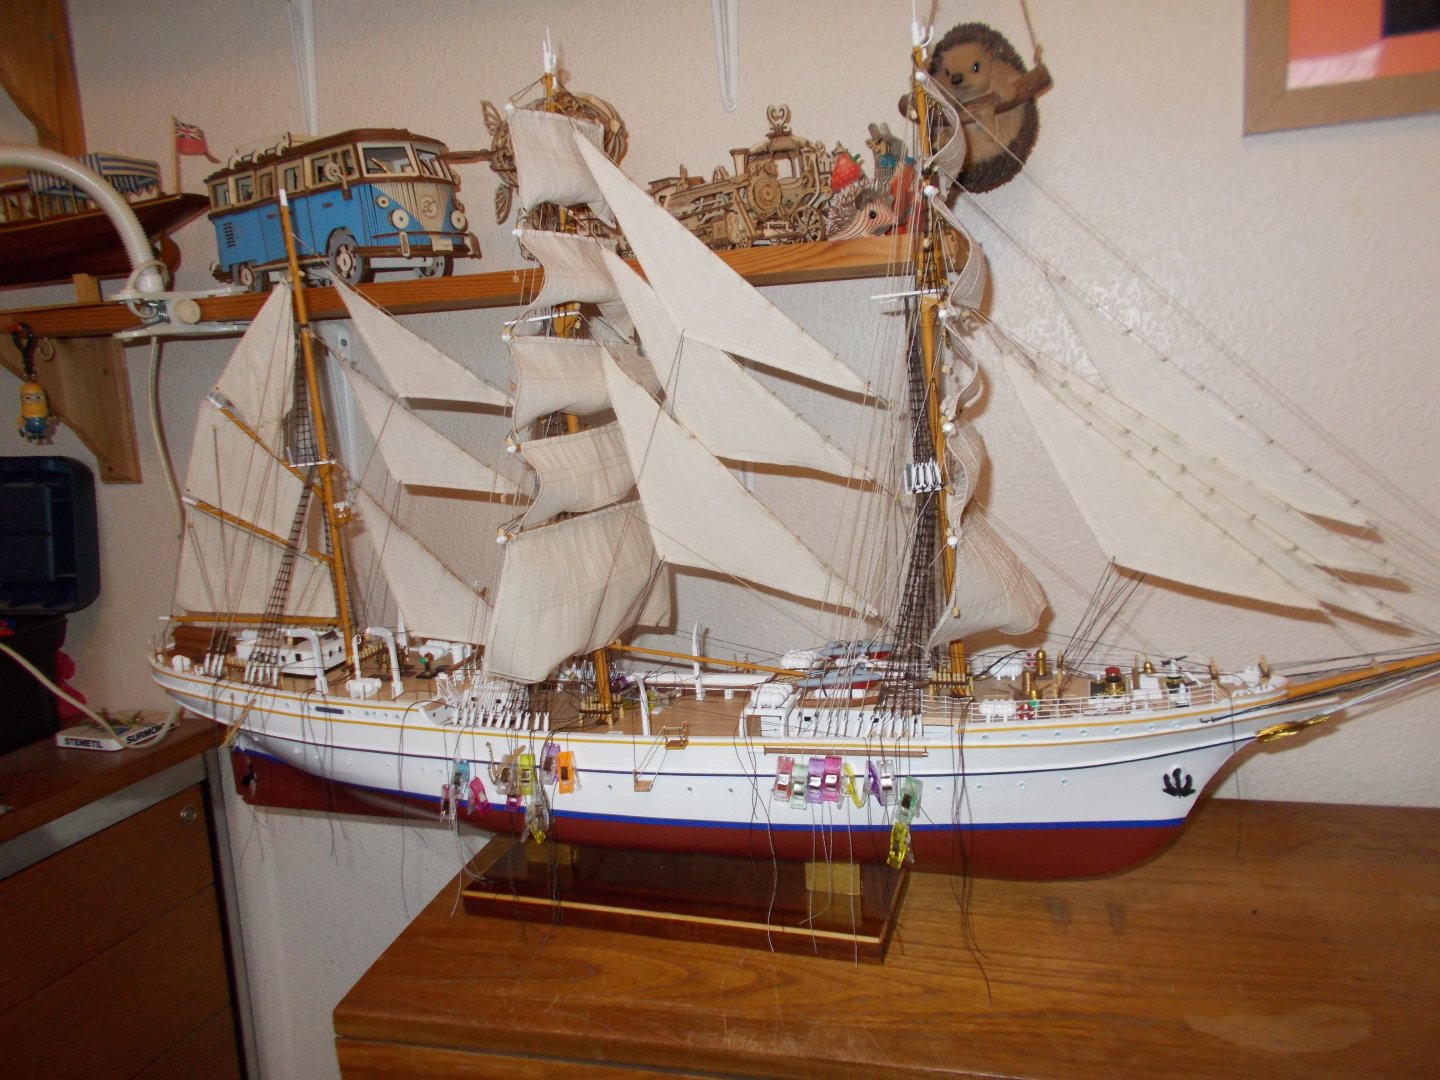
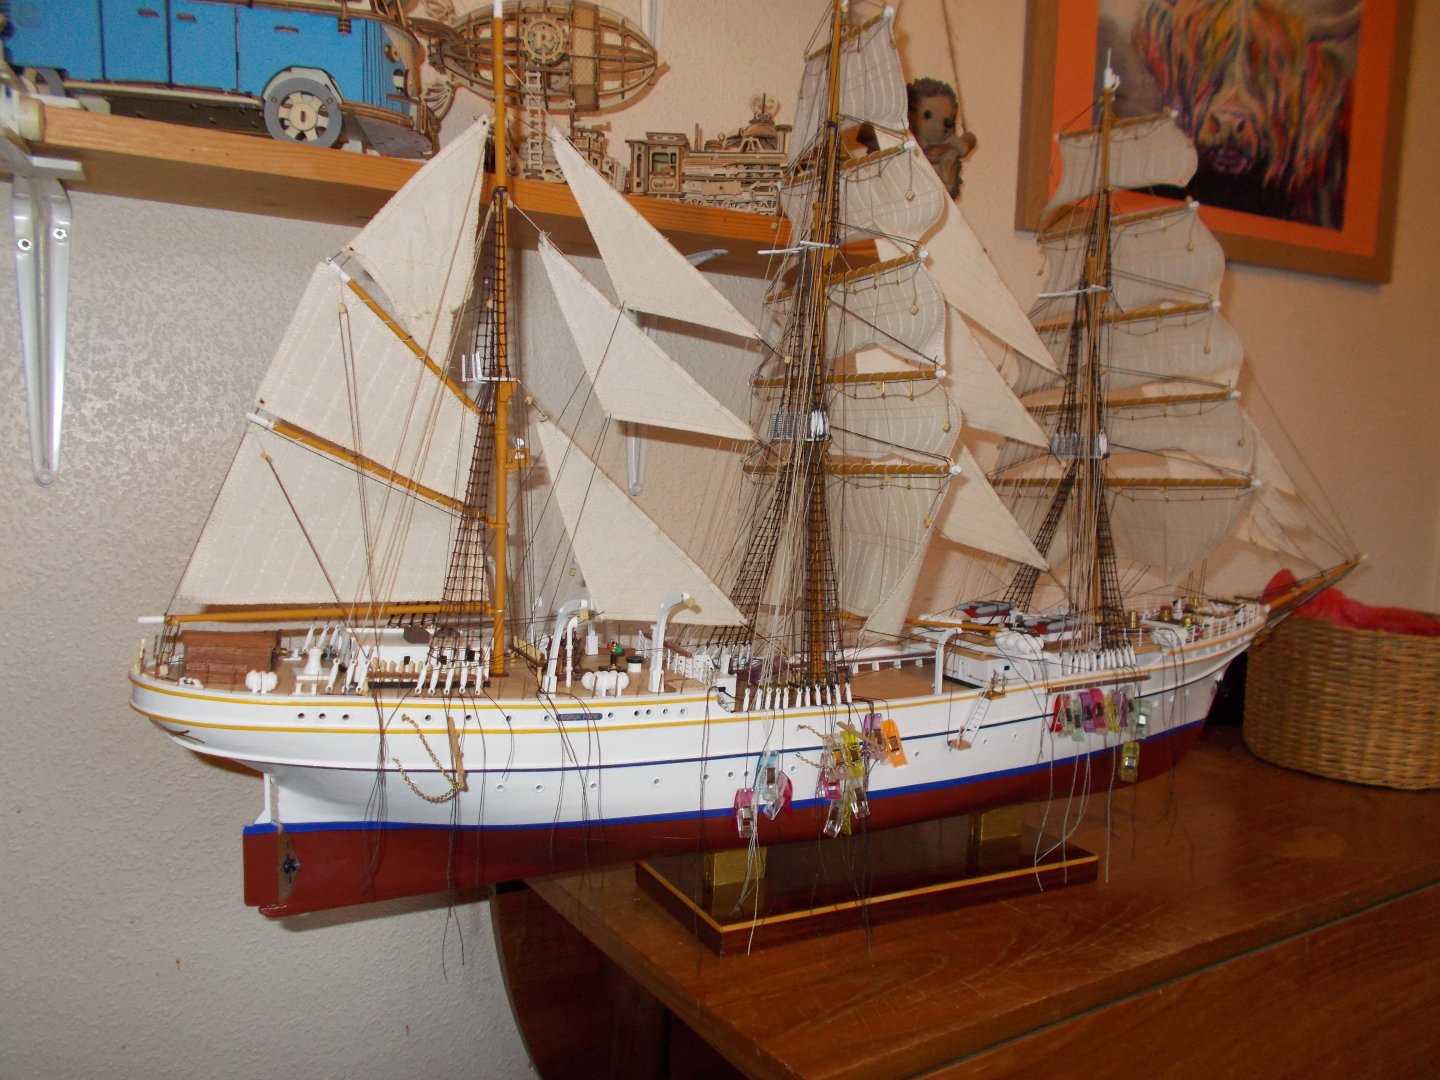
So,here she is in all her glory!! I am glad that I altered the bow to be sharp like the real vessel, for some reason Occre had it quite blunt. In the end my version of the ship is a mixture of her various incarnations over the years like various colours of the masts, placement of portholes, different pinstriping etc. I am quite pleased with the end result. For future builders the rear handrail on top of the stanchions is a real beast to put on. I love the beauty of tall ships and how elegant they are but the rigging is a nightmare, so many ropes and so little room but the perseverance is worth it.


-
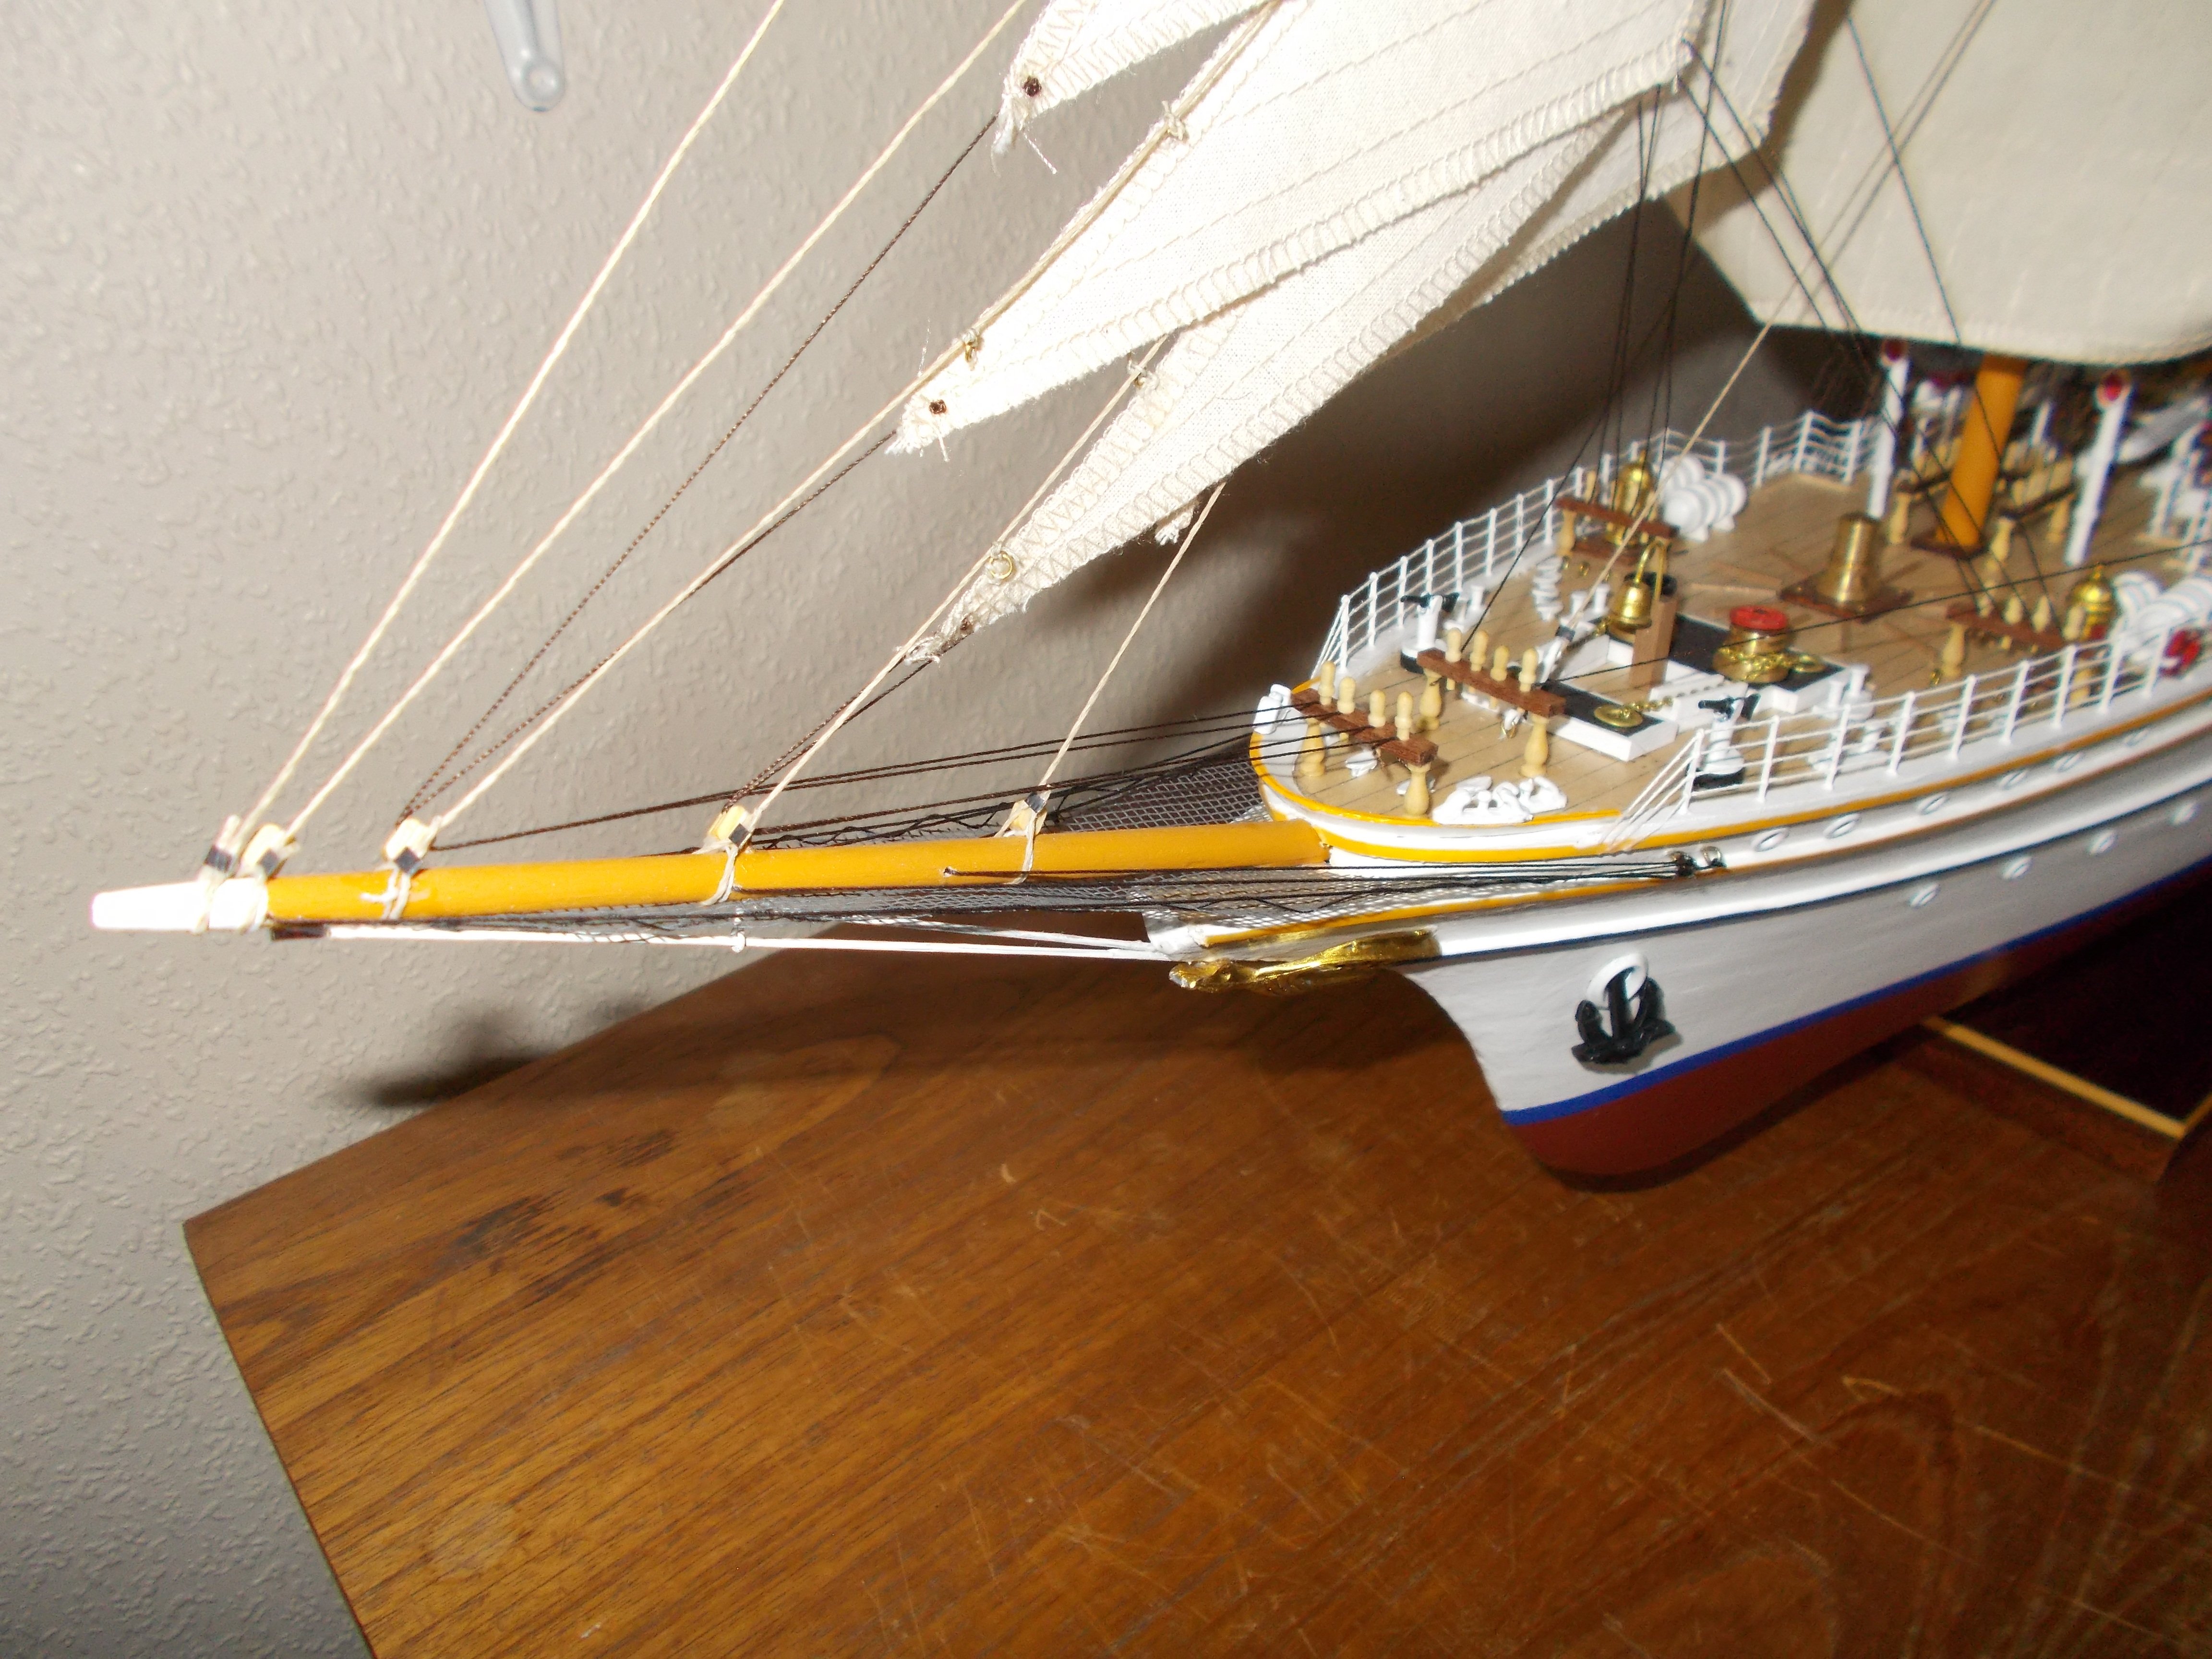
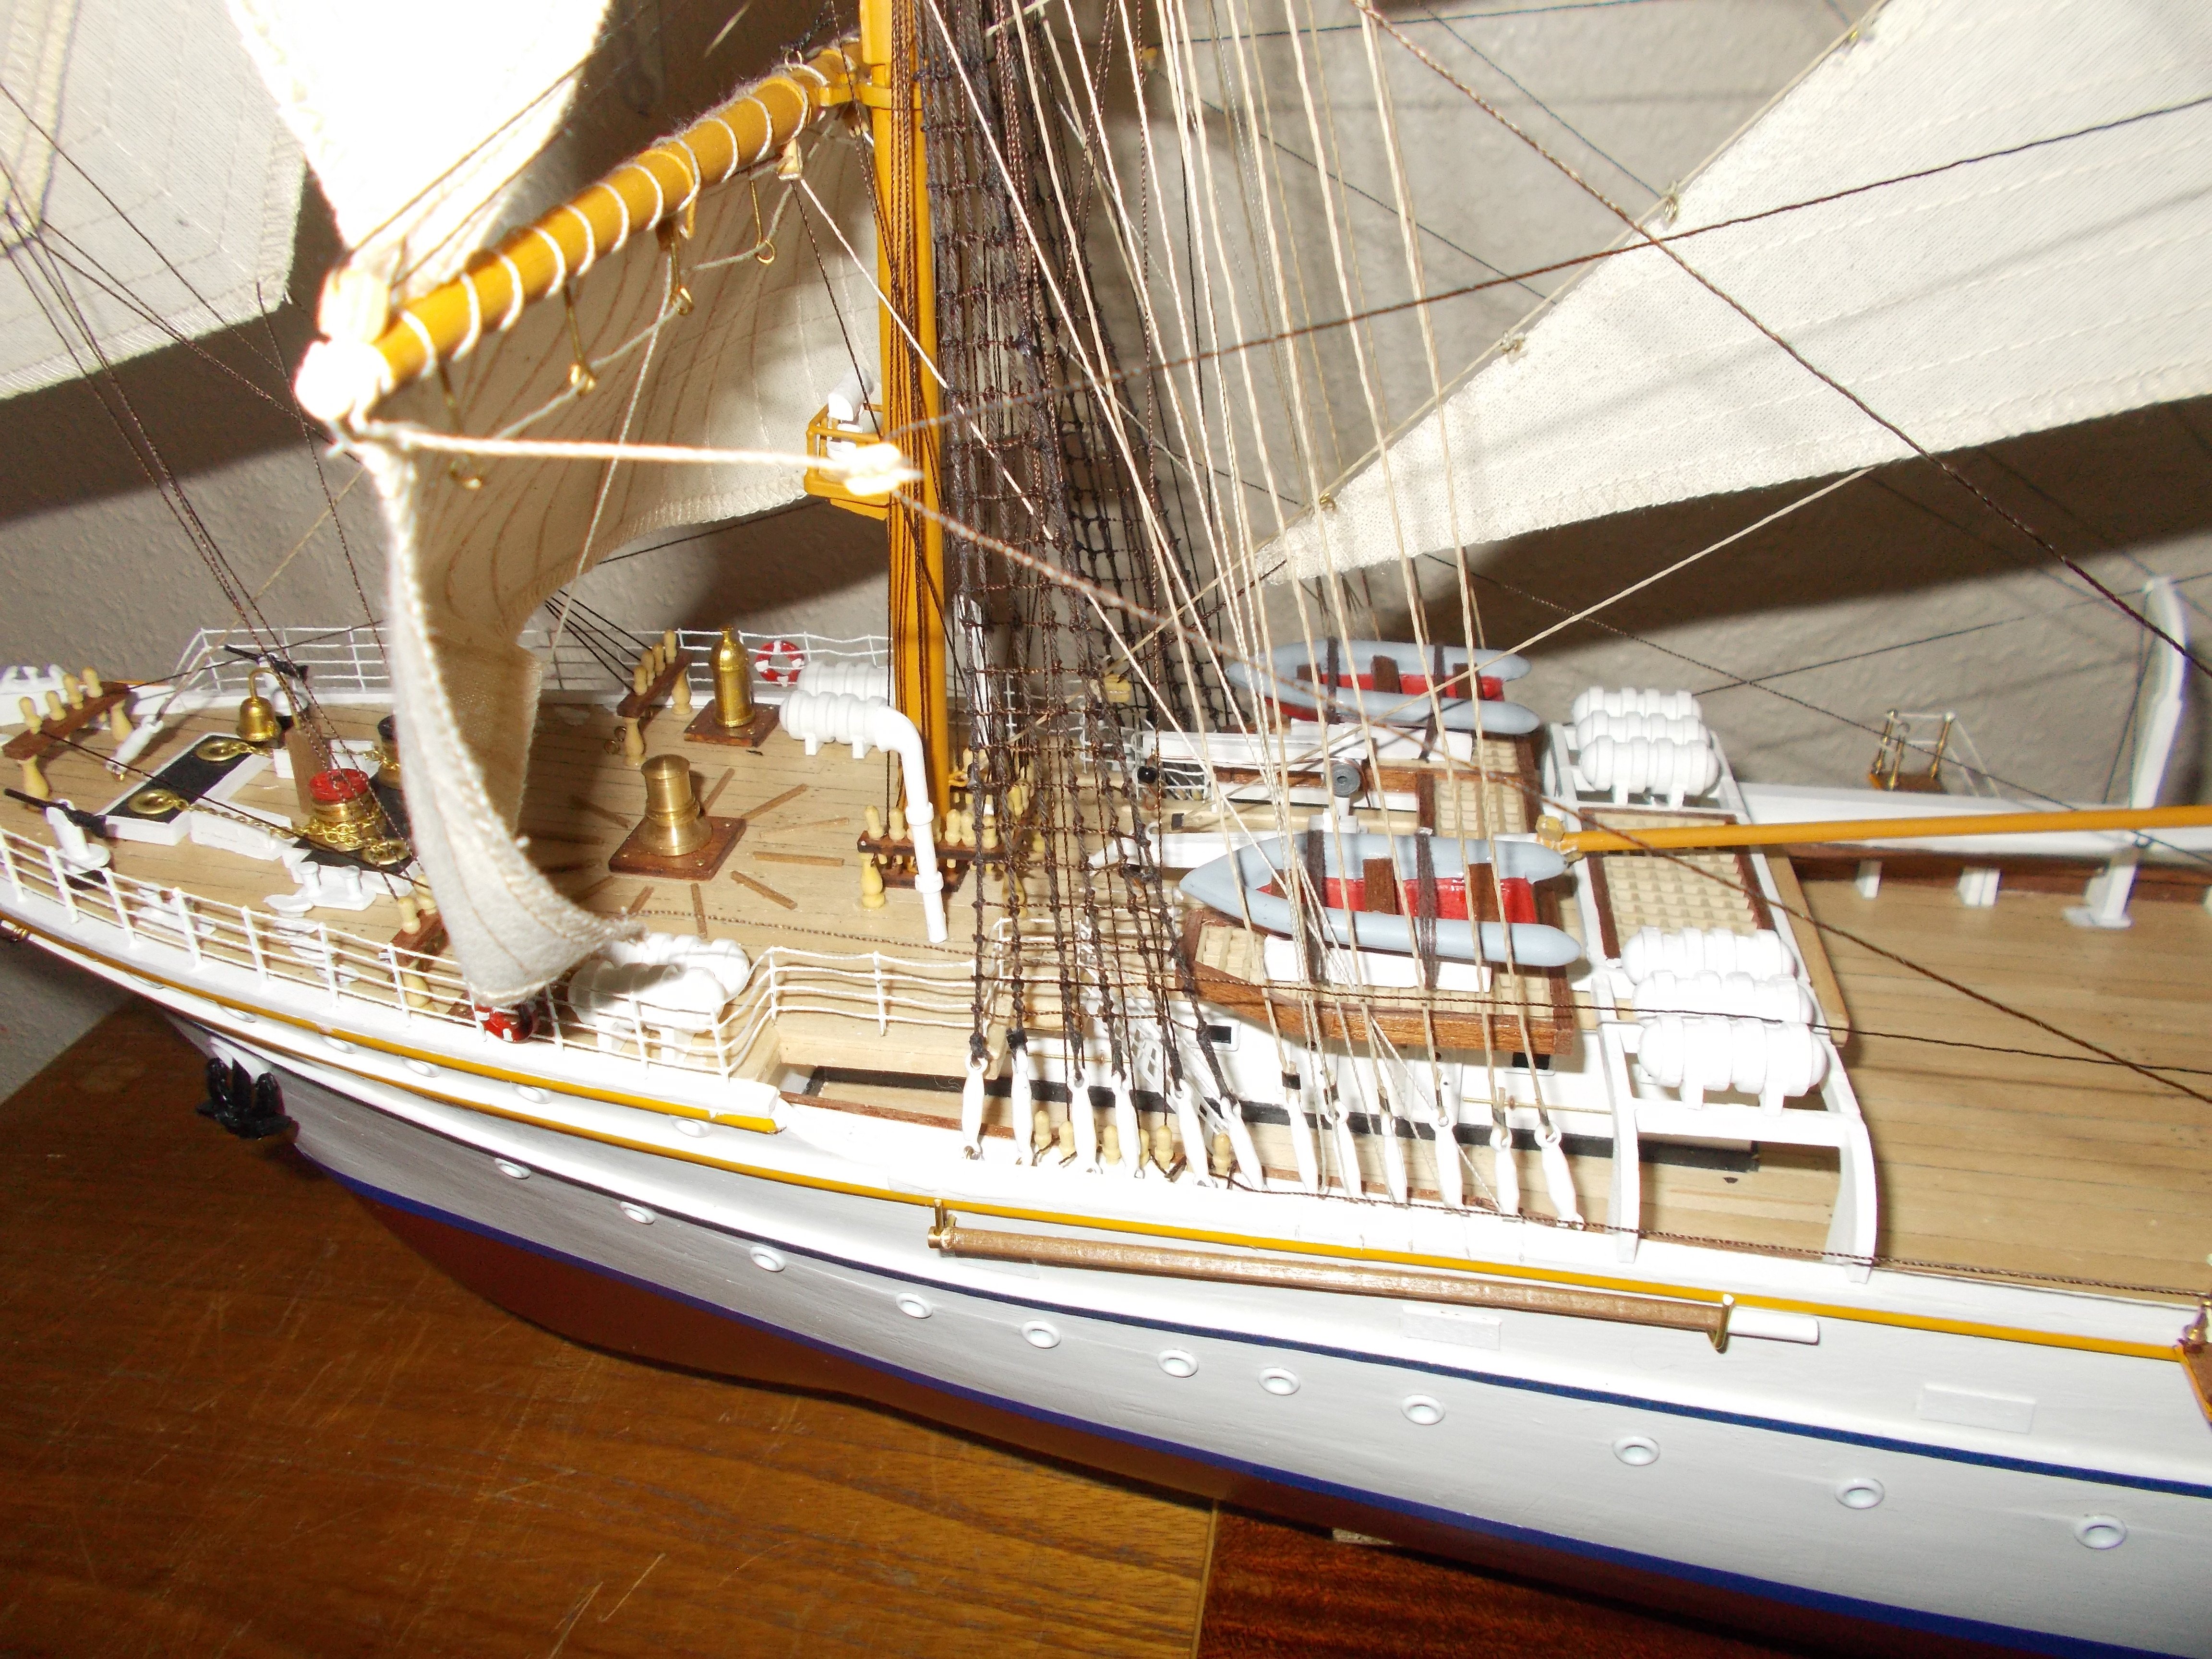
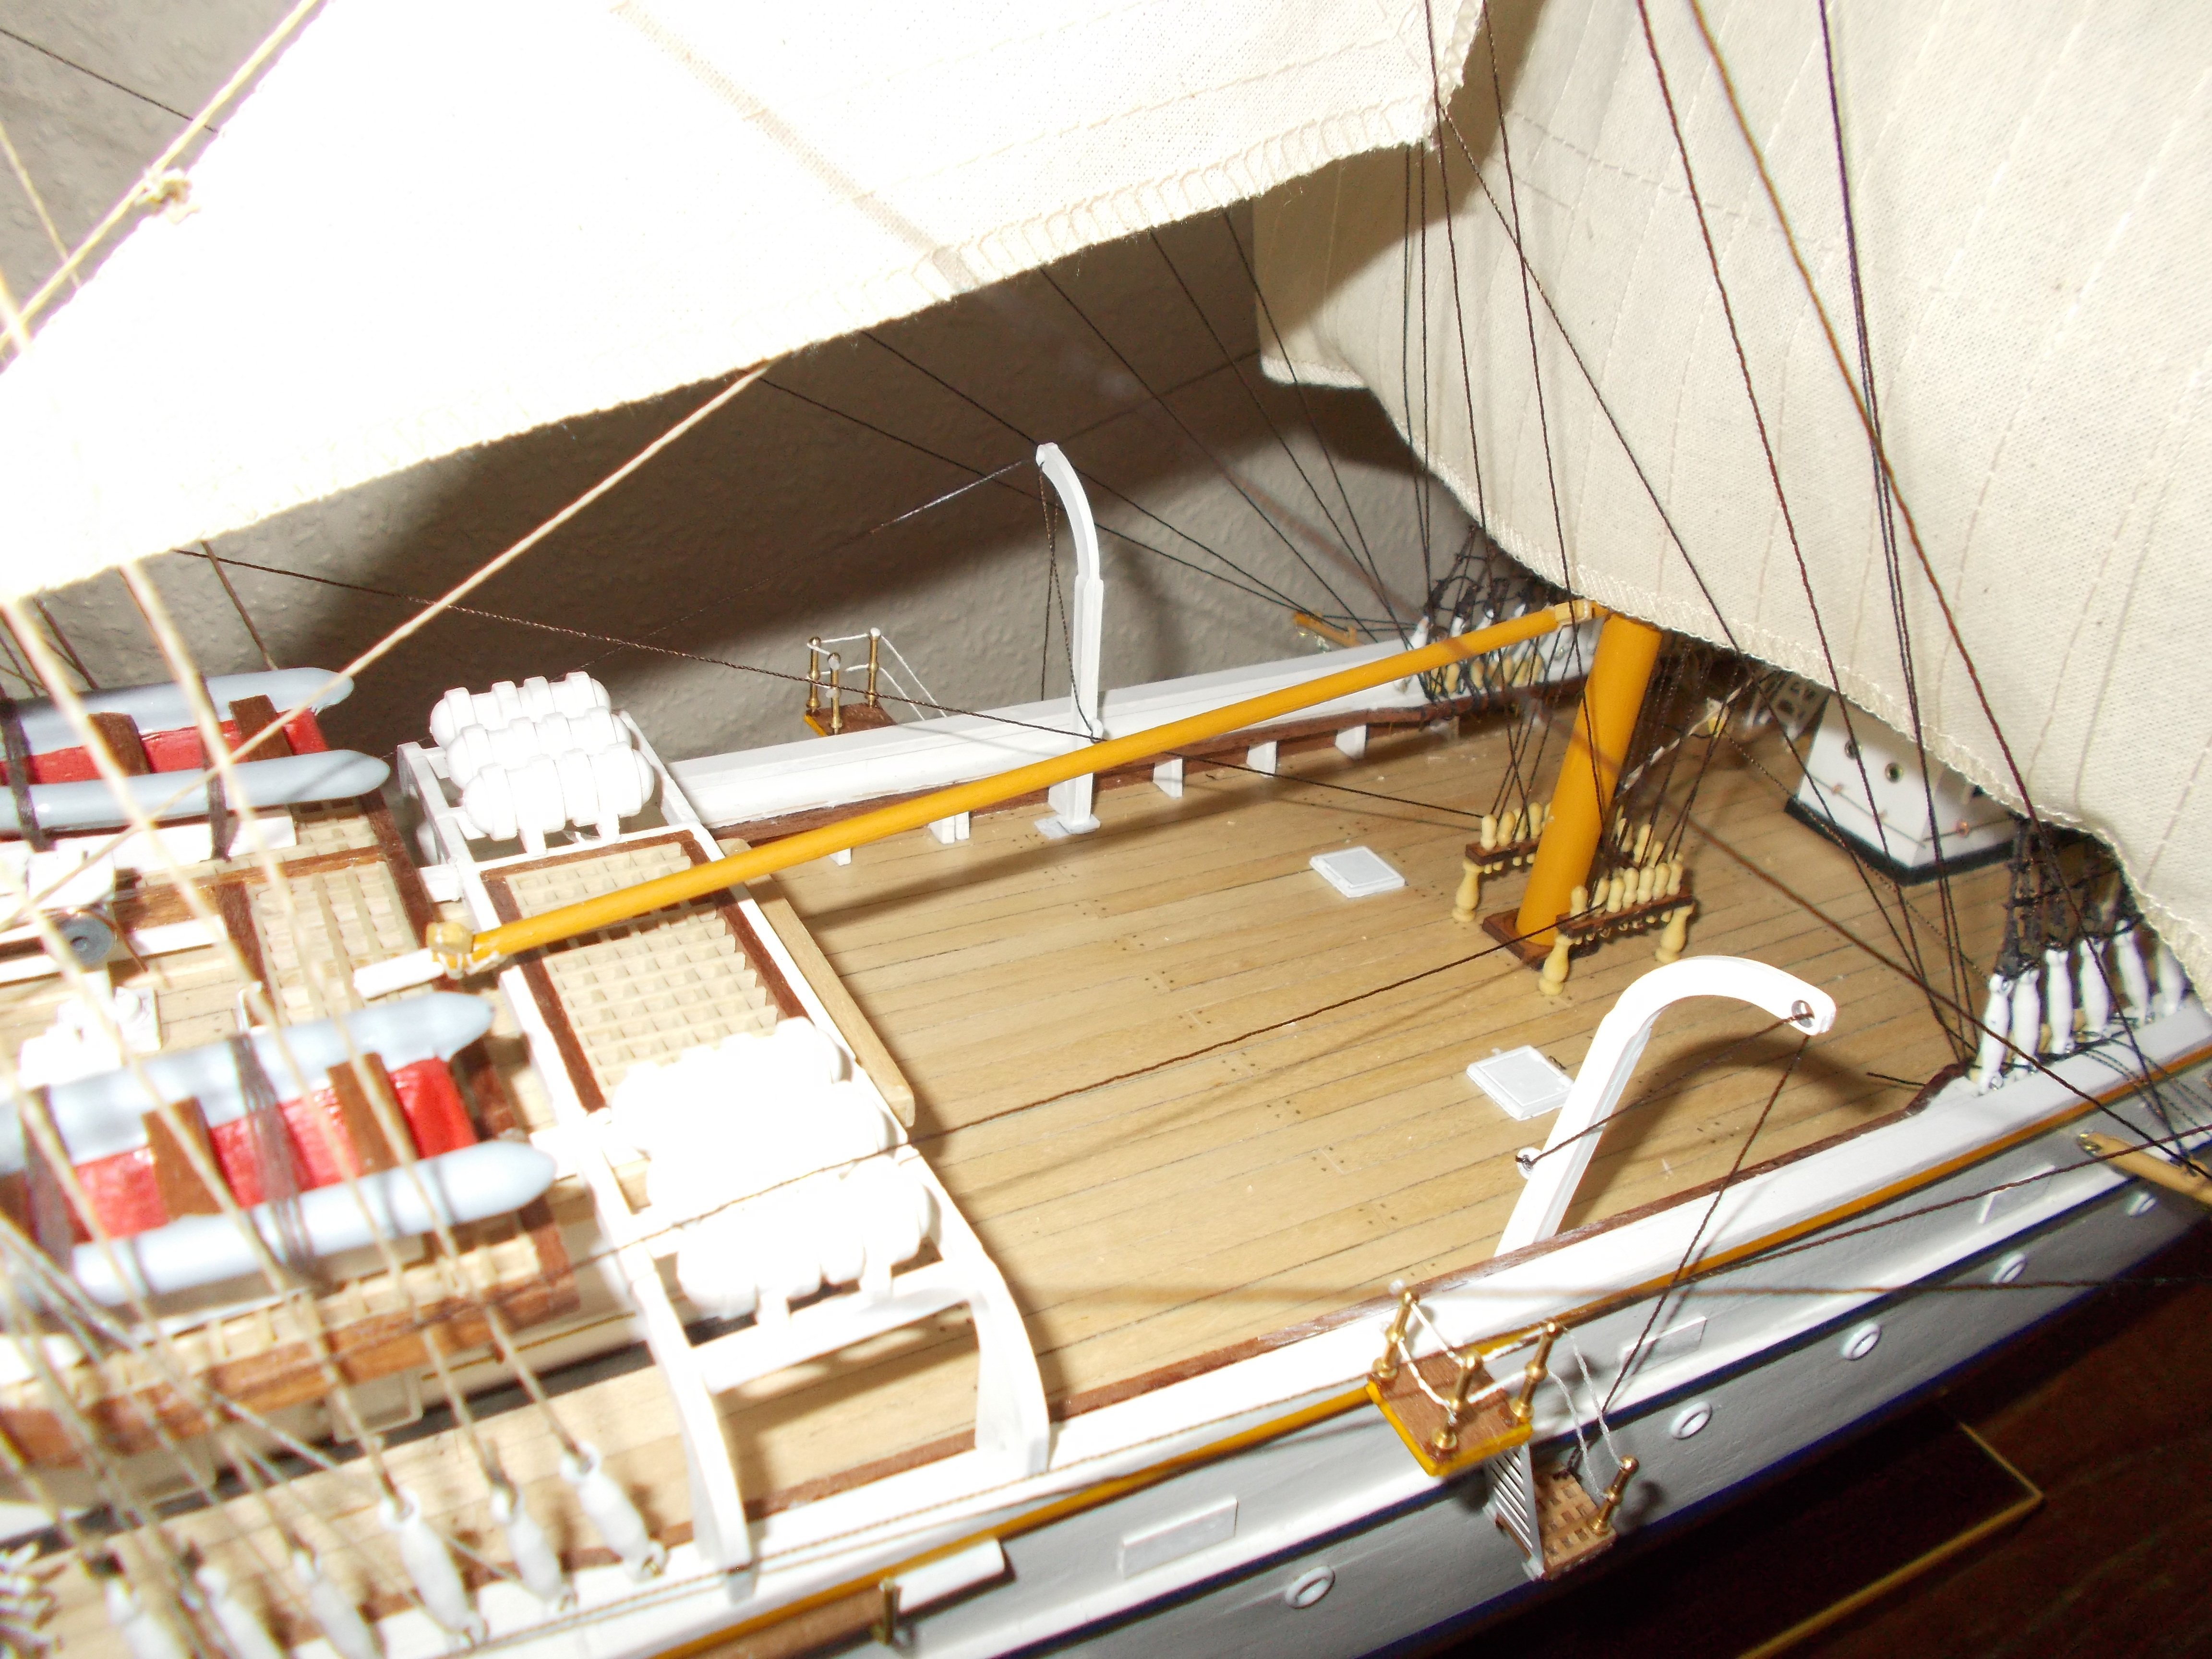
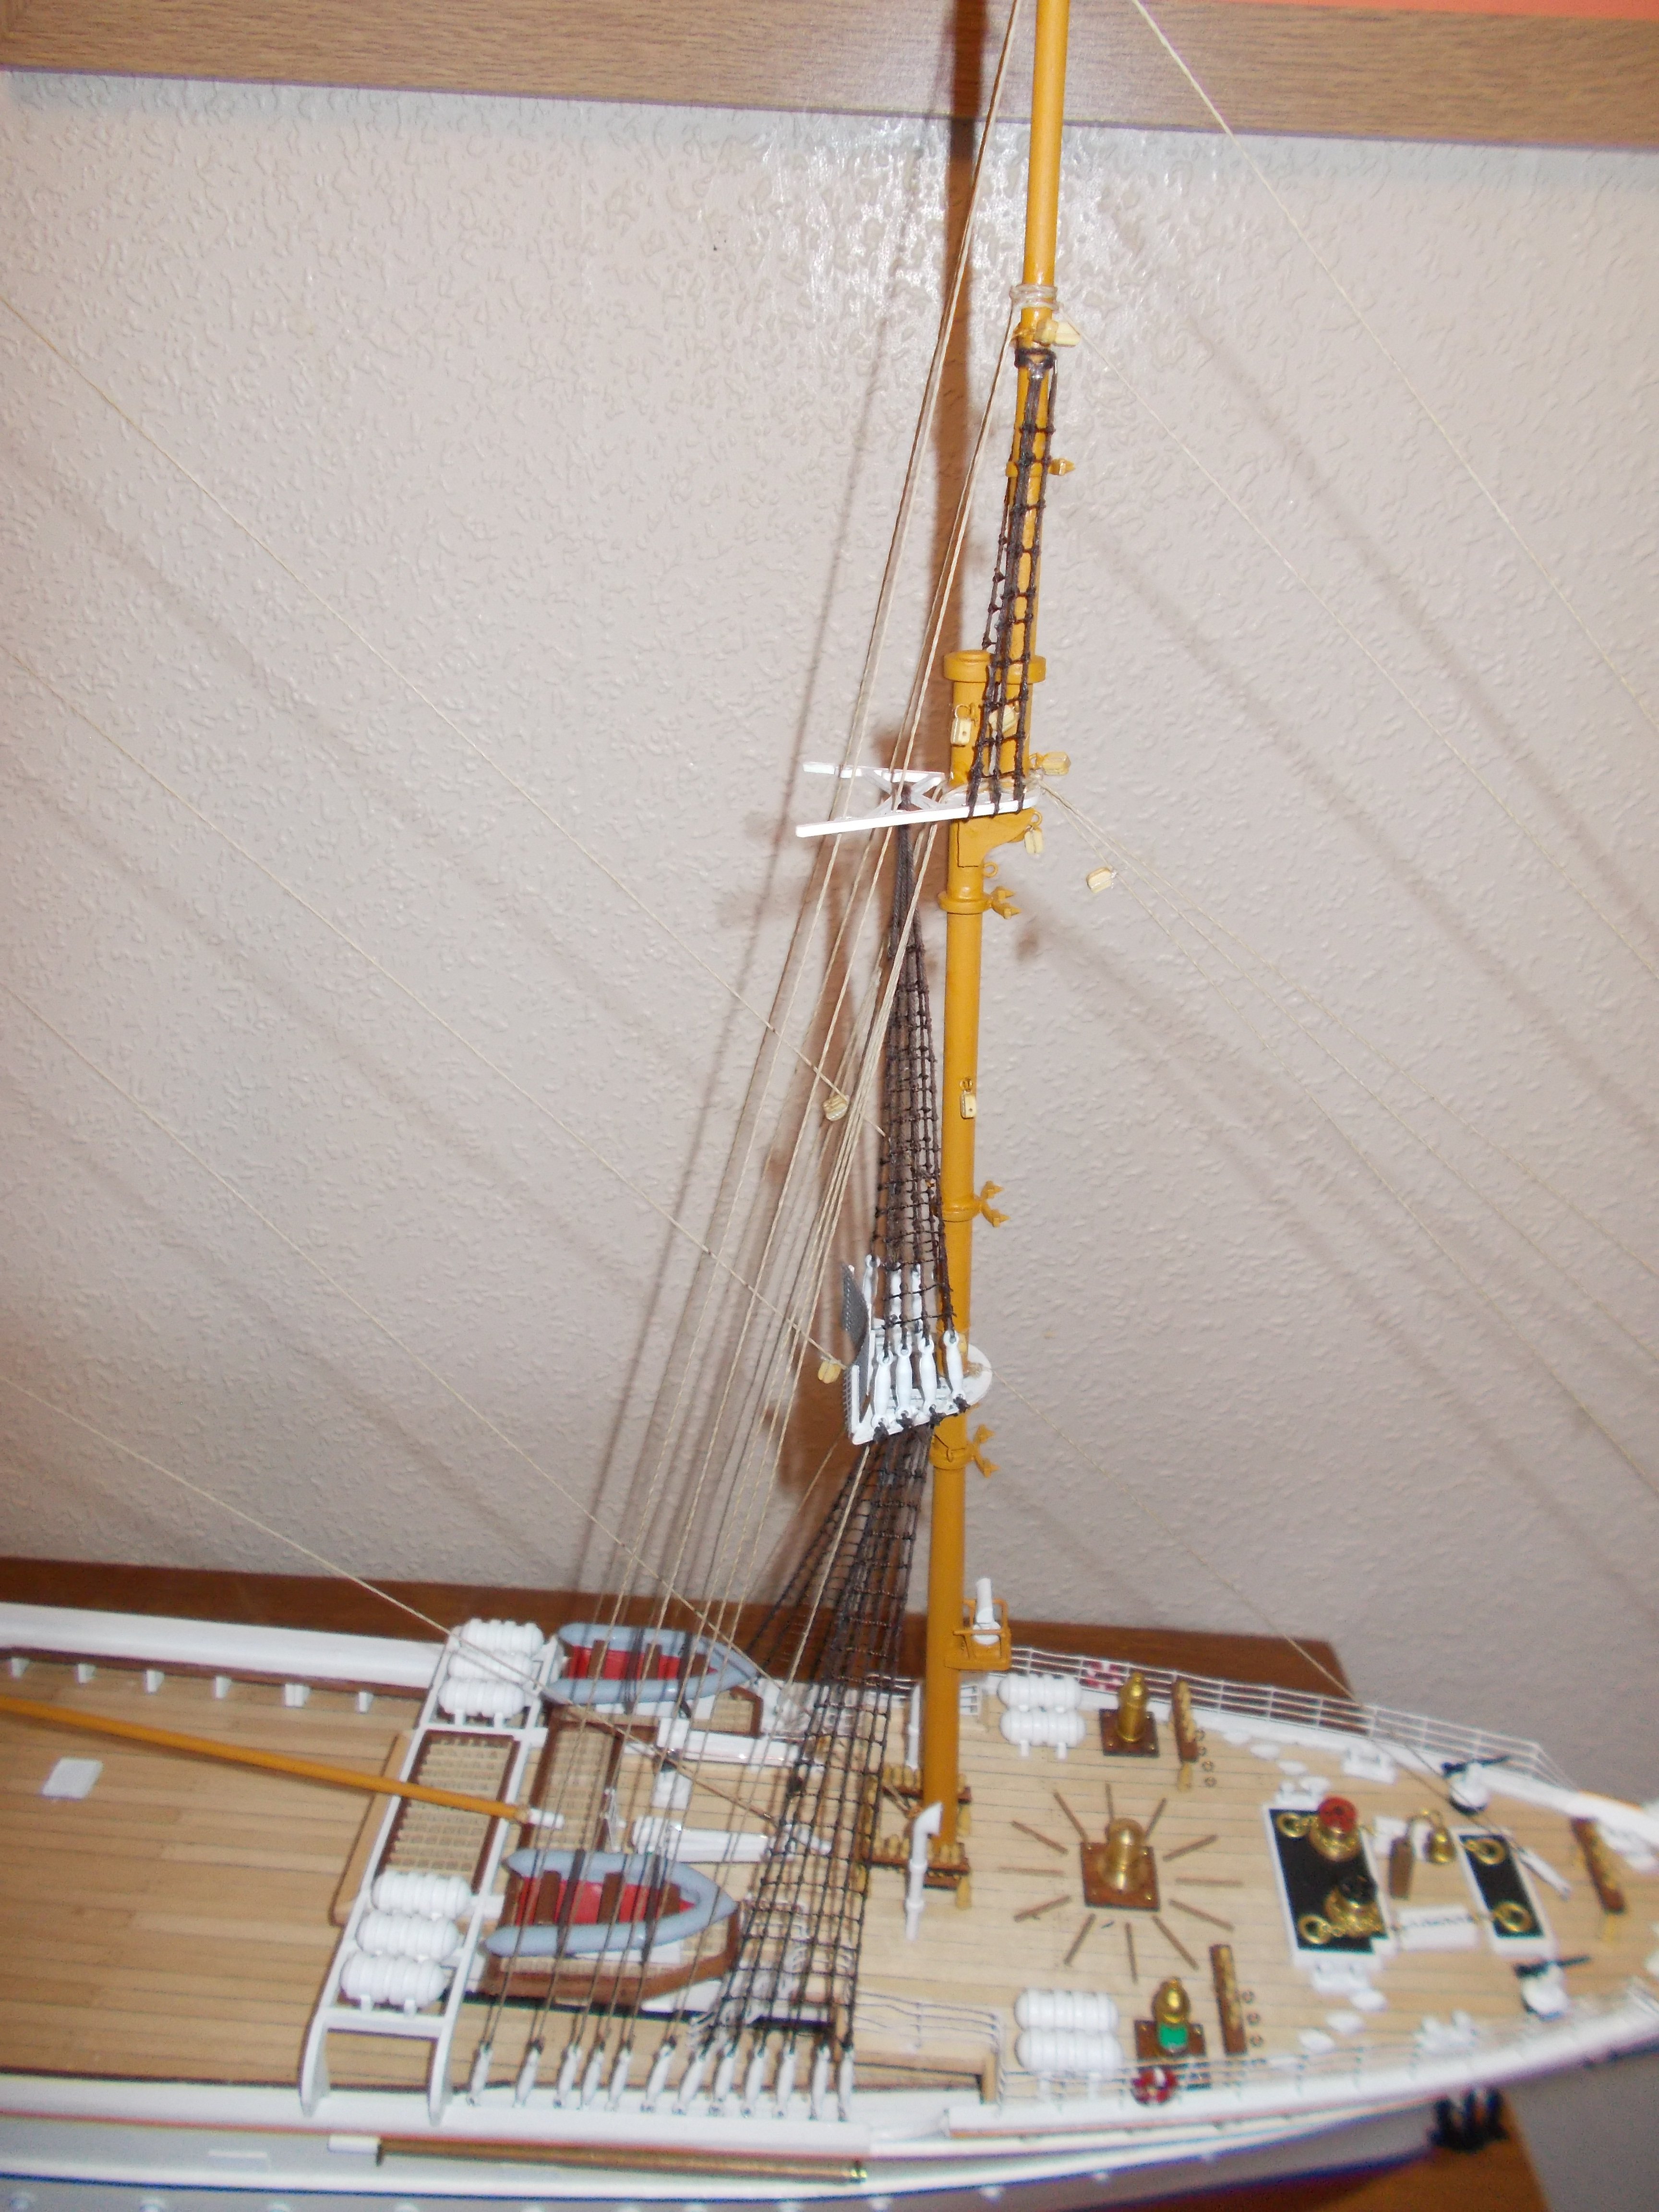
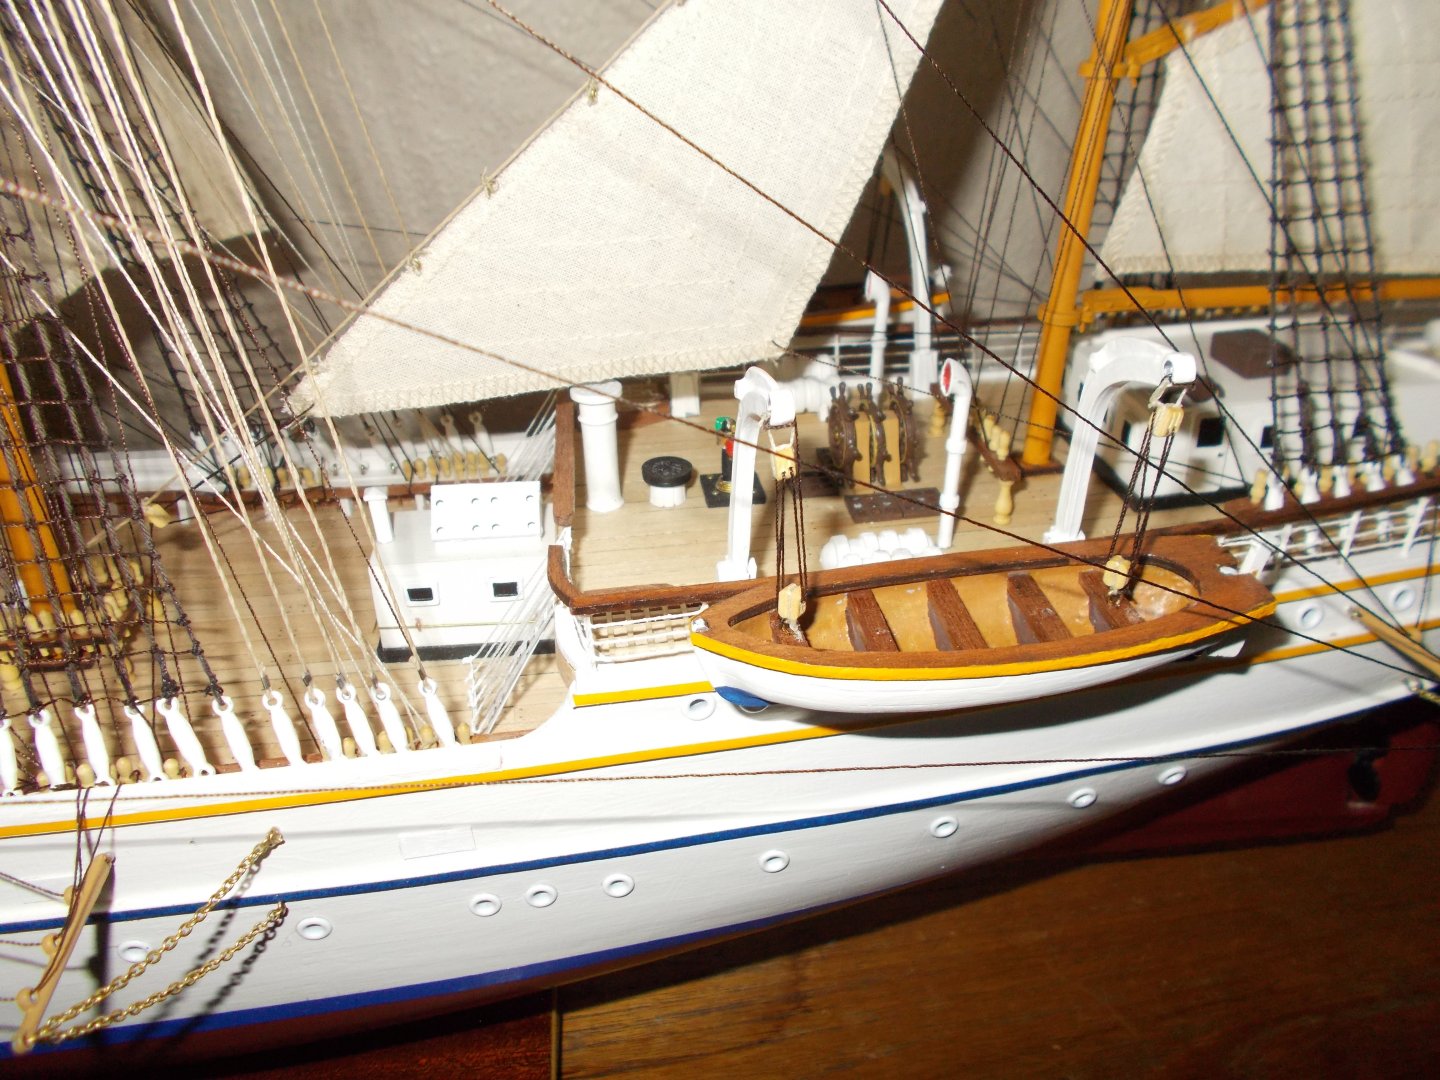
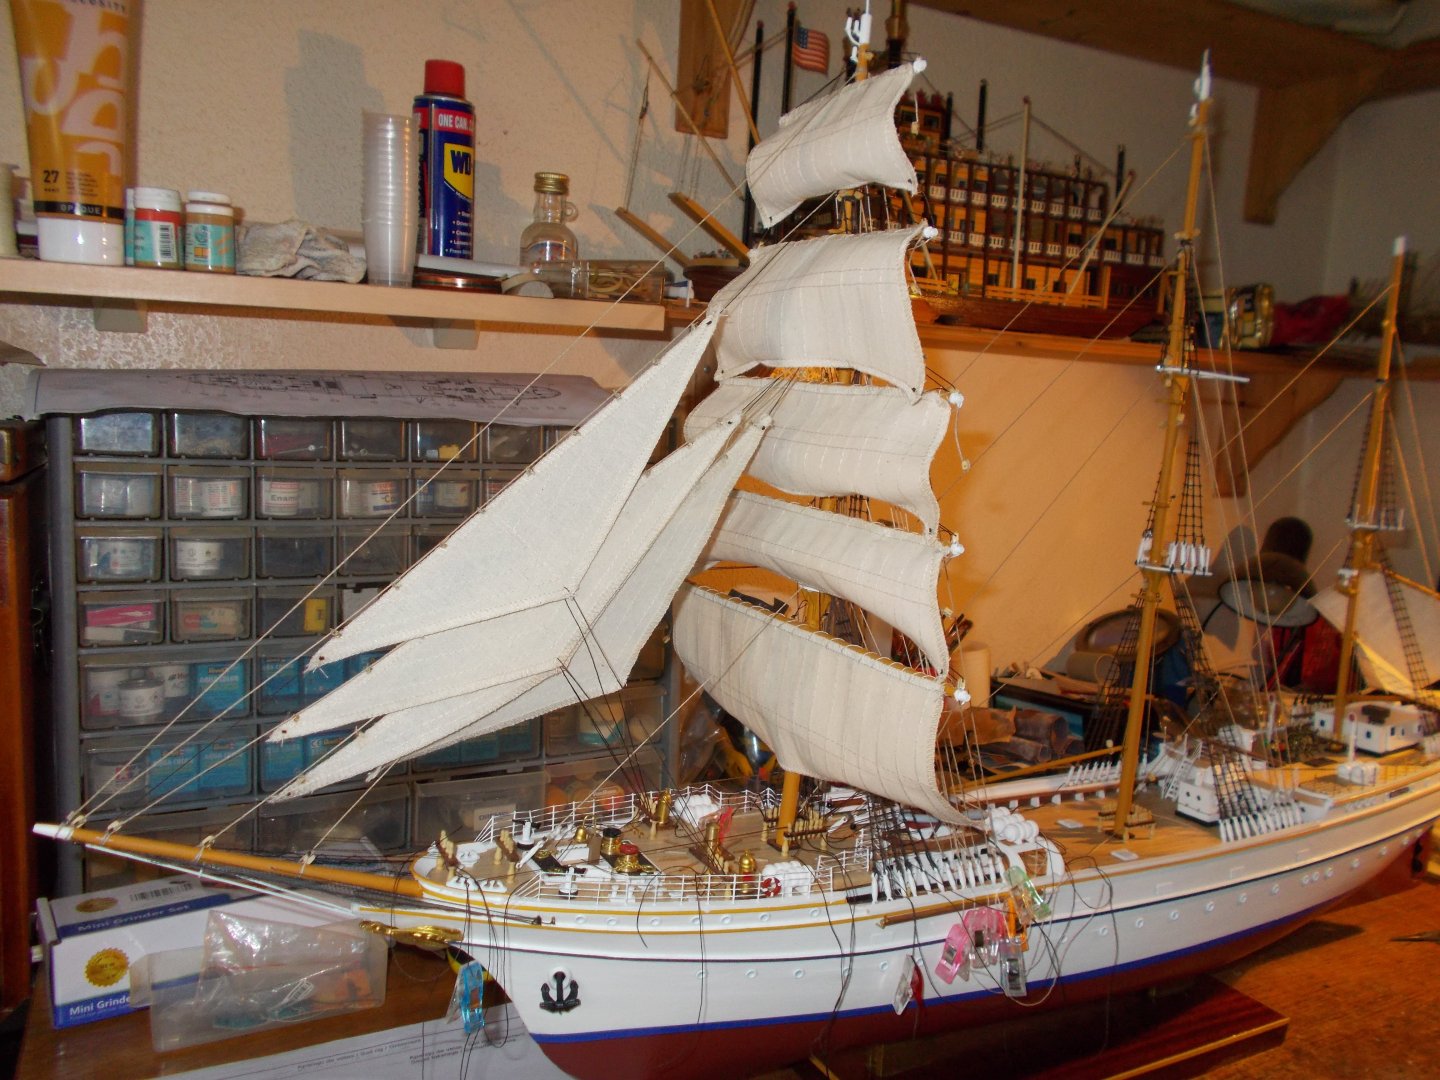
The rest of the sails on now and most of the rigging. Some long bilateral ropes to go on to the yards and down to deck level through strange extensions on the sides of the hull. Lifeboats to go on and the rear railings which I deliberately left until near the end to avoid trashing them with all the rigging. Then tidying up all the ropes and adding a flag of course!!
-
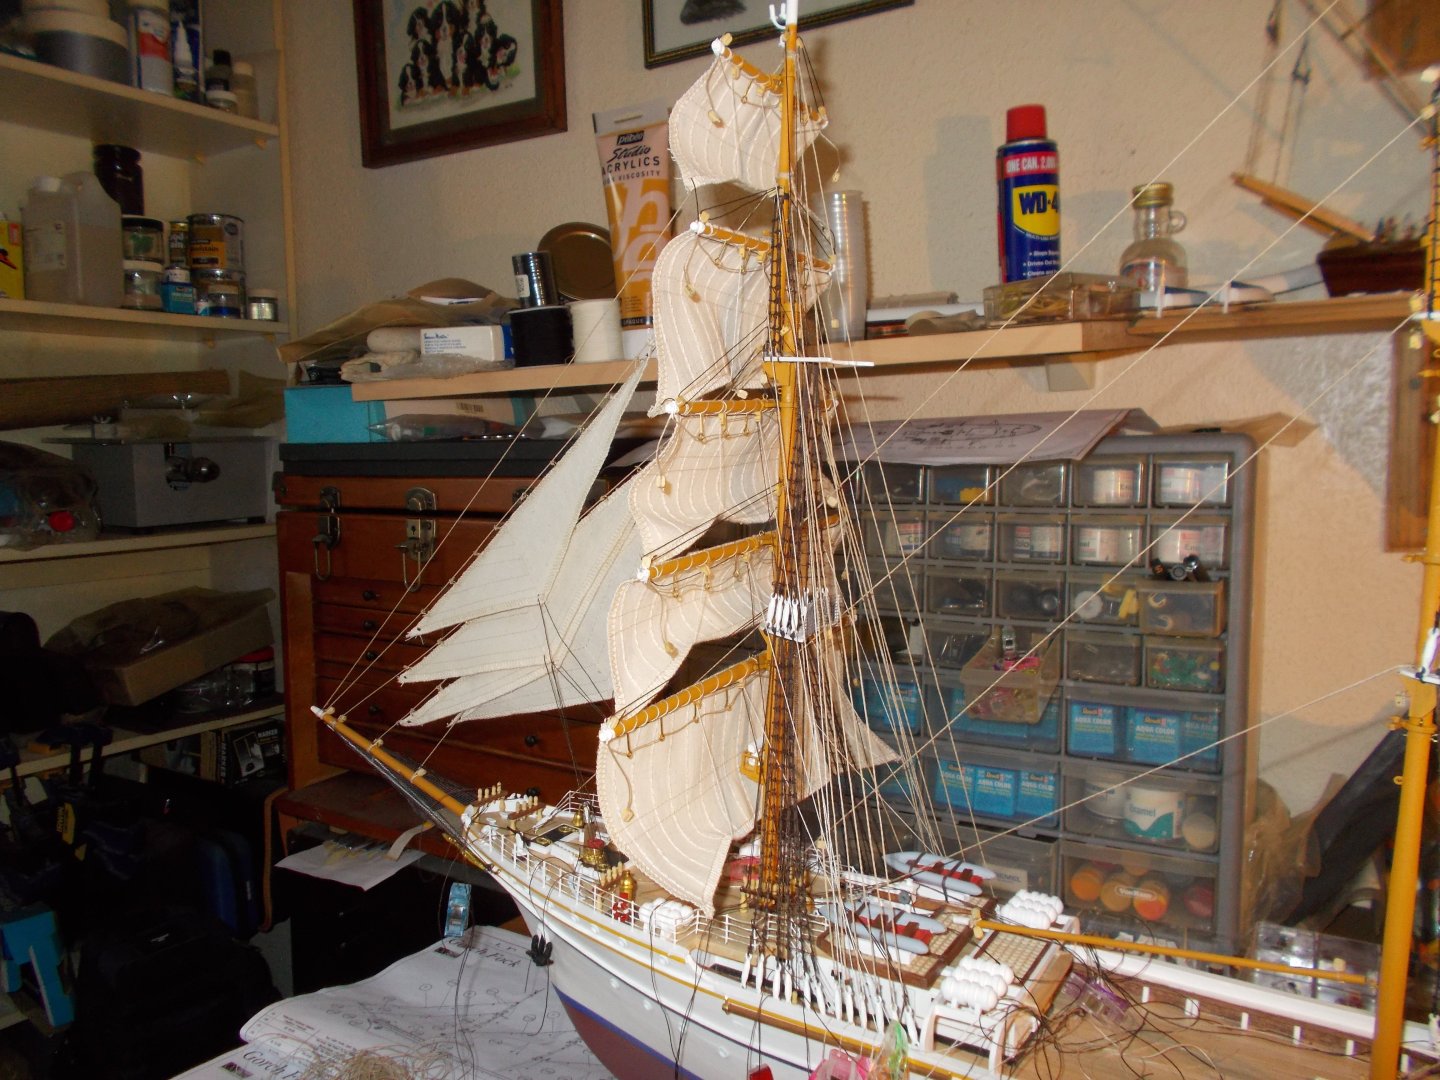
Foremast and front sails (I don't know the correct term for them) are on and rigged. I am very glad I put on the extra blocks to allow for one bunt line on each side of each sail as it has allowed for a much better 'shape'. The last 'flying blocks' on the end of each yard won't get rigged until all the others are on. Now for the main mast.
-
Oh how I just love doing ratlines!! It's like toothache - wonderful when it stops. Sails and yards next.