


Usgecko
-
Posts
73 -
Joined
-
Last visited
Content Type
Profiles
Forums
Gallery
Events
Posts posted by Usgecko
-
-
-
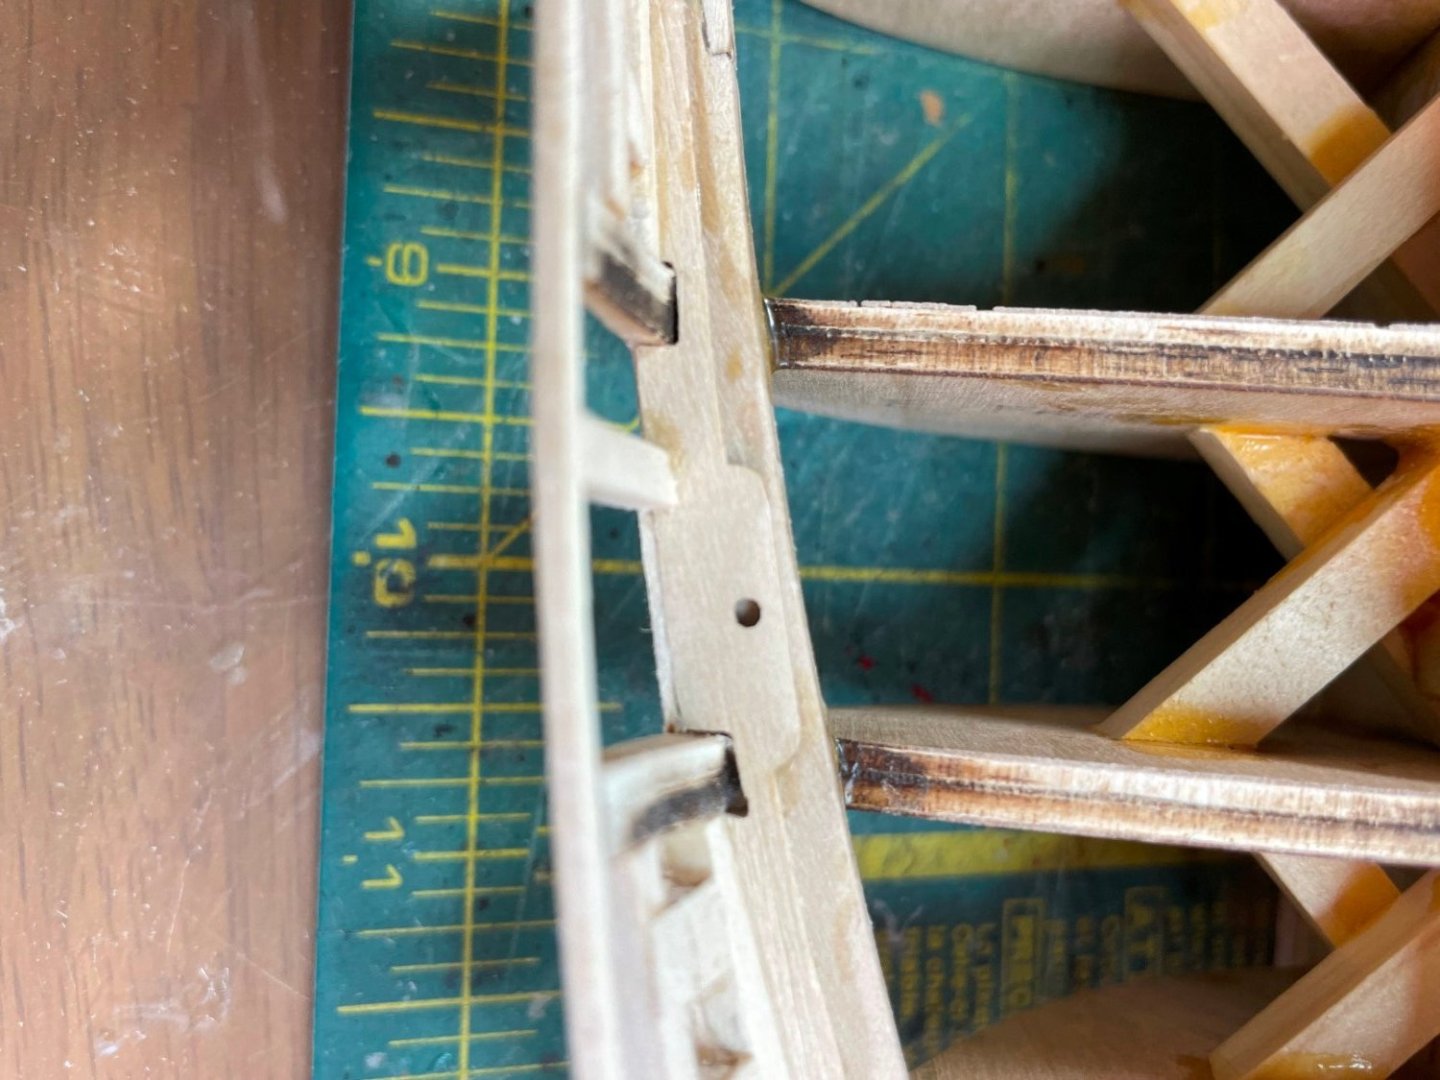
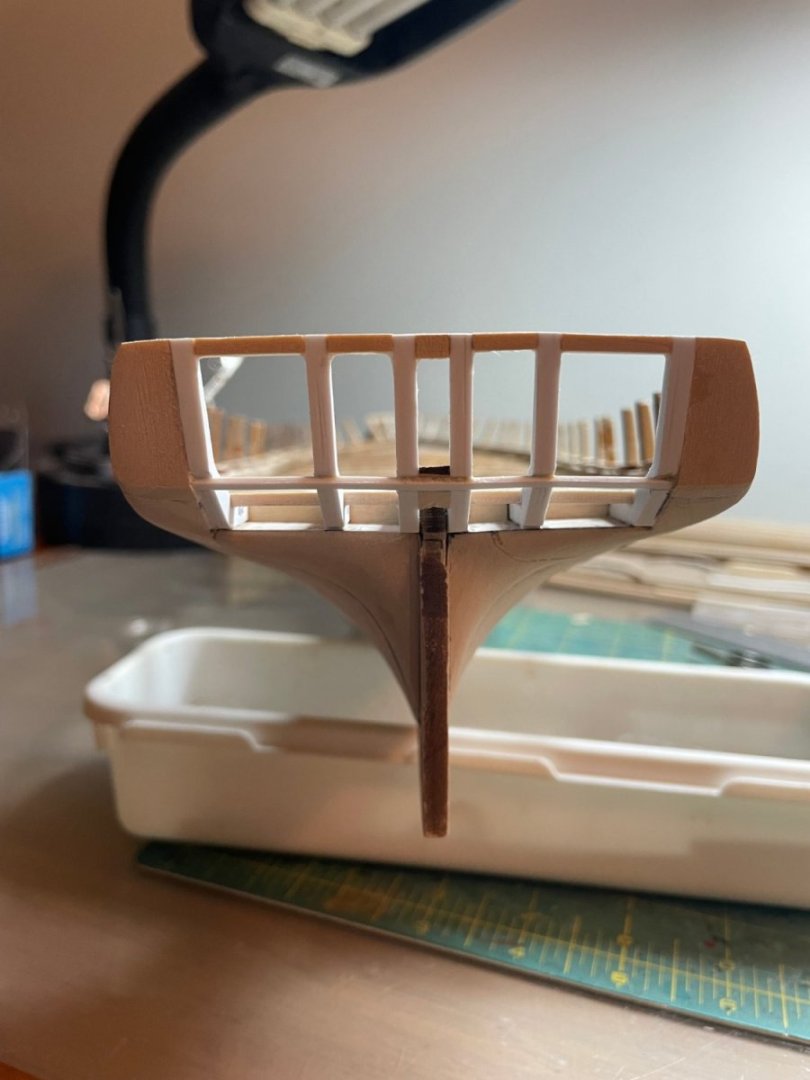
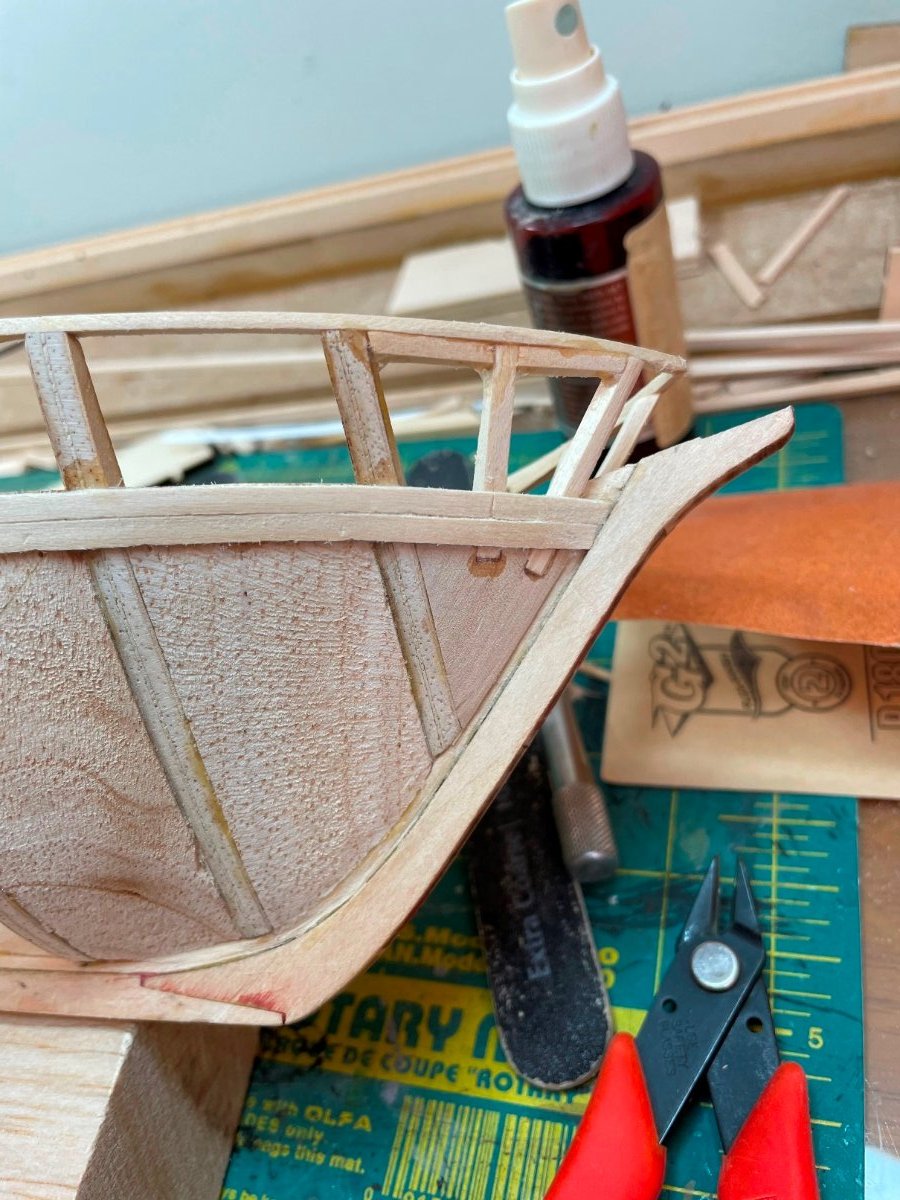
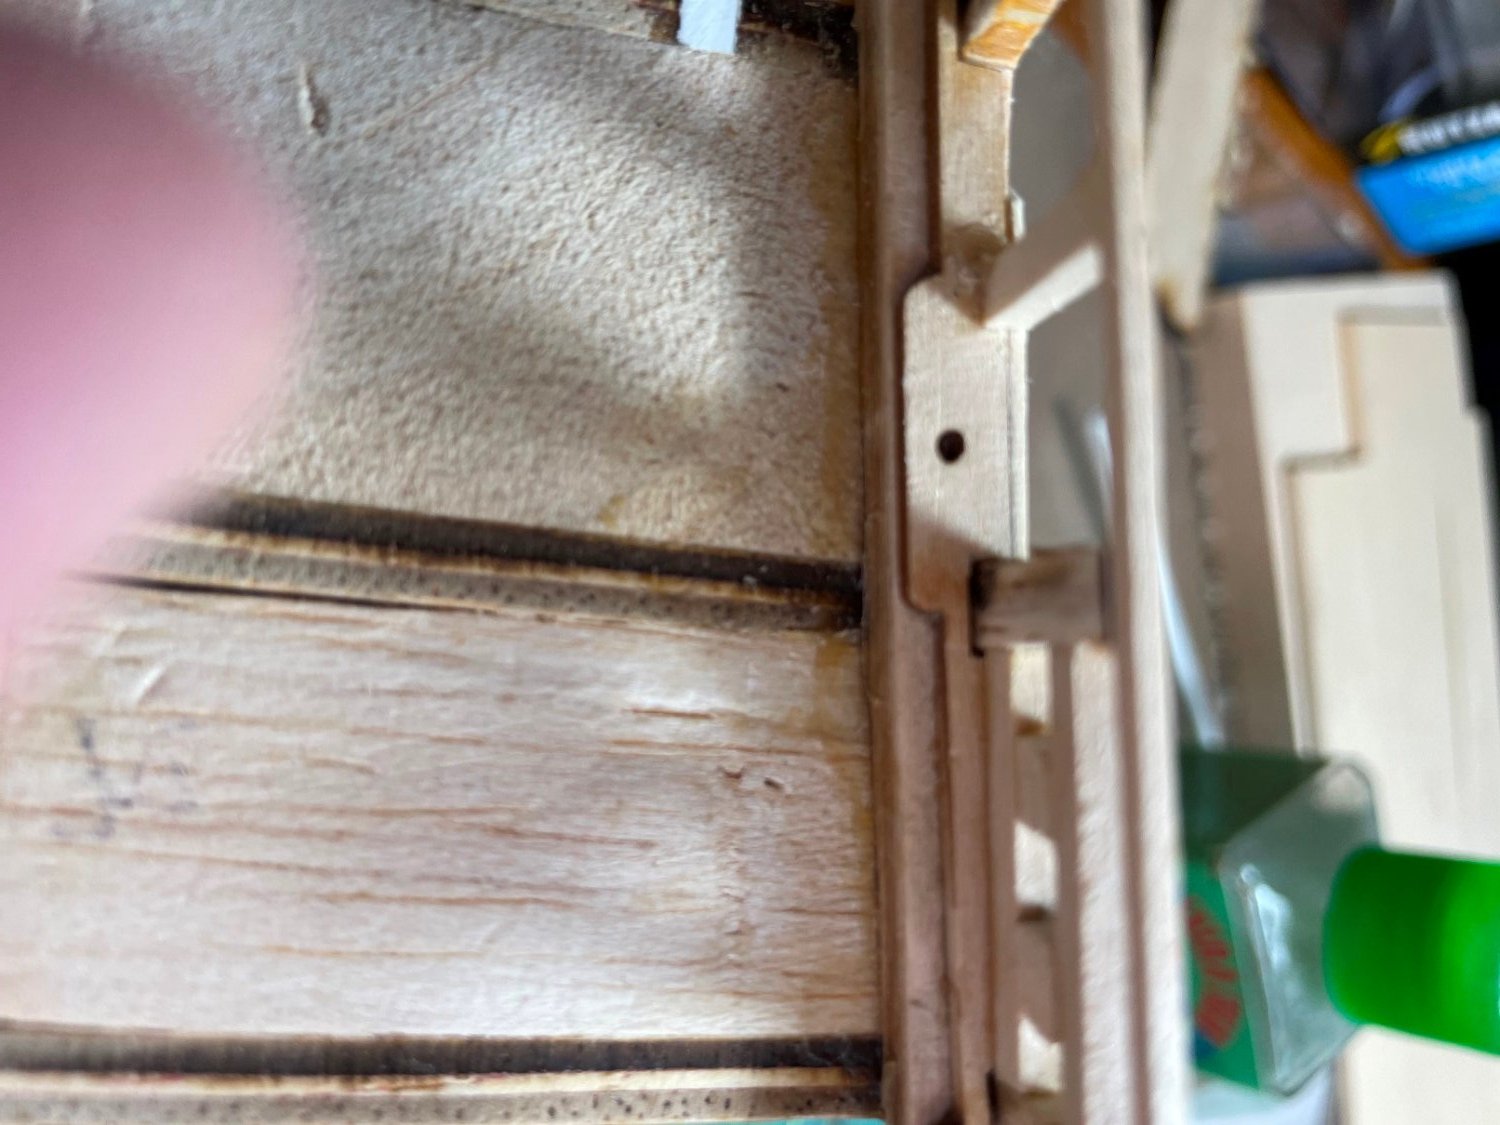
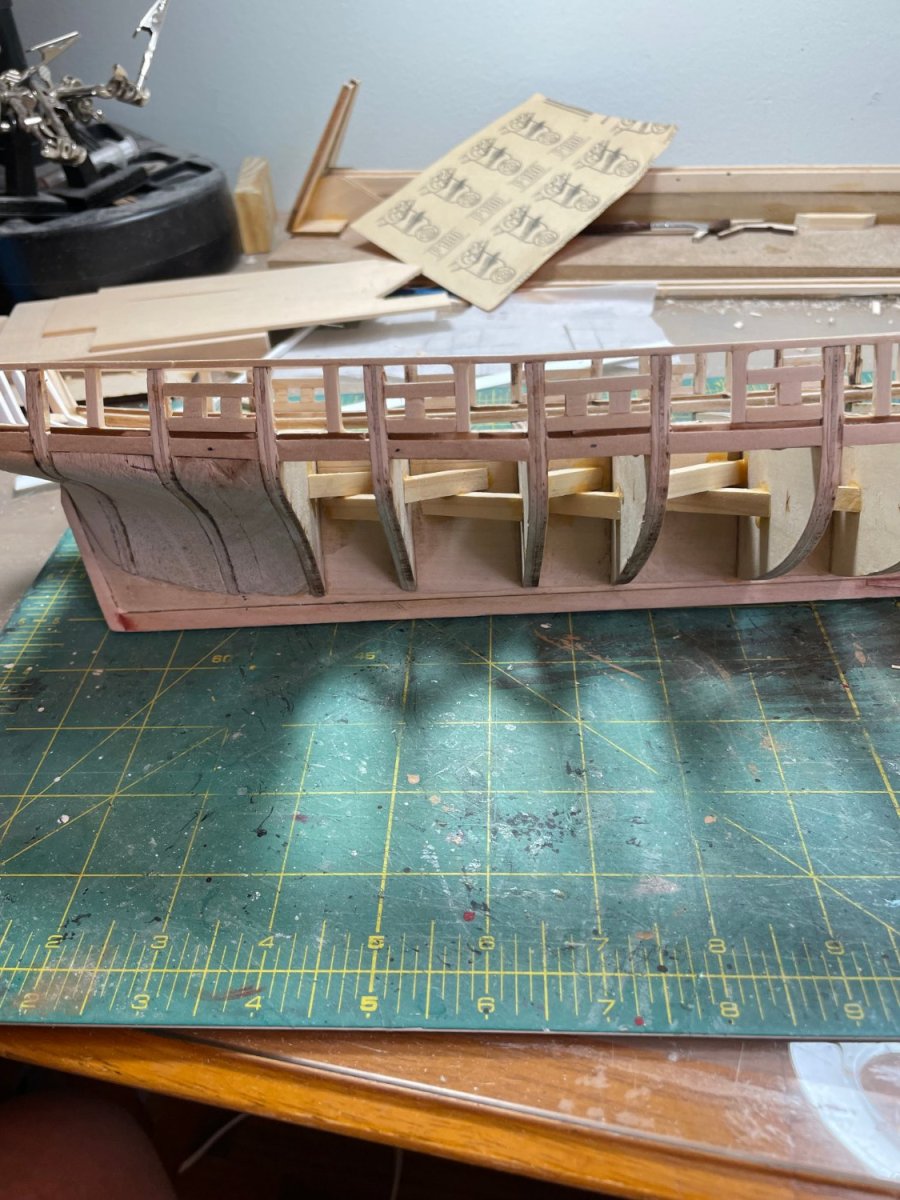
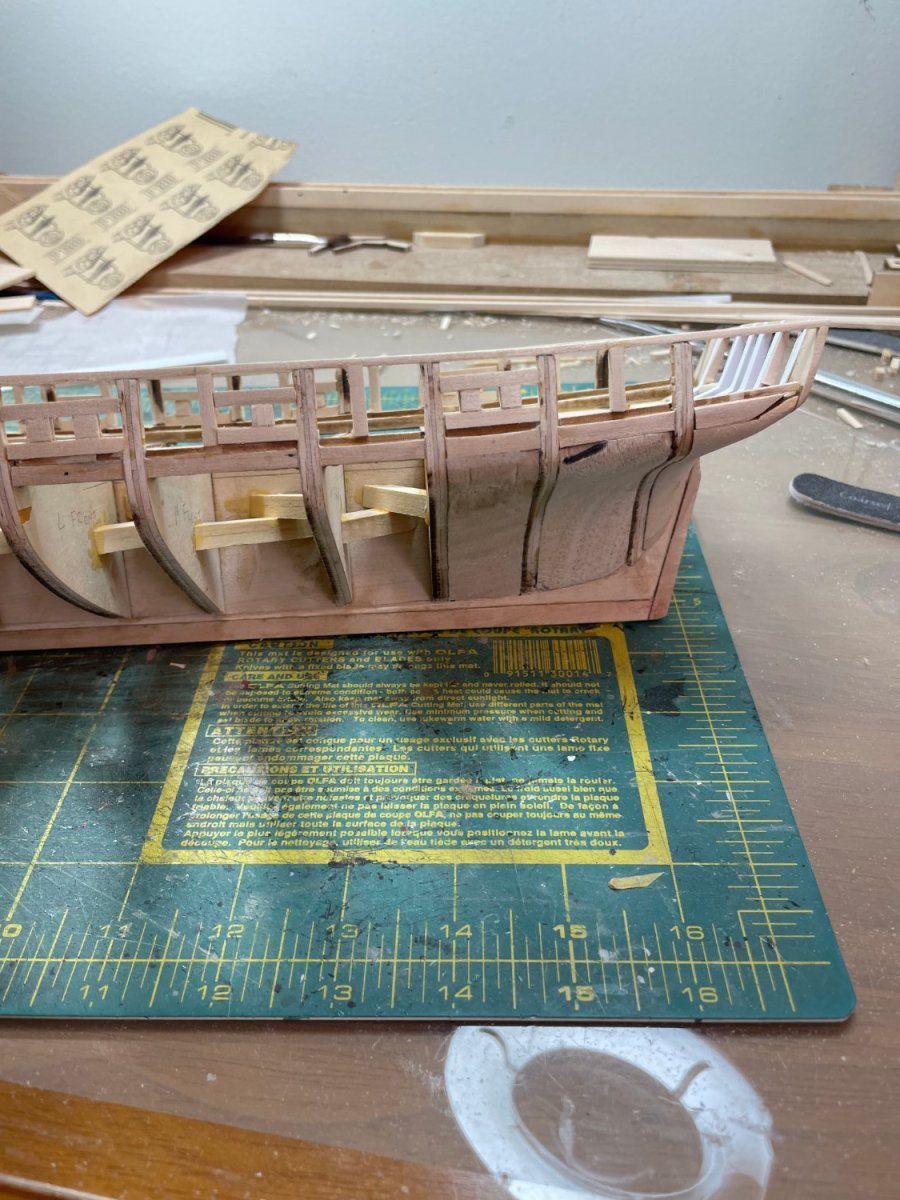
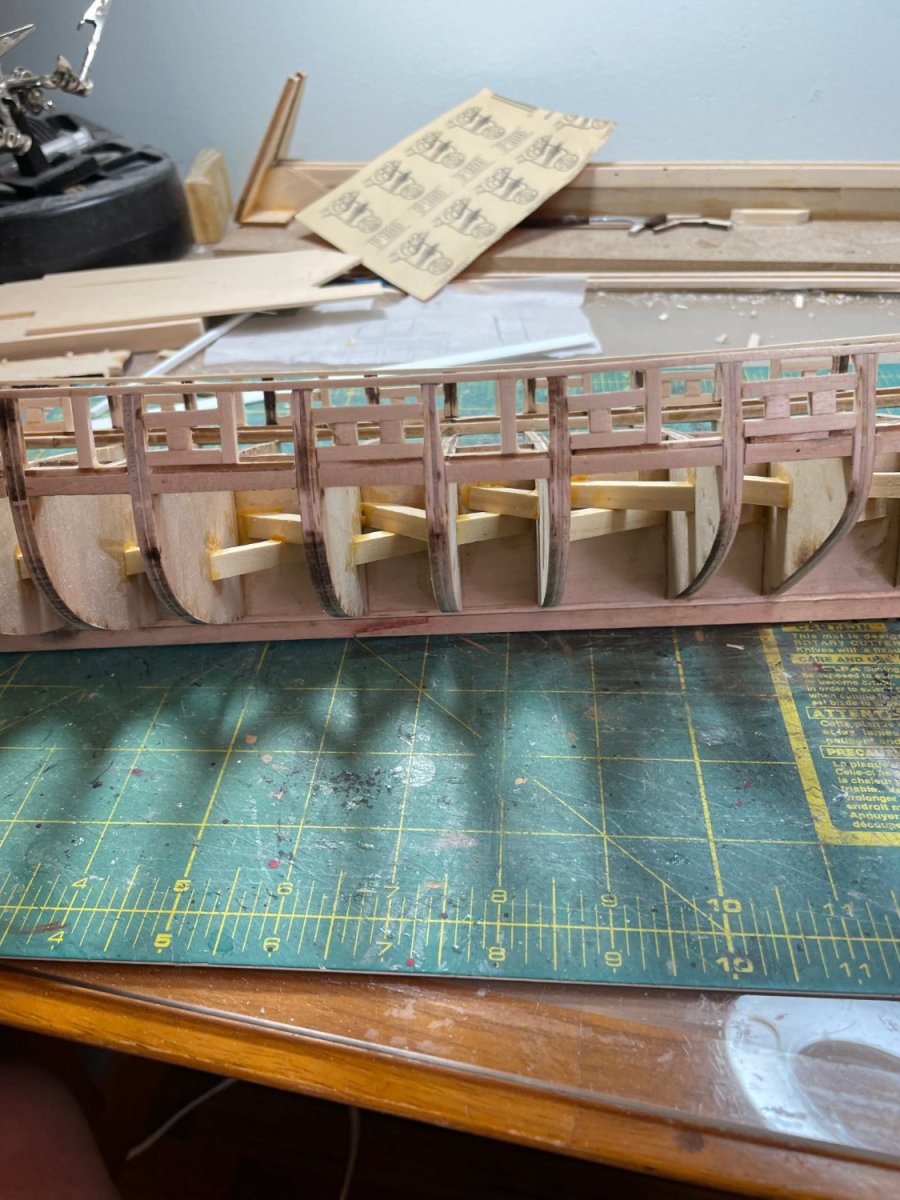
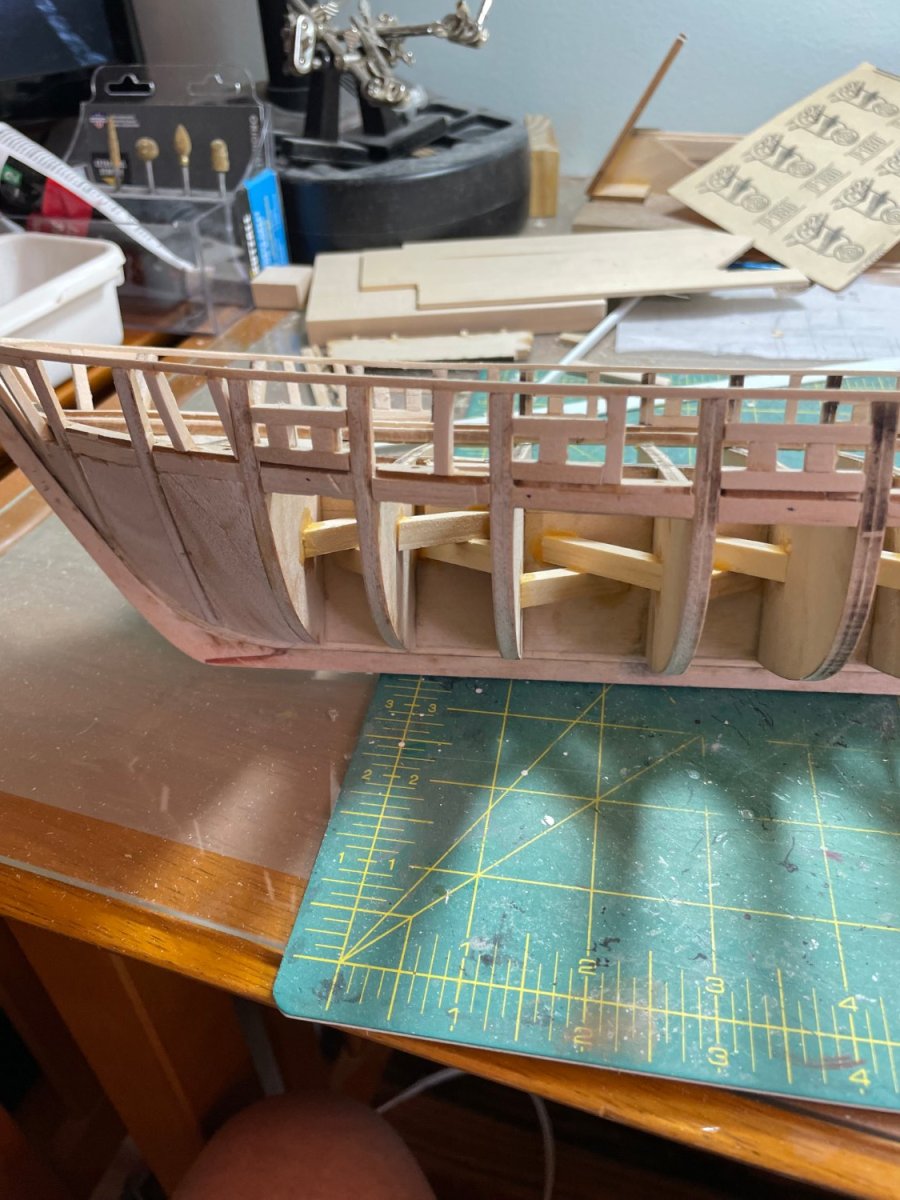
After framing the gun and sweep ports I found there was a gap between the plank sheer where the gun ports were and the edge of the frames. Filled this in with some thin bits of wood then sanded to ensure smoother fit once the first two hull planks were attached. you can see the result below on the outside edges of the cannon ports.

-
-
On 2/12/2024 at 10:37 AM, abelson said:
Nice work on your Niagara. I haven't seen plastic used in other build logs. The use of plastic seems counterintuitive to wood ship building. I hope plastics don't creep into wood ship models.
Thanks for the comment Abelson.
I will be honest that if I had the equipment to cut the stern timbers out of hardwood, to replace the plywood that comes with the kit, I would have.As it is I was not willing to suffer the inevitable breakage of these parts as seems to afflict those that have posted their Niagara building logs in the past. The effect of trying to re-glue these parts, ensuring they were precisely aligned etc. and hoping they didn’t break again just didn’t make sense to me.
Fabricating the parts in plastic was not simple and will in this case be covered by wood as construction progresses and it is something that I am personally ok with for my build.
The question of use of parts other than wood in a wooden ship I will leave to others to debate.
it is an interesting question however in the context of wooden ships. Would it imply that someone who scratch builds everything from wood they have cut from the tree more of a builder than someone who assembles laser cut wooden parts from a kit? Does it really matter in any case as the goal is got self satisfaction through completing the building process. Does someone who has a lathe and electric saw to fabricate parts and turn square dowels into masts deserve less regard than those that only use hand tools.
i would note that those who have the capability, and not inexpensive tools, to complete a scratch build deserve real respect for their skills.
Thanks
Stuart
-
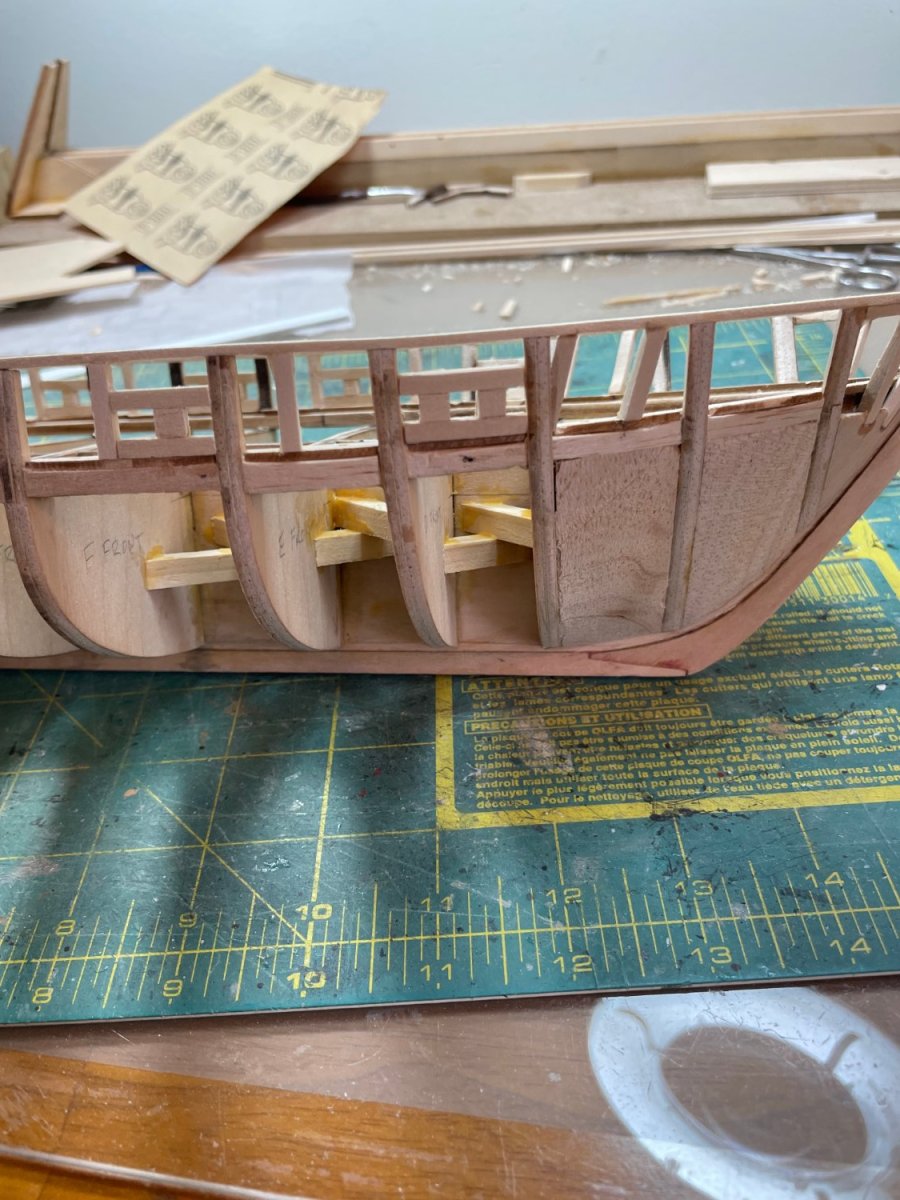
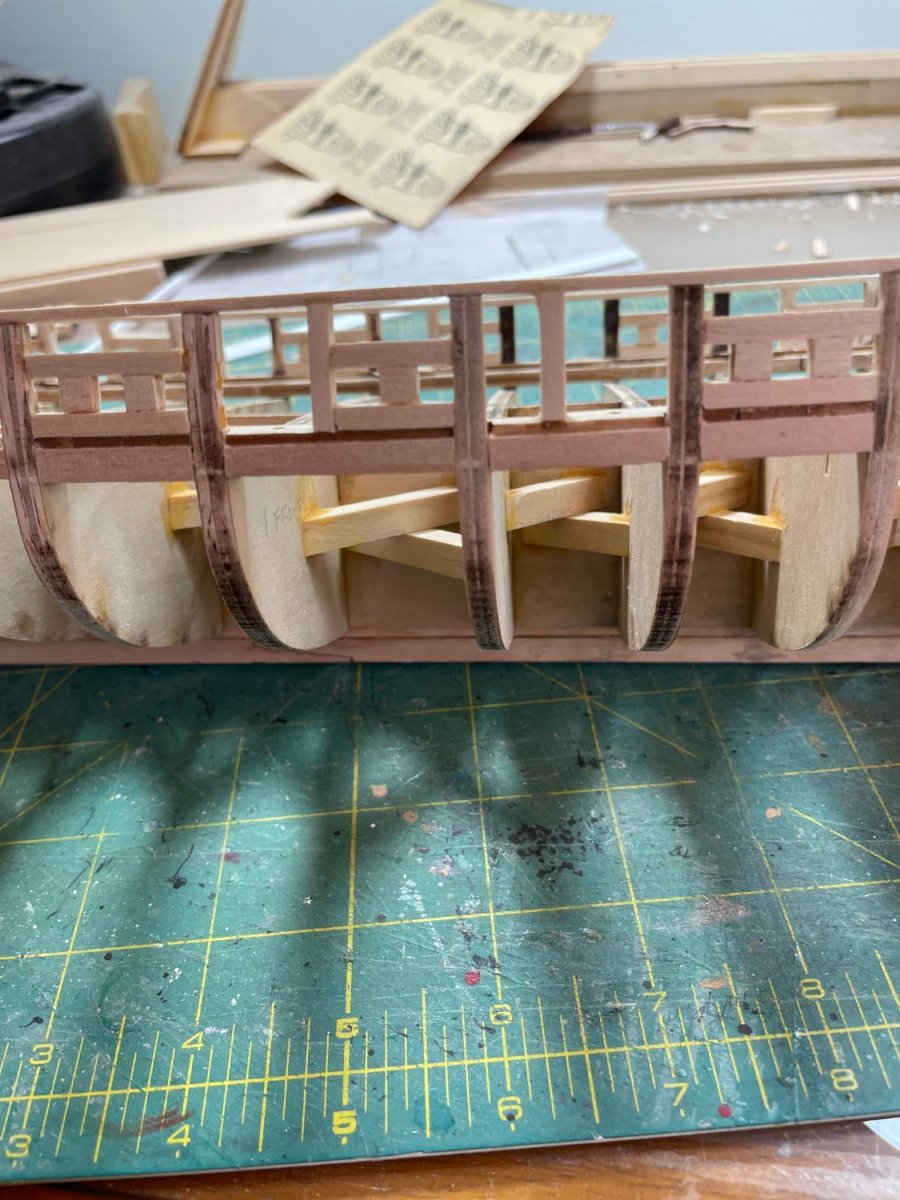
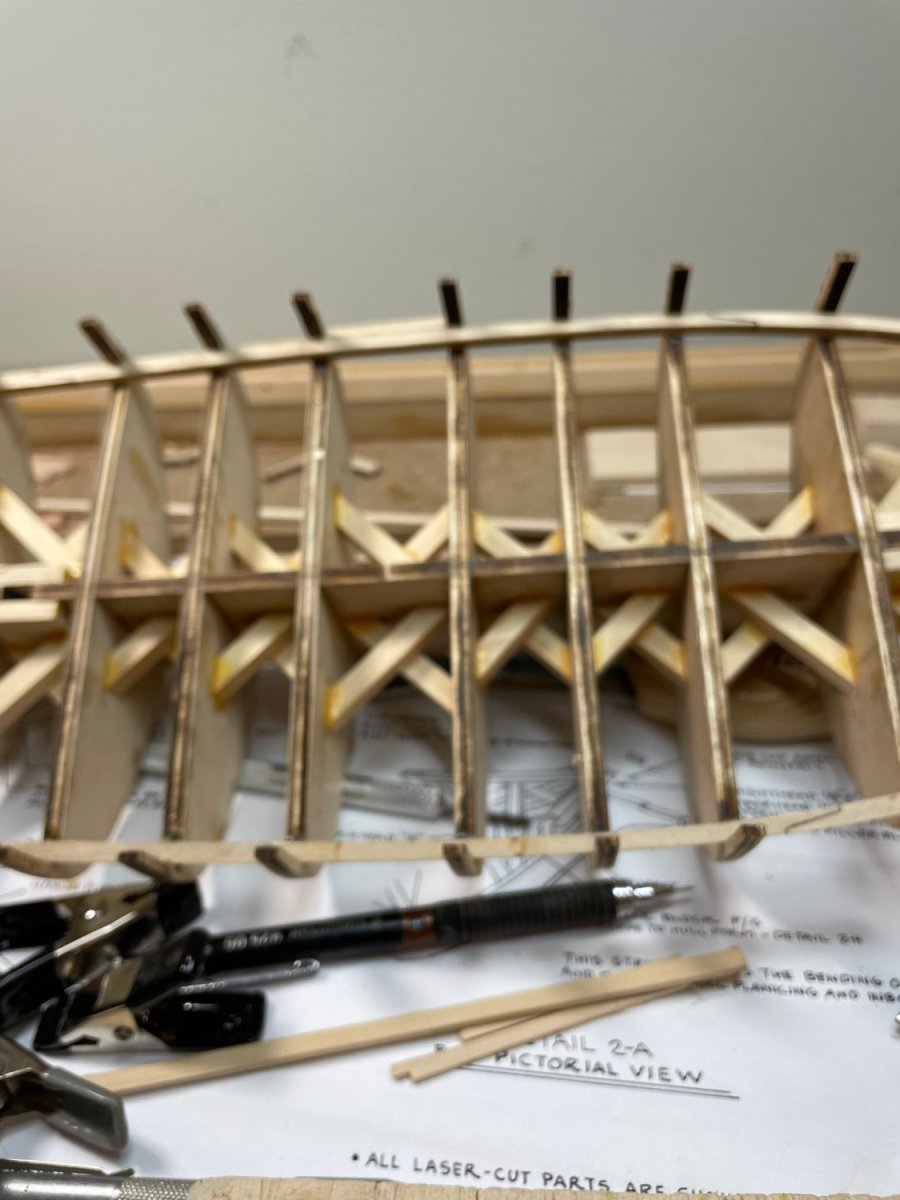
Some tidying up of space between waterways and bulkheads and 3/32 square section rail attached to top of bulkhead (seen in previous builds for reason of height needed fro cannon ports


Next step - framing of cannon ports
- Sergey Karelia, Cathead, abelson and 2 others
-
 5
5
-
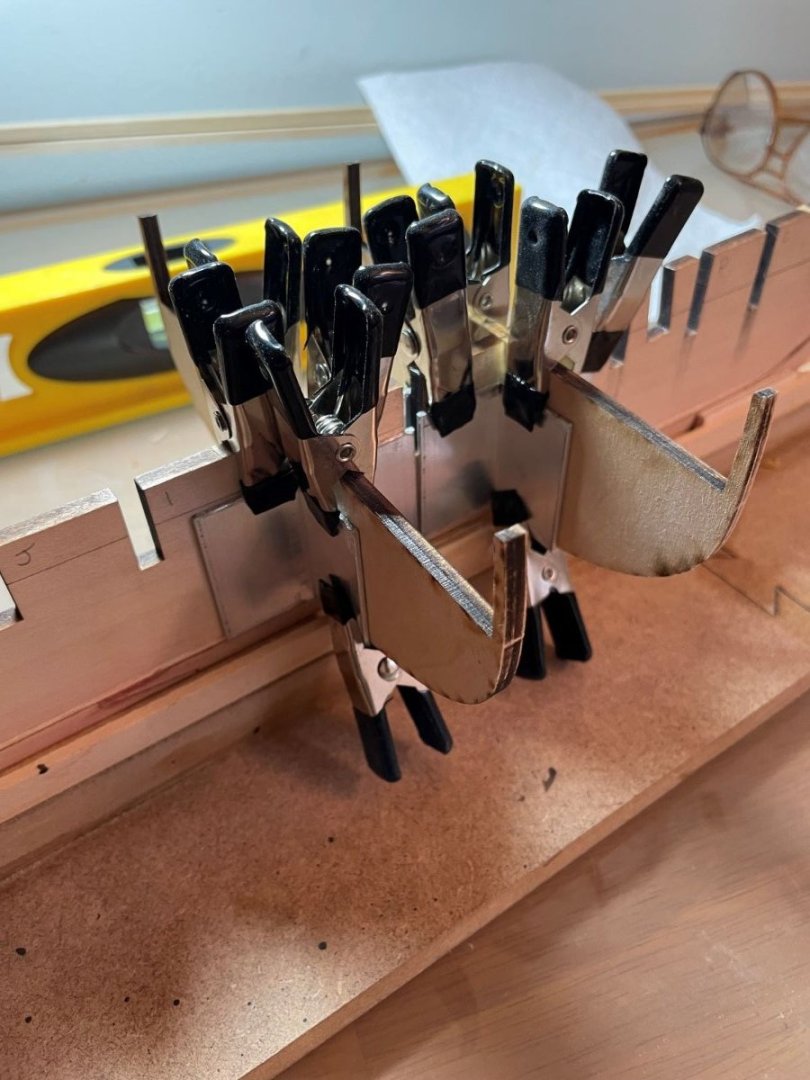
wrapped up the knightsheads and top stiffner
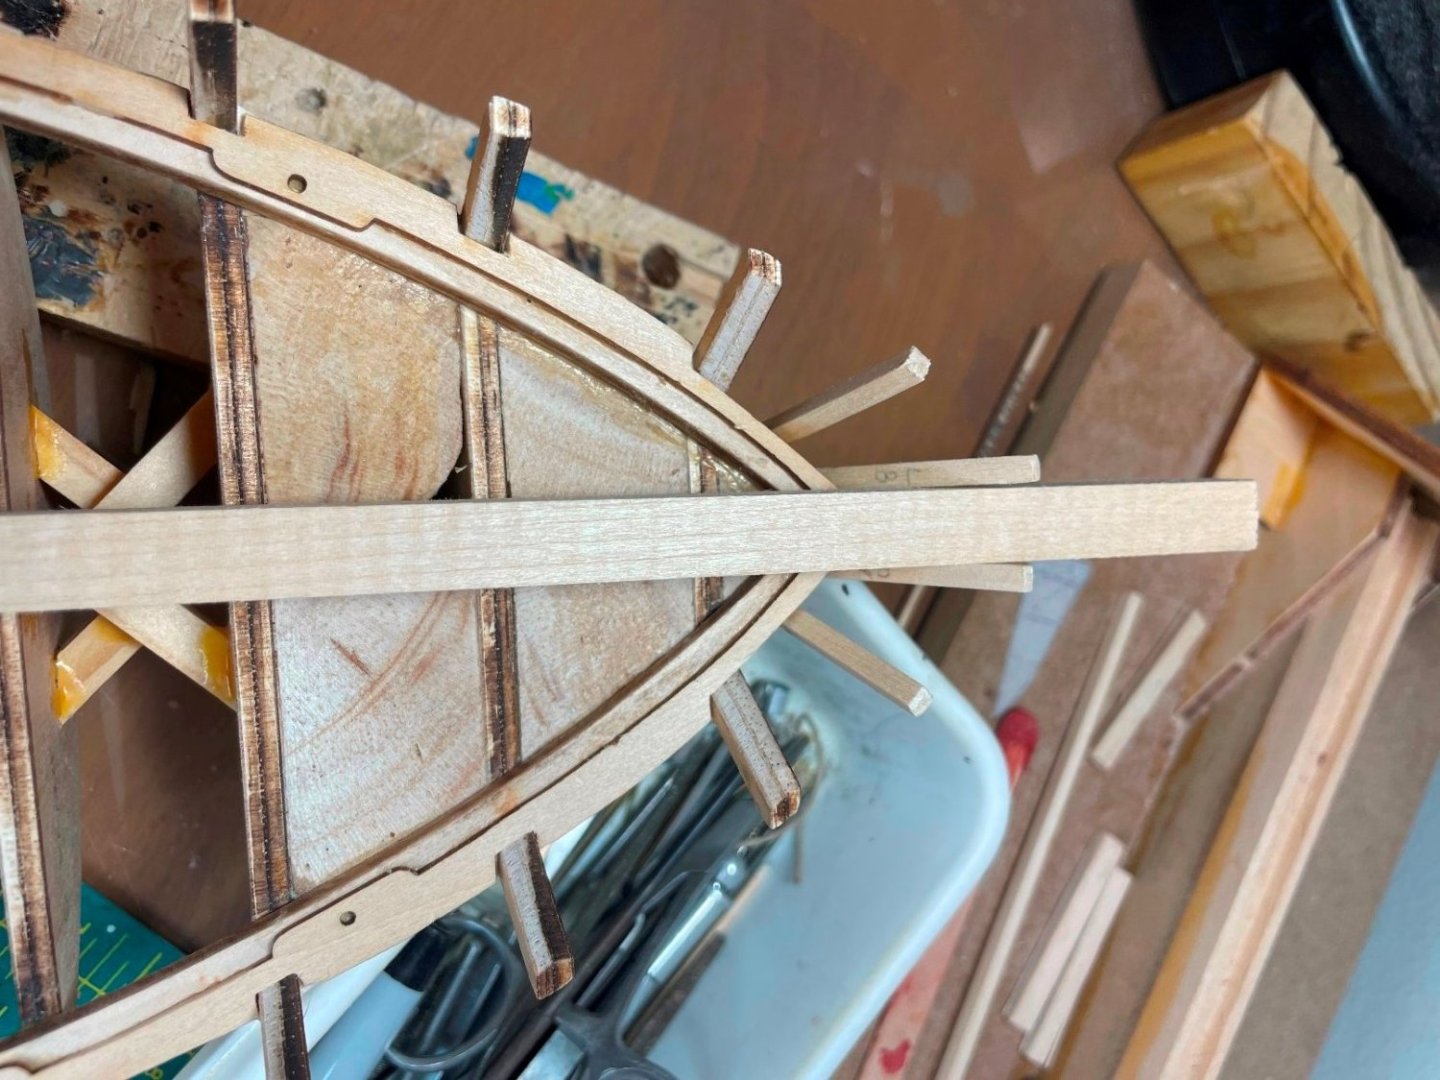
first made sure the stiffners were snug to what will be the bowsprit
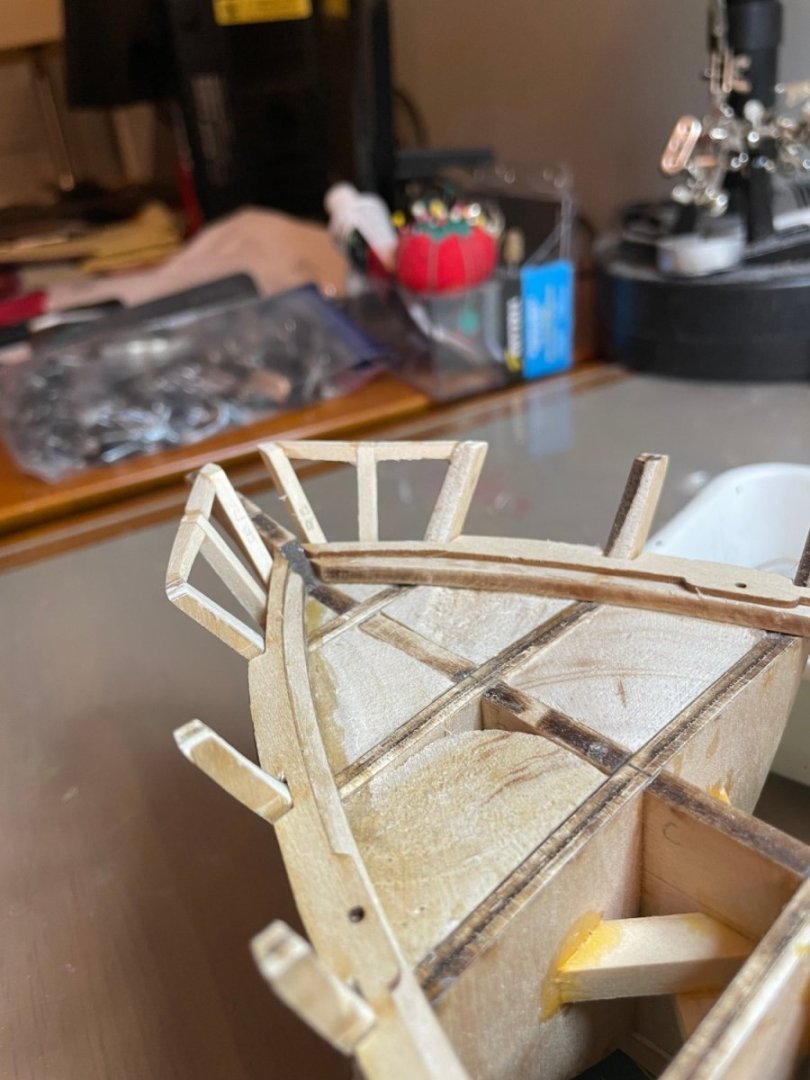
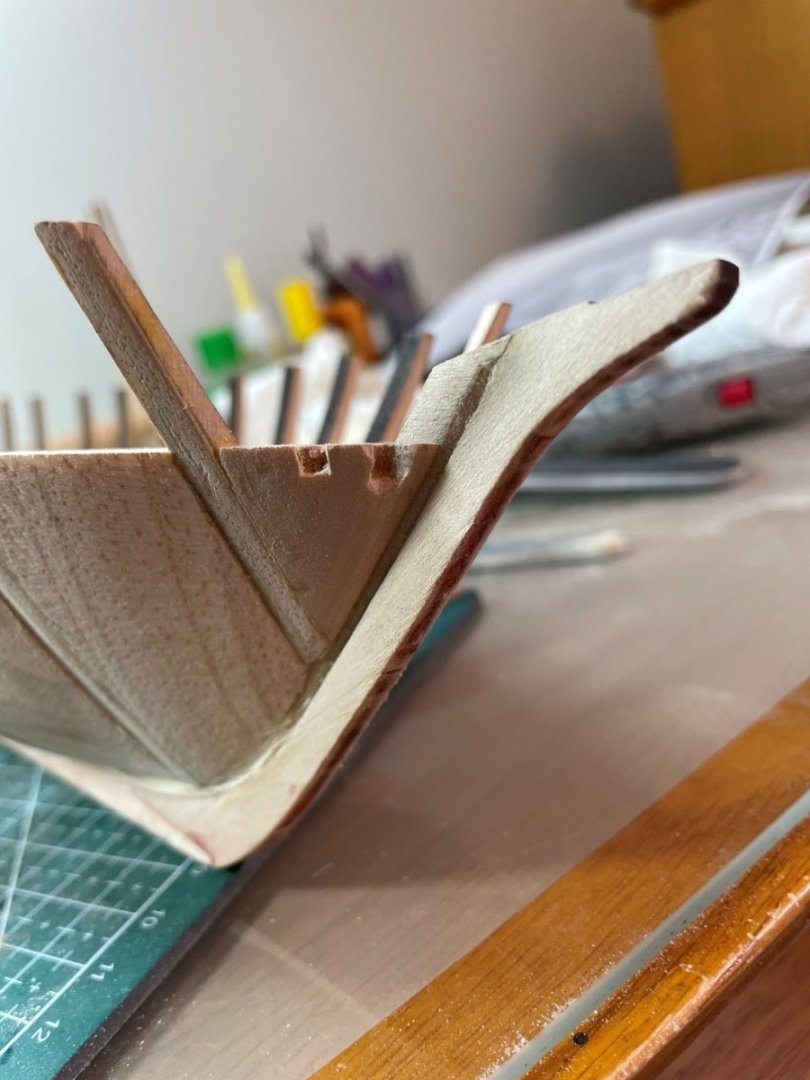
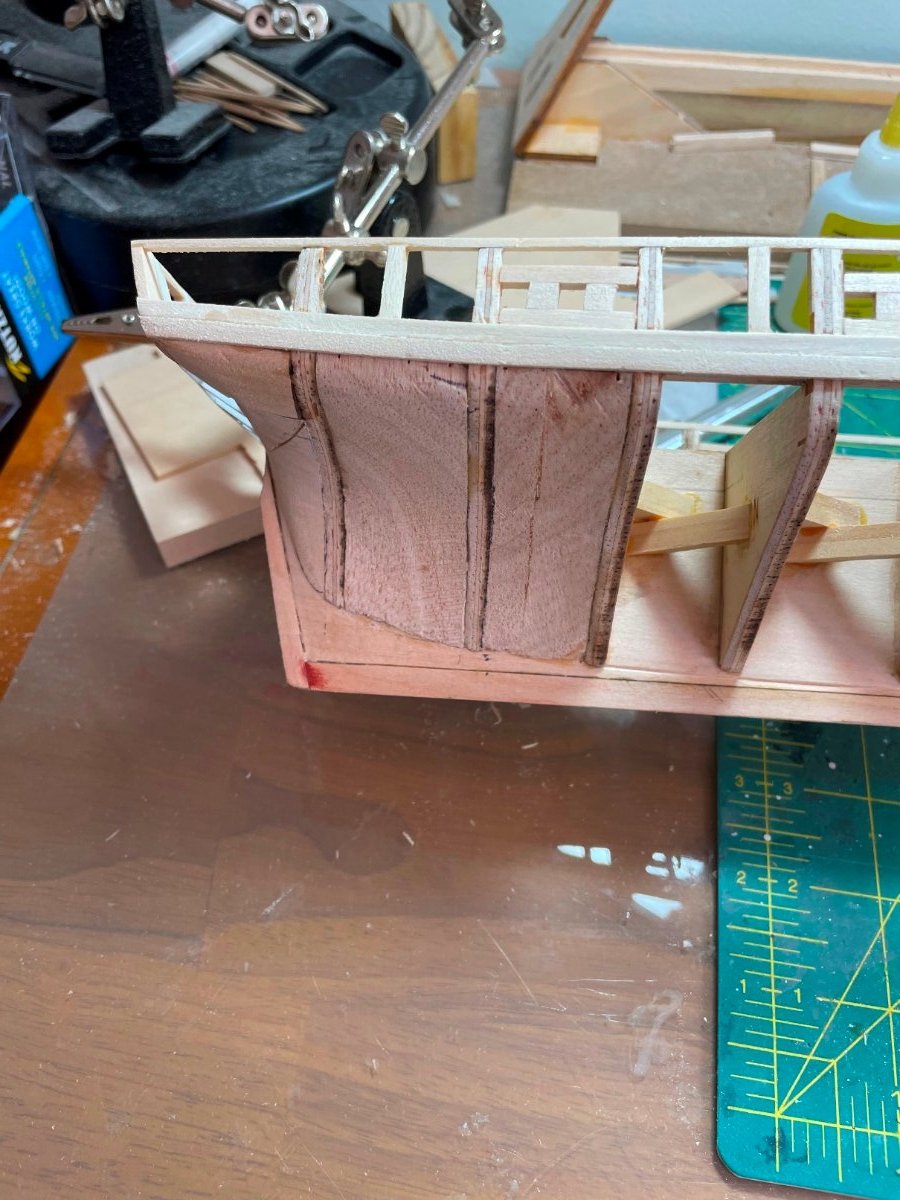
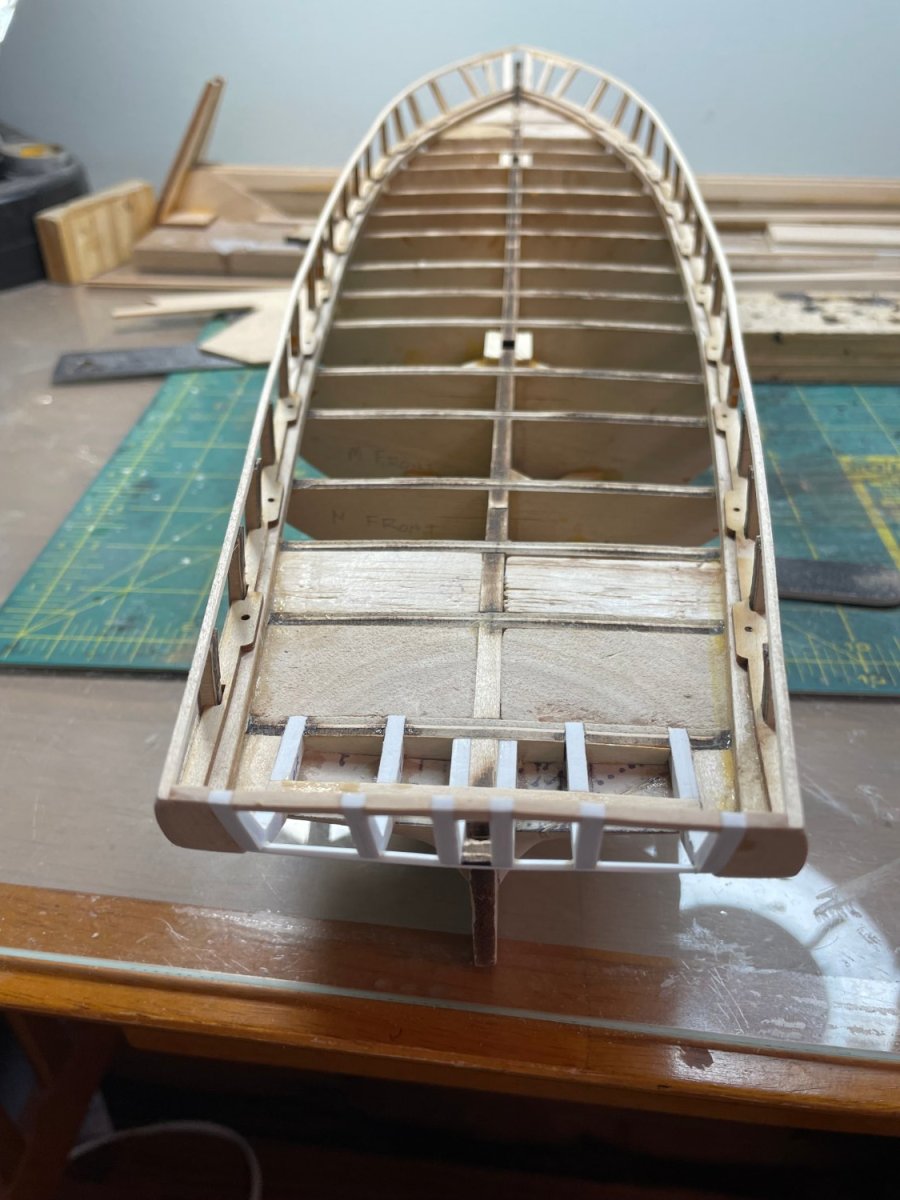
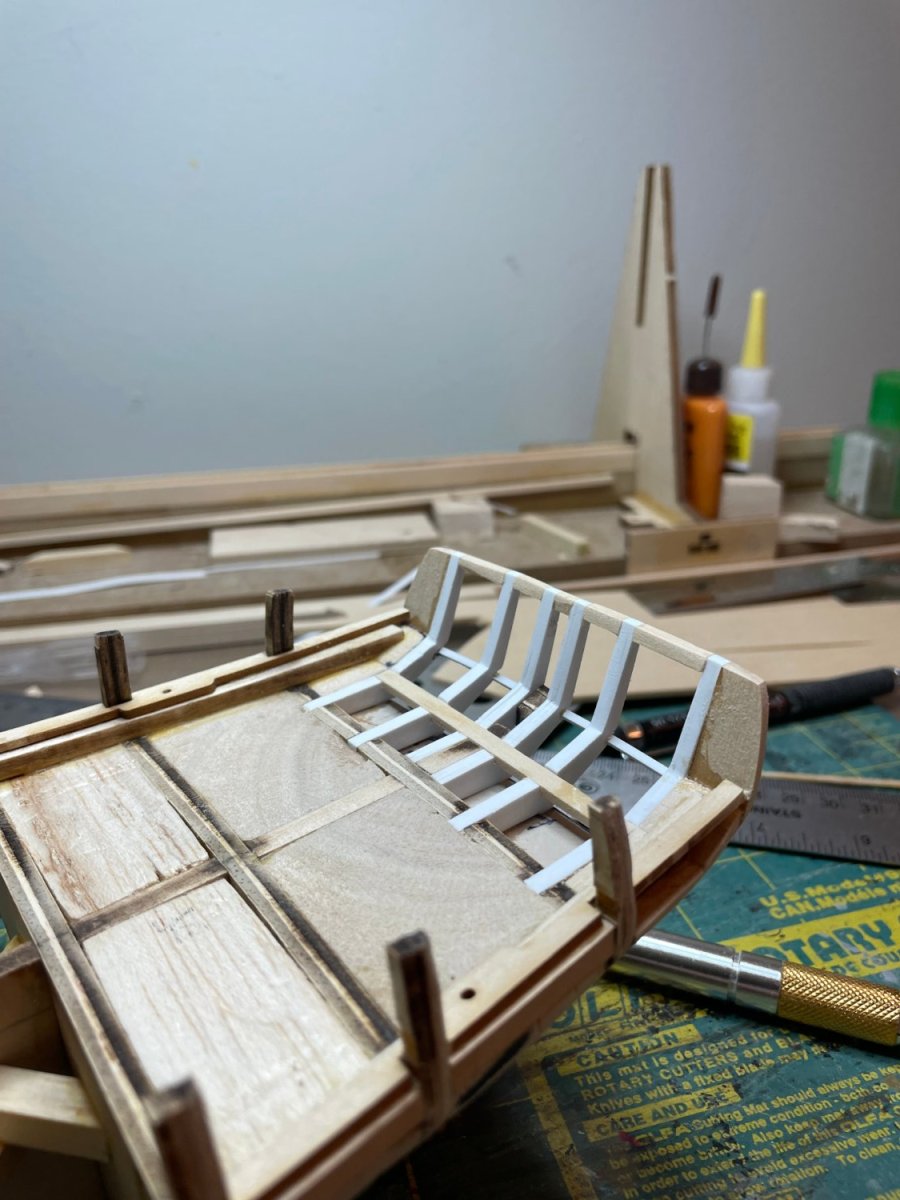
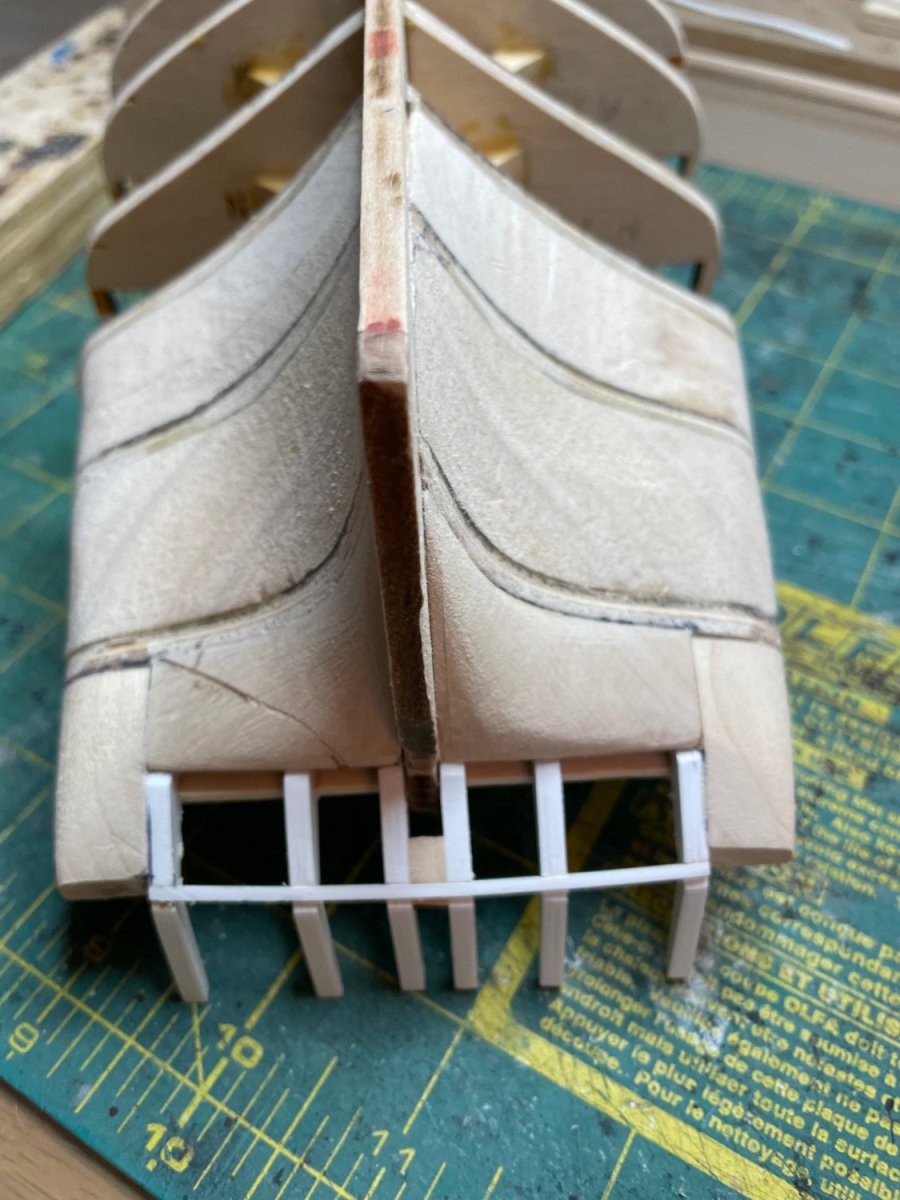
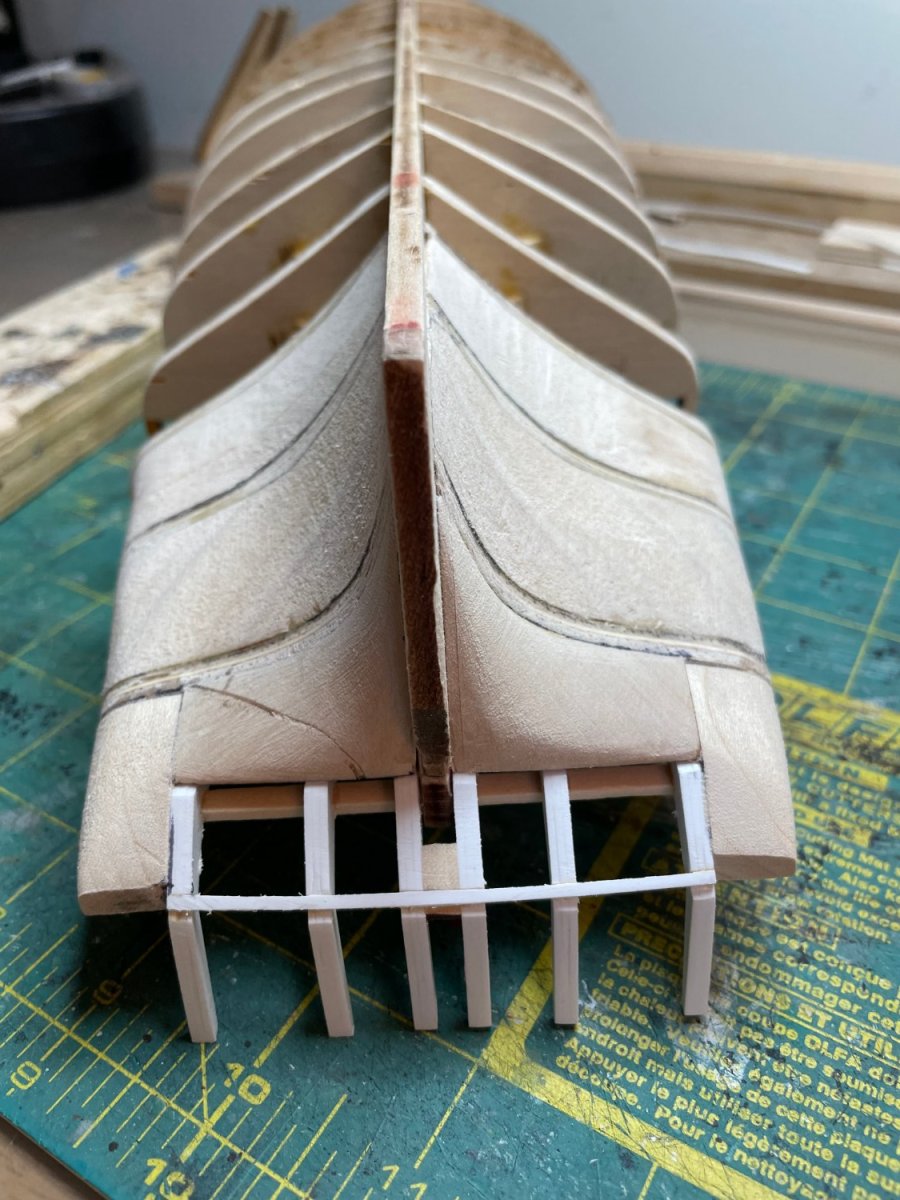
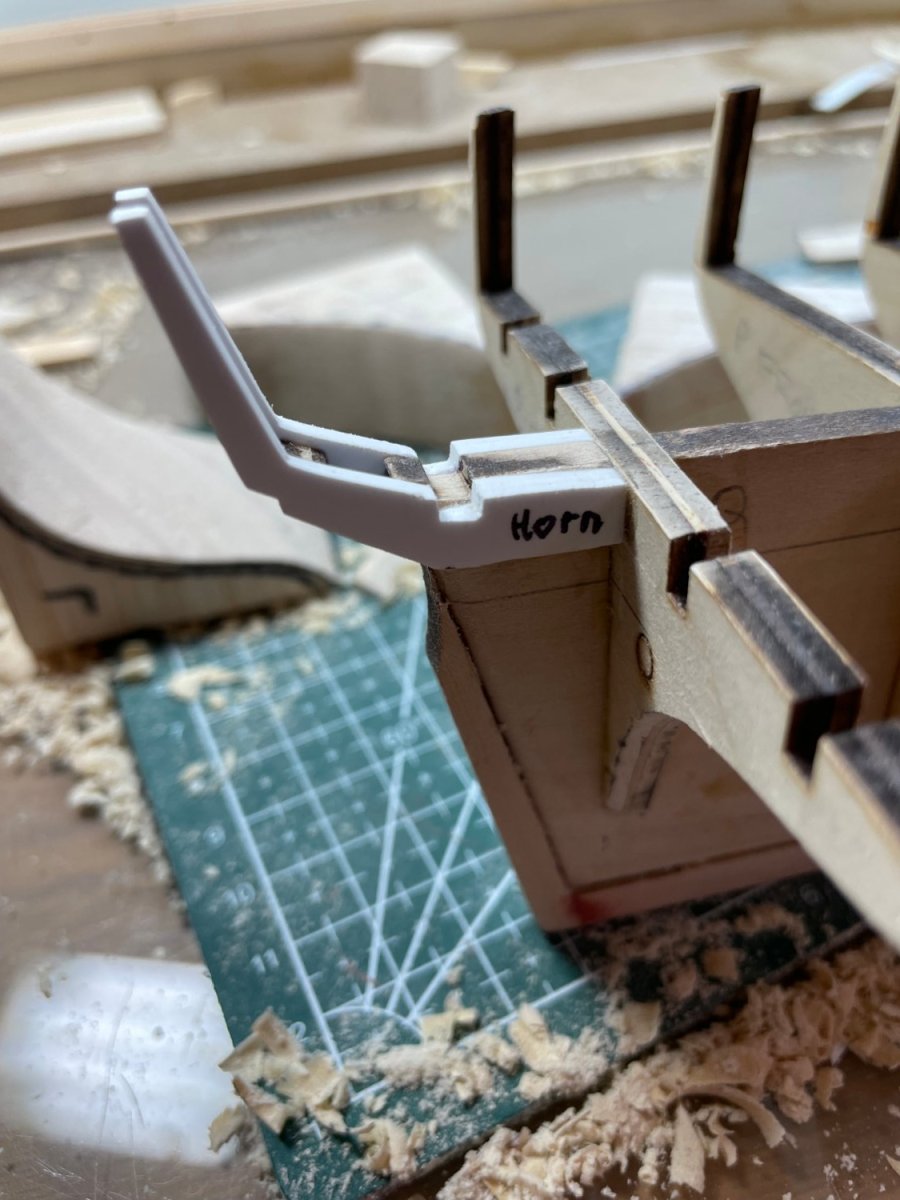
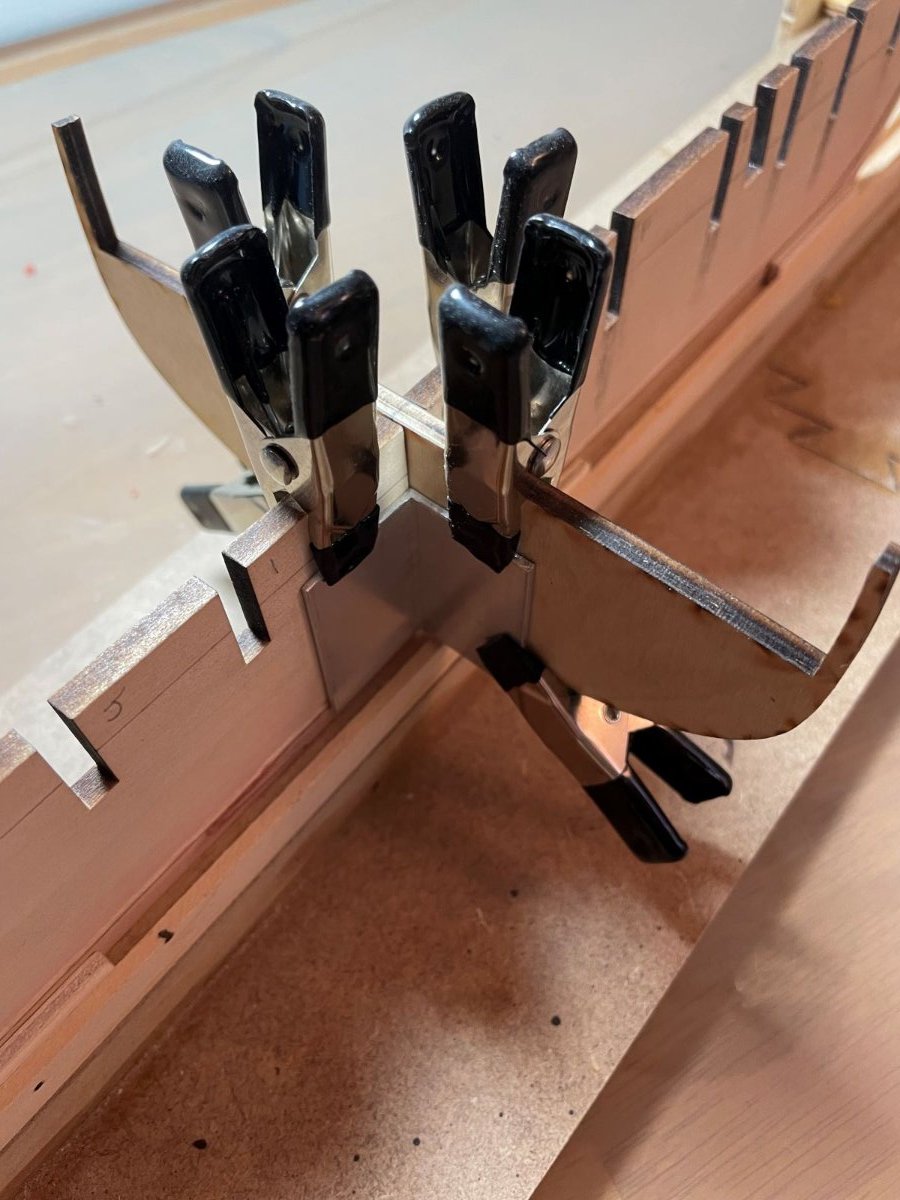
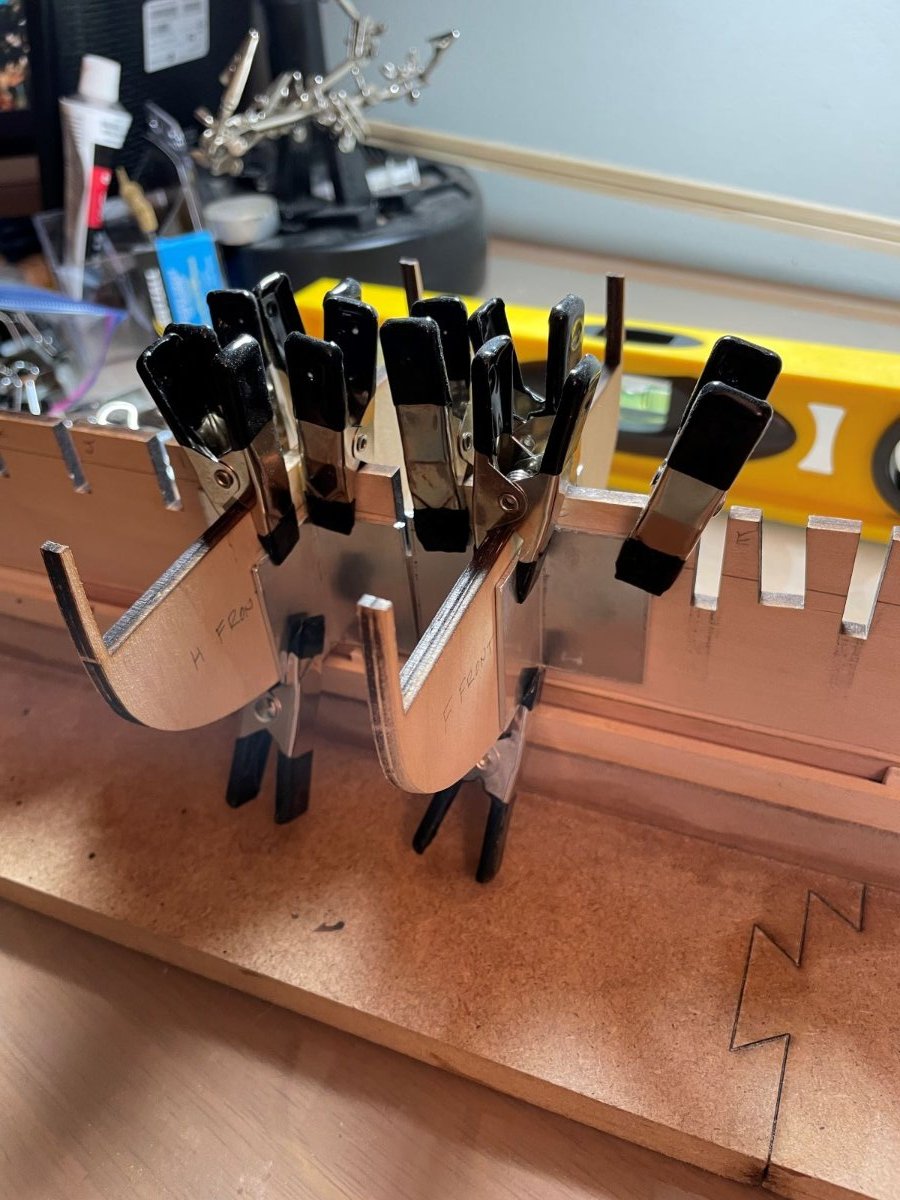
Also worked o n the stern framing. Th plans didn't quick make sense to me and seemed more complicated than they need be for the quarter stanchions. Instead I decided to cut a piece of boxwood to the required shape and attached this to the horn timbers and the spacers blocks.

-
-
Mike appreciate the comments.
i have mentally accepted that I will need to get better ropes and blocks and Syren seems to be the best place to get them.
do you by any chance recall how much of whatever types of rope/blocks you got from them?
-
-
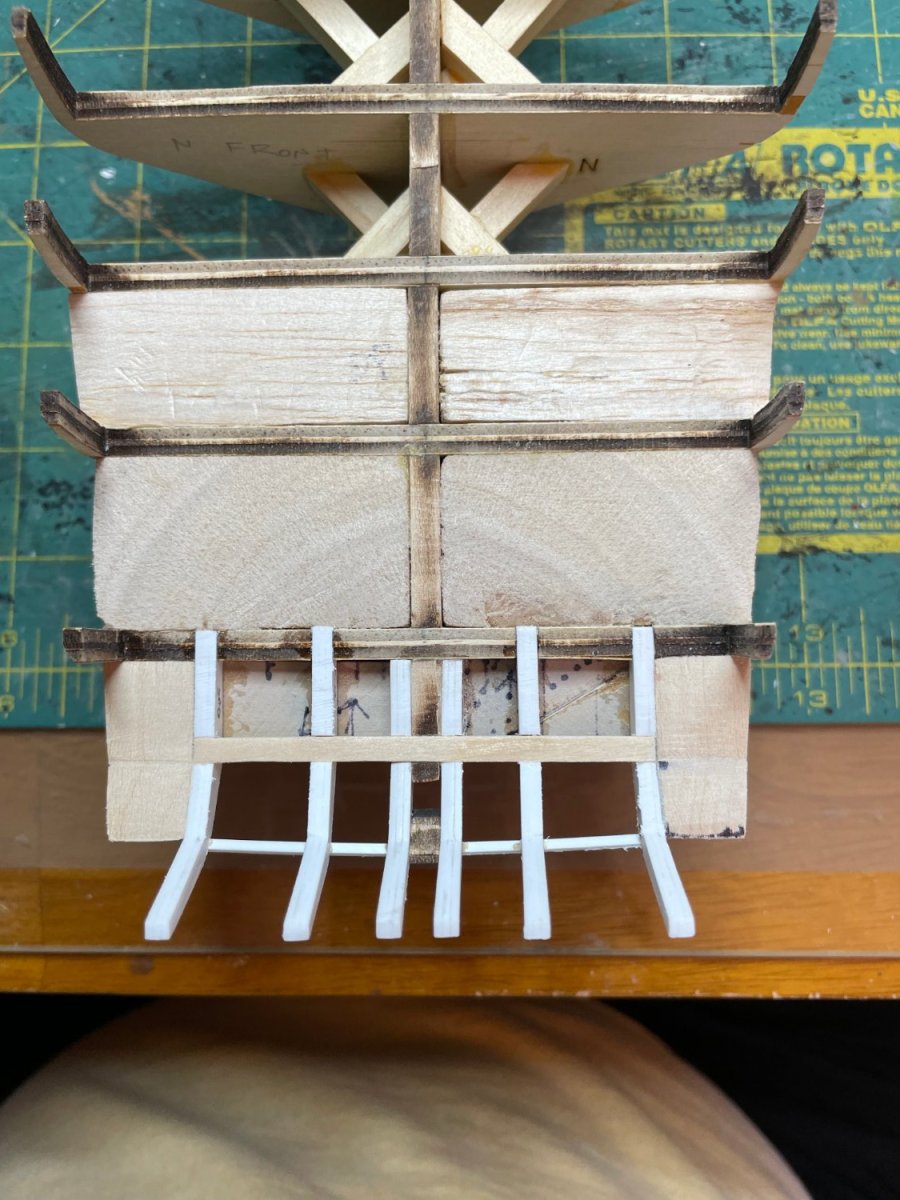
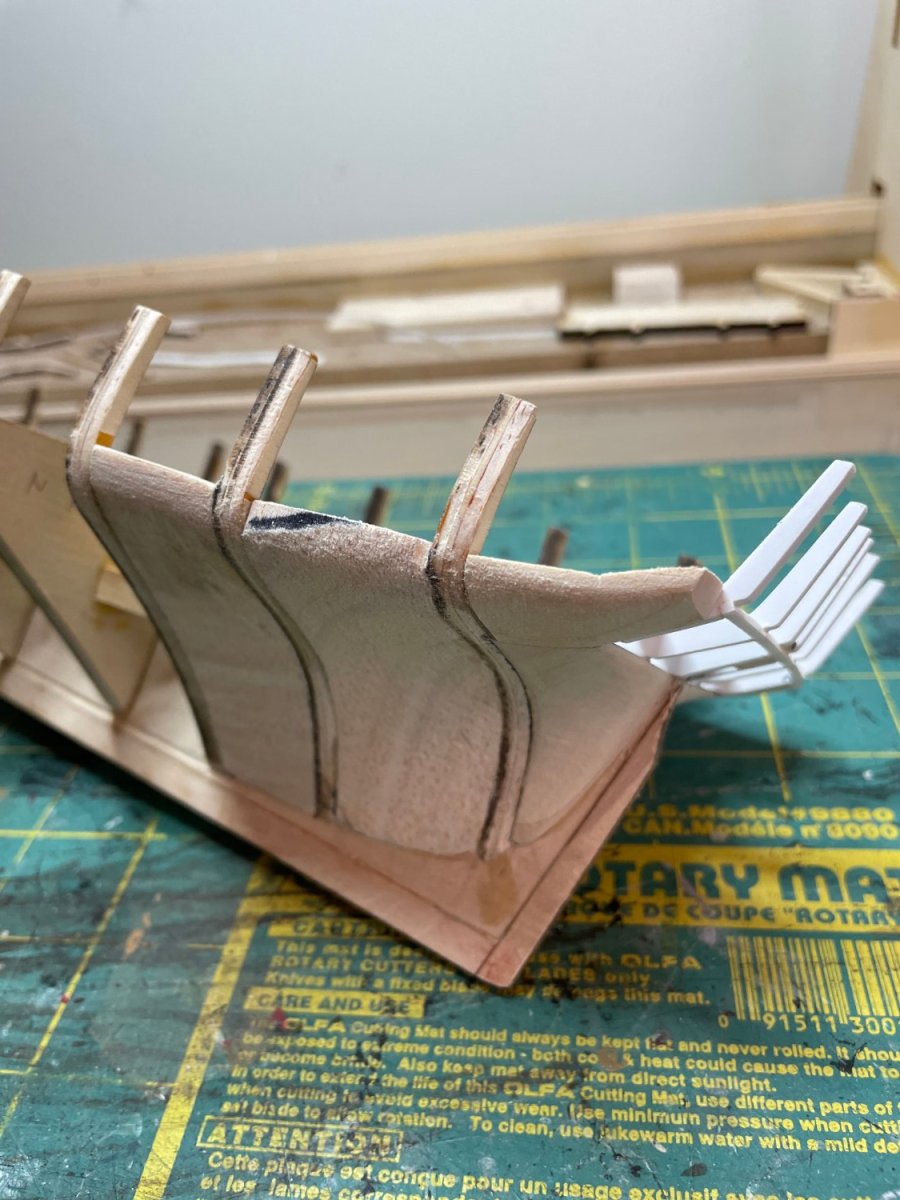
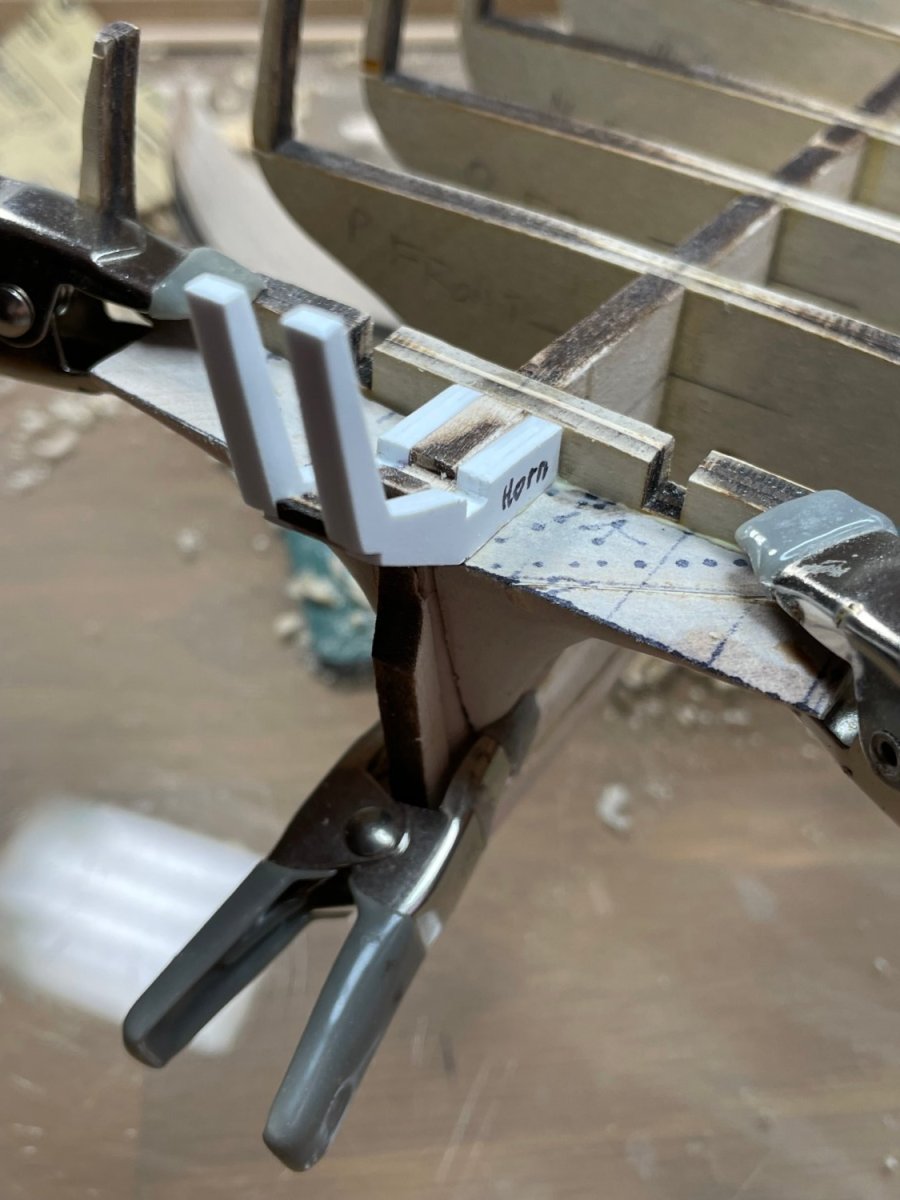
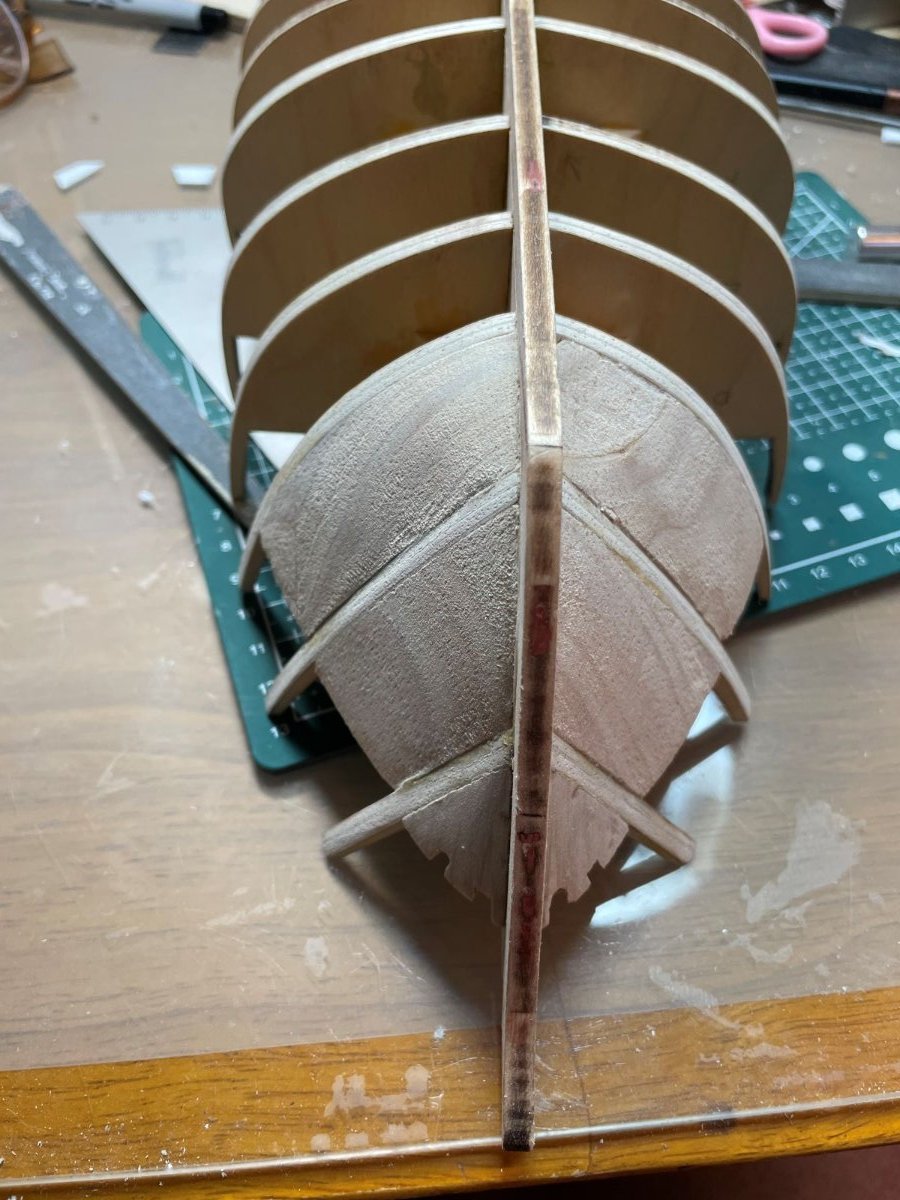
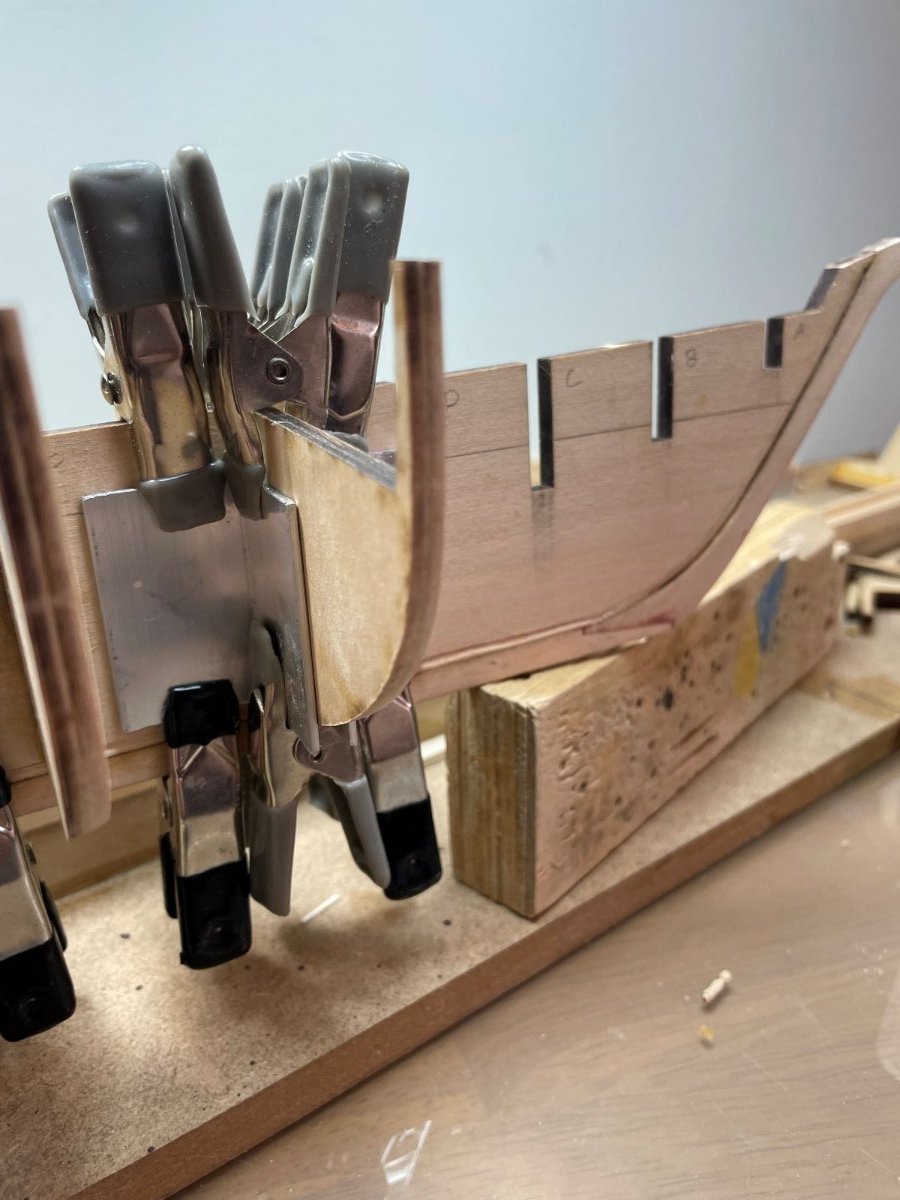
On to fitment of the stern timbers - the plastic sheet replacements for the wooden ones (because I knew I would break them!

After attaching the two horn timbers I attached the filler blocks at the stern. These took a great deal of shaping, and may still require some hand sanding after fitting. I wanted to attach these so I had a better chance of getting the remaining stern timbers attached to align the the horn timbers


-
Steve,
thanks for the suggestions.
so sorry to hear you were bludgeoned on your build by the “experts”. I have experienced this when I was building a Titanic model. One or two of the individuals who did have a high level of knowledge were completely obnoxious. Rather than sharing their knowledge they wanted to make sure that other less knowledgeable builders were aware that they were uninformed and wrong. Very sad but that’s one of the downsides of Internet forums. The majority of people are great but there is a small group of keyboard “warriors” display a level of rudeness they would likely not do face to face.
I have not experienced such issues on this forum!Cheers - Stuart
-
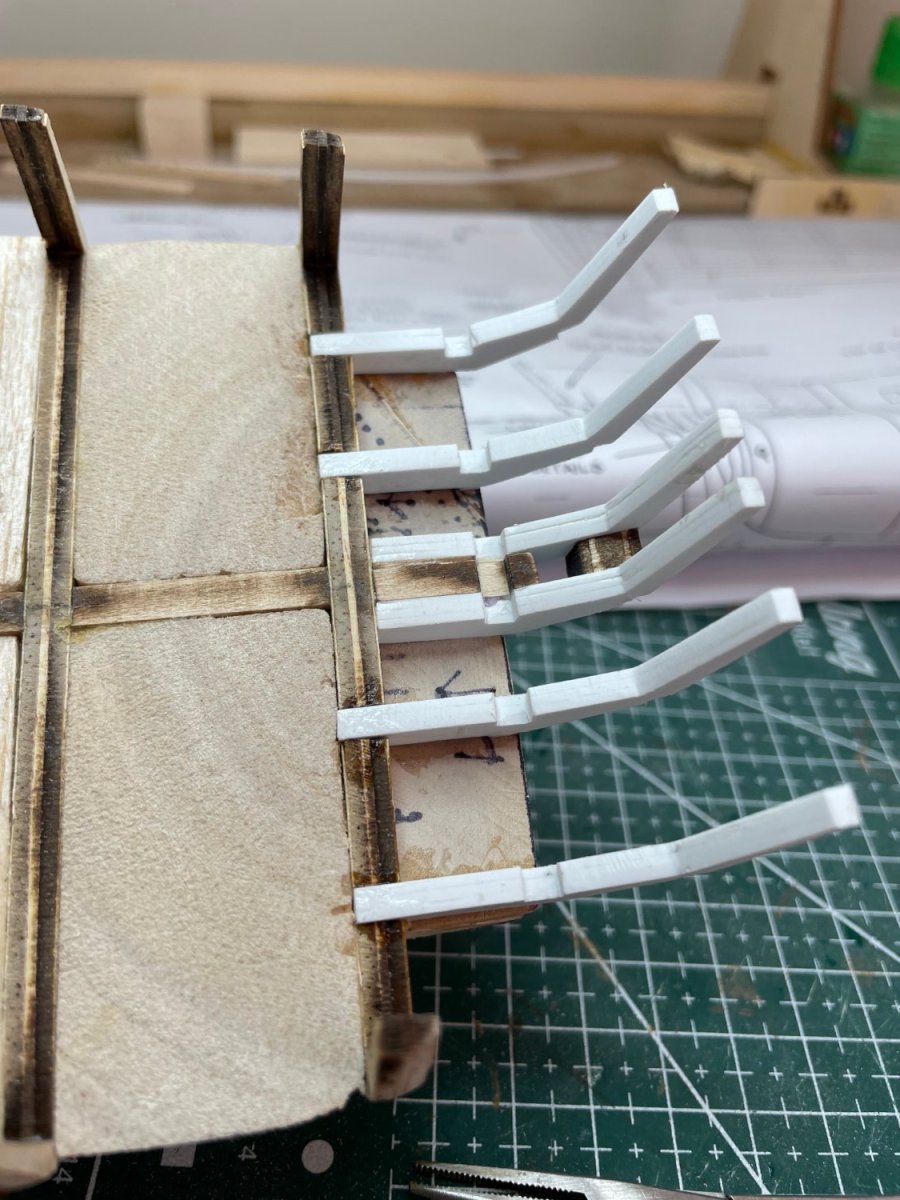
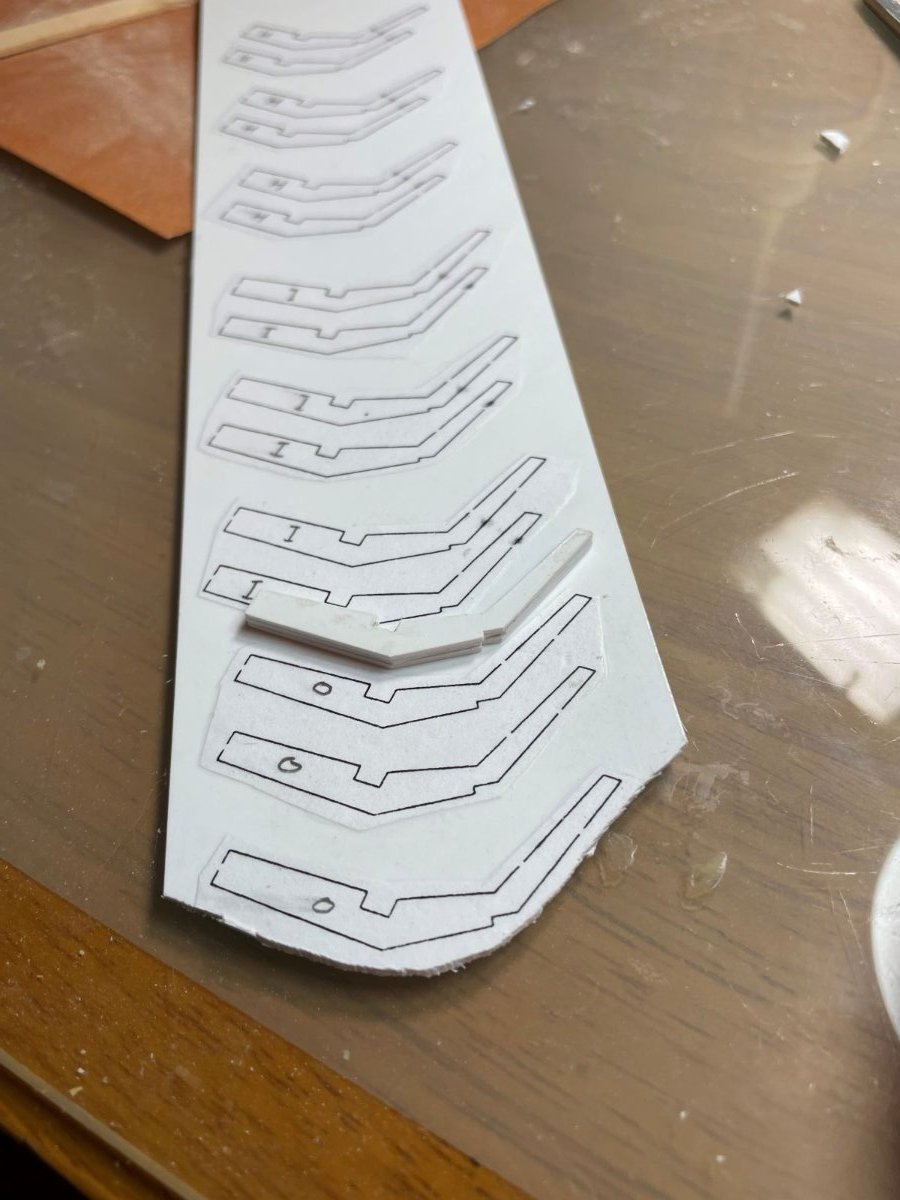
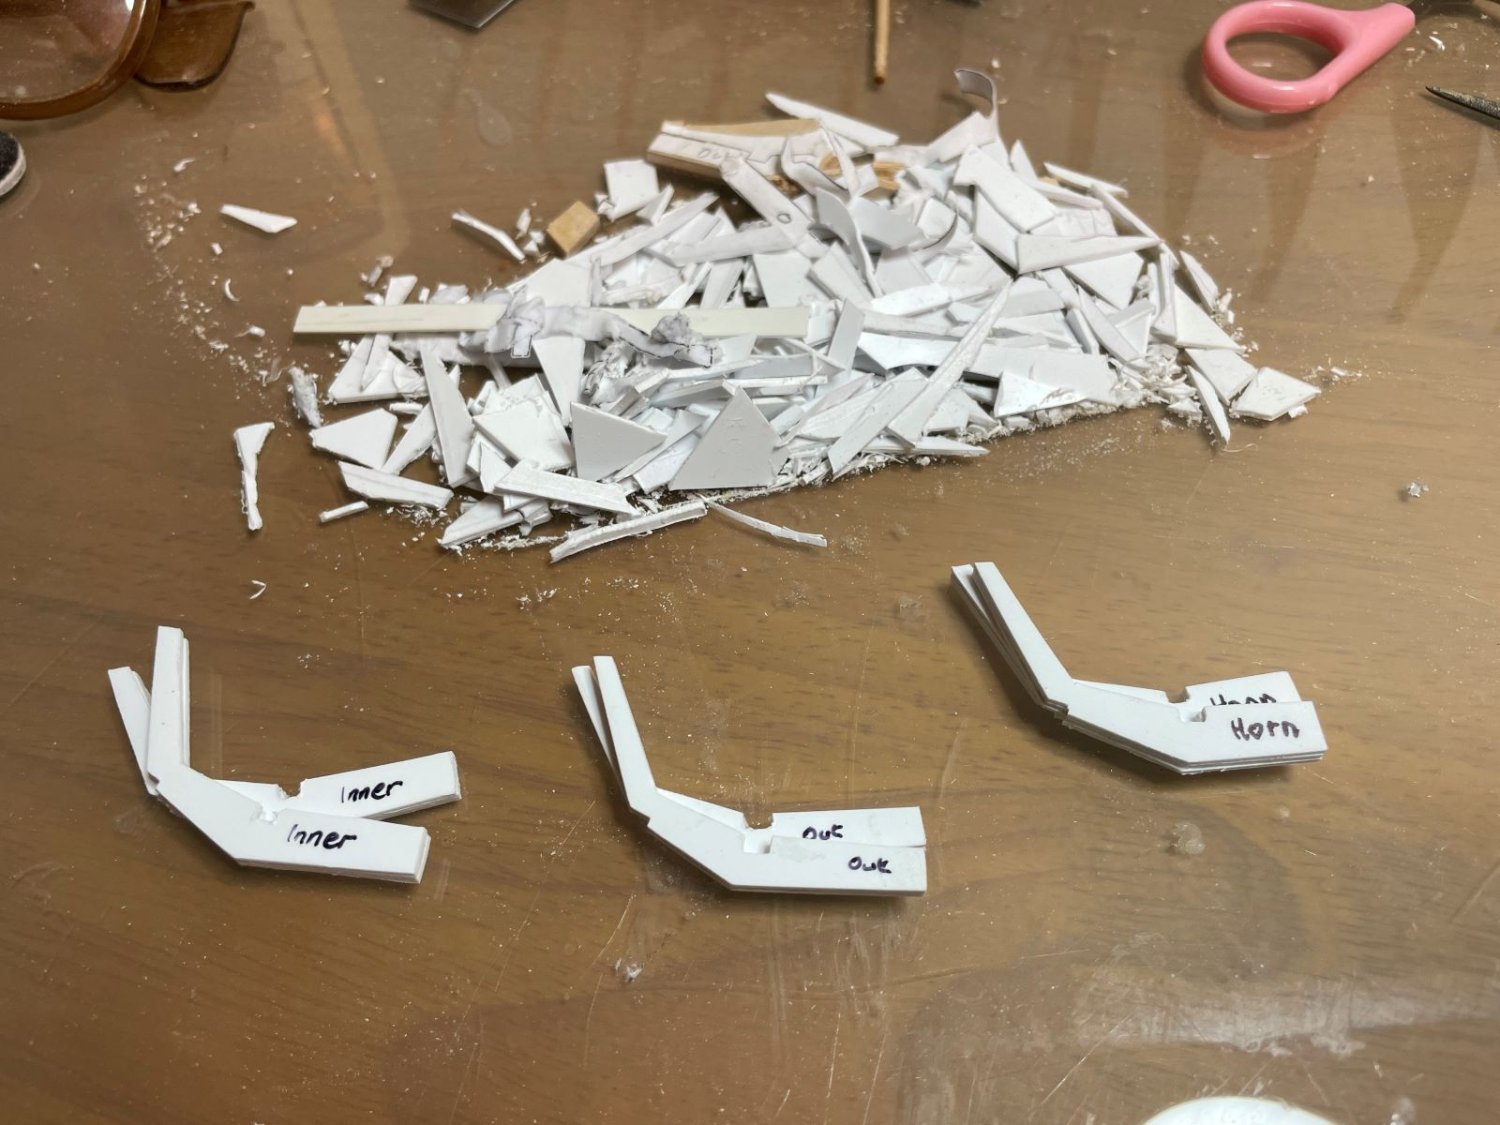
Next stage of my build - having read that everyone seemed to have issues with the stern timbers breaking I decided to replace these with plastic

I photocopied the sheet of wood with the stern timbers on them, then used the photocopy (glued to plastic sheep using white glue) as a template. Needed three cut out from the sheet plastic for each timber. Fun!

These are the timbers before final cleaning and tidying up. That was accomplished through frequent comparison to the wooden originals.
It seems whenever I start something with this model I start with a larger piece of wood plastic, then many hours later end up with a really big pile of sawdust/wood shavings and a much smaller finished piece!
-
Mike & Steve,
Thank you for the comments - food for thought for sure.
Given lack of historical detail I am possibly inclined to build as per instructions maybe with reduced number of cabins - choice of this ship to build was down to my wife being from Erie PA and she is familiar with seeing the Niagara on Lake Erie.
Please keep any comments/suggestions coming. I was planning on getting rope from Syren - suspect that will be a hit to the wallet. I want decent rope because it is the rigging stage I am aprehensive about so investing in better quality rope may help!
Stuart
-
Hi Mikie - appreciate the input. Do you have any suggestions for good readings on the historical background to the Niagara. My initial inclination was to build per the instructions but info on how to backdate it to the original ship would be great to review.
Thanks
Stuart
-
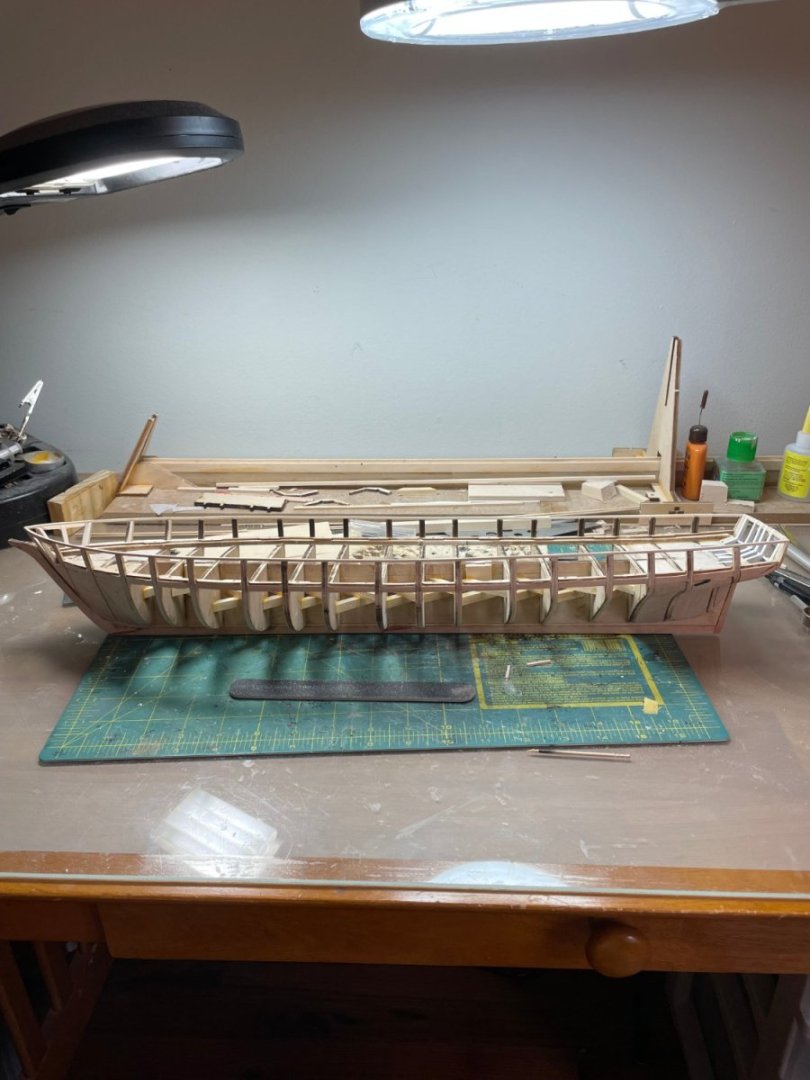
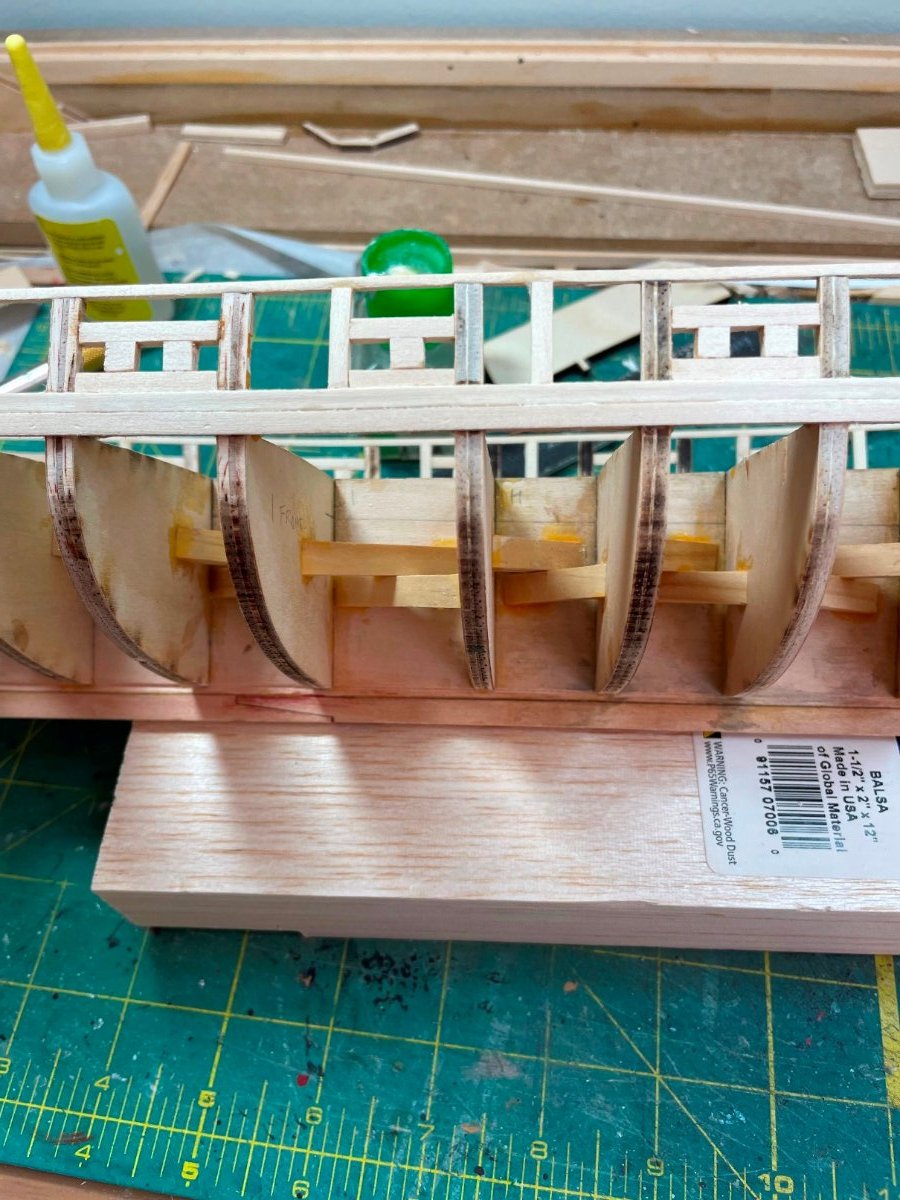
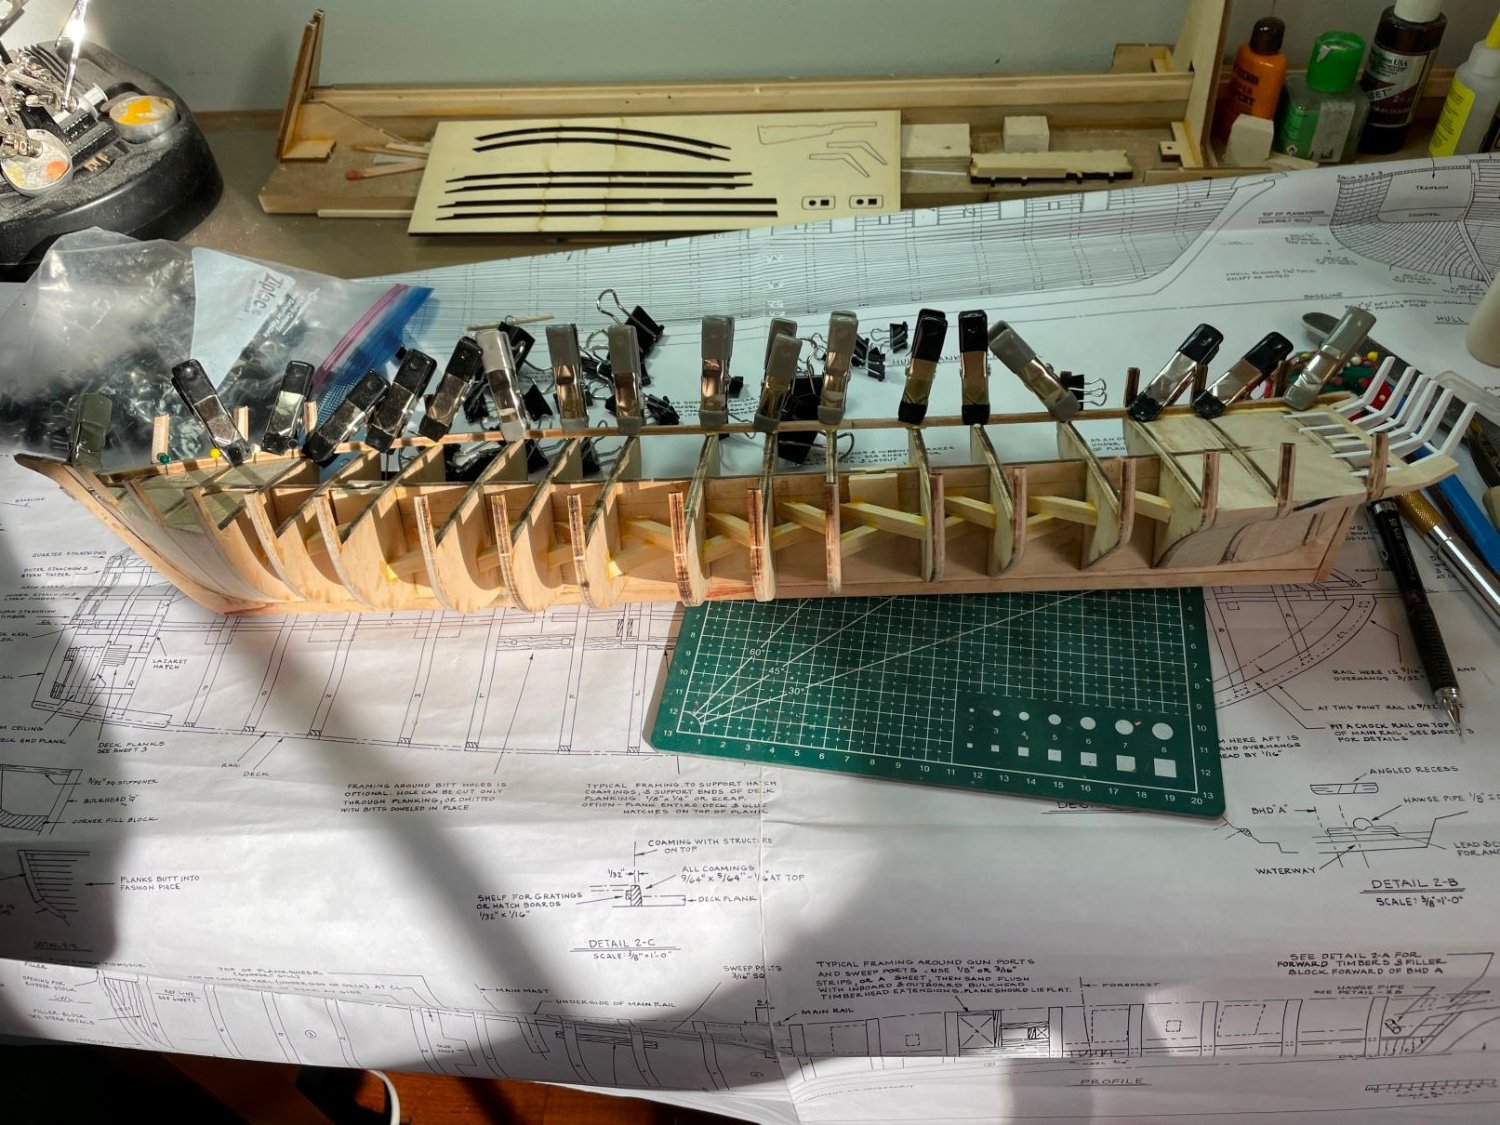
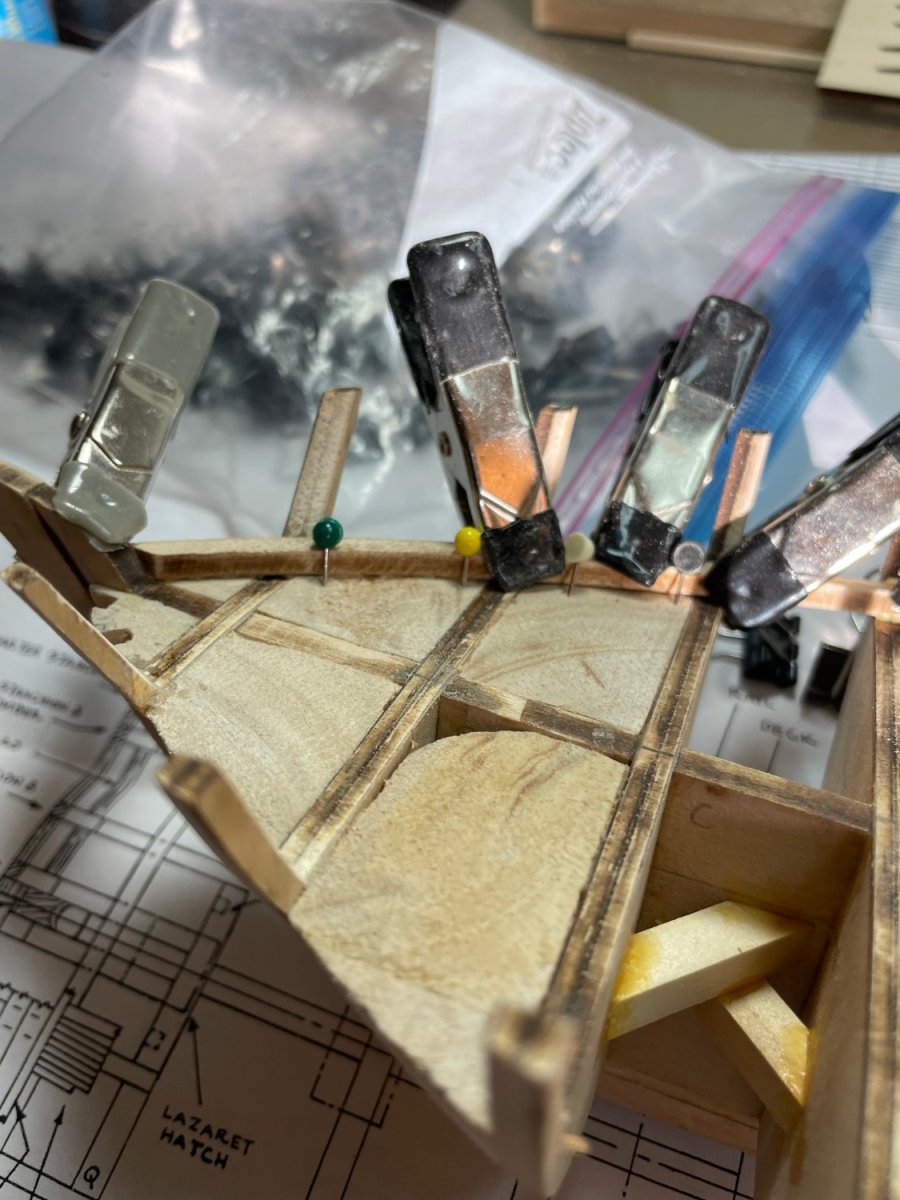
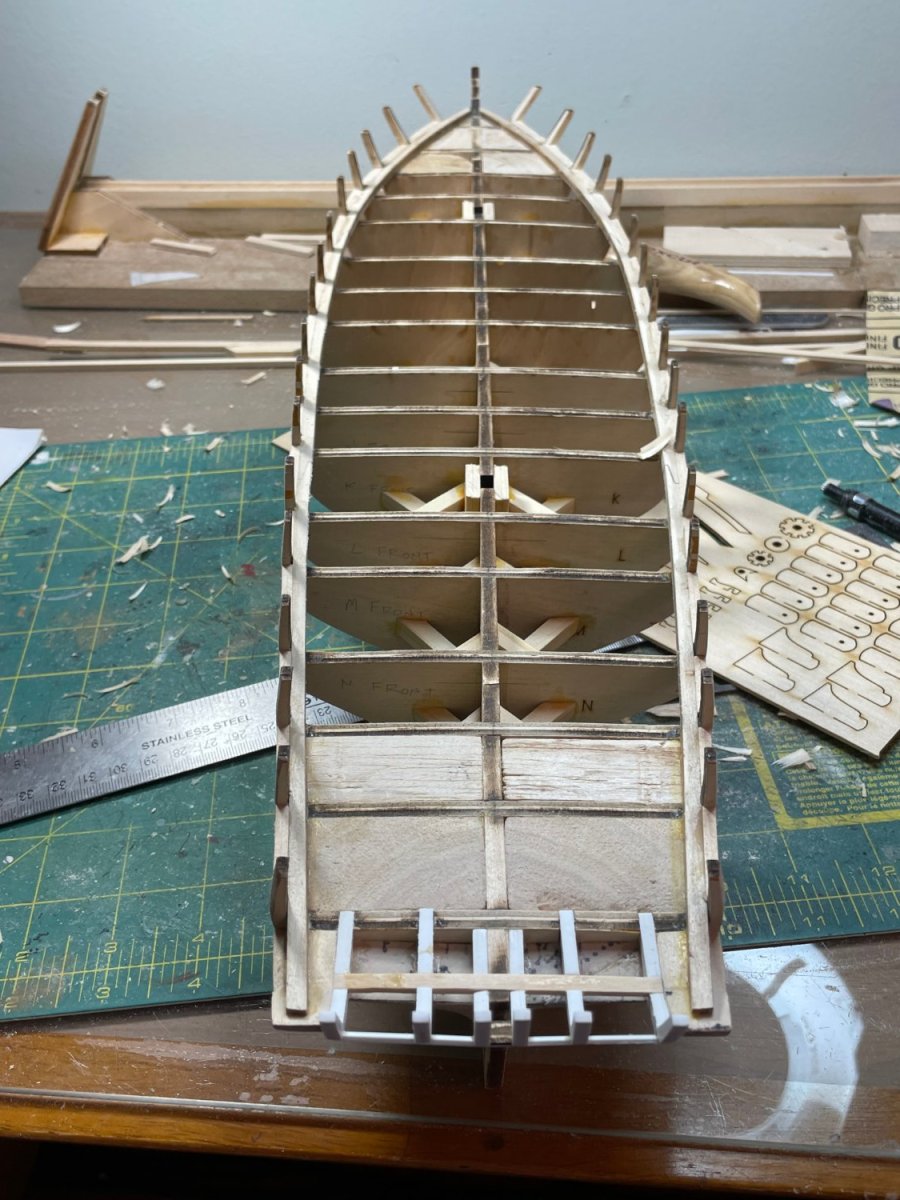
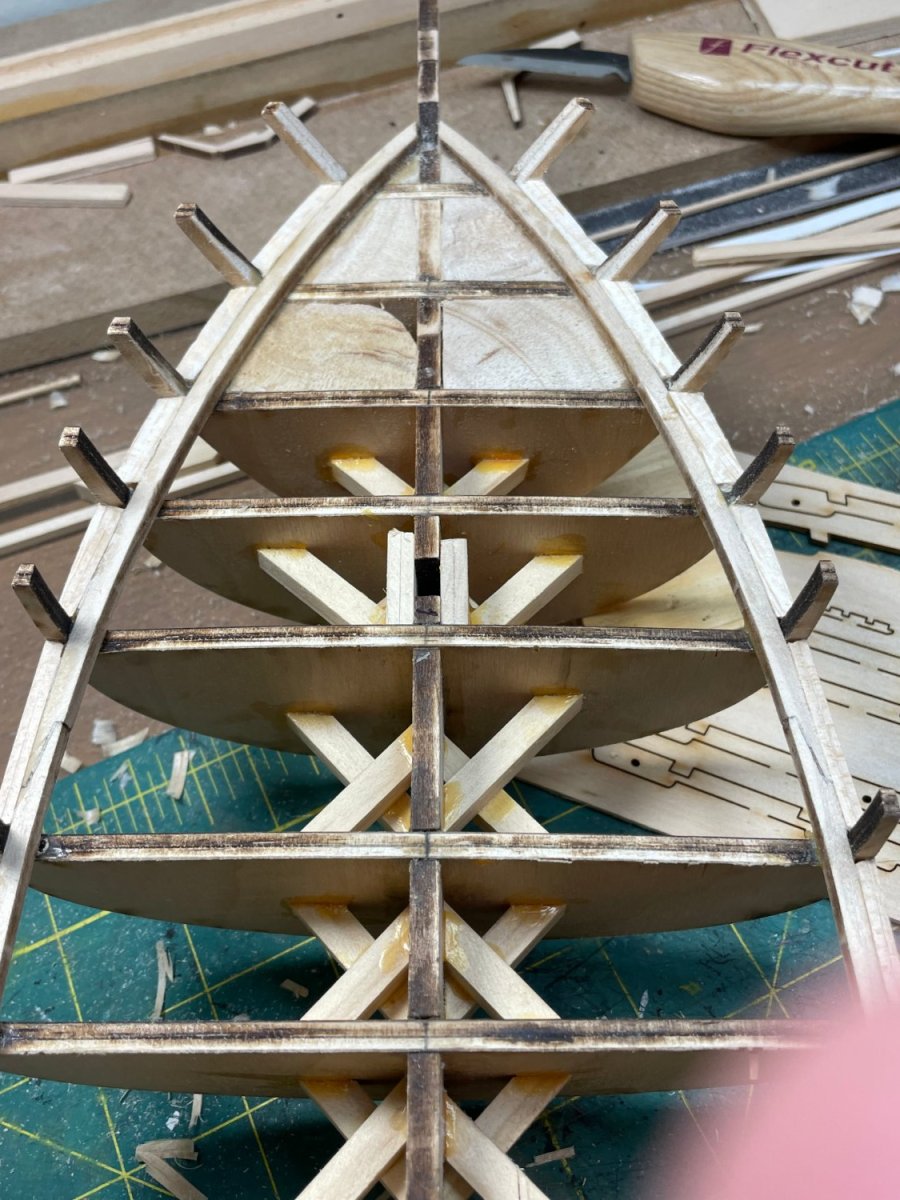
Installed all of the bulkheads
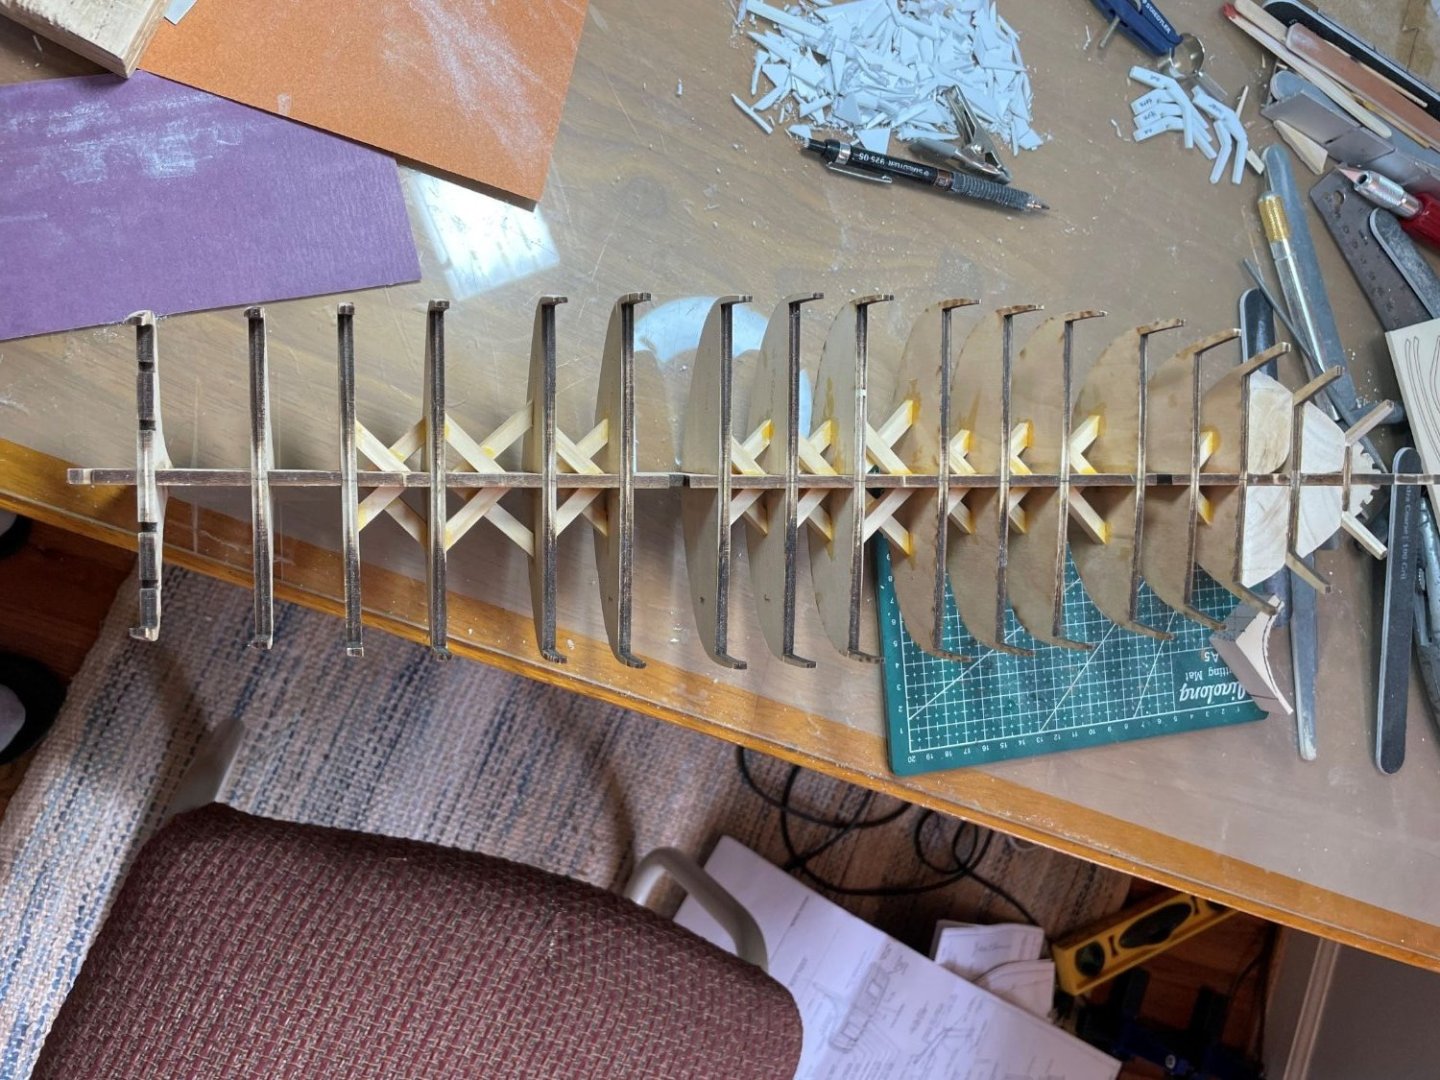
Additional bracing between bulkheads just to keep everything in alignment and remove any flexibility, figured it would also help if I need to make additional adjustments to the edges of the bulkheads to smooth everything out. Also added are the additional fillers between bulkheads B - C and C- D. Hollowed out notches for timbers in the filler in front of bulkhead A

Next - moving on to the stern where I am going to replace the timbers that everyone says breaks with laminated plastic sheets
- Thukydides, Cathead, ccoyle and 1 other
-
4
-
-
On to attaching the bulkheads. All were shaped, according to the plans, before attaching. Following someone else;s suggestion I had some L shaped aluminum extrusions laying around and I sawed those up to provide a right angle to try to keep the bulkheads square.
I also marked the center line of each of the bulkheads to try and get them aligned correctly. Had one misstep which required used of vinegar to soften the wood glue before re-attaching it more precisely.


-
On to the hull. Following a lot of advice/suggestions/good ideas I have seen on other builds - thanks to all those that have provided logs on the Niagara!
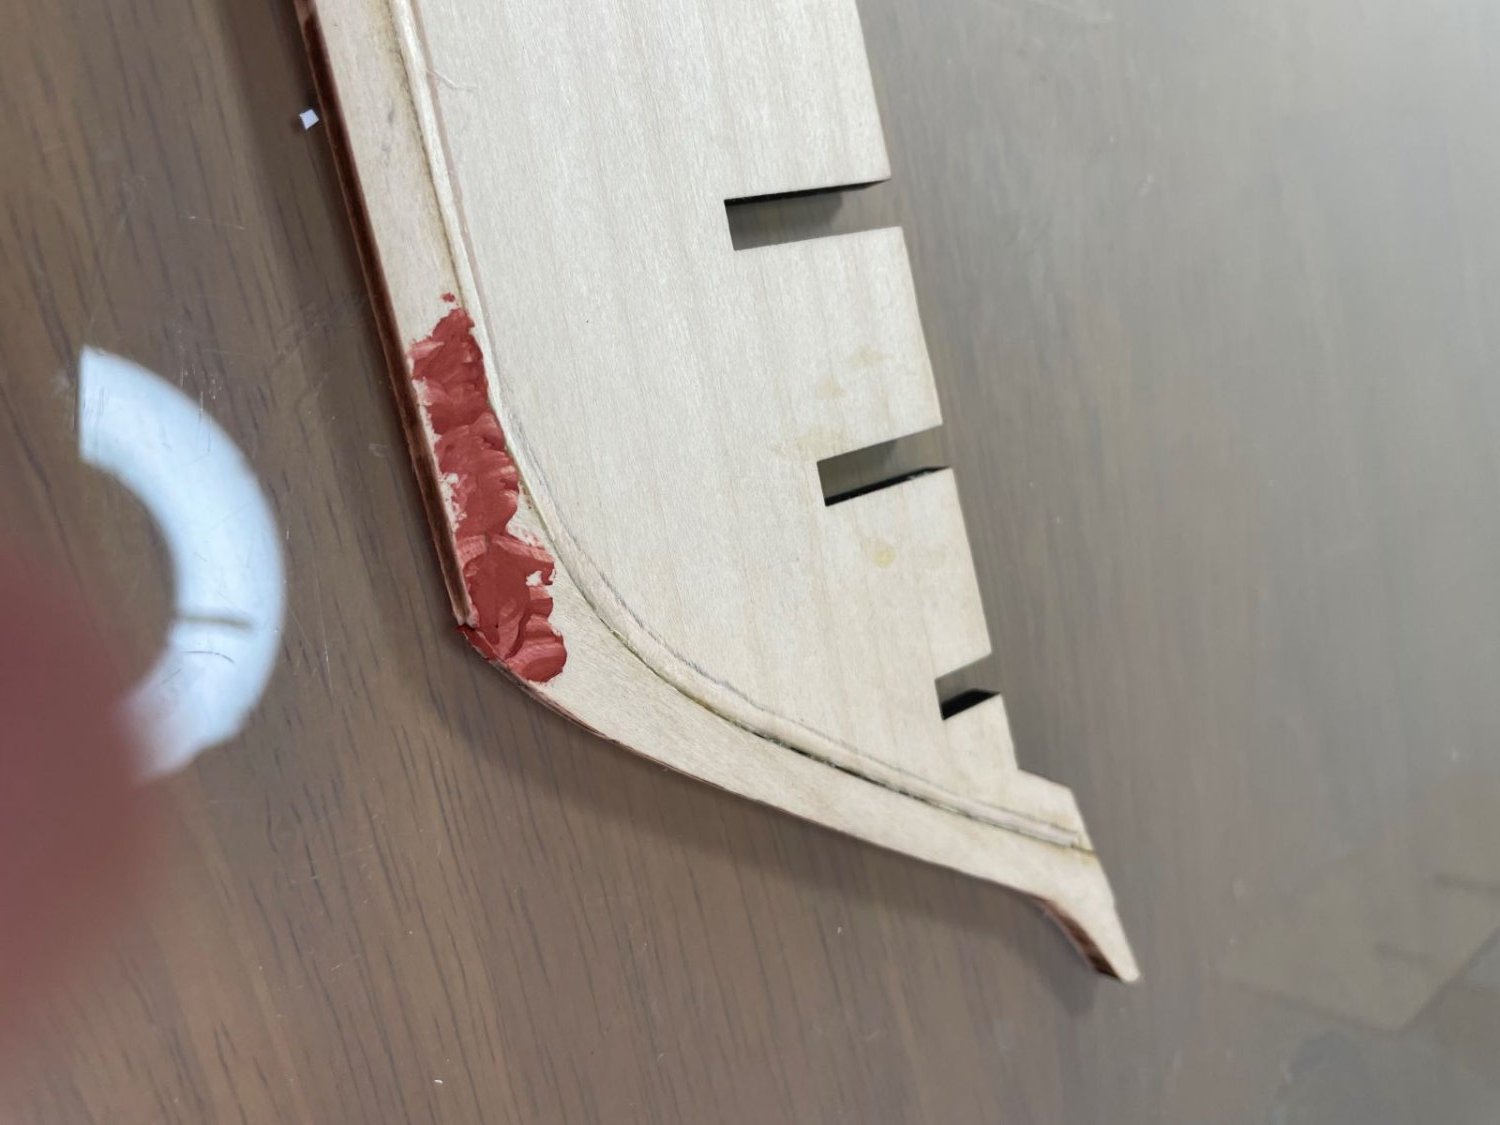
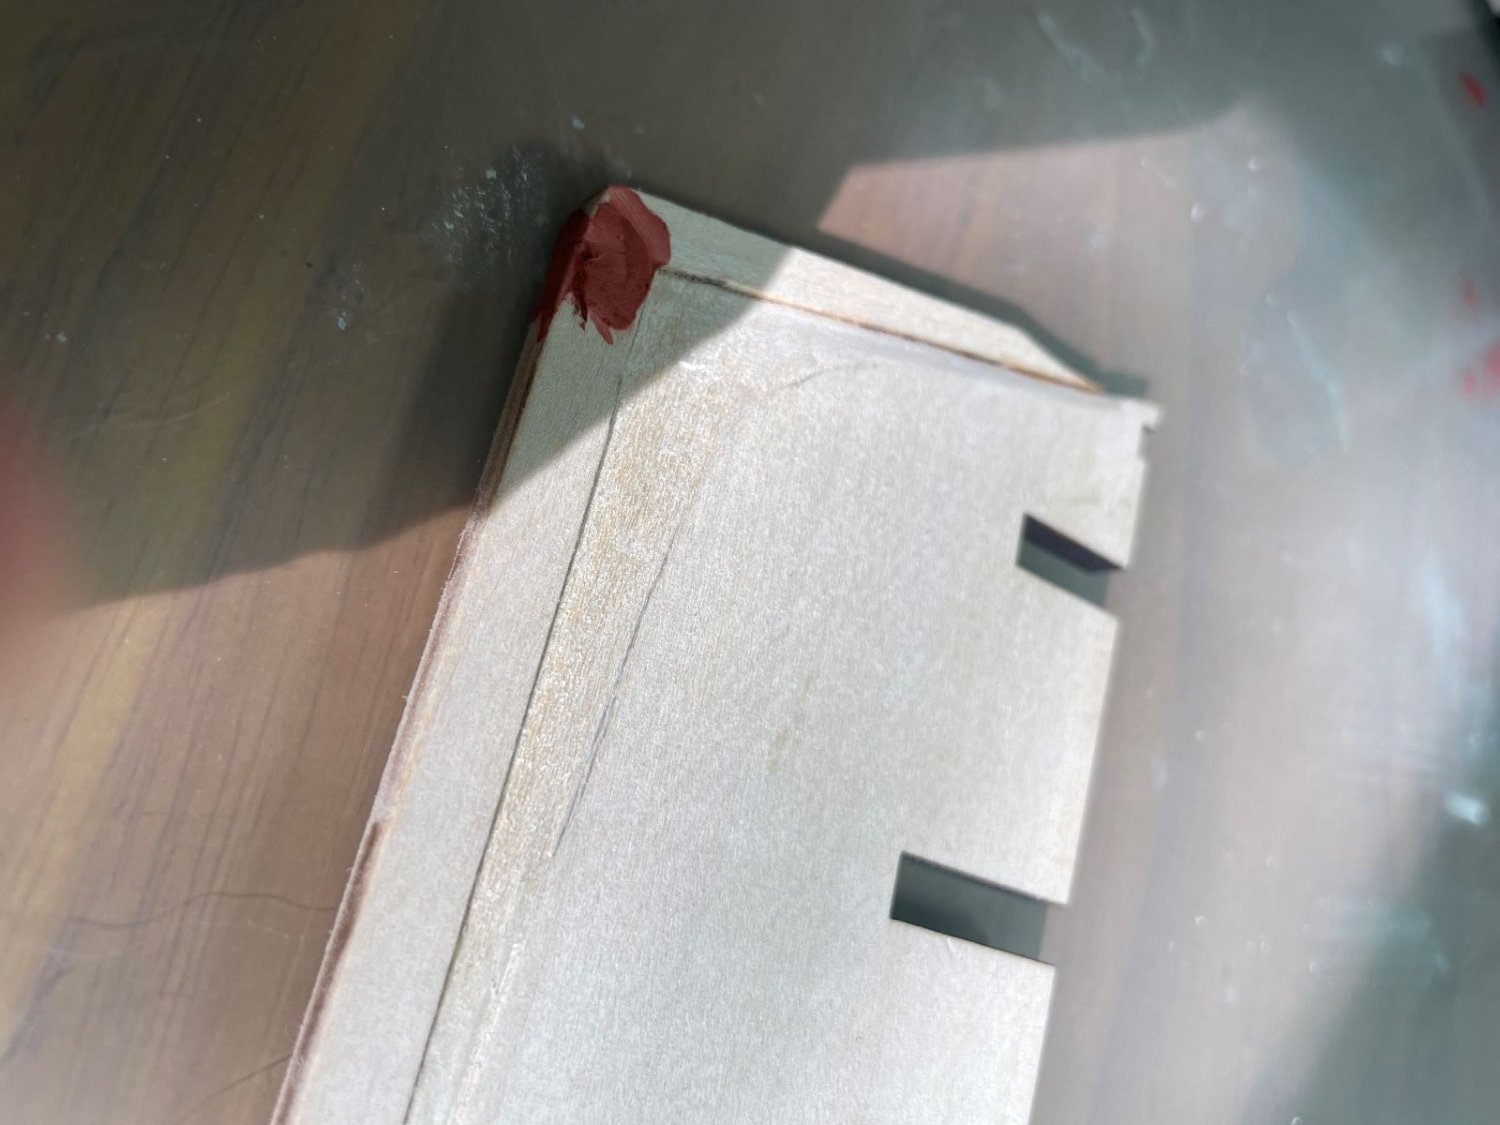
Decided to cut the rabbet before gluing the keel parts together

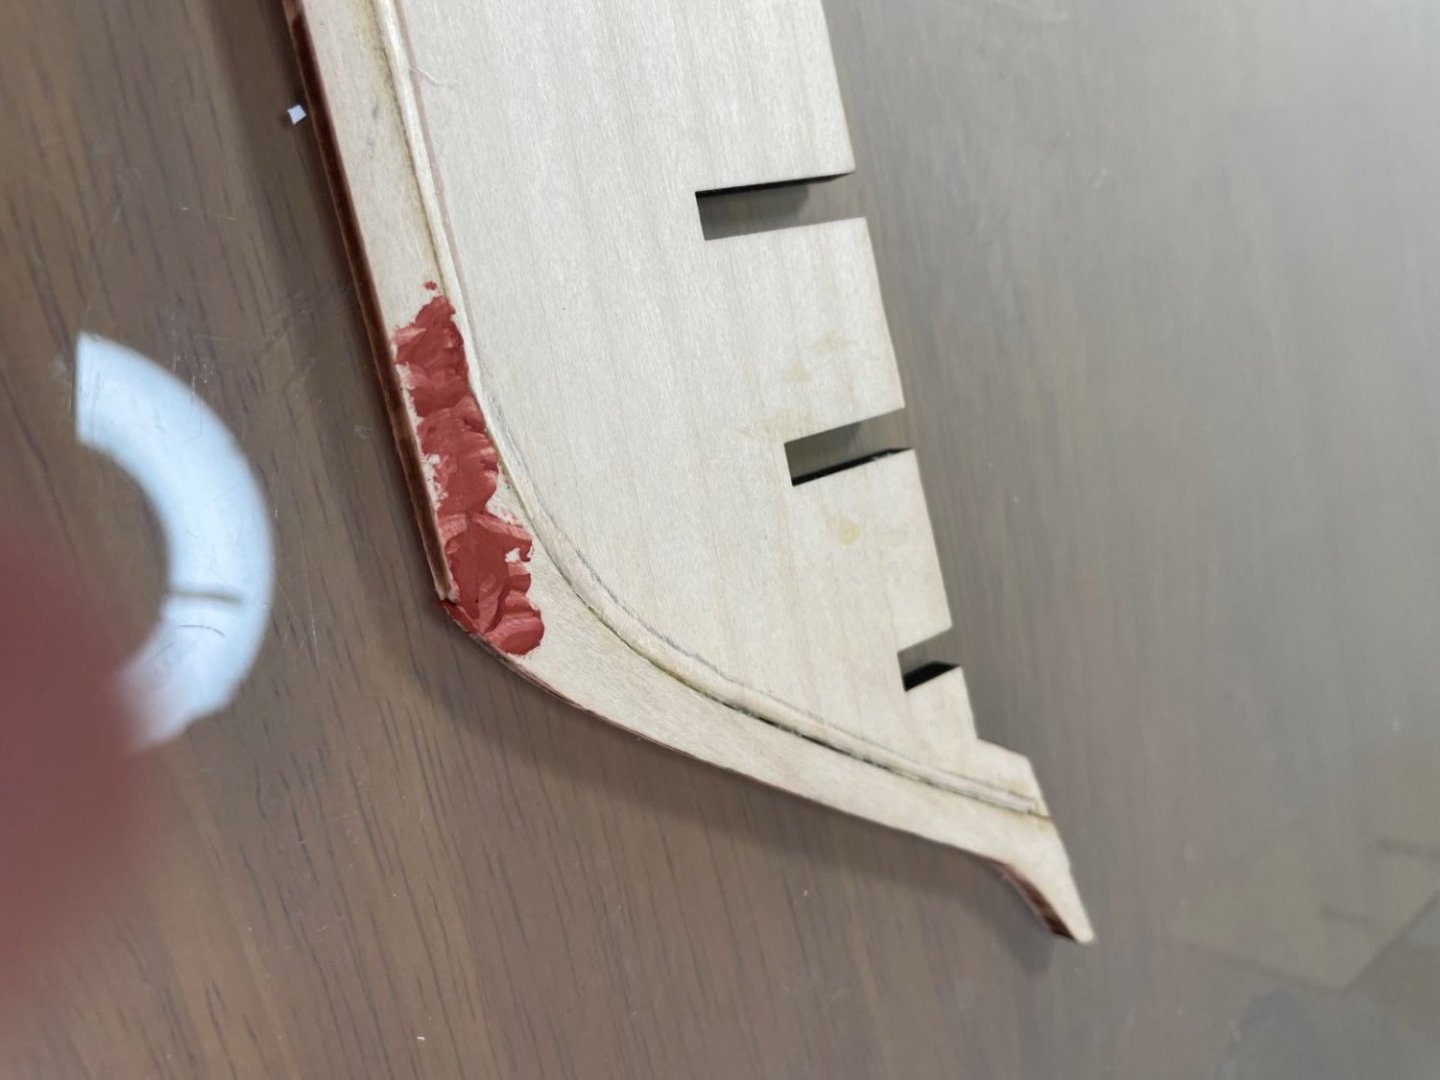
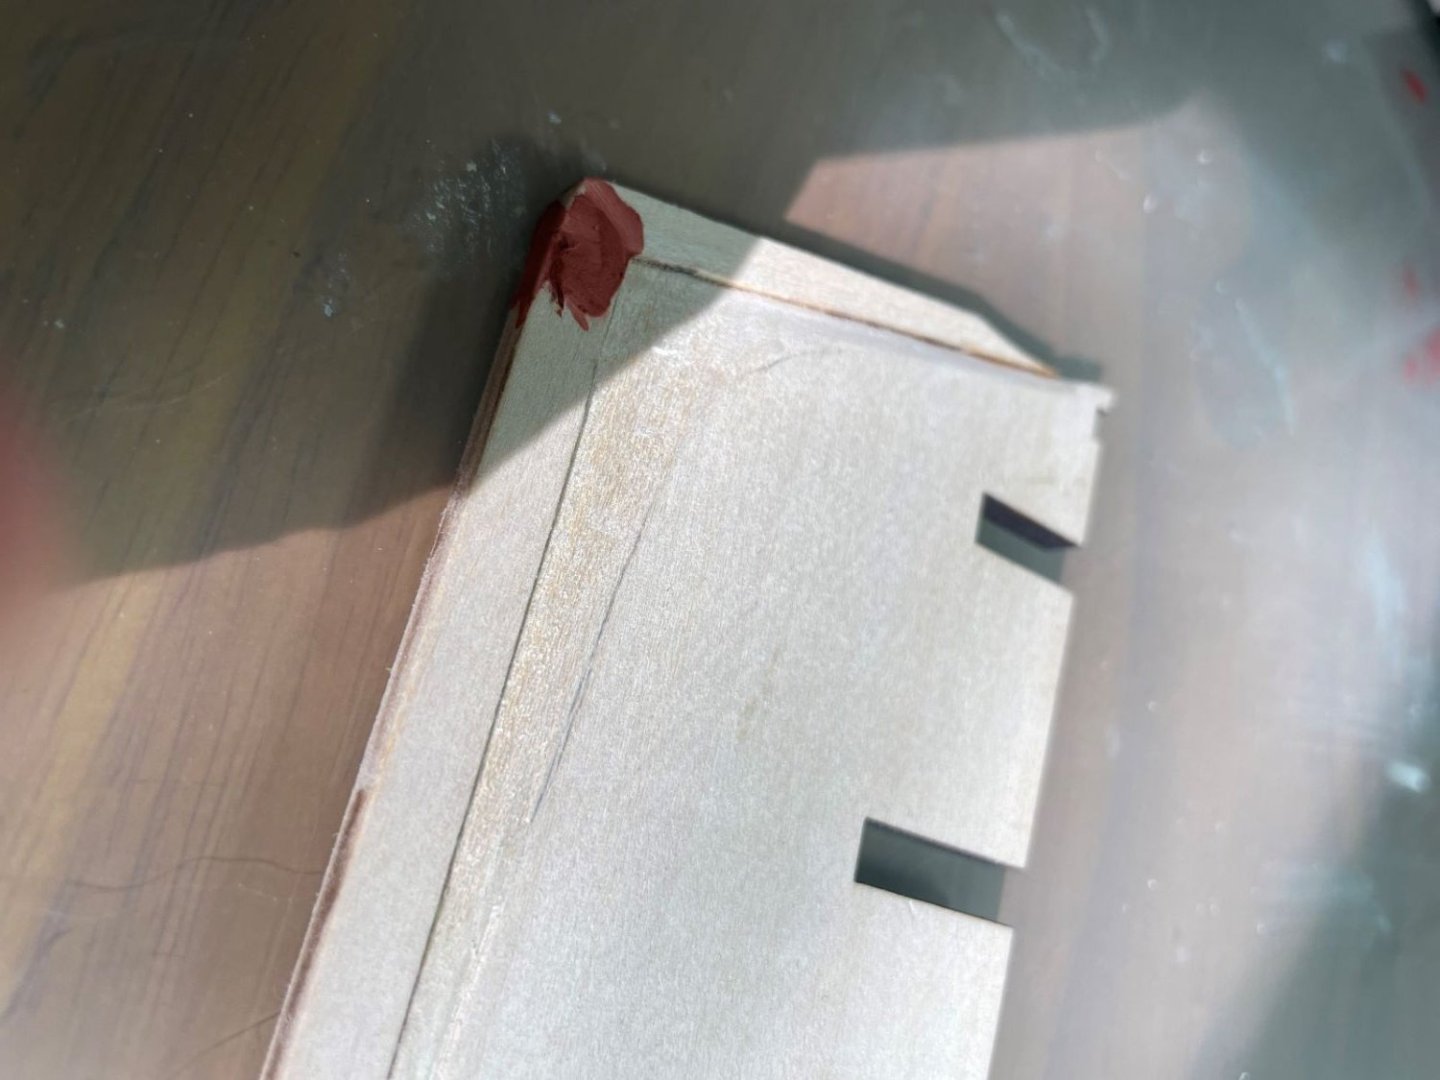
A little filler over the joins. The rabbet may be made a little deeper after I have attached the bulkheads
-
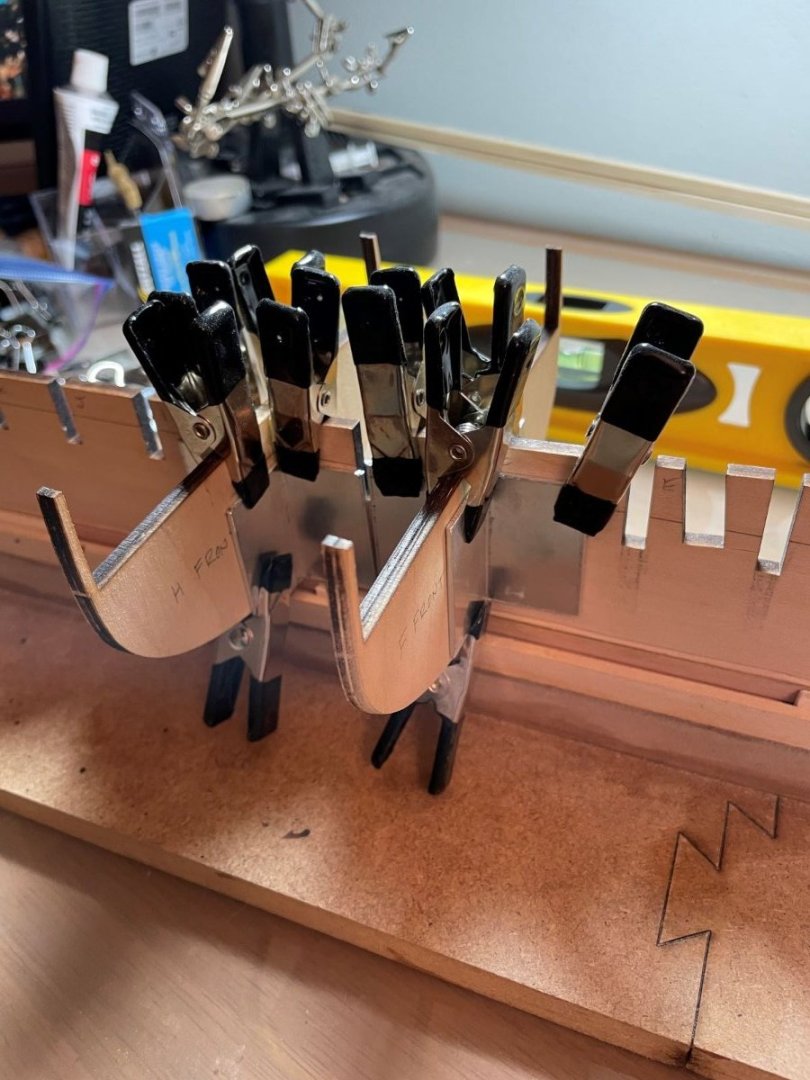
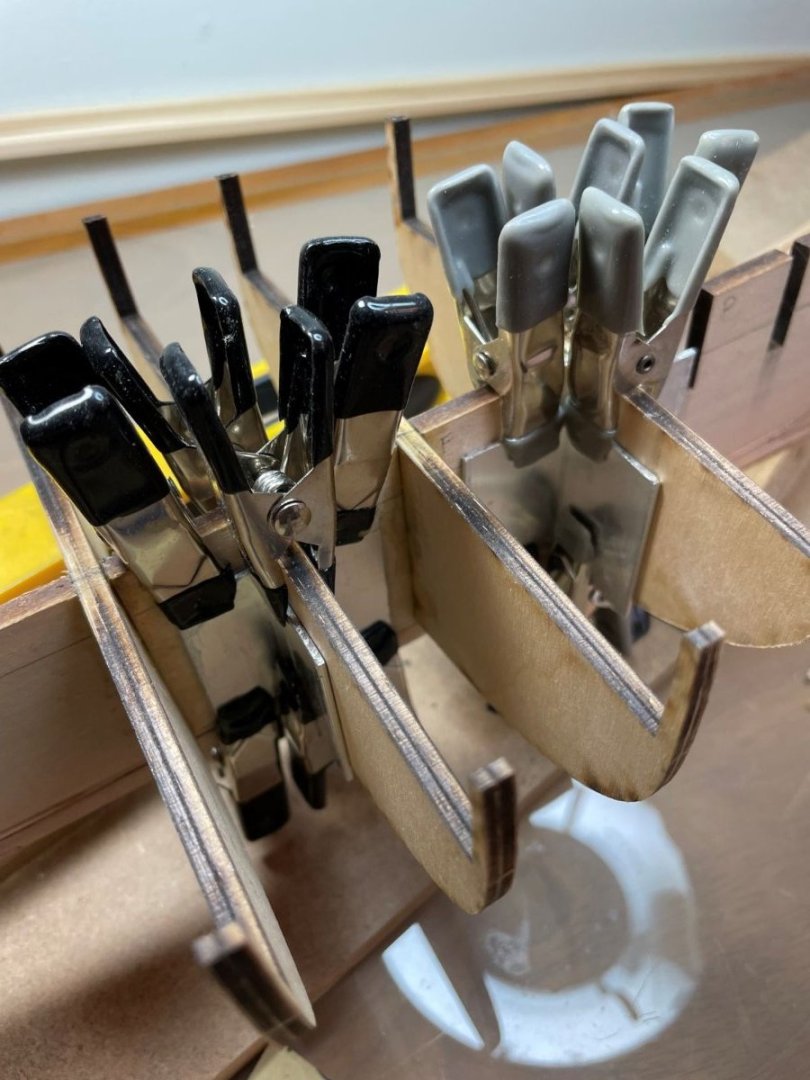
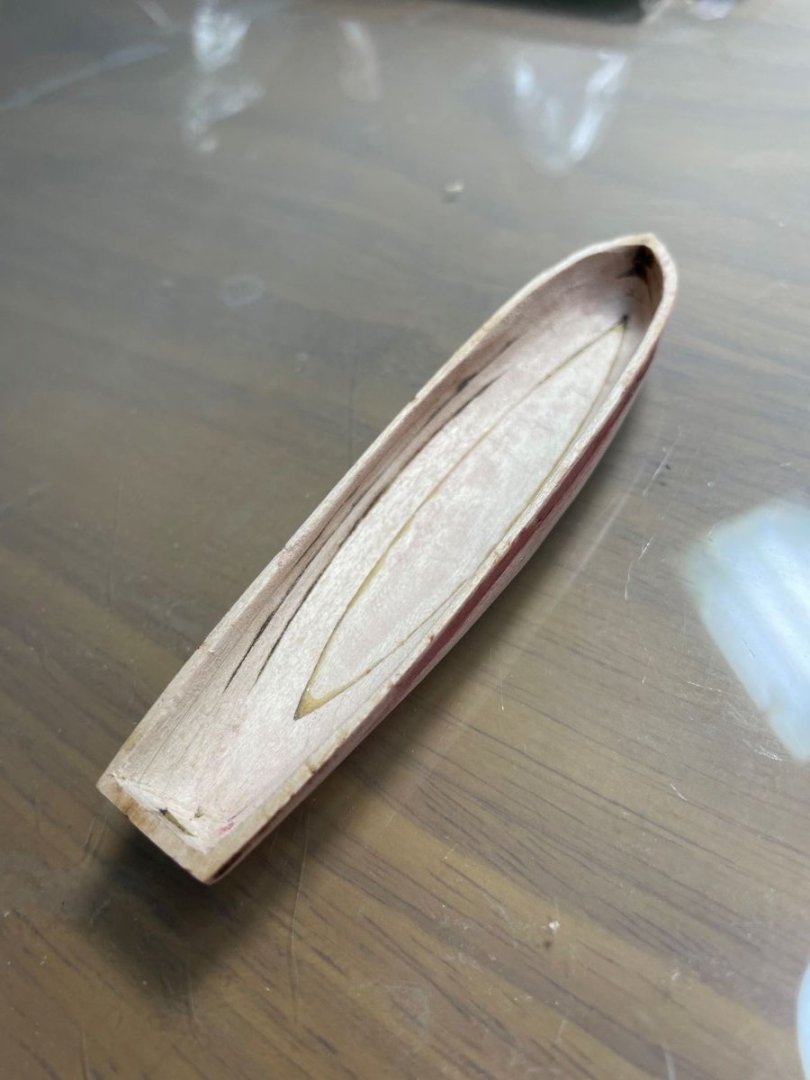
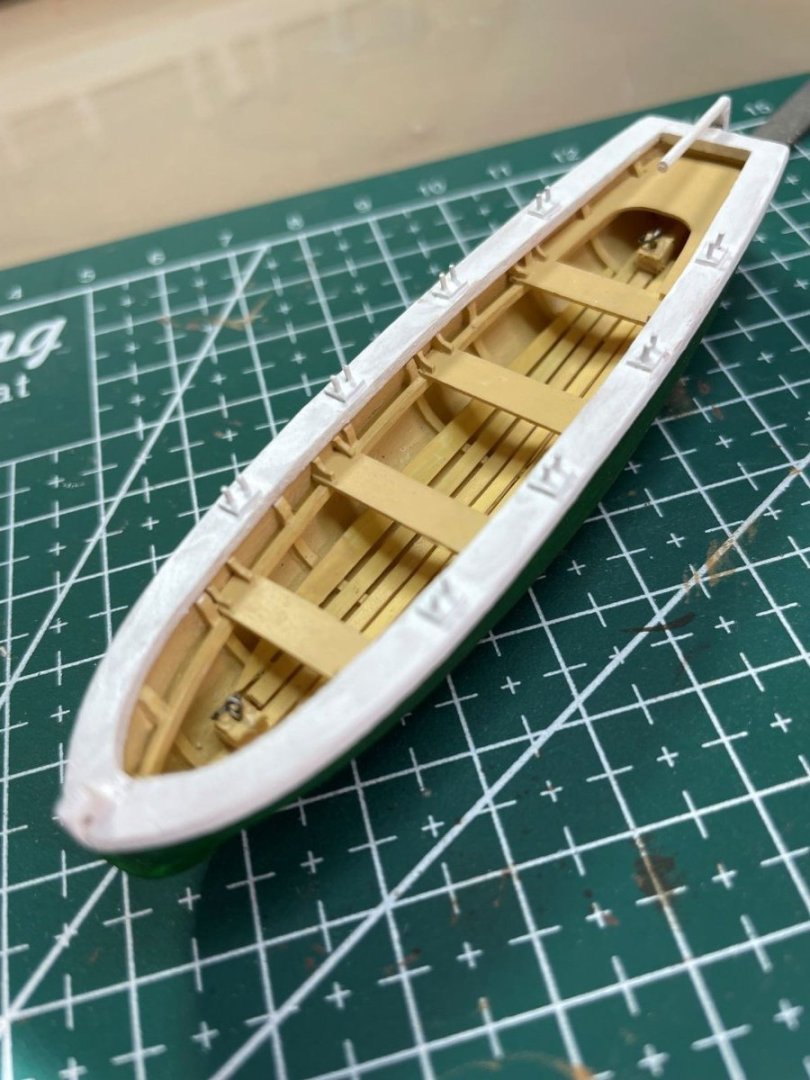
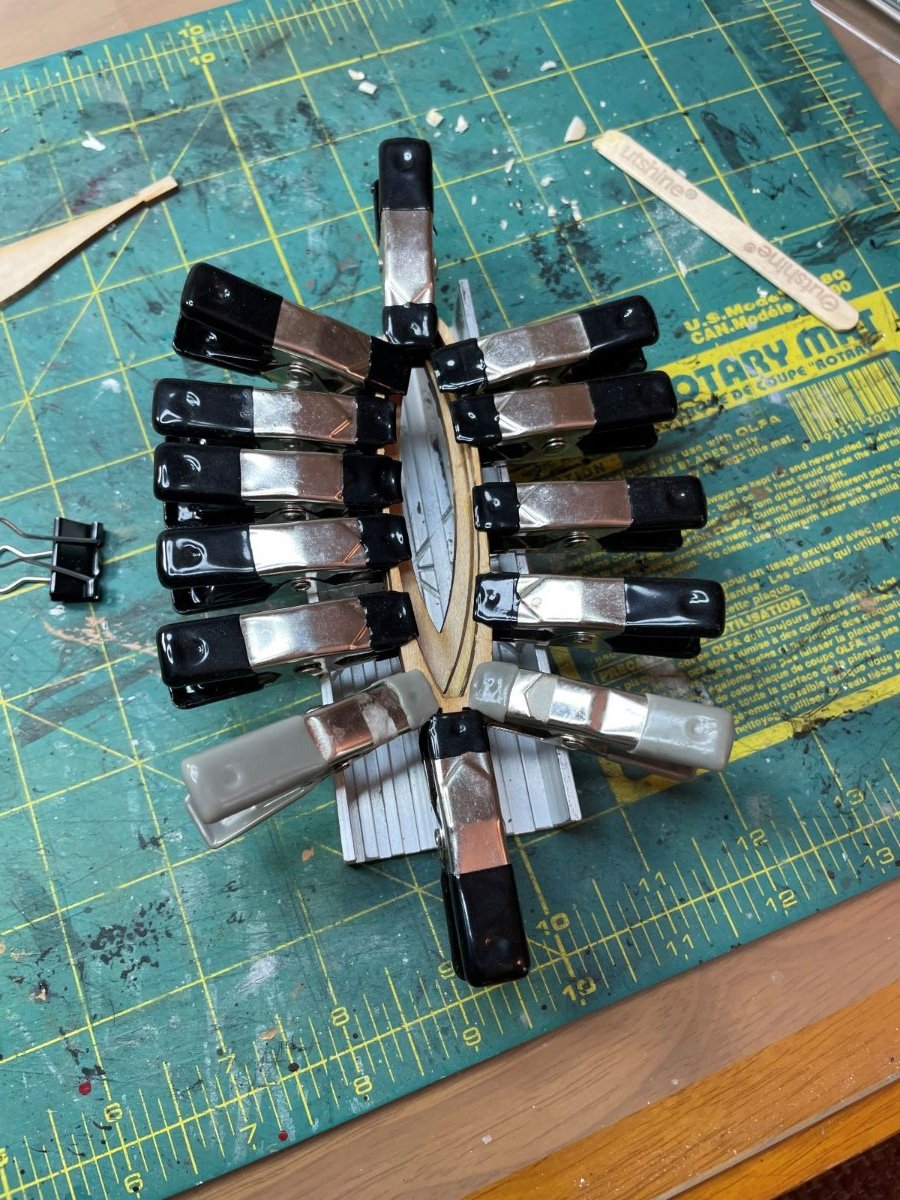
First I decided to work on the stern boat:

Found some great Dremel attachments to hollow out the bread and butter kit parts - held them up against a light frequently to make sure I didn't go too far in removing material.
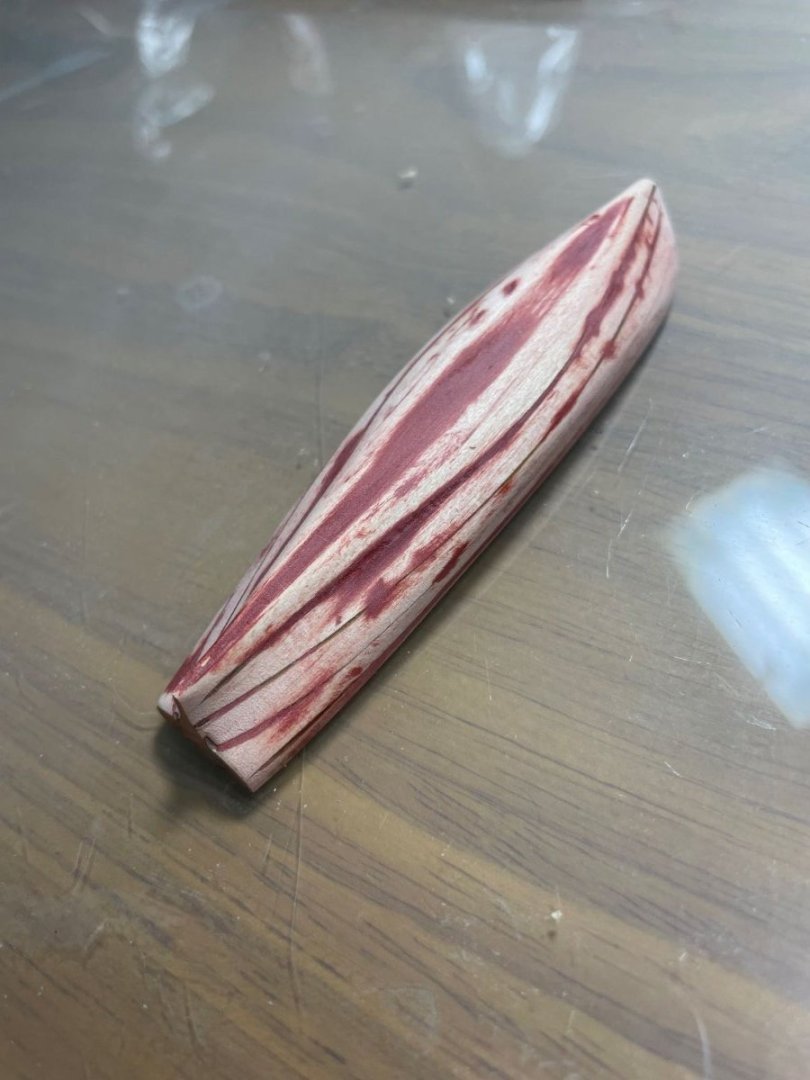
Used Bondo car filler to smooth out the hull
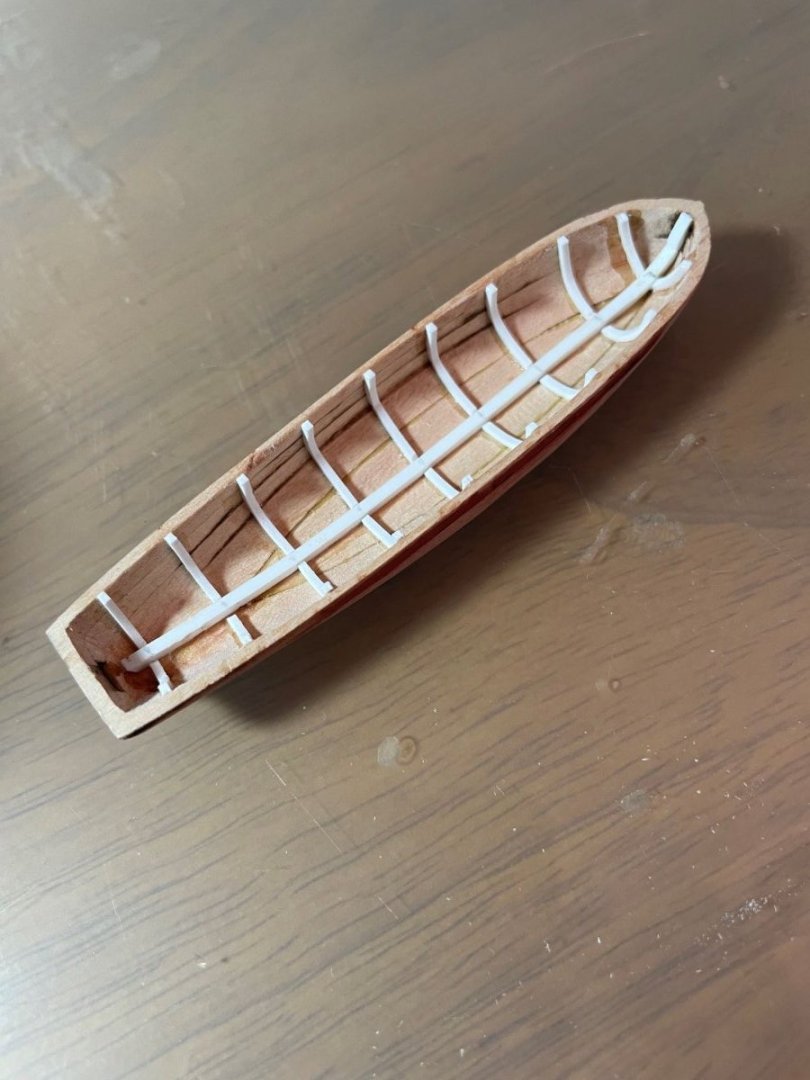
Decided to use plastic strip for the ribs etc on the inside
Instructions indicated that the hull of the stern boat was of lapstrake plank and I elected to use thin plastic strip for that - below is painted
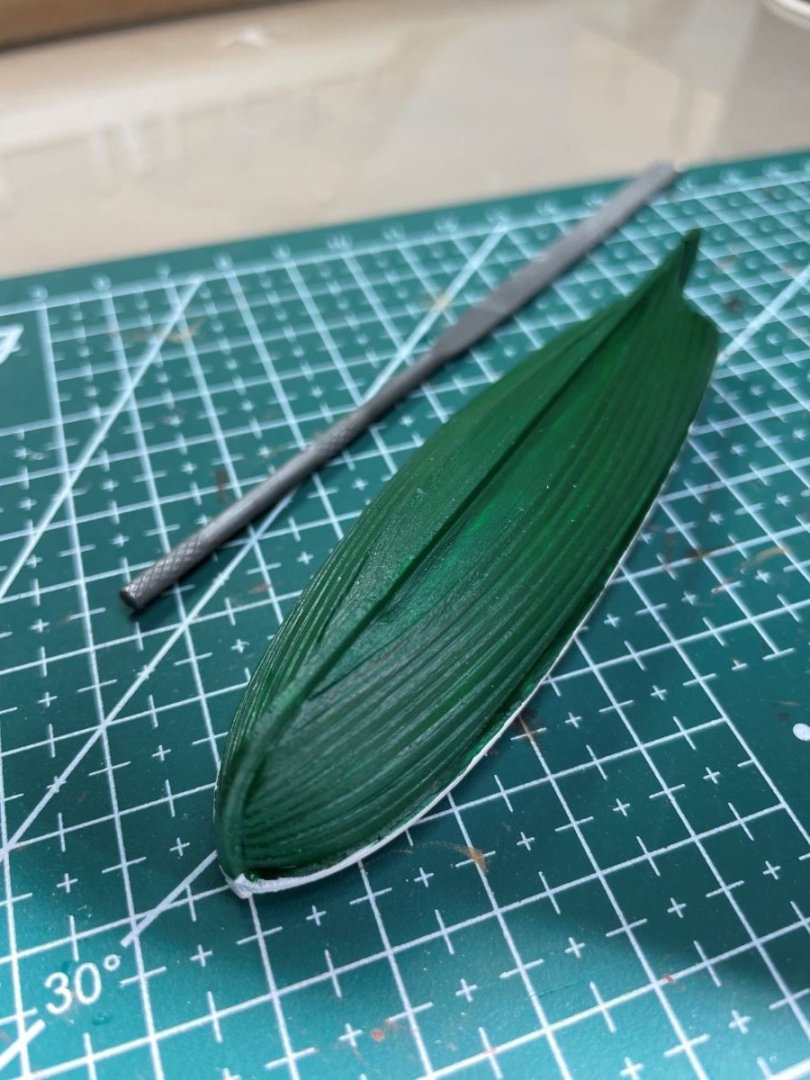
And the completed stern boat (aside from oars that I will build later)
- GrandpaPhil, Mr Whippy, Cathead and 4 others
-
7
-
Good day!
This build log will cover the second wooden model ship I am tackling, after the Drakkar Amati.
Unlike the Drakkar I decided to do a build log of this.
Why the Niagara - two reasons:
- My wife is from Erie PA where the reconstructed Niagara can be found, and thought that this should be my next build - who am I to disagree especially as she purchased the kit!
- I like the lines of the ship and it is simpler than other multi deck models out there
Pictures of in progress build to follow - I have been working on it for a few weeks now making steady progress as work and other things allow - happy for all comments/suggestions
Stuart
- Cathead, Mr Whippy and Knocklouder
-
3
-
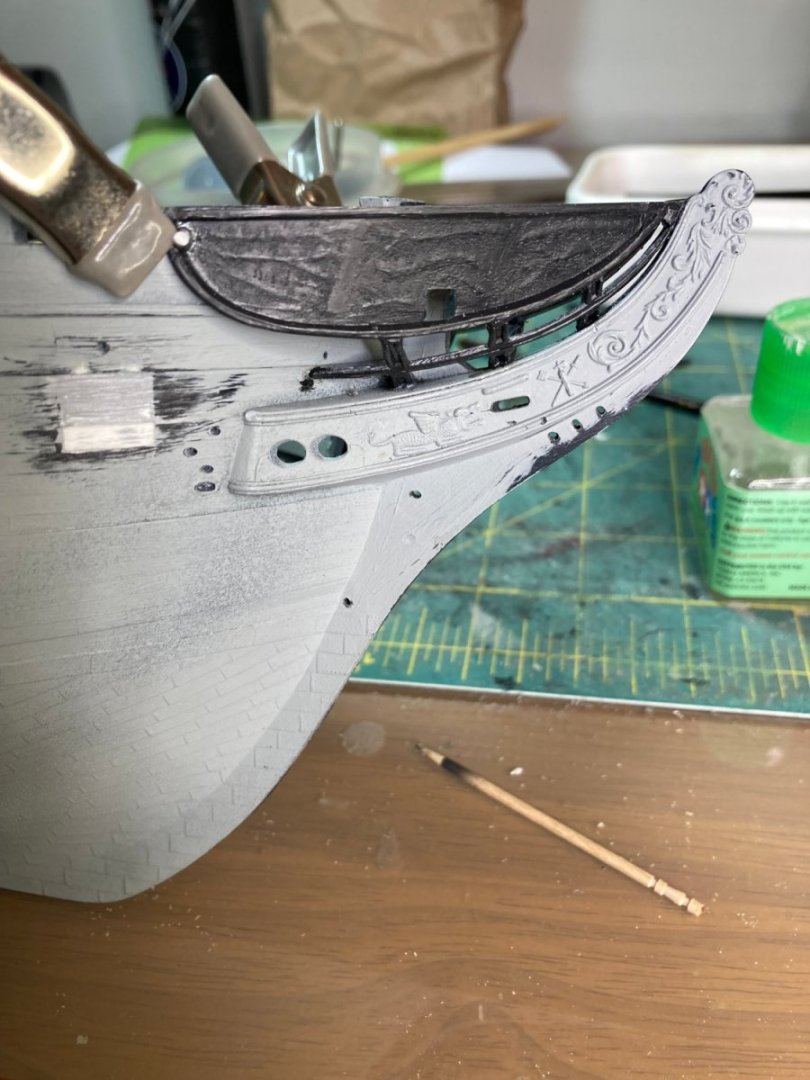
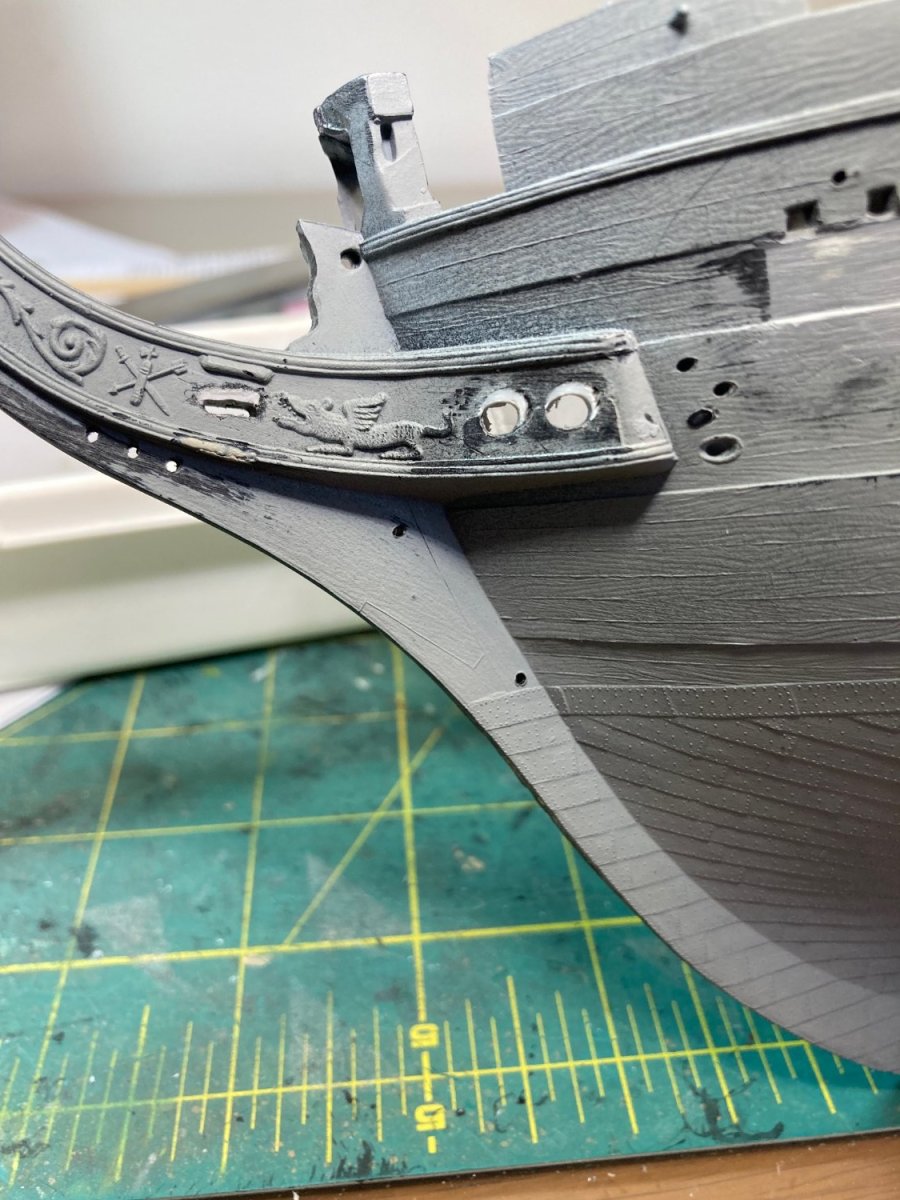
The fit of the head timbers (hopefully that's the right name - was from the instructions 🙂 ) was, umm atrocious! No problem that's why they call it modelling. I attached the head timbers in the middle first, let that dry thoroughly then the front, then the back. Drilled a hole at the back and slid some plastic rod in before gluing to give some stability to it. Would be curious if earlier boxings of Revell's kit were a little ;cleaner".
-
In the process of trying to tidy up a couple of areas at the bow where the molds on each side of the hull were a little mismatched. The white areas are plastic tubing I had inserted where the original molding holes were. Then drilled to get better alignment between the molding on both sides.

- Prowler901 and dafi
-
2
-
-


US Brig Niagara by Usgecko - Model Shipways
in - Kit build logs for subjects built from 1801 - 1850
Posted · Edited by Usgecko
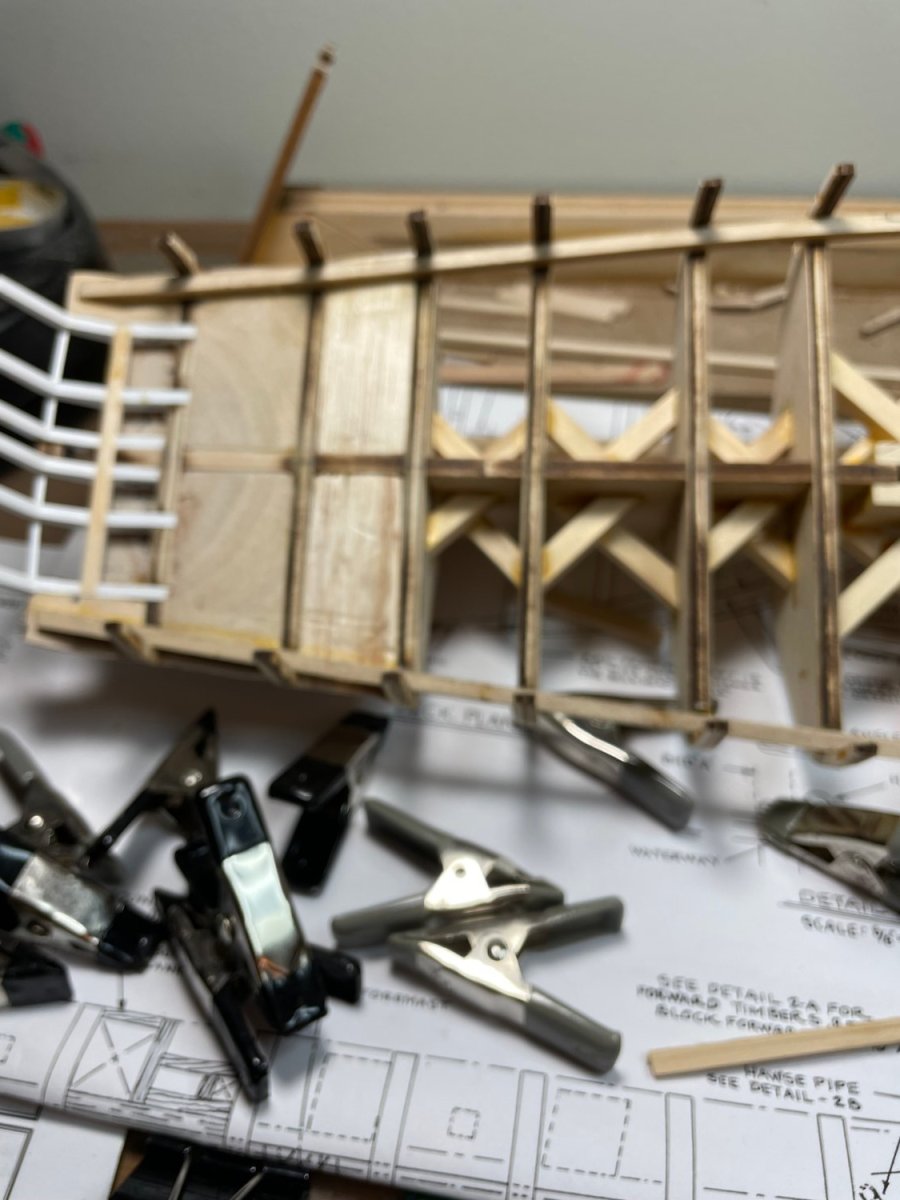
Started on the planing for the ceilings - on both inner and outer sides of the hull. I elected to cut them individually so progress has been slow
I attached the planks directly to the hull at the bow, rather than pre-fabricating them as I have above