


Laxet
-
Posts
391 -
Joined
-
Last visited
Content Type
Profiles
Forums
Gallery
Events
Posts posted by Laxet
-
-
I have rebuilt things on my ship many times already. In fact, I am redoing the breech ropes for the cannon as we speak.. I'm in no hurry. I've been building this for 16 years now. And don't forget: Model Expo will replace any broken/lost (or screwed up) parts for free. I've done this several times now & suspect I will do it again.
I was late for my flight. I was trying to catch it.

-
You will have to bend them. Just not excessively. They should just be gentle sweeps. Pin one in the middle, then pull the end into place. Then place pins in the frames between the middle & ends watching for anything that disrupts the flow of the curve.
-
I did not have to force them. When you lay them, they should follow a graceful curve. You should look at them fore to aft , aft to fore & athwartships.
-
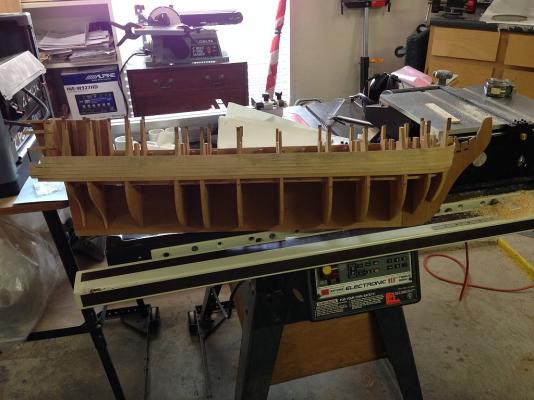
Some other points I will make. When you look at the pics of my build, the pics showing the battens, notice the dark colored frames. The dark color is from wooden shims used to eliminate dips in the planking. I took a typical plank & laid it over the frames, noting any high spots that needed to be sanded & any low spots that needed to be shimmed. It will be obvious when you do this . Just hold the plank down at the ends & look at the frames in between. It's a time consuming process but your hull will look much better.
You should get a copy of Planking the Built-Up ship Model by Jim Roberts. It is available at Model Expo, for $12.99. It is invaluable.
-
If you look at my build log for Niagara, you will see how the battens should lay. There were around 5 to 8 strakes in each belt. I ended up using only two stealers at the stern. The planks got very narrow at the bow.
And welcome to the Niagara club. You will find lots to drool over here. I know I have.
-
-
Thanks Edwin. You are right about that. And I've learned one HECK of a lot so far!
-
Well, crap. After spending three days building the breech ropes, I discovered they are all wrong. They are supposed to have a half hitch in them. Well that will take care of the length problem, won't it?
-
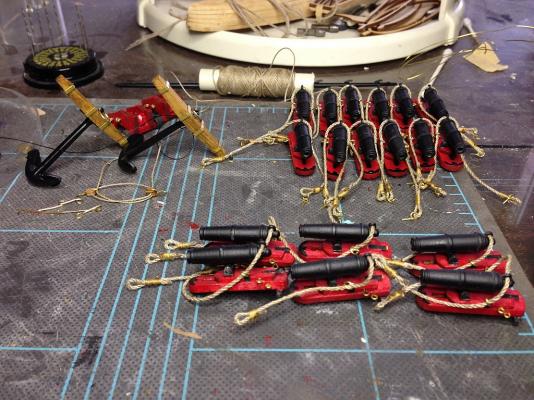
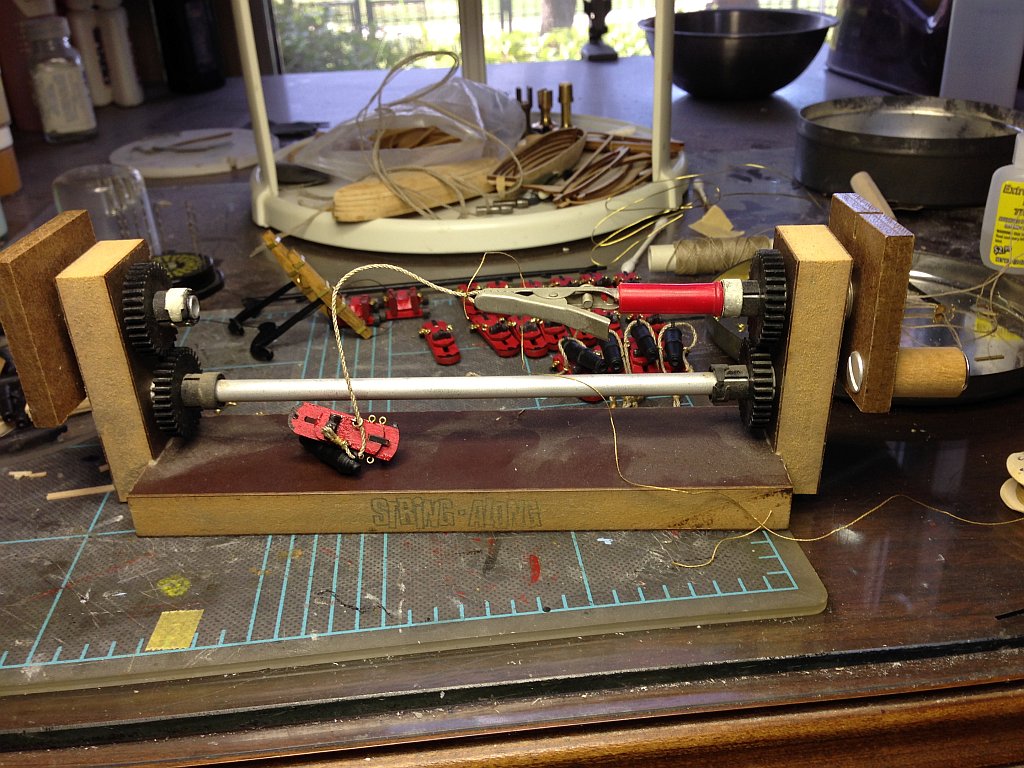
I spent the last week building breech ropes for the carronades & cannon. I think now that I'm done the ropes on the carronades are too long. Here is a picture of my little serving machine. It was a freebee from Model Expo about 30 some years ago.
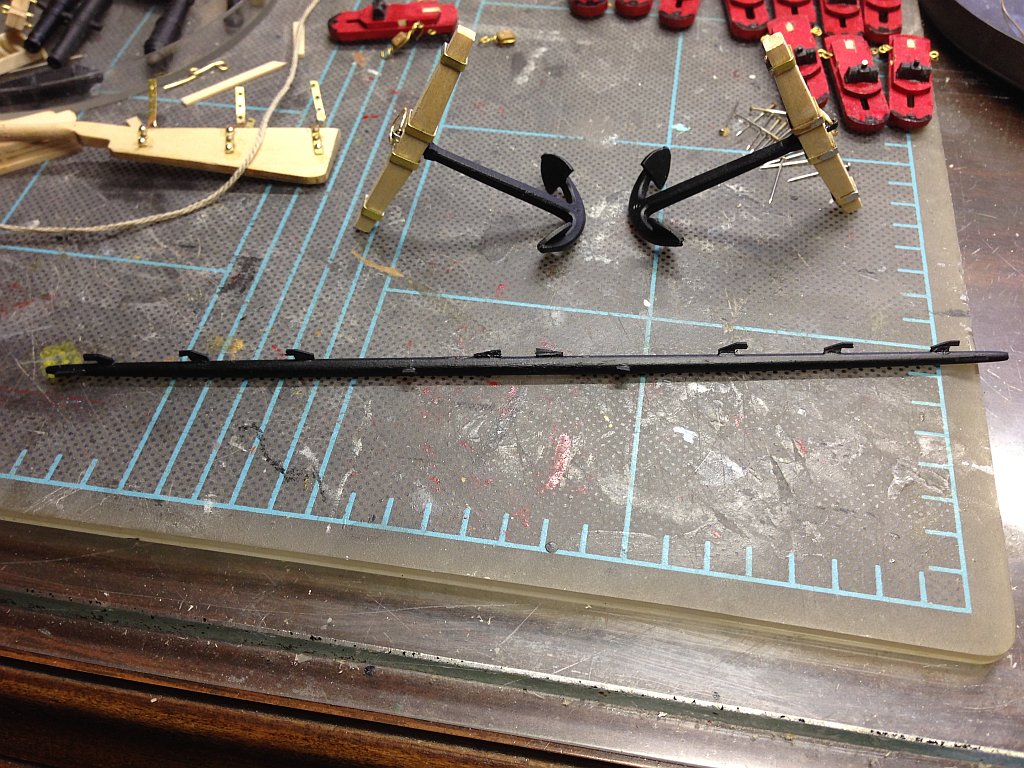
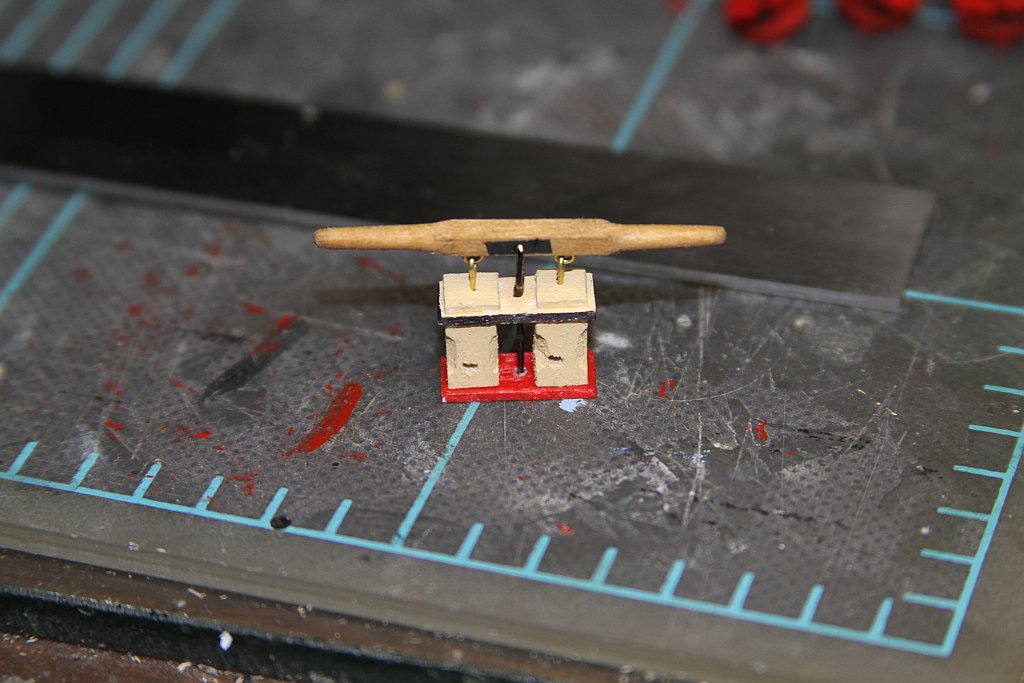
I was playing with the bowsprit & noticed it didn't sit on the deck. After close examination, I found that the ceiling planks at the bow came too far forward. After trimming them, the bowsprit was perfect. Now I have to rebuild the bowsprit bitts. The crosspiece sits way too high.
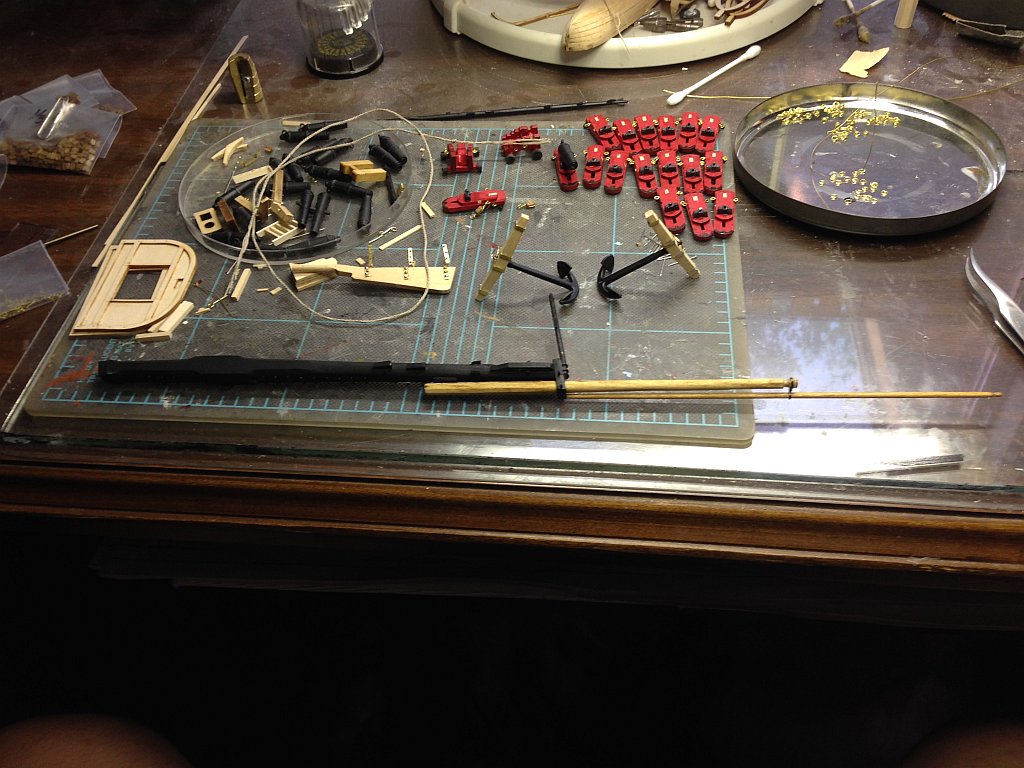
I'll sure be glad to be done with the armament. It sure is tedious.

-
Thanks everybody for the warm welcome.
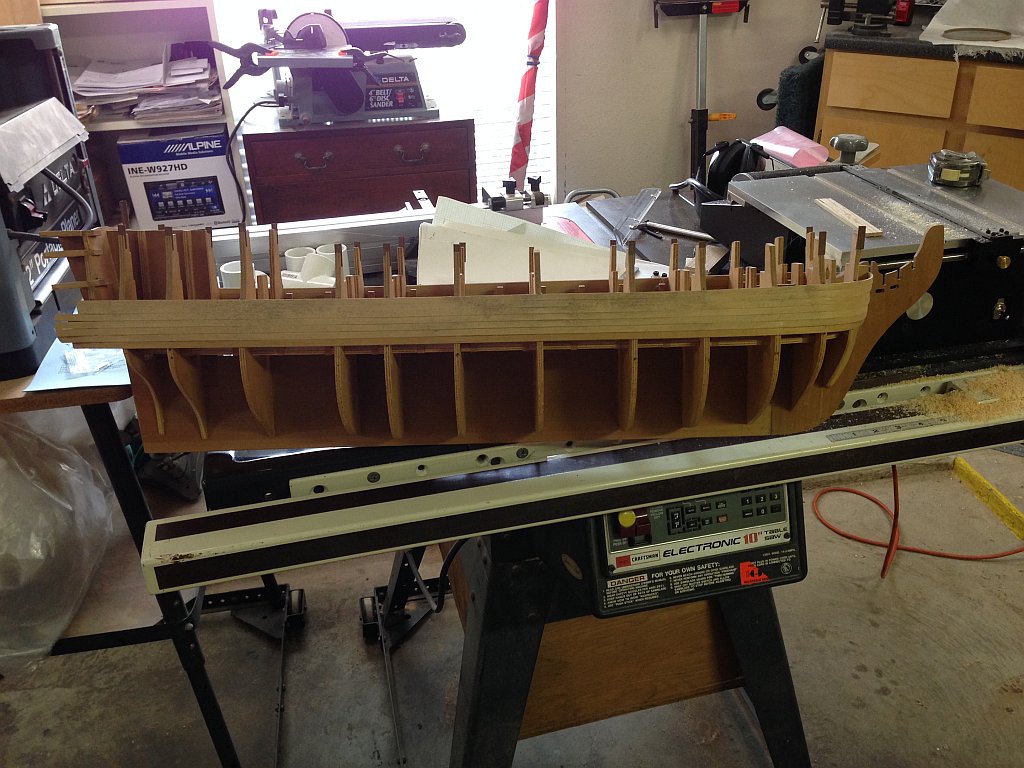
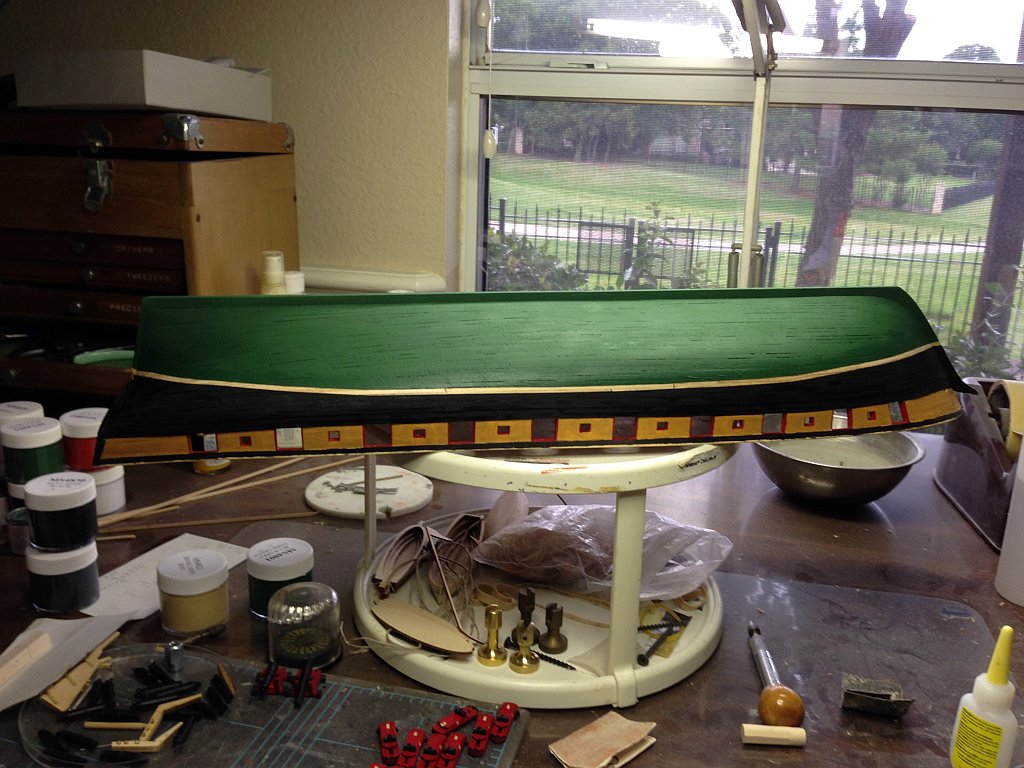
Bob - I can't find anything that lists the scale, but here is a picture. From the tip of the stem to the farthest point at the top of the gallery measures 33". The prints are dated 1971 & have Sergal's name on them. I'm pretty sure I bought this in 1980 & started it then. I also think I tore it down & restarted it a couple of years later. There will be no extra charge for the antique dust that's all over it.
-
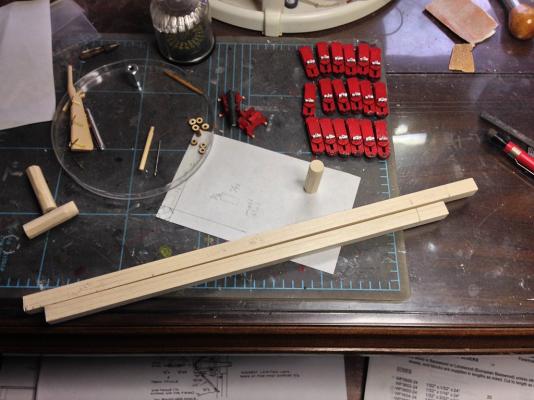
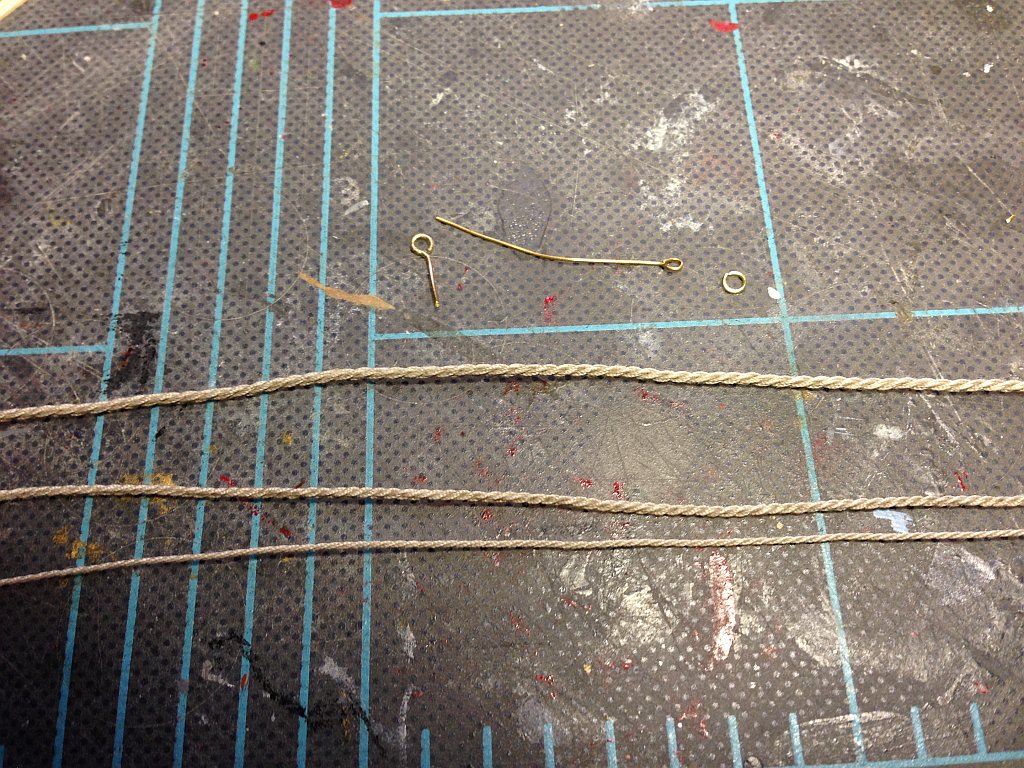
I've decided to make my own rope, at least for some parts, including the carronade ropes (the heavy ones). Here are some samples I made using the Model Expo rope walk. The larger ropes are made from smaller ropes I made from different sized thread. I am also making eyes & rings since the rings provided don't fit the ropes I am making, which measure to scale better than the line provided (according to the kit designers own notes). The rings were made wrapping wire around a 5/64" drill bit.
The next question I have is should the rudder be painted like the hull with waterline & all, or should it be all black. I've seen both ways done here.
I am really unhappy with the colors of the paint Model Expo sells for this ship. I bought the first set when I bought the kit (16 years ago). It was Humbrol paint in a tin. I decided to buy the current paint set thinking it would be more accurate. I don't like the red It is too orange. I used Floquil Bulwarks red instead, but it is too red (shiny to boot). The buff needs to be more brown. Who can say about the green, because I have not seen a color picture of the actual hull that shows good color. Some pictures even suggest the hull is coppered now. Still, I am using most of the colors because I paid so much for them.

- Perls and JerseyCity Frankie
-
 2
2
-
I kind of always thought basswood & boxwood were the same creature. All of the wood I've bought so far says bass on it. So I guess I'll look for some boxwood. Thanks for straightening that out for me.
-
I used the strips supplied with the kit (basswood?. 3/32" x something wider than needed. The grain was running the way you described but they break right where it narrows.
-
I am at a point now where I need cleats. The instructions say to make them from strip material. I've tried, but they just fall apart. Does anybody know of a process or a source for cleats? This needs to be overcome before I go much farther.
-
-
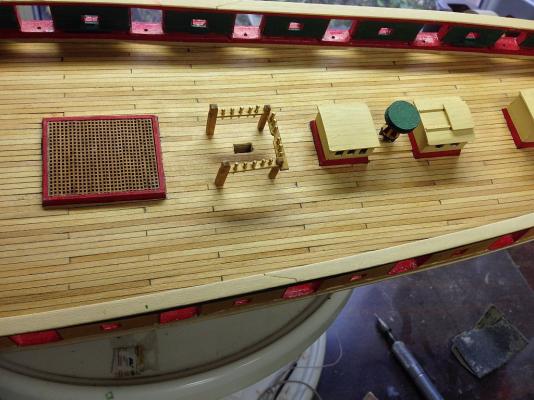
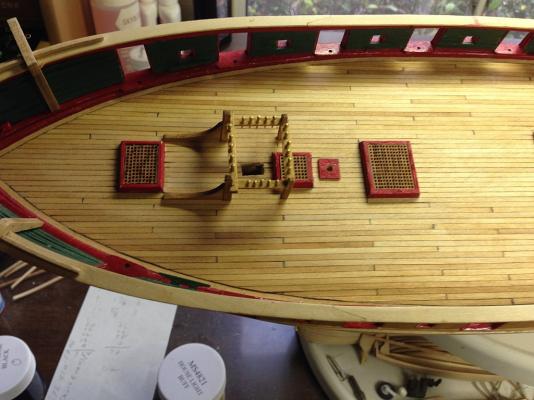
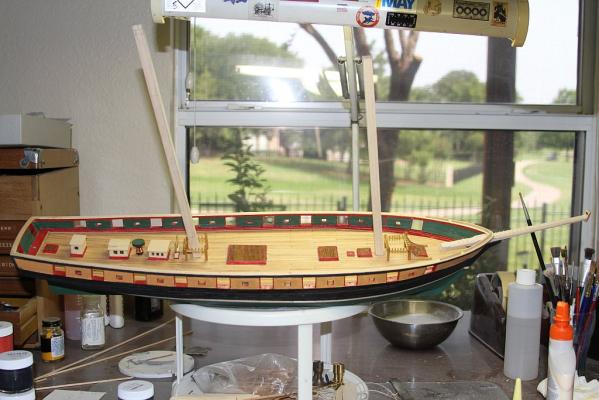
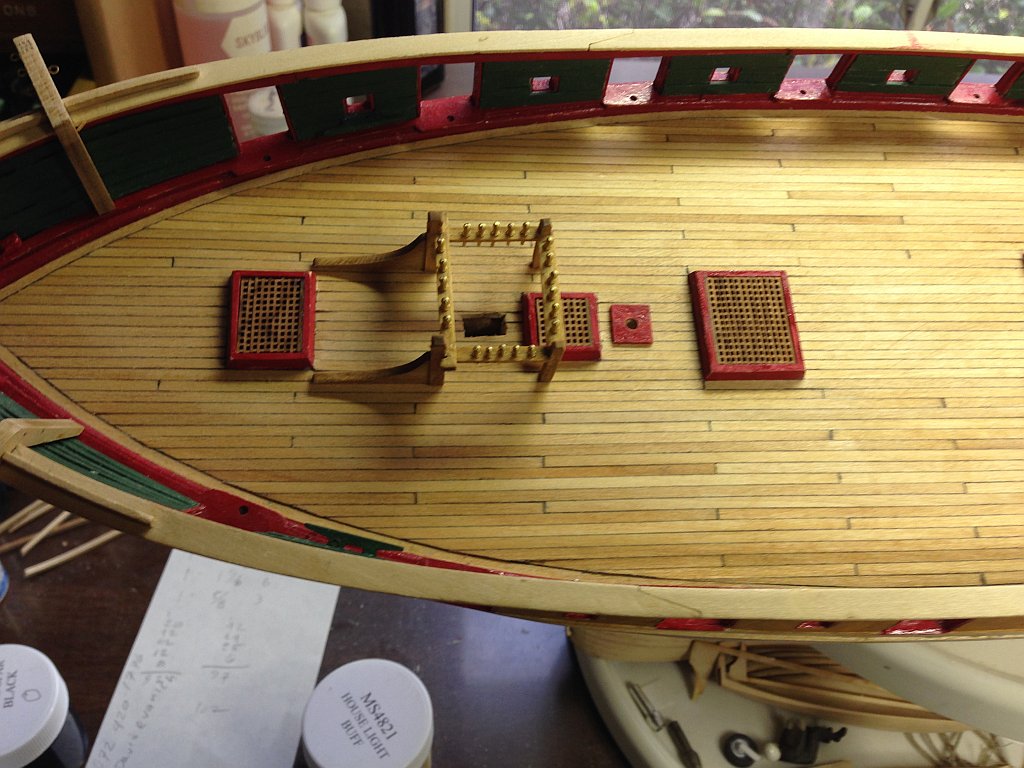
Here are some close-ups of the deck. I used a Sharpie to color one side of each deck plank to represent the caulking. I think it looks pretty good. Not too gaudy. I notice that not many people put the raised (reinforced) deck under the capstan. Here you can see it barely. Nothing is attached yet in these pictures except the grating. The grating was made by laying each length sideways in the coaming & gluing using diluted yellow glue. They came out way better than I expected.
-
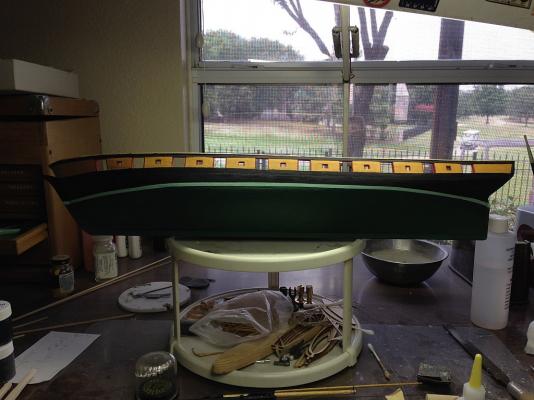
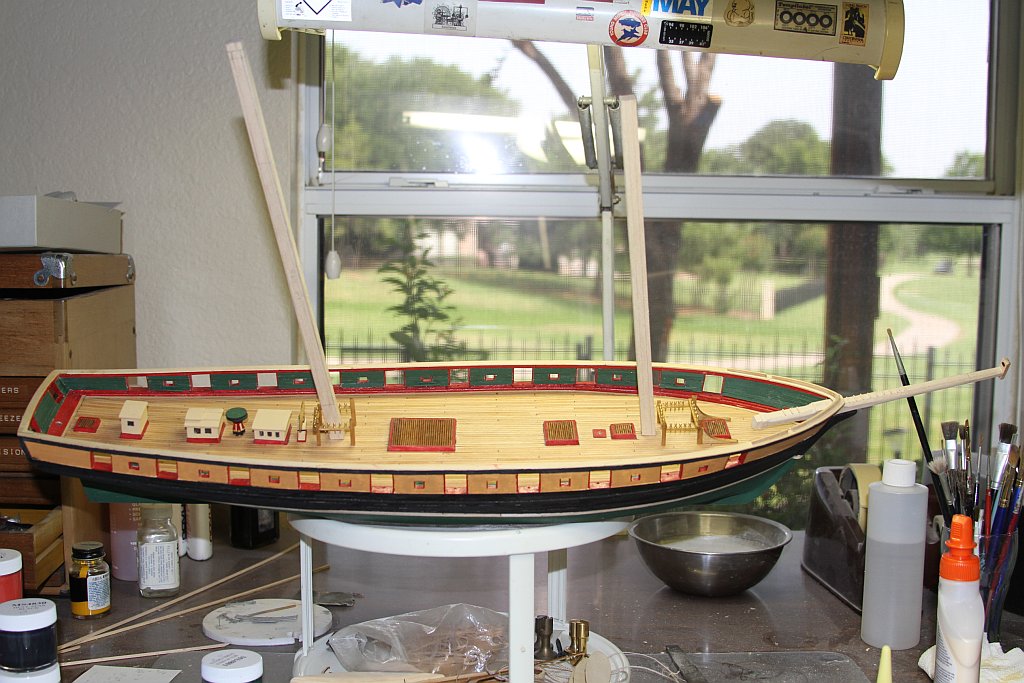
Here she is after finally getting her waterline. It took me several weeks to get around to this for some reason. I tend to procrastinate when something big comes along & I don't want to tackle it. Then it turns out it wasn't so bad after all.
-
-
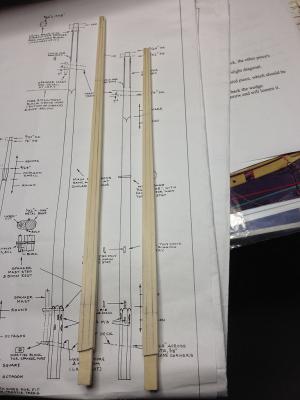
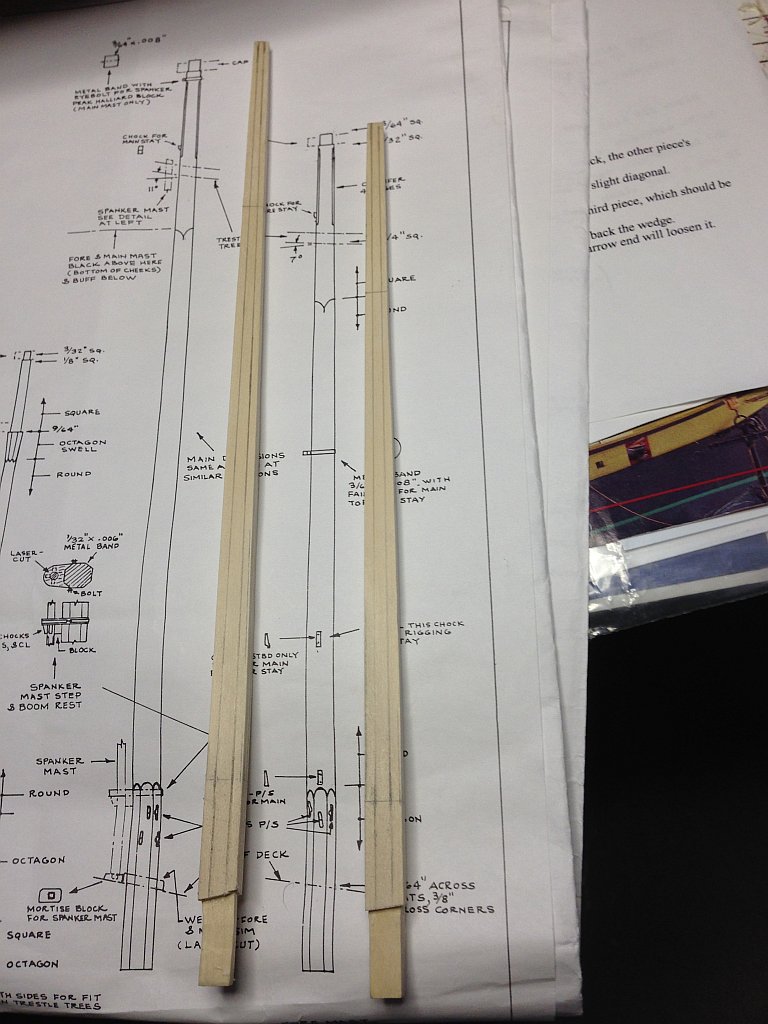
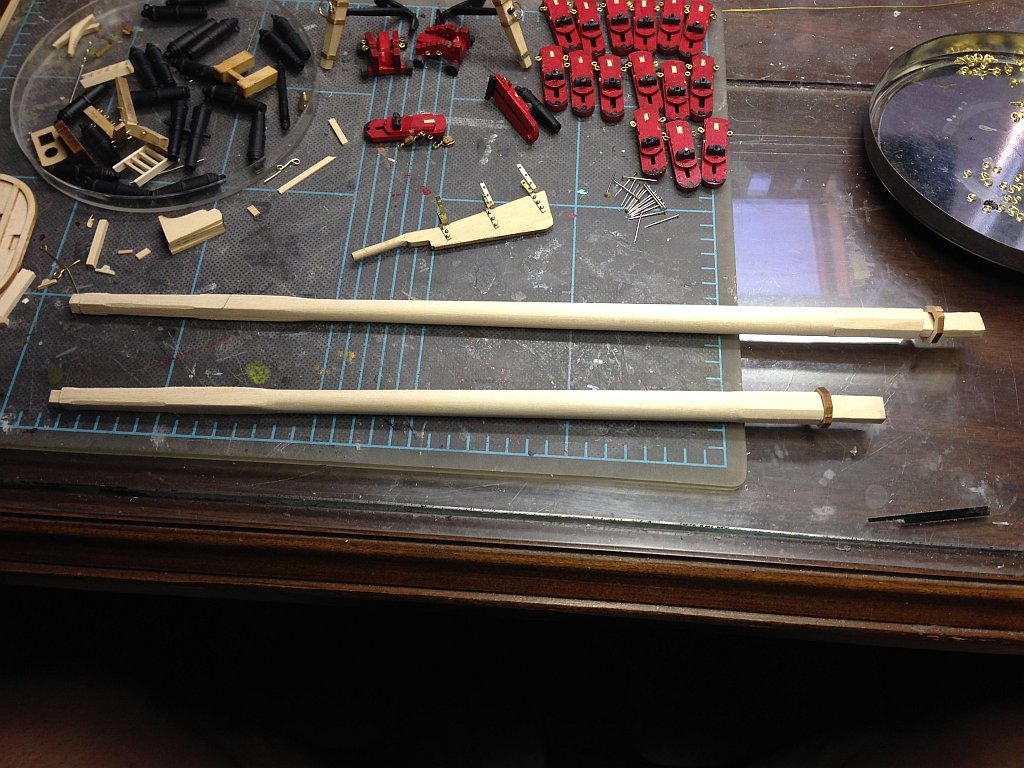
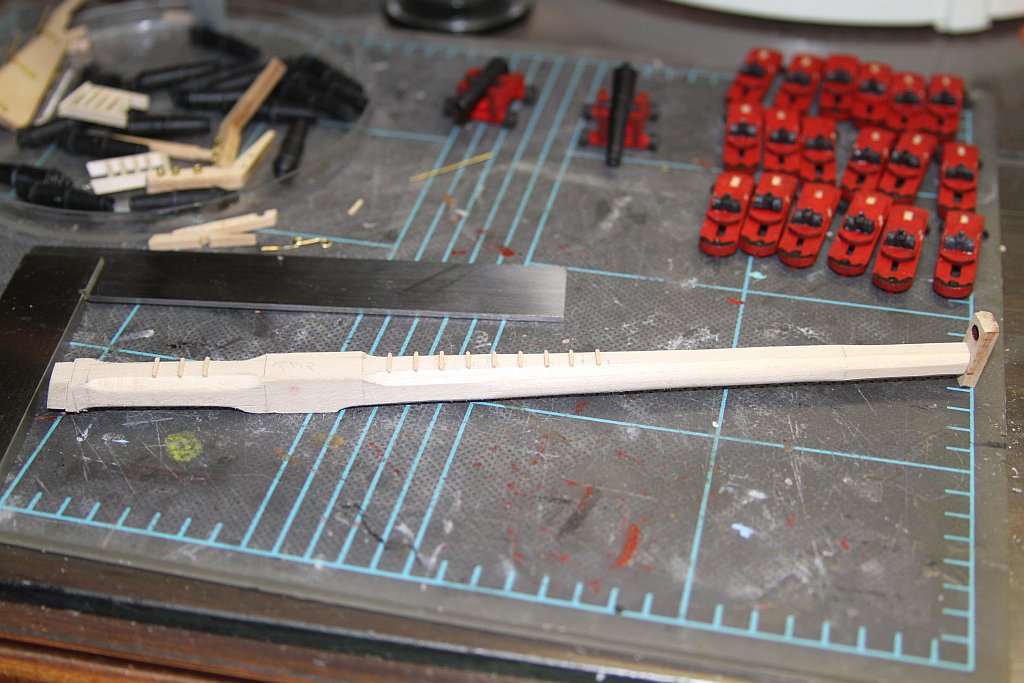
Here are a couple of pictures of the masts. One shows the blanks marked & the other shows them after they were carved. I tried every short cut way I could think of to form these, but in the end it just came down to grabbing a knife & cutting. One advantage to square stock is that since I chose to use a mortise/tenon for the stepping the masts, this made it much easier to keep everything aligned fore & aft. The tops will benefit from this as well.

-
Thanks. Don't forget, this has been 16 years in the making. I don't have pics of everything that went wrong. But just since joining this forum this year, I've gotten much better after finding new ways of doing things & realizing that things don't necessarily have to be done in a particular order. As we all are, I am my harshest critic, & when I can't do things as good as the masters here it irritates me. I guess that's how we get better, isn't it?
- dgbot and CaptainSteve
-
2
-
I decided to build the masts from square stock. It just seemed easier to create the hex shapes from there. I also decided to make the mast attachment a slot instead of a hole. I did this partly because a something the designer of this kit Ben Lankford wrote. I put a block on either side of the mast cutout on the keel piece. Then I cut the bottom of the mast to create a mortise/tenon joint. Here are the mast blanks being fitted before shaping them.
-
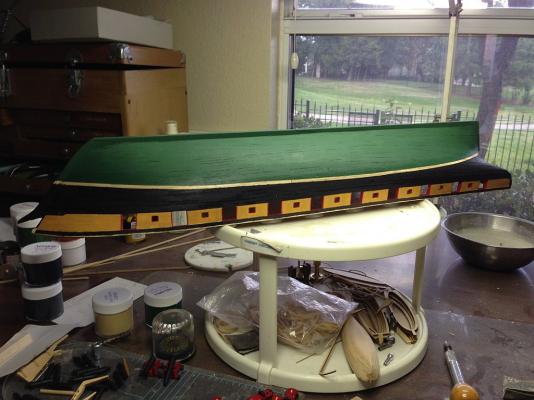
Hull painting came next. Nothing will show you what a crappy job of filling you have done as a coat of paint. Wow. This ship would sink!

-
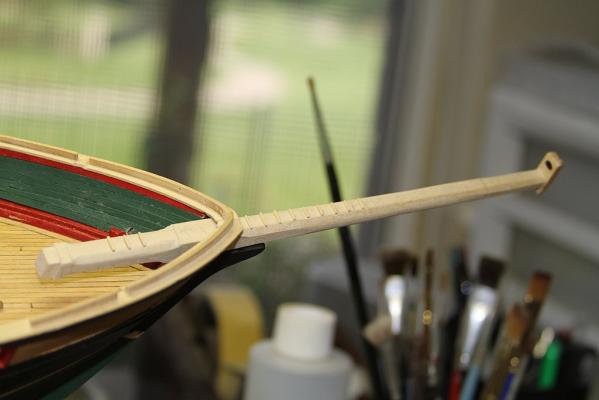
Then the bowsprit. See how it fits in the bow now? Glad I caught that early.

-
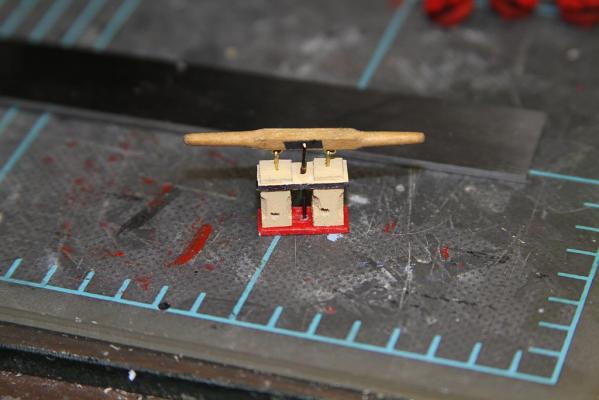
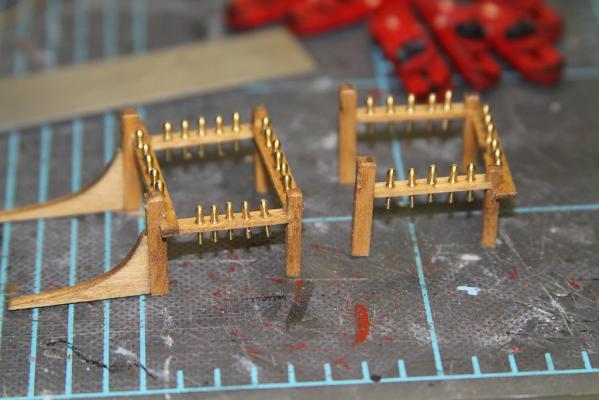
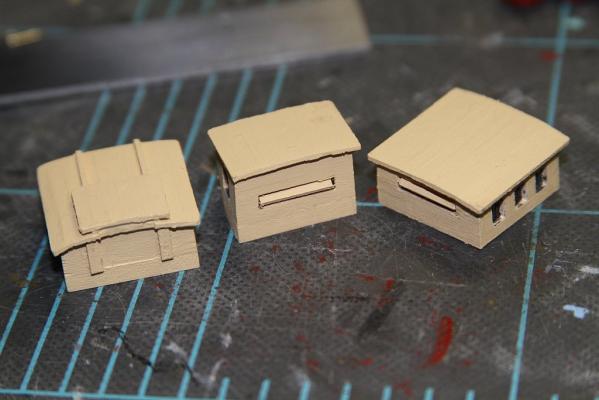
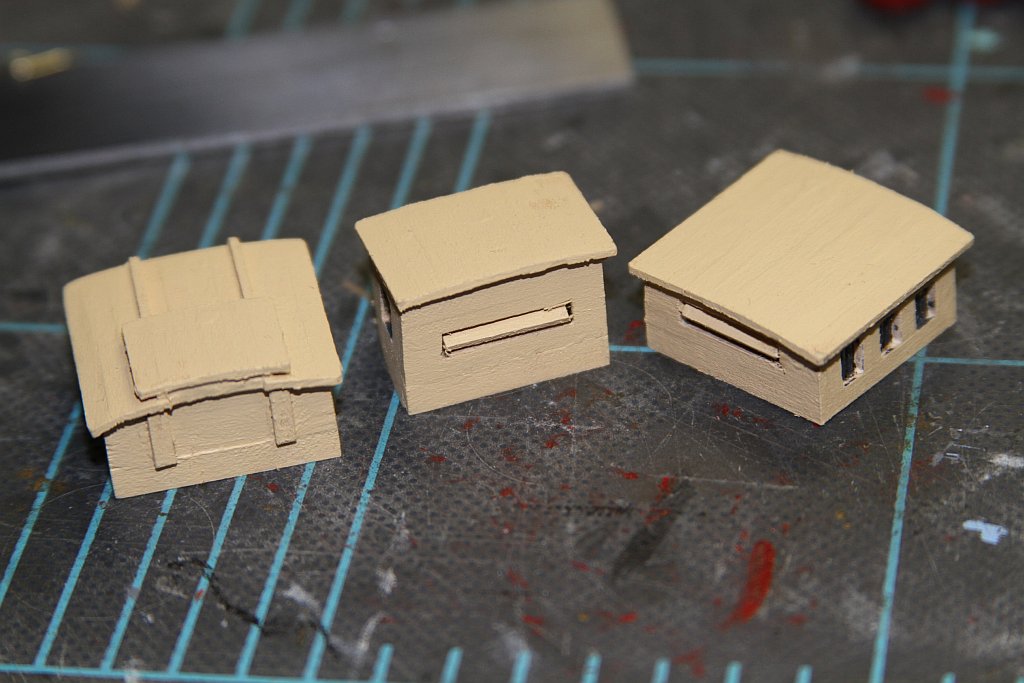
I built the fife rails & deck furniture next.


US Brig Niagara by Laxet - FINISHED - Model Shipways
in - Kit build logs for subjects built from 1801 - 1850
Posted
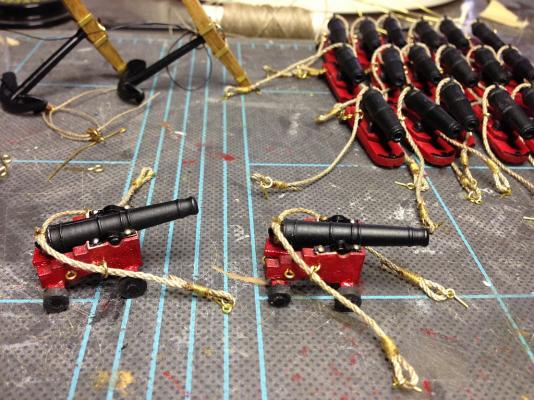
There are five blocks & tackle on each gun. Does anybody know how many of those are left in place when the guns are not actually in use? And which ones they are? It seems like they would get in the way if they were always attached, especially the rear one.