
FrankWouts
-
Posts
541 -
Joined
-
Last visited
Recent Profile Visitors
2,513 profile views


-
 westwood reacted to a post in a topic:
HMS Winchelsea 1764 by Frank Wouts 1/48
westwood reacted to a post in a topic:
HMS Winchelsea 1764 by Frank Wouts 1/48
-
Rustyj reacted to a post in a topic:
HMS Winchelsea 1764 by Frank Wouts 1/48
-
Freebird reacted to a post in a topic:
HMS Winchelsea 1764 by Frank Wouts 1/48
-
PaddyO reacted to a post in a topic:
HMS Winchelsea 1764 by Frank Wouts 1/48
-
tmj reacted to a post in a topic:
HMS Winchelsea 1764 by Frank Wouts 1/48
-
Trussben reacted to a post in a topic:
HMS Winchelsea 1764 by Frank Wouts 1/48
-
Trussben reacted to a post in a topic:
HMS Winchelsea 1764 by Frank Wouts 1/48
-
Trussben reacted to a post in a topic:
HMS Winchelsea 1764 by Frank Wouts 1/48
-
Trussben reacted to a post in a topic:
HMS Winchelsea 1764 by Frank Wouts 1/48
-
VolkerB reacted to a post in a topic:
HMS Winchelsea 1764 by Frank Wouts 1/48
-
 FrankWouts reacted to a post in a topic:
HMS Winchelsea 1764 by Frank Wouts 1/48
FrankWouts reacted to a post in a topic:
HMS Winchelsea 1764 by Frank Wouts 1/48
-
FrankWouts reacted to a post in a topic:
HMS Winchelsea 1764 by Frank Wouts 1/48
-
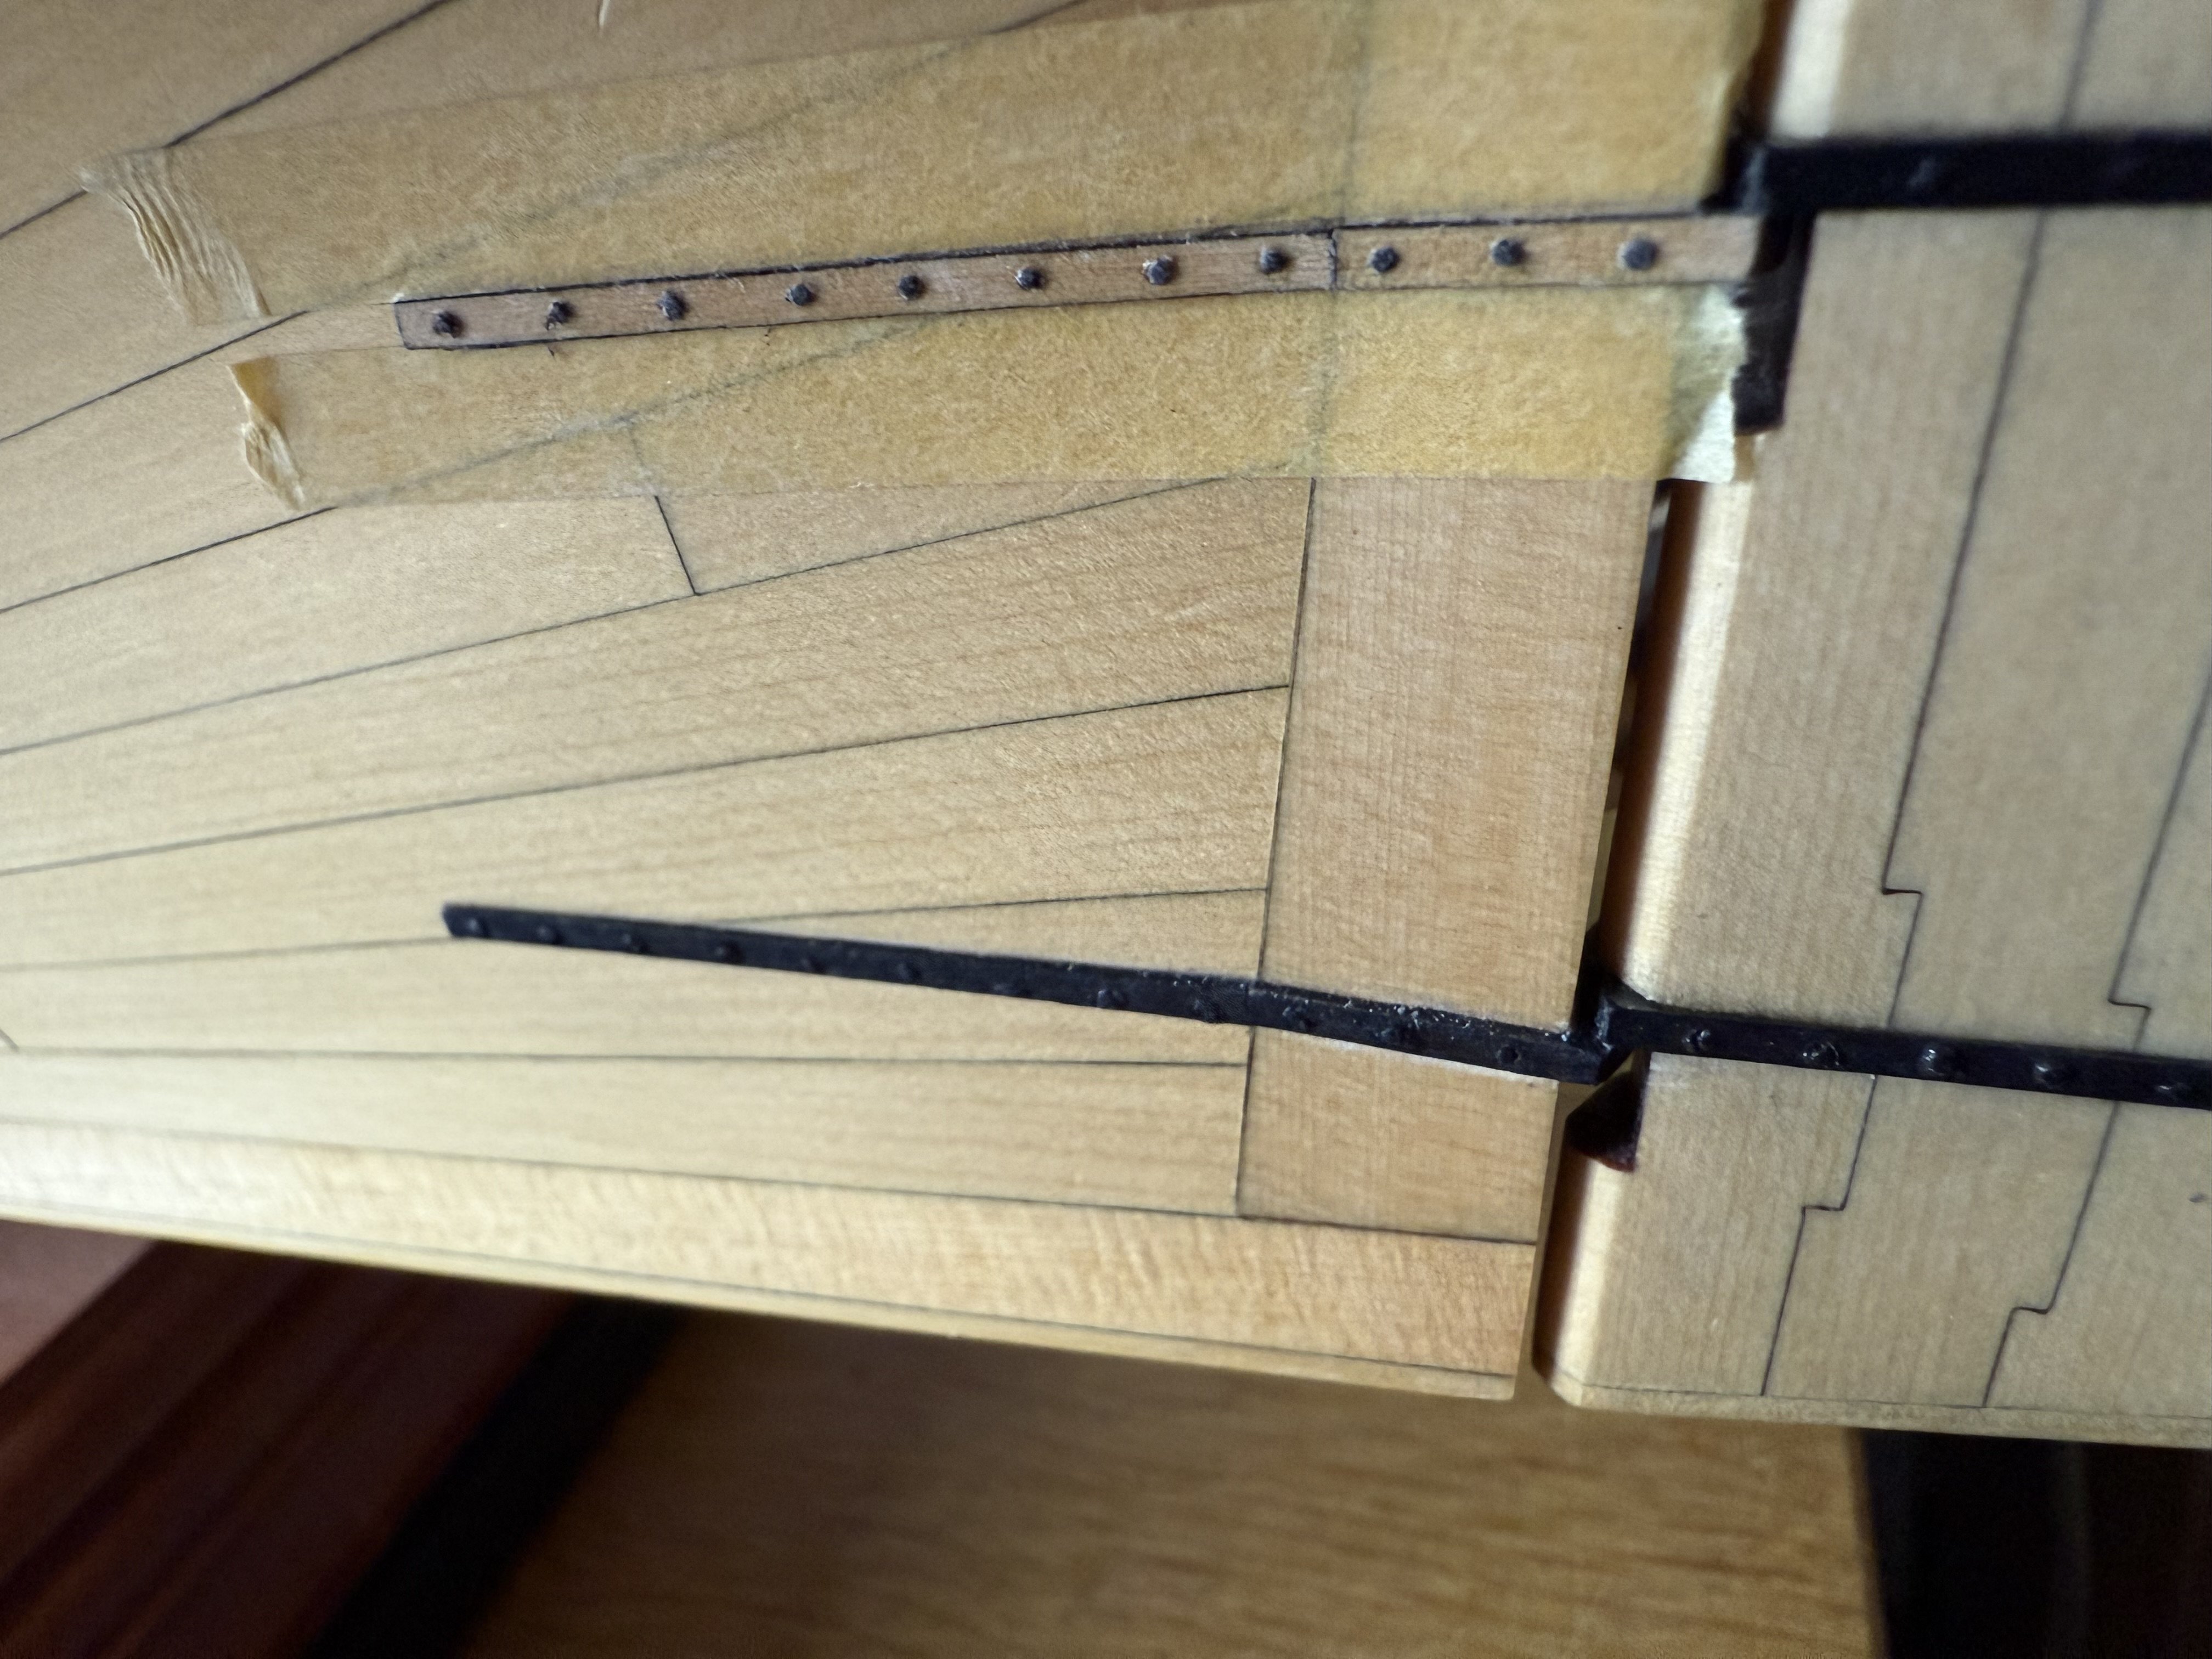
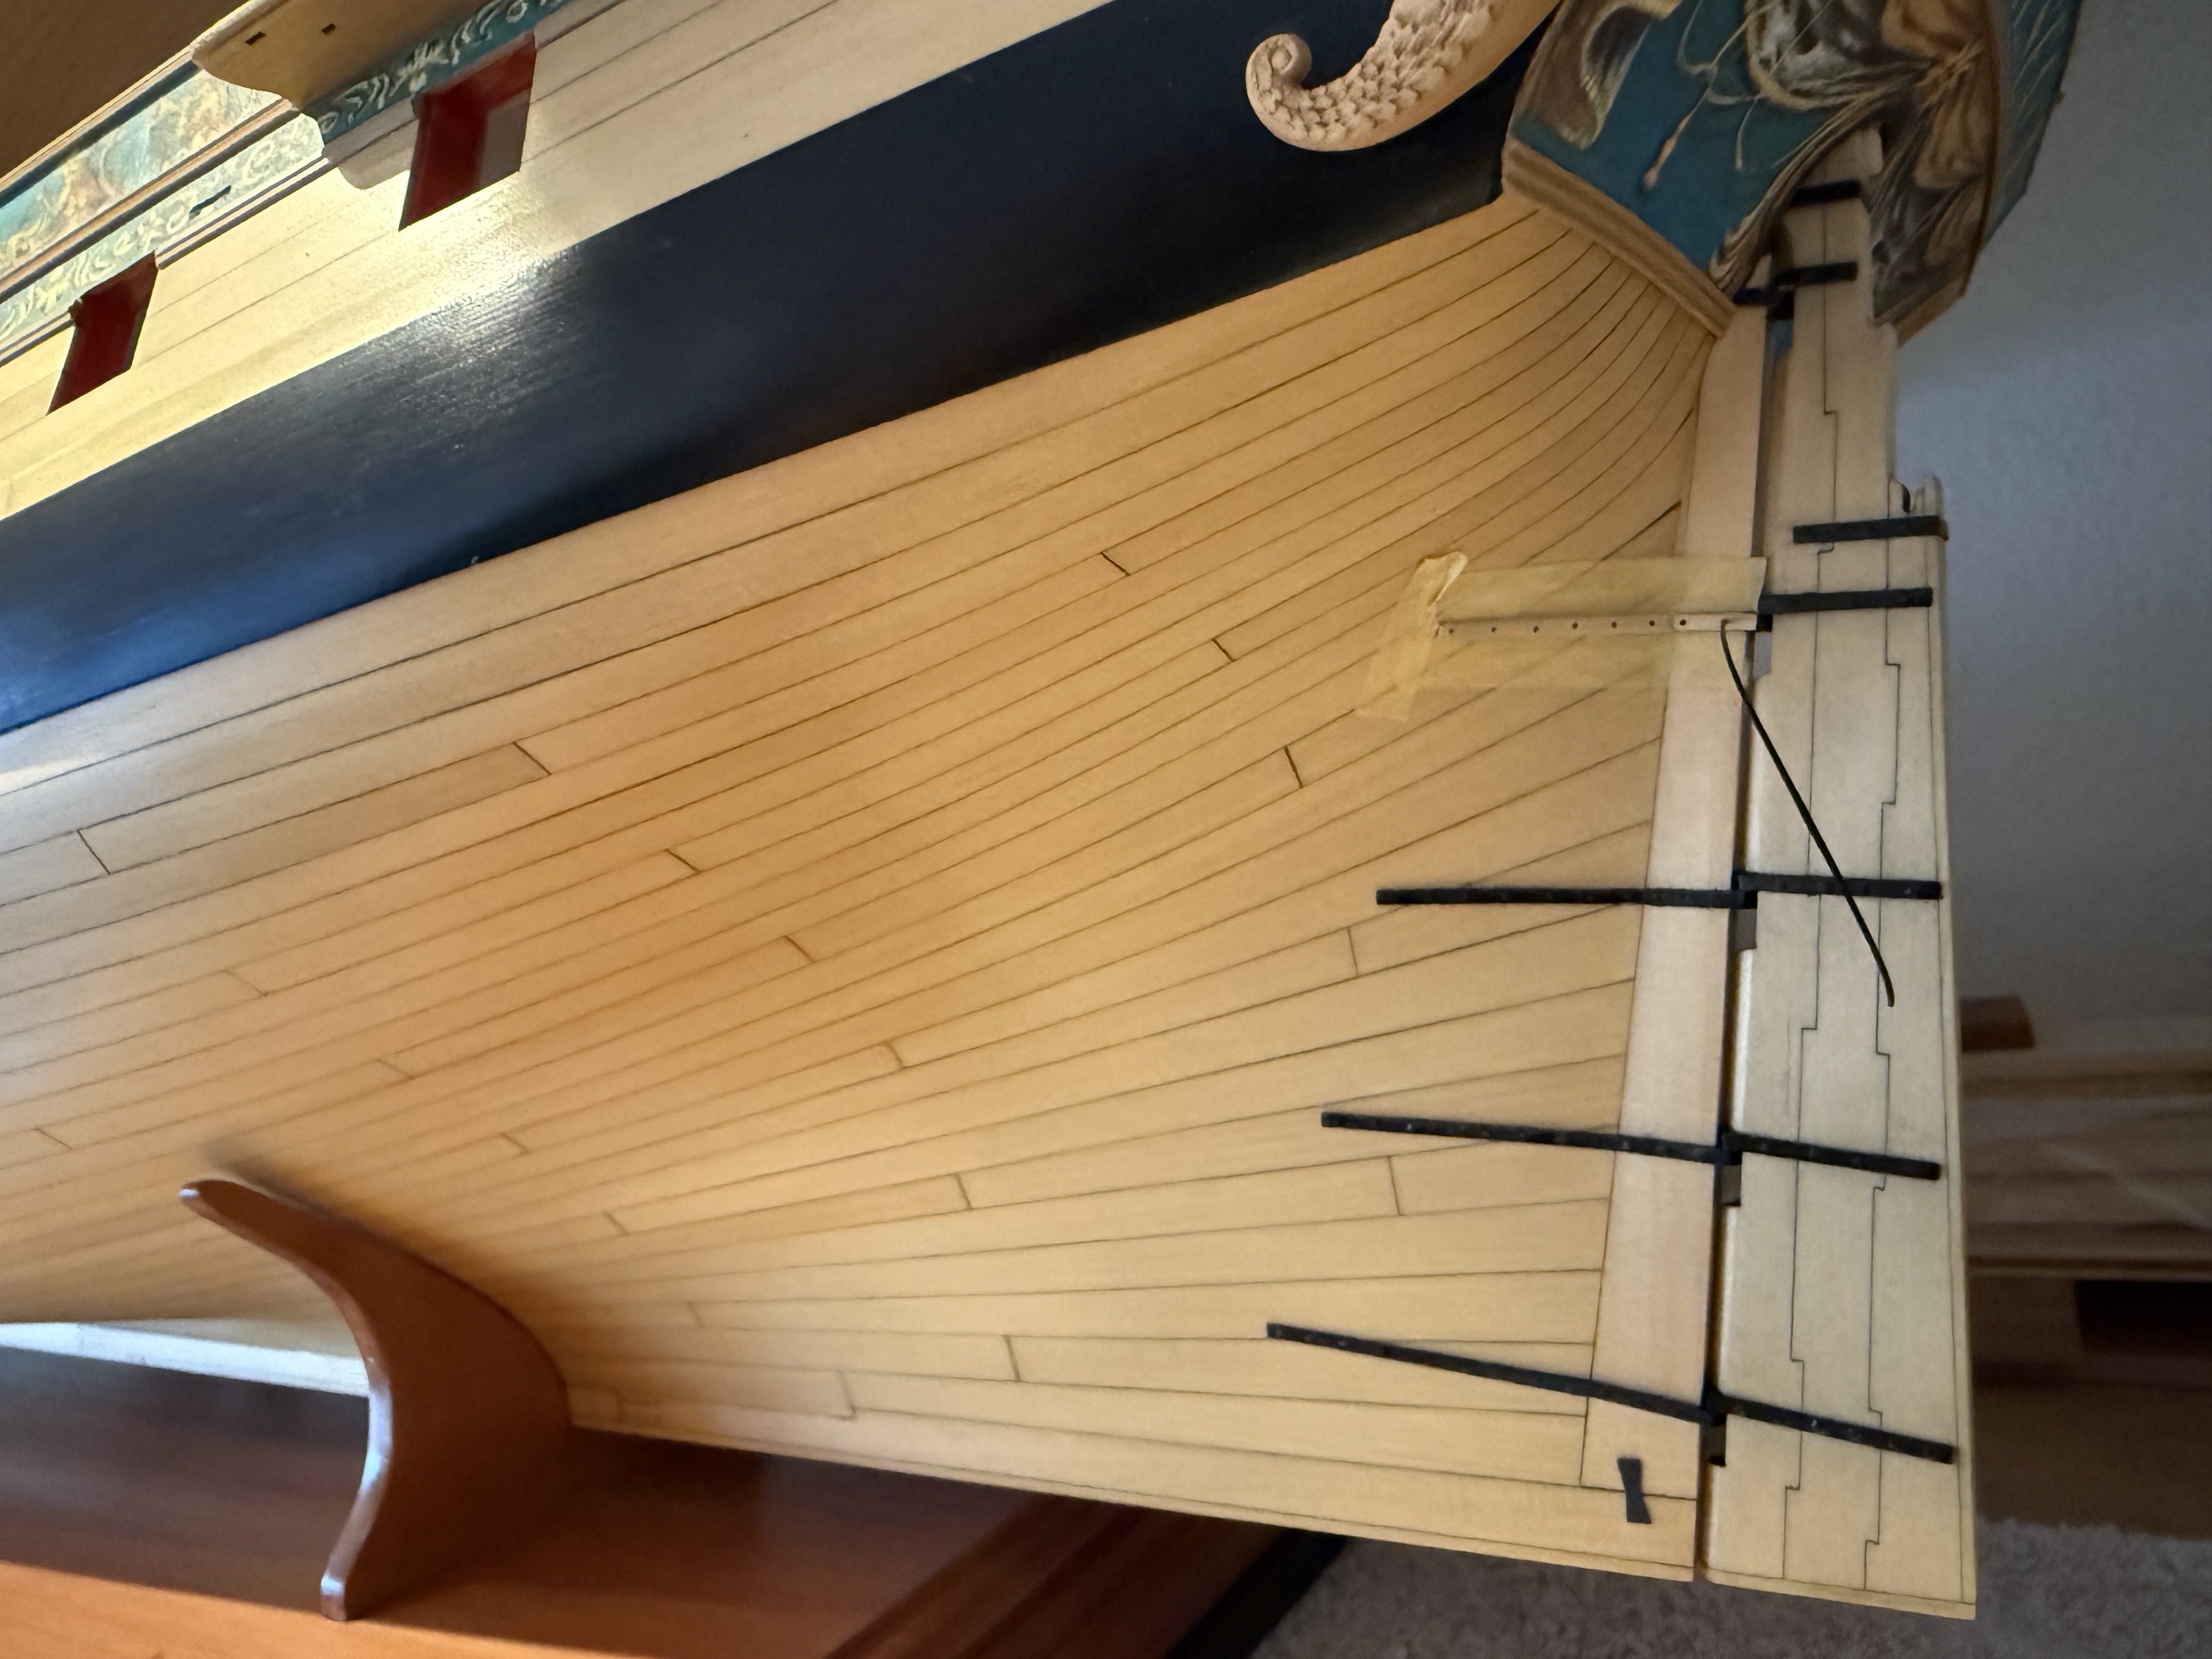
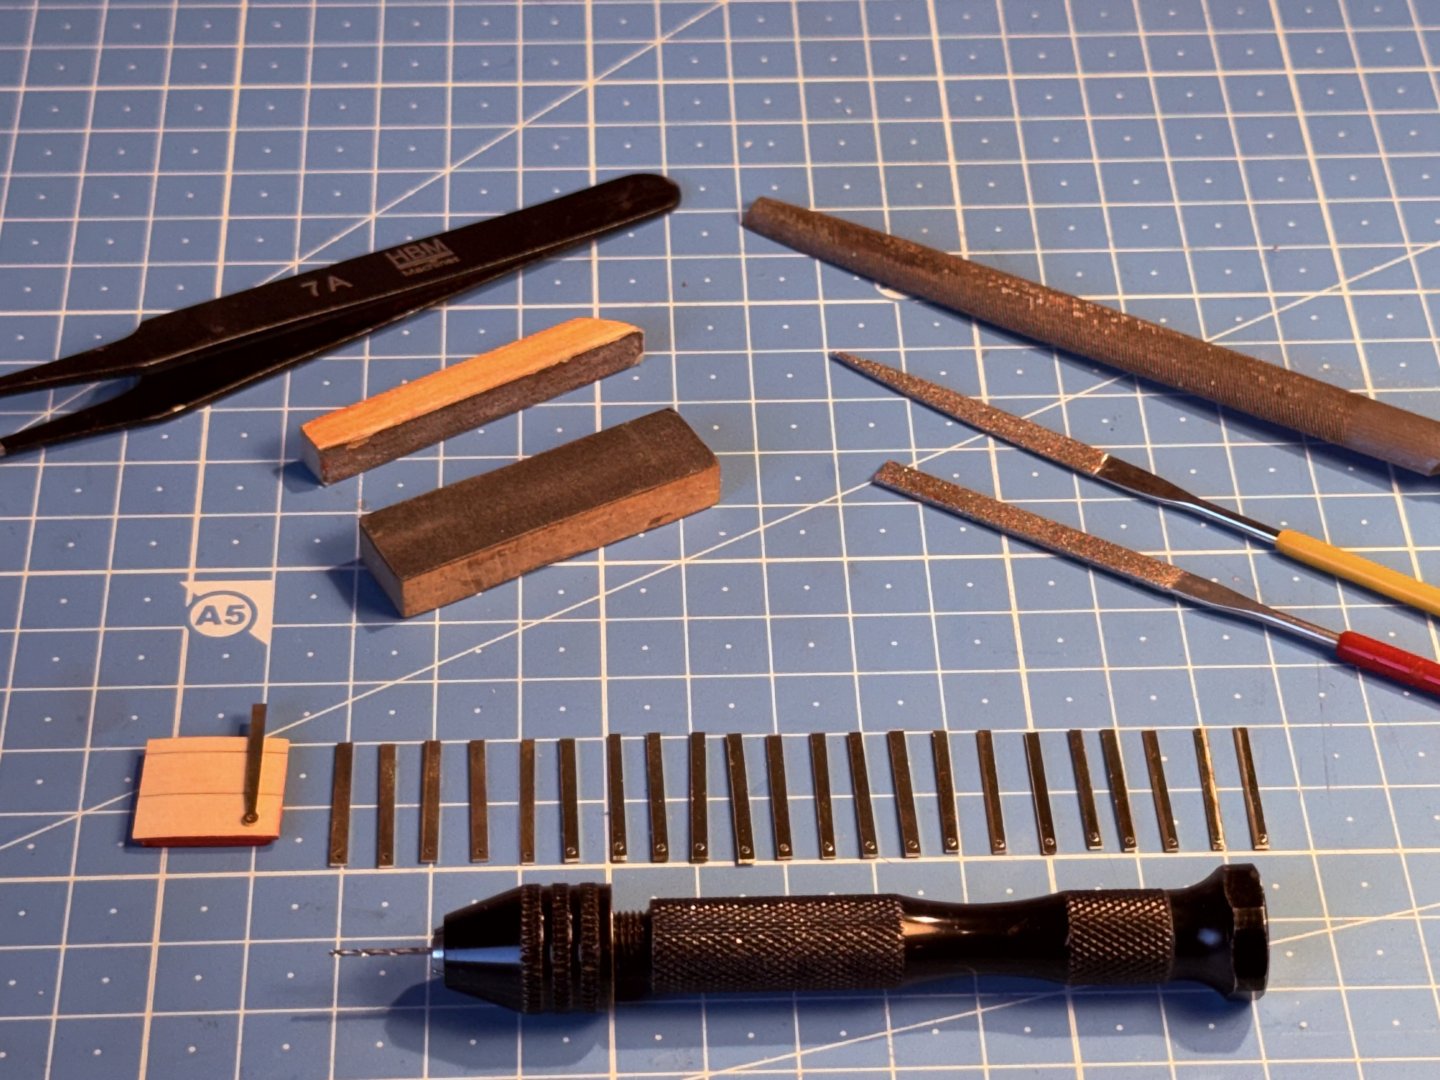
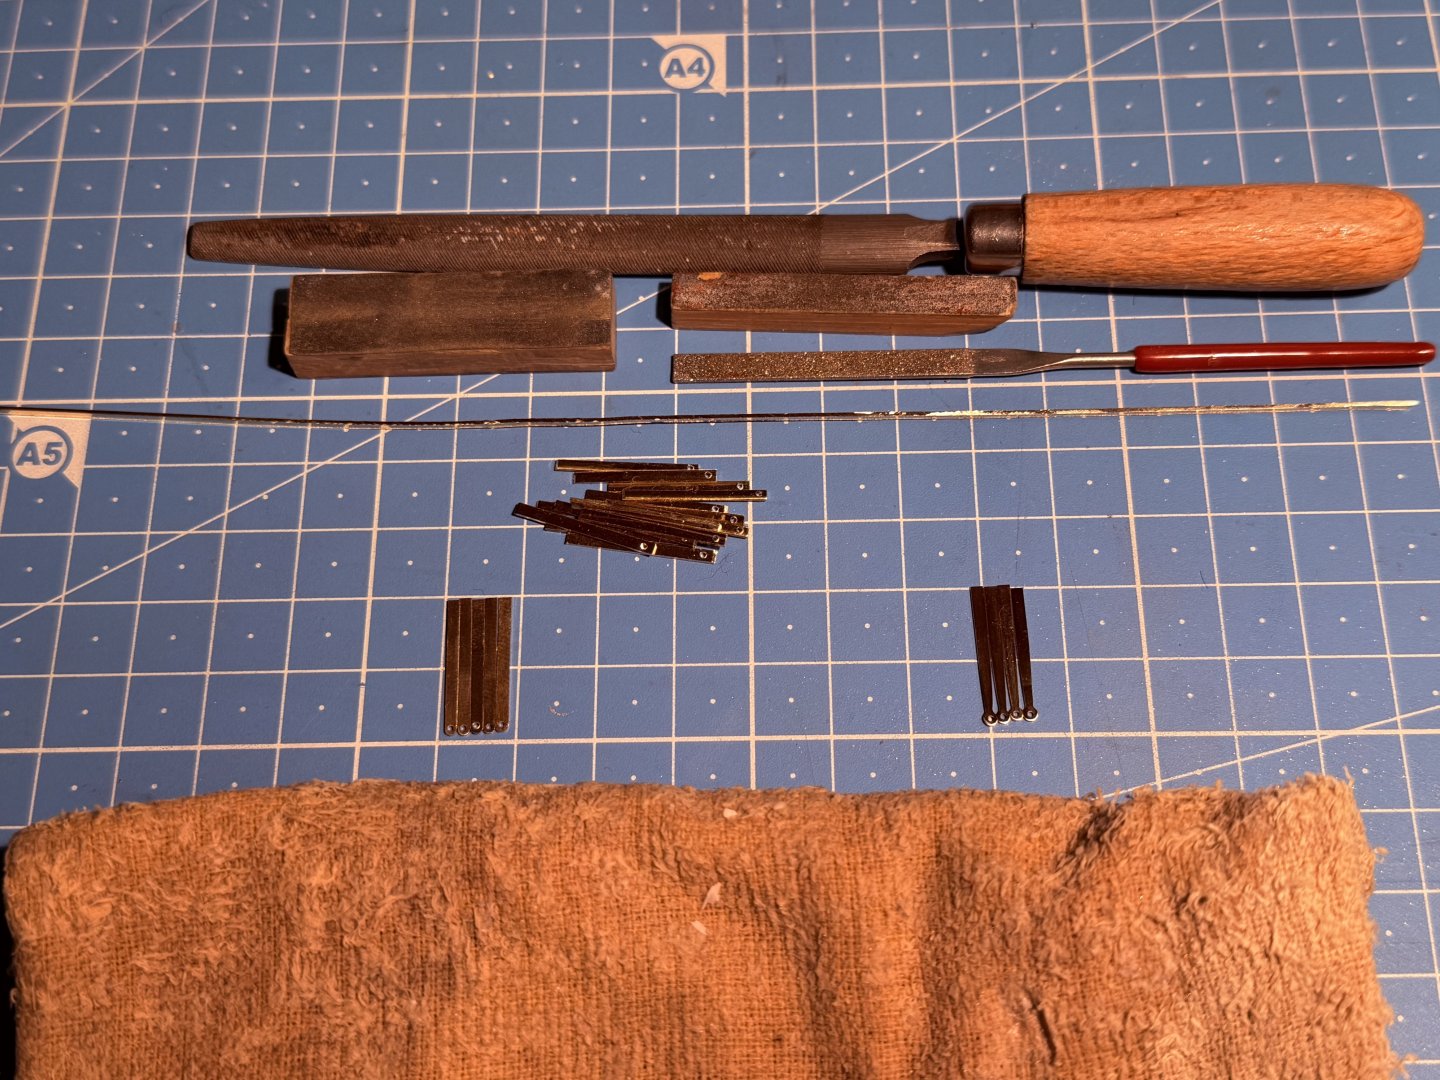
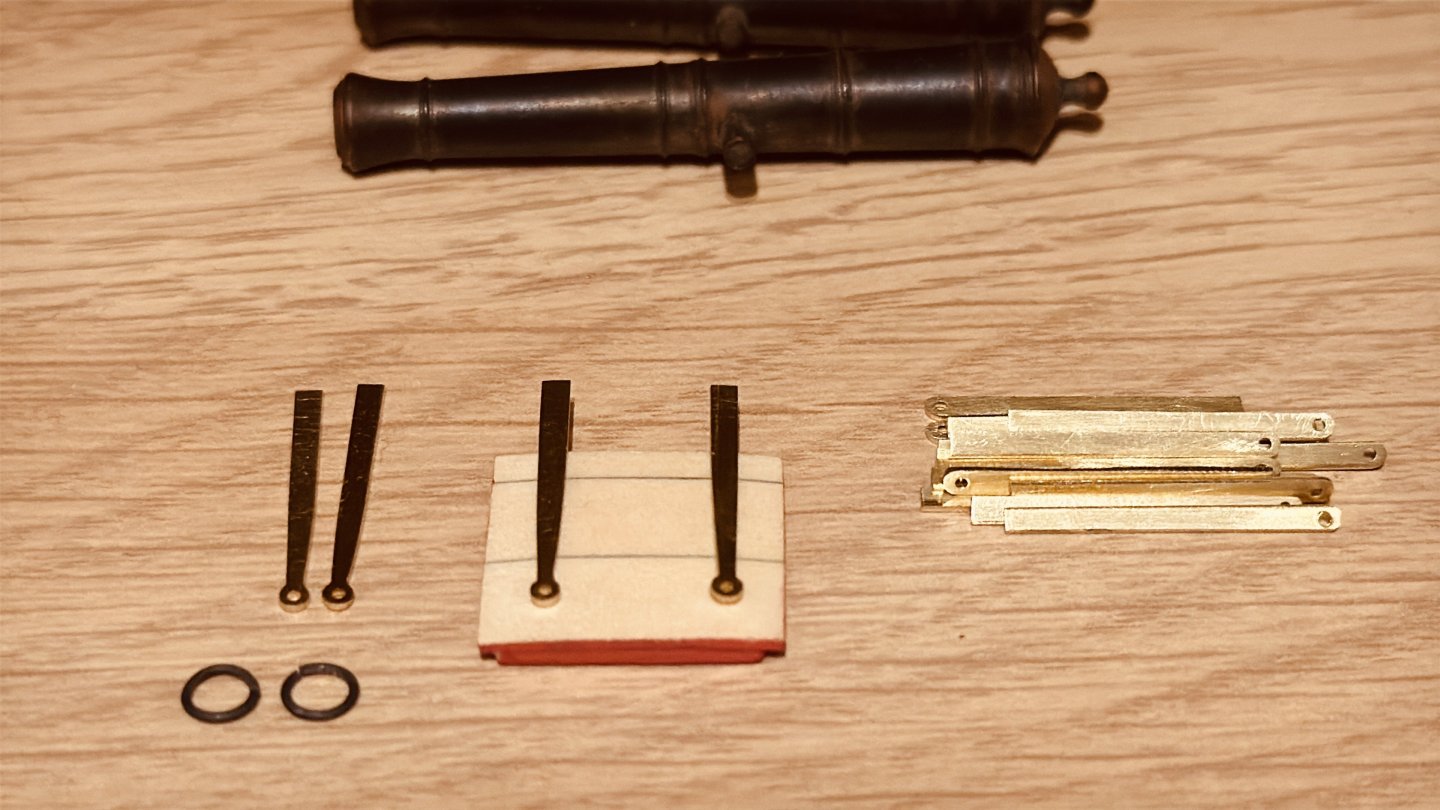
 Learned something new the last days and made my first gun port hinges, eyelids and split rings ever! Thanks for all support and info! Happy Holidays! Frank.


-
FrankWouts reacted to a post in a topic:
Sloop Speedwell 1752 by Chuck - Ketch Rigged Sloop - POF - prototype build
-
That looks like a very thorough, orderly, safe and clean start for sanding and shaping the hull! Good luck, take your time and be patient. Looking forward to seeing your results. Frank.
-
FrankWouts reacted to a post in a topic:
HMS Winchelsea 1764 by John Murray - 1:48
-
 FrankWouts reacted to a post in a topic:
HMS Winchelsea 1764 by John Murray - 1:48
FrankWouts reacted to a post in a topic:
HMS Winchelsea 1764 by John Murray - 1:48
-
FrankWouts reacted to a post in a topic:
HMS Winchelsea 1764 by John Murray - 1:48
-
FrankWouts reacted to a post in a topic:
HMS Winchelsea 1764 by John Murray - 1:48
-
FrankWouts reacted to a post in a topic:
HMS Winchelsea 1764 by John Murray - 1:48
-
Nice progress Greg and alignment of the gratings and other deck furniture is looking very good! I’m looking forward seeing how your deck planking will turn out! Should be lovely as well I reckon! Merry Christmas! 🎄🍾🥂 Frank.
-
FrankWouts reacted to a post in a topic:
HMS Winchelsea by Greg M - 1/48 scale
-
FrankWouts reacted to a post in a topic:
HMS Winchelsea by Greg M - 1/48 scale
-
Thanks Chuck and Scrubby! Happy Christmas Everyone!!! 🎄🍾🥂

-
Looking good and very nice progress Steve! Very well done! Frank.
-
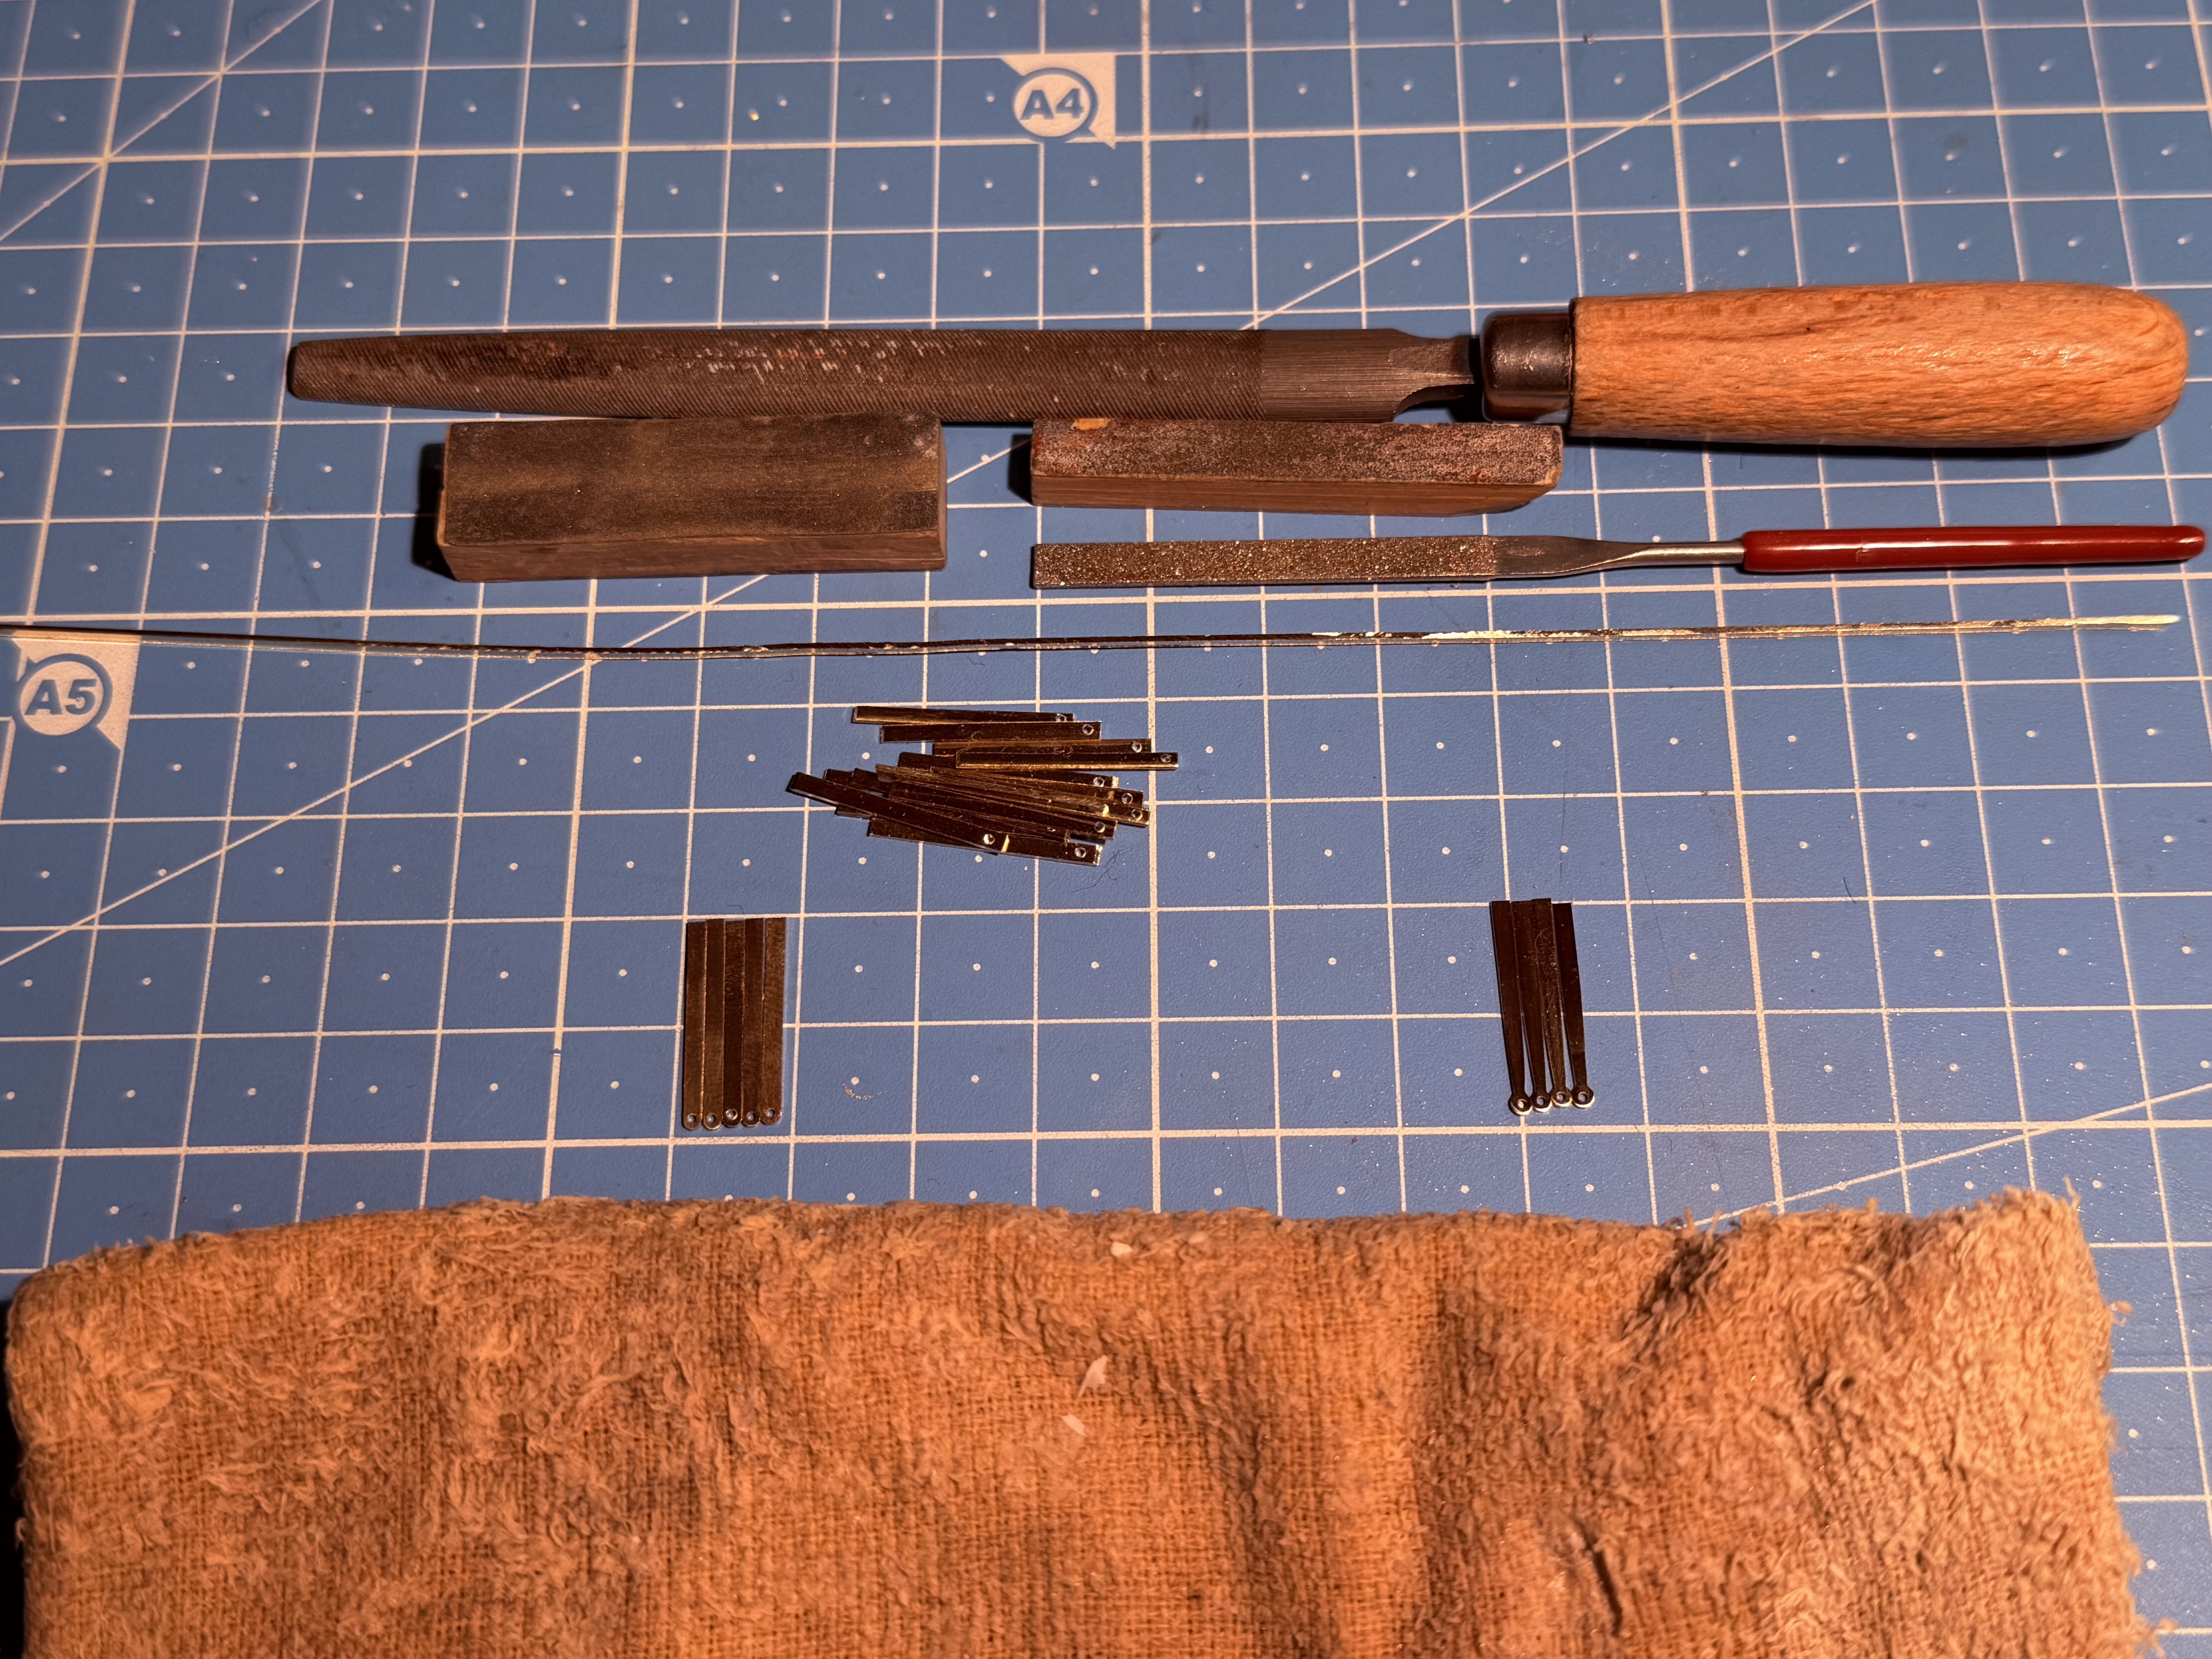
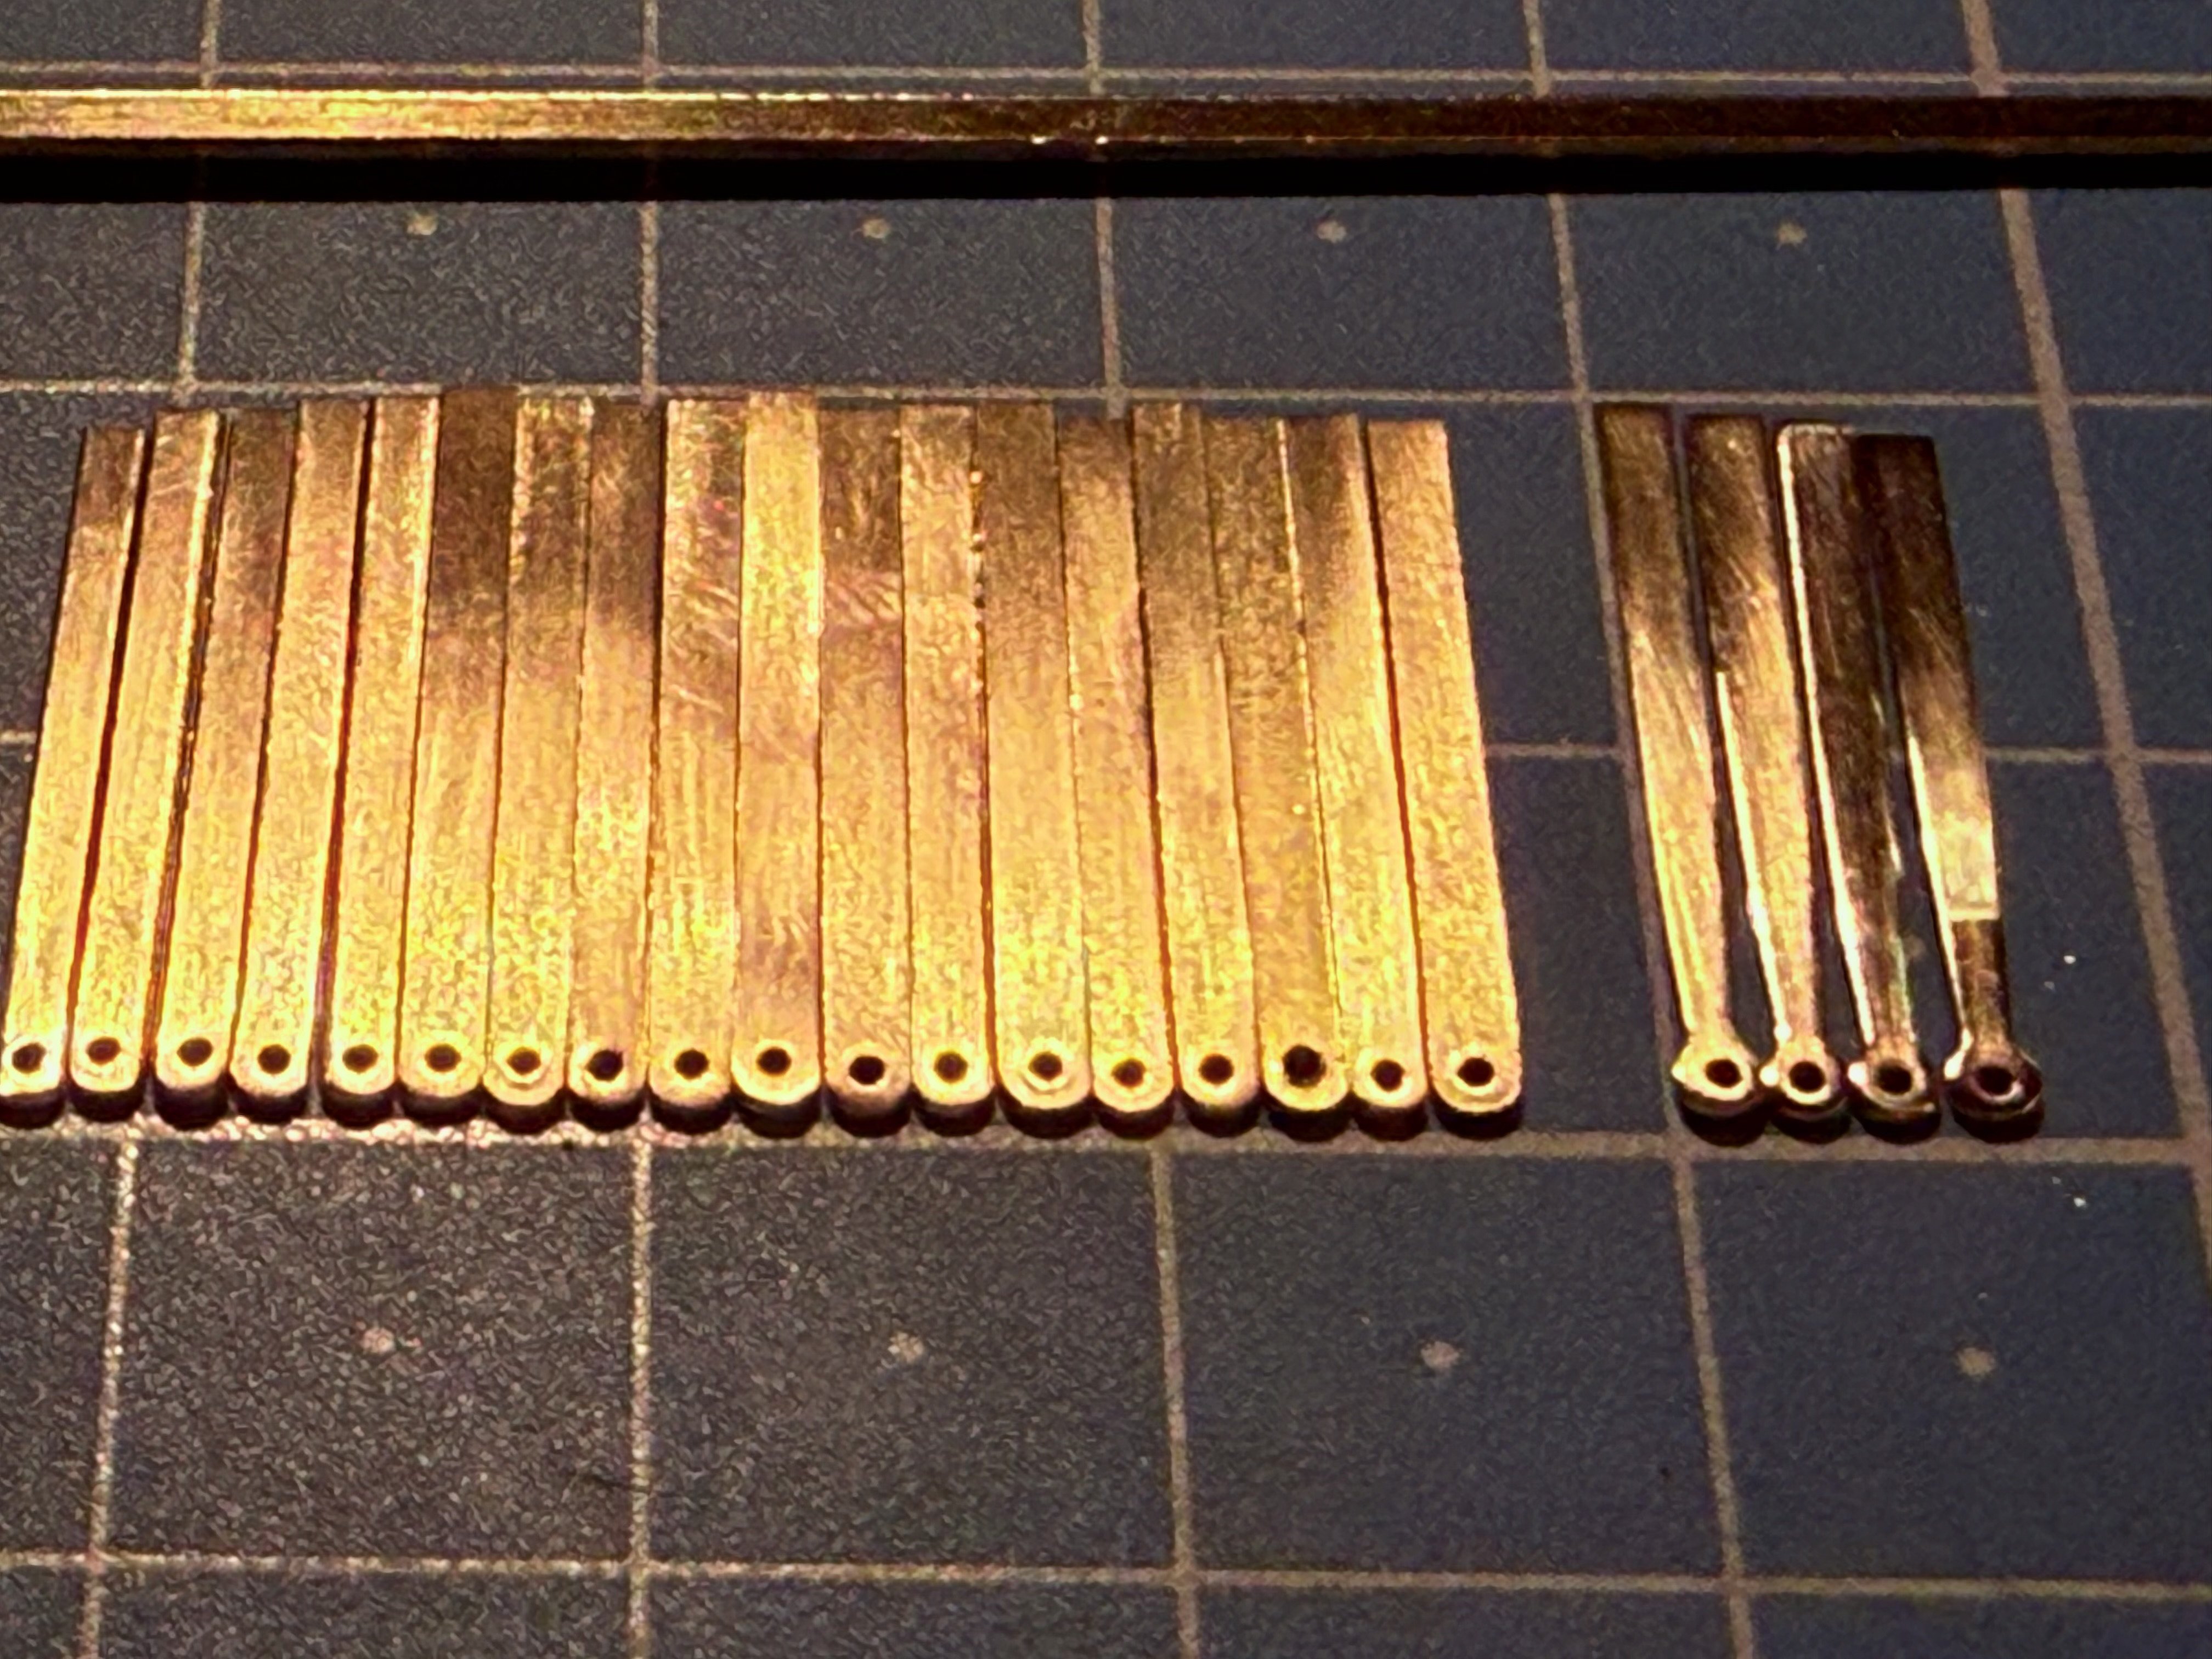
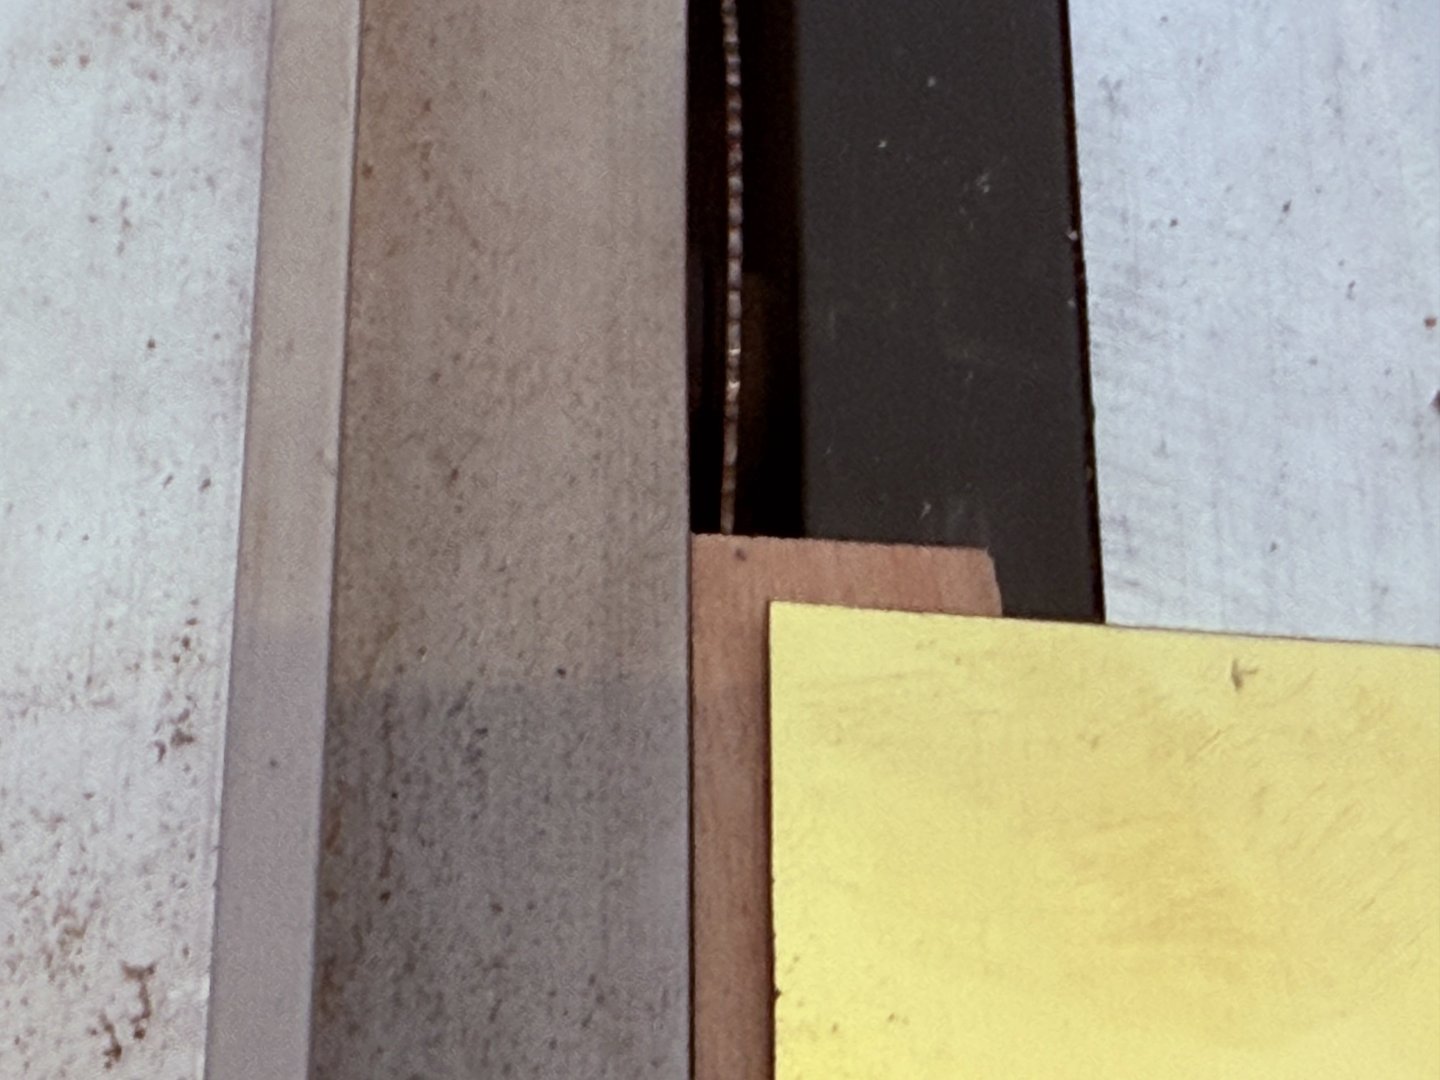
Today I made a start with the hinges for the gun hatches. With a strip of wood under a 20x40cm 0.4mm thick piece of brass it can be cut in strips of 1.6mm wide. Without the wood the brass slams hard under the saw and bends in an ugly way…the scratch piece of wood underneath it prevents that. After that cut the strips in the length of the hinges as found on the plans and reserve 4mm for the curled hinge piece. More tomorrow… Frank.

-
Thanks Glenn, I'll give both a try, can you advice me on the best brand and type you use? Thanks!
-
Thanks Chuck! That was a real quick response! Now I only have to look for such a Japanese saw... or try to use my Dremel motor tool and the tiny and ultrathin Chinese disk sander with which I made my scraper profiles might work as well? Frank.
-
Hi, I need help. I have two questions: 1: It's not explained how to make the eyebolts that are drilled into the lid through the lid hinges' hole. Is there a tutorial how to make these and how big should they be made with the 28 gauge wire? Is it just a ring that let's the 24 gauge wire split ring go through with a little pin on it to be glued in the drilled hole in the port lid? 2: Where can I buy this Japanese saw like the one Chuck uses to saw his split rings that go on the cannon port lids? Thanks, Frank.
-
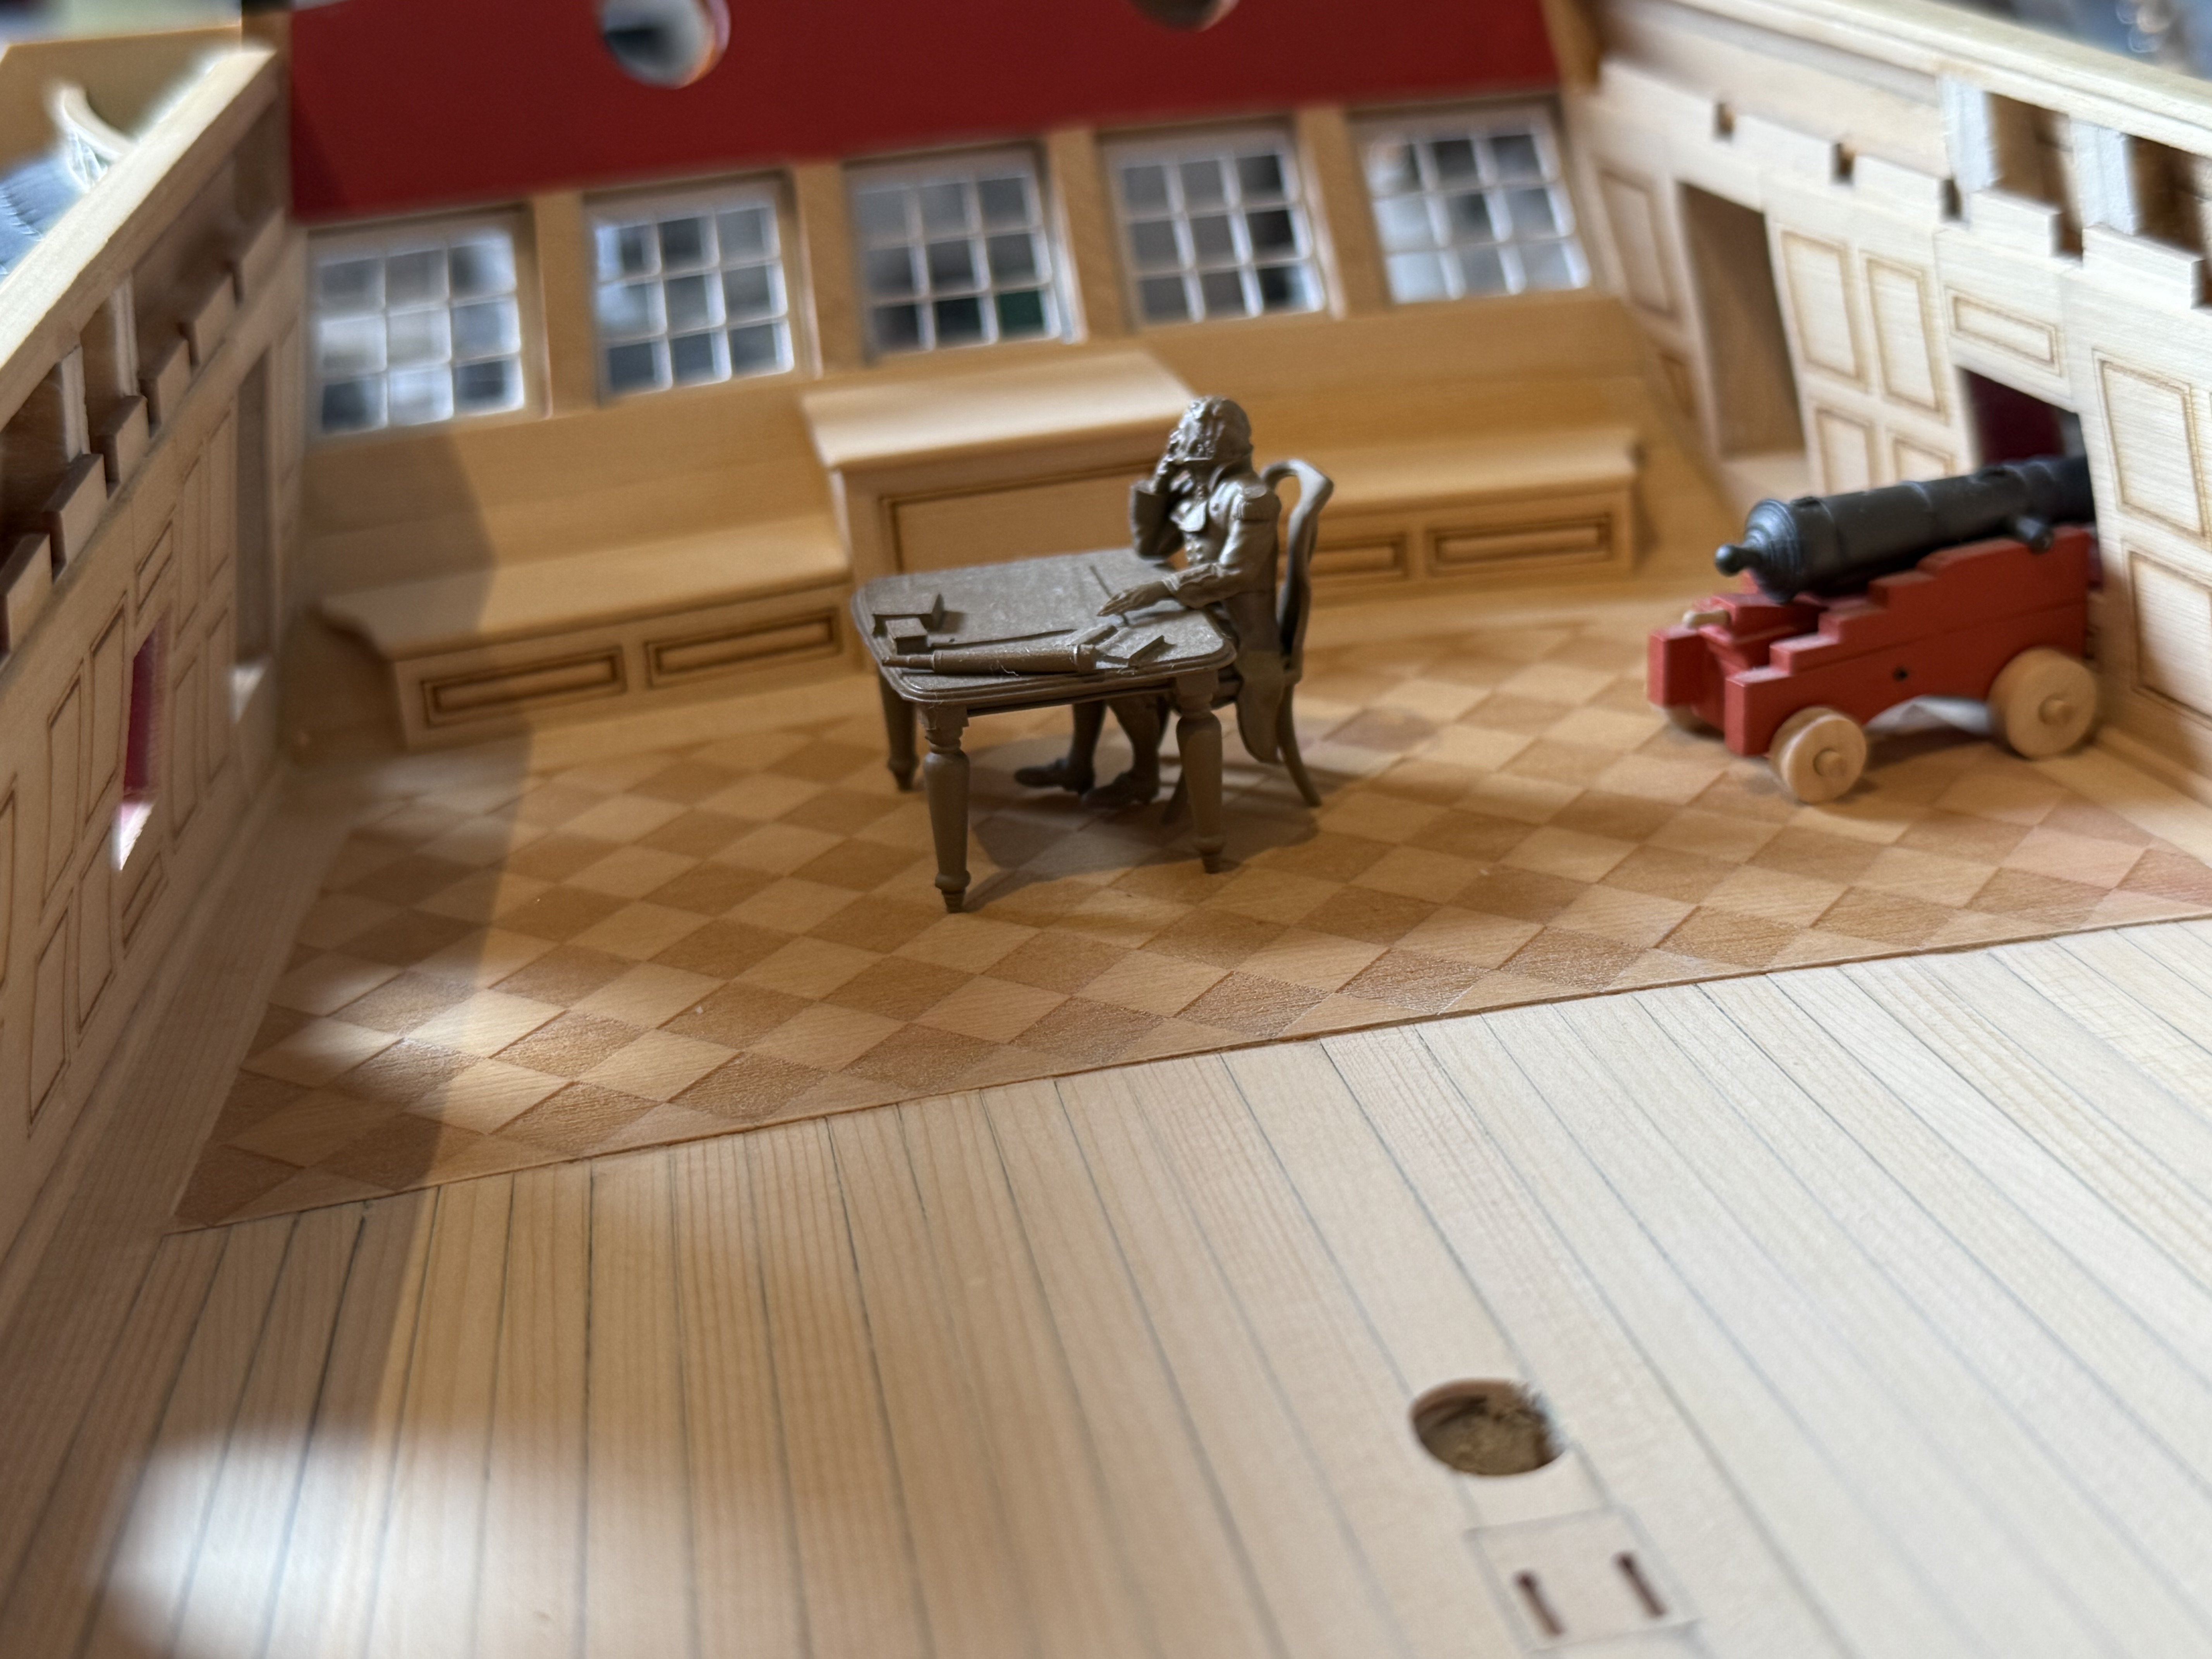
Thanks! I bought them at Chris Watton’s webstore Vanguard Models. Though I don’t see these figures and table anymore…maybe and hopefully temporary out of stock… https://vanguardmodels.co.uk/collections/figures Frank.
-
You’re making good progress Greg! Keep up the good work. you Winnie is coming together lovely! FrankZ
-
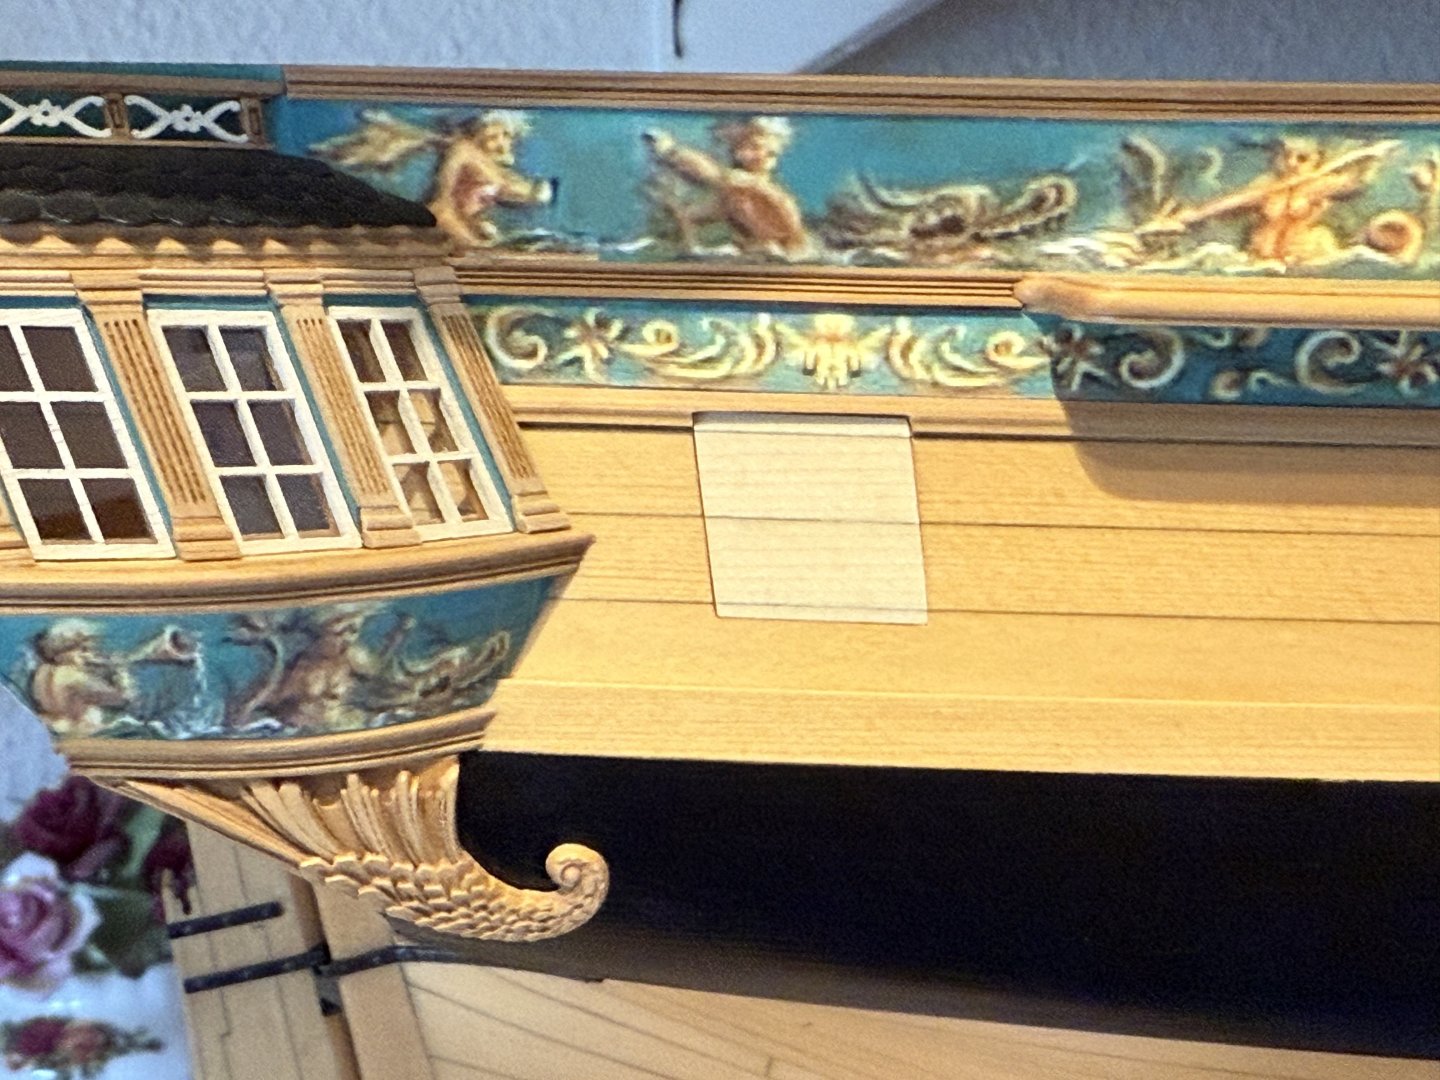
That’s some real nice and lovely progress Steve! I love your scraped fancy moldings, they’re formed beautifully and are very crisp and clean! Also you mixed the exact right teint of greenish blue paint on the transom matching the prints! Superb! Very well done and a treat for one’s eye. Frank.
-
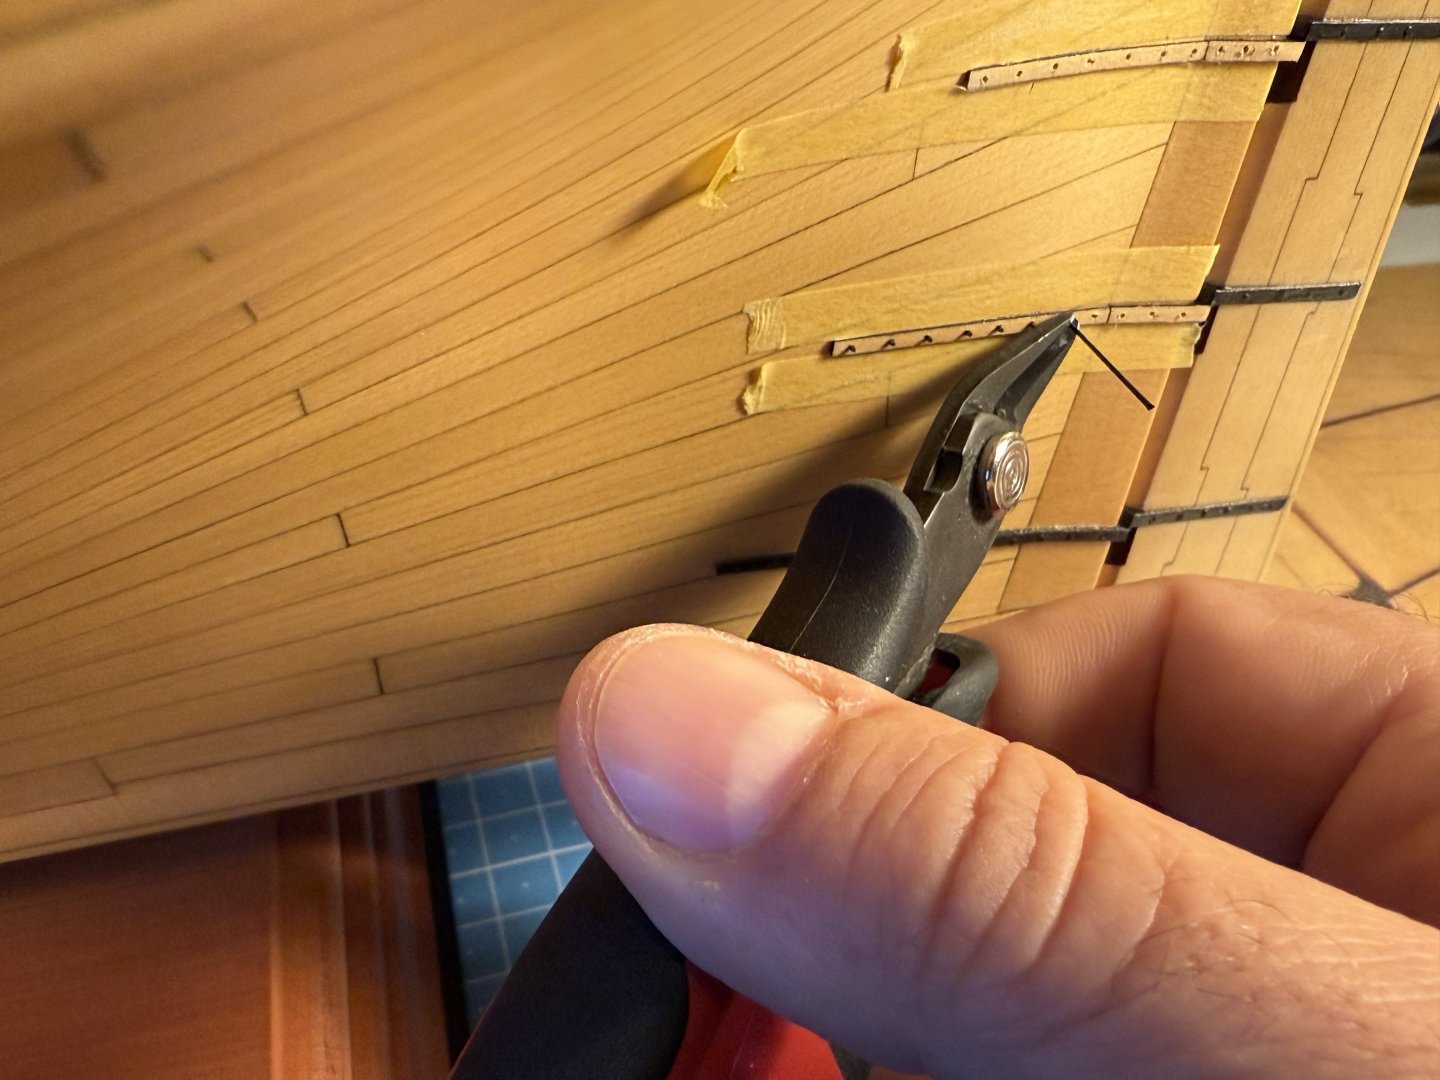
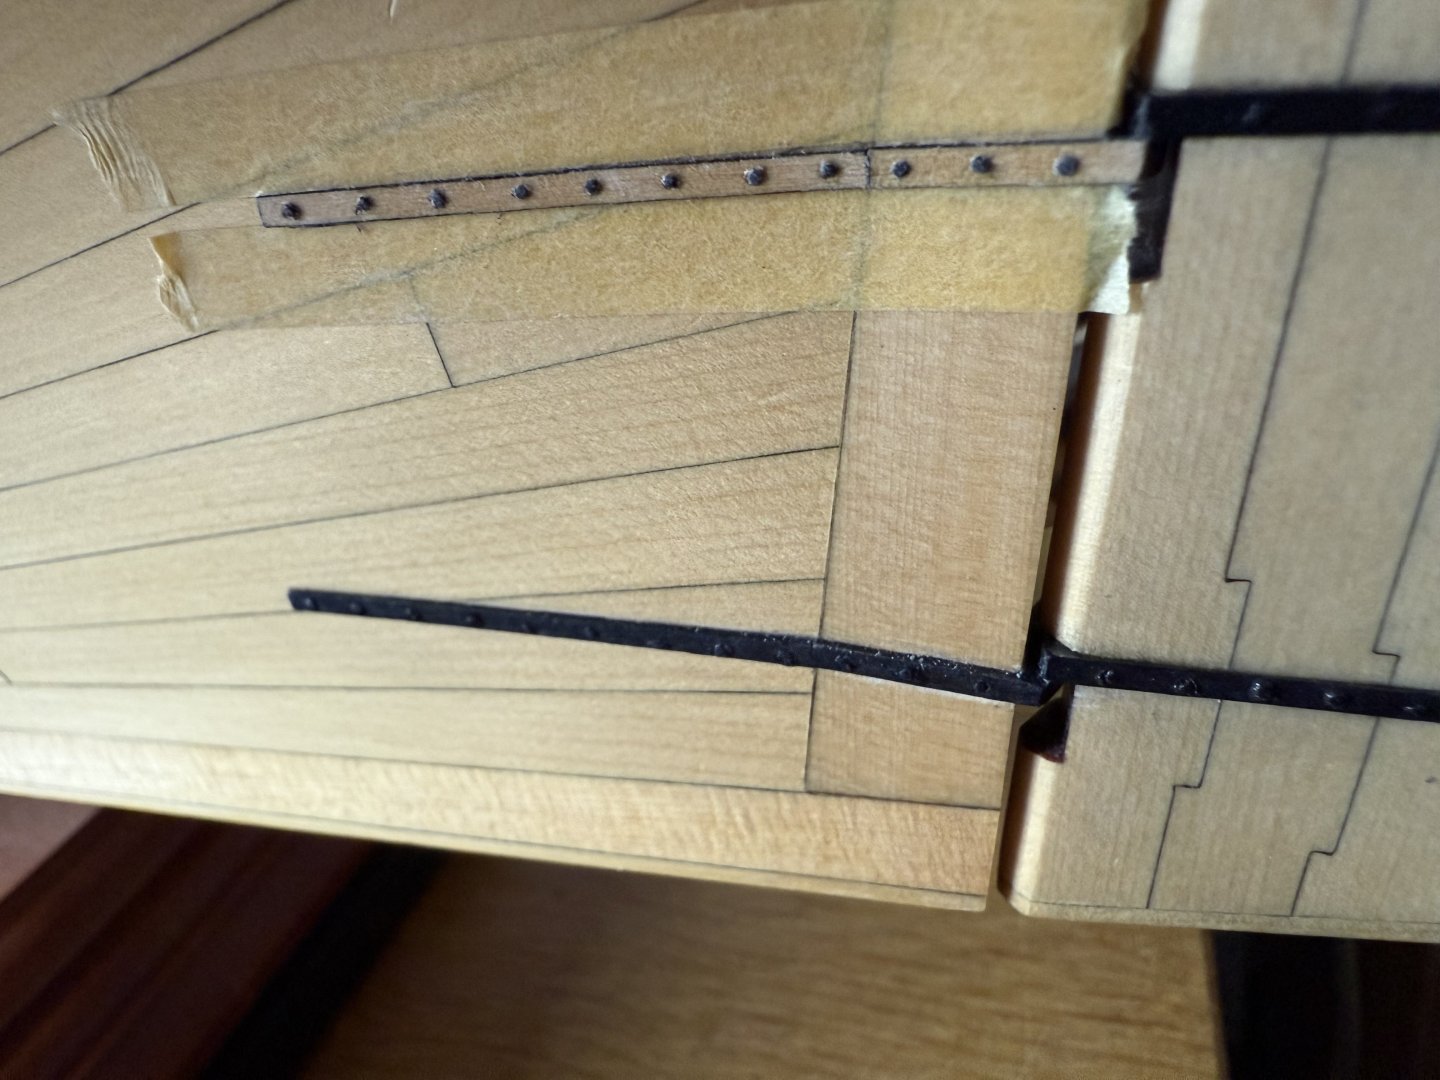
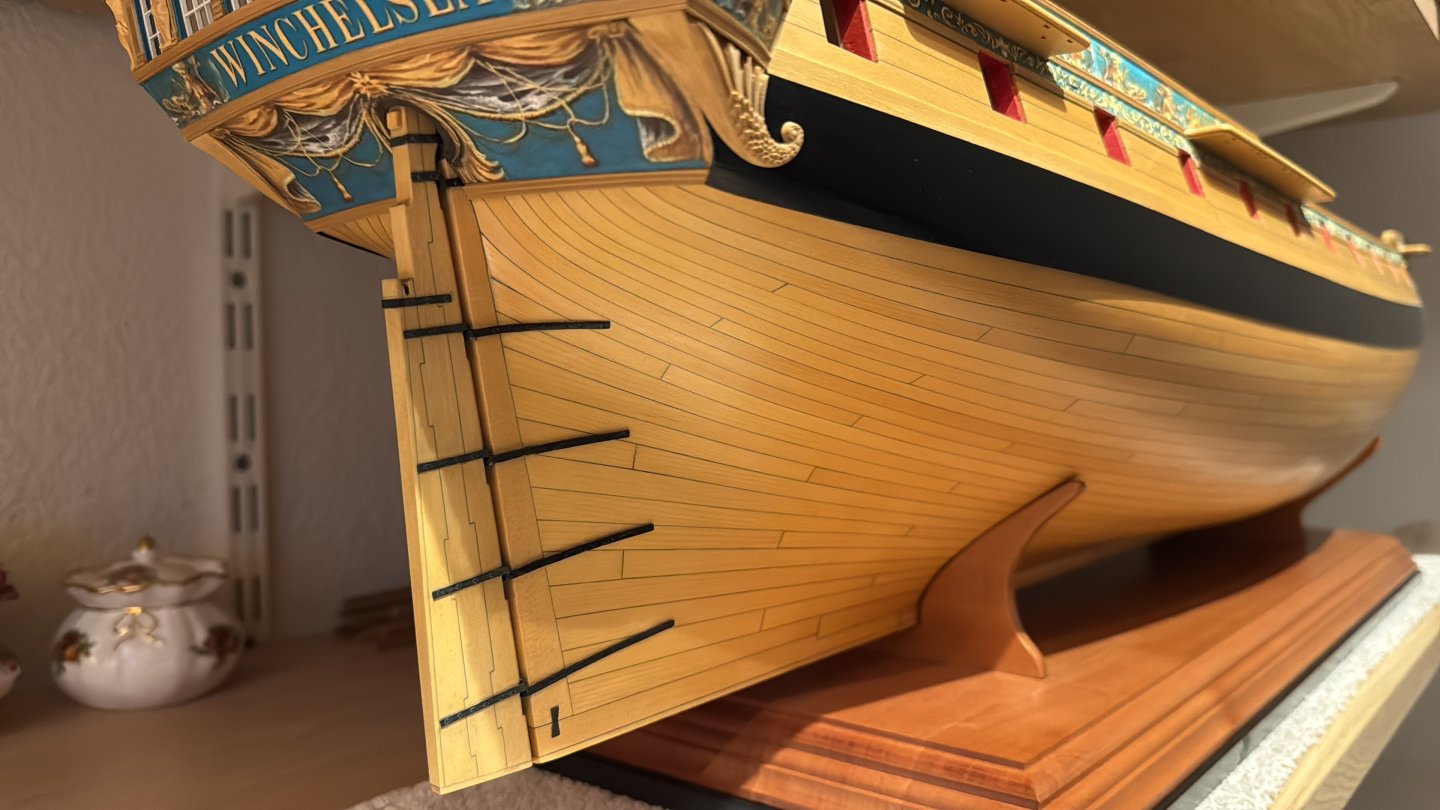
Thanks Ronald, Steve and the likes, Just finished fitting the first four port lids. It’s 20:00u in Holland, so I call it a day now. Frank.

-
Thank you Steve, Yes I’m afraid I have that detail, fit & finish syndrome which slows me down a lot, but only then gives me full satisfaction. Lots of techniques and detail also is new to me, so I’m also very careful not to ruin Chuck’s lovely parts. Today, Sunday, I have some time to make some progress in chapter 5 again. I’m now at making the port lids fit… Frank.


-
Very impressive and beautiful work.... Frank.