Jase
-
Posts
43 -
Joined
-
Last visited
Content Type
Profiles
Forums
Gallery
Events
Everything posted by Jase
-
 Thanks for the shoutout for my channel (Modelkit Stuff). I have a good number of first time builders following the build.
- 19 replies
-
- 1
-

-
- First build
- Cutter
- (and 2 more)
-
Still noone make 1/200 Scharnhorst aftermarket sets?
Jase replied to Zacharias's topic in Plastic model kits
I reviewed the kit on YouTube when it first came out, it has the wrong hull and the capstans are incorrectly orientated so it needs a lot of surgery, It could be that that is putting them off?? see part 2 for full explanation. -
Hi Just wondering if you know what material this is? I am about to start my build of this but want to put margin planks in. The instructions refer to the material as a reference number 3258L but there is no cross referance so have no clue what material it is.
-
like everybody epic is what you want it to be. straight kit build, in my view the Caldercraft Victory is the mother of all ship kits
-
Just catching up on your build, truly fab. about to start my Warrior so may well refer to you for some tips Jason
-
doing a fab job as always, looks great Jase
-
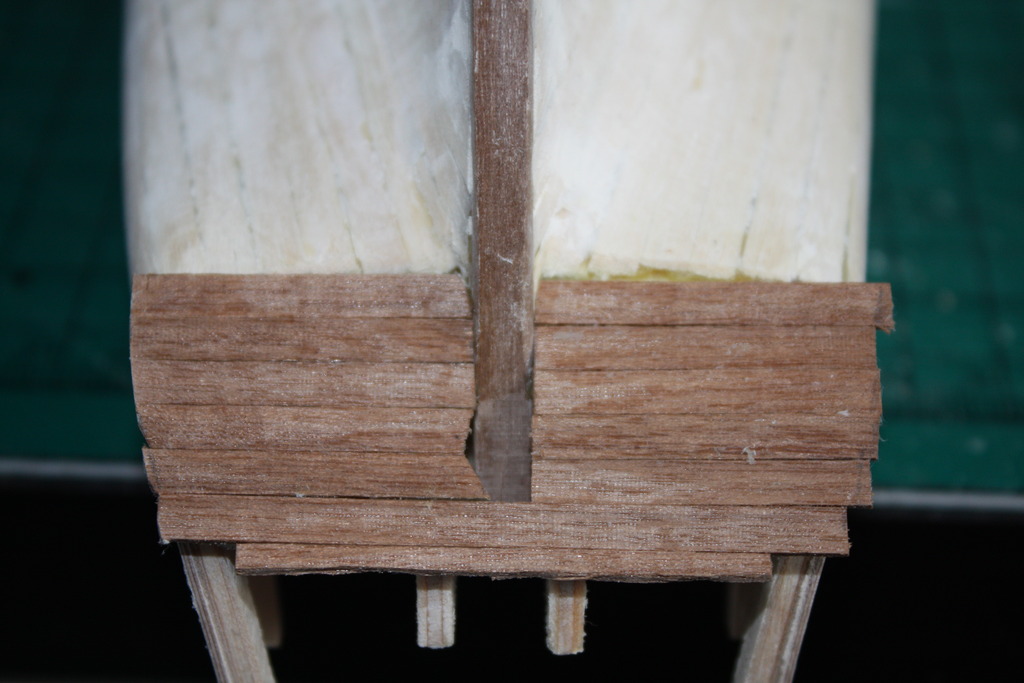
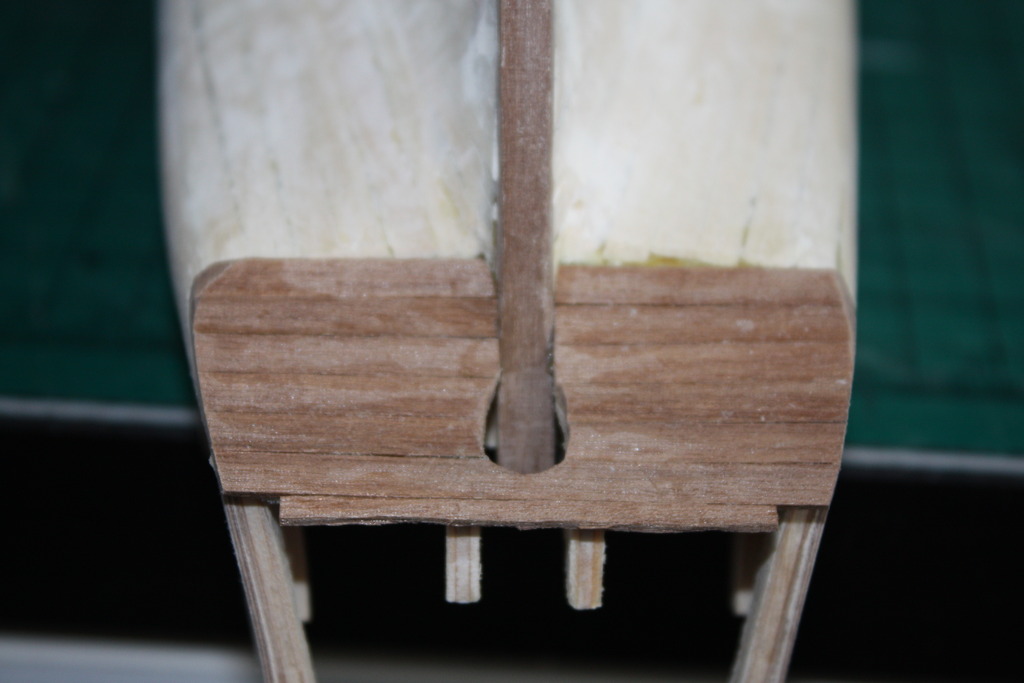
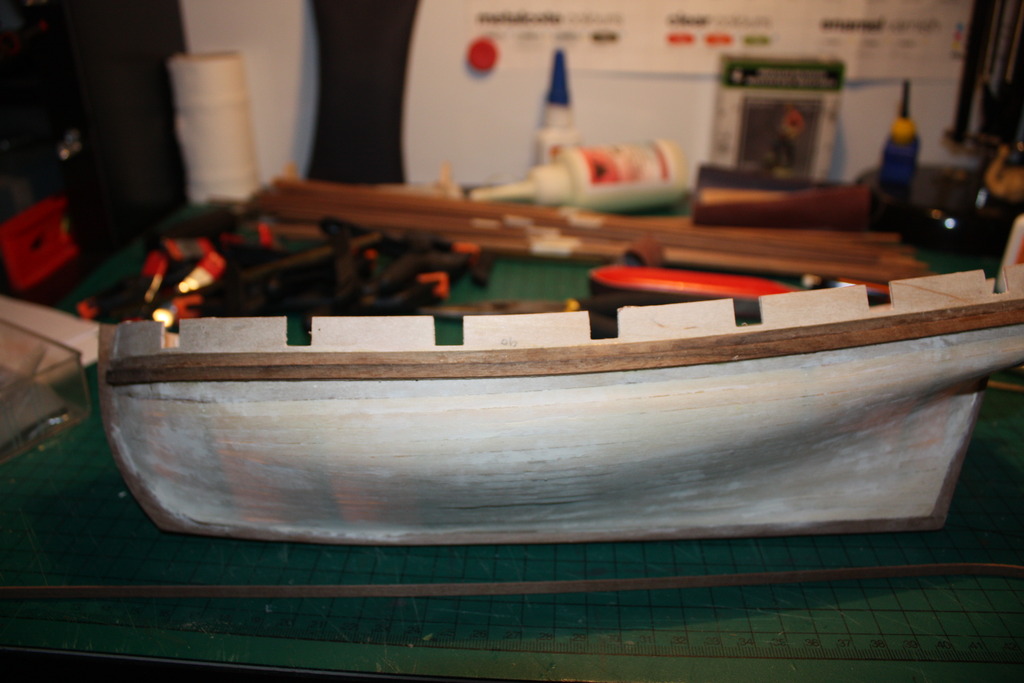
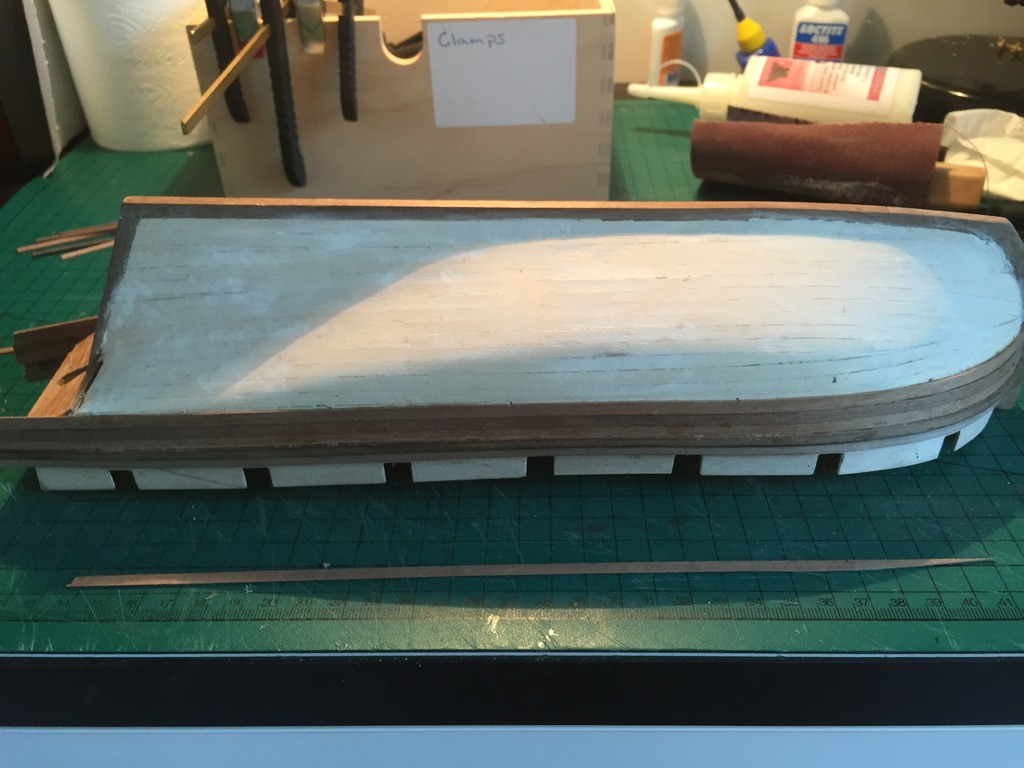
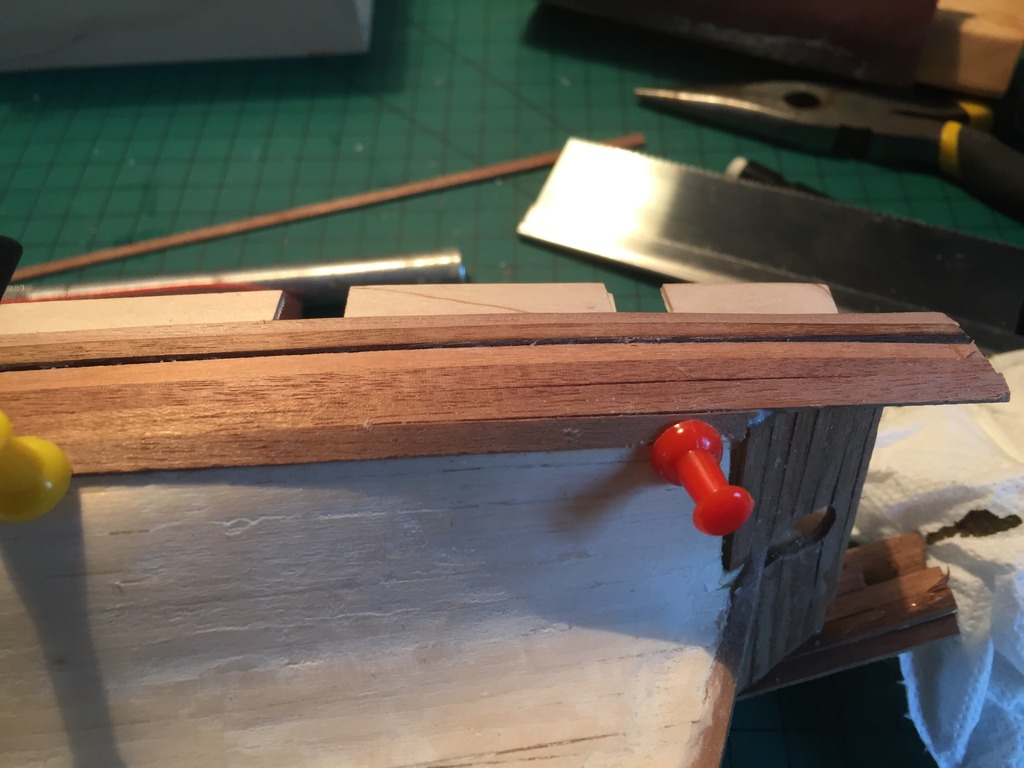
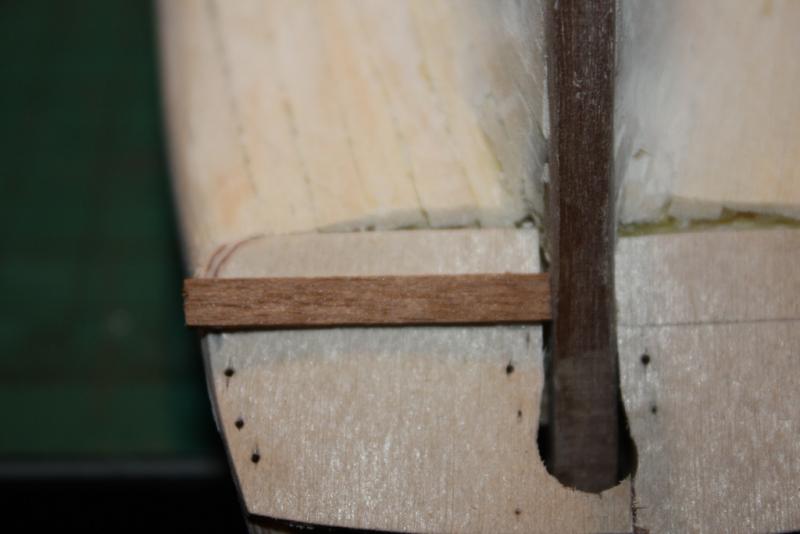
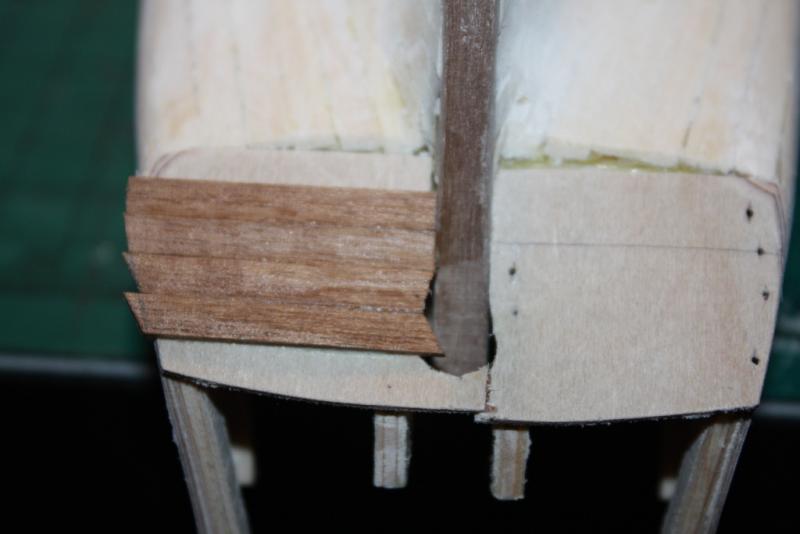
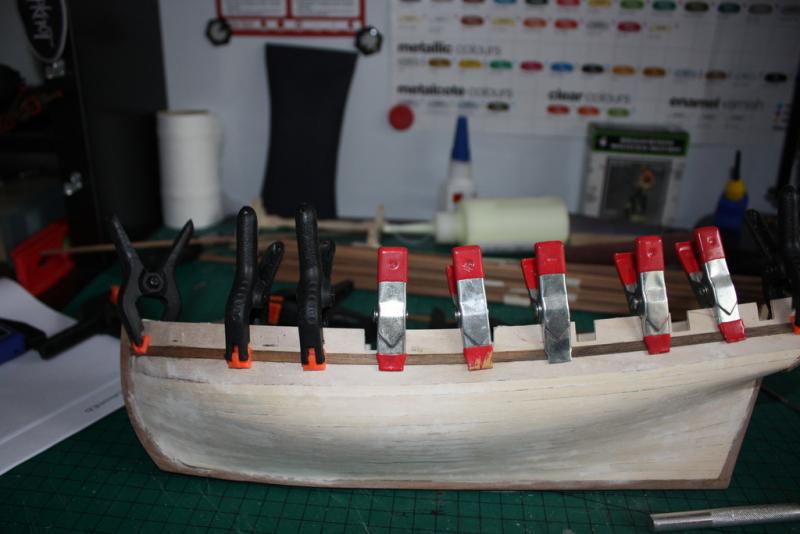
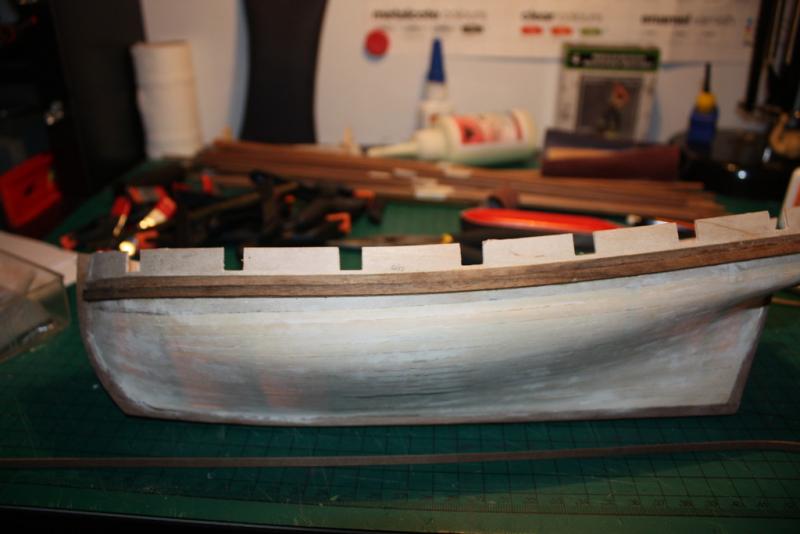
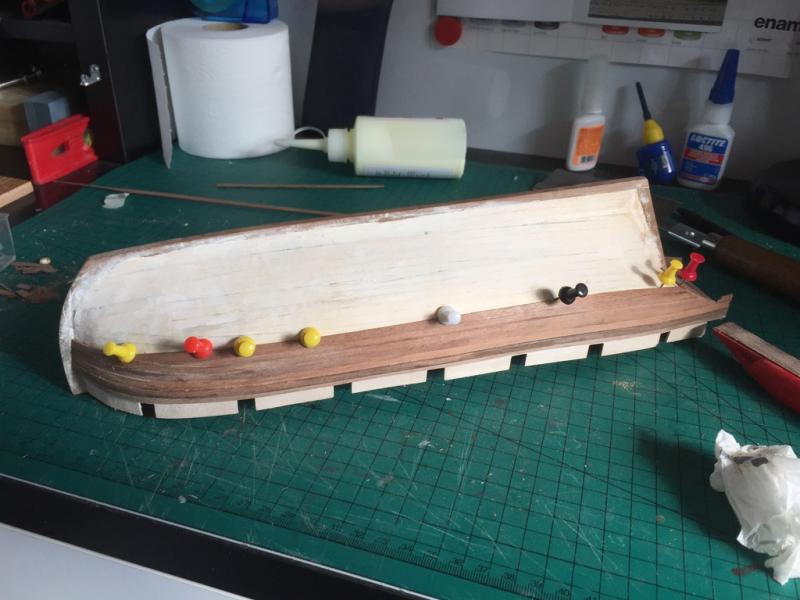
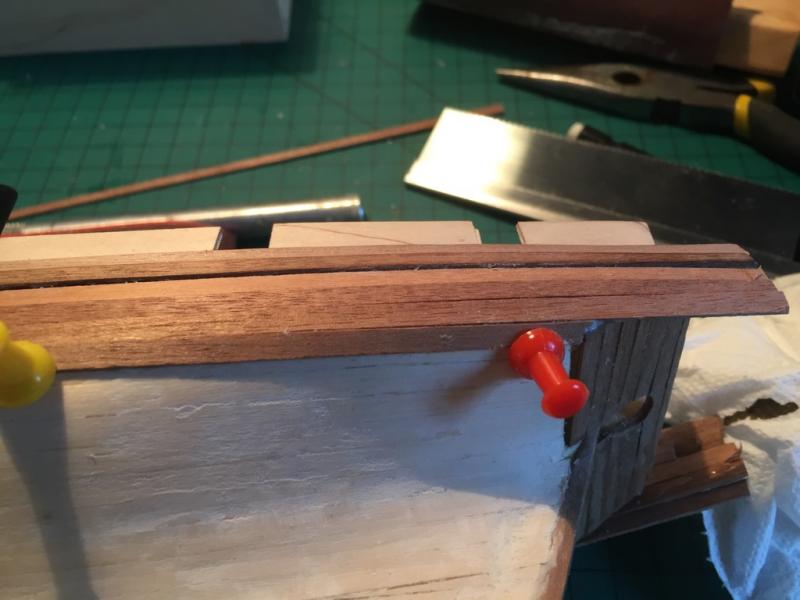
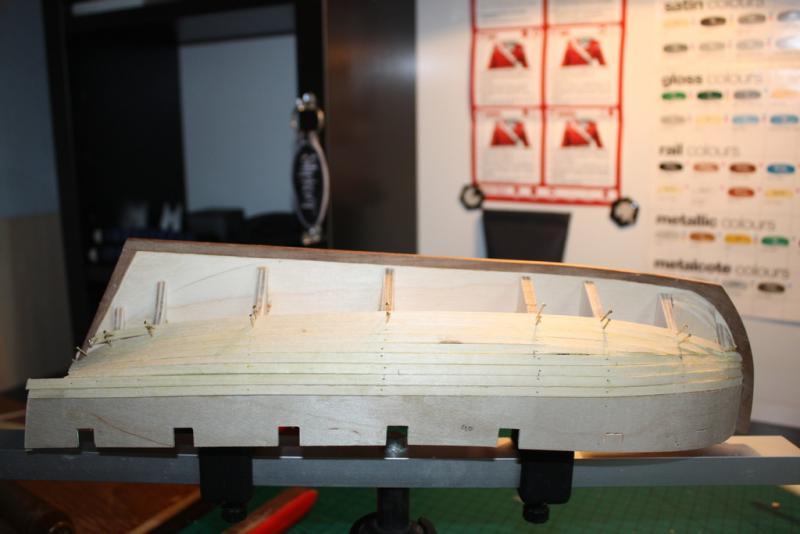
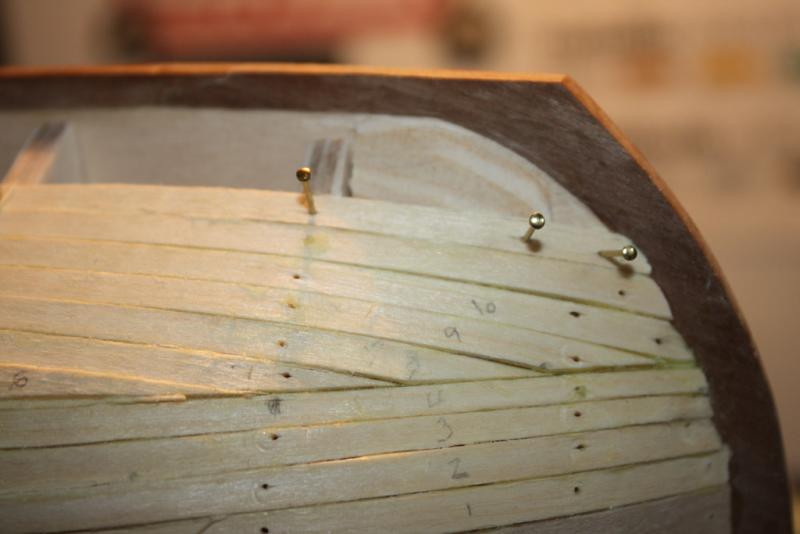
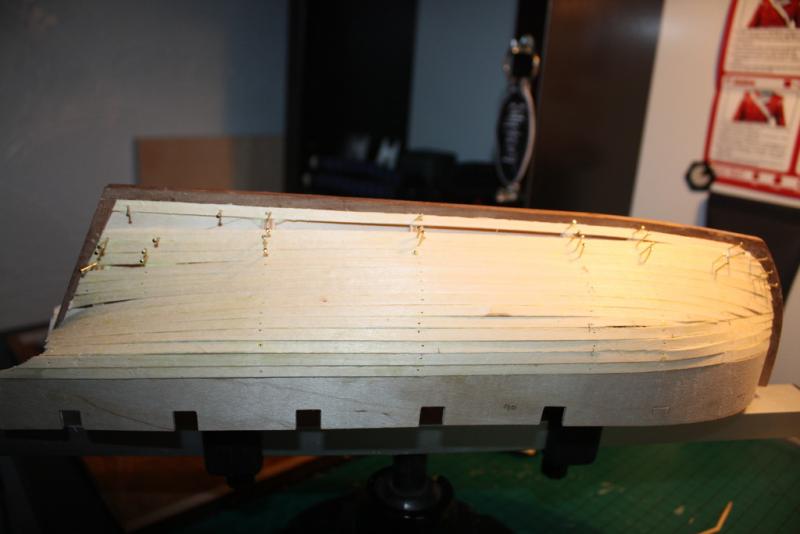
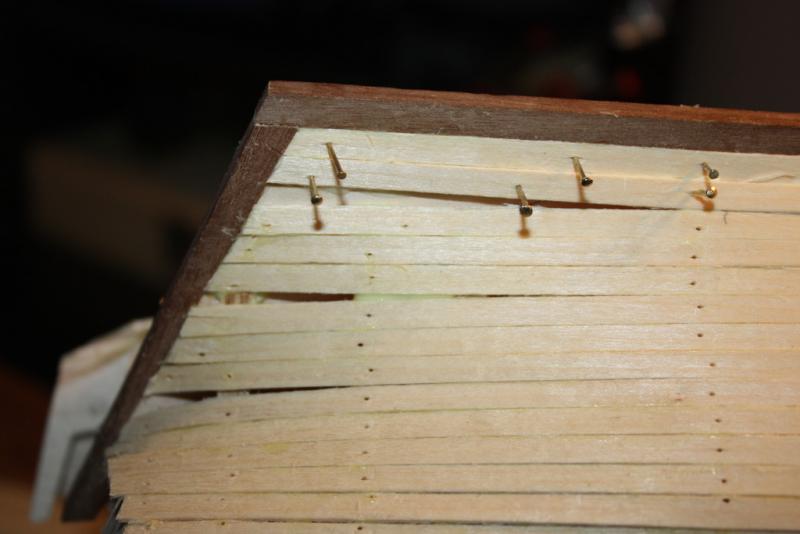
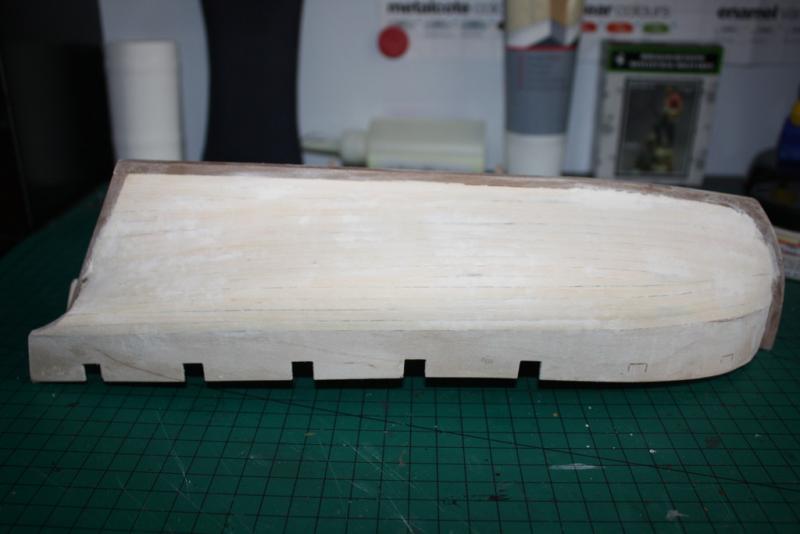
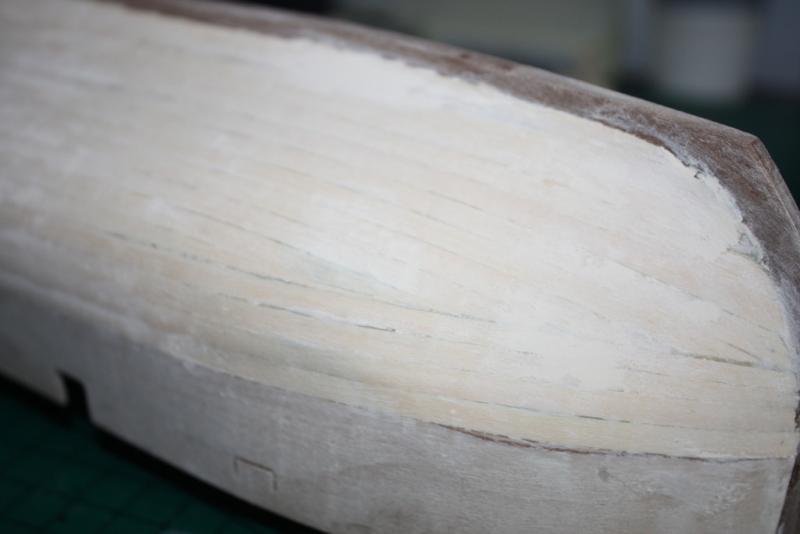
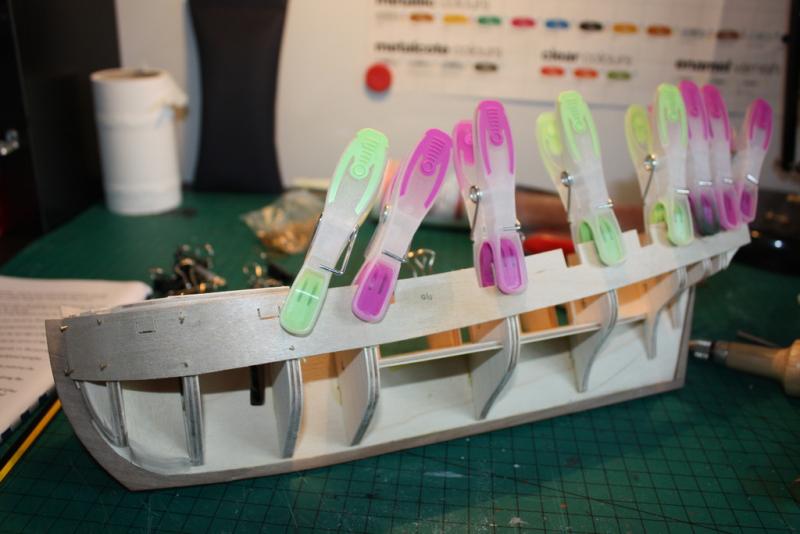
Second planking begins on the stern counter using the 1 x 4mm walnut strip. The instructions recommend using medium super glue for the second layer of planking. However this cures very quickly, almost instantly if the plank is wet. So I continued to use the wood glue as this gives time to position planks and remove them if necessary. Once the planking on the stern set you I sand the outboard edges back into line. I will be both painting and copper plating my model, however I will be planking without the use of pins to. The planking of the hull starts with placing the wale. I marked out the position in pencil using the plans. The first plank laid is 2mm between the first and last gunport but will be 1.5mm passing the middle gunports. The second layer of planking continues down the hull from the bottom the whales. The first two or three planks did not need any tapering. The kit instructions ask you to continue to plank as per the first layer down to the keel. My preferred method however is put a keel plank in early on.


-
simply stunning. I have just read the full topic and both the subject and the build are fantastic wish I had these skills, total joy to watch the build Jase
- 2,625 replies
-
- 4
-
-
- kaiser wilhelm der grosse
- passenger steamer
- (and 1 more)
-
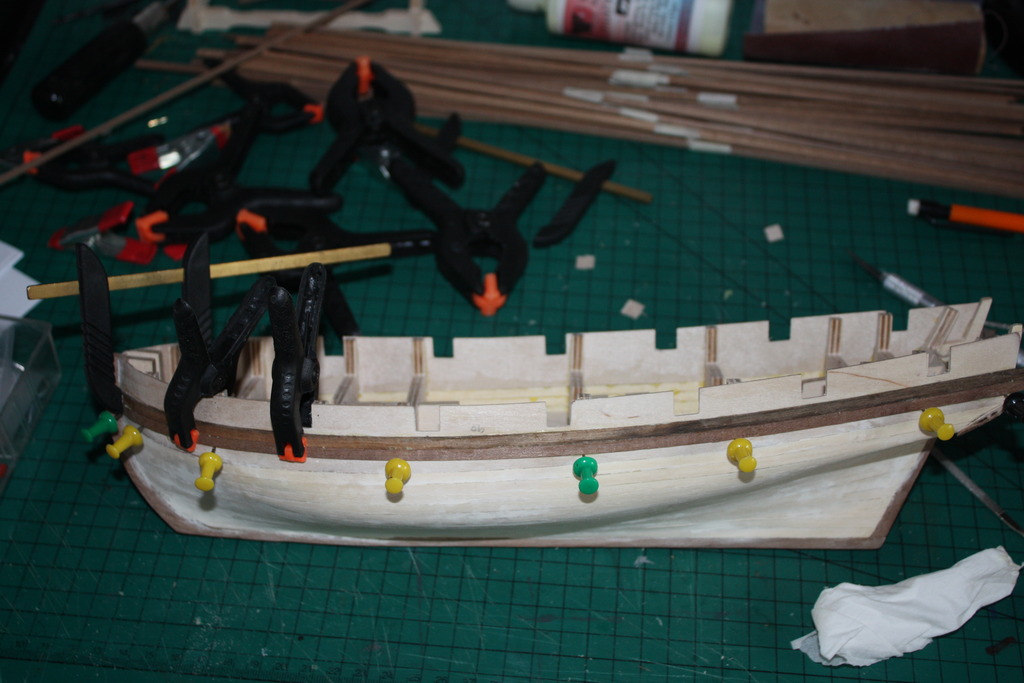
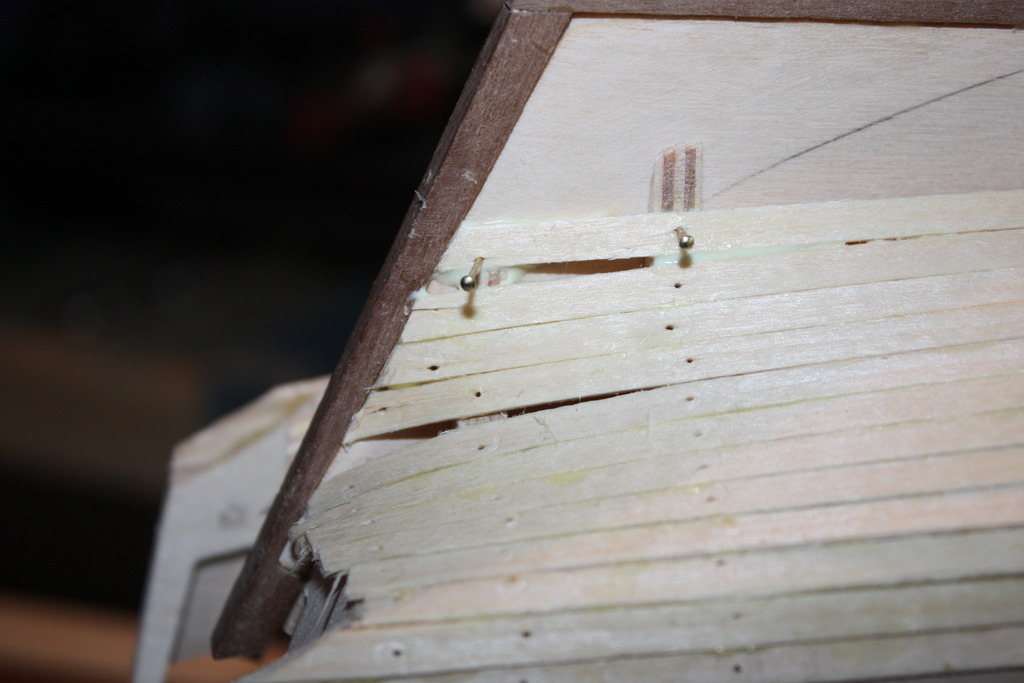
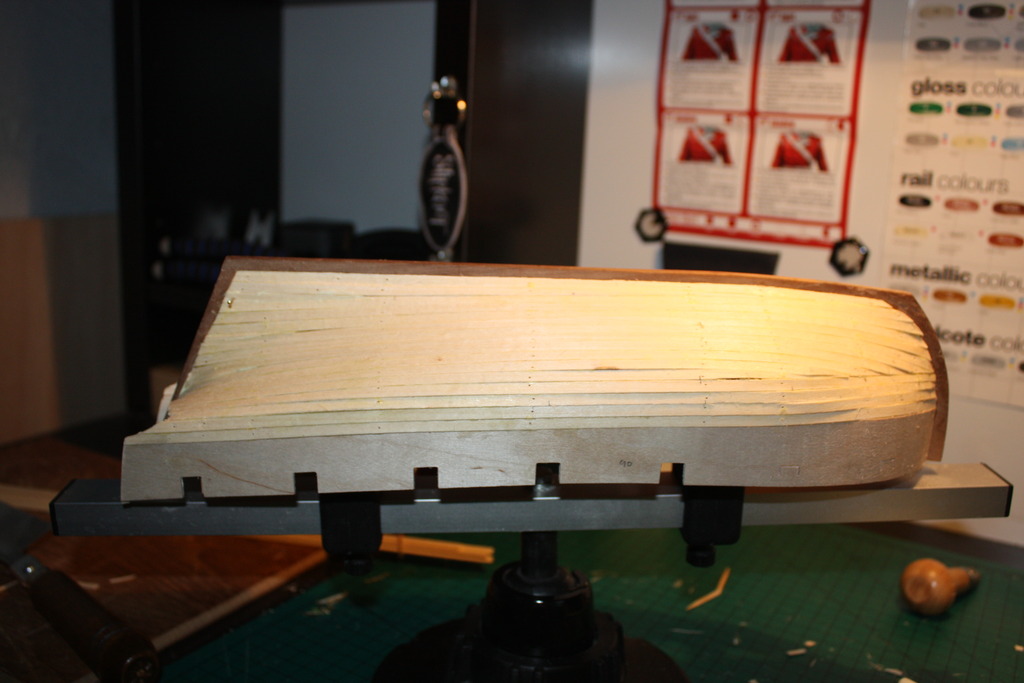
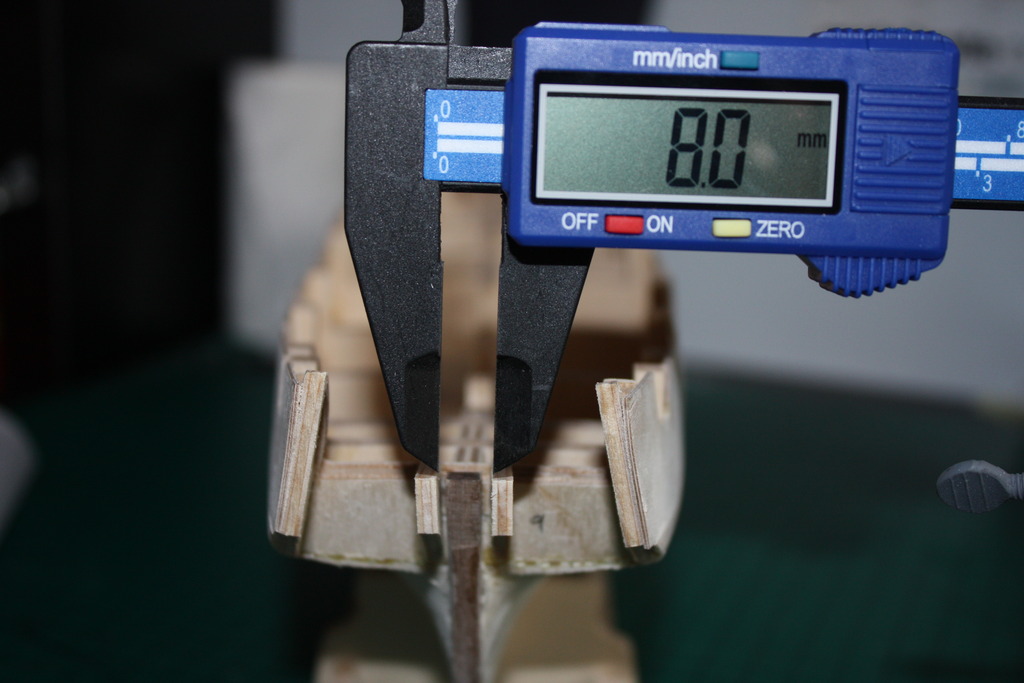
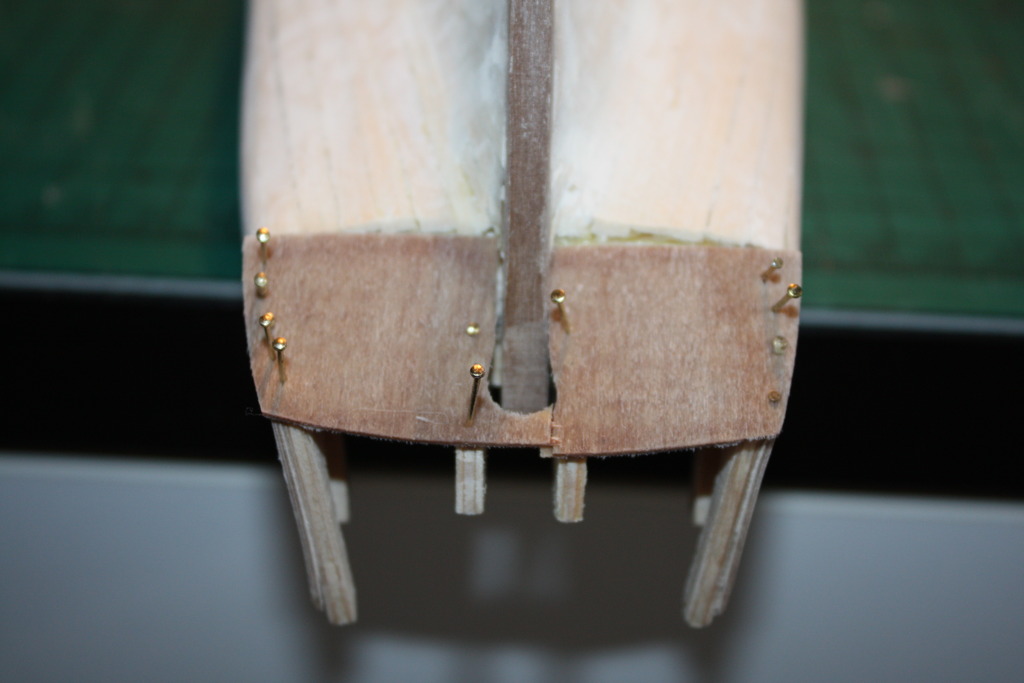
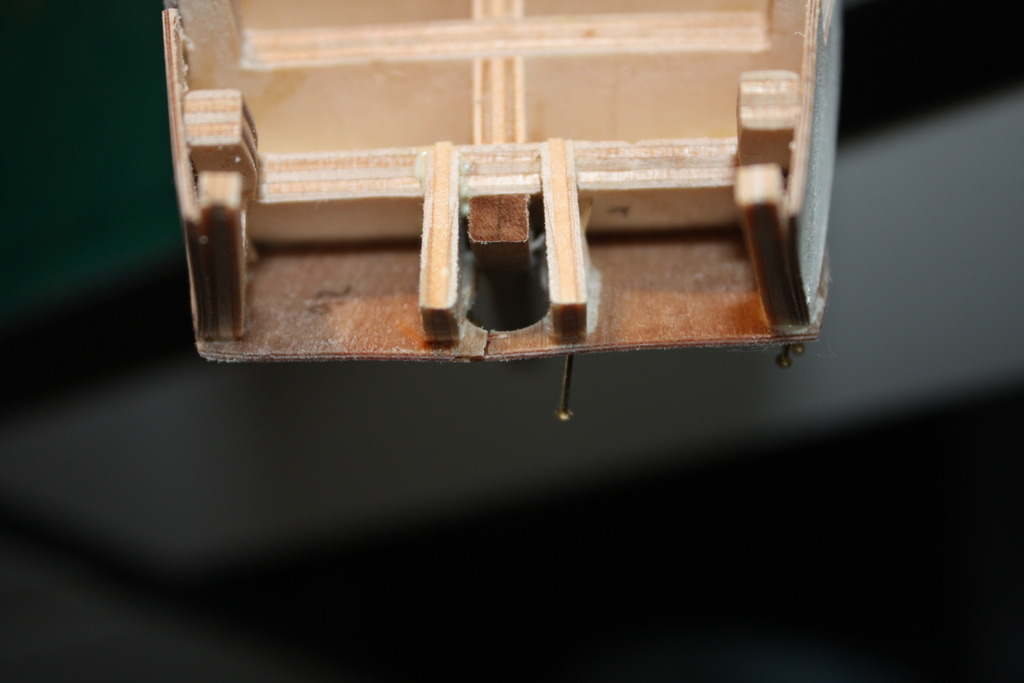
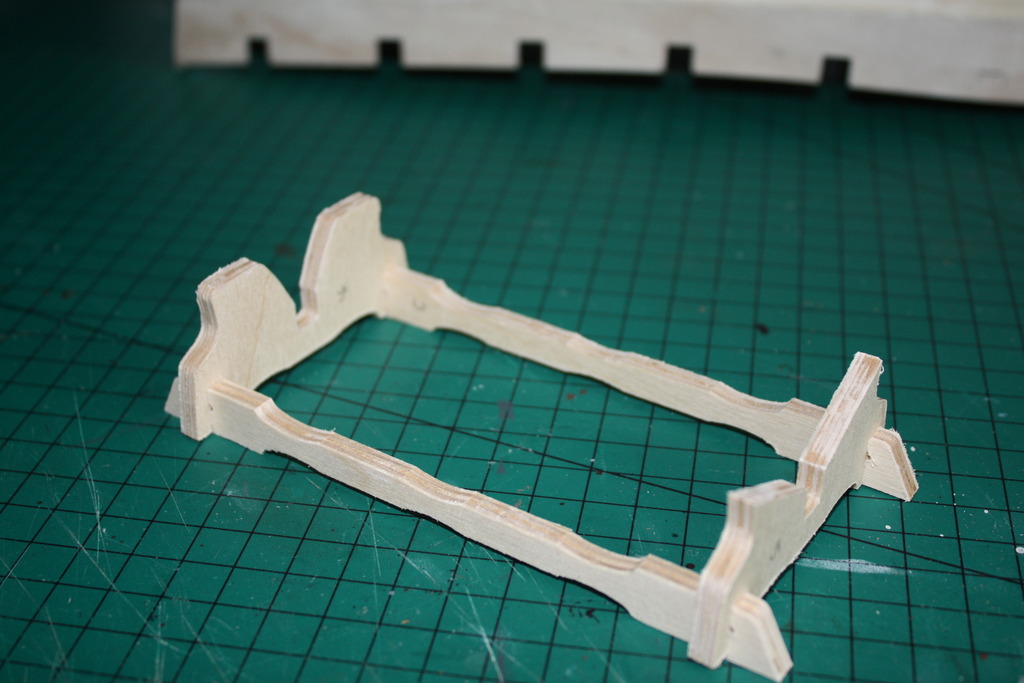
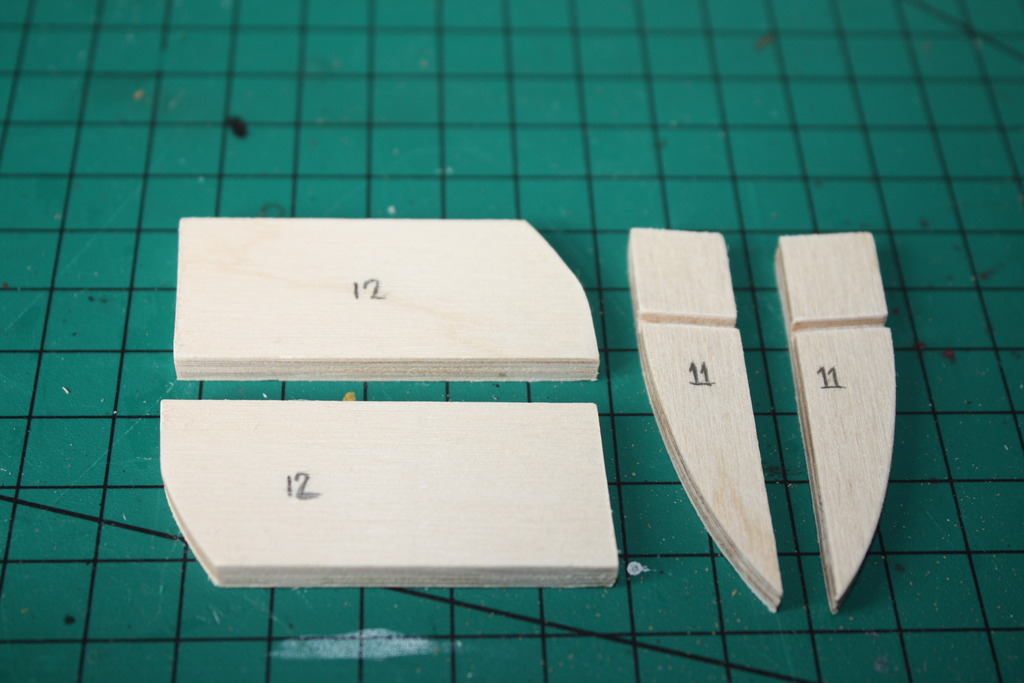
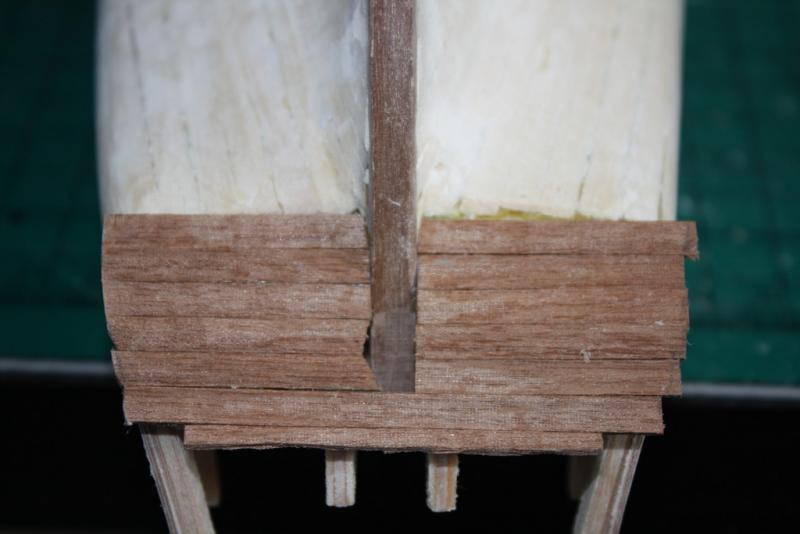
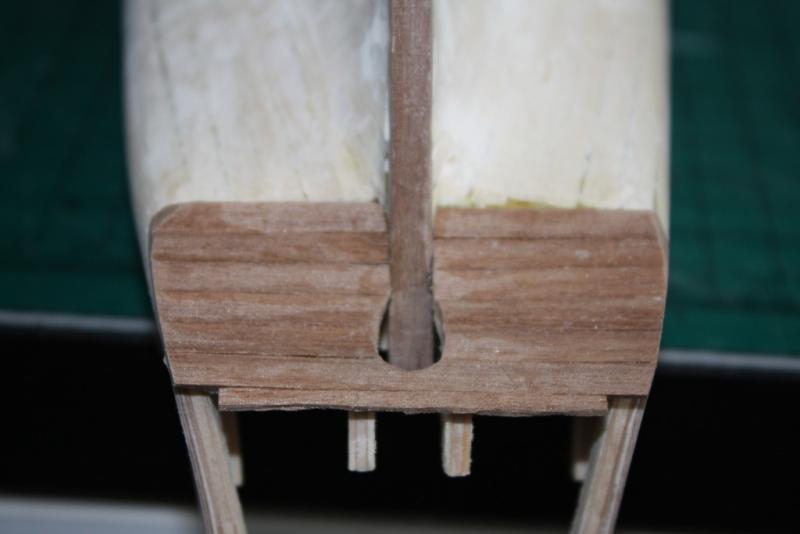
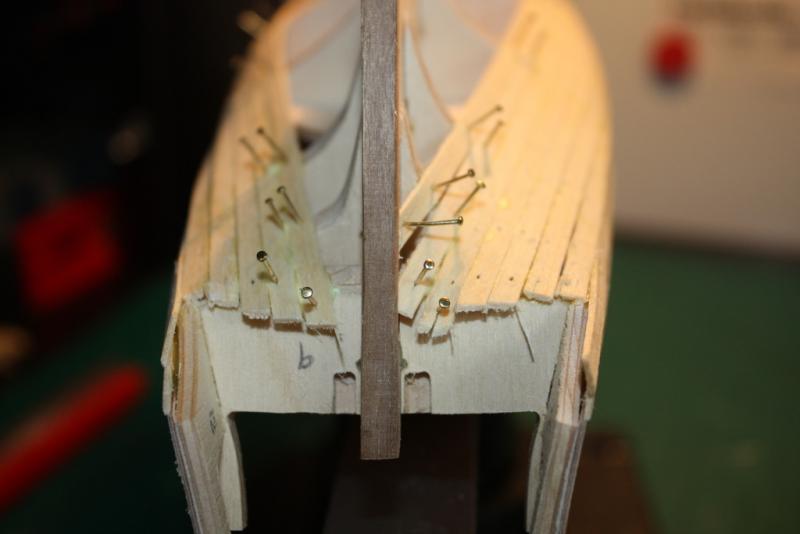
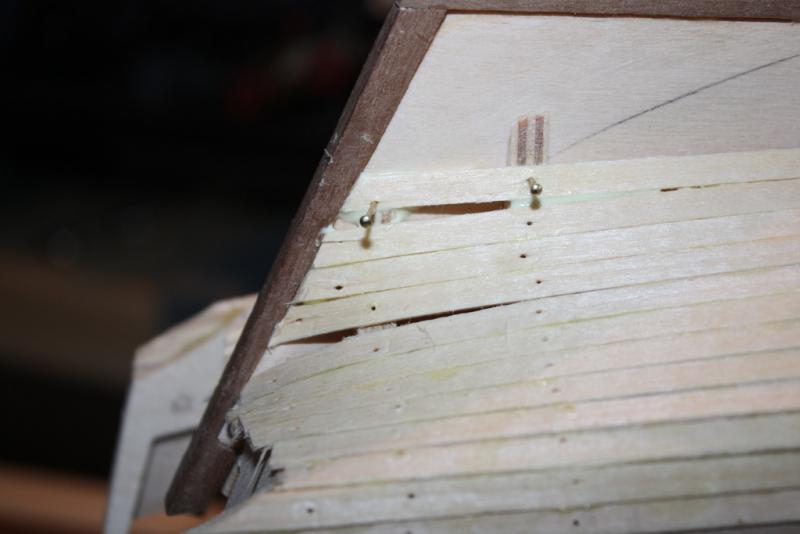
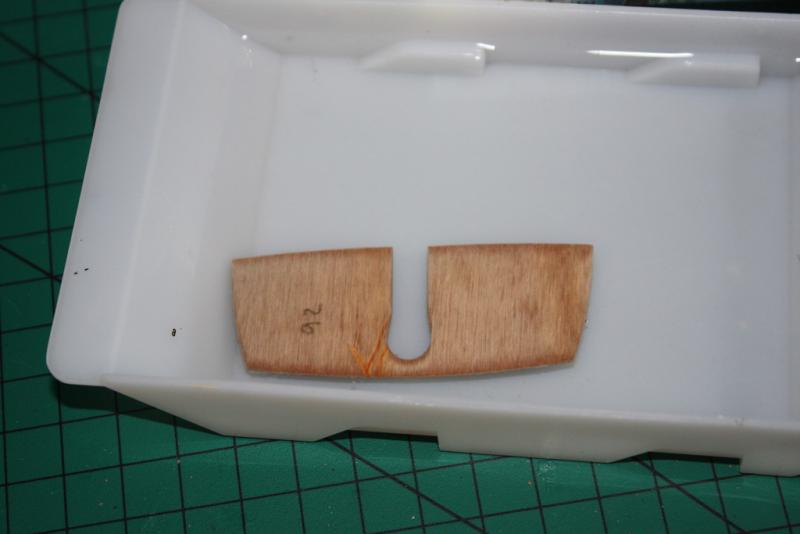
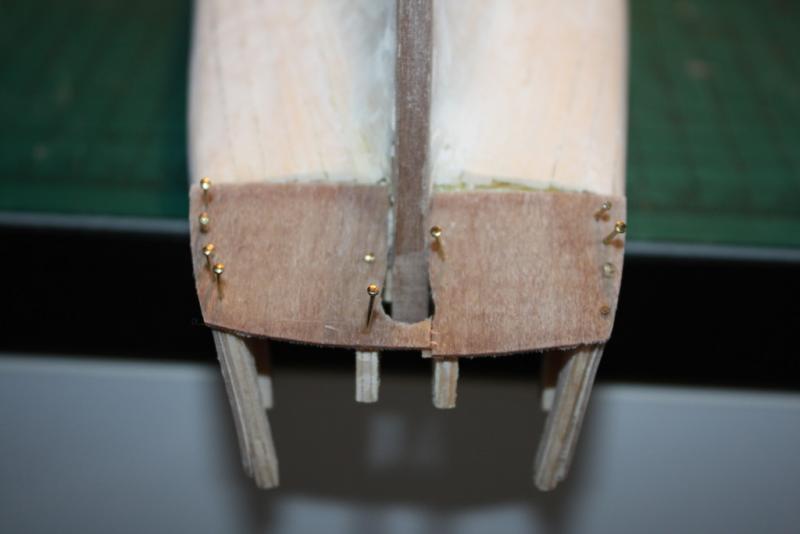
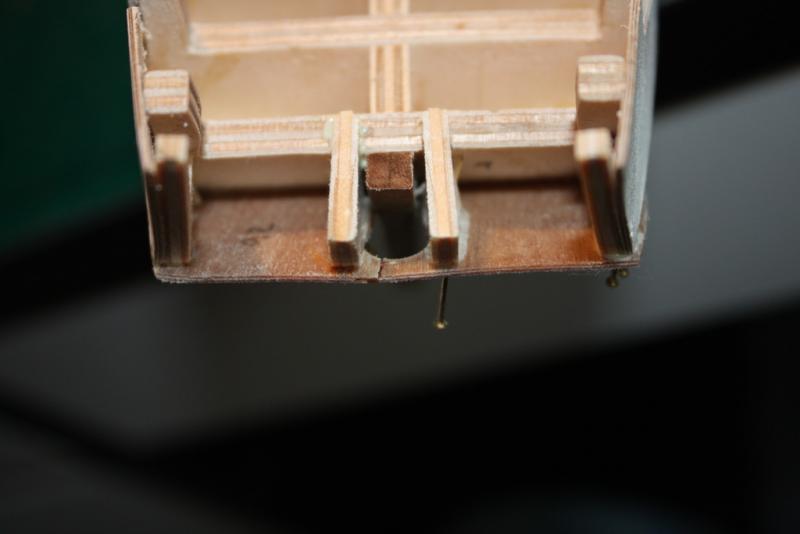
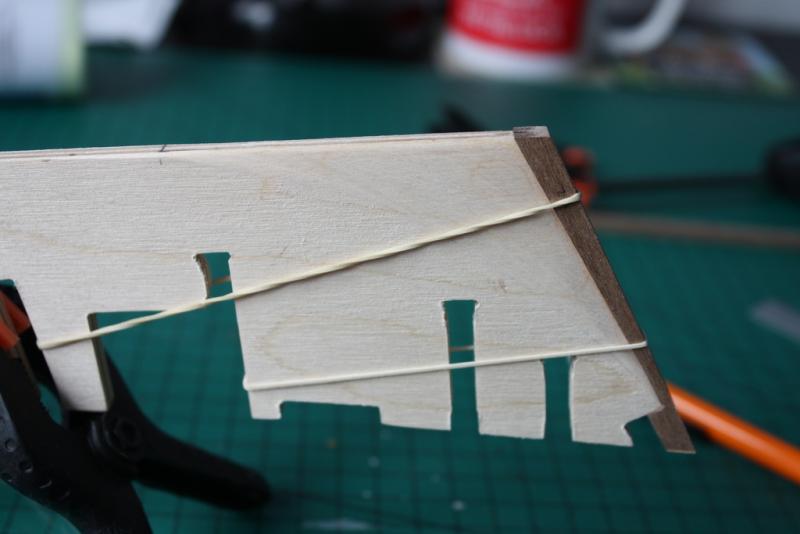
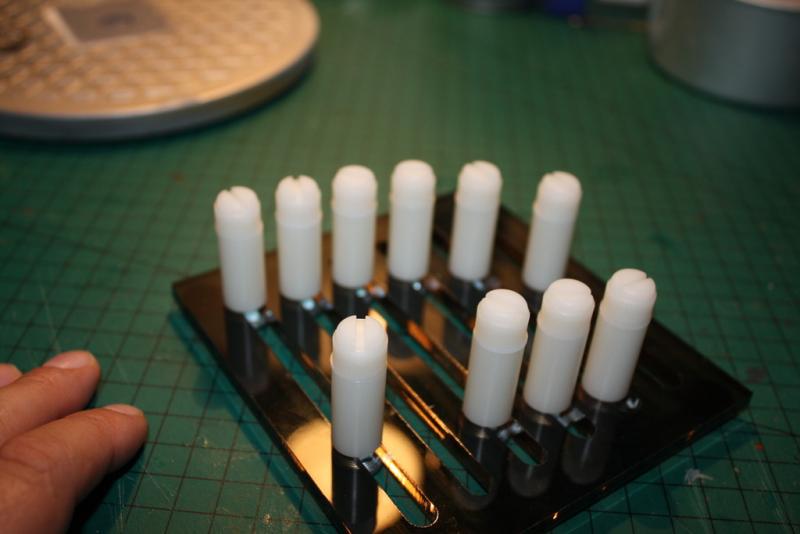
thanks everybody for looking in and your comments. as for the stern post, yes I realised my error as soon as I began to fair the hull, every day is a school day! so I ended up using a chisel to remove material after planking to get the with down. no matter on this occasion as the hull was being filled and sanded for copper plating. Planking the hull Having faired the hull and added the gunport pattern I cracked on with the first layer of planking. The instructions, despite being comprehensive, still leaves a lot to the imagination. I did do a short video on planking, but its only really of interest to beginners. https://youtu.be/FQQNlNPw1J8 I found that plank 4 was the last plank I could lay from stem to stern. once the planks start to naturally overlap at the bow I cut them to shape as described in the video for tapering. Although I got my first gap at the point the instructions suggested I would, my other gaps ran slightly differently. With three planks left to lay I jumped to the last plank that butts up to the false keel. it is easer to fill the remaining gap with cut to shape planks than to try and trim a whole plank lengthwise, which would happen if you did the false keel plank last. Finally used my off cuts to form wedges to fill the gaps. I found the part of the plank removed when tapering at the bow just fits your needs at the stern. With the first layer of planking done I filled and sanded about three times in total to get the hull ready for the next layer. as noted above I removed some material at the stern with a chisel due to adding the stern post to early. Next I turned my attention to the stern. the 2 stern extension pieces need to be cut out and cleaned up as does the stern counter. I soaked the stern counter in warm water for 30 mins. while it soaks the two stern extensions were added. They need to be perfectly straight and exactly 8mm apart. Once the stern extensions are set I ran a bead of glue along all 4 extensions then place the part in position so that it overhangs by 2mm. Naiingl the part into place and allow the part to dry and the glue to set. take care this is a thin part and I actually managed to break it under the force of nailing. Finally at this point Have knocked together the supplied build cradle. all comments welcome


-
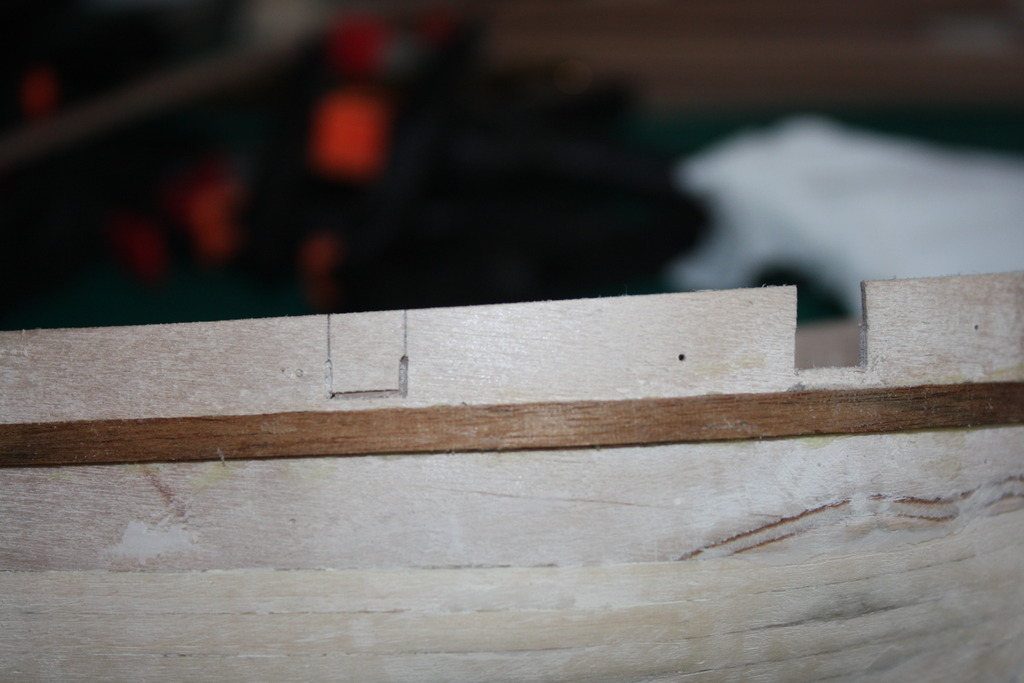
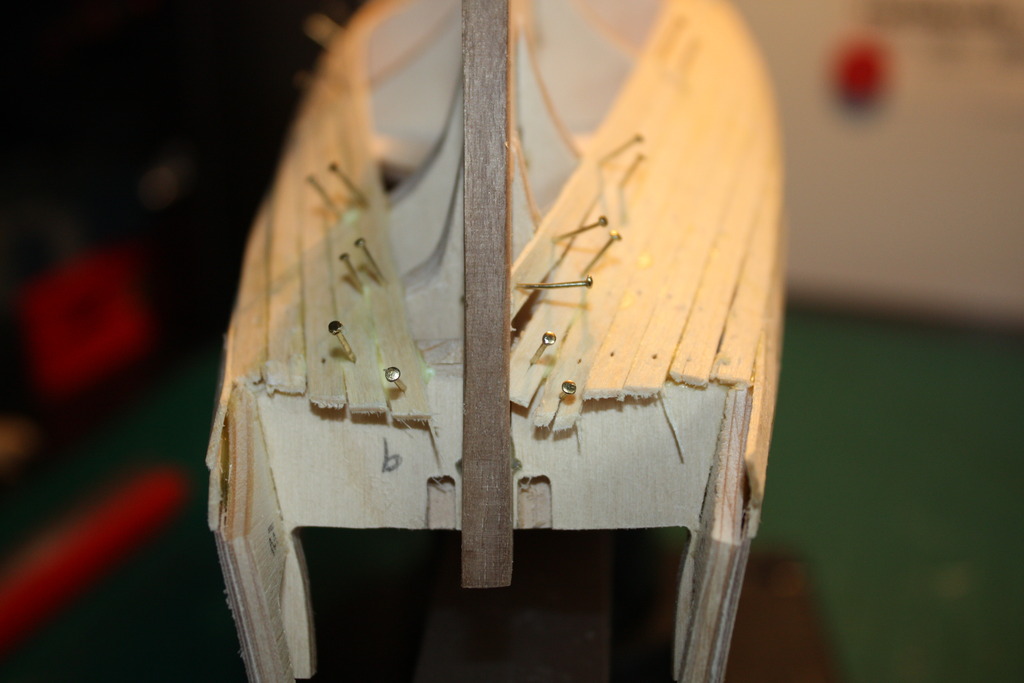
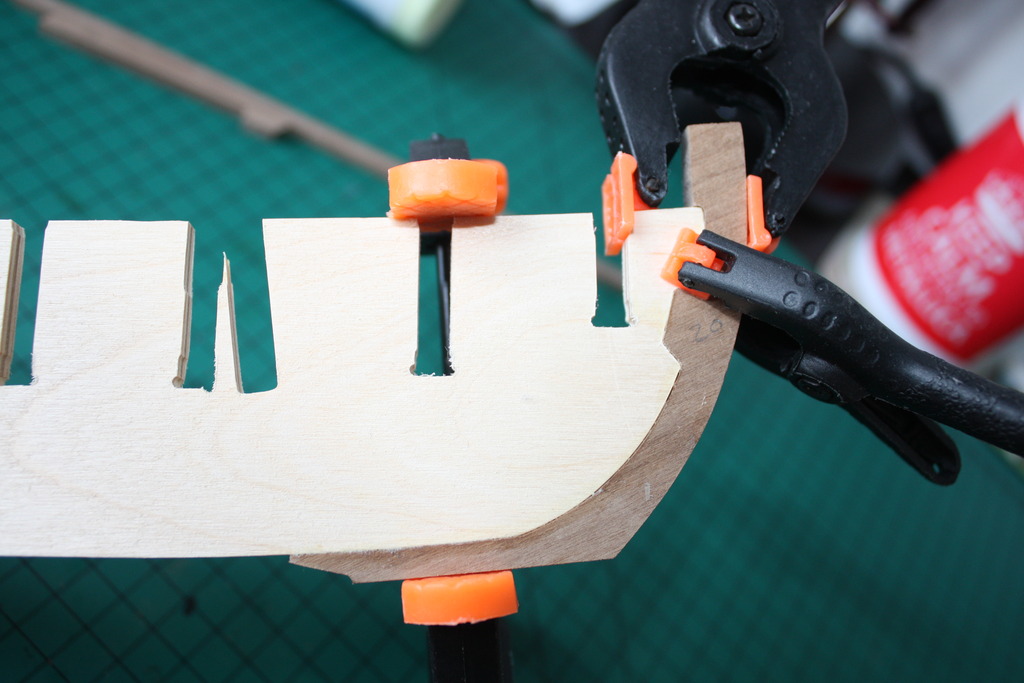
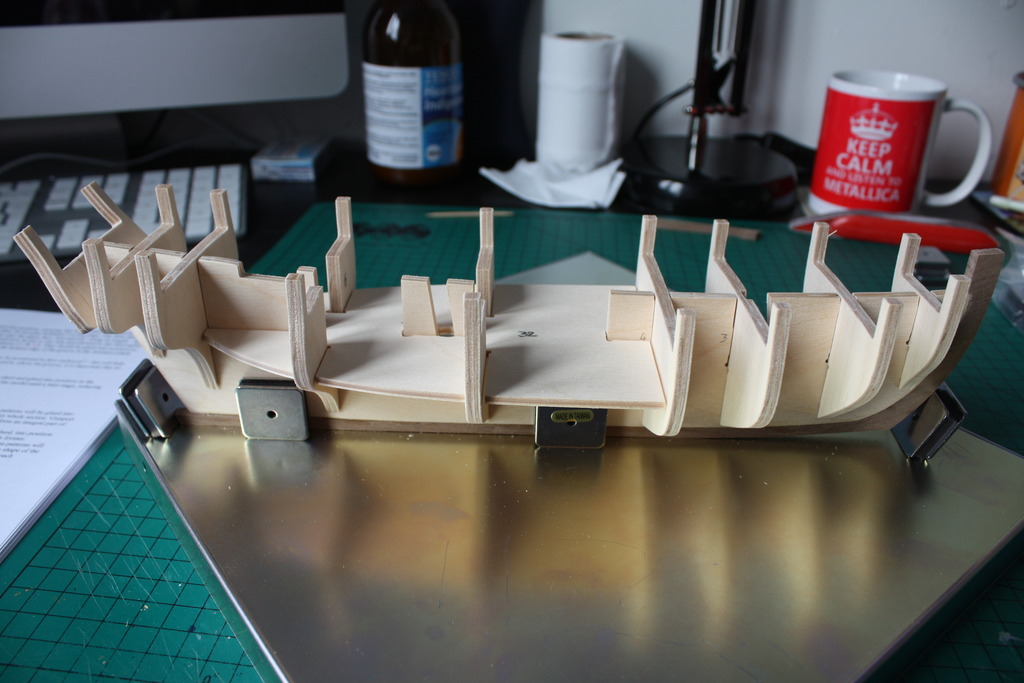
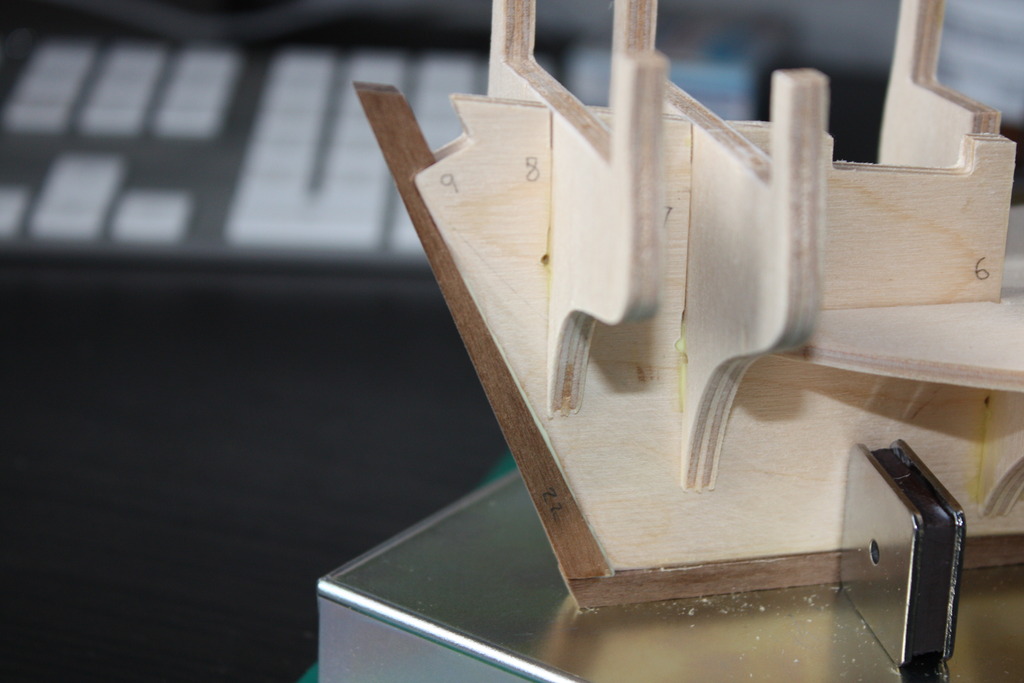
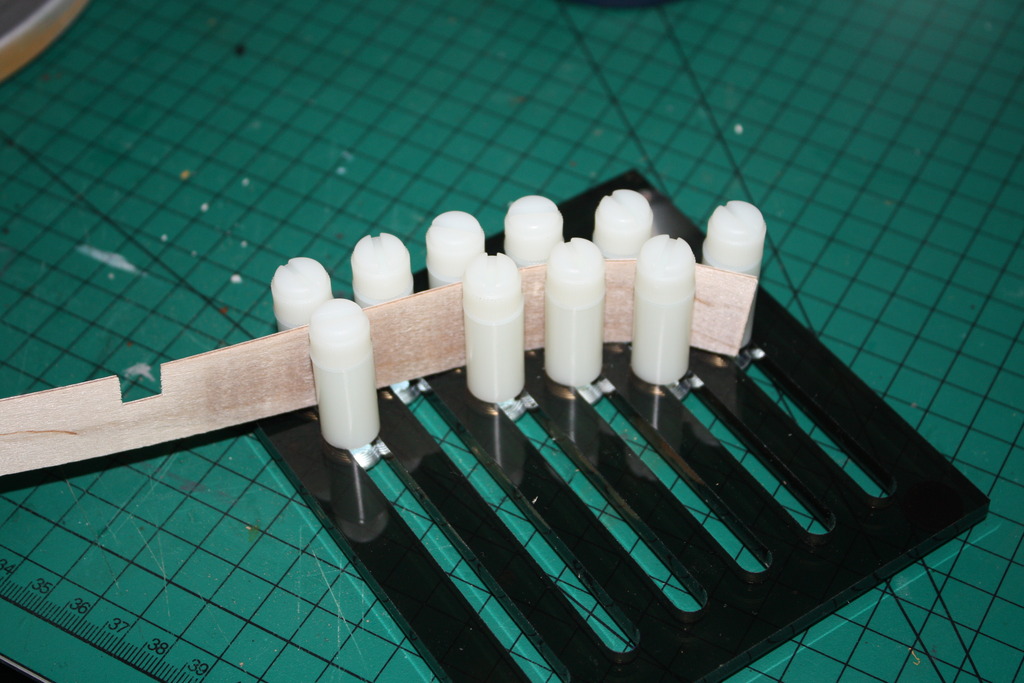
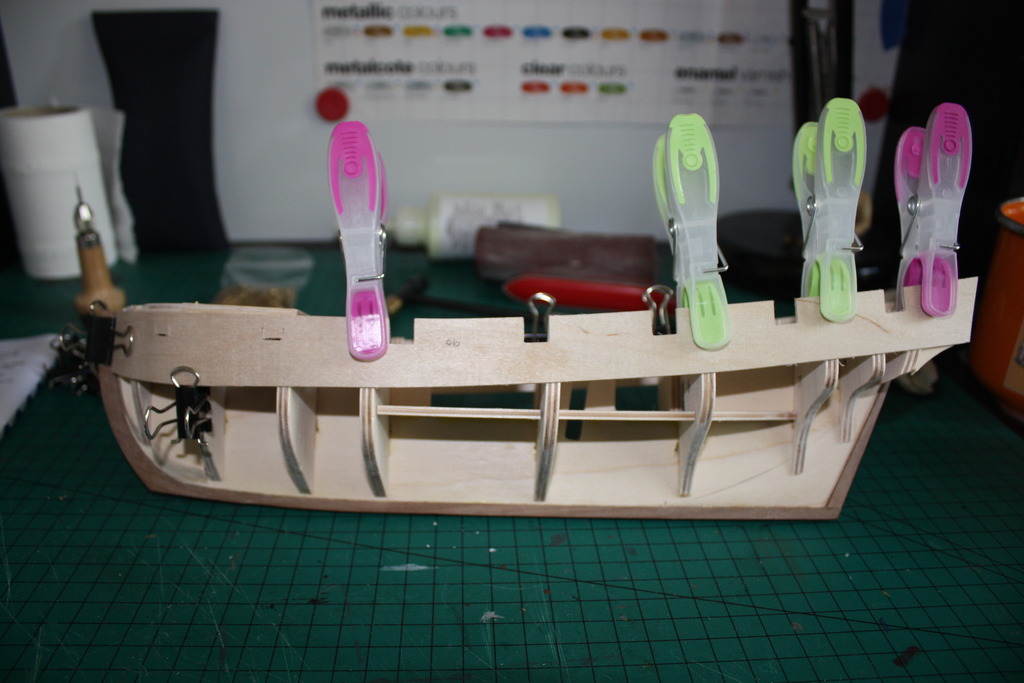
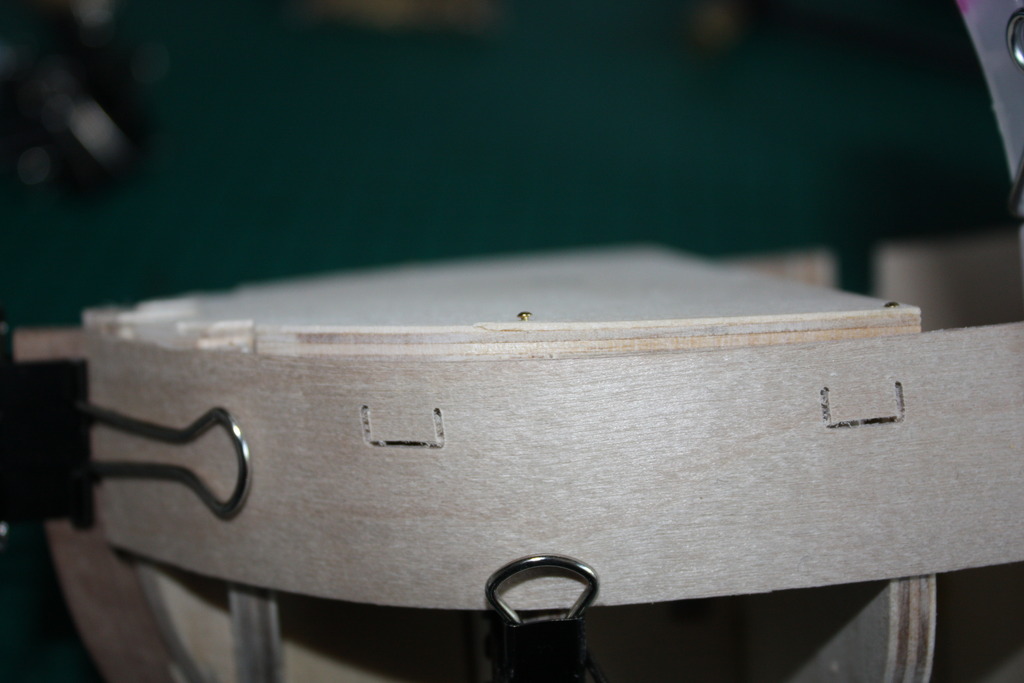
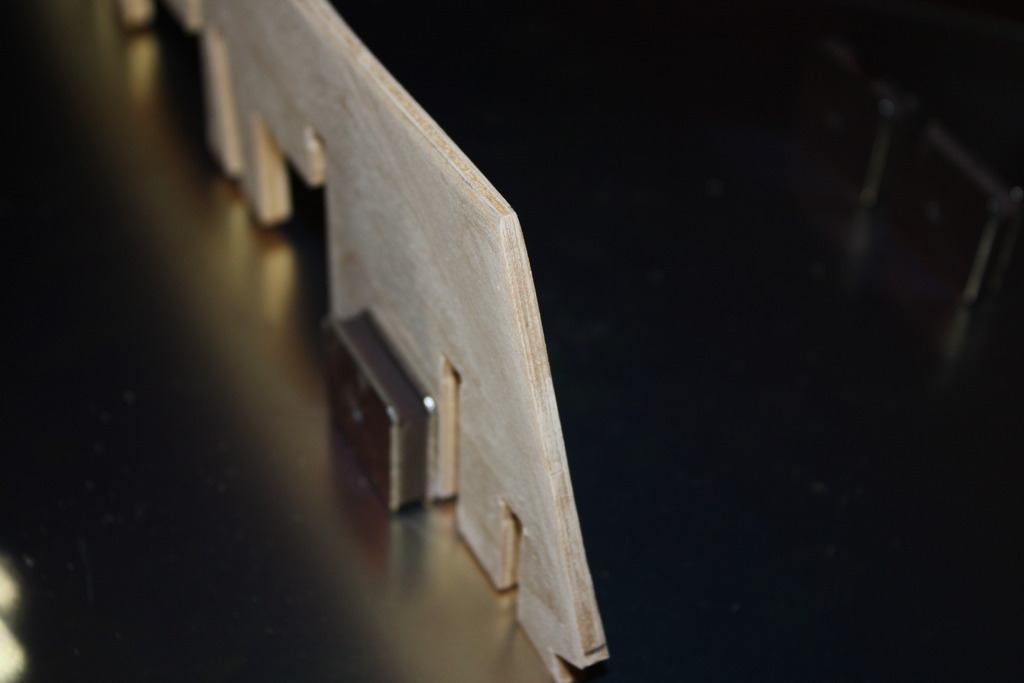
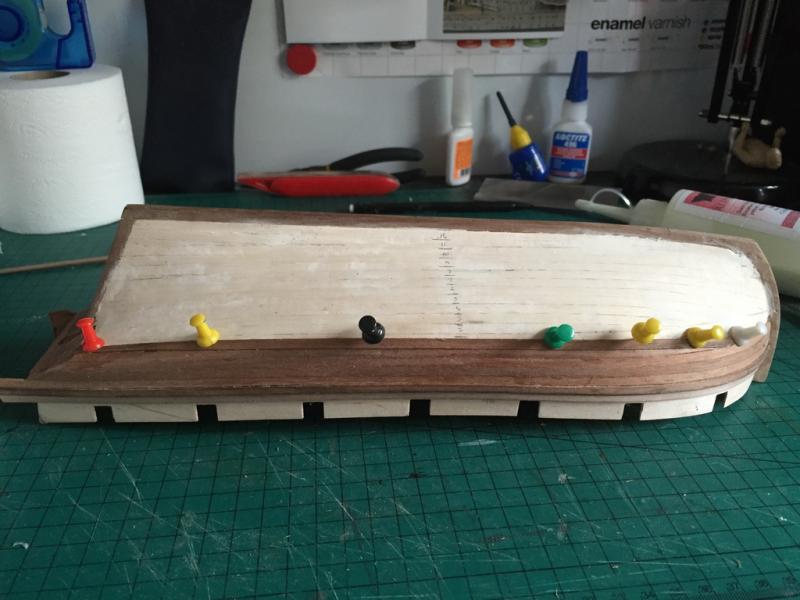
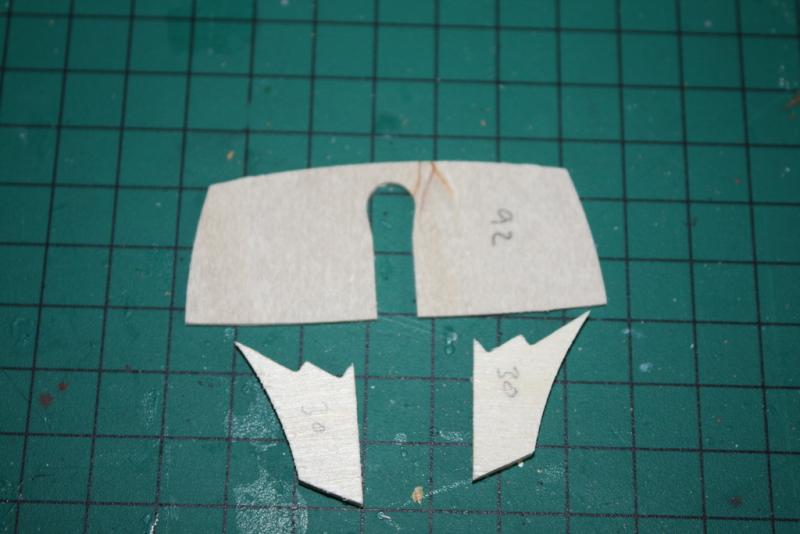
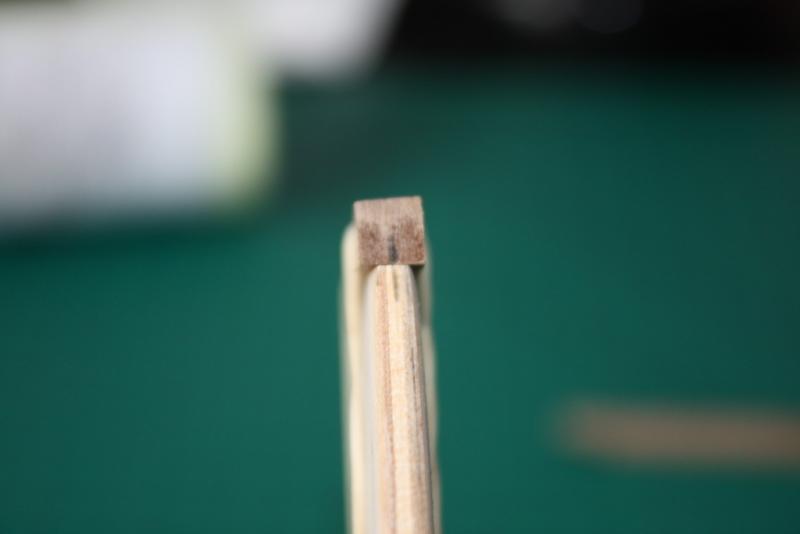
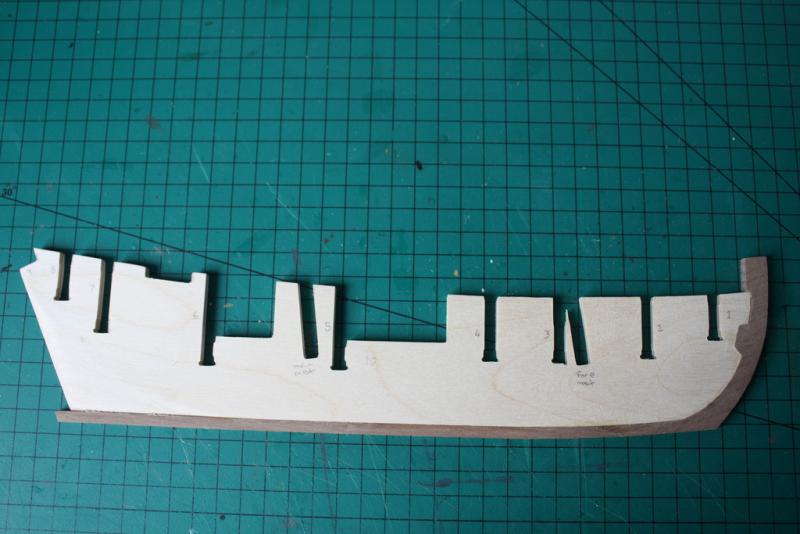
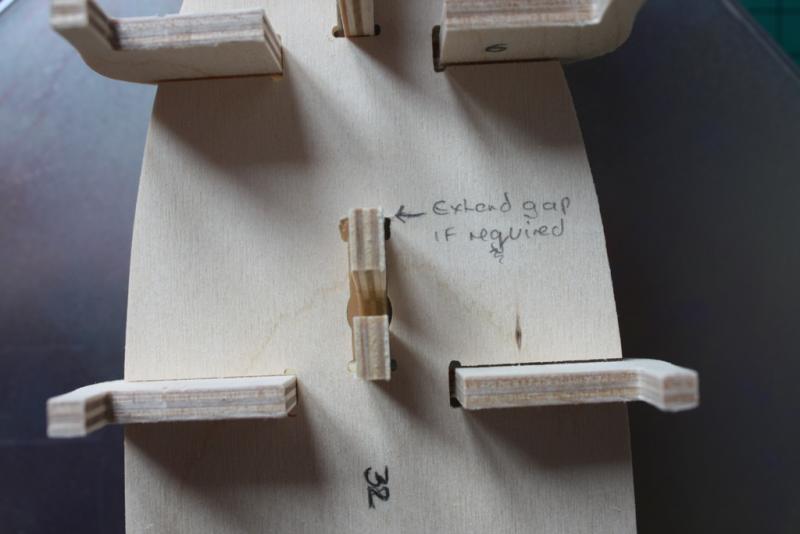
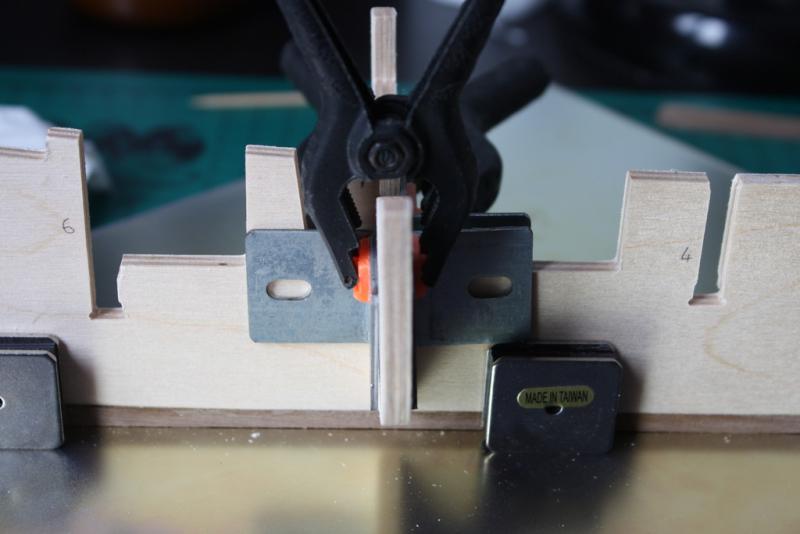
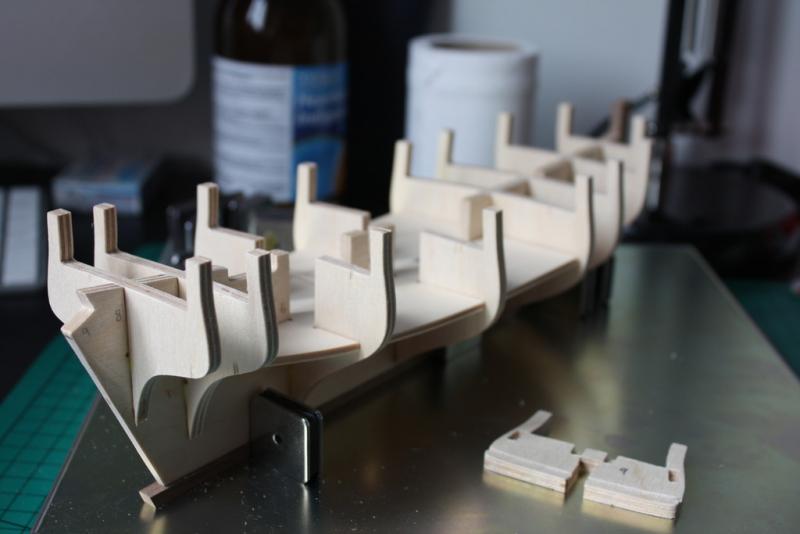
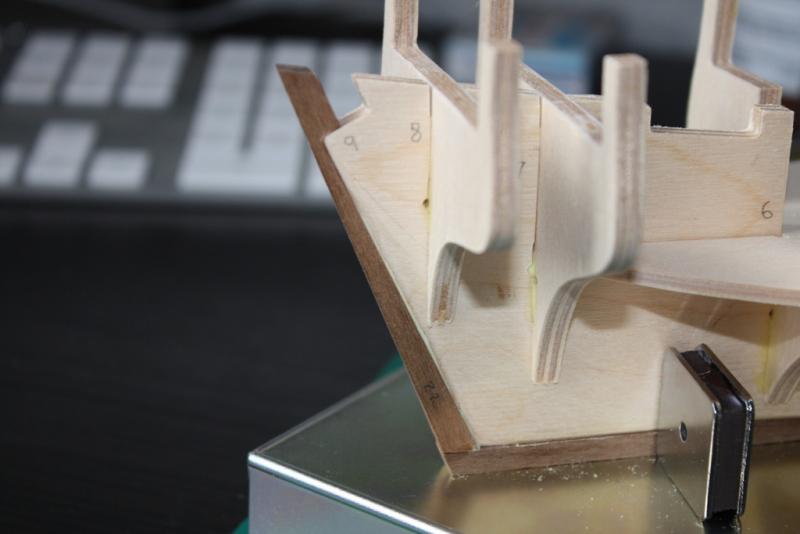
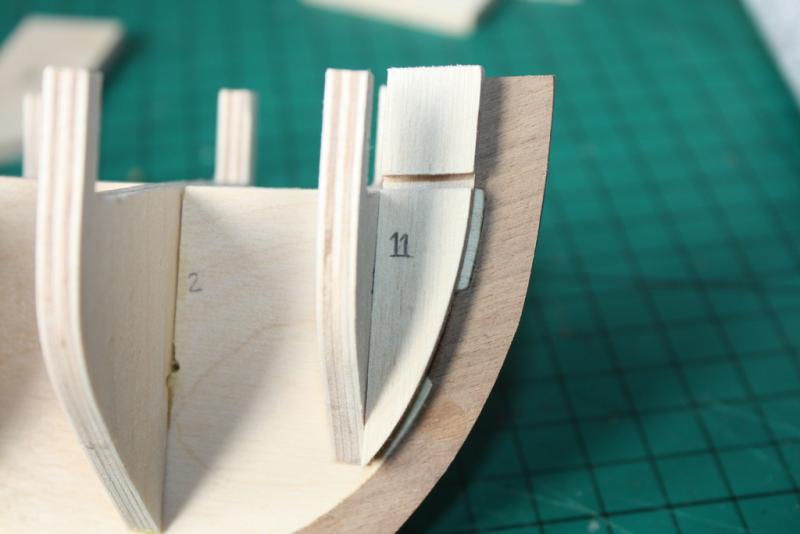
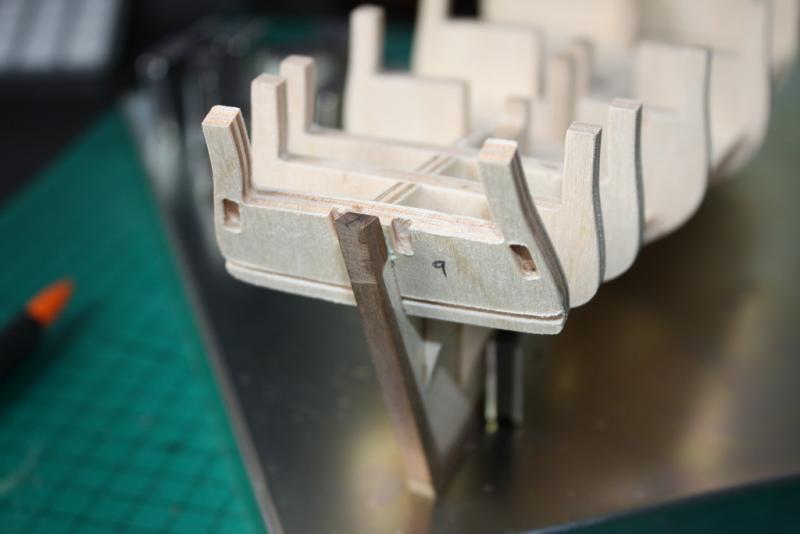
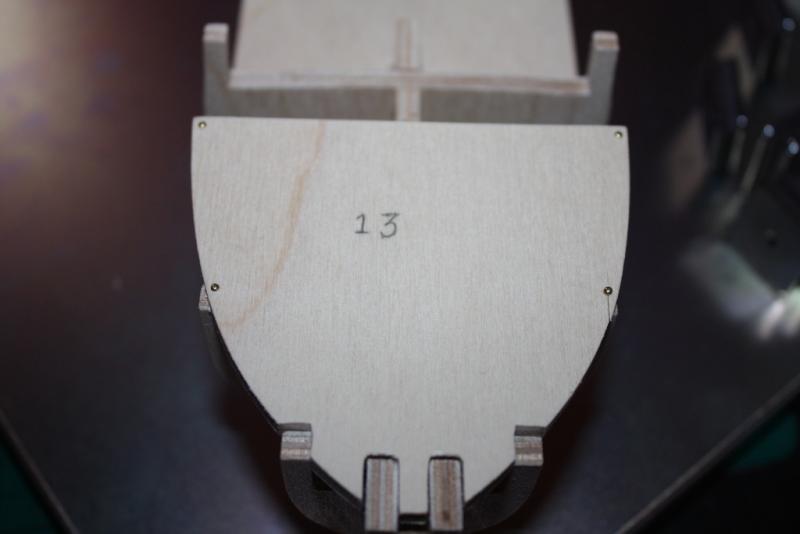
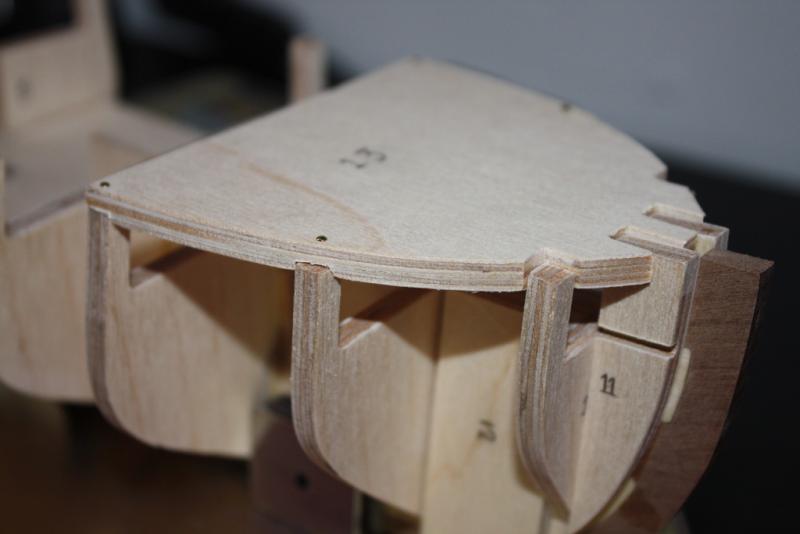
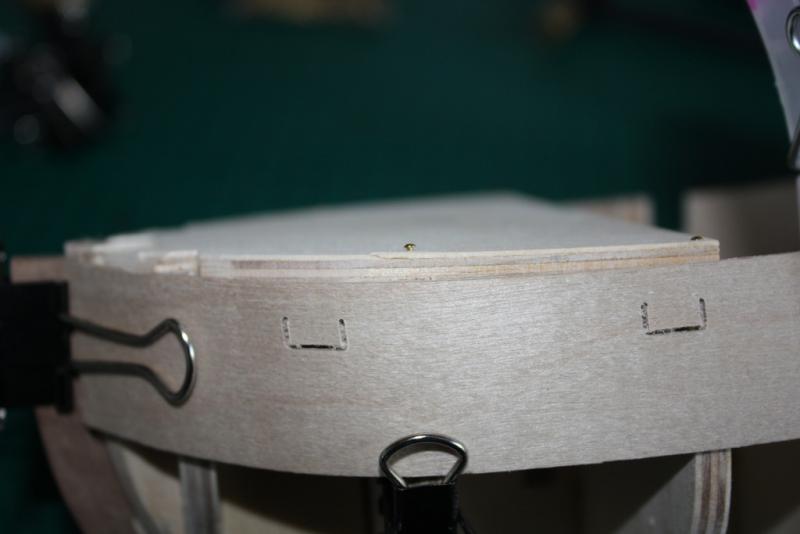
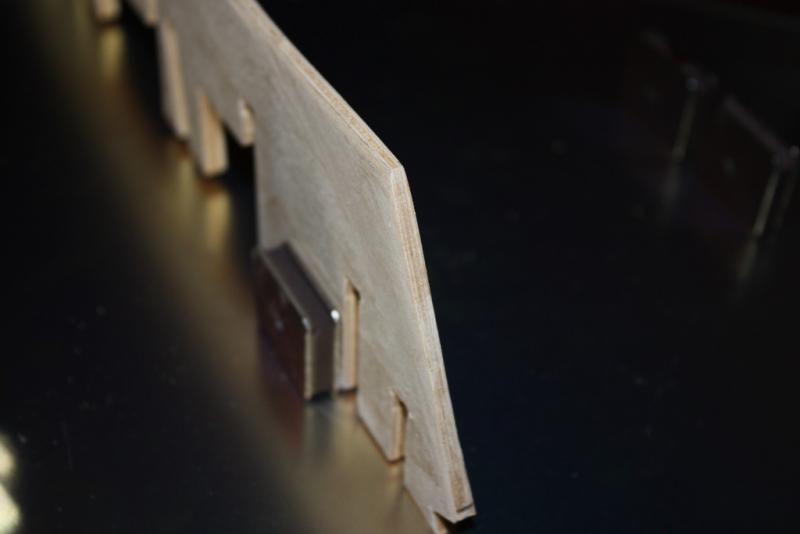
Following the comprehensive instructions, prior to fitting the false keel you need to temporarily hold the stern post in place. I marked the centre of the keel and the stern post to aid alignment. With the assembly set. The ribs were test fitted, fit is loose and sloppy, care is needed to achieve a perfect alignment. I did this using 90 degrees brackets clamped in place while each rib sets. The false deck is test fitted at this point, I needed to adjust the centre slot to allow installation of the part correctly. I chose the stern post at this point to allow the lower stern former to be set in place. The bow gunport former is tacked in place at this point. There are two gun port patterns to be fitted. I soaked the bow end for about 45 minutes bore setting them in my curve forming tool. they were left in the tool until dry, giving me a perfect curve when checked against the plans. When test fitted the bottom edge is marked on the ribs to aid alignment when fitting. initially clamped and then secured with nails while the glue sets. Pickle is now ready for fairing.


-
Thank you for this suggestion, it certainly sounds a good idea. Unfortunately I am already past that stage in the build, I am posting behind build at the moment. But defiantly will bag that suggestion for the future. Jase
-
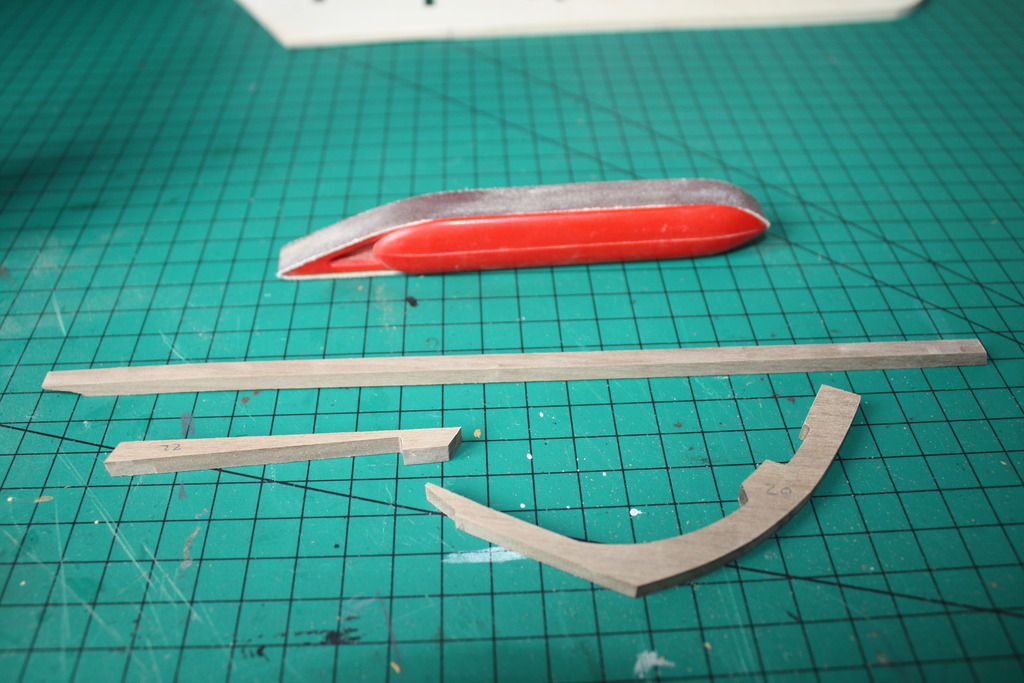
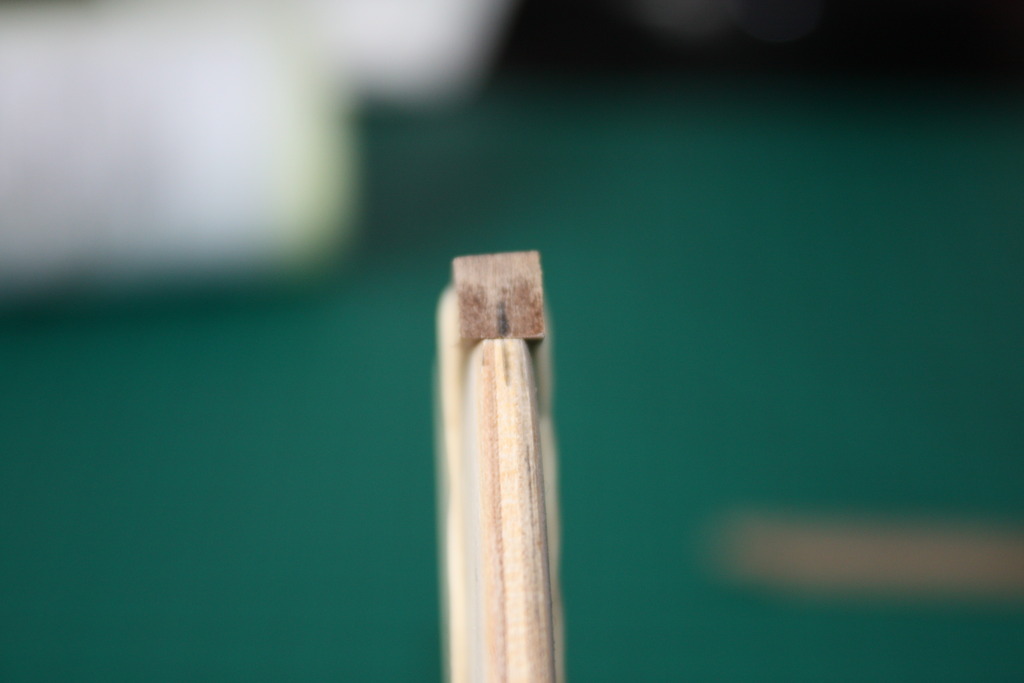
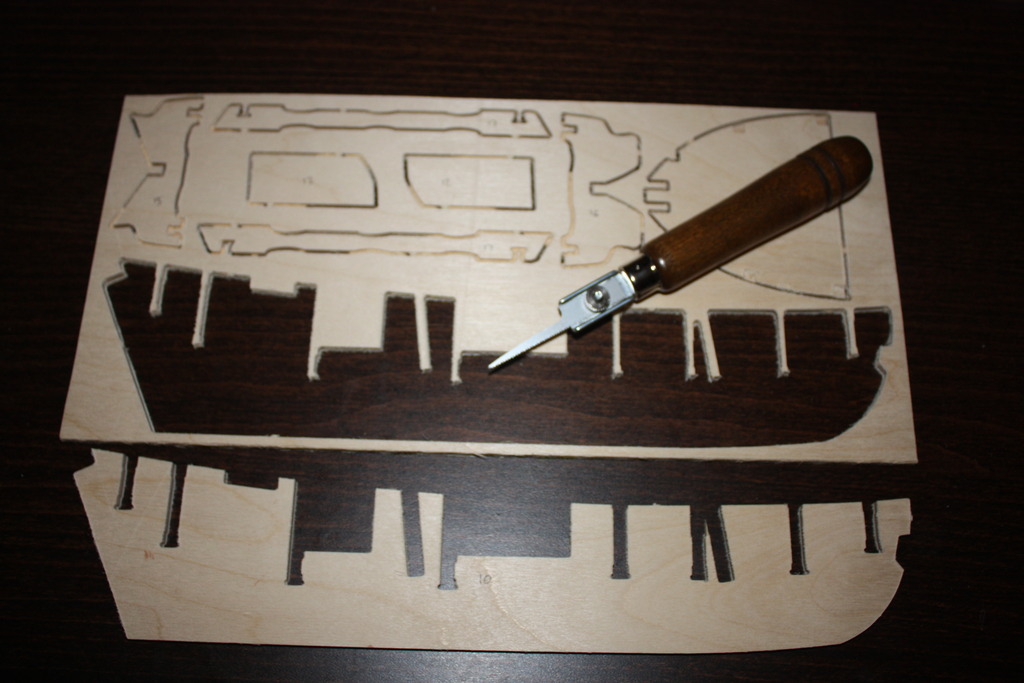
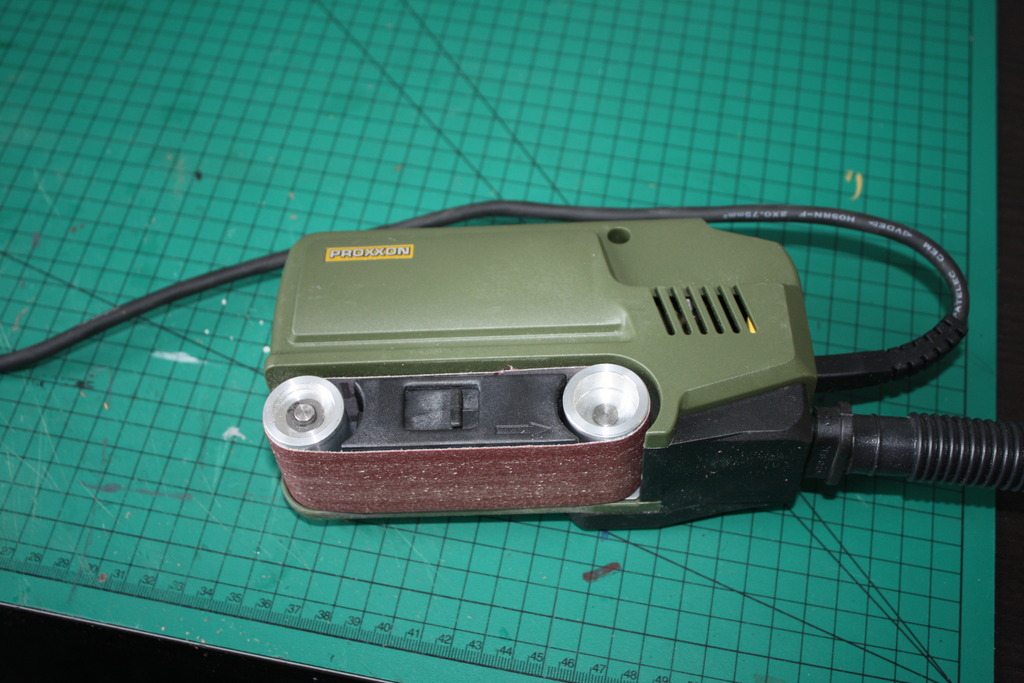
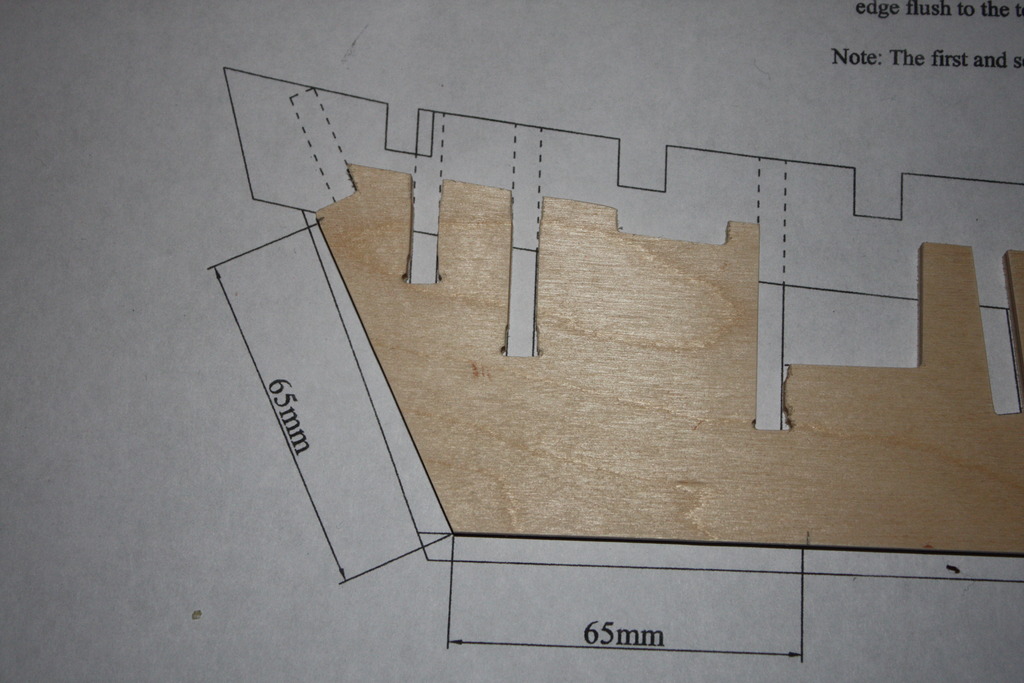
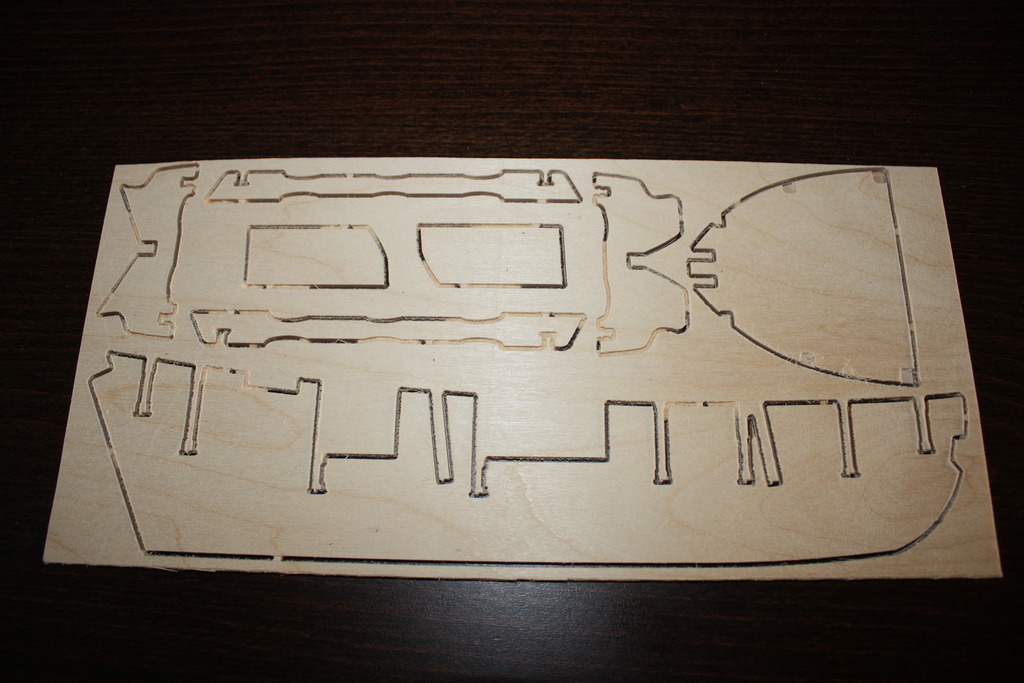
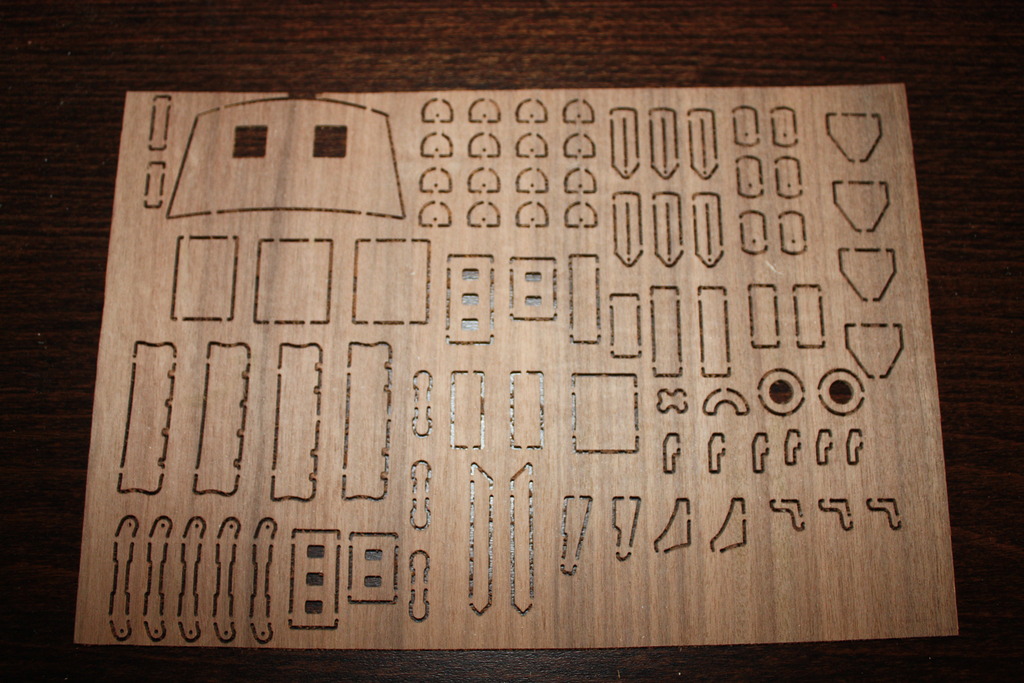
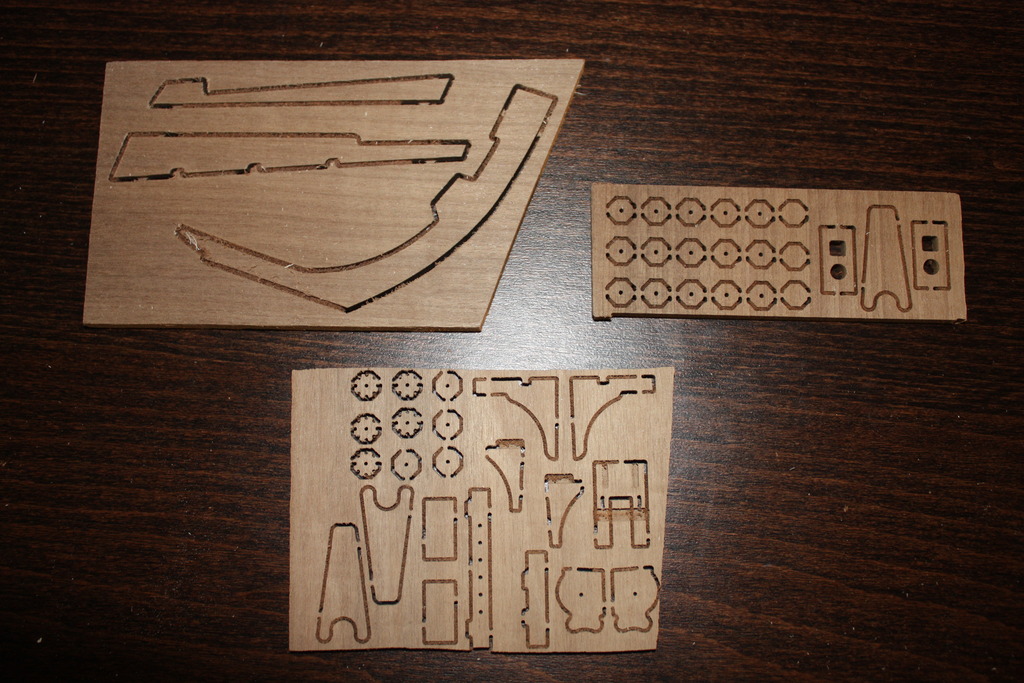
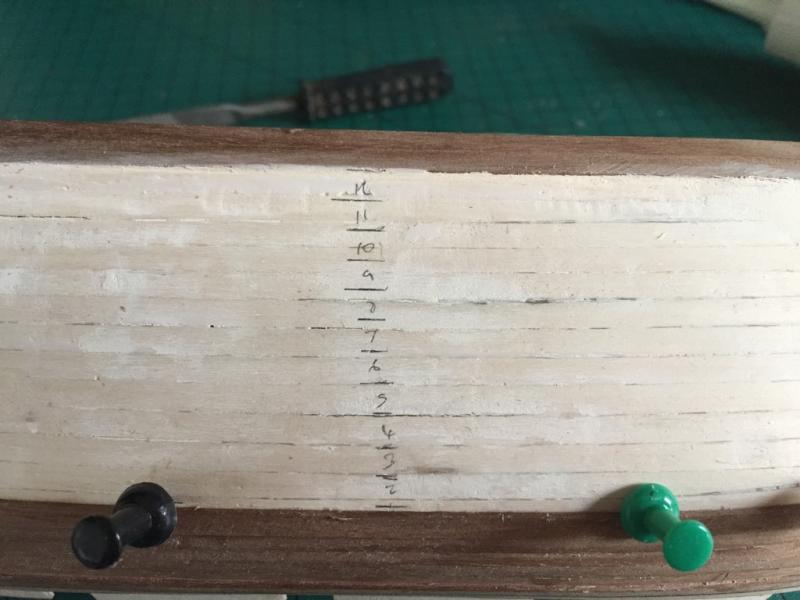
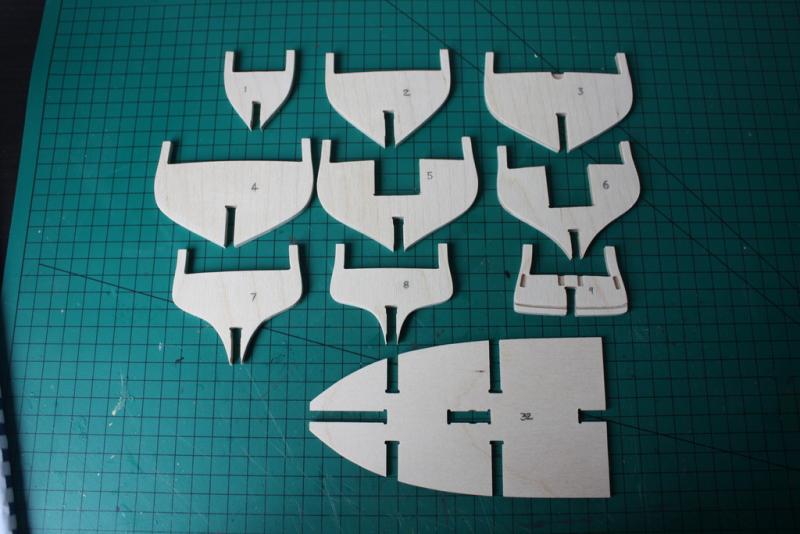
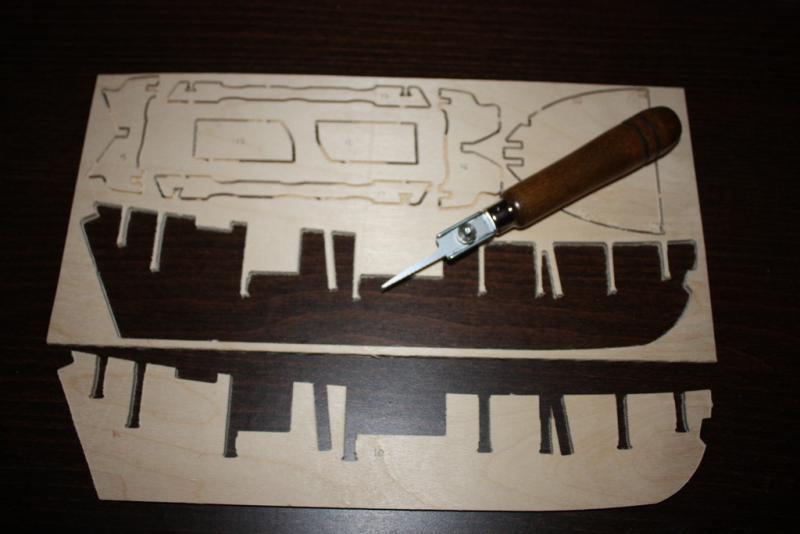
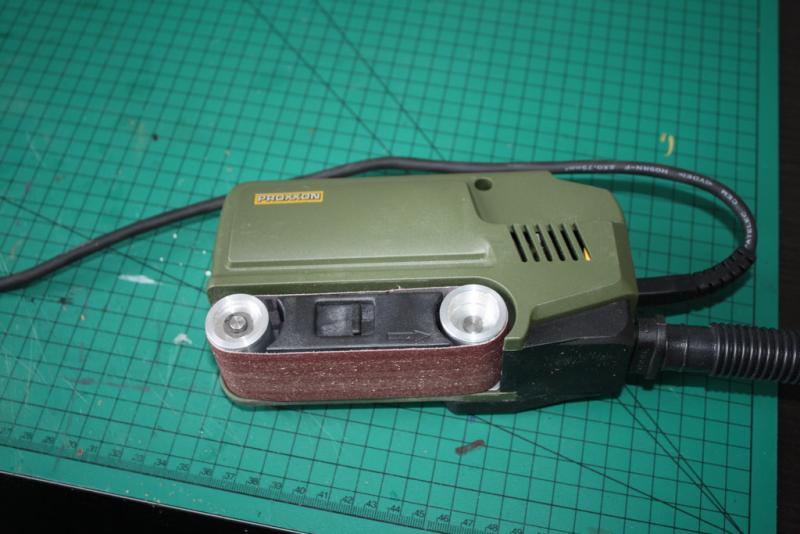
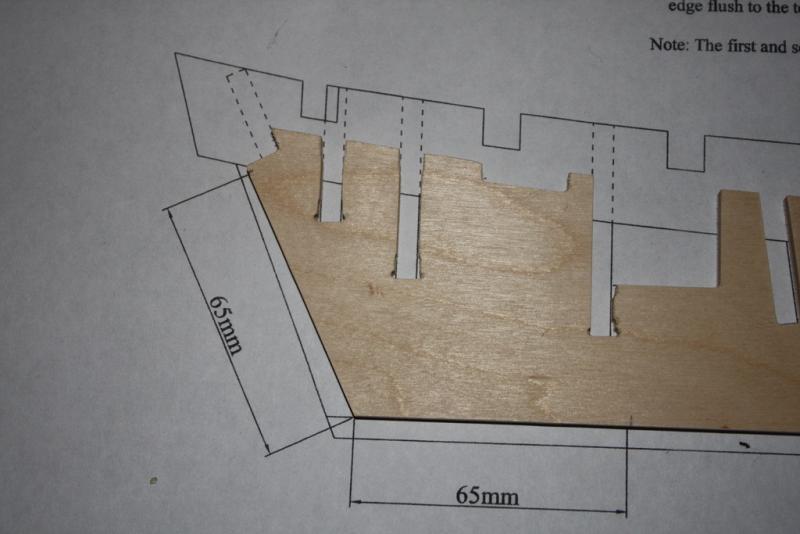
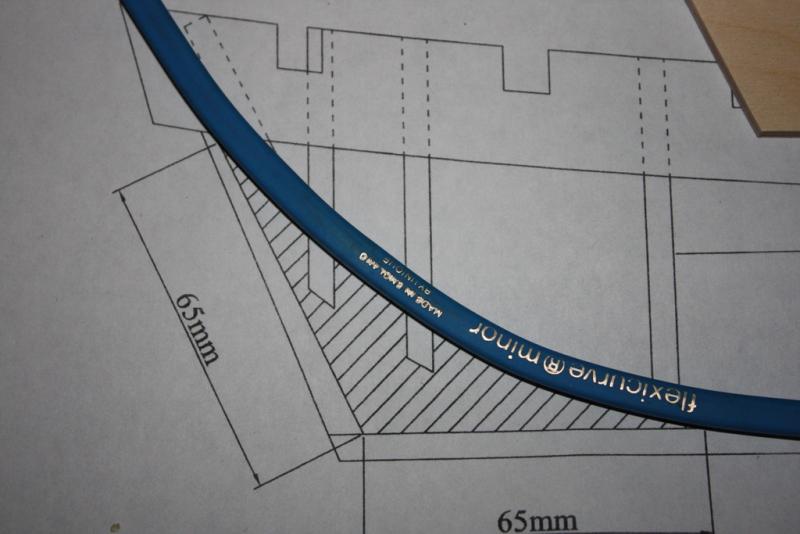
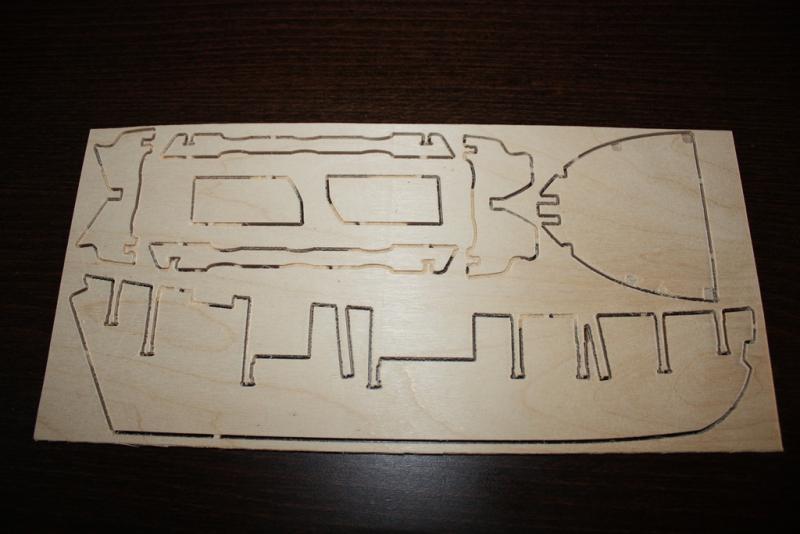
Thank you all for looking in. The build begins with the removal of the main keel from the fret by cutting trough the tabs with a saw. Using my trusty Proxxon sander I carefully sanded back the tabs until totally smooth with the part edge. Once this was done take a small piece of fine emory paper was used to sand all the edges to remove the wood fibre tufts left behind by the CNC process. With the main keel cleaned up the next job is to mark out the bearding line in readiness for reducing the keel thickness at the stern. I have chosen to use a flexicurve. Once the keel is marked up we need to taper the marked off area from 5mm to 3mm at the edge. An easy way to check this is to use the laminations of the plywood. The keel is made of 5 laminated sheets each 1mm thick. to reduce the thickness to 3mm we simply sand one lamination thickness away on each side.

-
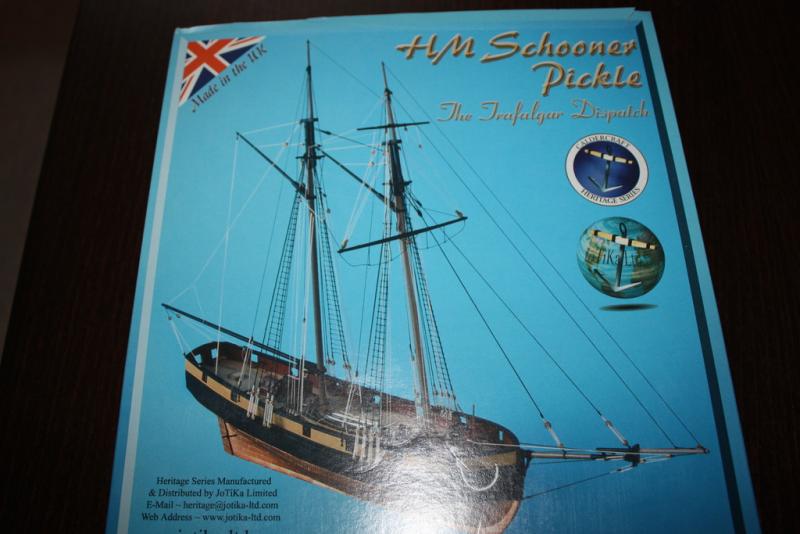
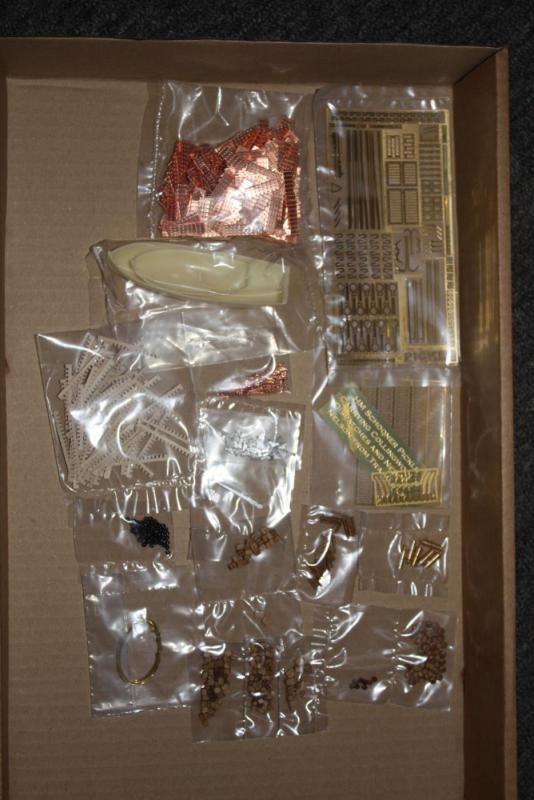
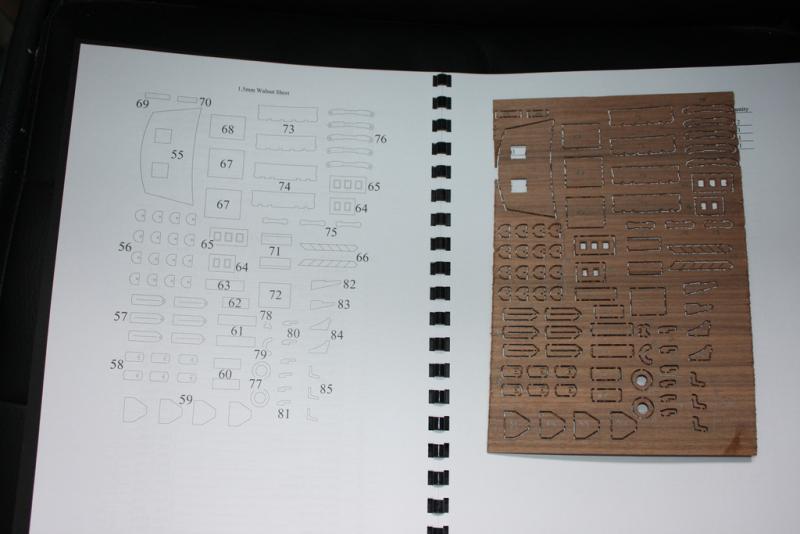
Welcome to my build of Caldercrafts HM Schooner Pickle kit. Introduction. The kit includes: Double plank on bulkhead construction in lime and walnut; all decking in high quality Tanganyika strip; 6 x 12pdr turned brass carronades, fully rigged and complete with walnut carriage assemblies; detailed brass etched components; over 500 copper plates; ship's boats in resin with walnut components and brass fittings including oars, grapnels and boat hooks; CNC cut and profiled walnut and ply components; brass nameplate; all required blocks, black & natural hemp to rig the model, birch dowel for the masting; fully detailed actual scale plans and two comprehensive step by step colour instruction manuals including constructional photos of the prototype and technical drawings A bit of ship background HM schooner Pickle was a 72-foot (22 m) two-masted vessel, built in 1799. She was bought for use as a flagship tender, but later served as a dispatch and communications vessel due to her fast-sailing characteristics. Pickle is famous for delivering the despatch to Britain that The combined French/Spanish fleets had been defeated at Trafalgar and also of the loss of Vice-Admiral Lord Nelson. John Lapenotiere, Pickle's commanding officer was a 35-year-old lieutenant, desperate for further promotion. The delivery of the dispatches announcing victory at Trafalgar was a defining point in his career. While sailing back to England, Lapenotiere encountered the 18-gun sloop Nautilus, whose captain, John Sykes, decided it was his duty to carry the news. The resulting race between Sykes and Lapenotiere to be first home has become famous in naval history. Arriving in Falmouth on 4 November 1805, Lapenotiere gambled half his salary on a post-chaise (a hired carriage) to speed him to London. He arrived at the Admiralty 37 hours later, after 19 horse changes, just ahead of Sykes. His efforts were rewarded with promotion to the rank of Commander.


-
Handrails look great, model coming along well Jase
-
Just catching up on your build she looks really nice. I took over 400 pics of the real thing a few monte ago so if there is anything specific you need let me know I am sure to have it. Jase
-
the joggling of the deck is very nice indeed
-
Just a note on this the Current decking Of Warrior is teak. it is the second deck to have been laid since her restoration in the mid 1980s. but this is not the timber she originally would have had. the teak is laid because it is cost effective in terms of life expectancy. Warrior originally had deck timbers made of fir.
-
looking great, I visited the real thing yesterday and have taken lots of pics of the top deck (over 350). but the current deck is teak for longevity. the original deck was fir.
-
Any more progress? I have just purchased this kit so hoping to follow your lead Jase
-
I am looking to build a Bounty kit but was wondering what the general view was on which is the best kit currently. The billings kit looks old with lots of plastic peoples thoughts? Jase
-
The way to work out your tapering is to measure your gap at the widest point (usually in the centre rib) then measure your gap at each end. Calculate how many strips you need to cover the widest point of the gap then calculate how much you need to reduce the width of each plank by so that they all fit in the gap when sanded to a taper. You probably should have put a stealer or two in. This might help you http://www.shipmodeling.ca/aa115p.html
-
Just been catching up on this build. Looks great, hat off to you on the carving front top class finish. Jase
-
Just read through this and looks like you have set out to raise the bar as you always do. i know I will enjoy following your progress Jase