HOLIDAY DONATION DRIVE - SUPPORT MSW - DO YOUR PART TO KEEP THIS GREAT FORUM GOING! (Only 24 donations so far out of 49,000 members - C'mon guys!)
×


steamschooner
-
Posts
369 -
Joined
-
Last visited
Content Type
Profiles
Forums
Gallery
Events
Everything posted by steamschooner
-
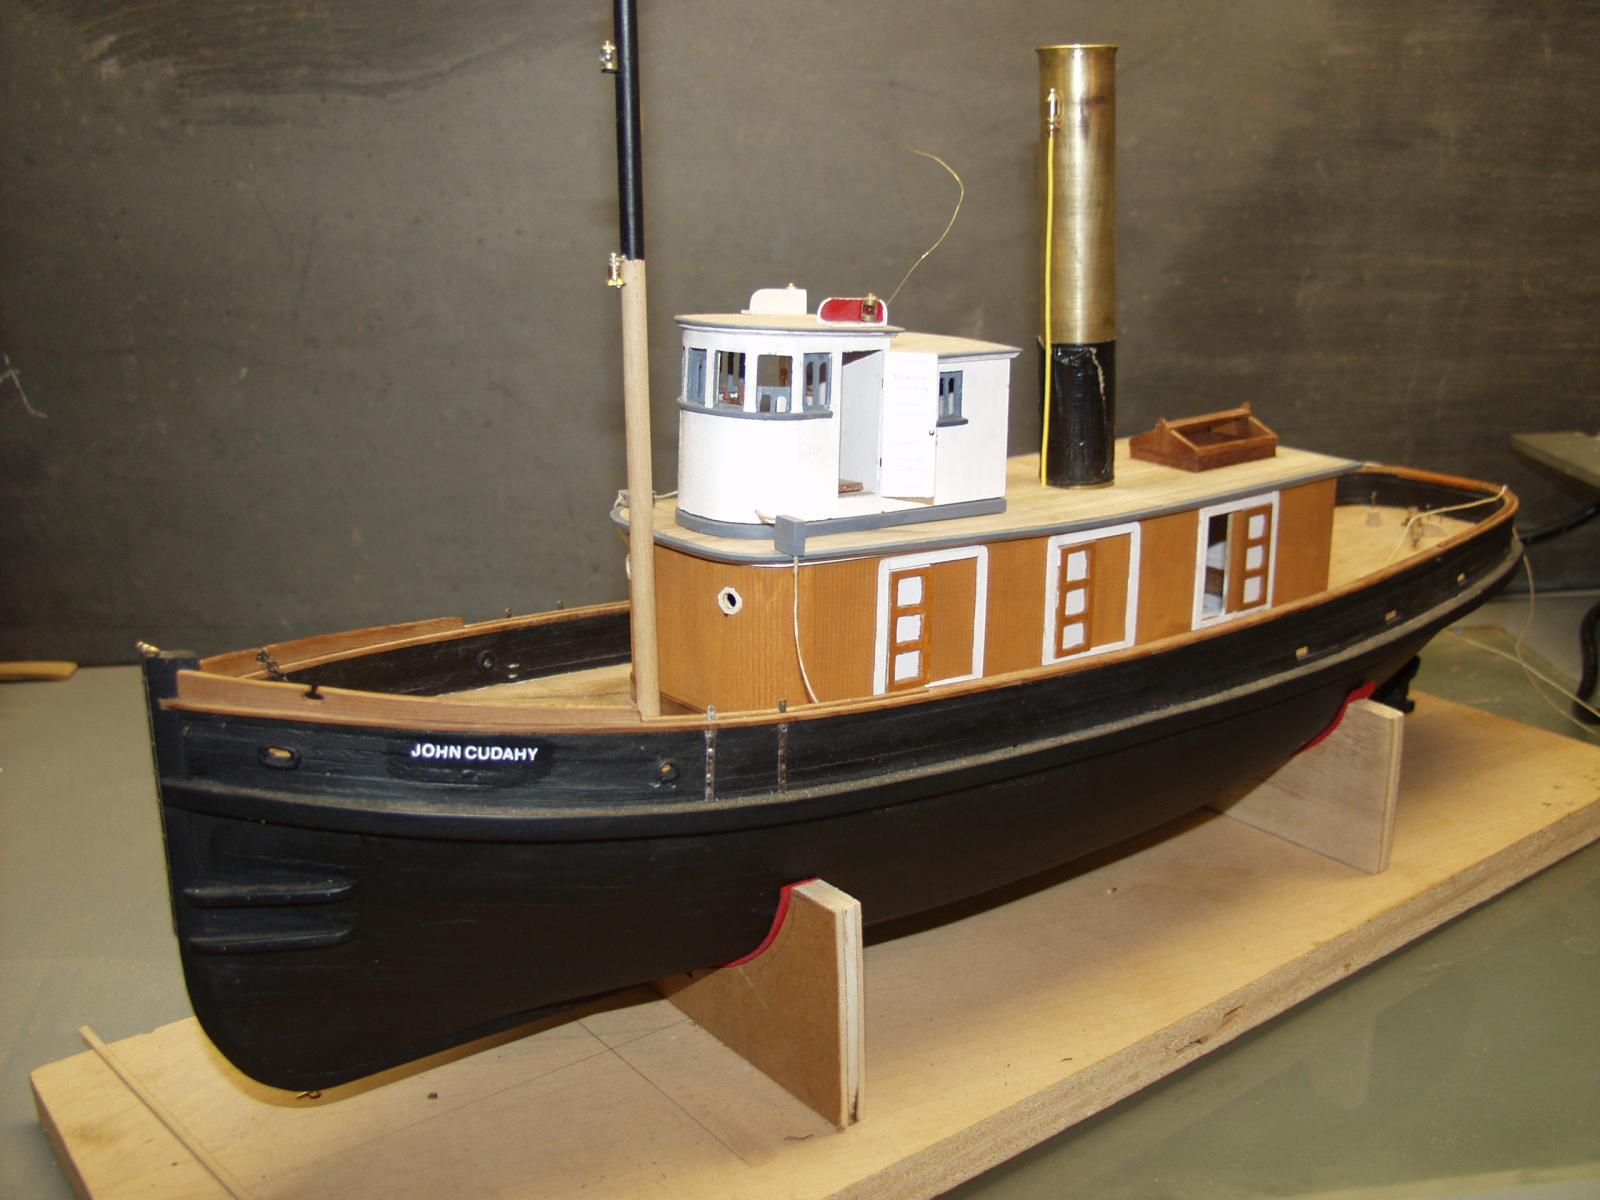
 Just to show you all that I have been working on my project. Not alot done but I have made and installed the main cabin roof, cut out for the stack and the engine room skylight. Turned a steam whistle and working on the stack. Did some dry transfer lettering and made a ships bell.
- 208 replies
-
- 9
-

-
- john cudahy
- finished
- (and 1 more)
-
Nevermind I see it is stud link chain
- 2,625 replies
-
- 4
-
-
- kaiser wilhelm der grosse
- passenger steamer
- (and 1 more)
-
What? Nils no stud link chain.
- 2,625 replies
-
- 4
-
-
- kaiser wilhelm der grosse
- passenger steamer
- (and 1 more)
-
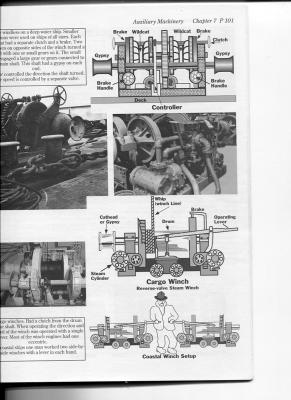
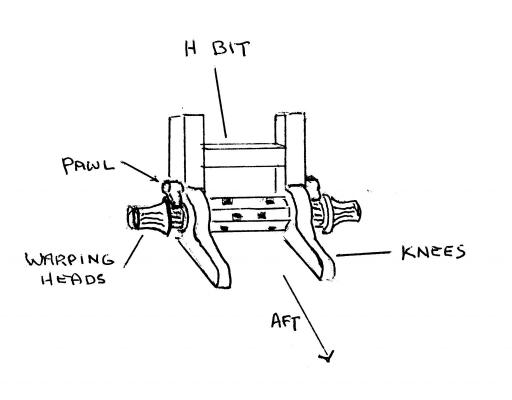
Nils, Here is a page from; Smoke Ash and Steam by R. Sheret That show the different parts of a windlass. Windless having wildcats for chain handling. Cargo winches do not have wildcats just drums and gypsys
- 2,625 replies
-
- 7
-
-
- kaiser wilhelm der grosse
- passenger steamer
- (and 1 more)
-
Bob, Been there done that ! I stopped work on a model and stripped it back to the main deck . Some research showed up that had showed me how some things where wrong. Your build is looking good!
- 348 replies
-
- 4
-
-
- pequot
- cable ship
- (and 1 more)
-
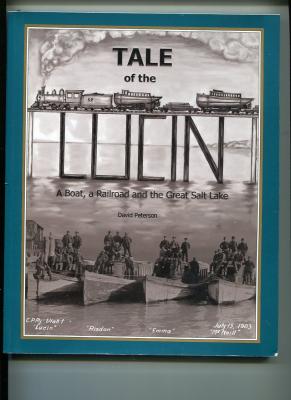
Tale of the Lucin, by David Peterson isbn 0-9706383-0-2 For those that like small boats this is a interesting tale of a small launch that lasted 99+ years. It helped build the Lucin cut off in the Great salt lake, was a tug/freight boat , and ended up a fishing boat. It has ties to my local history and most likely worked with and around the John Cudahy ( My current build )
-
- 1
-
-
Nils, Are you using safety glass for you case? Do you prefer glass over say plastic? Do you build in some sort of venting for the case to breathe. Someday I will need to build some cases to keep the eightlegged riggers from adding additional lines.
-
http://sanctuaries.noaa.gov/news/press/2016/lost-whaling-fleet-found.html No pictures but interesting.
-
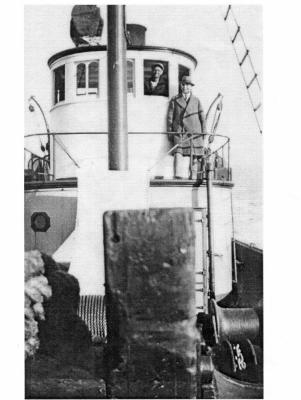
jbshan: Yes now days three lights are required. The time frame of 1900-1930 there were only two mast lights ( see photo at the begining of my log ). The laws did not change until later, the Cudahy(now the Henry Foss ) likely had three when she was lost in 1952
- 208 replies
-
- 2
-
-
- john cudahy
- finished
- (and 1 more)
-
Yes, thank you Mark, and a great New Year to you and yours.
- 208 replies
-
- 2
-
-
- john cudahy
- finished
- (and 1 more)
-
I posted this in another area as well. I am working on some of the deck gear/fittings and this is one of the puzzles that has come up. photo shows the forward side of one side of the H bit with what looks like a pawl mounted on the right. Than just below and to the right is a warping head ( looks like it has whelps ) The other stuff is part of the steam gear that was also on the fordeck. That's another project in itself. This is what I think I might be looking at. Any thoughts , ideas ,
- 208 replies
-
- 5
-
-
- john cudahy
- finished
- (and 1 more)
-
Patrick, I am just catching up on your project, it's looking really great. Have a Merry Christmas and best wishes for a hew year.
-
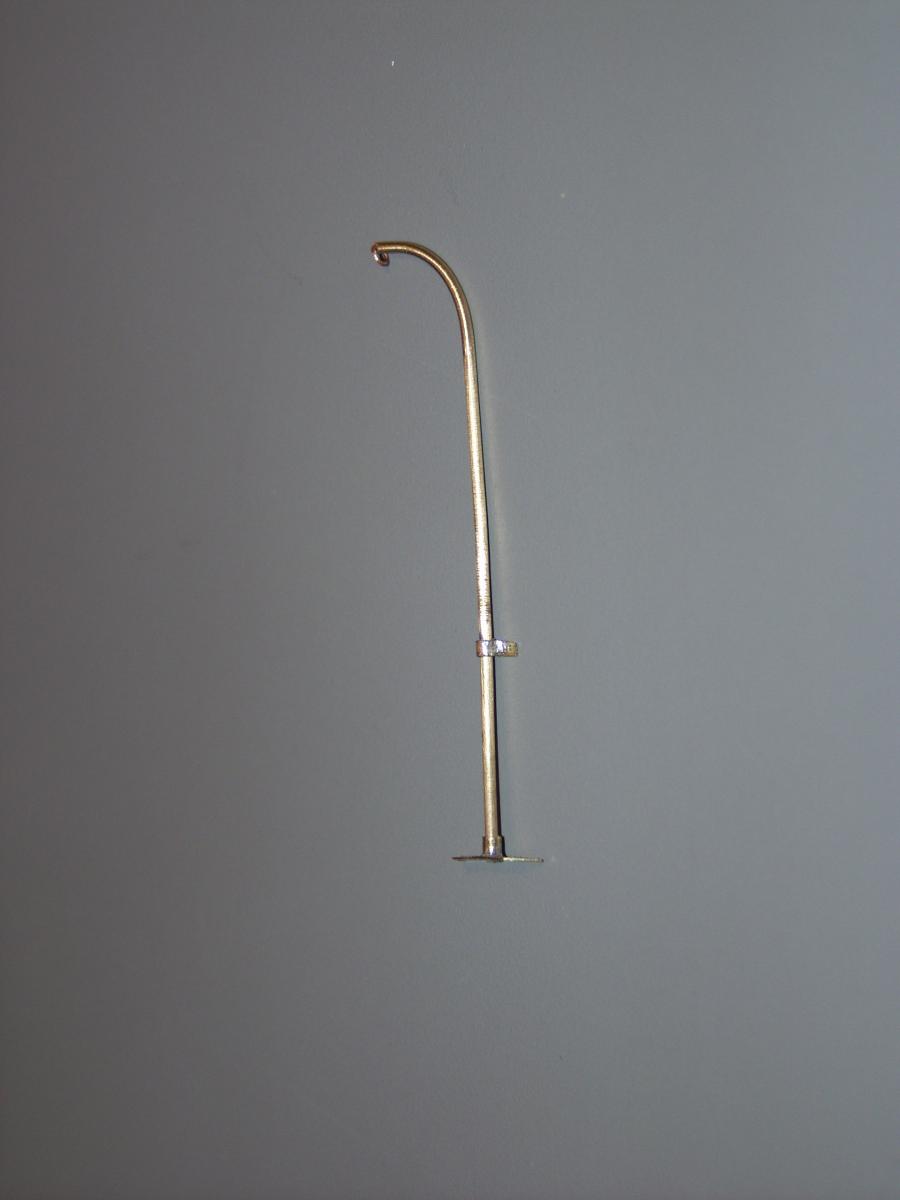
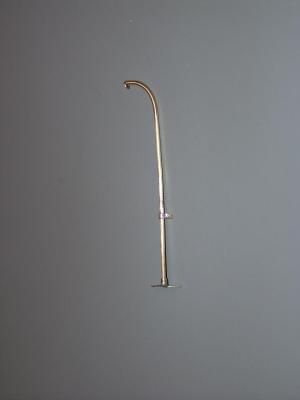
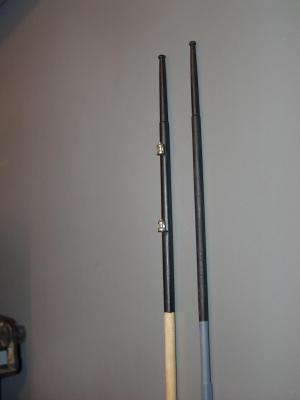
Spent a little time in the shipyard and got a couple of things done. First is the anchor davit, which I will need to blacken or paint. I turned my masts, painted them and installed a couple of mast lights that I had made for this build.
- 208 replies
-
- 5
-
-
- john cudahy
- finished
- (and 1 more)
-
Nils, What a stunning project your "Pegasus" turned out to be. Thanks for letting us tag along.
-
Thanks for the comments everyone. Bob, The one I use is one that was built for automotive work. A friend built it for building his hotrods. In the "Ship Modelers Shop notes" there is a small roller shown with notes on how to build it.
- 208 replies
-
- 4
-
-
- john cudahy
- finished
- (and 1 more)
-
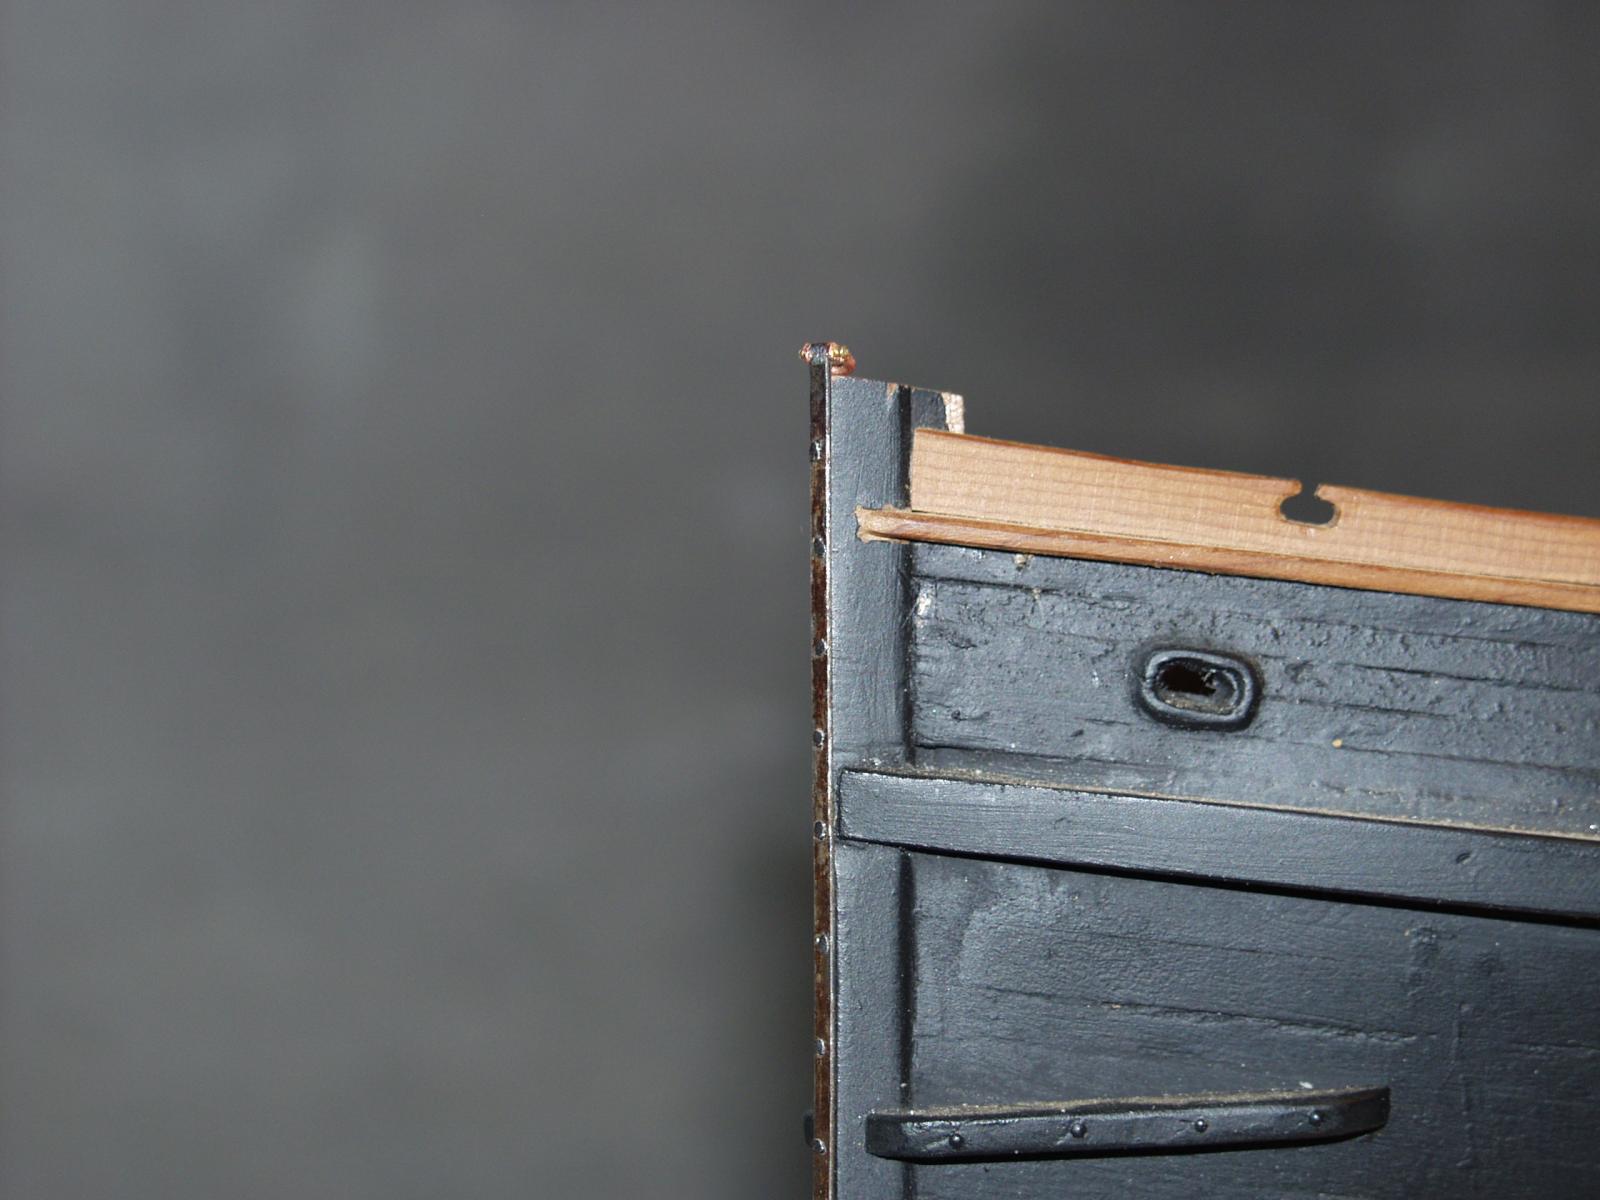
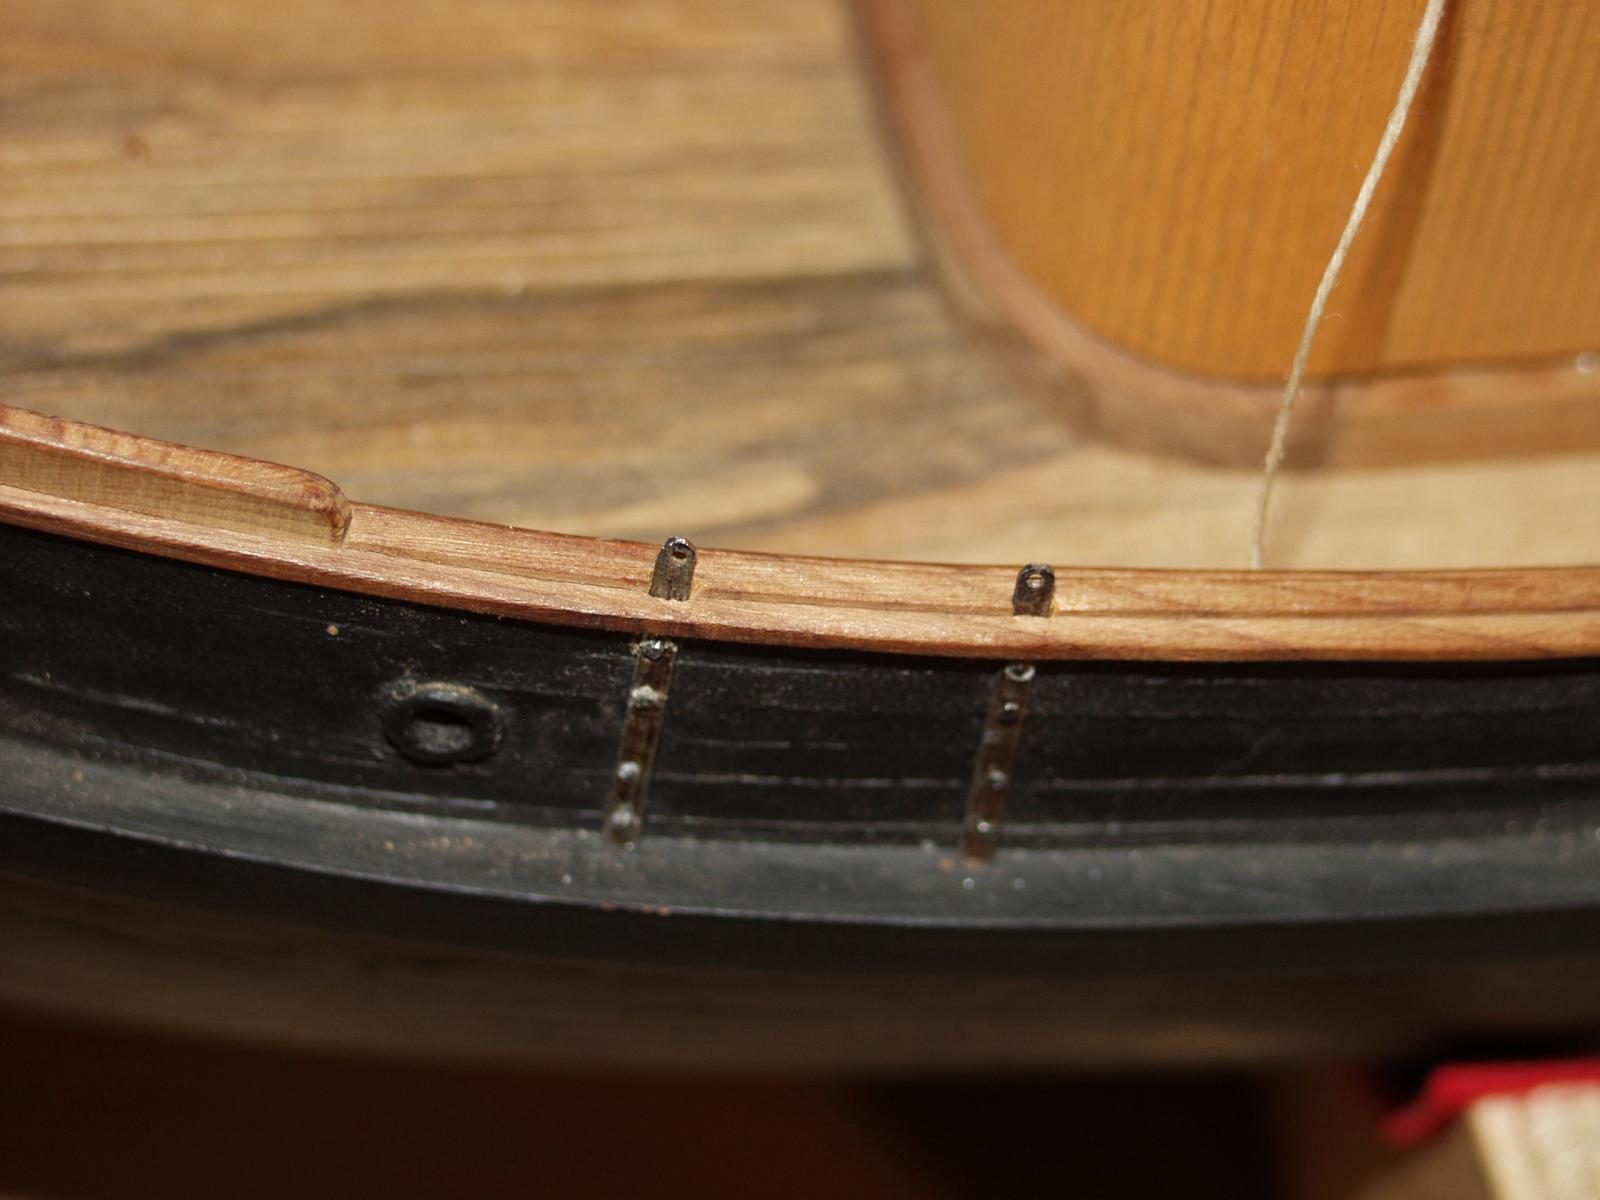
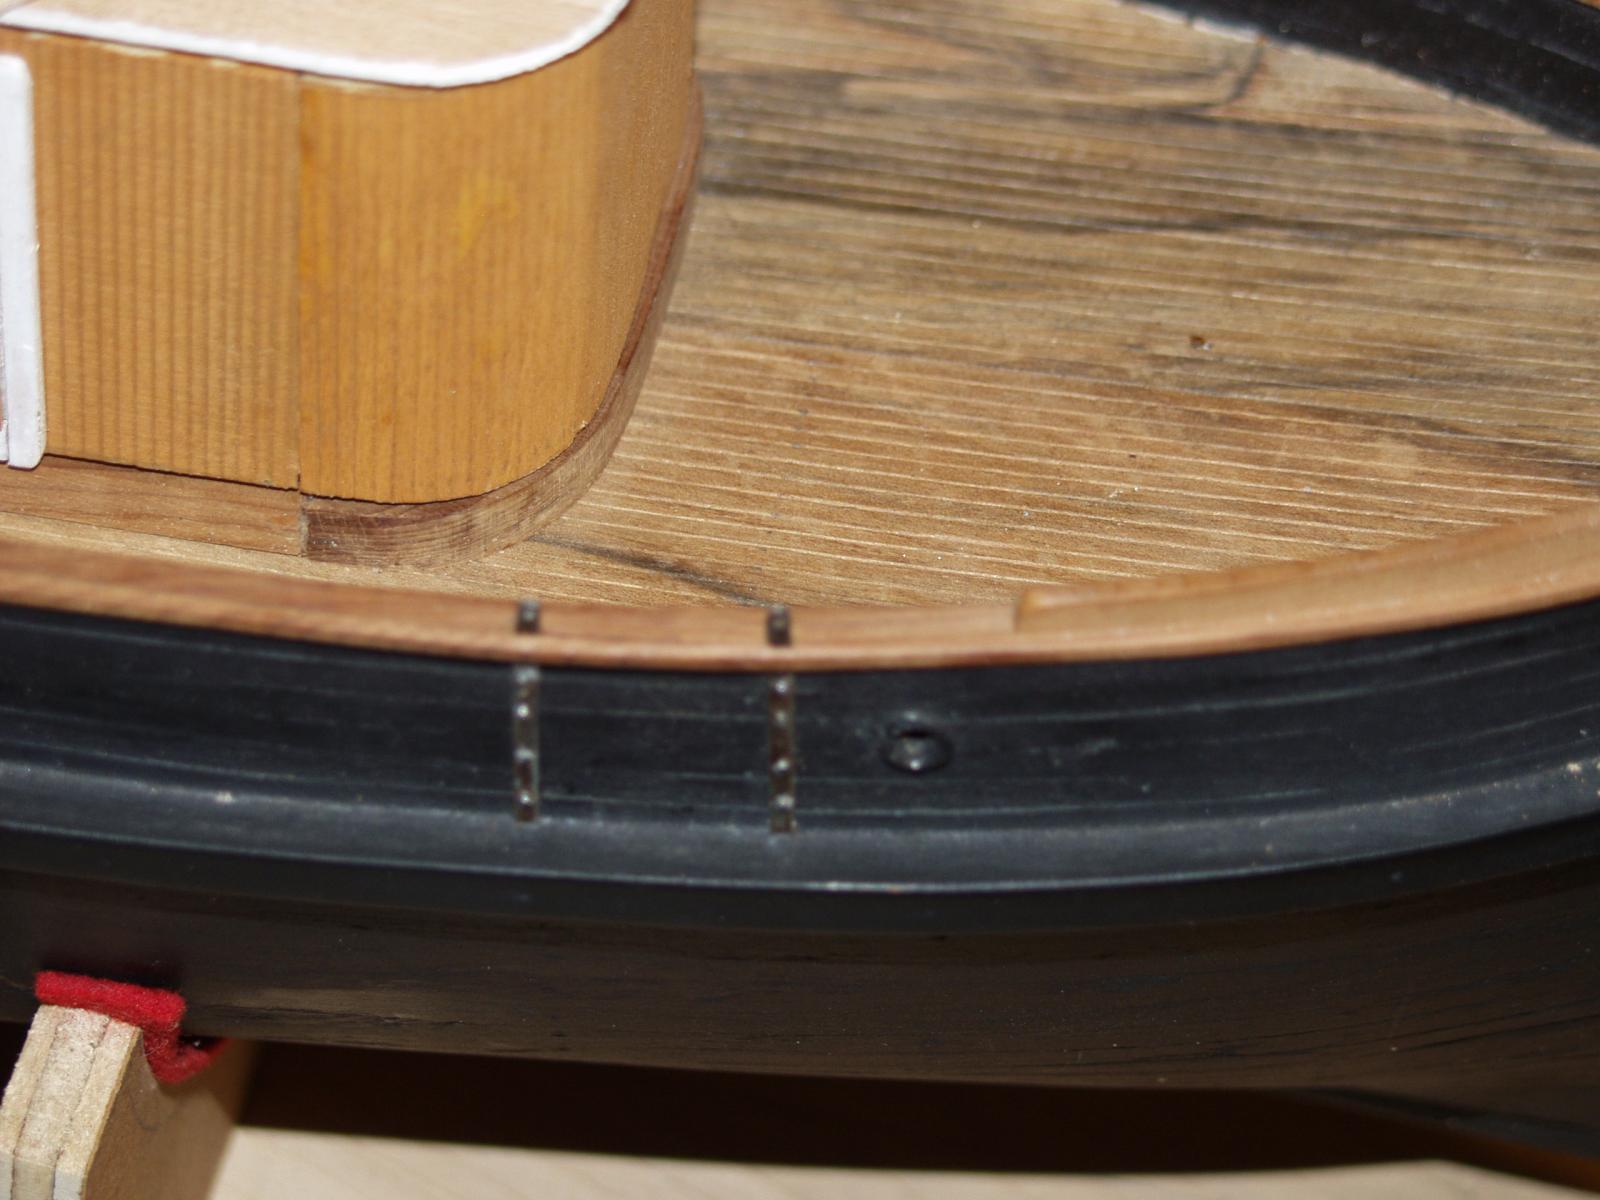
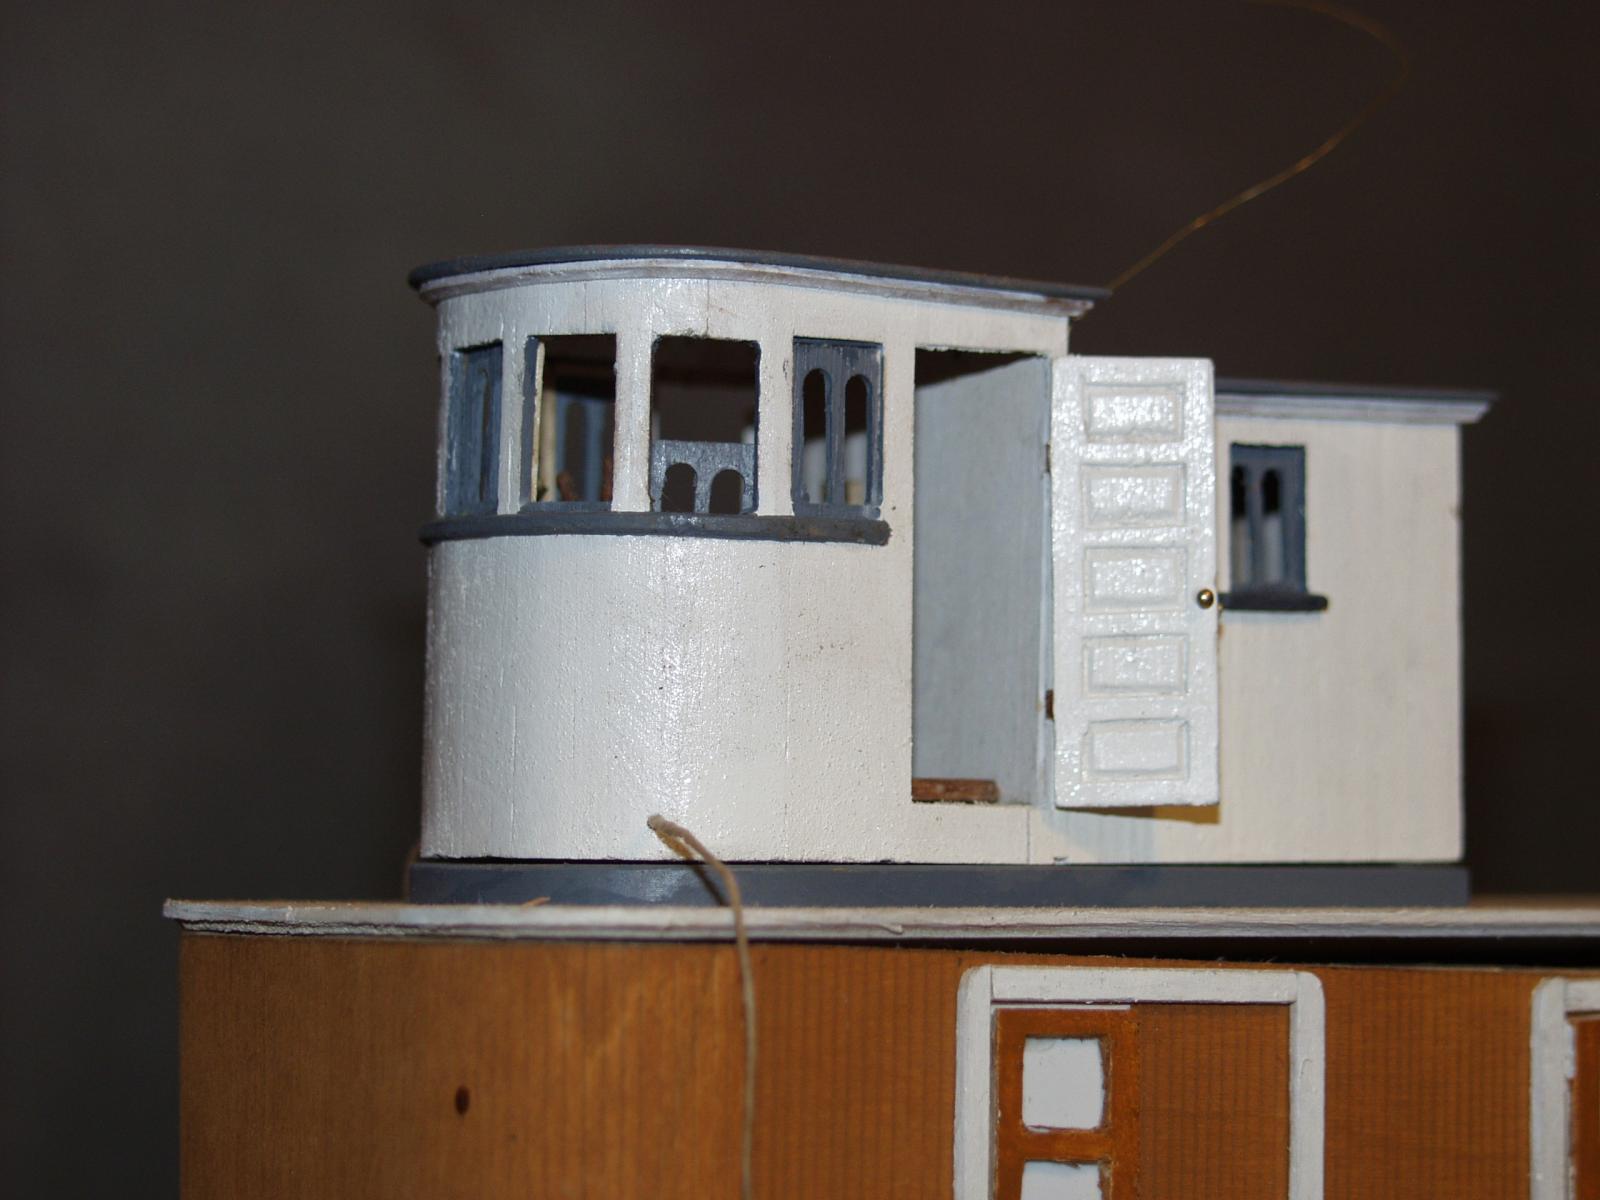
I have been jumping around on my project getting little things done. The last couple of days it has been some metal work . Made and installed a stem strap with a shackle at the top, and both port and starboard mast stay straps. Had to pierce the caprail to do that and was worried I would mess something up. I make my straps from mild steel wire that I run though a bead roller to flatten it out. I use copper wire and brass wire the same way. Depending on how many times you past it though you can get an assortment of thickness and width. For pinning the straps I use some railroad spikes I got at a hobby store once. They are small dia. nails with a off set flat head. I file the heads to more or less a round shape and cut to length before starting them in a pilot hole. And I got the doors on the pilot house


- 208 replies
-
- 9
-
-
- john cudahy
- finished
- (and 1 more)
-
It is nice to have detailed plans to follow. Your build is coming along nicely Bob.
- 348 replies
-
- 3
-
-
- pequot
- cable ship
- (and 1 more)
-
John and Bob Thanks for checkin things out.
-
Thanks Patrick , I am glad it's behind me as well. Now maybe I can get some things done on my project.
- 208 replies
-
- 2
-
-
- john cudahy
- finished
- (and 1 more)
-
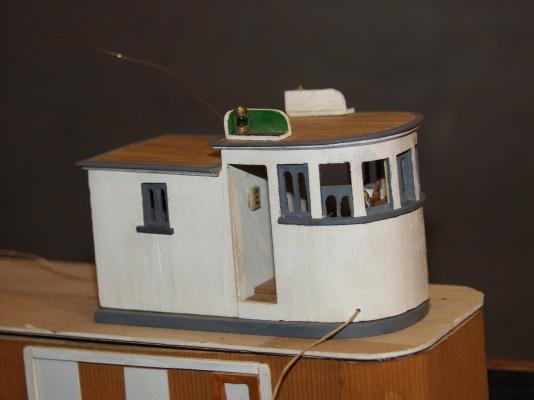
Well after dealing with walking pneumonia for the last three weeks I have gotten a little bit done on the pilot house. After a few tries I got a roof I liked, others were to big or to thick, Also made crown molding for the lip on the roof. Made and installed window sill below cabin windows. Working on cabin doors which I will mount in the open position.
- 208 replies
-
- 9
-
-
- john cudahy
- finished
- (and 1 more)
-
Nils, There is a steep learning curve. So I am learning every time I make a mold and do a cast. Most of the time it works out and some times not! I do enjoy the challenge.
- 208 replies
-
- 3
-
-
- john cudahy
- finished
- (and 1 more)
-
Nils, I agree with the rest of this bunch your model is looking just great...
- 2,625 replies
-
- 4
-
-
- kaiser wilhelm der grosse
- passenger steamer
- (and 1 more)
-
Wow, Bob From frame to fully planked in about 10 days? But it is a small scale so the planks are also small. What did you use to plank her with... Bass?
- 348 replies
-
- 5
-
-
- pequot
- cable ship
- (and 1 more)
-
Bob, I think I will pull up a stool and watch as well. Guys just don't get upset if I get popcorn all over.
- 348 replies
-
- 3
-
-
- pequot
- cable ship
- (and 1 more)