HOLIDAY DONATION DRIVE - SUPPORT MSW - DO YOUR PART TO KEEP THIS GREAT FORUM GOING! (Only 24 donations so far out of 49,000 members - C'mon guys!)
×


steamschooner
-
Posts
369 -
Joined
-
Last visited
Content Type
Profiles
Forums
Gallery
Events
Everything posted by steamschooner
-
 Tim, I think I will follow you along on this one. My mother, in her younger days was a welder on liberty ships at the Kaiser yards in Portland.
- 227 replies
-
- 4
-

-
- BlueJacket Shipcrafters
- Stephen Hopkins
- (and 2 more)
-
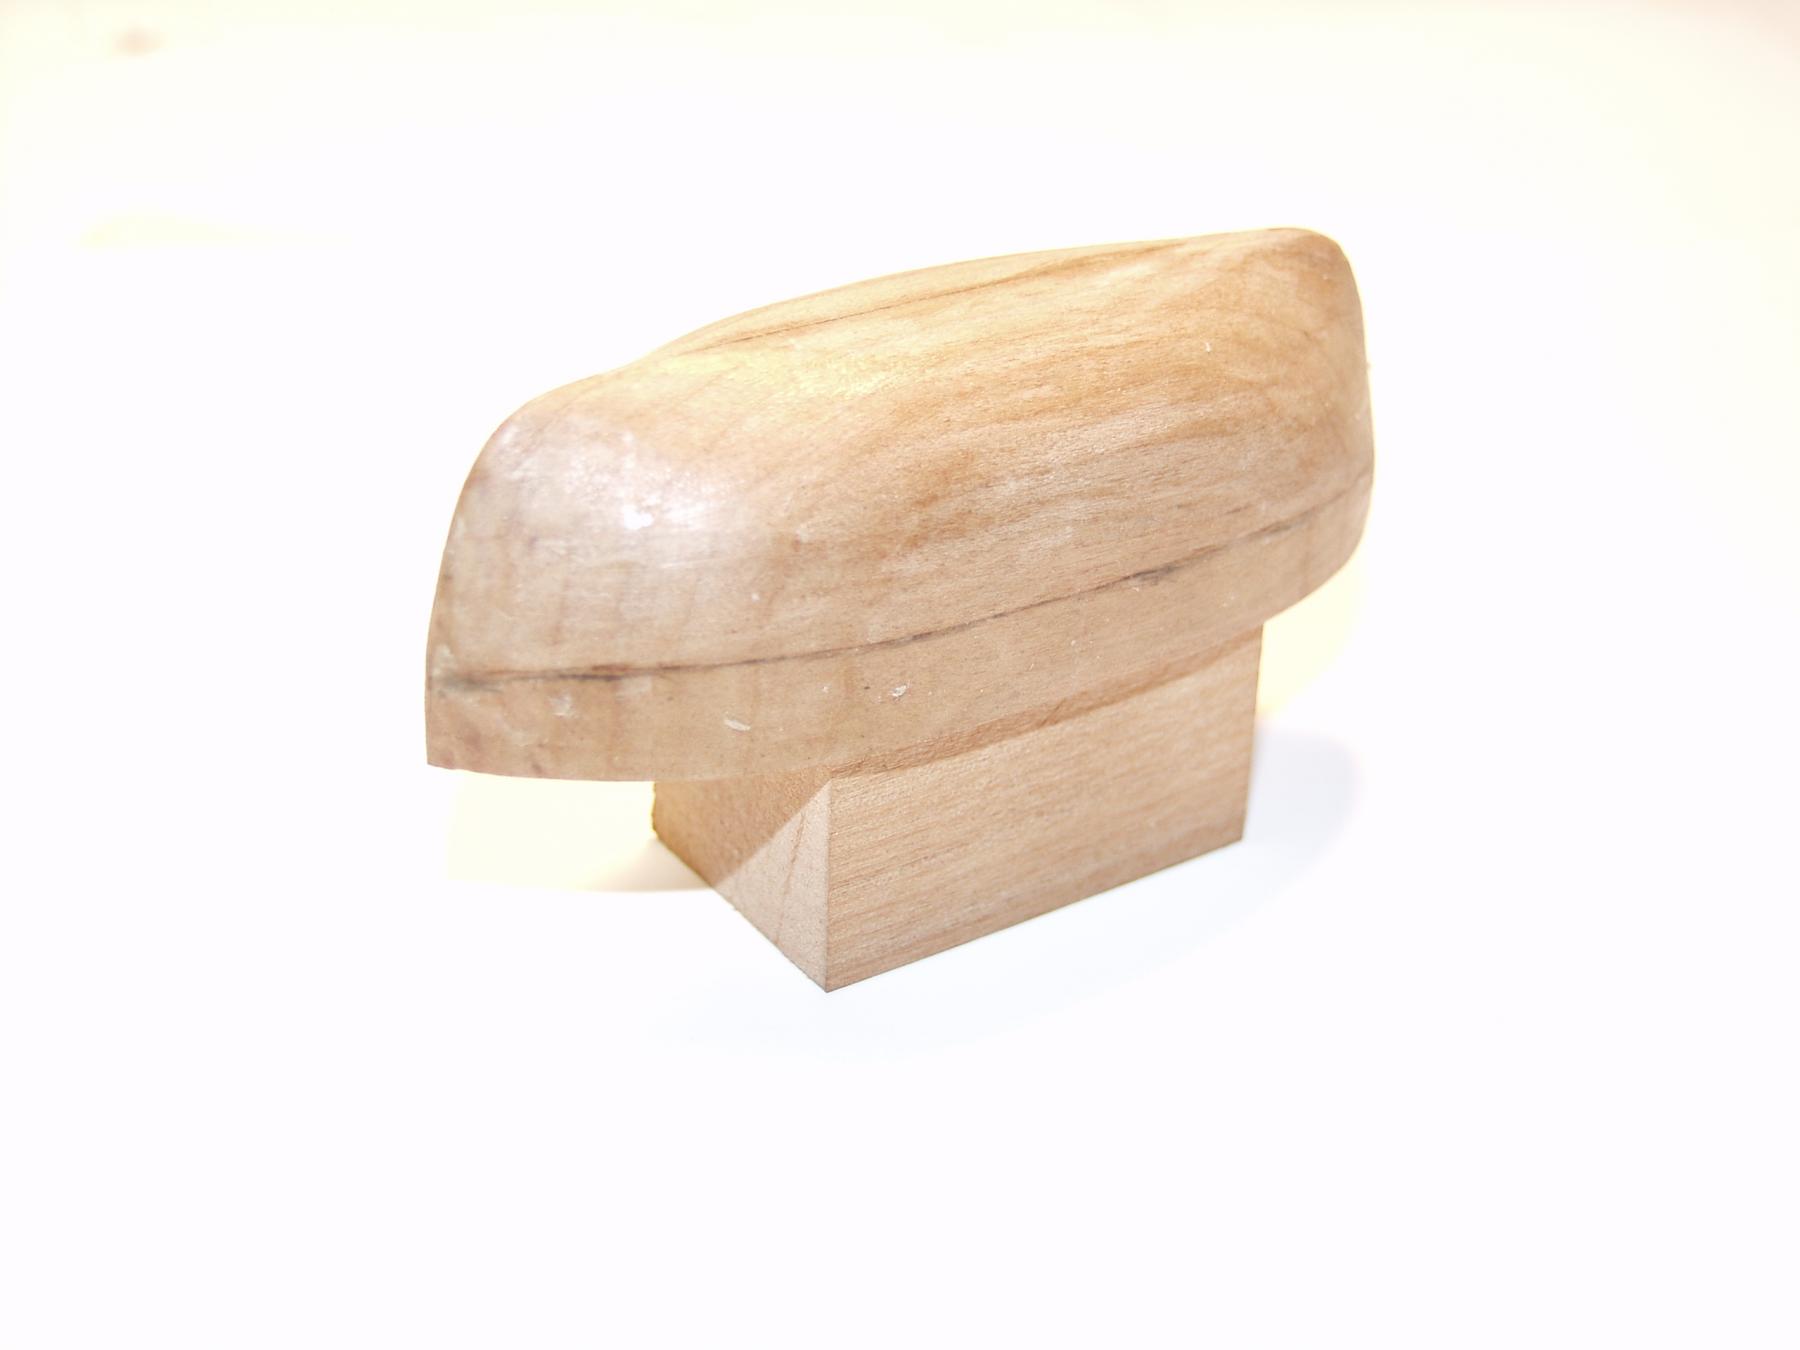
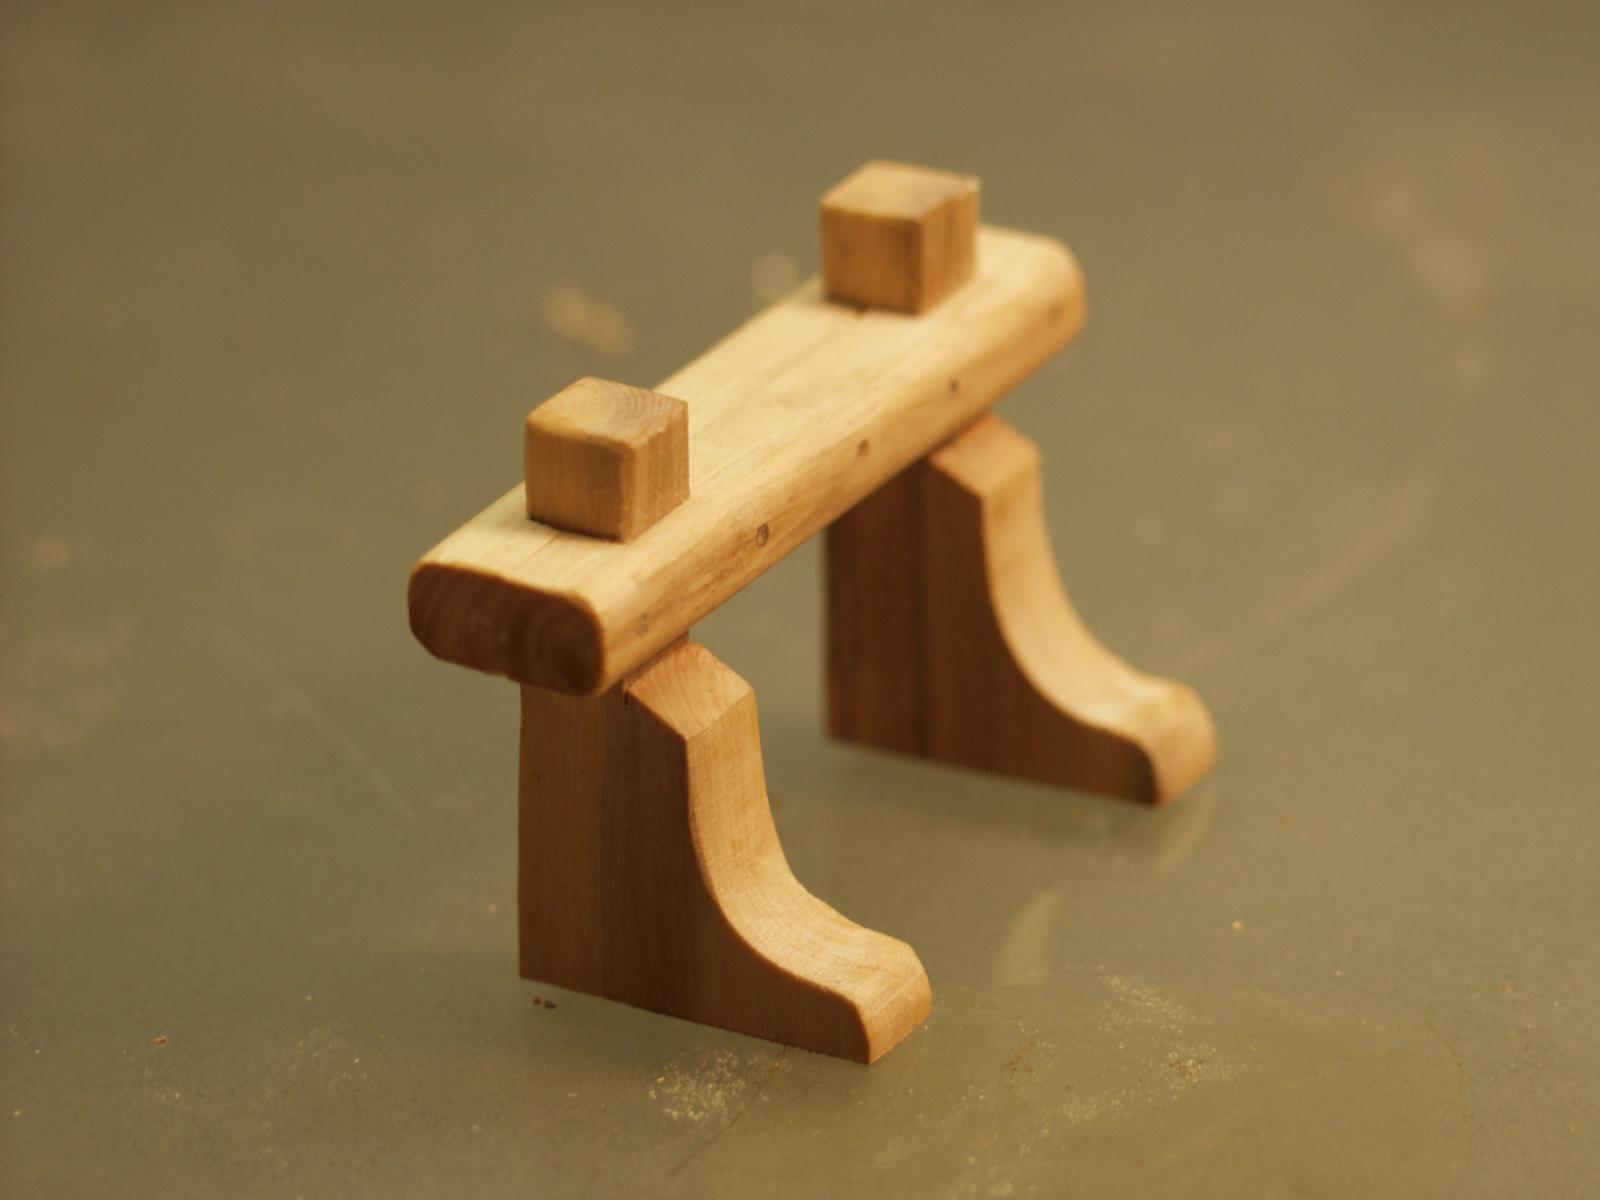
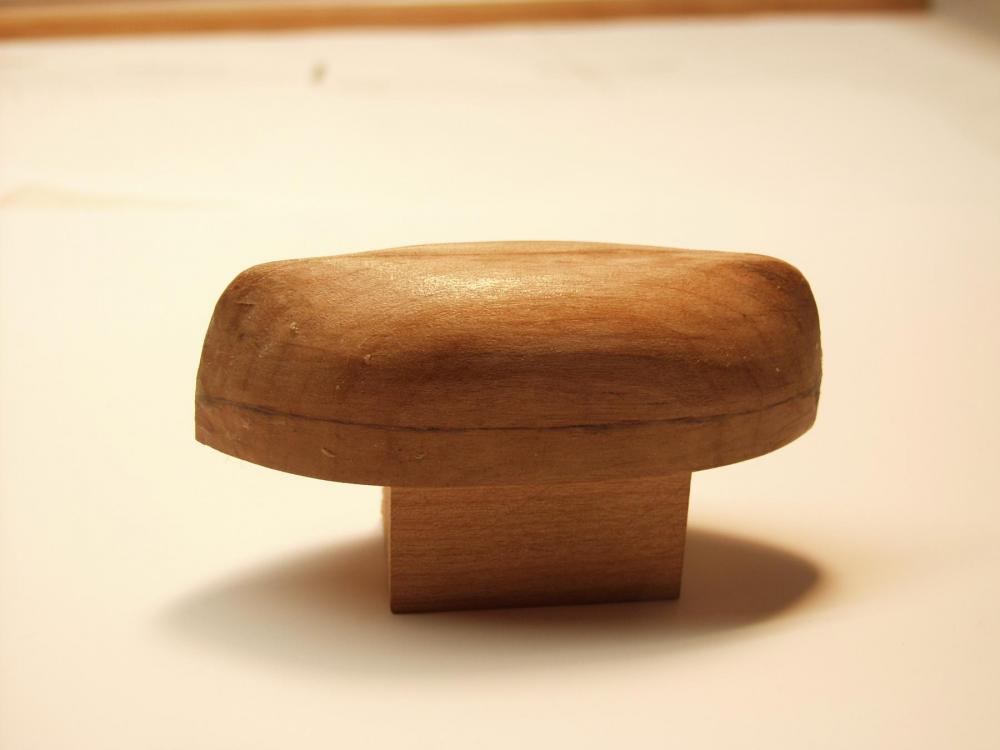
Well this is the plug that I have come up with. Sealed and waxed ,I will try and edge glue the planks after shaping and see what the heck I come up with.

- 208 replies
-
- 6
-
-
- john cudahy
- finished
- (and 1 more)
-
Nils, Like a fine wine it just keeps getting better!!! Steve
- 2,625 replies
-
- 5
-
-
- kaiser wilhelm der grosse
- passenger steamer
- (and 1 more)
-
Nils, That is looking super fine. Sure is alot going on for such a small deck area. Steve
- 2,625 replies
-
- 3
-
-
- kaiser wilhelm der grosse
- passenger steamer
- (and 1 more)
-
Thank you for sharing this magnificent project here.
- 641 replies
-
- 5
-
-
- greenwich hospital
- barge
- (and 1 more)
-
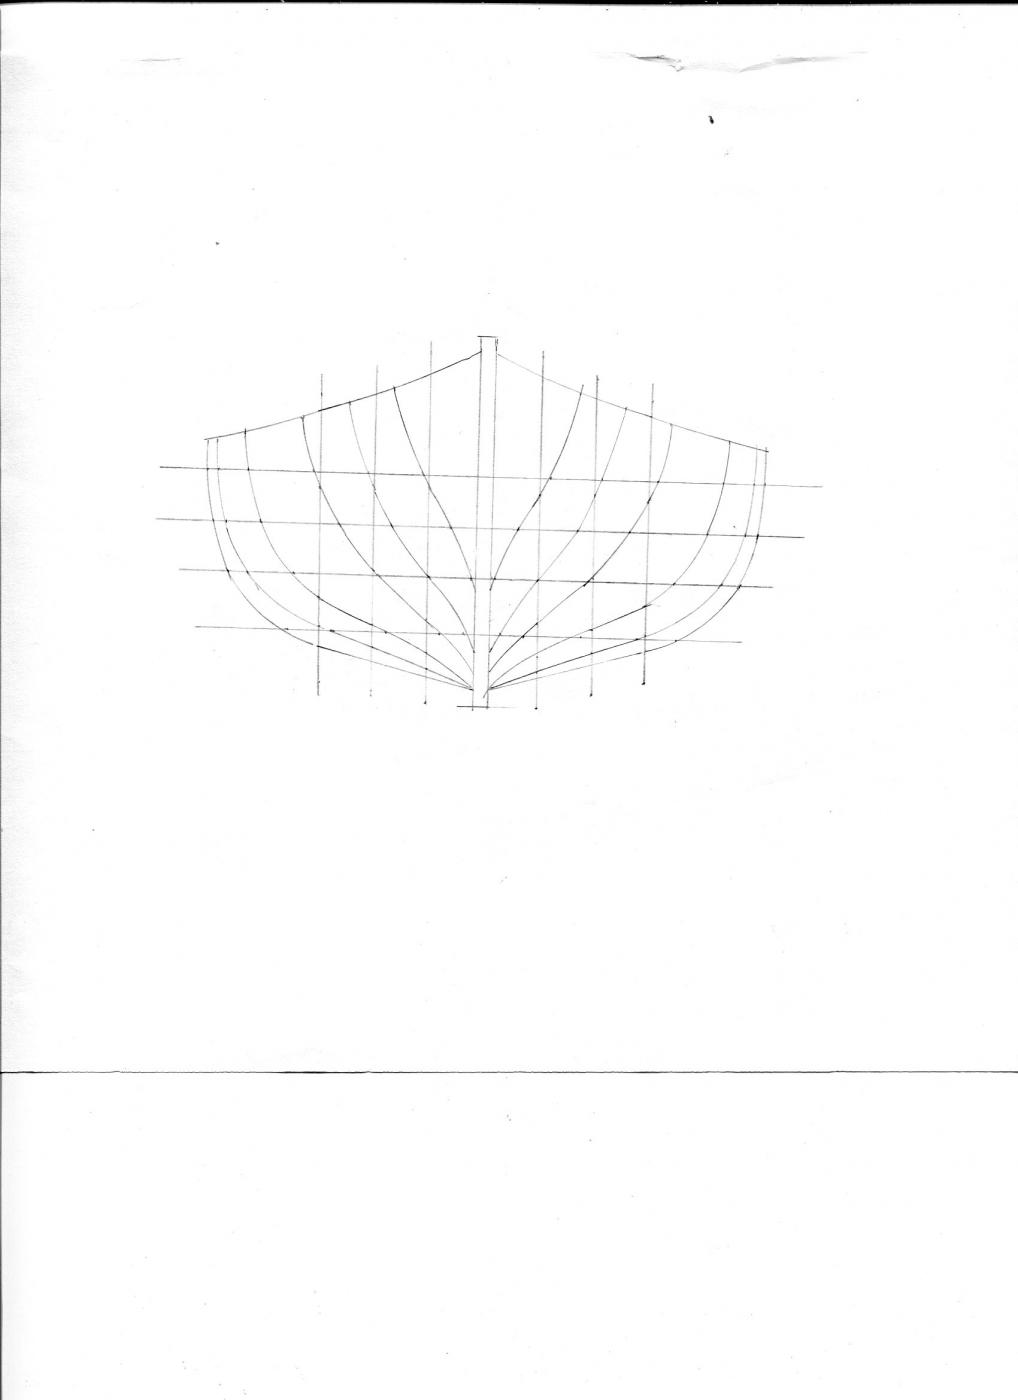
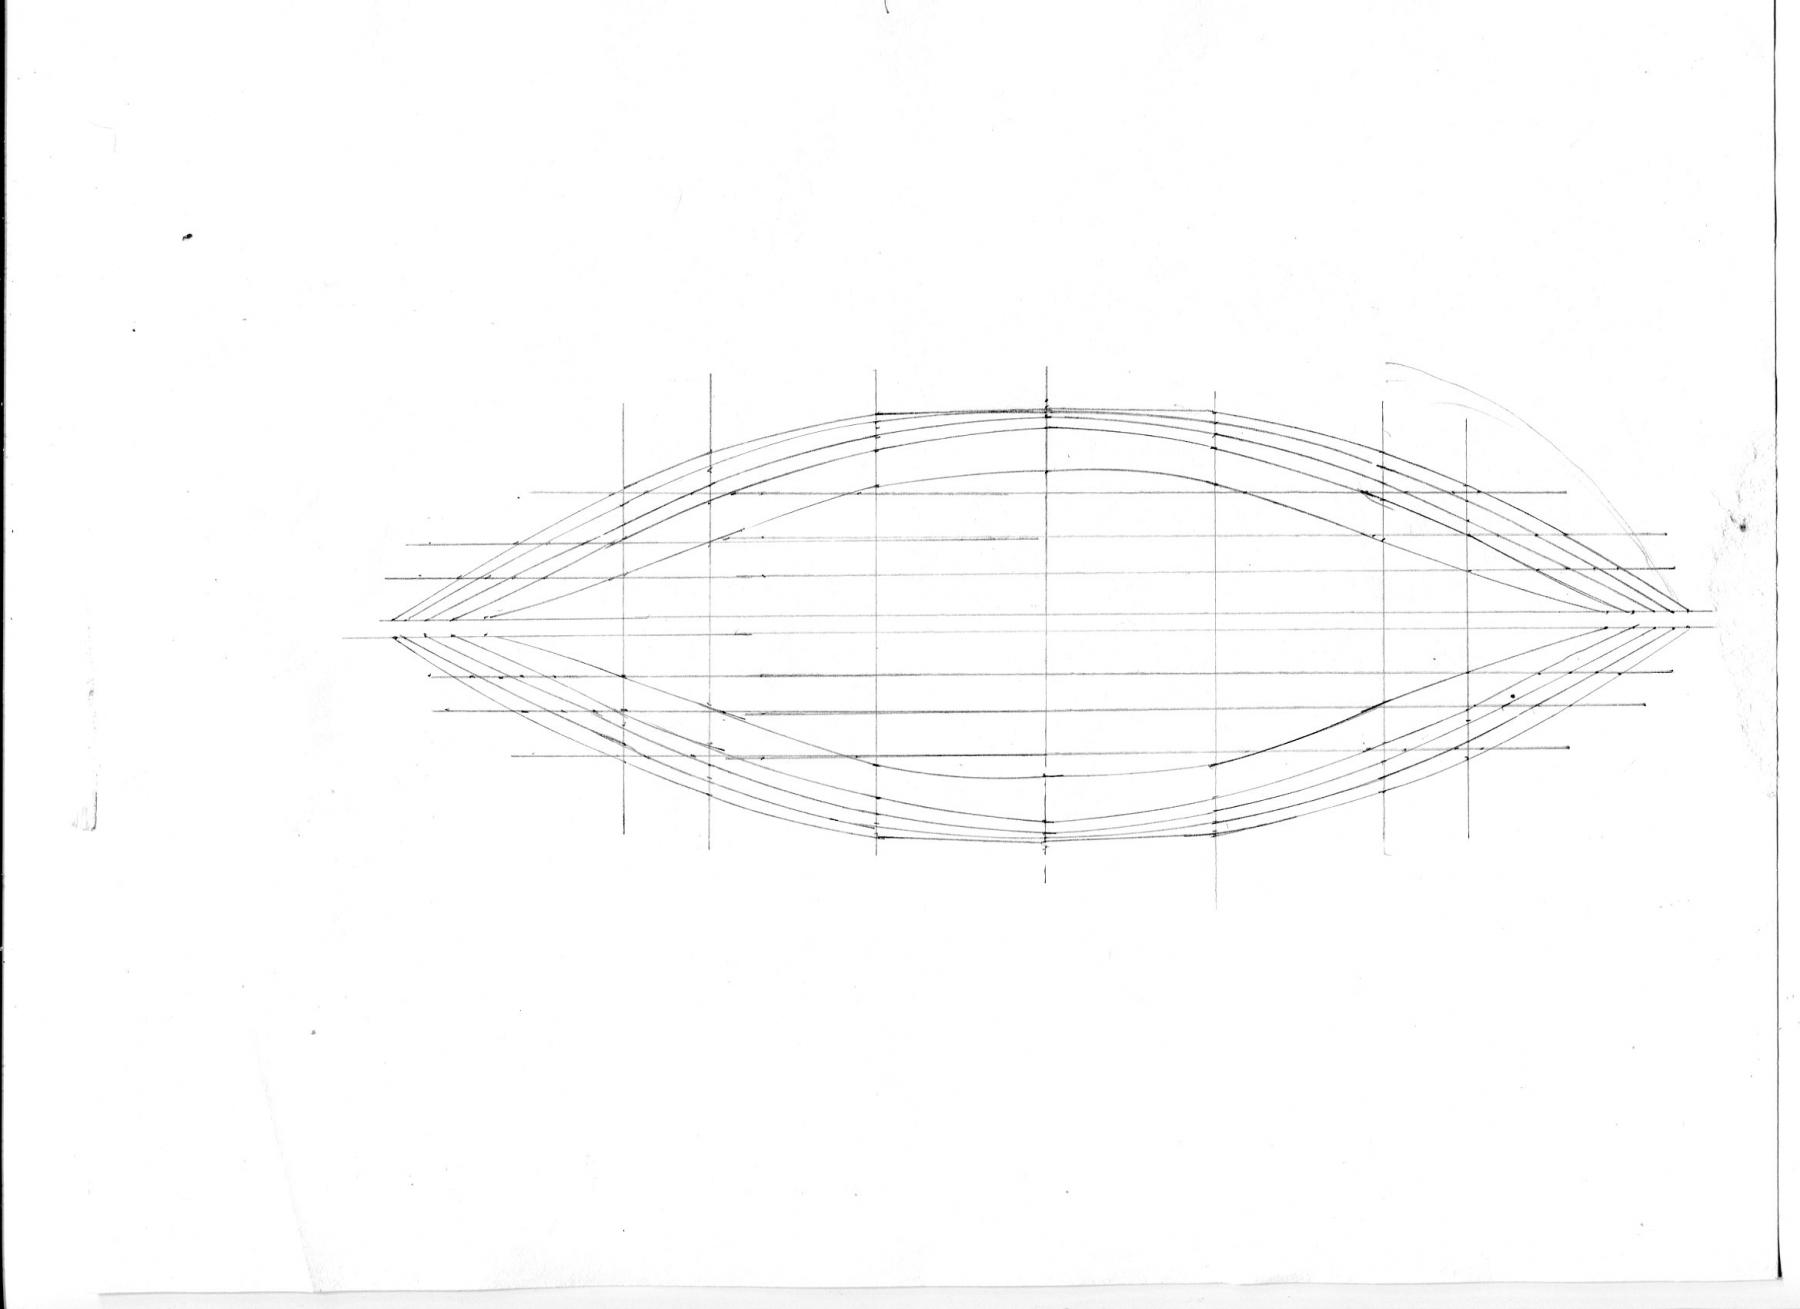
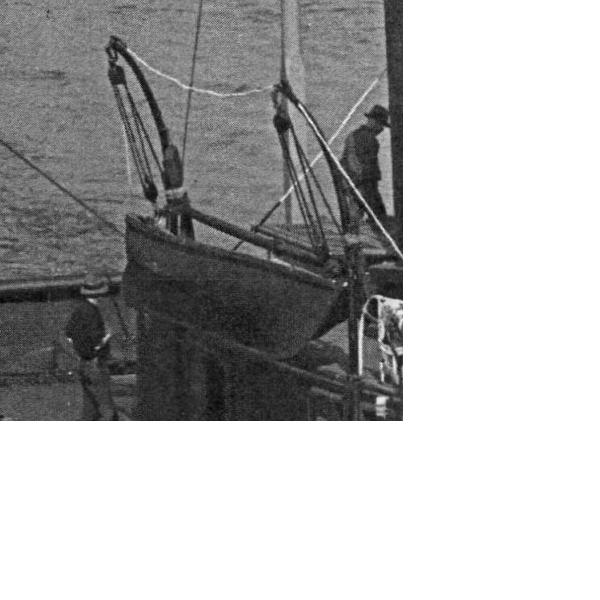
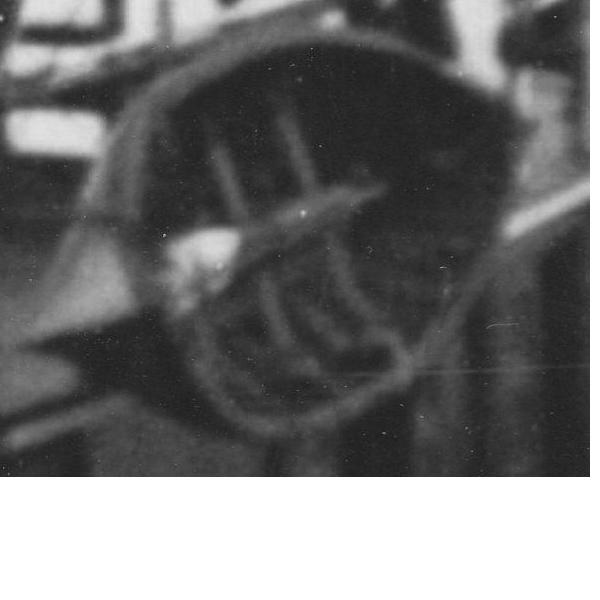
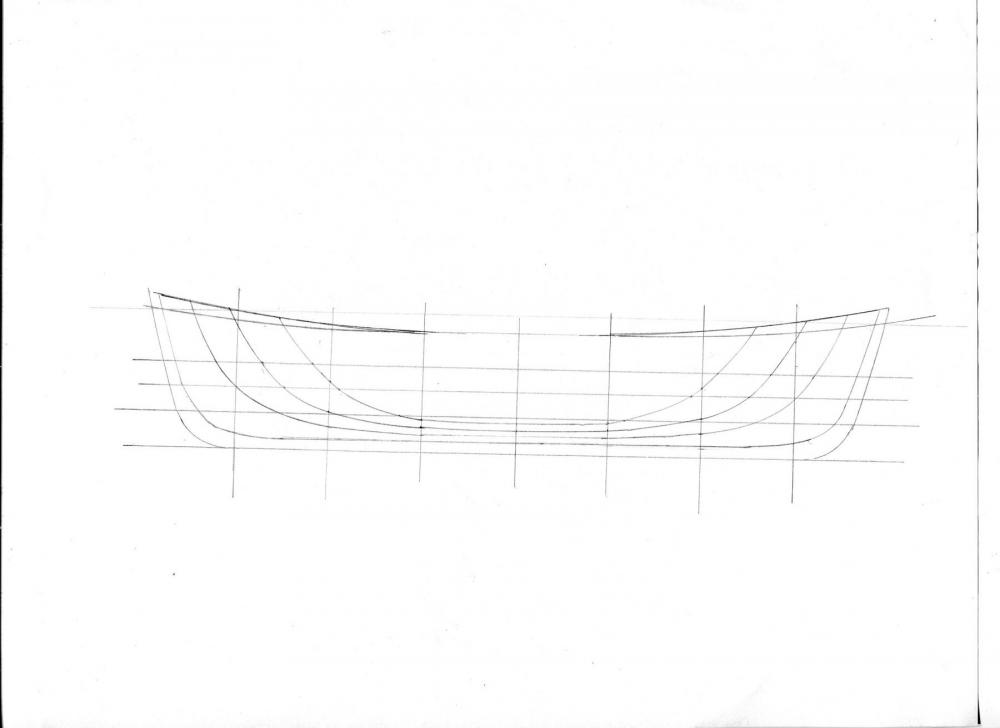
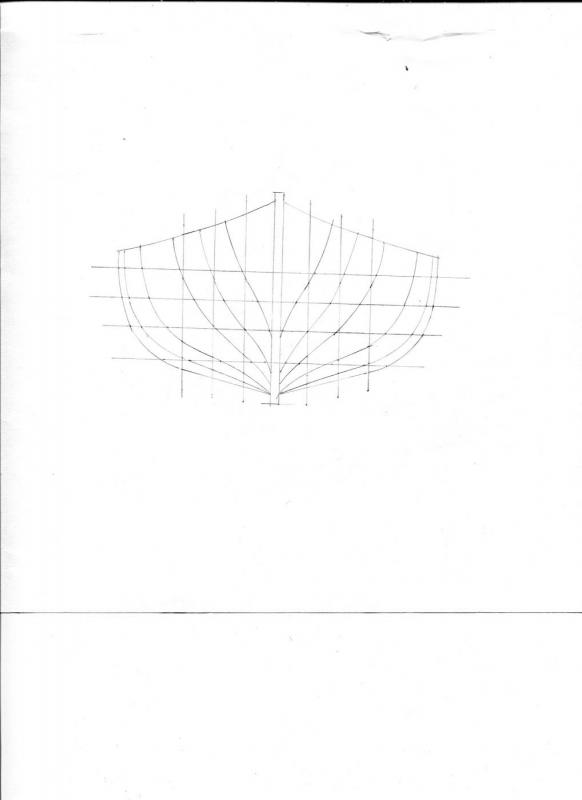
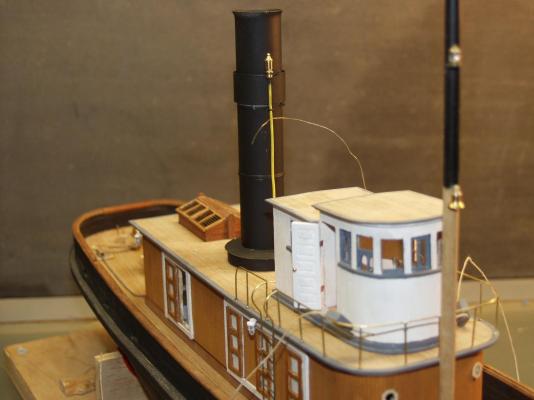
Ok it's been some time since I have updated progress on my build. You might say I have been stuck on detail that I see others have problems with as well, and that is ship's boats! I do not have a CAD program in which to create lines so I go at it with pencil and ruler. I am working from these two photos to try and get a set of lines. So far this is what I have come up with and am not happy with. I think I have the ends to narrow and not enough "cheek" in the ends. My drawing is suppose to be a 16 ft double ended boat as seen in first two photo's. I don't think I am there yet!

- 208 replies
-
- 5
-
-
- john cudahy
- finished
- (and 1 more)
-
Bob, If you have access to old NRG journals In the 2001 vol 46 no2, under (Building a Model Of USS Bennington) by Philip T Mattson with Irwin Schuster.. On pgs 75-78 he describes making cowl vents just like you mentioned. Something I plan on doing on one of my projects. Steve
- 348 replies
-
- 3
-
-
- pequot
- cable ship
- (and 1 more)
-
Steamboats and other rivercraft - general discussion
steamschooner replied to Cathead's topic in Nautical/Naval History
http://mirc.sc.edu/i...bject/usc:29874 Steam boat parade on the Ohio in 1929. This is for those that might have missed my earlier post of this link.- 281 replies
-
- 3
-
-
- Steamboats
- riverboats
- (and 3 more)
-
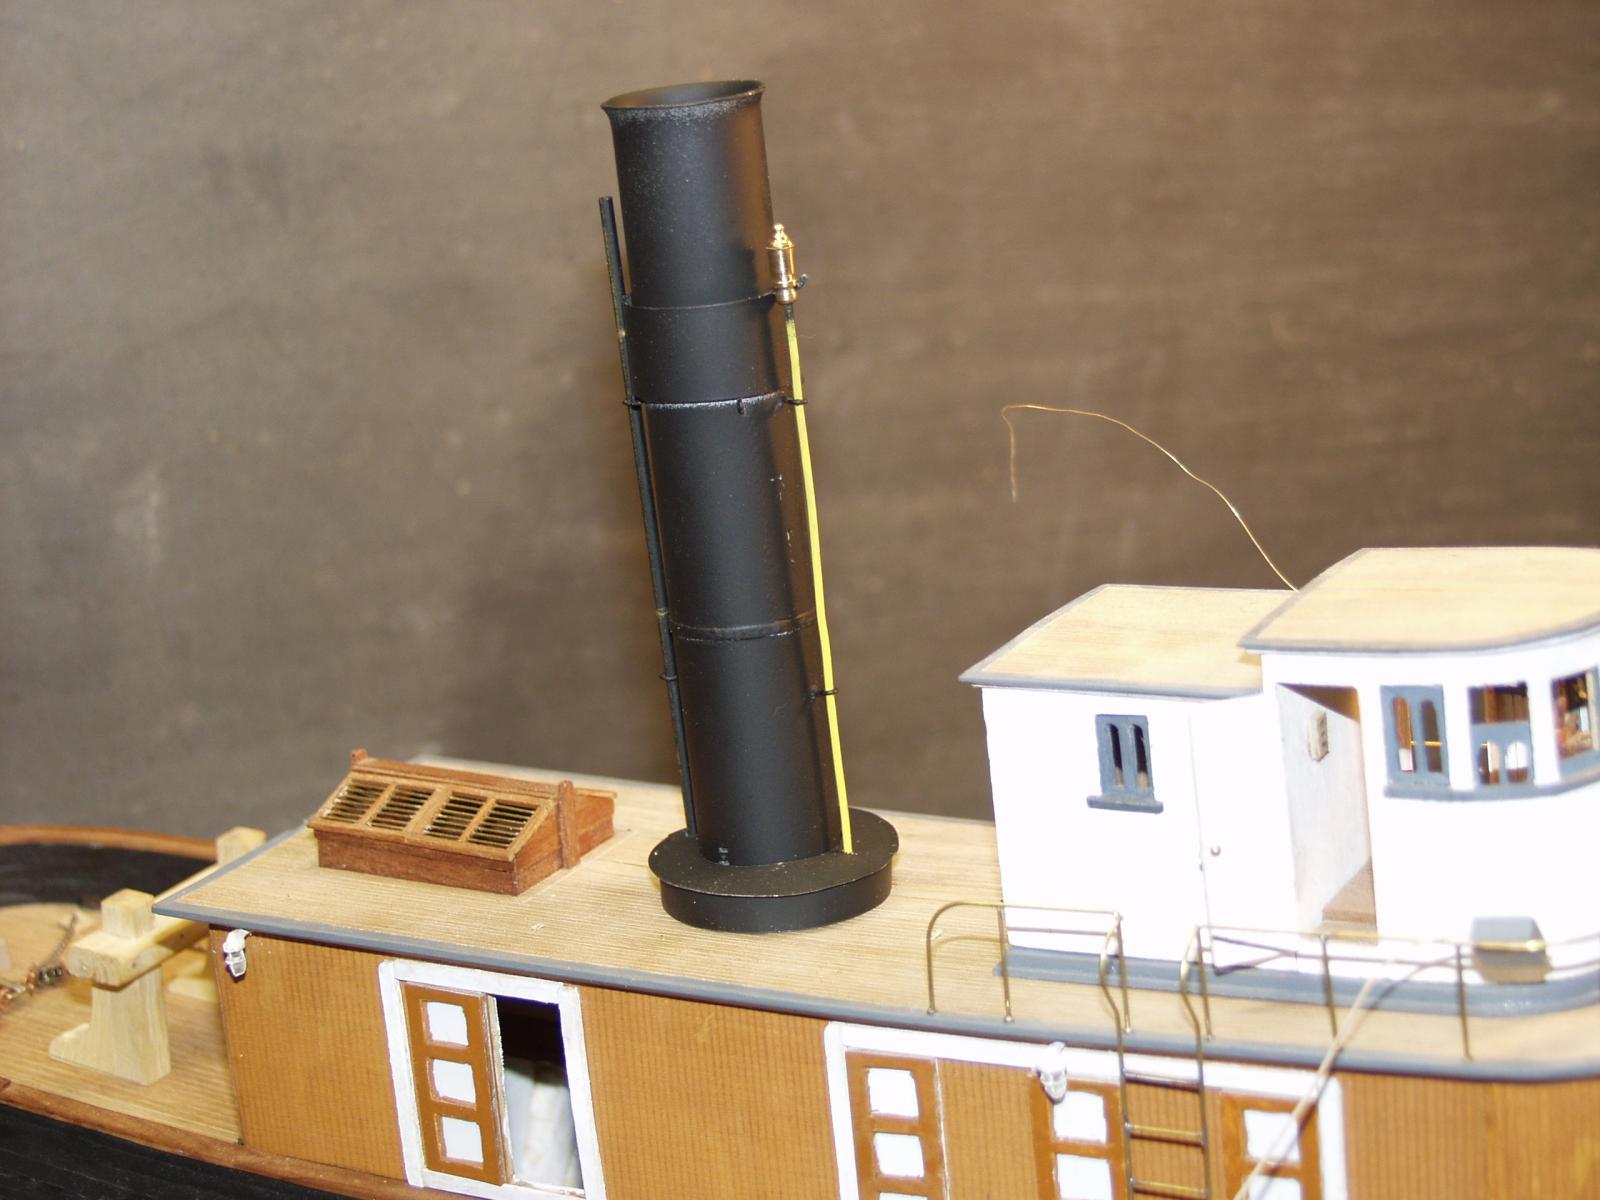
Very, very nice job on the mast ! Nils Steve
- 2,625 replies
-
- 4
-
-
- kaiser wilhelm der grosse
- passenger steamer
- (and 1 more)
-
Those poor souls! I served on a ATF, a little bit bigger ocean tug and was in a few storms at sea. NOT fun I can tell you.
-
Nils, They look outstanding!
- 2,625 replies
-
- 5
-
-
- kaiser wilhelm der grosse
- passenger steamer
- (and 1 more)
-
Add my belated, Happy Birthday wishes. I too, look forward to updates on your project. Steve
-
Nils, I am with the rest in hoping a speedy recovery, and return to the shipyard.
- 2,625 replies
-
- 3
-
-
- kaiser wilhelm der grosse
- passenger steamer
- (and 1 more)
-
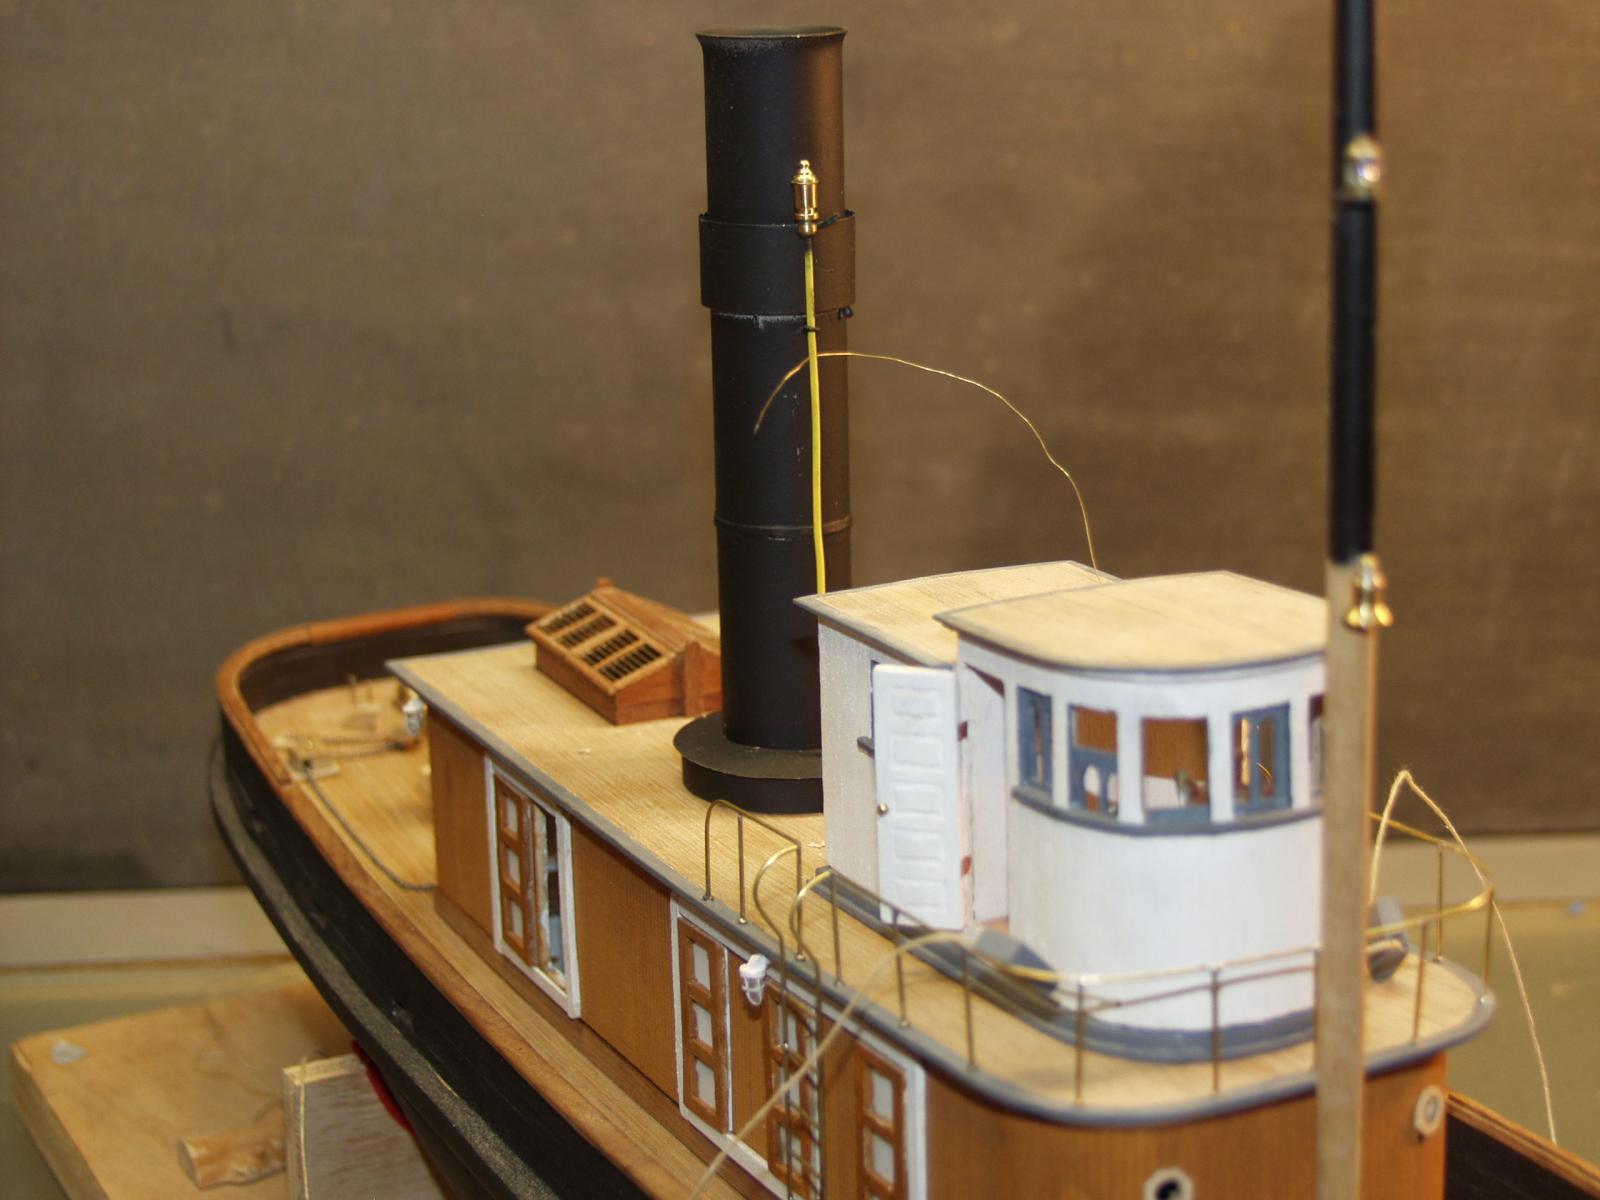
One more mini project worked out still to be touched up and white band painted.

- 208 replies
-
- 9
-
-
- john cudahy
- finished
- (and 1 more)
-
Thanks Glen, I can only hope to someday do some beautiful work like your riverboats.
- 208 replies
-
- 4
-
-
- john cudahy
- finished
- (and 1 more)
-
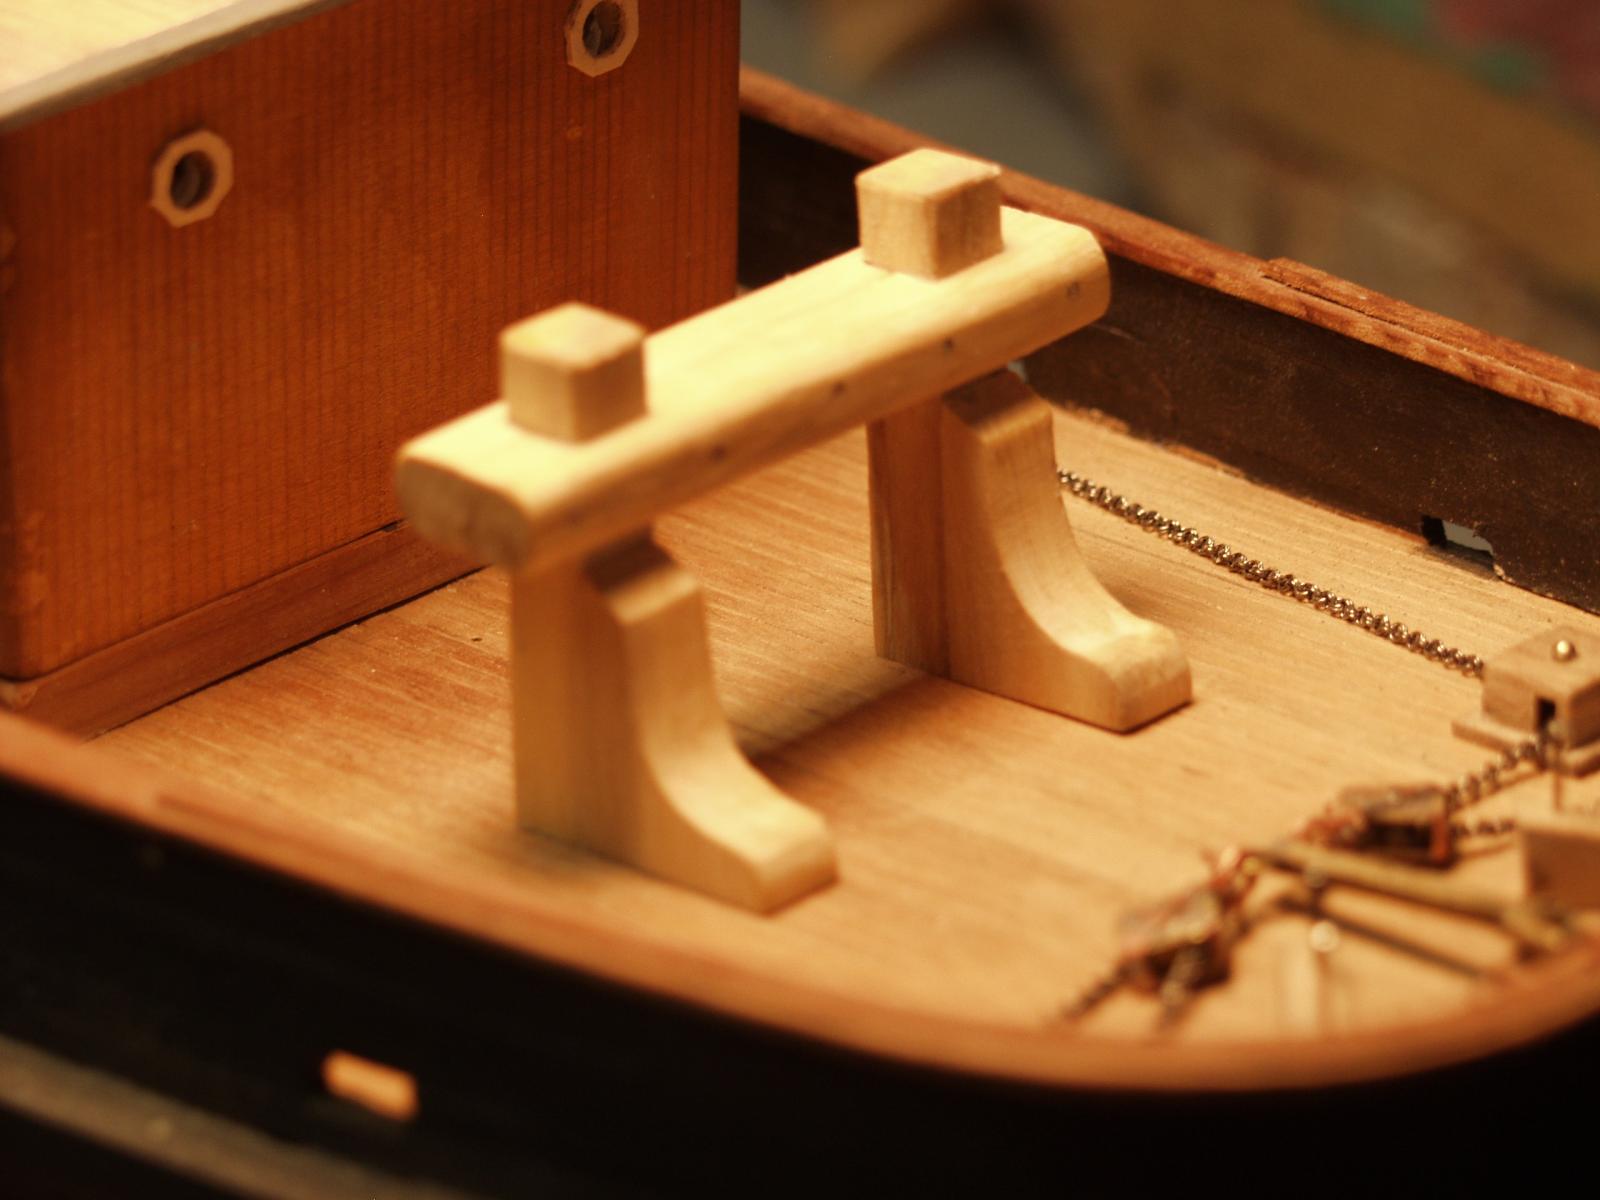
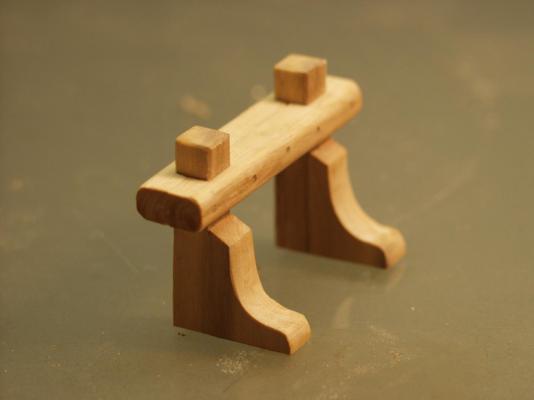
I managed to get another piece of deck gear done today. Kinda important since this is a tug boat.


- 208 replies
-
- 6
-
-
- john cudahy
- finished
- (and 1 more)
-
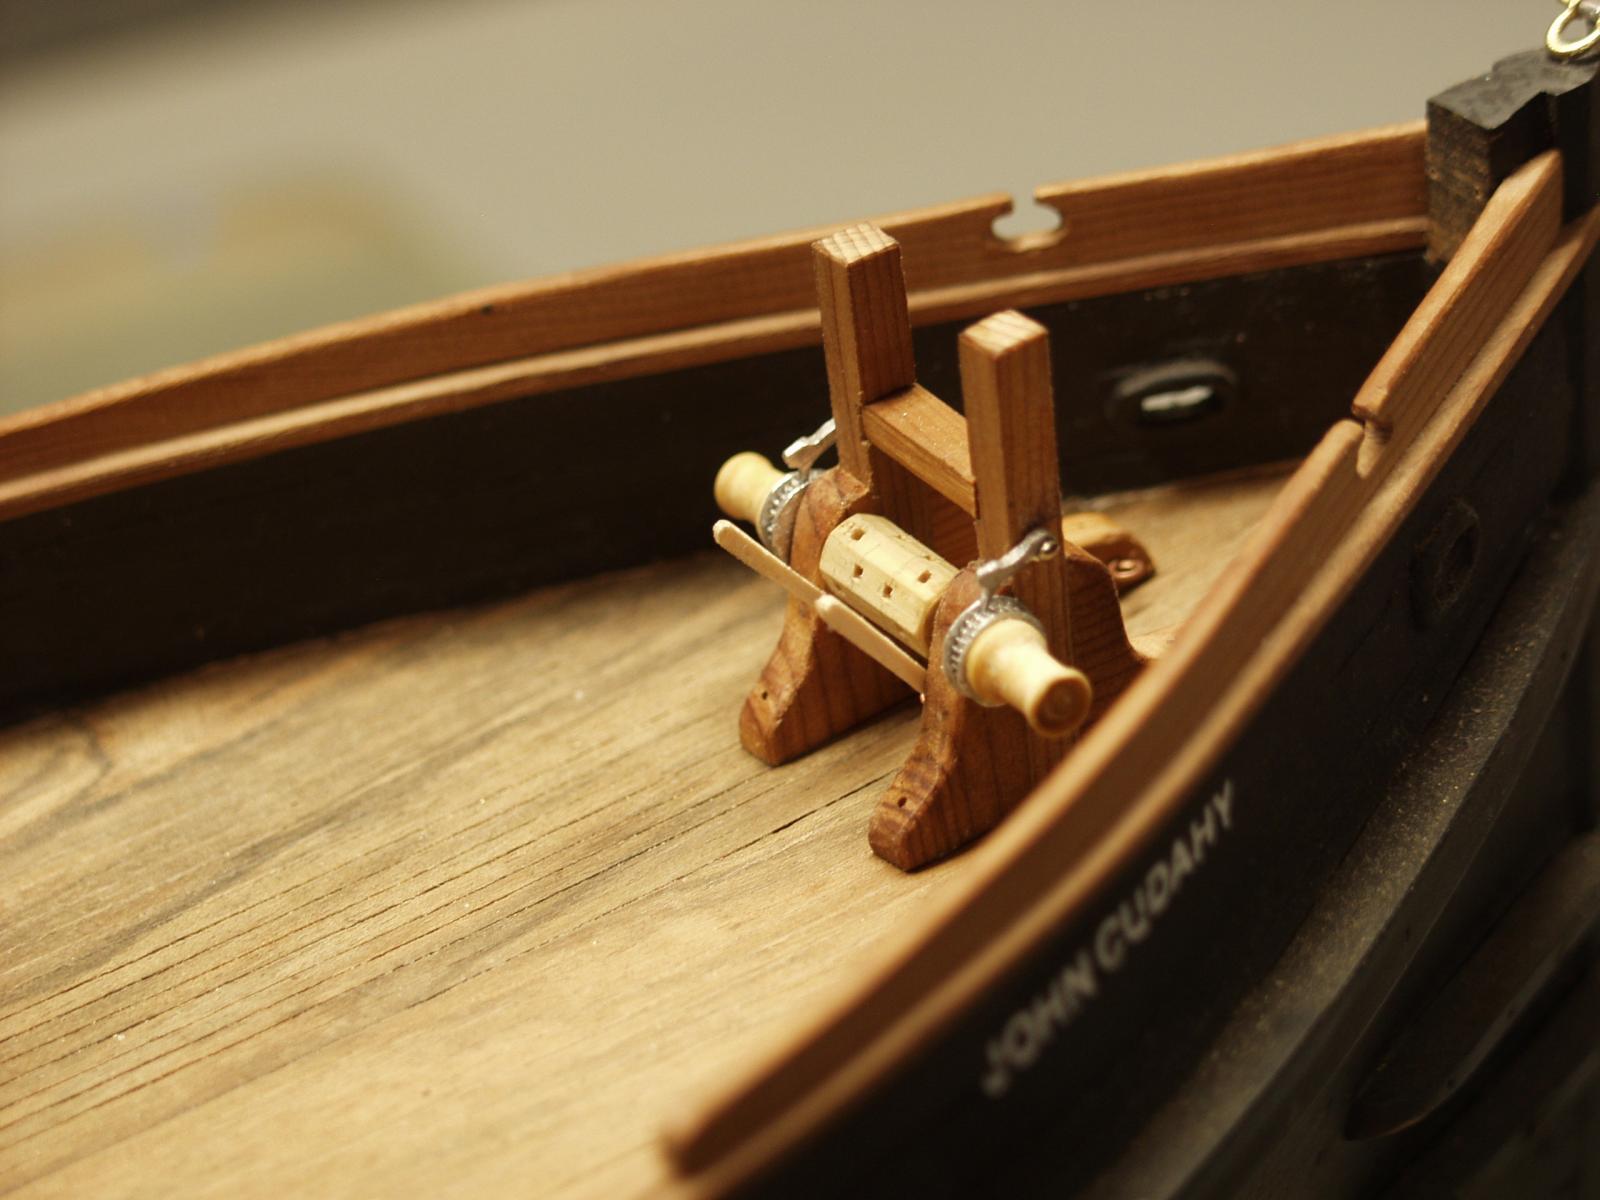
Nils, Just following plans with the steering gear. Plans consist of a few photos that's pretty much it. I can not see the blocks on the tiller arm so I went with metal blocks. Just seemed more appropriate for there.
- 208 replies
-
- 4
-
-
- john cudahy
- finished
- (and 1 more)
-
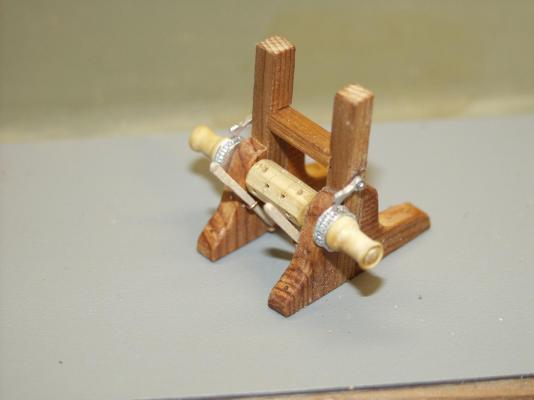
Well it has been raining here for days so I don't feel bad about not getting some outside chores done. So I have been busy in the shipyard and this is what I have put together. Need to blacken the copper, Shorten levers, Paint what does get paint. Glue it all together. but pretty much done.

- 208 replies
-
- 10
-
-
- john cudahy
- finished
- (and 1 more)
-
Nils, Winches are looking great .As for the odd balls if they were used for the lifeboats there would have to be some blocks and tackle to go with them. Since the winches are set up for a fore and aft pull.
- 2,625 replies
-
- 5
-
-
- kaiser wilhelm der grosse
- passenger steamer
- (and 1 more)