HOLIDAY DONATION DRIVE - SUPPORT MSW - DO YOUR PART TO KEEP THIS GREAT FORUM GOING! (Only 24 donations so far out of 49,000 members - C'mon guys!)
×


steamschooner
-
Posts
369 -
Joined
-
Last visited
Content Type
Profiles
Forums
Gallery
Events
Everything posted by steamschooner
-
 Gary, glad you like my engine it's been a interesting build so far. Michael, Some of it will get painted ,some will stay a brass look. Guess when I have It all together I will than decide what gets painted and what gets left alone.
- 208 replies
-
- 4
-

-
- john cudahy
- finished
- (and 1 more)
-
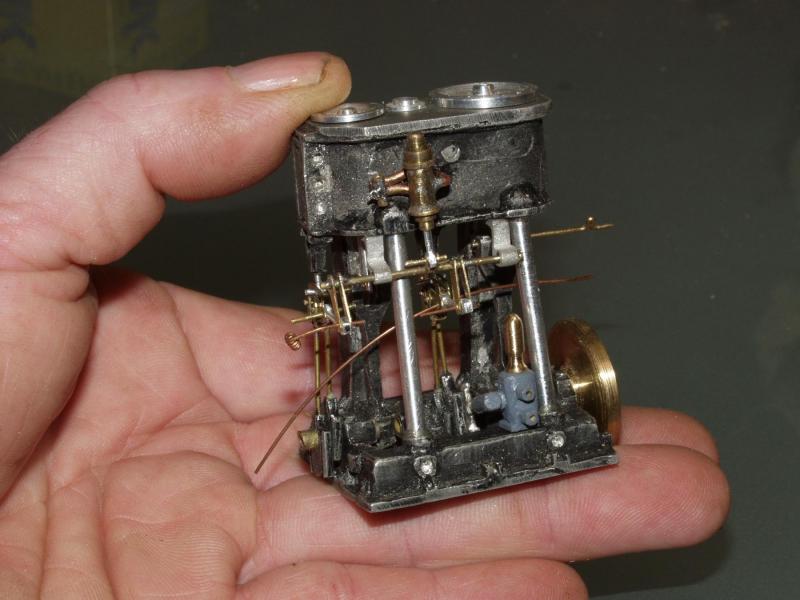
Just a teaser to show I have been working on my project. It's far from being done and there are a lot of temp pins holding things together. Once I have all the parts made than I will do the final assembly.
- 208 replies
-
- 18
-
-
- john cudahy
- finished
- (and 1 more)
-
Nils, She's looking really great with all the details, each little section a project in it's self.
- 2,625 replies
-
- 8
-
-
- kaiser wilhelm der grosse
- passenger steamer
- (and 1 more)
-
Thanks Nils, It's these mini projects that make a build enjoyable.
- 208 replies
-
- 4
-
-
- john cudahy
- finished
- (and 1 more)
-
John, Patrick Thanks for stopping by Roger, I plan on including a jacking gear on engine.
- 208 replies
-
- 2
-
-
- john cudahy
- finished
- (and 1 more)
-
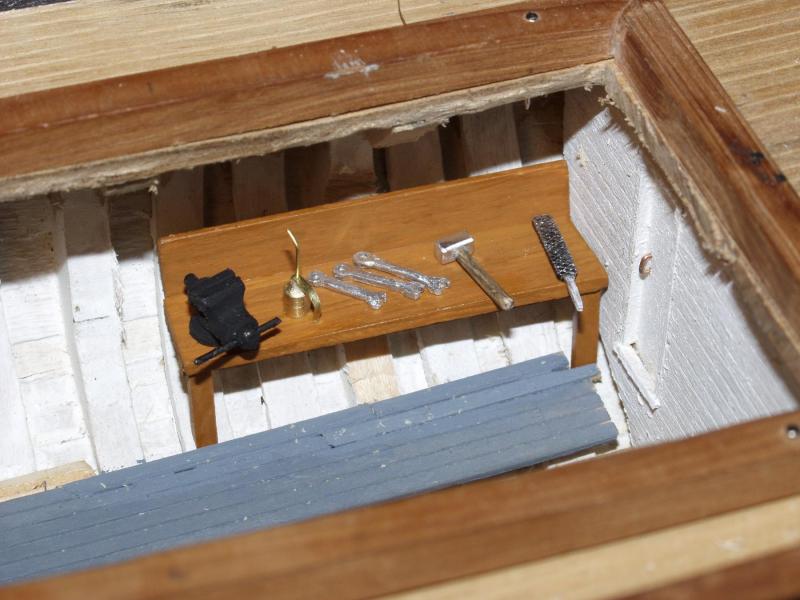
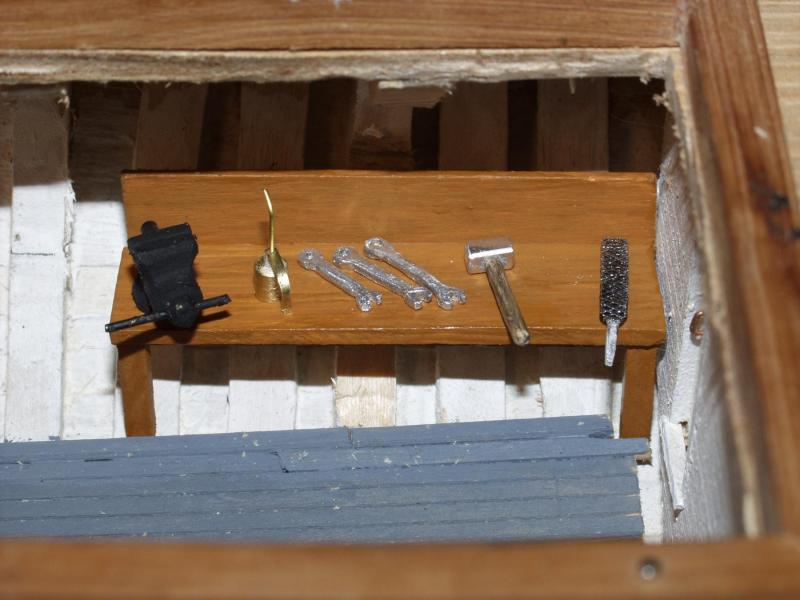
Well I spent a little time down in the engineering space and have put together a little work bench.
- 208 replies
-
- 9
-
-
- john cudahy
- finished
- (and 1 more)
-
Nils, The vents kind of reminds me of mushrooms after it has rained, they pop up all over. All of it is looking really good.
- 2,625 replies
-
- 6
-
-
- kaiser wilhelm der grosse
- passenger steamer
- (and 1 more)
-
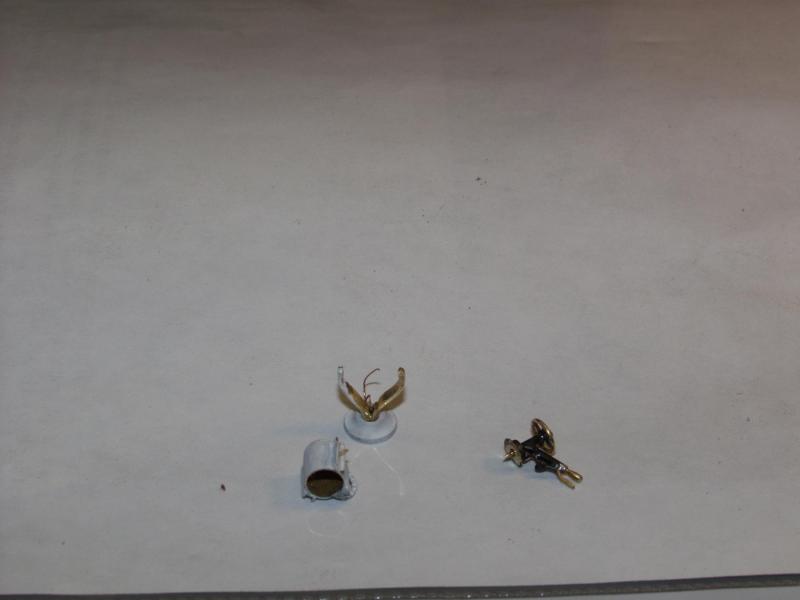
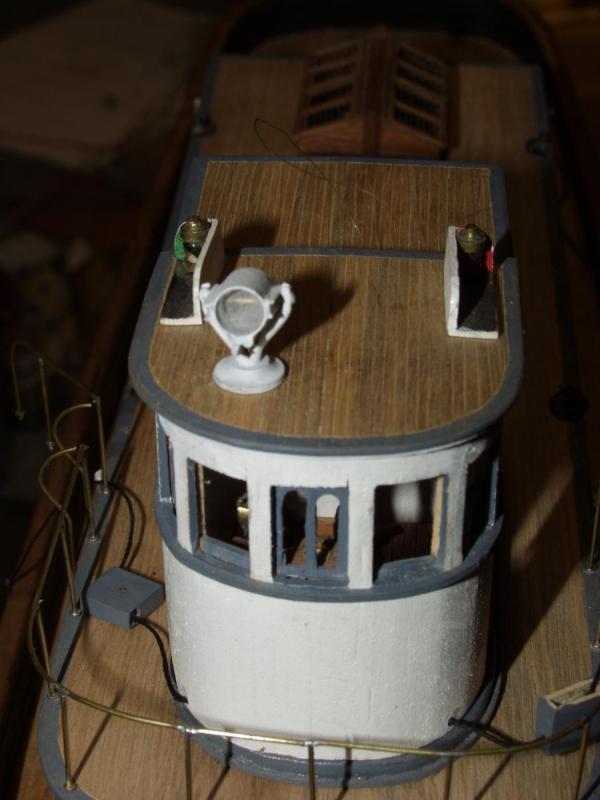
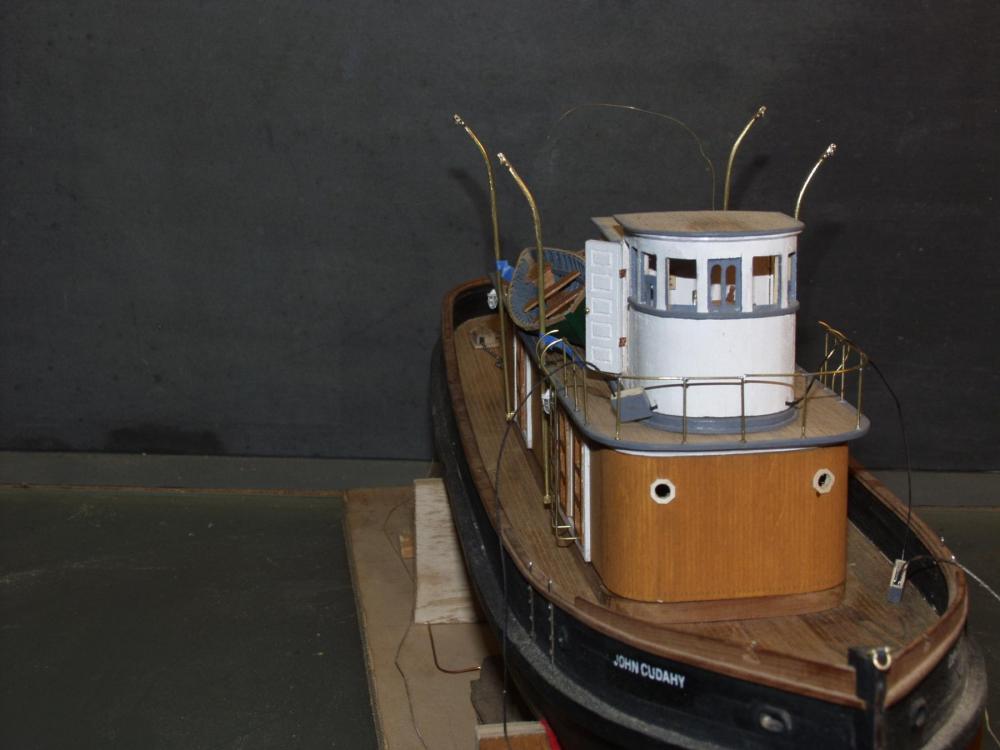
Well, It's been awhile since I posted a update. I have not gotten a lot done is why Have been working on the boat davits but nothing to show yet. Did manage to put together the spot light mounted on the wheel house roof. First picture is of spotlight parts and the inside wheelhouse control. This is how the spotlight looks like on the cabin top. sorry for the dark picture.
- 208 replies
-
- 9
-
-
- john cudahy
- finished
- (and 1 more)
-
Wonderful progress on your project Bob, it's looking great!
- 348 replies
-
- 3
-
-
- pequot
- cable ship
- (and 1 more)
-
Nils, Great looking vents, you must see them in your sleep after making so many.
- 2,625 replies
-
- 3
-
-
- kaiser wilhelm der grosse
- passenger steamer
- (and 1 more)
-
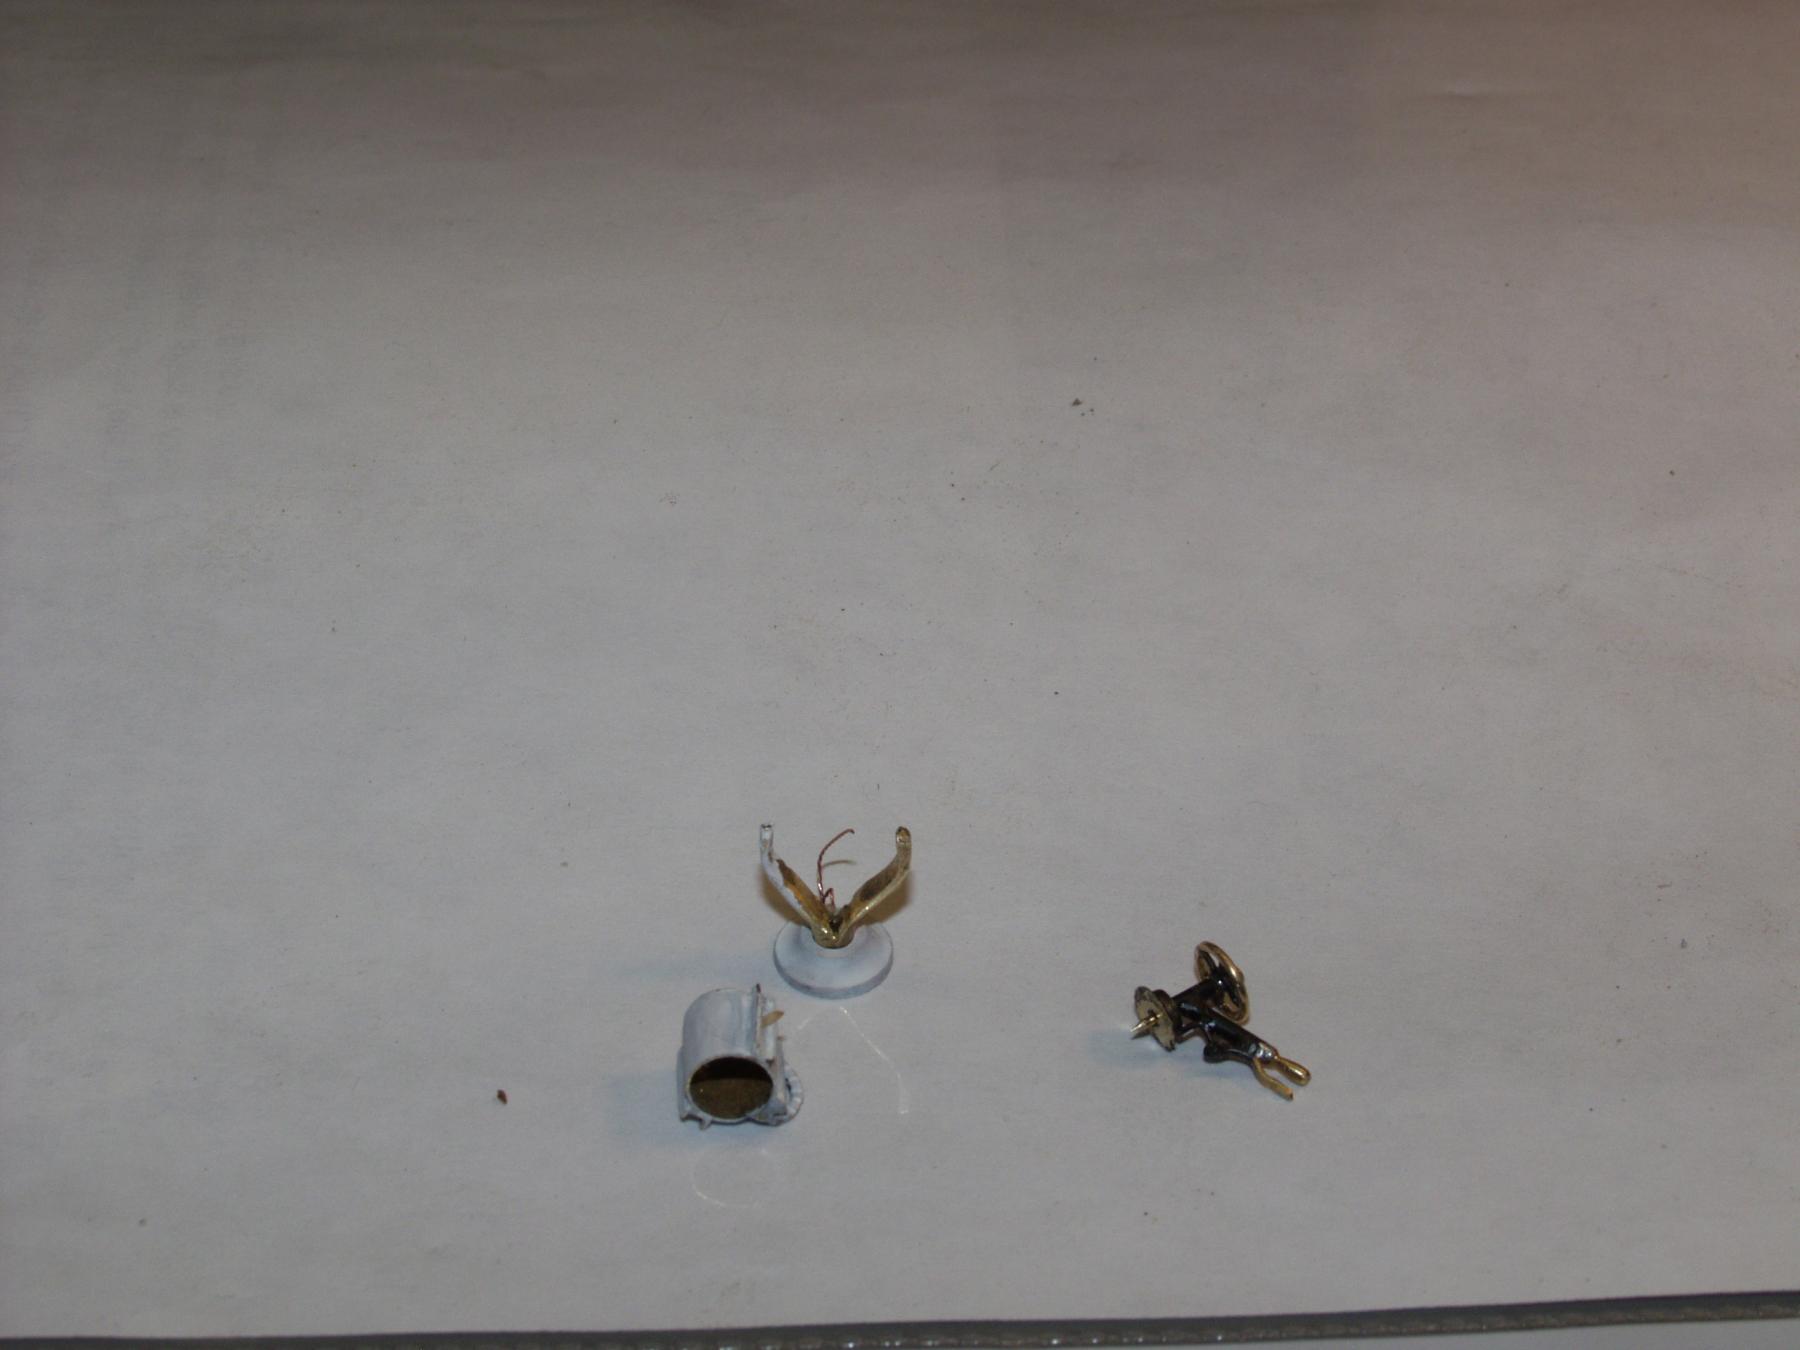
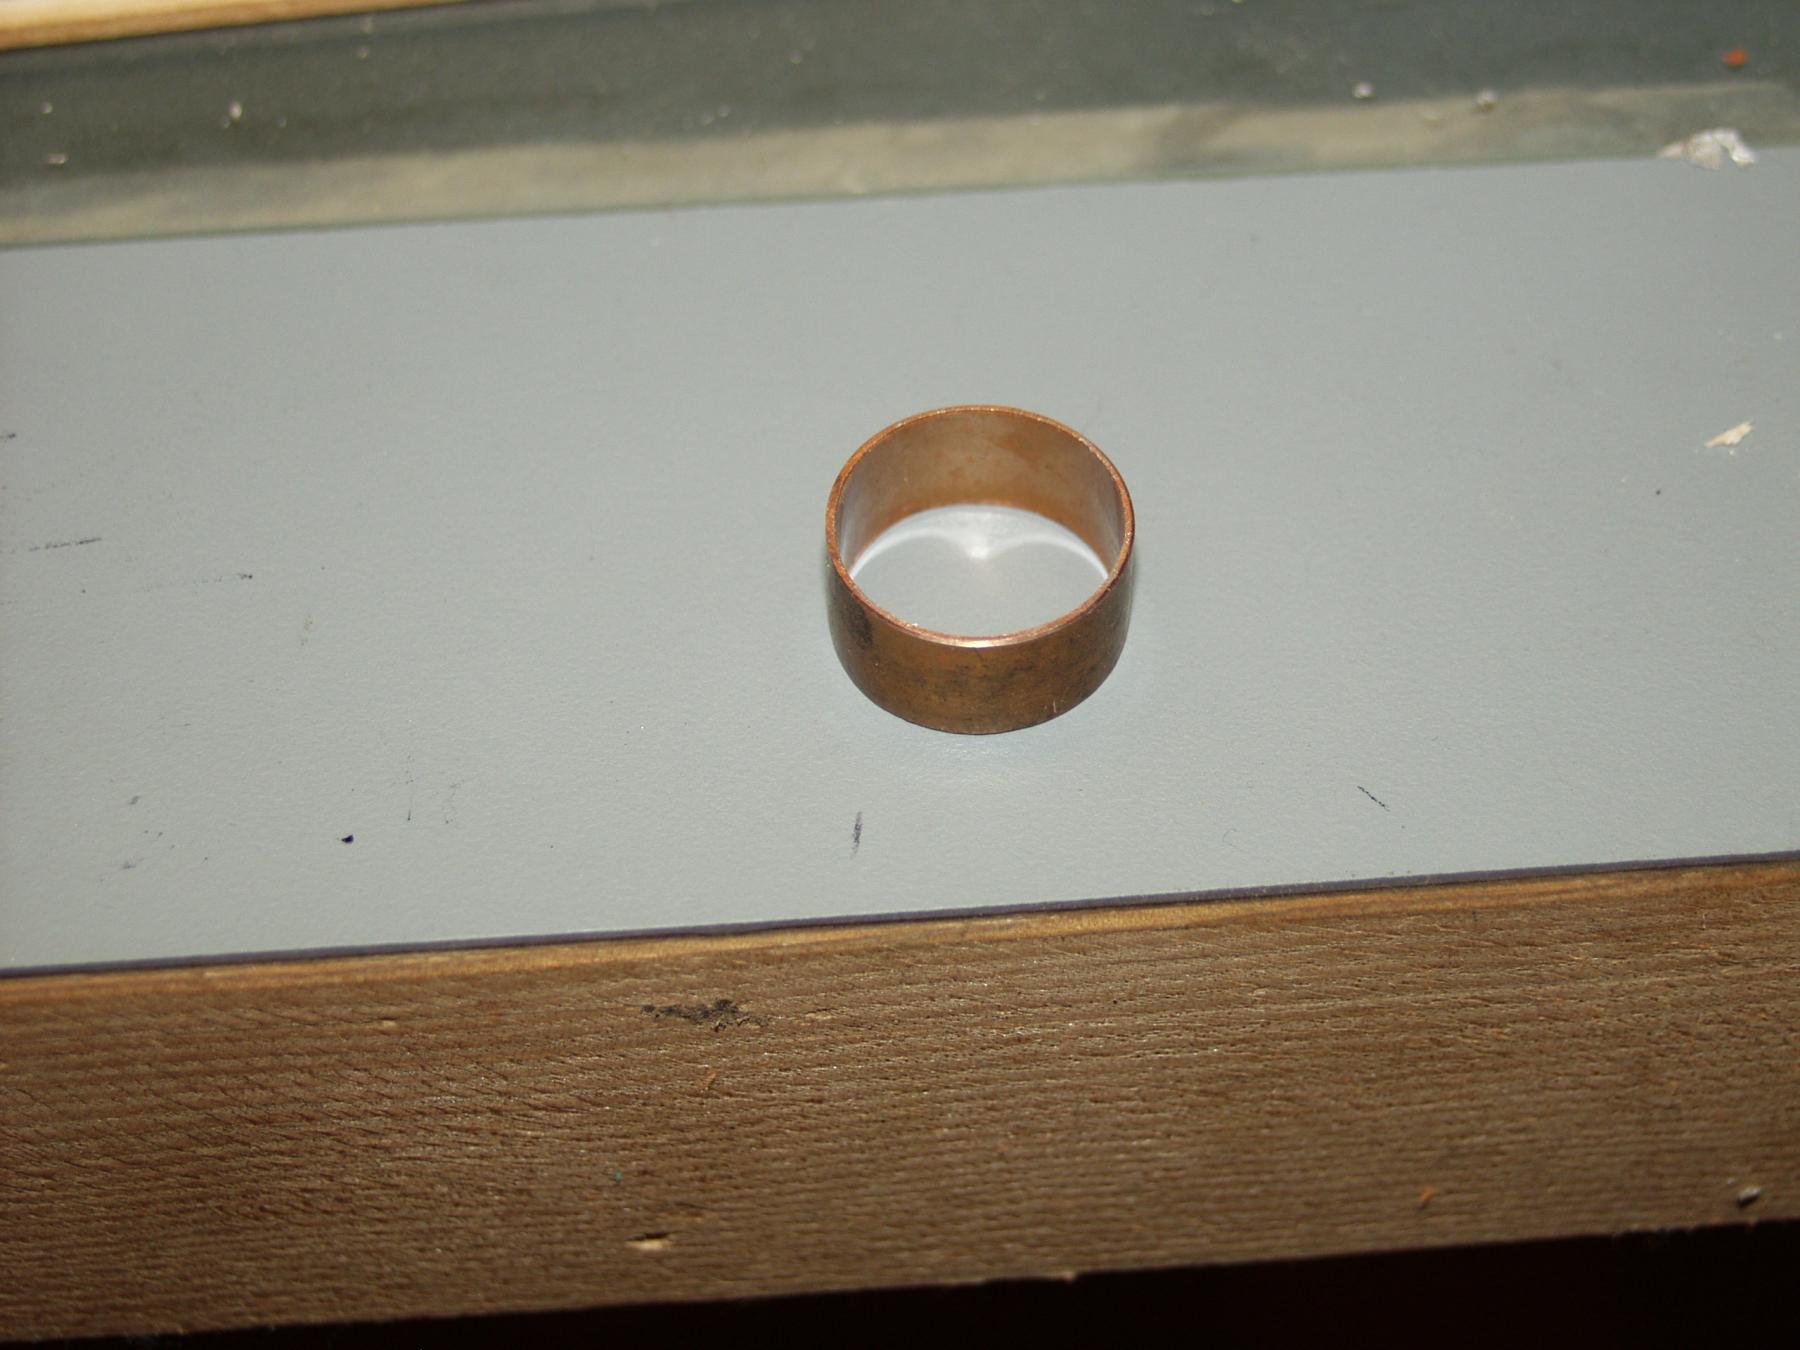
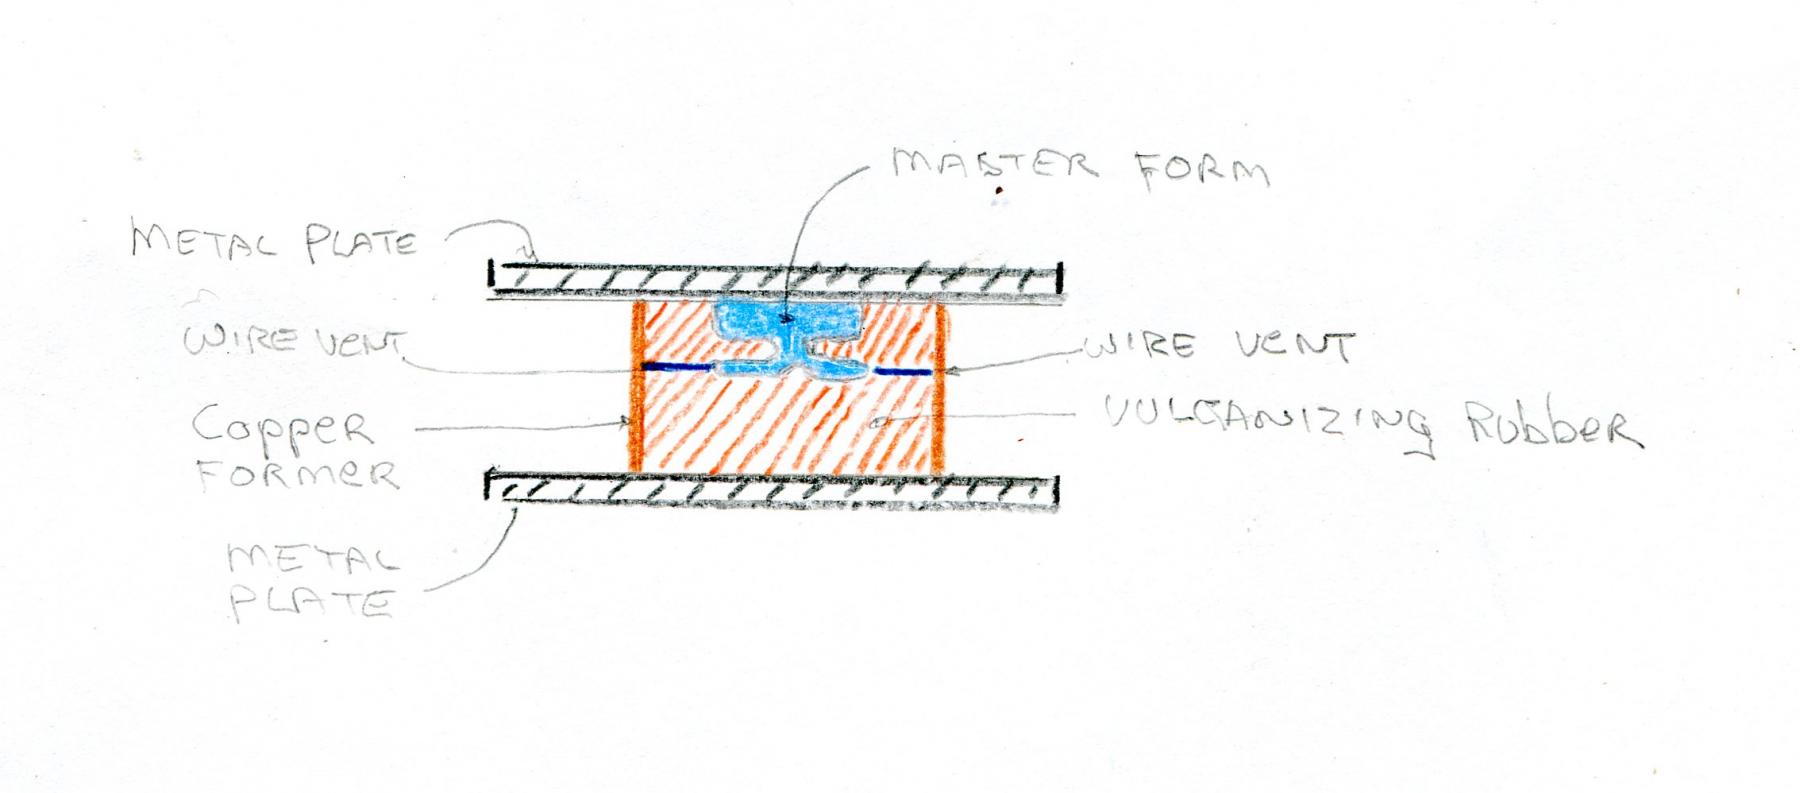
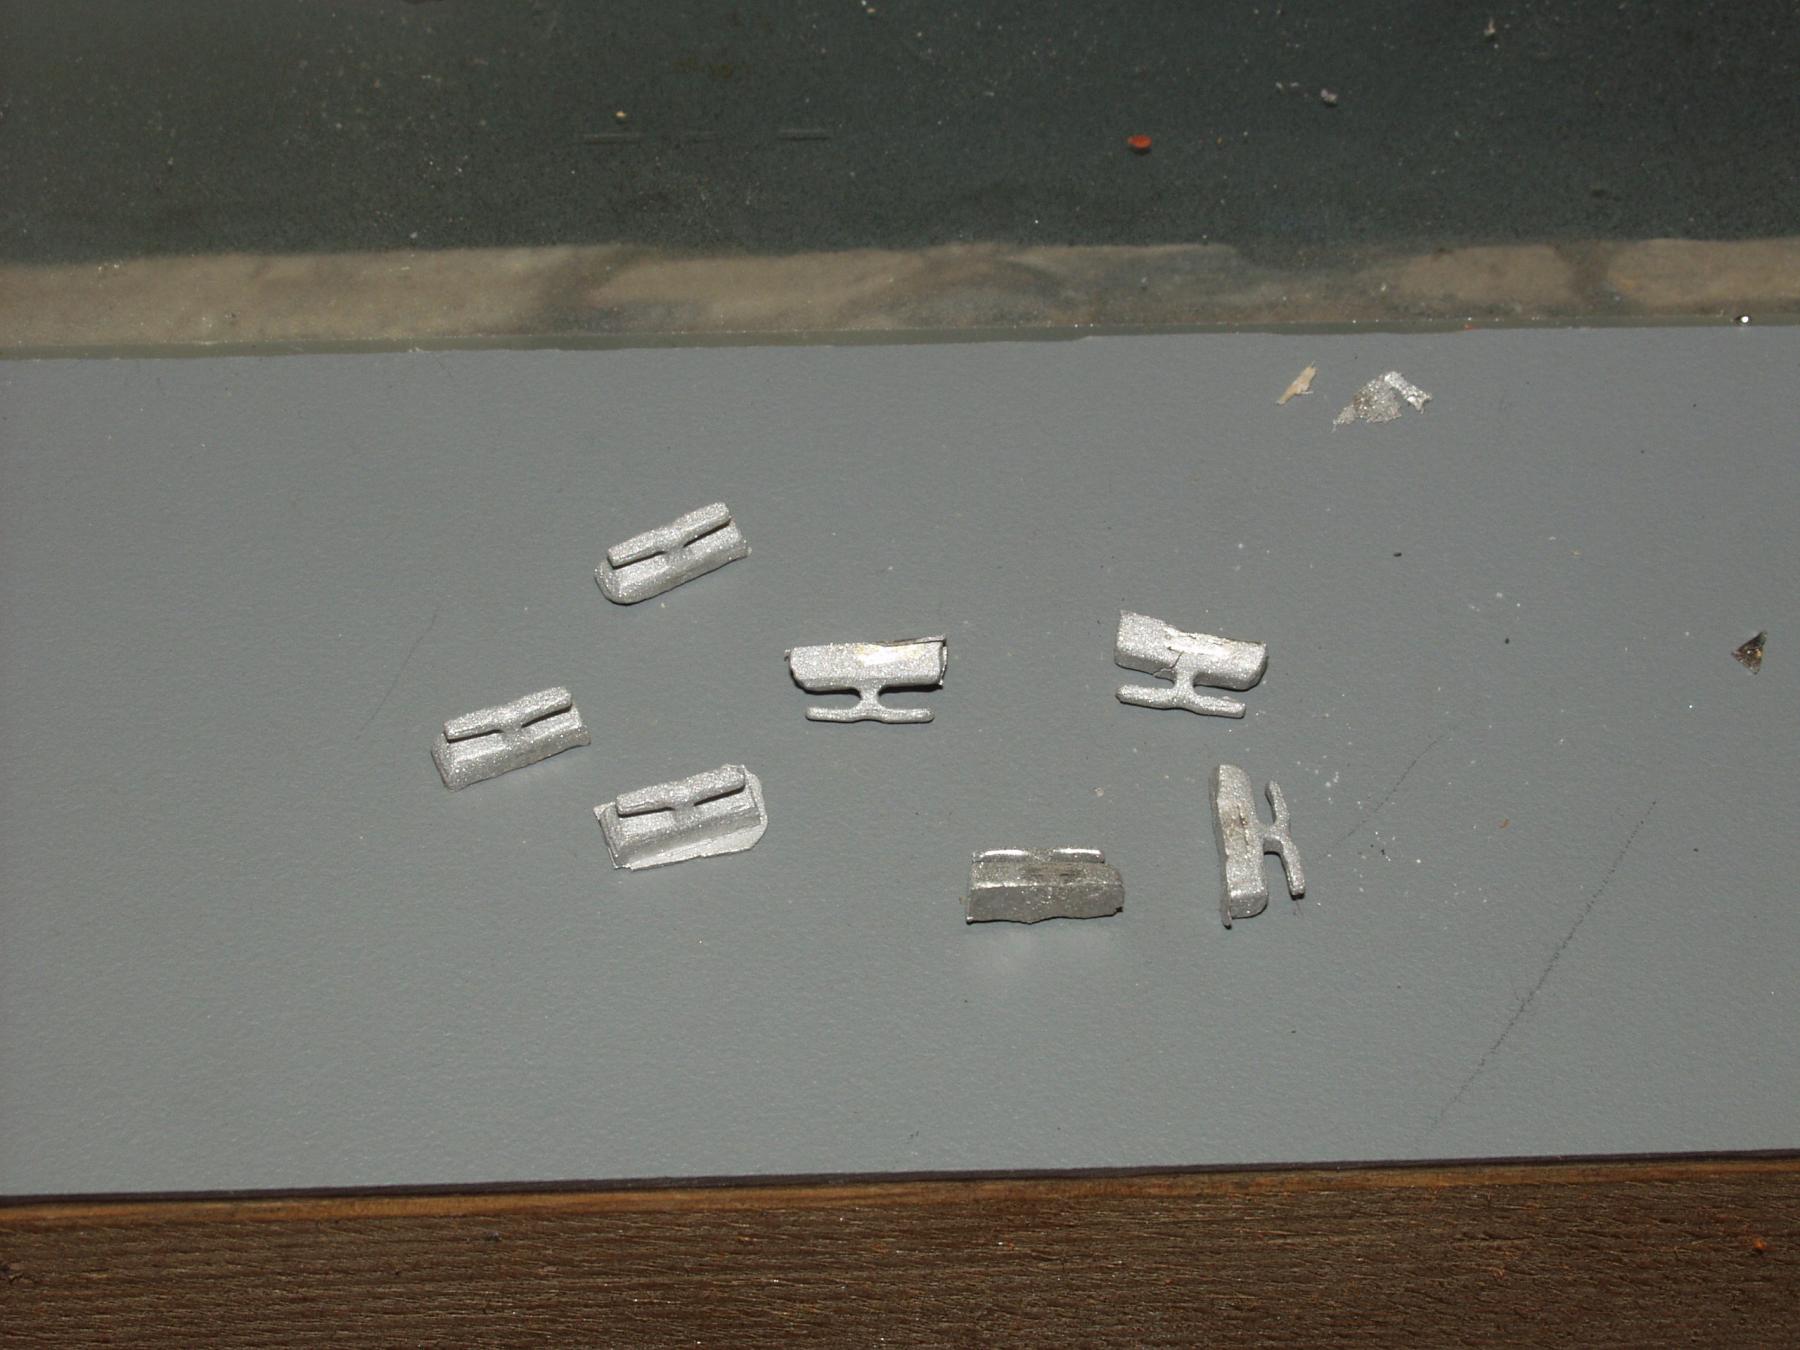
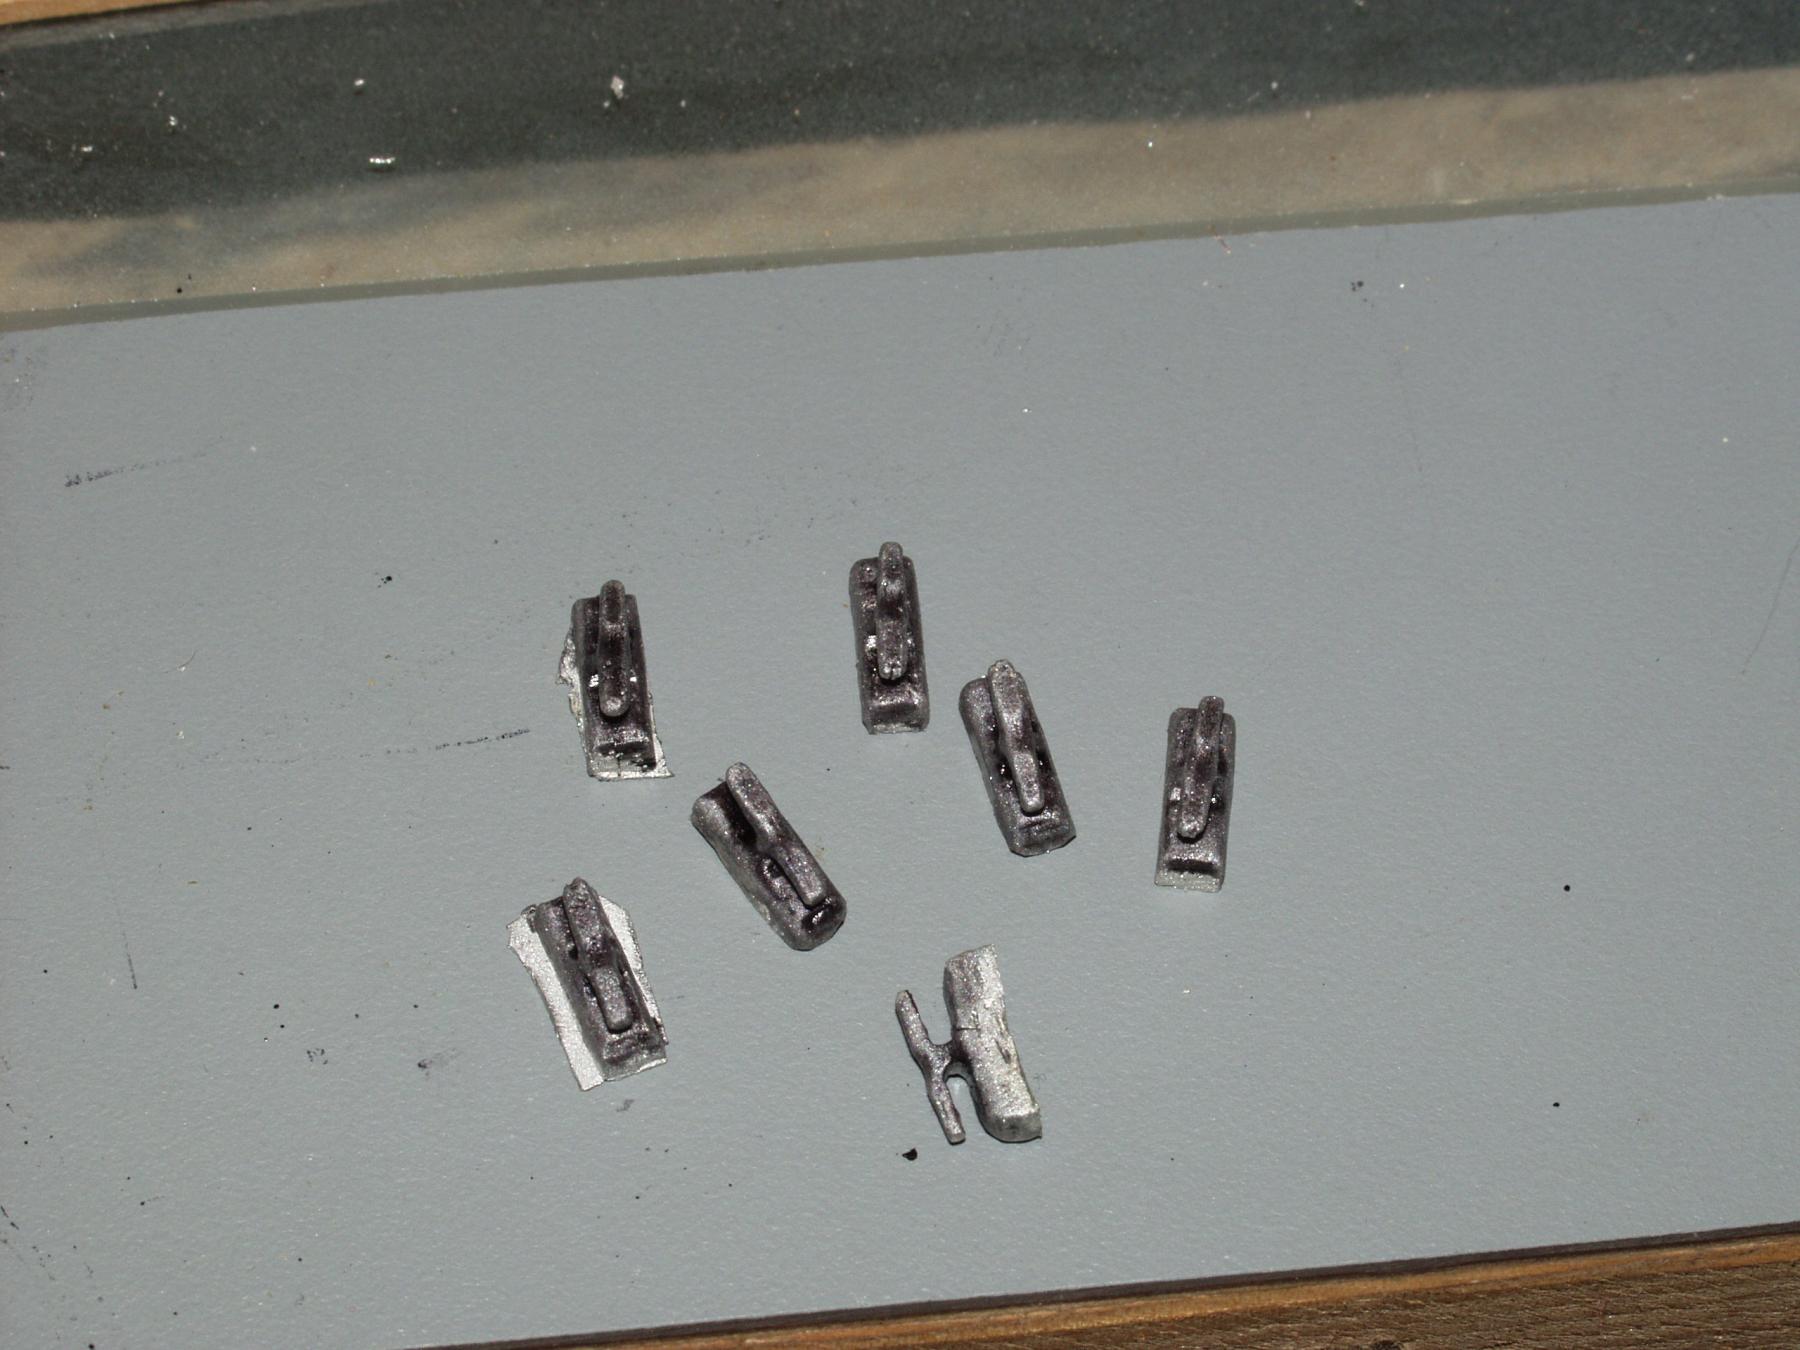
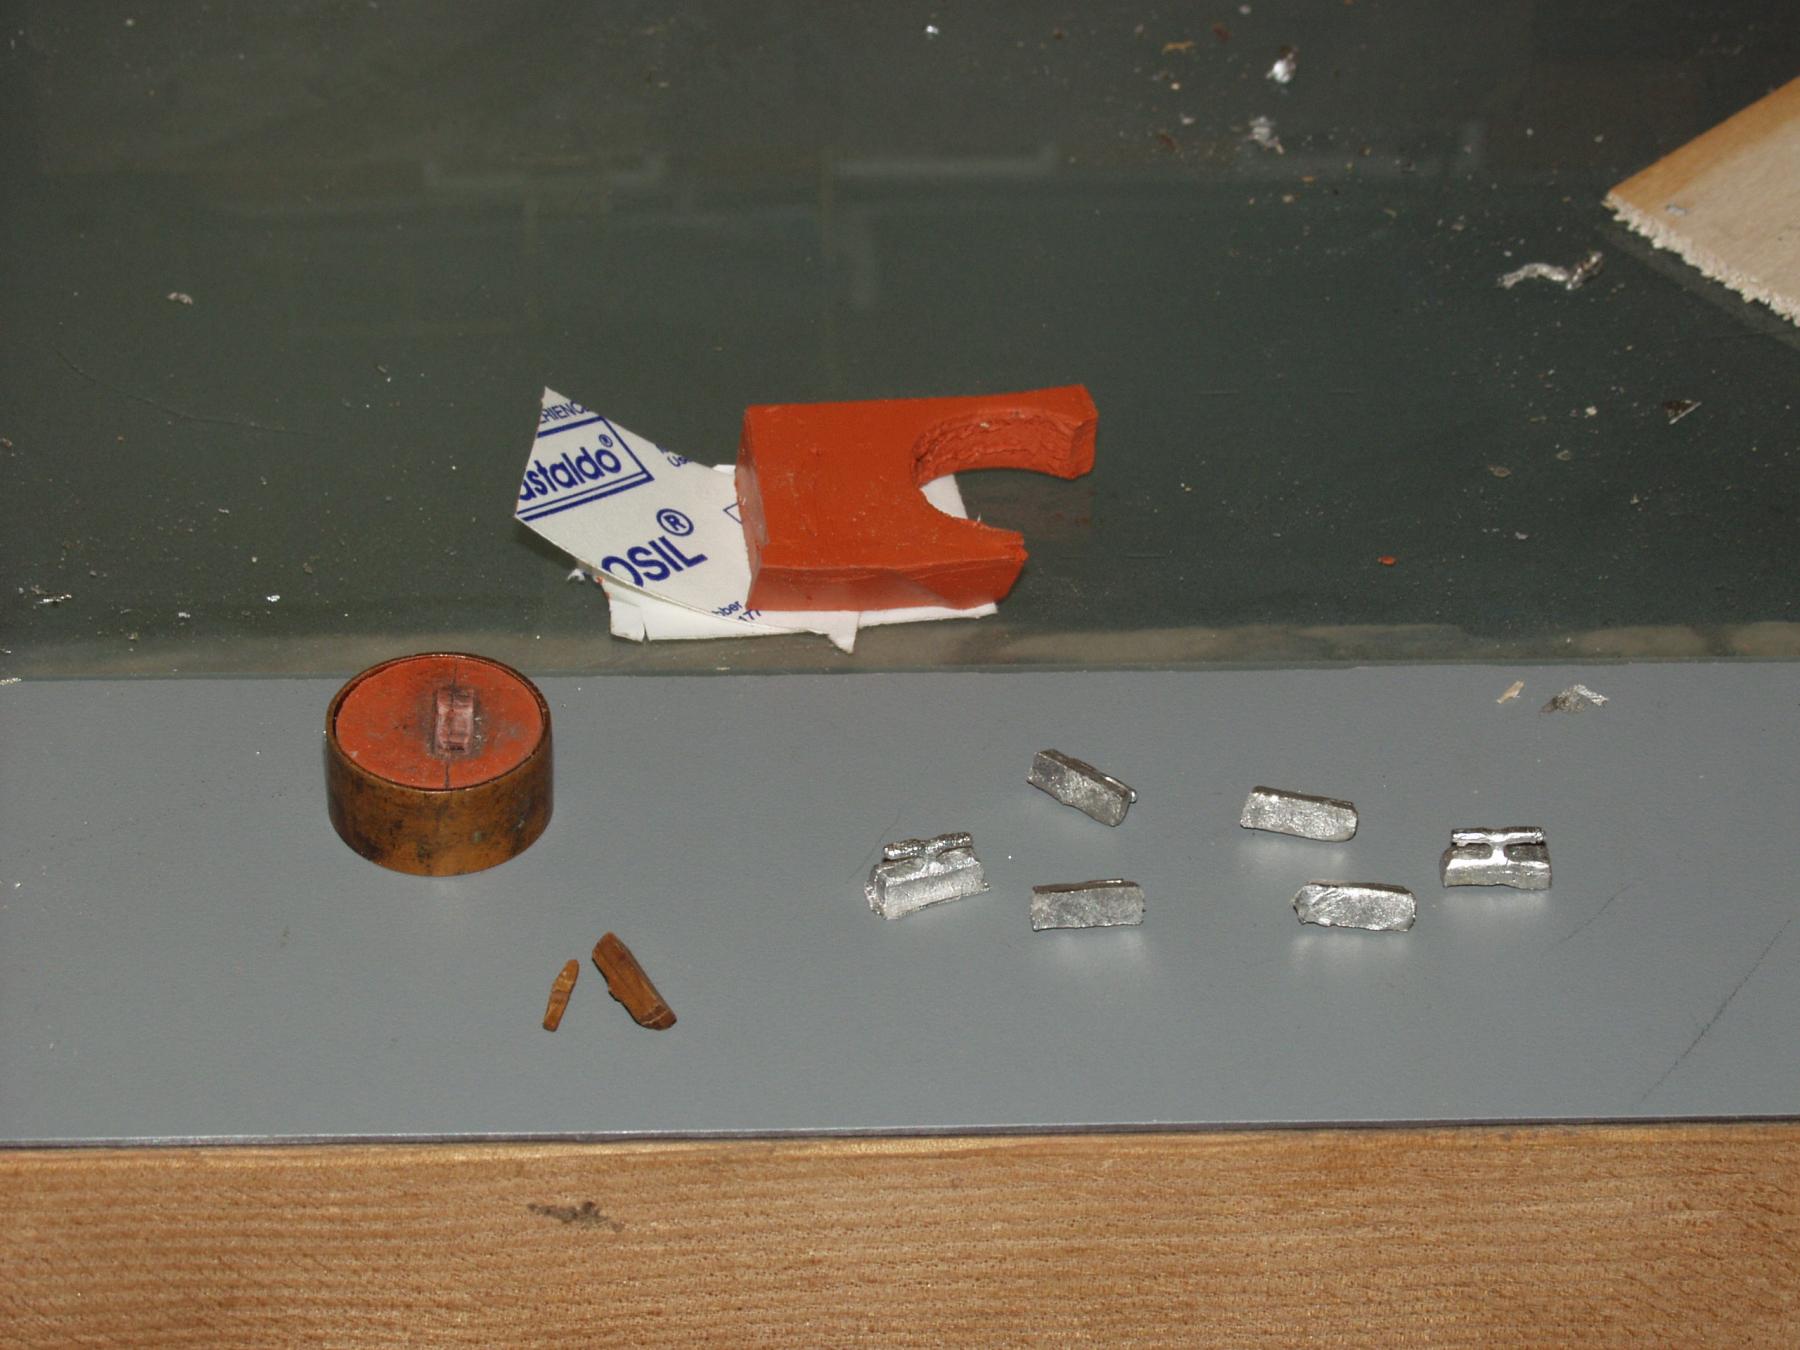
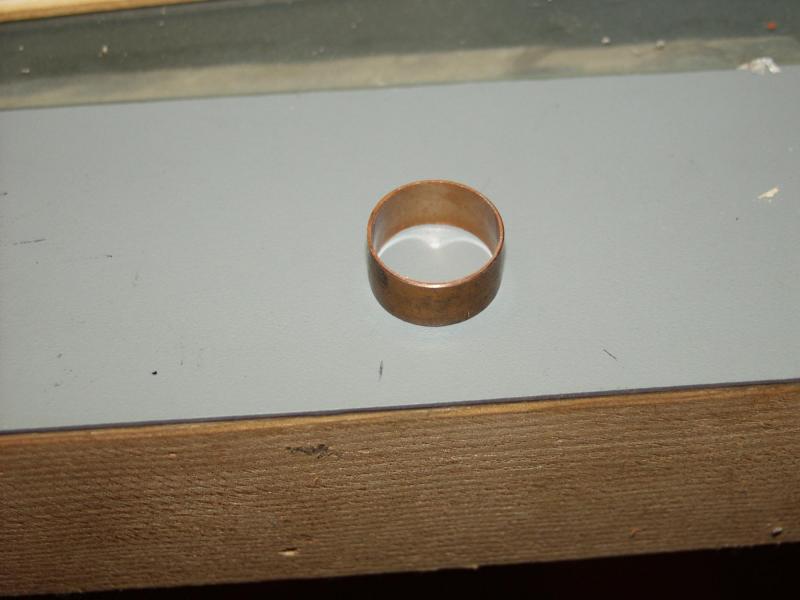
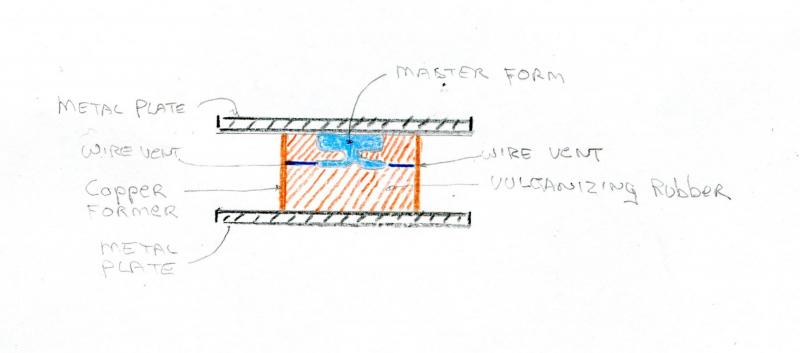
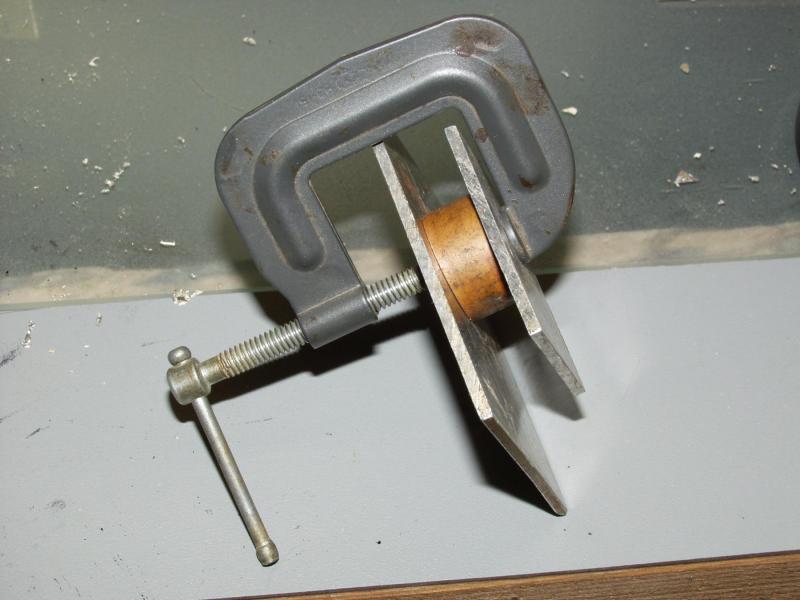
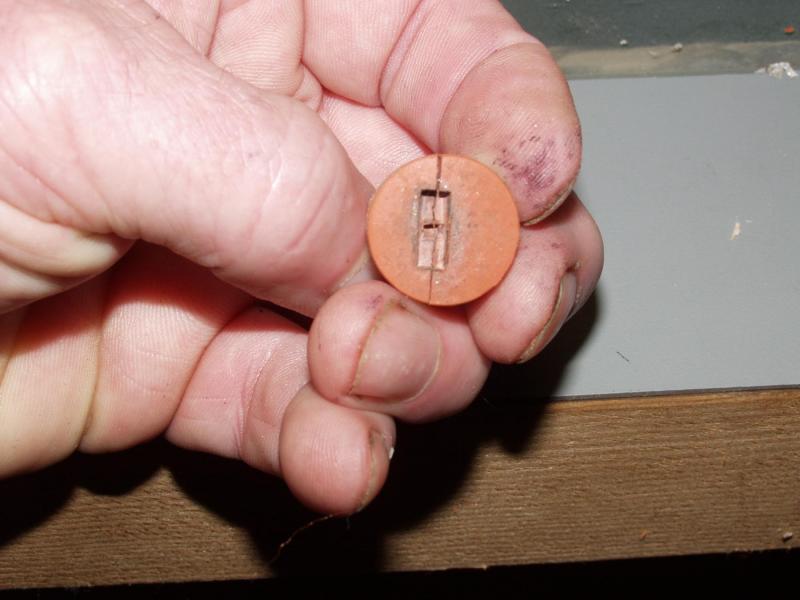
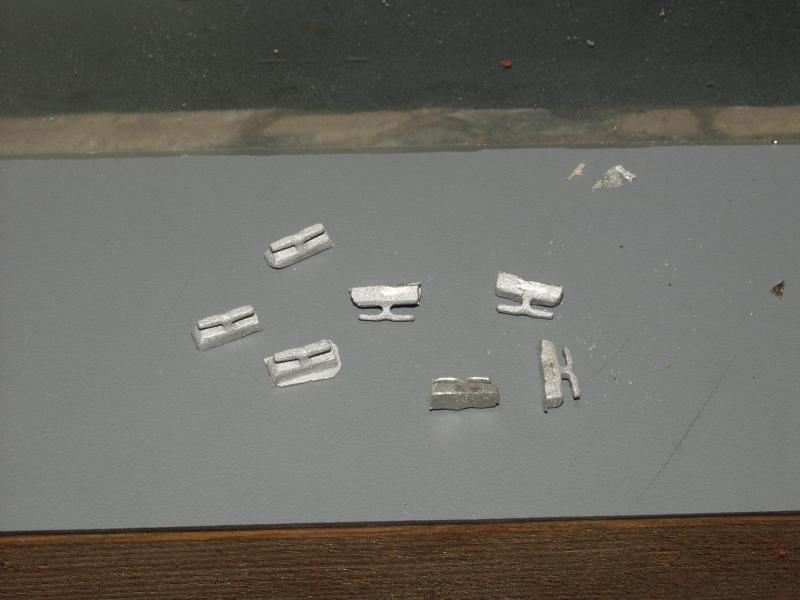
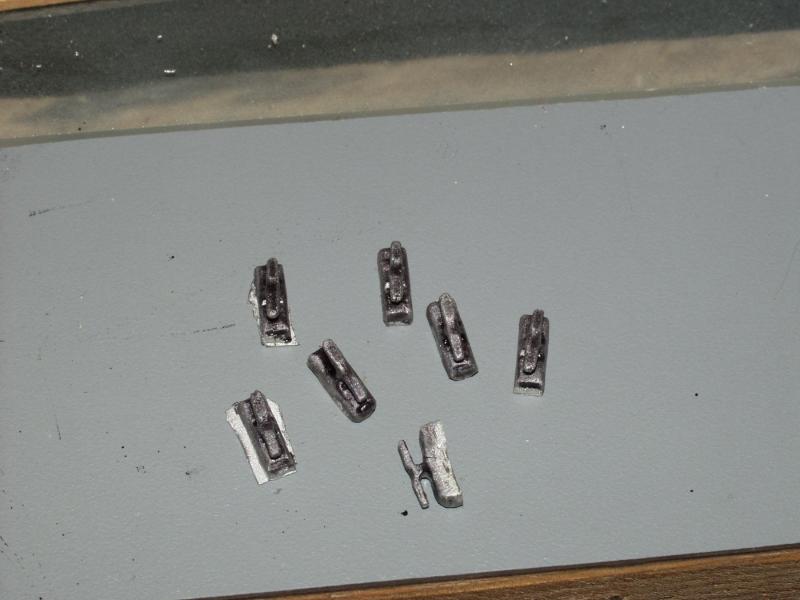
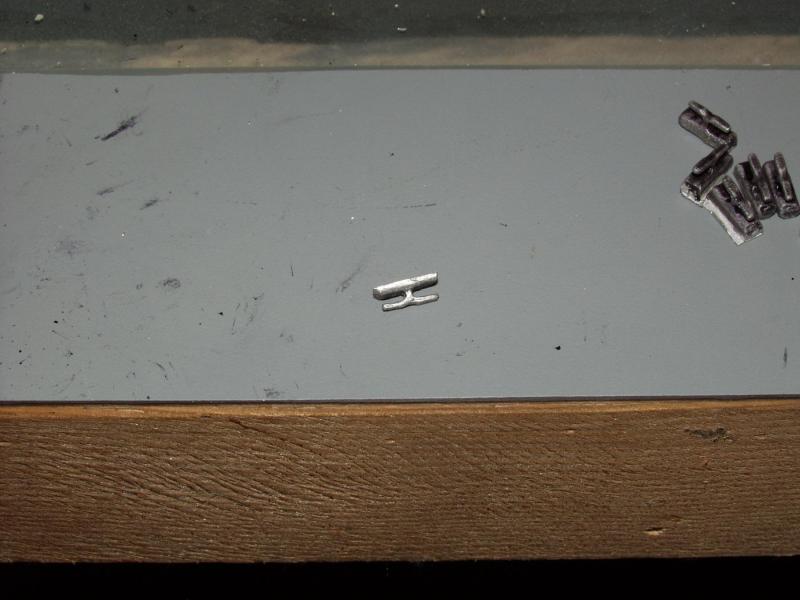
I needed some deck cleats for my current build. There are many ways of making cleats this is just the method I used. I started by carving a master pattern and in this case out of wood. Once the size of the master was determined I could size the mold former. I use sections of copper pipe of various lengths and diameters. The basic setup is shown in the drawing. I start with a layer of vulcanizing rubber on the bottom. I than locate and install a couple of short pieces of copper wire to use as vents. Insert the master pattern and fill mold former the rest of the way up. Next set is to place filled mold former between a couple of metal plates with a C clamp for the oven baking time. Once it has been baked and cooled down I take a razor knife and cut a parting line in the mold to release the master pattern. The mold is placed back in the mold former and a small amount of casting metal is poured on top. I than press a flat wood or metal plate on top and press the metal into the mold. That is why you need vents so the trapped air has some place to go. Let the filled mold cool for a few, taking them out to quickly can damage the parts. I than like to lightly sand blast the parts to give them some texture and to dull them down some. Once that is done a coat of india ink is applied and let dry for awhile than rubbed down to get any extra ink removed. I kept the base of the cleat thick on purpose so that I had a handle to hold them. I than used a saw to cut off the base to the thickness I wanted. As can be seen in last photo the master pattern does not allways come out in one piece.

- 2 replies
-
- 13
-
-
Making Fire buckets
steamschooner replied to steamschooner's topic in Metal Work, Soldering and Metal Fittings
You mean like this, Nils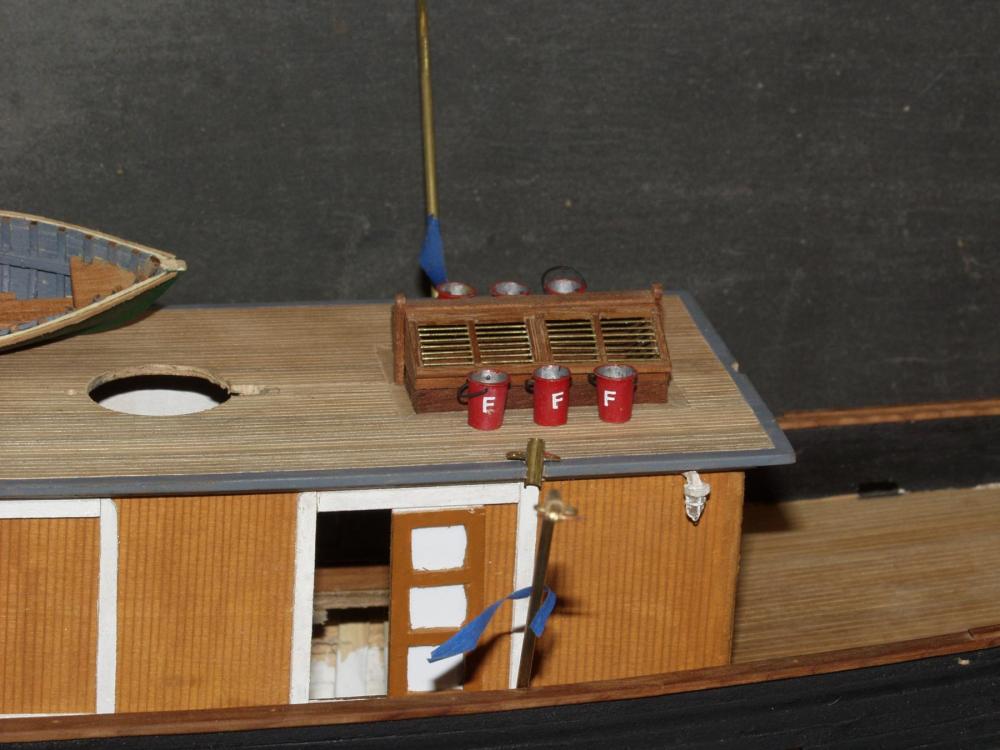
- 8 replies
-
- 10
-
-
Patrick, check out my post under Making Fire Buckets in the metal working, soldering section. I give a run down on how I made them.
- 208 replies
-
- 2
-
-
- john cudahy
- finished
- (and 1 more)
-
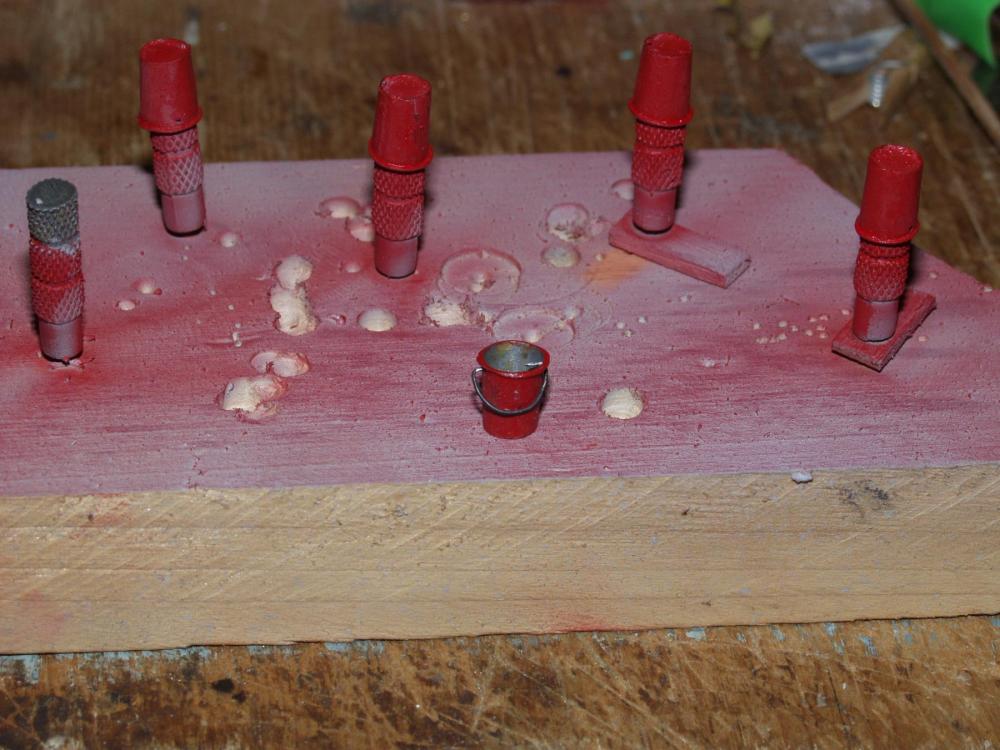
Just got done making some fire buckets for my project now I need a rack to put them in.

- 208 replies
-
- 5
-
-
- john cudahy
- finished
- (and 1 more)
-
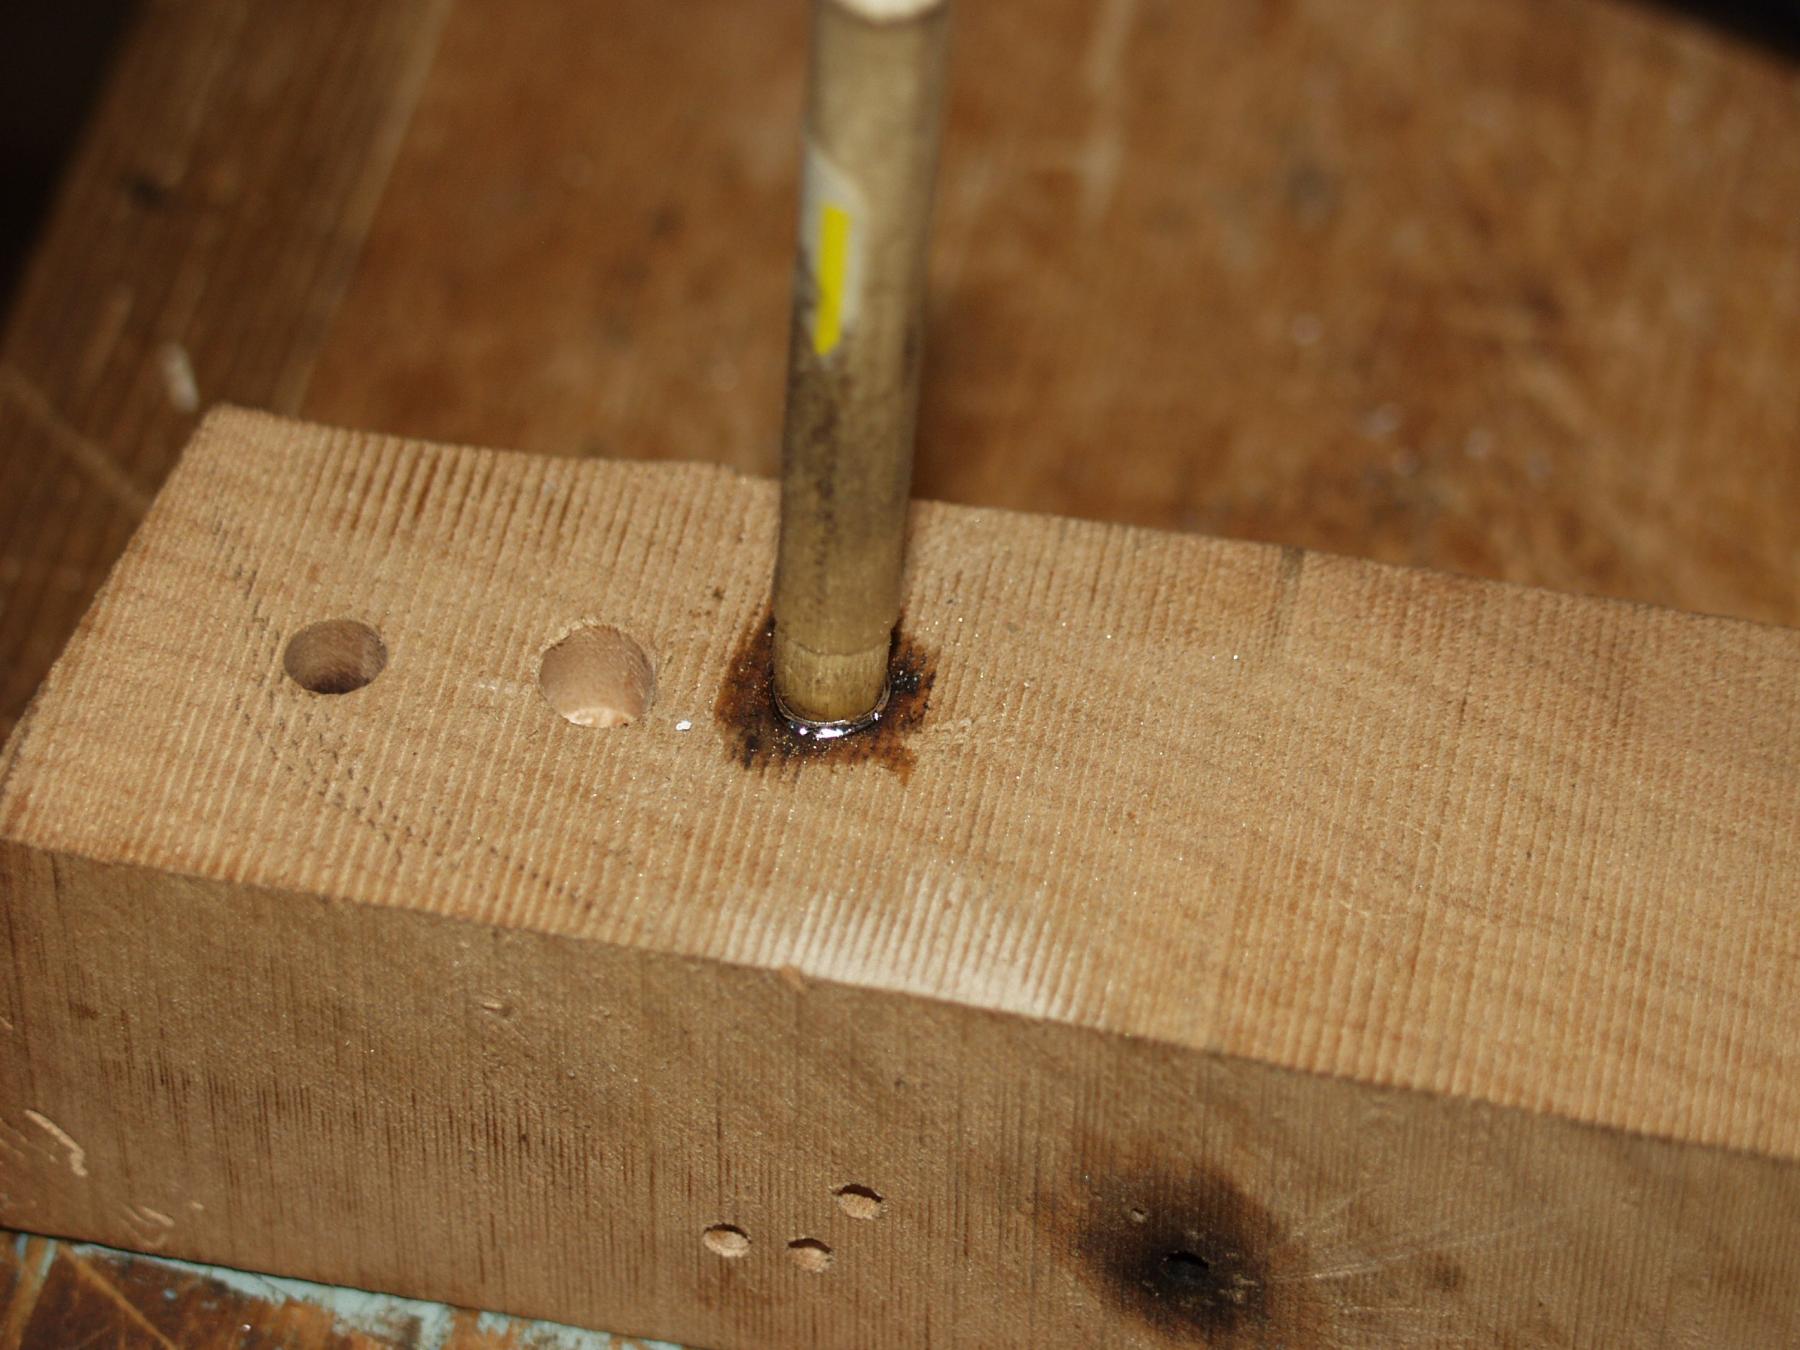
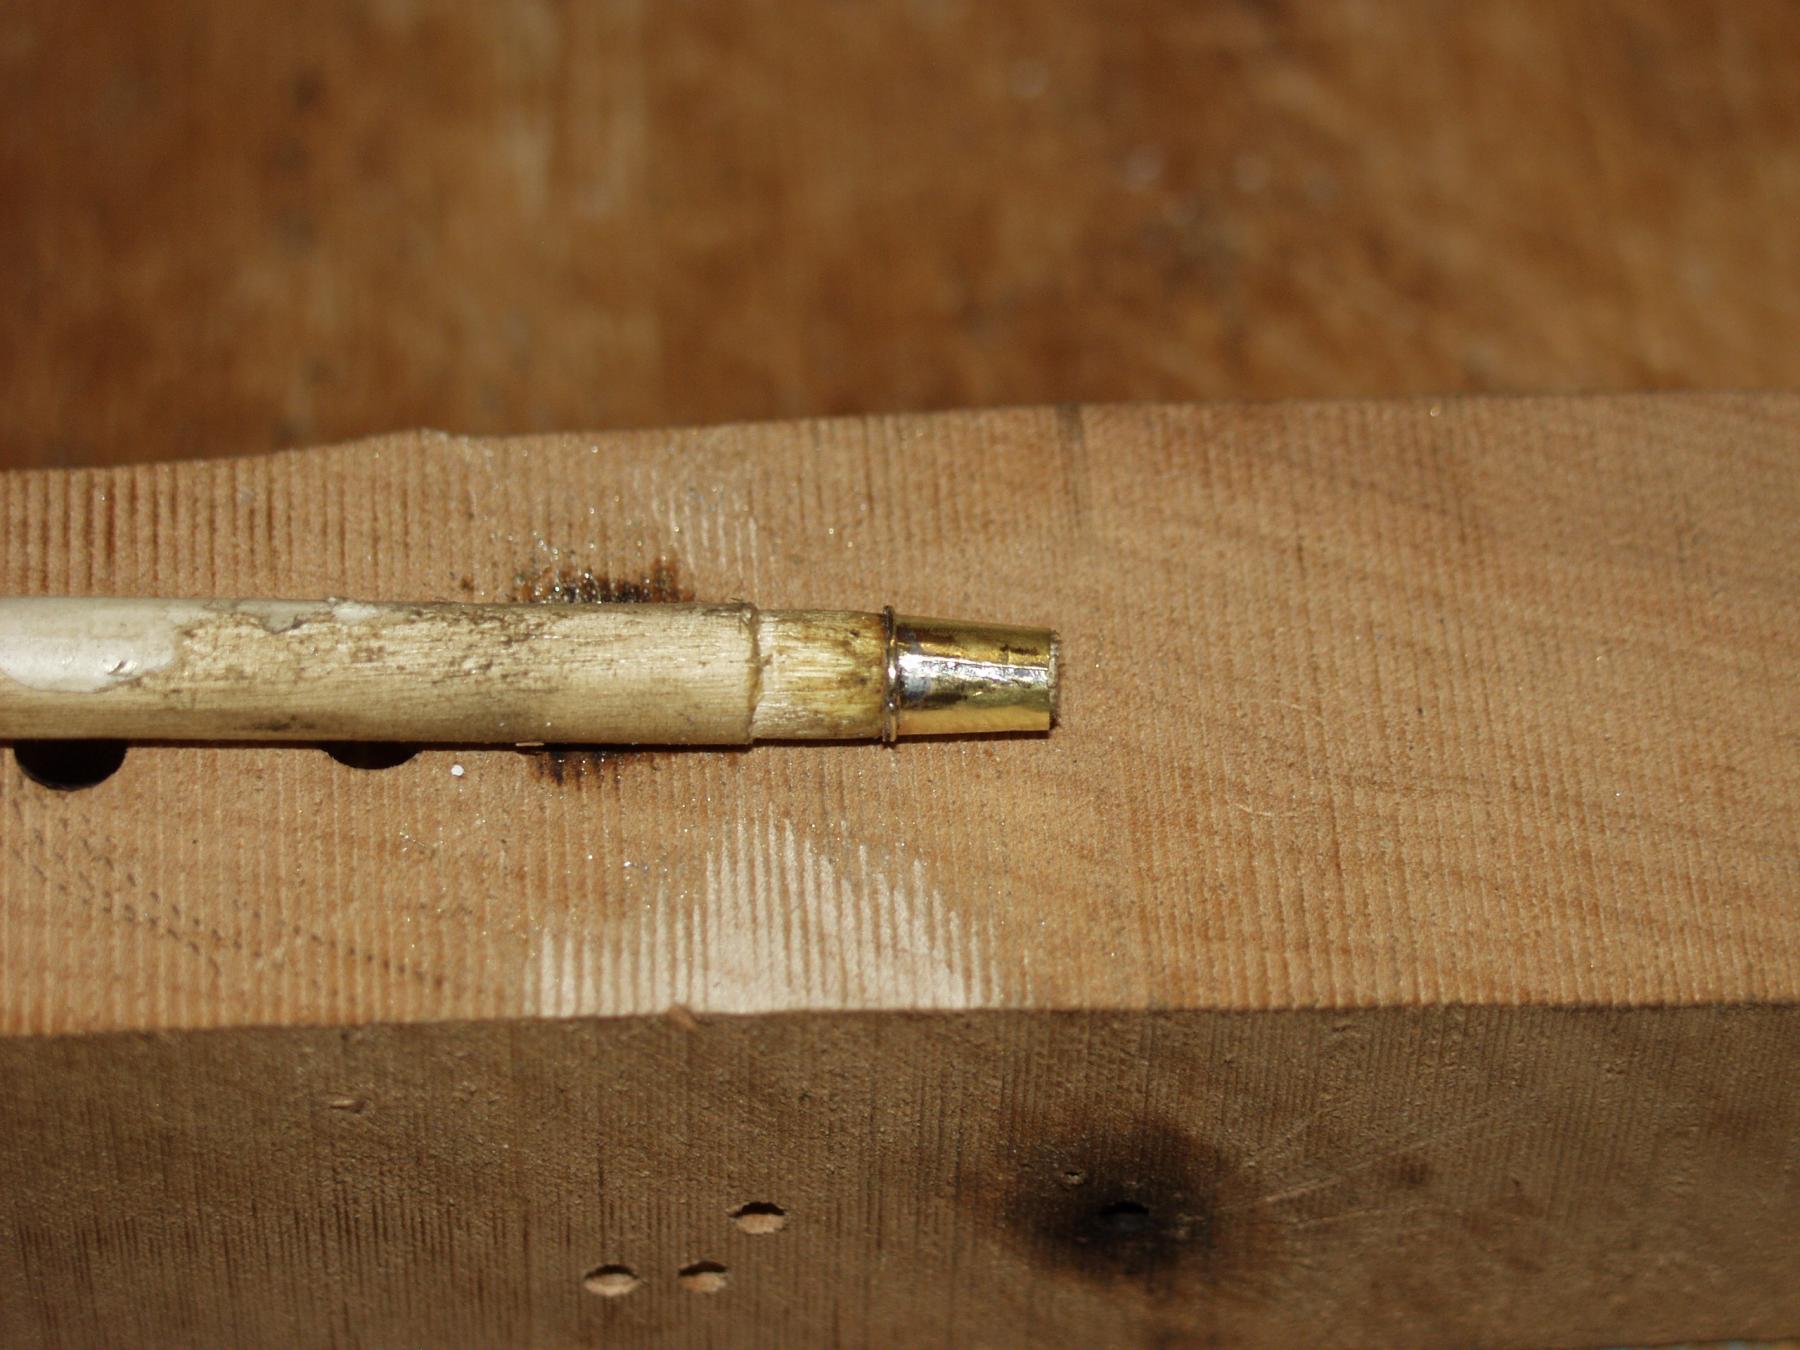
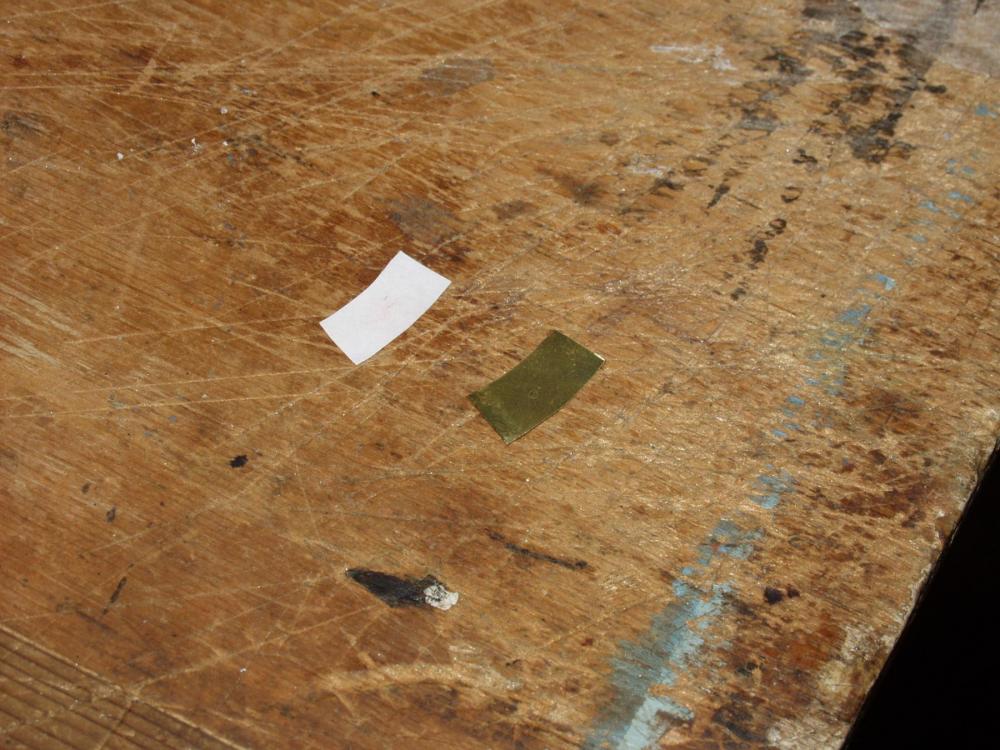
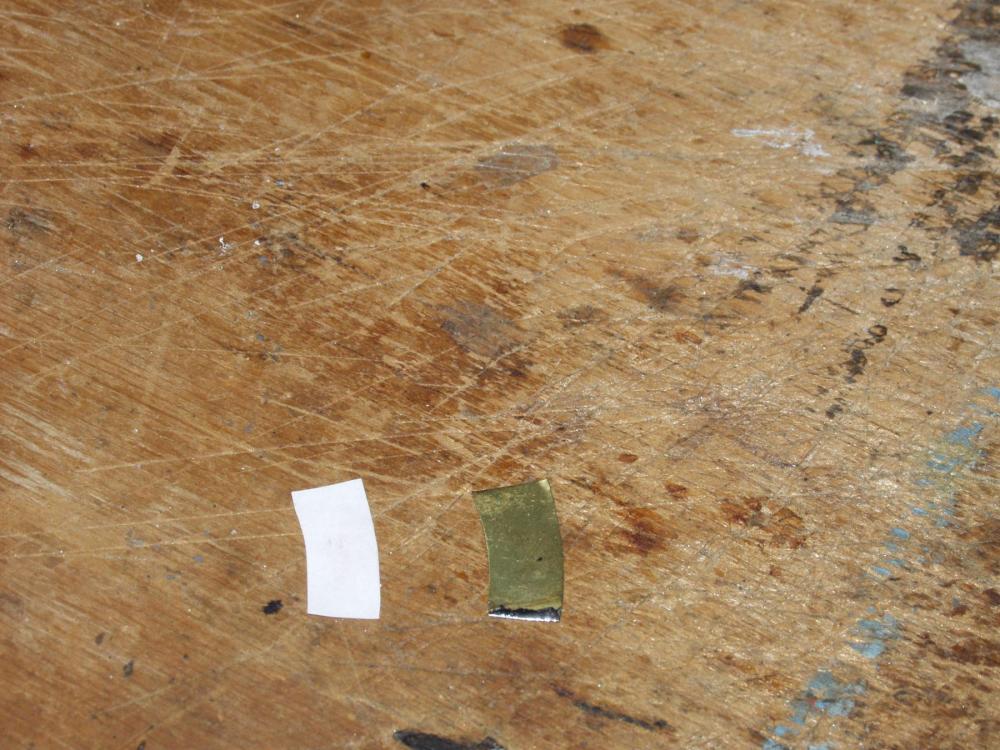
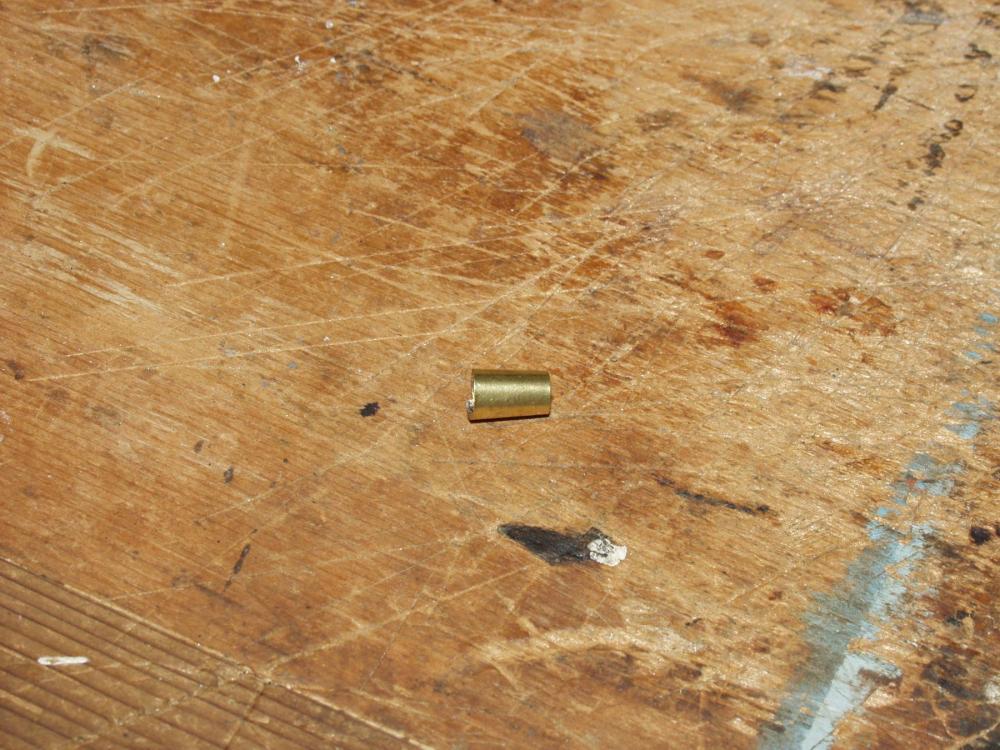
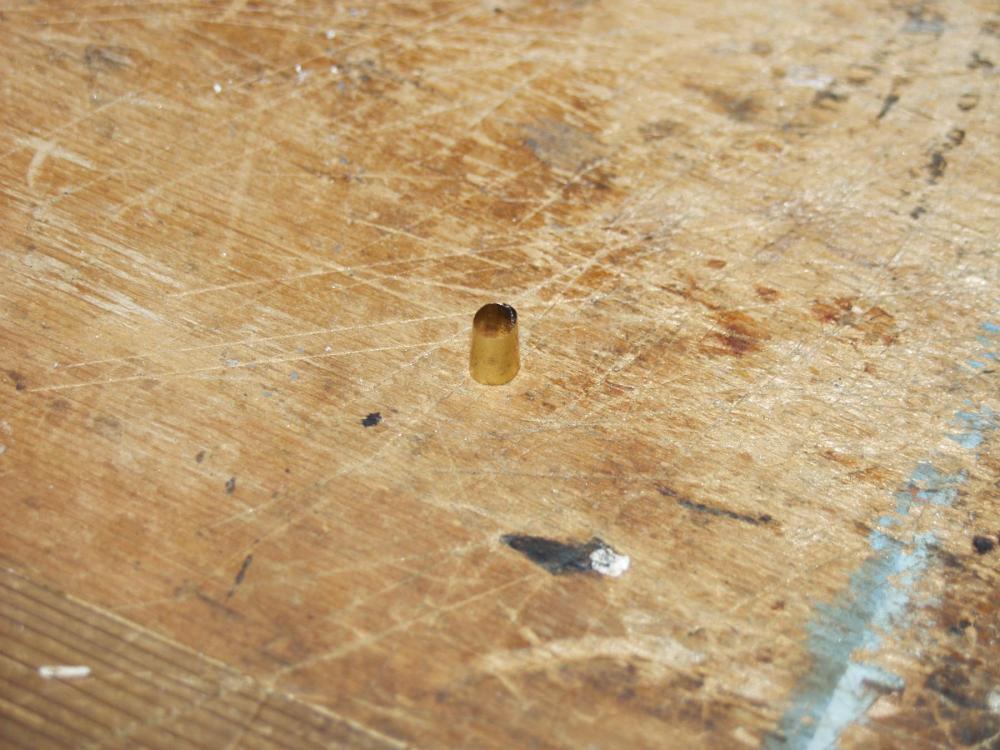
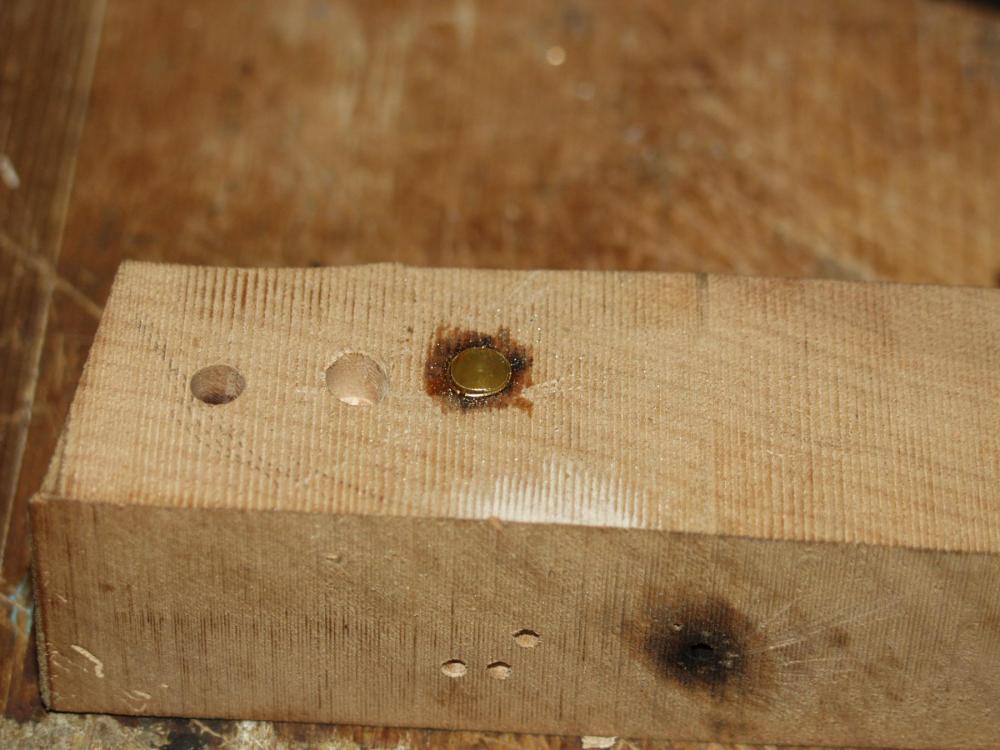
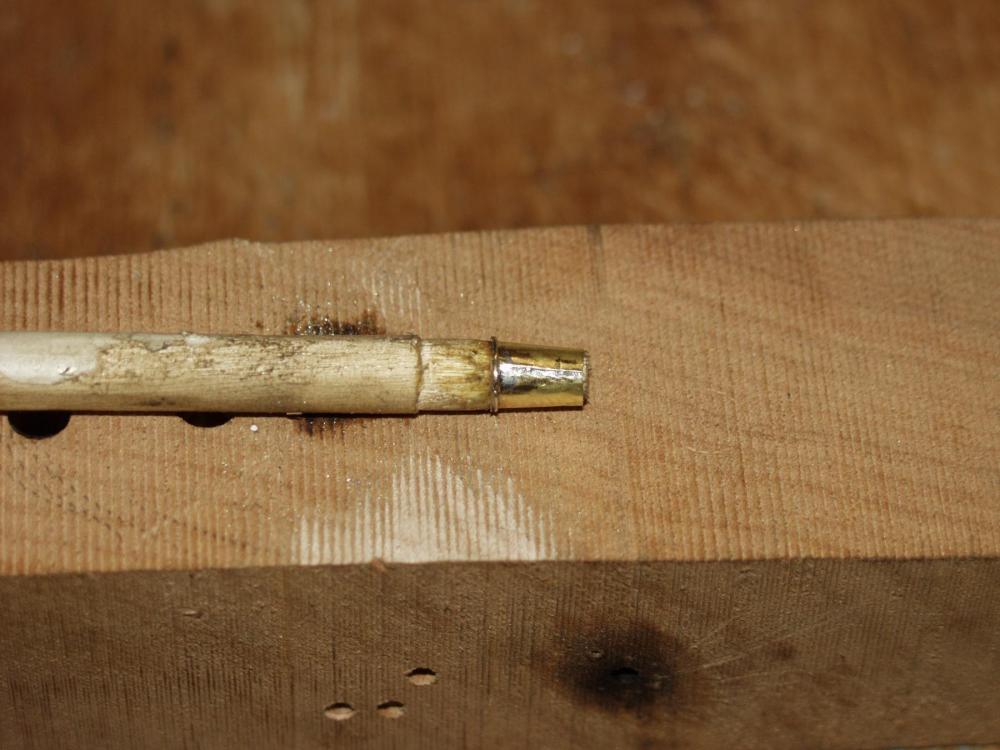
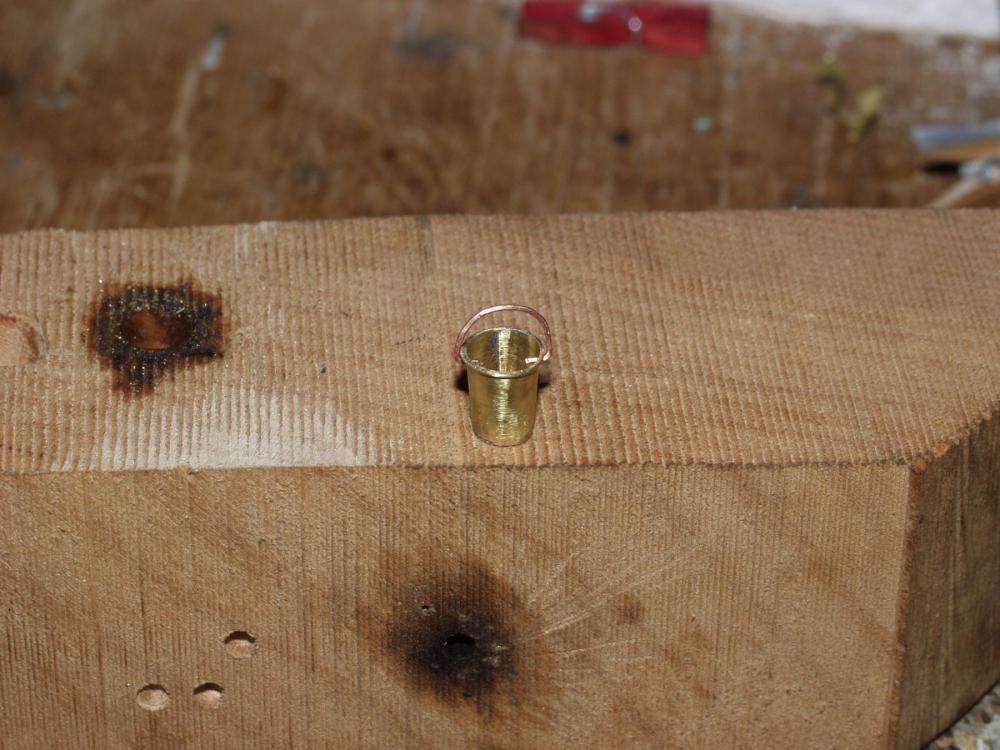
I needed to make a half dozen fire buckets for my project so I took a few photo's to show how I made mine. Once I had a size in mind I made a pattern and cut some thin brass to that shape. I than tinned opposite ends and opposite sides. So that when the brass is rolled into a cone the tinned ends will be face to face. I used a tapered dowel to help form the rolled cone shape for soldering. The rolled forms are a little long/tall for triming down later. Using a block of wood with a hole drilled just shy of bucket height and snug at the top i than placed a ring of wire around top of bucket and soldered in place. using the tapered dowel while soldering ring in to place helped line things up. Should come out looking like this. the next step was to cut out small disc of brass that was just a bit bigger than the bottom of bucket. with the disc on the end of the tapered dowel a bucket was lower over the end and pushed the disc to the bottom of bucket but not clear thur. Just enough of a lip to solder it in place, Some clean up with files and paper is next. Lastly some paint and install handle. Not sure when it became the practice of painting fire buckets red or if there ever was a rule to do so.

- 8 replies
-
- 30
-
-
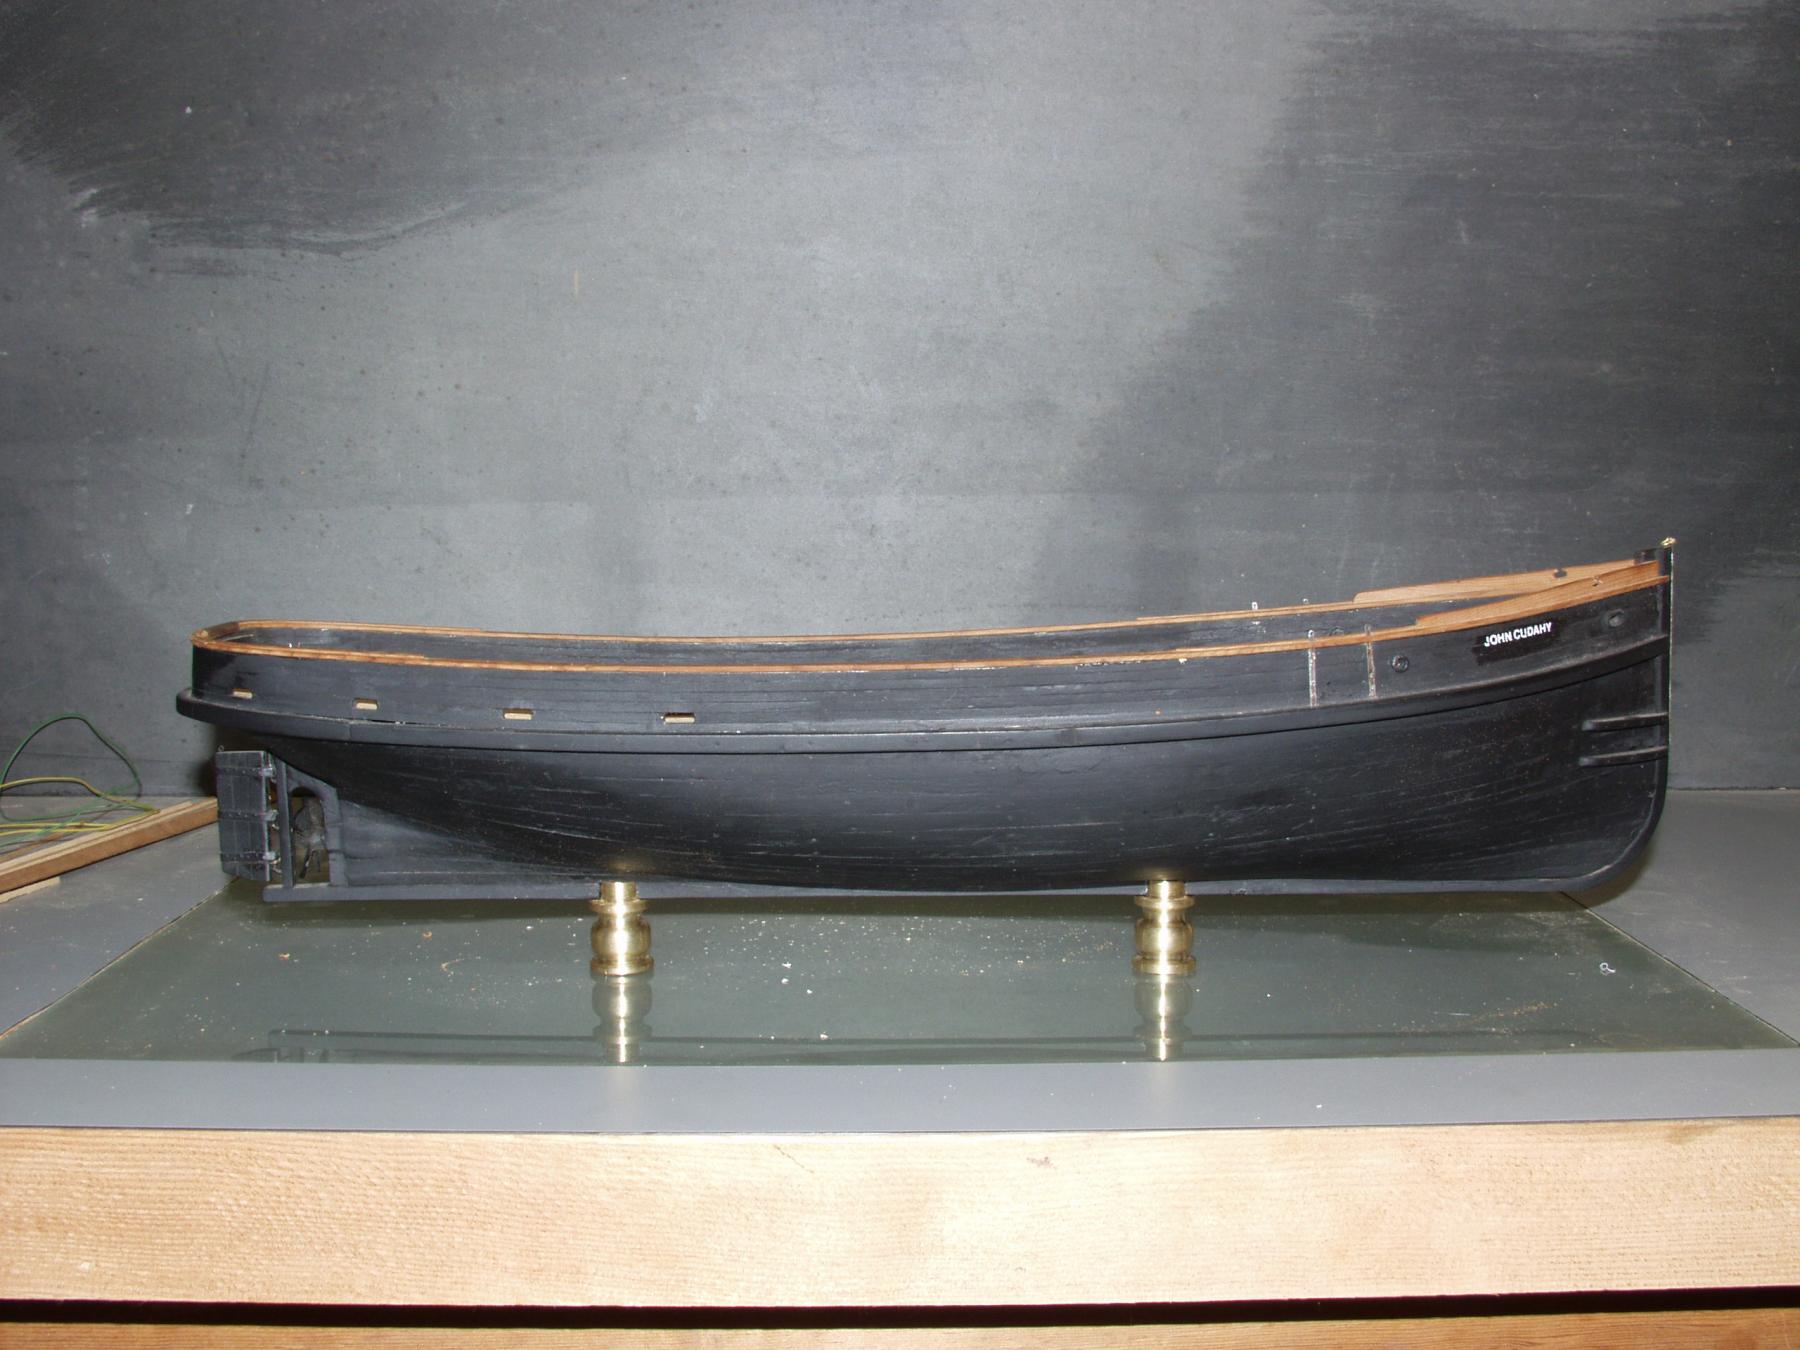
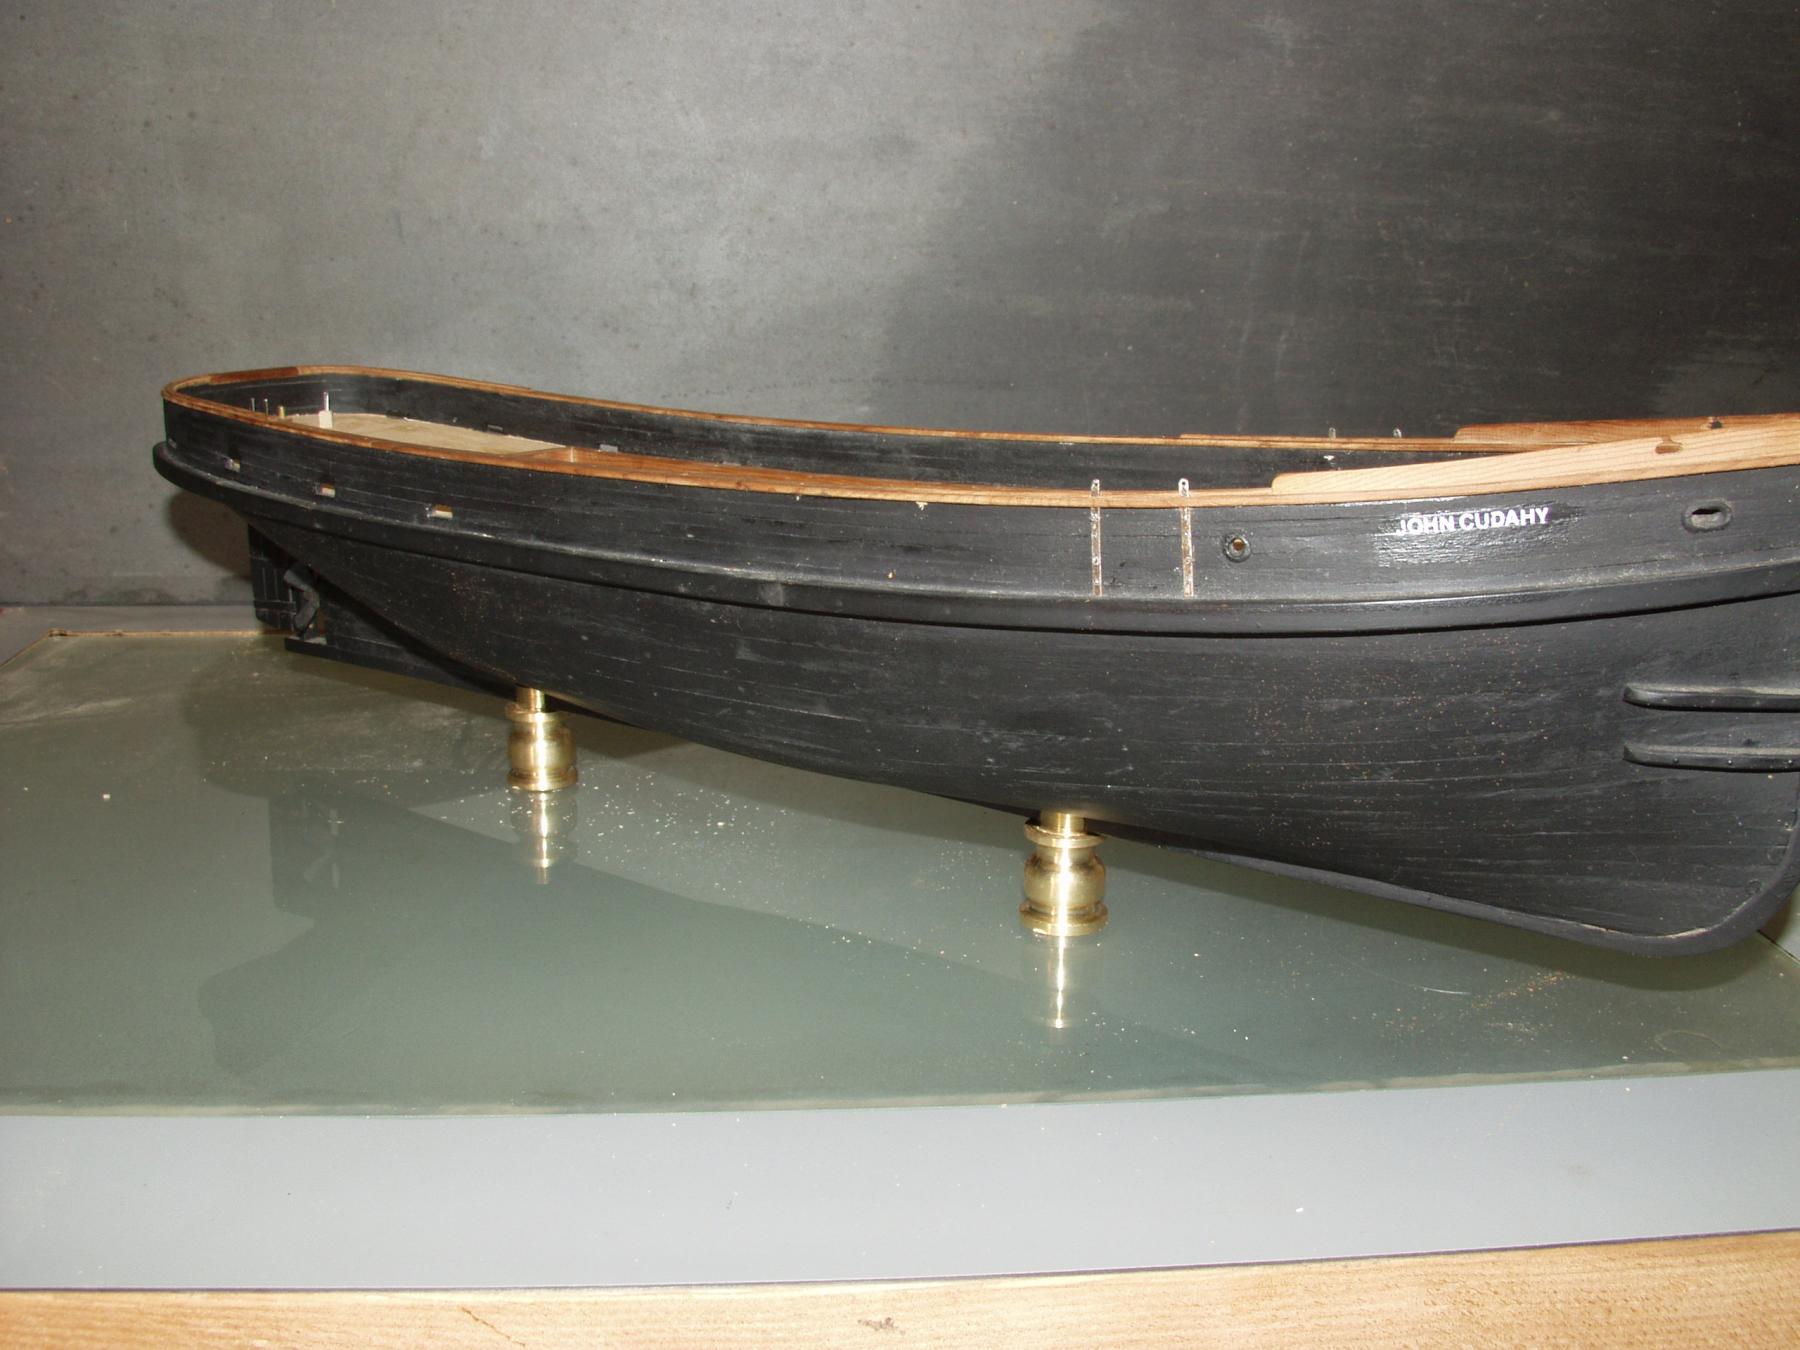
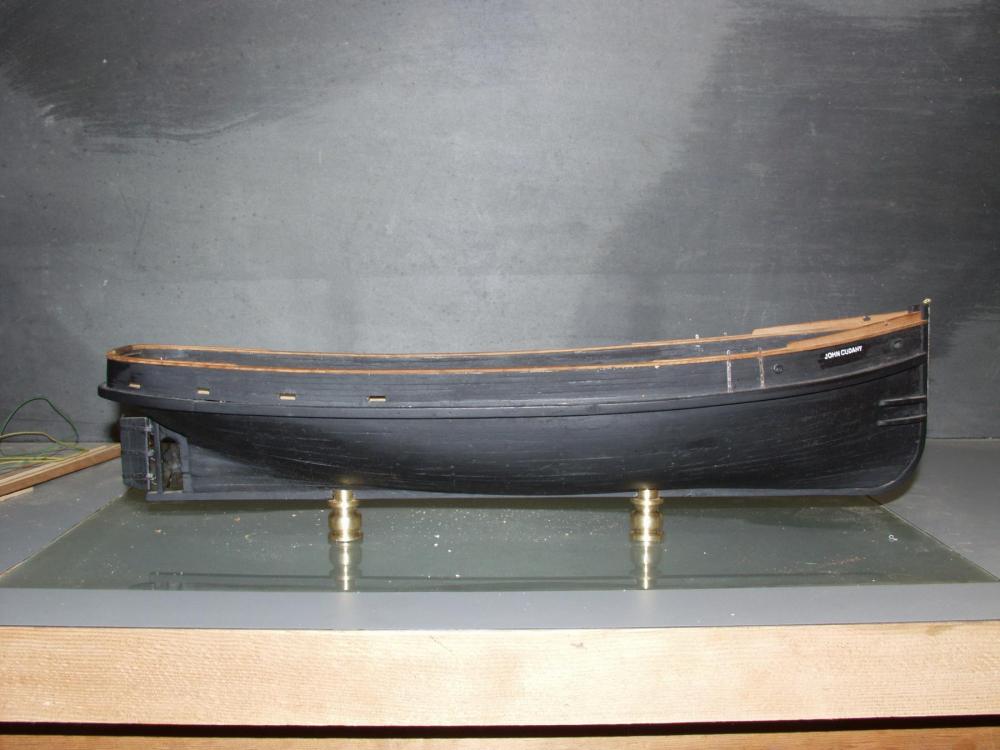
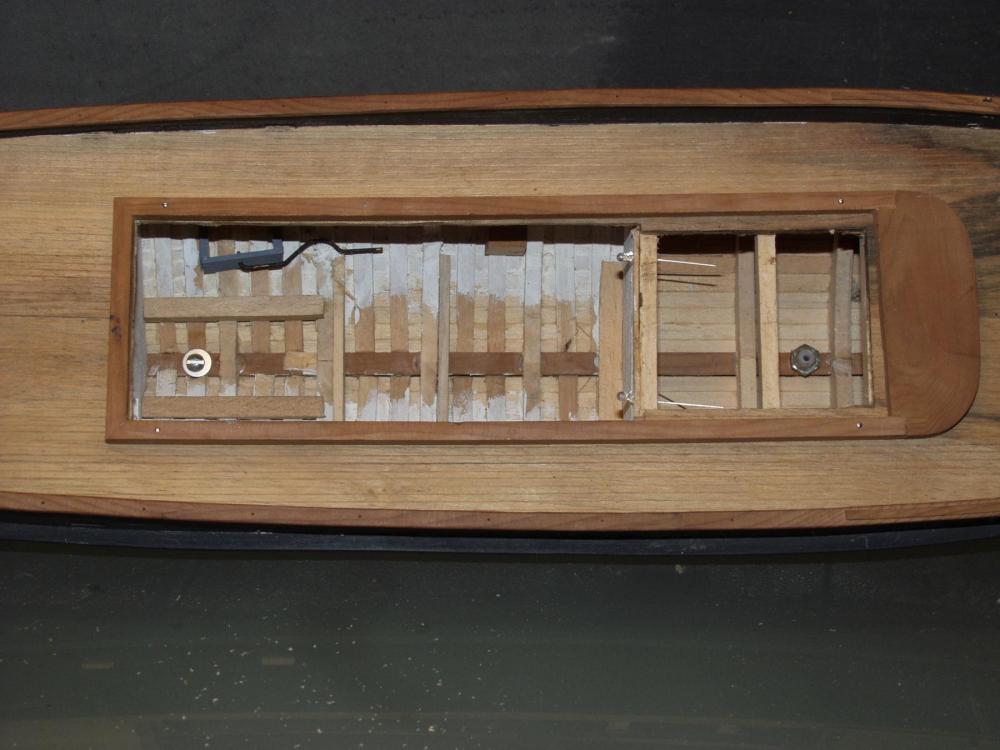
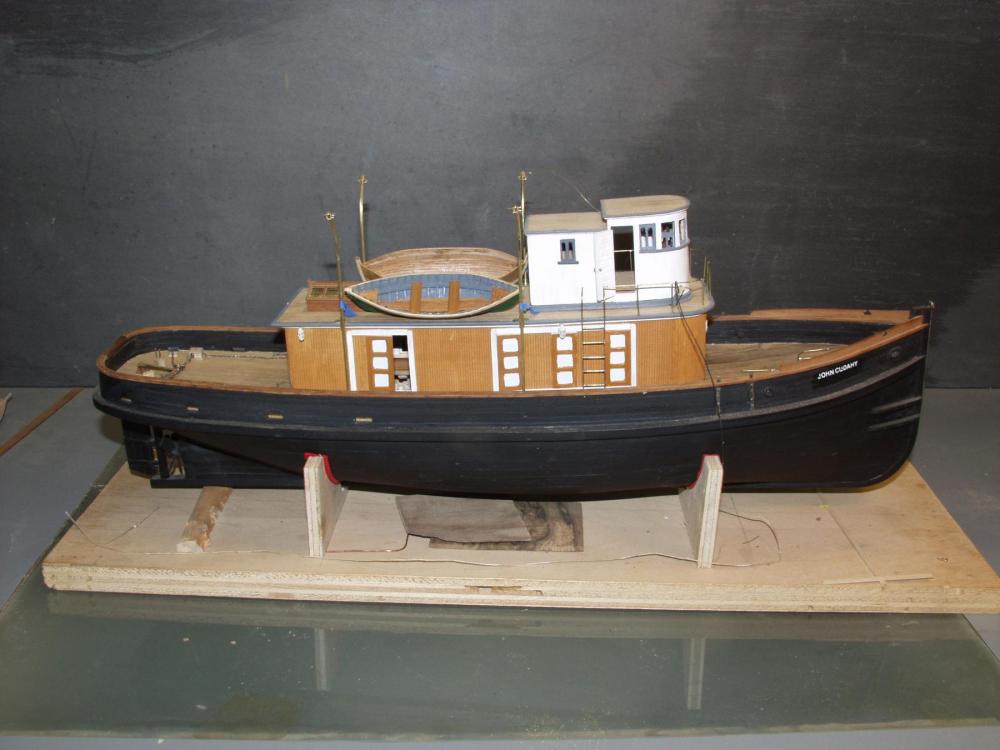
Early on ( not early enough ) with my build I realized I had better think about how I was going to mount this when finished. I had not made any provisions for this either. On the same lines I had not intended to out fit the engine room. Since I did outfit the engine room I thought well might as well add a couple LED lights. I do not how much it will help in being able to see down into that space. I want to mount the switch and battery some where outside the display case and in the base board. As for placement of the pedestals I had to have access on the inside of the hull. This is what I got.I played around on the lathe and turned these brass blobs Had a friend mill the keel slots for me. Now I need to find a nice piece of wood for the top of the base. It will be layered I am thinking.

- 208 replies
-
- 7
-
-
- john cudahy
- finished
- (and 1 more)
-
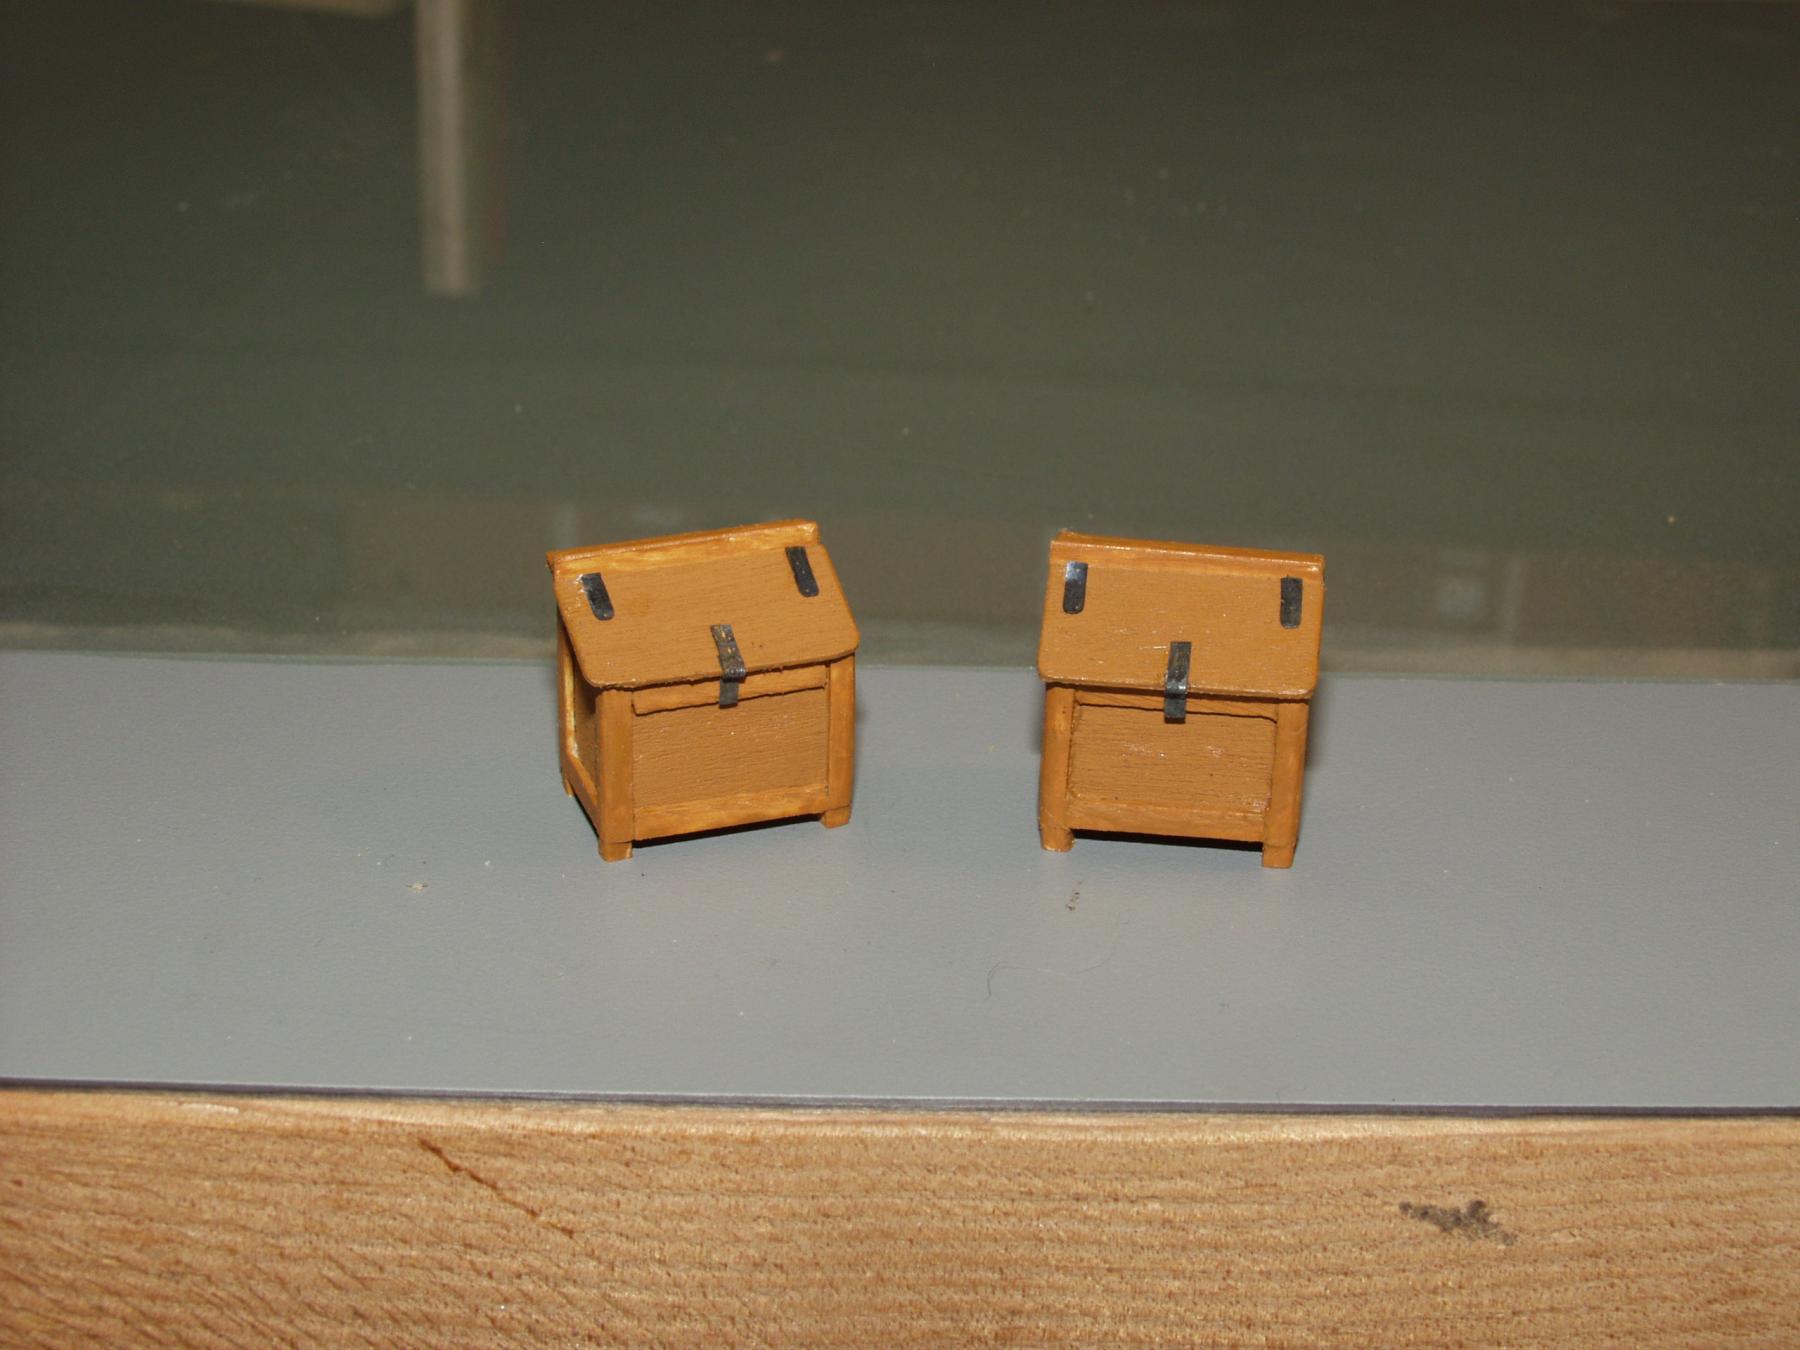
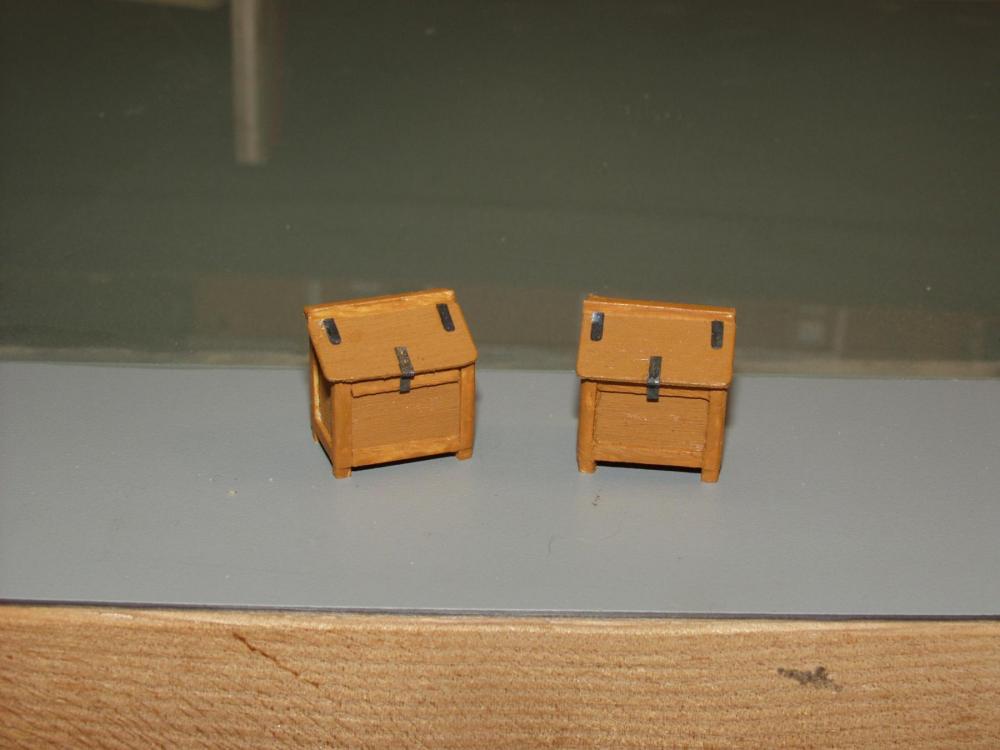
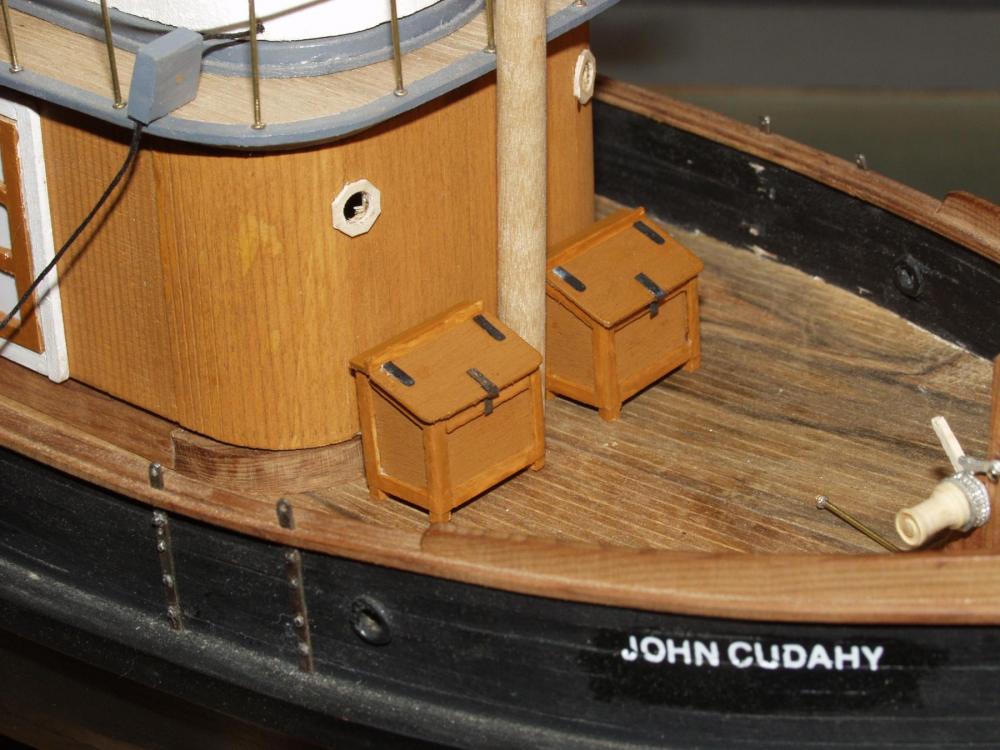
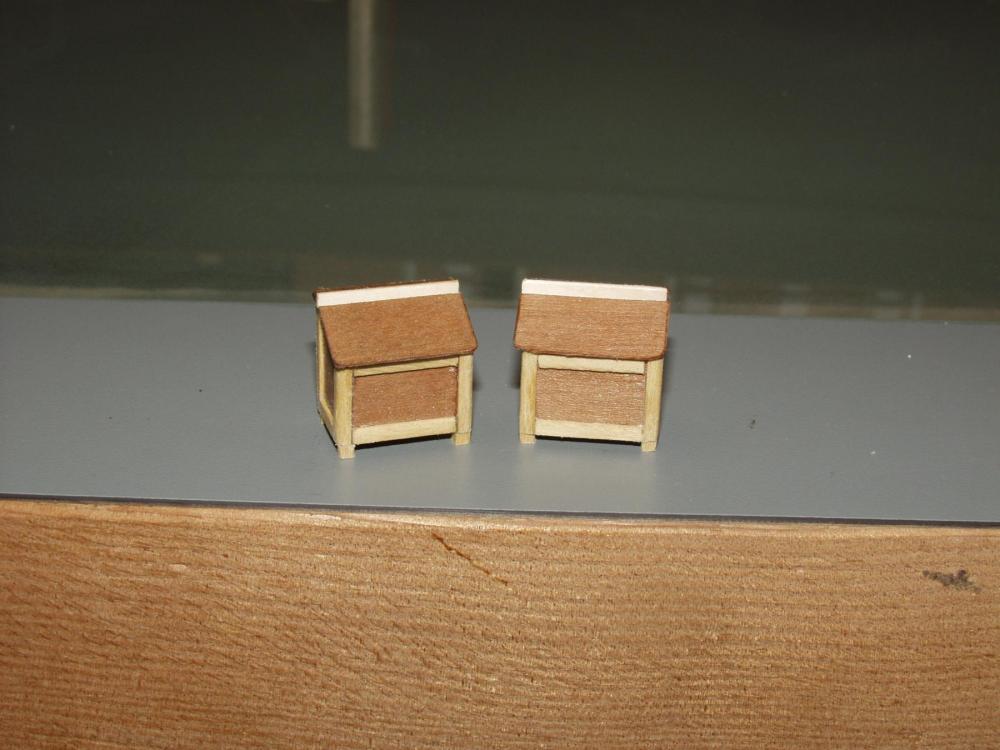
Thanks for stopping by John, I did spend some time in the shipyard the last few days. I put together two storage lockers that will be placed on the main deck just forward of the cabin.
- 208 replies
-
- 13
-
-
- john cudahy
- finished
- (and 1 more)
-
Sure John, Post this AFTER I just finished making my two small boats. But you can bet that I will follow you along on this.
-
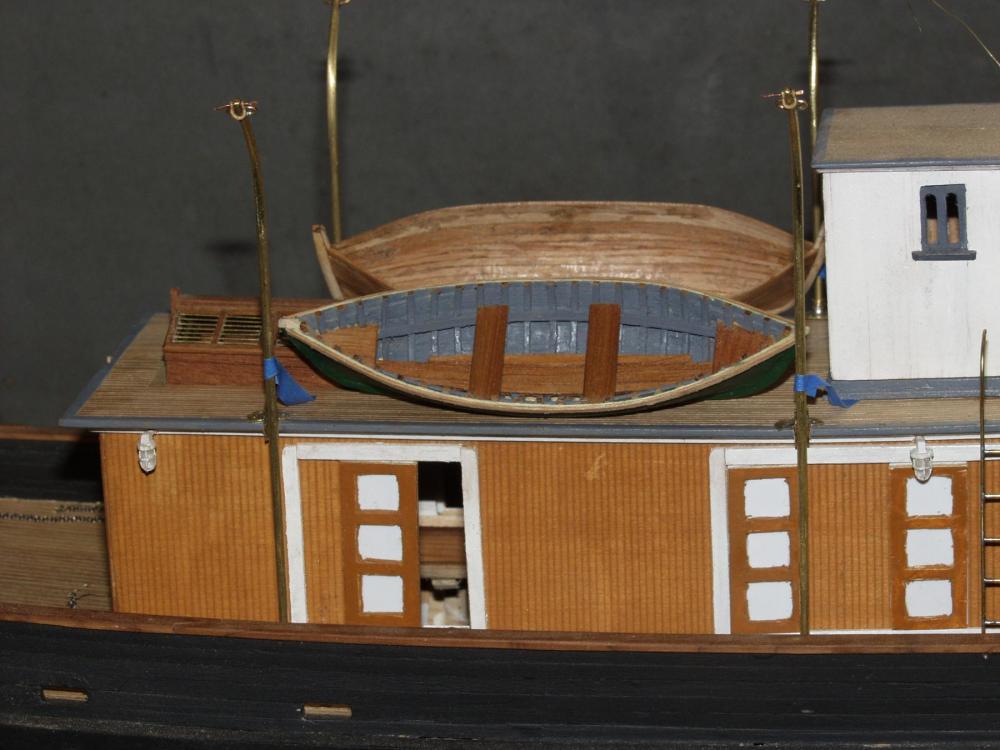
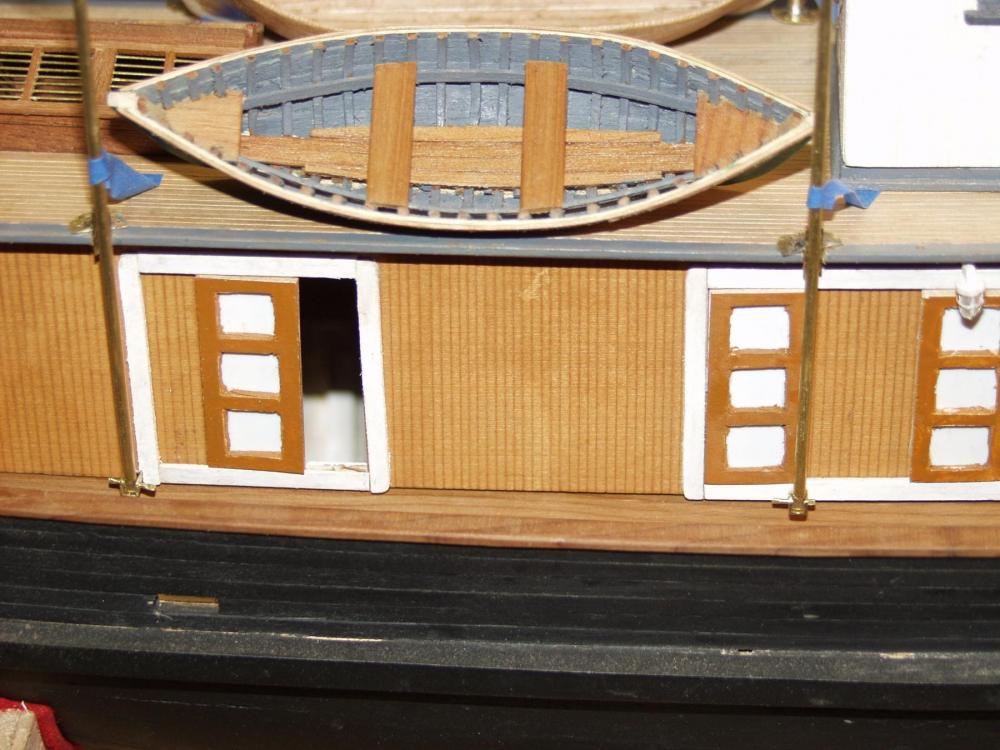
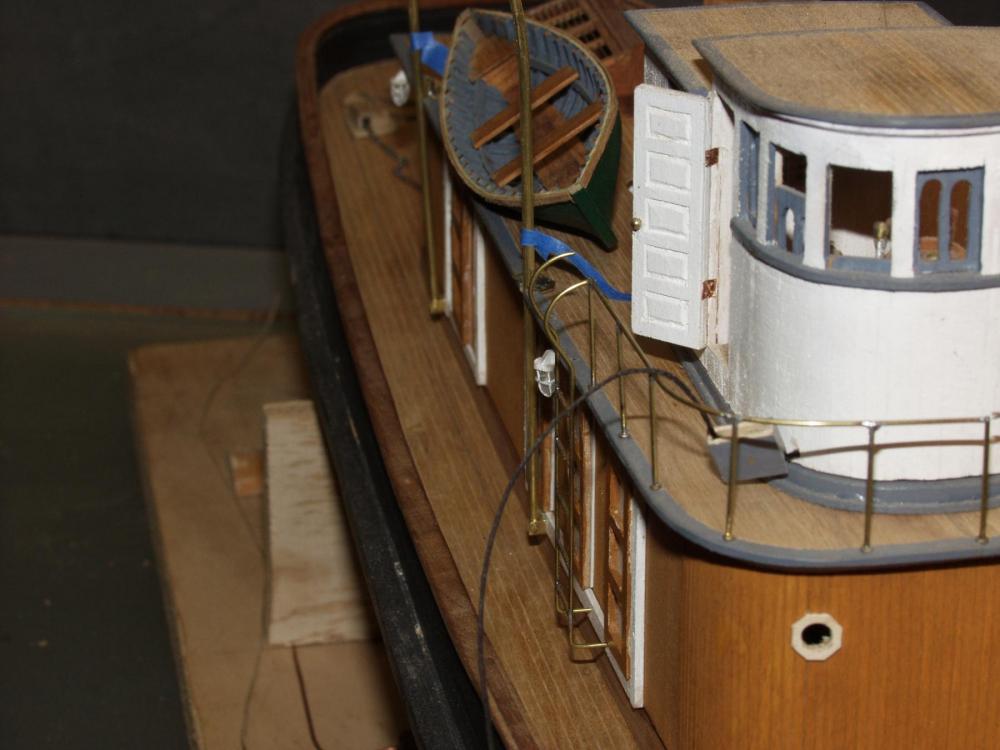
Since I now have boats built for my project, it follows that I will need boat davits. The only info I have on these is what I can pick out in the photos I have. These are some shots of what I came up with. I still need to add cleats, limit strap and a collar for locking in place. I have temporary pins in pivot points at this time. Every thing will get cleaned up and blackened.
- 208 replies
-
- 15
-
-
- john cudahy
- finished
- (and 1 more)