HOLIDAY DONATION DRIVE - SUPPORT MSW - DO YOUR PART TO KEEP THIS GREAT FORUM GOING! (Only 13 donations so far - C'mon guys!)
×

kirill4
-
Posts
907 -
Joined
-
Last visited
Content Type
Profiles
Forums
Gallery
Events
Everything posted by kirill4
-
 Dear Ab, Thank You very much for reply, Maybe one day it could happened that unswer will be found unexpectacly ...I hope so ! Wish You all the Best!
 -
Good day, Waldemar, Very interesting founds! Thanks!
-
Oh! It is just ... great ! looks it is easiest way to send question to somebody or ask someone opininion about ... thank You very much !
-
sent him private message
-
ops , I'm sorry than... I didn't know ,than of course it will be better to ask him here? not on the other forum... but better not private ... ah... Das he have any thread / building report here to place this question?
-
drop it on the SOS forum Post in thread 'Ever considered to scratch-build from card?' https://shipsofscale.com/sosforums/threads/ever-considered-to-scratch-build-from-card.4676/post-284965
-
I want to ask Ab Hoving to inlight this puzzle
-
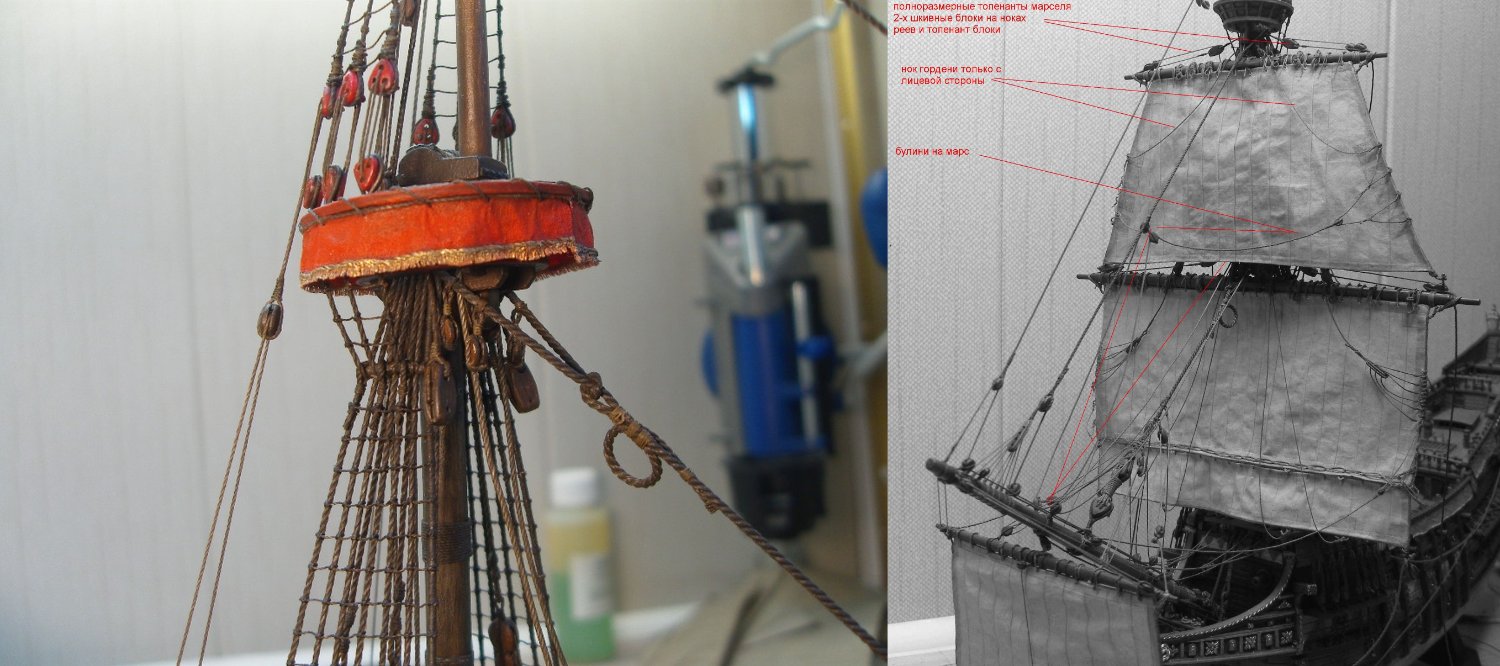
Sometimes it looks like these coils they don' t belong to the stays, but they are some separate parts
-
Smtng runs around, but not able to catch it! :))) ... and, there is ,when two coils presented on the drawings, no mouse arrangement as a rule, as far as I could see ... and one more, in this case , #top mast couldnt be lowered with help of top mast rope , it is lashed straight to the masttop? #Topmast cap is in rudementar form as a rule...means only half of the mast cap shown? And viseversa in later period - have full size of mastcap, no lashing top mast to the masttop, have stay mouse, no double coils on the stays...? More questions than answers...
-
Michael, Waldemar, thank you very much for such interesting inputs! Michael, I meant that holes used for towing boats or mooring purposes... on my model I still need to correct them/ location of rudder ropes/or one rope...? Waldemar, Regarding those loops on the fore and main stays often visible on the drawings of galleons... a few years ago when I was trying to solve this puzzle ... finally I decided to show one loop only as kind of compromise(don't remember now why didn't make two? :))) , this loop on the stay I've made from free end of the stay rope after making stay loop over mast head- I used some simple knot to form a loop, but not classical mouse... and formed loop from the running end of the stay rope...

-
Ээ... Michael, These spots not for rudder ropes... I would advise to check Velde's drawings... I stepped on the same rake on my model
-
OH YES!!! Thank You very much for sharing !!! You got exactly that effect of scaled "naturality" which I didn't reach when used thermo-transferring photo paper and percale fabric... All the Best!!! That I need in future making flags and armor cloths Kirill
-
Good day, Flags printed on tissue paper looks very nide! So your idea worked pretty good! Did your print both sides of the flag on tissue and clued them together?
-
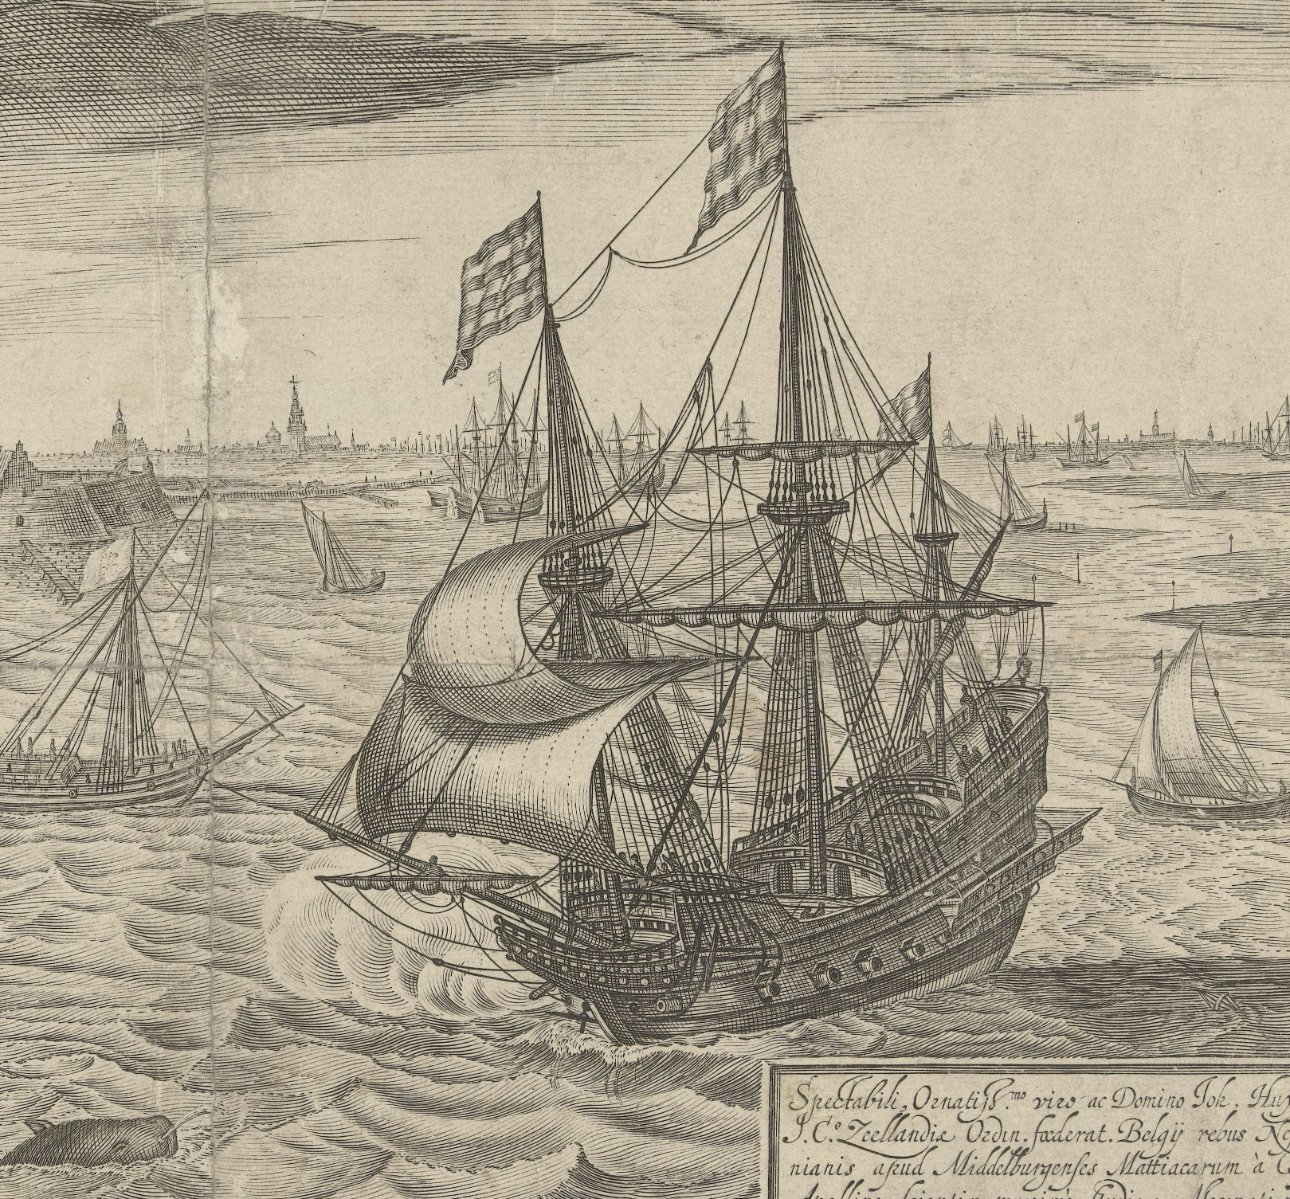
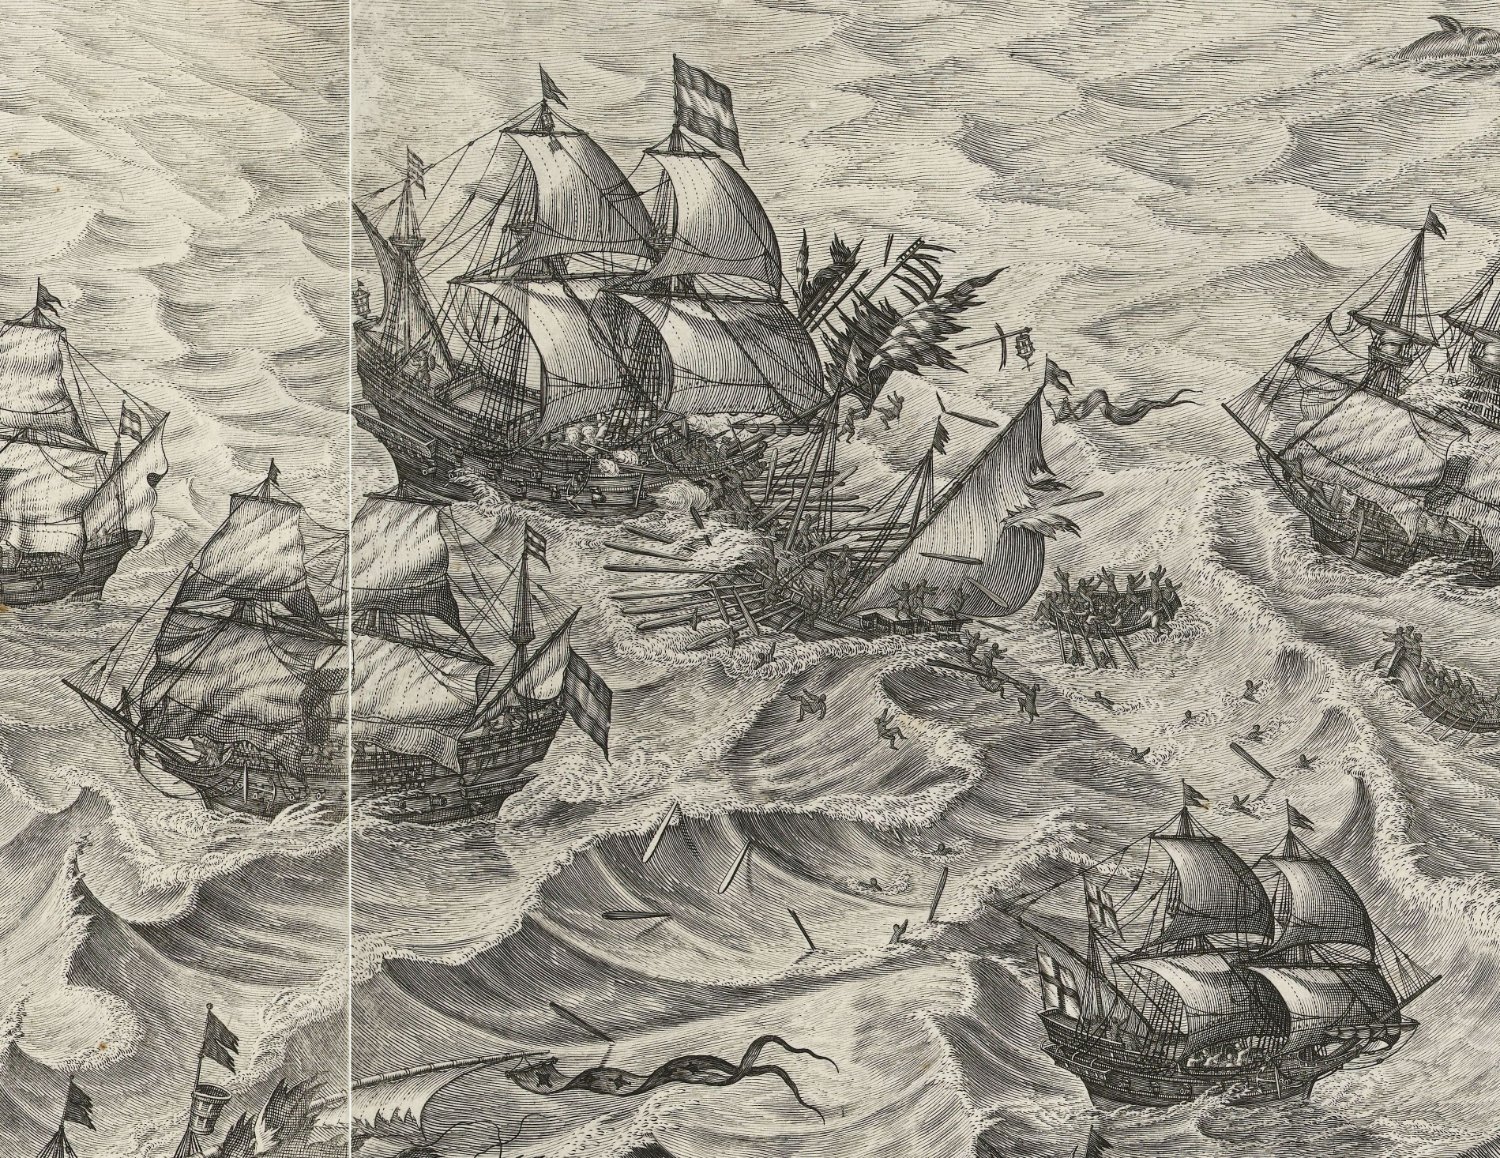
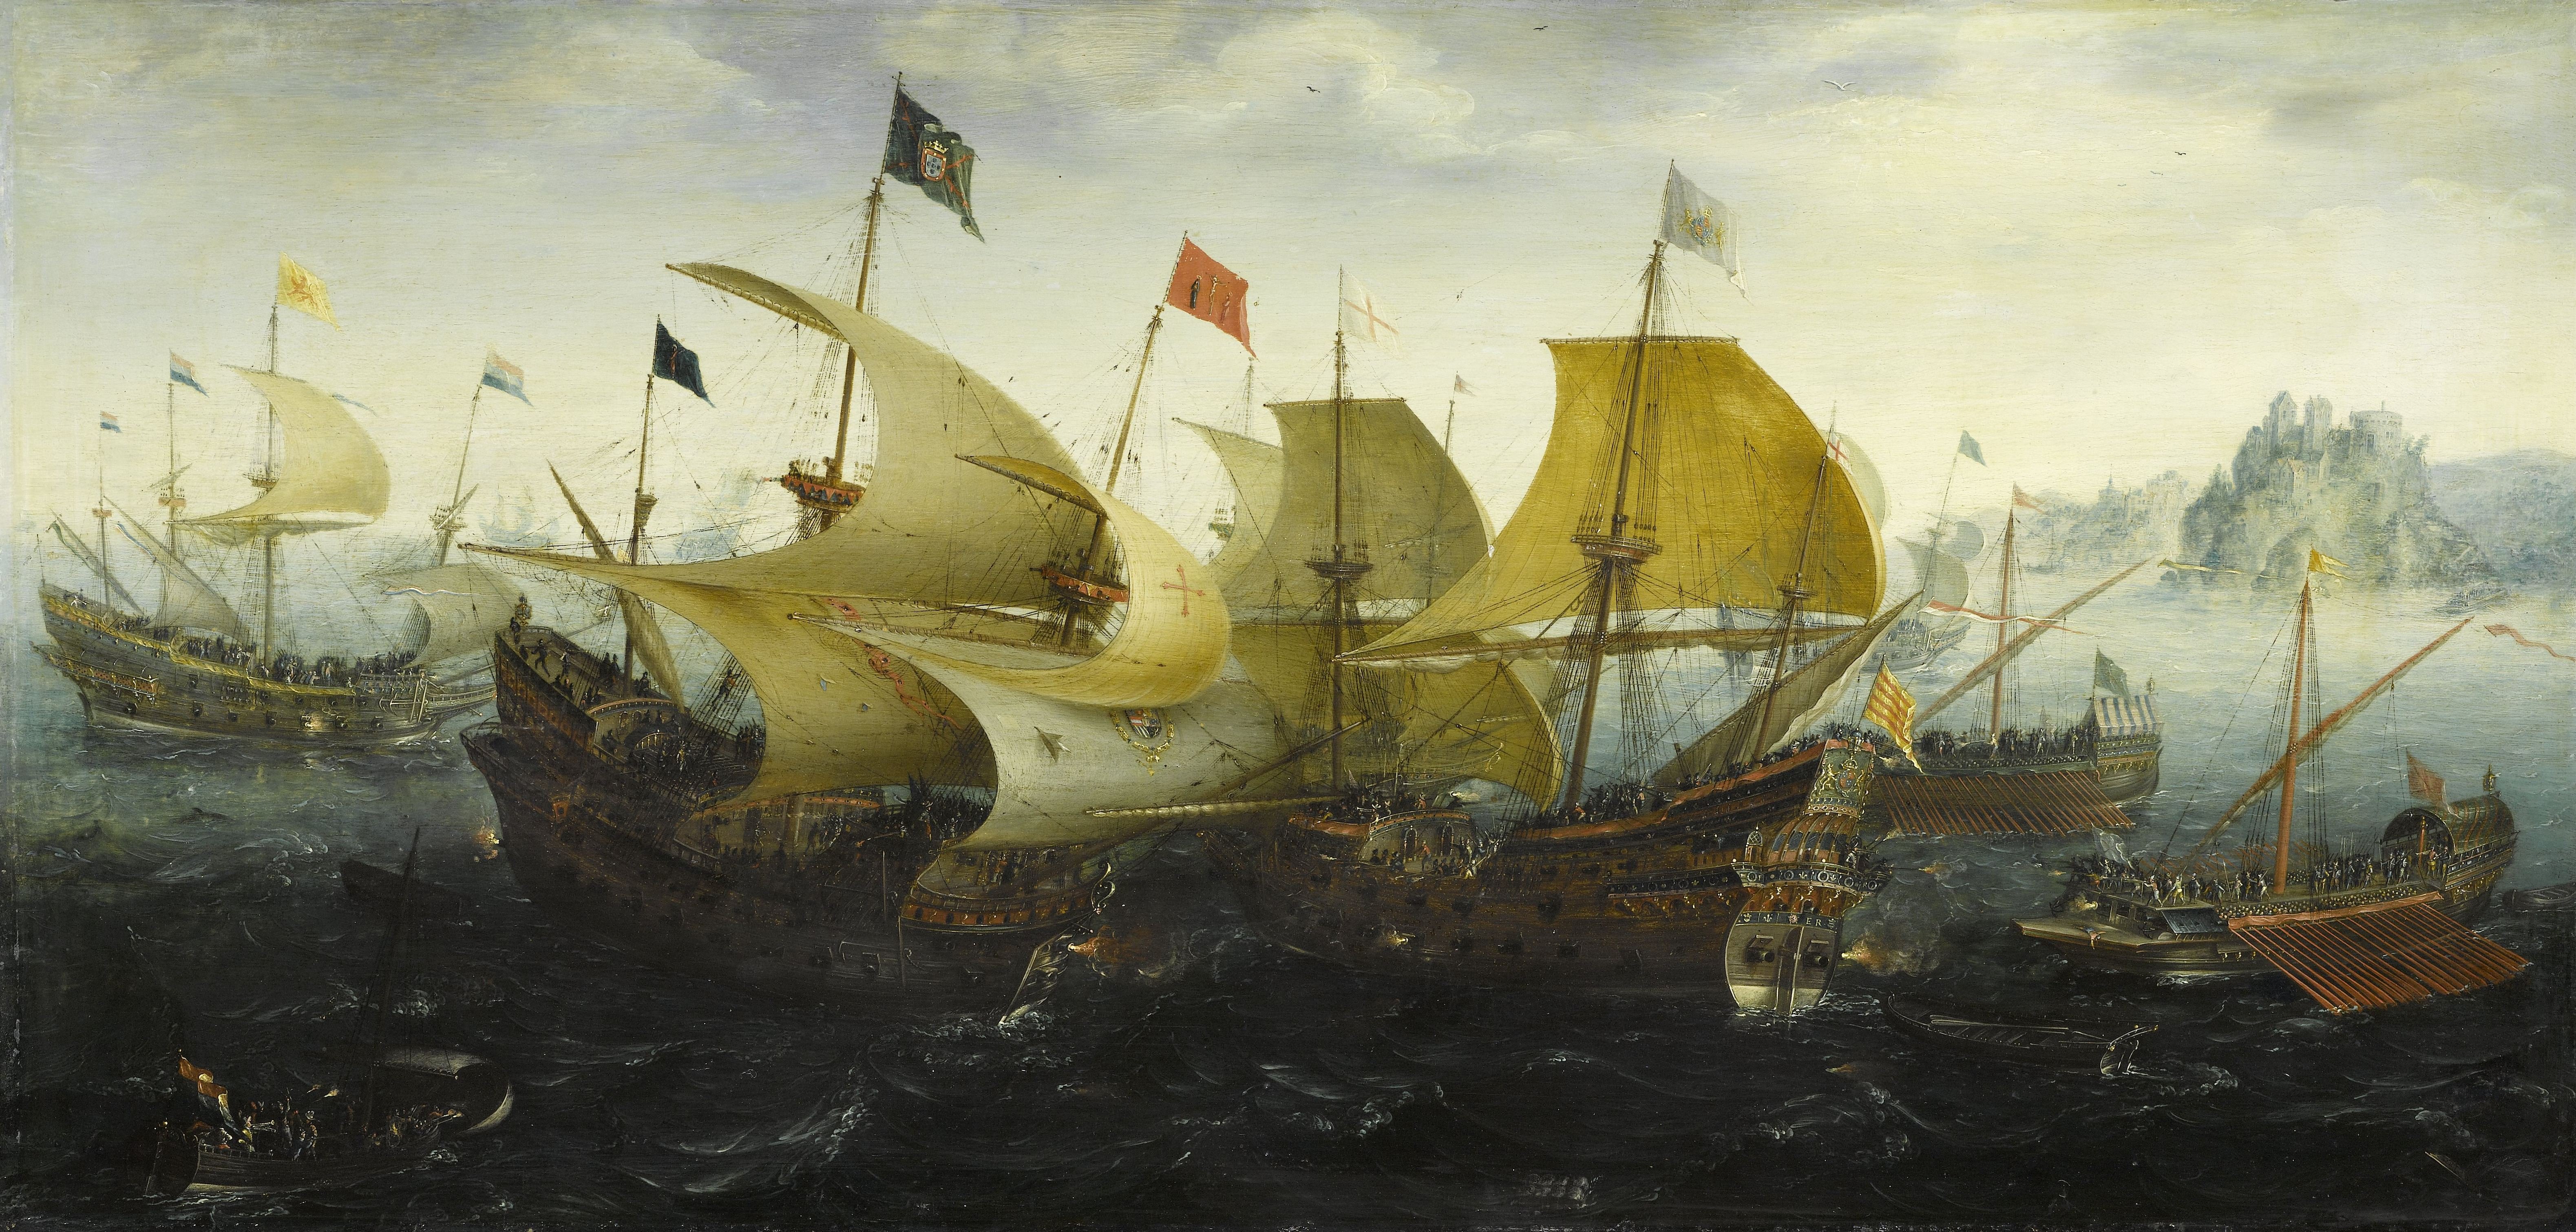
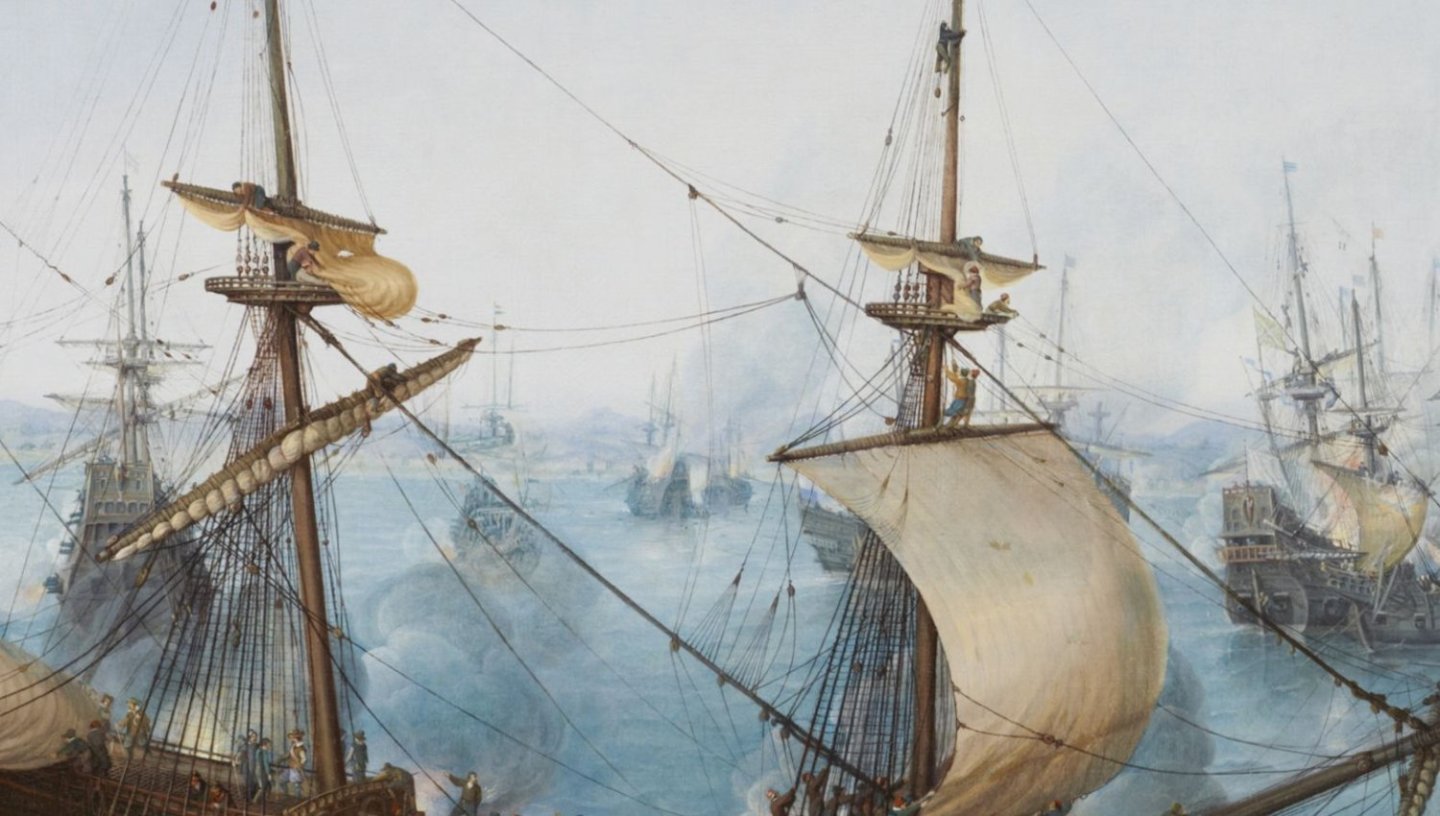
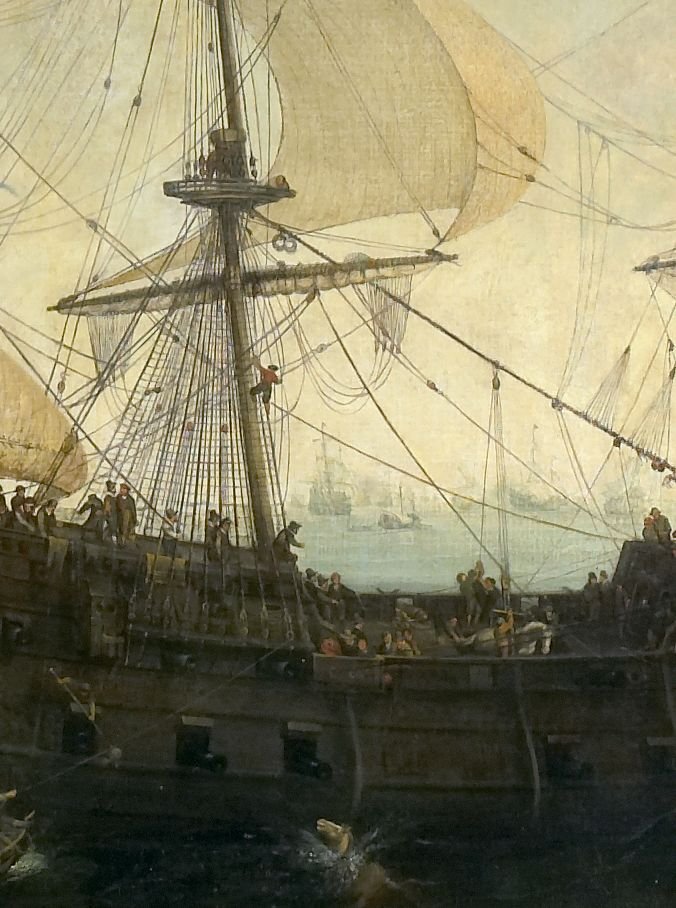
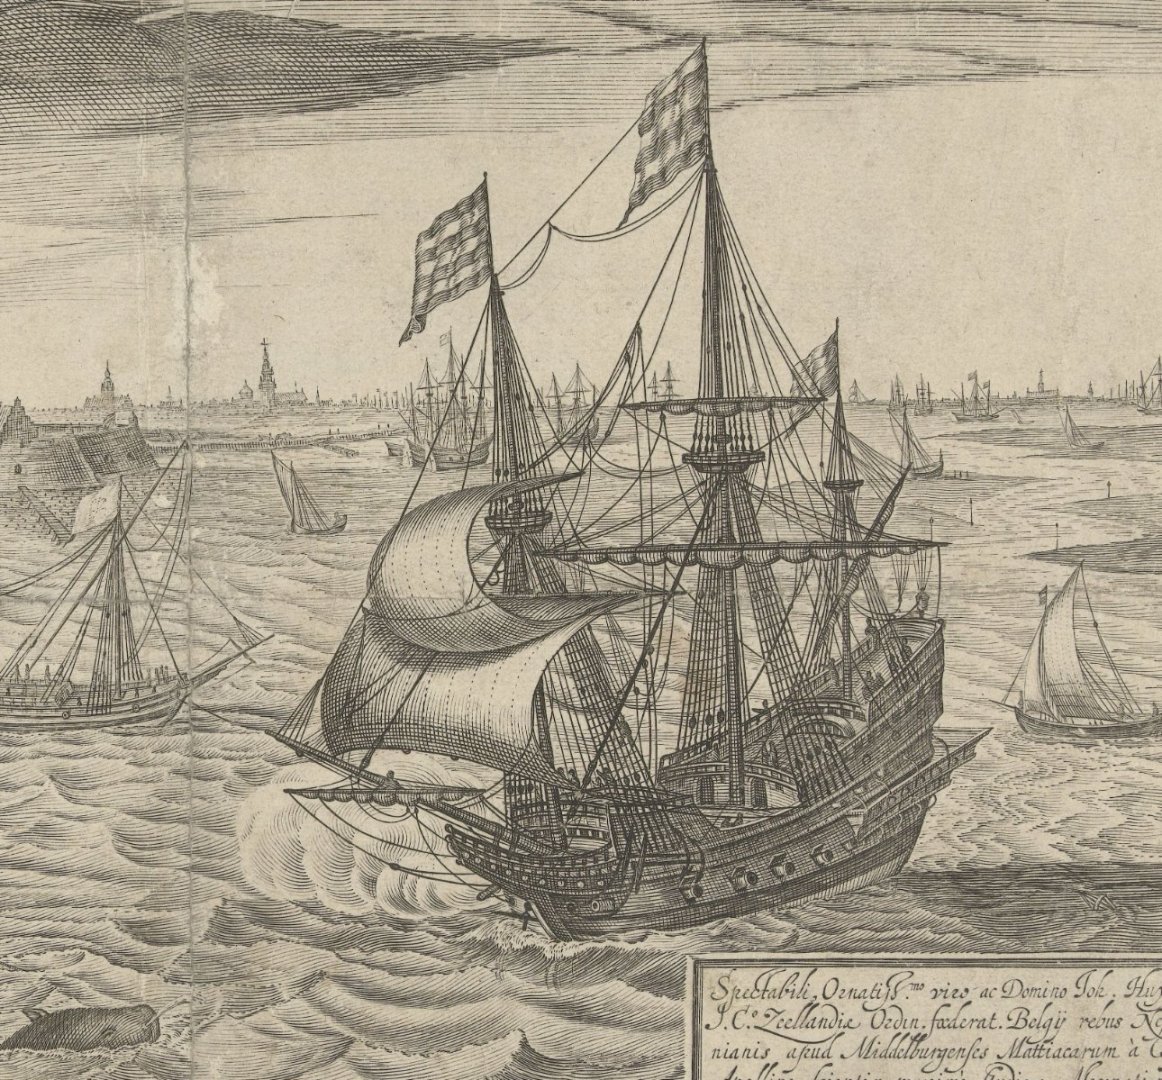
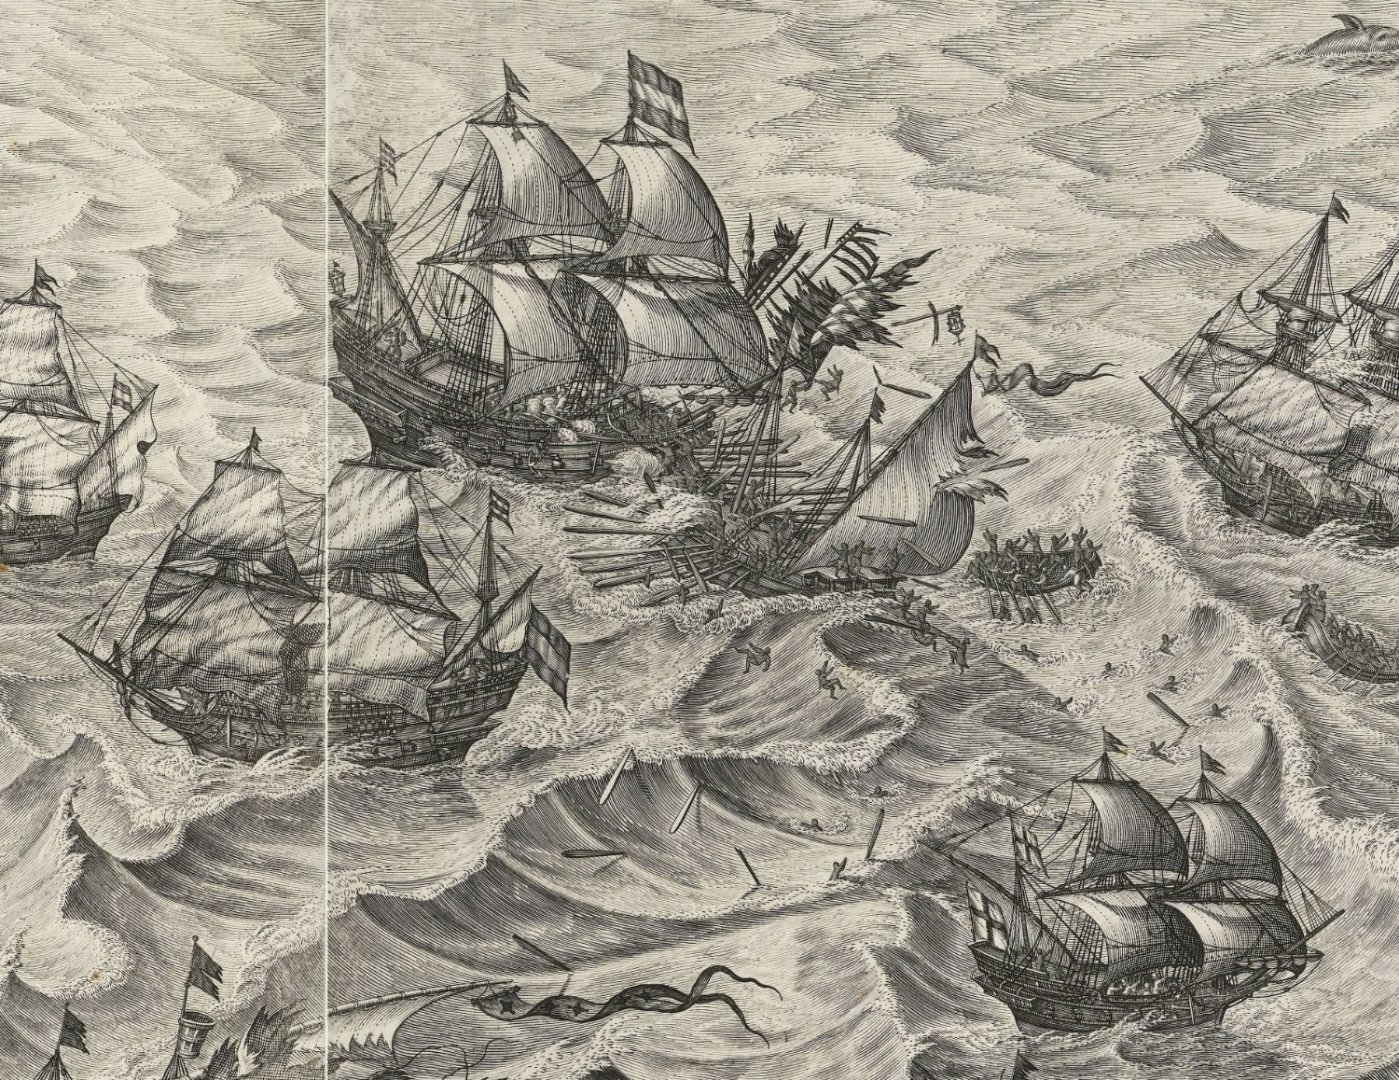
What Do You think how to make loop of stays over mast top? that question still remains enigma for me ... did You see on all ancient pictures with galleons they don't show classical arrangement of the stays loop over masts tops but often shown spliced loop without mouse and often shown two round coils in this area which I still don't understand what is it?

-
Ah! I see that why You used 4 holes for lower deadeye... understood now... I see You used left hand ropes for standing rigging which looks right choice! I like how they looks... right hand ropes for all running I suppose?
-
Good day Micharel, On the photo, main stay collar looks too thin compare to the mast tackle pendant? which should be equal to shrouds thickness if I m not mistaken? But I don't remember the rules for calculating main stay collar thickness... and lower main stay collar deadeye ? das it have 4 holes only ? not more? This is just visual impression when I see pictures You posted and reality could be very different I know :))) ps somewhere I read that on the model we could add approx 30% of thickness to the calculated rigging for better visual effect...? ... I don't know if it works good ... most probably yes, but from other side, when looking at RexSt models, I can't say He follows that rules :)))
-
:))) I keep my fingers crossed :))) Continue to watch your building with constant interest! It is going to be very nice model! All the best !
-
Hello! Looks nice ! Did You left mast- top mast and gallant from plastic? Alll The Best! Kirill
-
Dear Friends, All The Best for You and You families in coming New 2023 Year!!! 20221230_223747.mp4
-
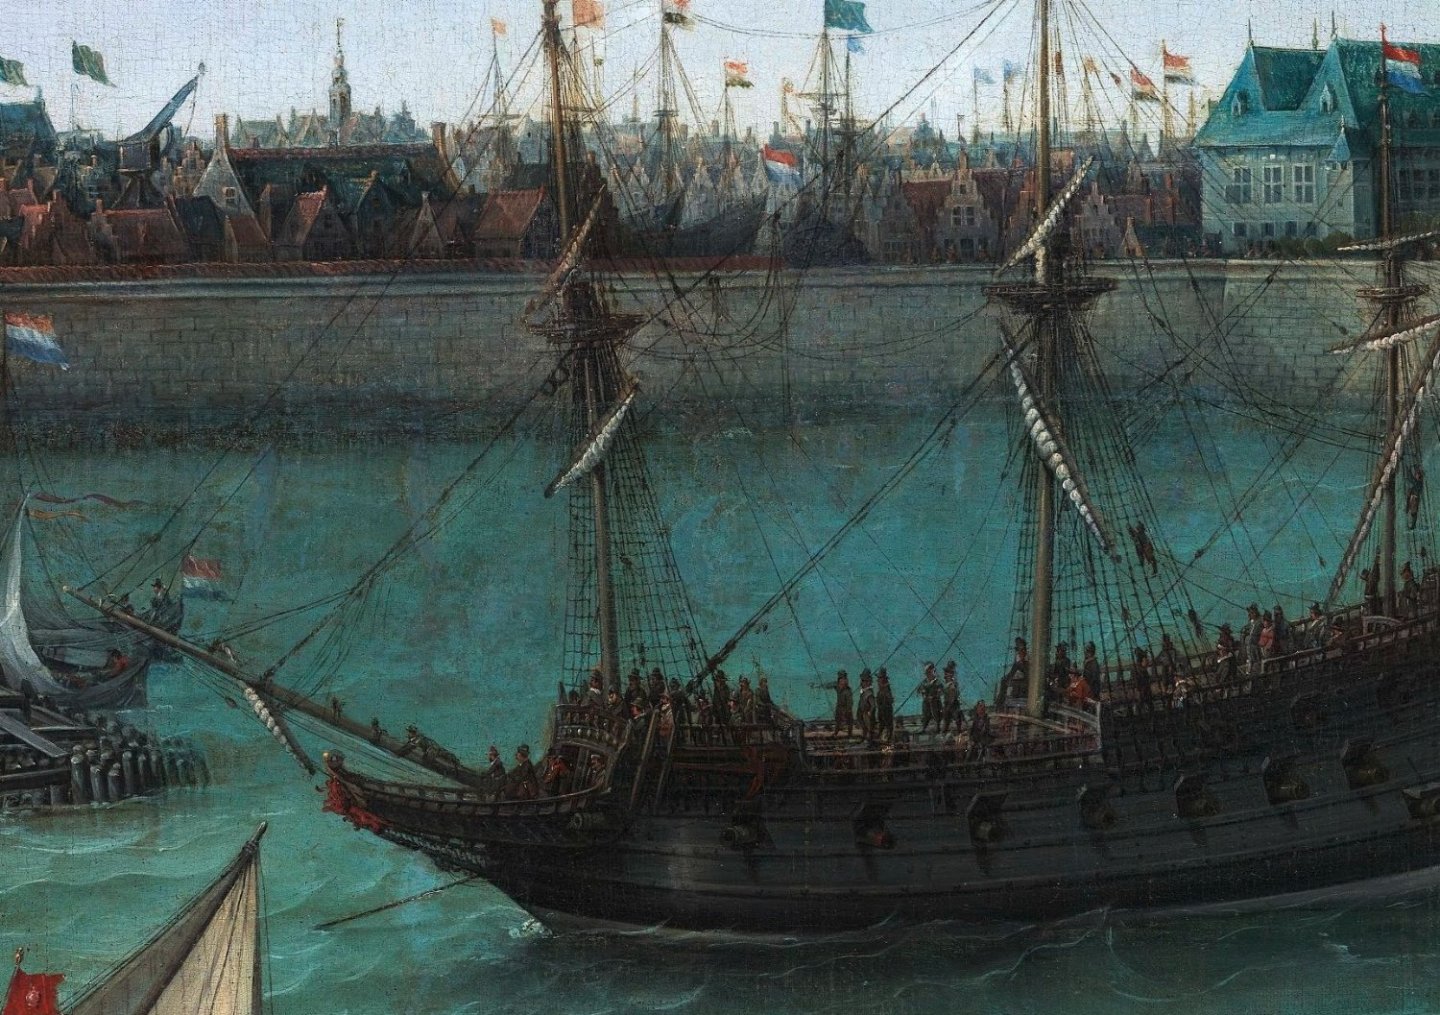
Thanks Michael, The paint seems to be held quite well at place! Today I reread your build log, and saw there was discussion about how to secure main stay... strange that nobody mentioned/consider variant to secure it just strait to the fore mast ? There are many graphics evidences for that ... It was very often used in that period... I would say, looking at pictures that I have/but I have them in "many " :))) /it used even more often , this way of securing main stay to the fore mast than any others... I/m talking of 16 th beginning of 17th centuries ...
.thumb.jpg.0416c83aa5c04d8037f5d97c929a4183.jpg)
-
Michael, How "strong" this paint technic? I like results very much, how it looks ! Does it have good adhesive ability to the plastic surface and how good does it resist ( when completely dried after painting) by hand touchings or tools? All the best! Kirill
-
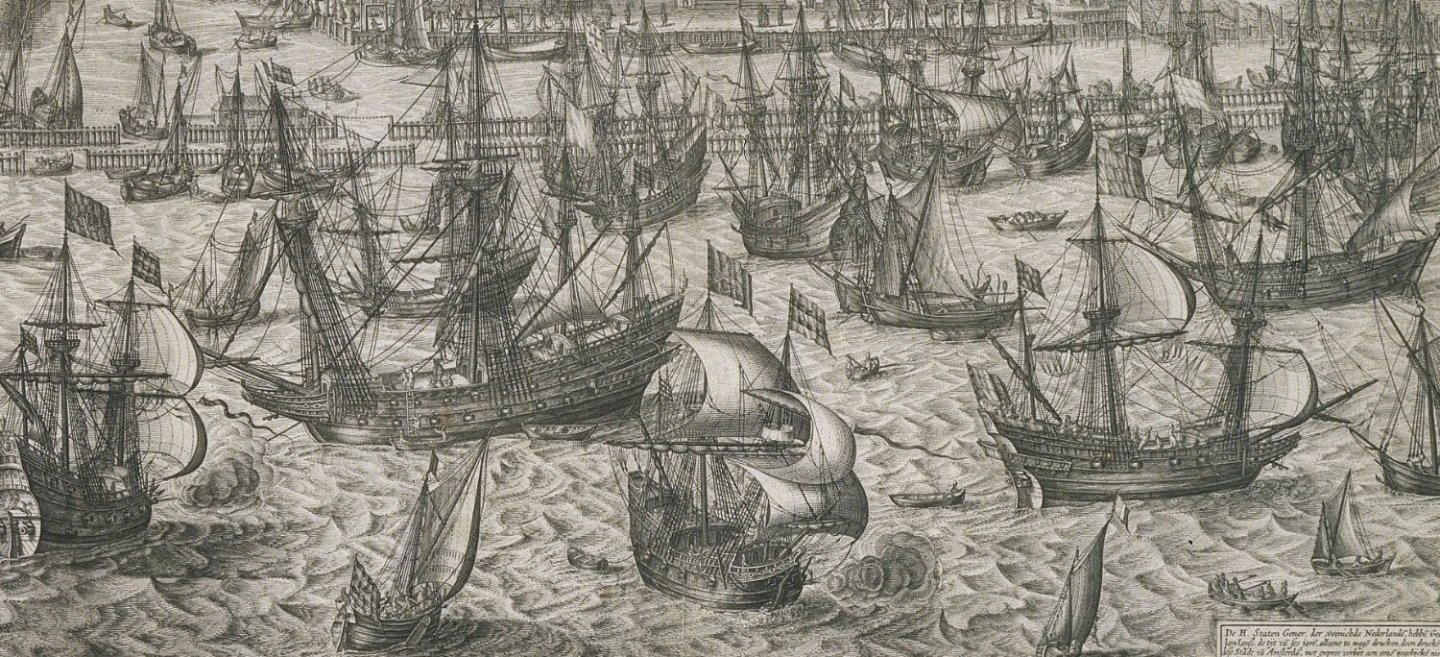
Good day, as promised , some links for info about galleons https://cloud.mail.ru/public/LGLC/nc68cBXhS https://cloud.mail.ru/public/HPTb/2rVXTwYAE https://cloud.mail.ru/public/BKZZ/qtohZkAH3 https://cloud.mail.ru/public/BShH/REu2hoxci https://cloud.mail.ru/public/C7SS/6x6zYvVk7


.jpg.1741ea3a18b1d1272c5958f1ee8aec28.jpg)