DONATION DRIVE - SUPPORT MSW - DO YOUR PART TO KEEP THIS GREAT FORUM GOING! (91 donations so far out of 49,000 members - C'mon guys!)
×

kirill4
-
Posts
910 -
Joined
-
Last visited
Content Type
Profiles
Forums
Gallery
Events
Everything posted by kirill4
-
 Good day Jeff, It was sad to hear that monts of job done now ruined Guns were looks very nice... why do not use CA gel for cluing purposes? It works very good ,making strong parts fixation,dry fast and easy in use... Wish You all the best! Kirill
 -
Good day Tom, Overall It looks nice , but anchor stock looks fitted upside down? or there is such effect on the foto? All the best! Kirill
- 135 replies
-
- 1
-

-
- billing boats
- half moon
- (and 1 more)
-
Dear Friends, THANKS a Lot For your attention and remarks, now I have to start my new contract(I'm seaman) Will see in down Рекомендую этот альбом: Pachelbel: Canon in D - Bach: Air on a G String - Handel: Largo from 'Xerxes' - Hallelujah Chorus - Clarke: Trumpet Voluntary Johann Pachelbel https://open.spotify.com/album/69kr5nuqGTy3bBkuRyutw7?si=bx3FttFbSSuUE5ha2PBuoA&utm_source=native-share-menu
- 228 replies
-
- 2
-
-
- spanish galleon
- lee
- (and 1 more)
-
Michael, OC, Thank you very much for your attention and kind comments! I'm very glad that you found this built interesting! Will see you in fall...
- 228 replies
-
- 2
-
-
- spanish galleon
- lee
- (and 1 more)
-
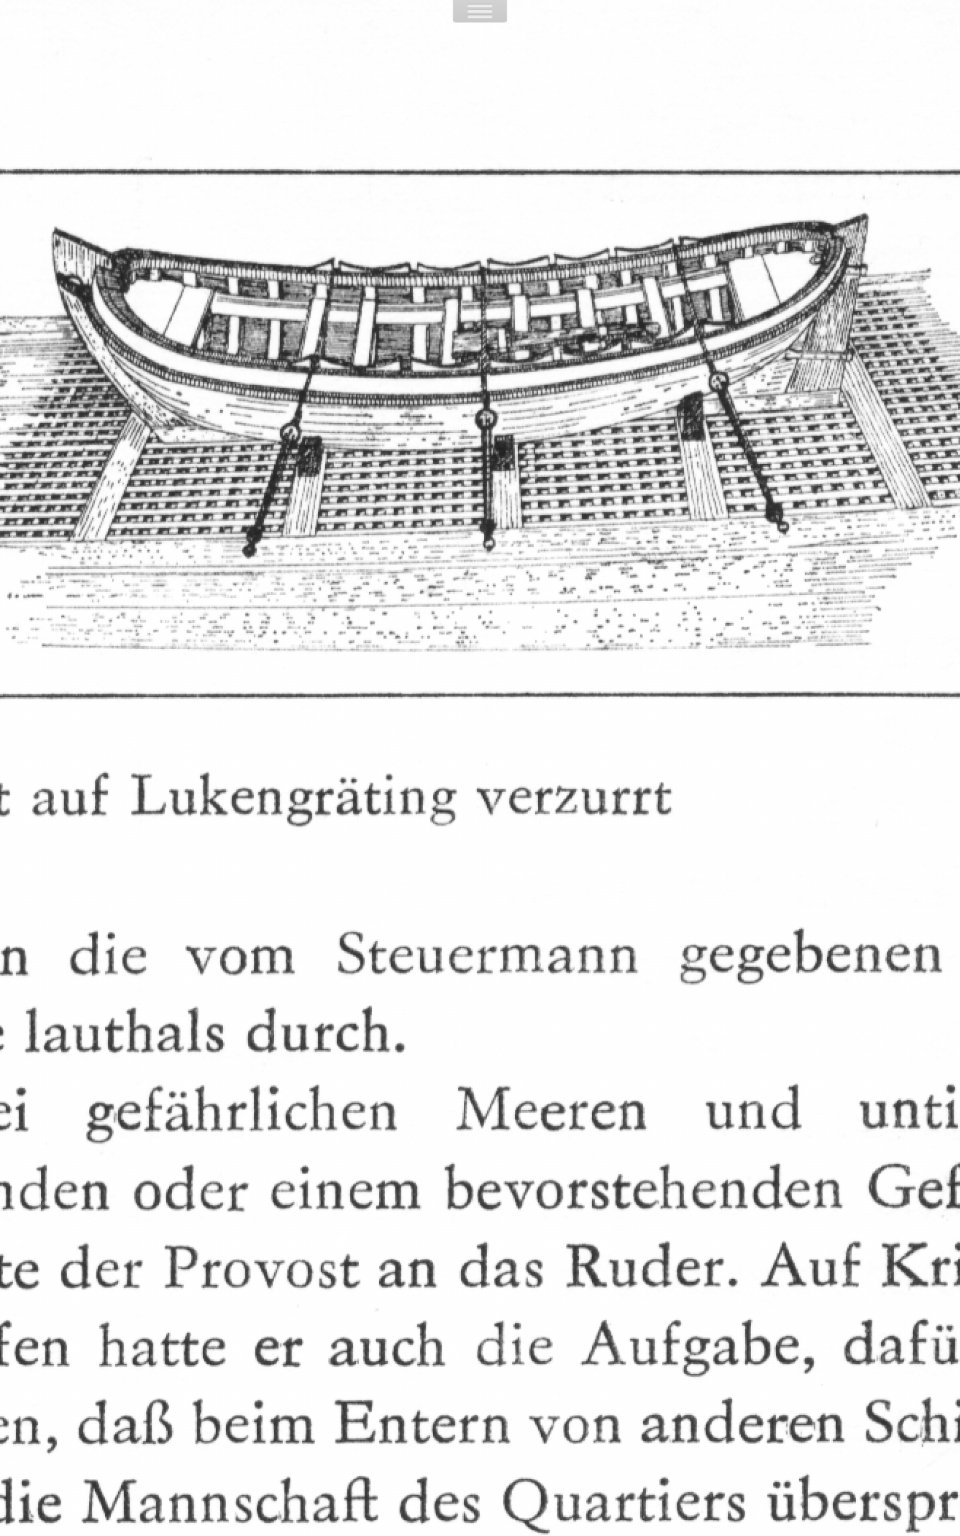
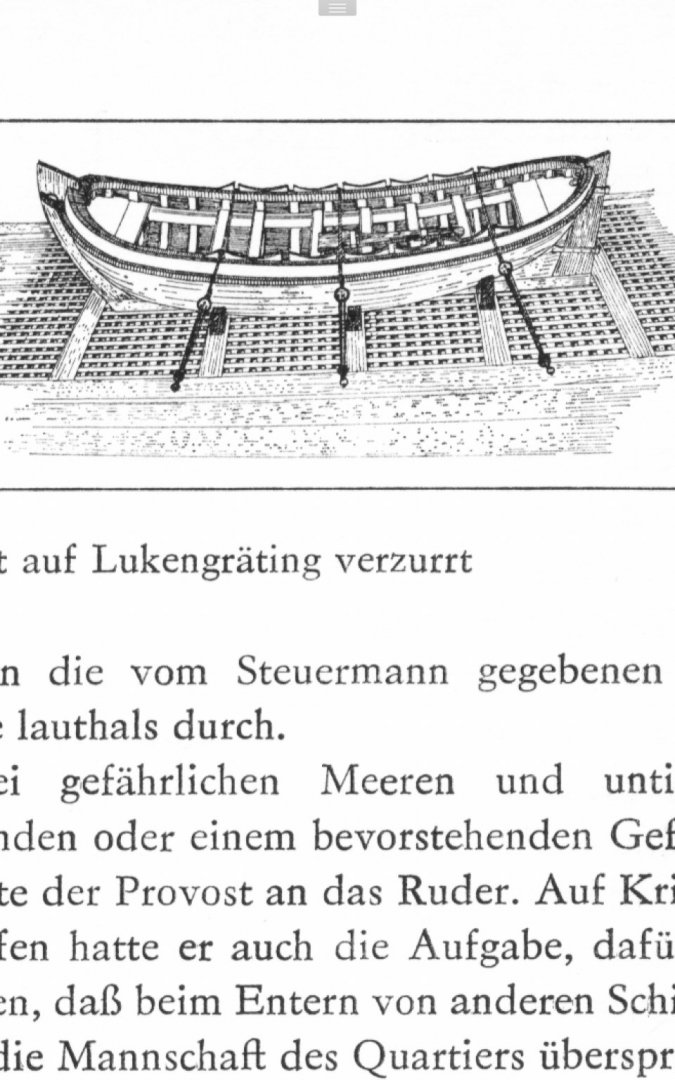
Good day Michael, Ancher rope - I see ! Have some remark regarding boat lashing... if I'm not wrong, these lines shouldn't be crossed above boat( which couldn't be made tight in reality), but there should be separate lashings passing from side to side and some gears arranged for tightening them... something as shown on this picture ...
- 222 replies
-
- 2
-
-
- reale de france
- heller
- (and 1 more)
-
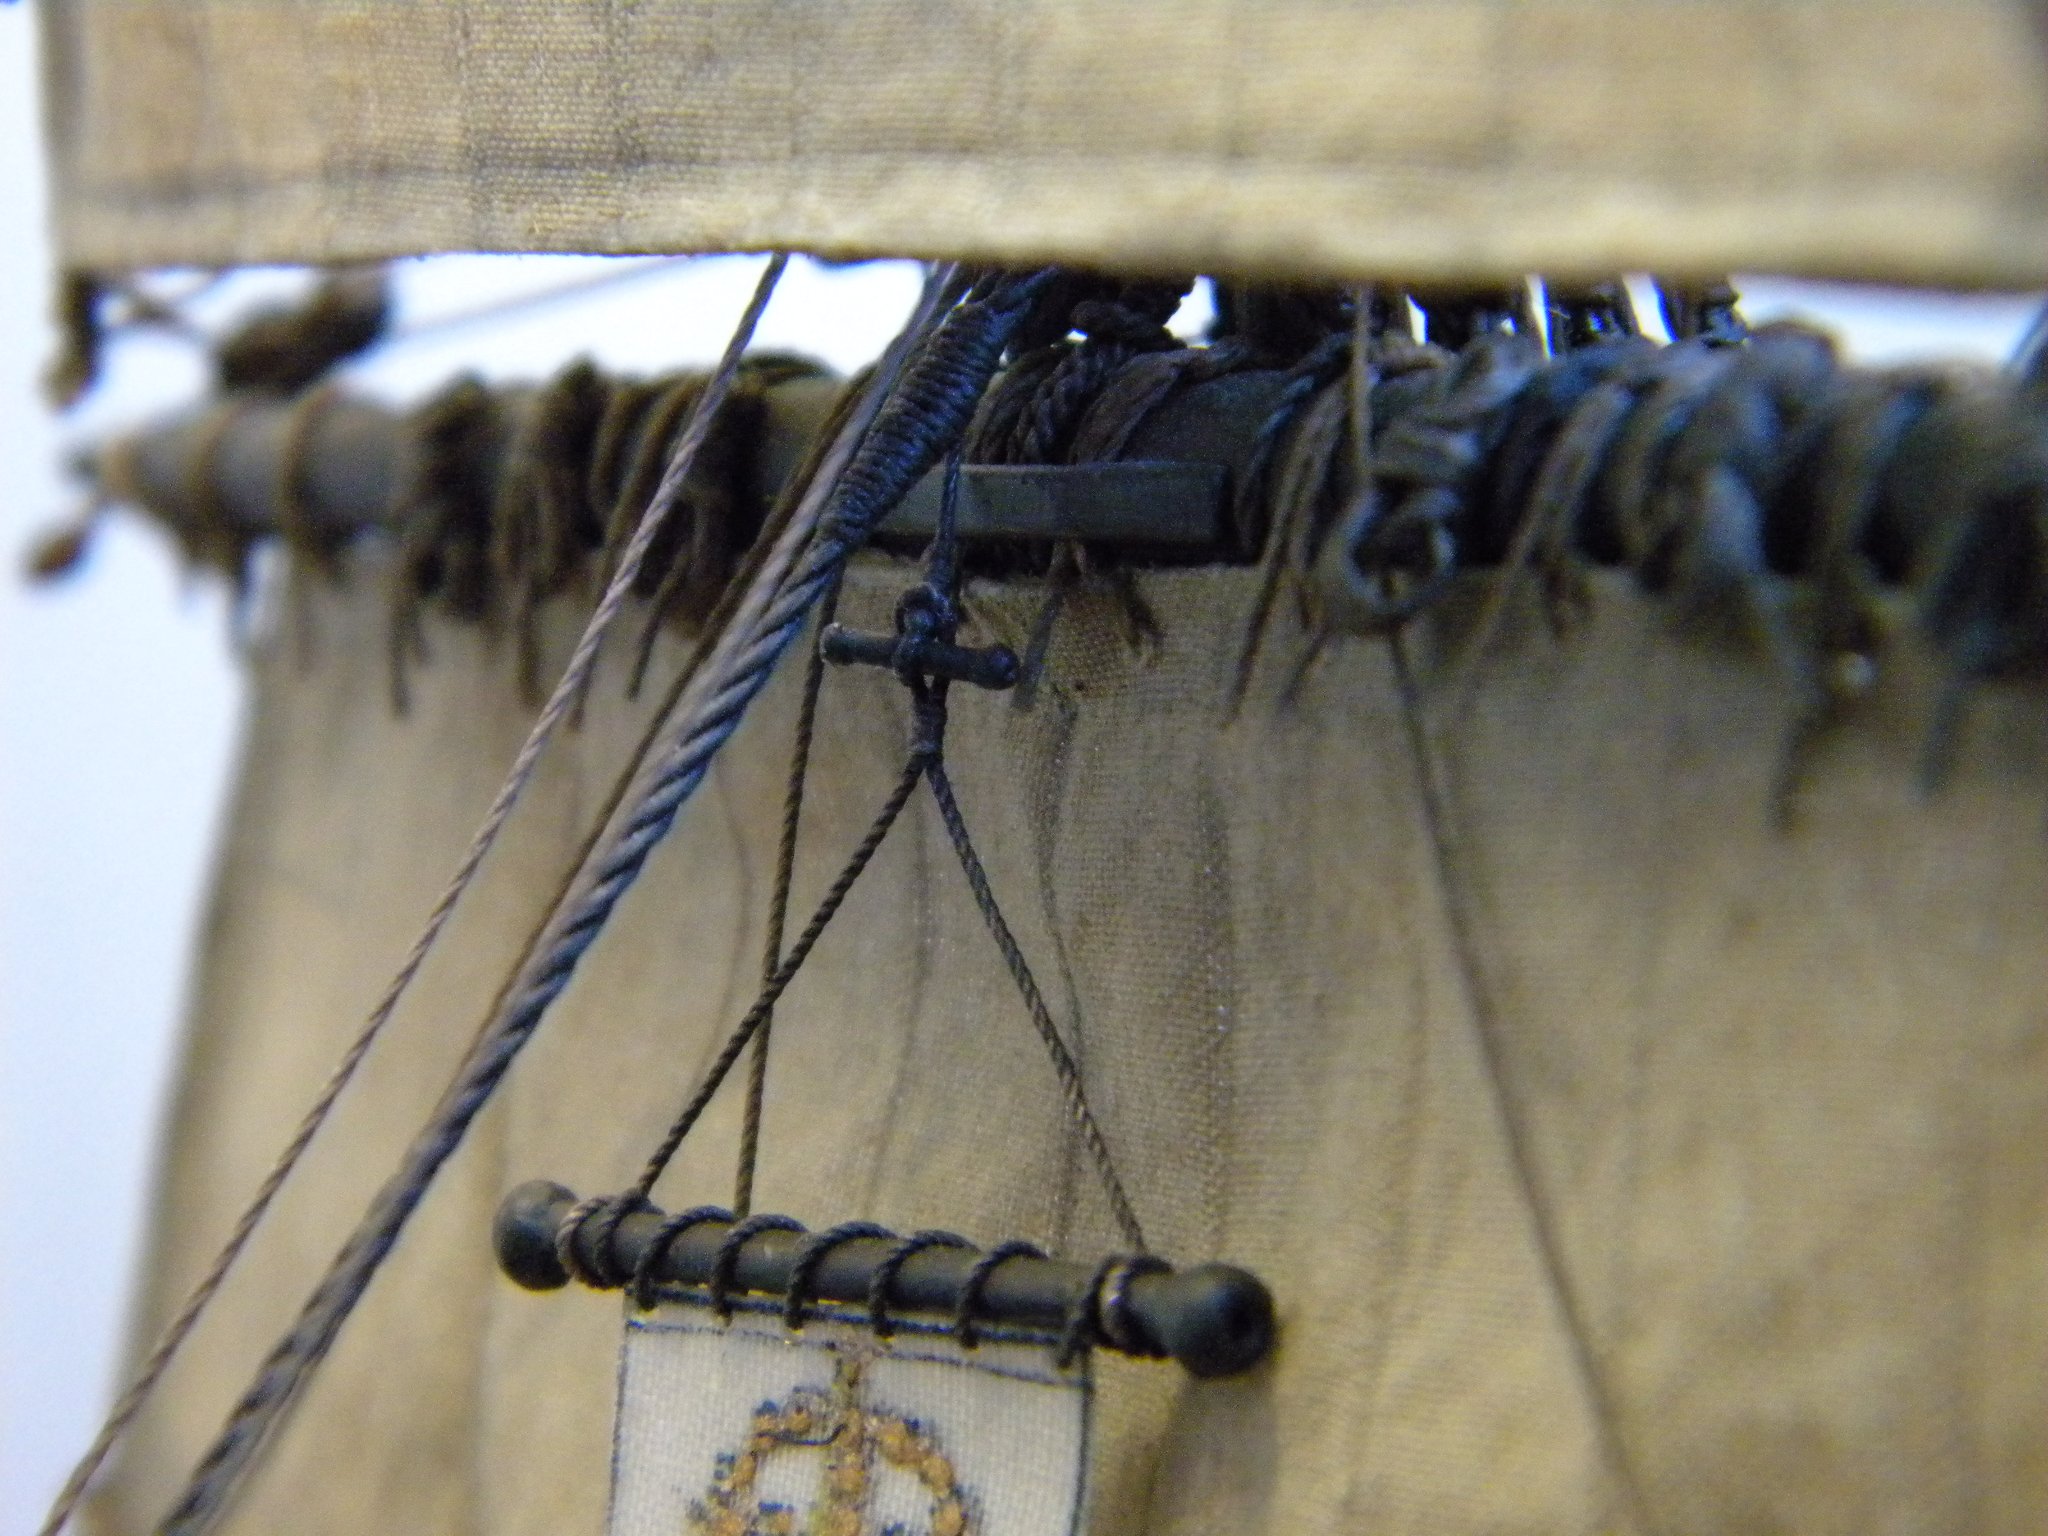
Good day, Steven, Thank You for interesting information and pictures! At least manufacturer shown them in the lower part of the sails , but not in the upper part which was normal position of later period .
- 135 replies
-
- 3
-
-
- billing boats
- half moon
- (and 1 more)
-
Good day Tom, Thank You, now I understood - franckly speaking it looks unusual, interesting ,why kit maker desided to use them(not bonets) for Half Moon model ? ... 🙄
- 135 replies
-
- 2
-
-
- billing boats
- half moon
- (and 1 more)
-
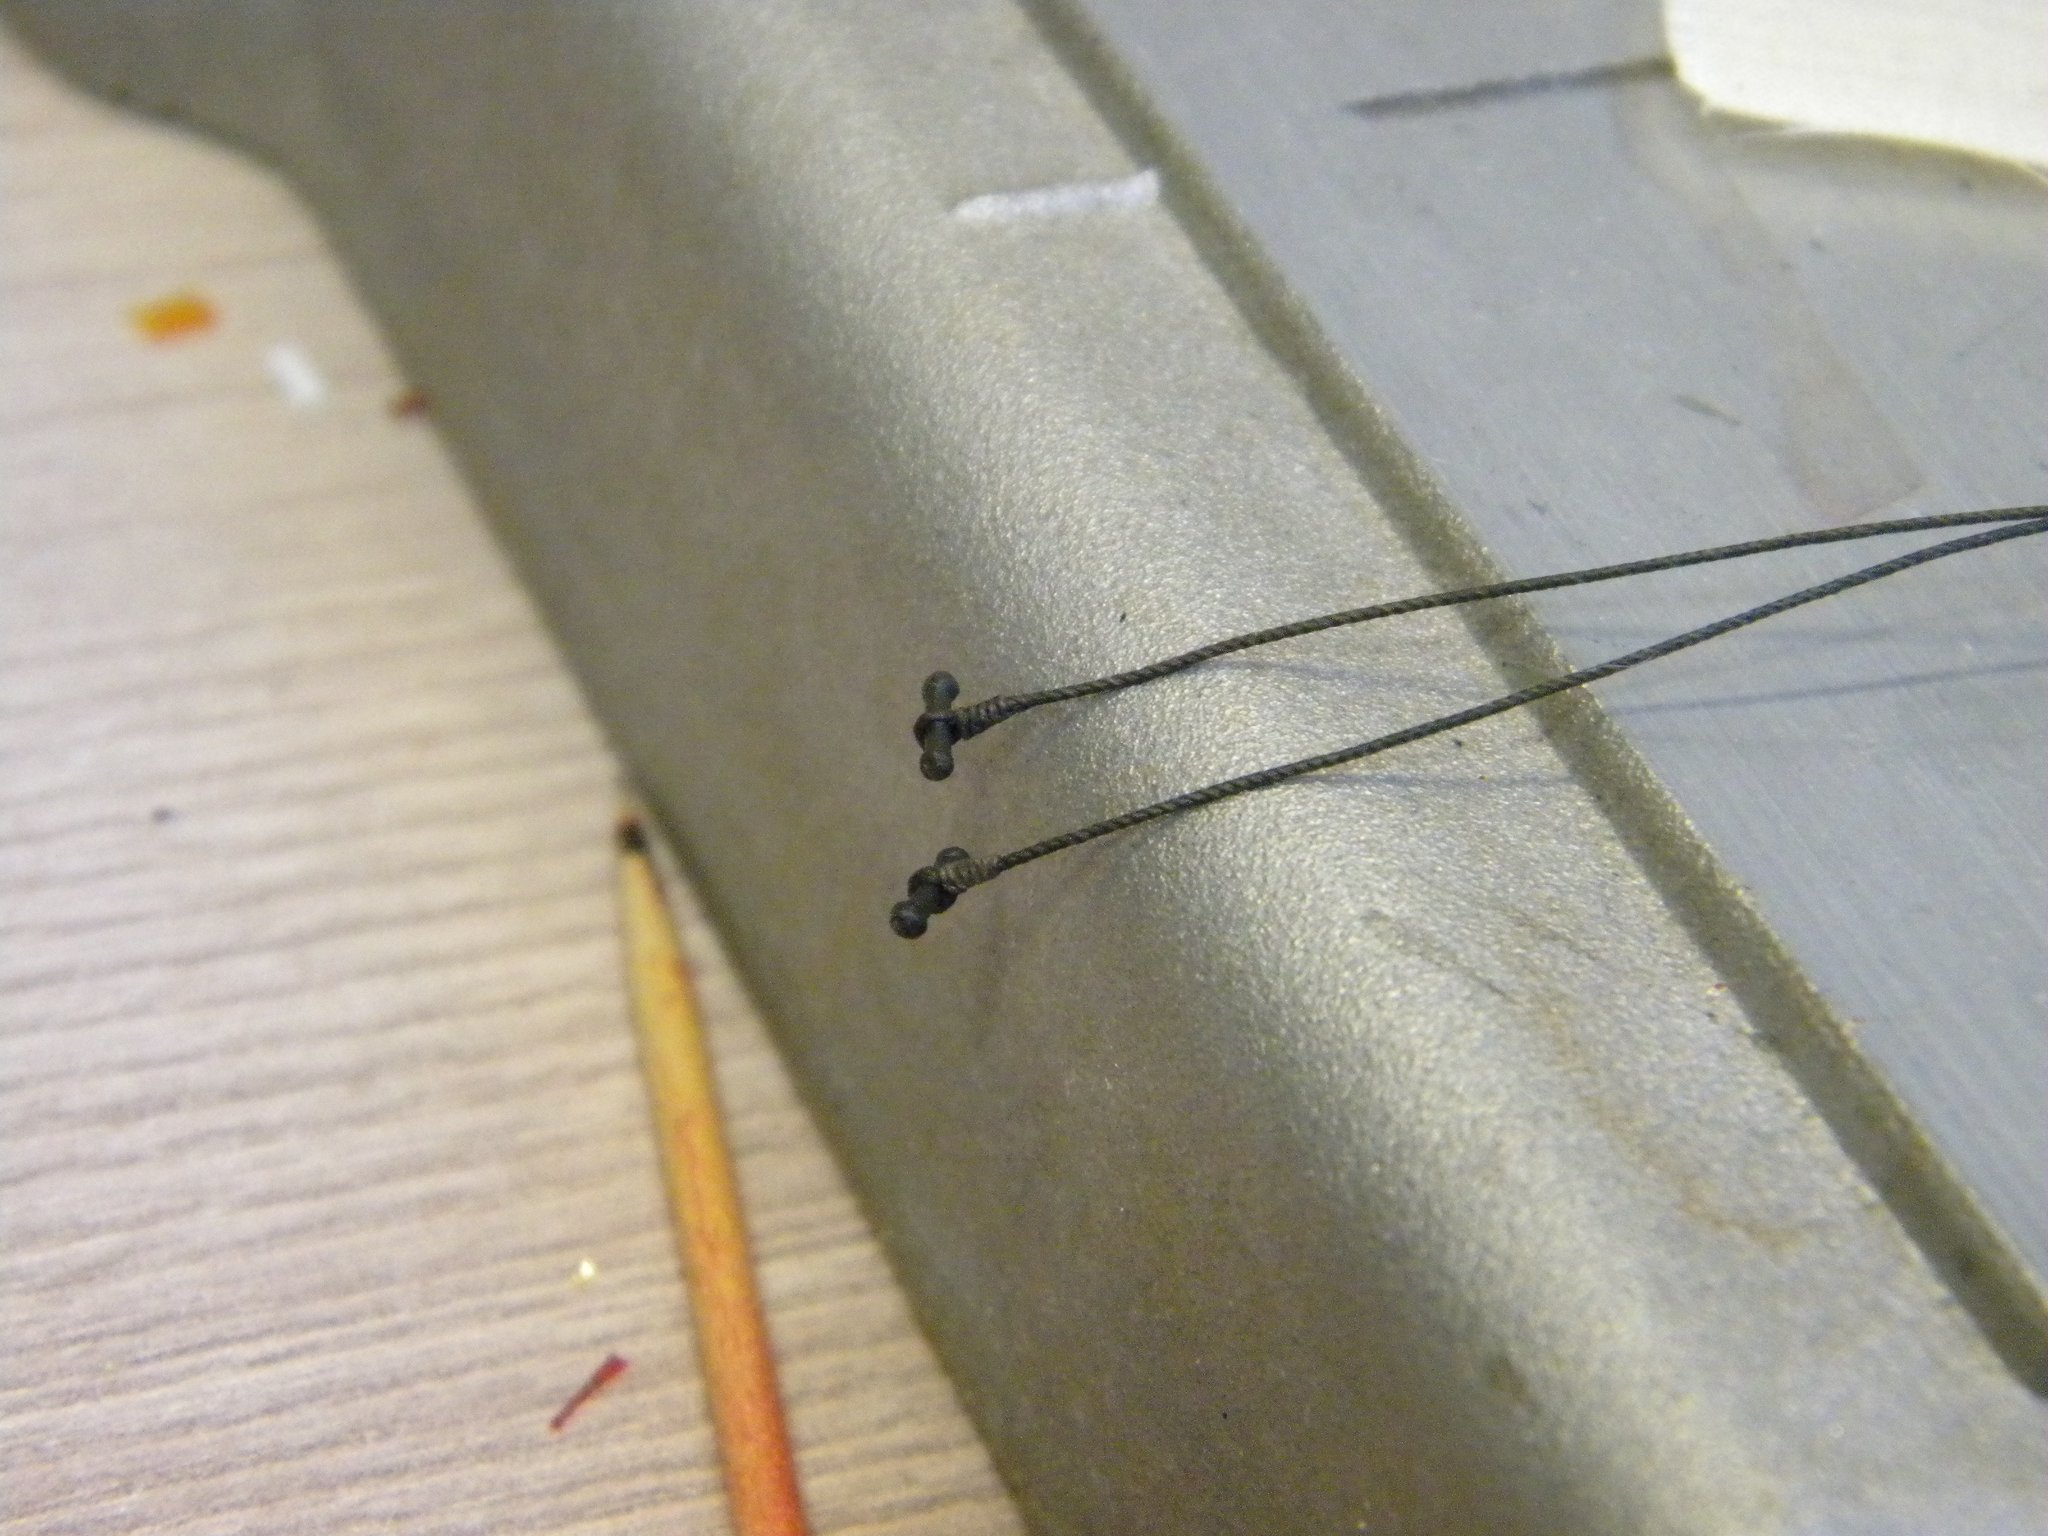
Good day Tom, Bolt ropes looks nice! accurate and clean... But where from these reef points came? In that time there were no reef points on the sails... there must be bonets in use instead of... if it was ness-ry to reduce sail area... reef points came in use almost 200 years later on....
- 135 replies
-
- 1
-
-
- billing boats
- half moon
- (and 1 more)
-
I meant that rope which You use for the boat anchor...
-
Оh, I see now what are this lines designed for! I don't remember...did I ask You why do not use ownmade " ropes" instead of unprocessed threads... maybe allready we told abt this issue...? This threads ,which You use now looks very loose and as consiquences unnatural in structure , and it gives some visual dissonance with highest standarts of all other components and paintings of your model
-
Good day Michel, Thanks for explanation. Boat looks nice! The color of planking inside looks a bit unusual... not red not brown or wood... what is this color name?
- 222 replies
-
- 1
-
-
- reale de france
- heller
- (and 1 more)
-
Good day, Dear Friends, Thank You very much for your kind comments and attention to this galleon build :))) ! Marc, :))) I see You noted my remarks regarding using of two gold colors :))) I mentioned this after visited Hermitage museum a few days ago... of couse I try to see details which we could use later on in our models making,and I noted, artists, they use two gold colors when guildings decors in this famous palace...

- 228 replies
-
- 11
-
-

-
- spanish galleon
- lee
- (and 1 more)
-
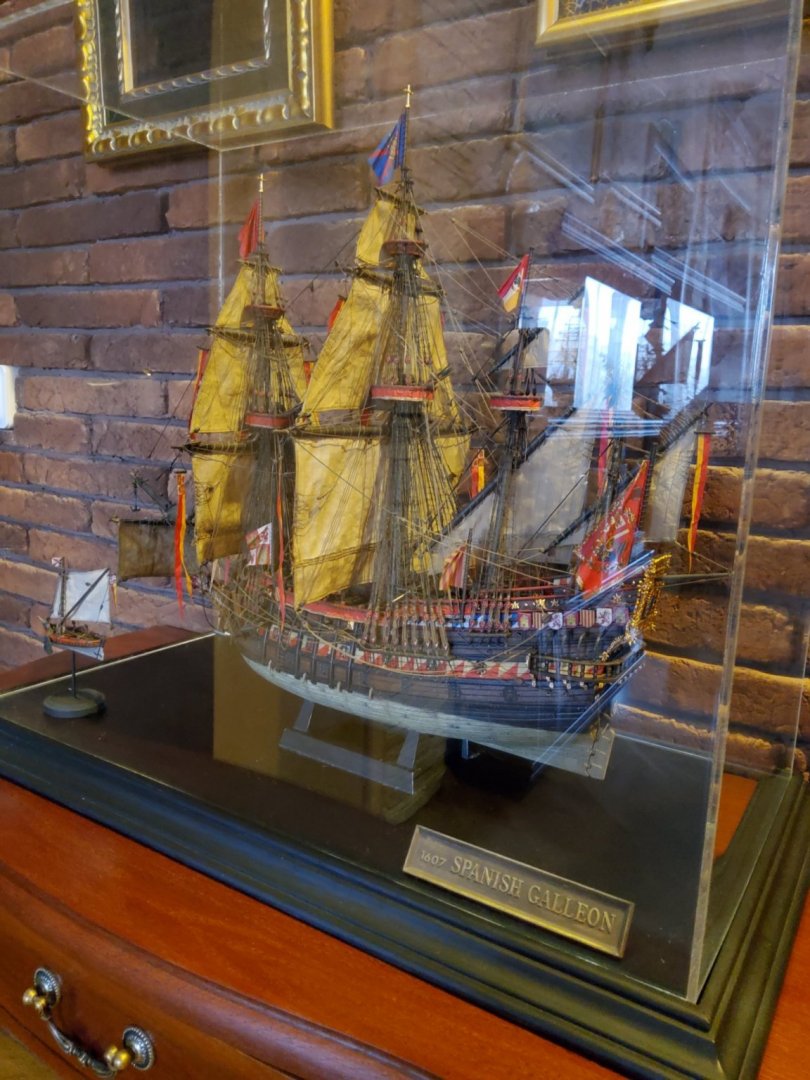
Thank You very much Michael for your attention and kind remarks ! :))) I m very glad You like it! Now there is one thing remains only... to make suitable stands, to make finish foto and it will be 100% completed! :)))
- 228 replies
-
- 3
-
-
- spanish galleon
- lee
- (and 1 more)
-
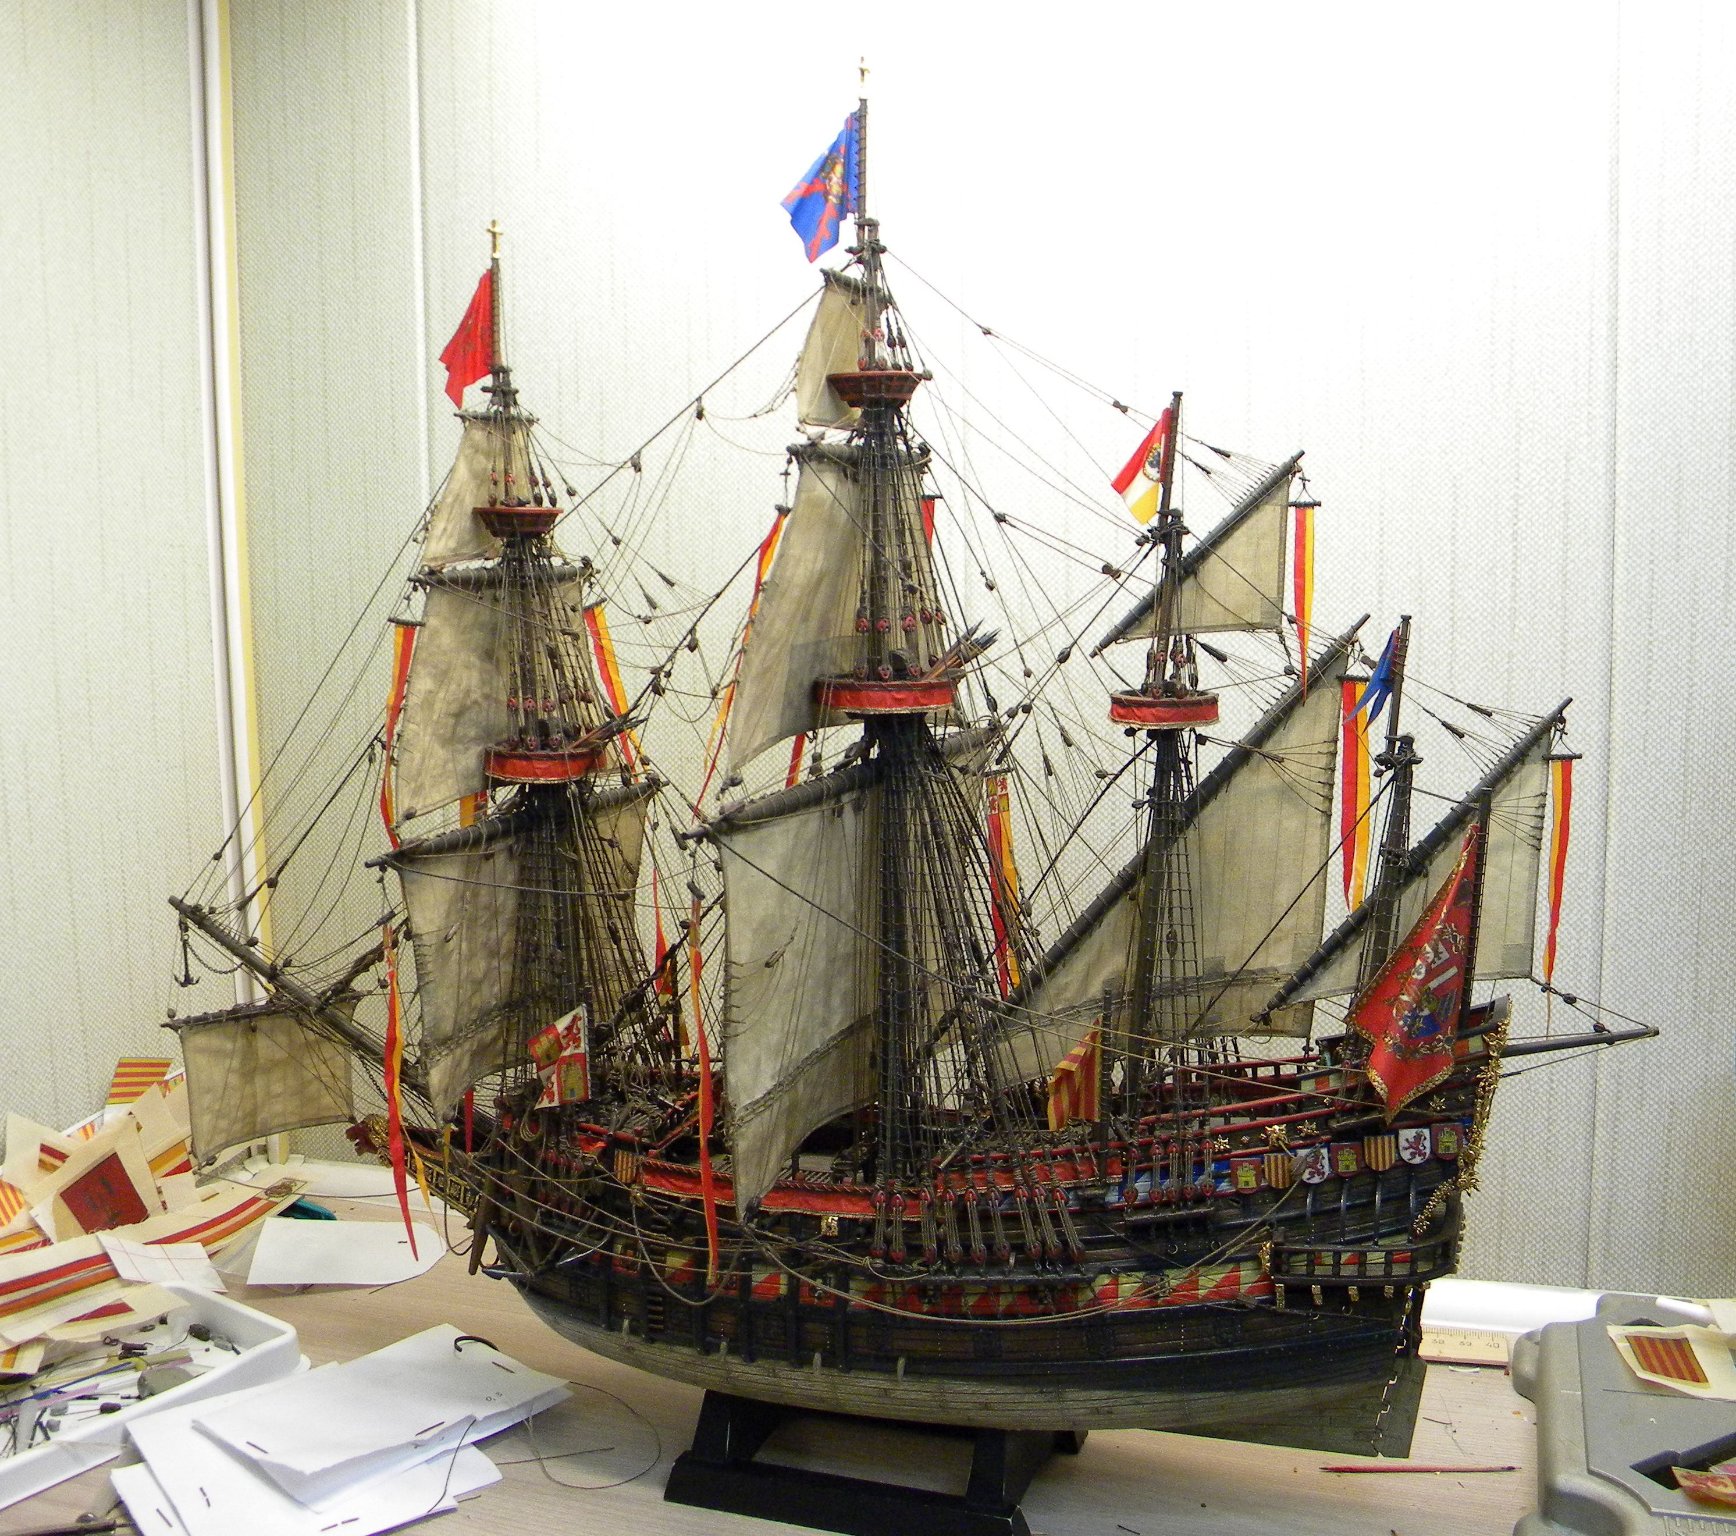
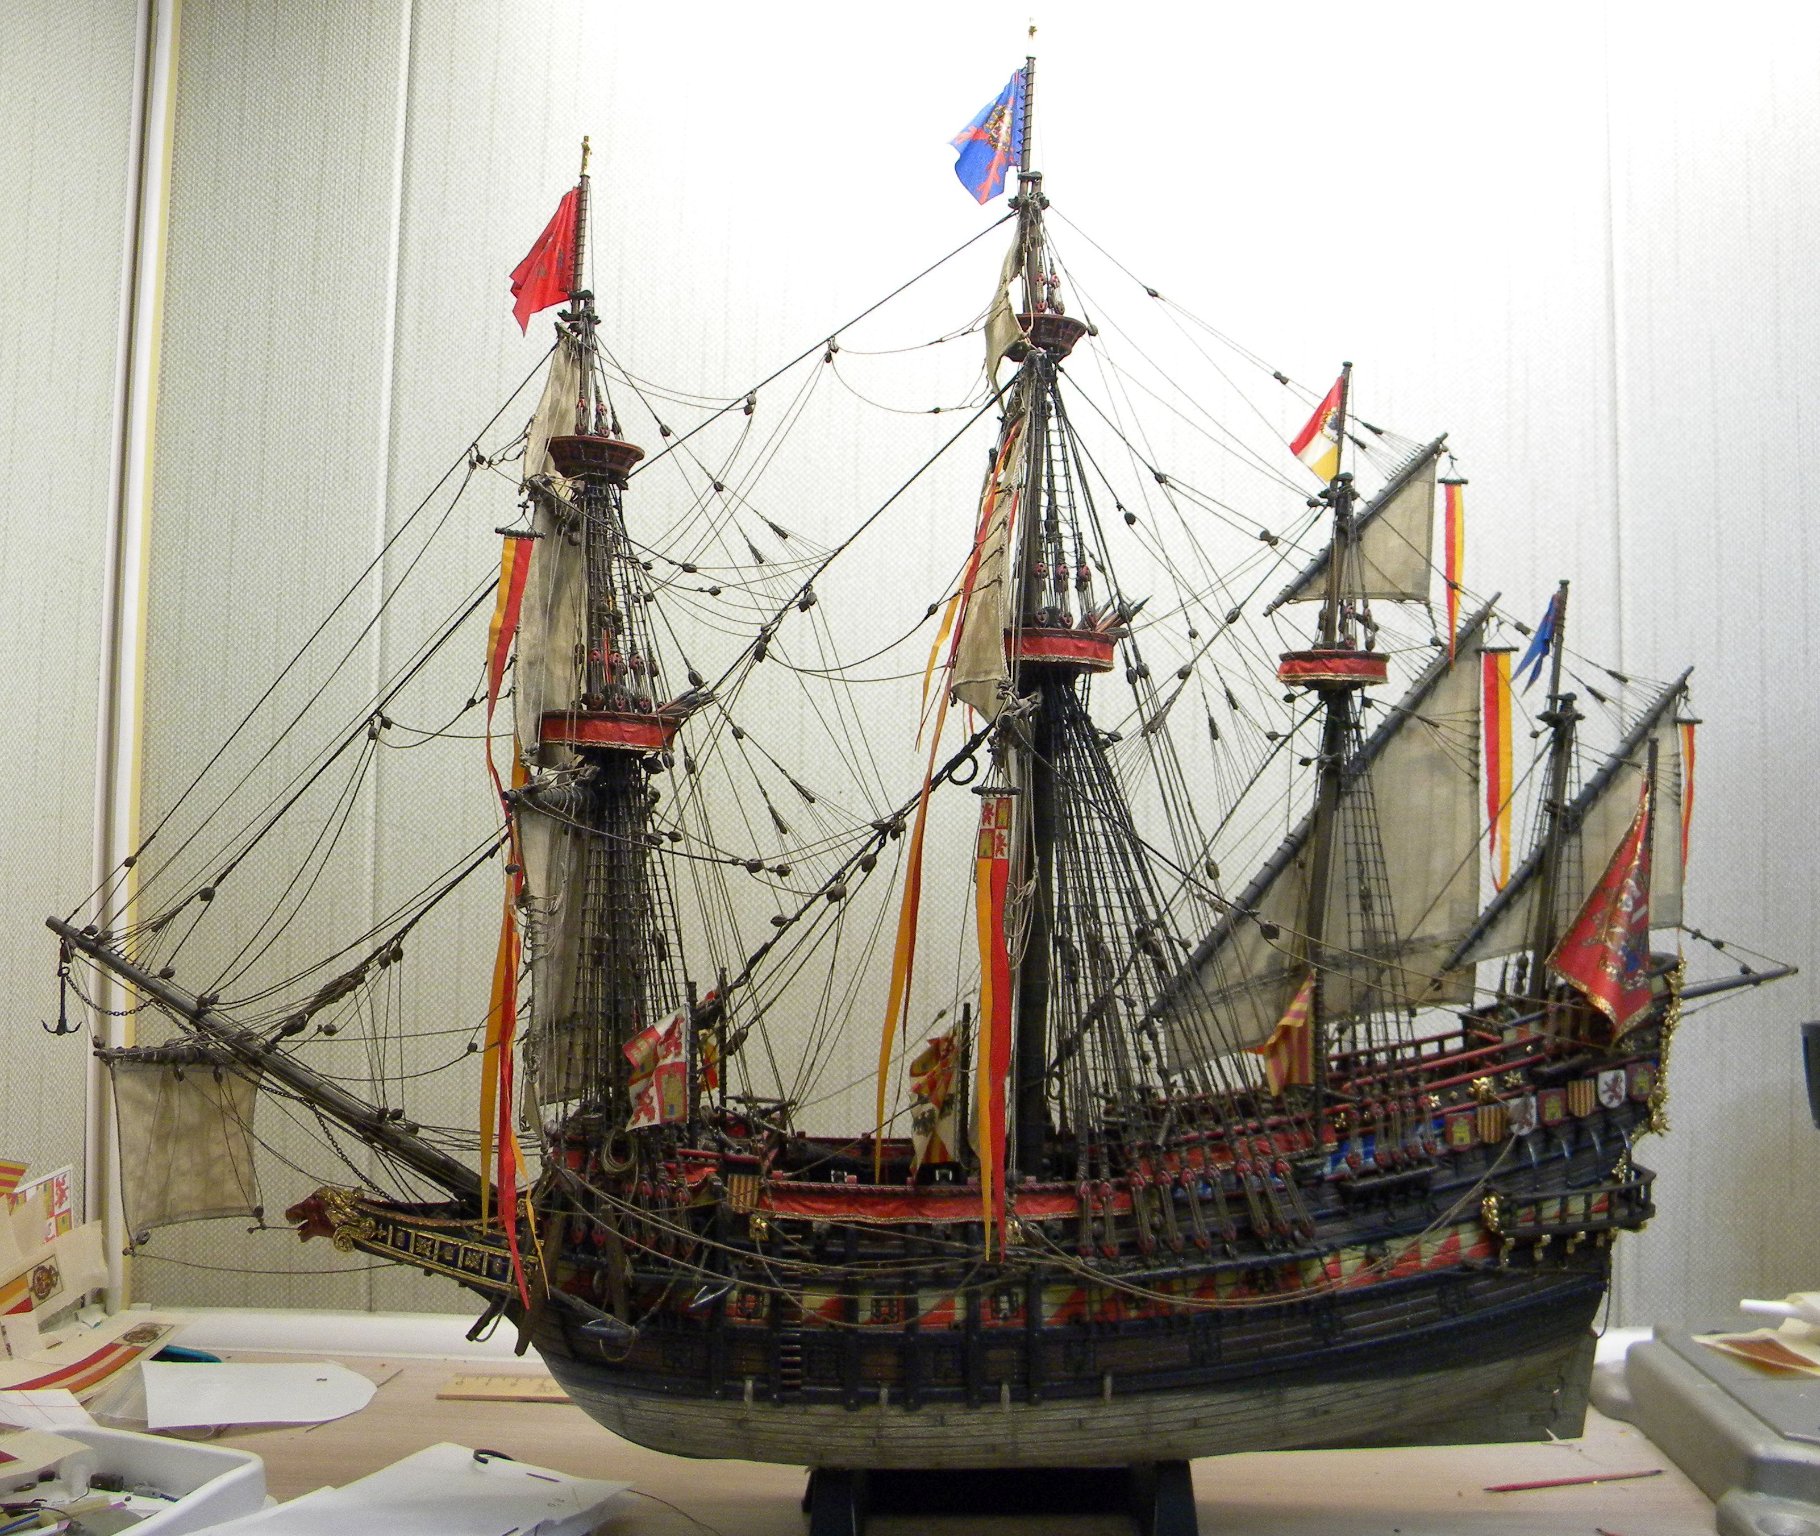
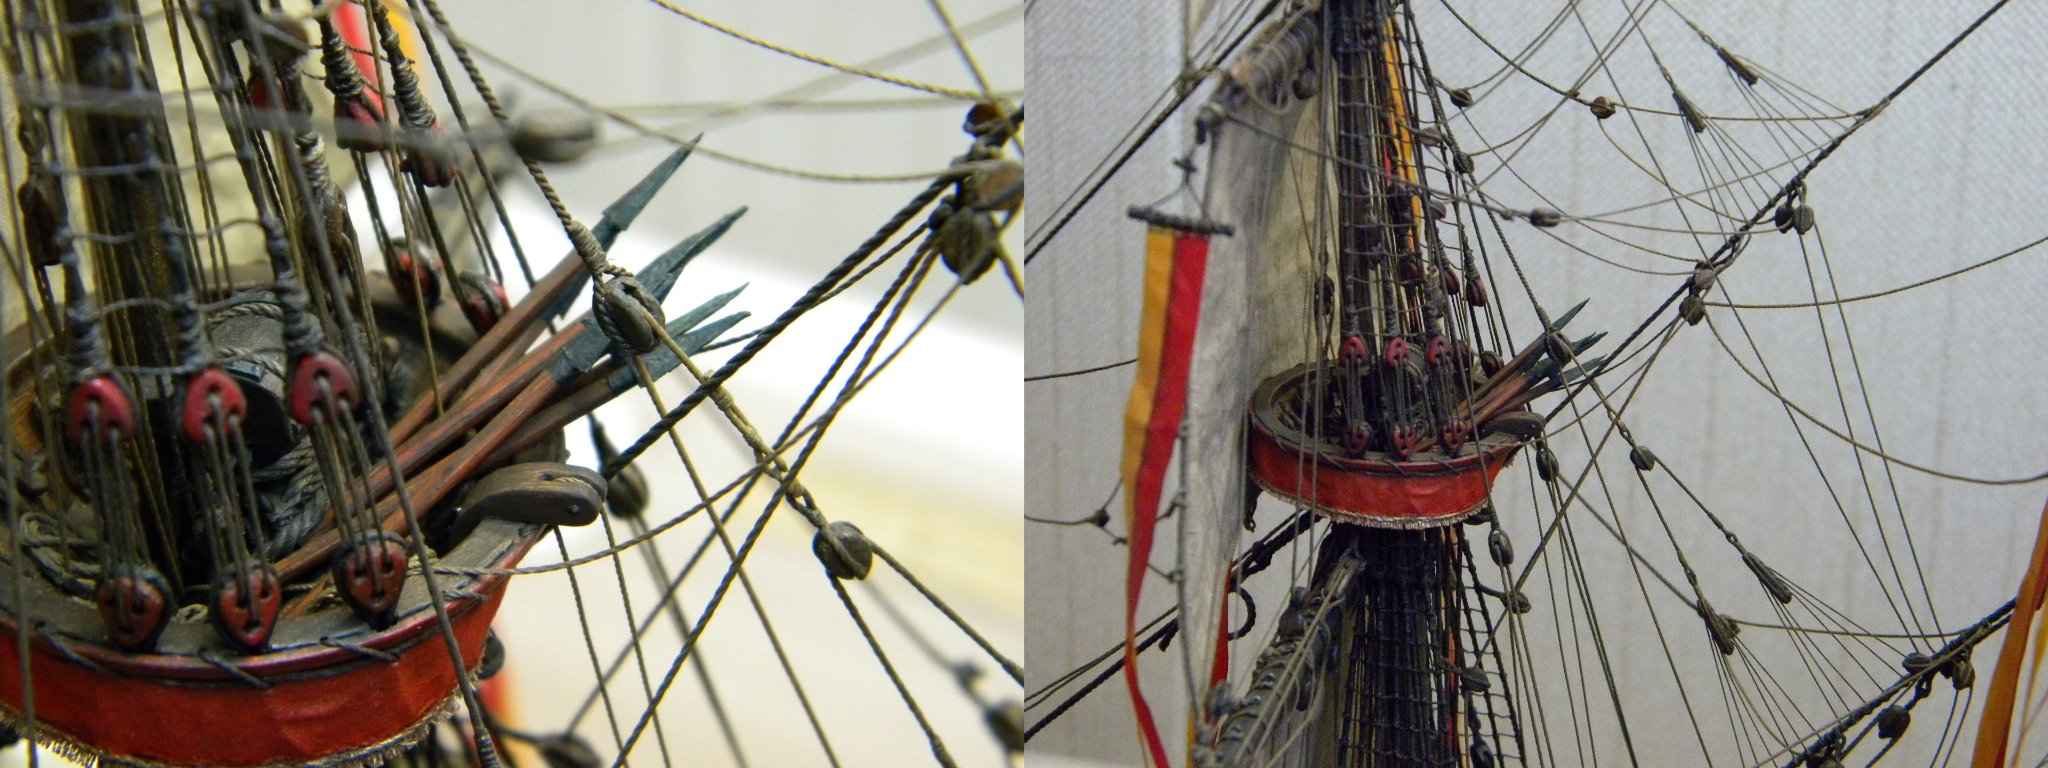
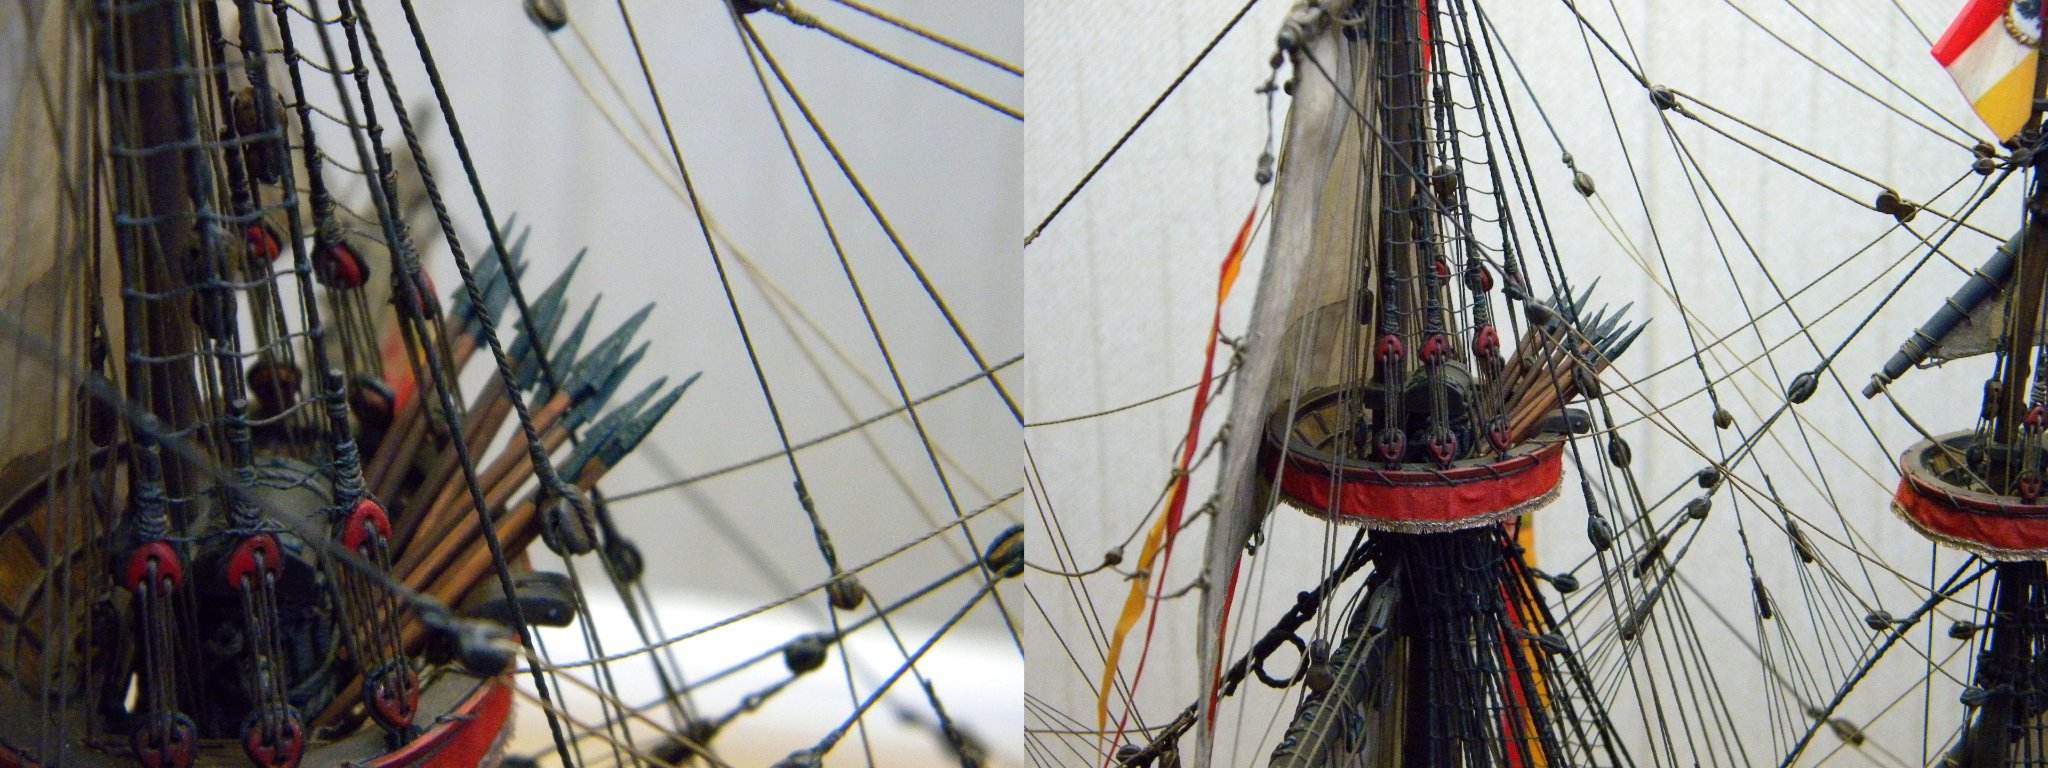
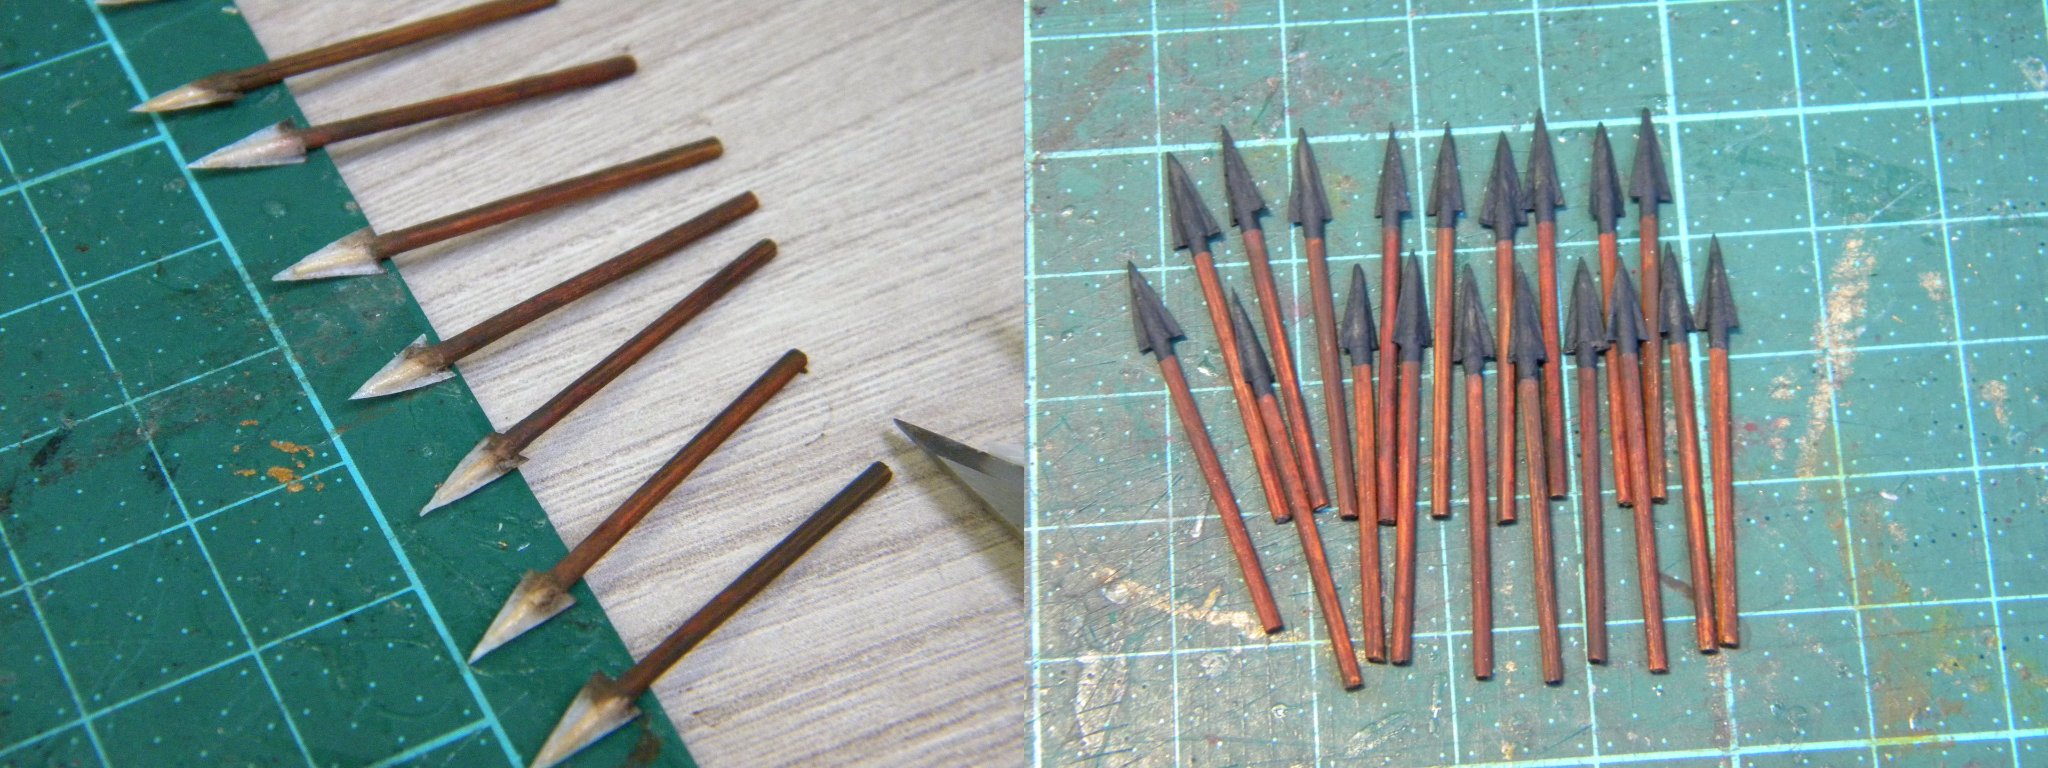
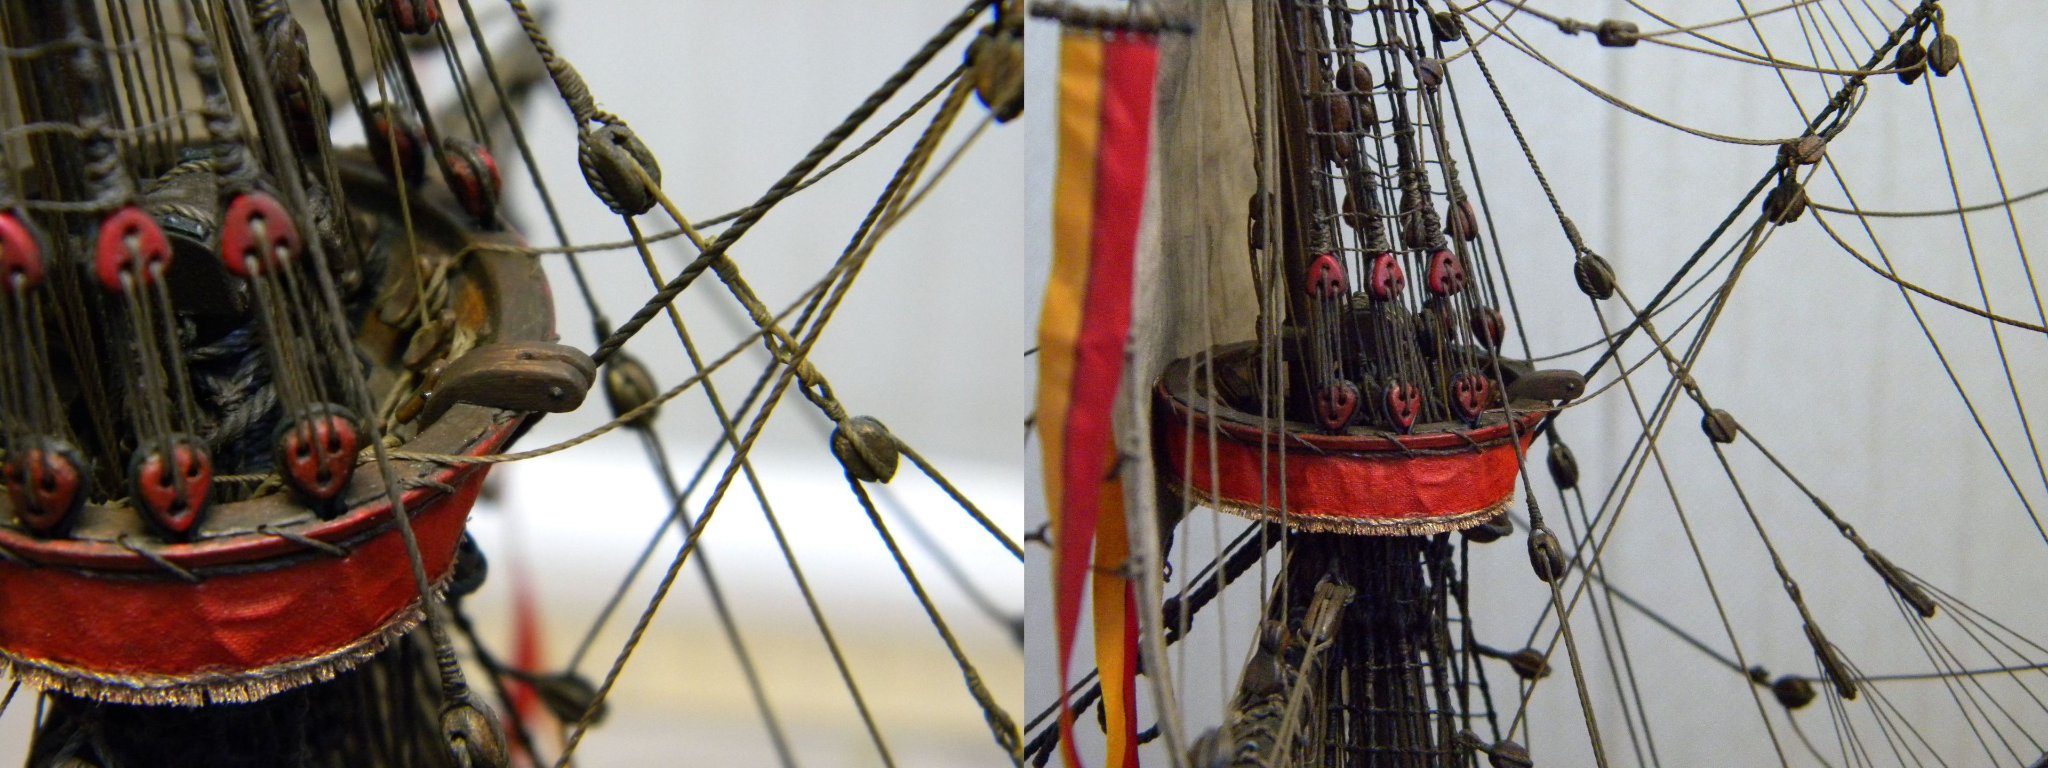
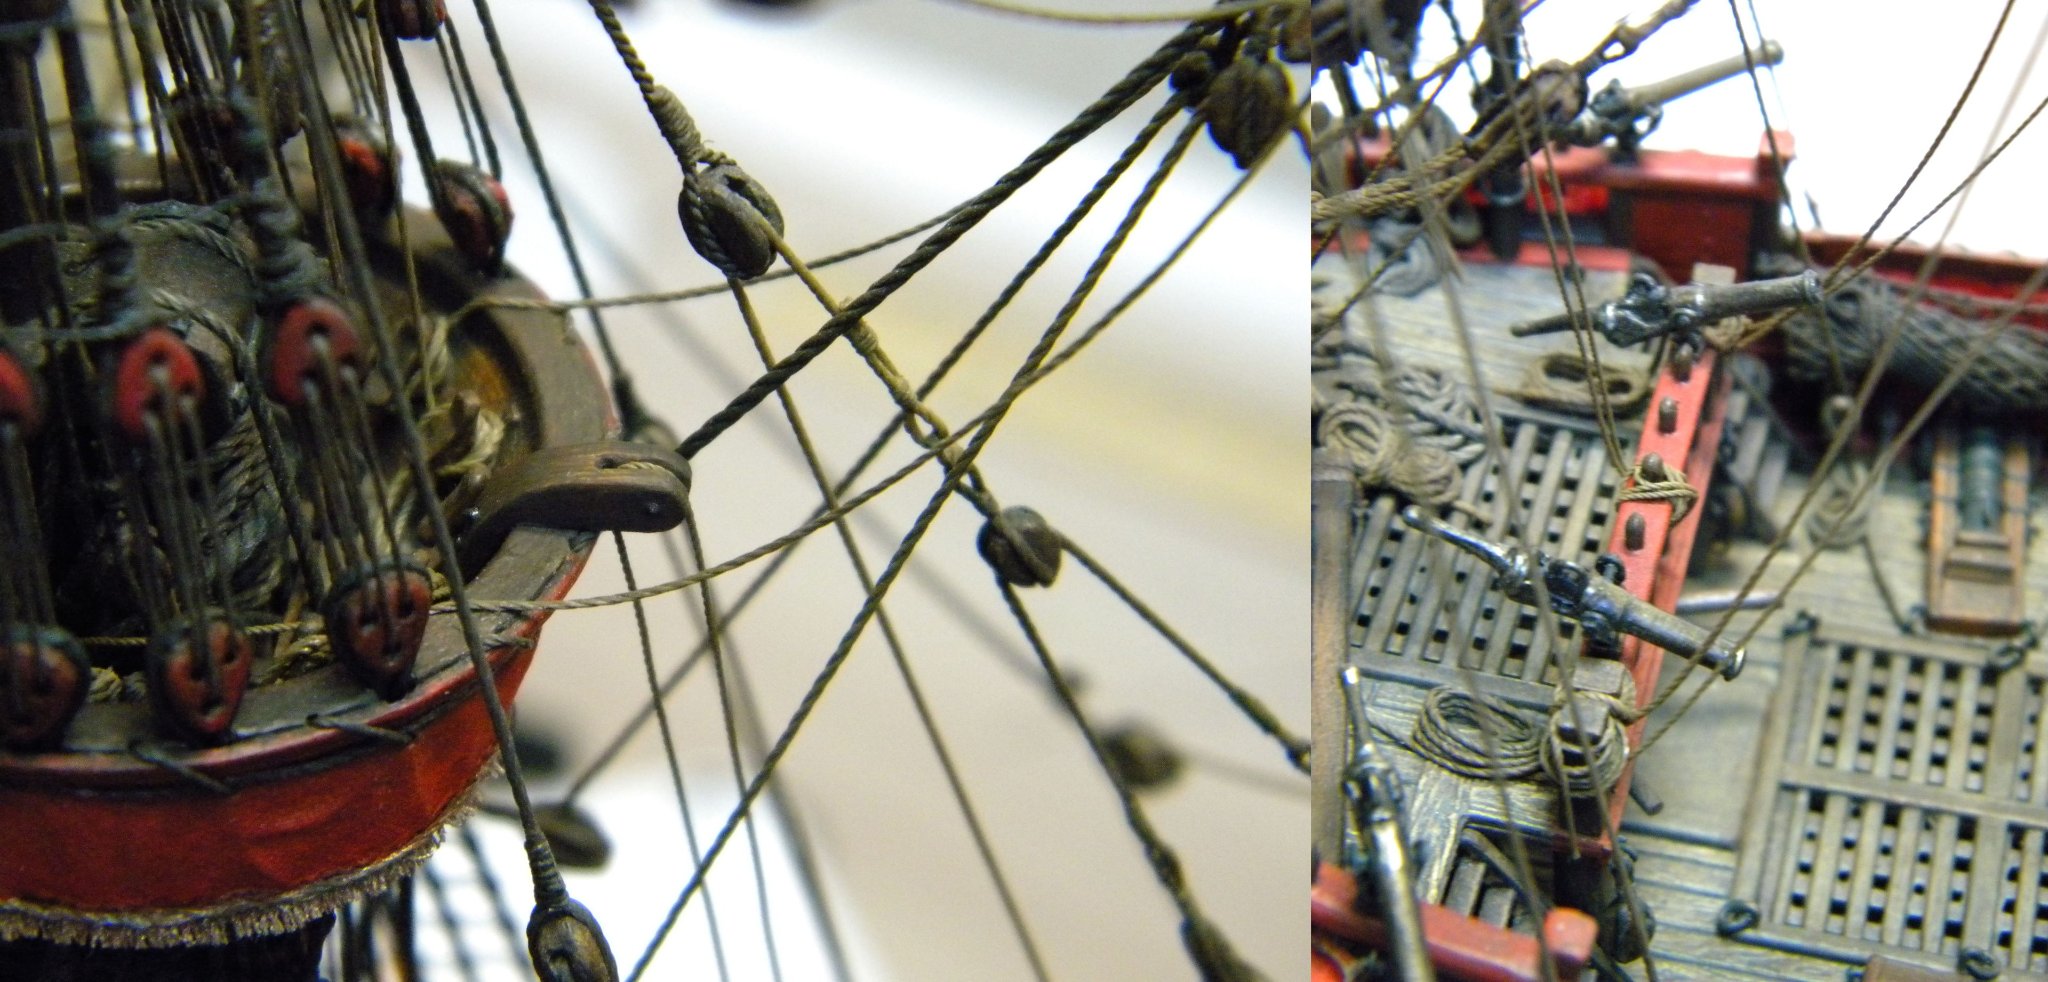
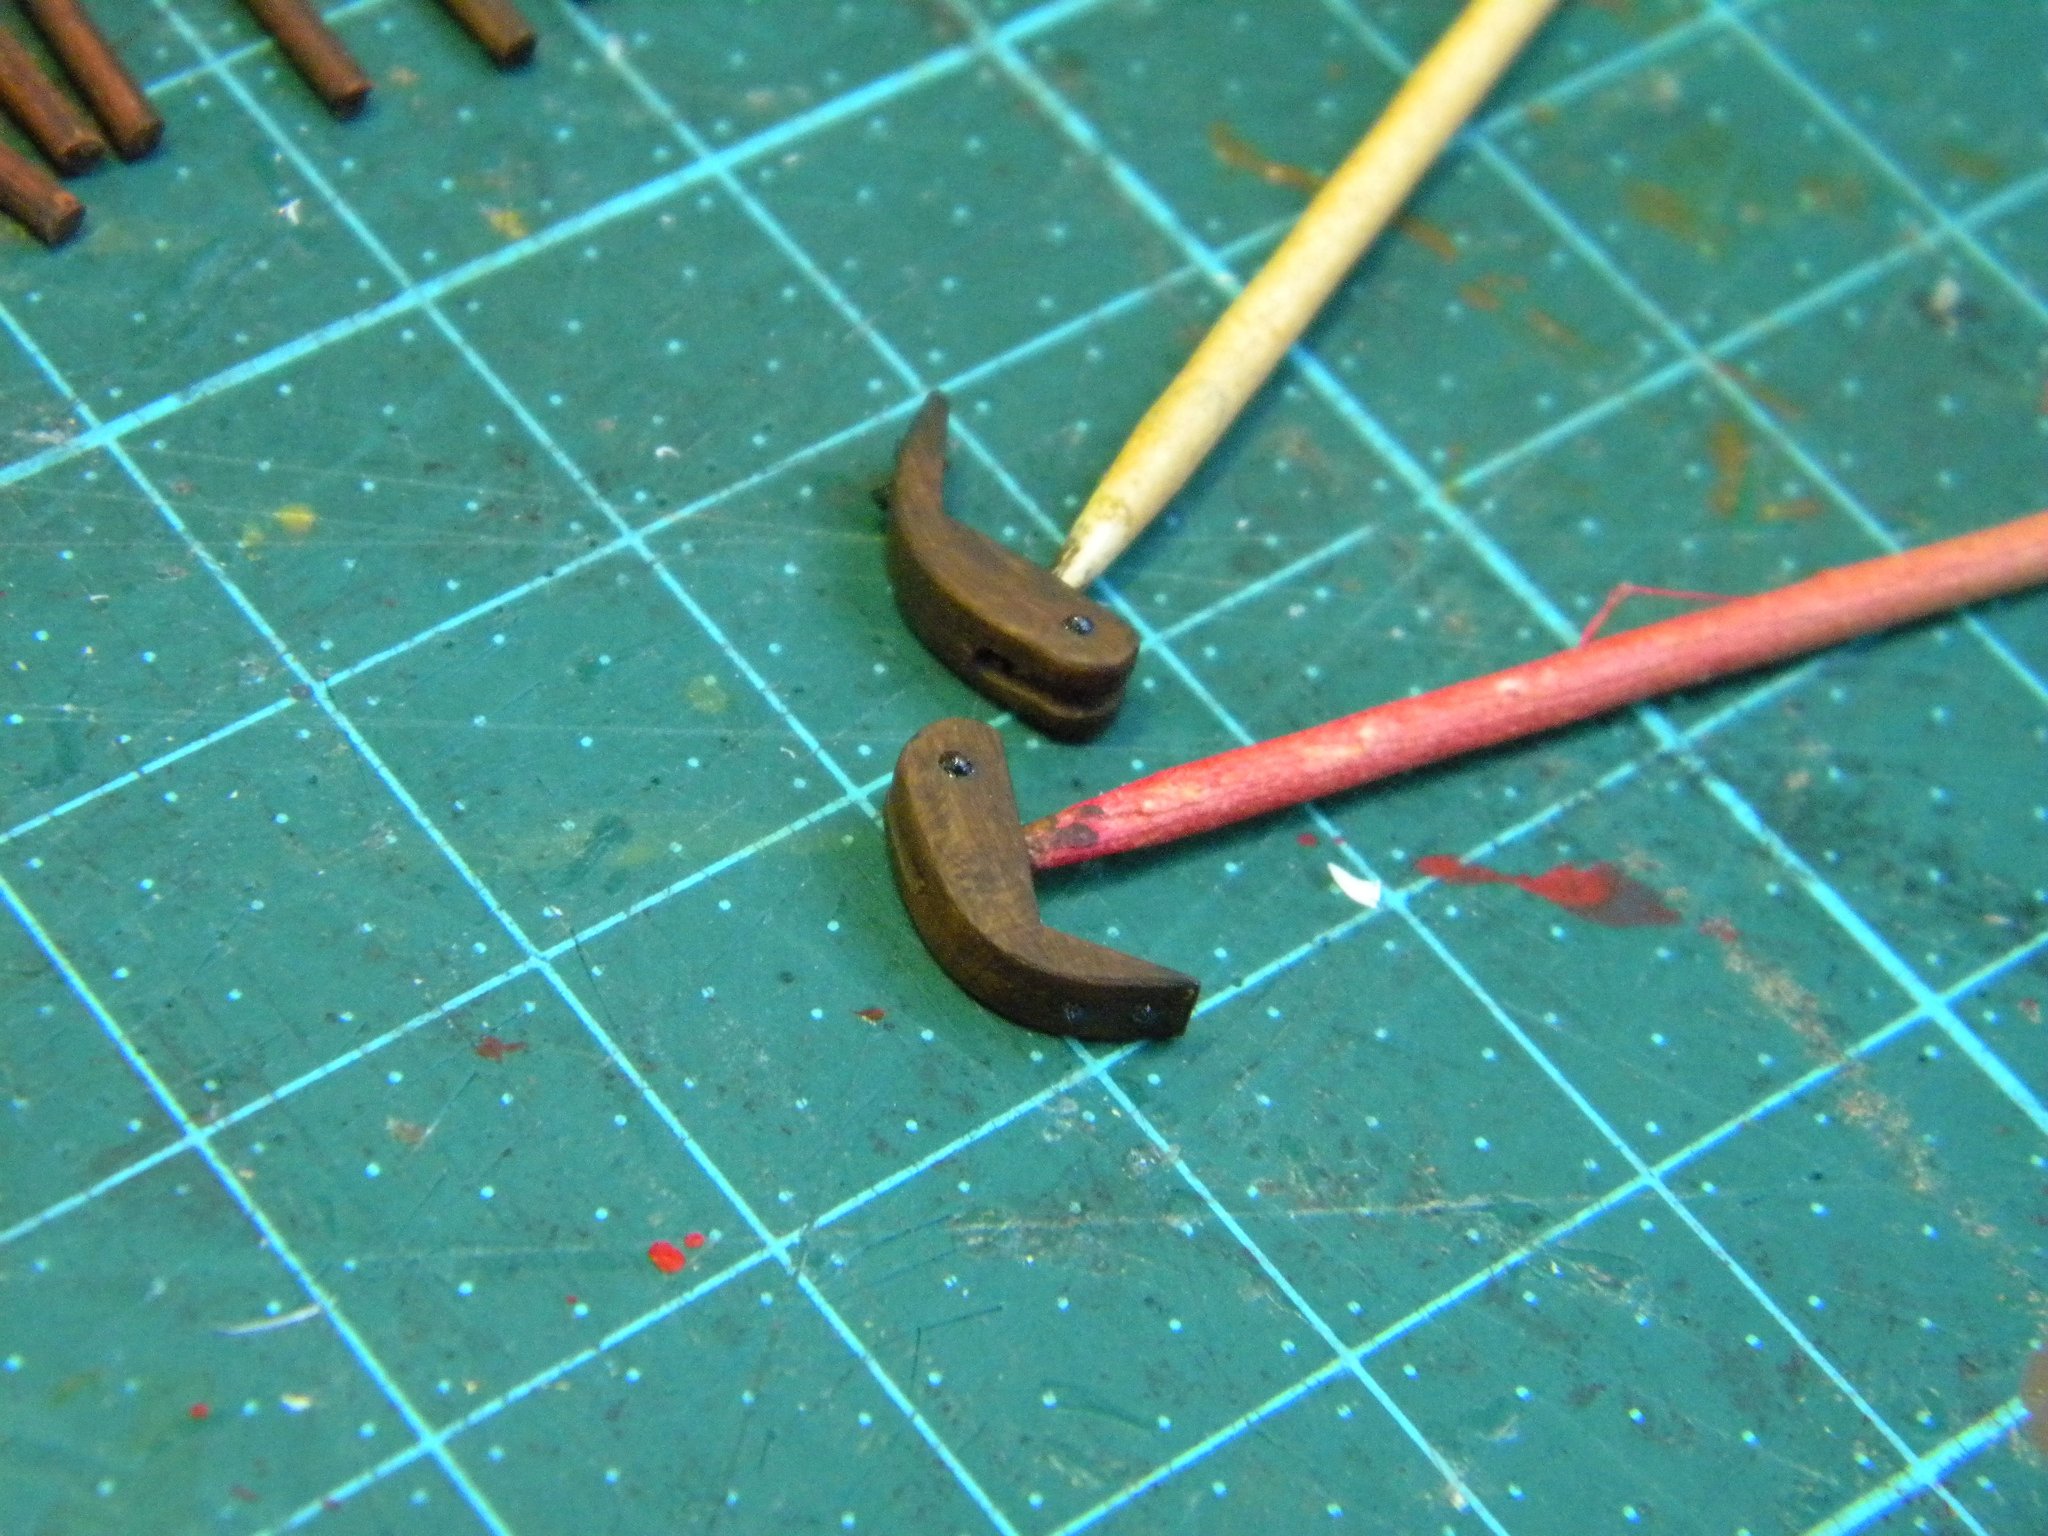
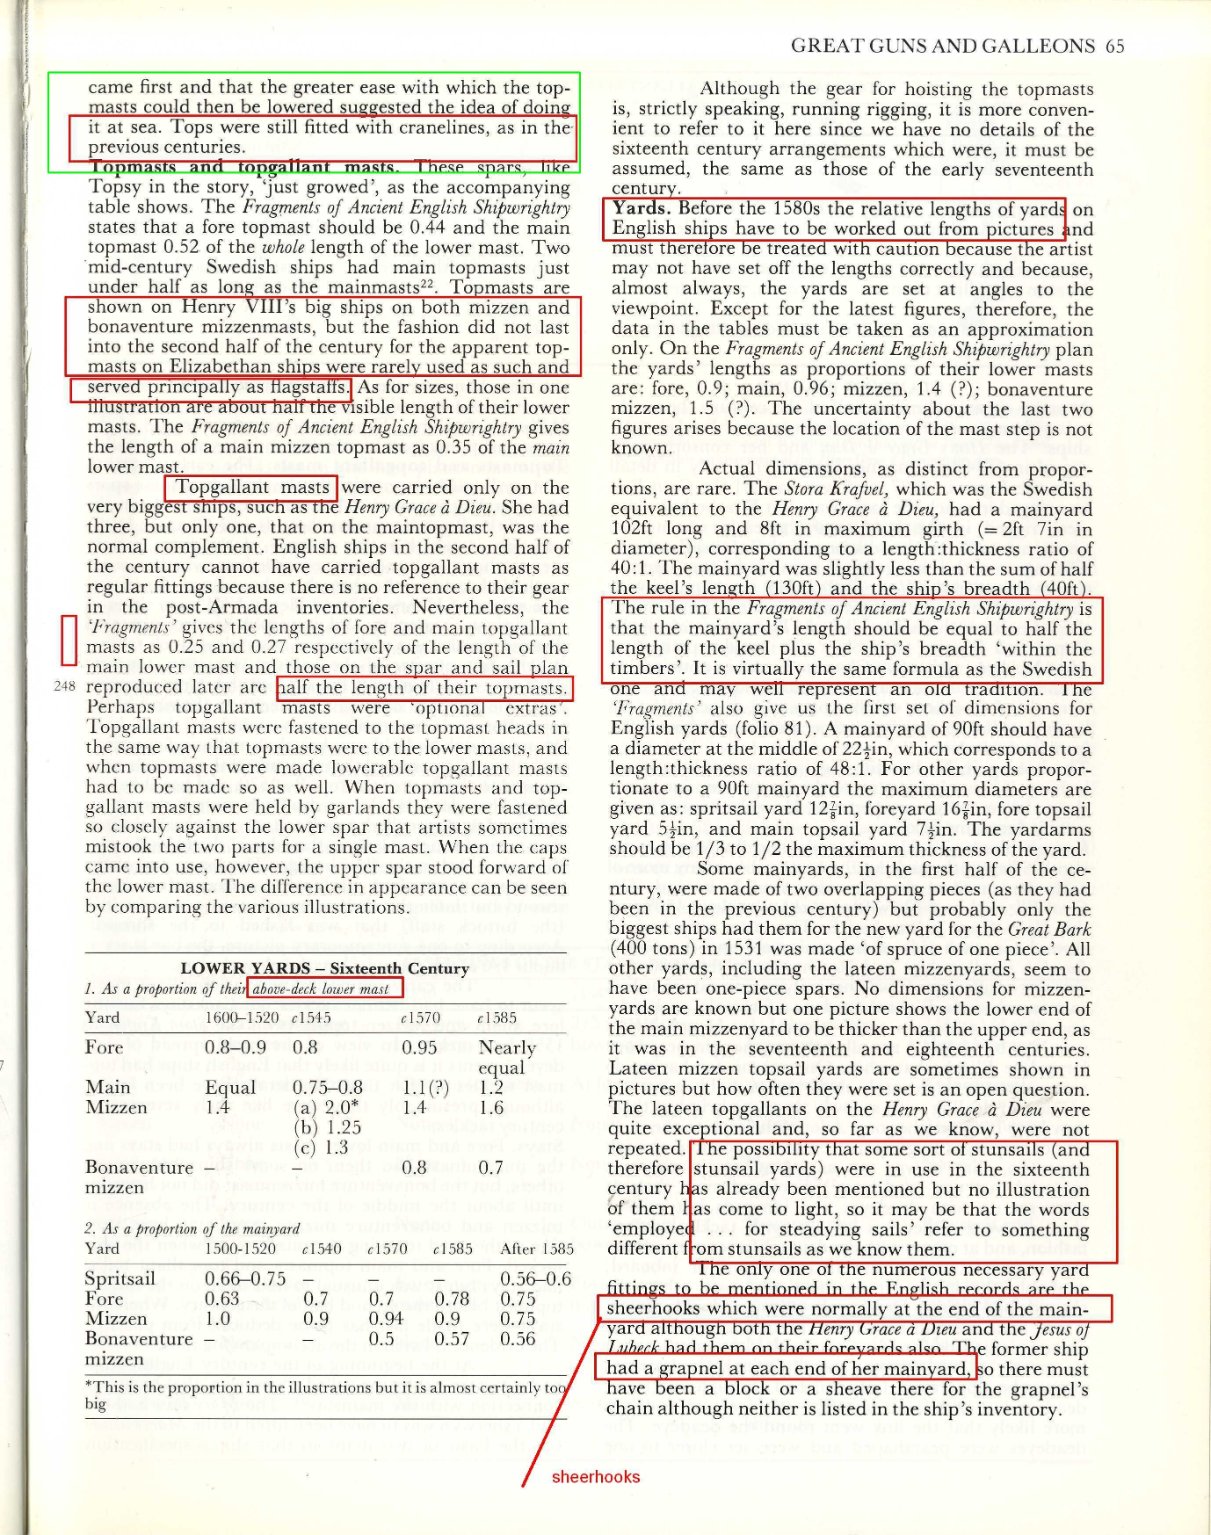
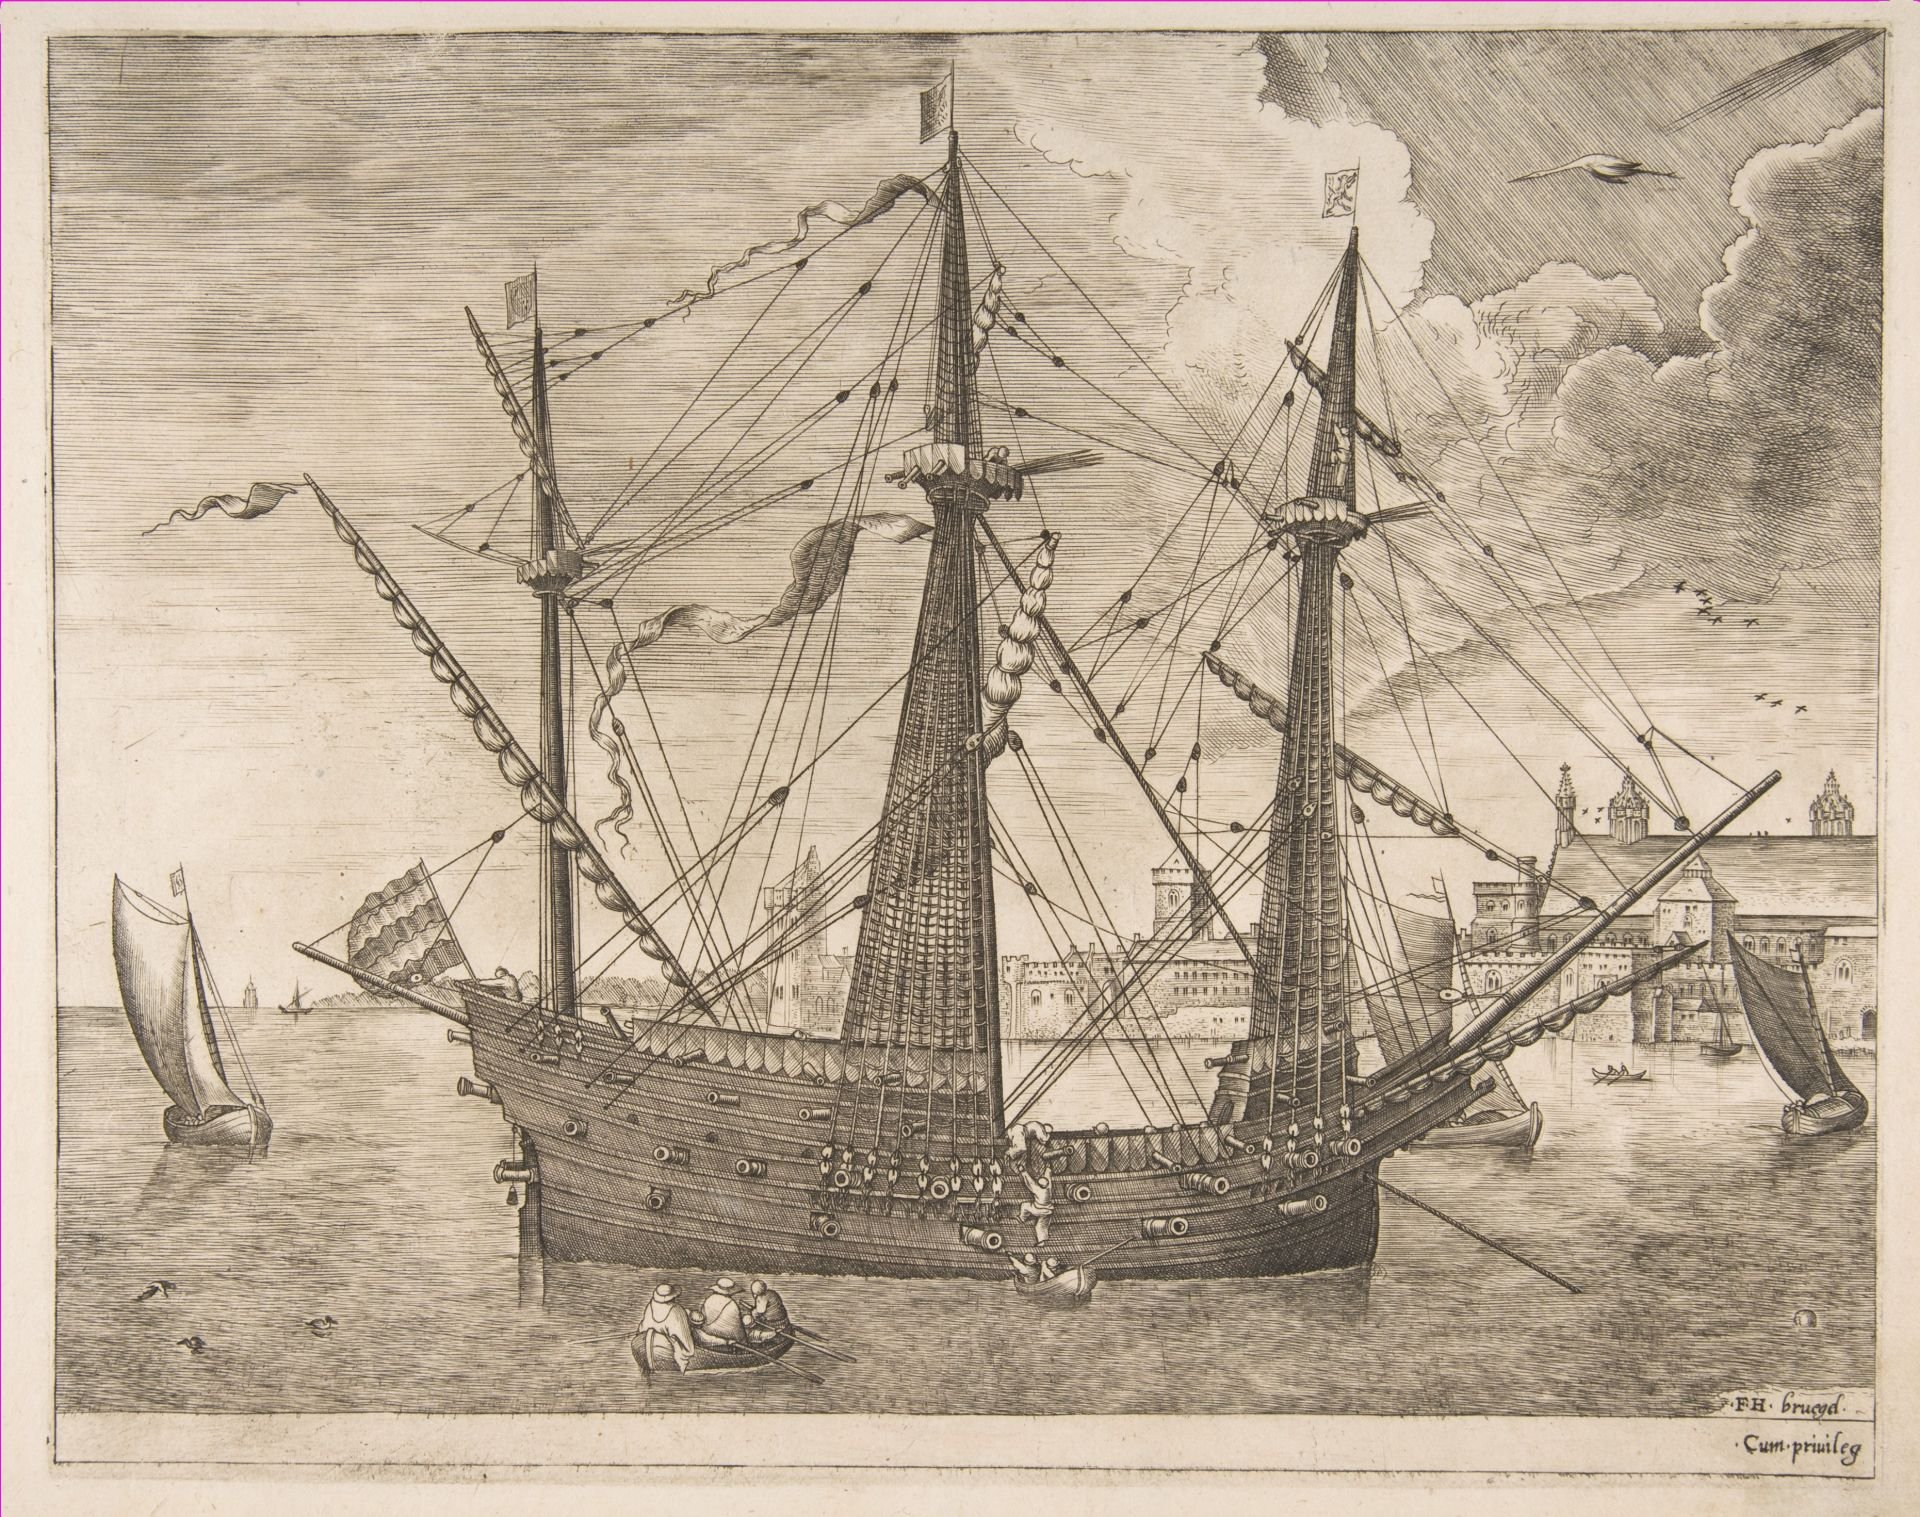
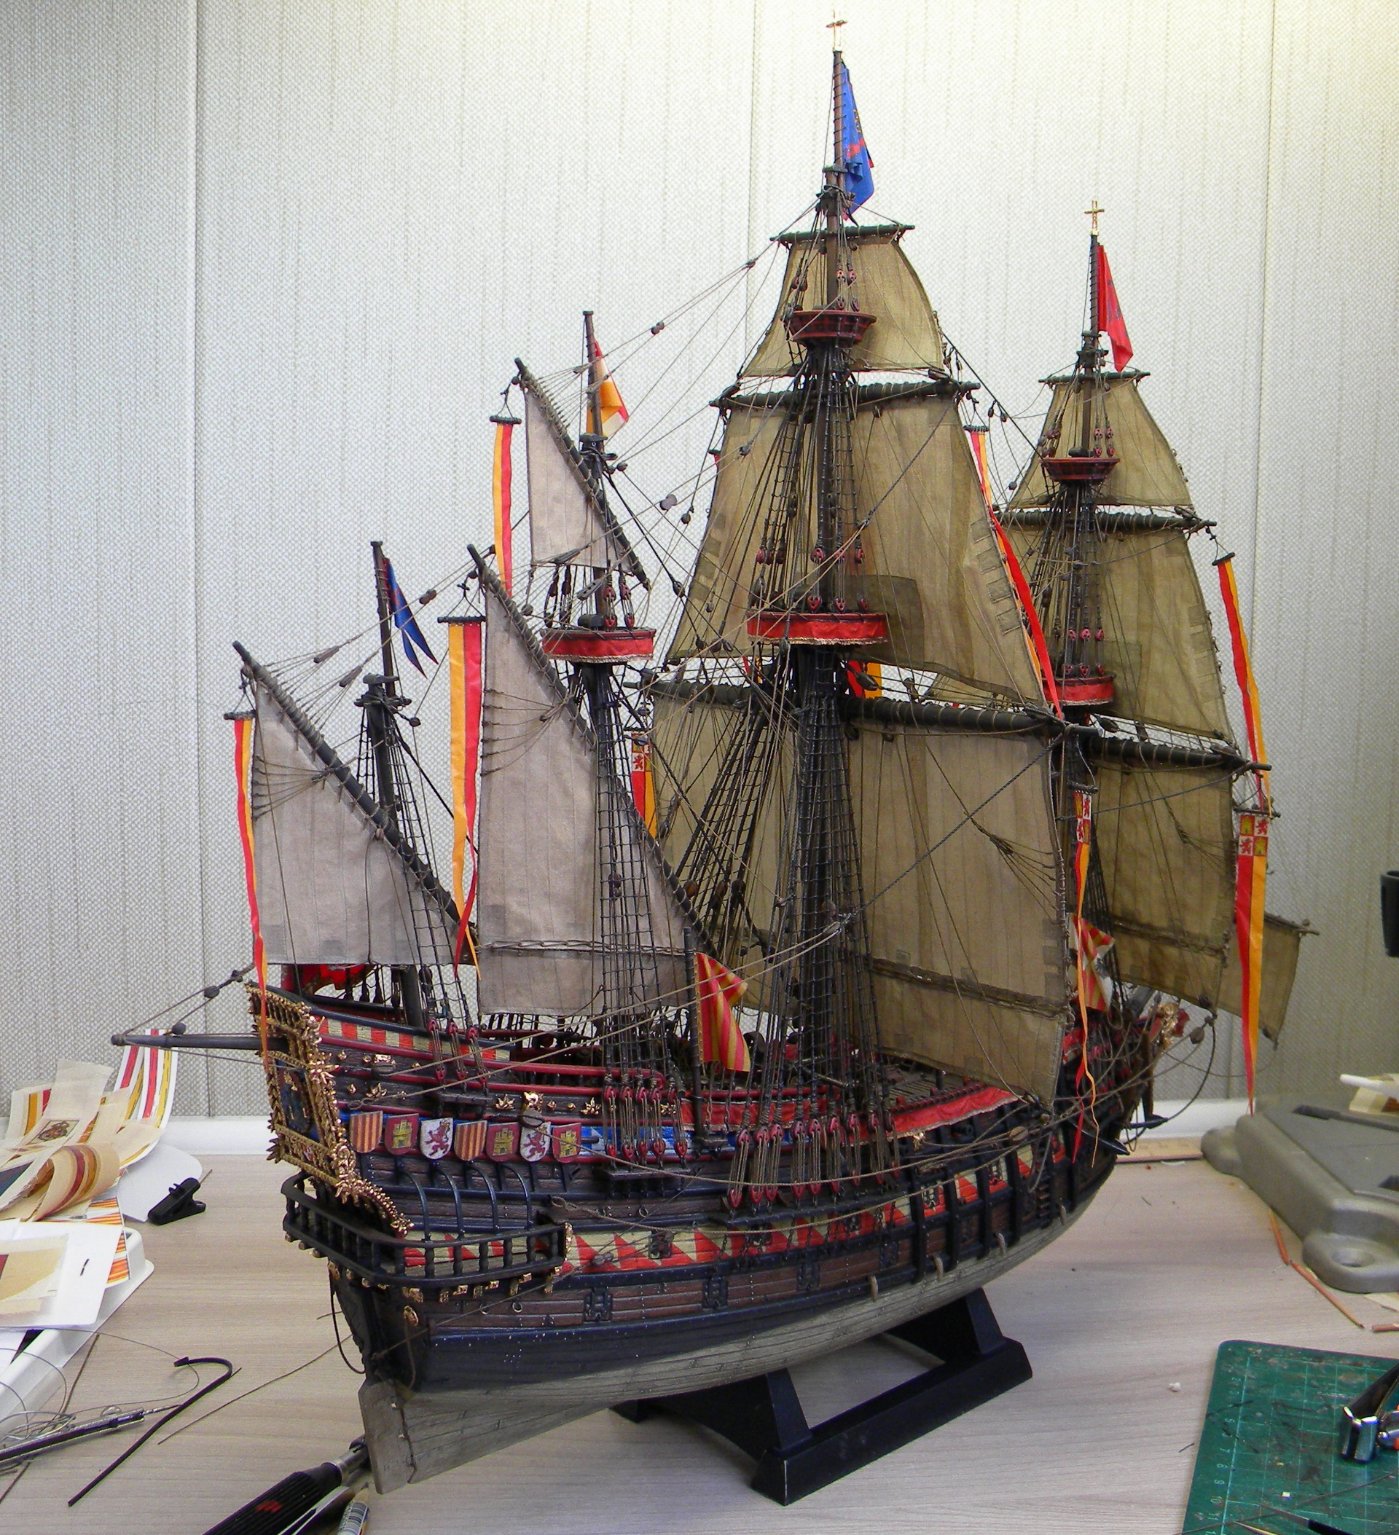
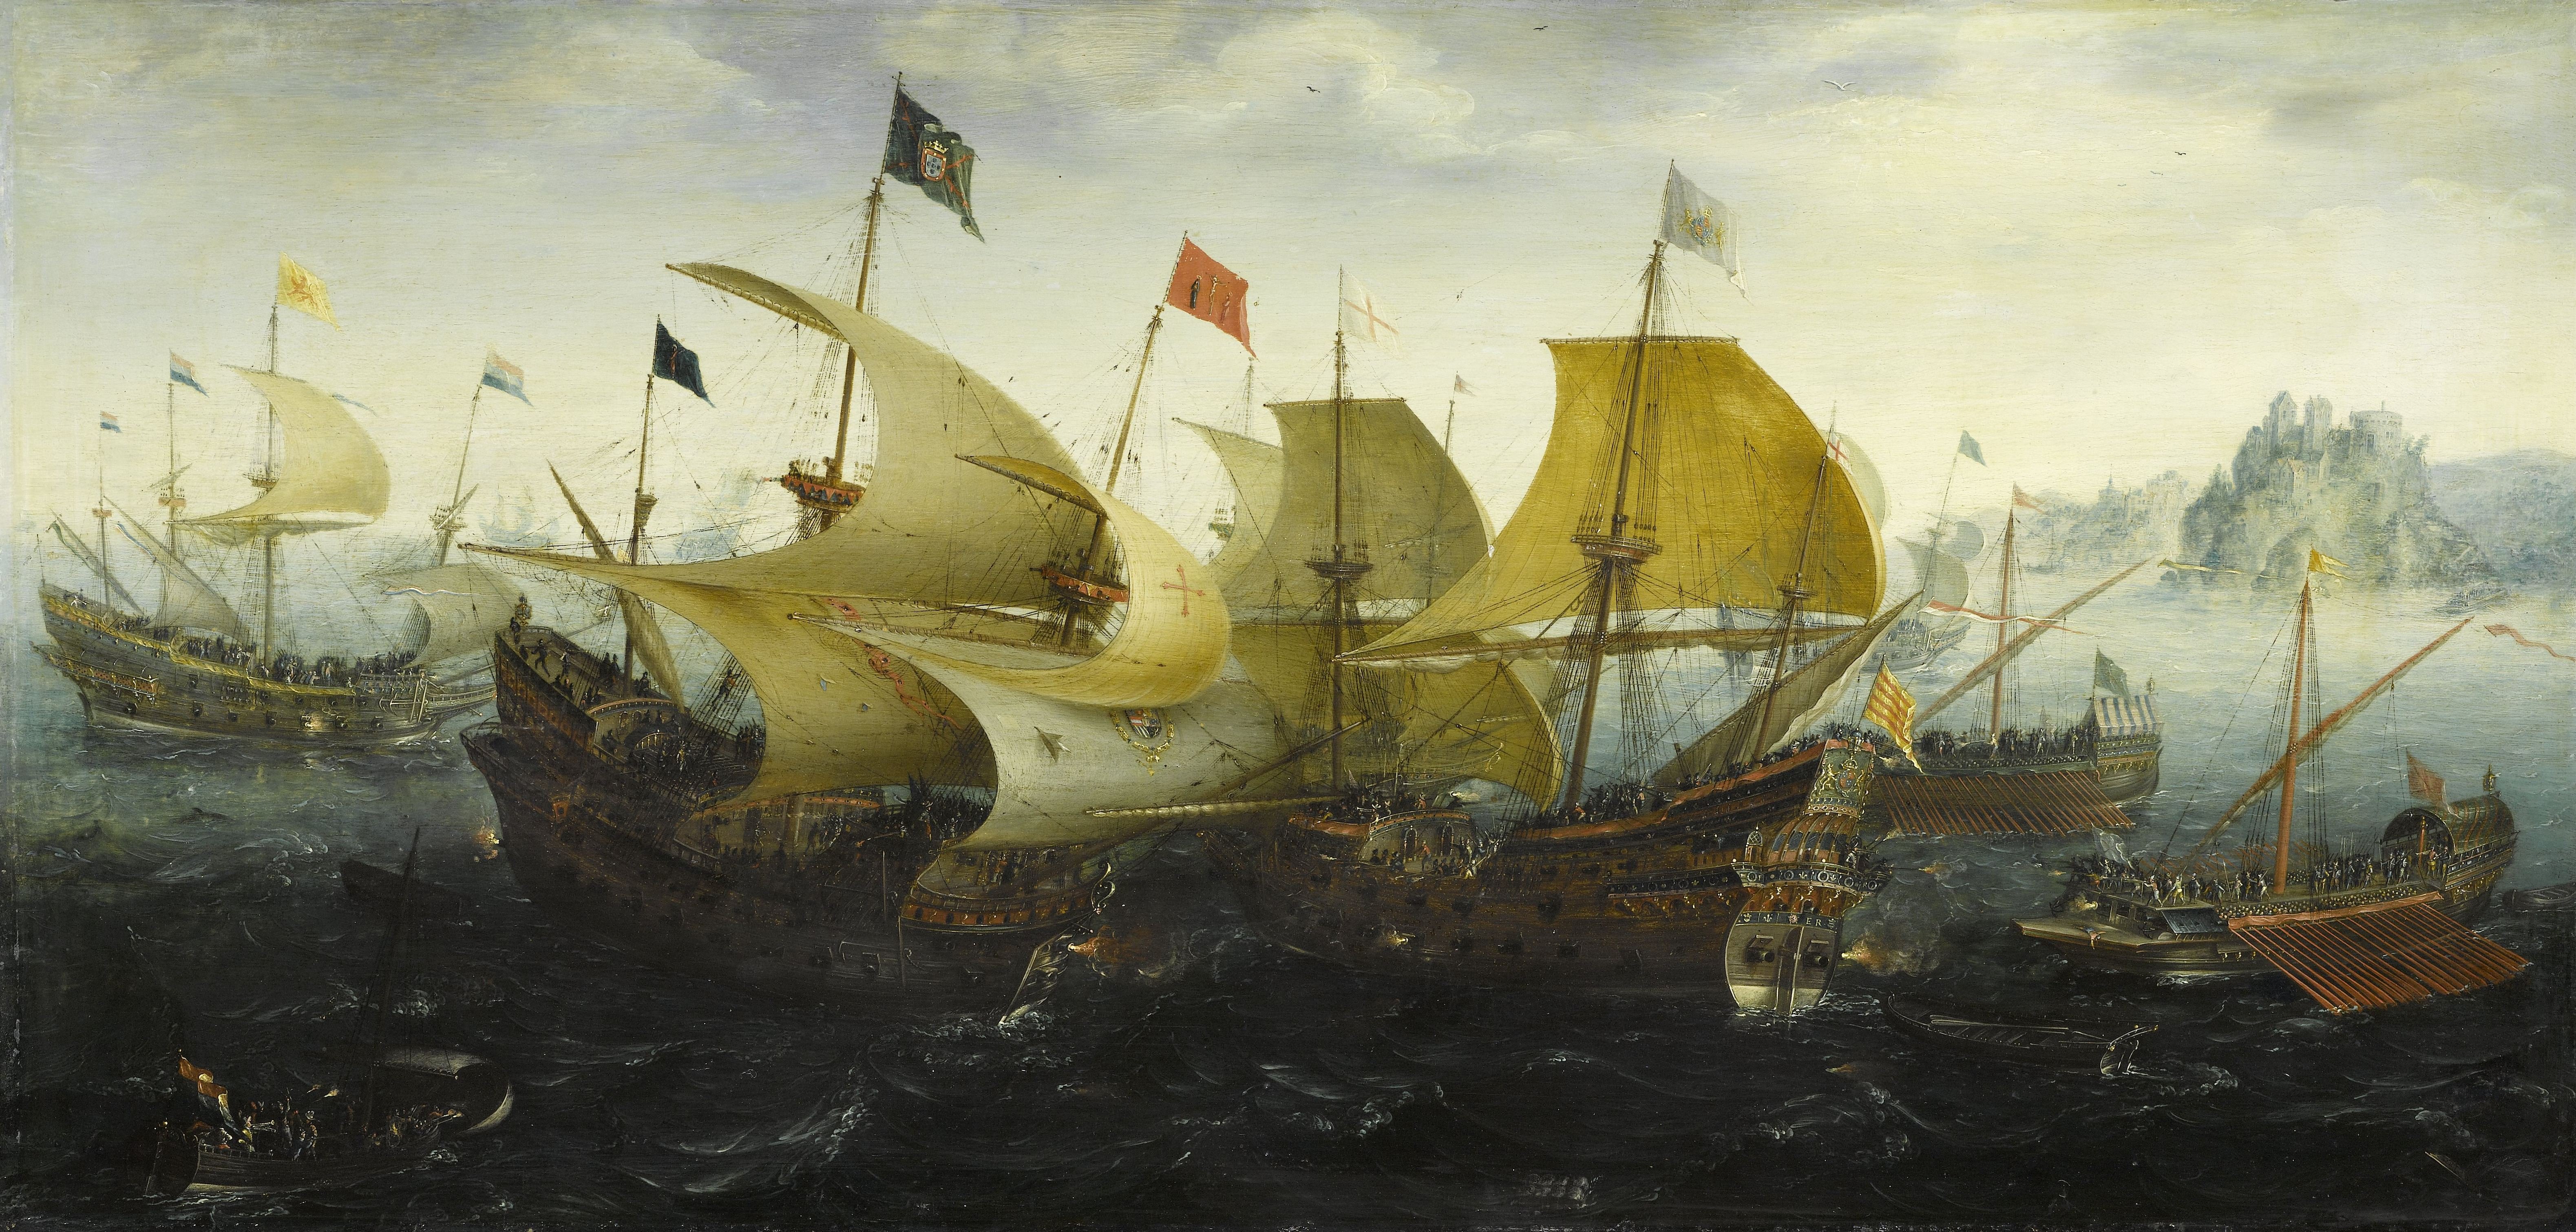
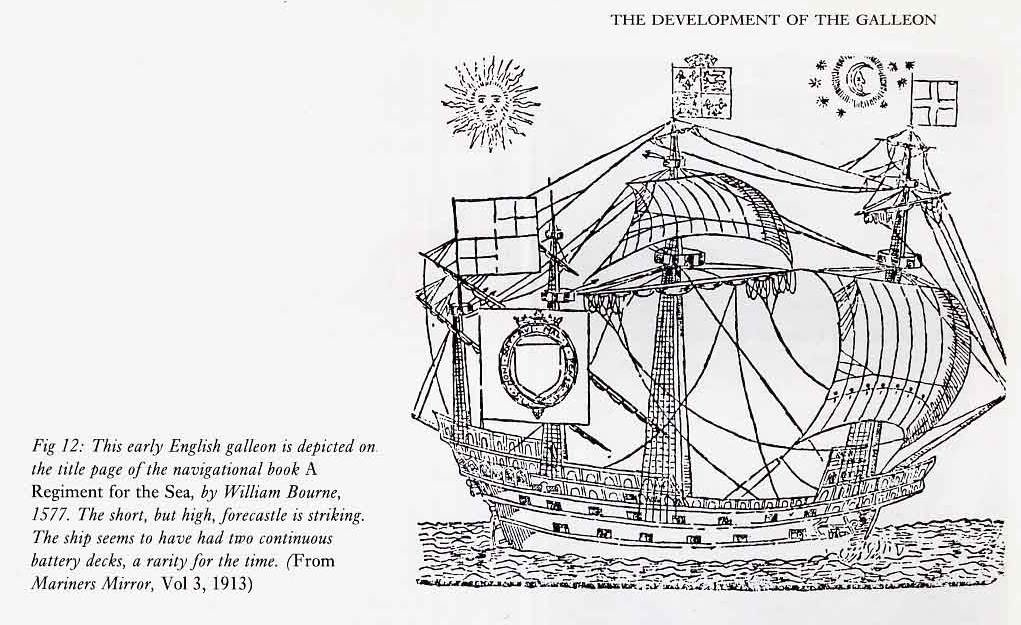
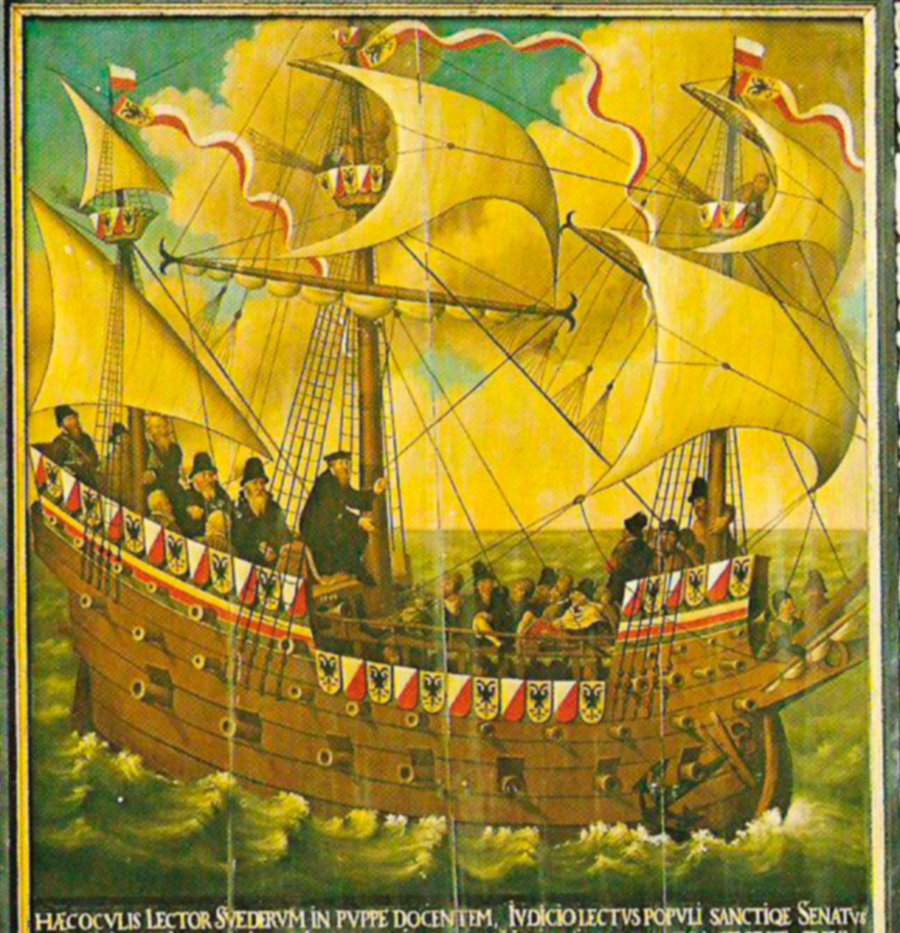
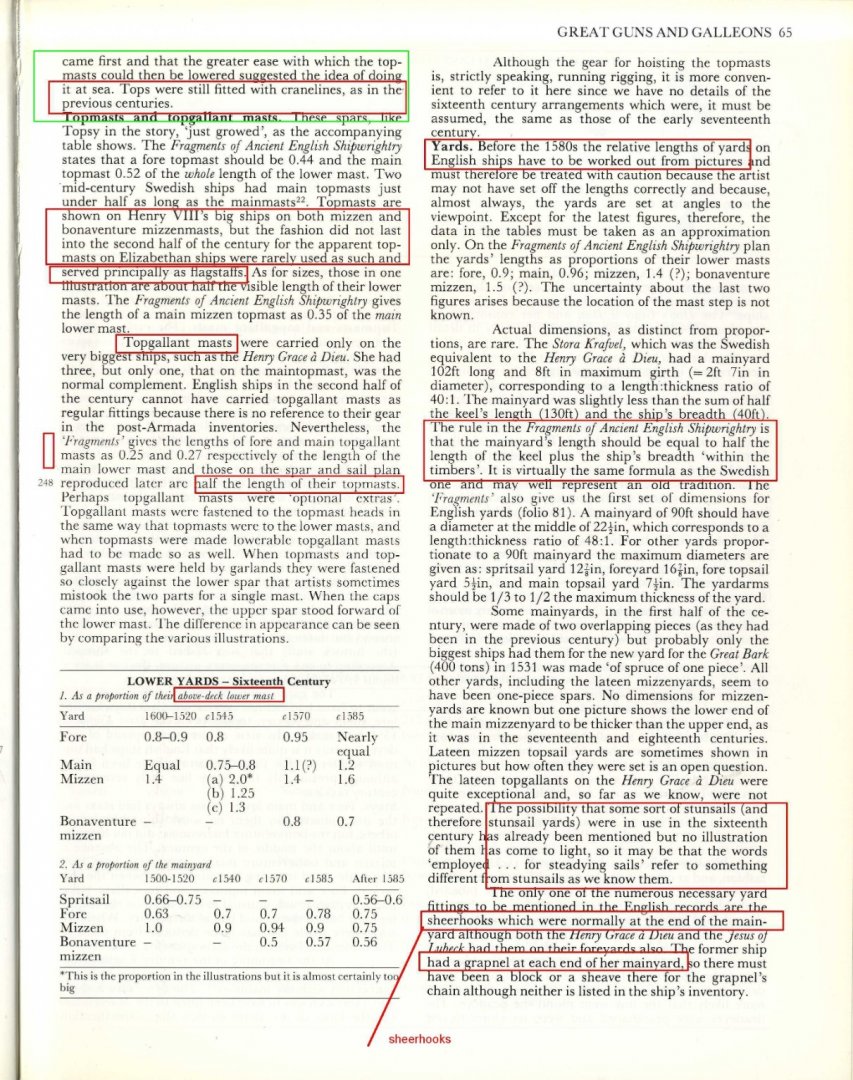
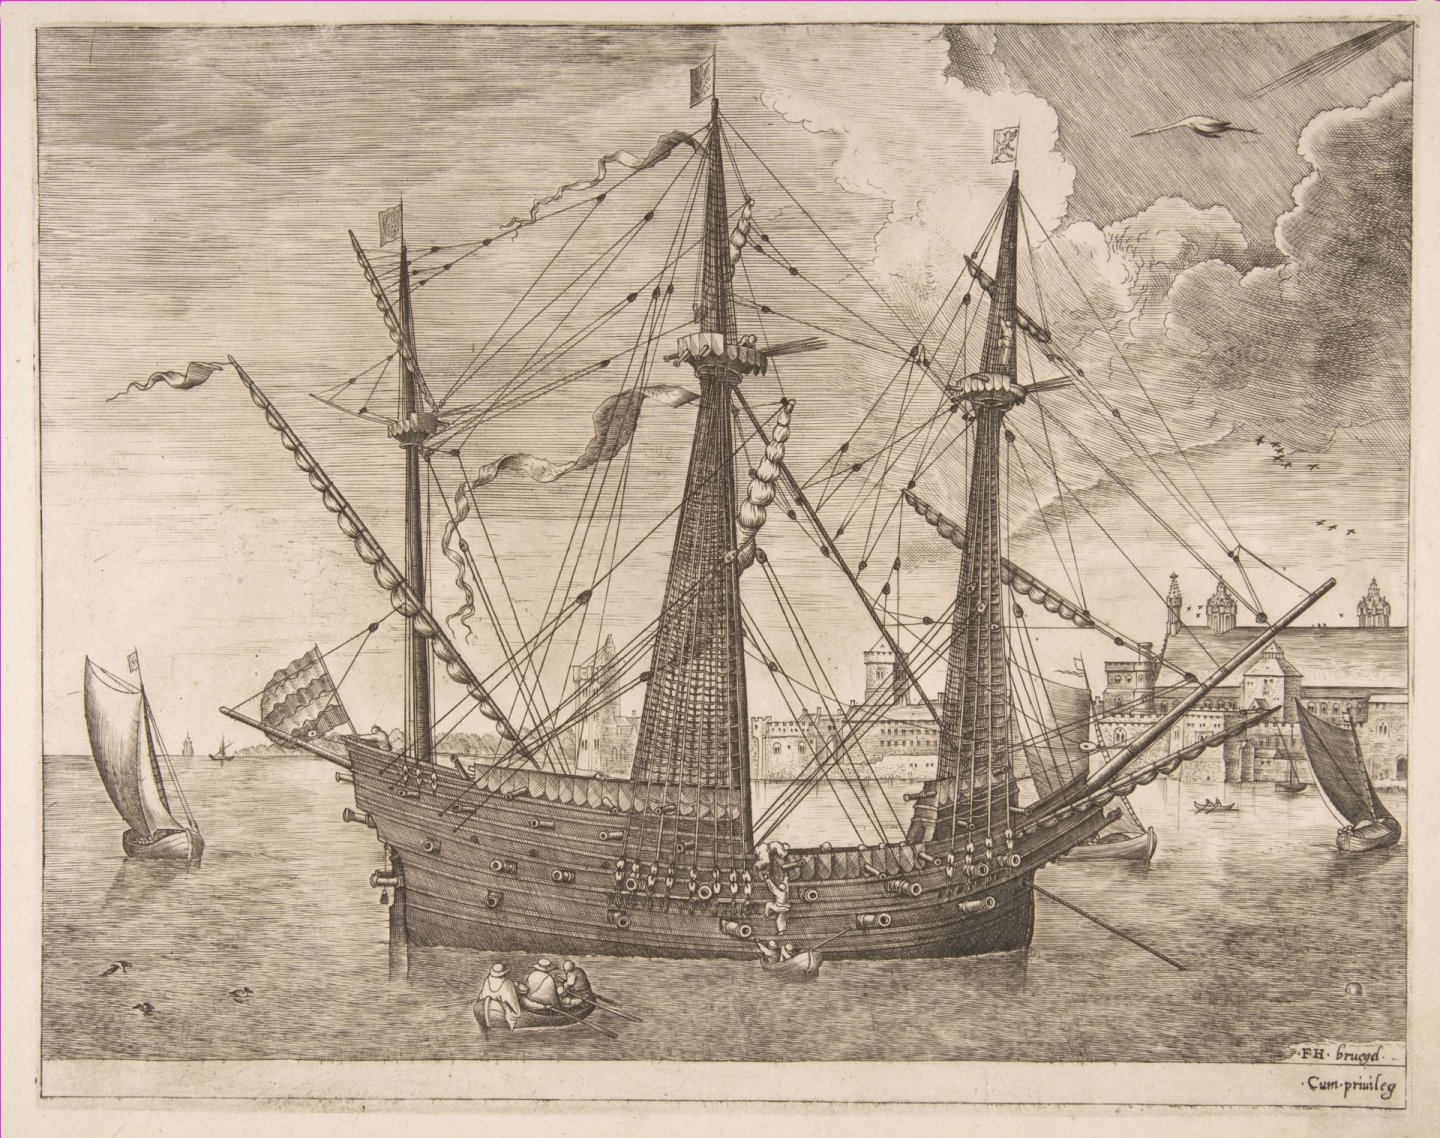
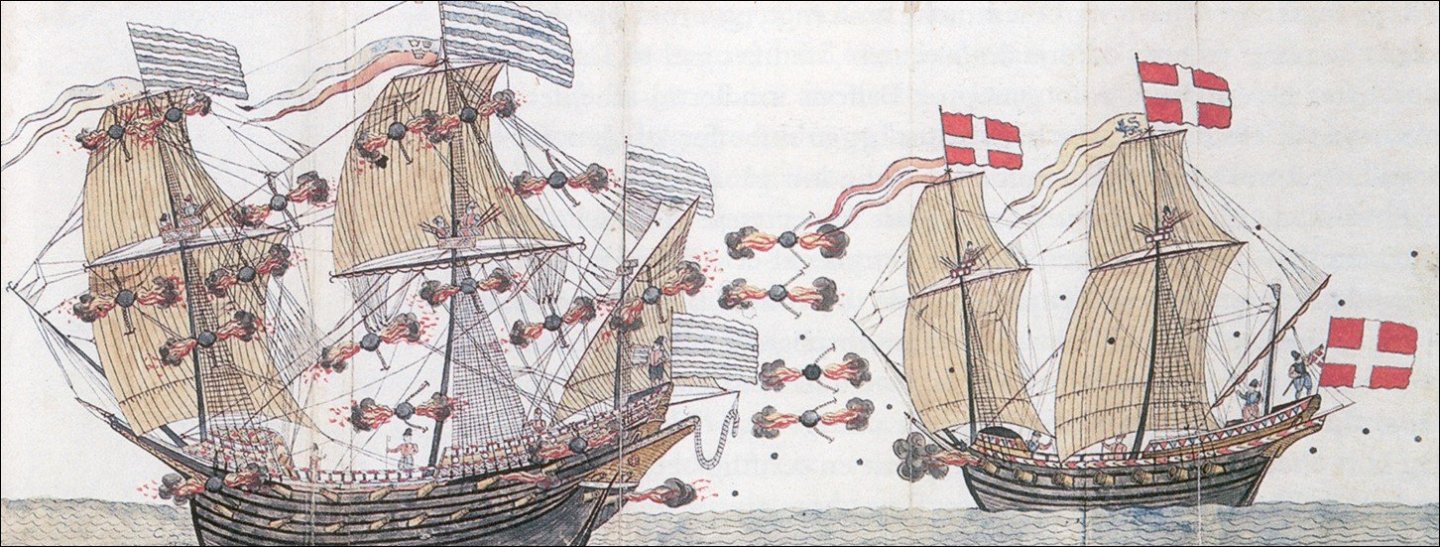
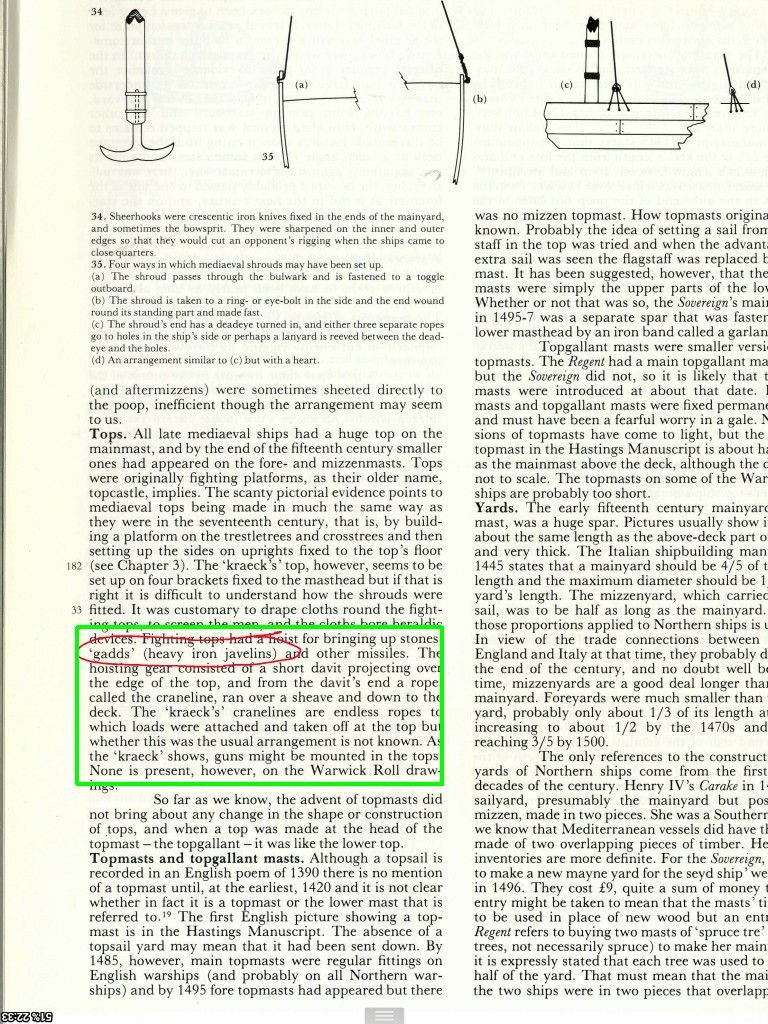
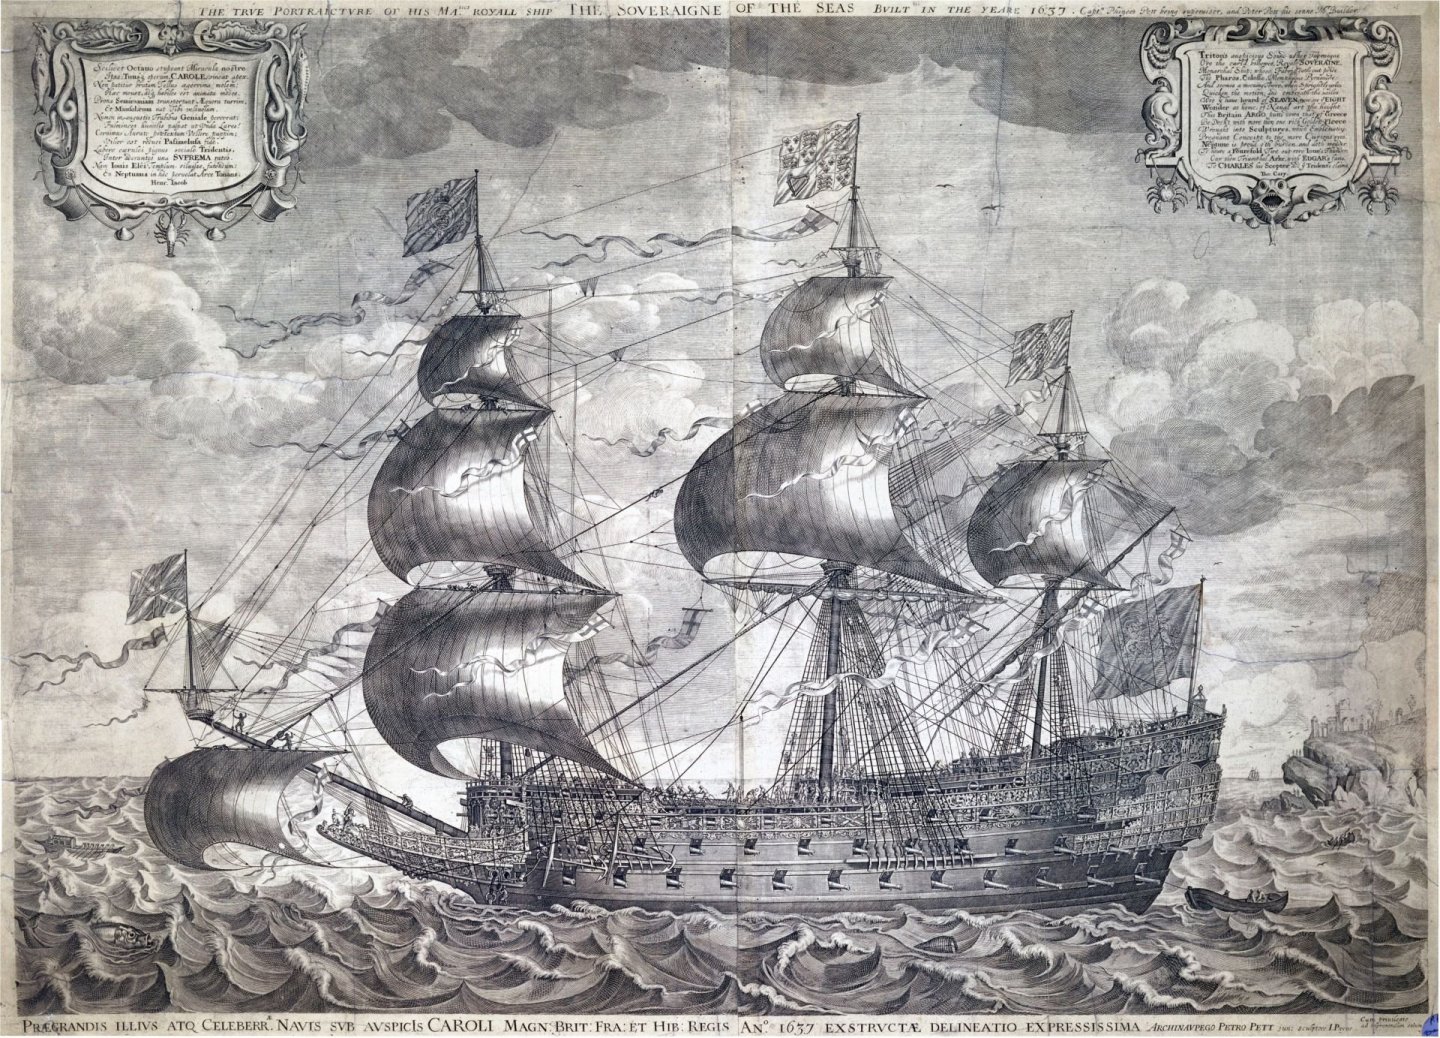
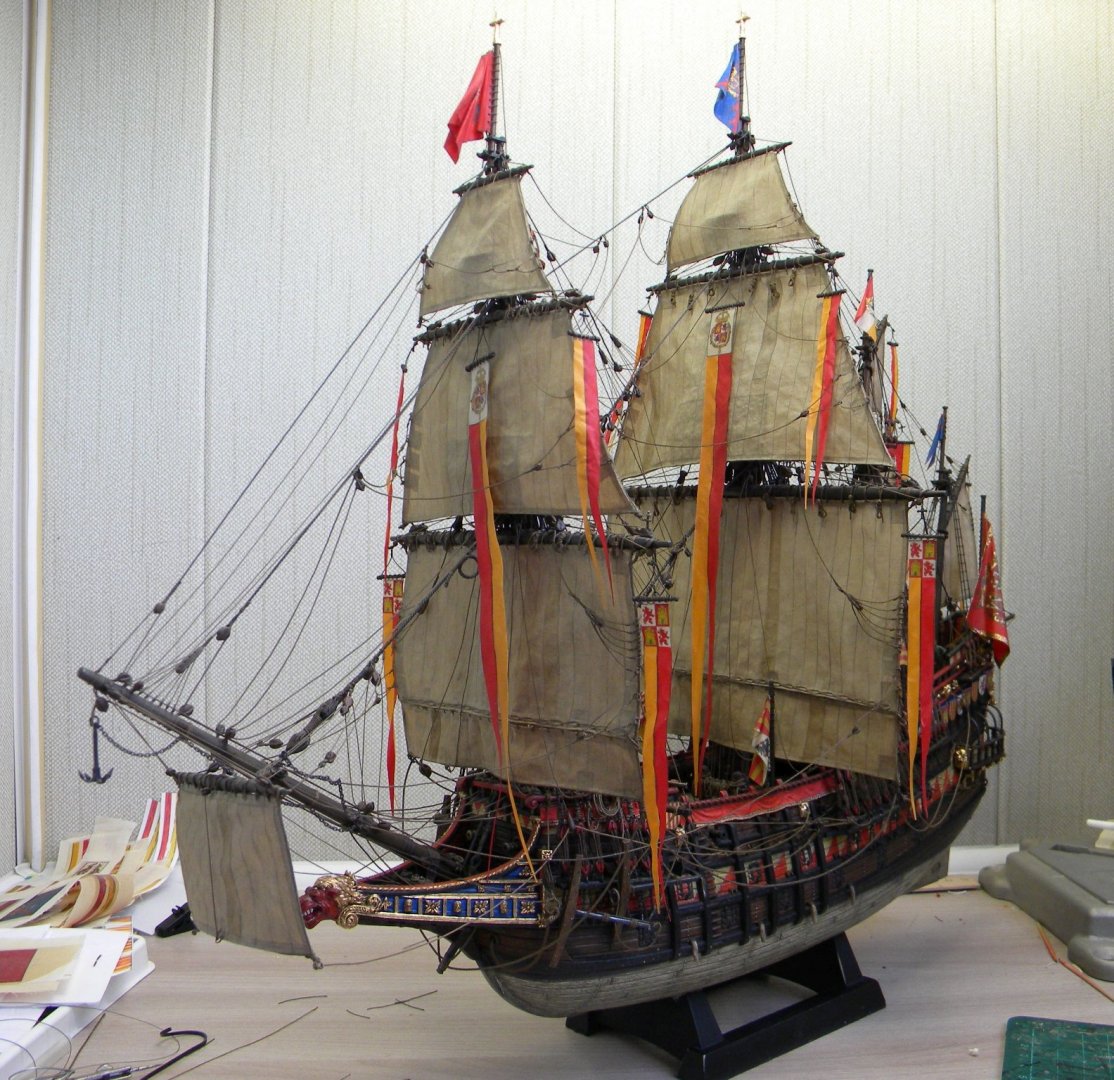
Good day Everybody, Today I put the final touches and on this with the model - that's it !!! : * added a crane beam on the tops of the fiting platforms - similar to the one depicted in the famous engraving of the karakka * added darts - here, in their appearance, pure fantasy ... in fact, judging by the engravings - they were in great demand on galleons of the 16th century, and since I have a certain collective image of a galleon on the border of the 16th and 17th centuries, I decided to add such for myself ... as a source of information I also used the book "Sailing Ships of War", Dr. F. Howard ??? I will add hooks on the yards later ... maybe ... ... Spaniard after all, it means boarding tactics of conducting a battle, in theory, they should be ... and on engravings they are shown everywhere as a rule ... well, I don't know yet. .. then it was left to come up with something with a stand, but this is next season, in the fall ... the vacation ends soon, I will not have time to make a stand ... Wish all of you all the best! Kirill
- 228 replies
-
- 4
-
-
- spanish galleon
- lee
- (and 1 more)
-
Nice job Michael !!! She looks very nice!!! What are those rigging lines passing along middle bridge?
-
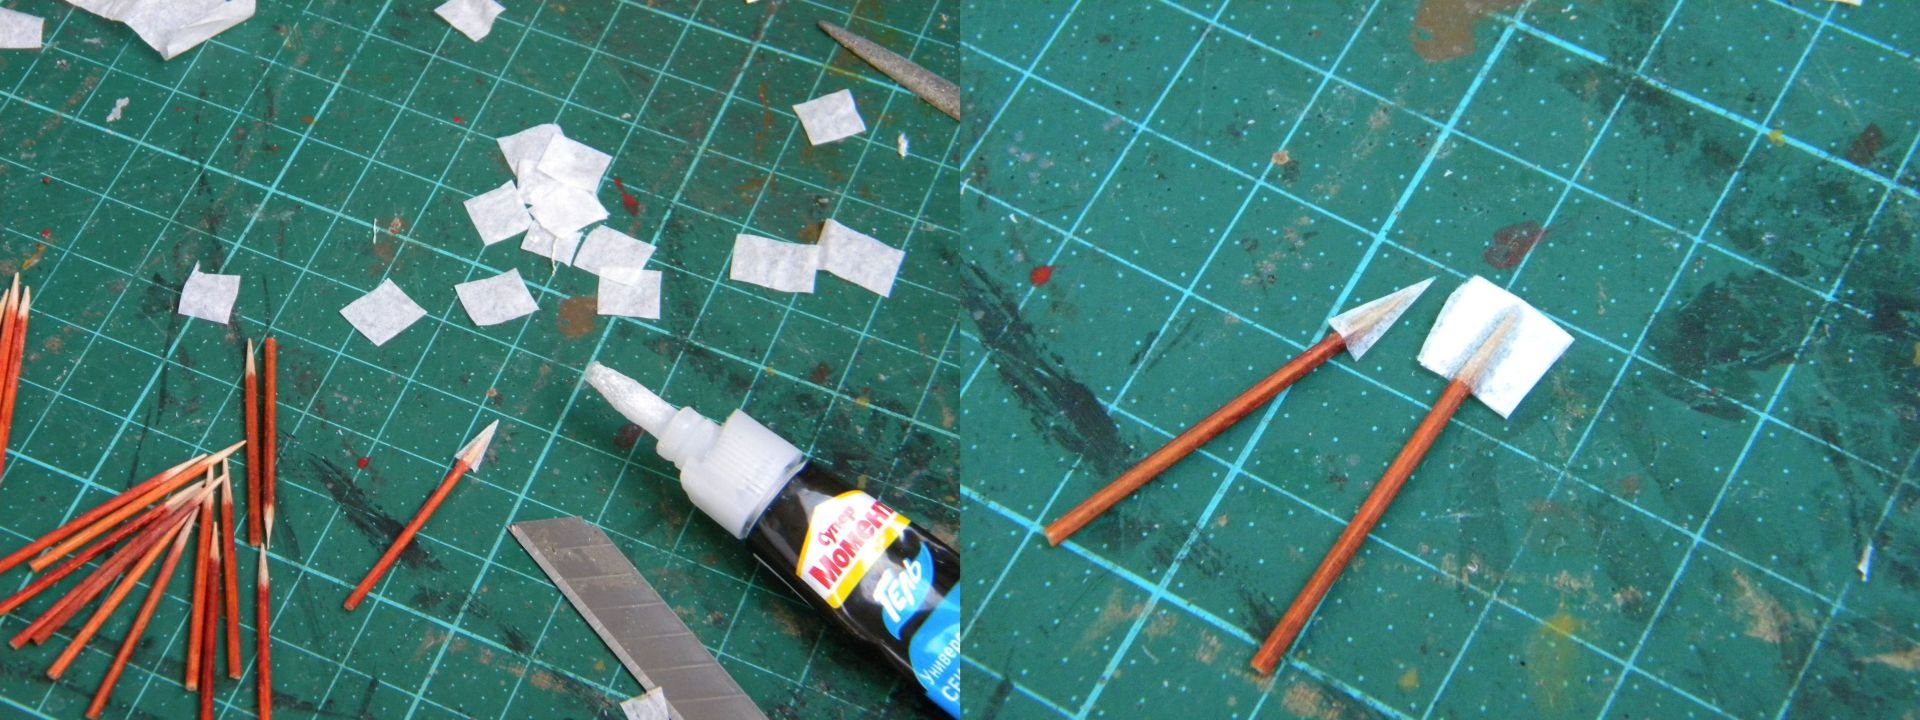
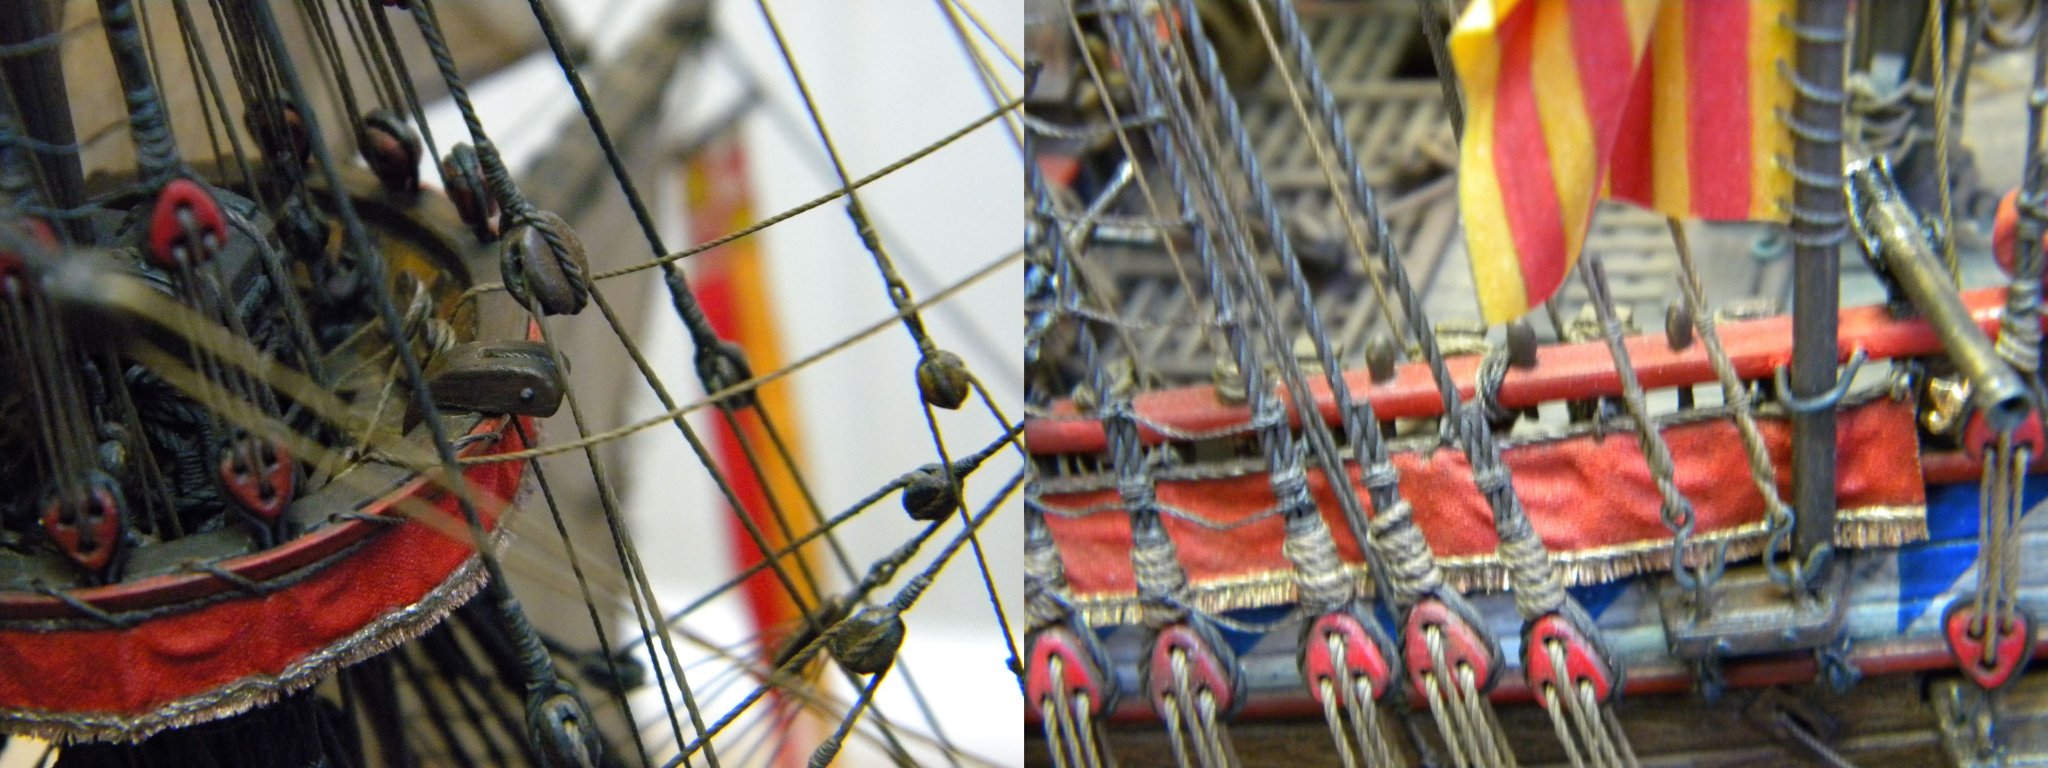
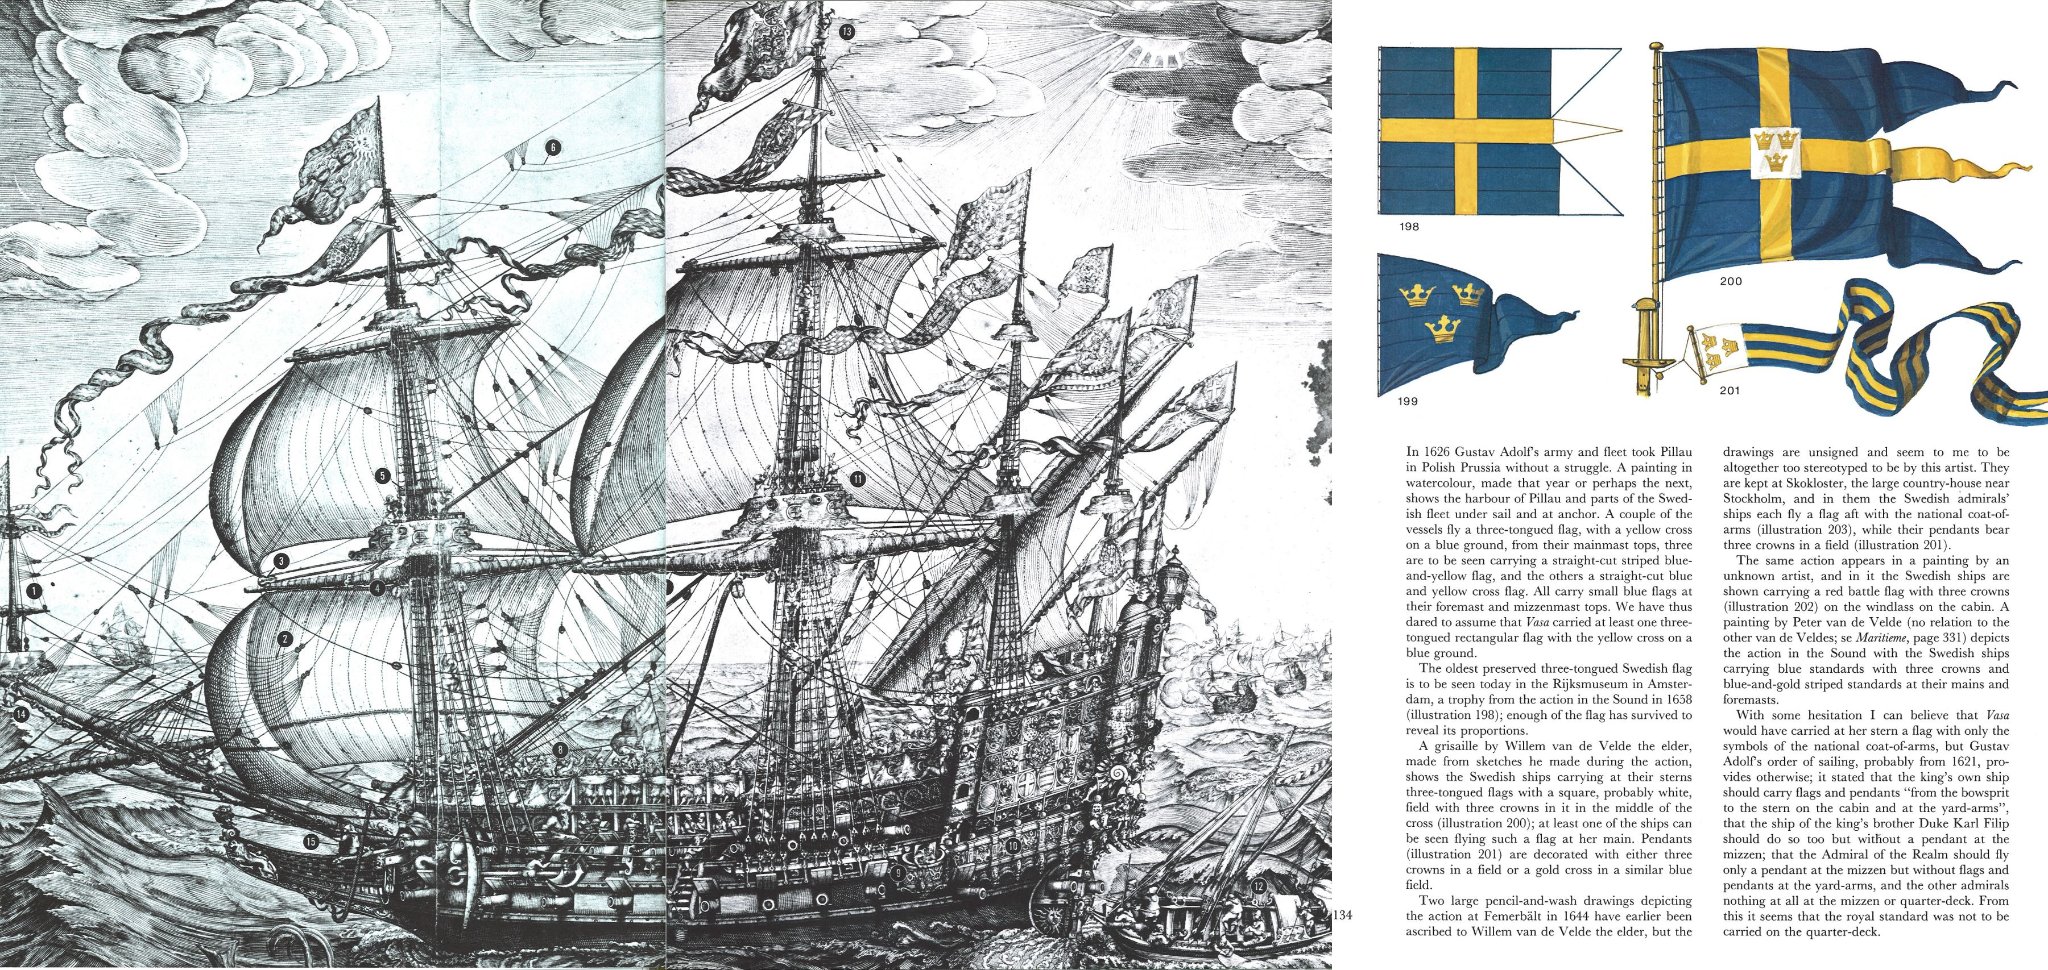
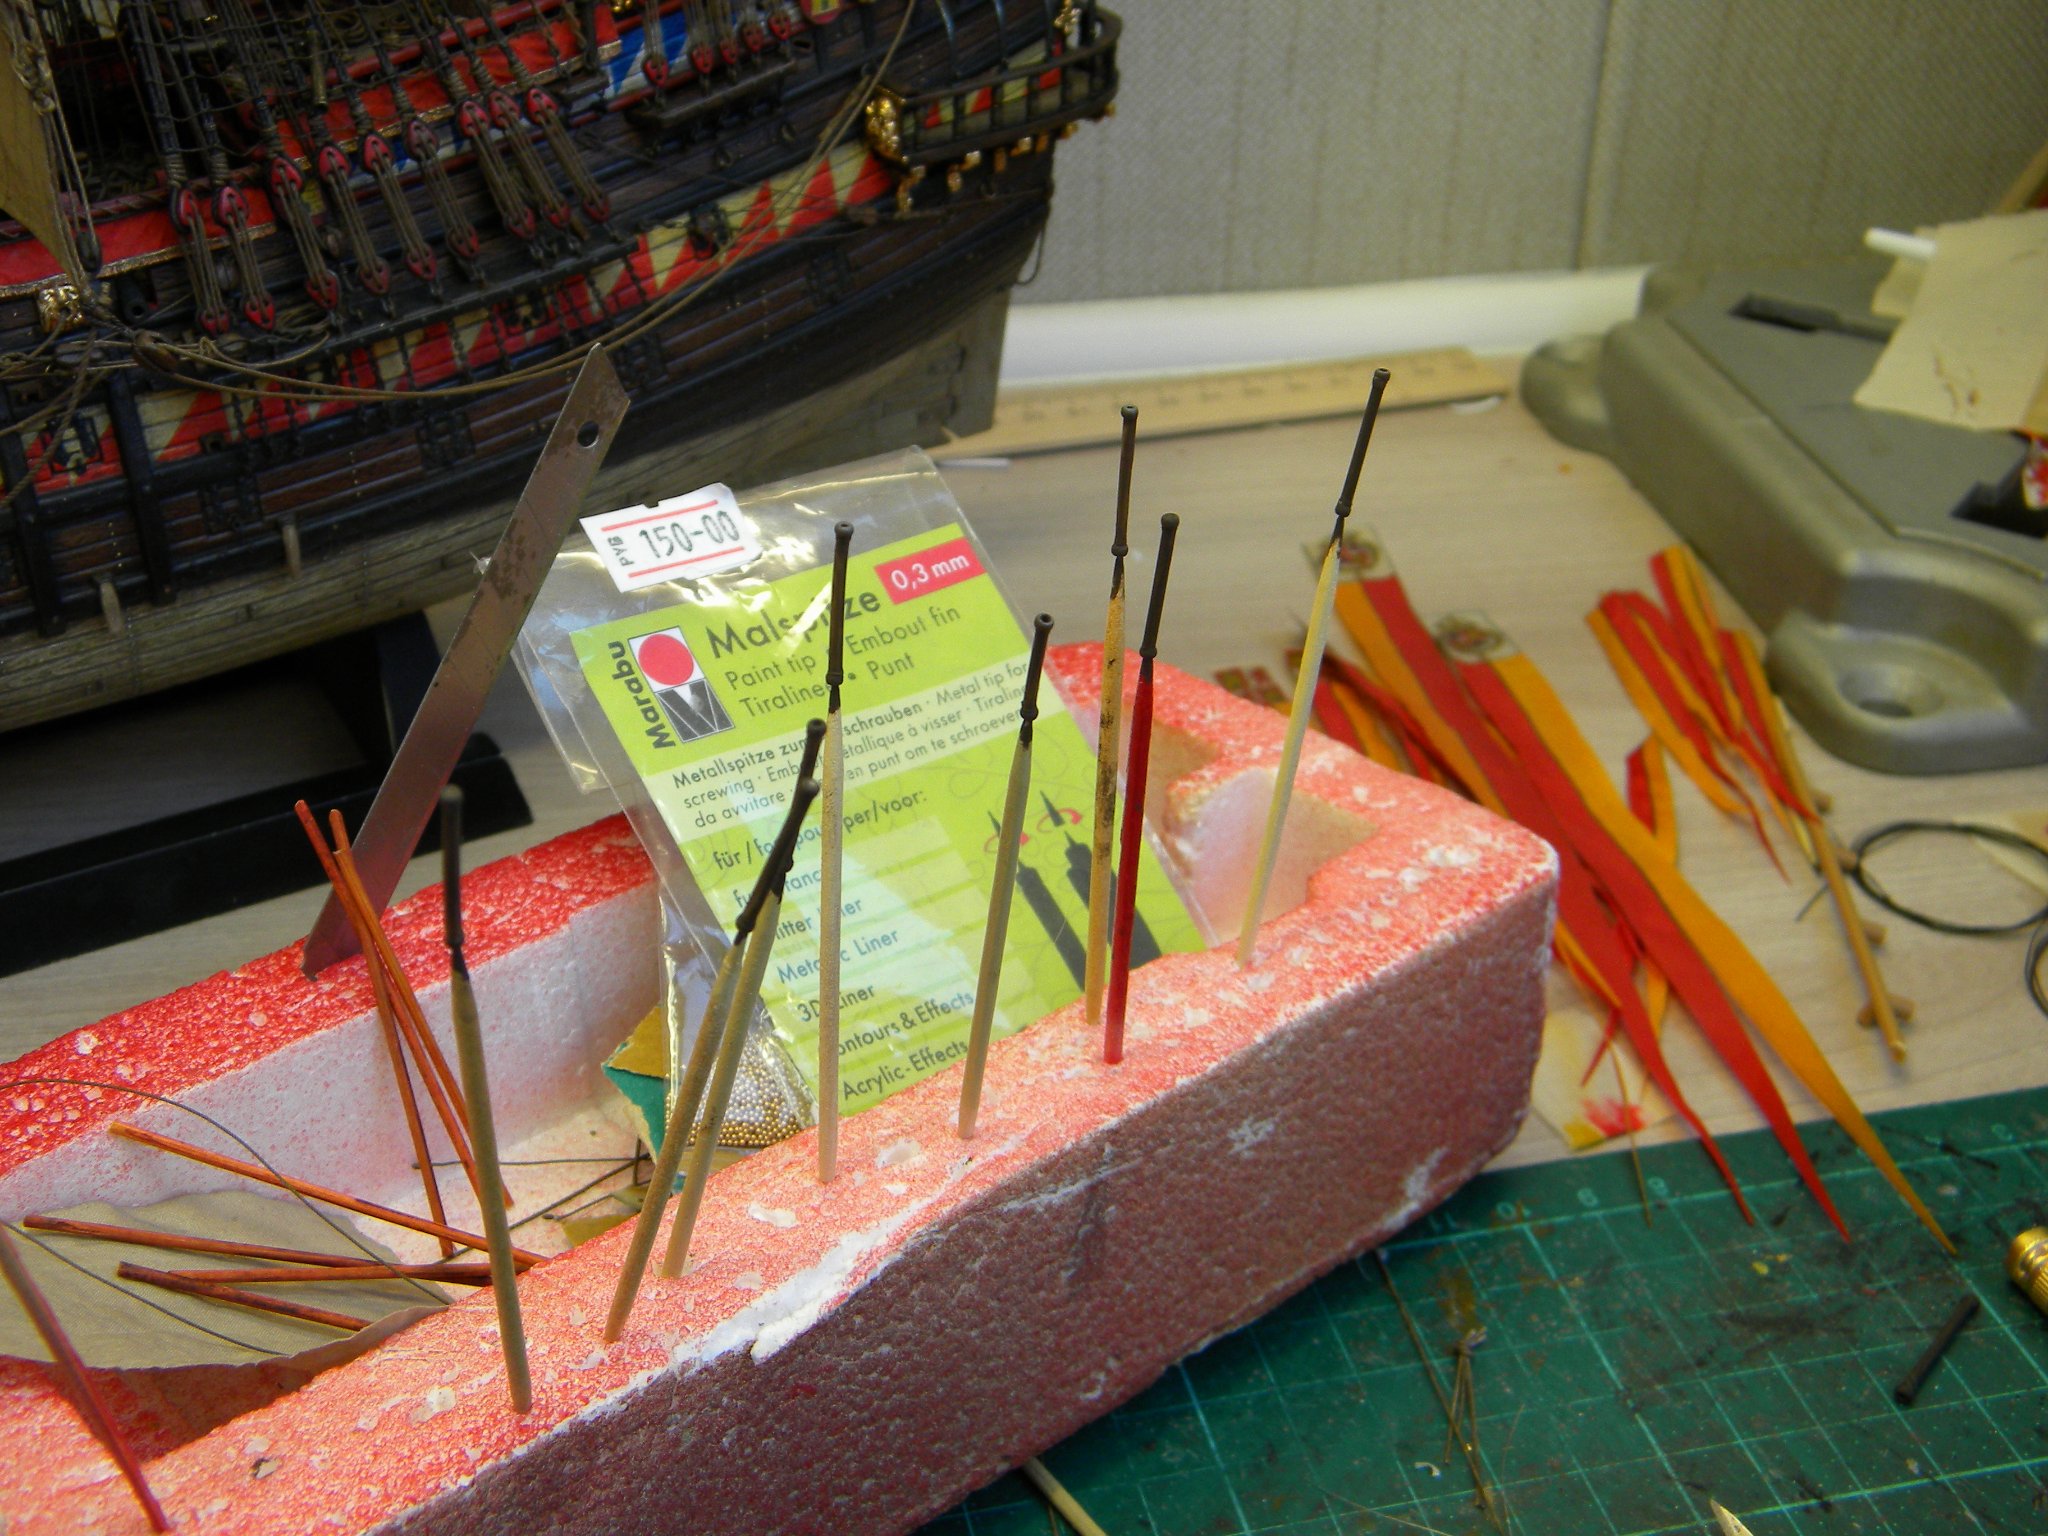
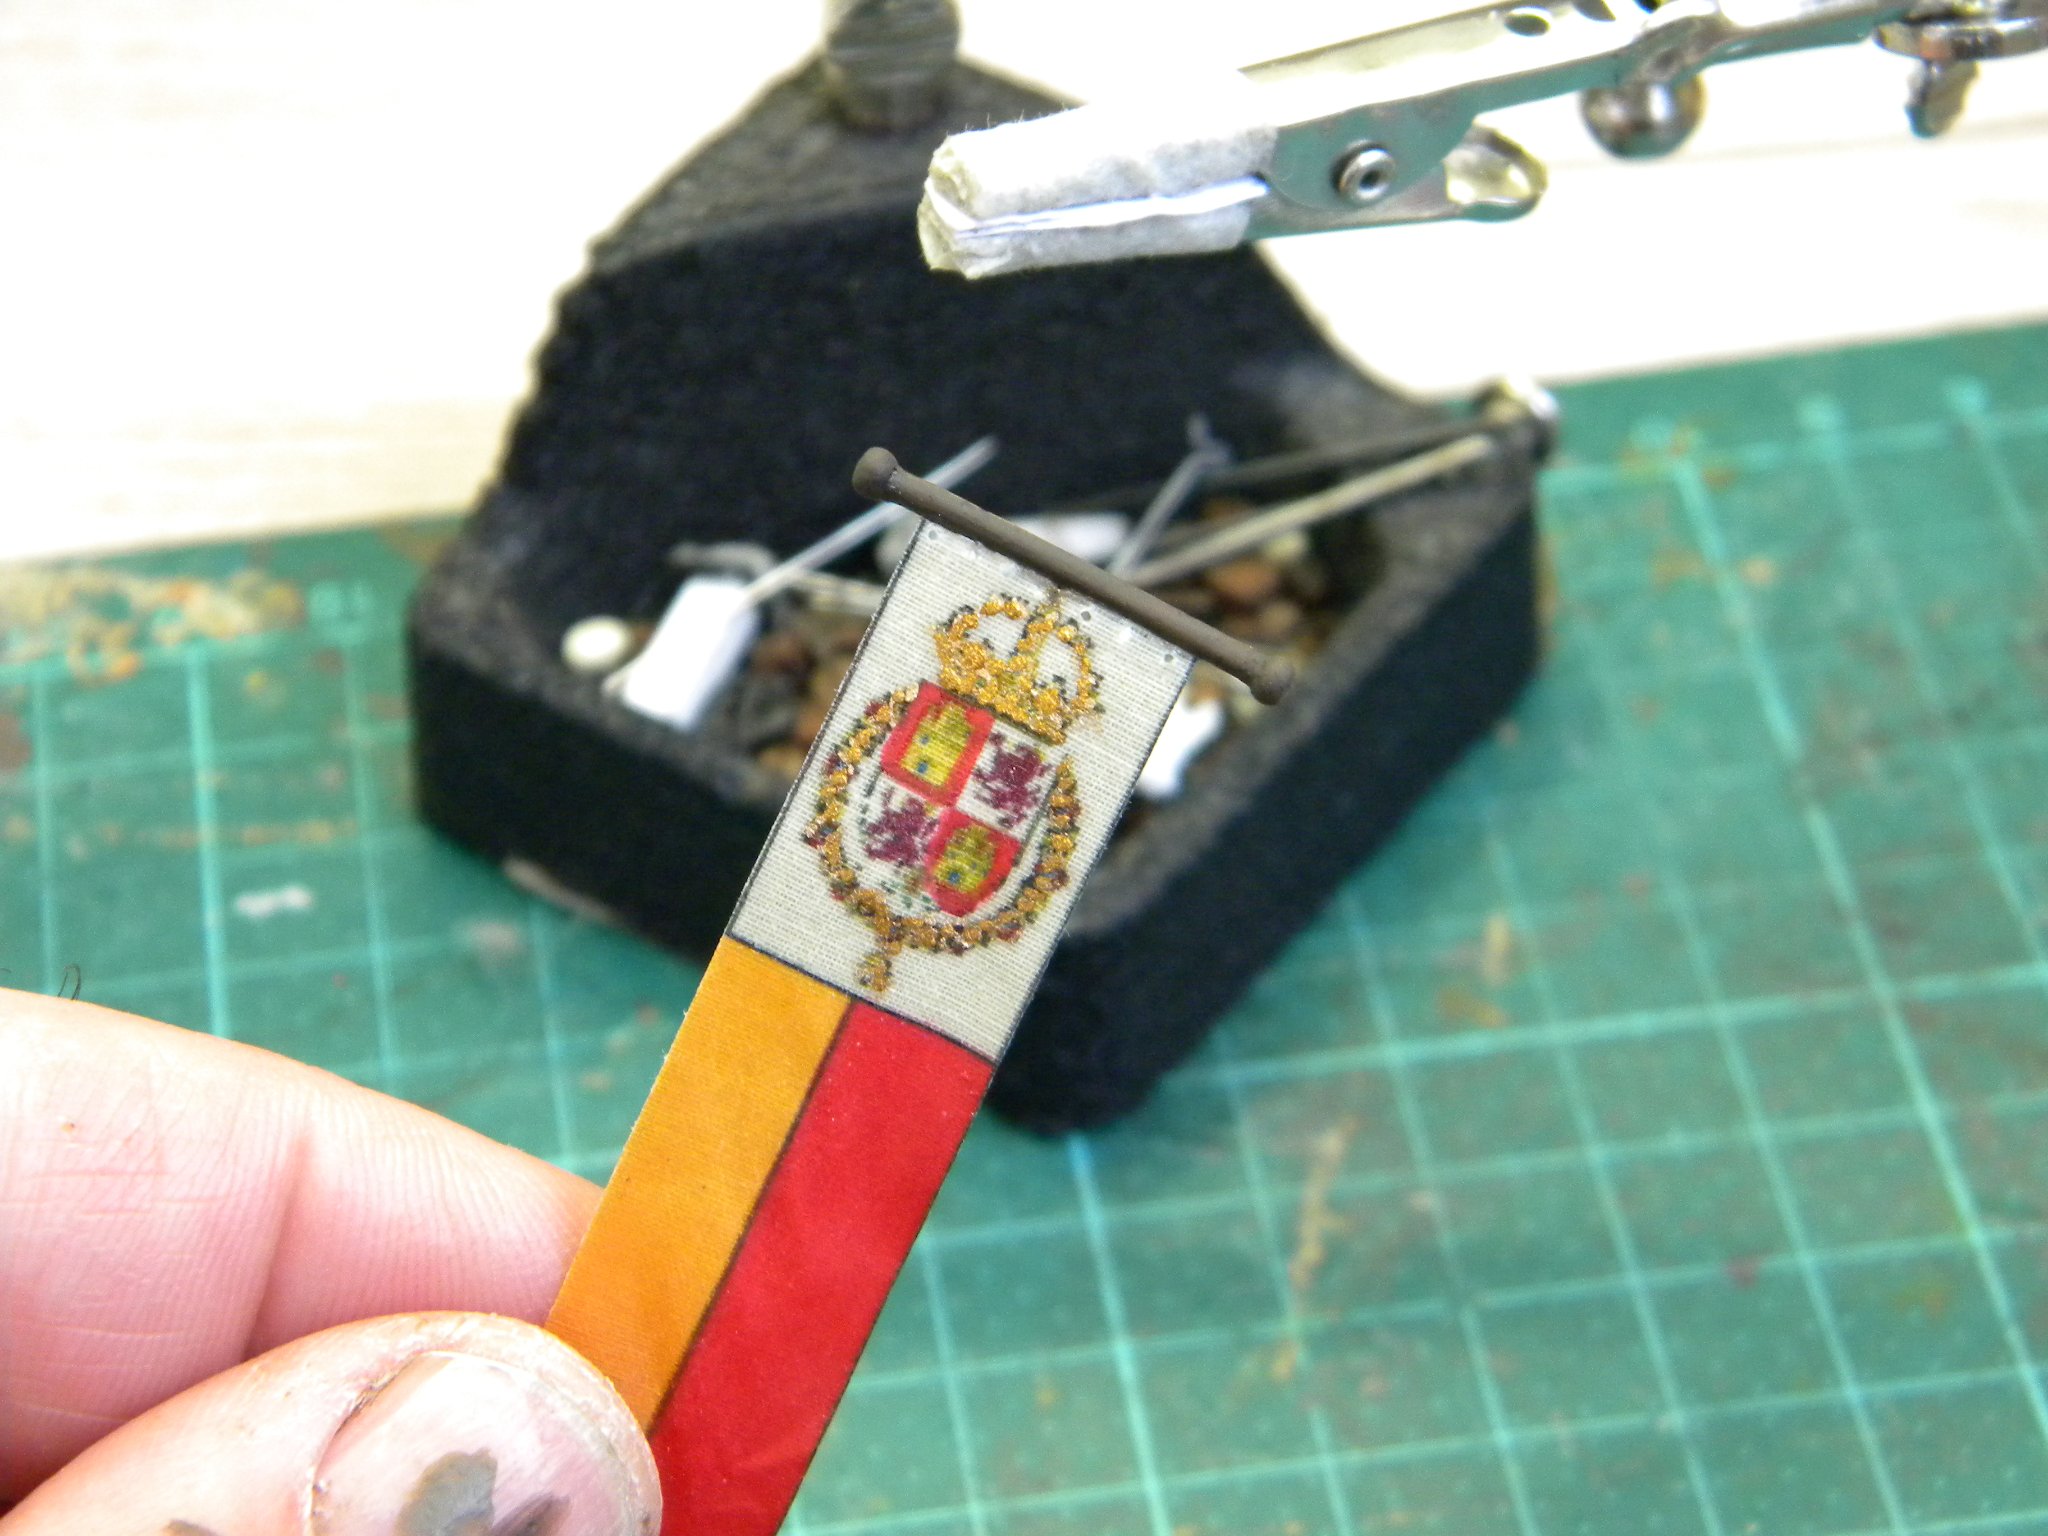
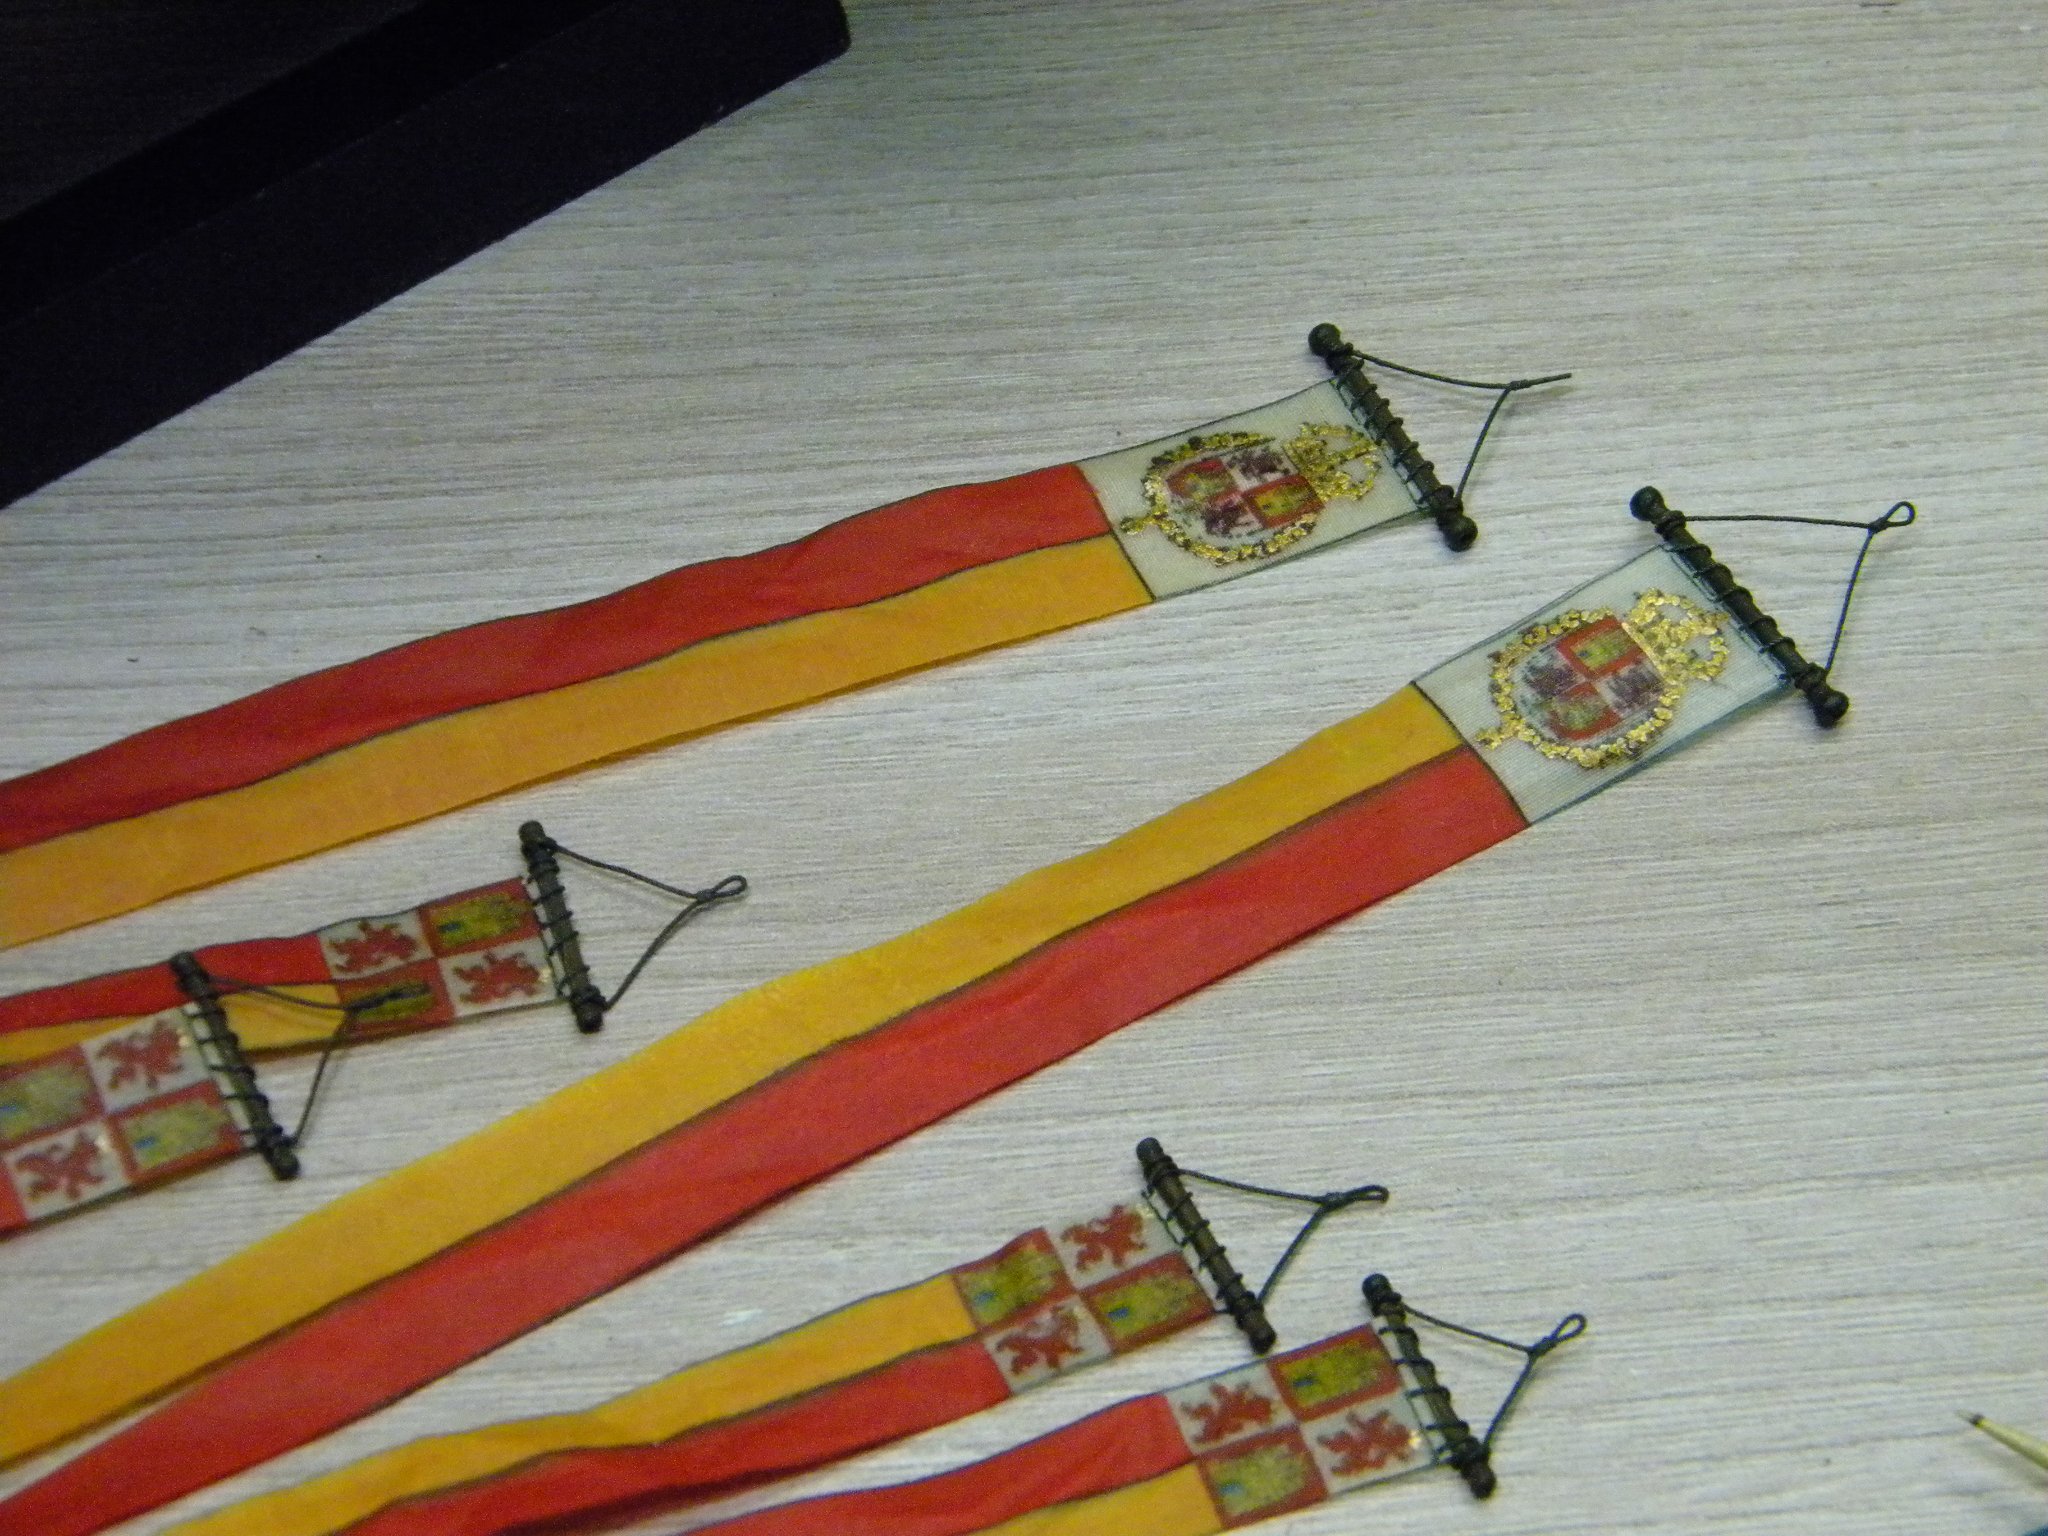
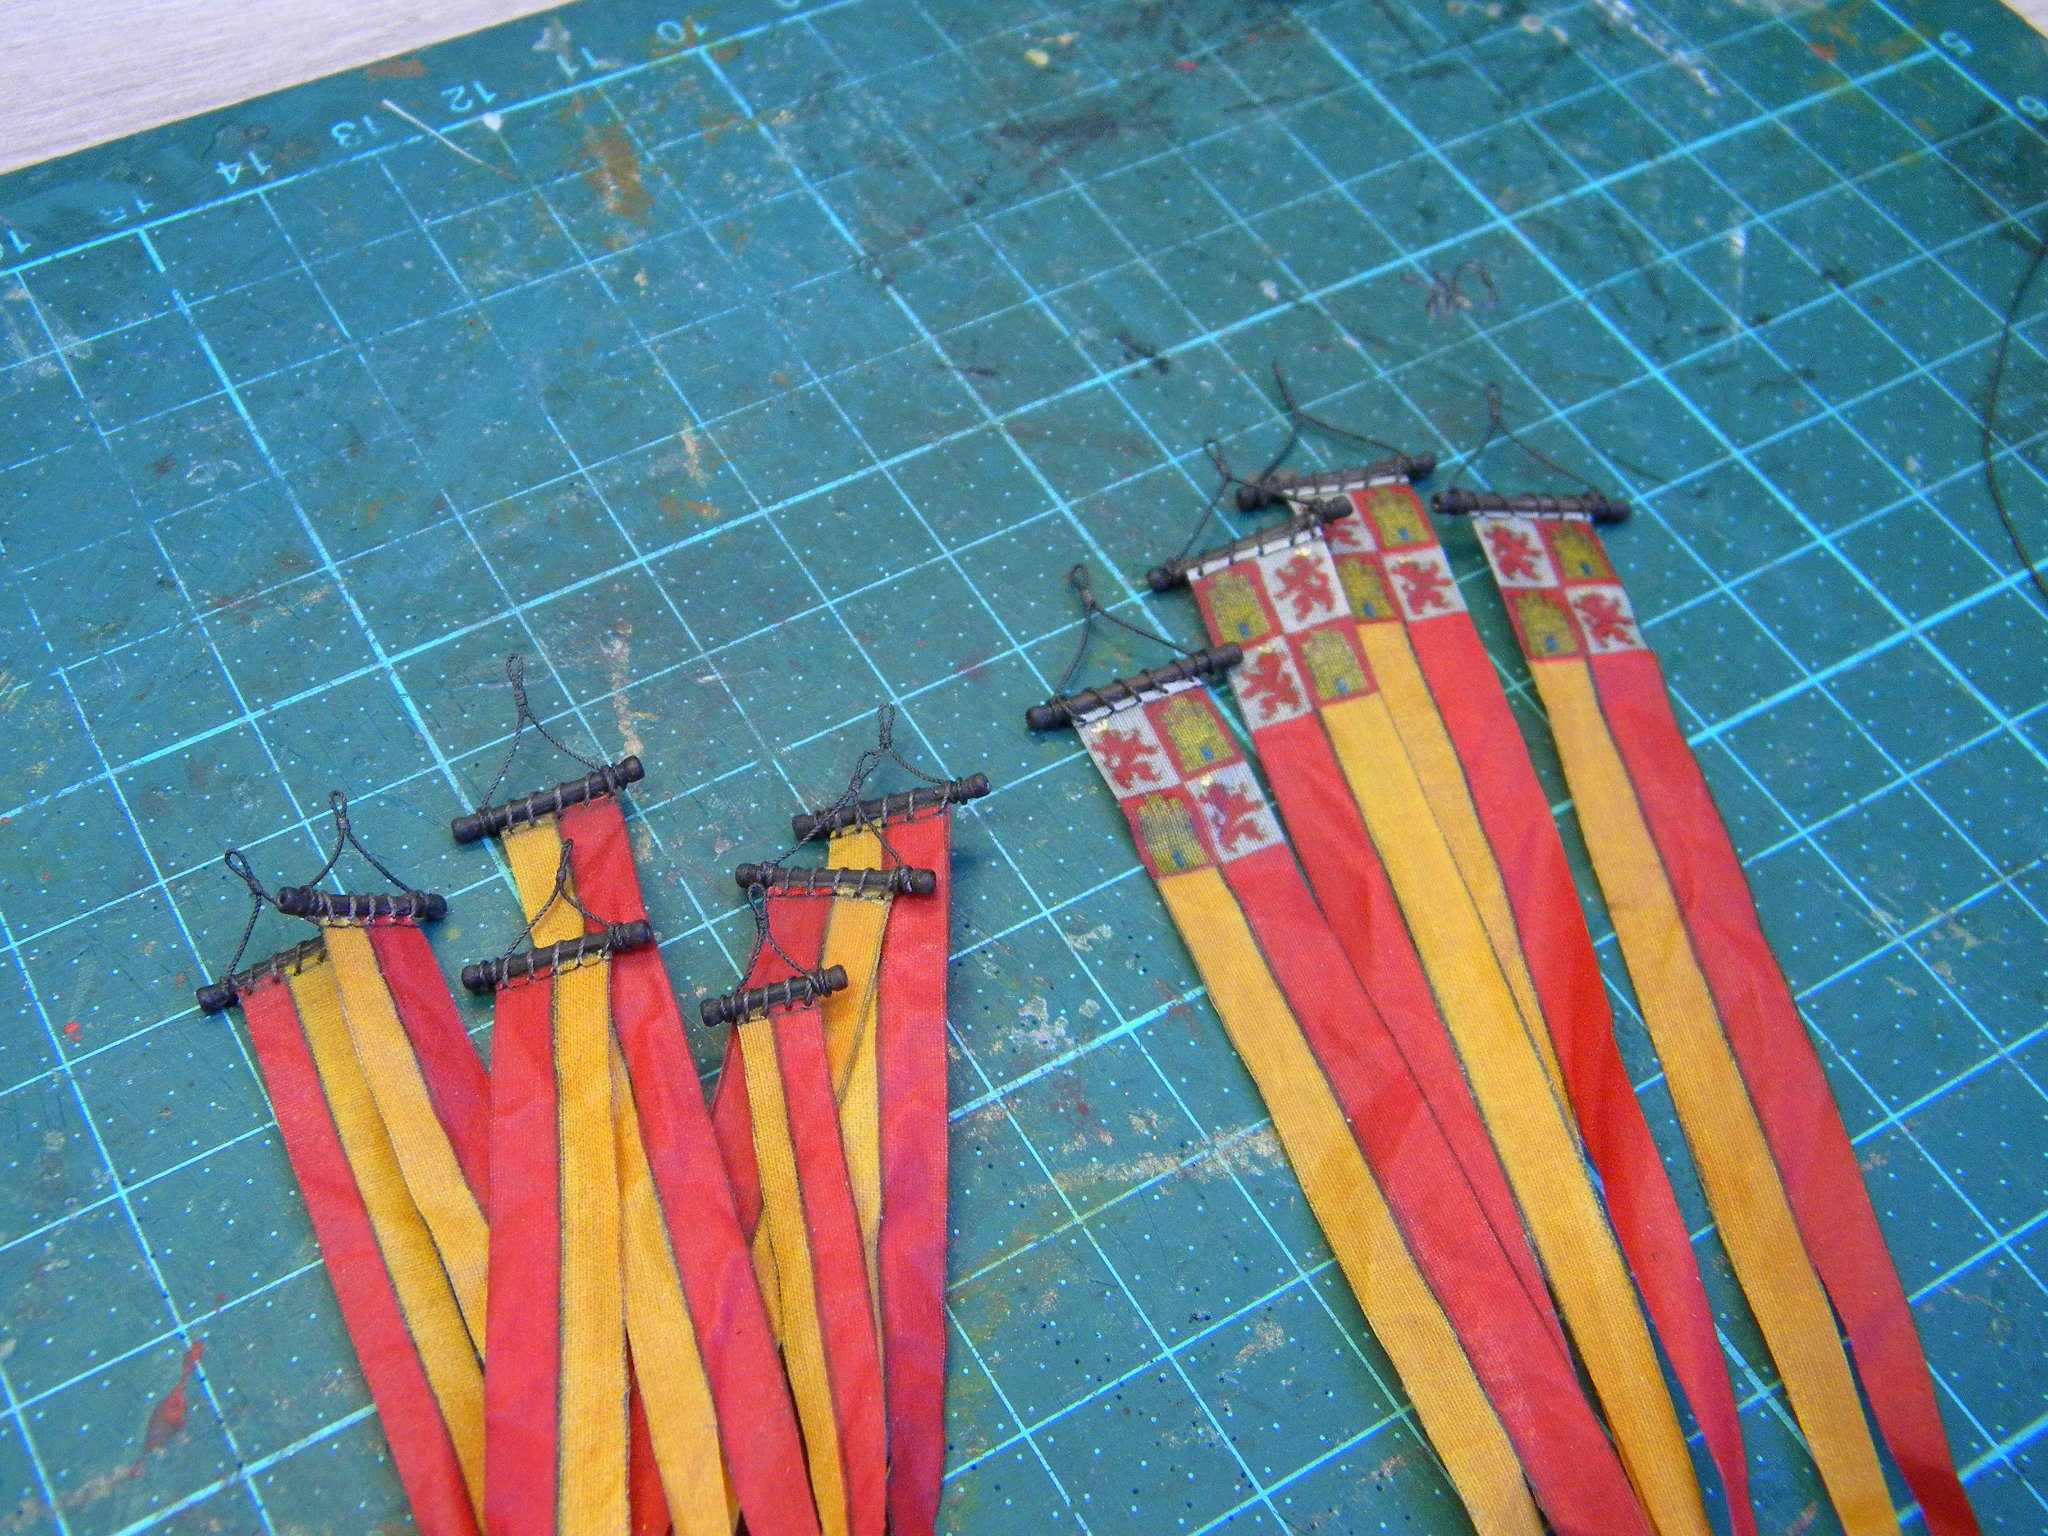
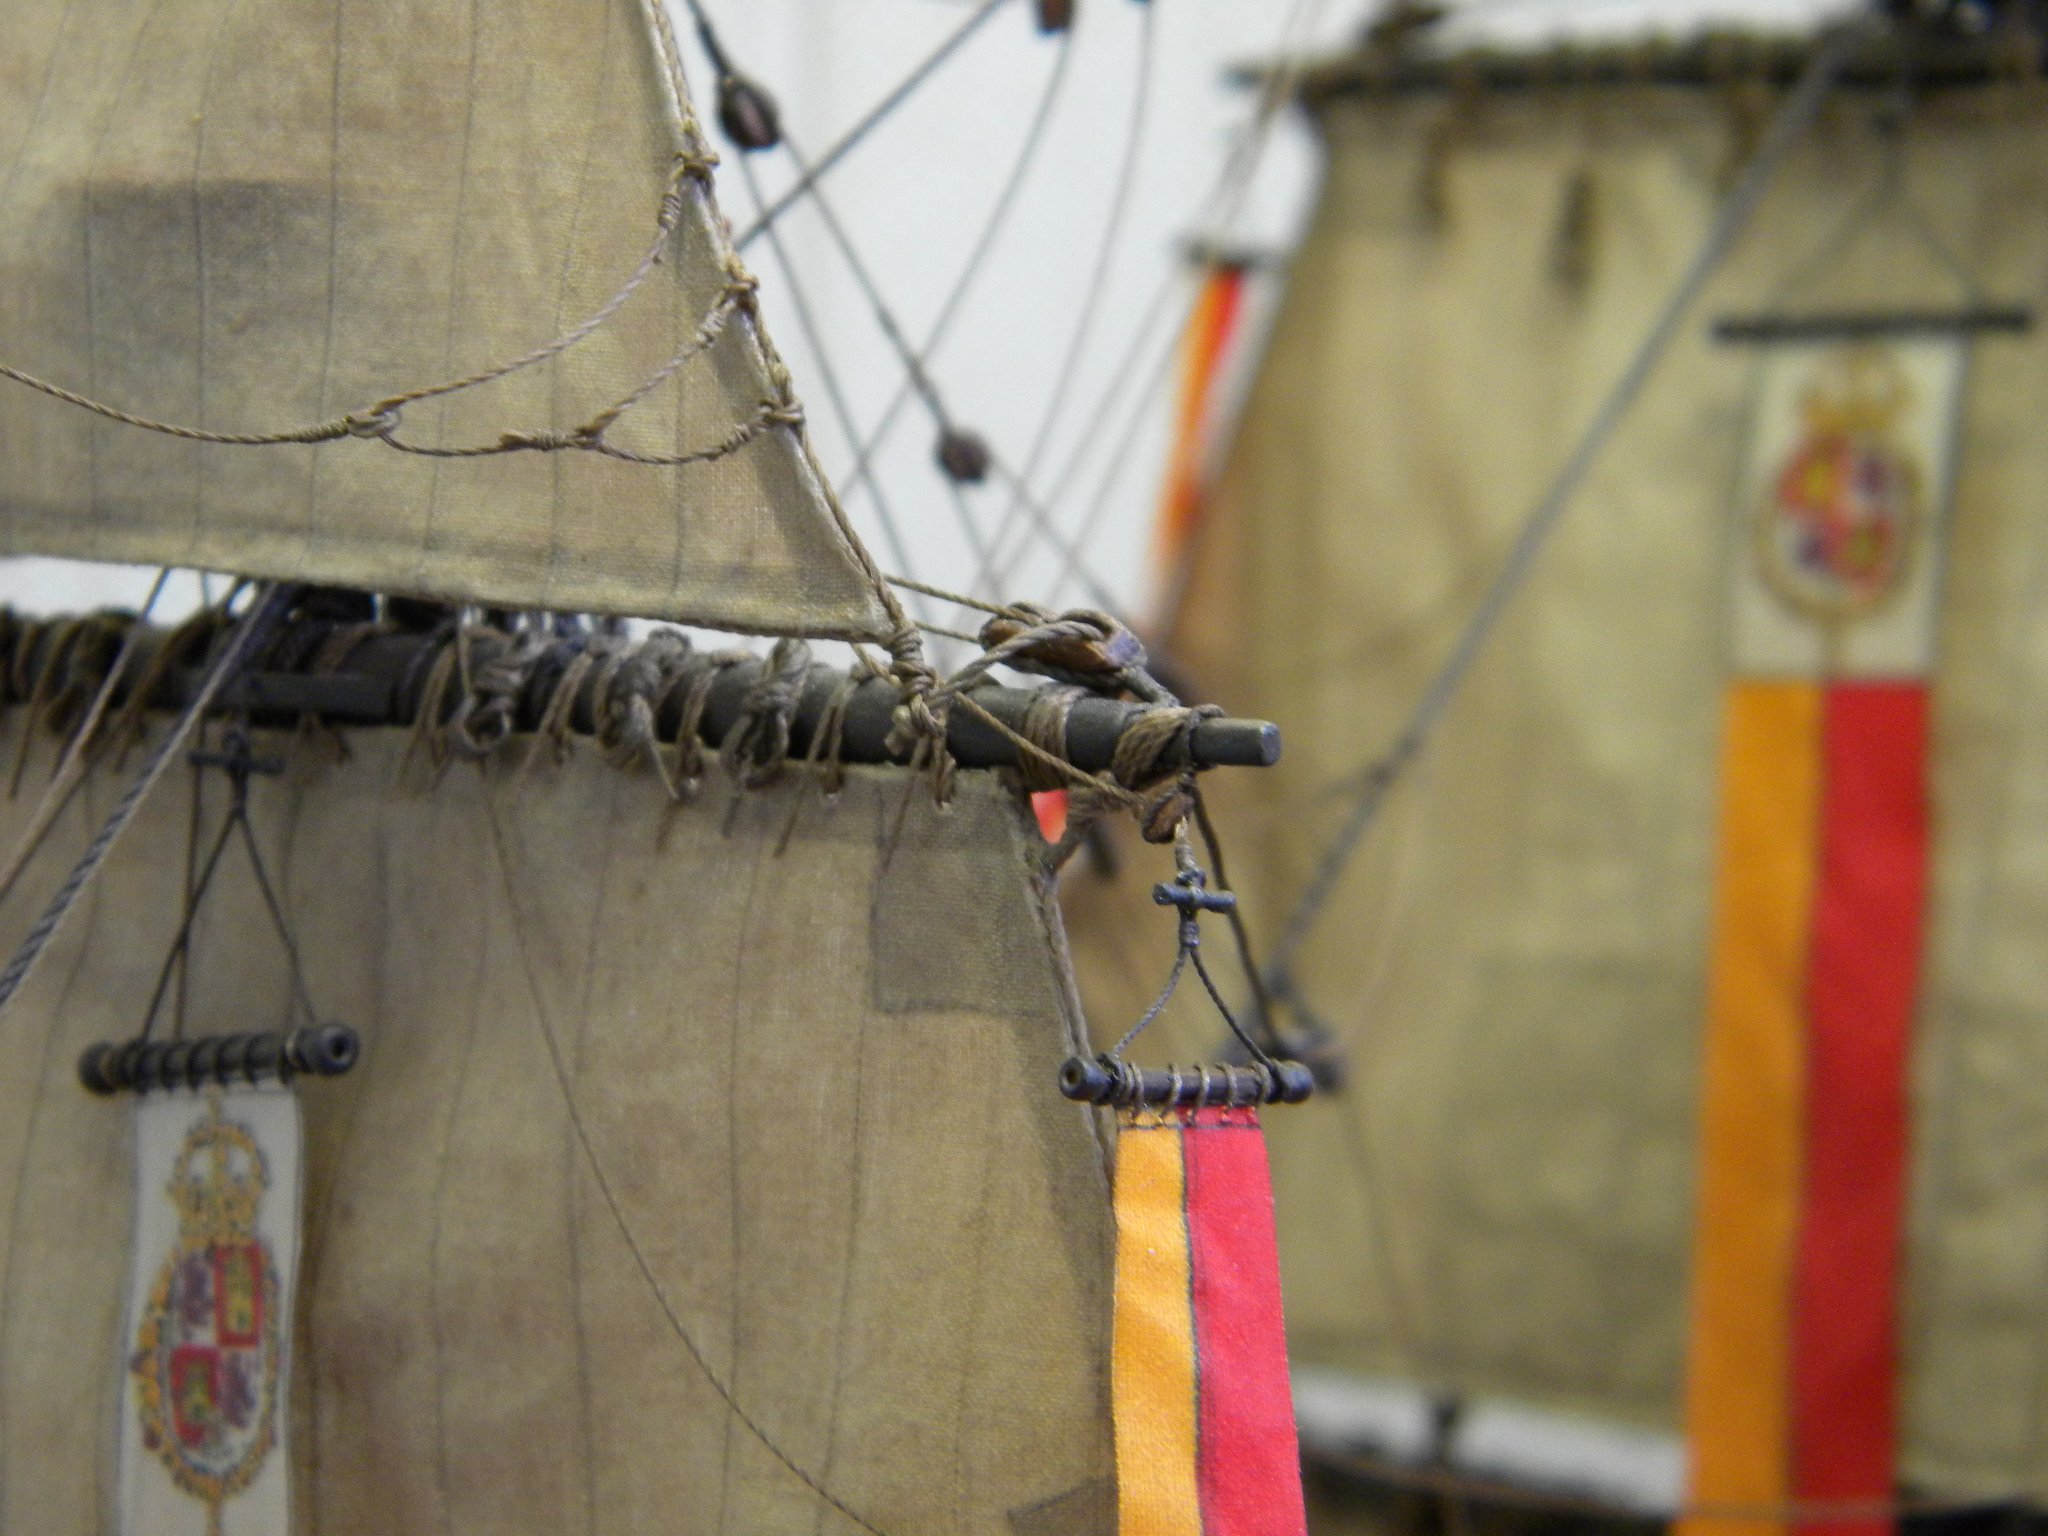
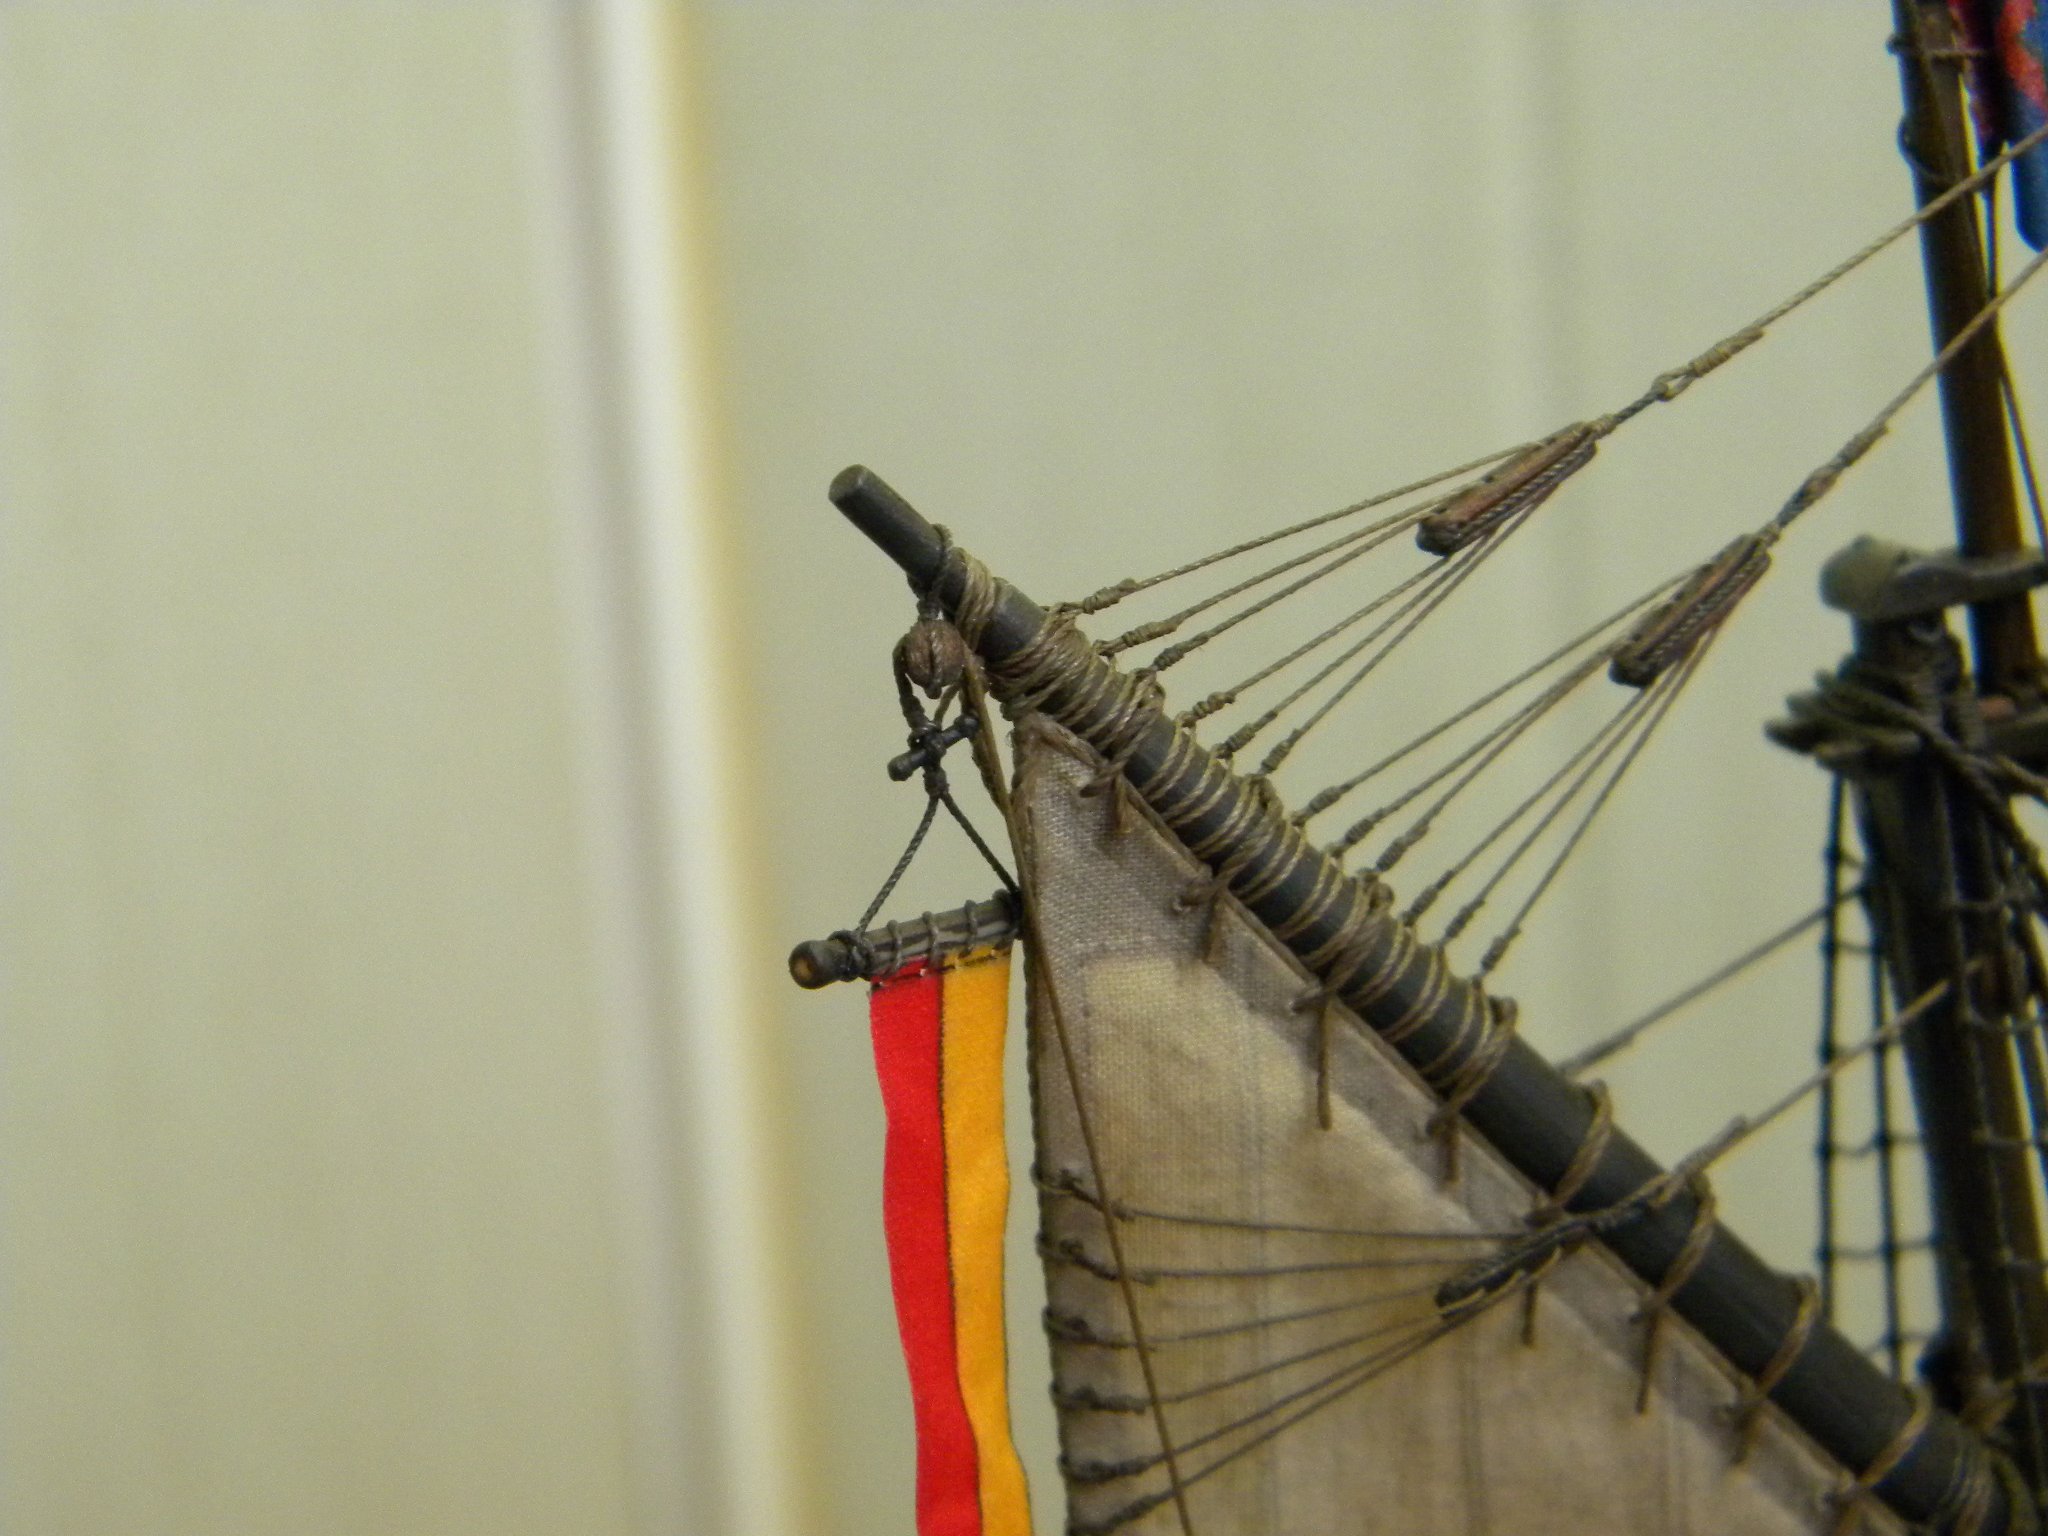
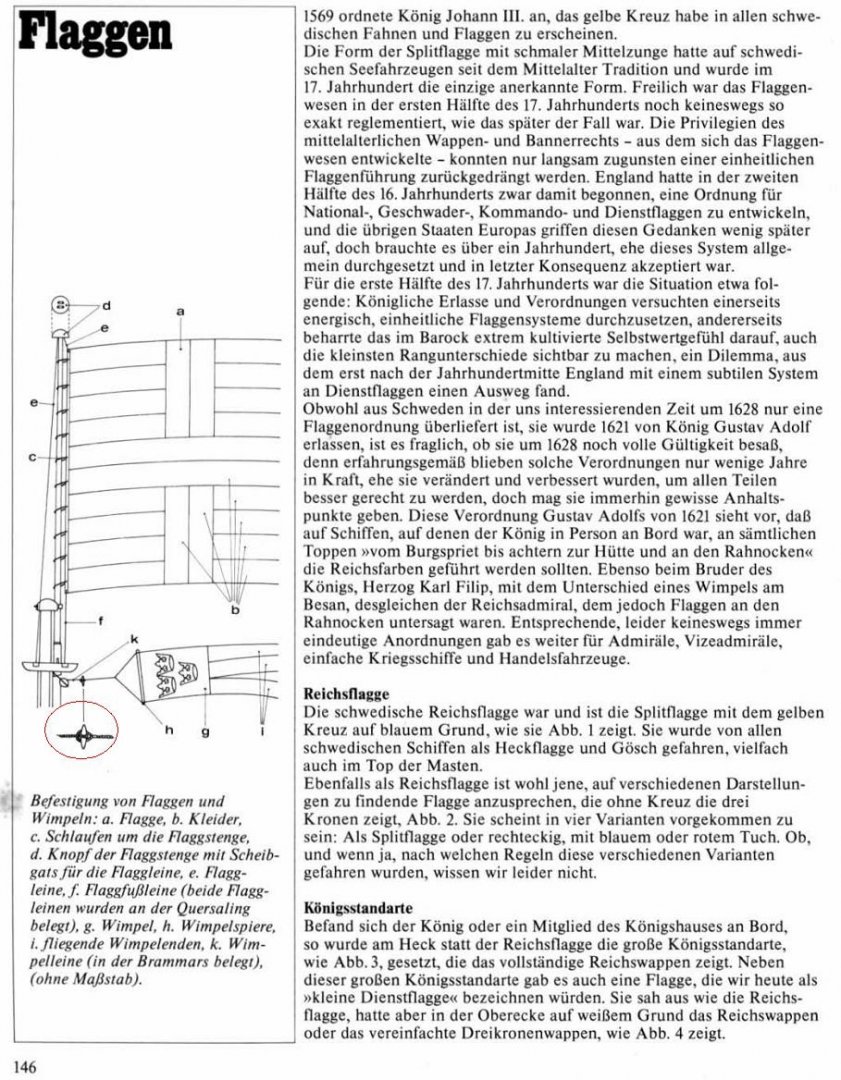
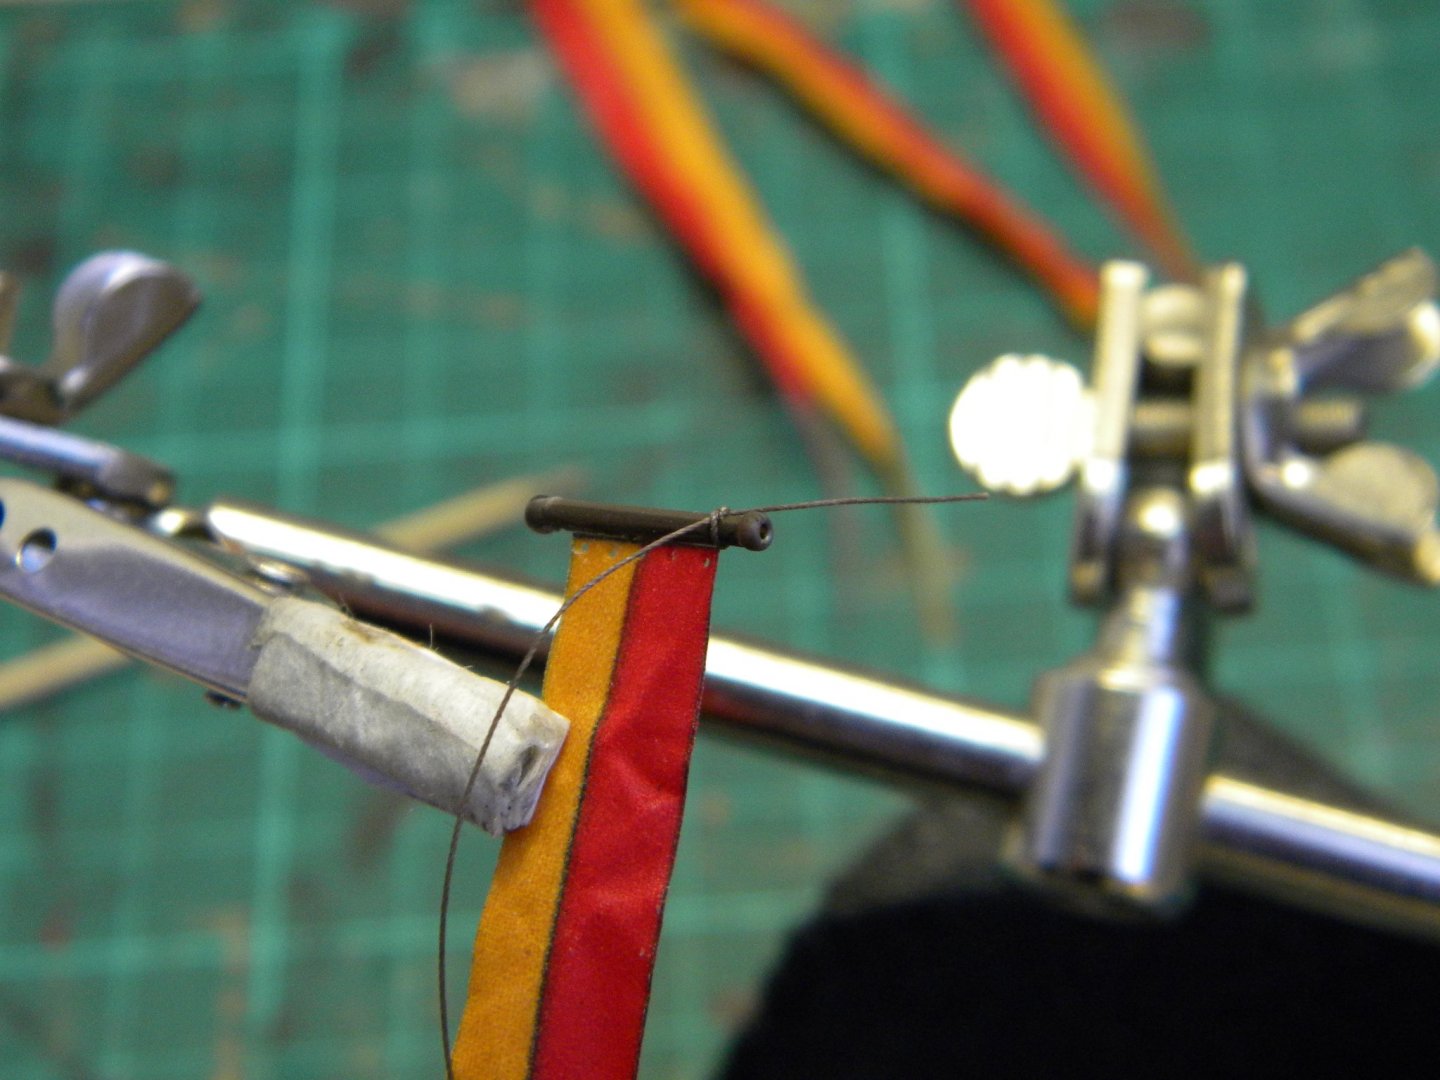
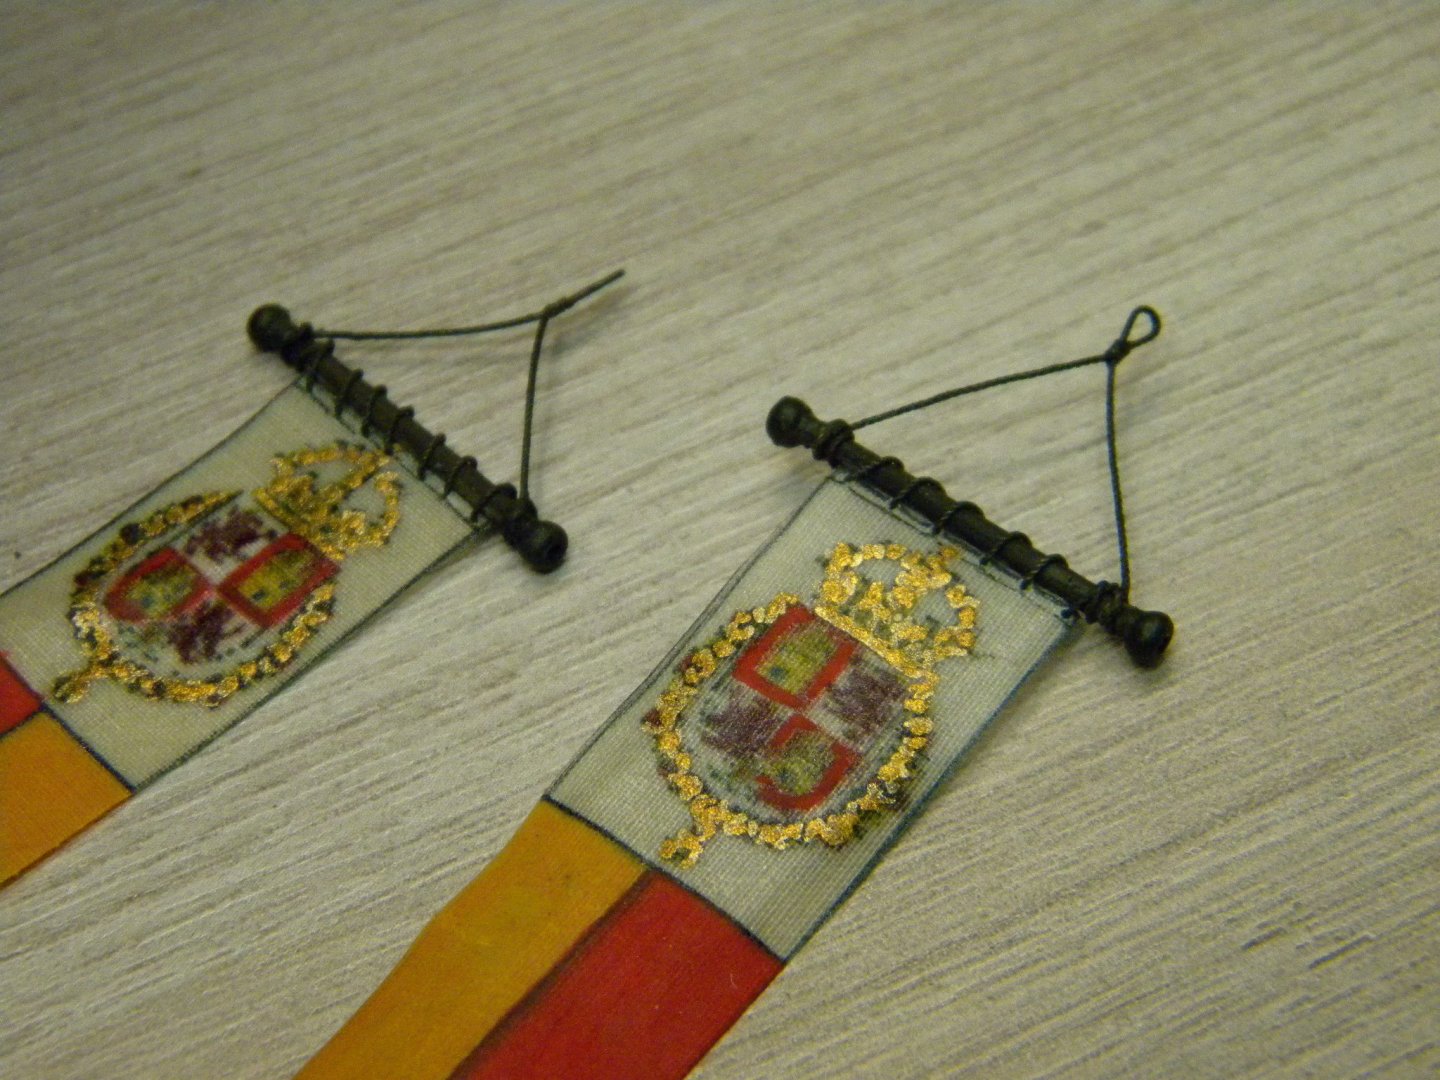
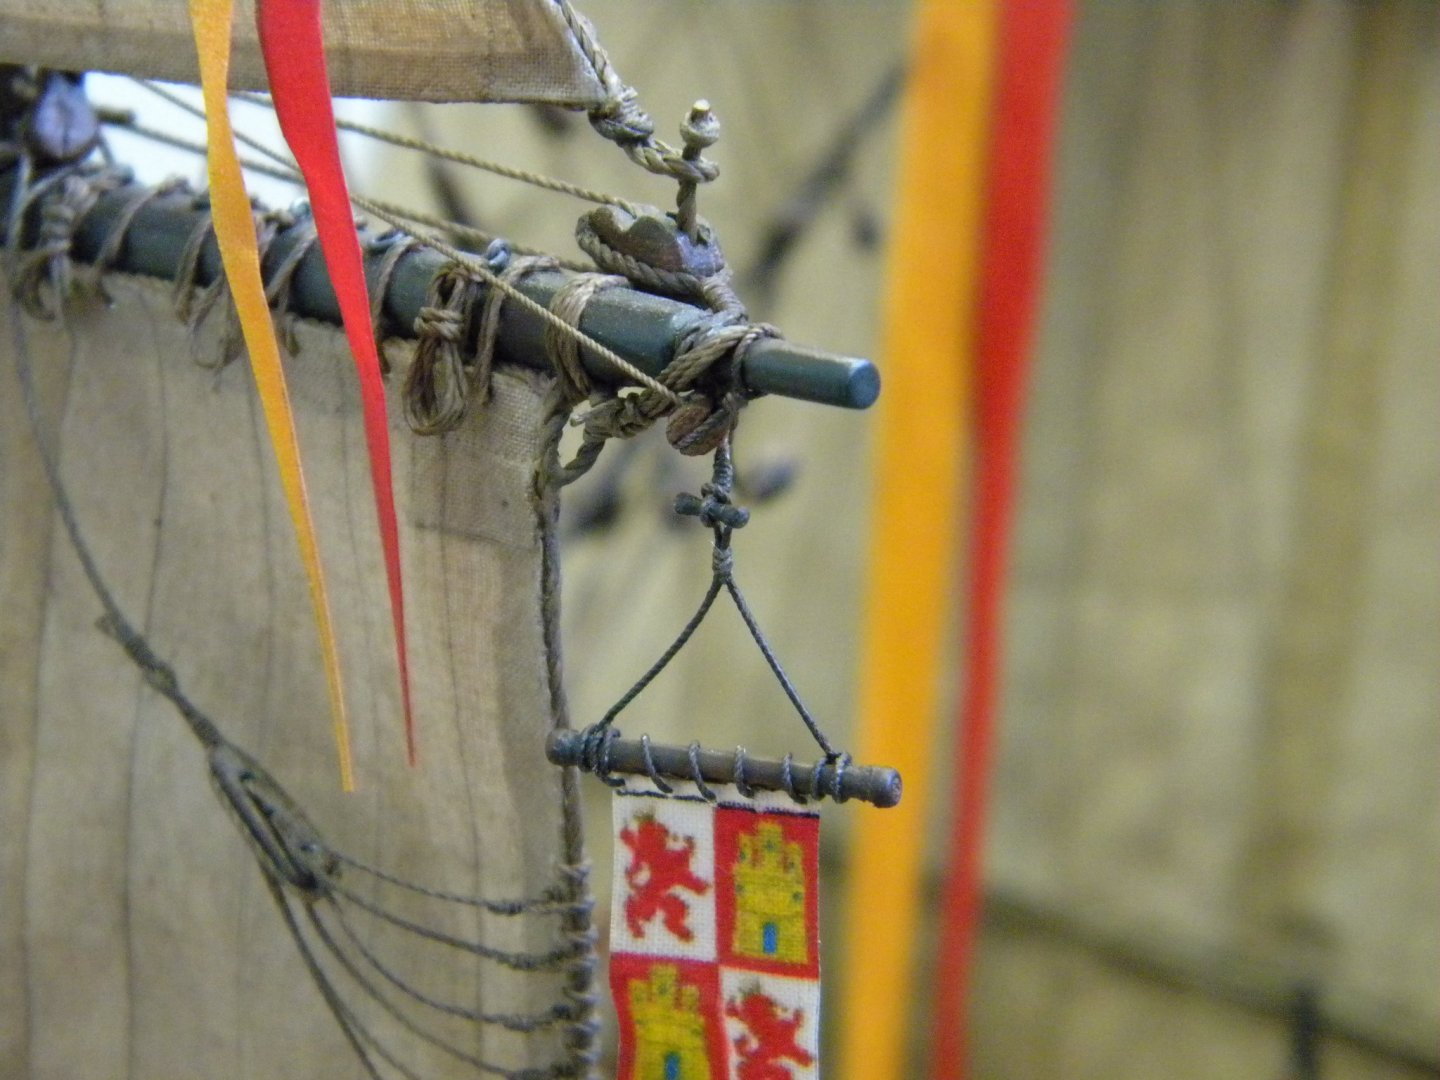
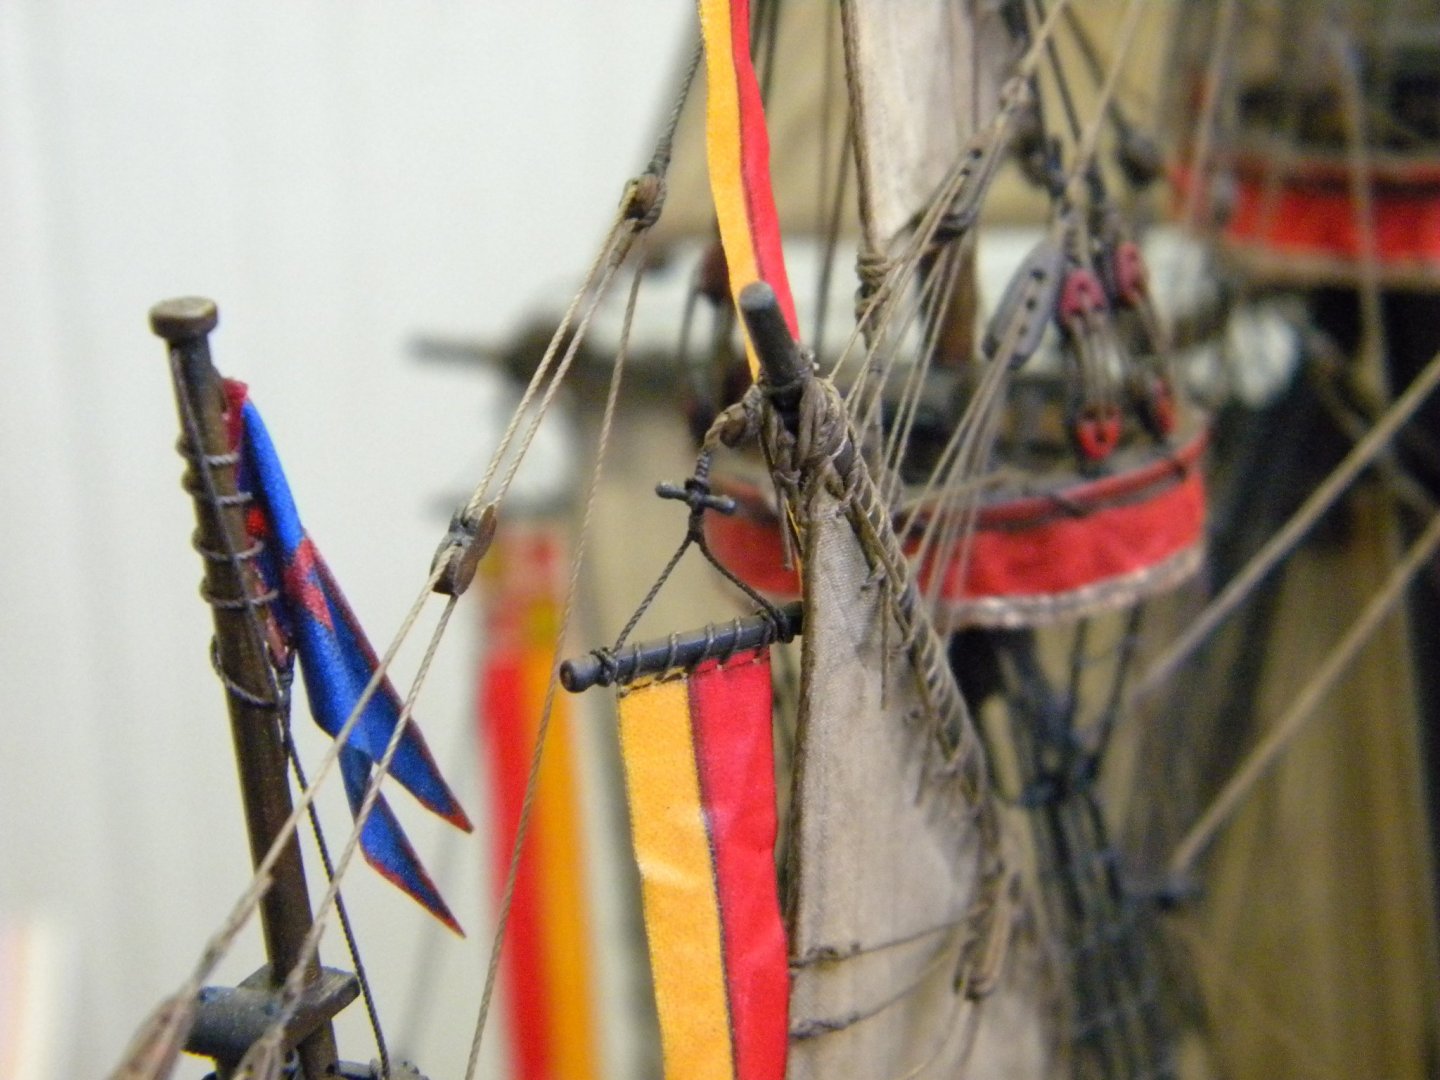
Hello everybody , interested in this Galleon construction site)) A small continuation - pennants ... I used the colors of Spain - Castile and Aragon - red and yellow as the main colors ... and ideas from Landstrem and Mondfeld books , how to show them
HenryGraceDieu1575..jpg.3b983e14fcc203ce2ca3ec5bb166f46b.jpg)


- 228 replies
-
- 11
-
-
- spanish galleon
- lee
- (and 1 more)
-
Good day Michel! It looks very nice! And fringe is good as well! What about flags? Are You planning them or don't ? All the best! Kirill
-
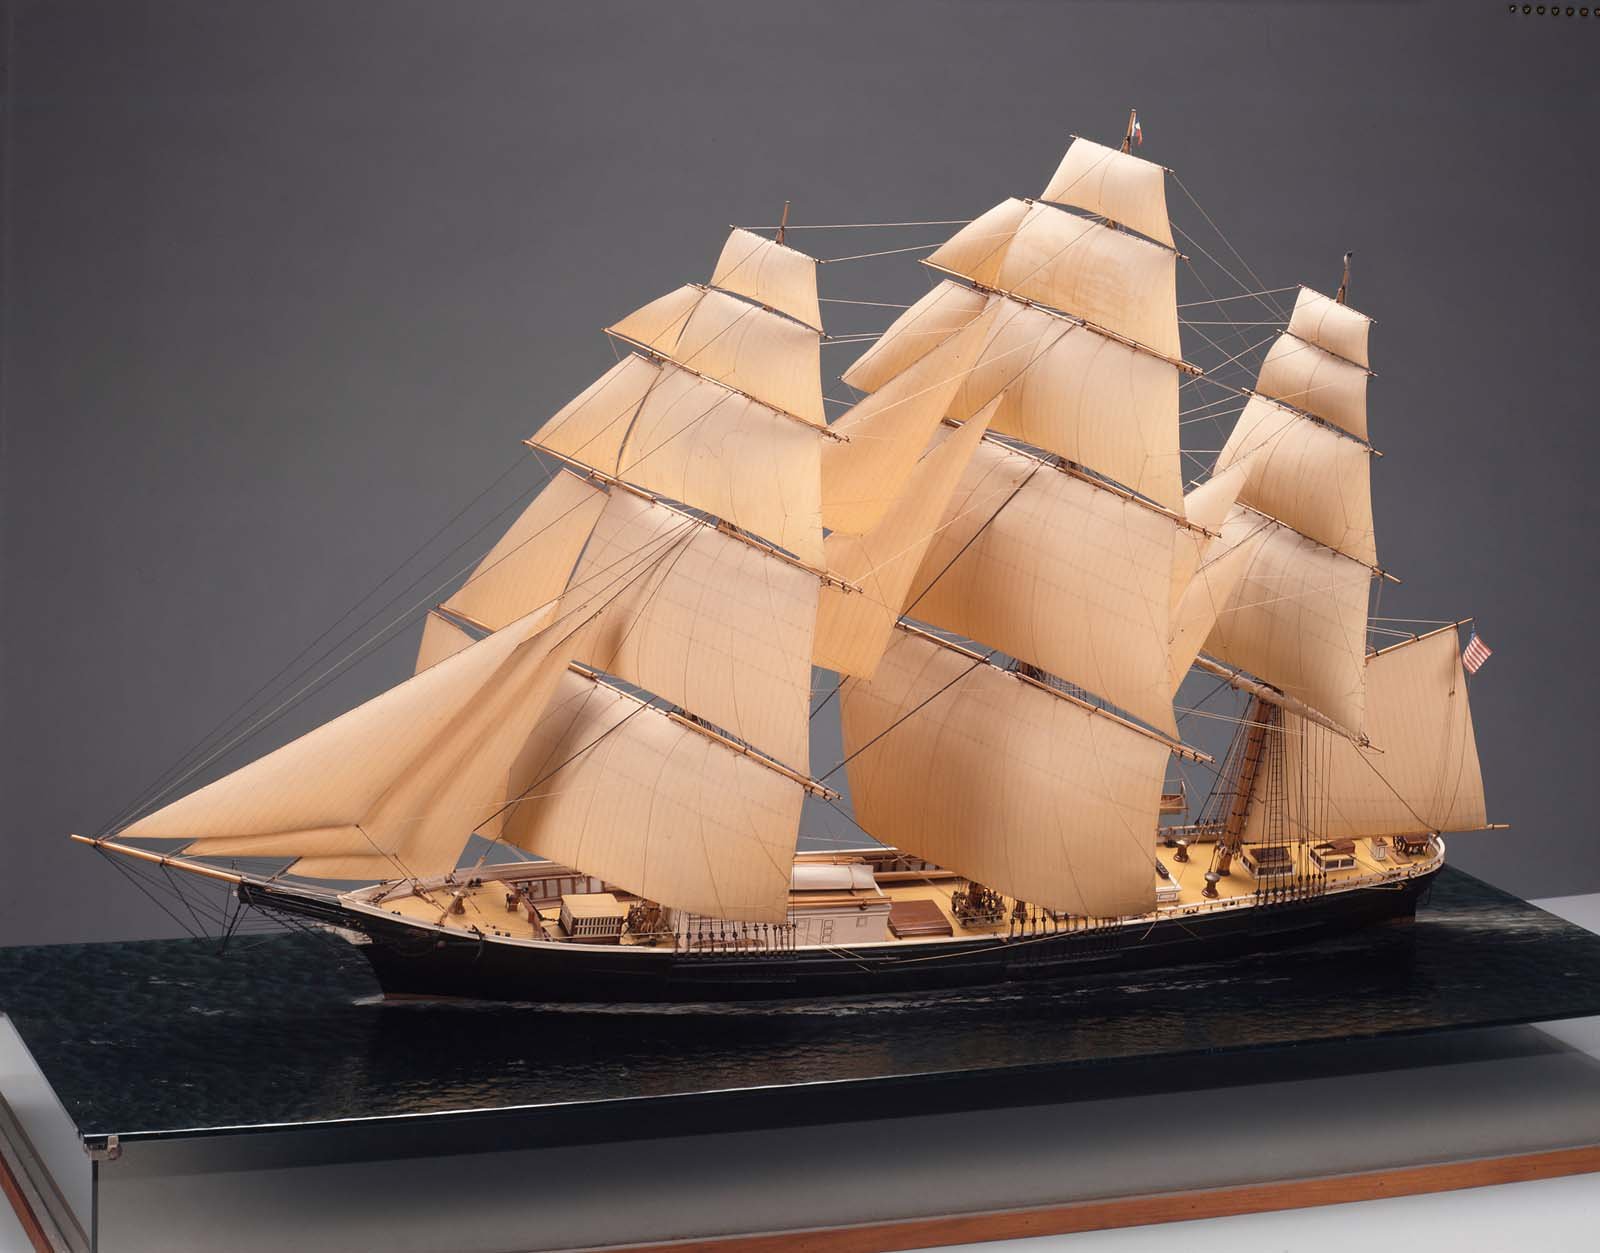
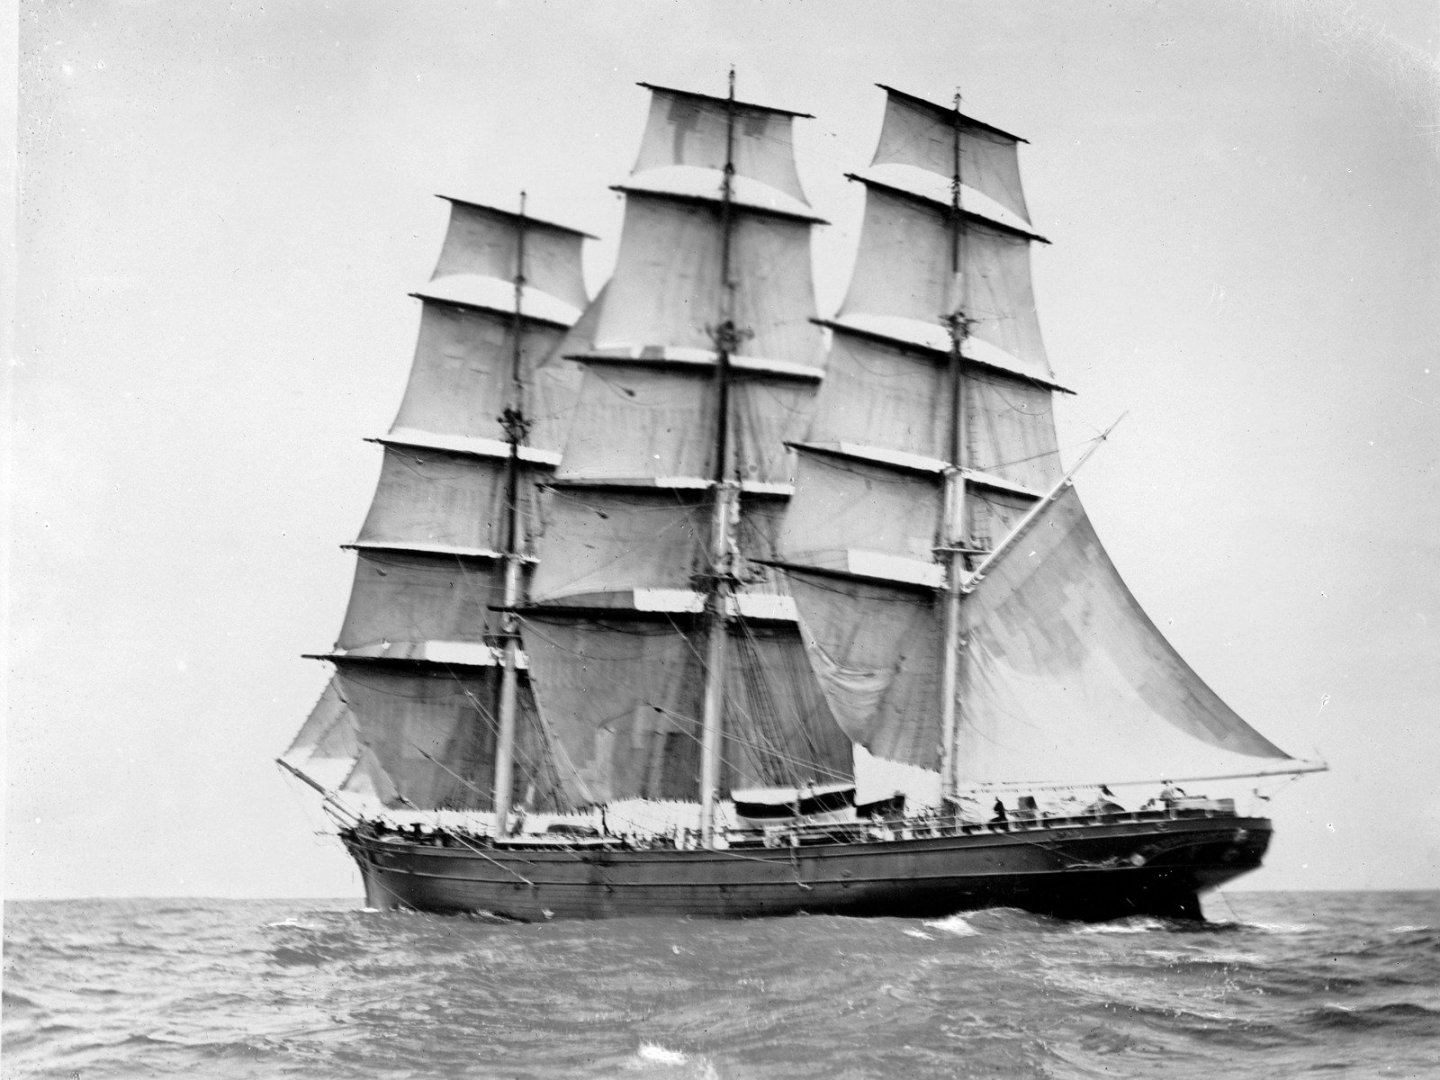
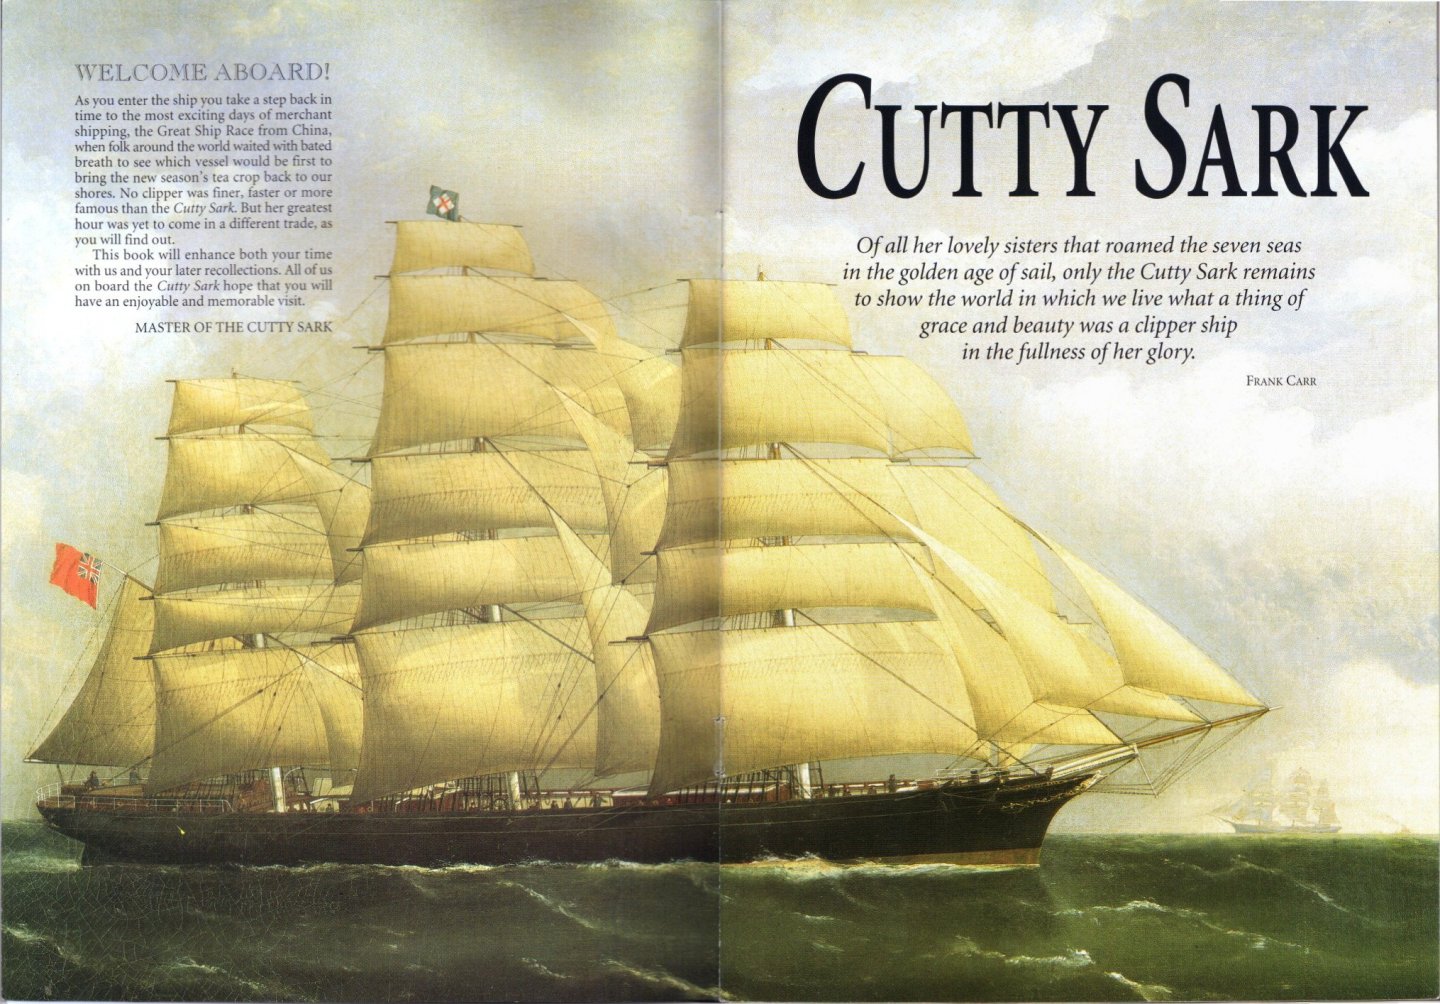
Good day Bruma! Thank You very much for detailed unswer and specialy for the posted pictures which shown two different vews of the sails with wind, Your explanations and Rob comments gave me the light in this respect,now I more understand how the sails maight looks like depend on trimming them by crew( sheets adjustments) and weather condition...and your reasons why You did your sails looks like that ! Before,thinking of the clipper sails( I often thinking about building my own clipper model from the same kit somewhere in the future, and use your building reports as food for my thoughts :)))) , I looked mostly in one direction only, and due to my galleon model building experience I used to relay mostly on pictures and model :))) , but clippers are not galleons and there are lot of fotos of real ships exsist!!!:))) Thanks again ! When I questioning about sails appearance, I think I kept in mind this famous CS foto,where they are looks much flat...and when I saw sails on your model question automaticaly arised ... but as Rob explained, there are sheets adjusted tight which gave different visual effect... and as You said, wheather condition / wind force and direction condition are also different thanks for Jaims Craig fotos! I didn't know about this ship...I knew about Stad Amsterdam existing only .... *I understood regarding sails sizes - they are 100% from Campbell plans , ok... but he shown them of couse without wind on the plans, and while complitely flat, no belly, they looks bigger in appearance.. I did'nt consider this moment when asking !!! these Campbell drawings my favorite ones and I planned to use them and your and Rob building reports as well in the future as the basic sources of information! *One more aspect, is it possible ,that on modern clipper replicas they used redused sails sizes ( as on some "galleons replicas" )? Or they they are riffed? But ...I think - no... than it will contradict with the fact ,that on your model all sails sizes taken from Campbell plans, and with the wind,on the model, they became looks same as on real ships where sheets have some slack...! This is not matter of reducing sails size... *Your choice of yards trimming - all clear,thanks! *I fully agree with Rob, there are a lot of specific details in clipper rigging, and it will be very interesting if You made accent on them in your written reports and in foto reports(macro for better details vewing )- such as jackstays on the yards and lashing the sails to them, gin blocks , truss for the lower topsails, etc. Wish You all the best! And good CS modelling !:)))
- 399 replies
-
- 4
-
-
-
- cutty sark
- revell
- (and 2 more)
-
😄😄same me... now I regret that didn't use normal rope from begining ...
- 756 replies
-
- 2
-

-
- galleon
- golden hind
- (and 2 more)
-
Did You consider to turn all yard more sharp to the wind?
- 399 replies
-
- 2
-

-
-
- cutty sark
- revell
- (and 2 more)
-
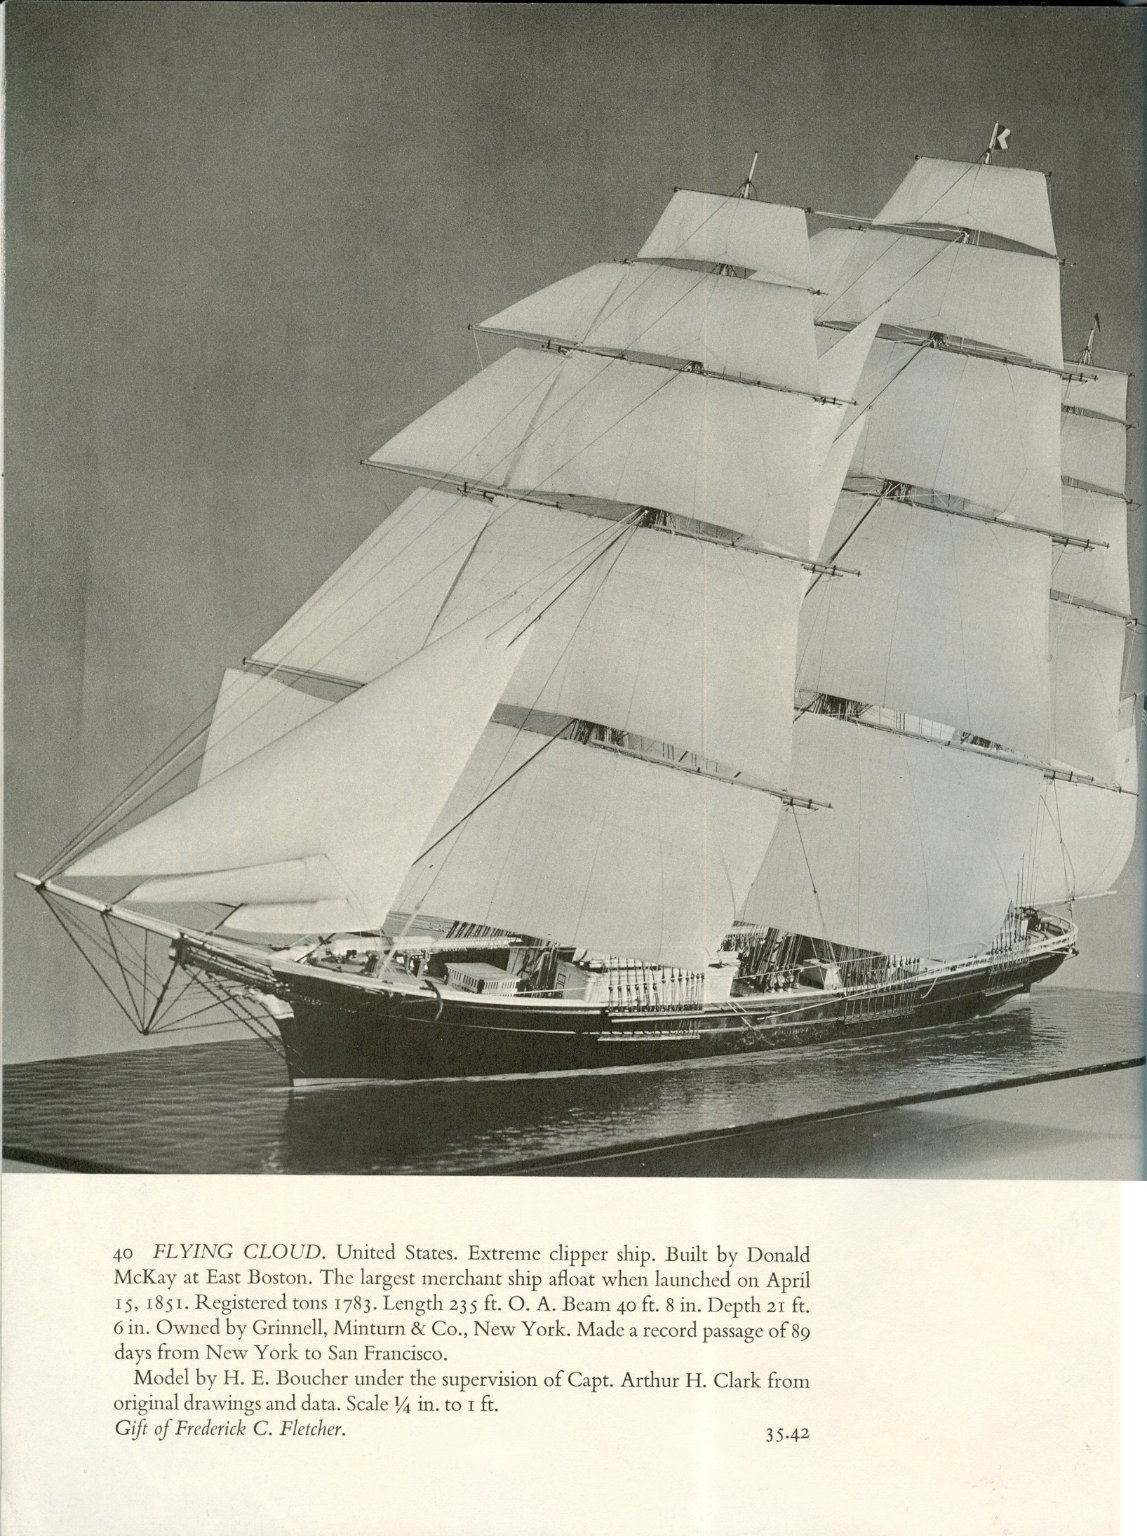
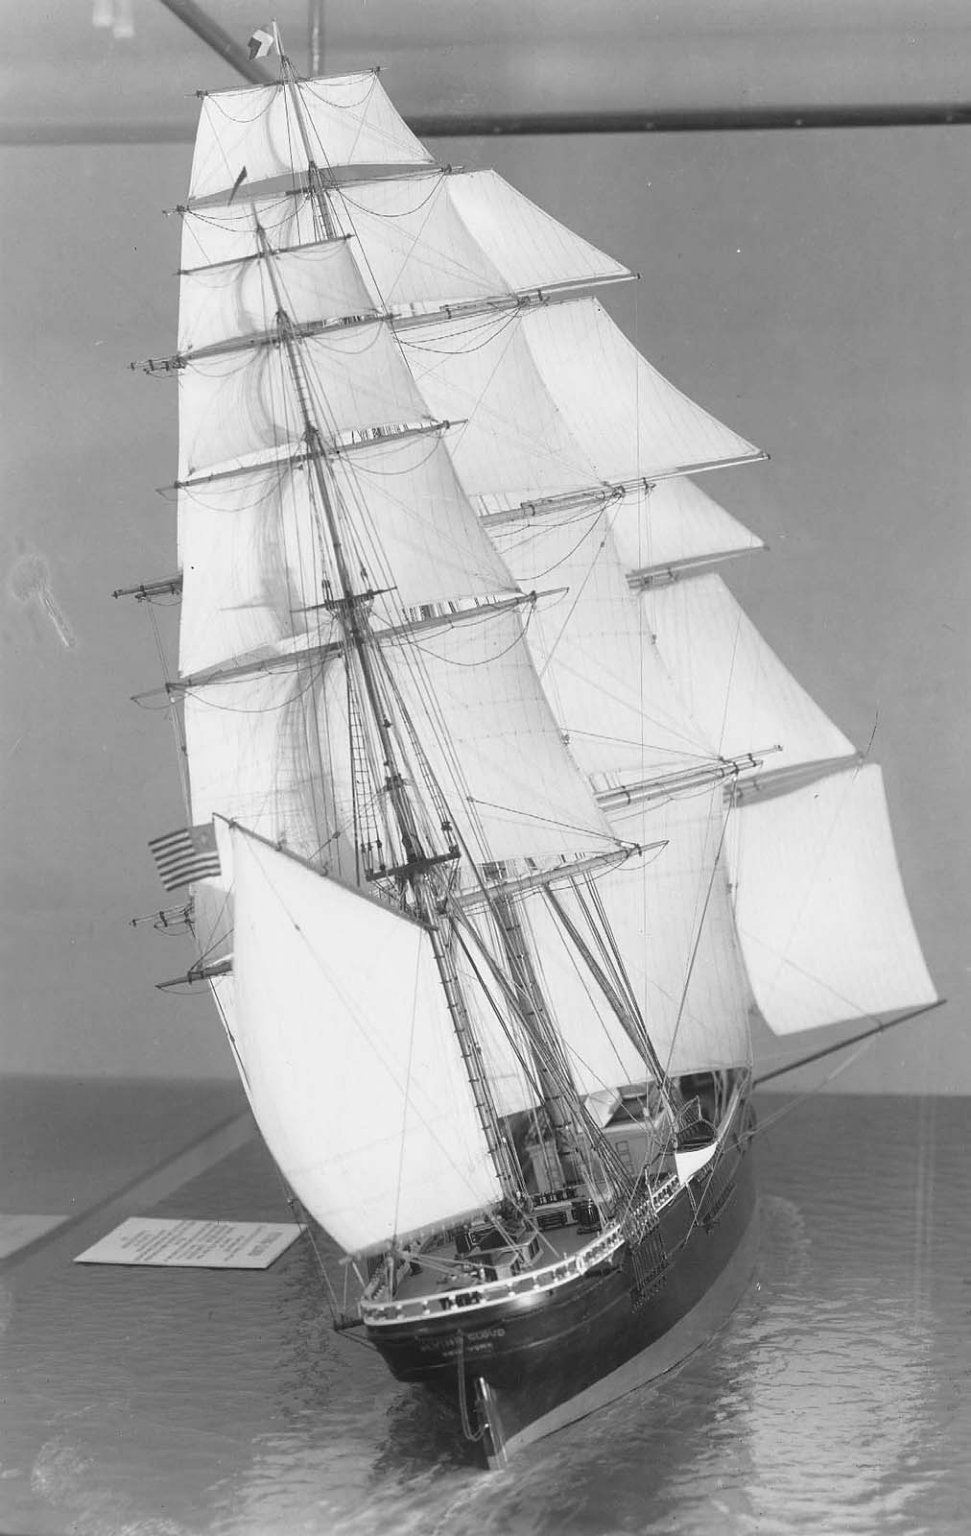
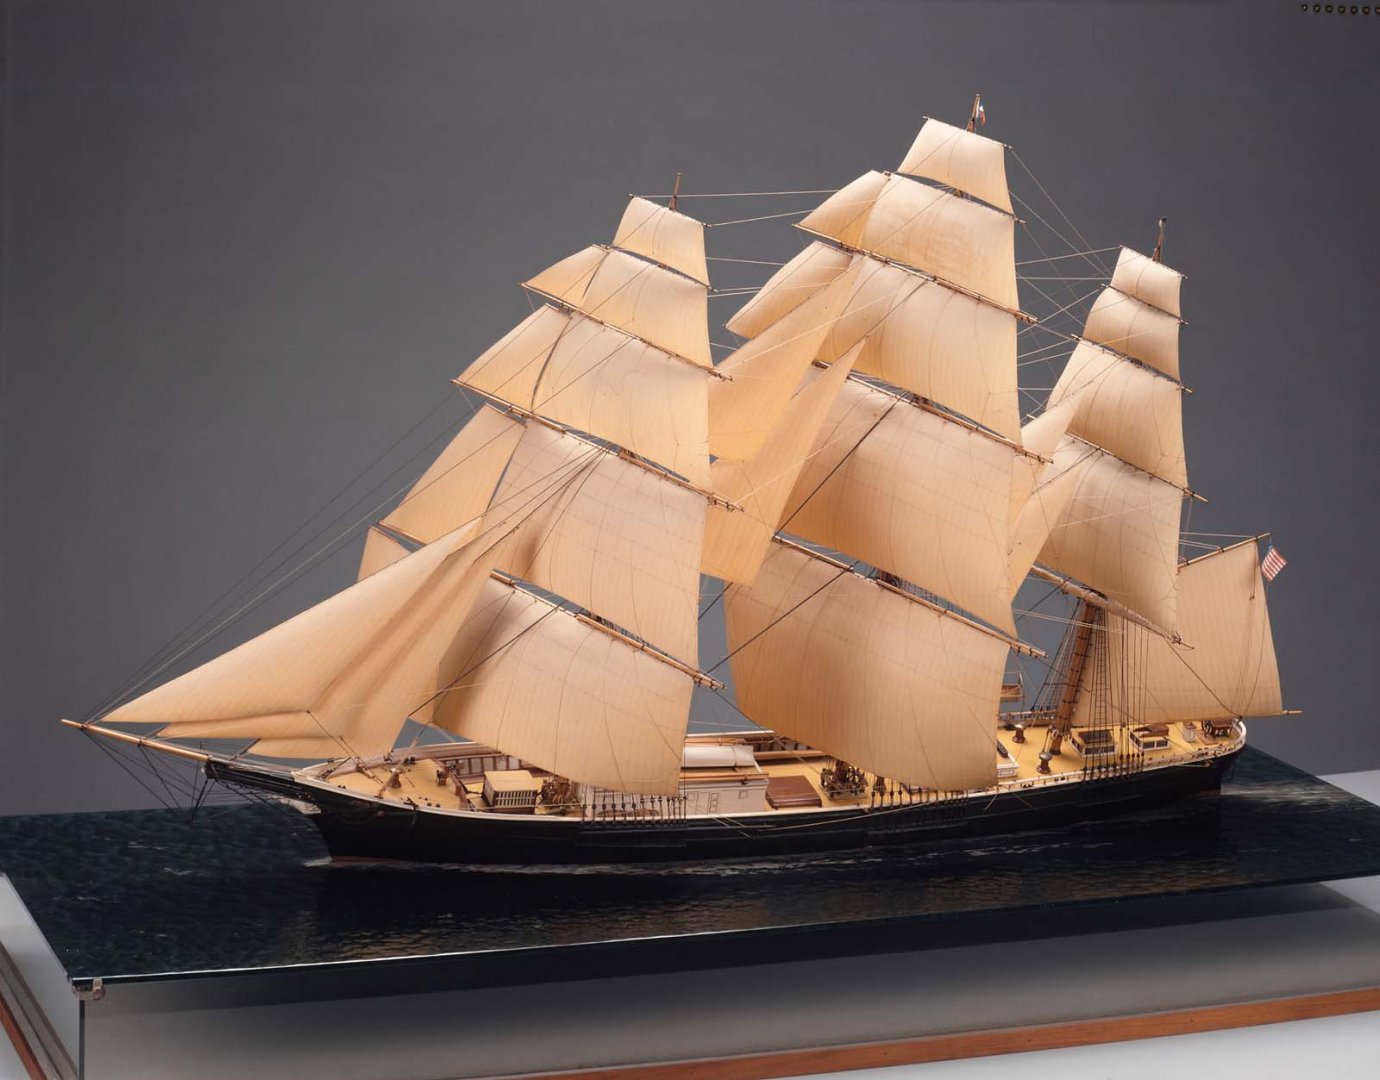
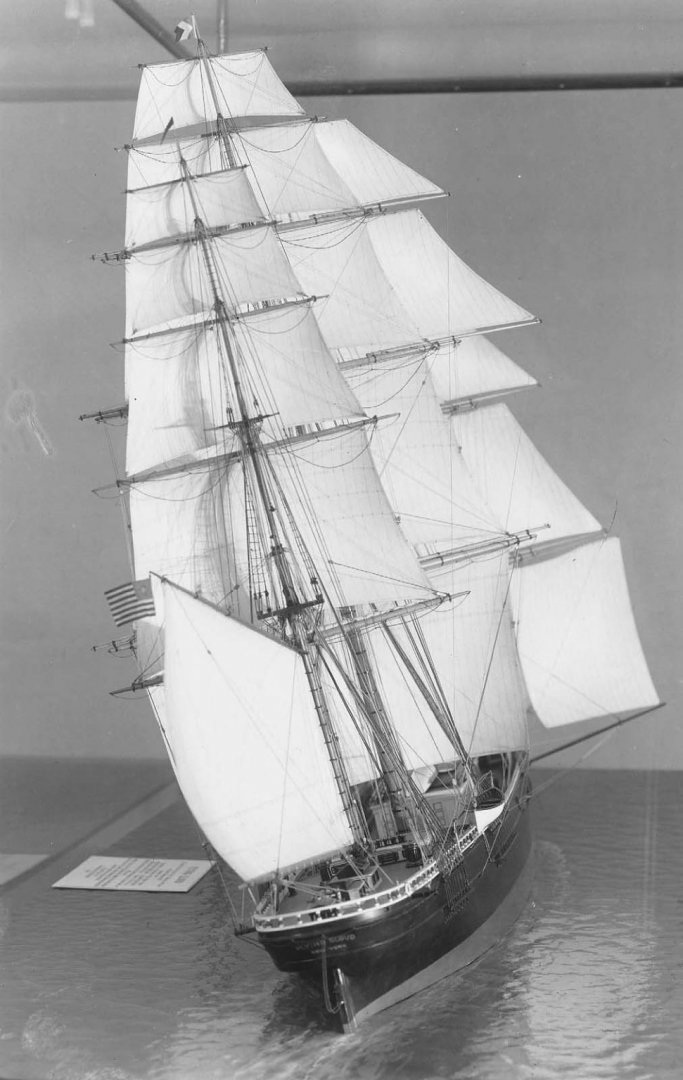
Good day Bruma, Exelent works !!! :))) I like it very much! Very iformative fotos! Follow your building report with big interes!:) *Lower sails ,looks a little bit small in heihgt,is it correct size? *as seems to me You give sails too much belly...they became looks like on galleon :))) and it gives visual effect that sails too narow with excessive gap between lower yards and sails...? I could suggest clipper sails shoud be more flat when shown with wind, and seted much closer to the lower yards giving impression of "sails wall"? All above Just my private impression after watching your foto.. All the best and good progress with model !!! Kirill some foto of flying cloud model with sails ,just as example, how it could looks like fitted more close tothe yards and flat in shape...???

- 399 replies
-
- 3
-
-
-
- cutty sark
- revell
- (and 2 more)
-
Good day Bill, She looks good! Regarding davits on the Vasa... what do You mean? As far as I know ,there were no davits in that period exists,in modern sence...boats mostly were just transported overboard,and do not store them on the deck. Do You have information about Vasa davits, how they should look like? All the best! Kirill