HOLIDAY DONATION DRIVE - SUPPORT MSW - DO YOUR PART TO KEEP THIS GREAT FORUM GOING! (Only 13 donations so far - C'mon guys!)
×

kirill4
-
Posts
907 -
Joined
-
Last visited
Content Type
Profiles
Forums
Gallery
Events
Everything posted by kirill4
-
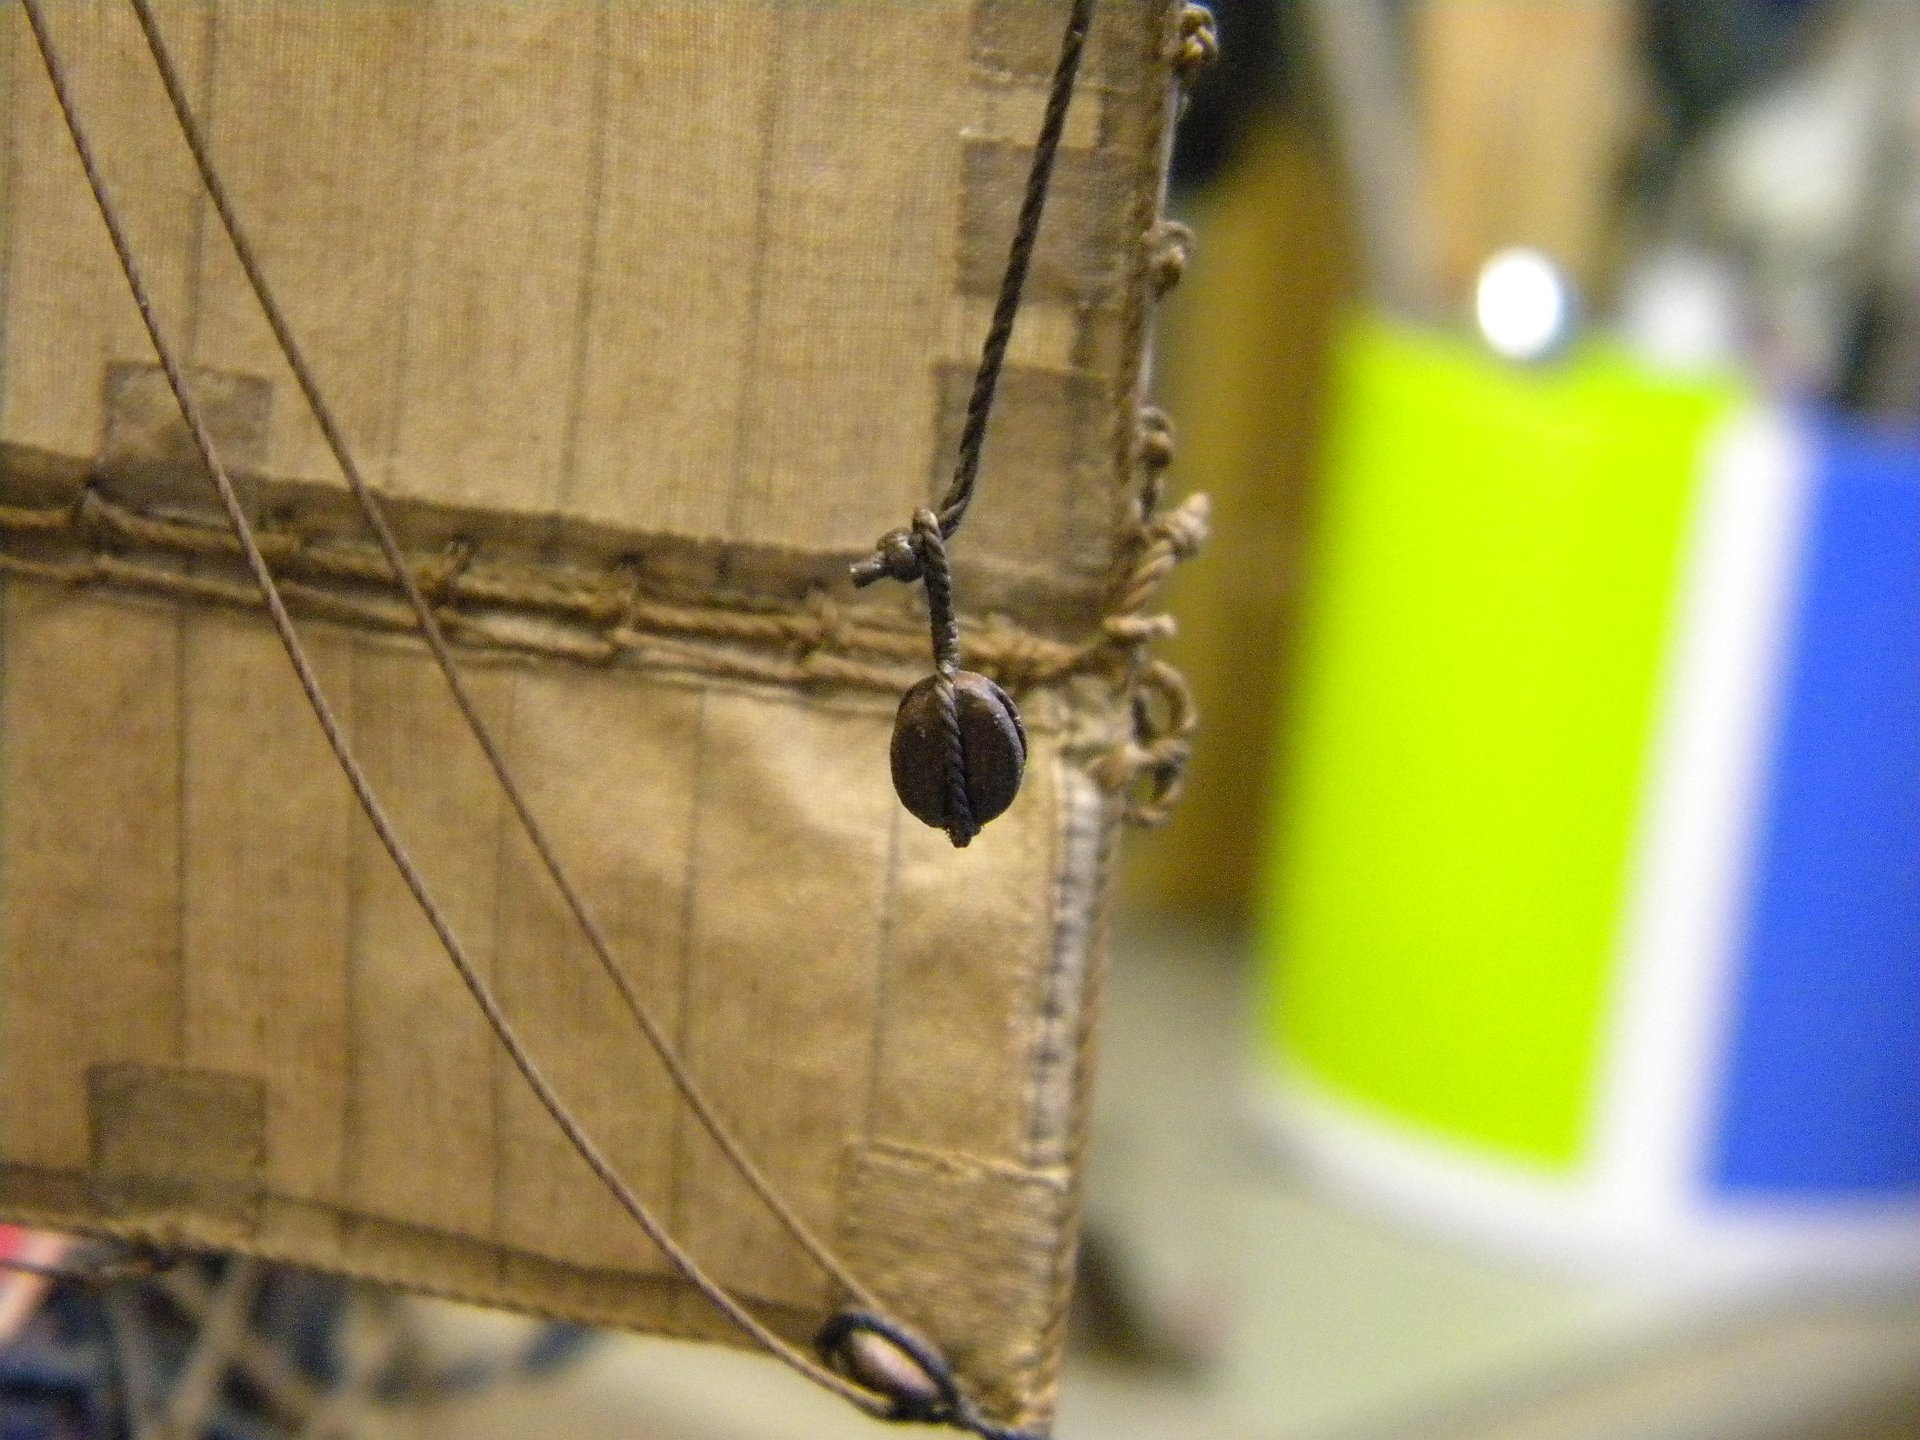
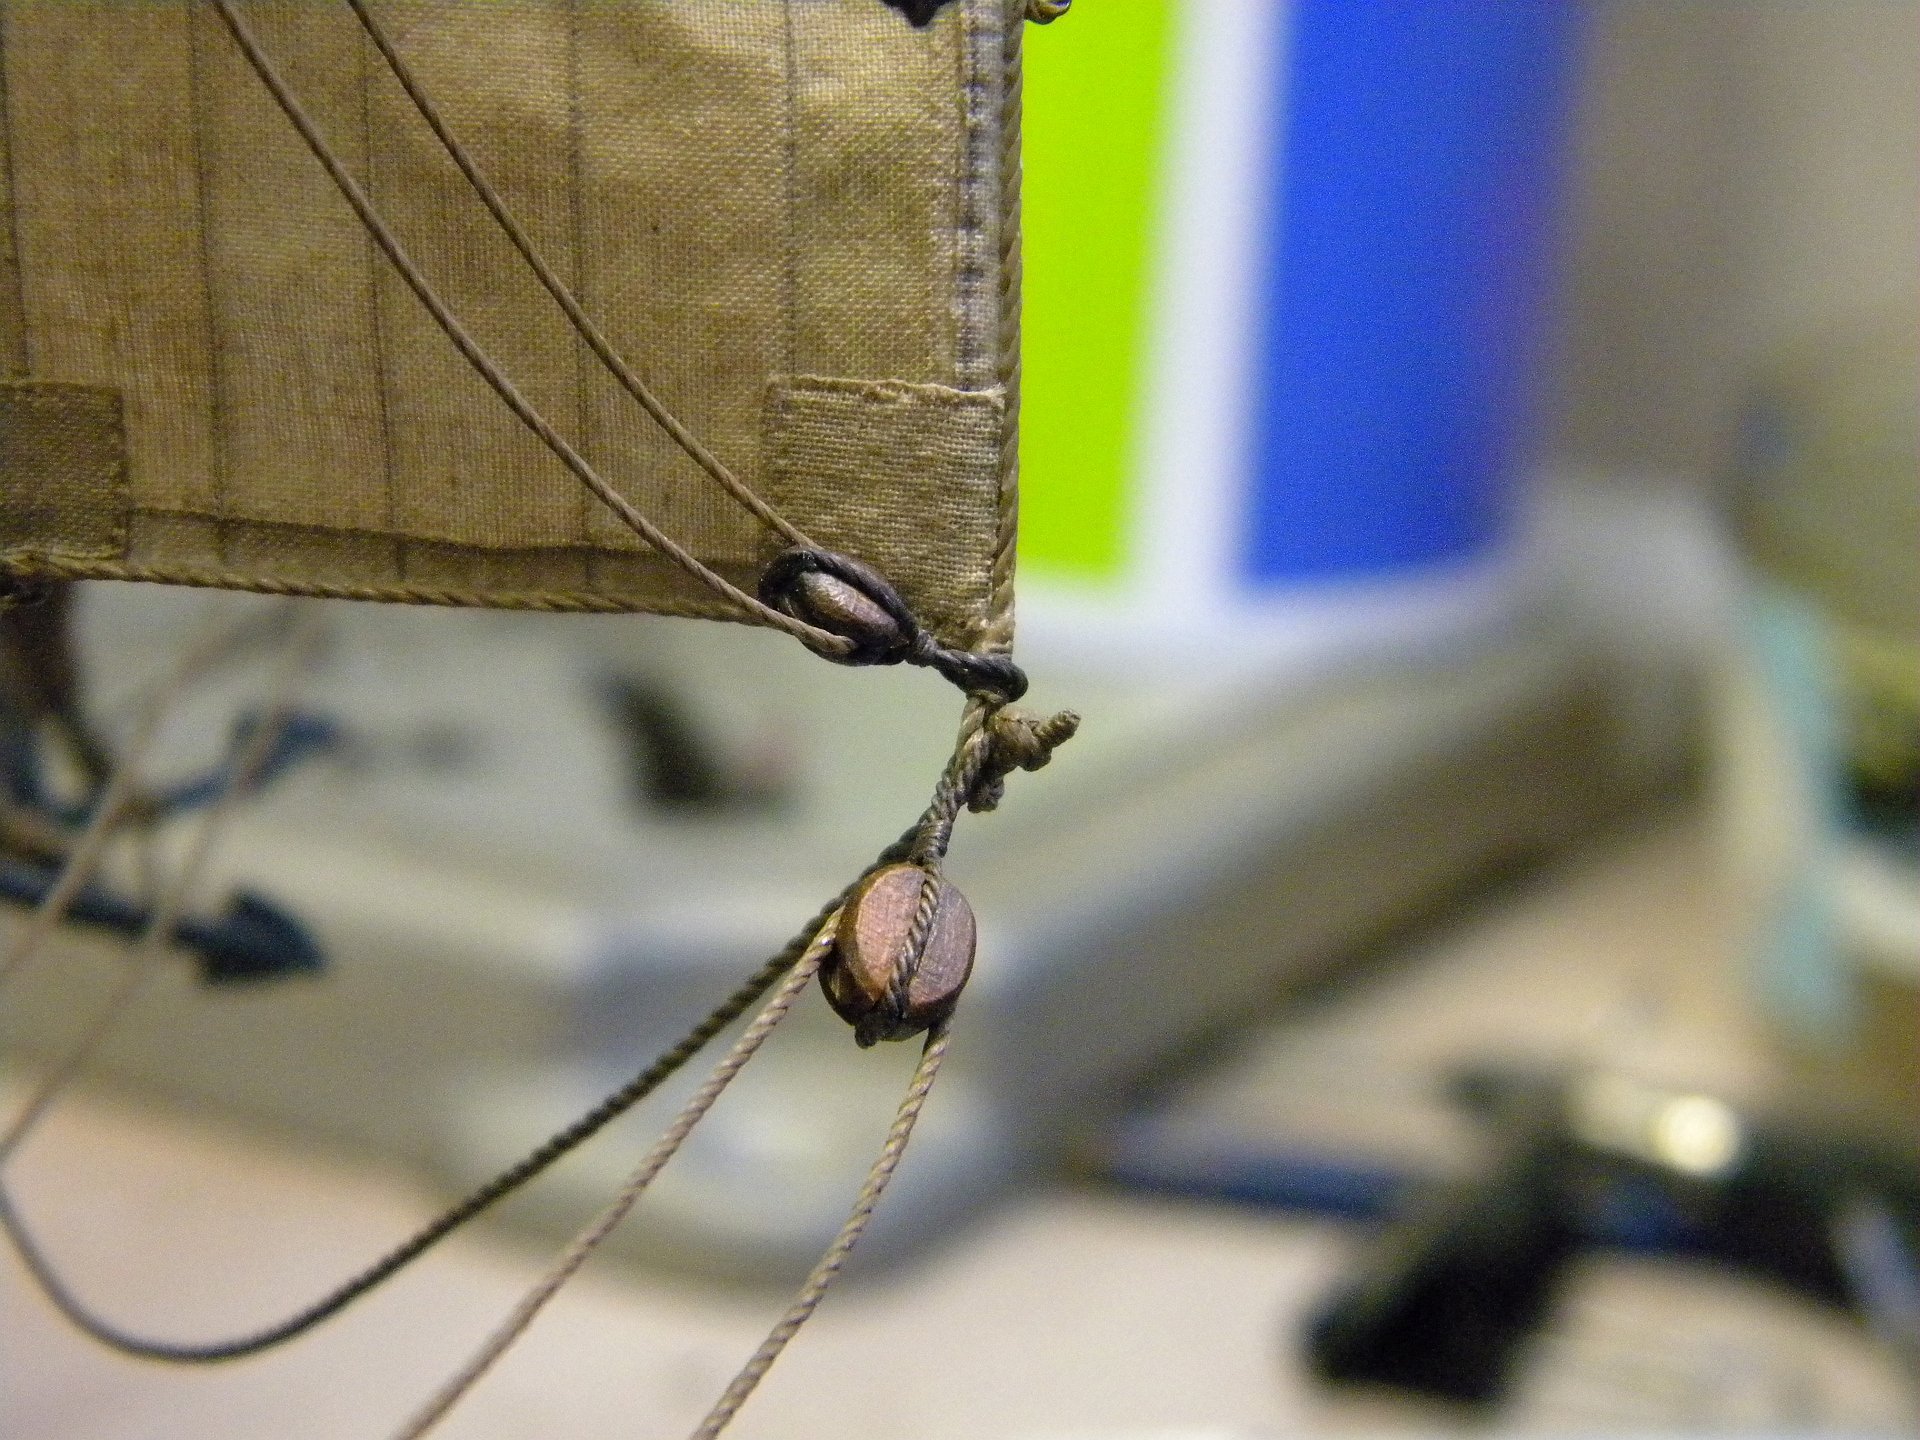
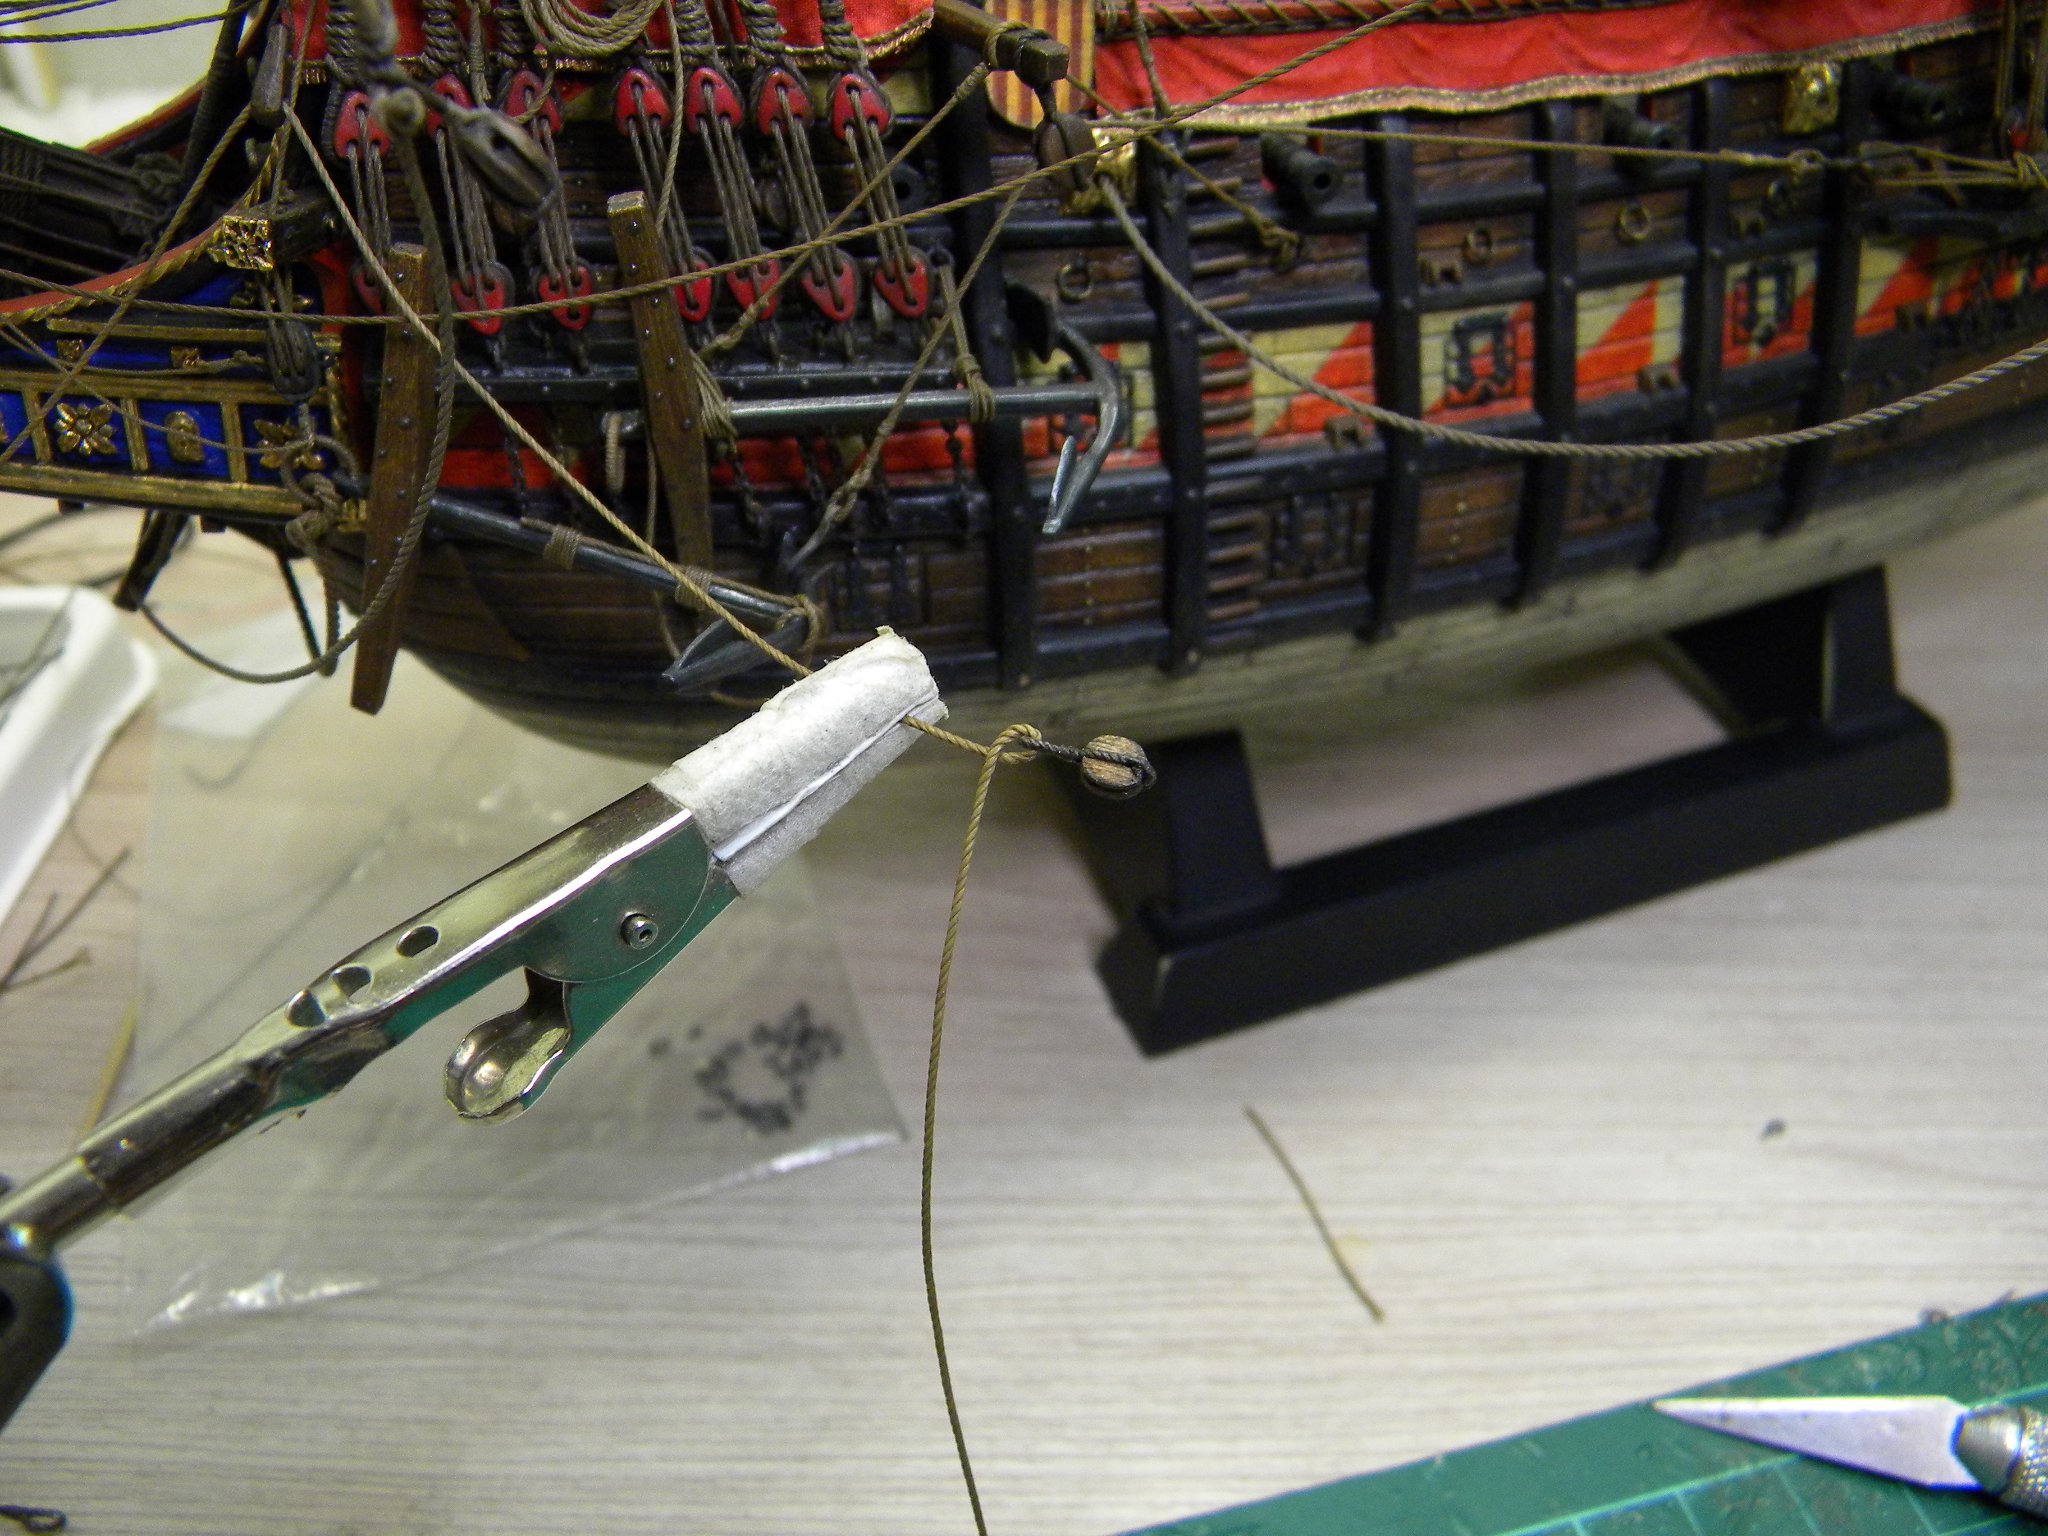
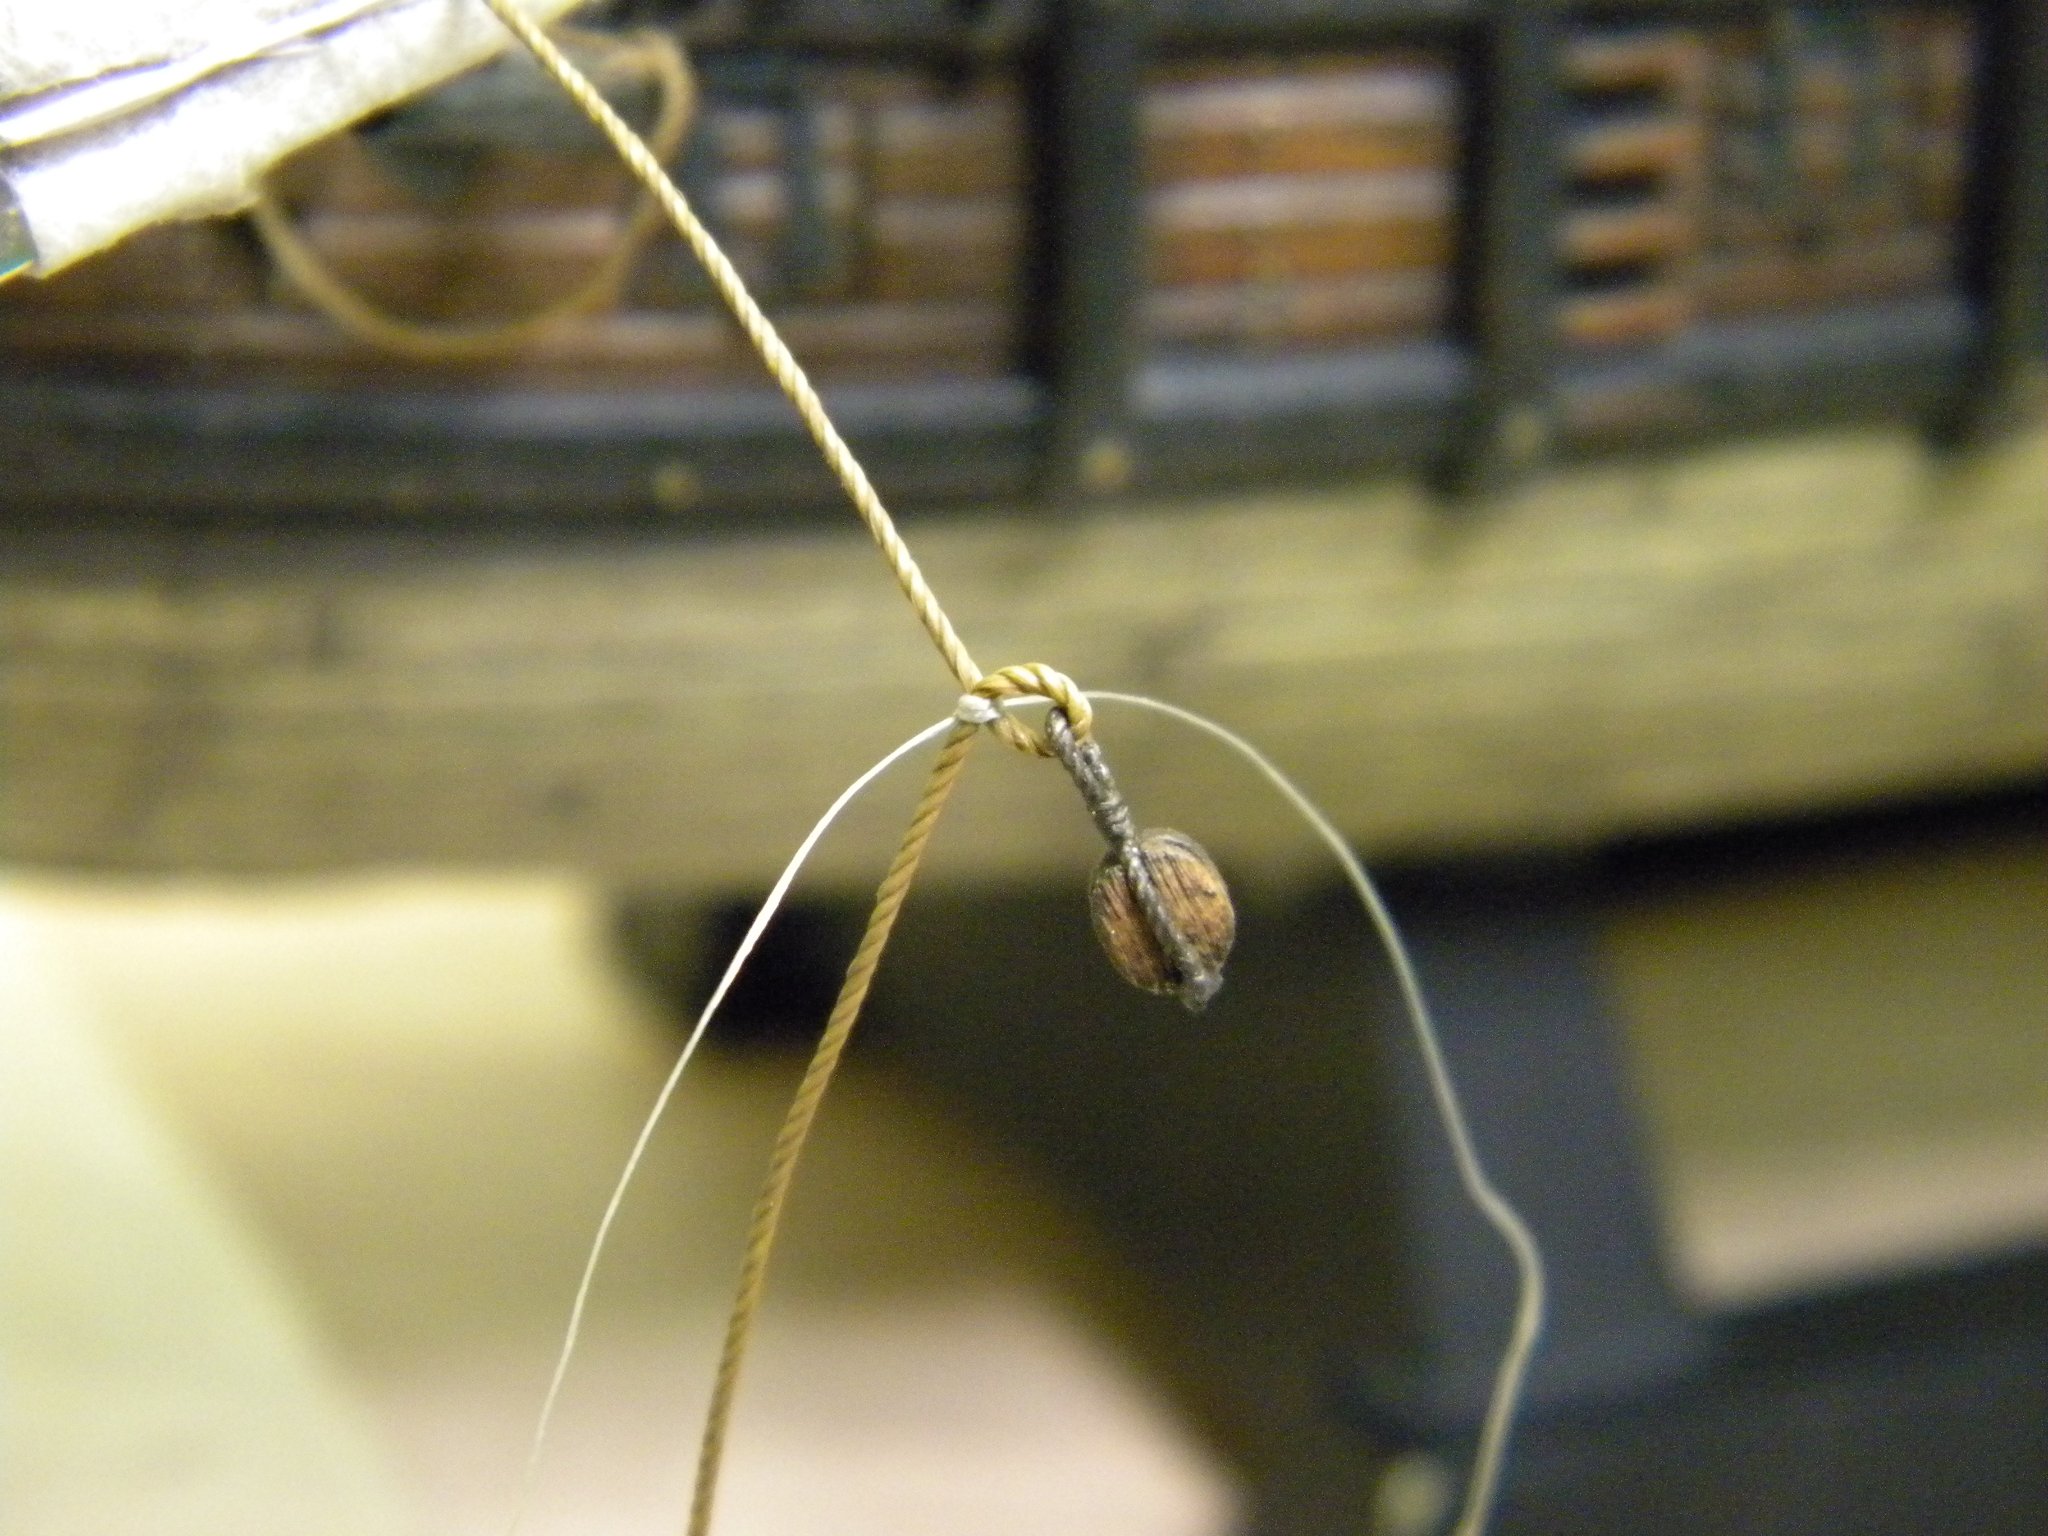
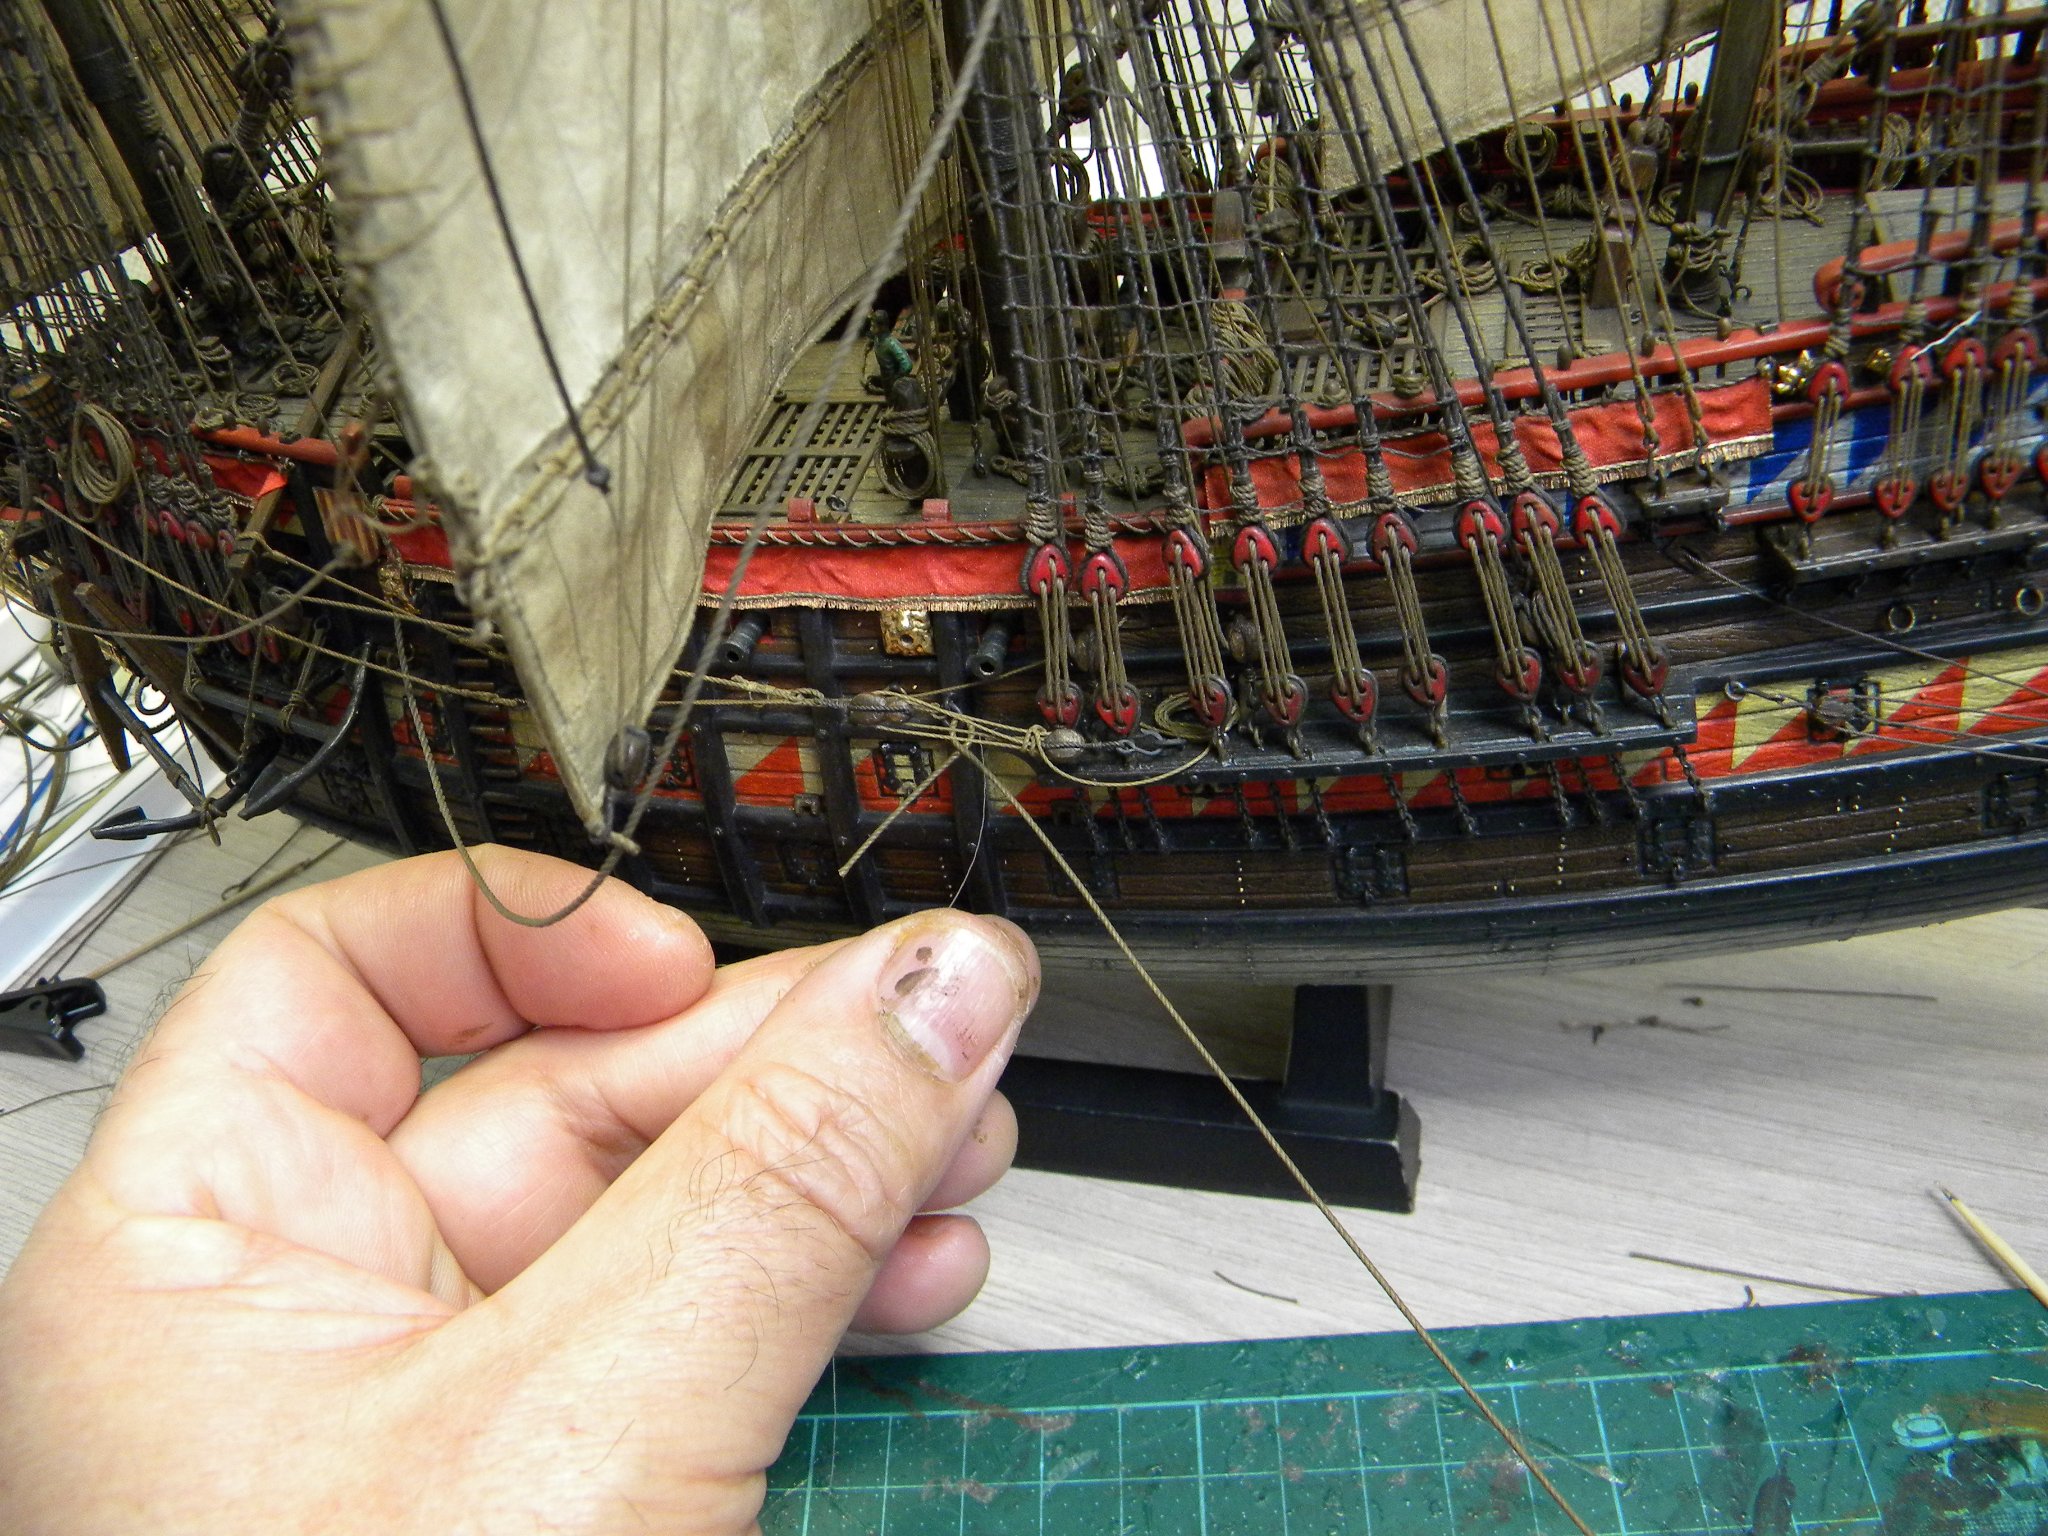
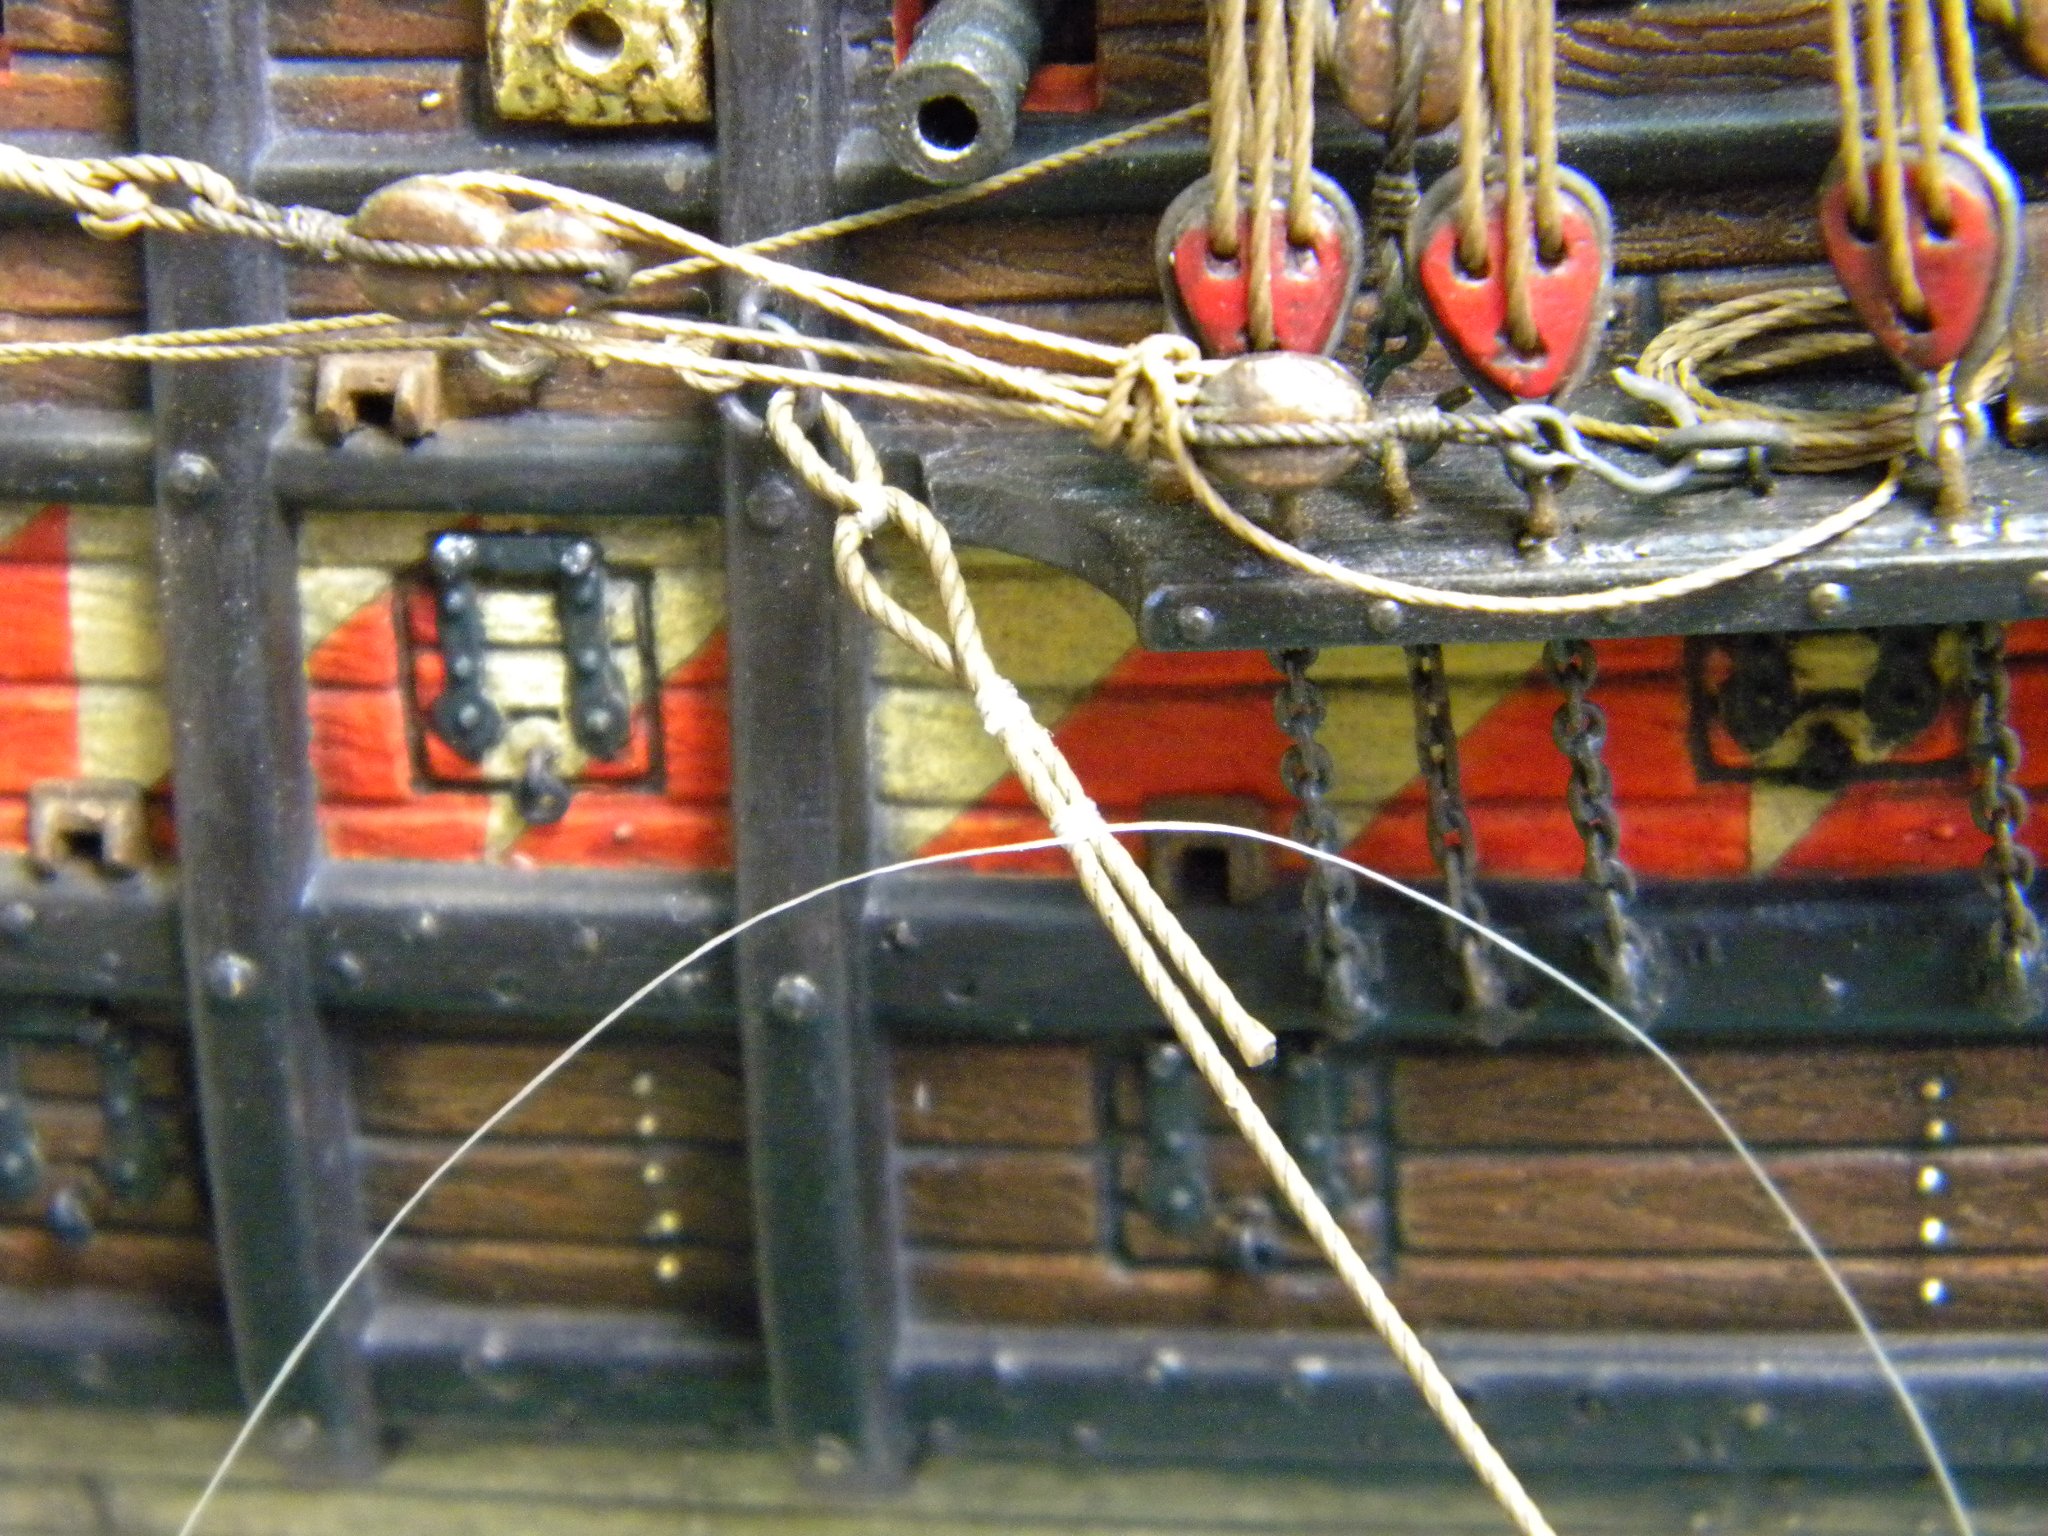
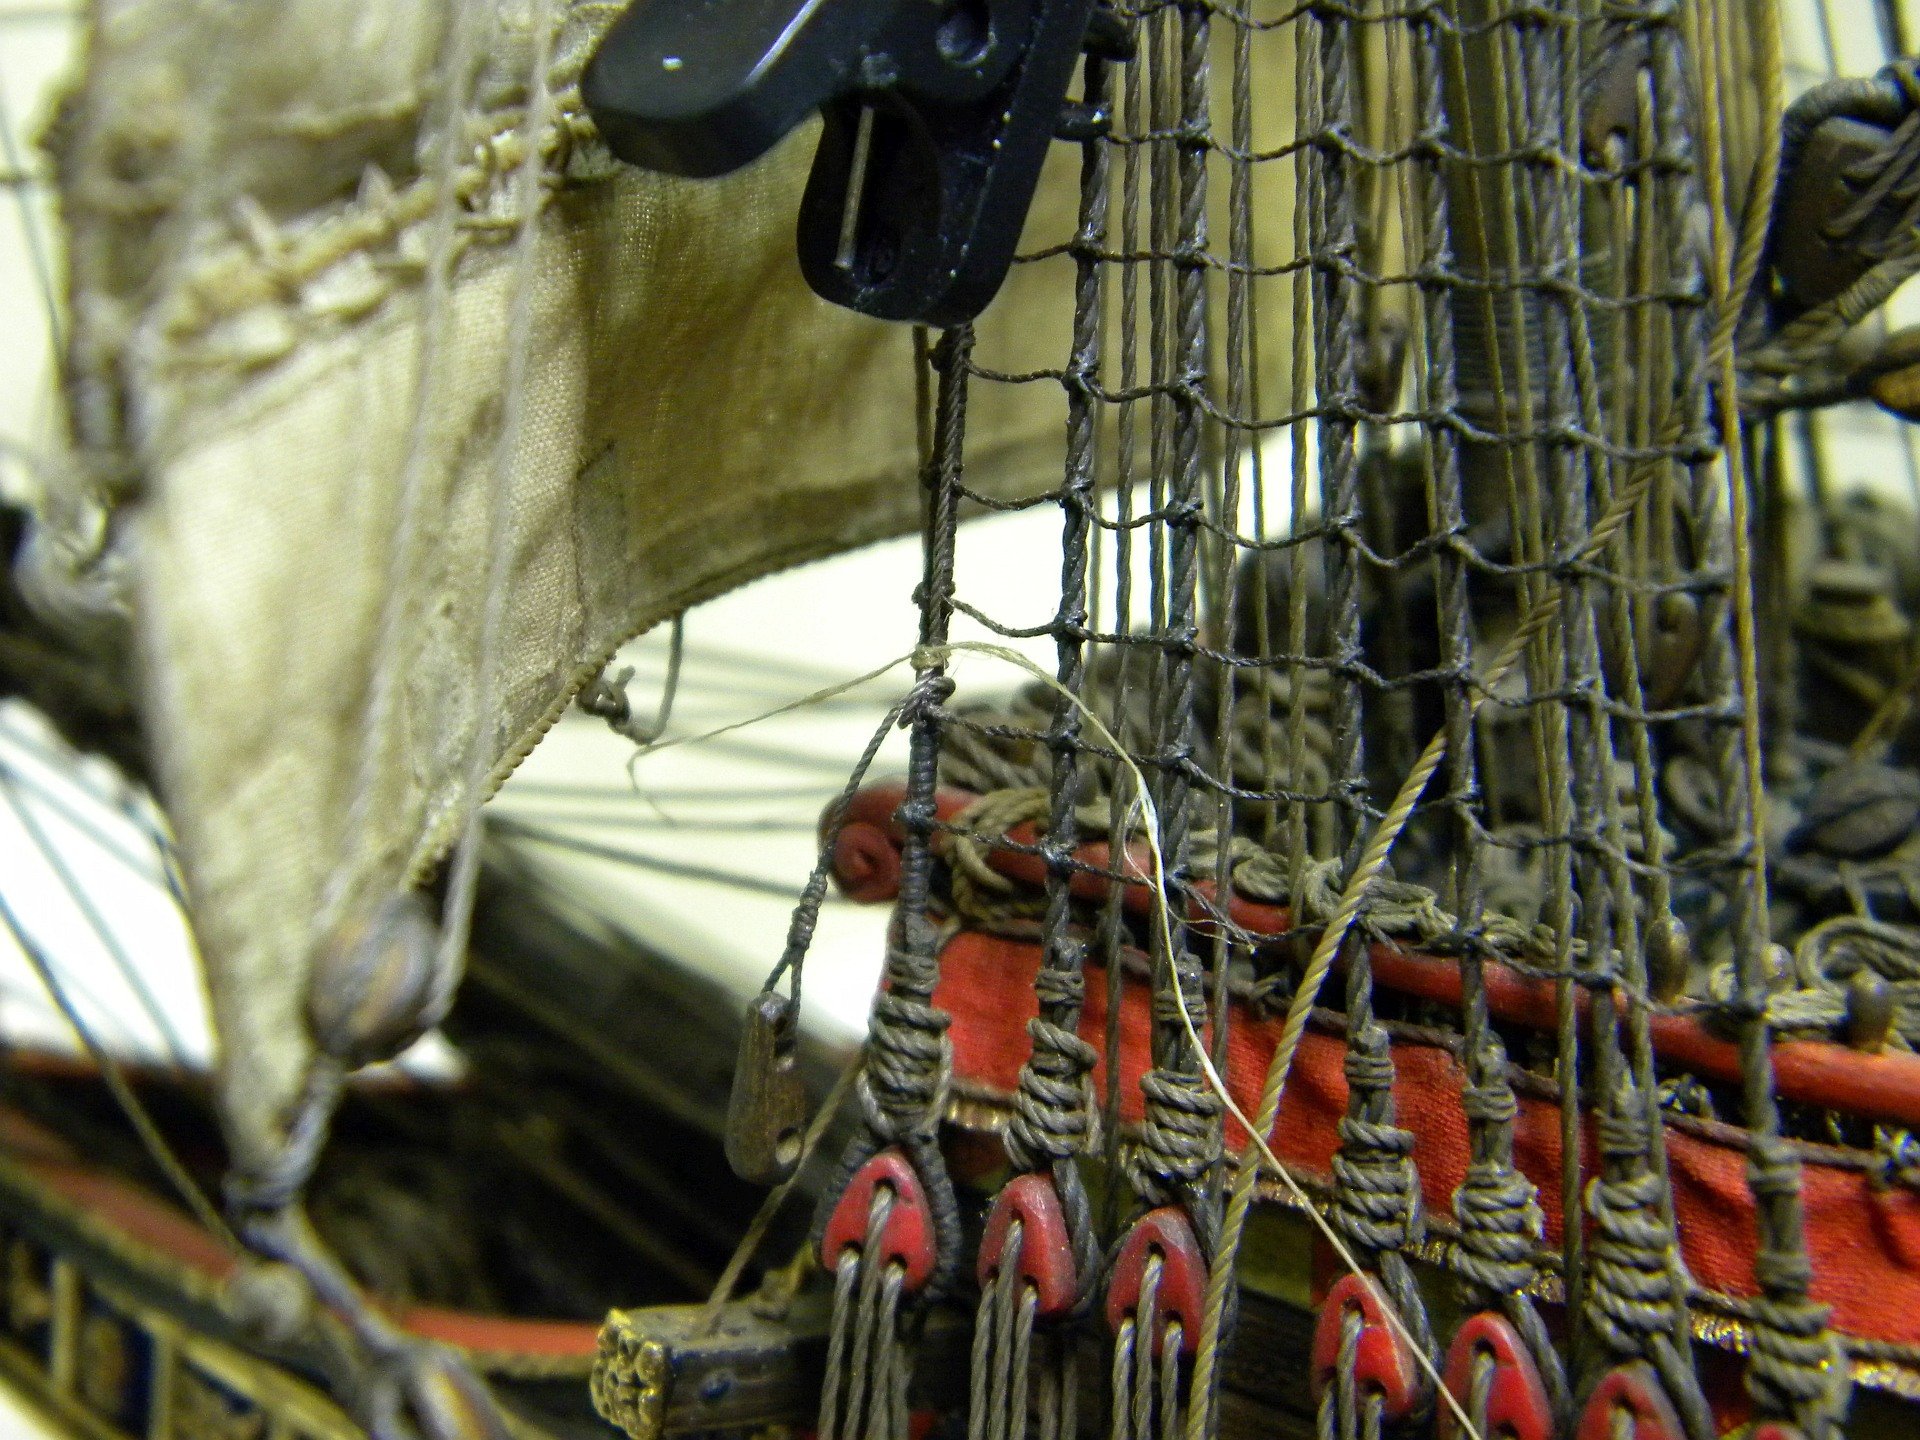
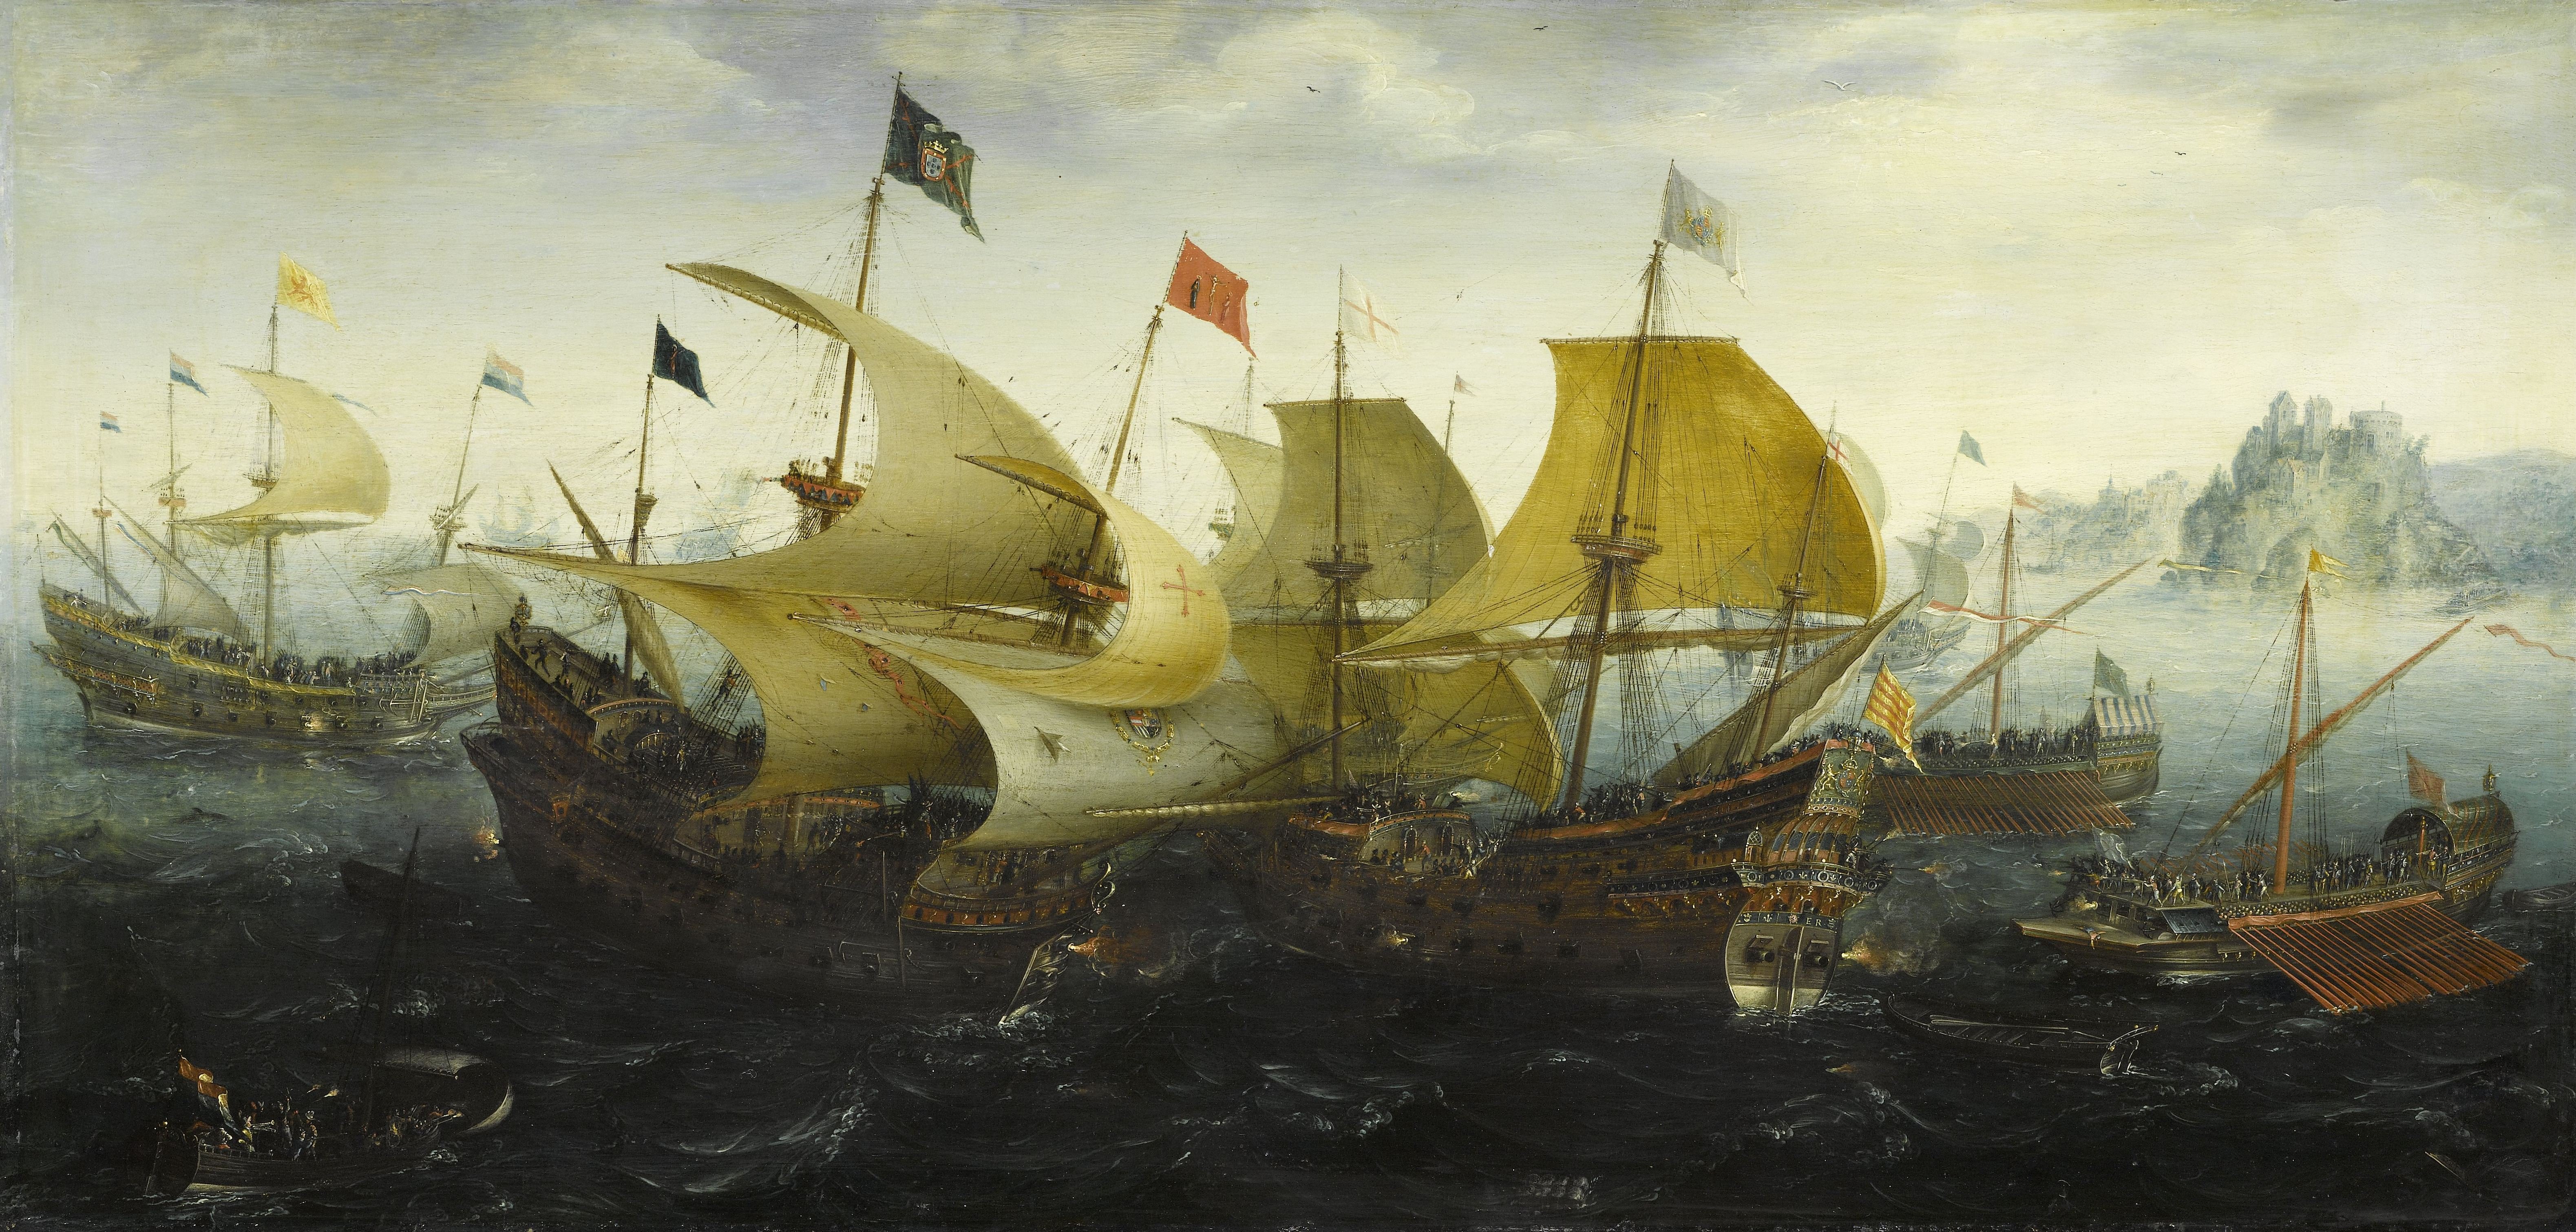
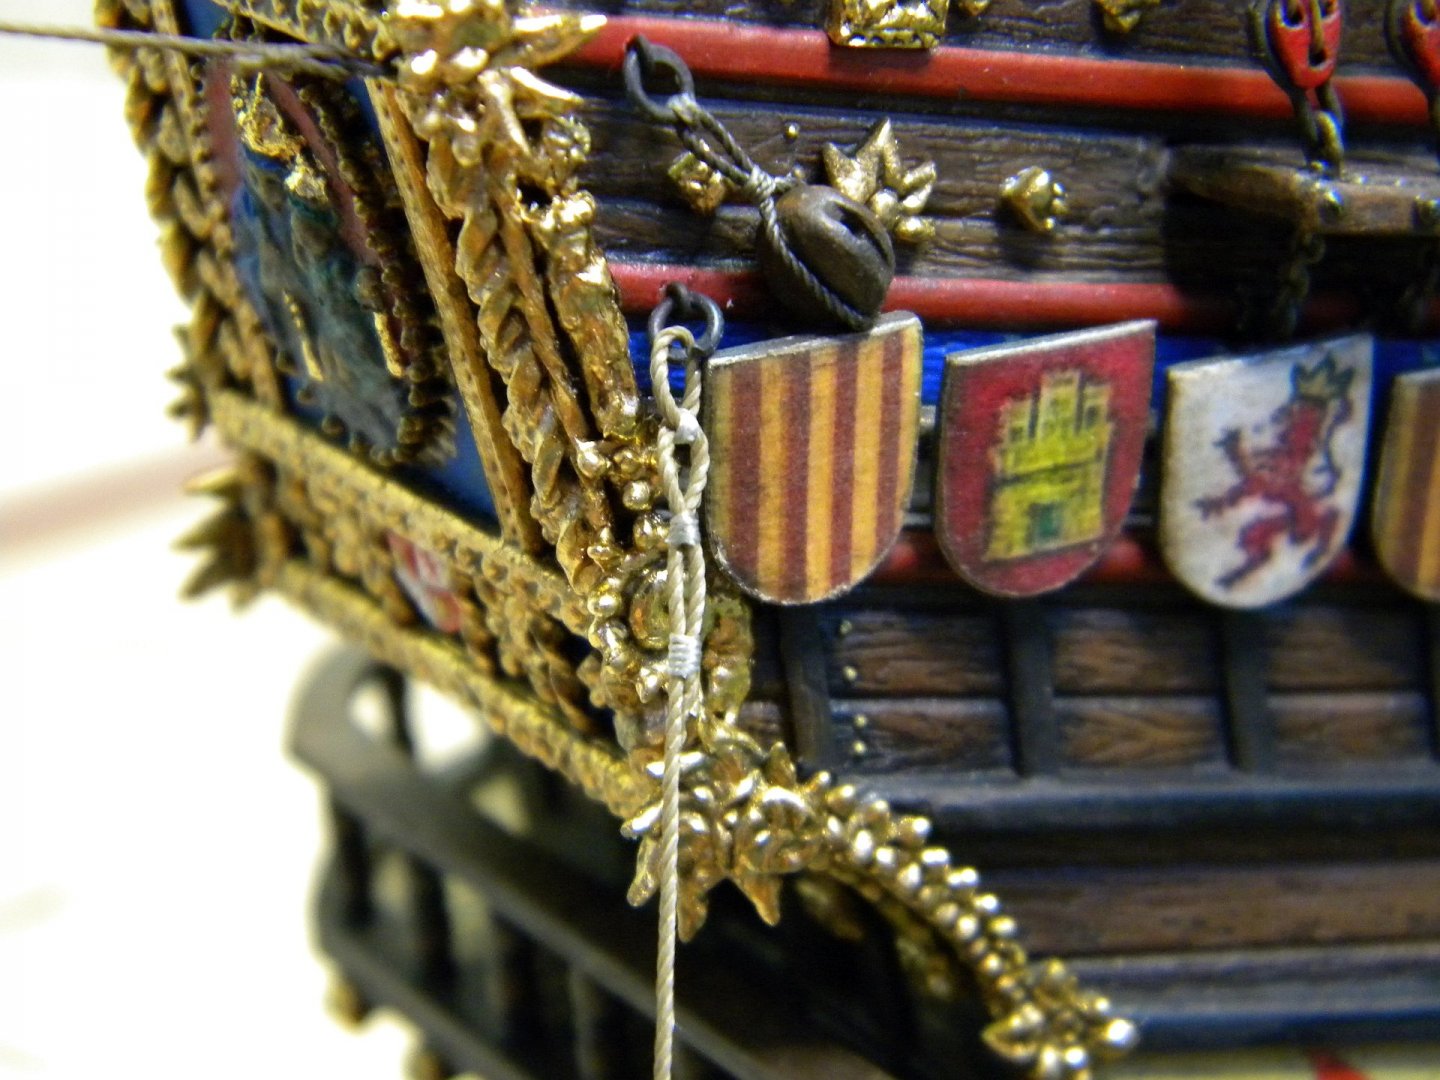
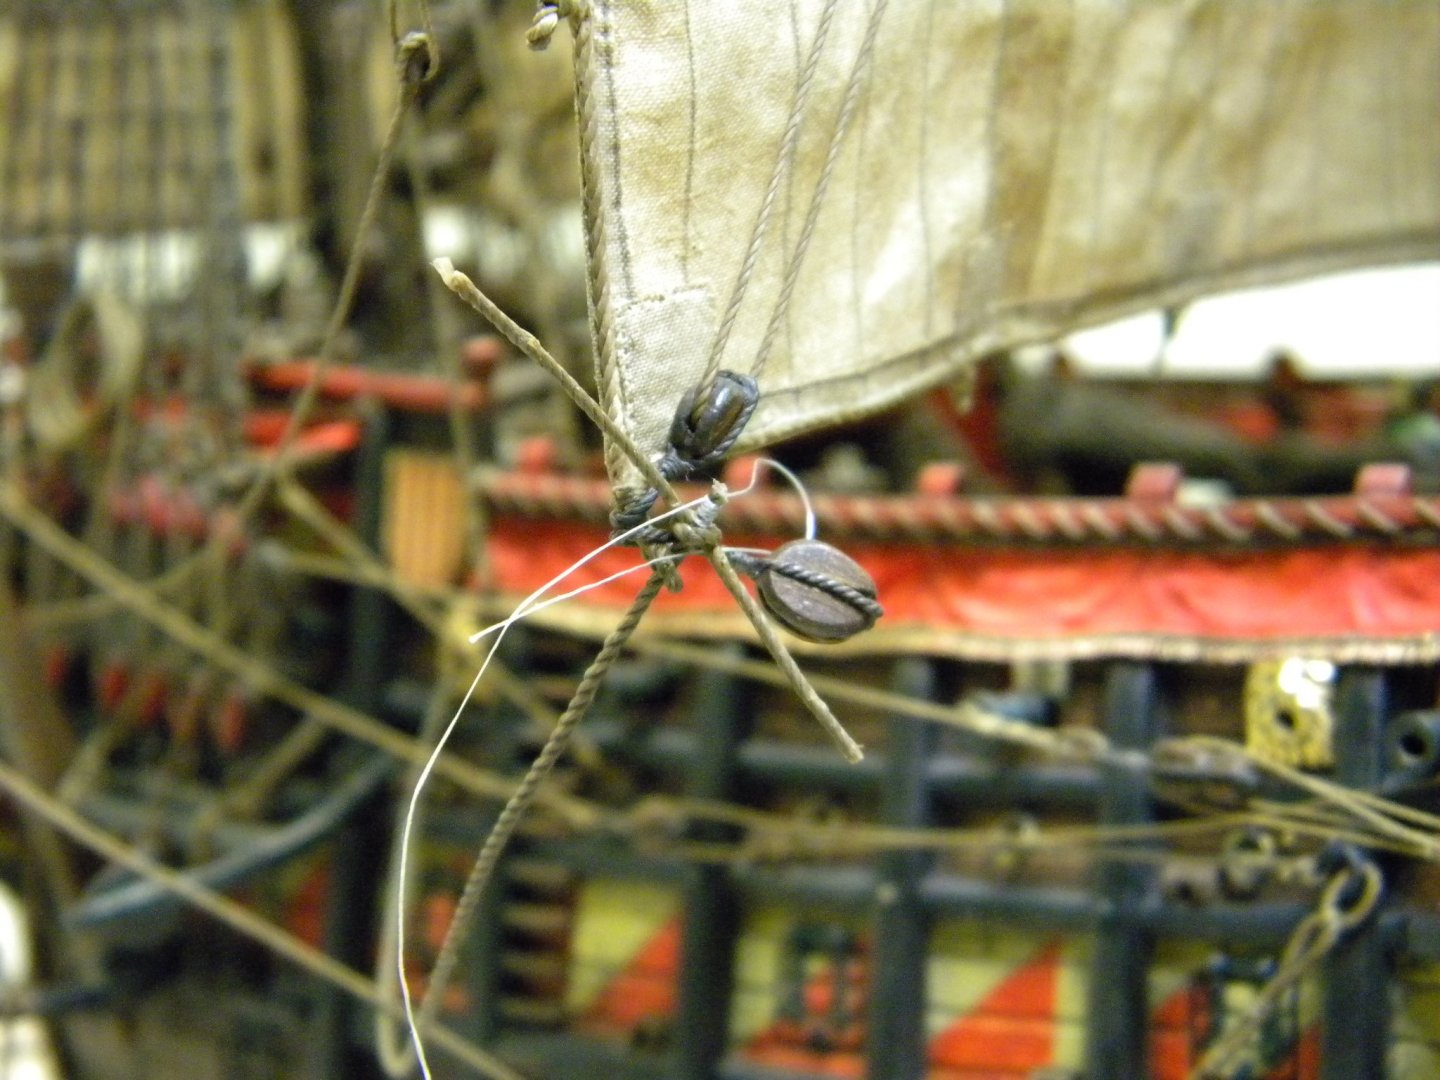
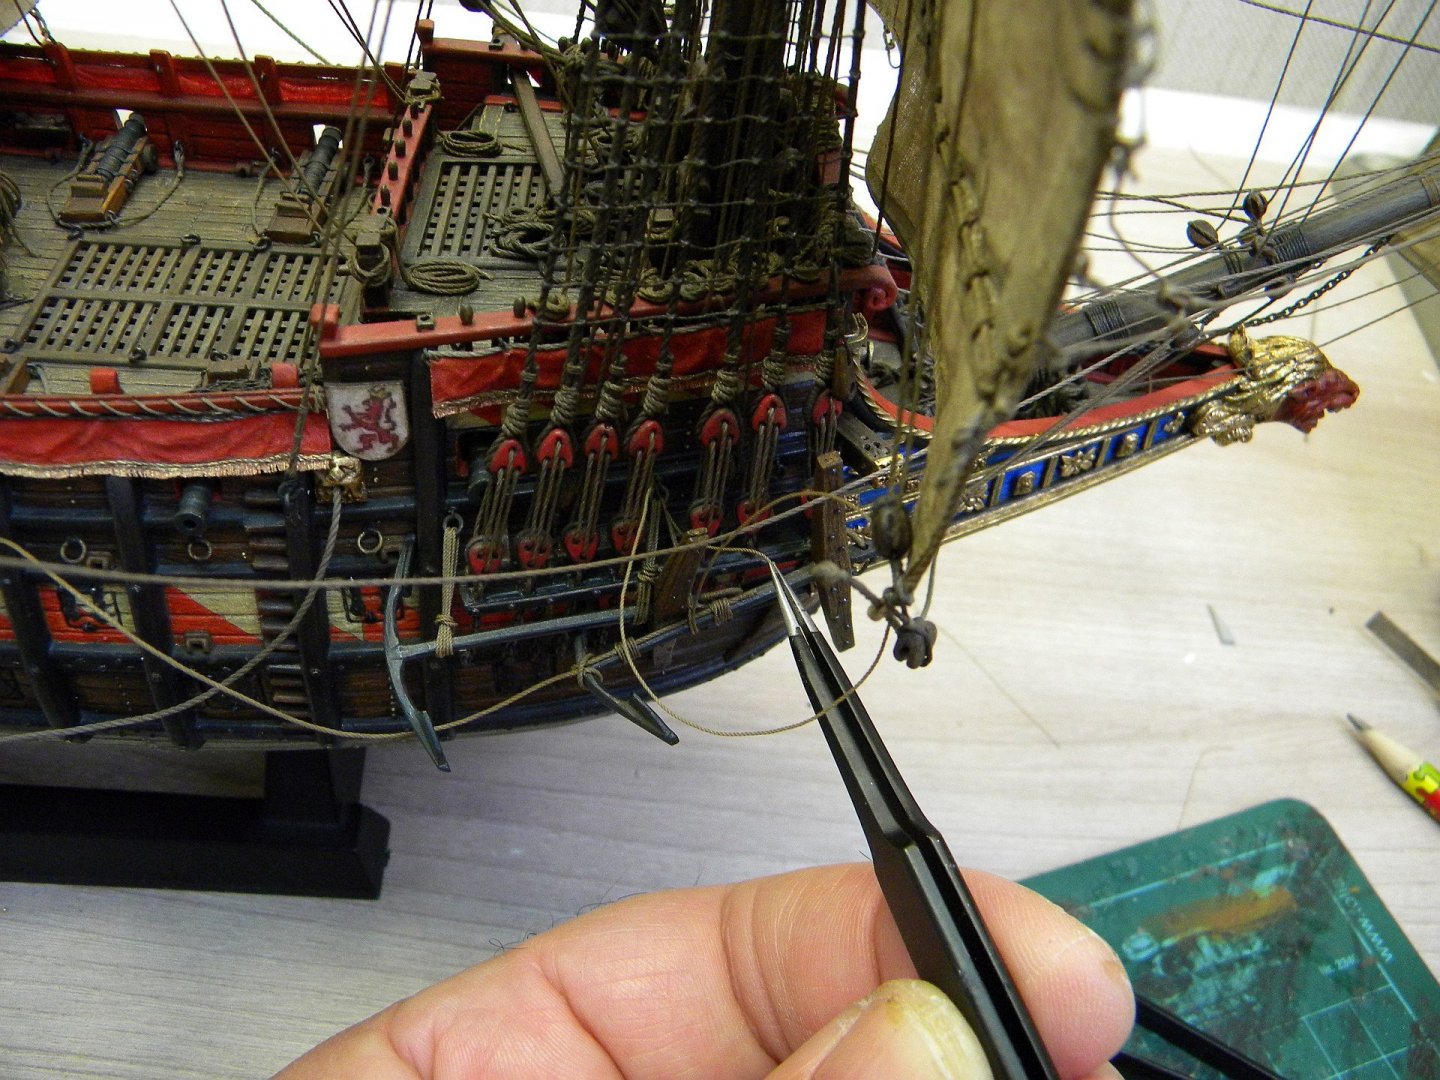
 Good day Bill, Mmmm...right now, by my opinion, it doesn't look accurate and scaled... for seizing You could try Gutermann threads seria Scala No 240 or 360 even better,or similar kind of threads... this is ideal for imitation seizing and serving...using this threads your rope work will garanty looks more accurate! i used portable drill for imitation serving rope...just rotate it by hand...other side of the thread was temporary weighted ...left hand I used for feeding scala 360 for serving while main thread was rotating by right hand when serving was completed i clued end of scala and painted served rope at once
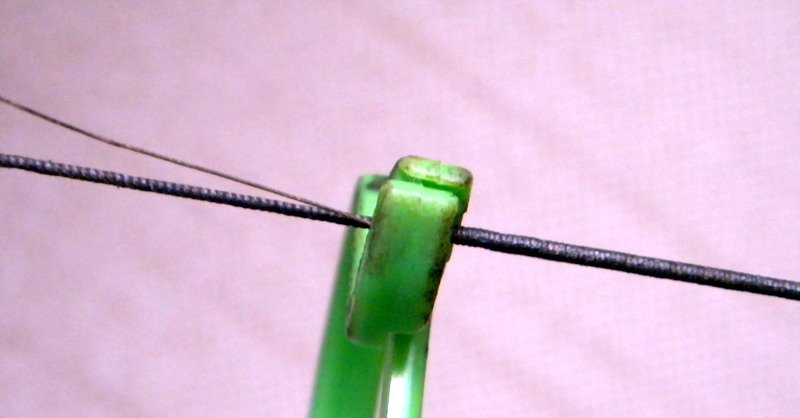
-
Good day Marc, Michael , Thank you very much for your attention and kind remarks !
- 228 replies
-
- 2
-

-
- spanish galleon
- lee
- (and 1 more)
-
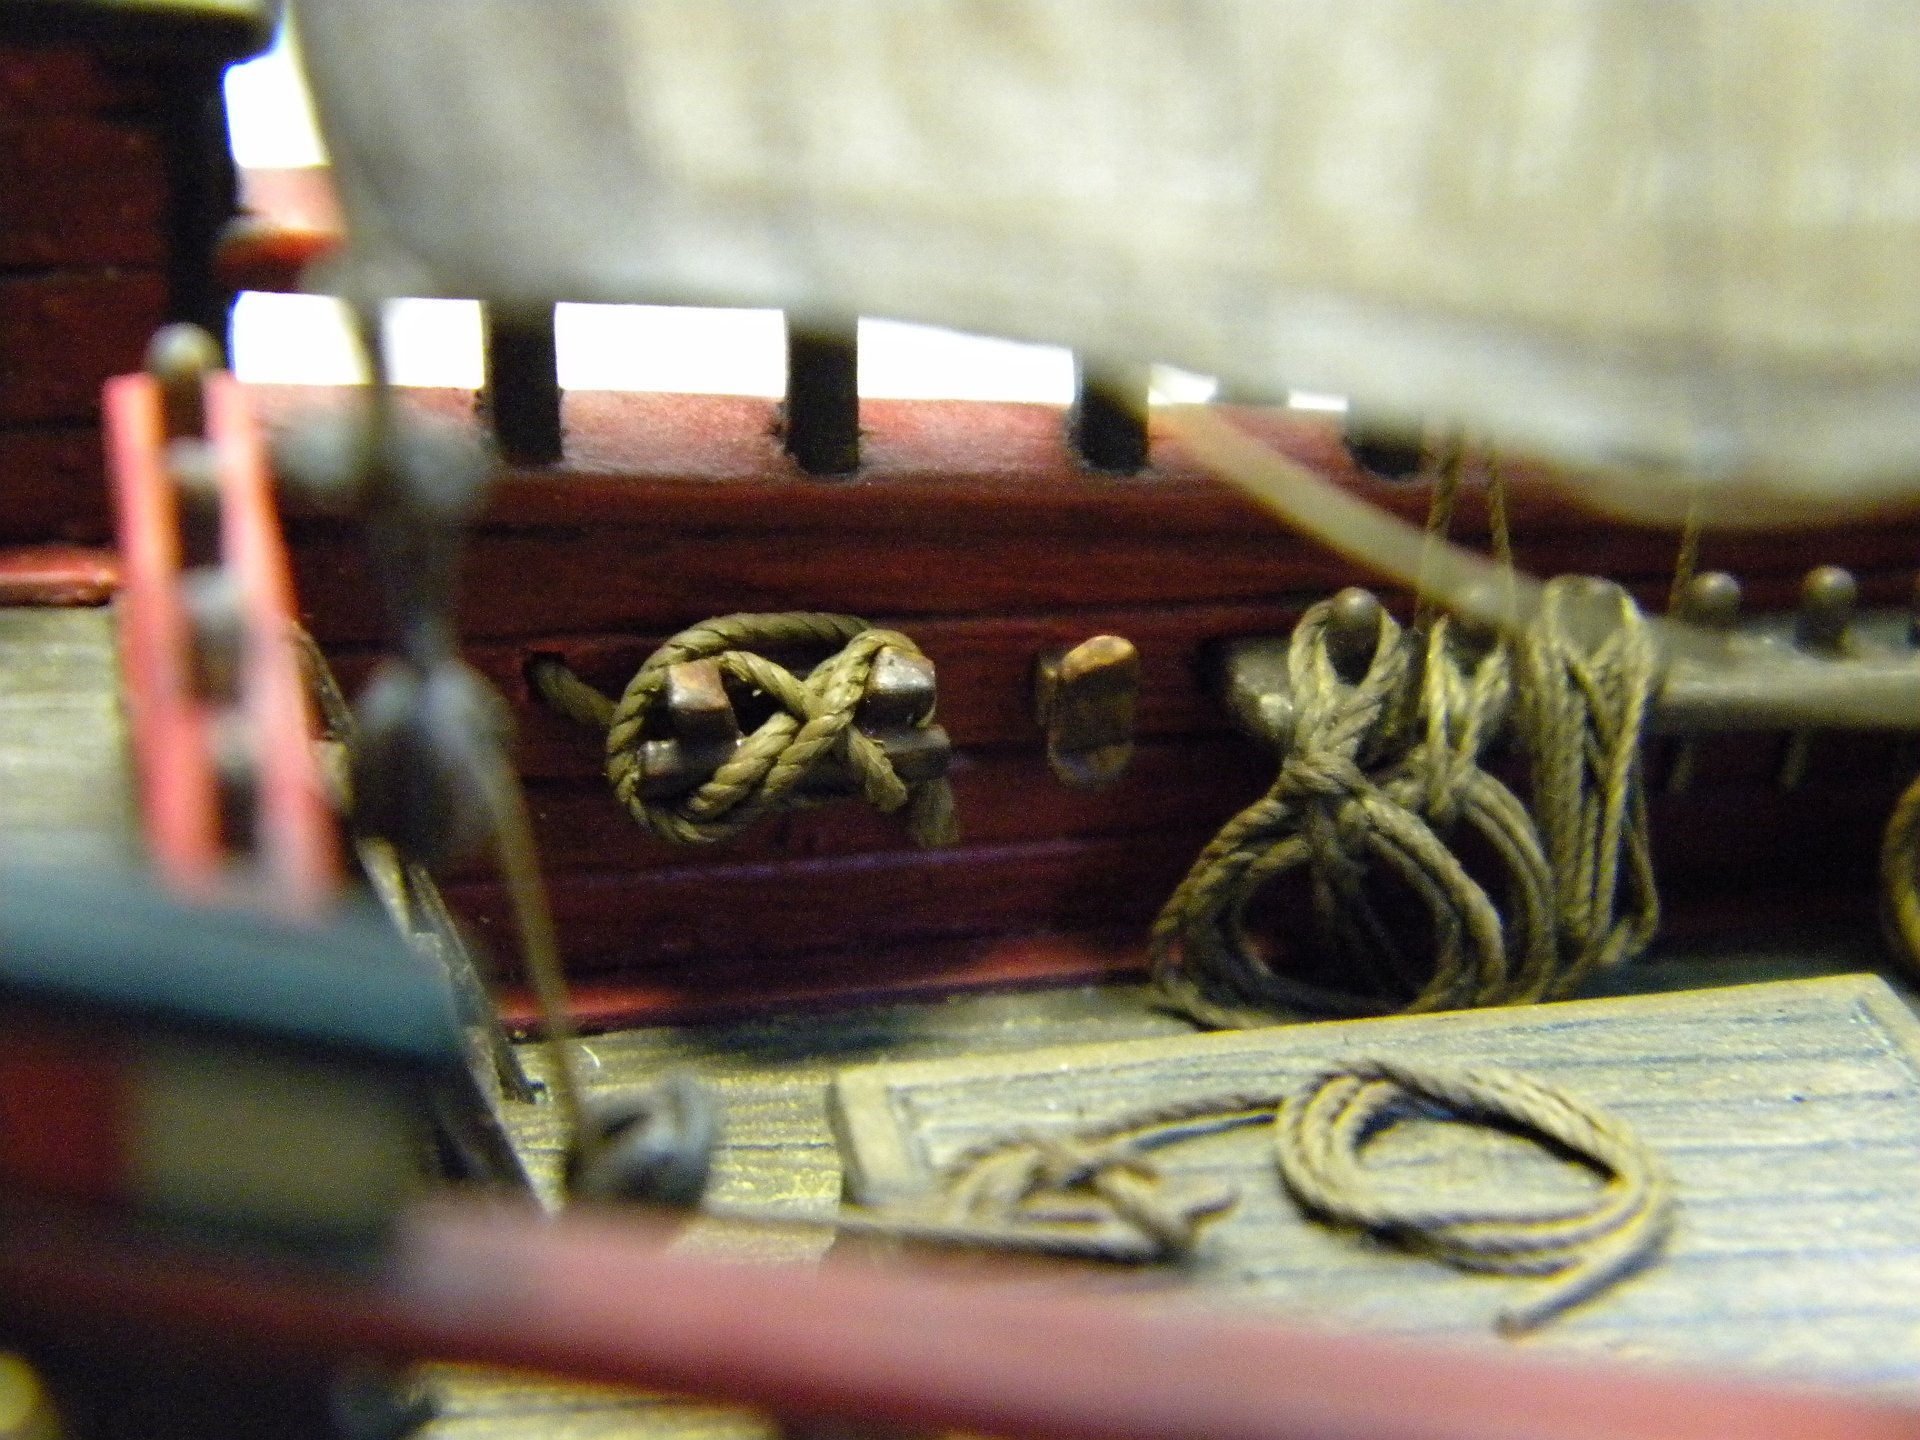
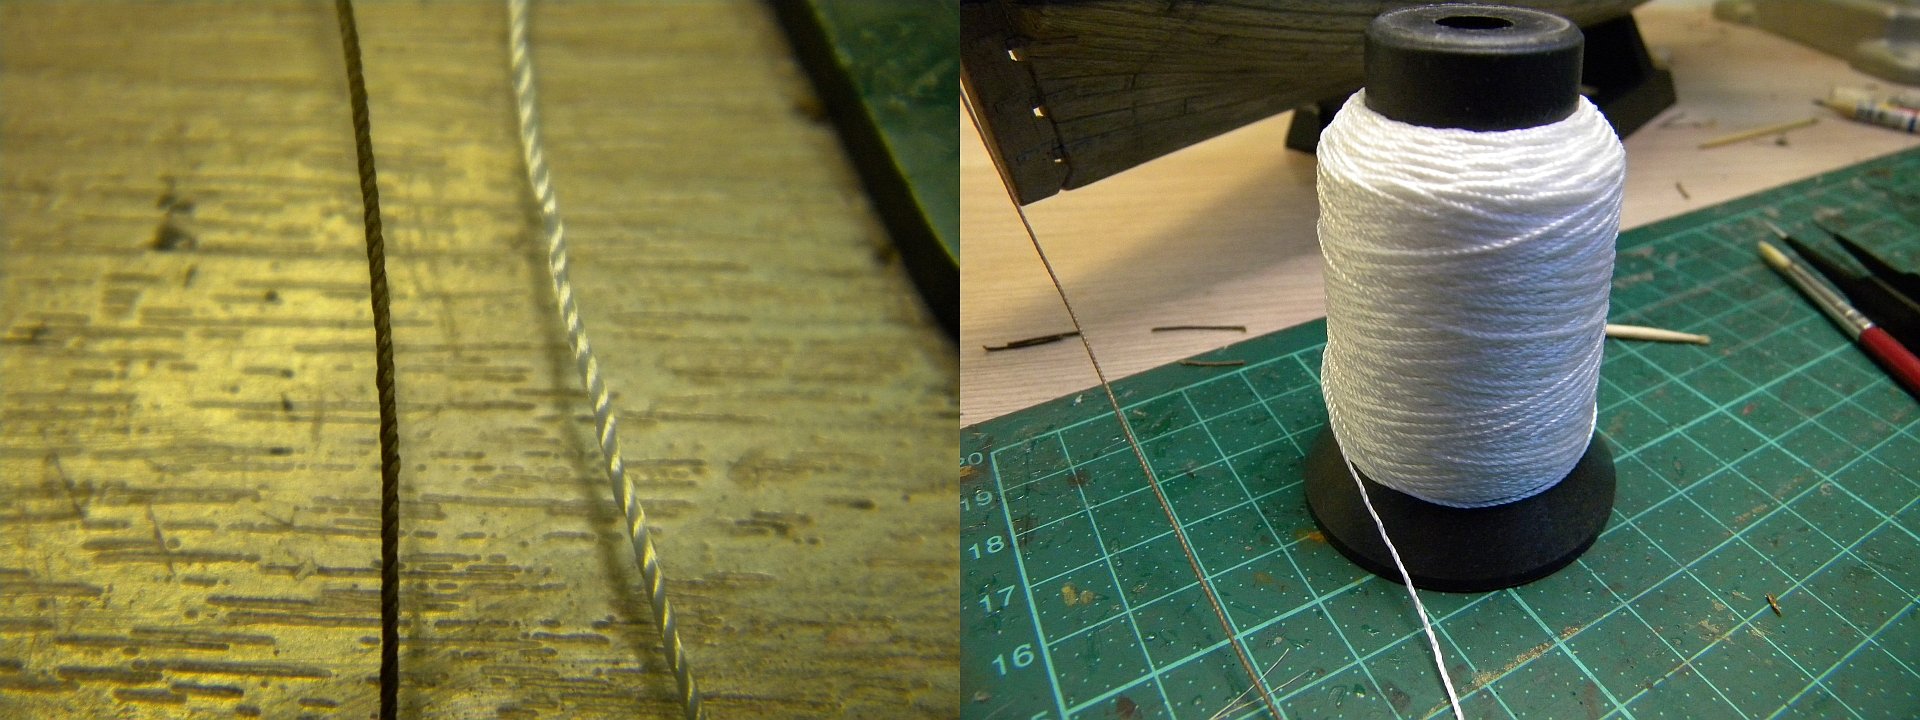
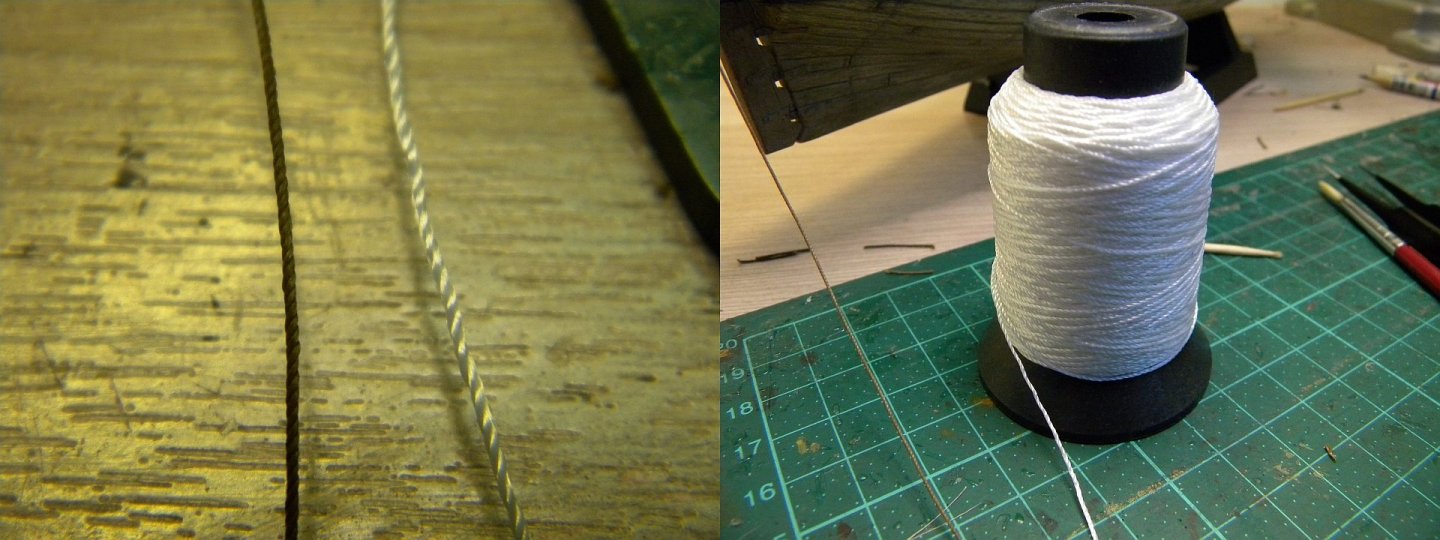
a budget option, how to use a thread from a spool, without a cable maker machine - in the photo the thread before and after "processing" is of course not what you can do with a cable maker machine, but it is better than it was on the spool ... * I cut off about a meter * I clamp one end in a vise * I pull it slightly, only so that it does not sag and holding the other end I begin to twist it in my hands along the lay ... I twist it as tightly as possible ... at least until the density of the twist looks like a normal rope * then I pull it tightly until the "reserve" is selected, so to speak by lengthening ... it is felt, the thread first stretches and then begins to resist and if you pull further, you can break ... * in this maximally extended state I hold it for several seconds and paint it right away - I stretch along the rag soaked in paint * I slowly release it and hang it to dry ... as it dries, you can repeat the procedure again for fidelity ... well, something like this - the result is in the photo ...

- 228 replies
-
- 4
-
-
- spanish galleon
- lee
- (and 1 more)
-
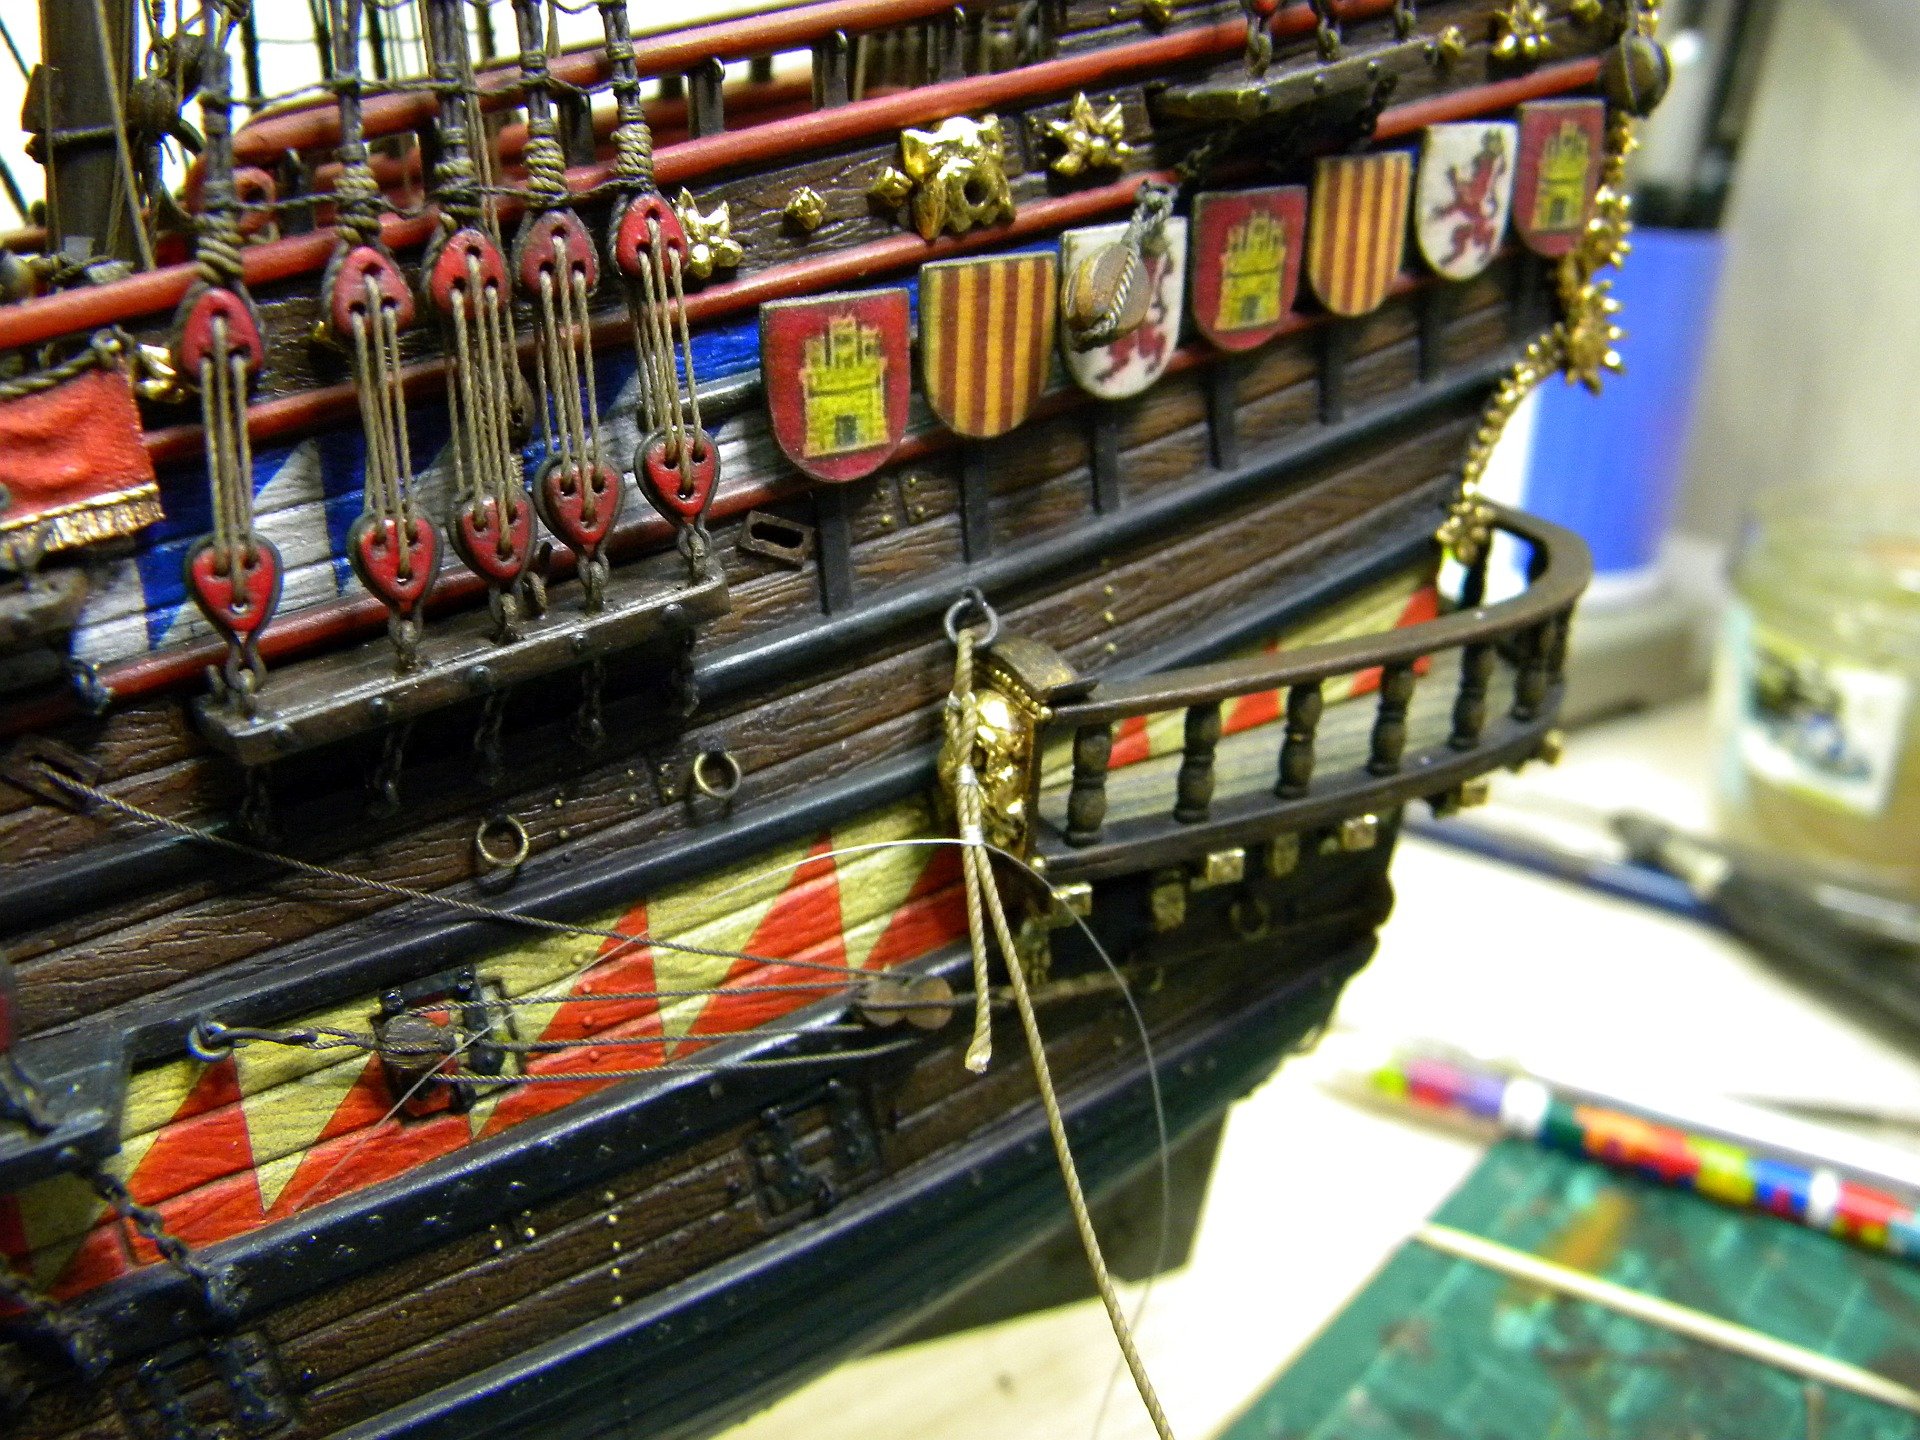
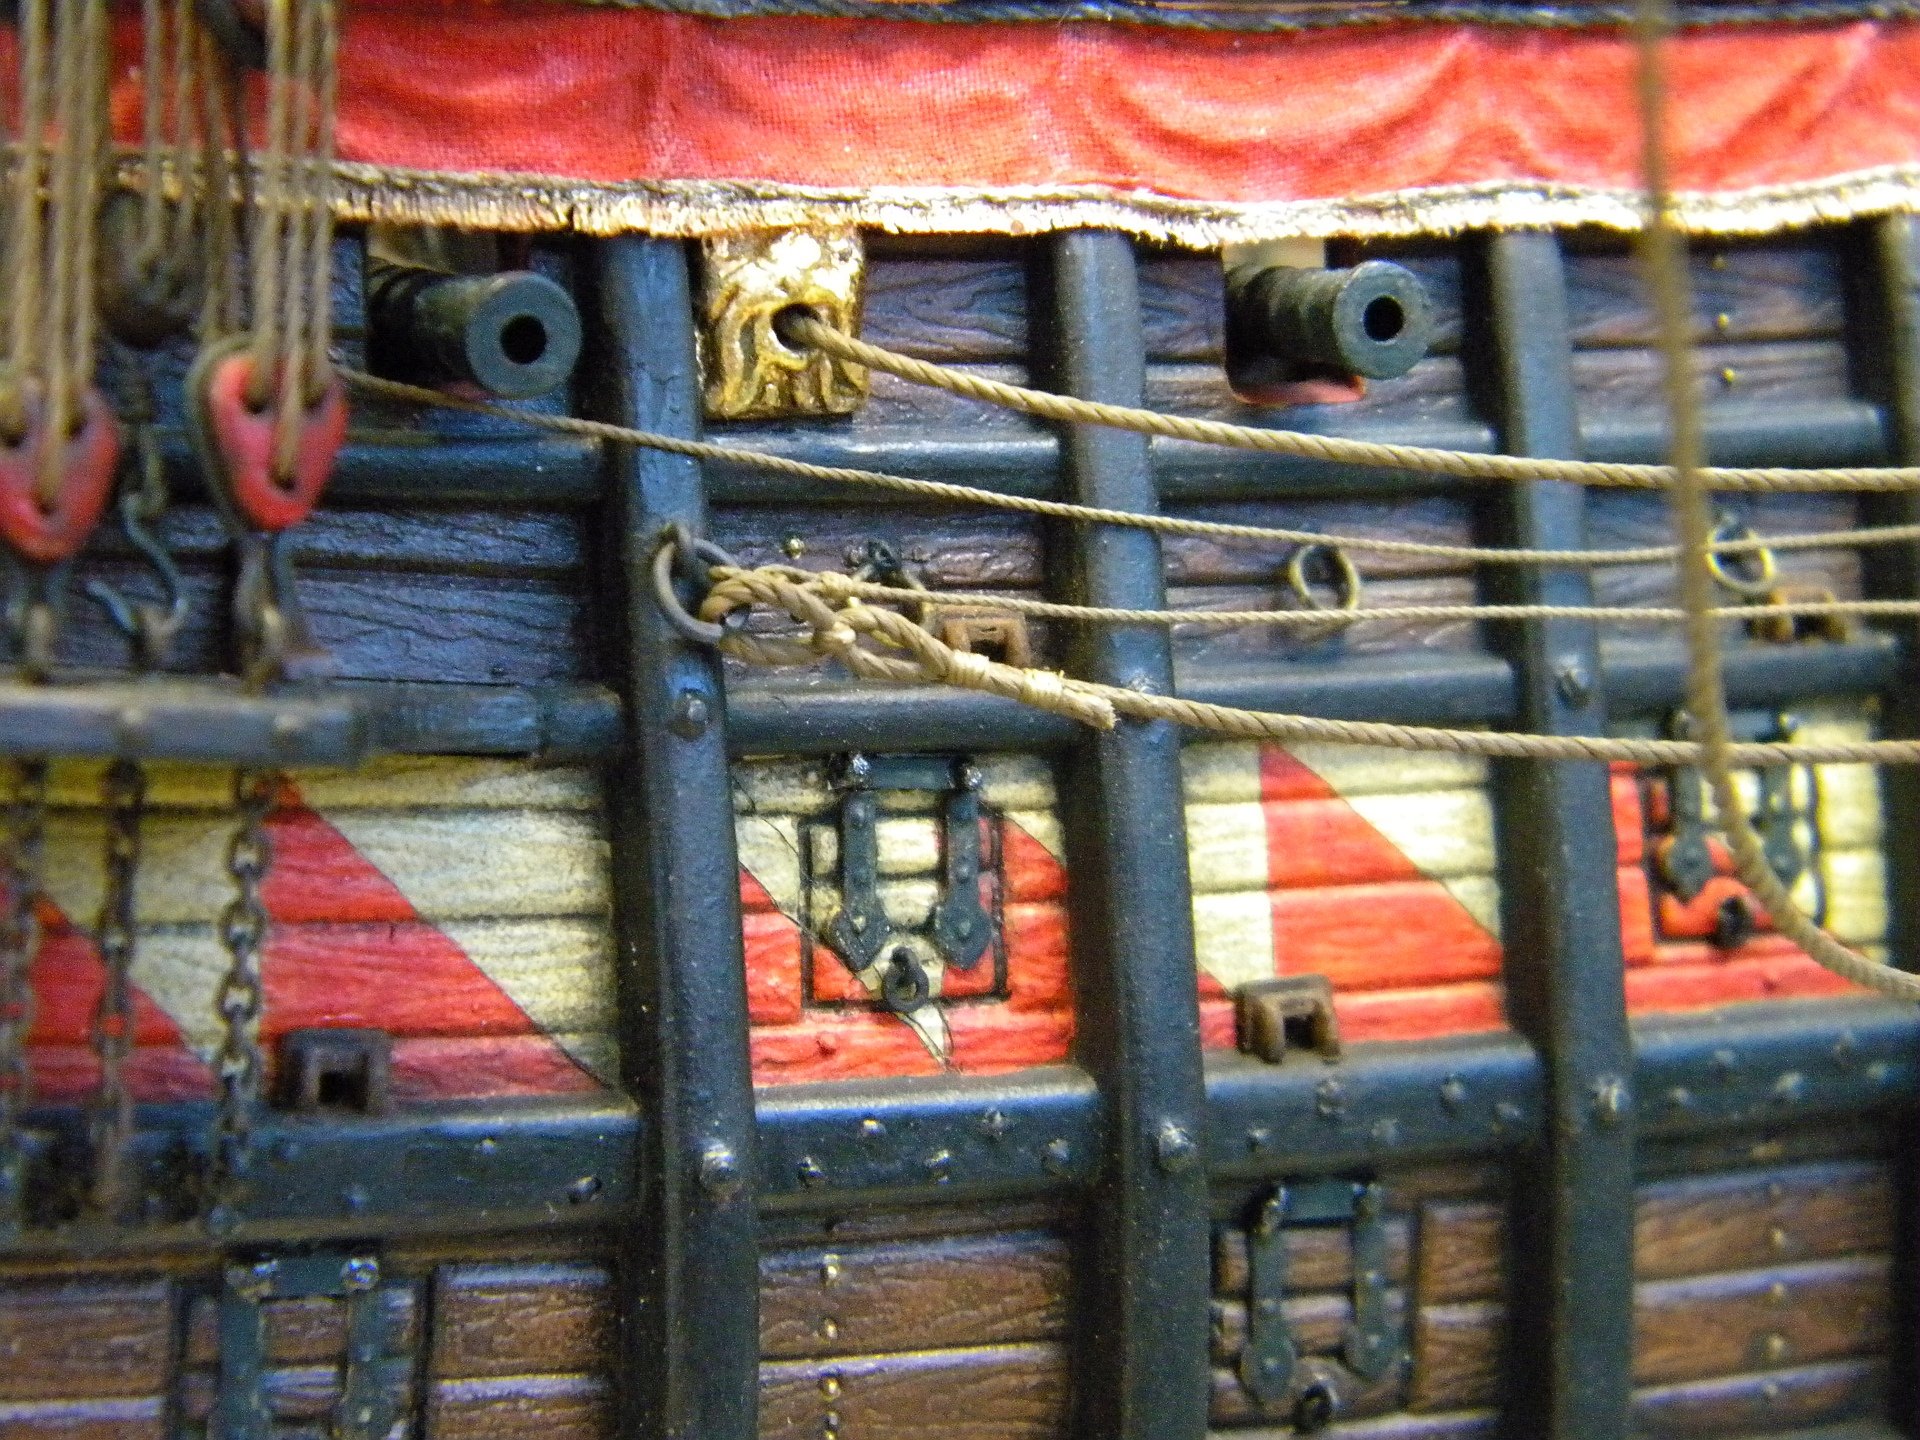
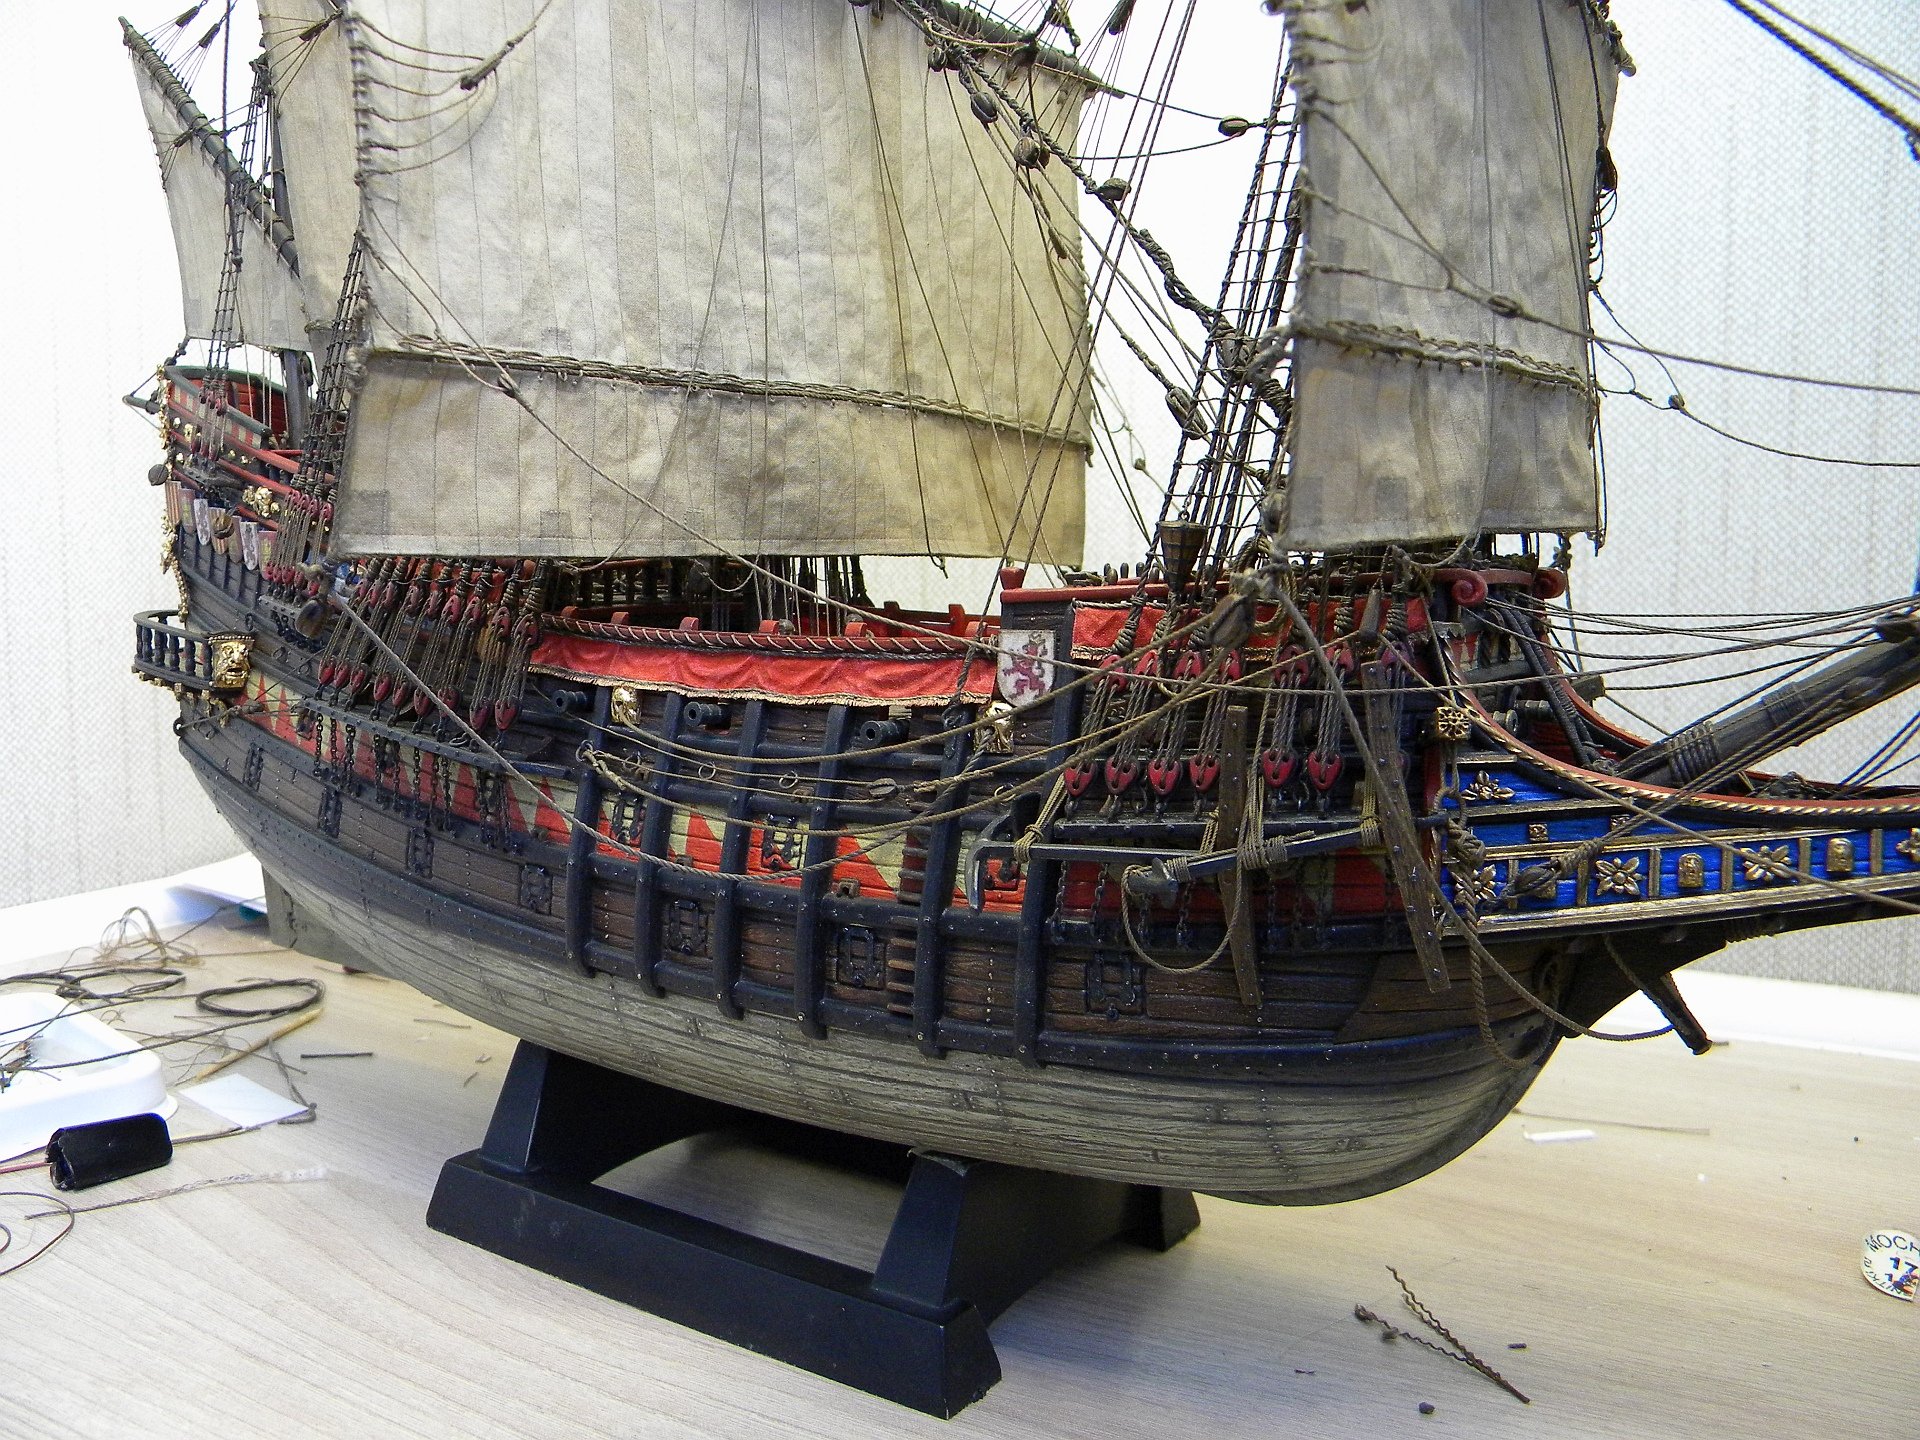
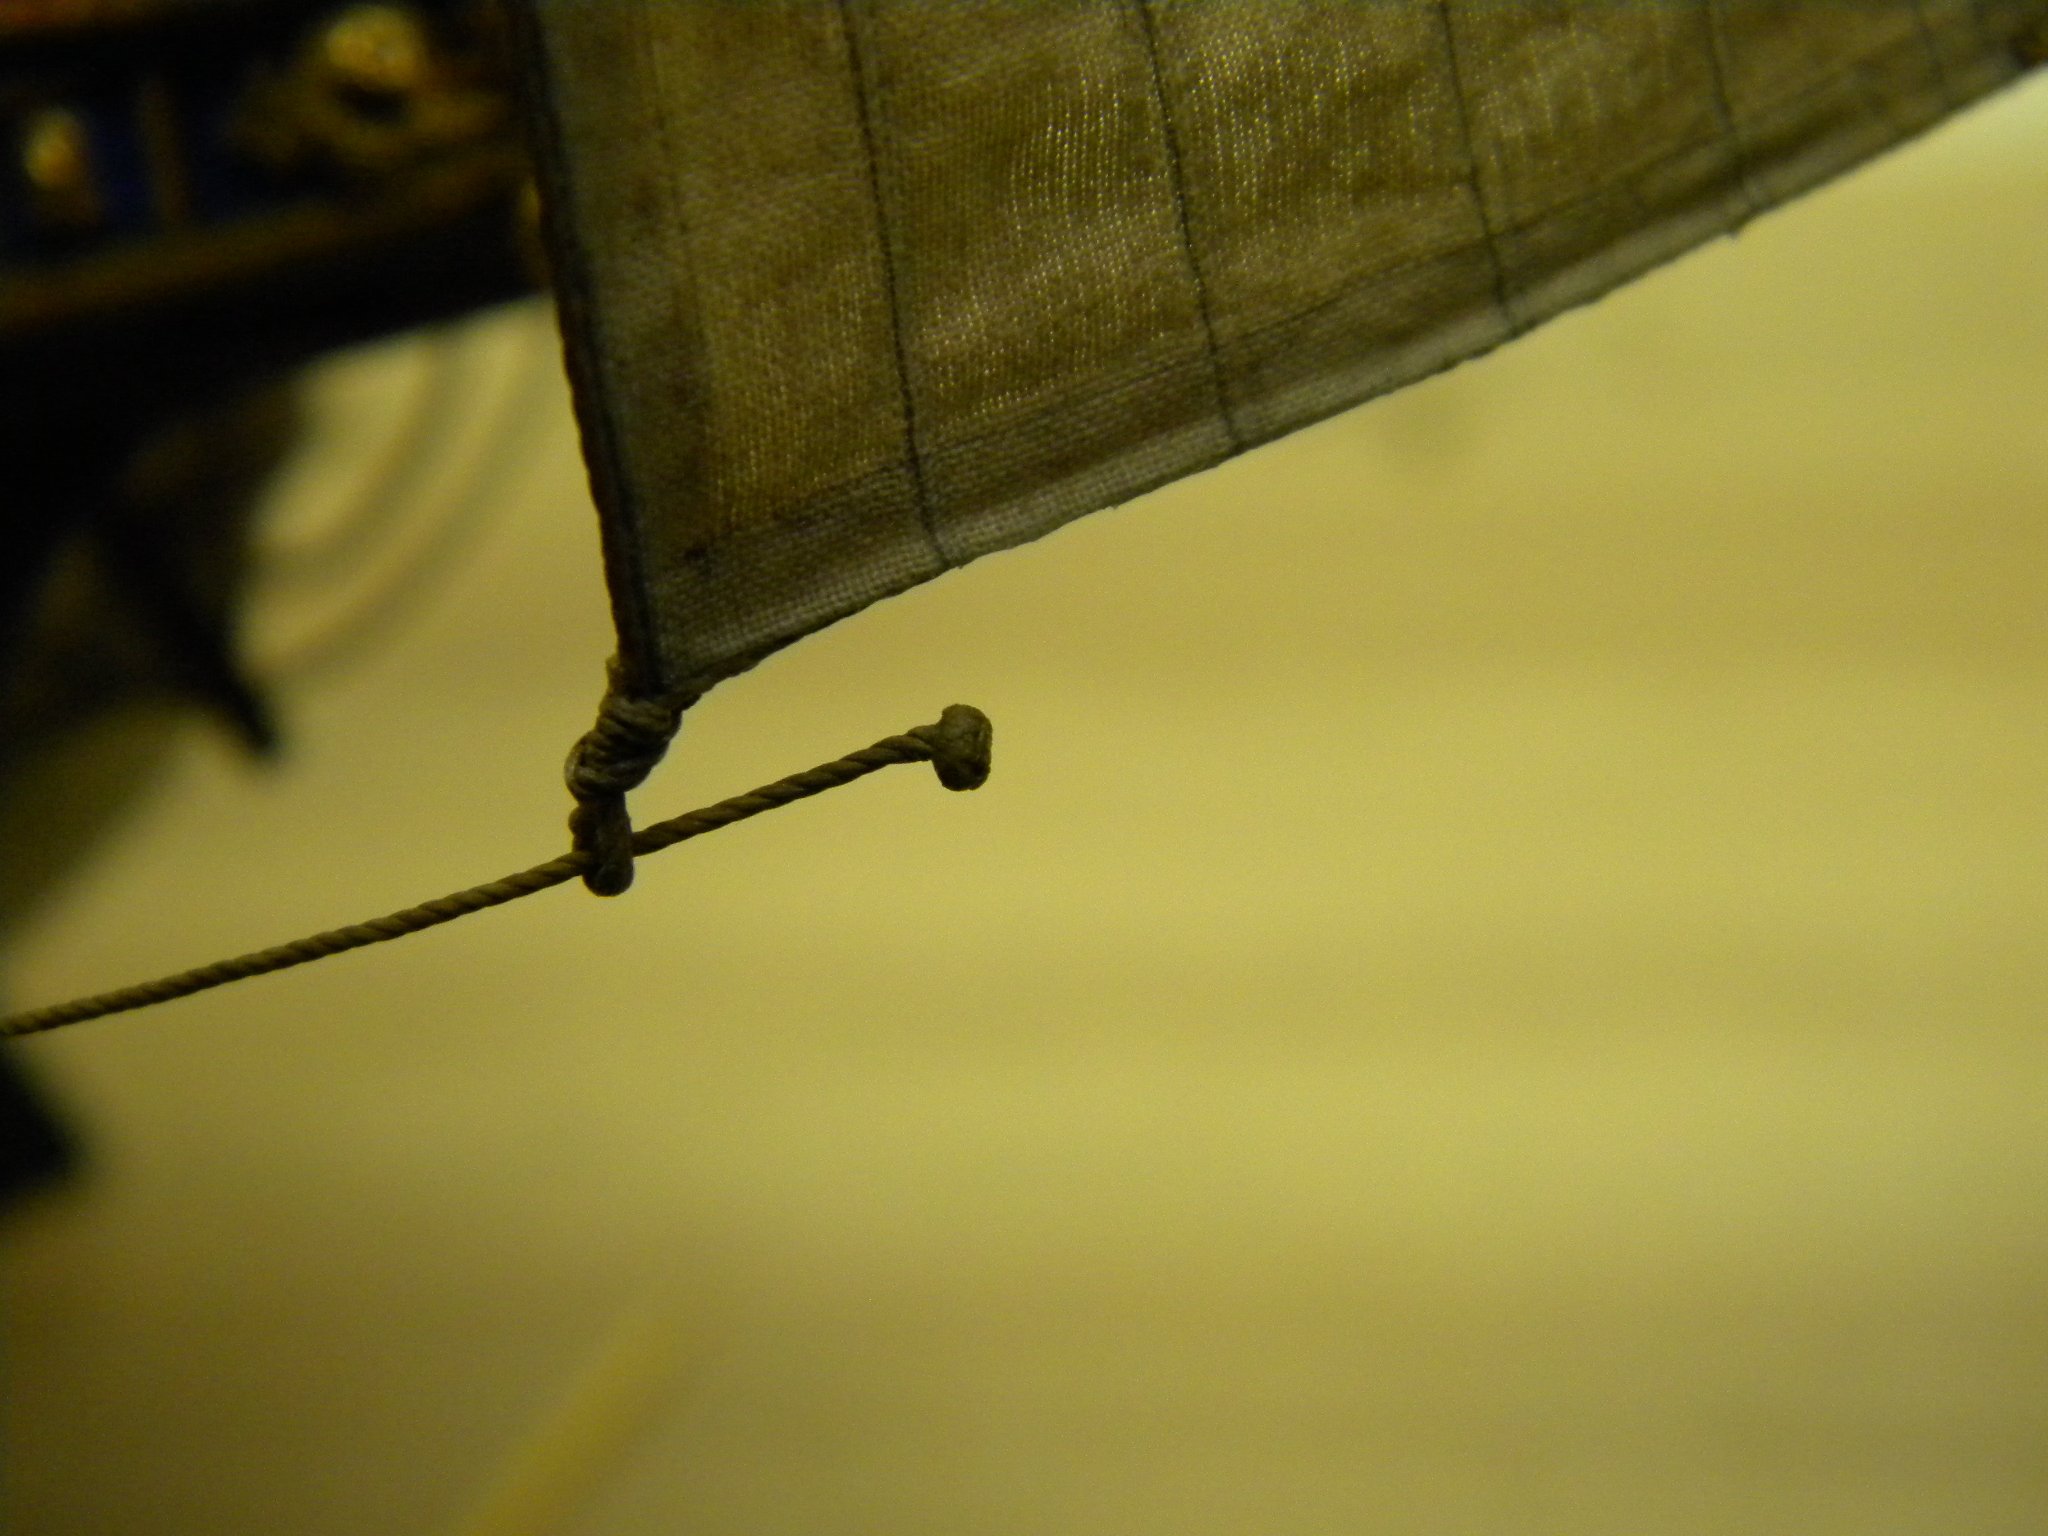
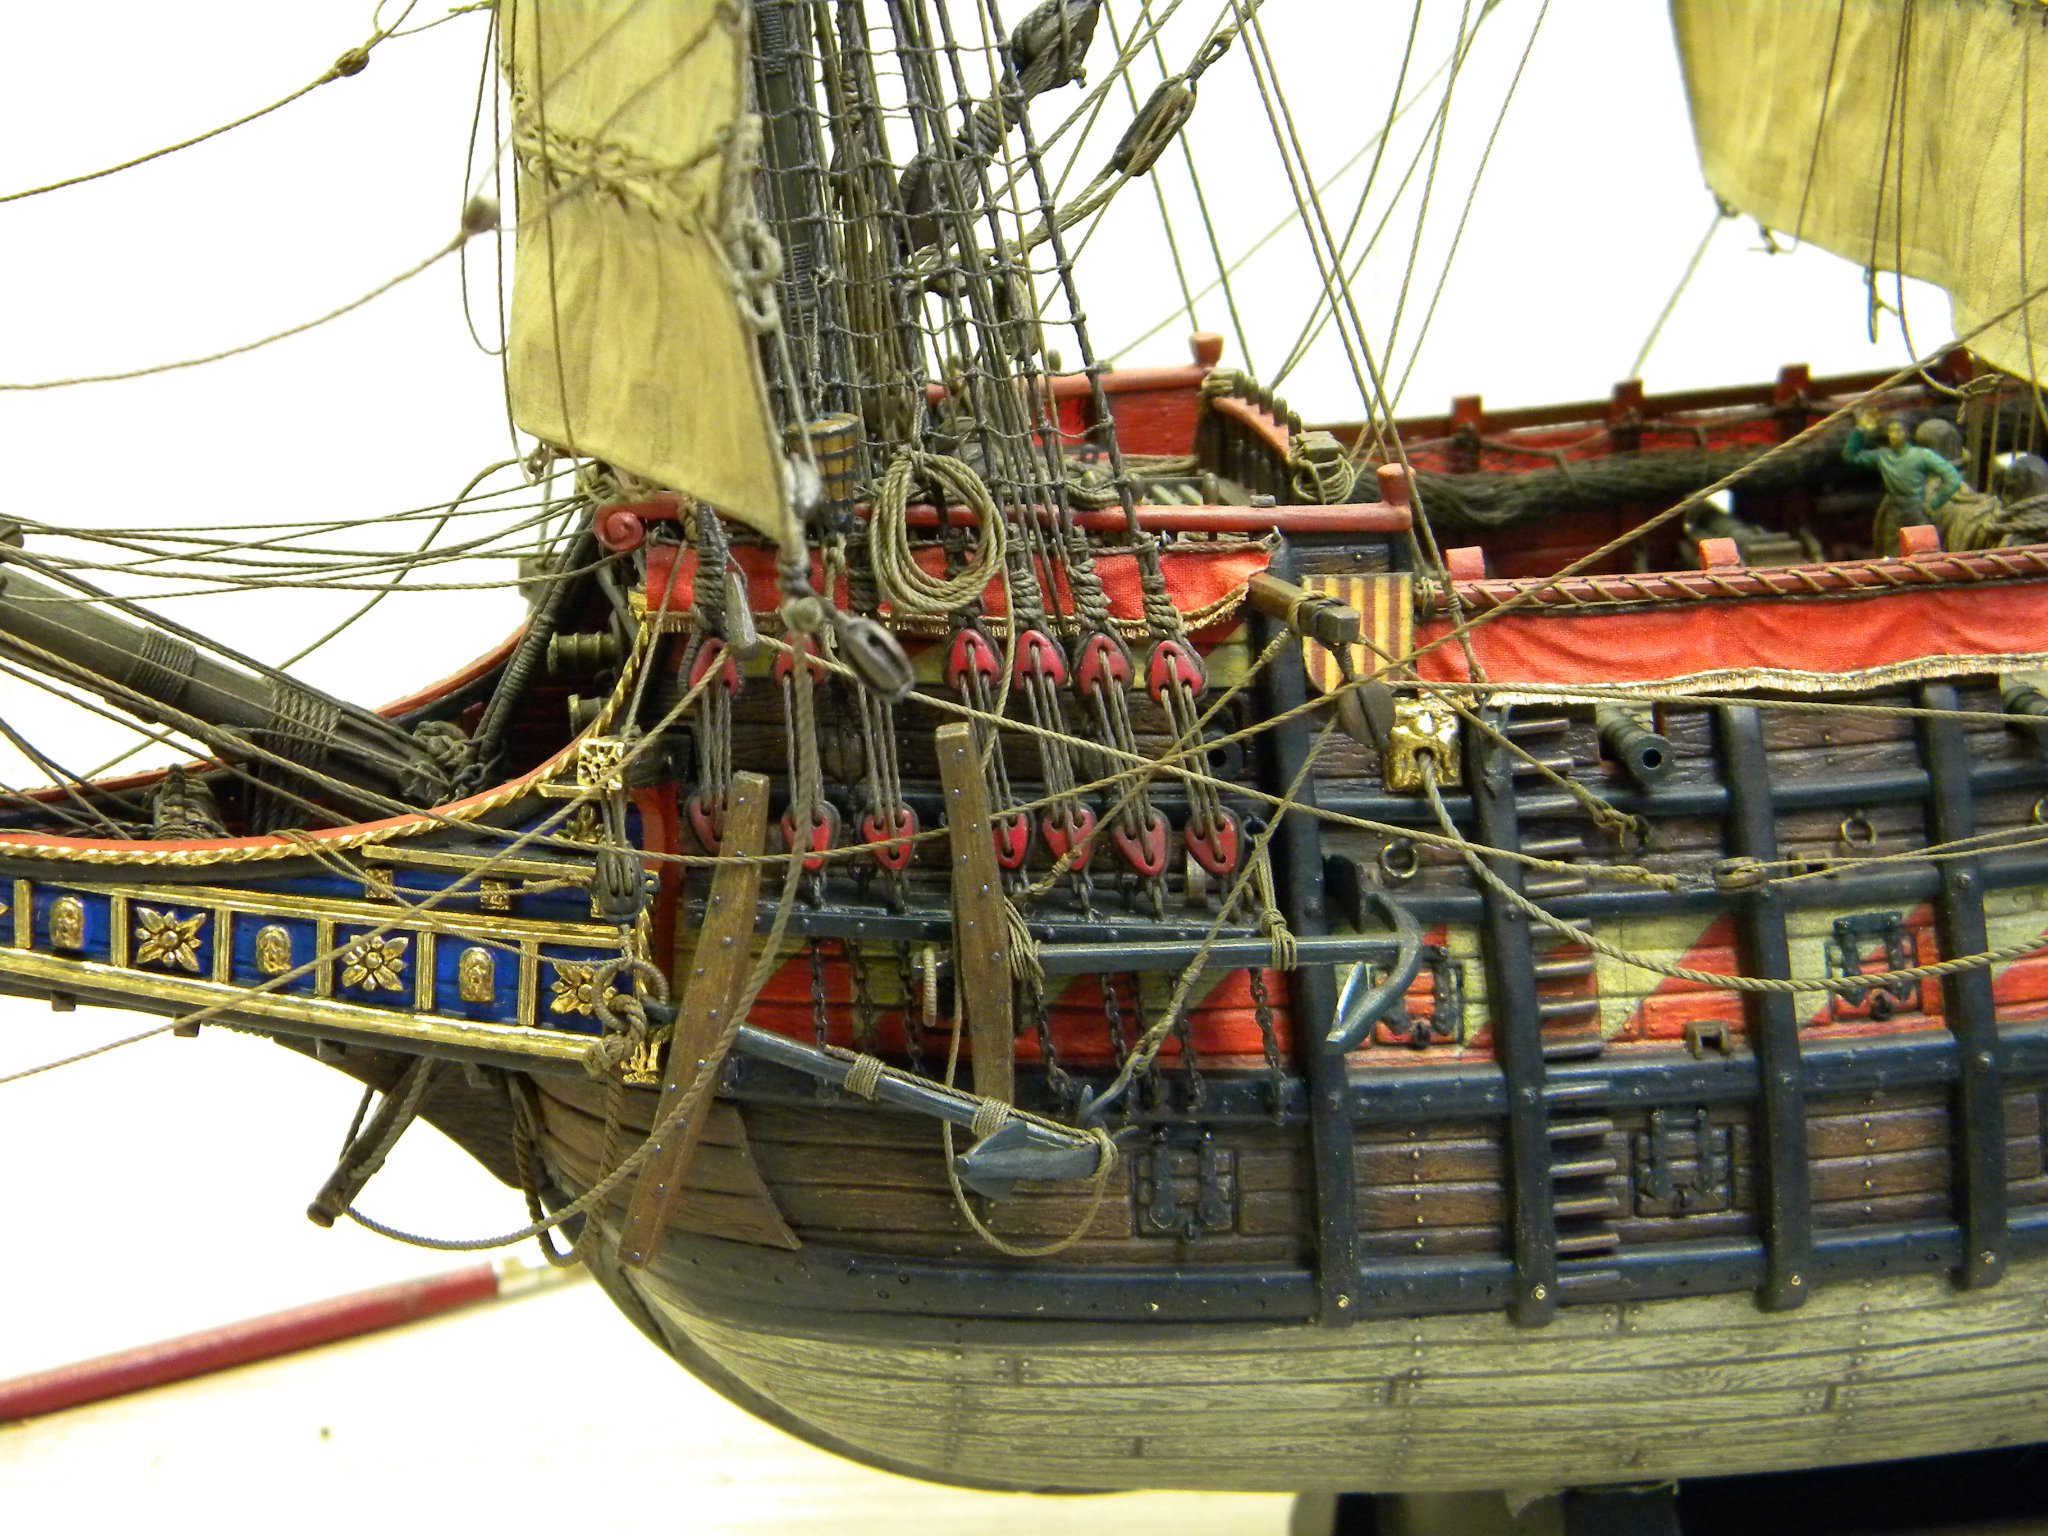
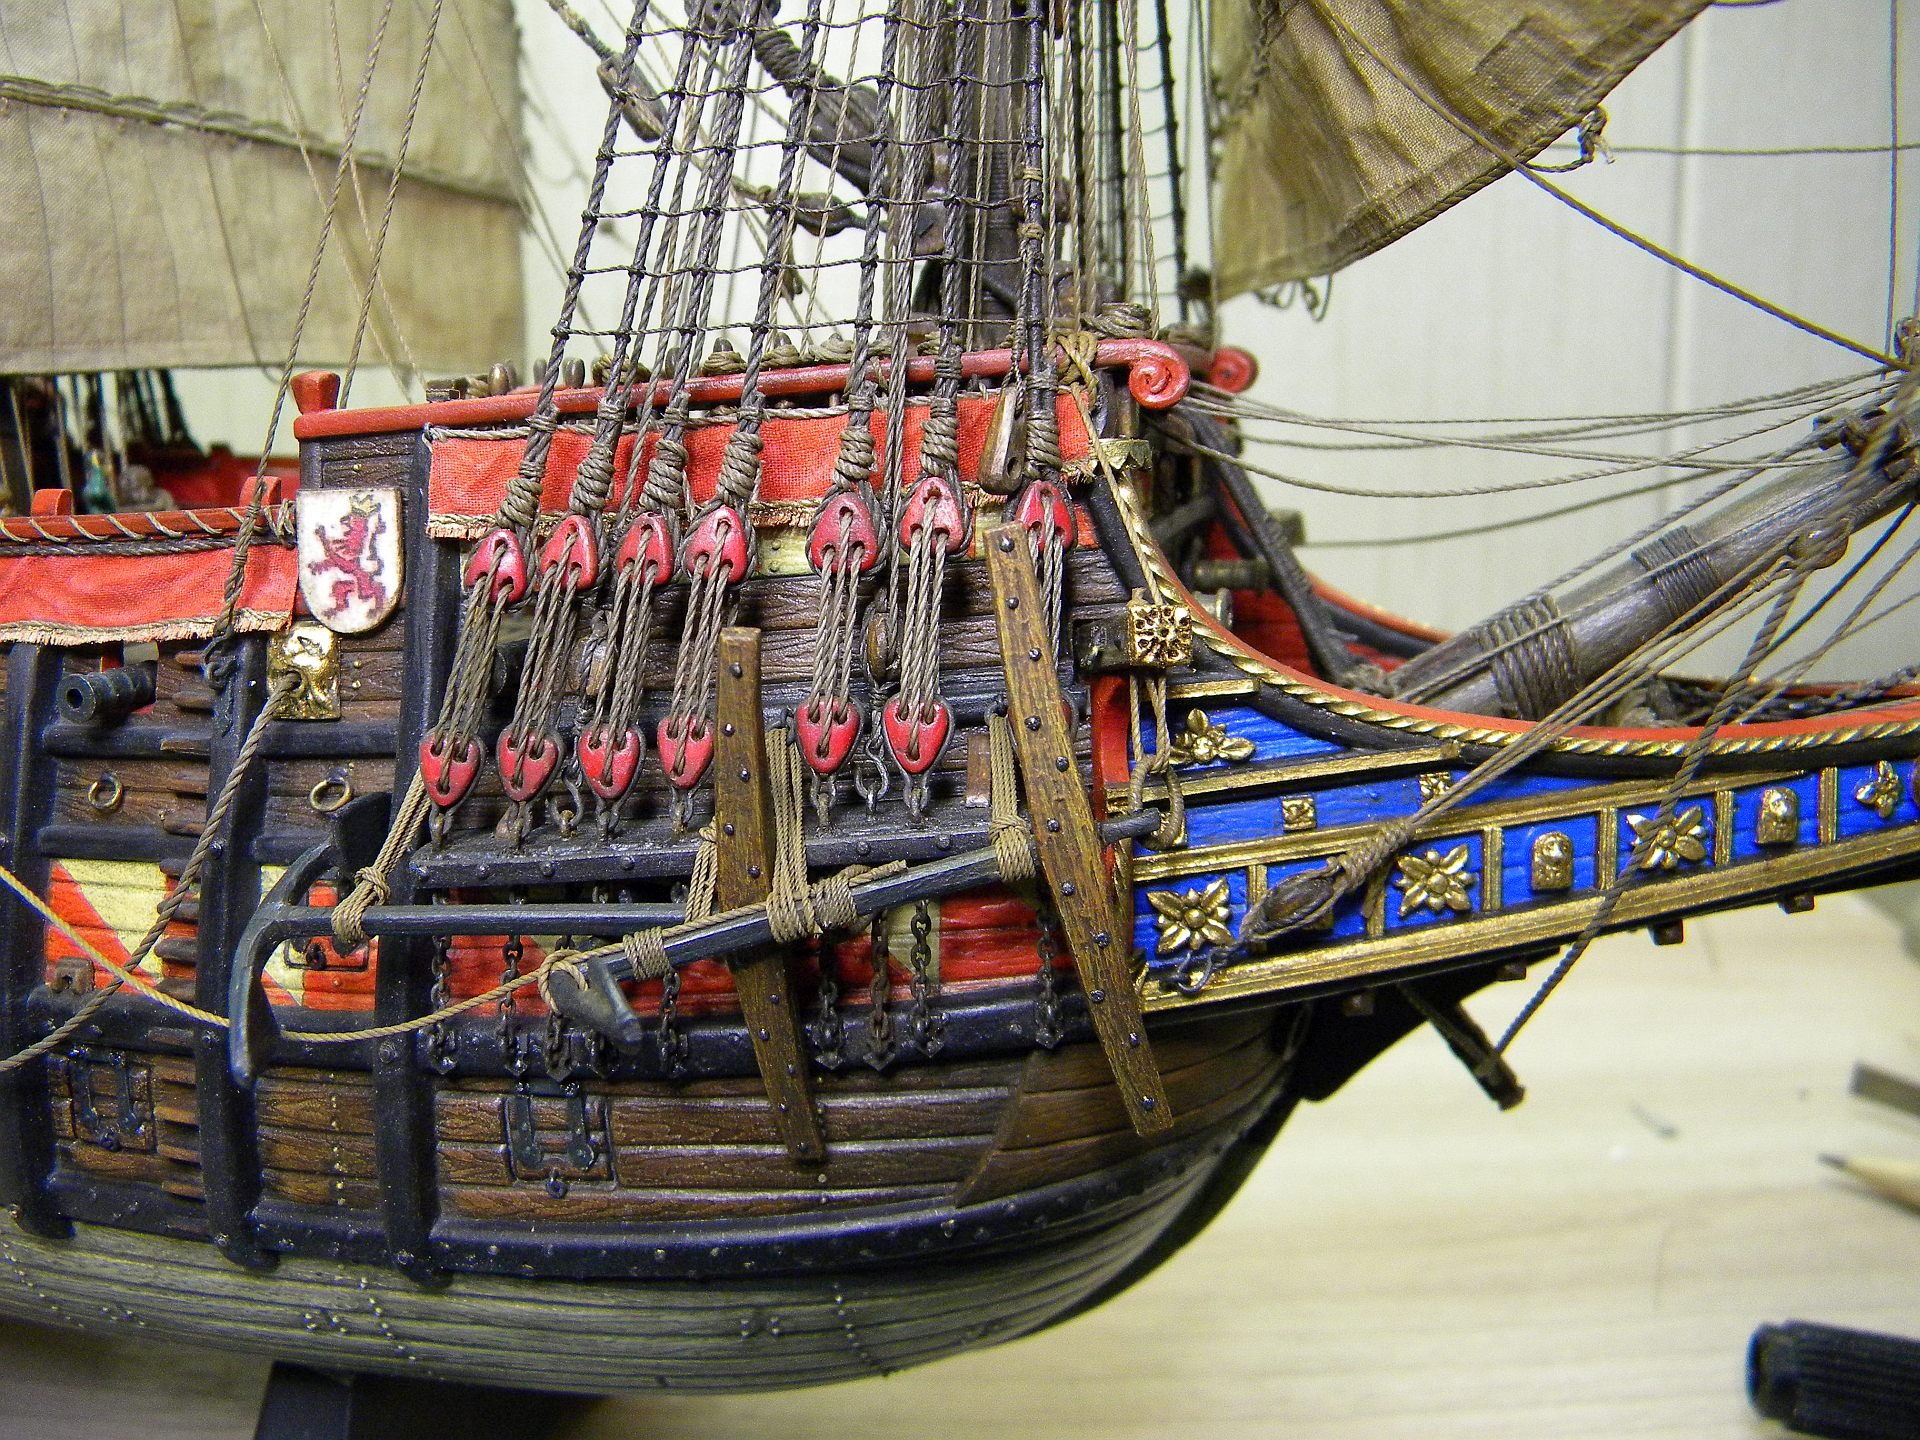
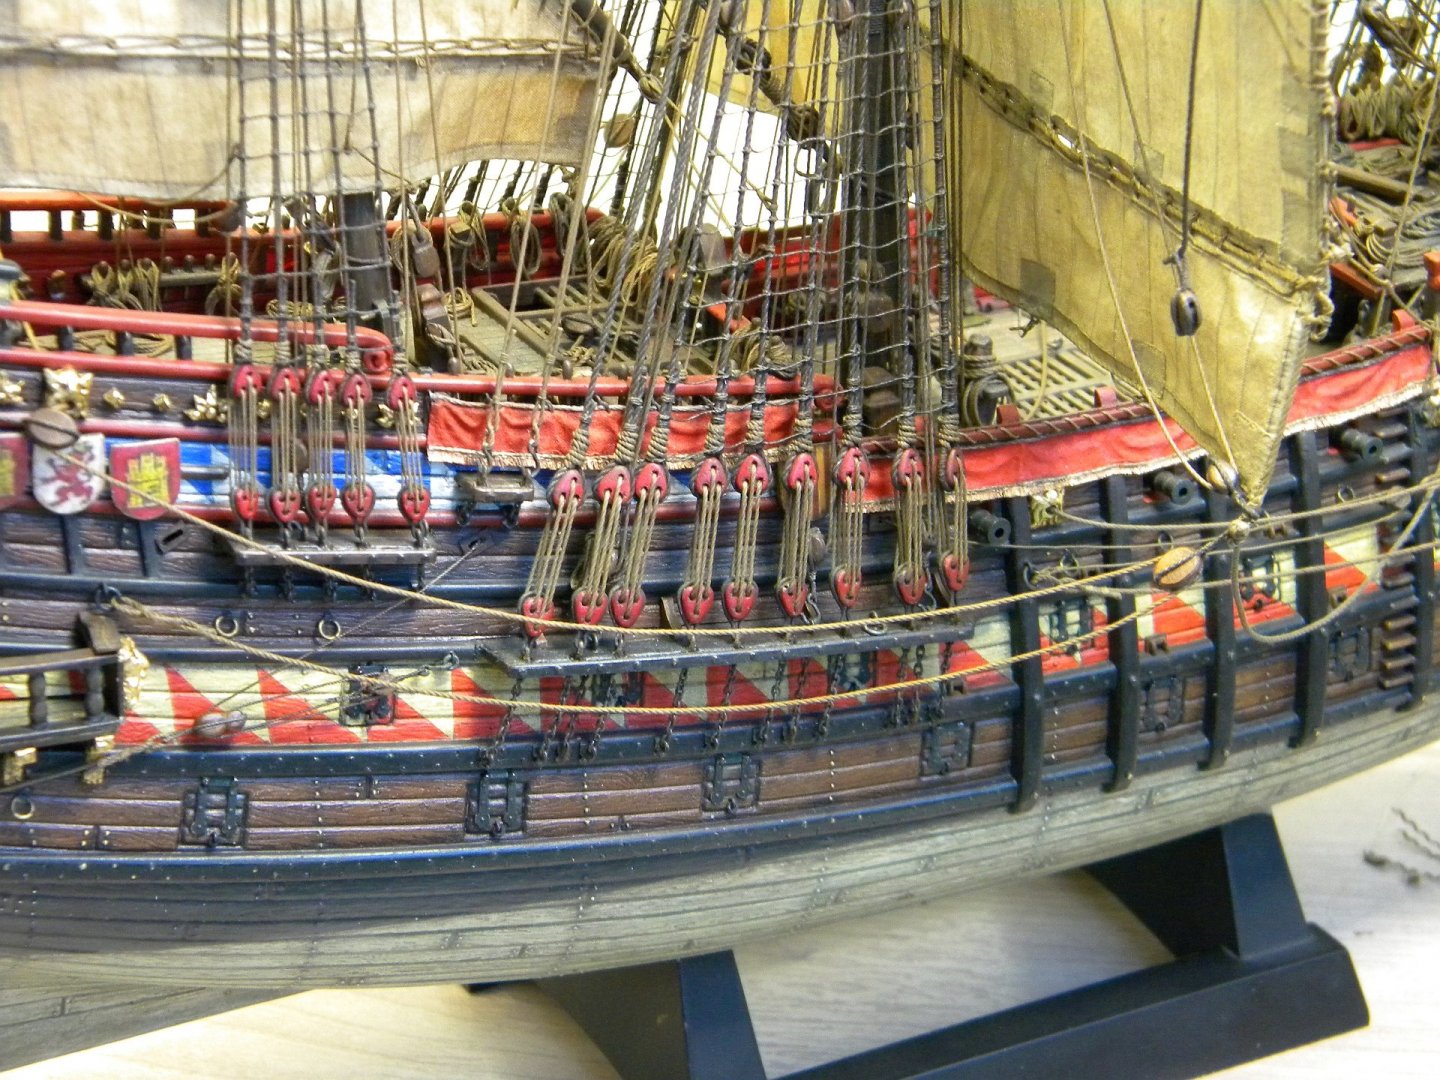
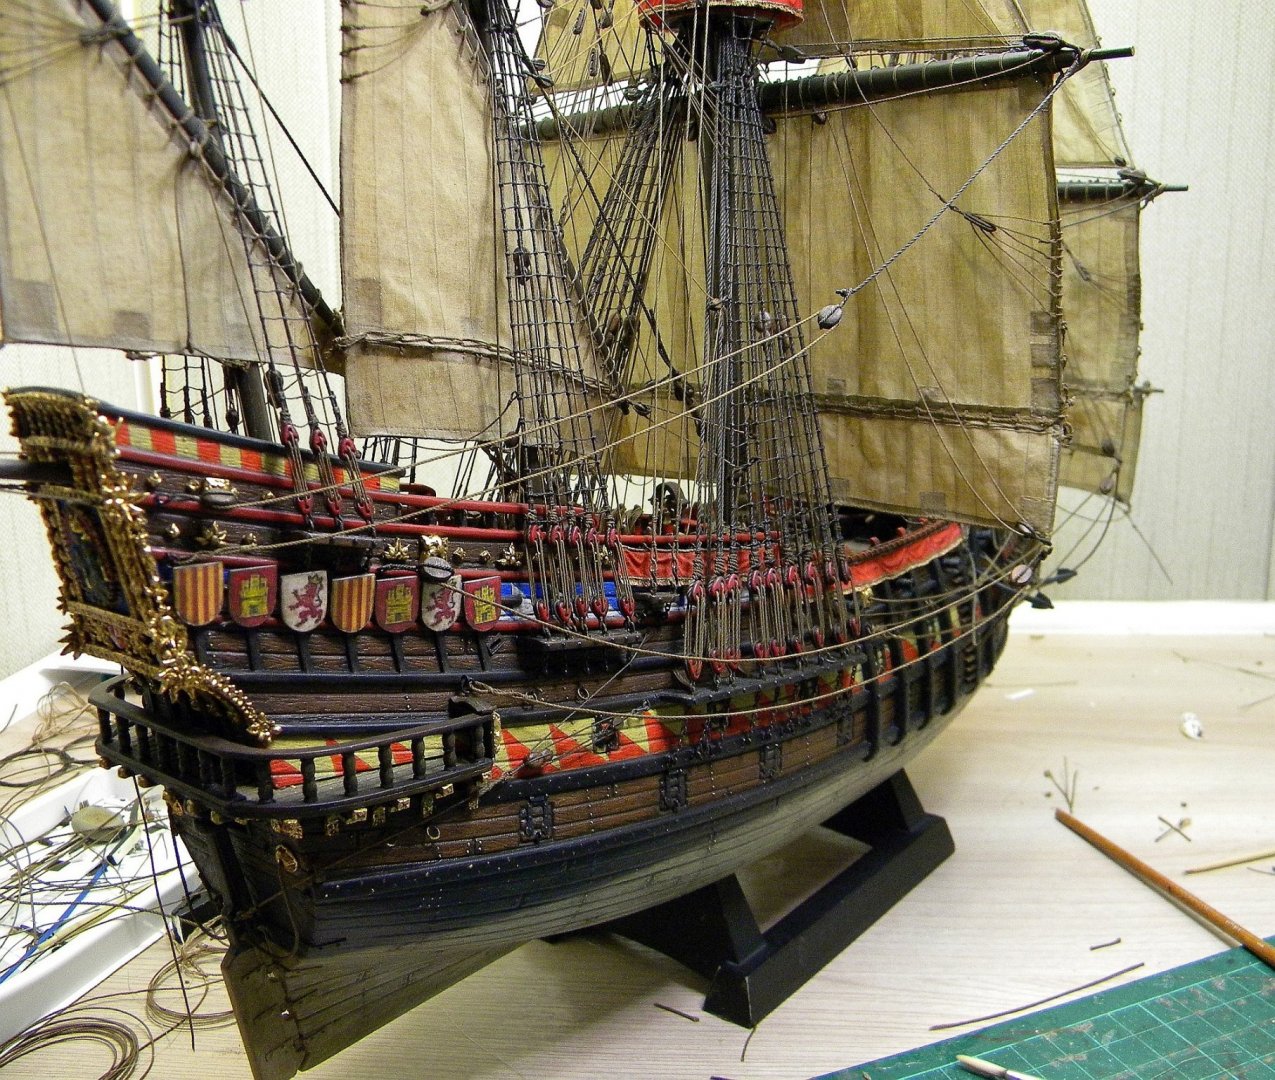
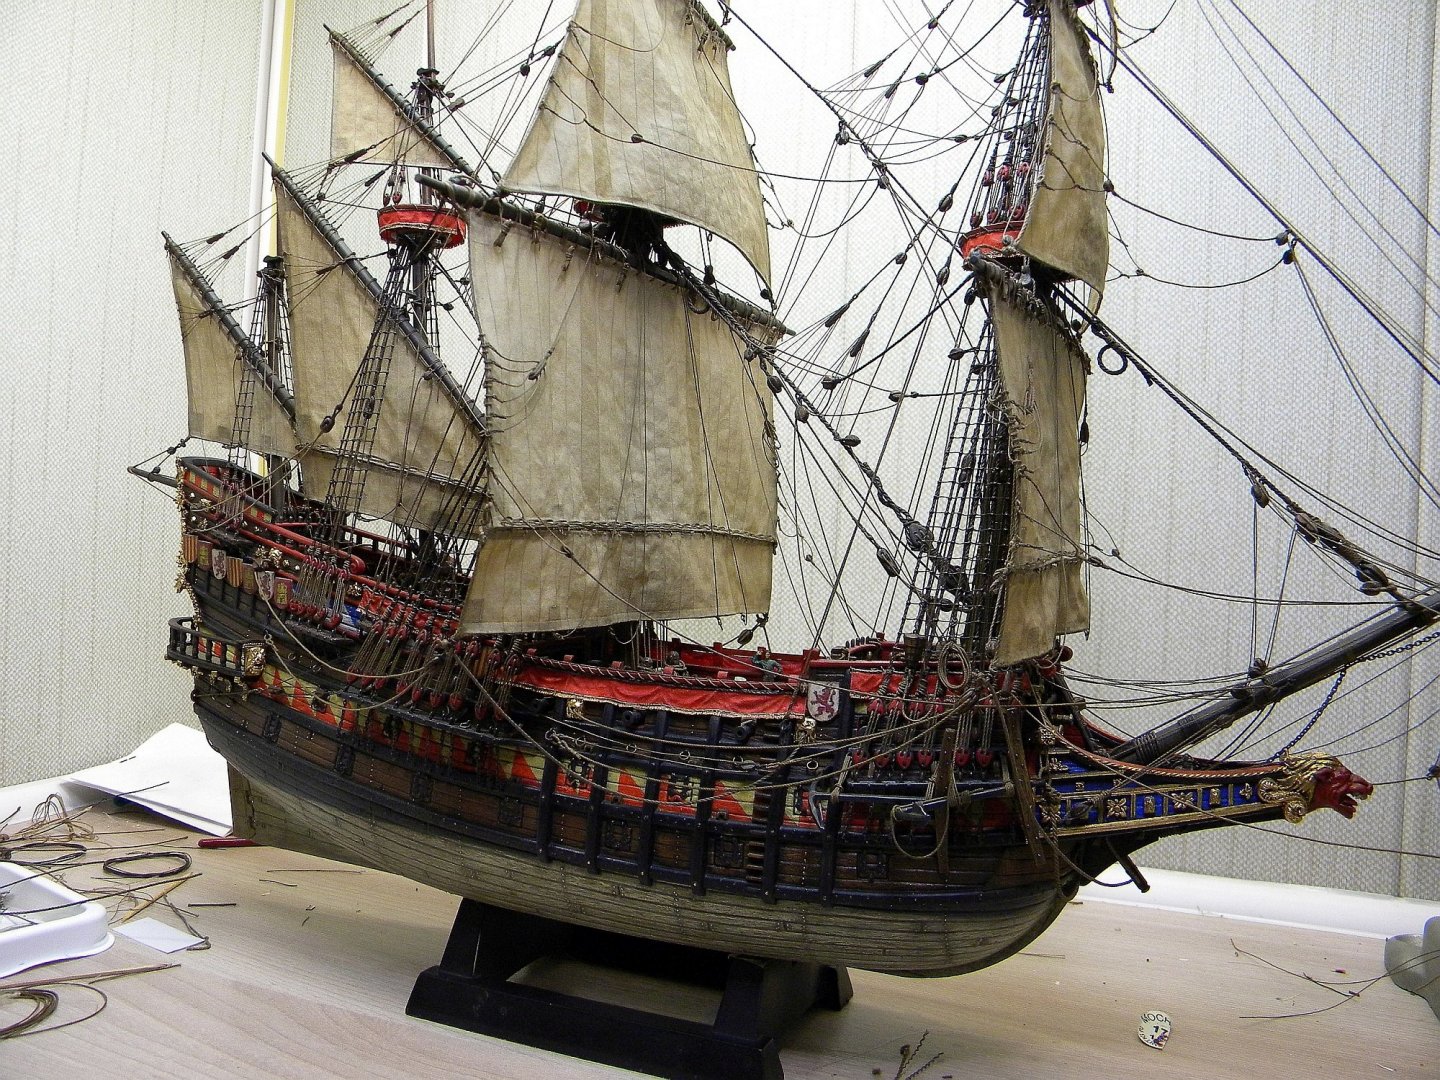
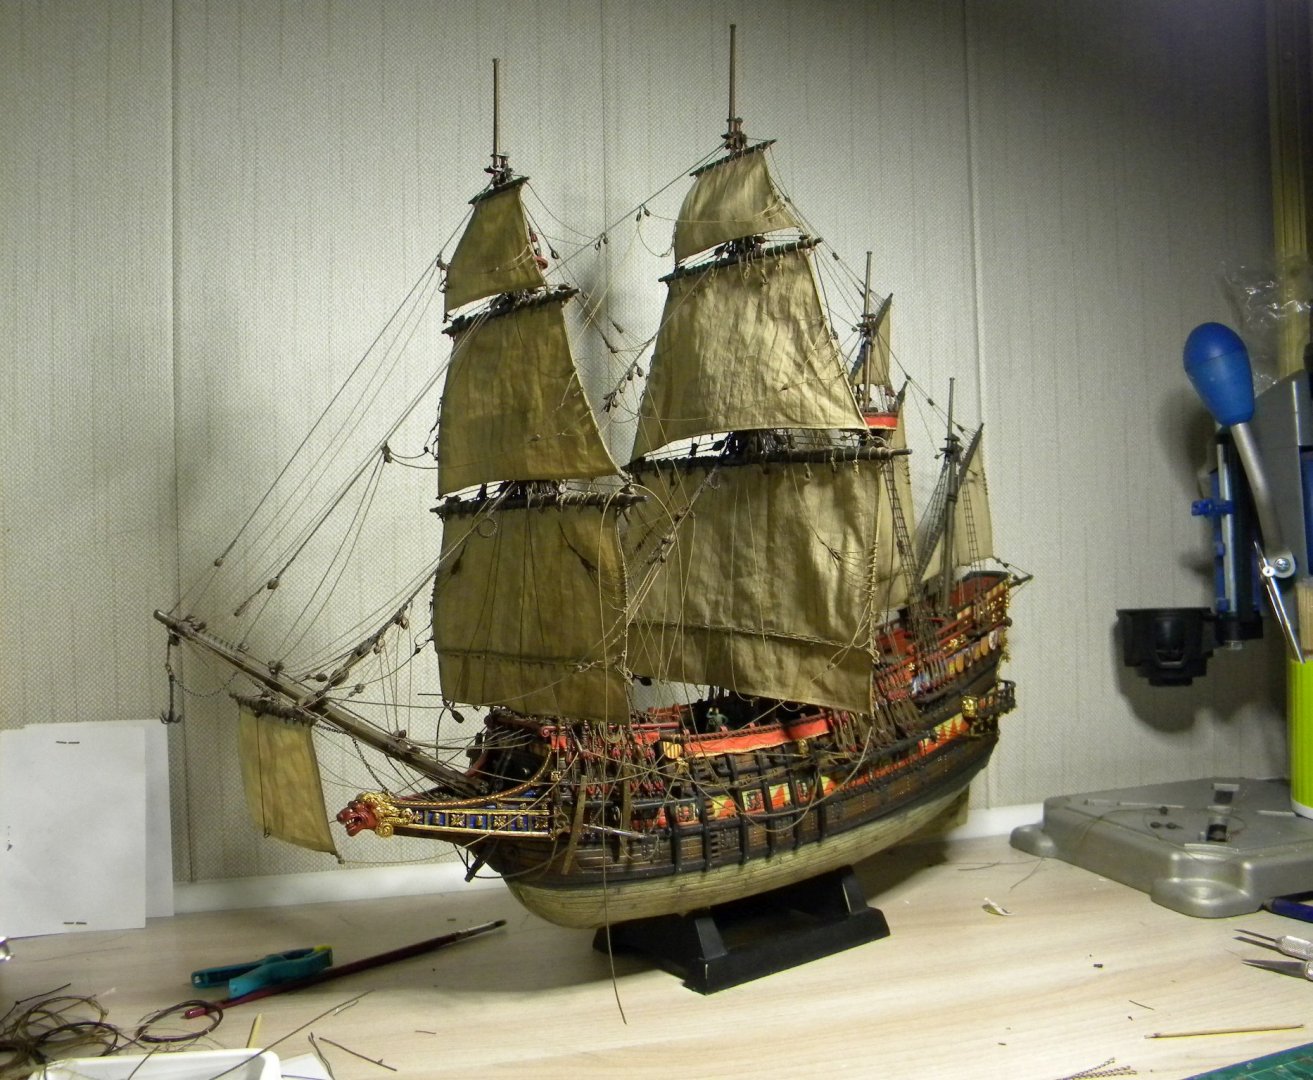
Hello everyone! Johnny, Michael, Thank youvery much for attention and kind comments! Finally I finished with the rigging of the fore and main sheets and the mainsail braces ... and - EVERYTHING !!! it remains to hang the flags, put the bersos in place and come up with something with a stand and the project can be said - completed! :)))


- 228 replies
-
- 10
-
-
- spanish galleon
- lee
- (and 1 more)
-
Good day Michael, Agree, blocks for the lover yards - sails ,we could be found on the market... remains question - blocks for the upper sails ... For that purpose , maybe conventional size of 2.0 mm blocks from the marked could be "adjusted "... ? I saw somebody trimming blocks in the small tin with sand paper plated inside ... fiited on the hand drill and slowly rotating while blocks jumping inside and "machining" .. Unfortunately, I didn't find pictures with action "chain" for the galley ...but this additional ,"action" chain slingds were well known in the past - in the Landstrem book "Vasa" You could see illustration of" Tre Croner" - in description of the rigging, He mentioned chain sling for the lower yards which clearly could be seen on the picture...
- 222 replies
-
- 2
-
-
- reale de france
- heller
- (and 1 more)
-
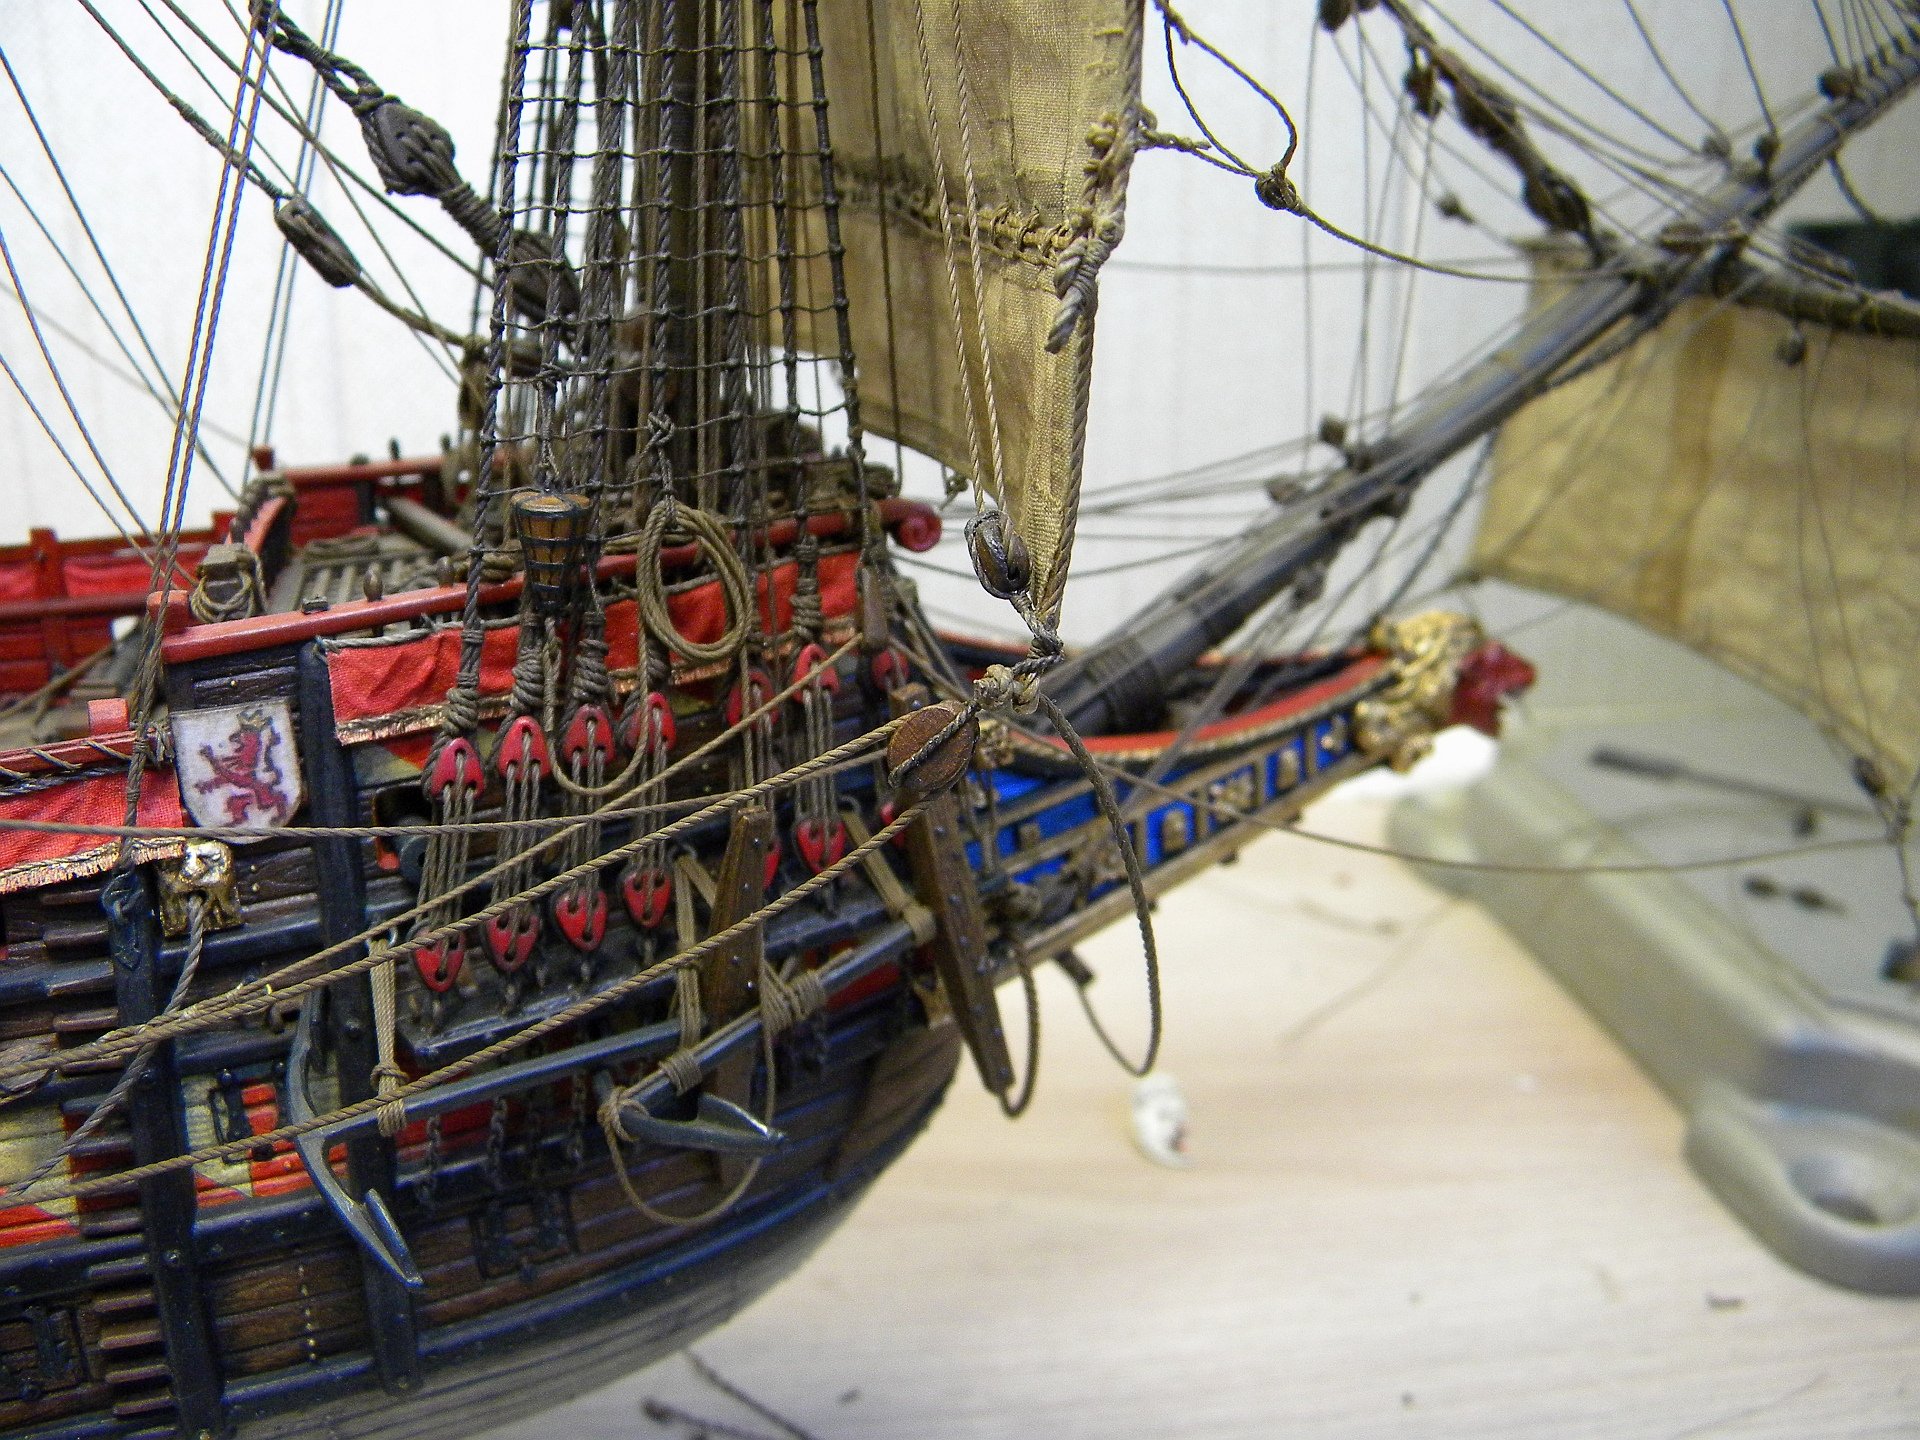
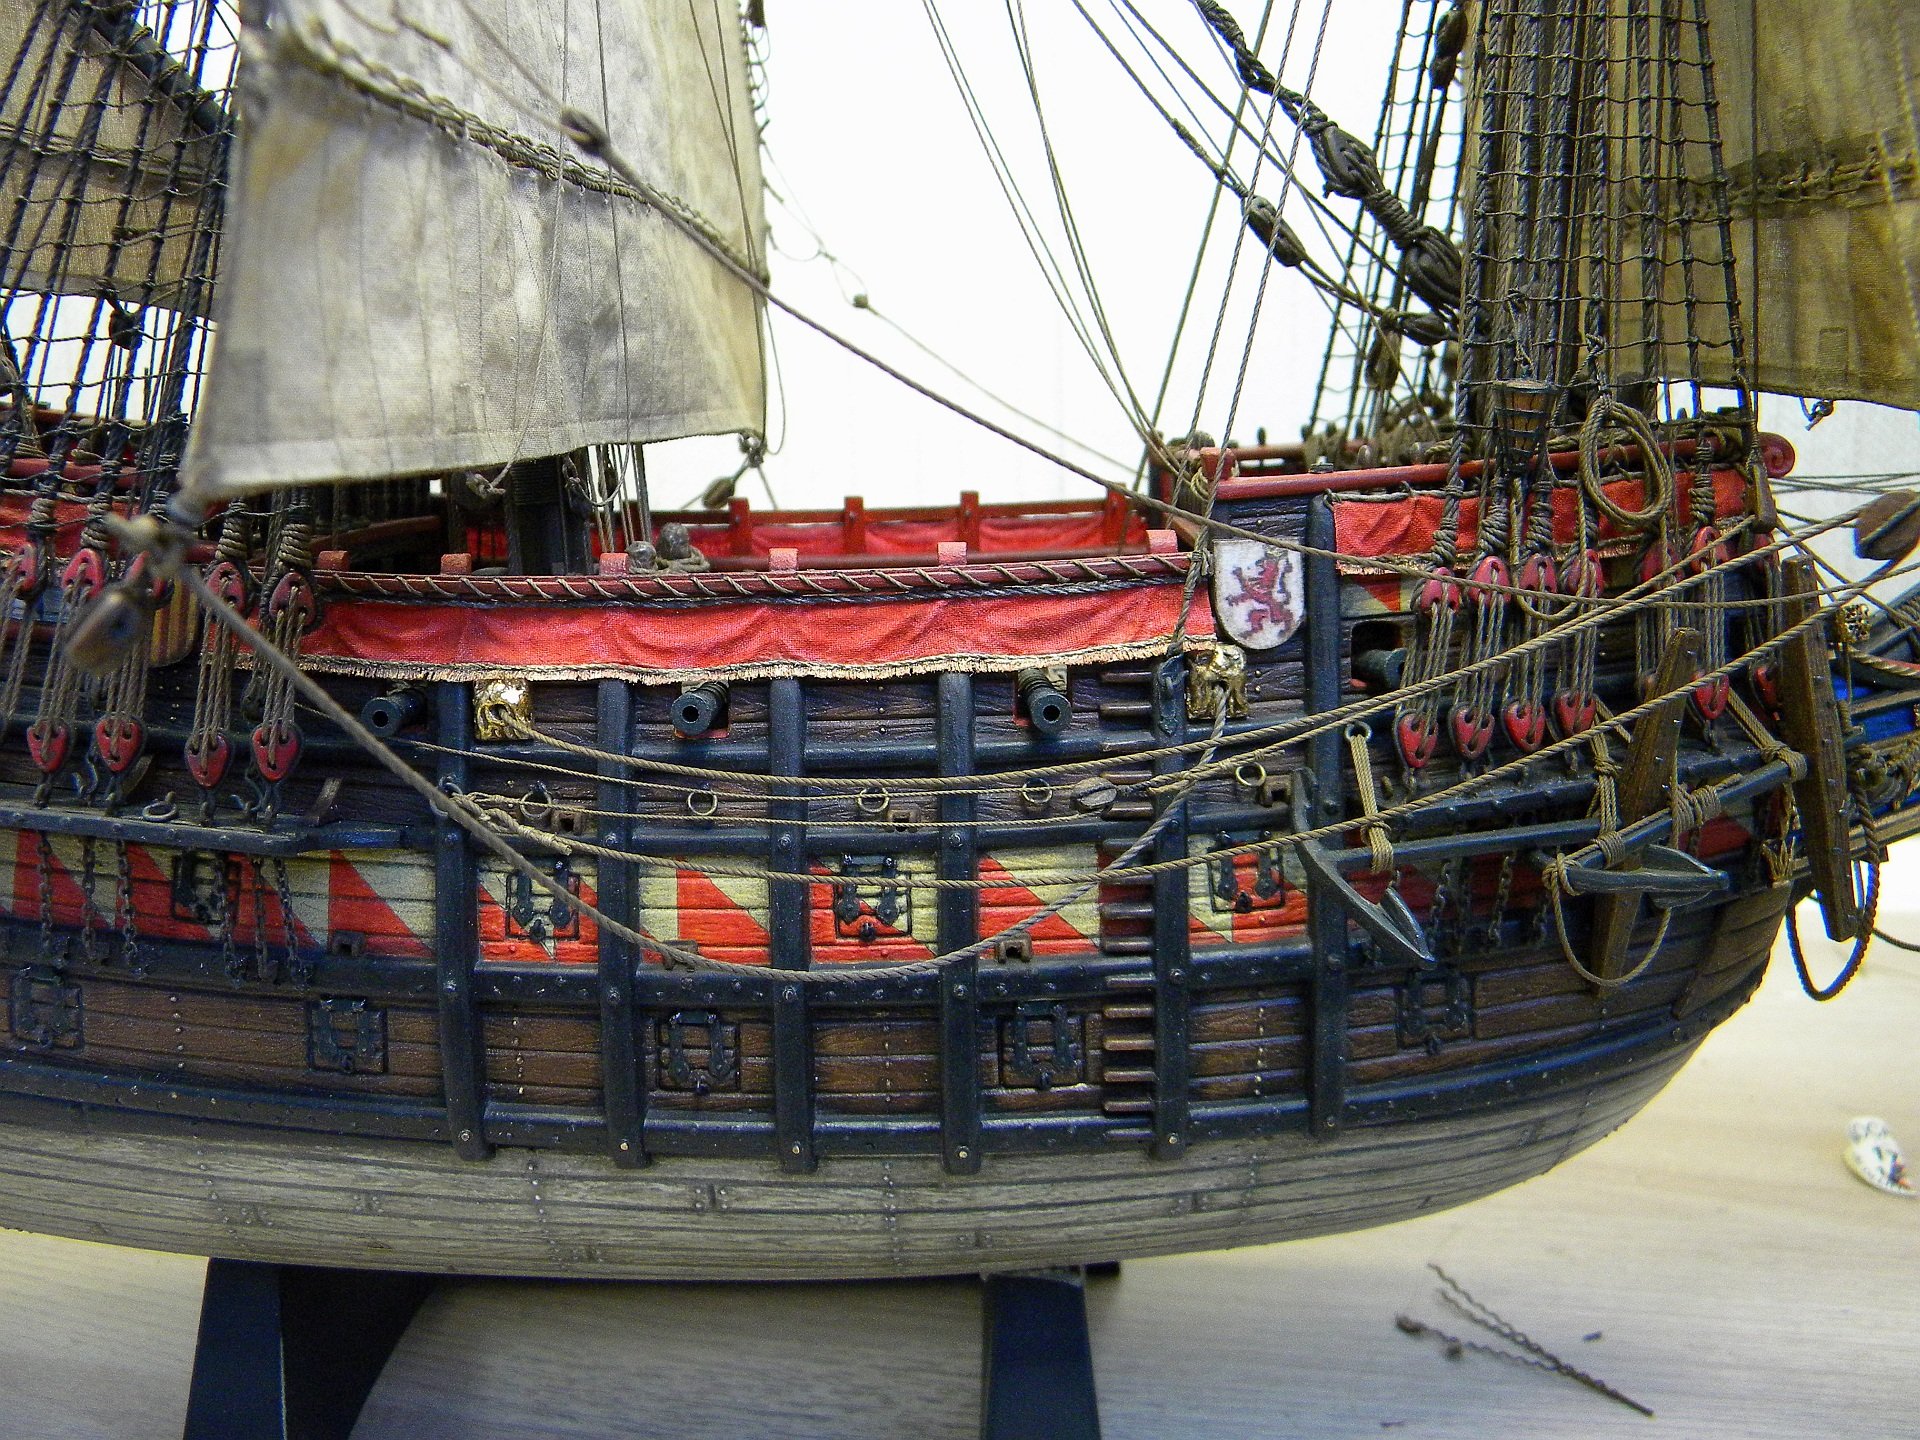
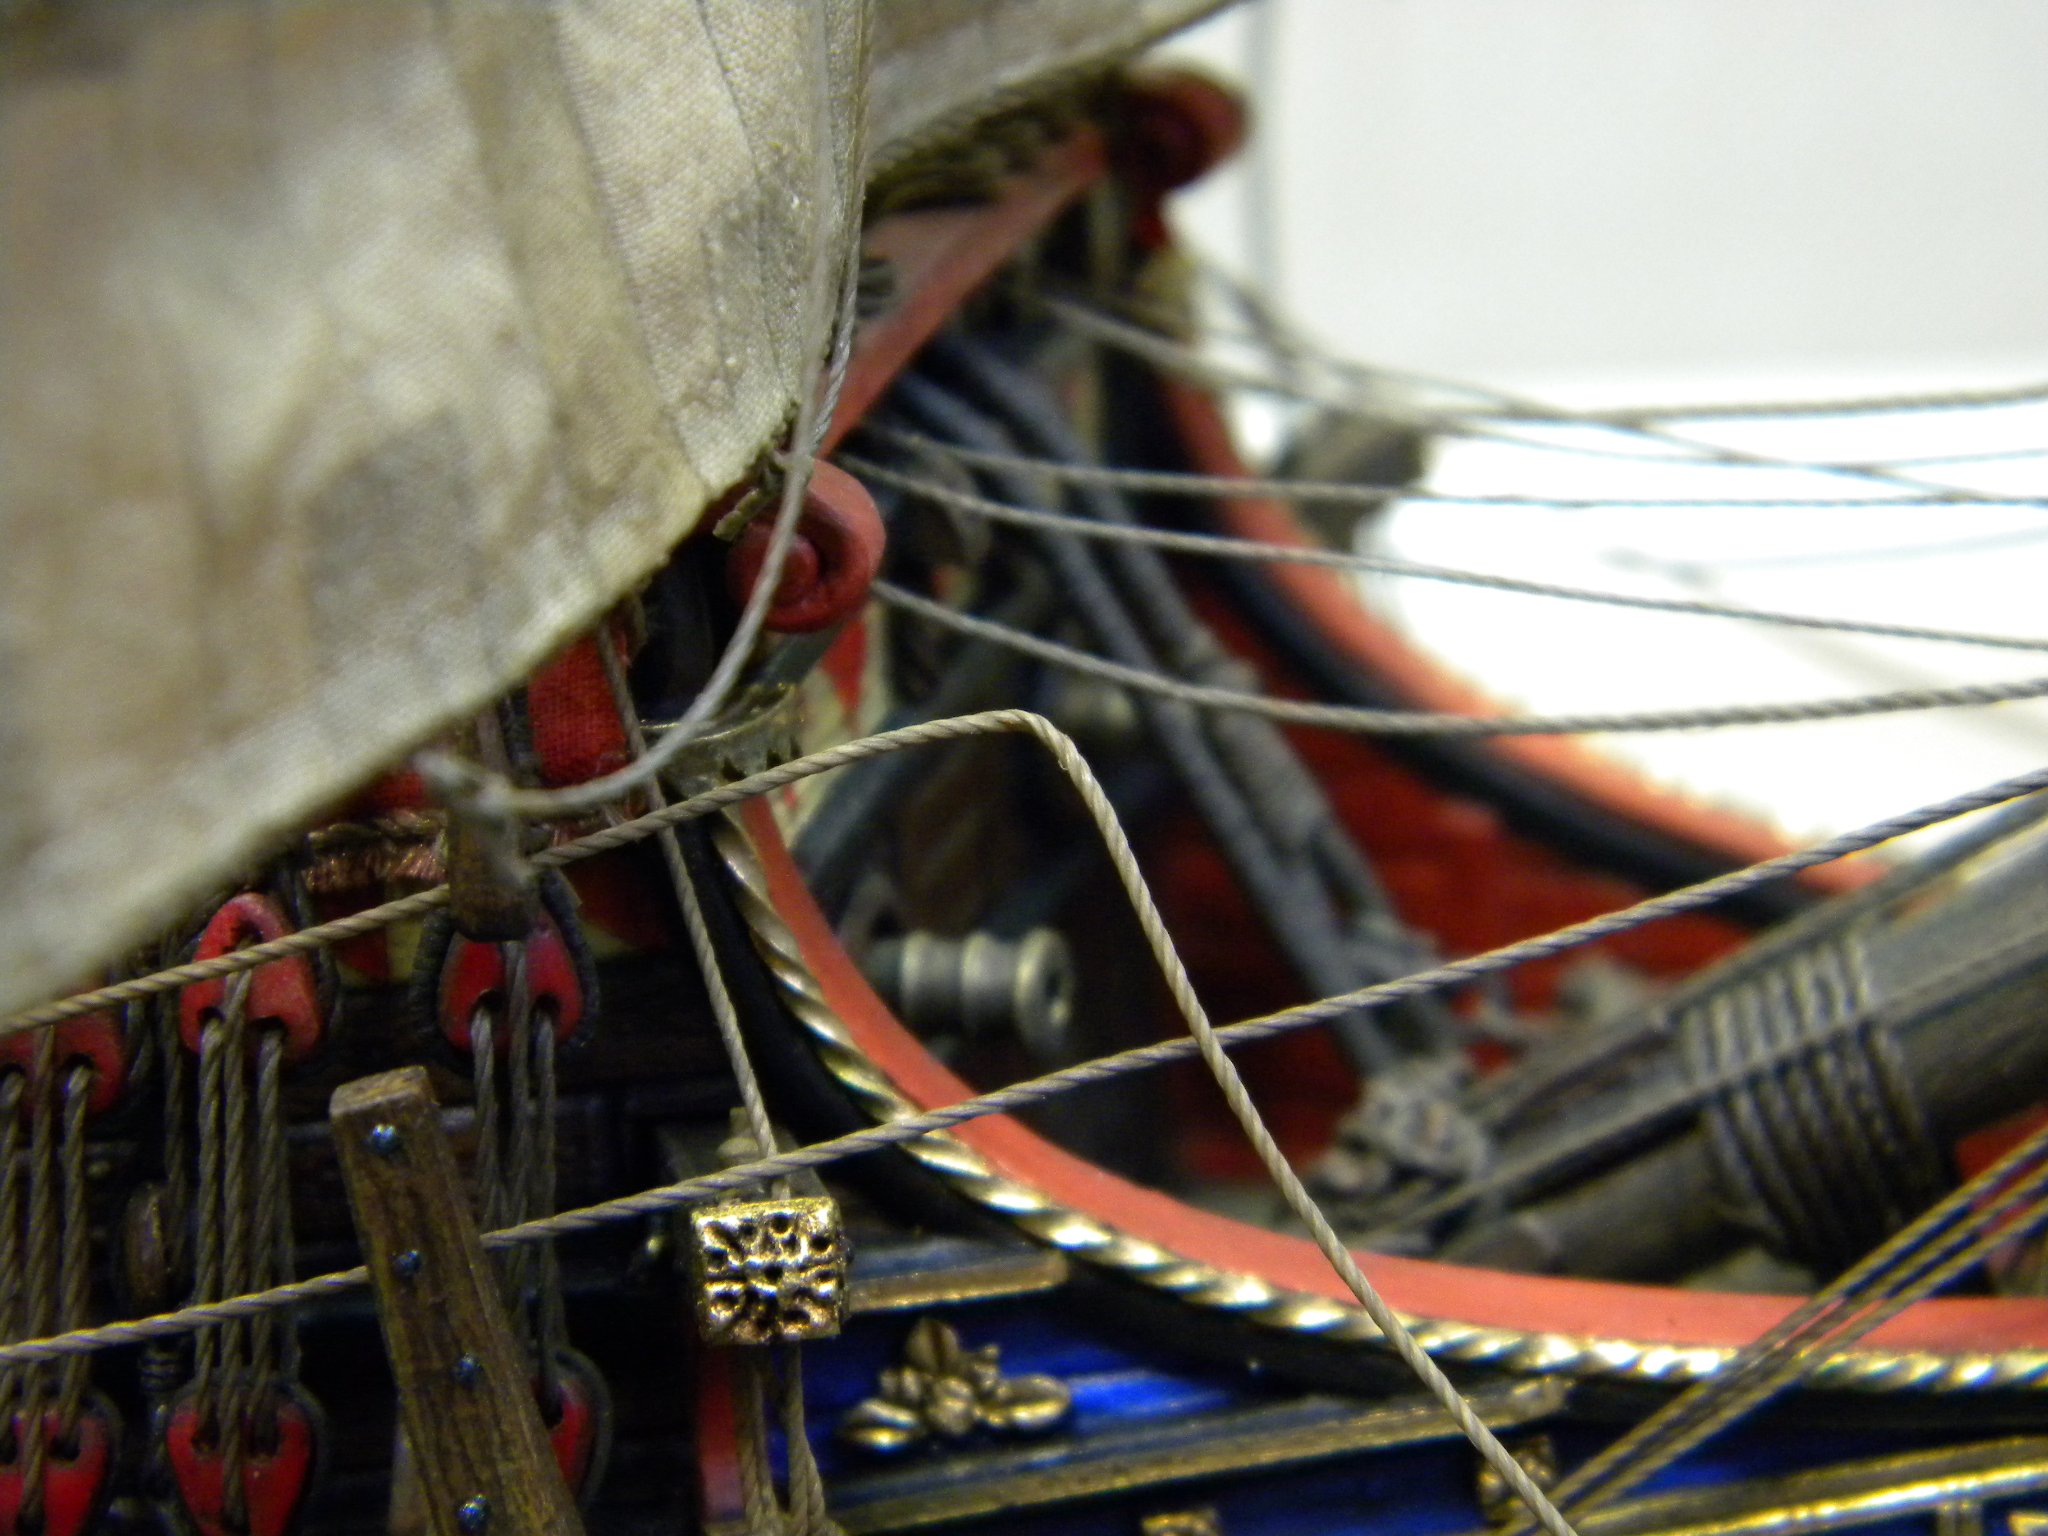
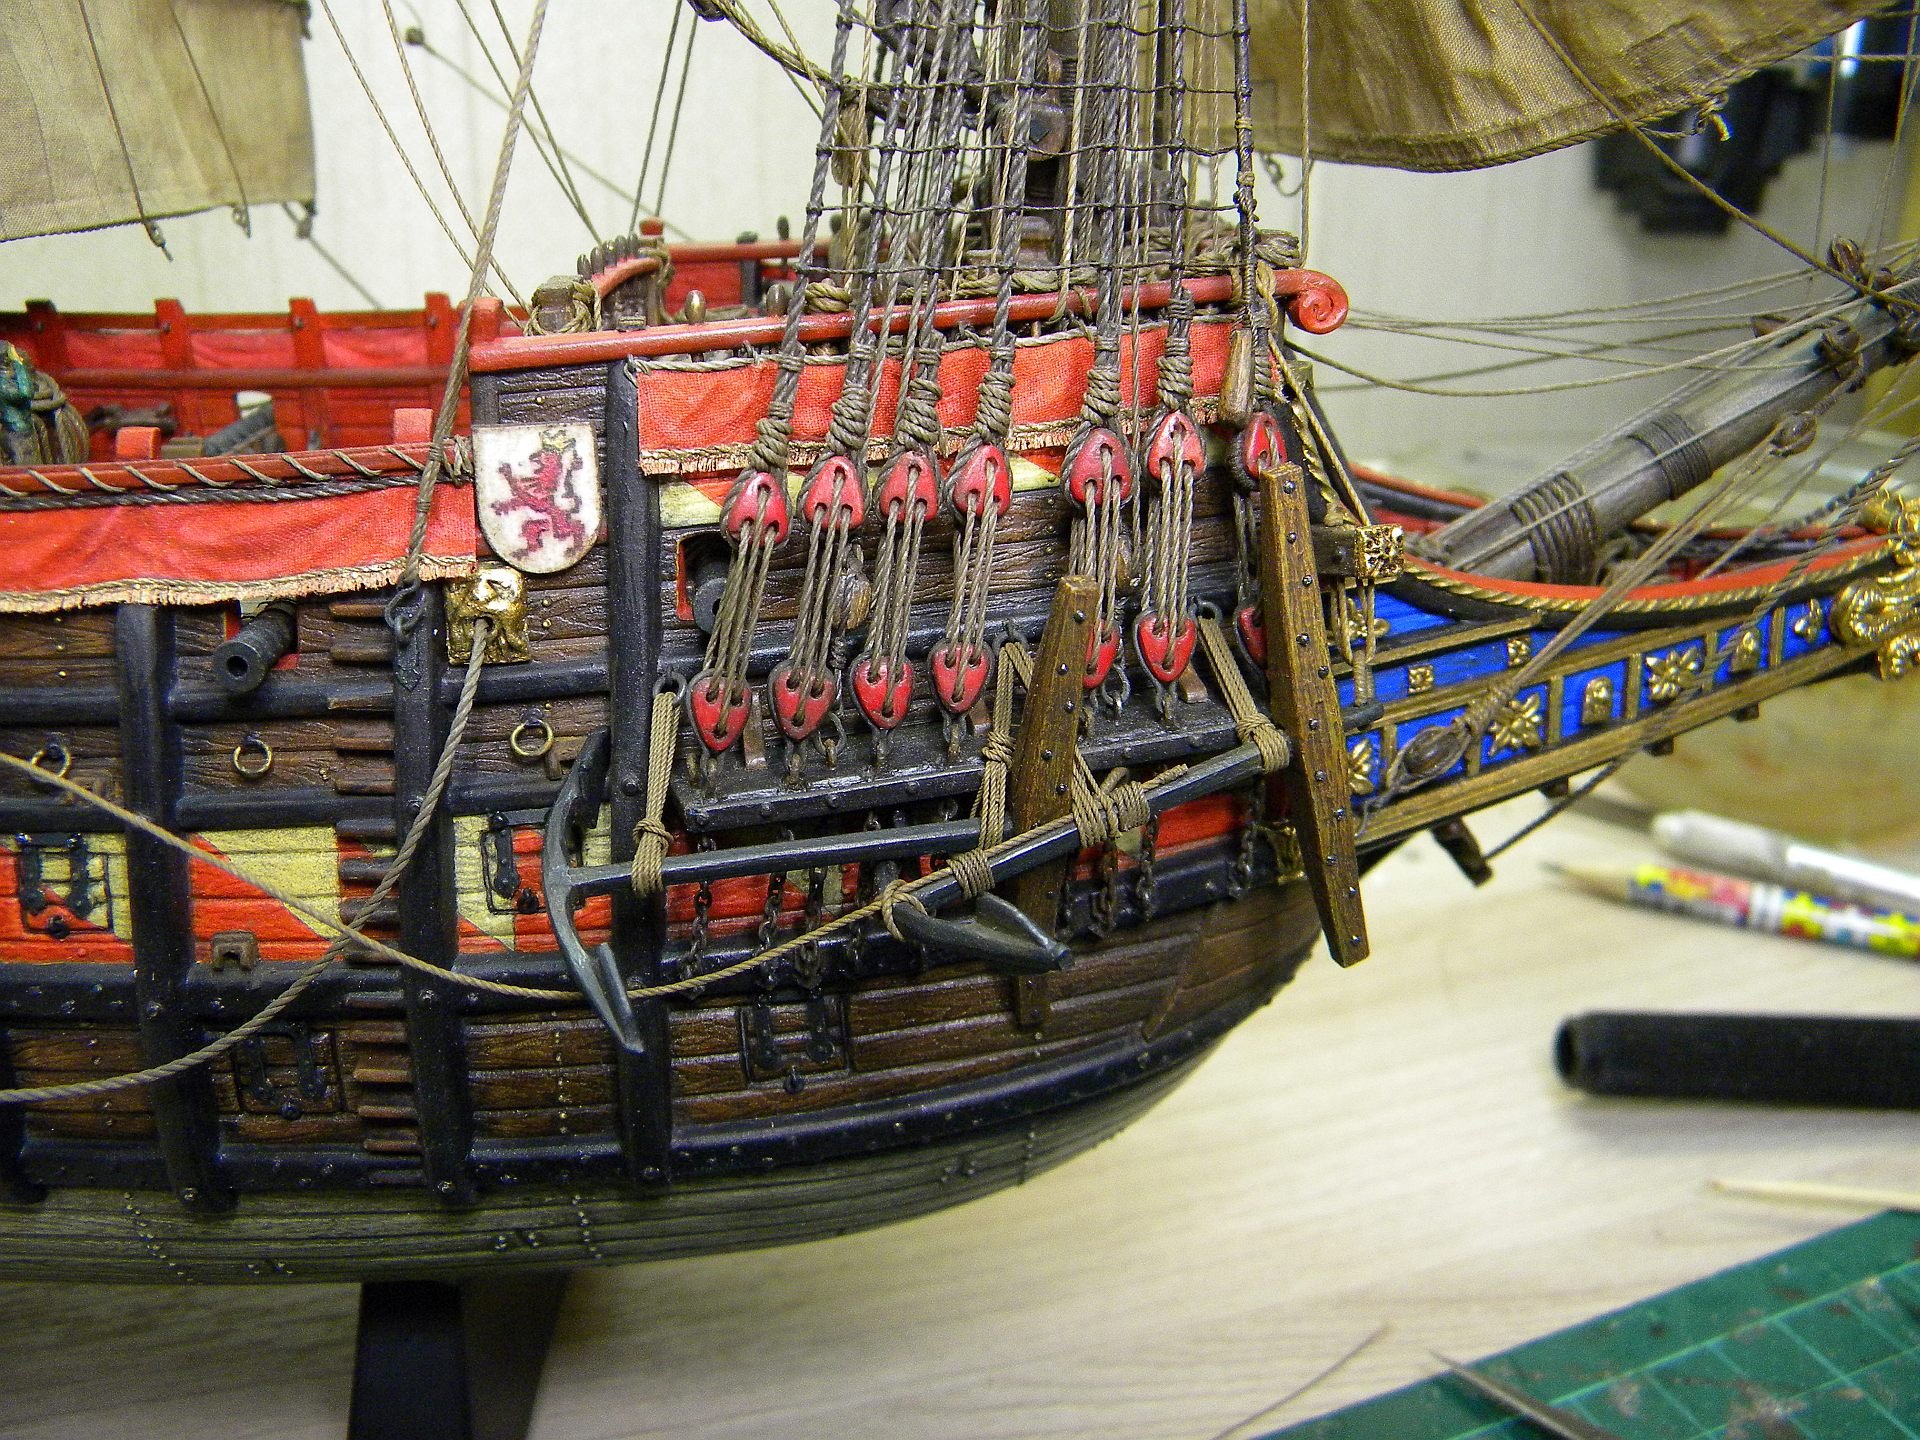
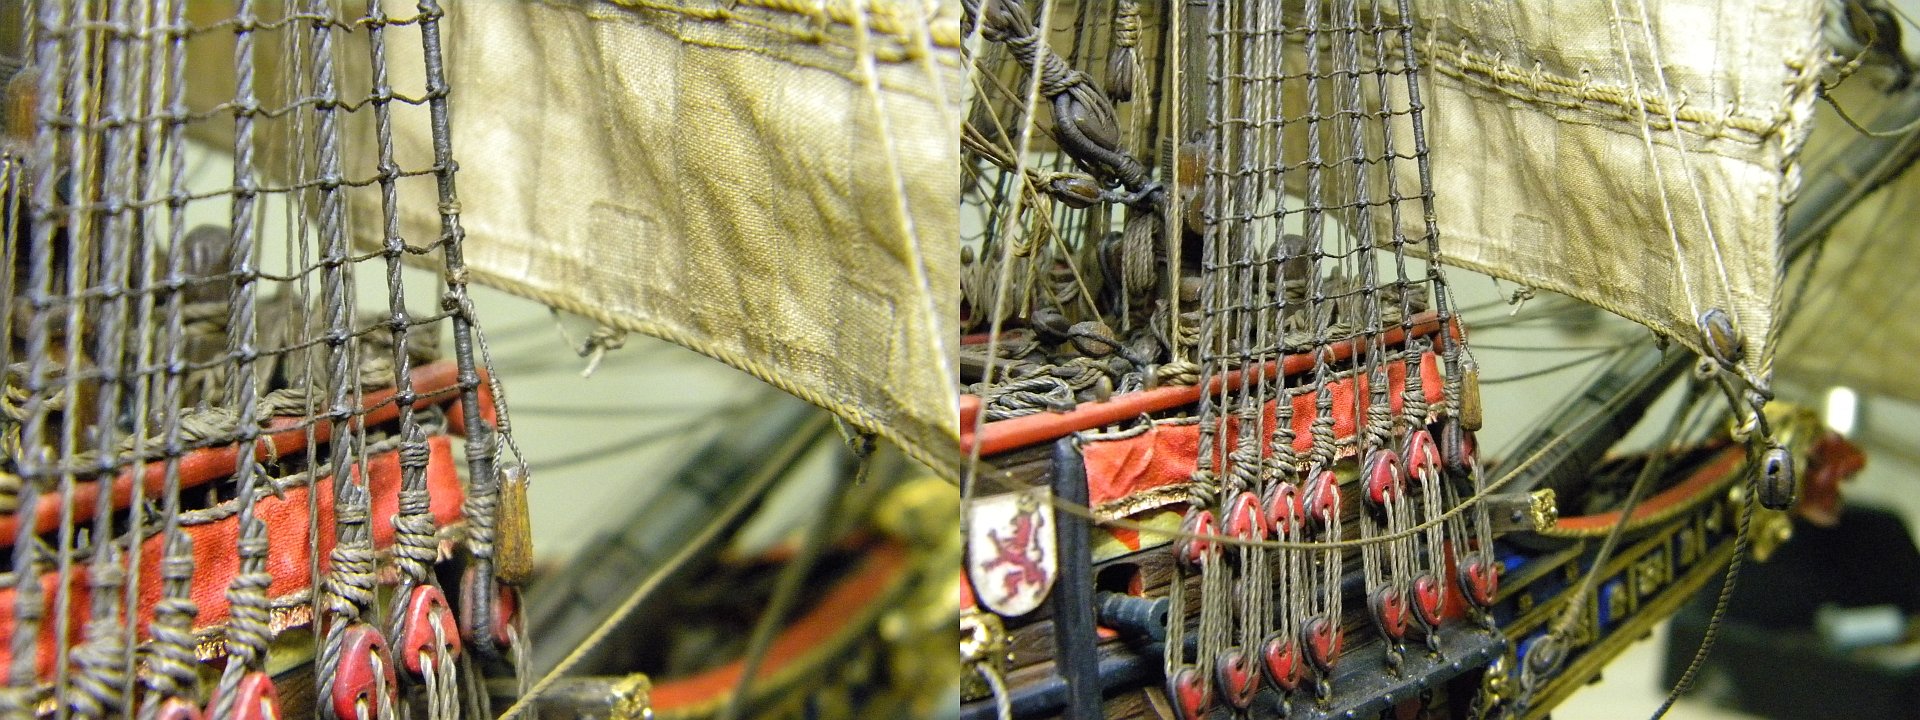
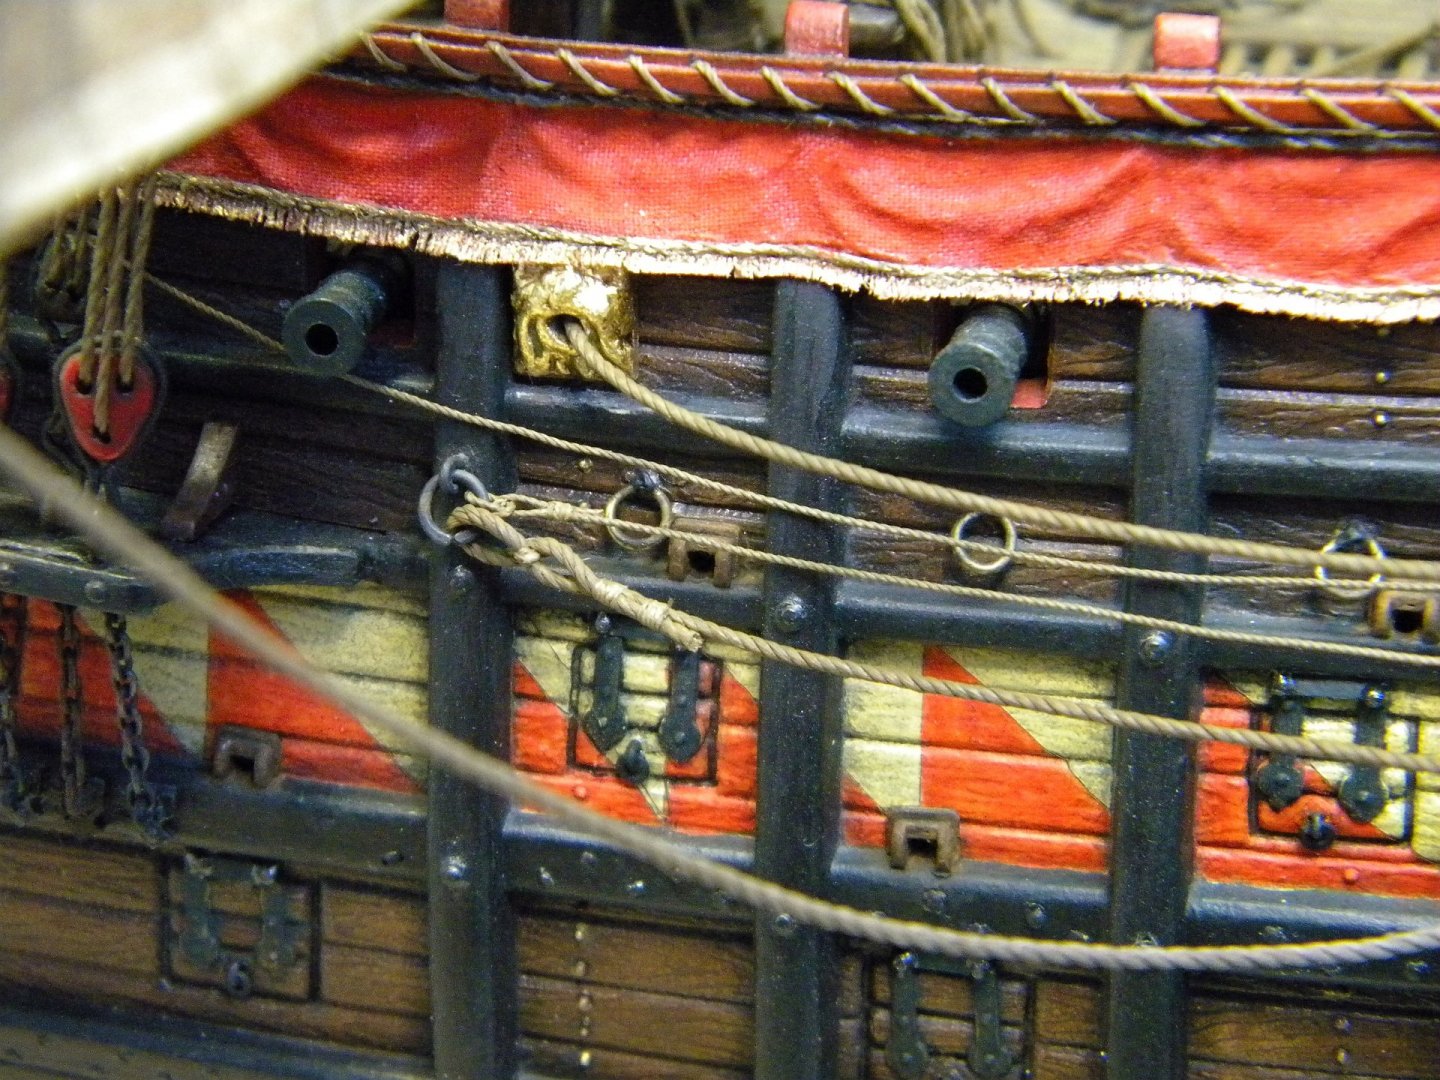
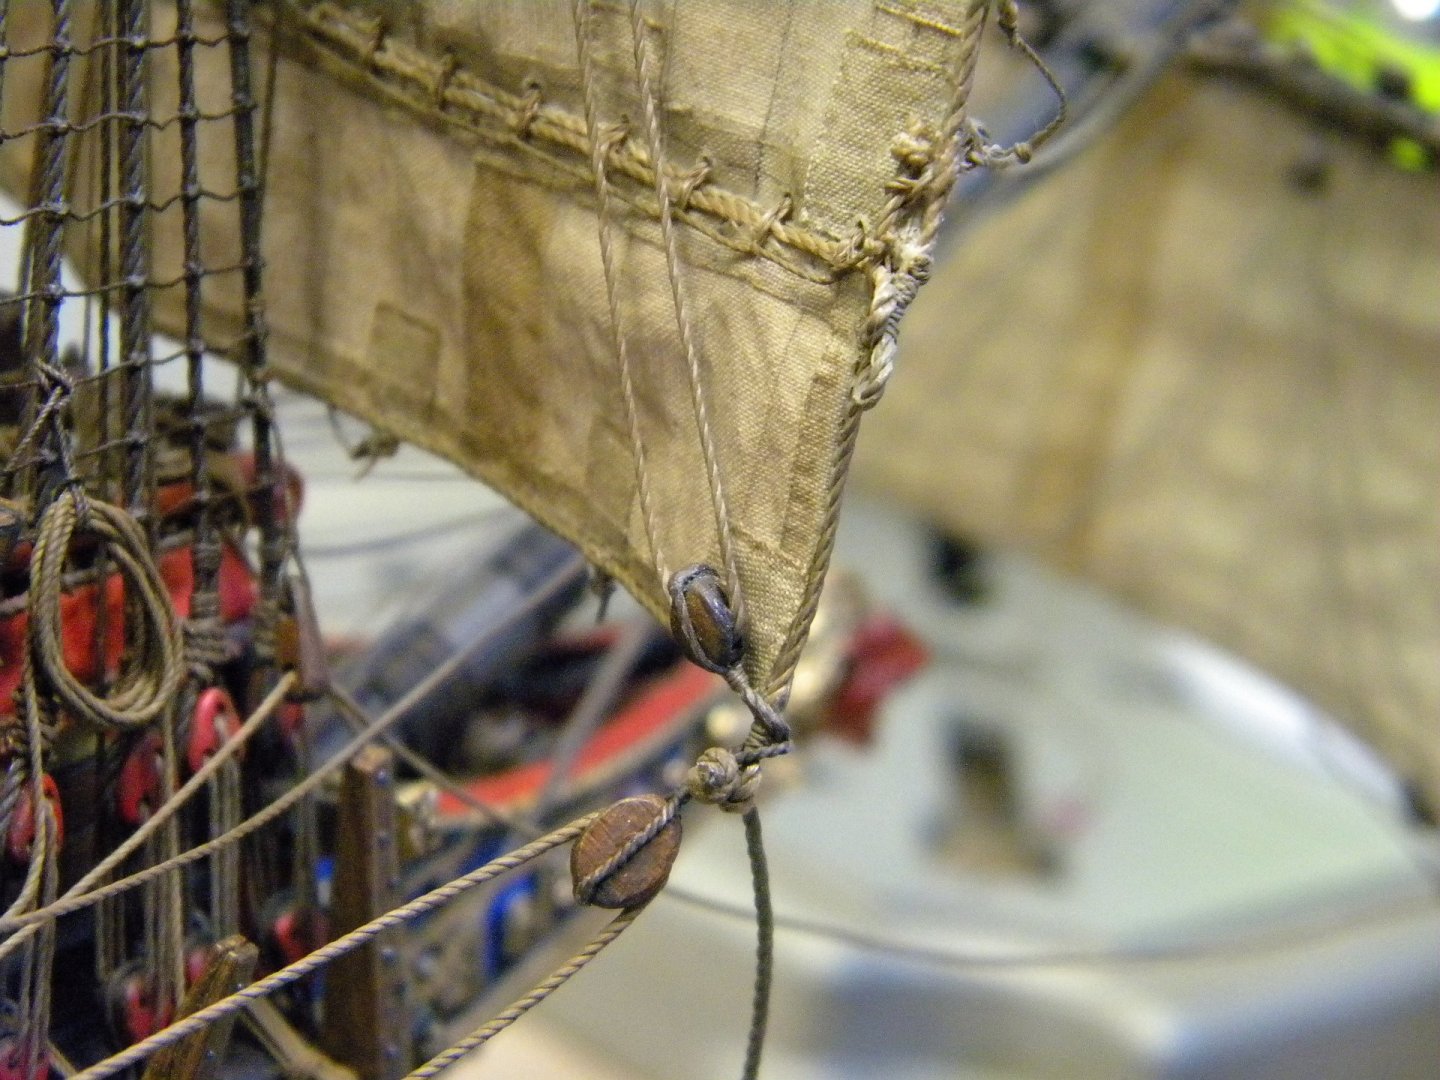
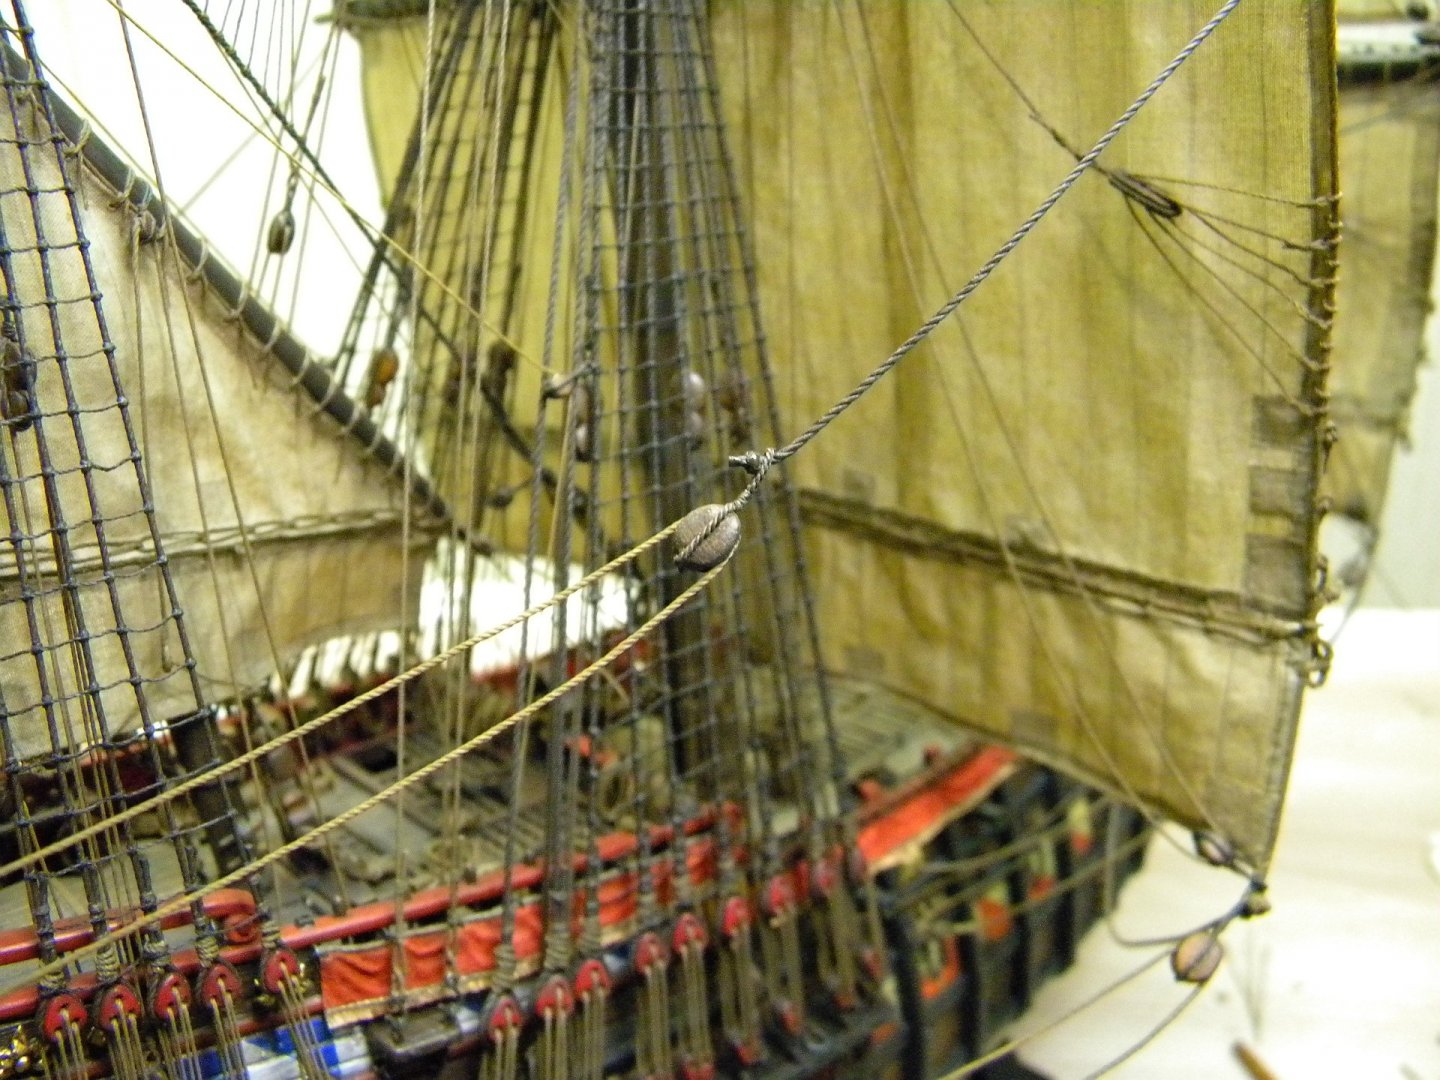
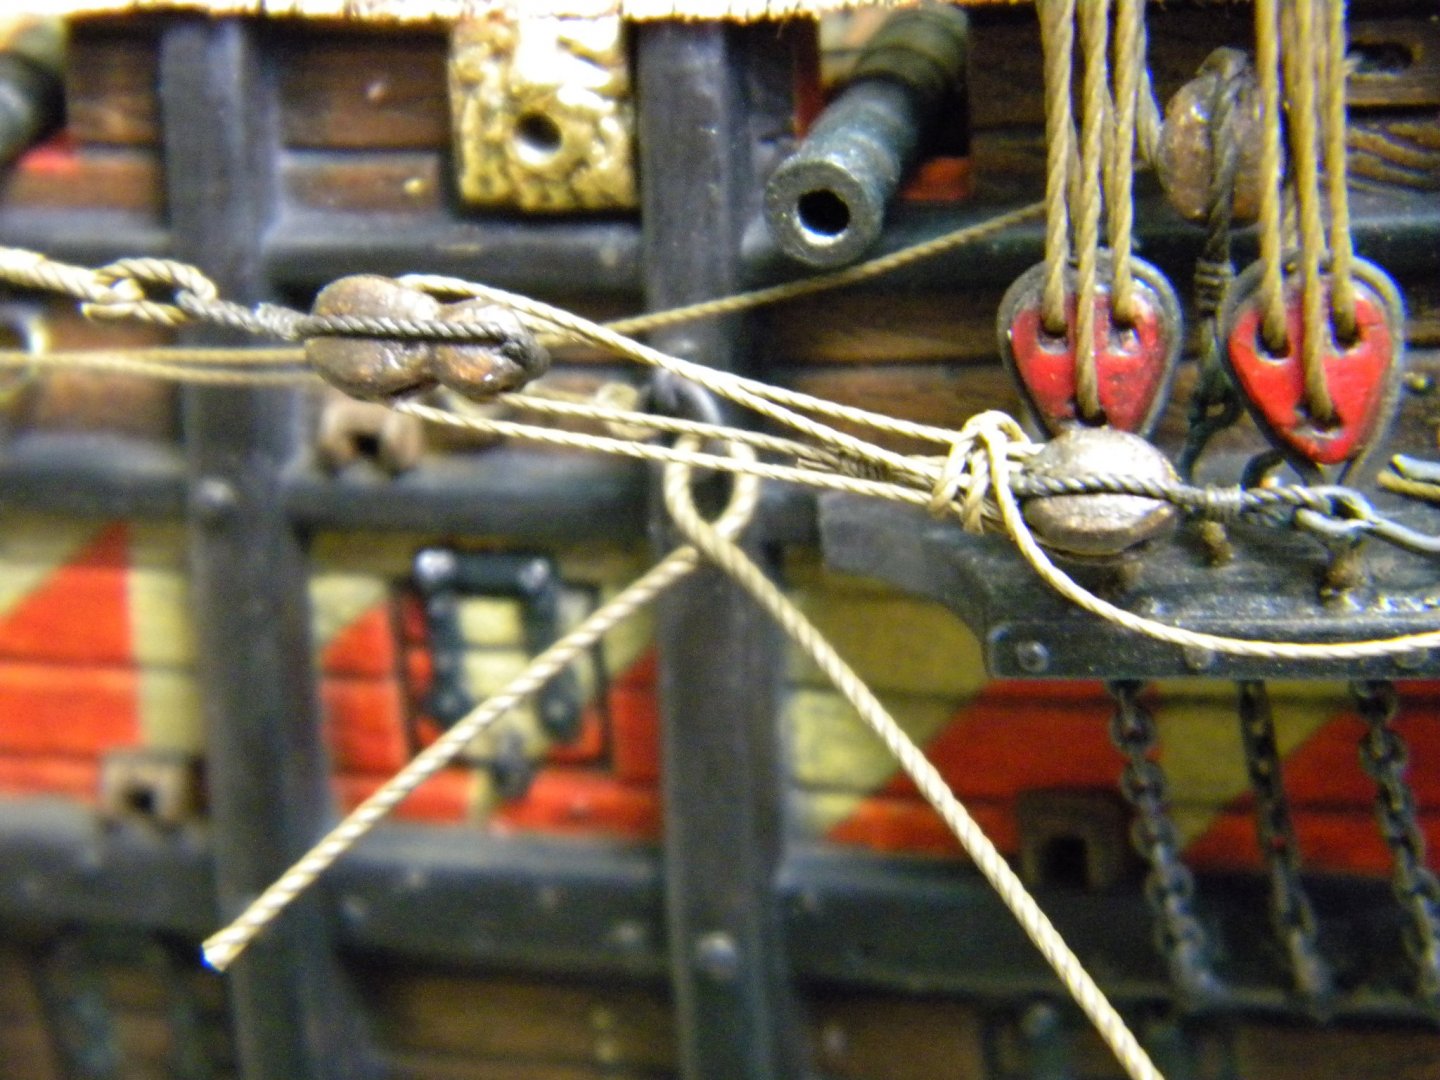
Good day, Dear all, Continue with spritsail, fore and main sails sheets and braces rigging ... during seizing all critical points secured by CA gel ...


- 228 replies
-
- 7
-
-

-
- spanish galleon
- lee
- (and 1 more)
-
When buing blocks for Vasa... there is not so big choice as I know... triangle deadeyes not exist in this scale...smallest block size - 2 mm could be found only ...which is not sufficient to rig model in this scale... The only way I could see - made them itself , as option epoxy casting using own master models?..?
- 222 replies
-
- 1
-
-
- reale de france
- heller
- (and 1 more)
-
OH YES!!! Marc, Agree with You!!! :))) Michael, Davits color made such different from othe wooden elements, in purpose?
- 222 replies
-
- 1
-
-
- reale de france
- heller
- (and 1 more)
-
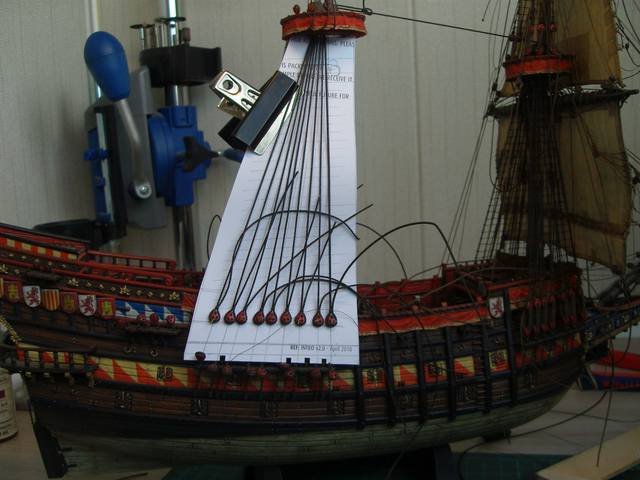
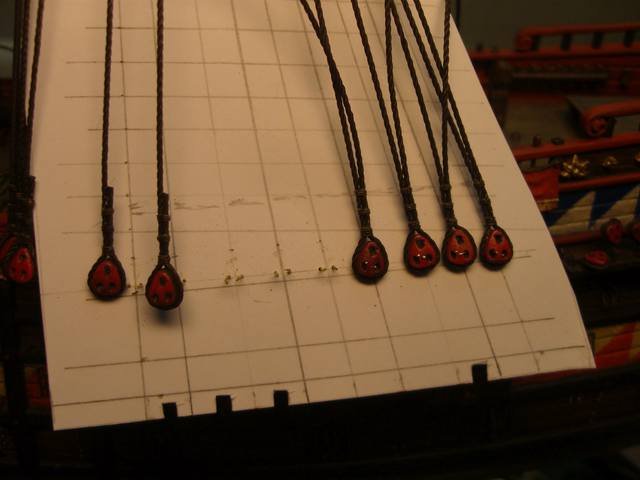
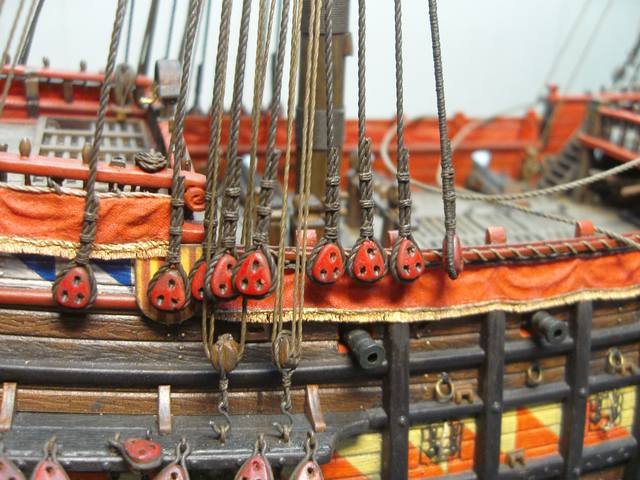
Good day, Dear Tom, Your assistants Looks very impressive!!! Never saw this kind of helping hands Looks very usefull in use! For shroud making, why don't You use carton pattern with preliminary positioned deadeyes and drawn shrouds positions? It is much handy for proper adjustment shrouds length, than make each shroud individual... *and using such pattern You will find correct position of futtock chains as well, now they look like placed wrong, consider your foto...they need to be in line with corresponding shrouds *I understood You didn't secured mast permanently,not clued in place ? When start rigging shrouds? if not , as seems to me ,may be will be better first to secure it in correct position ,with necessary angle...and than start rigging? All the Best! Kirill on the foto making shrouds with carton pattern.... may be this experience will work for You as well...I found it some time ago in one of shipmodelling forum...

- 135 replies
-
- 4
-
-
- billing boats
- half moon
- (and 1 more)
-
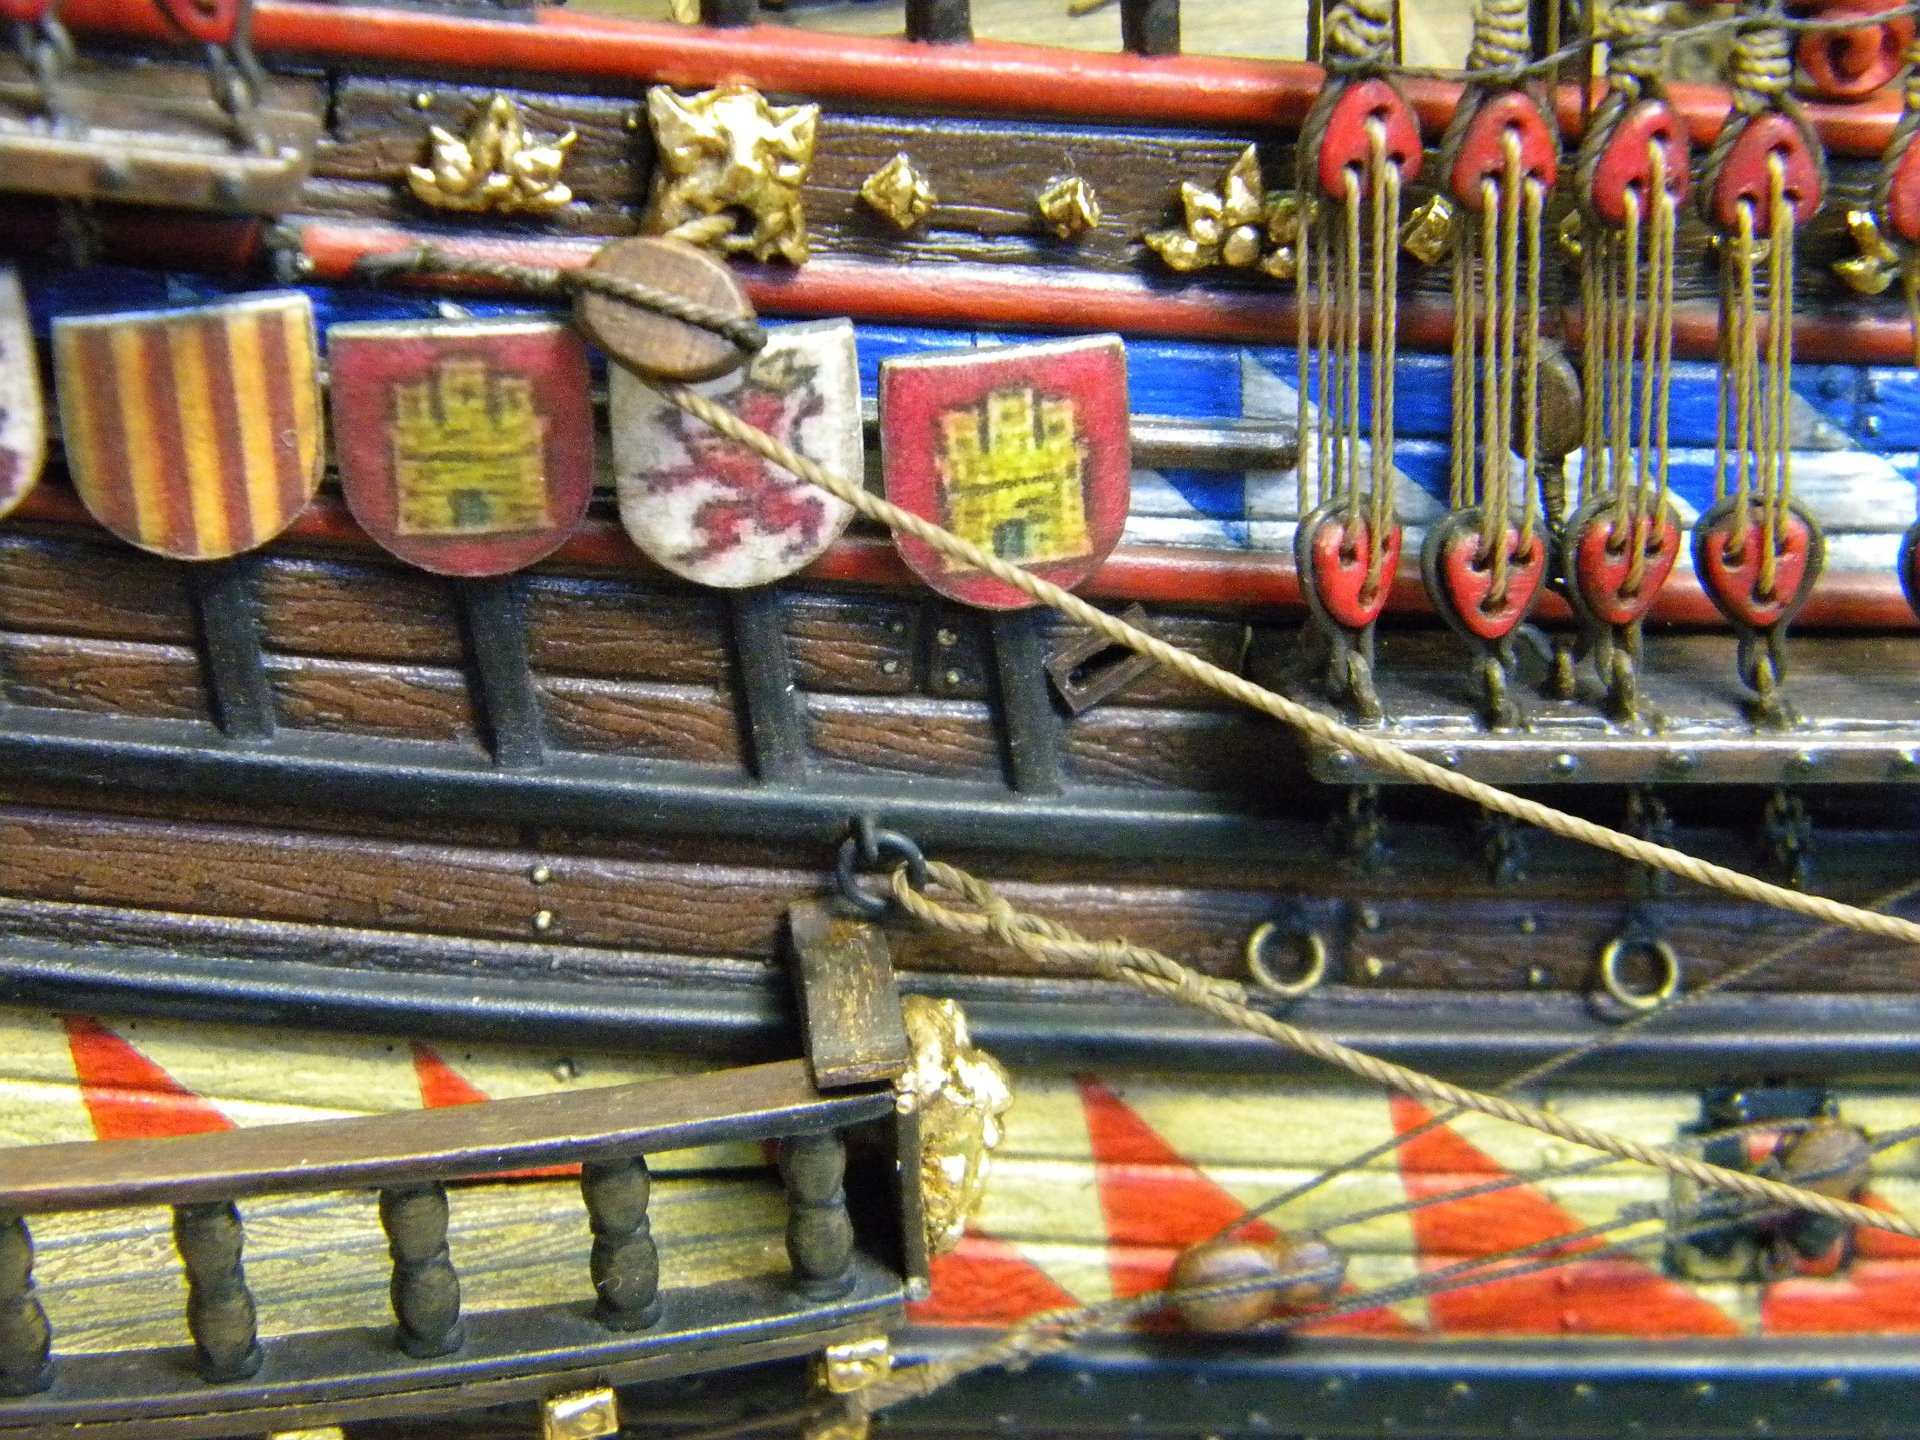
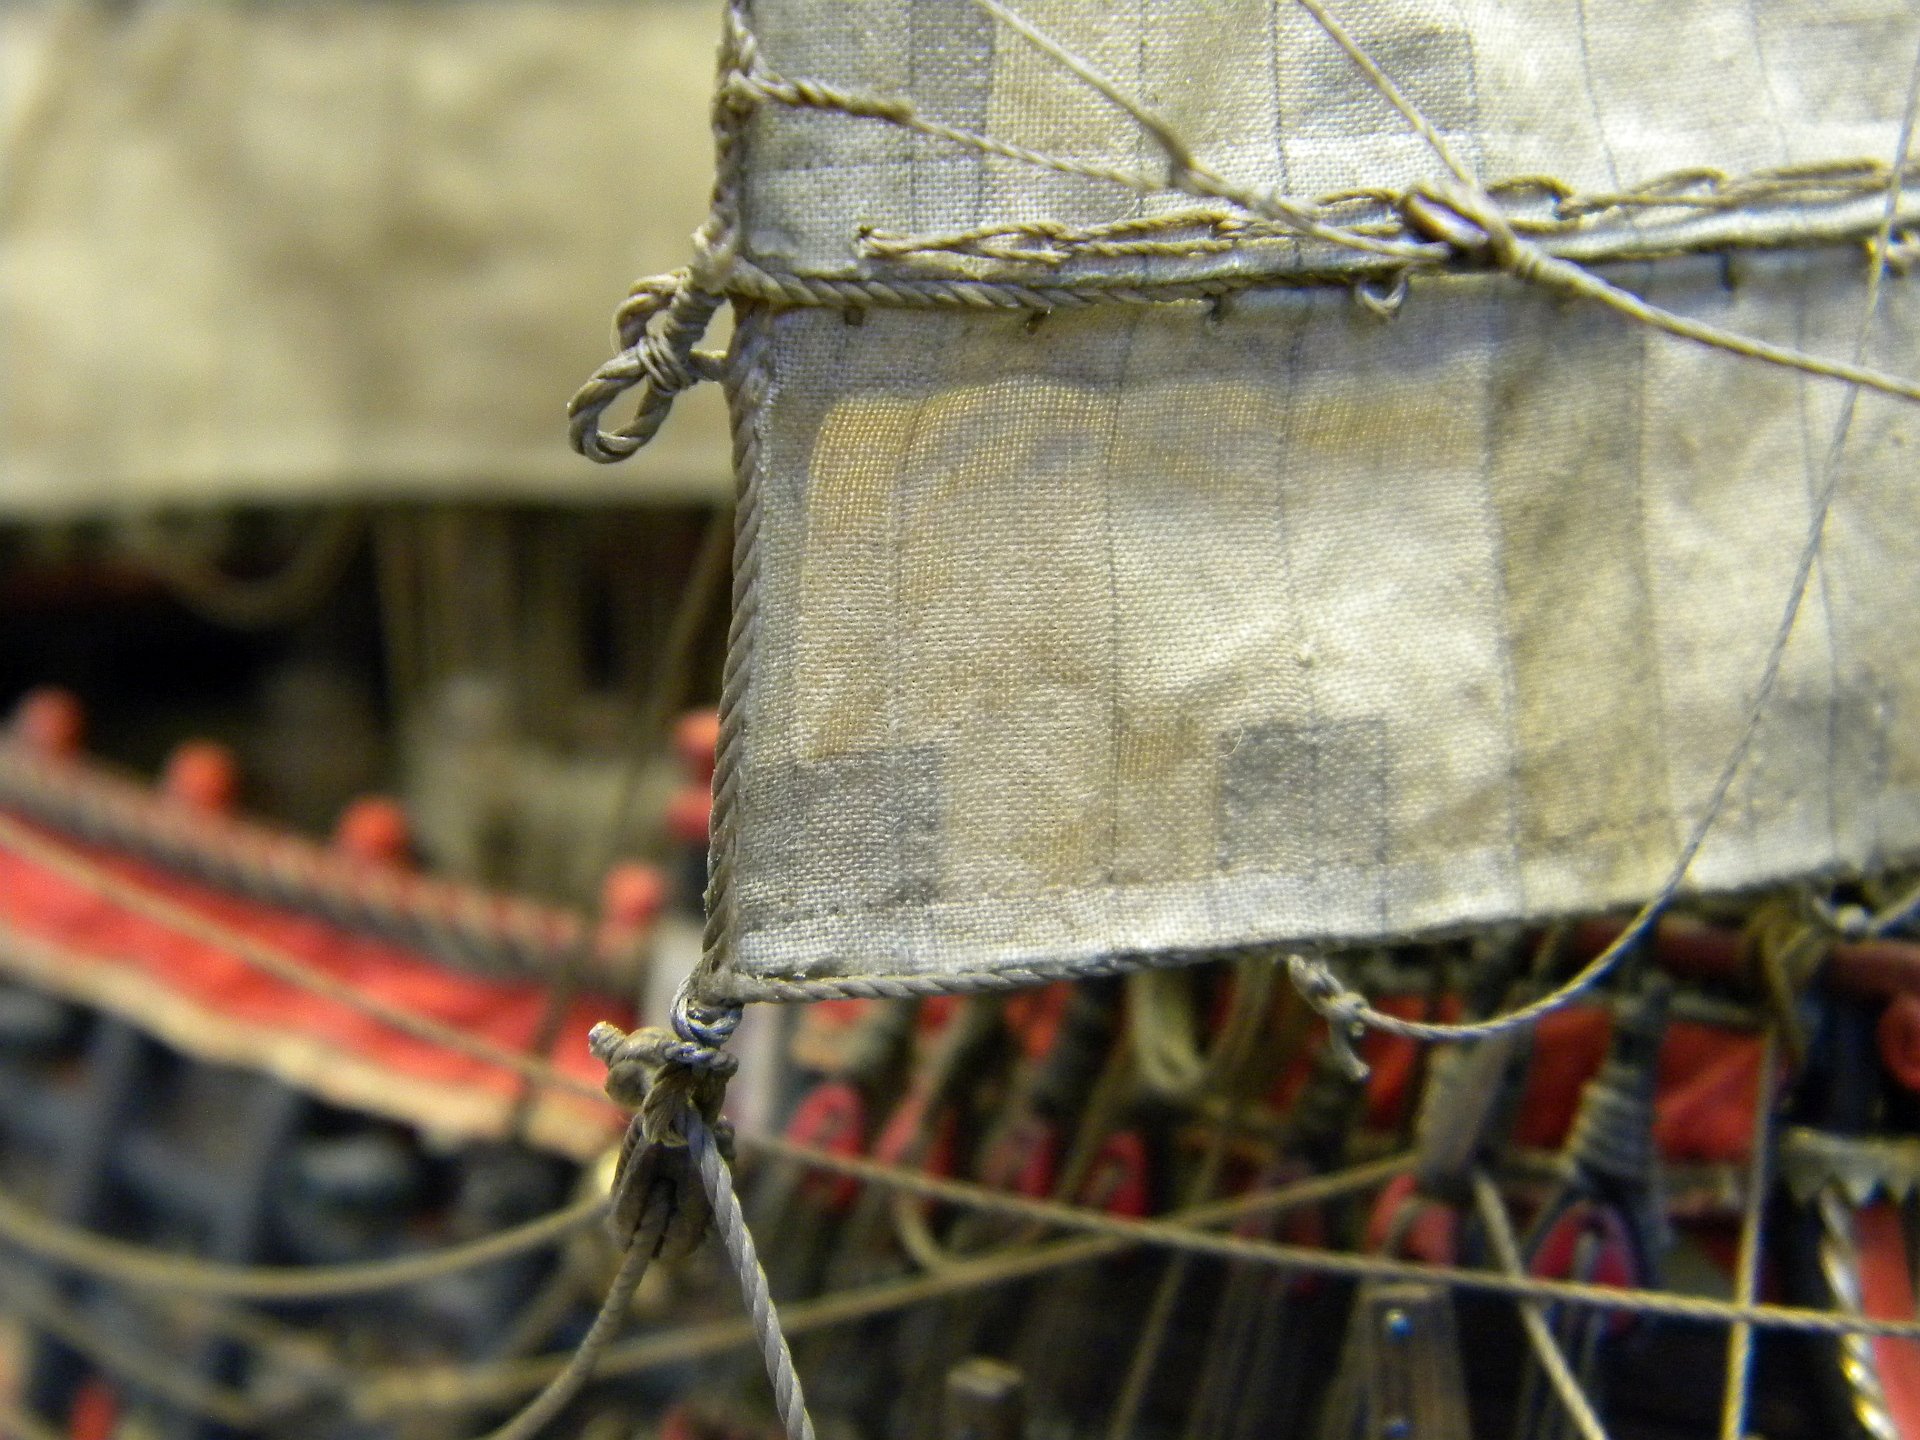
Good day, Regarding ropes color - in general, I think , this brown color will be more suitable for this period than black color.... With pure fabric sewing thread there is a weak point , they are too loosen in structure...and in the small scale model they will not looks nice at all... I ve made this mistake as well on my model when desided to use orginal sewing thread just strait from the drum( painted them only) Now I know that it would be better to treat them a little bit before paint and use, or even to make your own rope... Somewhere in the middle of my building I found the way how to improve appearance of the sewing thread a little bit You need to secure firmly one end of the piece of thread ,1 mtr long approx, somewhere... strait the line keeping it in hand...and start twisting it by fingers as much as possible continue keeping it strait... When thread structure became much more tight, you need start slowly pulling it with max resonable force just sufficient don't destroy it , you will feel limit, when need to stop pulling...and keep it in this loaded state for a few sec...and than slowly release it. When it is loaded, I apply paint / stain as well, to make it colored in desired color. in result , your sewing thread became more tight in structure, more looking like real rope... it will be of couse less quality compare to rope machine made ropes, but better than ordinary sewing thread ... All this concerning sintetic only, not cotton threads.
-
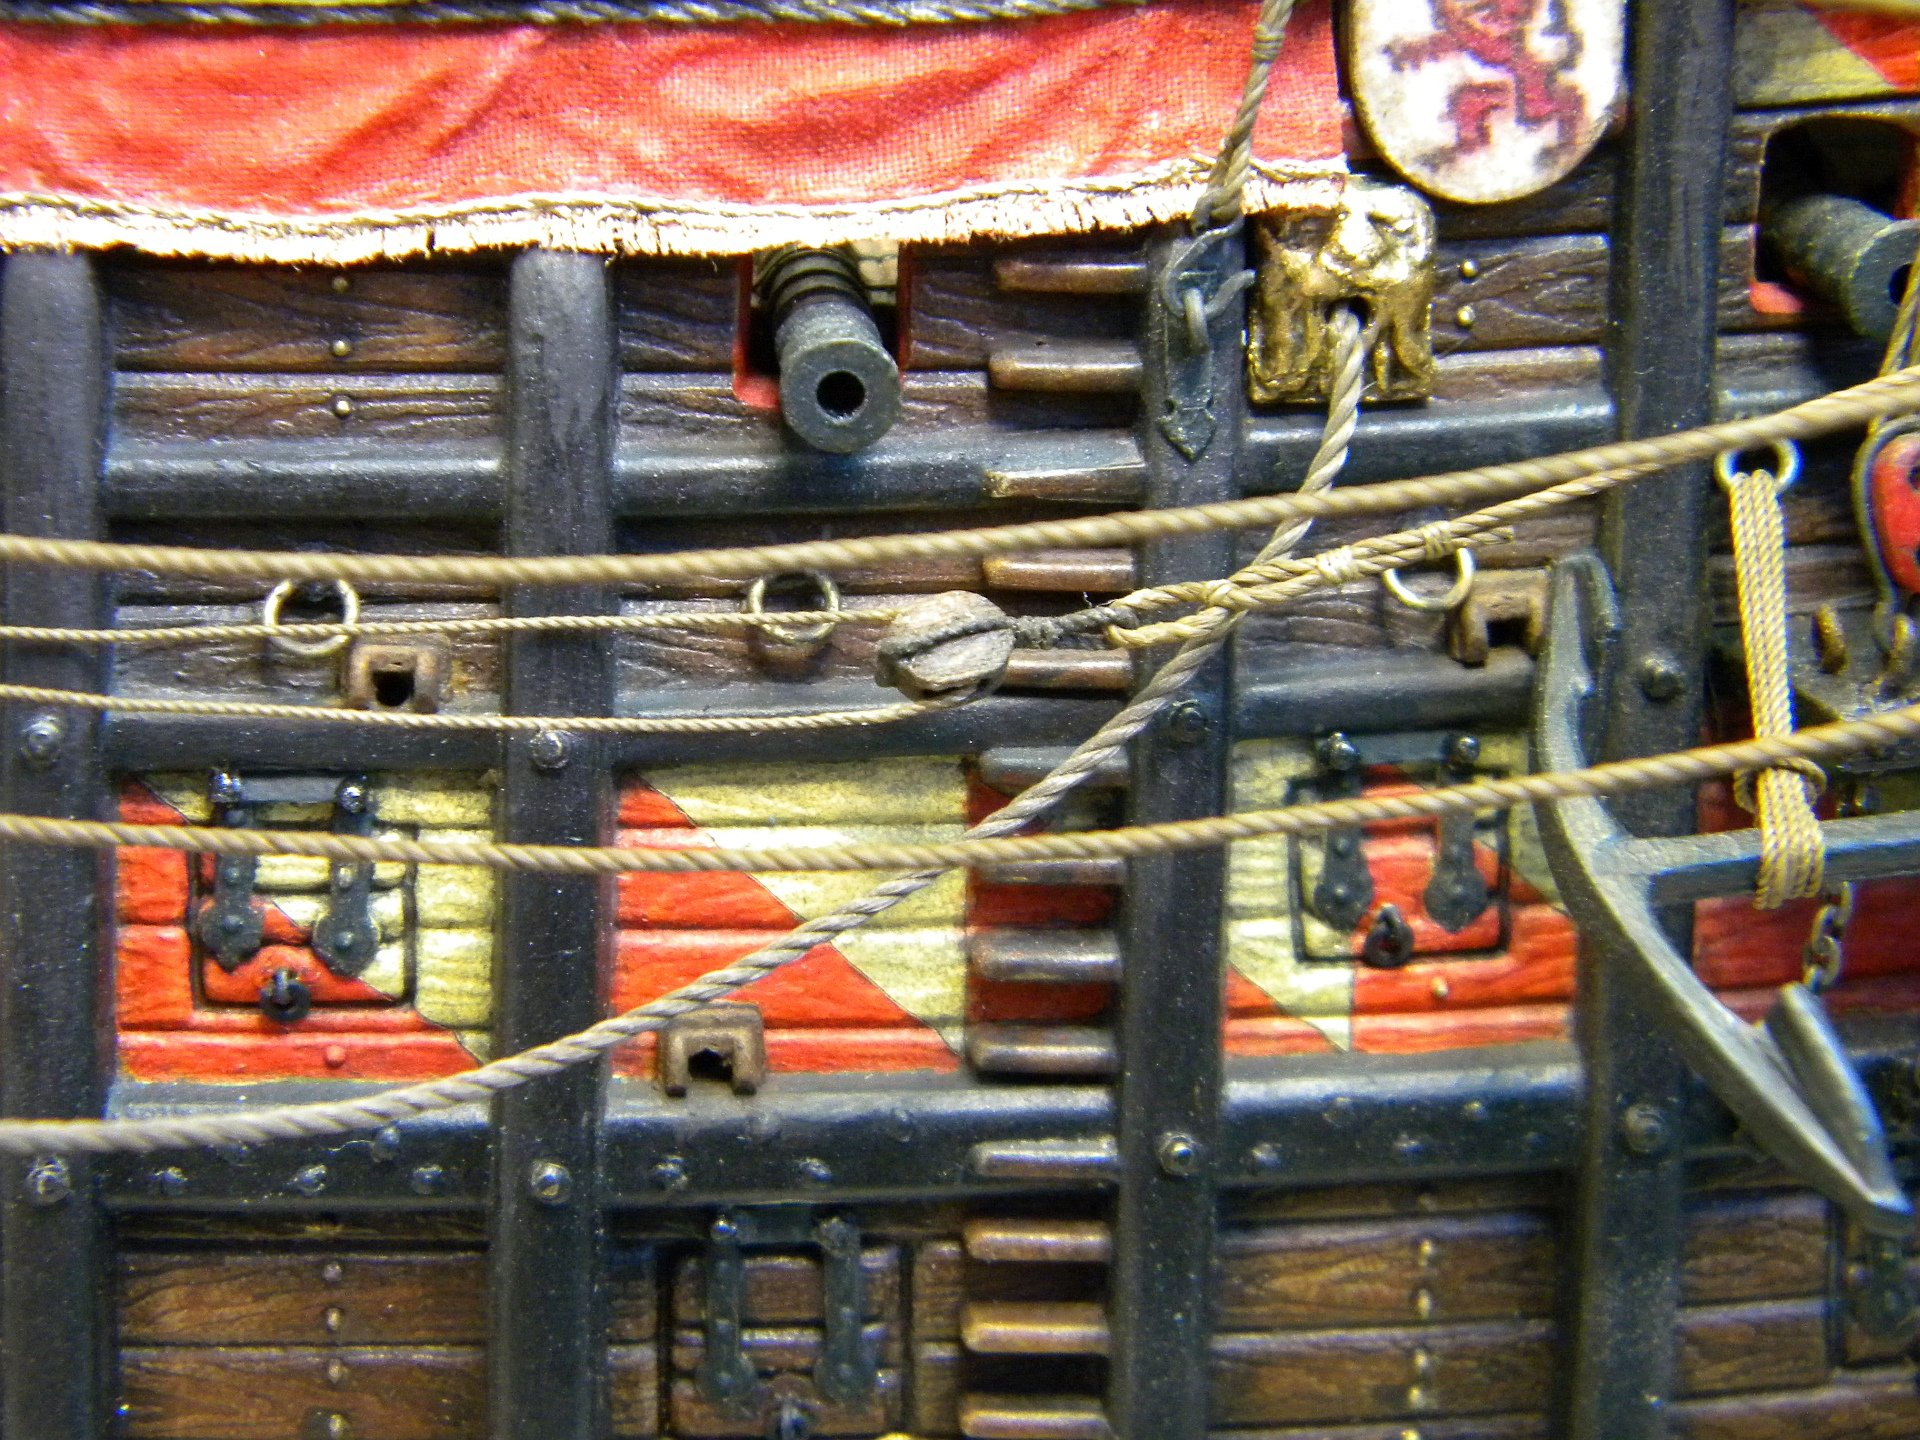
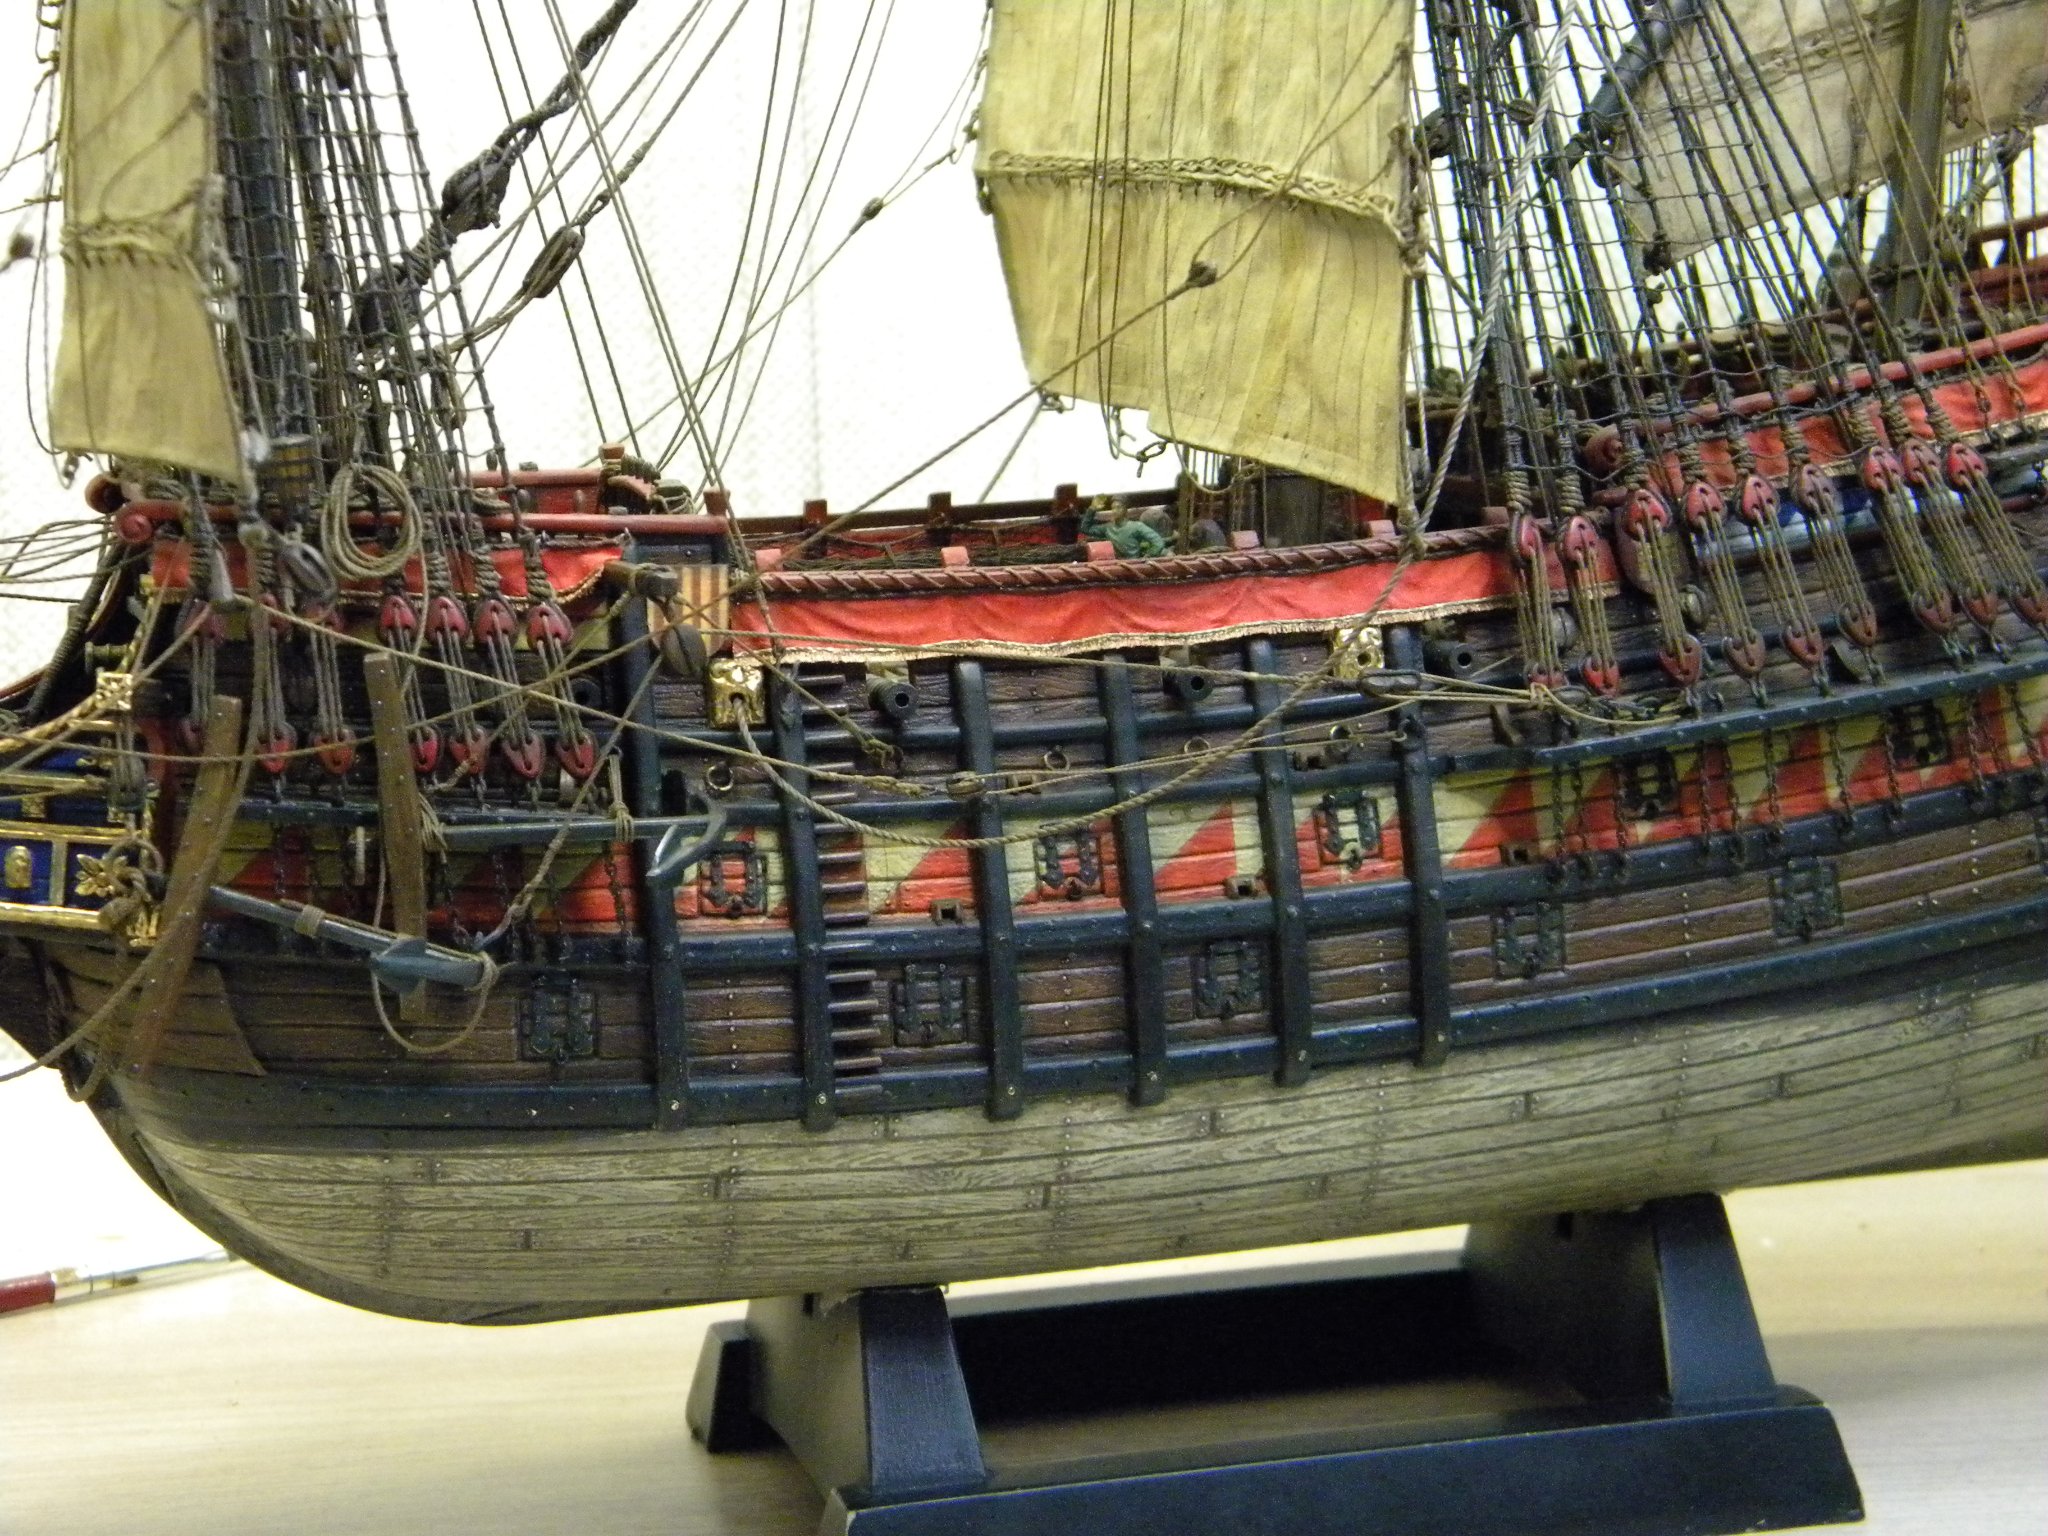
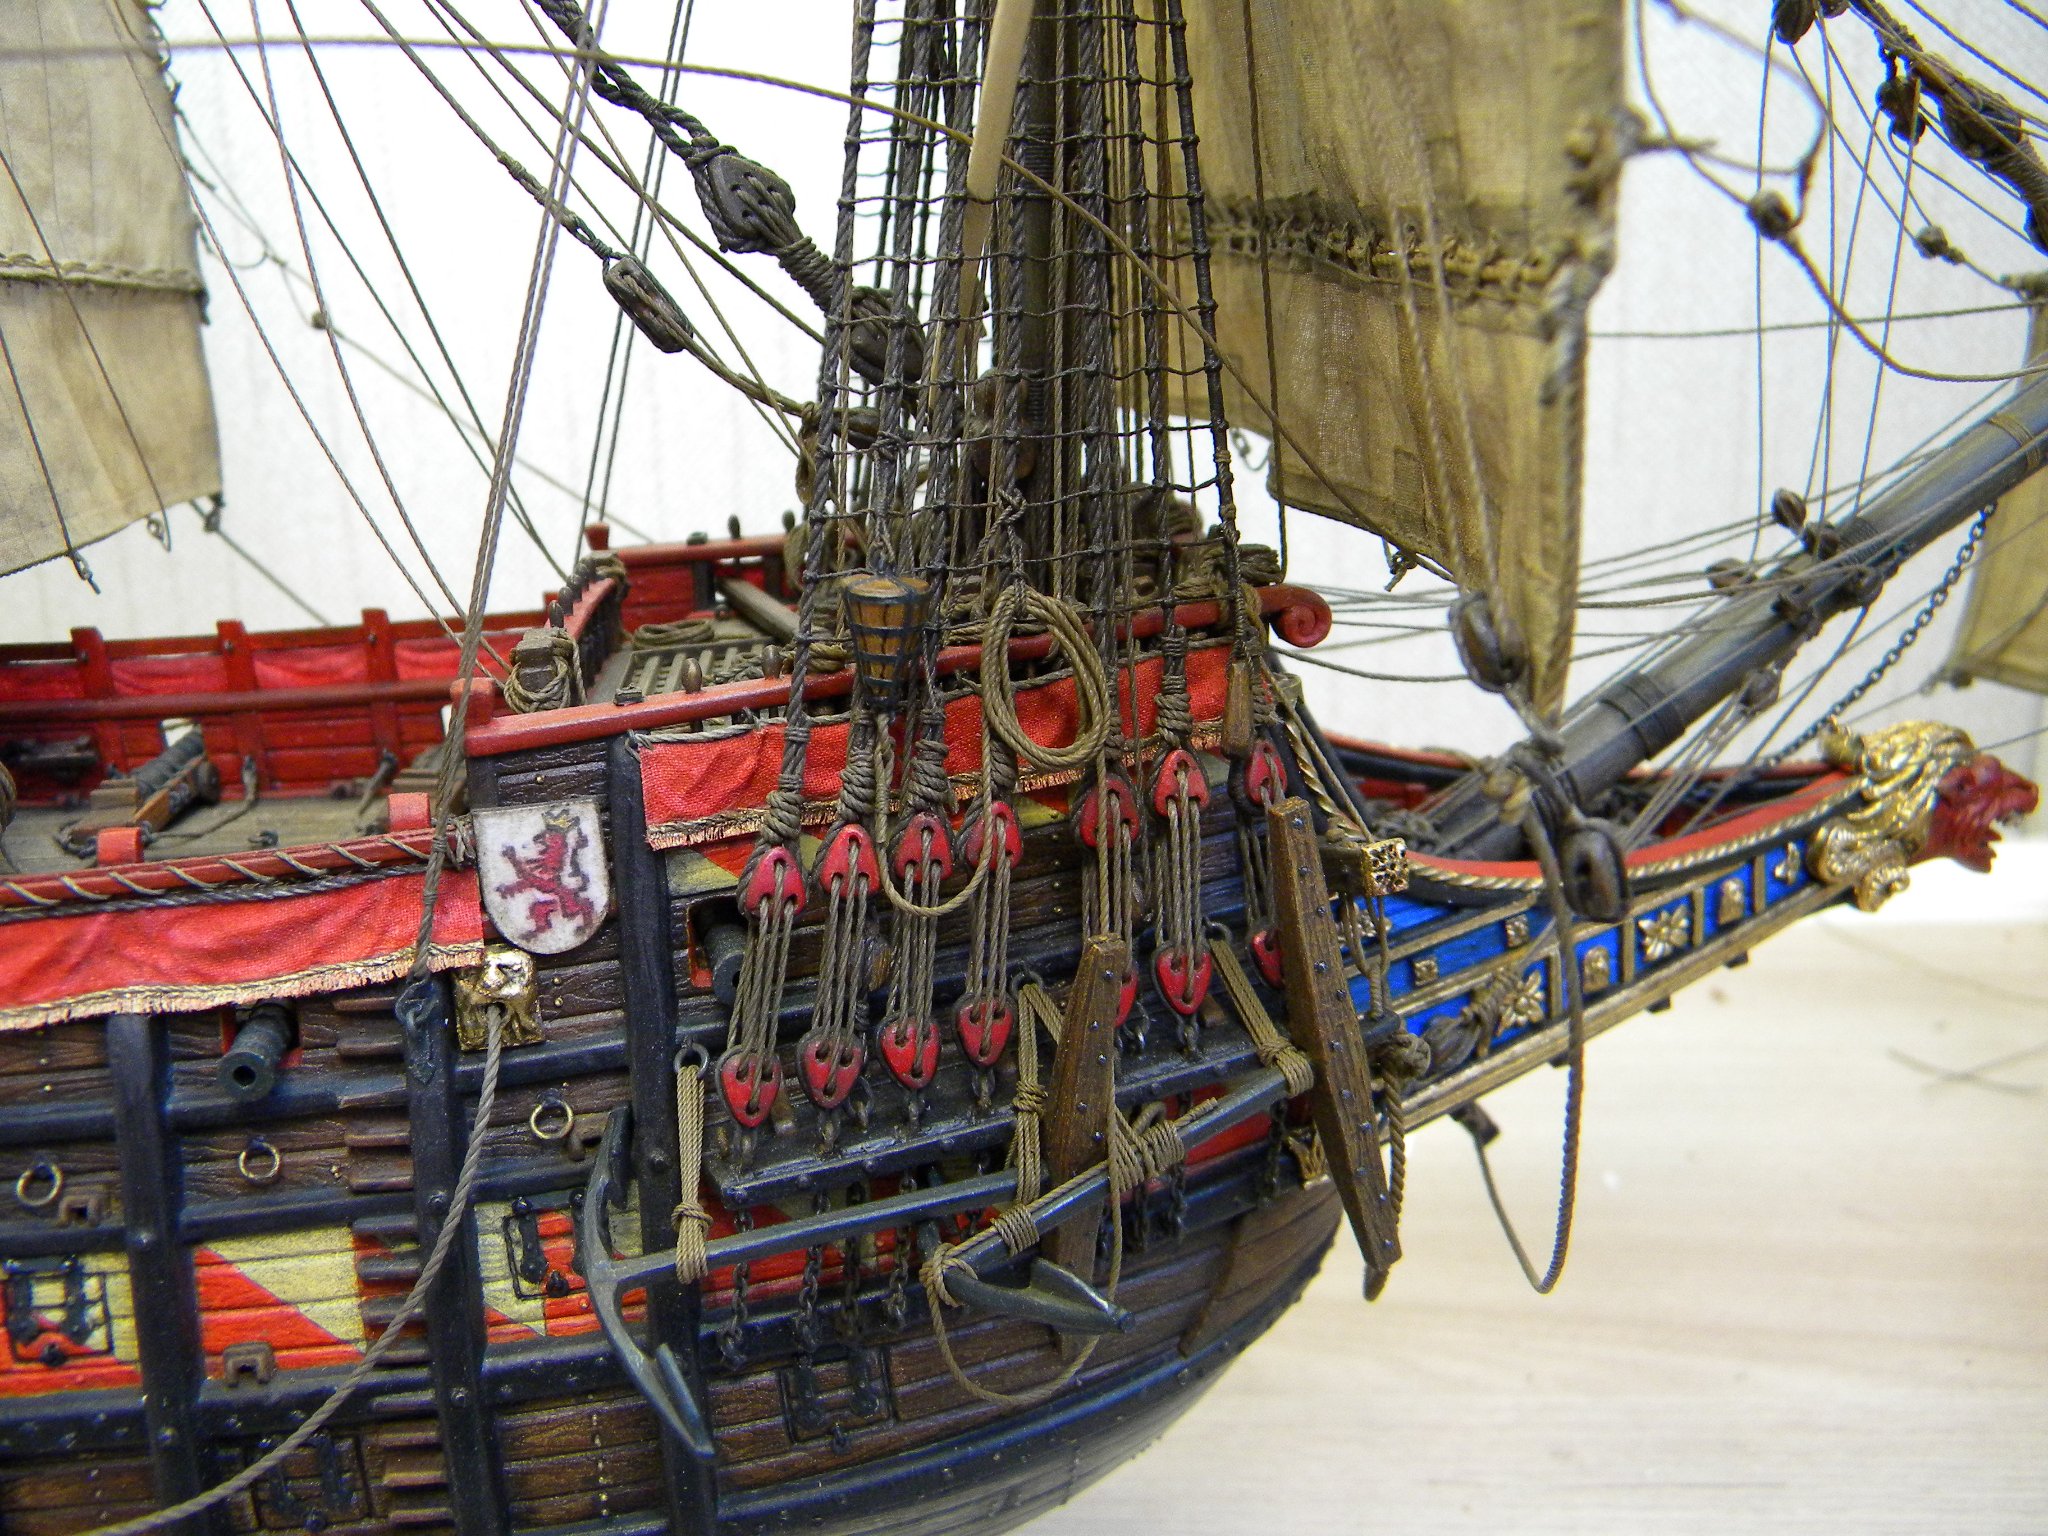
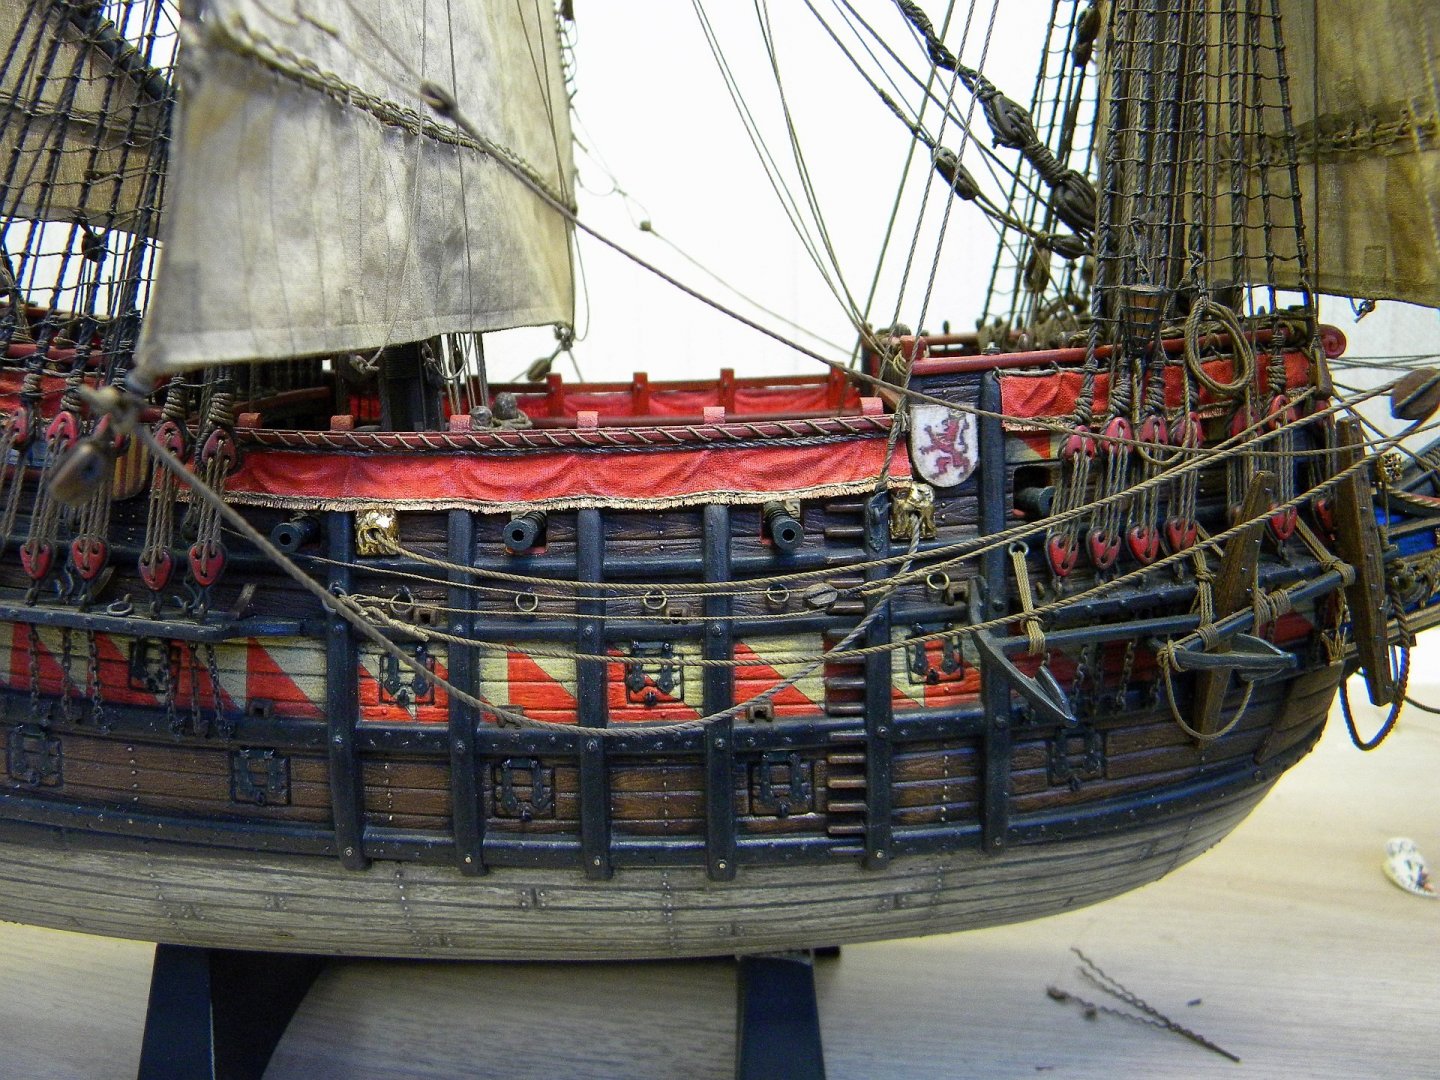
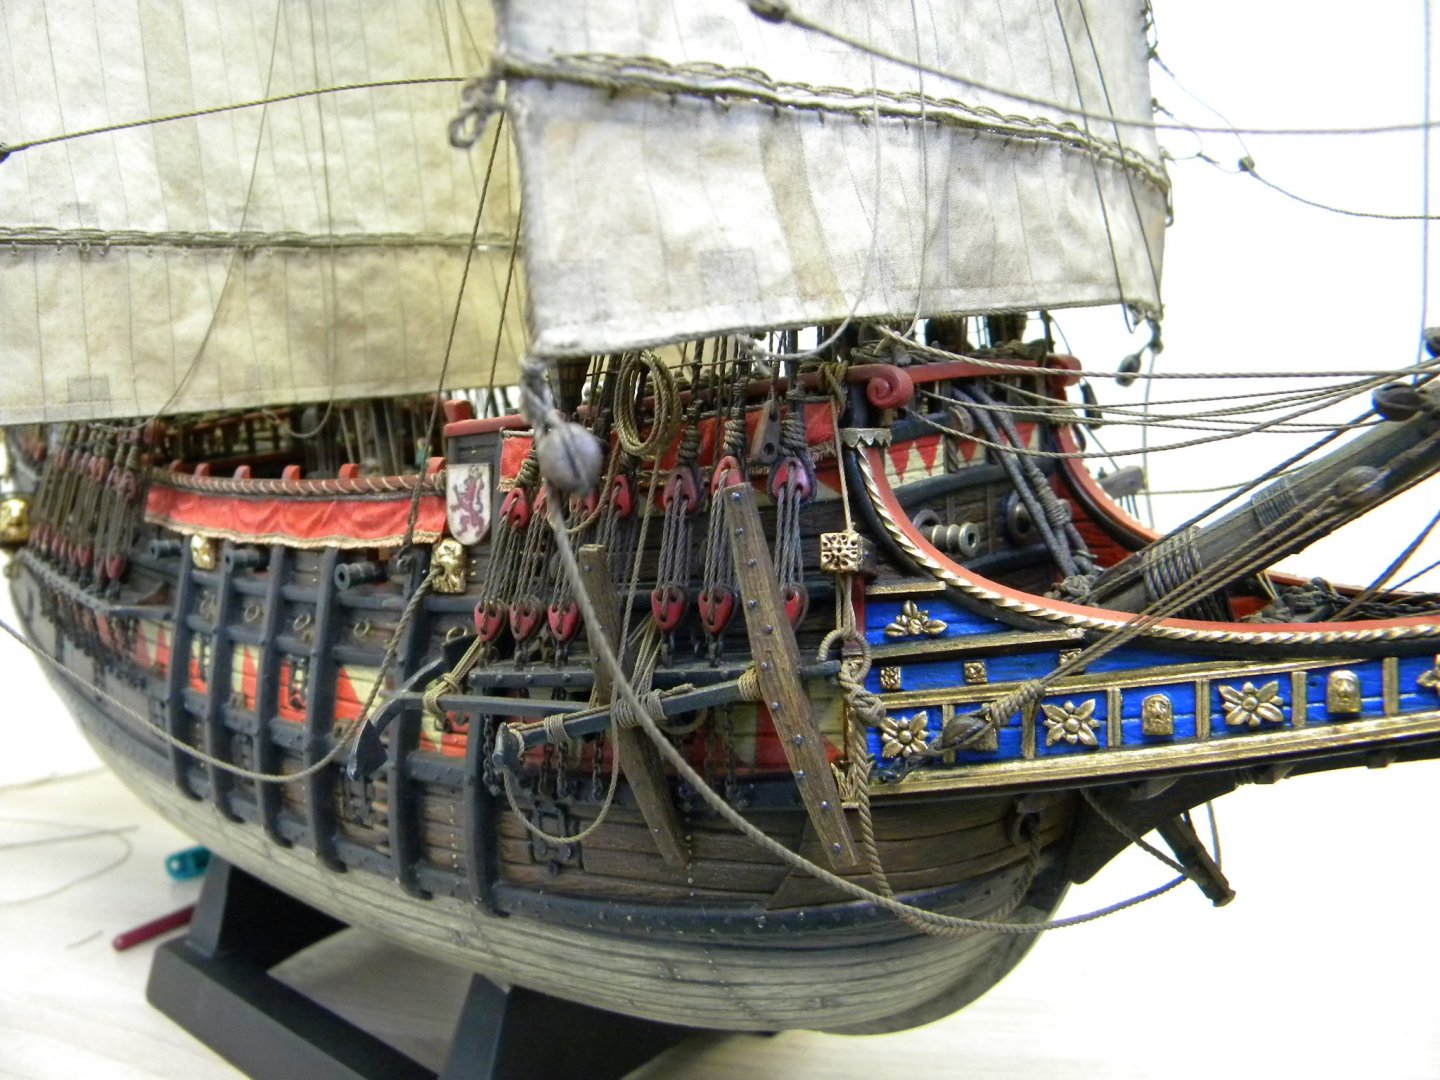
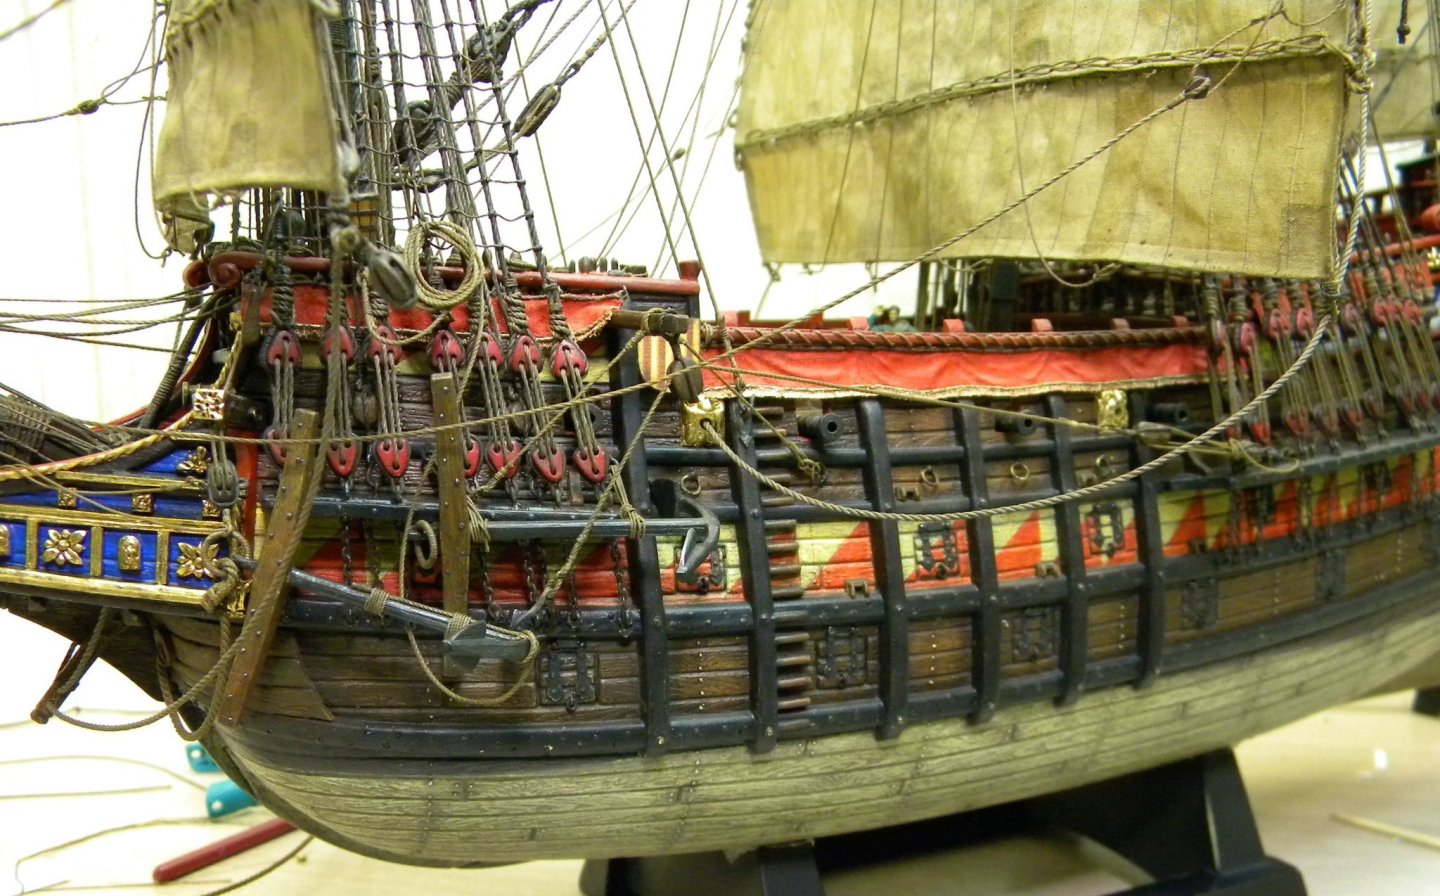
Hello everyone! finished installation of the starboard anchors ... the port side was completed earlier ... so I can say the theme with the anchors is finally completed !... well, great !!! :))) I crawl to the final stage with fitting sheets and braces ...

- 228 replies
-
- 5
-
-
- spanish galleon
- lee
- (and 1 more)
-
Good day, I'm Sure brown color for standing rigging will be more suitable... In reality , in this period it was tarred as I know ... it gives specific color to the hemp, not realy brown ... but sure it shouldn't be black color! Did You check here ? https://warshipvasa.freeforums.net/board/4/technical spend some time to read ... there are many questions regarding rigging discussed and explained by professional historic Fred Hocker
-
I have "0" experience with wood ... but agree 100% with said above -sounds very logical! Dear Doug, I could supposed that Kevin and Backer gave good advice - filler blocks could save situation with proper planking ... I see there is an issue with your planking in bow part , sbs , it could be seen on one of your foto... in real ship frames placed almost continuosly one after another ... but in the kit they give, lets say, a few frames only !!! that what I don't understand from the kits maker , why???.. it is very difficult to work with a few frames insted of normal 10 or 20 lets say 🤔 in this case , by my opinion ... agree with Kevin and Backer, fillers is the best solution! Can't imagine how to manage all those curvatives in bow and sturn prts of the hull without additional frames or fillers?

- 19 replies
-
- 1
-
-
- Billing Boats
- VASA
- (and 2 more)
-
Thank You very much Michael for attention and kind comments ! :)))
- 228 replies
-
- 1
-
-
- spanish galleon
- lee
- (and 1 more)
-
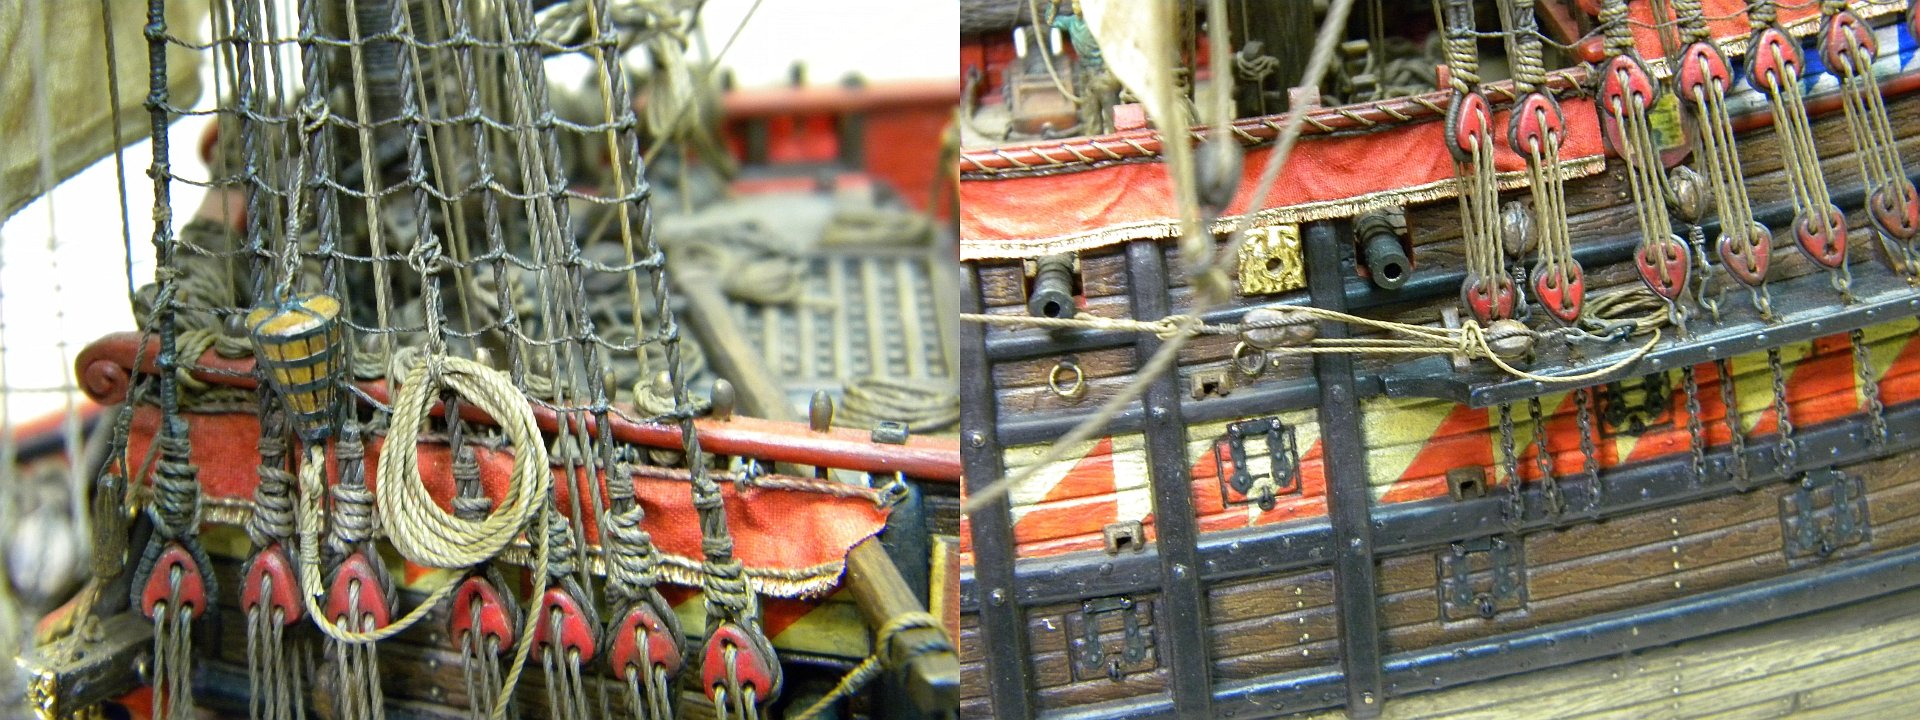
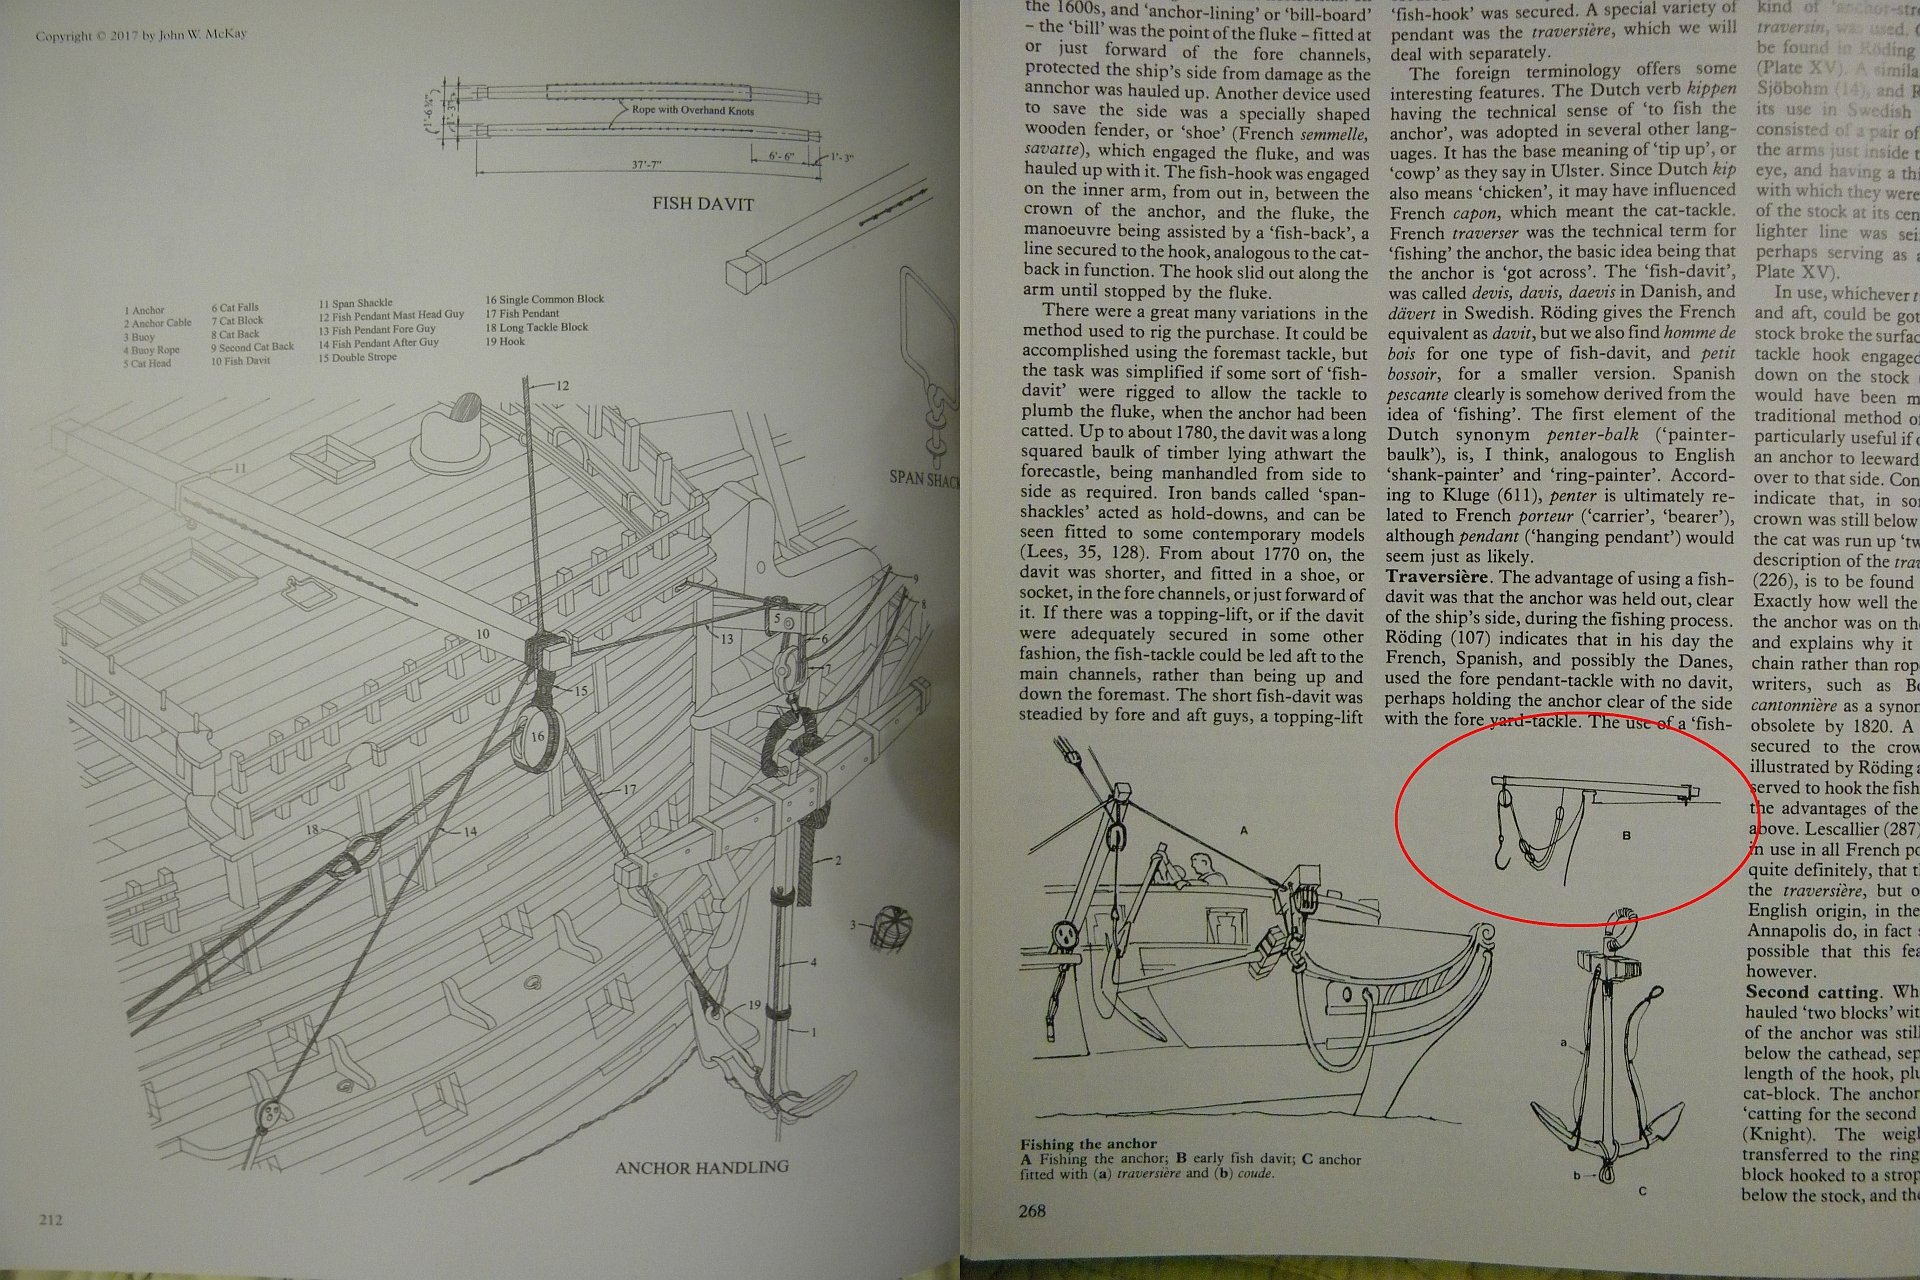
Hello everyone! finished fixing the anchors on the starboard side based on the pictures that above posted information from Harland's book

- 228 replies
-
- 5
-
-
- spanish galleon
- lee
- (and 1 more)
-
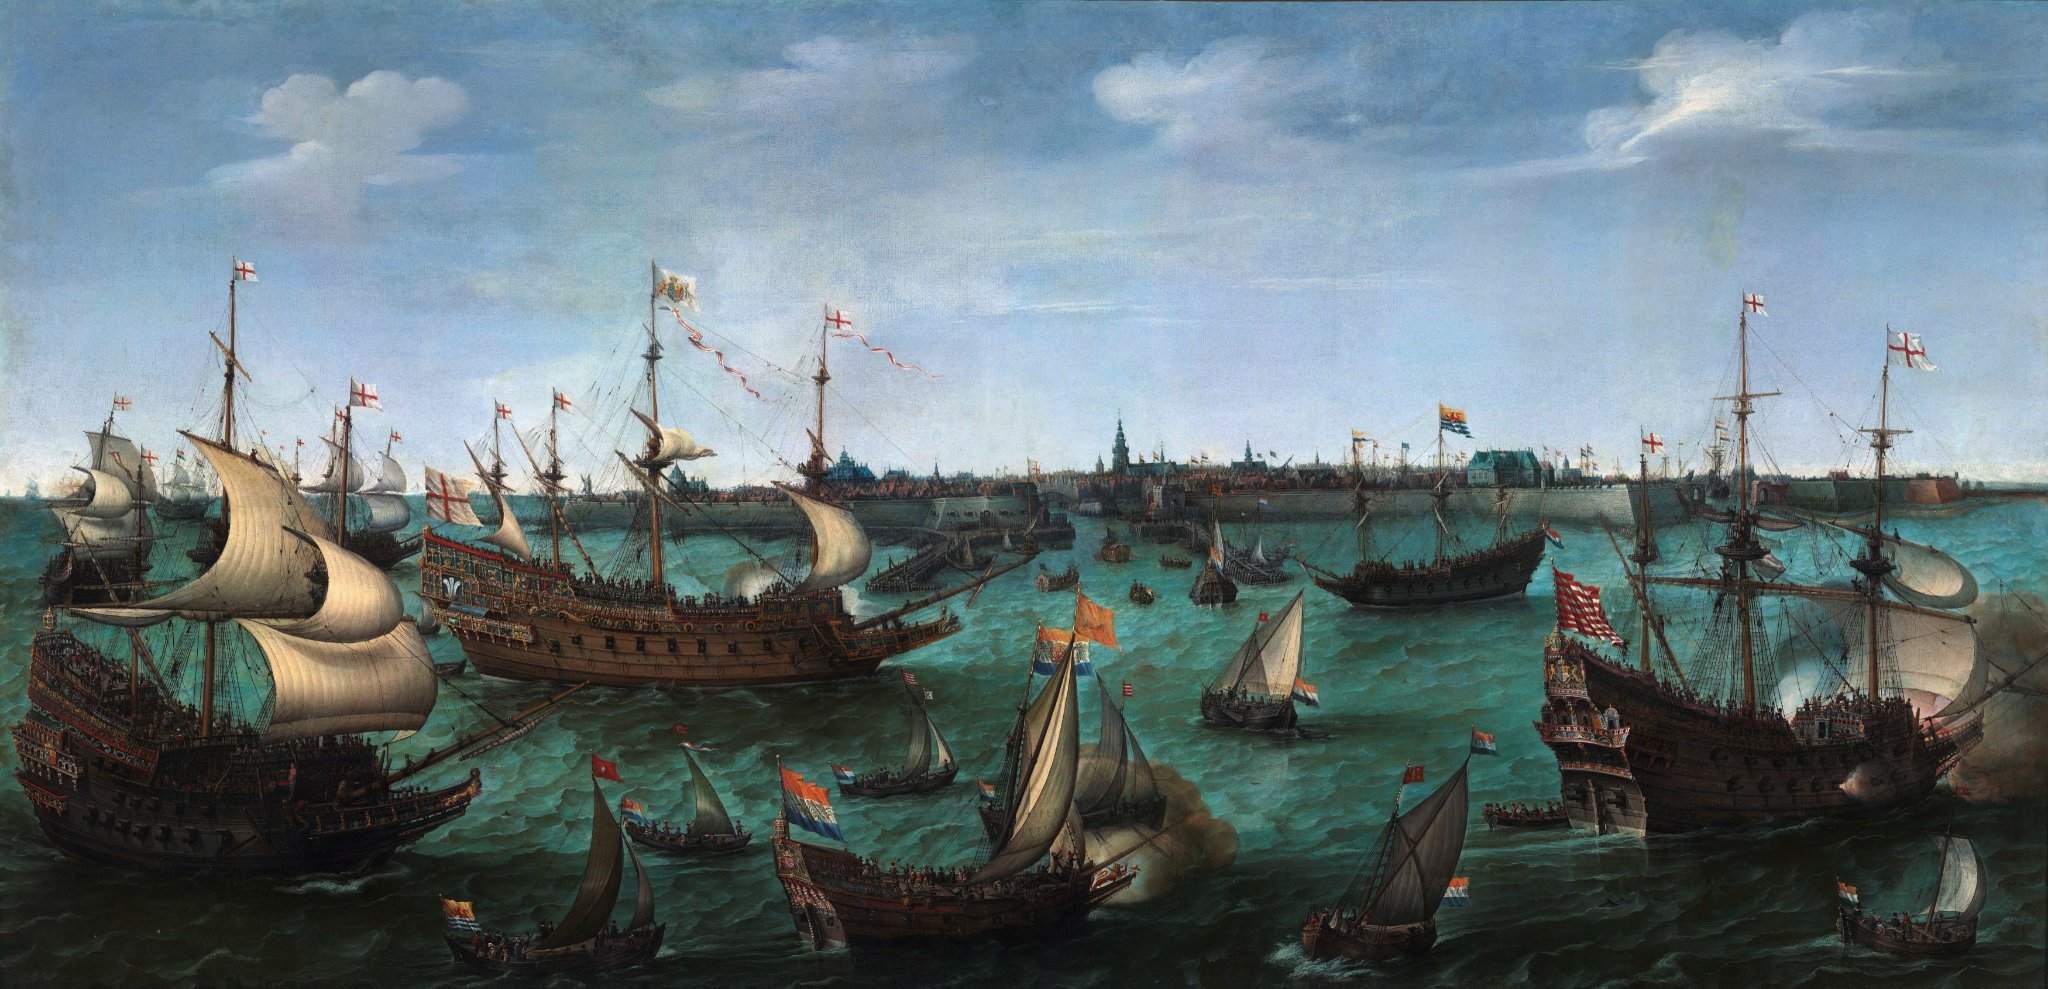
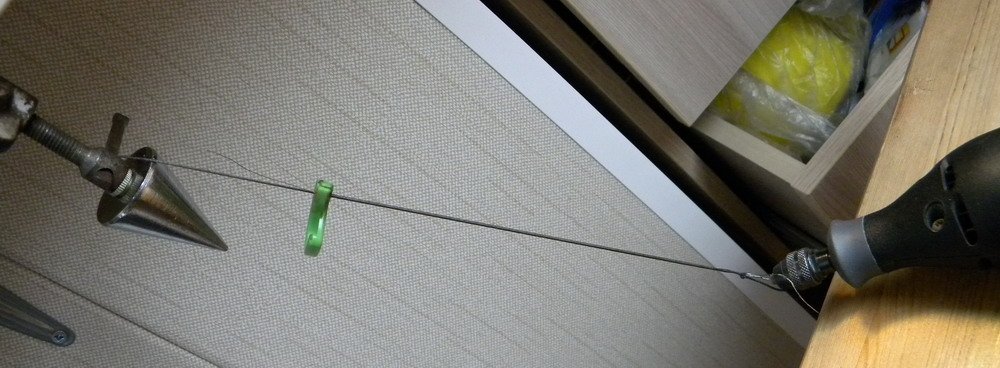
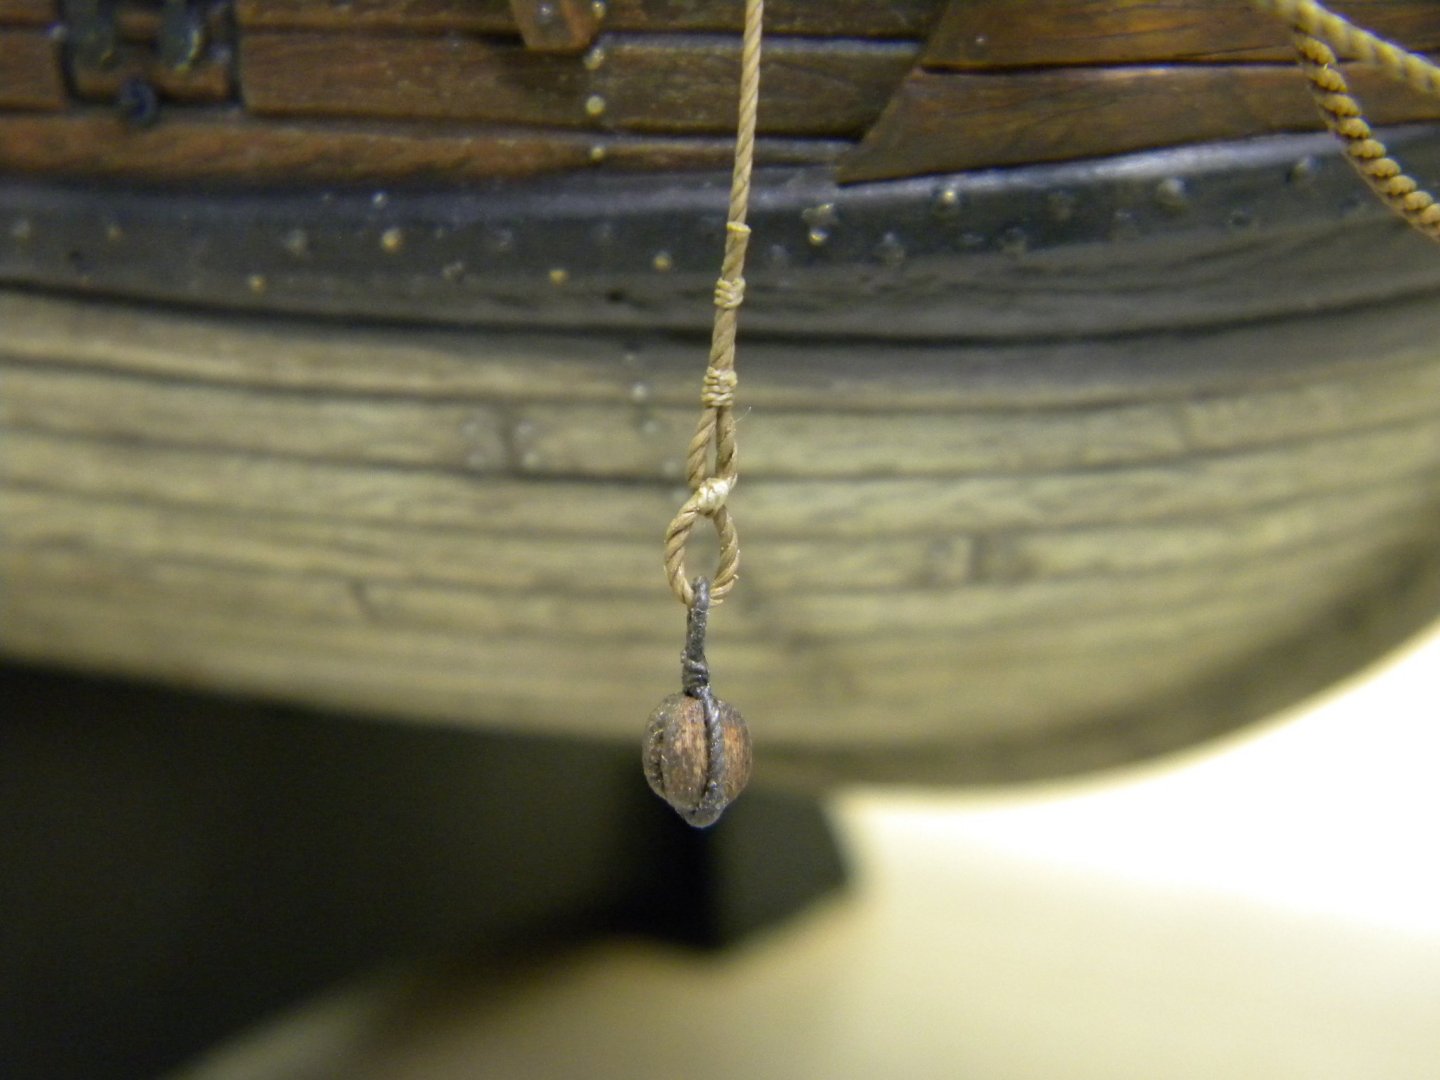
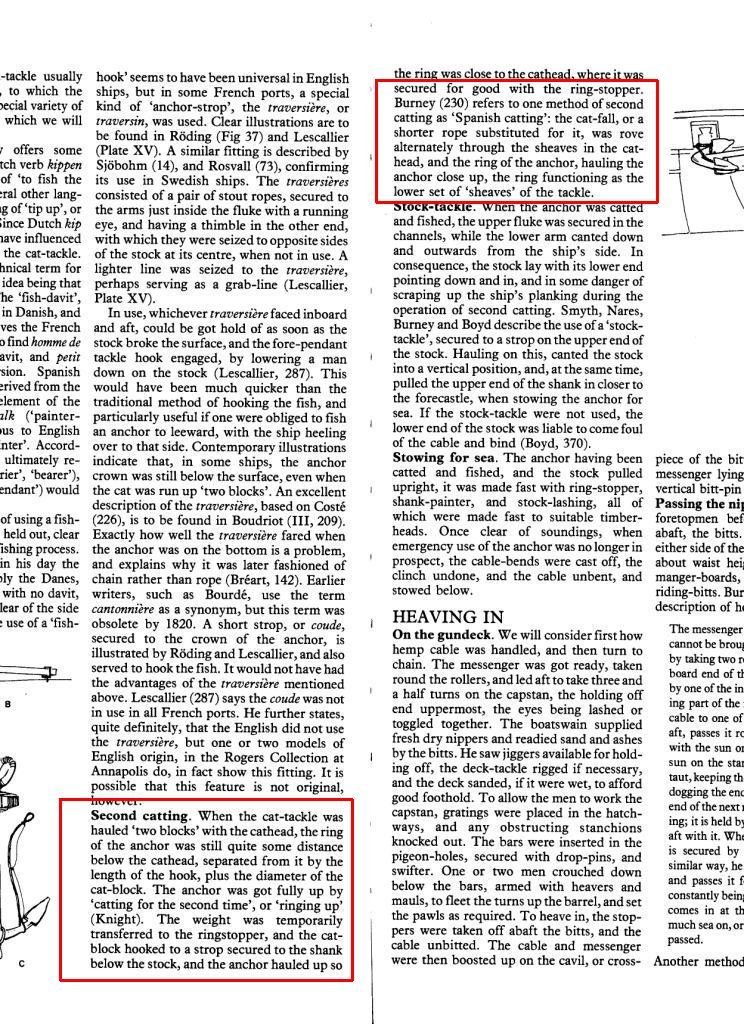
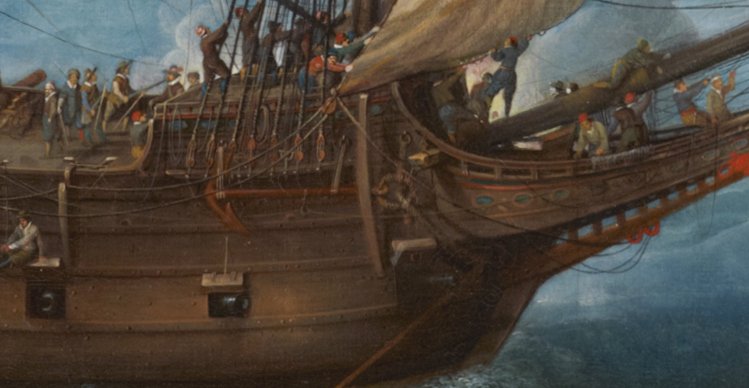
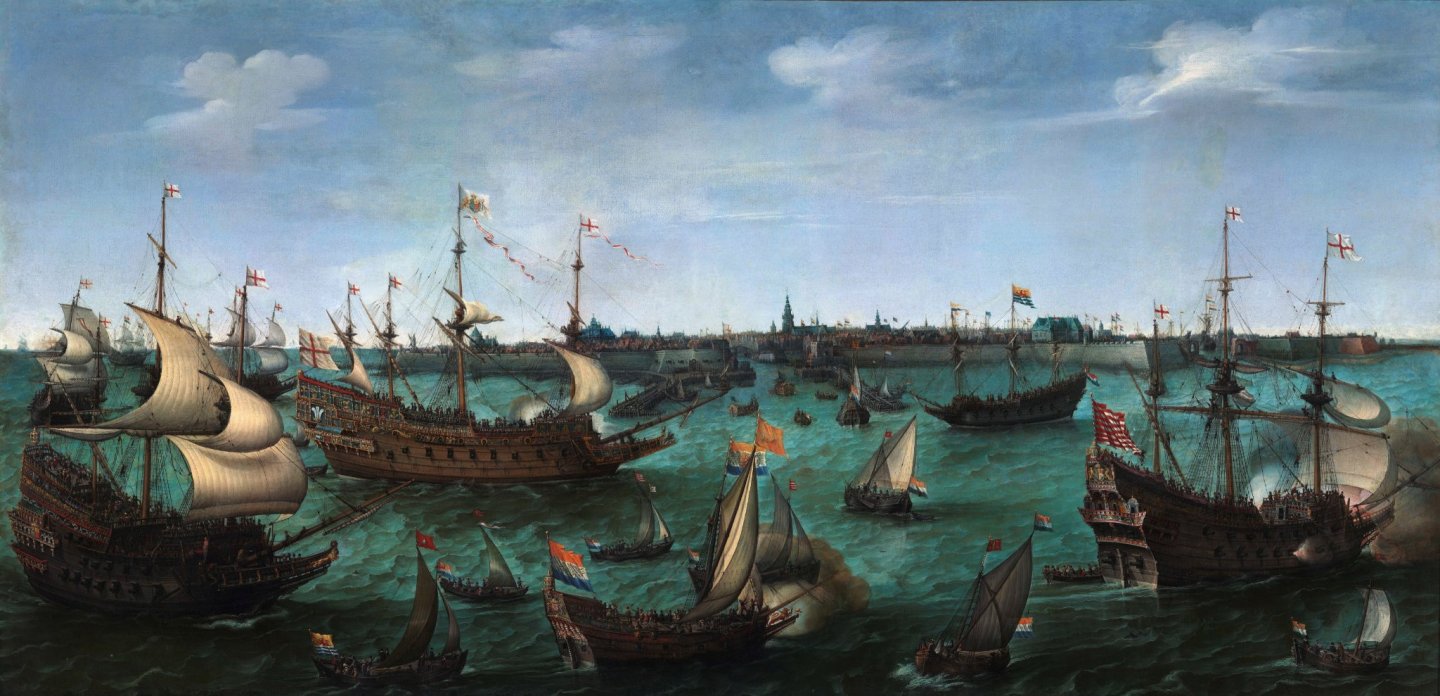
continue with assembling and finding information - anchors on the marching - as a guide, I took information from the book J. Harland Seamanship in the age of sail and the famous paintings where the details of Cornelis Claesz van Wieringen (about 1575-1633), De Zeeslag bij Gibraltar_ 25 april 1607, Cornelis Claesz are visible. van Wieringen - at least it is clear that the cat block has been dismantled in this case ...
.jpg.4331a831b89fae5761dc2741854f30ce.jpg)
- 228 replies
-
- 5
-
-
- spanish galleon
- lee
- (and 1 more)
-
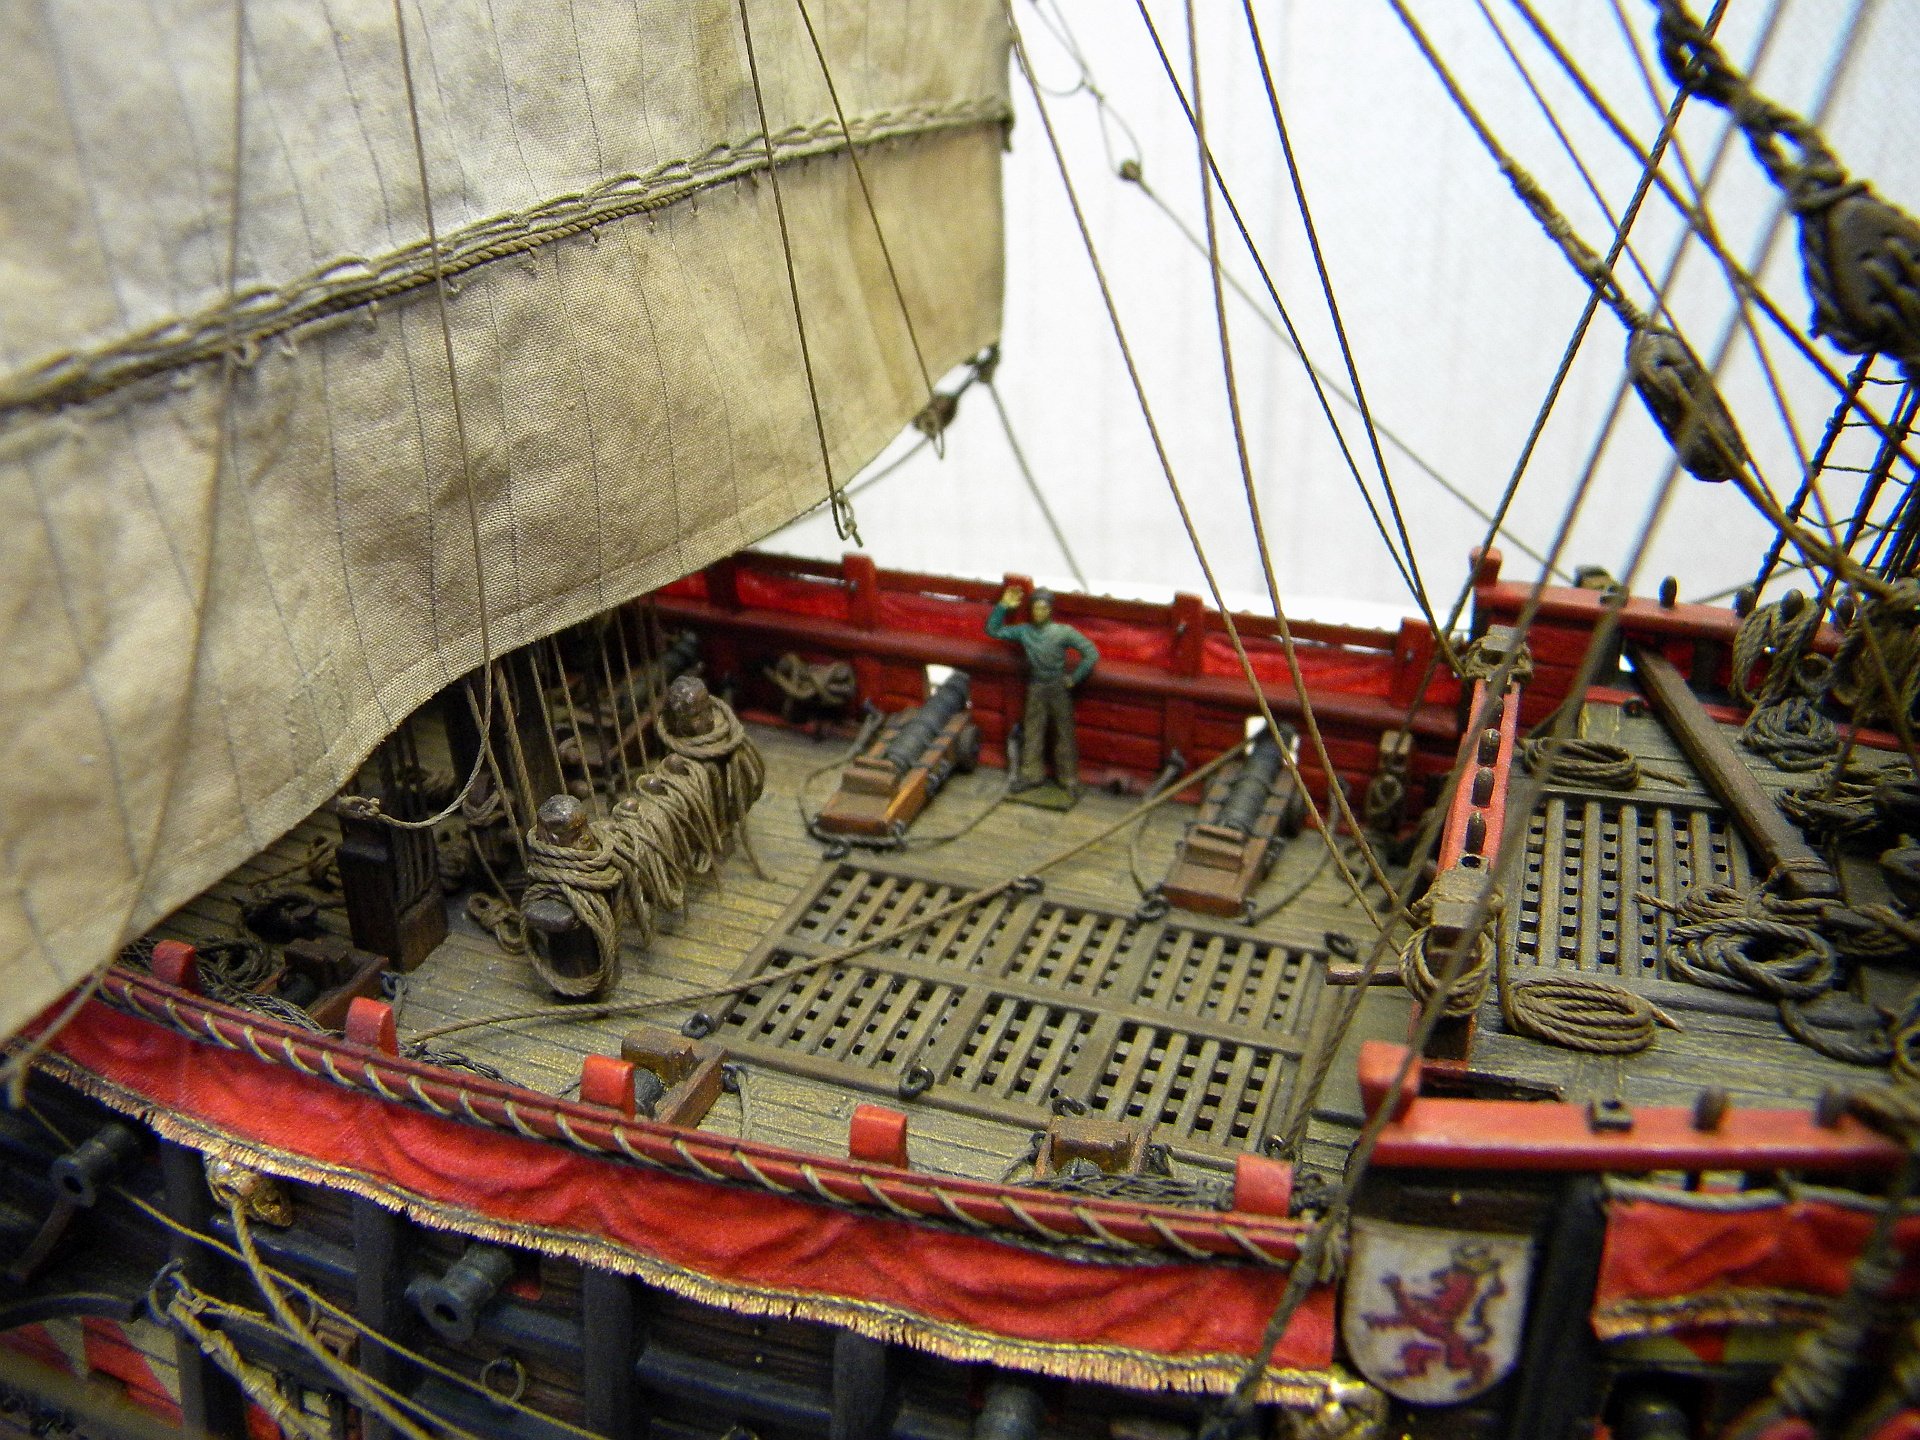
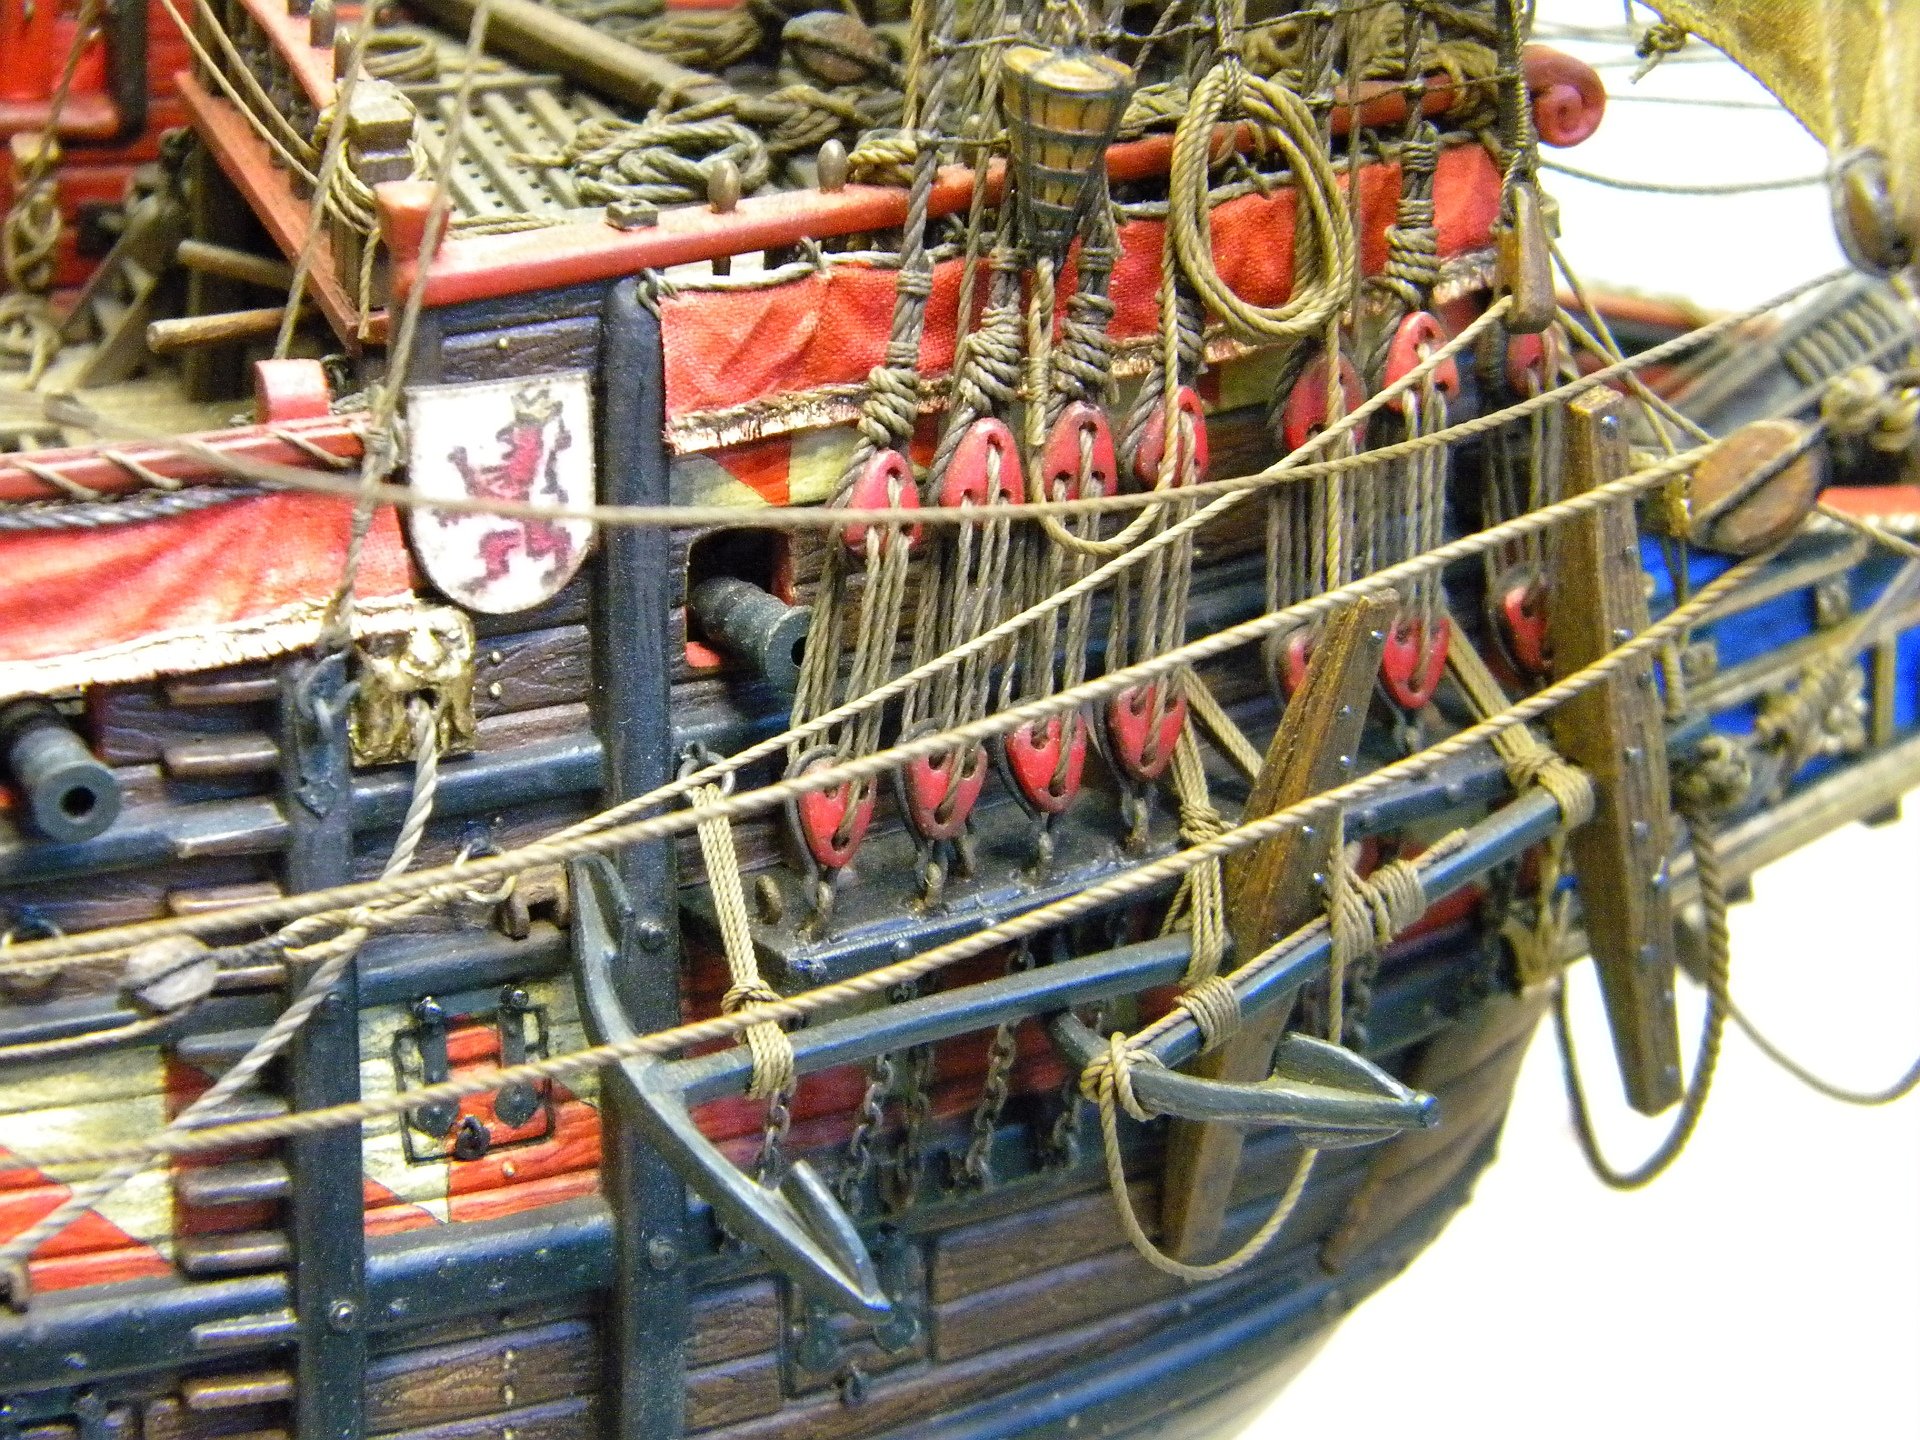
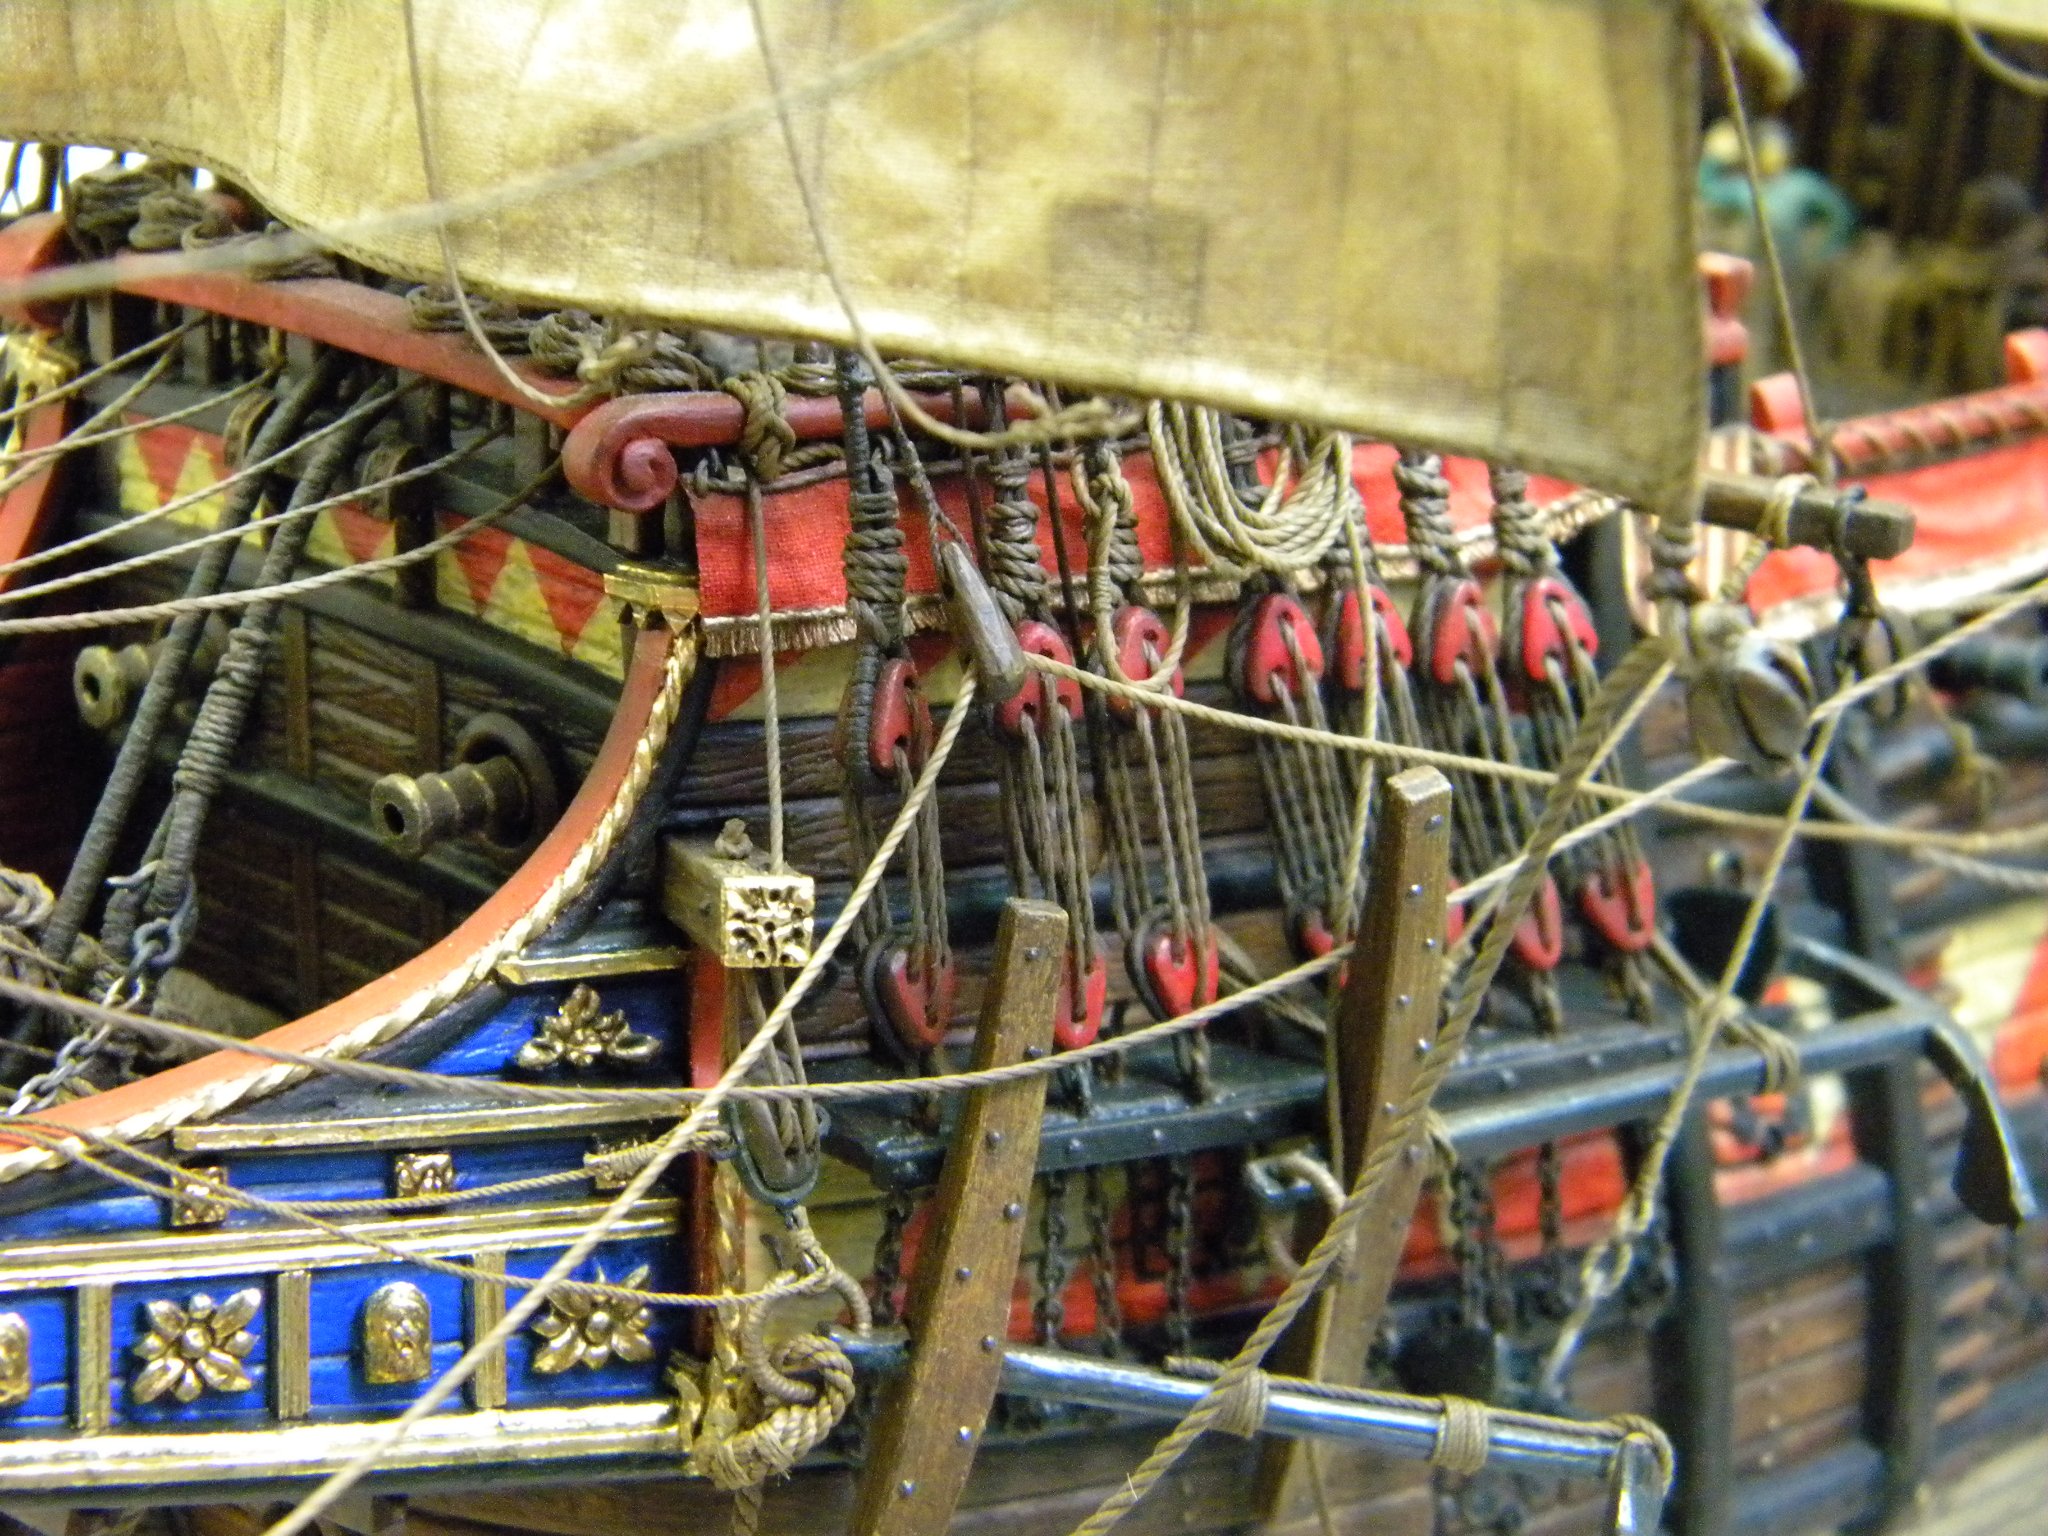
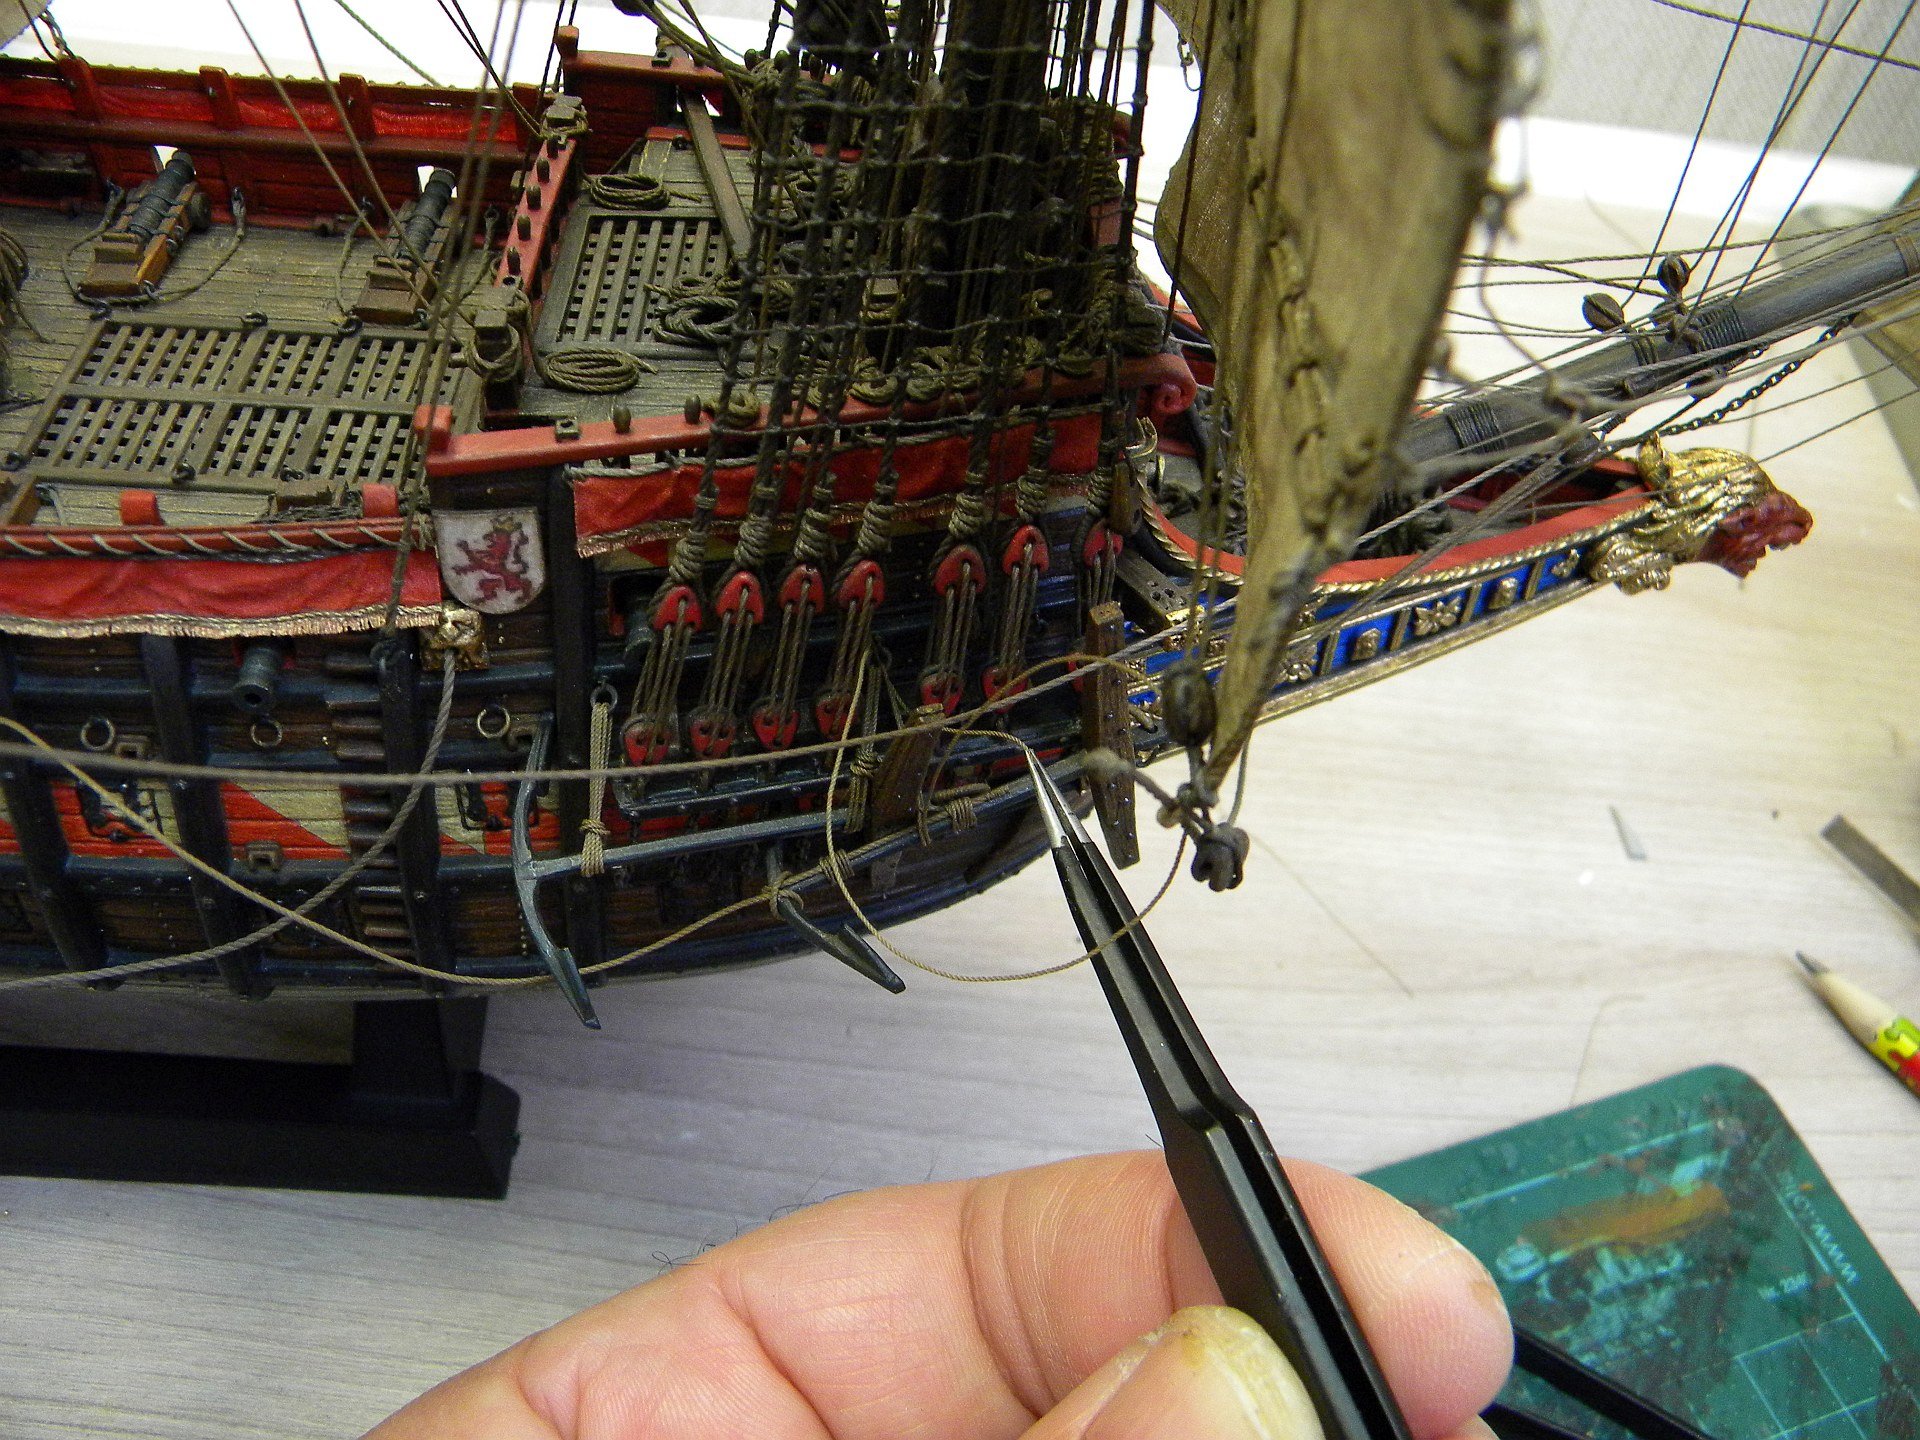
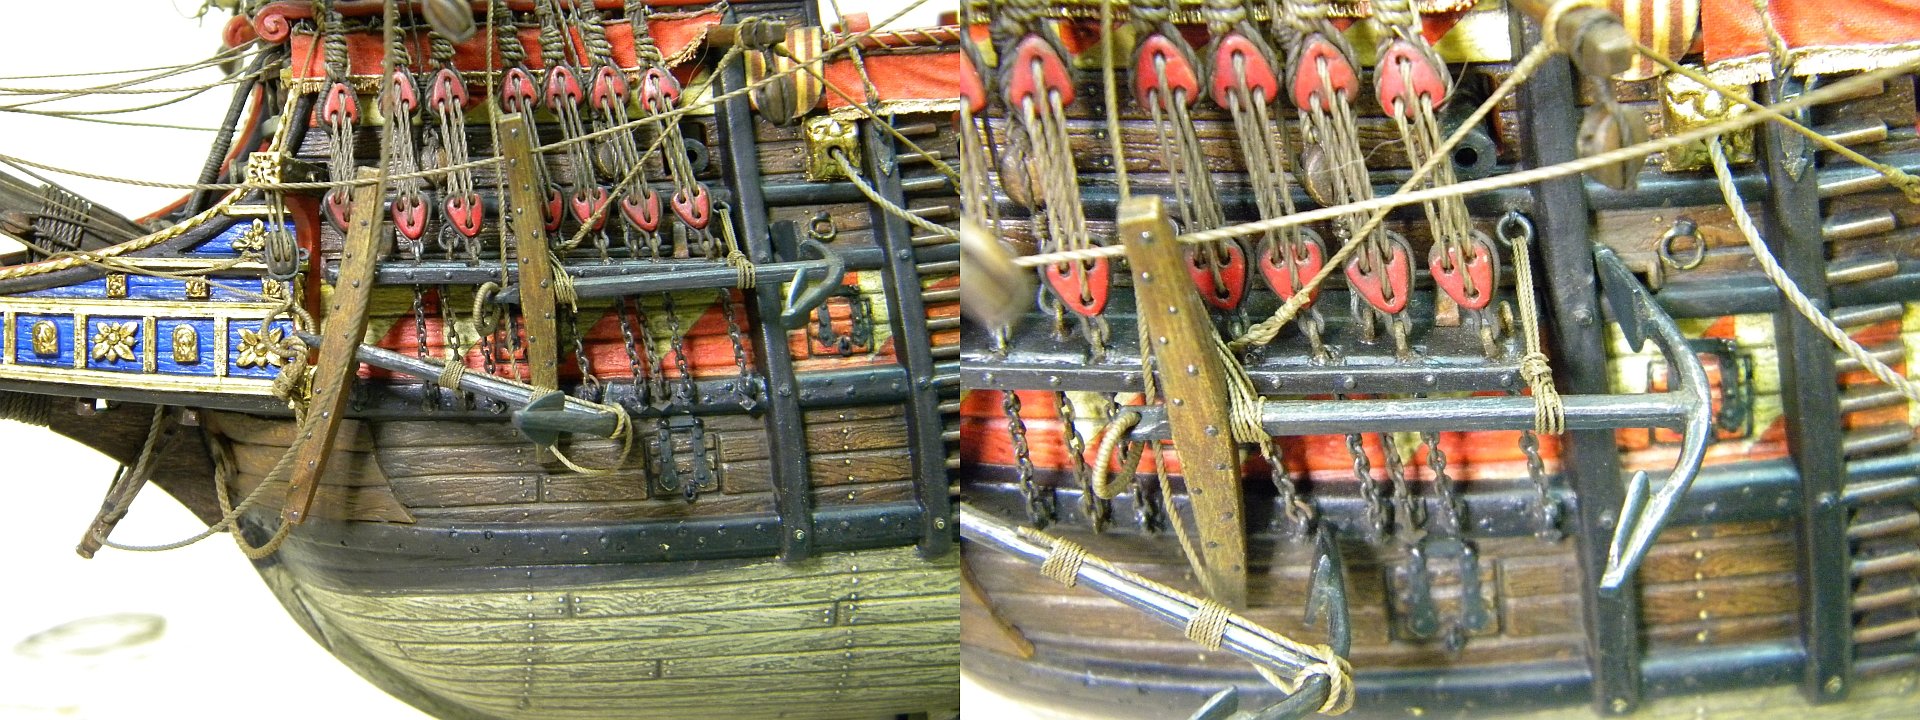
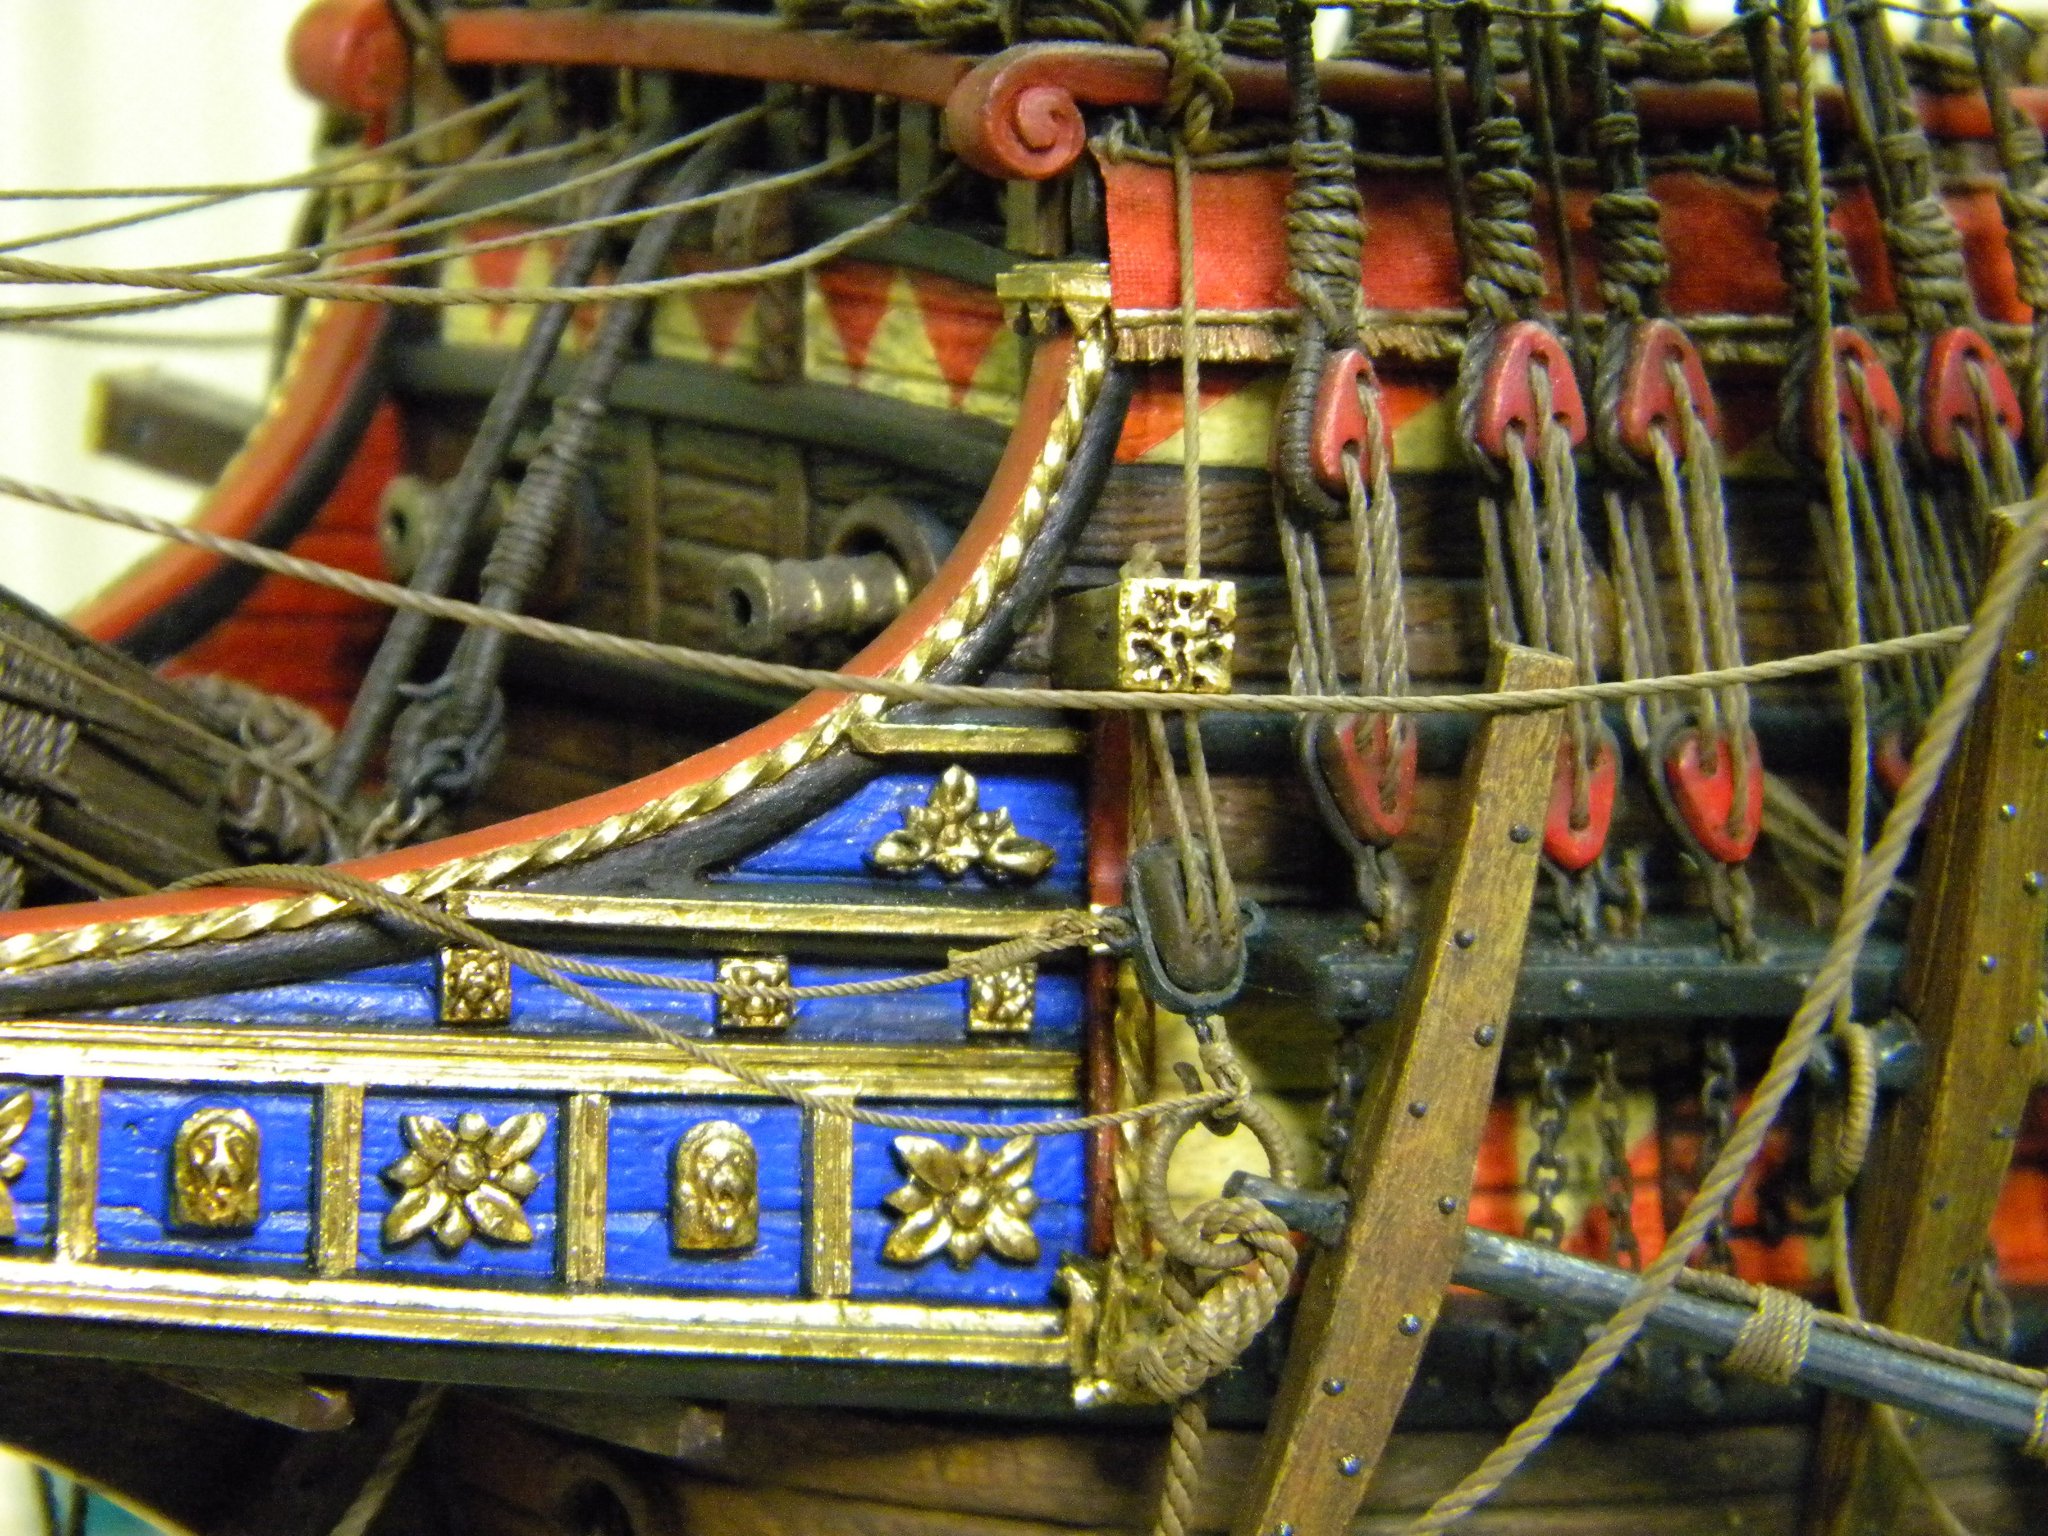
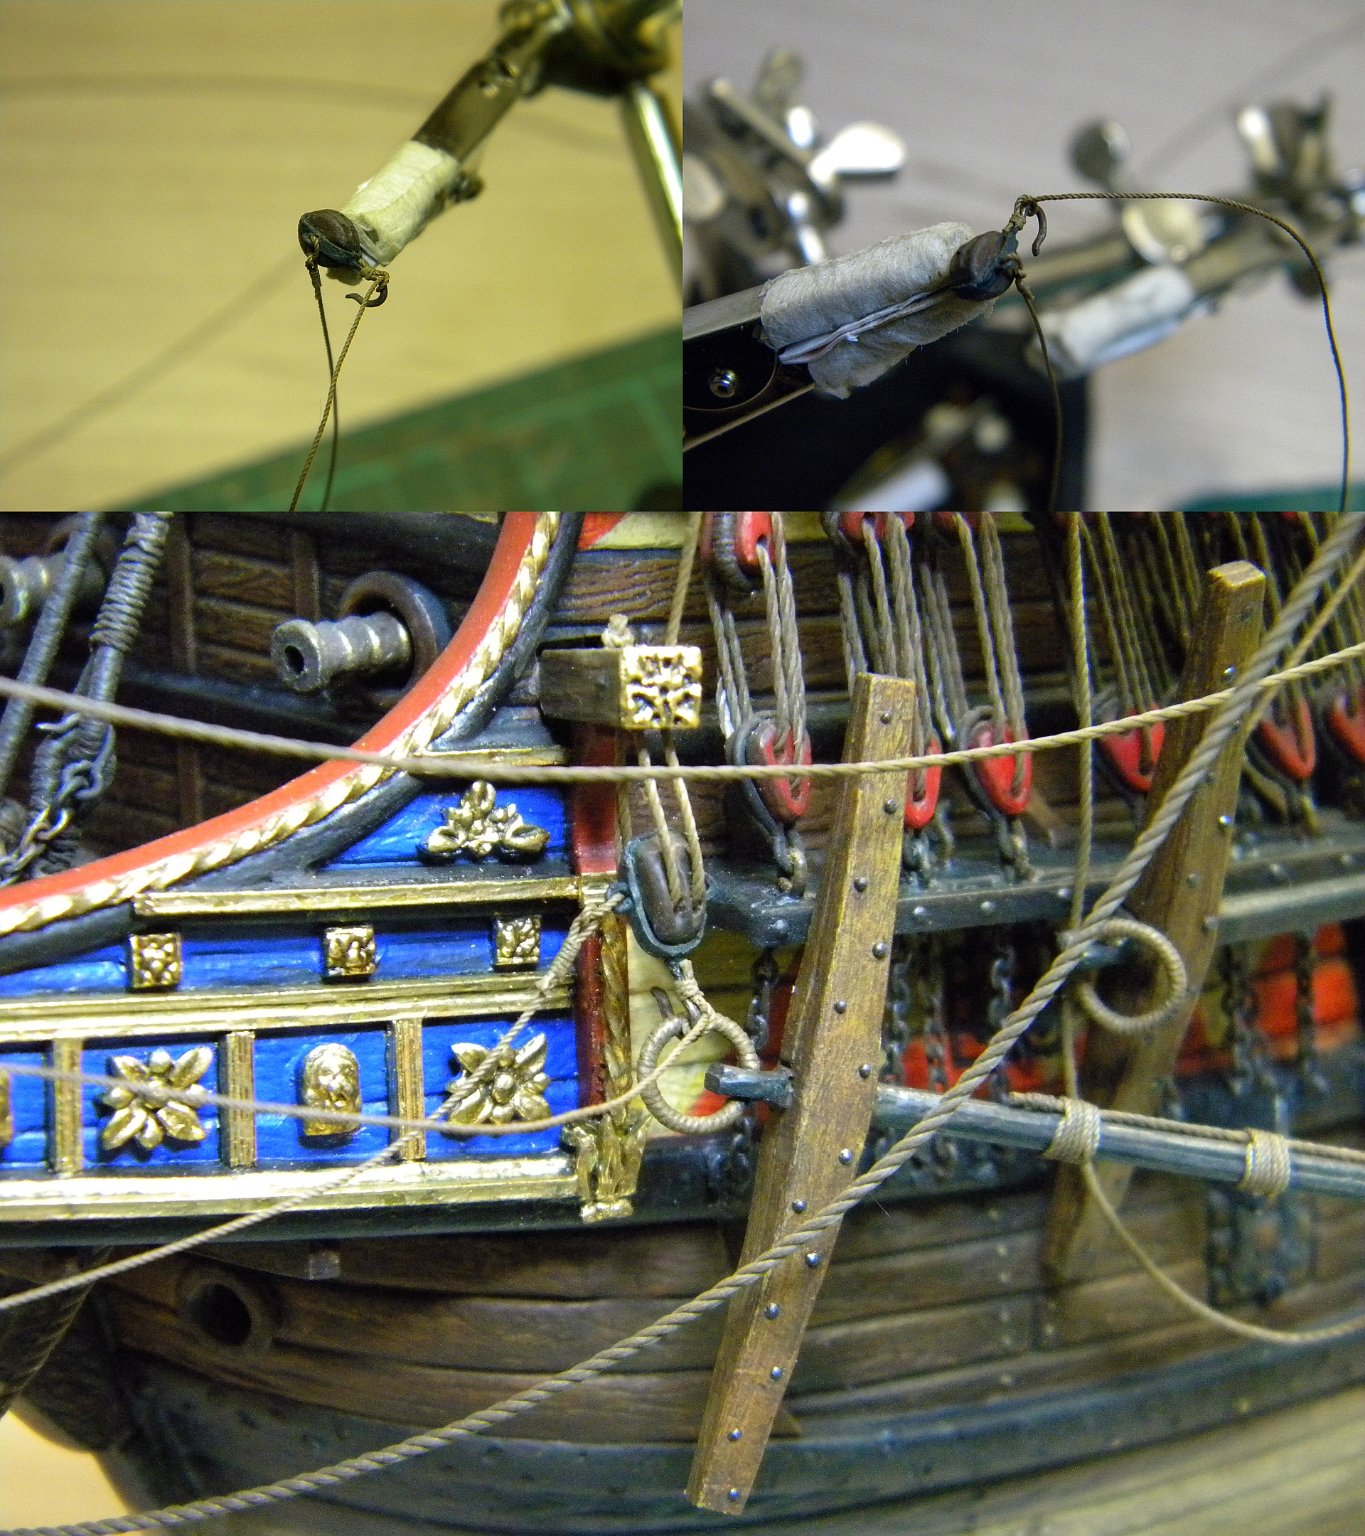
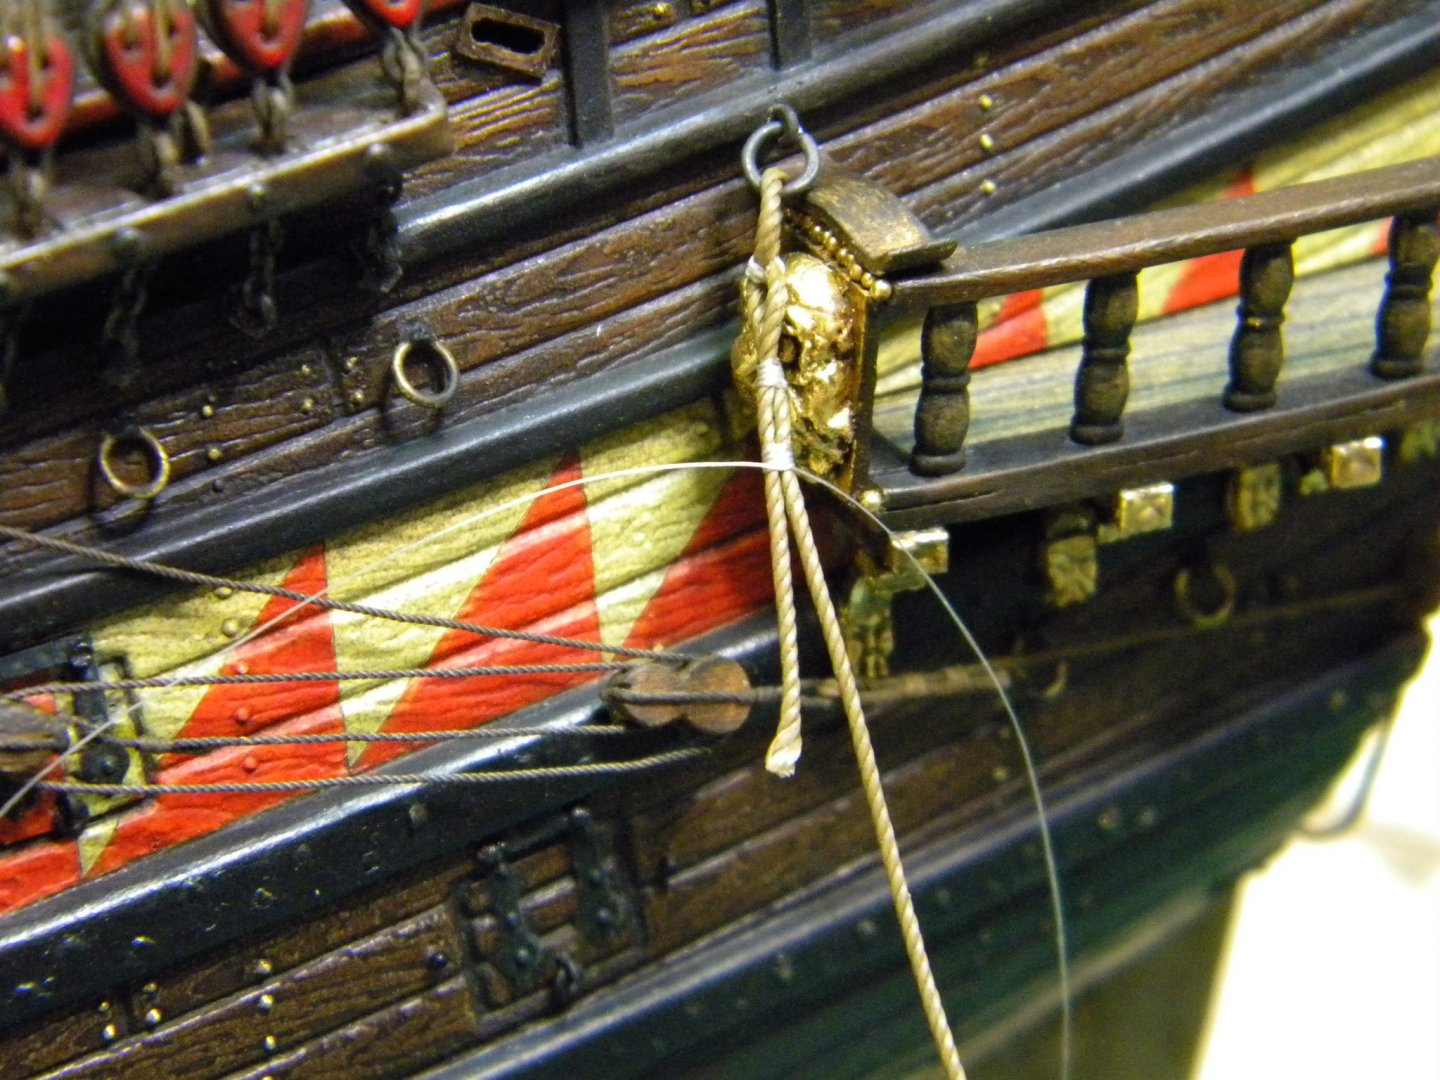
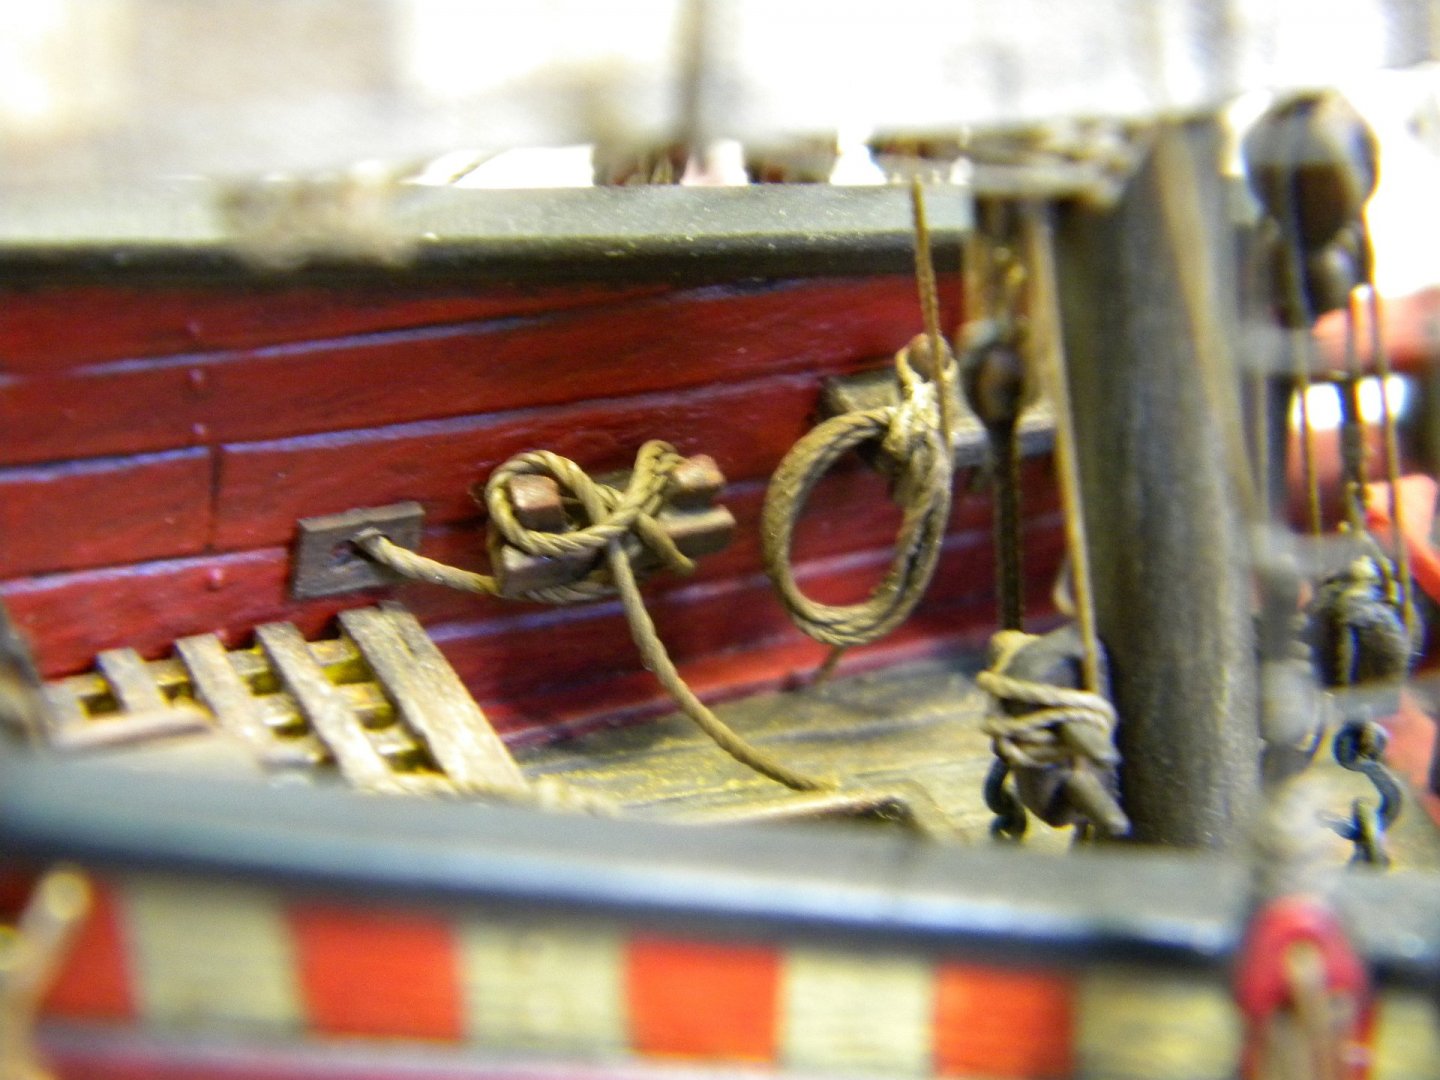
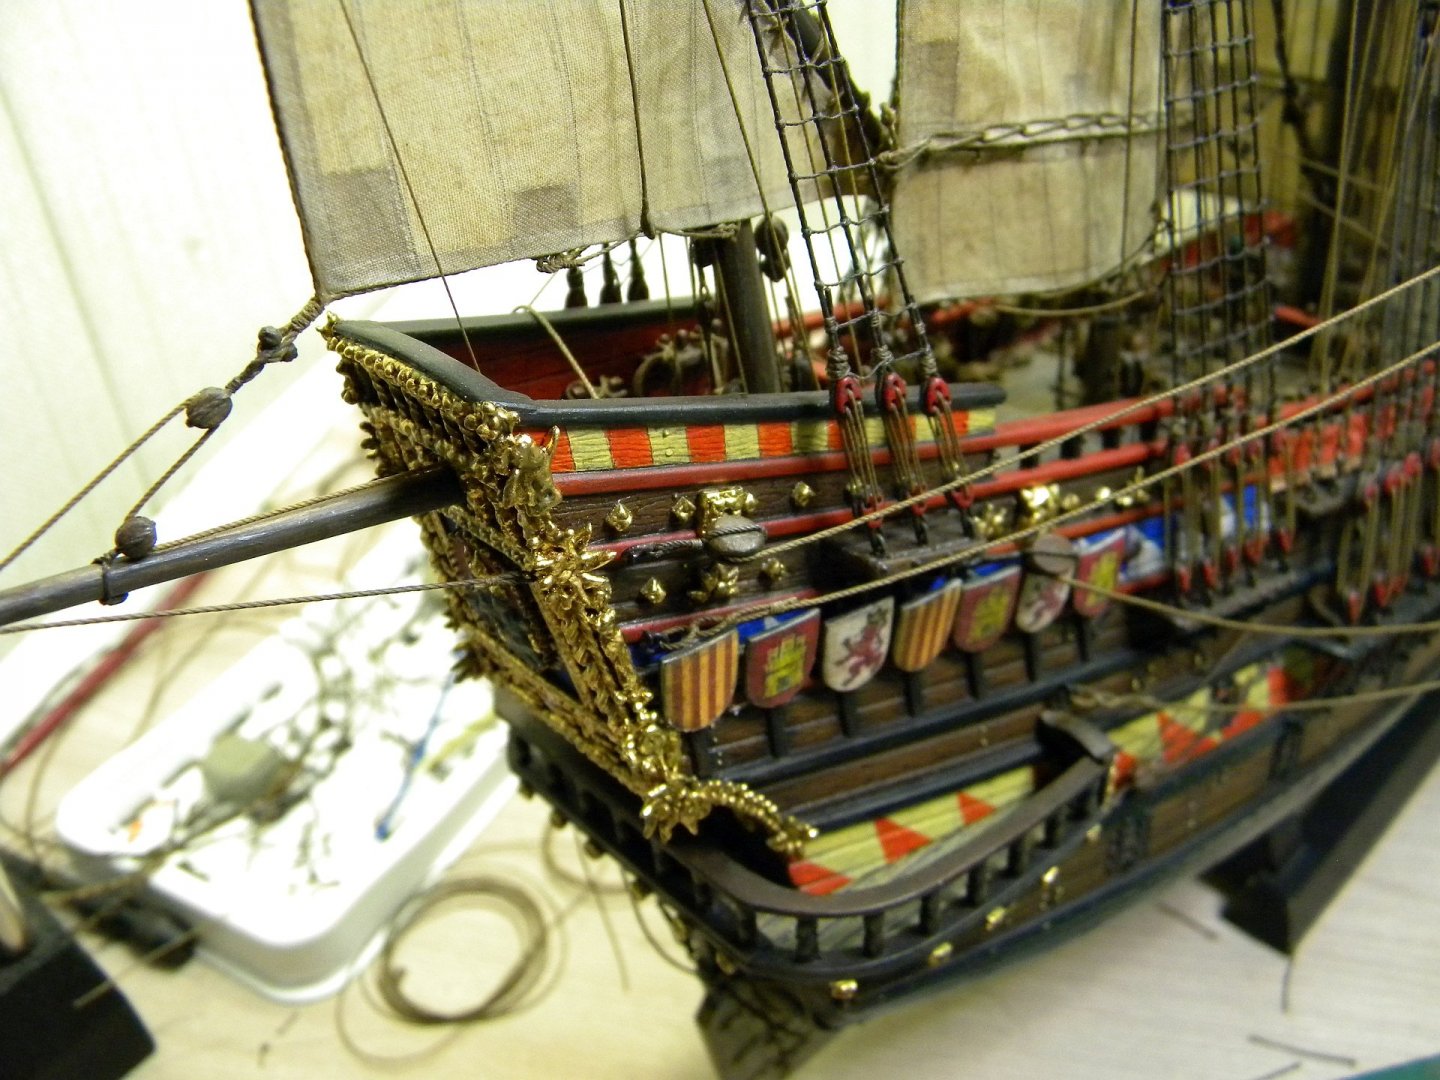
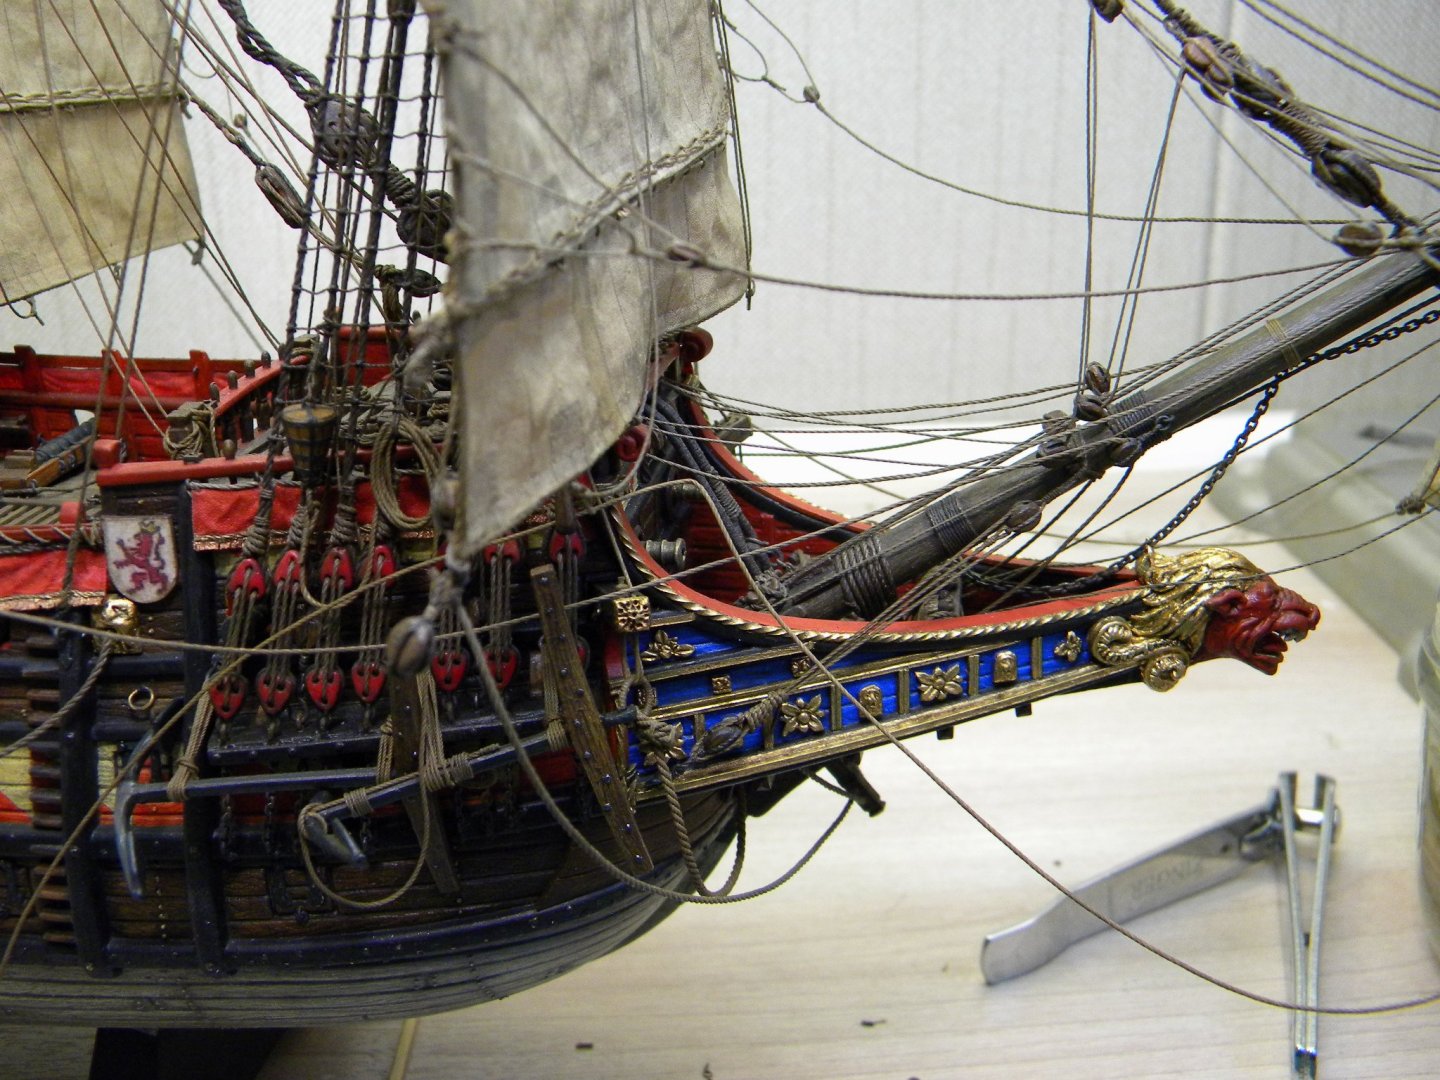
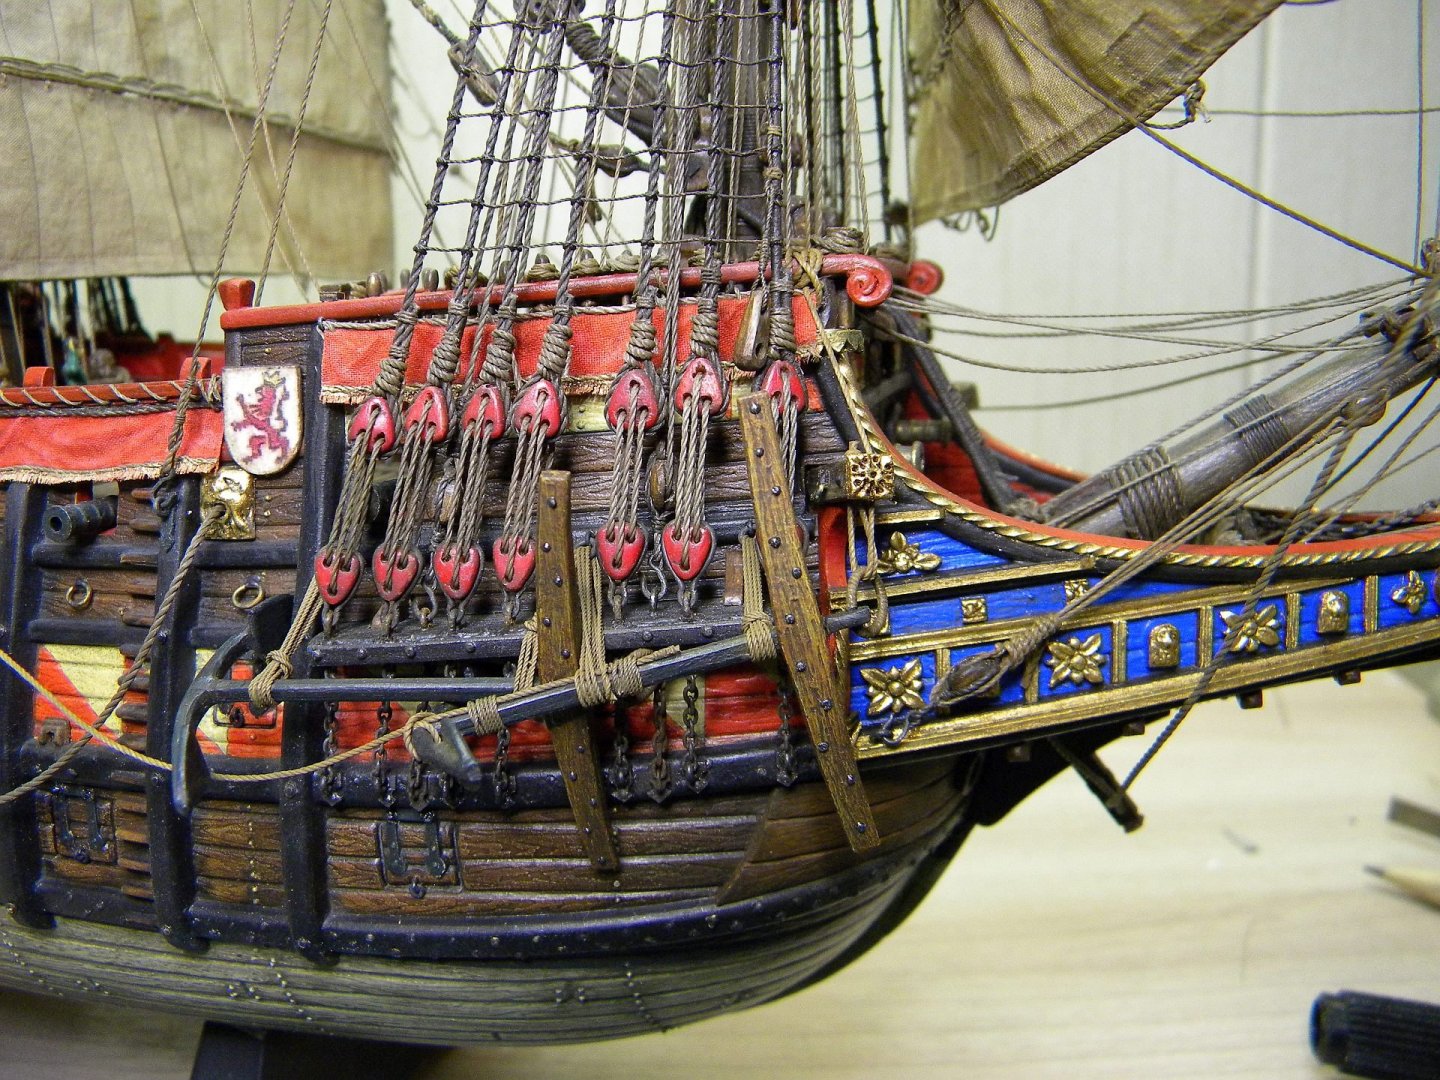
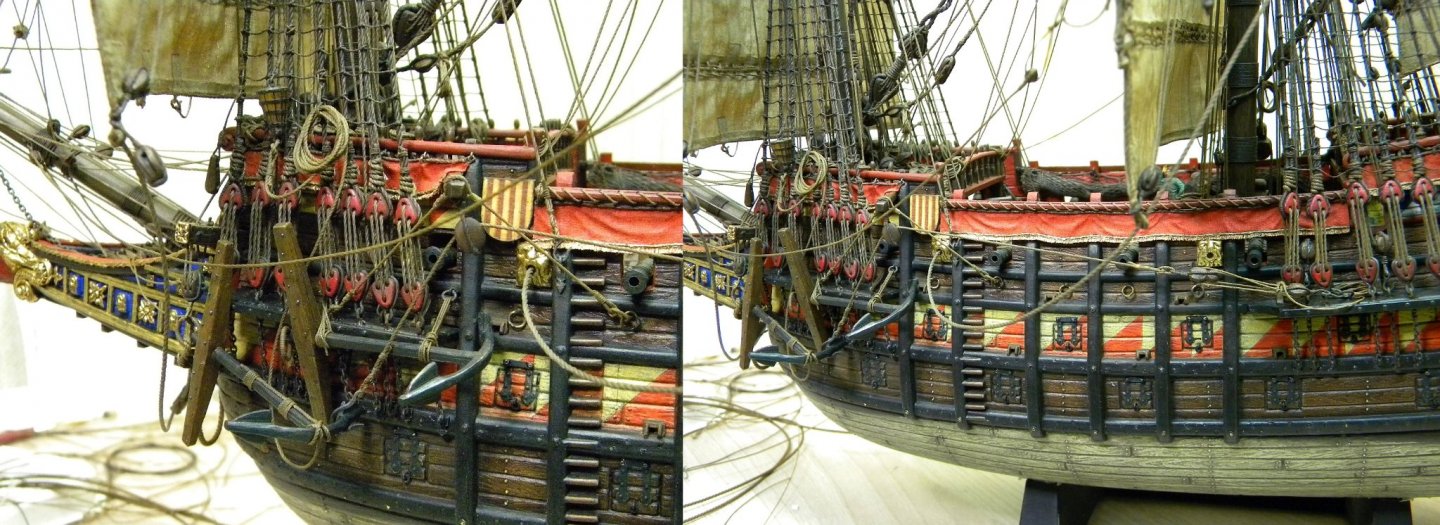
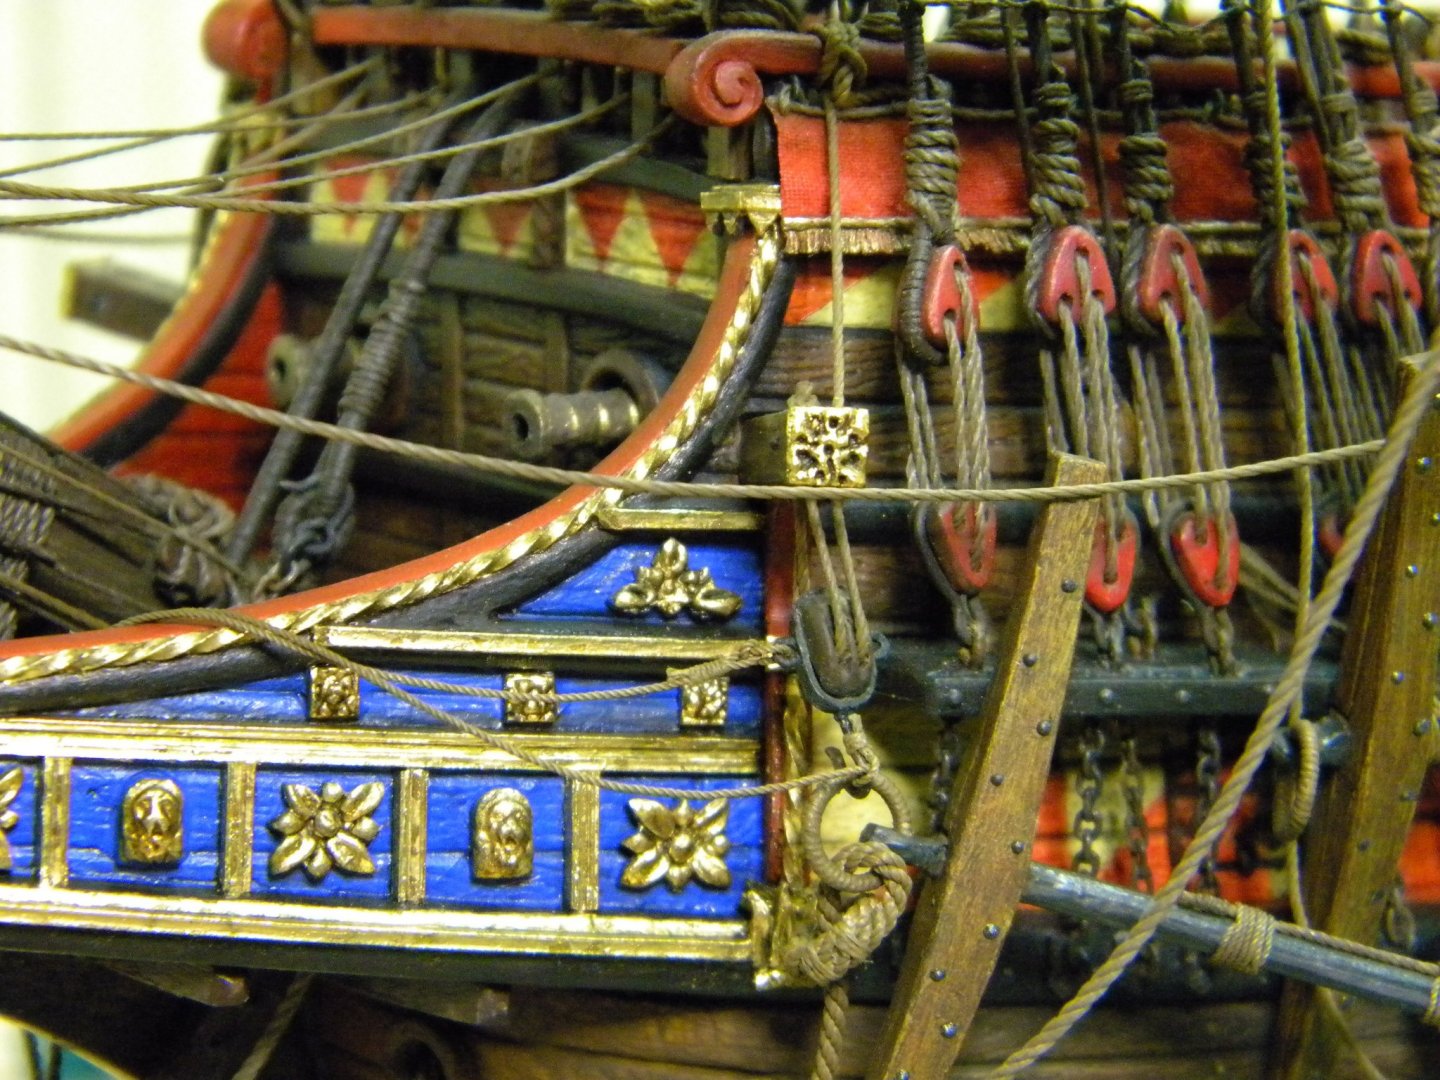
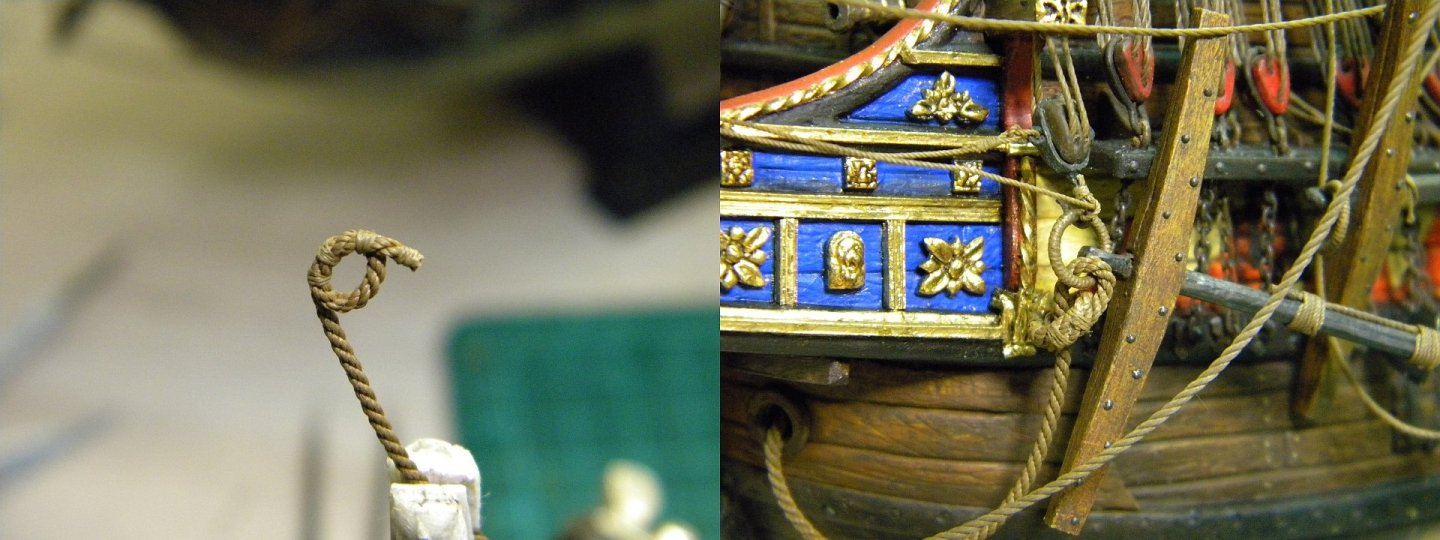
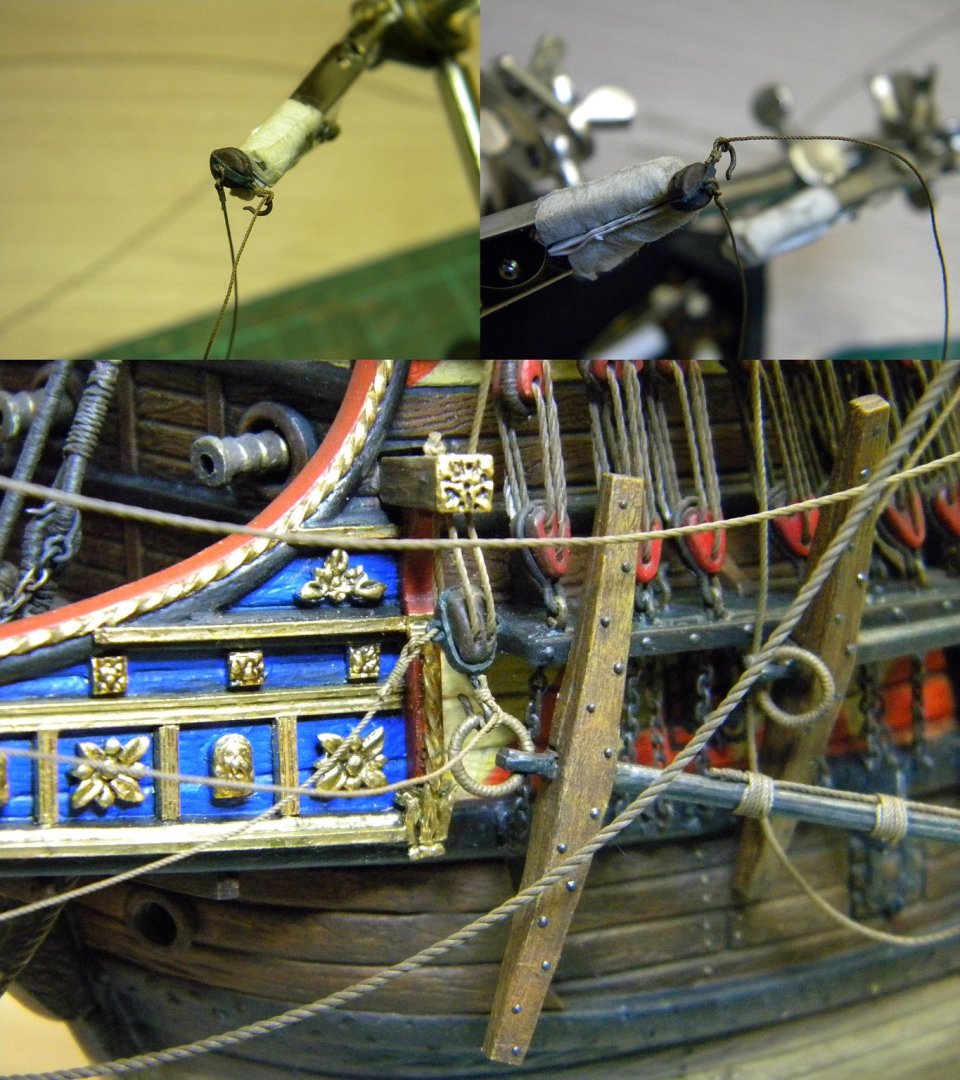
Hello everyone! A small continuation, tied the guide blocks for the sheets of the spritsail, finished with the anchors on the port side - for the sake of interest, fish davit showed an armed one, such as an anchor in the process of heaving up ... from the starboard side I will fix all the anchors on the marching ...


- 228 replies
-
- 4
-
-
- spanish galleon
- lee
- (and 1 more)
-
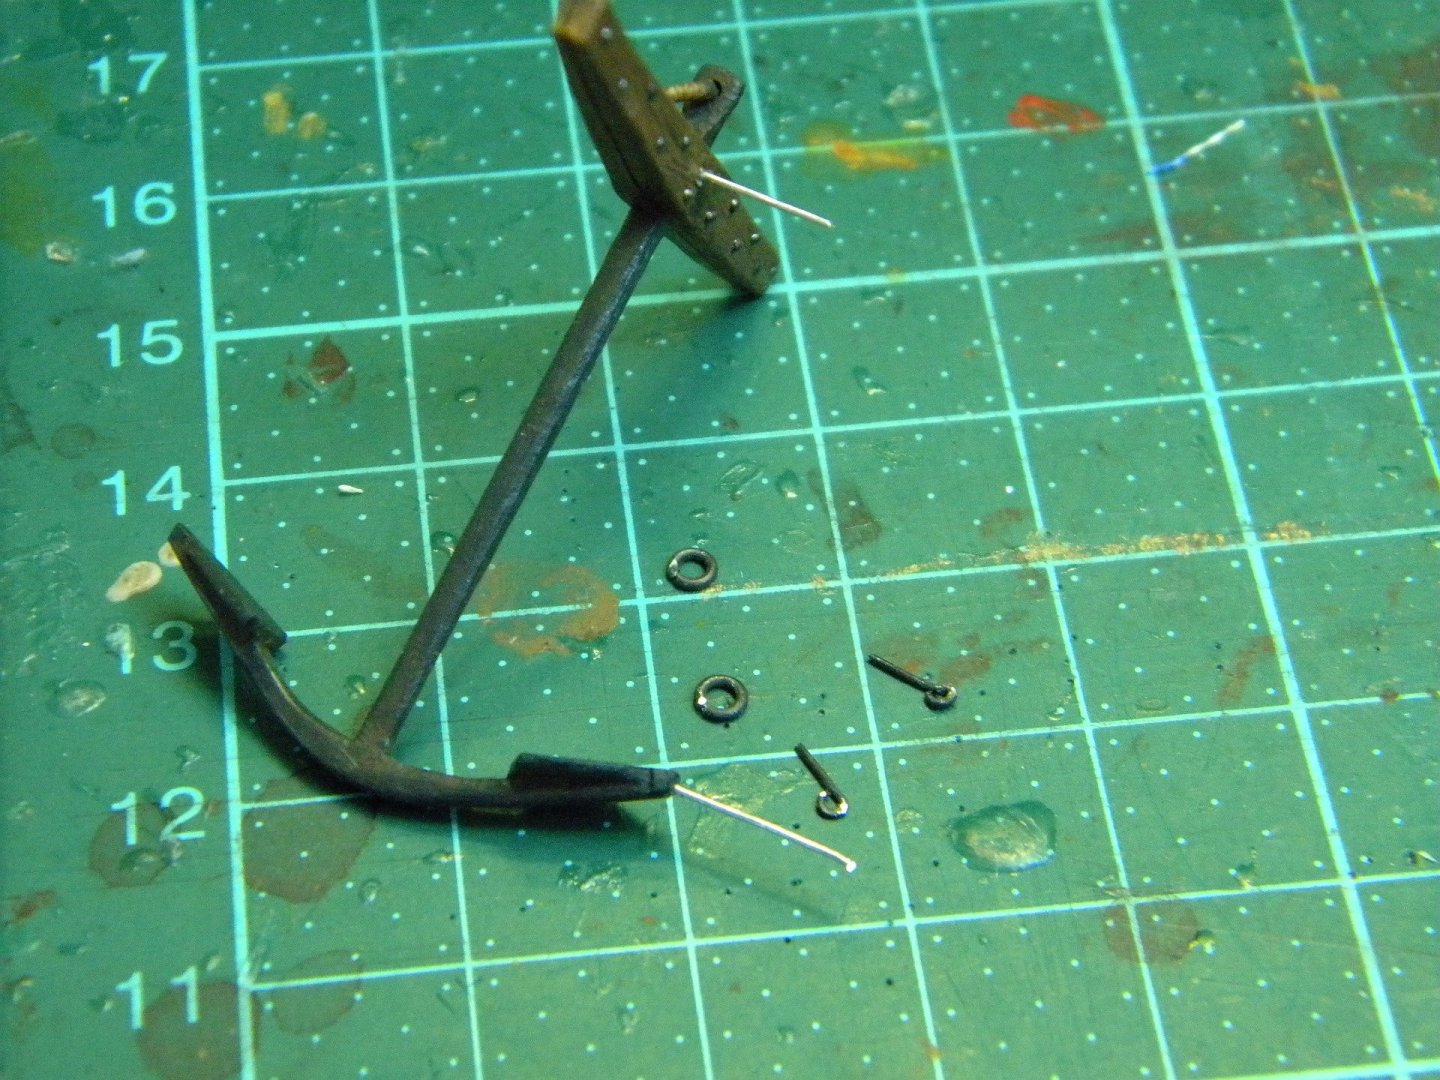
Good day everybody, Continue with making anchor gears ... started with port side , I fixed anchors to the hull constraction and chanel by the pieces of metal wire...


- 228 replies
-
- 2
-
-
- spanish galleon
- lee
- (and 1 more)
-
Good day, Nice job !!! To "even " colors , You could use artificial gold leafs for all decor You made ... they are quite chip and easy with applying, and could be find in every artistic shop I guess... Than they need to be covered with gloss acrylic varnish and finaly touch with deluted to desired consistency , bitum varnish to give somre patina effect, and hilight relief... In your case, thus deluted bitum could be applyed to the entire model,not only to decore alone...check youtube for bitum applying technique... I first time try this technique on my midel, for the decor, and found it works very well !!!
-
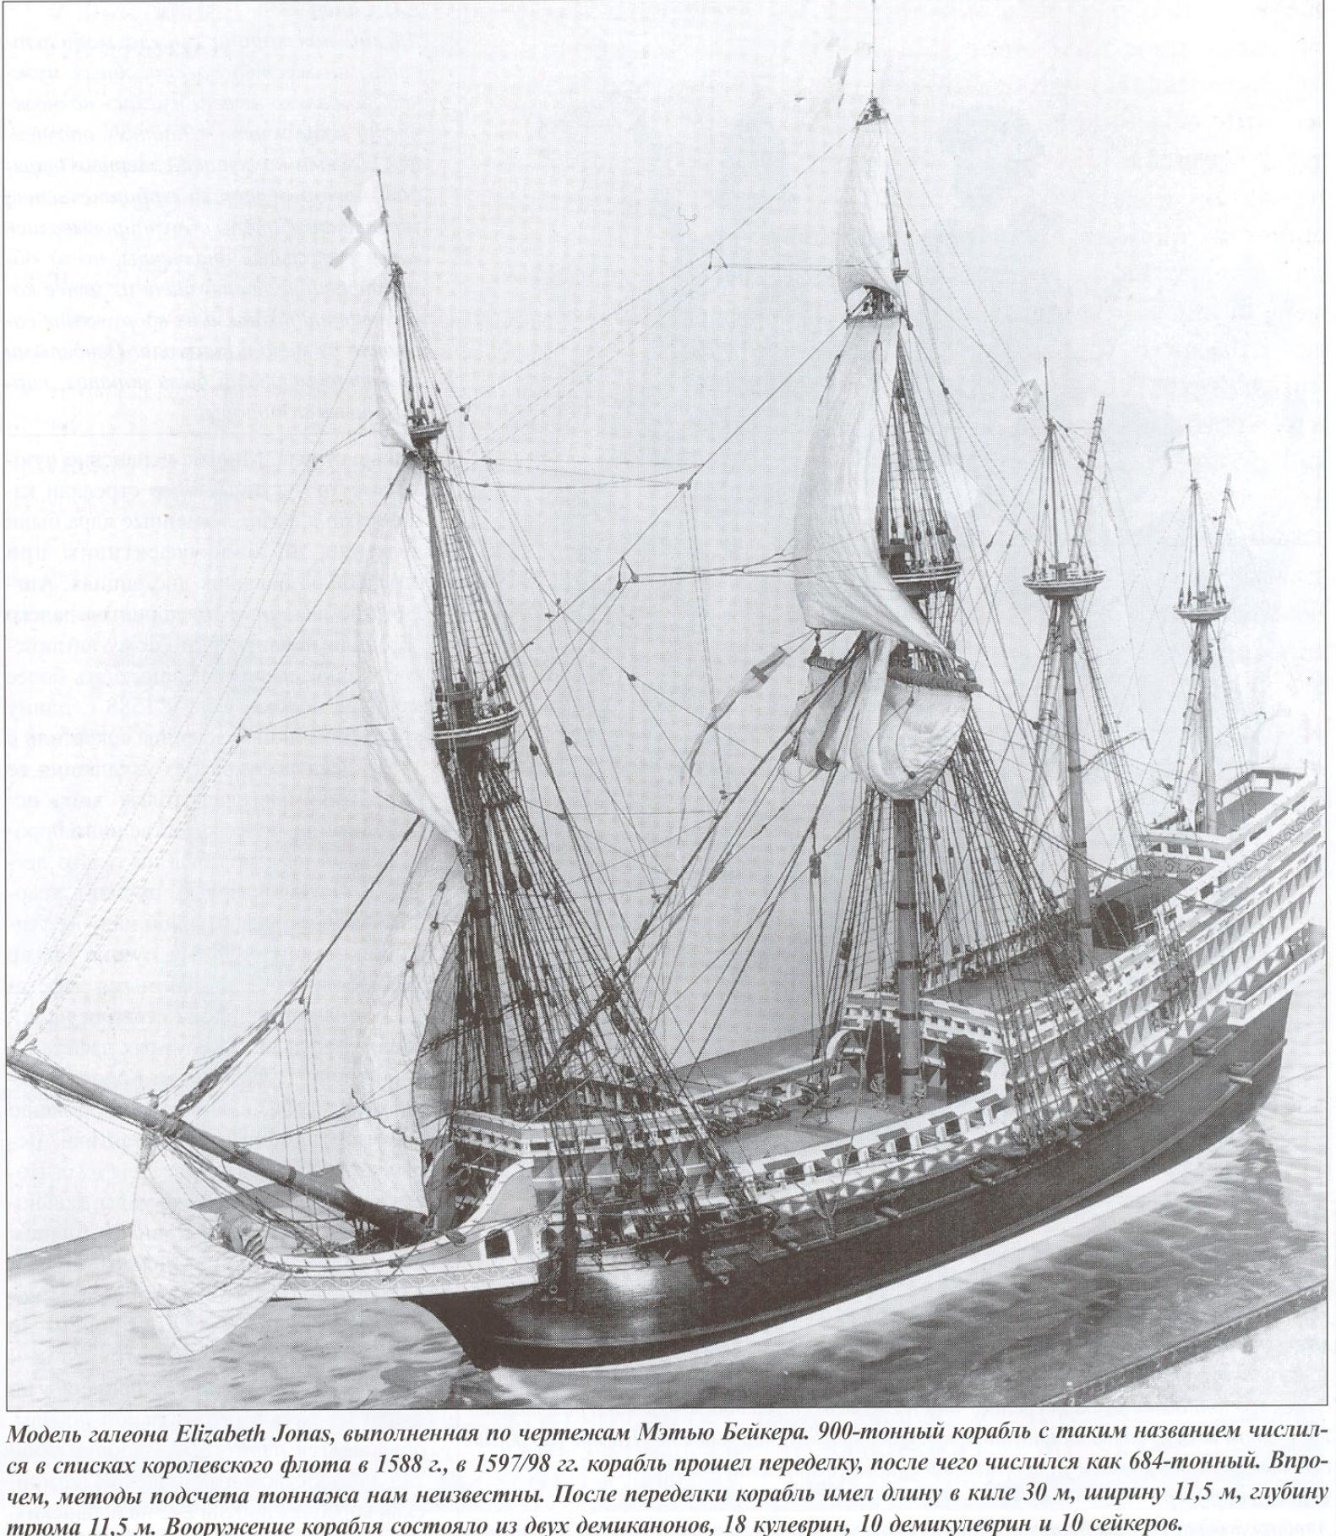
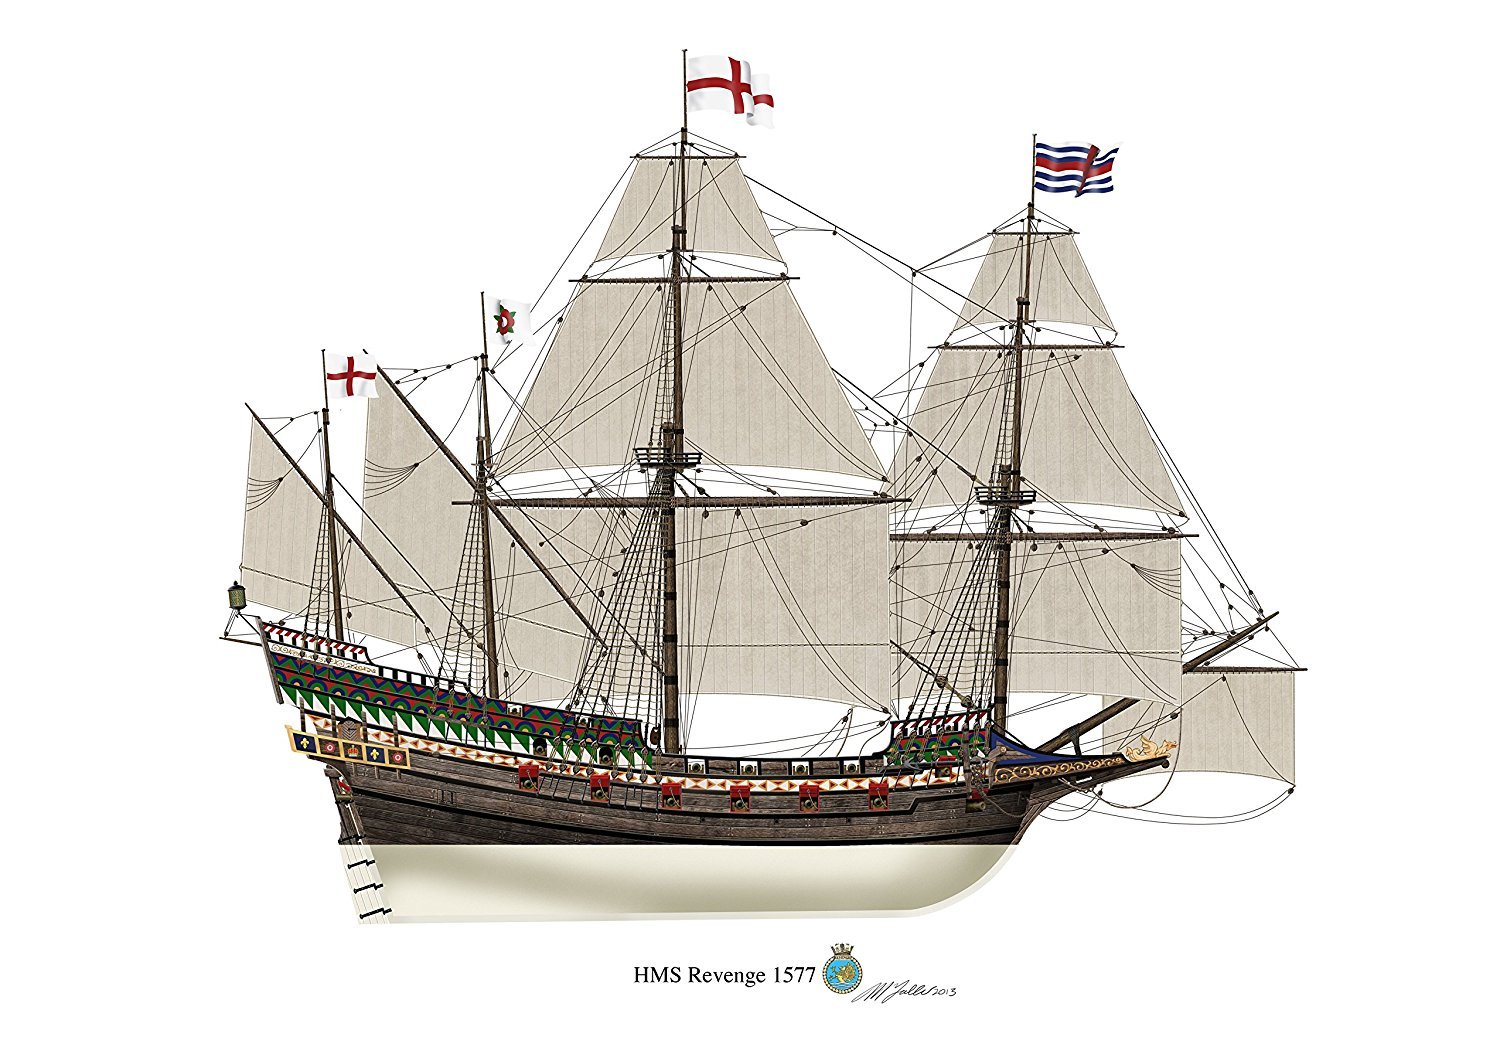
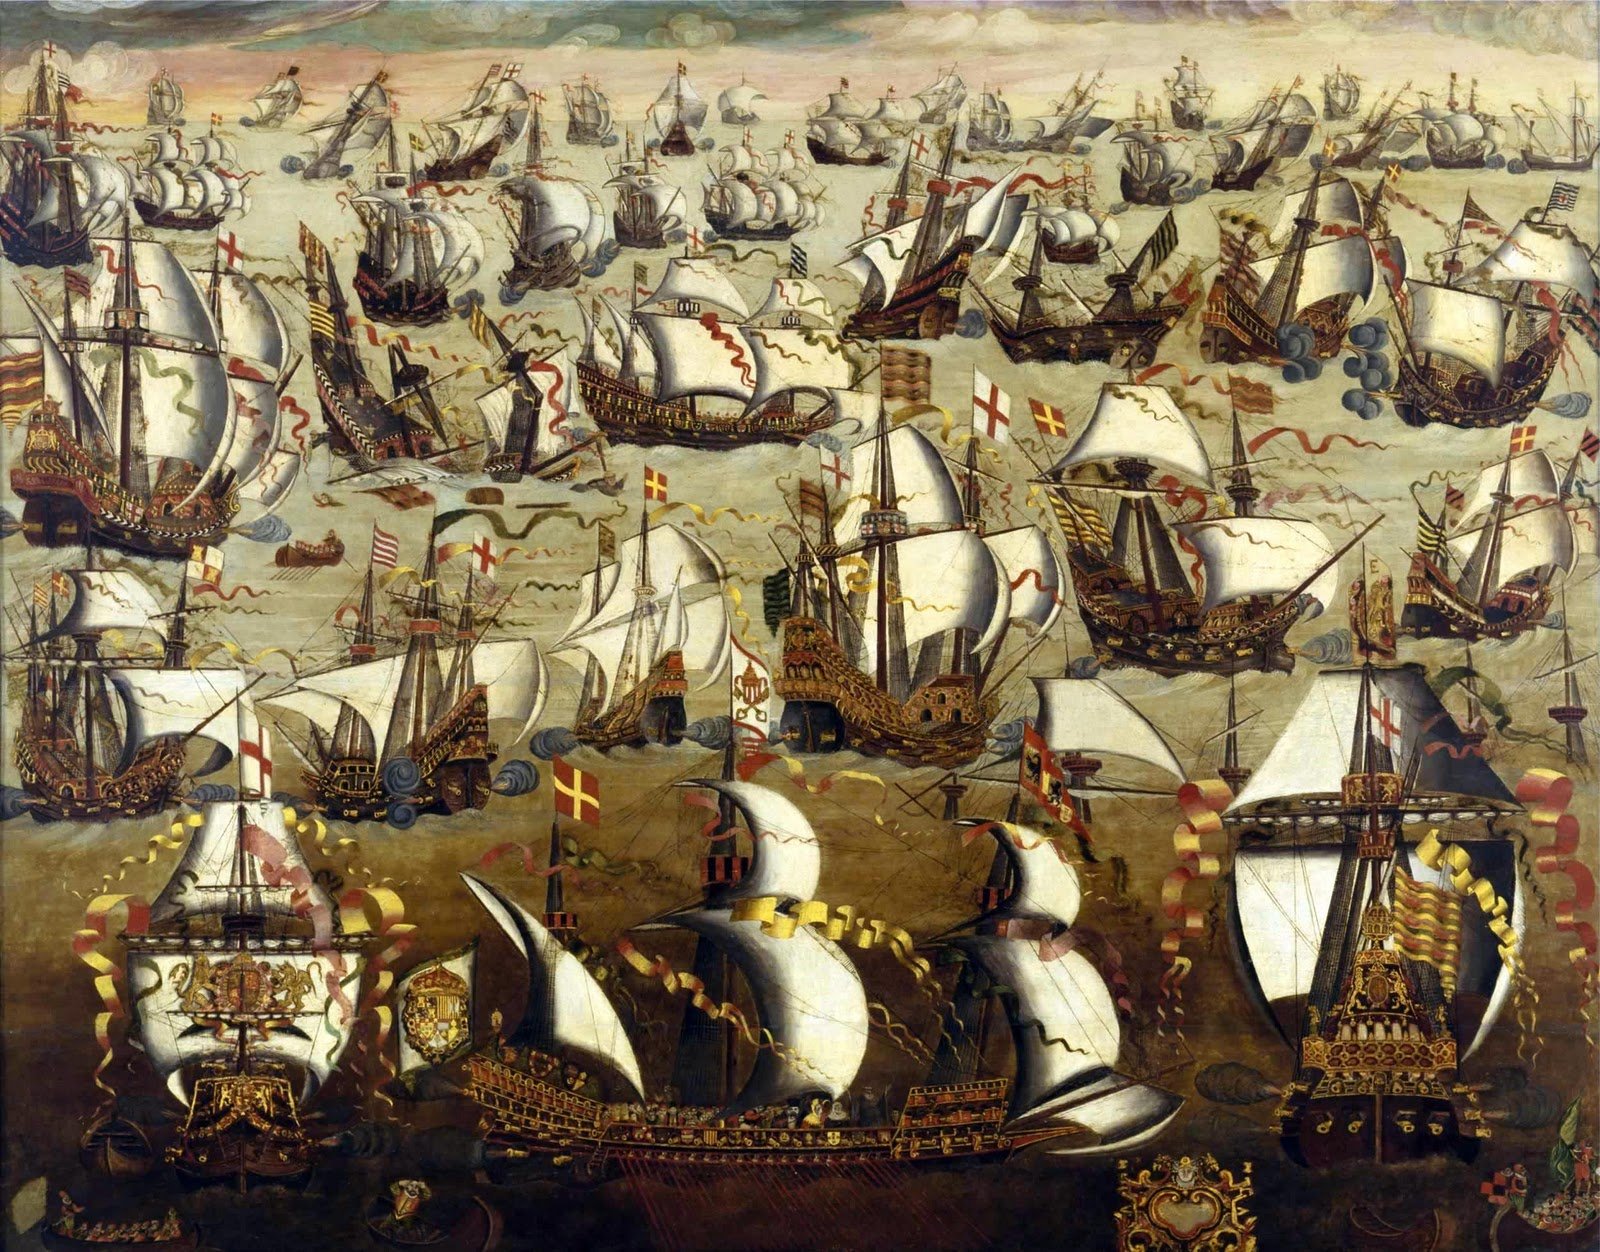
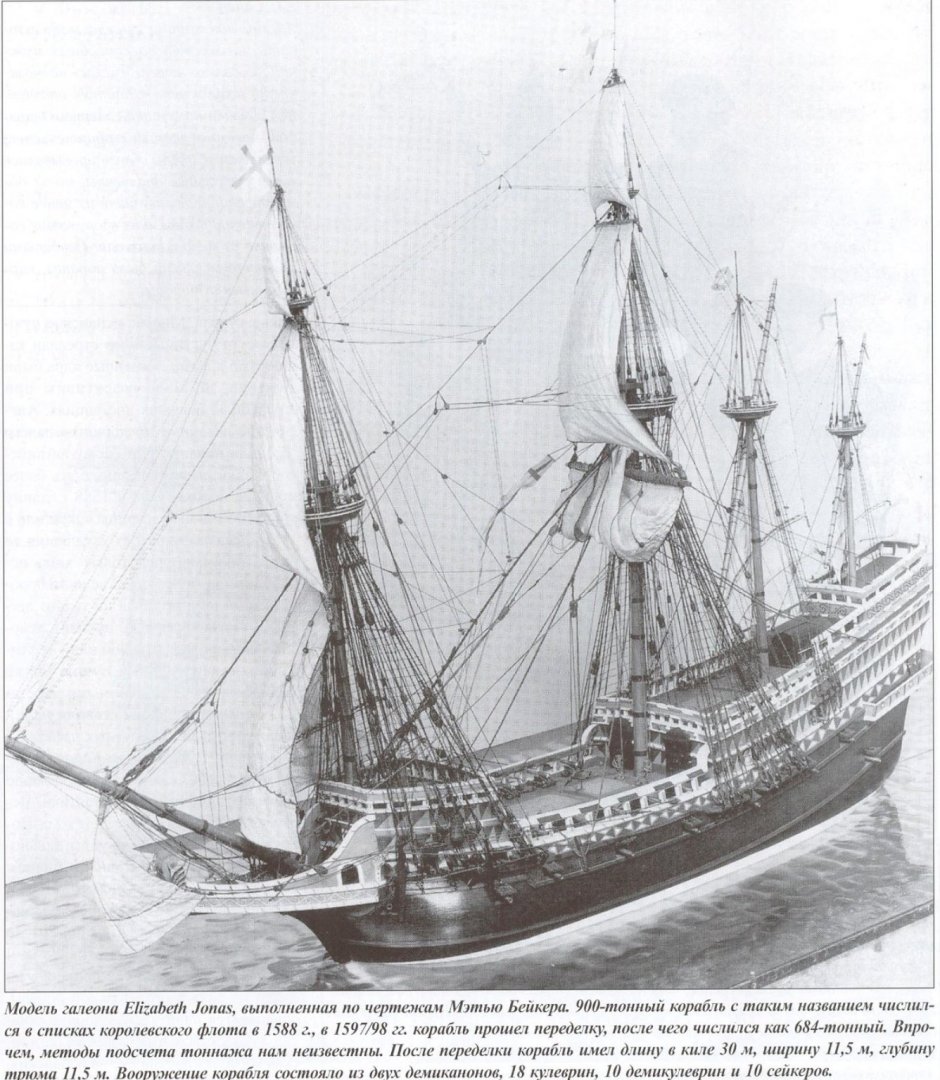
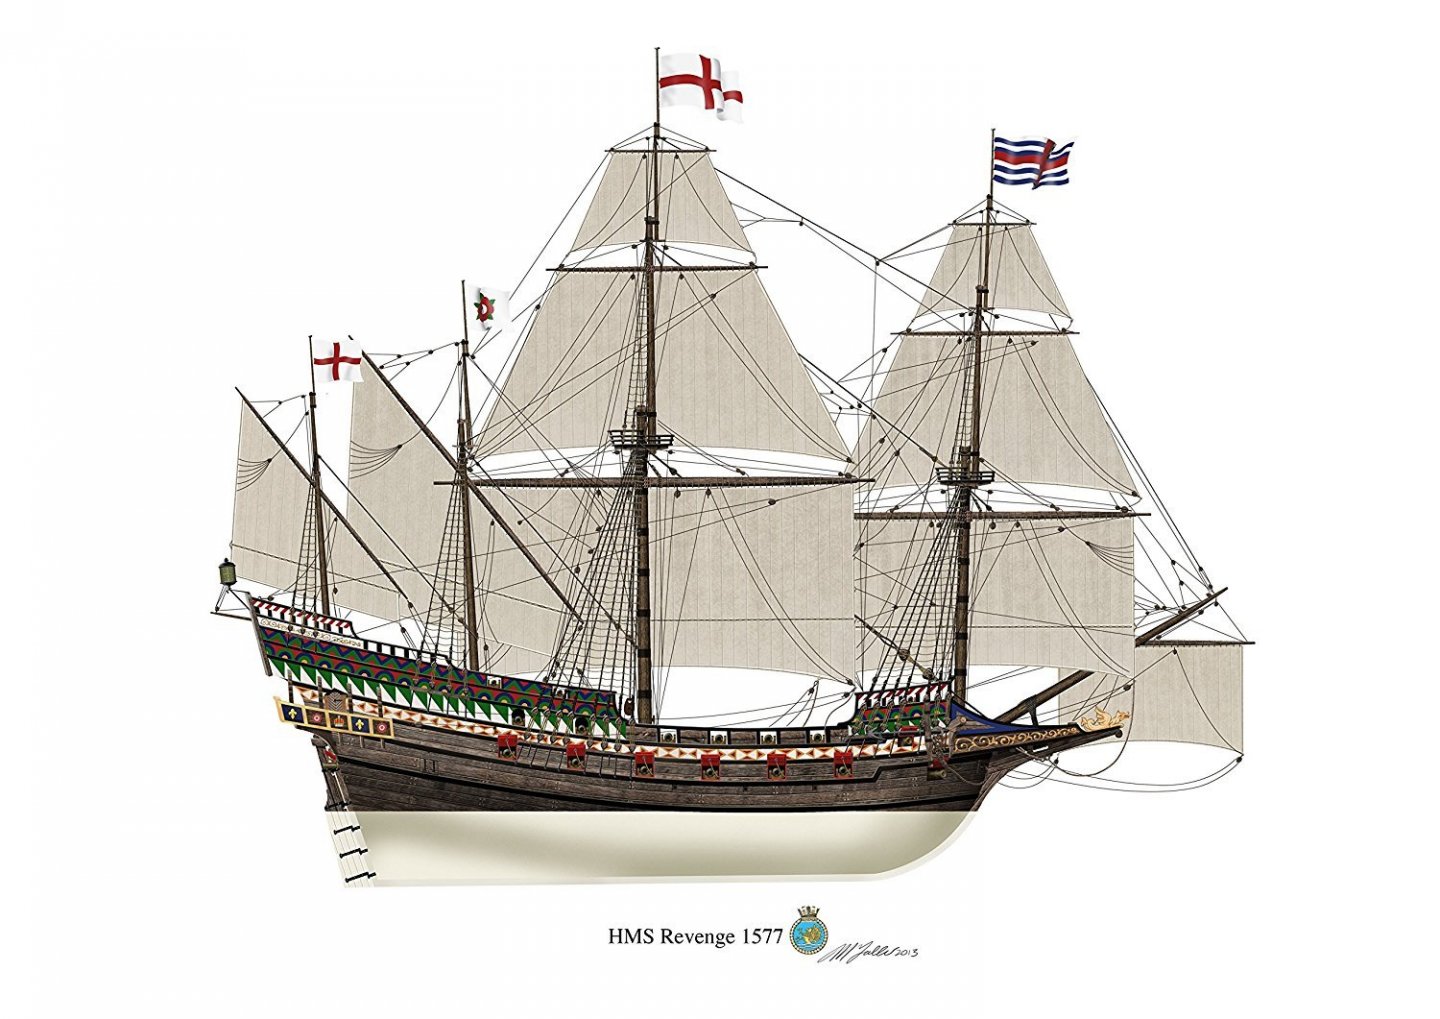
Good day Michael, Most probably - Airfix " Golden Hind"... I liked very much how accurate they present elizabethuan galleon... I want to imagine it like 1:100 scale , not actually as kit stated " GH",... I waht to make a little bit rearangements ... and make it with 4 masts ...planned to make it like some kind of "Elizabeth Jonas "model,mixed with Piter Kirsch reconstraction of english galleon 🤪 And as mix of futures and decors as in this famous pictures( Vroom as on extrime right side galleon shown)...


- 228 replies
-
- 3
-
-
- spanish galleon
- lee
- (and 1 more)
-
Dear Marc! Thank Your very much !!! :))) It gives motivation when someone else watch your plastic model experiments!!! One month remains till the end of my vacation... And! I'm seriously intend to complete this fuk...g looong project in this time :))) !!!
- 228 replies
-
- 1
-
-
- spanish galleon
- lee
- (and 1 more)
-
Dear Bruma! Please, Keep on mooving !!! Great results we could see here!!! ALL the Best !!! Ps Every day I check what news on your building happened... One wish, give more pictures and information about your building... I have plan to assemble this model as well somewhere in the future...:)))
- 399 replies
-
- 5
-
-
-
- cutty sark
- revell
- (and 2 more)
-
Hello Doug! Welcome to the Vasa building process!:) Wish You luck! As far as I know this is good / historic accurate kit,at least without fatal mistakes...must be good model on finish! All The Best! Kirill Ps I know There is most valuable Vasa resource in the world!:))) https://warshipvasa.freeforums.net/
- 19 replies
-
- 1
-
-
- Billing Boats
- VASA
- (and 2 more)
-
Maurice!! Follow your building with great interest! Super and very informative ! When You use PVA... why not CA gel? or PVA have some special charachteristics?
- 185 replies
-
- 2
-
-
- queen anne barge
- Syren Ship Model Company
- (and 1 more)