HOLIDAY DONATION DRIVE - SUPPORT MSW - DO YOUR PART TO KEEP THIS GREAT FORUM GOING! (Only 13 donations so far - C'mon guys!)
×

kirill4
-
Posts
907 -
Joined
-
Last visited
Content Type
Profiles
Forums
Gallery
Events
Everything posted by kirill4
-
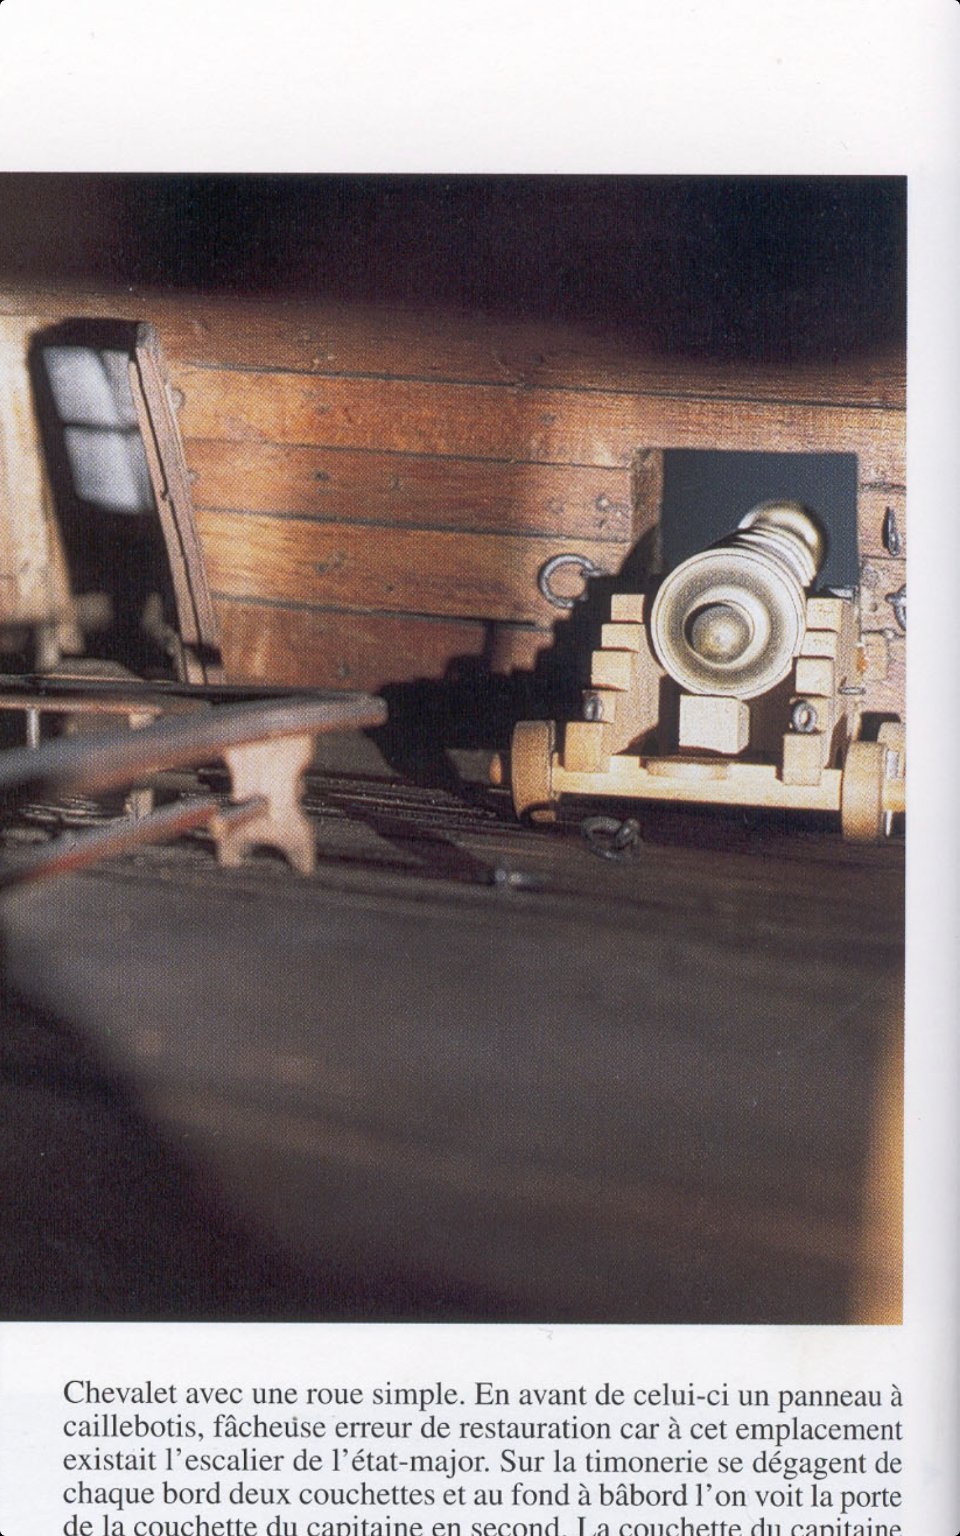
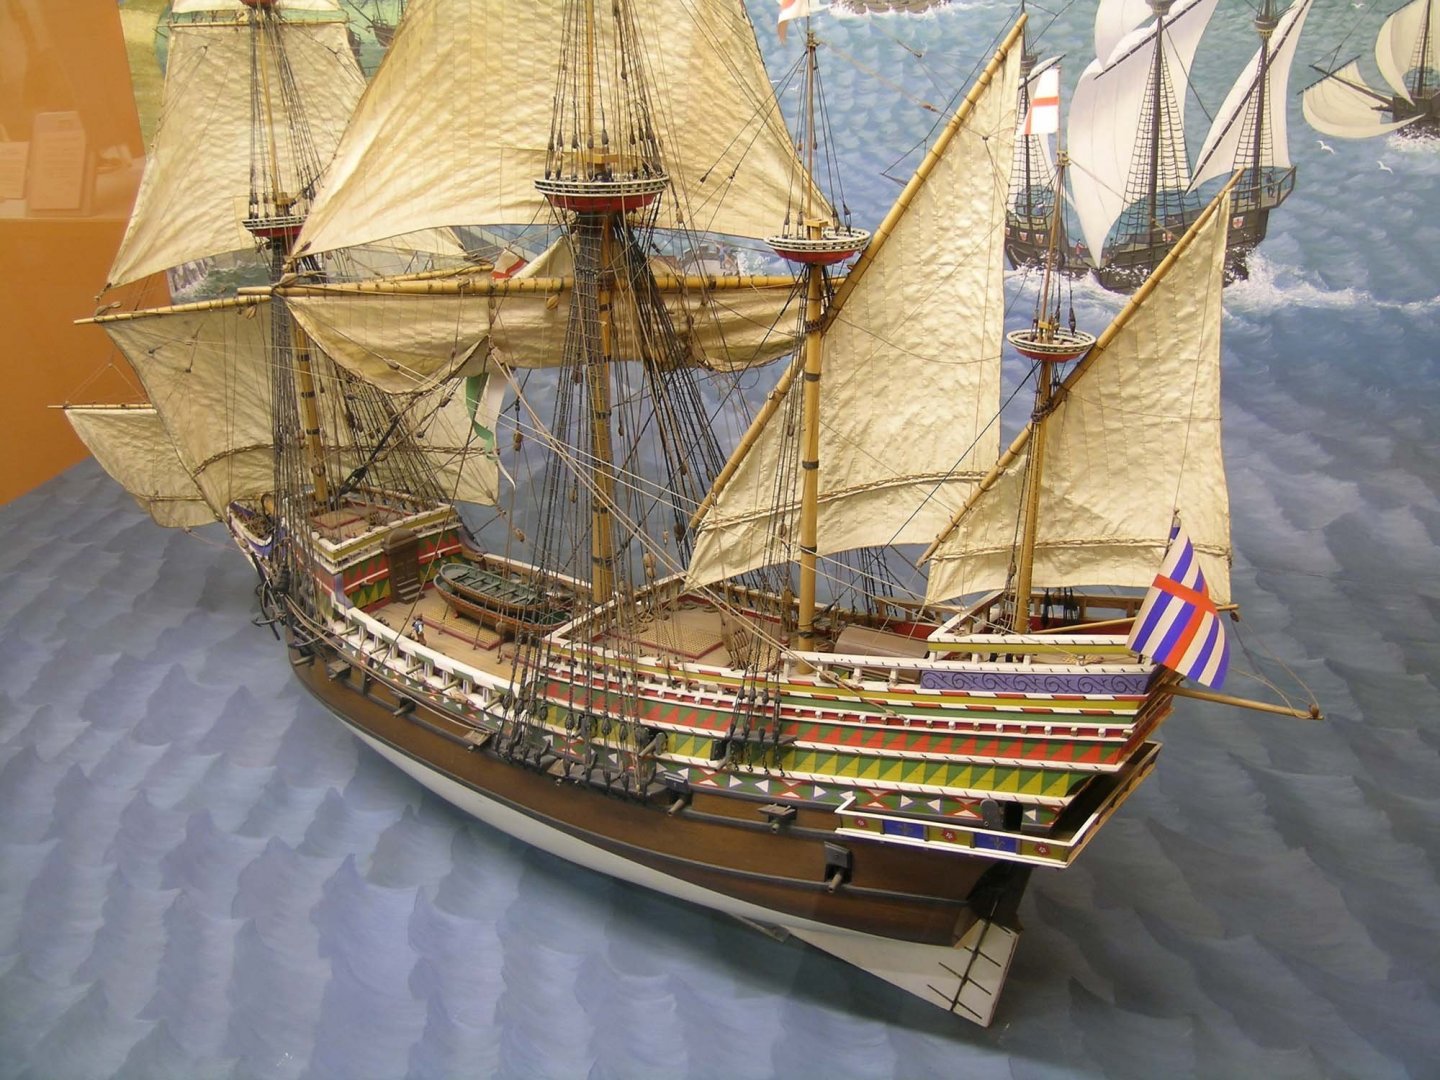
 Good day Jeff, I understood your idea about furling topsails, how You wanted to show them... This is russian navy" Shtandart" replica , which is on your example, but this is 18th century vessel ,if I not mistaken...doubt if it could be goodcas example for thr Revenge model... more close/ suitable examples for your model, could be Kalmar Nykel replica of 1625...or Duyfken or Mayflower II replicas .... there are many photos of them in the net, and they are in good resolution ,and many details of the rigging could be seen and examined... also they shown in different stages of sails managing... full set, half furled, etc... All the best! Kirill Ps Did You consider to show main sails half furled and other sails full setted...something as demonstrated on this model/ by the way - very good example of many details for Revenge model... I could say, for both models it was used the same base for reconstruction... and they are very similar in appearance :))) https://collection.sciencemuseumgroup.org.uk/objects/co40957/elizabethan-galleon-elizabeth-jonas-model-representation
-
Gh and Revenge in a " little bit " different vessels , in tonnage, sizes, righing ,years of build , etc... could be no sence to mix them in one building... ?
-
Good day, But this is Revenge built,isn't it? ... not GH... hm...not sure why we are talking about GH here? Is there special GH building report?
-
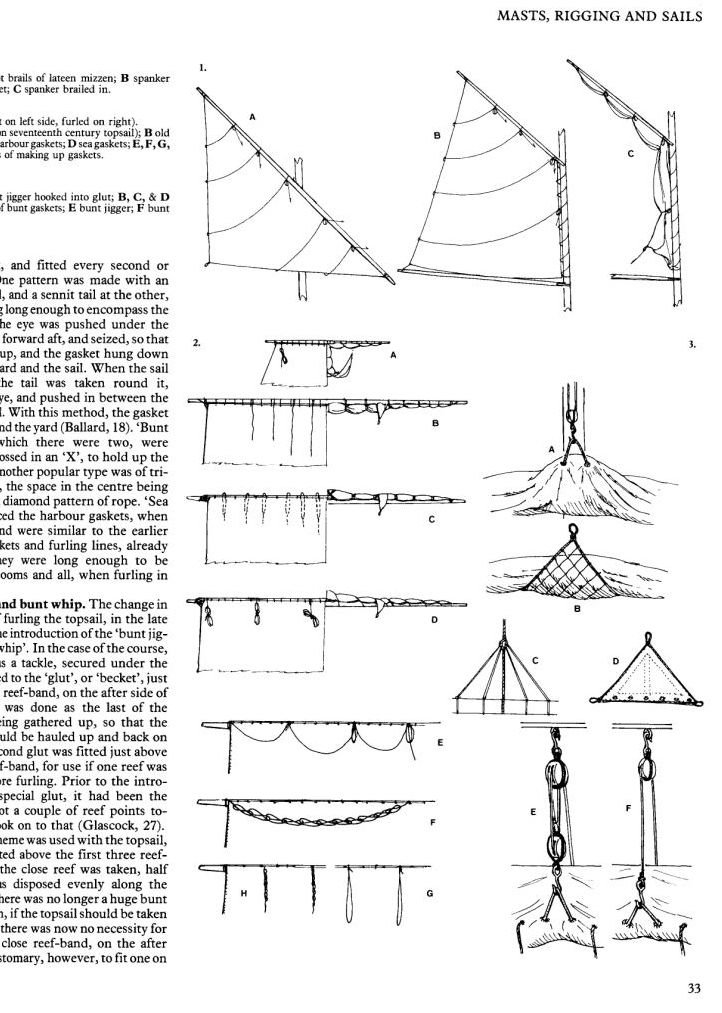
There is the picture 2A in Harland's book, as example old fashion furling topsails and one else... You didn't fit gaskets at all... not on the main yard nor on the top or mizzen... it will be difficult to manage sails furling without such important elements...
-
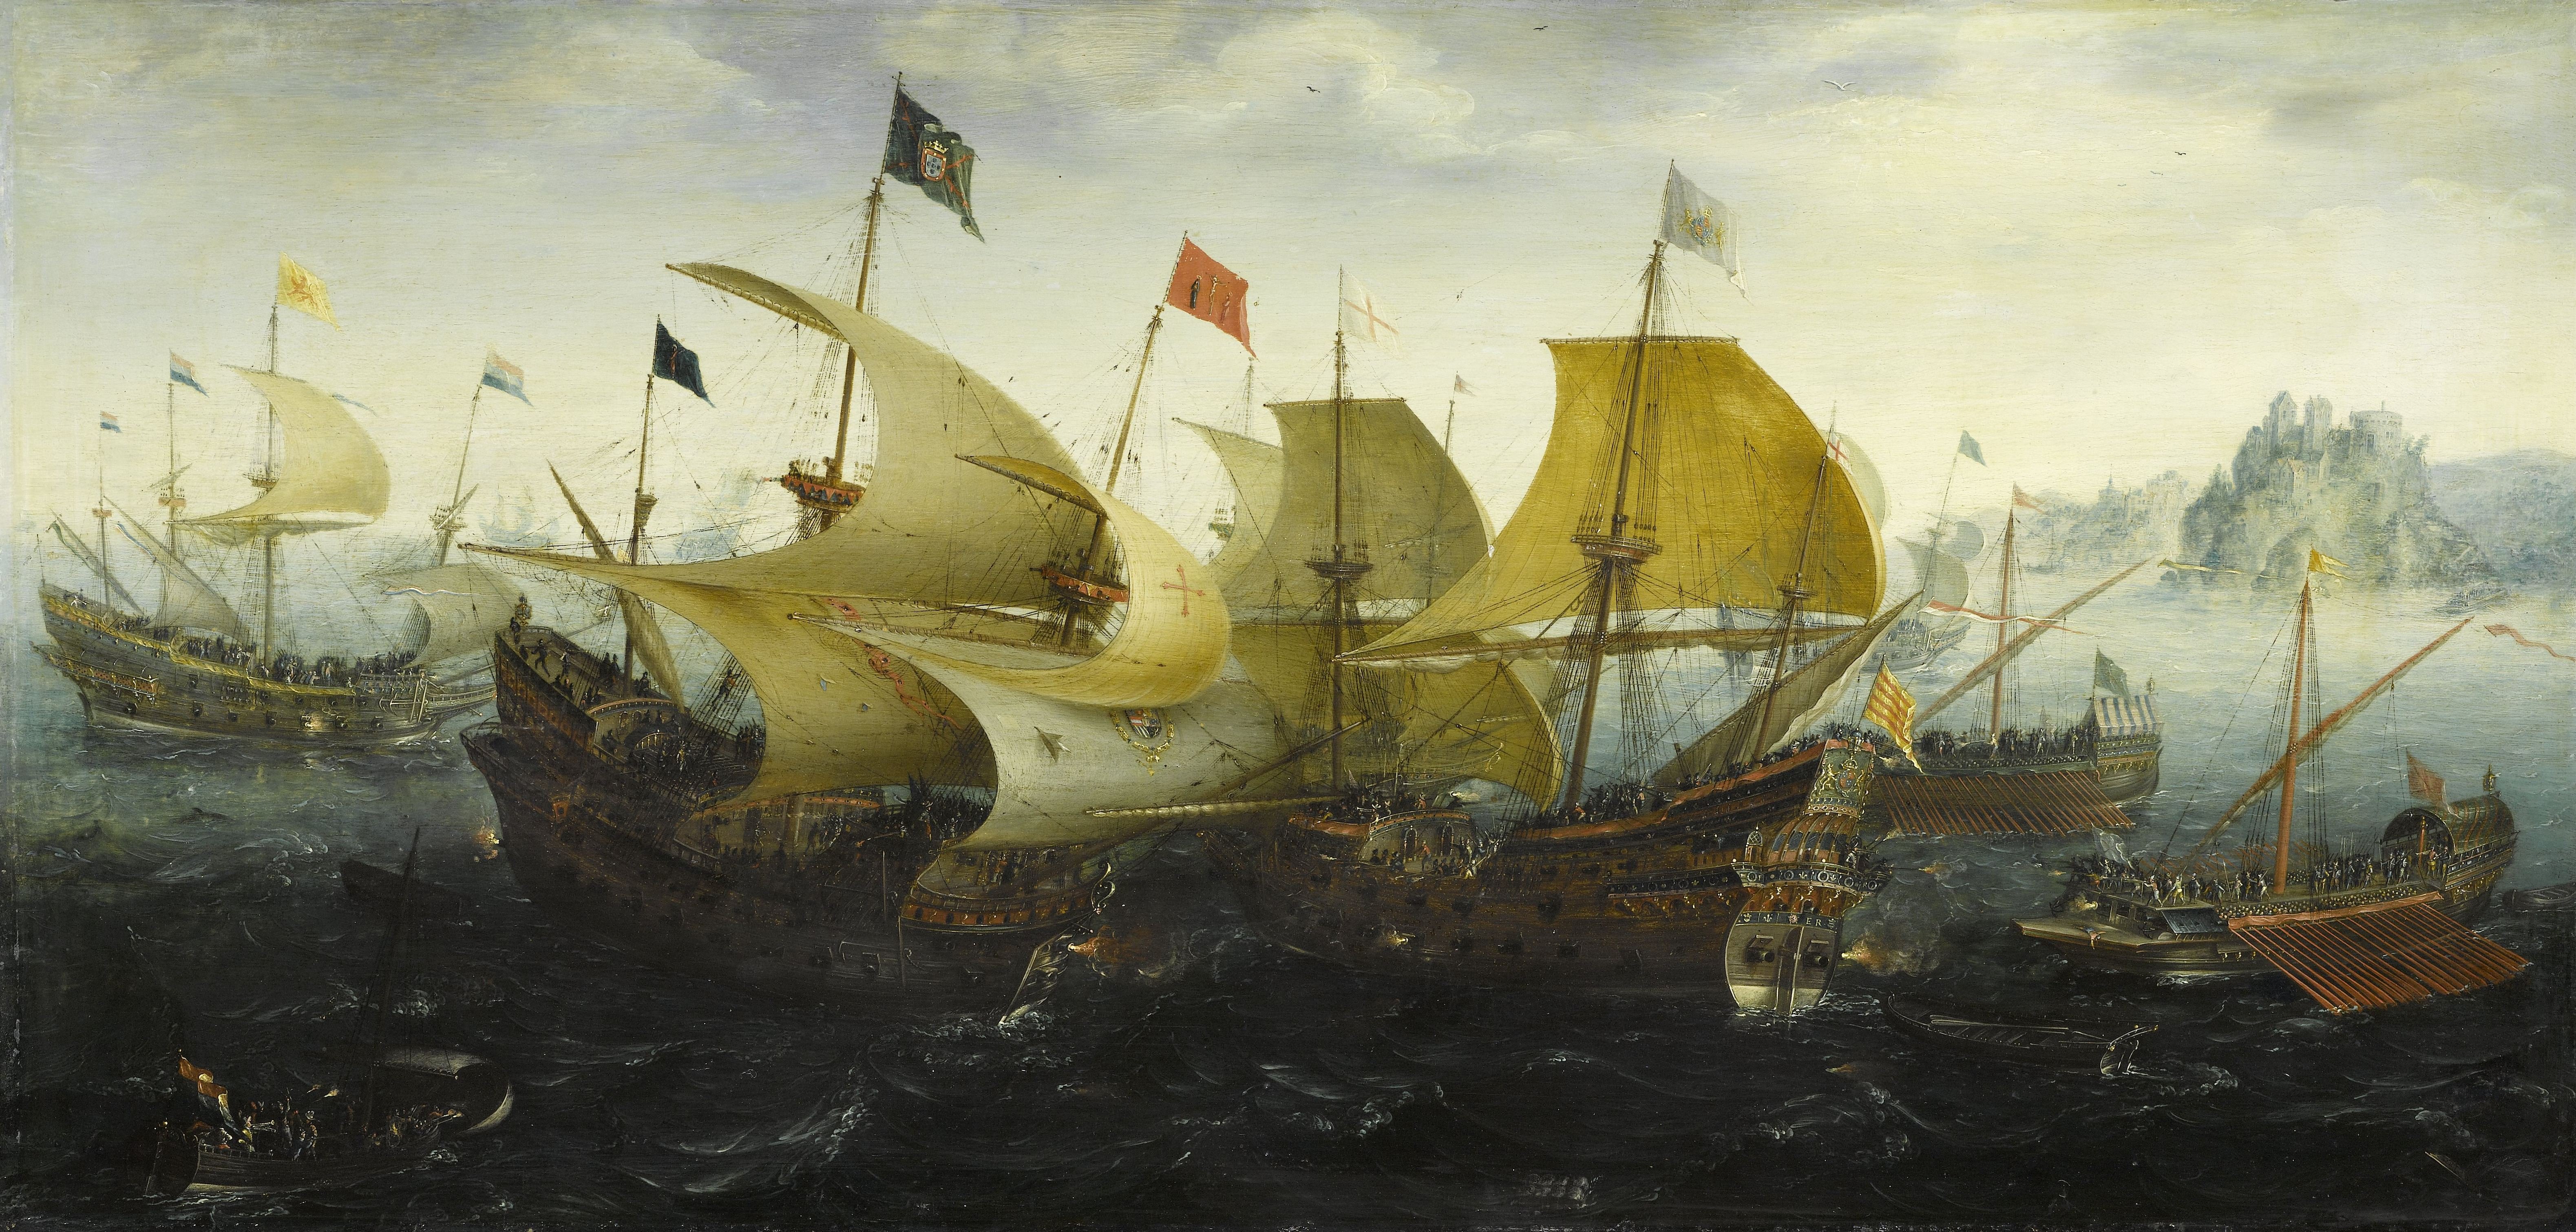
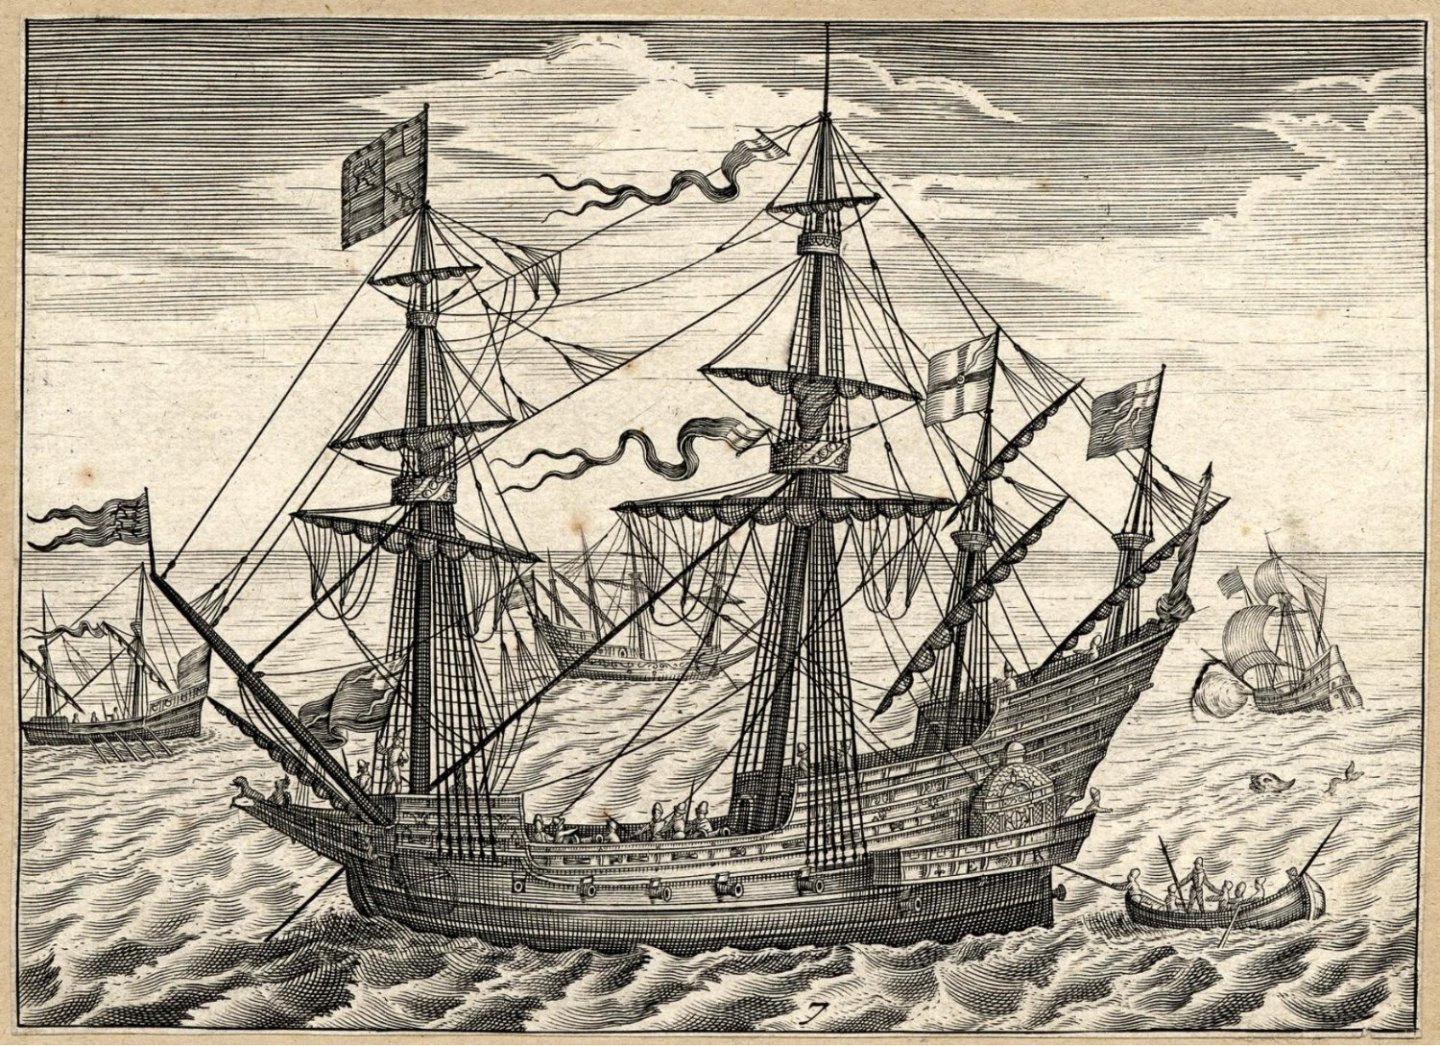
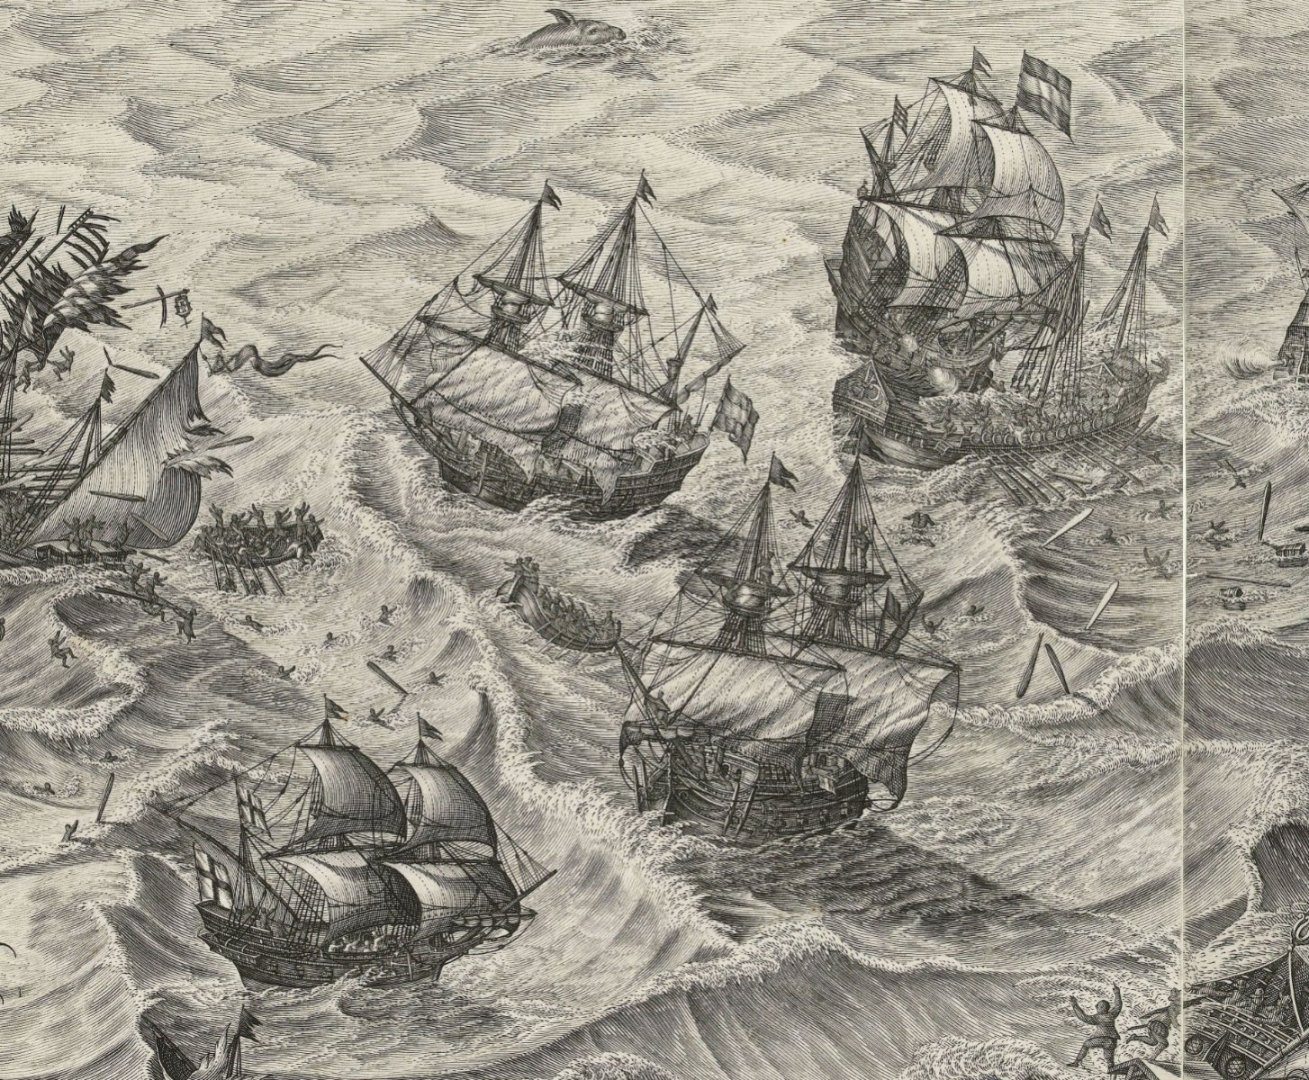
Good day Jeff, Your model is going to be a very nice galleon! I have some remarks from my side ,but I'm afraid they are too late , about the way how You demonstrated topsails furling on your galleon ... I don't think I will tell something new, just some remarks regarding sails handling in this period... Topsails yards, when sails were going to be furled, need to be lowered at most possible lower position - to the mast-head... when they shown hoisted up, but sails shown in process of furling, it looks a bit unnatural... and topsails themselves , in 16th - beginning of the 17th centuries , they were usually furled in a little bit different way,as I could understand .. Partially they were rolled and secured to the respective yard but main body of the sail used to be furled vertically and secured under the topsail yard vertically as well ... Later on, during next half of the 17th and on, when topsails became less trapezoidal shape, top and top-gallants sails furled and secured completely under the respective yards... all these about sails furling etc. clearly and in details explained in J.Harland book "Seamanship in the age of sails"... All the best! Kirill
.thumb.jpg.99a6be8eda9f8370a0279147cd05fd36.jpg)
-
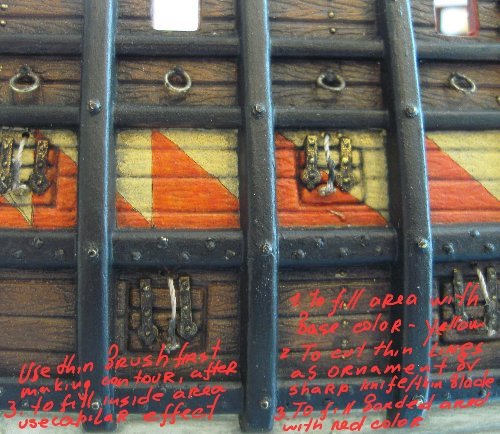
Good day Tommy, Sorry for delay with answer, *I used sharp modeller knife for making very light thin line on the preliminary painted area( yellow)..., this line will serve as countur line for ornament, in this case - triangle... * than using cappilar effect anf fine brush, I filled area along this line with liquid acrylic paint, red in this case... cutts will prevent red color crossing to yellow field area. *to fill in remaining center area with red color... This way all my" triangles "were painted... :)))
- 228 replies
-
- 3
-

-
- spanish galleon
- lee
- (and 1 more)
-
Dear Michael! Your work is just fantastic !!! I love it! I would like you to successfully finish the manufacture of oars and hope you will soon show us the full model! All the best! Kirill
-
Dear Frank , Your model Looks Great!!! All The Best!!! Kirill
- 510 replies
-
- 3
-
-
- reale de france
- corel
- (and 1 more)
-
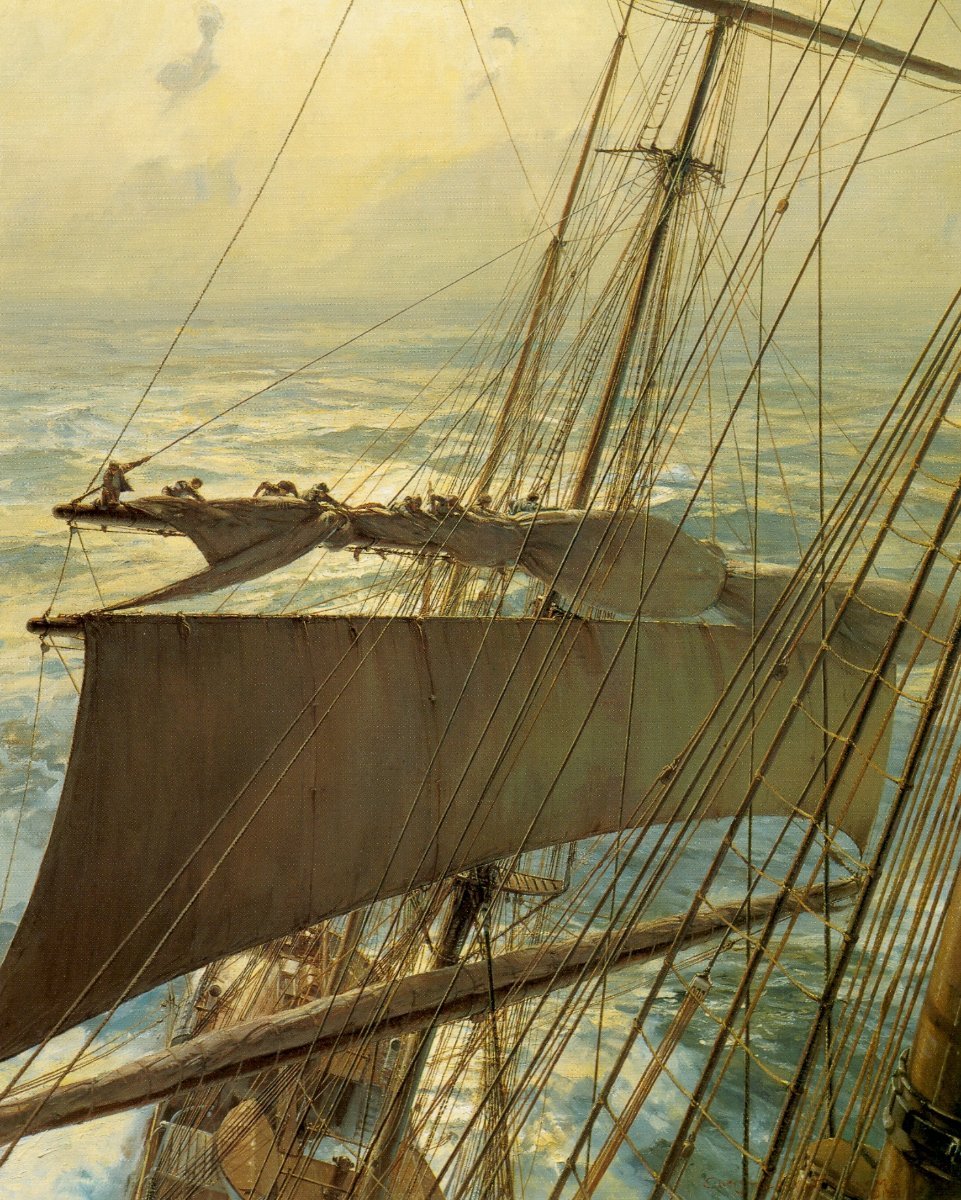
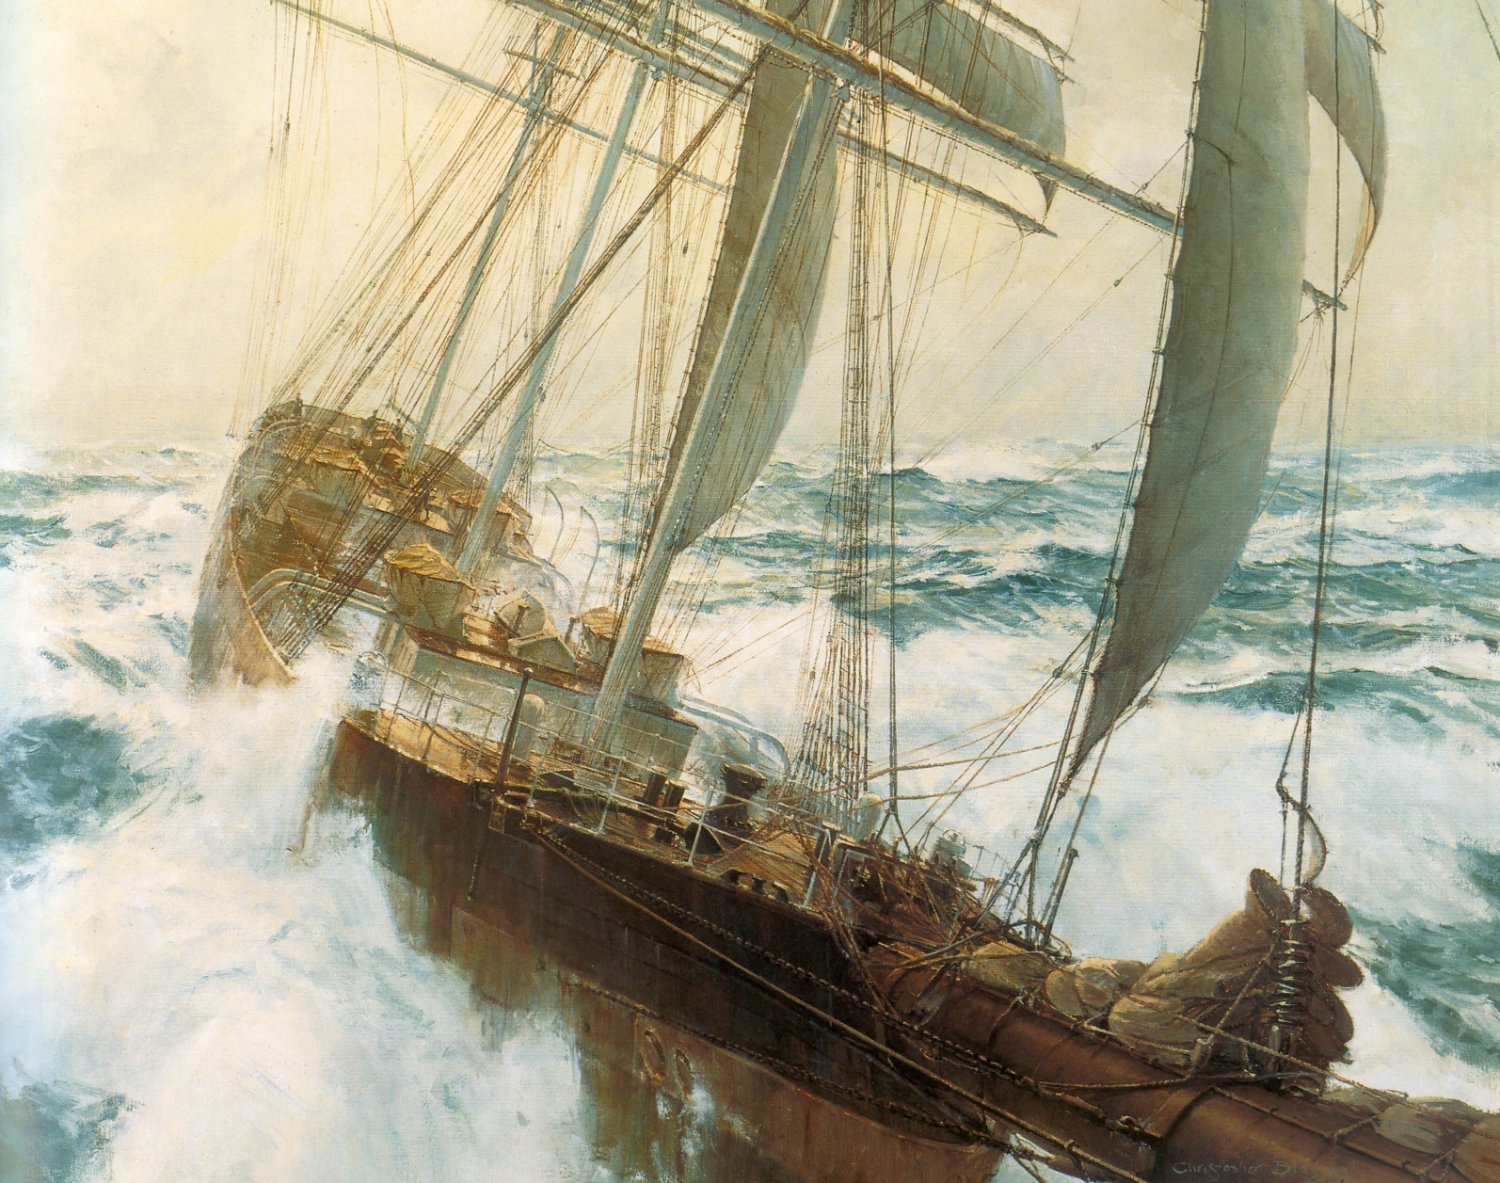
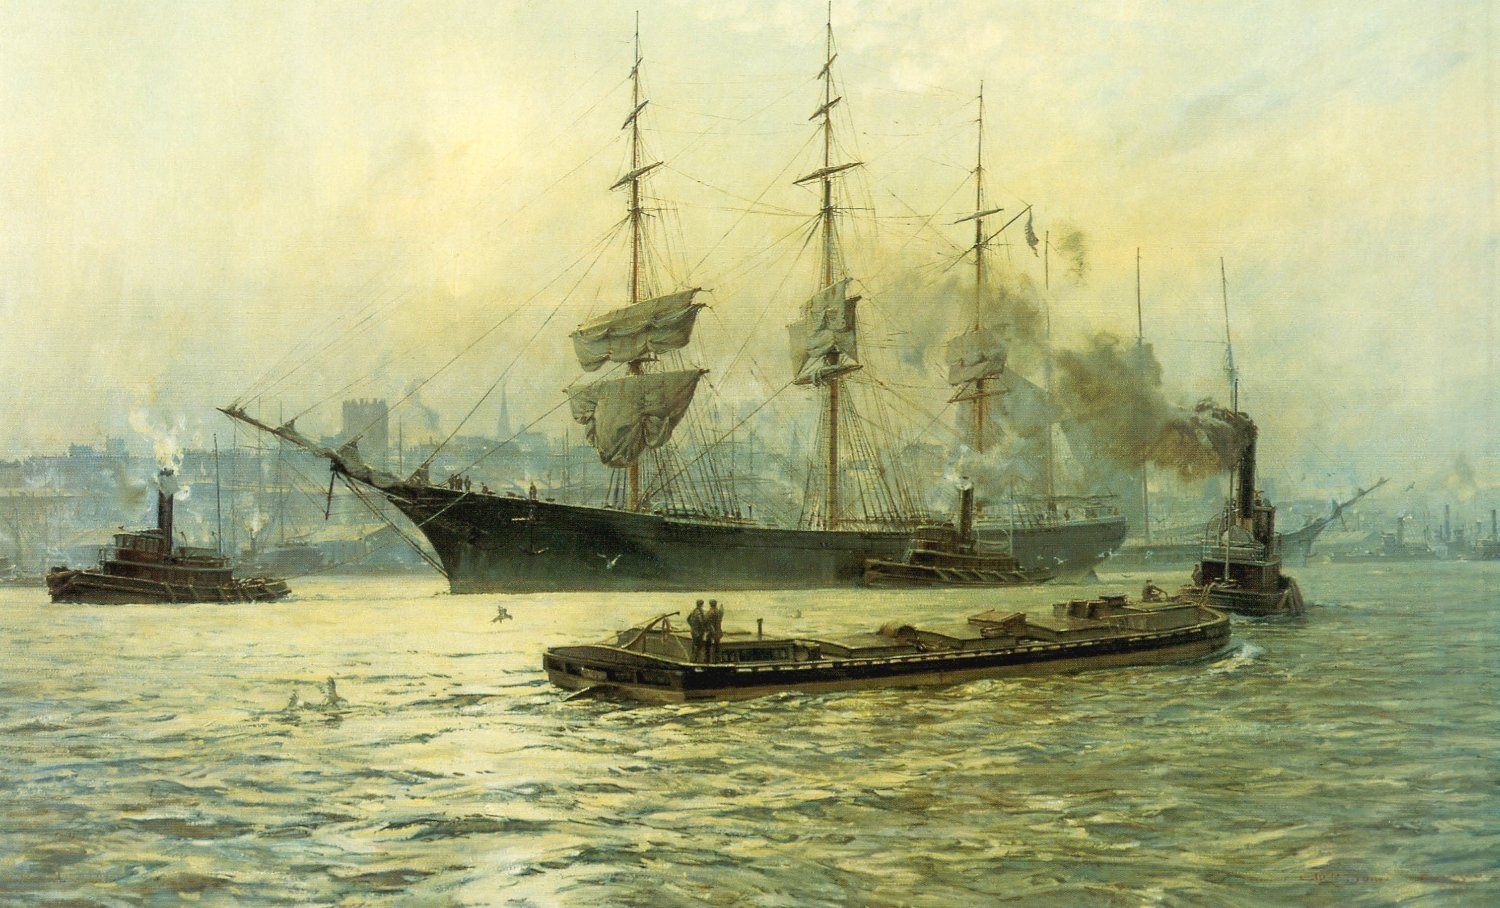
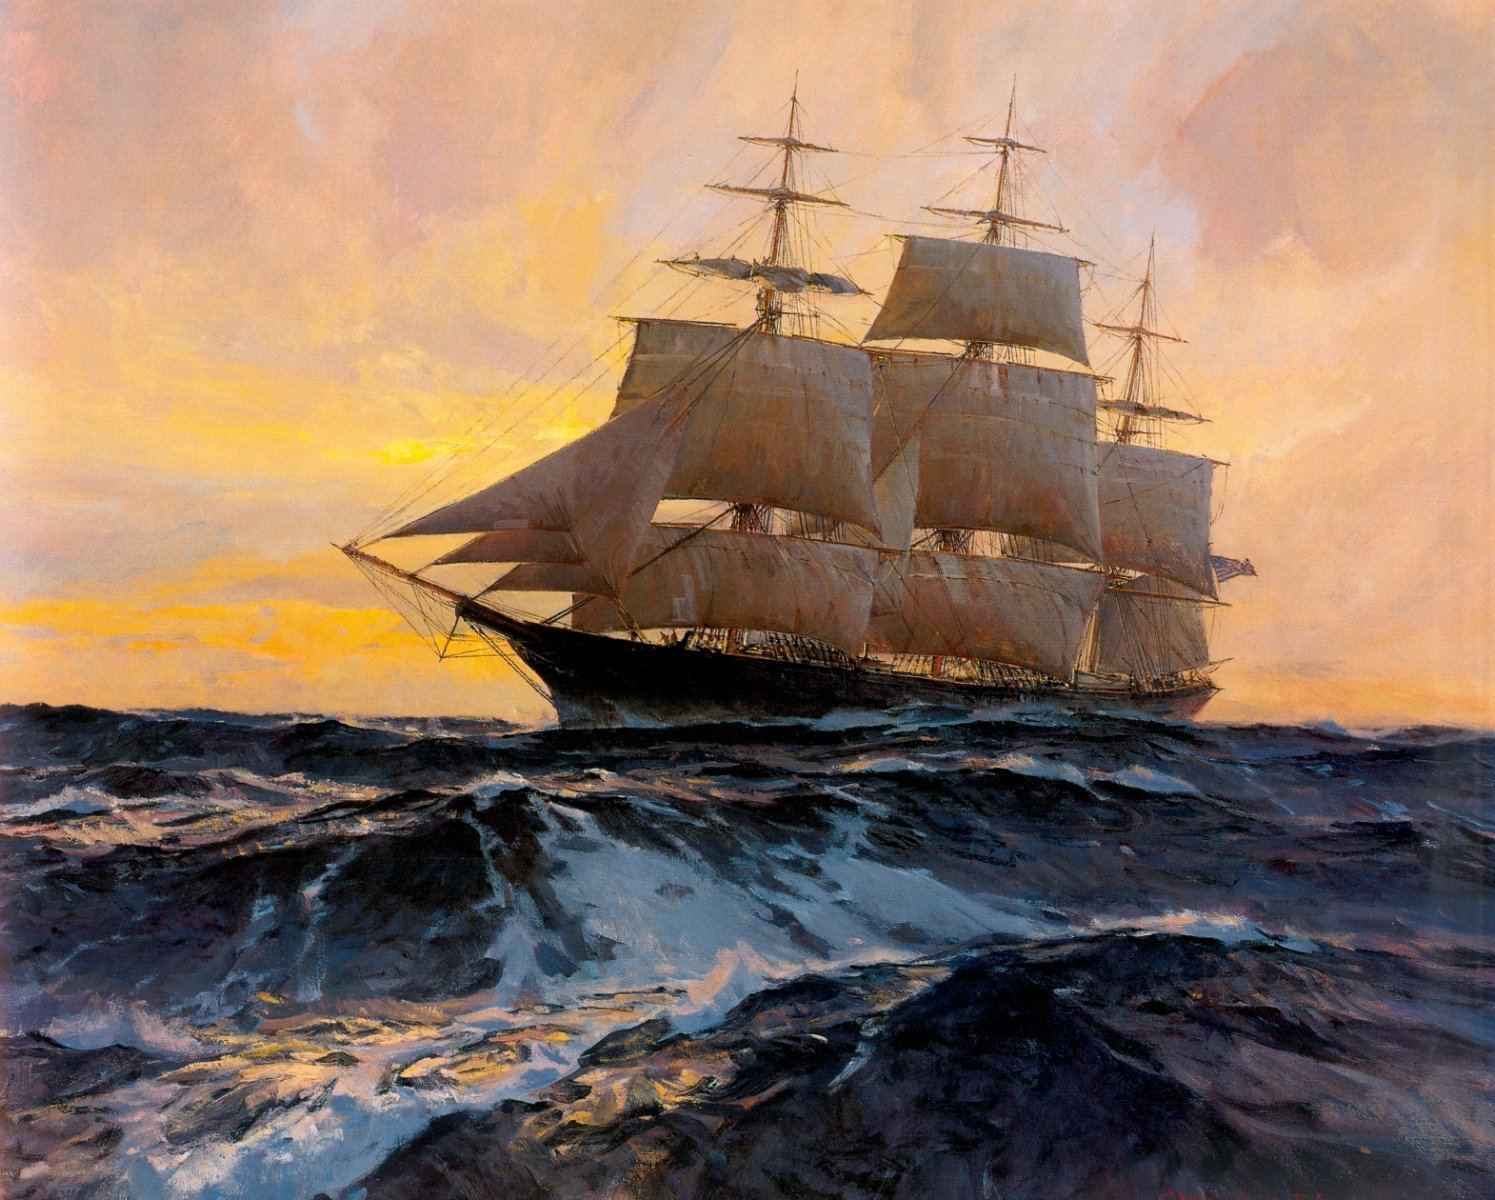
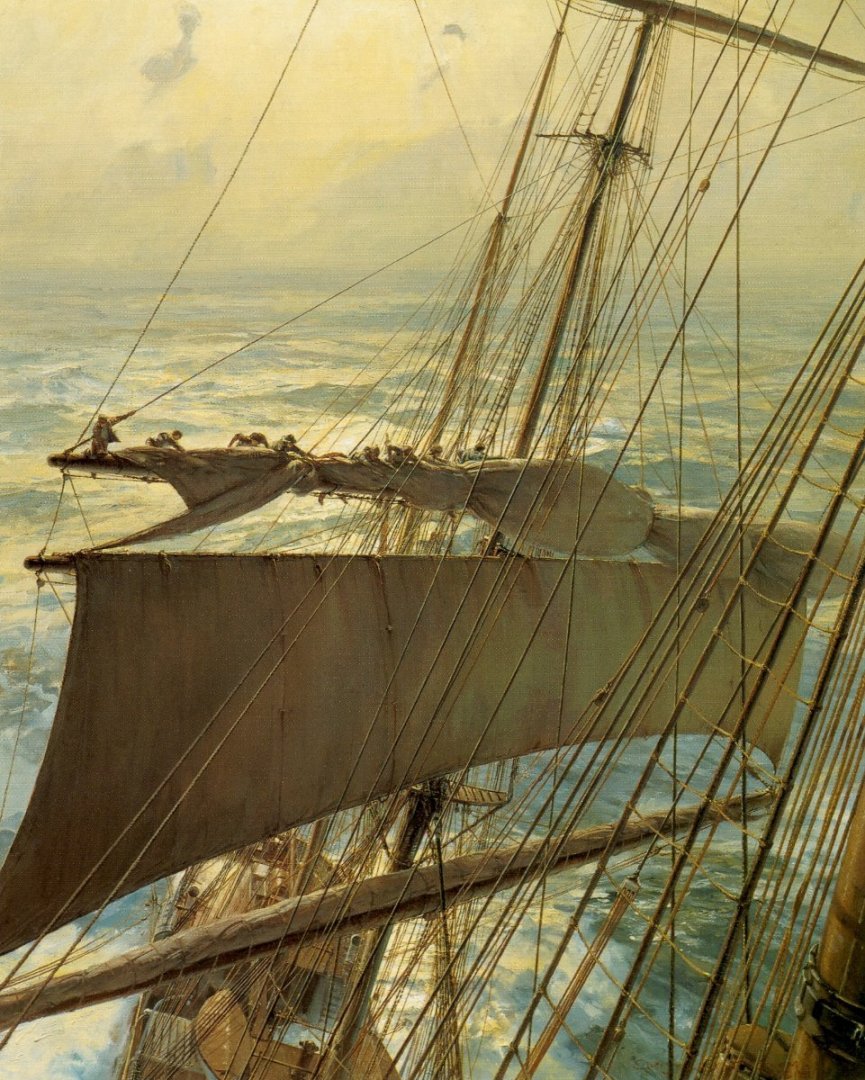
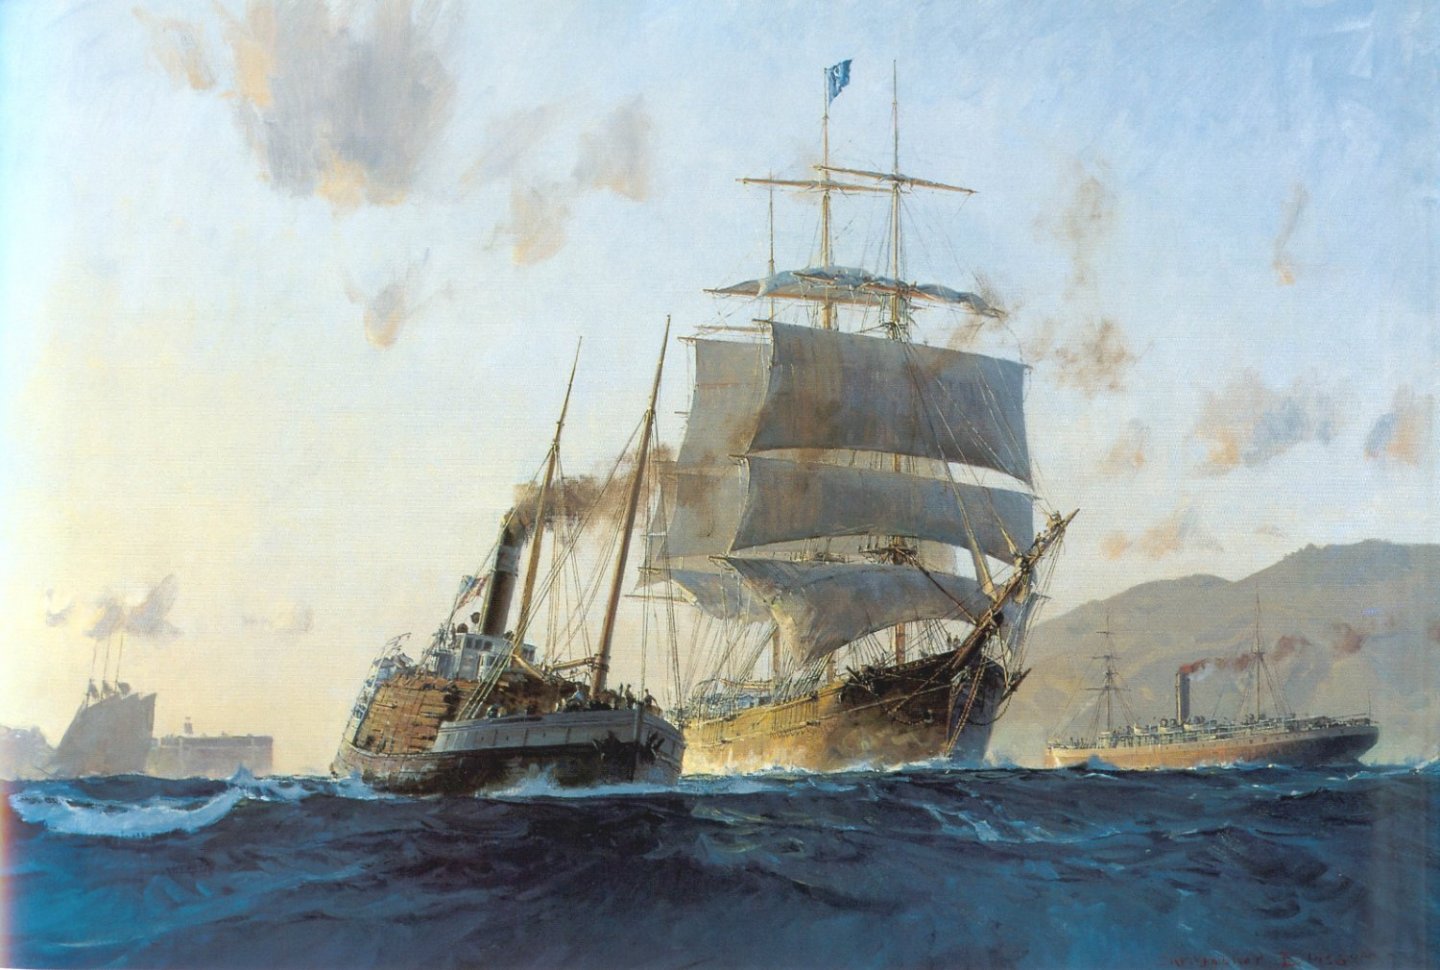
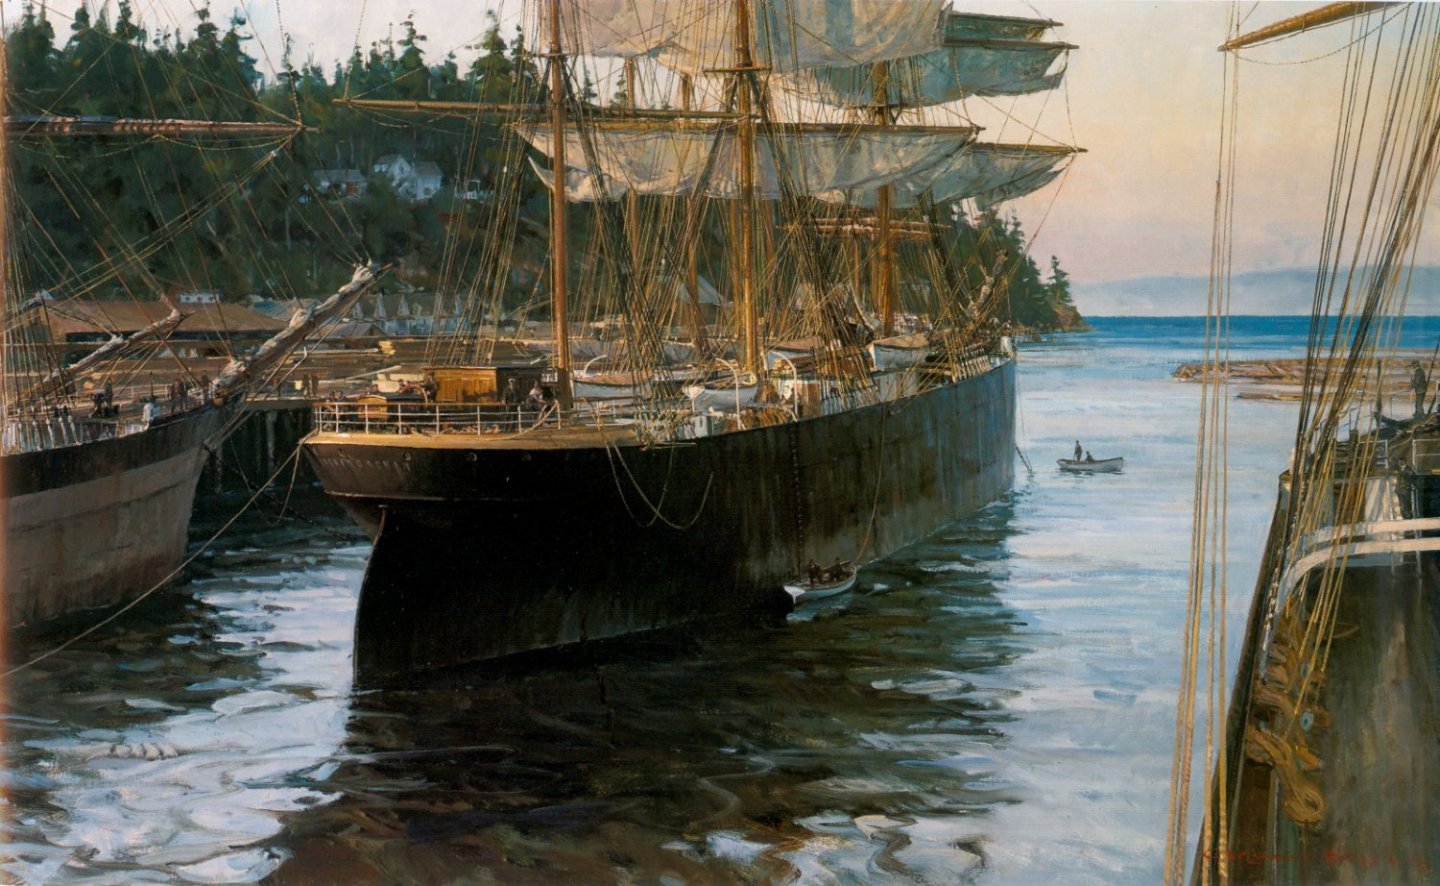
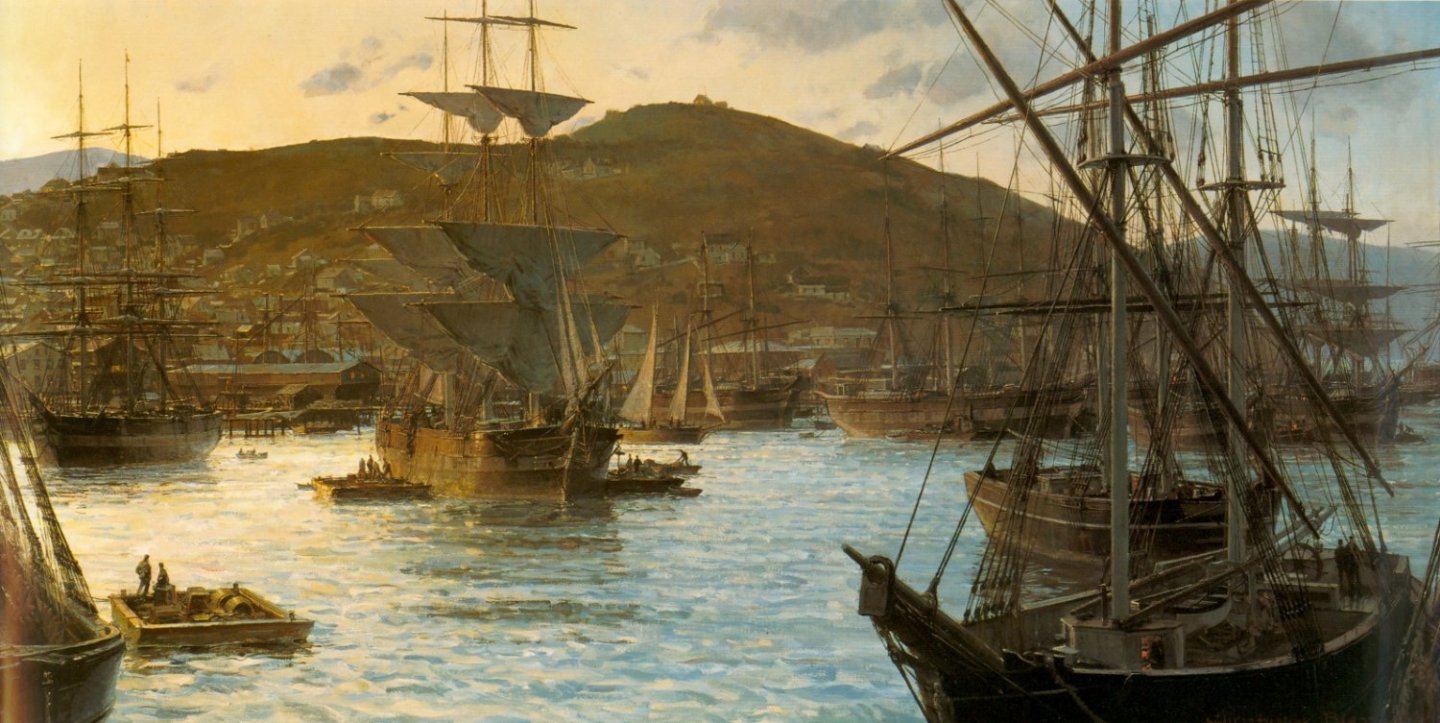
Good day day, Dear Bruma, First, I would like to wish You Very Happy New Year! Your building is going fantastic well !!! I follow your reports with great interest, thanks for posting! there are a few pictures which could be useful ( artist Christopher Blossom) with furled sails as You asked in one of your previous post ... All The Best! Kirill


- 399 replies
-
- 7
-
-

-
- cutty sark
- revell
- (and 2 more)
-
Good day Jeff, All clear,I will be waiting for new photoes of building process...
-
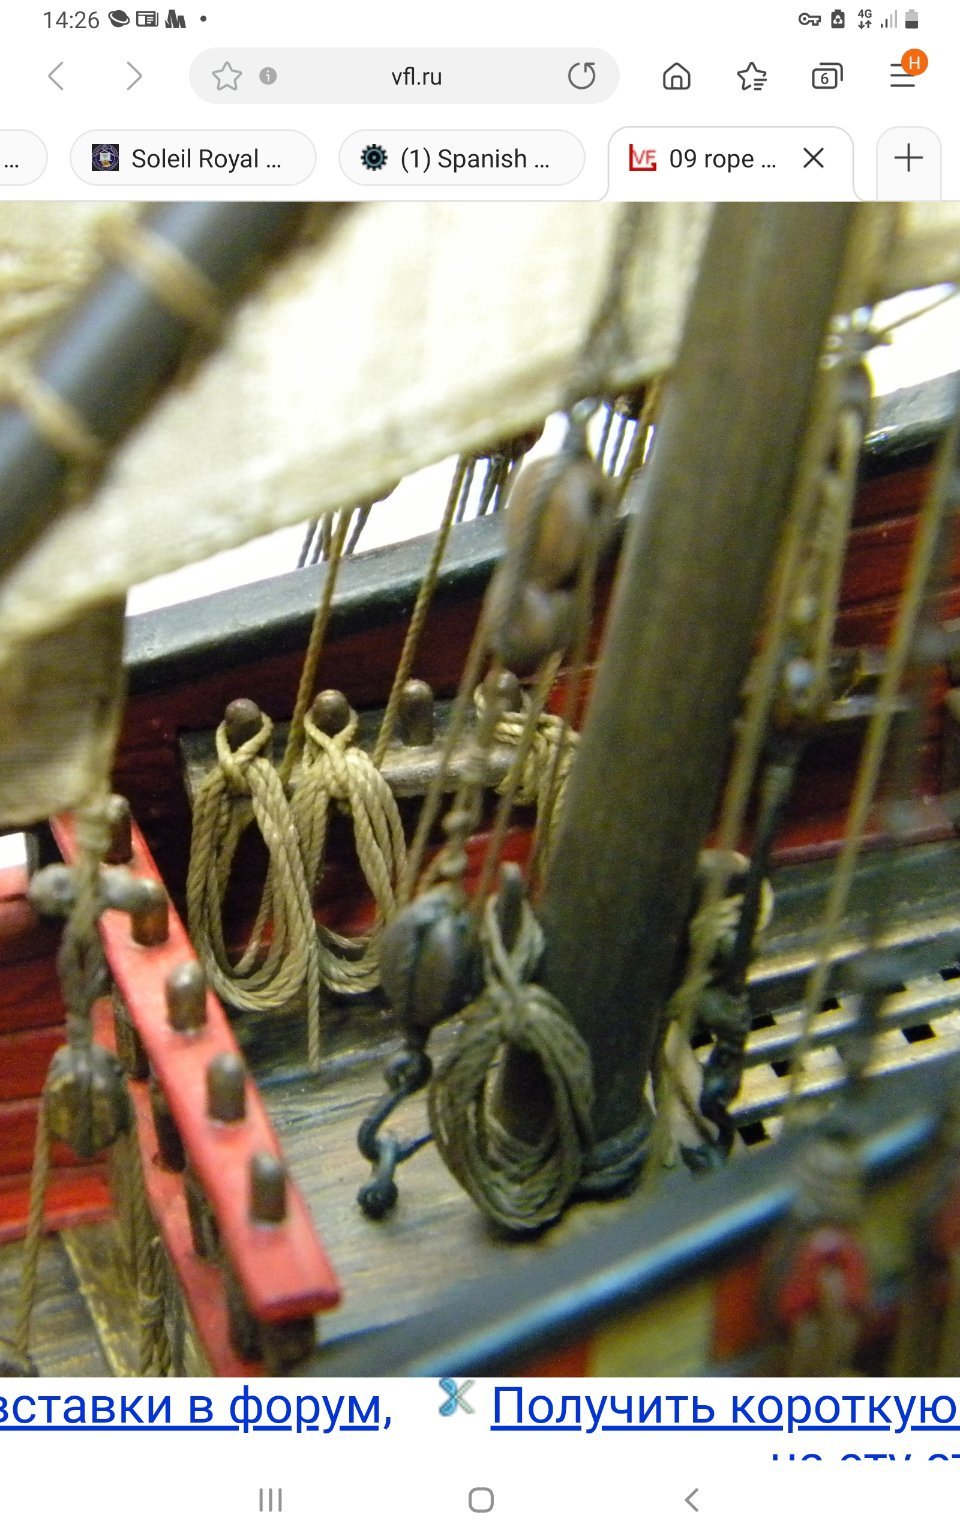
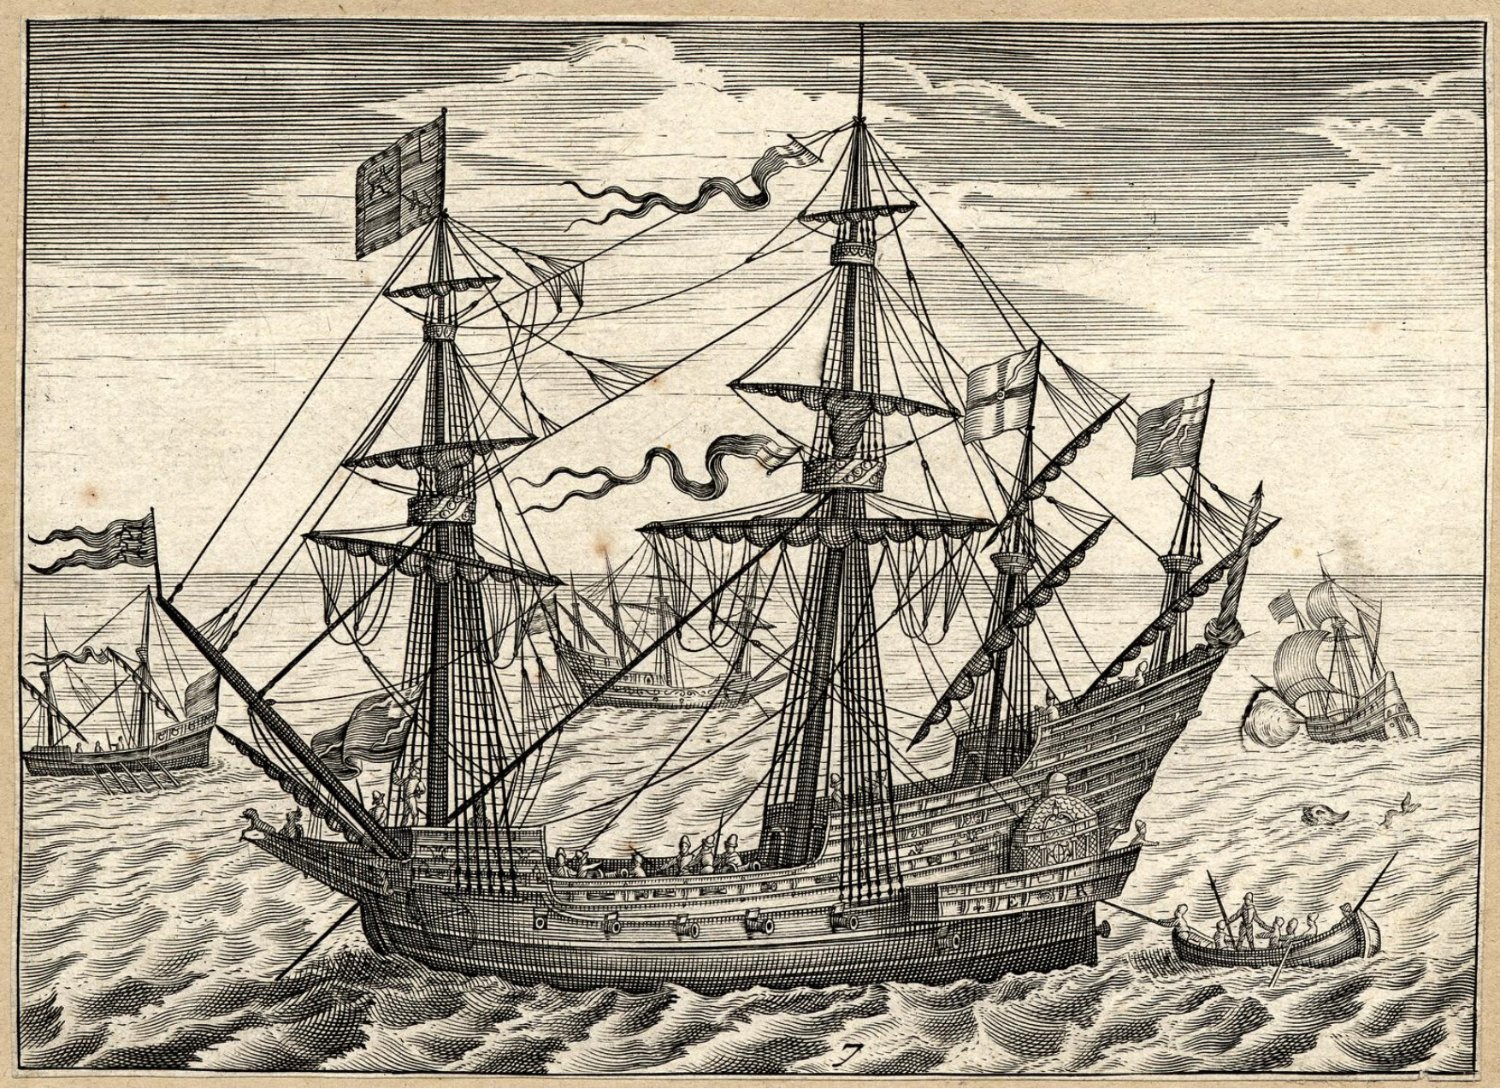
Good day Jeff, Great job! Rigging Looks very nice and accurate! *The only remarks I have, blocks on the F. mast look all of the same size? It is doubtfull... at least they looks same sizes on the posted photo , For example, top sail sheets quite a thick rope, almost same as shrouds and their blocks,those which are close to the ends and middle of F .S. yard if I 'm not wrong... should be visually at least in 2 times bigger,than You shown them now... it is personal visual impression, but actual sizes of the ropes and corresponding blocks need to be calculated in advance, if not all calculated but than some of remarcable blocks should looks different, depends on rope size... * shrouds deadeyes lanyards need to be " tarred", do not left them light color * FS yard, if there is shown process of sail furling need to be shown lowered more down, approx 1,5-2 cm... In more lowered than now position You could nicely display how martnets are working...as option,ends of the sail could be shown lifted up by martnets more close to the yard ends, and central part of the sail could be left with some bely... There is a picture of nice and historic accurate made galleon museum model of Elizabeth Jonas, could be used as reference of many interesting details... I think in general, both authors, of this model and your kit used same basic source of information for their reconstructions...:)))
-
Hello! Glad to see You continue rigging! Sails looks very natural! Wish You all the best! Kirill
- 399 replies
-
- 3
-
-
-
- cutty sark
- revell
- (and 2 more)
-
Jan thanks! , Marc, Exactly - this what I meant!!! :))))


- 2,696 replies
-
- 4
-
-

-
- heller
- soleil royal
- (and 9 more)
-
But... than You need to fitt all those ringbolts of smaller size...if You planned to use pair" ring bolt-ring"... This way, making ring bolt with twisted end makes this end too thick...:( For "clean " cutting of threads and wire you could use just conventional nail cutters...
- 2,696 replies
-
- 2
-
-
- heller
- soleil royal
- (and 9 more)
-
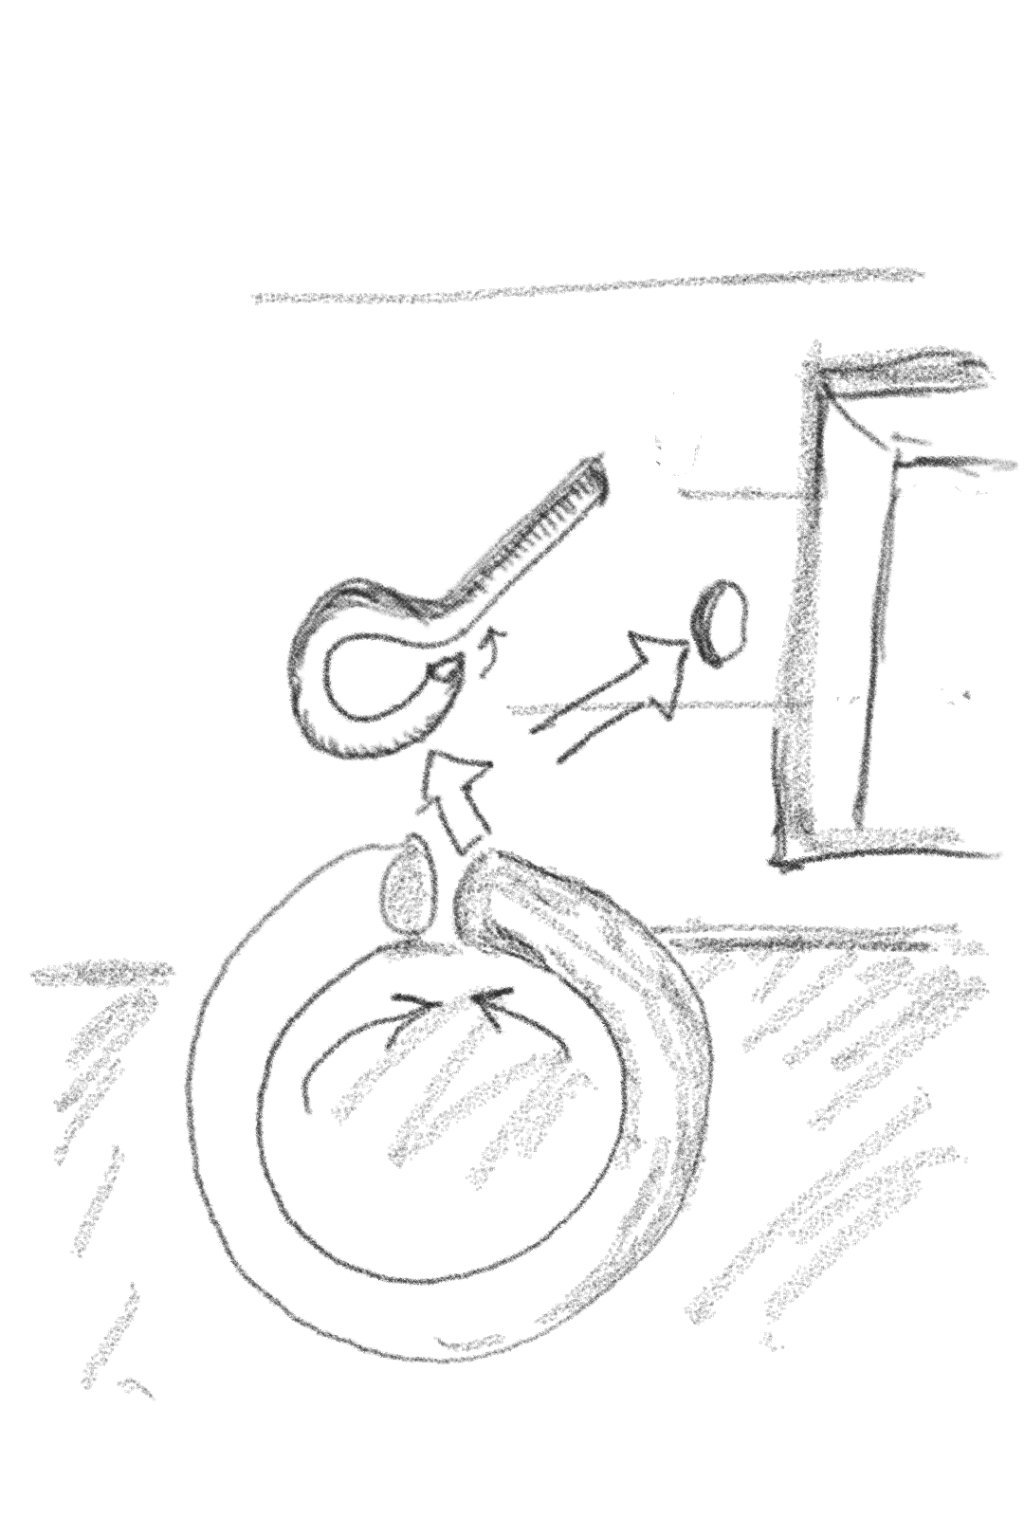
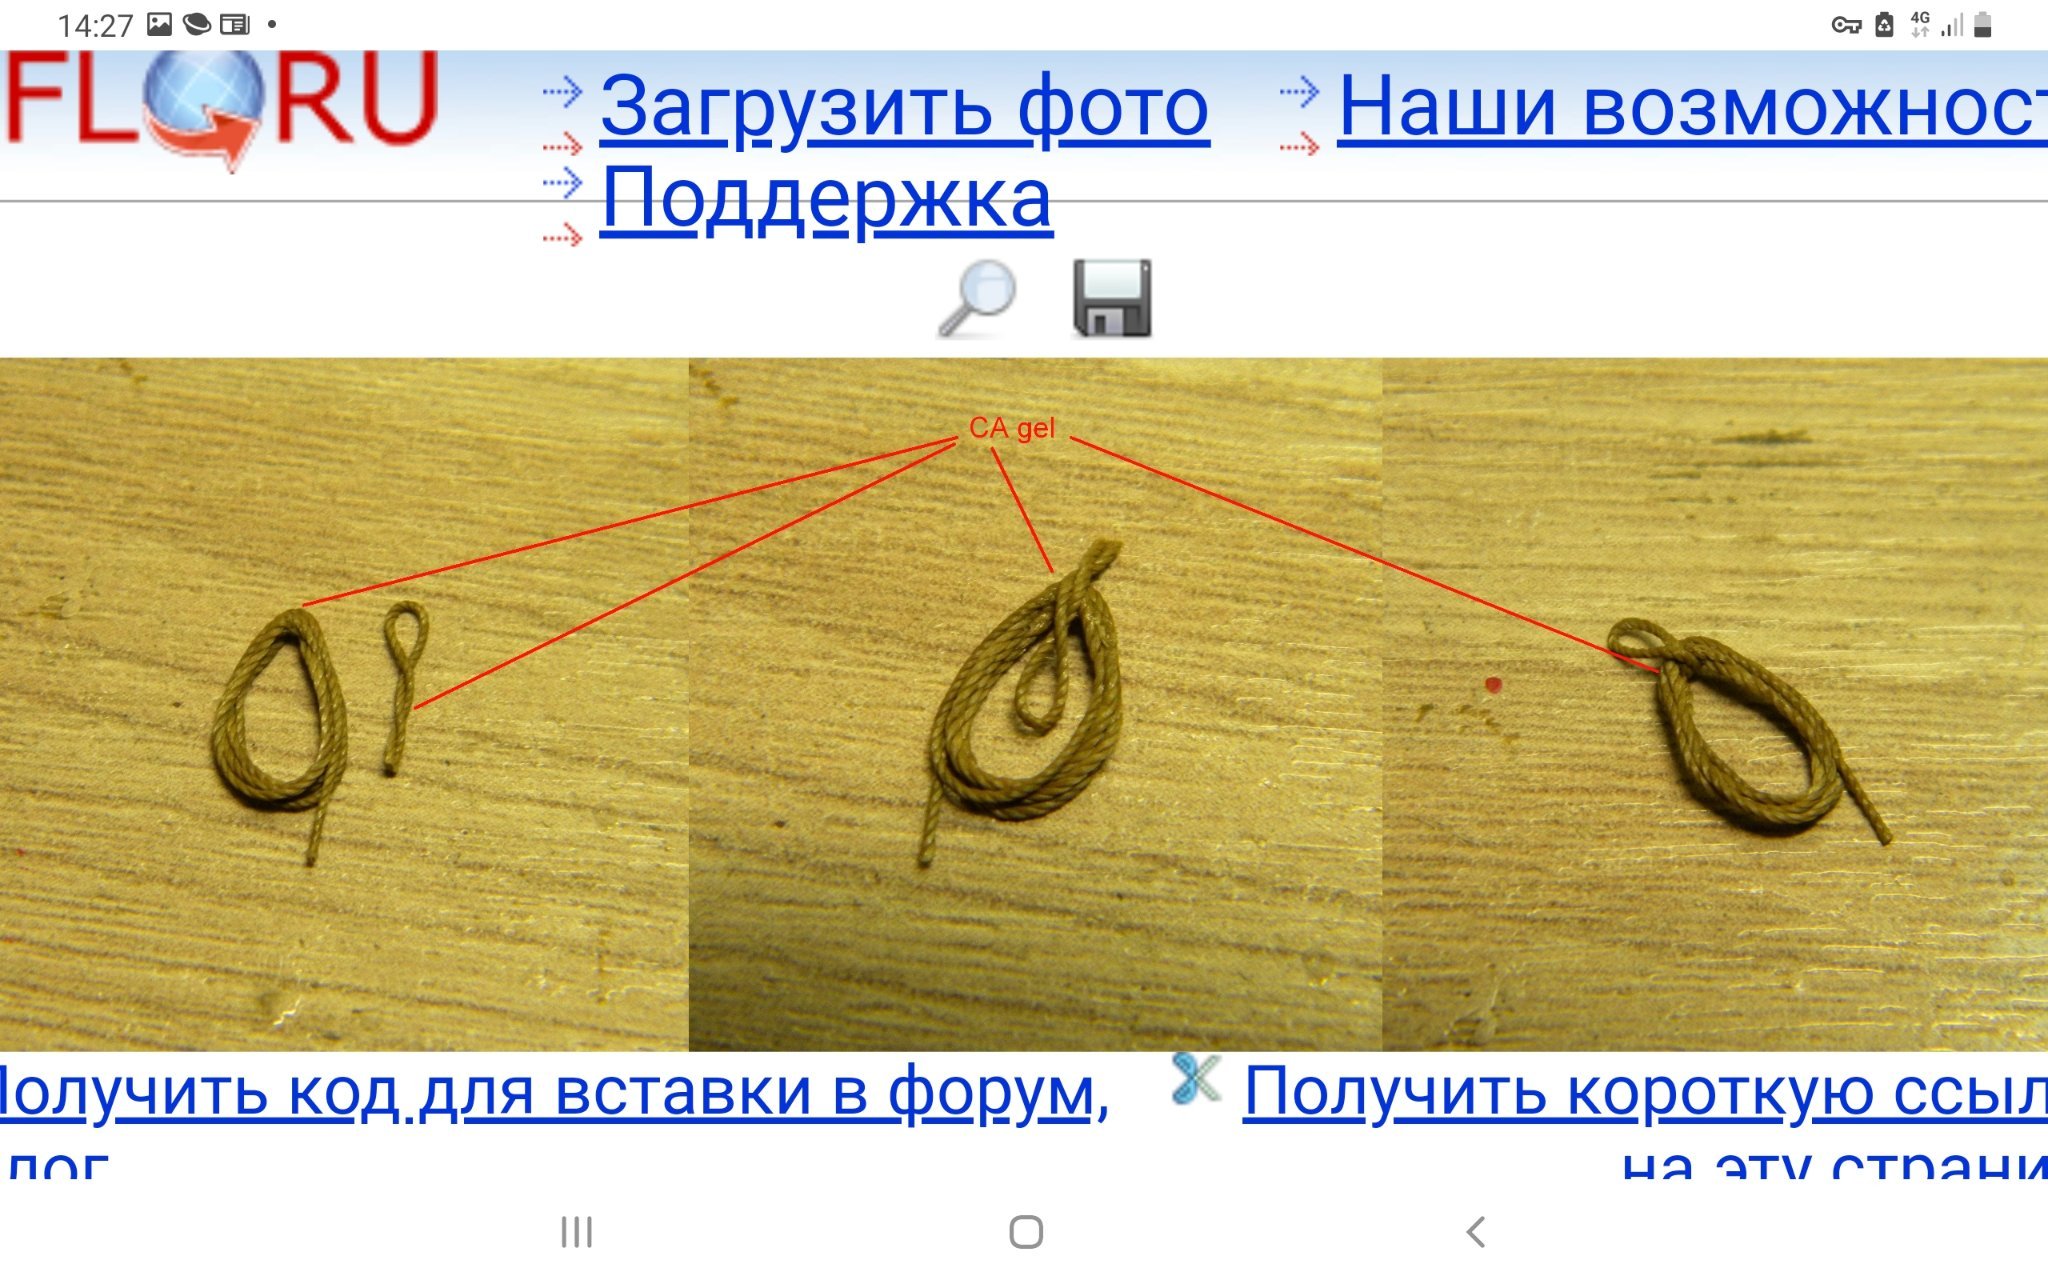
Good day Marc, This your idea to use cutted in half breaching rope which is preliminary seized to the corresponding ring/ bolt-ring pair with later installation at place - it is just what we need!!! It is easiest way...making seizings on the model need to be avoided as much as possible! I did all my breaching ropes seizings out of model...and later just fitt at place " preassembled unit"... For keeping / to fix ropes in designated places... or making it looks "loosened " /looks slack - I would highly recomment to use CA Gel, not liquid CA...gel it is exactly that what we need when working with small fragile things which need to be fast secured (and removed if ness-ry)on the model and when busy with all these "rigging" ALL THE BEST! Kirill
- 2,696 replies
-
- 3
-
-
- heller
- soleil royal
- (and 9 more)
-
Ah , Marc, Forgot what I wanted to say... Did You try to fitt ring bolts with ring, but not only ring bolt alone as on your pictures ? Ring bolt need to be with inner diam, same or little bit bigger than OD of wire of which Oring made...ring bolt with ring will looks more interesting !?:)

- 2,696 replies
-
- 2
-
-
- heller
- soleil royal
- (and 9 more)
-
Oh yes! Agree.! ..there is risk of rust and corrosion ,if you use unprotected iron wire...I have some rusted spots already...later on , I started to use matt varnish as finish coating to protect my wires agains corrosion...after couple of years, no more" new "rust appeared...:)
- 2,696 replies
-
- 3
-
-
- heller
- soleil royal
- (and 9 more)
-
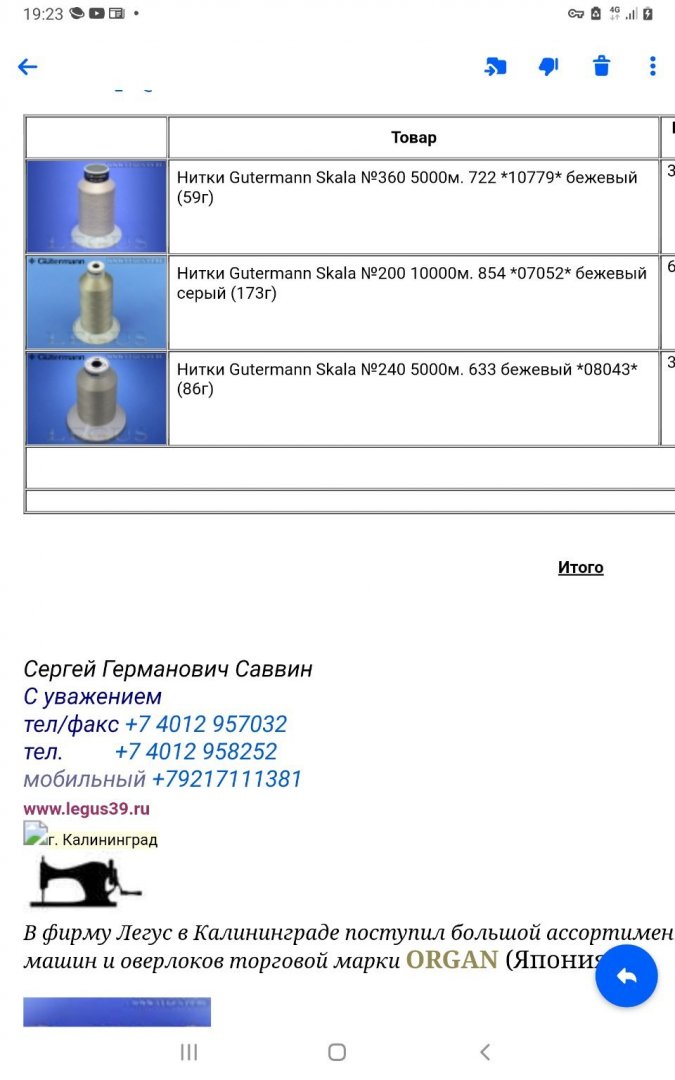
Good day Marc, "Forged" effect - was made just by pliers... this iron wire quite soft(I guess it was preliminary threated ,like heated up and immersed in cold water to get it soft almost as copper wire), originaly it used as seizing wire for additional/ control securing important "nuts-bolts" in machinery fields... Regarding "lashing" imitation by series of simple knots, Yes!:))) I like it, I ve found this way spontaniously and than used it everywhere in my model... To get best results in this imitation, threads for seizing or serving must be extrimely thin! I started with using one of three lines of ordinary thinest sewing thread, but this method, separating thread in 3 lines, quite time consuming...:( And much later on, I've found ideal mono thread for this purpose - Gutermann , Scala - see attach Very thin, plain,...no furs effect... ideal foe seizing,serving and other jobs need to be done with "rope"... and as basic threads for making your own ropes as well!
- 2,696 replies
-
- 3
-
-
- heller
- soleil royal
- (and 9 more)
-
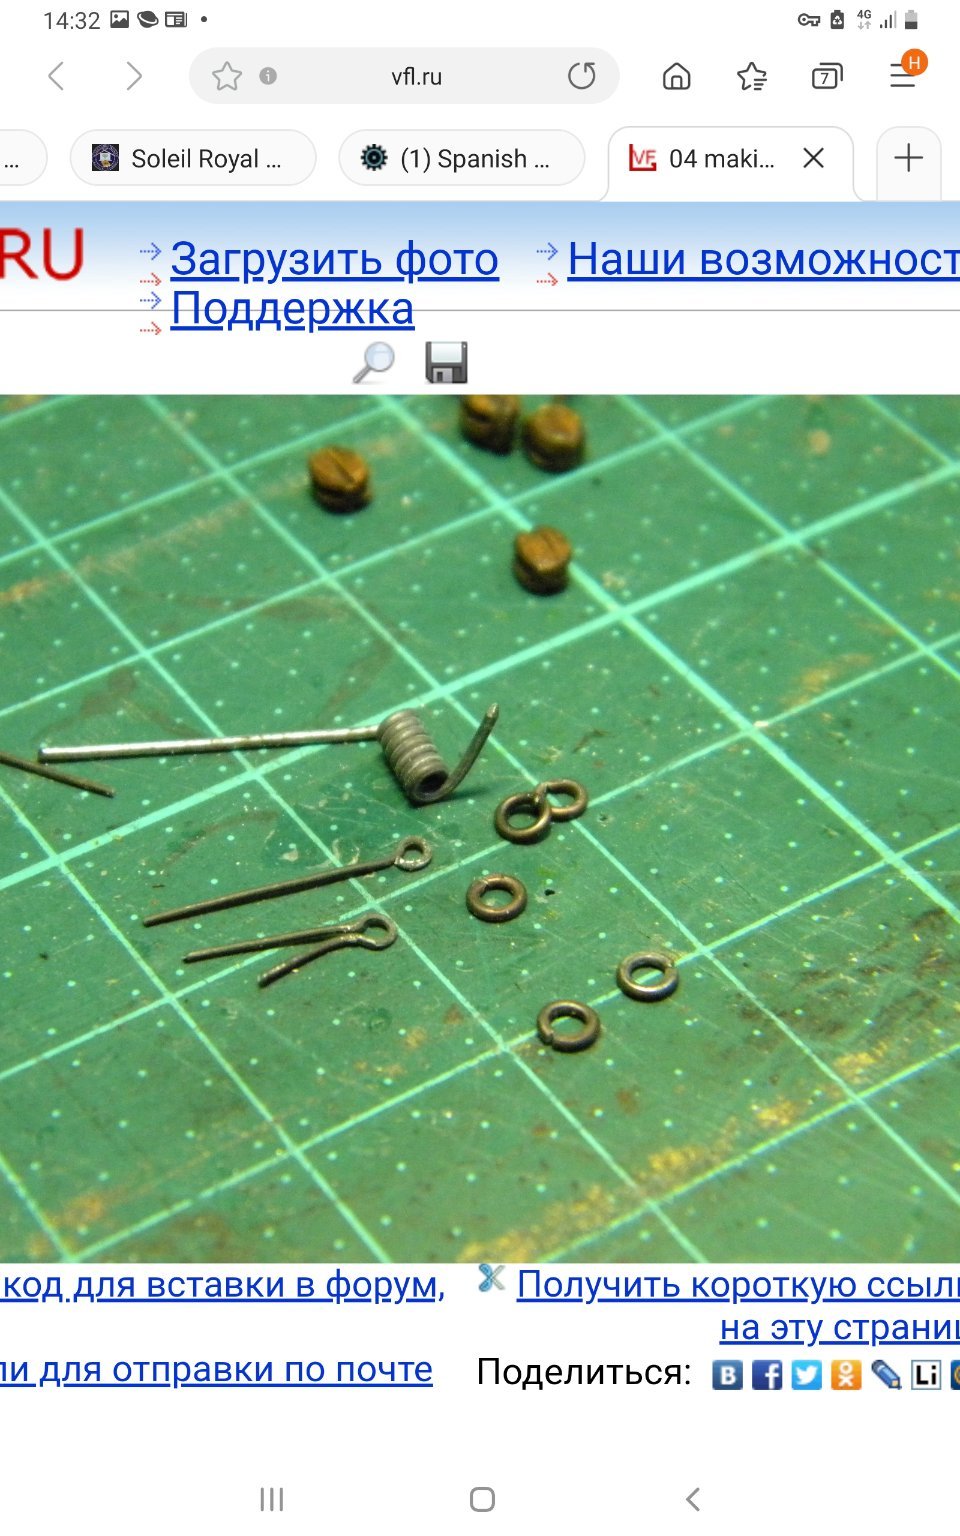
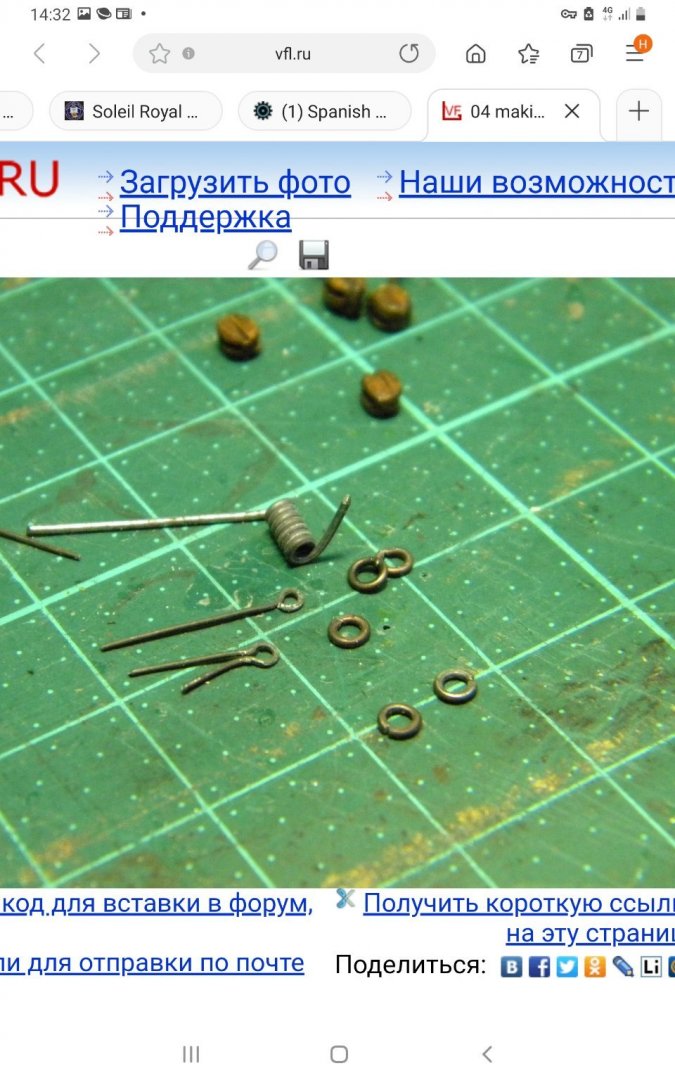
Good day Marc, I have some another experience making eyebolts,rings and hooks... I didn't twist them...for plastic model ,plastic masts ans spars it looks like not neccessary to apply excessive force on the rigging lines...just very light tension to keep them strait ,no more... I used just single iron wire... and blackening liquid...pliers,nail cutter...couple of small drills different sizes secured in epoxy and used as patern for making hooks or eyebolts... Bended as desired (eyebolt or hook) wire was blackened after fabrication. For making Rings ,I used drill as well...tightly wraping wire around drill in shape of spring, when ready, remove made" spring" from the drill and just cutt each spiral/ full turn of wire, by nailcutter, one by one, and You will have rings... you coud see pictures from post 1592 https://karopka.ru/forum/messages/forum190/topic10341/message905441/#message905441 Post 1889 - rings from wire spiral https://karopka.ru/forum/messages/forum190/topic10341/message1016273/#message1016273 Post2448 https://karopka.ru/forum/messages/forum190/topic10341/message1279159/#message1279159
- 2,696 replies
-
- 4
-
-
- heller
- soleil royal
- (and 9 more)
-
Marc, Just Beautiful work!!! Allways watch your progress,when have opportunities, with great interest! ALL THE BEST! Kirill
- 2,696 replies
-
- 3
-
-
- heller
- soleil royal
- (and 9 more)
-
Good day Jeff, It was sad to hear that monts of job done now ruined Guns were looks very nice... why do not use CA gel for cluing purposes? It works very good ,making strong parts fixation,dry fast and easy in use... Wish You all the best! Kirill
-
Good day Tom, Overall It looks nice , but anchor stock looks fitted upside down? or there is such effect on the foto? All the best! Kirill
- 135 replies
-
- 1
-
-
- billing boats
- half moon
- (and 1 more)
-
Dear Friends, THANKS a Lot For your attention and remarks, now I have to start my new contract(I'm seaman) Will see in down Рекомендую этот альбом: Pachelbel: Canon in D - Bach: Air on a G String - Handel: Largo from 'Xerxes' - Hallelujah Chorus - Clarke: Trumpet Voluntary Johann Pachelbel https://open.spotify.com/album/69kr5nuqGTy3bBkuRyutw7?si=bx3FttFbSSuUE5ha2PBuoA&utm_source=native-share-menu
- 228 replies
-
- 2
-
-
- spanish galleon
- lee
- (and 1 more)

.jpg.eda66a5f57b55962aaf68fbea06a95a6.jpg)