


Chef de Gare
-
Posts
26 -
Joined
-
Last visited
Content Type
Profiles
Forums
Gallery
Events
Posts posted by Chef de Gare
-
-
The retirement project has just been given a lift...today the postman brought the three sheets of Campbell plans I ordered from the Greenwich maritime museum. When I looked at their website weeks ago it was being redesigned and closed for business, but it's now active again. Well worth the wait, the plans are incredibly detailed.

-
Thanks for these kind words Nenad.
The Sergal website says the CS is not a kit for a beginner but I've always liked intricate work. It all started with Airfix plastic kits when I was about 10! The rigging stage could be a lot more difficult for me though..... !
-
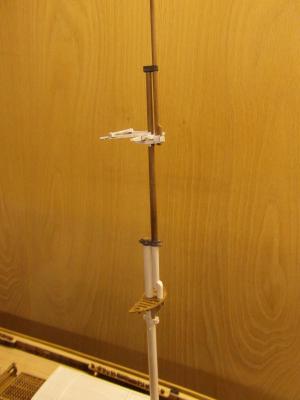
Return to posting updates......I'm presently working on the masts and leaving the very tricky lifeboats work until later (yes, bad practice I know!).
I've done the necessary tapering by following the tips on MSW about holding the dowel in an electric drill and applying graded pressure with coarse sanding paper. I was a bit sceptical as to whether it would work well but with the right speed and the right paper it works a treat!
Although my Sergal kit (bought boxed but with the hull frames already done by the seller) appeared to be complete there was no dolphin striker so I've made one from scratch, taking details from what CS photos I could find online. Quite pleased with the result.
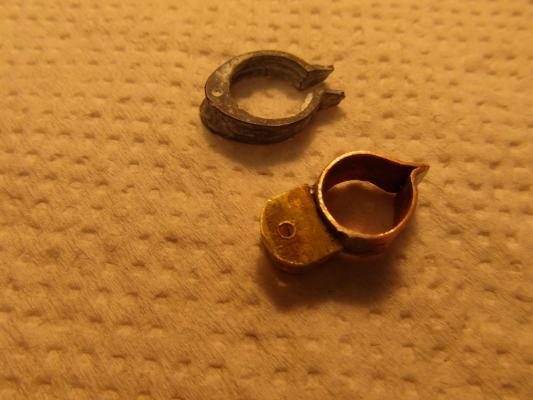
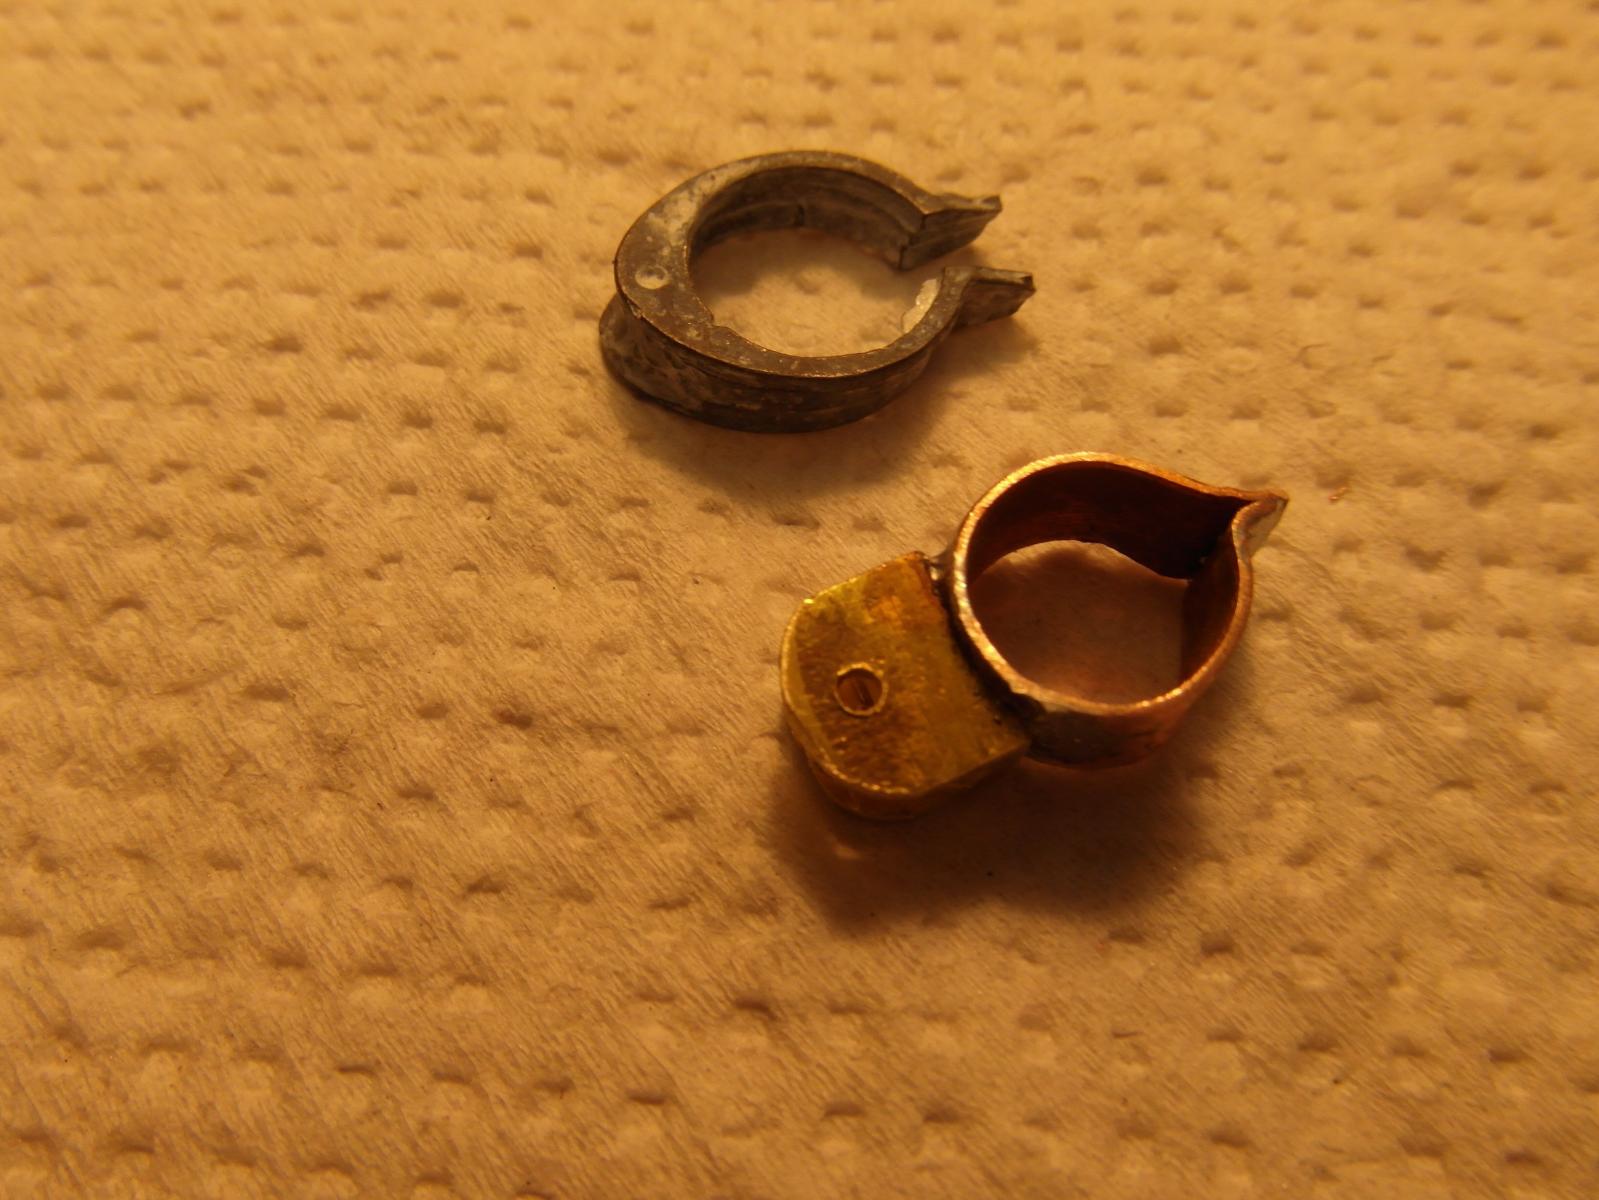
The Sergal kit mast collars are cast metal and in my kit poorly finished. I also didn't see how they could be drilled with holes without fracturing. So again a scratch build job! In the photo the slotted piece is made from a cut and drilled piece of the brass in a pin of a UK mains electric plug soldered to a copper collar made from a bit of scrap thin sheeting.
The wooden frames that attach to the masts (cross trees?) are made from 2 x 2 and 3 x 2mm strip. The wood provided in the kit is described as walnut but I don't think it is. Whatever, it is very difficult to drill 1mm holes in without splitting! So I resorted to cutting strips from scrap hardwood that would take such drilling and not split.

-
Thanks Marc! Good point about the ribs, I hadn't thought of that and the Sergal plans don't point out that it's needed to make the planks run smoothly.
-
Thanks to Nenad and hof00 ! I think it's time to strip off the few planks I've put on so far and add some extra ribs...and I like the balsa solution.
Chris B
-
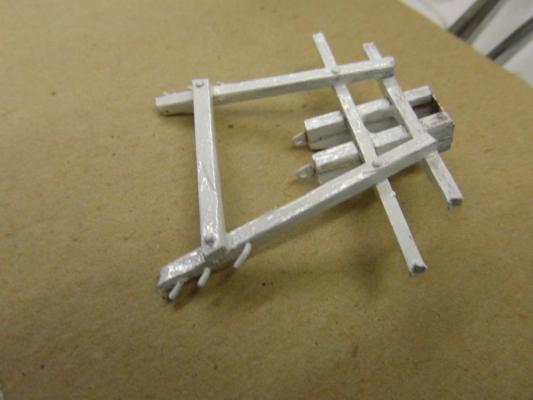
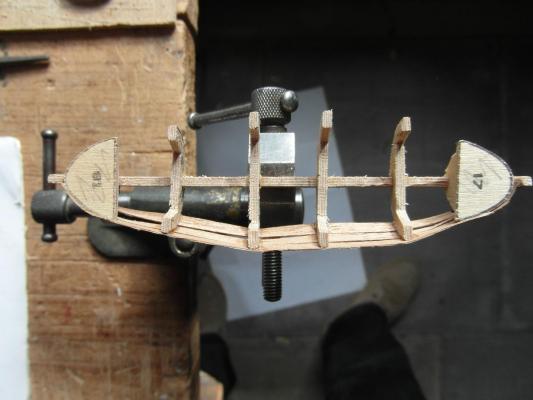
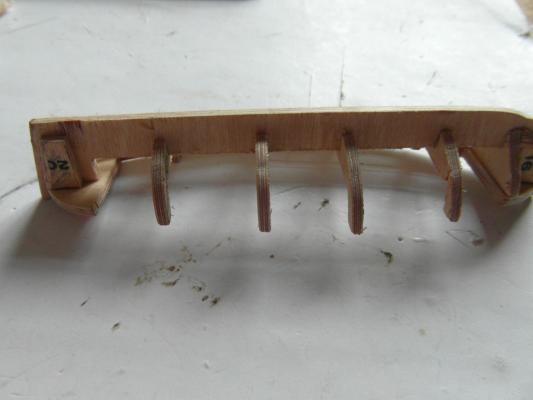
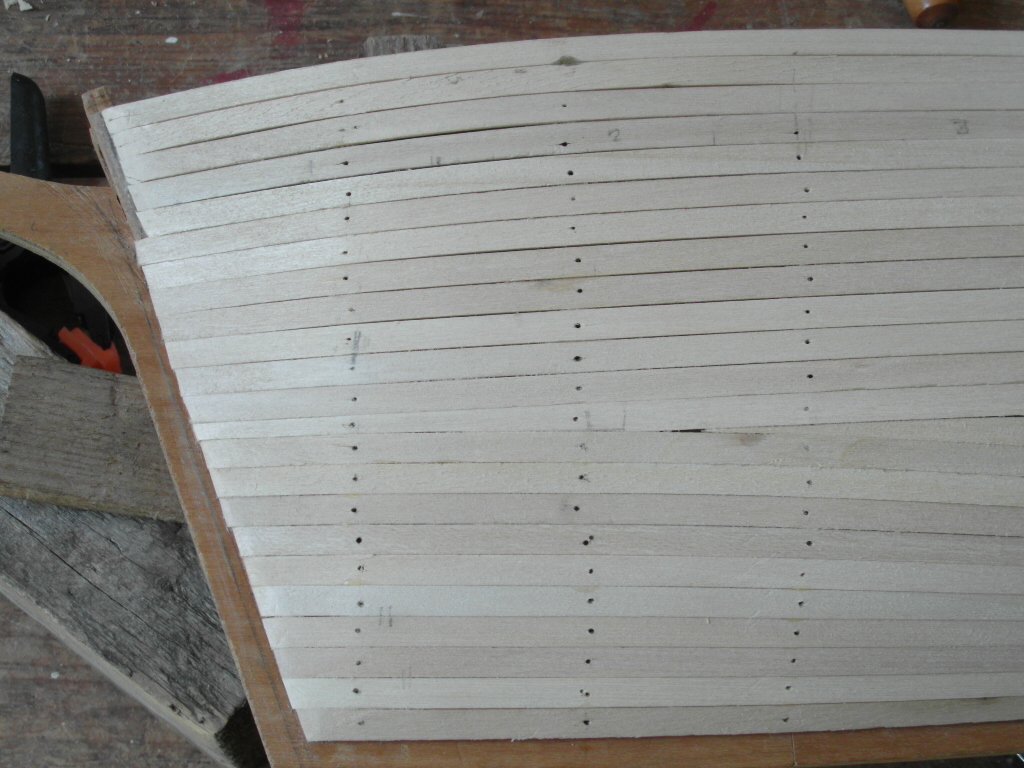
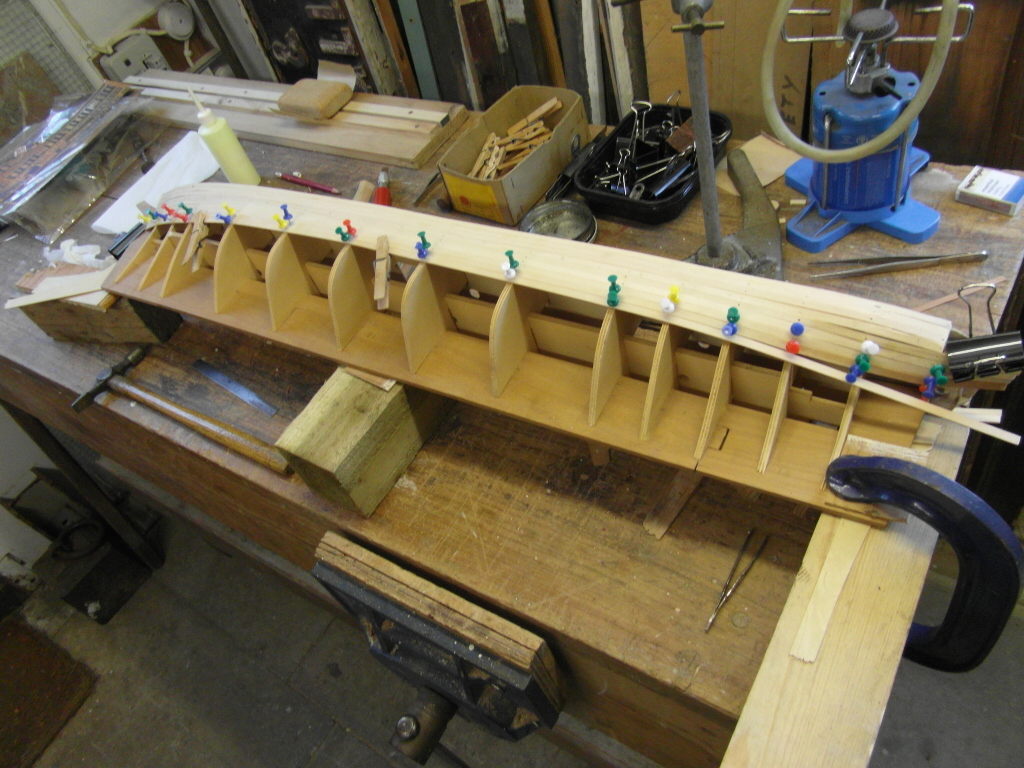
Just started on building the three boats that sit above the deckhouses...struggling with attaching the 0.5mm walnut strips to the frames, as these photos show!
Although I've carefully assembled all the frame parts correctly the profiled sections are too far apart to allow a proper curve to be formed and also it is VERY hard to find a way of holding the strips in place while the 'quick-grab' wood glue dries enough to fix them. To make matters worse, each boat is meant to have two layers of strips...
As yet I don't have a solution to the problem and I've not spotted anything about building these boats in other CS build logs. Maybe everyone's leaving this job until the very end !


-
Very nice work!
I'm nowhere near starting the masts, having recently finished the deck fittings I've just begun trying to build the three boats that sit above the deckhouses....and struggling to find a good way to attach the 0.5mm walnut strips to the assembled framework. I'll post a few pics on my build log....
Chris B, aka Chef de Gare
- keelhauled and GLakie
-
 2
2
-
-
Good to have started again. Very wet day here, could be useful time!
-
Hmm, I seem to have been becalmed for a long time! A bit of lost direction, but now back on course for some more progress.
-
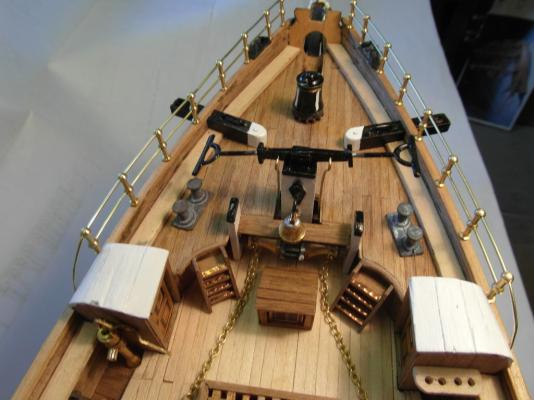
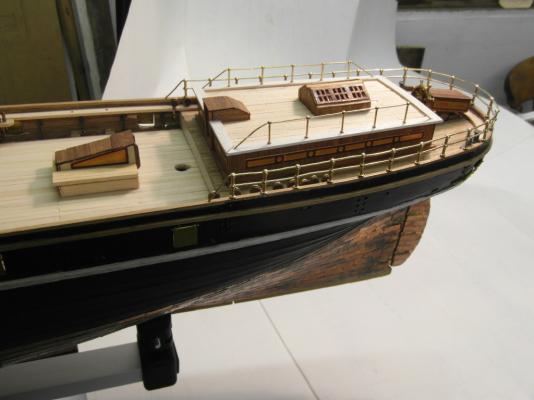
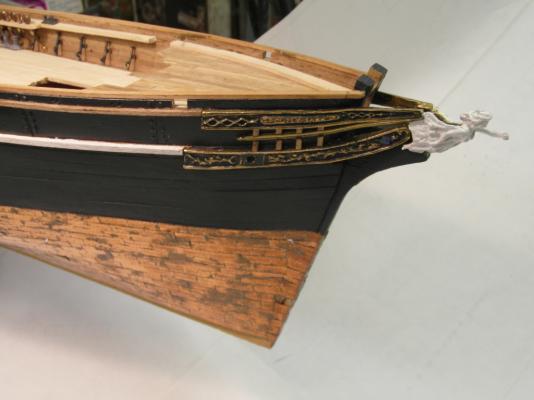
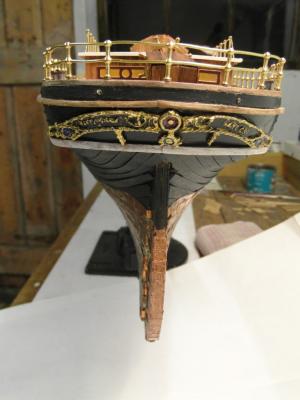
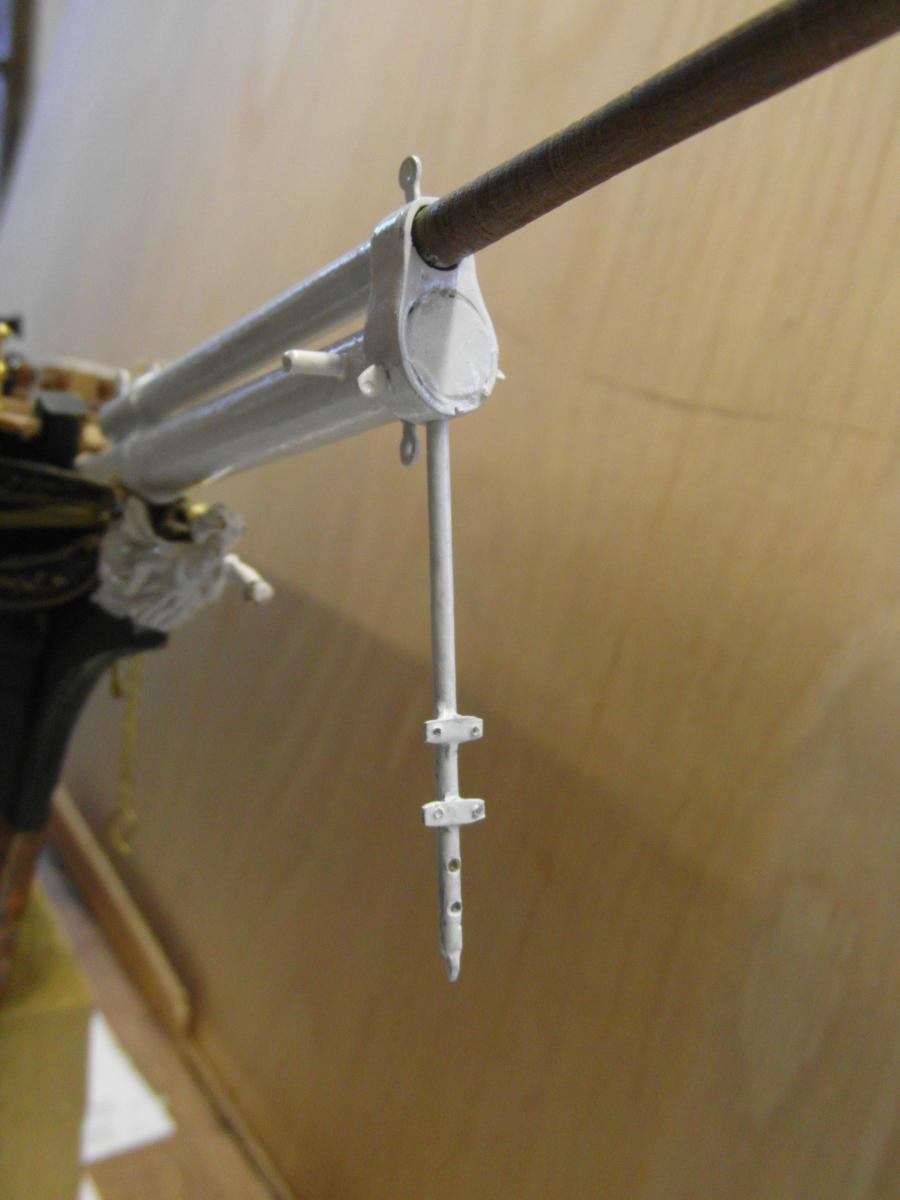
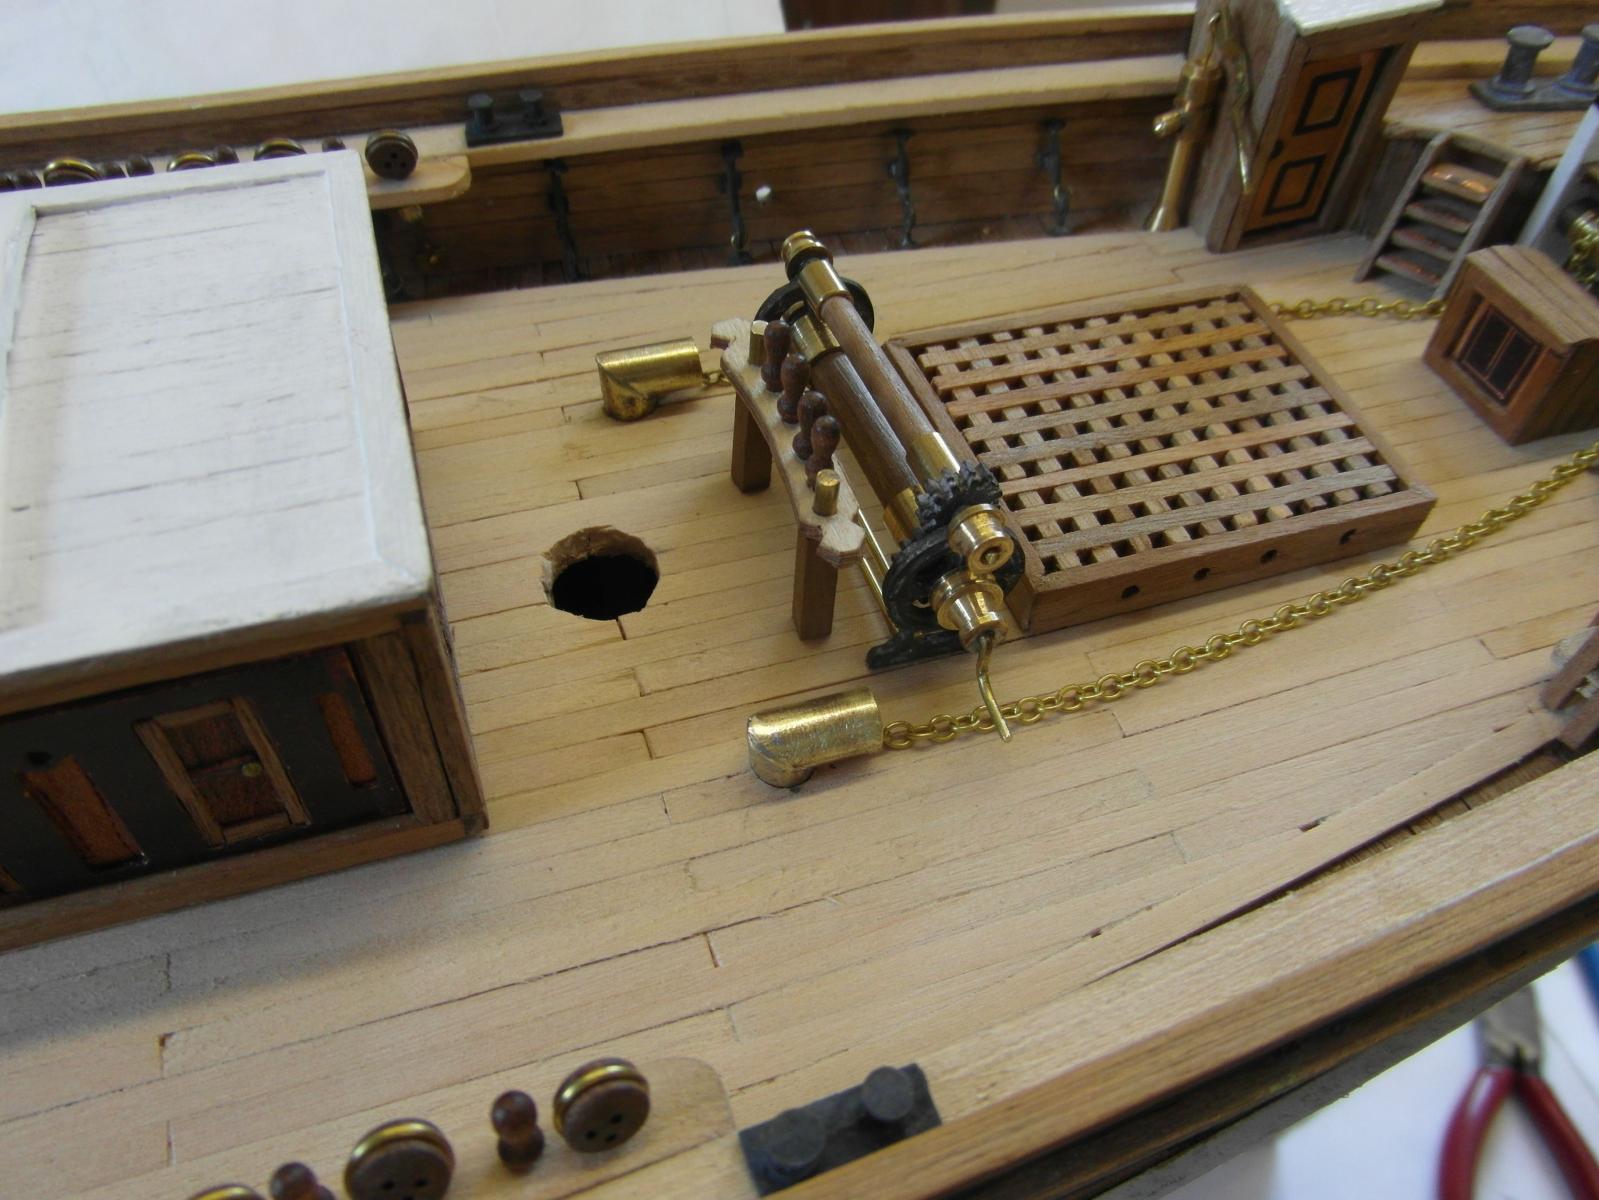
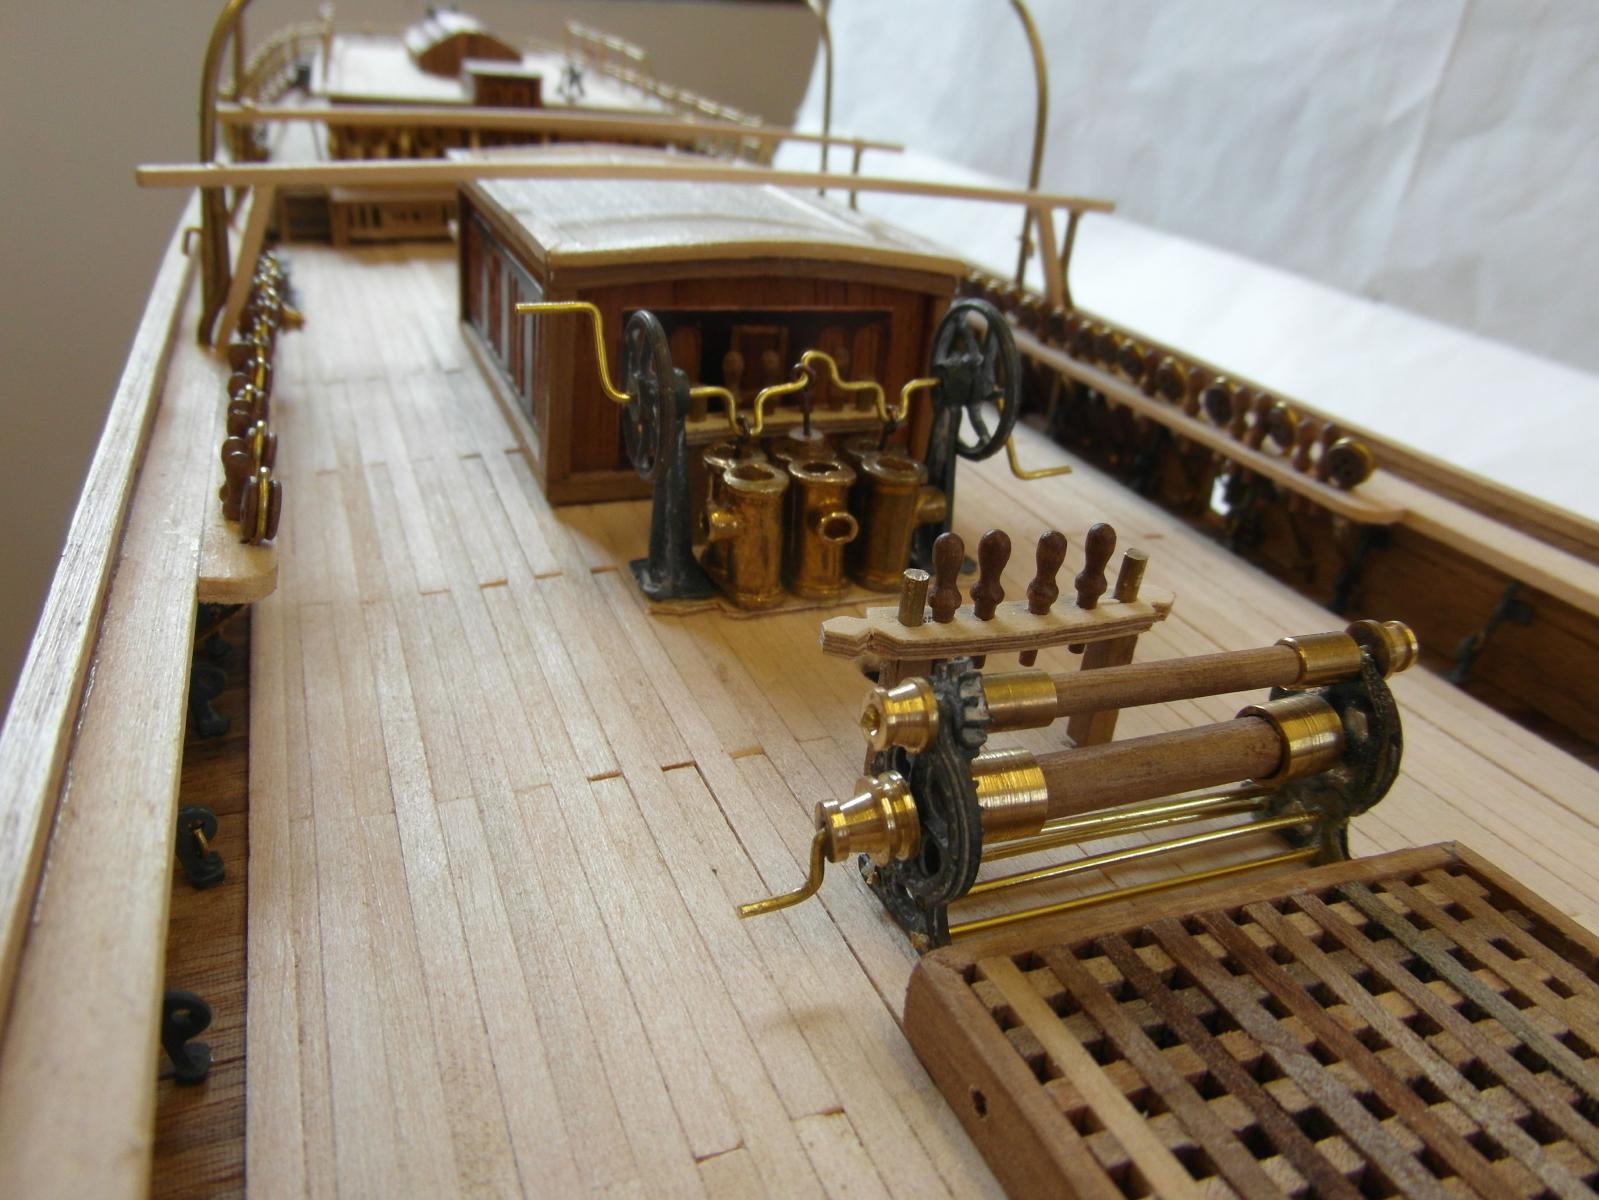
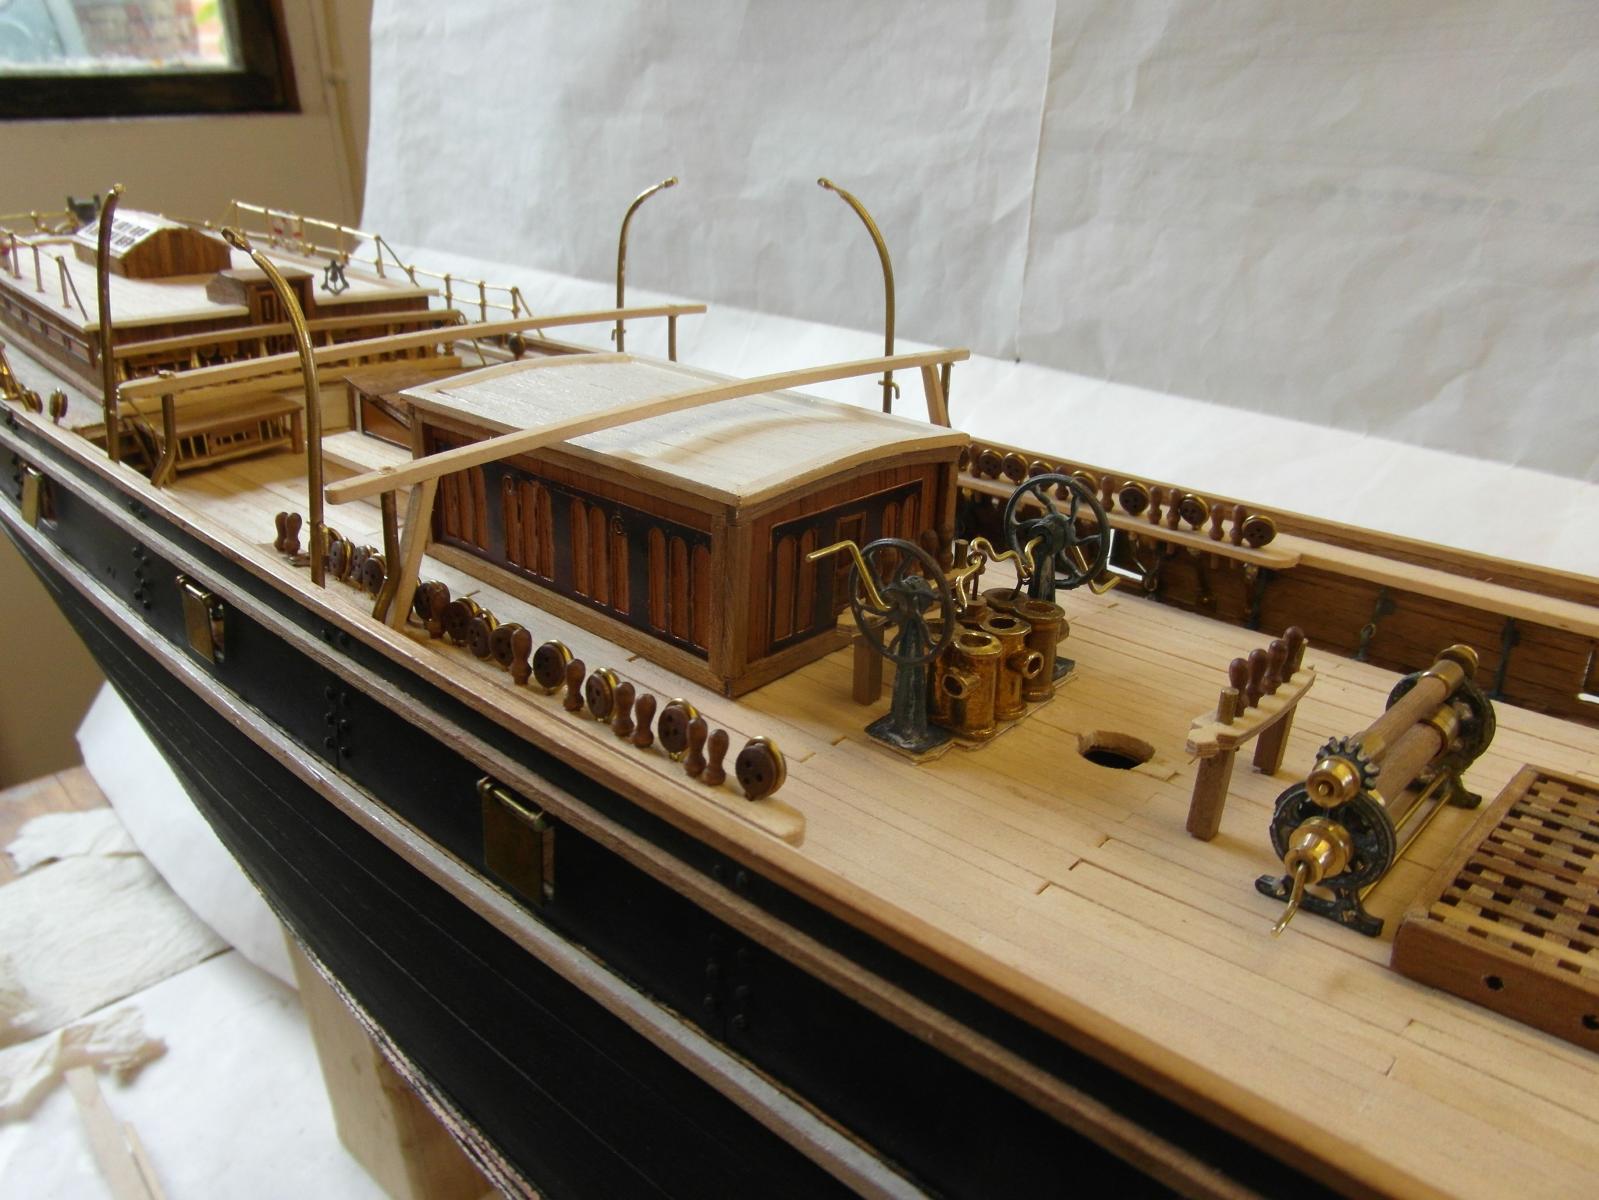
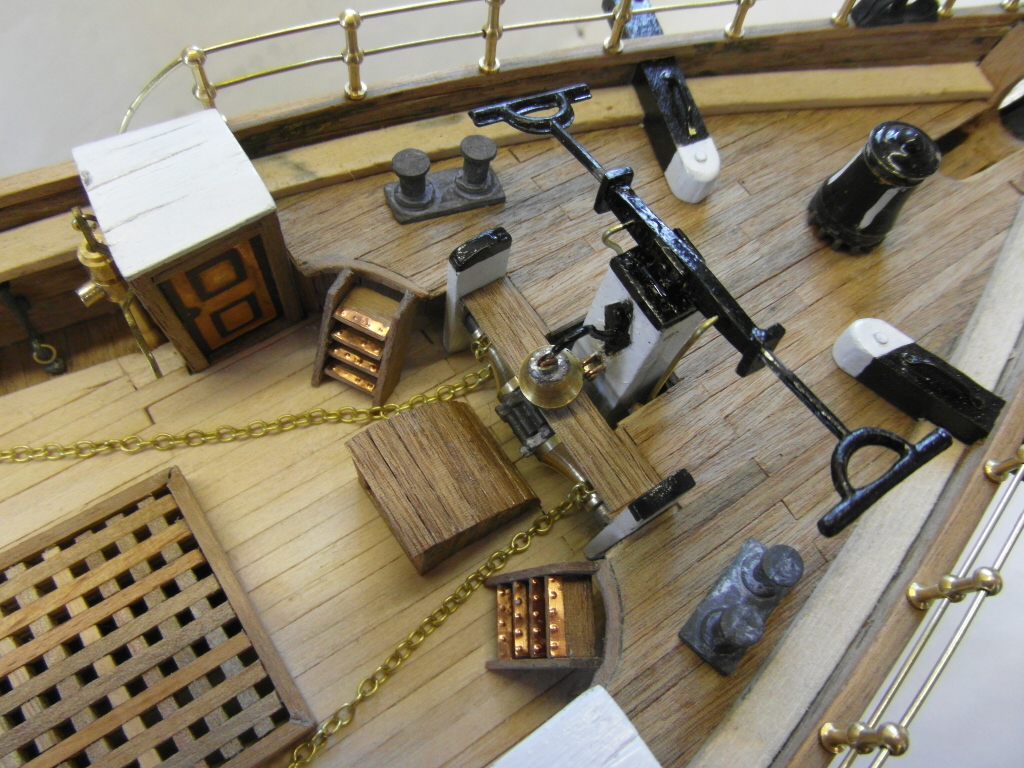
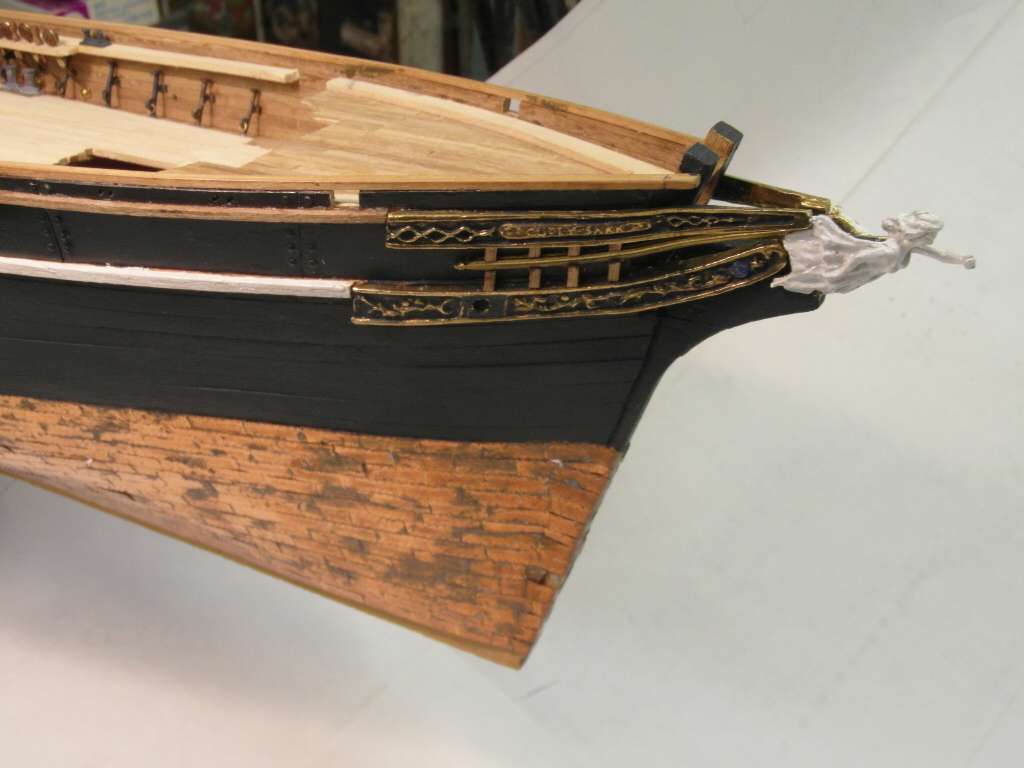
Latest progress at the front! For the anchor winch arrangements I looked at the Sergal plans and the photos of the real ship and decided to try to model the real version instead. The handles are cut down from the kit items and removable as in real life. The ship's bell is a bit over-scale and really a bit too low as I have placed it, but not too bad in general.
From spare bits of brass sheet I've also tried to cut the cat-faces for the end of the catheads, reasonably successful but I may try again.
The Sergal plans didn't show the companion steps for the front deck at all. The CS specification says that in real life they apparently had brass treads to give firmer footing. Trimming a narrow strip from spares of the metal plates for the hull provided a good approximation to those.


-
I've just discovered a lot of interesting Cutty Sark information and photos here: worth a look if you haven't seen it.
http://www.rmg.co.uk/sites/default/files/media/pdf/Conservation_Plan_1_History_of_Fabric.pdf
- johnwie and keelhauled
-
2
-
Happy New Year!
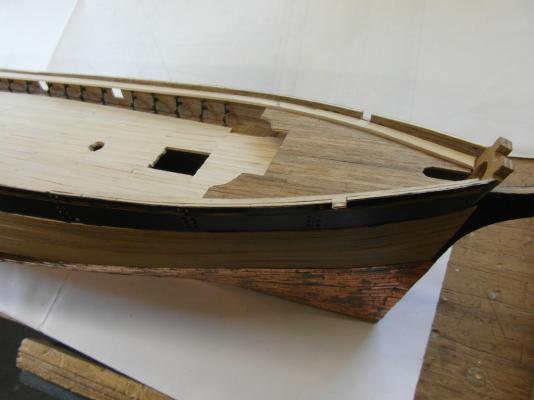
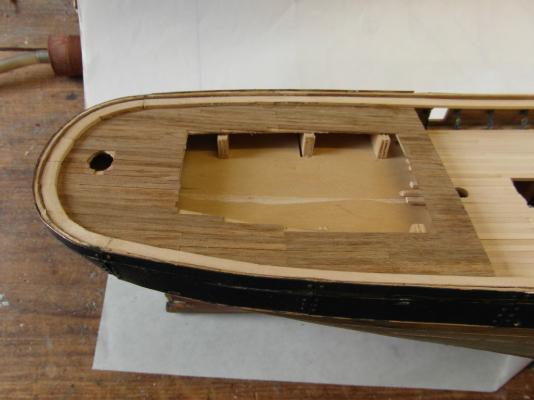
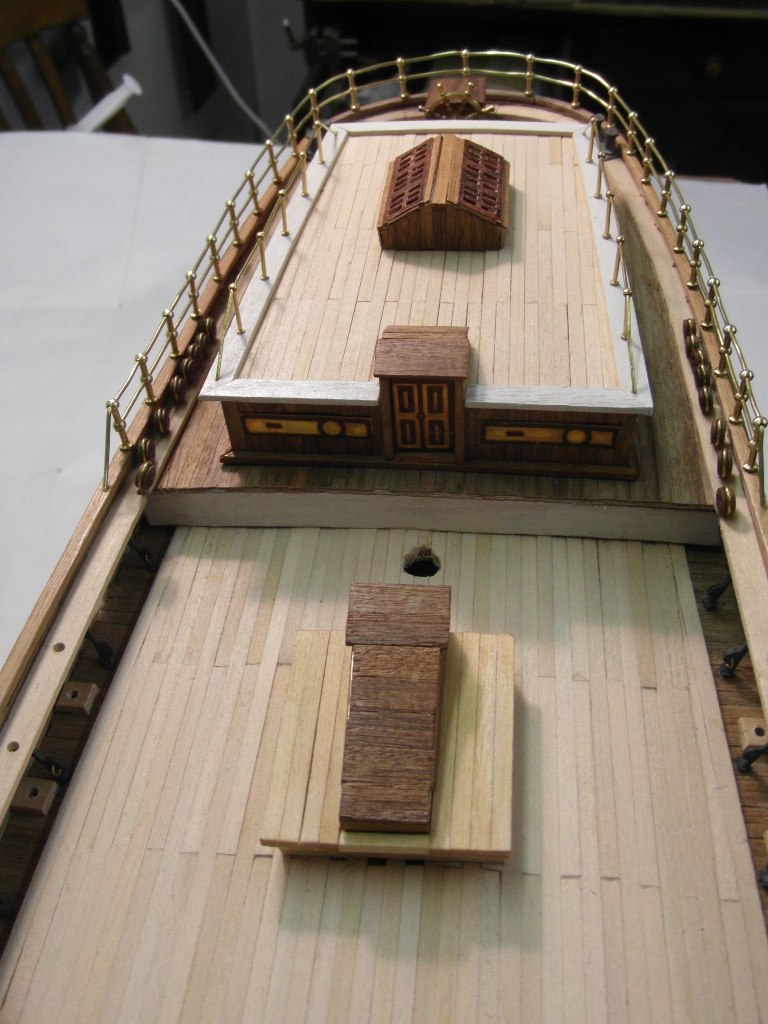
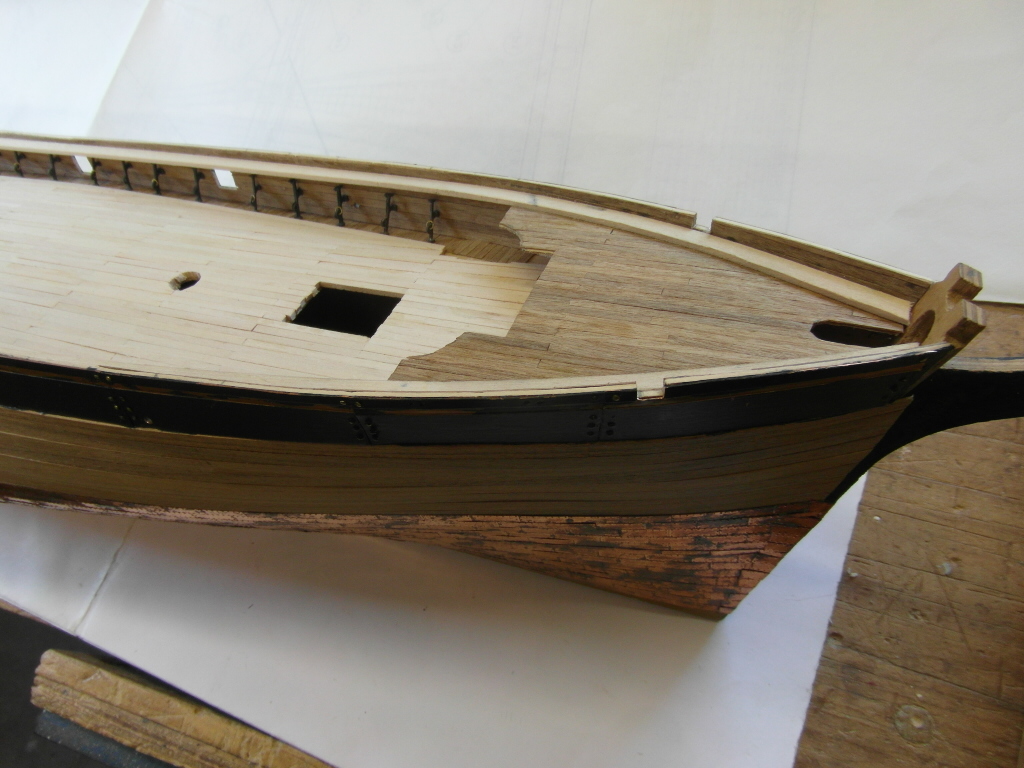
Progress here since my last posting....cutting all the aft hatch apertures was definitely a trial of patience and sanity.
And now I've taken the photos I see a bit more straightening of the rear deck rails is needed !

- Mirabell61, hexnut, tasmanian and 4 others
-
7
-
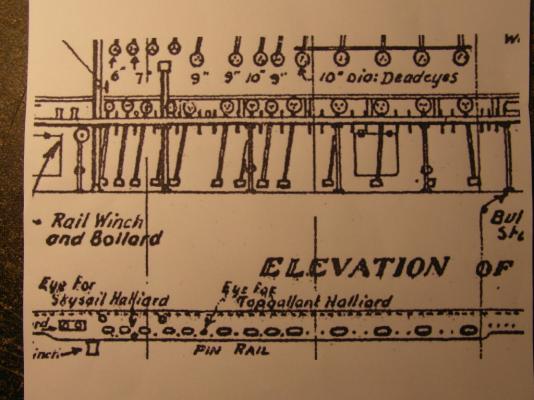
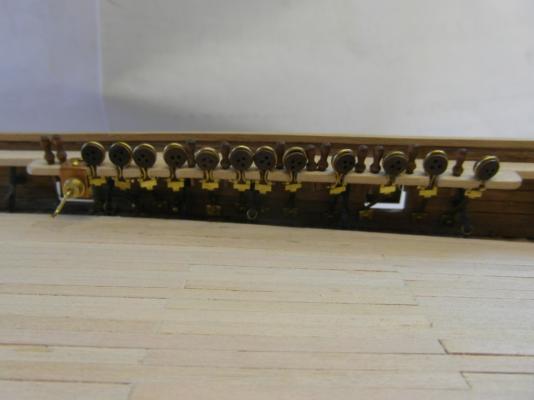
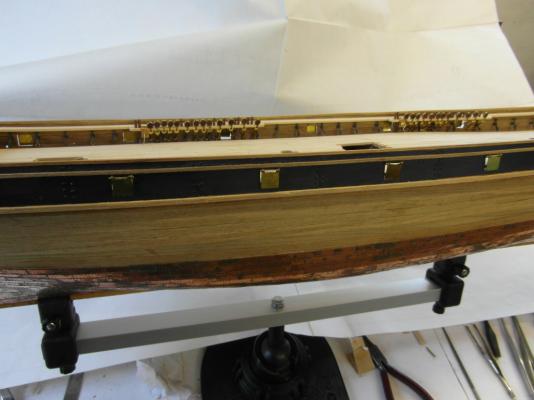
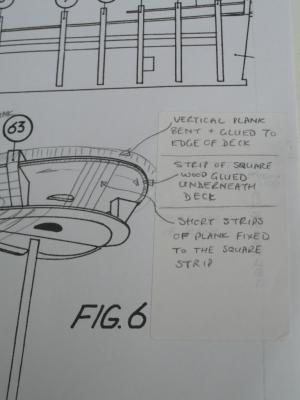
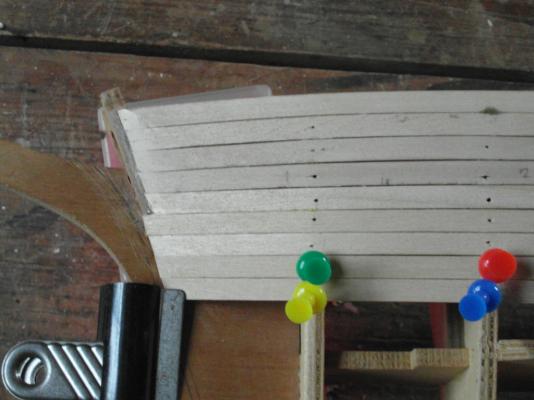
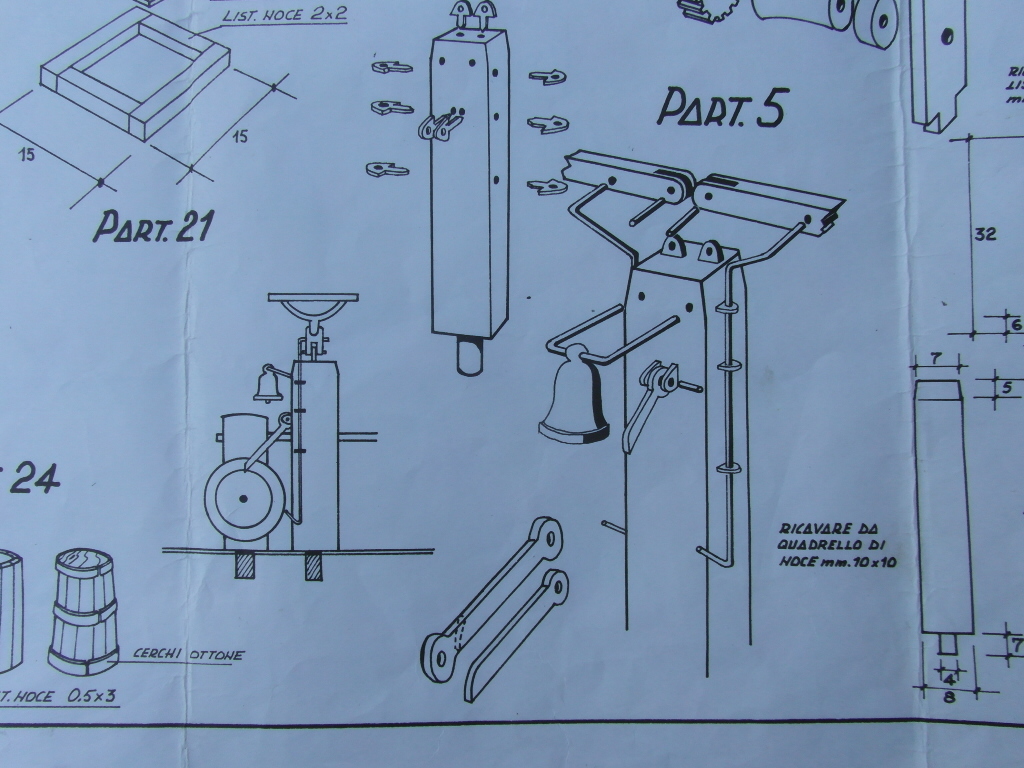
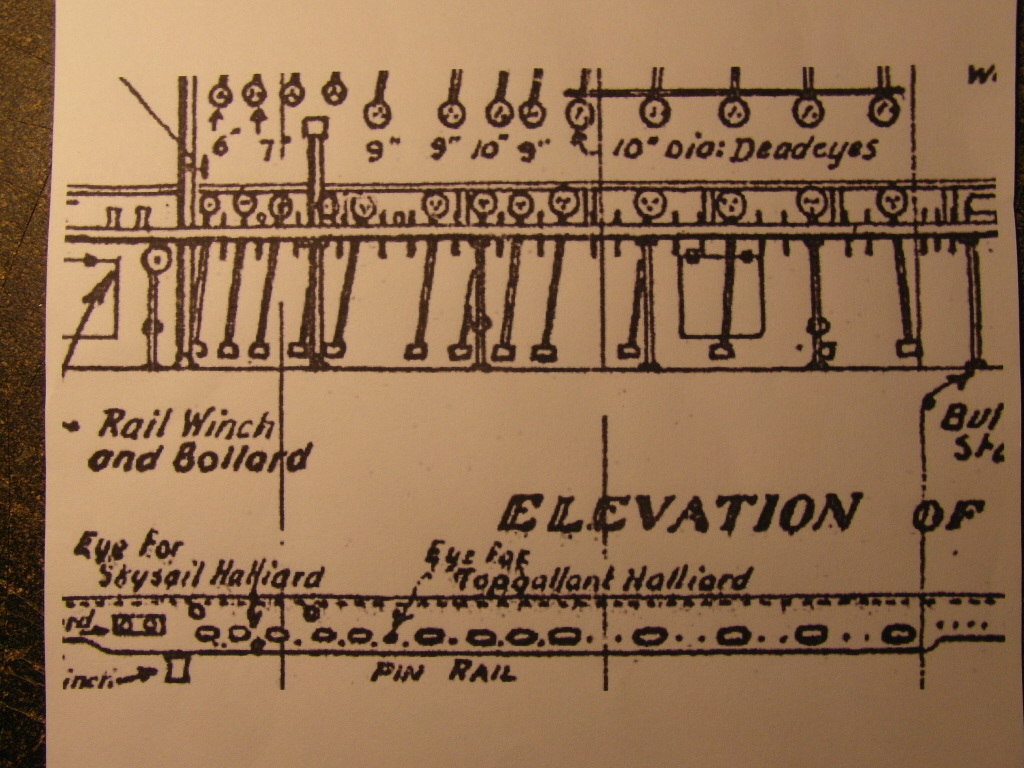
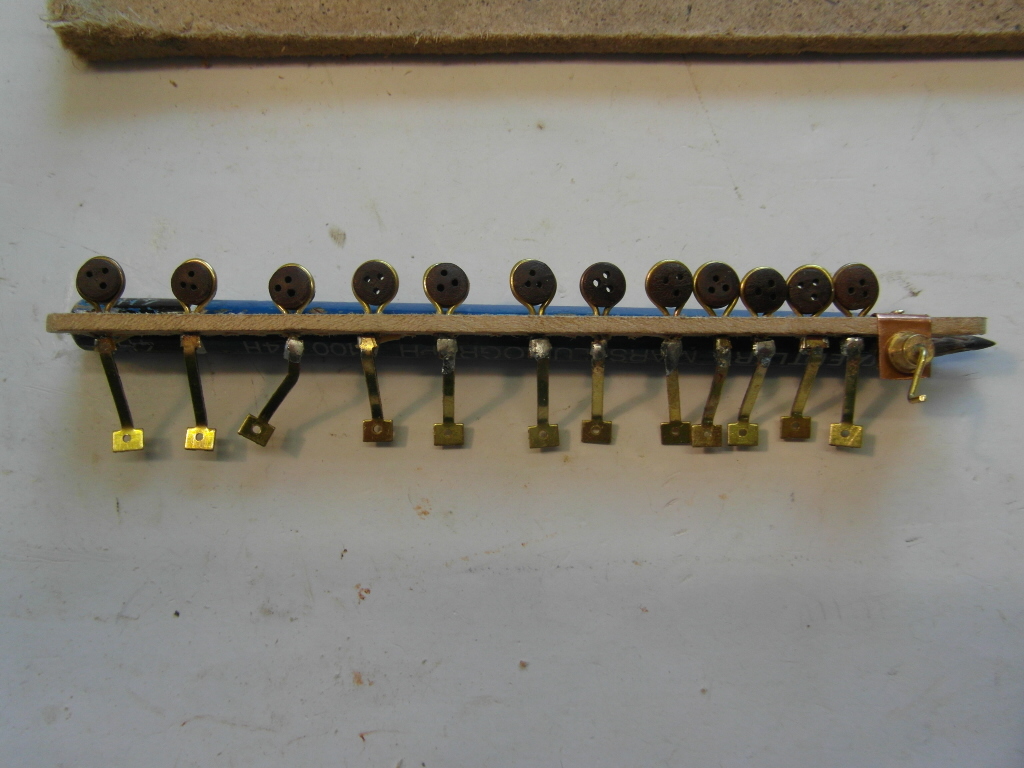
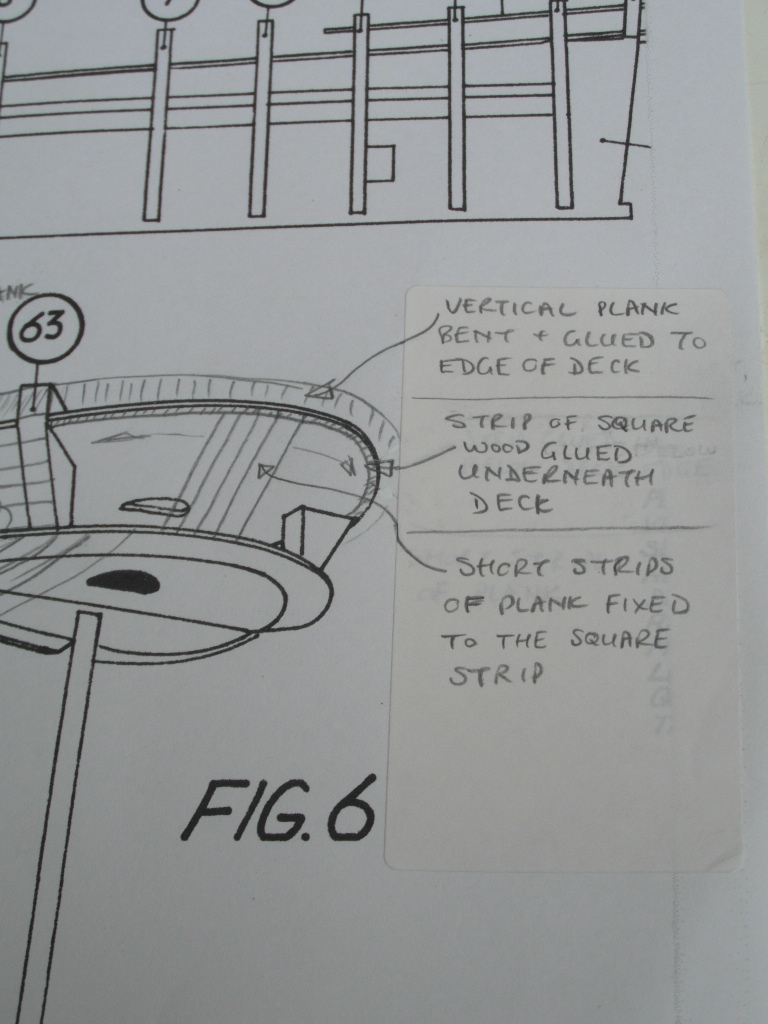
After looking at Nenad's photos (for which many thanks!) and some web searching I found that although the model kit has all the pinrail deadeyes the same size, in real life there were 6", 7", 9" and 10" ones. That is shown in the extract I found on the web from Campbell plans (second picture).
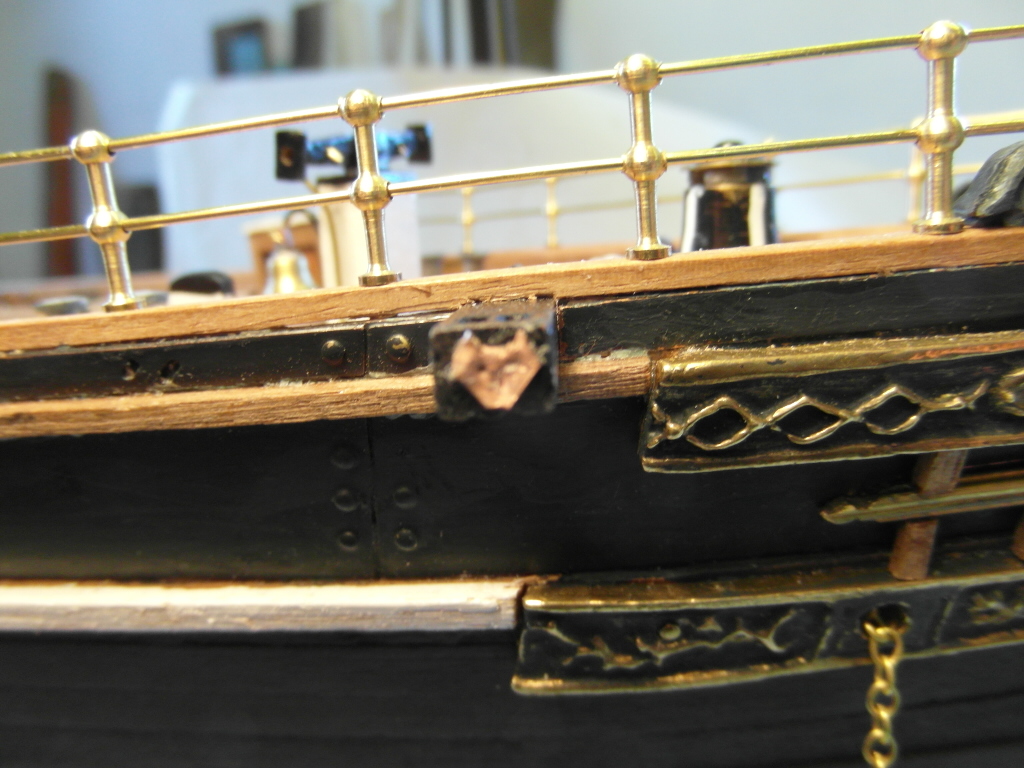
That Campbell drawing also shows some chainplates were fixed in front of freeing ports. The kit version has the thin brass chainplates bent to be clear of the ports but in practice it's almost impossible to make those bends without distortion and certainly not to have the foot at deck level as shown in the elevation view in my first picture.
If one follows the kit drawing and cuts slots for the chainplates as shown, where the deadeyes are closest together and because they are all the same - largest- size, it's very difficult to avoid breaking off the tiny wooden pieces that are left after cutting a long way back into the 2mm thick strip.
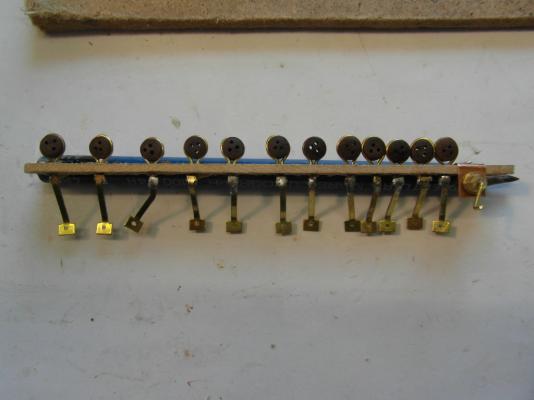
So...I decided to take off all that I'd done and to make new strips with holes bored in them to set the deadeyes at the sort of angle they have on the real ship, then cut off the chain plate tops and soldered them to the brass wire projecting through the holes as shown. With care and a small iron it's possible to make the joint without scorching the wood. I've fixed one finished set in place so far and when installed the soldering is scarcely visible, but I'll add a touch of suitable paint to hide it.
A lot of extra work but the result is much better than cutting slots, and looks more realistic!

- garym, Mirabell61, rfolsom and 2 others
-
5
-
Thanks! Now I see. Your photos also show that in following the Sergal plan view my deadeyes are too far inwards, but it's quite difficult to make deeper cuts spaced so close together into a 6mm wide strip of quite soft wood....
-
And they are very difficult to fit!
The side elevation drawing of the chain plates on the model shows them fixed at the bottom with a cut-off brass pin, but pushing the pin into the wood takes quite a lot of pressure even with a pilot hole. I'm finding that as the pin is into only a thin layer of wood it tends to come out again through pressing on the wood to fit the one next to it. So I've glued as well as pinned.
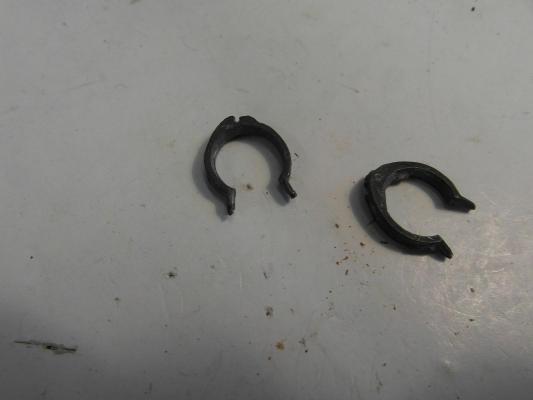
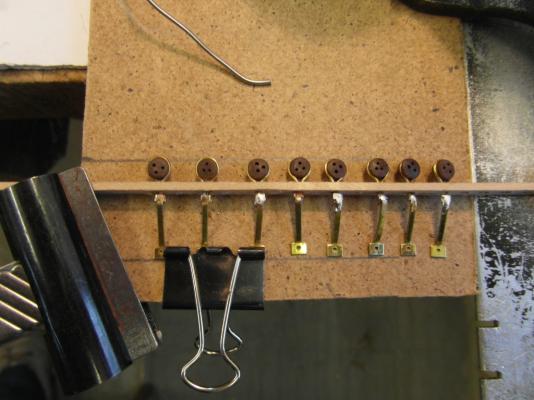
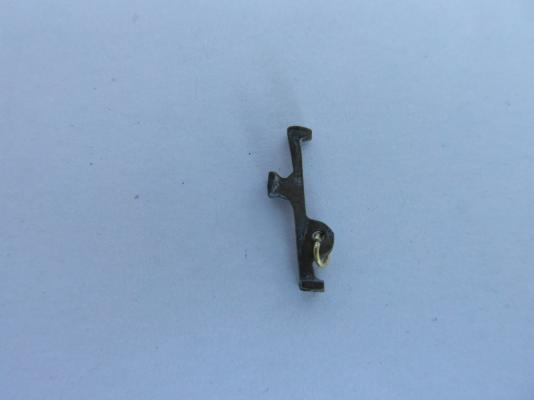
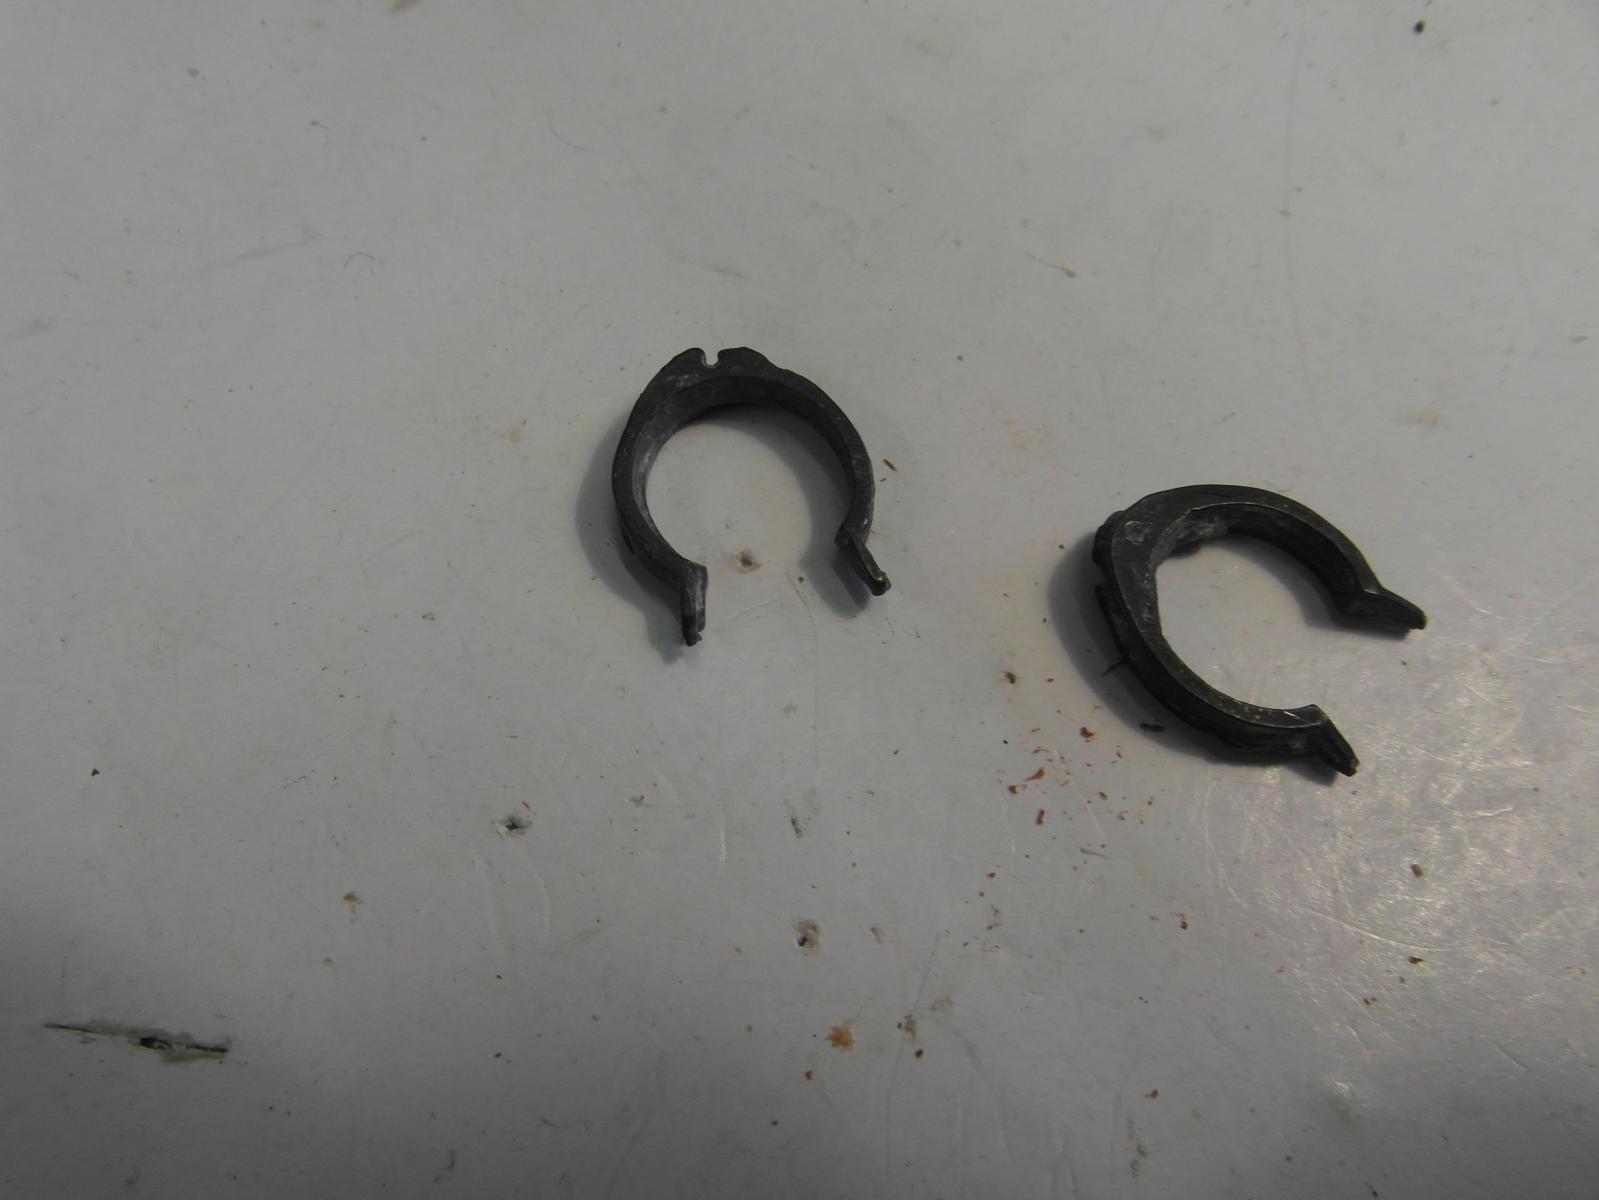
Interesting that in Nenad's photo the device with a cranked handle that is in the Sergal kit (see my second photo above here) isn't to be seen at all. I don't know what it was meant to be but in the kit there is one for each set of deadeyes and pins.
-
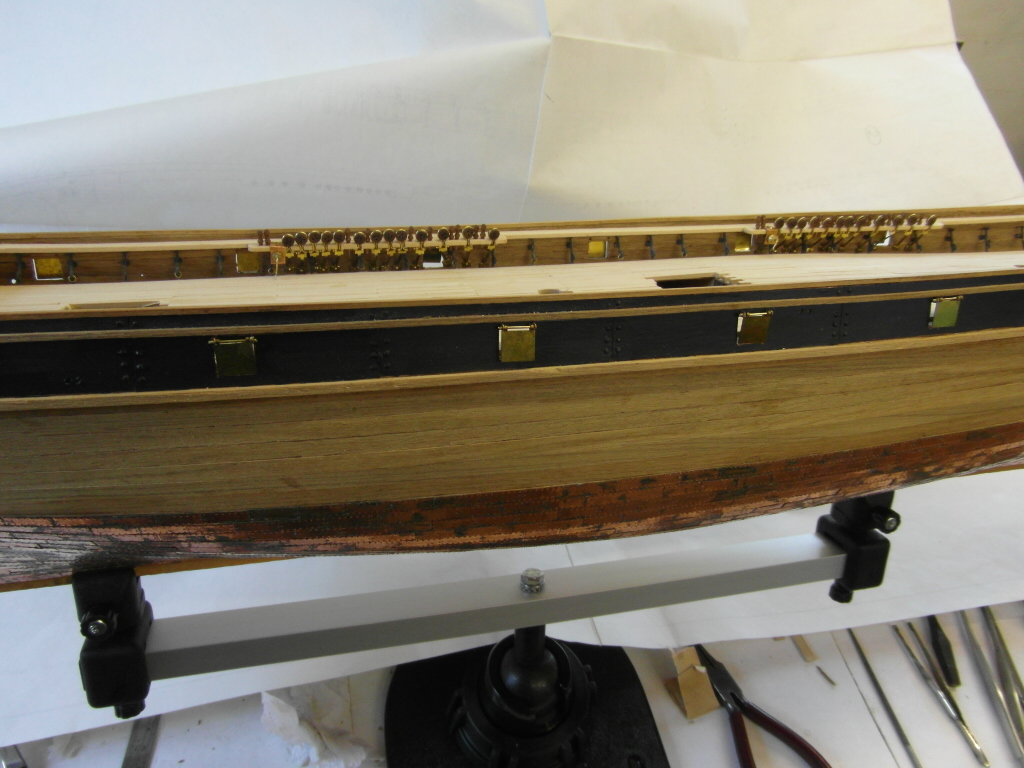
It's been a wet week here in Wiltshire so good for being indoors in retirement!
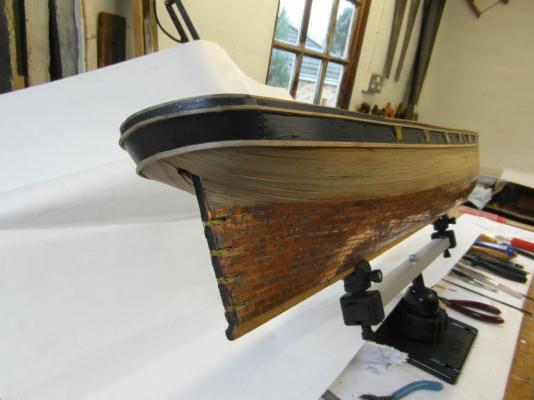
Latest progress is fitting all the freeing ports and the port side deadeyes and belaying pins. I spaced the deadeye cut-outs and pin holes from the spacings given on the plan sheet but in life when assembled they are a bit closer together than the plan sheet shows.
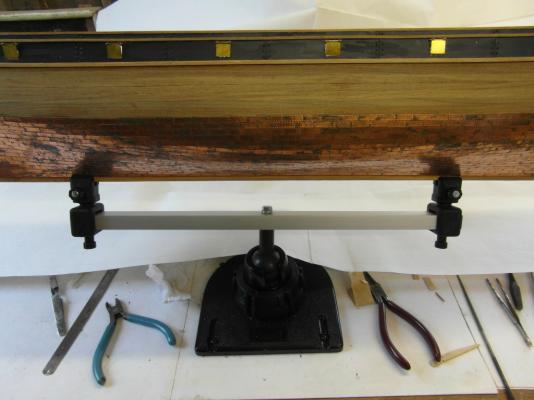
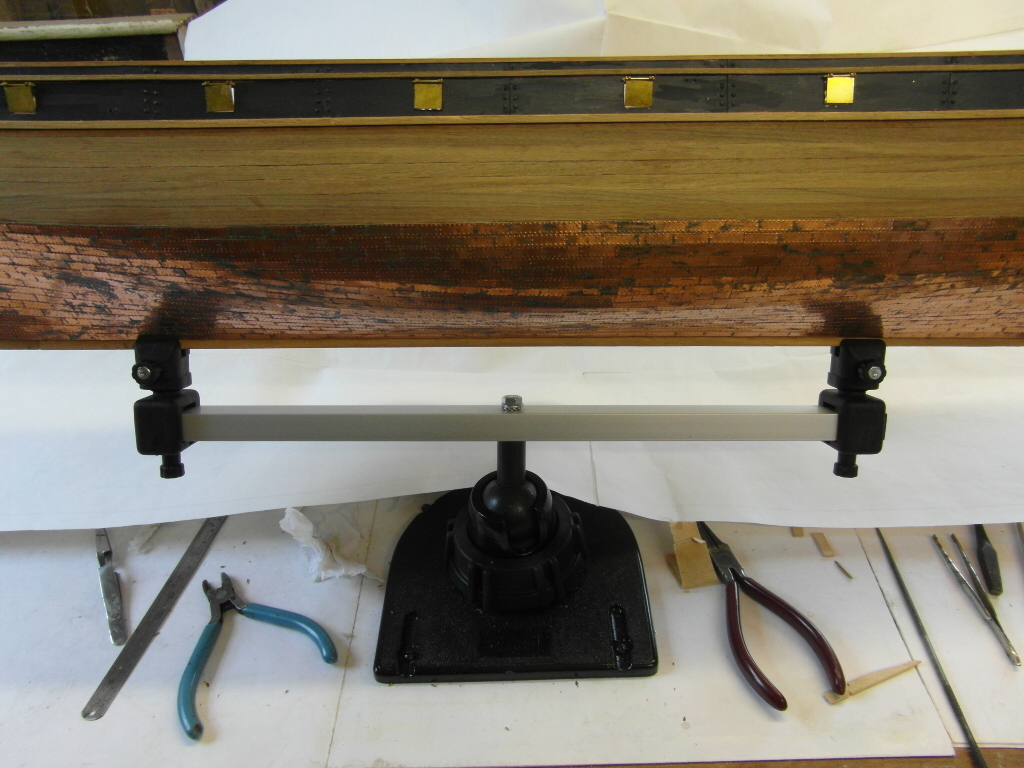
All this latest progress would have been very difficult without the Amati keel clamp that I bought recently! I hesitated because it's quite an expensive item but it makes holding the keel so much better. The only drawback is that it grips on only about a 5mm depth where the keel projects below the planking, so I might glue two short depth extension pieces to give more to grip on and then cut them off when the whole thing is finished.
- CaptainSteve, tasmanian, coxswain and 4 others
-
7
-
-
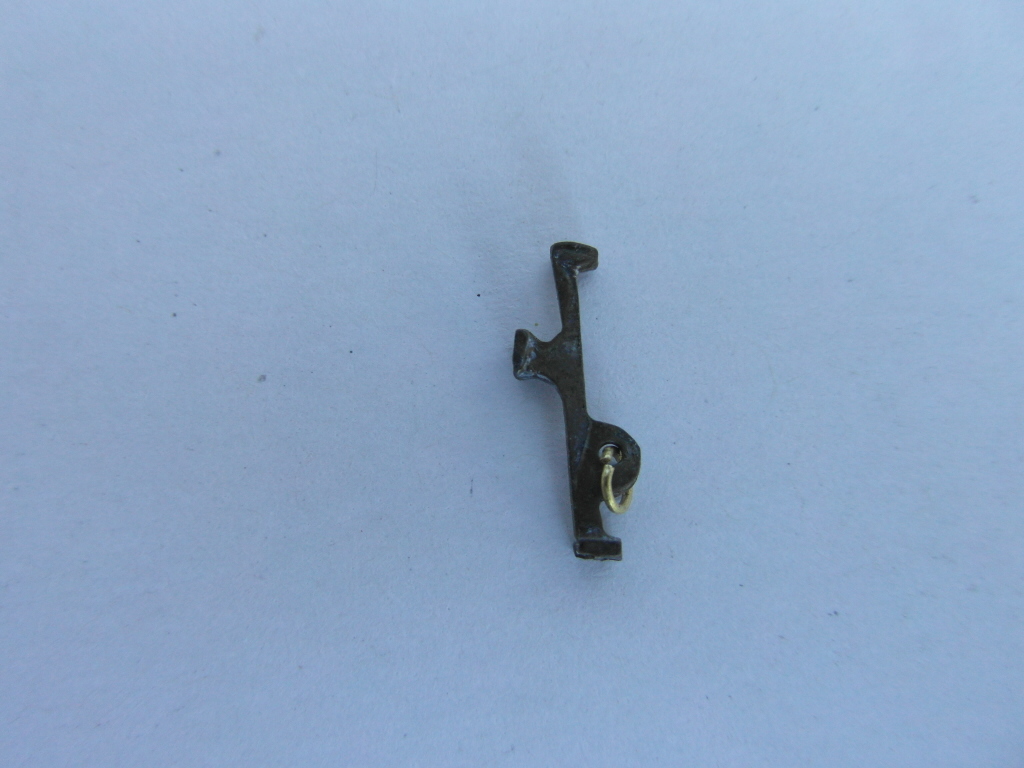
A bit of a dry dock disaster! I managed to knock the fully finished hull onto the workshop floor but fortunately nothing badly damaged...
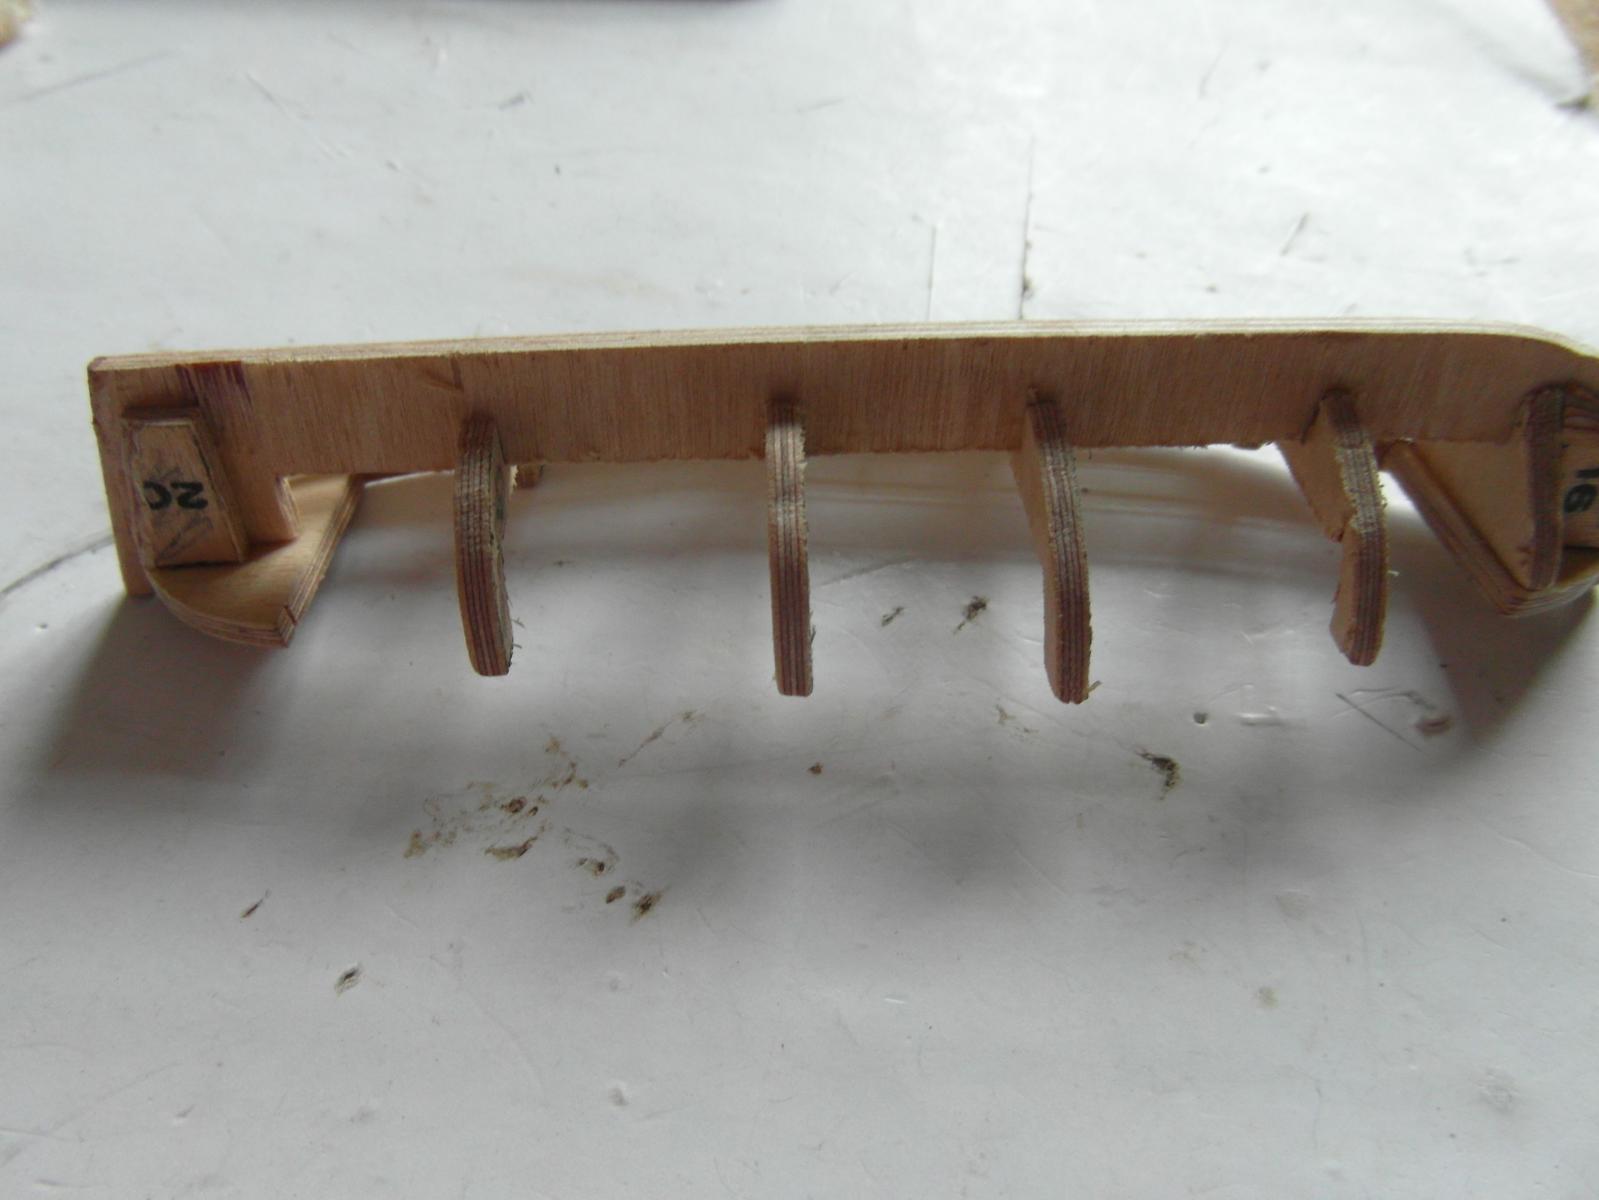
The main loss was a few of the bulwark stanchions (?) -see photo of intact one - four popped out and a couple were broken. They don't seem to be available as spare fittings but I think I can make the few that I need out of sheet lead.
-
-
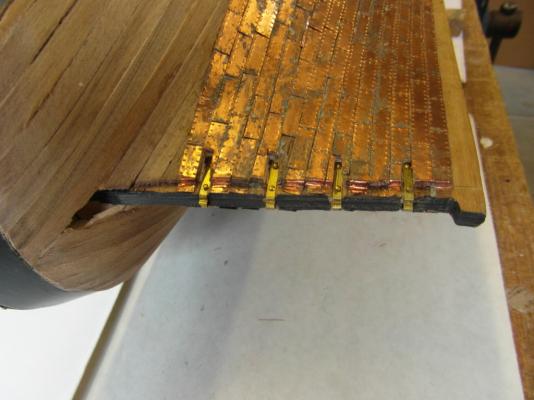
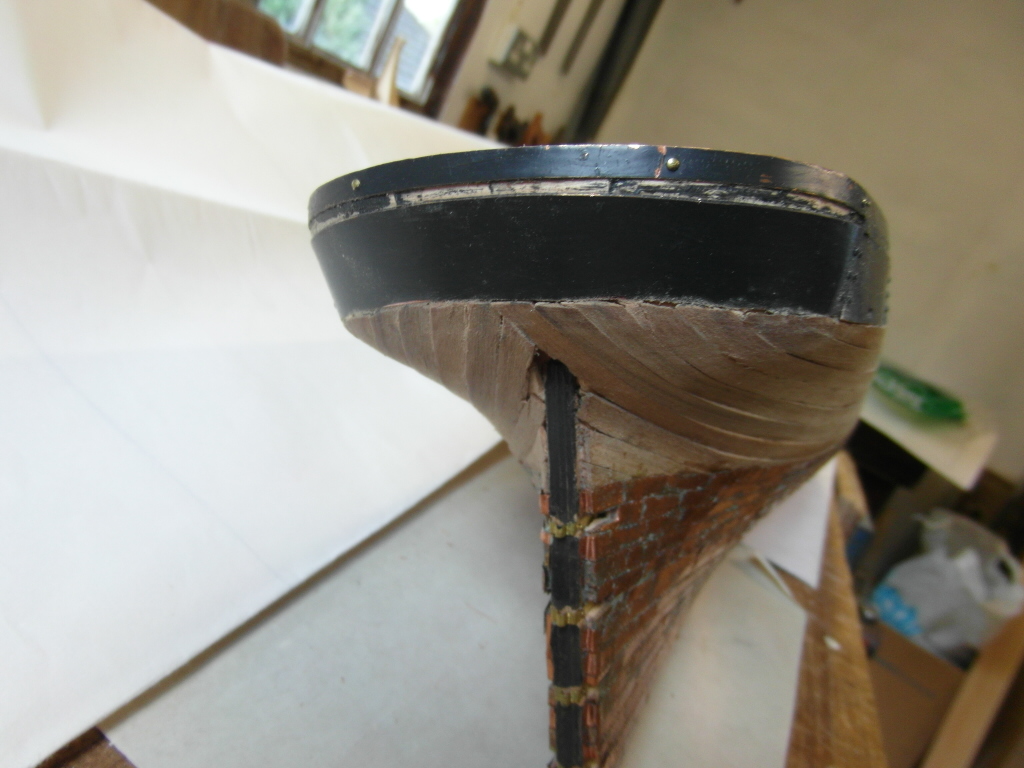
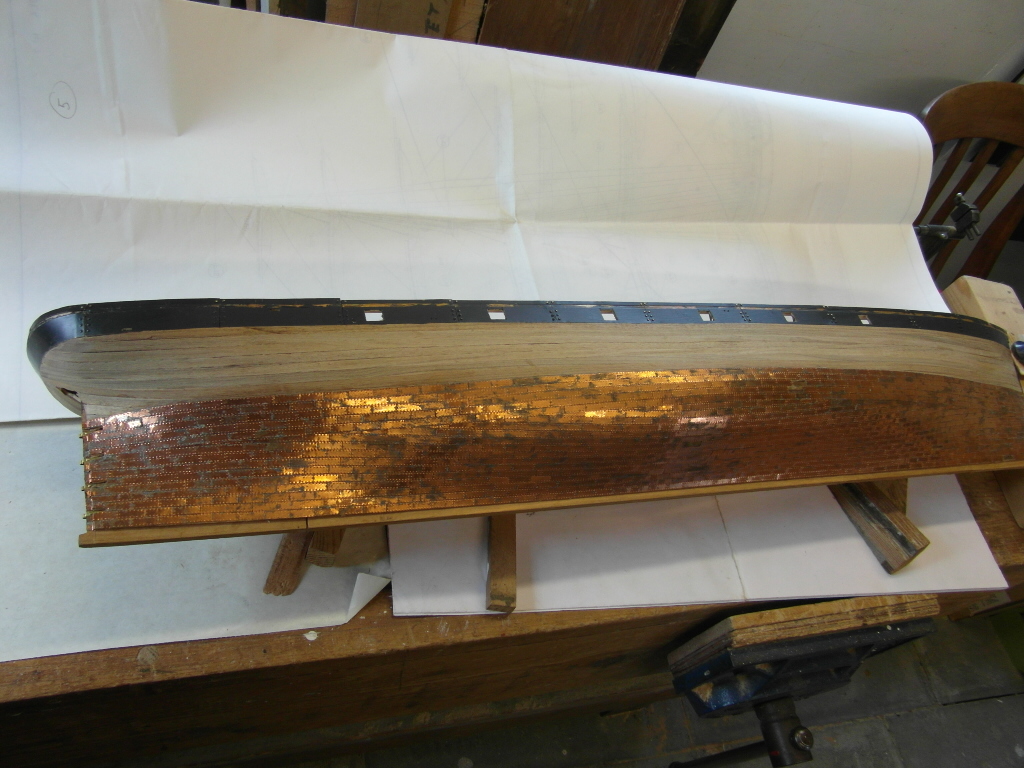
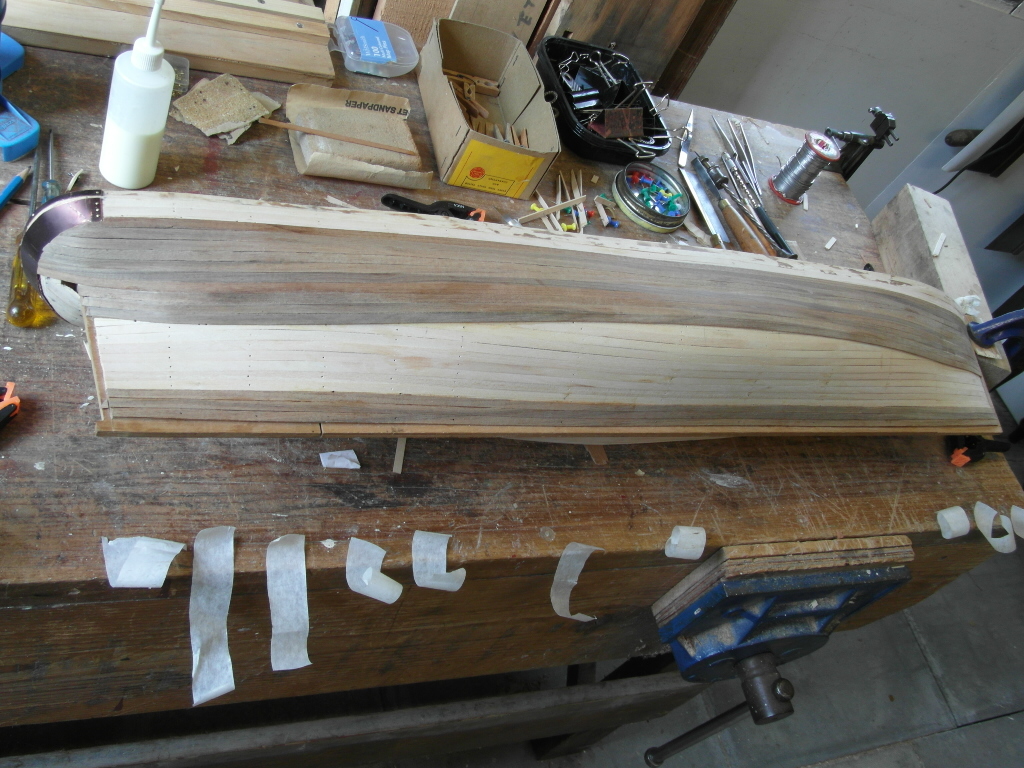
Progress since my last posting...
I did the copper plating on the first side before I discovered glue syringes! So some got onto the front faces of the plates and even wiping off quickly left them a bit tarnished, but actually the effect is of their being appropriately weathered.
I also found that the rudder hinges were thinner than the thickness of the wood on the stern post and the rudder itself so I had to reduce the thickness of the wood to suit them...!
The brass plate sections at the top I painted black because they were quite scratched (the kit had been started by someone and left for a few years afterwards) but again I like the effect, and the slight overpainting at edges will be covered by the walnut strips that are the next job.
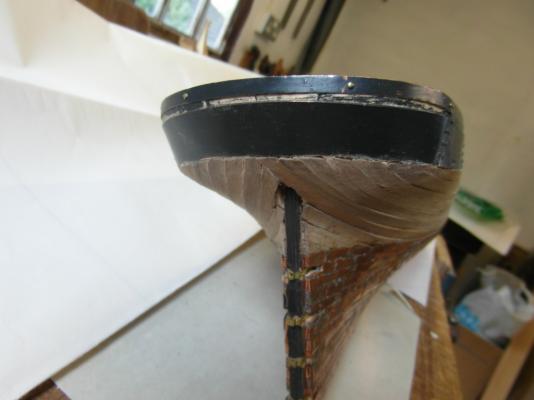
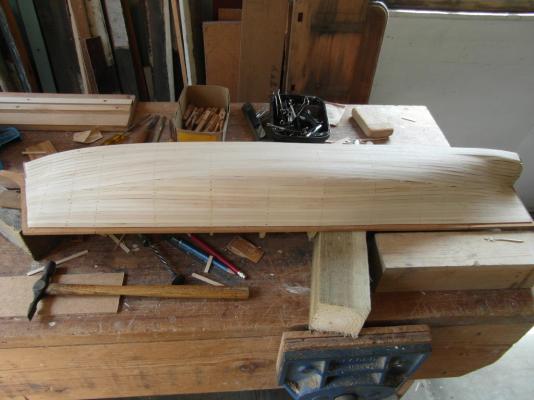
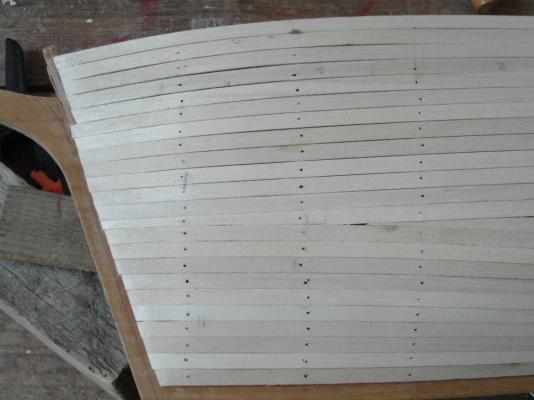
BUT I am struggling with how to bend 2 x 3 mm walnut strip along its 2mm edge for the stern top rail without it cracking! I've looked at MSW posts and tried steaming and the hot pipe method, but no luck so far...I think I may need to get some wider strip and cut curved sections like those on the deck rail.

-
-
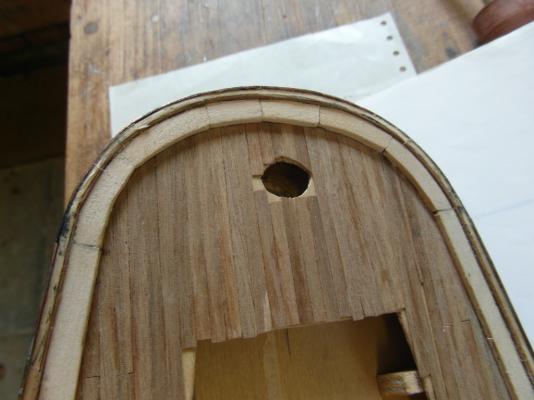
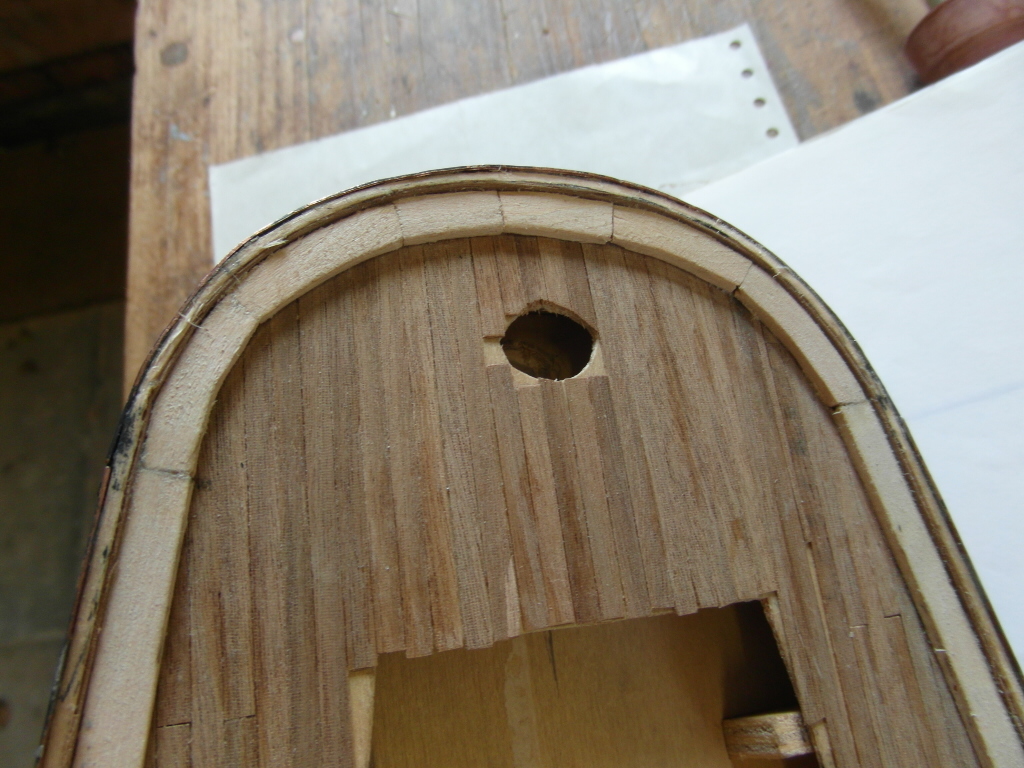
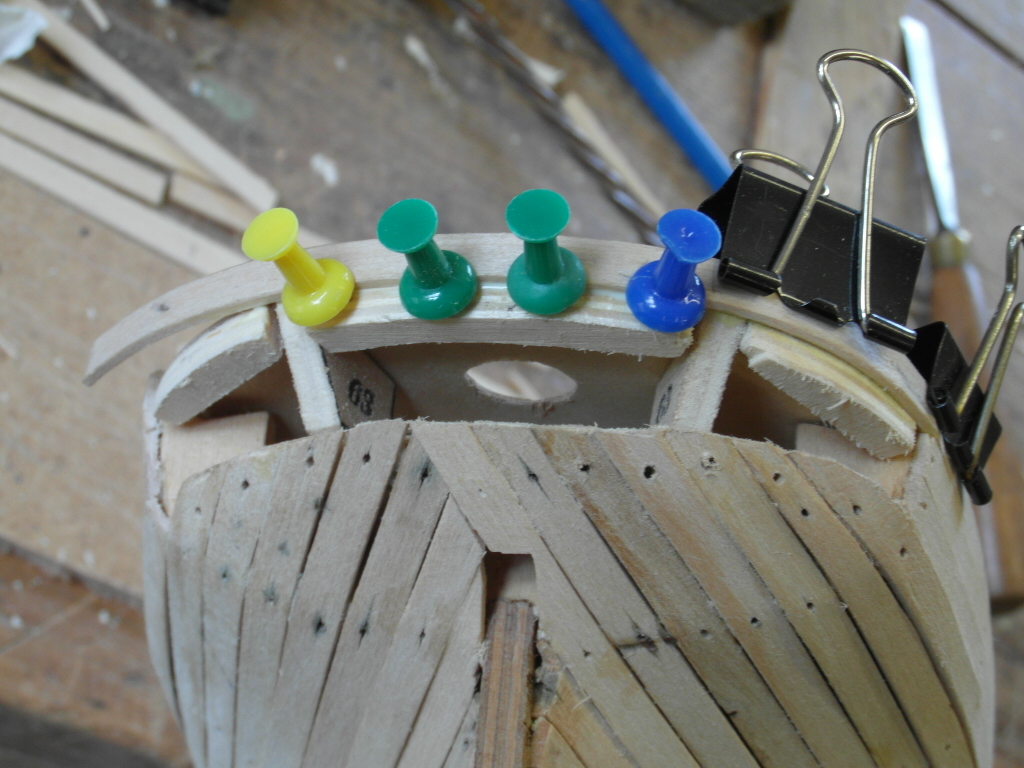
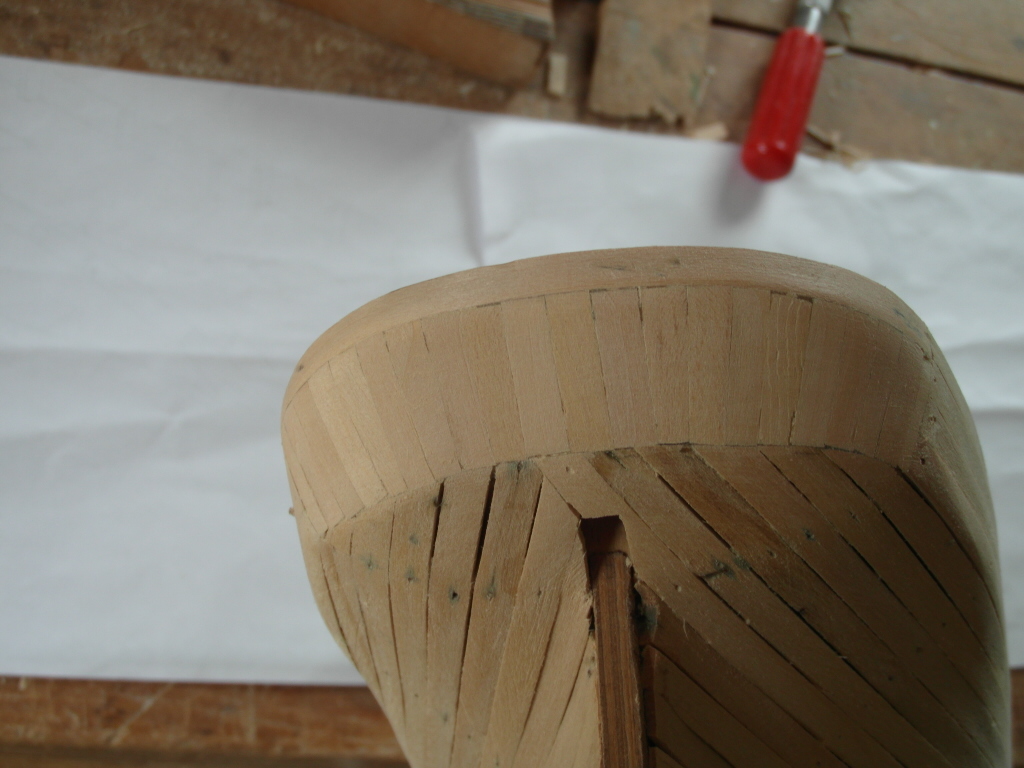
And having done a bit of head-scratching on now to reconcile an upper stern made of short inclined sections of battens with needing a vertical section at the top, my possible solution.
Any comments from old hands gratefully received - I'm a complete beginner, only trying this one because I saw it at a good price in a second-hand shop and I like doing intricate work!
Also struggling a bit with how to post additional items in my build log....the only way seems to be to reply to oneself, so maybe I'm missing something about how it's done.
Chris
Quite good progress so far.... now working on completing the first layer on the other side. Then I can look forward to repeating the whole job again with the walnut second layer!

- tasmanian, MarisStella.hr and 3qq
-
3
-
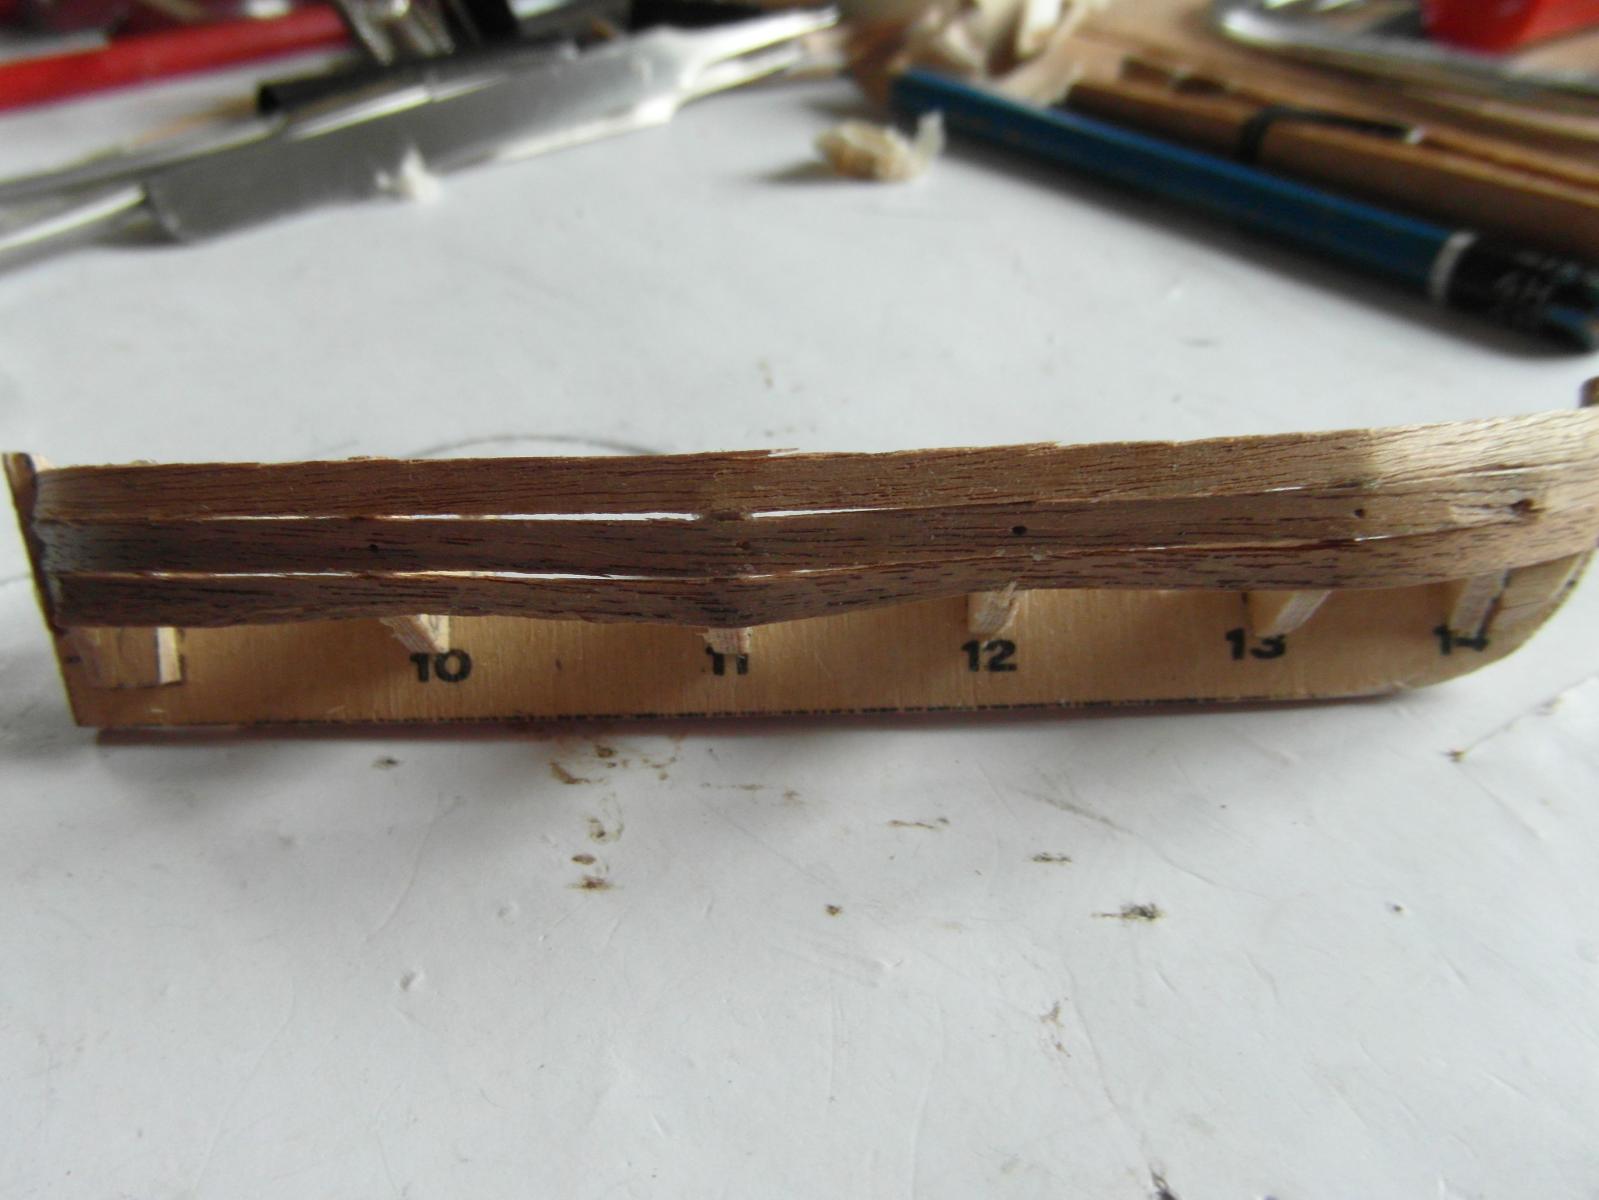
Having had guidance on how to start a log, I'm posting a couple of photos that first appeared in my sign-up mails.

- 3qq and MarisStella.hr
-
2


Cutty Sark by Chef de Gare - Sergal
in - Kit build logs for subjects built from 1851 - 1900
Posted
A bit more progress last week on the foremast: spider rings at the base and the first completed yard. Only 15 more yards to go!
I'm using soldering to join the ends of the various brass mast and yard rings. The Sergal plans show drilling and pinning the ends to make a joint but although quite tricky, soldering is actually easier than trying to drill holes in very short stubs of brass strips.