JSGerson
-
Posts
2,132 -
Joined
-
Last visited
Content Type
Profiles
Forums
Gallery
Events
Everything posted by JSGerson
-
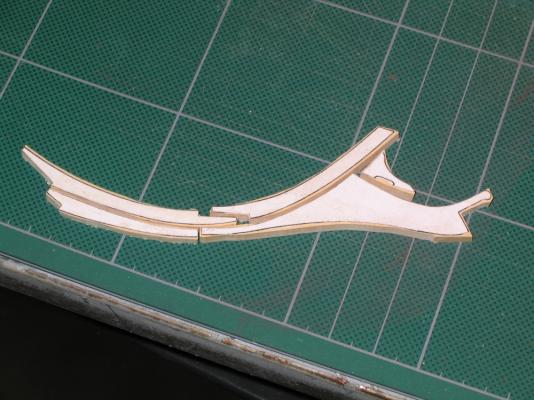
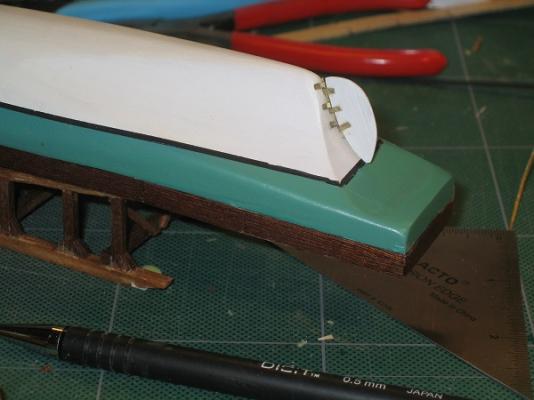
 After cleaning the edges and test fitting the pieces, looking for gaps, etc. the edges were darkened with artist charcoal to simulate tar chalking. The pieces were then glued together using another uncut copy of the stem as a template. Now the stem looks like what the shipwright would have seen when they completed the stem on the actual ship. As Mr. Hunt points out, if I were to place my new stem on top the kit’s plan they don’t exactly match. Not only that, the kit’s figurehead won’t fit either but that’s OK because I jumped in with both feet on this build which means I will be carving a new figurehead from scratch when the time comes.
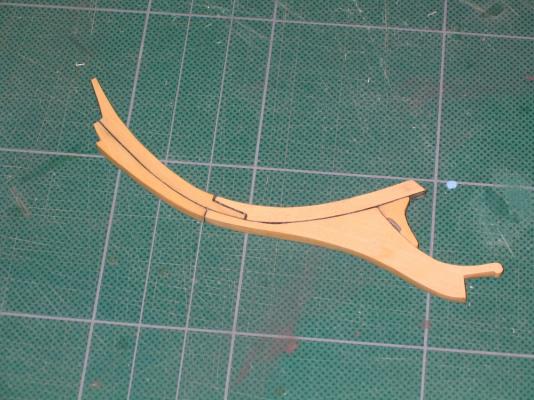
- 973 replies
-
- 7
-

-
- rattlesnake
- mamoli
- (and 1 more)
-
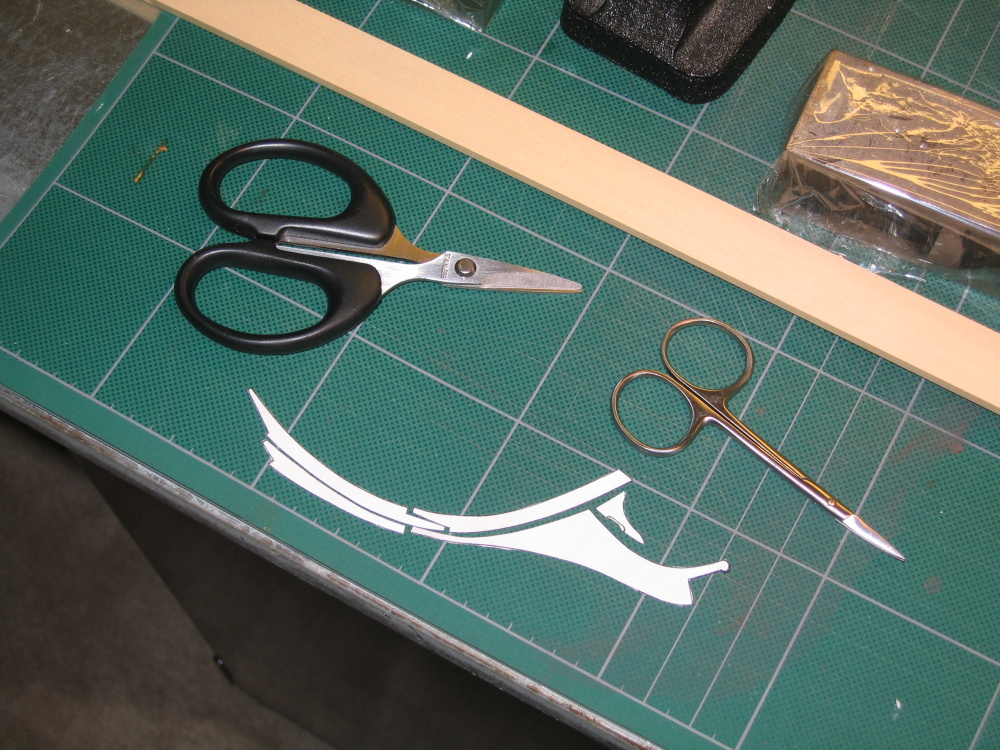
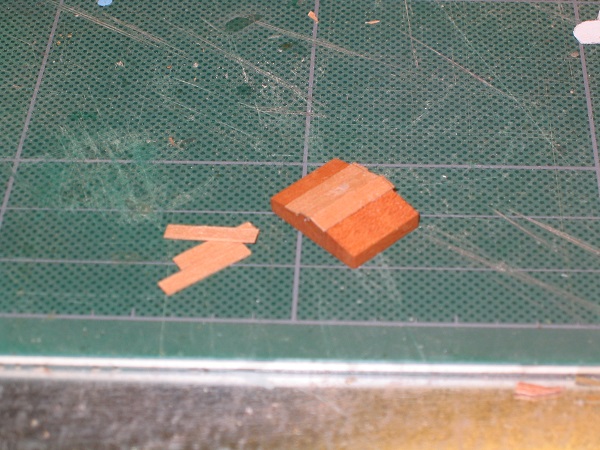
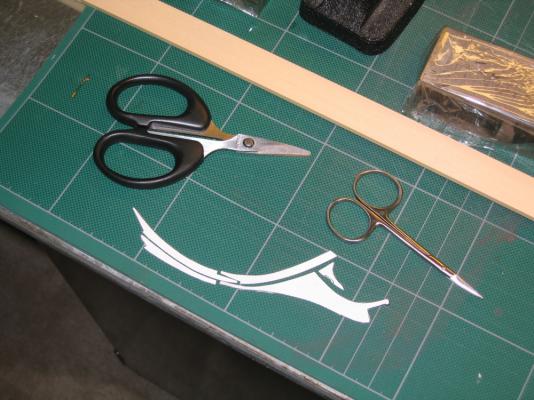
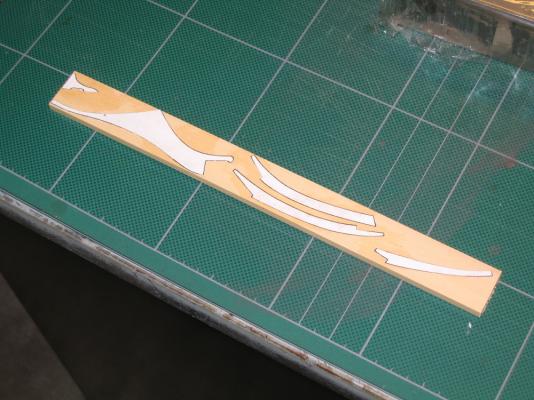
CHAPTER 1 A New Stem The very first thing to do was replace the stem. Because the original stem was part of the bulkhead-keel, it will have to be cut off at the rabbet line. Using the reduced Hahn plans, I made another copy of just the stem area using a regular copier on 8½ x 11” paper. Using that copy, I made a template which I rubber cemented to boxwood and cut out using an old Dremel Deluxe Moto-SH jig saw that I bought in the late 70’s for the Zwarte Zee kit I mentioned earlier. It’s not a great saw, but it’s the only jig saw I have. One day I will replace it.
- 973 replies
-
- 3
-
-
- rattlesnake
- mamoli
- (and 1 more)
-
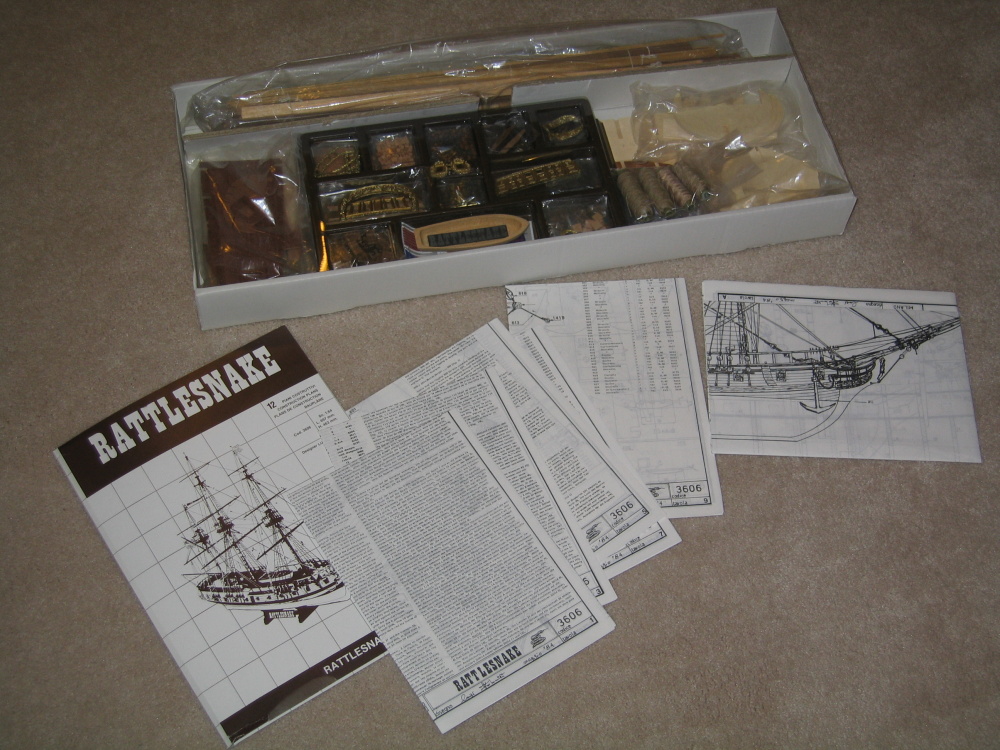
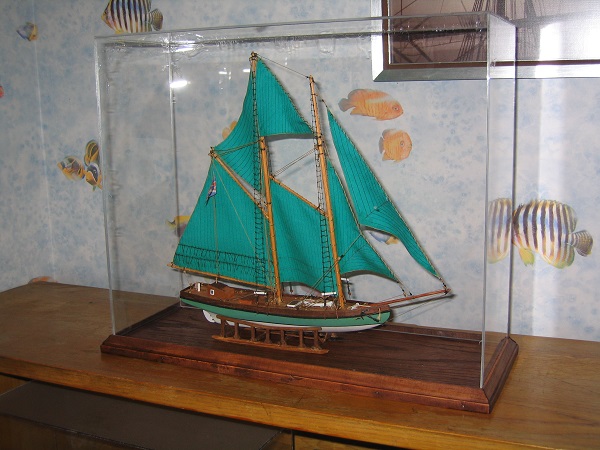
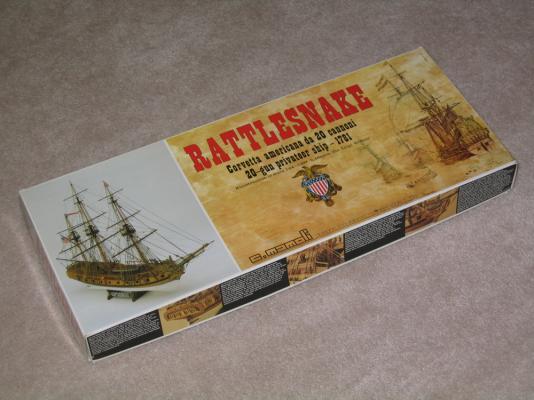
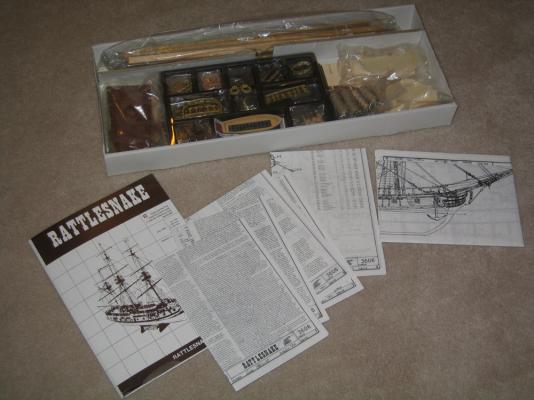
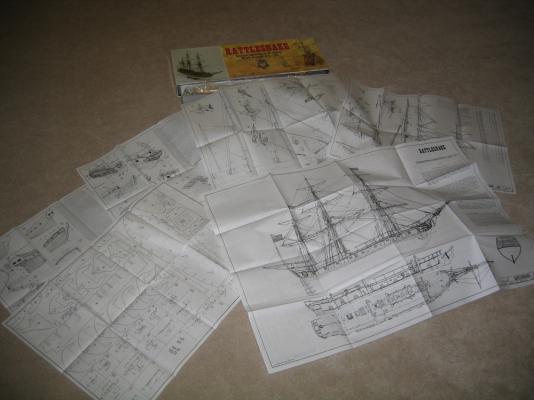
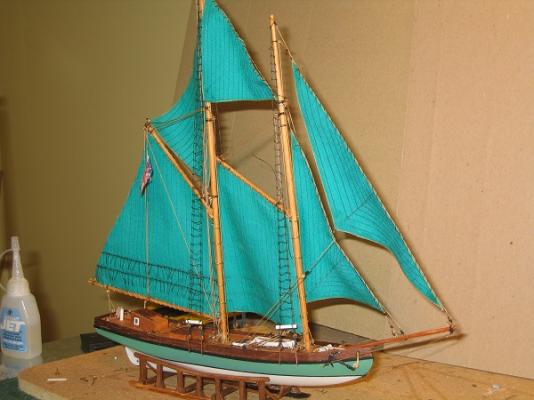
I final finished my first wooden boat, the Mini Mamoli British Schooner Evergreen, a 1:125 Scale Solid Hull Model after a two year build. This was my first attempt at such an endeavor in 30 years. I had started the Billings Boat’s POB Zwarte Zee , an ocean tug back then but got about only about 85% complete. I never finished it. So with a completed build under my belt, I set my sights on the 1781 American Privateer, The Rattlesnake. I considered the Evergreen my “training wheels” for this build. Although technically the Zwarte Zee was my first POB boat, all of the planking flaws were covered up with wood filler and paint. This would be my first true test in this construction method. What you see is what I built for better or worse. This build was started in October 2010 and I have only now decided in May 2013, to post my build log. I was reluctant to do so because compared to the others members who post comments regularly and have submitted their many build logs, I am but a beginner. I have knowing or unknowingly made many errors, omissions, and mistakes. It would be like hanging out my dirty laundry. But after some prodding by some of the members, I agreed to post my build if anything to show the error of my ways to anyone who wants to follow a slooow moving project. I had a choice of the Mamoli or the Model Shipway kit. After a little research I discovered Robert Hunt’s Practicum (http://www.lauckstreetshipyard.com/) and thought this is just perfect for me. Having struggled through the minimal instructions of the Norwegian translation for the Zwarte Zee and the simplistic instructions translated from the Italian for the Evergreen, and after reading the free sample Chapter 1 with its highly detailed instructions and detailed photographs, I was easily convinced to purchase Robert’s practicum. There I found that the practicum was based on the Mamoli kit, so I chose that kit to build. To be fair, Mr. Hunt did state that his practicum could also be used for the Model Shipway kit. The practicum was written to both supplement and enhance the original kit instructions or to kitbash the project. Because the “journey” to me is the purpose of building a model, rather than the destination, the final model, I chose to build the kitbash and plunked down my money: · Basic kit - ~$240 · Robert Hunt’s Practicum (http://www.lauckstreetshipyard.com/) - $150 · Harold Hahn’s plans ¼” scale - $45 · Reduce the Hahn plans 74% to match the kit’s 3/16” scale (1:64) - ~$25 · Hobbymill Wood Package (http://www.hobbymillusa.com/) - $210 This not a cheap build/modification. This does not include the tools that I accumulated and still am accumulating for this project. Hell, it’s a hobby, so it’s OK, that and the fact that I just retired and am a bachelor. A kitbash goes beyond what the basic kit instructs to make the model more interesting, challenging, and pleasing. In this case Mr. Hunt’s practicum is based on the model Harold Hahn, a master model builder, built using plans he created based directly from the original British Admiralty drawings. Although this is an American ship, it was captured by the British and it is from them we can thank for having the historical drawings and the name Rattlesnake. In this model Mr. Hahn used direct woods to create the colors of the ship. Therefore in keeping true the Hahn model, the practicum substitutes the basic kit wood with a wood package purchased separately from Hobbymill (http://www.hobbymillusa.com/); and has you purchase the Harold Hahn copyrighted plans which Robert is basing his kitbashing modifications. Since Mr. Hahn built his model in ¼” scale, the plans have to reduce to match the kit scale of 3/16” (1:64). Your ordinary office copy won’t do the trick due to the size of the sheets. You need a large copier and one that can do reductions, specifically 74%, the kind found at a large stationary store, graphics, or engineering firm.
- 973 replies
-
- 2
-
-
- rattlesnake
- mamoli
- (and 1 more)
-
Not only do you do very nice work, you take wonderful pictures. What kind of camera are you using? Do you use a macro lens?
-
OK, OK, I'll post'em. It may take a while, I'm going visiting for a while at the end of the week and need to put my house in decent shape (read cleaning), I'n an old bachelor so my incentive for these things needs a push. My Sister is coming to join me in my travels and I've people coming to take care of the cat so putting the house in "shipshape" come first. When I get back, I'll start the posting of my version of the Bob Hunt kit bash of the Mamoli Rattlesnake.
- 26 replies
-
- 1
-
-
- schooner
- solid hull
- (and 3 more)
-
I've been working on the Rattlesnake for almost 3 years, a couple of hours a week so I was moving real slow. I'm now unemployed, oops retired (depending on whom I'm talking to) so the pace has picked in the last few months. I have been taking pictures from the beginning but have been somewhat reluctant (more like intimidated) to post them due to the skill level of the other modelers. They have set a pretty high bar to match. I know I've made mistakes, some of which would be quite obvious to the skilled artisans at MSW. Yeah, I'll probably post them, just need to get a little courage. 8-)
-
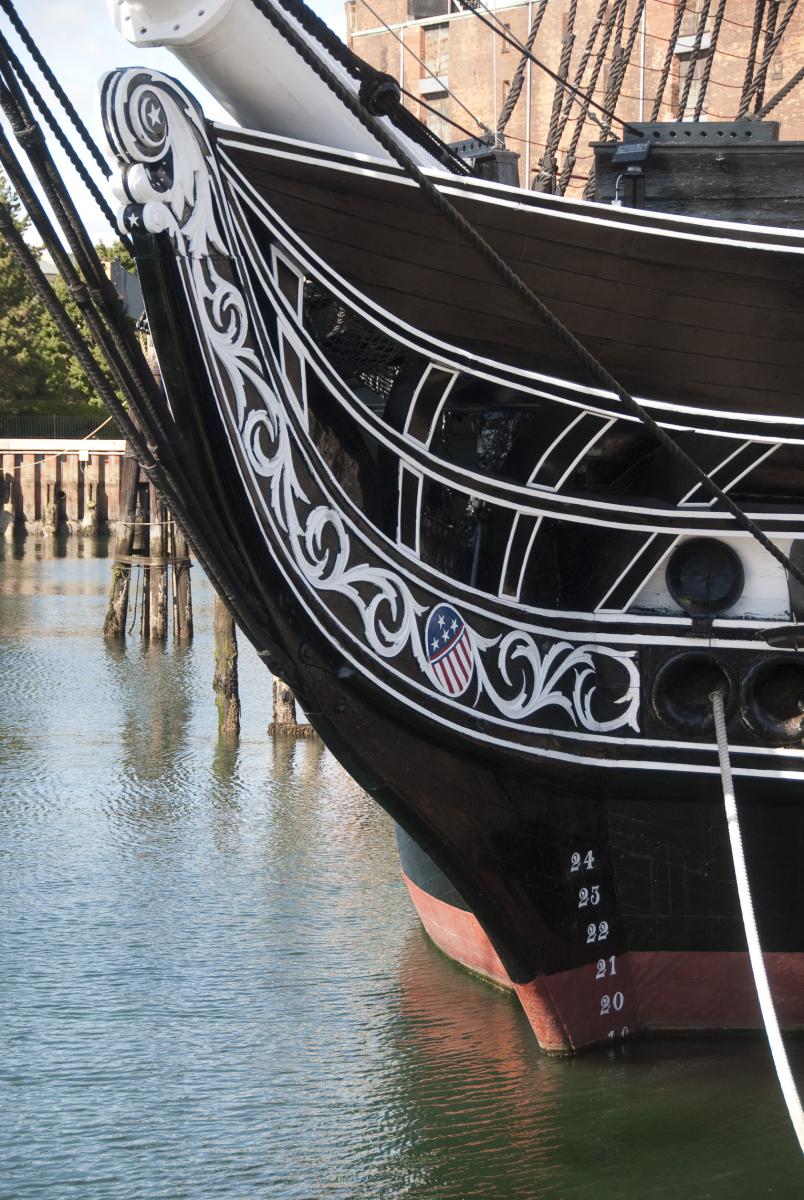
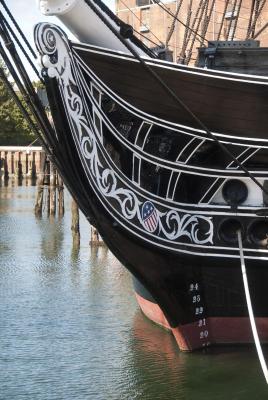
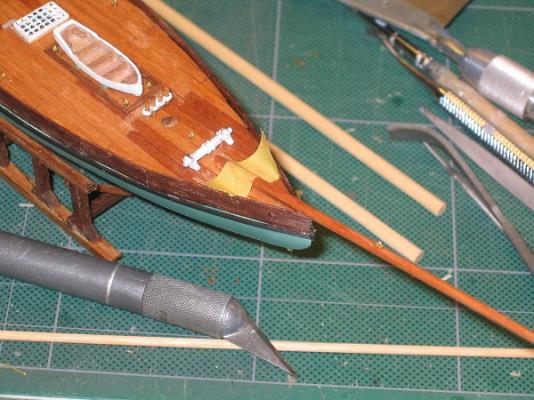
I am just watching in fascination as you construct your model. I have a large format picture of the trailboard that shows some of the detail of those "three metal loops" I don't know if you have this image so here it is.
-
Display Box I built the display box from scratch. A slab of wood, some trim pieces, some Plexiglas properly sized and cut at Home depot and voilà, a display box!

- 26 replies
-
- 3
-
-
- schooner
- solid hull
- (and 3 more)
-
The result is what you see. It is most likely full of mistakes and omissions, but visually it works for me.
- 26 replies
-
- 3
-
-
- schooner
- solid hull
- (and 3 more)
-
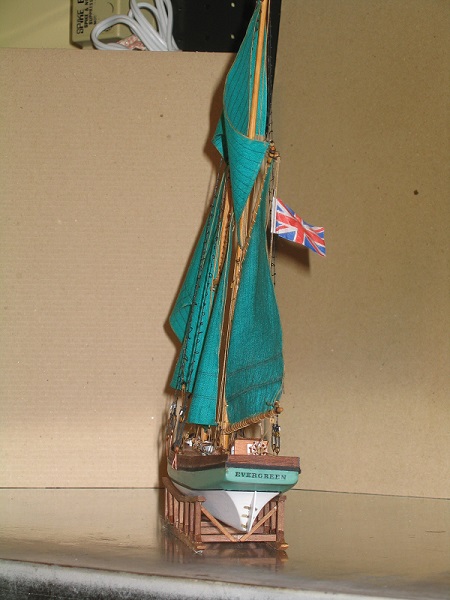
Final Touch The final touch was adding the name to the stern of the boat. To do that I created a decal from decal paper and a spray you apply to the ink-jet printed decal. It was just a matter of applying it to the boat

-
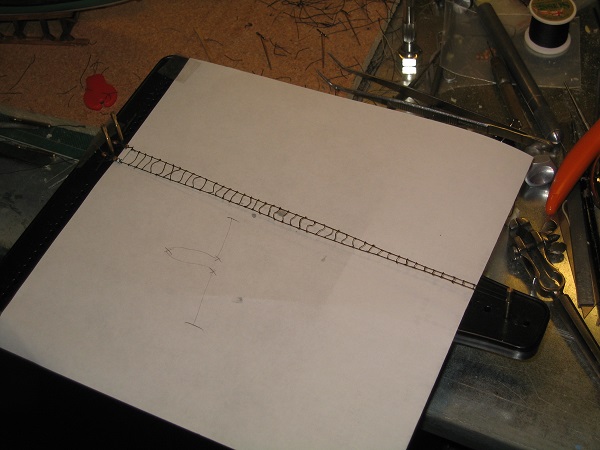
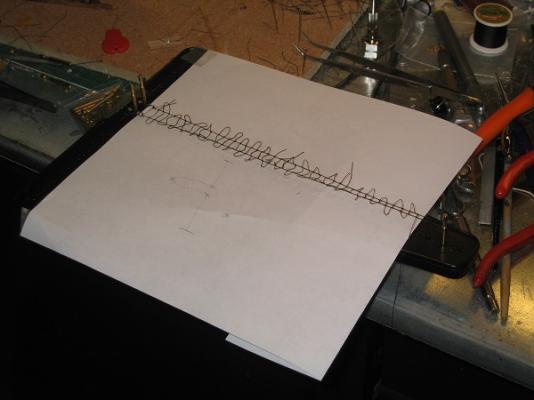
I made the ratlines using a rig I bought from Model Expo. How useful it was I still not sure. I had to put a paper backing on so I could see the black thread on the black frame.

-
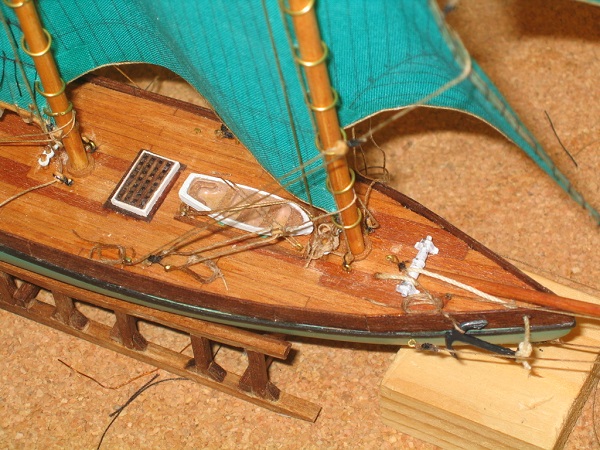
You may have also noticed the line from the anchor that goes over the capstan. I have no idea if this is the way it’s supposed to be done. The capstan is nothing but a winch and I assume the line goes below deck somehow. I just gave it my best shot.
-
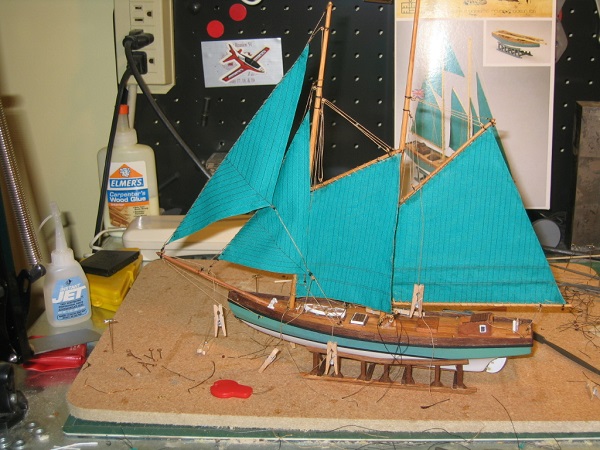
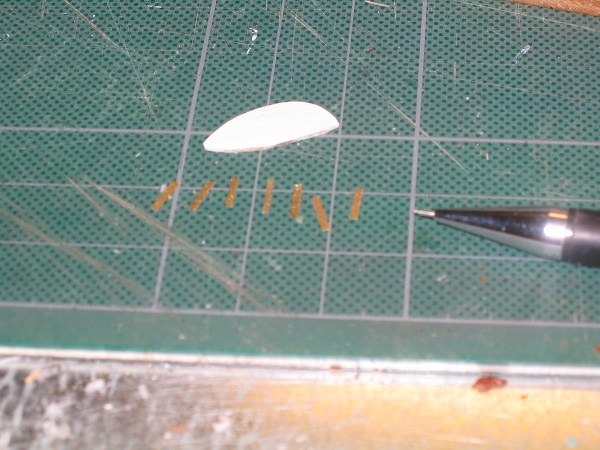
Rigging The yards as shown in the kit don’t even have a collar so it can slide up and down the mast. It appeared they wanted you to glue it directly to the mast. I created my own. The deadeyes were nothing but eyelets that I had used to make eyelets that I attached to the hull. I didn’t like that either. The rigging lines were a very simplistic version of standing rigging. There was no running rigging for the sails. There were no block and tackle. So back to Model Expo and I purchased deadeyes and blocks. Now I am really winging it. I don’t know how to rig a boat. Thank goodness for the internet. I got a bunch of pictures of schooners that look somewhat like the Evergreen, bought books, and made up the rigging plan as I went along trying to figure out how the sails were controlled and maneuvered. I had no idea where or how the lines attached to the boat deck. Where I thought somebody needed to tie off a line I added a cleat. How do you make a cleat that small? I had some fine nails from some place. I think they were use in model railroading to hold down the rails. Where I got them I don’t know, I don’t have a model railroad. In any case, I had them. I filed off the 2 opposite sides of the nail head to the width of the nail stem. The result was a “nail” in the shape of a “T” and 90 degrees to that in the shape of an I. Stick that into the deck and you have a makeshift cleat.


-
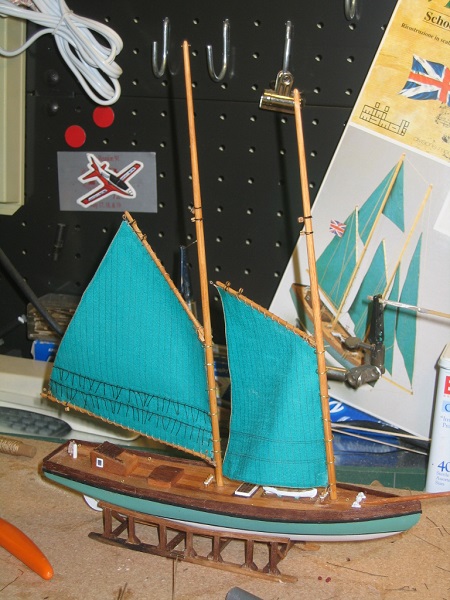
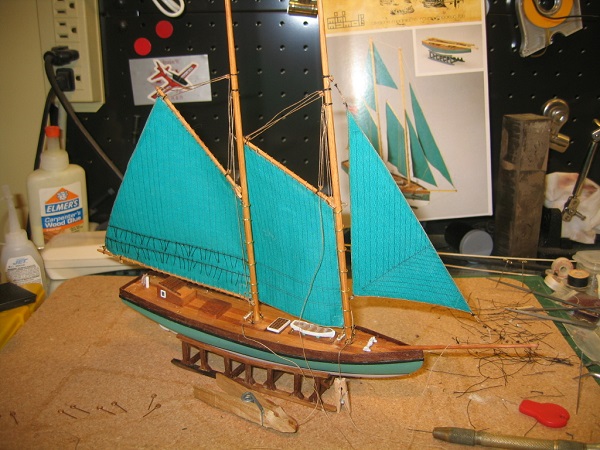
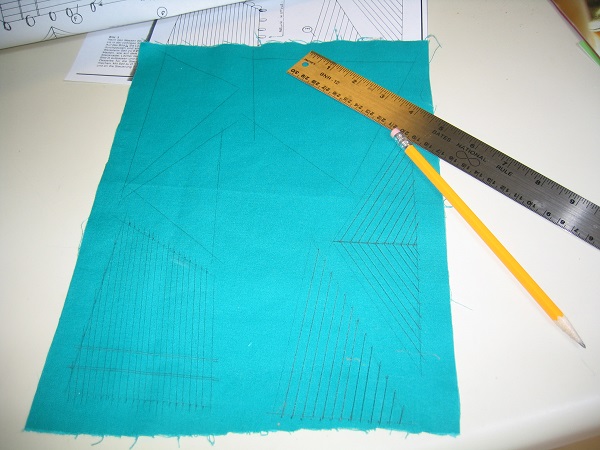
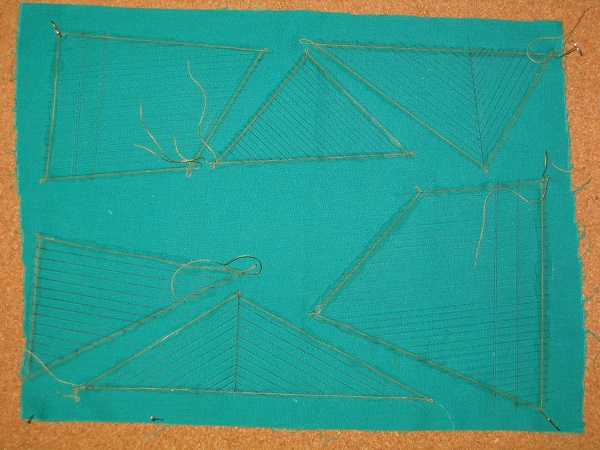
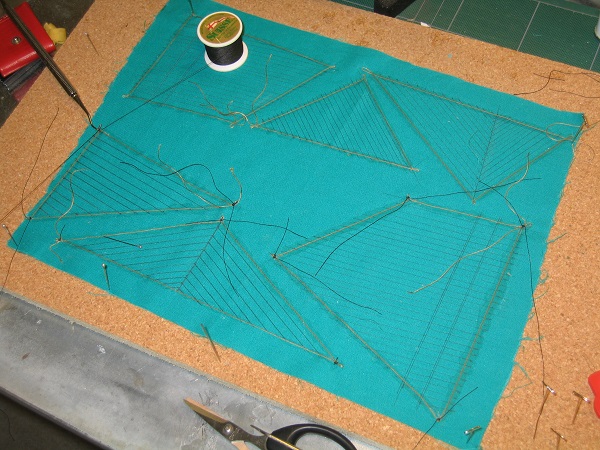
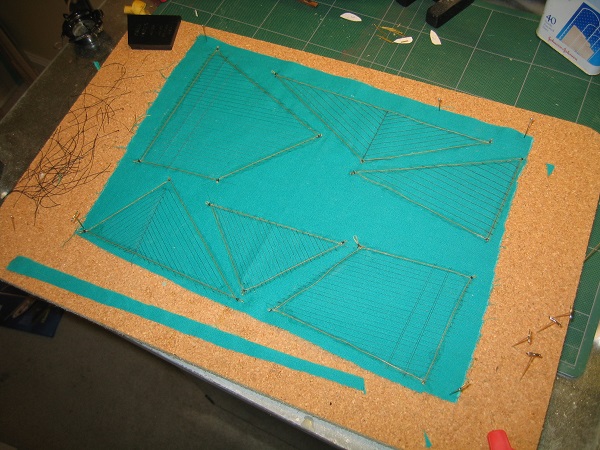
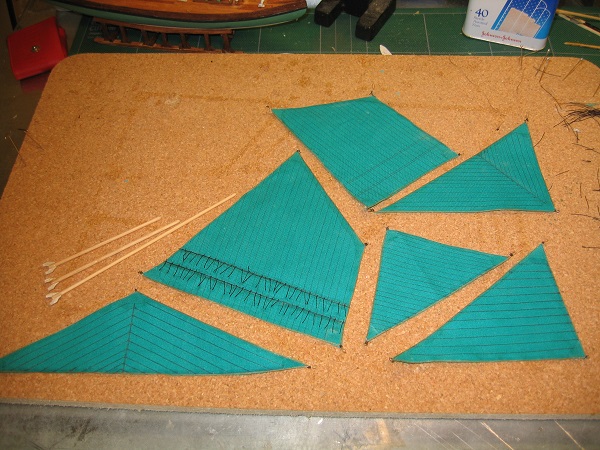
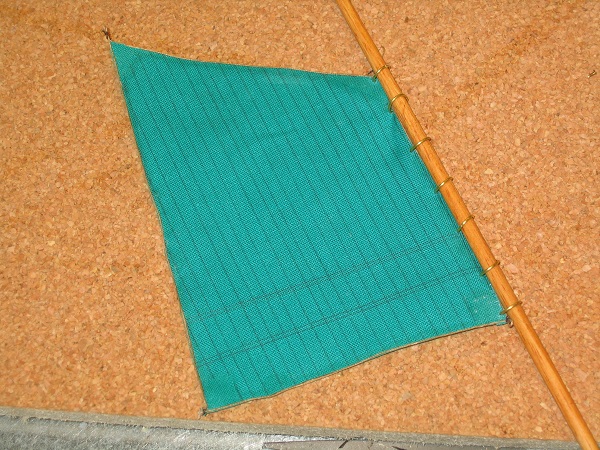
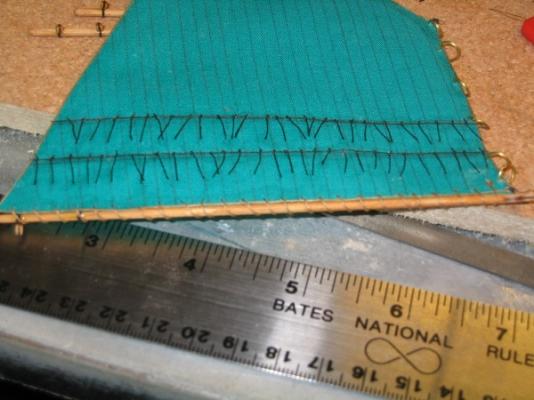
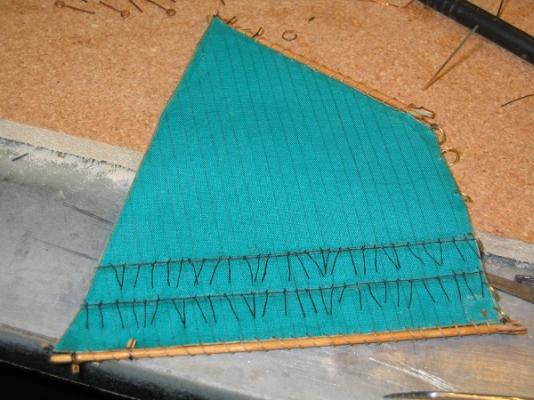
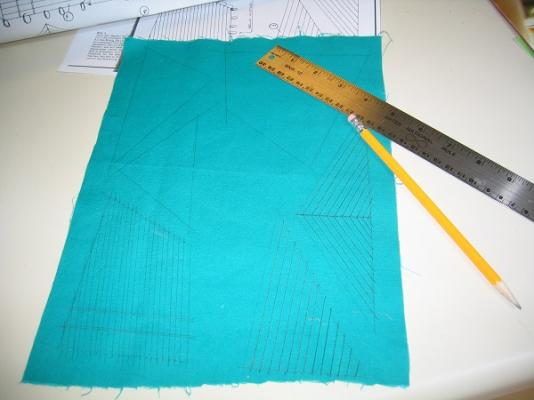
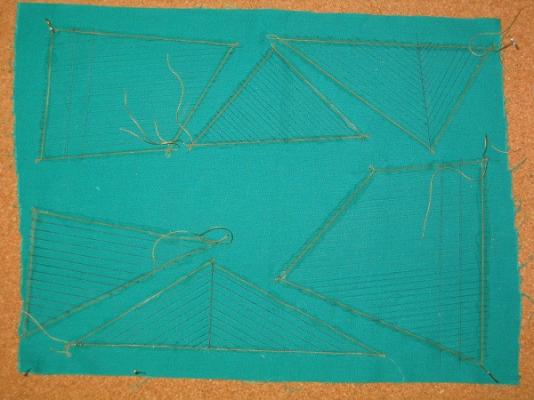
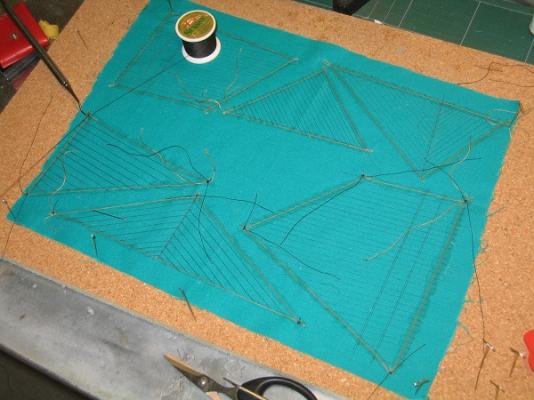
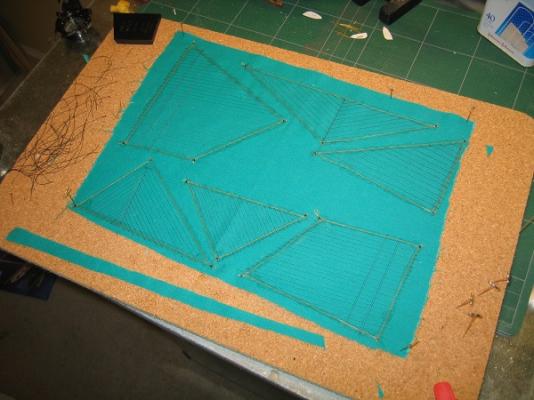
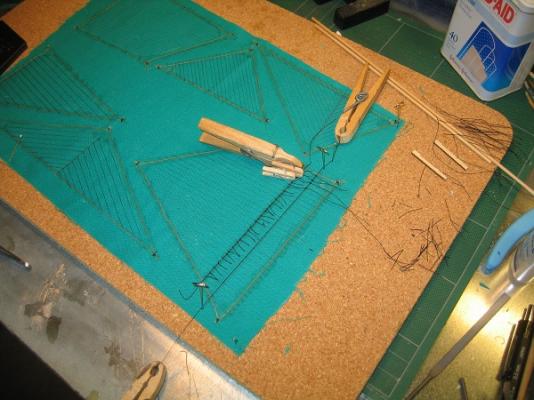
Sails This boat has sails and green ones at that. I transferred the shapes of the sails using carbon paper I still had from the old days of typewriters. This stuff must have been 30 years old if a day. Today if I needed purchase this, I would go to a sewing or fabric store where they use it to transfer dress patterns and such to material. I know this because my sister who is an excellent artist makes lot of her own clothes among other stuff. (See www.paintedfurniturebysue.com). She also told me about fabric glue which I used to glue the lines to the sails. The instructions are minimal. All they directed you to do was to add some loops to the sails and thread the masts through them. I wanted more and through a bit of research and self-education I made things more complicated. I can’t sew and I don’t have a sewing machine and even if I did and could use it, the stitching would have been out of scale. So for the seams on the sail, I drew them with pencil. The loops at the corner of the sails are seized and as I look back on it are probable way too large.


-
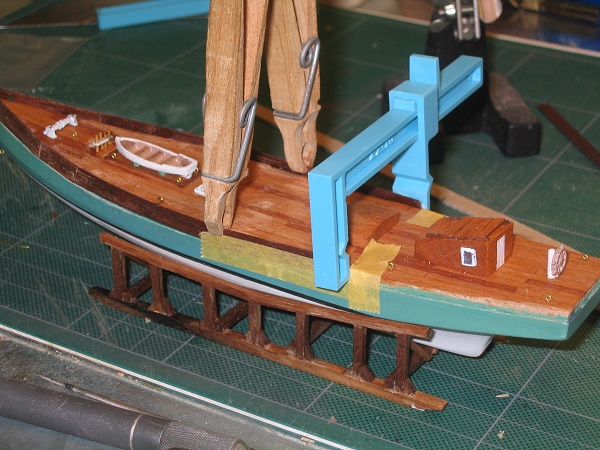
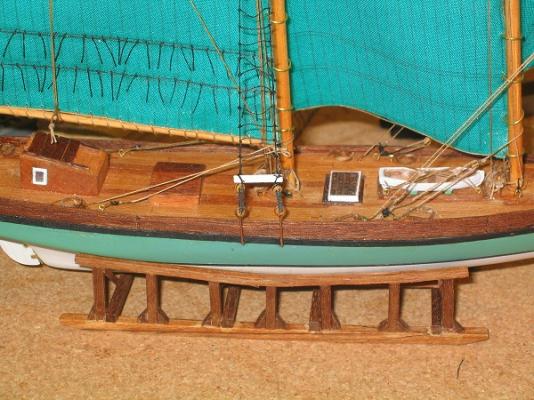
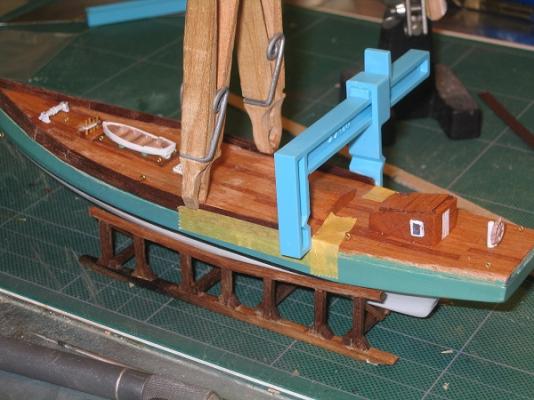
Bowsprit With the hull extension completed I added the bowsprit. Surprisingly the bowsprit mast is just glued to the deck and does not penetrate it. It works visually but mechanically I feel it is a bit weak.
-
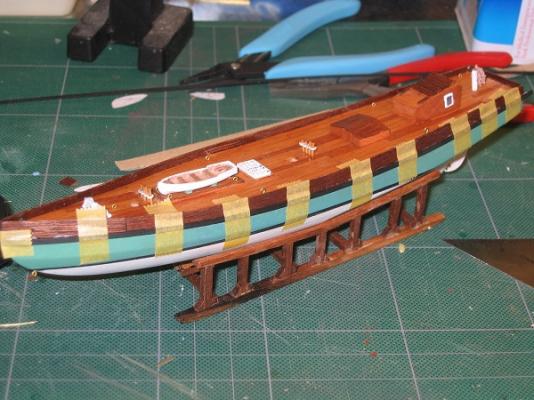
Hull Extension With everything on the deck I added the strips of wood to create the hull extensions. I did not use a single piece of wood because first it made it harder for the wood to conform to the curve of the boat. Second, I figured in the actual boat they had to use shorter pieces because lumber doesn’t normally come in that length. I also added what is called a wale but did not know that at the time. I didn’t like the transition from the solid hull to the extension and so I covered it up. Somehow I knew this piece existed on boats.
-
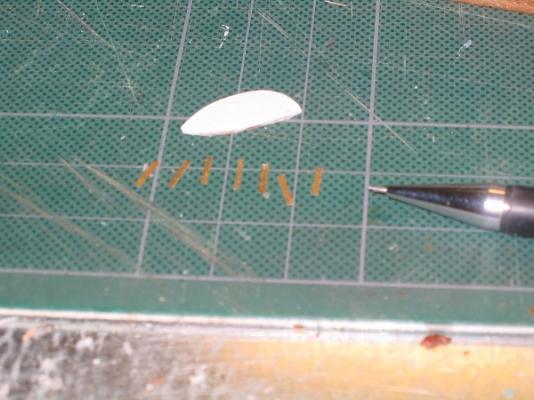
Rudder – Second Attempt This time I knew what was missing from the rudder and it would mechanical improve the strength on the bond to the hull – hinges. The instructions made no mention or showed illustrations of hinges. I made mine out of ordinary copy paper which I cut and painted. It worked.
-
Hull Extension Now it was time to add the hull extension.

-
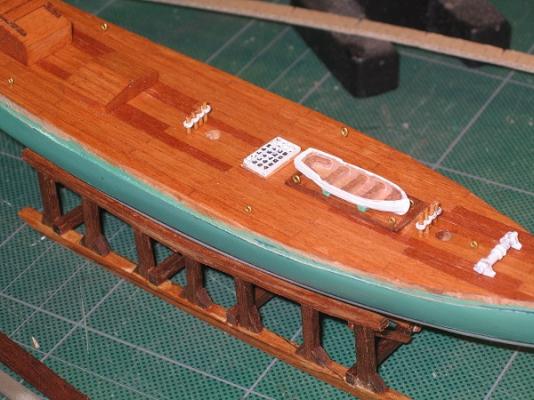
I was simply a matter of gluing them in place and adding a bunch of eyelets to the deck.
-
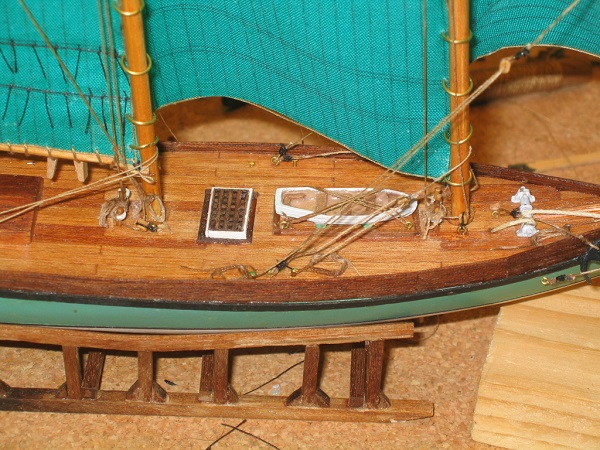
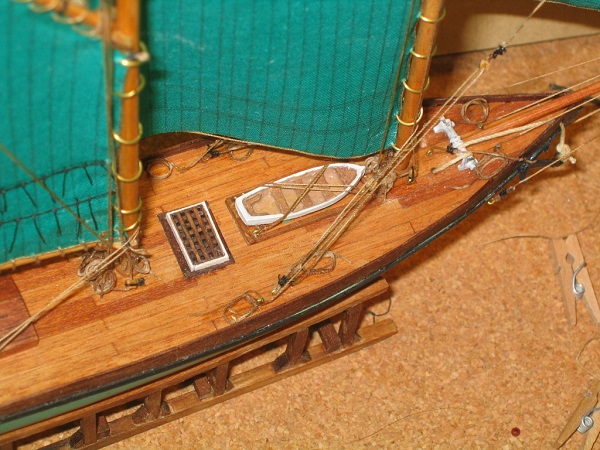
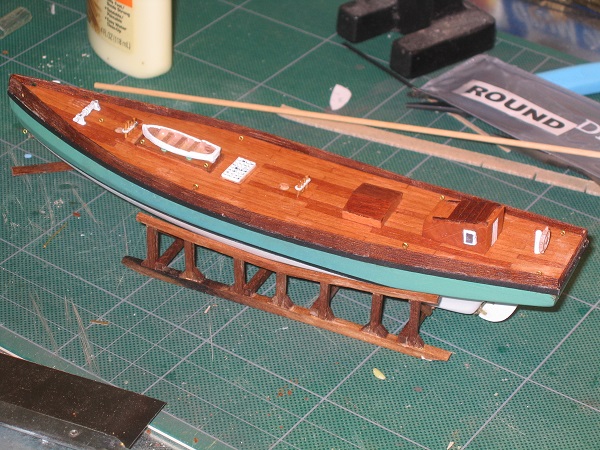
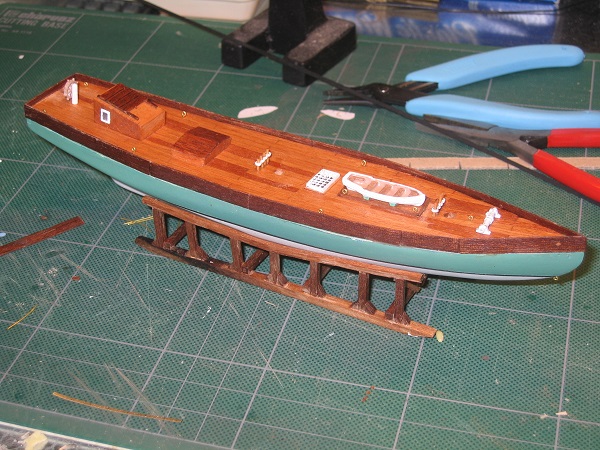
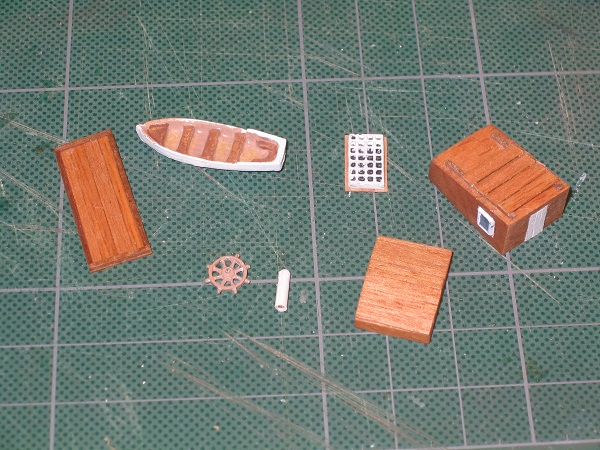
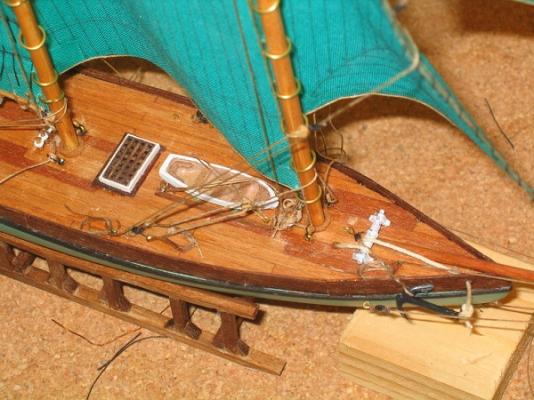
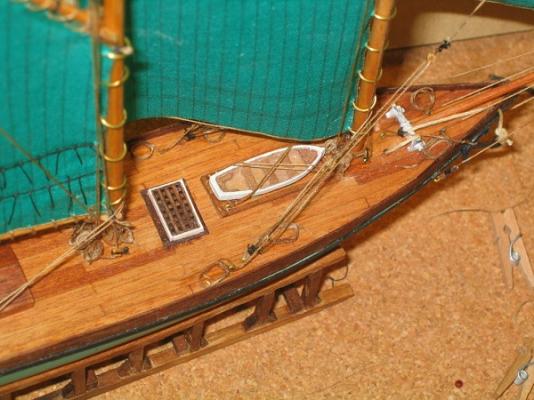
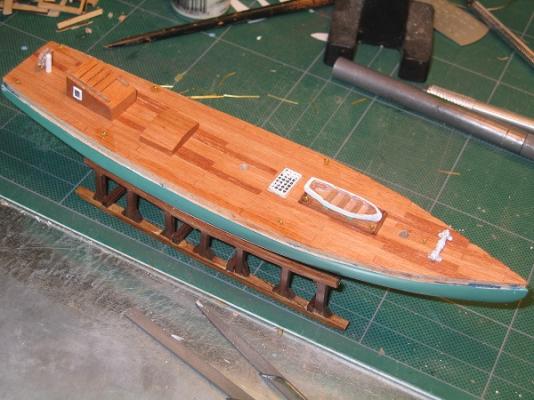
The grating was precast metal as well which I initially painted and initially used. However, the more I looked at it the more I disliked it and by this time discovered that one could order wood gratings online that I could assemble into a much nicer structure. As you look at the images, at some point you will notice that the painted metal grating changes to wood. I regret I didn’t take photos of that process. The ship’s wheel presented a problem. According to the instructions I should have had a precast structure to hold the wheel. No such casting was included in my kit. According to the instructional image shown, the casting looked like an upside down letter “Y” with the axis of the wheel going through the bottom of the stem of the “Y”. However when I looked at the image on the box, the wheel was attached to a single short dome topped column. So, I just guessimated the dimensions and made the structure out of a piece of stock wooden dowel. I worked. Thus, I created my deck structures.

-
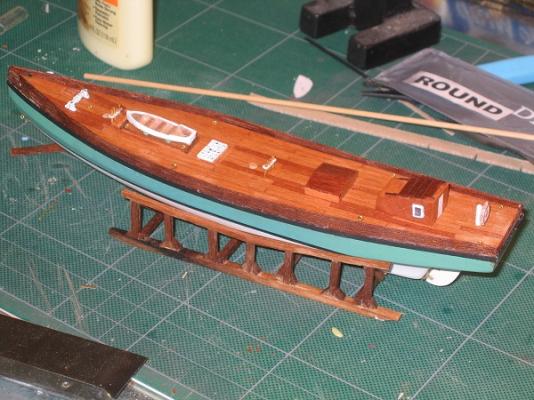
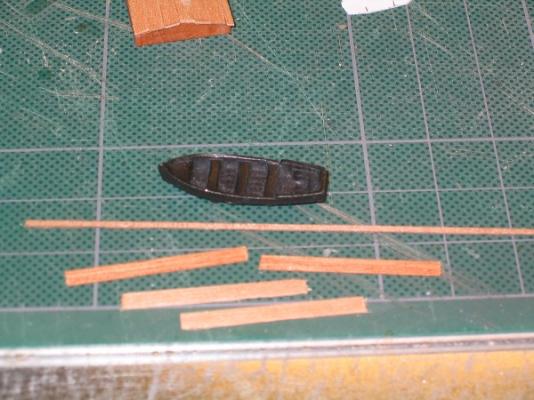
The ship’s boat was precast metal which I just painted.
-
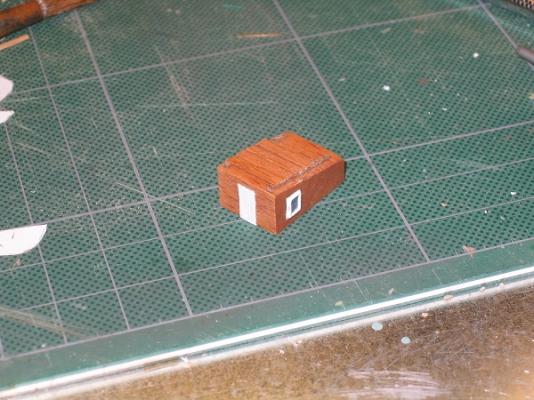
The forward cabin was even simpler

-
The result wasn’t too bad.
-
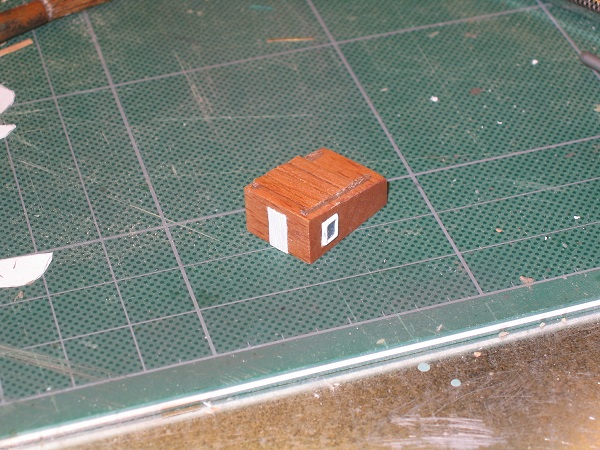
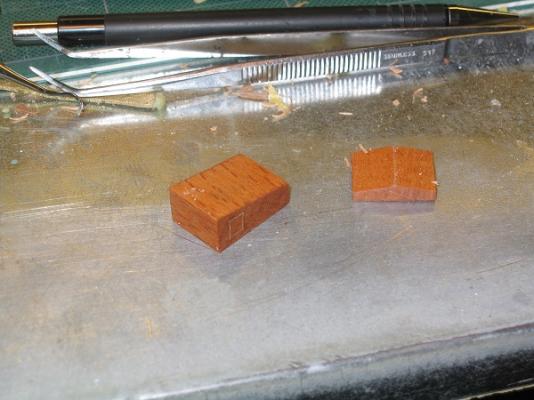
Deck Structures The first structure I attempted was the stern cabin. It was simple enough – a precut block of wood, a few items of wood I had to fabricate, and some cast windows and a door. I quickly realized that the door and windows appeared to be too thick, out of scale to be realistic. I decided that I would recess the parts into the wood block.

-
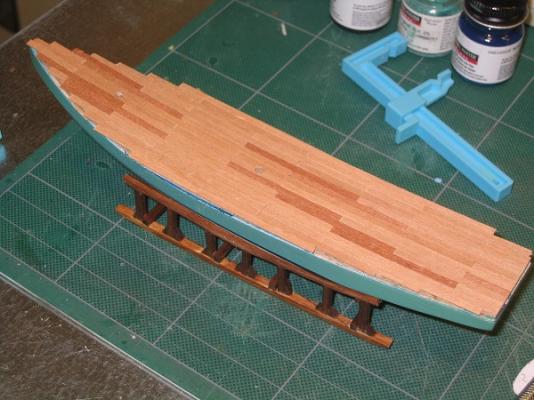
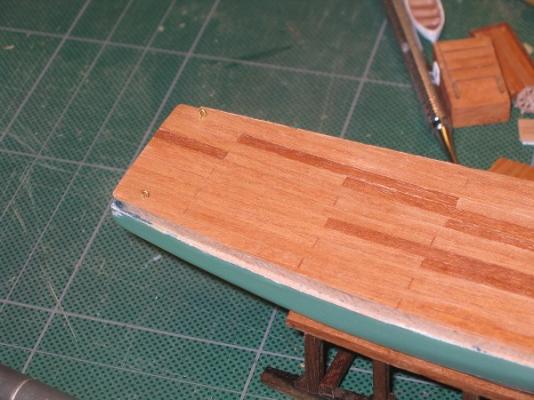
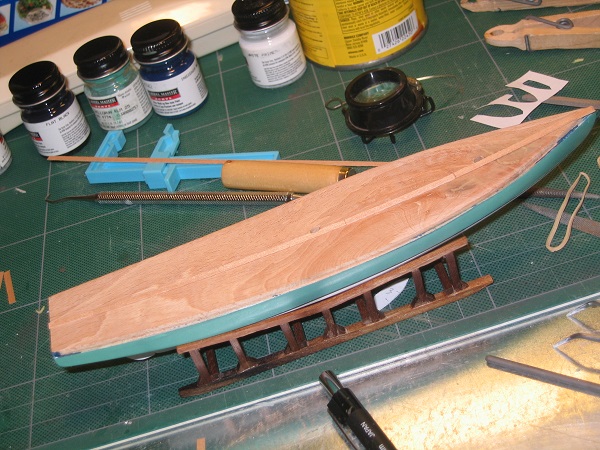
Deck Planking The instructions next indicated that I was to add a strip of wood along the side of the deck to form a low hull extension above the deck around the boat and then add the deck planking. This would mean that I would have to create fitted pieces of the deck planking where it met the hull extension. Instead, I set aside the hull extension and planked the deck first. It was then a simple process to cut and sand the decking till it conformed to the hull shape.