palmerit
-
Posts
1,090 -
Joined
-
Last visited
Content Type
Profiles
Forums
Gallery
Events
Everything posted by palmerit
-
I ordered my Oseberg directly from Pavel Nikitin and was able to have them include the patina and stain kit. I don't know if you can also get that if you order their models from other resellers.
-
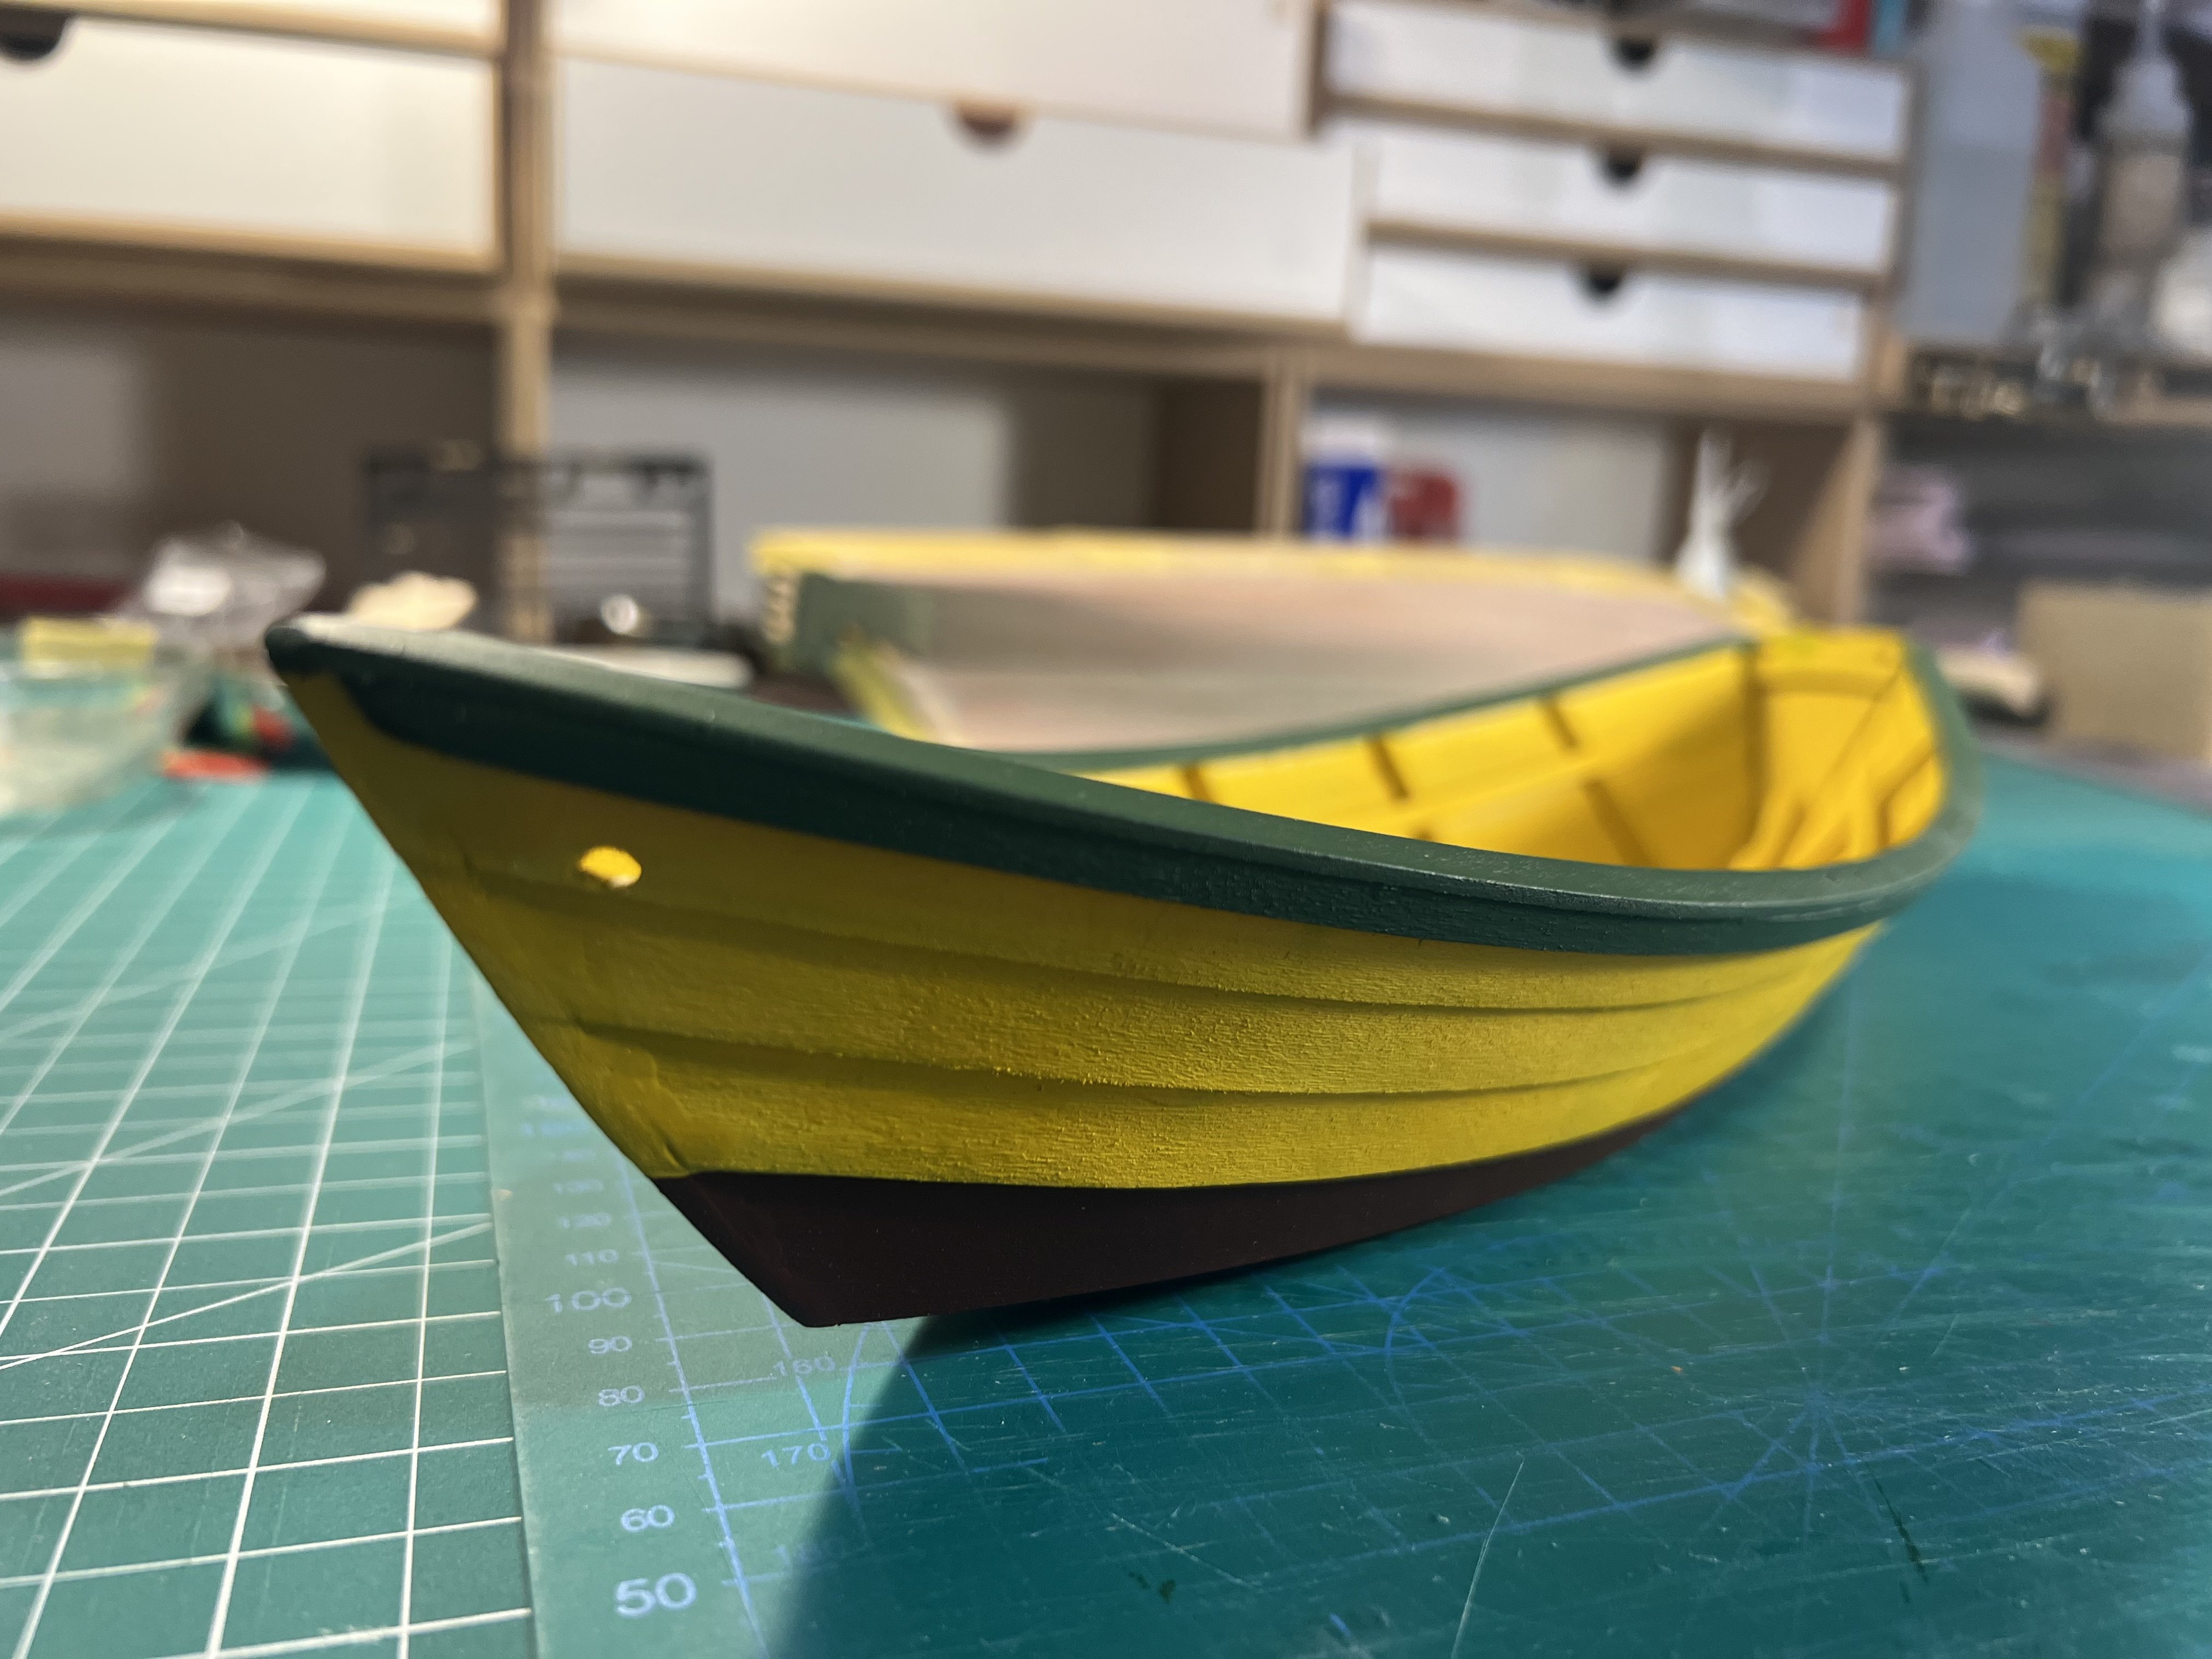
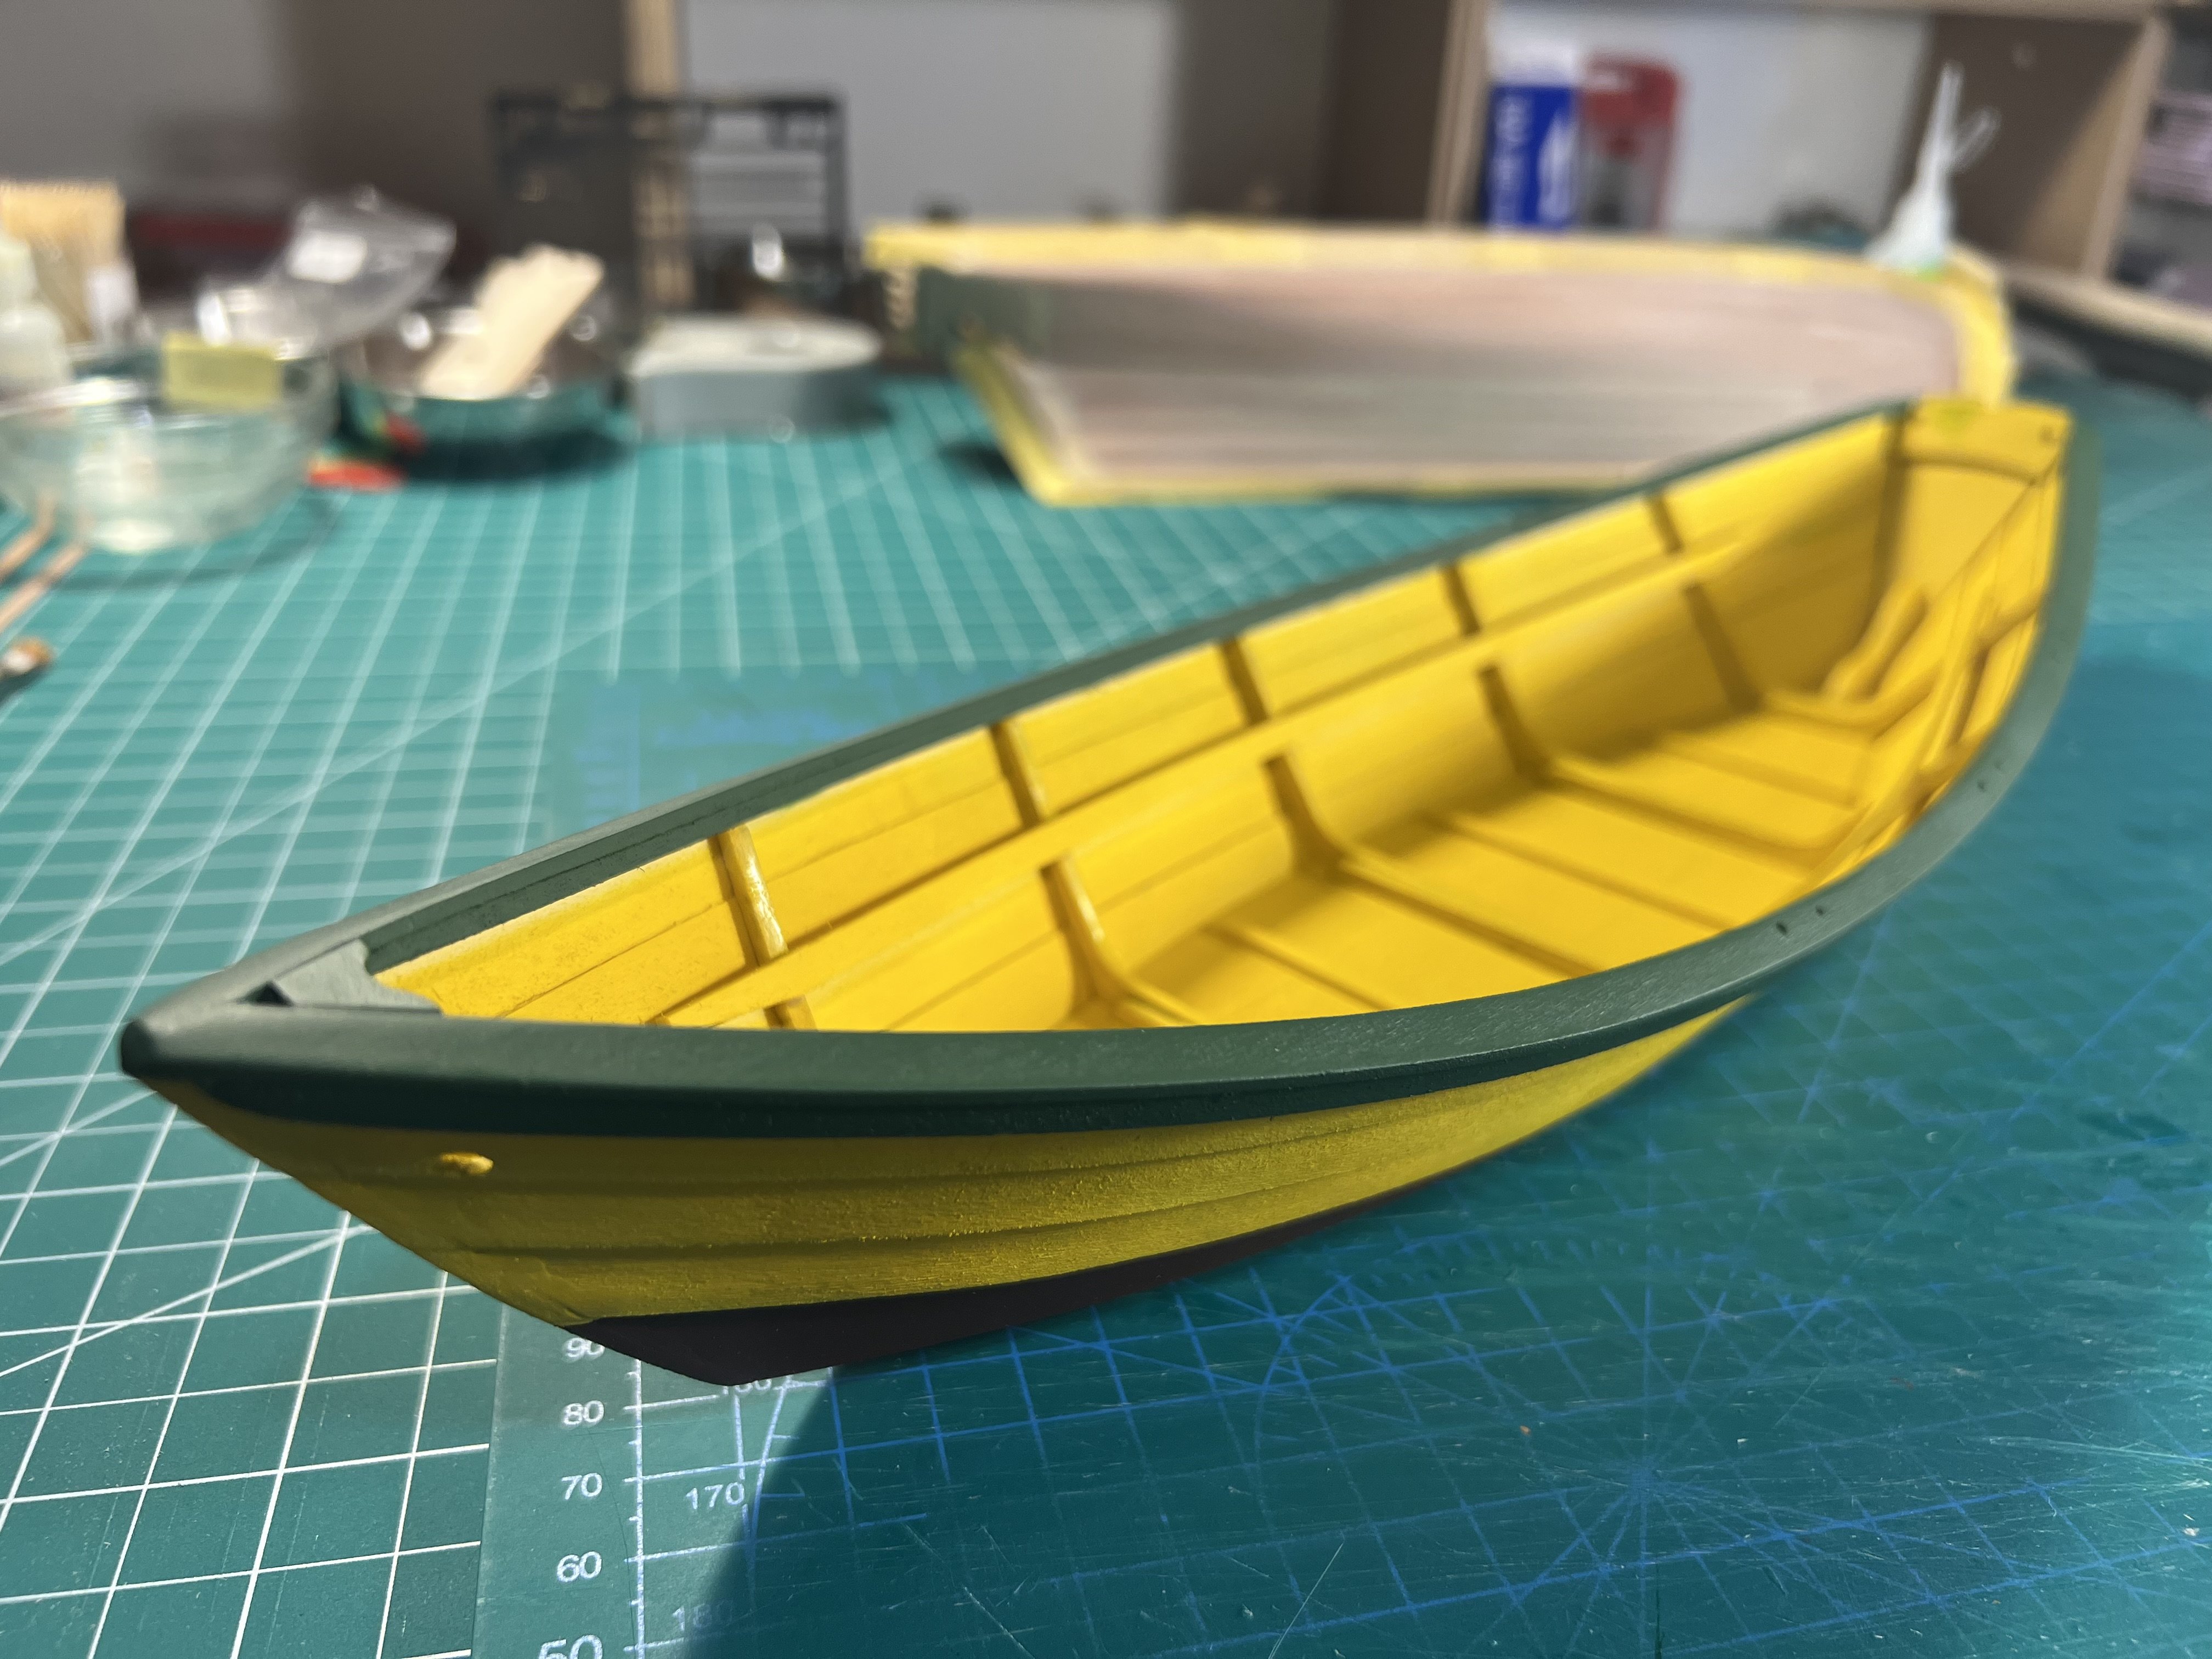
The instruction recommend a bare wood layer. I’m not happy enough with the planking along the top so I’m going to paint that section green instead of leaving it bare wood. Laying down a white primer layer.

- 133 replies
-
- 3
-

-
- Ranger
- vanguard models
- (and 1 more)
-
I know this is an old post, but Model Expo recently re-issued the Midwest San Francisco Bay Scow Schooner: https://modelexpo-online.com/midwest-san-francisco-bay-scow-schooner.html?srsltid=AfmBOop9OnLk-m3Ep5S6xX3uBuC9oQCTqTKFUGE08JyG0ZqA_O4r5K2m
-
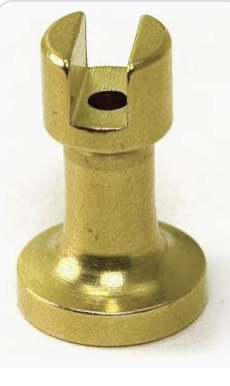
For some of my models, I'd like to possibly mount them on brass, other metal, or wood pedestals with a screw into the keel that are then attached to a wood base. I attached a screen shot of one I found online. Does anyone have suggestions for a good North American supplier of these, ideally that might be in different dimensions and materials? I would want to get one that has the right dimensions for the keel and shape of the ship I am planning to mount. Any suggestions on how to get the right dimensions on these? I've found other posts on how to mount them. I haven't found any on where to buy them and how to dimension them when buying.
-
Ultimation makes a great hand chopper and hand sander: https://ultimation.ca/collections/all-products This is the one Olga highlighted on her YouTube channel I believe. Note the blade for the chopper are not proprietary. They're just a particular kind of single-bevel blade I think used in upholstery. I ordered extras directly from them when I ordered my chopper because it was easier than hunting for them elsewhere. I use both the chopper and sander quite a bit. They're small and I can just set them on my work table when I'm using them and easily set them aside when I don't need them (on another table or on the floor).
-
While you probably won’t find any build logs here for that old kit, you might learn something from build logs of their more modern version of it. It looks like they kept everything the same except change from solid hull to POB construction. The online instructions for the current model says they kept the plans and a lot of the instructions unchanged from the original solid hull kit.
-
Testing out some stain colors (on scrap basswood) for the thwarts (seats). Leaning toward colonial maple (far left) I think. Might try some other stains I ordered. Saw that Dory oars are often made from white spruce. Don’t know if the thwarts would be the same.

- 71 replies
-
- 3
-
-
- grand banks dory
- midwest products
- (and 2 more)
-
I'm building a Midwest Model and it has something in the section about paints and what kinds to get that quaintly said something like "talk with your local hobby shop for options". Oh, how I'd love to be able to do that. Nashville is a pretty large metropolitan area and outside of Hobby Lobby, Michaels, and (the closing) Jo-Annes, I don't know what hobby shops we even have. I've never found one. I think there is one large local toy store that has a middling collection of plastic models and some model trains. Maybe a few small wooden models. I bet there were more hobby shops around town years ago. There were probably stamp collecting shops too. I remember as a kid in the 1970s and there were probably 3-4 stamp shops I'd go to with my dad in Buffalo. I imagine those have been closed for decades. My wife is a quilter and when we moved here there were several quilt shops around town. Now there are one or two. We actually make trips to Paducah, KY and (in a few weeks) to Hamilton, MO because those are famous "quilt towns" with several shops. When in NYC, I think my wife found the only quilt store in Manhattan, and it was on the 10th floor of an old office building in midtown. Years ago, my in-laws opened a hobby shop in my home town. They owned the building and my mother-in-law was the only employee. We tried talking them out of it, unsuccessfully. They owned a small business doing roofing and siding, so they thought they could just open up a store when my father-in-law could not do the physical work anymore. We tried to get them to add an online store and pointed them to resources that would make that easy but they were convinced that they could make it work. After a significant outlay of funds to buy merchandise, much of which they never sold, they closed the store after a couple of years, had to sell their house to pay off the loans, and had to live in the back rooms of the store. Their store had a good bit of traffic when the store first opened. It quickly trickled down to a handful each day. It was small, not in a place that attracted walk-in customers, and they made the mistake of having merchandise that could easily be purchased online and at big box retailers. I really try to buy local when I can. But when I'm buying hobby stuff, I know what model I want, I know what tools I need, I know what paints I need. I'm not going to just buy a model that the local store has in stock to support a local business if it's not the one I want. I'm going to order the paint I want, not just take what's in stock locally. I'm going to order online and get what I want when I want it. And I'll get it in a few days usually. There's usually no rush. When I was a kid, I'd go to hobby shops that had a huge variety of models but that was my only option. I love the thought of having a local hobby shop. If you have some unique items and you're in the right place it could work. Just sharing my thoughts. I would not be surprised if model companies agree to only have one or two distributors in a fairly wide geographical region. agesofsail.com sells Vanguard kits. I don't know of another company in the US that sells Vanguard kits. Maker spaces are kind of popular, but that's a different space from a hobby shop. On the hobby wood working side, I visited a Lee Valley store in Niagara Falls, Ontario a while back while visiting family. It was nice to be able to browse and see things in person, though I probably would still have just bought stuff online. I think because they do so much online business, the brick-and-mortar (at least this one) seemed more of a maker space with classes you could take and machines you could use - they had a big glassed off area in the back for those spaces. I think the idea was to get people interested and skilled in the hobby and then you have a captive audience for selling them (expensive) tools.
-
I’ve seen some that suggest starching the sails. Some suggest putting a lacquer on after they’re starched.
-
I suppose under “any clear finish such as a lacquer” that could include shellac. Not sure the relative advantages of diluted PVA, clear enamel, clear lacquer, clear shellac, or leaving them bare. I’ve seen recommendation of using clear shellac on knots in rigging and to shape rope coils. I suppose it would do the same with sail material. I don’t know if it would be better to use diluted shellac. I suppose I’d dilute with alcohol.
-
I’m curious about the different approaches to preparing cloth sails that come with kits. In the Model Shipways Pram and Smack kits the instructions have you brush on diluted PVA glue. I think the reason is to stiffen the sail. I made the mistake of letting the sails dry on Saran Wrap, which left them with too much of a glossy sheen. The Midwest Dory kit has you brush on clear enamel or any clear finish such as a lacquer (their instruction), working the finish into the cloth. I’m guessing this is also to stiffen the sail. The Vanguard Ranger has you dye the sails but has no instructions about applying anything to the sails. Is there a preferred method? Why one over the other?
-
pin vise and drill bits
palmerit replied to palmerit's topic in Modeling tools and Workshop Equipment
I just discovered McMaster Carr. Crazy selection. I’ll check them out. -
pin vise and drill bits
palmerit replied to palmerit's topic in Modeling tools and Workshop Equipment
A source for drill bits I found poking around here some more is this company: https://www.mcmaster.com/number-drill-bits/ But the sheer variety of option on that site has my head spinning. -
pin vise and drill bits
palmerit replied to palmerit's topic in Modeling tools and Workshop Equipment
Oh yeah, I got the one from Model Shipways combo and at first just tossed it in my tool case. After being frustrated with the one I bought I tried the one that came with the MS combo kit and quickly threw that one in the trash. -
That might also be why most of the photos - of models, of real Dorys - have plain wood oars.
- 71 replies
-
- 1
-
-
- grand banks dory
- midwest products
- (and 2 more)
-
After another frustrating attempt to use the inexpensive Model Craft pin vise I had bought when I first started this hobby, I think I'm going to invest in a better one. The drill bits just keep slipping in that one. Pin Vise Recommendations I know the Starrett are highly recommended - I knew about Starrett well before I started on this hobby. This set has been recommended before (including recently in a related topic): https://www.leevalley.com/en-us/shop/tools/workshop/workbenches/vises/67748-starrett-pin-vises?item=30N2760 It's a pricey set. And I'm not entirely sure if I need all four sizes. Maybe I do. Part of that uncertainty has to do with the uncertainty of different drill bit options. Are the differences in the four in the Starrett set based on the size of the bit (or other tool) you need to use? Any other recommendations? Drill Bit Recommendations I'm still a novice when it comes to the kinds of tools used in this hobby and I don't come from a woodworking or model building background. I've found two types of micro drill bits. One type have the body of the bit the same width as the working end of the bit, maybe a bit thicker for especially narrow bits like .5mm. I bought some of these and realized that my Model Craft pin vise would not hold a drill bit that narrow. I assume one of the Starretts in set of four have collets that get really narrow. Another type have a thick body with something like a 3/32 shank that's attached to a narrow working end. Those work in my current pin vise but they slip. One problem I've had is that just about every time I've used a really narrow drill bit (like a .5mm), I've snapped the bit - a couple times with the bit end buried irretrievably in the wood, which causes a lot of problems. I don't have shaky hands and I'm trying to be careful, but the bits just snap. I don't know if that's just something that happens or if I need to be looking for drill bits made from different materials and pay more for them - especially for narrow (like .5mm) bits. Any recommendations on kinds of bits I should look for? Drill Bit Sources The best source I've found so far for drill bits of particular sizes (in various quantities) is Otti Frei: https://www.ottofrei.com/products/otto-frei-swiss-twist-drills-on-3-32-shanks-50mm-to-2-30mm I'm hesitant to order from Amazon - and I order lots of things from Amazon - because they're usually from an alphabet soup of third party vendors, likely of questionable quality. Other sources? Other brands? Other materials? Other Uses of Pin Vises In a recent related topic, @wefalck suggested that pin vises can be used to hold tools other than small drill bits. I'm curious what else these might be useful for, what kinds of small tools or files, and where to find them? If I'm going to order a new pin vise, I might order a few other tools that I can use with it/them. Suggestions?
-
I'll need to make and paint my oars and I've been researching paint/stain schemes. The Midwest kit instructions say "Thwarts, Oars, Mast, and Boom - Clear", which I assume just means putting a matte varnish on the oars. I might do the same. I have some stains I could try to use too. I also saw a model that had them painted the same yellow as the interior. This great build (of the Model Shipways kit) just has the oars plain, I think stained and weathered: I just noticed that the Model Shipways Dory kit optionally recommends adding leathering (simulated with thin paper painted a leather color) that I might add to these oars. I had completely missed that that was in that Dory's instructions when I built it. I did add them to the oars when I did my Pram since they're a clear step in the instructions.
- 71 replies
-
- 2
-
-
- grand banks dory
- midwest products
- (and 2 more)
-
I’ve been following this Sherbourne build on YouTube and he finally got to the place in the rigging I was a bit stumped by.
- 177 replies
-
- 1
-
-
- Sherbourne
- vanguard models
- (and 3 more)
-
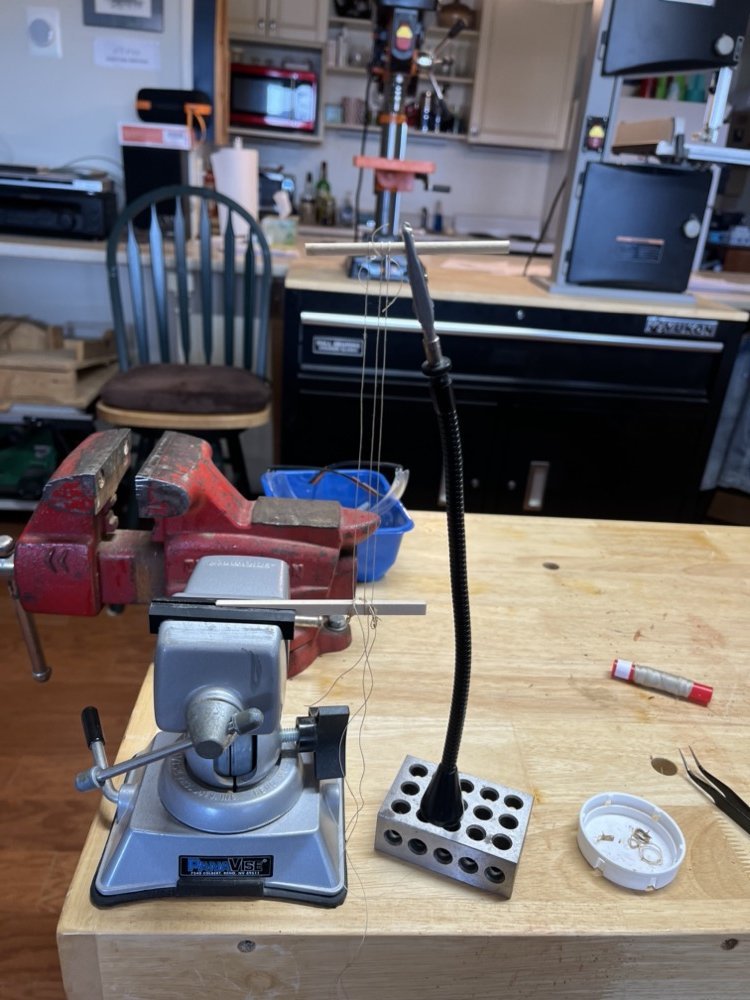
While out of town I was reading some build logs on rigging and making various types of rope coils and belaying and I saw yet another use of a (metal) 1-2-3 block - this time to to secure the magnetized end of a quad-hand hand. Thanks to @usedtosail (their photo).
- 177 replies
-
- 4
-
-
- Sherbourne
- vanguard models
- (and 3 more)
-
If I was going to glue something that's painted (or to something that's painted) I'd used CA glue before PVA glue. Don't know if that's recommended and instead you should be sanding before gluing, but I can't imagine gluing with PVA to something that's painted will work well.
-
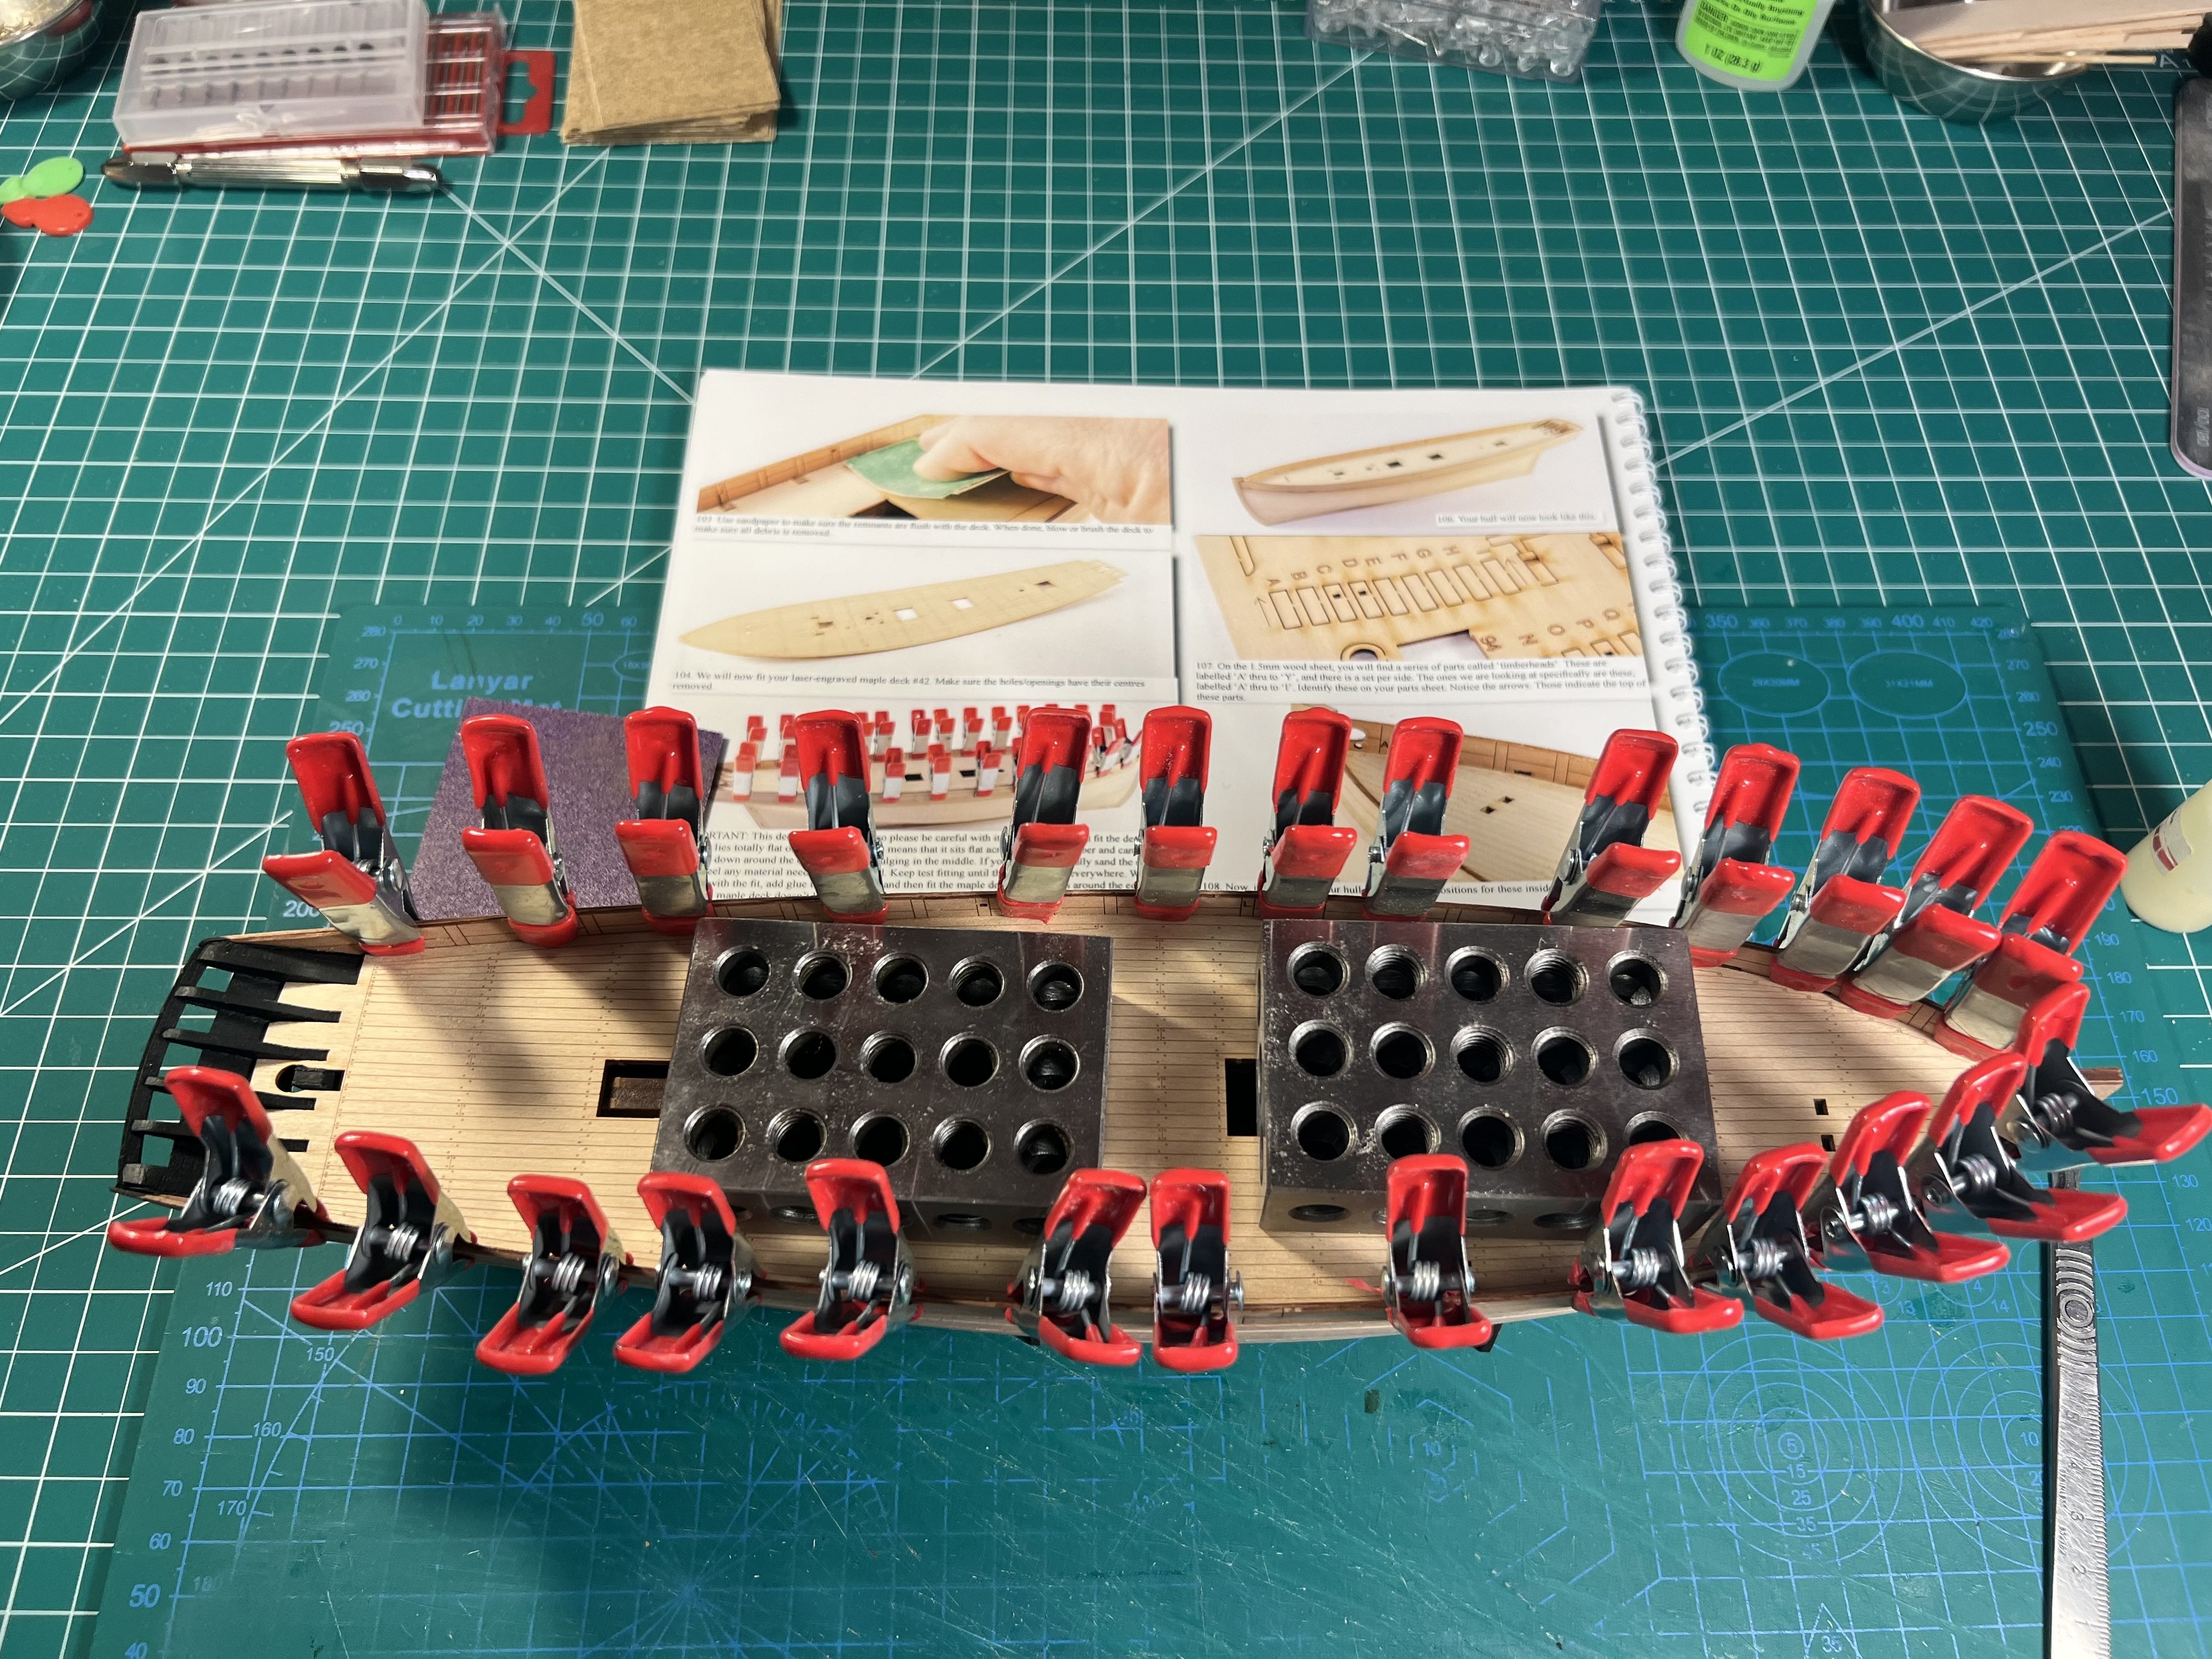
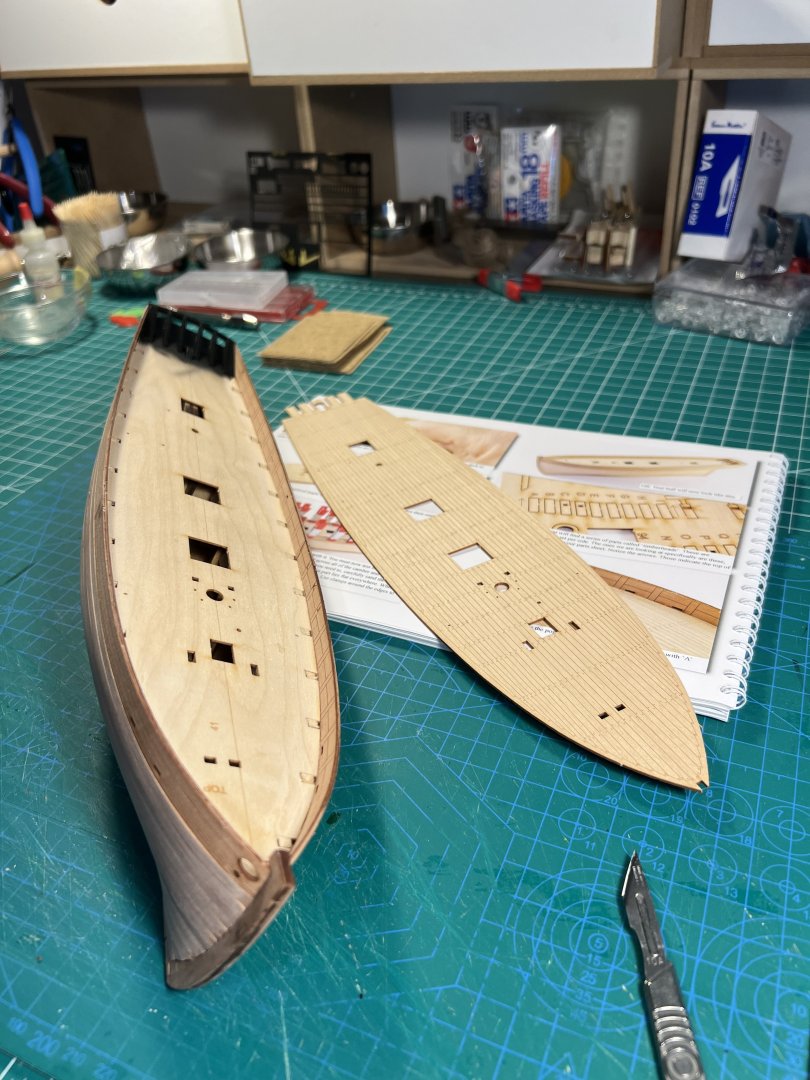
Removed the bulkhead ears and sanded down the subdeck. Will be adding the engraved maple deck tomorrow. Waiting for the black paint to dry completely.
- 133 replies
-
- 5
-
-
- Ranger
- vanguard models
- (and 1 more)
-
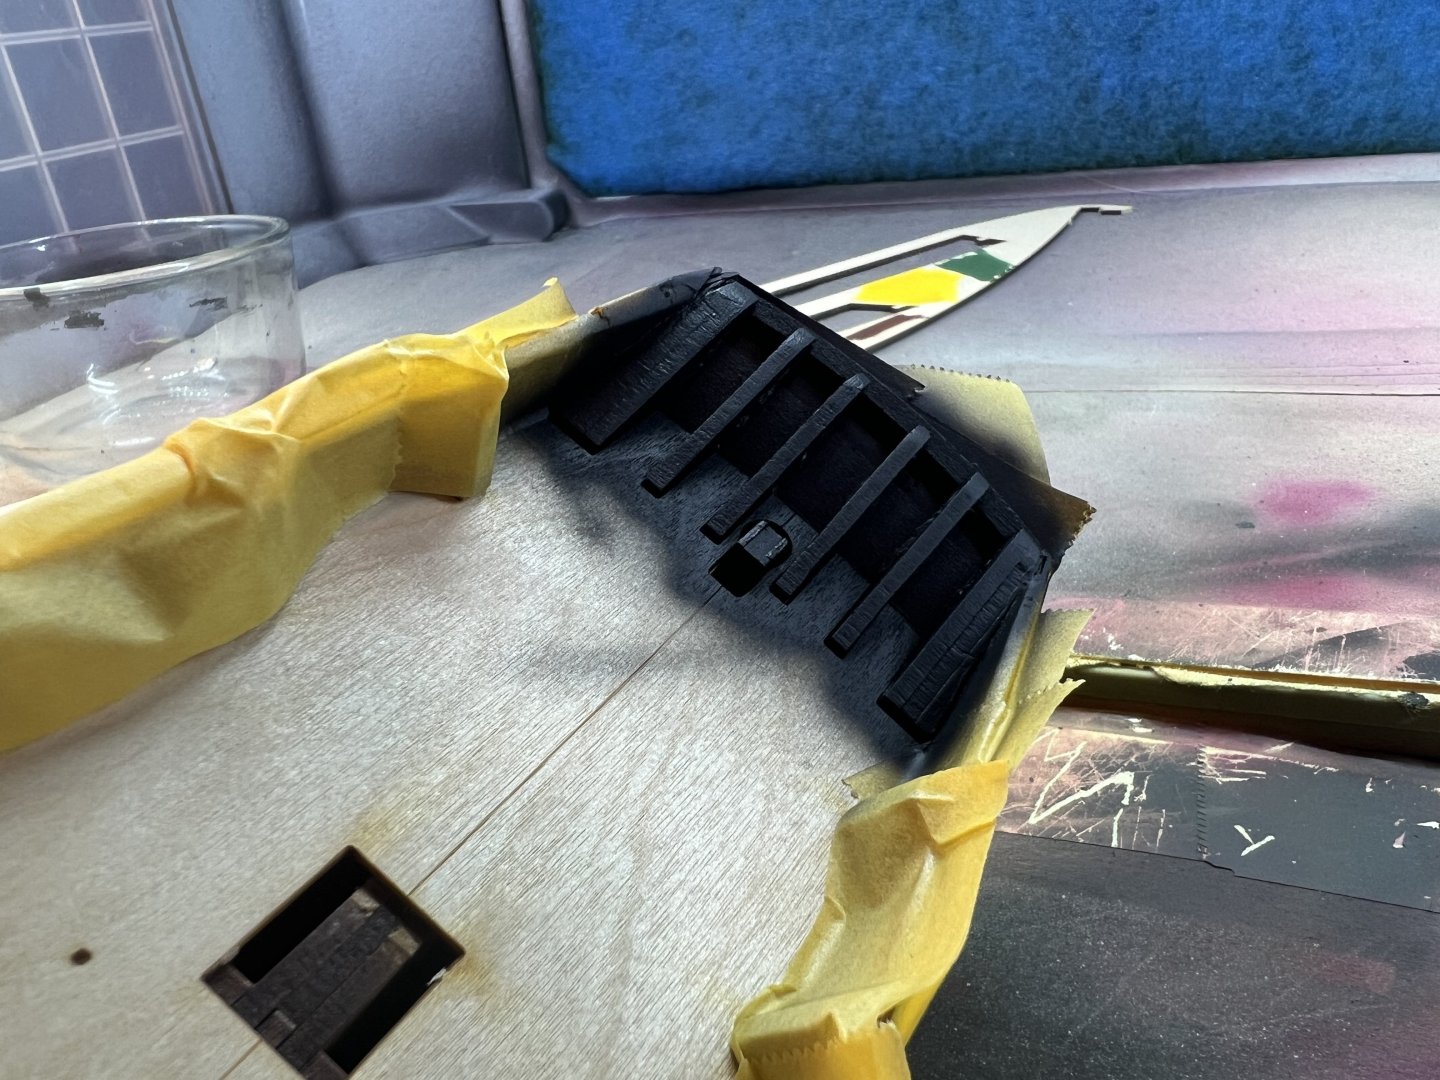
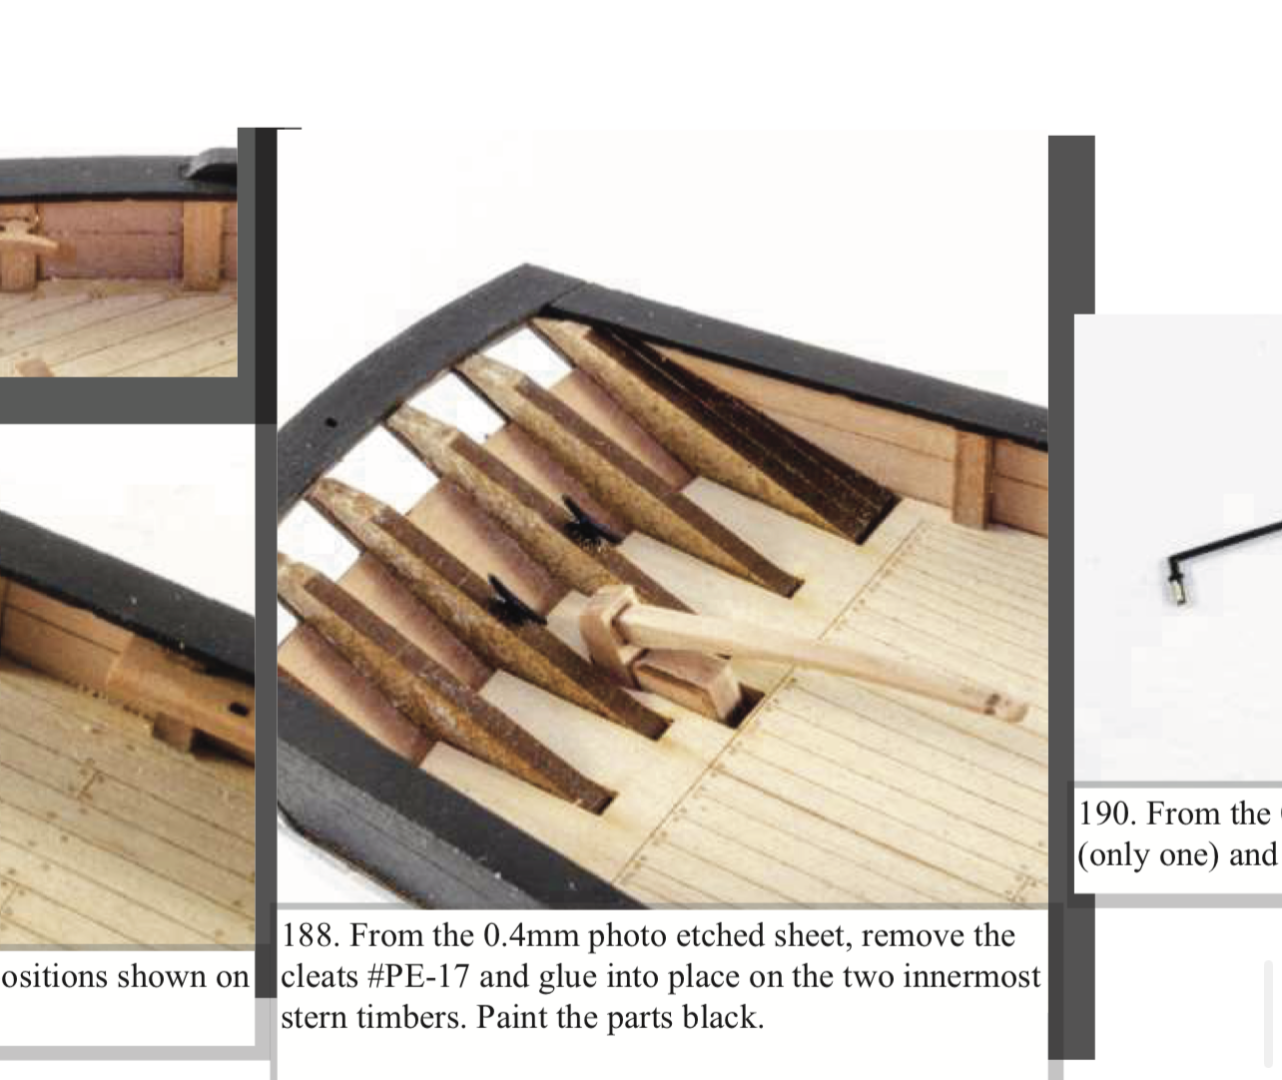
Following @DB789 I airbrushed in black the stern end of the Ranger. The stern timbers have char on them and they are not hardwood but more like particle board so painting them black seems to look a bit nicer. I painted this part before adding the etched deck piece. I did mask off the inside and outside pear wood. Painting them also was necessary because I had to use some filler on them to fix fix some places that frayed after I banged the stern end. I've attached a screen shot of what the stern end looks like without painting (from photos in the instructions). I think I like the black better.
- 133 replies
-
- 3
-
-
- Ranger
- vanguard models
- (and 1 more)
-
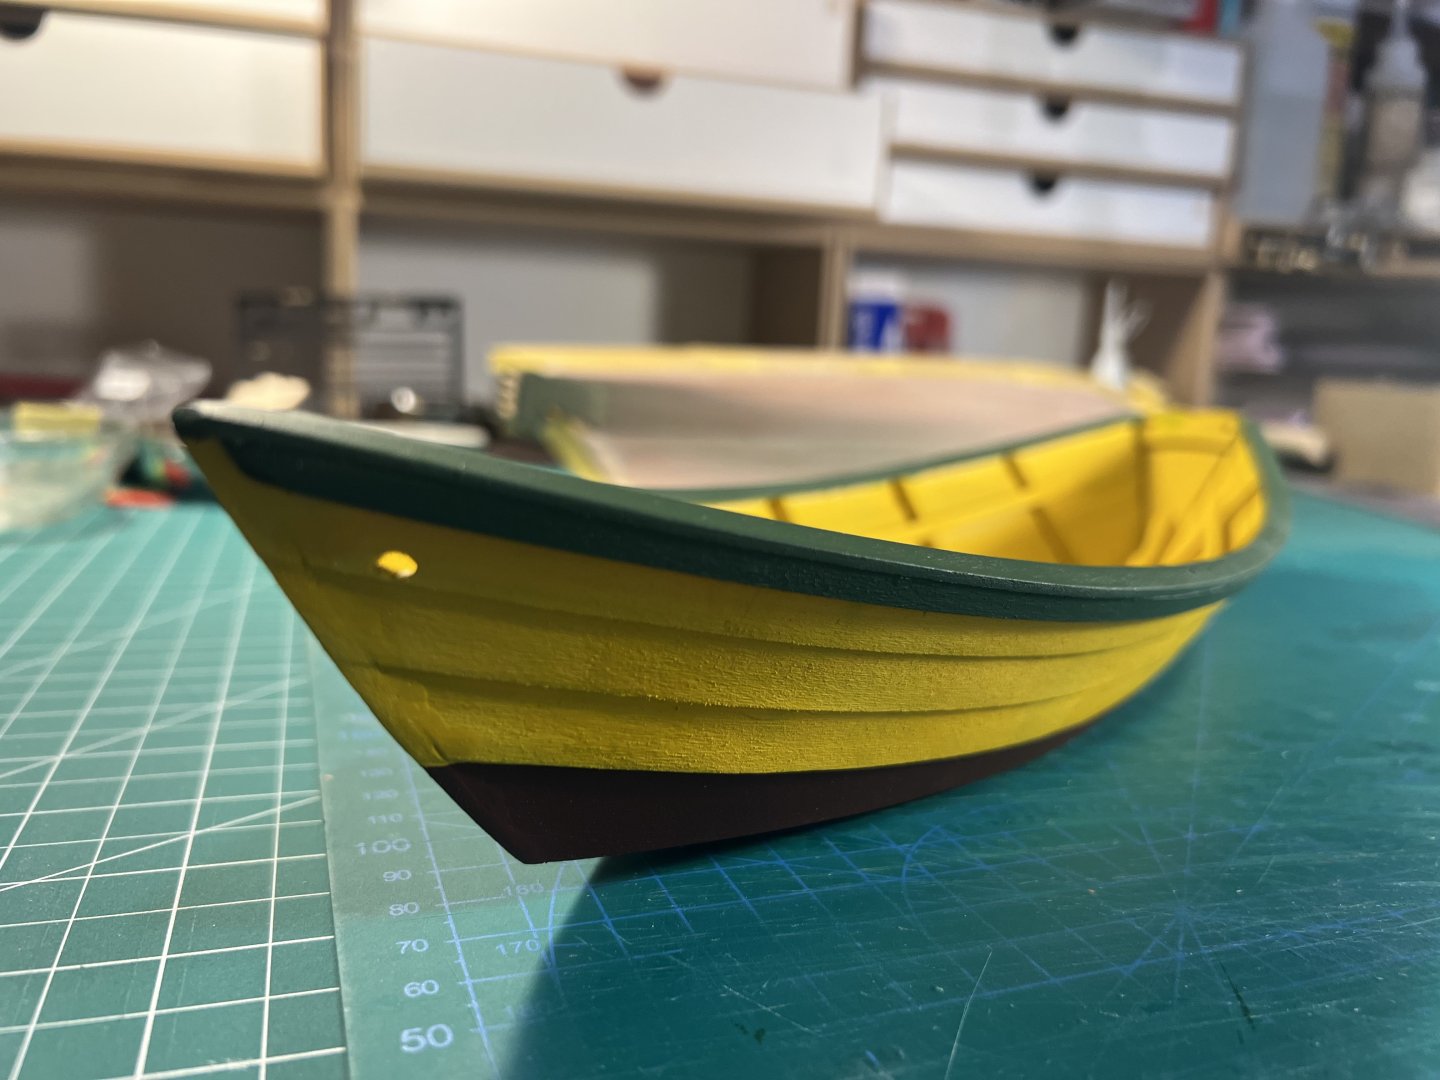
Need to do a bit of touch up on the paint.

- 71 replies
-
- 4
-
-
- grand banks dory
- midwest products
- (and 2 more)
-
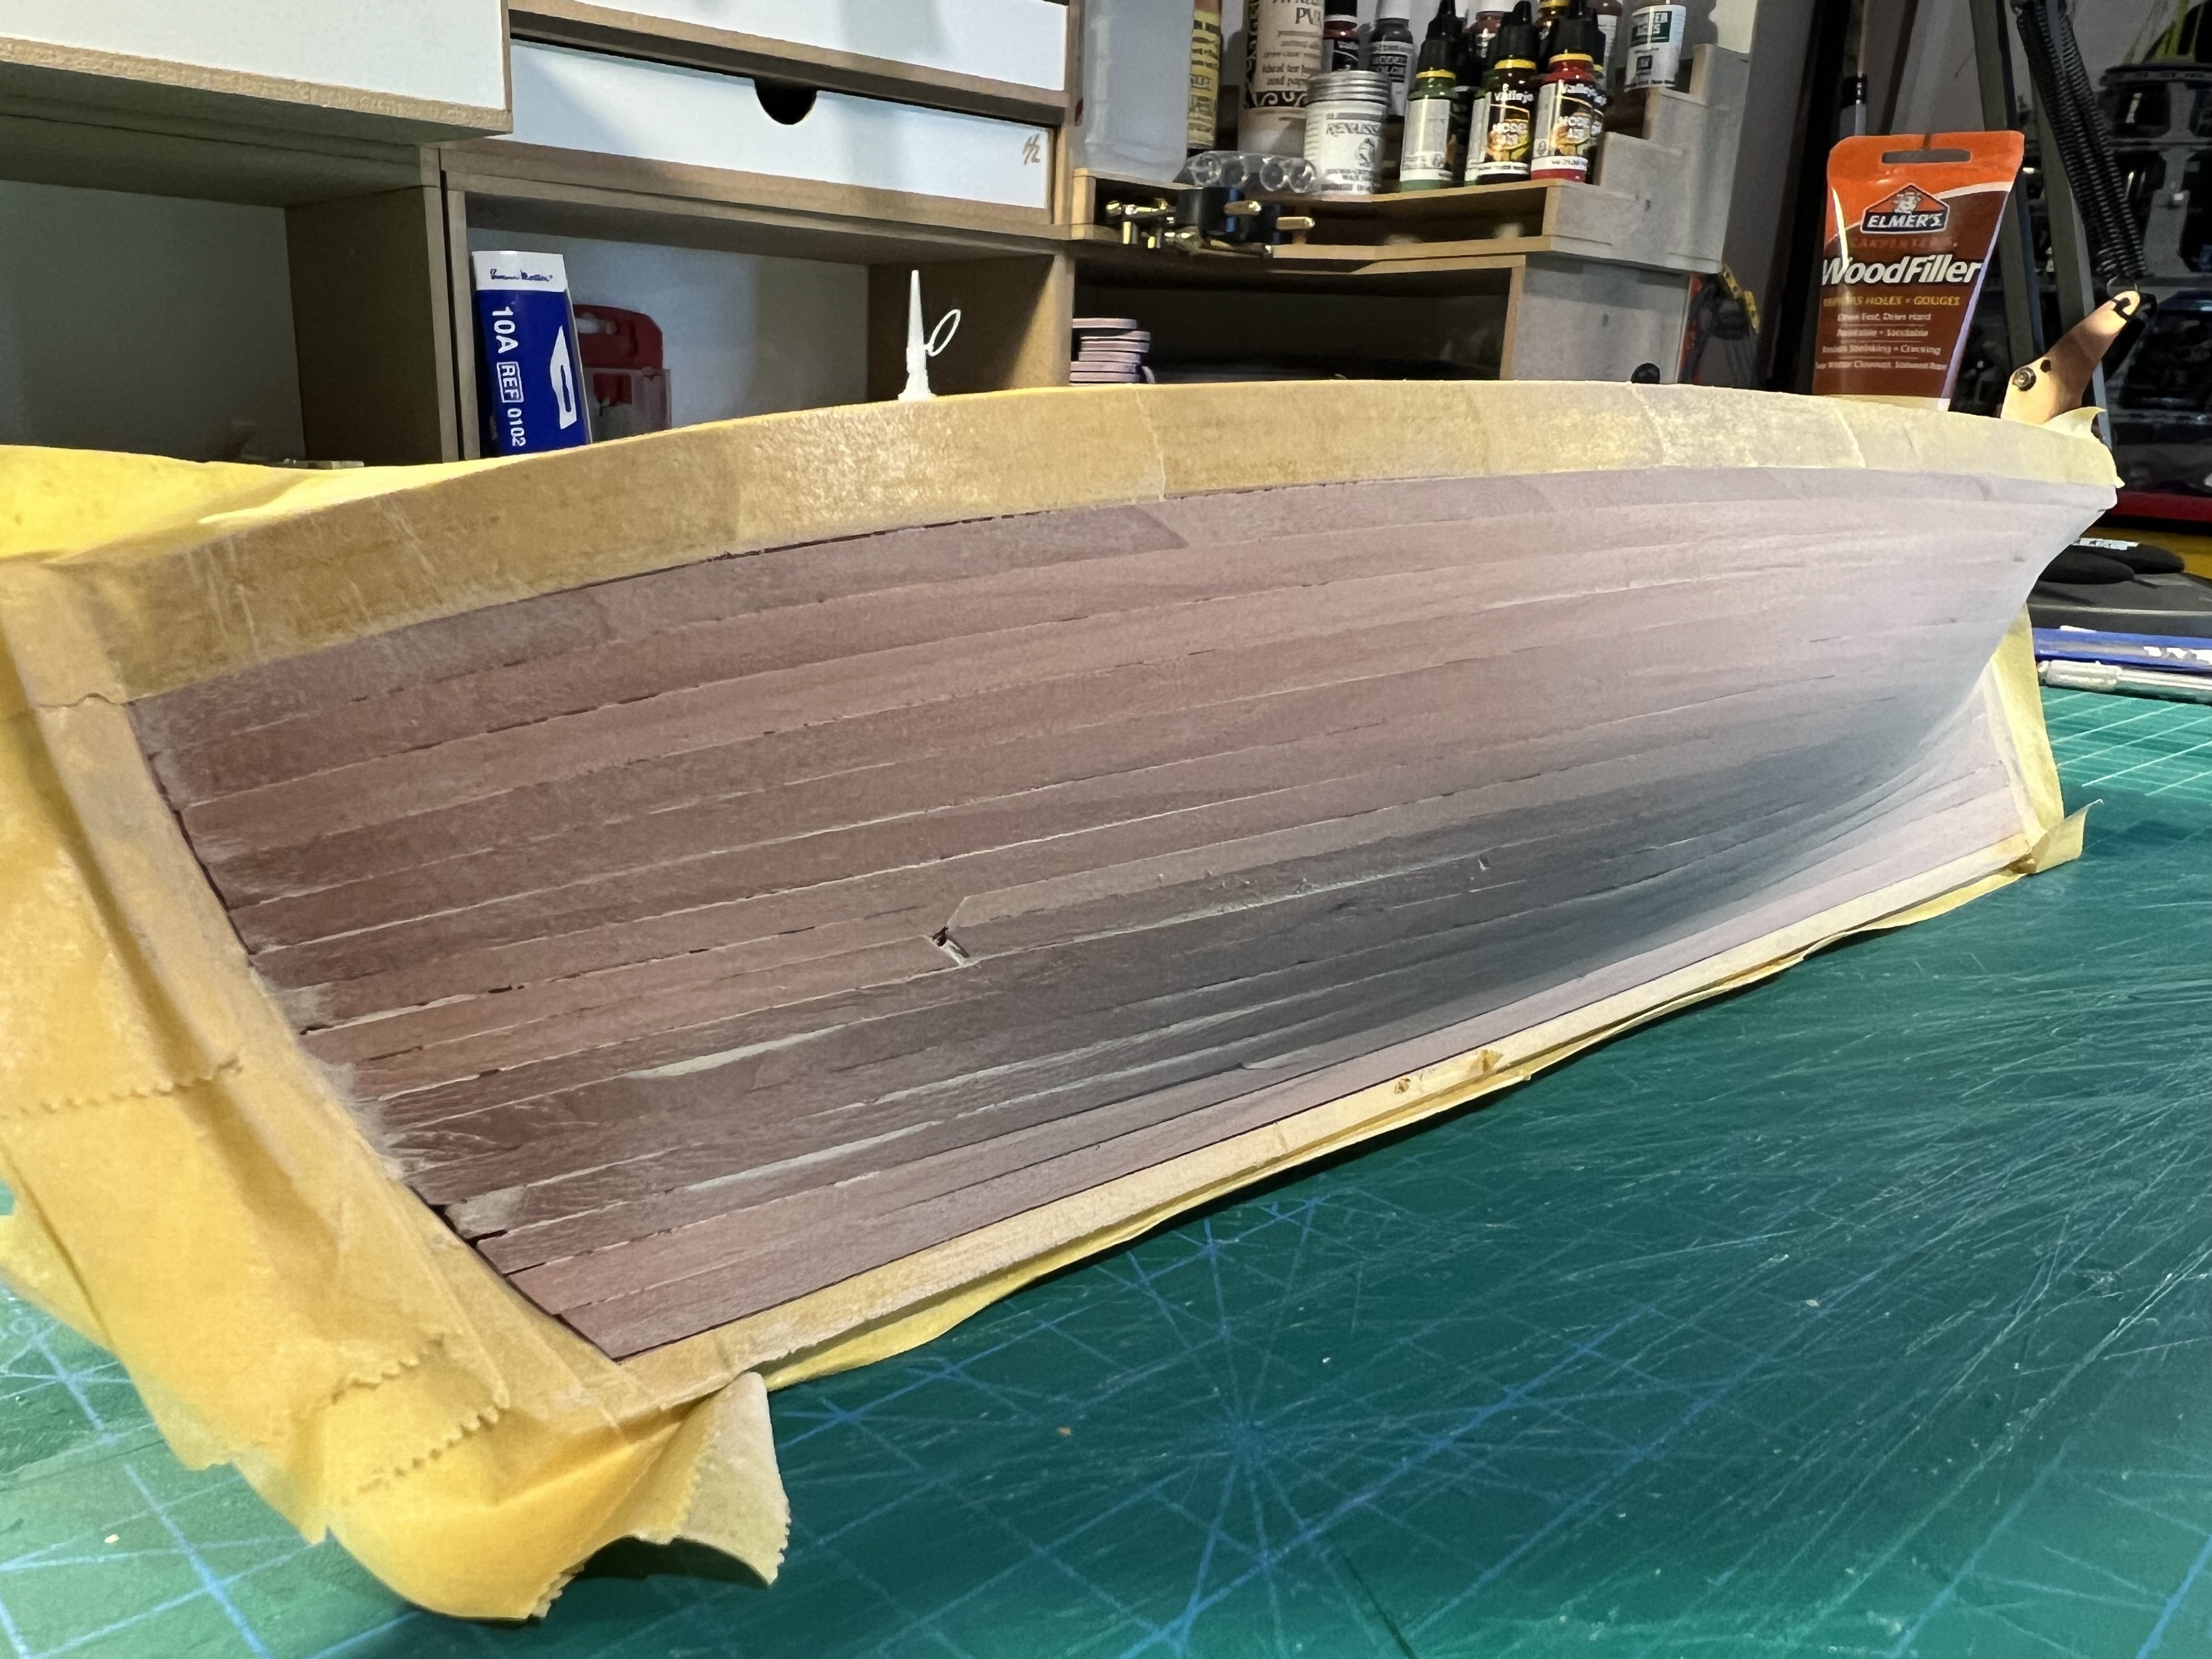
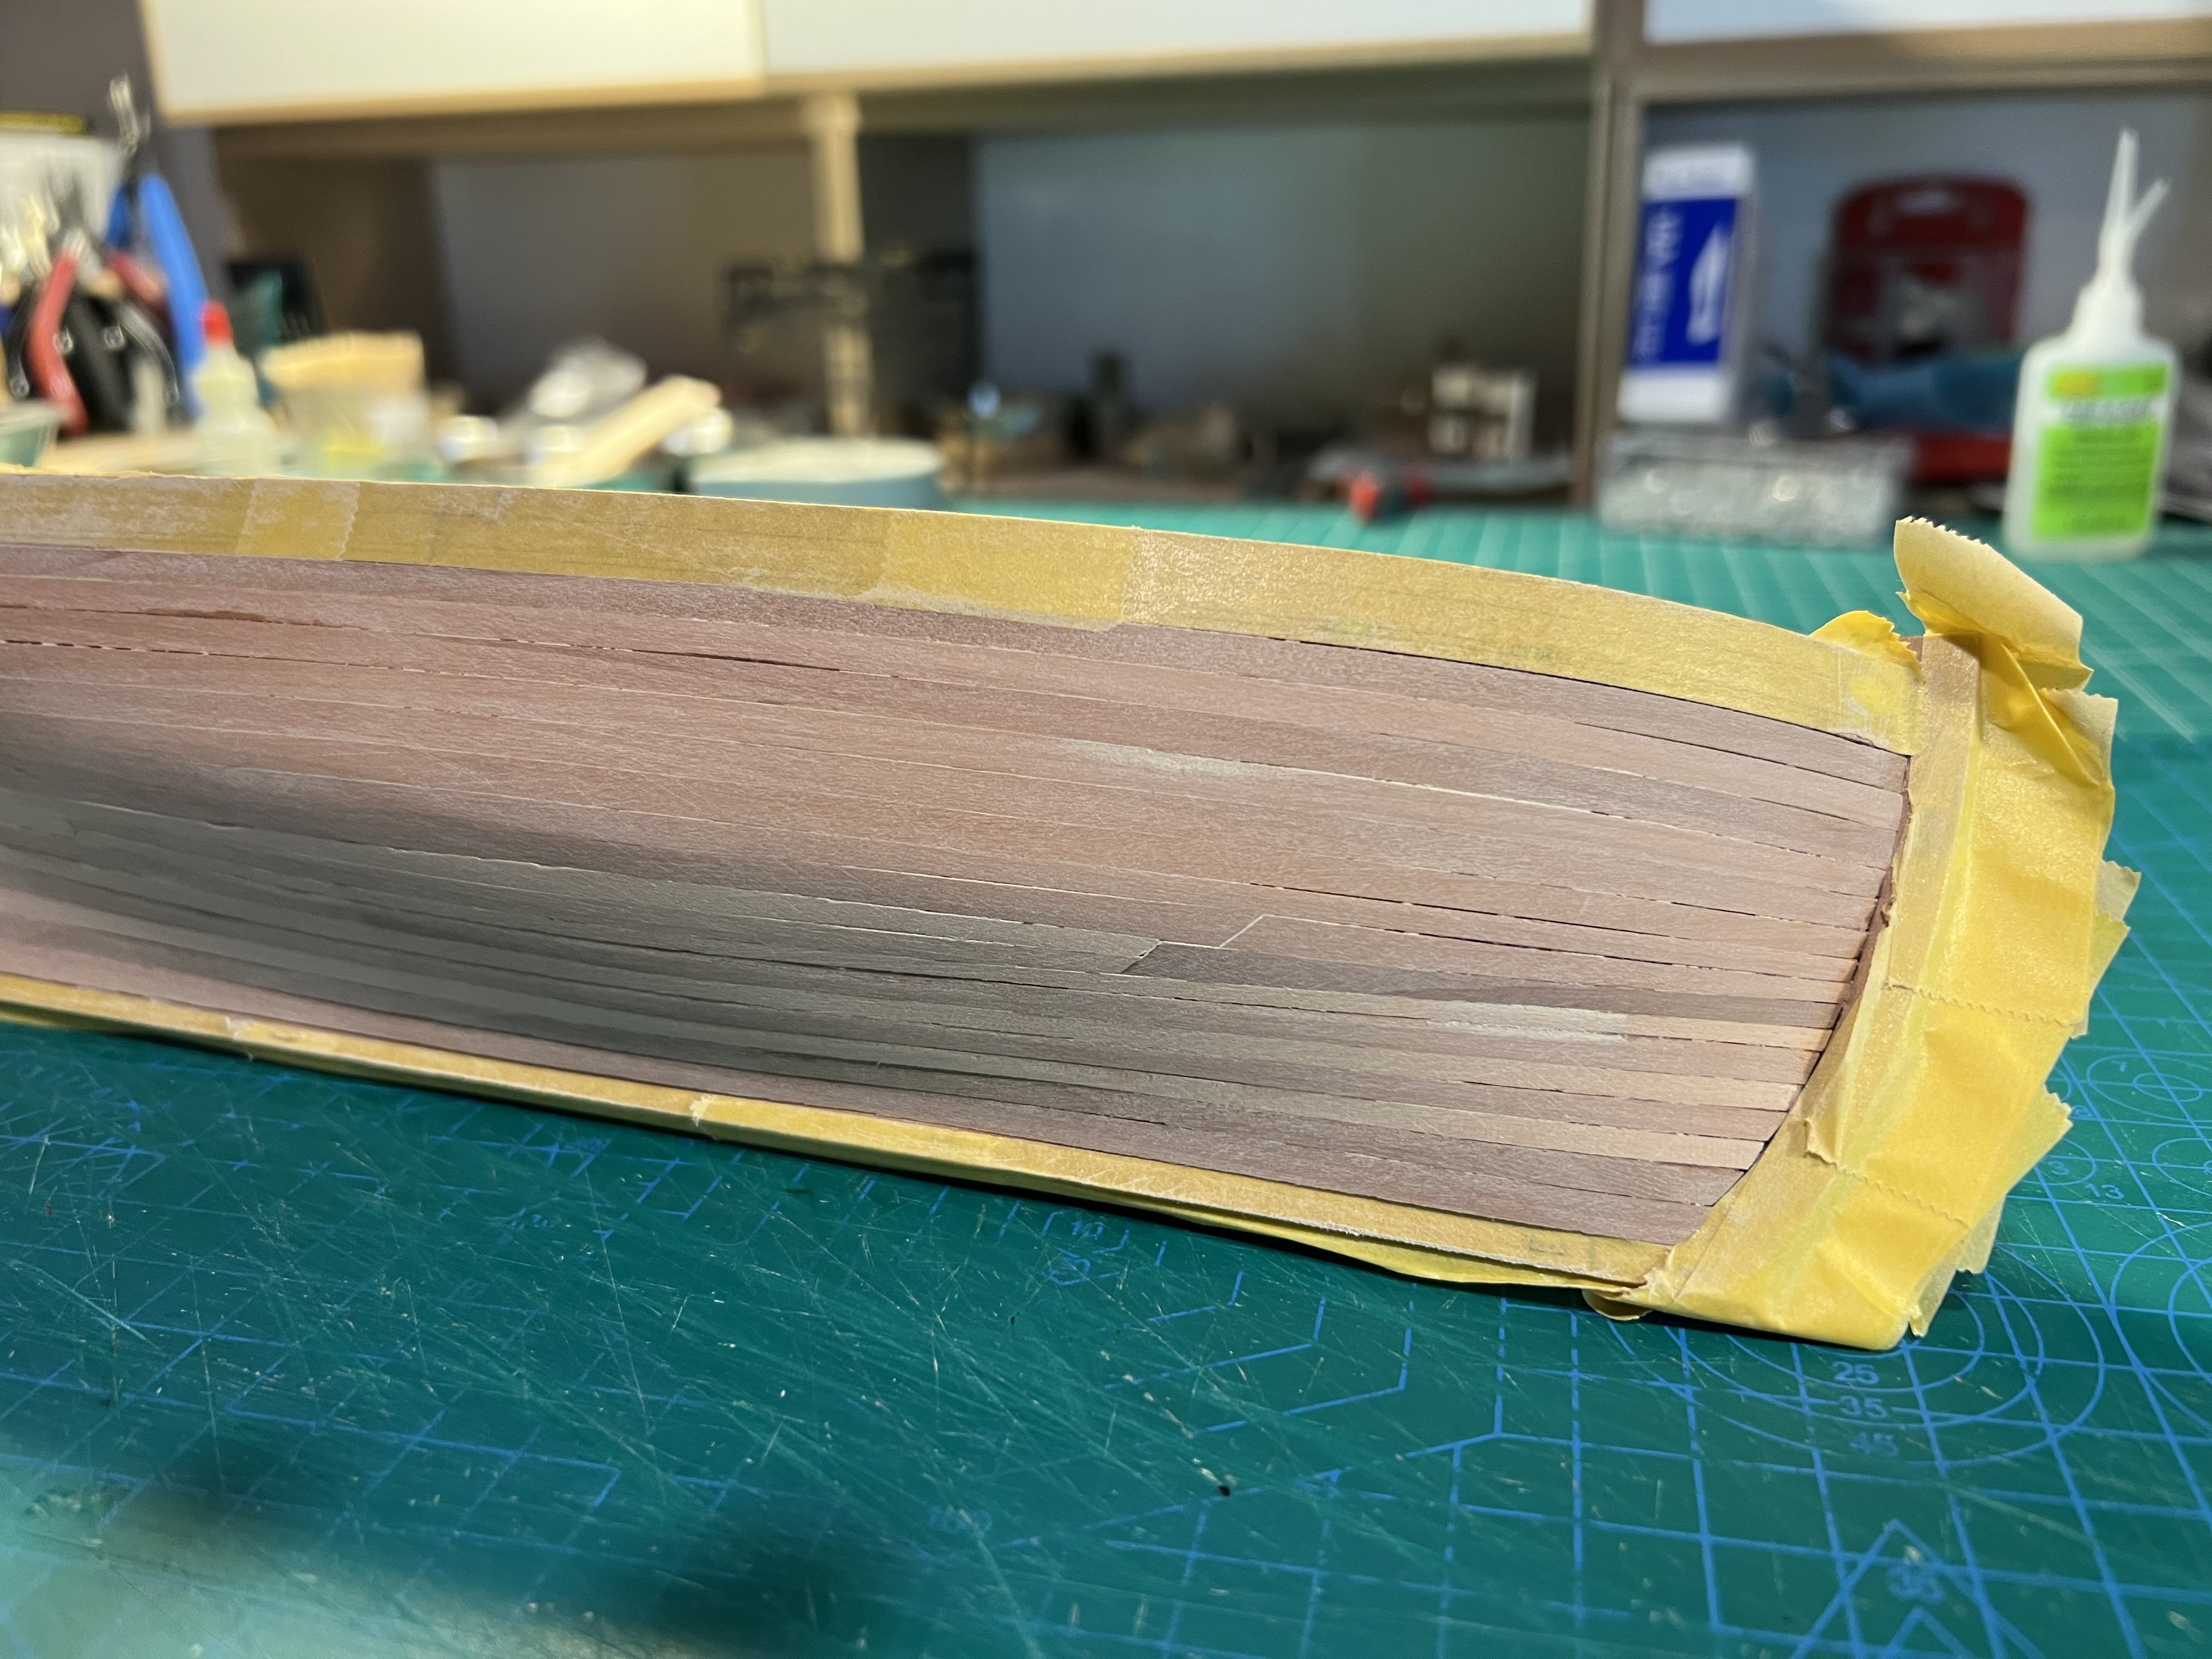
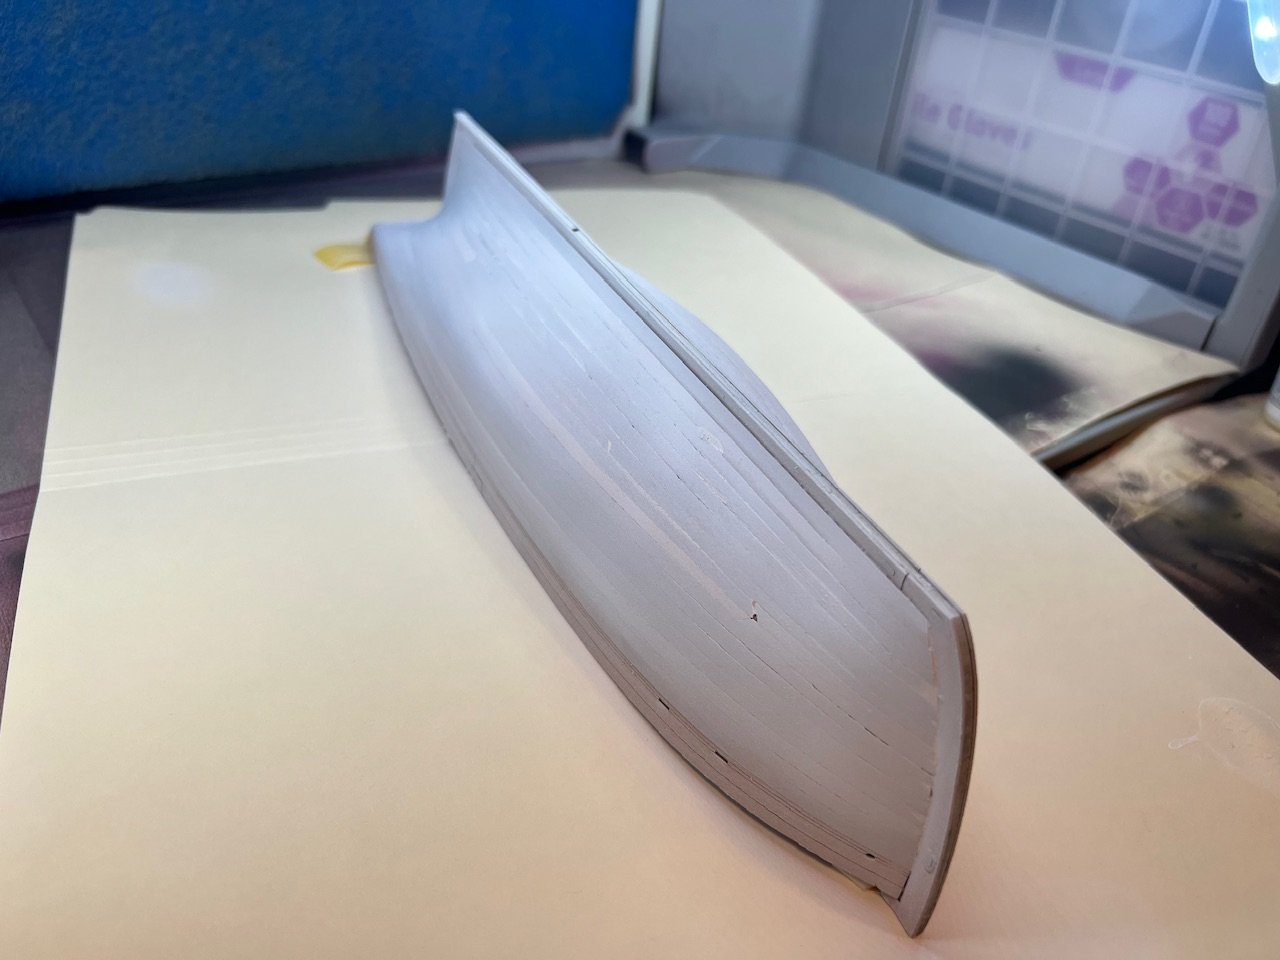
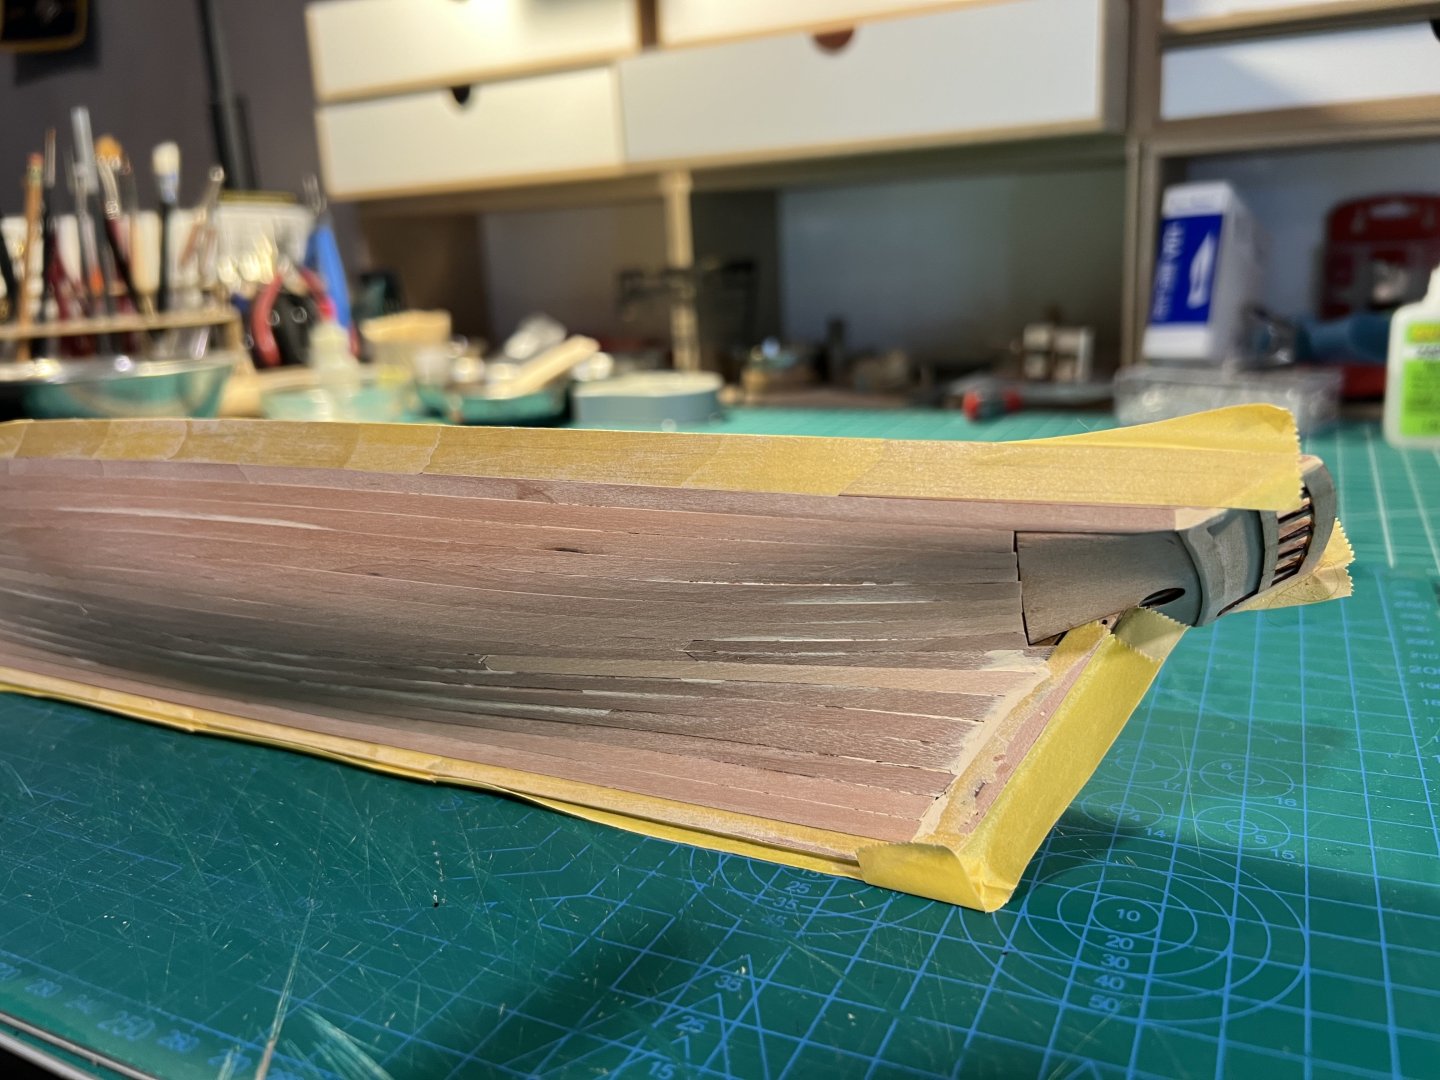
First sanding of my Ranger. I need to do a tiny bit of filler and another sanding pass. The hull will be mostly (perhaps entirely) painted.


- 133 replies
-
- 3
-
-
- Ranger
- vanguard models
- (and 1 more)