Louie da fly
-
Posts
7,969 -
Joined
-
Last visited
Content Type
Profiles
Forums
Gallery
Events
Everything posted by Louie da fly
-
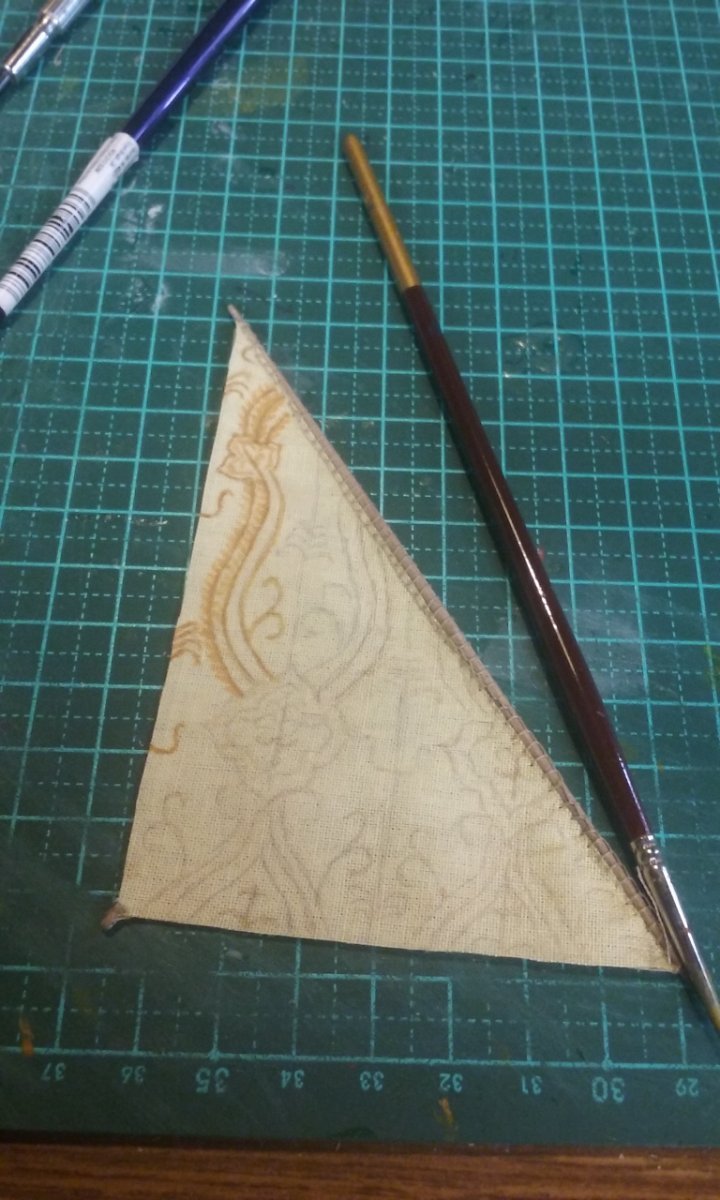
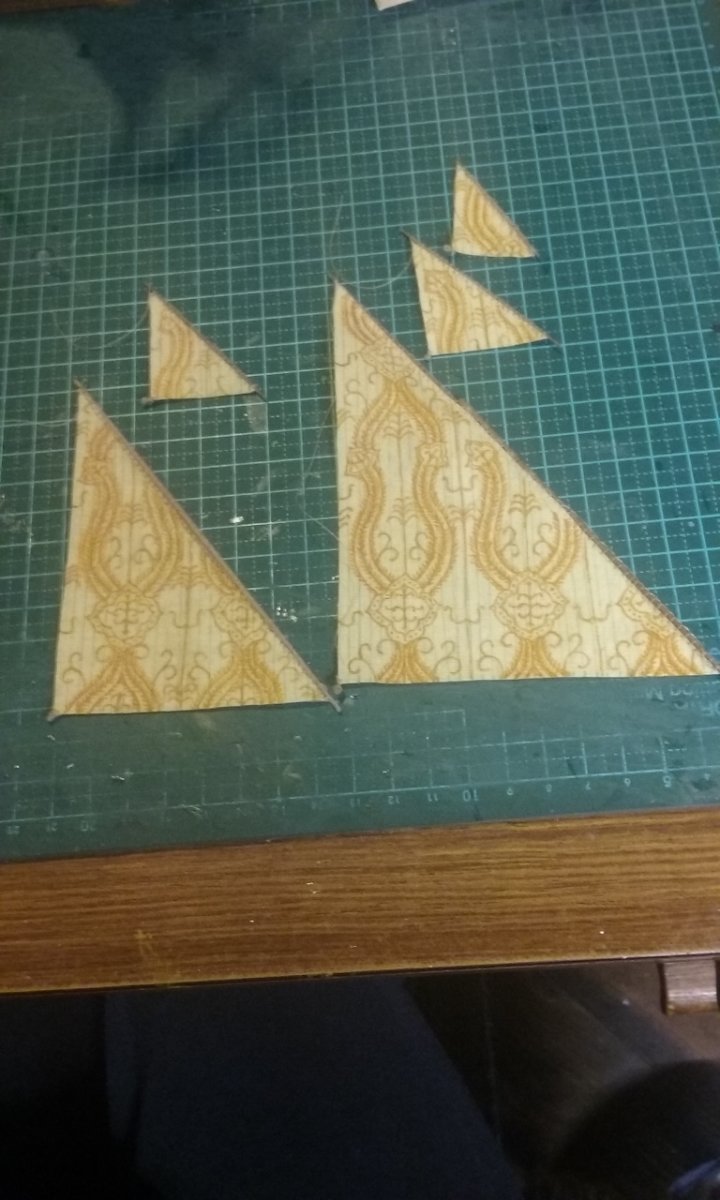
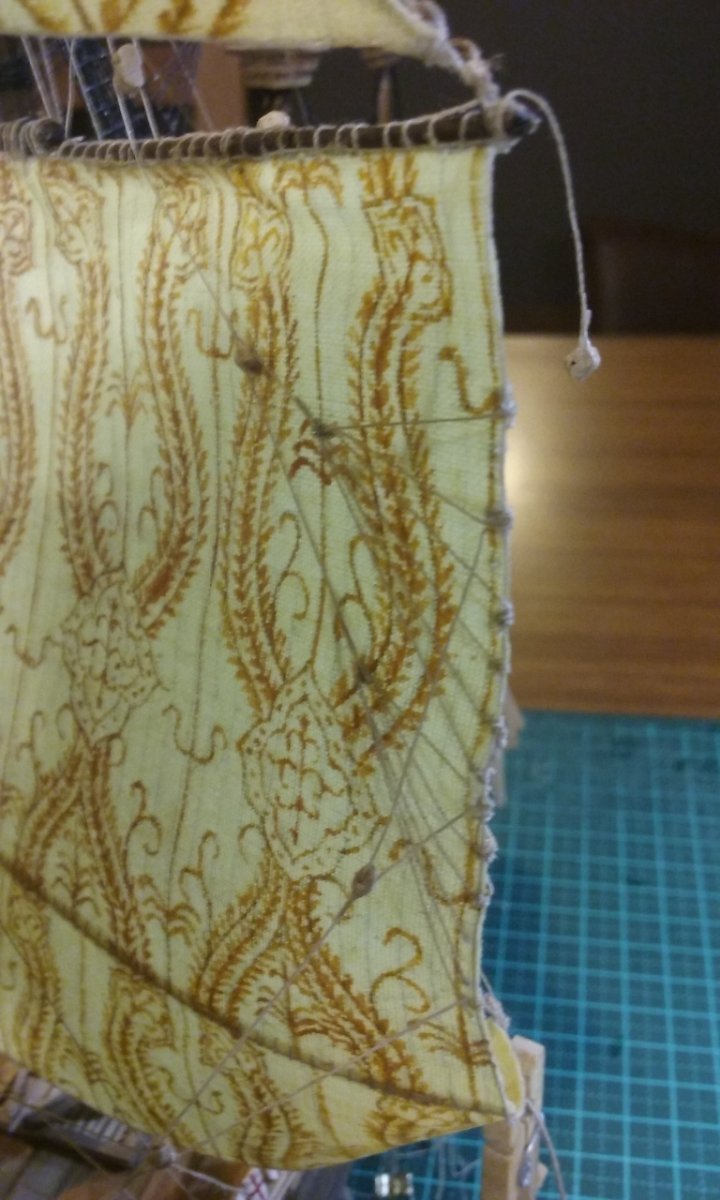
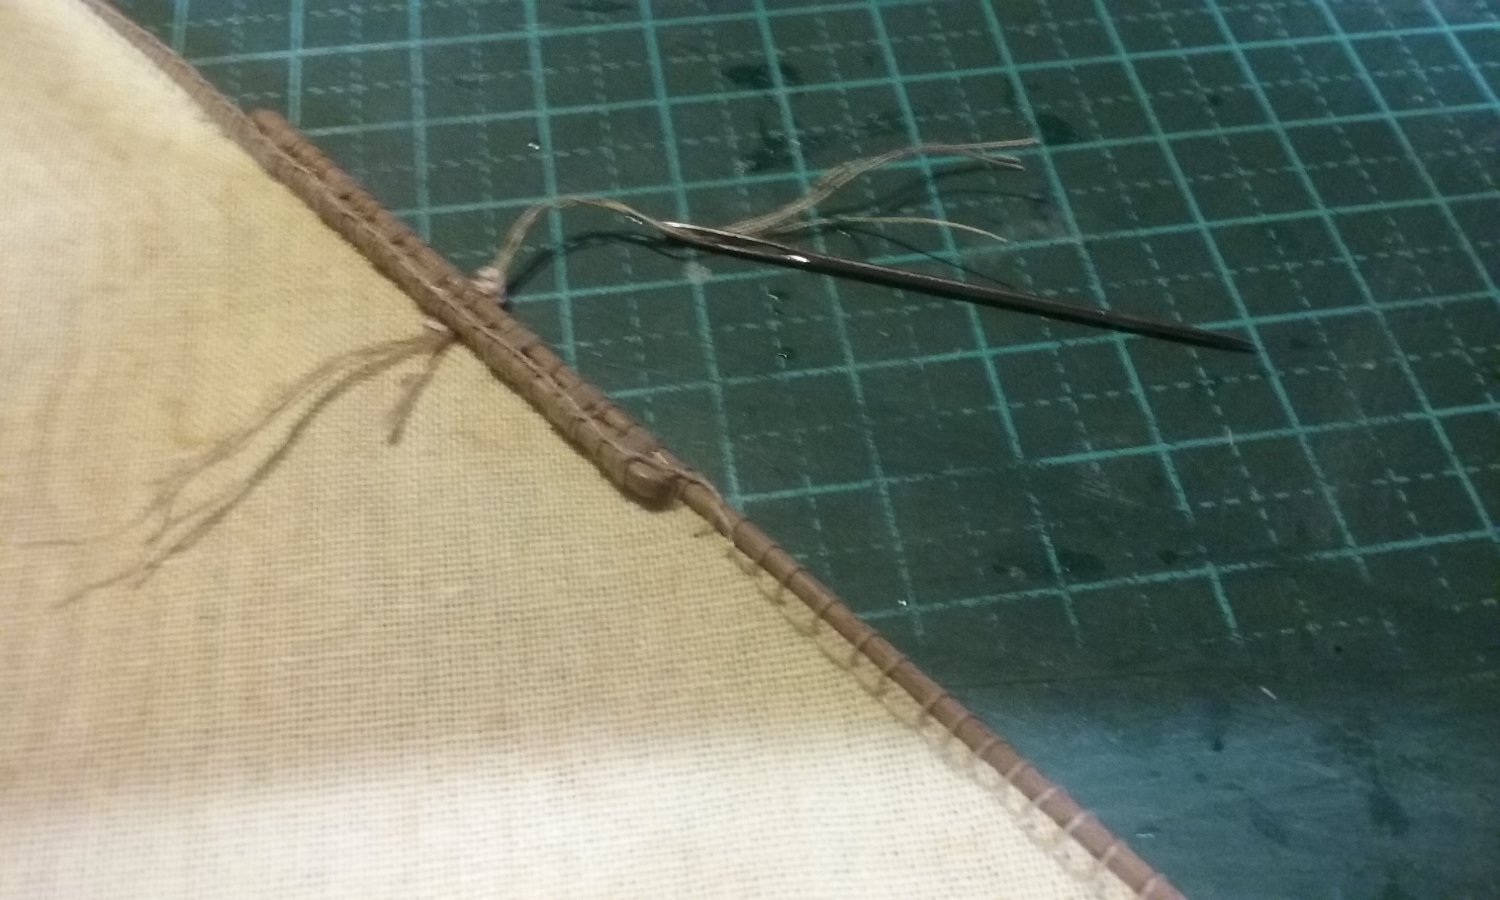
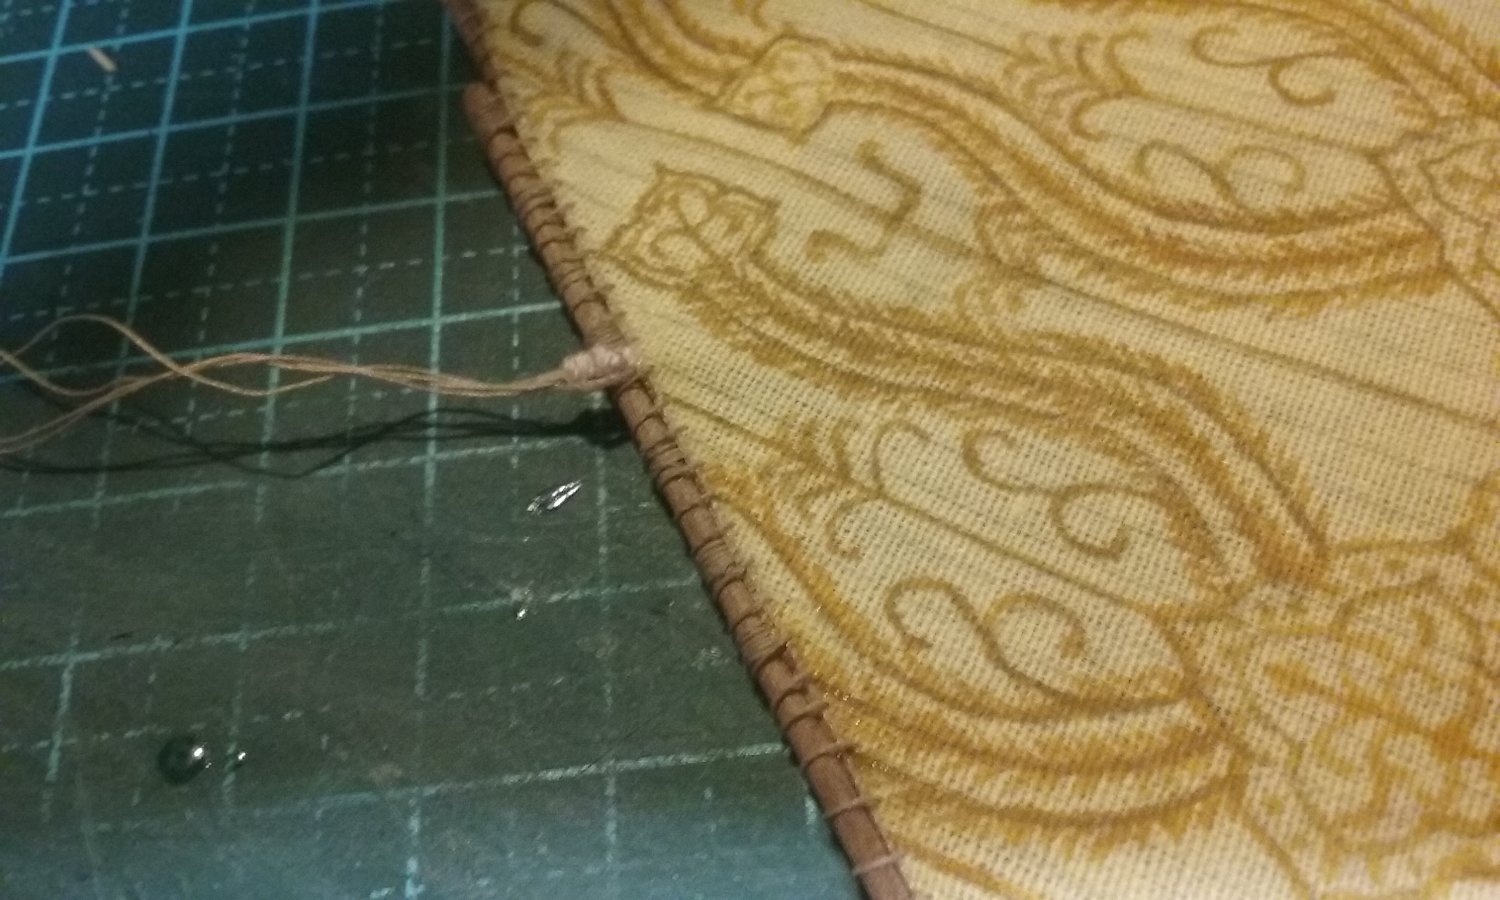
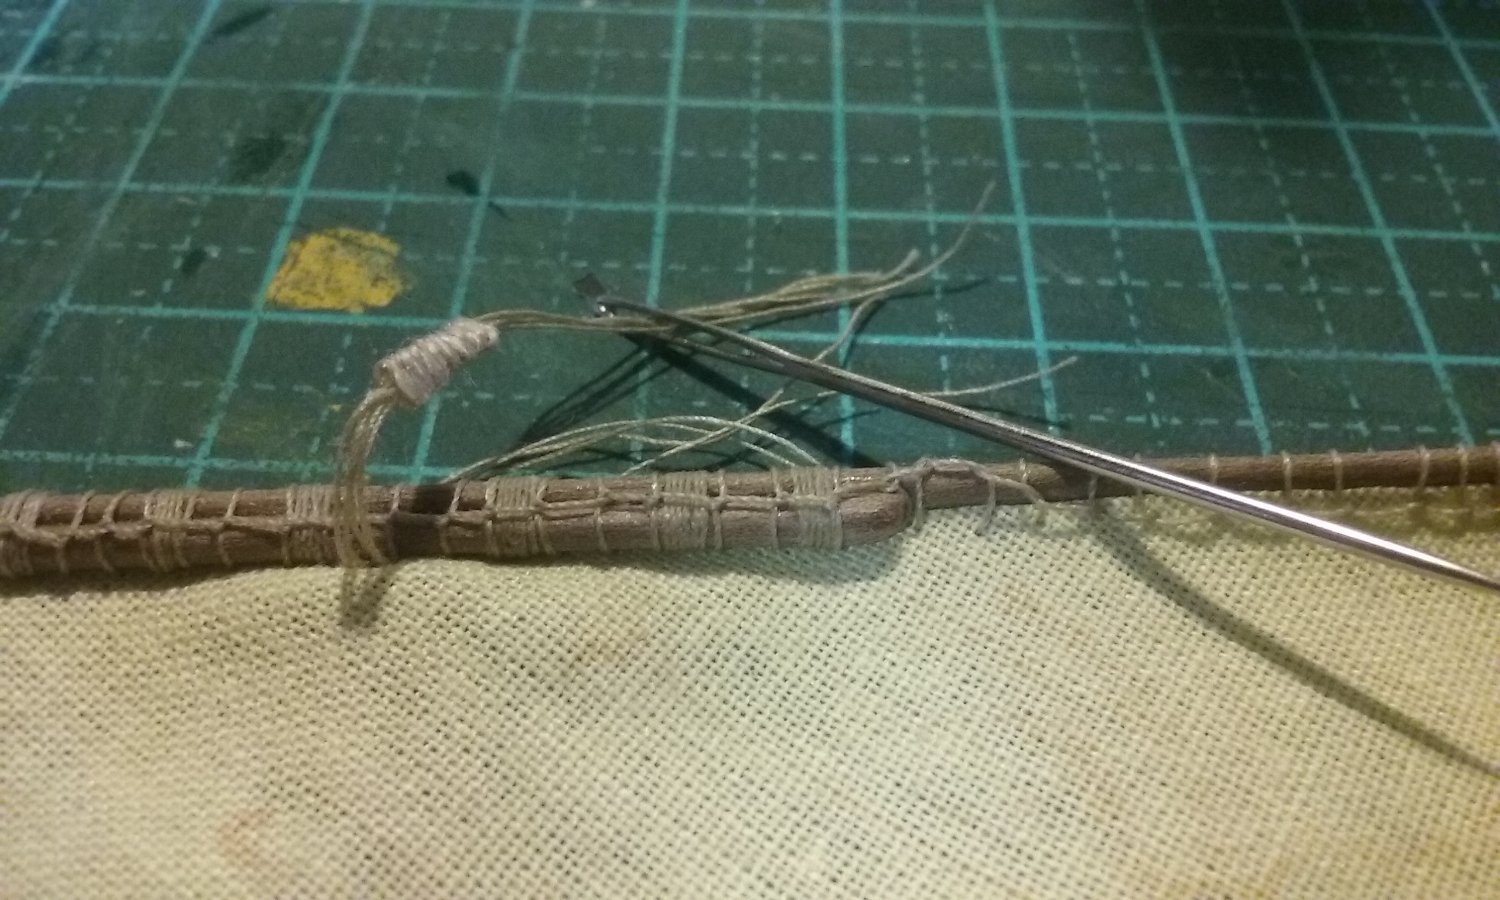
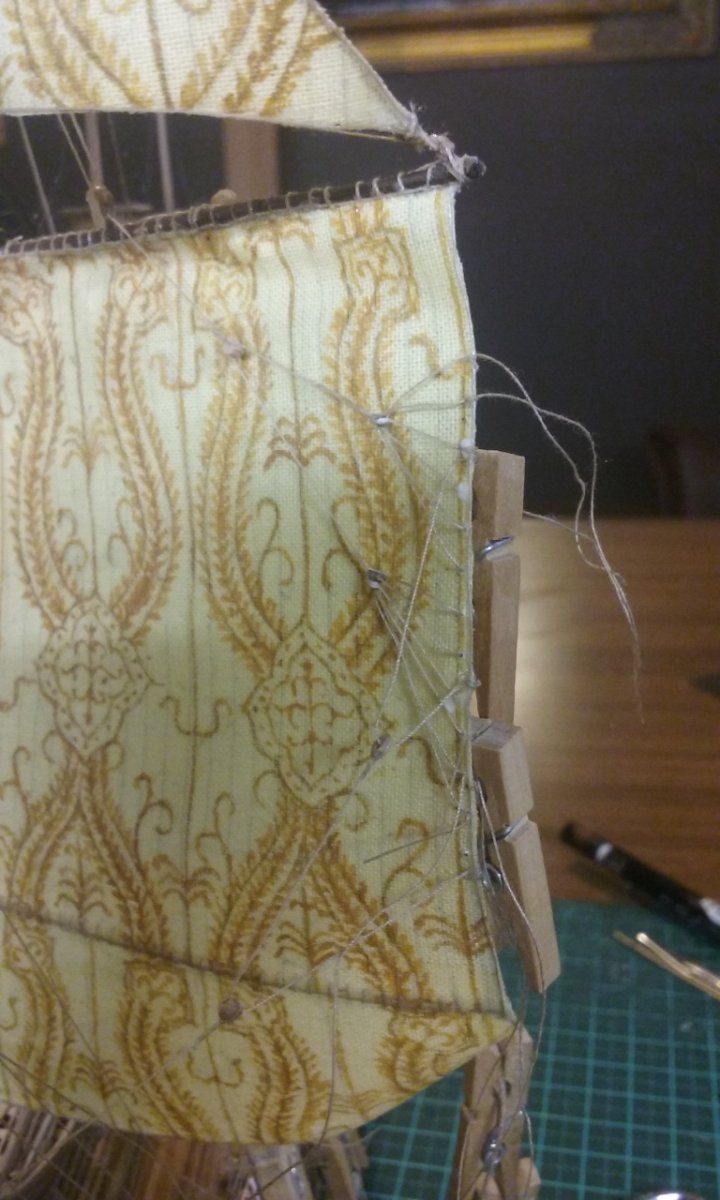
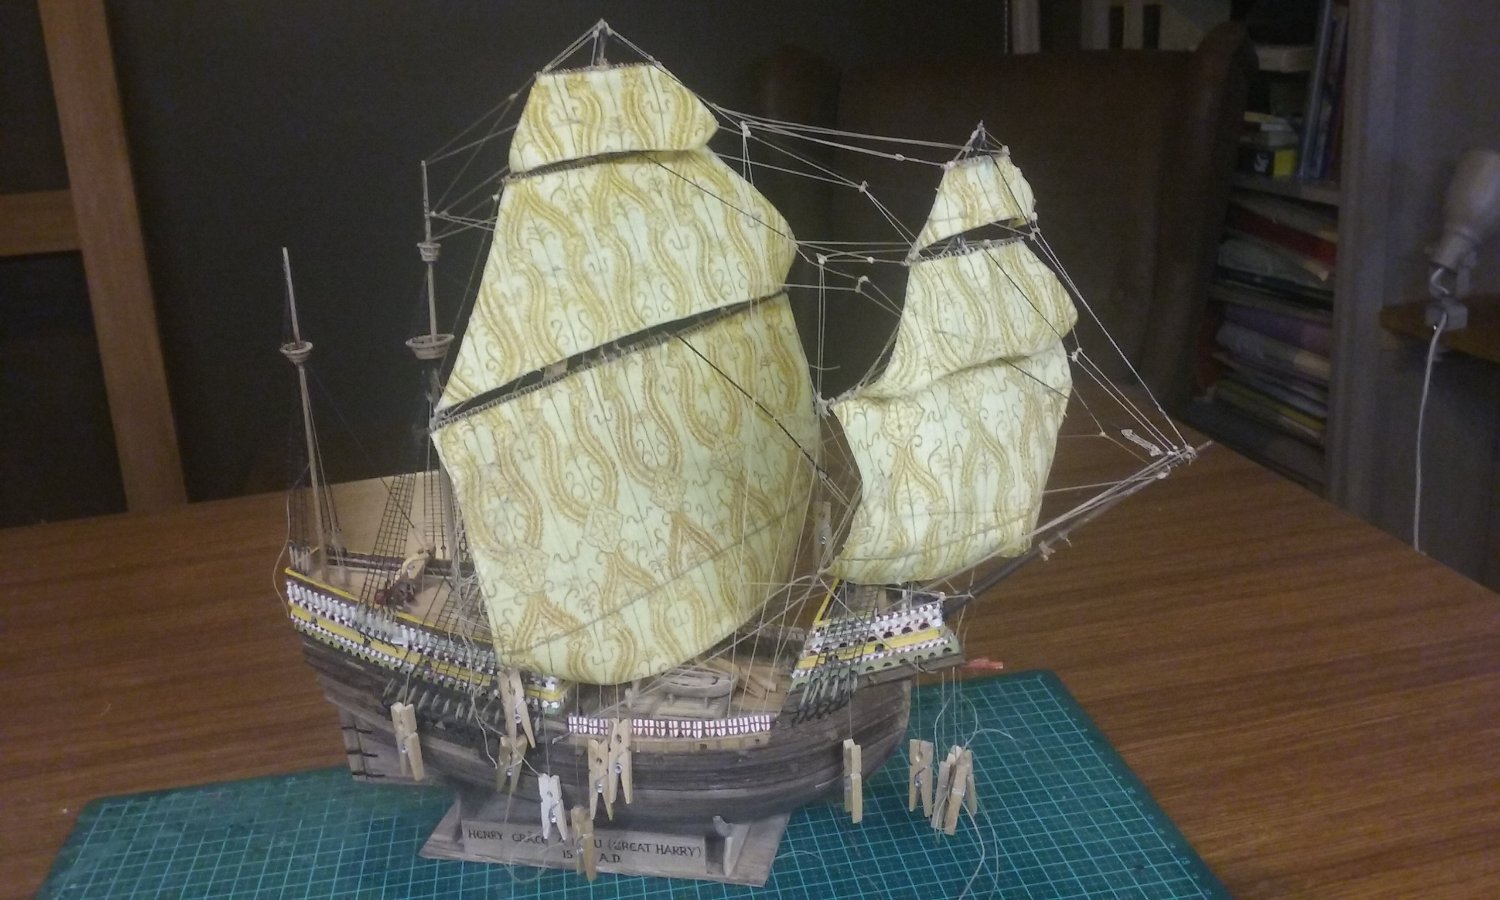
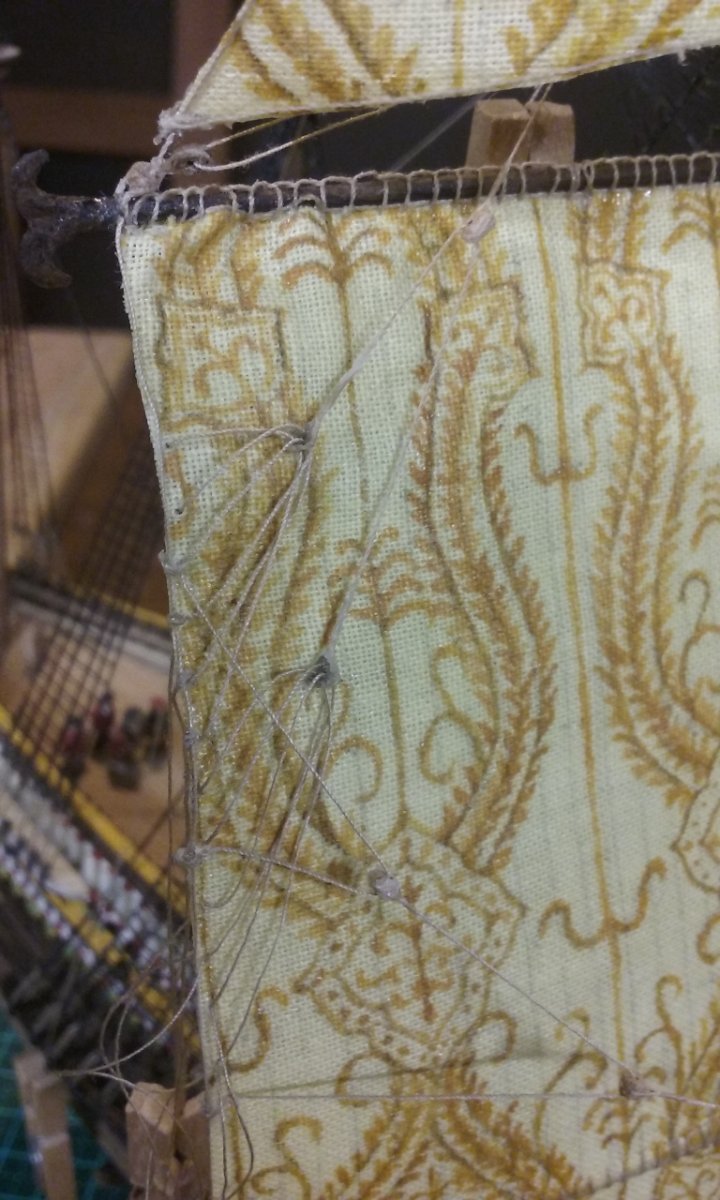
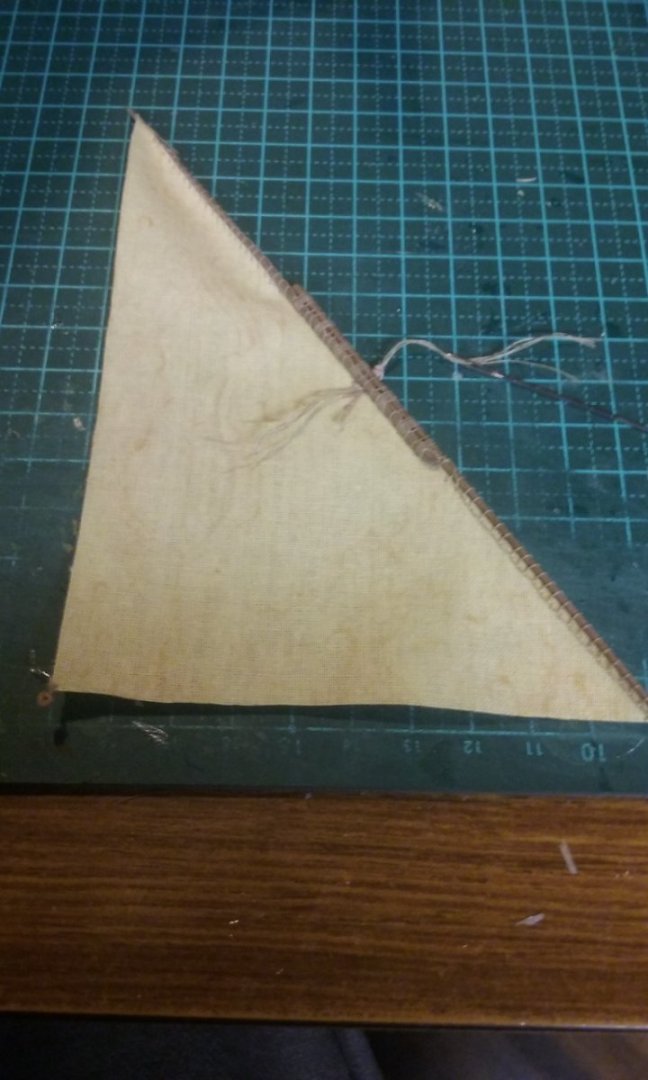
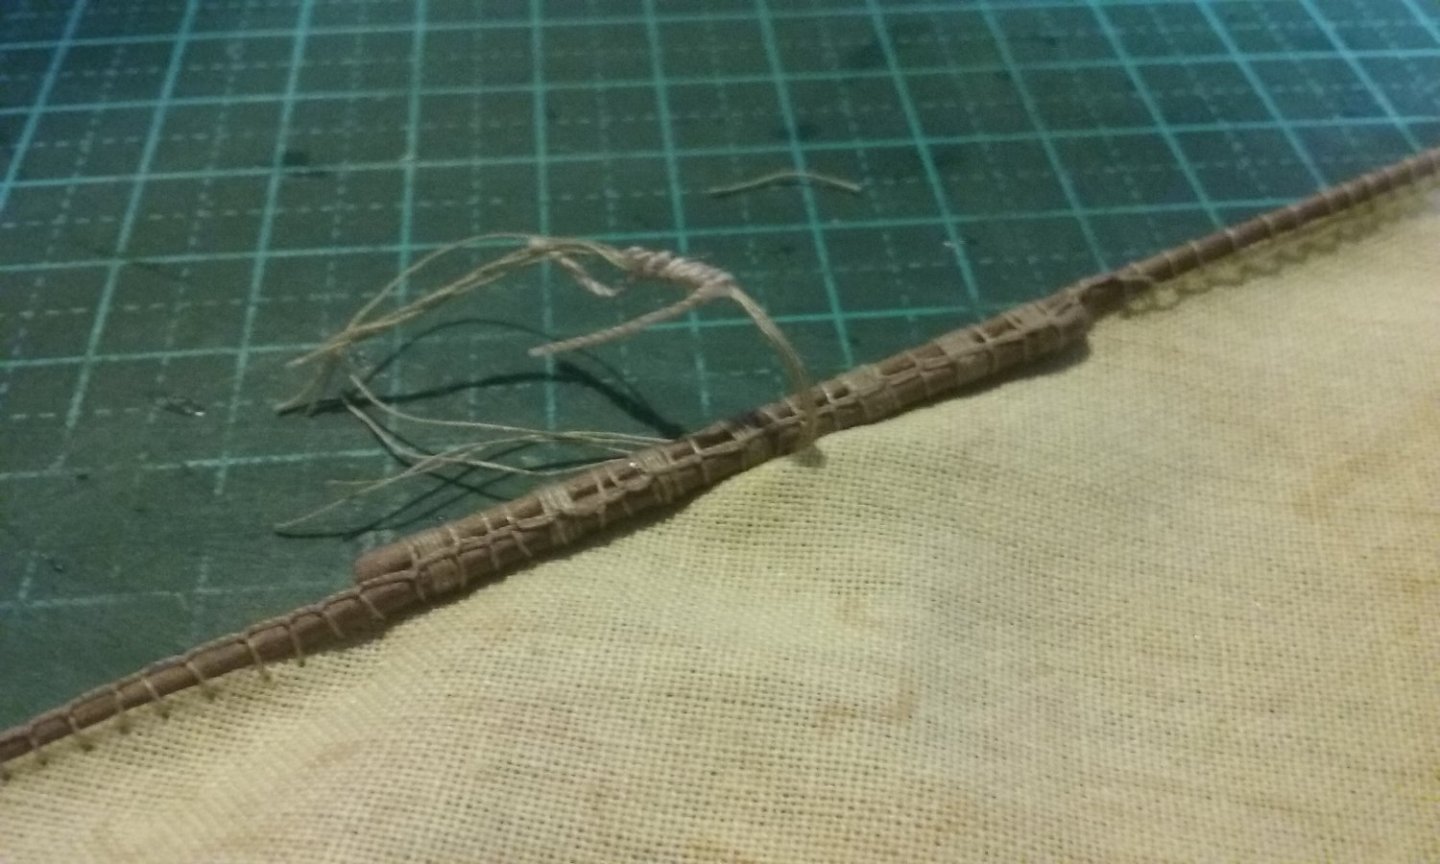
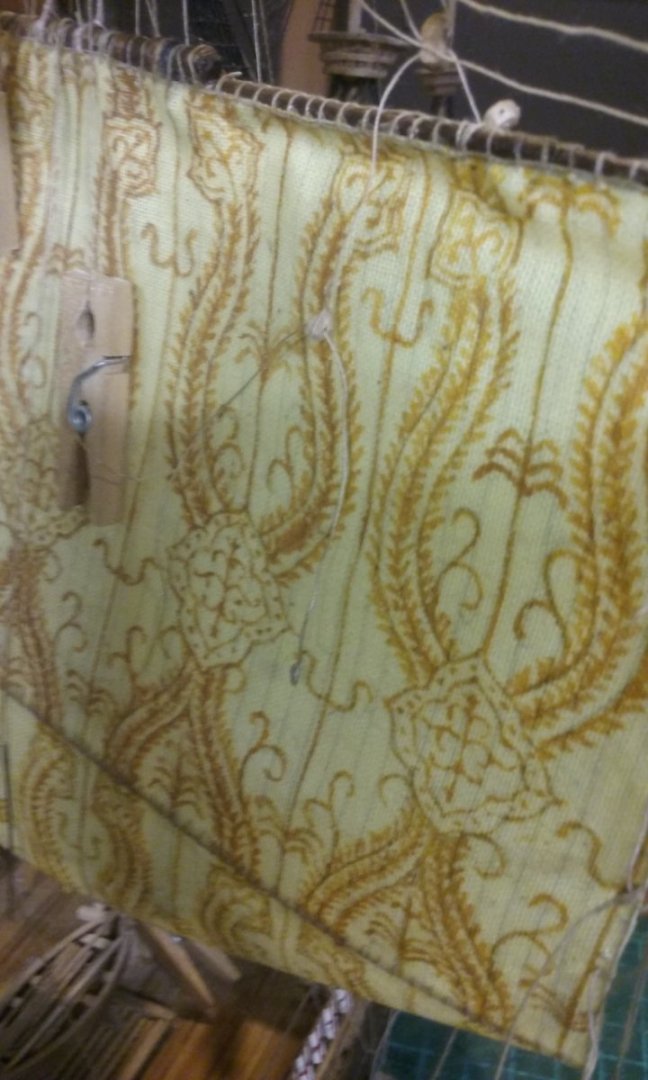
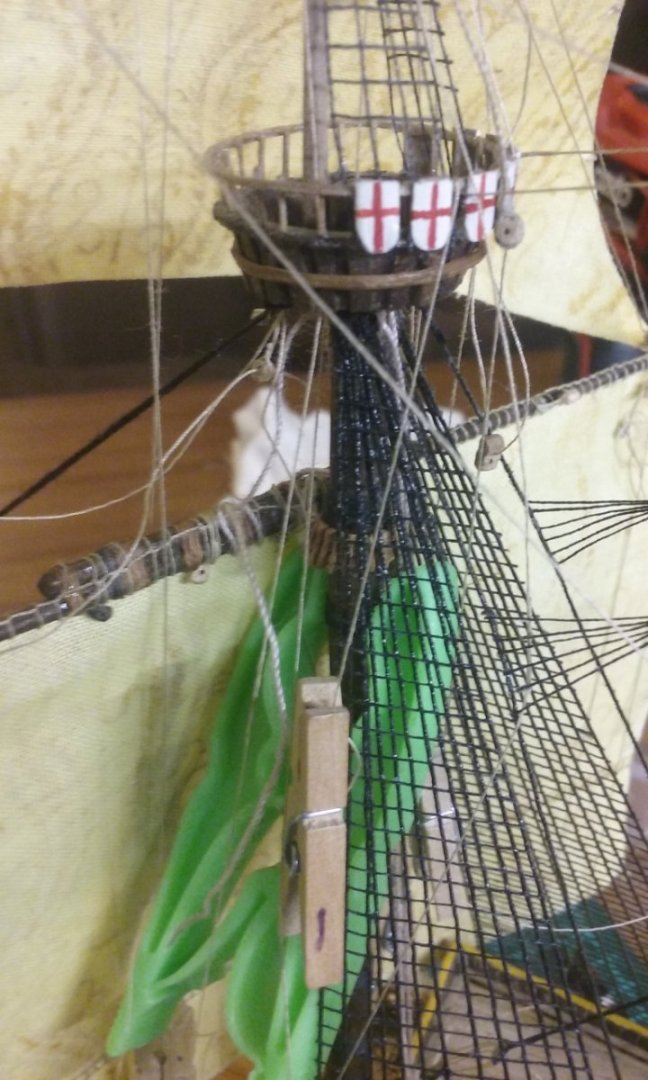
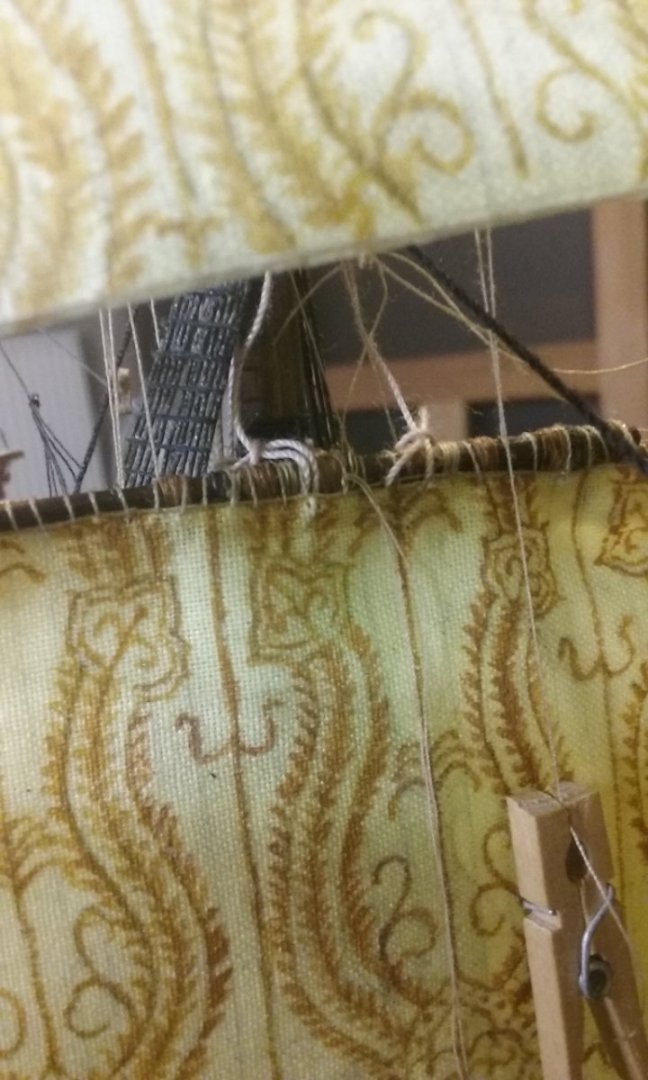
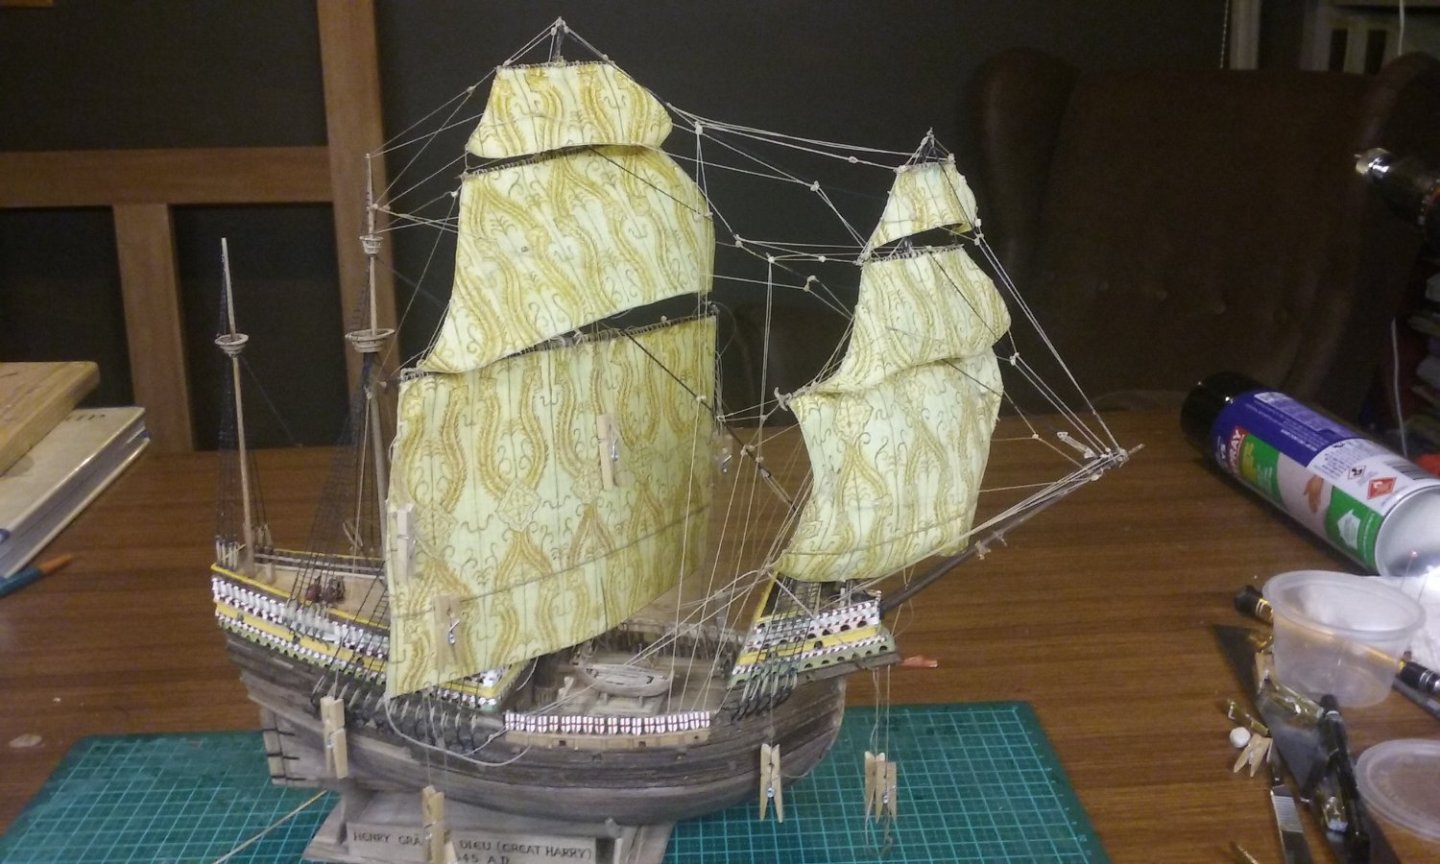
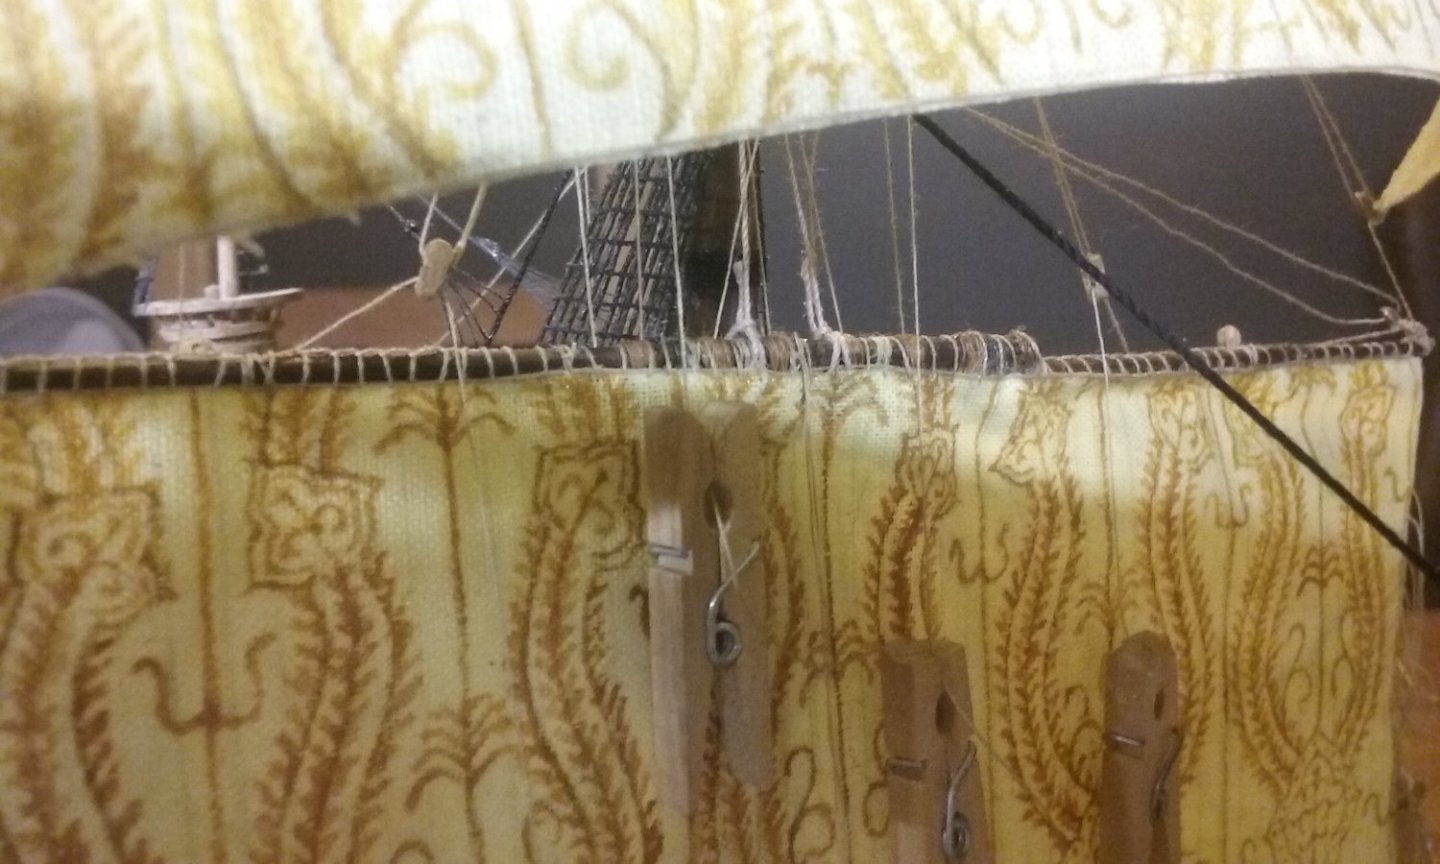
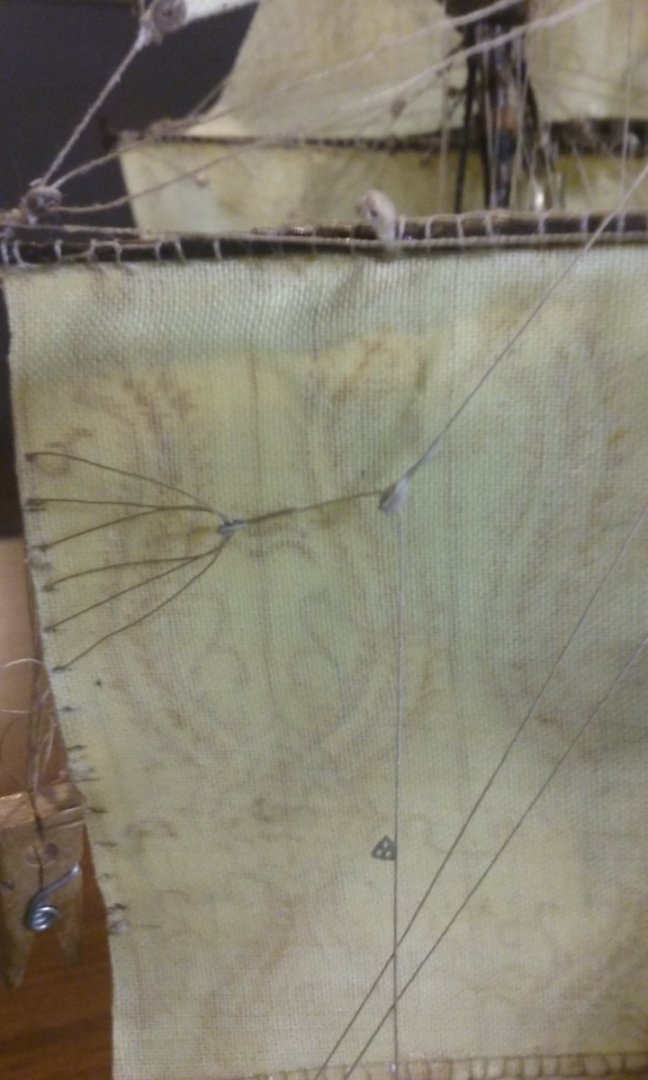
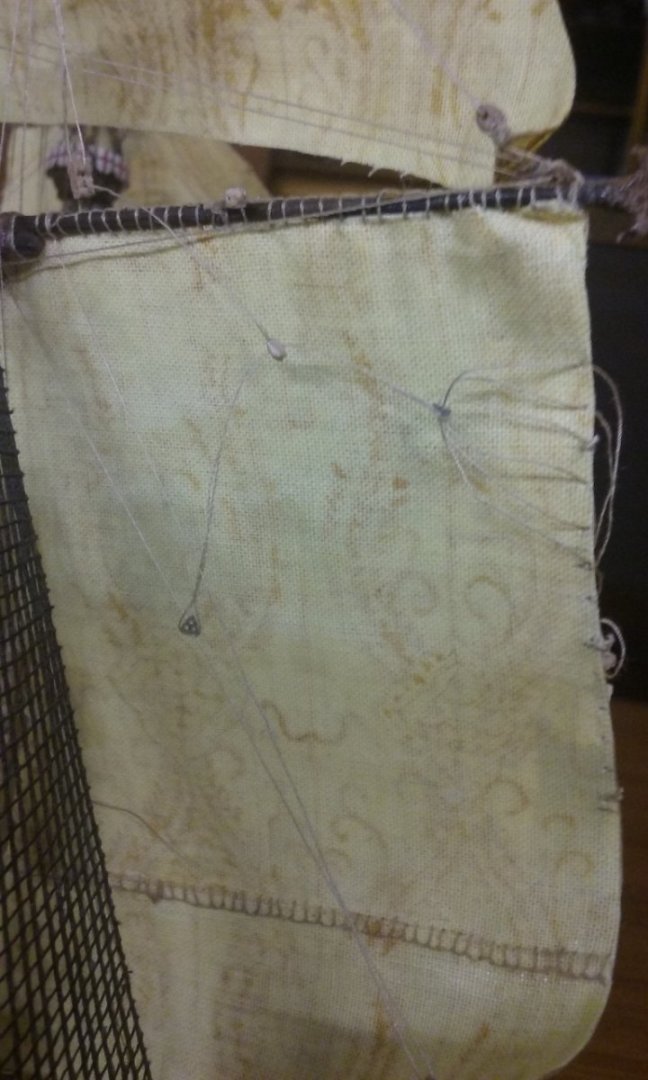
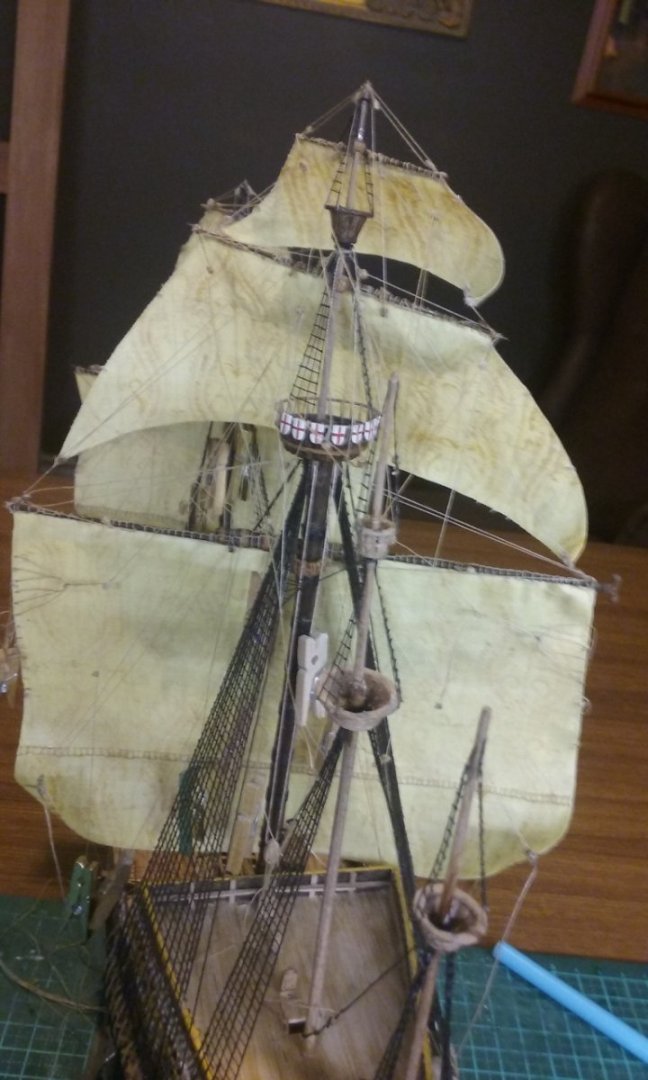
 And here they are, all done. Took about a day in all. I started with the smallest sails first, to get myself into the habit. And then the lower bonaventure sail; here it is with the pattern raced from the other side in pencil and partly painted. And here they all are, with the pattern painted on the correct side. Steven

- 740 replies
-
- 13
-

-

-
- Tudor
- restoration
- (and 4 more)
-
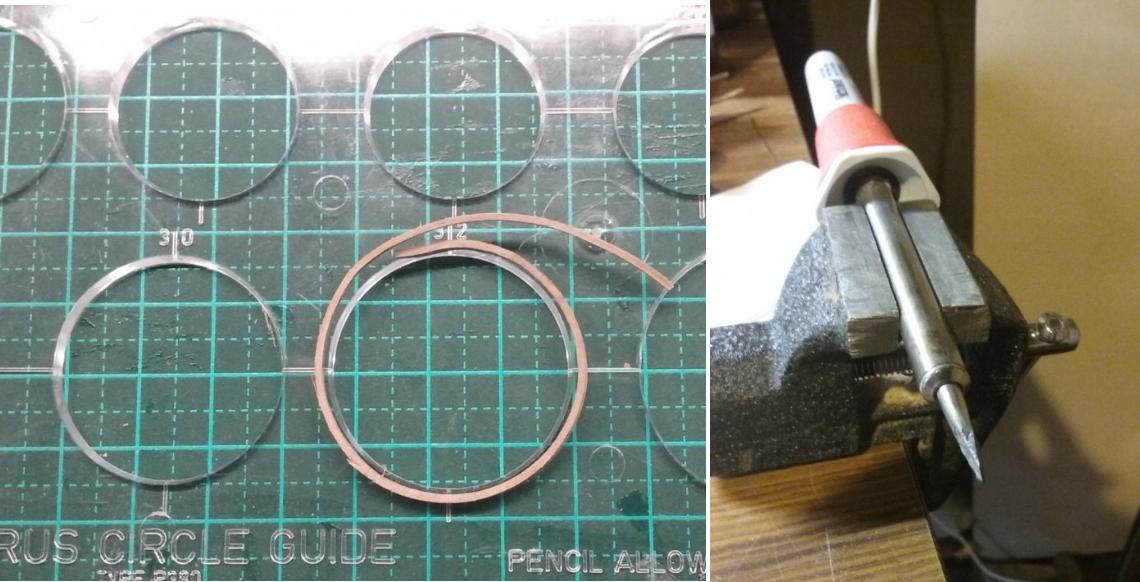
I second that. Wonderful man - I have fond memories of the Clarke and Dawe interviews, and of course "The Games" (not to forget Fred Dagg) Regarding design information, Brad Loewen has written a worthwhile number of papers on the design parameters of 15th and 16th century ships, particularly Basque ones (the Basques seem to have been at the cutting edge of ship design in this period). One appears at https://journals.lib.unb.ca/index.php/MCR/article/view/17791/22170 and you should be able to find other papers of his at academia.edu - otherwise I have them as PDFs and could email them to you. They relate particularly to the way of determining the change of frame shape between the master frame and the frames fore and aft of it, and thus the shape of the hull. I'd also like to refer you to my thread on archaeological finds of carracks at https://modelshipworld.com/topic/10190-archaeological-studies-on-carrack-wrecks/#comment-965239 Regarding tools, your friend's list does sound more like a carpenter's list than a ship modeller's one, but essentially he's pretty much on the money. I get by with a surprisingly small number of tools. Scalpel with No. 11 blades is one of my most useful, you can't have too many clamps, or too many types of them. A coping saw for cutting out frames - though I find I have great trouble cutting at right angles to the timber so I've finally invested in a scroll saw. Sandpaper of various grades, files (especially tiny ones). A drill (drill press for preference, but I've got by for years with a hand-held electric drill). And something to bend planks - in the real world they use steam, but from my own experience and advice from MSW members, it's not so much the water as the heat that does the work - apparently it softens the wood fibres and allows them to stretch. I use a cheap soldering iron held in a small vise and can get (if the wood is thin enough) a circle 32mm in diameter. You need to avail yourself of a baseboard to support the model as you work on it and to make sure everything is at right angles (particularly between your keel and your frames - otherwise your ship will come out all twisted). These jigs can be bought but you can make your own - there are several build logs on MSW that show home-made jigs (some people use Lego blocks to ensure everything is square). Kikatinalong's jig at https://modelshipworld.com/topic/21745-caracca-atlantica-by-kikatinalong-mamoli-scale-154/#comment-652159 is an example of the kind of thing - he made a very nice job of what was originally a pretty crappy (and very historically inaccurate) kit. Unfortunately he moved to another State and never finished the model. I hope that helps. Steven
-
Plastic or Wood models? Your Favorite?
Louie da fly replied to Bill97's topic in Modeling tools and Workshop Equipment
The big difference in my experience is that with a plastic model the hull is already shaped - you just have to glue the two halves together. With wood you have to build it up, making the hull shape by planking over the frames. There's quite a number of extra skills needed, but fortunately there are tutorials on MSW on how to do your planking - see There's also the shaping of masts, spars, making your shrouds and ratlines from thread rather than them being ready-made, quite a few other issues. It's a bigger game, but having made both plastic and wooden models, I find wood far more satisfying. Oh, and wood is far more forgiving if you make a mistake. Steven -
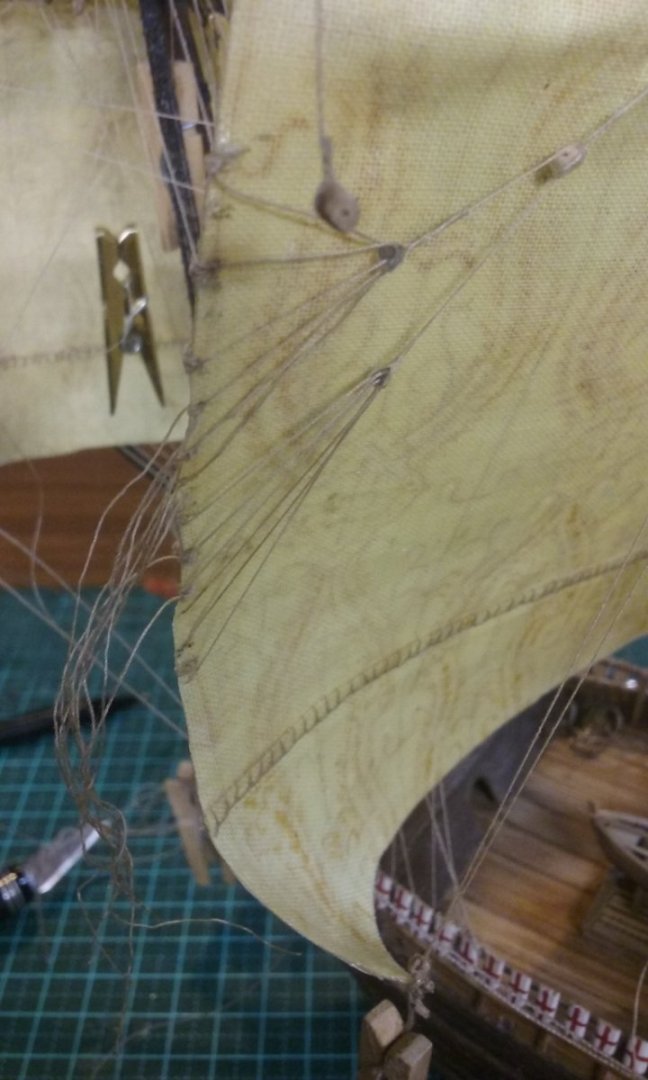
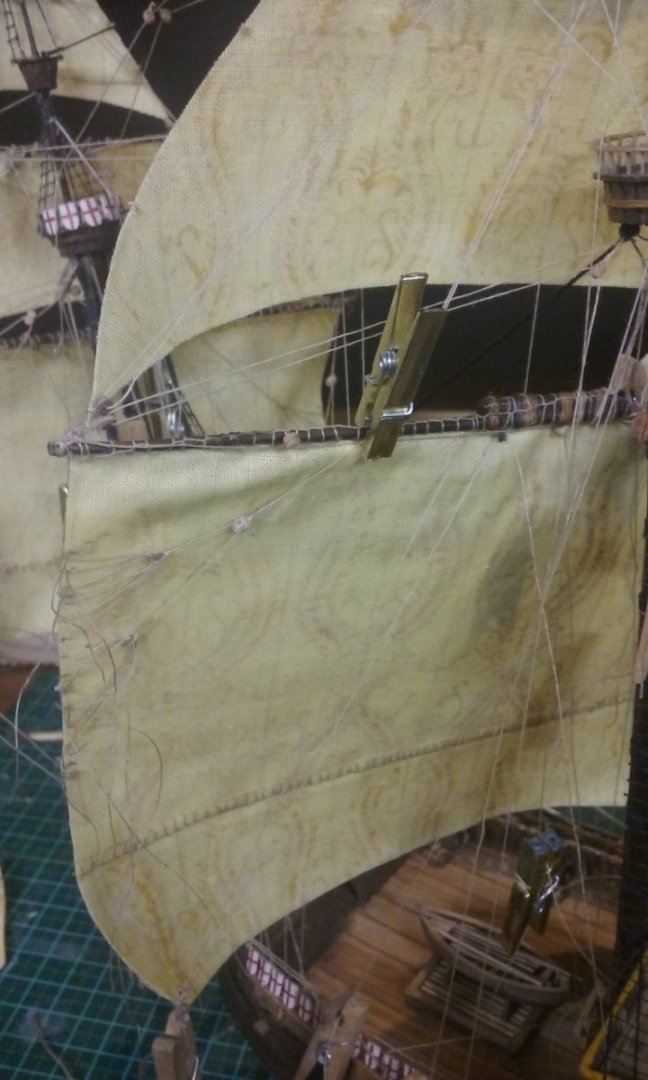
Too late for that, I'm afraid. I'm committed to having the ship seen from the starboard side - the sign on the stand is on that side, all the square sails are aligned to be seen from the right - I'm pretty much stuck. Well, I've figured out I can put each lateen up against the window and trace the patterns onto the other side of the sail, and then paint over the tracing. Not as much work as I'd feared. Steven
- 740 replies
-
- 6
-
-
- Tudor
- restoration
- (and 4 more)
-
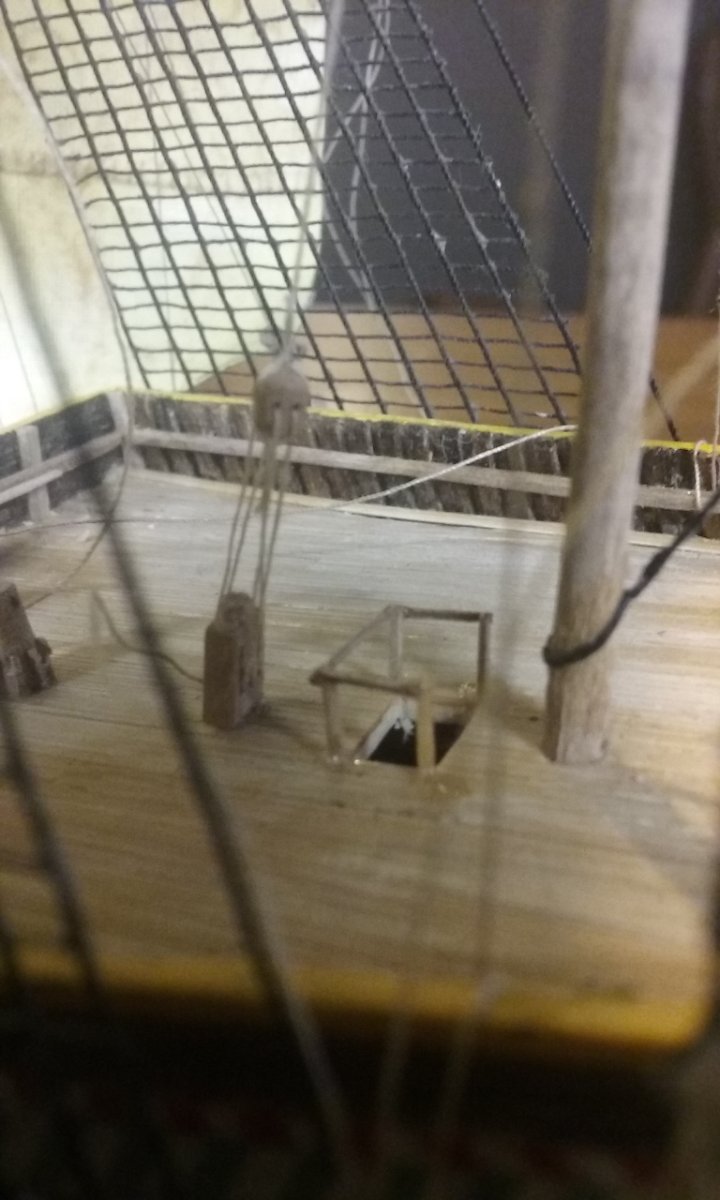
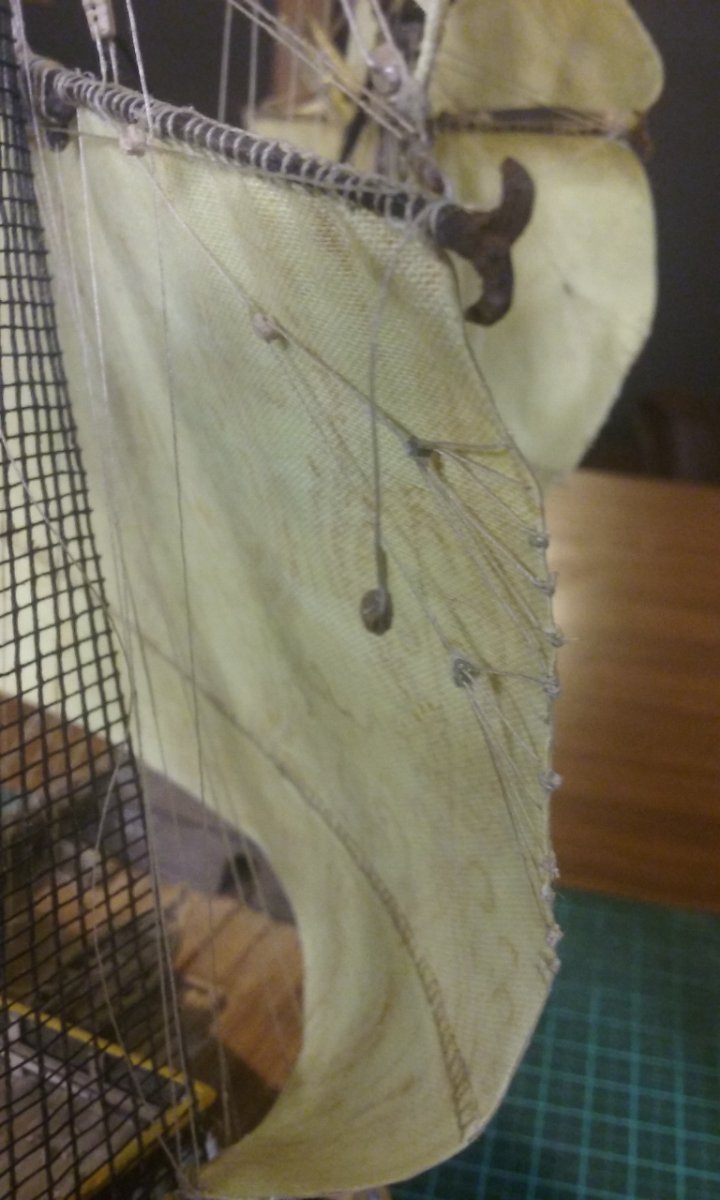
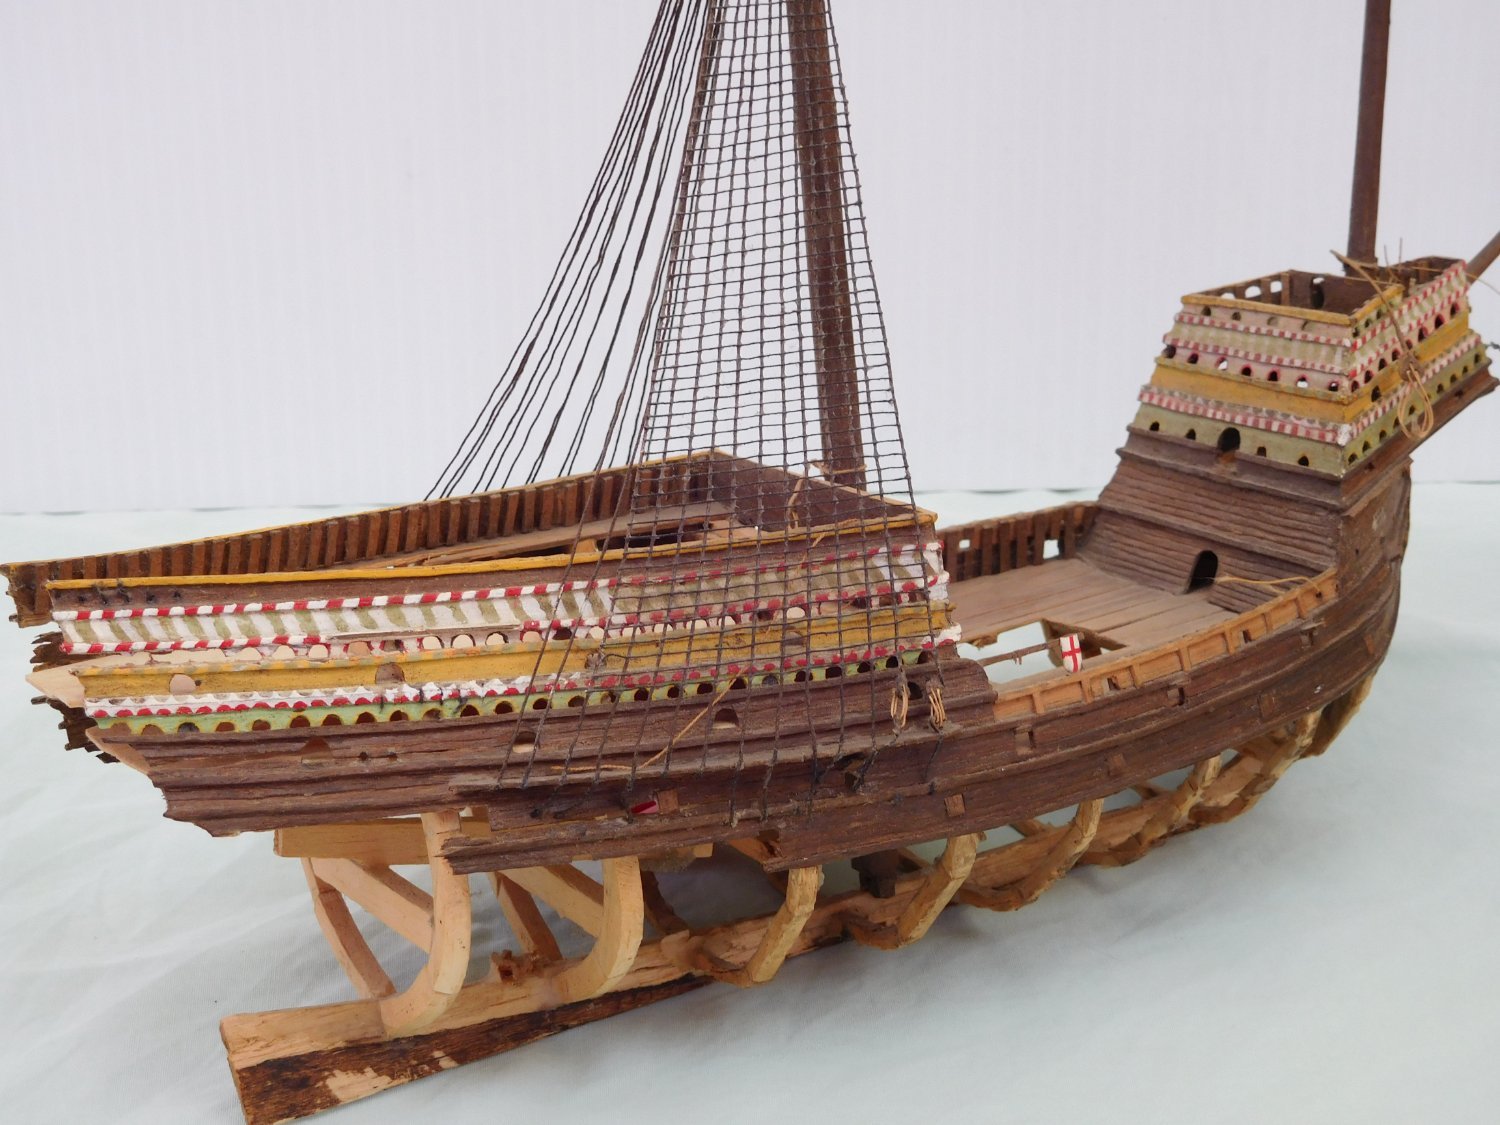
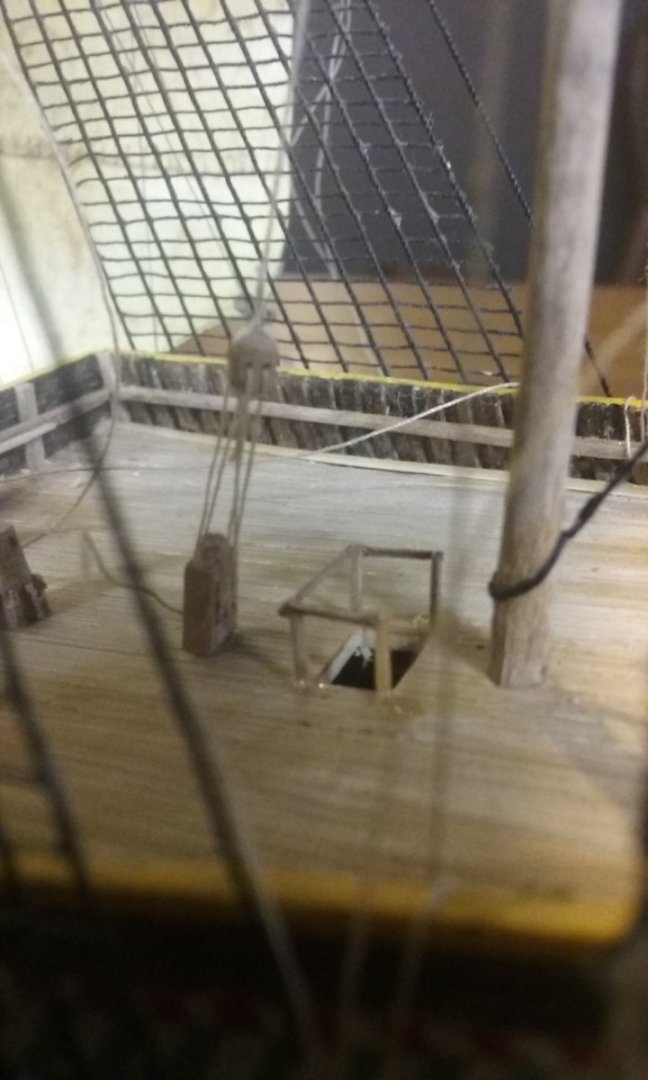
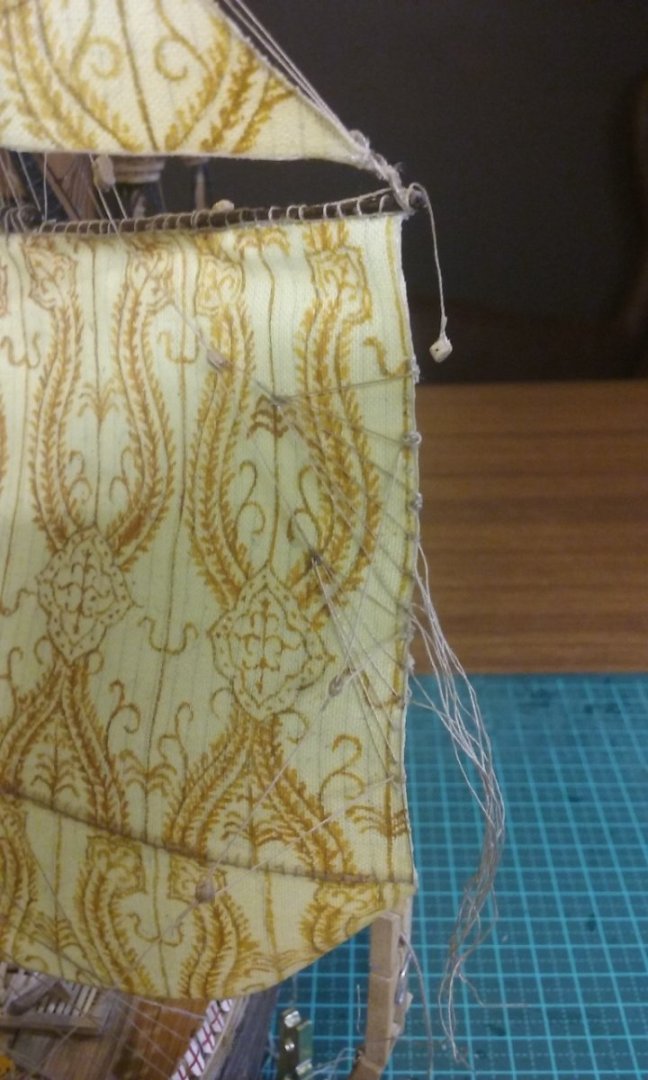
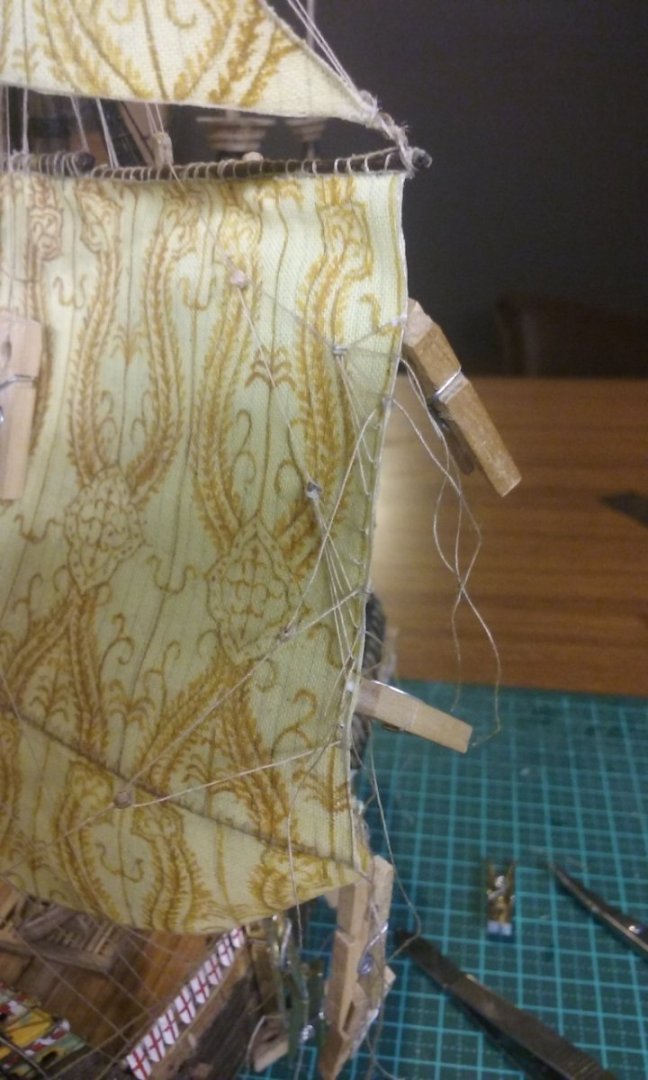
Well, I have to agree. This is how she was when I started the restoration. The lower starboard shrouds for the foremast did exist but were not on the ship, and the larboard main shrouds were only attached loosely, and without ratlines. Not to mention the lack of a lower hull, among other things. Latest progress: I've now fixed the railing above the companionway which I broke trying to insert the mizzen knight (also in the picture, along with its halyard). The railing looks a little crooked, but I'm pretty sure that's just the photo. And here's the bonaventure knight with halyard. Working on the "parrel truss" (really just made out of cotton). Starboard martnets complete; now both front and back of the sail are done on this side. The rear martnets for the larboard side, loosely fitted. And the martnets for the front of the sail, loosely fitted. Tightening up the rear martnets and gluing Loose ends trimmed off. And now it's time for the mizzen parrel truck to come into its own: All ready to put in place and hoist the sail. At which point I realise I've painted the lateen sail's "cloth of gold" decoration on the WRONG SIDE. It will be facing away from the viewer when the ship's on display. And that applies to ALL the lateens - five of them! Looks like I'll have to get the paints out again . . . Time for a cup of tea, a Bex* and a nice lie down . . . Steven * Aussie reference. It was a TV slogan for a headeache powder back in the day.


- 740 replies
-
- 13
-
-
-

-
- Tudor
- restoration
- (and 4 more)
-
G'day, Glen, from sunny Ballarat, and welcome to MSW. Where in Sydney do you hail from? (I lived there for many years). Make sure you start a build log for your model - it's a great way to get help and advice from the experienced members of MSW (and from others who've been up against the same problems you're bound yo face at some point as you make your merry way through the wonderful world that is ship modelling. If it's a kit, there are instructions at the top of the "Kits" section of the forum here - And have fun with it. That's what it's all about. Steven
-
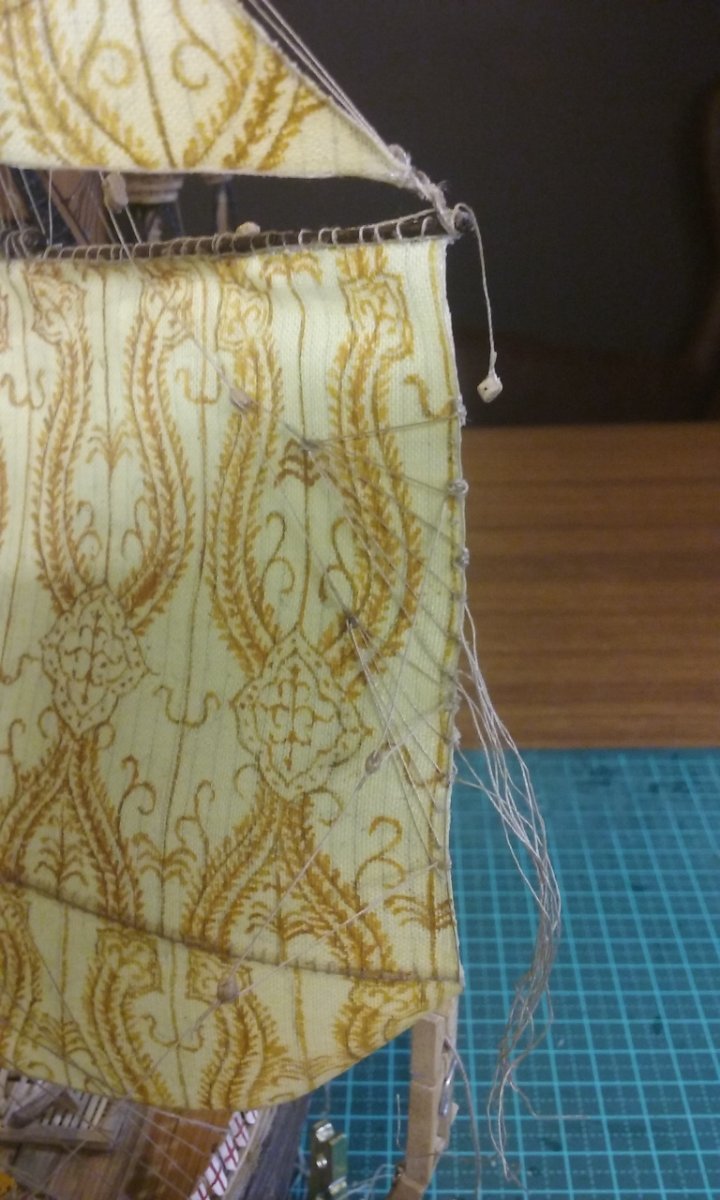
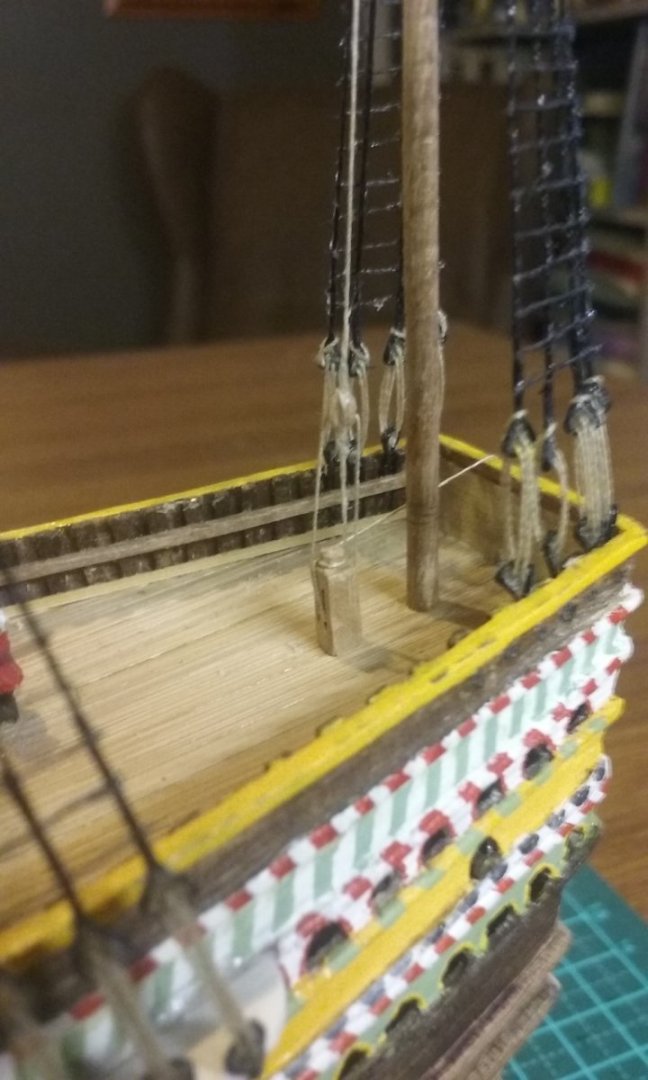
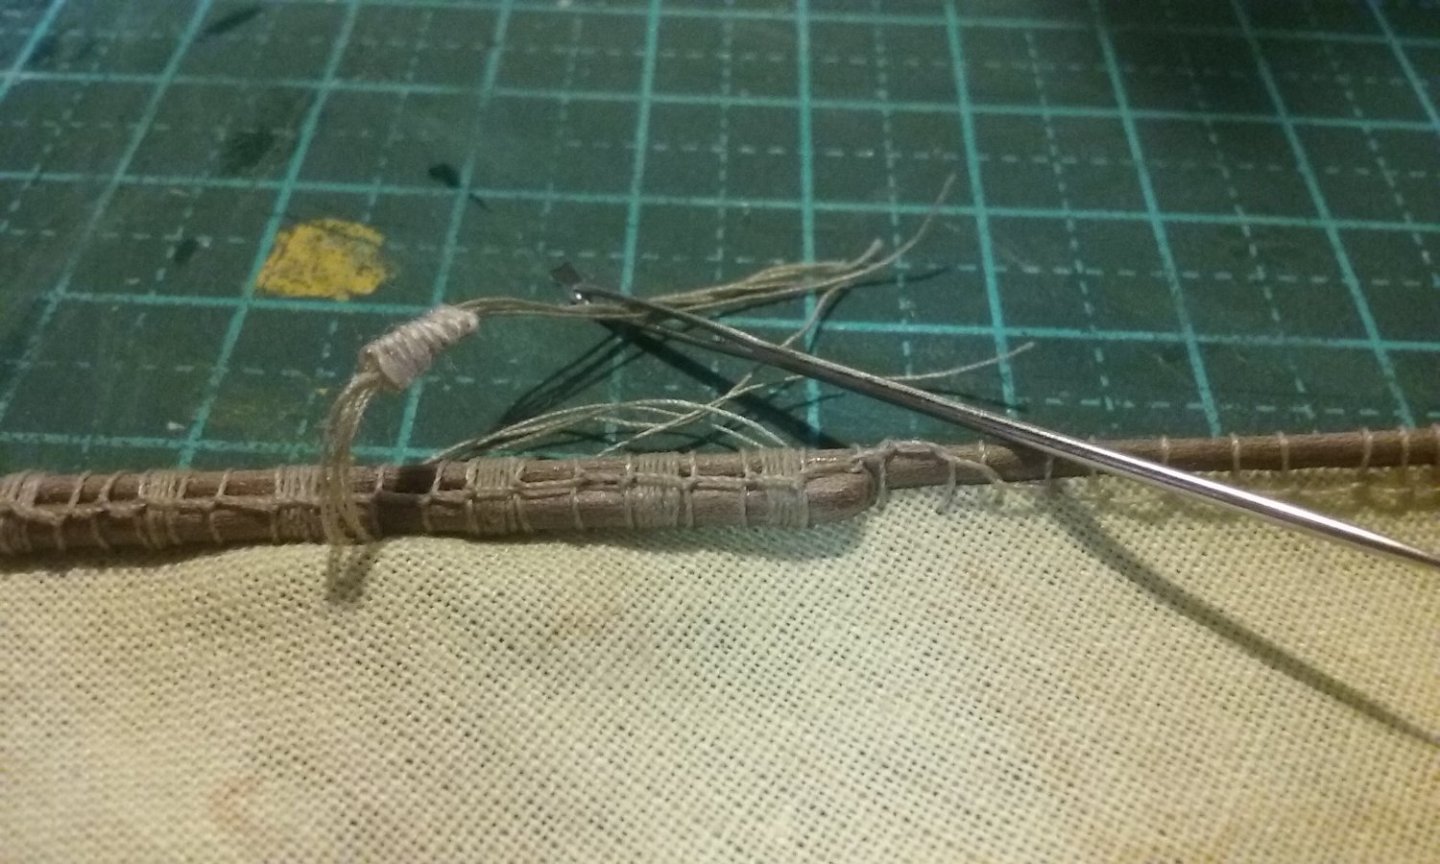
I wasn't satisfied with the larboard martnets so I started to try fixing them up. Bad mistake. I ended up stuffing them up and having to pull them off and re-do them completely. Sigh. You live and learn, and sometimes you just live without learning . . . Larboard martnets from in front. You can see the little dabs of white glue at the joins. All seemingly going well. Little did I know . . .* One thing, though. My bright idea of continuing the after martnets through the edge of the sail and using the same cotton to do the aft and fore martnets (I thought it would save work) was a bad idea. It just made everything more complicated and harder to adjust. So I've gone back to basics and just doing the after martnets as one set, and then I'll do the fore ones separately. Once the martnets are all done, I'll be free to do the braces. In the meantime I've added the halyards and tyes to the mizzen and bonaventure mizzen masts. I had to fake it - there's no way I could drill a hole through those masts for a sheave, even a fake one, without breaking the masts - they're far too thin. So I looped the cotton around the mast and glued it in place where the sheave would otherwise have been. Yes, it's not correct, but only I will know (and you of course). Here you can see the knights and blocks for the halyards, each in front of its appropriate mast. Unfortunately in fitting the mizzen knight I broke the railing for the stairs down from the upper deck. So now I have to fix that! And here she is in a longer view. Starting to look pretty good. Steven * Or as Neddy Seagoon said in "Tales of Old Dartmoor" "Little do they know of the little that I know of the little that they know. If I knew a little of the little that they know, I'd know a little. I'll have to keep my little ears open, you know!"


- 740 replies
-
- 16
-
-
- Tudor
- restoration
- (and 4 more)
-
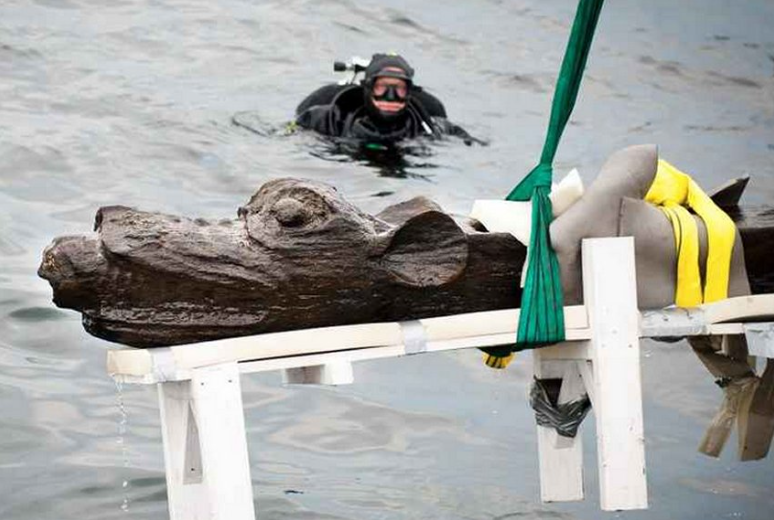
Vasco da Gama - first round the Cape of Good hope to India in 1497-1499. So yes, these spices came the traditional way - over land and through several middle men. Gribshunden was a royal carrack, as far as they've been able to make out. She was the king's flagship. But nomenclature varies - as far as I'm aware, what we call a carrack was referred to in Scandinavia as a Kravell (from caravel). Here's her dragon (griffin-hound, actually) figurehead being retrieved from the Baltic: Steven
-
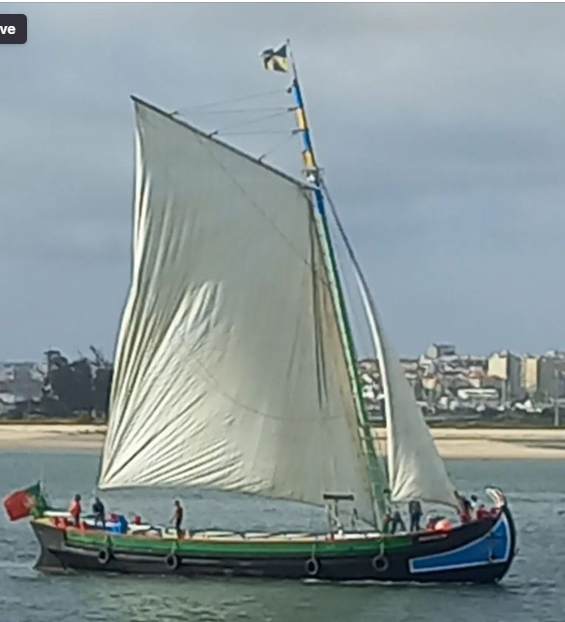
Craig, Woodrat and I had a discussion on these and he convinced me that despite a learned article discussing these "through-hull" side rudders, they really aren't a feasible possibility, but more likely to be artist error. That they may be sweeps is an interesting idea, but given their position, I'm pretty sure they're rudders. Dick, I checked with the guy who put the post up, and yes, the vessel is Portuguese. But I did a google image search for "Portuguese fishing boats" and it looks like it's not typical. Steven PS: Craig, where in Melbourne are you? Nice to have another Victorian resident here on the forum.
-
Despite my having found this photo on a site relating to Maltese vessels, this is flying what looks like a Portuguese flag. But that bow looks very like the one I propose for my San Marco ship. Steven
-
There's quite a bit of info in the post of 27 Jan 2014 of his build log, but you should probably PM him direct. Steven
-
That's a very interesting idea, Dick. I take it there's a fair bit of overlap between the stern module and the hull so the load at the joint isn't just on the sewing. Otherwise the stern section would be likely to flap around as the ship flexed in the sea. Am I correct in thinking that those stringers between the planks are both for longitudinal strength and for caulking? Steven
-
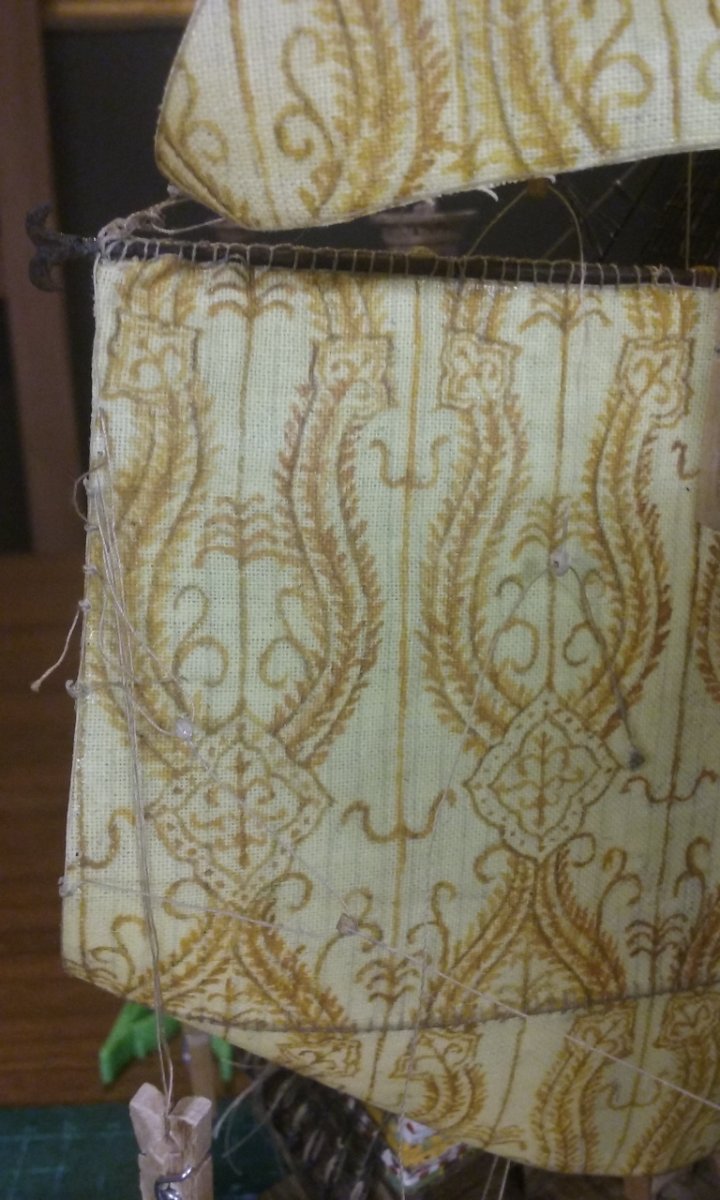
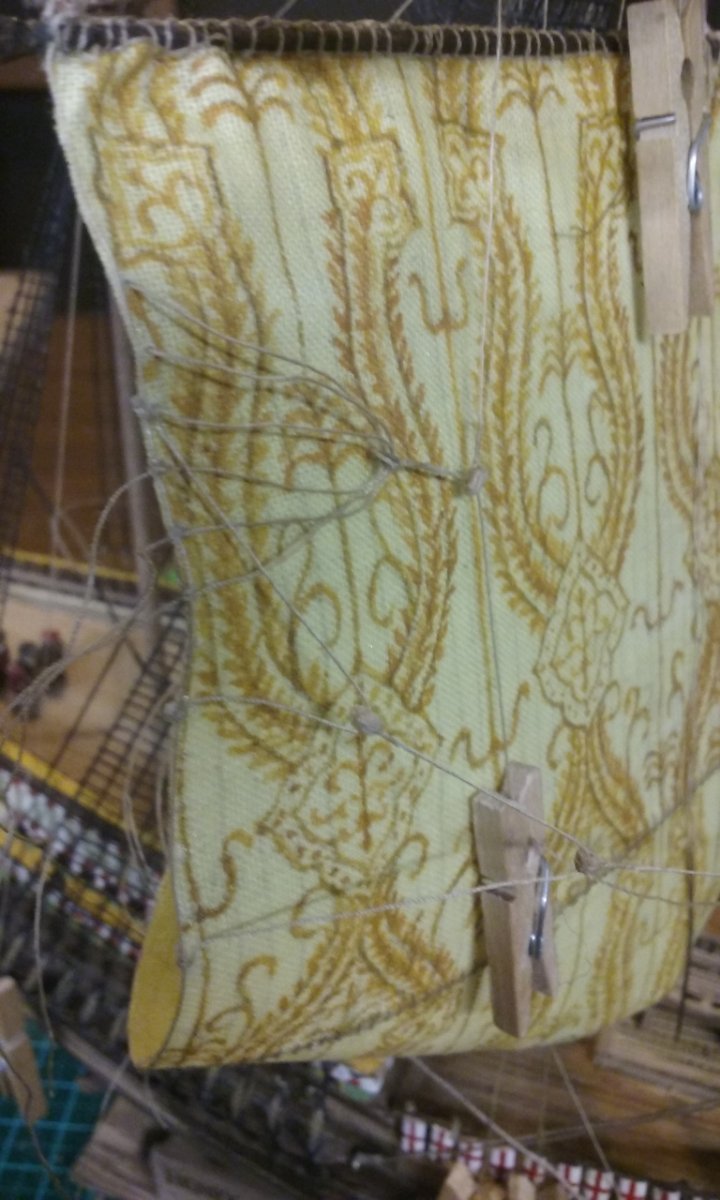
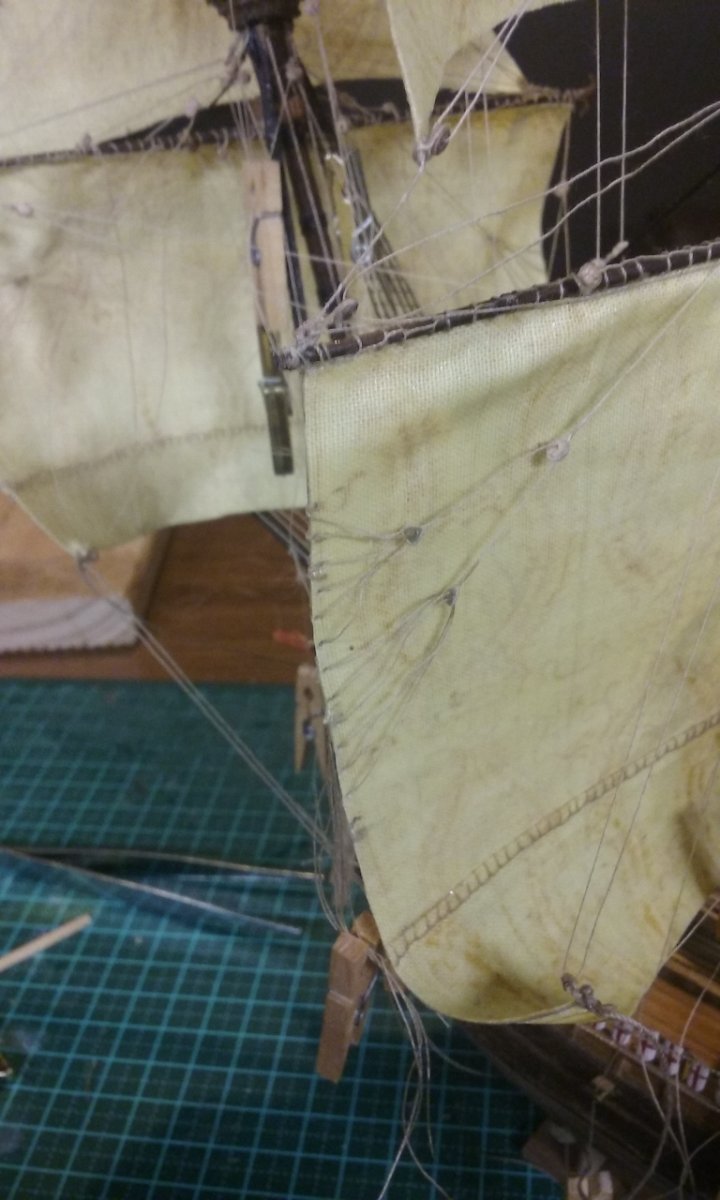
Unfortunately, you're right. Dunno what I was thinking. Anyhow, more on the main martnets. I'm getting up to the make-break point of getting these to look right. There are so many variables - three blocks interacting each side of the sail, all of which have to have their tackle exactly right, plus the martnets themselves have to be the right length - all of them - or some will be loose and some will be tight. Ideally, the martnets (and perhaps some of the other ropes in this assembly) should have a nice smooth catenary curve under the influence of gravity, but the cotton thread has too much "bounce" to be able to do that, so instead I have to make them all taut. So, here we go. All the martnets are now in place, and just (just???) need to be adjusted so they look right. Starboard martnets - front of sail Port martnets - front of sail Port martnets - rear of sail I've worked out that, against my inclinations, I'll have to glue the ropes coming down from the sister block (or fiddle block - same thing) to the yard, to hold everything in place so I can get it all looking right. It won't be obvious, and I've come to the conclusion that it's the only way to make it happen. The shiny gold peg in the picture above is holding the rope in place as the glue dries. And I've pulled the sheets of the topsail tight and led them down to the bitts before the mainmast. This photo shows it before gluing in place. The loose ends will be cut off when the glue's dry. And listening to Scott Joplin's only surviving opera - Treemonisha - Steven


- 740 replies
-
- 10
-
-
- Tudor
- restoration
- (and 4 more)
-
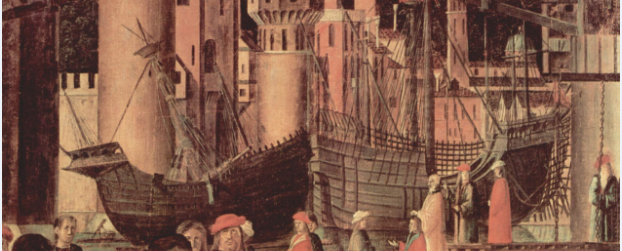
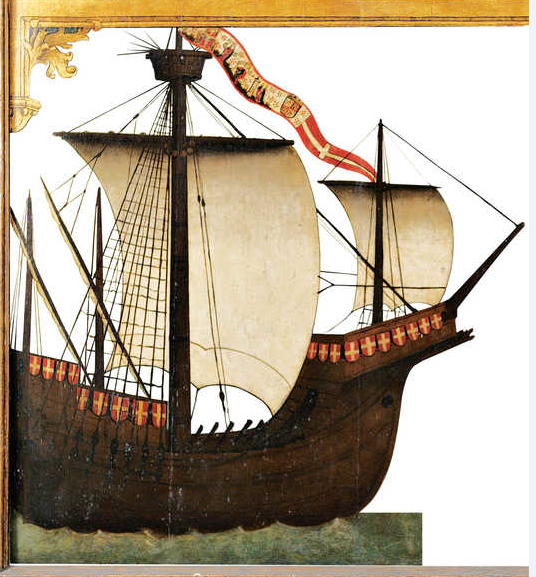
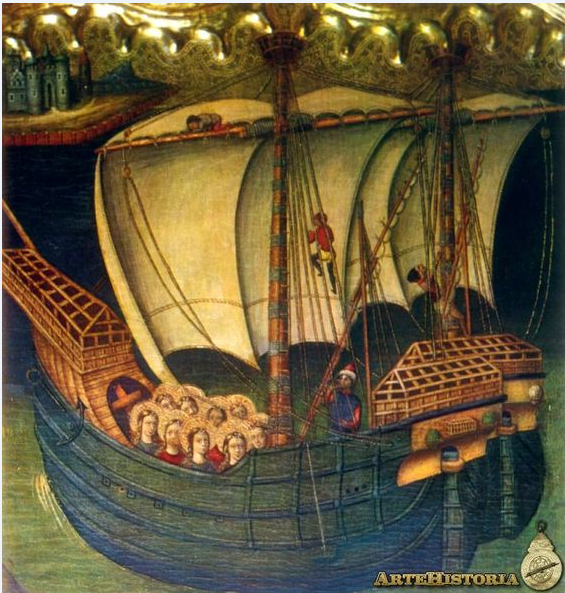
I personally feel the artist is still too much in the 18th-19th century mindset - somehow the proportions seem wrong. The same problem applies to the early (and to some degree the current) theoretical reconstructions of the Newport ship. Just somehow look wrong. For a better look, check out Carpaccio's carracks Or better yet, as your ship is Spanish, these ones from the votive table of the parish of San Pedro de Zumaia in Spain https://zumaia.eus/es/noticias/la-tabla-botiva-de-la-parroquia-de-san-pedro-se-muestra-en-la-exposicion-sobre-elcano probably celebrating the victory of ships led by Juan Martínez de Mendaro, in 1475 in the Strait of Gibraltar, against the Portuguese and Genoese armies."The ship on the left bears the arms of Portugal, and the one on the right those of Castile." and here's a somewhat better detailed version (for some reason it's been mirror imaged - it's actually the ship on the right in the picture above) There's also the retable of St Ursula by Joan Riexach of Catalonia (now part of Spain, but then a separate kingdom) of 1468 Regarding the forecastle sheer, I believe many painters exaggerated it - I wouldn't make it any more than on the Mataro model. 'Blush' Steven

-
Yes, white glue. I haven't yet found out how well it works when cutting through it - does it hold the paper onto the wood securely as the saw goes through? I dunno. Steven
-
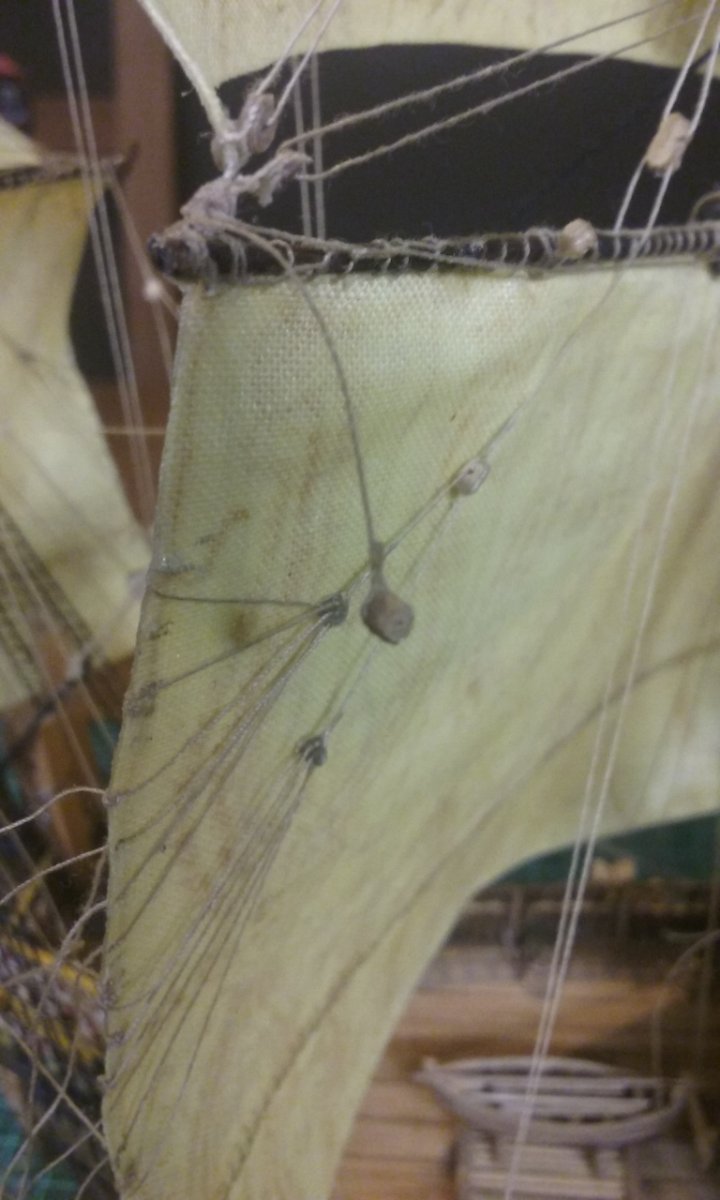
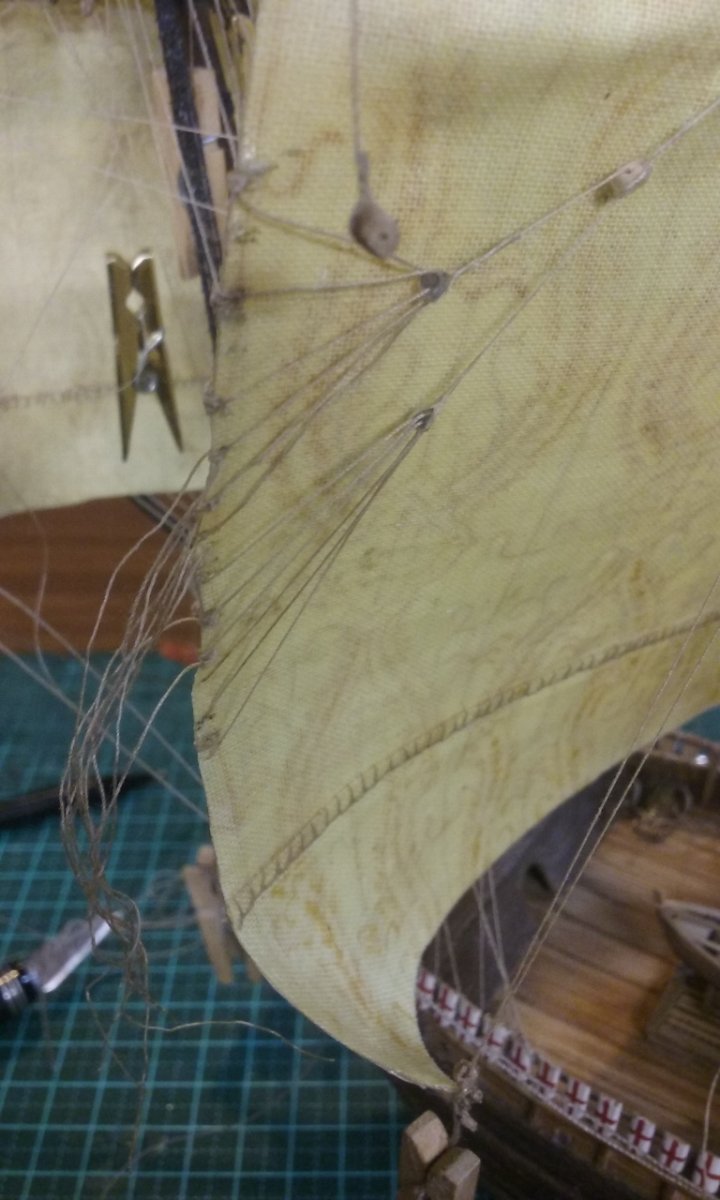
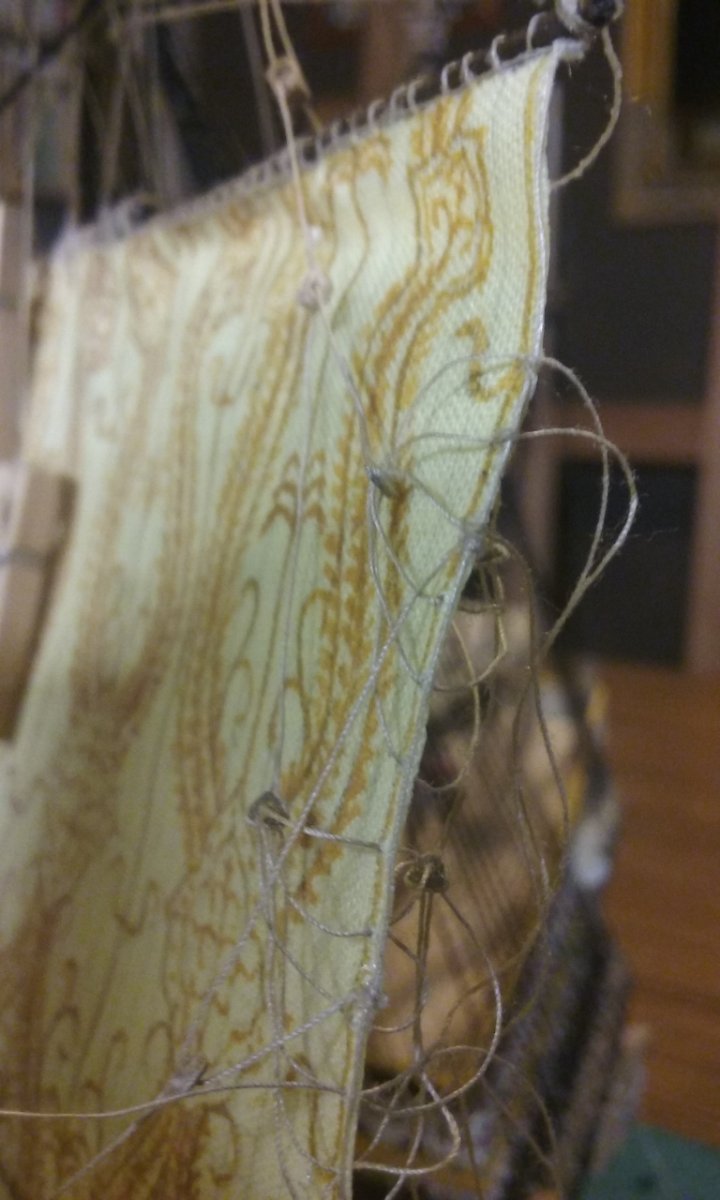
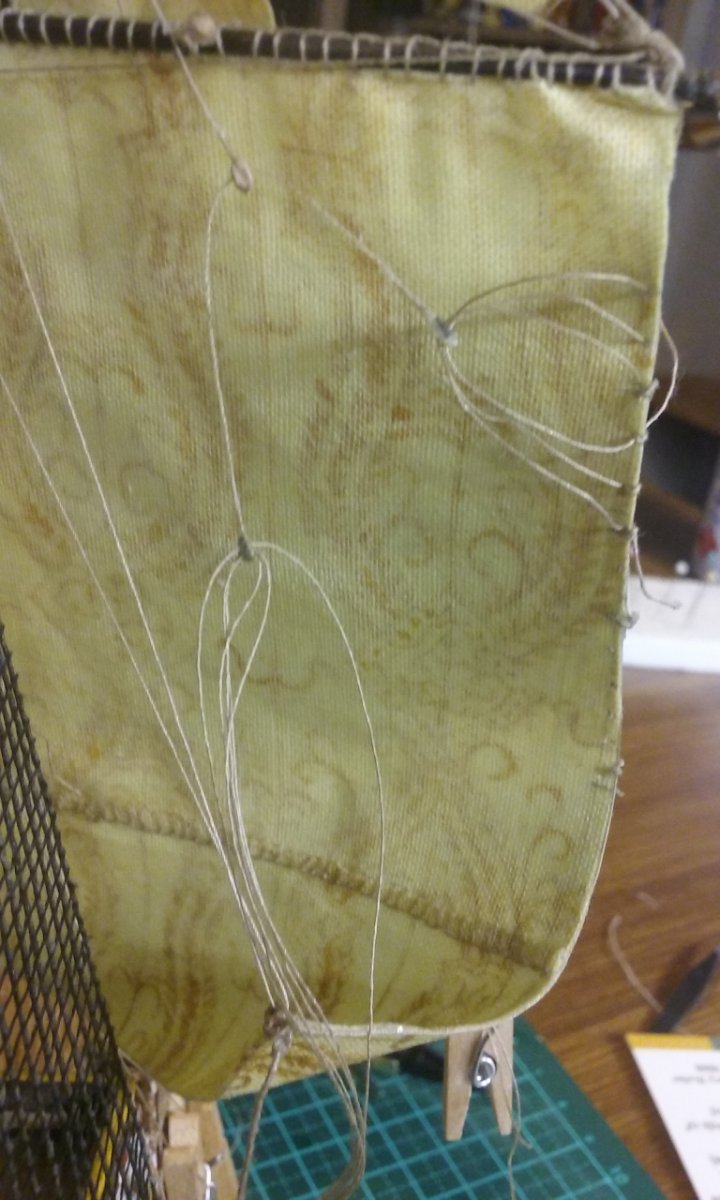
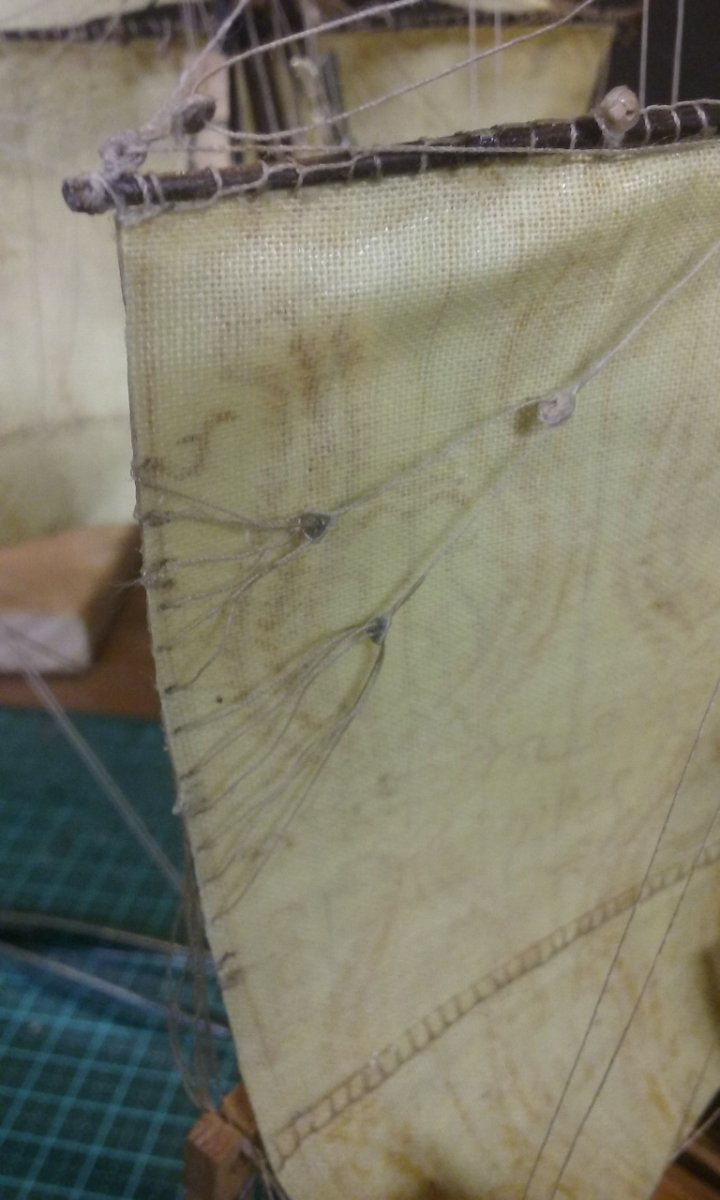
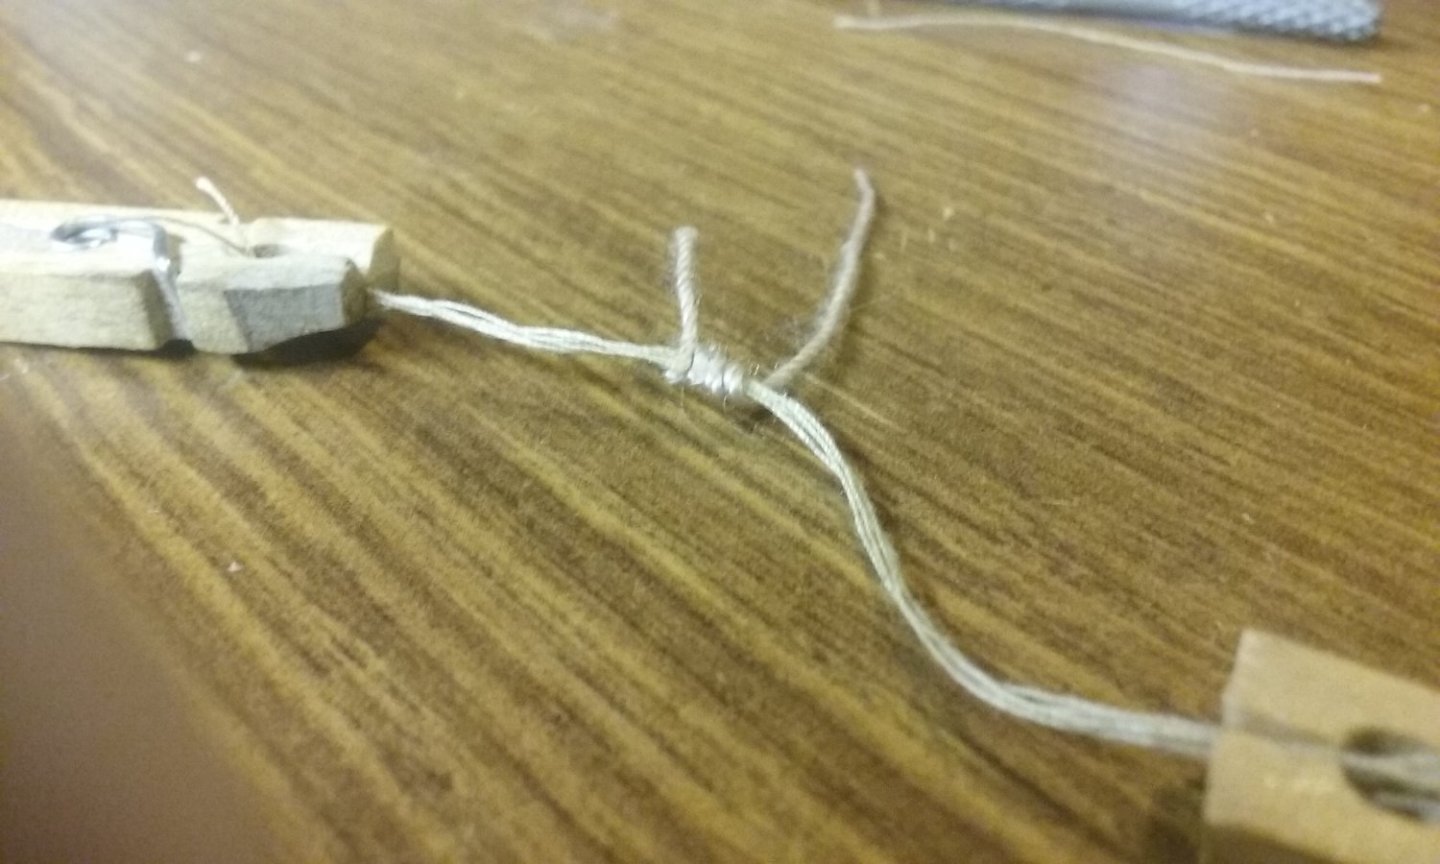
More work on the martnets. As there are two sets of them, I've now started on the lower set. Six ropes to a martnet - actually three both sides of a deadeye, and the two deadeyes joined by a rope that passes through a block. As you can see . . . The rope holding the block passes through the sister block, and down to do the same job on the front of the sail. Not a terribly good photo, but if you look hard you can see the block at the end of a rope passing over the yard - and another rope passing through the block, with a deadeye on each end. Getting the lengths of these ropes was a particular problem - too long or too short and the proportions would be all wrong. Starboard side. Again, difficult to see, but the rope with the block on the end passes over the yard and down at the right of the photo, with the rope with the deadeyes passing through it. On the left are the other ends of the martnet behind the sail with a small peg holding them together. The picture is further confused by the presence of the starboard bowline tackle, stating at the edge of the sail and passing to the right. Front side of the upper starboard martnet, with the bowline passing in front of it. Rear larboard martnets - both of them. Intentionally left loose until I have everything sorted out. And a closer view SO many ropes! Steven PS: And what I'm listening to? Bruch's violin concerto No. 1 And for a touch of the sublime, Kol Nidrei No, I can't work on the model while I listen to this. It would be wrong.


- 740 replies
-
- 9
-
-
-
- Tudor
- restoration
- (and 4 more)
-
G'day, Alex, from sunny Ballarat, and welcome to the wonderful world of ship modelling. Where in Sydney do you live? (I lived there for quite a few years). Steven
-
Thanks everybody for the likes. Druxey, of course these martnets are currently left loose until I get everything worked out. I discovered on the forecourse that they shouldn't be tightened until everything else is finalised, otherwise they go slack and look bad. In fact once everything else is done, I'm going to revisit the forecourse martnets and see if I can't improve them. Chief Mark, thanks for the comment. Alvb - it's 170mm wide x 115mm high (including the bonnet) - that's 6.7 x 4.5 inches for our American cousins. Steven
- 740 replies
-
- 5
-
-
- Tudor
- restoration
- (and 4 more)
-
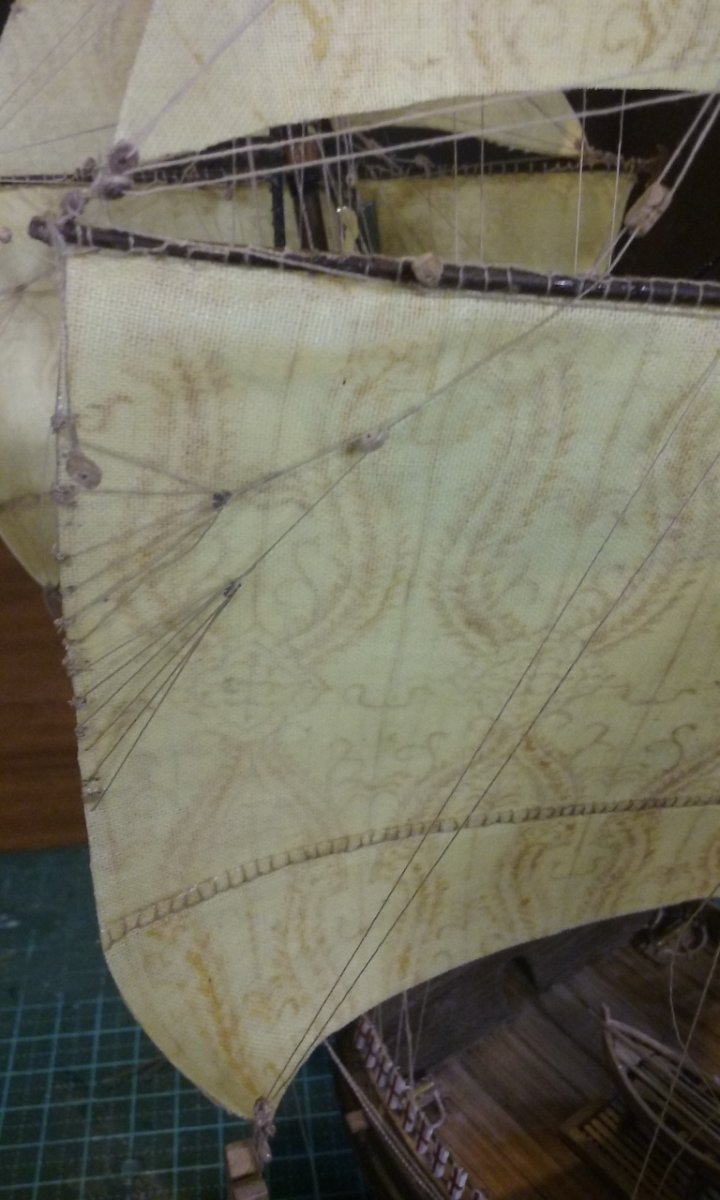
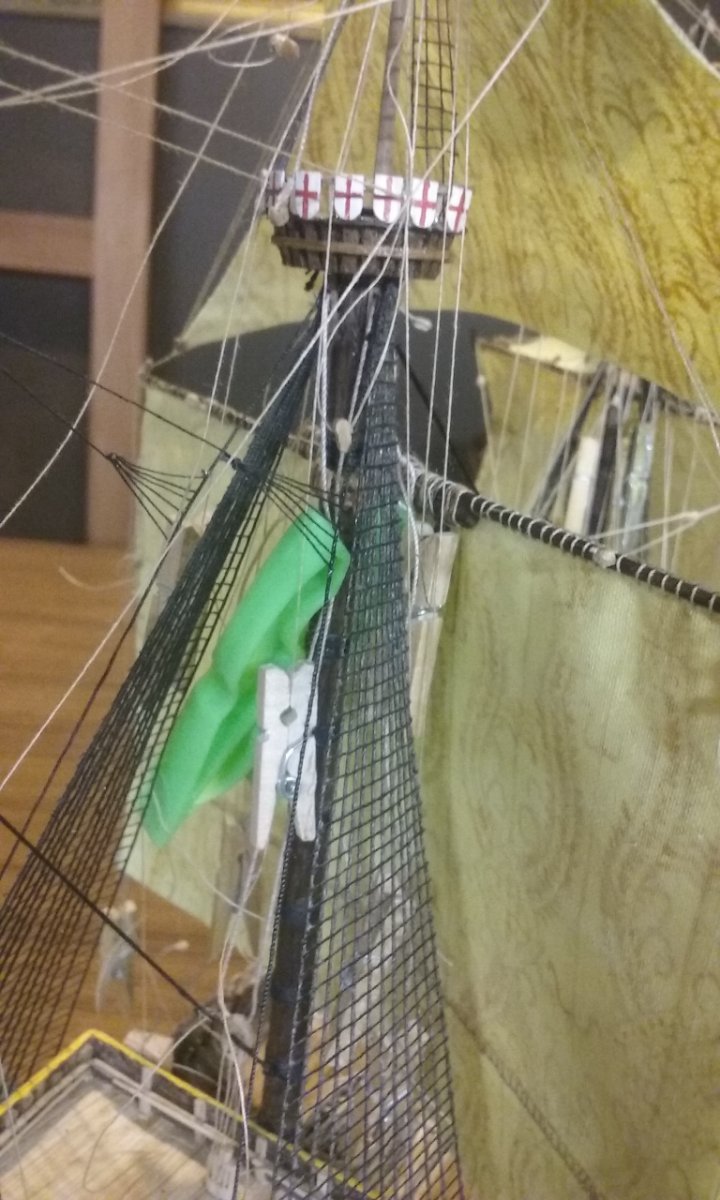
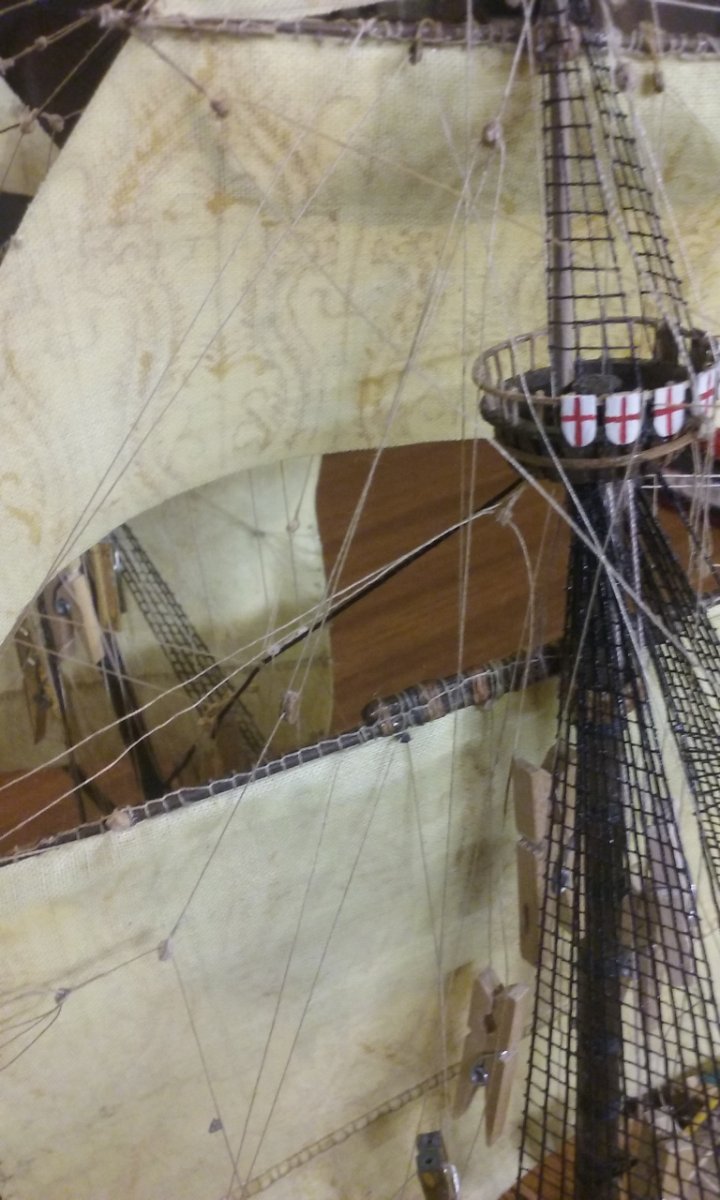
Yes, very fond of Telemann. And of course Vivaldi . . . and then there's Bach . . . not quite so light . . . Thanks everybody for the likes and the comments. More progress today. After a lot of preparatory work, I've finally got the main course in place. As it's an early period ship, the mainyard is quite a distance below the top. I held the yard in place temporarily with a big green peg and sewed it loosely to the existing parrel truss (rescued from the original build). Tyes (the thicker thread) loosely tied (sorry!) until I got everything else lined up. Overall view. Tyes finalised and glued in position. The sister block on the left is for the mainsail martnet tackle (there's another one on the other side if you look carefully). Martnets, sheets and lifts (sorry about the bad definition - it was the best I could get). Lifts and clewlines, plus martnet tackles partly done Martnet tackles; larboard: The martnets go through a deadeye on a pendant that goes through a block, which in turn is itself on a pendant that goes through the aforementioned sister block. As there are going to be two sets of martnets for each side of the sail, another deadeye will be at the other end from the first - you can see it just glued to the pendant on one side. and starboard - you can see the second deadeye almost fully glued in place. More in due course (sorry!) It's been a long journey, and it's very good to see it all coming together at last. Steven


- 740 replies
-
- 12
-
-
-
- Tudor
- restoration
- (and 4 more)
-
All the pieces for the keel and the curved parts of the framing are now laid out ready for cutting out with my new scroll saw. Wish me luck! Steven
- 507 replies
-
- 10
-
-
While I'm waiting for glue to dry, or planning my next step, I make blocks . . . I find it quite restful. And though all the flags are complete, I still have to make the pennants. Here's the first one. Main martnets. This time I'm doing double martnets, instead f the single ones I did on the foresail. It's going to be very difficult getting everything to line up. Steven


- 740 replies
-
- 12
-
-
-
- Tudor
- restoration
- (and 4 more)
-
These are the halyards for the lateen topsail and topgallant - Anderson couldn't find any information at all on how they were arranged, where they were belayed etc. If he couldn't find anything, I doubt I'd be able to. So I'll just have to make it up as I go along , (using educated guesswork, and based on what happens on the other halyards) Steven
- 740 replies
-
- 7
-
-
- Tudor
- restoration
- (and 4 more)