


russ
-
Posts
3,086 -
Joined
-
Last visited
Content Type
Profiles
Forums
Gallery
Events
Posts posted by russ
-
-
David:
Thanks for the suggestion. I have no problem cutting the brass strips. I have a handy pair of scissors that can cut just about anything and they do so without rough edges or distortion. I just need to pay more attention to what I am doing. I designed them at 3/64" wide and I lost track of that number as I was having too much fun drilling holes in the chainplates and soldering pins in them.

Elia:
Thanks. I am much happier with these.
Thanks for the all the likes as well. I apologize for this bit of tedium.
Russ
-
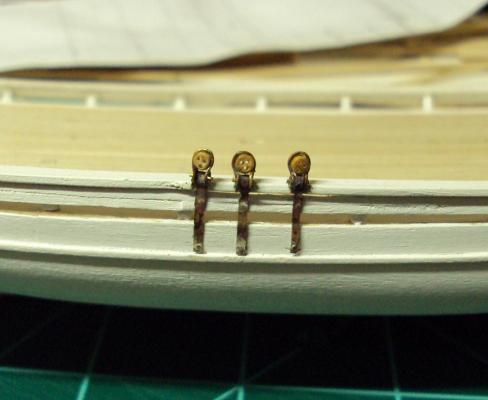
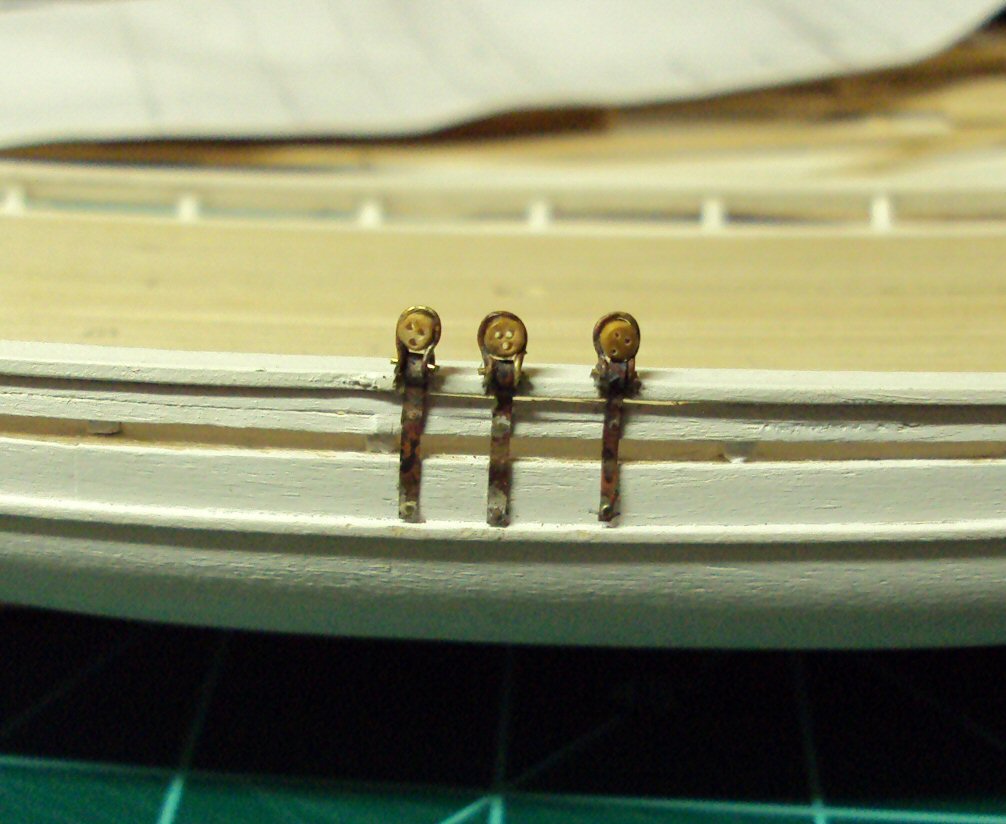
Here is a second pass at the main deadeyes and chainplates. The chainplates are much better in that they are nearly right on the design width, about 3/64". The height of the deadeyes above the rail is good and they are just about equal in height. I think once the cap is in place and everything is painted, this approach will work. The key for me is to keep the chainplate width as close as possible to 3/64".
Russ
-
Carl:
Thanks for looking in and your kind words. I have been remaking the chainplates this afternoon and I will post photos of them later. I think narrower chainplates are what was needed. The wider chainplates made the assemblies look rather bulky.
Russ
-
-
That looks great. The cherry stain works well against the lighter colored bulwarks. Very good work.
Russ
-
-
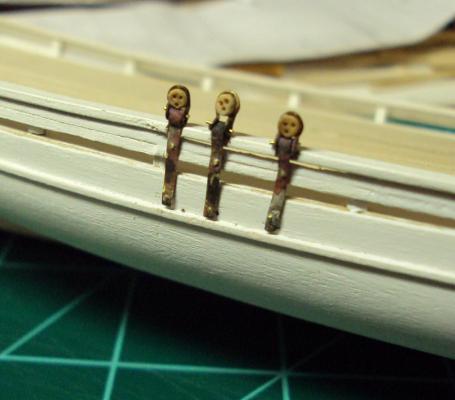
The main deadeyes and chainplates have been fabricated. I still need to make the cap over the edge of the railing. I am not sure if I will stick with these assemblies or give it another try. I am concerned about the inconsistent height of the deadeyes. Once the assemblies are painted, they will look okay, but....
Late tonight I decided to make a few more deadeyes and broke two consecutive pieces while making them. That told me to walk away and try again tomorrow.
Russ
-
-
-
-
-
-
Frank:
I use a clear plastic ship's curve to draw the plank shapes when I spile.
So far it looks good. I would run that entire upper strake of planks before overlapping with the second strake planks. It will probably make it easier to keep the lines of the planking running smoothly. Also, run a plank on one side, and then its opposite number to the other side. Avoid running too many planks on one side. That could result in some distortion of the hull from one side to the other. It is something best avoided by planking the hull evenly from side to side.
Russ
-
-
-
Bob:
Thanks. I have been building skiffs like this for several years and they are always fun to work on.
Russ
-
-
You are doing a very neat job of planking. You may end up liking the color contrast on the lower hull.
Russ
-
-
From what I can see, it look pretty good. Each person will have different views of how to run the planking, so that is really not an issue. Yours look good.
Russ
-
Eyup:
Thanks for the kind words. It is always appreciated. I hope I can live up to the expectations.
Russ
-
Thanks for the kind words. I always enjoy building large scale models of small boats.
I used Elmer's yellow carpenter's glue, but any similar glue such as Titebond etc will work. Keep a moist cloth handing to wipe away excess glue. That will keep the wood clean for when you paint or finish.
Russ
-
Ken:
Excellent work. The guns and their rigging look great.
Russ
-


Purpose of three ropes on the side of the 1/96 Revell Connie's hull. - moved by moderator
in Masting, rigging and sails
Posted
Those are for the sheet and tack lines for the lower sails. They have you tie them off inside early on because the belaying point (where they tie off) is not accessible aft the upper deck goes on. They are tied around the hull to keep them out of the way until you begin rigging.
Russ