


captain71
-
Posts
53 -
Joined
-
Last visited
Content Type
Profiles
Forums
Gallery
Events
Posts posted by captain71
-
-
Thanks Waitoa. Very helpful. Since I have a frame around each metal gunport anyway, I might just go with wood as well. I"ll do some experimenting. The plans and parts are so screwed up, it's kinda of a free for all anyway. Going down to San Diego. While I'm there I'm going to take a look at ship they used for the movie. The HMS Rose replica. Just for fun mostly but I think It will help me get some perspective on how it should look.
-
Looks really good. Your a brave guy, Waitoa. I'm inspired. I'm always scared to move forward. First off. Damn! Makin those gun port boxes must have been tedious.
How far did you set them back from the surface of the first planking? How bout a close up. And finally what size and wood did you use for the finish planks? they look wider than the ones I thought
we use. I have all my gun ports framed in and first planking on but haven't set them in place yet. I'll be adding pics to my log soon. Great job!
-
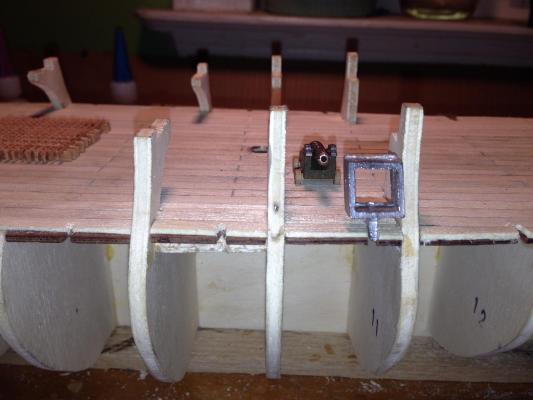
.thumb.JPG.7f9d76bbee63db51ae0634fbfae6037b.JPG) Framing in my gunports. now. Decided to go ahead with the metal. Filed off the frag seems to be fitting ok. Just sitting loose for now.
Framing in my gunports. now. Decided to go ahead with the metal. Filed off the frag seems to be fitting ok. Just sitting loose for now.
- FrankWouts, Jasseji, zappto and 1 other
-
 4
4
-
I usually deal with ships around or at 1/200th.
I make my own figures out of plastic styrine.
These figures include muskets (for fighting top Marines and gun deck Marines) sailors and marines climbing the ratlines, sailors in the crow-nest with telescopes or hand over mouth shouting down to the main deck and pointing, bearded, mustached, and clean shaven figures, gun crews with powder bucket, lighting the fuses, loading the cannon balls, and swabbing out the barrels, crewmen swabbing the decks,. also have made ship musicians consisting of a guitar and/or banjo player, harmonica player, squeeze-box player,fiddler, fifer, vocalists, sailors dancing the jig, and drummers ( marines pounding "General Quarters". Sailors and officers covered and uncovered in various poses to include laying on their racks or hammocks in the interior of the ship in various modes of dress and undress, oar rowers, coxswains, carpenters, sail makers, ship cooks, captains and other officers, sailors on the masts rigging in or letting out sails, bos'n's, master of arms, armed sailors and Marines in various poses (such as side guards, inspections, hand and saber salutes, reading of orders,deck battles and /or battle training)
I make the sailors and marines weapons from muskets, flintlock pistols, blunderbusses, pikes, sabers, cutlasses, swords, daggers, belaying pins, etc.
I have made the cannons, swivel guns, cannon chassis's, powder buckets, anchors, ratlines, fighting tops, crows nests,masts, yards, block and tackle, thread rigging, ship wheels, rudder control steering, compasses, capstans, heads, ( which makles me wonder why the poop deck is on the stern but on large sailing ships the heads were over the bow,)fore top ladders, boarding ladders, railings, deck drains protected main deck musket ports, cannon ports, paper flags, lanterns, hatch covers, long, life, and row boats, barges, rudders of all sizes, stern and side davits, iron pots, stoking poles, deck houses and below deck entries from the main deck, skylights, plates rum bottles, kegs, flasks, water barrels with open lids and water, dippers, crewmen drinking and eating, wooden eating and cooking utensils, food, fish being cleaned and gutted, crewmen smoking or holding clay pipes, doing laundry, tubs, tables chairs,cabin fireplaces and chimneys to the deck stacks, sea chests, beds (officers quarters,) tea pots, glasses, mugs, candlesticks and holders, uniform coats folded over chairs or hanging, boots, officer and seamen hats,open deck brick warming pits with ashes and or fire,smoke, galley stacks,windows ( to include frames and panes), etc.
All crew member figure uniforms are painted to include shoulder epaulettes, shirts, scarves, belts, buckles, buttons, sword sheathes, cartridge boxes, cargo boxes, with brushes, needles, or toothpicks.
It takes alot of time, patience, swearing dropping small items from tweezers, more swearing, especially when heat and cold shaping small objects such as cup, pot, handles.)
It's cheaper than purchasing all of these things and is fun, You are only limited by your imagination and patience.
I'd like to see your work. Got any pictures ?
-
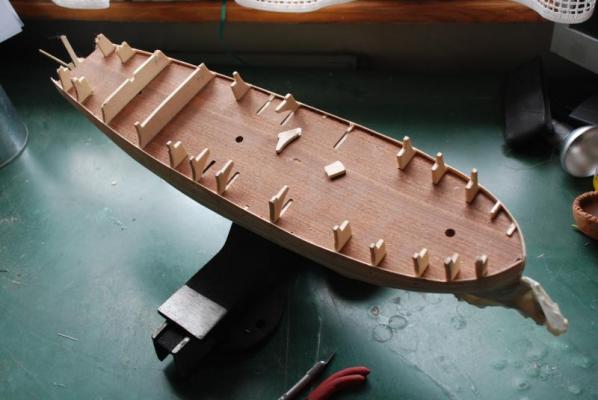
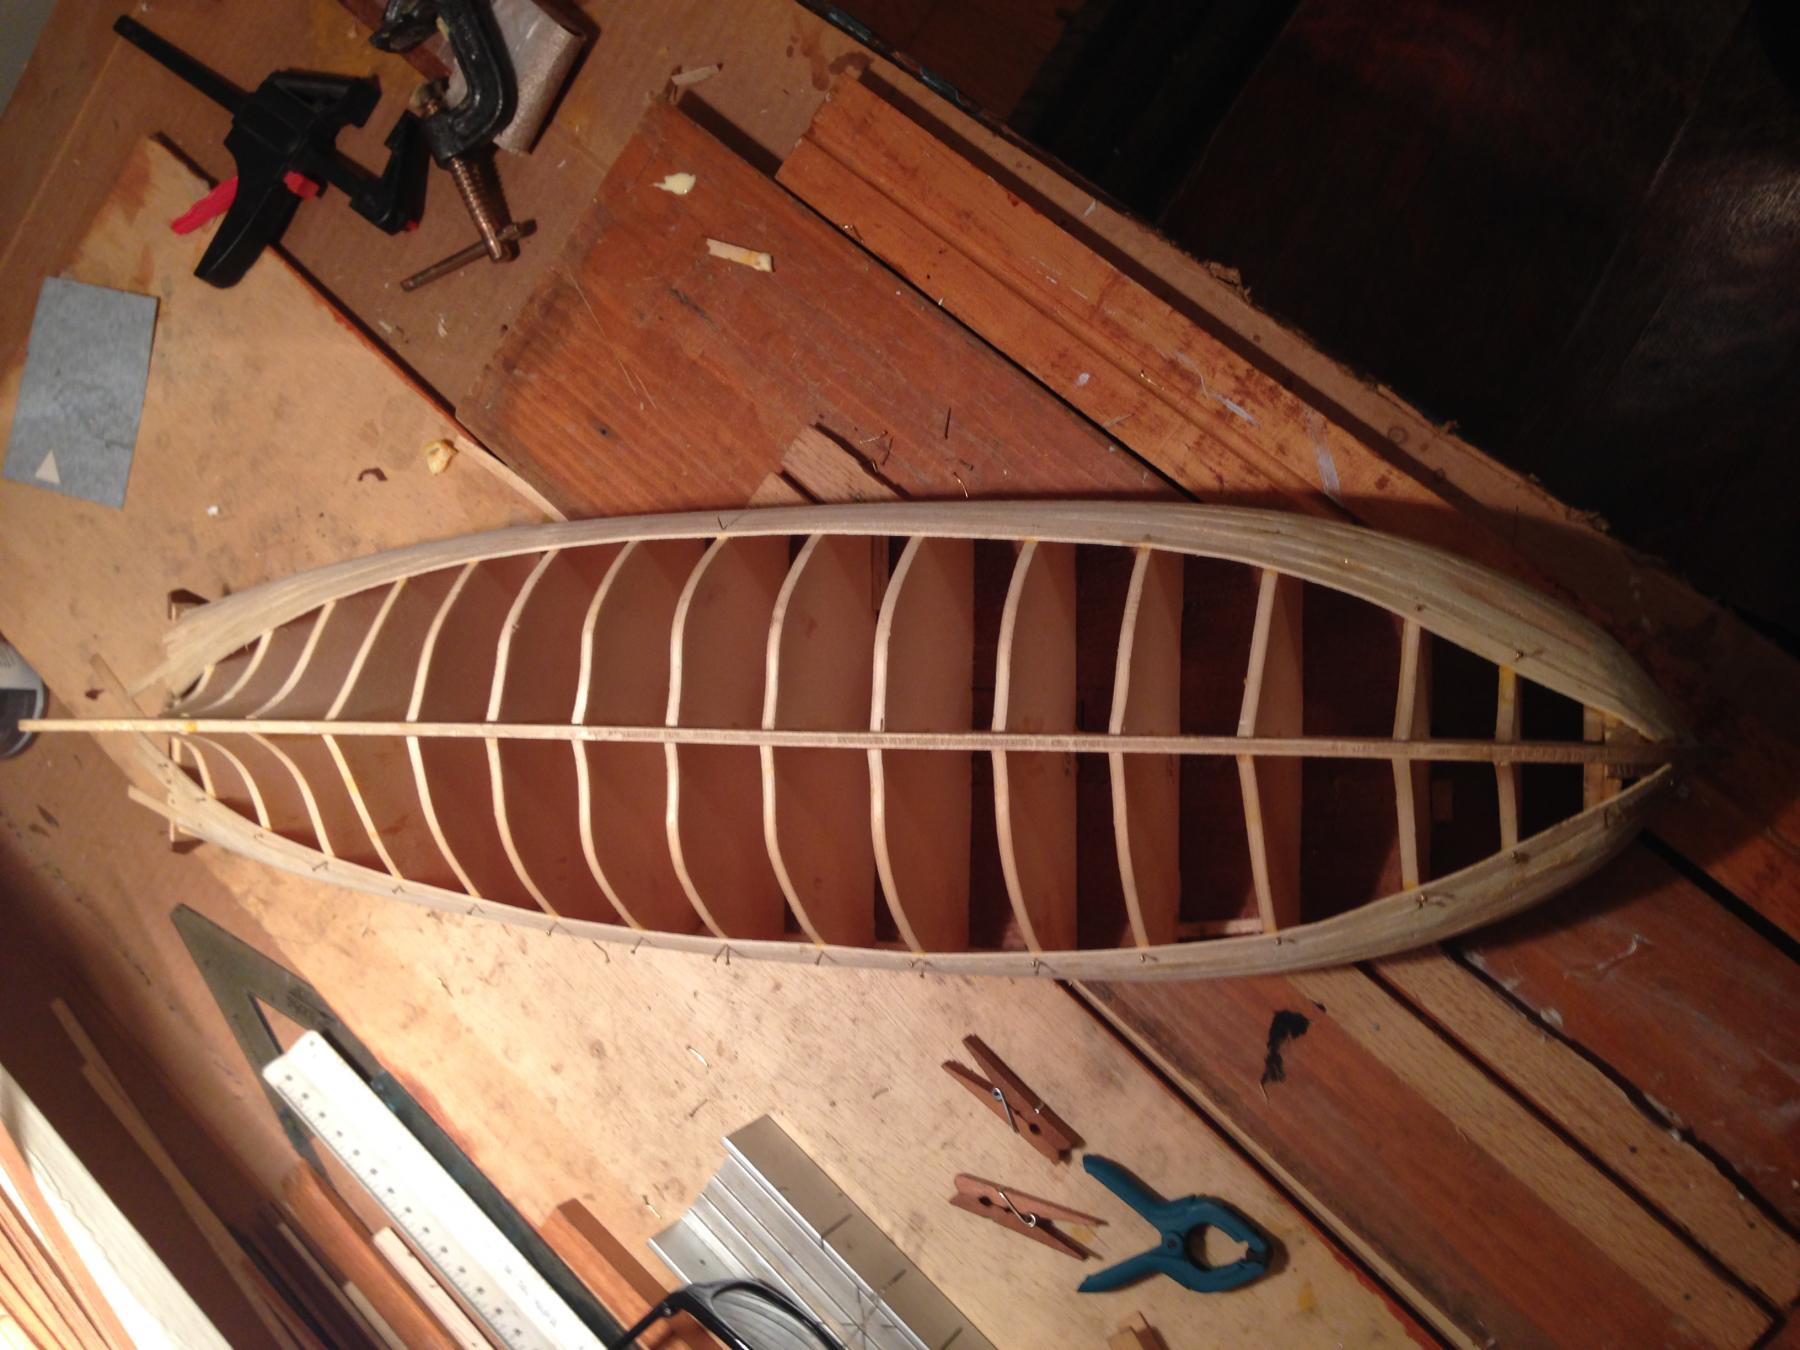
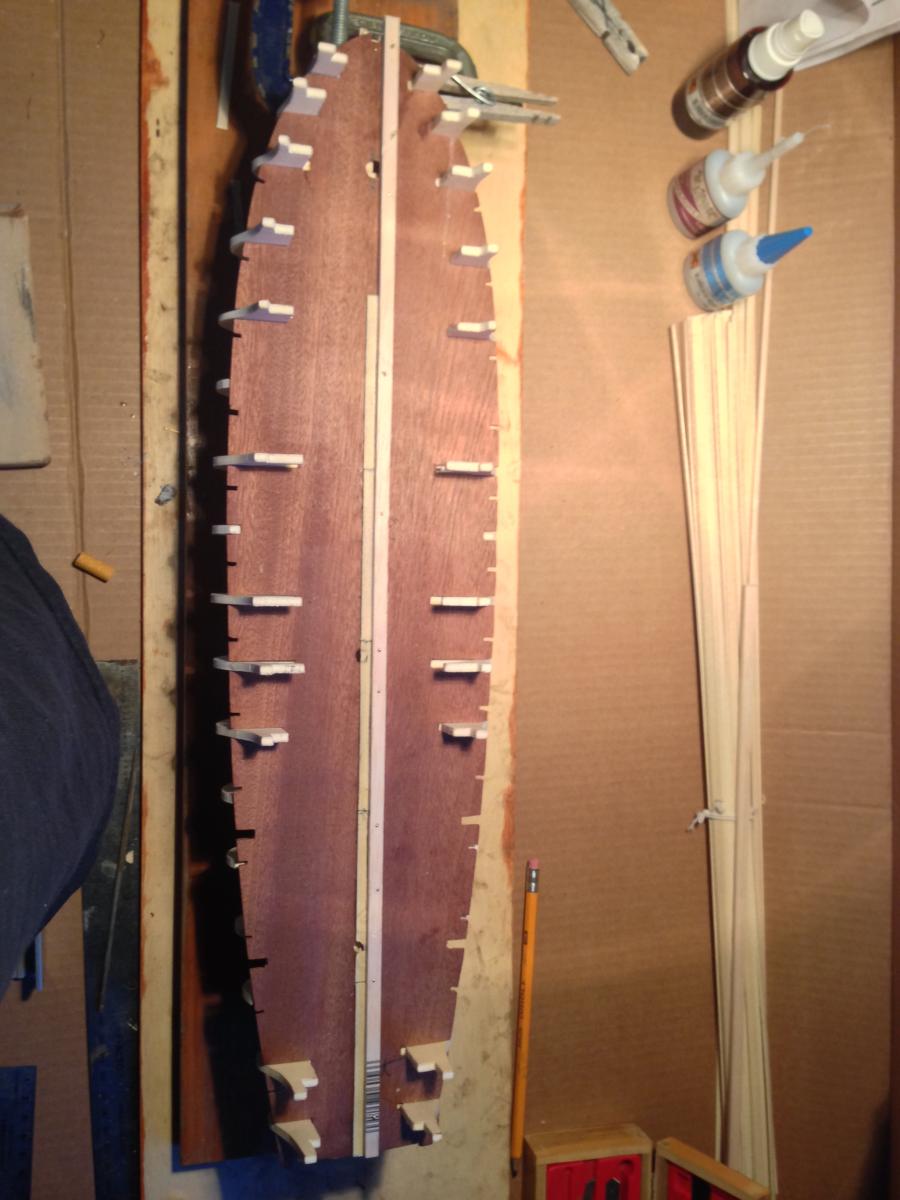
 IMG_1559.JPGIMG_1557.JPGBack to work. 1 or 2 hull planks a day. I didn't use Balsa wood. I will regret this I know.
 -
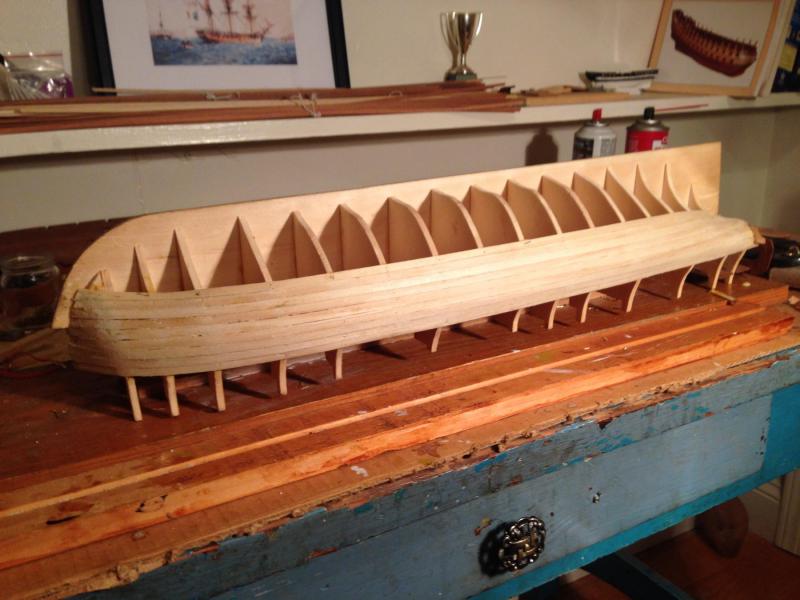
 Back to work. 1 or 2 hull planks a day.
 - DenPink, zoly99sask and Waitoa
-
3
-
People always ask me how long it takes to build one of these fully rigged 18th century type ships. I tell them a couple of years if you do a rush job.
Then I tell them to imagine 50 or so men working to mill, shape and put on maybe 1 hull plank a day. Then I thought to myself " it would be cool to have
50 little ship builders, dock workers, wagons etc . all working on my ship It would kind of put things into perspective as well as helping with the scale of things. So My ship is an 80 foot Frigate at 1:75th scale. The nearest I can find to that scale in figures is HO or 00. but it's not quite right and finding historical sailors and dock workers has been unsuccessful so far. Any Ideas would be appreciated. Then I can have my little guys build for me while I sleep. You know. Like Elves. Right?
- WackoWolf, mtaylor and John Allen
-
3
-
Hi
Just checking in to see how you are getting on. I have been hit with the dreaded motivation blues on my build.
Waitoa
I'm back. I've been in the same state of mind. I don't know why but I was really freaked out about starting my hull planking. I kept putting it off and muttering "I gotta get back to my boat". I looked at your log and said what the hell, Waitoa went for it, so I did too. There's always putty. Right? So I back on it committed to 1 plank a day. Started level with the gun deck.
-
I'm back to work on my ship after a long stint on the beach. Laying on the first course of hull planking.I'll be adding photos to my log when I get to the gun ports.
-
-
Thanks DS, This is very helpful.
-
Very helpful. Thankyou
-
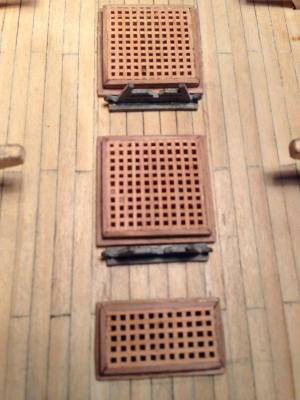
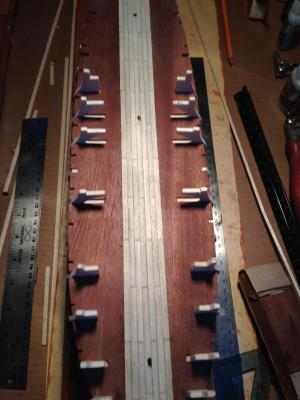
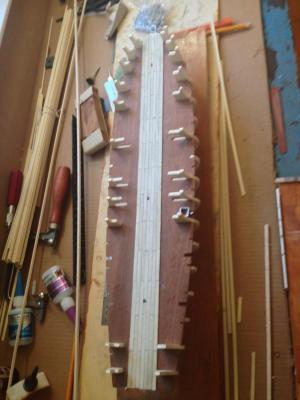
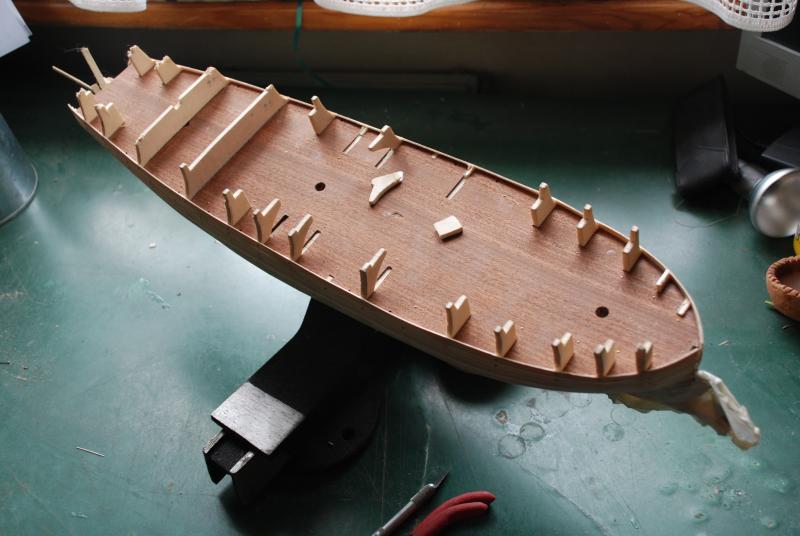
Committed to the grating size and look. Not attached yet just sitting there. Noted that the boat stands are metal not wood like the plans show. That threw me for awhile when I couldn't find the wood ones. Been over seas for awhile. Workin on my boat slowly.
- mtaylor, Waitoa and John Allen
-
3
-

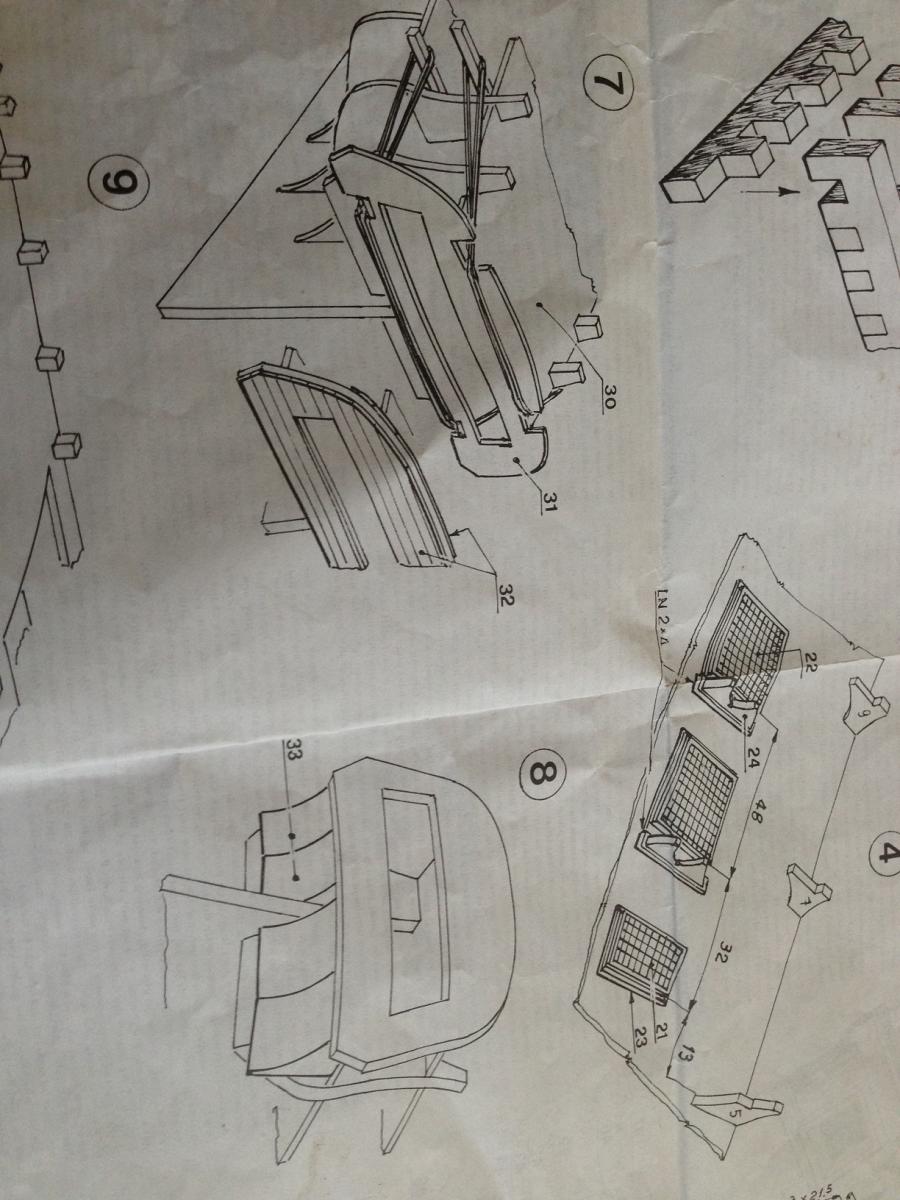
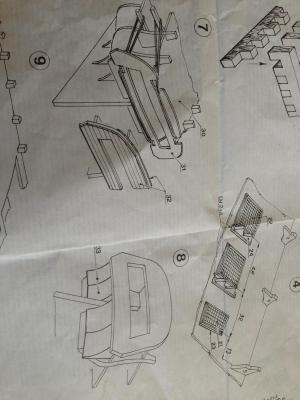 Getting alittle confused about attaching the transom. I calls for a 2mm slit between the blocks and the frame.? Also, are the cut outs in the bottom of the transom supposed to fit into the notched out end of the gun deck? If so, they are way off and need to be re cut. anyone have pictures or better plans?
 -
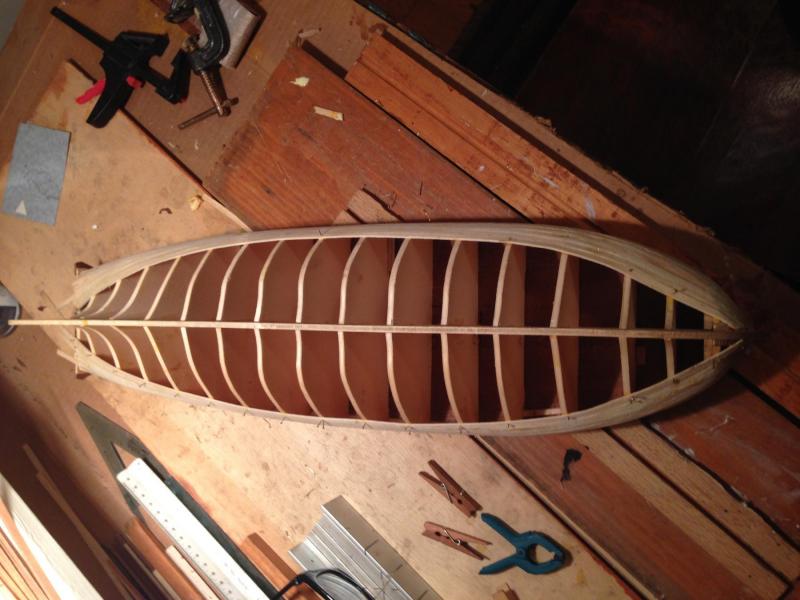
I like the top down Idea for planking. I'm at that stage now but afraid to get moving. I see that if you can get it straight along the edge below the gun ports and do a course above, it gives you something to measure from. You can keep it pretty straight as long as you keep both sides equal. I'm still getting a book though. Haven't decided on a good one. Any suggestions
-
Thanks for the tour. Fascinating. I'm inspired to rethink my build. I'll use the basic hull and deck plans but the guns supplied among other things just didn't seem right to me from the beginning. I'm going to head down to San Diego (about 800 miles from my house) and take a look at the Rose for starters. Just to get a feel for the decking, guns, ports, colors etc. The plans you've displayed are incredible, so's your craftsmanship. I'm excited about the research now and am looking forward to making this boat my own, then on to a scratch build.
Thanks Navis, for the inspiration
Captain 71
-
Yeh, I saw that the graphite was getting spread around on the planks but actually I kinda like it. I think it will give it a more weathered look and I don't want the ship to like it just came off the showroom floor. In fact I might just make the whole thing look a little weather beaten. Maybe even some cannon shot in the sails !
-
I'm ready for some planking and would like to see what your take is on the on the planking just below the lower guns ports.
-
I'm ready for some planking and would like to see what your take is on the on the planking just below the lower guns under the gun ports.
-
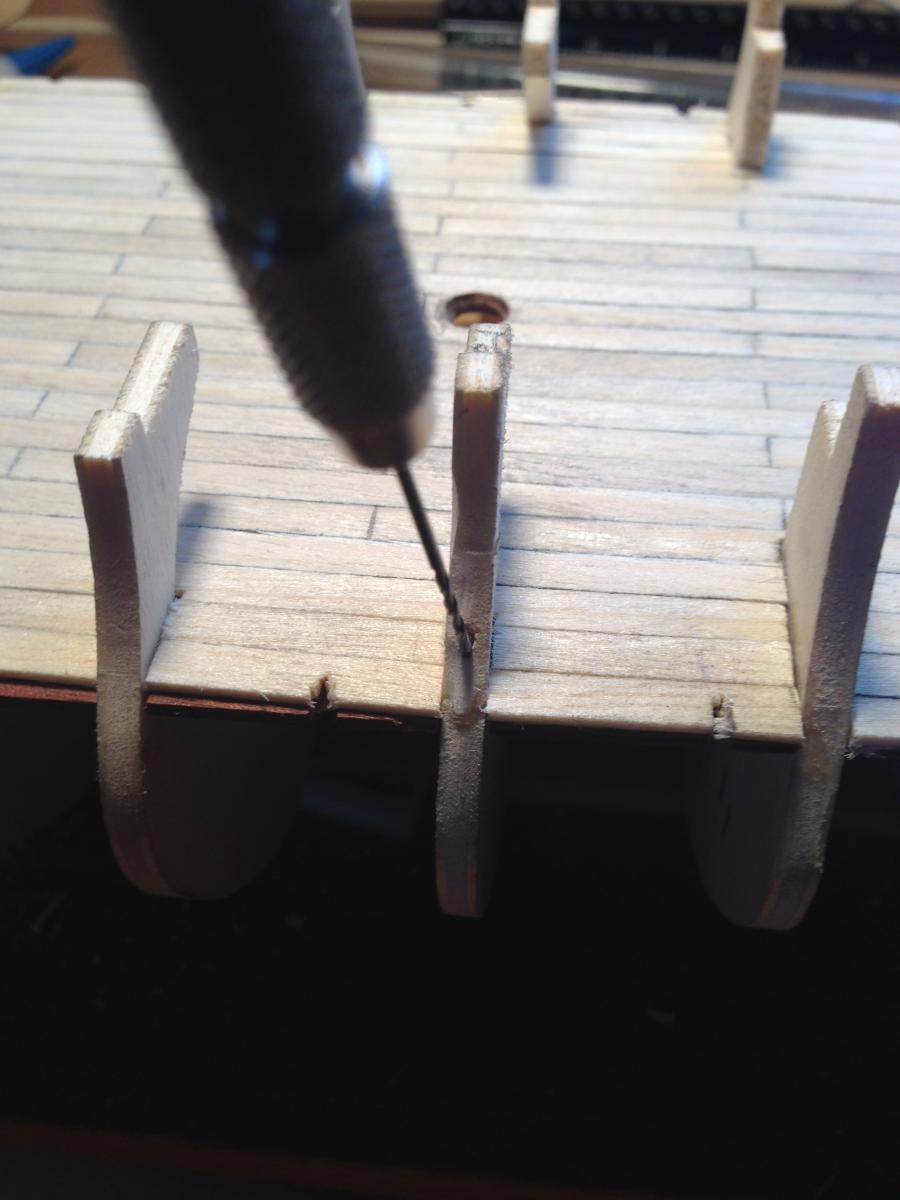
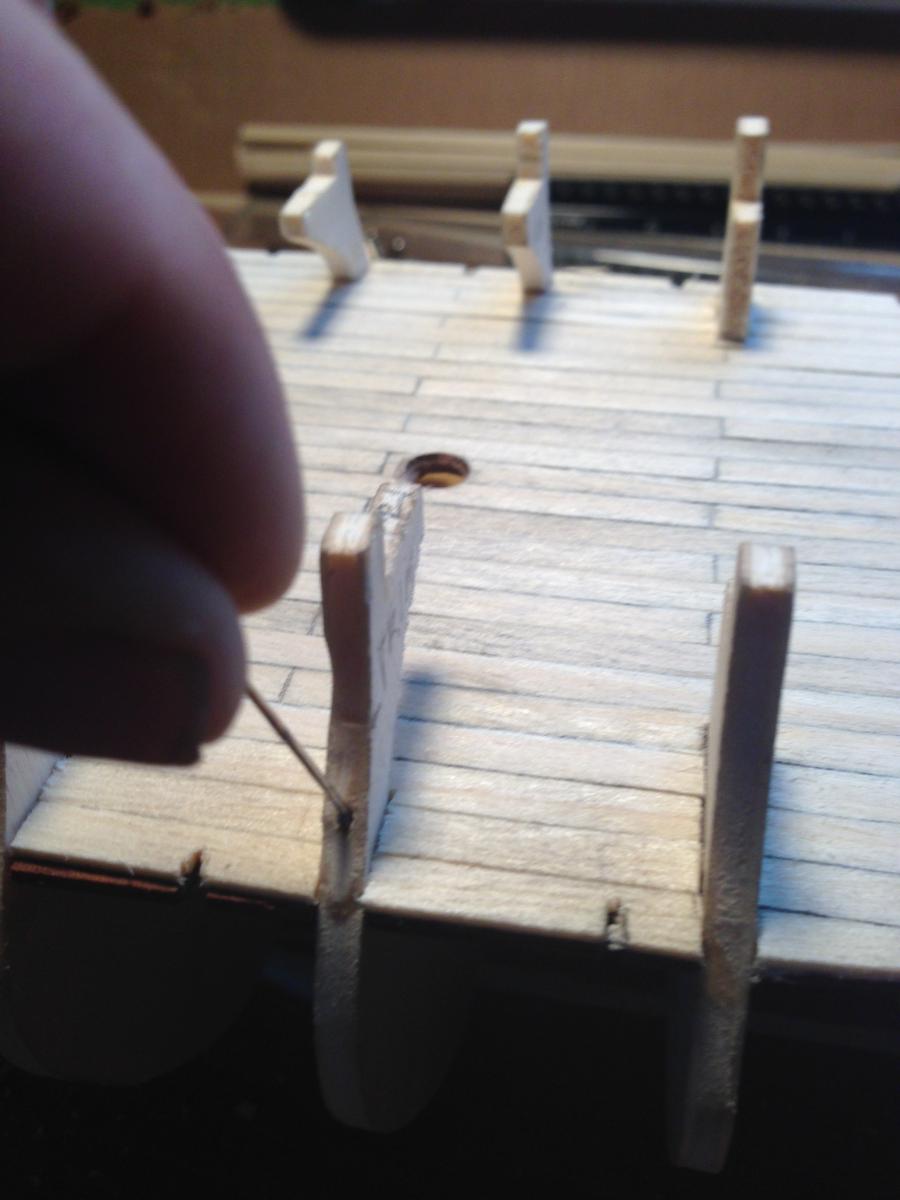
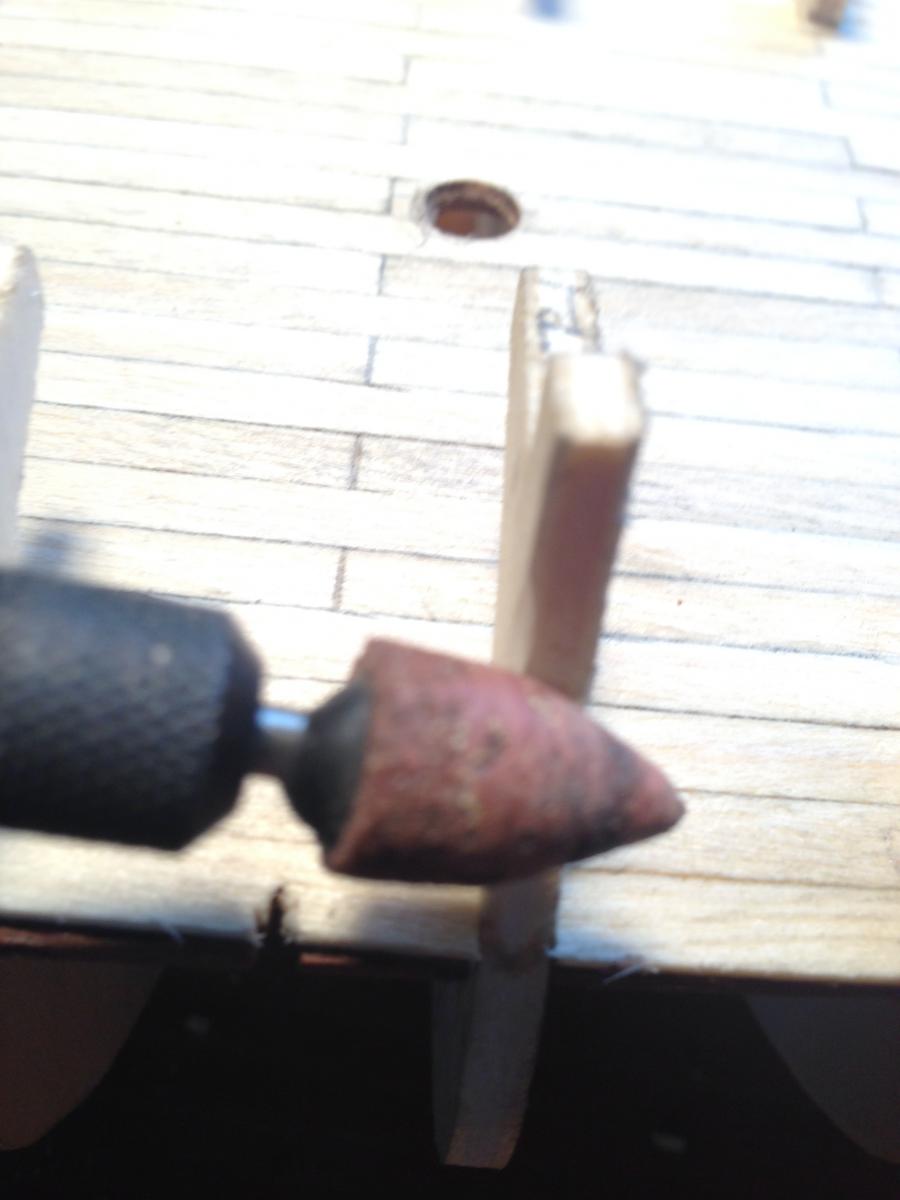
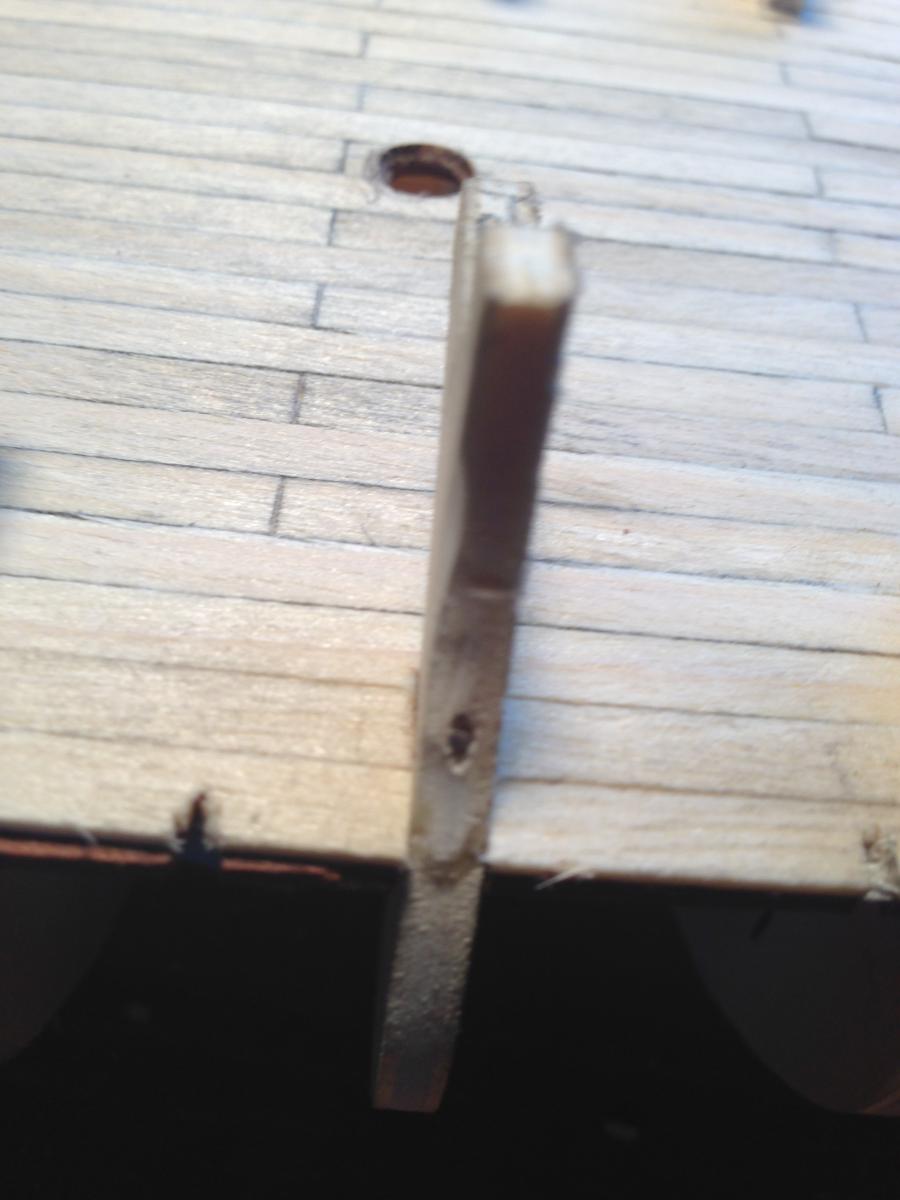
I saw that someone else ran into the same problem that I did with a piece of the bulkhead breaking off while trying to put on the false deck. I tried gluing it back on but there's too much stress and it kept breaking off.
What I did was to glue first then drill a pin size hole through the broken piece at and angle into the main part of the bulkhead. I then drove a needle about an inch into it then cut and ground it off.
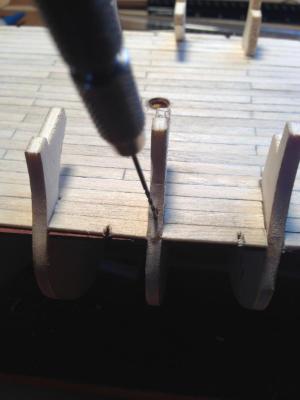
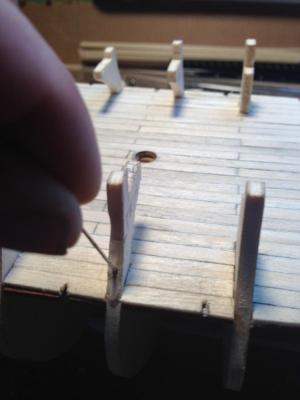

 Good and strong now.
- msberkman, John Allen and cristikc
-
3
-
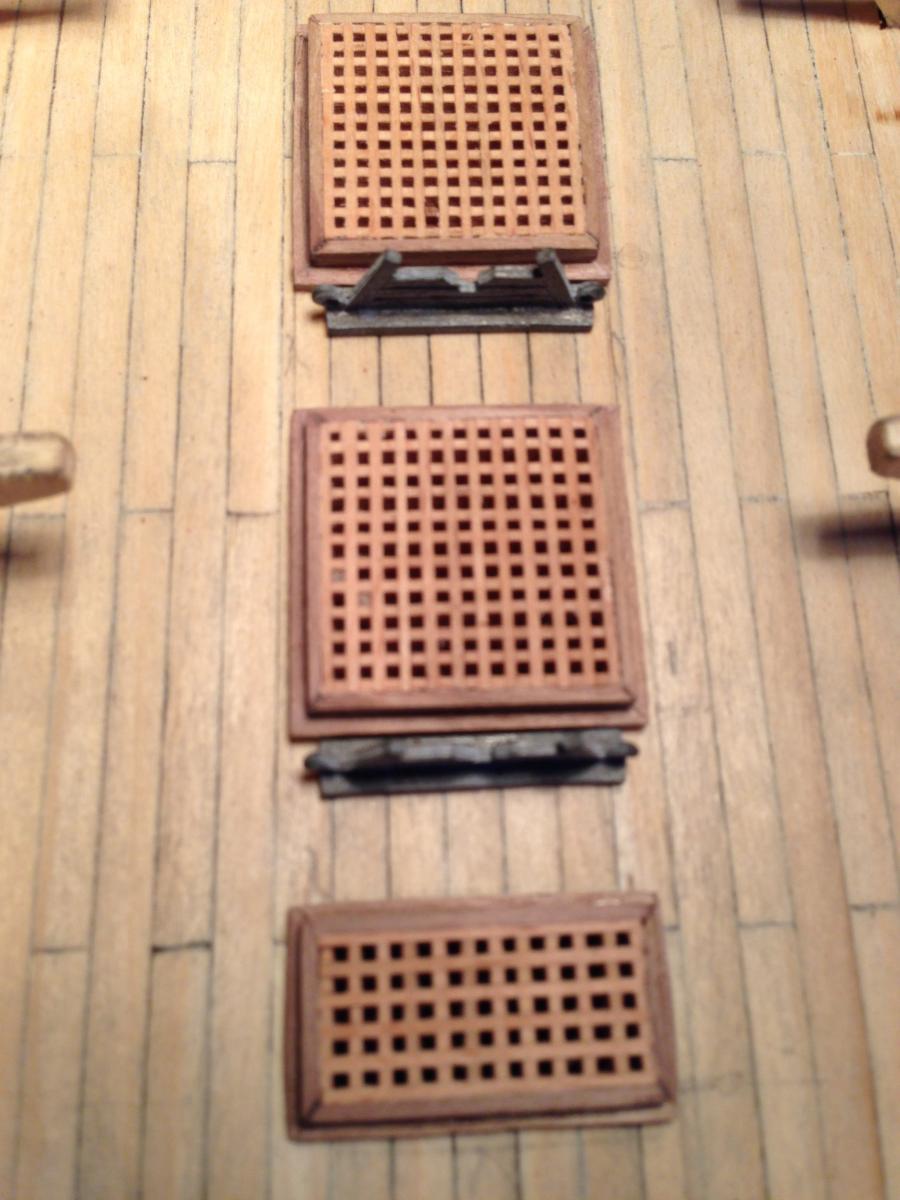
HMS surprise kit by Mamoli. Has anyone gotten to the sliding hatch covers on the gun deck yet. Just need some measurements details.
-
Hey Waitoa. The hole for the foremast was off alittle but I planked over it and will file it out to align right. 1 of my bulk heads is off too so I'm gonna have to shave 1 side and add to the other. I'm learning not to trust the factory so much. Like you, I tend to plunge ahead and clean up later. I guess we're sorta kindred spirits in that department. Thanks for being my "point man" and letting me follow your lead.
-
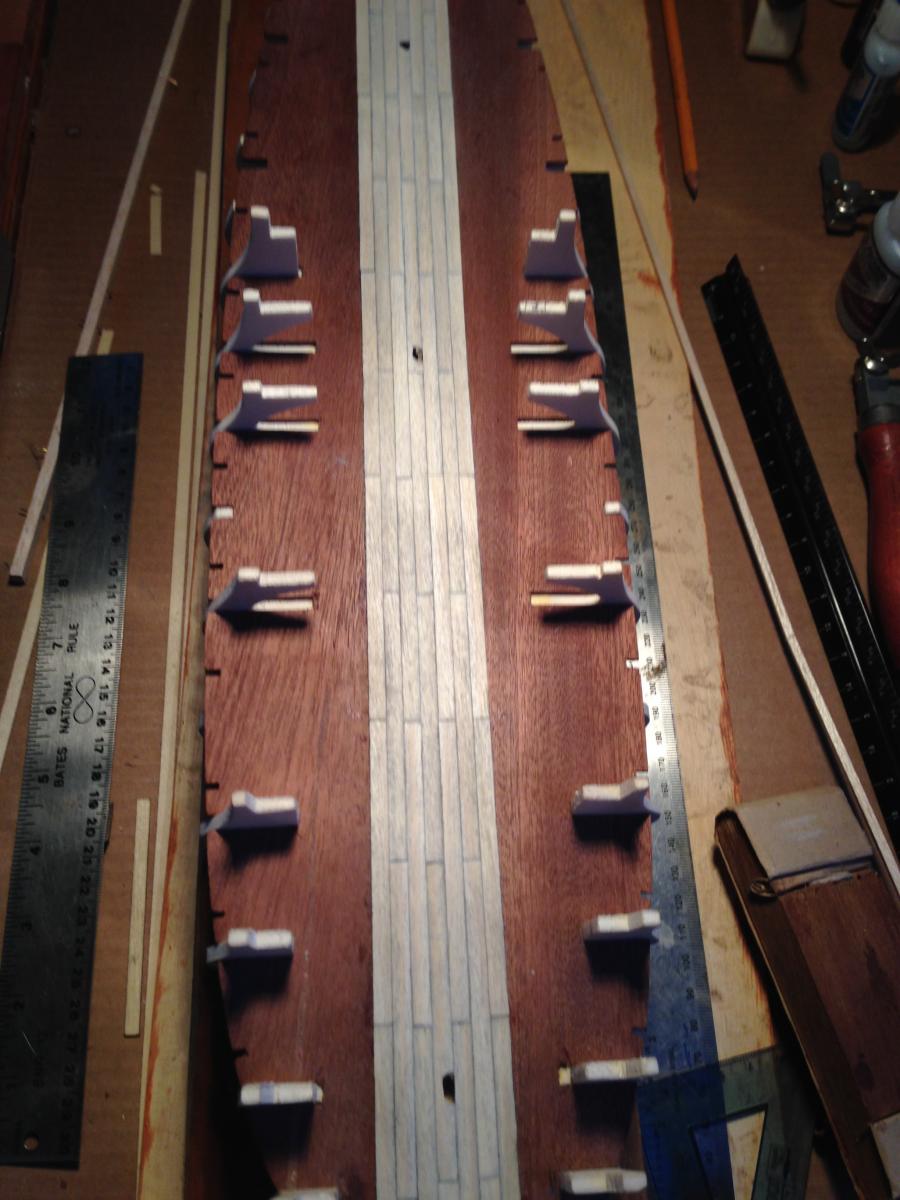
Thanks Mayohoo, That looks great. I wished I had researched more, as I have already started the the deck at the 80 mm per the plans around 8 ft.( or is it 10) Kinda metric stupid, bein American n all.
I did get it centered perfectly though, as it laid out exactly to the edges. This is the course I have done so far.
 . I need to sqaure off my ends better for the upper deck. I can dress these up with a knife later.
 -
Started gun deck planking. Tacked on a center guide to keep it straight then fan out from there.

.JPG.084589e237b364c15099cd884177ad17.JPG)


HMS Surprise by Waitoa - Mamoli - Scale 1:75
in - Kit build logs for subjects built from 1751 - 1800
Posted
I have the book Frigate Surprise. Learned a lot and valuable in getting a perspective of how the basic shape should be. Still haven't gone to San Diego yet. Sorry to hear the Rose is in disrepair. I have been to Boston to see The Constitution and Plan to go back in June for the arrival of the Tall ships. Good to see you goin for it and making good progress. I work on mine in short binges then slack off for awhile. I'll post some more photos when I've made some respectable progress. Thanks for the pics and updates. They're encouraging.