


mattsayers148
-
Posts
685 -
Joined
-
Last visited
Content Type
Profiles
Forums
Gallery
Events
Posts posted by mattsayers148
-
-
-
I'm trying to remember how tall a pooper-trooper was.
- GLakie and CaptainSteve
-
 2
2
-
I did a longboat at 1:48, then a pinnace at 1:24, and got spoiled with the launch and sea mortar at 1:16. So it's taking some time to get used to 1:64. One thing that's helped on my launch and this one was to make a scaled ruler. It's not for precision just a reference when you're going off script. It's definitely a game shifter.
-
Hey George, if that were in a bag, would it be considered a carry on?
Here you go Boyd.
- mtaylor, GLakie, CaptainSteve and 1 other
-
4
-
Thank George and MrBlueJacket for the link, I'll have to get some now.
Thanks Boyd, I'll take some pics when I get home with a size reference. I'm still using my poor mans lathe, a dremel. I have been seriously looking for one and have possibly set my sights on a watchmakers lathe. Of course I'd love a full size machinist lathe...someday, someday. I just need to get one in my hand before I decide, but that's a future day. The other option is to make my own, one that would be specific to modeling, small and portable.
-
Thank you CaptainSteve, Ken and for those who liked this little side project.
You know CaptainSteve, I did to the mortar carriage what I didn't have the courage to do to my launch. I was to concerned about ruining the launch, that I went easy on the aging. This one I just attacked that sucker with a file like I was fighting a barbarian horde of mutant beavers!
Thanks for the info Ken, I've not heard of Bluejacket. I have the Casey's brand of Brass Black and Aluminum Black they alone didn't hardly touch it. Is that what the precast metals are, pewter? I haven't had much luck at the local gun shops or hobby stores, so I'll check eBay for the Bluejacket. Thanks
- CaptainSteve, GLakie and Canute
-
3
-
Thank you George, and thanks to those who punch the like button.
When I was searching google images for sea mortars, I found functioning mini mortars and DIY pirate cannons! Now I know what to bring next time me and Jordan head out for a few days! Lookout sagebrush and bunnies!
- GLakie, CaptainSteve and Canute
-
3
-
Hey George, I get them on eBay under K & S tube assortment #320. I think they're 2 or 3 bucks for a little pack. I think I bought 10 so I could get a large variety. It seems like I end up paying 2 or 3 bucks on just one length of brass at the hobby shop so I've saved a lot in the long run.
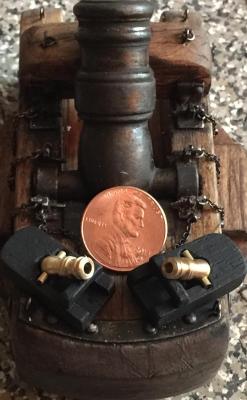
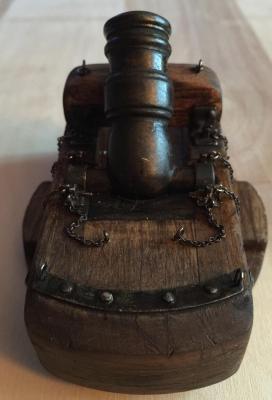
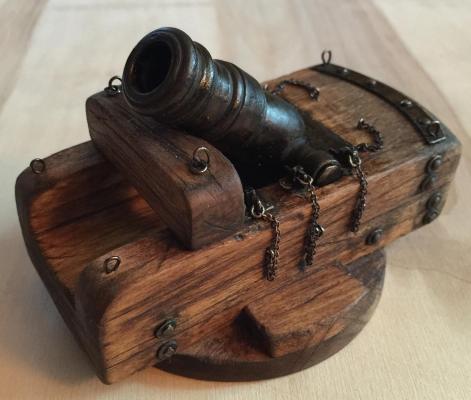
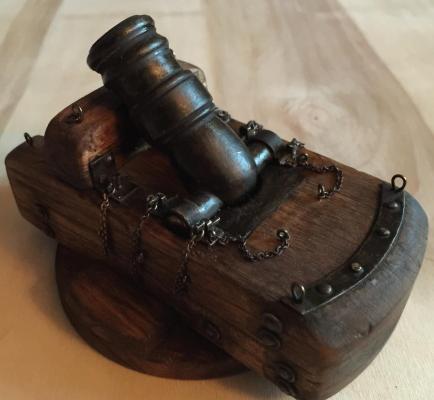
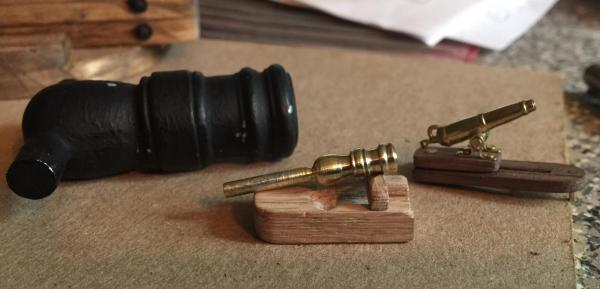
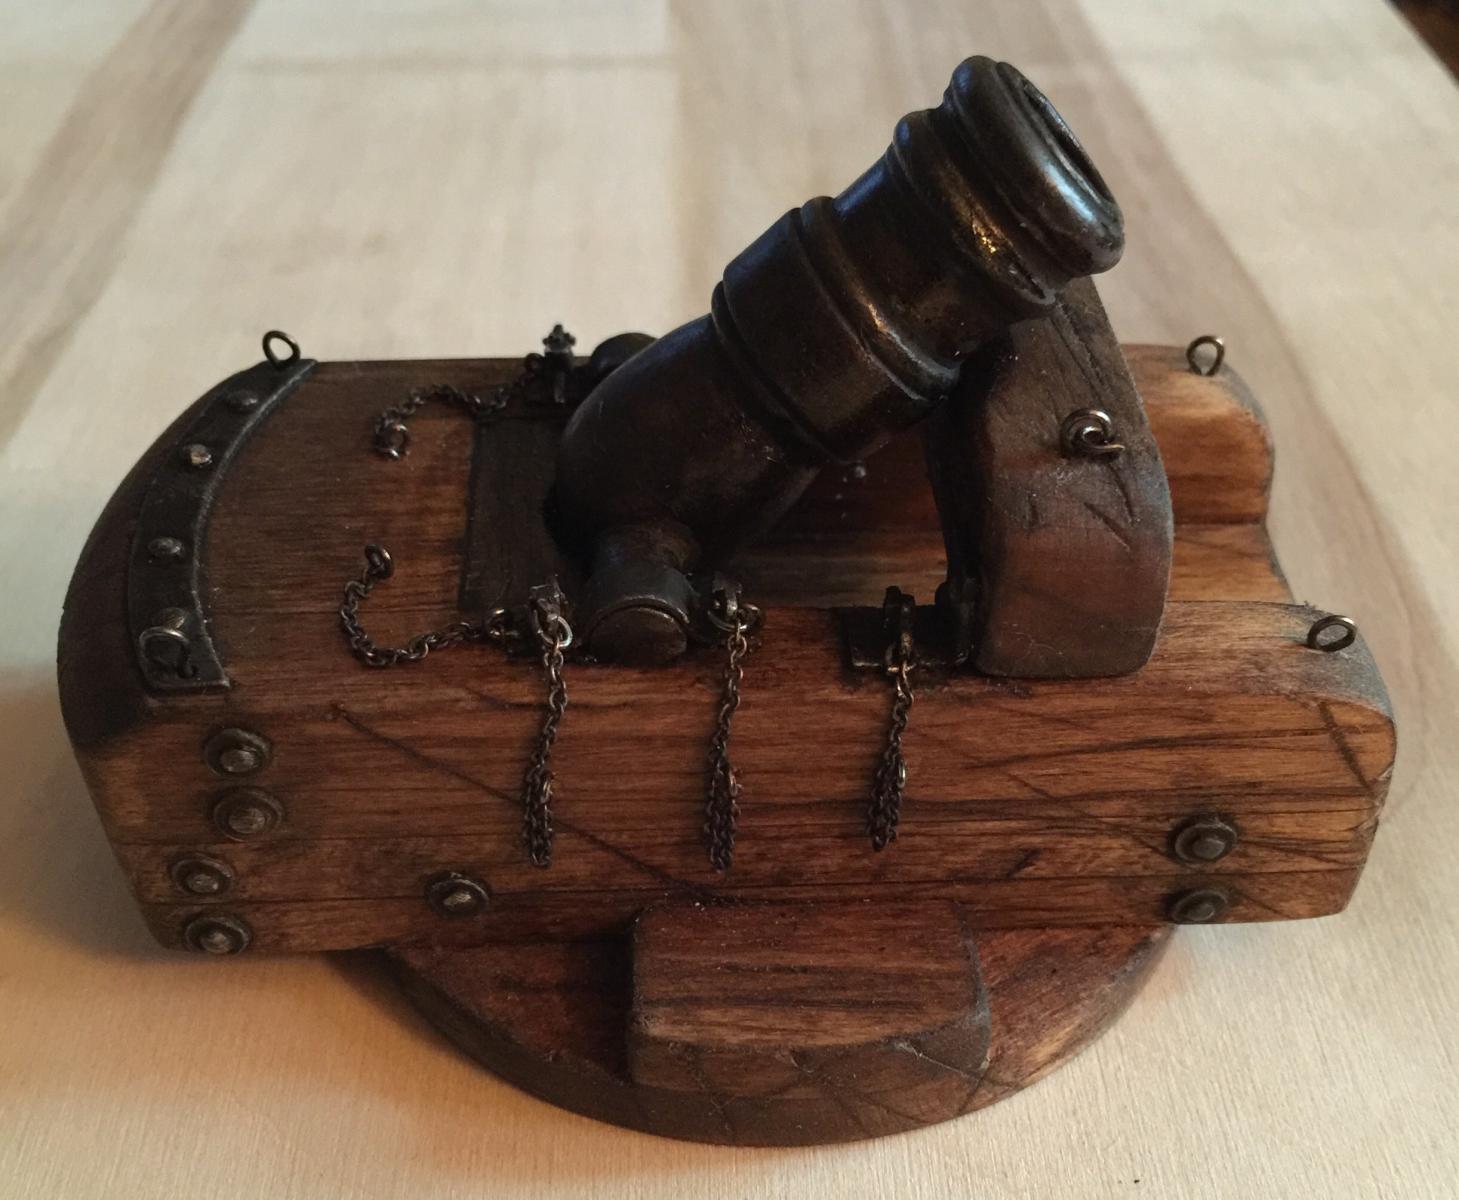
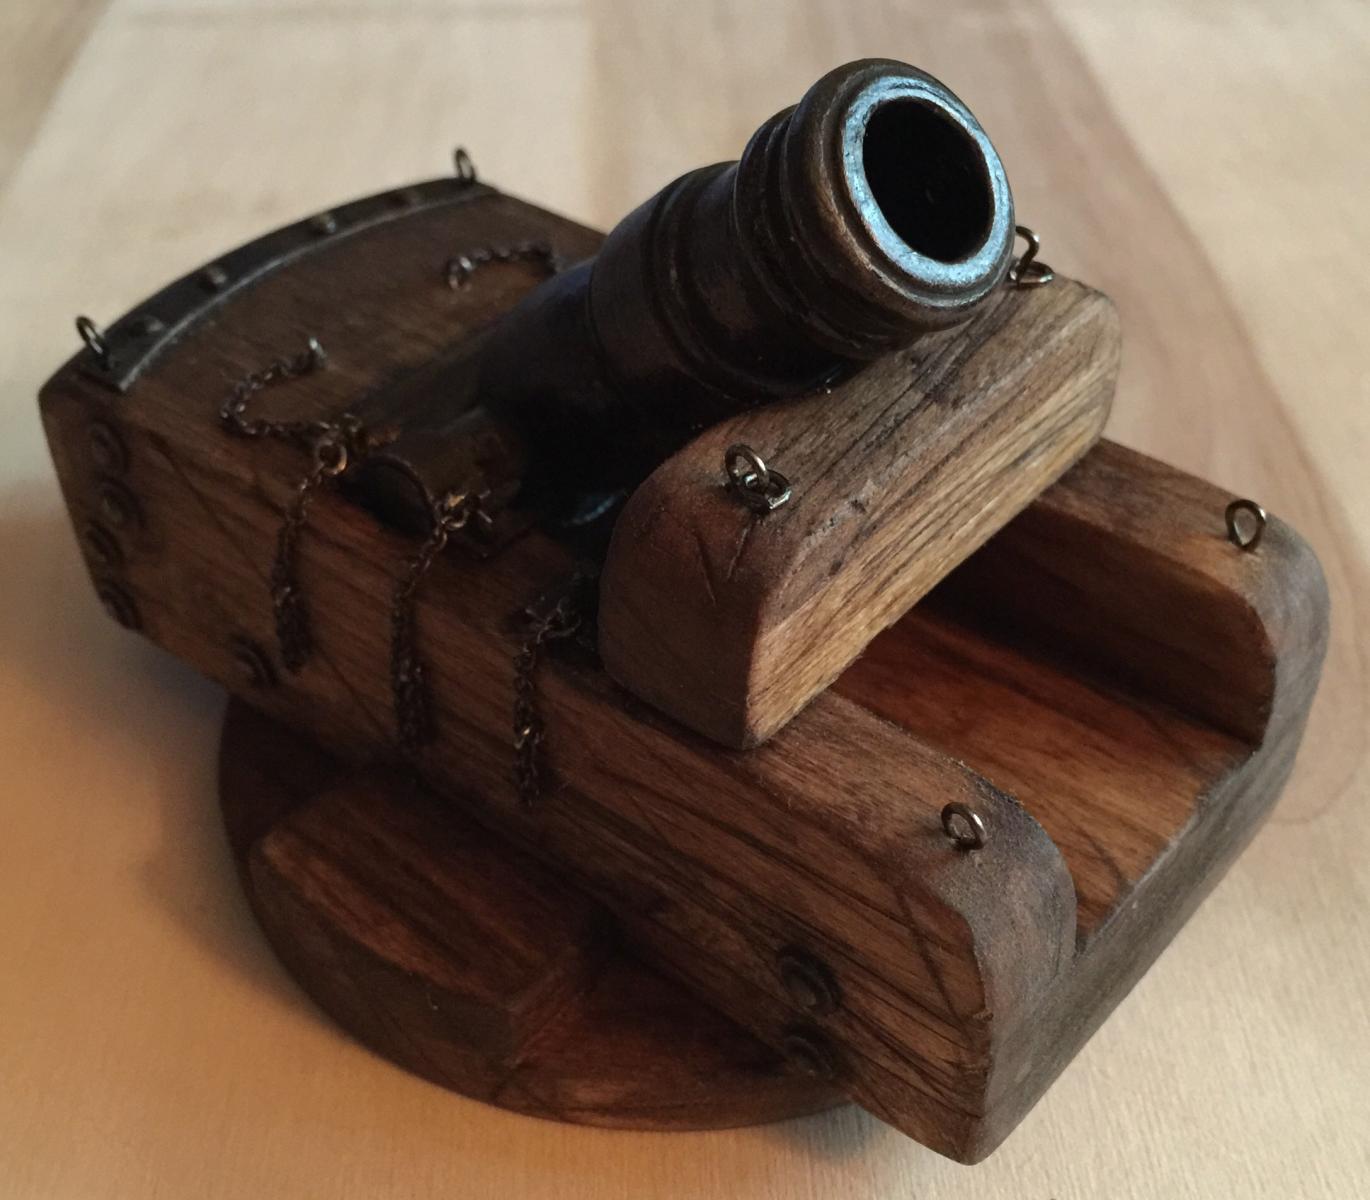
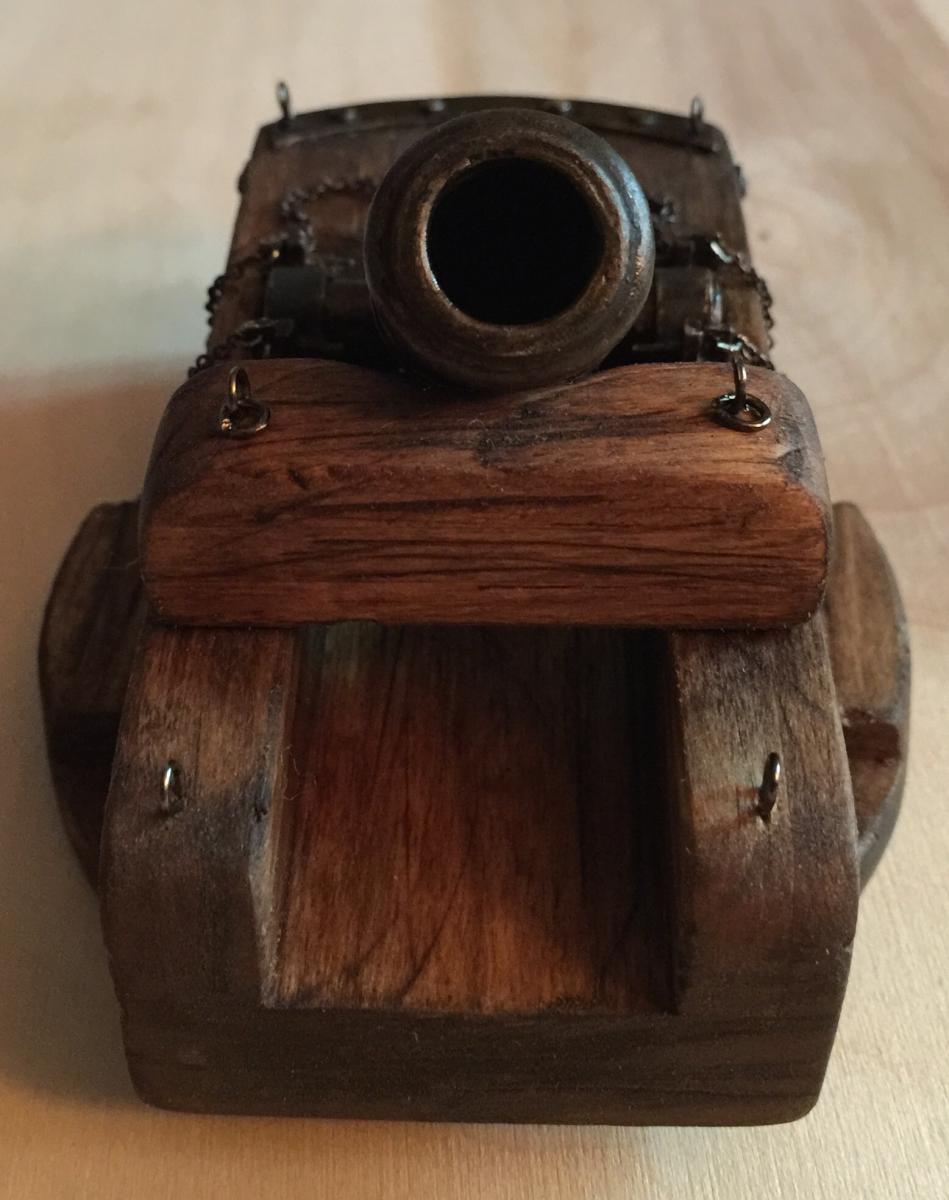
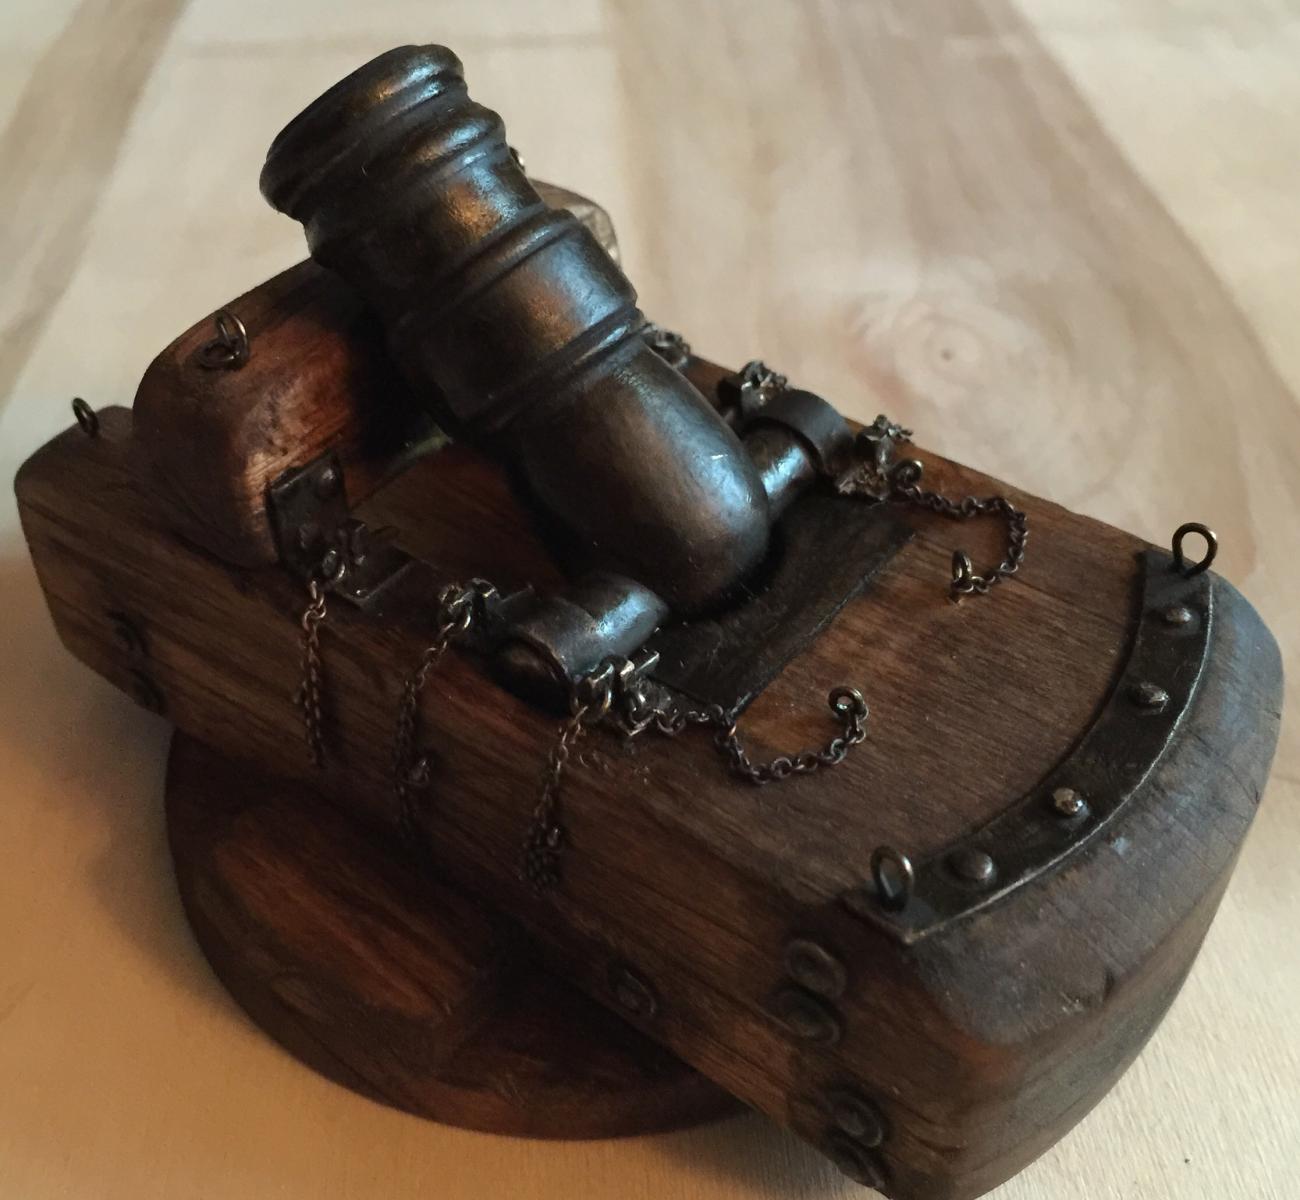
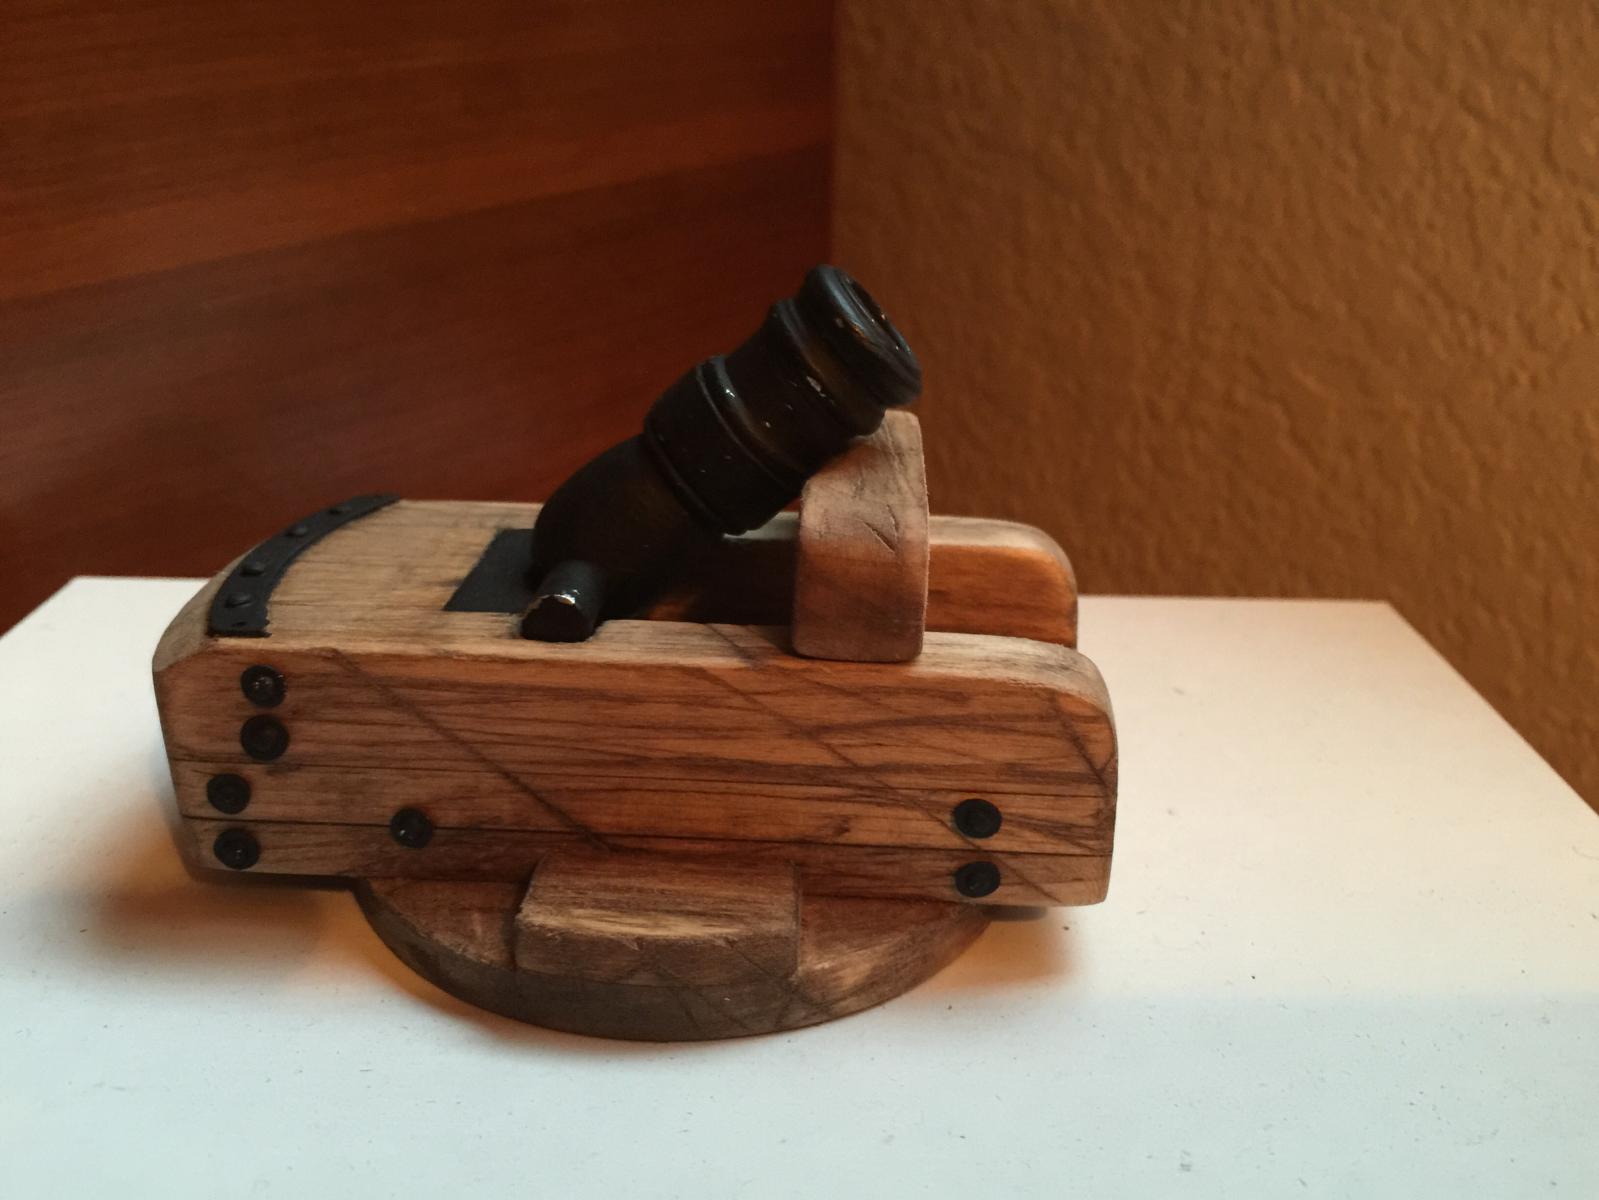
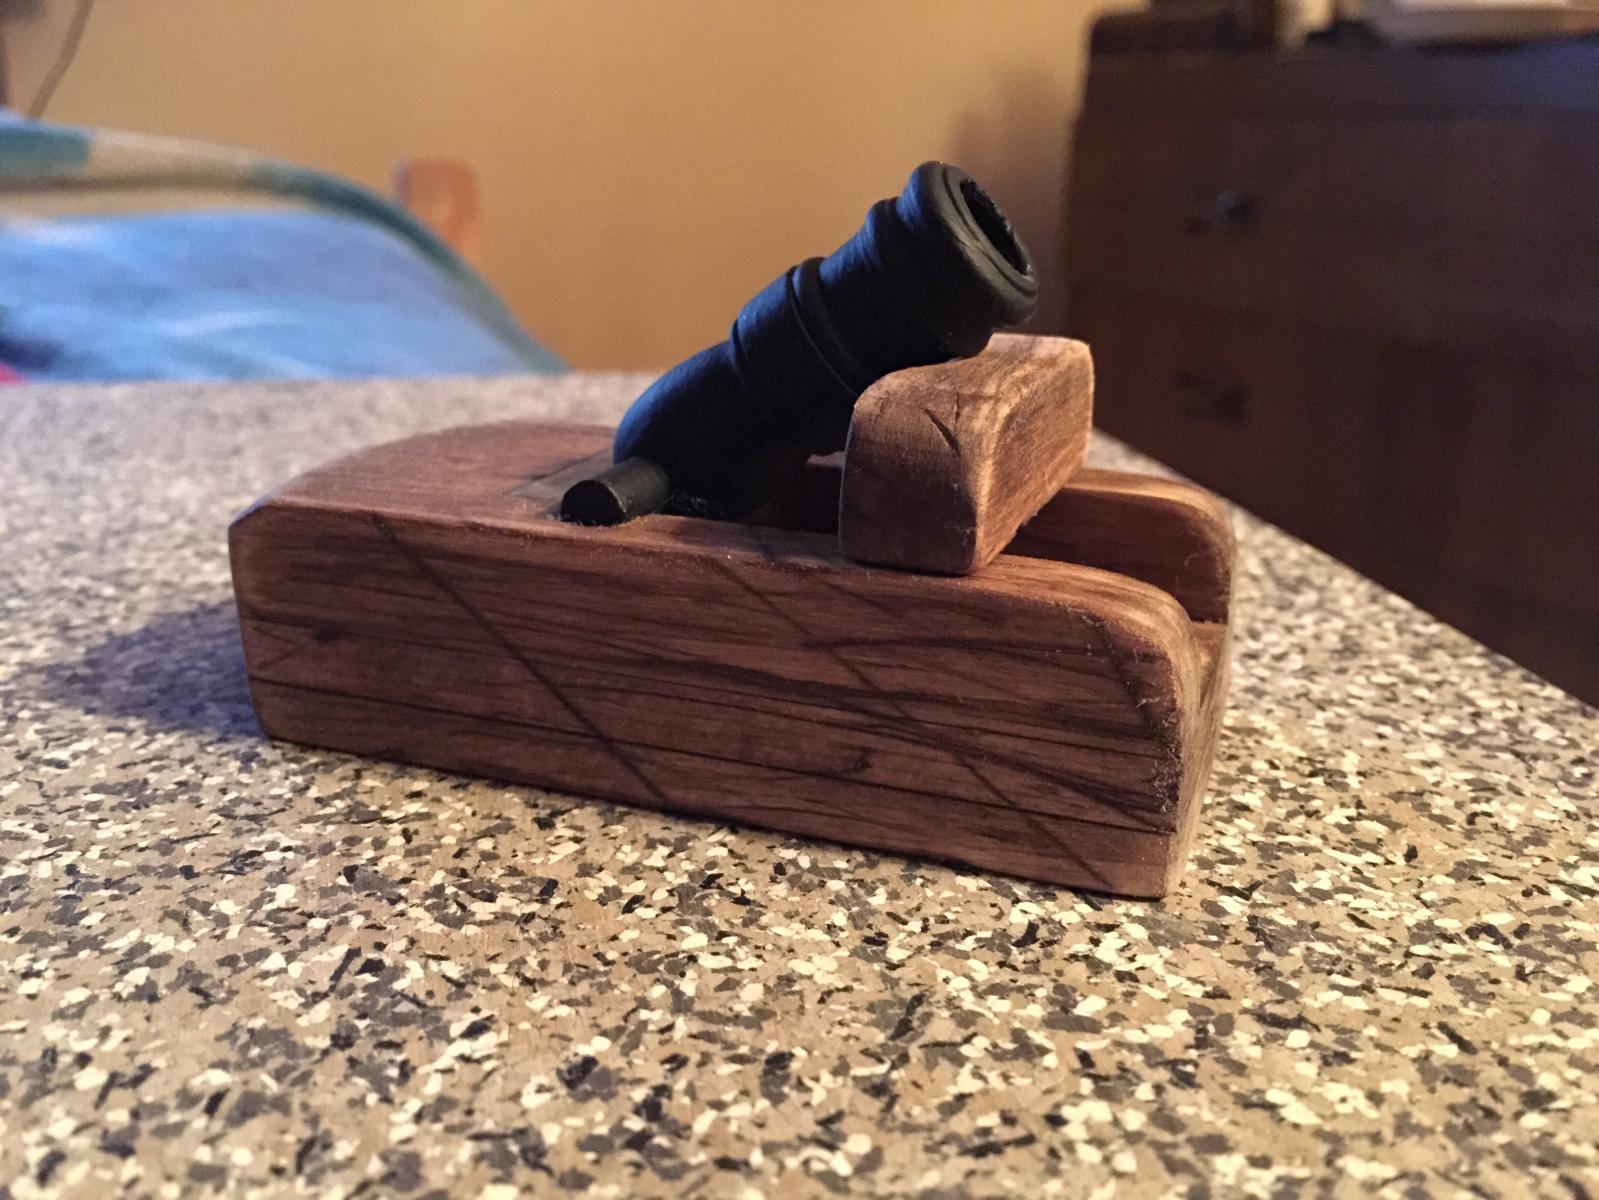
I finished the 1:16 sea mortar today so here's the pics. I really had to experiment on coloring the precast metal. Paint wouldn't stick, aluminum black barely did anything. My final try ended up combining them both.
I scraped off all the black paint except for the grooves and then did the aluminum black. Once the black swirl started I dampened it a couple more times and let it dry. Came out a bronzy rust color. Then when I did the final touch up with Early American Minwax, I applied it to the metal parts and this is what I got.


- GLakie, CaptainSteve, lb0190 and 7 others
-
10
-
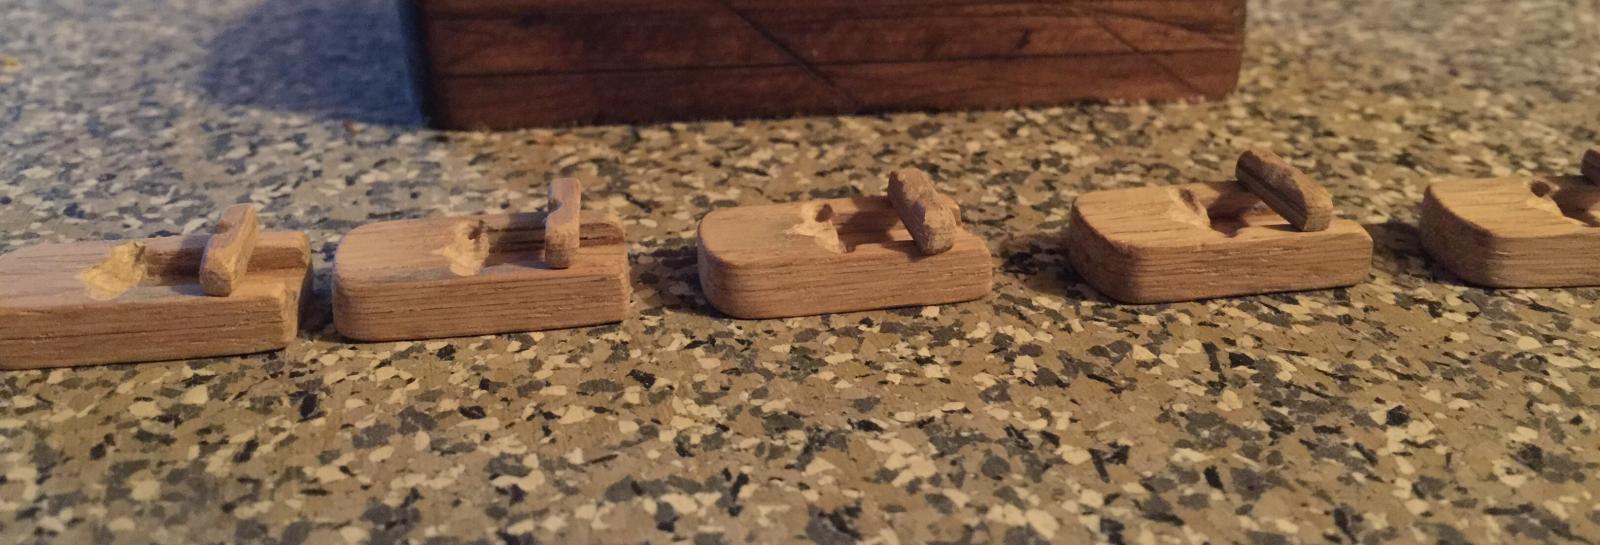
I got the second mortar barrel done today. Then I drilled 1/16in holes at their base for adding trunions. Finally, I cut off the stem/holder and finished by sanding of the spots where the stem/holder was cut off.
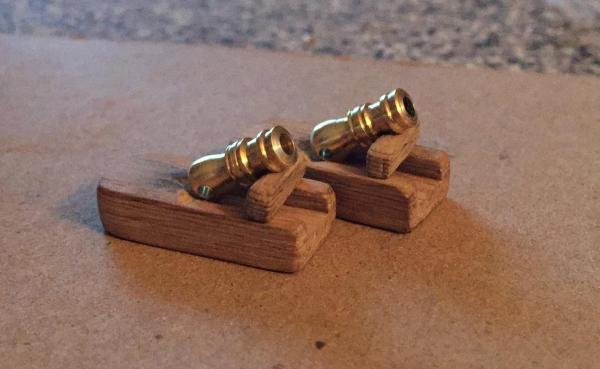
I'm only making the two mortars, but will be making the five carriages. This is, again, because I'm sure they're not all going to make it.
-
Boyd and Ken, I agree. They shall stay brass, and the minions shall keep them polished! And I've got one particular squirrel in mind.
Seems that the Nutz Bros put out a call to all in their family to go to basic training. If they succeed, they may be given a higher rank, but they have to prove themselves worthy. Well, their favorite nephew got discharged and was deemed inadequate. Harry and Woodie still want him here, so here Droopie will stay. Polishing brass will be his job, for a very long time.
- mtaylor, Canute, CaptainSteve and 1 other
-
4
-
Thanks for the encouragement George, CaptainSteve, Ken and everyone for the likes.
I still am trying to decide if the guns will remain shiny brass or get blackened.
- GLakie and CaptainSteve
-
2
-
Wow Tony, thank you and NMM for accessing and photo documenting these wonderful models. The pic from the museums gallery have been the base concepts in my altering the USRC Ranger kit by Corel. This model being not based on an actual ship, I've taken the liberty of making this one even more different.
I'm pretty new at this and have so many questions when it comes to altering a model but still make one that could have actually sailed. These photos are a great help with that.
The main alterations, being equipped for battle. I'm left with a lot of guess work. My main question that I wanted to find out was can the boom be raised while leaving the sails "functional"? The original position scales around 6ft 6in from the deck. I'm replacing the stanchions and handrails with a solid wall with gun ports somewhat like the SLR0510 model. I've also extended the aft/stern deck considerably. This will cause me to need to raise the boom. So my two part question: Would raising the boom still make the ship "sail", and if so how much can it be raised?
Thanks to you and the museum for making these photos possible.
Matt
-
As long as we don't crush a few hundred into one block and call it an anchor
- GLakie, CaptainSteve and Canute
-
3
-
I talked to CaptainHarry today and asked how the ship is goin. He said they're all waitin for me to finish the armaments! I almost busted a nutcracker over his head! "Tell Woodie not to wait! Put as many gun ports as the ship can handle! If I don't make enough, I'm sure you'll plunder more!"
Now I can get back to my job. The reason for five mortars, some may get bashed in along the way. This way I'll be assured that kit is bashed, maybe...if I follow the rules...wait if I follow the rules then it won't be a bash...ahh screw it.

The MS mortar kit, or any of the guns of history kits, I think would make an excellent build for a starter or a shifter from other modeling. It's a 5-10hr kit, which here at MSW means 5-10 days, minimum!
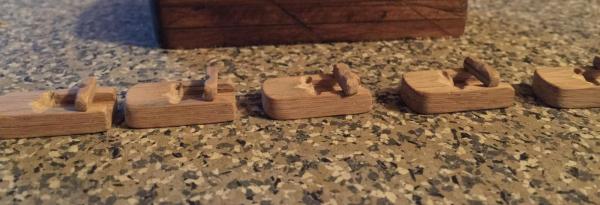
As has been seen, I'm doing all six at once. The full size carriage I'm aging, the smaller ones will most likely be painted.
So I've been soldering and fileing and came up with a halfway decent mortar barrel. I'm doing these the same as my carronade, except no CA, soldered. This one seemed to turn out better than my carronade, so I may redo that one, we'll see.
- GLakie, Canute, Salty Sea Dog and 3 others
-
6
-
Excellent job CaptainSteve! Now we're gonna have to start a list of how many things you can make from a spent can.
- CaptainSteve, Canute, GLakie and 1 other
-
4
-
Now Buck, did you actually plant those trees! If not....you may be disqualified.
- CaptainSteve, GLakie, Canute and 1 other
-
4
-
Love the copper! And great idea using the can tab!
- CaptainSteve, GLakie and Canute
-
3
-
George, that's exactly why I took over the ordinances! Them crazy rum drinkin squirrels would end up killing us all!
- GLakie, Canute and CaptainSteve
-
3
-
When all else fails, wiki it. The kit bashing definition at Wikipedia makes a lot of really interesting points and comparisons across modeling in general. Professional modelers(move props, competitions, etc) and hobbyists(modeling for the fun of it) seem to have more in common than not.
"The kitbash in such cases can be as simple as painting or redecaling a model, or as complex as tearing the model down and adding scratch-built components, followed by custom decals."(quoted from Wikipedia)
For arguments sake, a person who cuts down a tree takes it home, cures it and then mills it down to the size that is needed, could argue that his way is a true scratch build. Also one could argue that taking parts from everywhere to make a conceptual or fantasy model, one that is unlike anything and one of a kind could say that's a bash.
It all seems to be in the eye of the beholder. I've yet to see a modeler here that doesn't gain joy and satisfaction from not only their work, but the work of all others as well. I think for most the goal is to take at kit and really make it their own, unique piece that is truly "one of a kind". My point being, that we're all here because we love building and creating things from a box full of pieces. Some try to attain the highest degree of accuracy, reading and researching to the finest details. Another might not like the color and change it to one that is uniquely different from the supplied kit and instructions.
I agree with the comments of shades of grey. To me, a build that follows supplied instructions and materials to a T would not be a bash. A builder that plants a tree, cuts it down and mills his own wood, could definitely be called a scratch builder. Those are two ends of the spectrum that most of us don't fall into, hence the grey area.
- CaptainSteve, Canute, Salty Sea Dog and 3 others
-
6
-
With so many squirrels at boot camp, and several others needing life skills training, I've decided to take over the weapons detail. (No need for panic, this was all cleared by CaptainHarry). The mortar kit is an easy build and fairly self explanatory.

I decided to build the kit and the mini versions at the same time. Wood veneer was cut to the necessary size and laminated enough pieces together to achieve proper thicknesses.
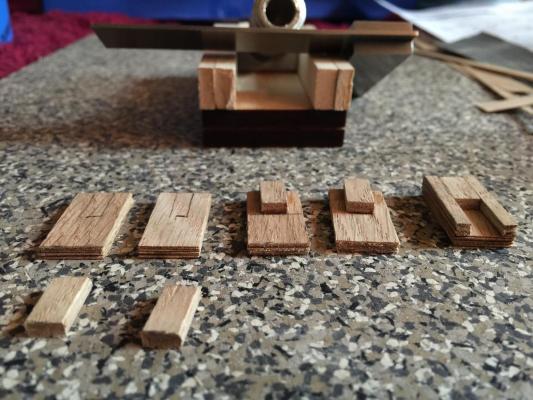
After the glue dried, and the pieces were shaped, the whole assembly was then glued together. Next task, building the big guns.
- CaptainSteve, riverboat, GLakie and 2 others
-
5
-
Thanks CaptainSteve and Boyd for encouragement.
You know Boyd, this is becoming more of a scratch than a bash! Changes get made nearly every turn, so I too am interested how this will play out. My best thoughts seem to come in the a.m. after a quart or so of thick, dark coffee.
- GLakie, Canute and CaptainSteve
-
3
-
Thanks goes out to George, Mark, CaptainSteve, Buck, Ken and to all for the likes and words of encouragement.
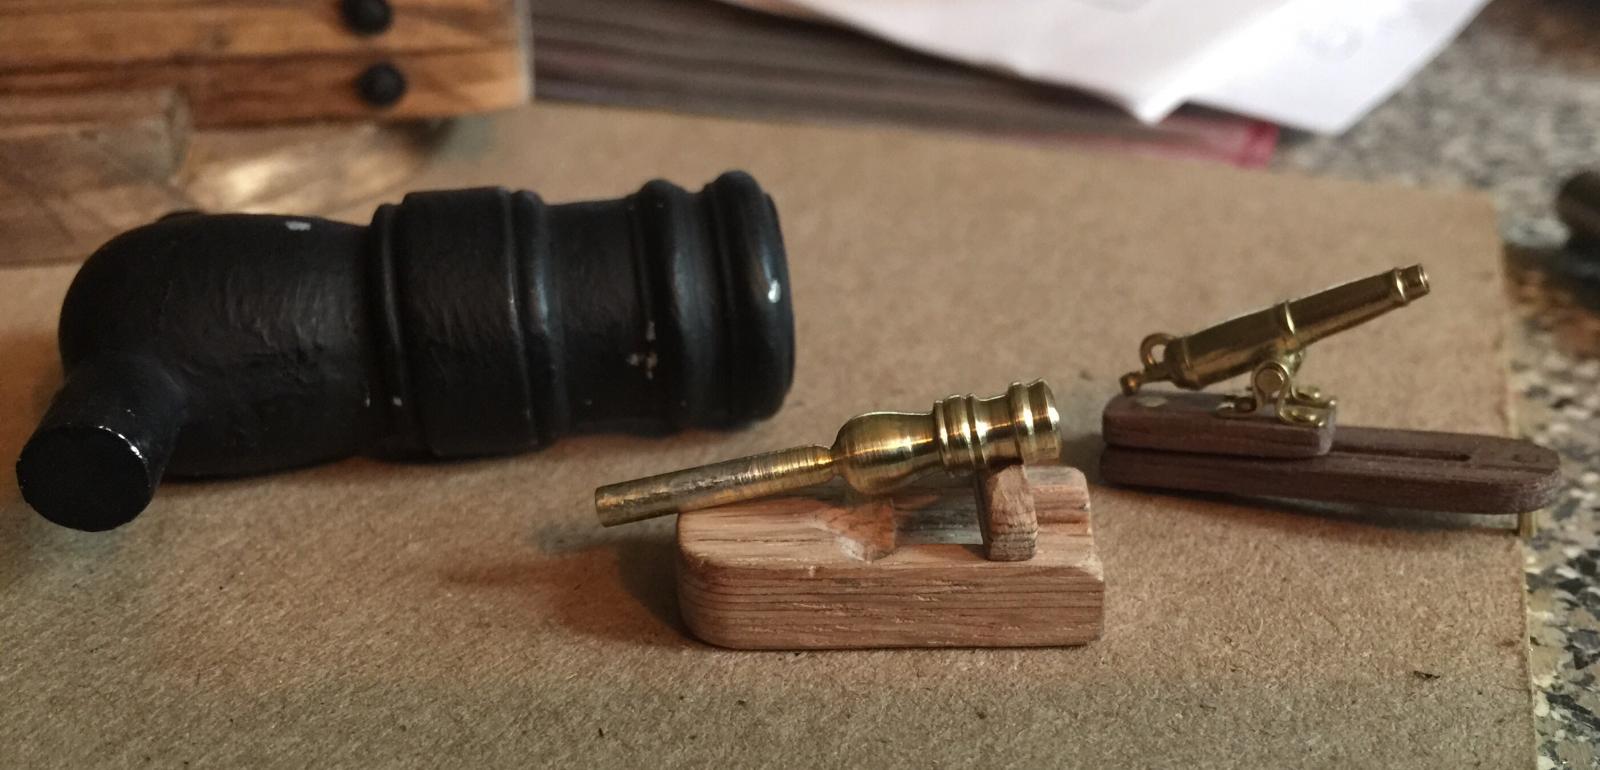
Well CaptainSteve, Ken got it right. The rotunda will be made home by the carronade(s). I use the (s) because at this point I'm really not sure what heck I'm doing. My best estimation is that pivot platforms would be of great value on a ship of this size. The range of fire is greatly improved, giving the ability to send a punch in almost any direction.
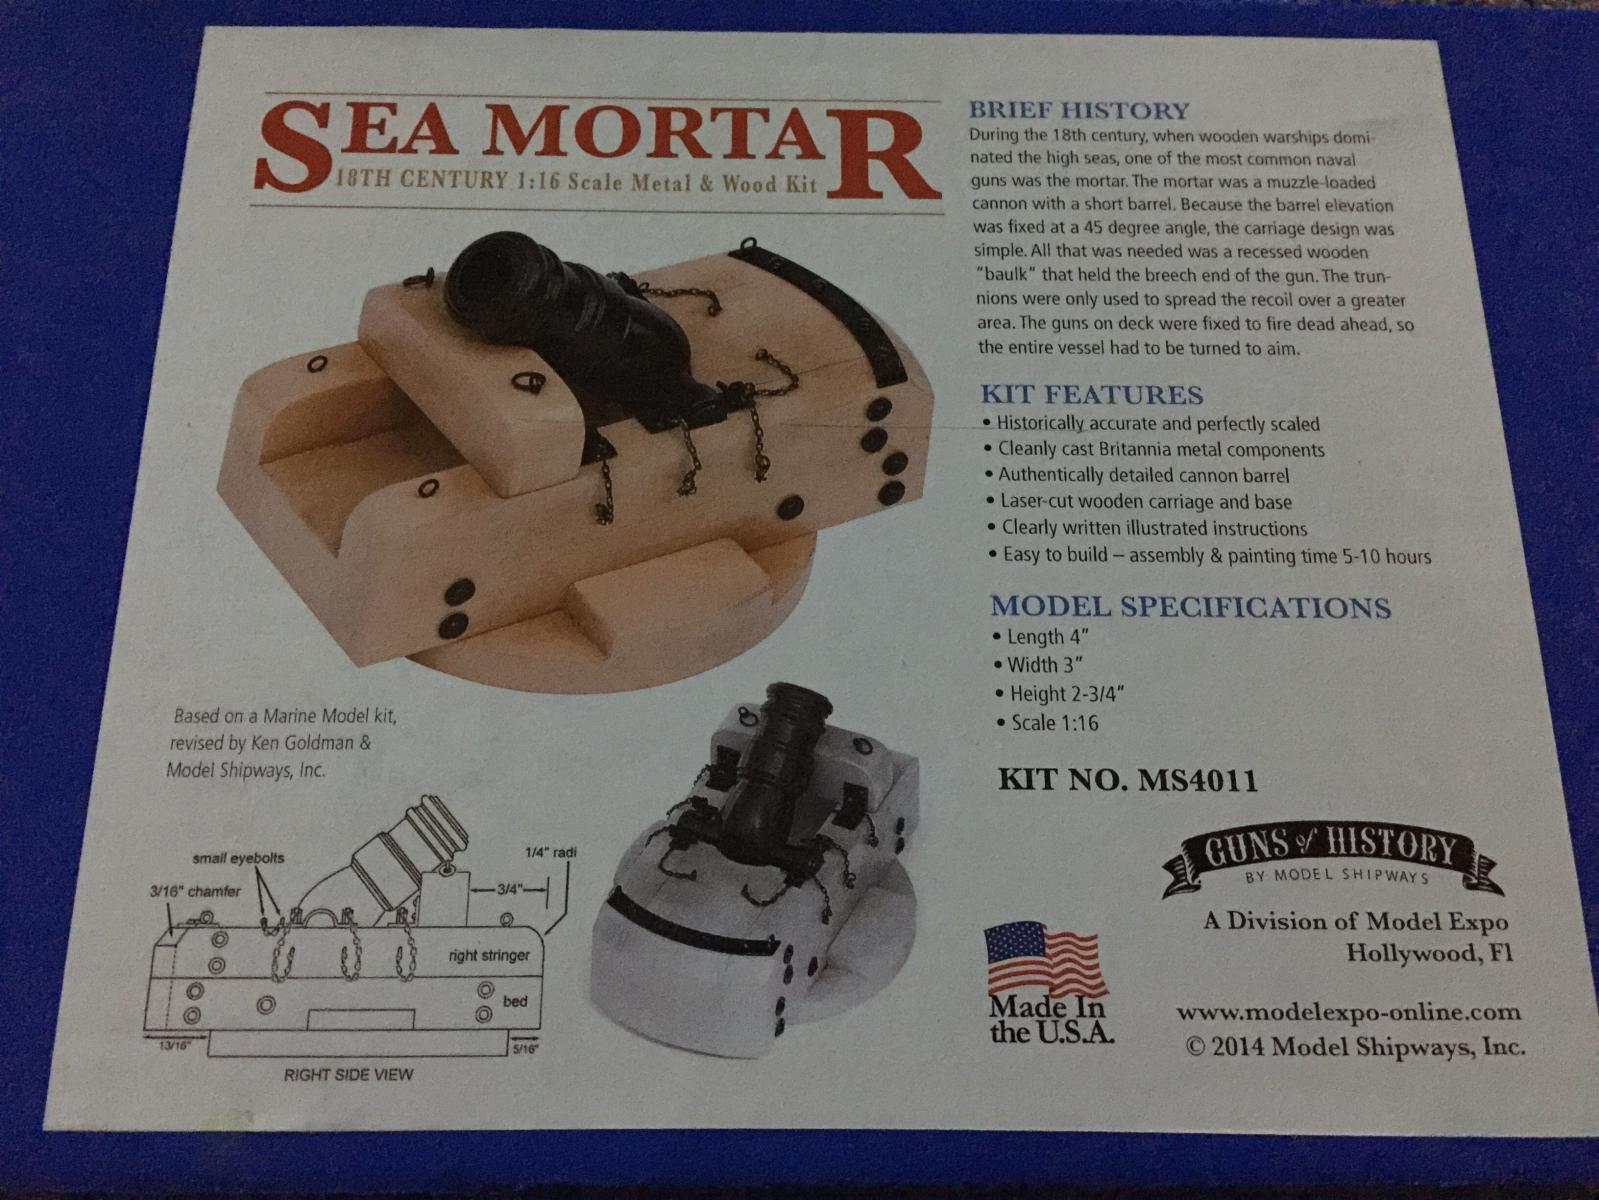
Taking this in mind, I acquired a sea mortar(MS) at a very low price. I'm taking CaptainSteve's advice, to include this small project into this build log.

I will be scaling down from 1:16 to 1:64 but have yet to decide how many to make.
- CaptainSteve, GLakie, Salty Sea Dog and 2 others
-
5
-
George, I think Salty has a chance to lose some weight now that he's picked up his rock hammer again!
You are correct Mark, SE ridge behind Money's Head at Smith Rocks. I told my son I'm getting too old for this! It was a great start for our mini vacation.
- Salty Sea Dog, Canute, GLakie and 2 others
-
5
-
Hey CaptainSteve, I wonder if it's possible to design removable planking?
- Salty Sea Dog, GLakie, Canute and 1 other
-
4


USS Ranger by mattsayers148 - FINISHED - Corel SM55 - 1:64 - 4th build, 2nd build log
in - Kit build logs for subjects built from 1801 - 1850
Posted
Thanks Mark, that's a perfect conversion chart.
I'm usually converting from real life to scale, or one scale to another so my Harbor Freight $5 digital caliper with mm/inch readout comes in handy, especially turning those little cannons.