


mattsayers148
-
Posts
685 -
Joined
-
Last visited
Content Type
Profiles
Forums
Gallery
Events
Posts posted by mattsayers148
-
-
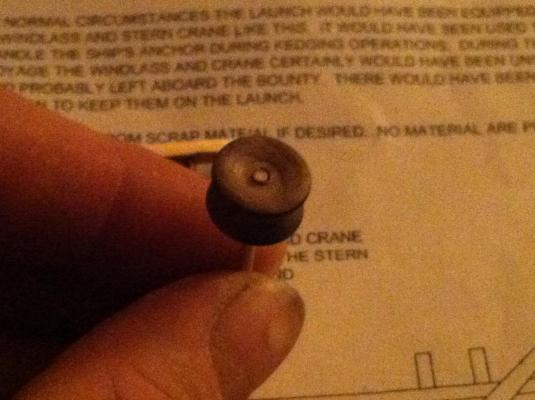
Hey Pops, well here's the windlass I made today. I agree with you in that it doesn't seem even close to being strong enough. I'm not super happy with it, but instead of making another one, I think I'm going to reinforce it with a thick rope lashing or possibly iron bands. What do think? I still have the handles to make for it and I know when they are in it most likely won't look so wimpy.


-
Hey Pops, thanks for the encouragement, I think both cranes look awesome! I posted to my build log photos of how I made those little handle things. A lot of the models I've been working on end up shifting gears as I work on them, like the crane, an afterthought because I couldn't find an example of one, I had to do it. Once you get the camera I'd really like to see some close-ups. Great job, Matt.
-
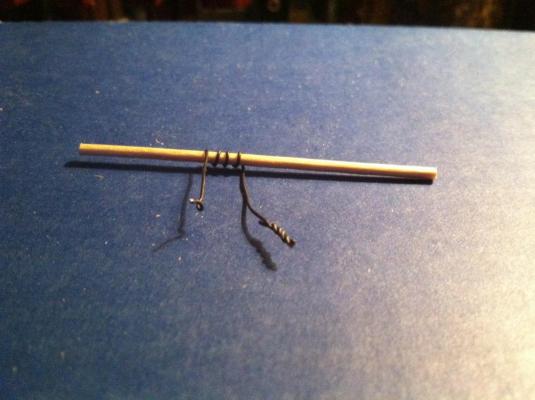
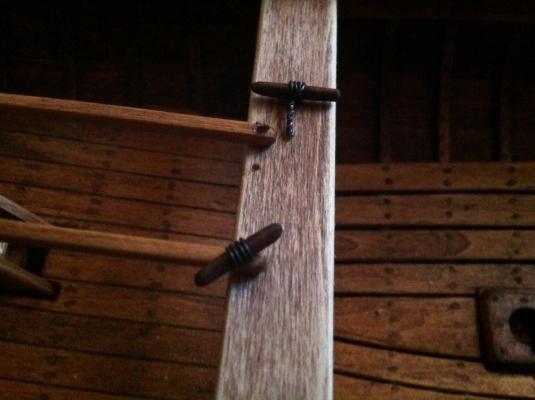
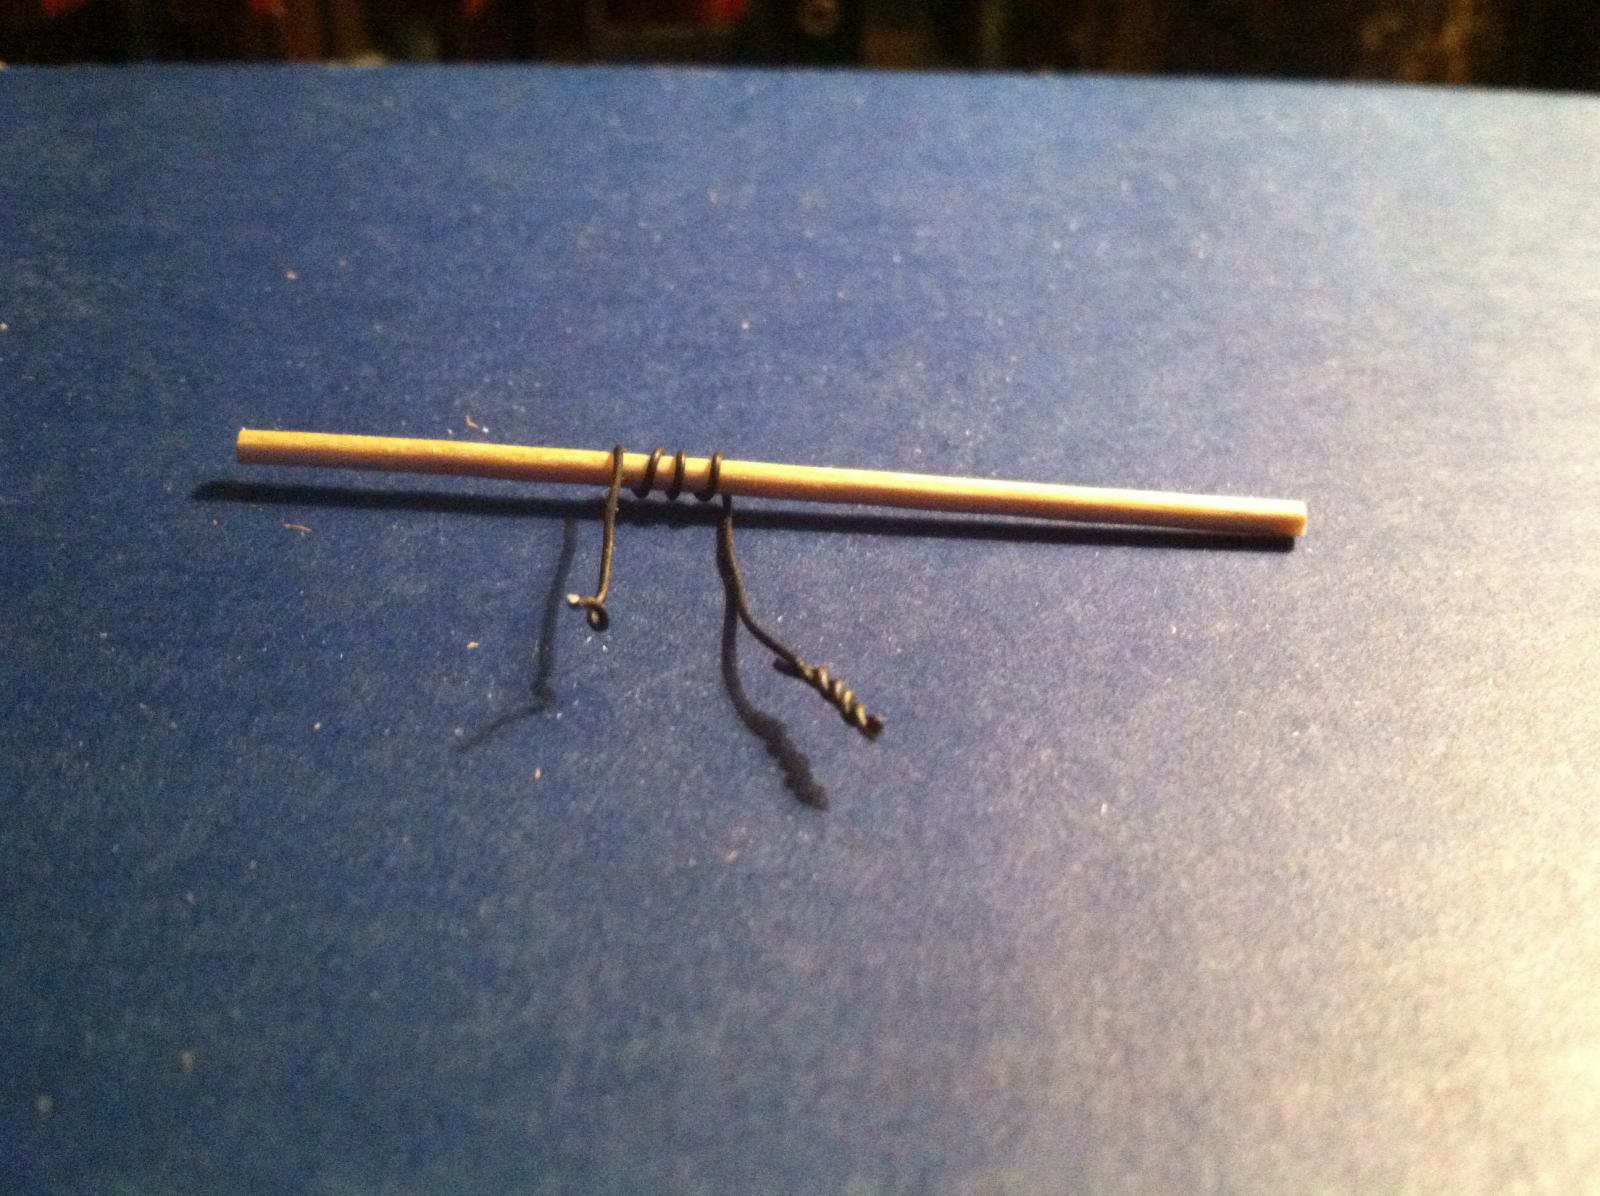
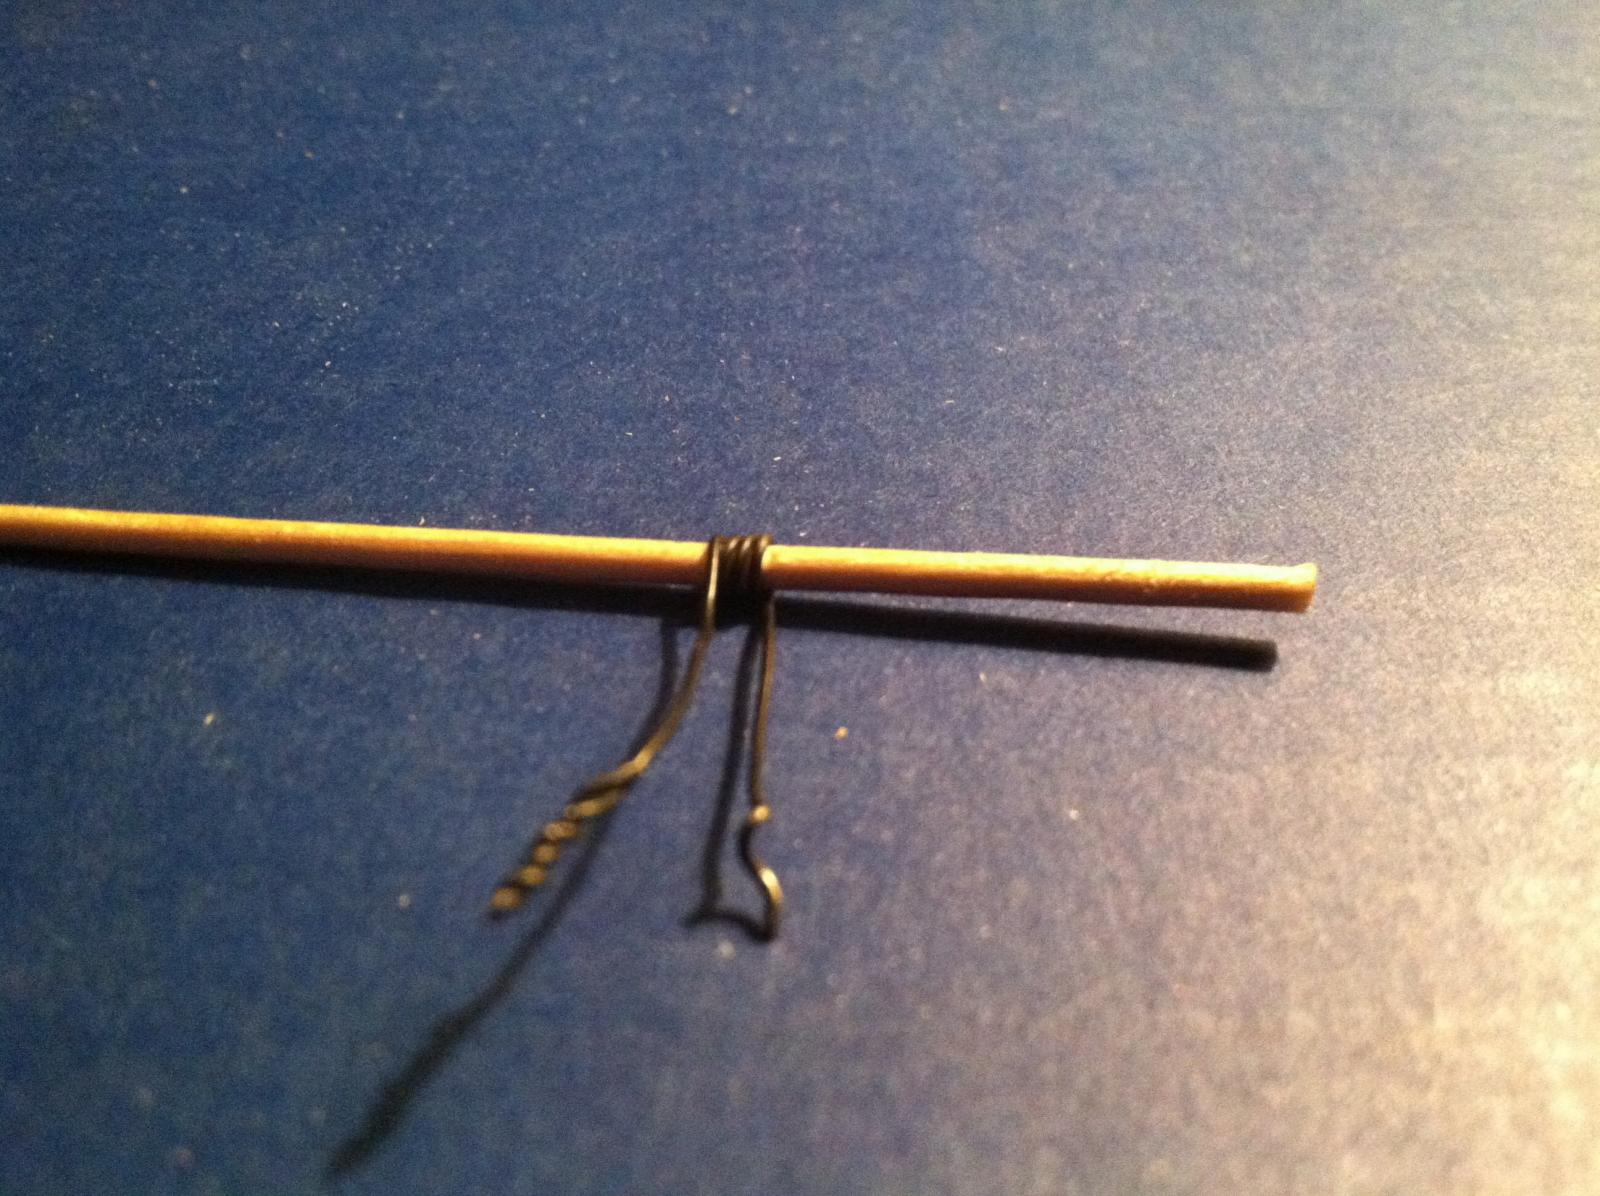
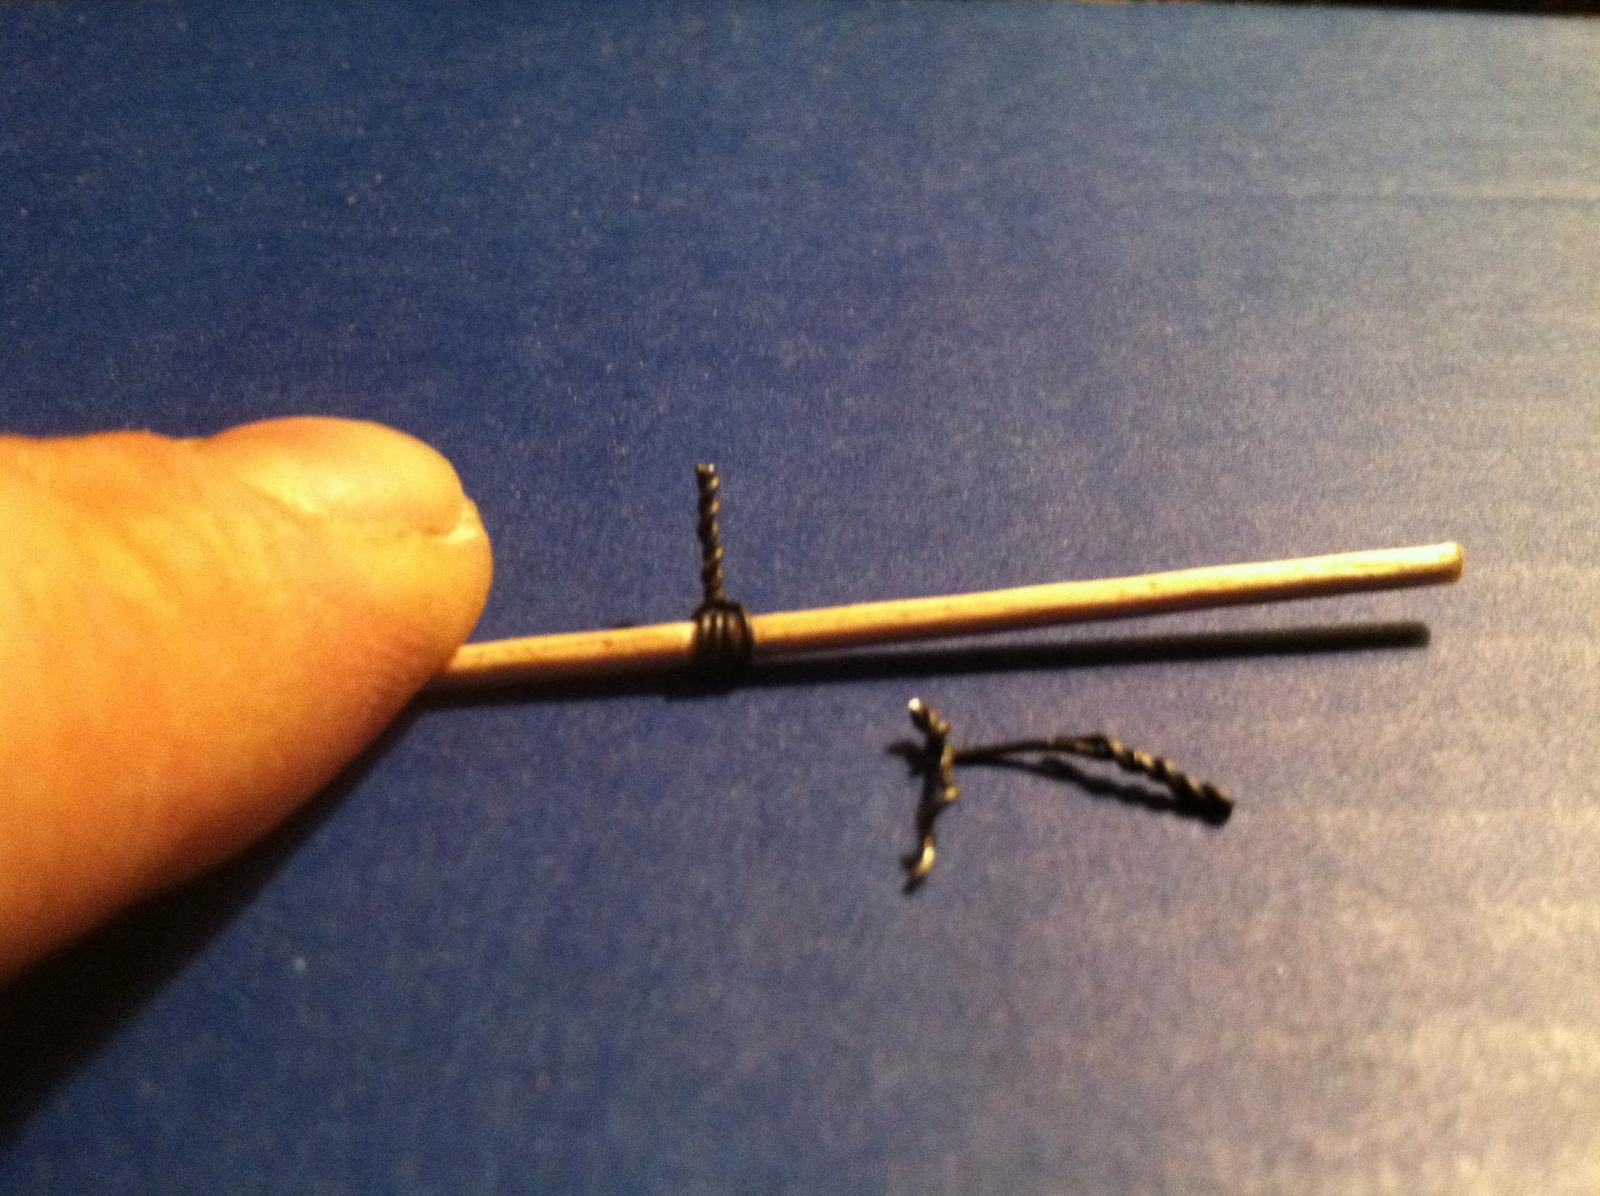
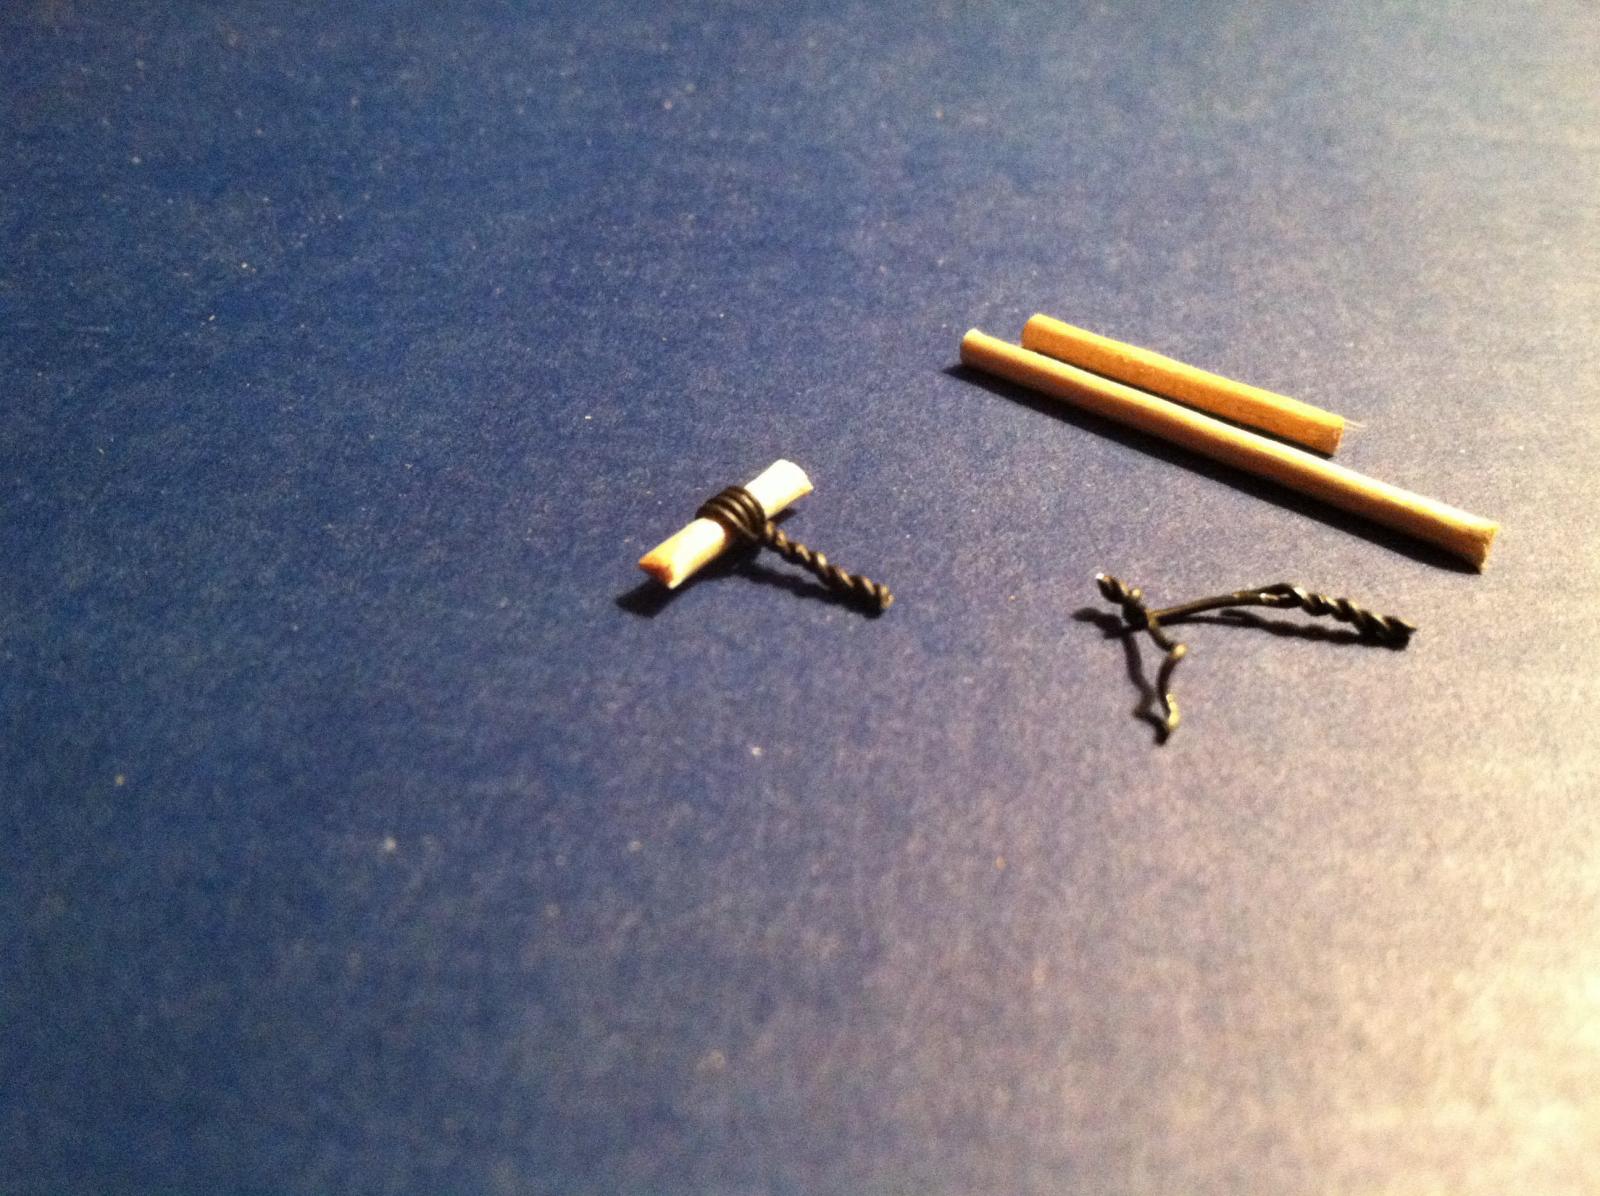
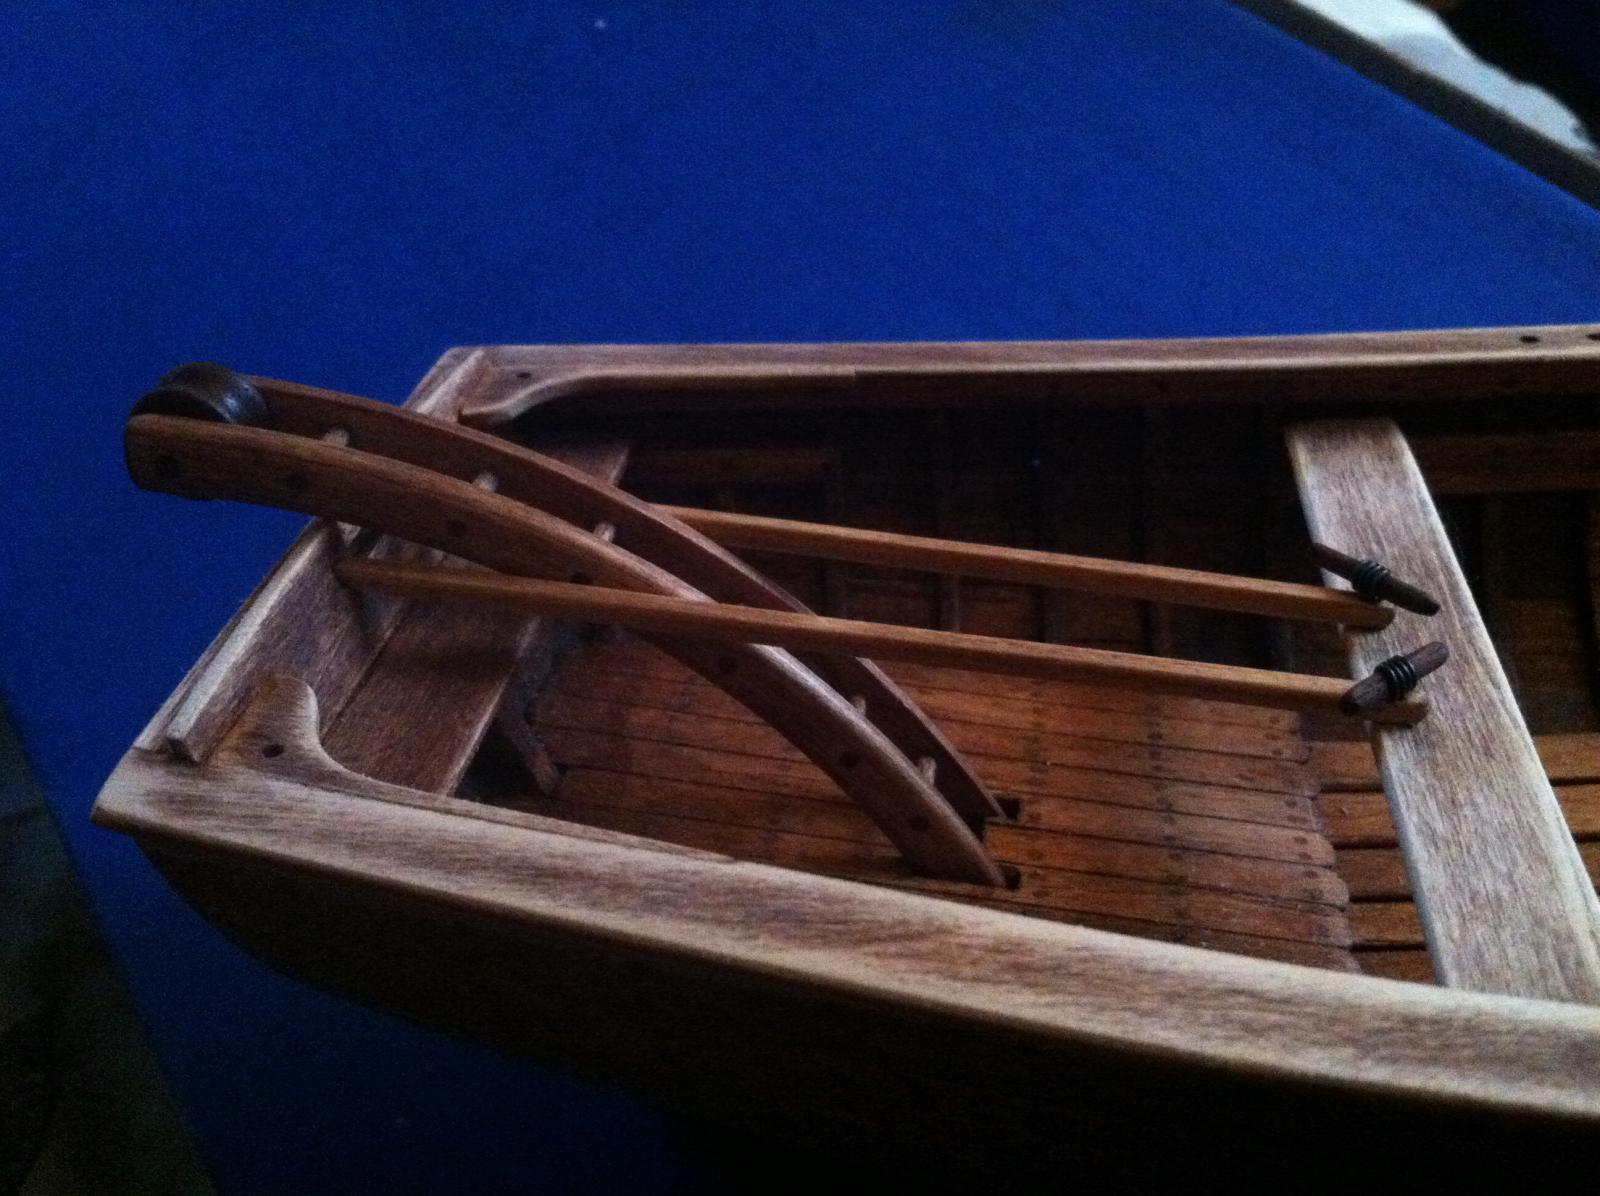
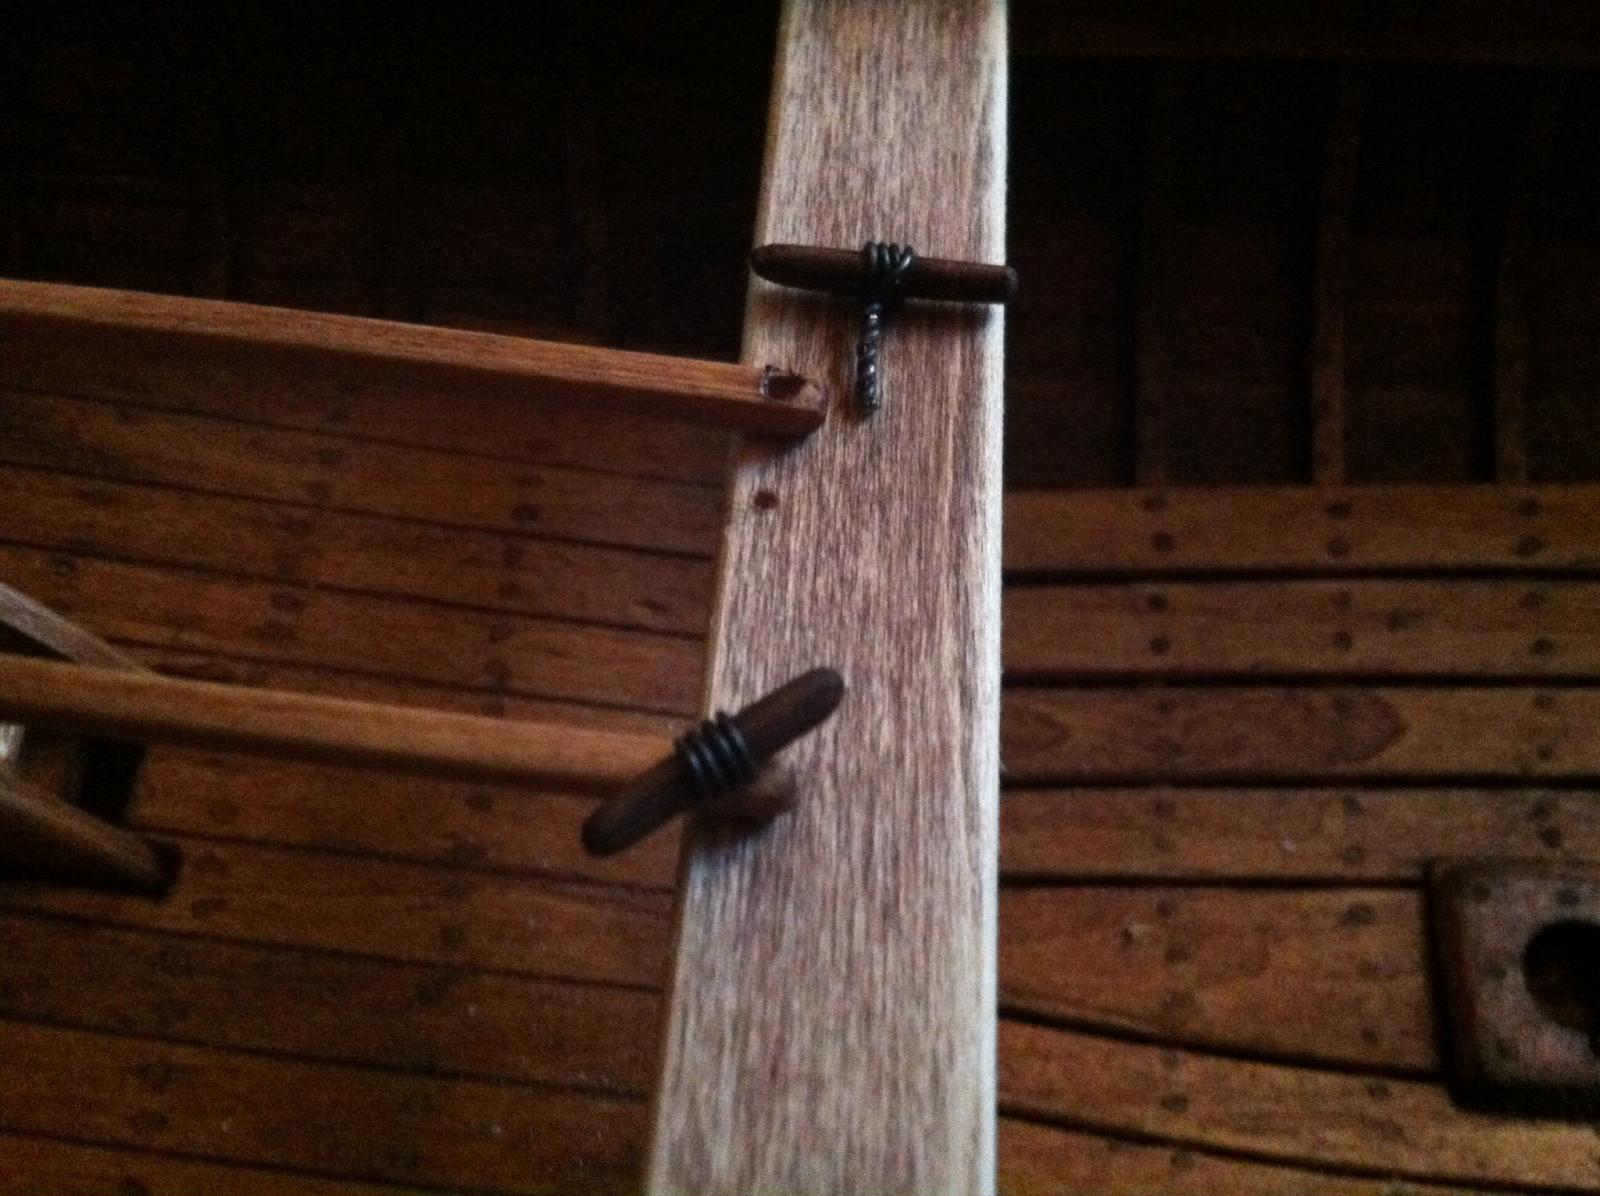
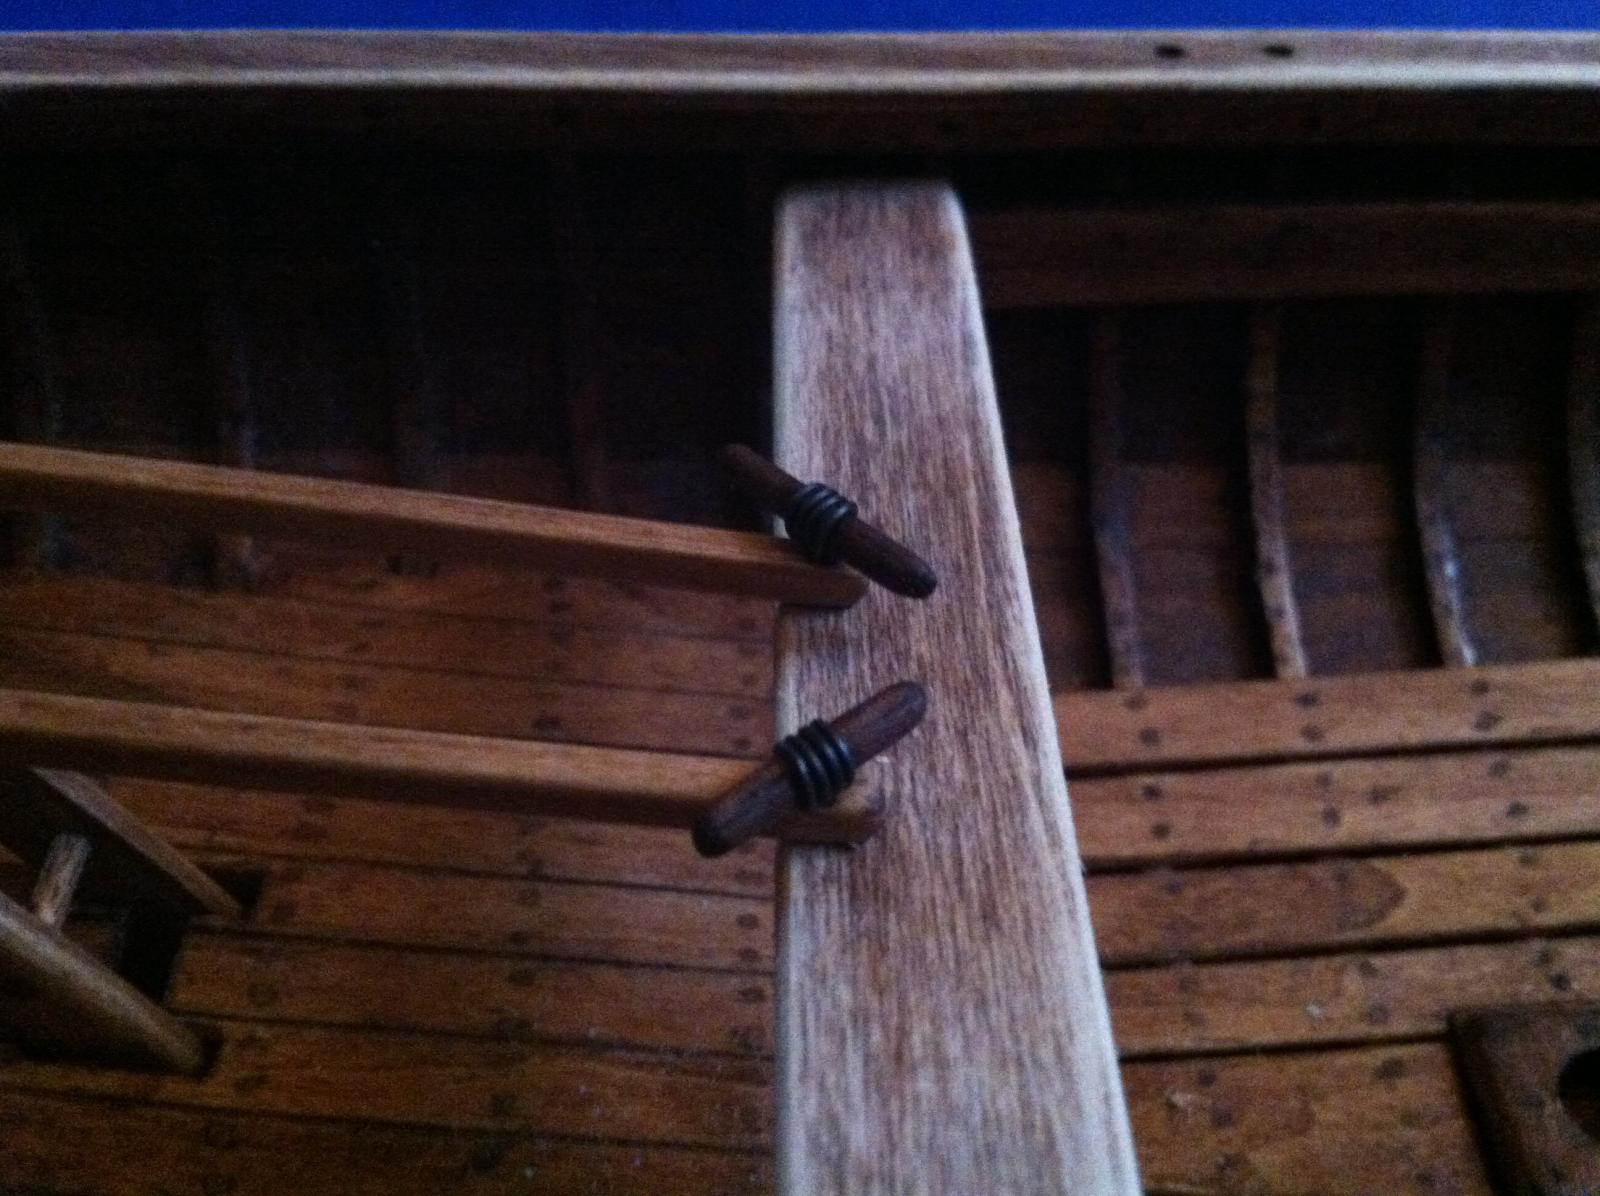
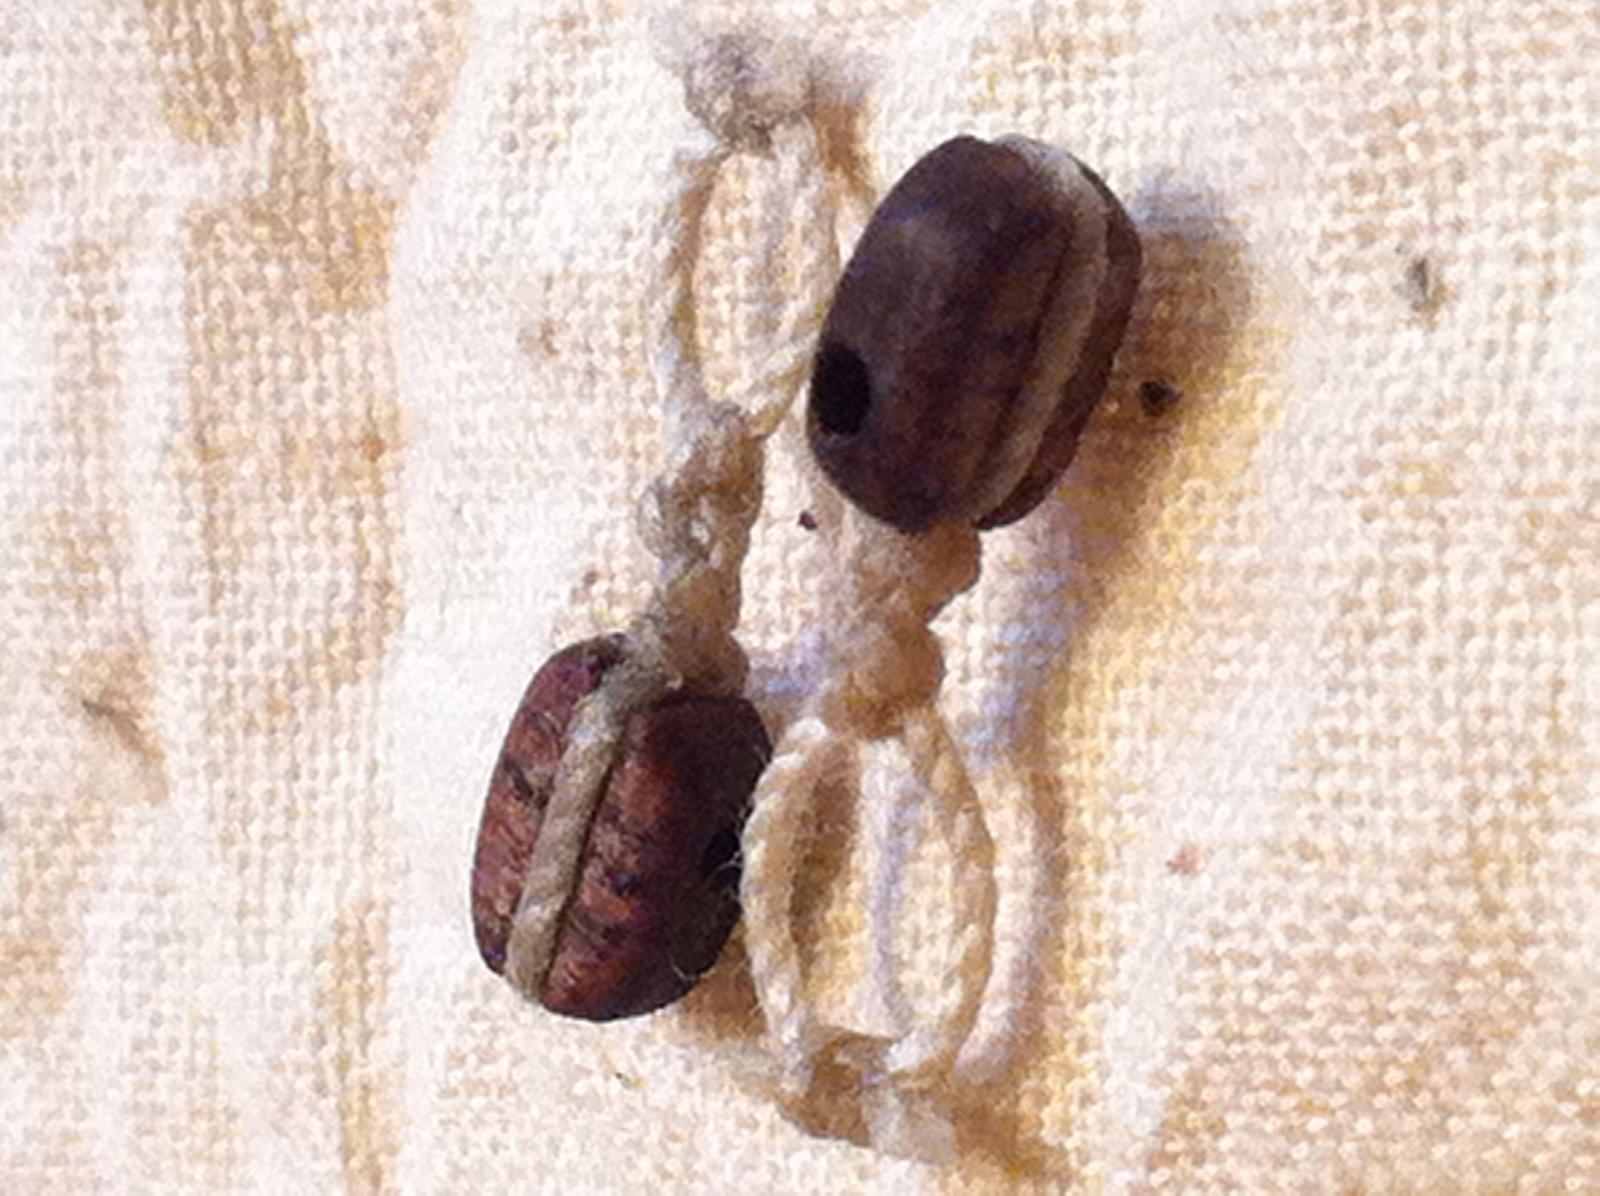
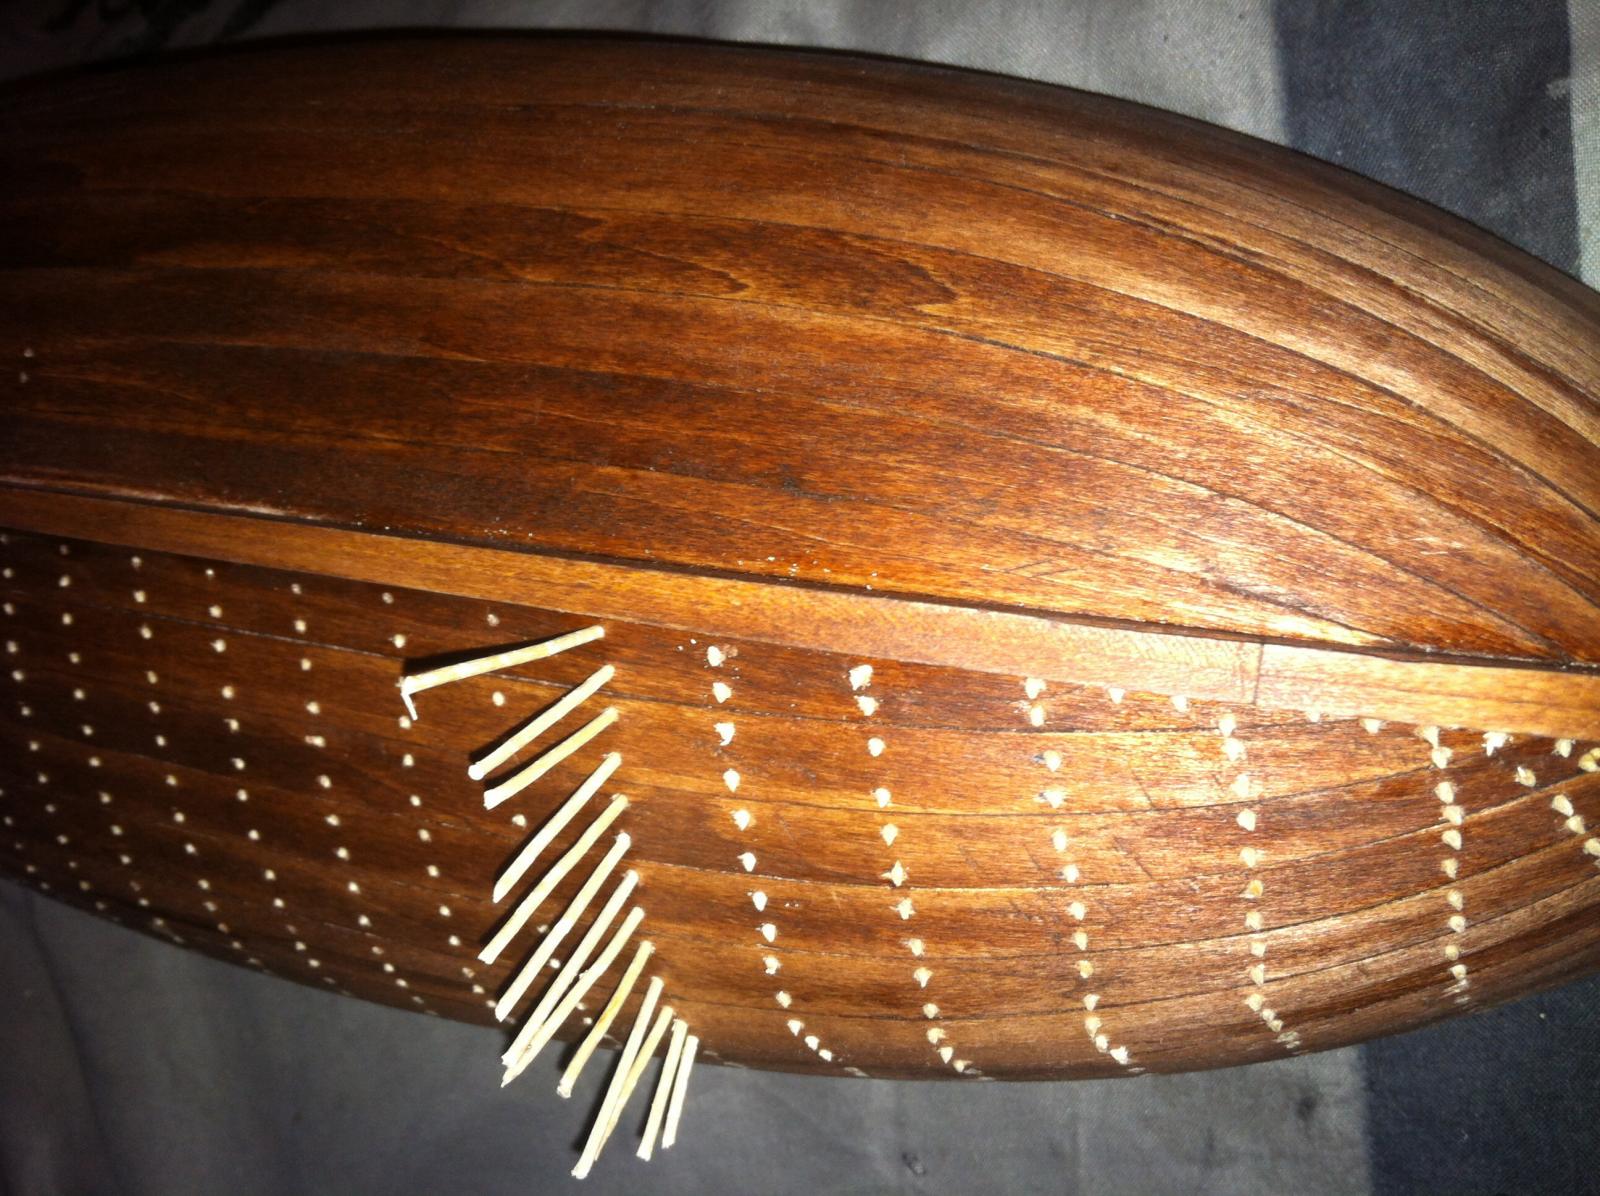
Thank you KeithW, Cap'n Rat Fink and Pops for your words of encouragement. I had absolutely no idea what I was gettin myself into when my brain said, "I like the look of those dowel/wood/nail thingies, yeah I'm doing that!" I think it took almost three finger blistering weeks? Hey Pops, I hope these photos show how I did those handle/fasteners. I'm sure they exist only in my mind, but I bet the sailors of those days had to MacGyver a thing or two. I think the wire was 26ga and I just wrapped it around 4 times, pinched em tight, then twist and snip. They actually screw into place!


- IgorSky, CaptainSteve and Dimitris71
-
 3
3
-
I figured I should finish off the crane before I start the windlass.


-
Hello Pops, well I finally got my buildlog up and running. I think I'm done with my crane for now and off to the windlass. I'm looking forward to seeing your rendition, Matt.
-
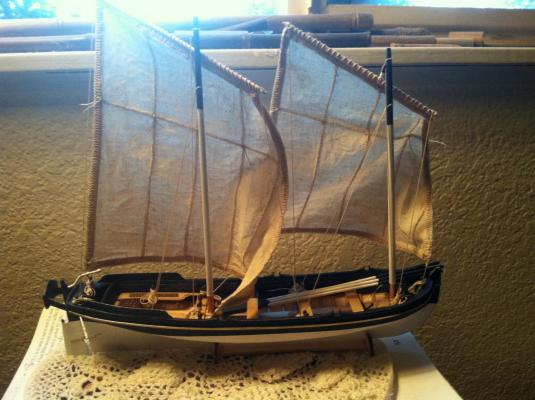
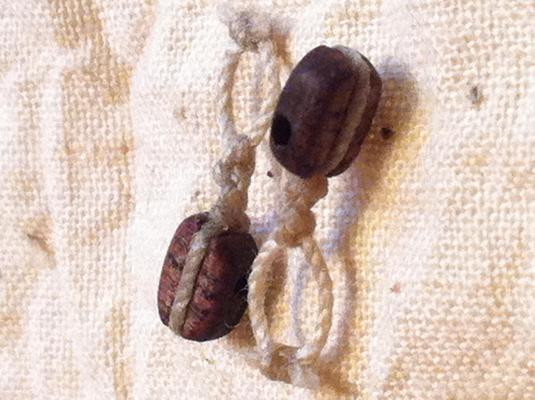
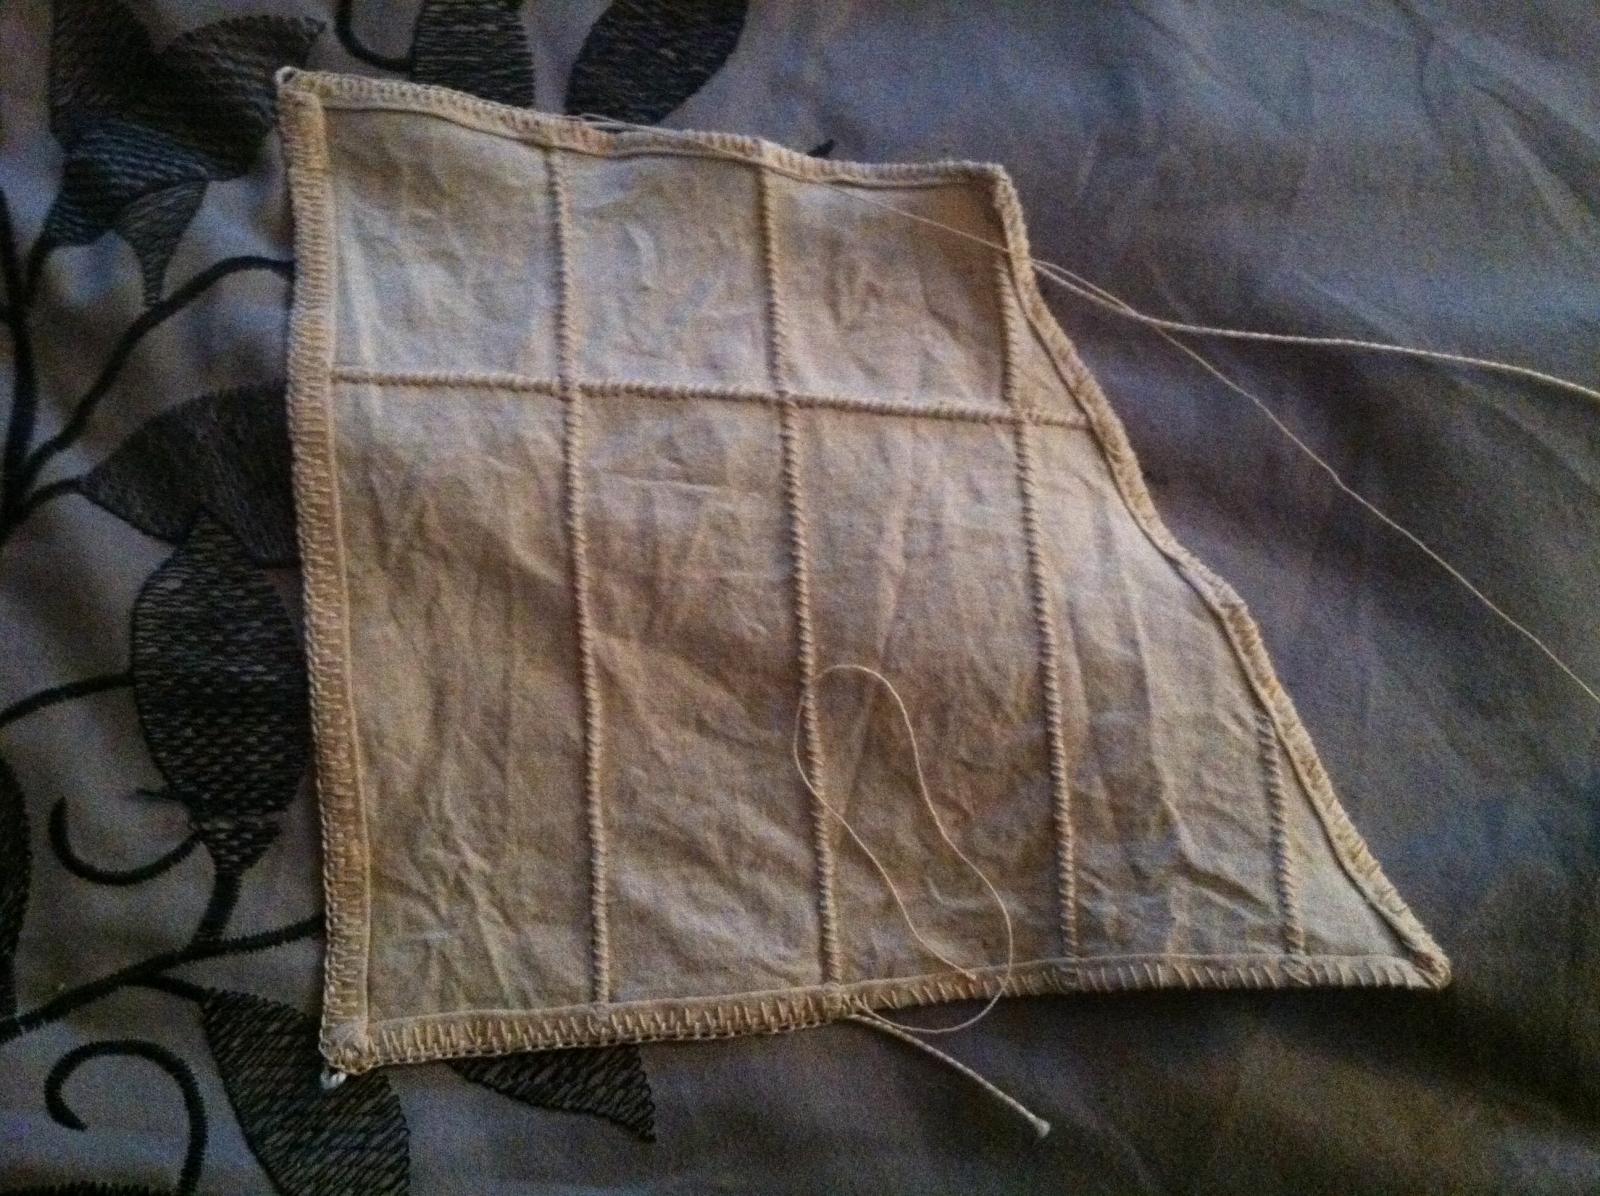
Thanks Captain, it's only my third(18th century longboat and 21ft English Pinnace). Those kinda started the learning curve. The pinnace got away from me as I used it for a practice run for this model. I scaled down the masts and sails to 1:24 and kinda left the plans behind. I added walnut grating on the seat spot and made my blocks and belay pins from walnut stock. I also chose to use fine crochet thread for all lines and for hand sewing the sails. They didn't turn out too bad for a first effort.

-
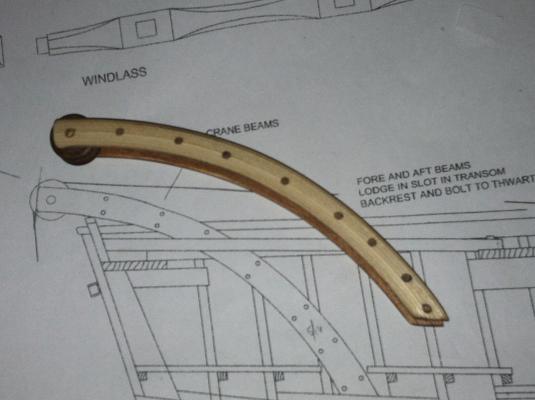
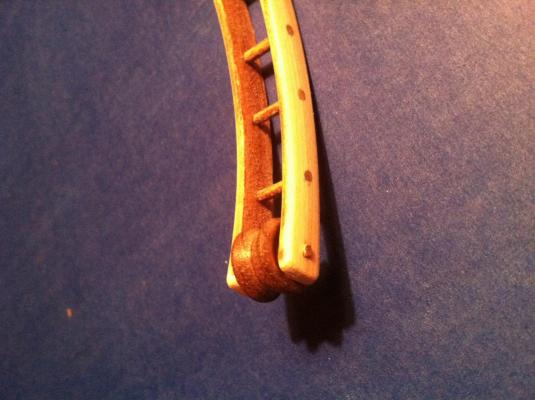
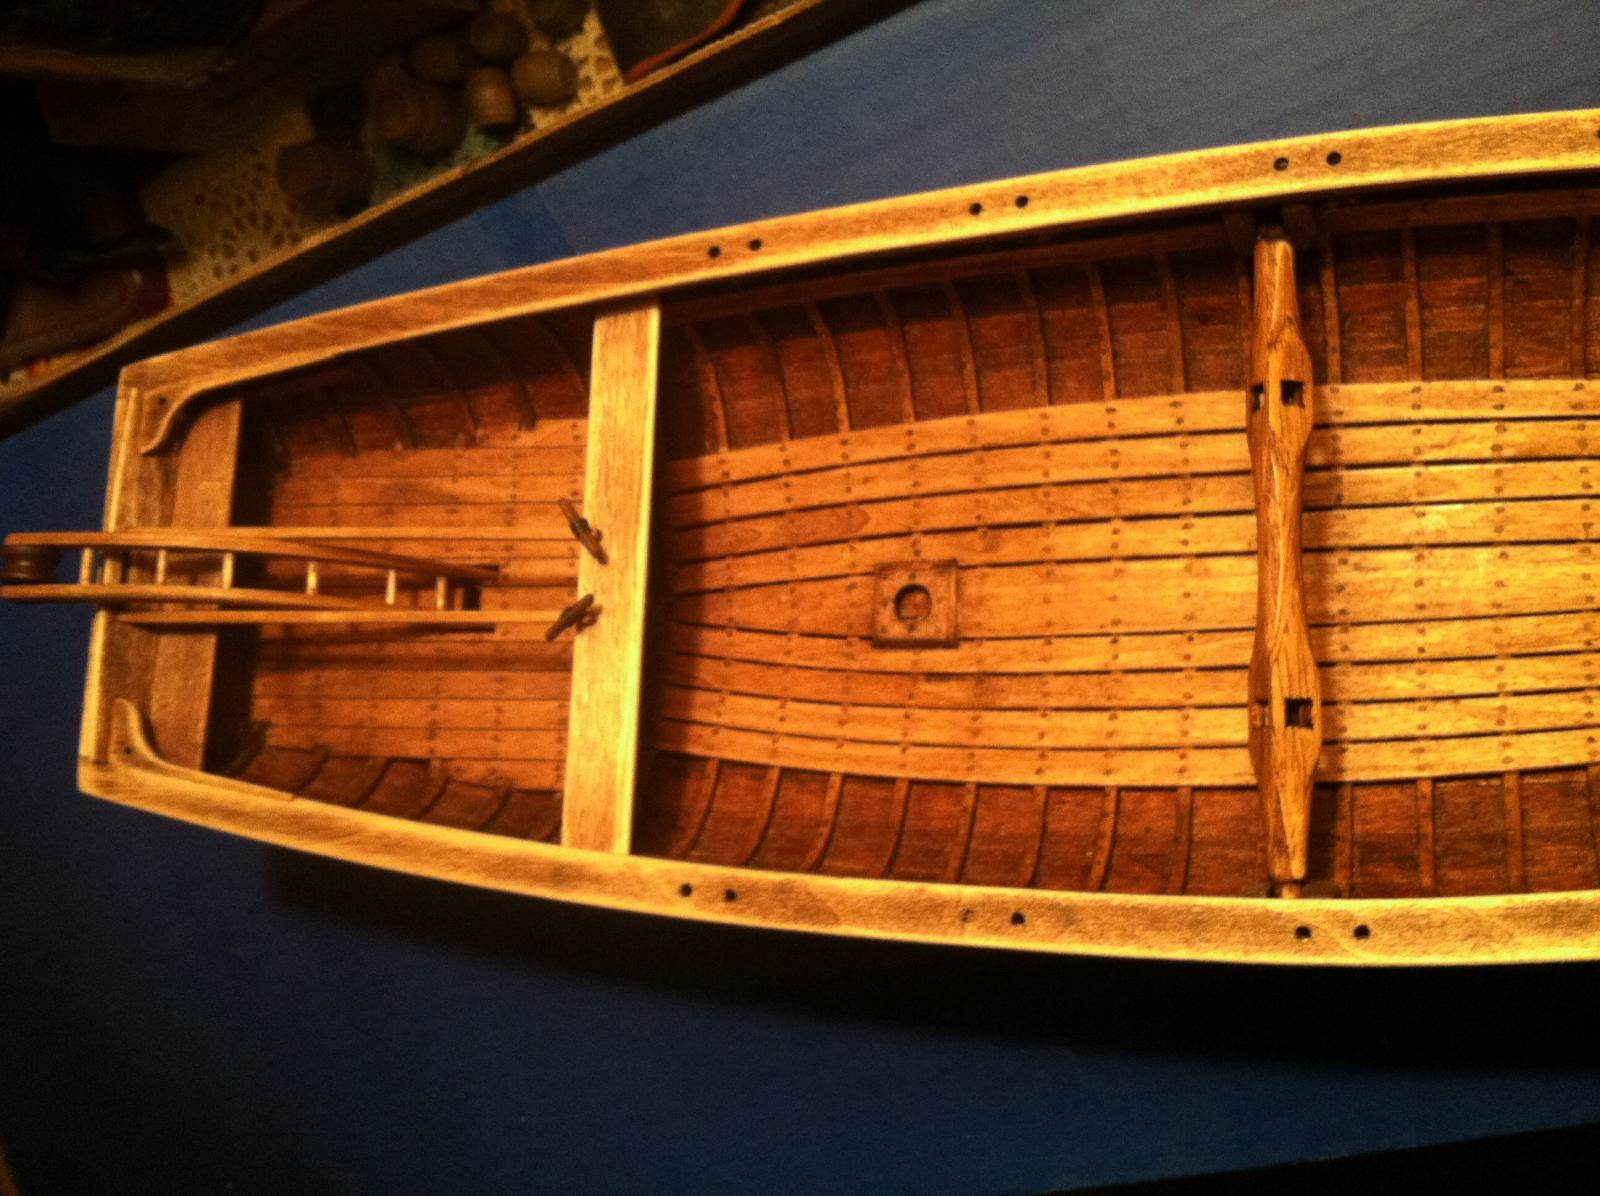
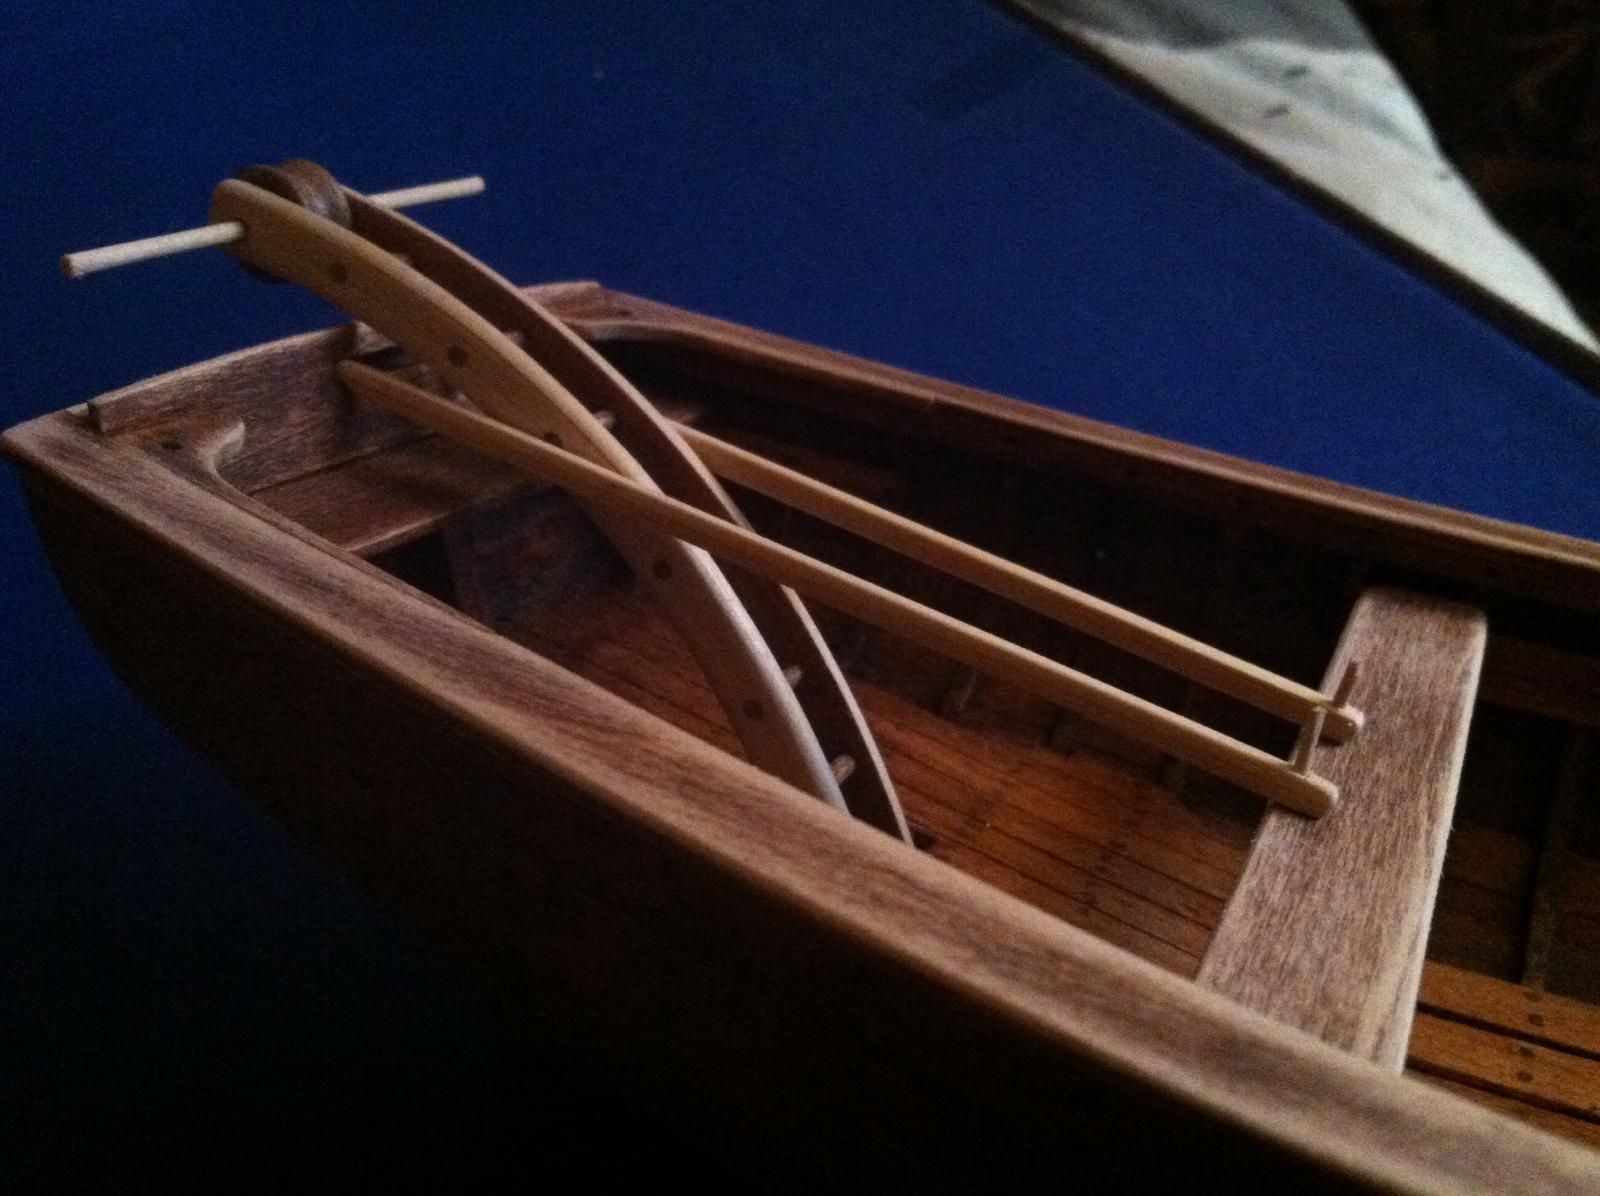
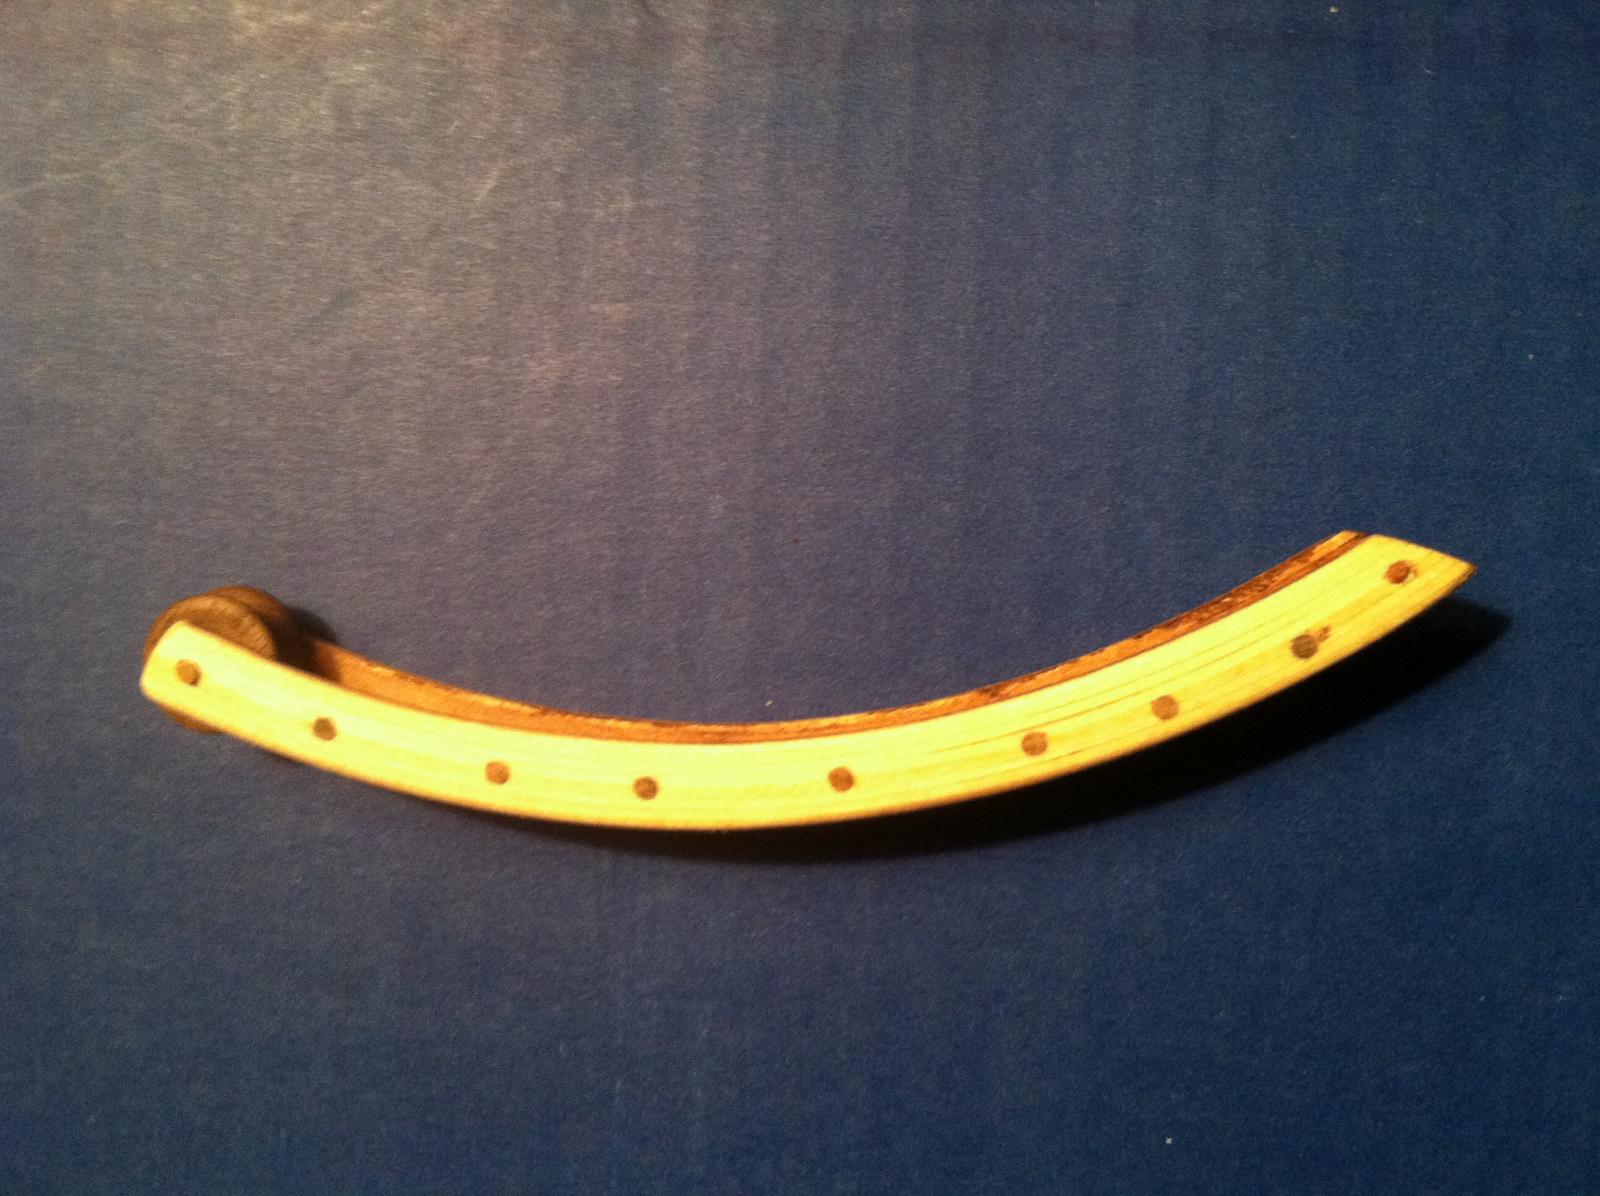
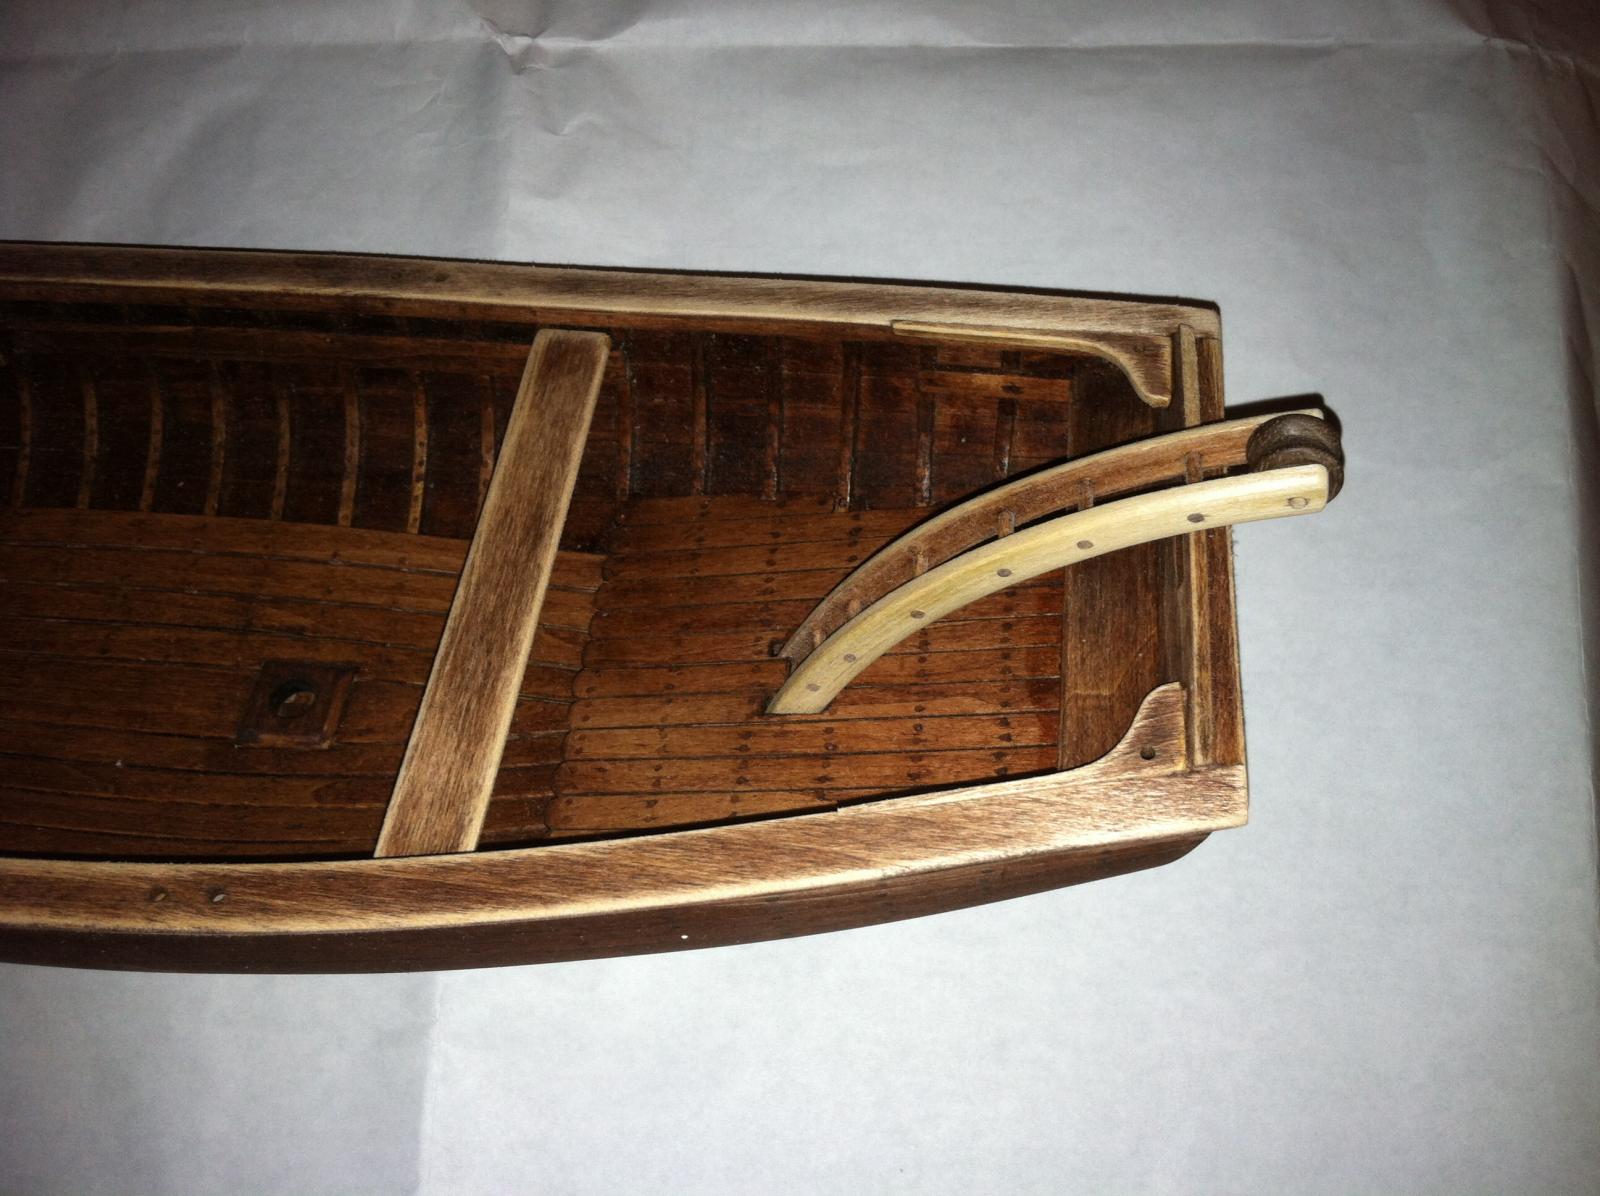
Now we're up to speed. I held off on installing the thwarts to make the stern crane. I ended up laminating 1/32 x 1/8 strips(left over planks from a previous build) on a jig(the lid from my empty sherbet tub) into a half circle. Once dry, I cut them in half to get two identical pieces. Then I clamped together and drilled necessary holes for square alignment. Last nite I made the roller out of stock walnut. I turned it on my trusty poor mans lathe(flex shaft drill). Next for me is forming the windlass.

-
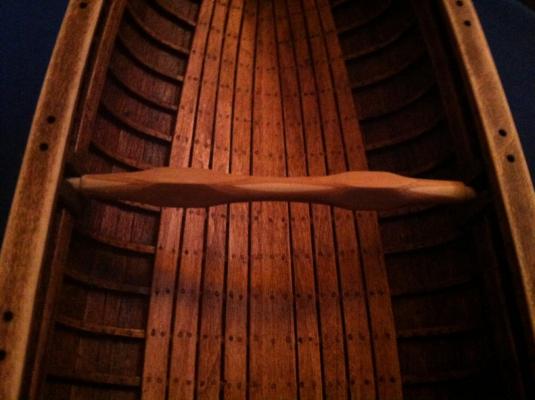
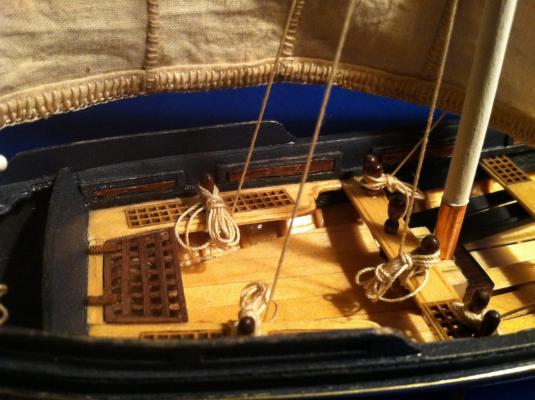
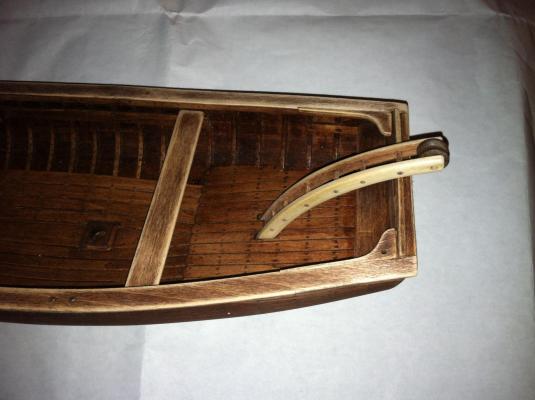
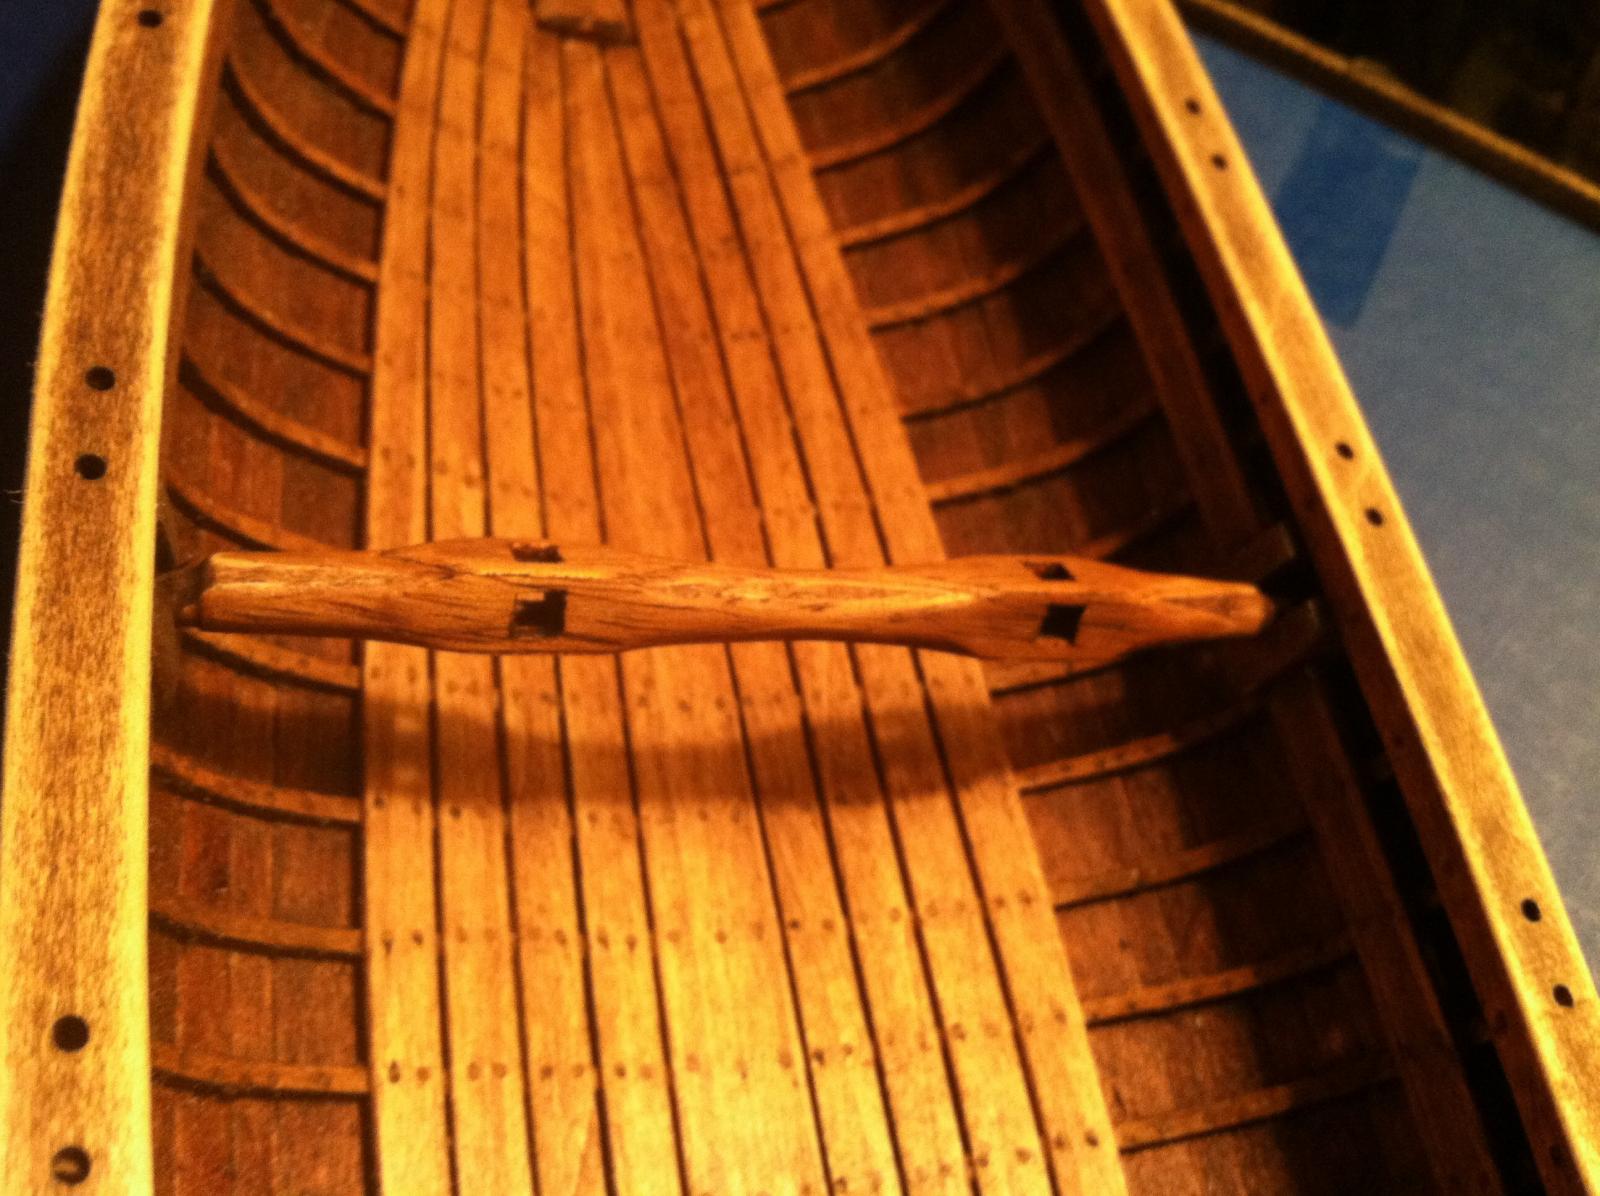
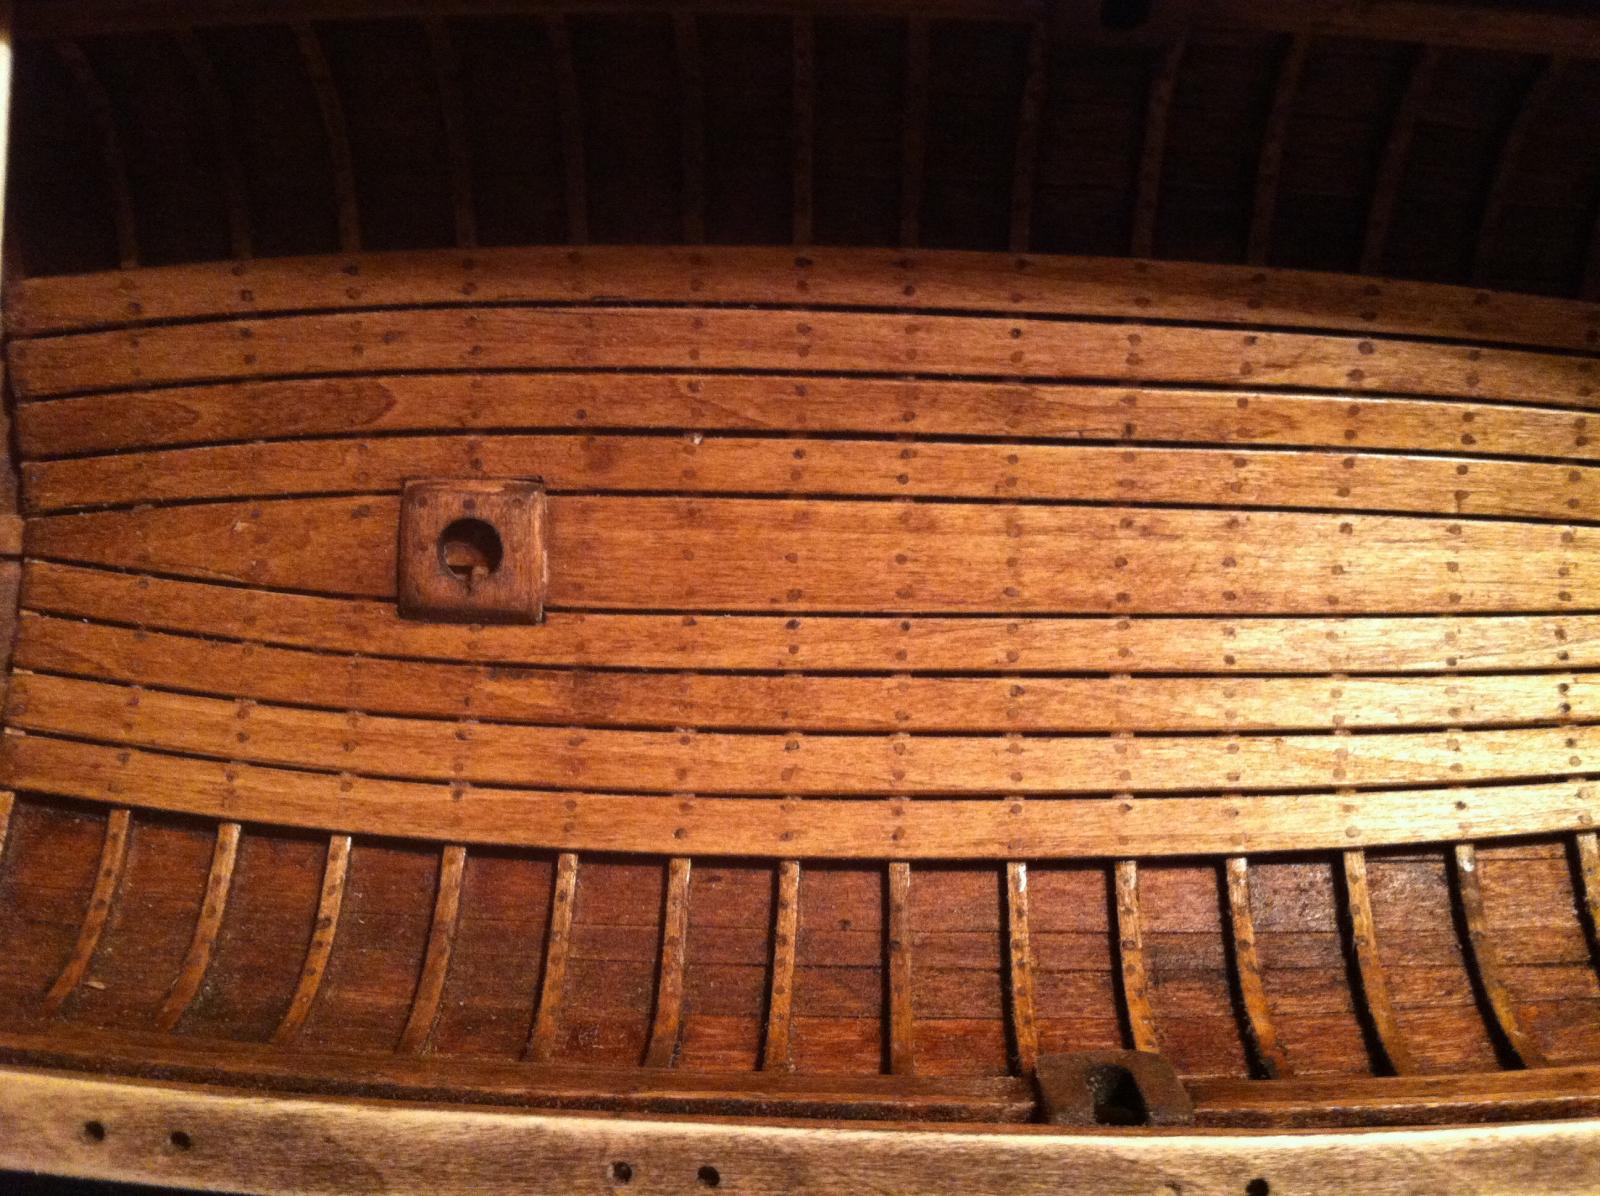
As I went further on the interior floorboards, more tree nails appeared. Then went in the thwart risers, winch keep, mast steps, breasthook and gunwales, backrest and quarter knees. As a side note, when I bent my frames I used the soak and soldering iron neck, constant movement prevented burning and a very smooth bend. I decided to run the frames in one piece to both sides, I don't know if I just got lucky or what, but I managed this with zero breaks. Afterwards I reused the jig to bend all my tween frames on, so they installed really uniform.


-
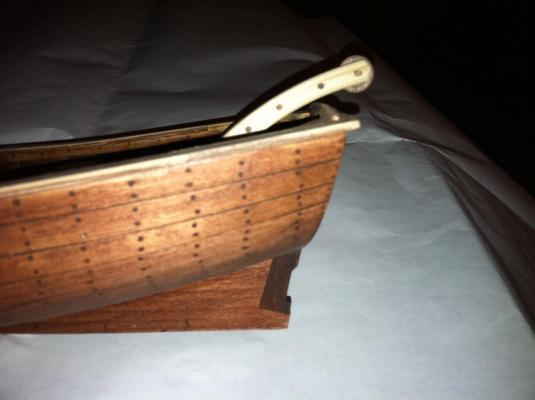
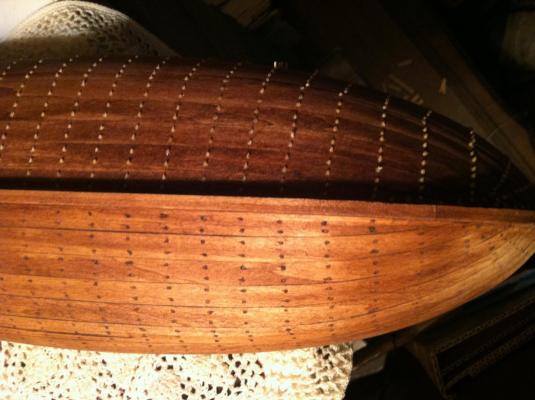
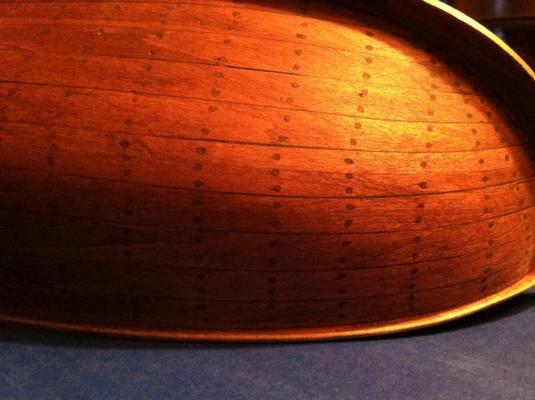
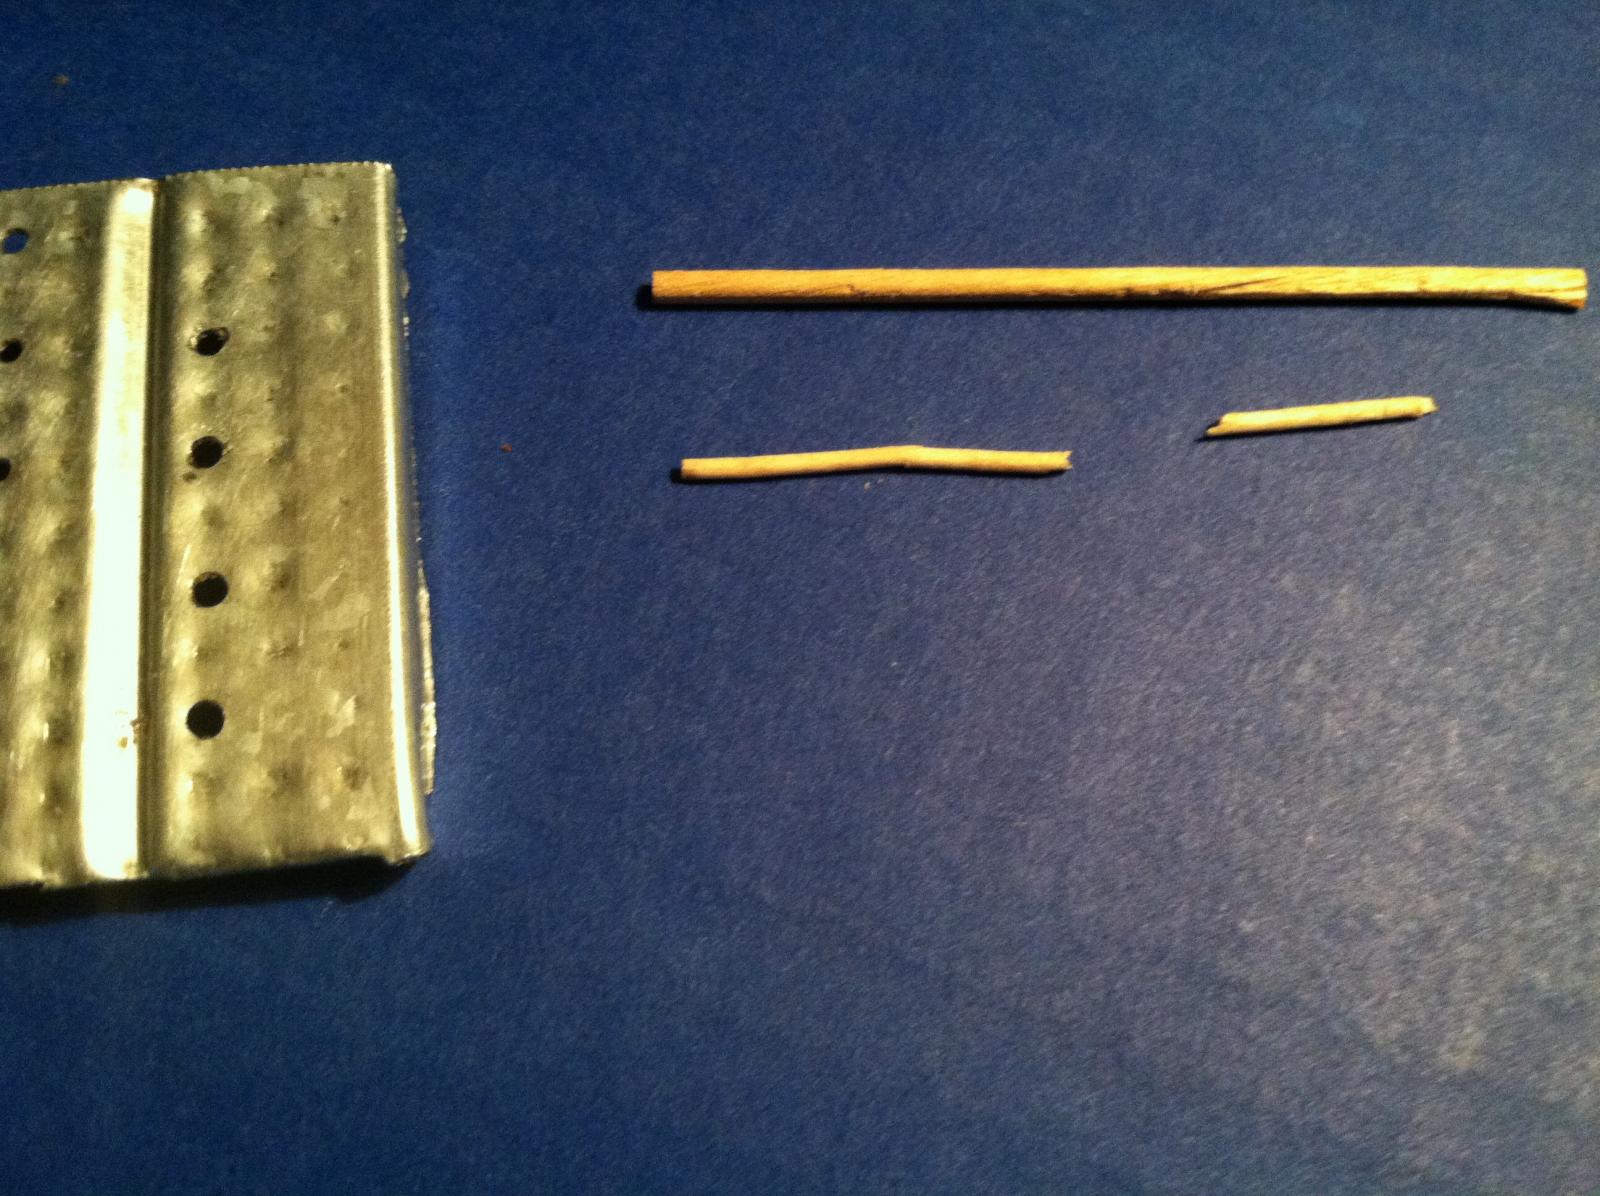
As you can see, I decided to stain instead of paint, and used tree nails, a lot of tree nail! I wasn't sure of the quantity, as I viewed several similar styles and made them to look correct to my eye. I used 3/32 dowels(from the craft store) then drew them through a succession of smaller holes in a scrap piece of metal to get them down to 3/64.


-
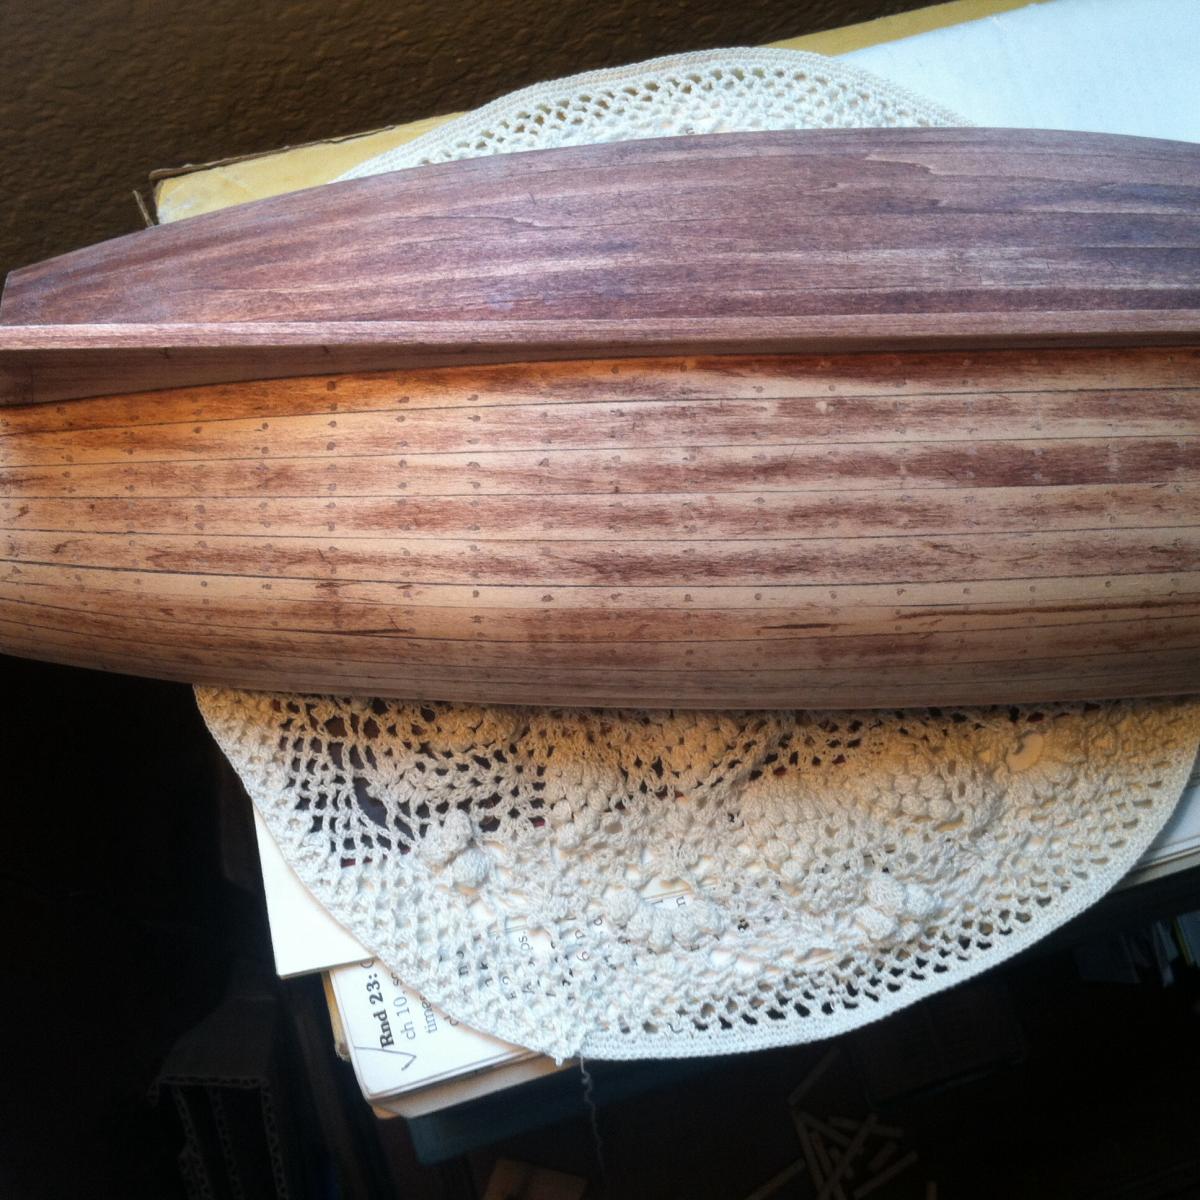
Well this is some of my first pictures taken for this build. I stained all planks prior to glueing and then softly bevel sanded edges to achieve a tight fit. This however left me to insert a 3/16 plank and scribe my shutter plank to it, to my delight it's nearly invisible.

- Dimitris71, edmay, maturin52 and 7 others
-
10
-
Hello Jerry, I'm new to this sight an am doing the Half Moon by Coral once my Hms Bounty Launch. I look forward to seeing your project advance, it looks really good! Matt.
-
-
Hey Ken, I'm new to this site and am doing this same build. I checked around about the ways to bend the frames, the soak (I soaked mine for a couple days) and soldering iron stem works great, you just have to constantly move(rub) to avoid burning. I decided to do them in one long piece for both sides and managed to break not one frame. Good luck, Matt.
-
This is one top notch build, wow! I'm in the midst of a Launch build and will definitely consult your photos during my build. Thanks for your posts along with photos, Matt
-
Hello Captain, I'm new to this site and am in the midst of my Launch build. I'm very impressed by your attention to the fine details, stunning! I'm looking forward to see your finished sails. Good day, Matt.
-
Your winch looks great. I chose to laminate multiple pieces if 1/32 stock into a falf circle jig, once it was set, I cut in half to have two identical sides. Then I clamped them together and drilled all necessary holes to be square and consistent.
-
I too am in the process of adding the stern crane and searched high and low for this same information. Thanks to everyone's comments and photos, it's a great help to my progress.


HMS Bounty Launch by mattsayers148 - FINISHED - Model Shipways - scale 1:16 - SMALL
in - Kit build logs for subjects built from 1751 - 1800
Posted
You know, as I making the 4 holes, it occurred to me that a solution may be to only have 2 holes on each end and and opposite side, one side horizontal and the other vertical. This would keep each side at 90 deg from each other. You could put iron plates on non-hole sides and band them in place. Seem like you'd break the handle before you'd split the windlass, and use your idea with handles extending through the entire thickness of the windlass. What do you think?