


mattsayers148
-
Posts
685 -
Joined
-
Last visited
Content Type
Profiles
Forums
Gallery
Events
Posts posted by mattsayers148
-
-
Well it's taken awhile for me to get set up for the rigging part of this build. All the blocks are made as well as a fair quantity of rope in six different sizes have been soaked in Early American Minwax, dried and hung neatly on my wall for quick access.
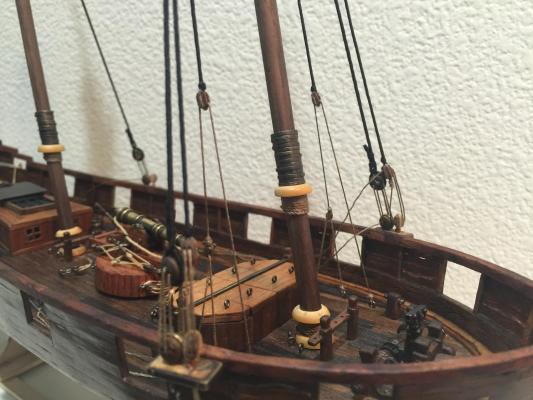
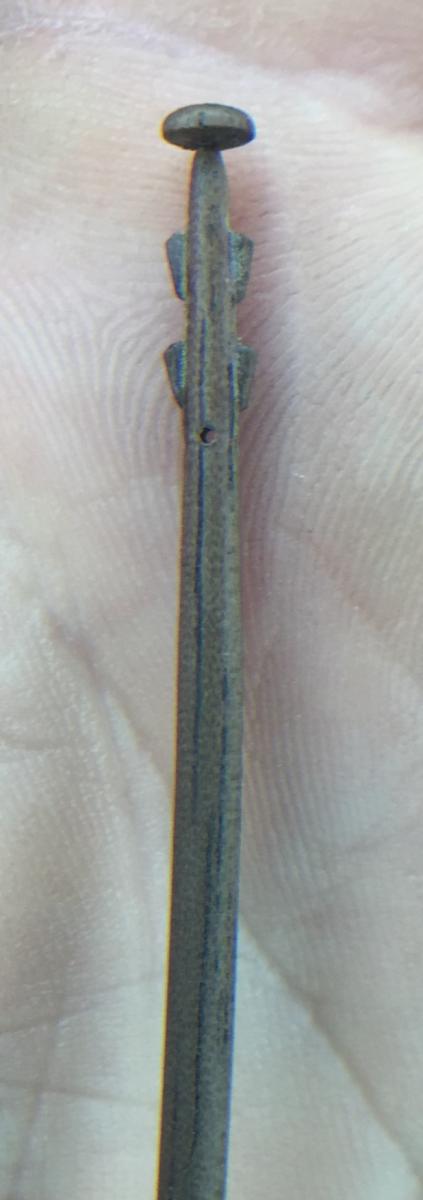
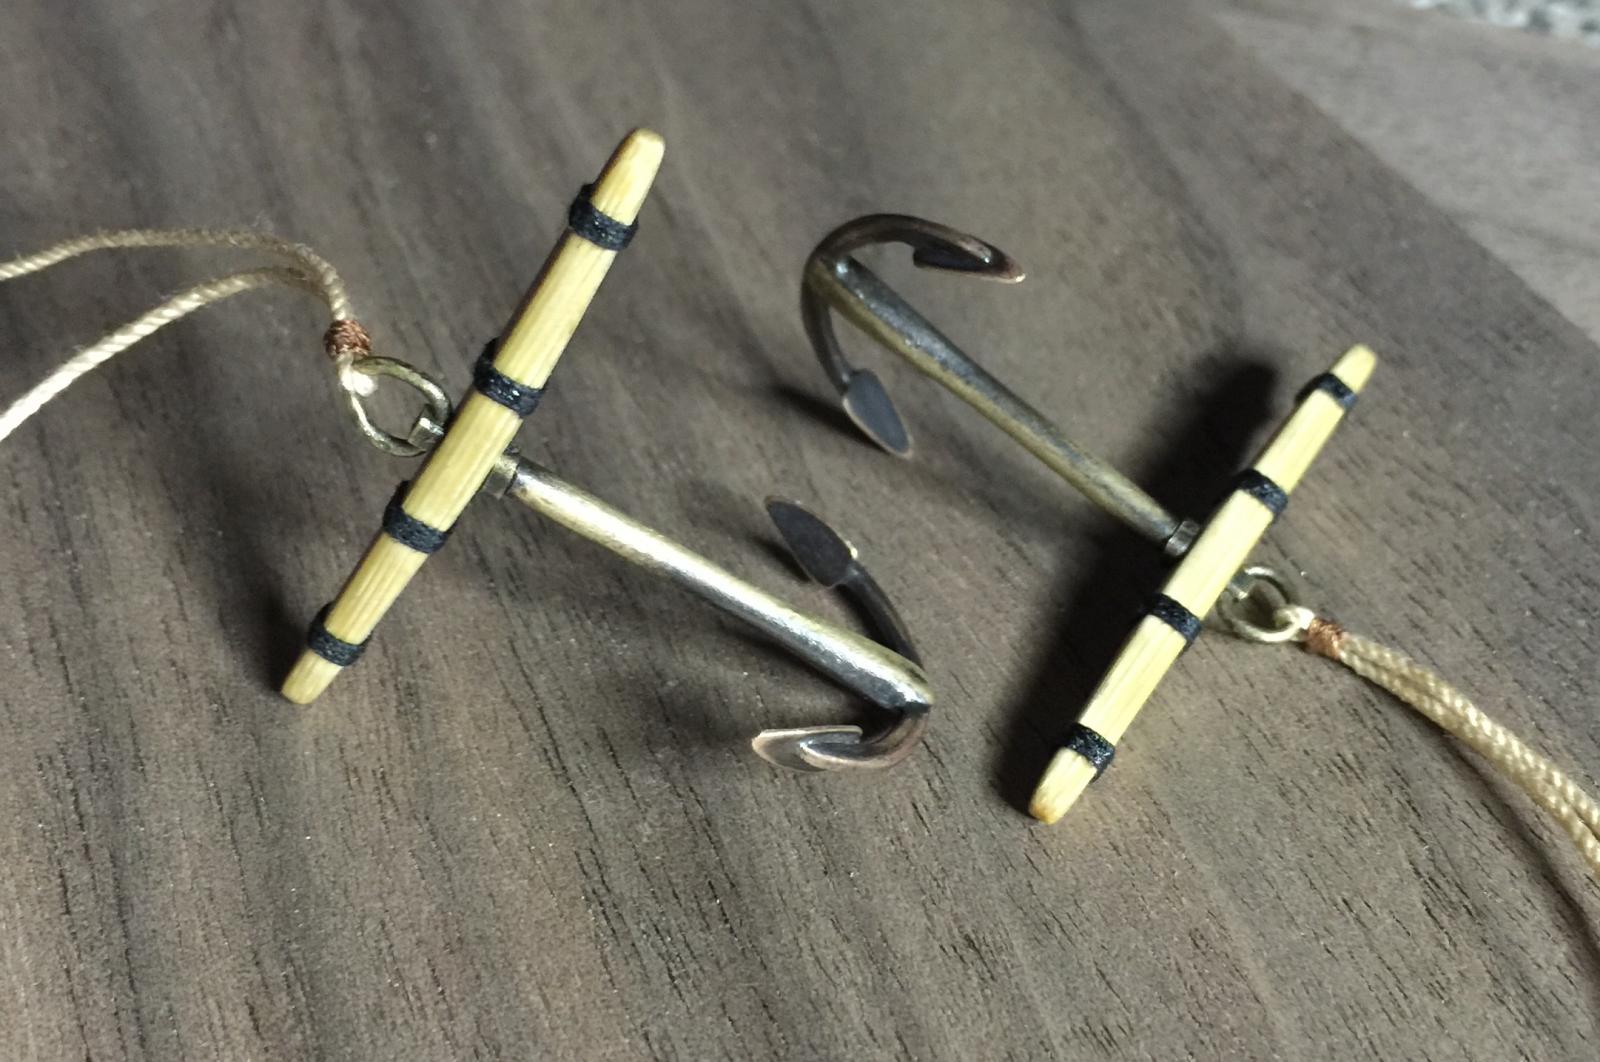
Mast accessories were made from brass tubing and bamboo. It took a lot of thinking and rethinking of everything that needed to be added to the mast before they get tied down. What a pain it would be to undo everything because I forgot something.

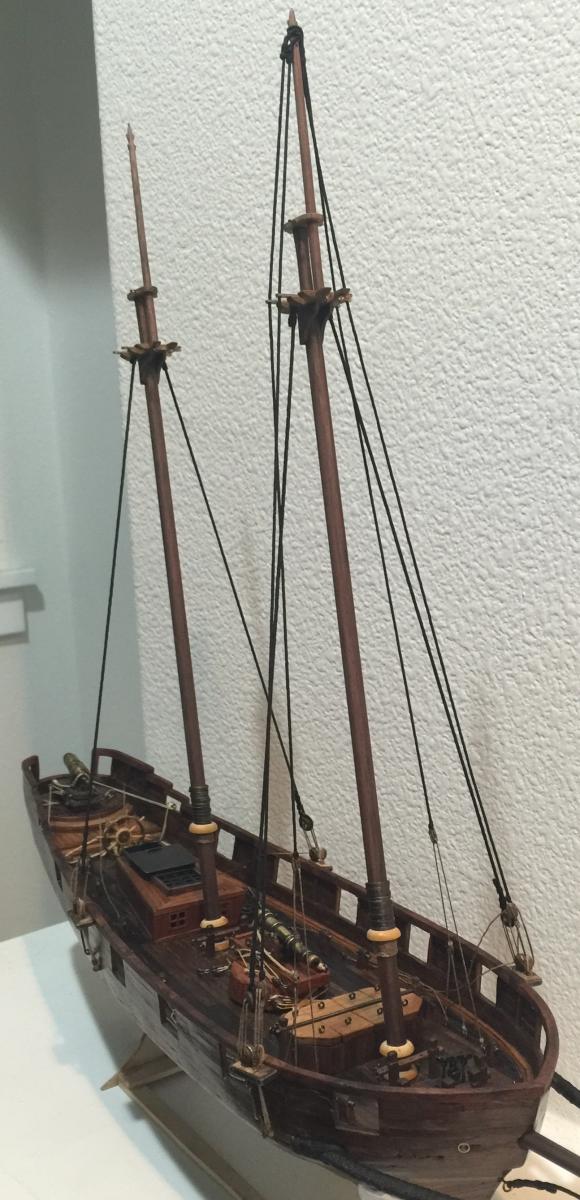
Gun ports were cut out as well as two coats of poly added to the exterior. The shrouds with the deadeyes were installed on both main and mizzen mast since I had a jig set up for spacing. Originally each side were different ropes but I changed it to a one piece from port to starboard.
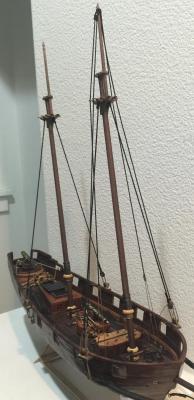
Shrouds and stays are complete on the main mast and am now pushing forward towards the bowsprit. Modifications were added to the bowsprit that will be seen once the standing rigging is completed. I've also learned from others to NOT finish tying anything off until all the standing rigging is complete. Then I can true everything up all at one time to avoid any sagging or over tightening.
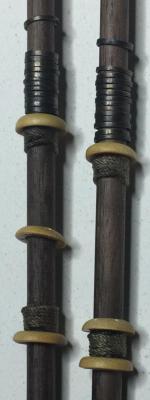
So if anyone would like to see closer up, let me know and I'll take some pics for better viewing. I've been getting some practice at serving since my OCD took over and remade everything at least once if not more.
-
-
-
-
-
Looking absolutely wonderful Frank. The furled sails are pristine.
I was zooming in on your pics and realized how tall your Alert is. Had to scroll up to see that your build is 1:25 scale, nice. I've been living at 1:64 for months so it's nice to see larger pieces coming together.
- mtaylor, Dimitris71, augie and 1 other
-
 4
4
-
Your pictures are getting more clear and once you get that tuned in it will be nice to be able to zoom in and see the fine details. Just a thought on future builds for the shrouds. Serving the lines will not only make the lines bigger but will help to give them realism as this was customary.
This is a really nice book that was suggested here in MSW. The art of rigging a ship has changed very little over hundreds of years. You can find it on Amazon for only a few bucks.

-
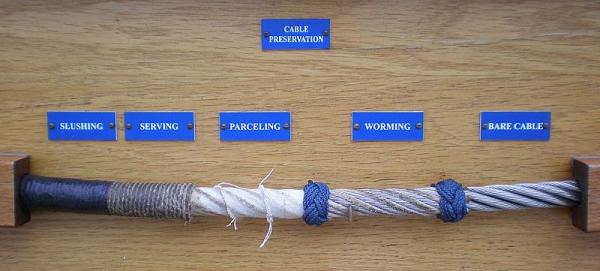
Hey Boyd, this explains it better than I can. https://en.m.wikipedia.org/wiki/Worm,_parcel_and_serve
While you read that hit the link "cuntline" and it explains the grove between the cables more.
- CaptainSteve, GLakie, dgbot and 3 others
-
6
-
Holy microns! Great solution for the tapered bands.
- Salty Sea Dog, GLakie and CaptainSteve
-
3
-
You are correct Brian, I had no idea until you explained it and I read up on it a bit. I know we're all adults here, but who the heck named some of these nautical terms? The worming line fills the channels between the strands, of which this channel is called a cuntline. It was often changed to contlines, which, in our world, is surely better sounding to the Admirals and eliminates suspicion and back pedaling.
-
Thanks CaptainSteve, great insight from a fellow S-team member. I'm familiar with the worming and parceling, not the slushing. I haven't tried worming, but I'll give it a shot. You're right it would give it a nice contrast. I like the parceling as well so maybe all three for specified rigging? I'll try a few tonight.
Side note: once I feel comfortable with serving I plan on hooking up my dremel flex shaft to the opposite side for speed. Hopefully it won't turn it into a flying jig!
- Salty Sea Dog, GLakie, Bobstrake and 5 others
-
8
-
My thanks to those who pushed the like button. It's a great motivational aspect of MSW.
Ken, thank you. S-team is lucky to have your air support.
Mark, I had to search to find it myself, post #282 http://modelshipworld.com/index.php/topic/9830-uss-ranger-by-mattss-corel-sm55-164-medium-4th-build-2nd-build-log/page-15#entry334955. I've never had a true dimensions of a block so I make the width 1mm less than the height, it looks somewhat balanced.
Brian, thank you for your kind comments. I know if I skipped serving I'd regret it later.
So the basis of serving, as I understand, is for frictional protection. So different ships rope were served to fit the individual need. Would it be "ok" to serve the standing rigging, that is usually black rope, in it entirety? Serving seems to alleviate most of the stretch and sagging issues that happen over time. Then just serve serve the areas where friction is an issue?
-
Thanks Boyd, George, Cathead, Buck, Sam and Frank for your kind words of encouragement. Also thanks to everyone for hitting the like button.
I'm at a point on this ship where rigging is on the horizon. As this is my first fully rigged ship, I'm taking my time to learn the how any why's in this process. This book was suggested in another log to aide while rigging and is quite impressive.
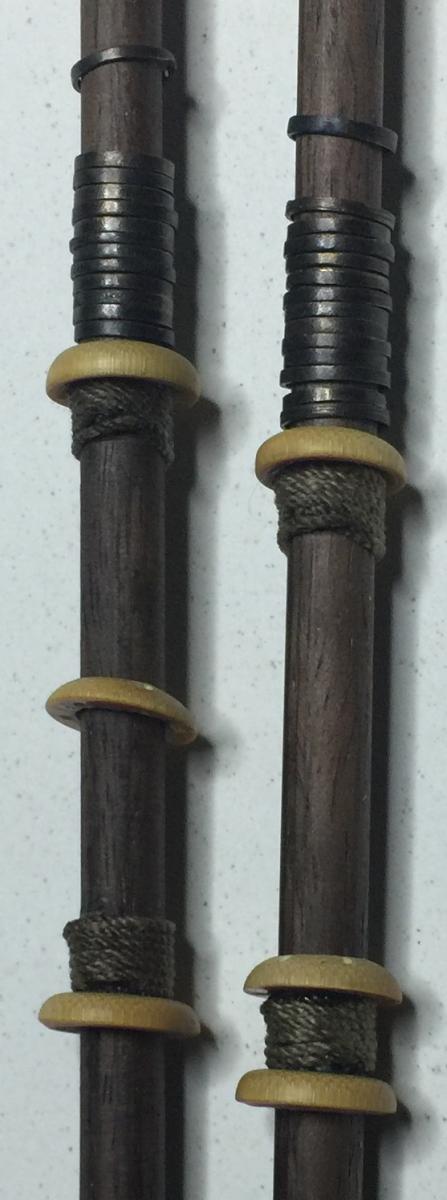
On the list for learning was serving ropes. I at first was going to skip by this step, but decided that I've gone this far so why stop short. So I whipped up a little serving machine and started practicing. ($4 for the gears and the rest was leftovers.)
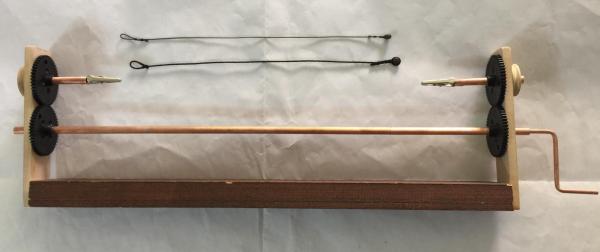
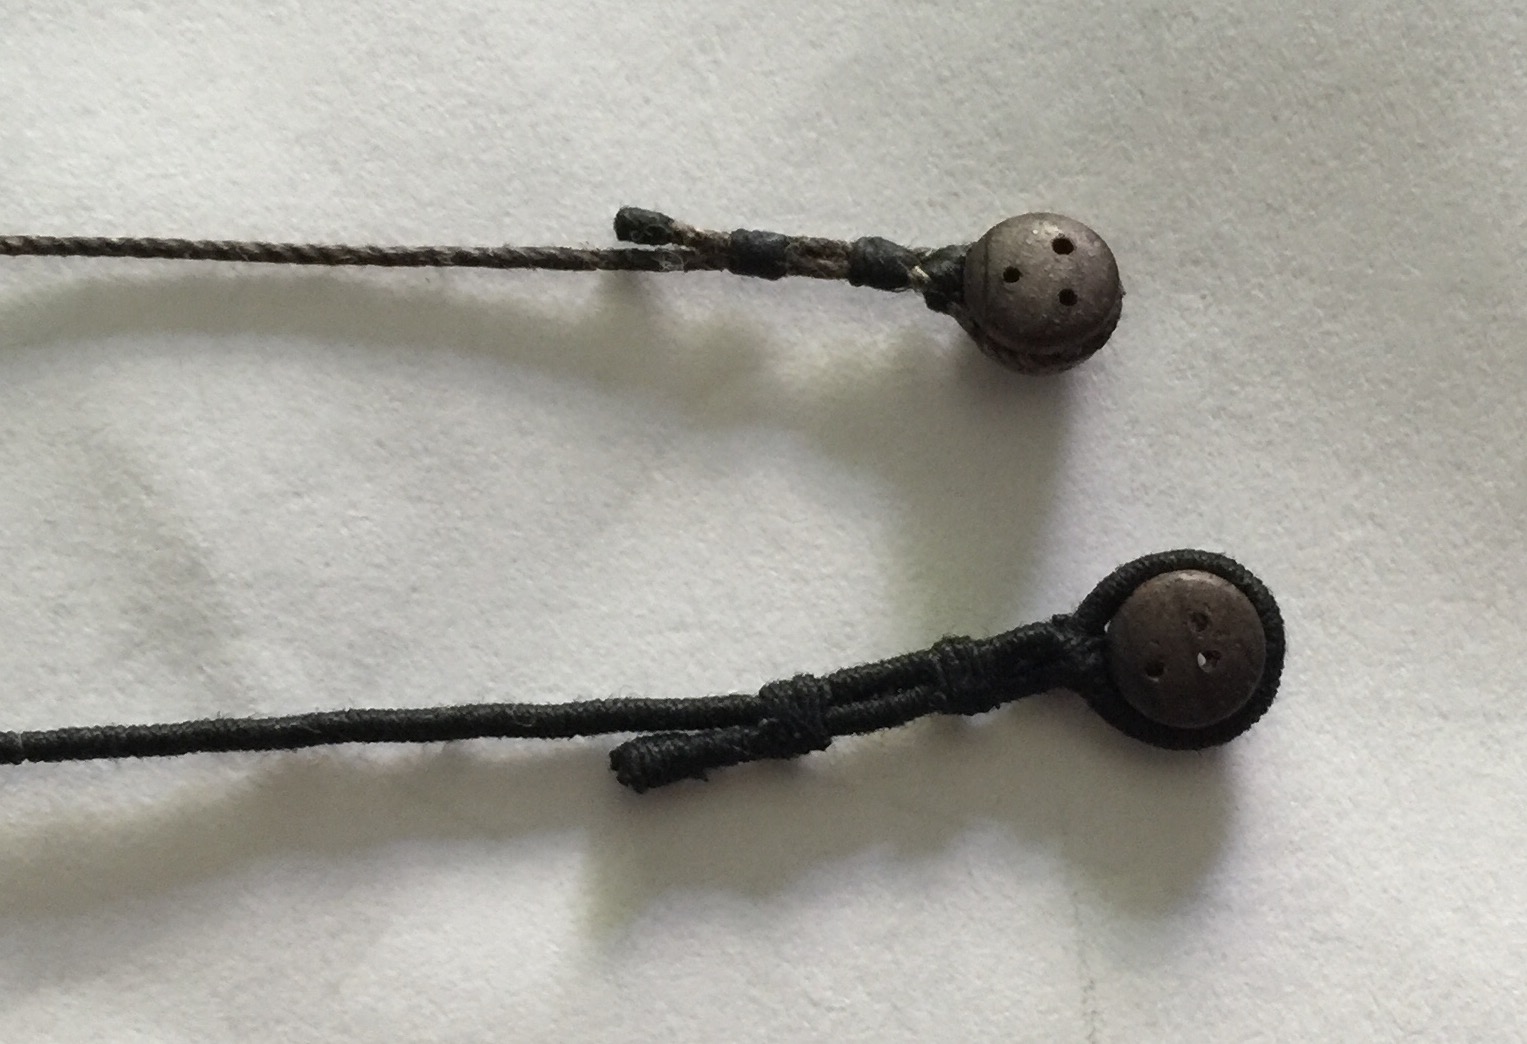
First up for testing were the shrouds. My original ones are on the top and the newly served shrouds below. I'm still learning what ropes would be served, so for now I'm starting with the standing rigging and go from there.
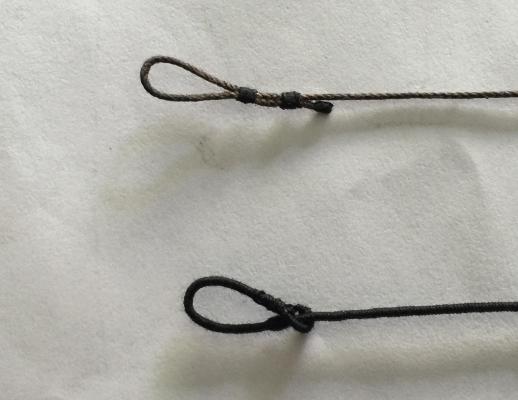
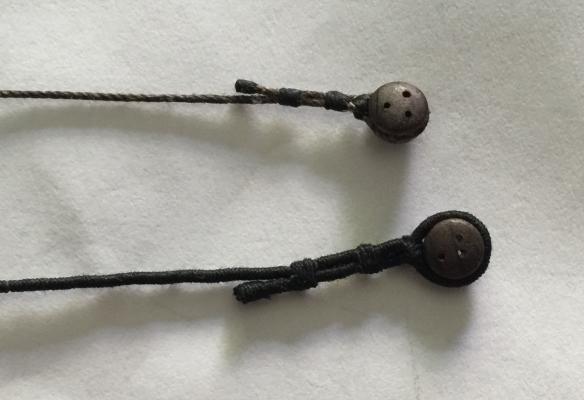
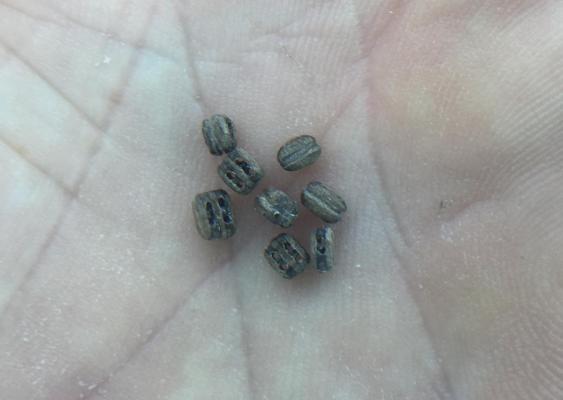
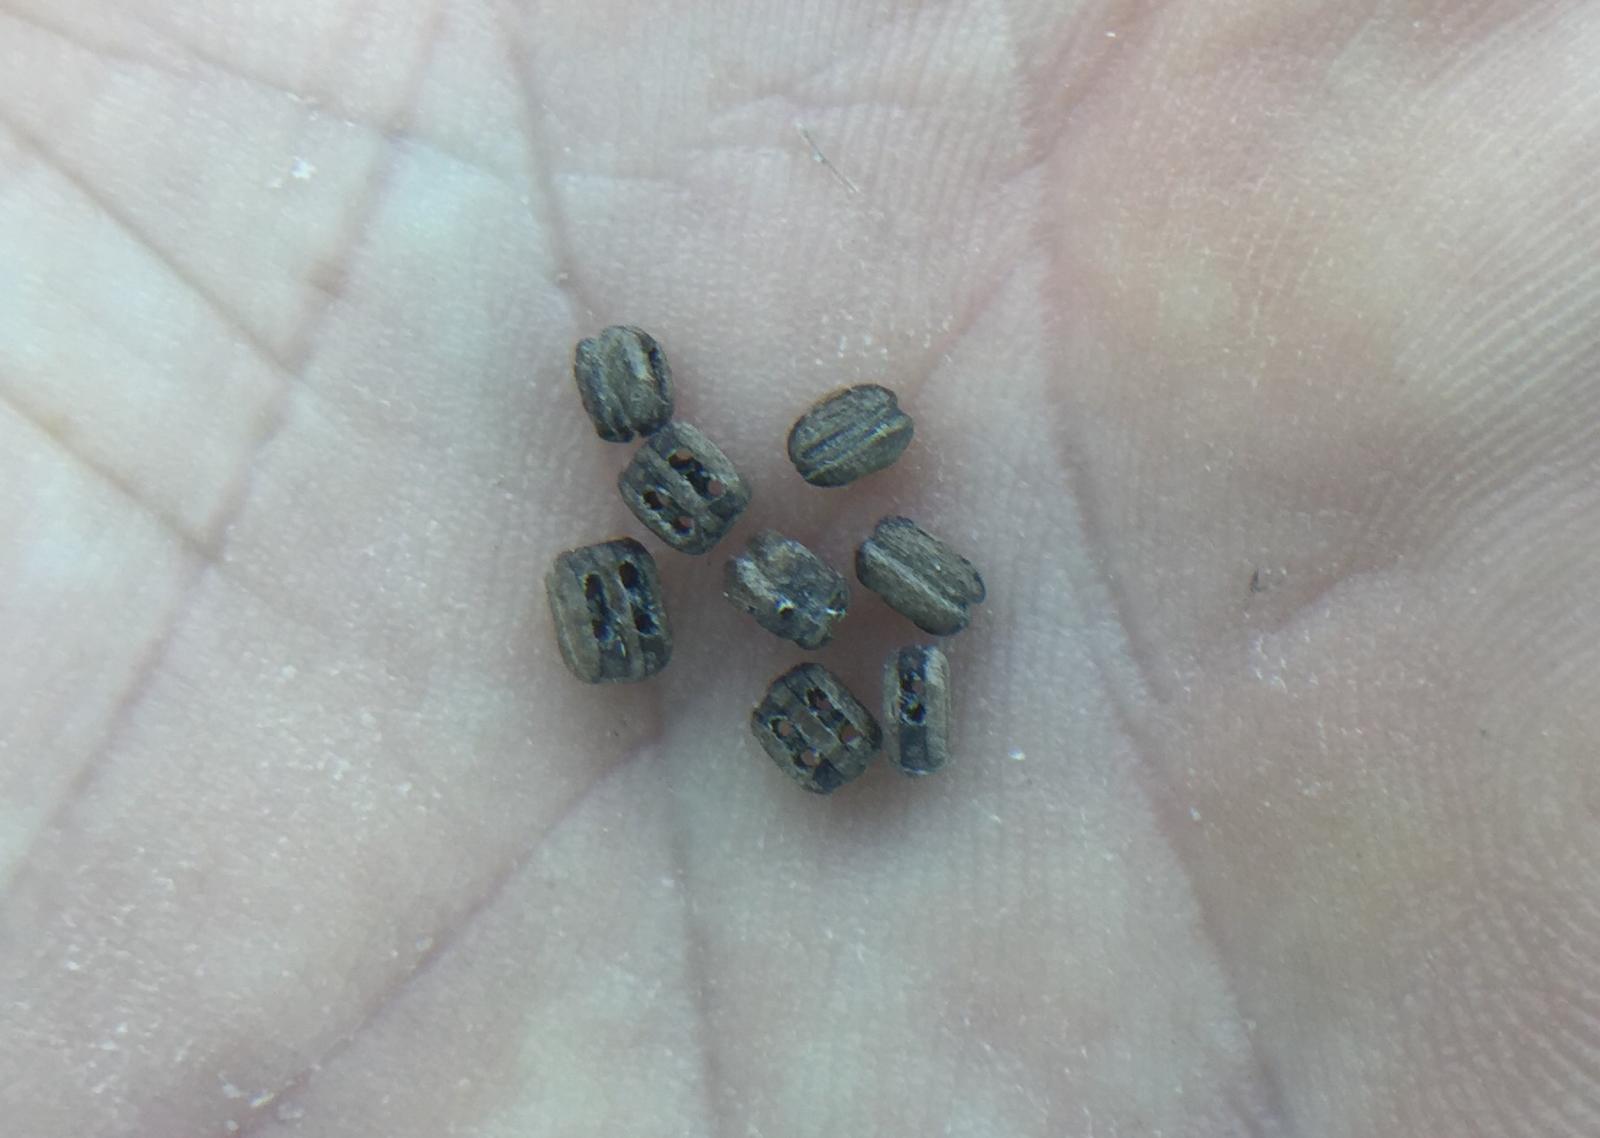
I got the four shrouds made and they seem to be ok for now. But before I could go any further, it's necessary to make all of the blocks. I've only about 30 3mm blocks left to make and then can proceed with the rigging. Any pointers, suggestions or criticism is greatly appreciated and welcomed. After all it'd be nice for the rigging to not look like a first grader did it.
-
Way to go Boyd, excellent job as always! Your expansive research and skillfully applied techniques are shining through. I love that the launch has been left open on one side to match the mothership.
- CaptainSteve and Dimitris71
-
2
-
-
-
-
-
Just got caught up reading your log and WOW, absolutely beautiful! The aging is superb and the furled sails are exquisite. I'll be following closely, if you've got a spare seat, to watch your rigging. I'm getting closer to this phase and need all the info I can gather. I'm going the furled way as well, gives a better view of all the hard work.
-
Thanks George and everyone for the likes.

- Salty Sea Dog, Canute, src and 11 others
-
14
-
Thank you Jack, George, Bob, David, captgino, Steve and everyone for the encouragement and likes.
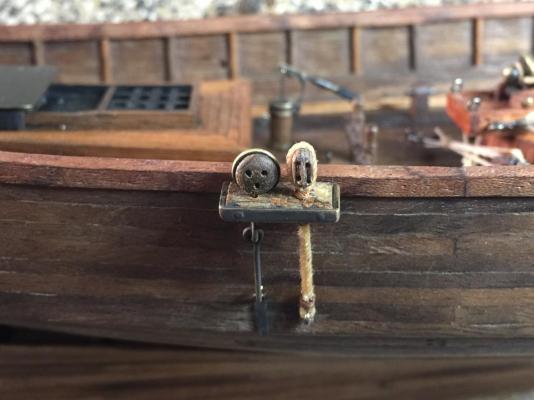
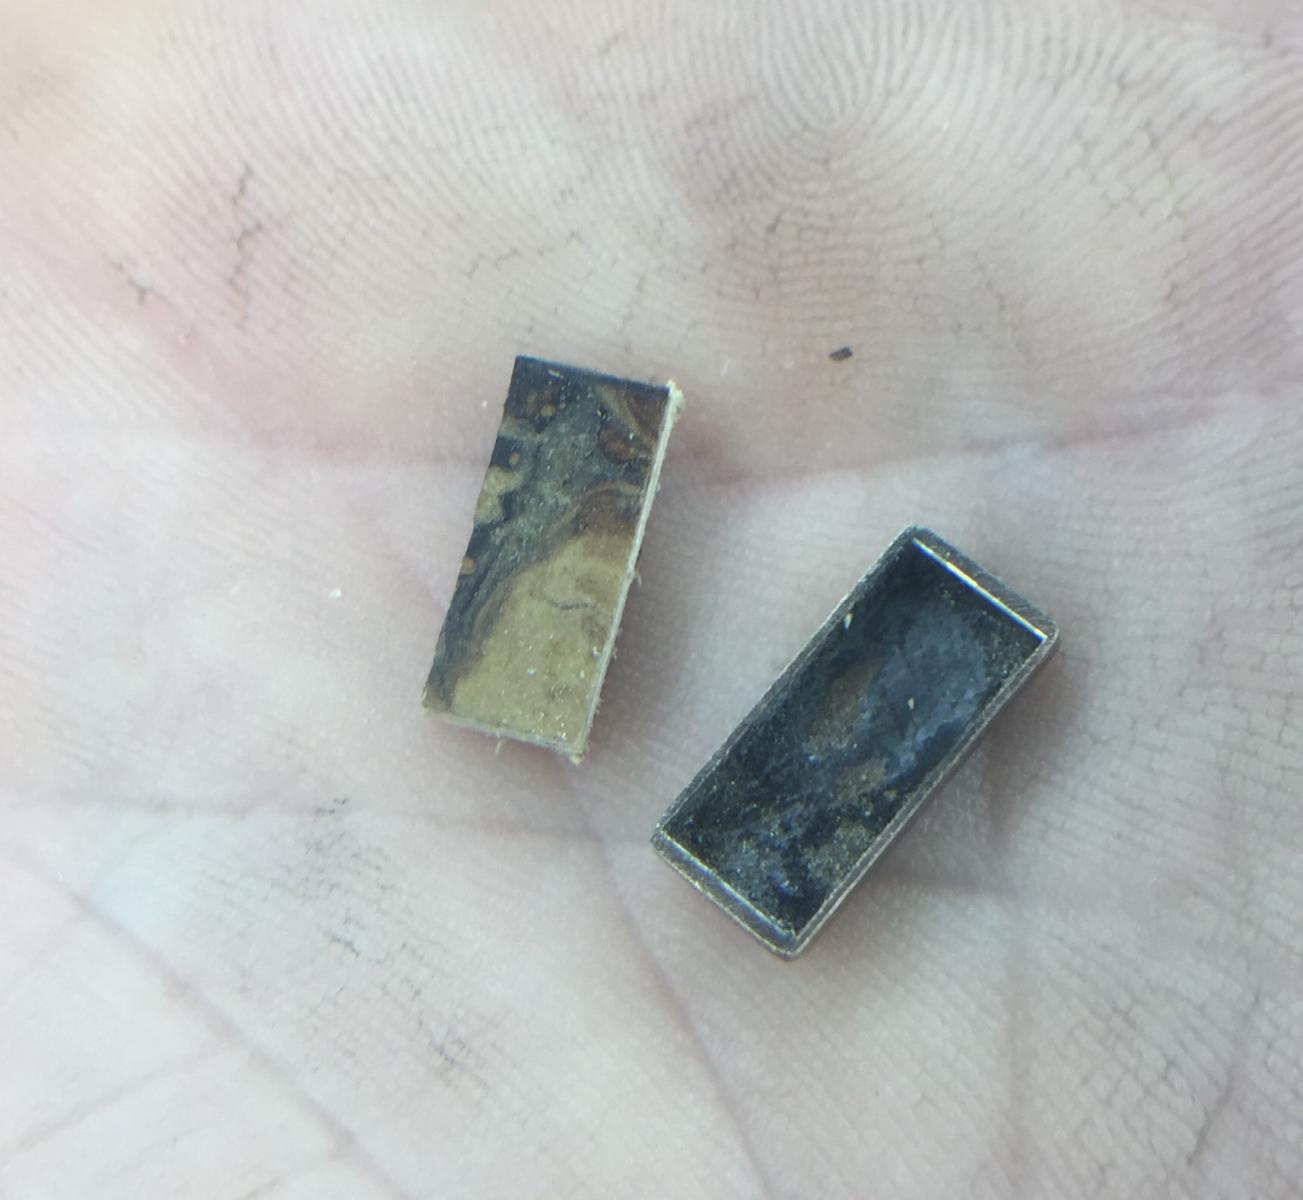
For the channels I decided to make it with brass and wood. The brass was soldered into a square pan and then blackened. The wood part was made out of some scraps of bookend veneer. There were some interesting chunks that feel like cork and crumbled really easy. So the small chunks were fit together, glued onto a solid strip of veneer, filled in with sawdust and then sanded. It looks pretty cool on the big piece, however the pieces were so small in the channels that they're hard to see very well.


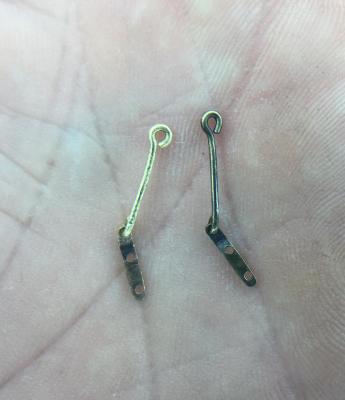
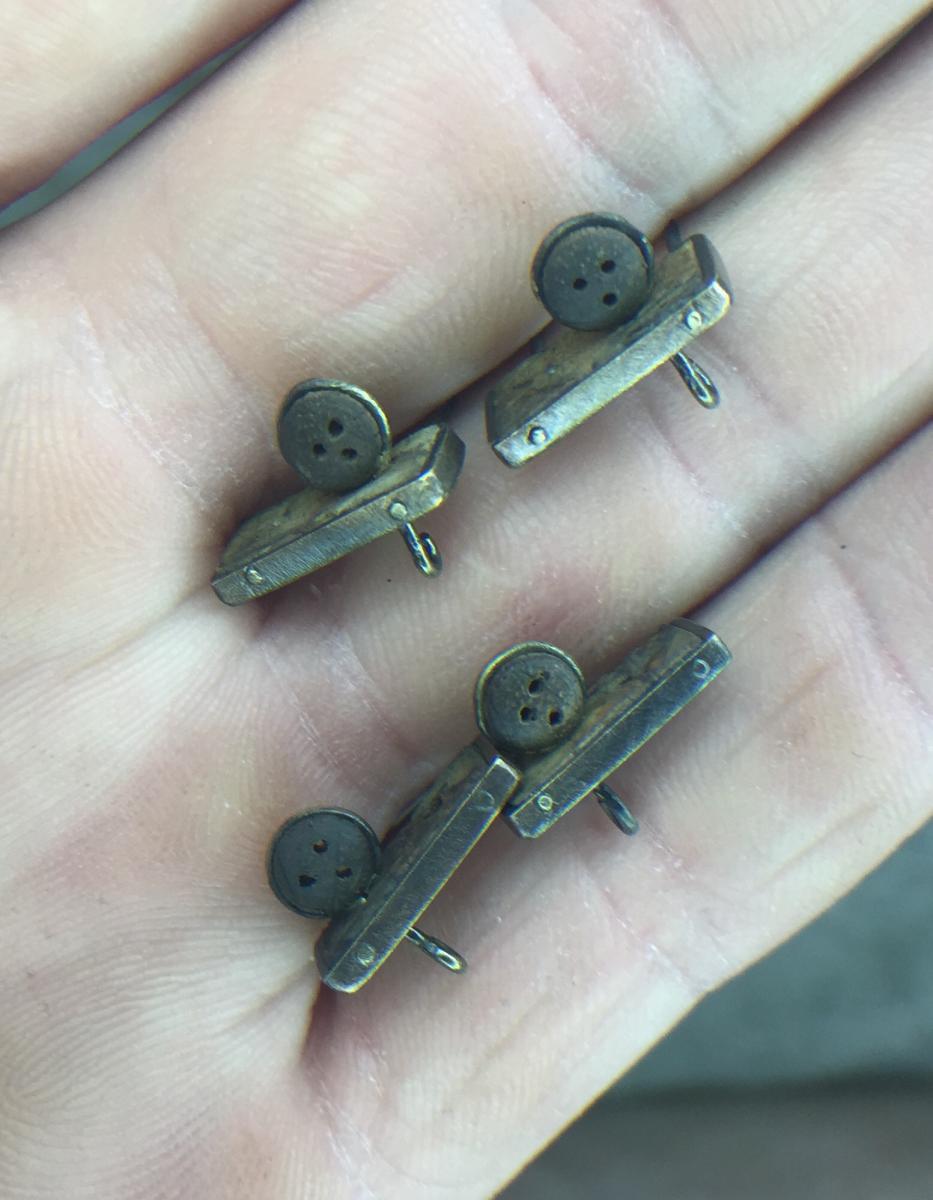
The 5mm deadeyes were turned from a solid piece of dark walnut. I used a 0,8mm brass wire to wrap the deadeyes, making the chain plates two parts, with a hook on the deadeye and a length of brass to connect it with the mounting bracket.
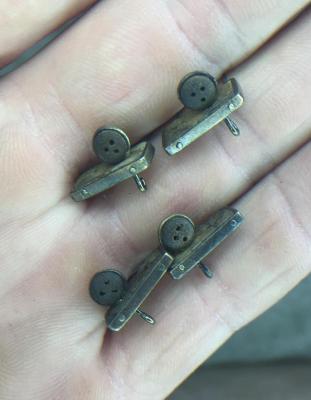
Once the channels and chain plates were blacked, they were fastened to the cap rail. I made four 5mm x 3,5mm double blocks out of walnut veneer and mounted them beside the deadeyes on the channels. It looked a little out of balance, so I extended a length of rope to parallel the chain plates. Historically inaccurate, but this is the Nutz and Bawlz Clans' pirate ship, so liberties are more than acceptable.
- thomaslambo, Jack12477, UpstateNY and 12 others
-
15
-
Wow Jim that's really beautiful! And definitely does not look "cheap". On my brass work I antique/blacken everything. How do you keep any tarnishing agents off the brass? Gloves? It's so crisp and shiny. Well done sir, well done indeed!
- mtaylor, CaptainSteve, augie and 4 others
-
7
-
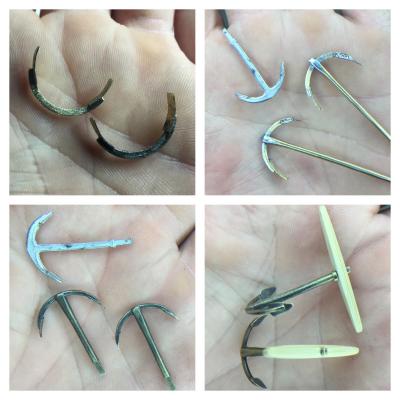
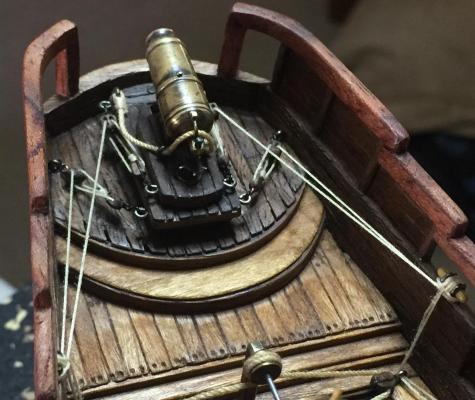
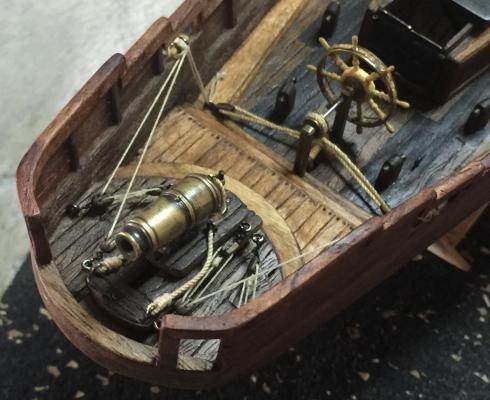
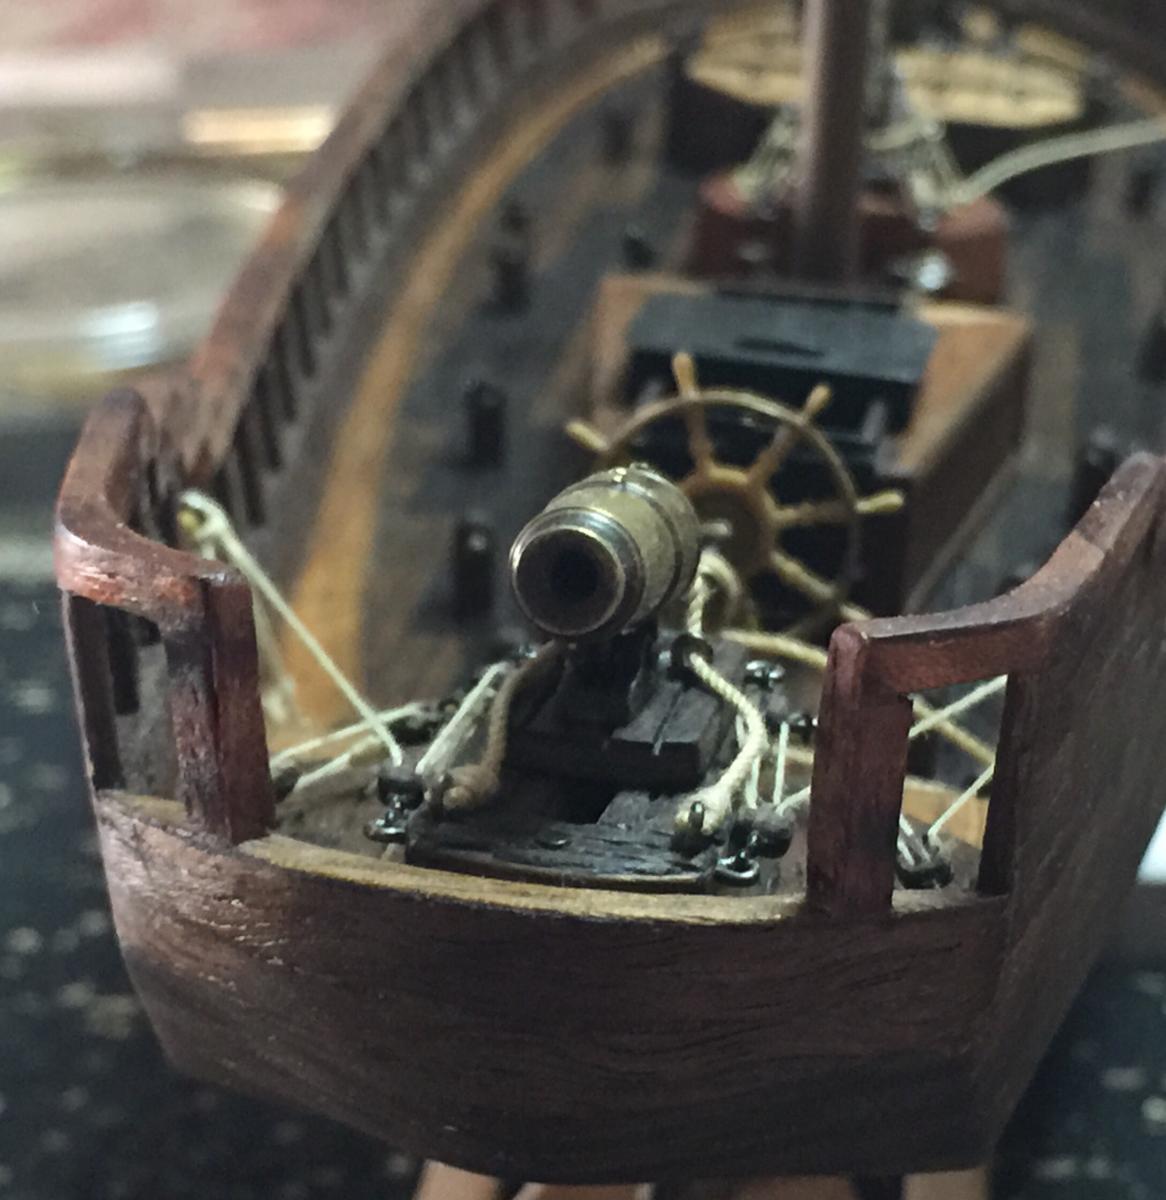
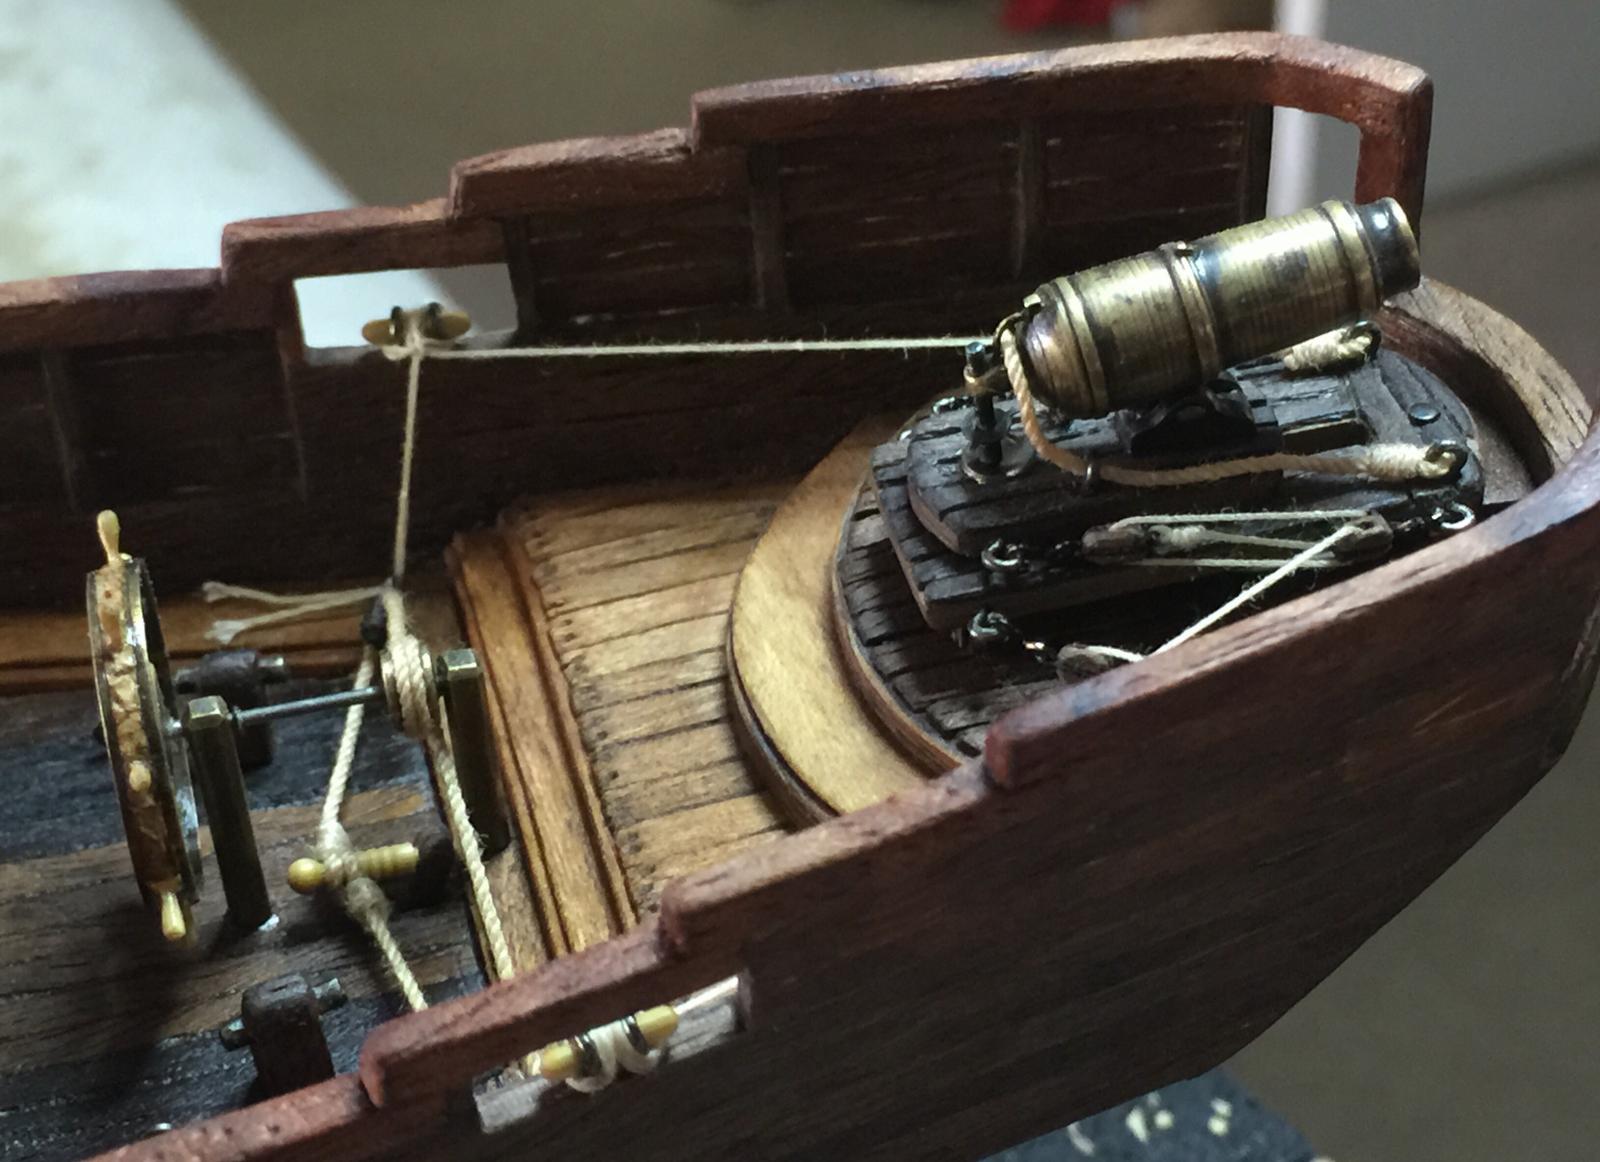
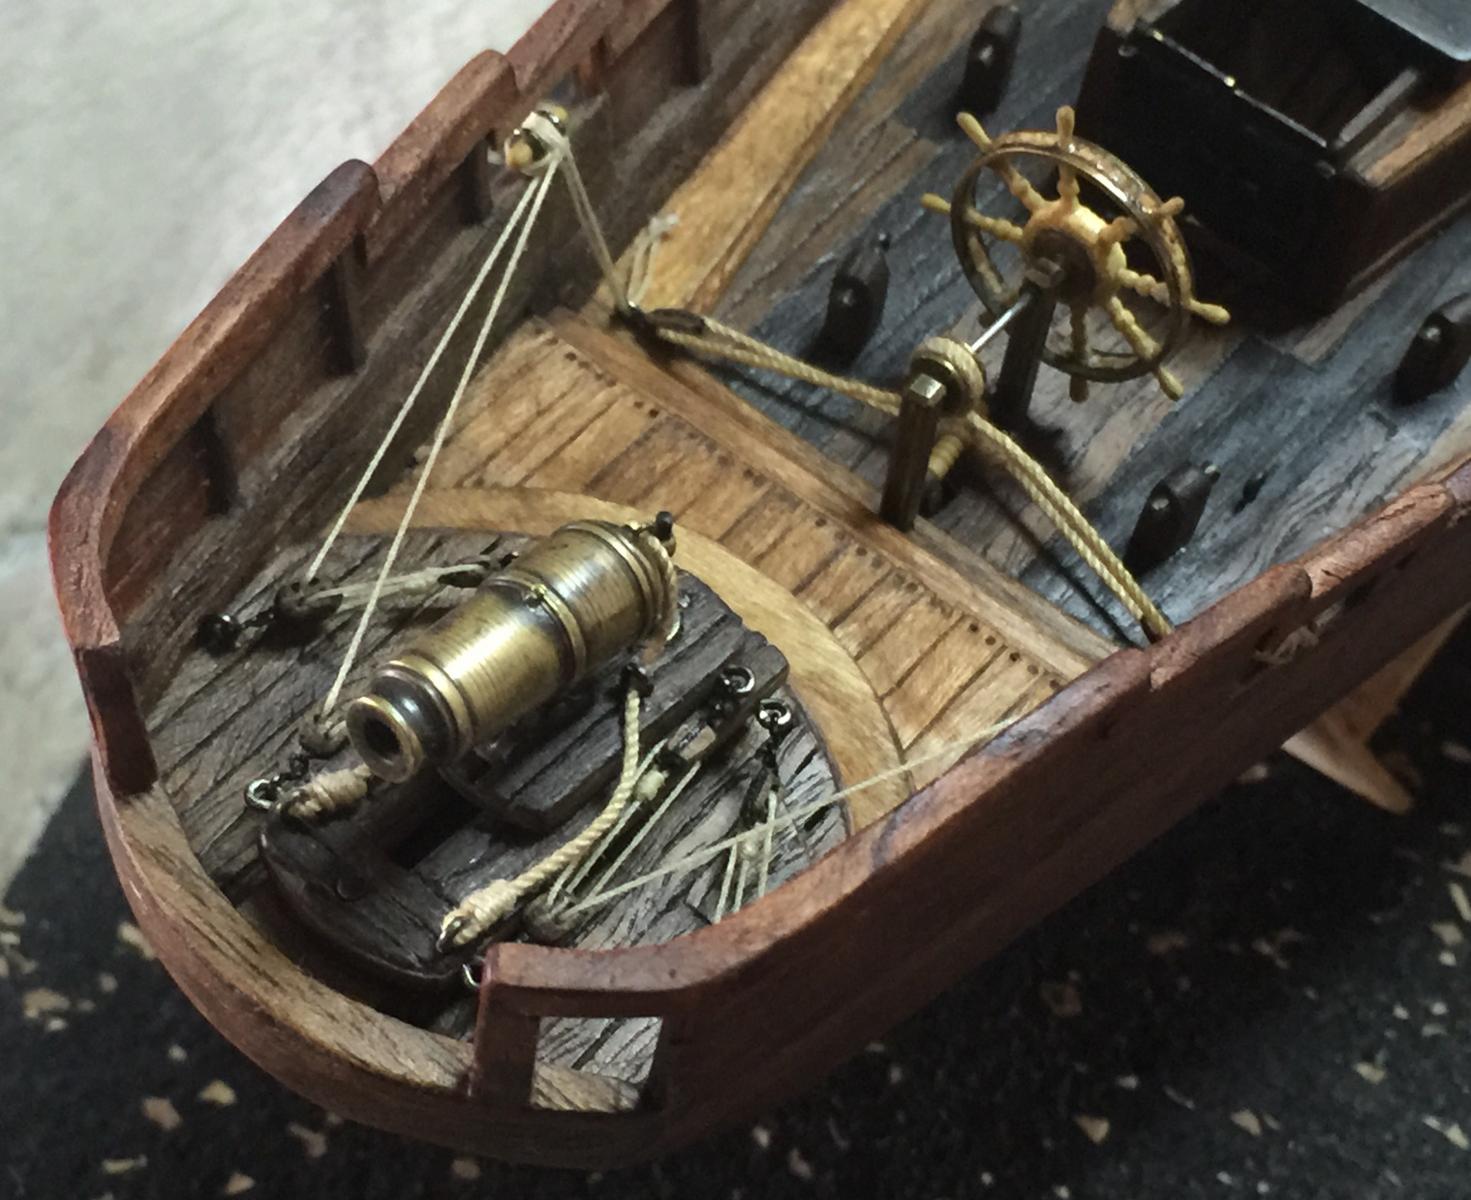
The 32pound carronade has reached it's final destination.

It took awhile to decide on the cleat design and location. After all, the Nutz and Bawlz Clans wanted their pirate ship to have that unique feel. So they decided on a bamboo rod that was supported by two iron brackets.
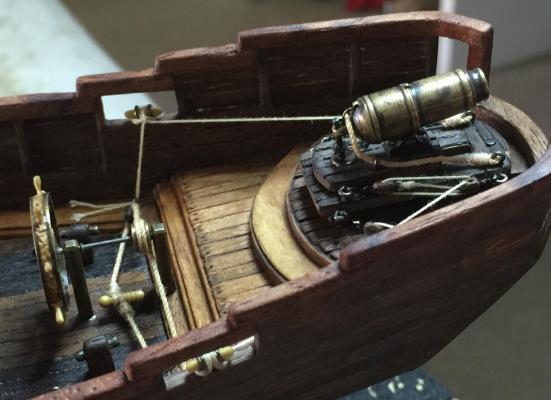
The cap rail in front of the carronade had to be cut since it ended up being at the center of the bore. It eventually would have been shot off, so it was removed and braces were fit to strengthen the rail.
The big guns are now complete, leaving the many swivel guns yet to be made. The firepower seem sufficient enough to take on whatever is thrown at the squirrel horde.
-


USS Ranger by mattsayers148 - FINISHED - Corel SM55 - 1:64 - 4th build, 2nd build log
in - Kit build logs for subjects built from 1801 - 1850
Posted
Thank you George, Ken, Mark, Sam, David and everyone for the comments and likes.
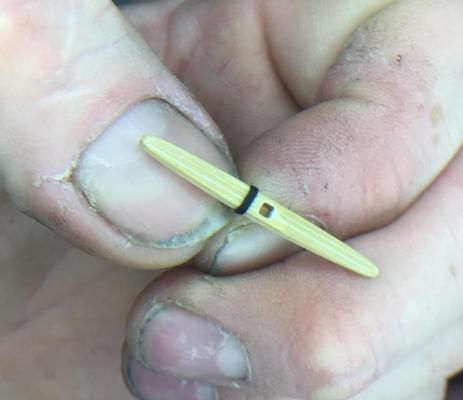
Hey Sam, the shadow makes it look curved. It's the top mast and truck. I figured I show it before it disappeared under all the ropes.