mattsayers148
-
Posts
685 -
Joined
-
Last visited
Content Type
Profiles
Forums
Gallery
Events
Posts posted by mattsayers148
-
-
My mind(squirrels) say that if you build a beautiful piece like yours, flaunt it. Oh but what will CaptainSteve do? I think if left black, it would draw the eyes in to take a closer look-see. Said eyes of said person, with eyes focused, could in it's entirety view the fine details of one outstanding work of art.
In the end, CaptainSteve, go with your guttural instinct and remember there is no wrong answer.
- mtaylor, CaptainSteve, GLakie and 2 others
-
 5
5
-
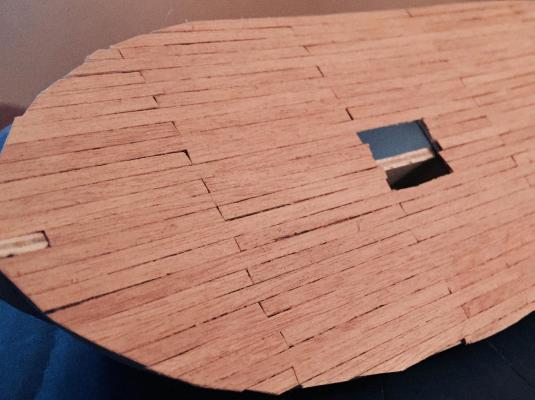
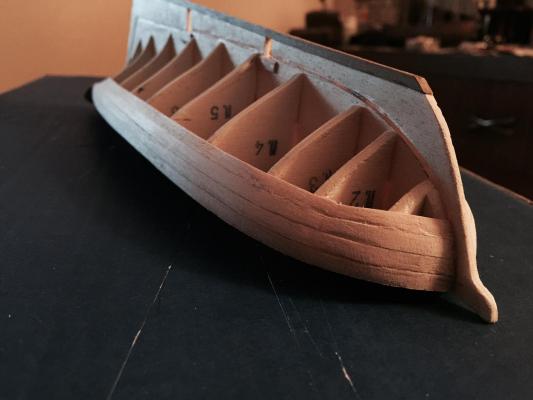
Here's one in the sun. I know it's a bit rough, but it is just a base layer. You can see where the planks snaped, that's why I was just showing the pretty side.
-
Thanks for the advise and encouragement Ken.
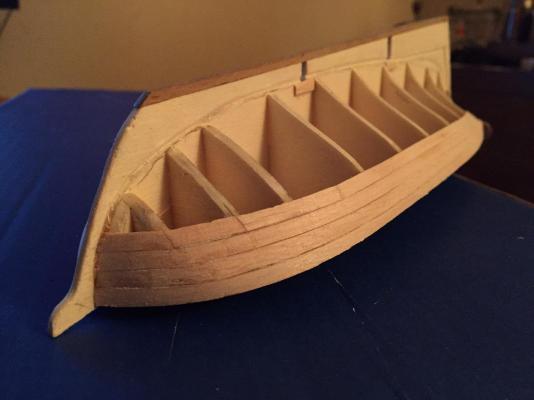
I got the first four planks of the primary planking done. I'm glad I decided to cut in a rabbit for the planks to fit into, especially at the bow where the bend is so sharp. I'm doing the planks a bit different than I have before. I started at frame #6, tacking with CA in place as I go. First I went forward to frame #4 then all the way back to the transom. After that I ran CA down the length of the joint and then switched back to finish off bending around the first three frames. I skipped frame 3, and tacked onto frame 2, after I pushed 1-2 mm extra material toward frame3. I did the same at the bow, skipped frame 1 and tacking to keel. Once those were set I slowly compressed excess material to make the tight curve. Again applied CA to the seam. I applied some powdered wood mixed with gorilla glue to the seams to fill in any spaces and let dry hard.
Between the CA and gorilla the planks became rock hard, making a very solid base for the secondary planking. I wanted to see how it was turning out so I scraped and sanded these and was pleased with the results. On to more planking.
- trippwj, GLakie, Salty Sea Dog and 3 others
-
6
-
Hey Igor, absolutely incredible! I've been slowly working my scale down, but nothing close to how intricate your work is. I'm just trying to figure out what you could possibly learn from my build? I will watch your tiny build grow.
Matt
- IgorSky and pythagoras
-
2
-
-
Hey Ken, I'll probably jump back n forth with my launch. This build is again, like the launch, something I know little about, so I'm in for some reading. Even though this is a bash, I'd like to know the gist so I can successfully go the direction the squirrels tell me to go(they hate reading and make me do it all, it's a sacrifice I have to make to keep them happy and working)
-
Thanks Igor, you should check out post #102 in CaptainSteve's : The Kit Bashers Guide to the Galaxy, I put something there for ship in a bottle ideas.
- GLakie, IgorSky and CaptainSteve
-
3
-
-
-
-
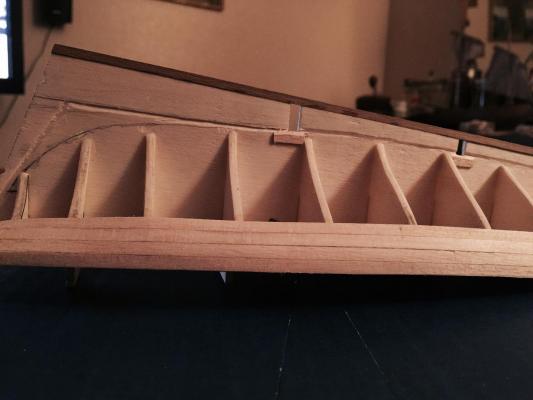
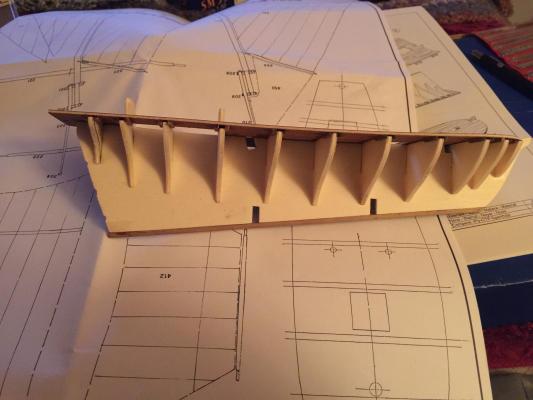
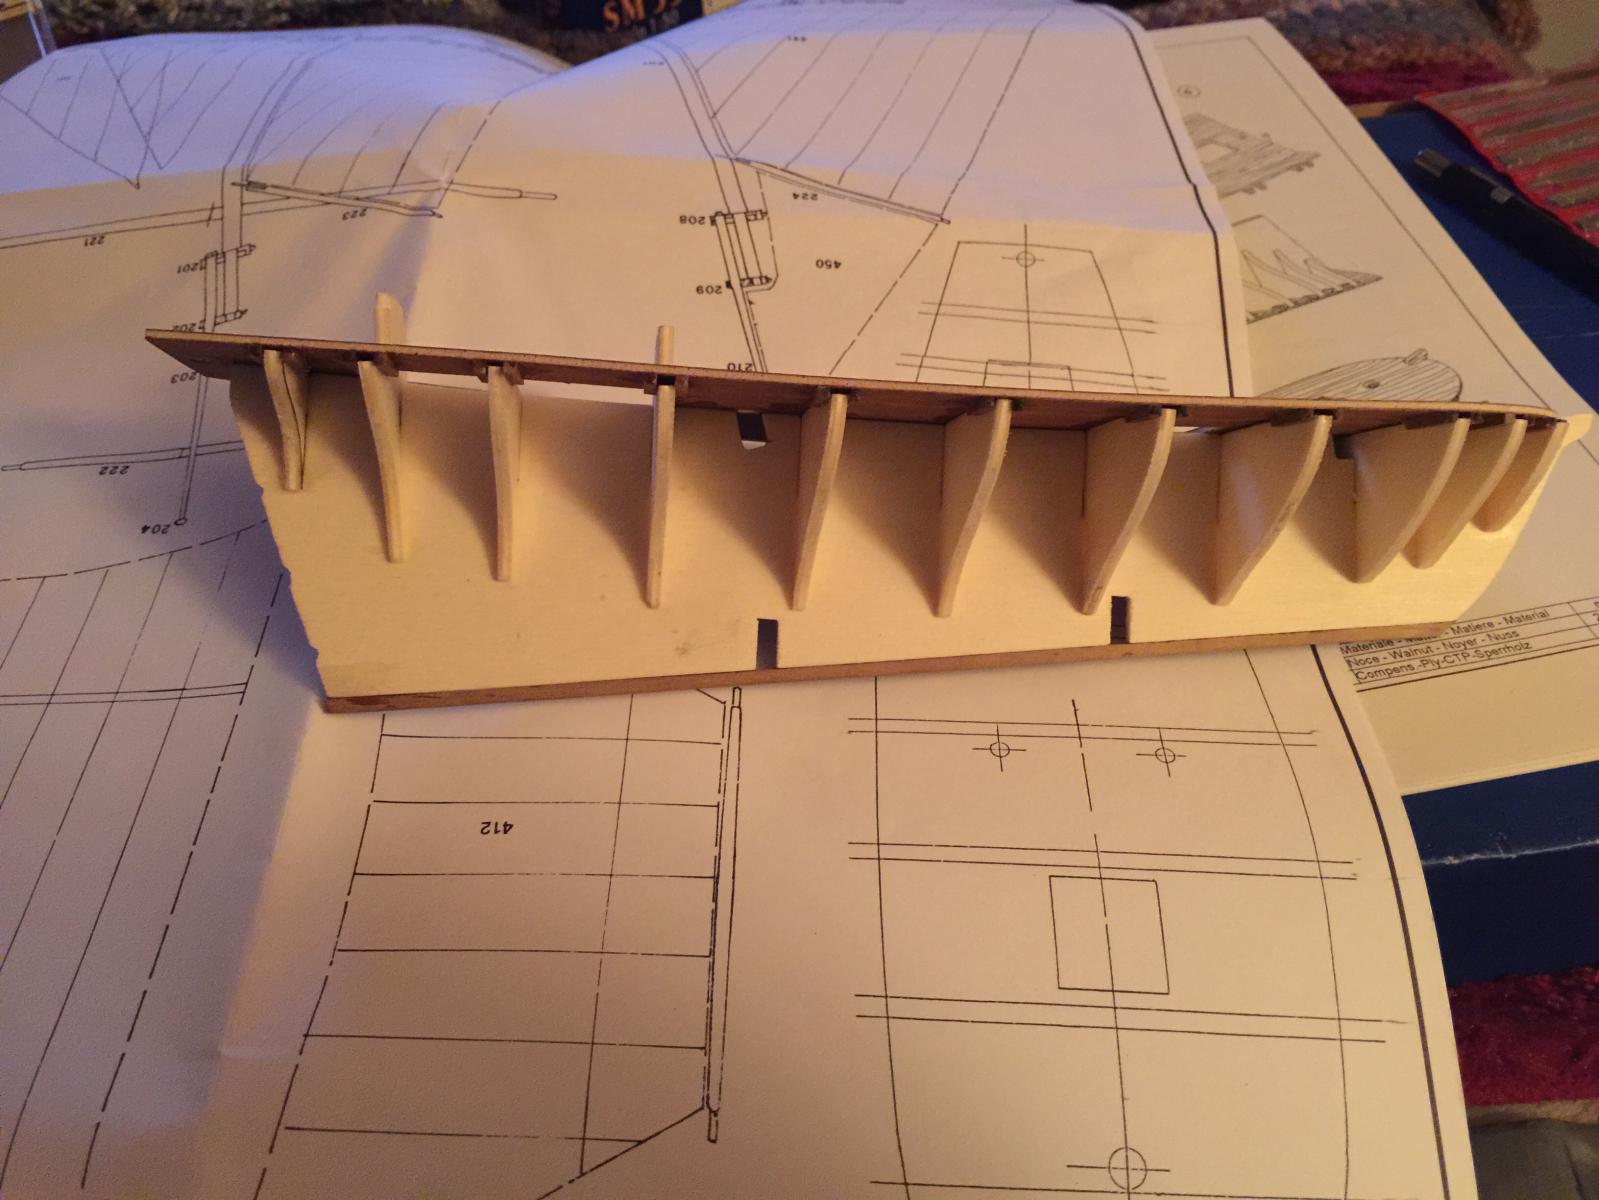
"Removing the front projection of the frame without touching the original outline corresponding to the back projection." Are you freakin kidding!! The instructions are like a horrible car crash that you just can't look away from. Enough rants, fairing the frames is definitely getting better than my first build(of which I did no fair at all)
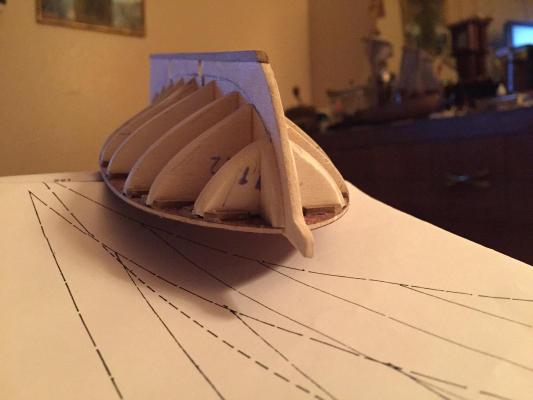
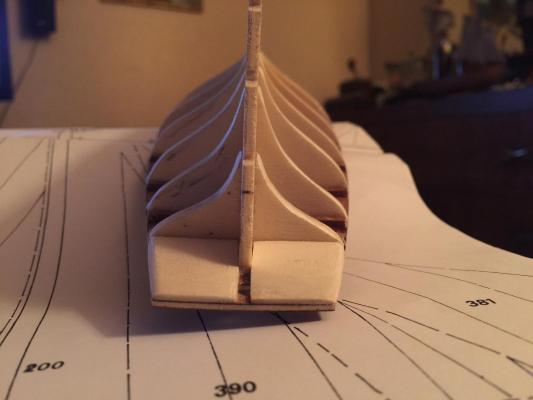
I put in the stopper/markers at the lower ends of frames 5&7 to help guide the finish edge for the planks. I'm going to cut in a rabbit to help as well.

-
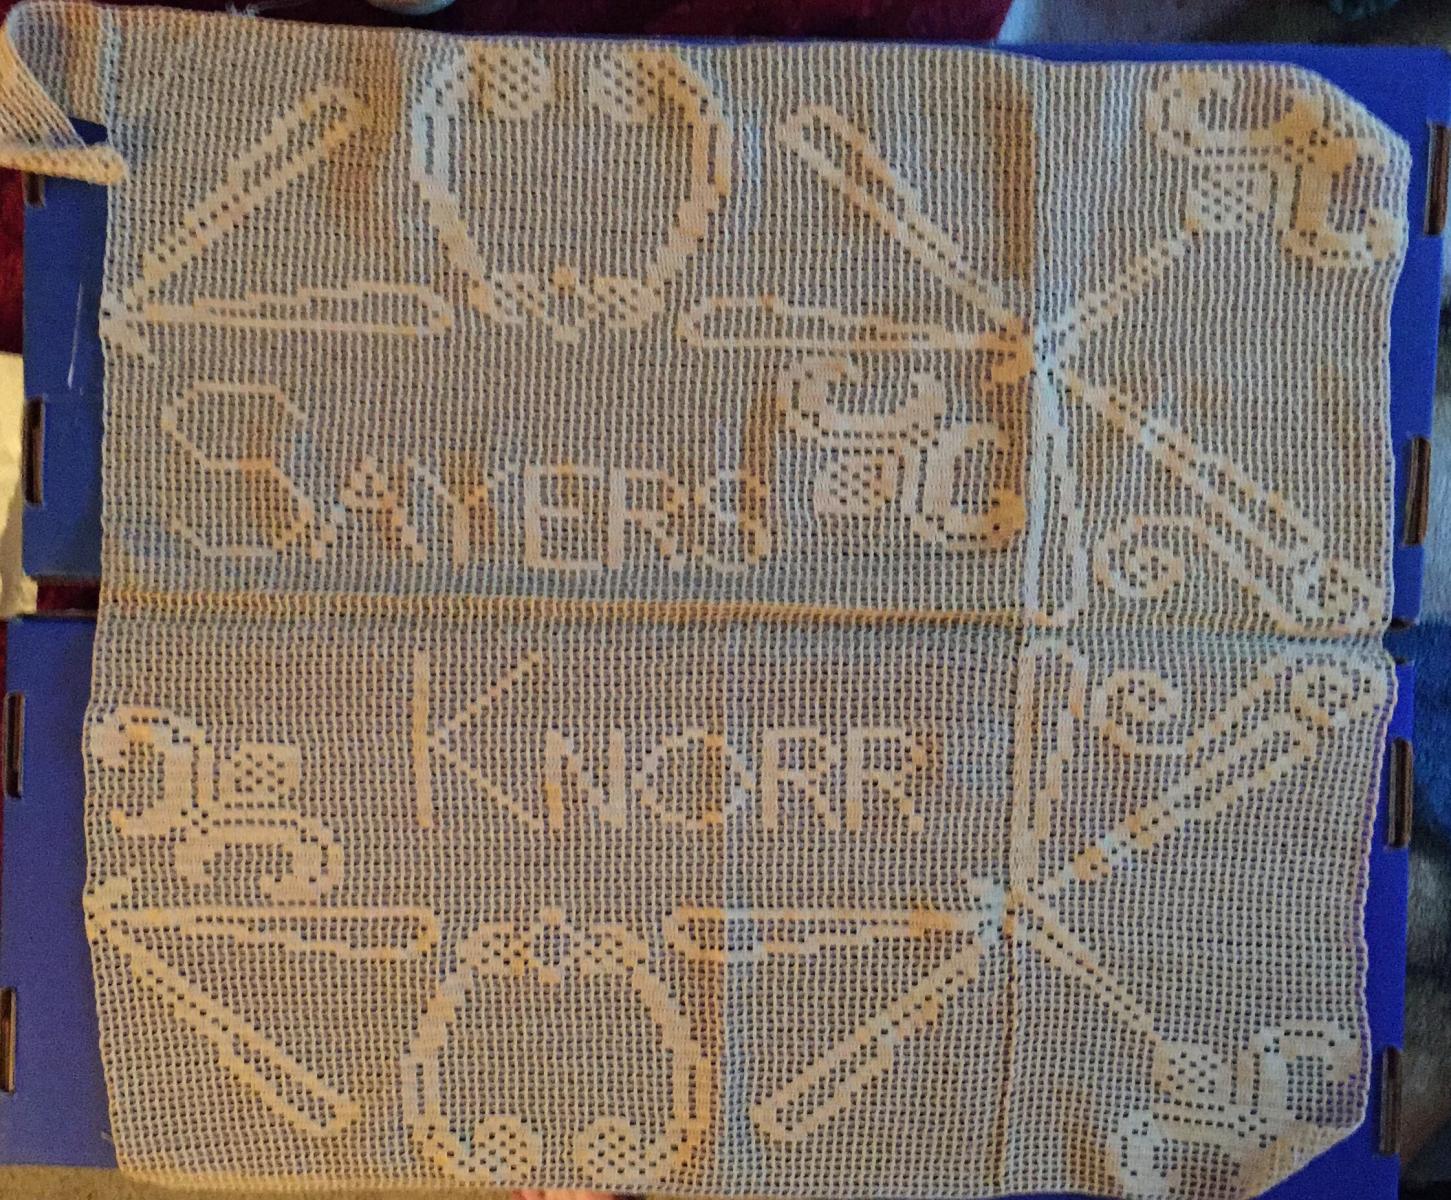
Thanks Keith, the "Sayers" is me and the "Knorr" was my great grandmother's. I'm making this to go on top of a cedar chest I built my mother for storing all of my great grandmother's work.
This really isn't too far off topic though. She immigrated from Hungary in 1917 on a ship much like the titanic. A lot of families were very poor and made needle work for money. I would be willing to bet that there were many women on these ships that did this work on their voyage, possibly selling some to the wealthy on board.

- GLakie, Keith_W, CaptainSteve and 1 other
-
4
-
Hey Scott, looking so awesome! I know copper can get spendy, these grounding strips are used when installing conductive and static dissipative flooring. If you know anyone who does mostly commercial flooring, ask if they have any copper grounding strips that you can have. I have lots that I keep after installing these types of floors.
The last job I did came in a 100ft roll with sticky tape one one side. Just being in my truck for a couple of days and the sticky attracts everything! So your concern about it is spot on.

-
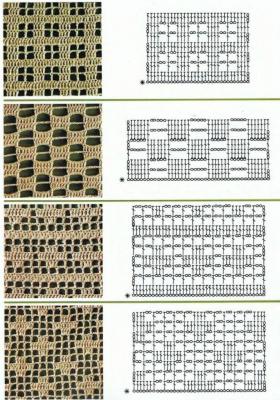
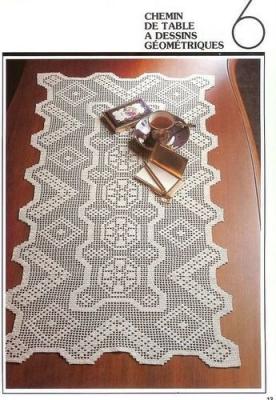
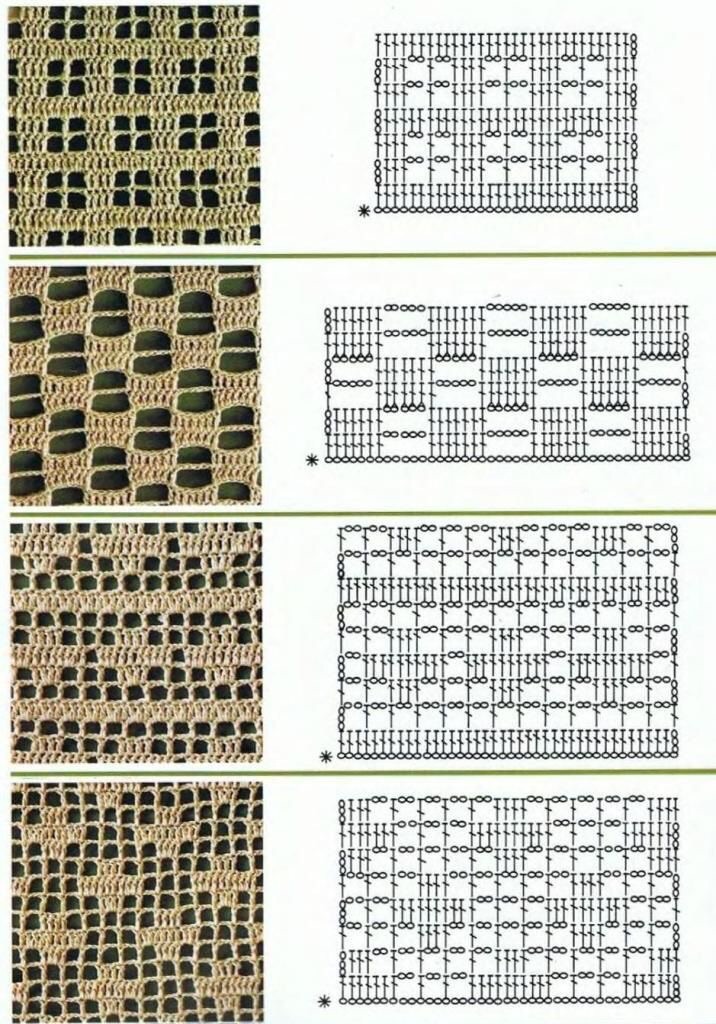
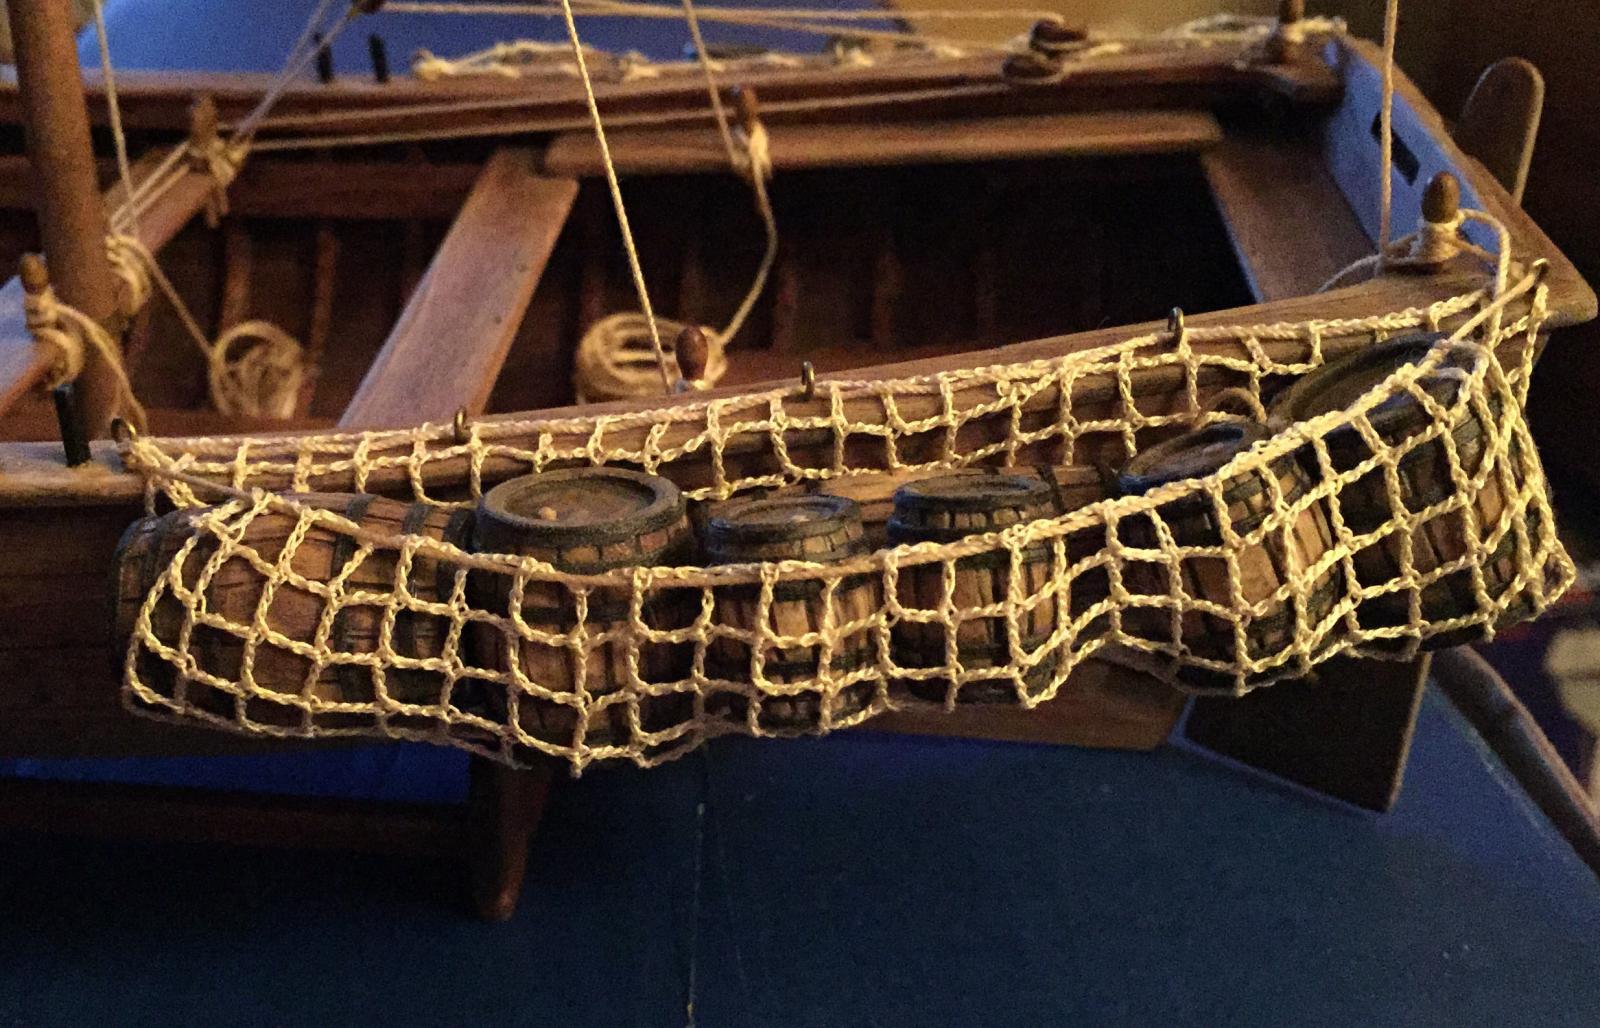
Thank you George. This is fine thread crochet and the pattern style is called fillet. This style is often used to make pictures from a grid pattern. Open squares, like this netting, and closed squares, where you fill in with stitches. I have a project that I've worked on and off for awhile now. It's about 24in x 24in and so far I've got over 1500yds in it and I'm not even half done! These are examples off the web.
I plan on making rope work this way as much as I can.
- CaptainSteve, GLakie, Canute and 1 other
-
4
-
-
You know while I was building my launch I was thinking about Shackleton too! It would make an excellent build to go along side your launch. Their trip seemed to be more white knuckled(literally) than Bligh and his men. And then he refused to stay while a boat went to rescue his men! Talk about heart and determination! It's been a long time since I've heard mention of that heroic voyage. Great job on your launch, the pics are excellent.
-
-
-
Thanks Buck for the heads up on Wayne's in depth research on this vessel. Thanks Wayne for all the info in your build log, it should prove helpful. I had the same issues with planking on my 18th century Lonboat. My problem there was I had no clue what faring was, so I was bending over square frames.
Since then Ive learned a little more and hopefully will have better luck with the planking than before.
- Salty Sea Dog, trippwj and GLakie
-
3
-
Well Ken, I think that this cutter was overrun and taken by pirates. There may be some damage incurred in the hostile takeover that will require repair. Also said pirates would need to let known that this is now their vessel. Aside from that thought, once again I leave the details to the growing army of, yes, the squirrels.
Update: I was just told that a simulated cannon ball strike may be attainable at a target range.
- GLakie, CaptainSteve and Canute
-
3
-
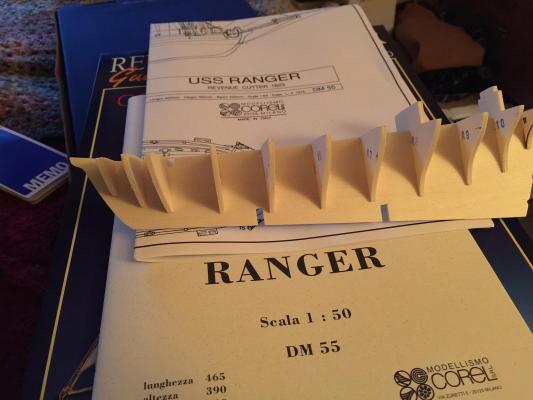
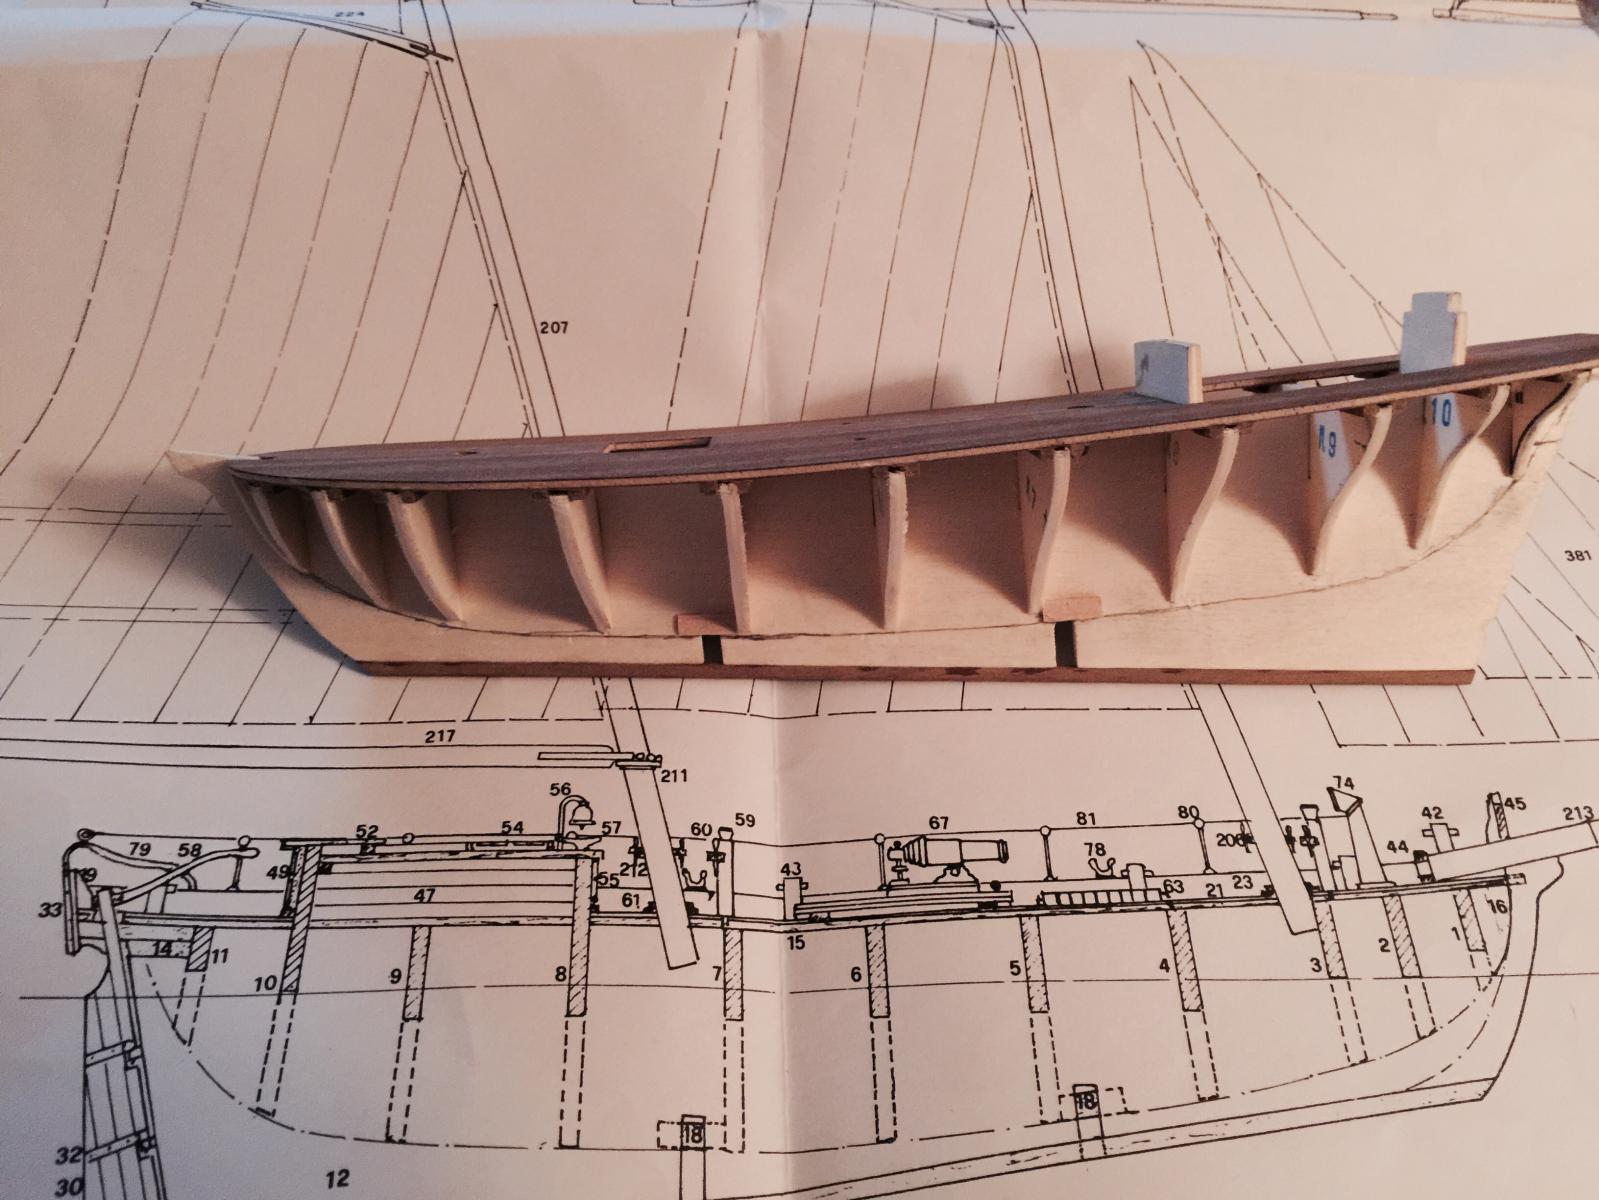
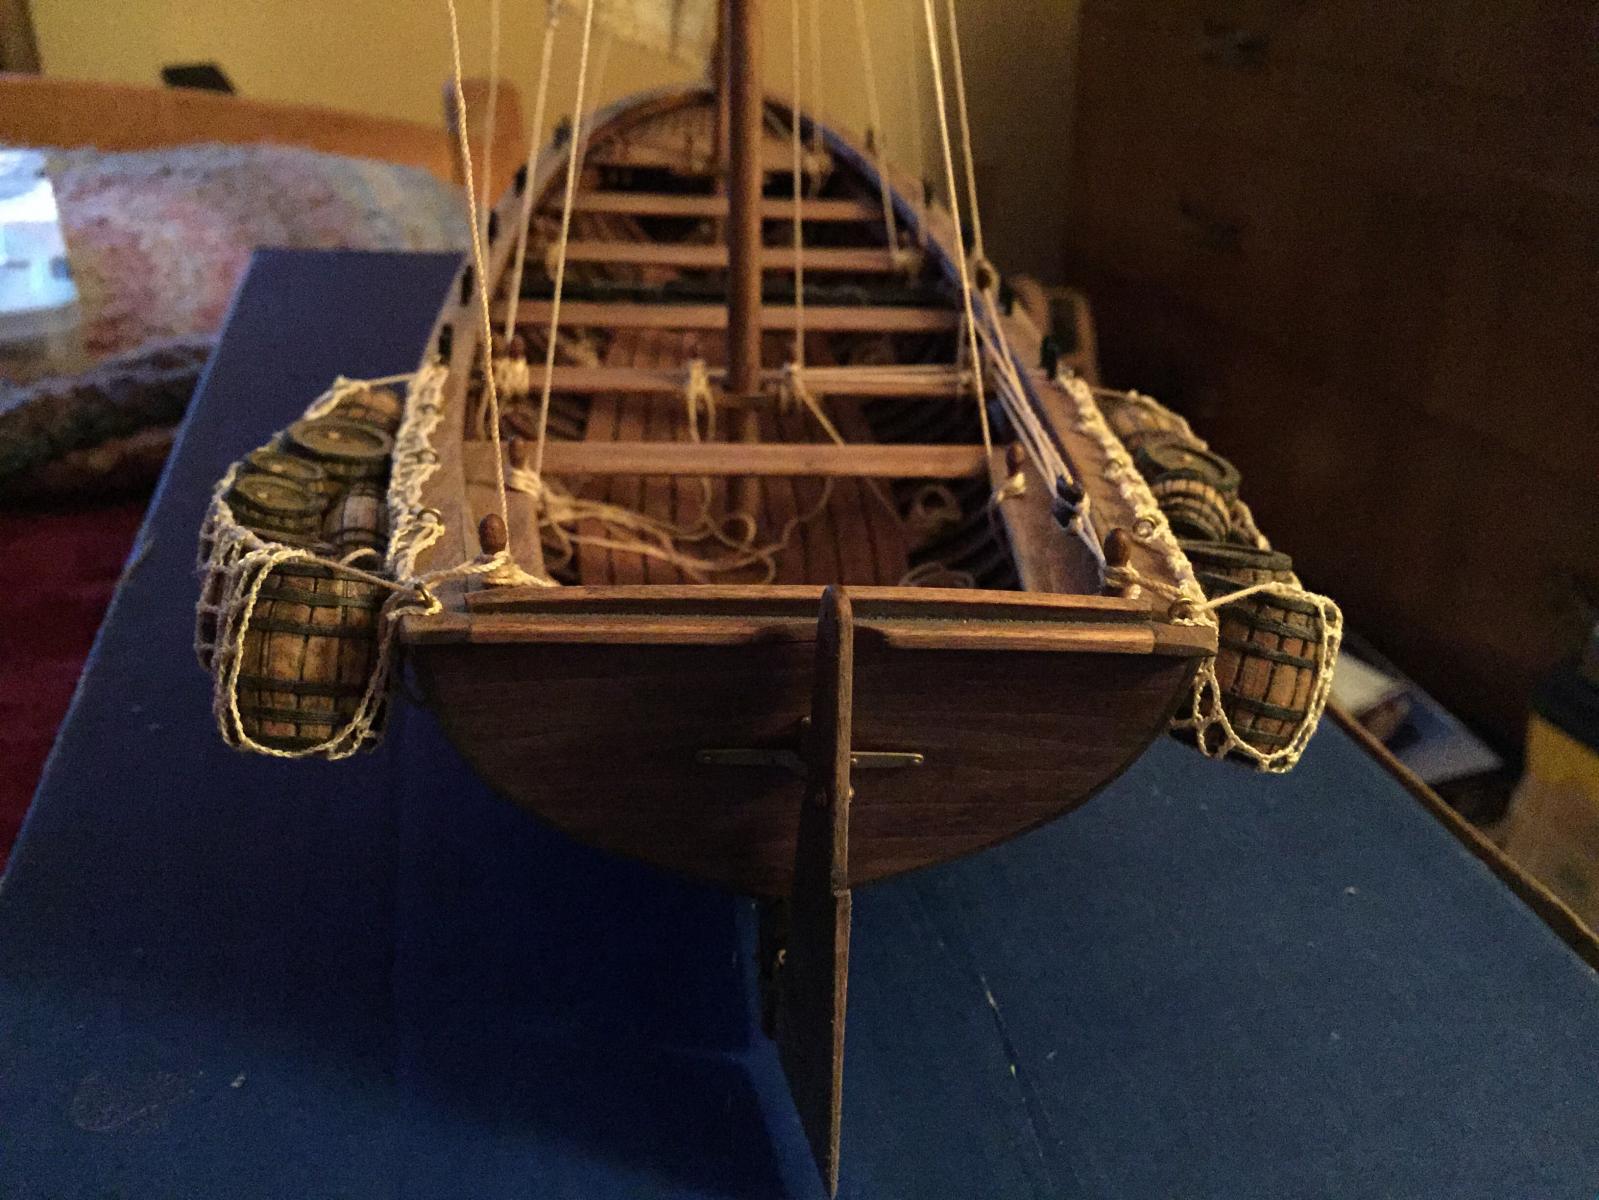
So after some mulling, I decided to start this sleek cutter bash build while still working on my Bounty Launch.
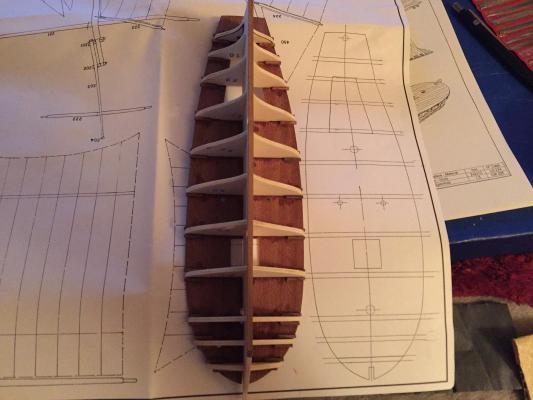
As some of you know, this kit is made in Italy. The instruction book is 1:50 scale while the plans say 1:64. You can see in step two, the deck matches exactly to the plan size. With that in mind all I can think is that, possibly, one scale is metric and the other one is confused. No matter though, my material matches the plans.
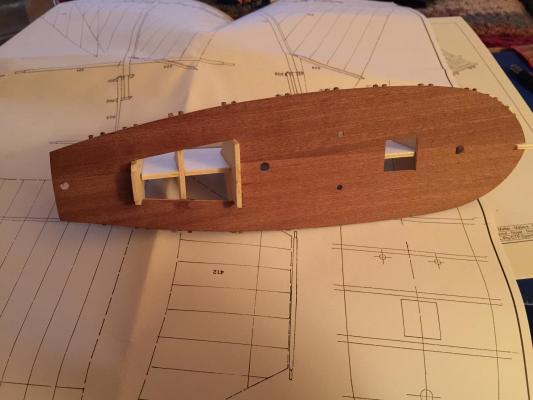
I spent about 20 minutes reading the same paragraph over and again to figure out what the heck they're saying. I gave up. Everyone was right about the translation issue, and the pictures are pretty self-explanitory. So I'm starting the bash by chucking everything but the pictures. As the squirrels adapt to multi-tasking, I've informed them that I'm going for a pirate theme. So we will see what they come up with.
- popeye the sailor, Canute, GLakie and 4 others
-
7
-
#2 build in progress by matt.s.s. AKA The Squirrel Whisperer

- CaptainSteve, GLakie, Canute and 2 others
-
5
-
It's just a teaser right now, not yet a full blown affair Ken. I stress "yet".
Thanks Buck. It was only after I made these did I look back in your build log and saw how you had done your axe, well done! I ended up using short pieces of metal tubing, smash somewhat with space to slide the handles in. Then I "crimped" the metal the rest of the way, CA'd it and then shaped with files.
George, I think I'd cry if them little suckers took off on me
- Canute, Salty Sea Dog, GLakie and 1 other
-
4
-
I know what you mean with the CA and wood(and fingers


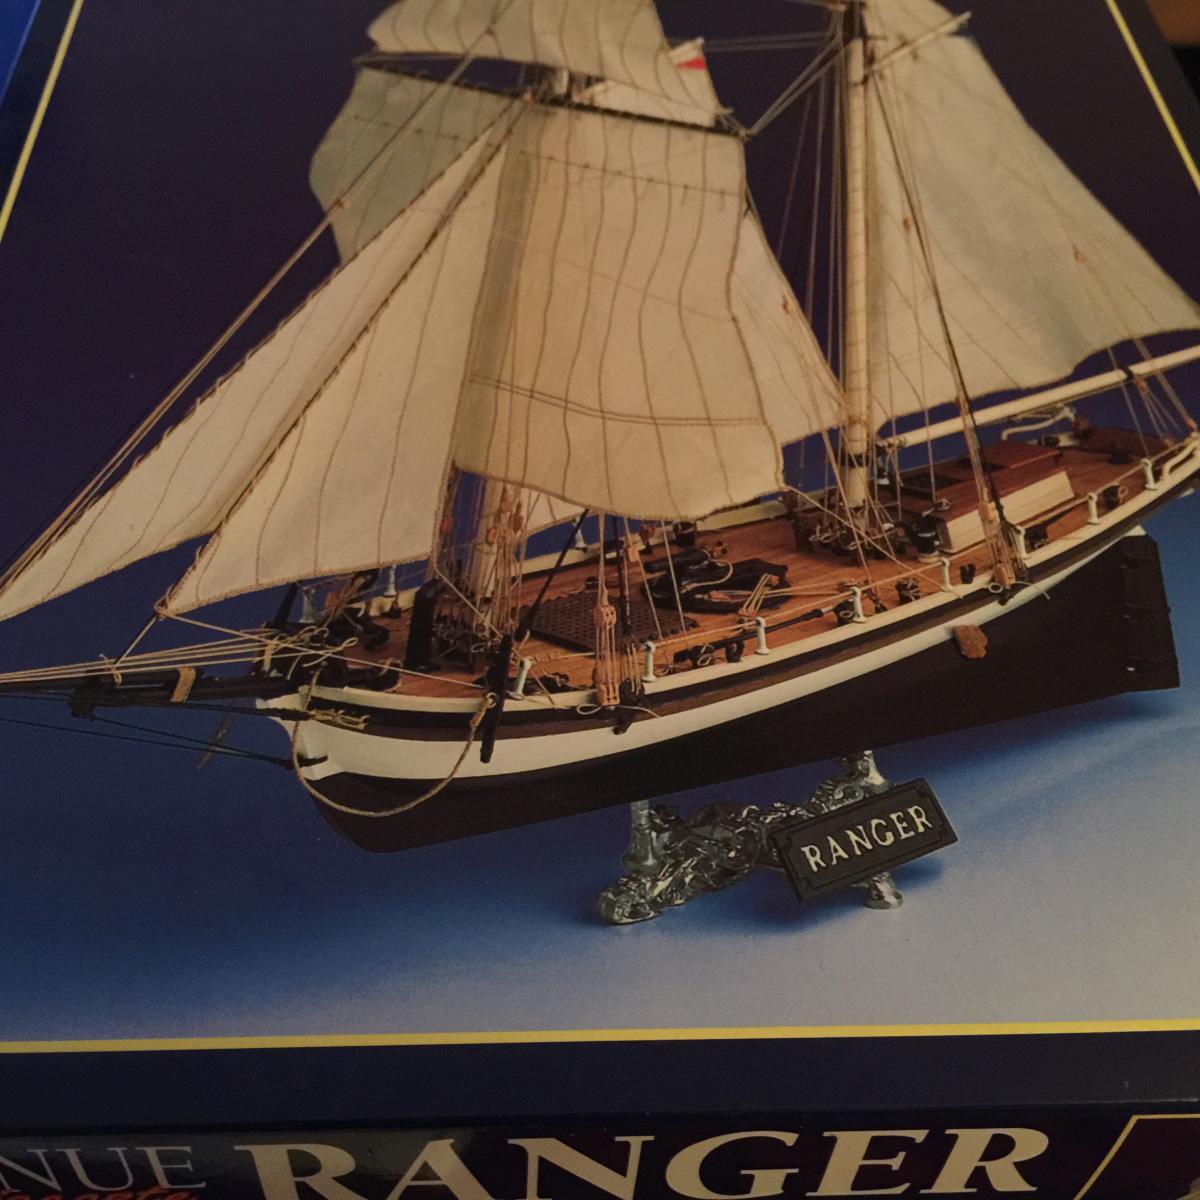
USS Ranger by mattsayers148 - FINISHED - Corel SM55 - 1:64 - 4th build, 2nd build log
in - Kit build logs for subjects built from 1801 - 1850
Posted
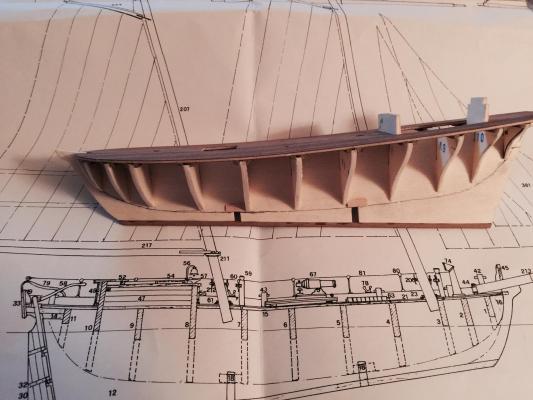
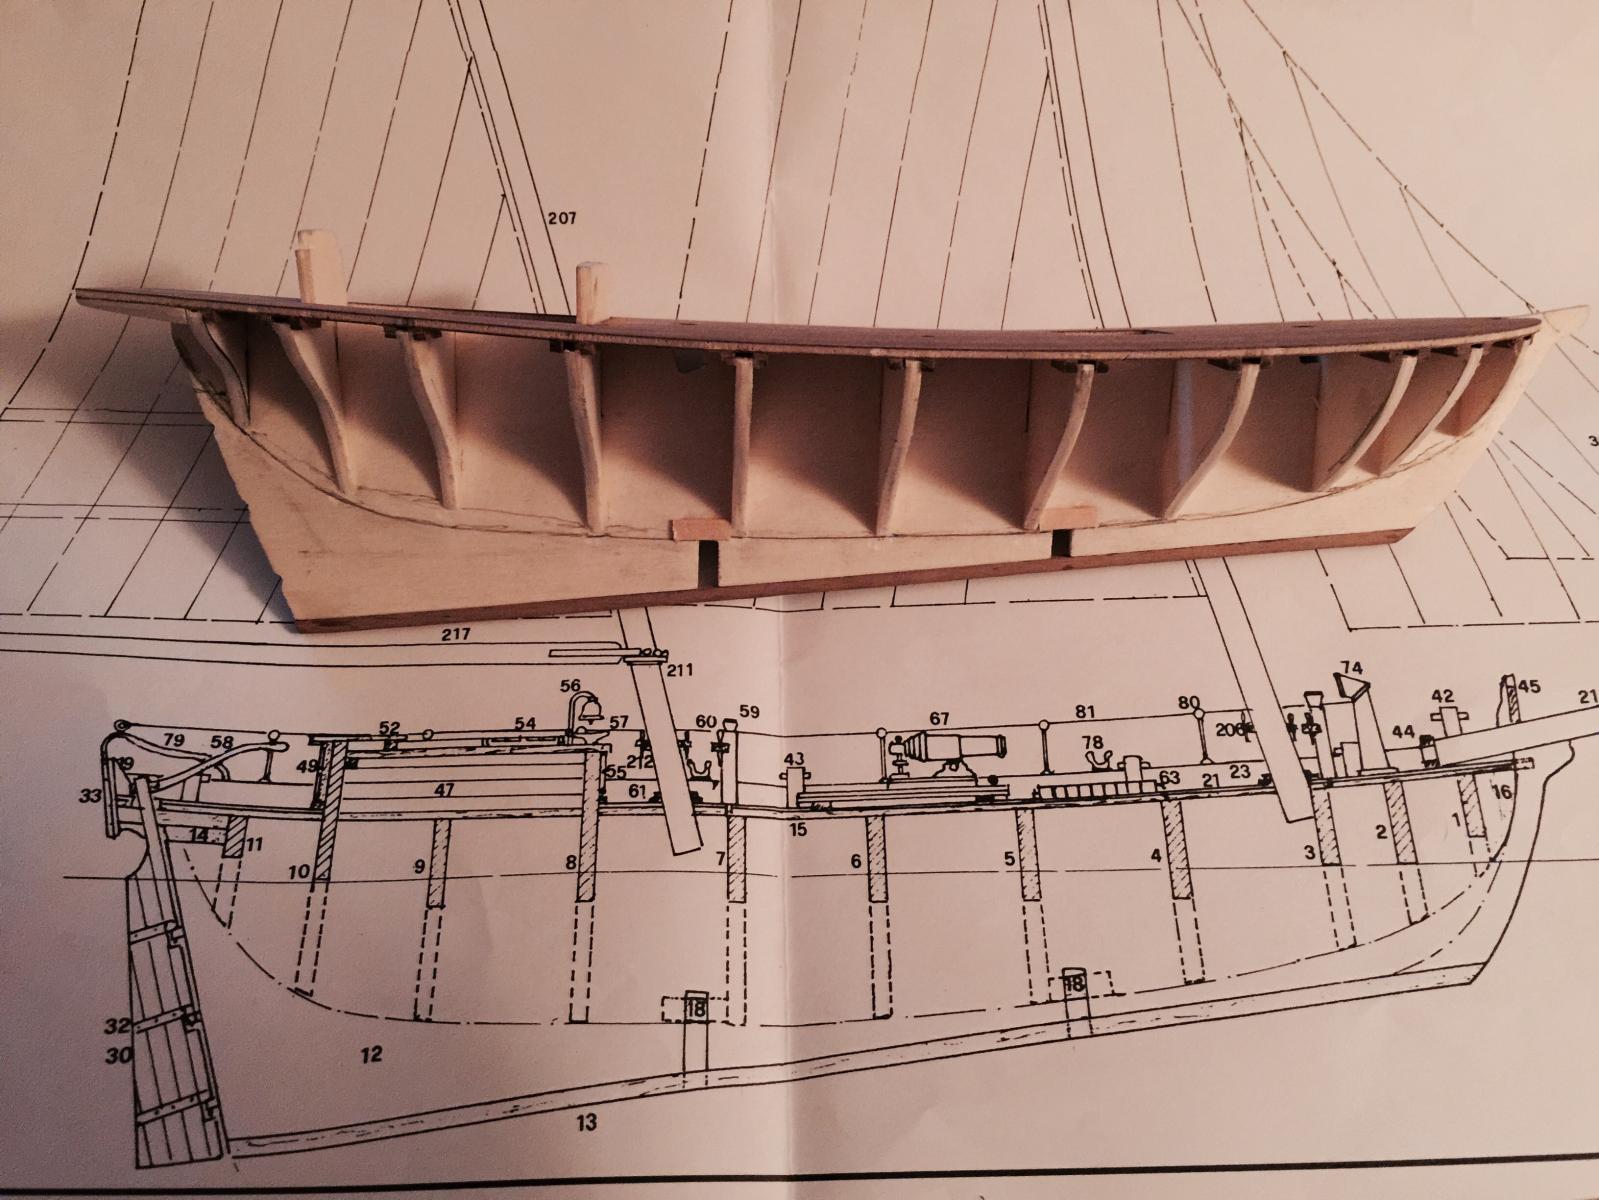
After consulting with my peers, multiple buildlogs and the Squirrels, I resolved to the fact that from frame 3 forward all planks(excluding top plank at deck) should be tapered. So I trimed back plank 4 and installed garboard and plank 5, both tapered. I will continue from the garboard towards the middle, as should be done.
I placed ticks to assist the tapering.
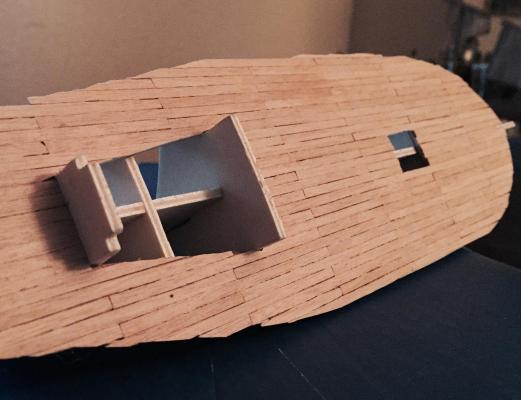
I tossed the kit transom and replaced with a 1/32 piece of cherry. I plan on planking the aft side to achieve the same thickness of kit item.
I'm going to hold off on finishing the planking for now. I haven't yet decided whether or not I will add visible interior details. If I do it'll be easier with the planks off. So I continued planking the deck and must wait for it to dry before trimming and sanding can be done. The CA will only be used on the first later of planking. After that I've decided to switch back to my gorilla glue for all items forward. This scale is just too intricate to use CA. And yes, I will be adding tree nails to this build as well.