


Philg88
-
Posts
166 -
Joined
-
Last visited
Content Type
Profiles
Forums
Gallery
Events
Posts posted by Philg88
-
-
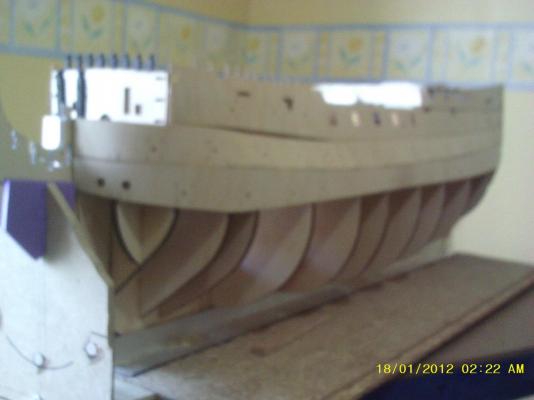
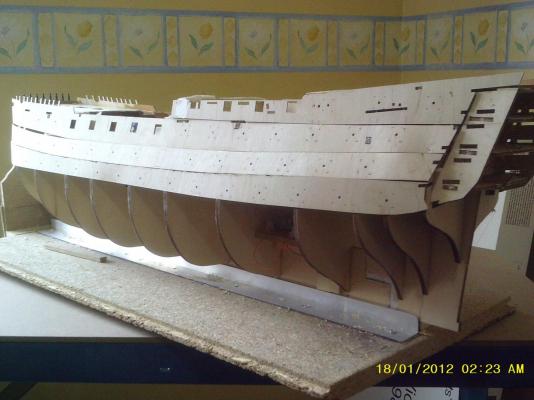
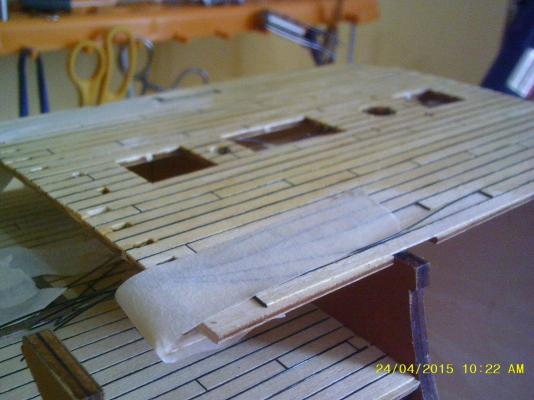
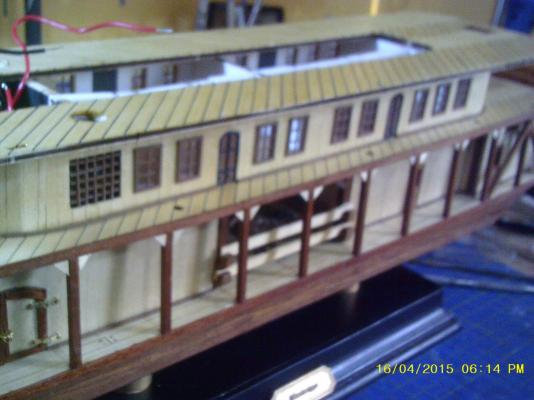
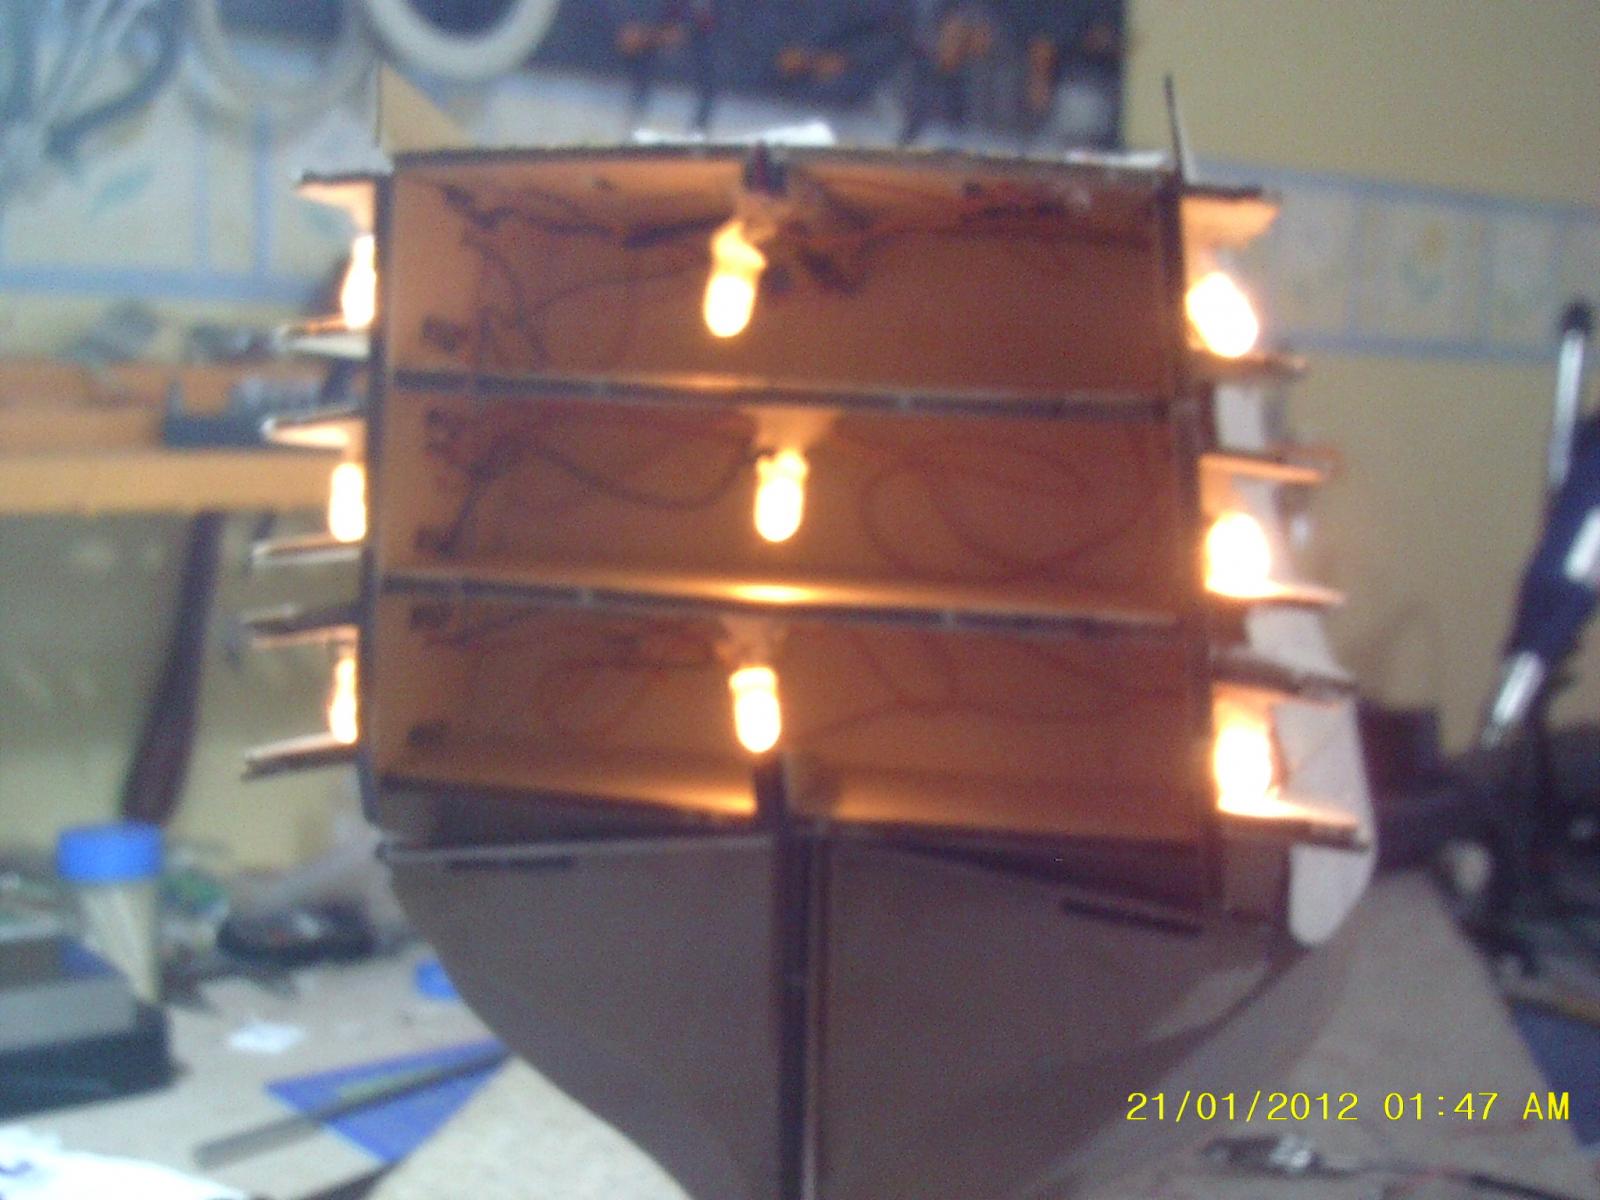
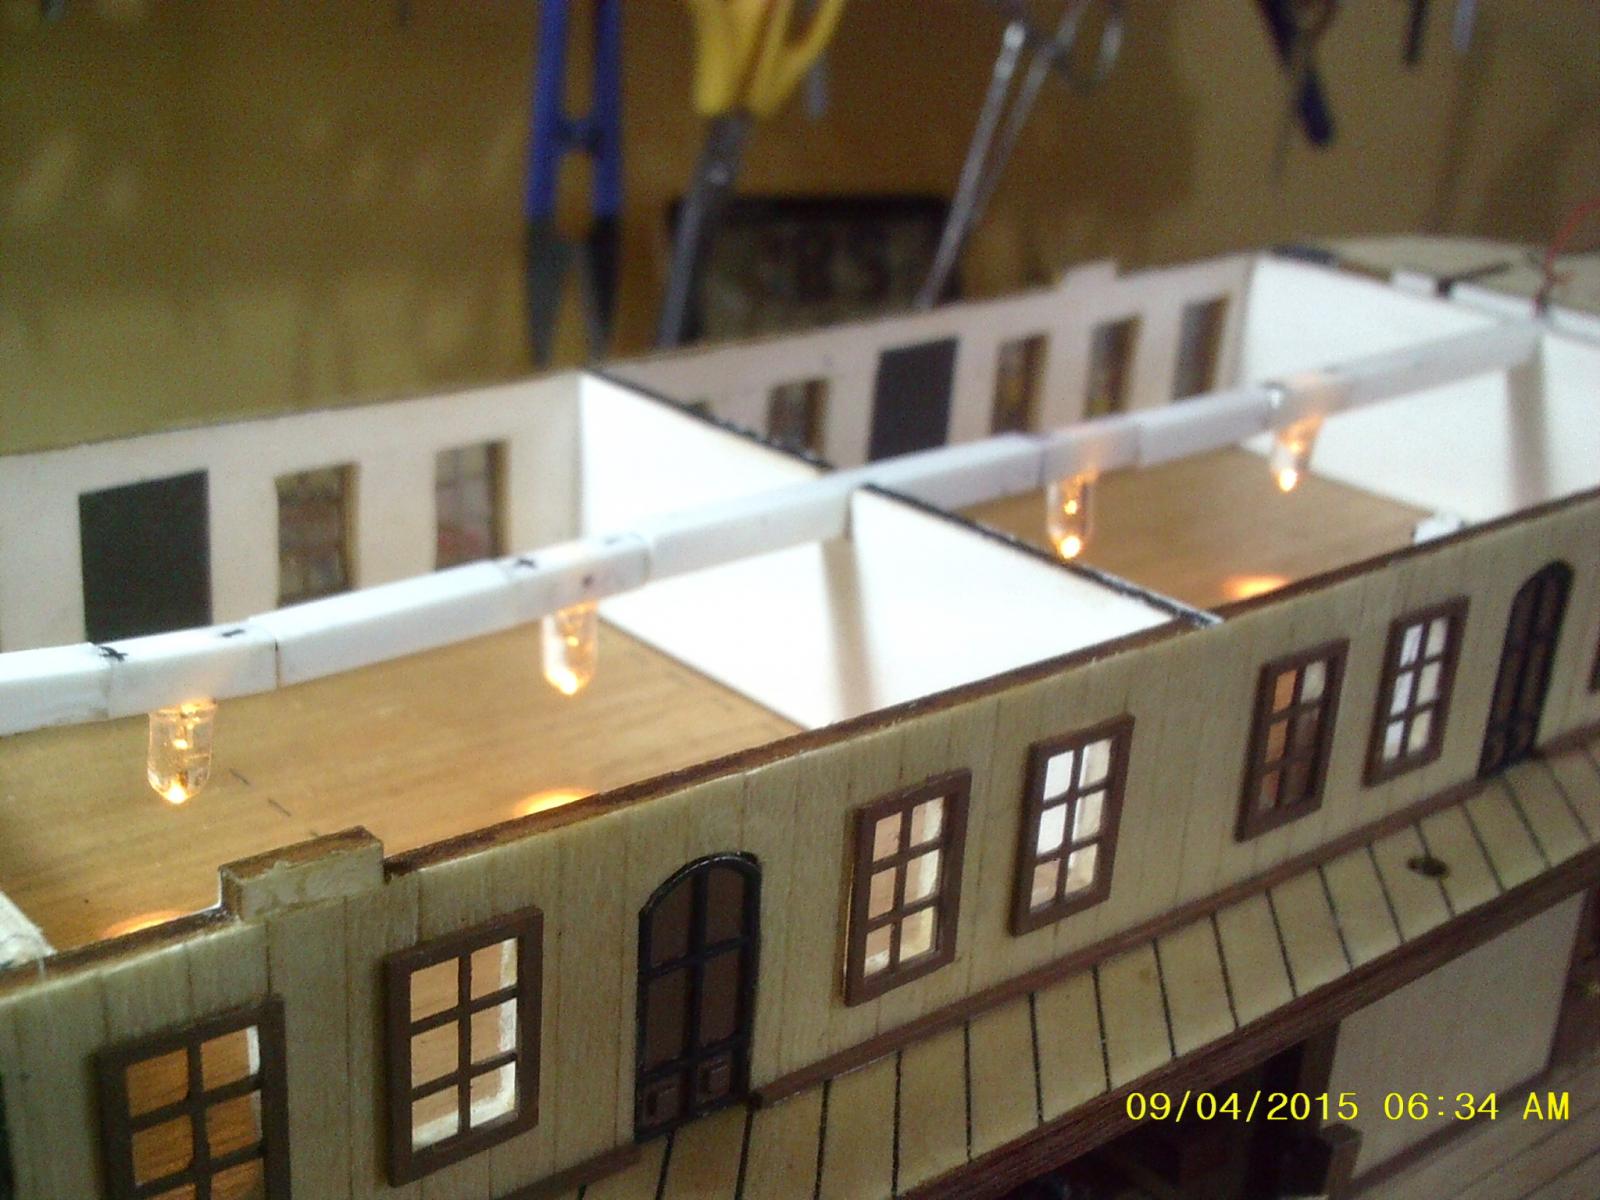
Planking strips and part of the rear gallery installed as well as the nine LED's in the stern cabins. There were a few places where the parts didn't fit together exactly but a bit of bodging sorted things out.
- Gundorph, clearway, CaptainSteve and 2 others
-
 5
5
-
-
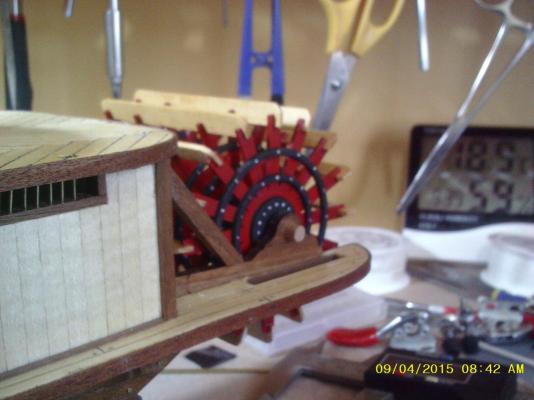
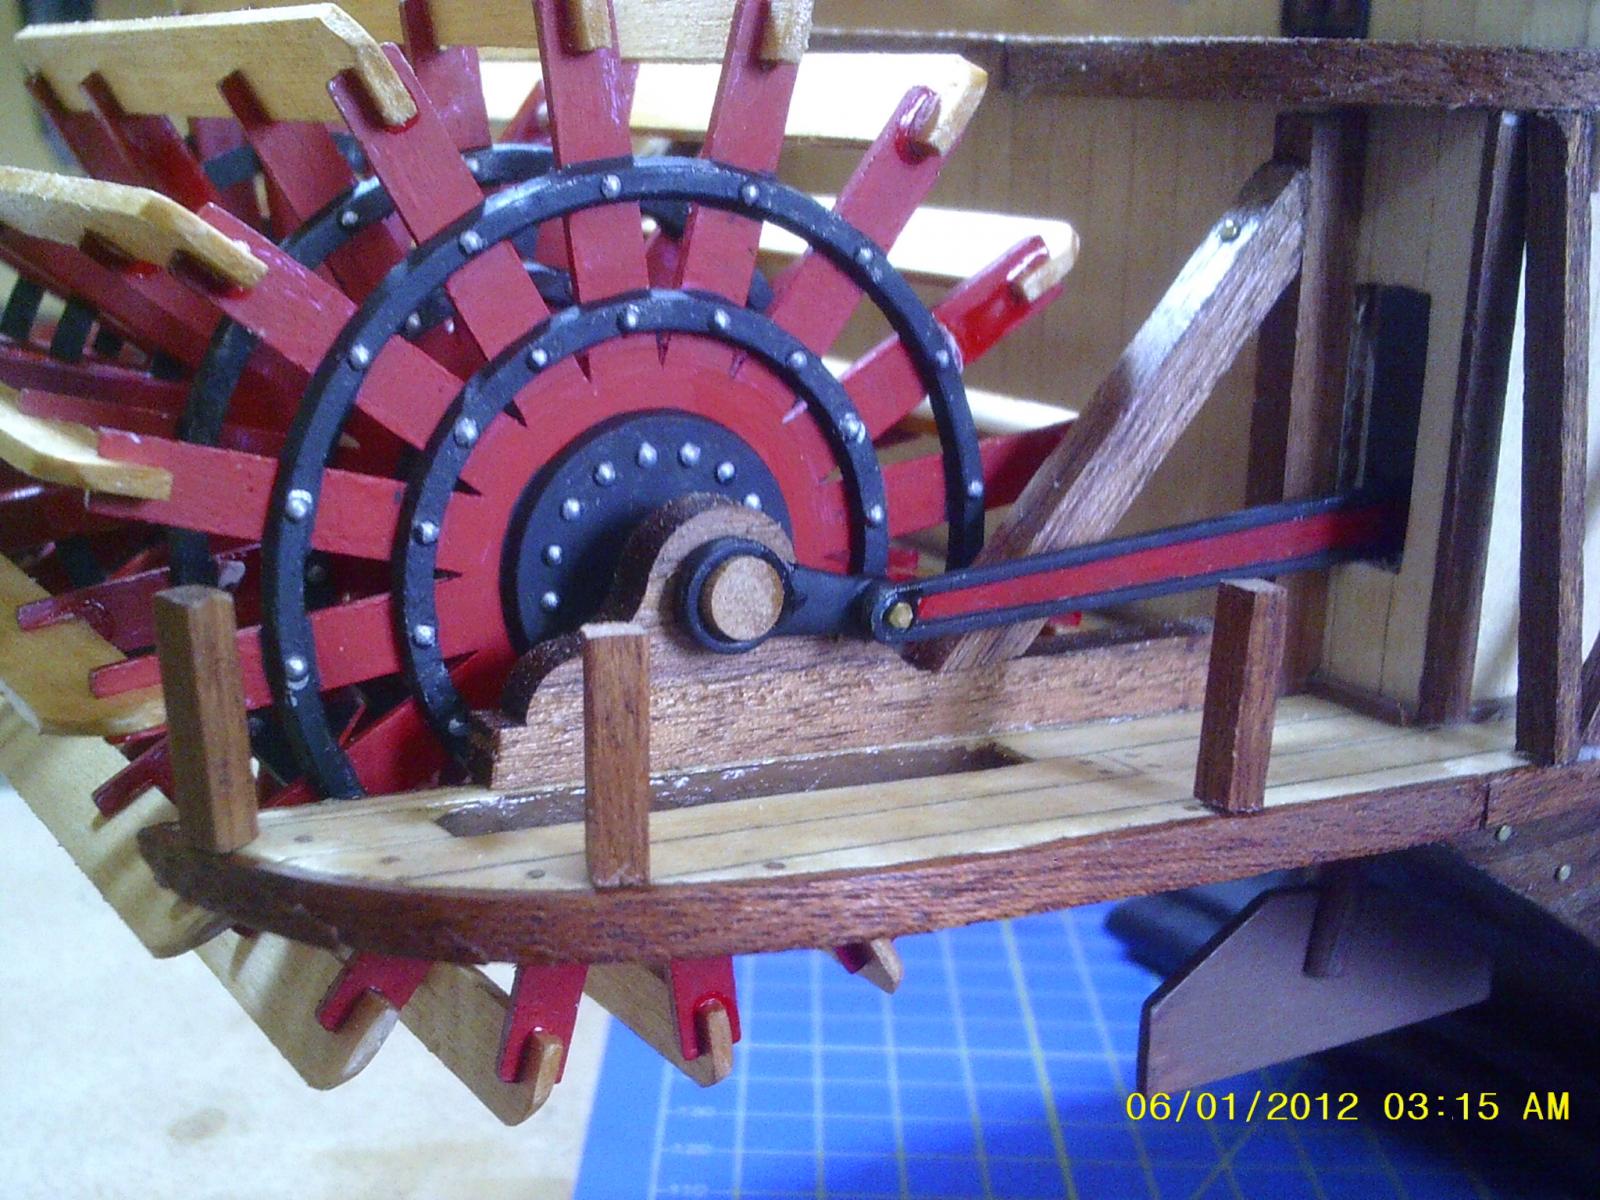
Small update as the Victory seems to be taking up most of my time at the moment. I connected the paddlewheels and made the small posts that carry the railings at the stern. These are 3x3x14mm and were drilled 5 mm with a 0.7 mm diameter drill then a snipped up off tack was CAed in the hole. These posts are not mentioned in the instructions or the parts list, which is a bit naughty of AL. However, they do appear in the instruction booklet and on the supplied drawings if you look very closely.


- CaptainSteve and clearway
-
2
-
Nice piece of research Izzy,. The other bonus is of course that you can drink what's left over of your blackening solution.

Cheers,
Philip
- mattsayers148, GLakie and Izzy Madd
-
3
-
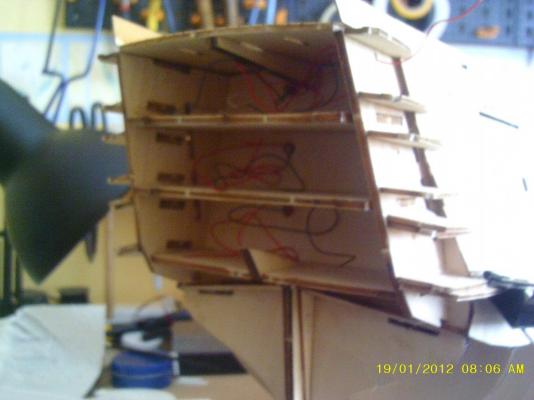
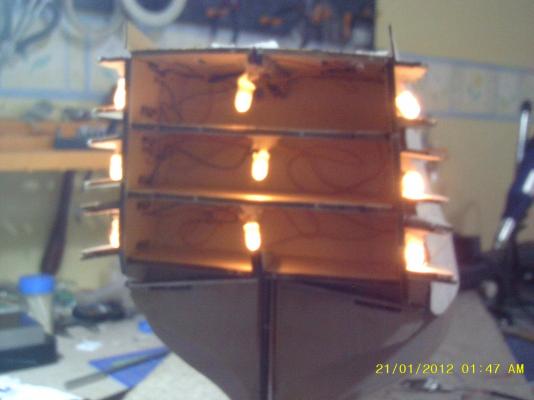
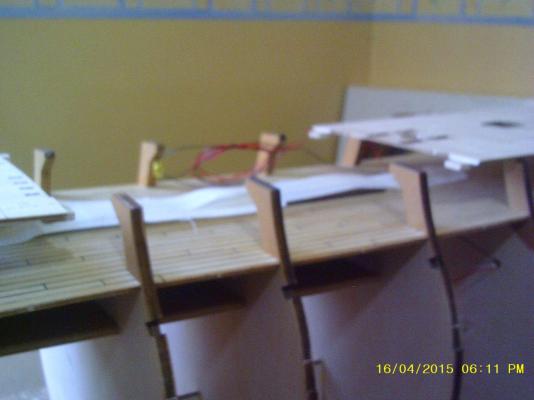
Planked the now split quarterdeck, leaving spaces for the planks that will mate with the waist section once installed after hull planking and coppering. Mounted the LED's for the two cabins on the end of some brass rod and cut out a bit of the framing so that the light will shine up through the skylight. I have also installed the rest of the wiring for the stern cabins so it looks a bit like Spaghetti Junction in there. Poop deck also now installed ready for planking ...


- clearway and CaptainSteve
-
2
-
This is an excellent series of posts, Robert, thank you. I will be using them as a blueprint when I arrive at the coppering stage on my Vic.
Cheers,
Philip
-
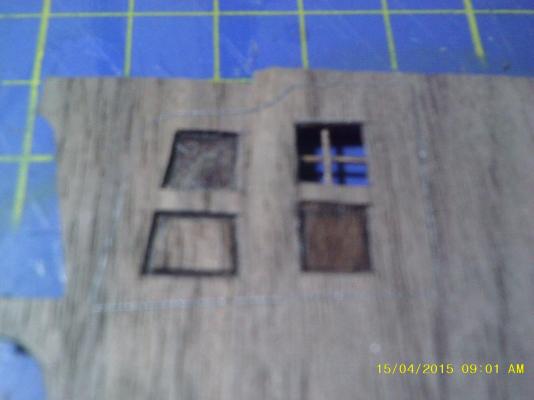
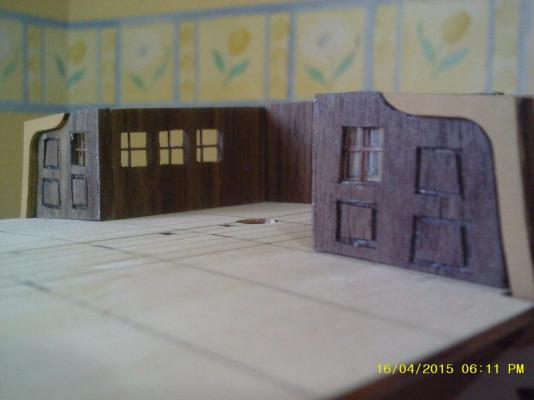
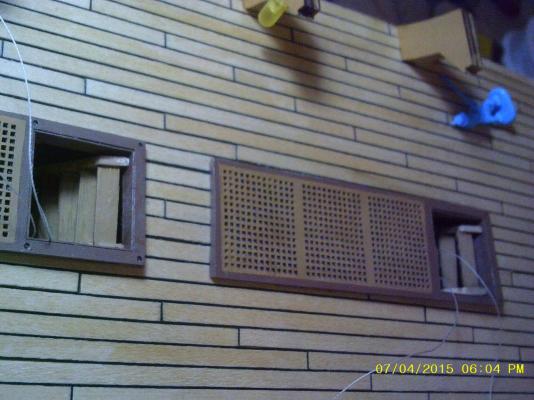
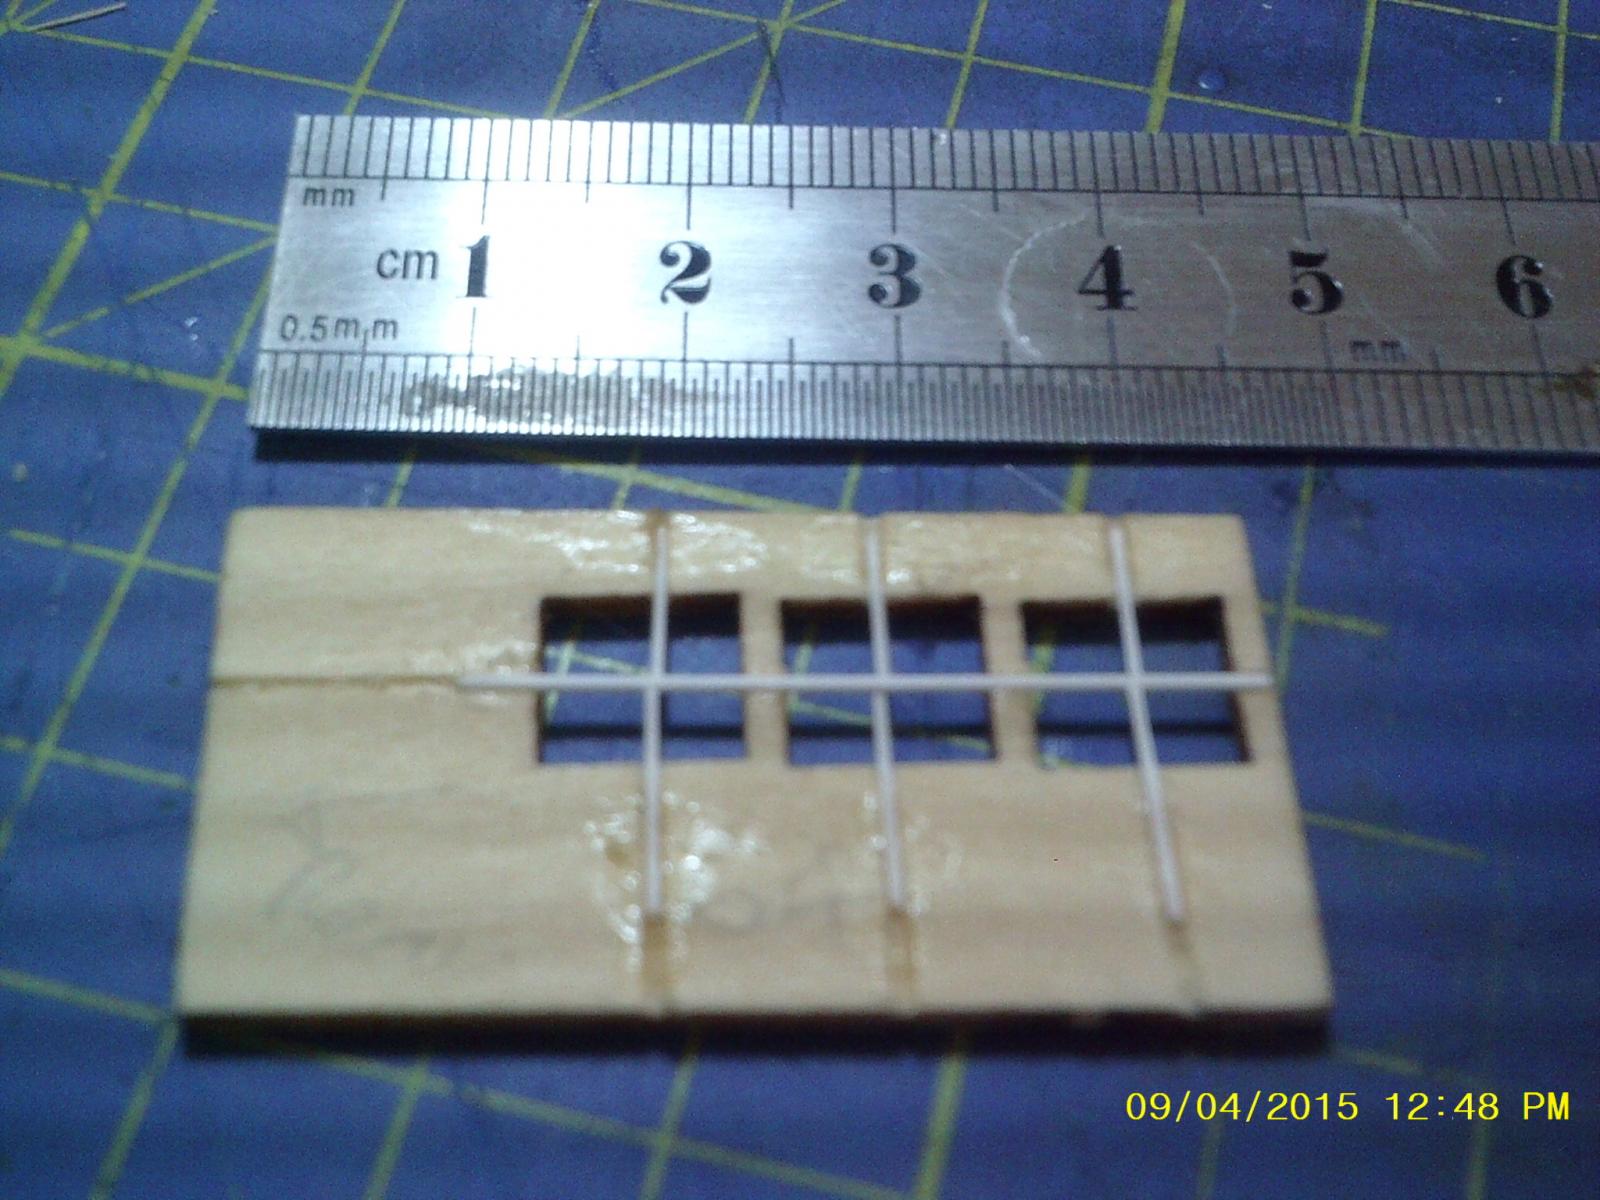
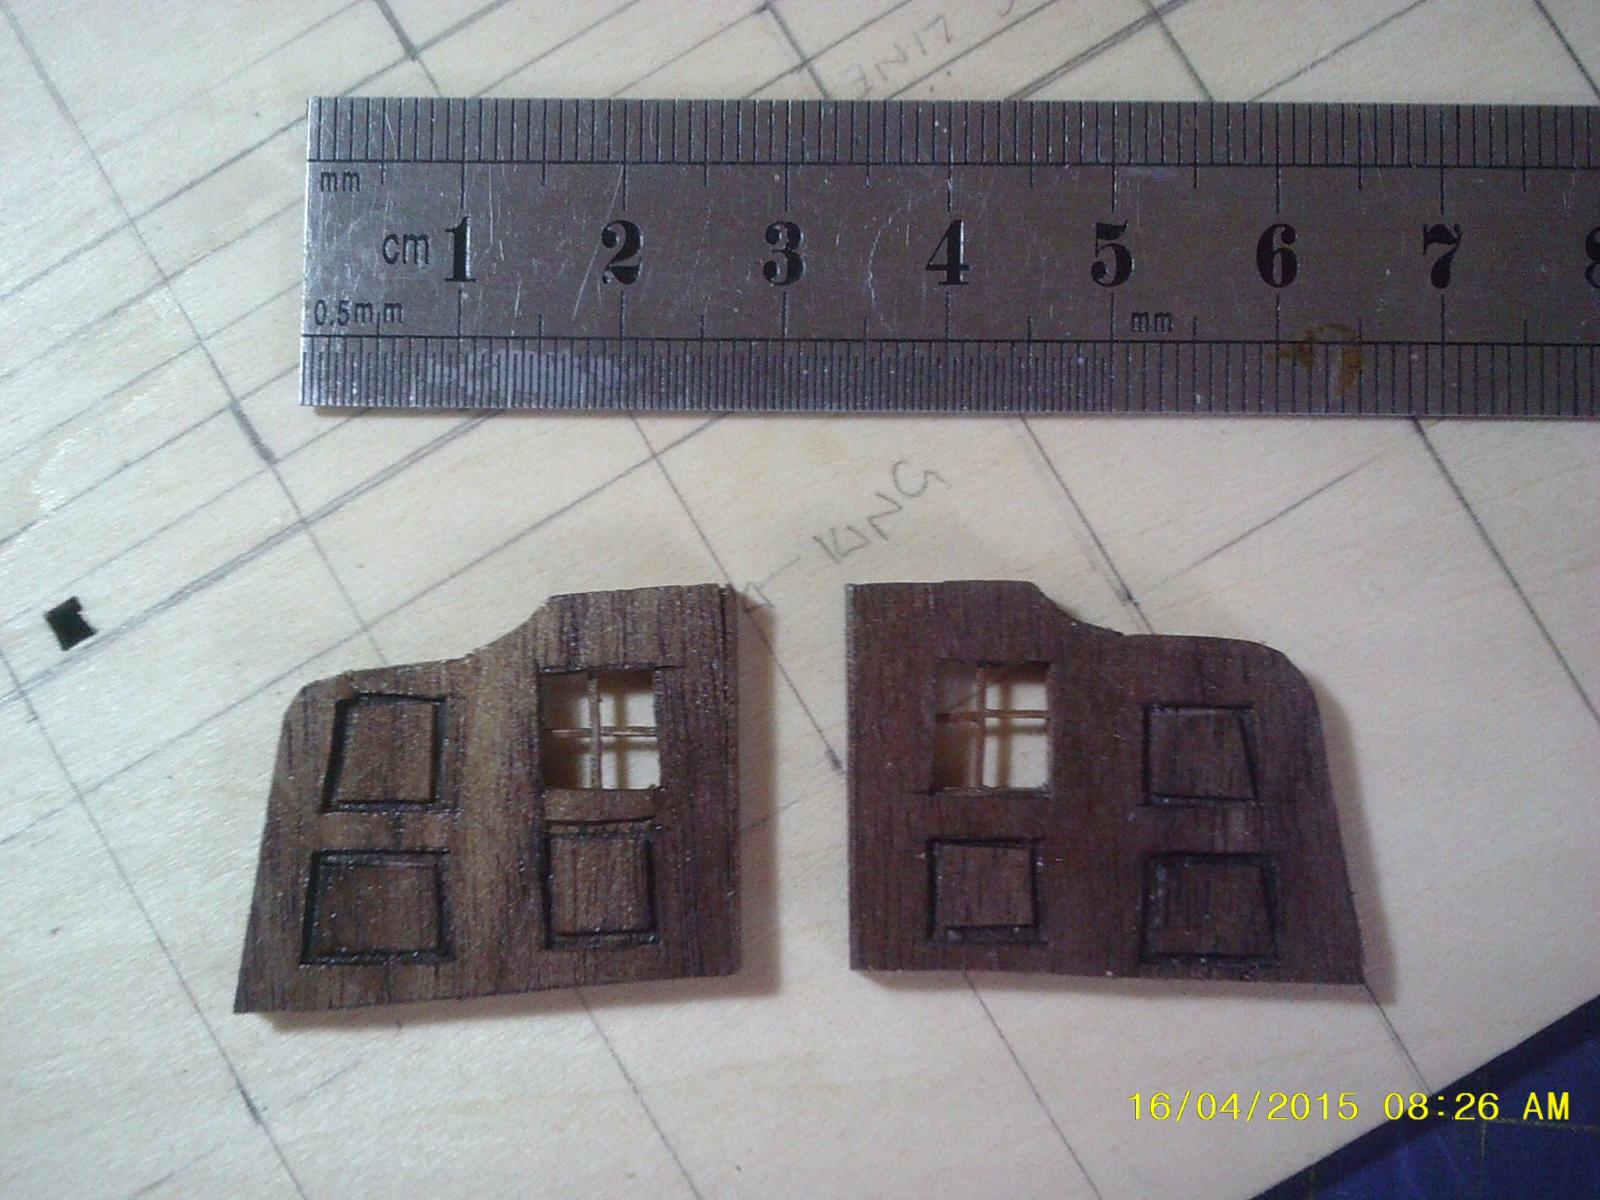
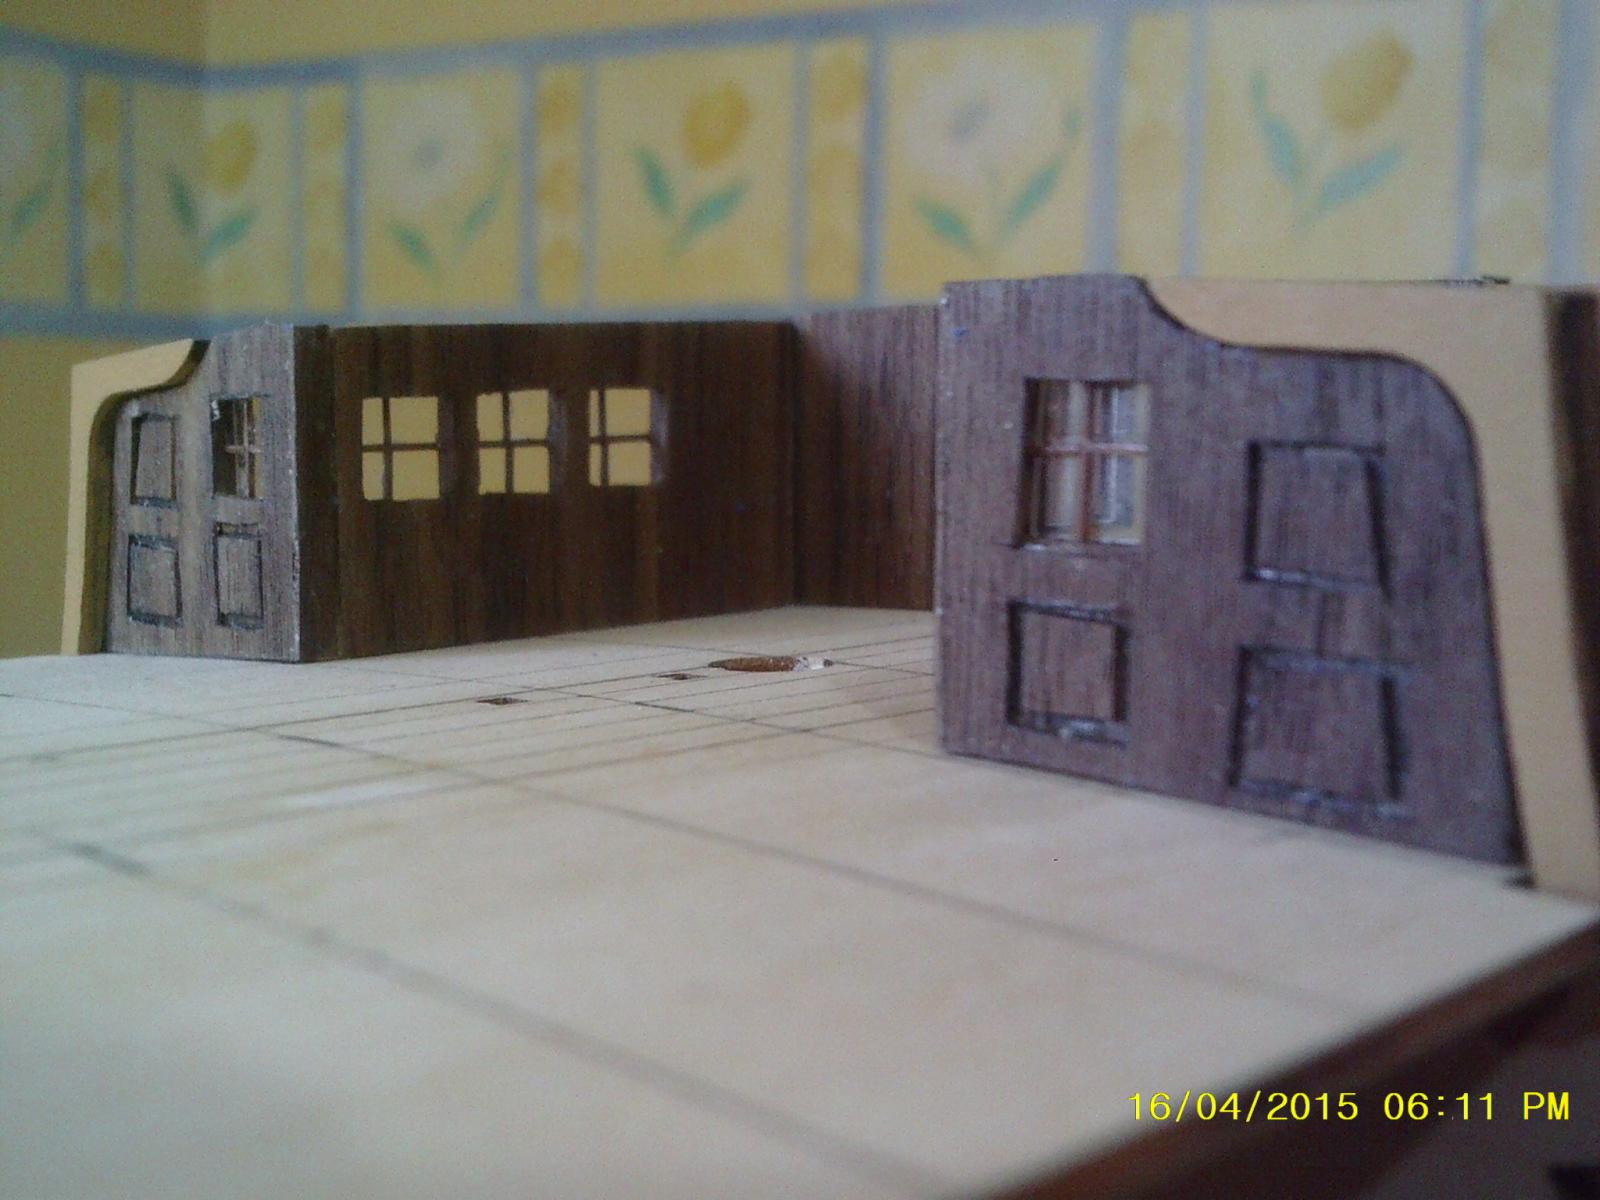
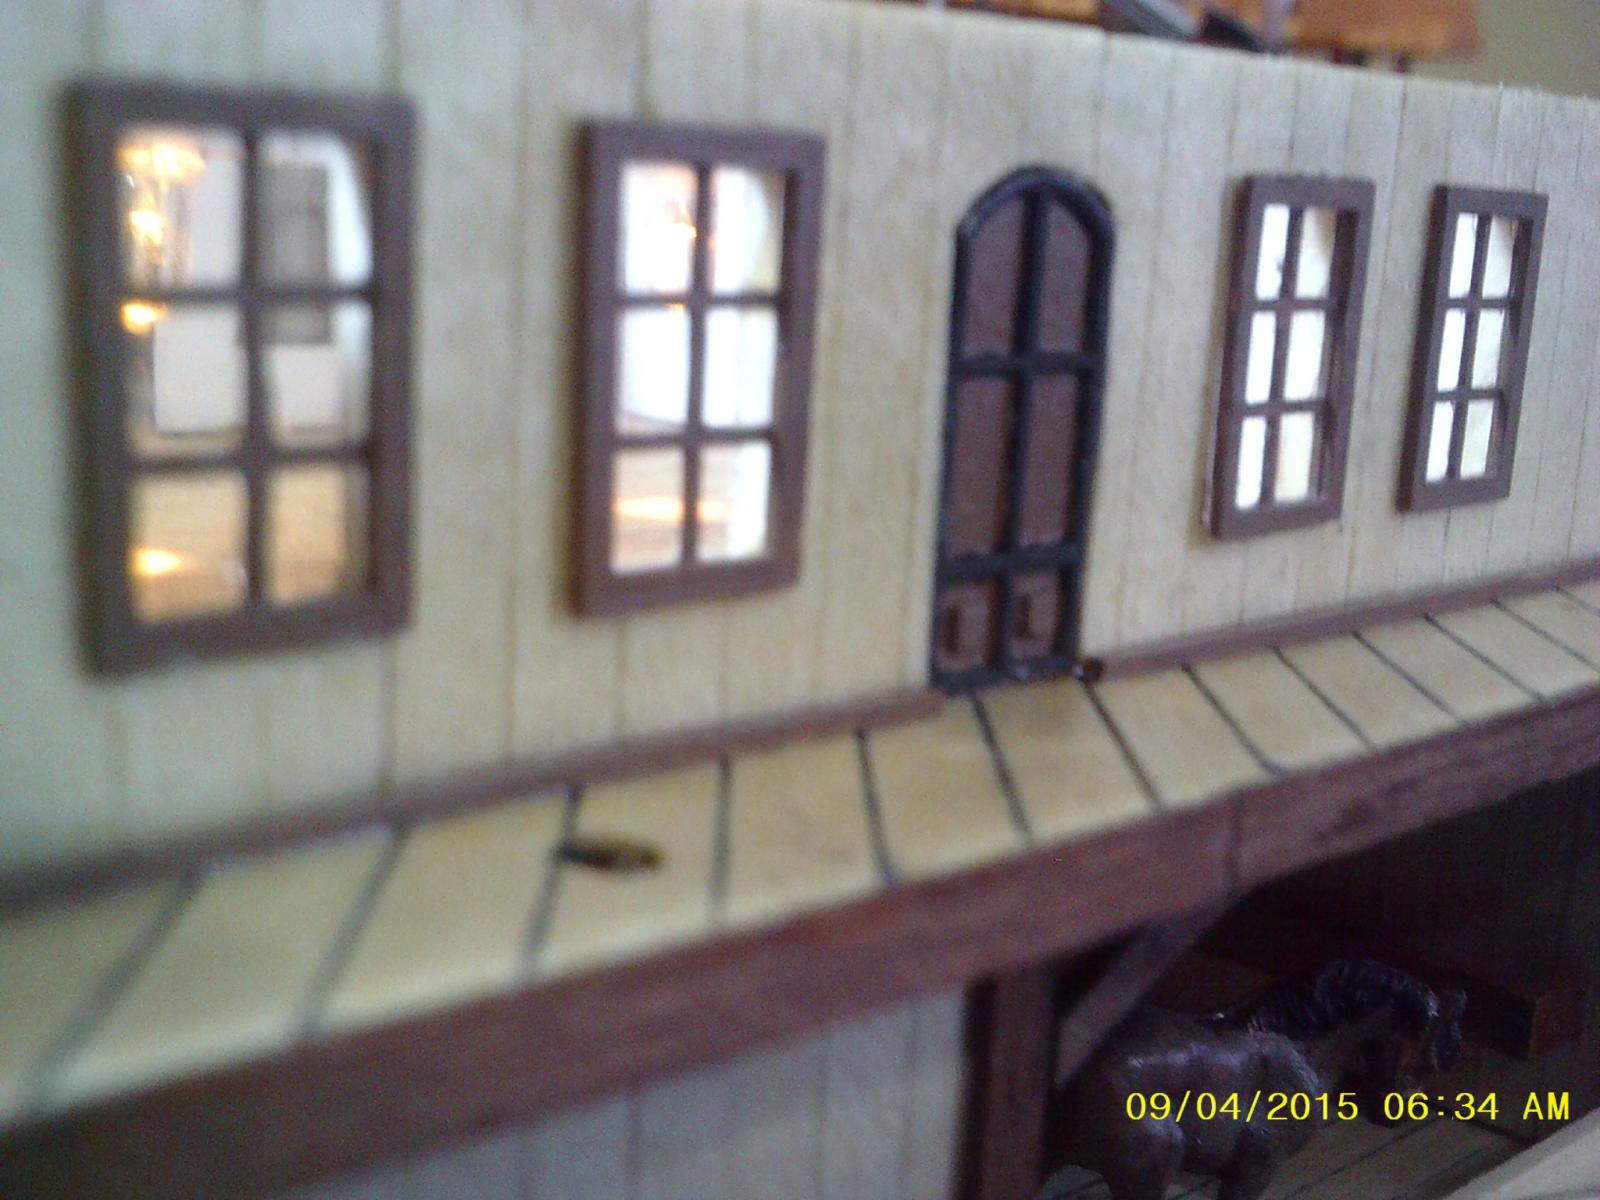
Finally finished the quarterdeck cabins! The window bars were made by rebating 0.5.mm styrene strips into the face of the bulkhead, painting them walnut brown then adding a layer of 0.6mm walnut veneer with a cut out for the window. Next, another layer of veneer with holes cut out around the edges of the panels. Finally, small infill pieces were glues into the centre of the holes to give the panel effects. I only did the dual layer veneer for the front bullheads as it's an incredibly fiddly and time consuming task. Besides, the others will be largely hidden once the binnacle, mast and ship's wheel are installed.
I also went ahead and cut out the quarterdeck waist to maintain access to the upper deck - so far so good and the cut out pieces slot back in very neatly with no distortion.

- clearway and CaptainSteve
-
2
-
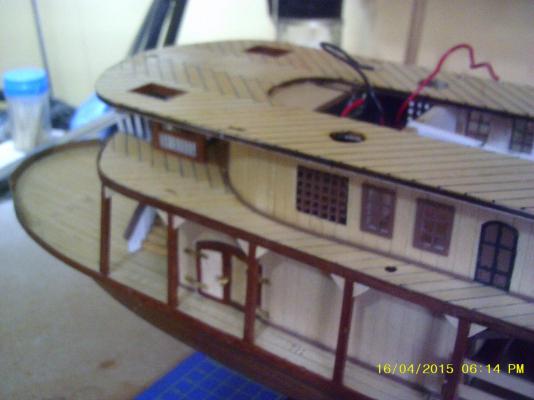
Support posts installed on the first deck and the third deck planked, varnished and fitted. Don't trust the dimensions given for the deck posts in the parts list - I found it best to measure and cut each one individually. It's much easier to fit the triangular fill pieces with the ship flipped upside down.
-
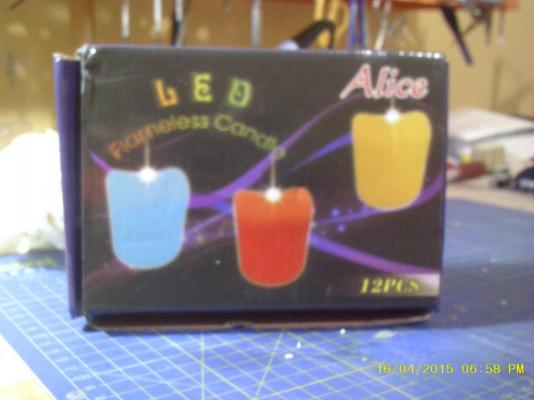
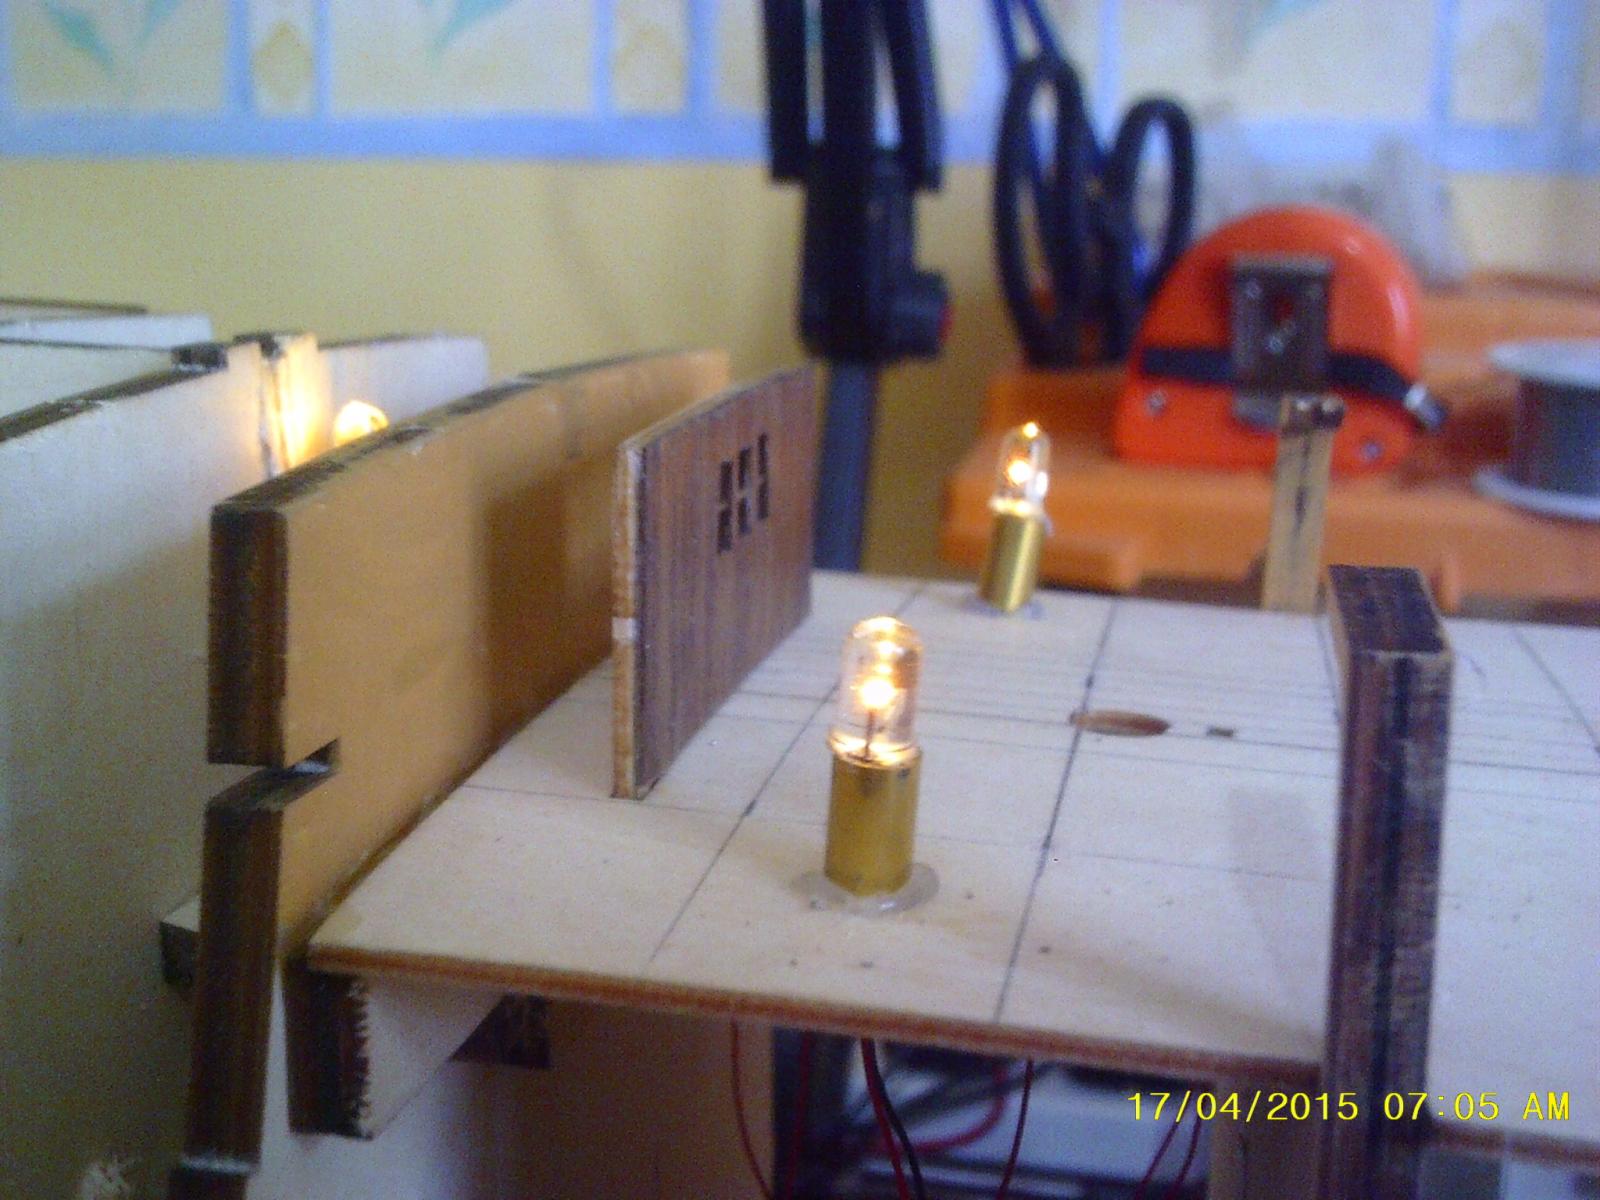
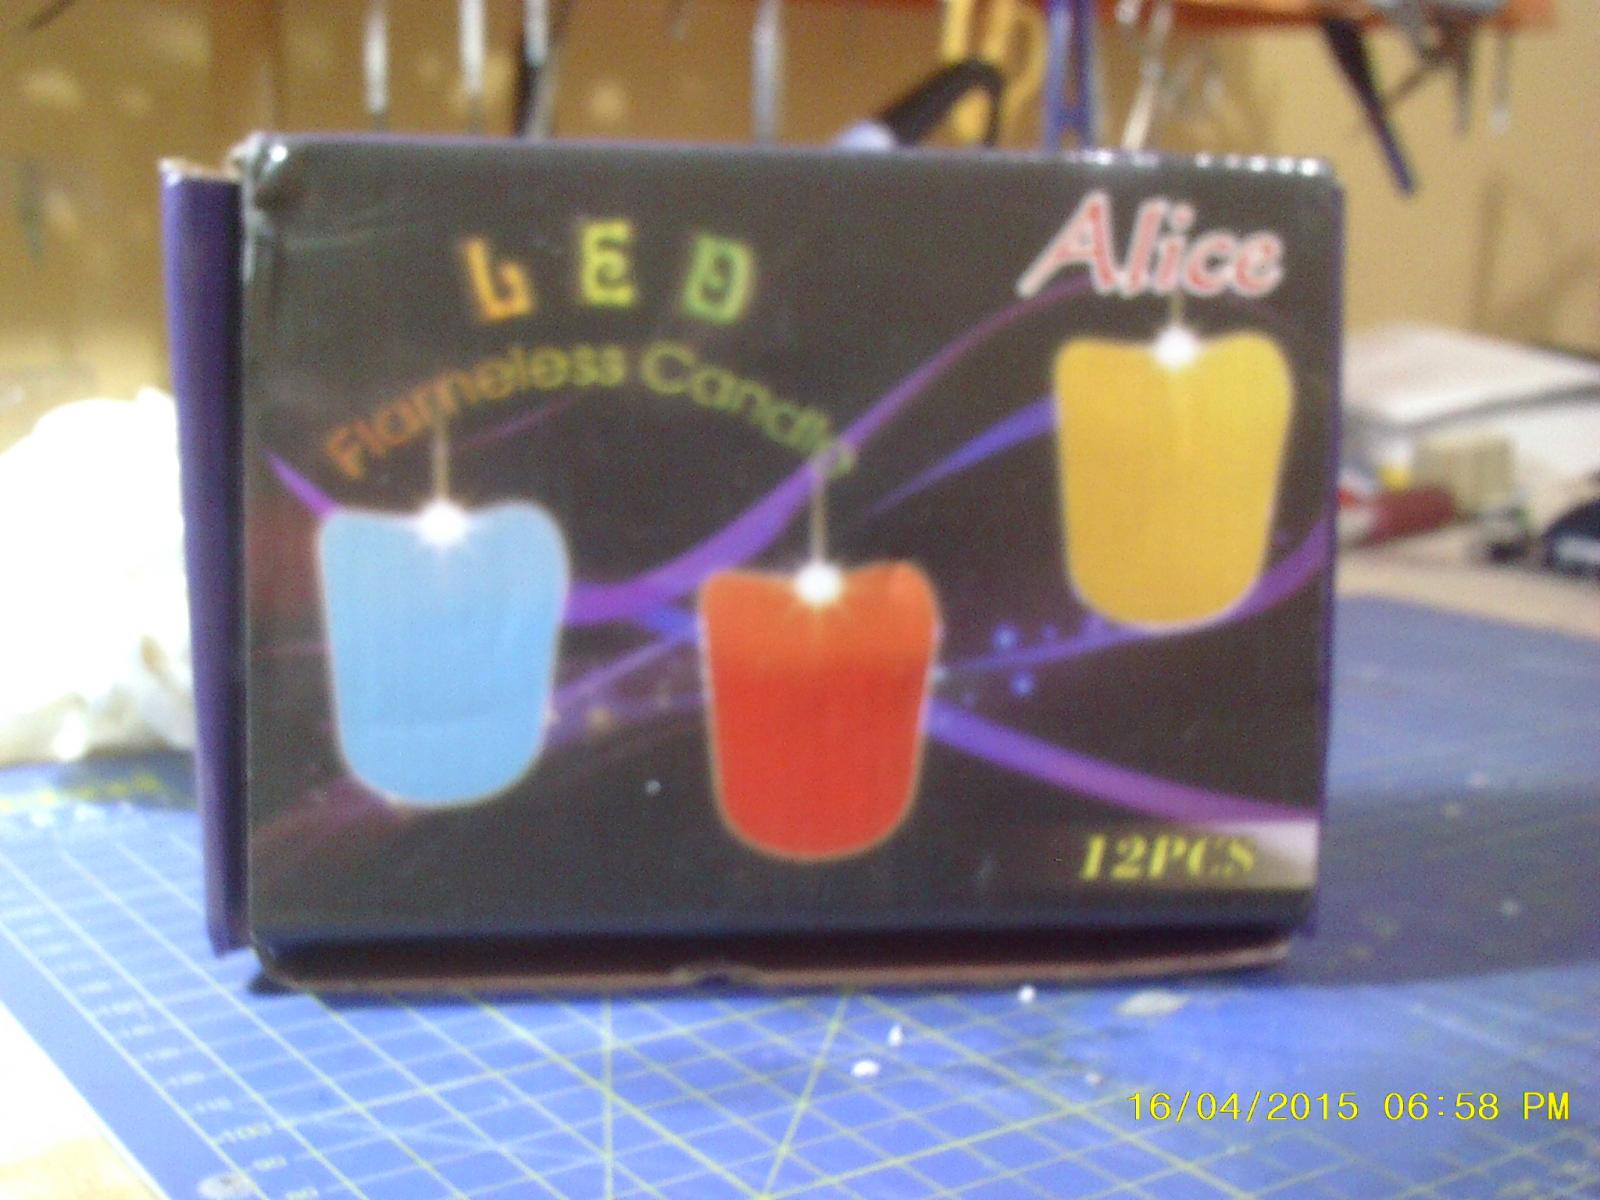
Flickering LED Tea Lights
These are ideal for simulating candle/lamp light in period ship builds. They are cheap (I picked up this box of 12 for £2.99 on Amazon) and have the advantage that you get the flicker effect from the LED itself rather than via a complex and expensive external circuit. Once taken to pieces, which is trivial, the yellow LED can be desoldered or snipped out and used like any other 2.2V/15 Ma LED in a lighting circuit. As a bonus you get a miniature switch and three AG13 1.5v batteries with each light.

- hornet, CaptainSteve, mattsayers148 and 3 others
-
6
-
Really taking shape , your attention to detail is brilliant !!!!!1
Thanks Boyd. Although I love the detailed work on this build, I am trying to tear myself away to get on with the quarterdeck cabins for the Victory - those will have some really nice details. Watch that space!
Cheers,
Philip
-
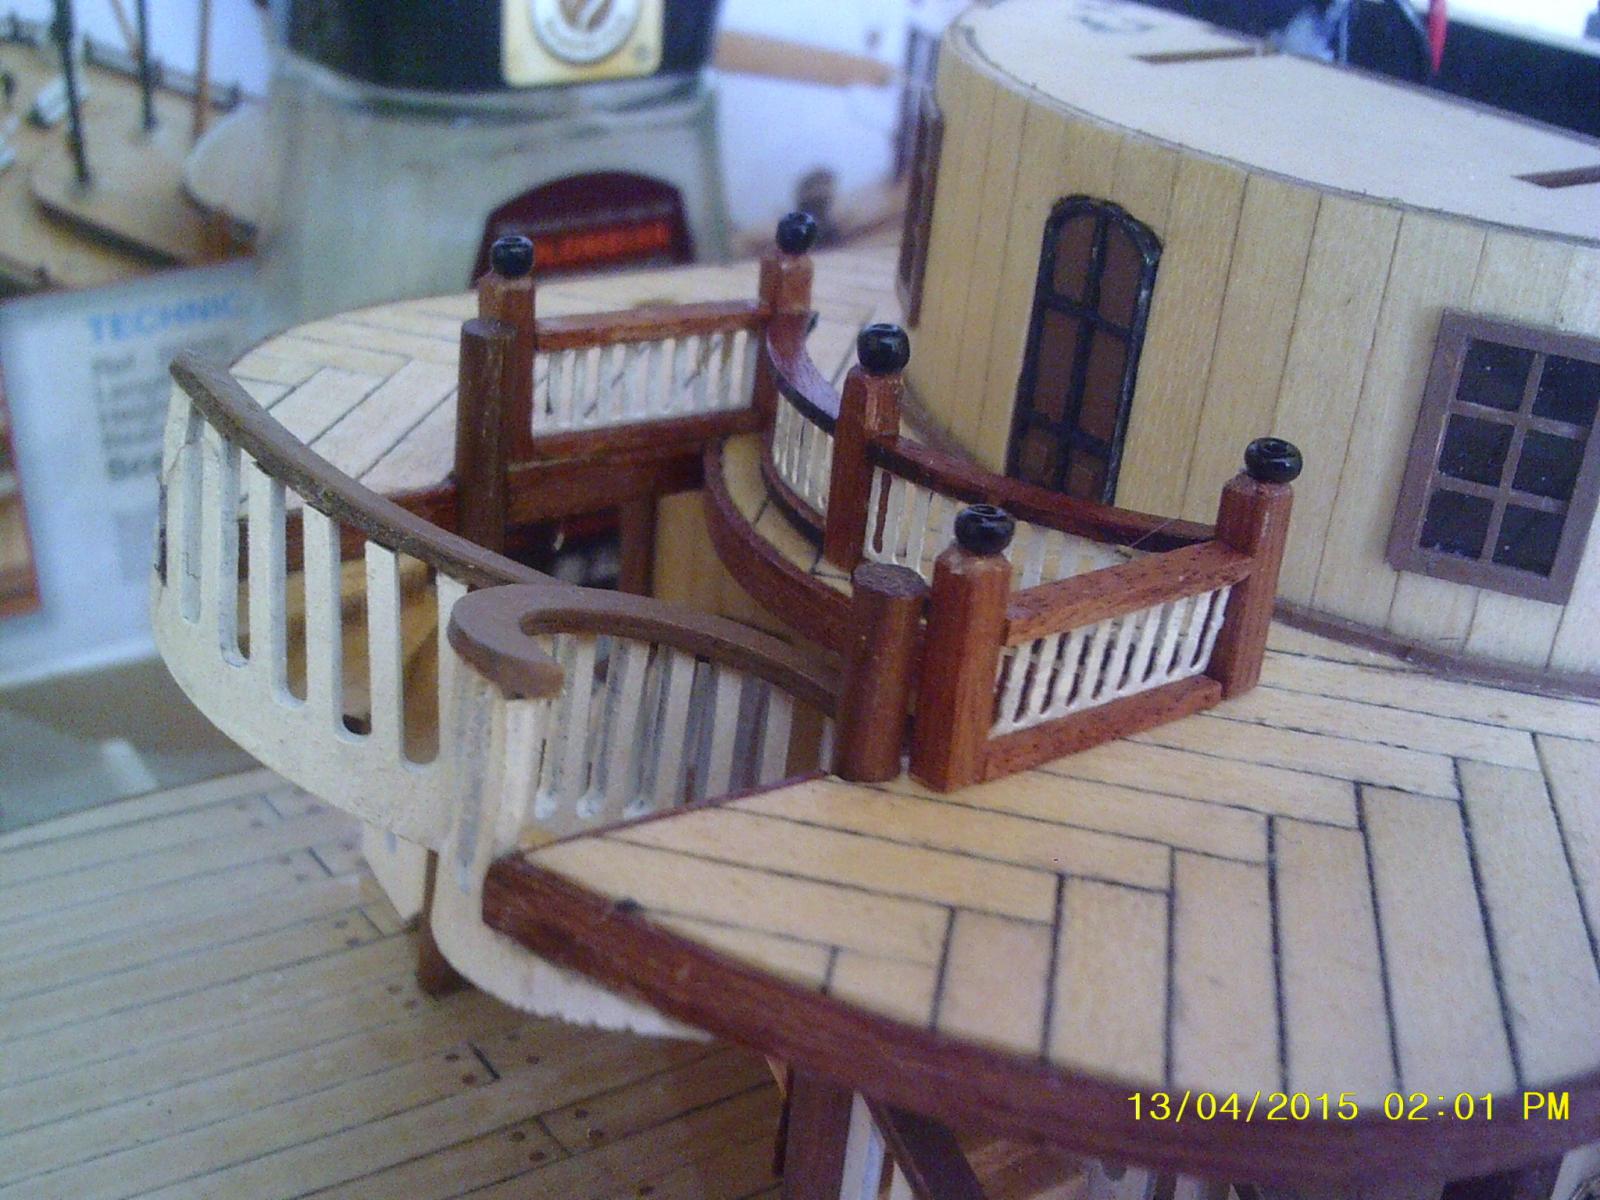
The balustrades and banisters are fantastic. They will make an eye-catching feature on your build, for sure.
Nice work !!
Thanks Capt, looking forward to your restart on the Connie!
Cheers,
Philip
-
-
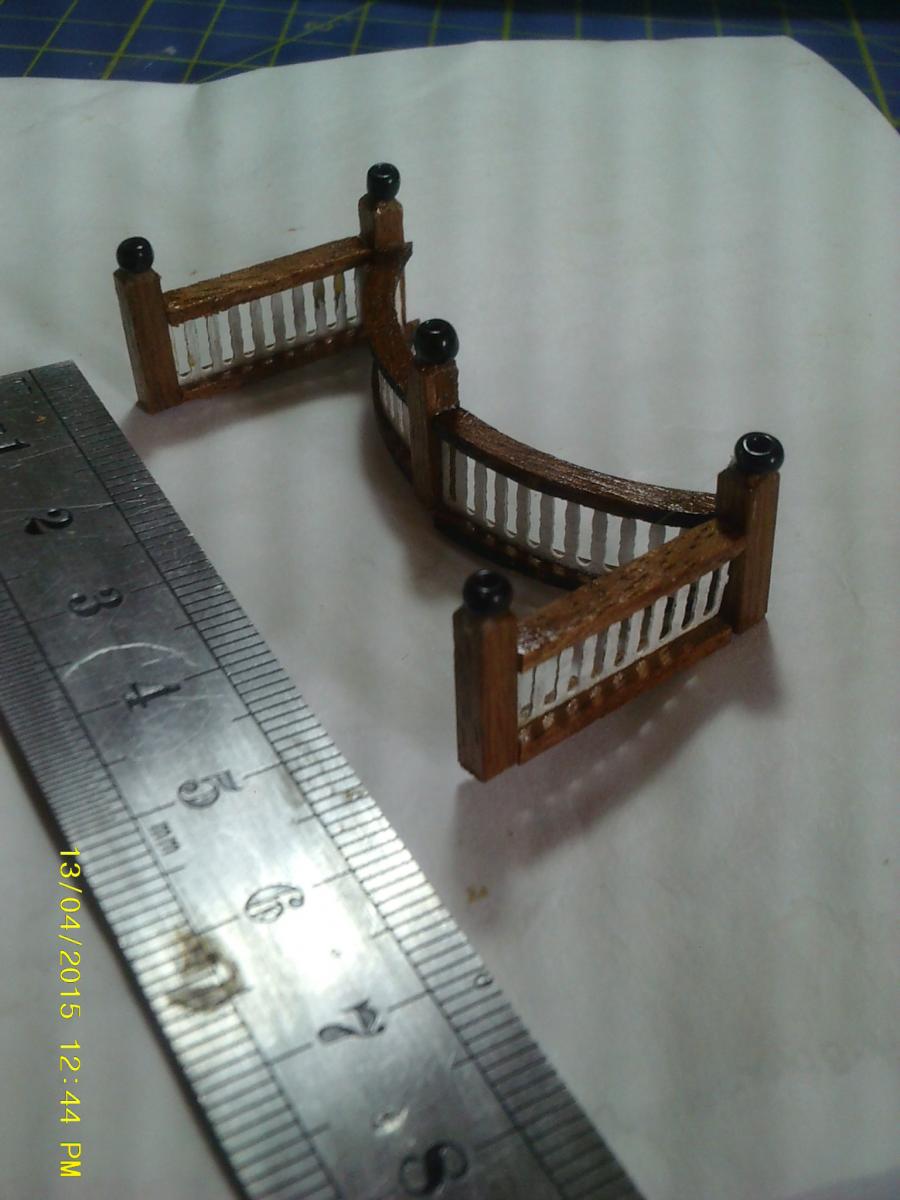
Banisters constructed and fitted. The beads for the post- top ornaments are terrible quality and vary in size by up to 2 mm. Shame on you AL.


- CaptainSteve, Grey seal and shihawk
-
3
-
-
Very nice indeed, Robert. Fantastic job!
Cheers,
Philip
-
Very impressed with your Deck planking Philip. lovely crisp and clean....it would make my day if I could end up with results like that

Keep up the impressive work.
Robert.
Thanks for the kind words Robert. The decking is all down to the fishing line - crisp lines, doesn't fray and is easy to cut at 90 degrees. Well worth the one month wait for shipping from China for just short of two and a half quid inc p&p. Search "0.45mm Black Monofilament Cable Spool 100m Fishing Line" on Amazon if you want to get hold of some.
Cheers,
Philip
- knotty74 and robert22564
-
2
-
I was planning to make my own plates but your sterling work has me pondering - I don't think there should be too much of an issue using 1:72 parts on a 1:75 build but did these come with the kit or are they the Amati ones from CMB?
Cheers,
Philip
-
I am really enjoying your build. I am a huge Vic fan and I am also drawn too Billing Boats kits. At present am trying to fix a very bad warped keel to Billing Boats Santa Maria. Will be watching.
Rick
Thanks Rick. I like Billing kits too, it's the documentation that leaves a lot to be desired. Fortunately, there is so much reference material out there for the Vic it isn't really an issue.
I also had a warp problem at the stern of this build, which I fixed by gluing in a 30 x 30mm strut between two of the rear bulkheads that was cut a couple of mm too long to force the frame back into shape. That seems to have fixed it.
Cheers,
Philip
-
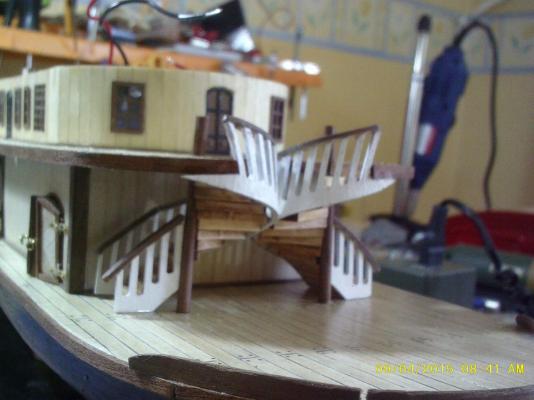
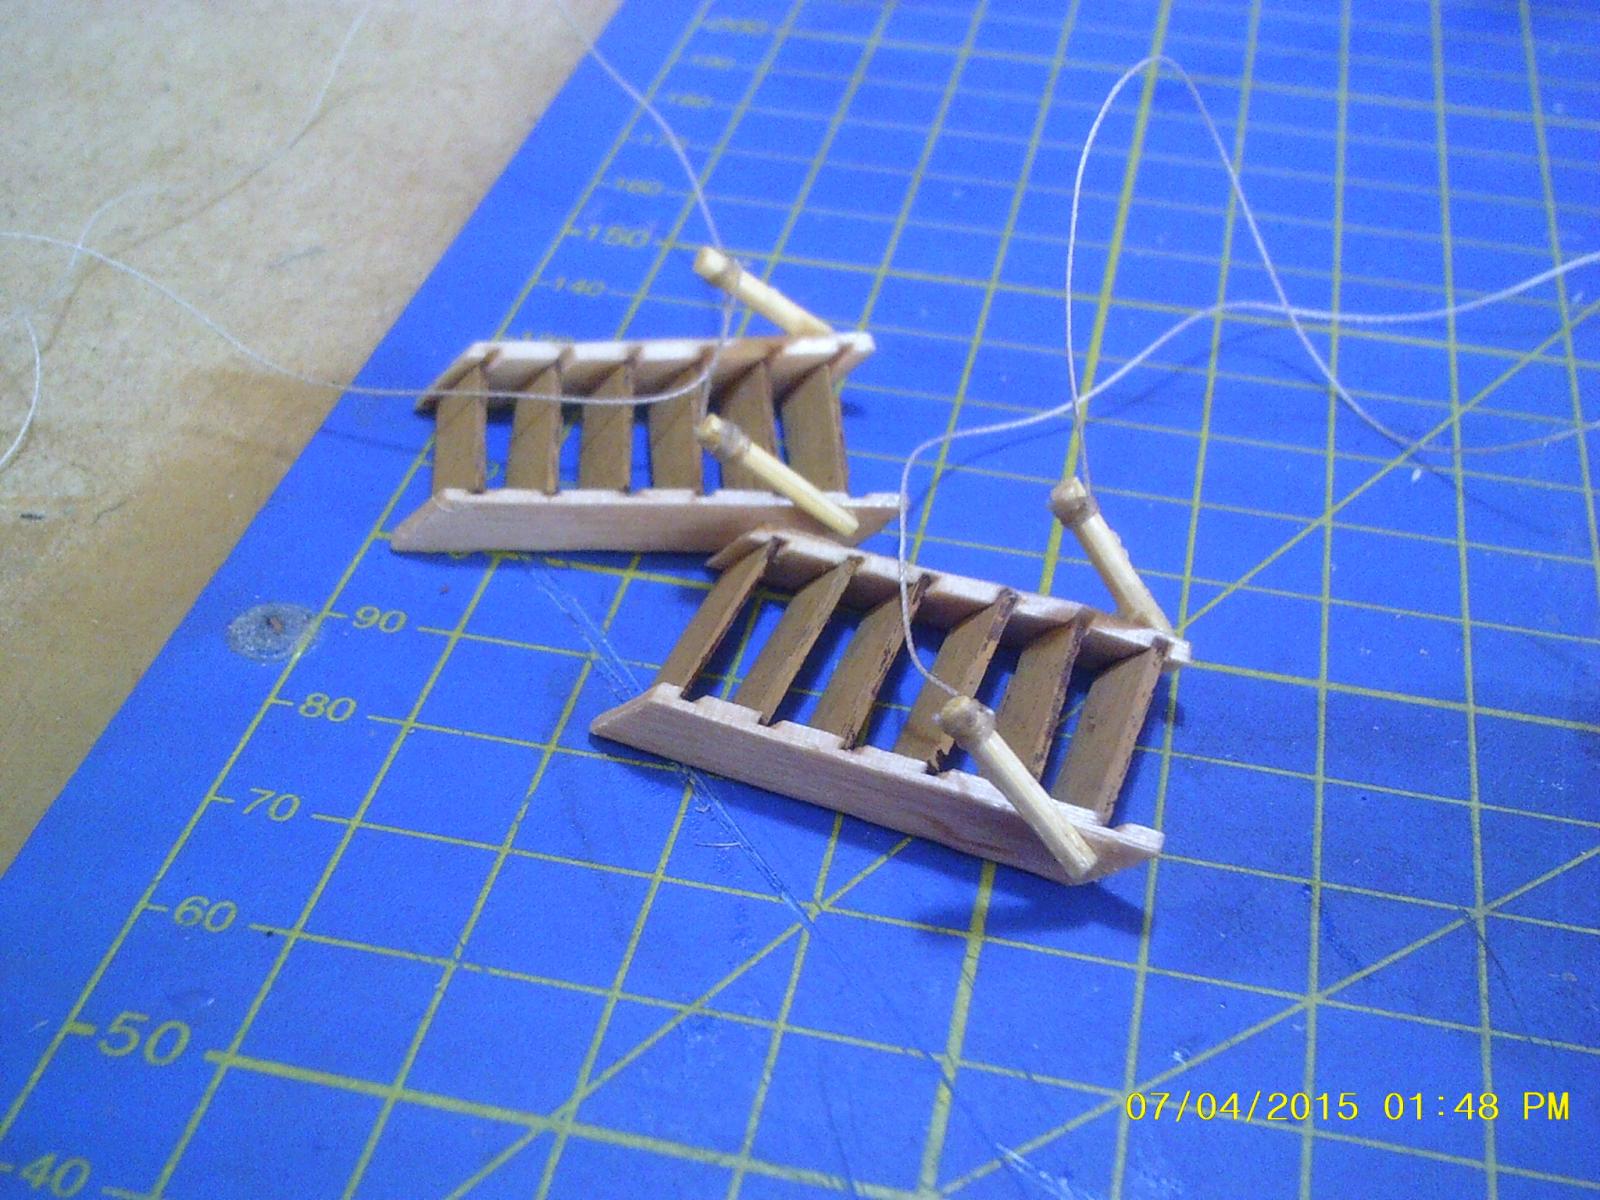
Stairs installed and second deck lighting installed and operational. The construction and fitting of the stairs seems to be the trickiest part of this build (so far!)


-
Hi Dominic, I'm getting near the planking stage of the Victory which I must admit looks to be a daunting task. In a nutshell is it best to first soak the ends of the plank, then bend, ( I have the pliers type plank bending tool ), and then pin it to the frame and allow to dry. When dry remove plank, glue and repin back in place, is this the best way of doing it ?. Like yourself I intend to paint the ship, would it be useful as each plank is glued to the hull to mark with a pencil where the frame's are, would this help me later when cutting out the gun turrets to miss them. With regards to the painting, I have purchased the Admiralty paint kit but have no idea when, with what colour and what parts to paint. Perhaps I can bug you a bit later with regards to this when I have completed the planking, which will be a long way off yet. One last thing, I have glued the rear upper deck in place and when the mast is pushed through the two holes it's at a slight angle. Looking at the plans this seems to be how it looks, leaning slightly rearwards, is this ok or should they be upright. I knew I should have started with a canoe but so far so good, a few mistakes but it's coming along ok. I know your build is on hold at the moment but thanks for your time and pictures posted so far, they really help people new to the game like me, regards Dolly.
There is a colour chart for the Victory at the end of this document http://www.billingboats.com/instructions/Modeling%20Hints%20EN.pdf which cross references to the diagram at the end of this document http://www.billingboats.com/instructions/BB498%20HMS%20Victory_Instruction.pdf Same ship, different kit but the colours are the same
Cheers,
Philip
-
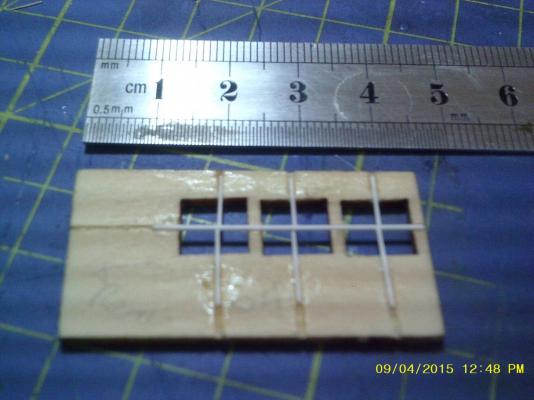
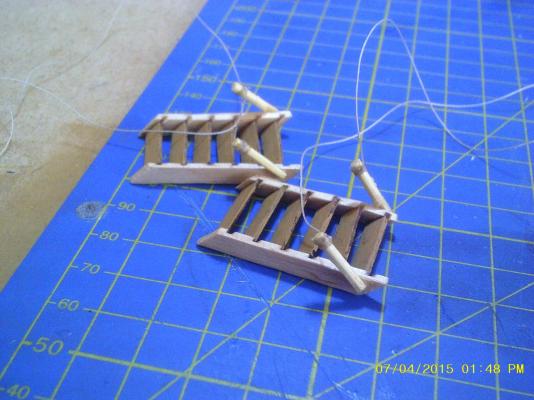
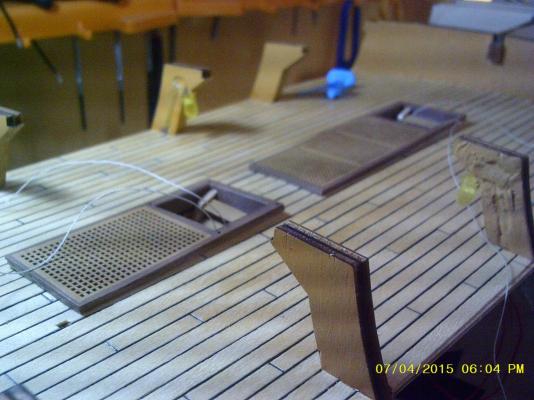
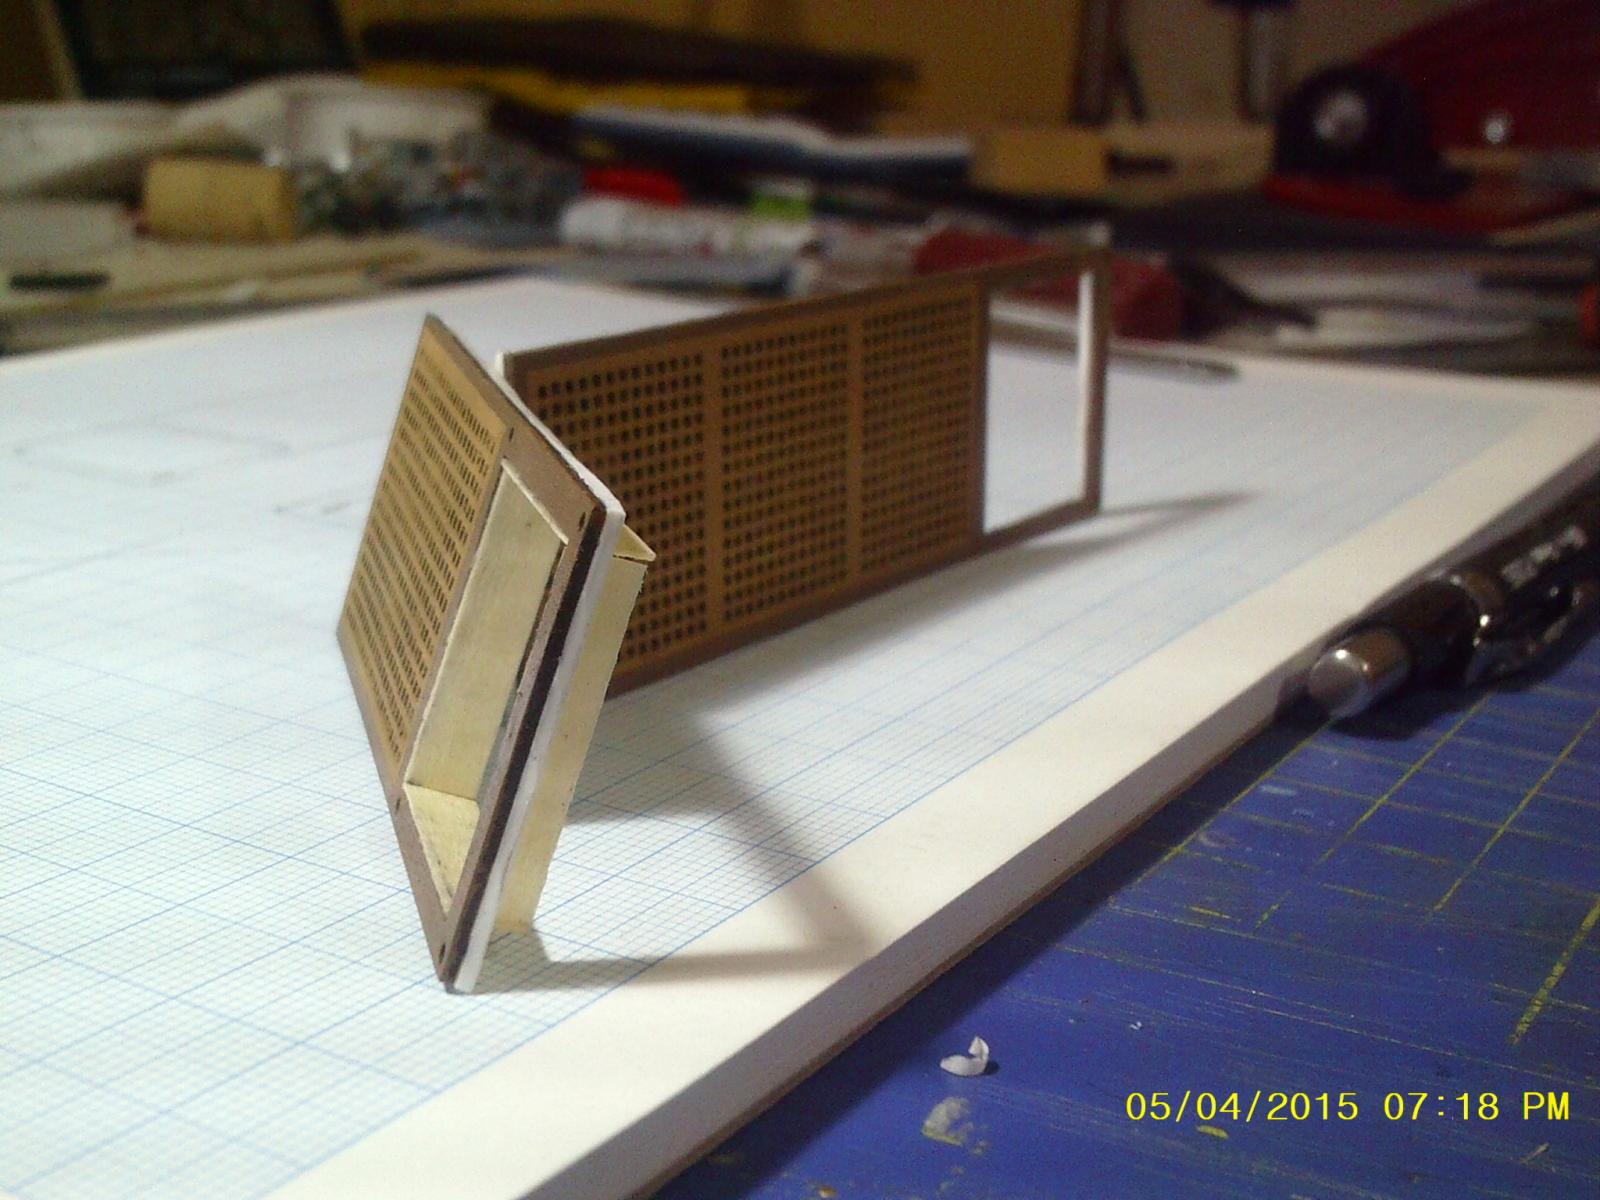
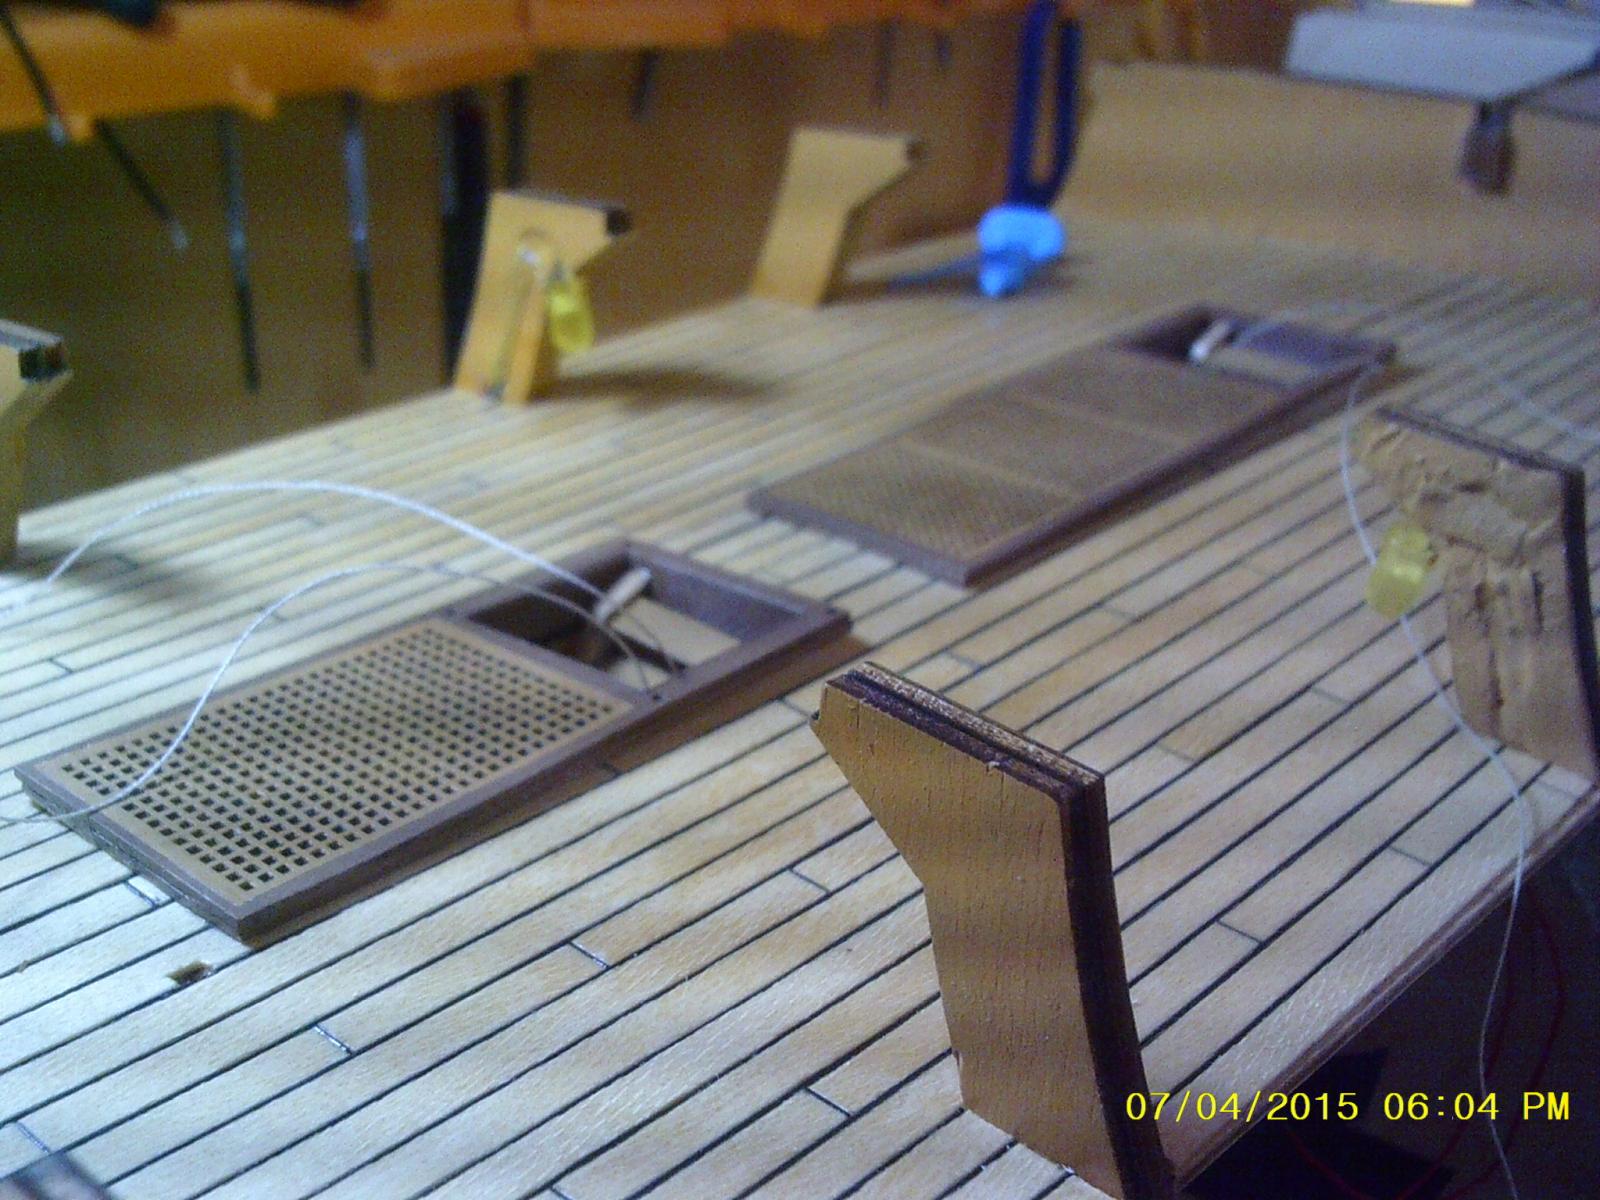
Gratings installed along with the stairs. Precut gratings were glued to 1mm plasticard to raise them above the level of the
yet to be fitted shot garlands. Access holes were lined with 0.7 x 5mm lime (subsequently painted walnut brown). Stair balustrades were 14mm (just short of 1 meter at scale) and cut from a toothpick, drilled with a 0.5 mm hole through which was inserted plain hemp thread of the same dimension. The fixing end was filed flat and glued with CA at 45 degrees at the bottom of each flight.

- clearway, CaptainSteve and Jan R
-
3
-
definatley recommend leaving the cannons on the upper gun deck till all the woodwork is finished and sanded- the amount of sawdust and shavings that gather under there is sick!- i am waiting for better weather so i can clean all the rubbish out of there now all the major woodwork on the hull is finished.
Keith
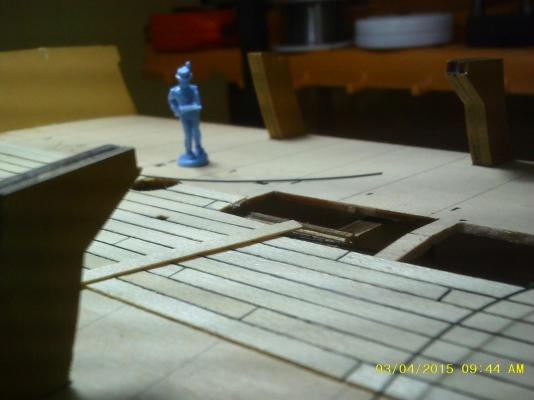
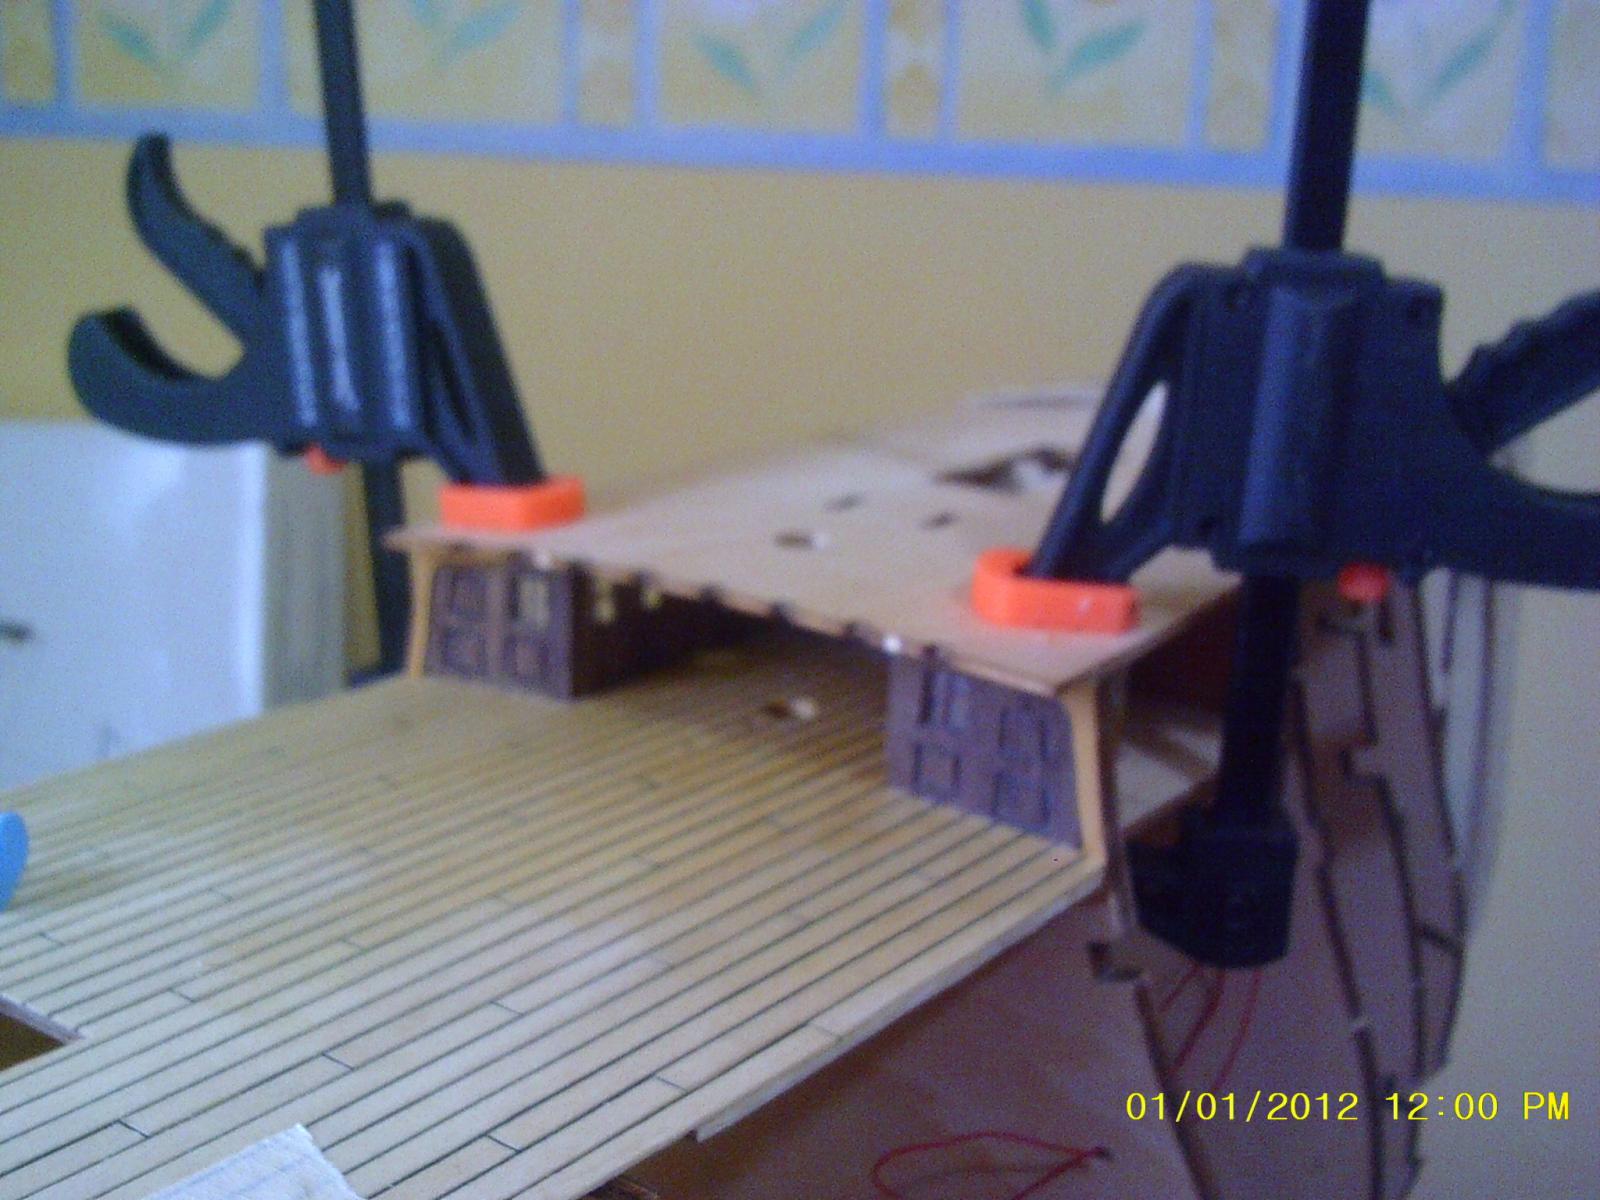
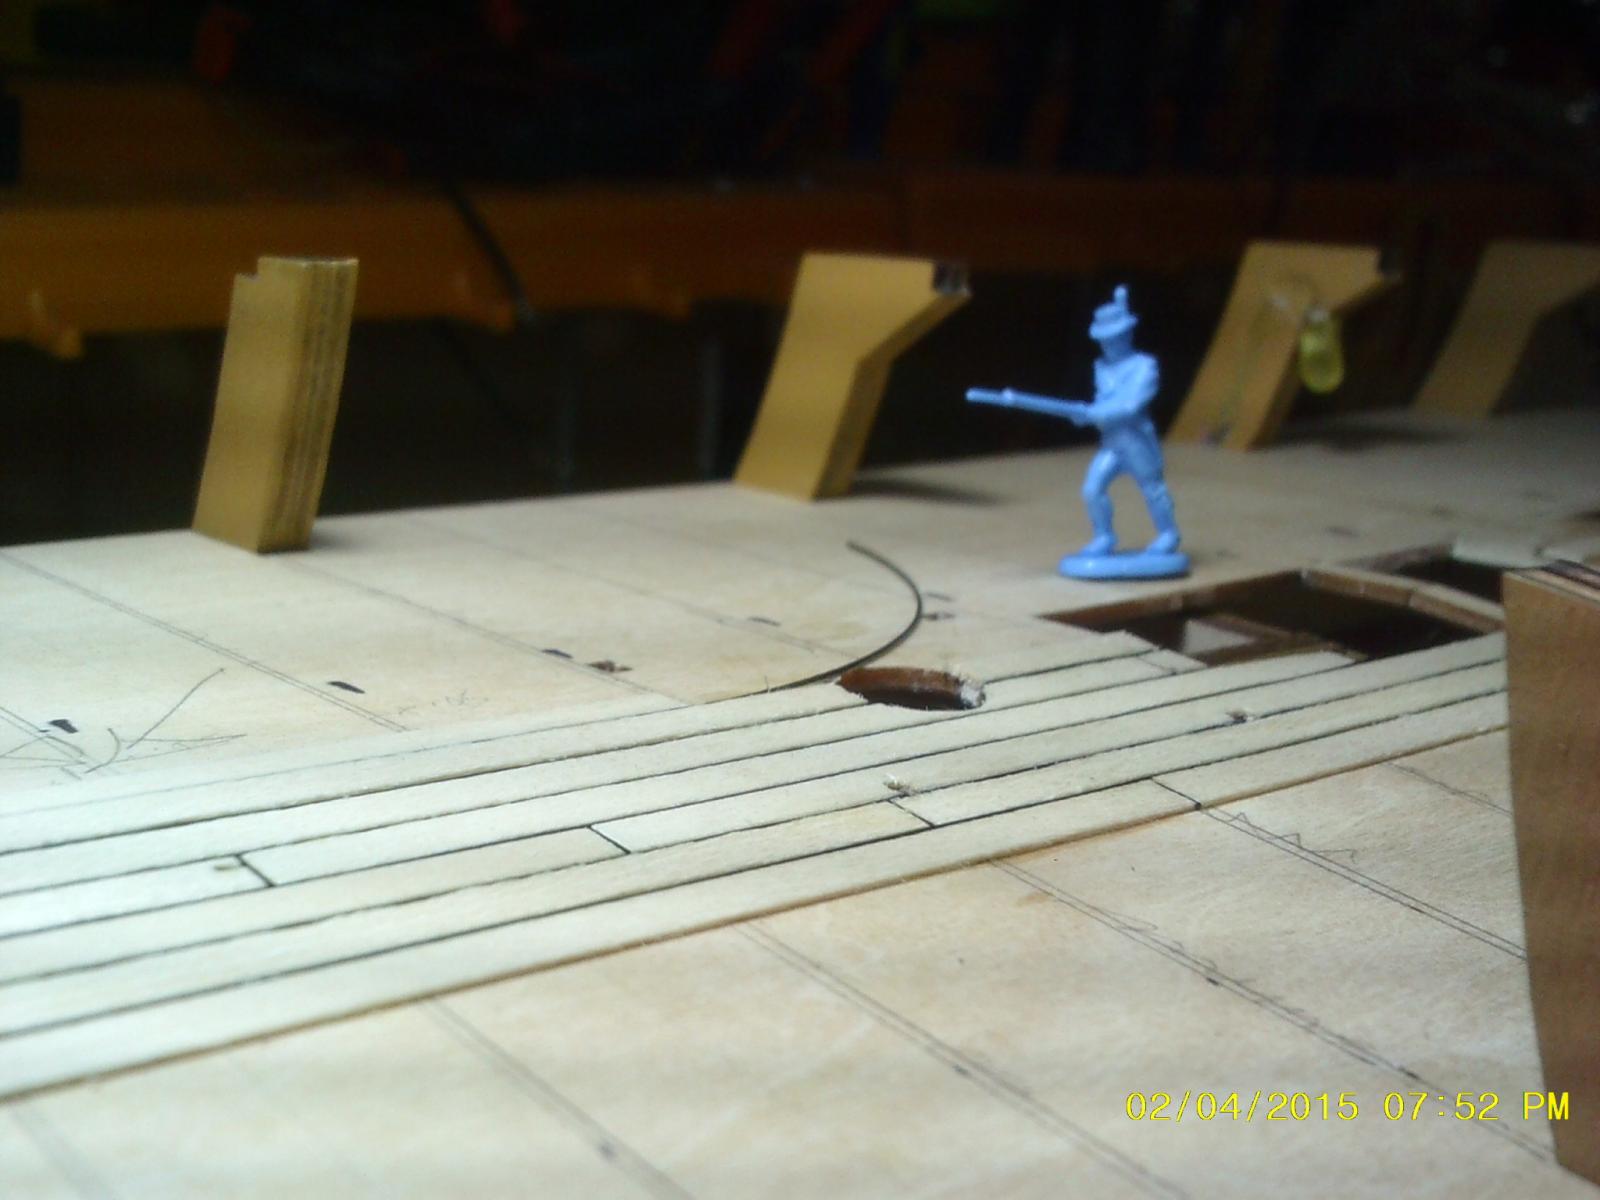
I agree. What I've decided to do is to cut out the waist sections of the quarterdeck, which will preserve access to the upper deck. The cut lines are shown as red dotted lines in the picture while the green squares are 4mm plywood tabs glued to the underside of the planked front and rear sections that are then glued to the framework. Planking, coppering etc can then proceed and once finished the cut out sections can be glued in and planked. Sound like a plan to you or an instance of congenital insanity?
Philip

-
Ha ha! Could be either! What I'm not looking forward to is trying to fit the cannons on the upper deck once the quarterdeck is glued in place. With the restricted access it will be hard to rig the cannons but fitting them now means that they have to be prealigned with the gunports and be at risk from damage during planking etc. Decisions decisions ...
Cheers,
Philip
-
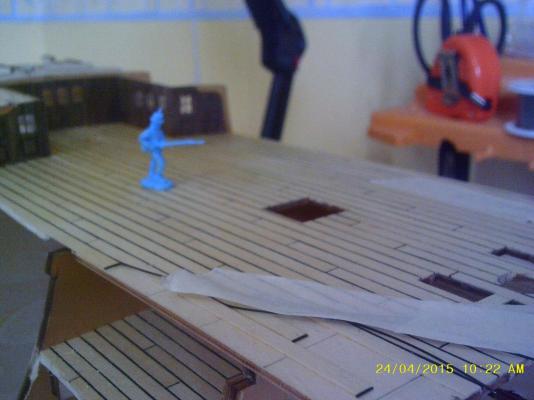
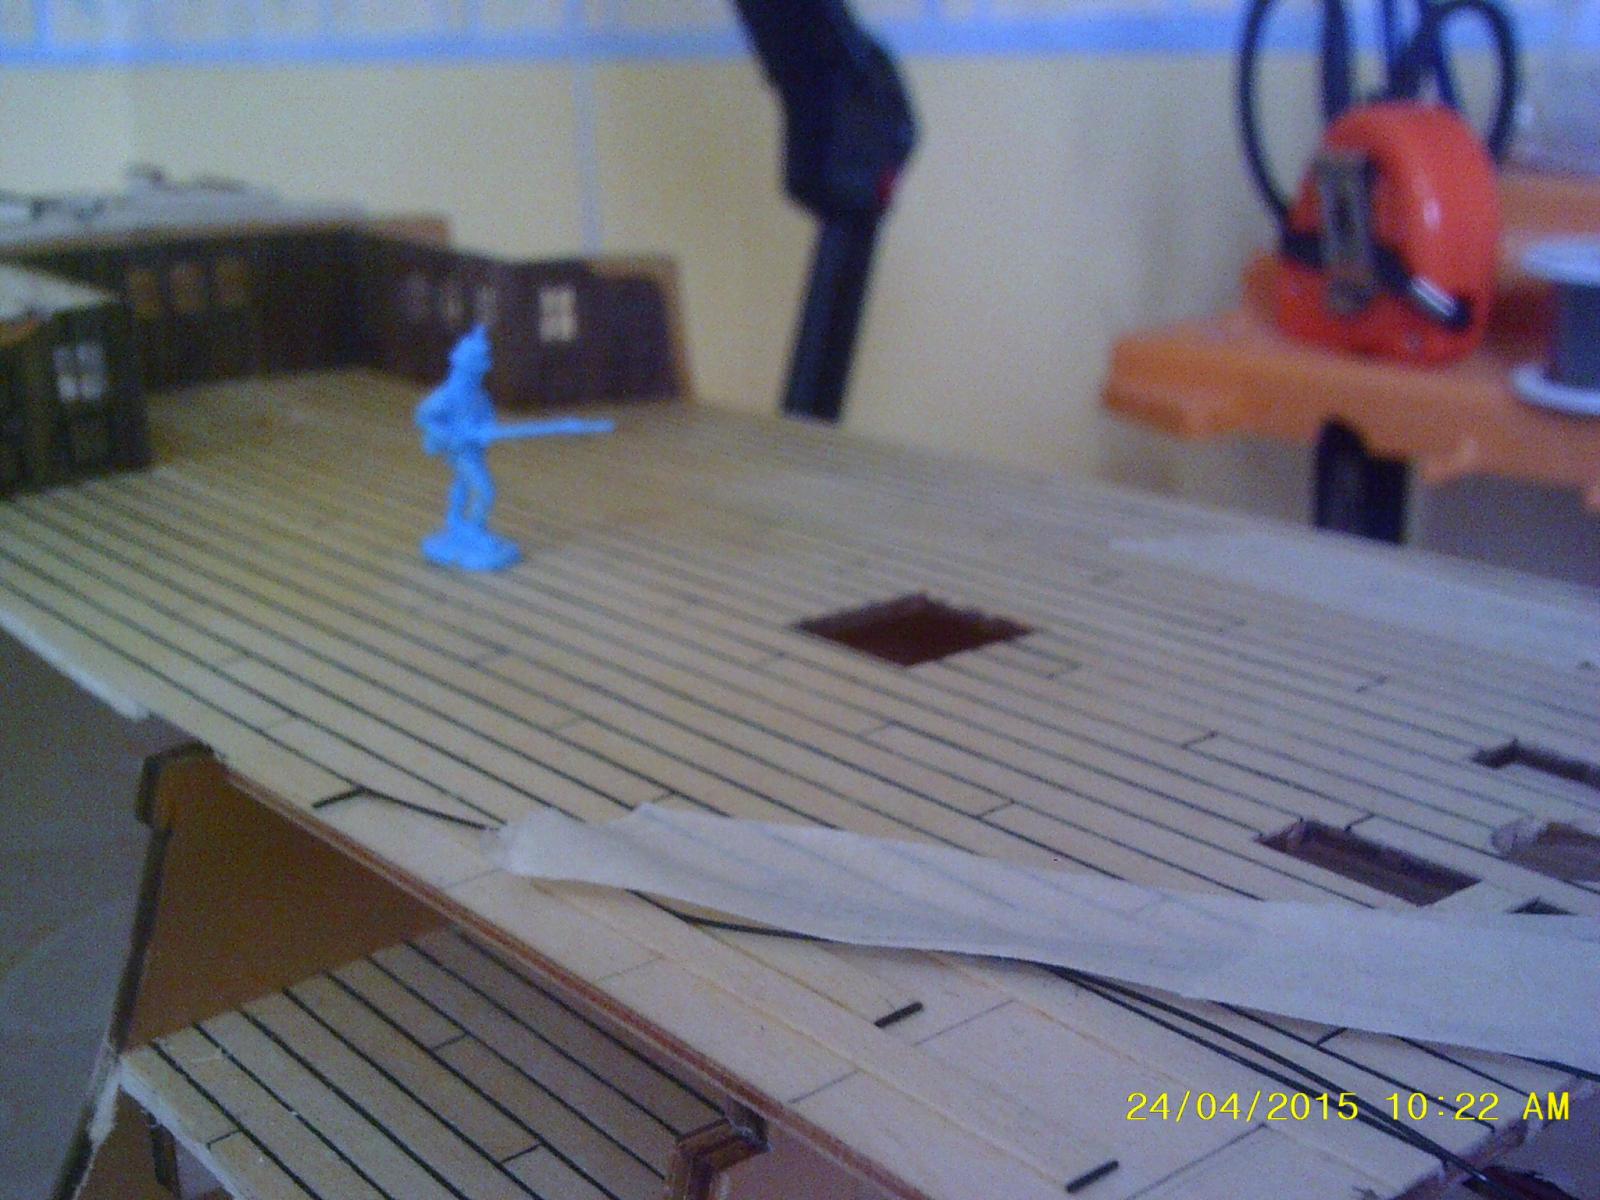
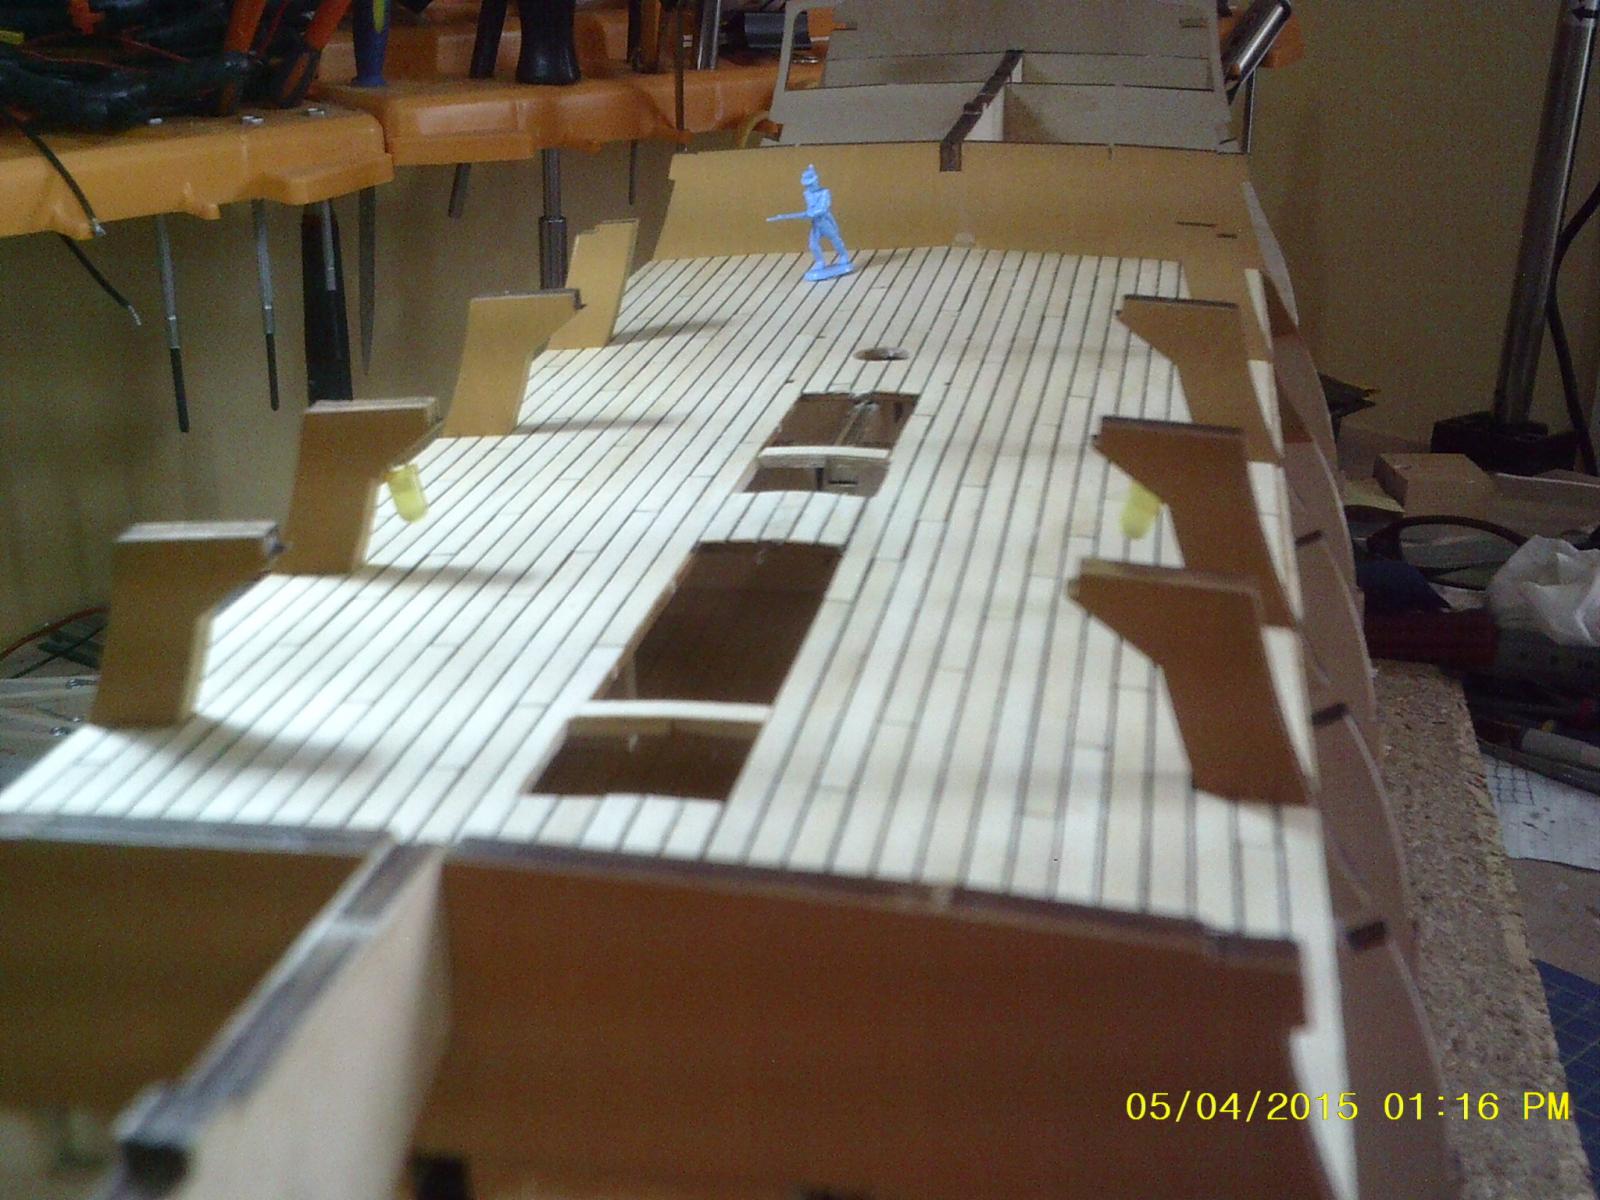
Upper deck planking complete ... Eek! We appear to have been boarded by smurfs.


- clearway, AON, CaptainSteve and 1 other
-
4


HMS Victory by Philg88 - Billing Boats - Scale 1:75
in - Kit build logs for subjects built from 1751 - 1800
Posted
Thanks Keith,
Your use of the words "cut and shut" is much more elegant than my "bodged" It would of course help if the instructions were more detailed ... or the drawings were better .. or there were actual photos ...
Cheers,
Philip