


Philg88
-
Posts
166 -
Joined
-
Last visited
Content Type
Profiles
Forums
Gallery
Events
Posts posted by Philg88
-
-
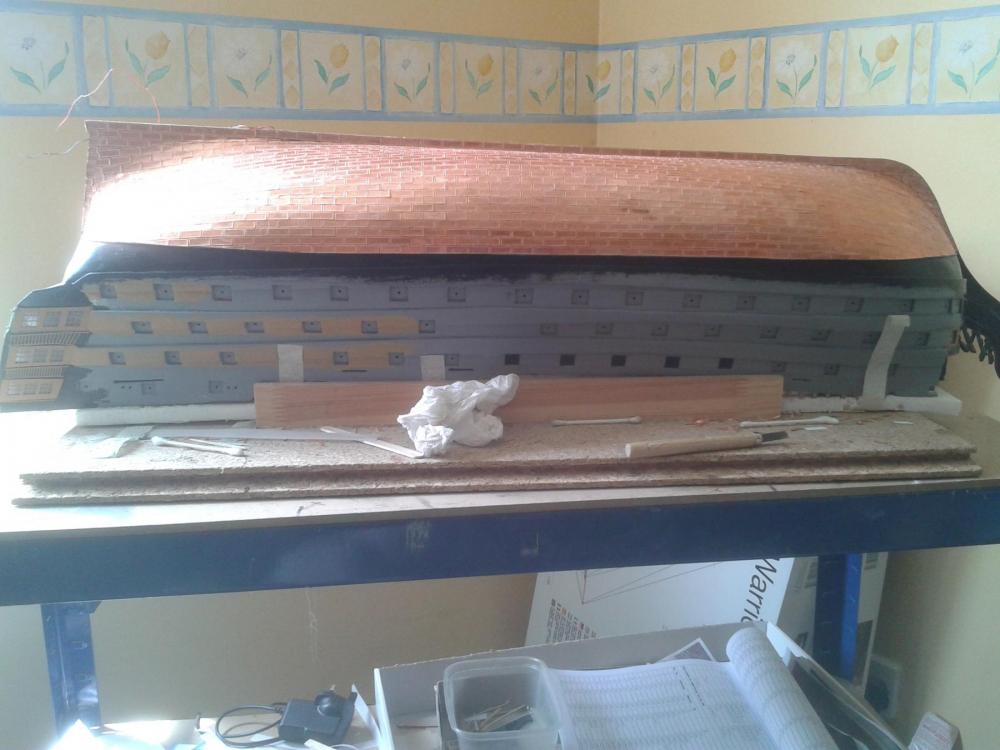
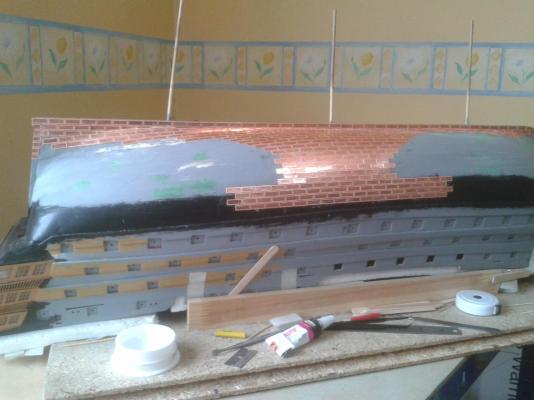
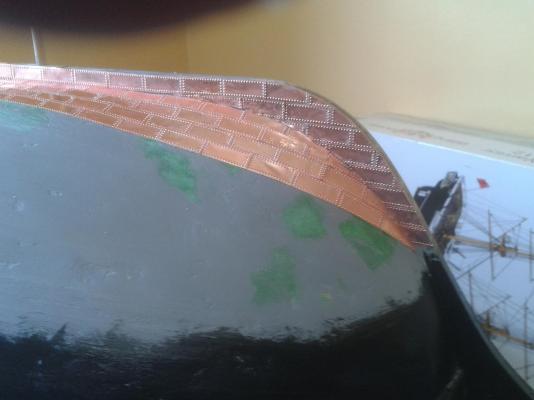
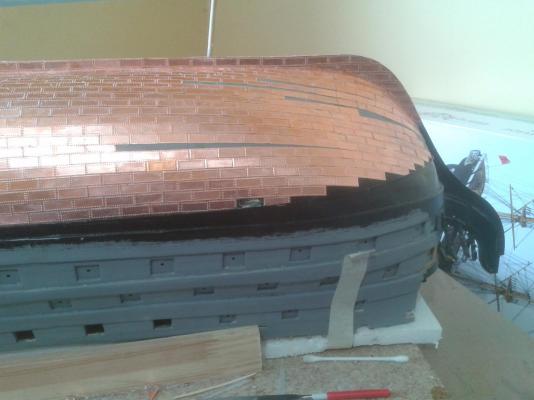
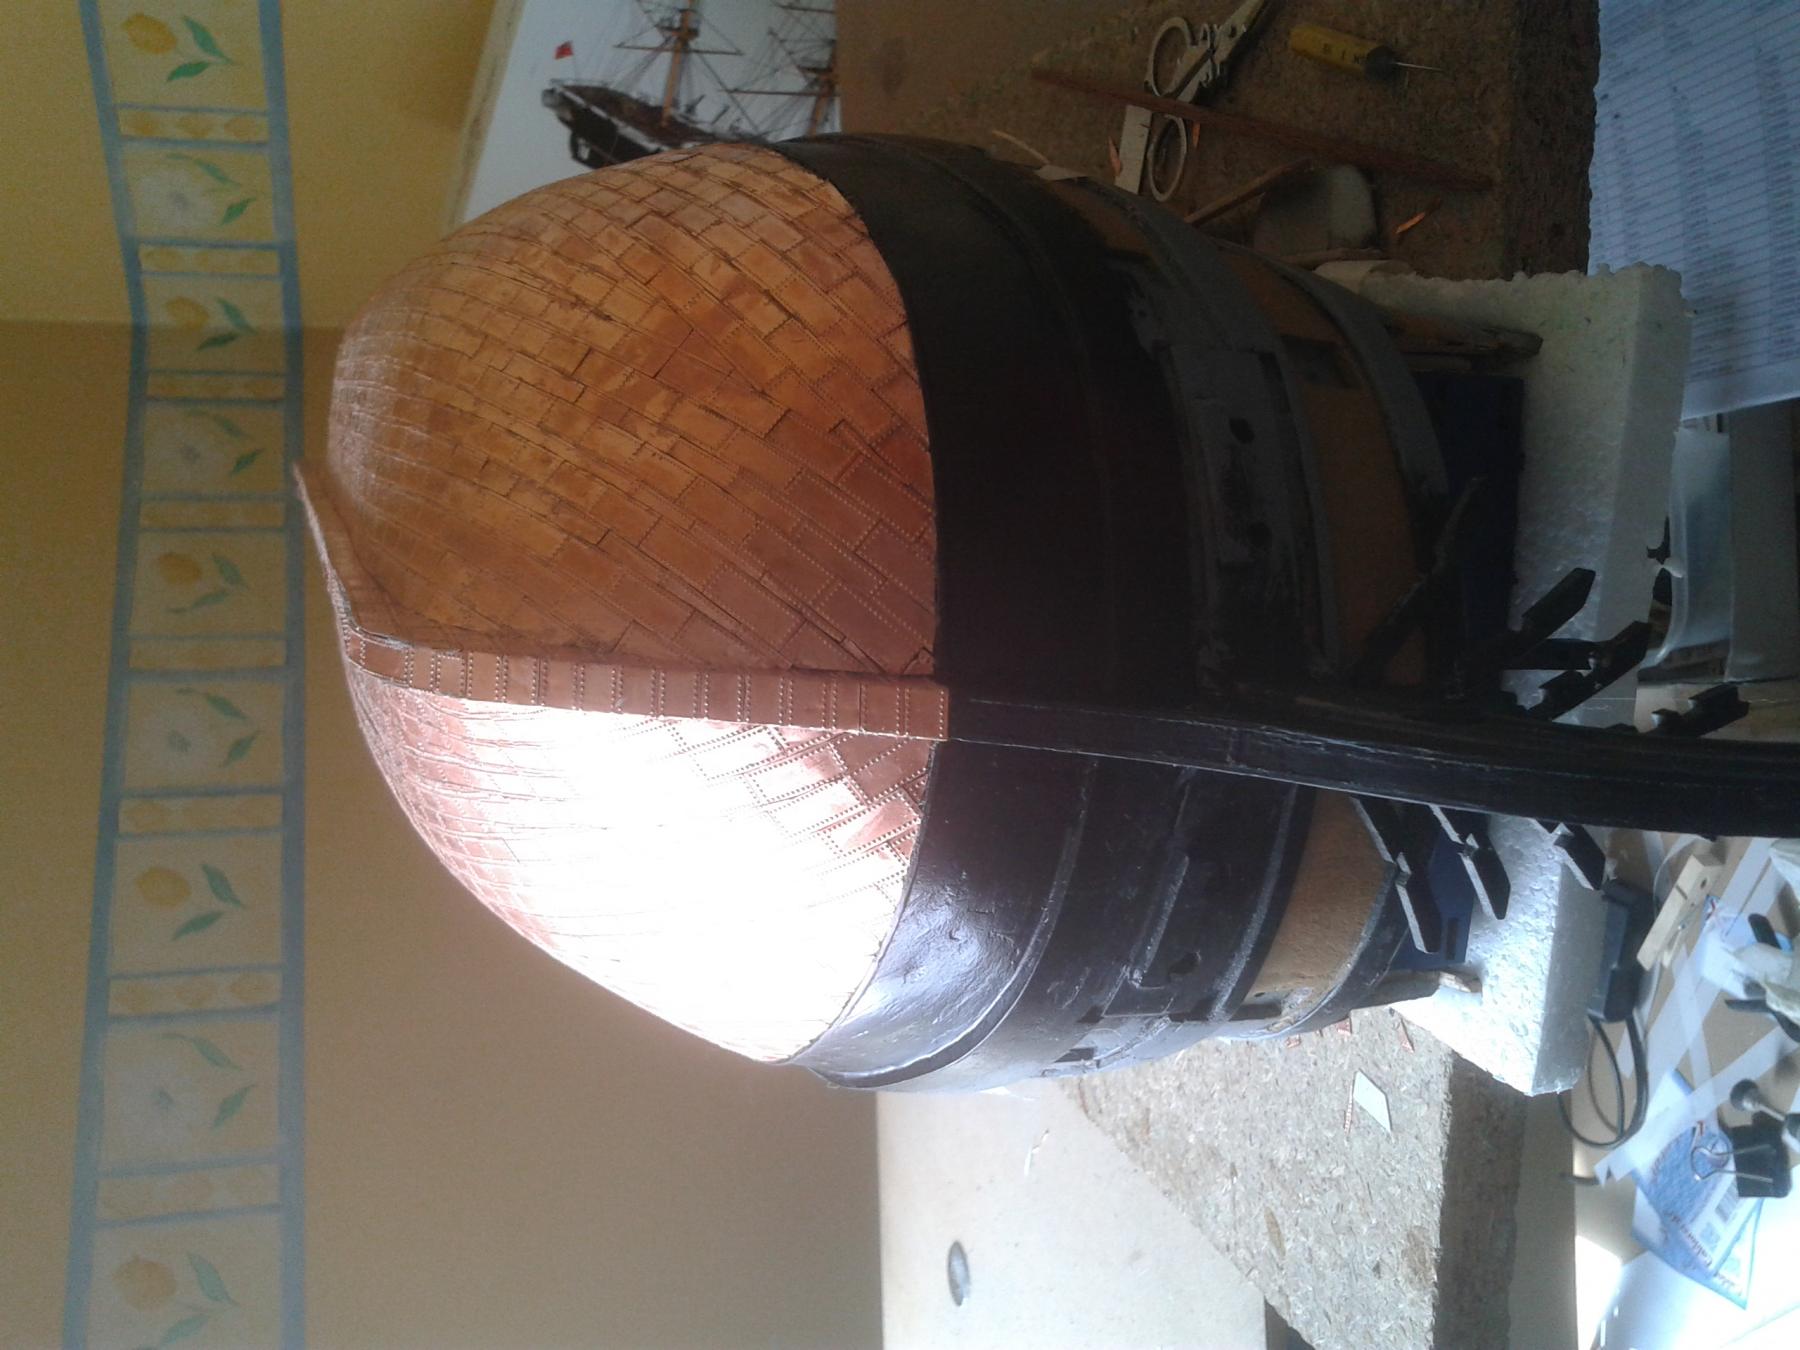
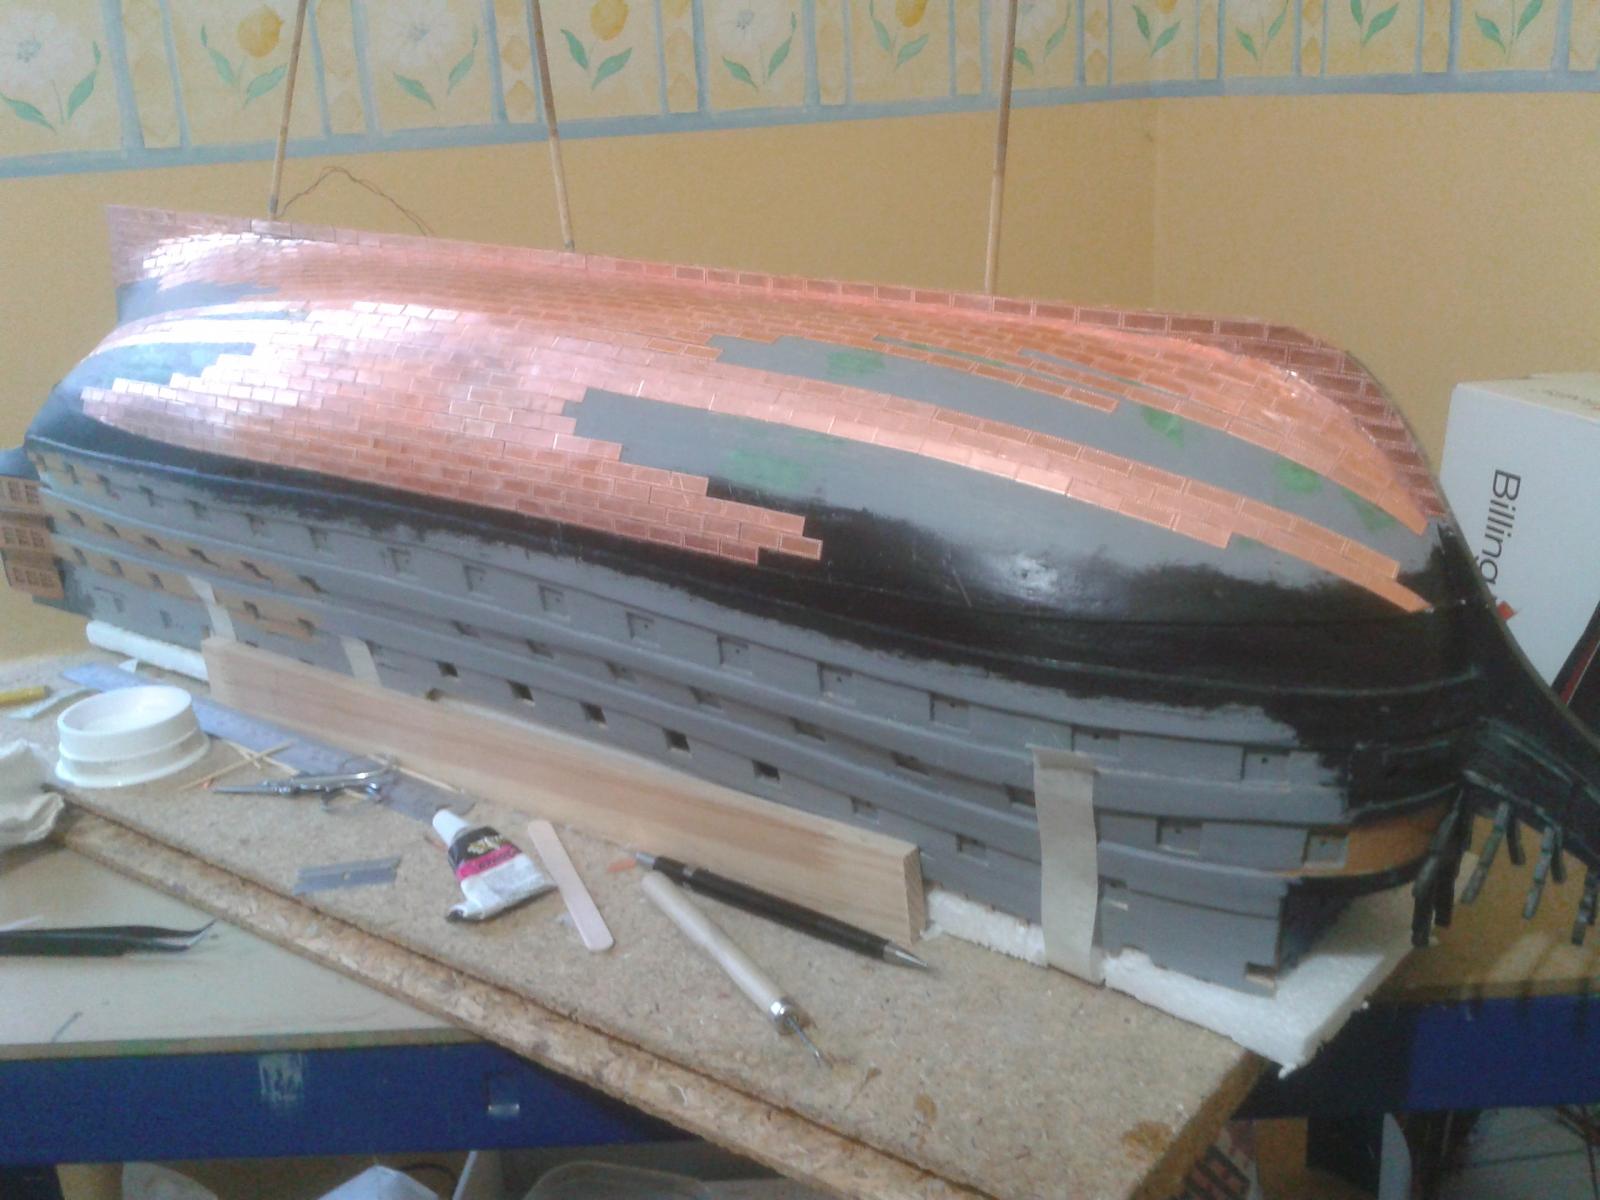
Finally the tiling is done! Never again - almost 2,000 tiles individually applied. Insanity. Now on to the rudder, which has considerably less copper sheathing.


- clearway, robert22564, CaptainSteve and 5 others
-
 8
8
-
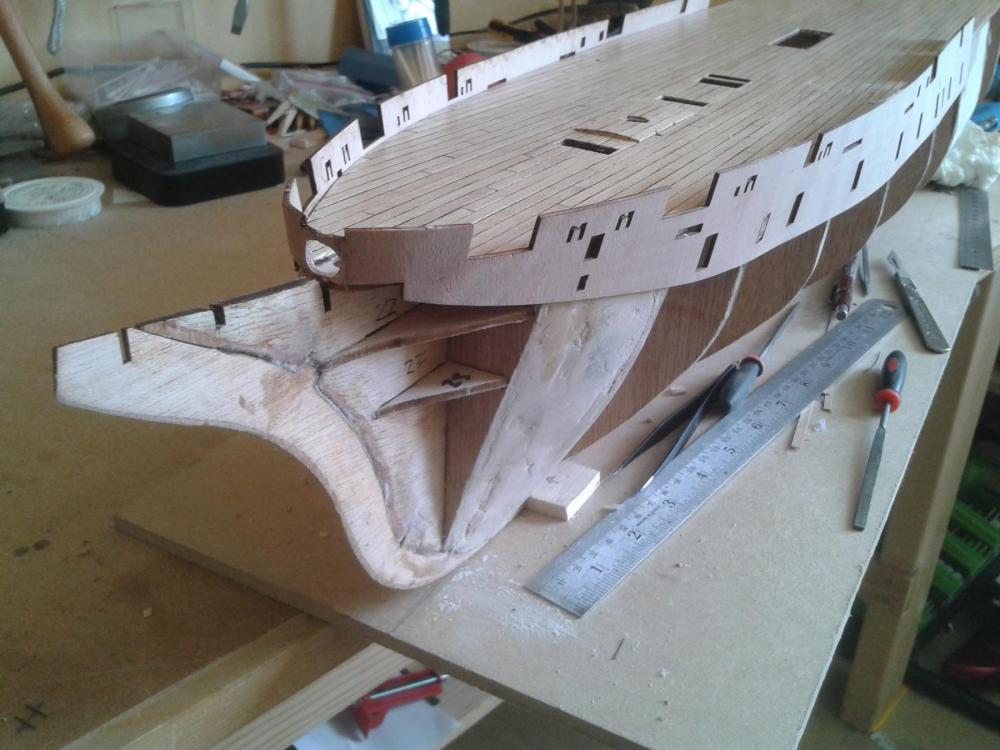
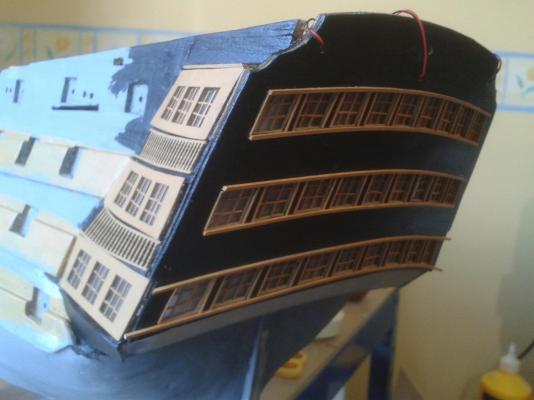
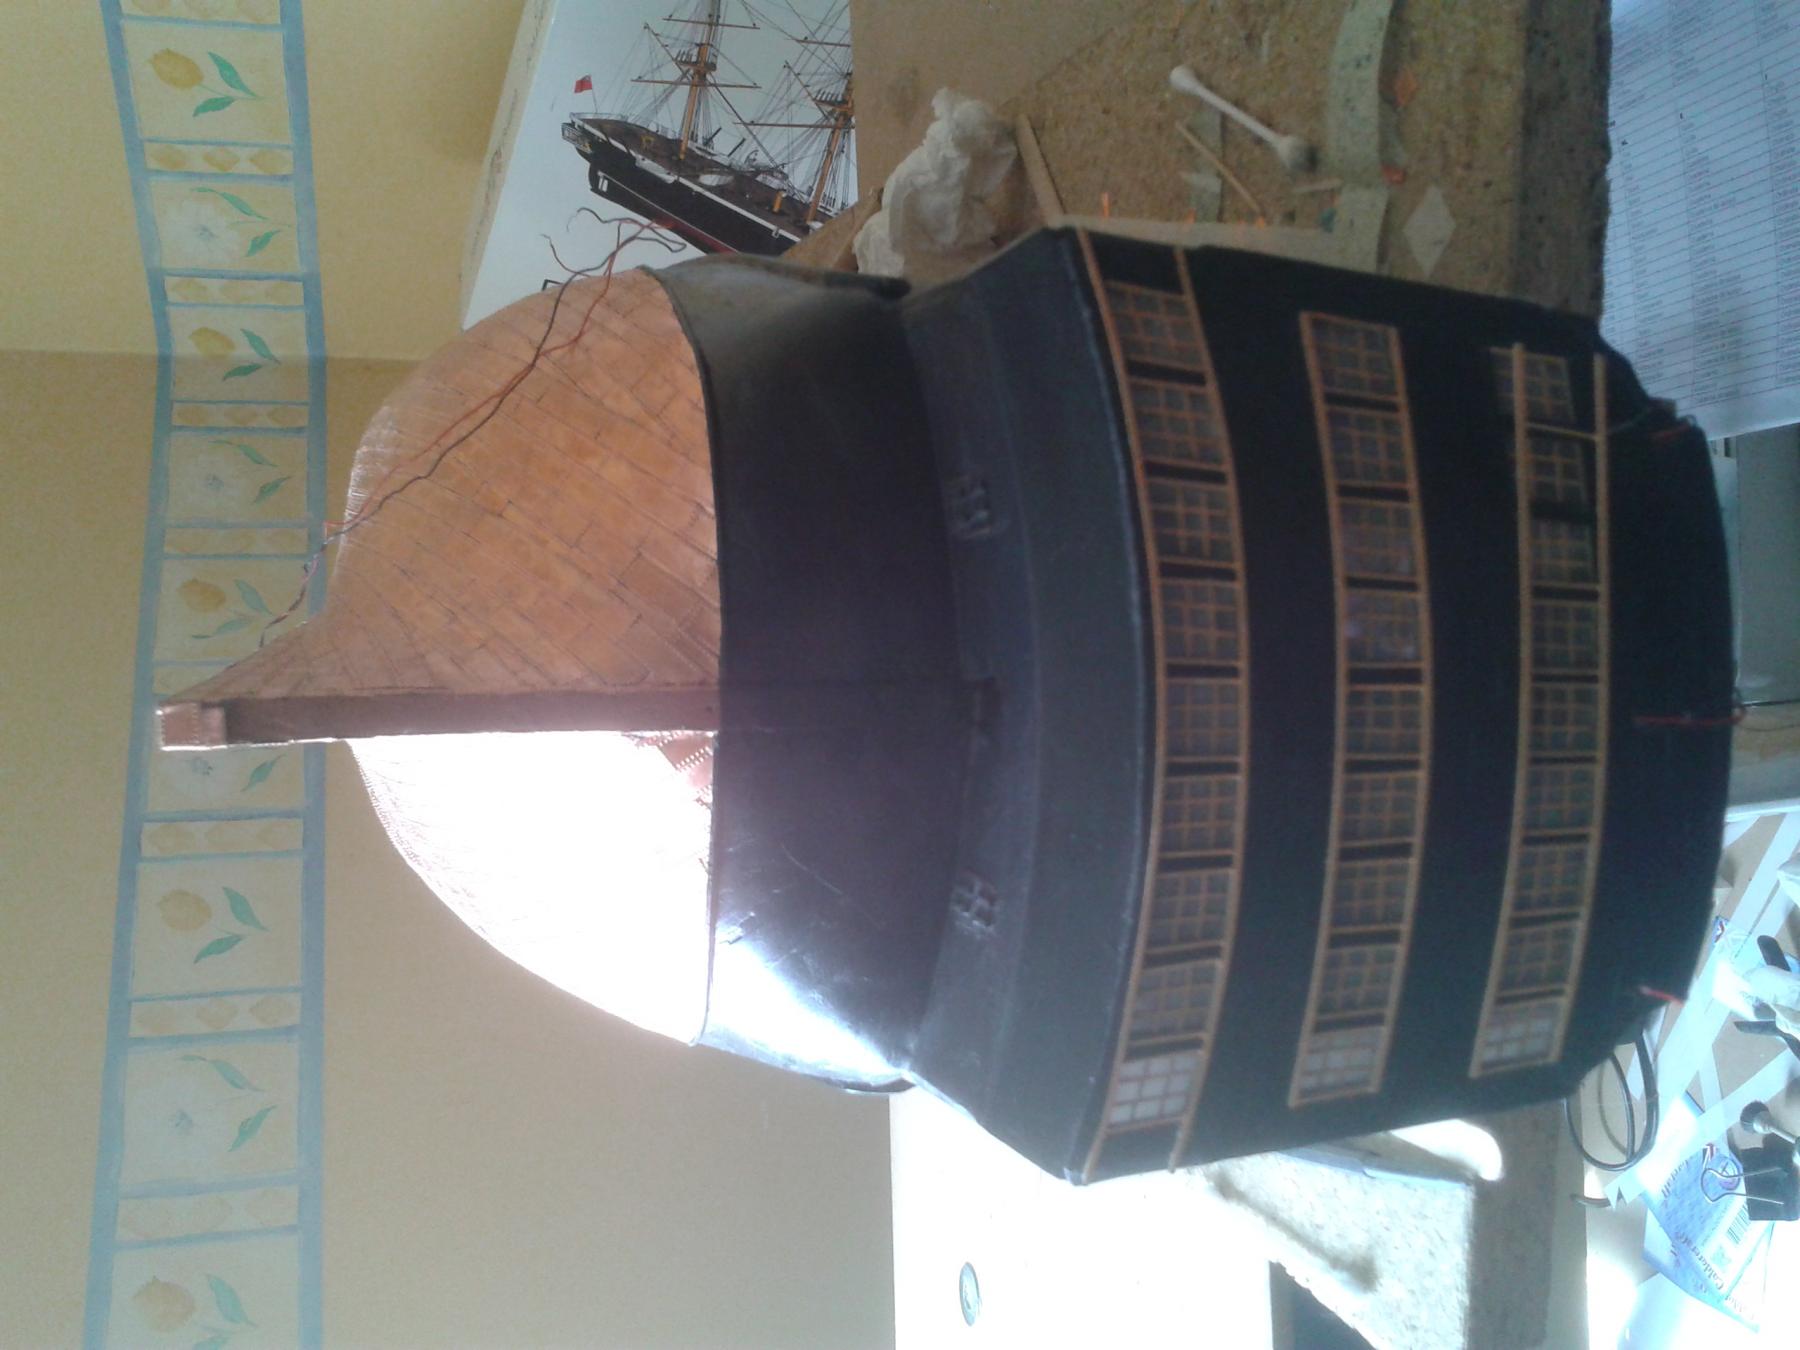
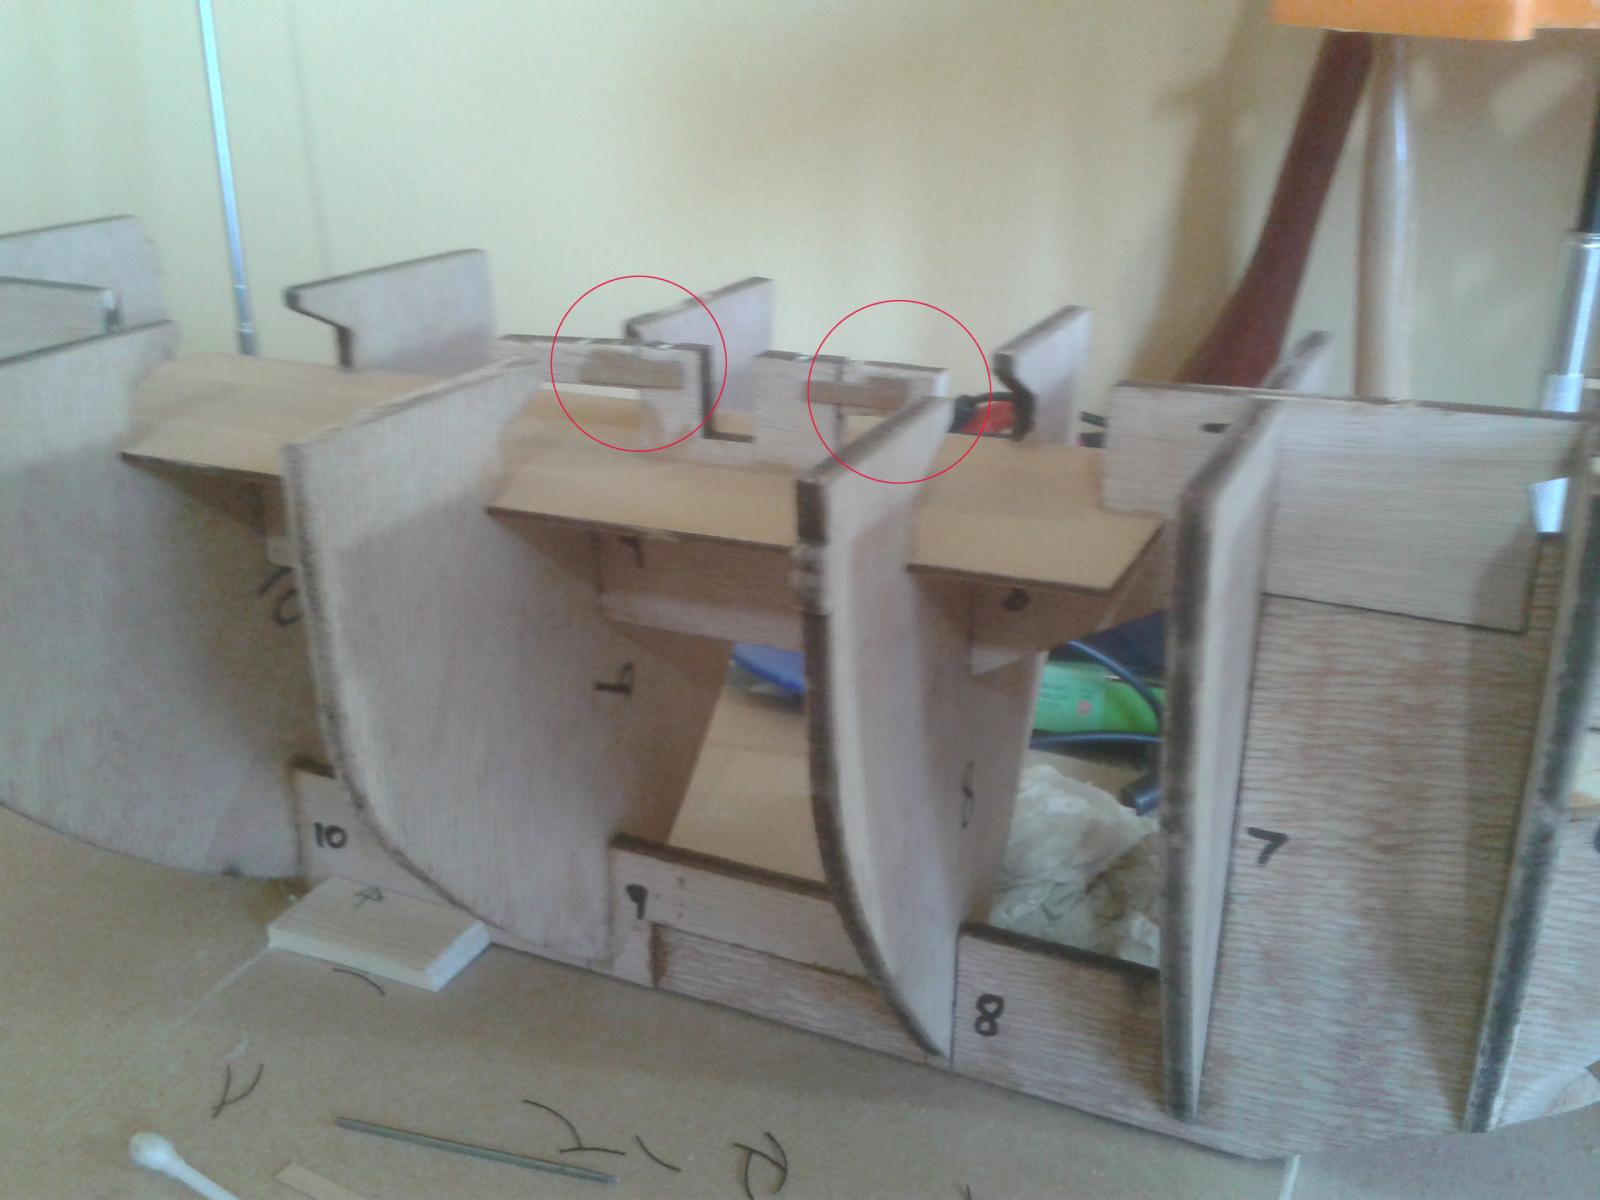
The deck has now been glued on and the upper front bulwarks fitted - note the cantilevered section in the middle for the foremast (there is another one at the stern surrounding the mizzen mast). Quite what function they served is beyond me. There is now some work to do on enlarging the slot for the bowsprit since it doesn't fit or rather does not sit in the same place as on the real ship
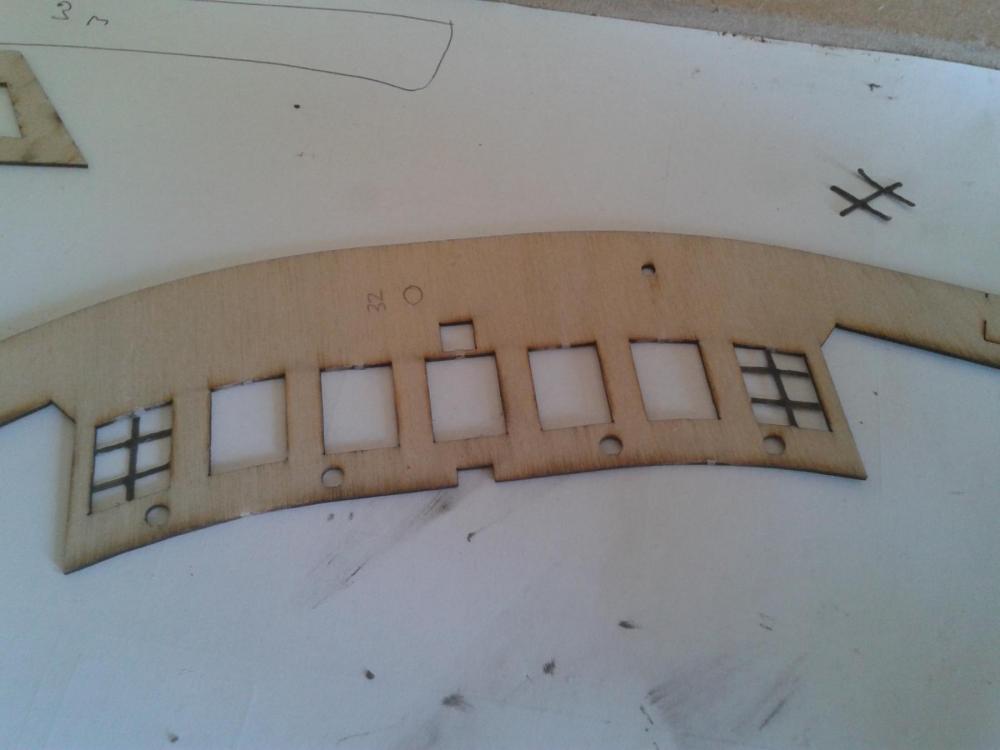
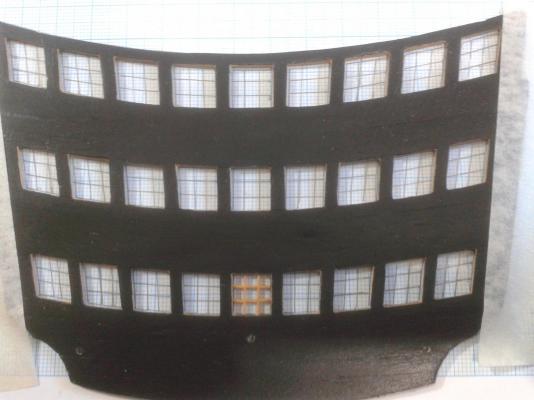
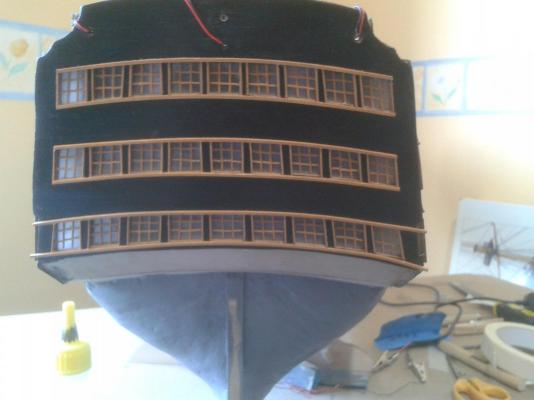
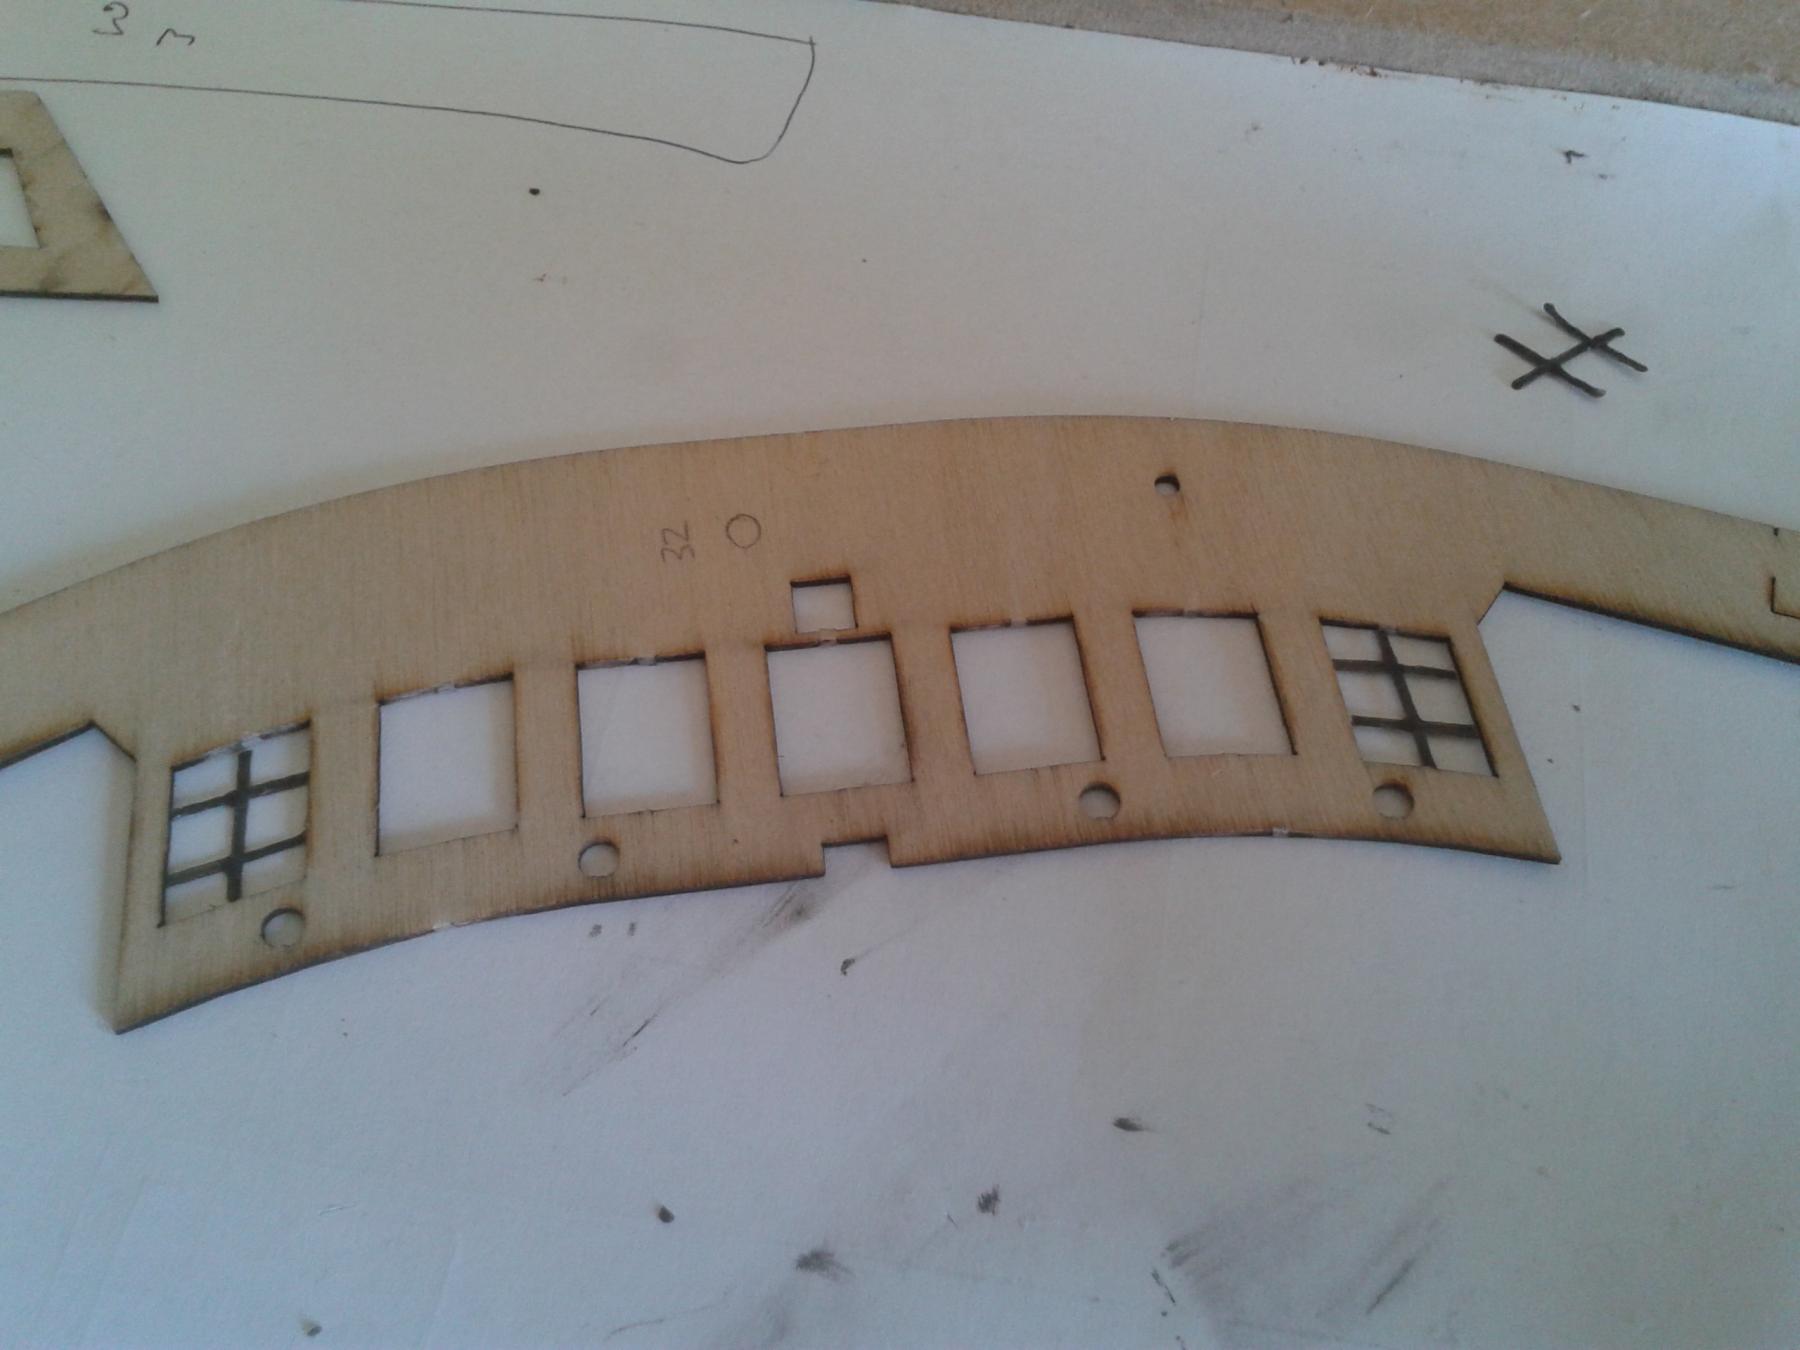
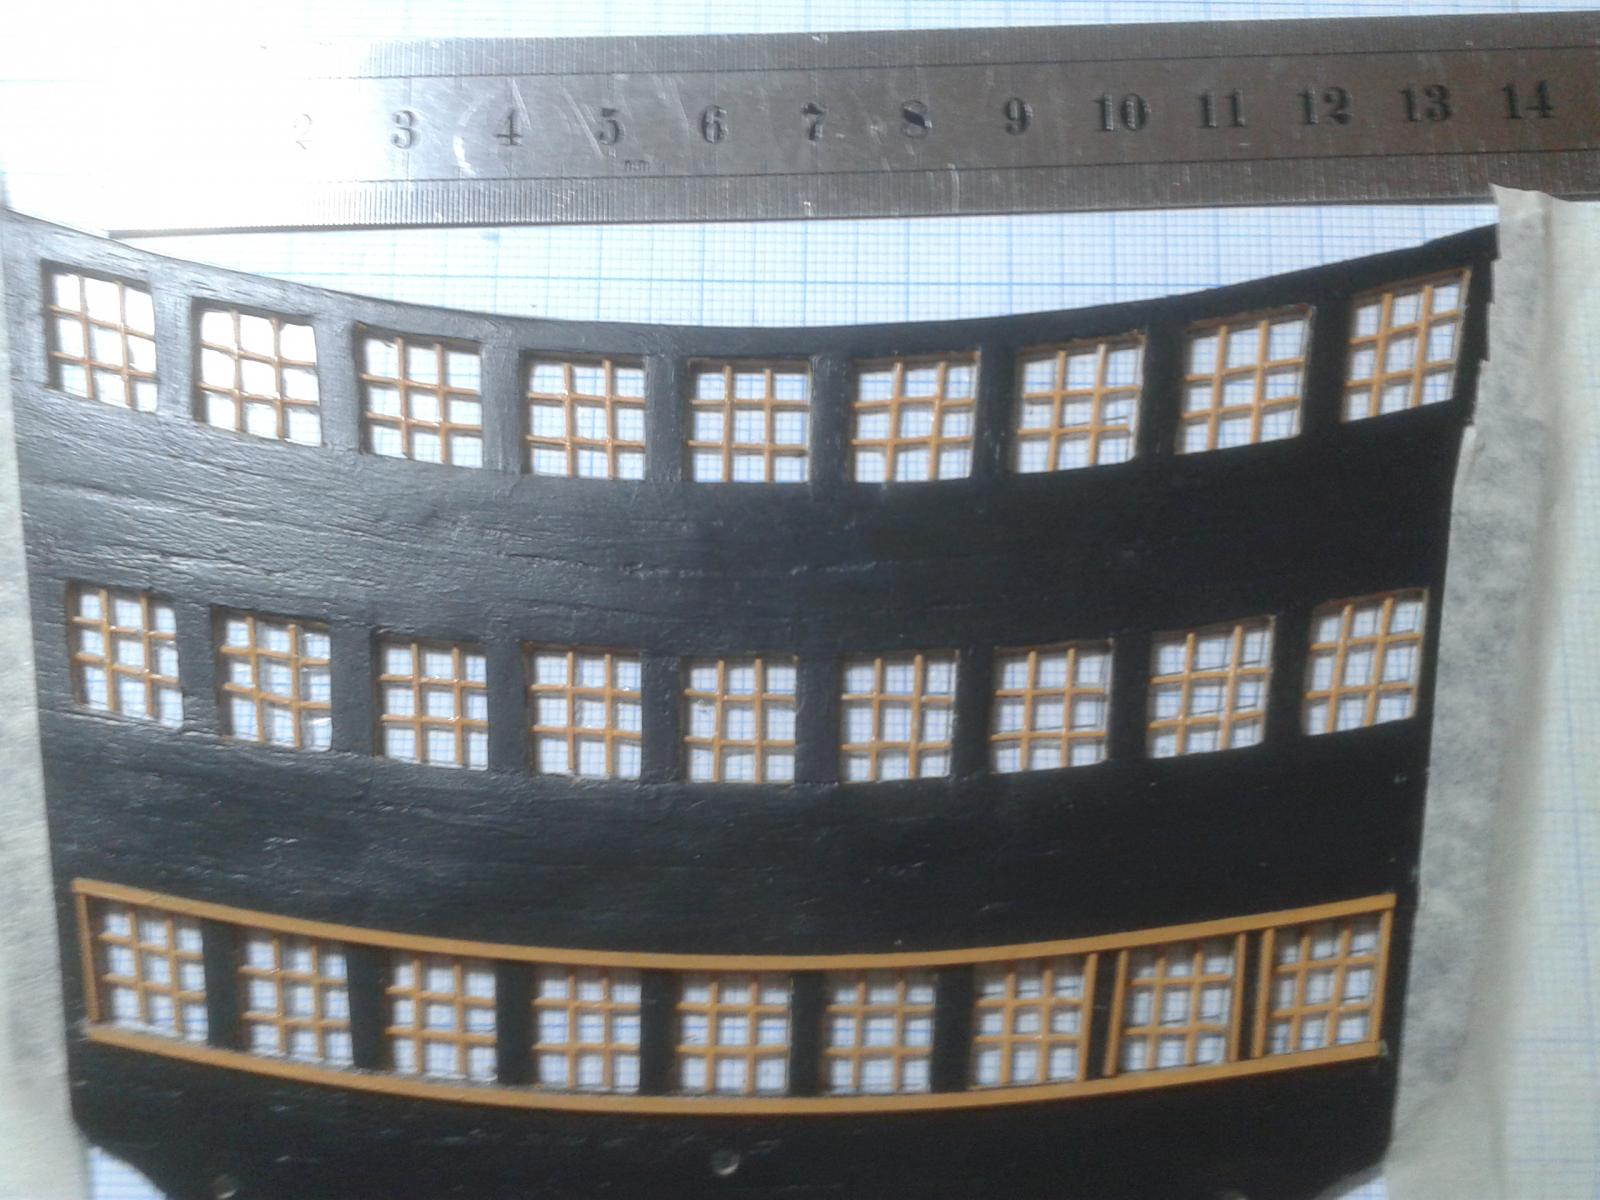
The stern gallery windows are in production on my new 3D printer and make things a lot neater than the previous constructions using 1mm wood or styrene. These were drawn in Illustrator, exported as SVGs then extruded in a free CAD program. Each window is around 13.5 x 11mm (since I forgot to put the ruler in the pic!)

-
very nice start. what's the story with the scratch built side heads?
Side heads were featured on the original design and included at launch, one port, one starboard roughly aligned with the fore funnel and overhanging the gunwales. For reasons unknown, they were removed shortly afterwards (meaning a long walk to the john
 ). When the restoration started in the 80s, they were not rebuilt as they are at the exact point of entry for visitors along the fore gangway. In a typical show of Victorian ingenuity, there was a hatch in the roof where a hose could be inserted and the whole things flushed with nary a mop in sight! Understandable that Billing left them off but I think they will add interest - as will the ash chutes just behind them, which are also missing from the kit.
 -
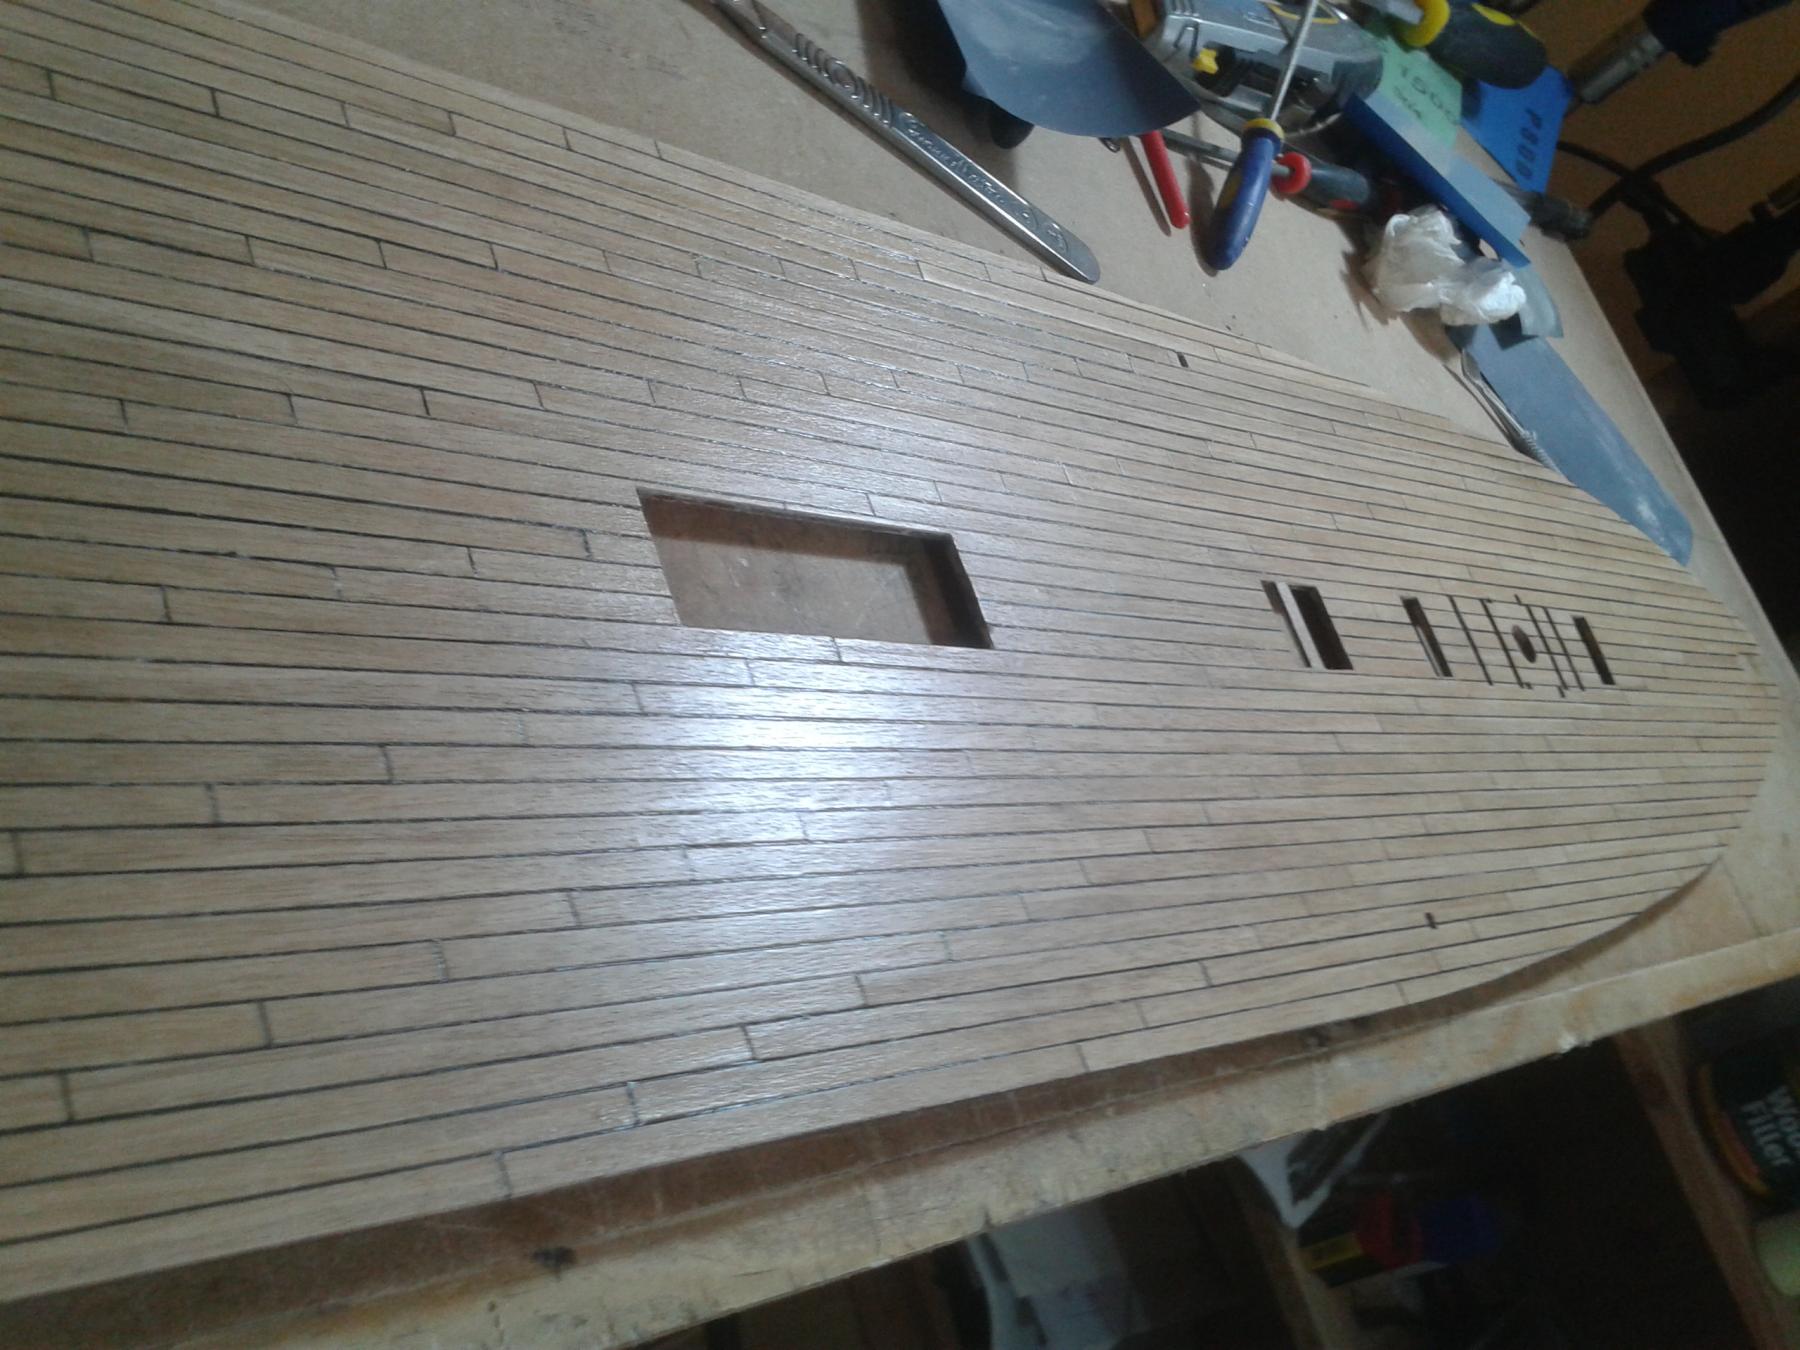
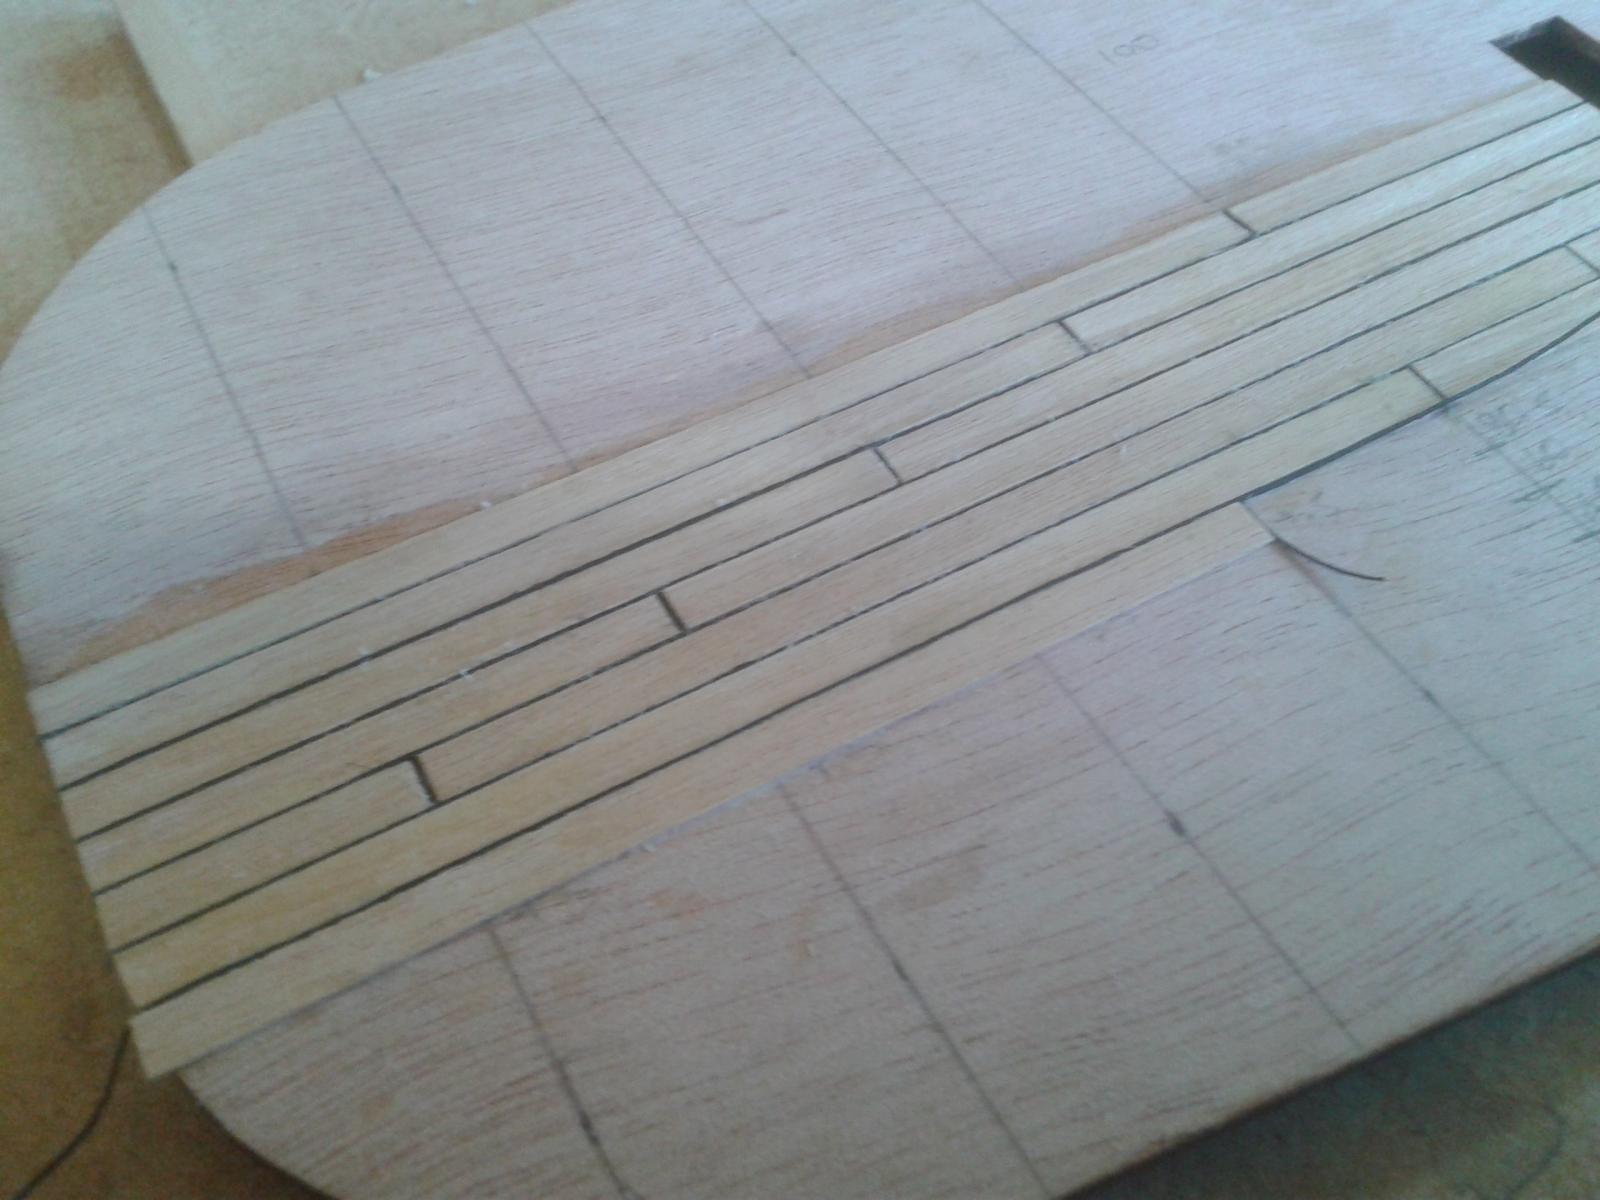
Deck planking now complete, over 370 100mm planks! Now working on balsa fill-ins to make the hull planking easier.


-
-
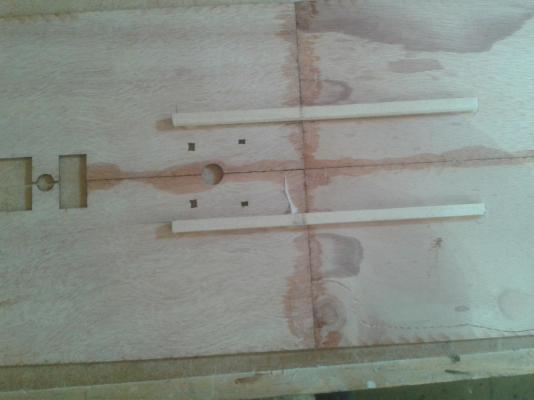
One of the tools I use most often is cheap and home made. Get some 10mm dowel and a pack of domestic sewing needles, chop up the dowel into handle size pieces (60mm is OK), drill a suitable hole in the centre of one end then glue in a needle with CA (aka Superglue). The resulting tools are incredibly useful for applying tiny drops of glue (keep the end clean with a knife) and for generally positioning and poking things.
I hope you enjoy your new hobby!
Philip
-
-
G'day Phil, if its 1.74 metres, then it should be just short of six feet, approx 5foot 9inches, thats a big model, I look forward to following along,
best regards John.
Thanks John,
Well spotted! I blame a touch of early morning dyslexia. Now corrected.
Cheers,
Philip
- Gerhardvienna, Elijah, mtaylor and 2 others
-
5
-
How long is this thing
 ?
?1.47 metres or just short of five feet in old money.

- WackoWolf, slow2cool, Gerhardvienna and 2 others
-
5
-
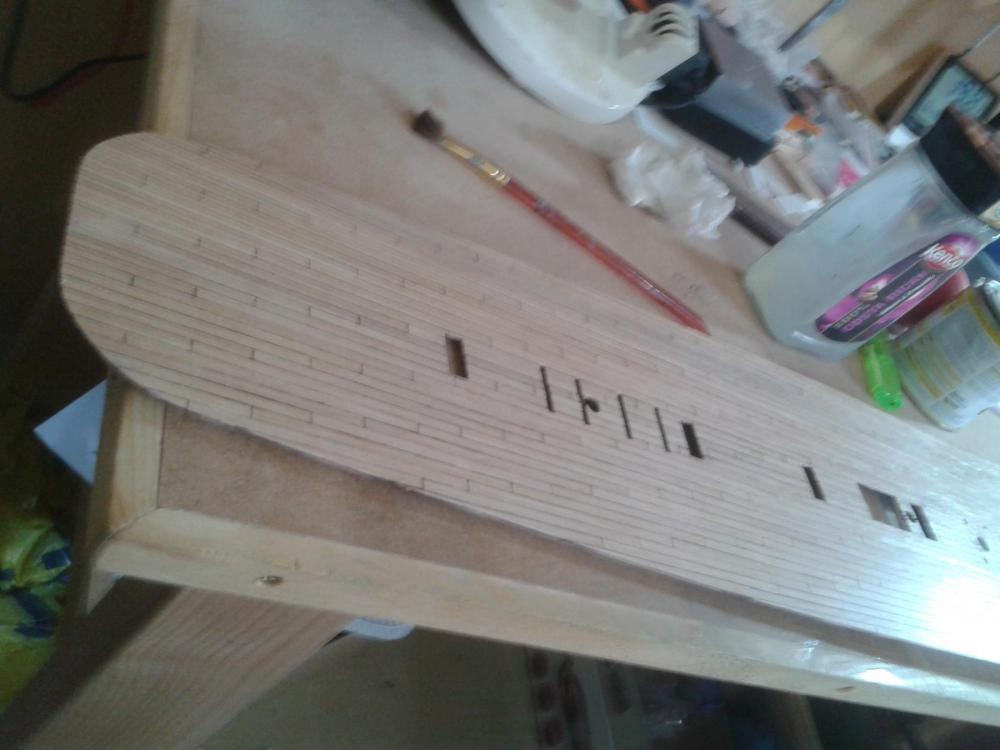
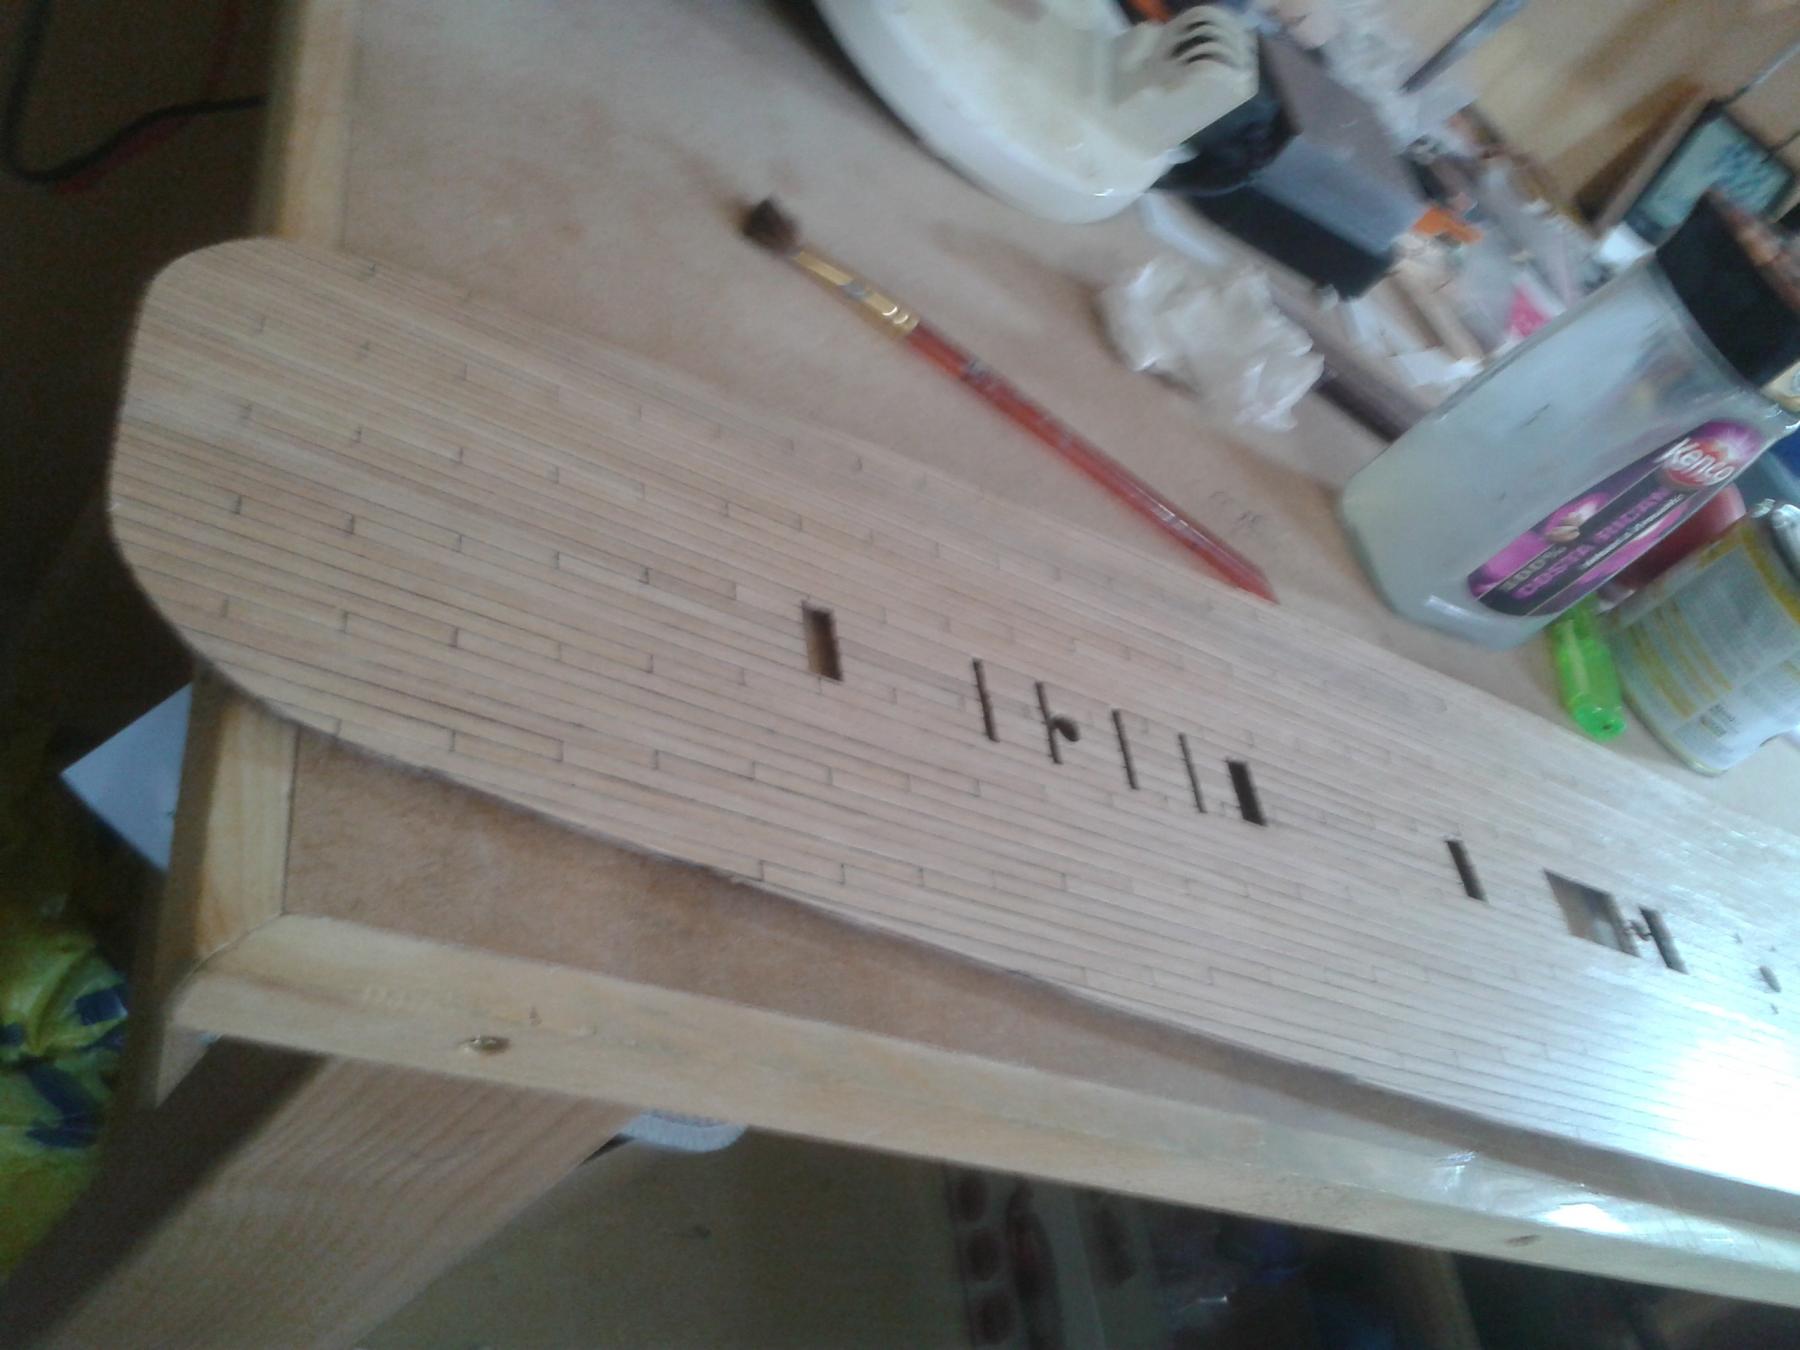
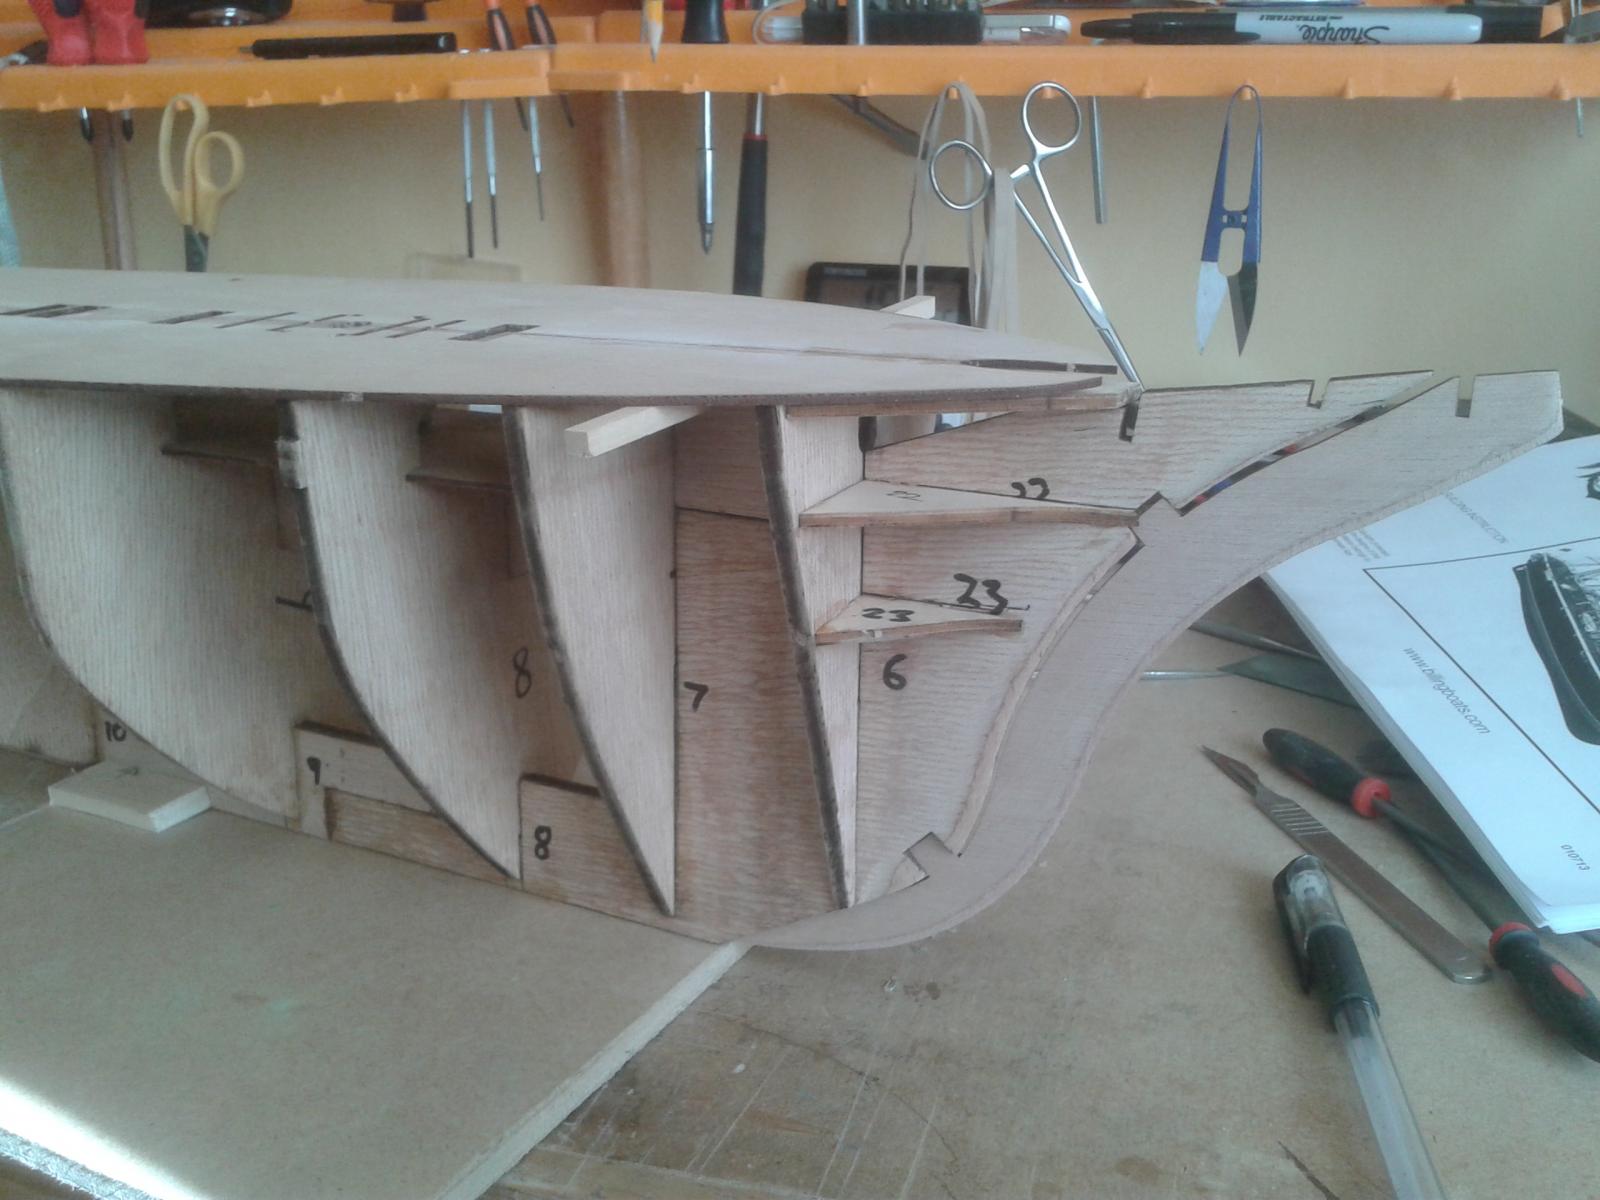
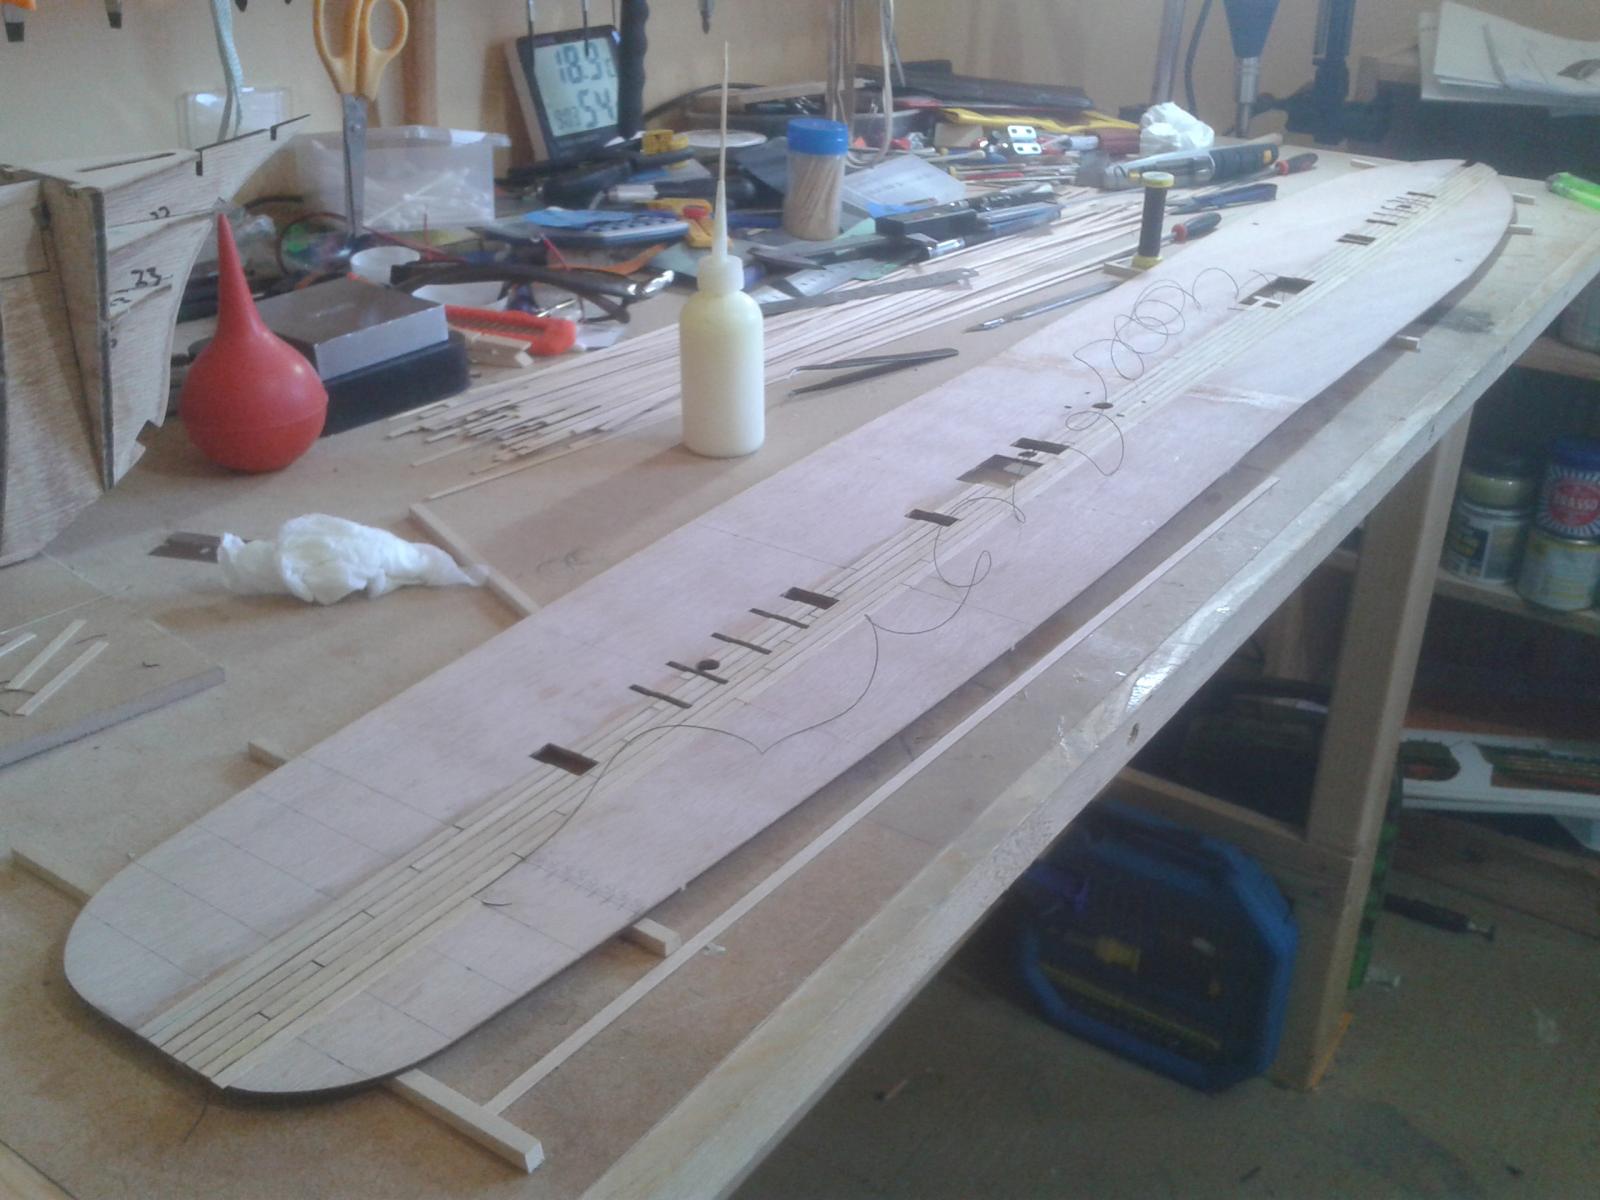
I've glued the four deck sections together before planking rather than fit them individually as the instructions show. It is much easier to plank before attaching it to the hull.
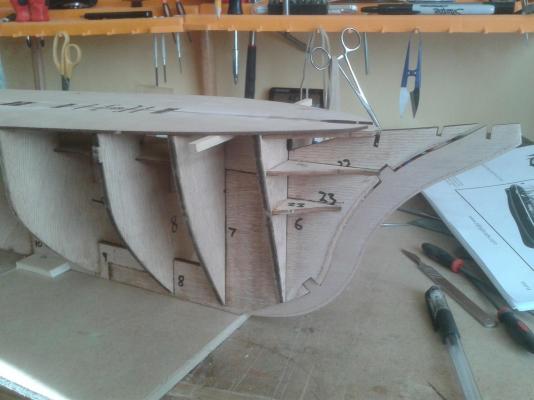

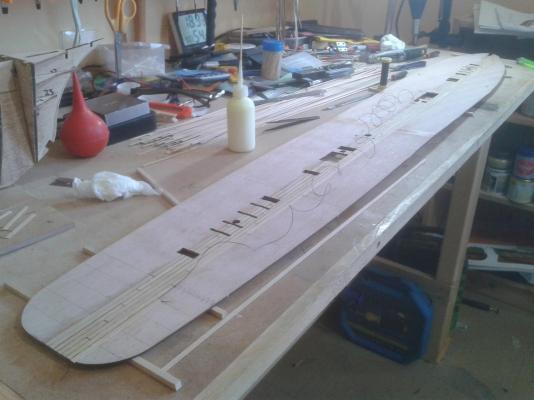

The "caulking" is 0.3 diameter linen thread, which doesn't fray the way cotton does.
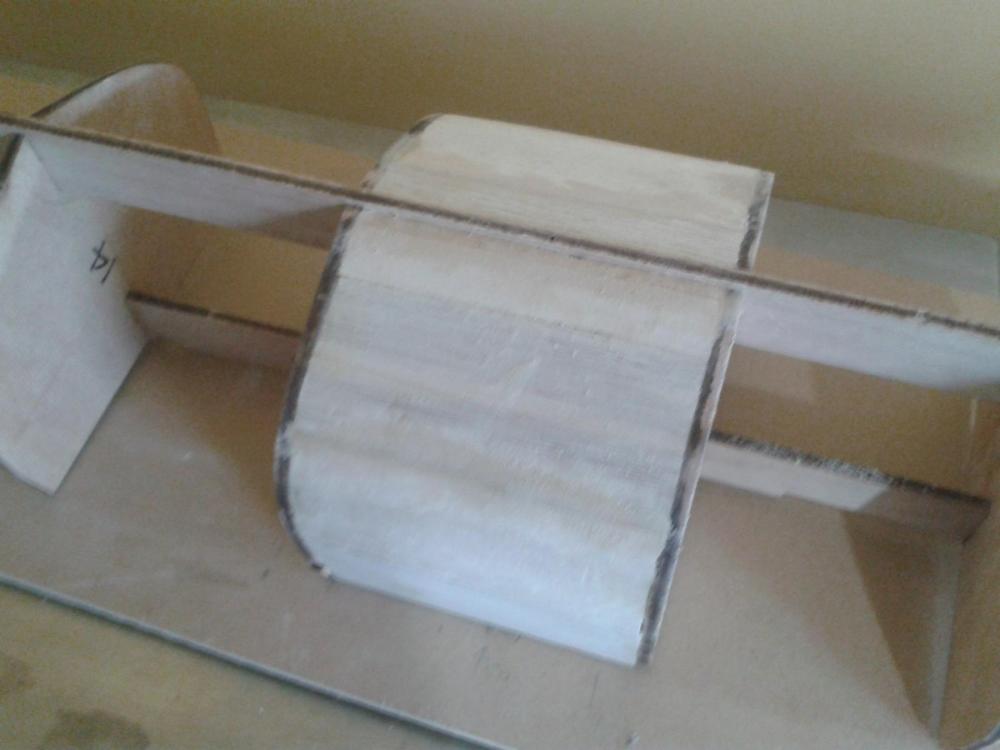
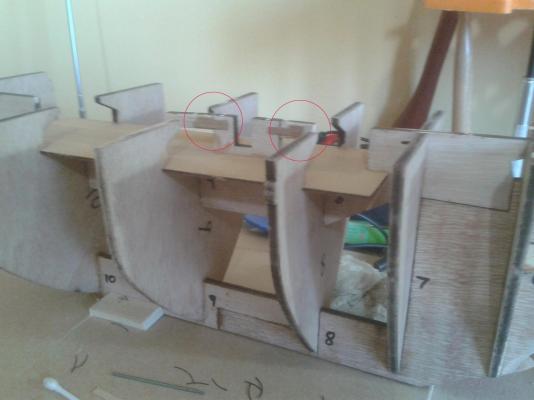
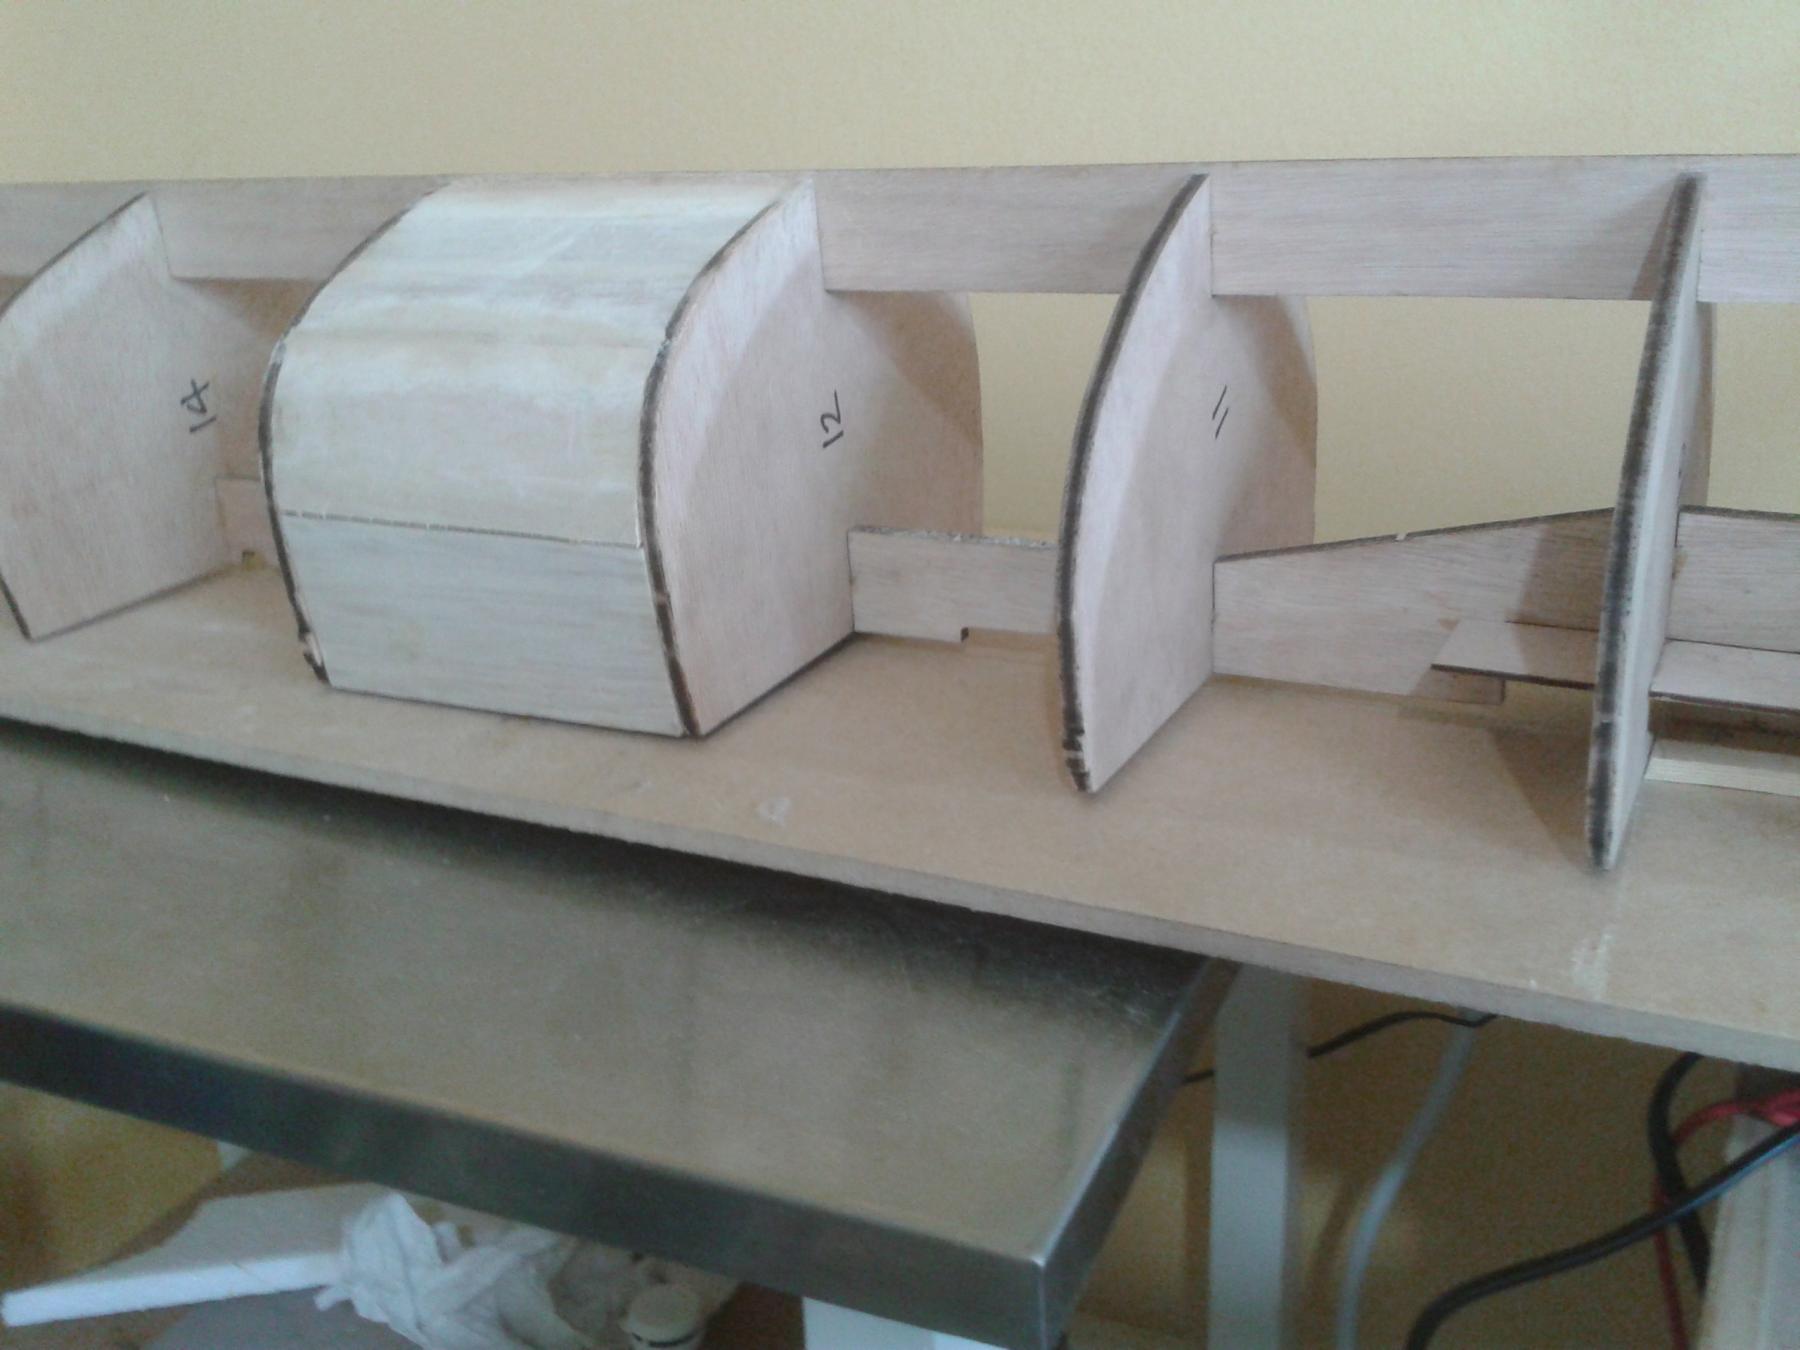
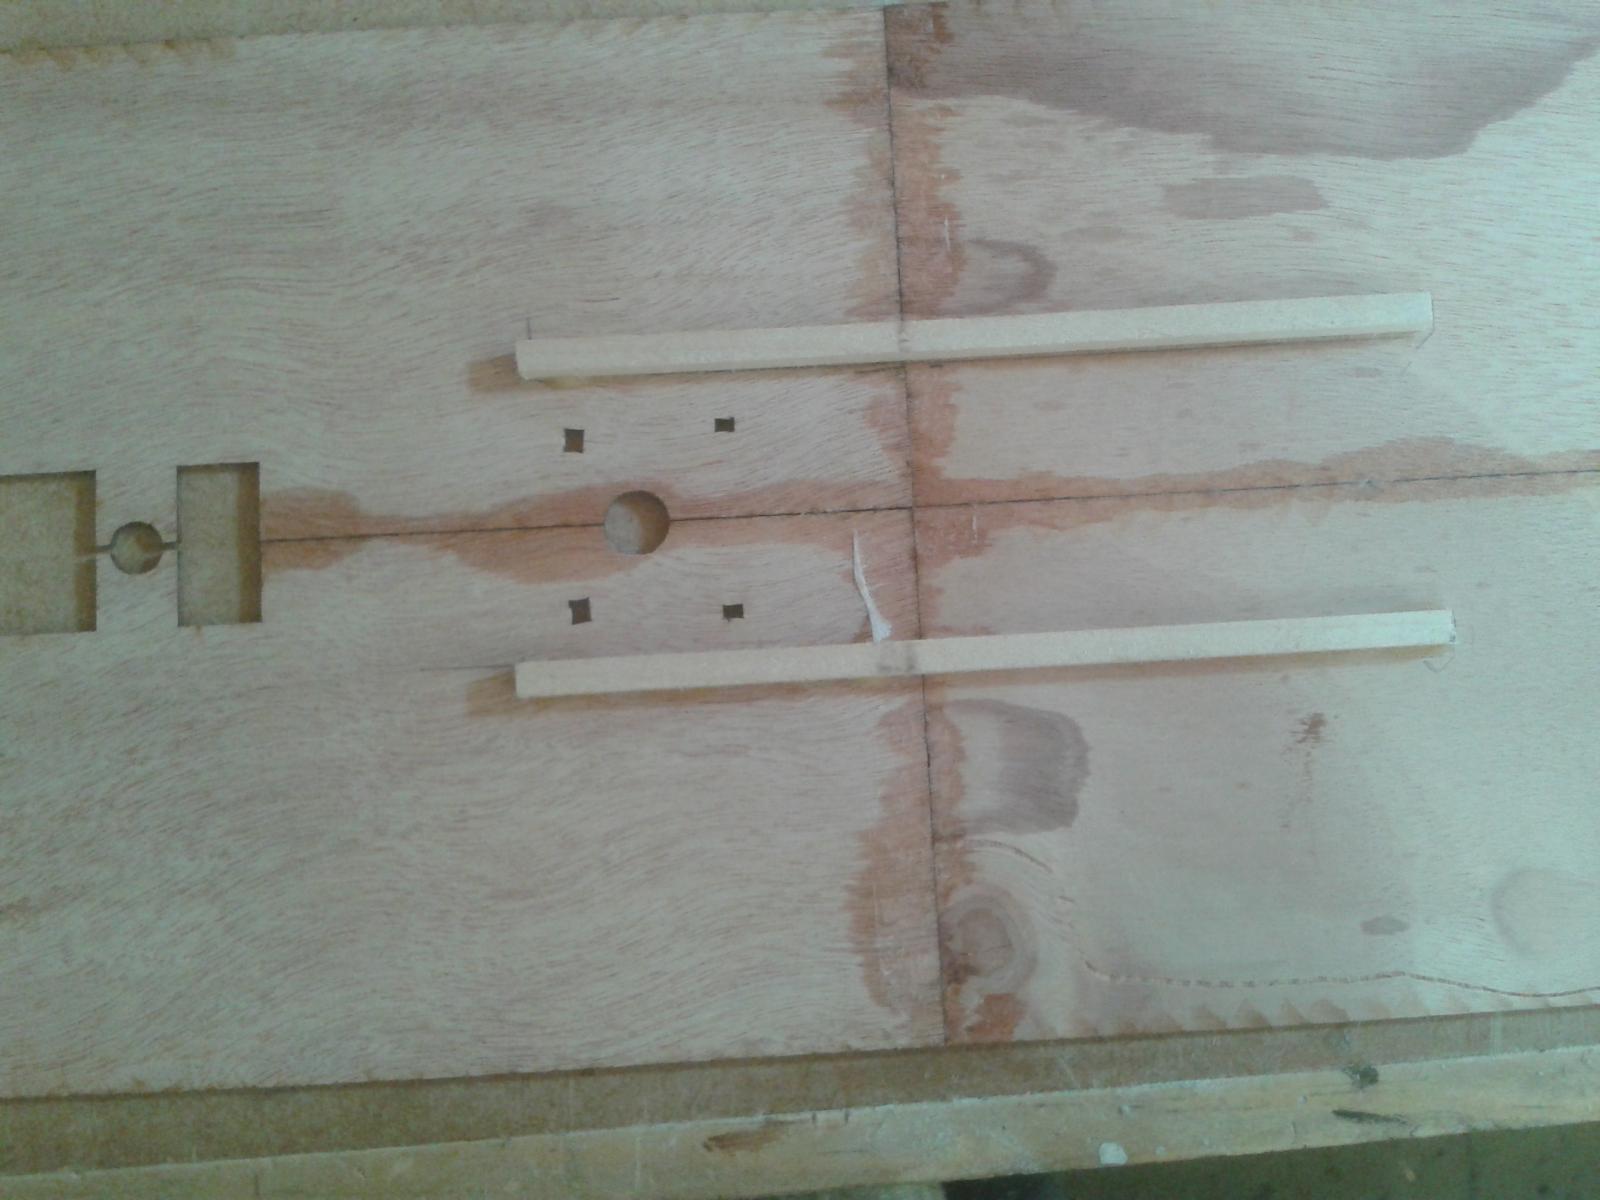
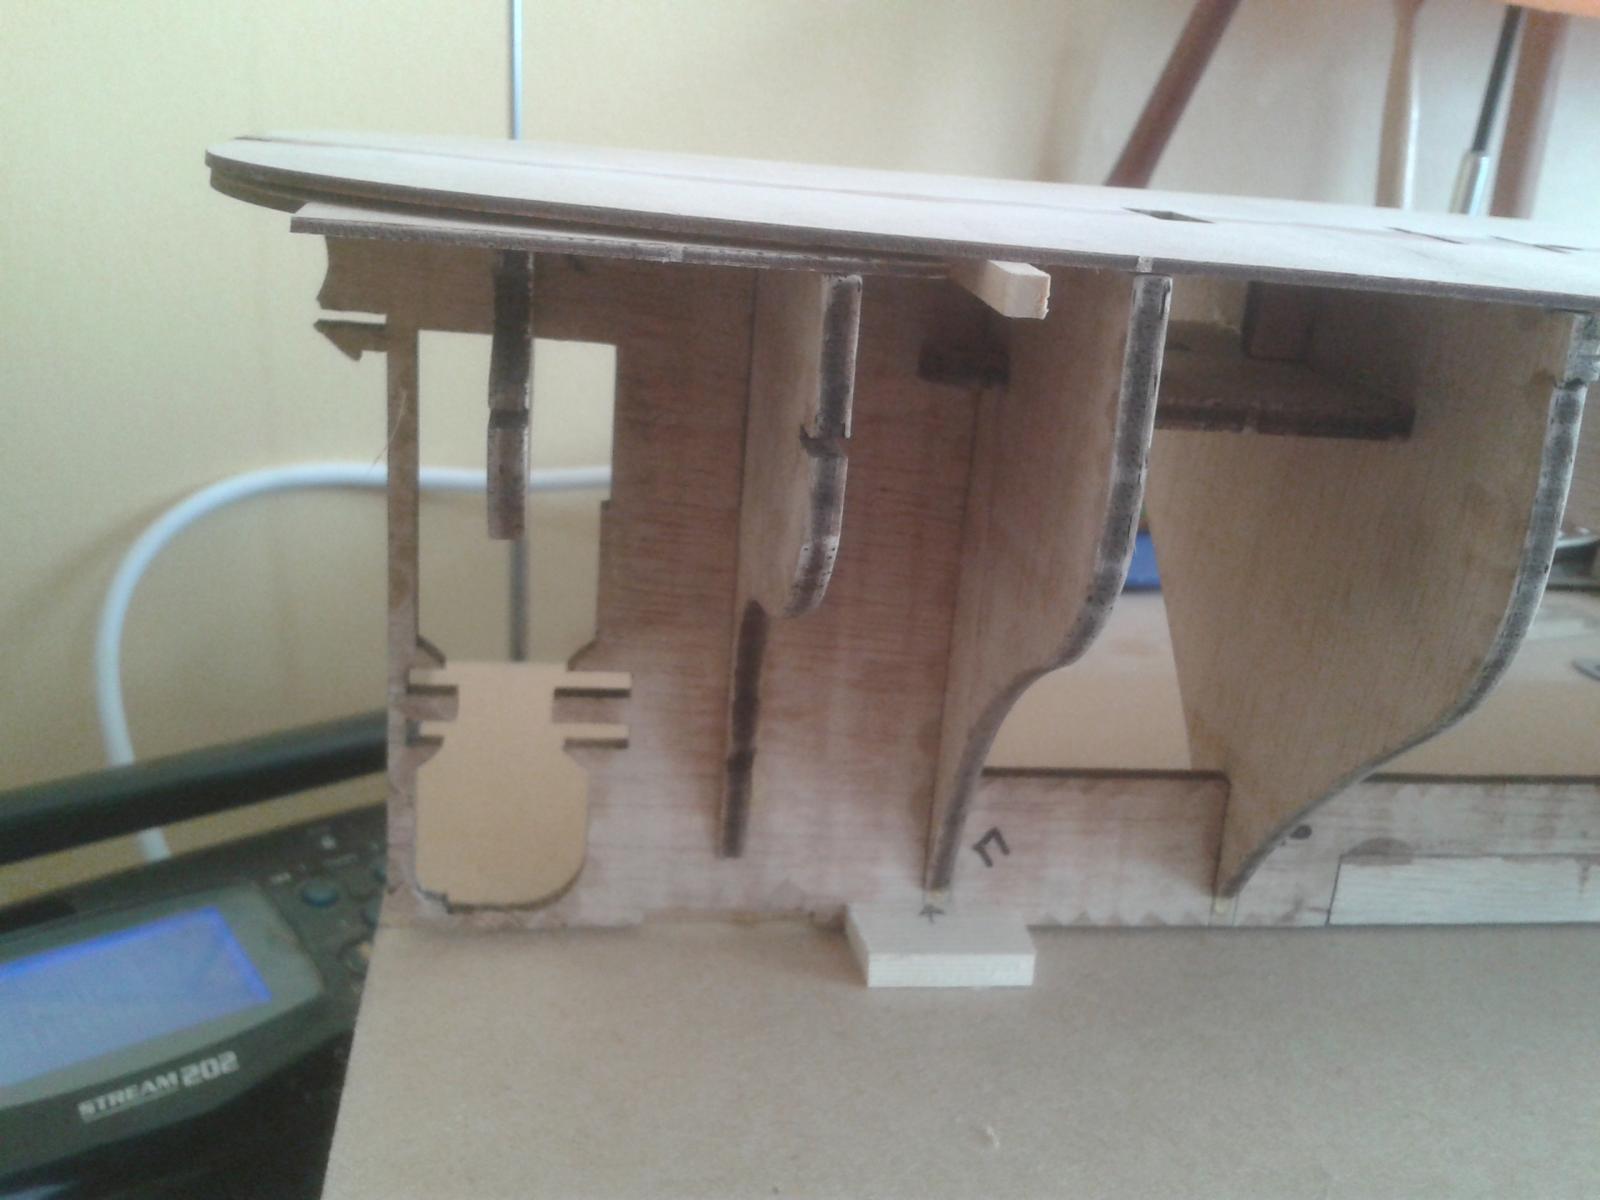
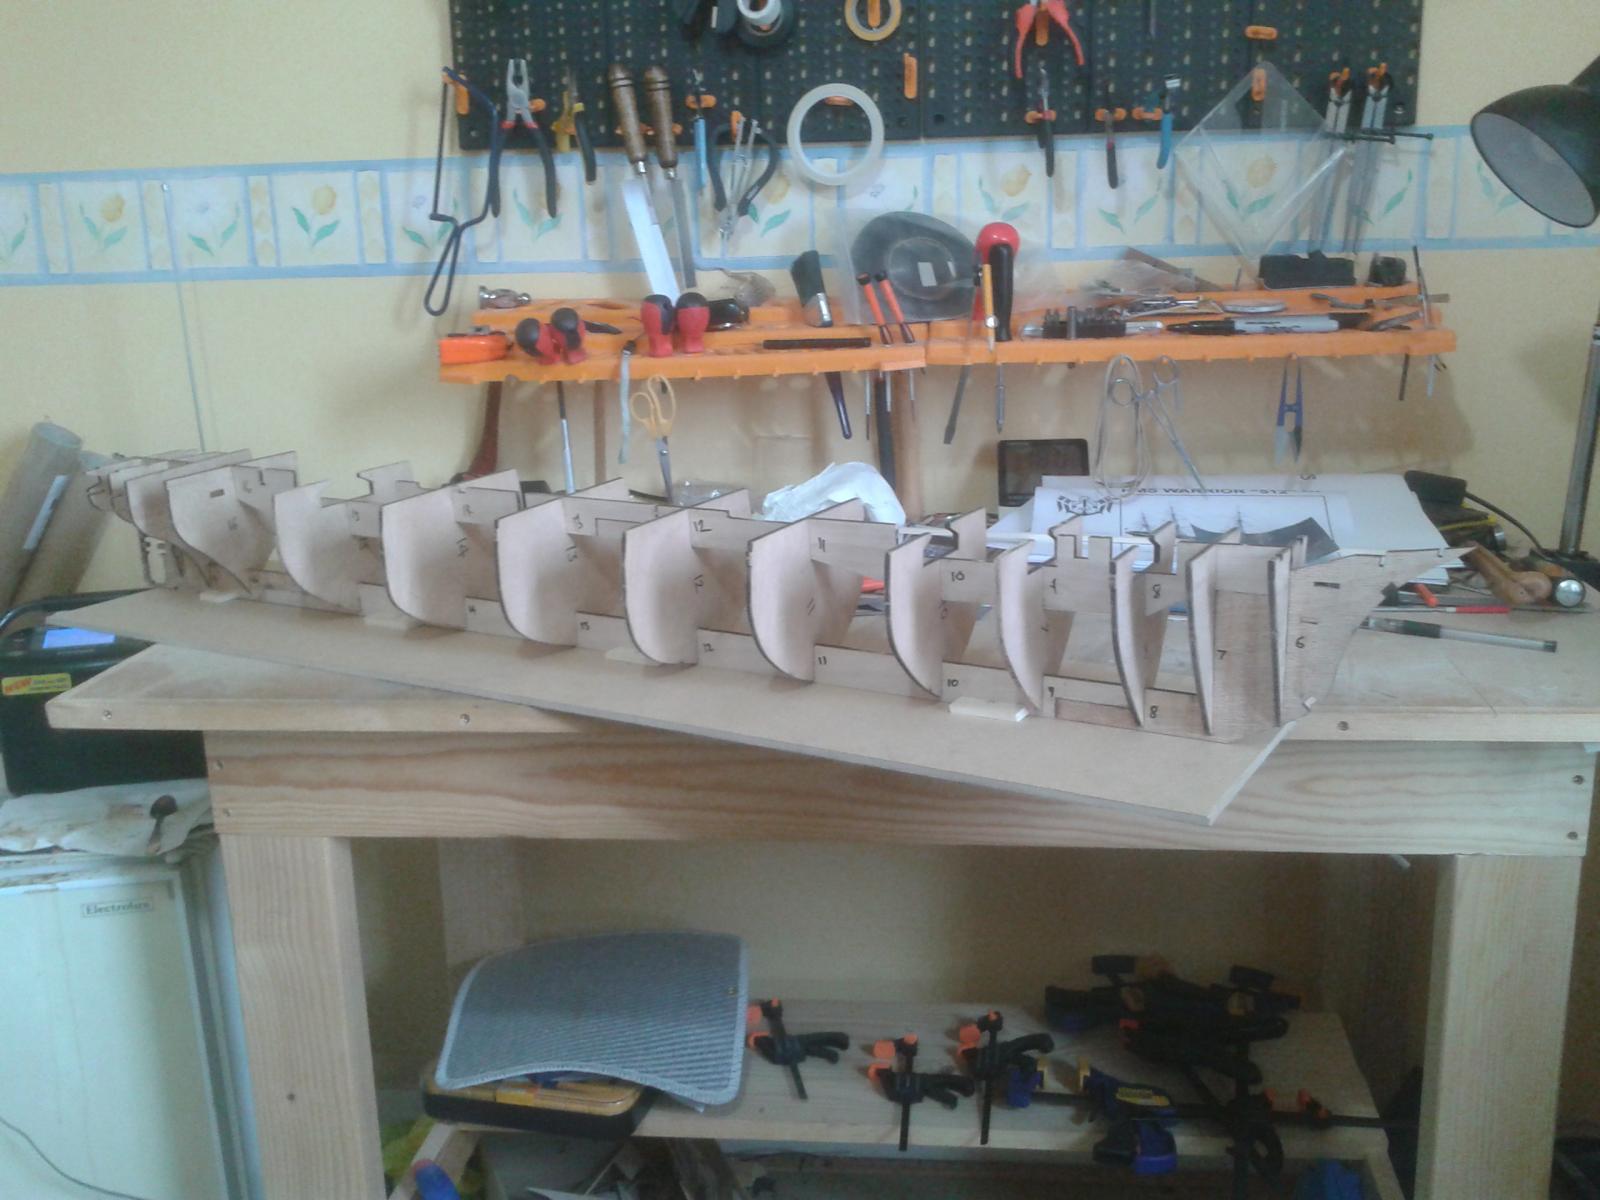
A slight modification needed to support the formers for the fore and aft convex sections of the deck - without these supports the formers (part no 120) would be almost impossible to position properly.
-
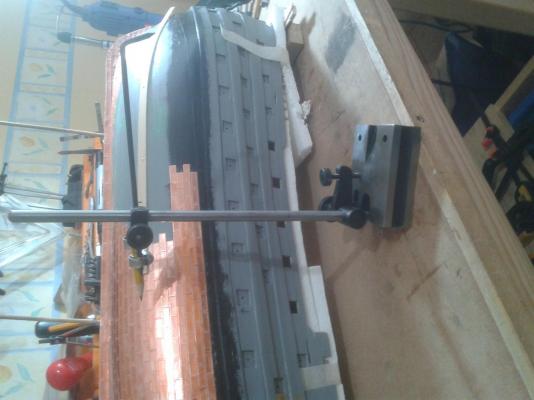
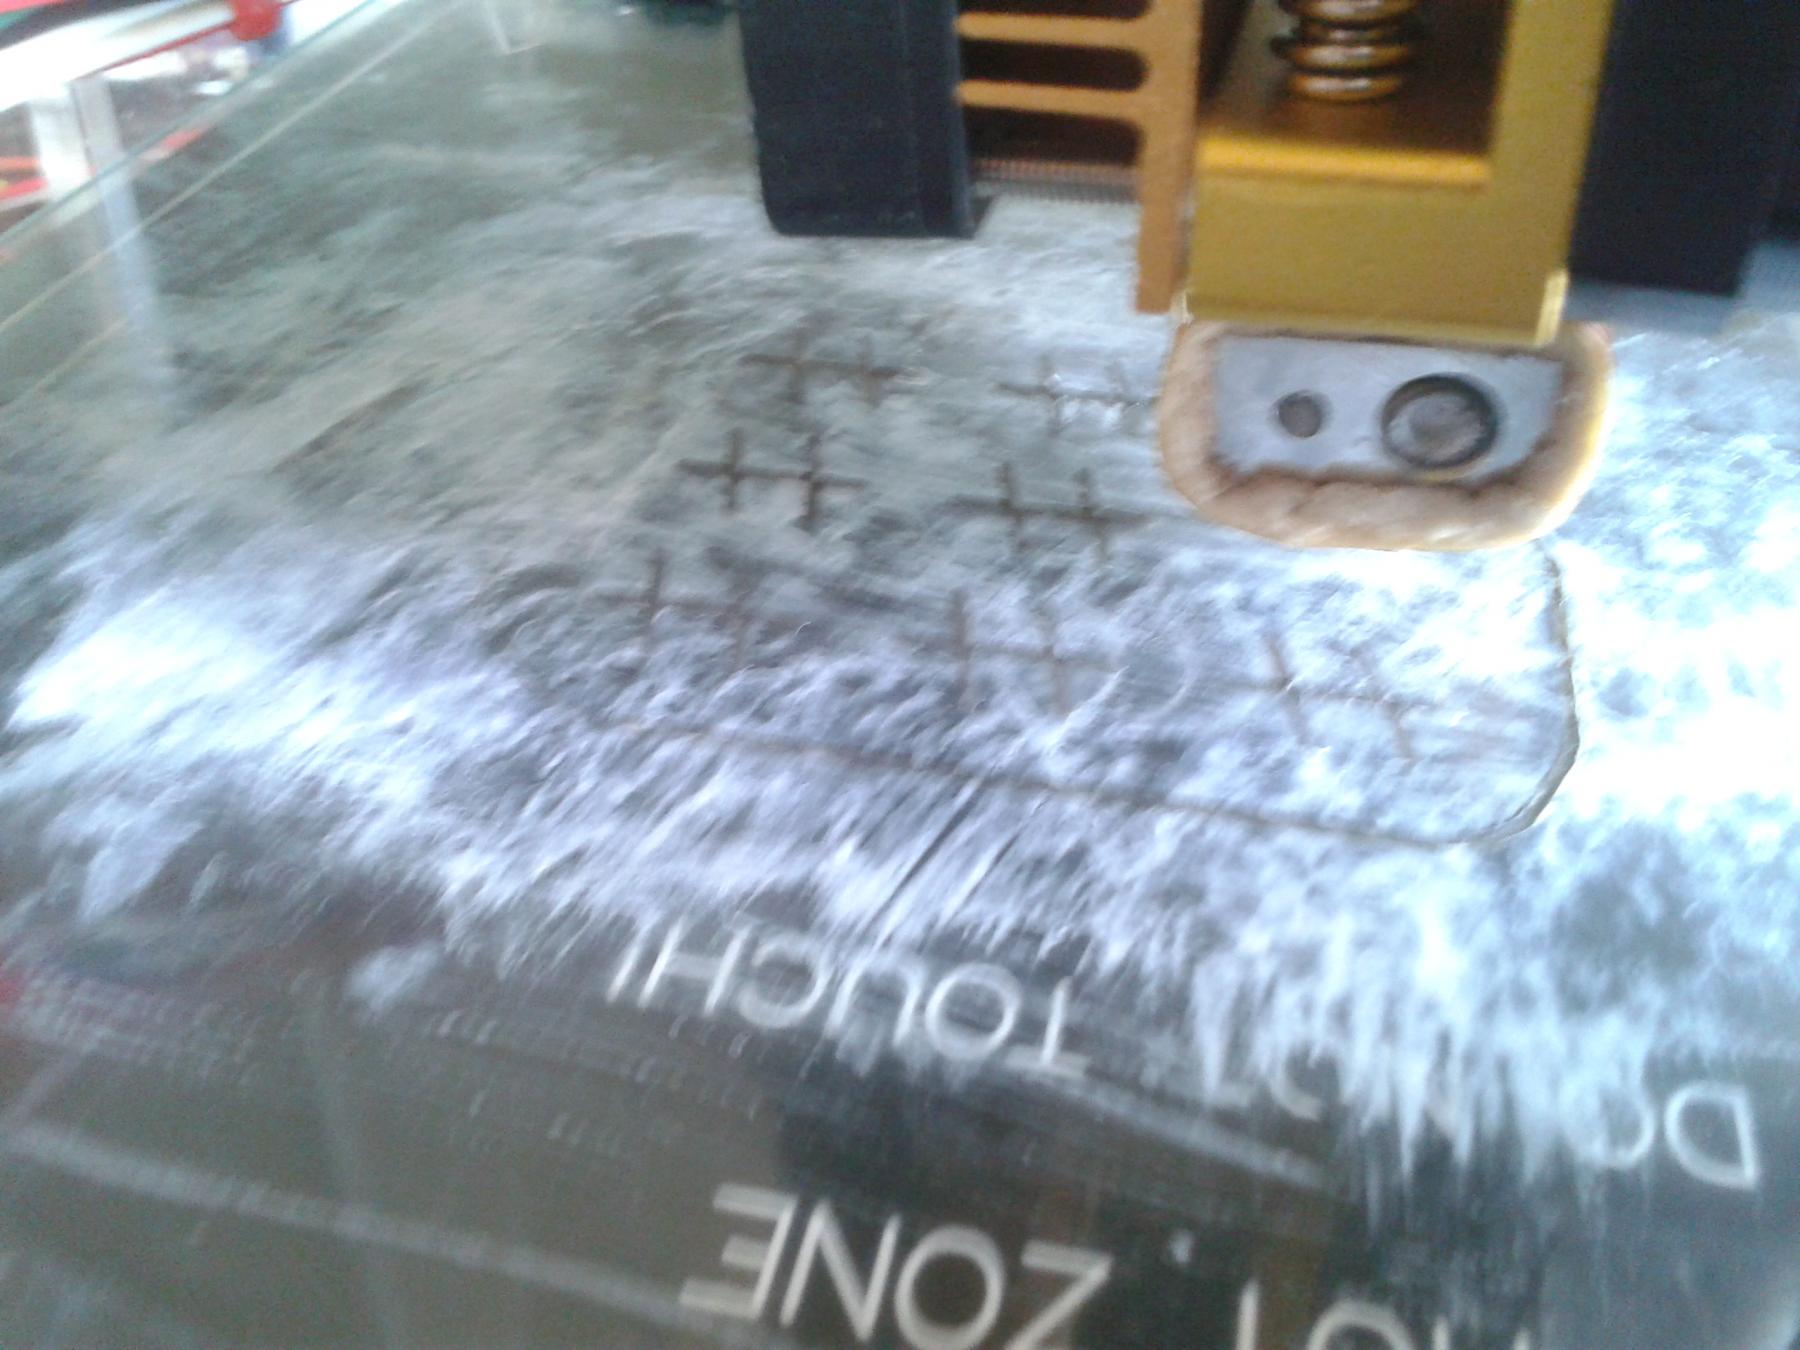
Copper tiling in progress. c 900 tiles done, only another 900 odd to go. These are the Caldercraft tiles from CMB at £2.34 per 100. I'm using a general purpose glue rather than CA as it gives more movement time, although CA is used where necessary. Also a snap of the £20 surface gauge I just bought - not sure how you can mark horizontal lines without one of these.

- CaptainSteve, clearway, Grey seal and 2 others
-
5
-
Hey Clarence,
Just dropped by to say congratulations on a stunning build!
What's next? -
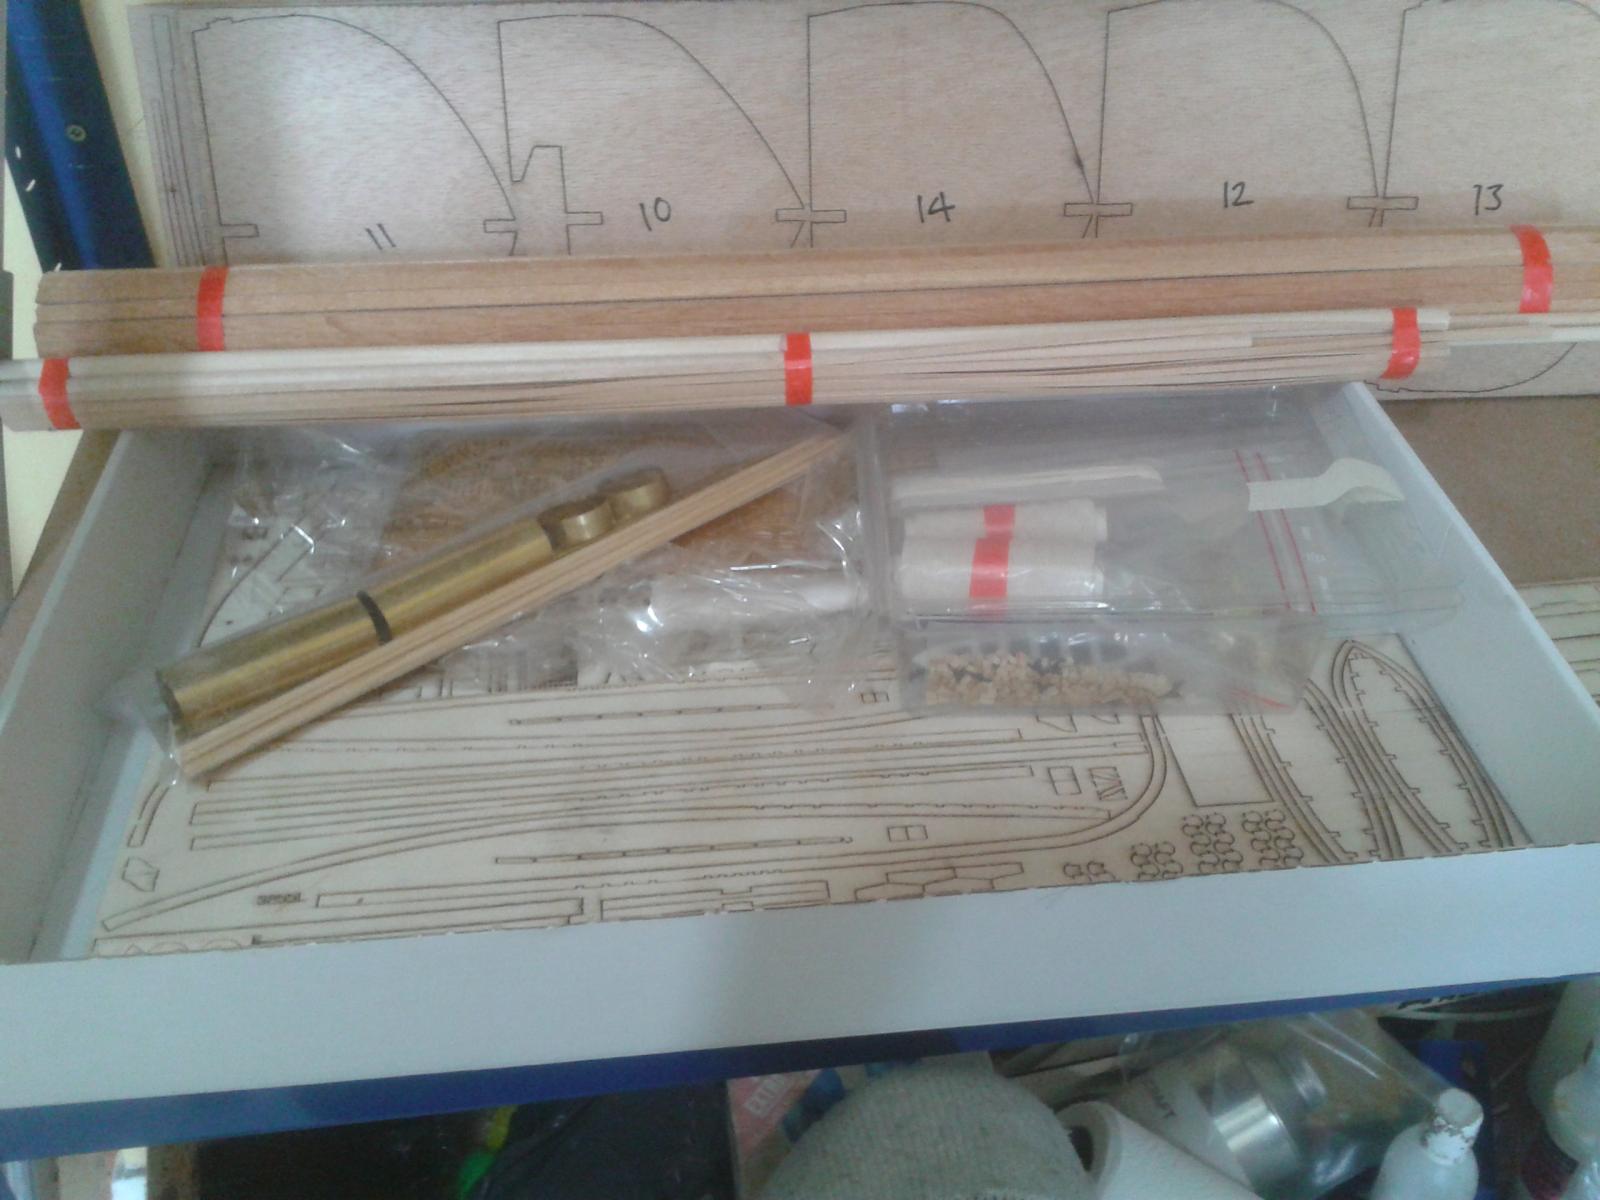
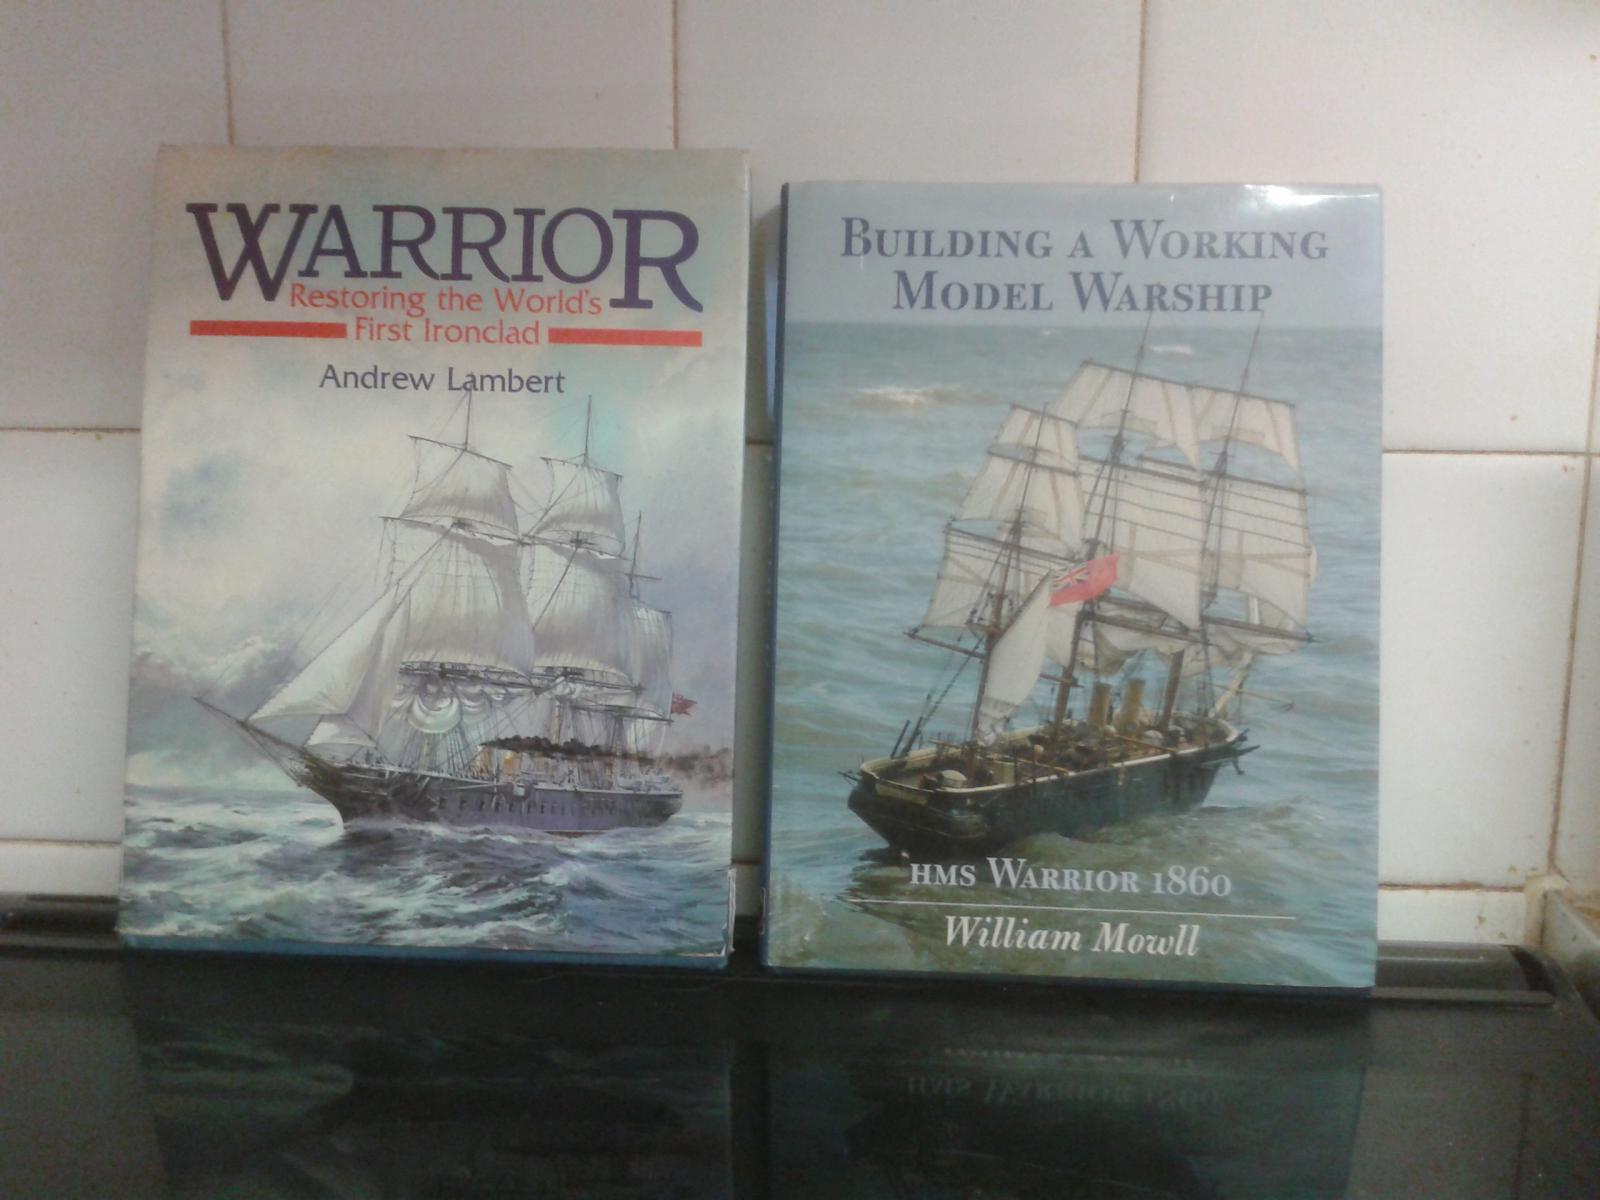
For my latest build I have chosen the Billing Warrior 1860, the first British ironclad battleship, which was powered by both steam and sail since those good folks at the Admiralty didn't quite yet trust something that belched smoke. I would have liked to make this a scratch build, but I couldn't find a set of decent plans and the two research books I've purchased don't go to that level of detail on the hull. So, another Billing kit with, as it turns out very poorly done laser cutting - half way through on a good day. Never mind, there are some decent drawings and the usual sparse instructions.
She is a monster though and dwarfs the Victory at 1.47 m. Still, at least the hull wasn't copper plated.
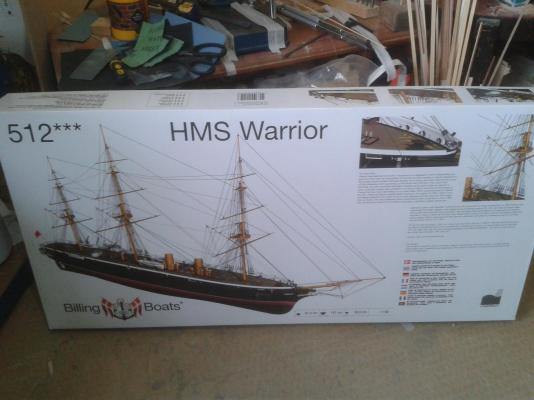
The box
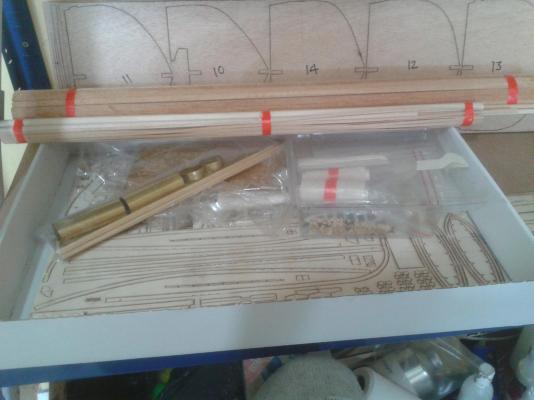
The contents
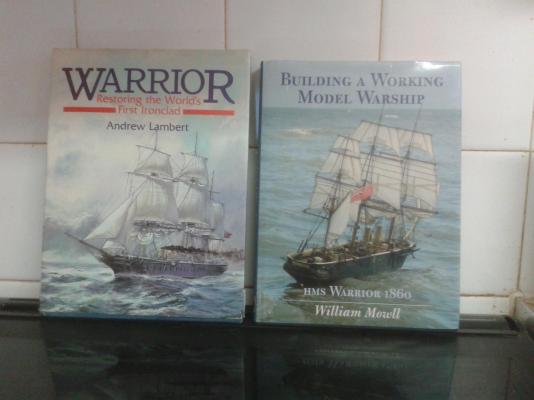
The research books

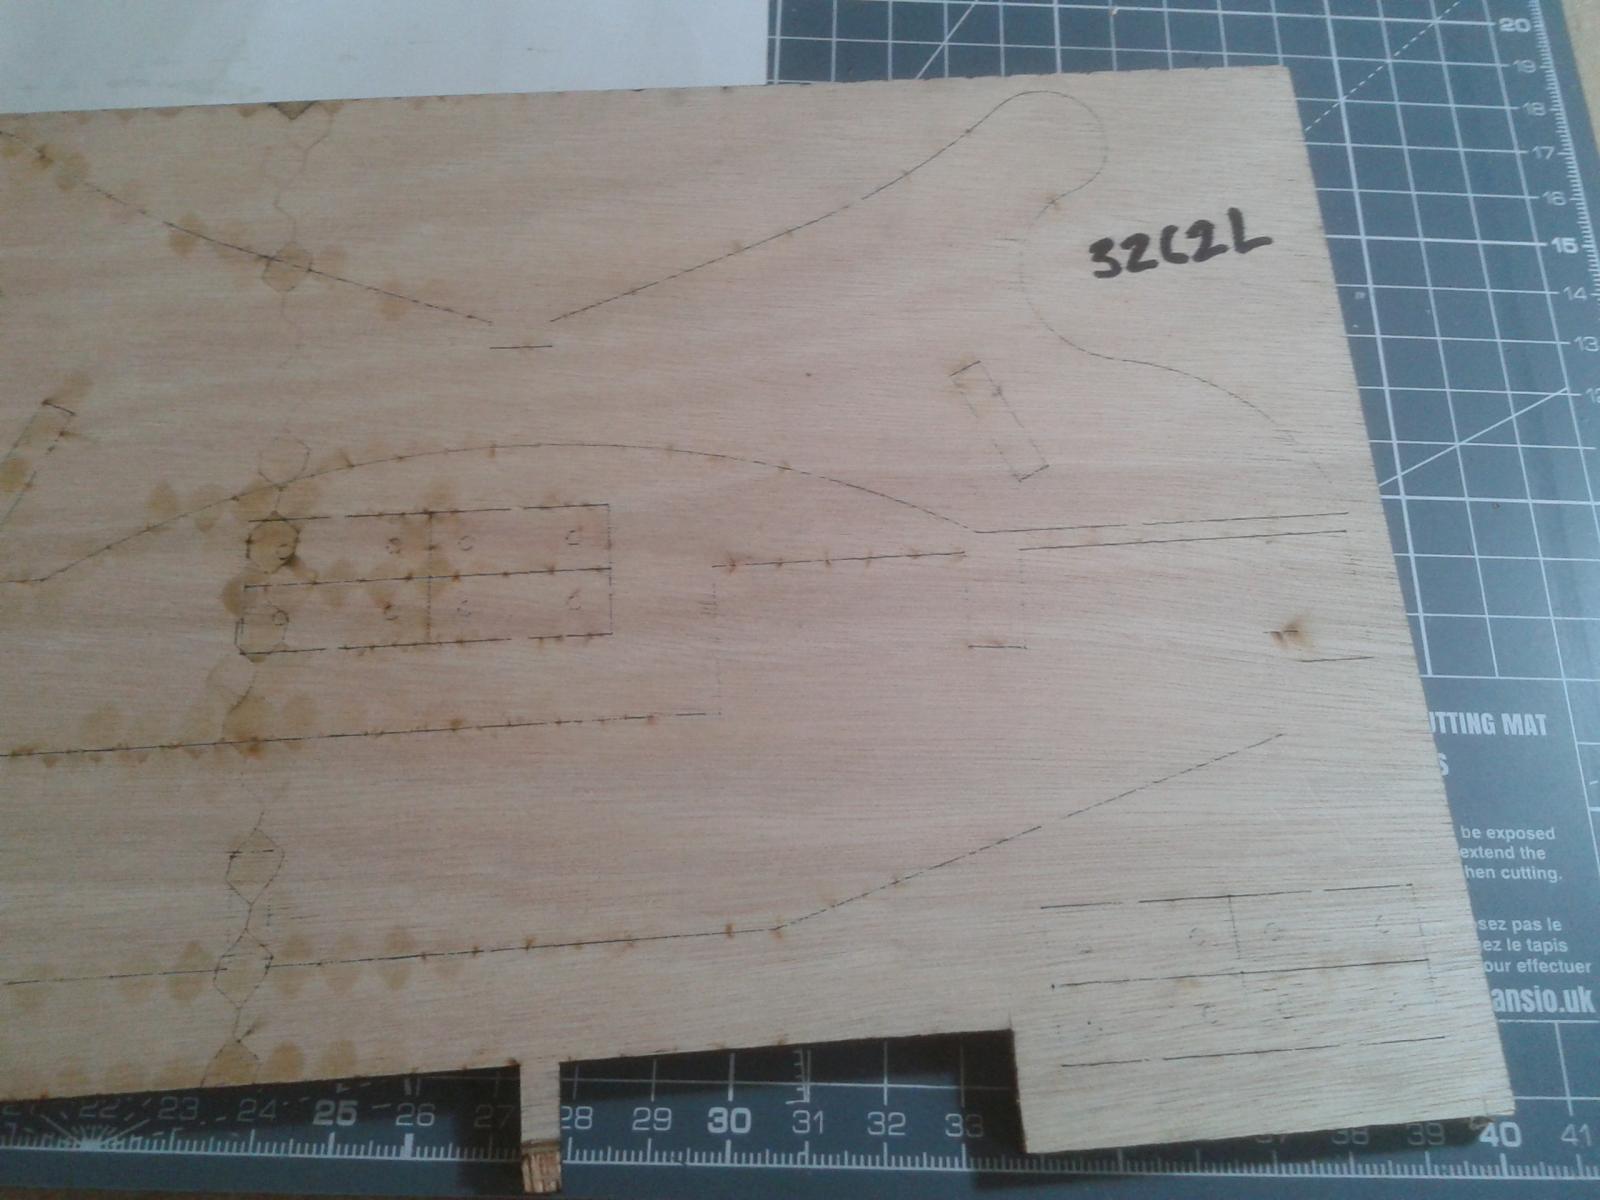
Spot the laser cut

Dry fit of keel
- Tadeusz43, aydingocer, dgbot and 12 others
-
15
-
This series of photos shows treenailing of the deck on the beak. The first shot shows a method of making treenail holes with a drafting divider.
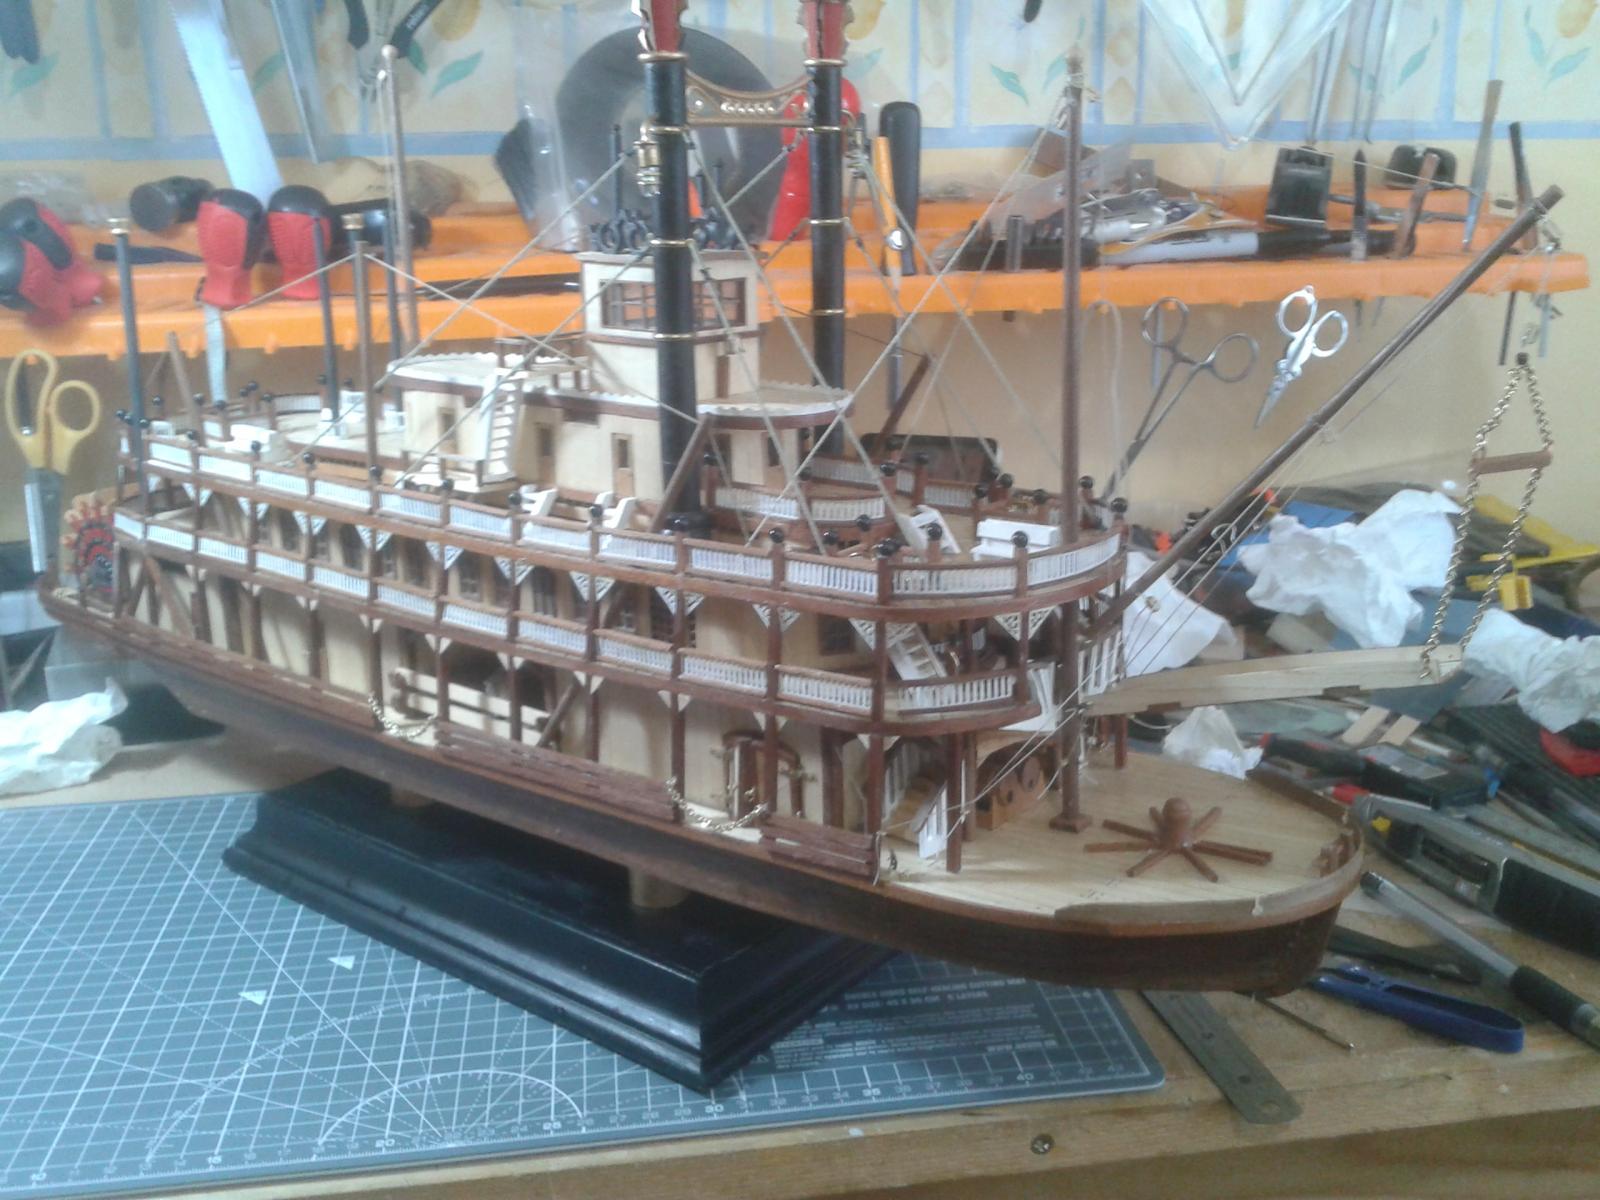
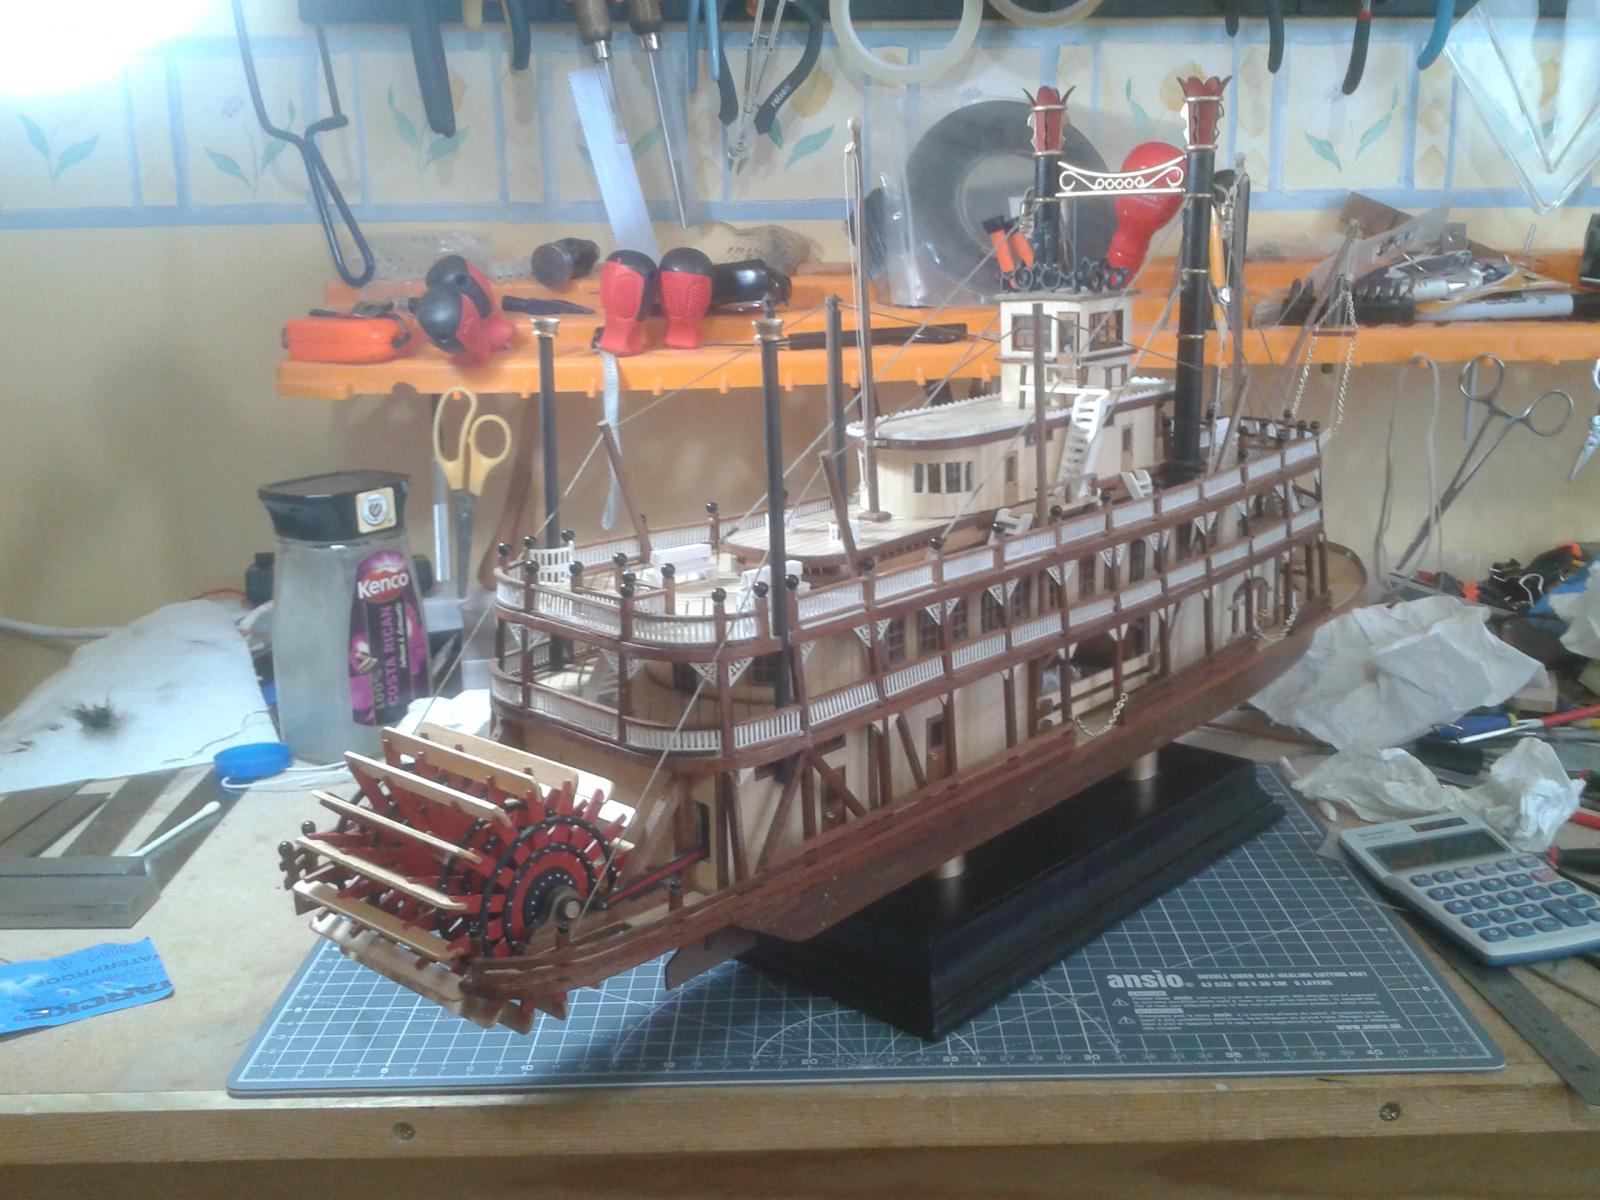
Not sure why this is posted here ... that isn't the King of the Mississippi ...
-
Hi Phil
Extremely nice build
How did you find the materials in your AL kit. i had to replace about 50% of the timber in mine and it's put me off another AL kit, Hoping it's just a one off in my case
Thanks Bob,
The timber wasn't too bad - I had to order some more for the hull as there wasn't enough but apart from that it was OK. If you think AL's timber is poor, I recommend you stay away from Billing kits! On my Victory build it was so bad I had to substitute better stuff for both the decking and the hull.
Cheers,
Philip
-
-
Hi Folks,
Been back on the Victory build for a month or so. Progress is slow but sure!

- Seventynet, Grey seal, CaptainSteve and 2 others
-
5
-
Nice looking sander Boyd, even nicer looking ship!
Cheers,
Philip
- zoly99sask, clearway, shihawk and 3 others
-
6
-
-
Nice work! Are you sure you have enough monitors?
-
-
@Napoleon: I kind of made up the lighting as I went along so it wasn't based on someone else's plan. As I recall there is at least one Victory build documented here that has LED lighting but I drew a blank trying to find it ...
@Clarence: Plexiglass is cool but wood and brass cover a multitude of sins. The wire I used for both the Mississippi and Victory is AWG 30 with a diameter of around 0.5mm, which allegedly will carry up to 10A (I don't recommend trying it with that load!). That makes it small enough to run two power lines through a 5mm brass tube with an M4 bolt up the middle.
Cheers,
Philip -
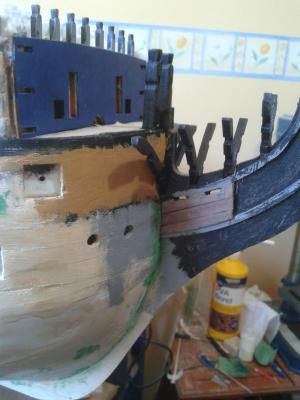
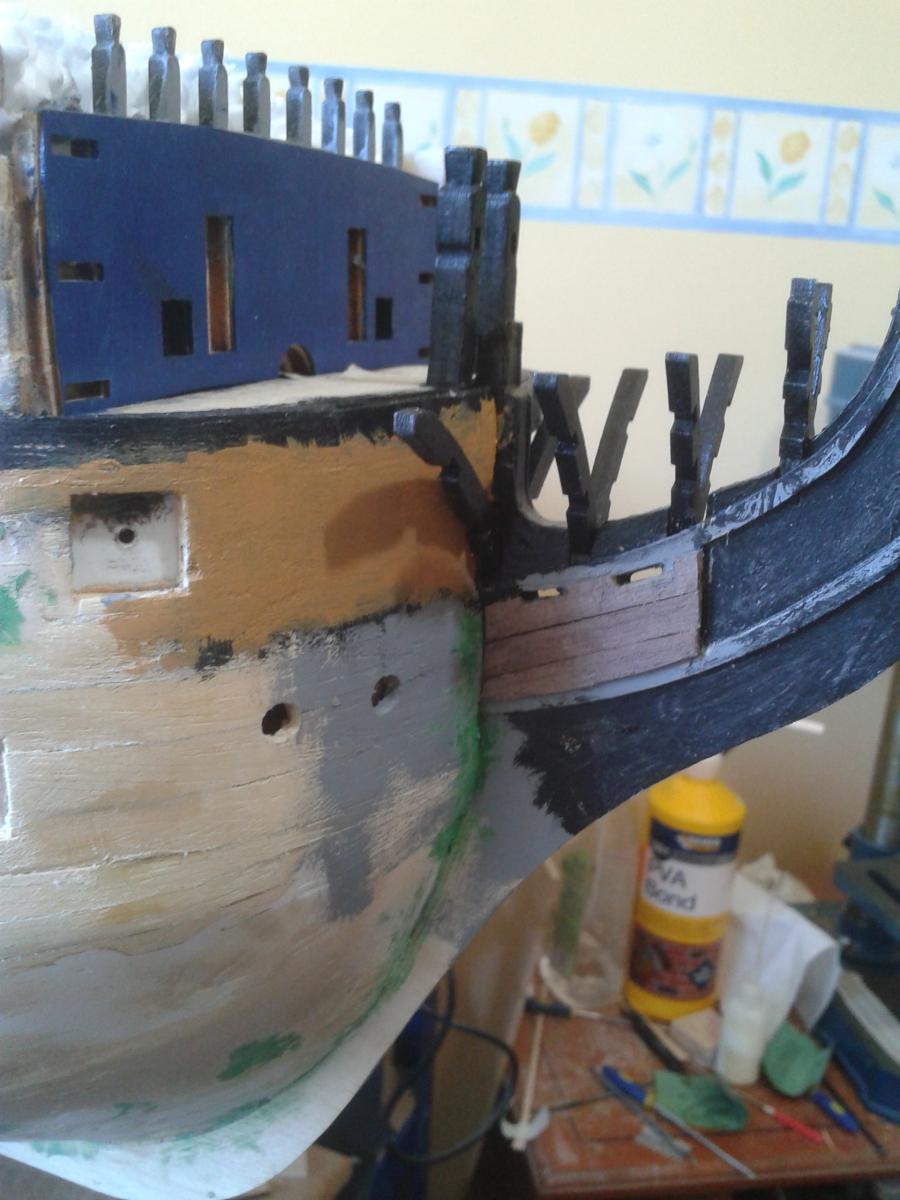
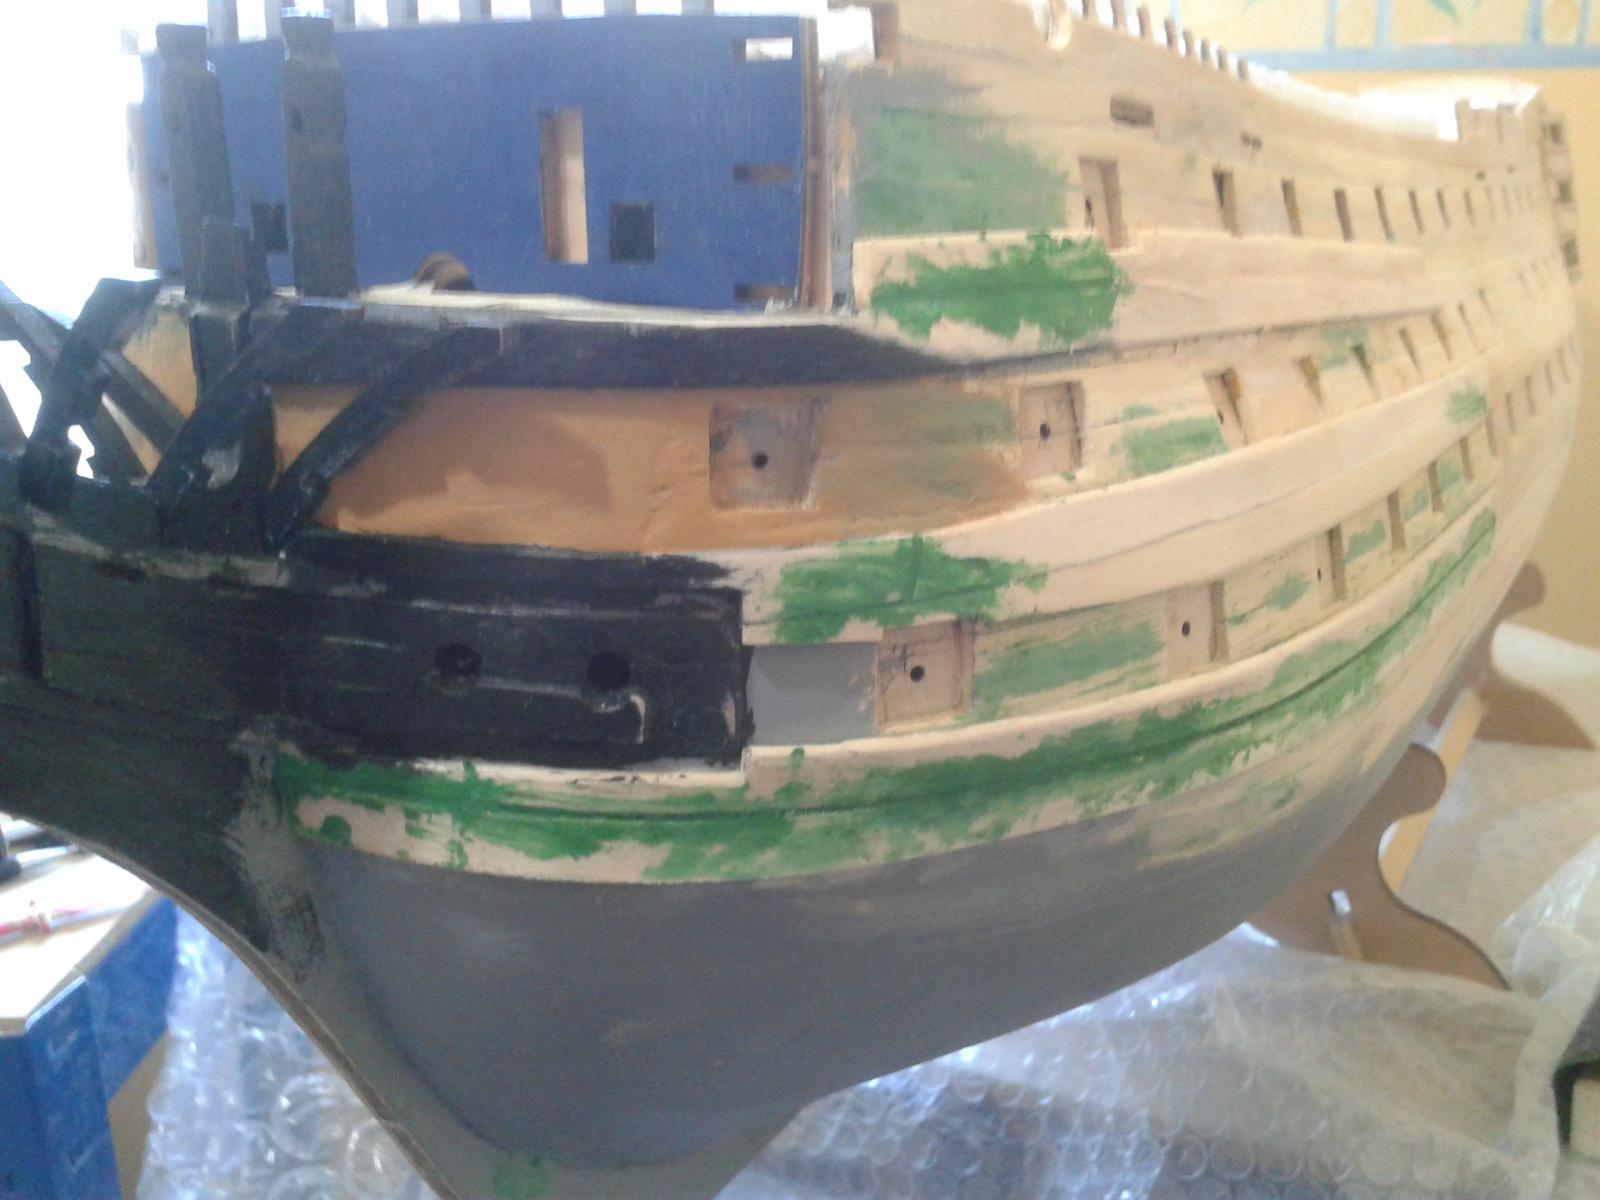
Work in progress on the wales, which are not 100% historically accurate, but hey, I'm the naval architect on this build. Also fitted some bits to the prow just because I could.

- CaptainSteve, clearway and Cabbie
-
3
-
Boyd,
Warrior aside, I was thinking of doing a scratch build of of one of these: http://www.cocatrez.net/Water/FerrisShips/FerrisShips.html of which some schematics are available. Between us ( and anyone else who's interested) we should be able to come up with a credible plan.
Thoughts?
Philip


HMS Warrior 1860 by Philg88 - Billing Boats - 1:100 - First British Ironclad with scratch built side heads per prototype
in - Kit build logs for subjects built from 1851 - 1900
Posted
I'm sure people who used to boil up horses to make glue said the same thing when CA came along