HOLIDAY DONATION DRIVE - SUPPORT MSW - DO YOUR PART TO KEEP THIS GREAT FORUM GOING! (Only 13 donations so far - C'mon guys!)
×


Jparsley
-
Posts
597 -
Joined
-
Last visited
Content Type
Profiles
Forums
Gallery
Events
Everything posted by Jparsley
-
I'm finding that these little side projects are as fun if not more fun than the ship construction Really lets your imagination go Plus it helps to see what everyone else has done
- 60 replies
-
- 6
-

-
- king of the mississippi
- artesania latina
- (and 1 more)
-
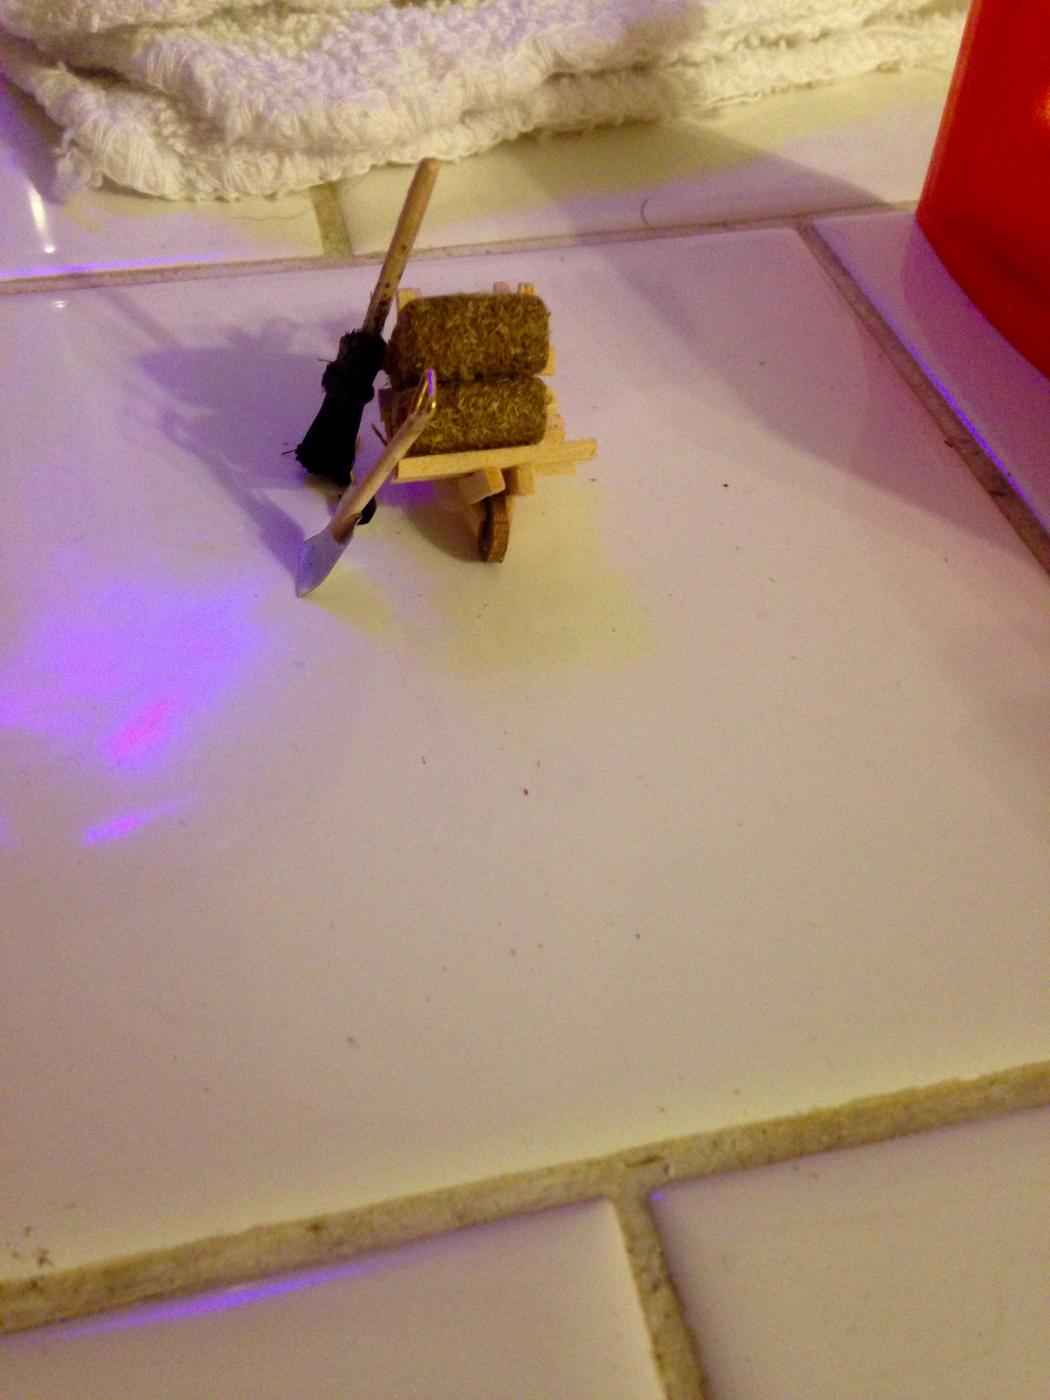
The bales I found at hobby lobby I gave to confess
- 60 replies
-
- 4
-
-
- king of the mississippi
- artesania latina
- (and 1 more)
-
Trying to get some different thinks to spice up a plain boat
- 60 replies
-
- 3
-
-
- king of the mississippi
- artesania latina
- (and 1 more)
-
Ok guys Did a little piddling around tonight figured I would try my hand at building things what do y'all think


- 60 replies
-
- 10
-
-
- king of the mississippi
- artesania latina
- (and 1 more)
-
Card stock will work but you have to make a template for each line Tape will allow you to adjust and quickly be removed
- 701 replies
-
- 4
-
-
- phantom
- model shipways
- (and 1 more)
-
Thank you for that advice It is something I have been concerned about Please feel free to drop in and keep me straight on this endeavor
- 60 replies
-
- 3
-
-
- king of the mississippi
- artesania latina
- (and 1 more)
-
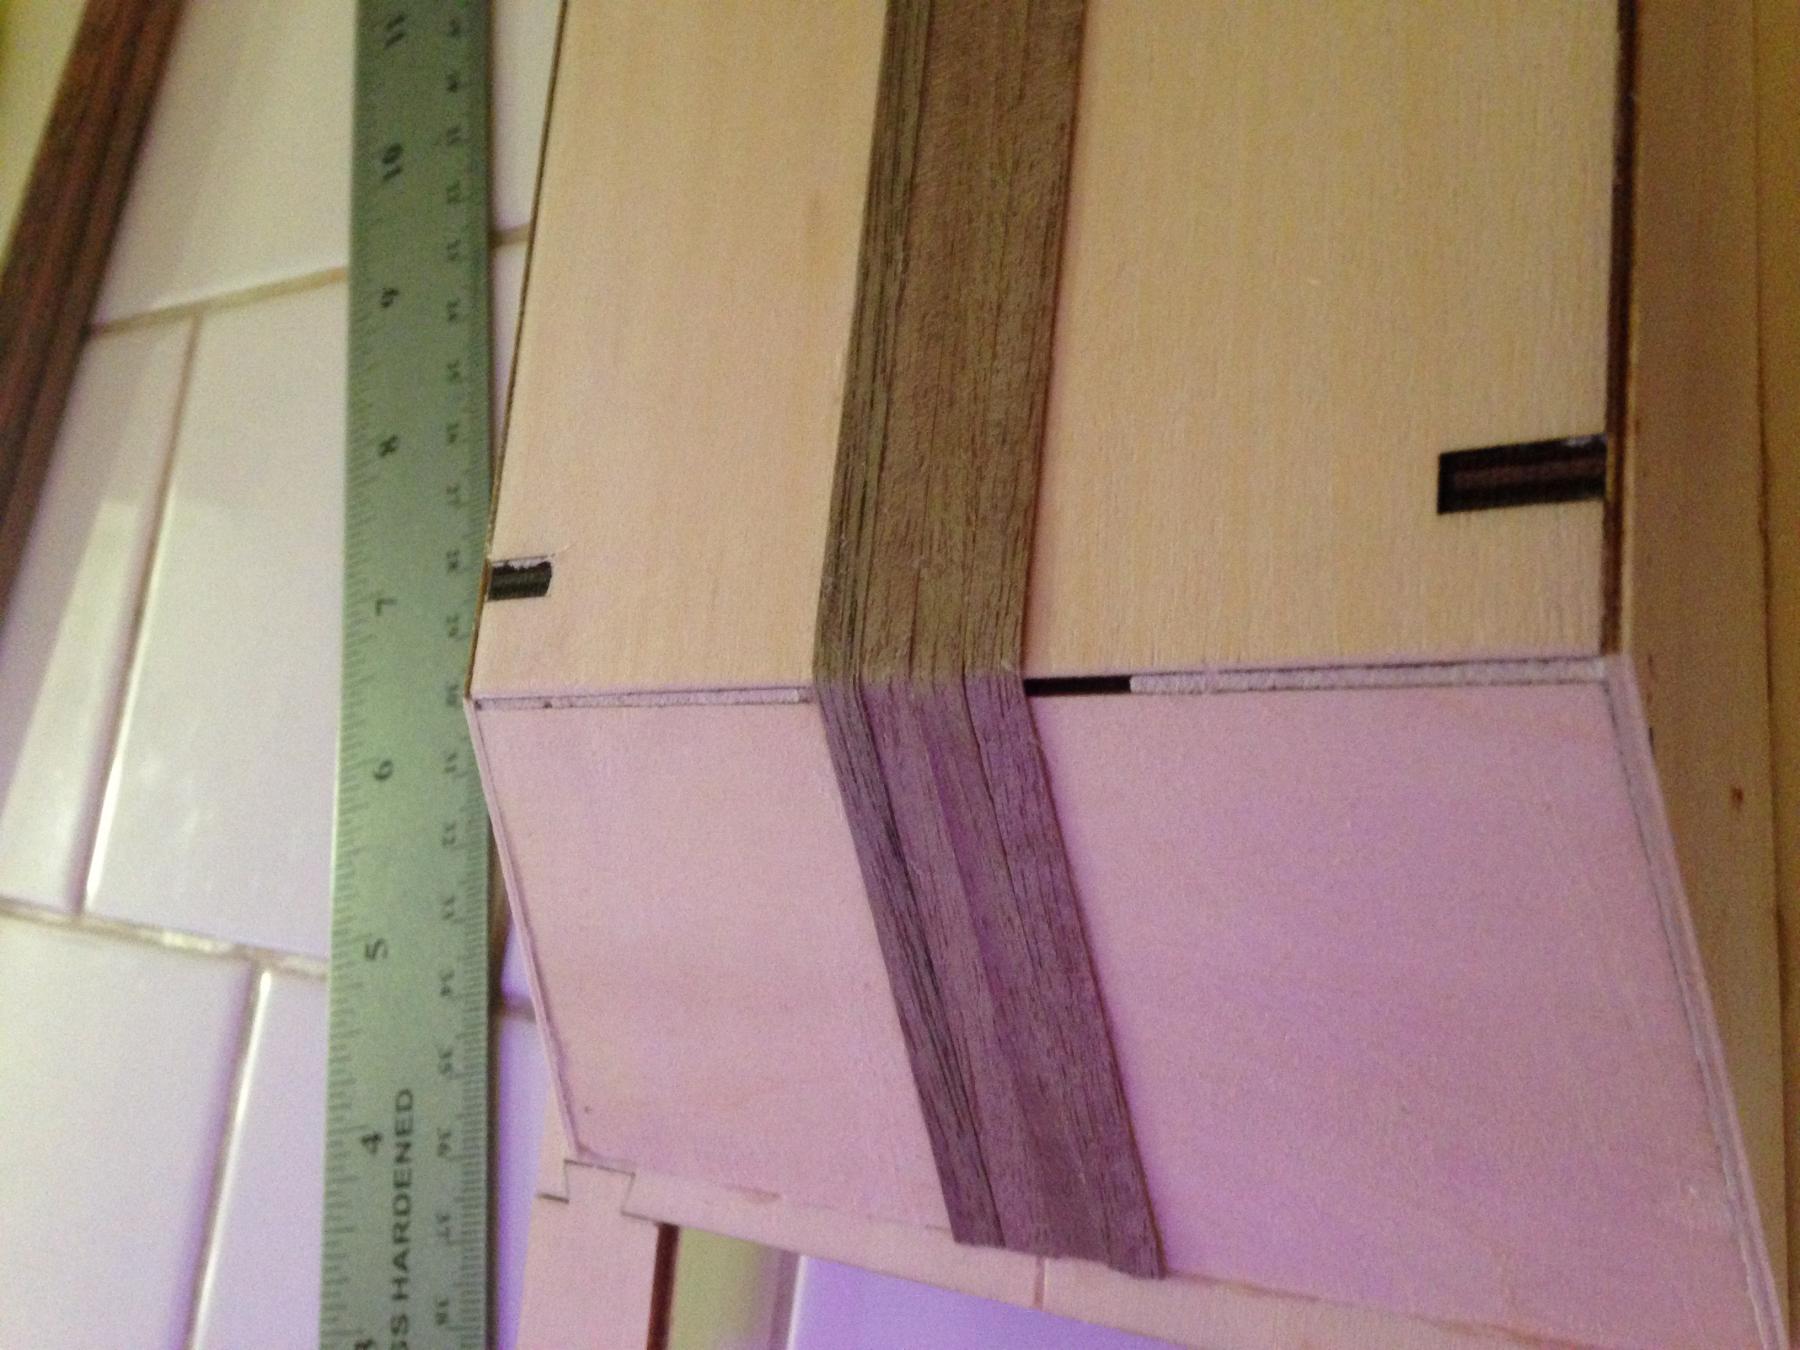
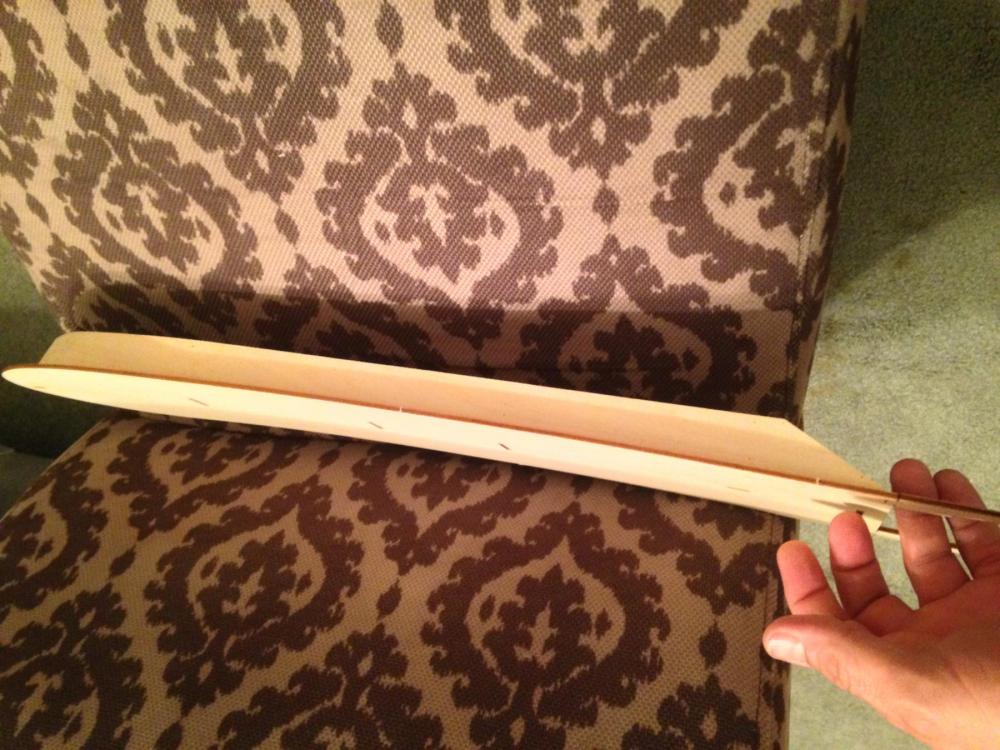
Ok I have a problem with the instructions in that they have you place the planking on the main deck then flip the boat over to do the hull simply because the deck is curved and it gives a weird lay on your work surface You either support the deck on towels or foam or risk breaking off the supports for your paddle wheel I used folded up hand towels Either way Next as you can see I began by soaking a section of the veneer at one end so that it bends instead of snapping when bending it at the stern With a light pressure you can glue the stern down and let it dry for a few minutes then lay it over and it forms a nice line Make sure you start with a strip down the absolute middle so that planking is even on both sides as you progress outwards Do alternating on each side Here she is in the early stage of planking Good luck right
- 60 replies
-
- 8
-
-
- king of the mississippi
- artesania latina
- (and 1 more)
-
Tamaya tape you can get it at hobby lobby in the scrap booking area thin and doesn't leave a residue plus it doesn't allow bleeding when painting
- 701 replies
-
- 4
-
-
- phantom
- model shipways
- (and 1 more)
-
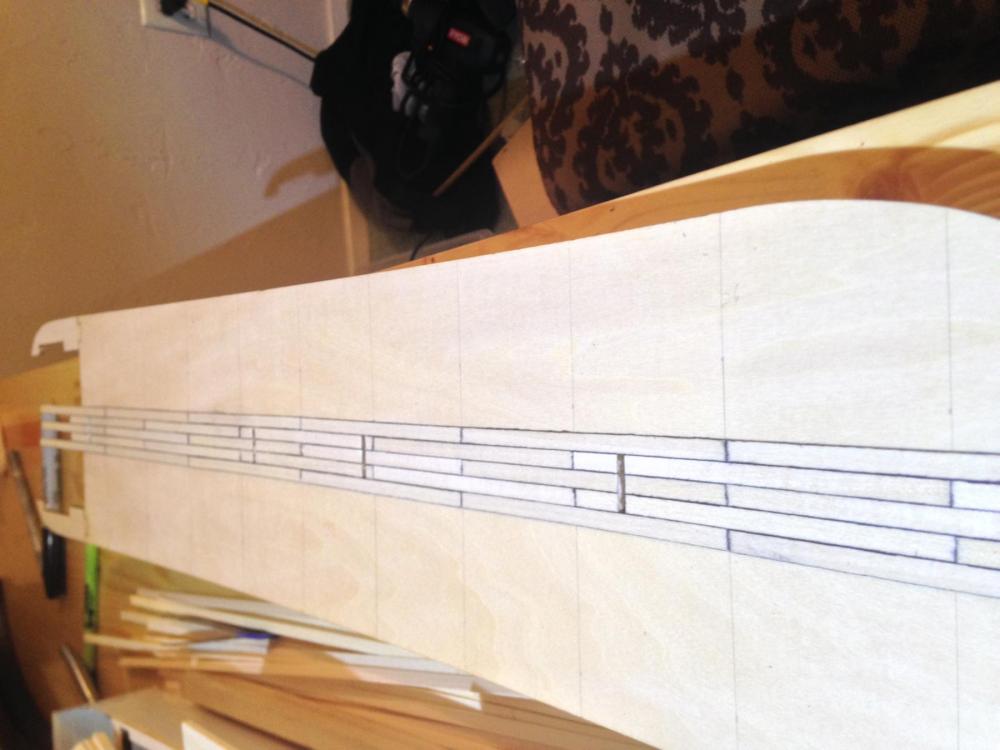
Ok roughly done the planking on the main deck is completed now for trimming it sanding nail marks and staining That's the easy part lol

- 60 replies
-
- 8
-
-
- king of the mississippi
- artesania latina
- (and 1 more)
-
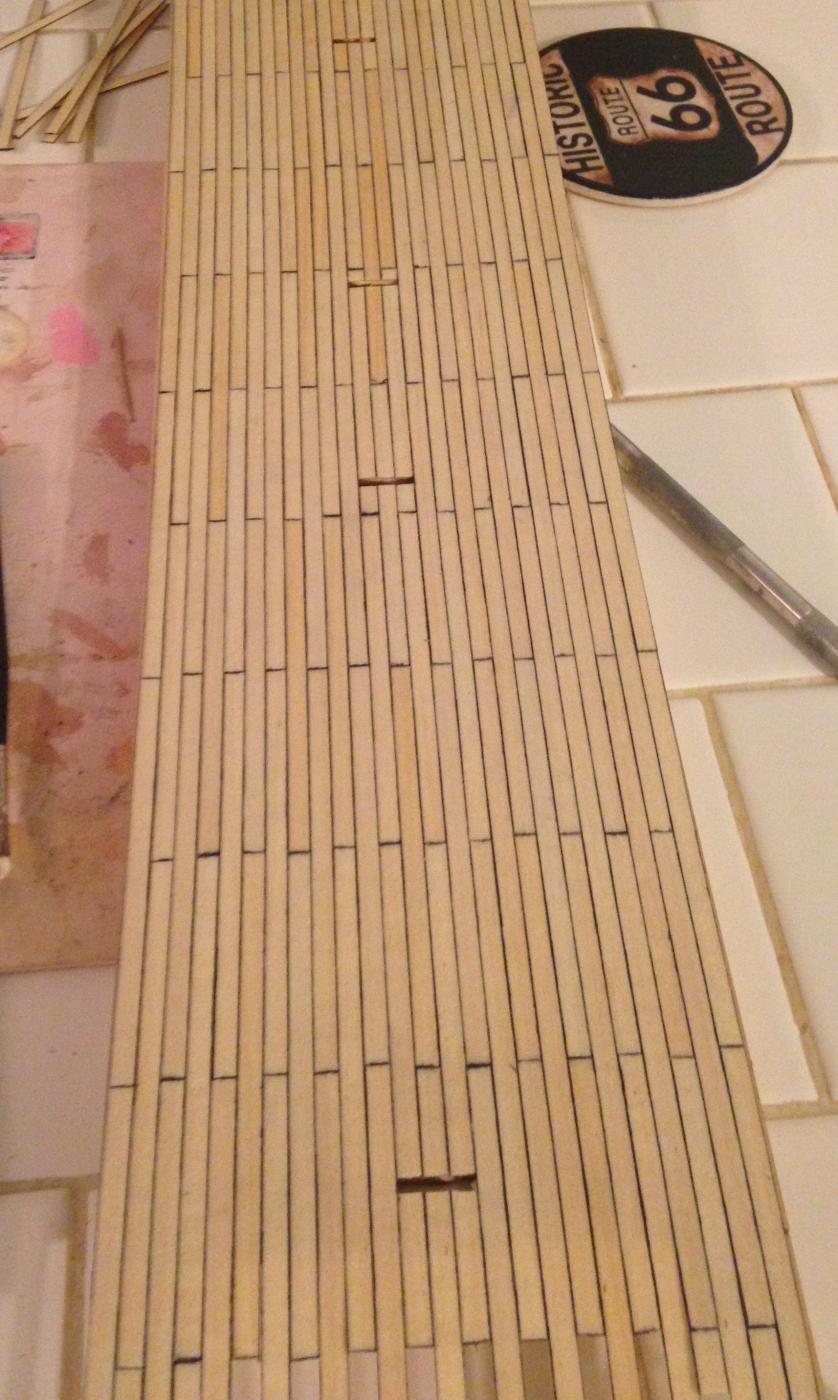
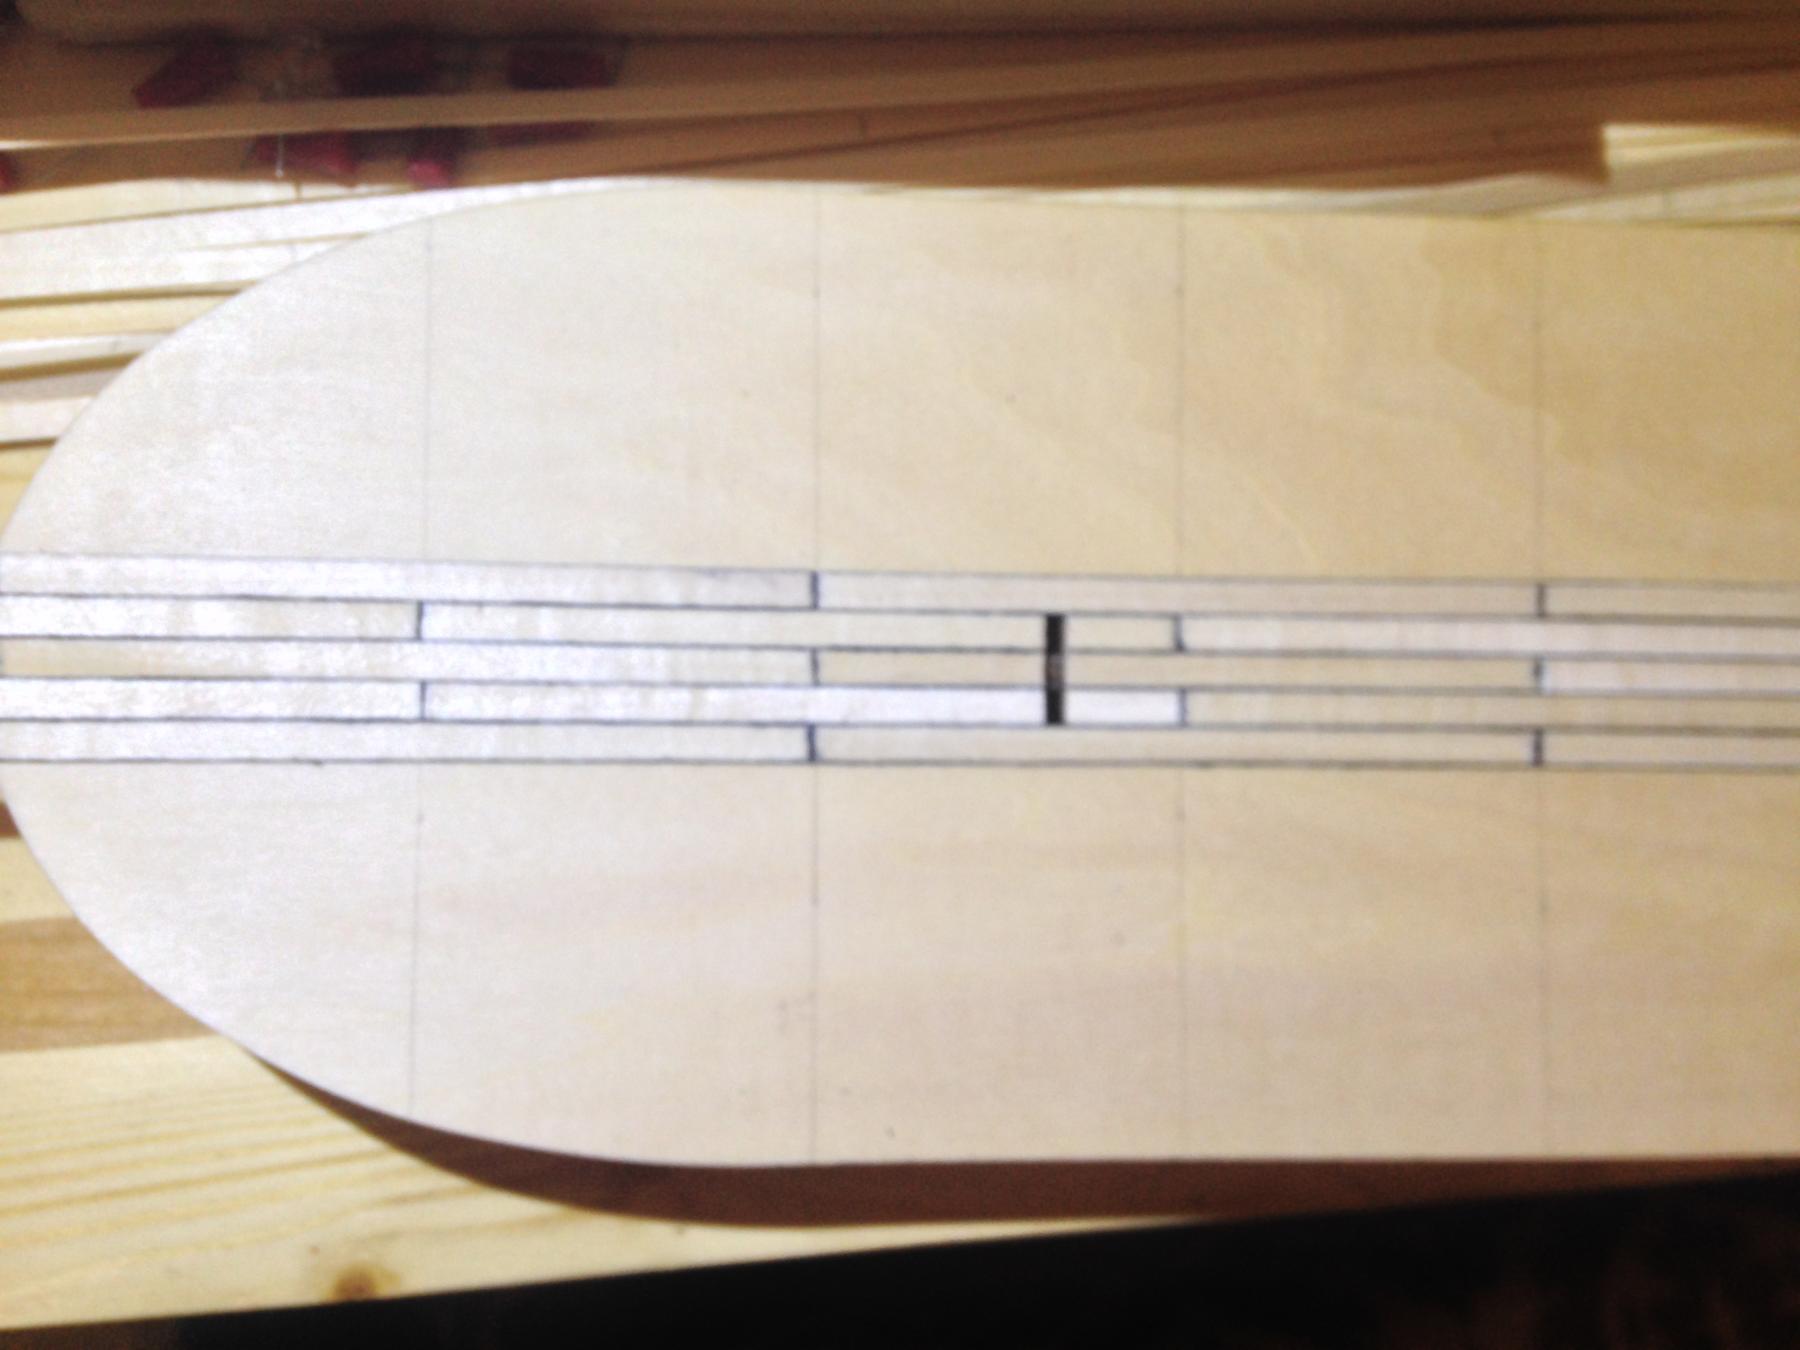
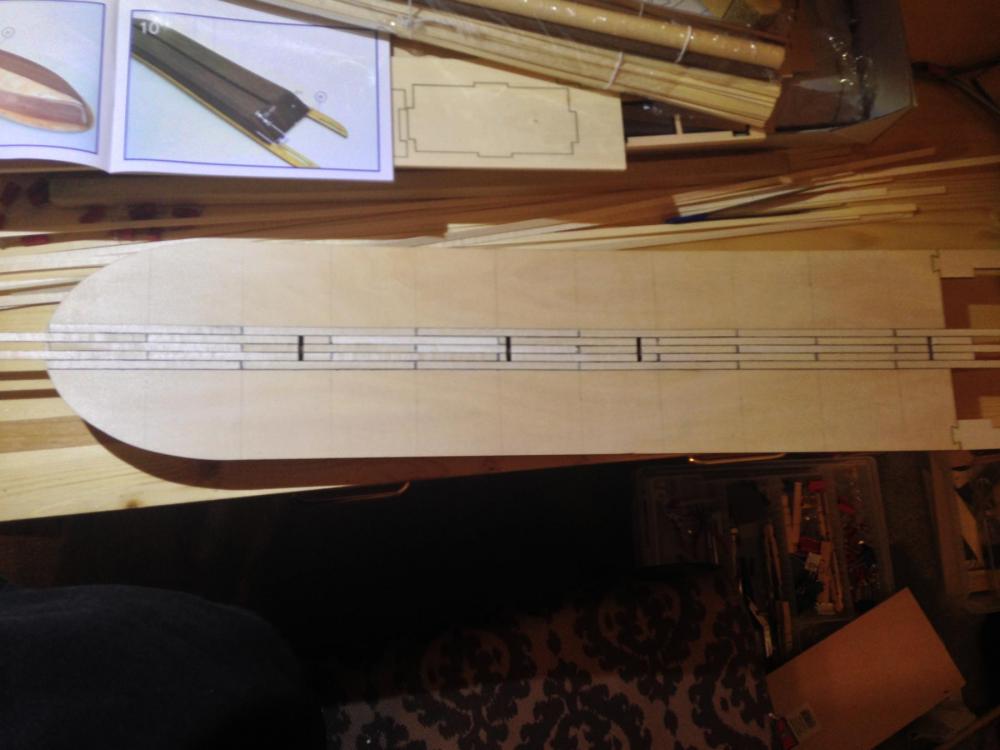
Welcome back my friends Today I started on the main or first deck First thing I did was to coat the actual sides of the 5 mm strips of wood with a sharpie or permanent marker This simulates the tar sealant to make the decks water tight I measured each strip into 10cm sections Next I measured out on the deck 5cm sections along the length of the deck laying down the central strip I alternated the slats so they were offset by 5 cm here is how she is looking

- 60 replies
-
- 9
-
-
- king of the mississippi
- artesania latina
- (and 1 more)
-
I haven't been brave enough to attempt a solid hull Good luck and I did go to your build its looking great have fun with her
- 60 replies
-
- 4
-
-
- king of the mississippi
- artesania latina
- (and 1 more)
-
Elijah it's looking great Hope your enjoying your build
- 701 replies
-
- 4
-
-
- phantom
- model shipways
- (and 1 more)
-
Thanks Elijah Hope you enjoy this build I'll do my best to document my progress especially the things I find challenging What all have you built
- 60 replies
-
- 2
-
-
- king of the mississippi
- artesania latina
- (and 1 more)
-
I still don't see how your doing this It's a work of art Far beyond my comprehension
-
Still waiting we've contacted Amazon several times with no news Thanks for the tips
-
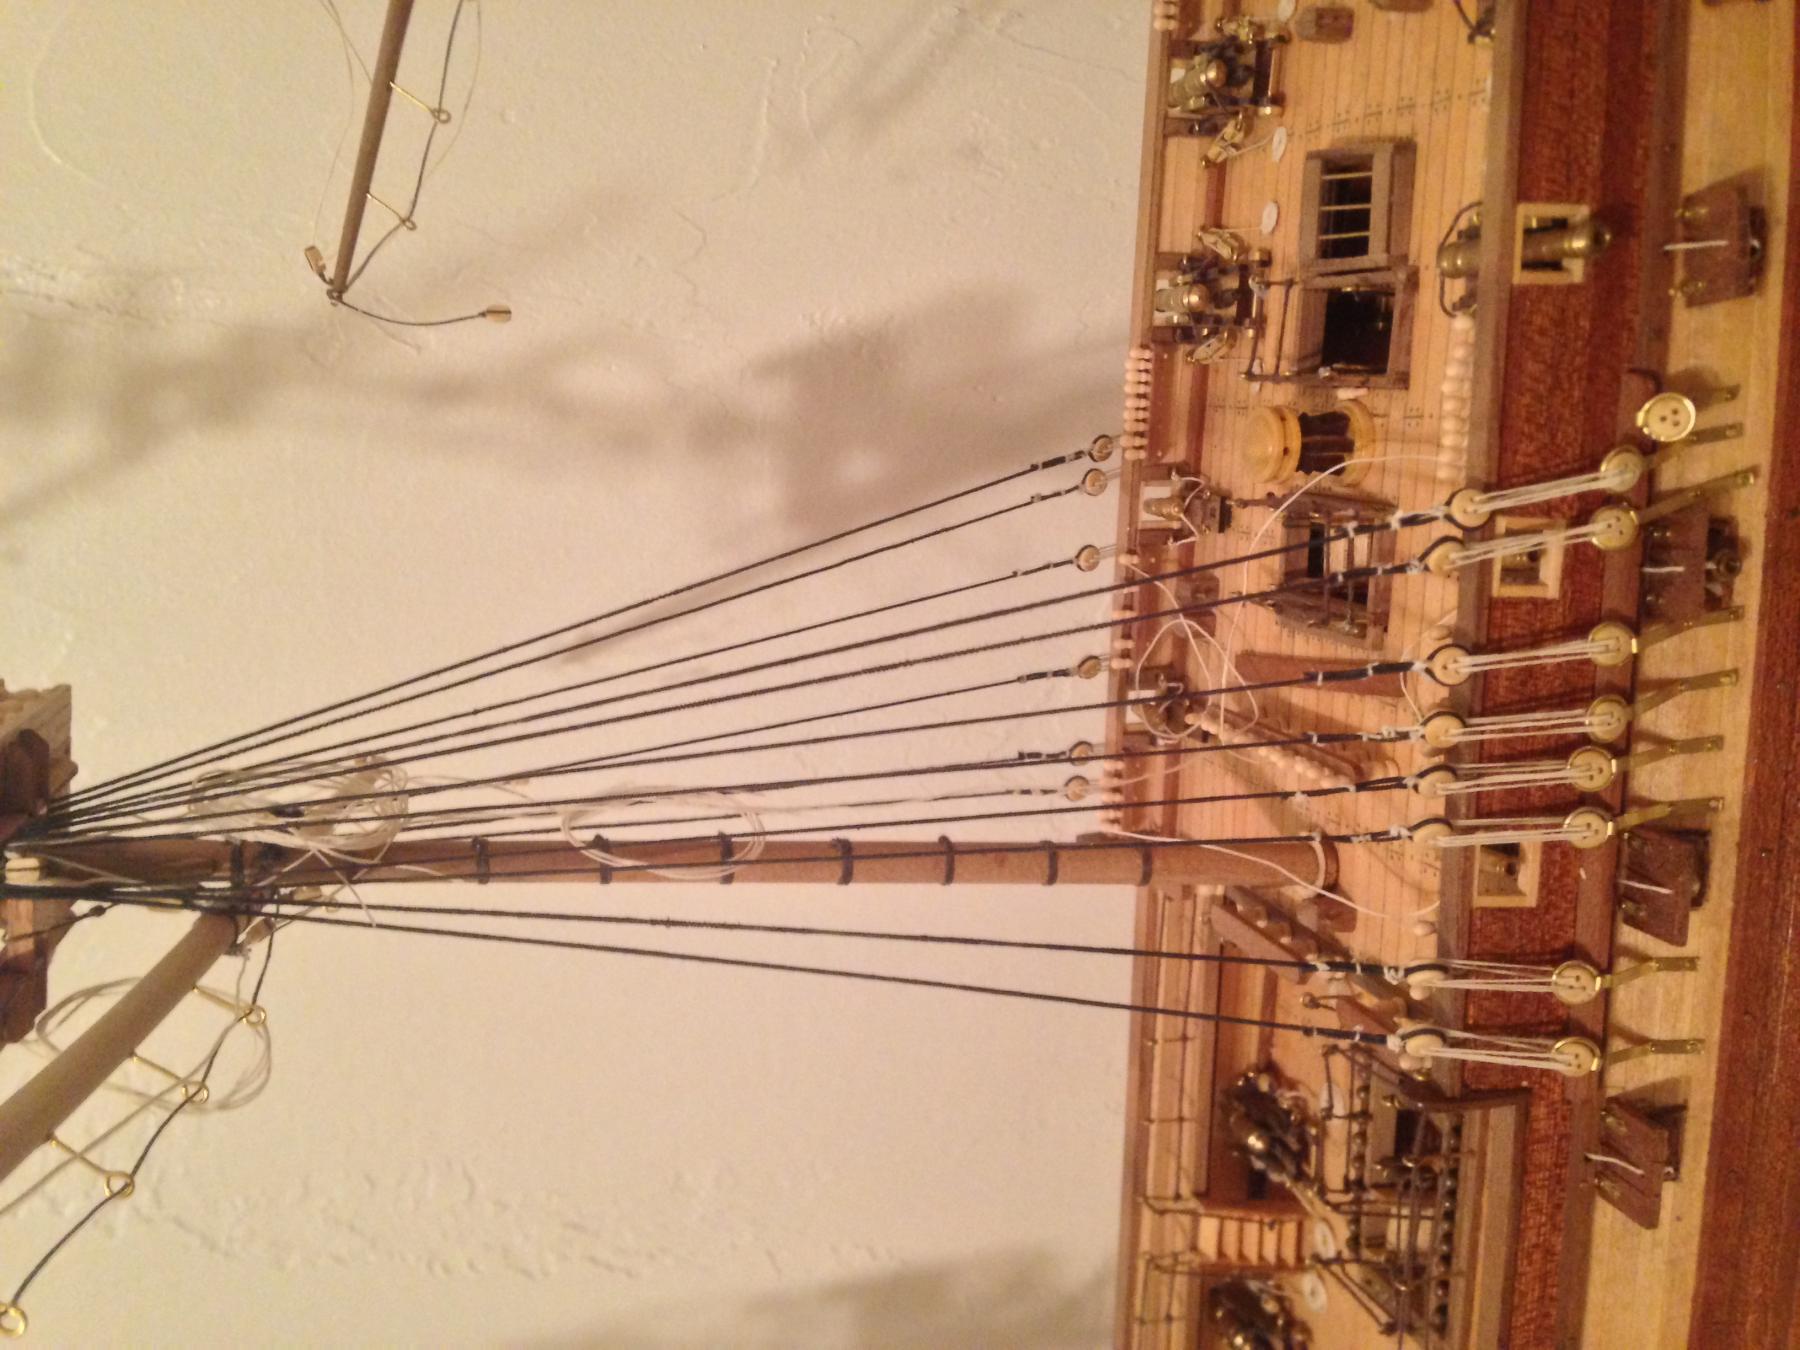
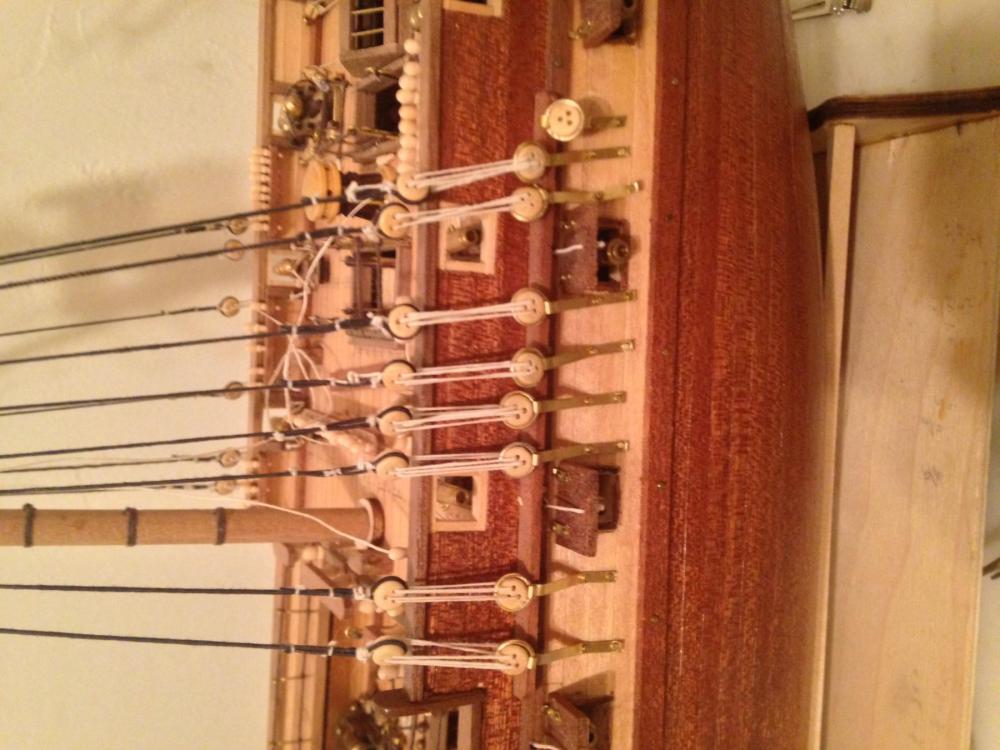
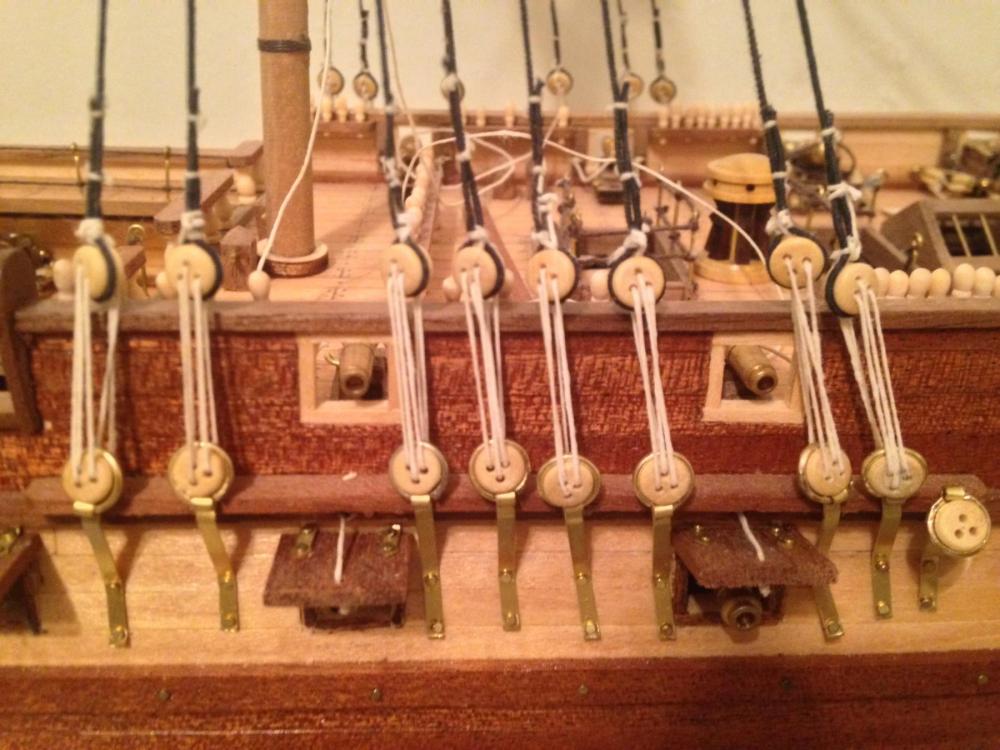
Thank you mark It is good to be working on her Been waiting to recieve my period ship building book that I ordered in March I don't know enough about rigging to do a great job I'm winging it lol Should I start the rat lines or finish the lower shroud lines on the other masts first
-
Welcome After taking a week off for birthday and family in visiting I have progressed a little on this fine example of true Americana After placing the bulkheads and gluing them in place the bottom of the boat fit fairly nicely on Then I soaked the side panels of the hull in water for about 30 minutes and then pinned them into place I was actually surprised that there was very little sanding to be done After about 24 hours I was able to remove the pins and they held their shape making the glueing process very easy After letting the sides dry for a few hours I did a little sanding and attacked the first deck I couldn't find my claps since the move so I weighed down the middle with some heavy paint cans Seemed to work So here she sits at the moment

- 60 replies
-
- 7
-
-
- king of the mississippi
- artesania latina
- (and 1 more)
-
Sorry guys after a five month hiatus I am finally getting back to the old girl I'm at the point where all that is left is the shrouds and the rigging So I started the pains taking process of making the shroud line on my machine Slow since it isn't motorized Any ways I have the shroud lines ran on the lower middle mast My question to you all is should I do the rat lines or wait till I have all the shroud lines in place on the other masts Once again sorry for the long wait

-
Hello my friend I hope you and your family are well Been a while since I've seen anything from you Please let us know how you are
-
She's coming along nicely I build this same kit for my daughter It's easy and quick but turns out very nice Good job and welcome back to the tinkering workshop
- 34 replies
-
- 1
-
-
- chesapeake bay flattie
- Midwest Products
- (and 1 more)
-
Thank you for the posts guys you are more than welcome to follow comment or give advice No I do not plan to make her a floating model because she was a gift In the future I may build another one to use as a remote controlled one but this one is special Thank you again for your interest
- 60 replies
-
- 3
-
-
- king of the mississippi
- artesania latina
- (and 1 more)
-
Thank you for the responses Yes mark I've been away from here for several months Put the constellation to the side till I get the rigging book in I ordered it in March and it hasn't arrived I've looked for it on other sites and it seems to be very hard to obtain All that's left on it is the rigging and I want to get it right Now on to the Mississippi I don't believe it was a real boat so I do not have any pictures to make it authentic but the wife likes the natural wood color so I'll stick to those
- 60 replies
-
- 3
-
-
- king of the mississippi
- artesania latina
- (and 1 more)
-
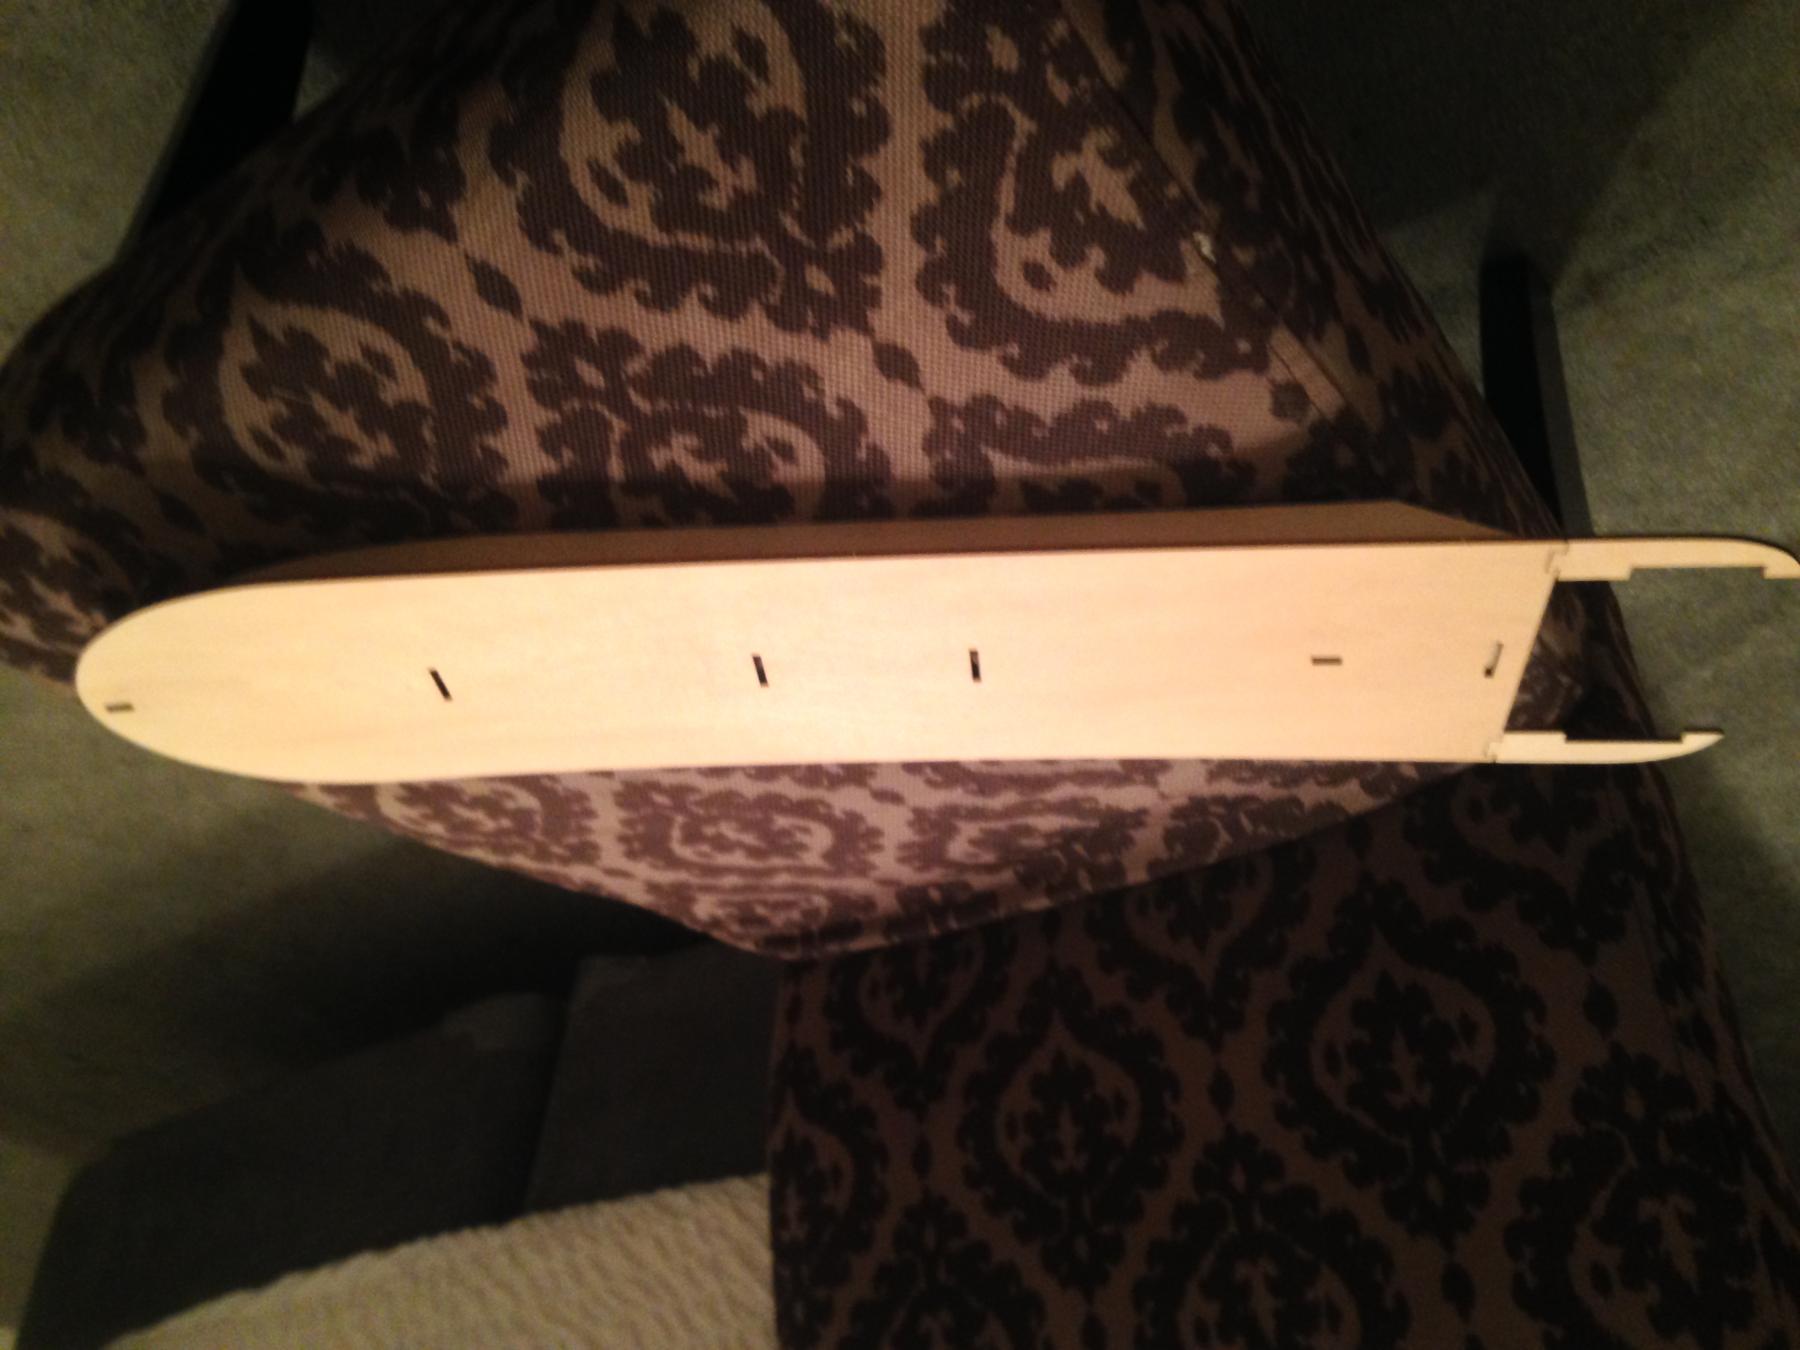
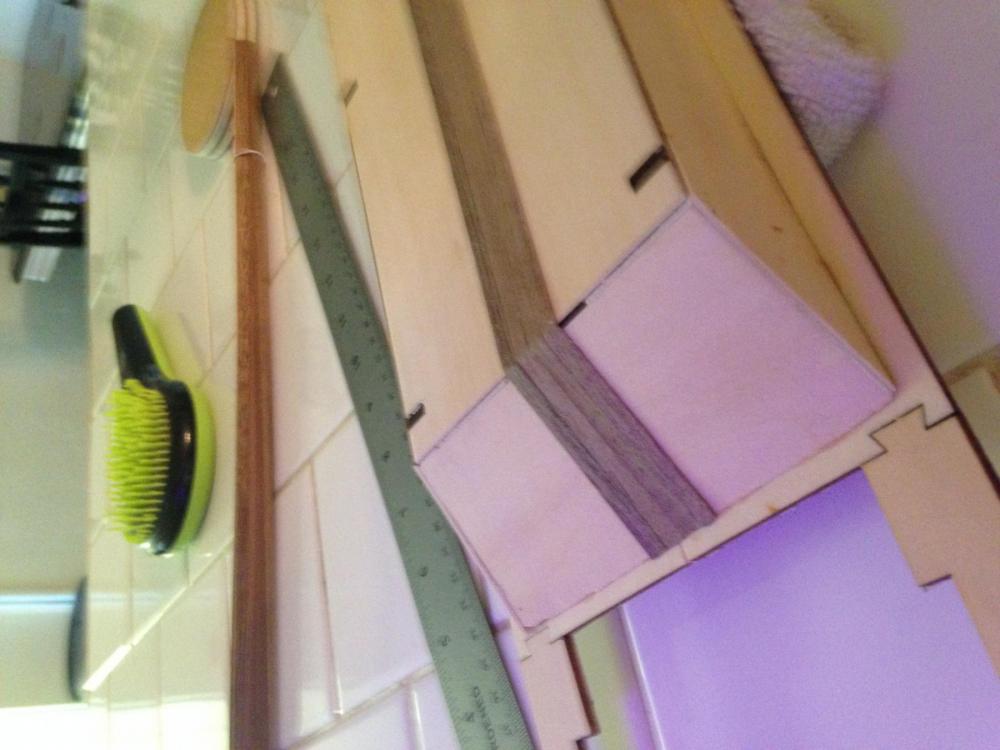
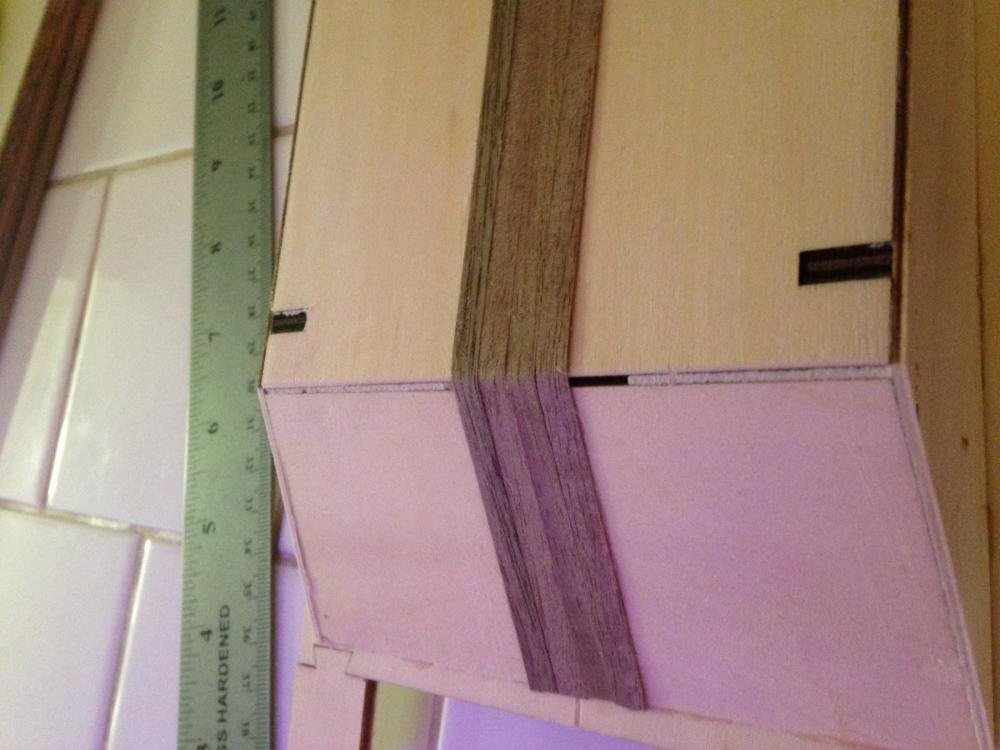
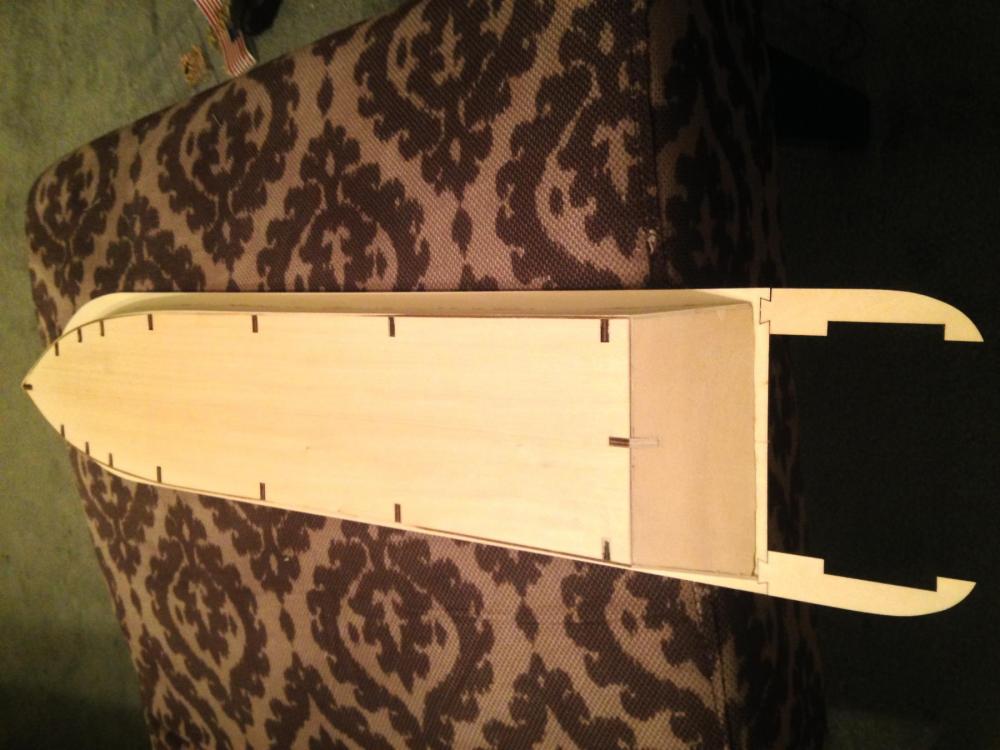
As you can see she is a flat bottomed girl The kit comes with a precut bottom and false keel The peices are straight and with very little adjustment I have been able to tightly place the bulk heads I am definitely more impressed with this AL kit over the quality of the constellation So far looking at all the other metal peices and the etched metal features it looks to be a good build without much need for modification I am very seriously thinking of placing lights but alas I'm not an electrician so I might need some serious hand holding If anyone one has knowledge of the parts need please let me know I do hope you all enjoy this build as much as I do
- 60 replies
-
- 5
-
-
- king of the mississippi
- artesania latina
- (and 1 more)