G.L.
-
Posts
1,553 -
Joined
-
Last visited
Content Type
Profiles
Forums
Gallery
Events
Everything posted by G.L.
-
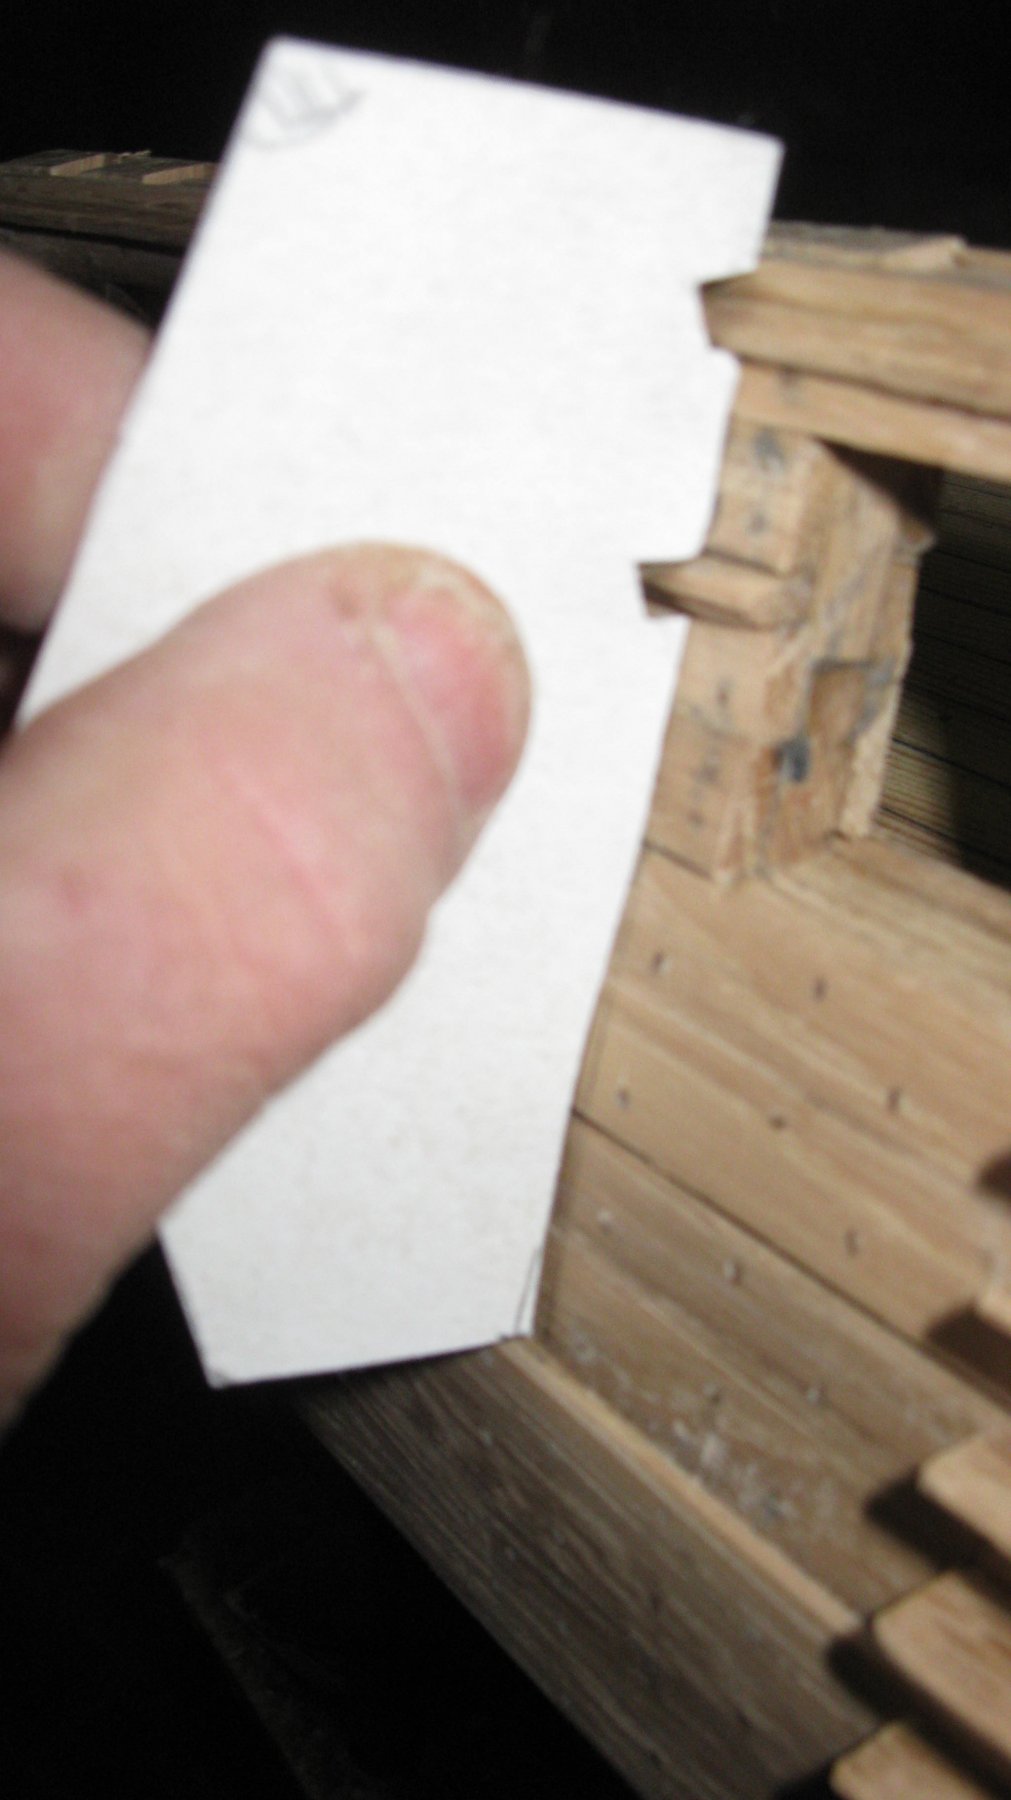
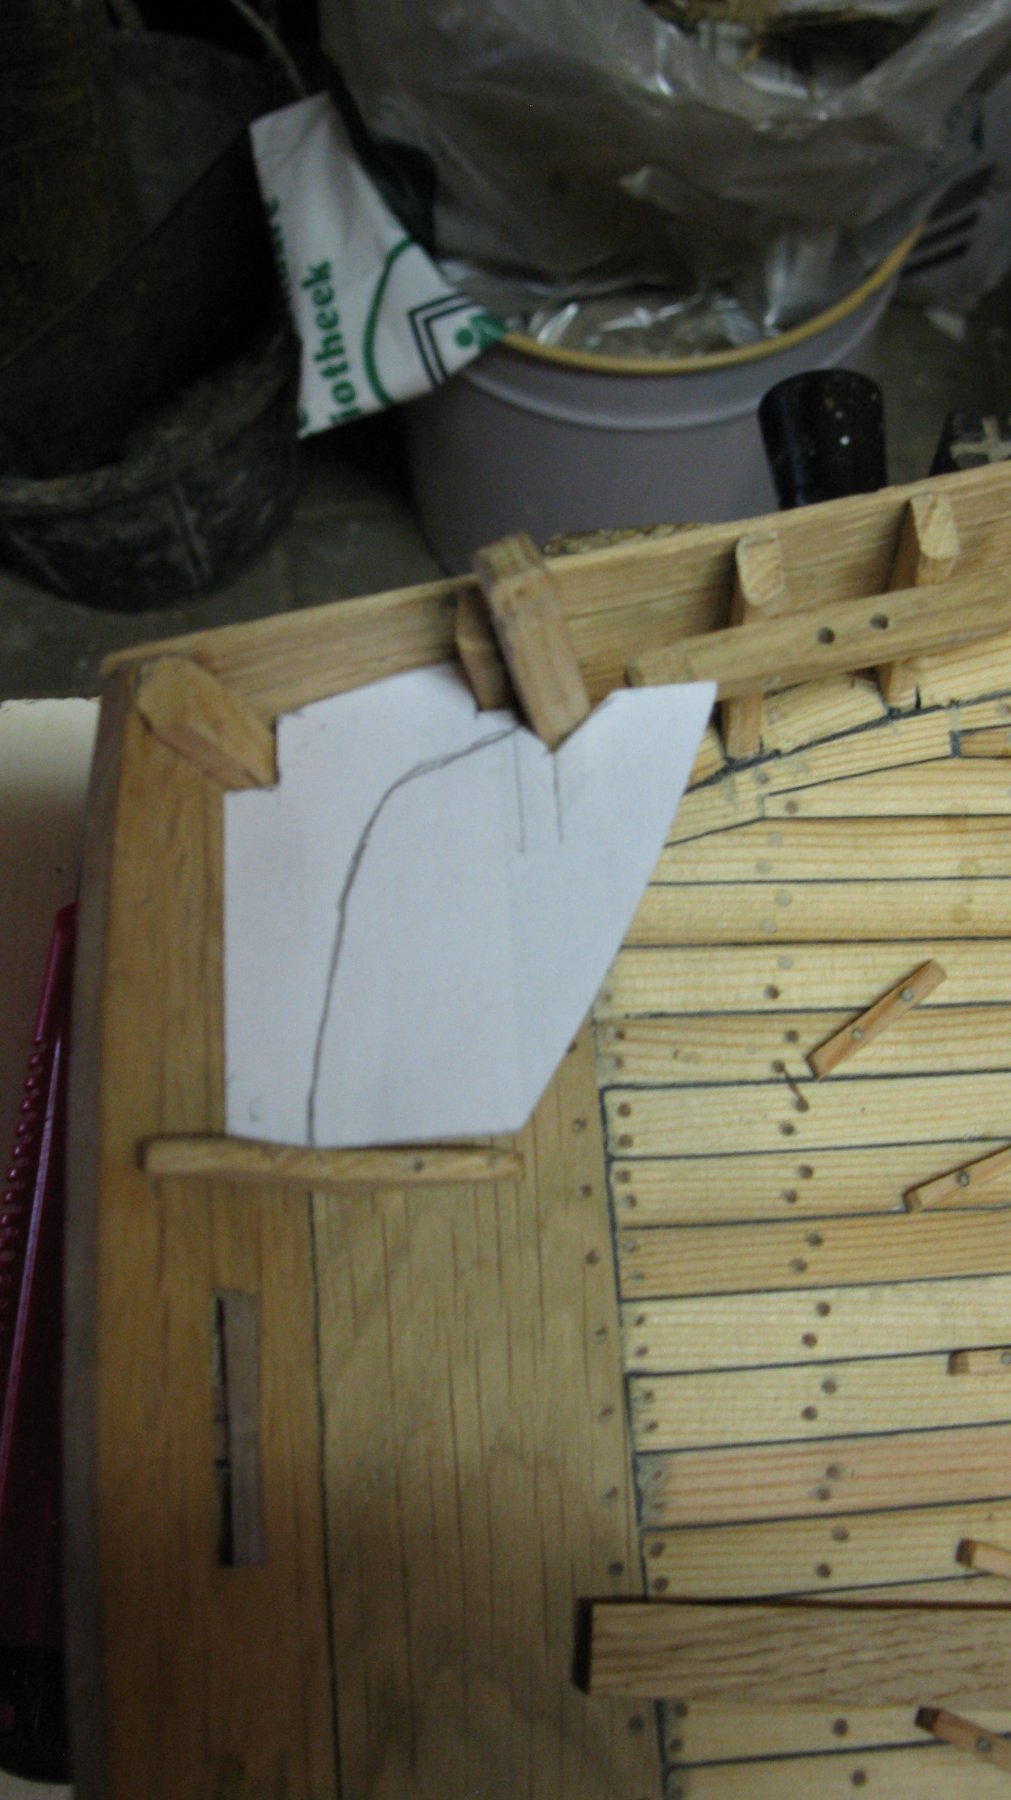
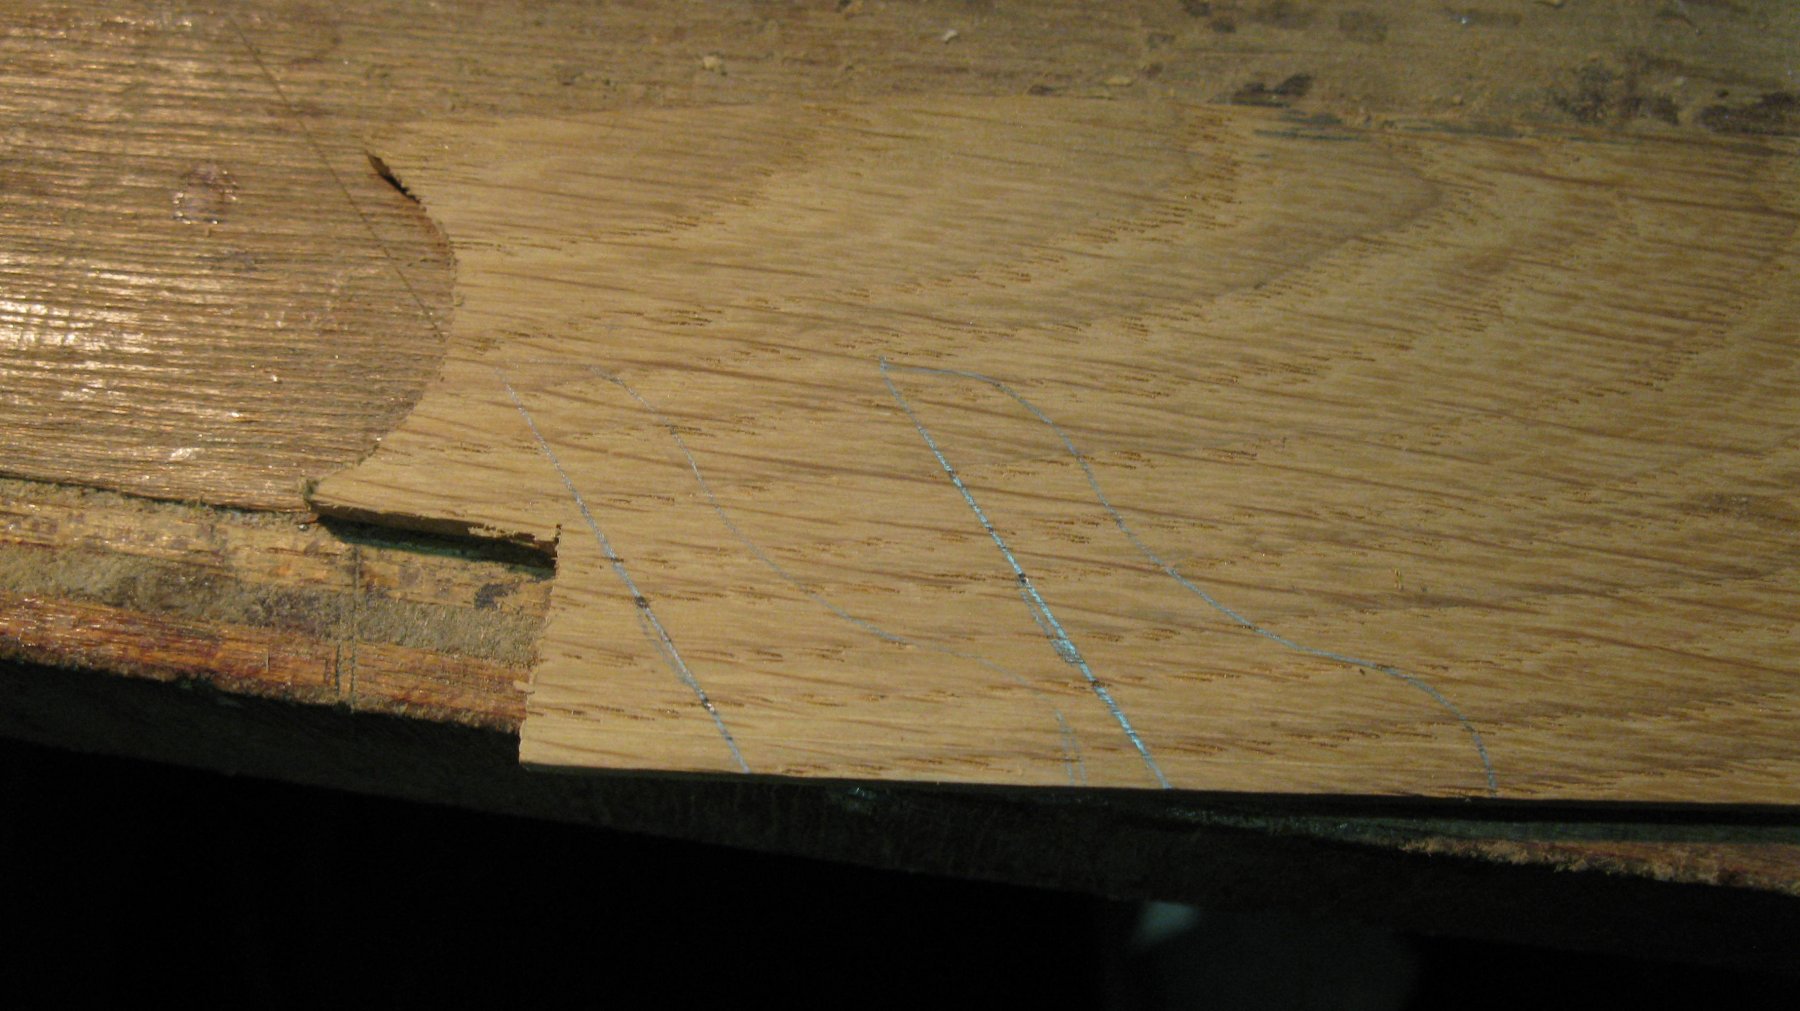
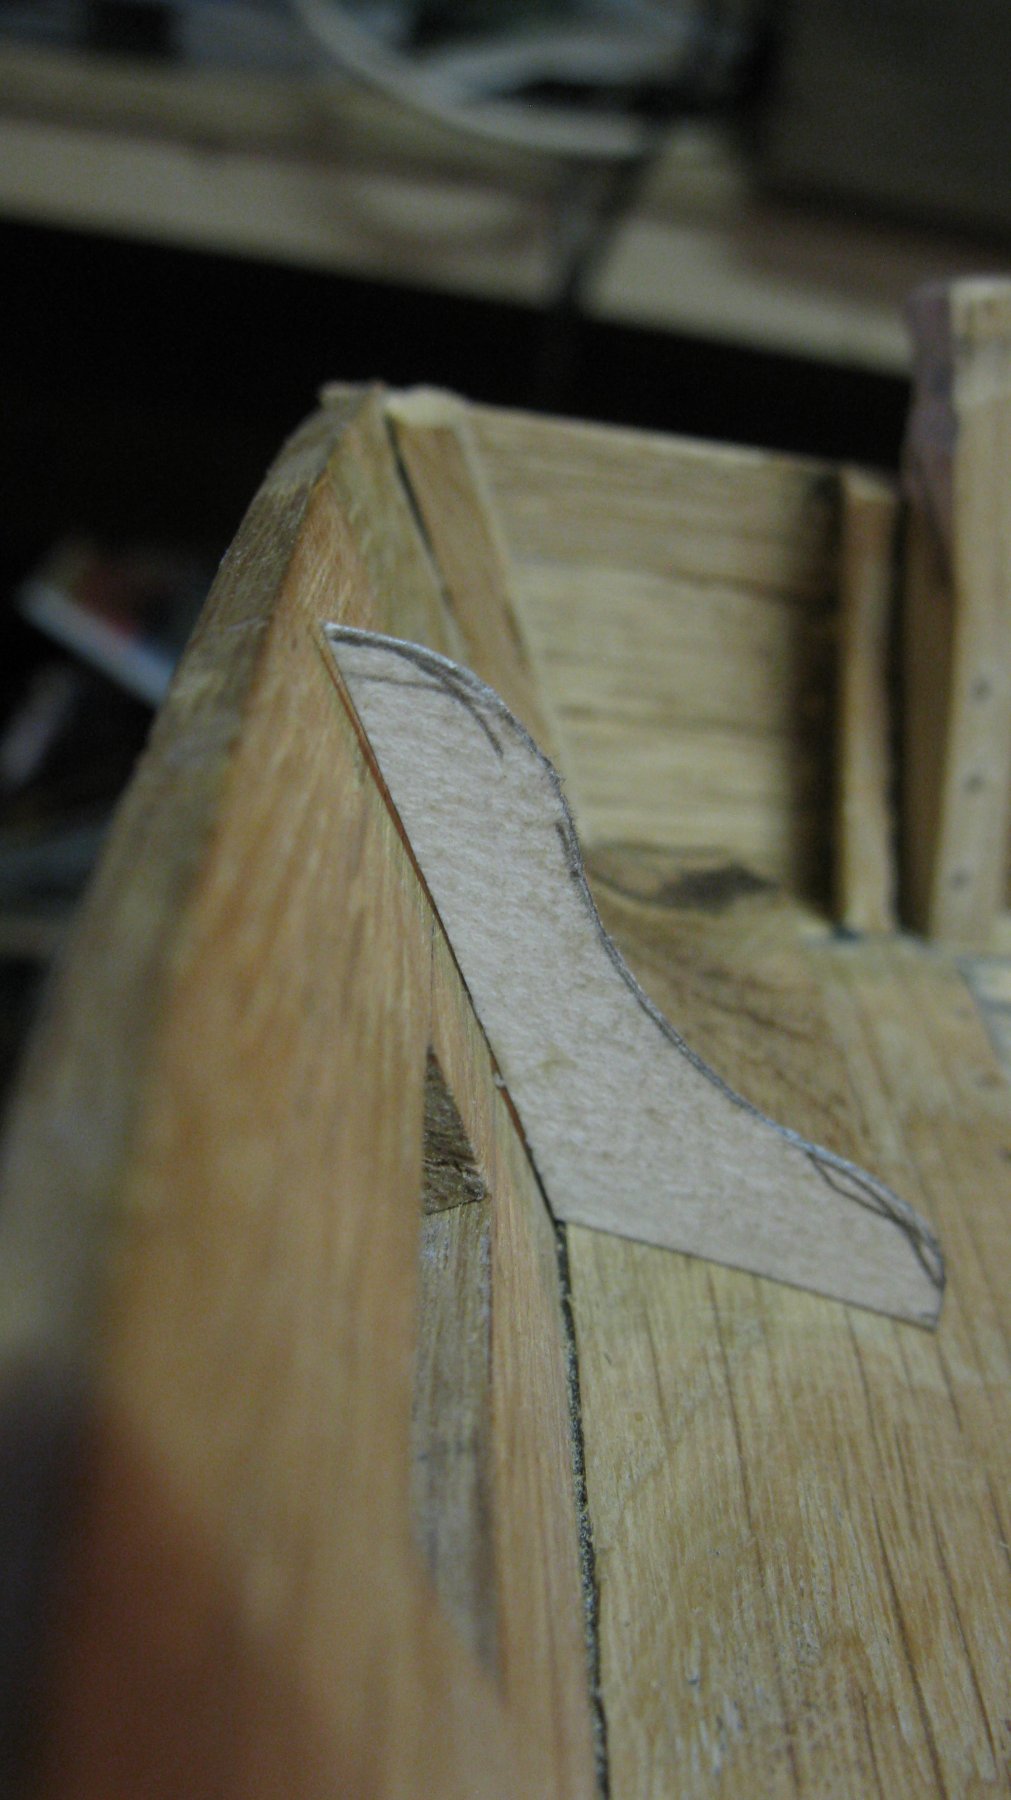
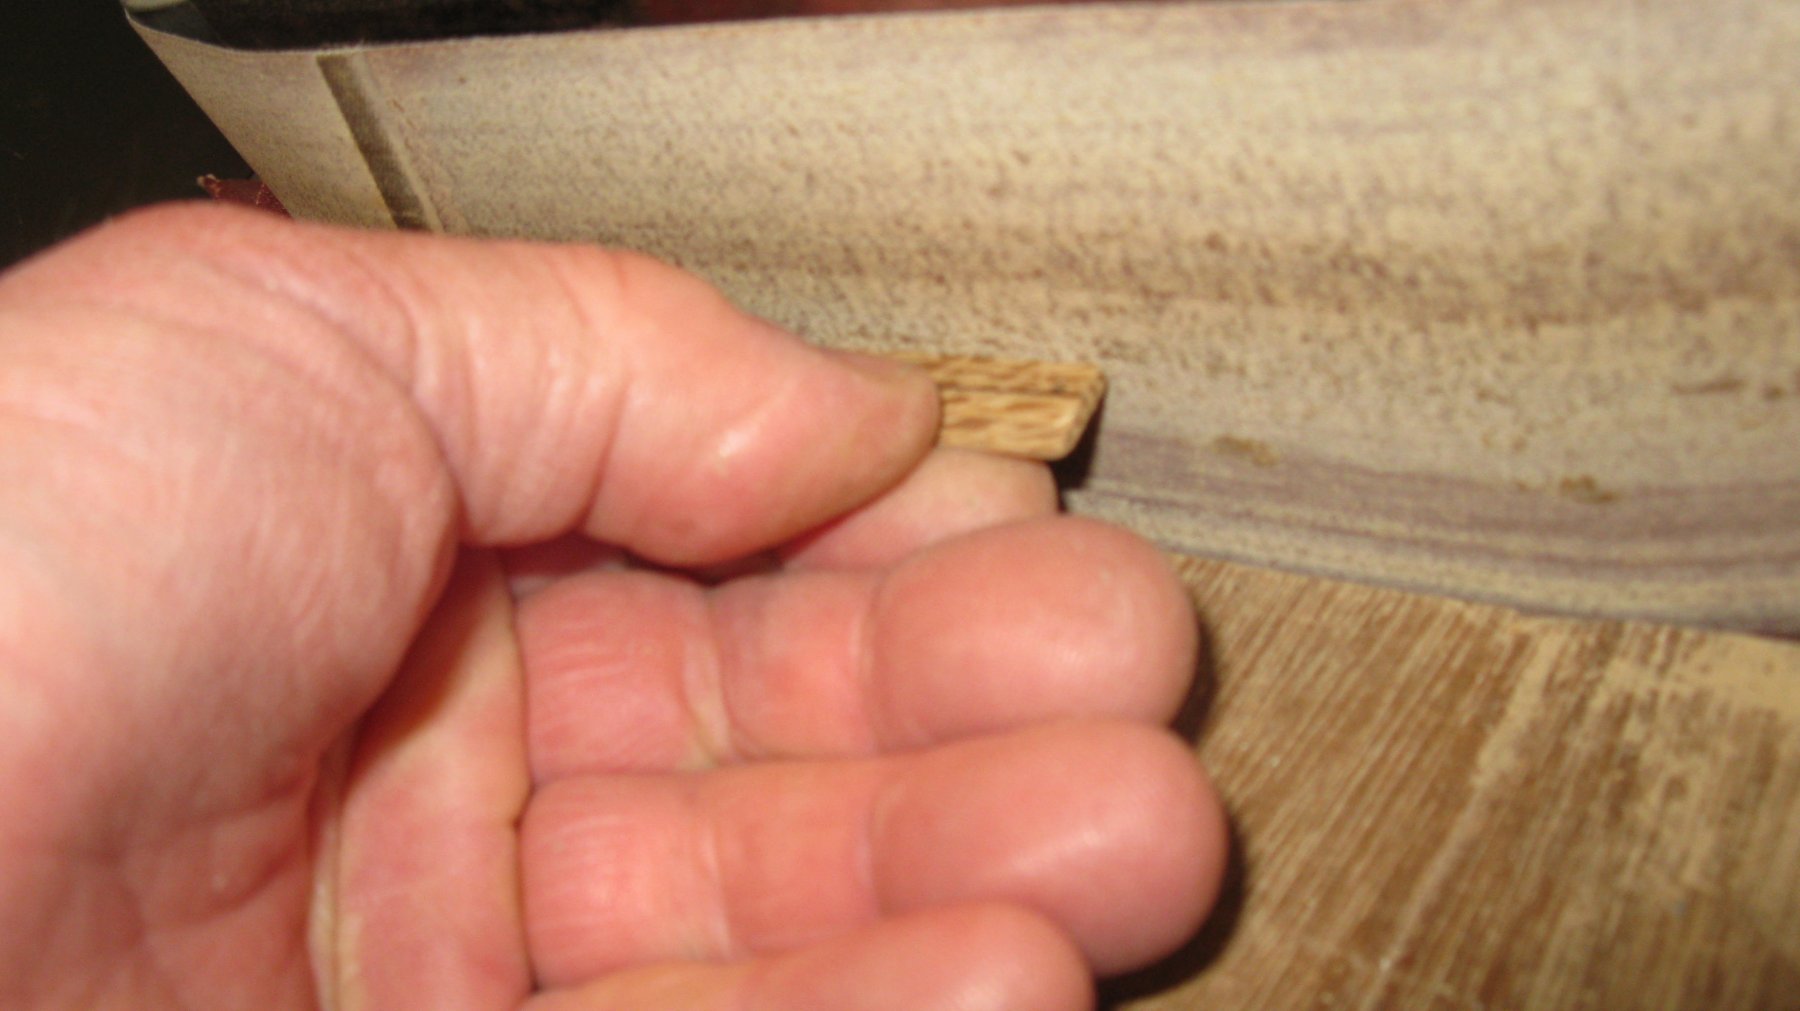
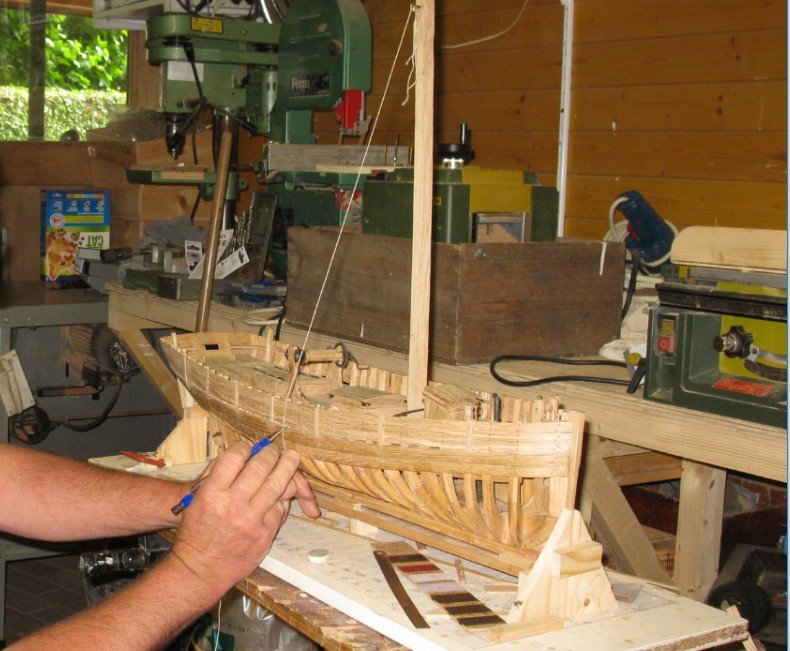
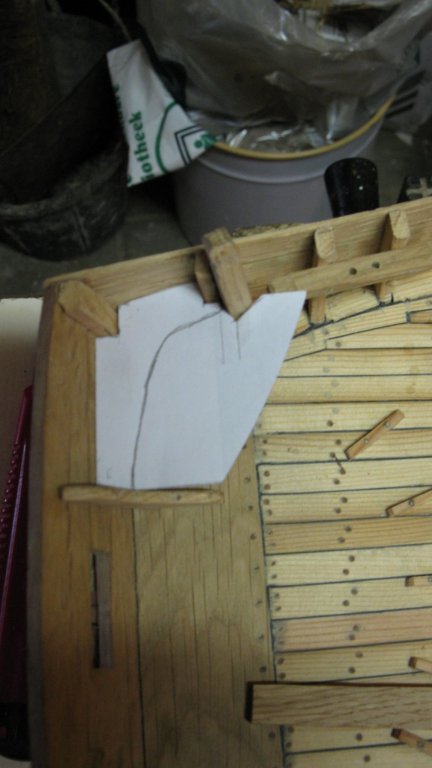
 To have a good fit of the fenders on the hull, I make a paper template.
-
Thank you Derek, Michael and Christian. Your reactions are very stimulating
-
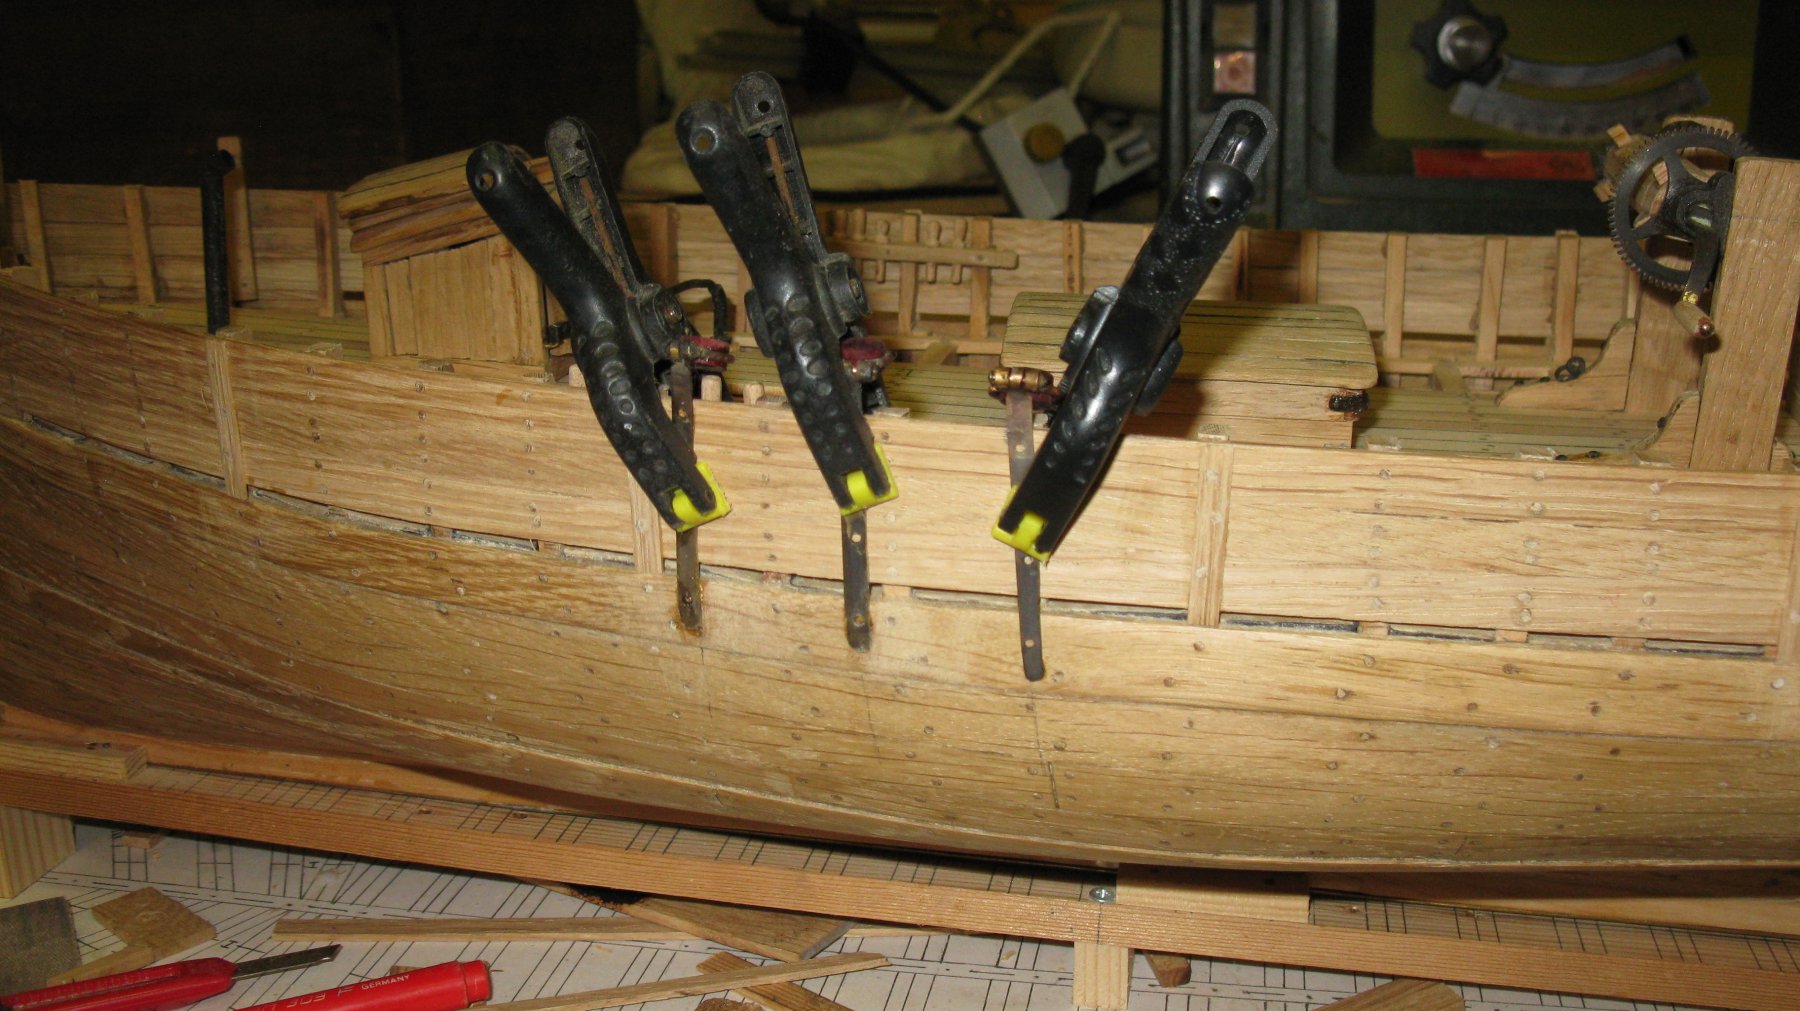
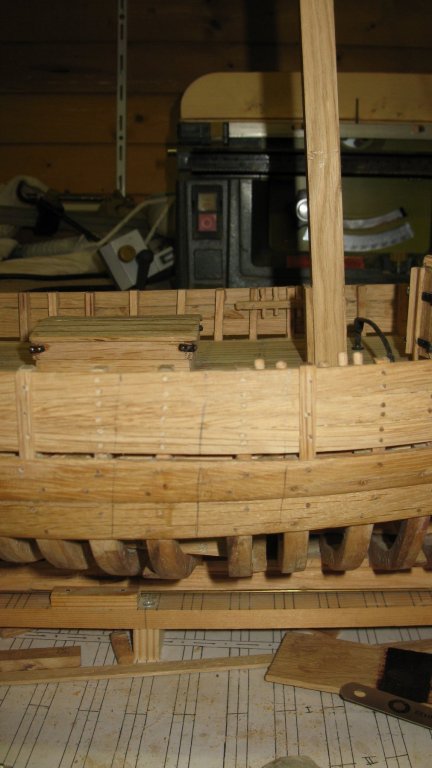
14.30 The chain plates are glued and nailed to the bulwark after they have been blackened.

-
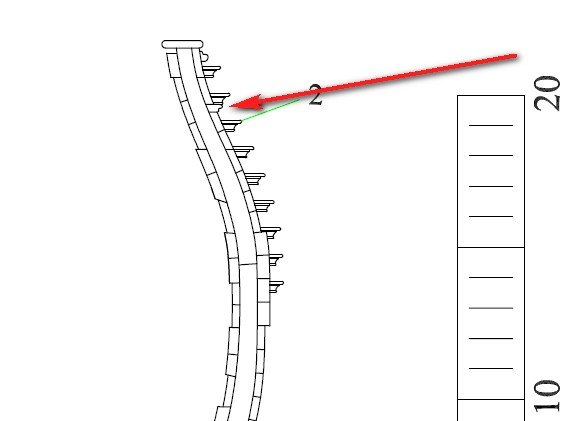
14.29 The chain plates are attached to the bulwark in different angles in the extension of the shrouds. To determine the angle I place a stick in the mast step. With a piece of string at the mast head height it is easy to draw the line of the angle on the bulwark.
-
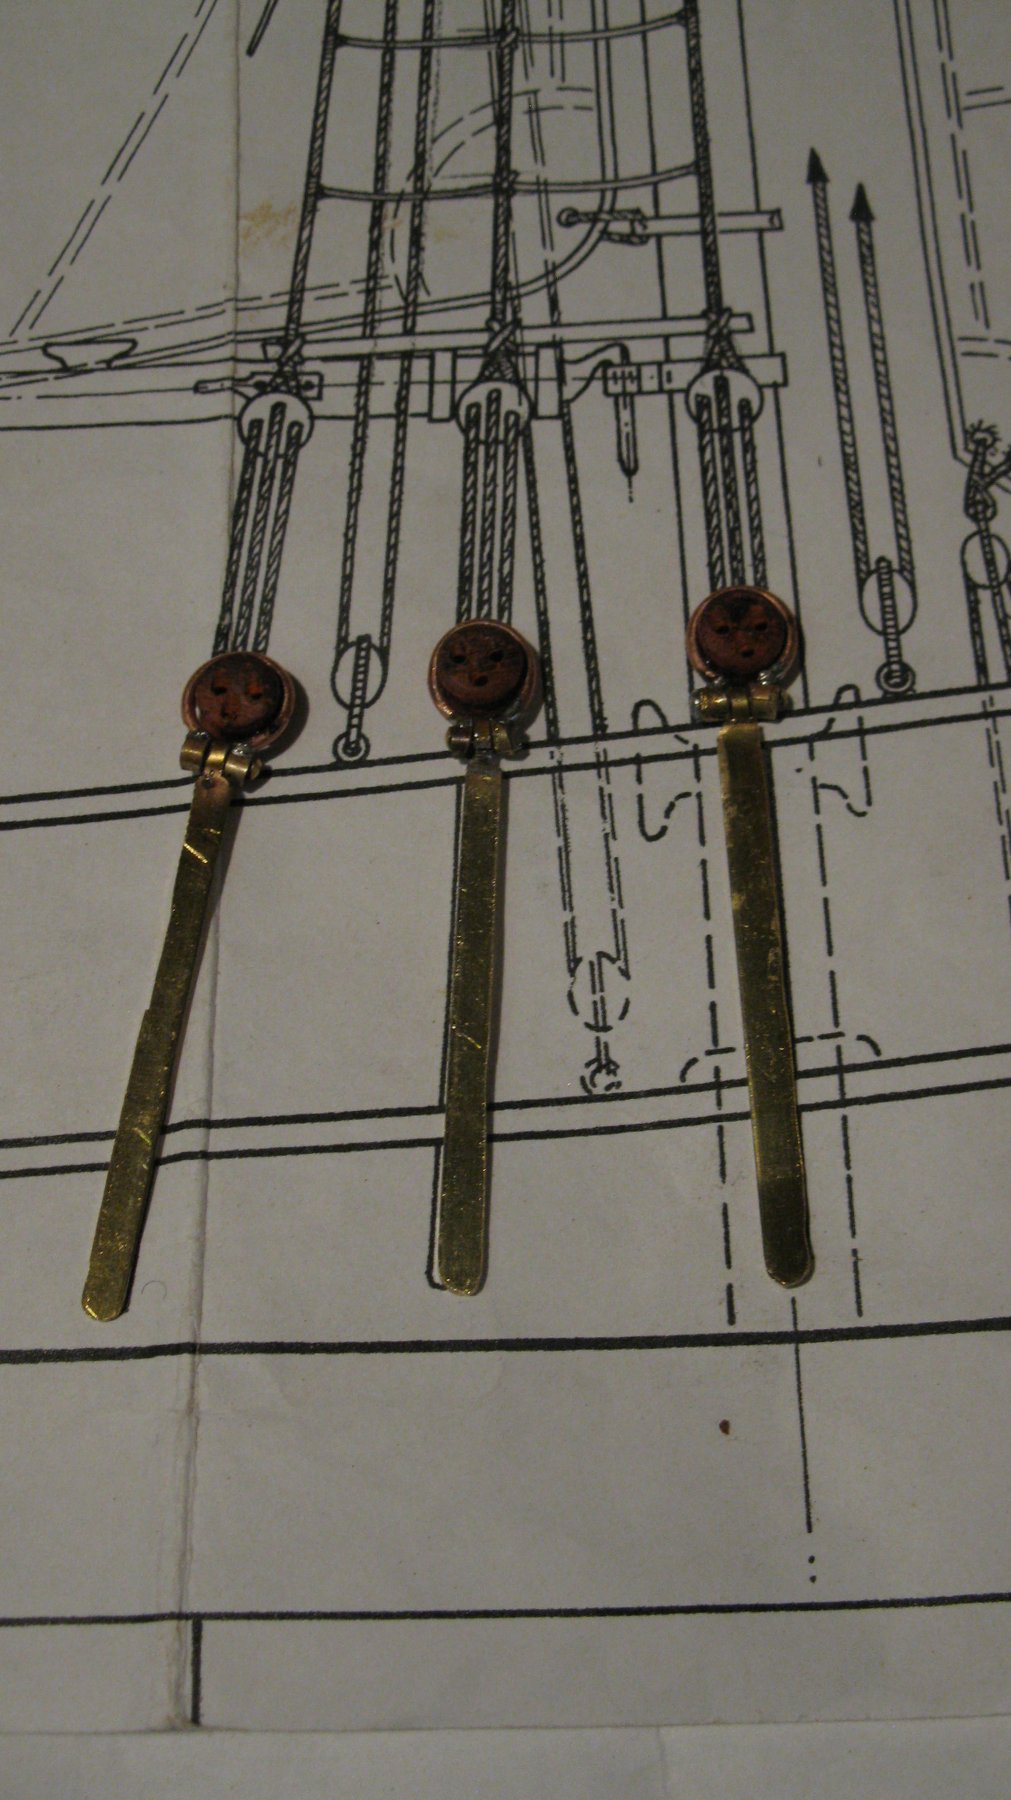
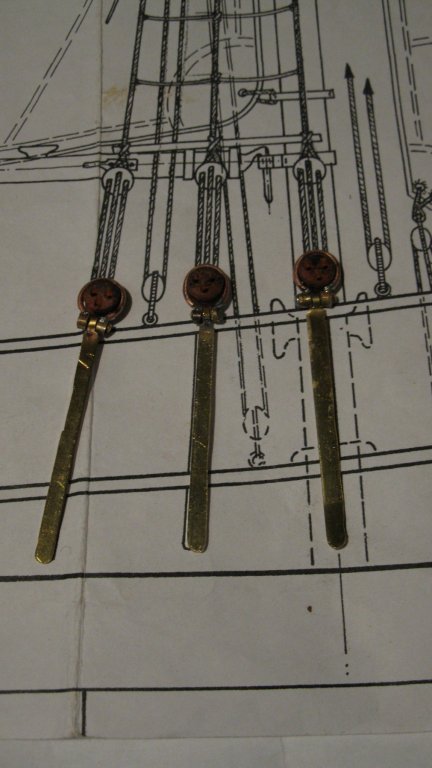
14.28 Three chain plates with dead eyes in a row.
-
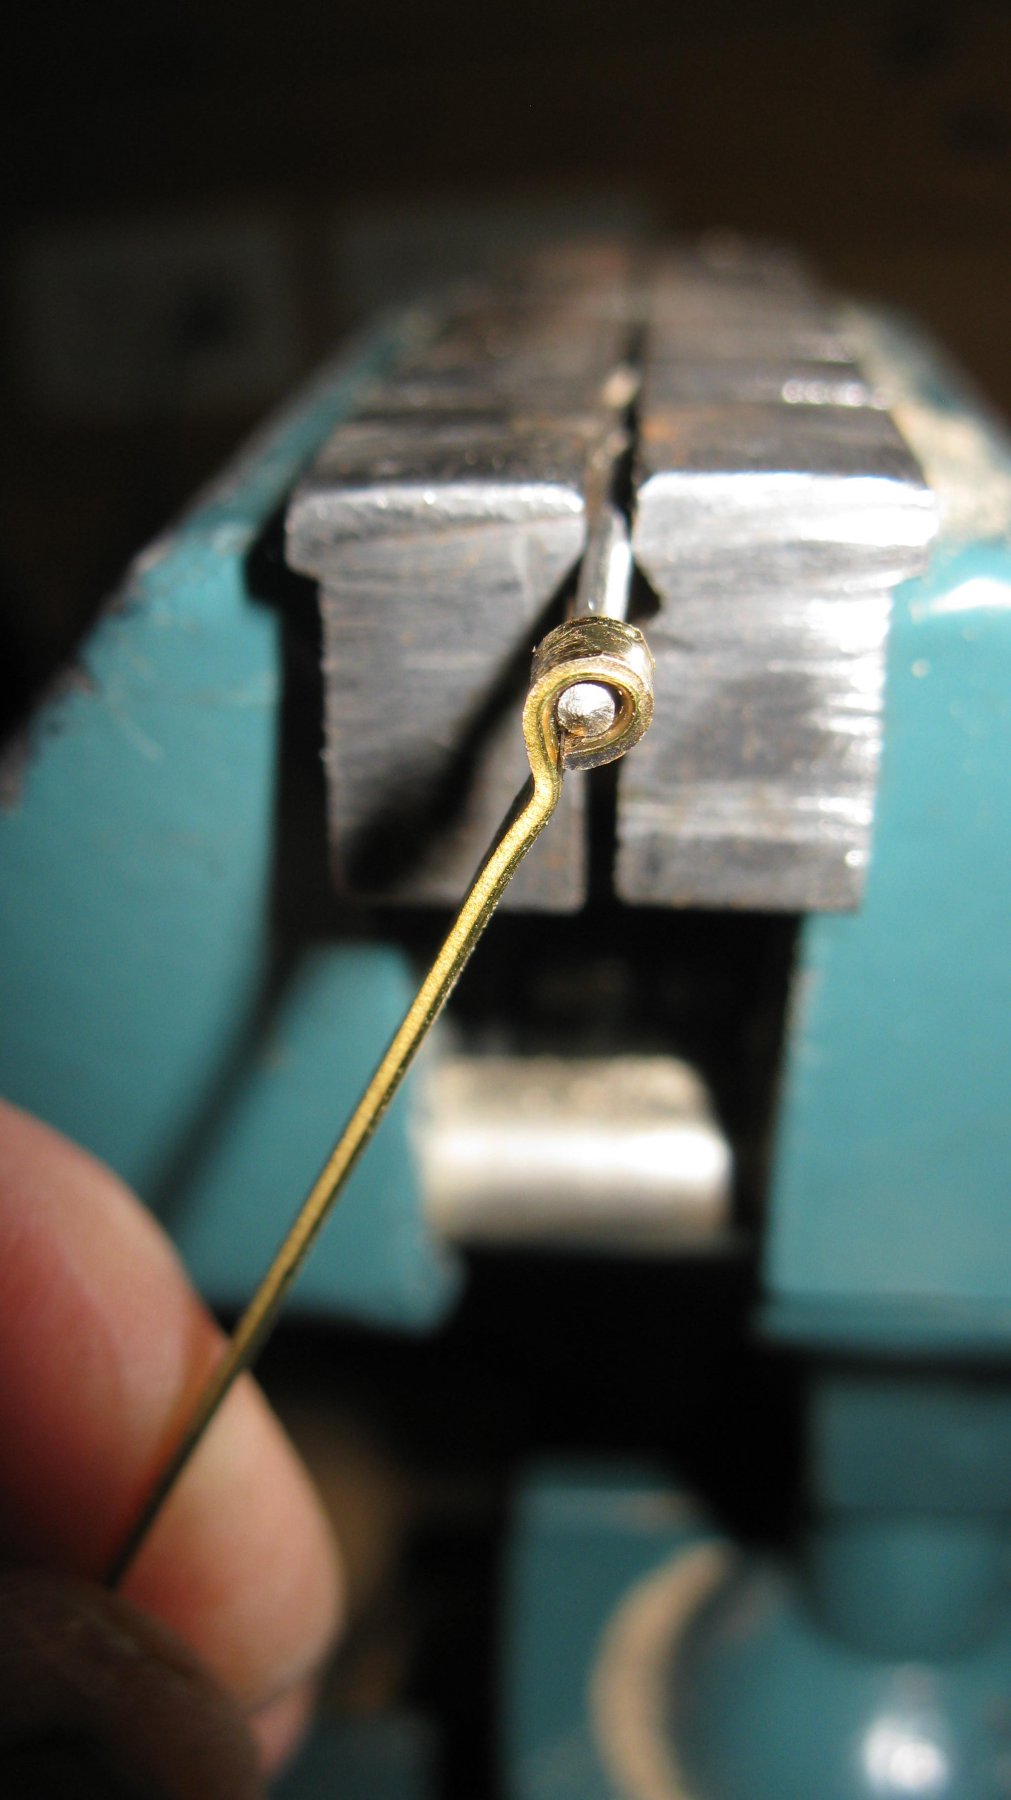
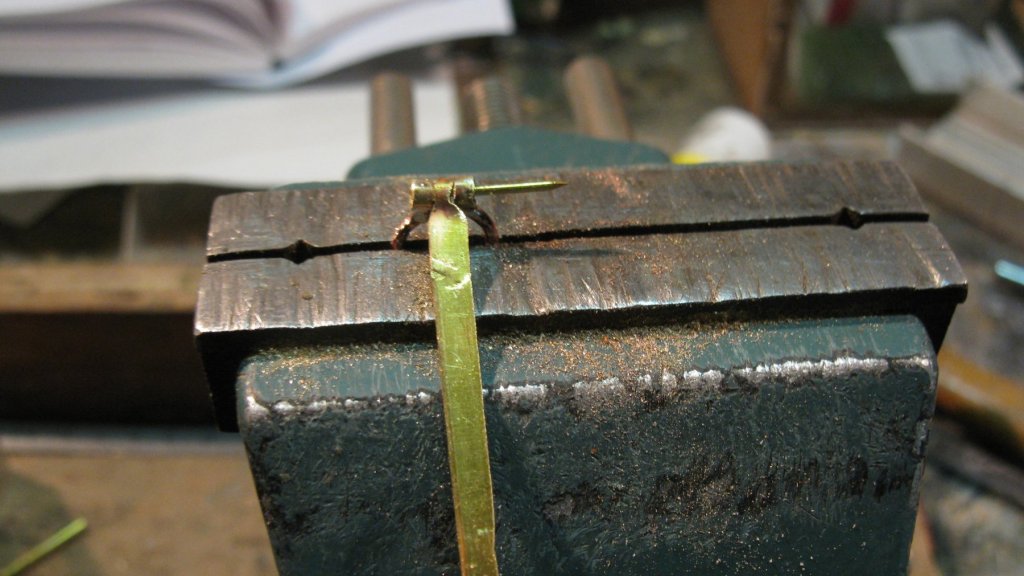
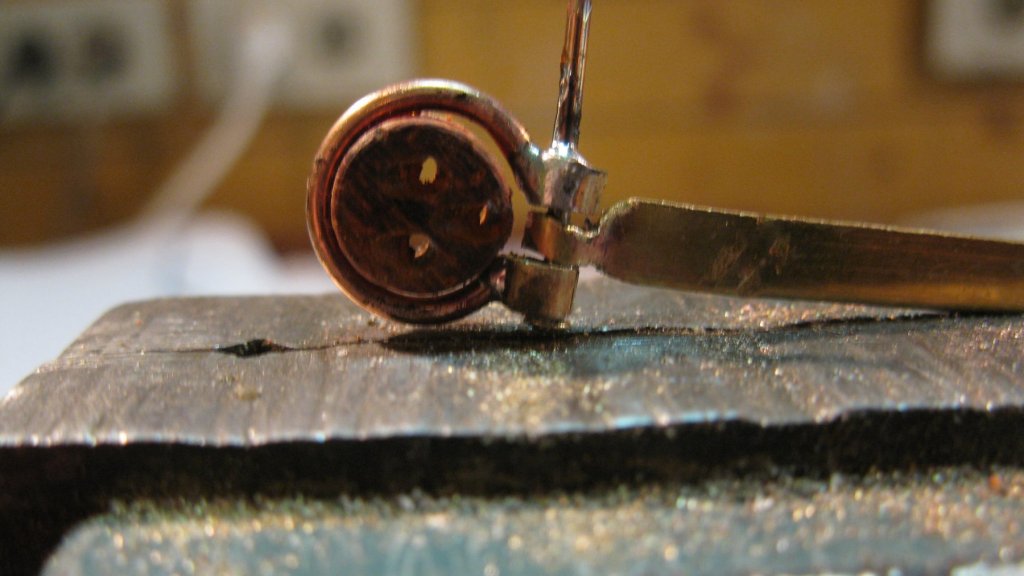
14.27 I put a brass nail trough the eye strop and the chain plate rings to fix the dead eye in the strop. The nail is sealed with a drop of tin solder and the excess of the nail is cut.

-
14.26 Both sides of the eye are filed to make space for the eye strop rings.

-
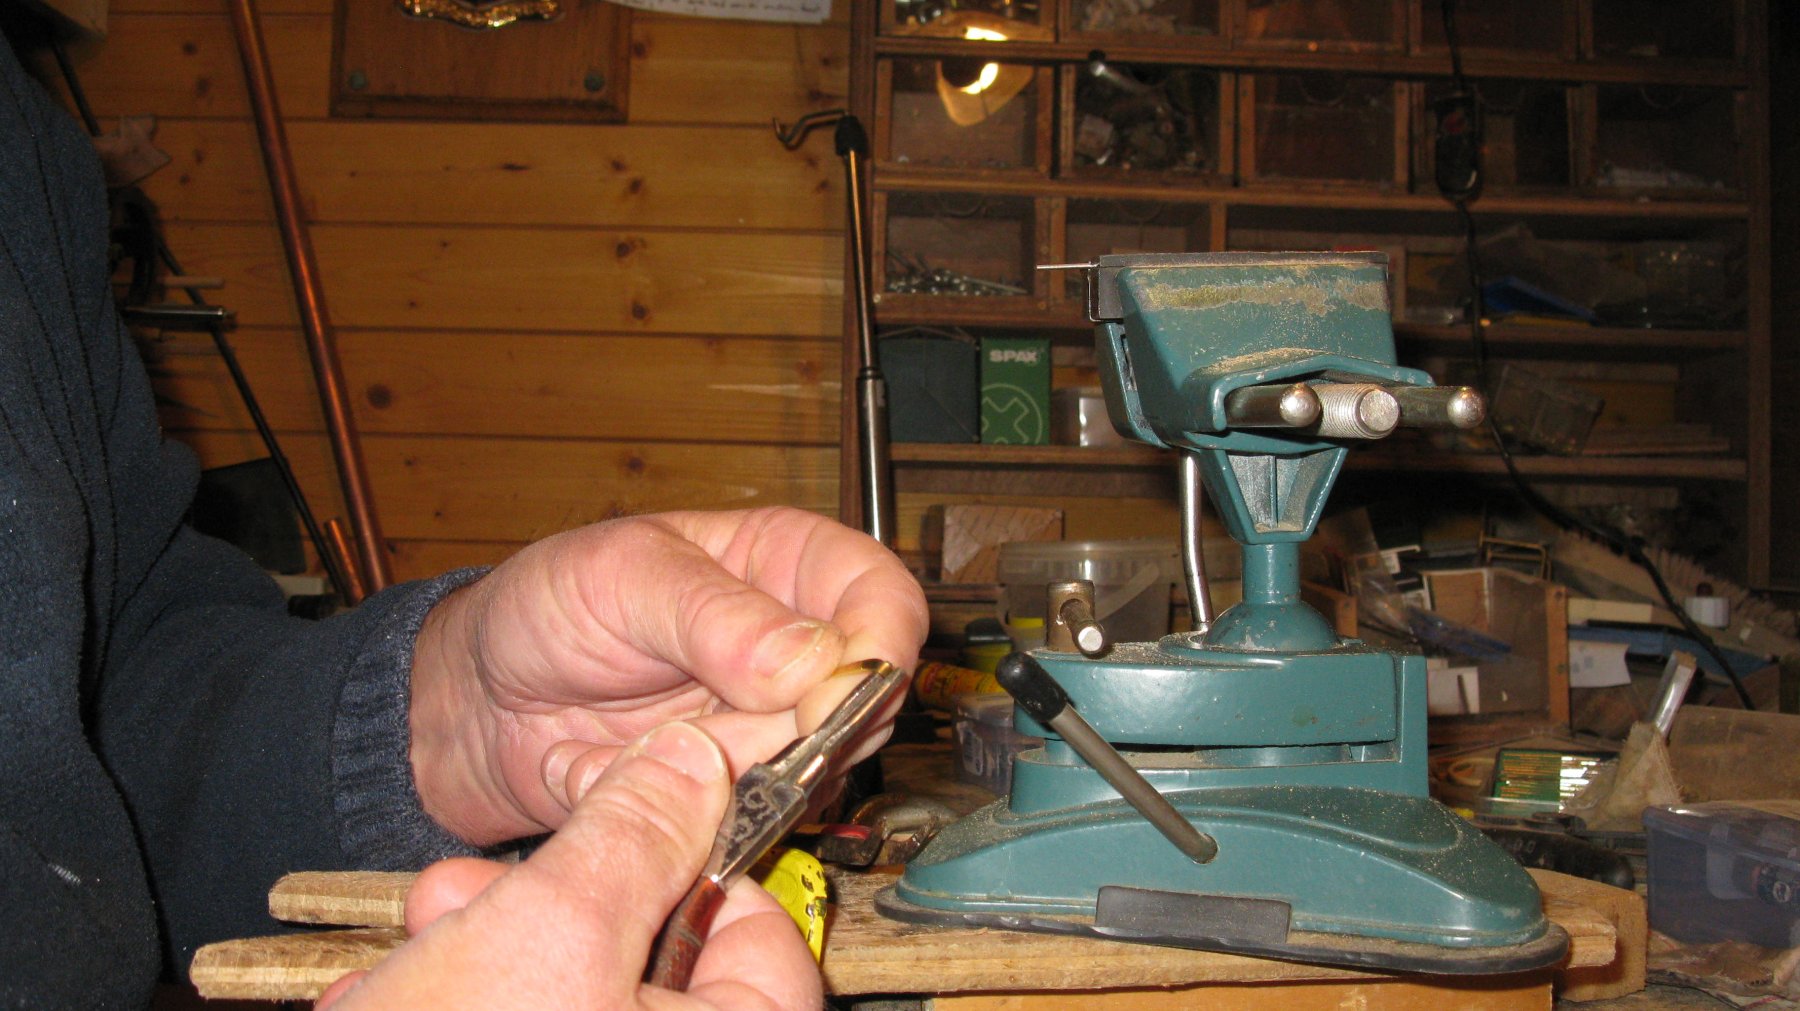
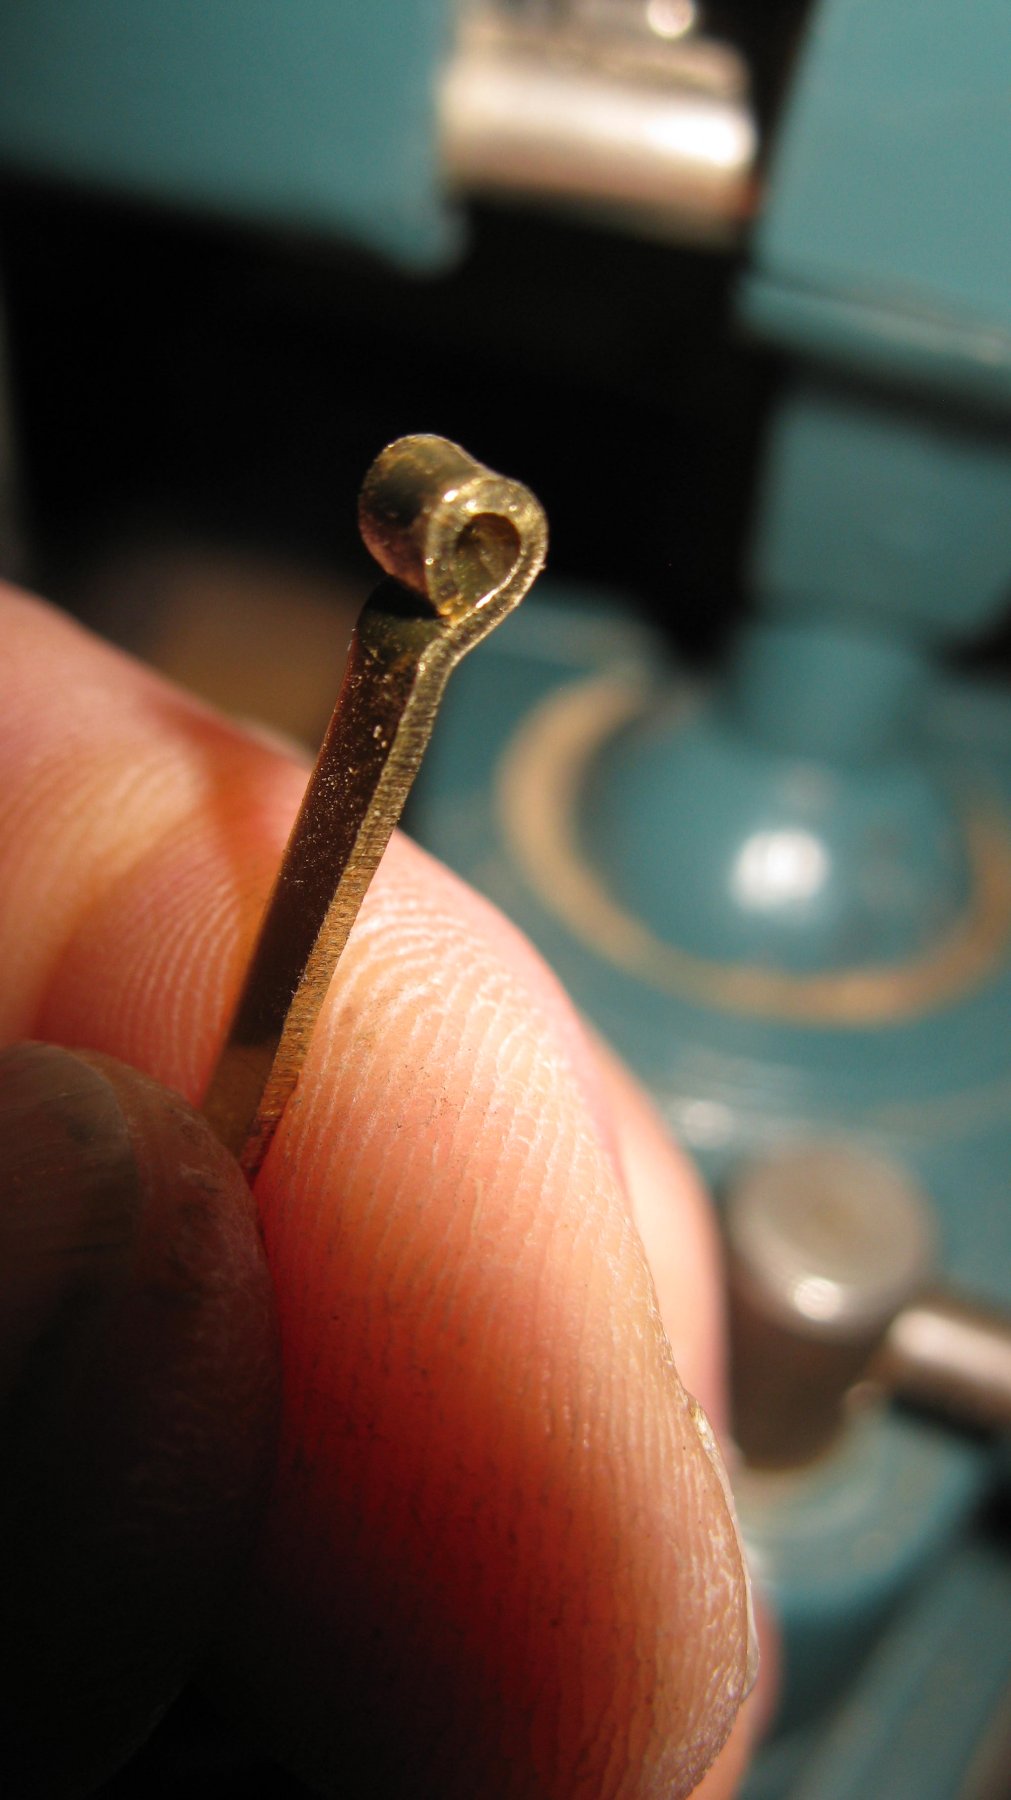
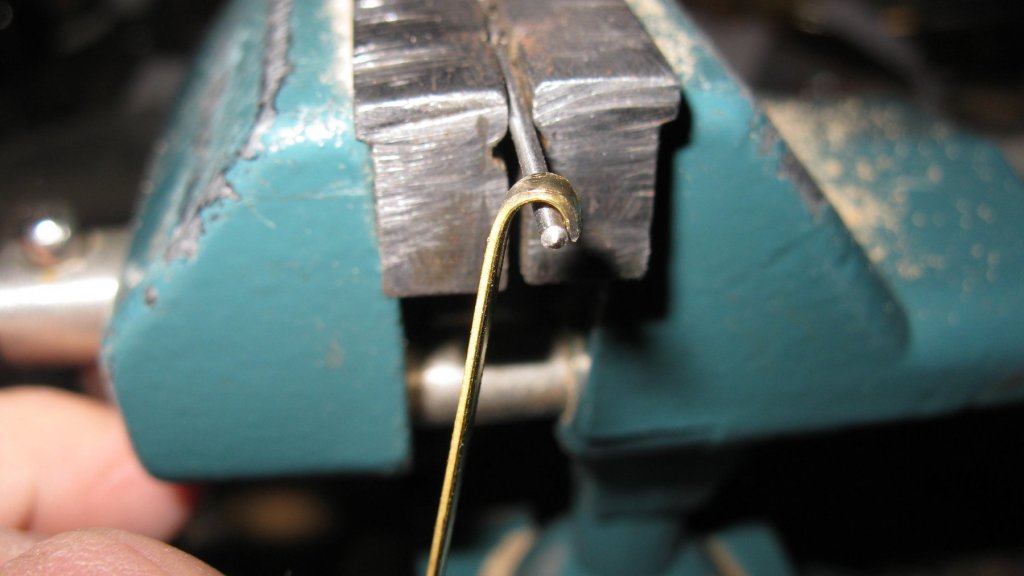
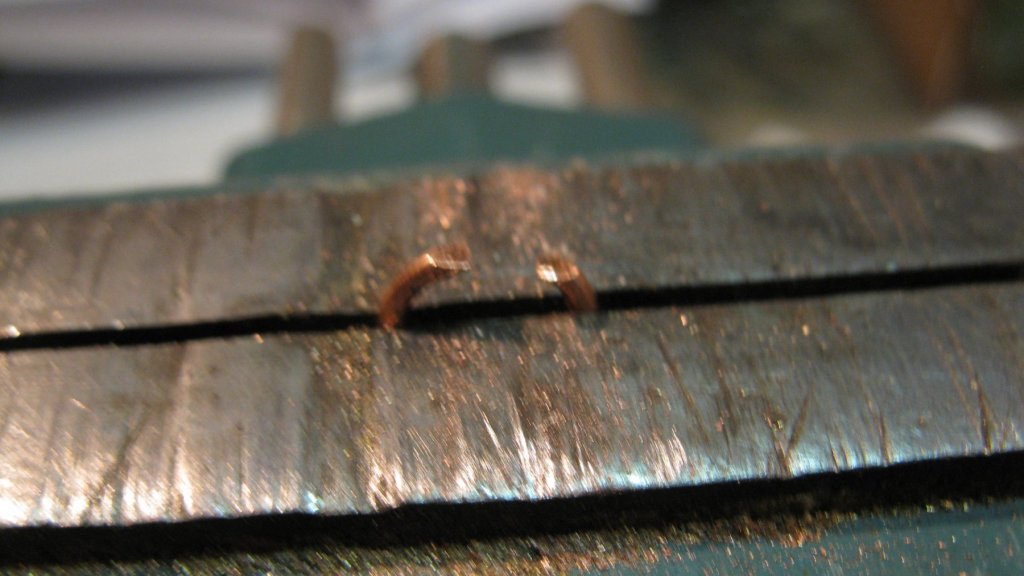
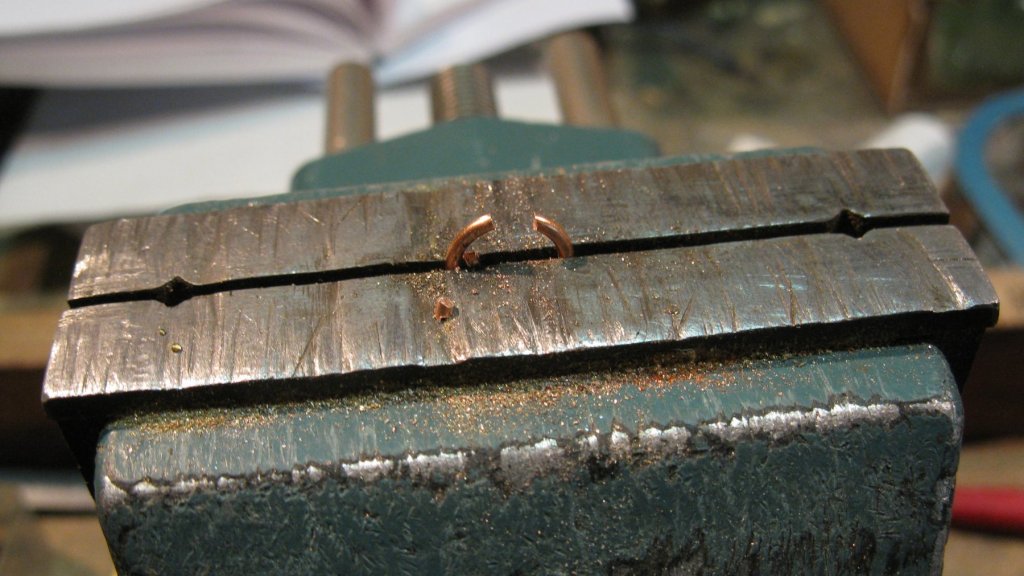
14.25 For the chain plates I fold the end of a brass strip around a 1,5 mm drill to make a small eye.


-
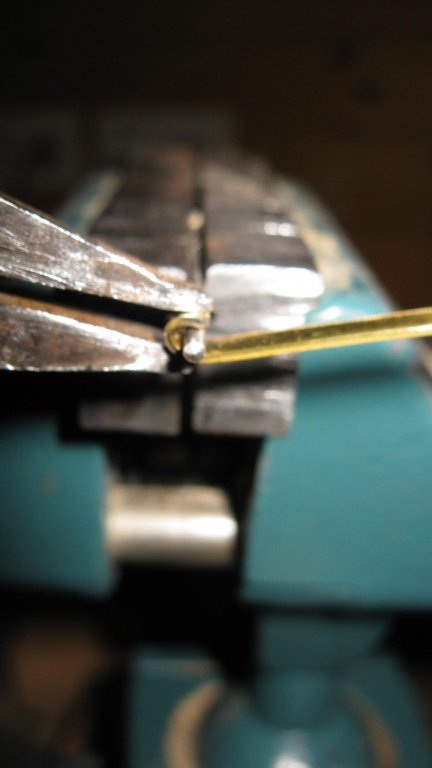
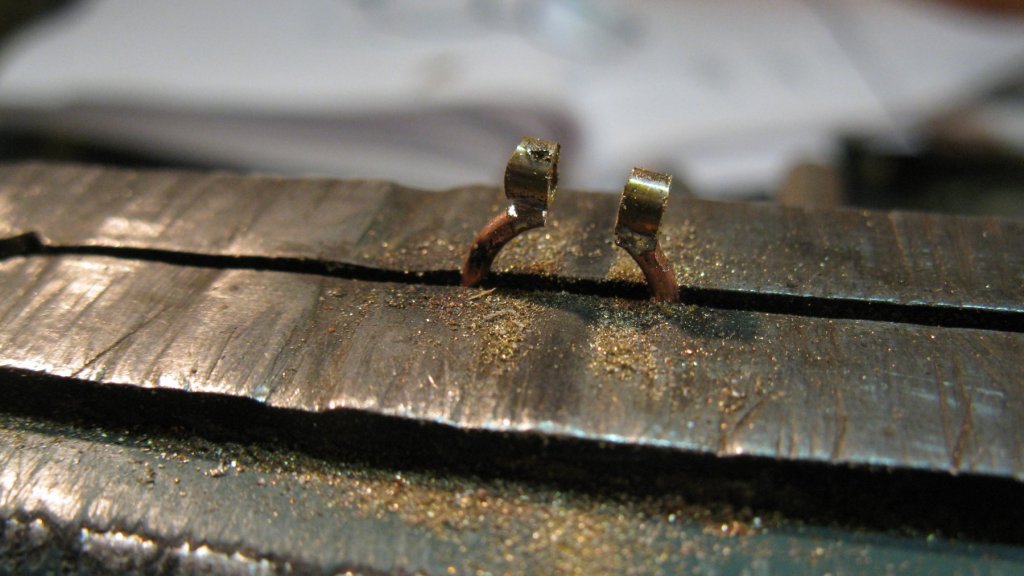
14.24 I solder on both ends a small ring, sliced from a brass tube. Afterwards there is some file work to make both sides equal.
-
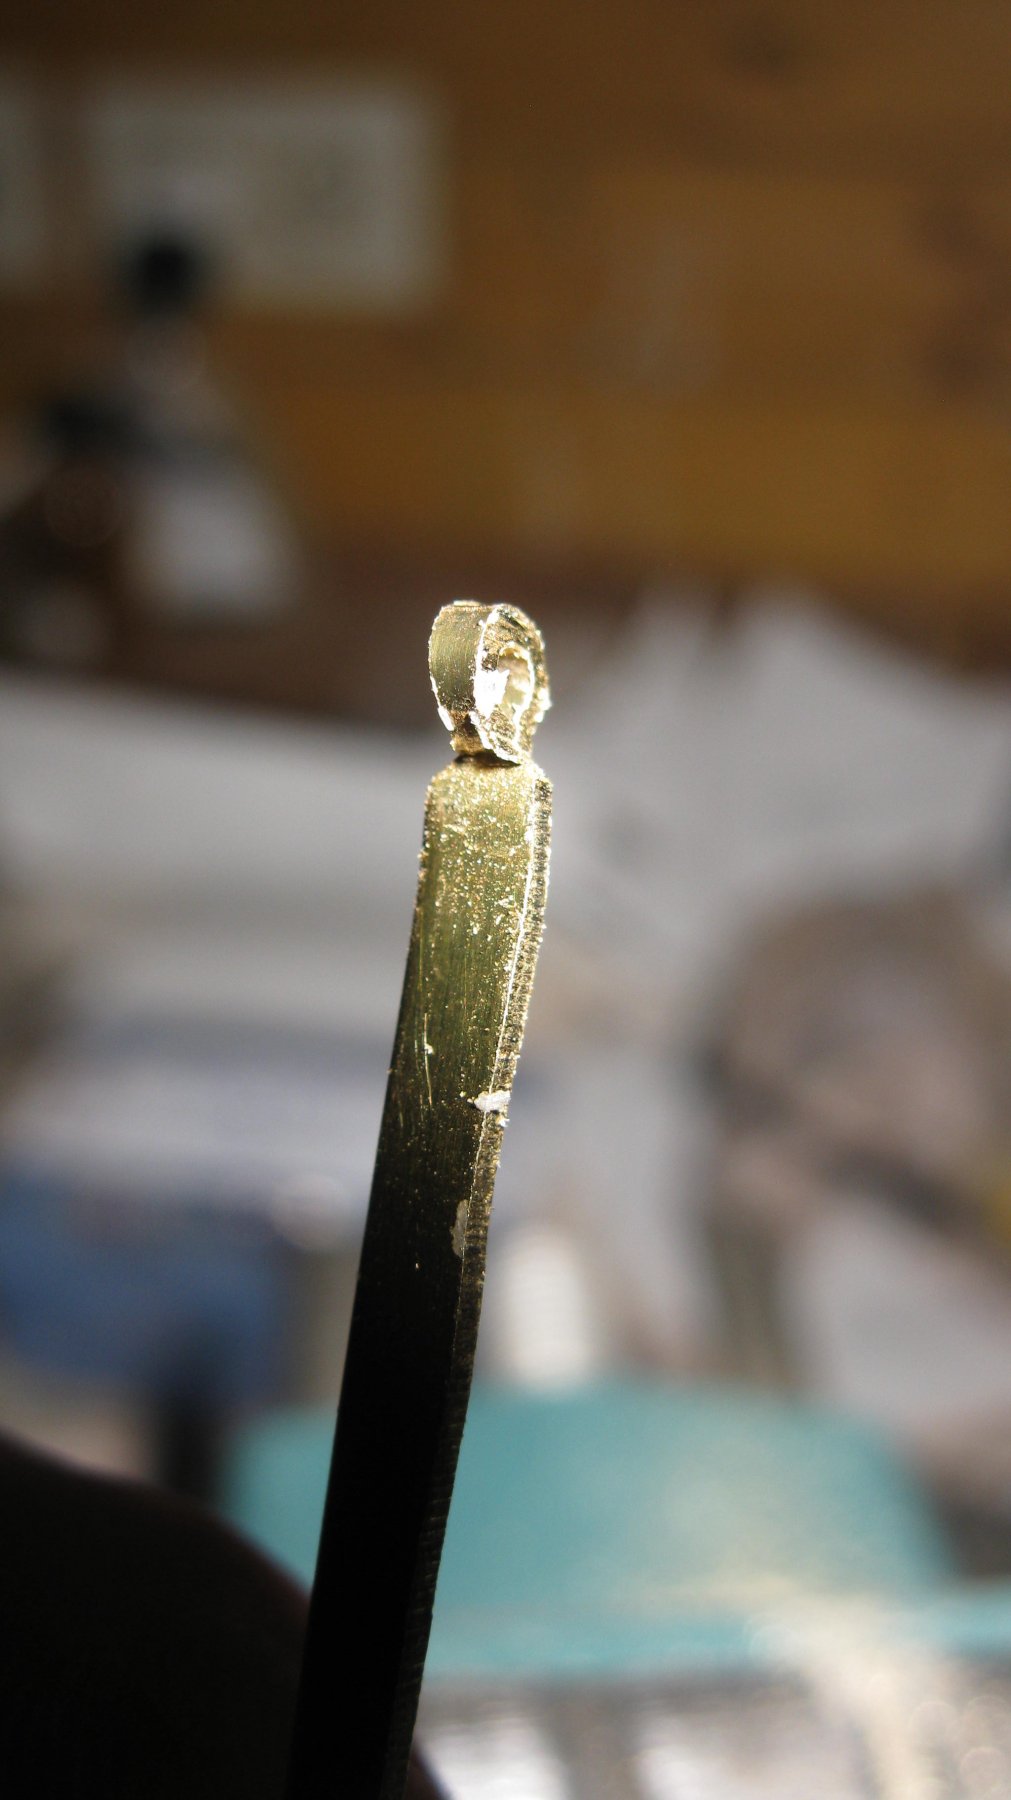
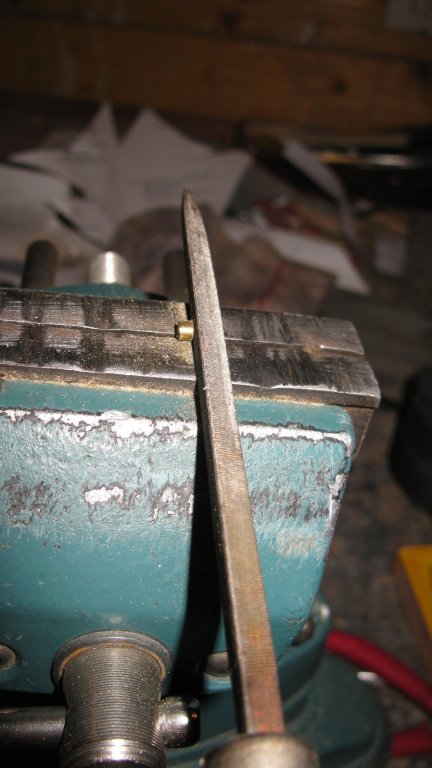
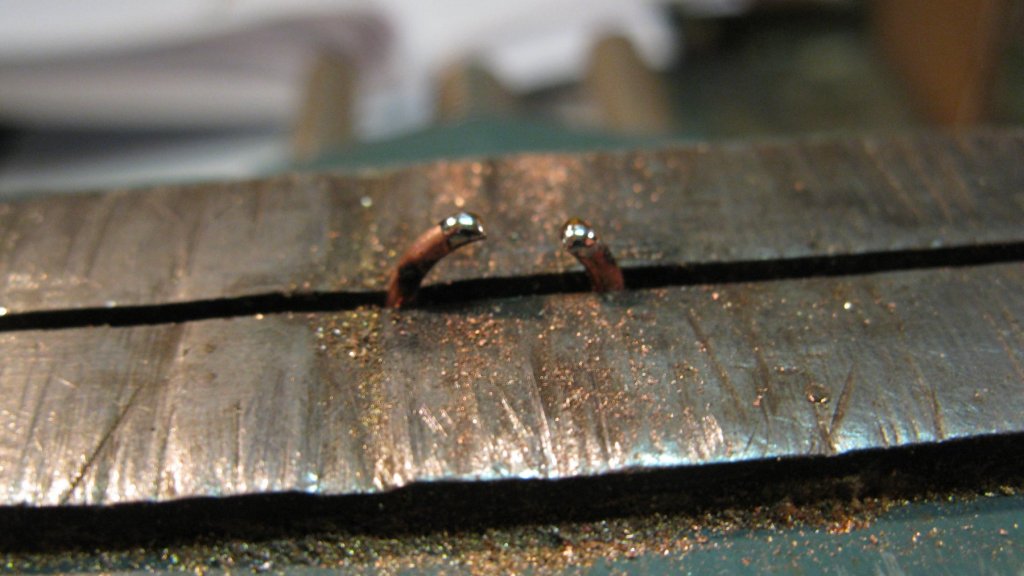
14.23 I file the tops of the cut ends flat and melt a drop of solder tin on it.

-
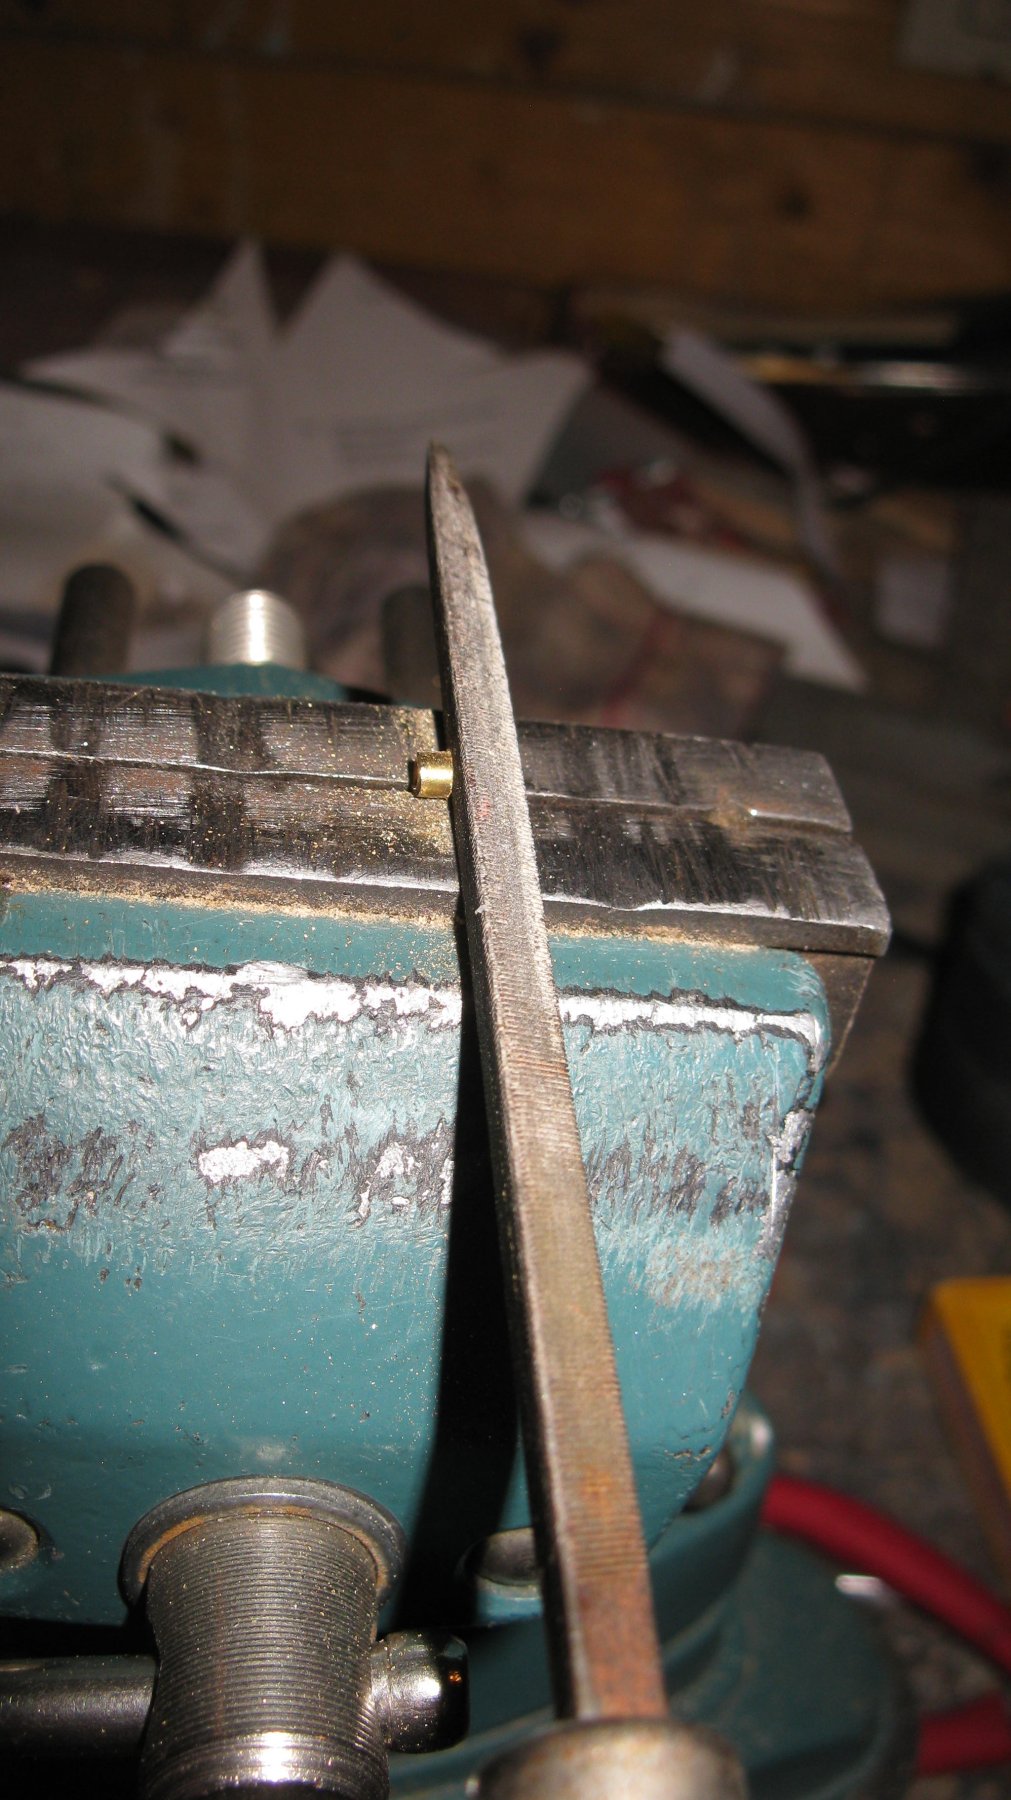
14.22 To make the dead eye strops, I start with turning a brass wire round the remainder of the hard wooden stock of which I made the dead eyes and I cut it in rings.

-
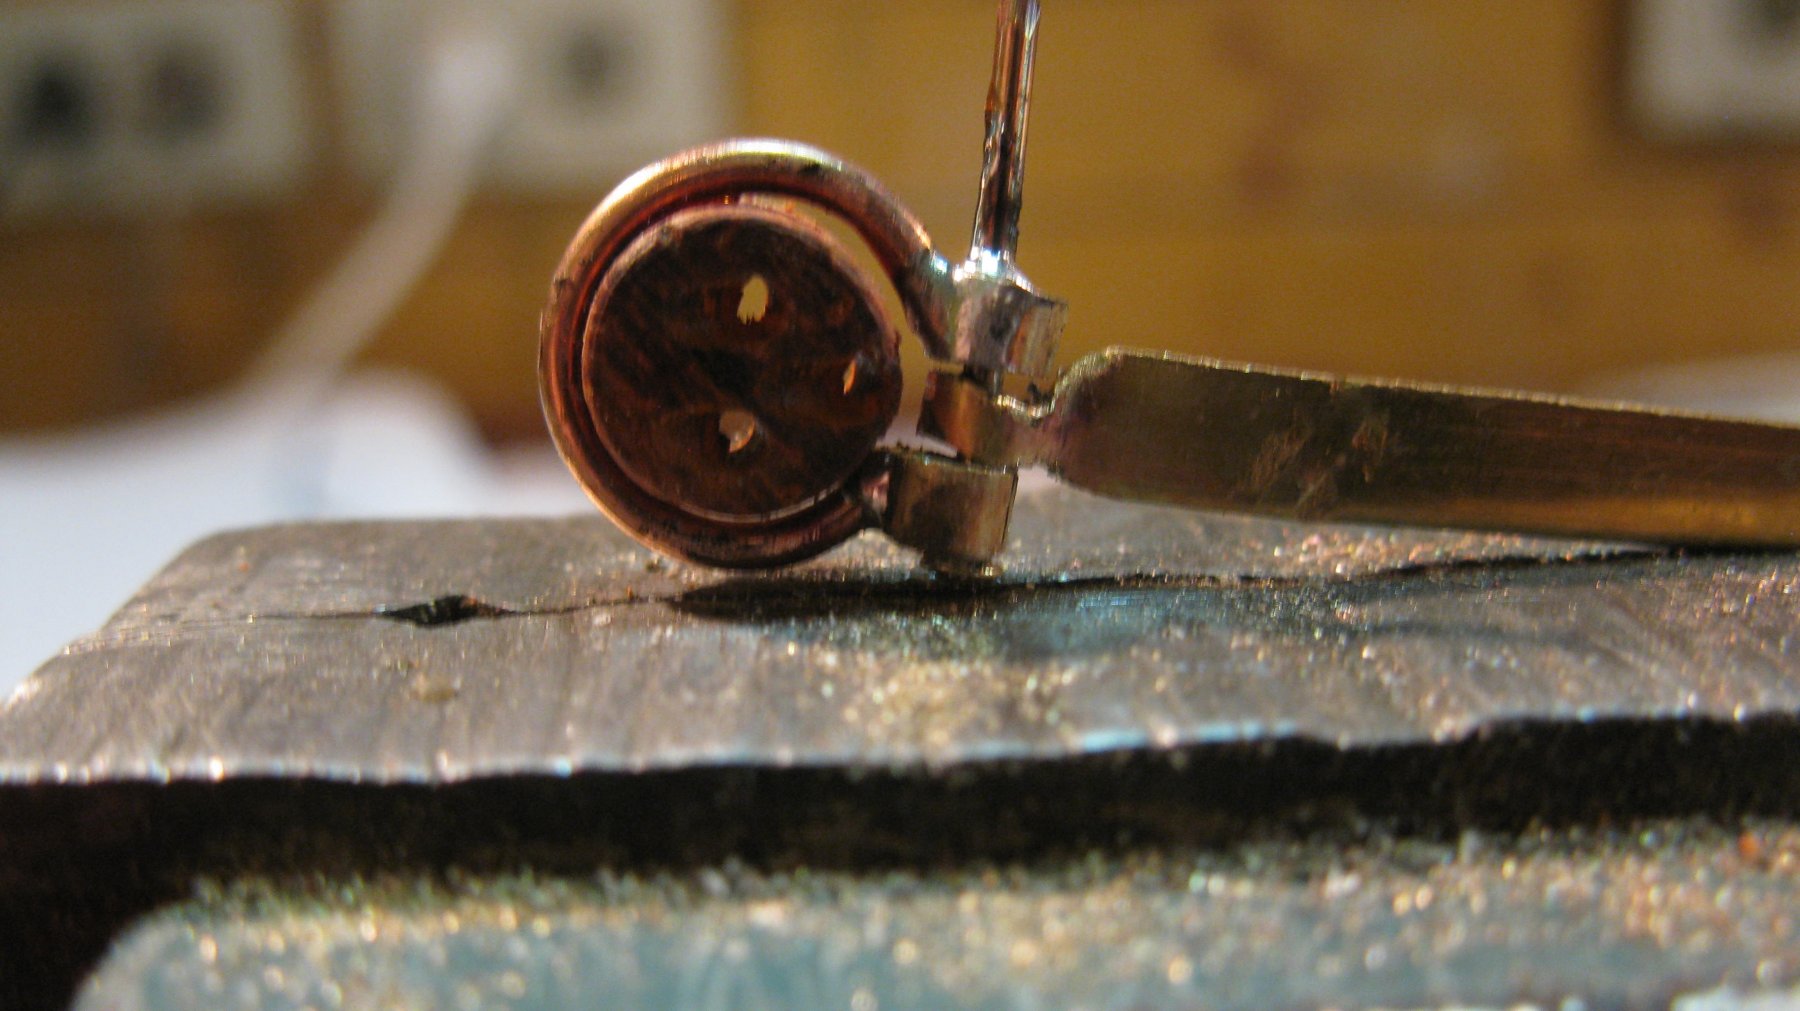
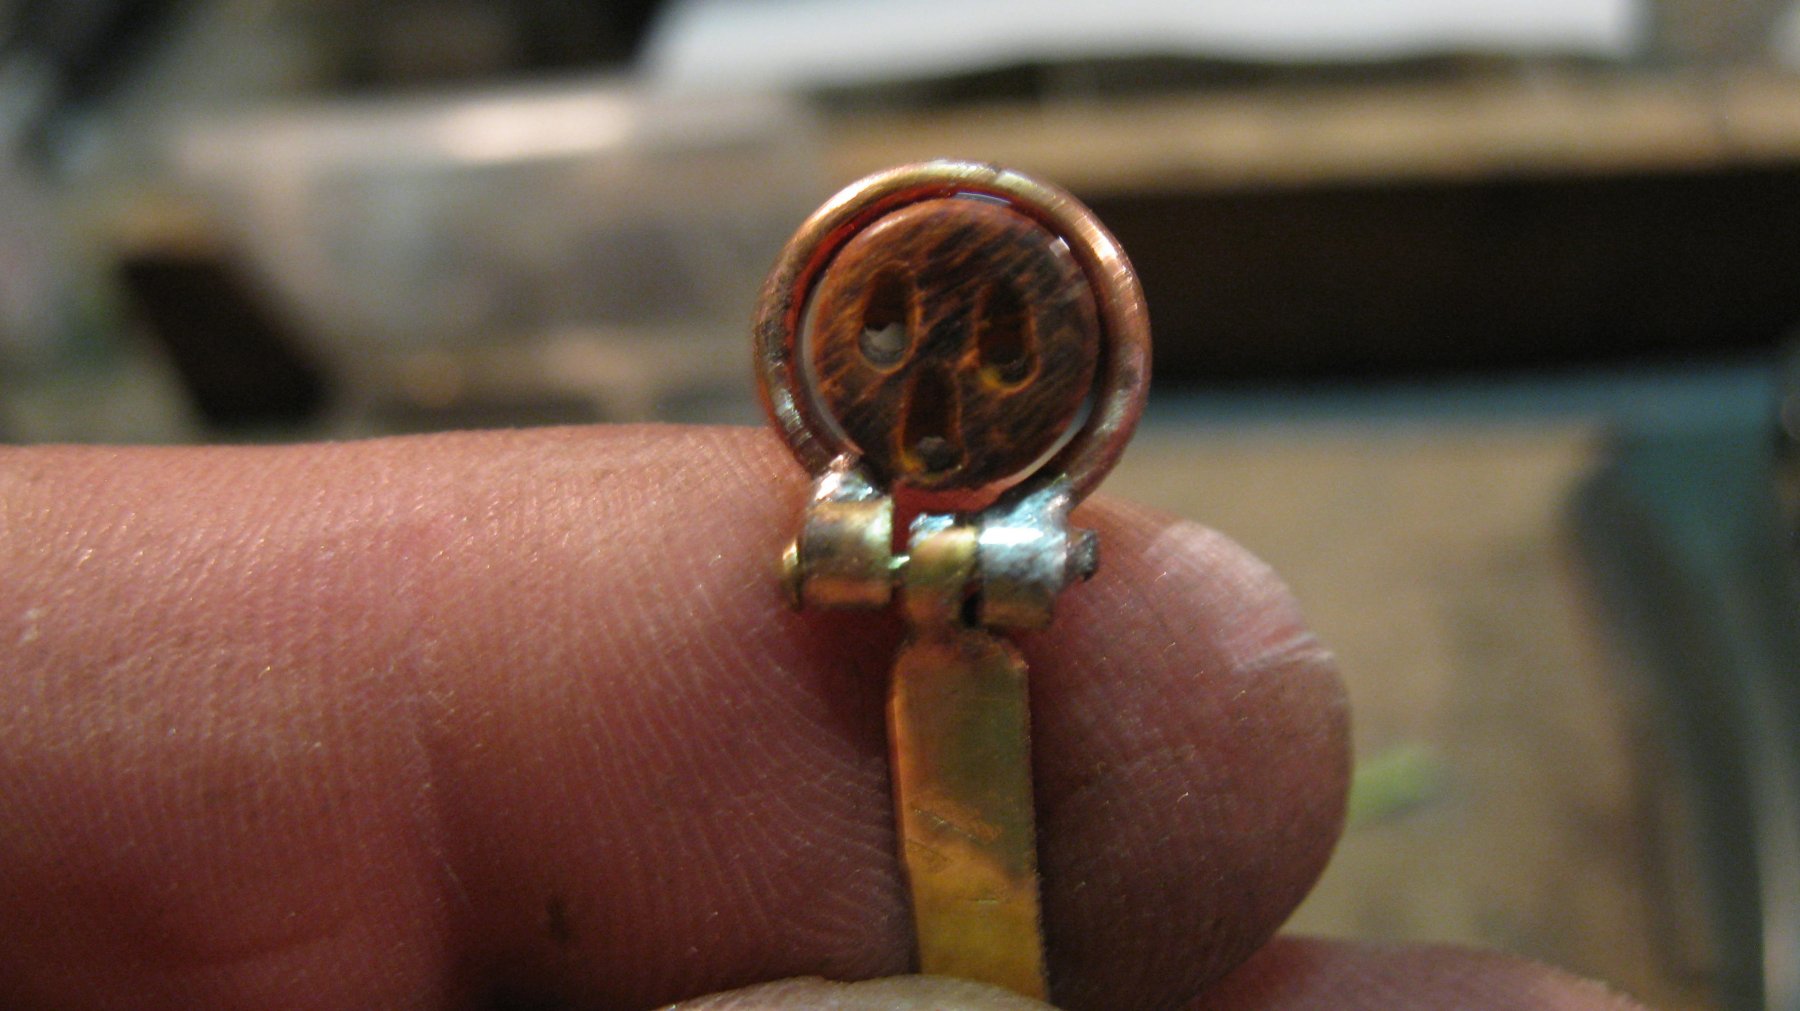
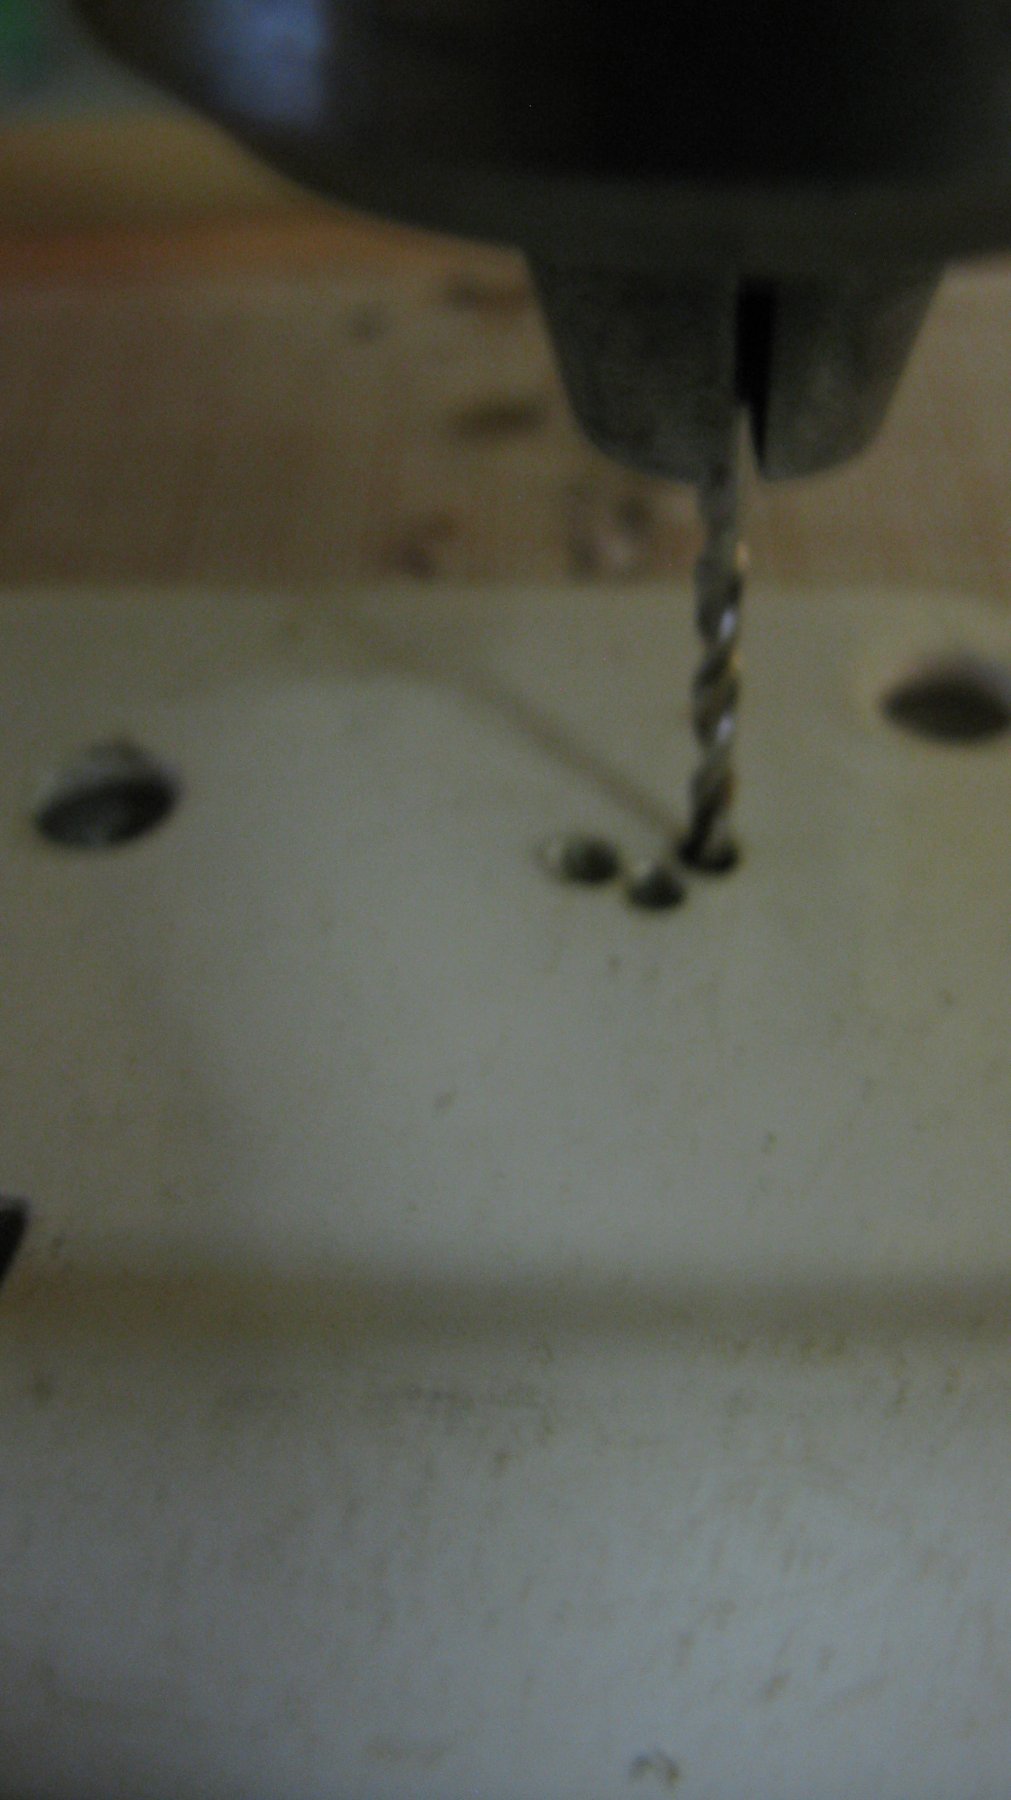
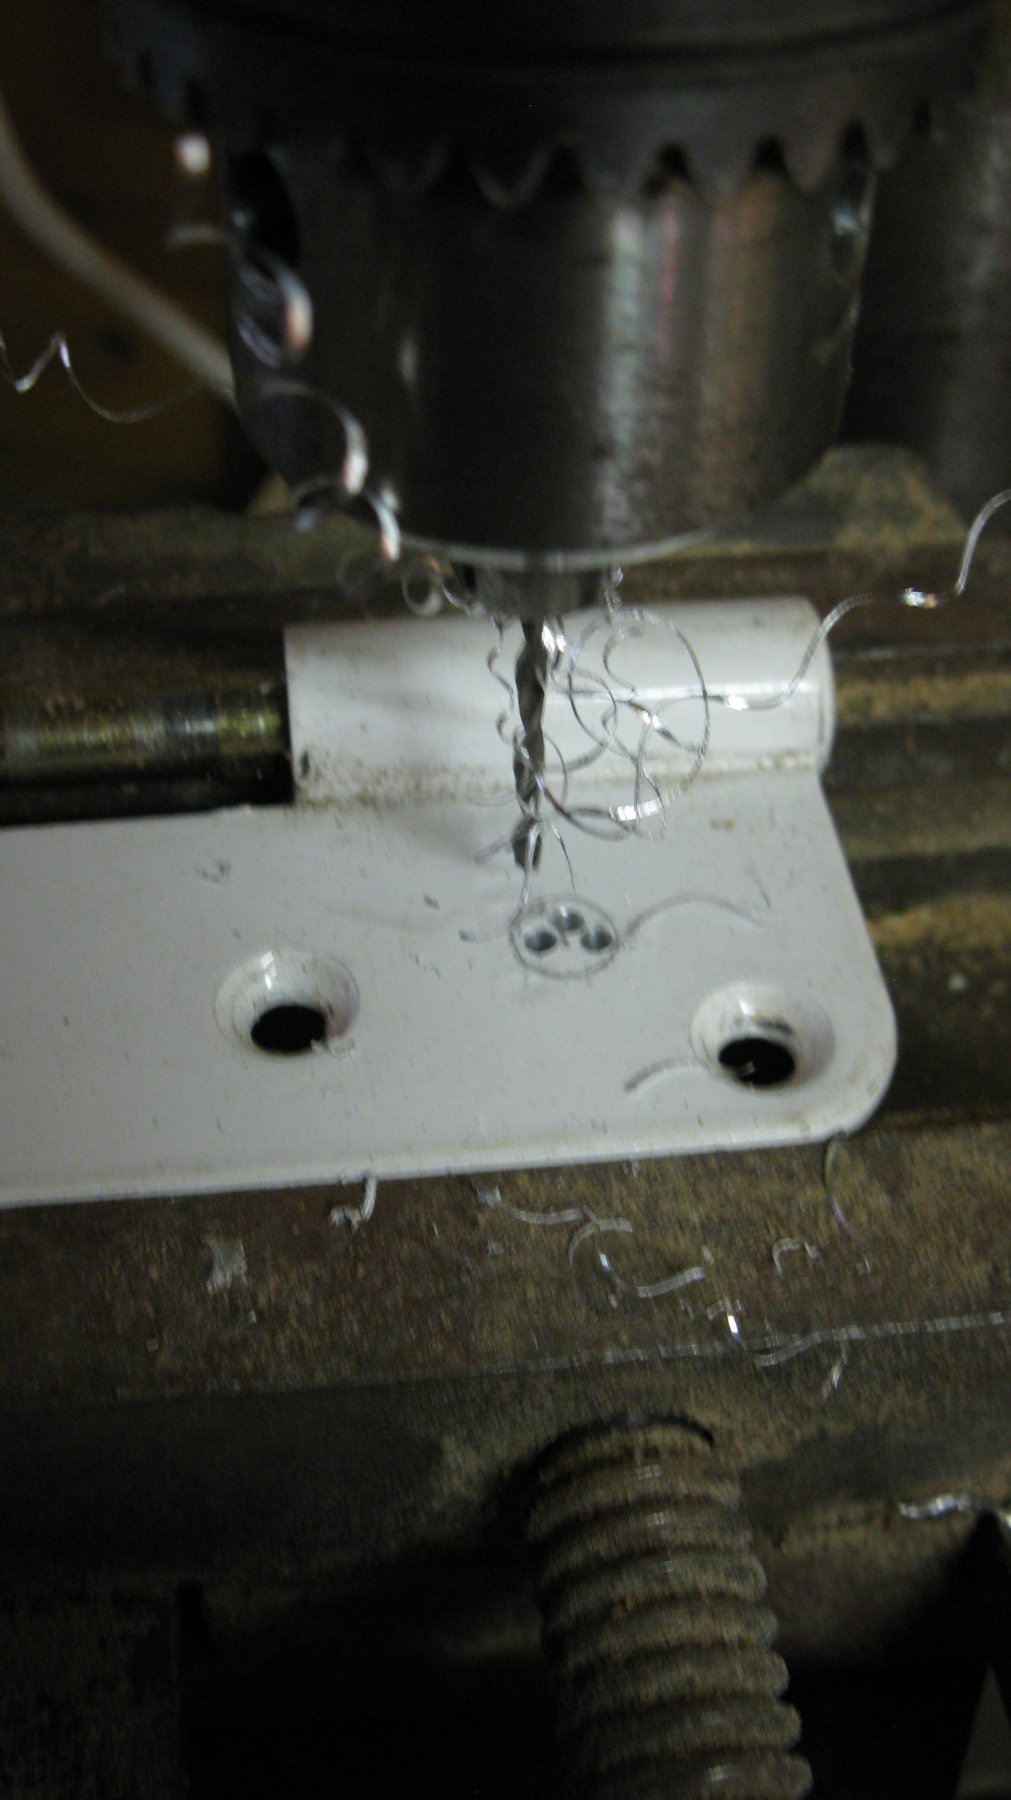
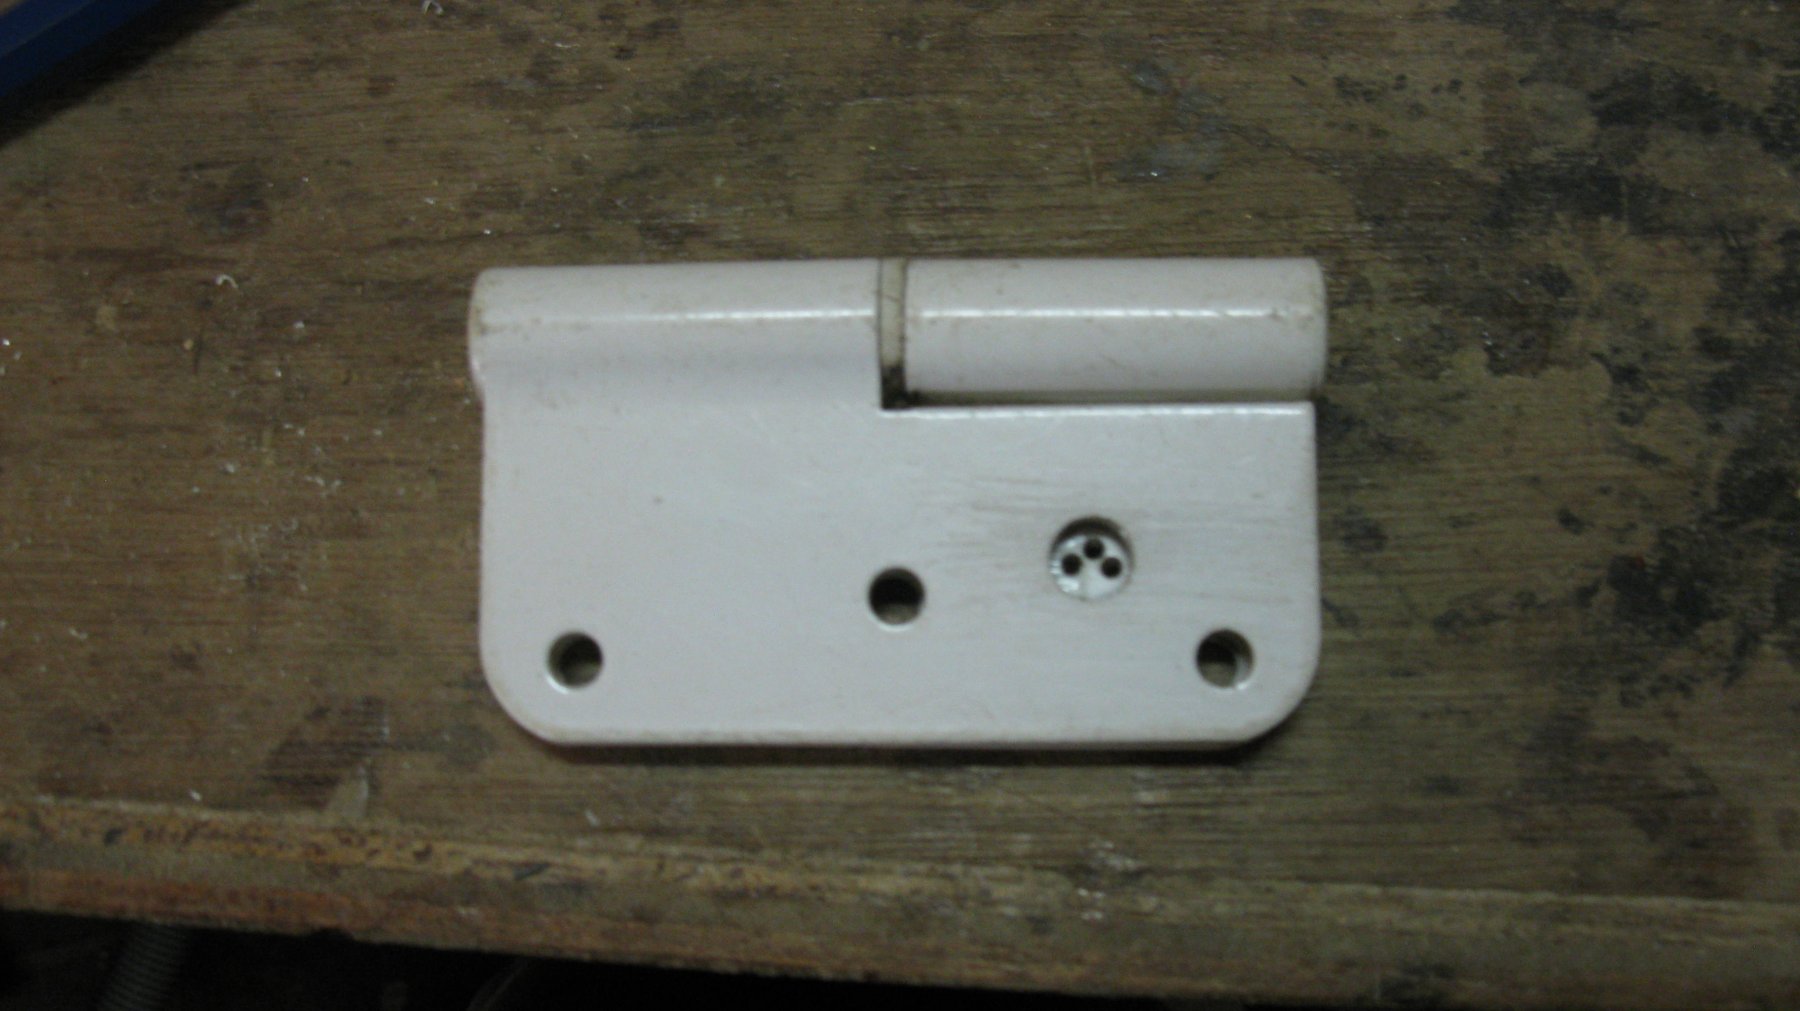
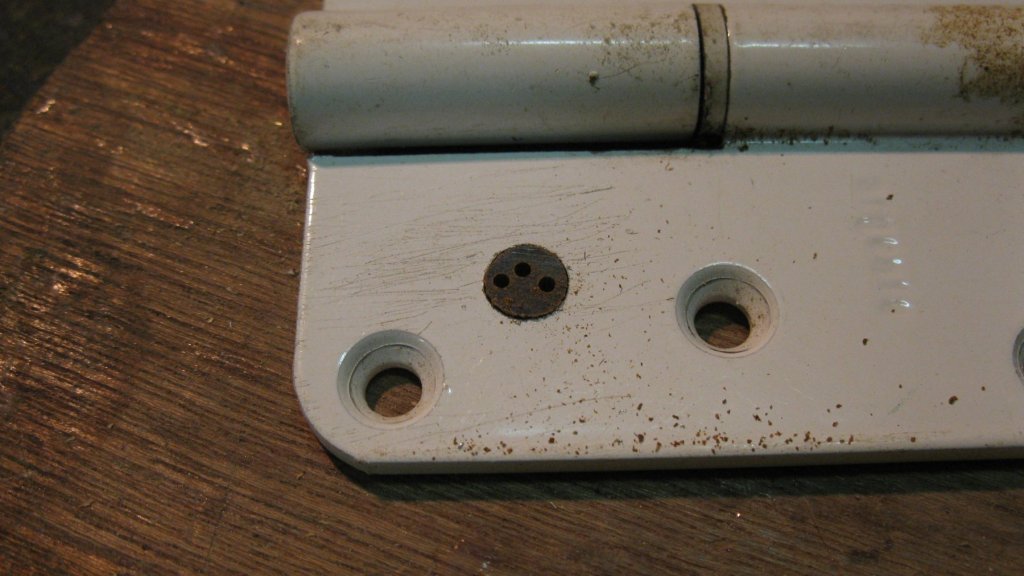
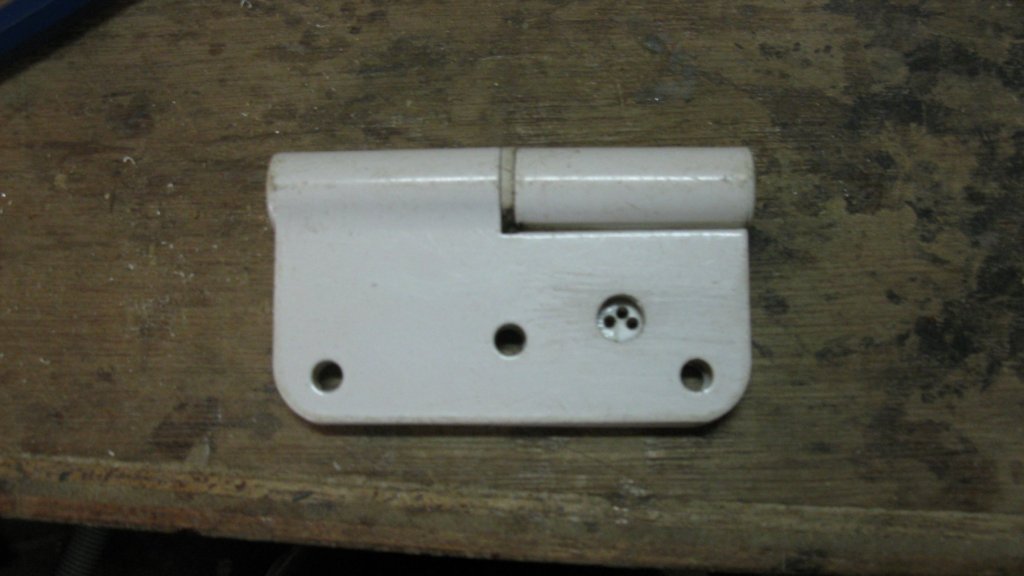
14.21 To drill de holes I push the wooden disks in the big hole, I turn the hinge upside down an drill out the small holes.
-
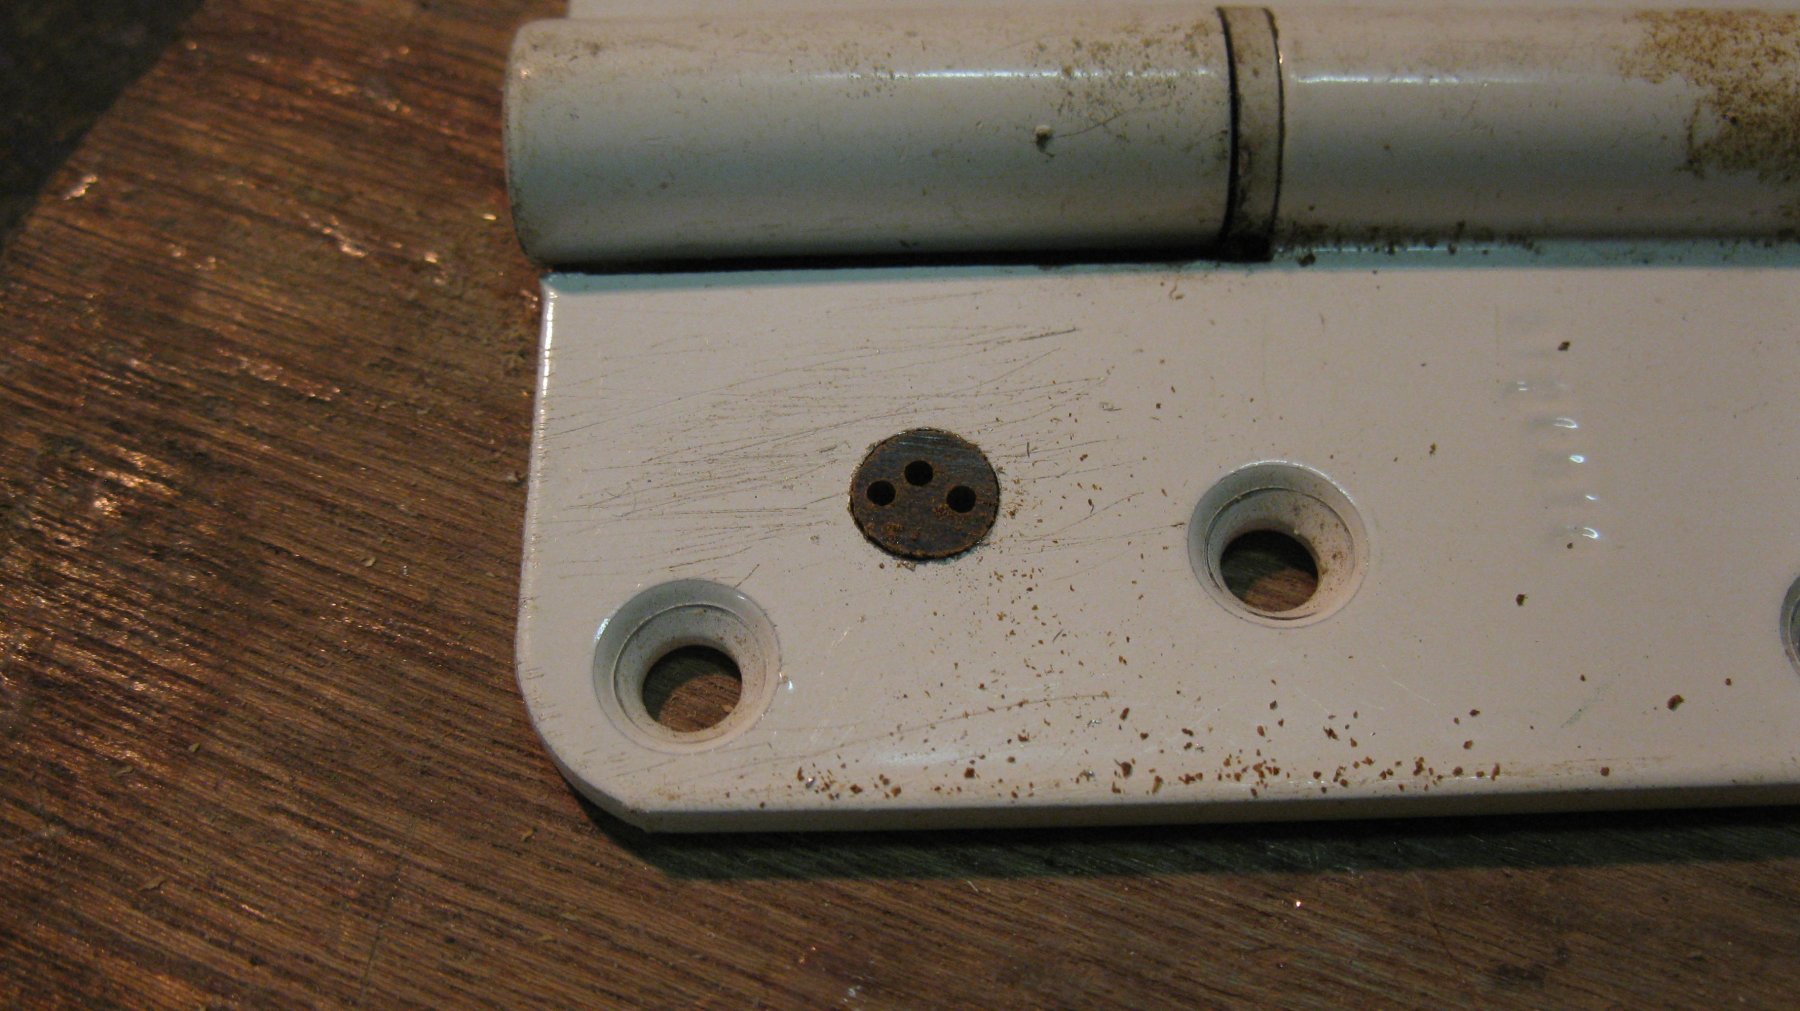
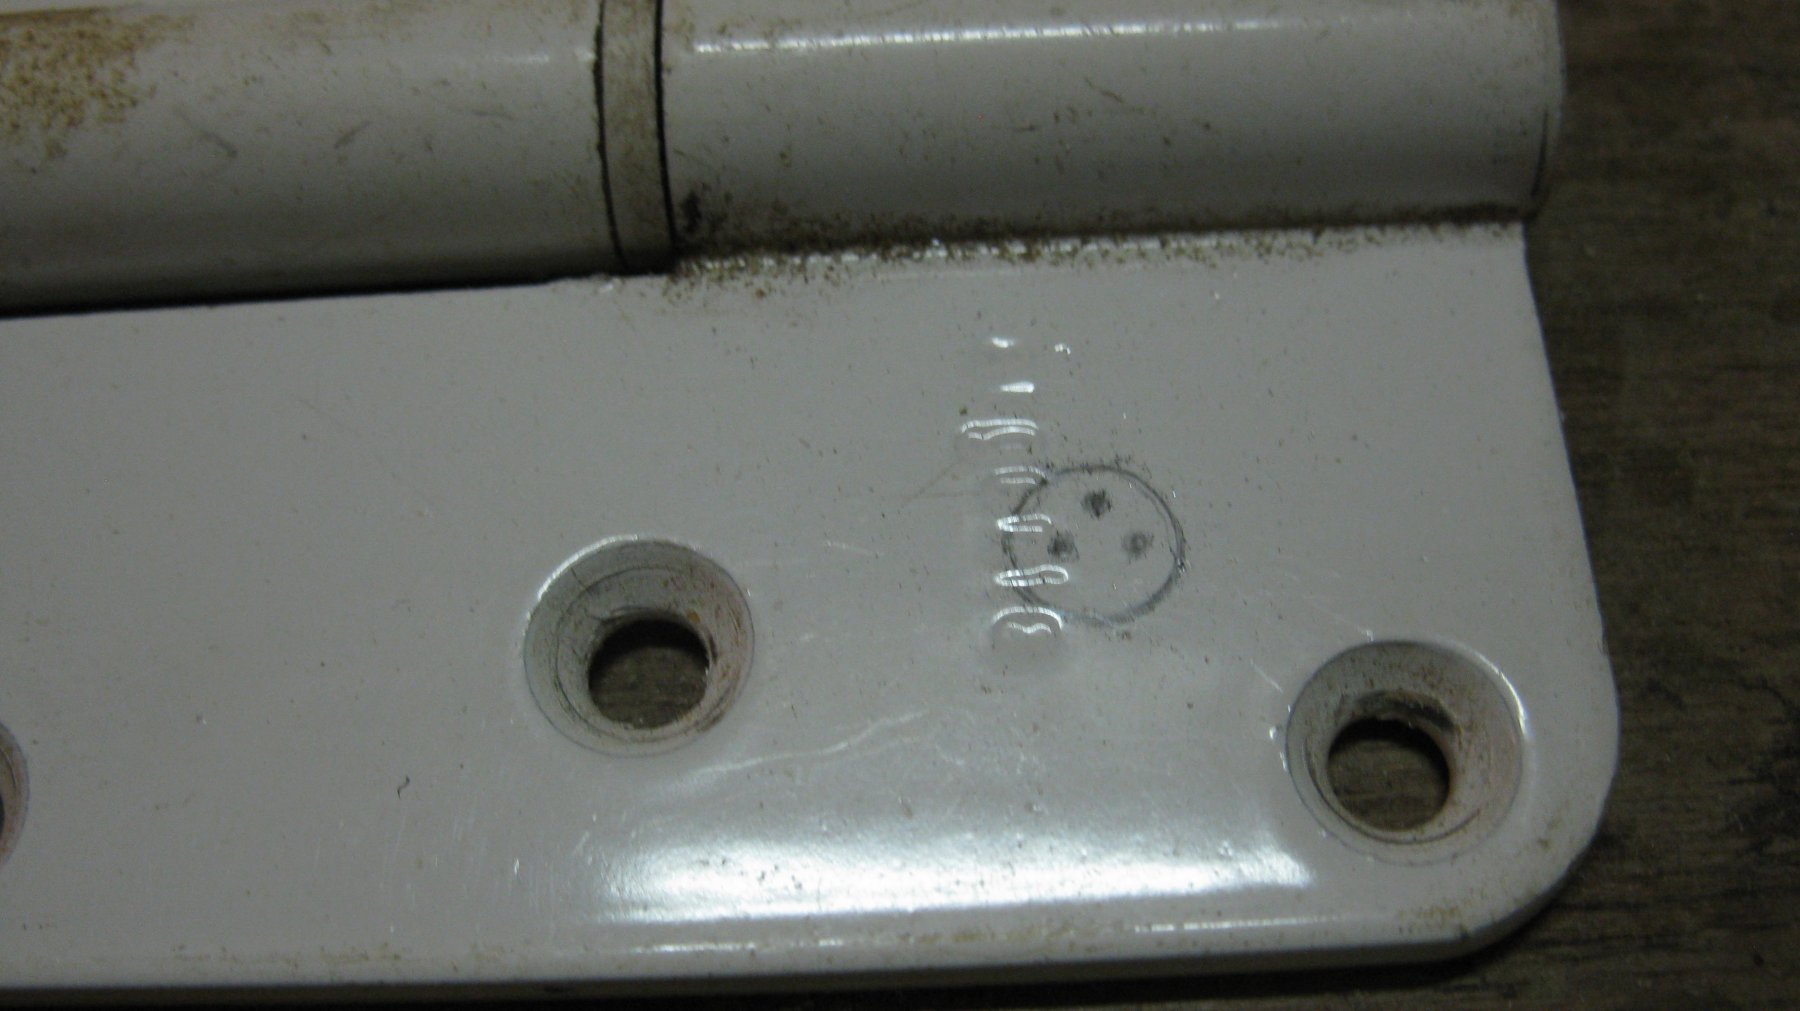
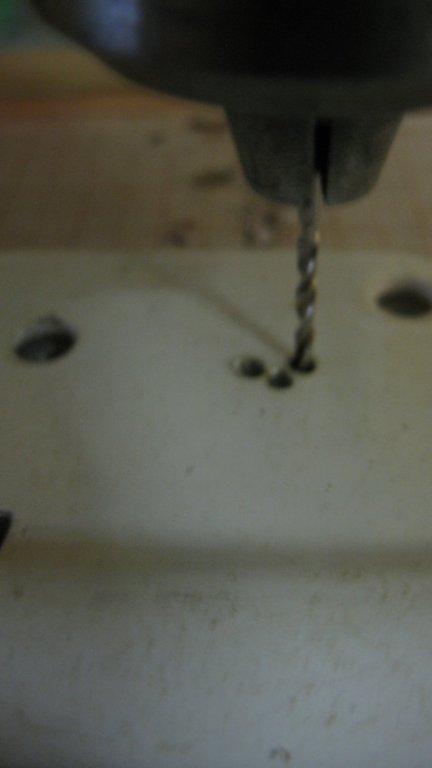
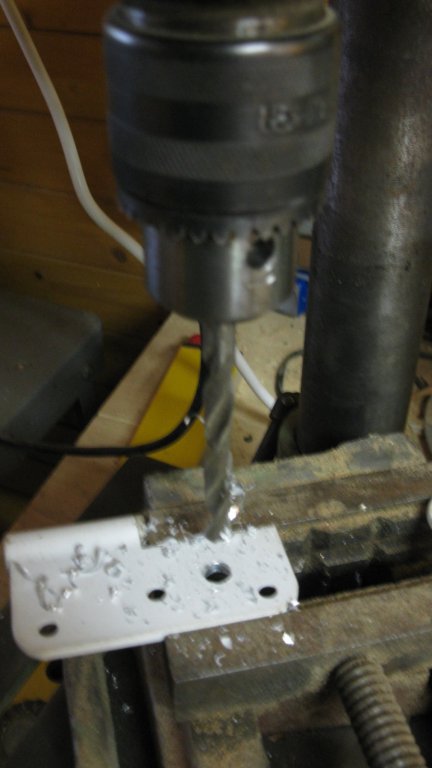
14.20 To be able to drill the holes in equal positions in all the dead eyes I make a little auxiliary tool. I drill a hole with the same diameter as the dead eyes in one side of a hinge. In the opposite side I drill the three holes of the dead eye.


-
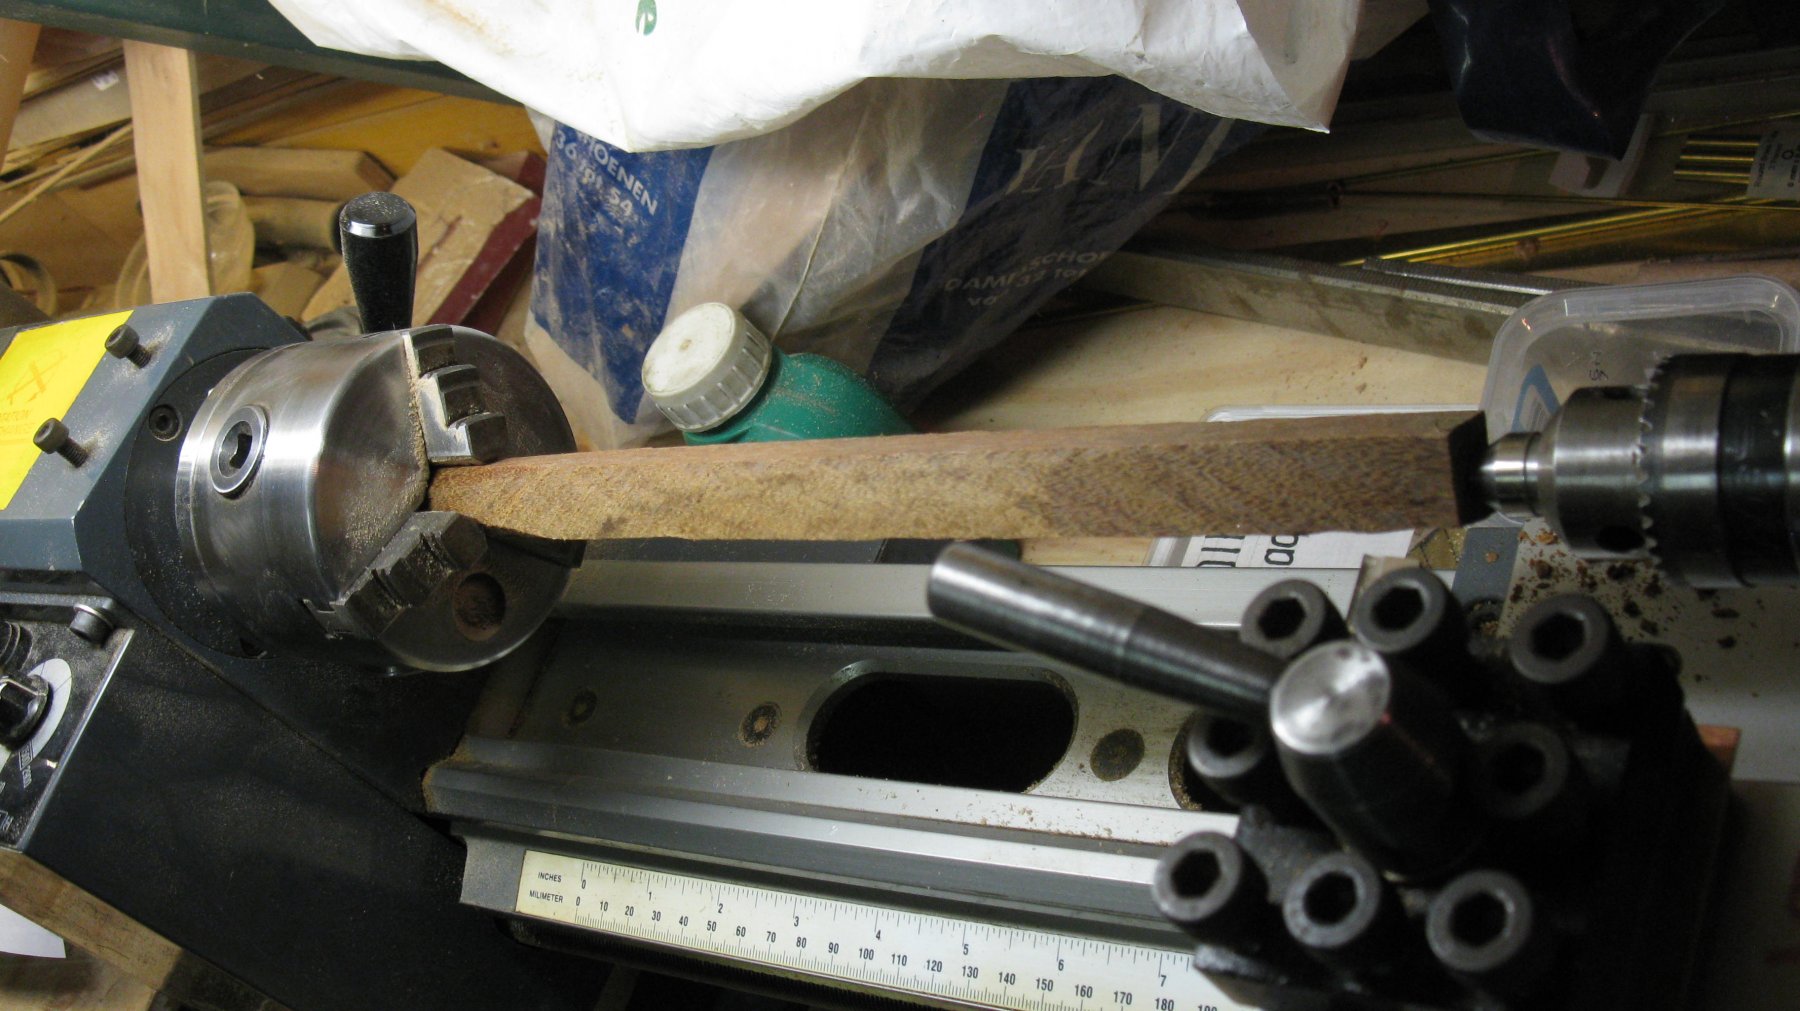
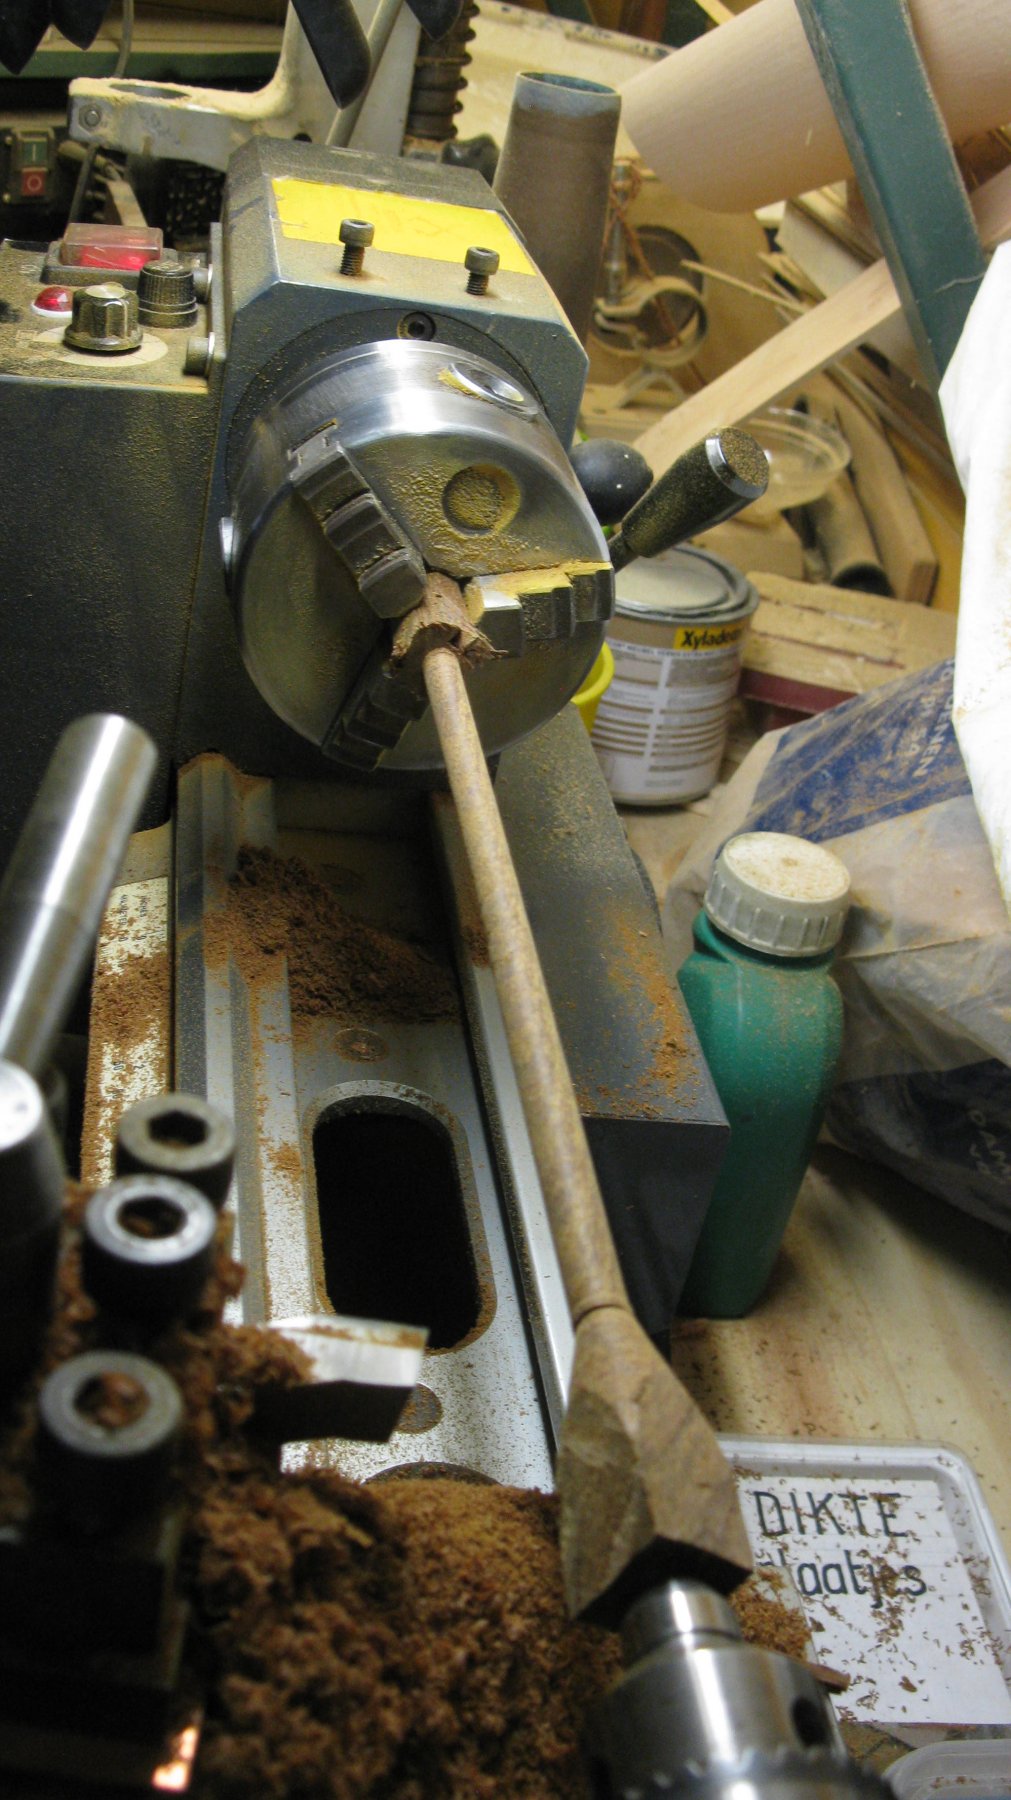
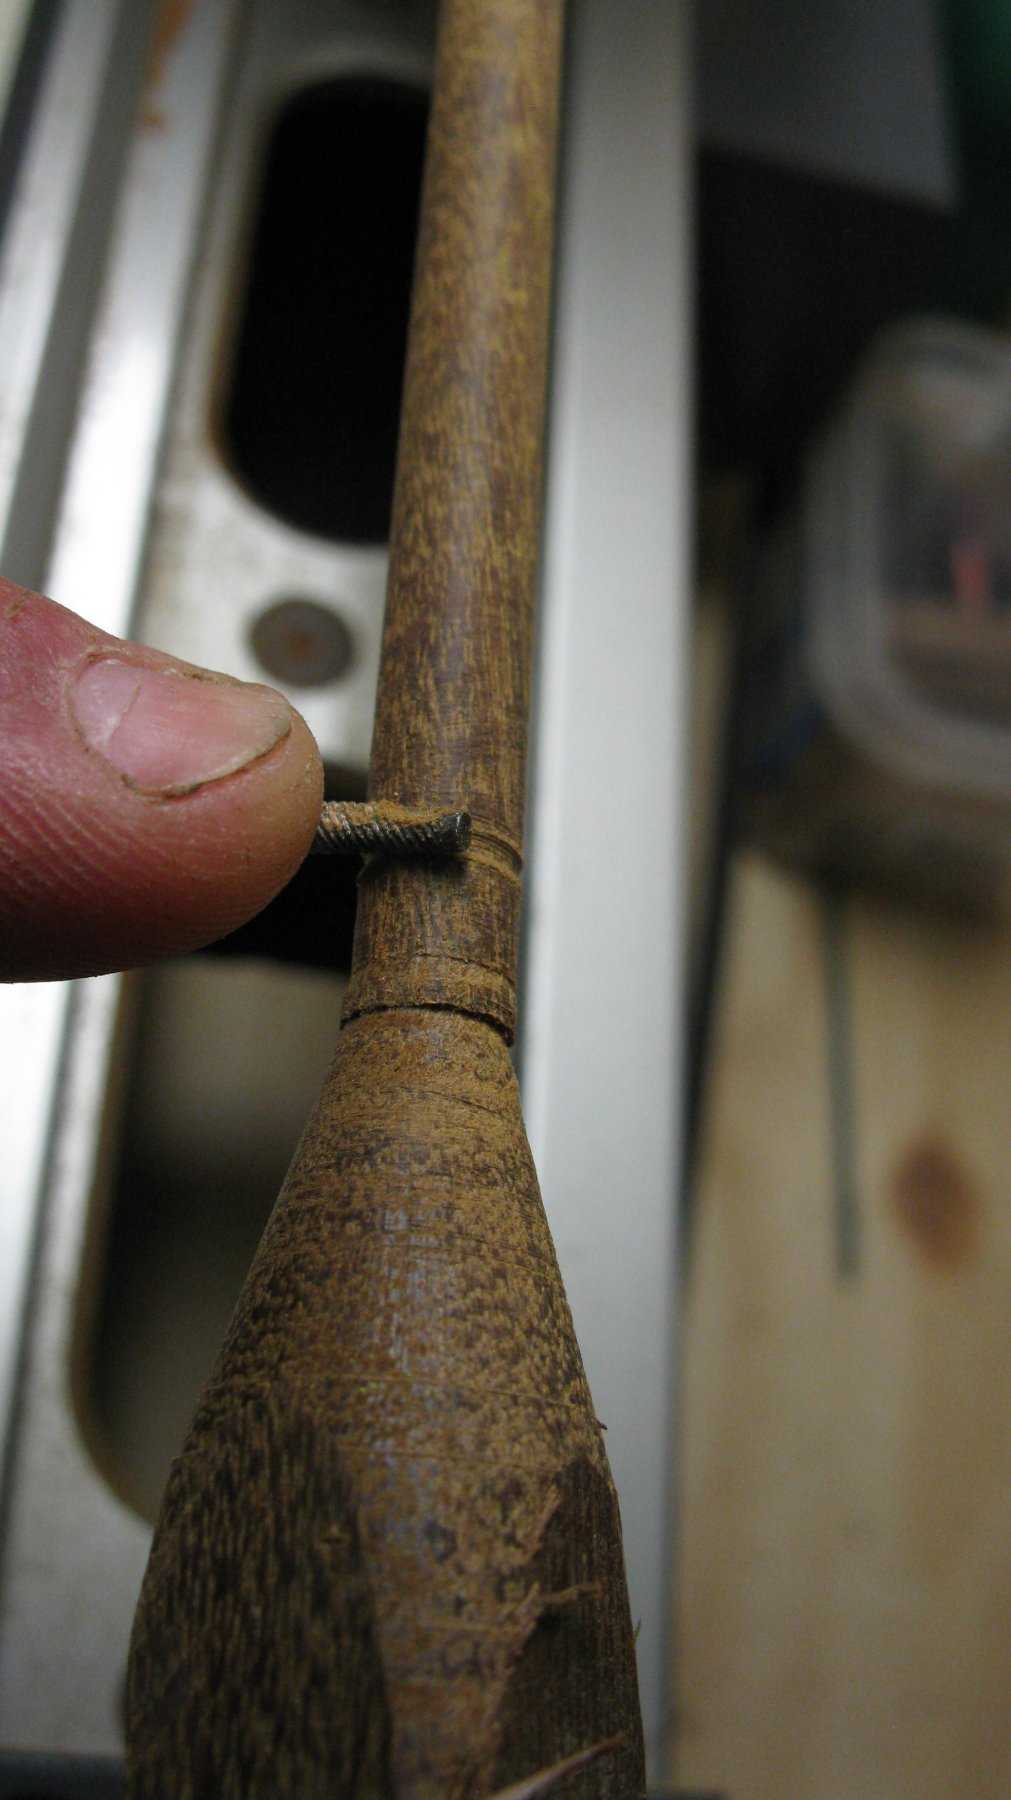
14.19 With the railing in place, I can make and place the dead eyes I turn a cylindrical stock in hard wood, I believe it is ipe and make grooves in it, using a round file.


-
Thanks Hakan.
-
Patrick, Your loose hand is very steady. Maybe You had a Grimbergen Tripel before painting. I like it that You paint in a way that the wood grain remains visible. G.L.
- 756 replies
-
- 3
-

-
- galleon
- golden hind
- (and 2 more)
-
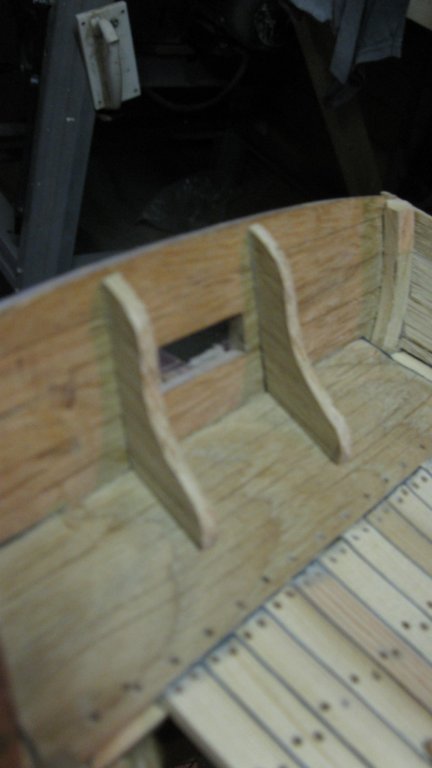
14.18 The inner transom:

-
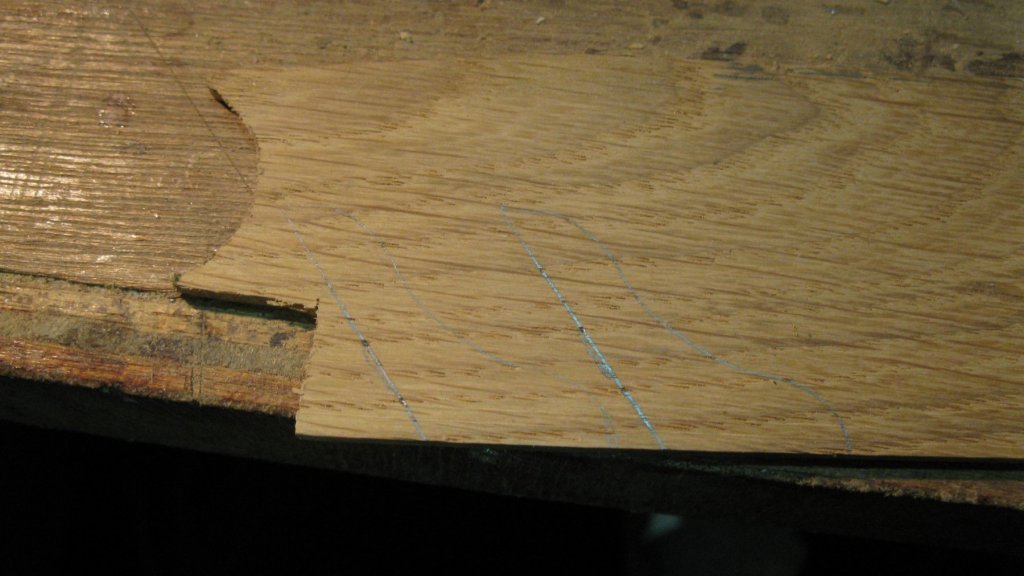
14.17 To make a good fit for the horizontal, I make paper templates:

-
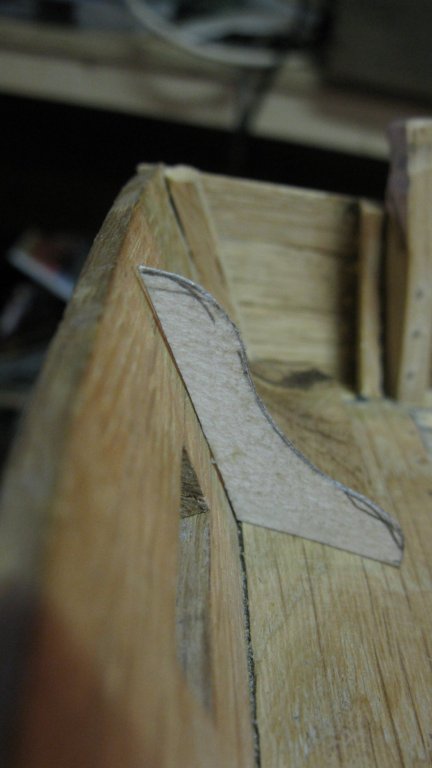
Thank You Nils. 14.16 Inside the transom there are 2 vertical and 2 horizontal knees as strengthening. The vertical knees:
-
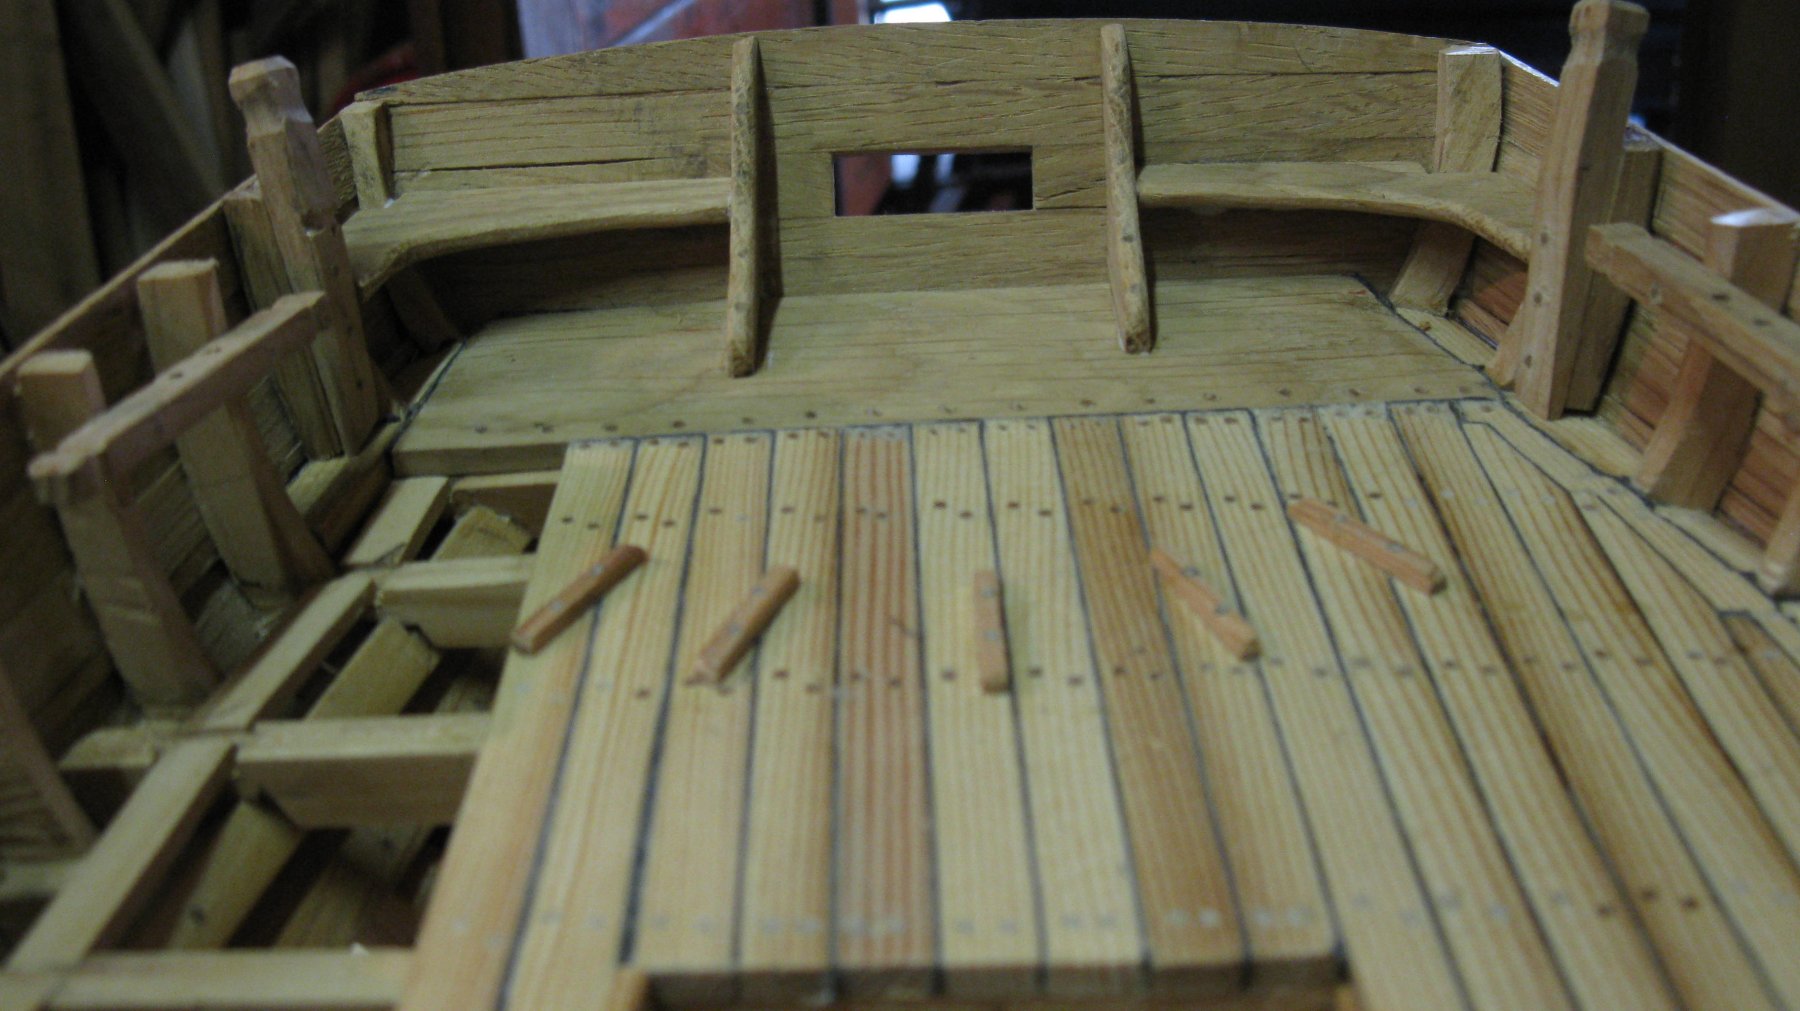
All the steps in place.

-
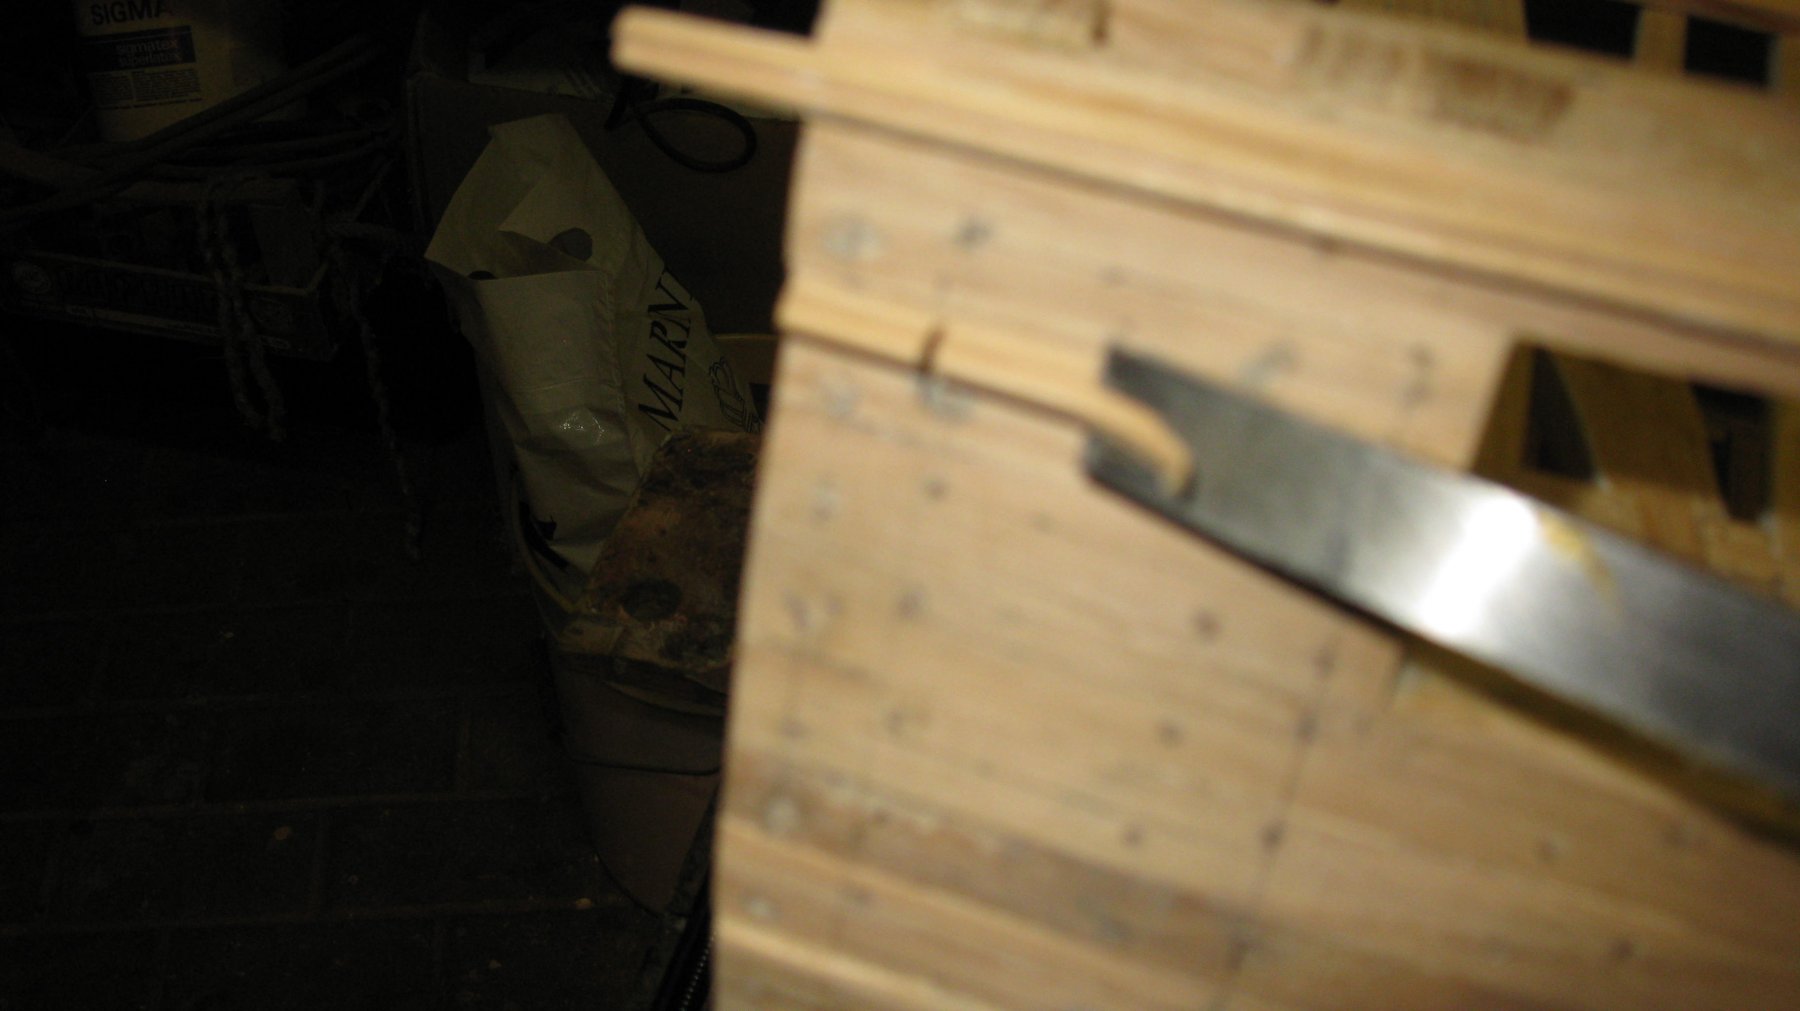
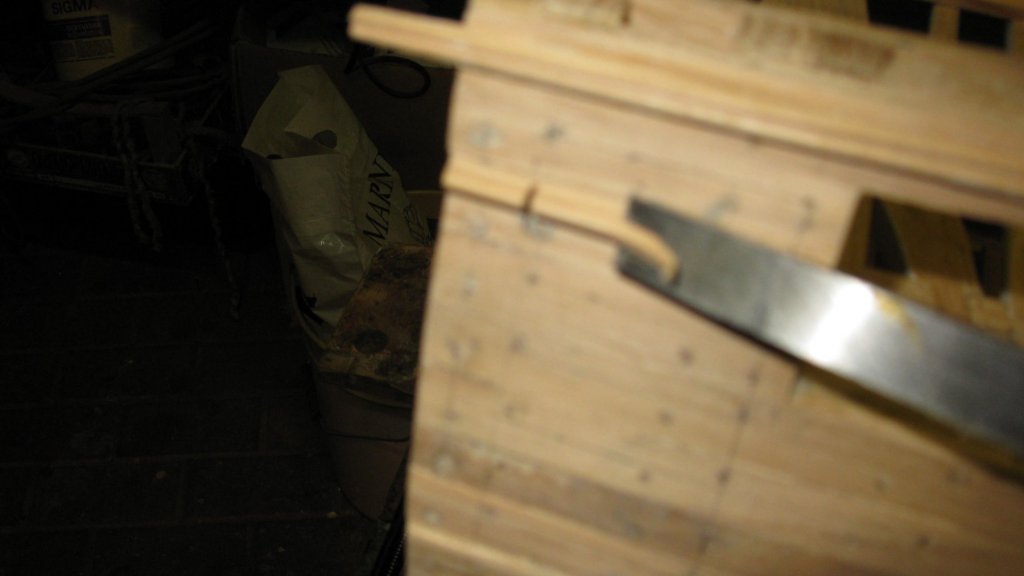
But done is done. I continue to glue the steps. The upper side of each step must be horizontal. Because the hull is cambered the after side is of each step has another angle. I sand them to the right angle with the band sander.

-
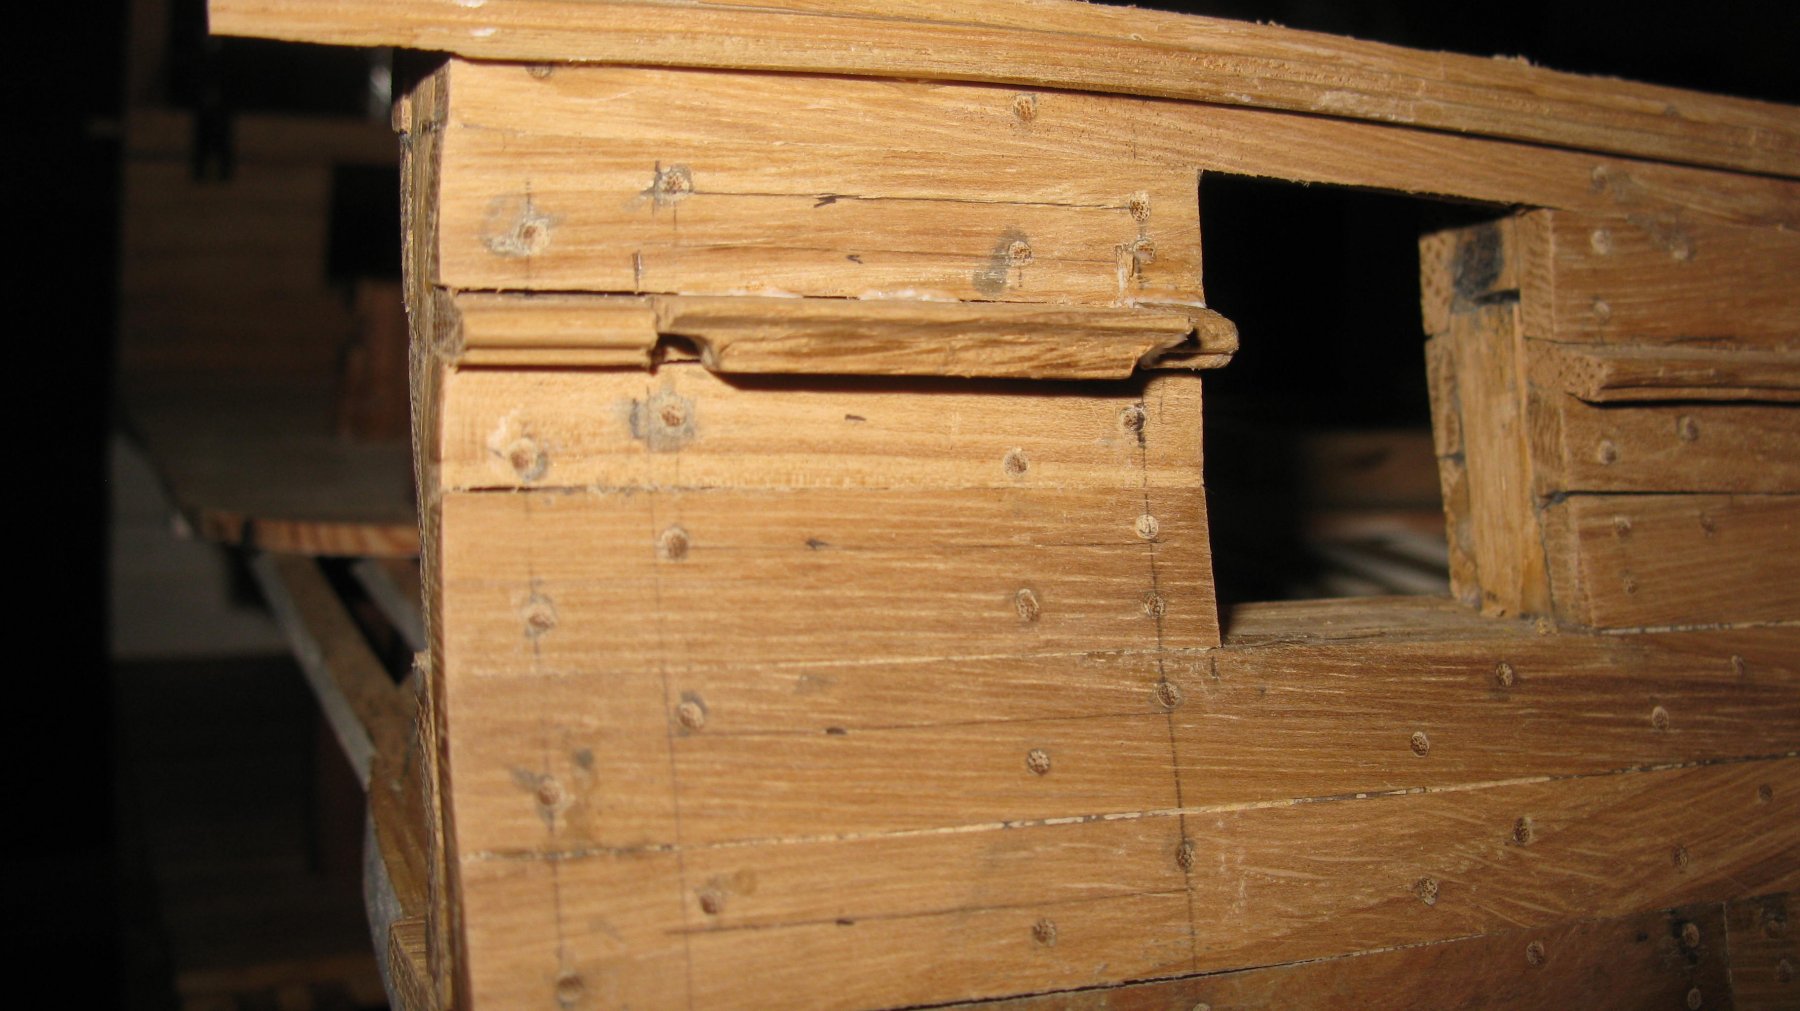
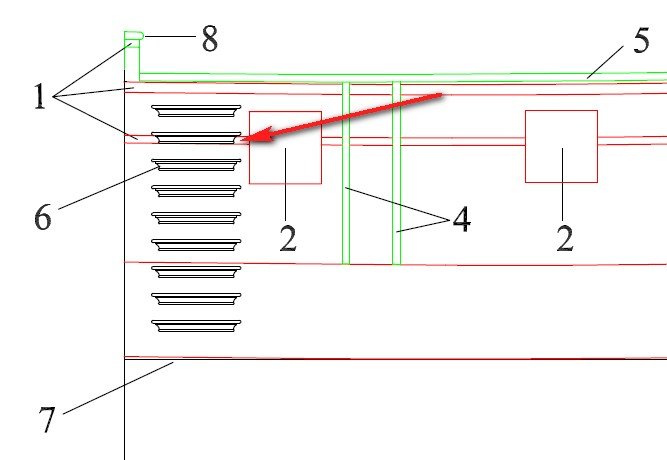
Only now I look to the 'end view plan' of the entry steps and I see that on this plan the step is placed just on top of the outboard trim. A small inequality between the two plans? Apparently it was not necessary to cut a piece from the outboard trim.
-
The first step in place.
-
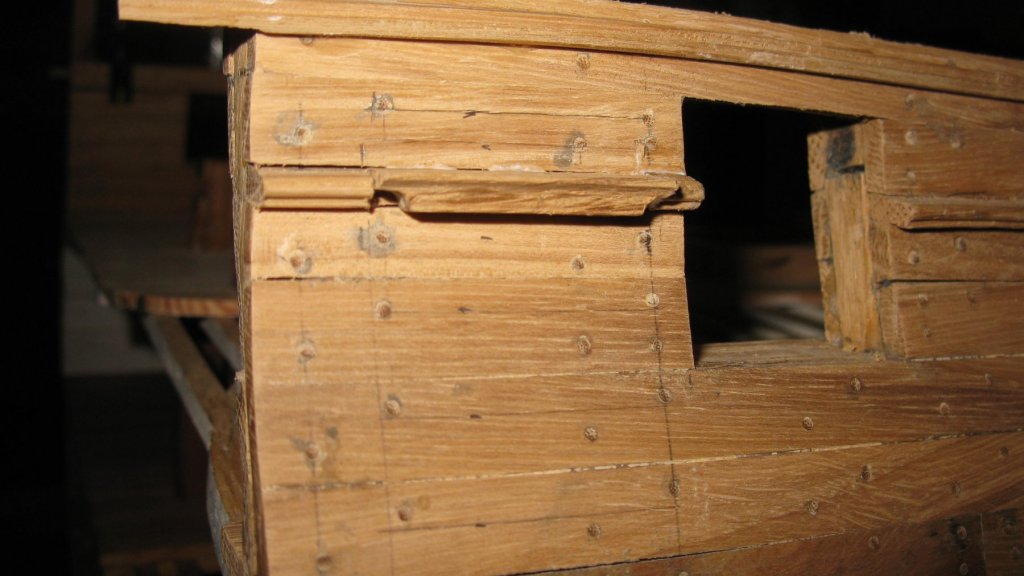
According to the plan, the second step from above is positioned on top of the lower outboard trim so I cut the necessary length out of it.


-
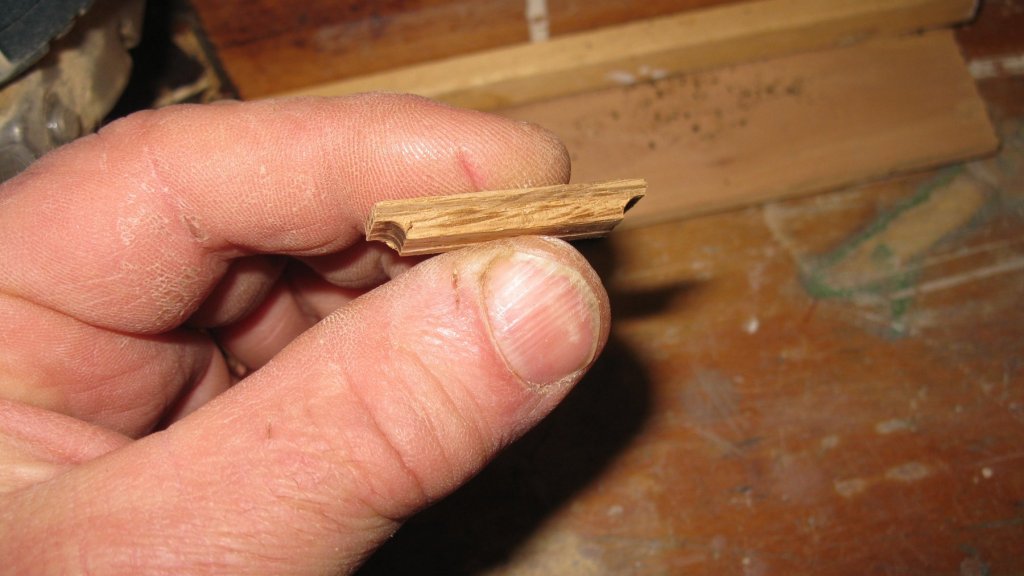
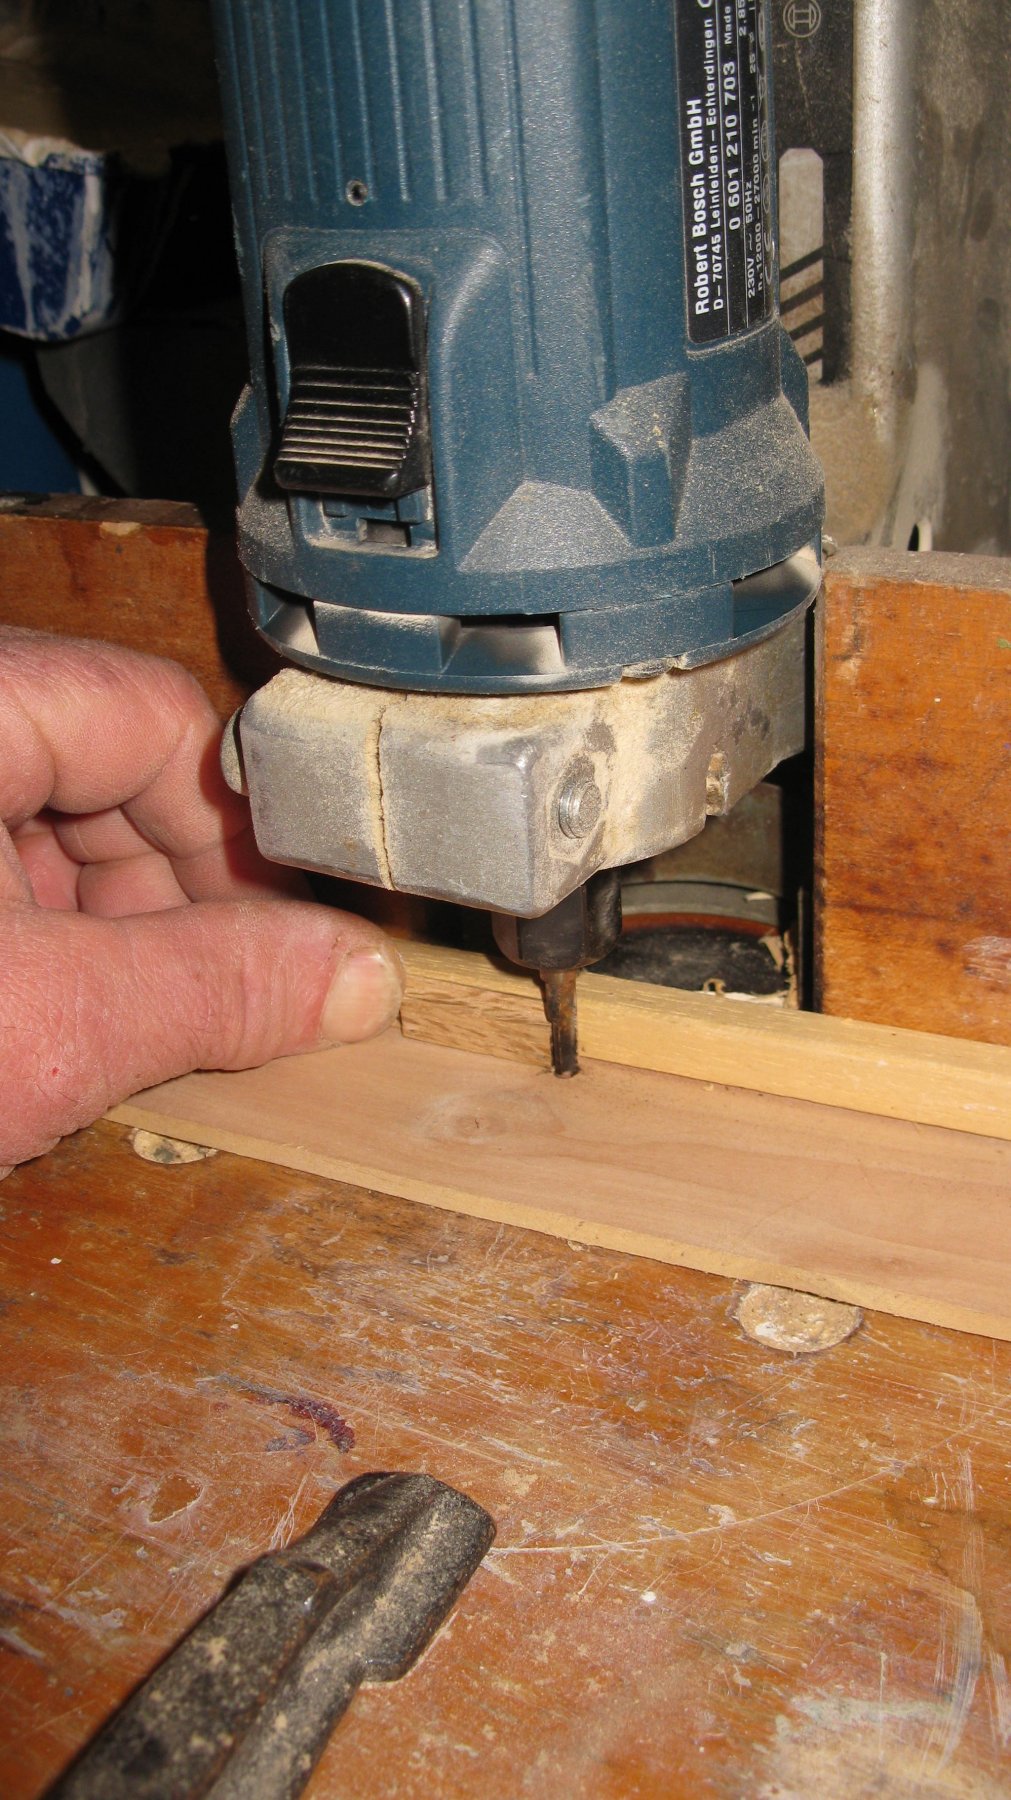
The sides of the steps have also the same profile. I shape them, using a 3mm mill.