aydingocer
-
Posts
916 -
Joined
-
Last visited
Content Type
Profiles
Forums
Gallery
Events
Everything posted by aydingocer
-
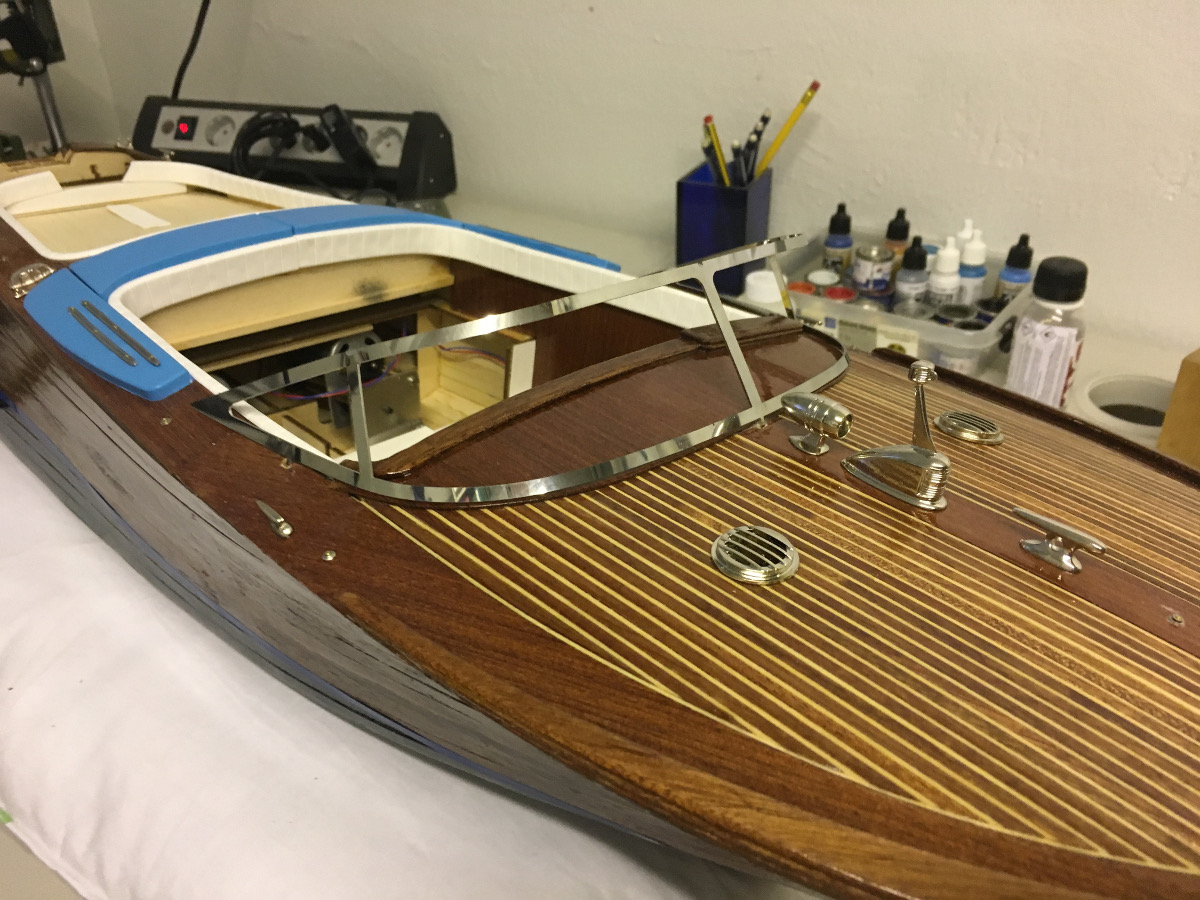
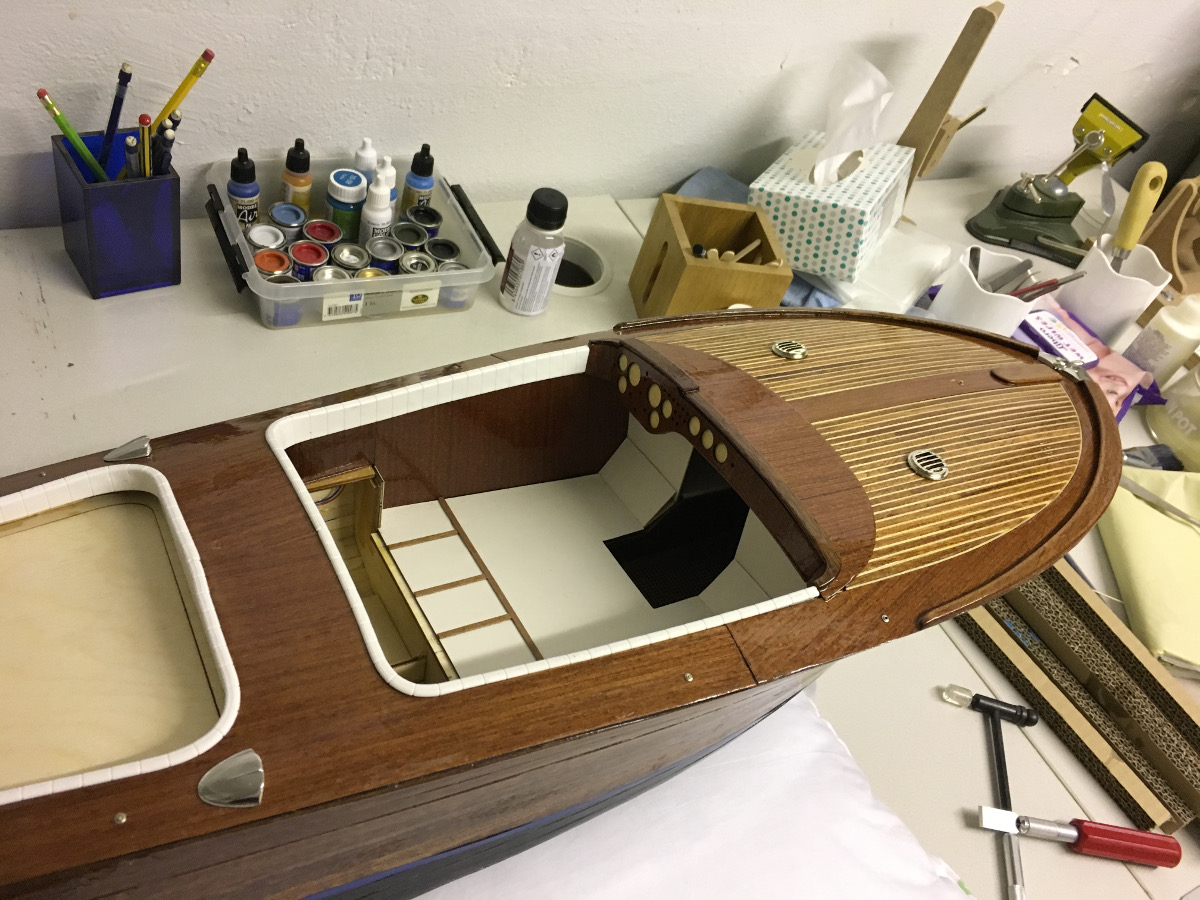
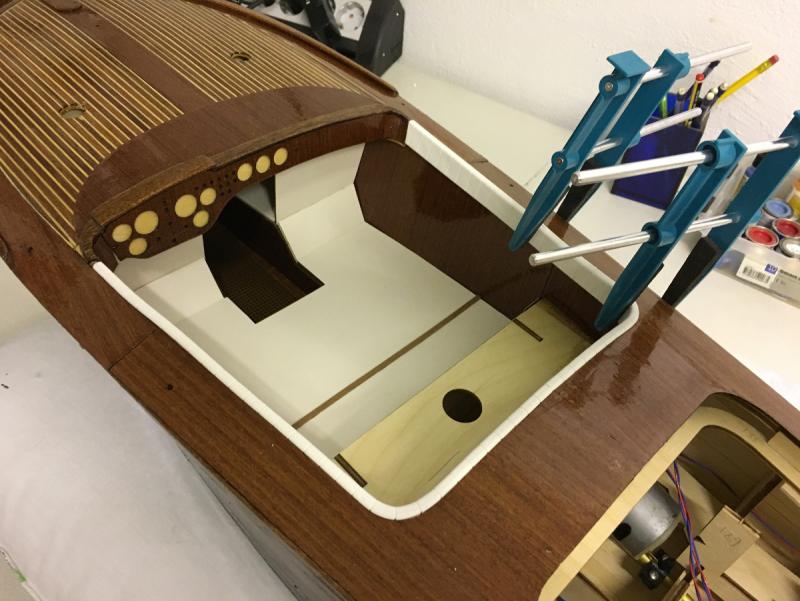
 Windshield installation. Drilled 3 holes for inserting the windshield, 1 in front, 2 on the sides. Bare windshield frame in place (DRY FIT):
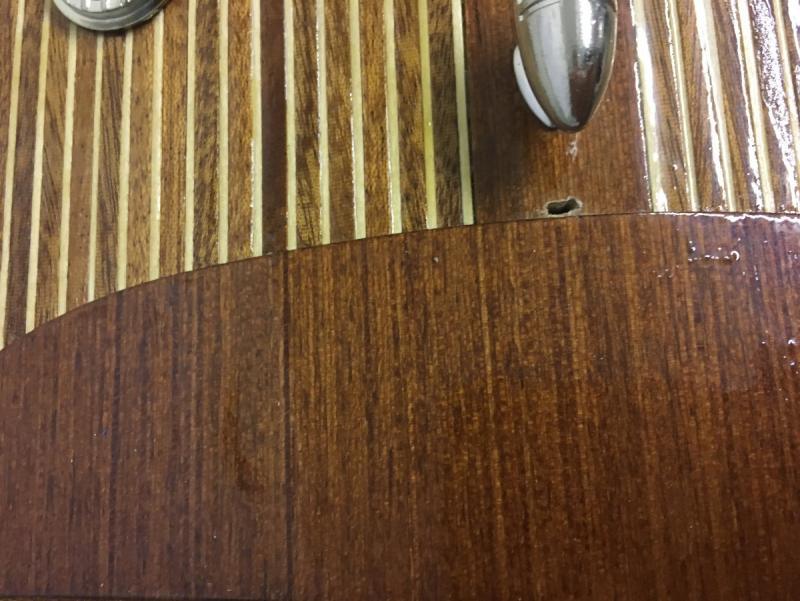

- 414 replies
-
- 7
-

-
- riva aquarama
- amati
- (and 2 more)
-
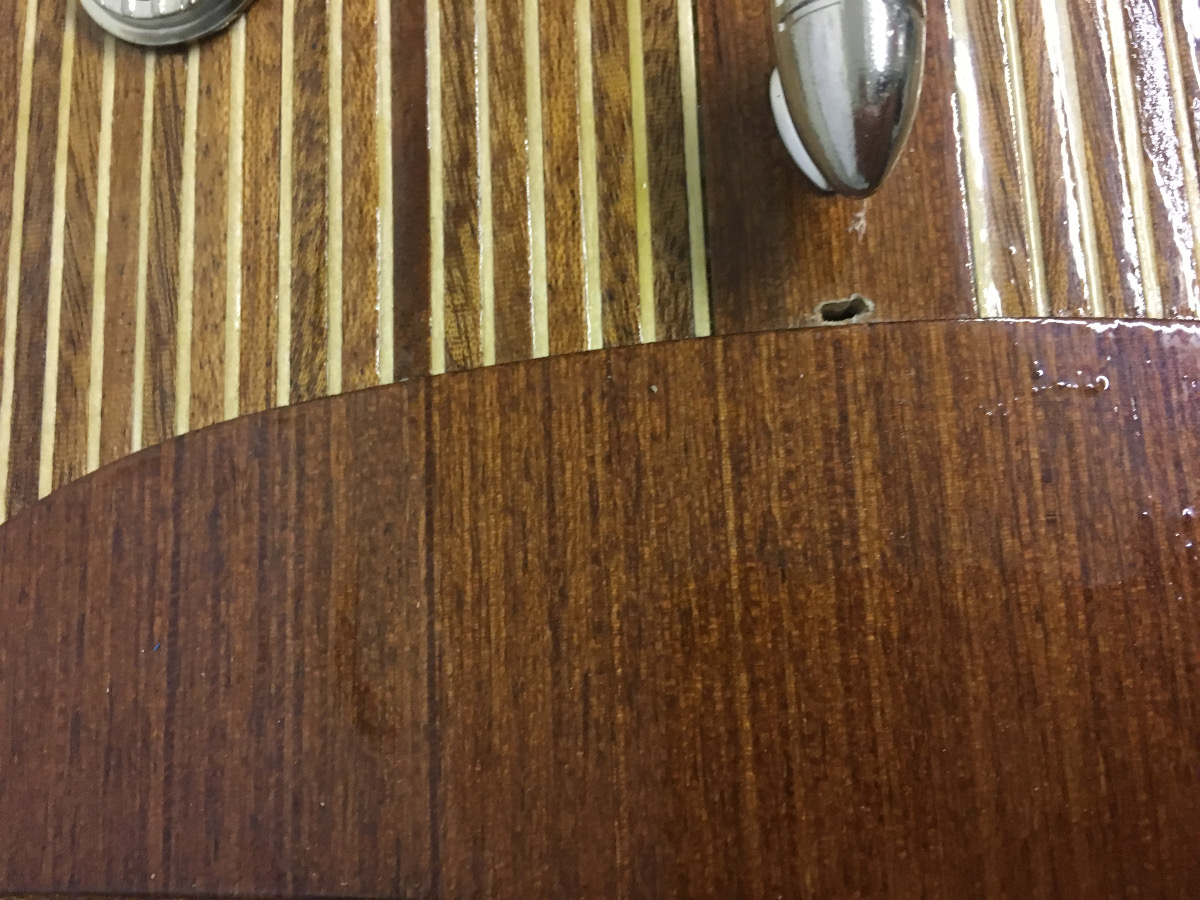
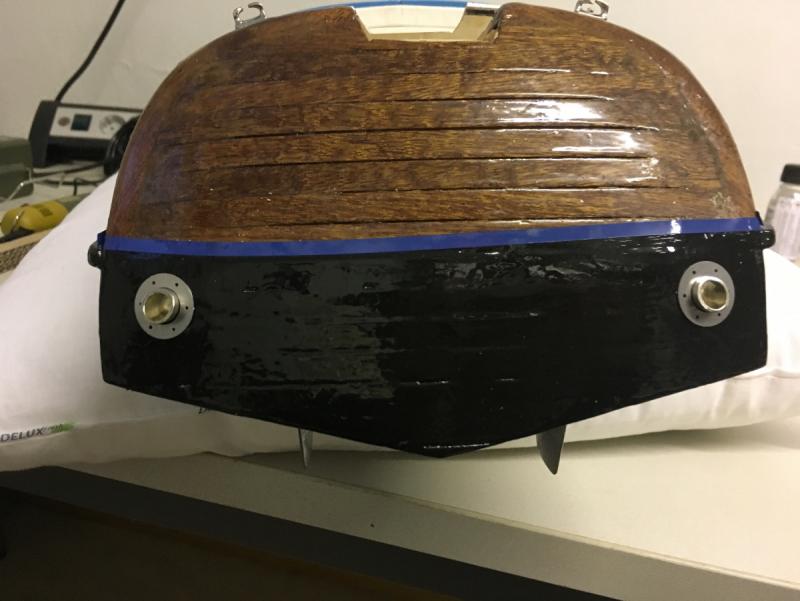
Exhaust pipes. Here I made the mistake of installing the pipes first and the round frames afterwards, making it too hard to hammer nails to the holes on the frame. I leave them as they are for now, until I get a piece of iron rod to help hammer the nails without hitting the exhaust pipes.
- 414 replies
-
- 7
-
-
- riva aquarama
- amati
- (and 2 more)
-
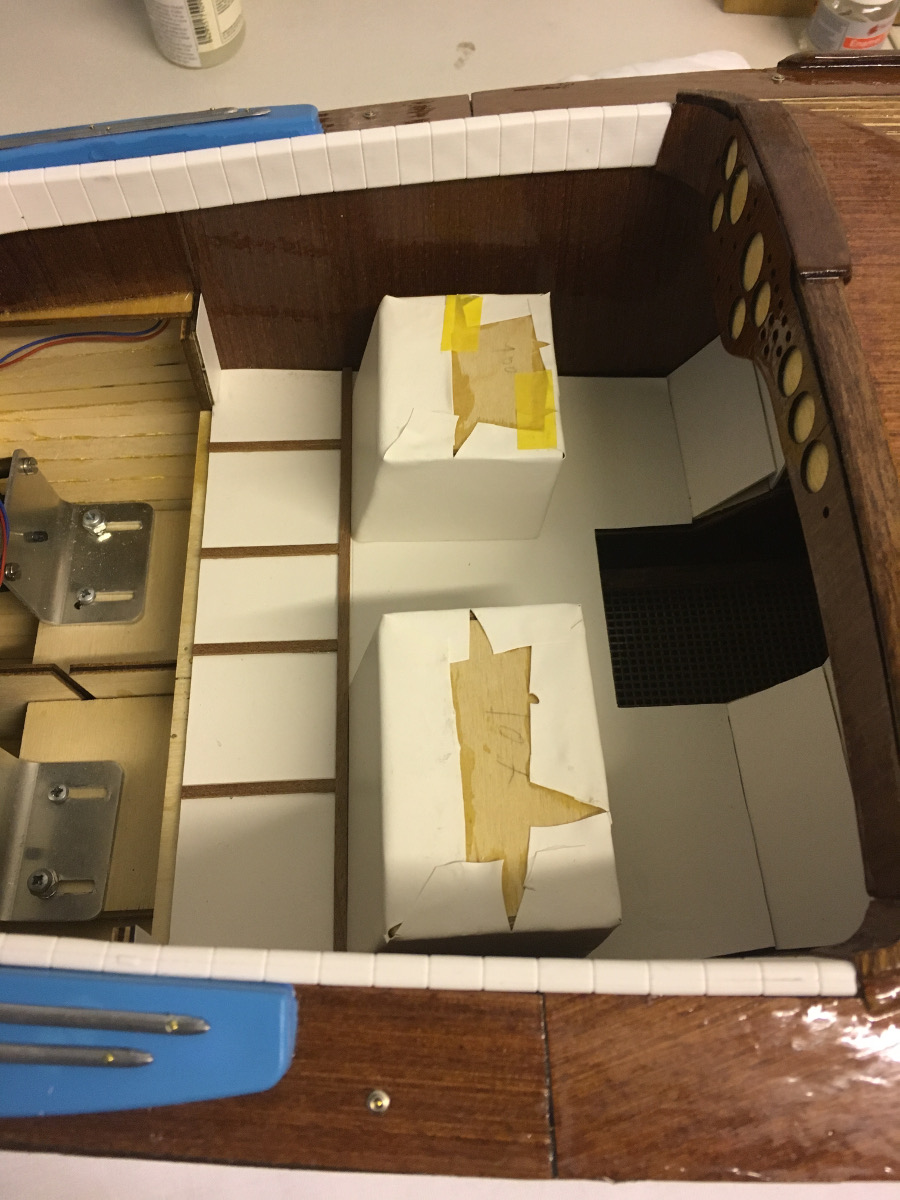
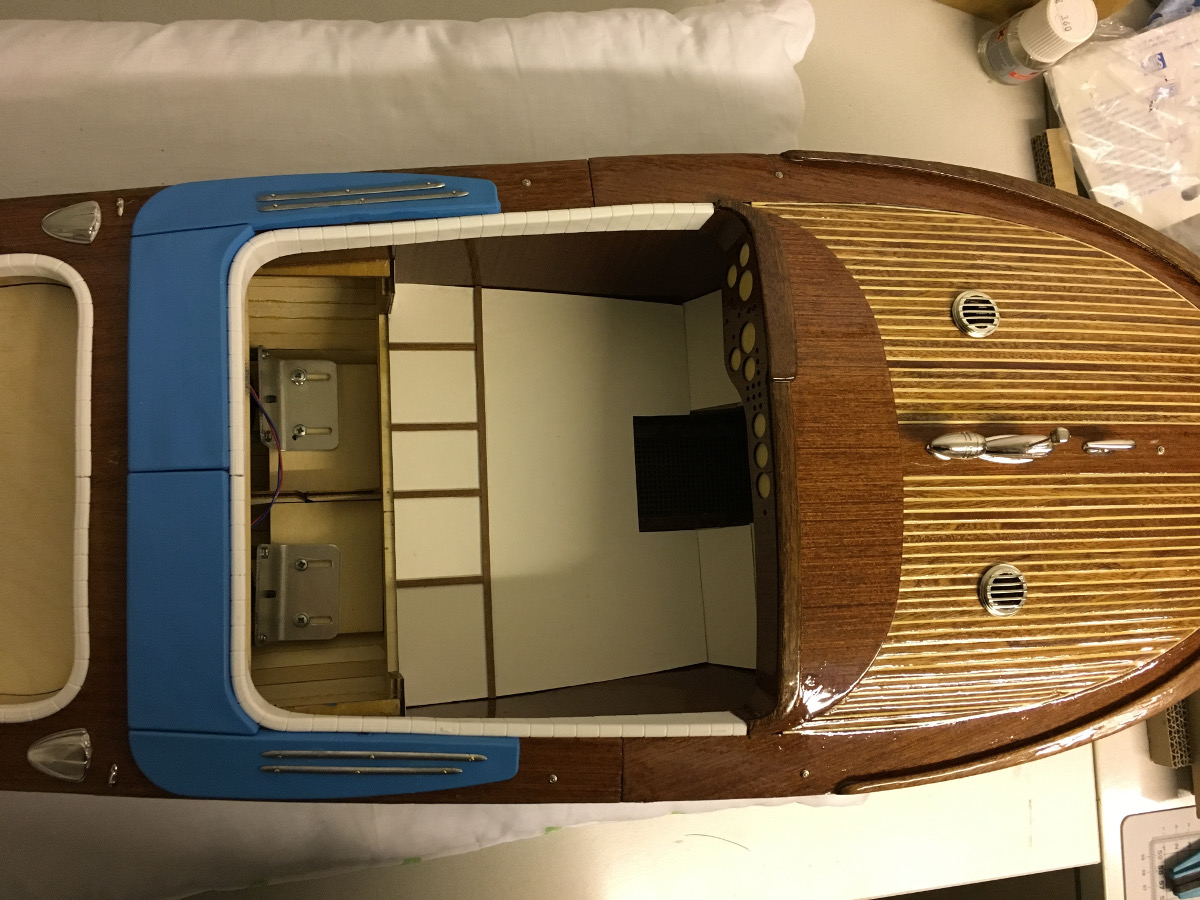
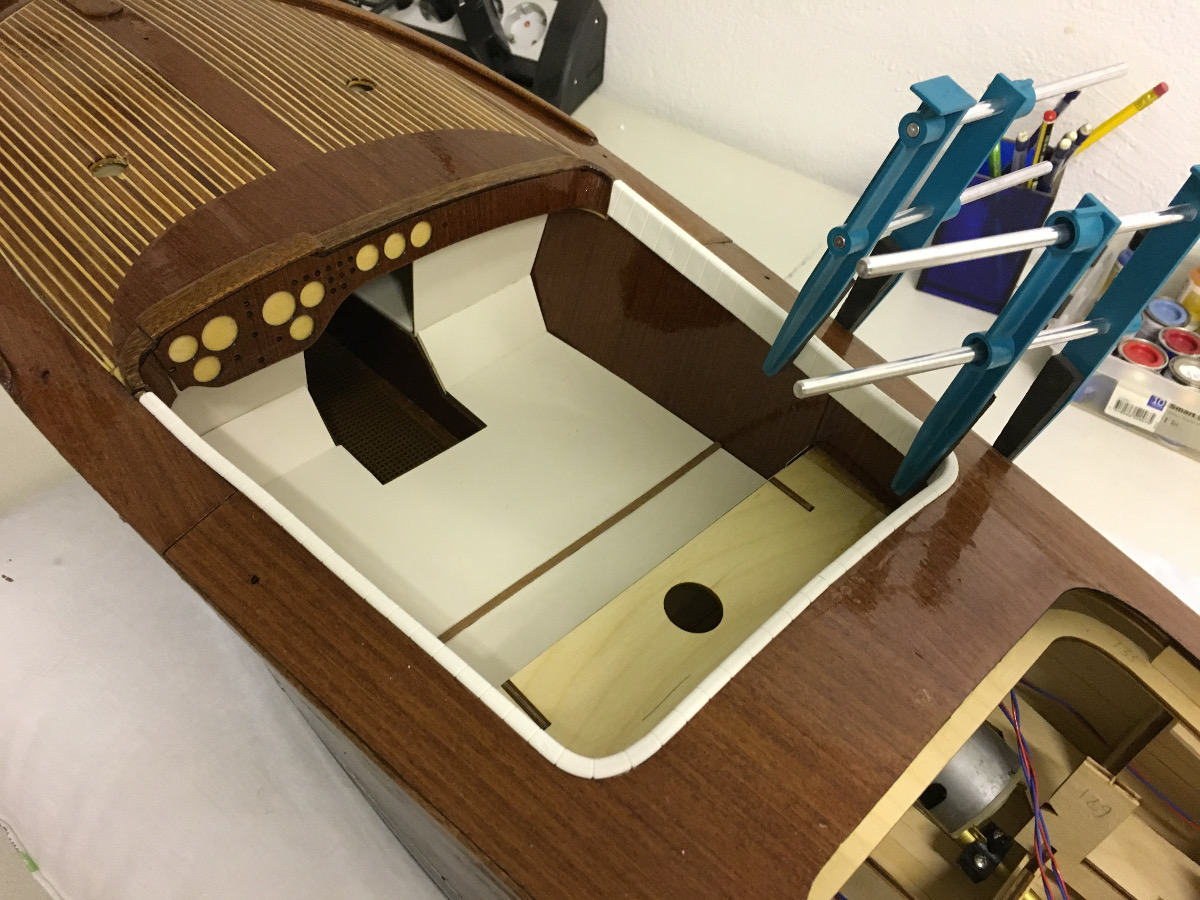
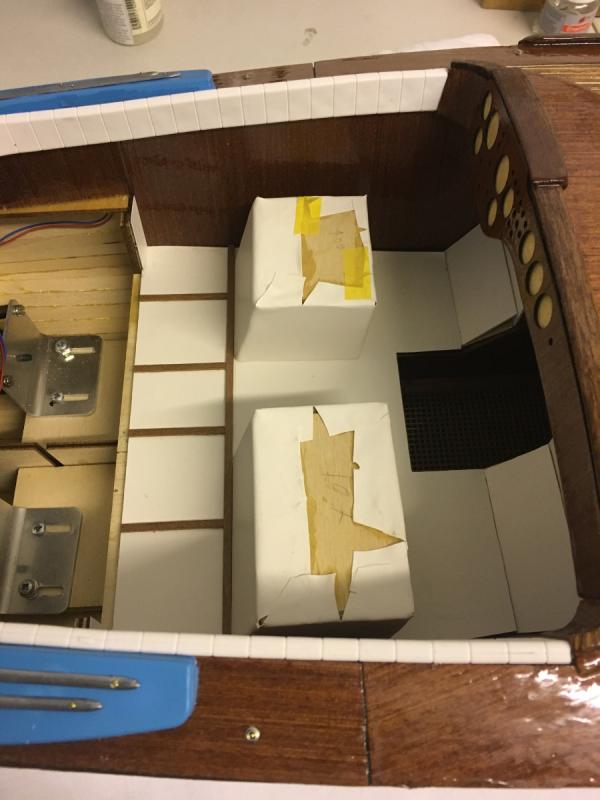
Build day 46. Decorations continued. Today I was able to spare some 6 hours with my build. Here is the progress: Front seat bases are finally glued to the place:
- 414 replies
-
- 5
-
-
- riva aquarama
- amati
- (and 2 more)
-
Very very smooth coating. I wish I could have done the same for my Aquarama.
- 339 replies
-
- 4
-
-
- dumas
- Chris-Craft
- (and 3 more)
-
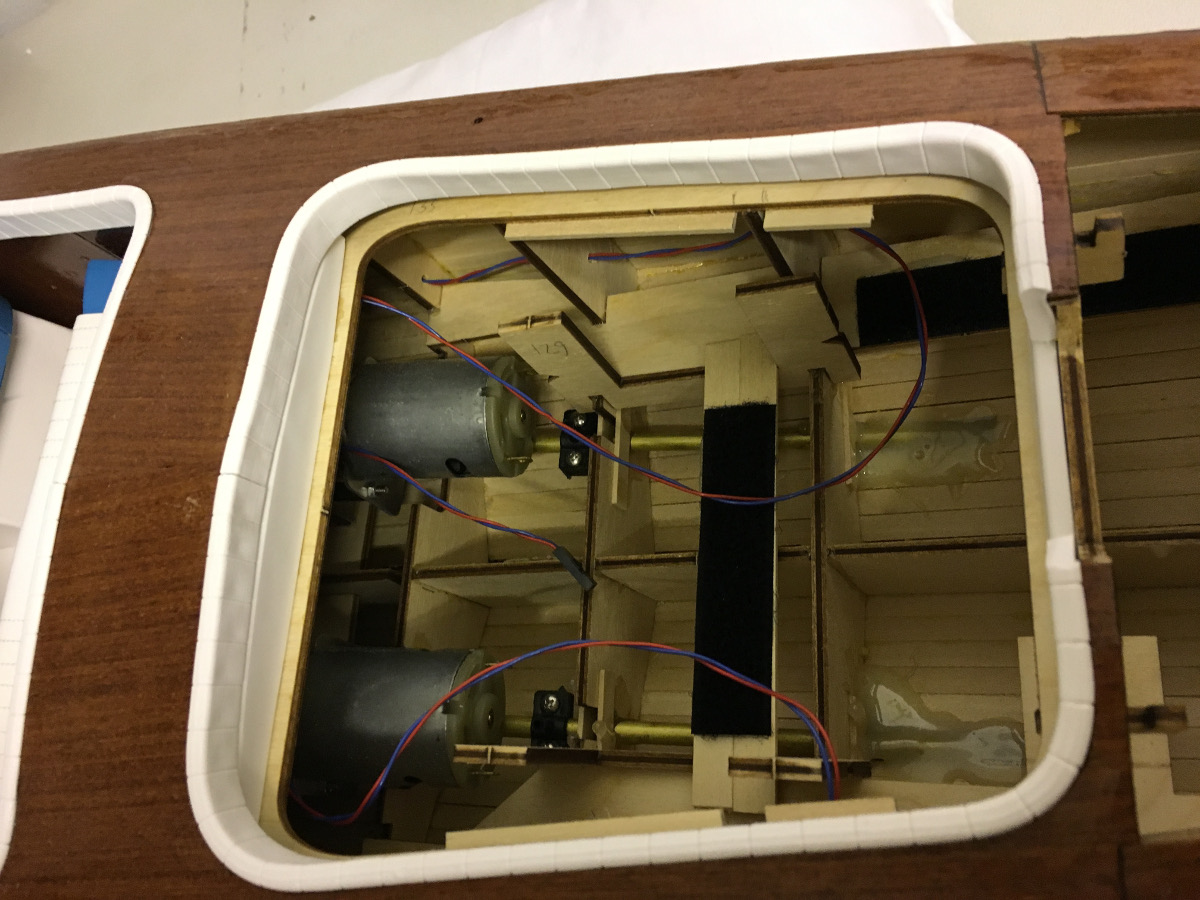
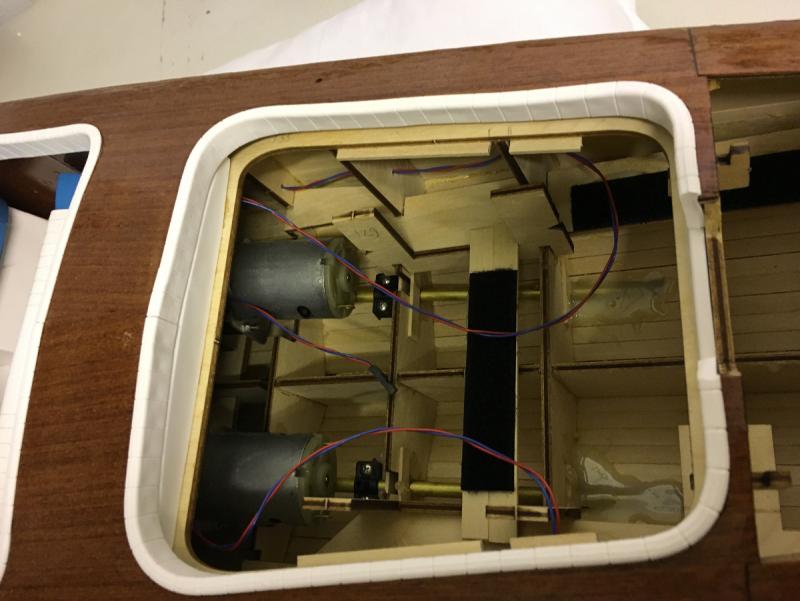
End of Build day 45 3,5 hour today. 130 hours into build in total. Along with several other small metal parts, this is the status at the end of the day. Thanks for watching:
- 414 replies
-
- 10
-
-
- riva aquarama
- amati
- (and 2 more)
-
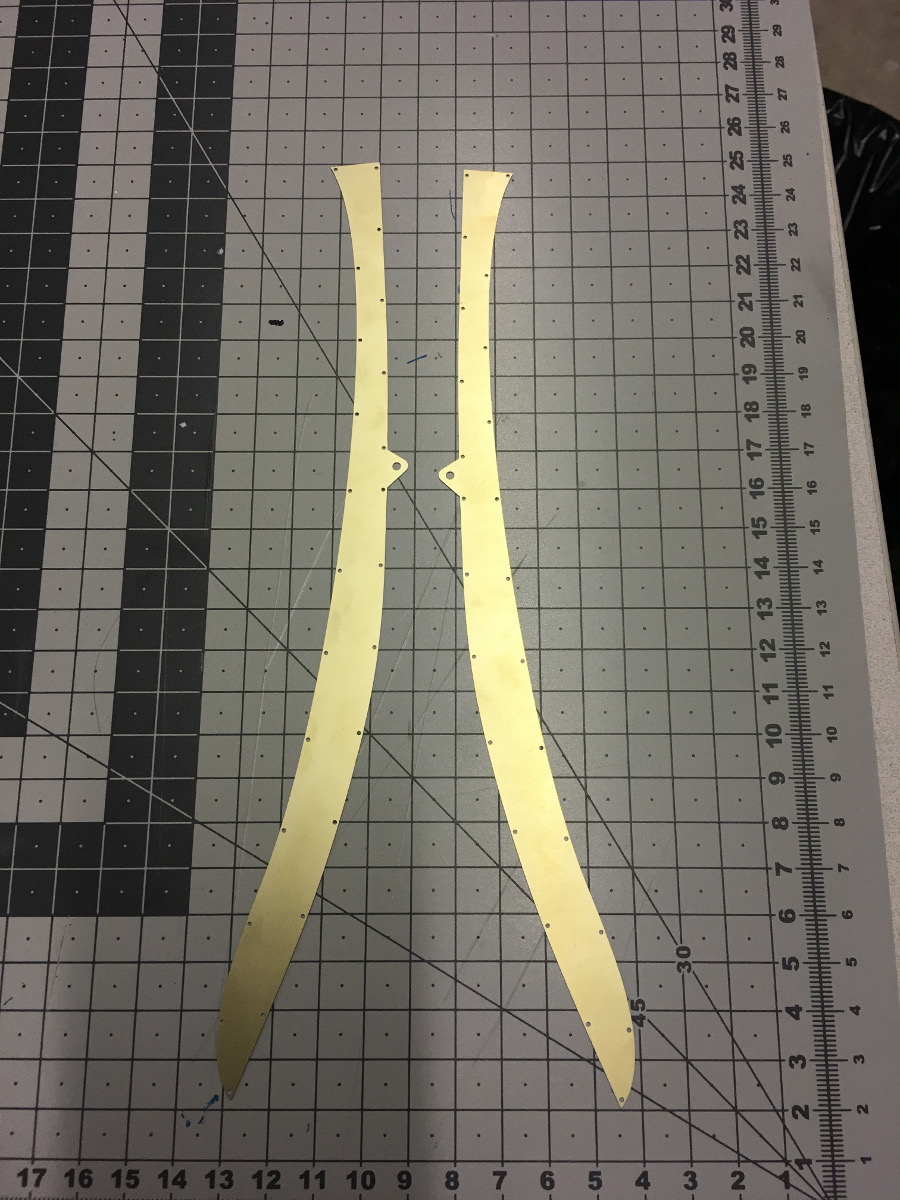
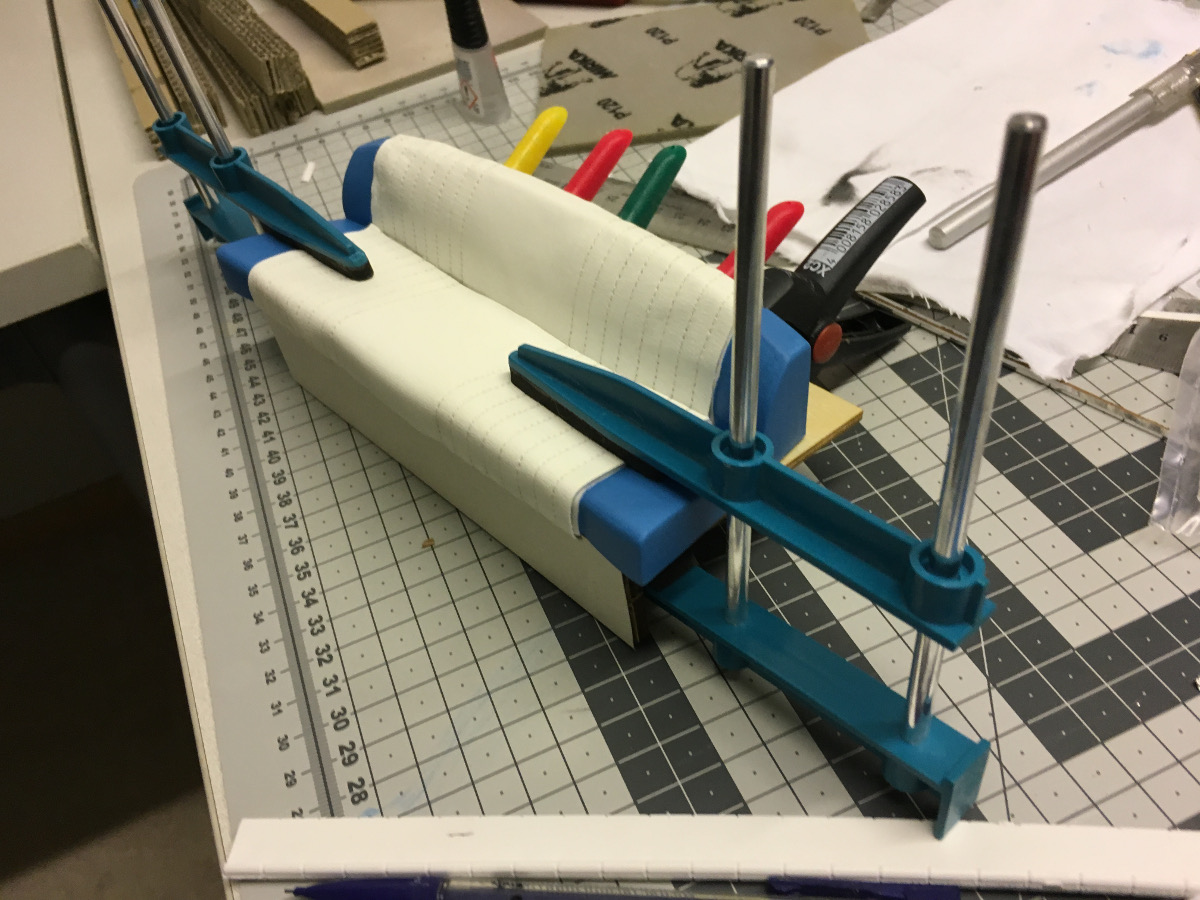
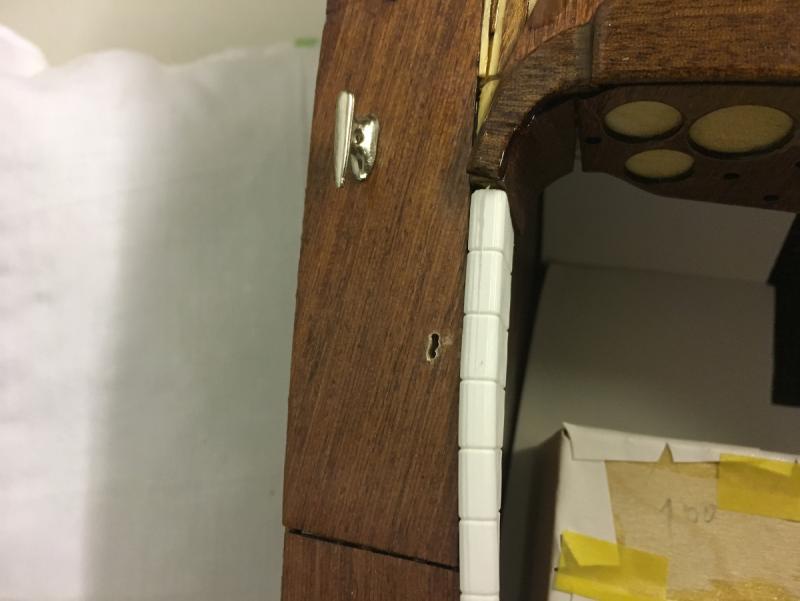
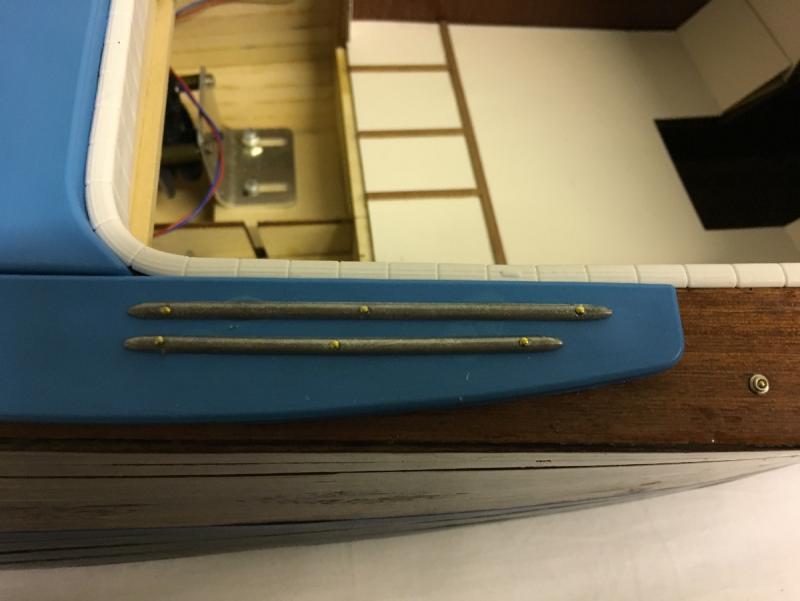
Glued the turquoise cushions around the cockpit. I had to do this in order to be able to position the other components correctly easier. These cushions accommodate 2 pieces of metal stripes, which are supposed to be nailed. They had "simulated" nail holes which were not fully drilled. So I drilled the nail holes and nailed them on the cushions.
- 414 replies
-
- 7
-
-
- riva aquarama
- amati
- (and 2 more)
-
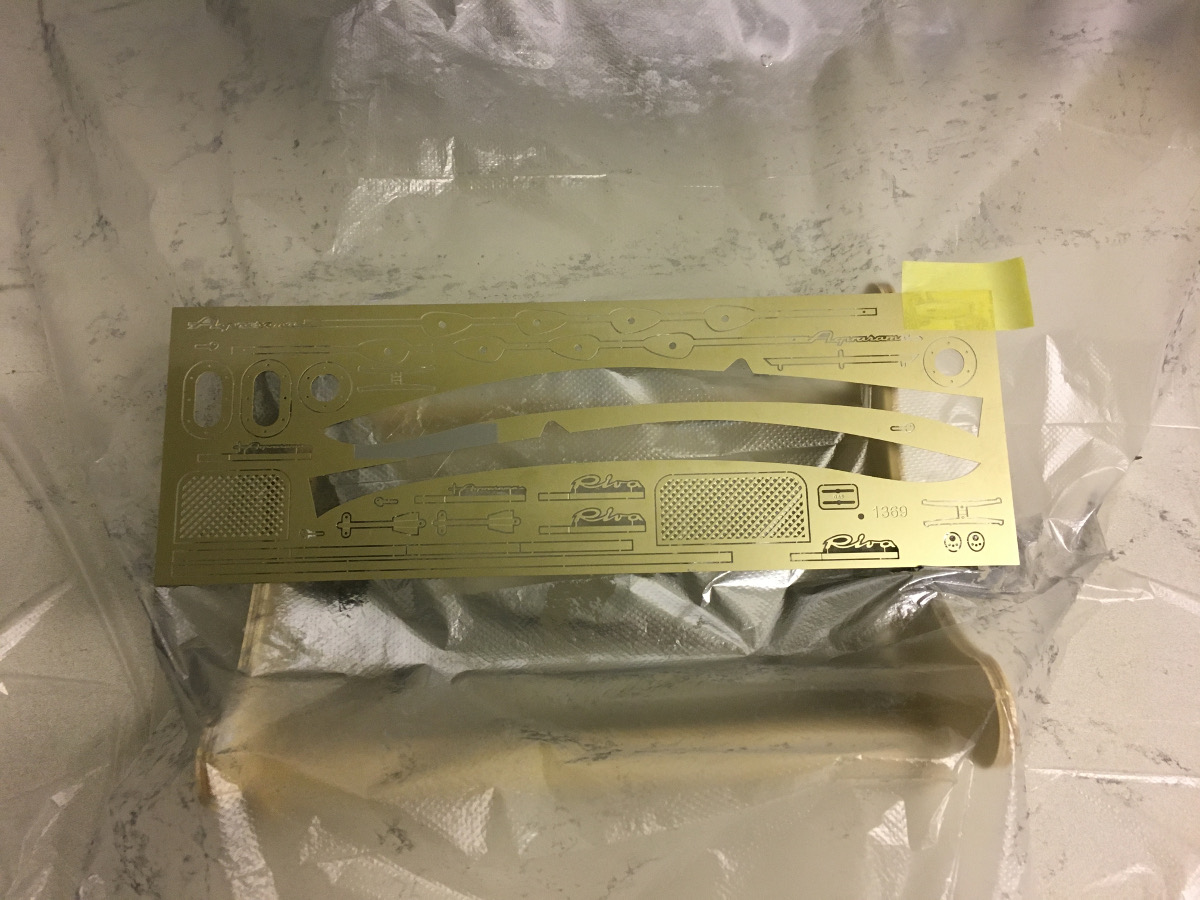
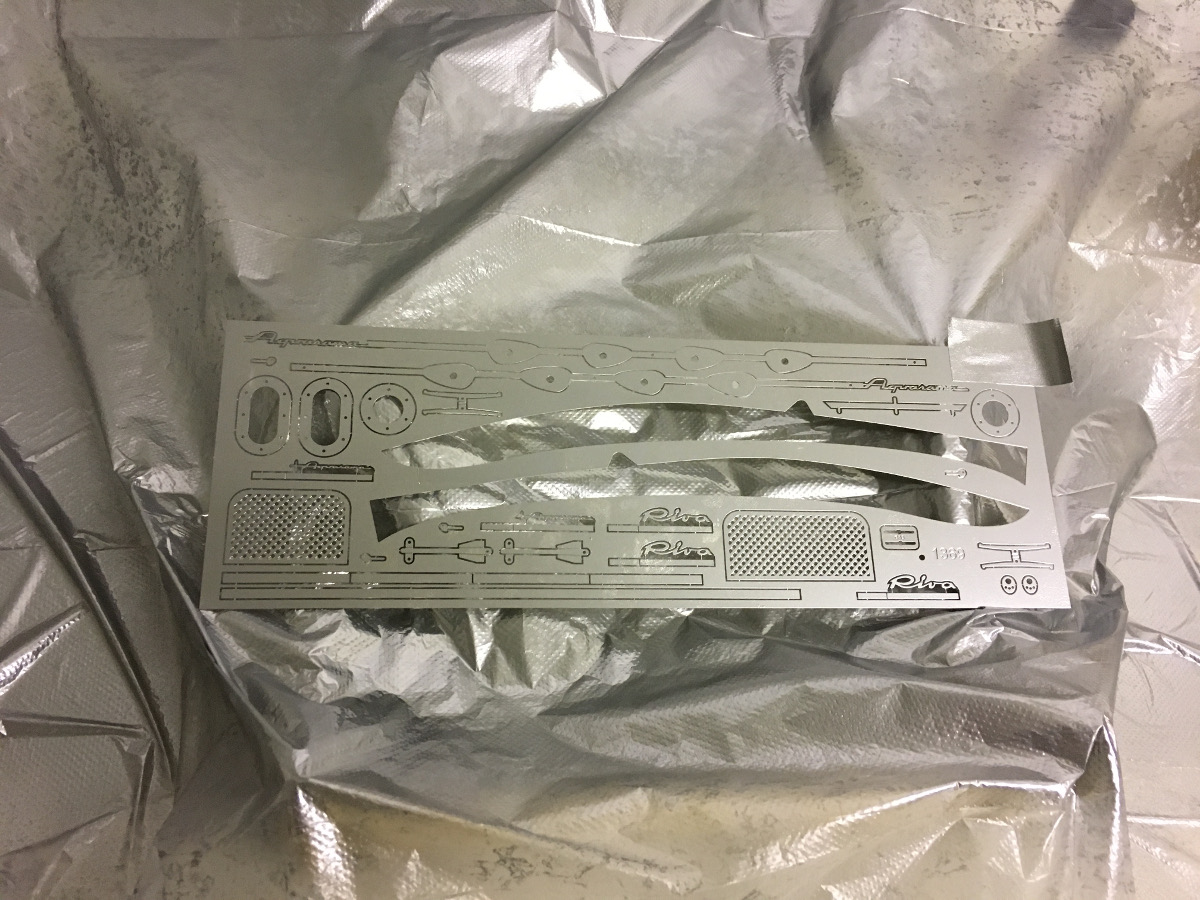
Painted the brass sheet with spray metallic color (the rear view mirror, which is not supposed to be painted, is covered with masking tape, on the top right) : Before: After:


- 414 replies
-
- 8
-
-
- riva aquarama
- amati
- (and 2 more)
-
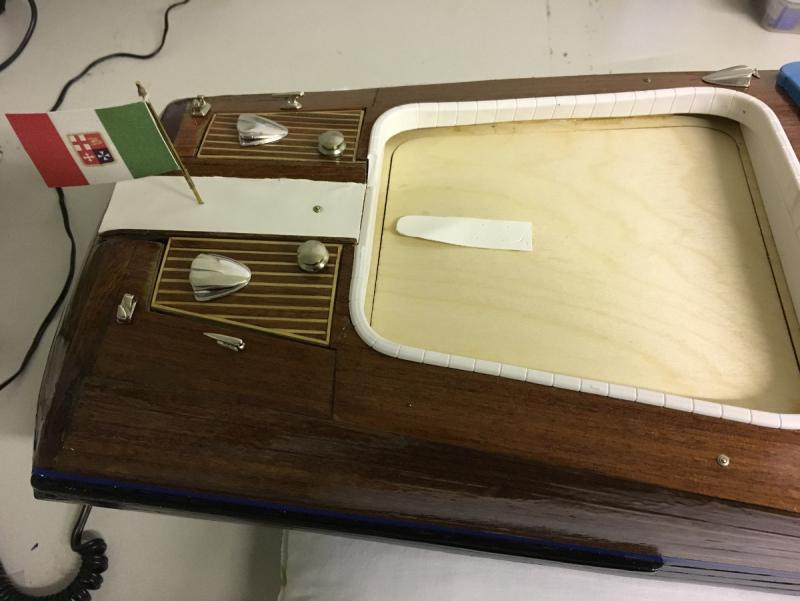
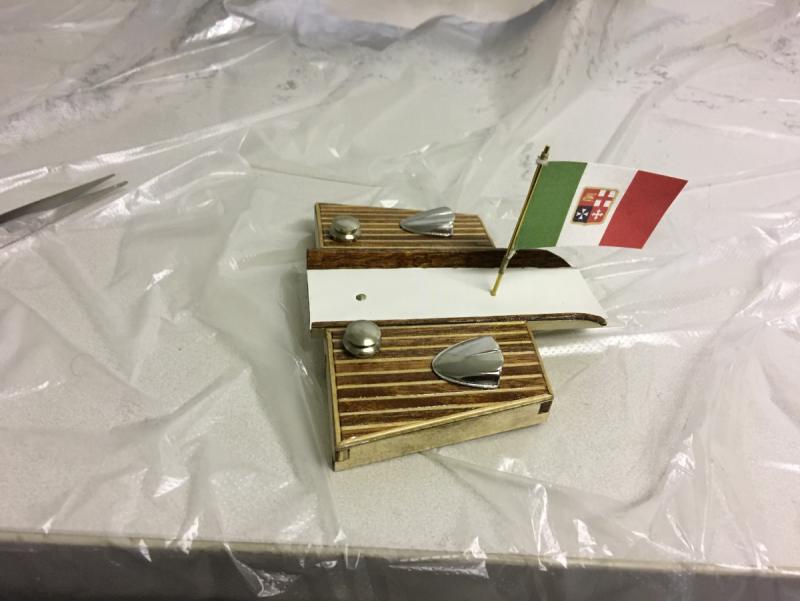
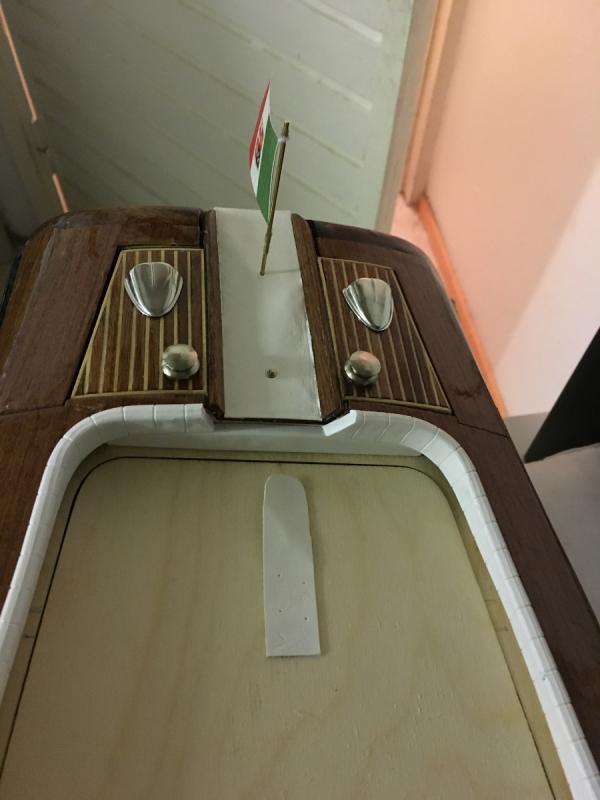
Covered the rear lid with white leather and installed the flag post as well as other stuff:
- 414 replies
-
- 8
-
-
- riva aquarama
- amati
- (and 2 more)
-
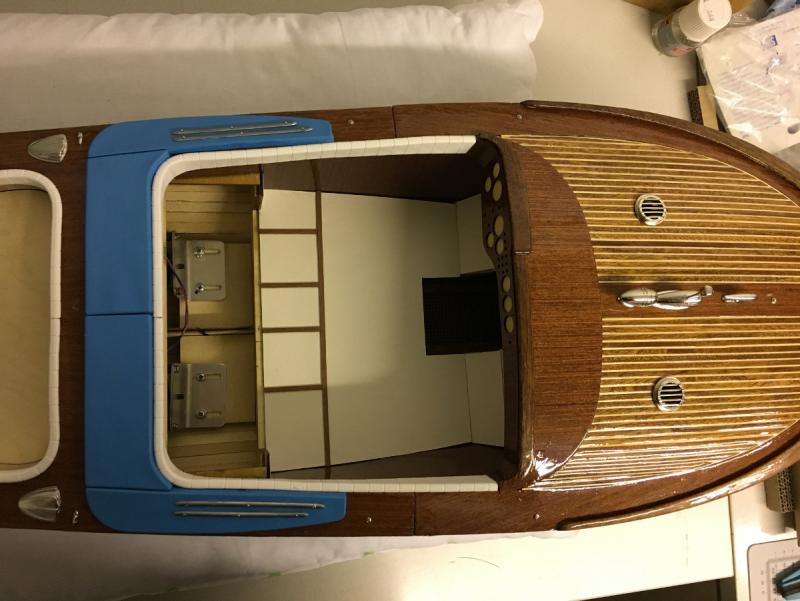
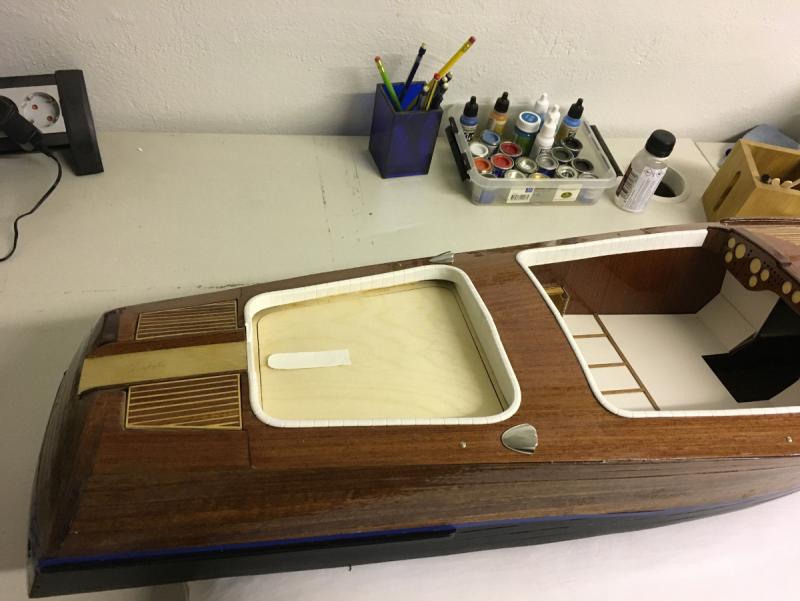
Installed the borders on the floor: Earlier I had glued the sun bed on the rear deck to the plywood hatch which it sits on. Now I think it is not a good idea, since the sun bed will not fit in its place because of the white cushions around the frame. You will need to bend the sun bed a little to insert it, something impossible while it is glued on the hatch. So I detached it. Now in the photos you see the hatch without the sun bed:

- 414 replies
-
- 4
-
-
- riva aquarama
- amati
- (and 2 more)
-
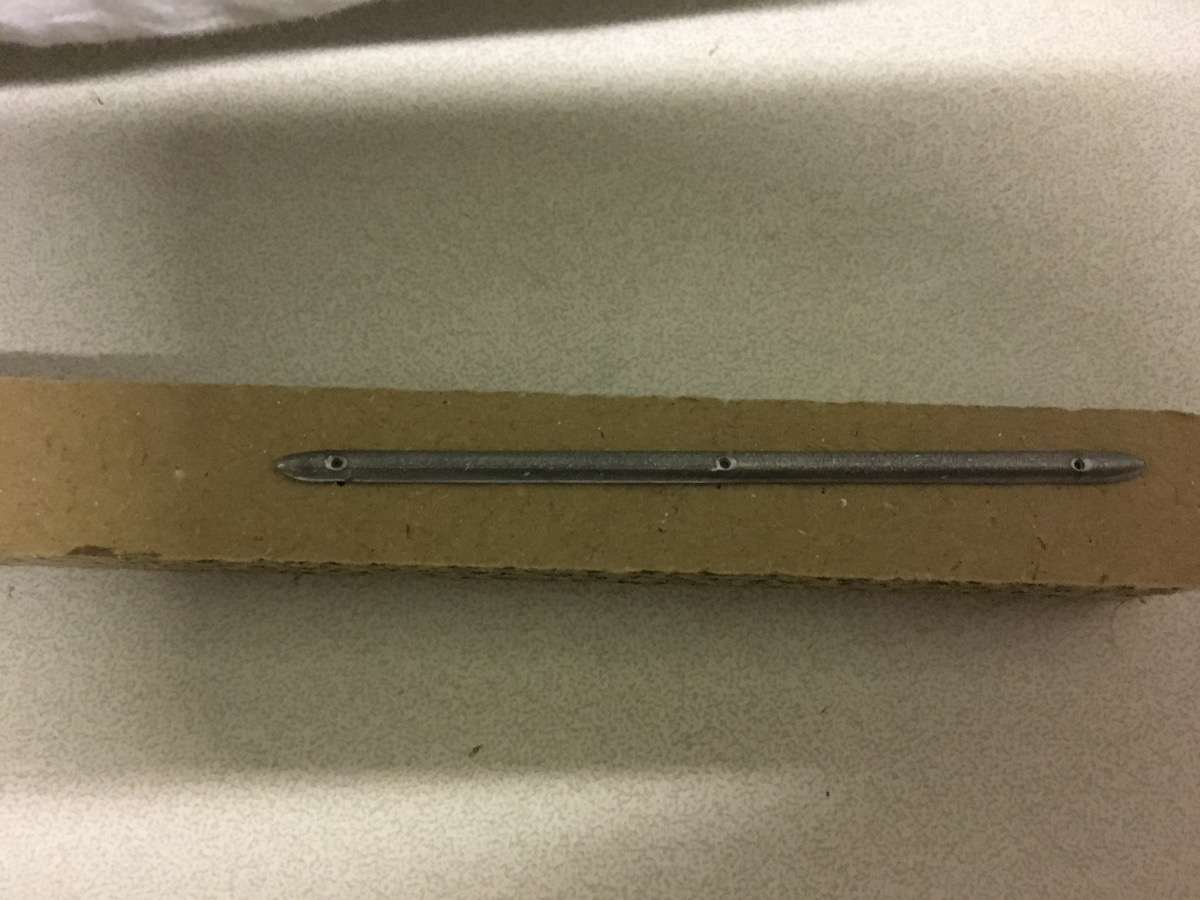
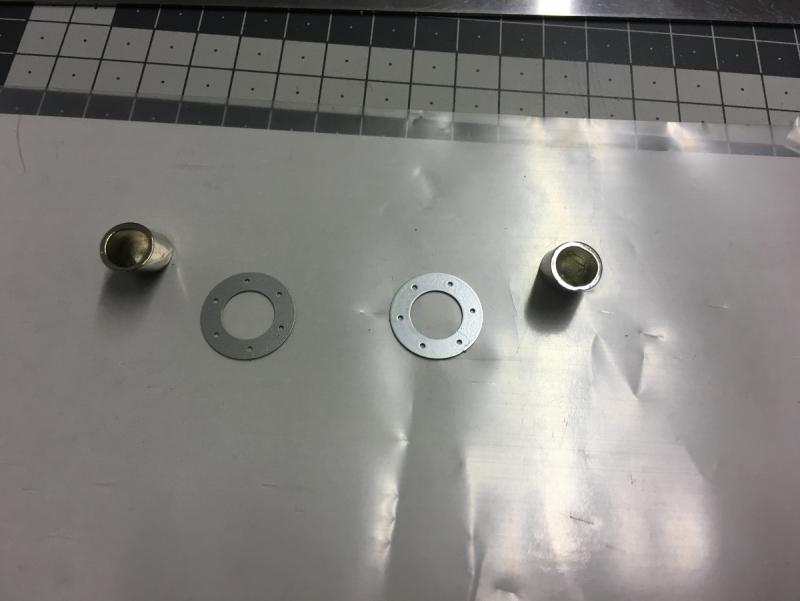
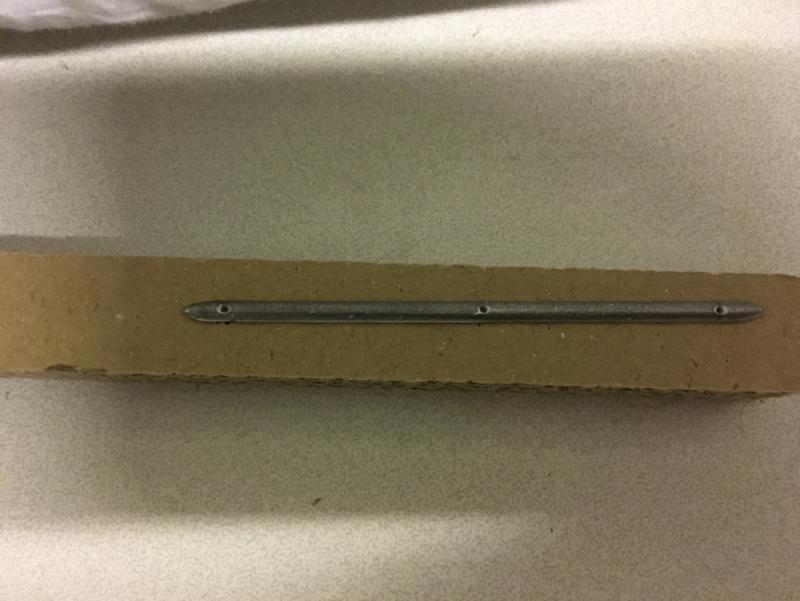
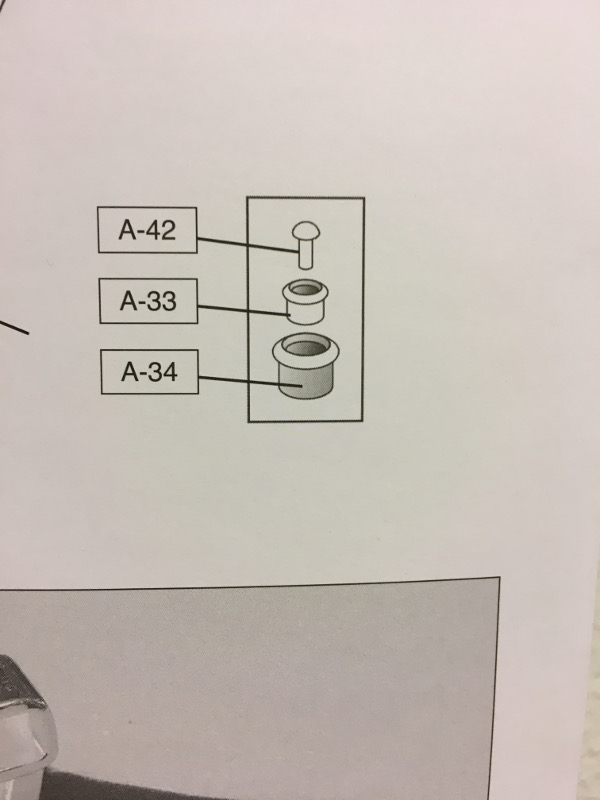
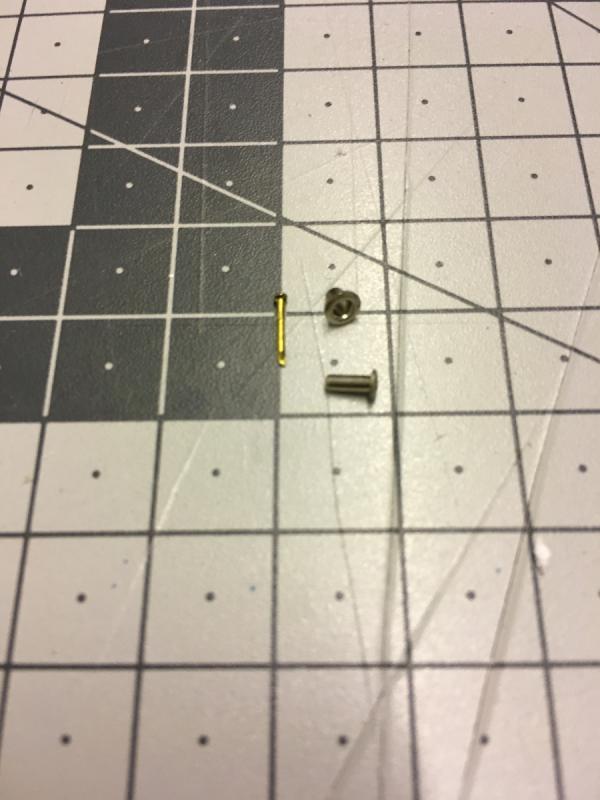
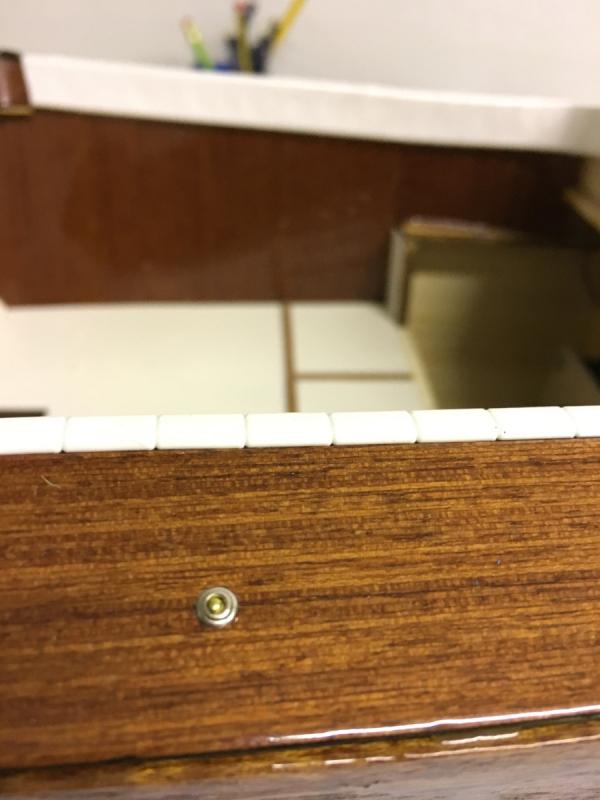
Next, the small 3-piece metal components as in the pictures. There are about 5-6 of them in several locations on the boat: Instructions: Parts: Drilled, hammered and glued in place:
- 414 replies
-
- 6
-
-
- riva aquarama
- amati
- (and 2 more)
-
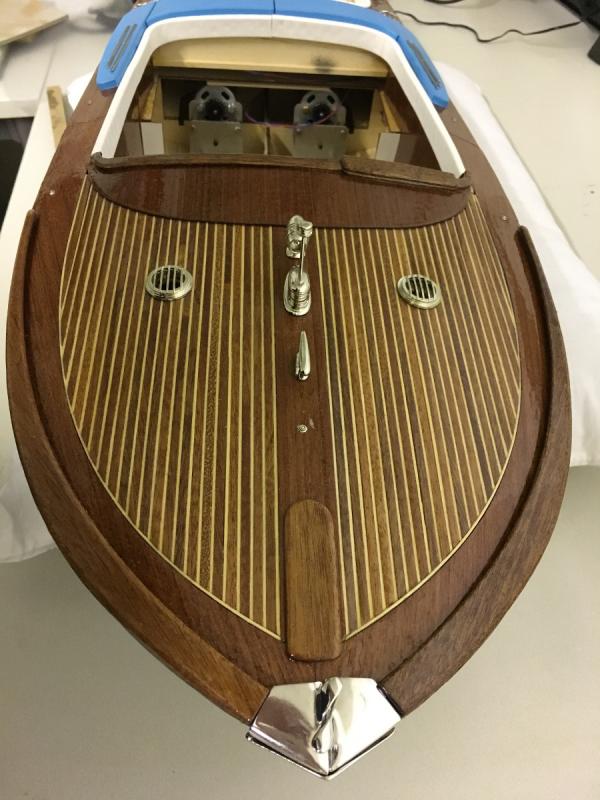
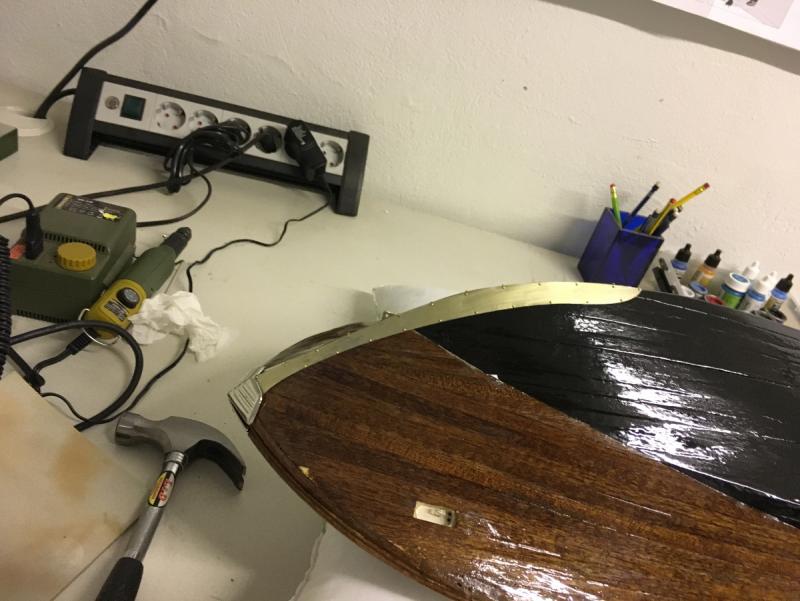
Build day 44. Decorations continued. Continued today with installing the metal ornaments and parts. First, the metal covers in the bow (whatever it is called in marine terminology). Nailed them all the way:
- 414 replies
-
- 4
-
-
- riva aquarama
- amati
- (and 2 more)
-
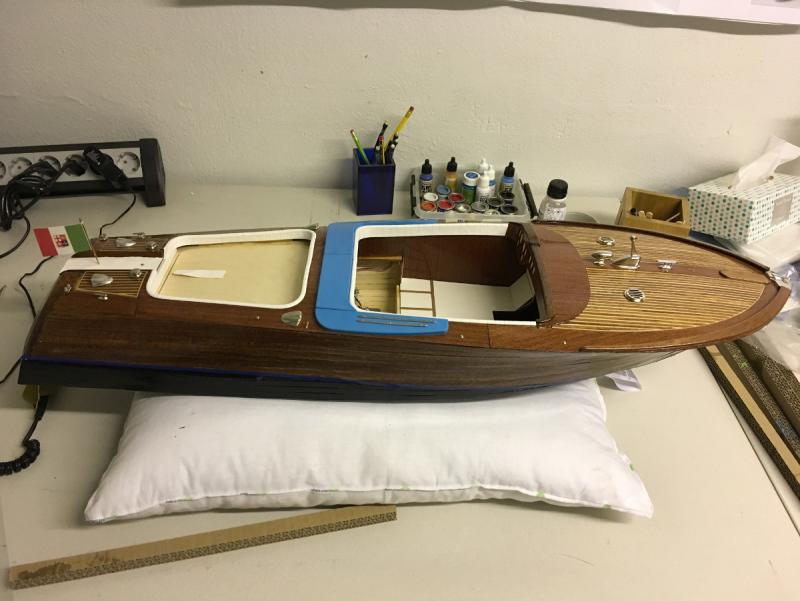
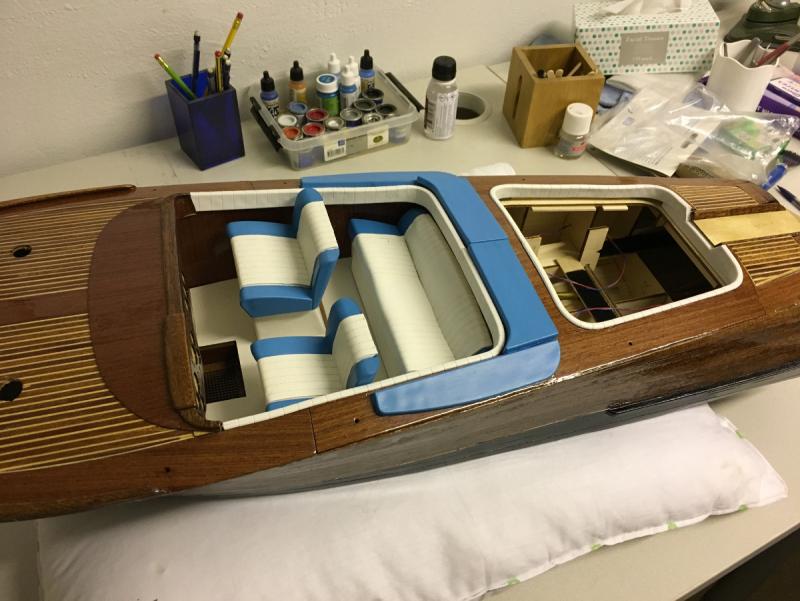
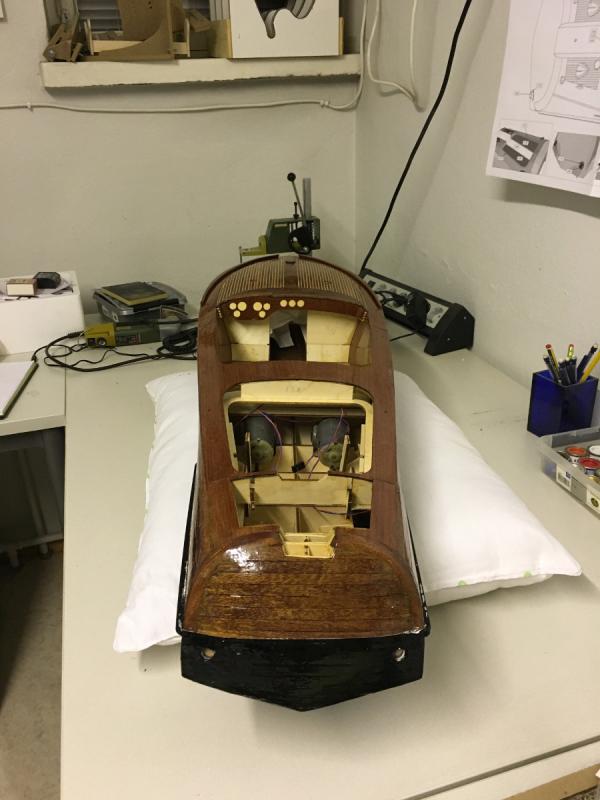
This is the status at the end of the day (front seats and blue cushions around the cockpit dry fitted at the moment). Thanks for watching!
- 414 replies
-
- 11
-
-
- riva aquarama
- amati
- (and 2 more)
-
Glued the lateral cushions on the cockpit and rear deck in place, as well as the cockpit floor pieces:
- 414 replies
-
- 9
-
-
- riva aquarama
- amati
- (and 2 more)
-
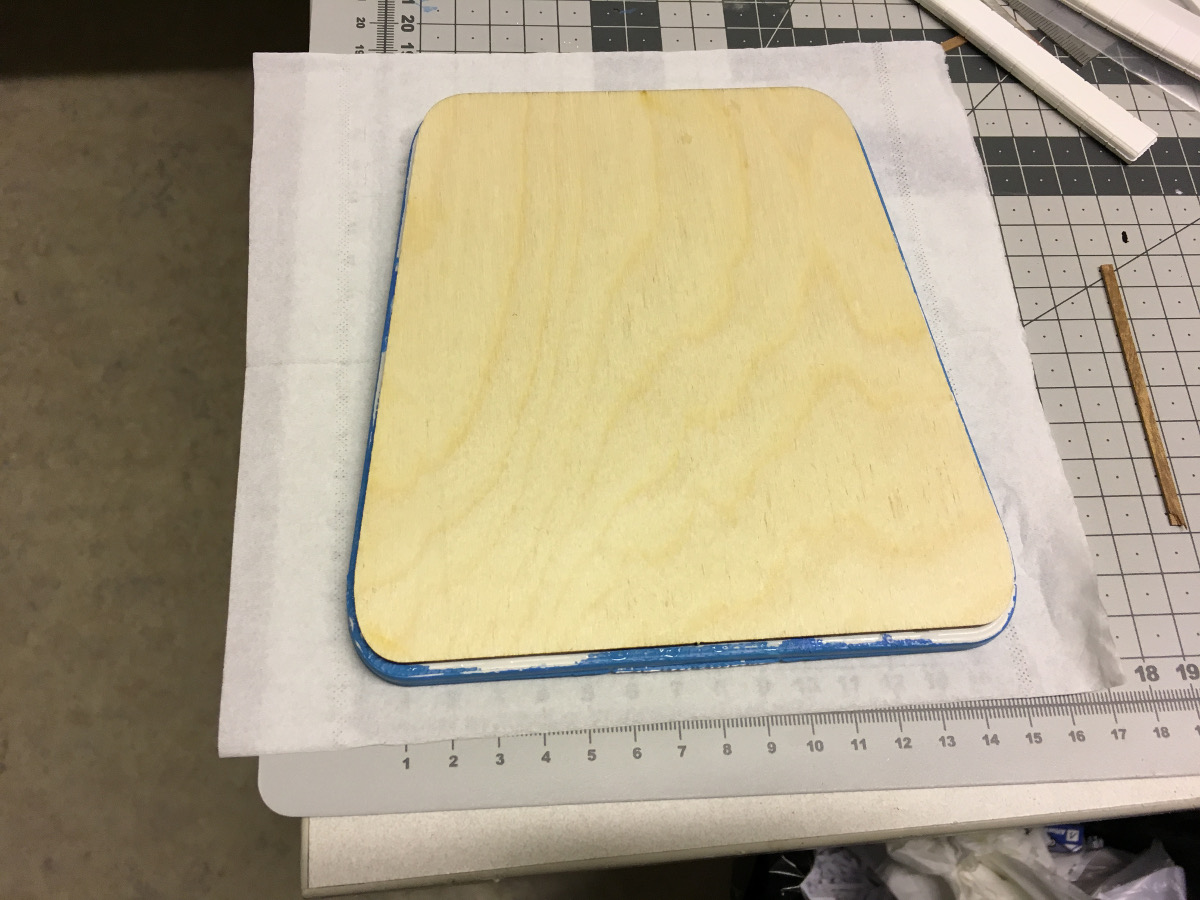
Next, I glued the rear deck sunbed to its wooden platform (or, the lid):

- 414 replies
-
- 8
-
-
- riva aquarama
- amati
- (and 2 more)
-
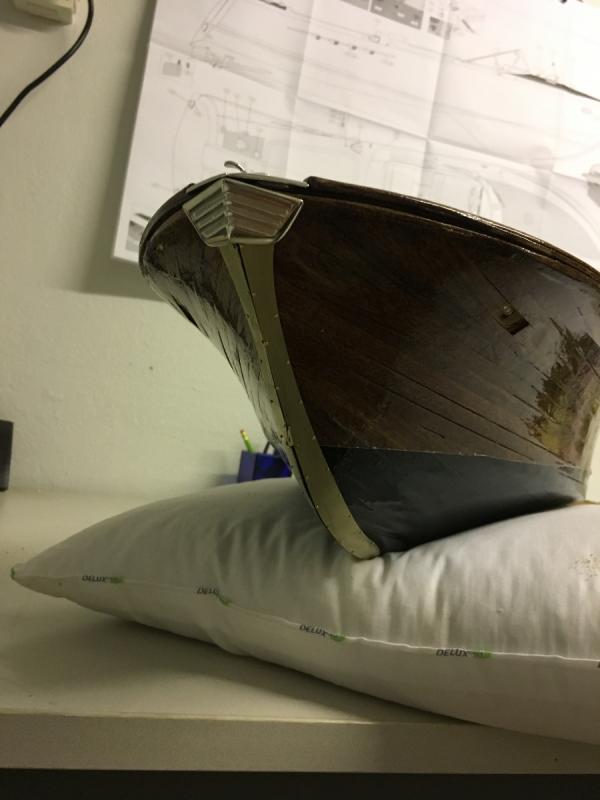
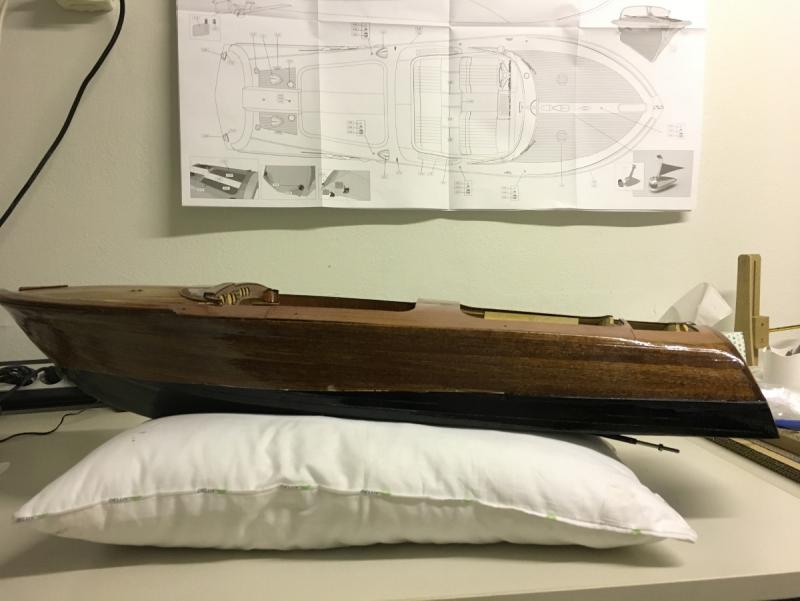
Build day 44. Decorations 1,5 hour today. 126,5 hours into build in total. I had been away for a trip to Turkey to visit my parents and now finally back at home. I had already painted the watermark before I left. As you see in the photos below, I decided to paint it black instead of white. I think it looks better this way. Opinions may differ, of course. Note that the waterline will still be covered with a thin strip of blue sticker, therefore the small impurities are not a problem:
- 414 replies
-
- 4
-
-
- riva aquarama
- amati
- (and 2 more)
-
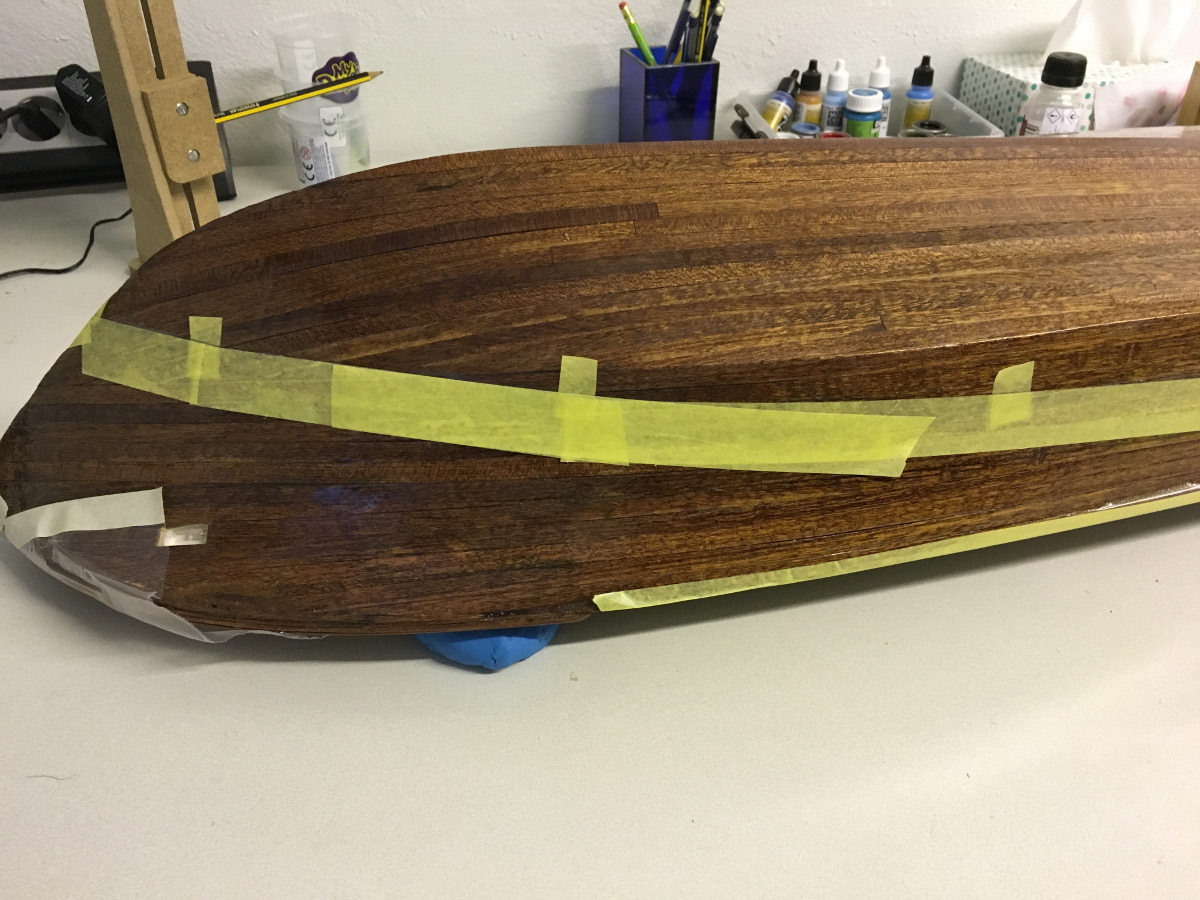
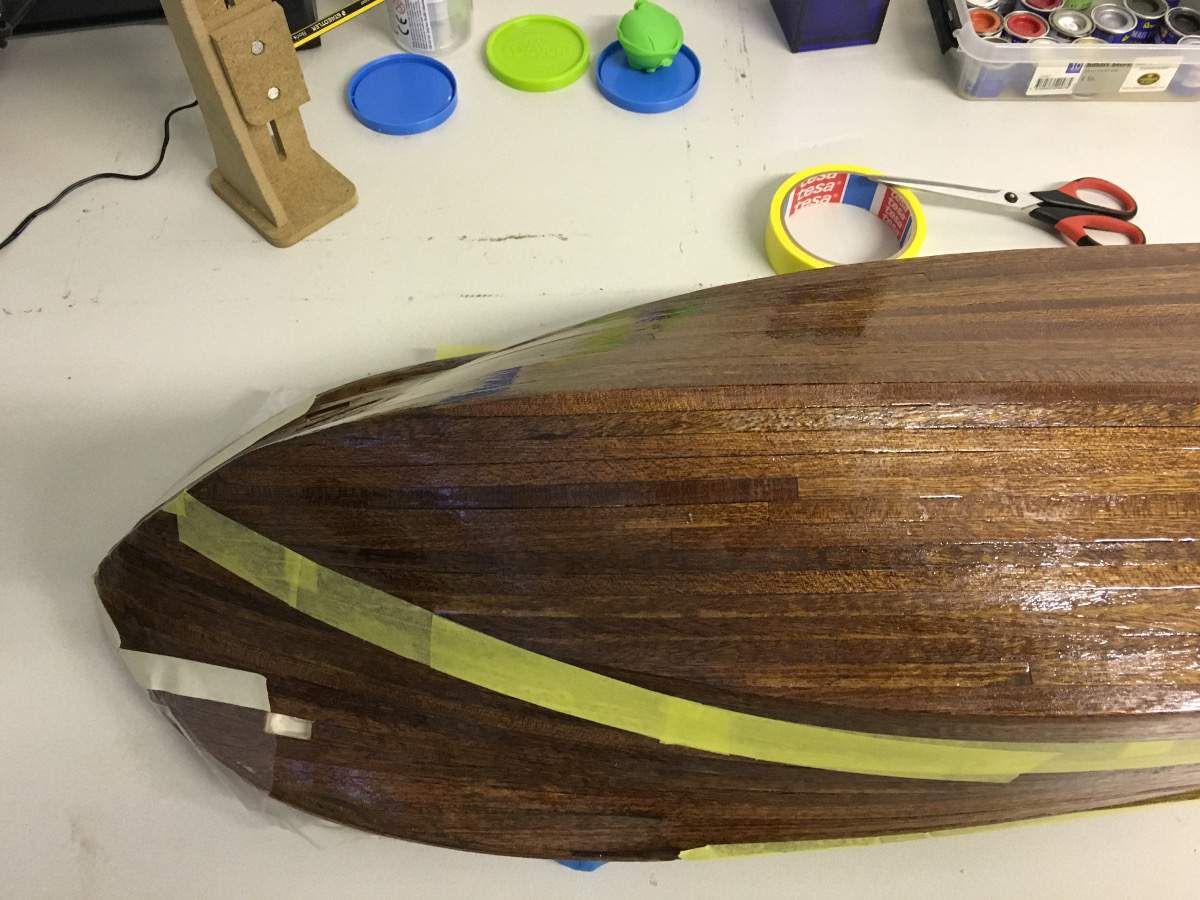
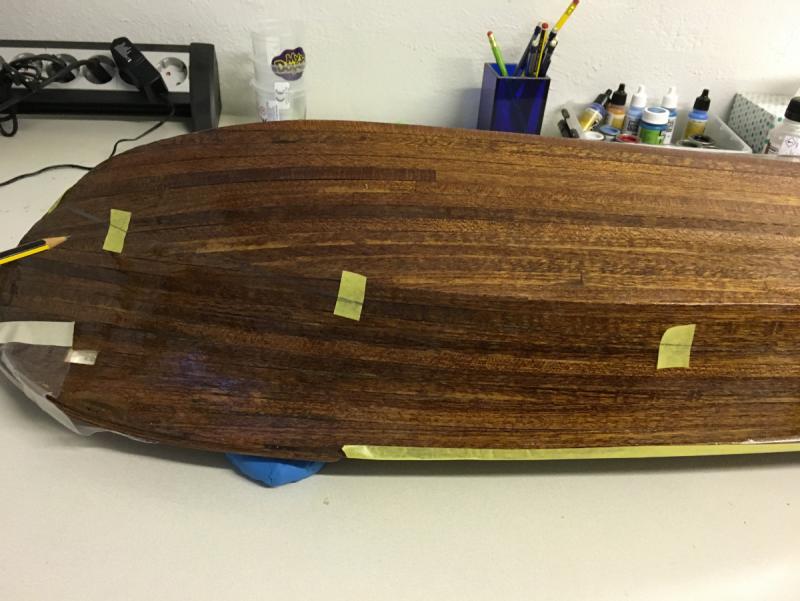
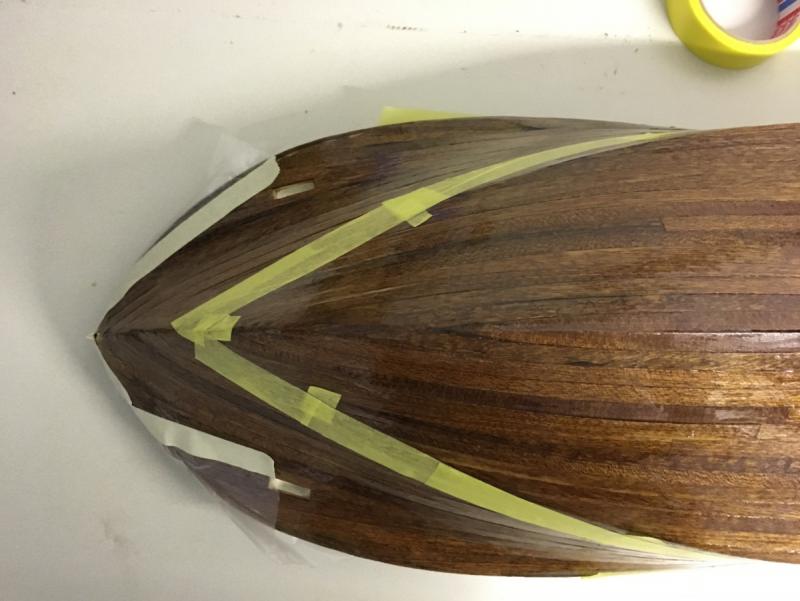
I placed small pieces of making tape at certain intervals to make the waterline marks visible. It will be easier to locate the charcoal pencil marks which are hard to see. Then by following the lines, I merged the gaps between the tape marks by more masking tape: And finally cut off the initial tape pieces with x-acto knife: Waterline masking is ready now. Hopefully tomorrow I will have some time to waterline paint. That's all for today and thanks for watching. Aydin


- 414 replies
-
- 10
-
-
- riva aquarama
- amati
- (and 2 more)
-
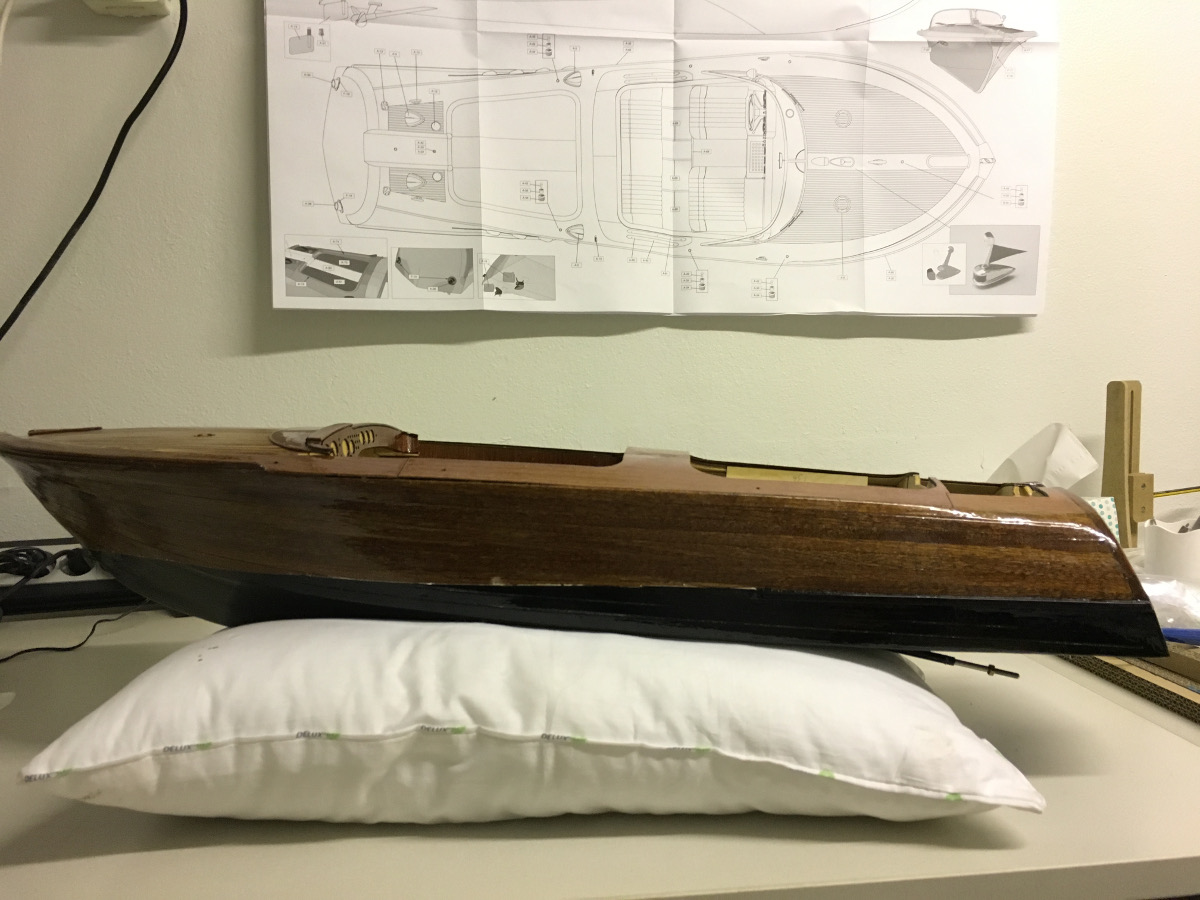
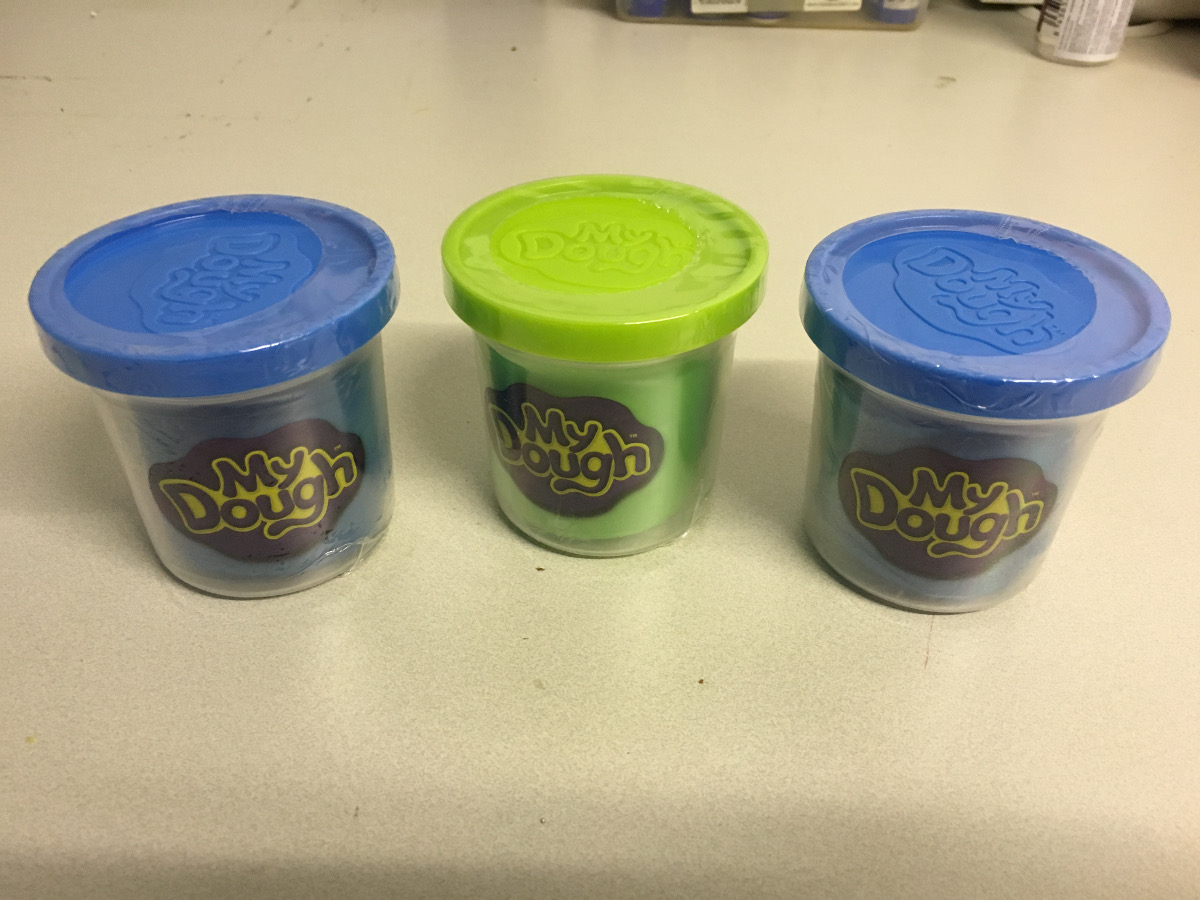
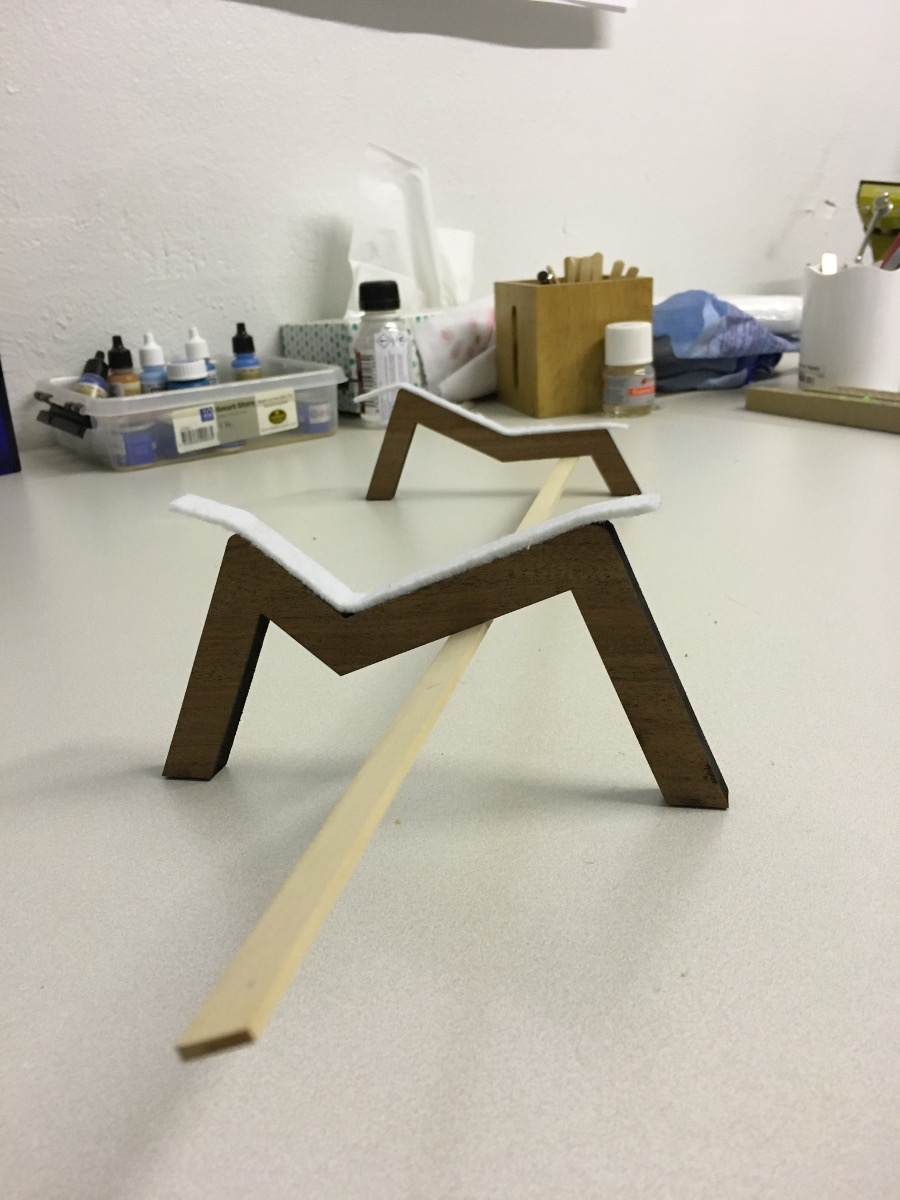
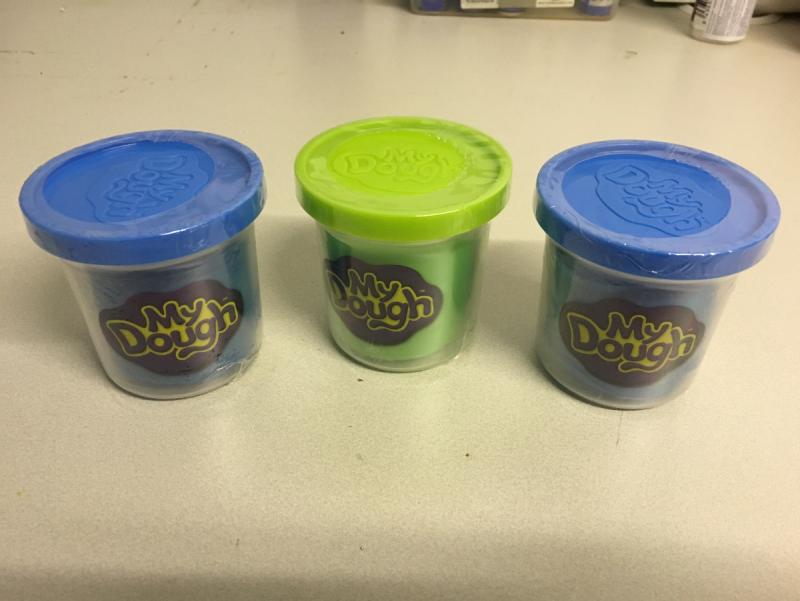
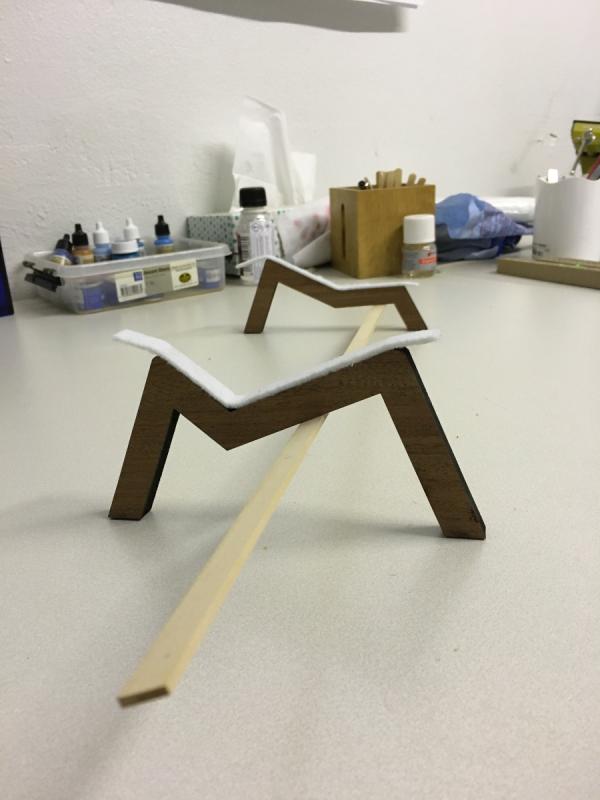
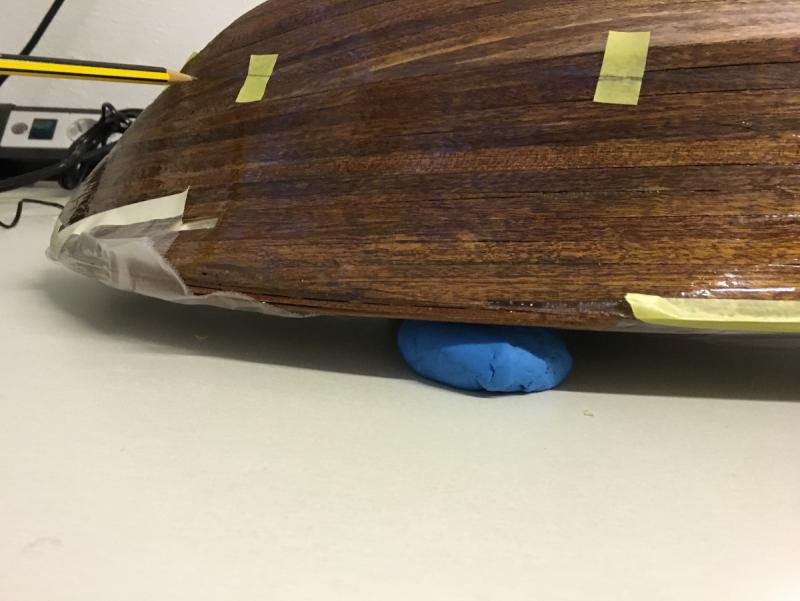
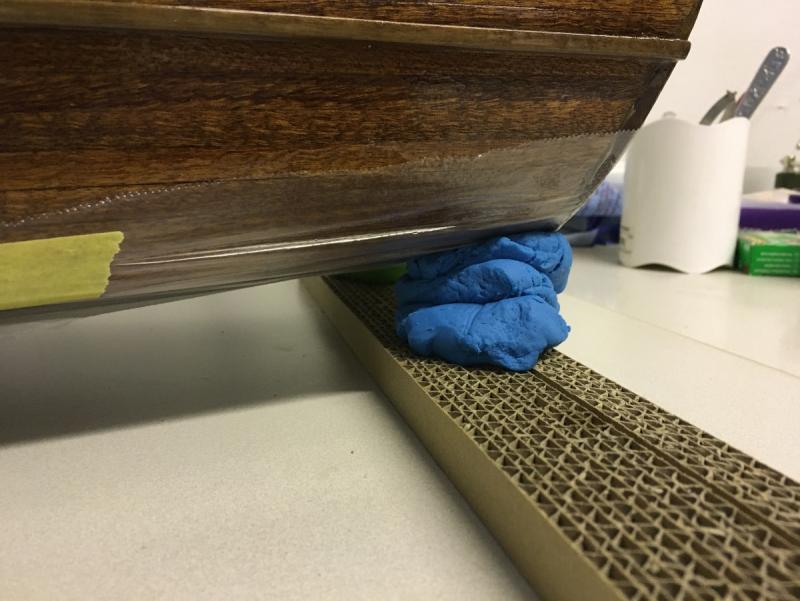
Question: What can a play-dough have anything to do with model boat building? Hint: Check the base (where the boat stays on) which come with the model: Yes, you guessed right. The boat does not sit on the base horizontally, but instead with an angle tilted towards one side (just like how its position would be on a speedy turn to left). Though this posture gives a nice artistic look to it during display, it makes the base unusable for marking the waterline. Hence, enter the play doughs. Making use of their soft but solid structure I have been able to position the boat precisely horizontal for marking the waterline correctly.
- 414 replies
-
- 5
-
-
- riva aquarama
- amati
- (and 2 more)
-
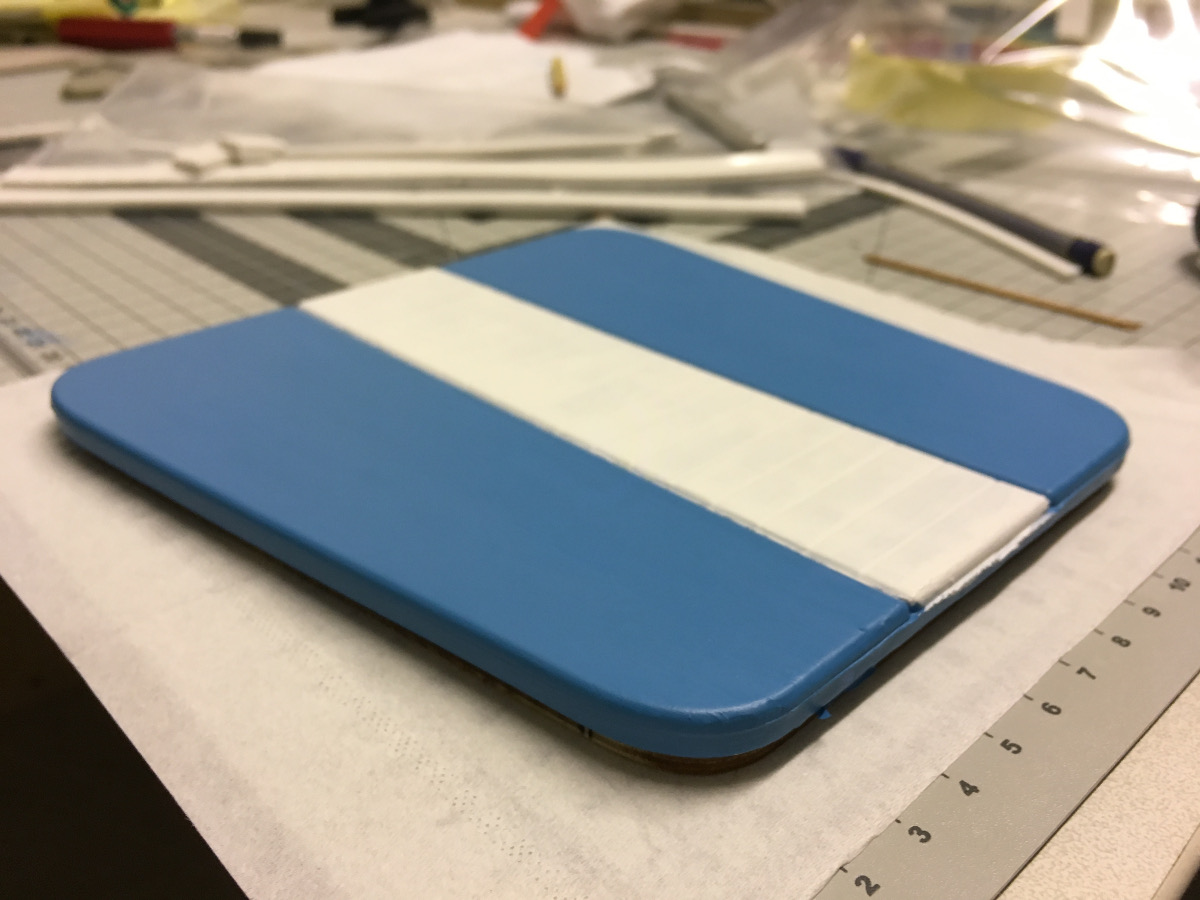
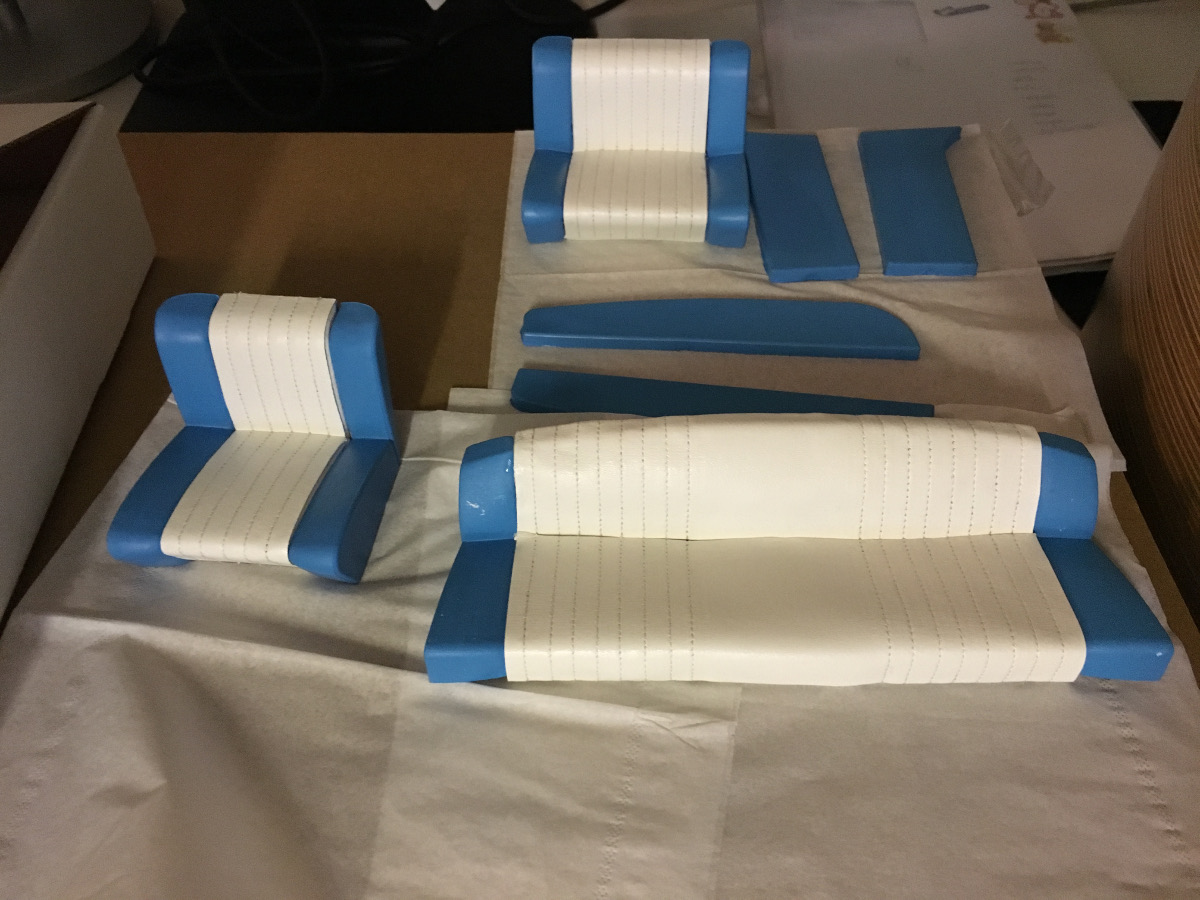
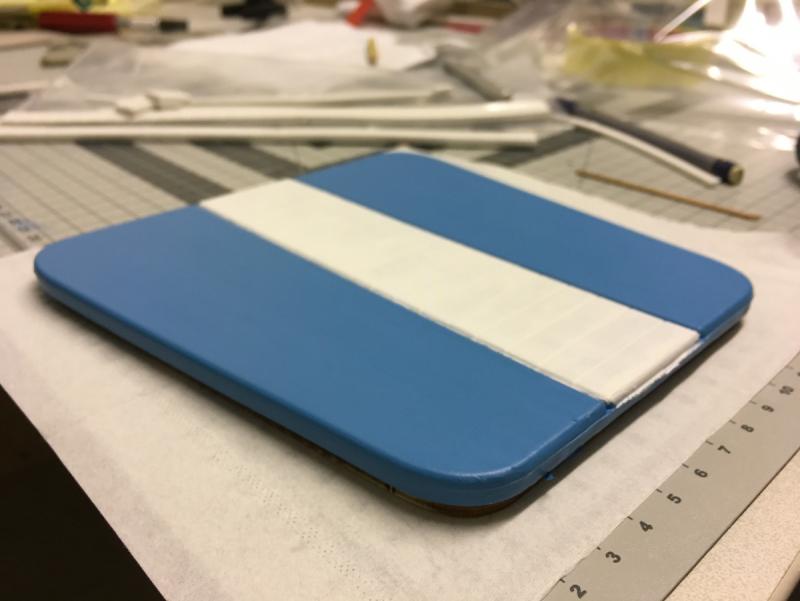
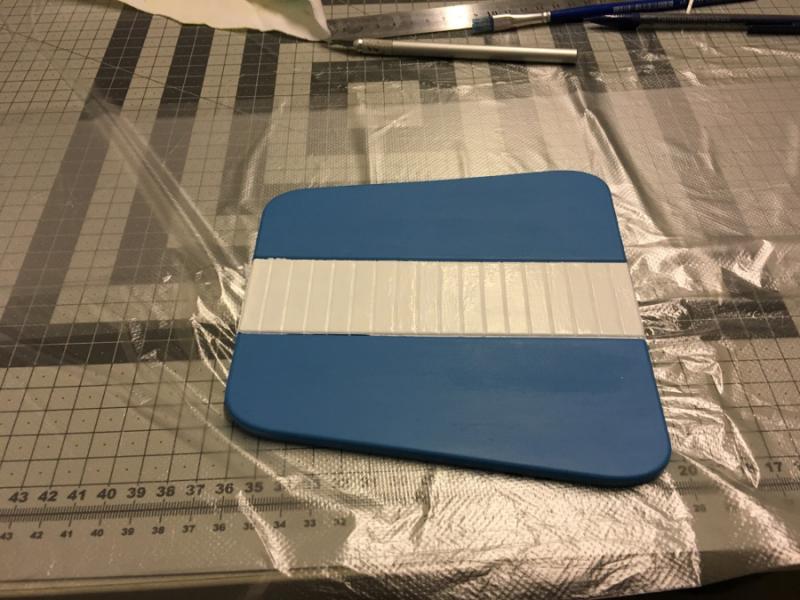
Build day 43. Waterline painting... 1 hour today. 125 hours into build in total. Today I finished leather covering of the backseat and spent some time on marking the waterline. The seats and other cushion look like this now: The middle section of sunbed has been painted in white, like in the photos of the kit (though, depending of my mood and how much the color impurities on the blue-white borders annoy me, I can paint the whole thing to white) :

- 414 replies
-
- 7
-
-
- riva aquarama
- amati
- (and 2 more)
-
Excellent work with those painting techniques you guys have discussed above. I admire. I think I am happy with the interiors look in my Riva at the moment and I stop here in terms of paint. There is always a risk of ruining. I do have an airbrush but I have never actually used it other than some test sprays and I am definitely not going to perform my first use on this kit
- 414 replies
-
- 2
-
-
- riva aquarama
- amati
- (and 2 more)
-
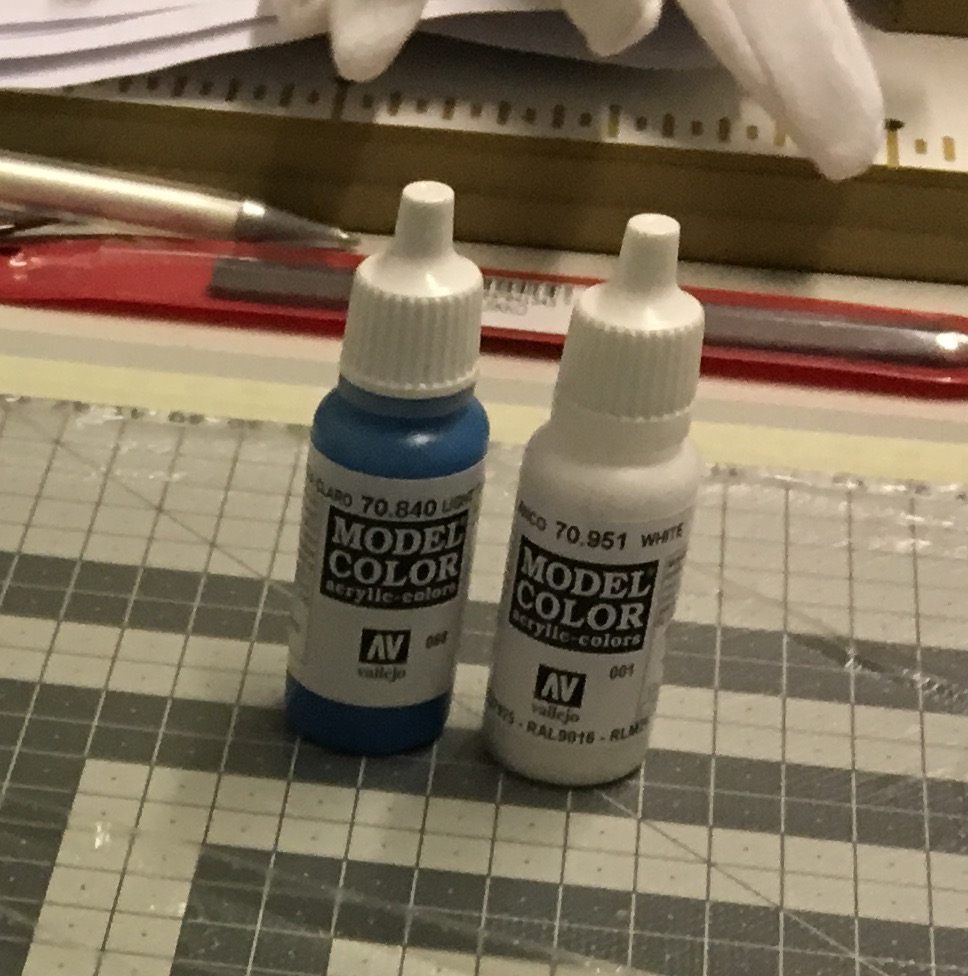
Hi Per, Yes, indeed 70.966 is Turquoise. The one I used is 70.840 which is Light Turquoise and it was still too dark I had to mix it with white. The colors seem to get darker once they have cured. They look much lighter the moment of painting.
- 414 replies
-
- 3
-
-
- riva aquarama
- amati
- (and 2 more)
-
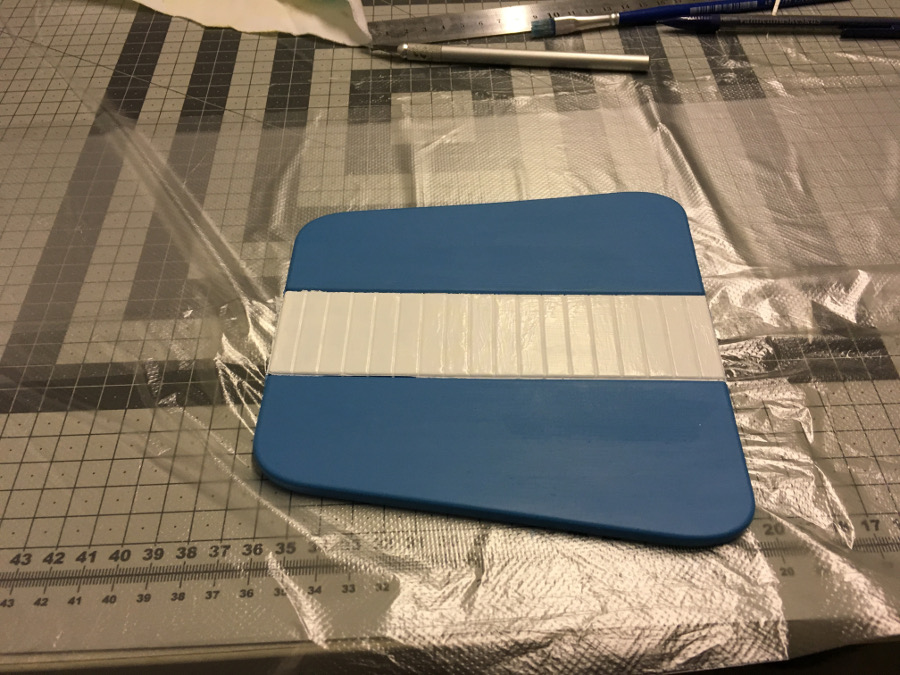
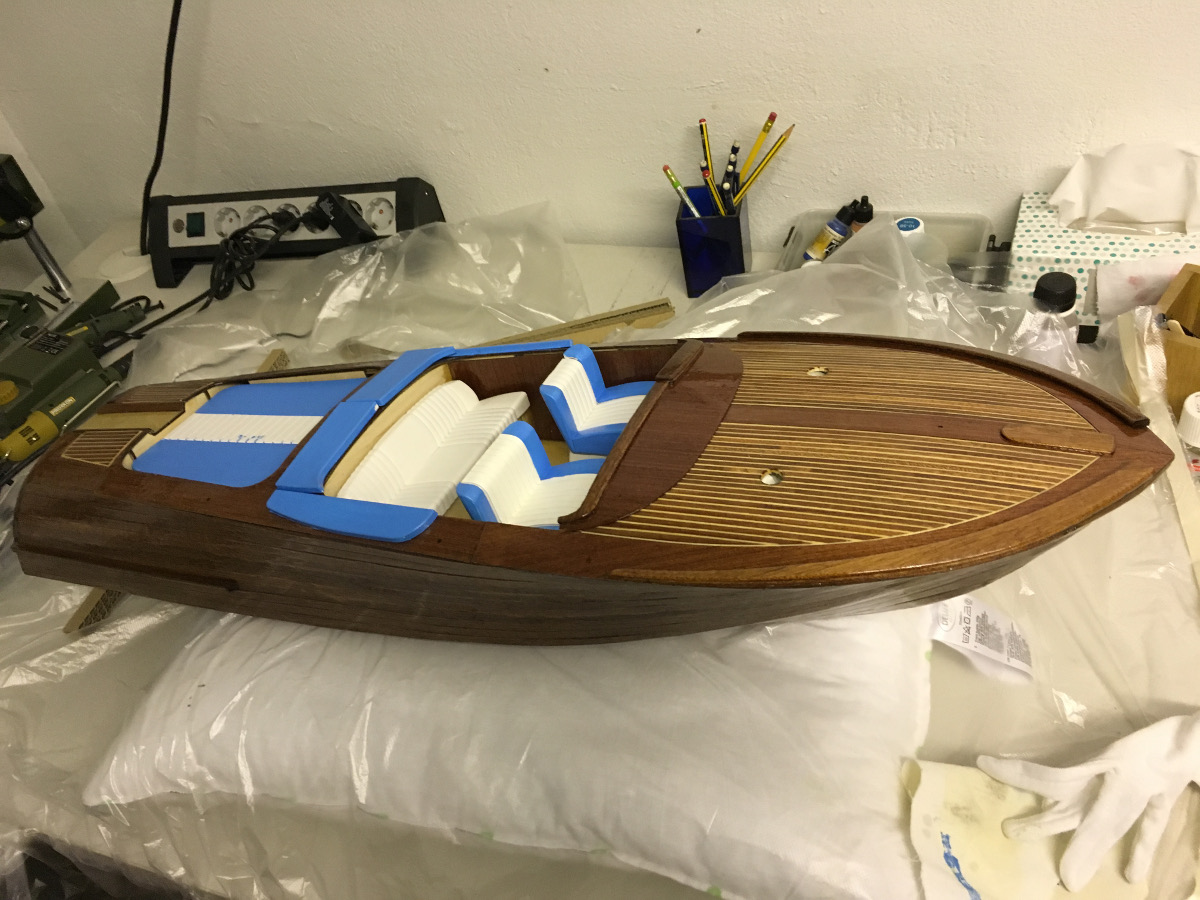
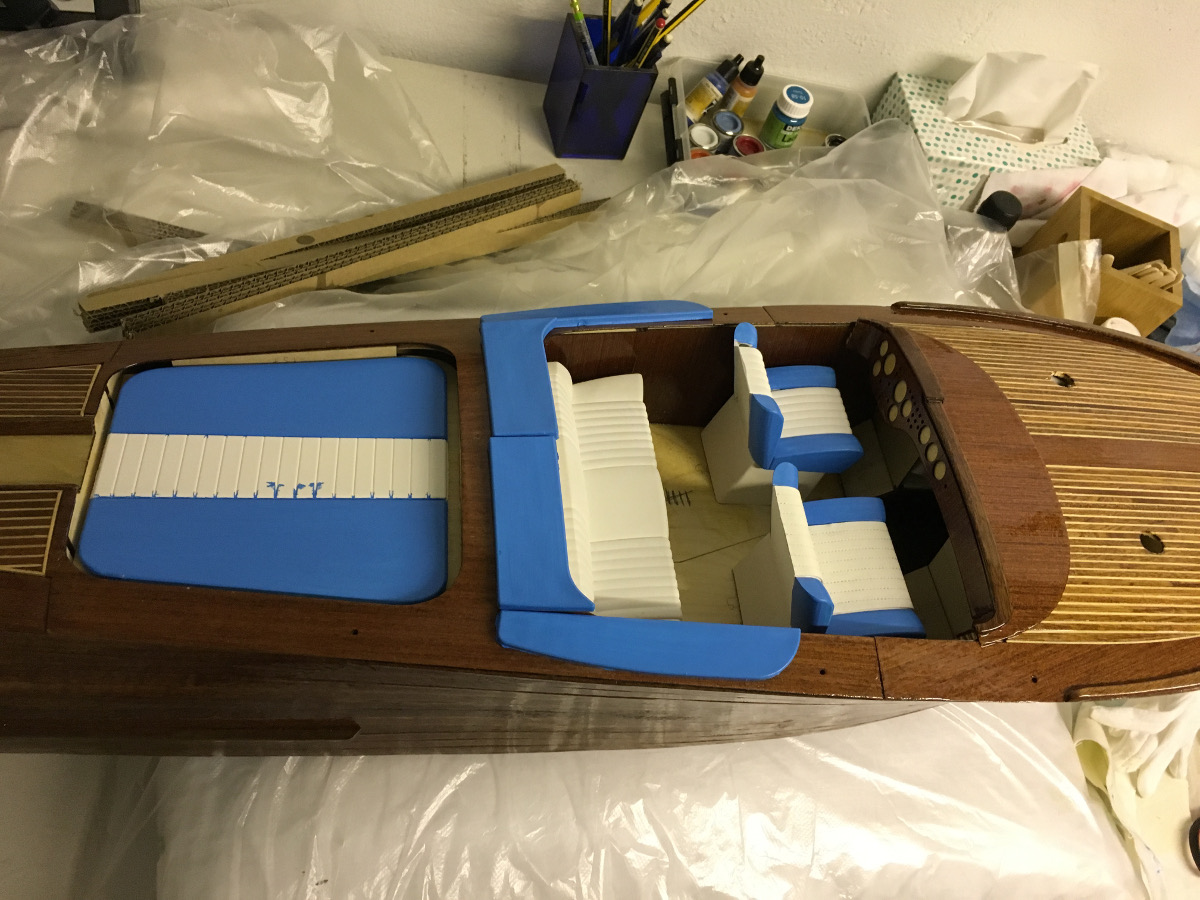
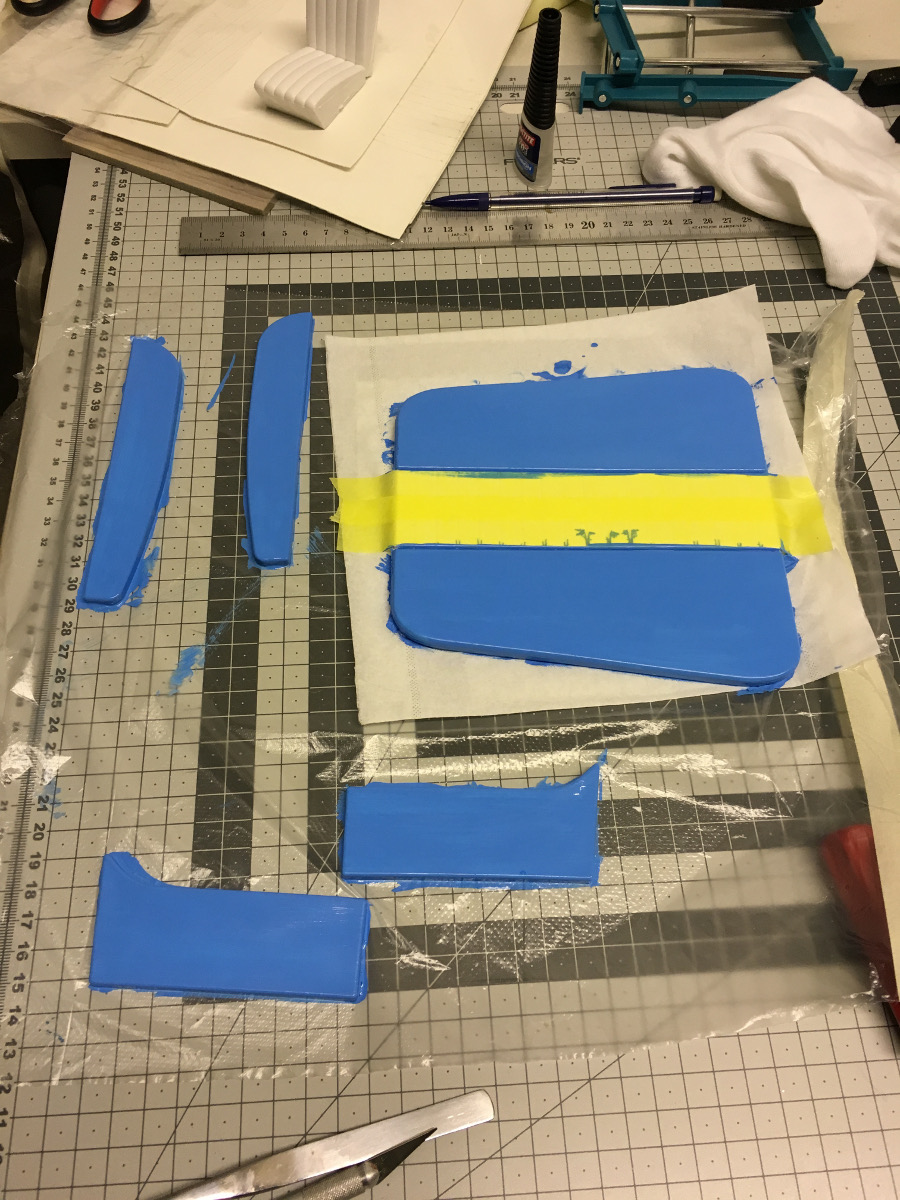
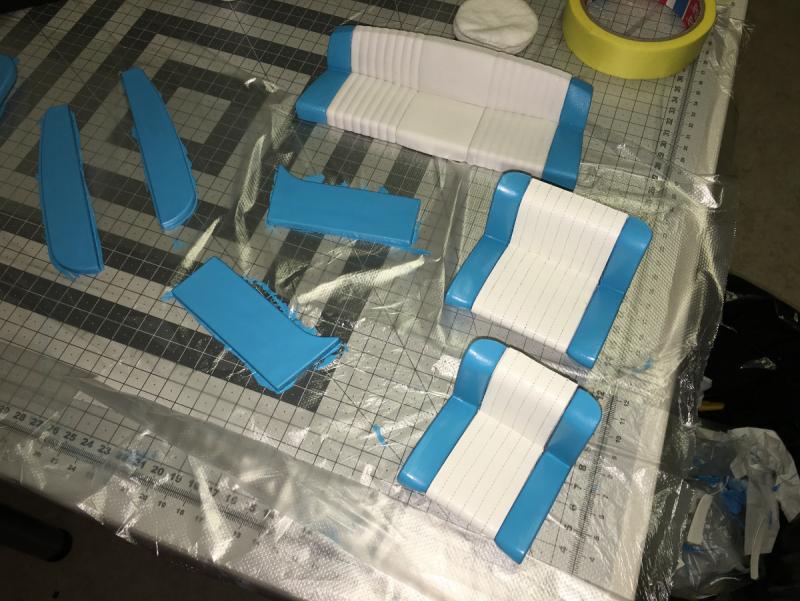
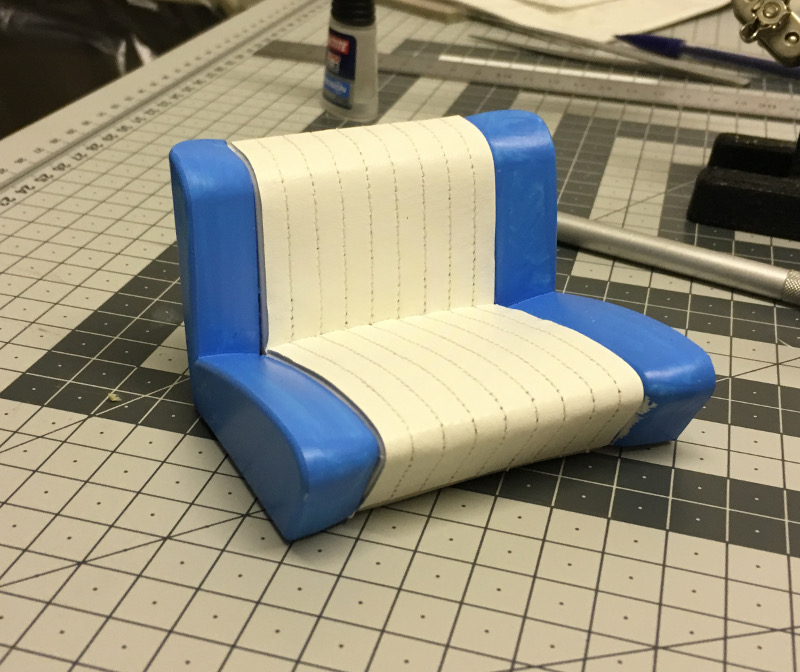
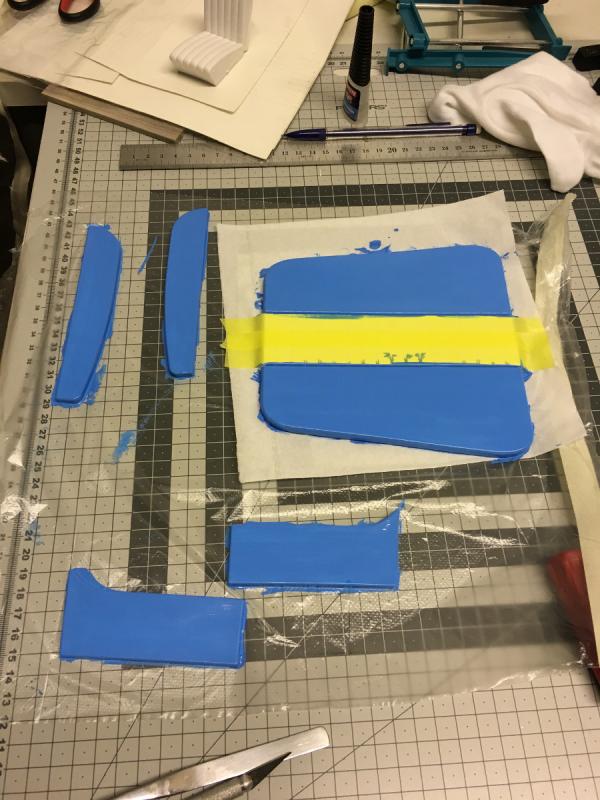
Build days 41-42. Upholstery work. 3 hours in 2 days. 125 hours into build in total. I was still not entirely happy with the tone of the blue color so I started to investigate a bit. I really want to catch that sweet turquoise on the actual boat. This blue which I currenty use, even though lighter than my first version, is still choking the boat a little bit, in my opinion. Here is are a few photos with dry-fit. (You will notice the bleeding blue paint on the sundeck towards the white area but I will either cover that section with faux leather or just paint white, for consistency) So I went to the hobby shop and bought a few colors to try. I finally ended up 50-50 mixture of the following light-turquoise and white colors: They form a lighter sweet turquoise (the photo does not reflect the actual color, unfortunately): I also covered the other front seat with leather. With new color look like this. I think they are much better: Next, I will cover the backseat with leather. Thanks for watching.


- 414 replies
-
- 10
-
-
- riva aquarama
- amati
- (and 2 more)
-
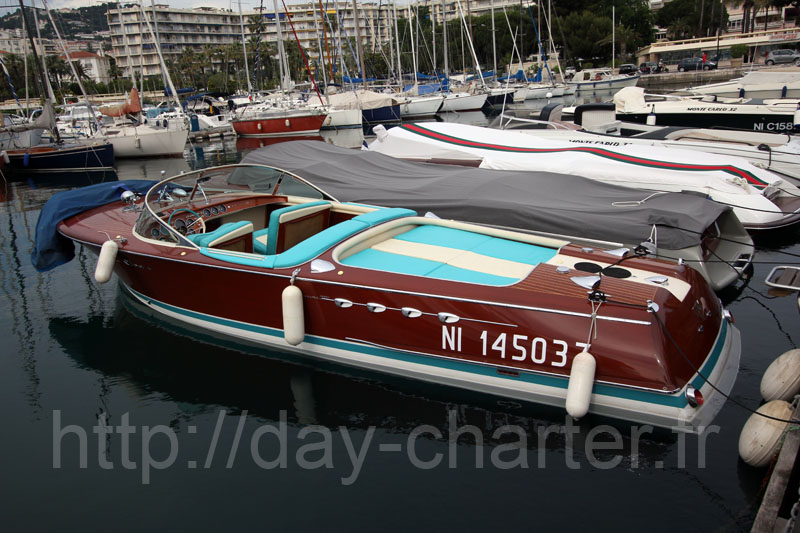
The seat has now been assembled after painting. In my opinion looks much better than the other one. I will re-do the other seat next. Now that my brush is soaked in paint, I decided to paint the rest of the "cushions". An example of how the colorful cushions will look on the boat (As per credit, the photo is from a French boat sales website http://day-charter.fr/listing/riva-super-aquarama-rental/
- 414 replies
-
- 10
-
-
- riva aquarama
- amati
- (and 2 more)
-
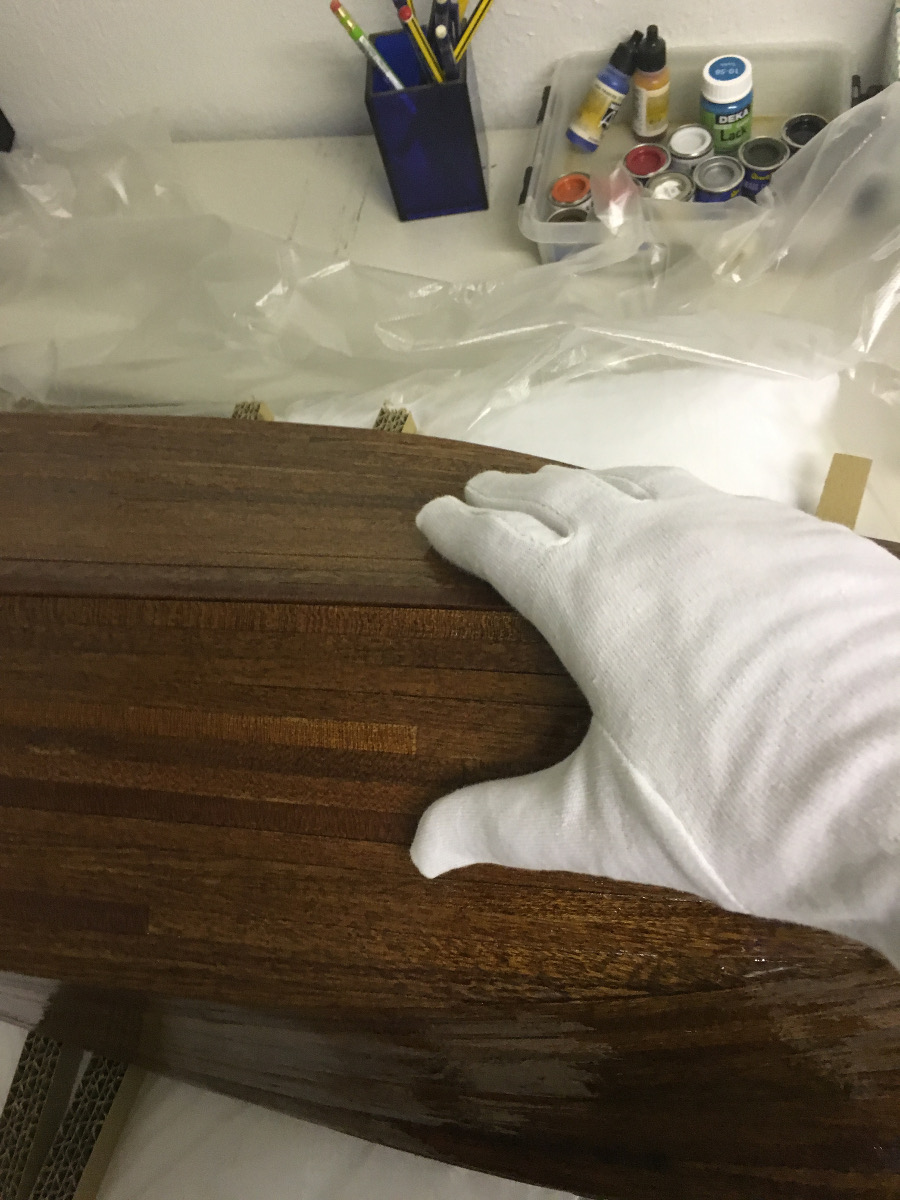
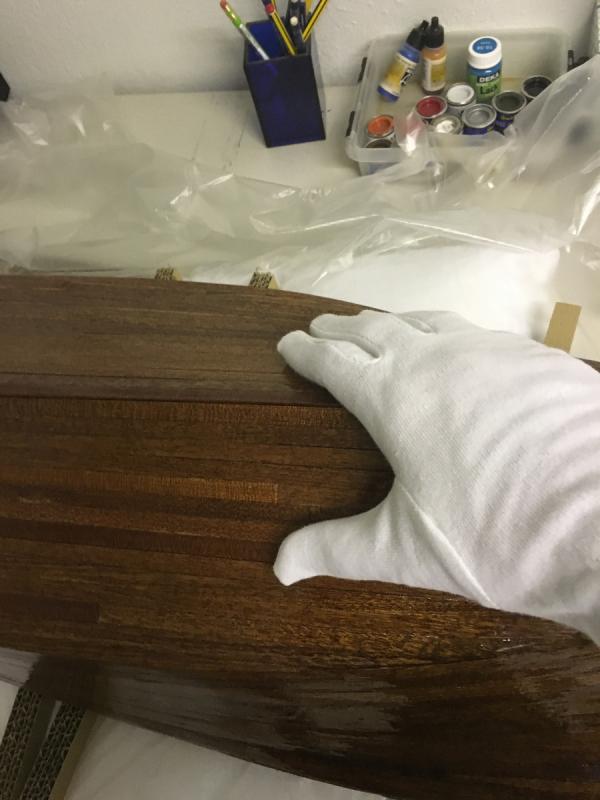
End of build day 40. 2 hours today. 122 hours into build in total. By the way, as a side note, this is how a freshly varnished Riva should be handled . Thanks for watching.
- 414 replies
-
- 8
-
-
- riva aquarama
- amati
- (and 2 more)