CDW
-
Posts
7,760 -
Joined
-
Last visited
Content Type
Profiles
Forums
Gallery
Events
Everything posted by CDW
-
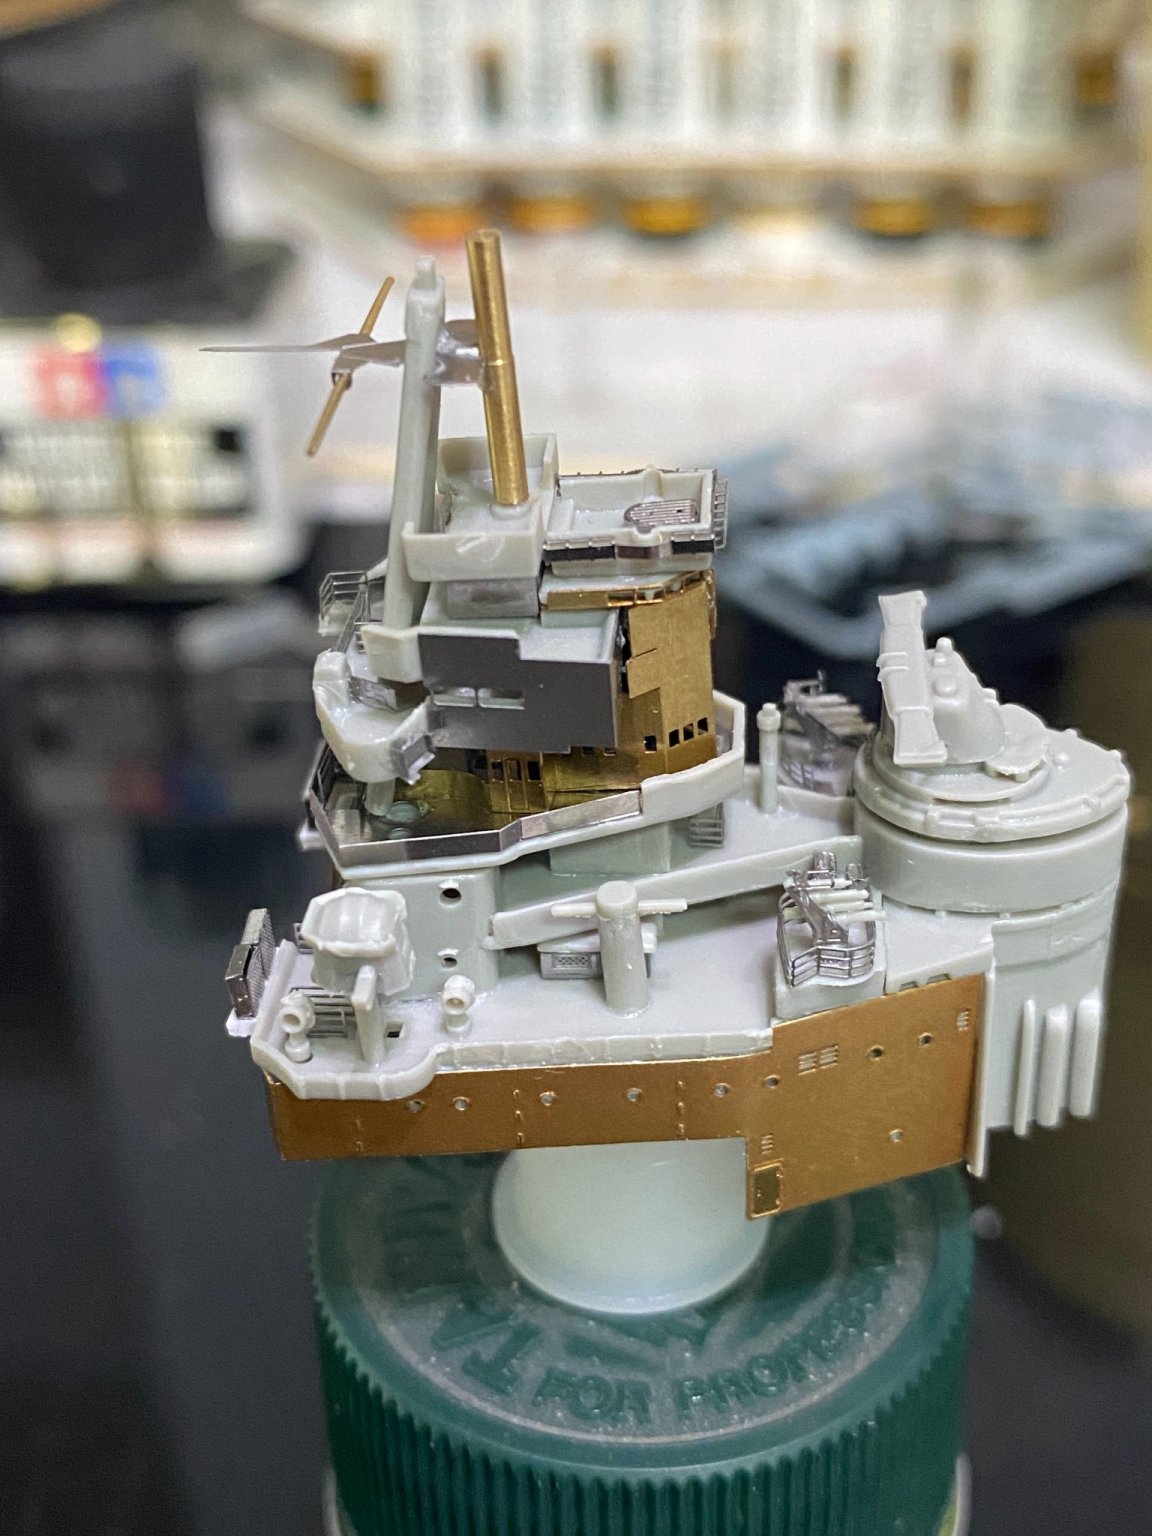
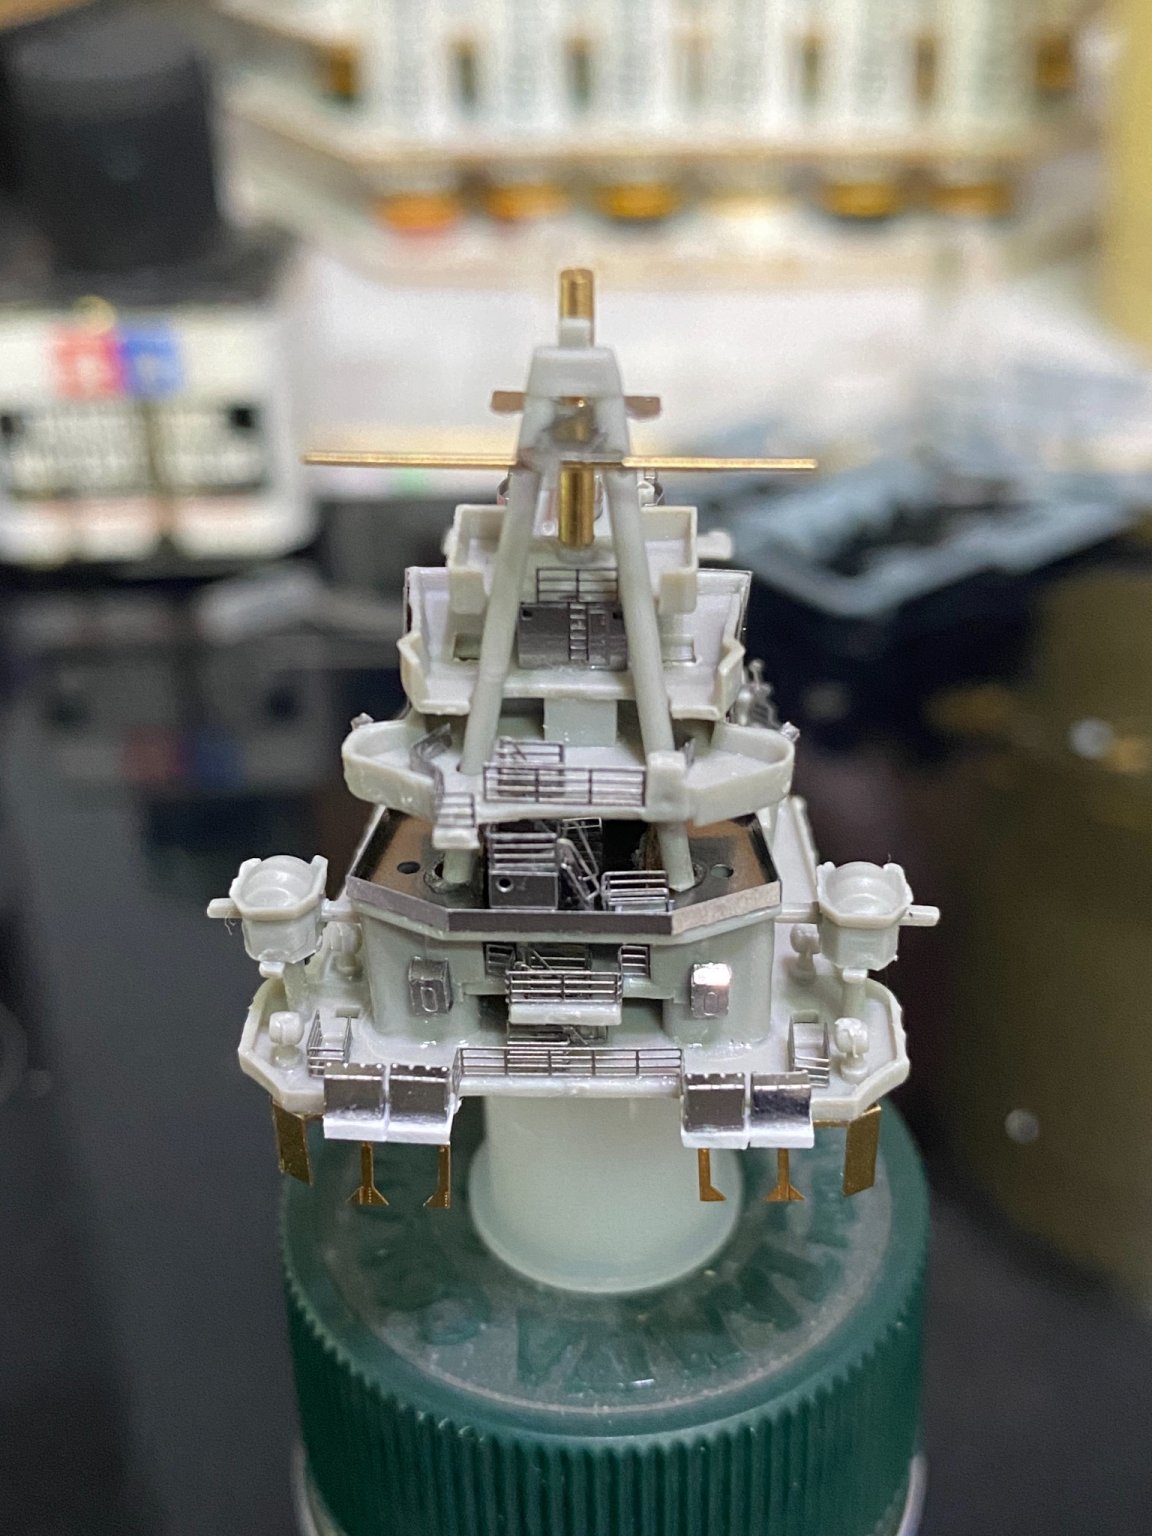
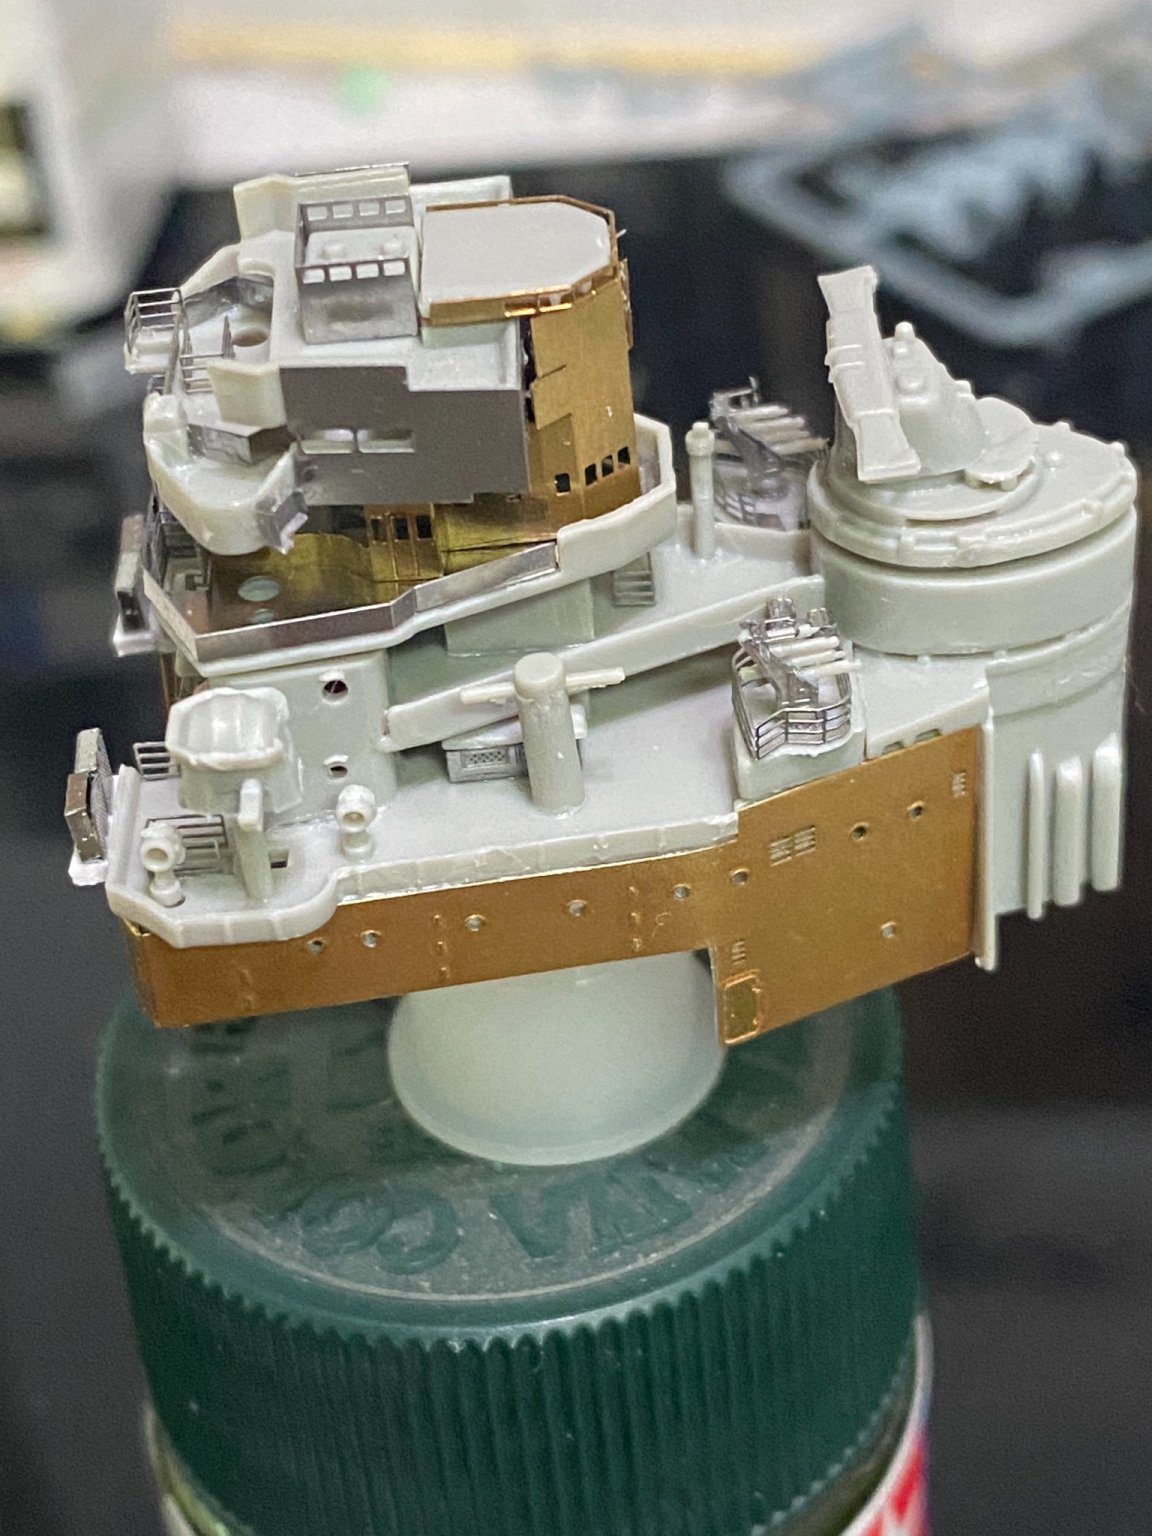
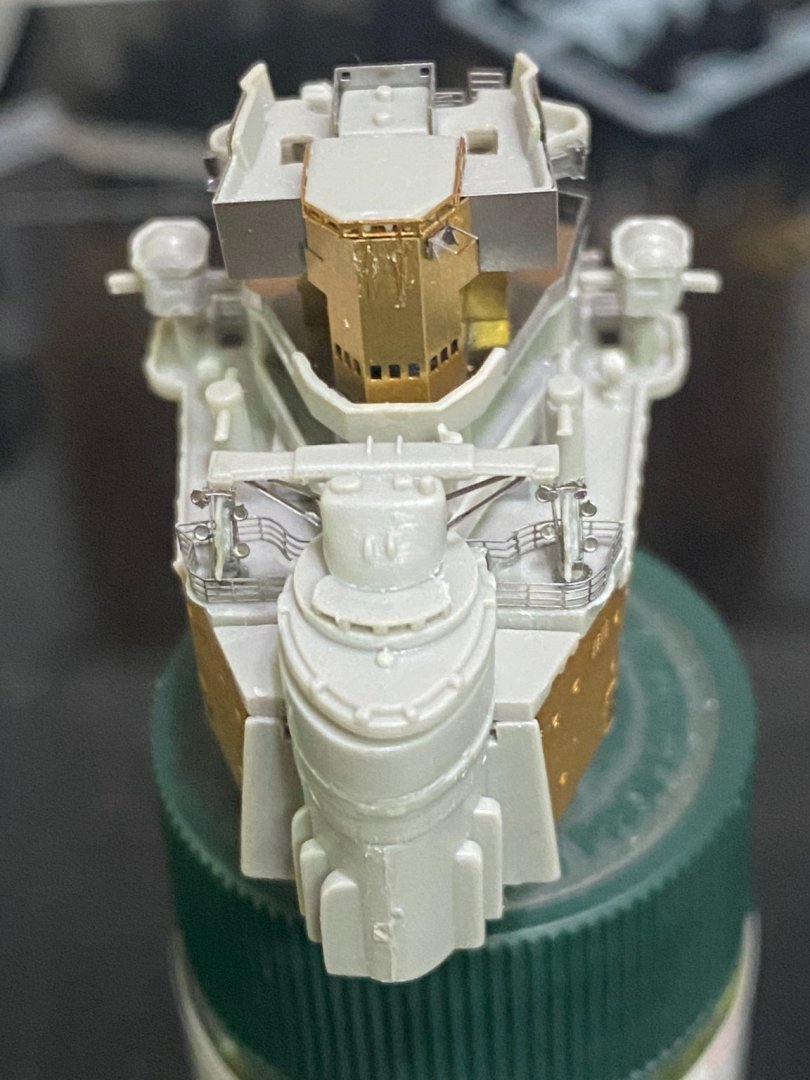
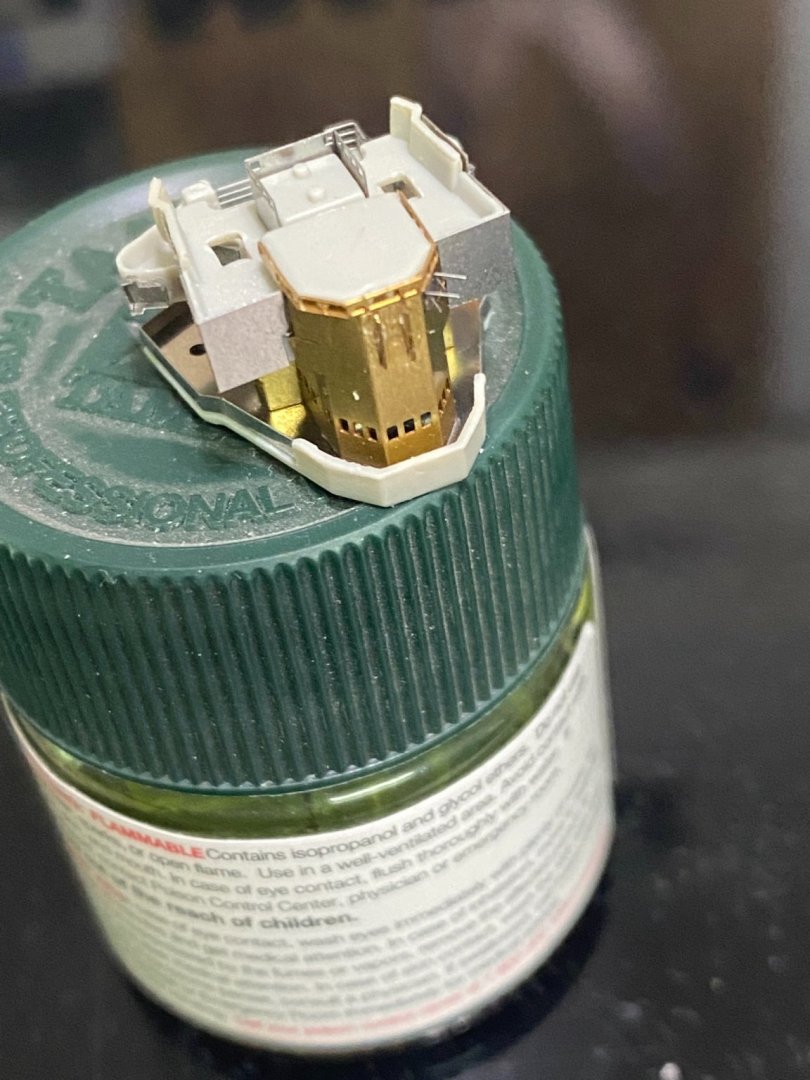
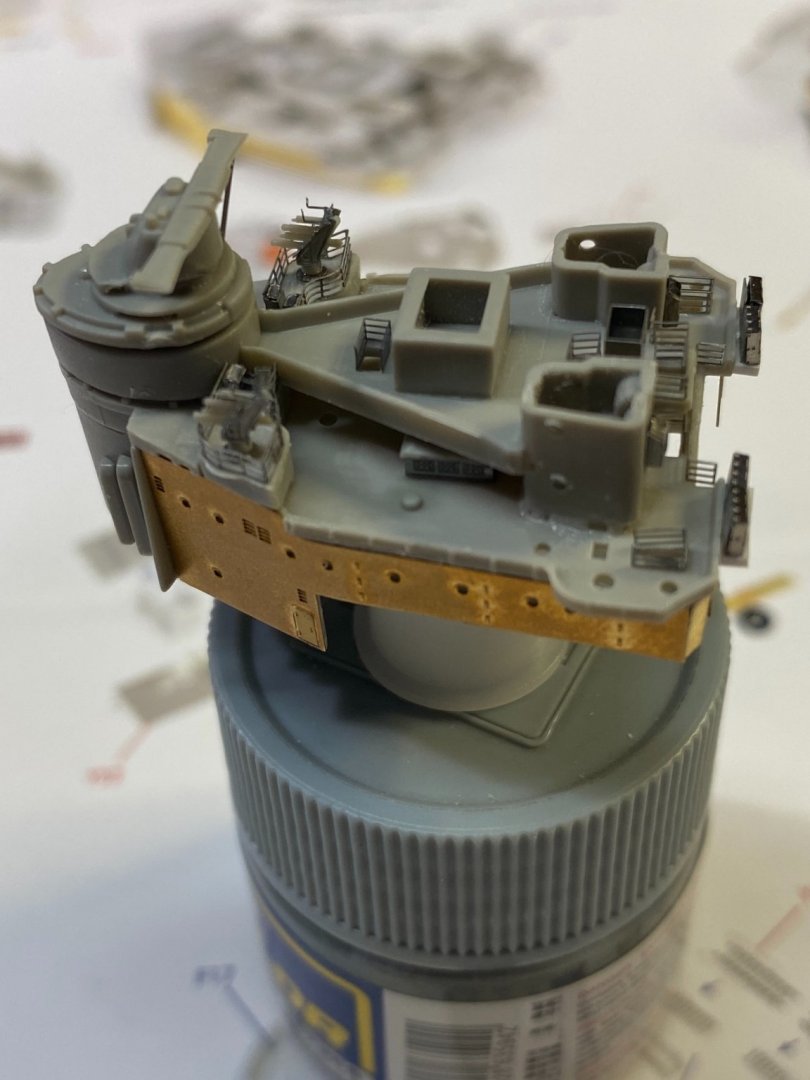
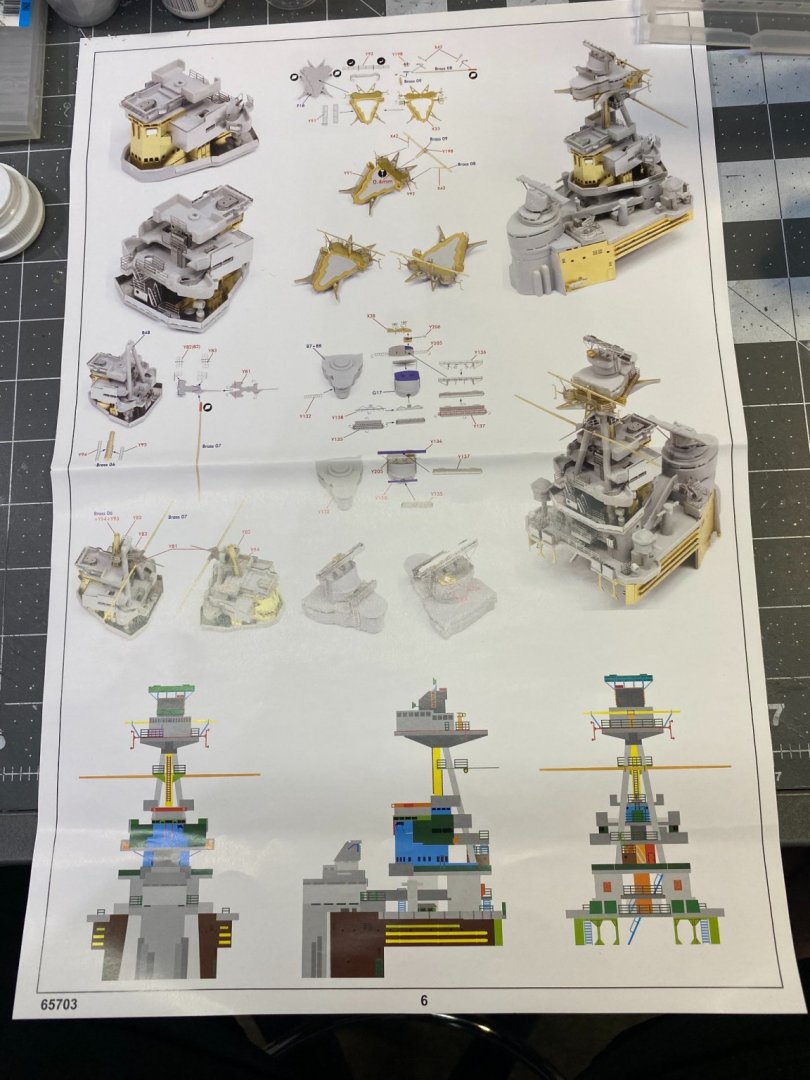
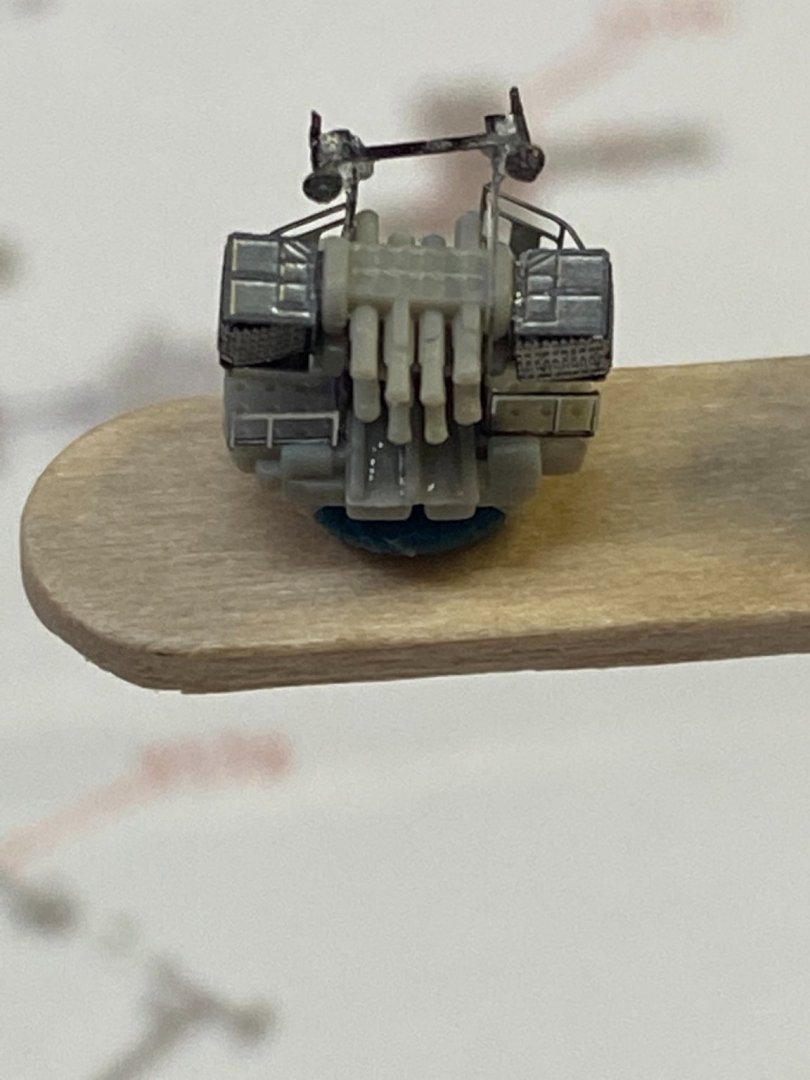
 One more layer goes on top of this one, then it will be finished. Reminds me of the IJN battleship designs which have very similar control towers (if that is the correct term).

- 225 replies
-
- 12
-

-
- I Love Kit
- Hood
- (and 2 more)
-
On radio controlled aircraft built from 3D printed parts, CA glue is being used. This takes into account the stresses the airframes undergo while flying and in various maneuvers. Very good strength of bond. Of course, there is no distortion from CA glue but there is a risk involved inhaling the fumes created by CA which is not to be underestimated. Many modelers have had serious medical complications from breathing CA fumes.
- 321 replies
-
- 9
-

-
-
- Finished
- Flower-class
- (and 1 more)
-
Yves You have done a remarkable job to produce the entire hull on your first try in 3D printing. The finished product looks outstanding. You are encouraging me to bring my machines back out of storage.
- 321 replies
-
- 7
-
-
- Finished
- Flower-class
- (and 1 more)
-
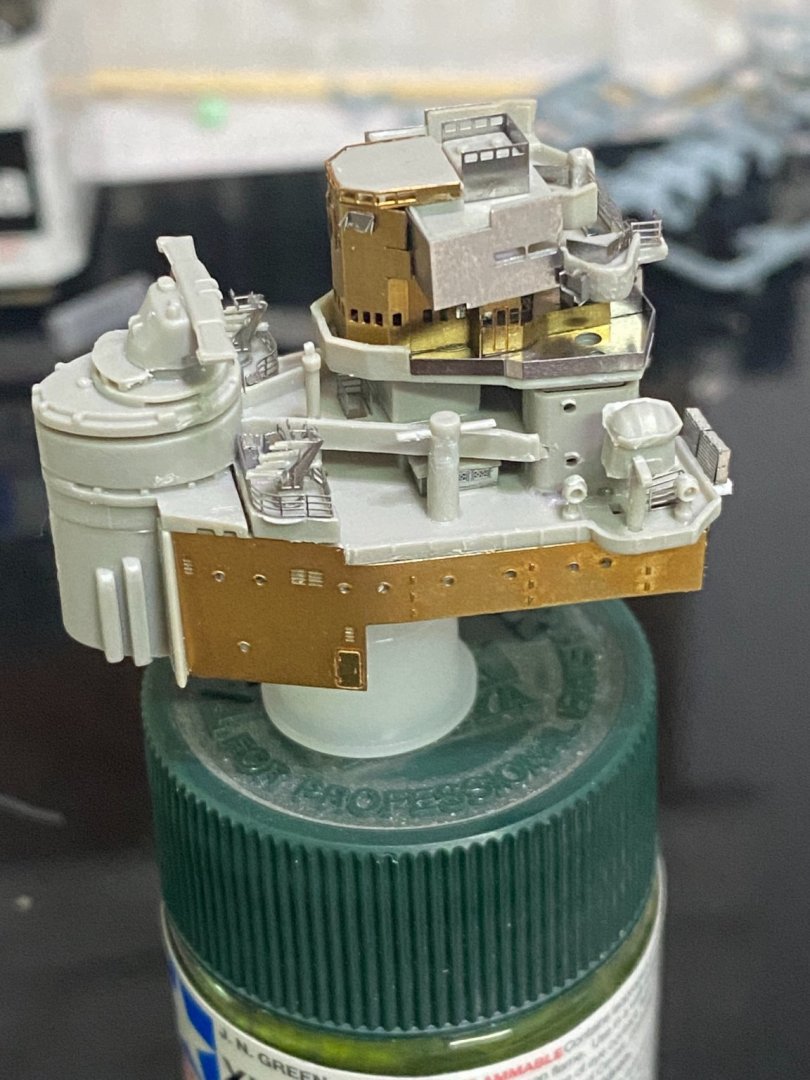
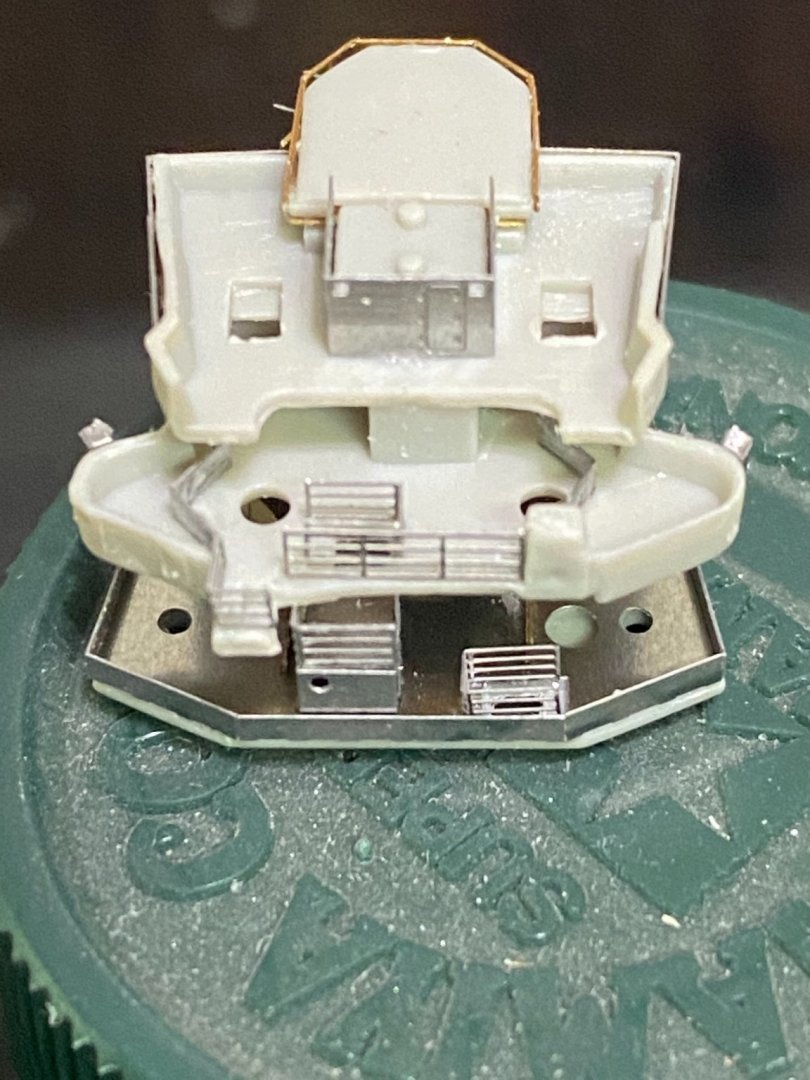
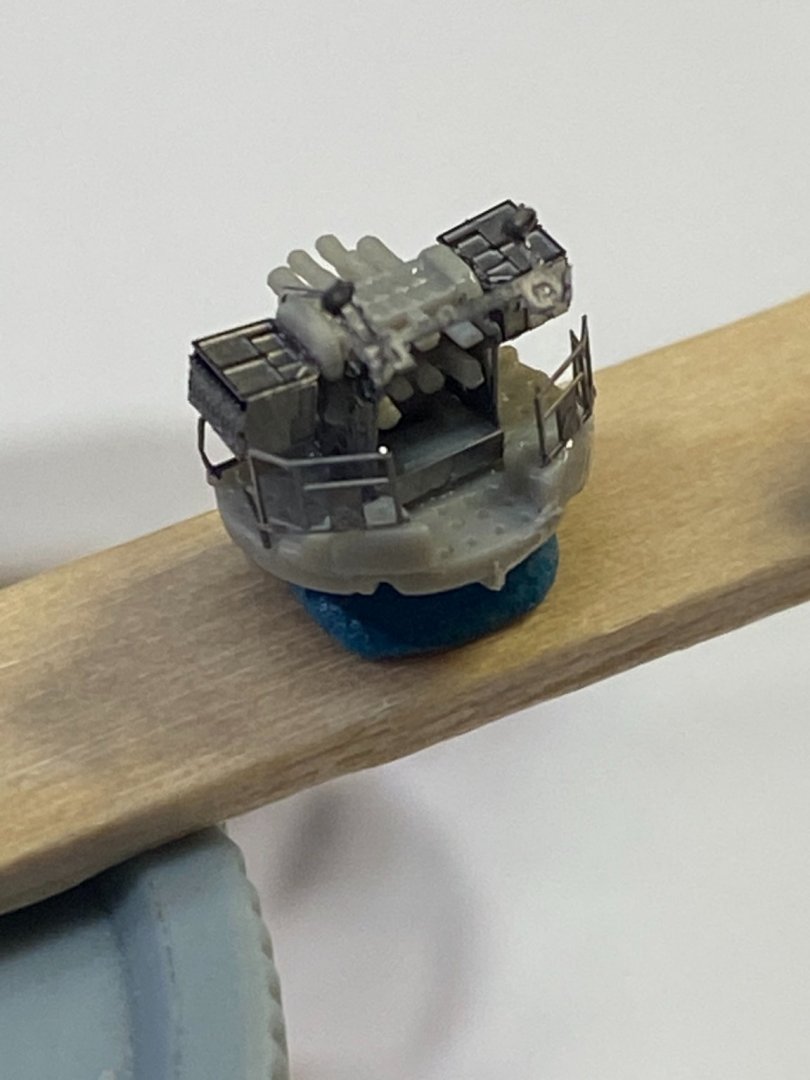
Here is where the layers begin stacking up, but there is more to go.


- 225 replies
-
- 13
-
-
- I Love Kit
- Hood
- (and 2 more)
-
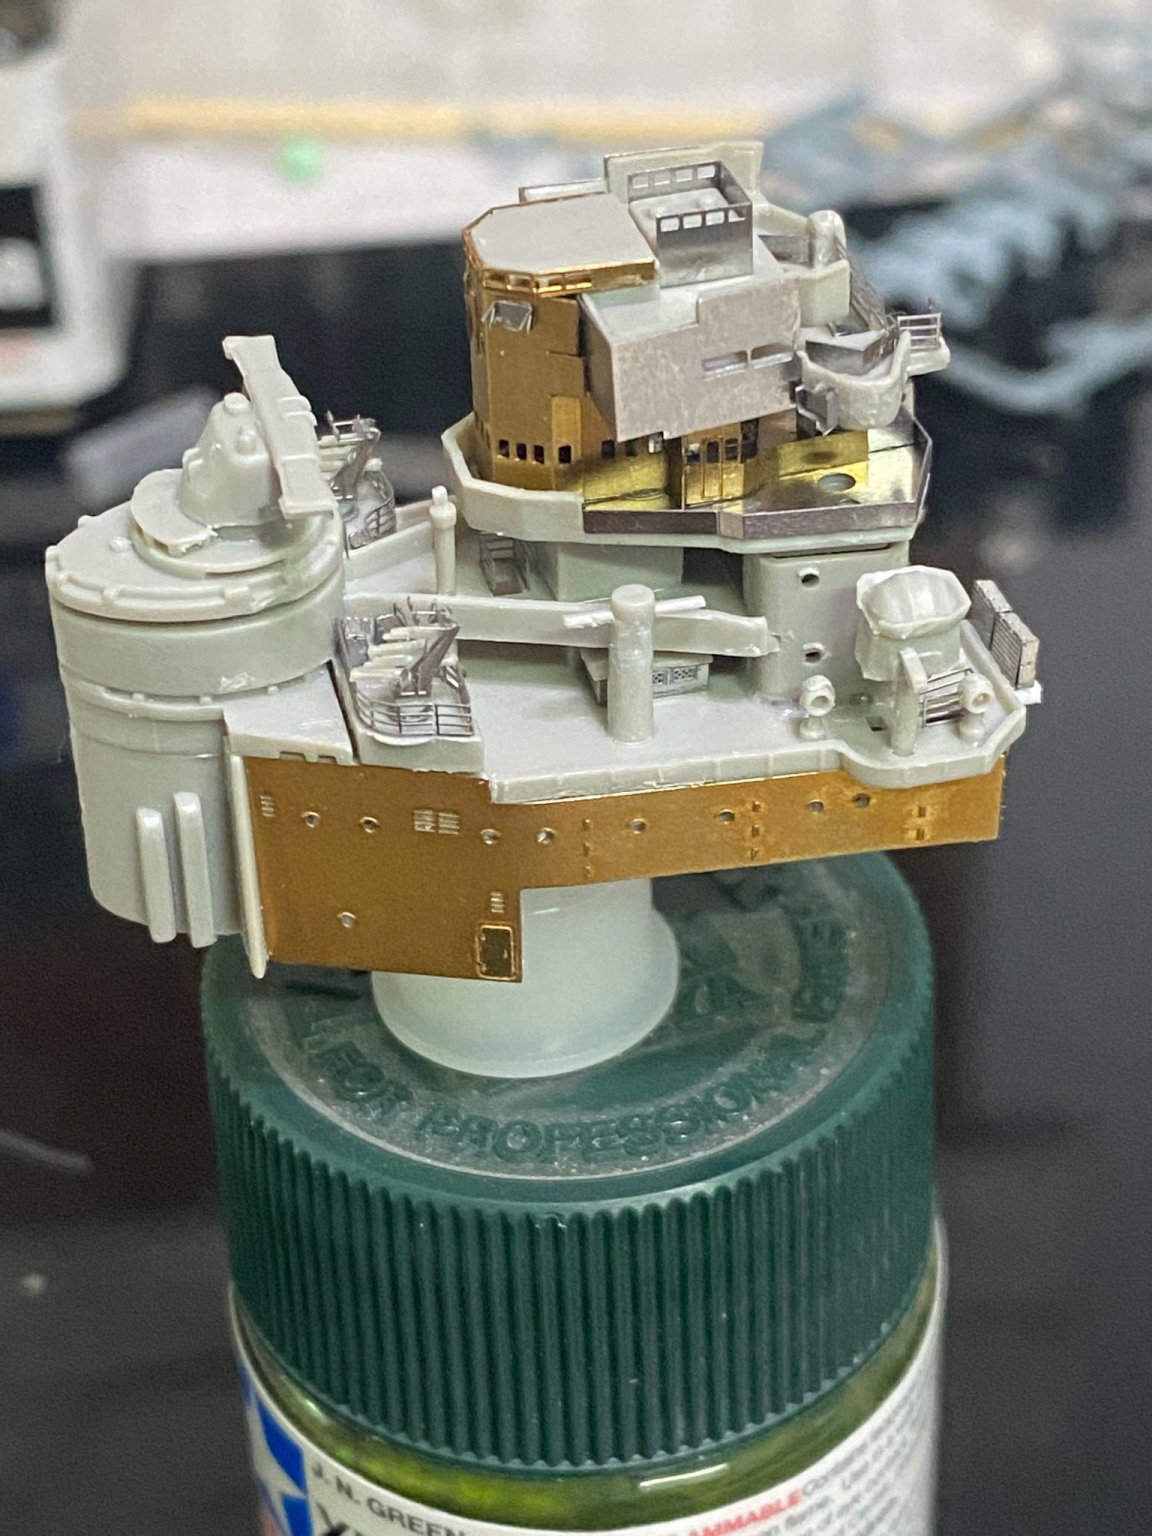
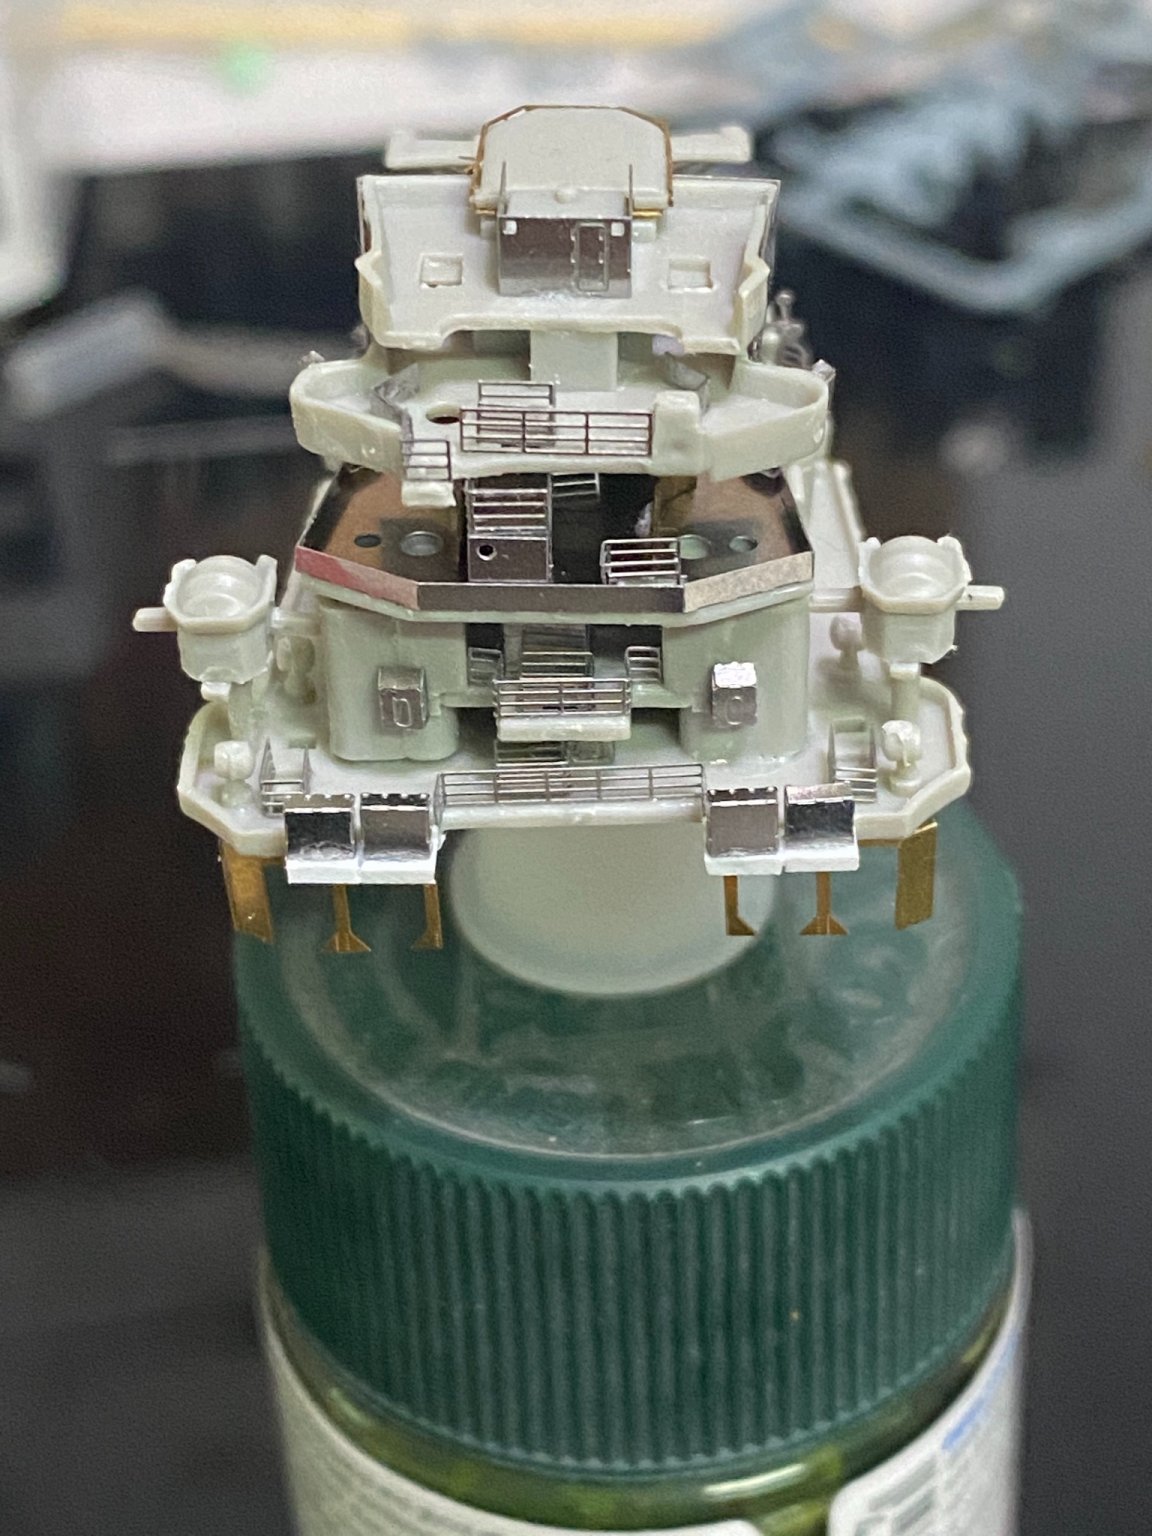
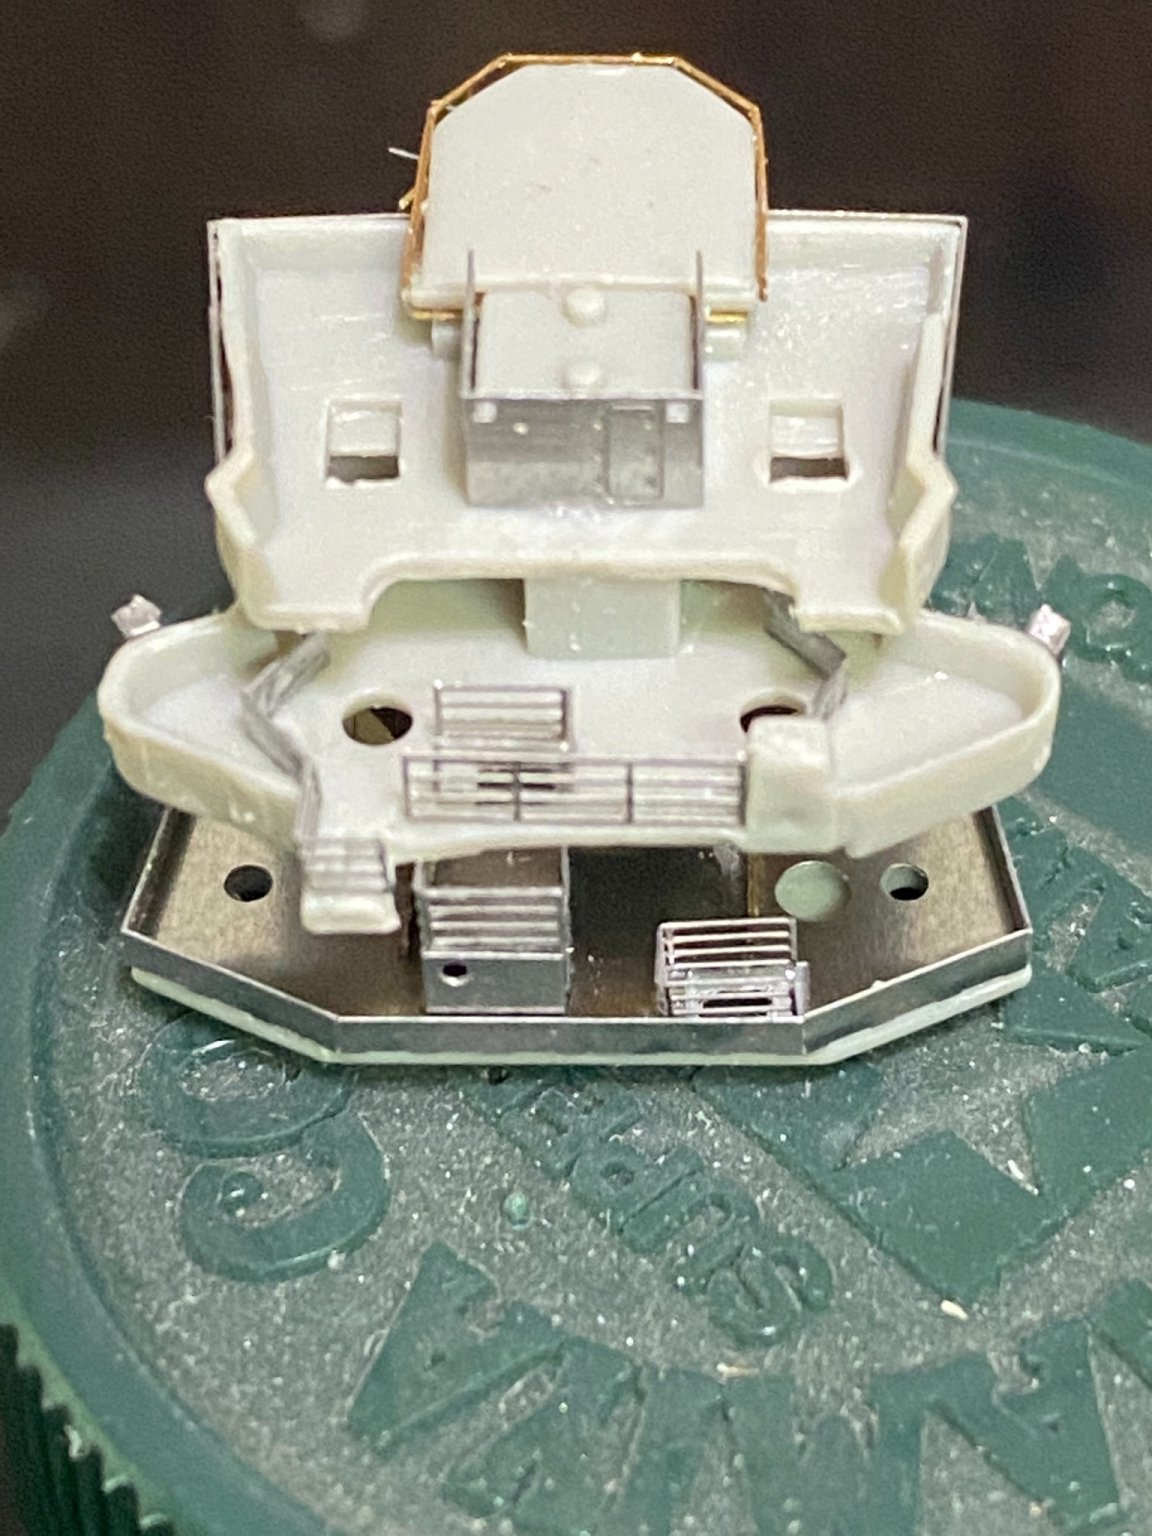
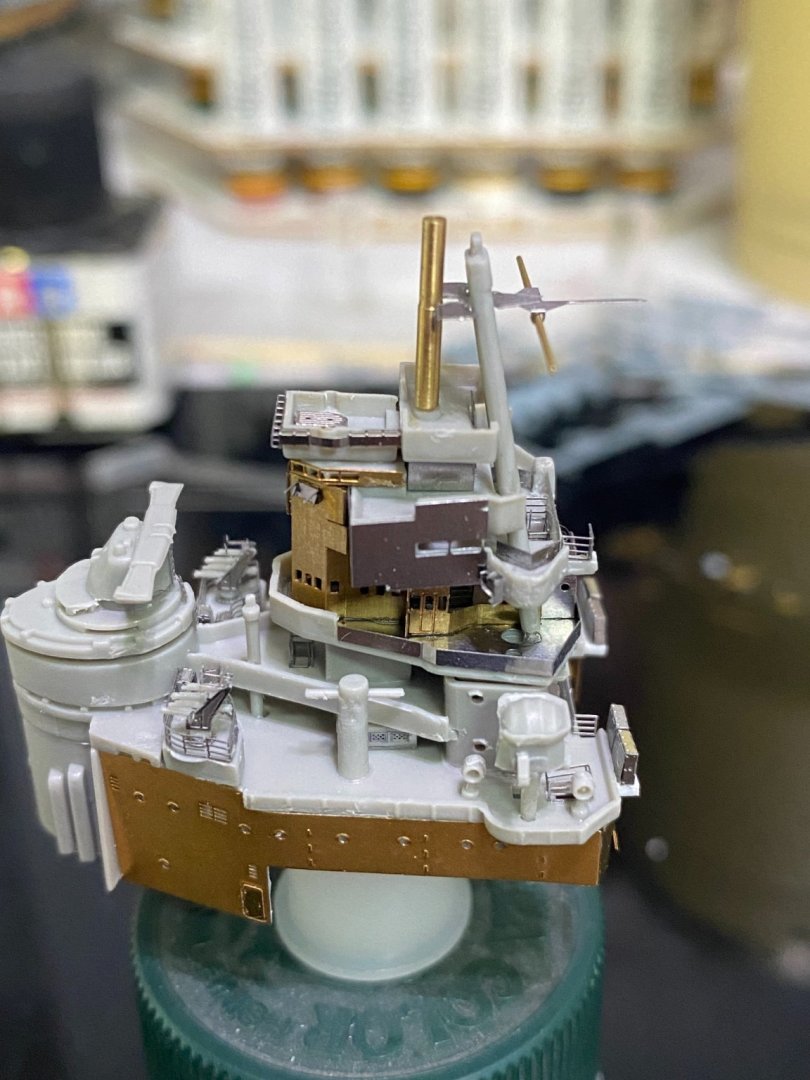
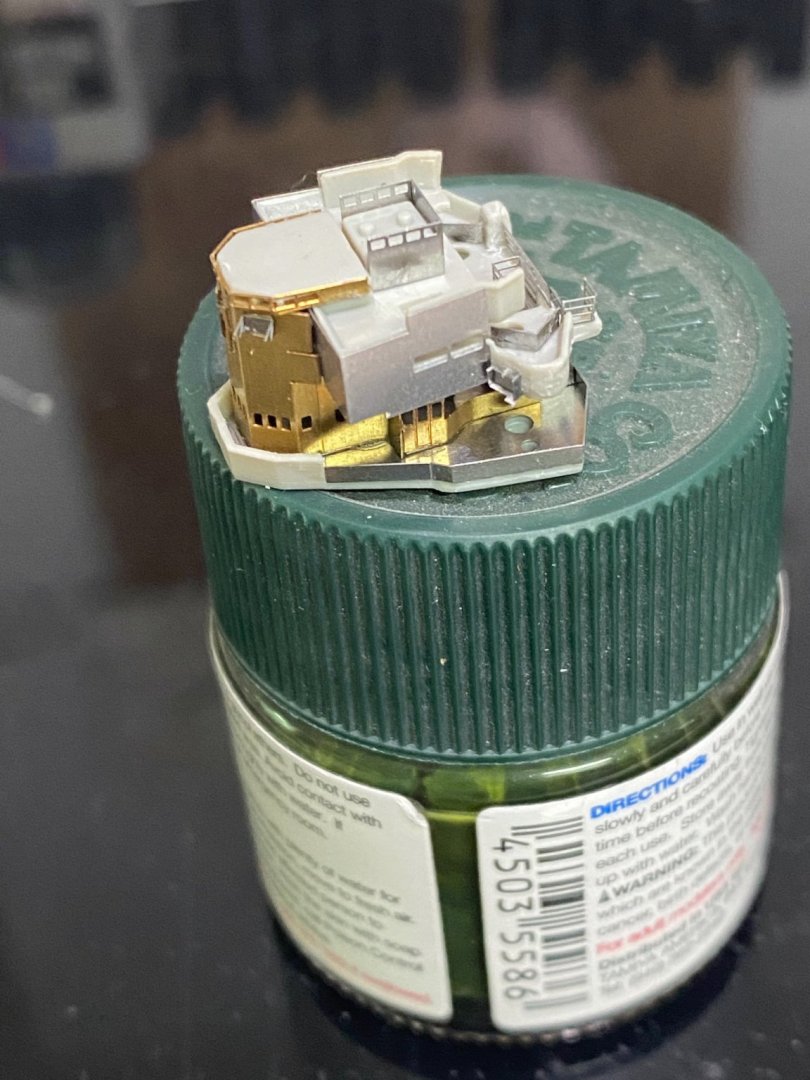
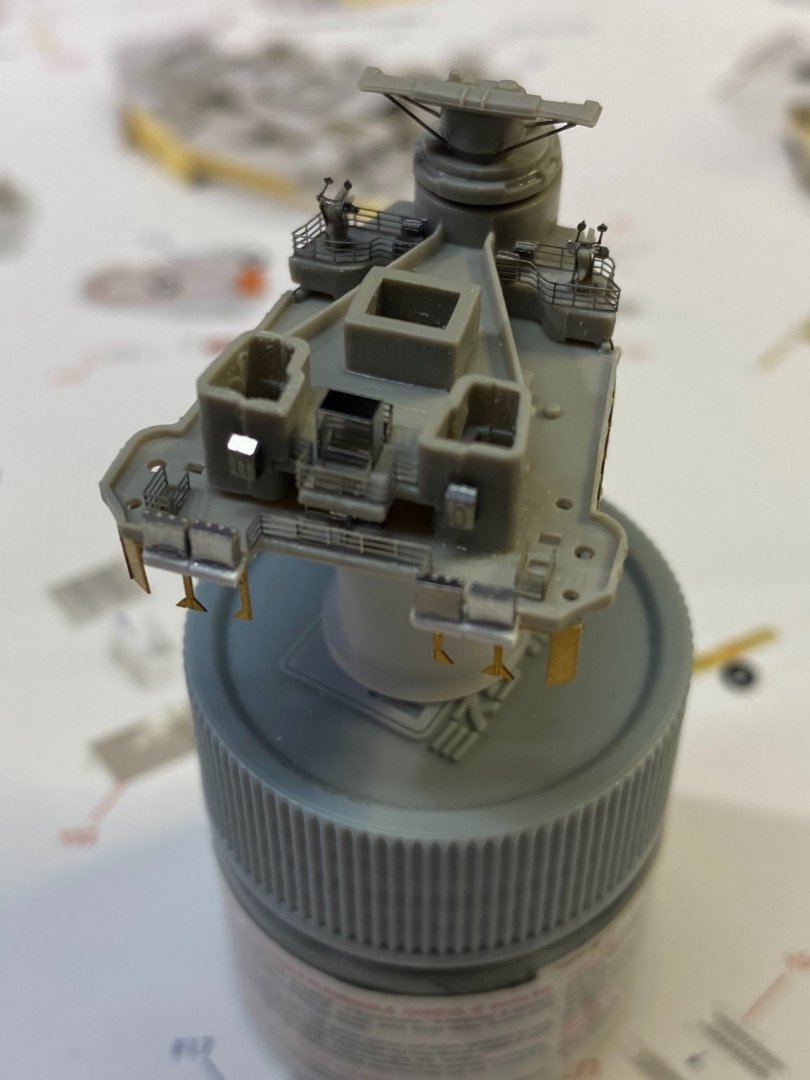
While it’s not finished, I am tired of working on this piece for now and am taking some photos for the record.

- 225 replies
-
- 11
-
-
- I Love Kit
- Hood
- (and 2 more)
-
That resin looks so much like water, it's as if you could literally jump inside. Beautiful work, Alan.
-
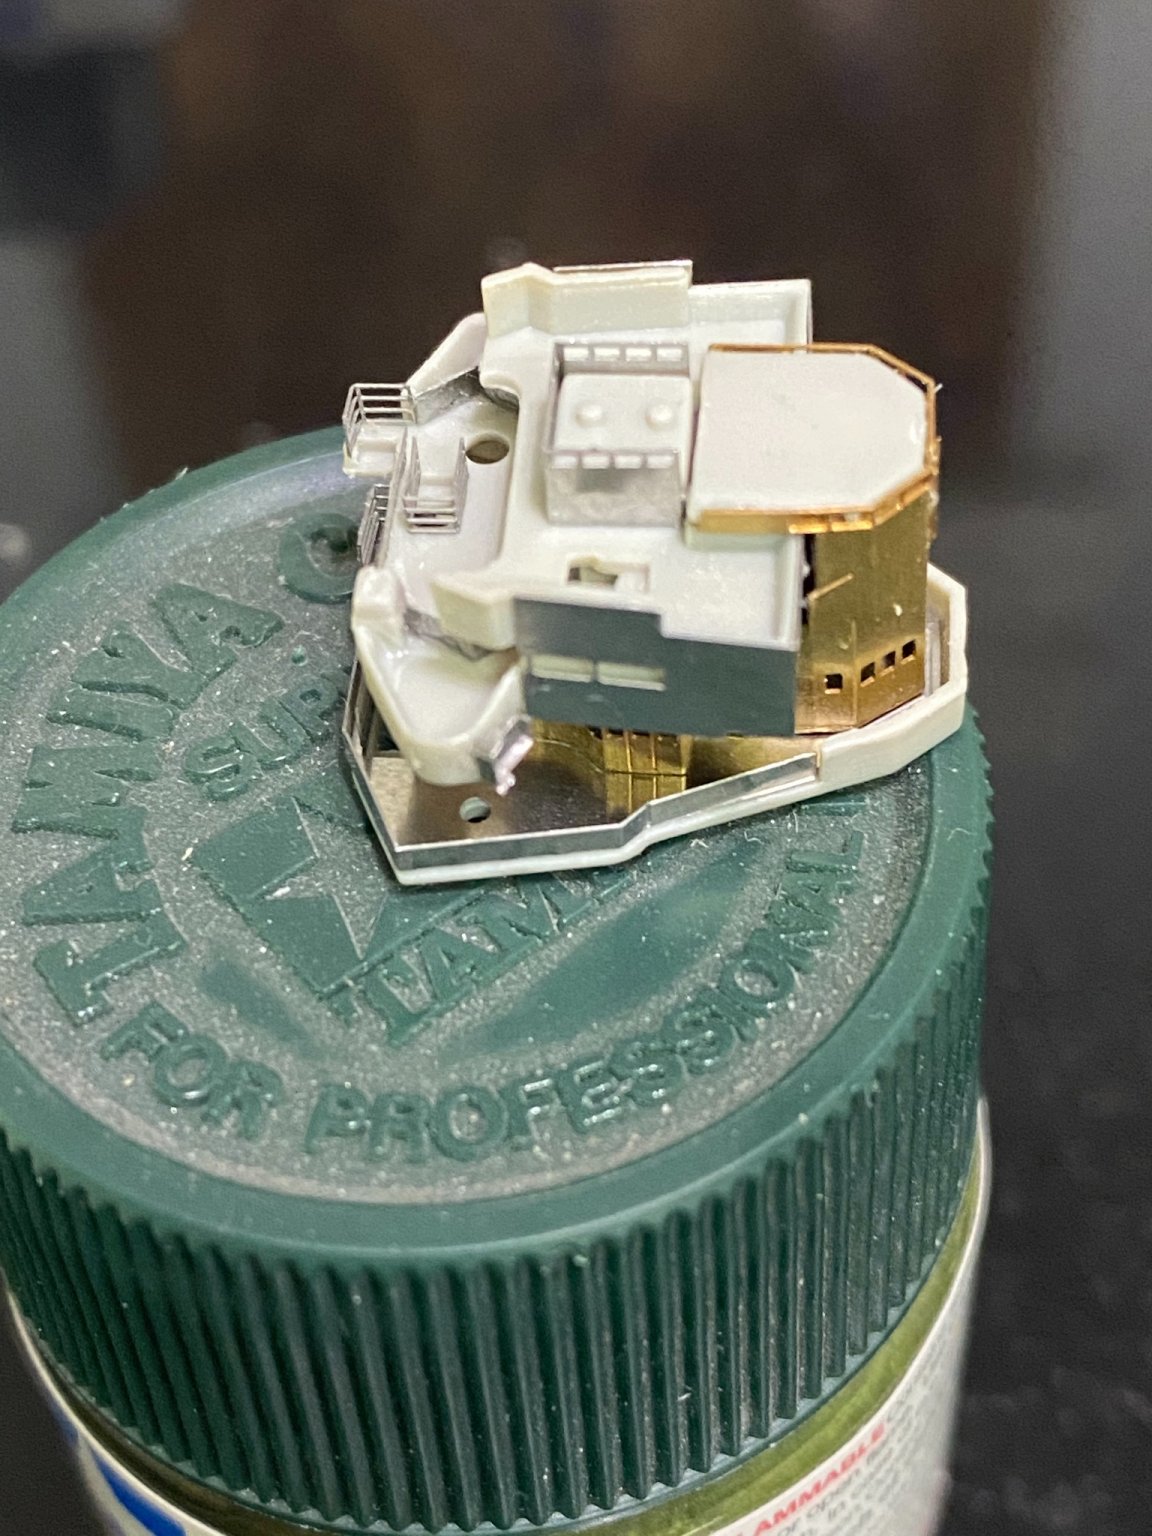
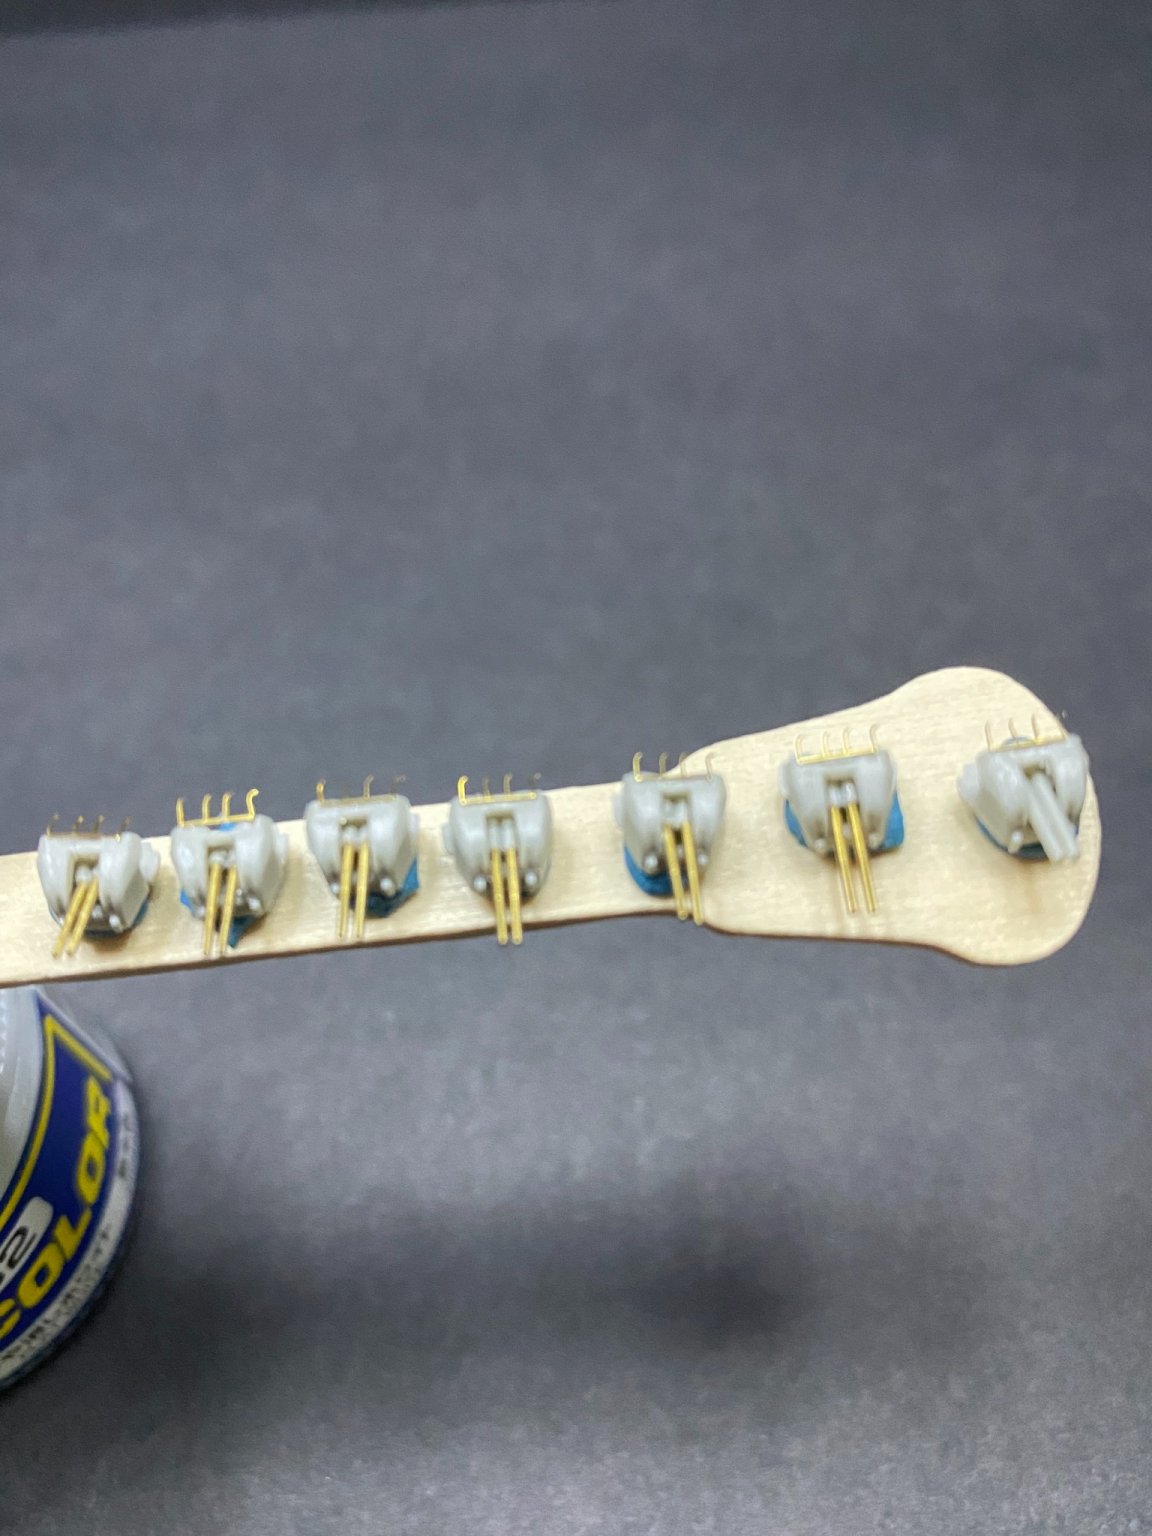
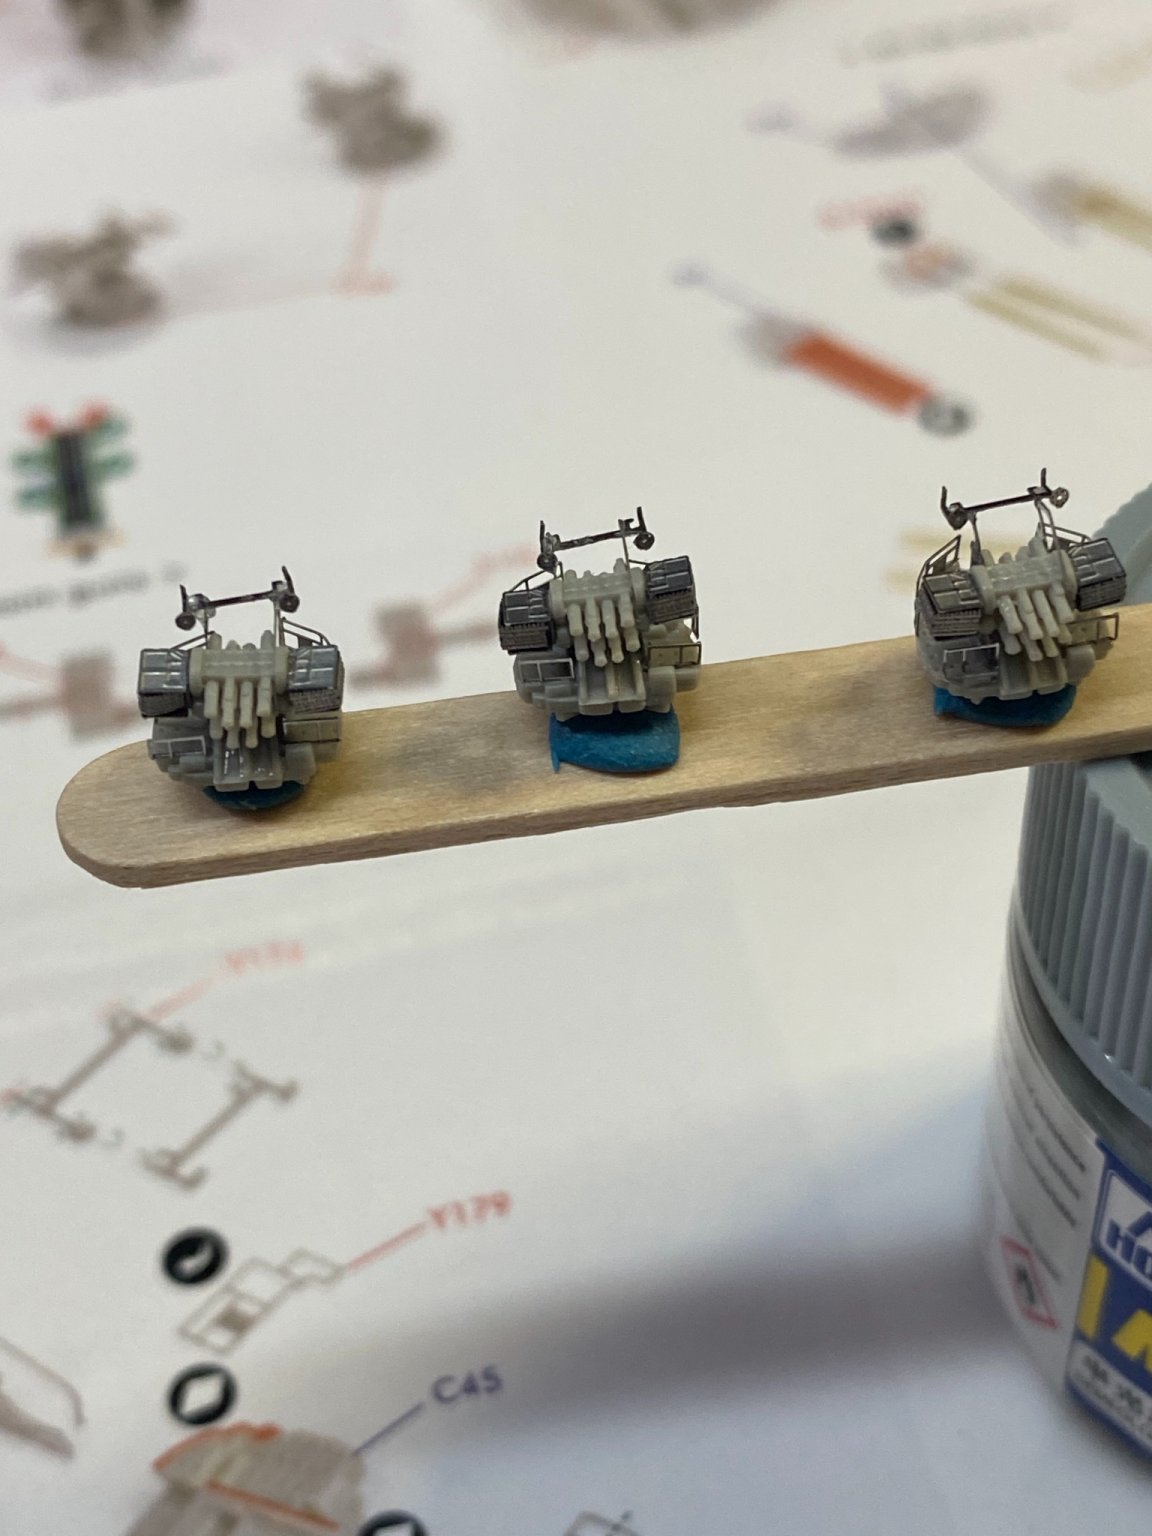
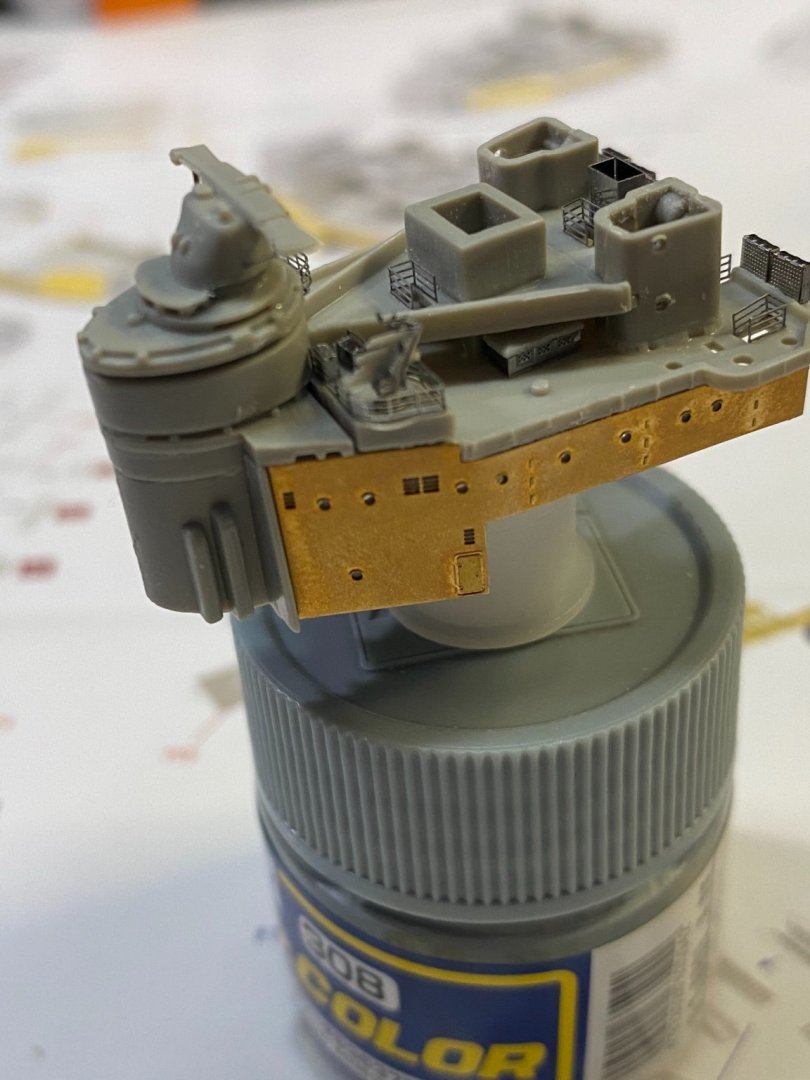
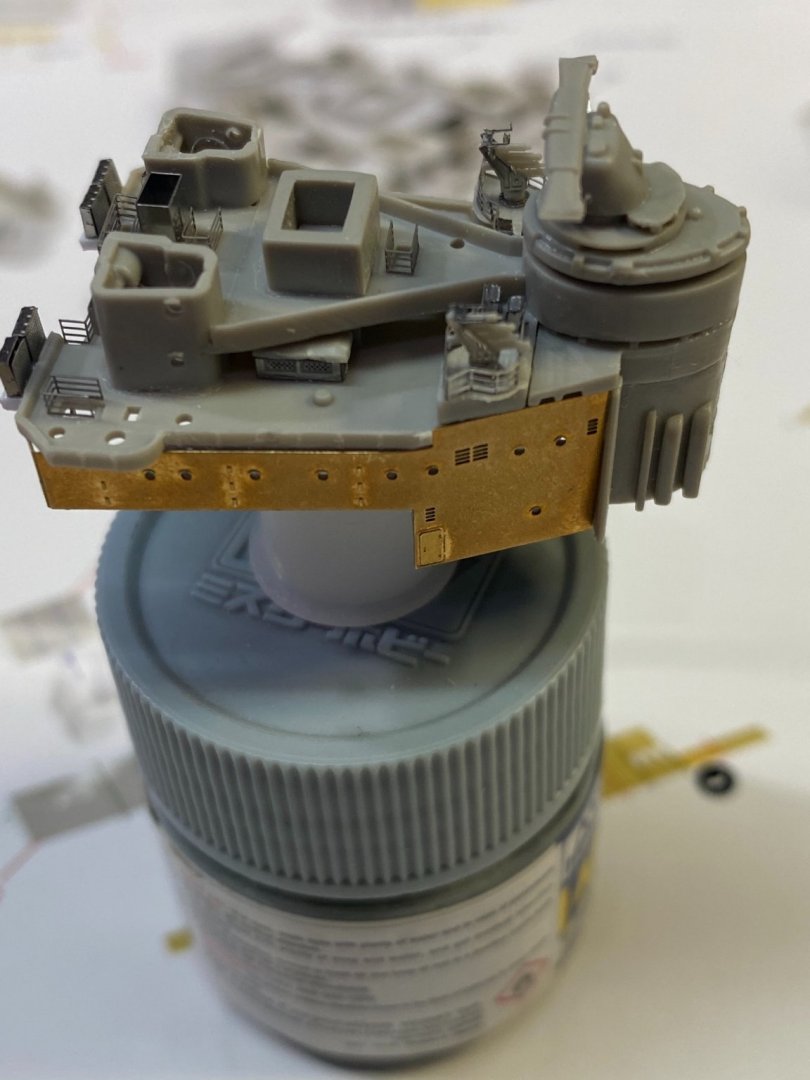
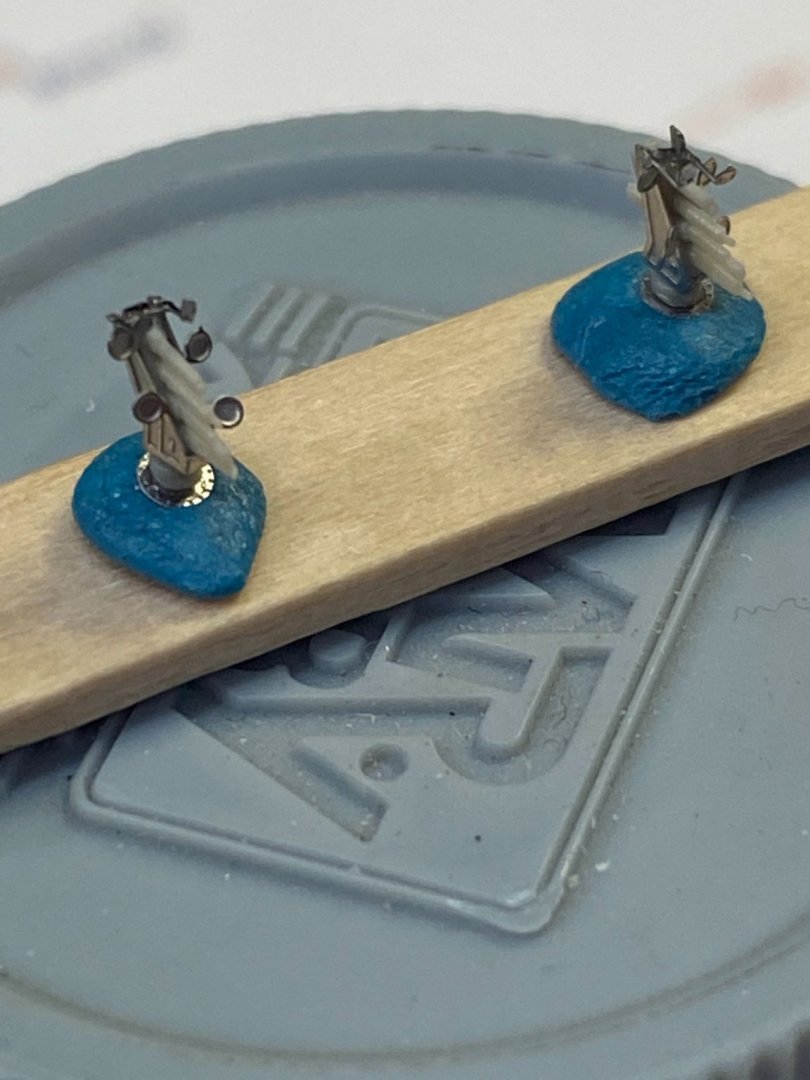
Was able to get several hours of work in on the Hood but still didn’t finish the bridge. A couple of the quad .5 inch guns mounted on top.
- 225 replies
-
- 11
-
-
- I Love Kit
- Hood
- (and 2 more)
-
Engine builders did a lot of mixing and matching with other small block cranks/rods with the 400 block to come up with different configurations of bore/stroke/cubic inches and drastically changed the way the engines performed. One of those combinations used a 327 crankshaft and I forget which rods, but it ended up 383 cubic inches, and had a big bore with a shorter stroke giving it higher top end RPM's. It was a drag racer favorite as I recall.
-
In between the 283 and 350 small blocks came the 327 small block. My big brother bought a brand new short block 327 crate engine from the Chevrolet dealer the first year they came out, 1963 I think. He ran a set of fuelie heads which were the "thing" back then because of the size of the intake valves and porting. He dropped that engine into his '55 Chevy and it was a real runner. Last small block variations were the 307 and 400 cubic inch. The 400's were my favorite small block Chevy to street rod because the high torque made it so much fun from stoplight to stoplight.
-
Great story that I never heard or read about before.
-
Wow, that is so nice. Love that particular plane and you did a wonderful job on it all the way around. A very under modeled aircraft, the Soviet fighters and bombers.
-
No resin, everything is plastic, machined brass, photo etch brass, or stainless steel photo etch.
- 225 replies
-
- 6
-
-
- I Love Kit
- Hood
- (and 2 more)
-
Now that’s a great idea! Thanks for sharing it with me as I will put it to use.
- 225 replies
-
- 7
-
-
- I Love Kit
- Hood
- (and 2 more)
-
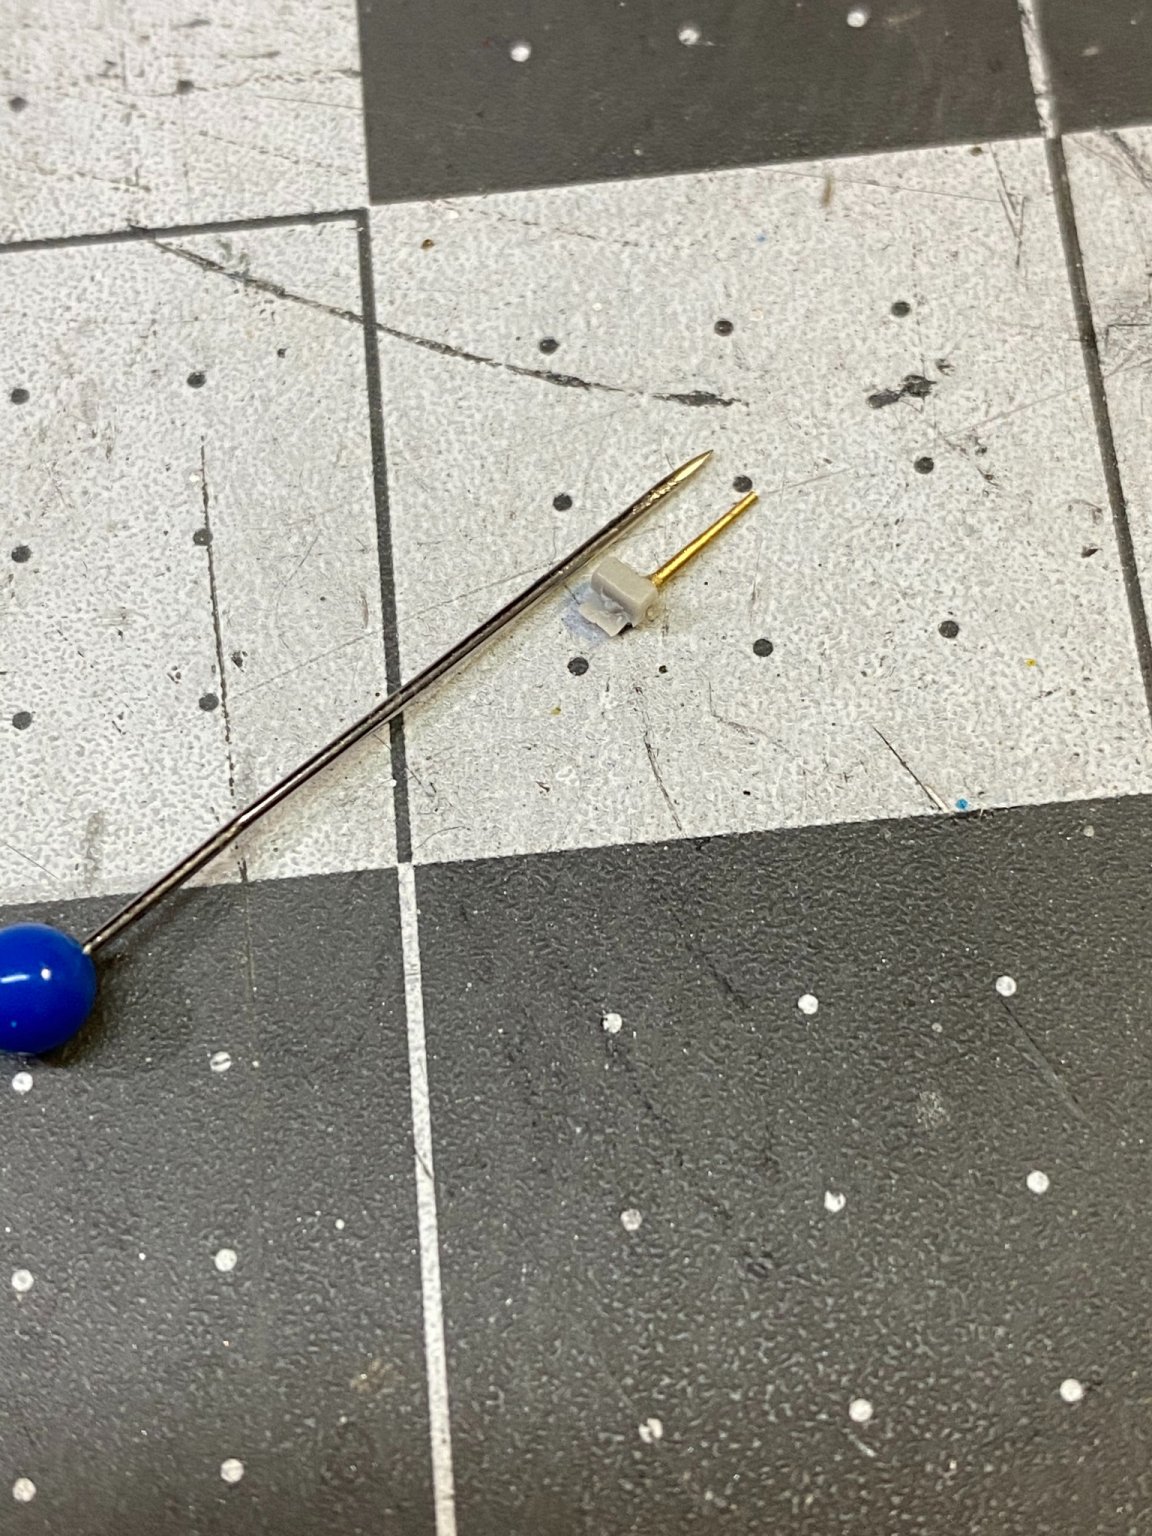
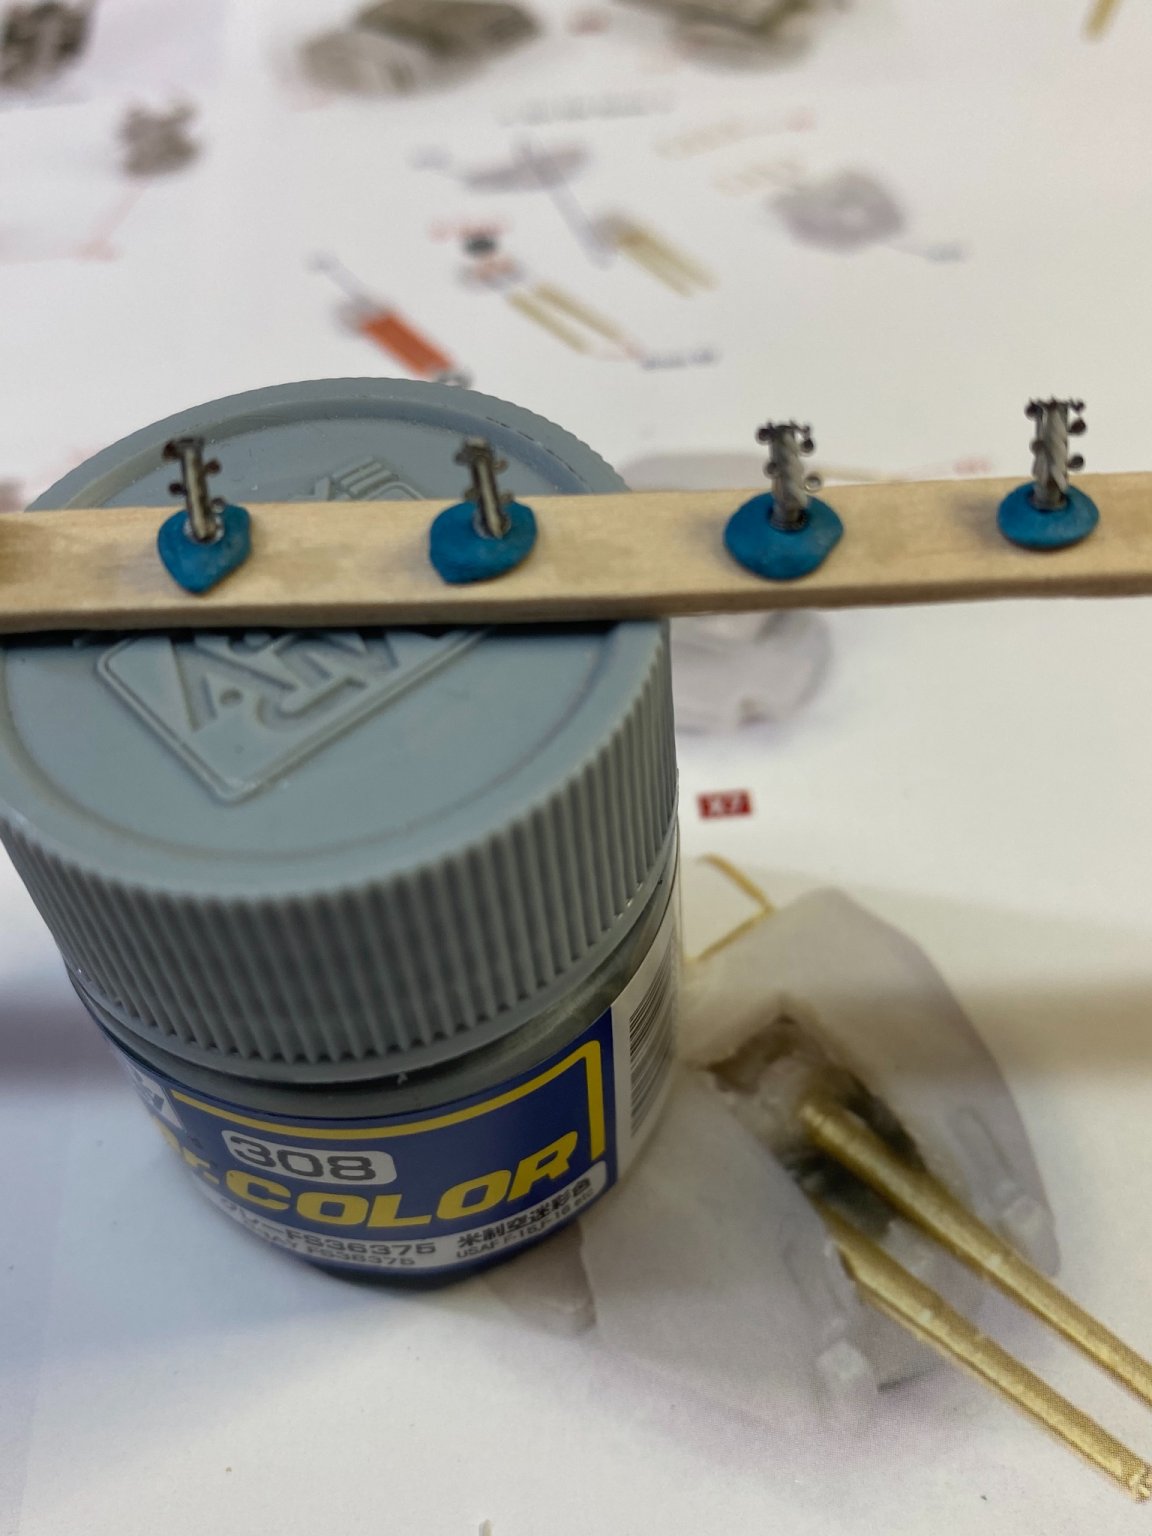
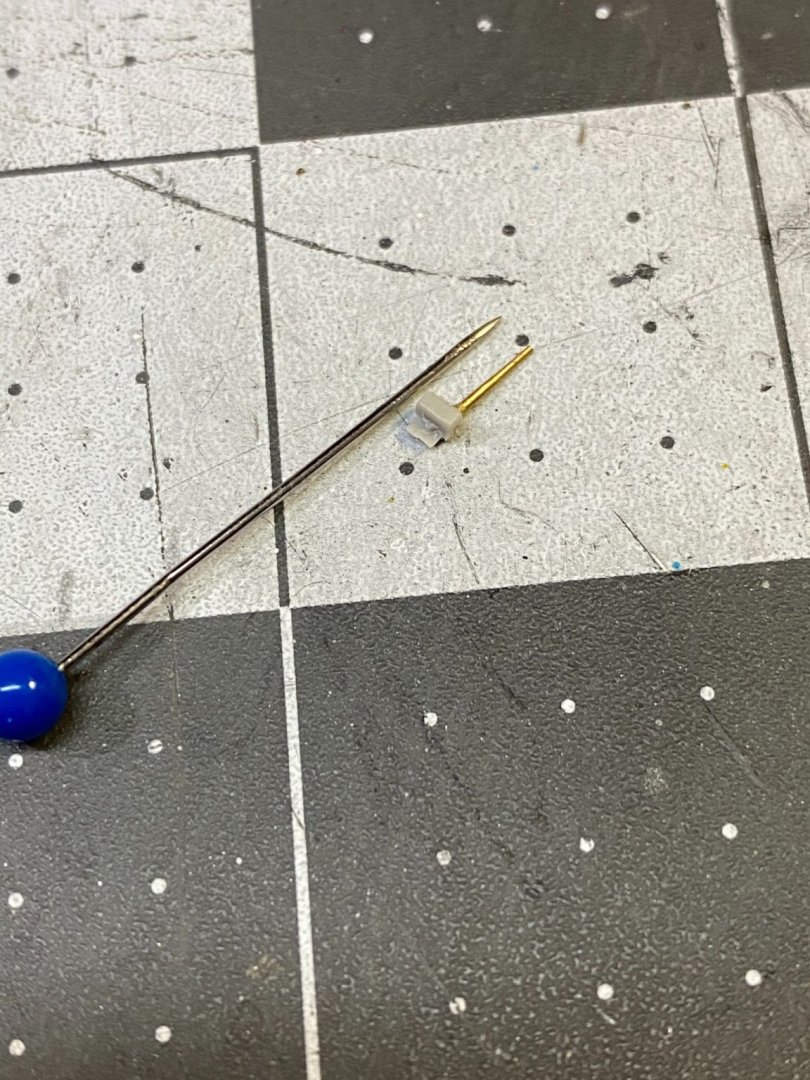
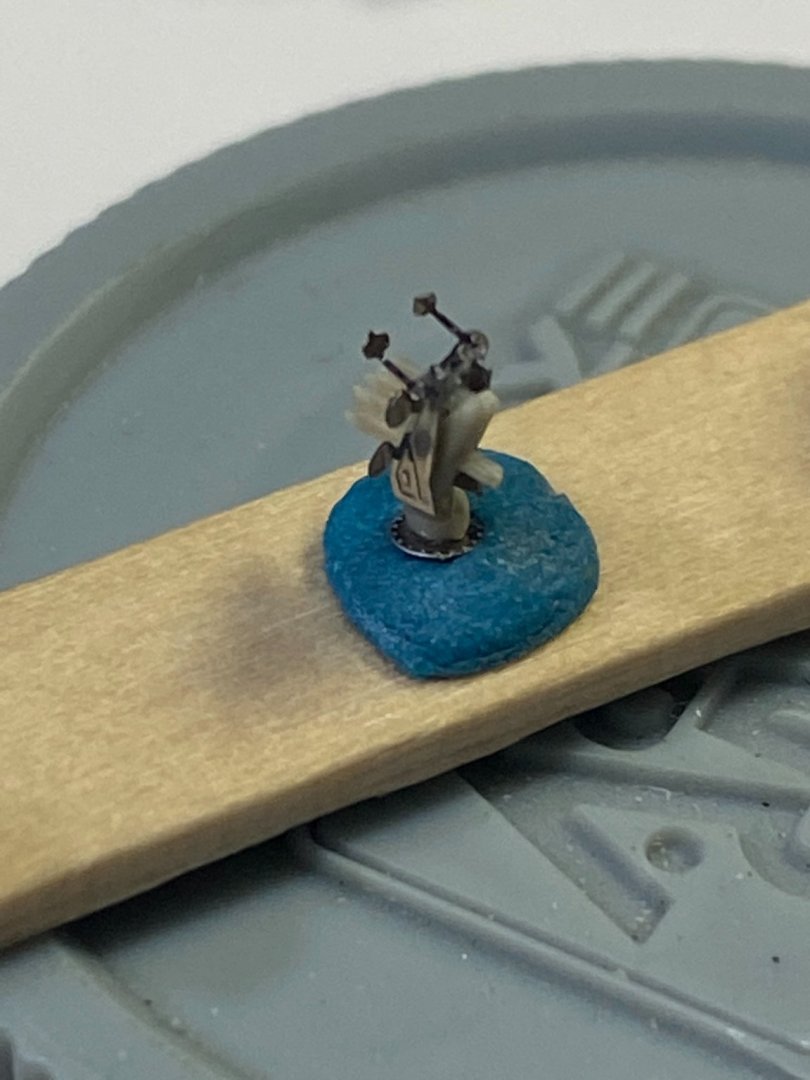
I found it! After recharging my flashlight battery over night, I looked again this morning and found it. Hoorah! laying next to a small pin, you can appreciate how small this is, about half the diameter of the pin.
- 225 replies
-
- 13
-
-
-
- I Love Kit
- Hood
- (and 2 more)
-
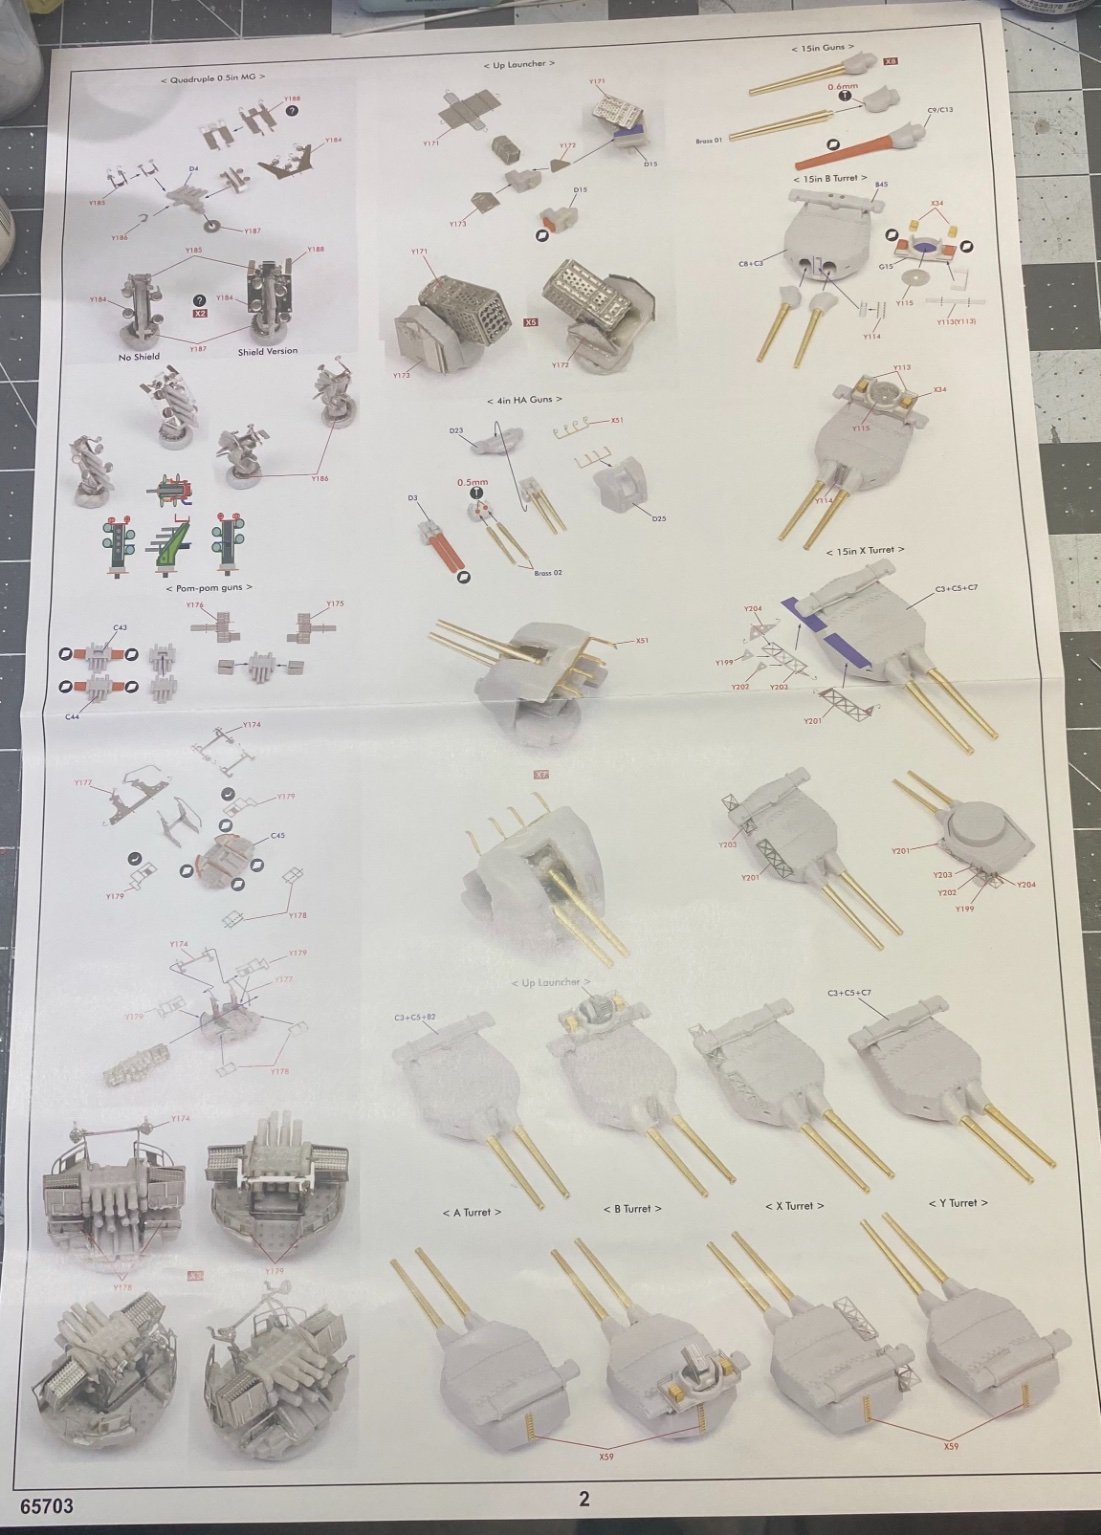
The 4 inch secondary guns. The oddball on the far right is the casualty of a lost gun barrel, hence was forced to use the stock kit ones where I drilled out the barrel ends to make them somewhat more presentable. Who knows, maybe I’ll get lucky and find the missing barrel later. Next up are more superstructure assemblies.


- 225 replies
-
- 9
-
-
- I Love Kit
- Hood
- (and 2 more)
-
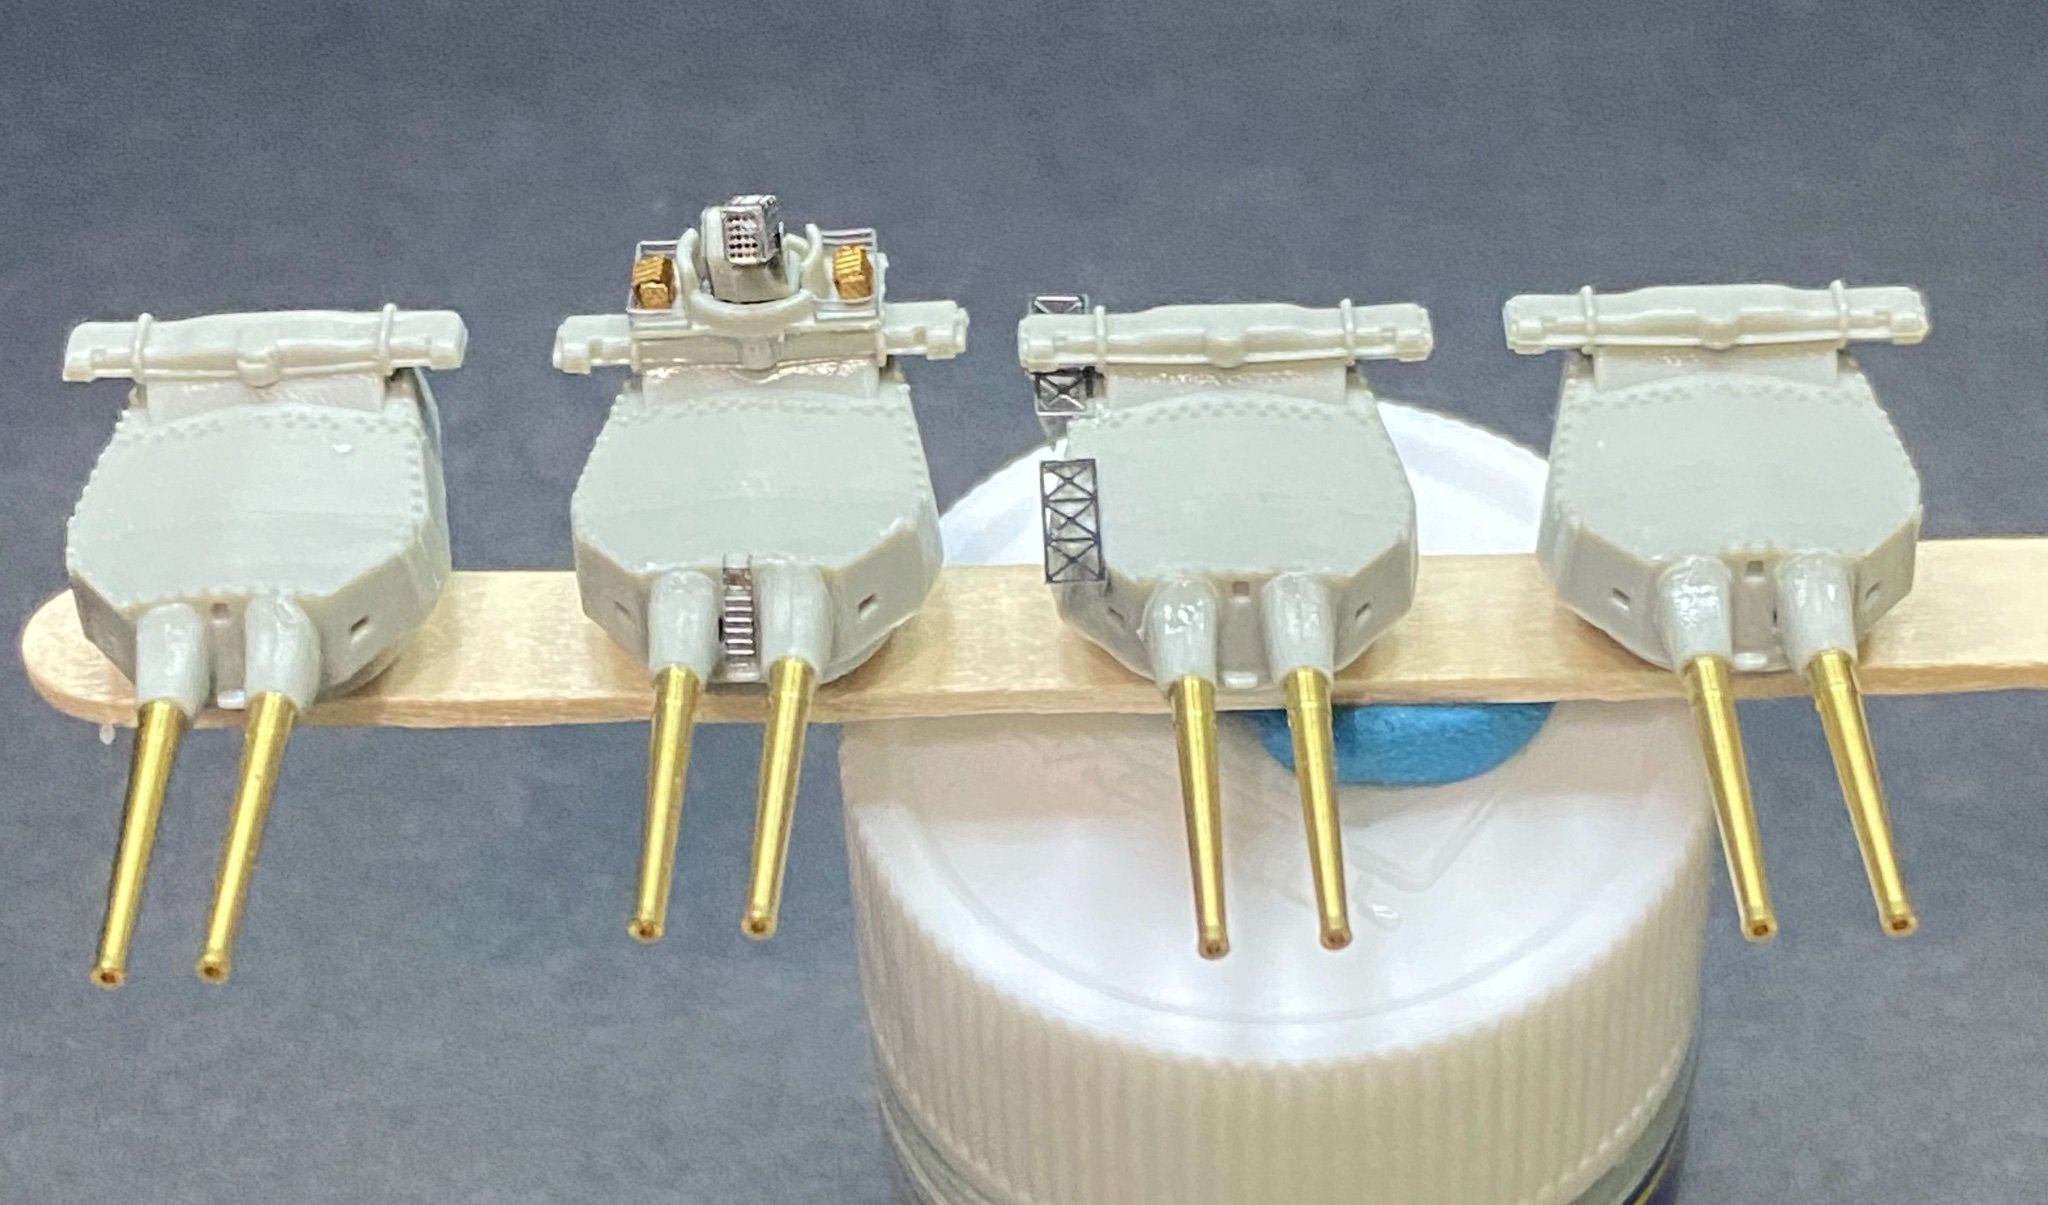
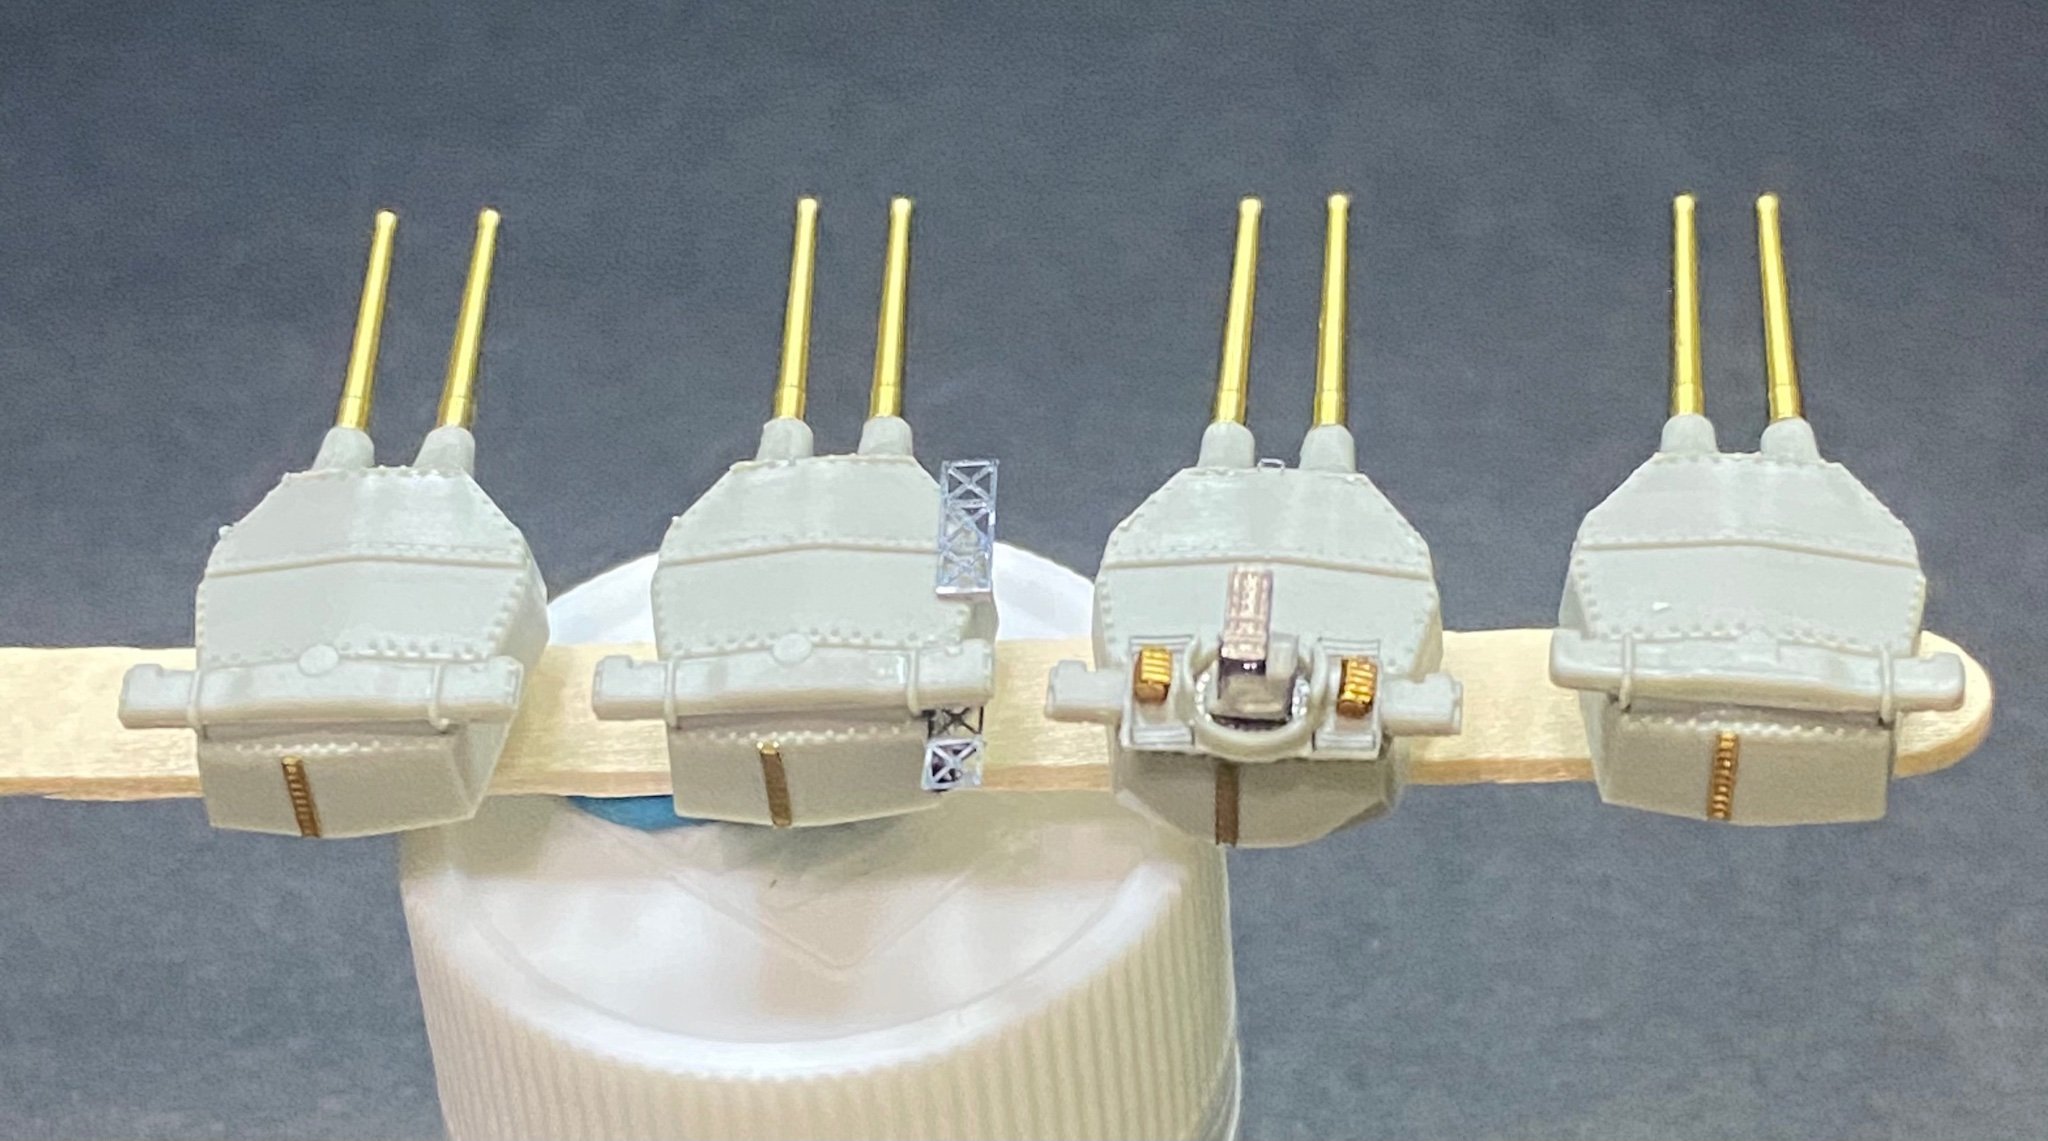
From left to right are the A, B, X, and Y main gun turrets.


- 225 replies
-
- 13
-
-
- I Love Kit
- Hood
- (and 2 more)
-
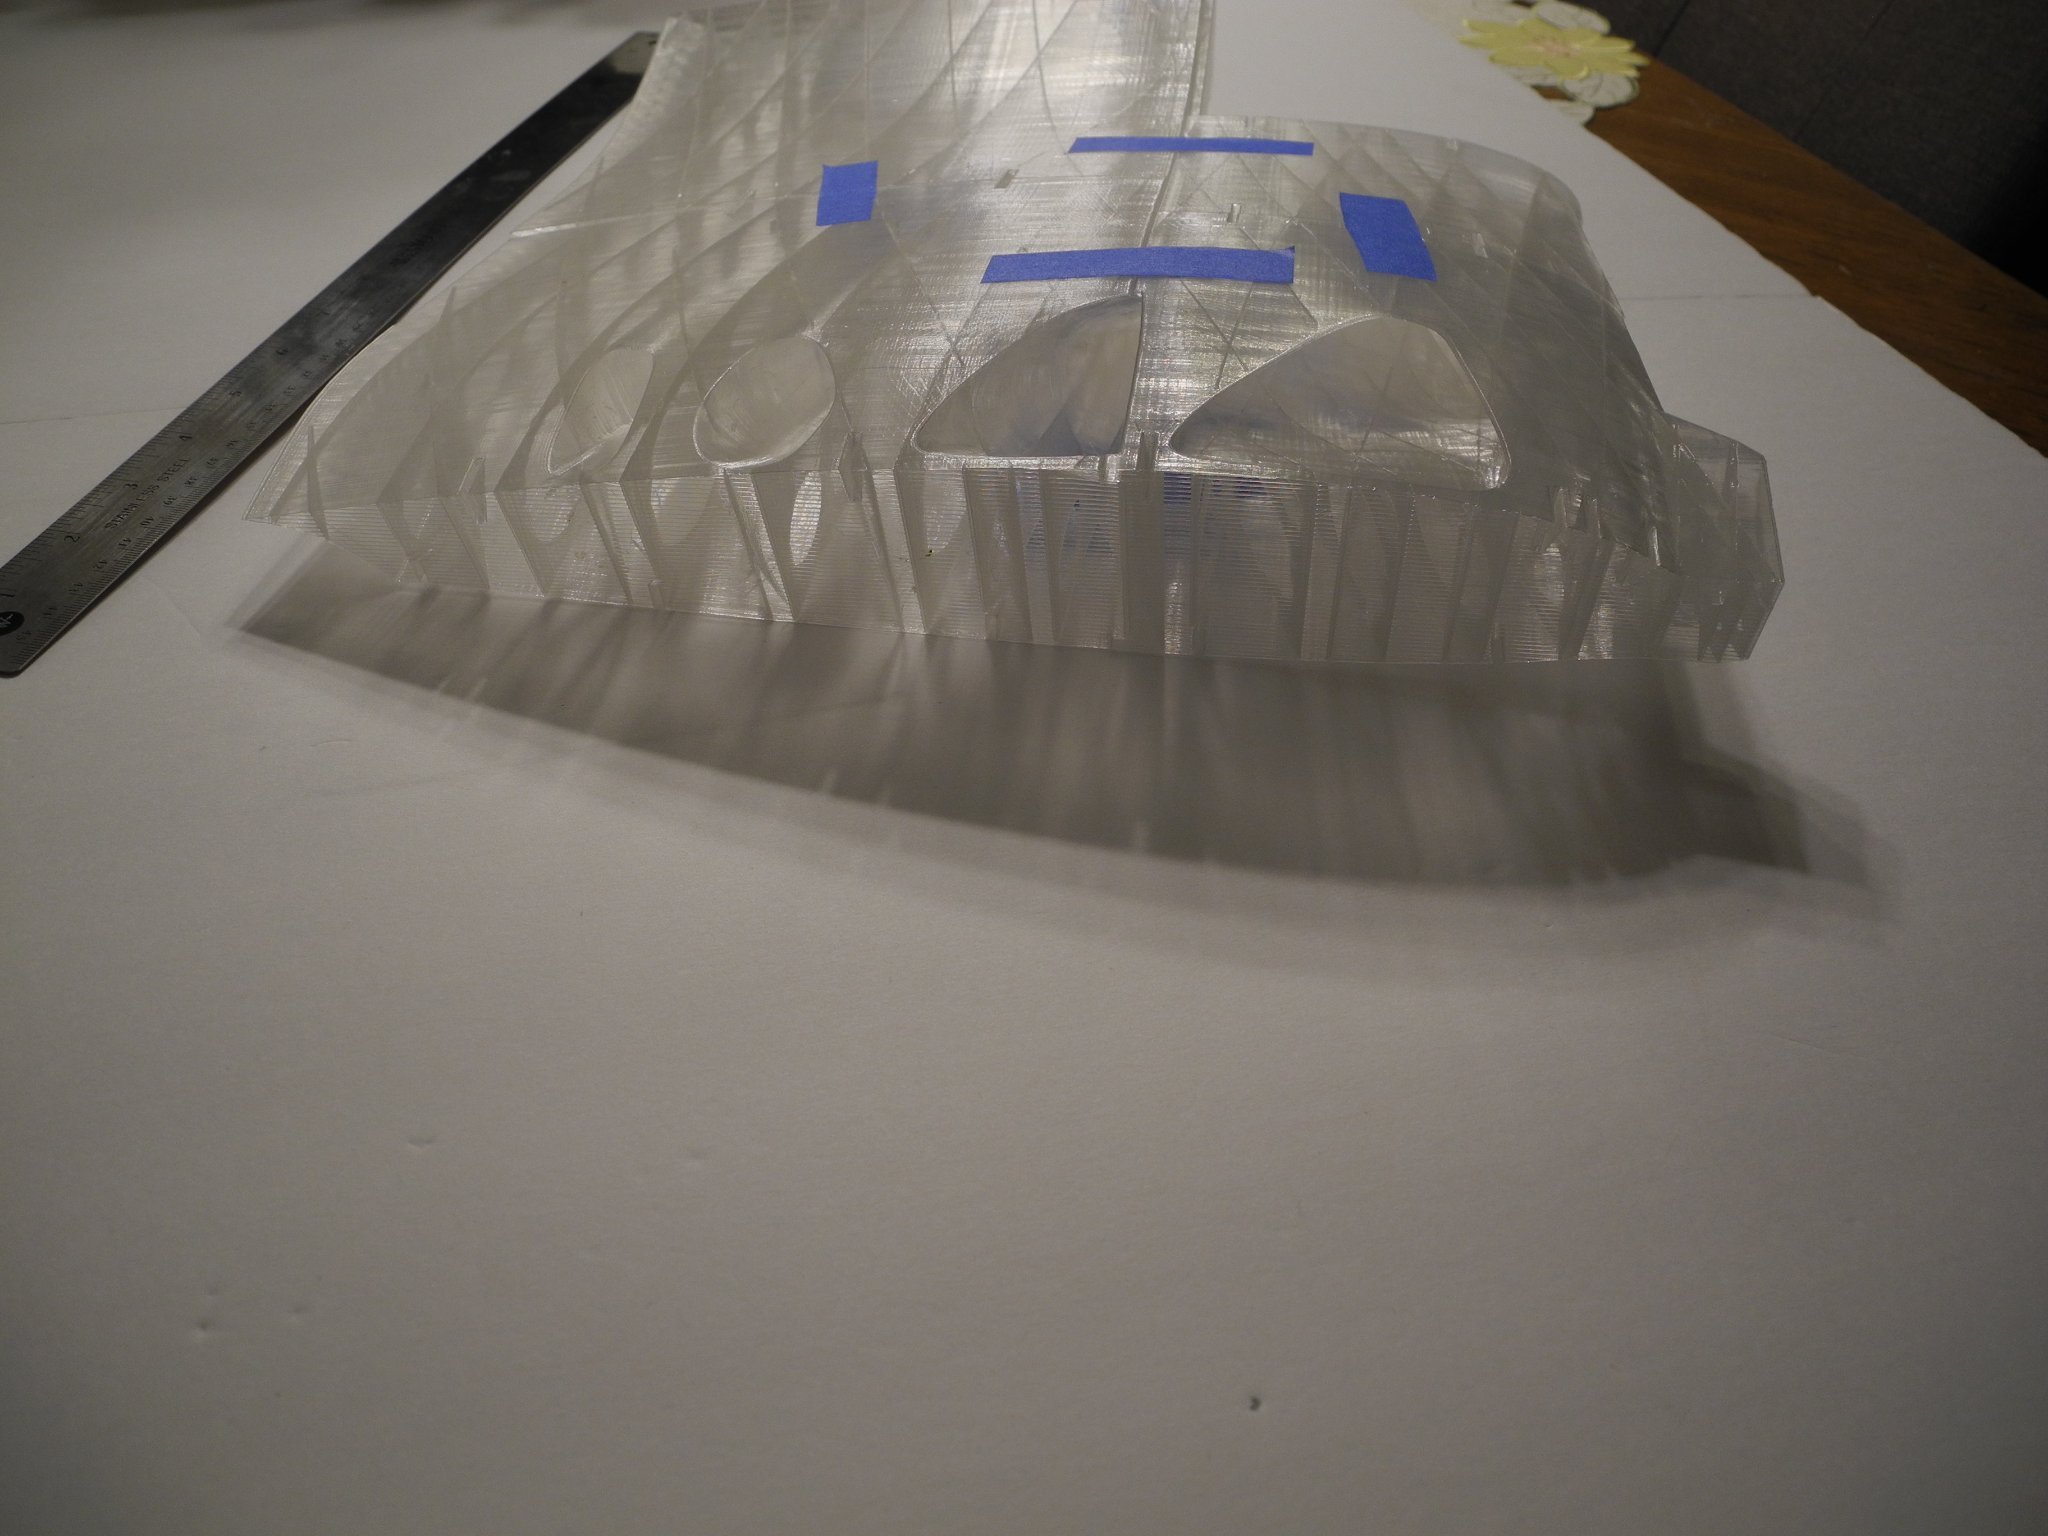
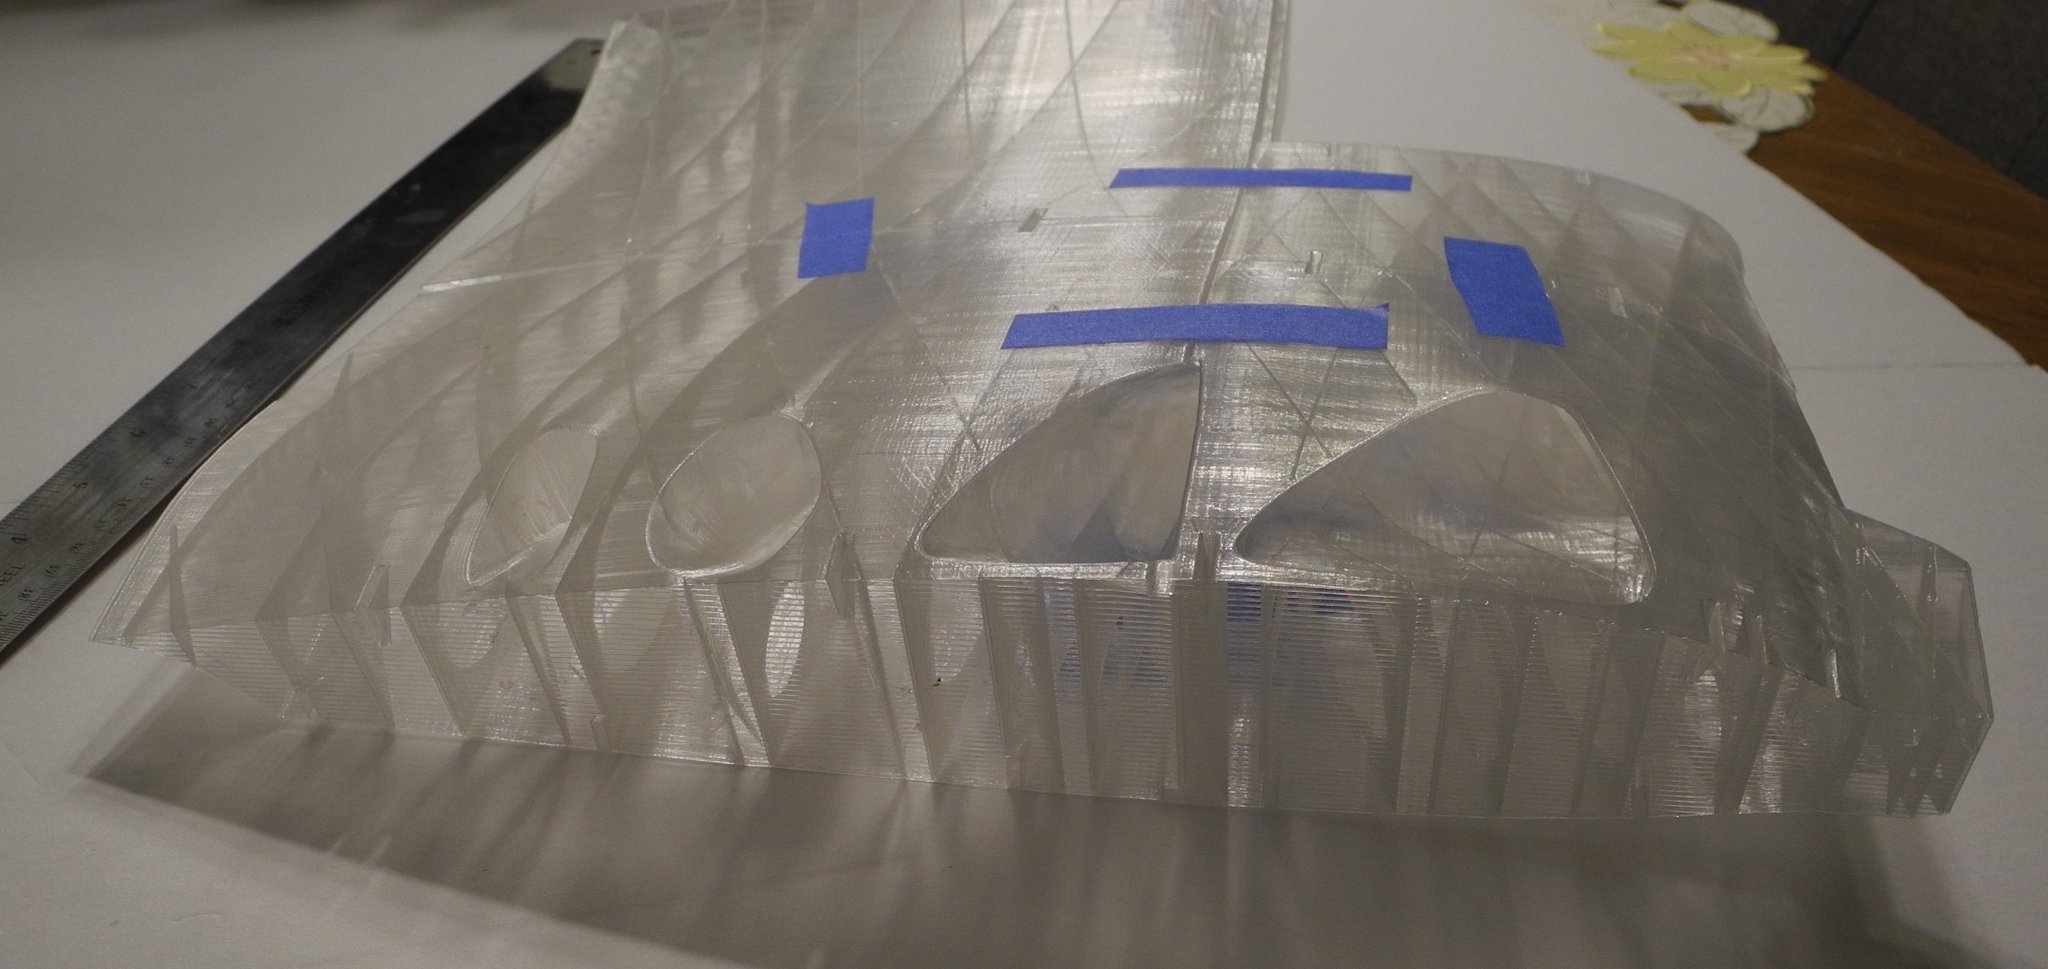
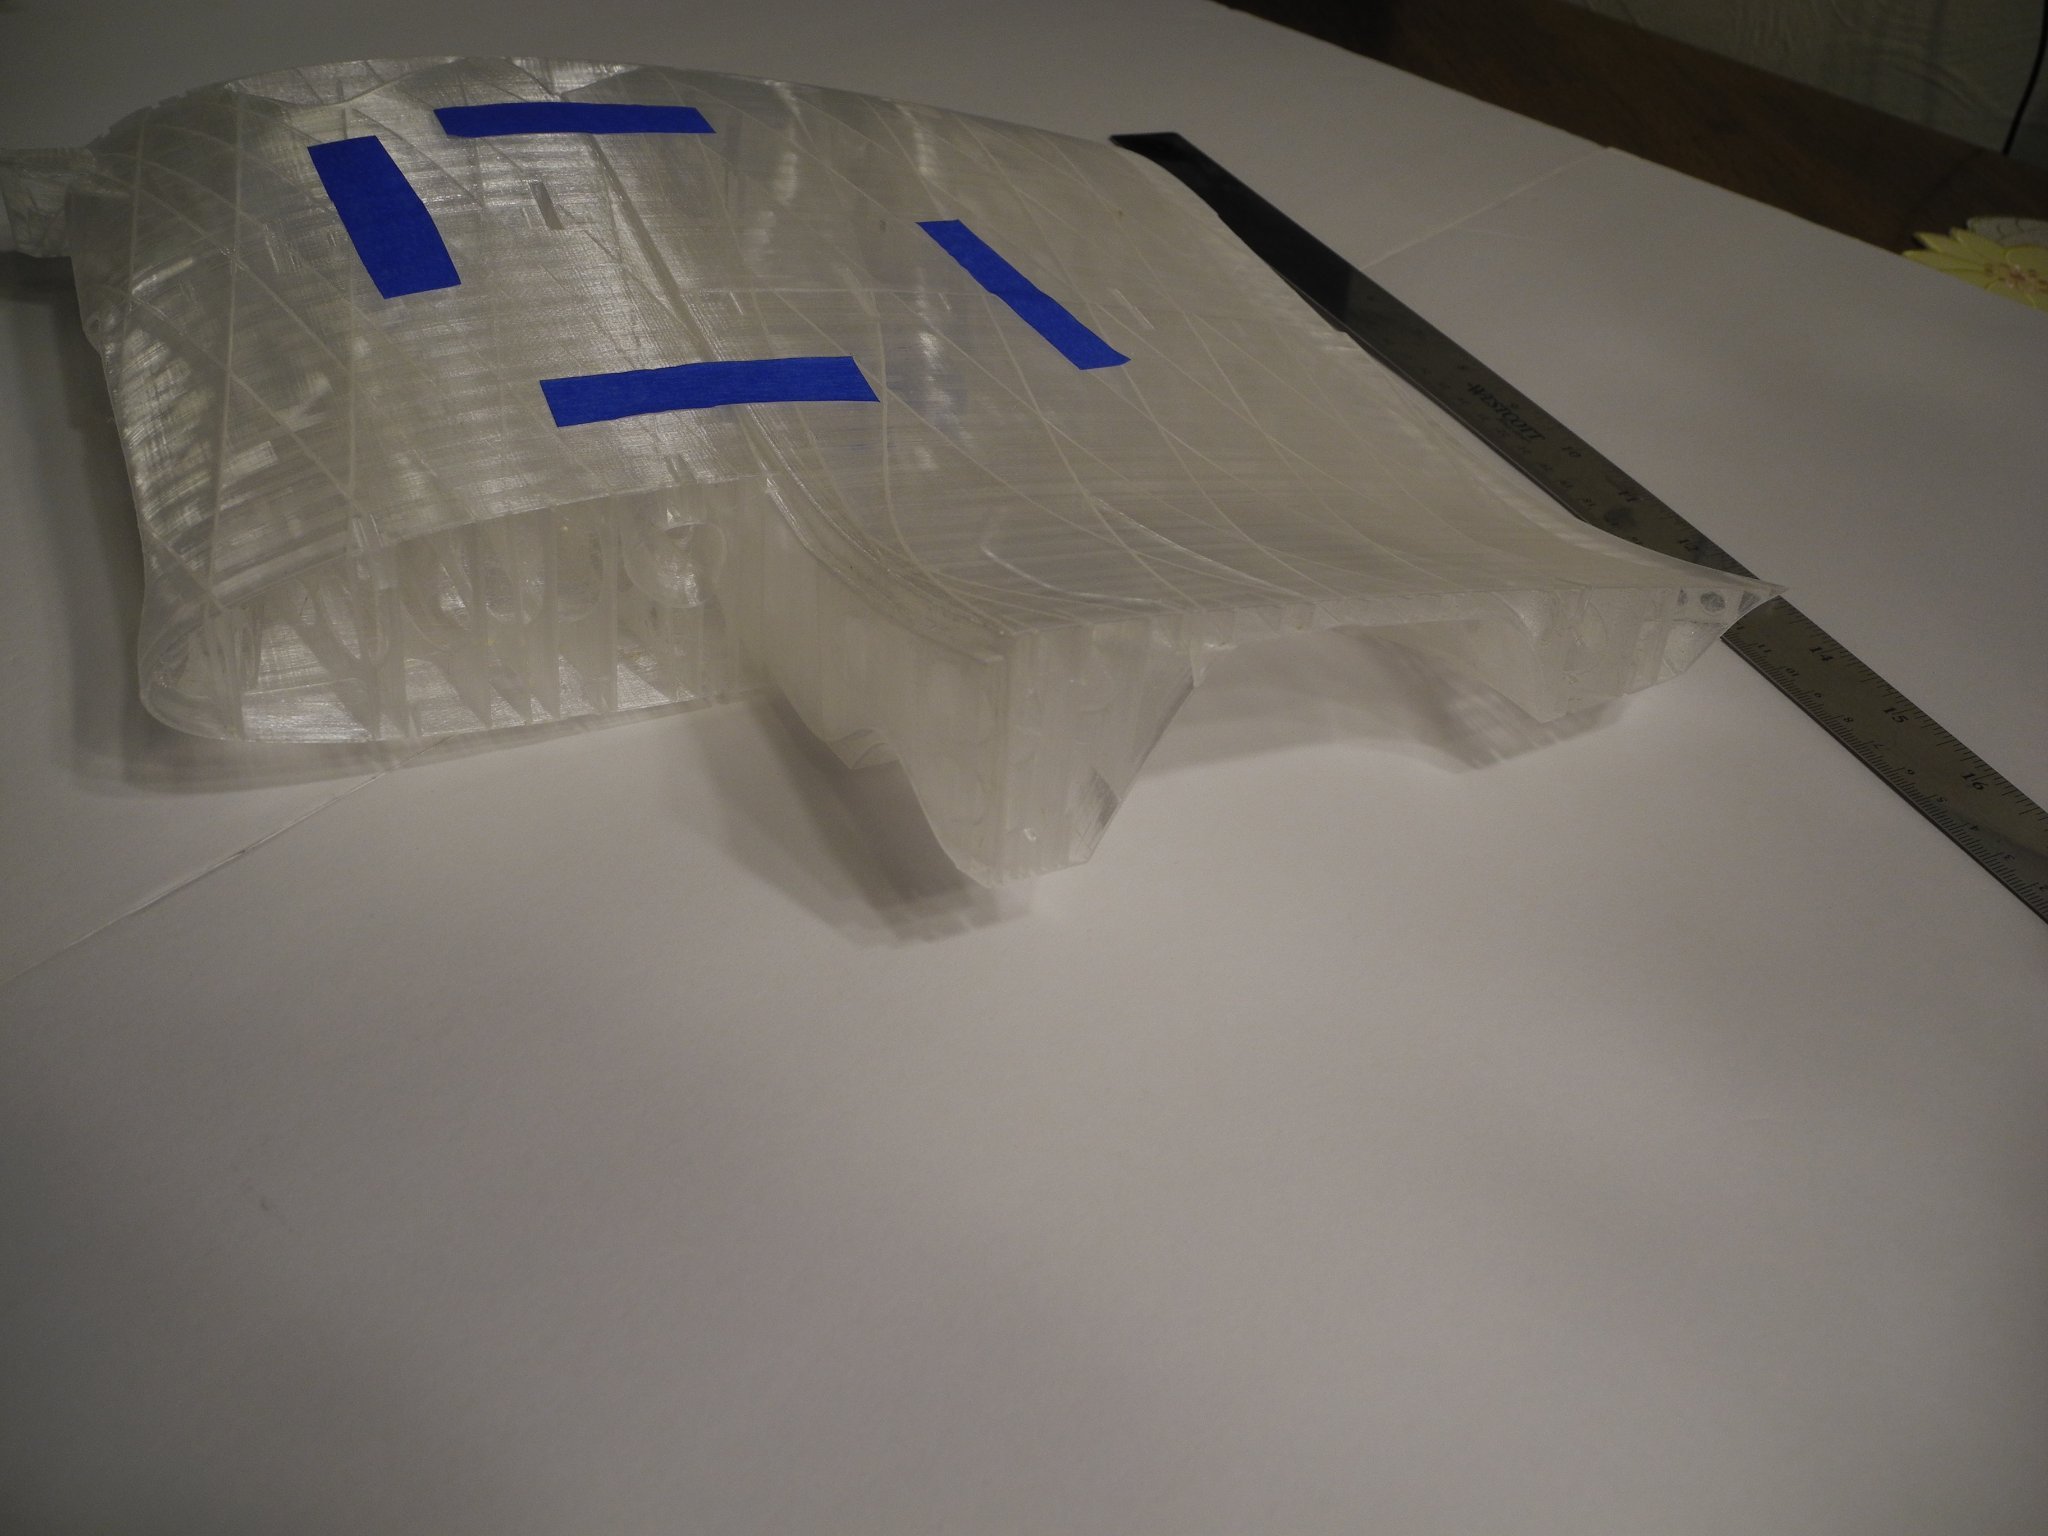
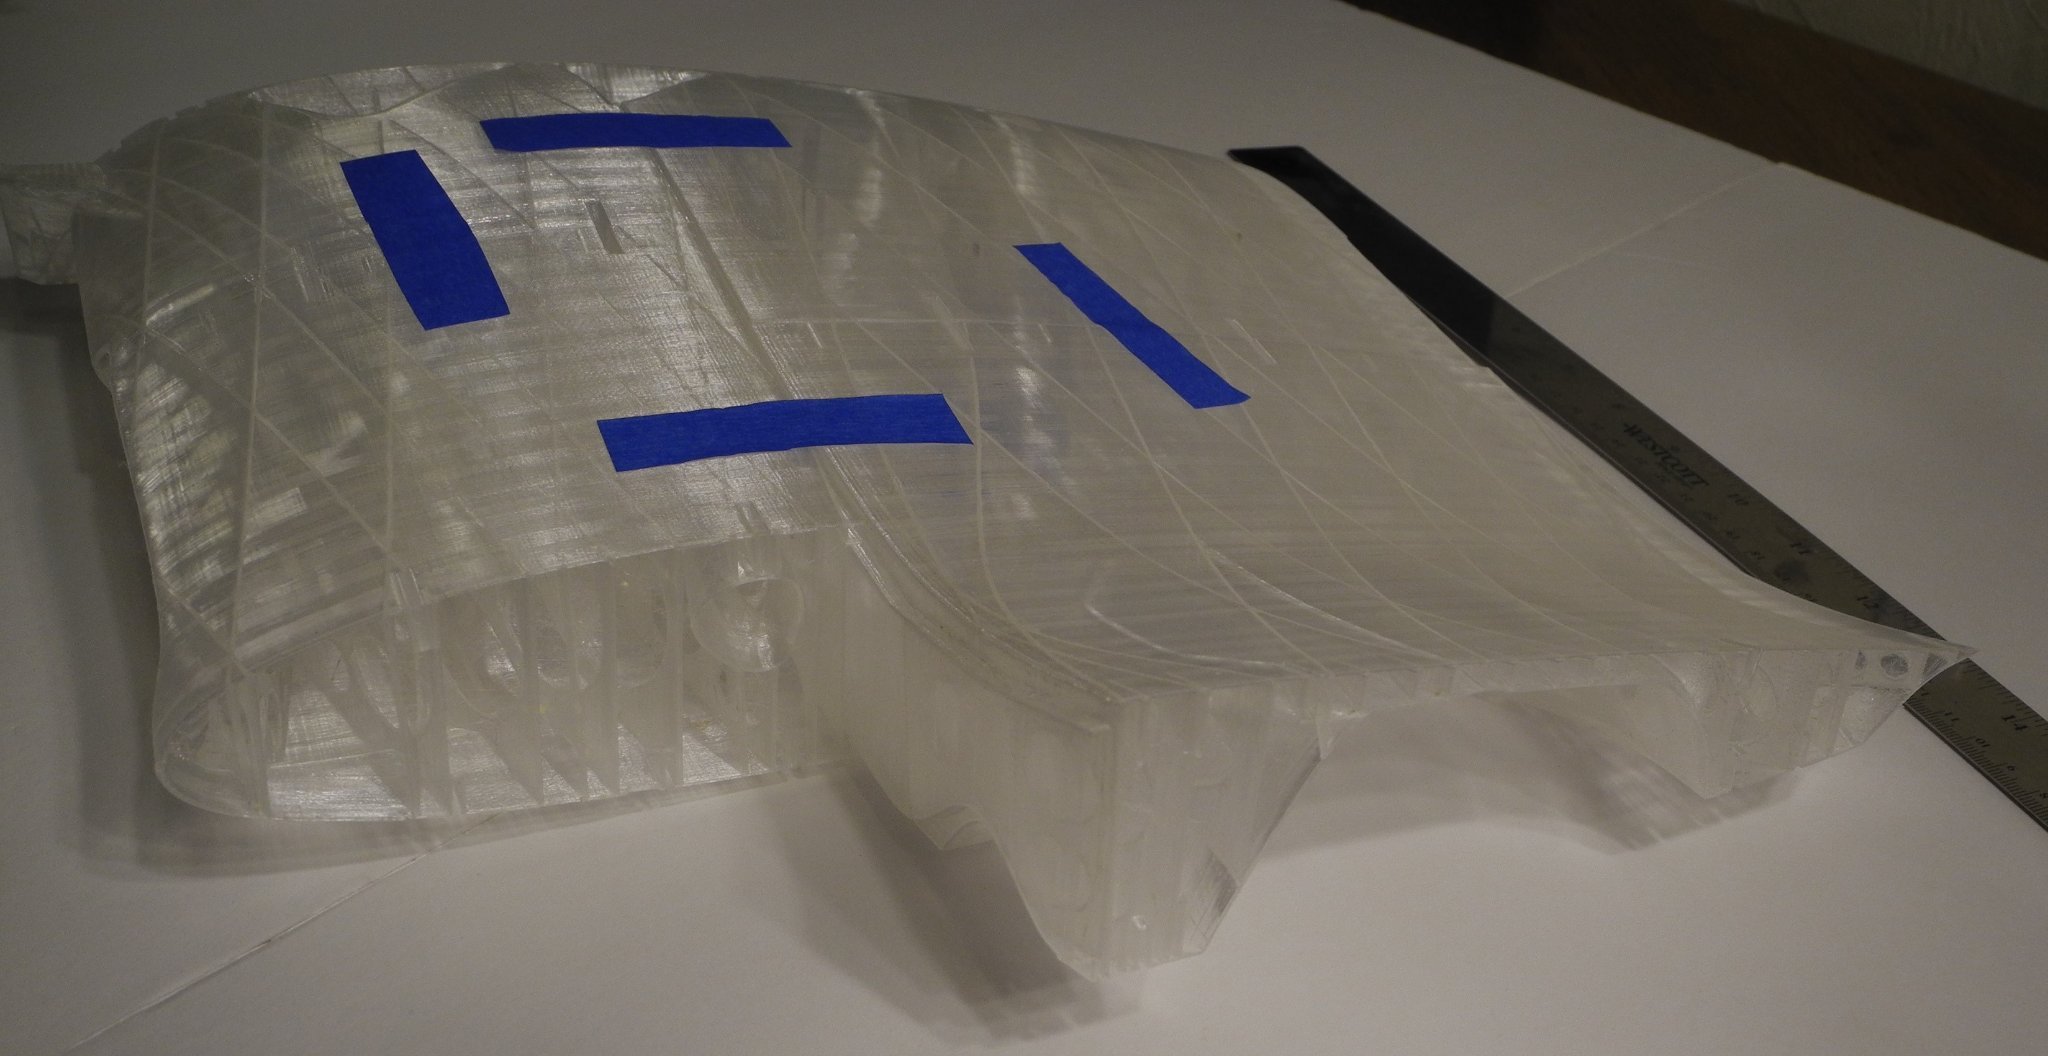
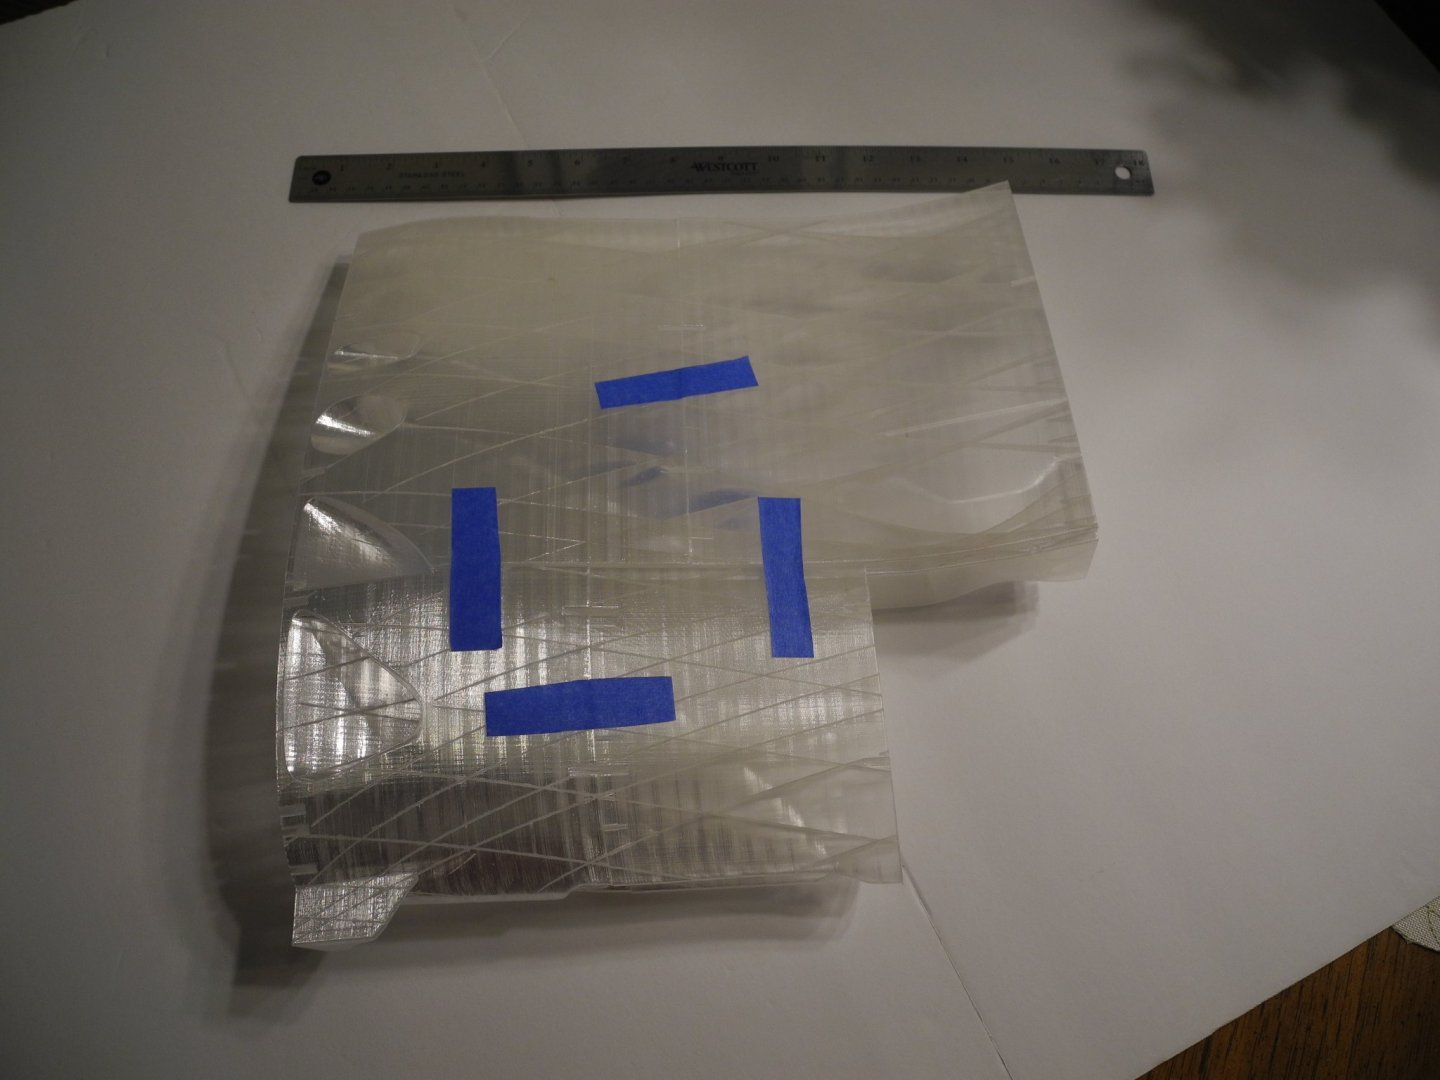
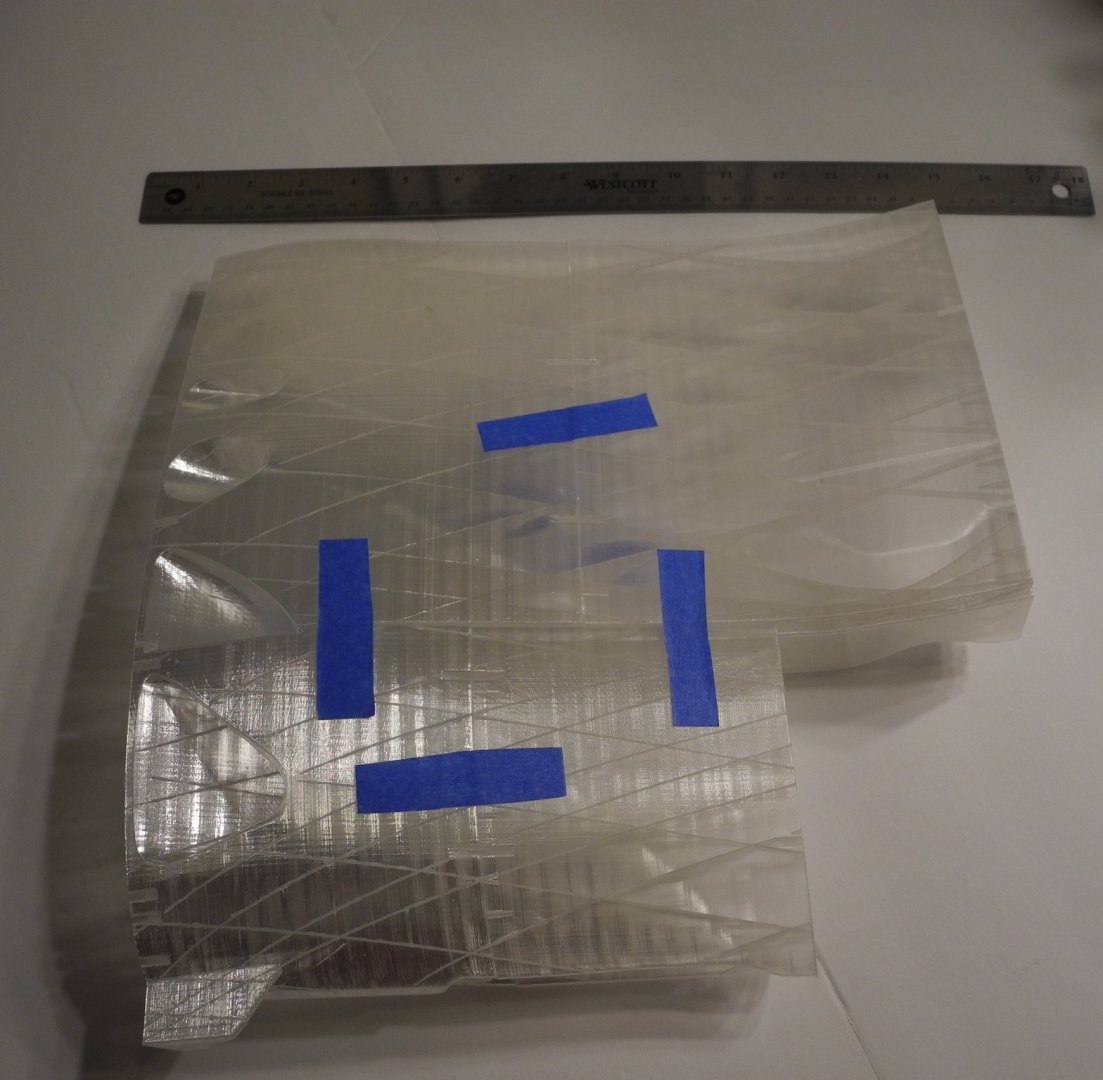
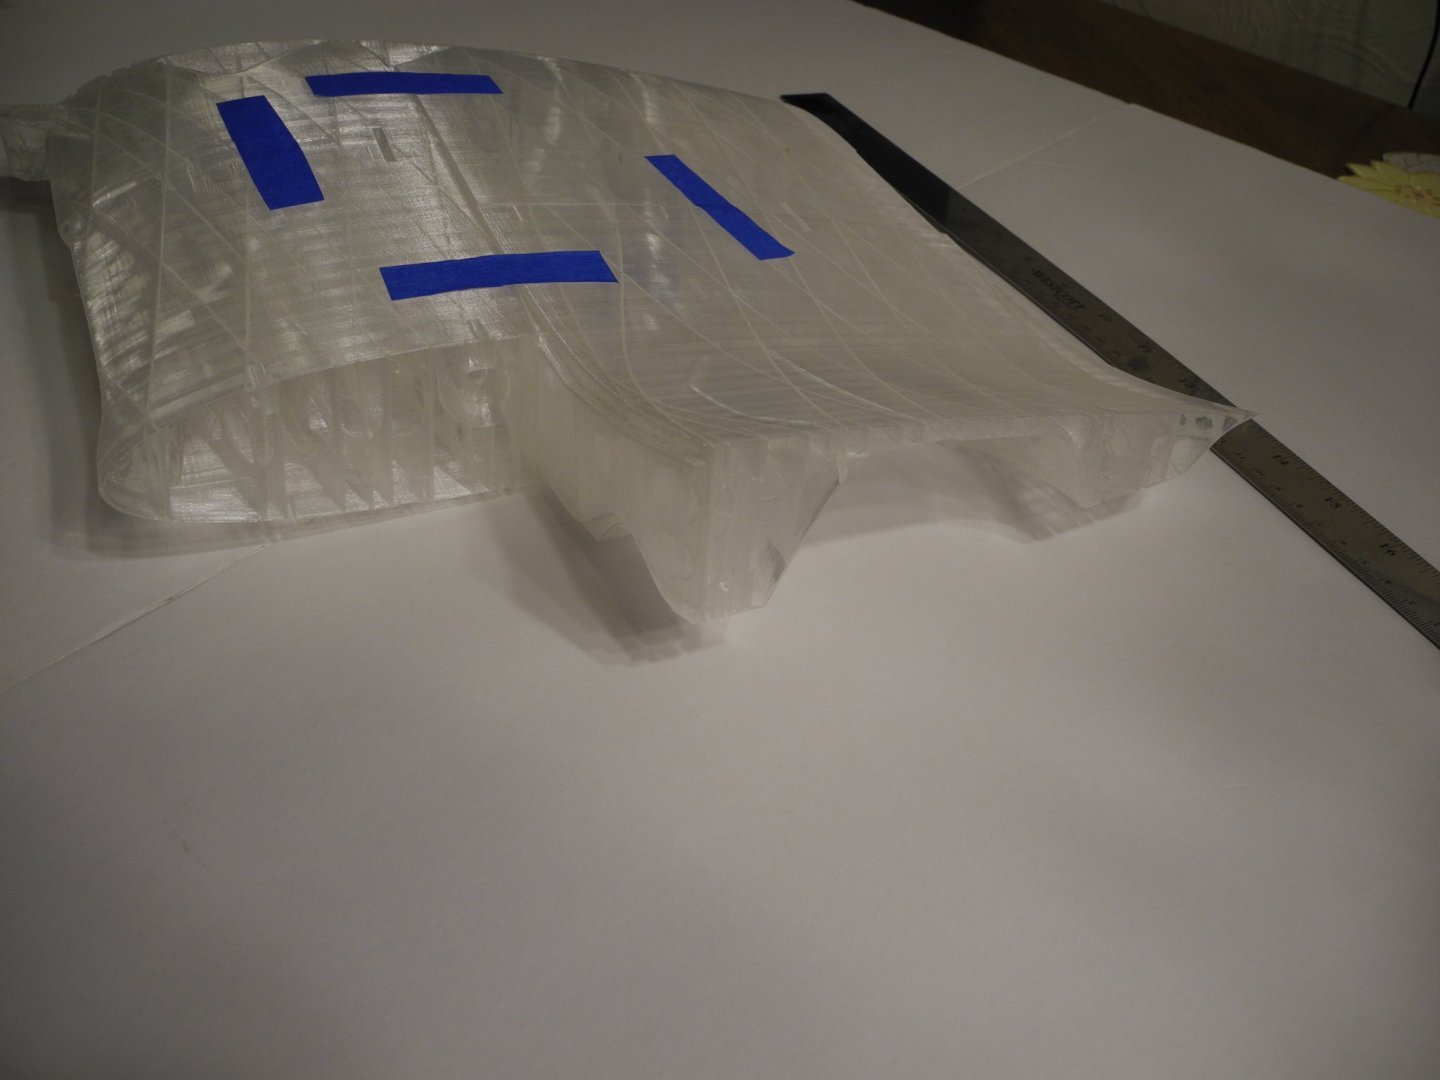
It's surprising how much filament the plane takes. In addition, it must be a heat/UV resistant type, non standard. Because RC aircraft are flown outdoors, the filament must be UV resistant whereas standard filament is not. Heat from sunlight will cause the filament to get soft and sag, distorting the model. I still have some spools of it packed away but I cannot recall the name of the type I used. My worst nightmare was when the filament somehow got hung up in the spool near the very end of a long print. It was something like a 30 hours long print. When that happens, it ruins the entire part and the whole print must be redone. All that work goes down the drain. Vought F4U Corsair – 3DLabPrint
- 321 replies
-
- 8
-
-
- Finished
- Flower-class
- (and 1 more)
-
Your parts are coming out nice. With some adjustments in your software parameters, you can probably get a smoother finish that will not require any sanding. While it's been too long ago to remember exactly the adjustments made, by altering the speed of print, temperature, and maybe a couple of other parameters, I learned to get a very smooth finish several years ago. If I started again, would have to relearn everything. 🙂
- 321 replies
-
- 7
-
-
- Finished
- Flower-class
- (and 1 more)
-
Where are you buying your filament? Here in my hometown of Tampa, there is a 3D product warehouse where filament, resin, 3D printers, and all sorts of related supplies and equipment are sold. They also offer 3D printing services. I saw one room set up with a large number of 3D printers all doing their thing. Just for the heck of it, I may check to see what they would charge to print my Corsair. Probably its not cheap.
- 321 replies
-
- 8
-
-
- Finished
- Flower-class
- (and 1 more)
-
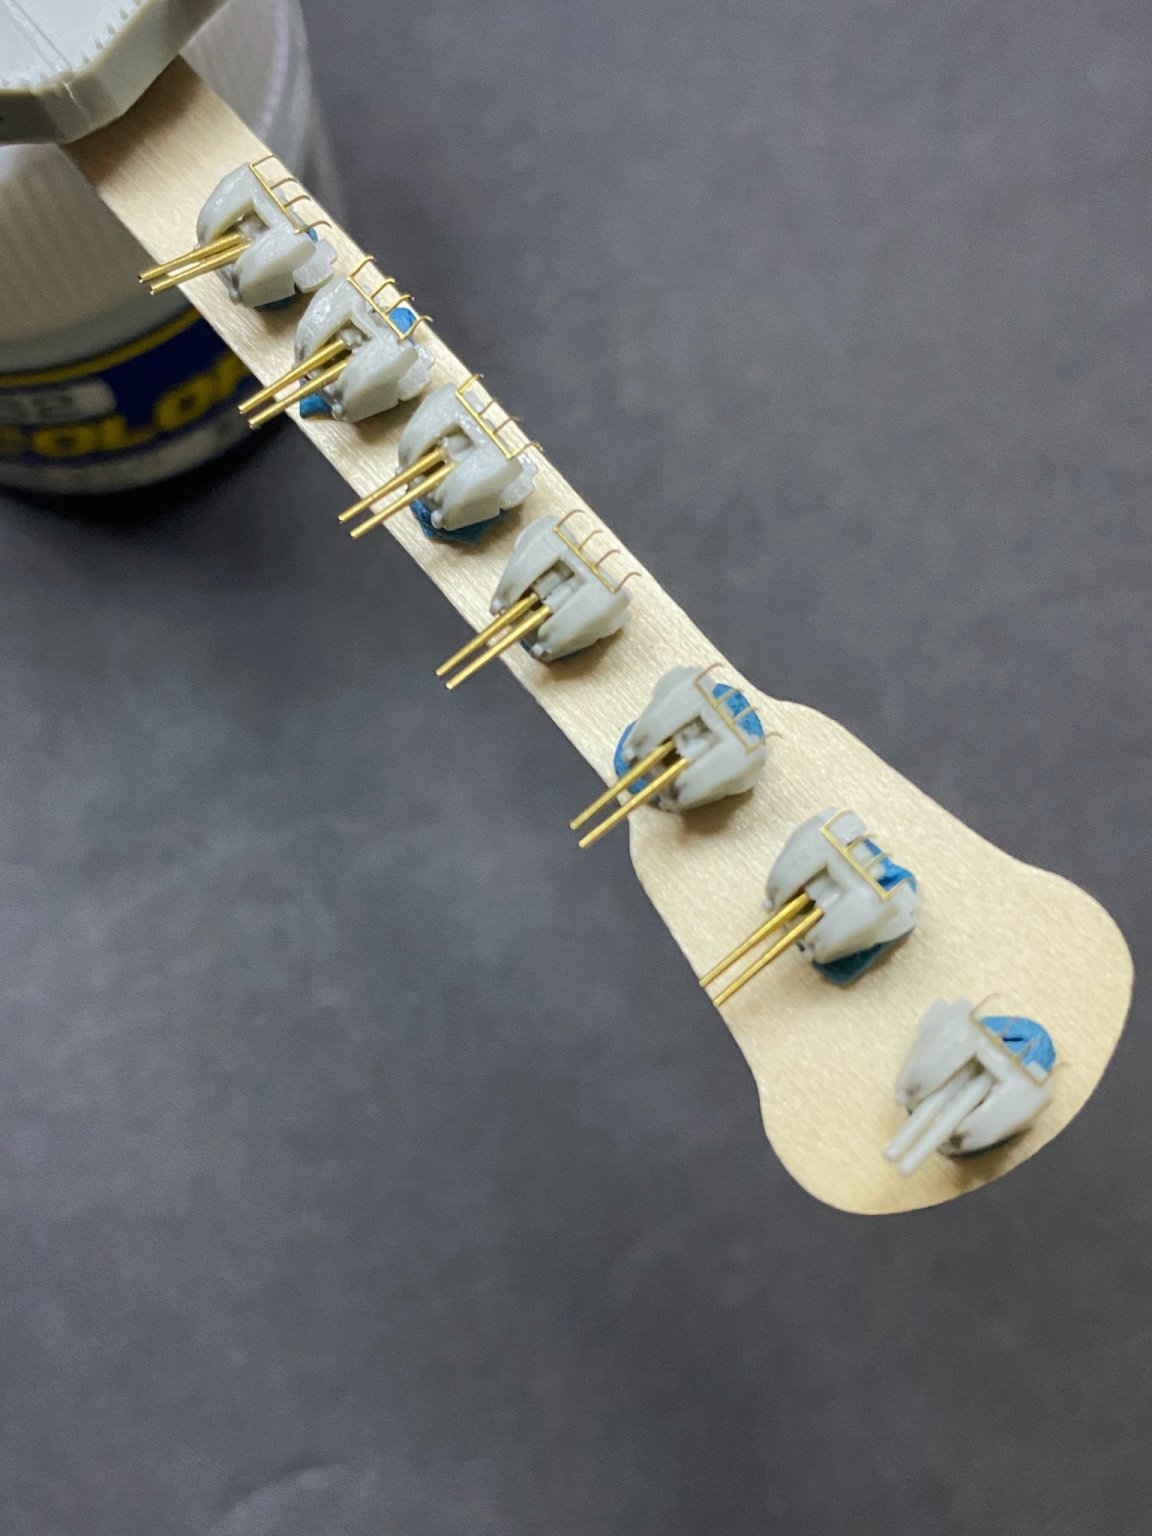
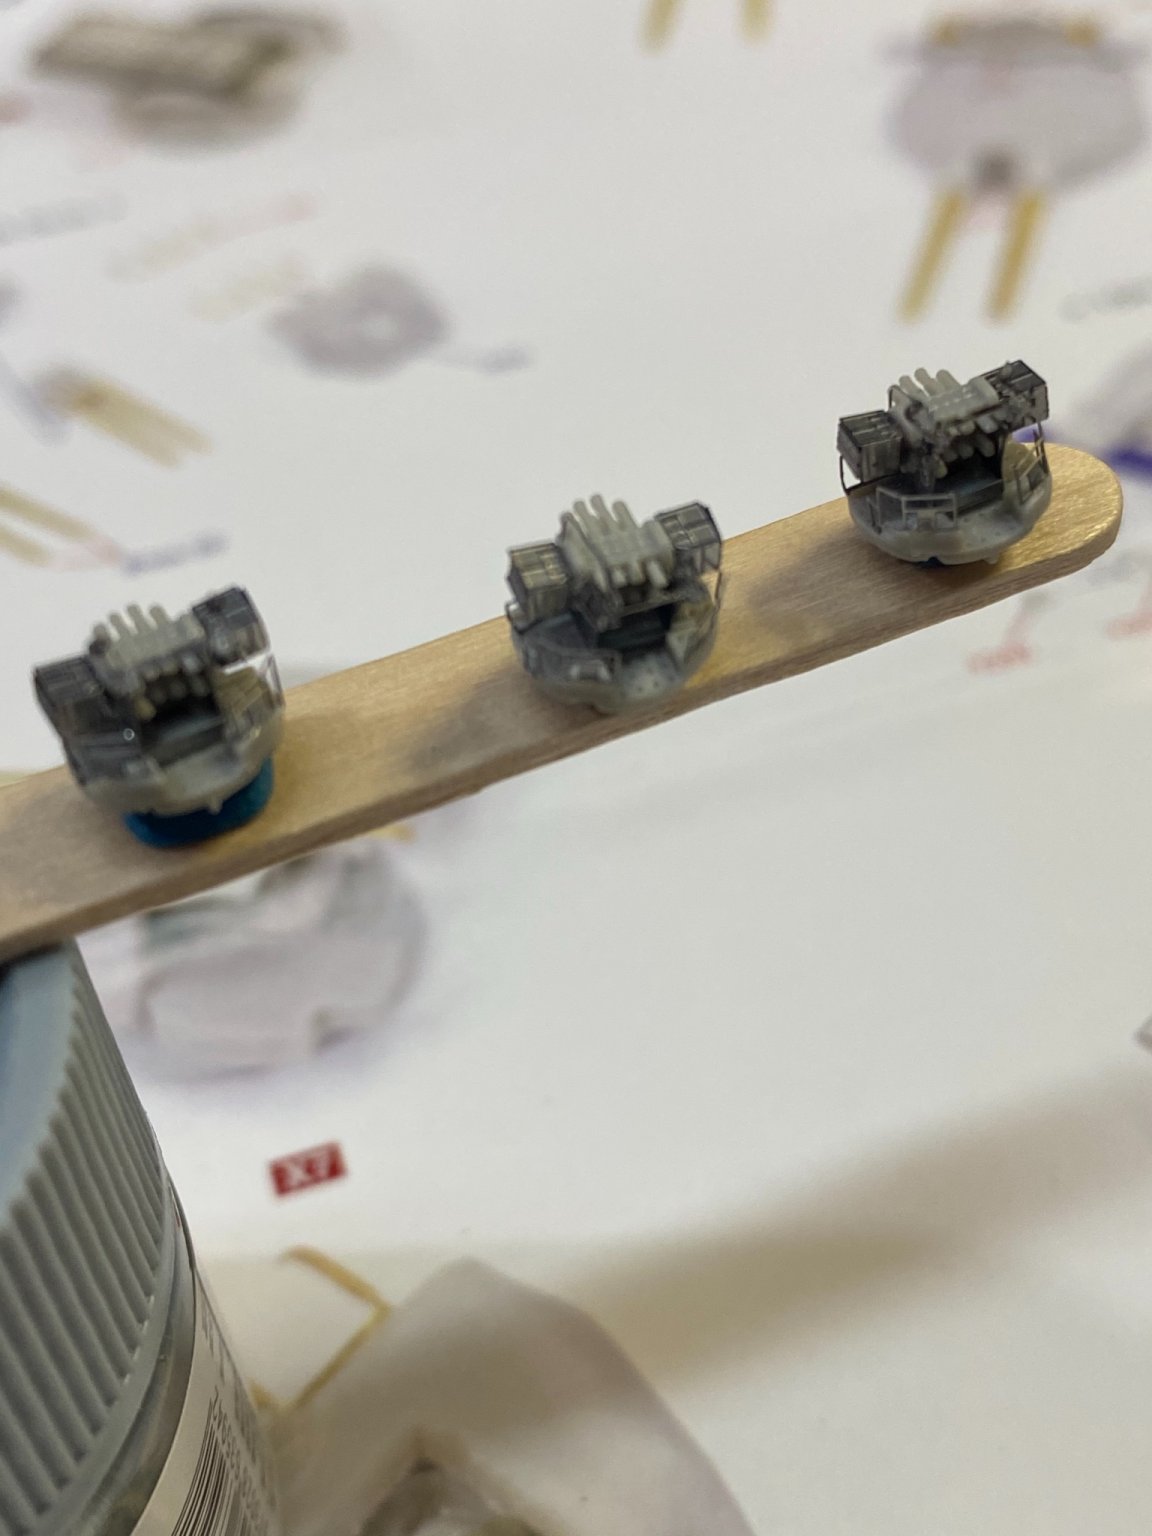
Decided to take on the smallest, most fiddly guns first, the quad .5 inch guns and the PomPom guns. Another test of patience.


- 225 replies
-
- 11
-
-
- I Love Kit
- Hood
- (and 2 more)
-
Great project Yves! My best wishes for your success. A few years ago, I got into the printing of a six foot wingspan F4U Corsair R/C model aircraft kit that I purchased to plans/code for online. After about 25% through completion, I learned that the software I was using needed to be upgraded as the airframe shapes were so complex, my software could not handle it. At that point I became distracted and boxed everything away, never got back around to finishing the project. Amazing technology and lots to learn. It's a steep learning curve really IMHO. Notice with my project, the entire inner airframe is printed inside the outer skin.
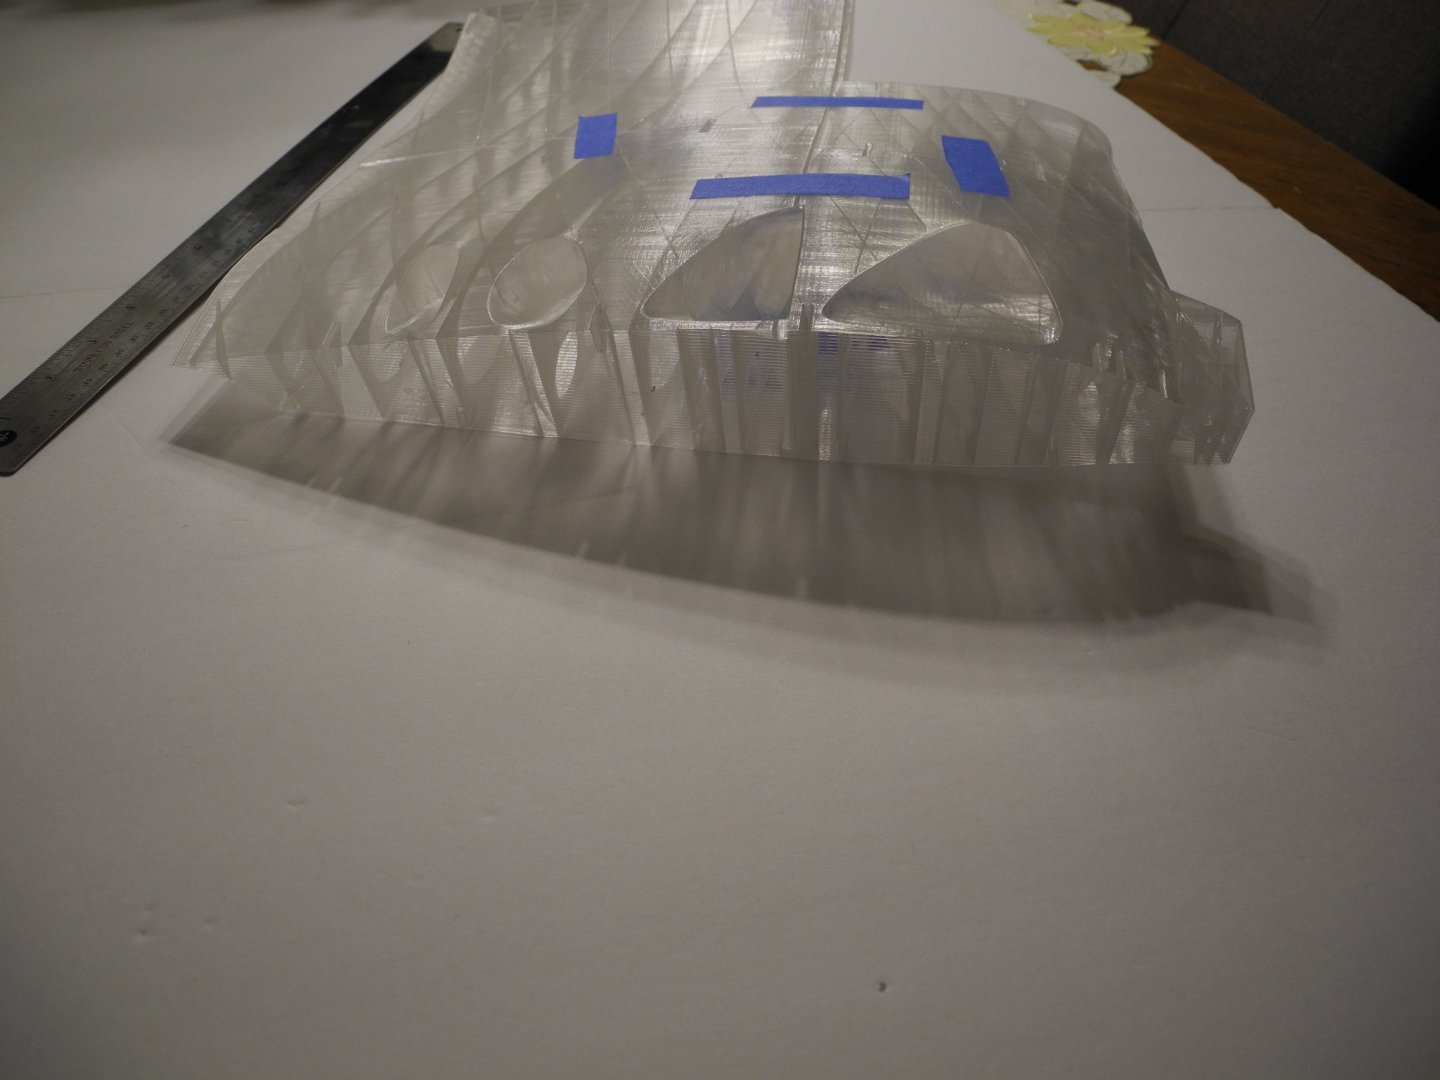


- 321 replies
-
- 10
-
-
- Finished
- Flower-class
- (and 1 more)
-
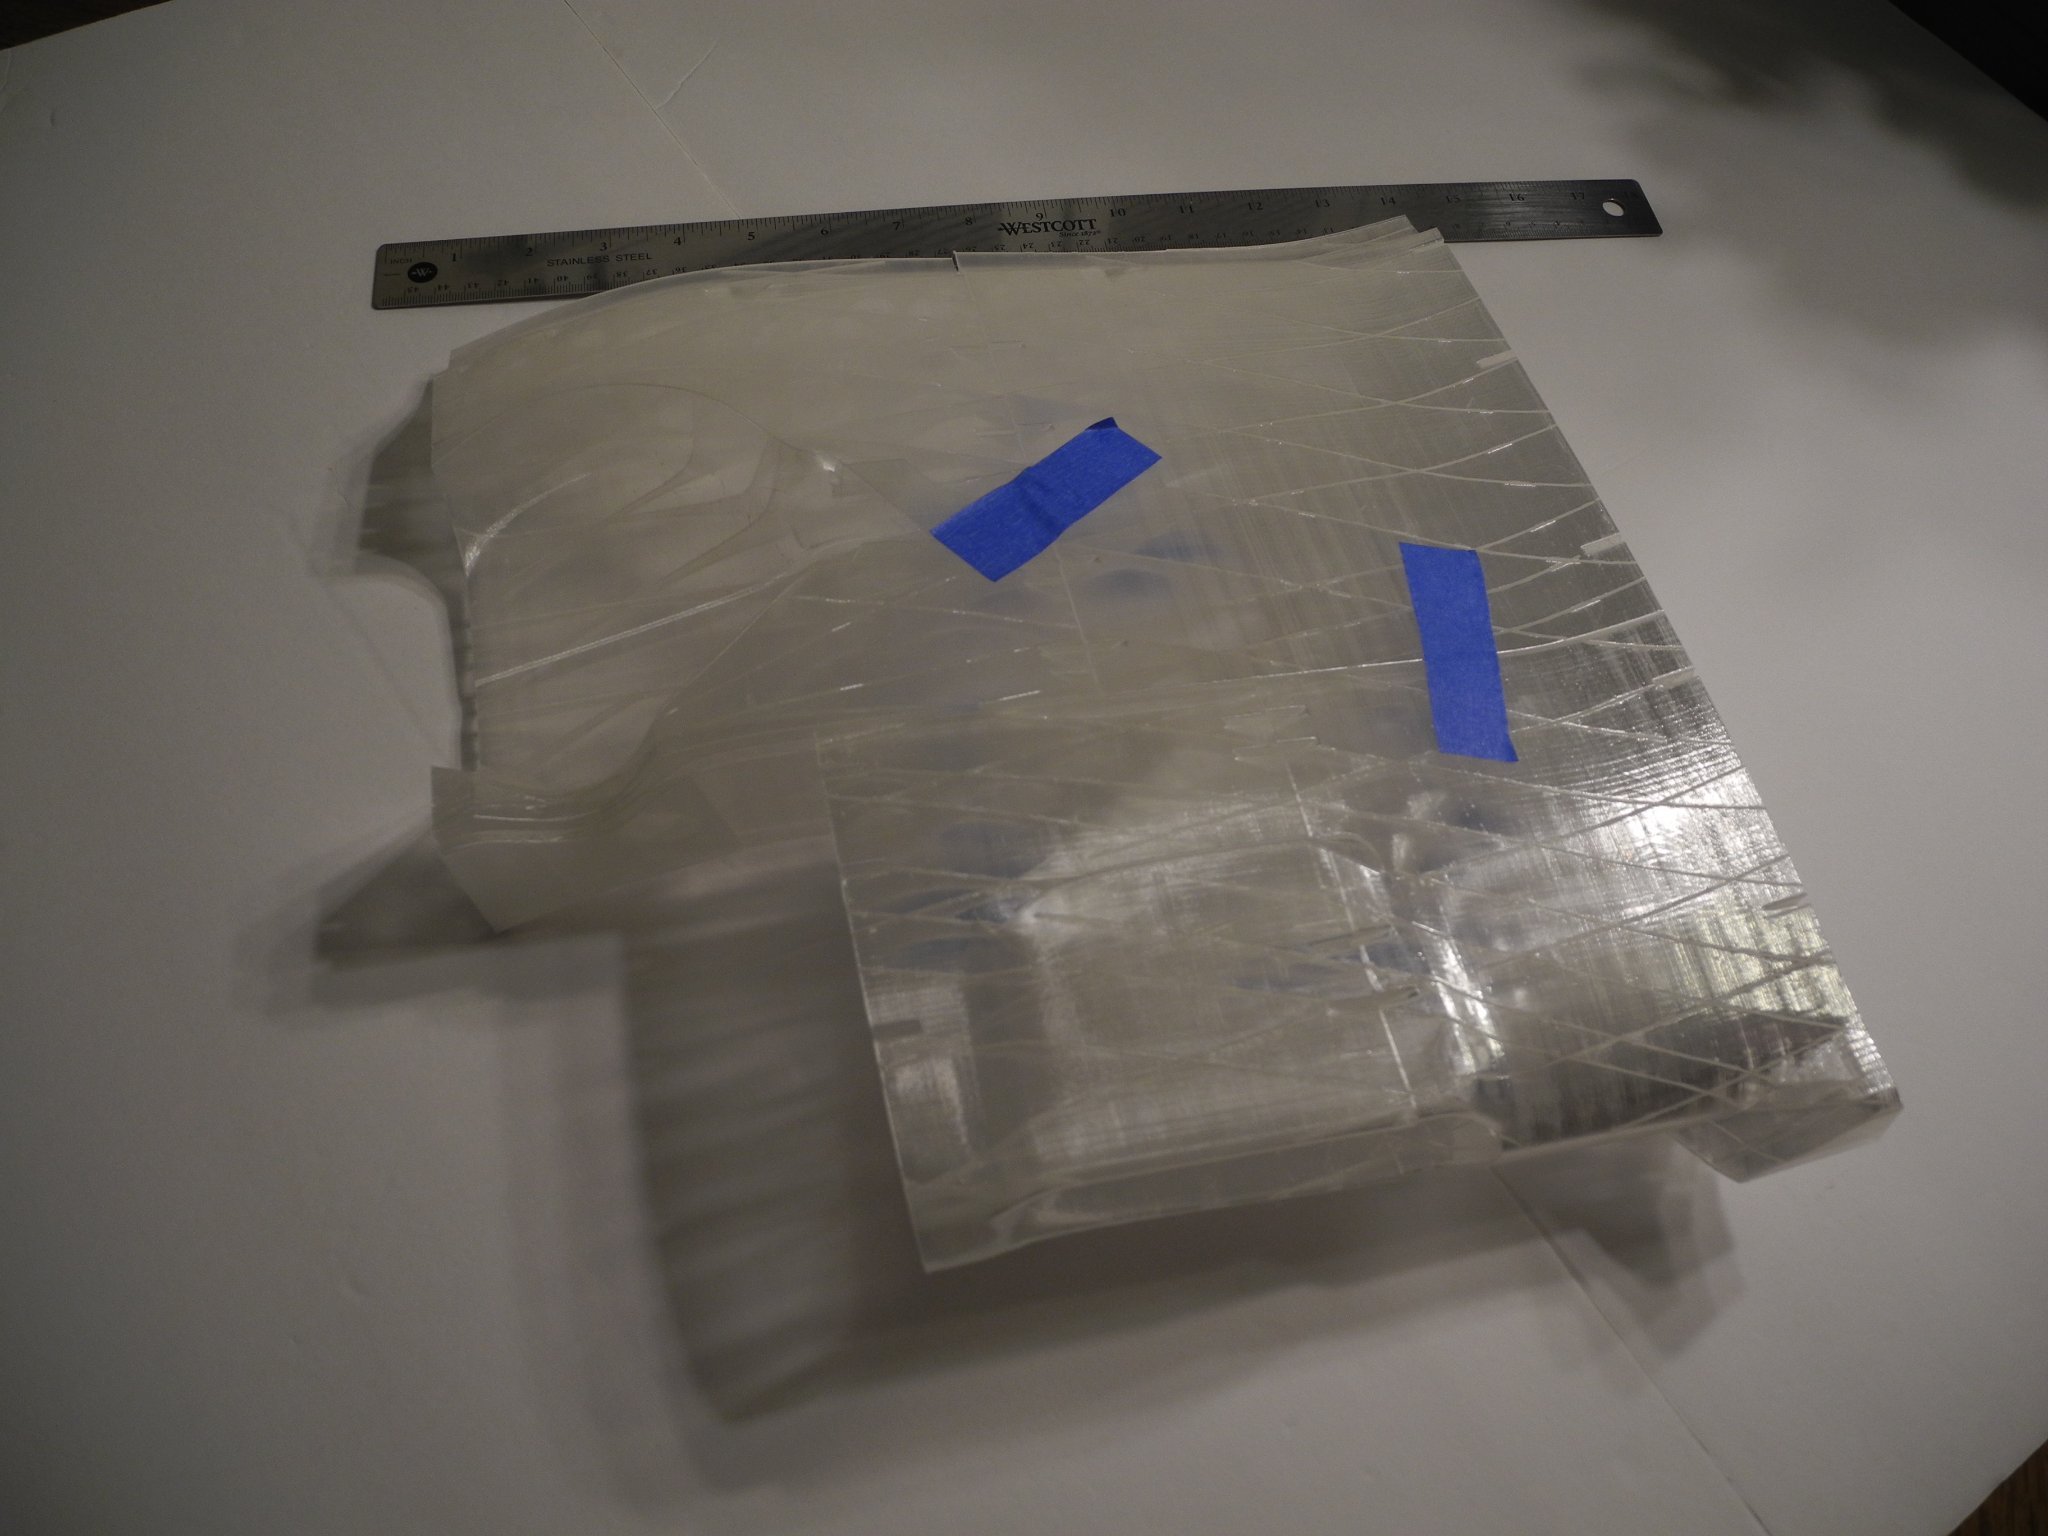
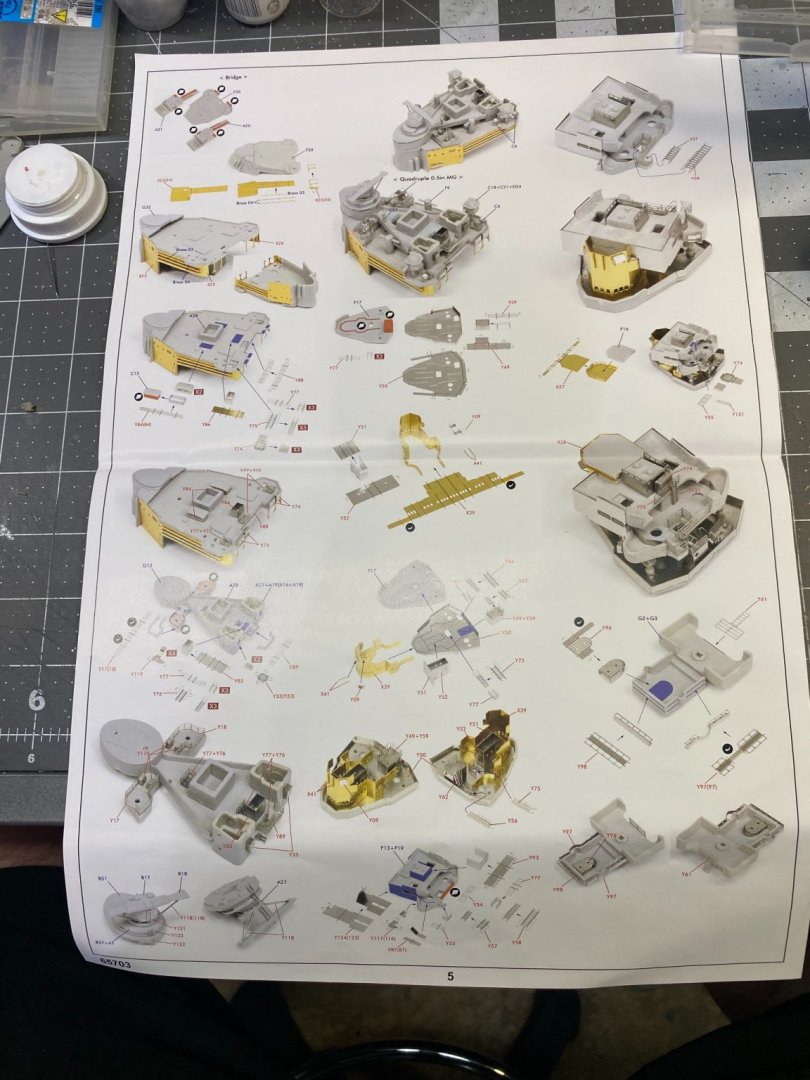
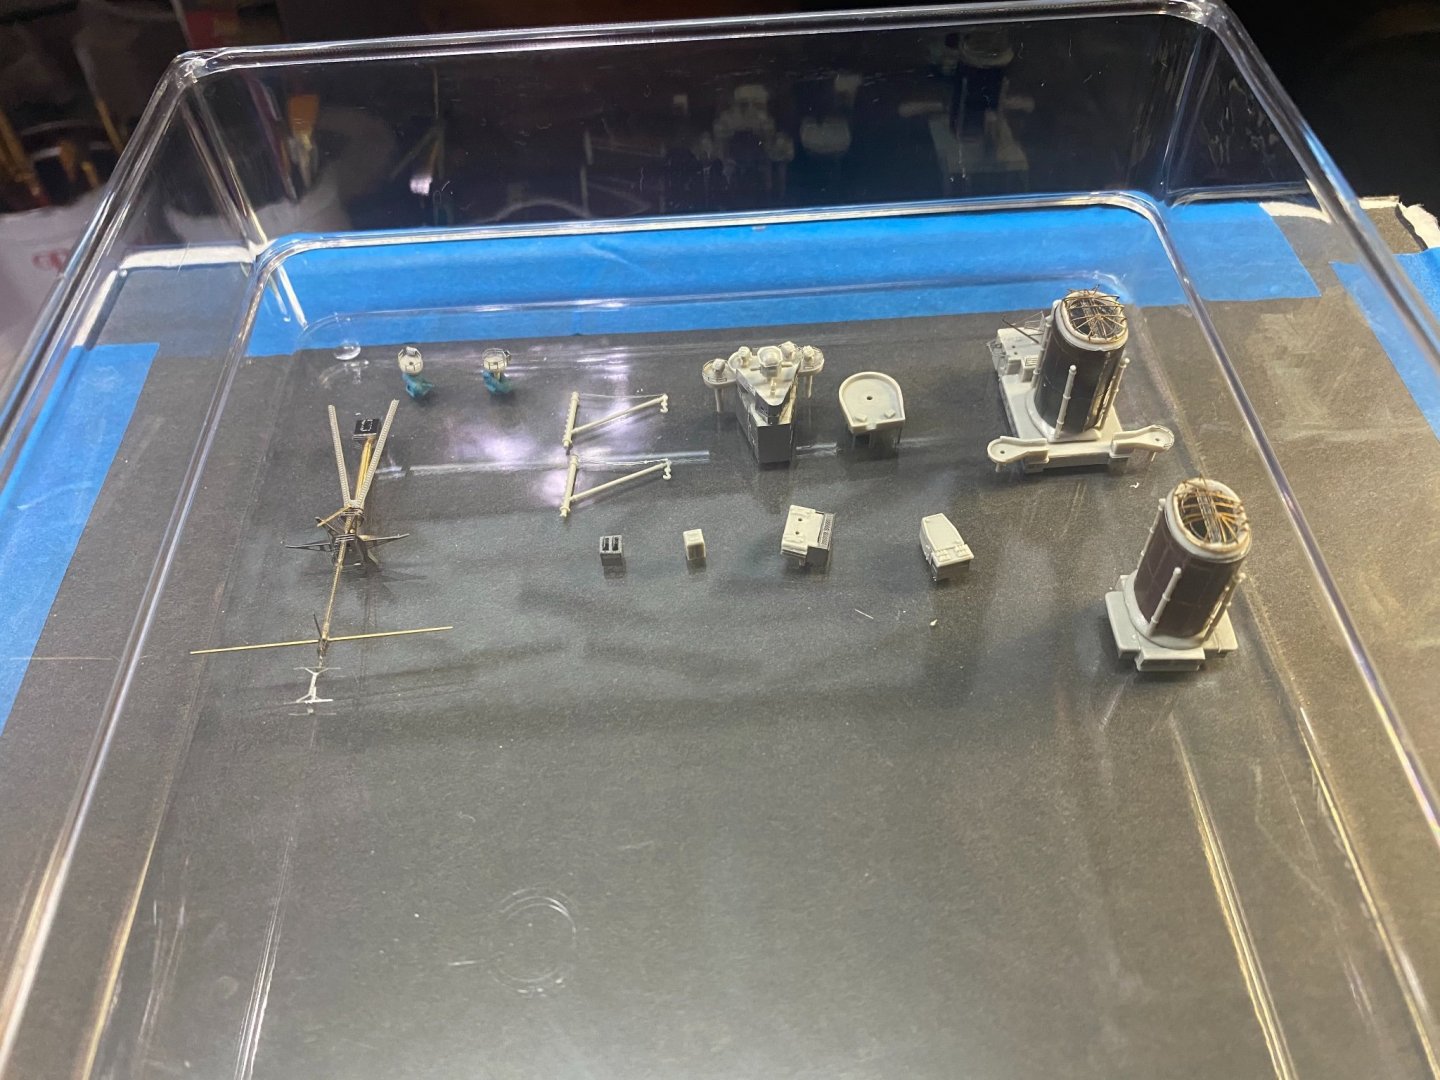
Got a collection of fragile bits going on here. Lots of mini-kits required to build the HMS Hood.
- 225 replies
-
- 13
-
-
- I Love Kit
- Hood
- (and 2 more)
-
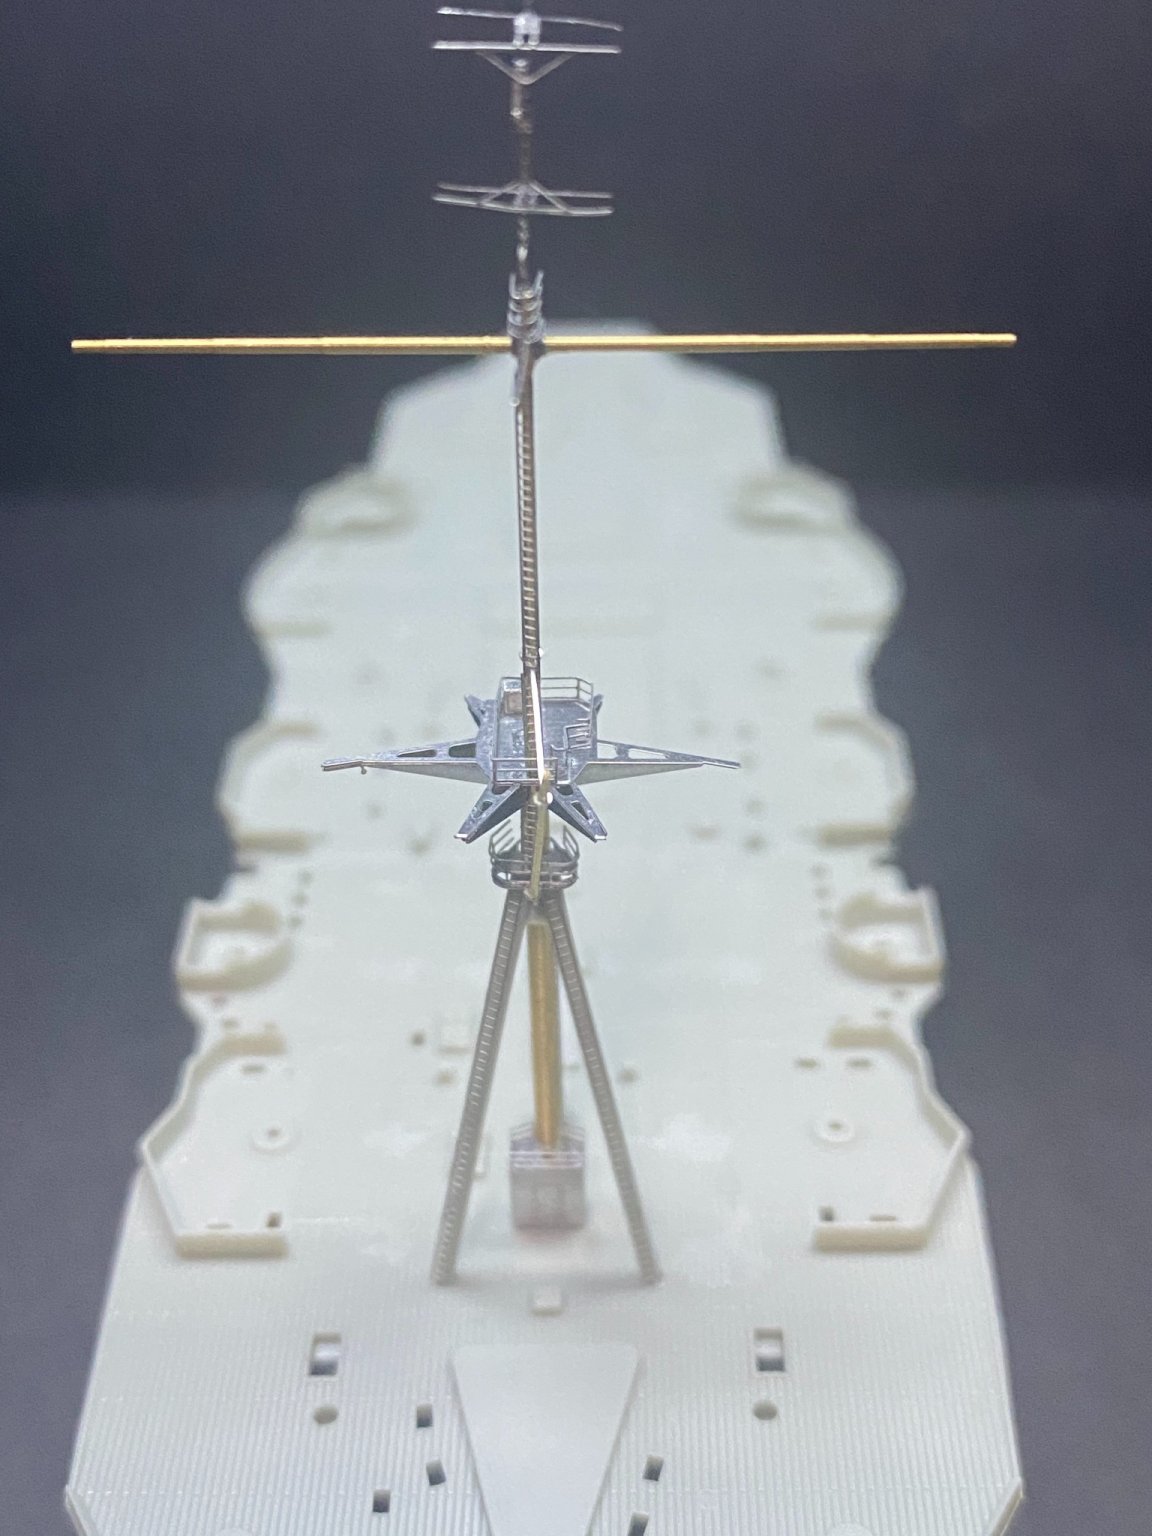
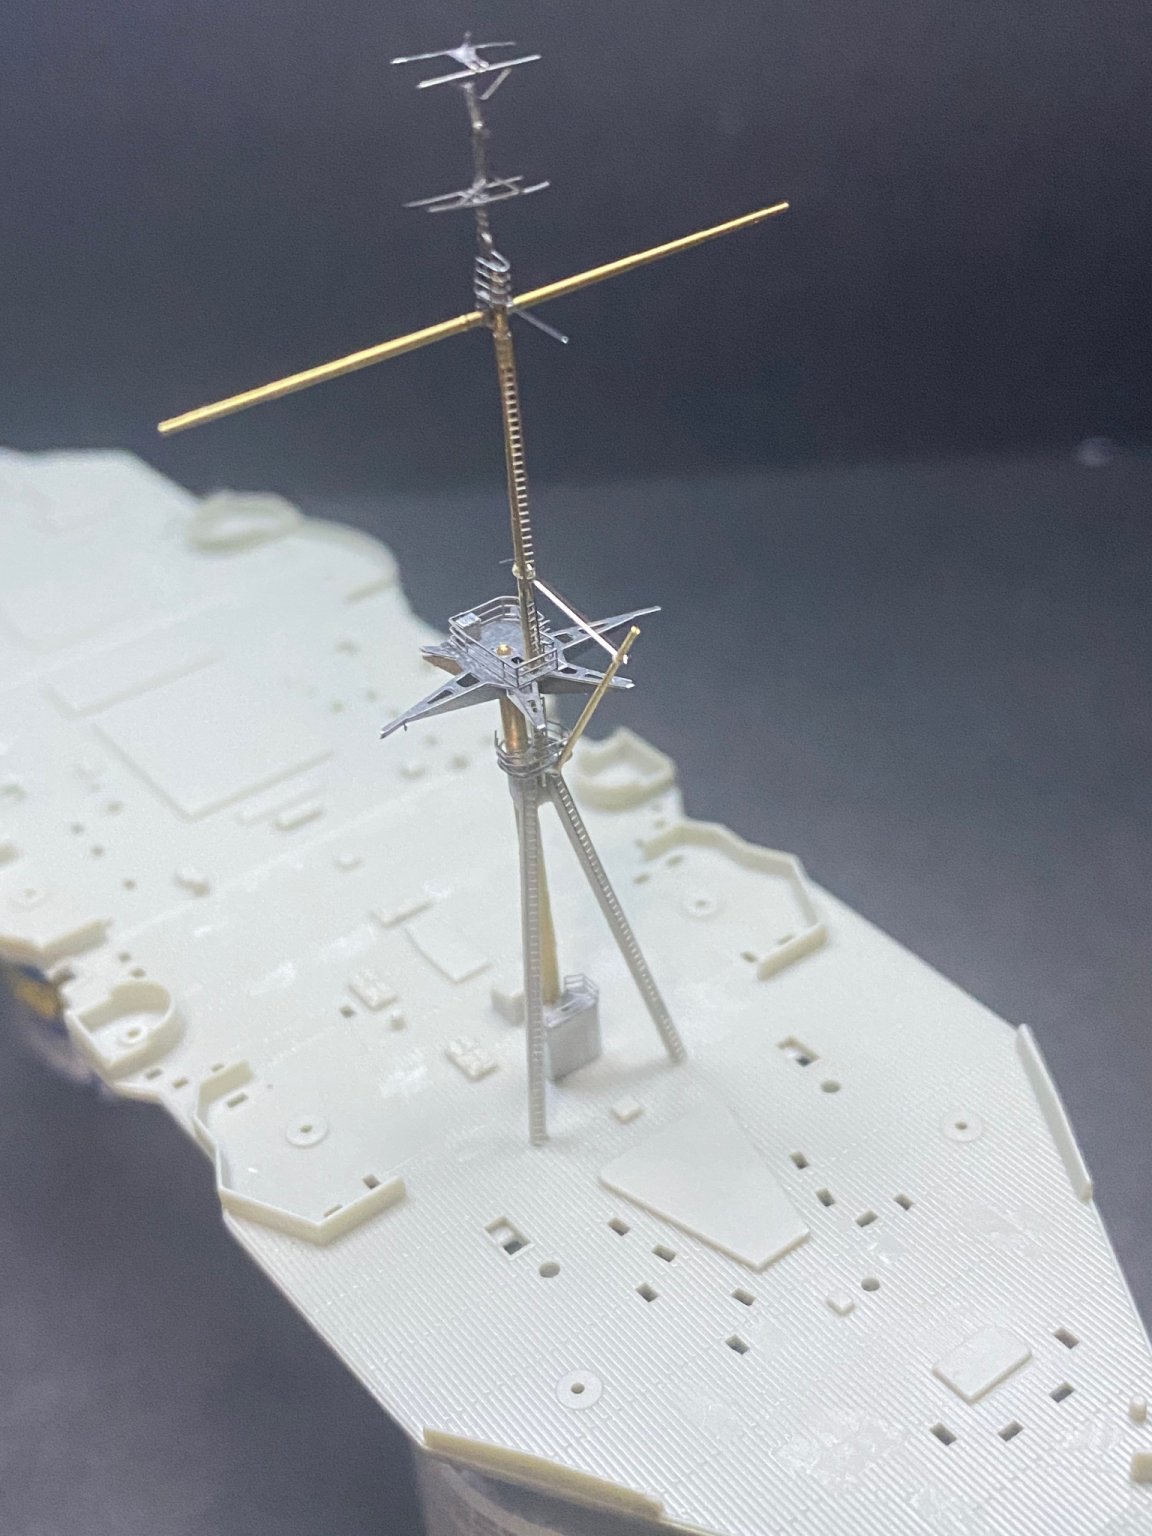
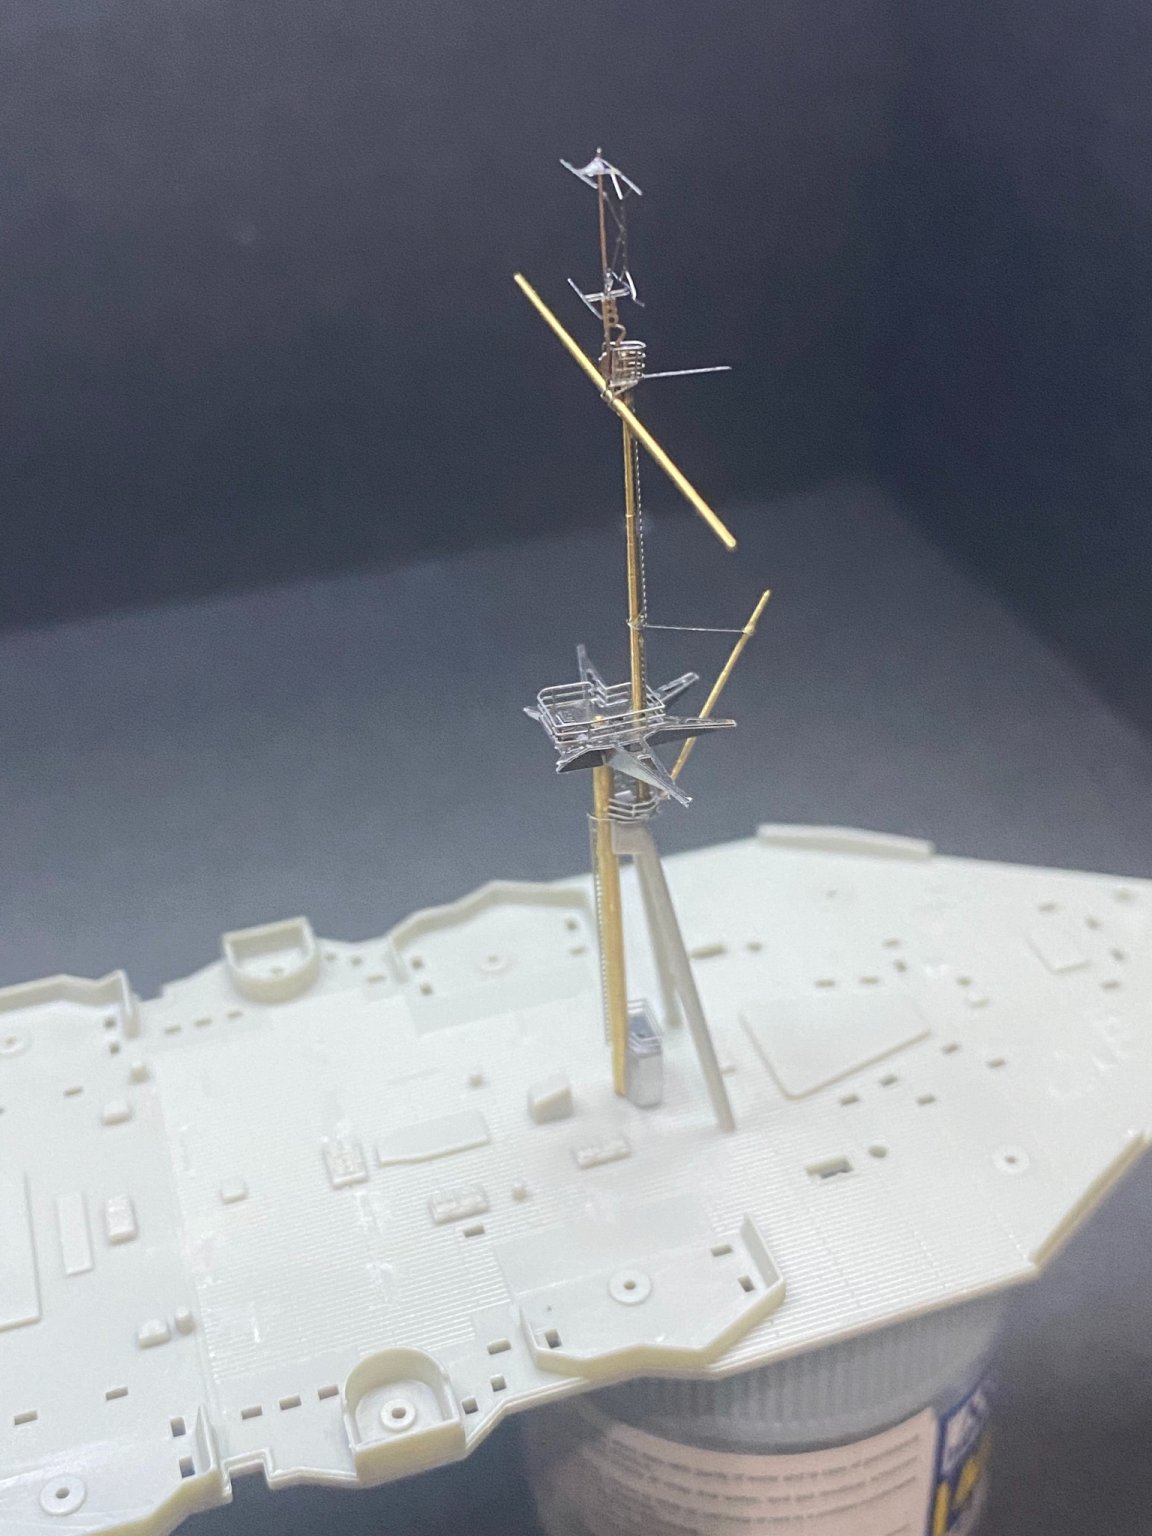
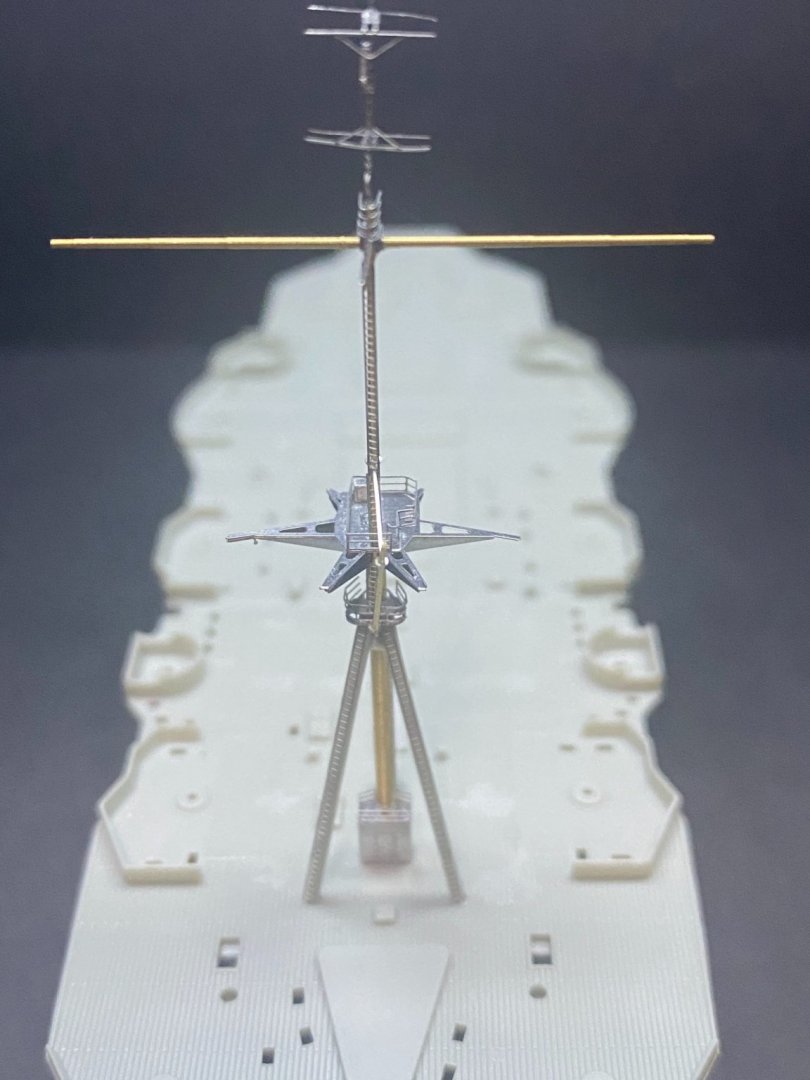
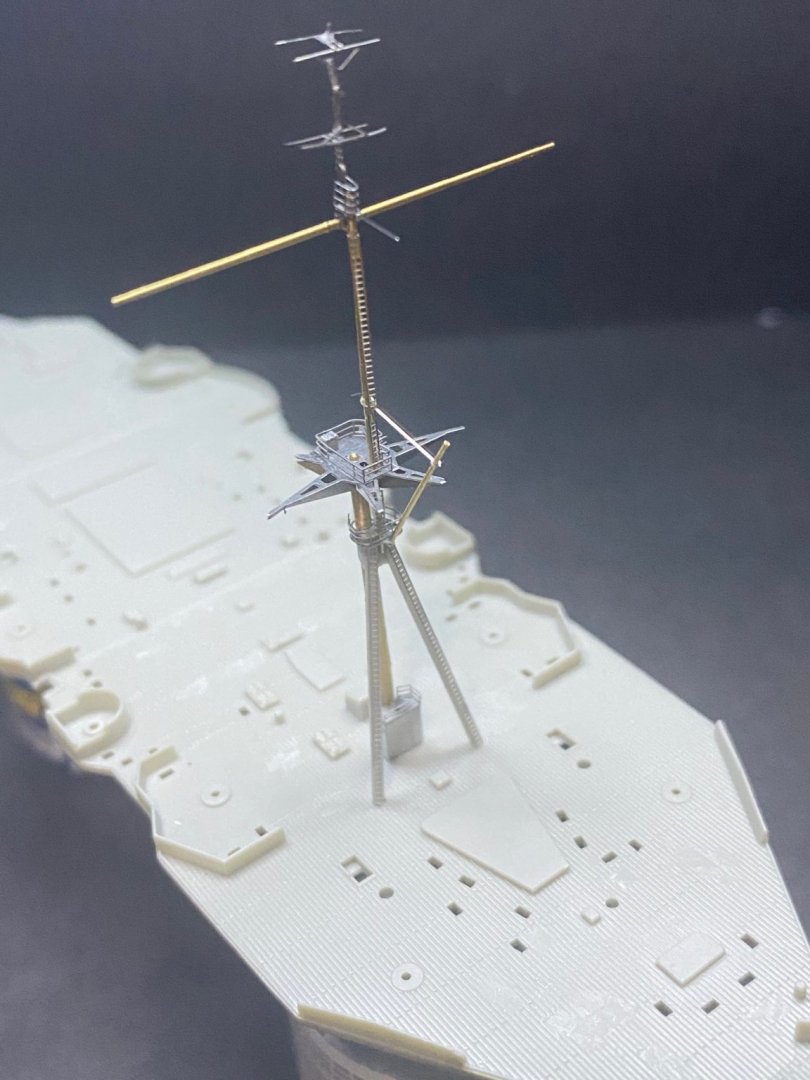
The finished main mast. Will need to take care not to damage mast before final assembly of kit, very fragile.

- 225 replies
-
- 10
-
-
- I Love Kit
- Hood
- (and 2 more)
-
Nice! Hard to believe how realistic the 3D printed chain looks. Technology is something we could not have even dreamed of 10 or 20 years ago.