CDW
-
Posts
7,760 -
Joined
-
Last visited
Content Type
Profiles
Forums
Gallery
Events
Everything posted by CDW
-
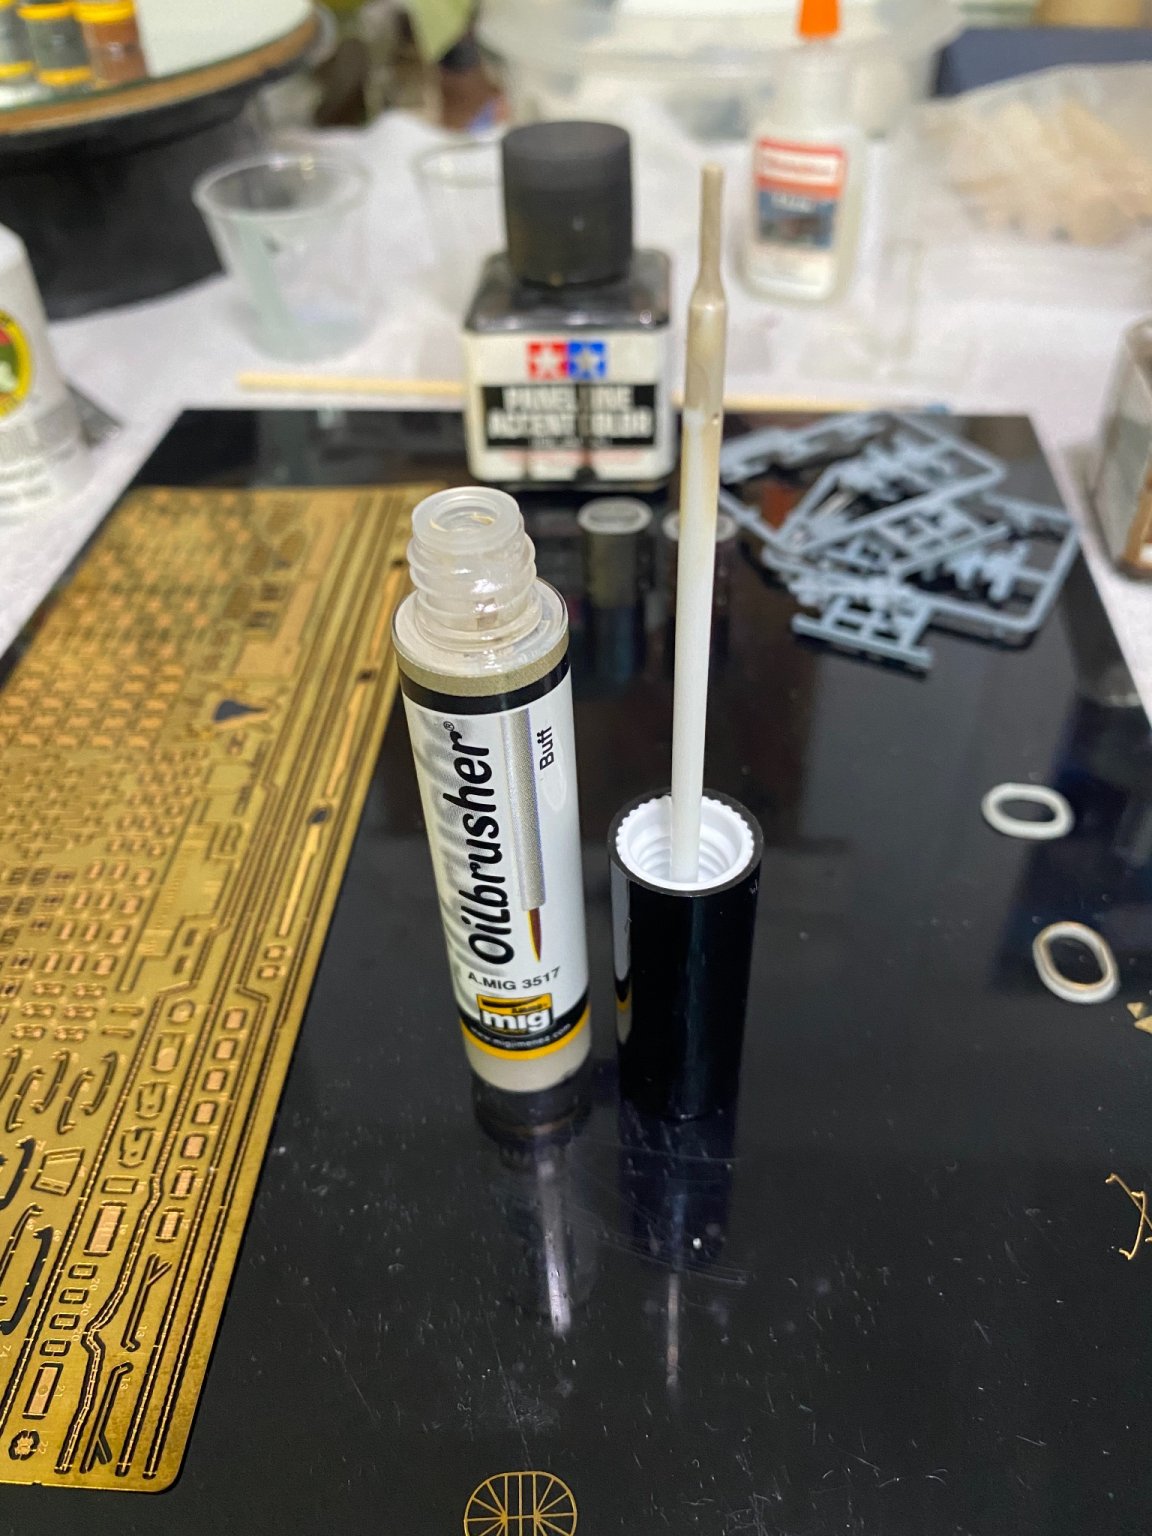
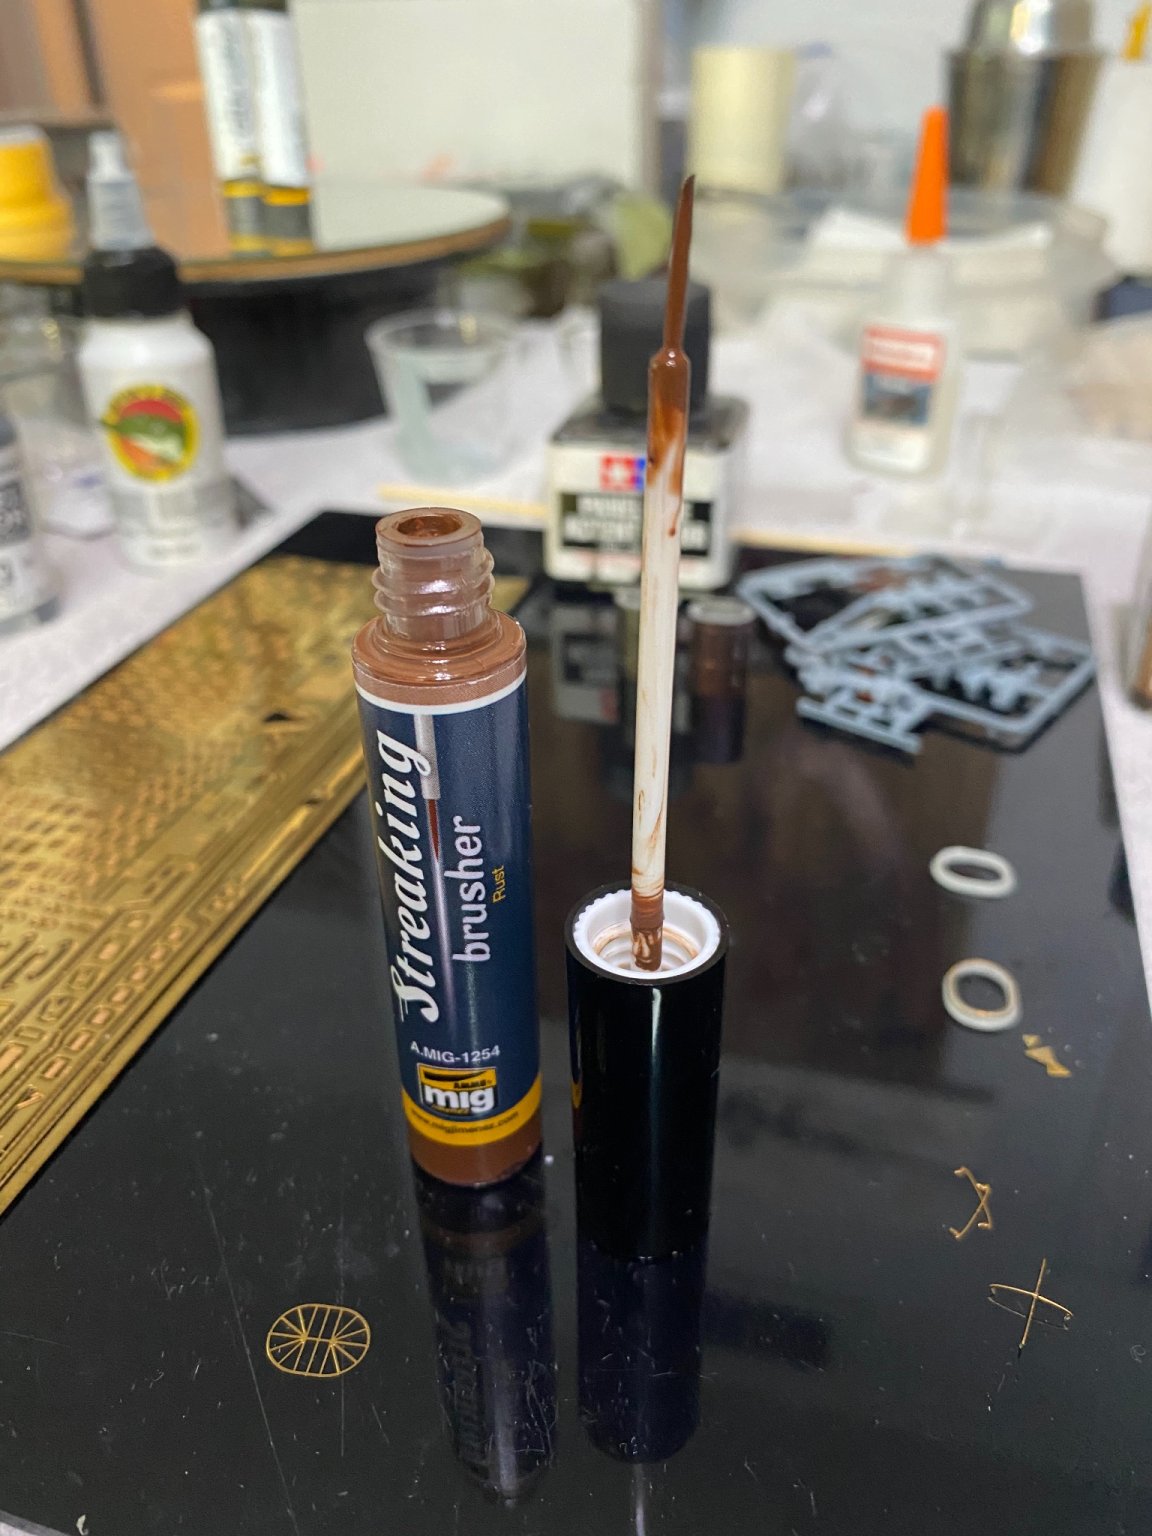
 So it looks like the streaking oil painters have a slightly longer and more pointed brush. Here are my oil brushes for comparison.
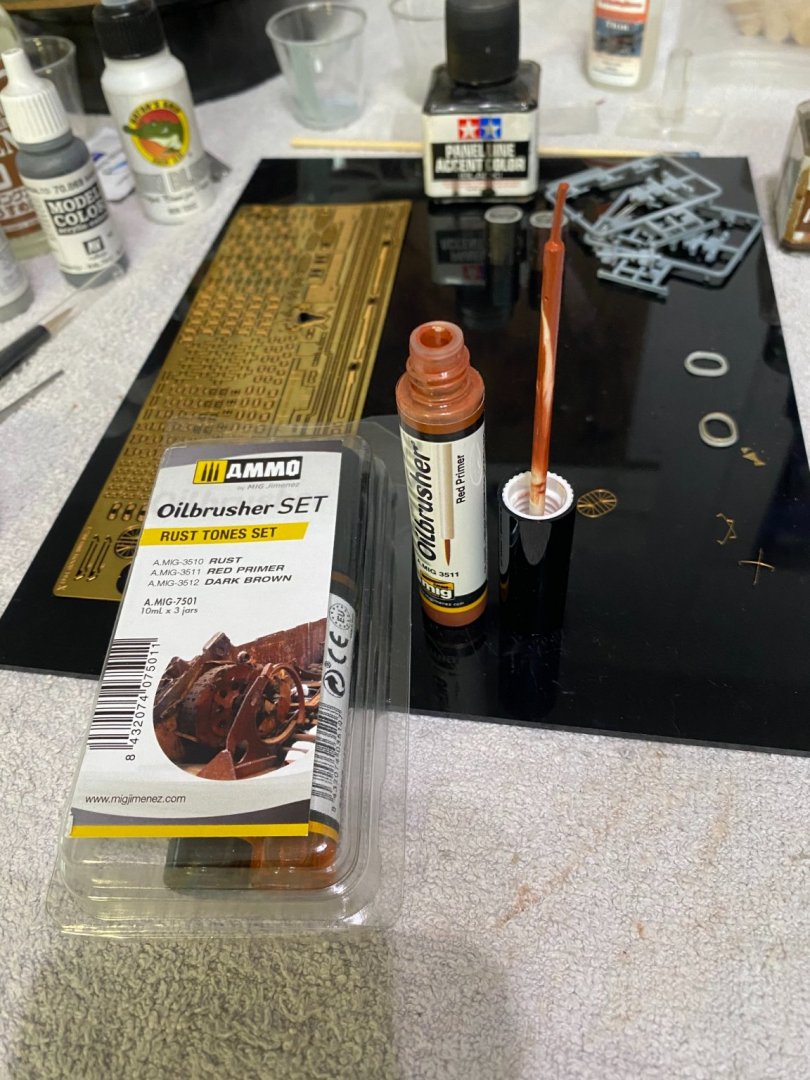


- 127 replies
-
- 5
-

-
- Akitsushima
- Pit Road
- (and 2 more)
-
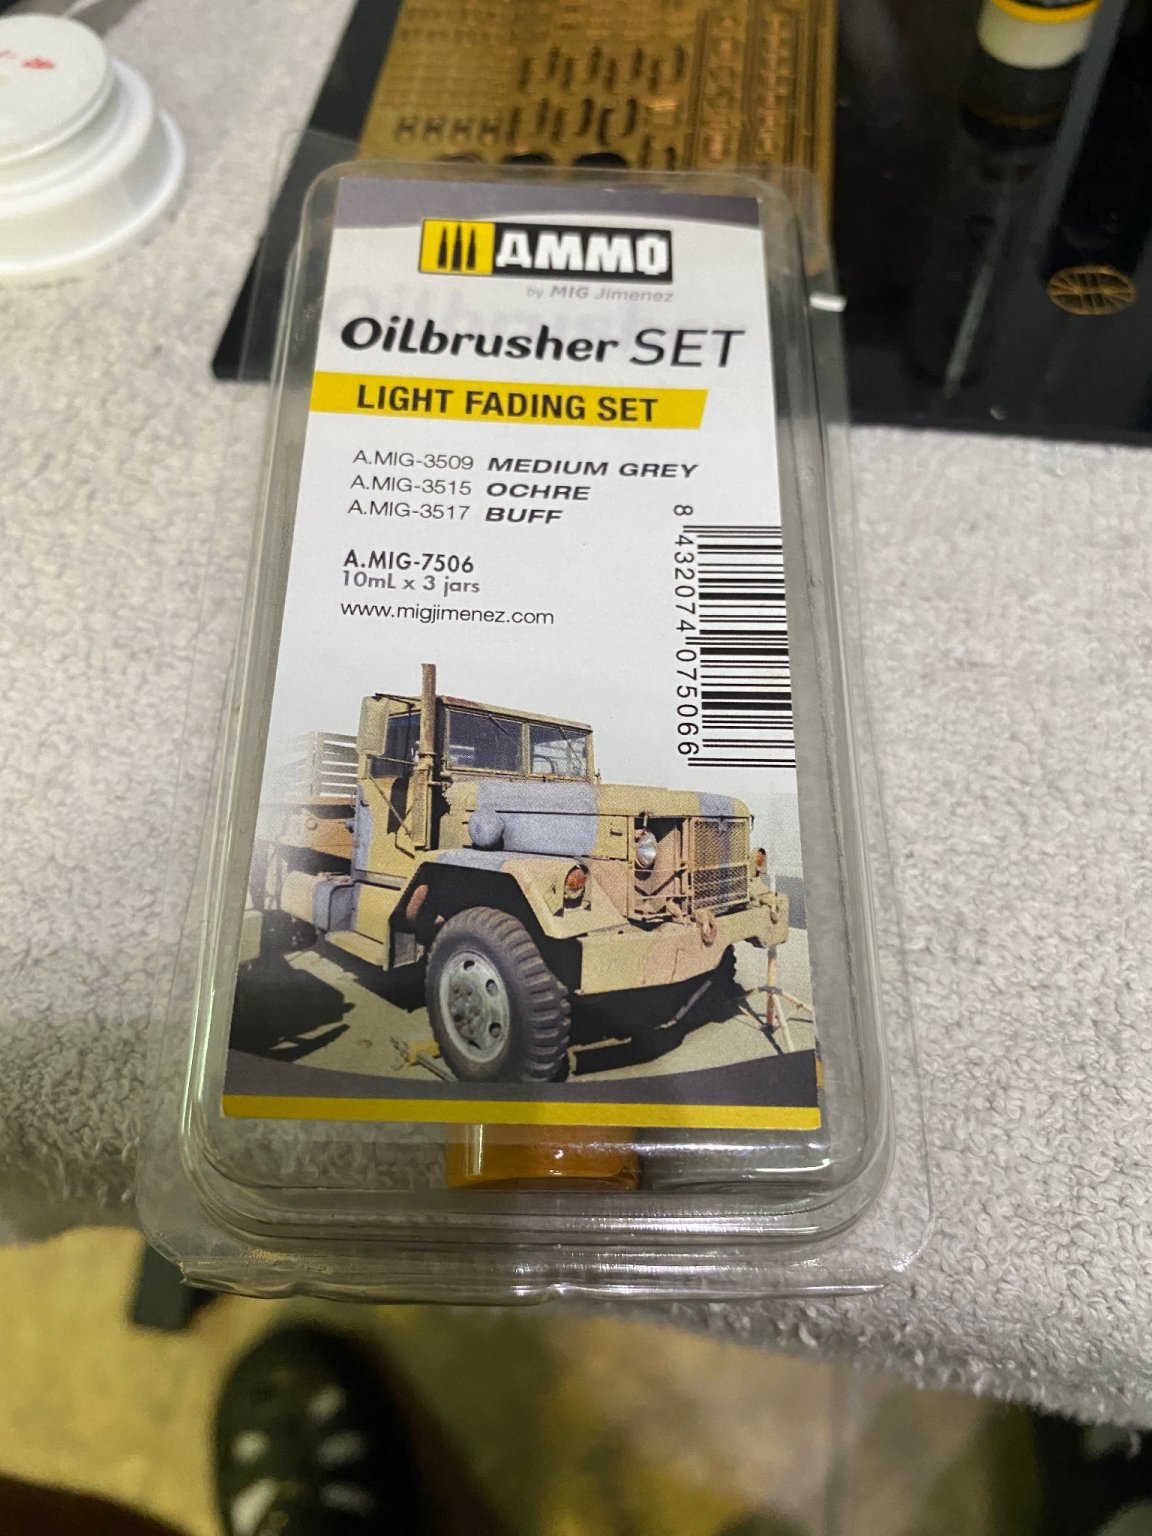
Is this the one you bought? If not, that may be the difference. Hope I did not steer you wrong.

- 127 replies
-
- 3
-
-
- Akitsushima
- Pit Road
- (and 2 more)
-
I wonder if that’s something unique to the bare metal series? I have not tried those and all others I have used have the small pointed brush.
- 127 replies
-
- 5
-
-
- Akitsushima
- Pit Road
- (and 2 more)
-
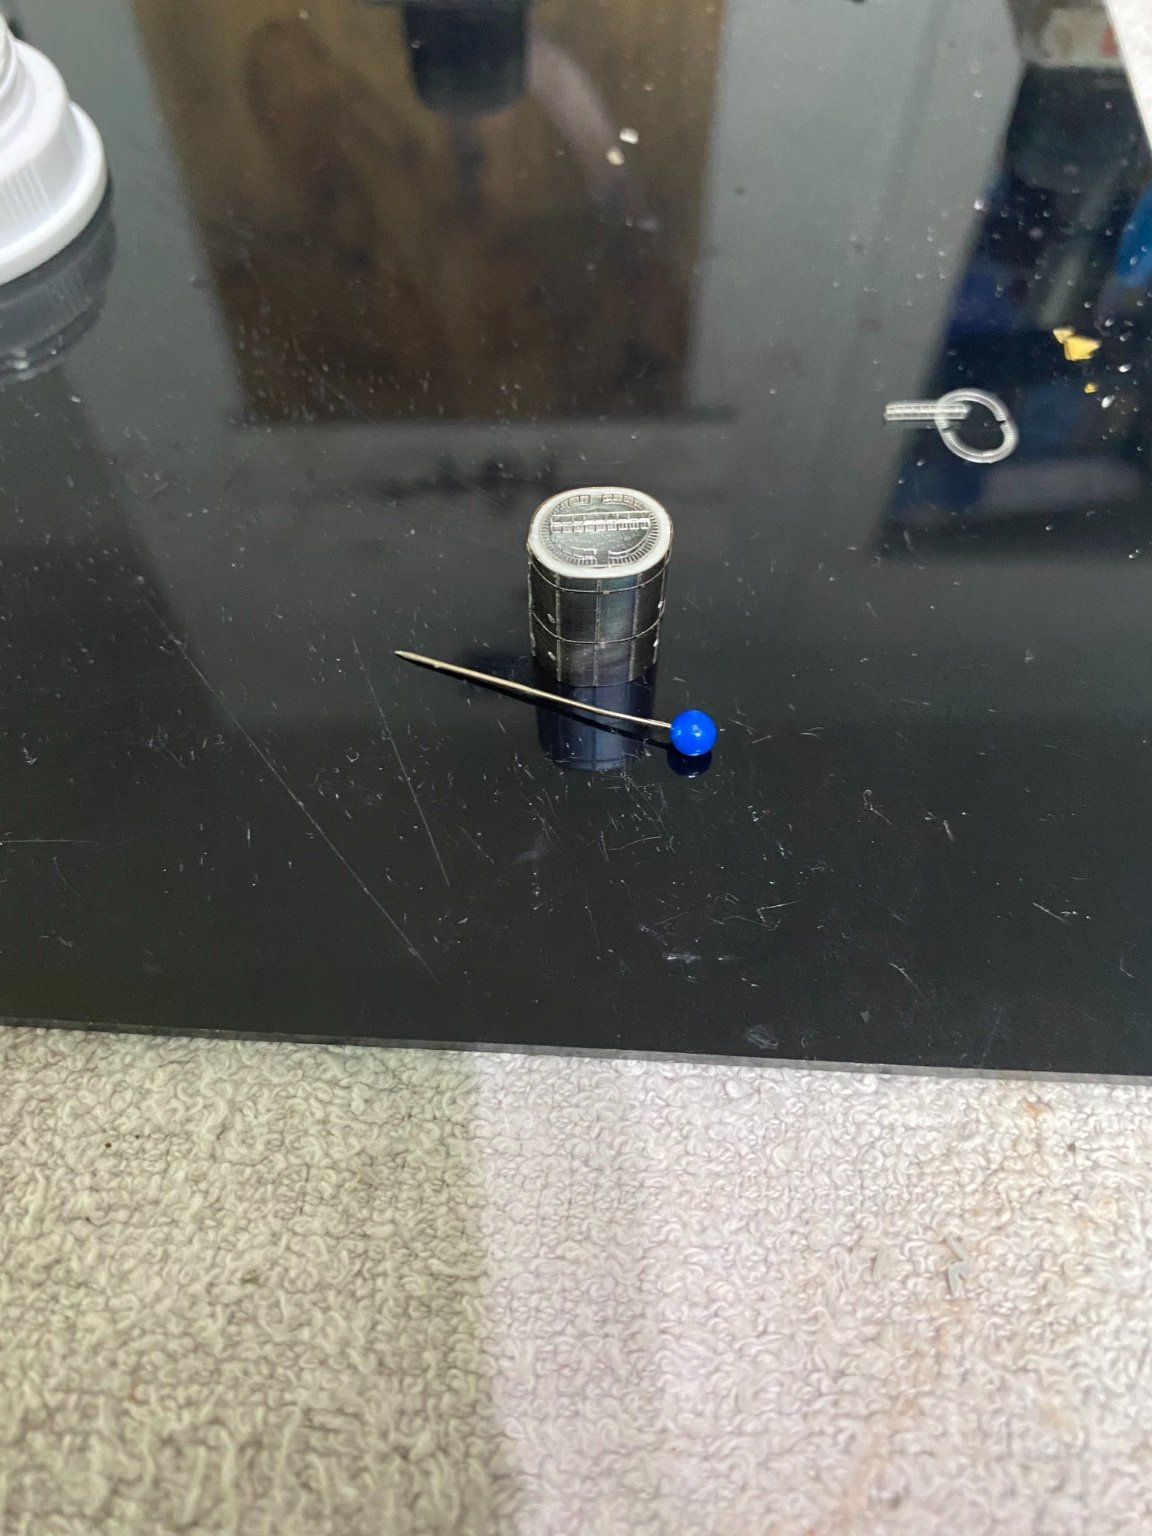
Whether it’s stainless or brass, use a butane mini torch to heat it up. It softens it up taking the “spring” out of the metal. Tends to stay in place much easier when it’s shaped to a curved surface.
- 225 replies
-
- 6
-
-
- I Love Kit
- Hood
- (and 2 more)
-
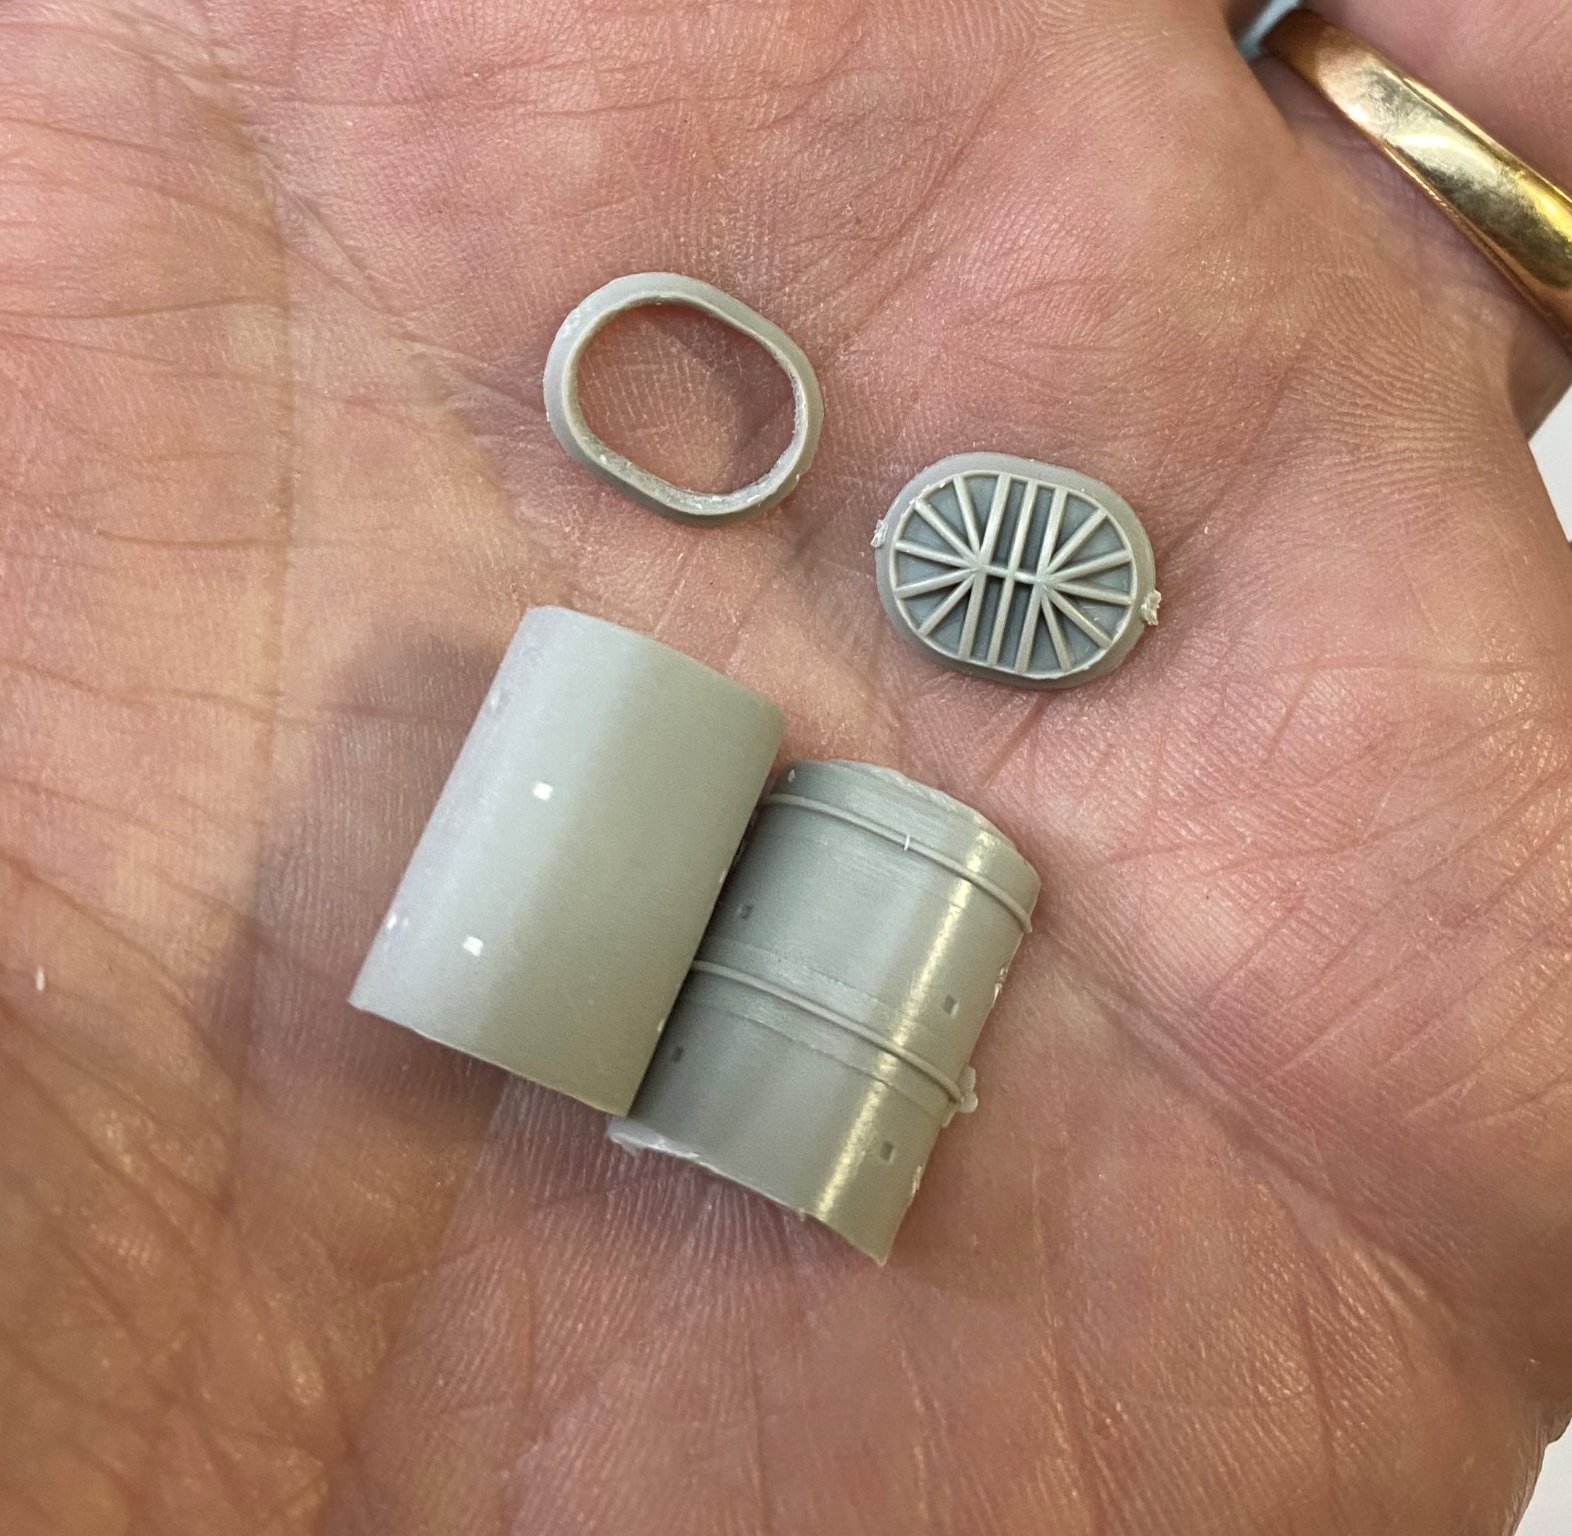
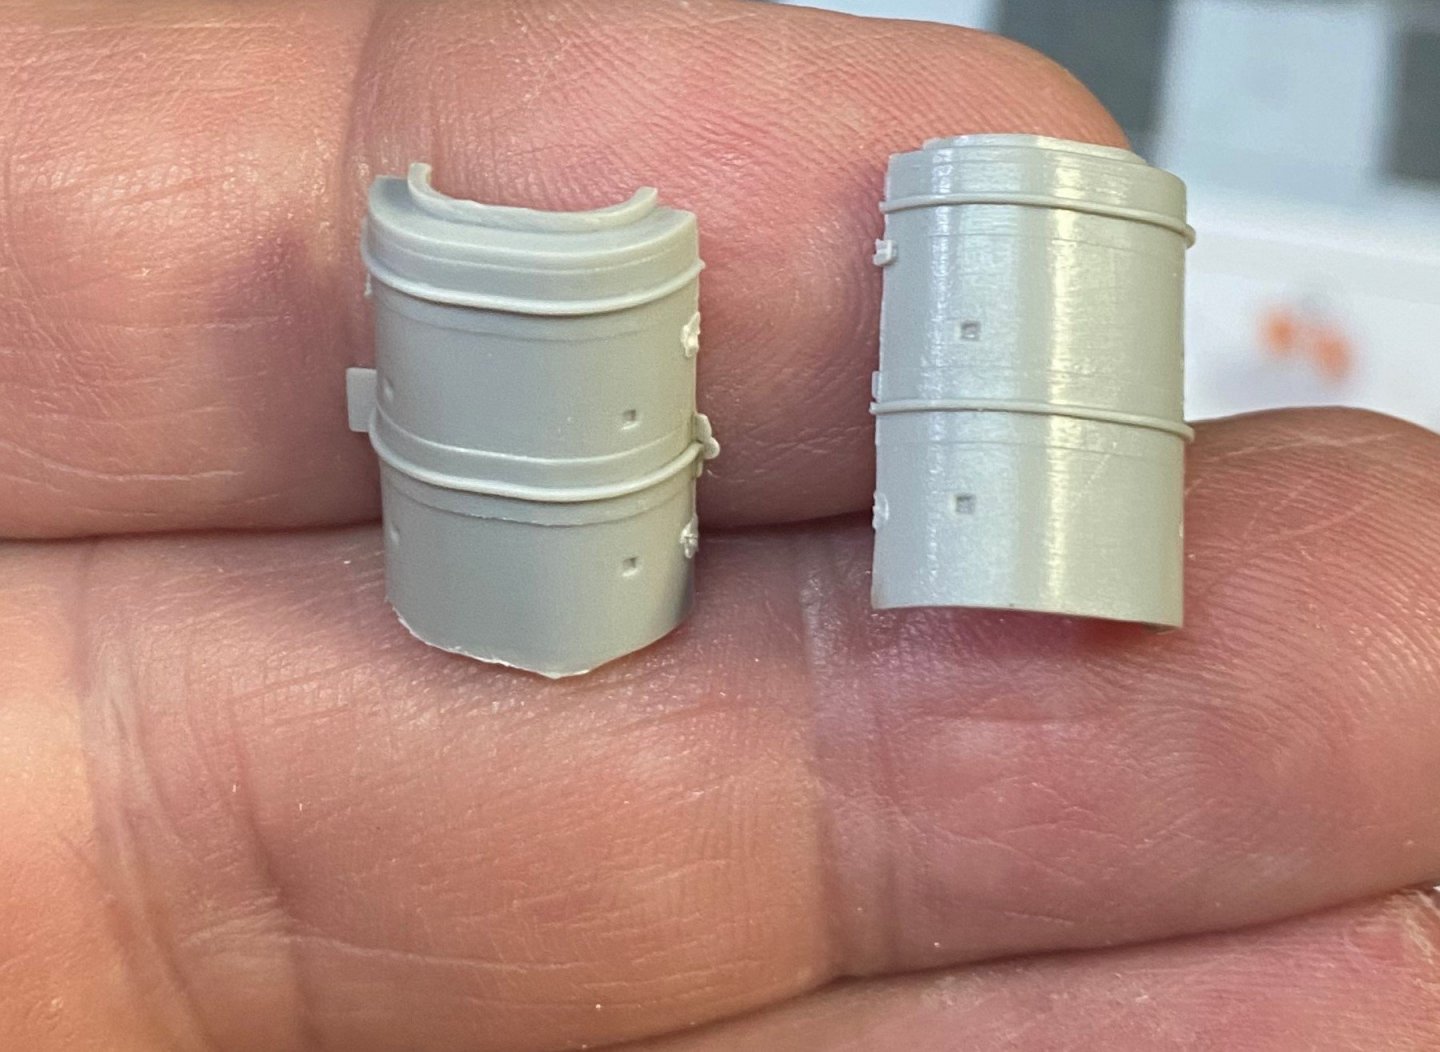
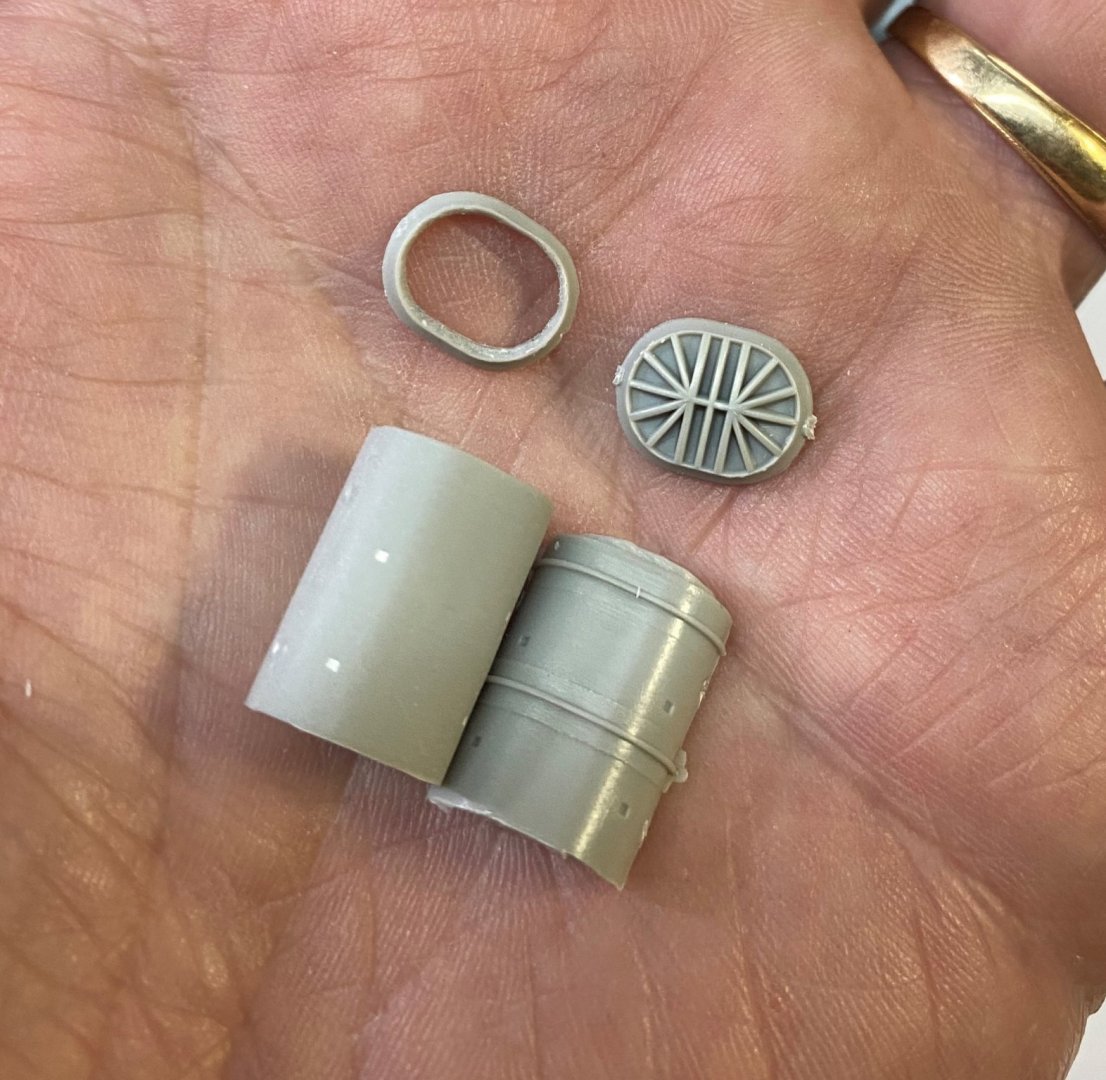
It’s okay but not grand, it gets the job done with some extra detail parts whereas Flyhawk needs hardly any except railing. Some parts look rough all on their own. Funnels are a good example of what is lacking in the plastic all by itself.
- 225 replies
-
- 5
-
-

-
- I Love Kit
- Hood
- (and 2 more)
-
Thanks. I’m struggling a bit with the photo etch domes that go on top of the funnels. Time and patience is what I tell myself.
- 225 replies
-
- 5
-
-
- I Love Kit
- Hood
- (and 2 more)
-
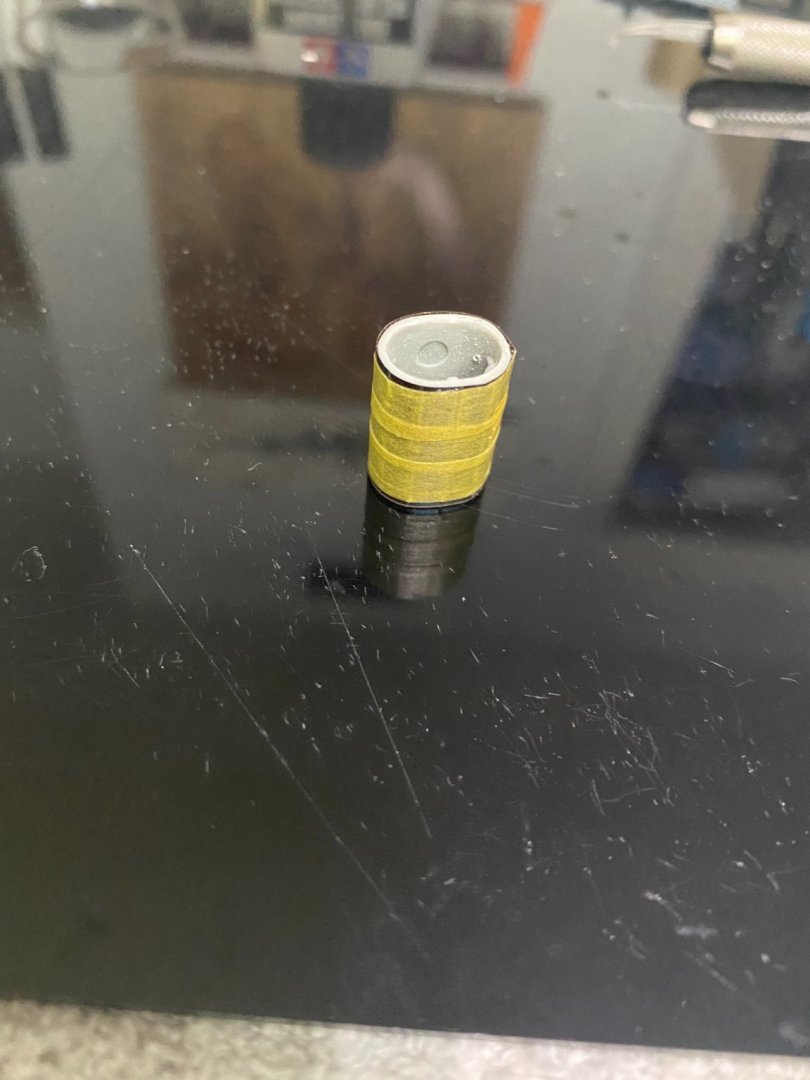
The photo etch walkways and railings inside the tops of the two funnels.
- 225 replies
-
- 11
-
-
- I Love Kit
- Hood
- (and 2 more)
-
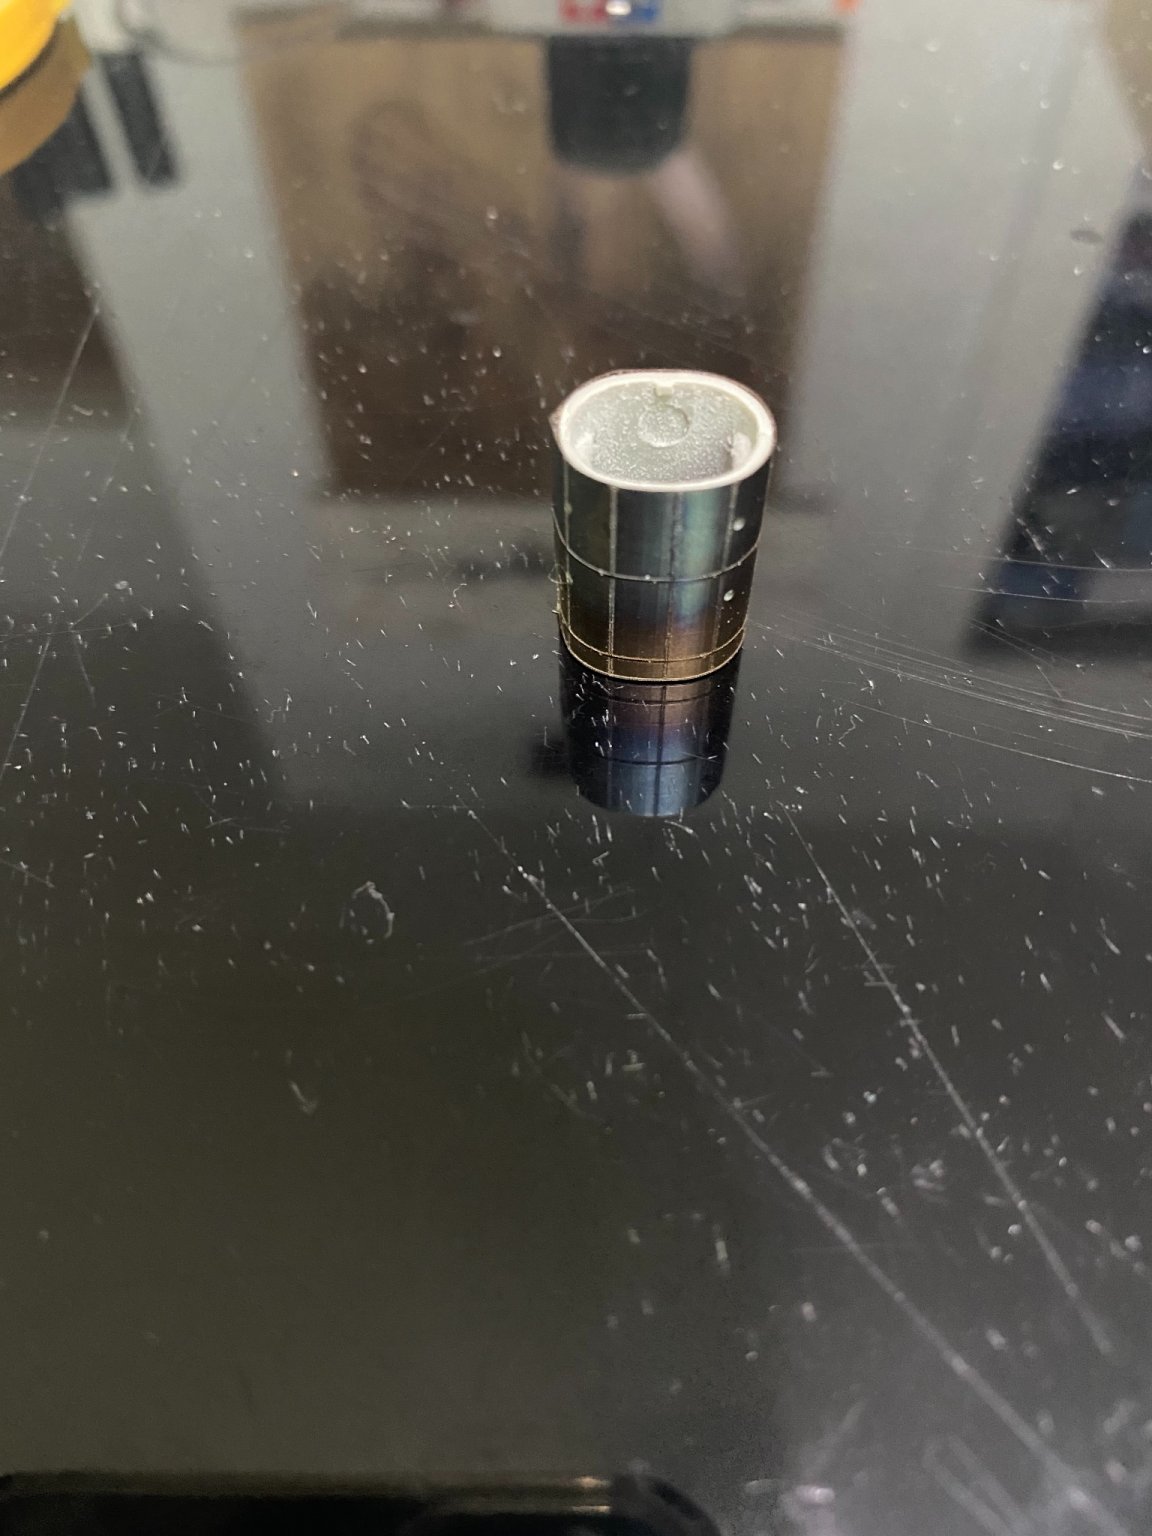
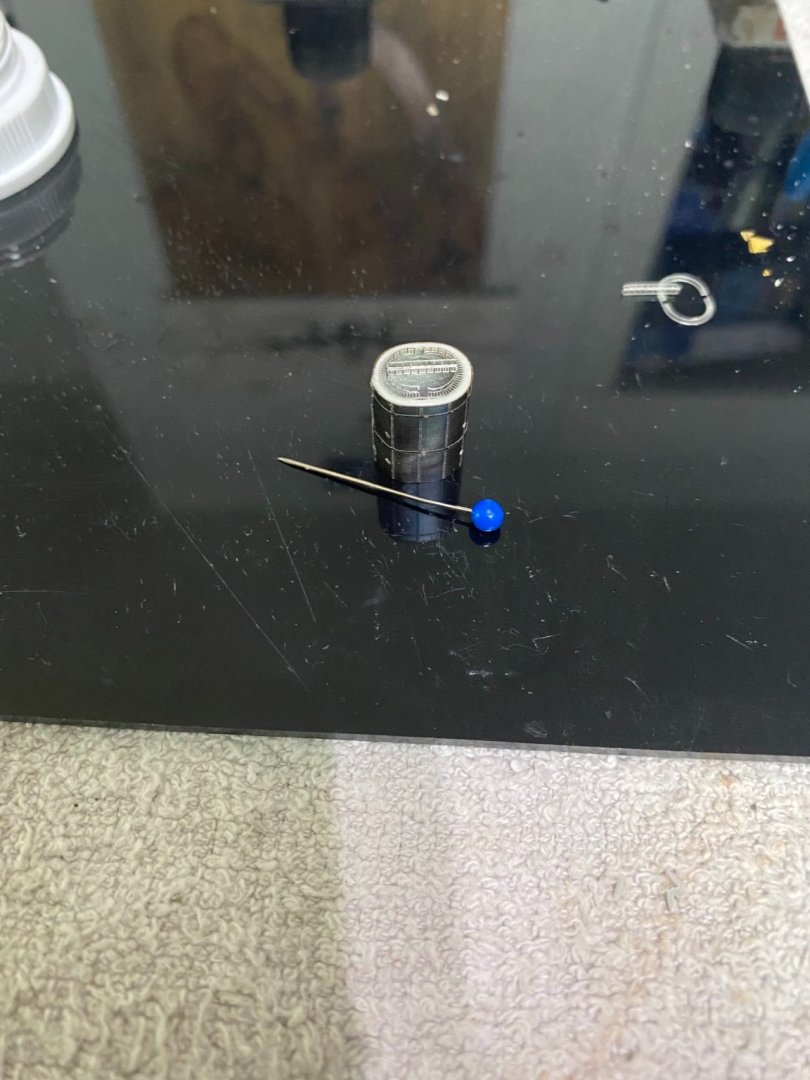
This is one of two funnels that are wrapped in photo etch. The photo etch is stainless but looks dark after I annealed it to conform to the funnel shape. Used CA glue and masking tape to hold the etch around the funnel while the glue set up.

- 225 replies
-
- 13
-
-
- I Love Kit
- Hood
- (and 2 more)
-
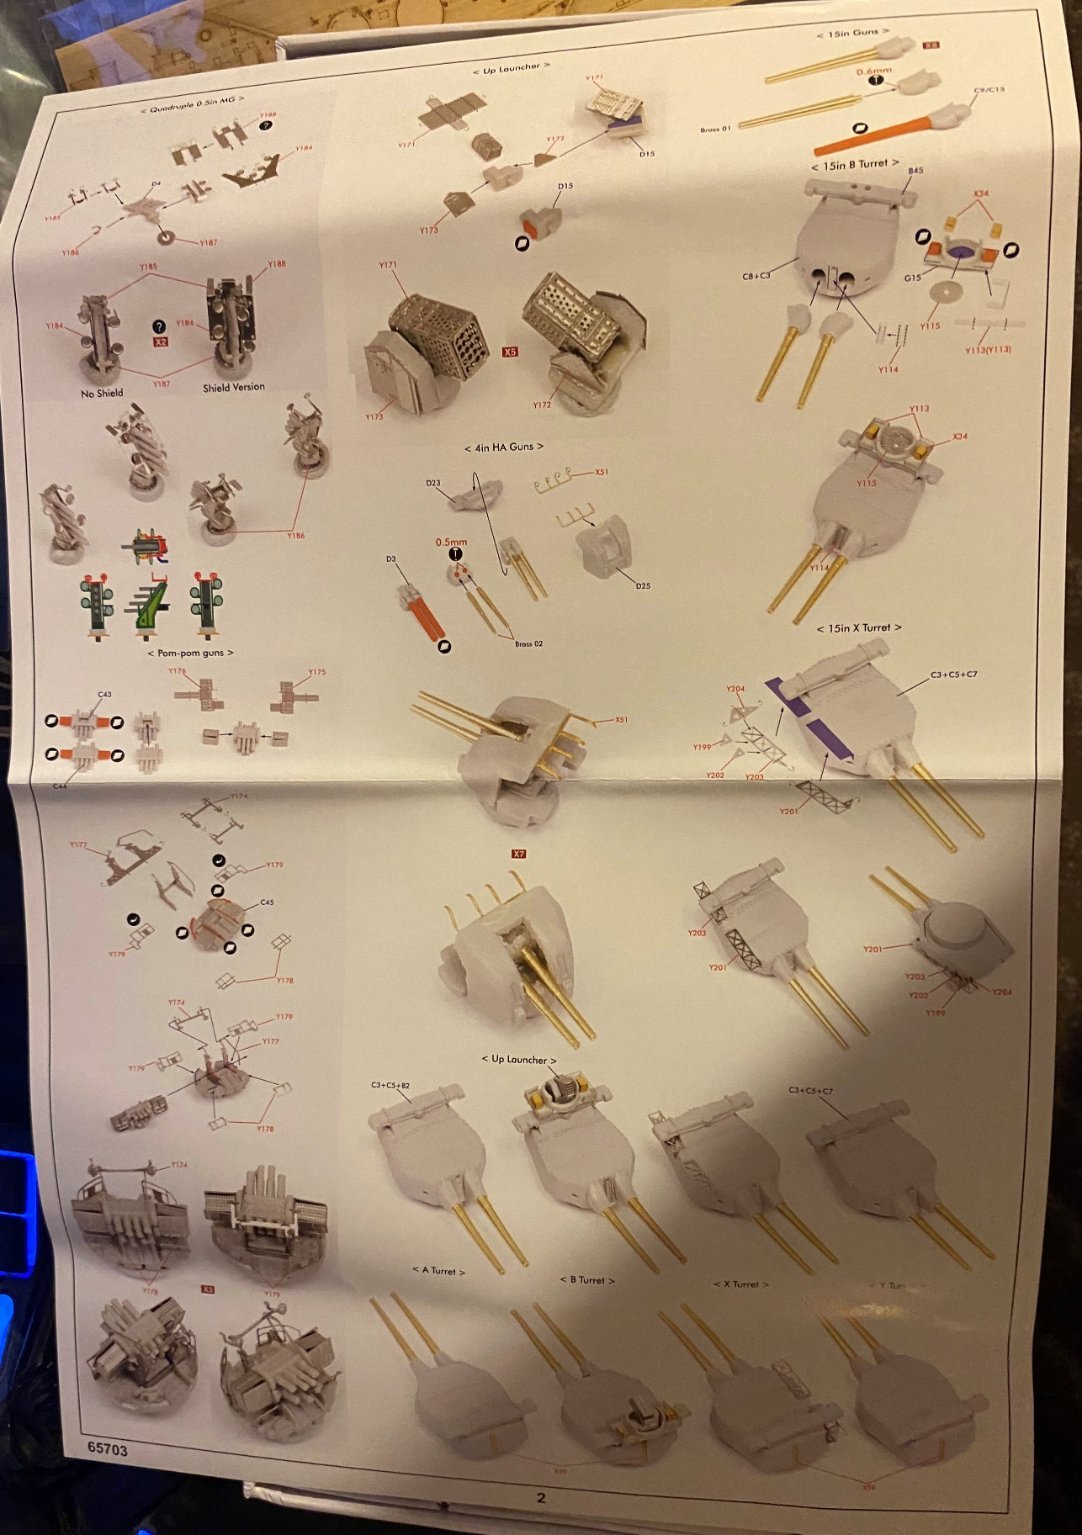
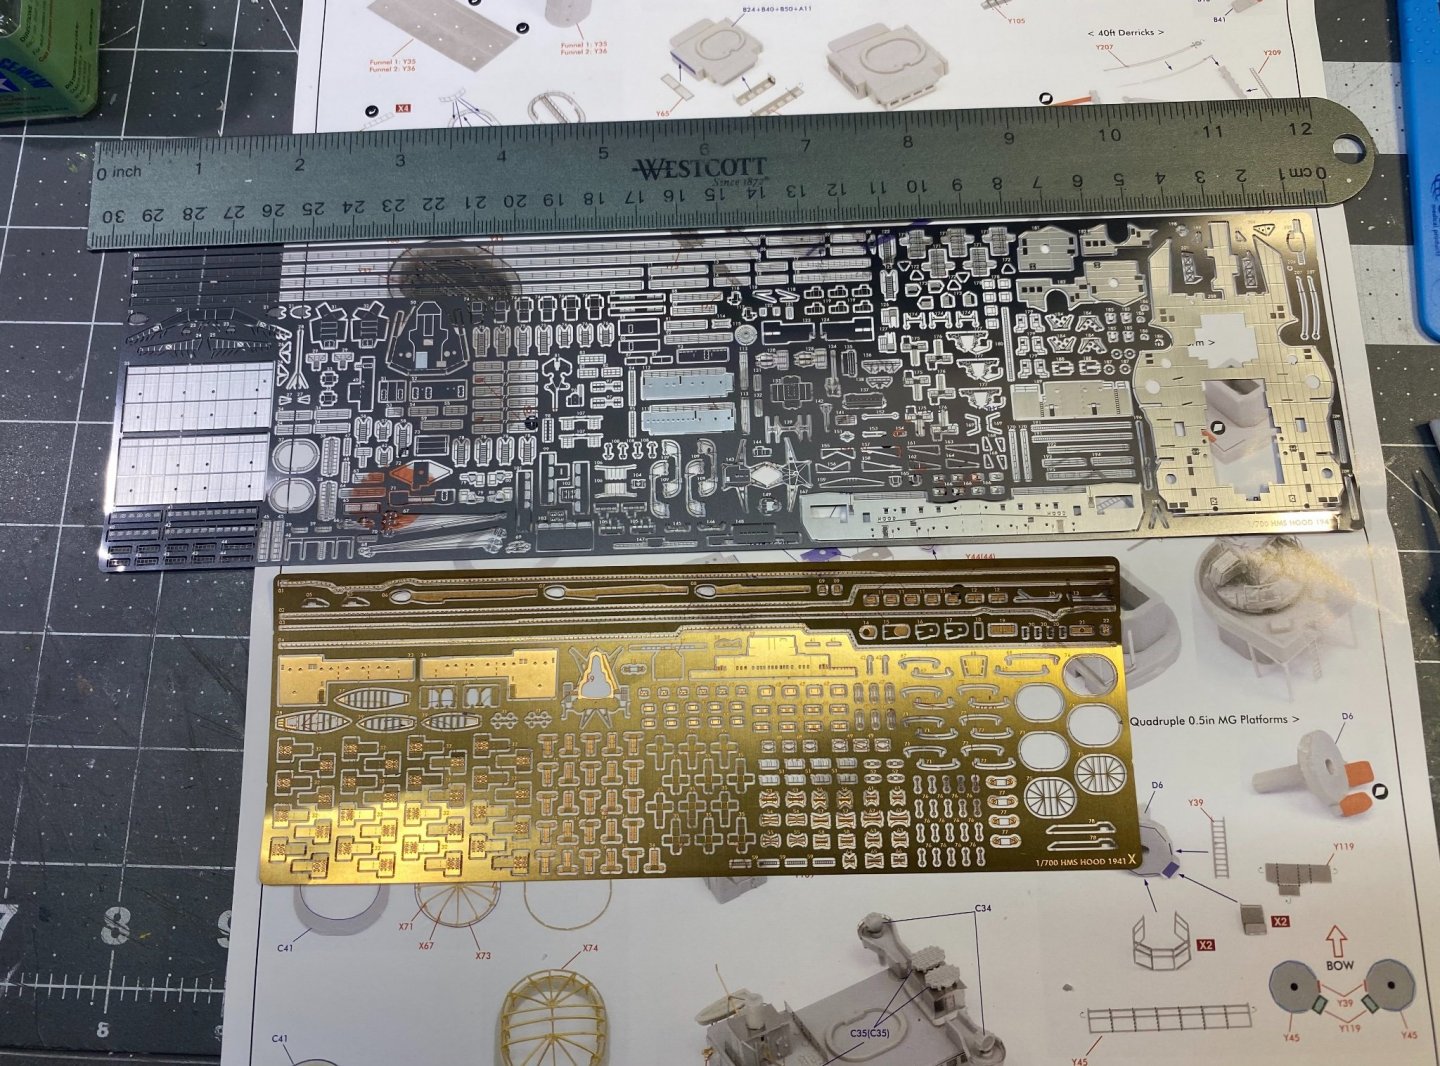
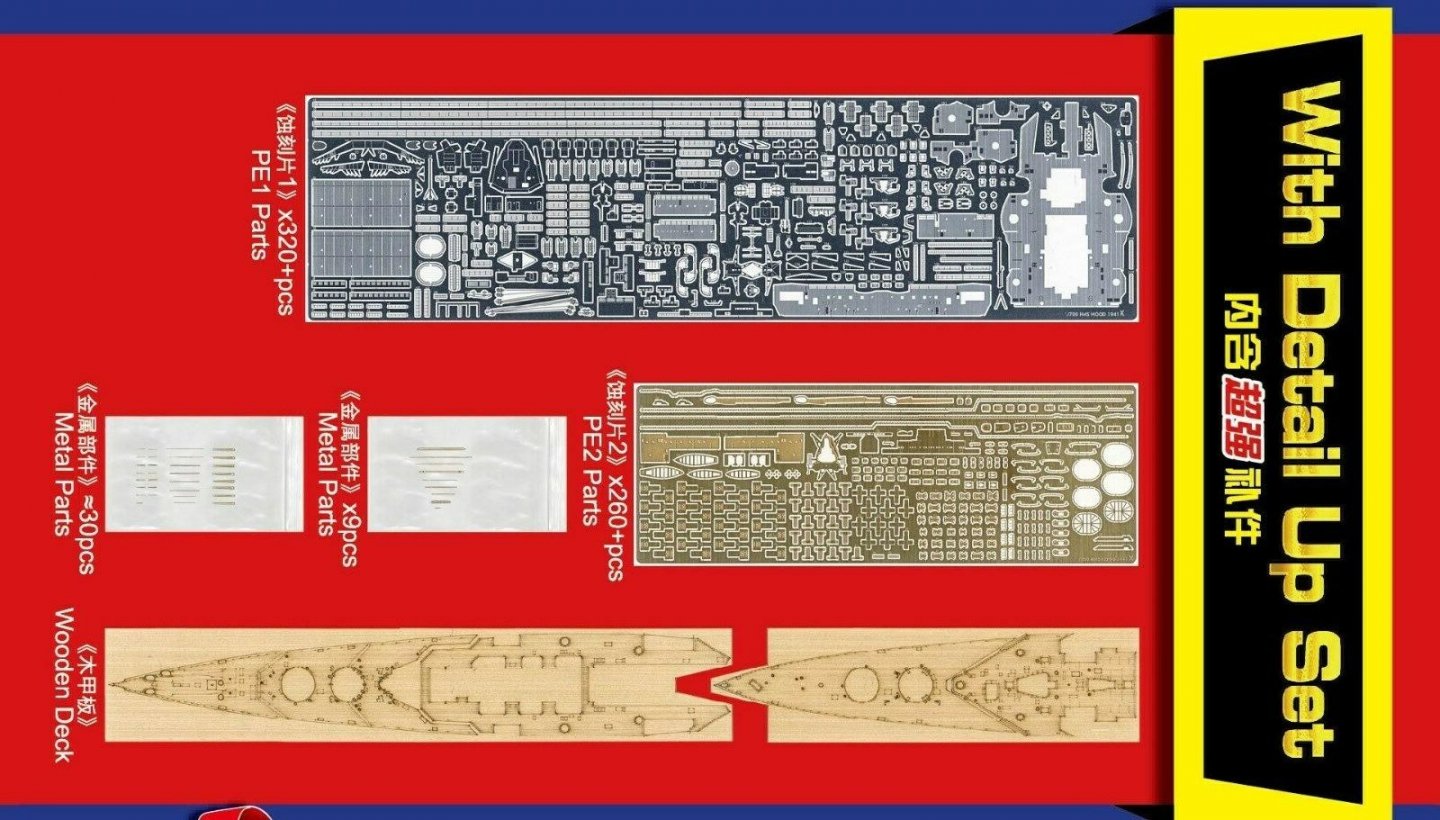
Just an idea of how large and extensive the photo etch frets are in this kit.
- 225 replies
-
- 8
-
-
- I Love Kit
- Hood
- (and 2 more)
-
Next task is to file down raised details on superstructure and funnels.

- 225 replies
-
- 9
-
-
- I Love Kit
- Hood
- (and 2 more)
-
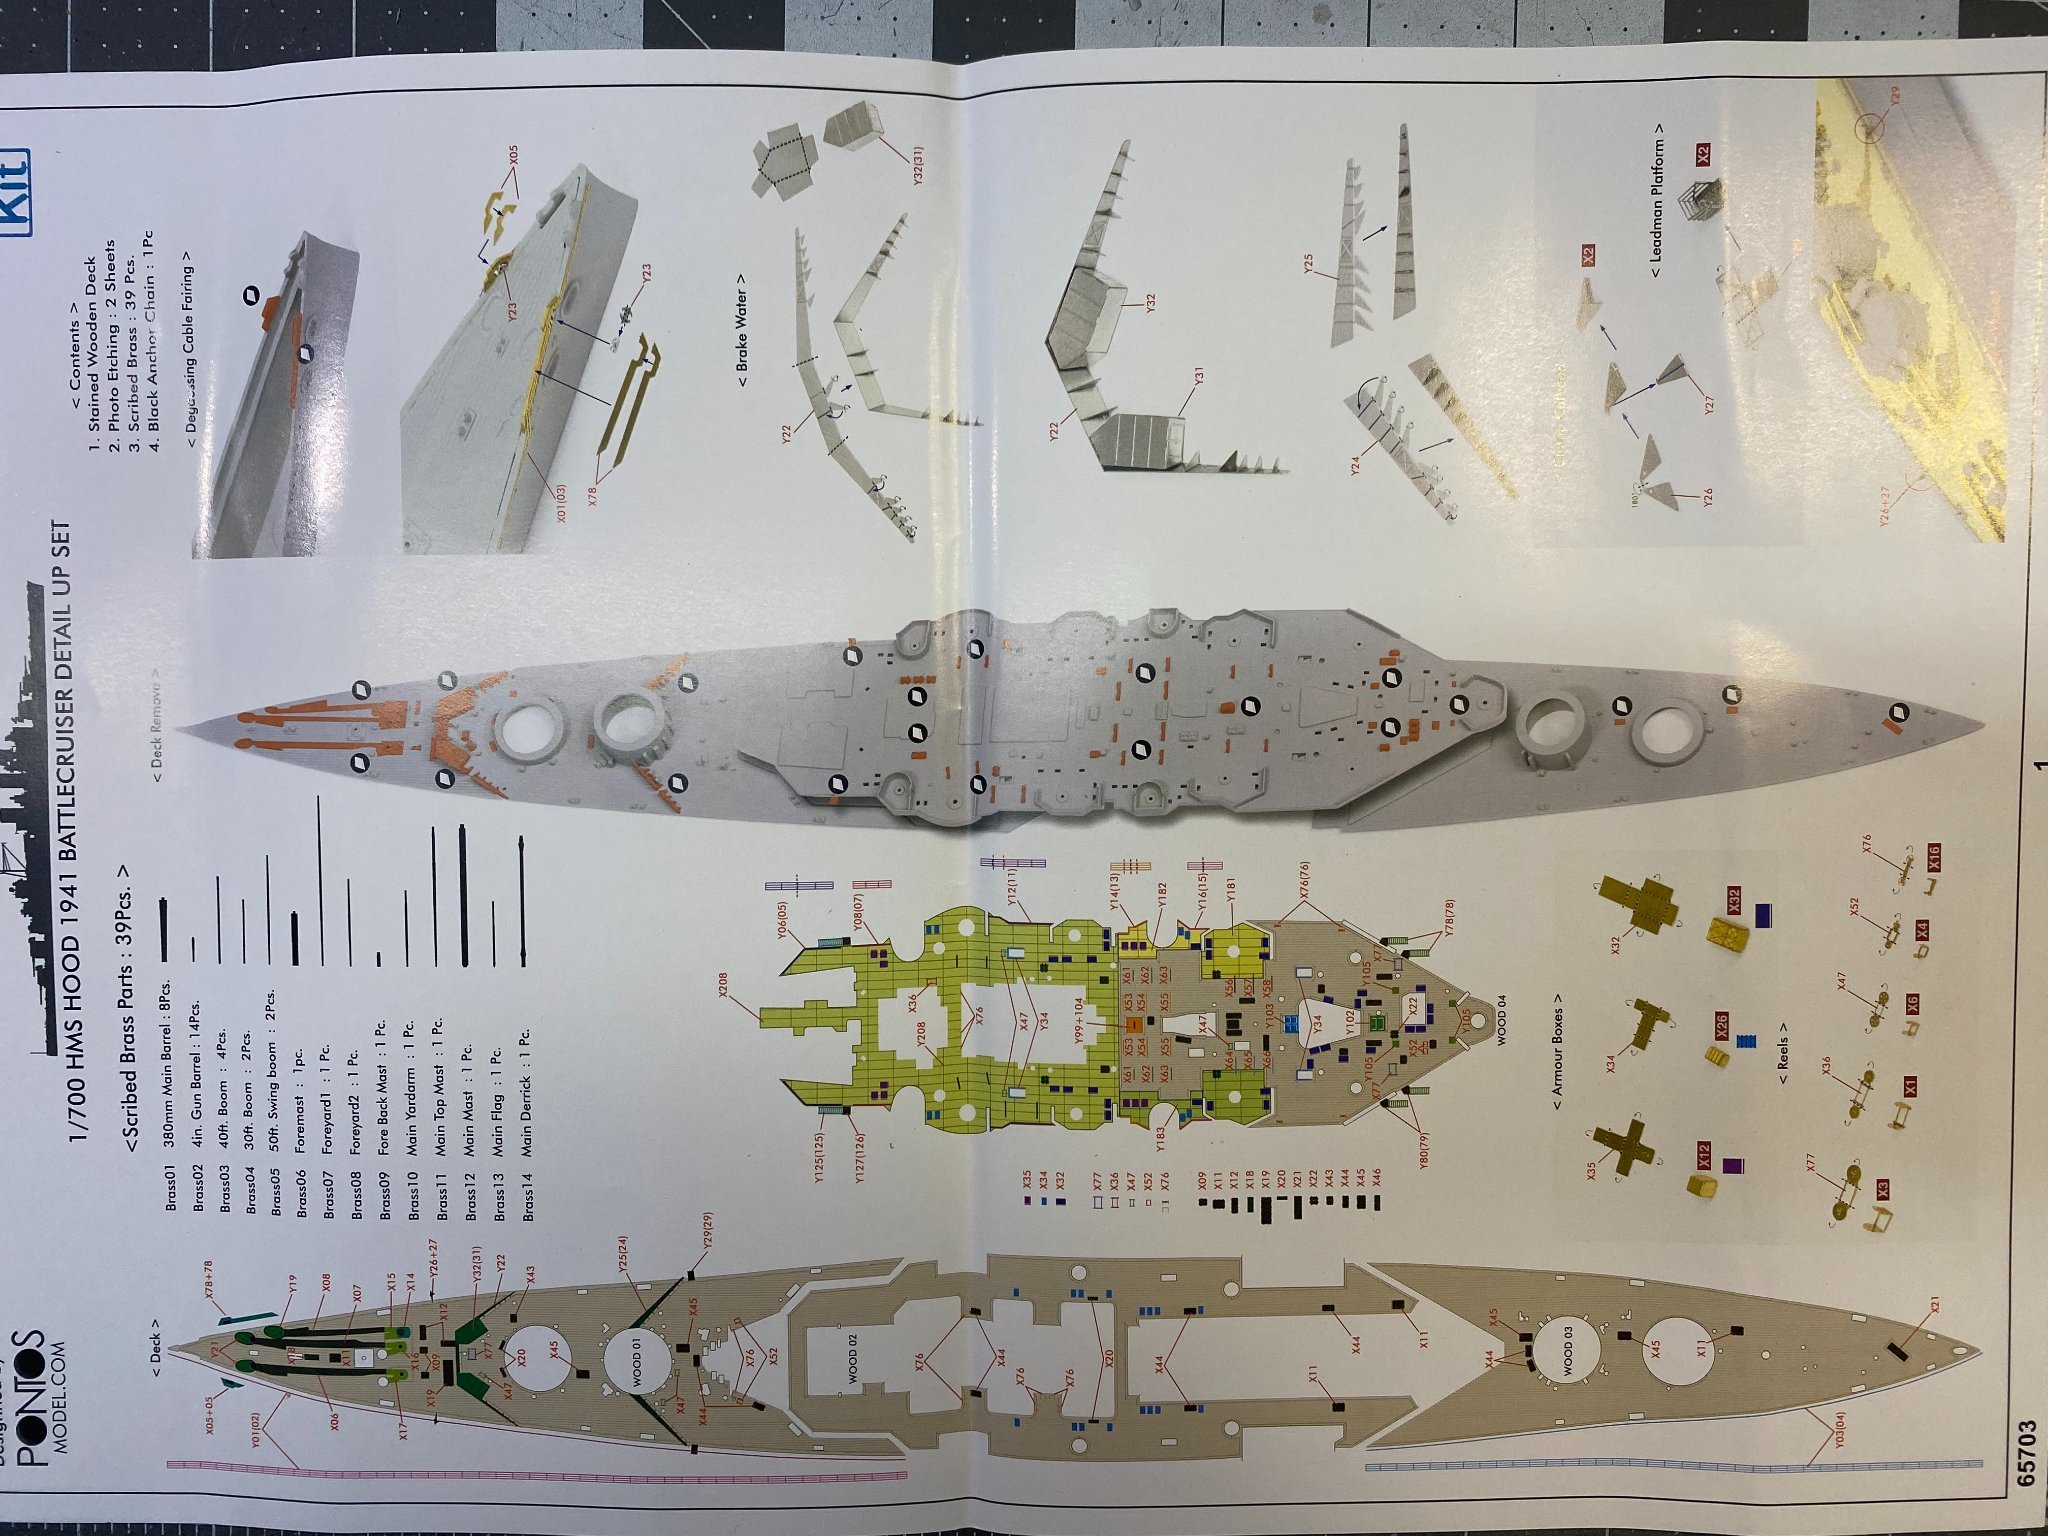
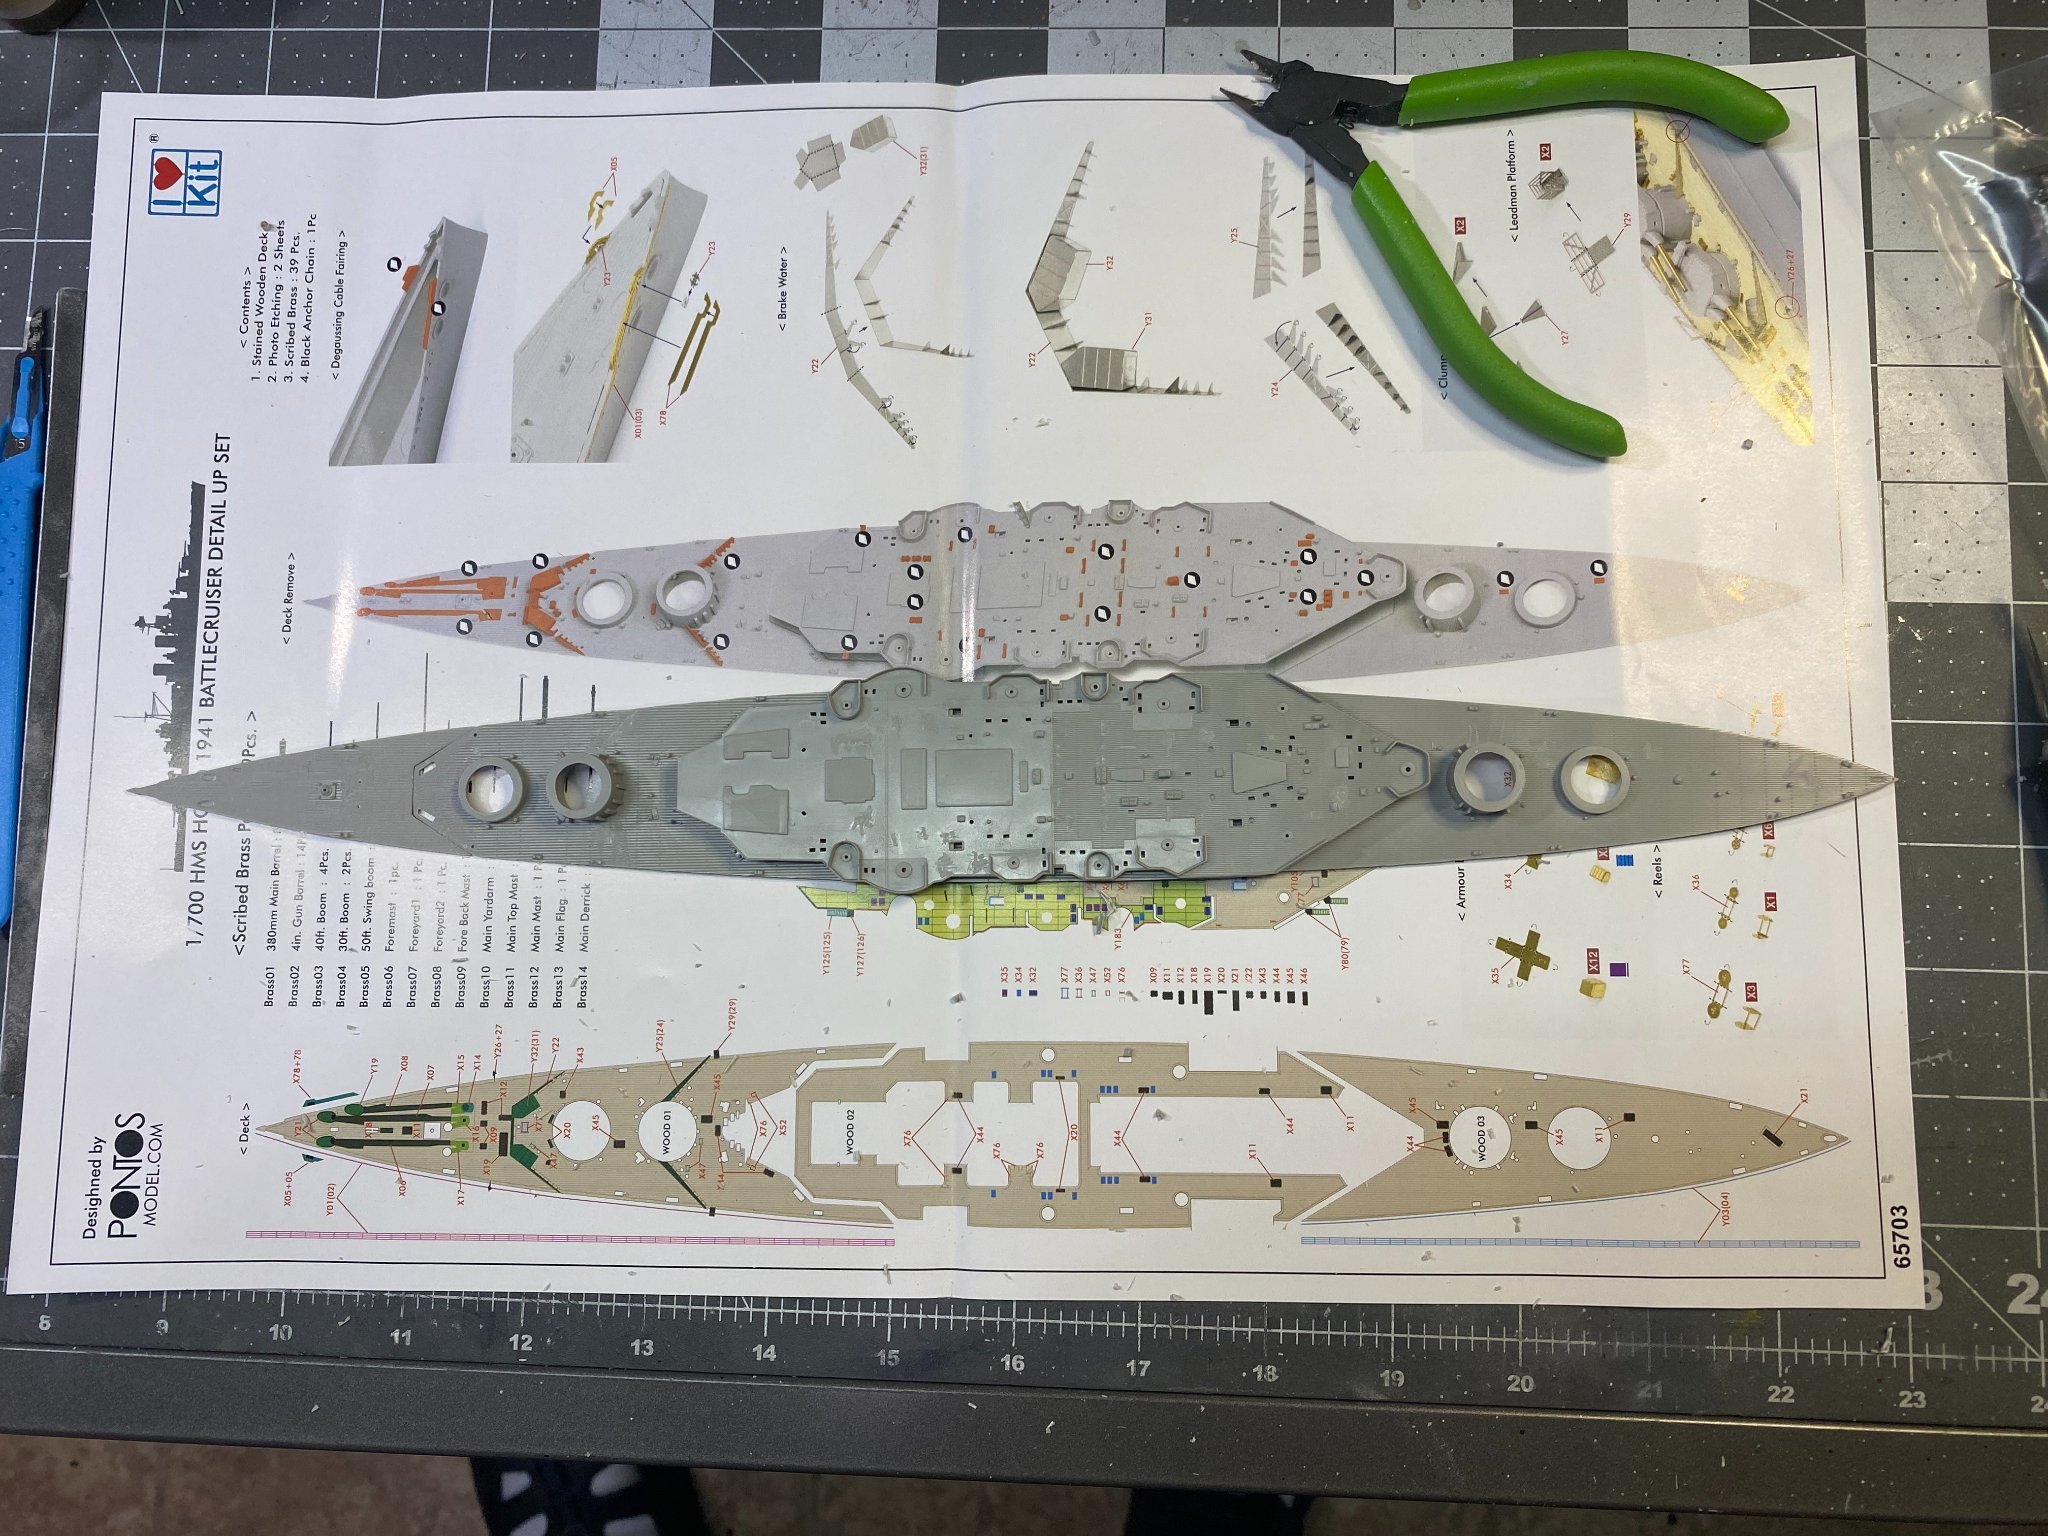
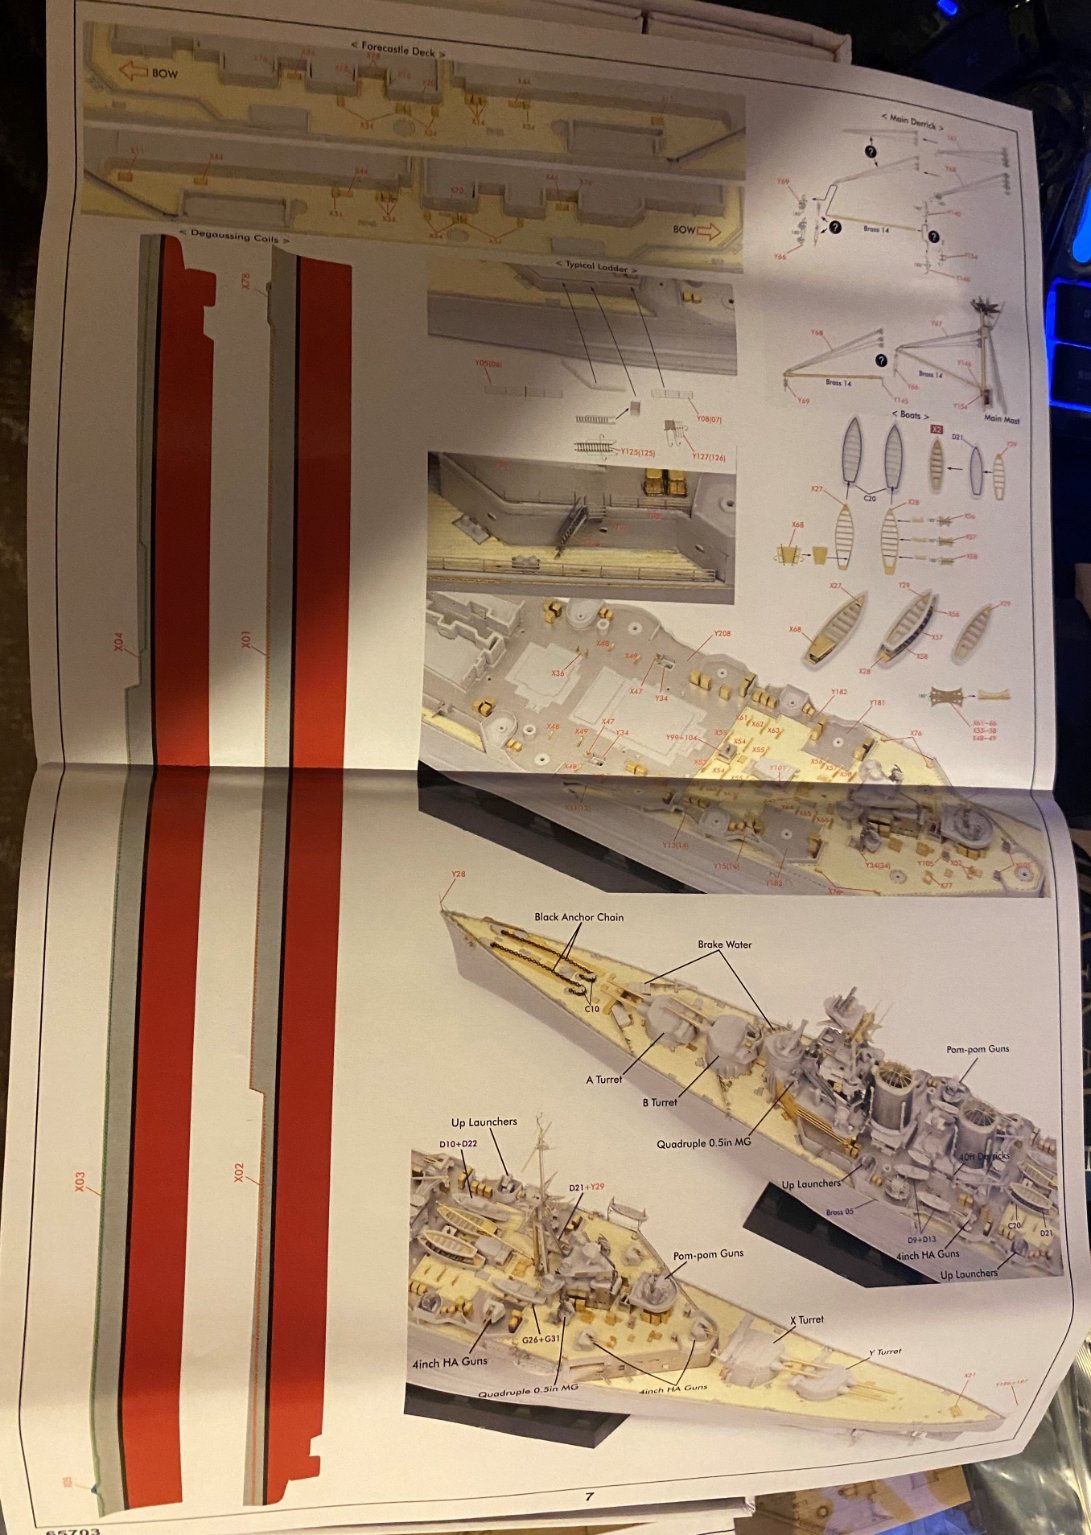
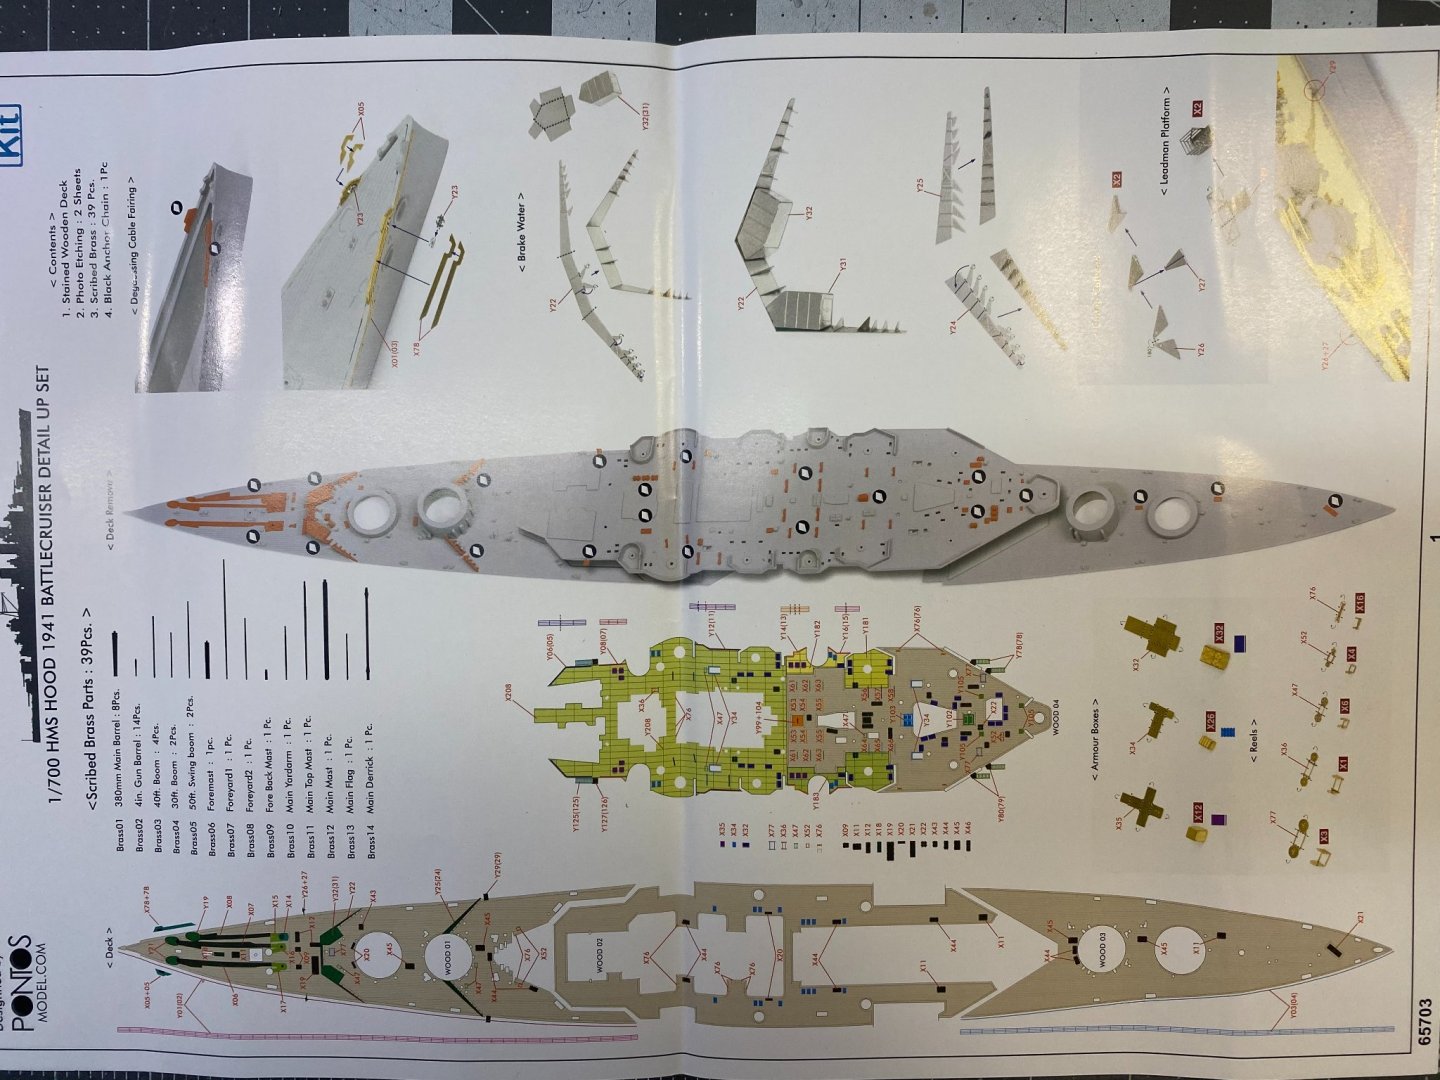
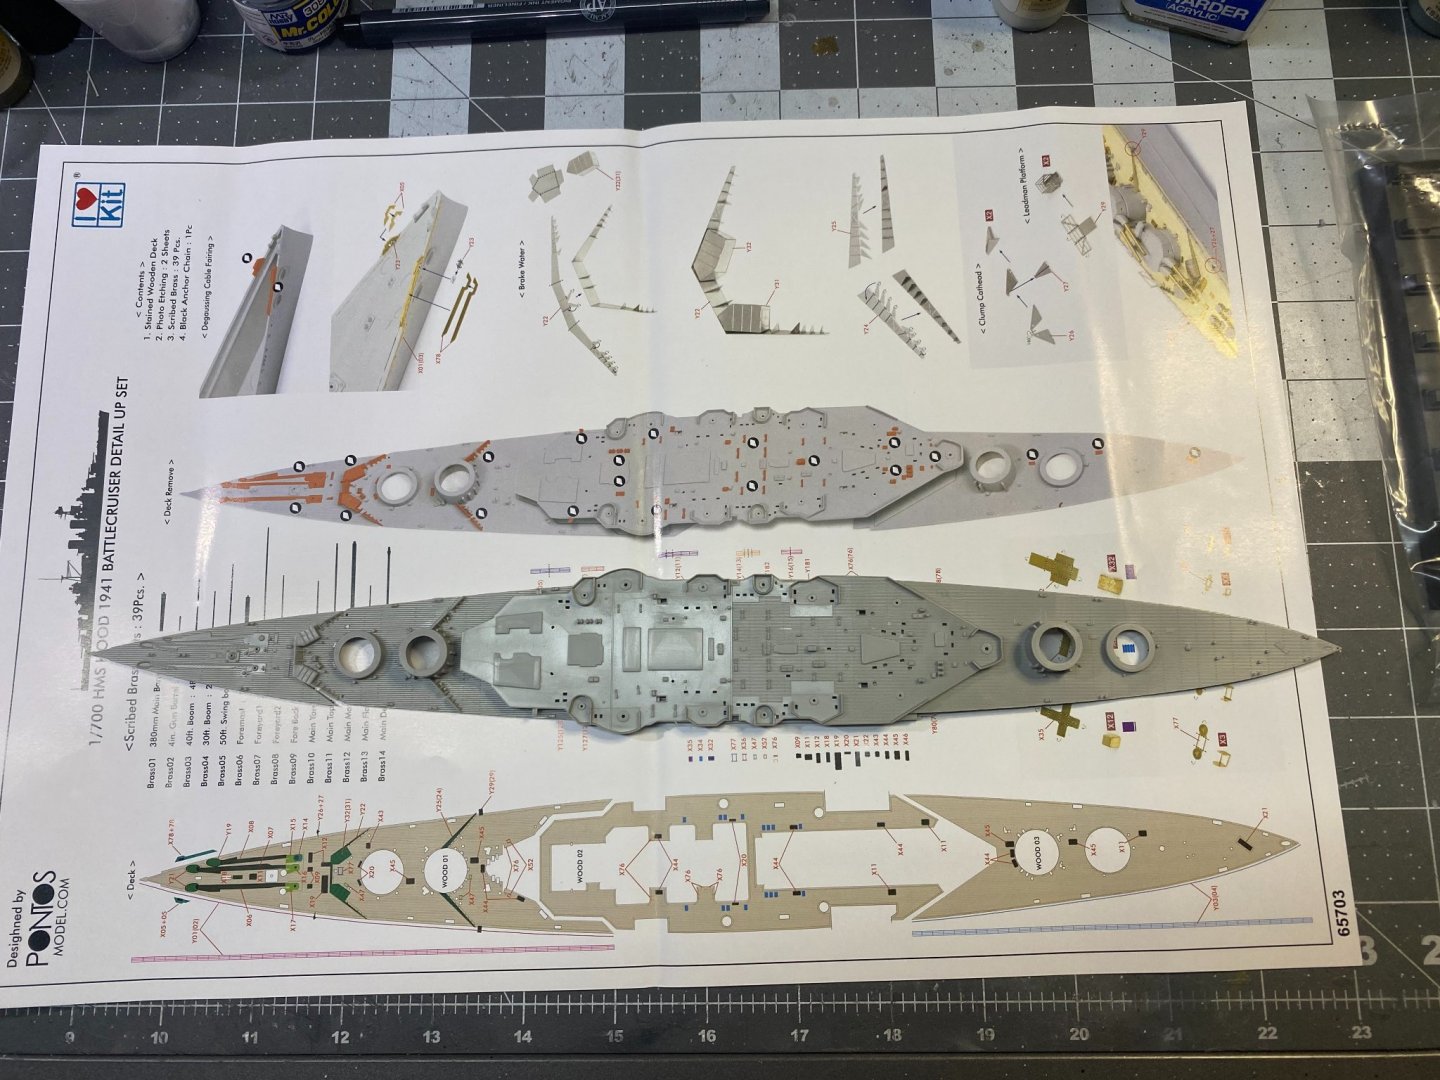
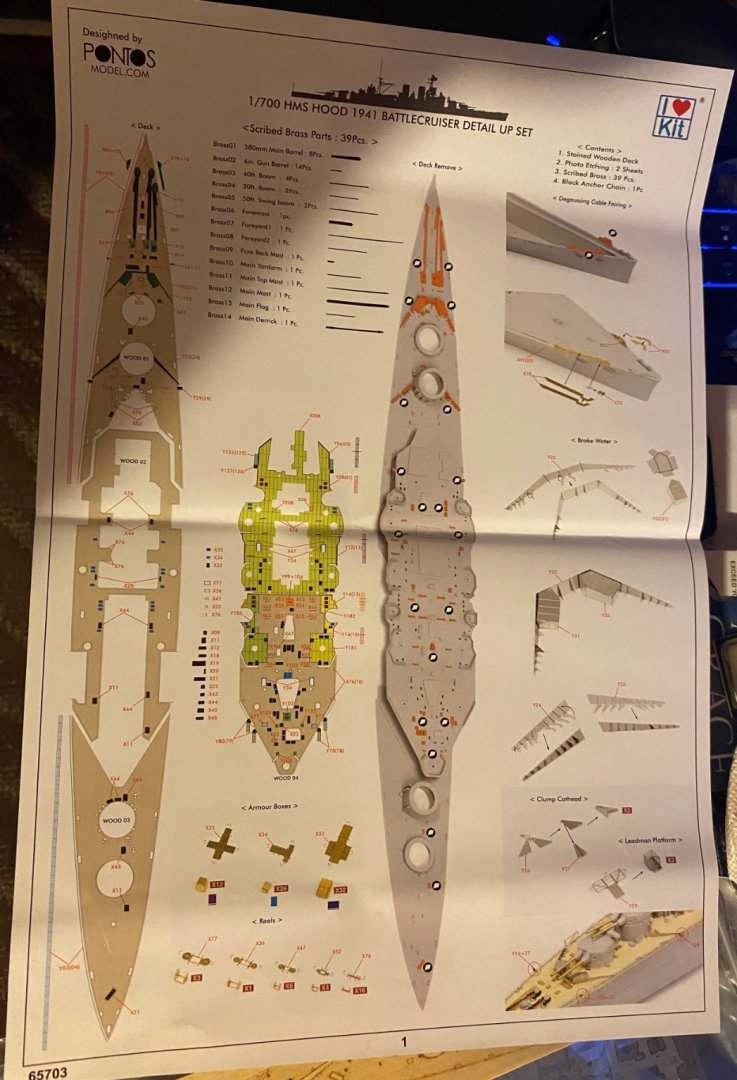
I started by examining the the first page of the update instruction photos to see what raised details needed to be removed from the deck pieces. Here are the deck pieces compared to the instruction photos. Everything marked in red has to be removed. After a couple of hours of cutting, filing, and sanding, the deck is ready.

- 225 replies
-
- 8
-
-
- I Love Kit
- Hood
- (and 2 more)
-
I'm glad you saw that chain Greg used, it's beautiful. I started to order some as well but got distracted and never did.
-
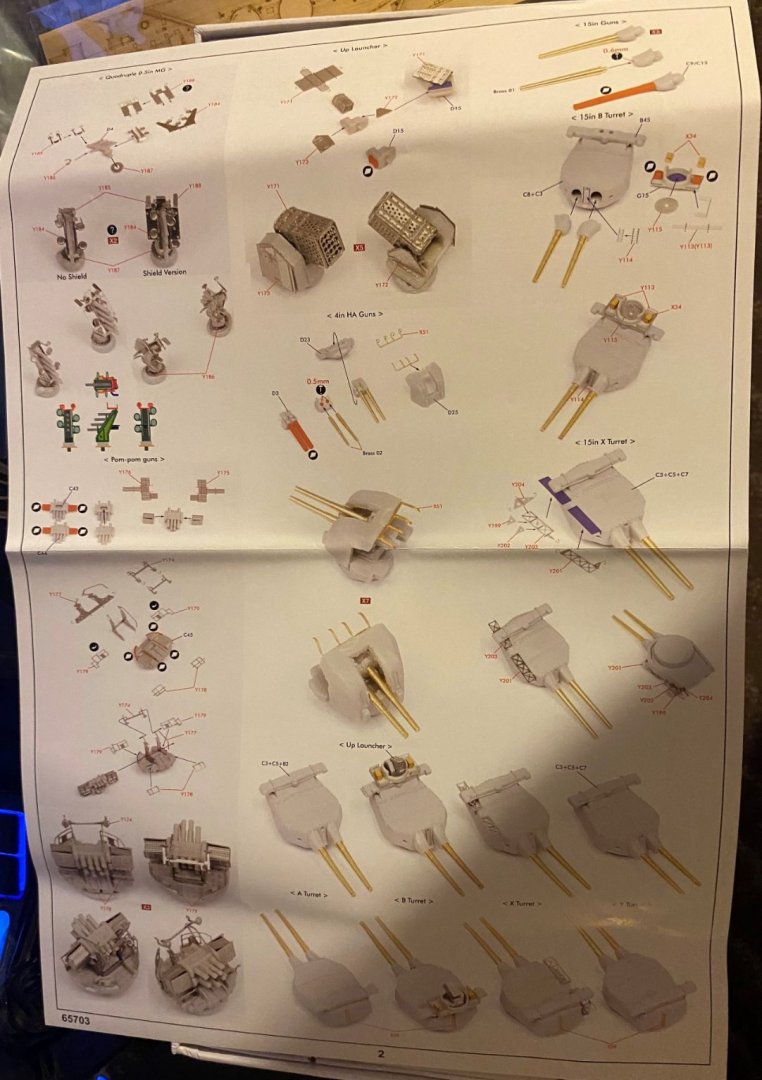
I wonder how accurate the rocket launchers were and what the British thought of their combat capability. Seems like maybe they were used for stationary targets not moving targets.
-
Guess it all depends on how one defines it, but yes, I have plenty of space for 1:700 scale ship models.
- 127 replies
-
- 5
-
-
- Akitsushima
- Pit Road
- (and 2 more)
-
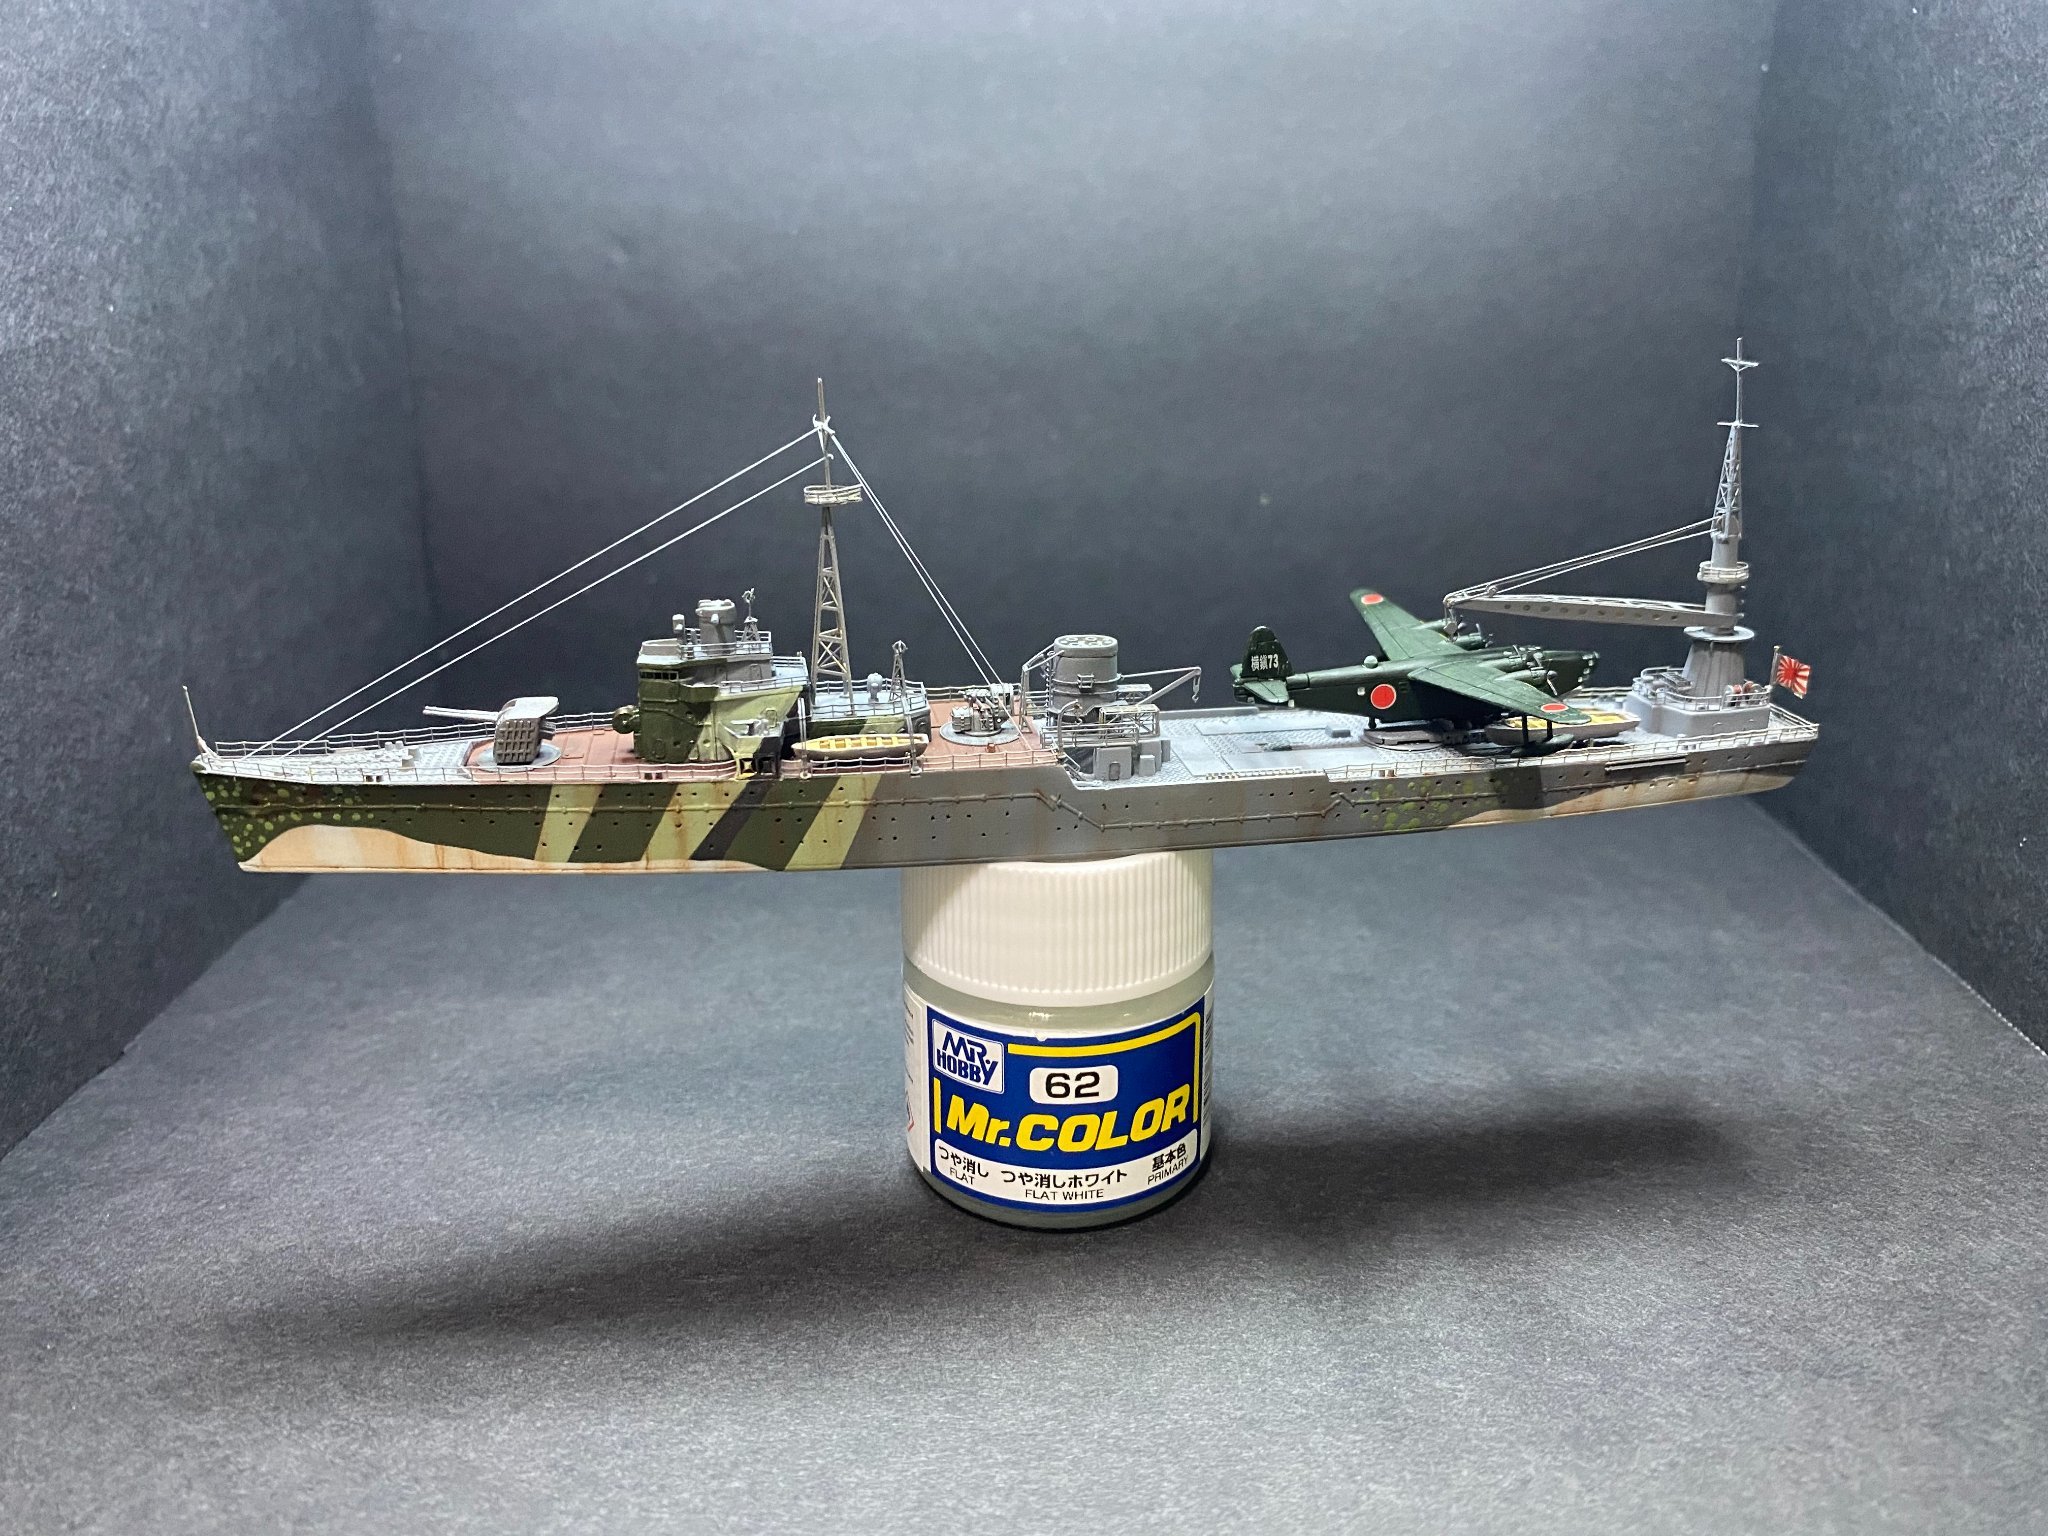
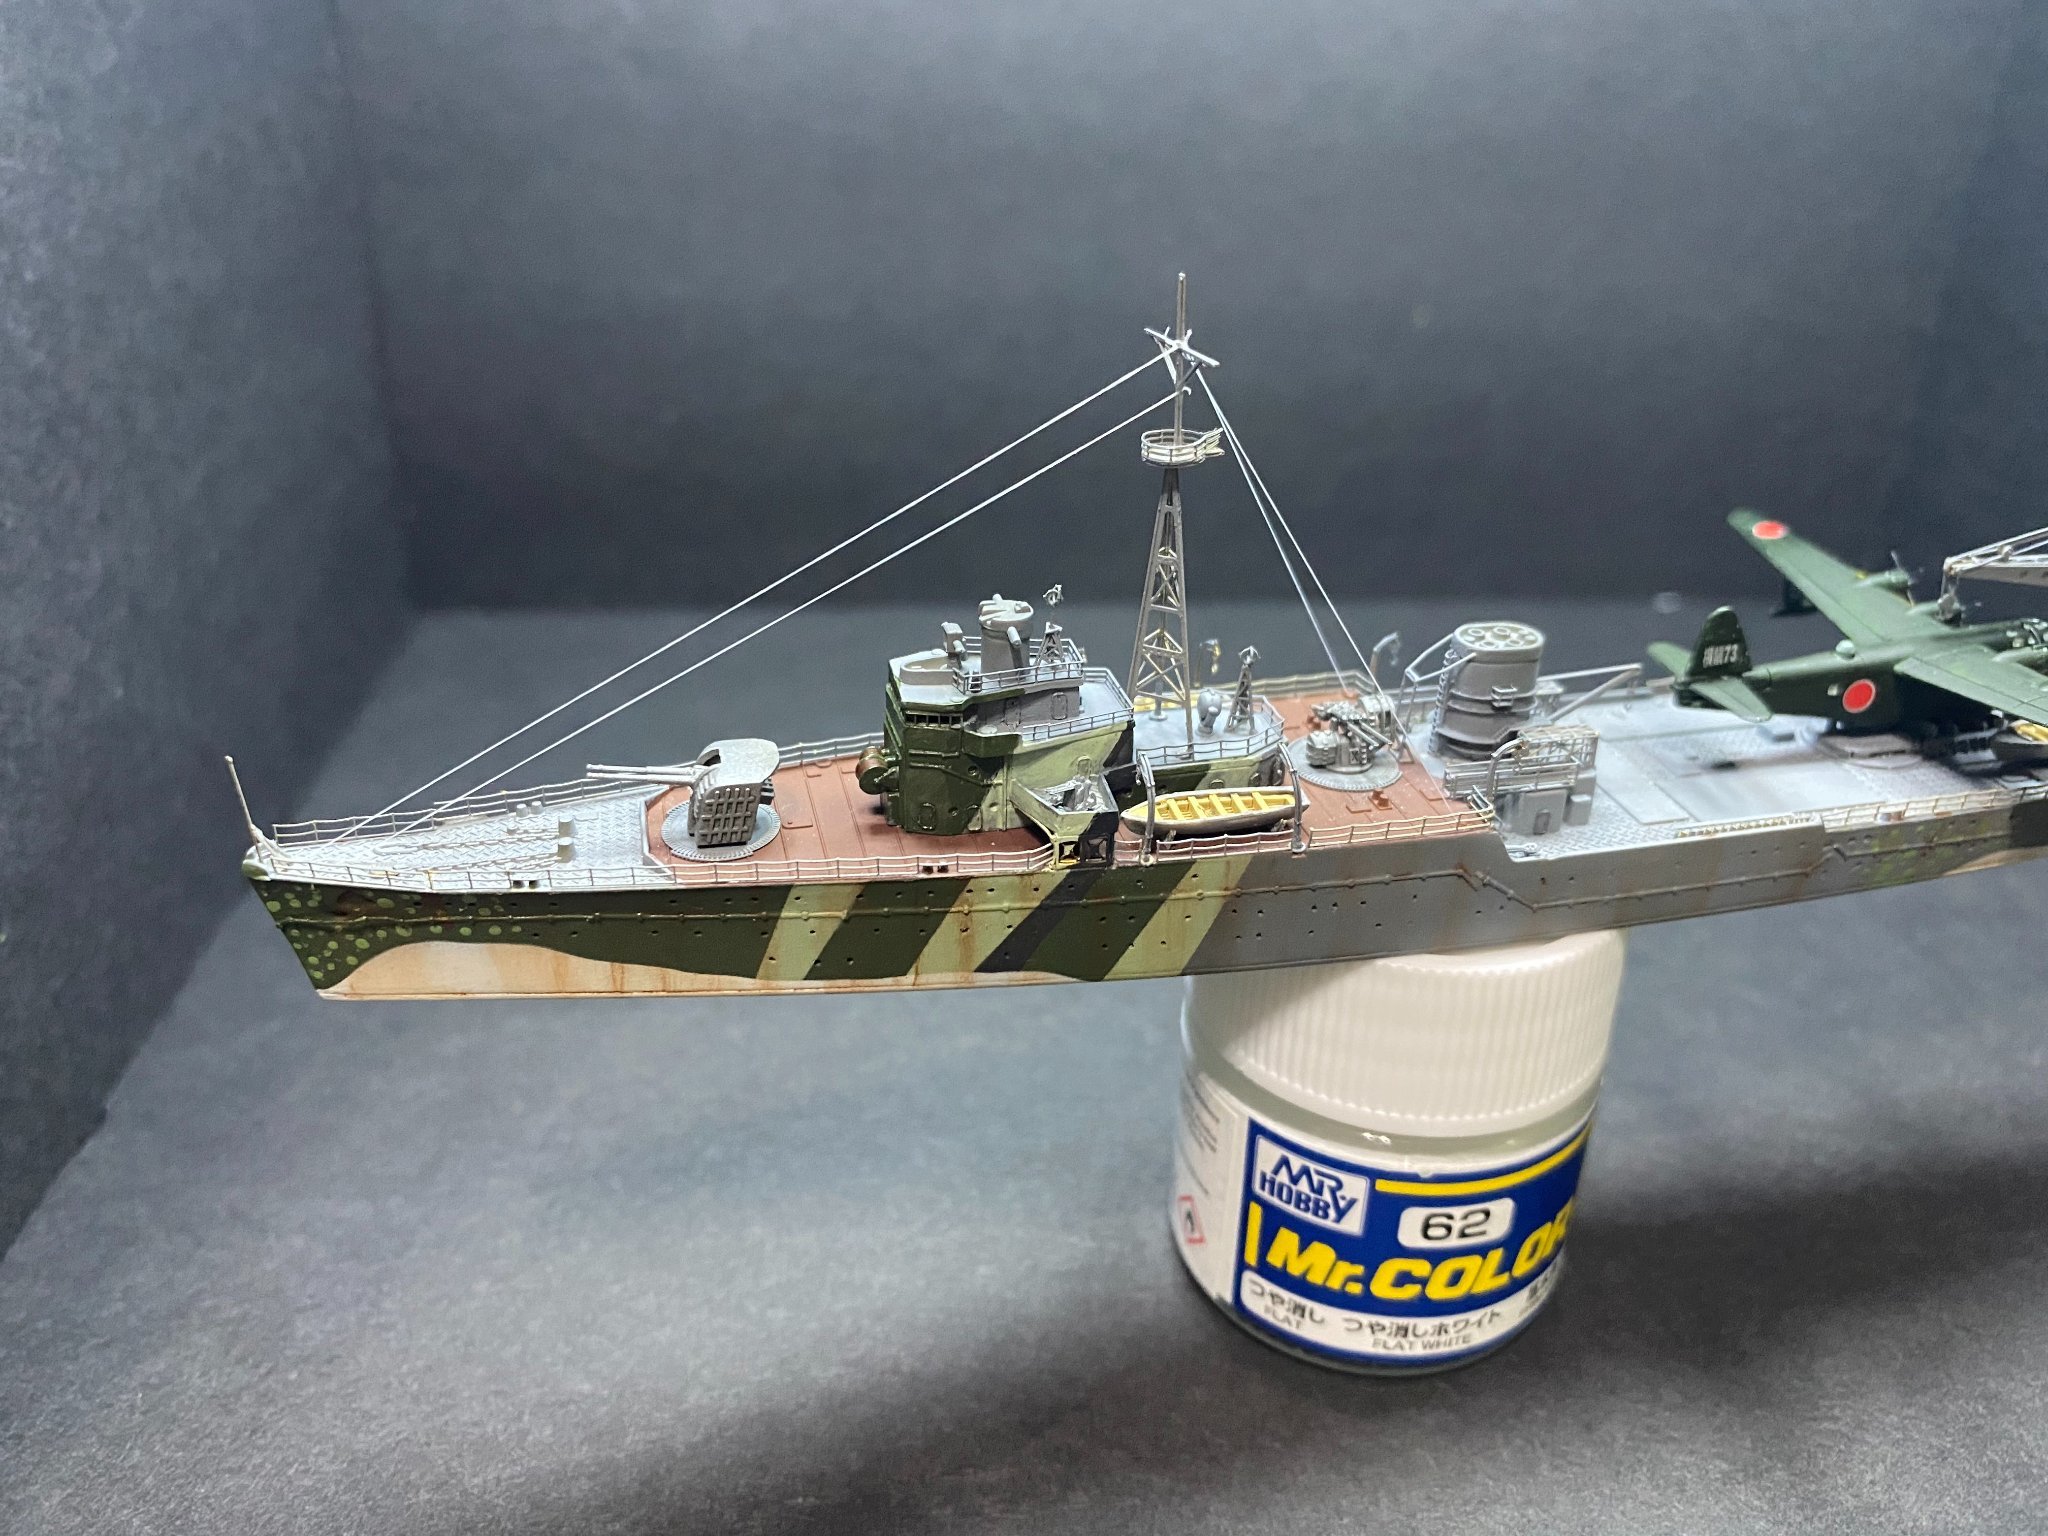
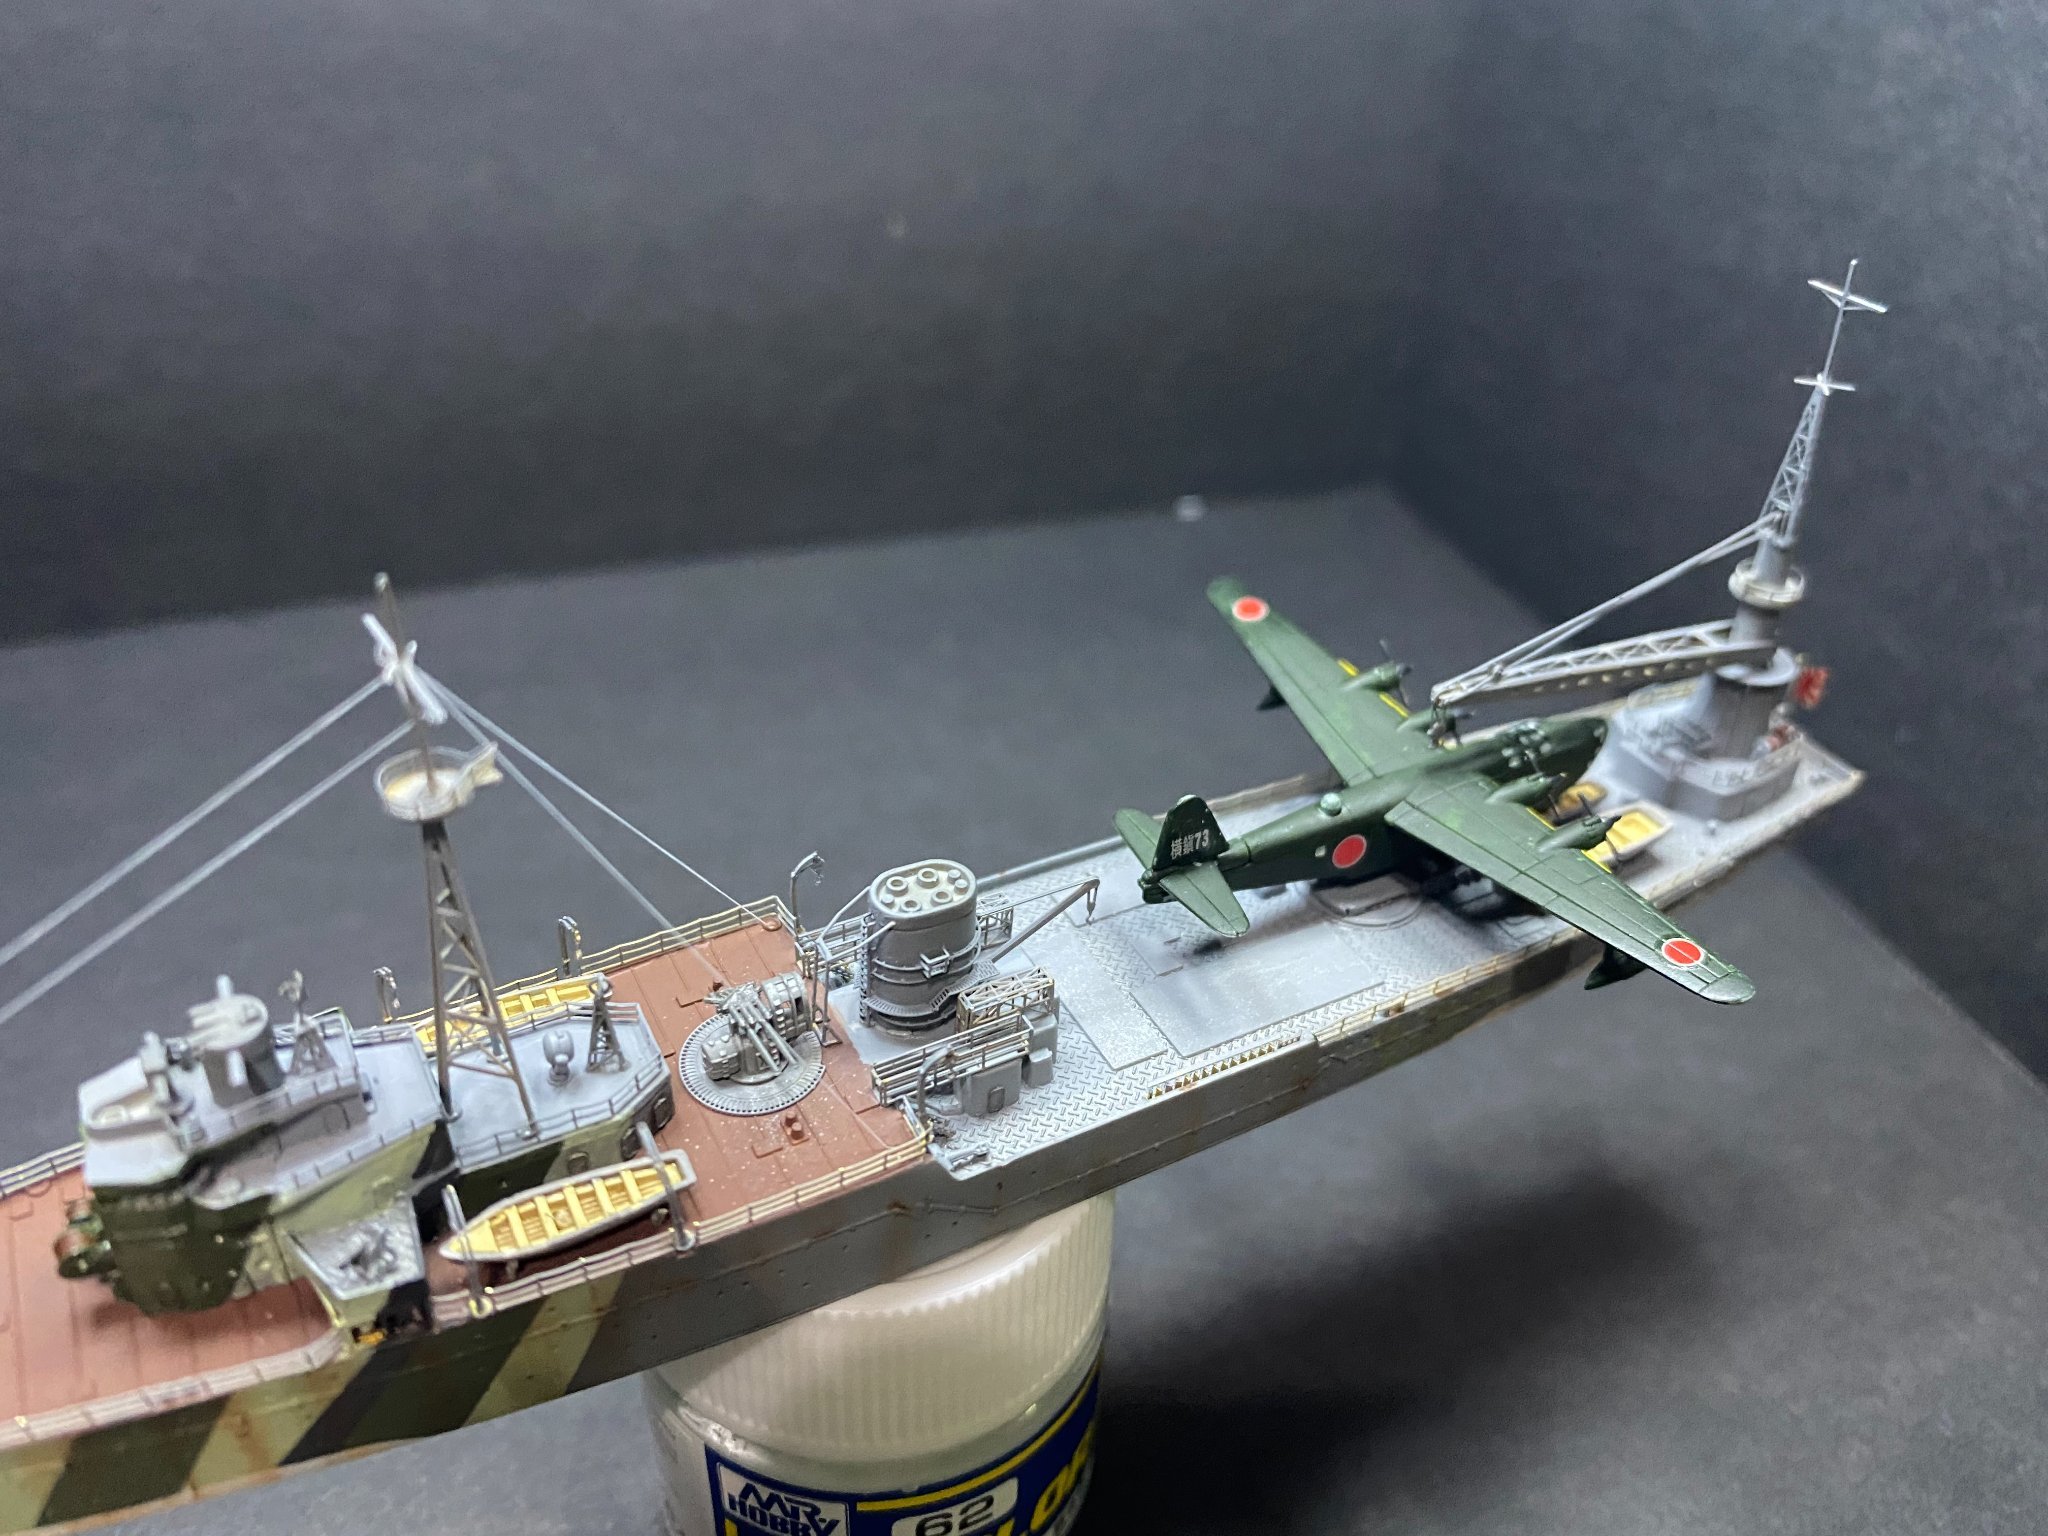
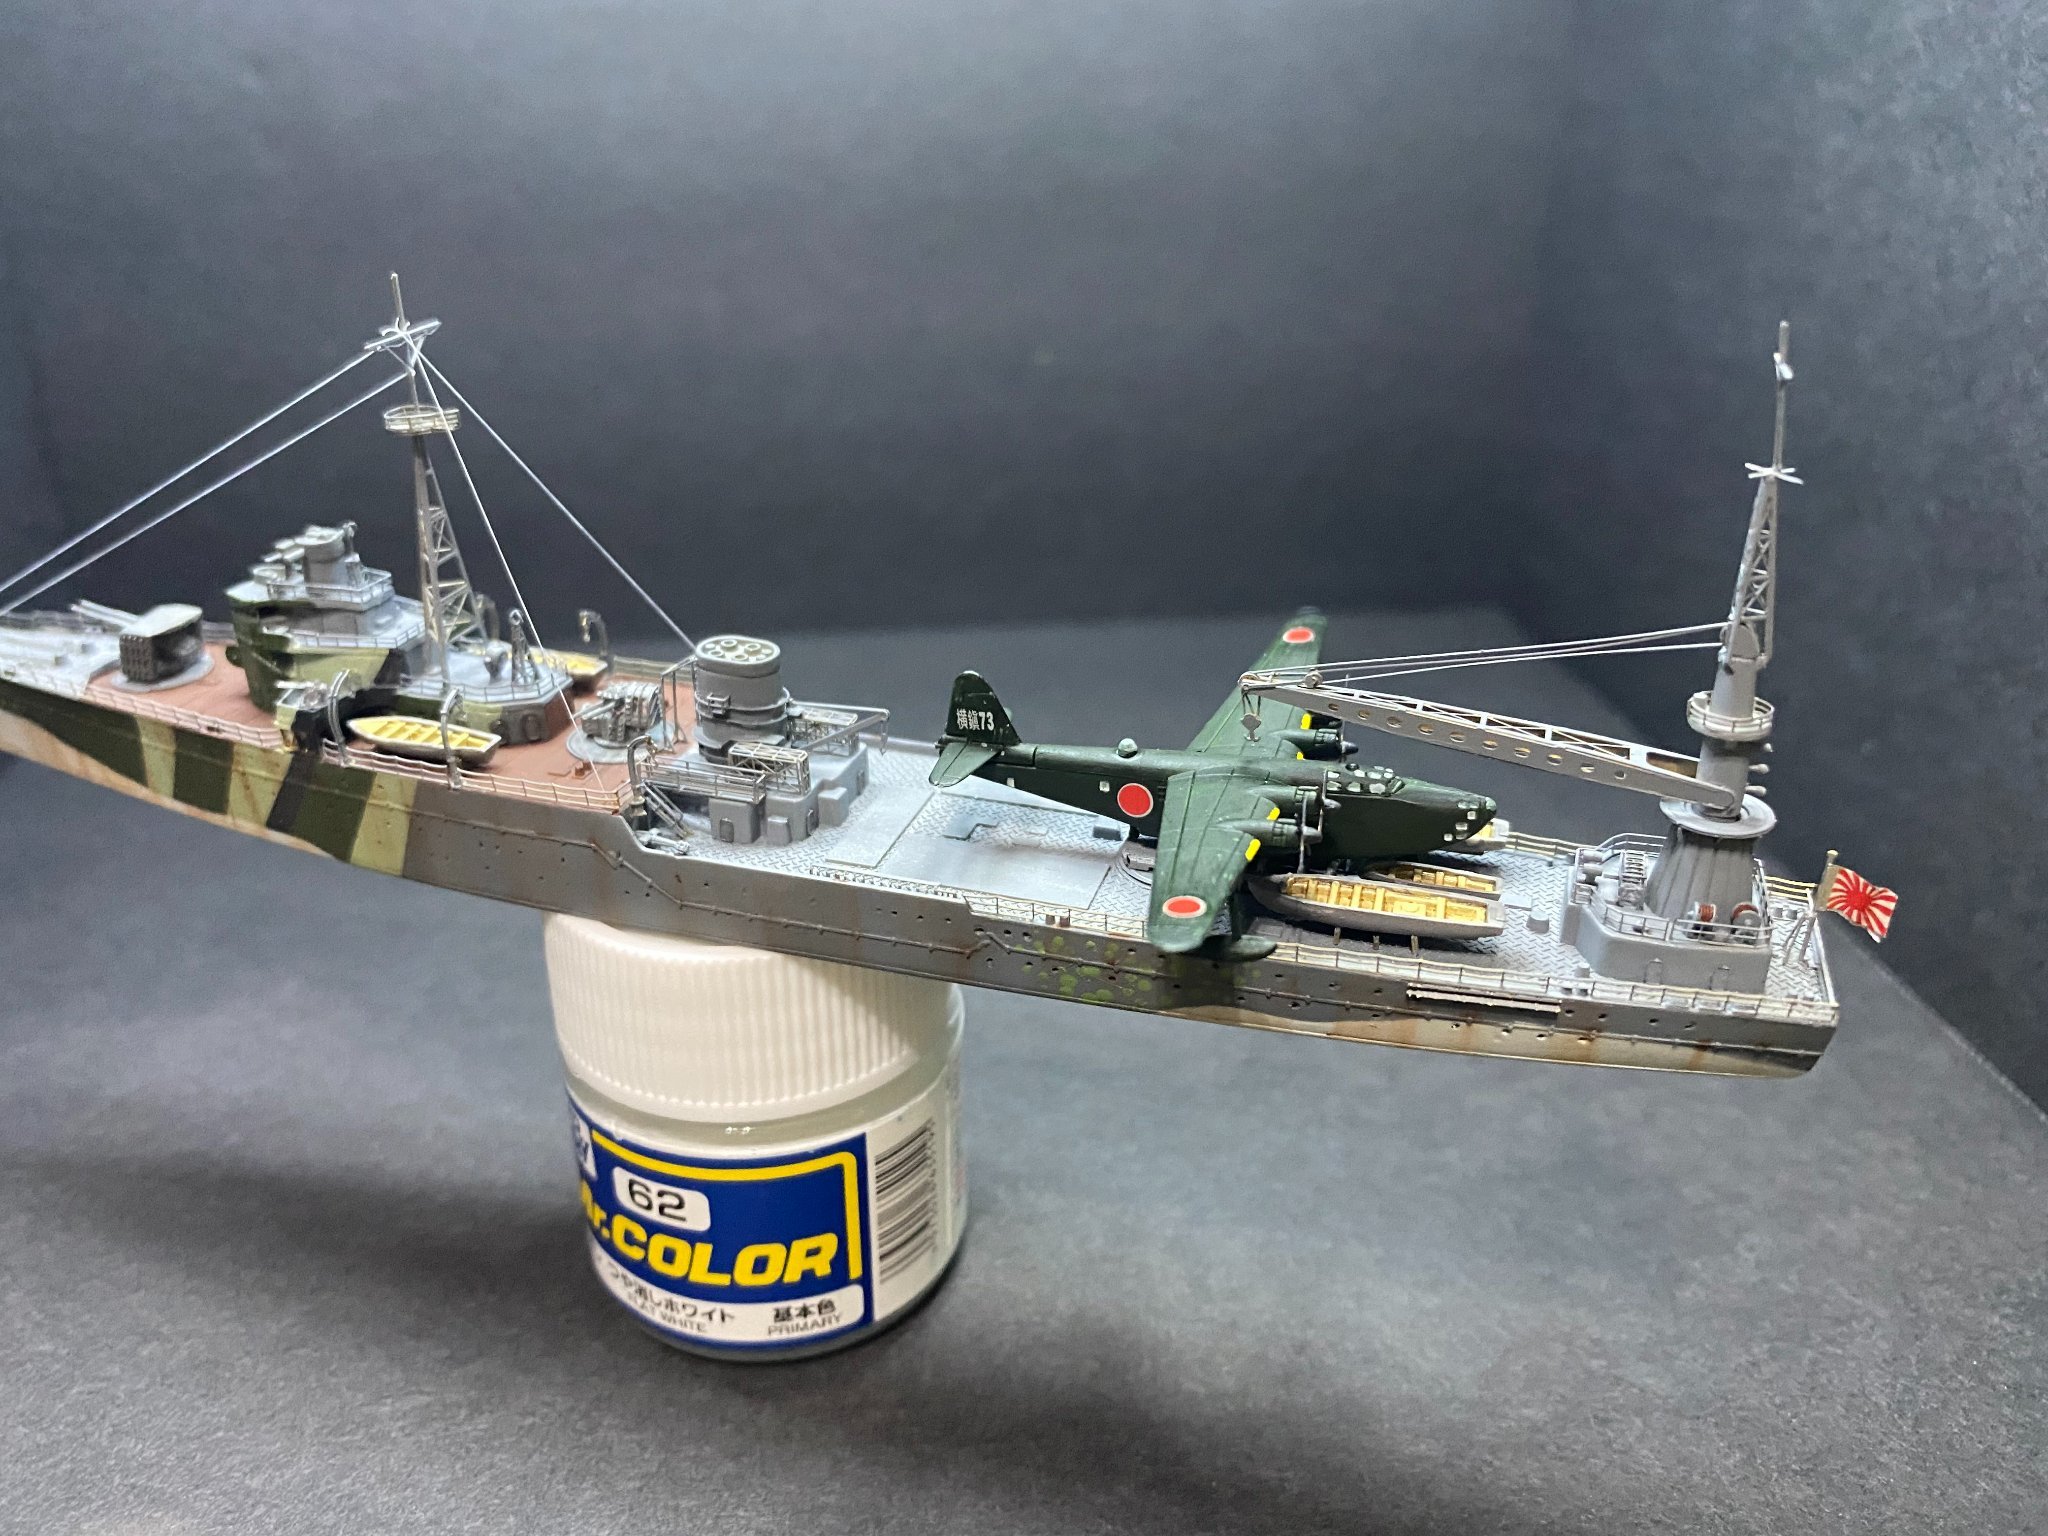
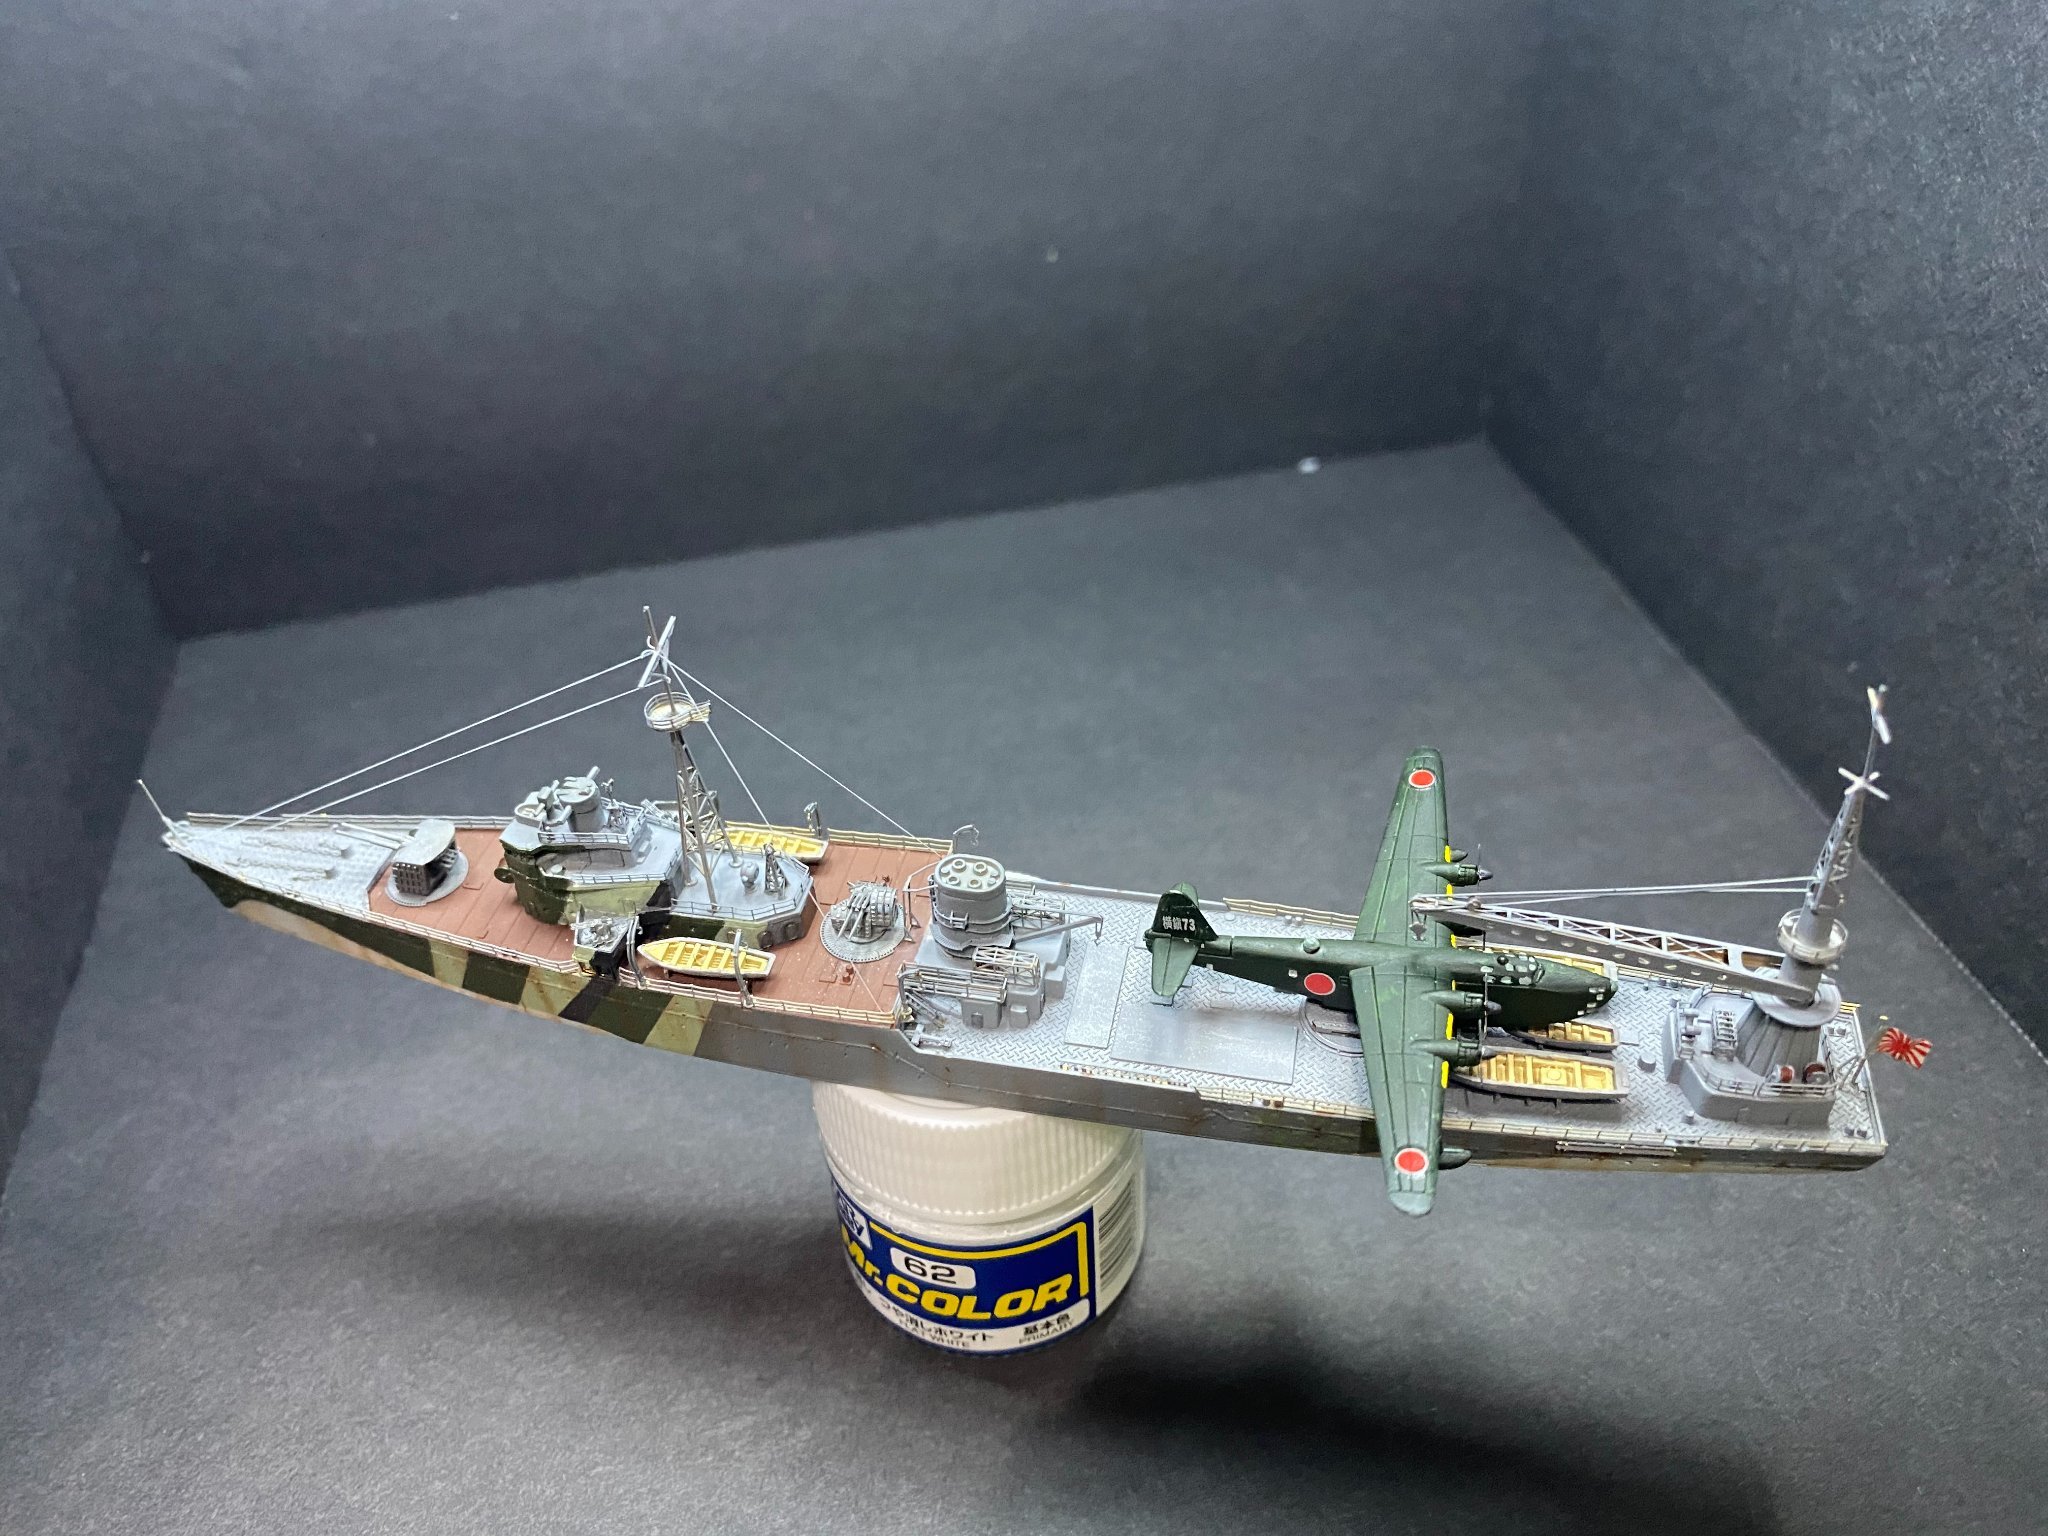
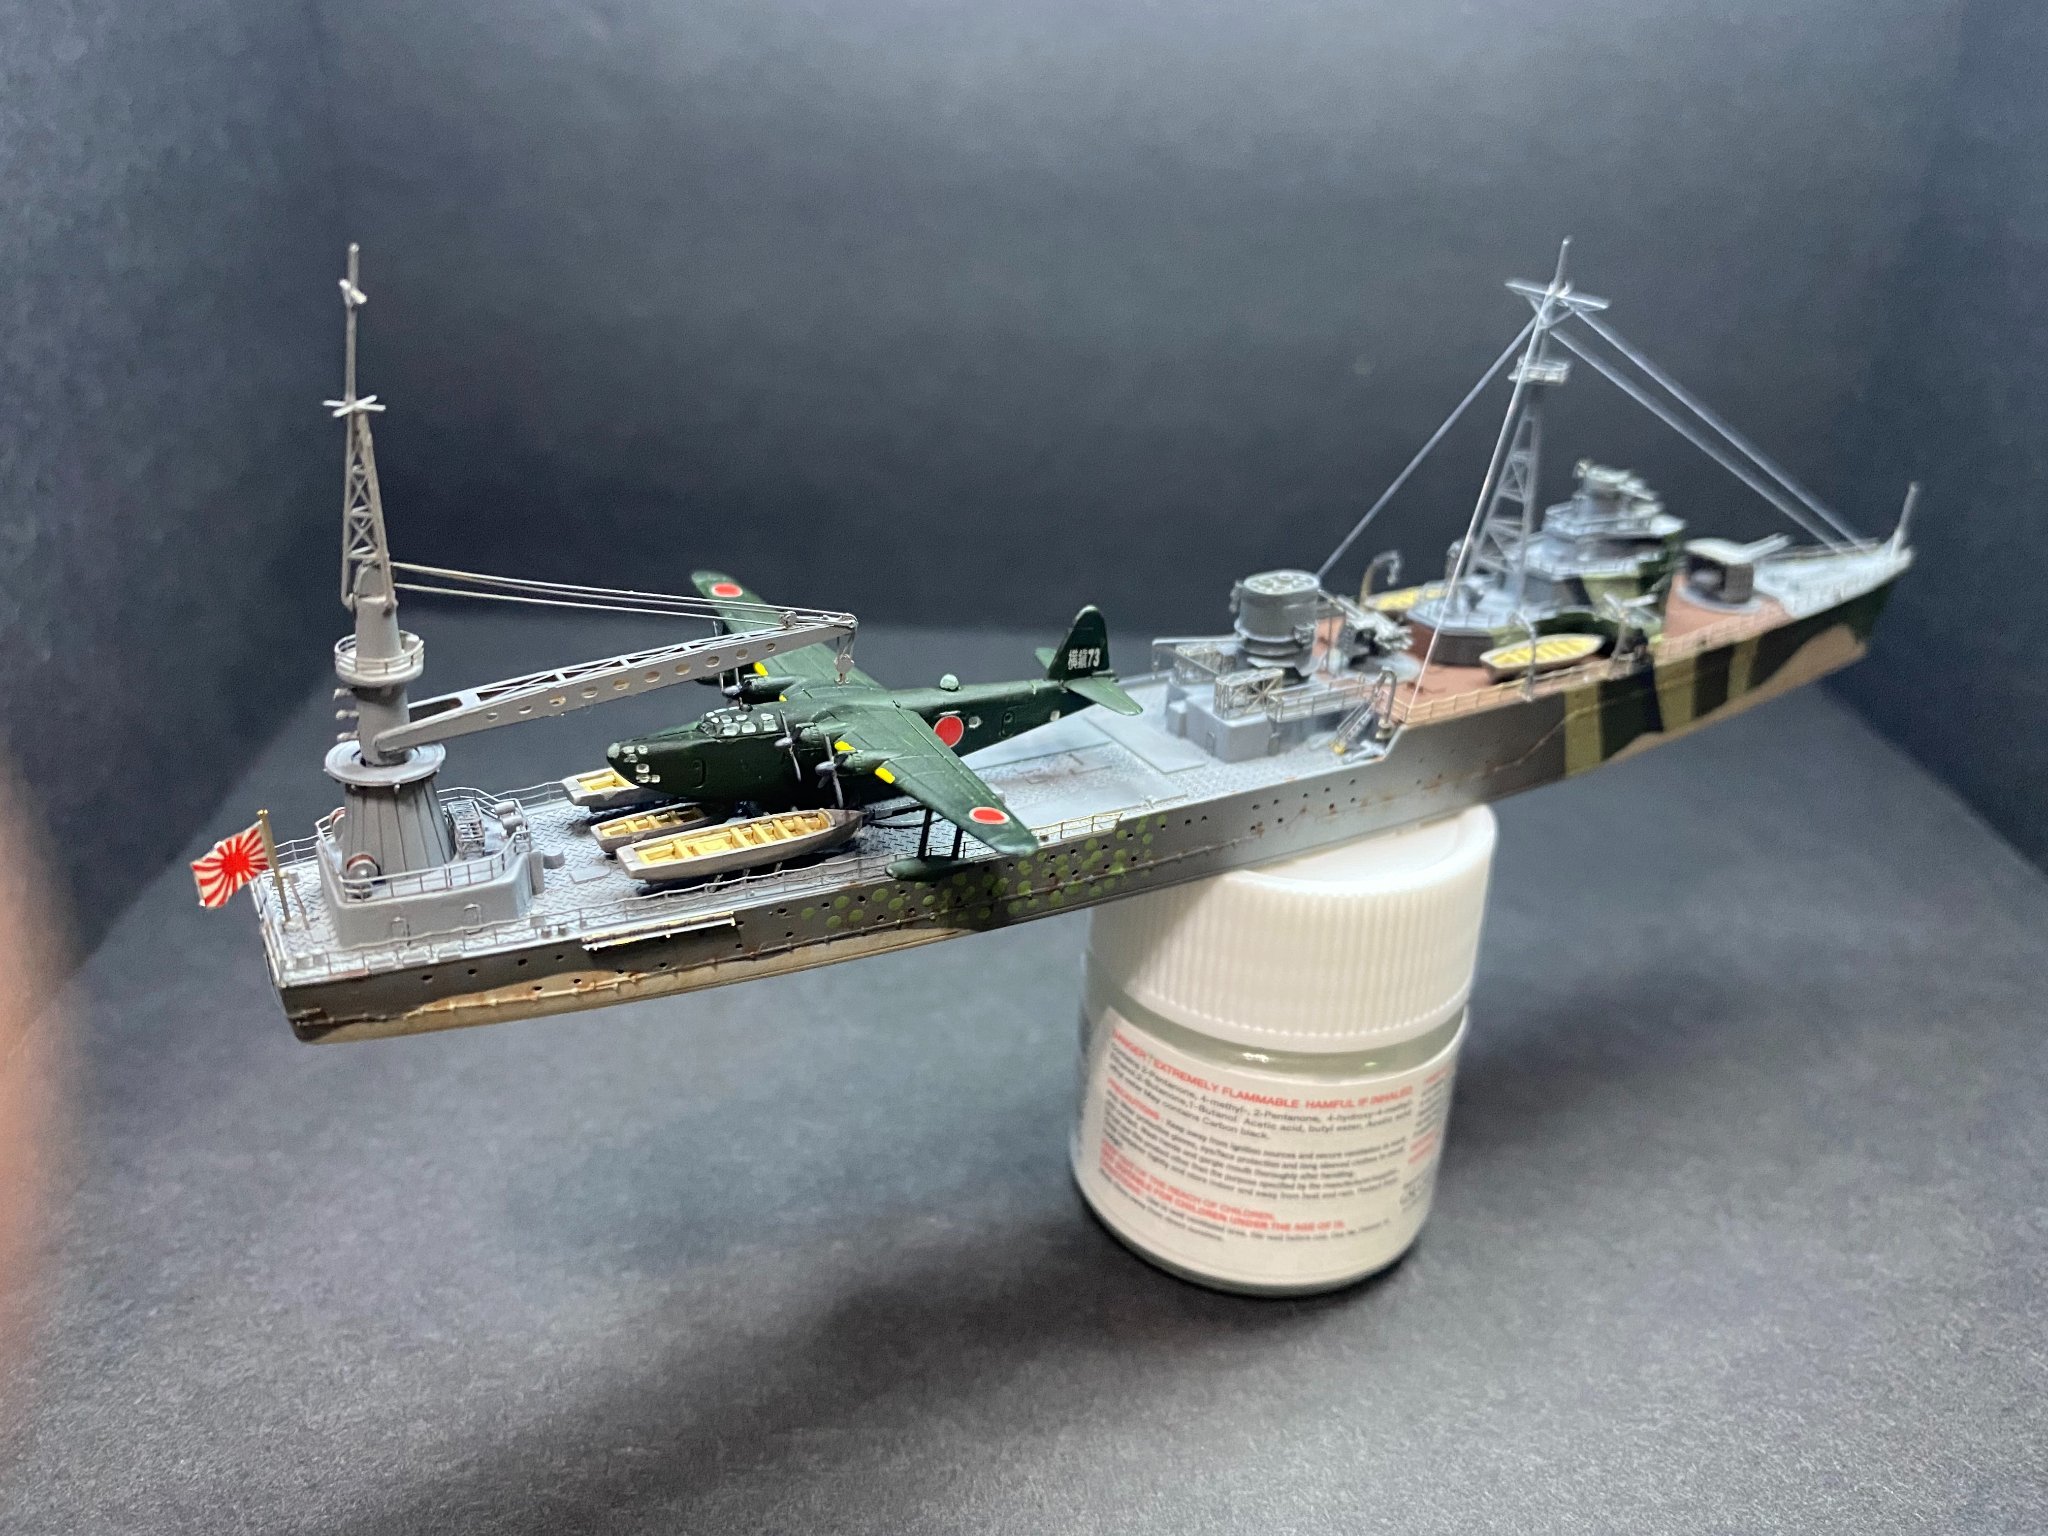
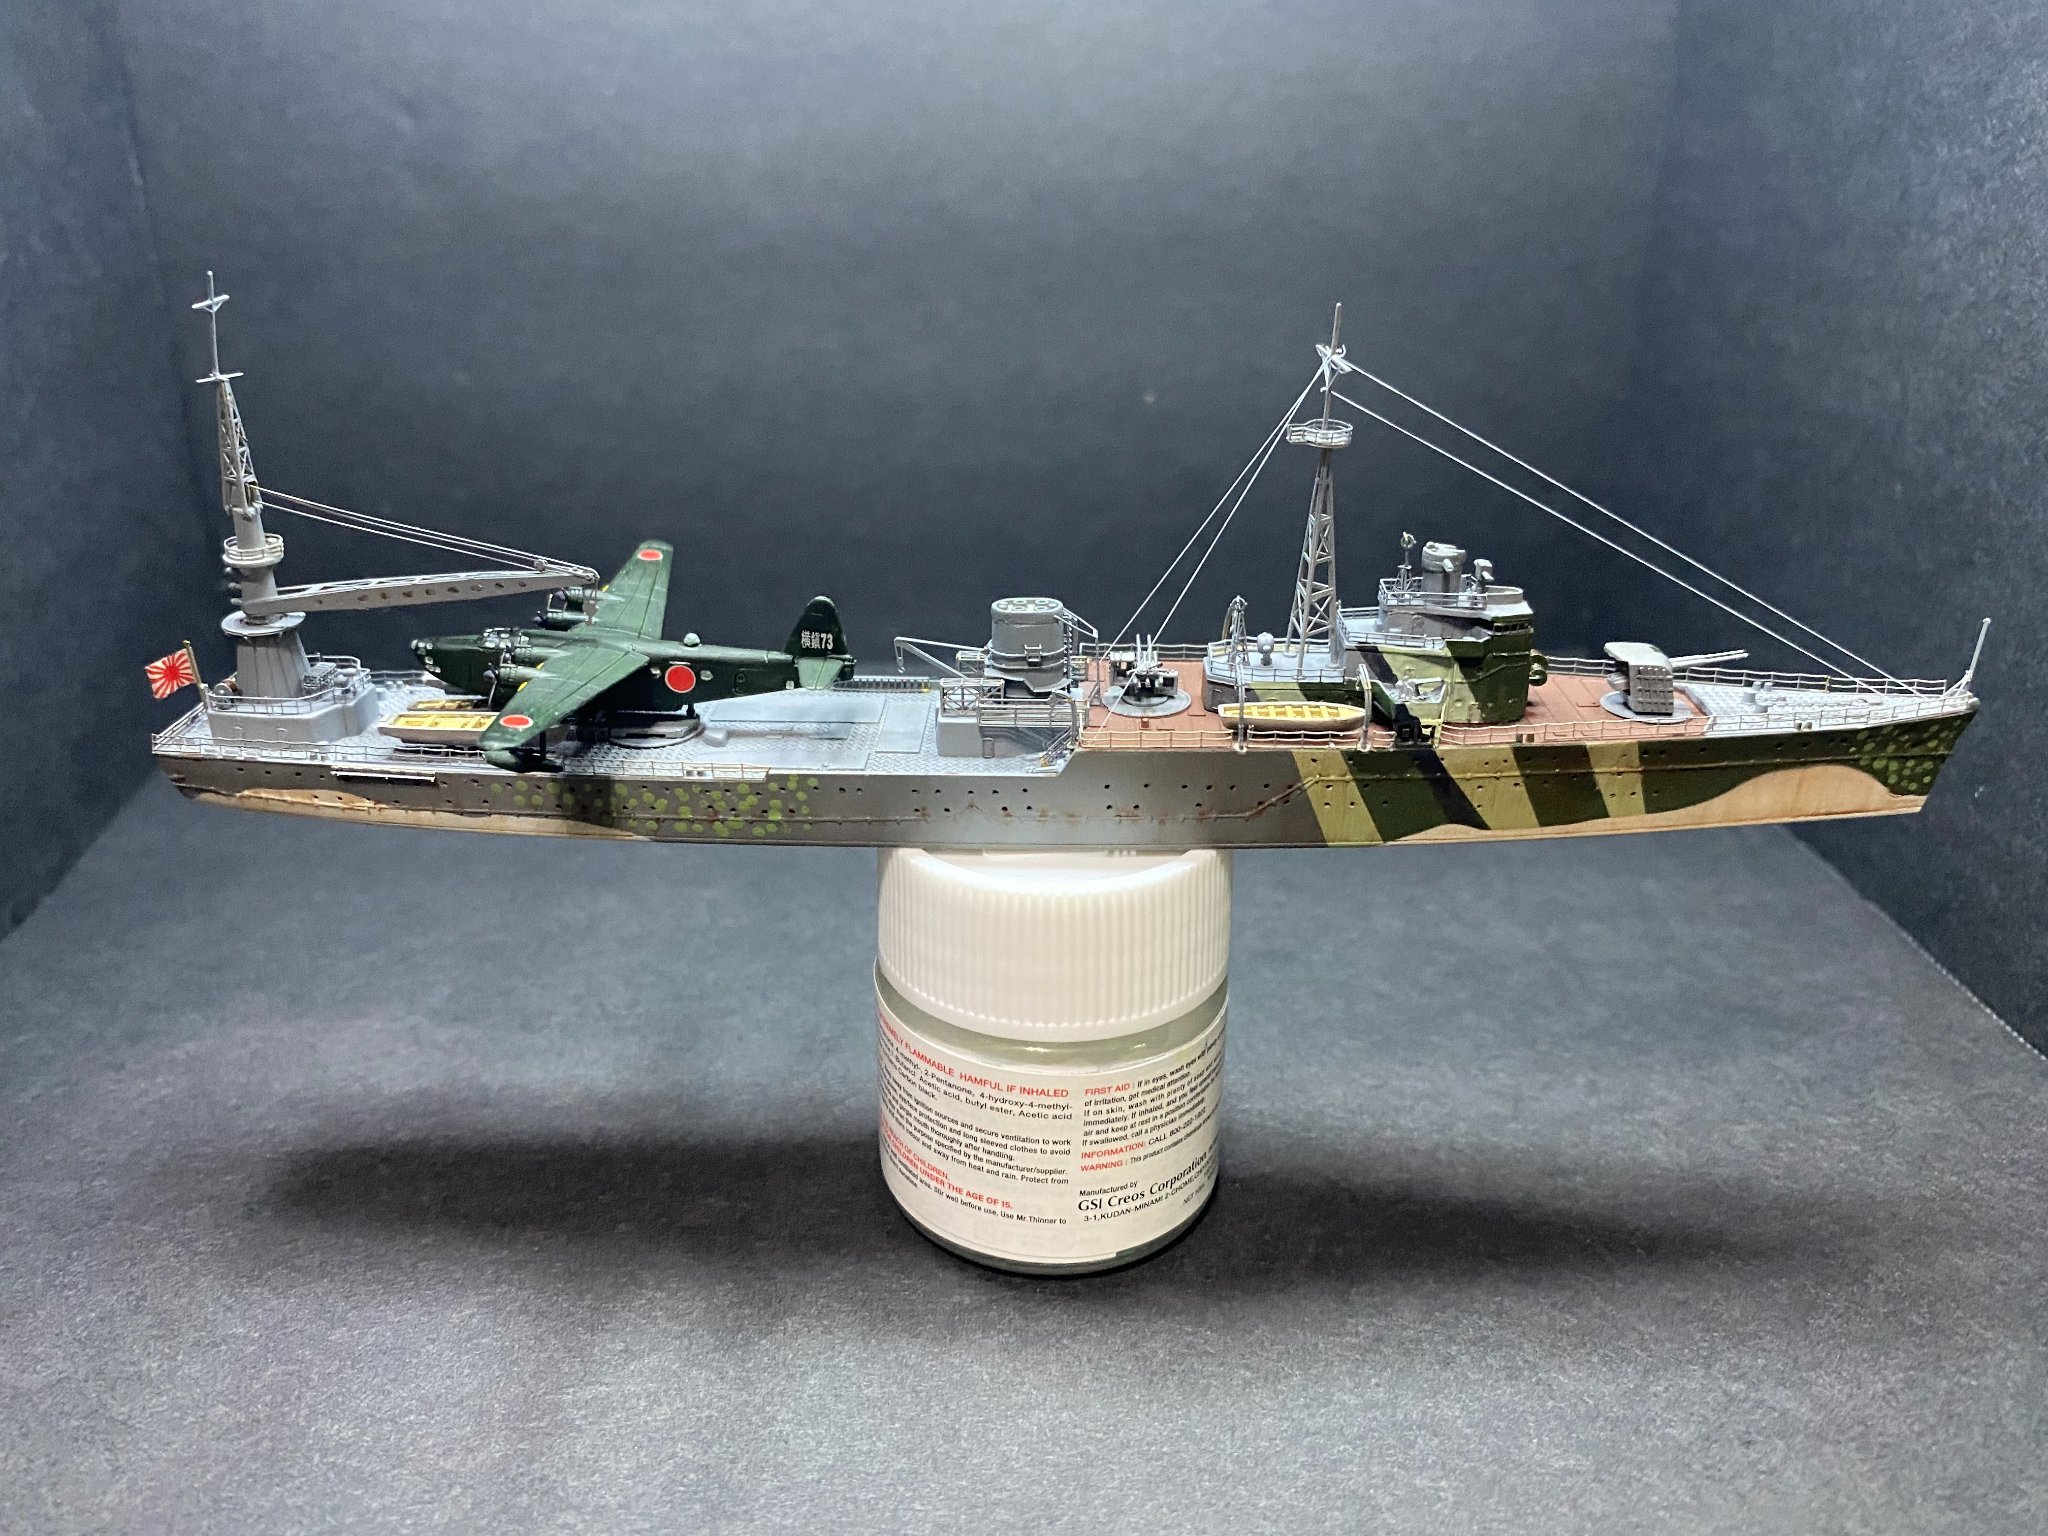
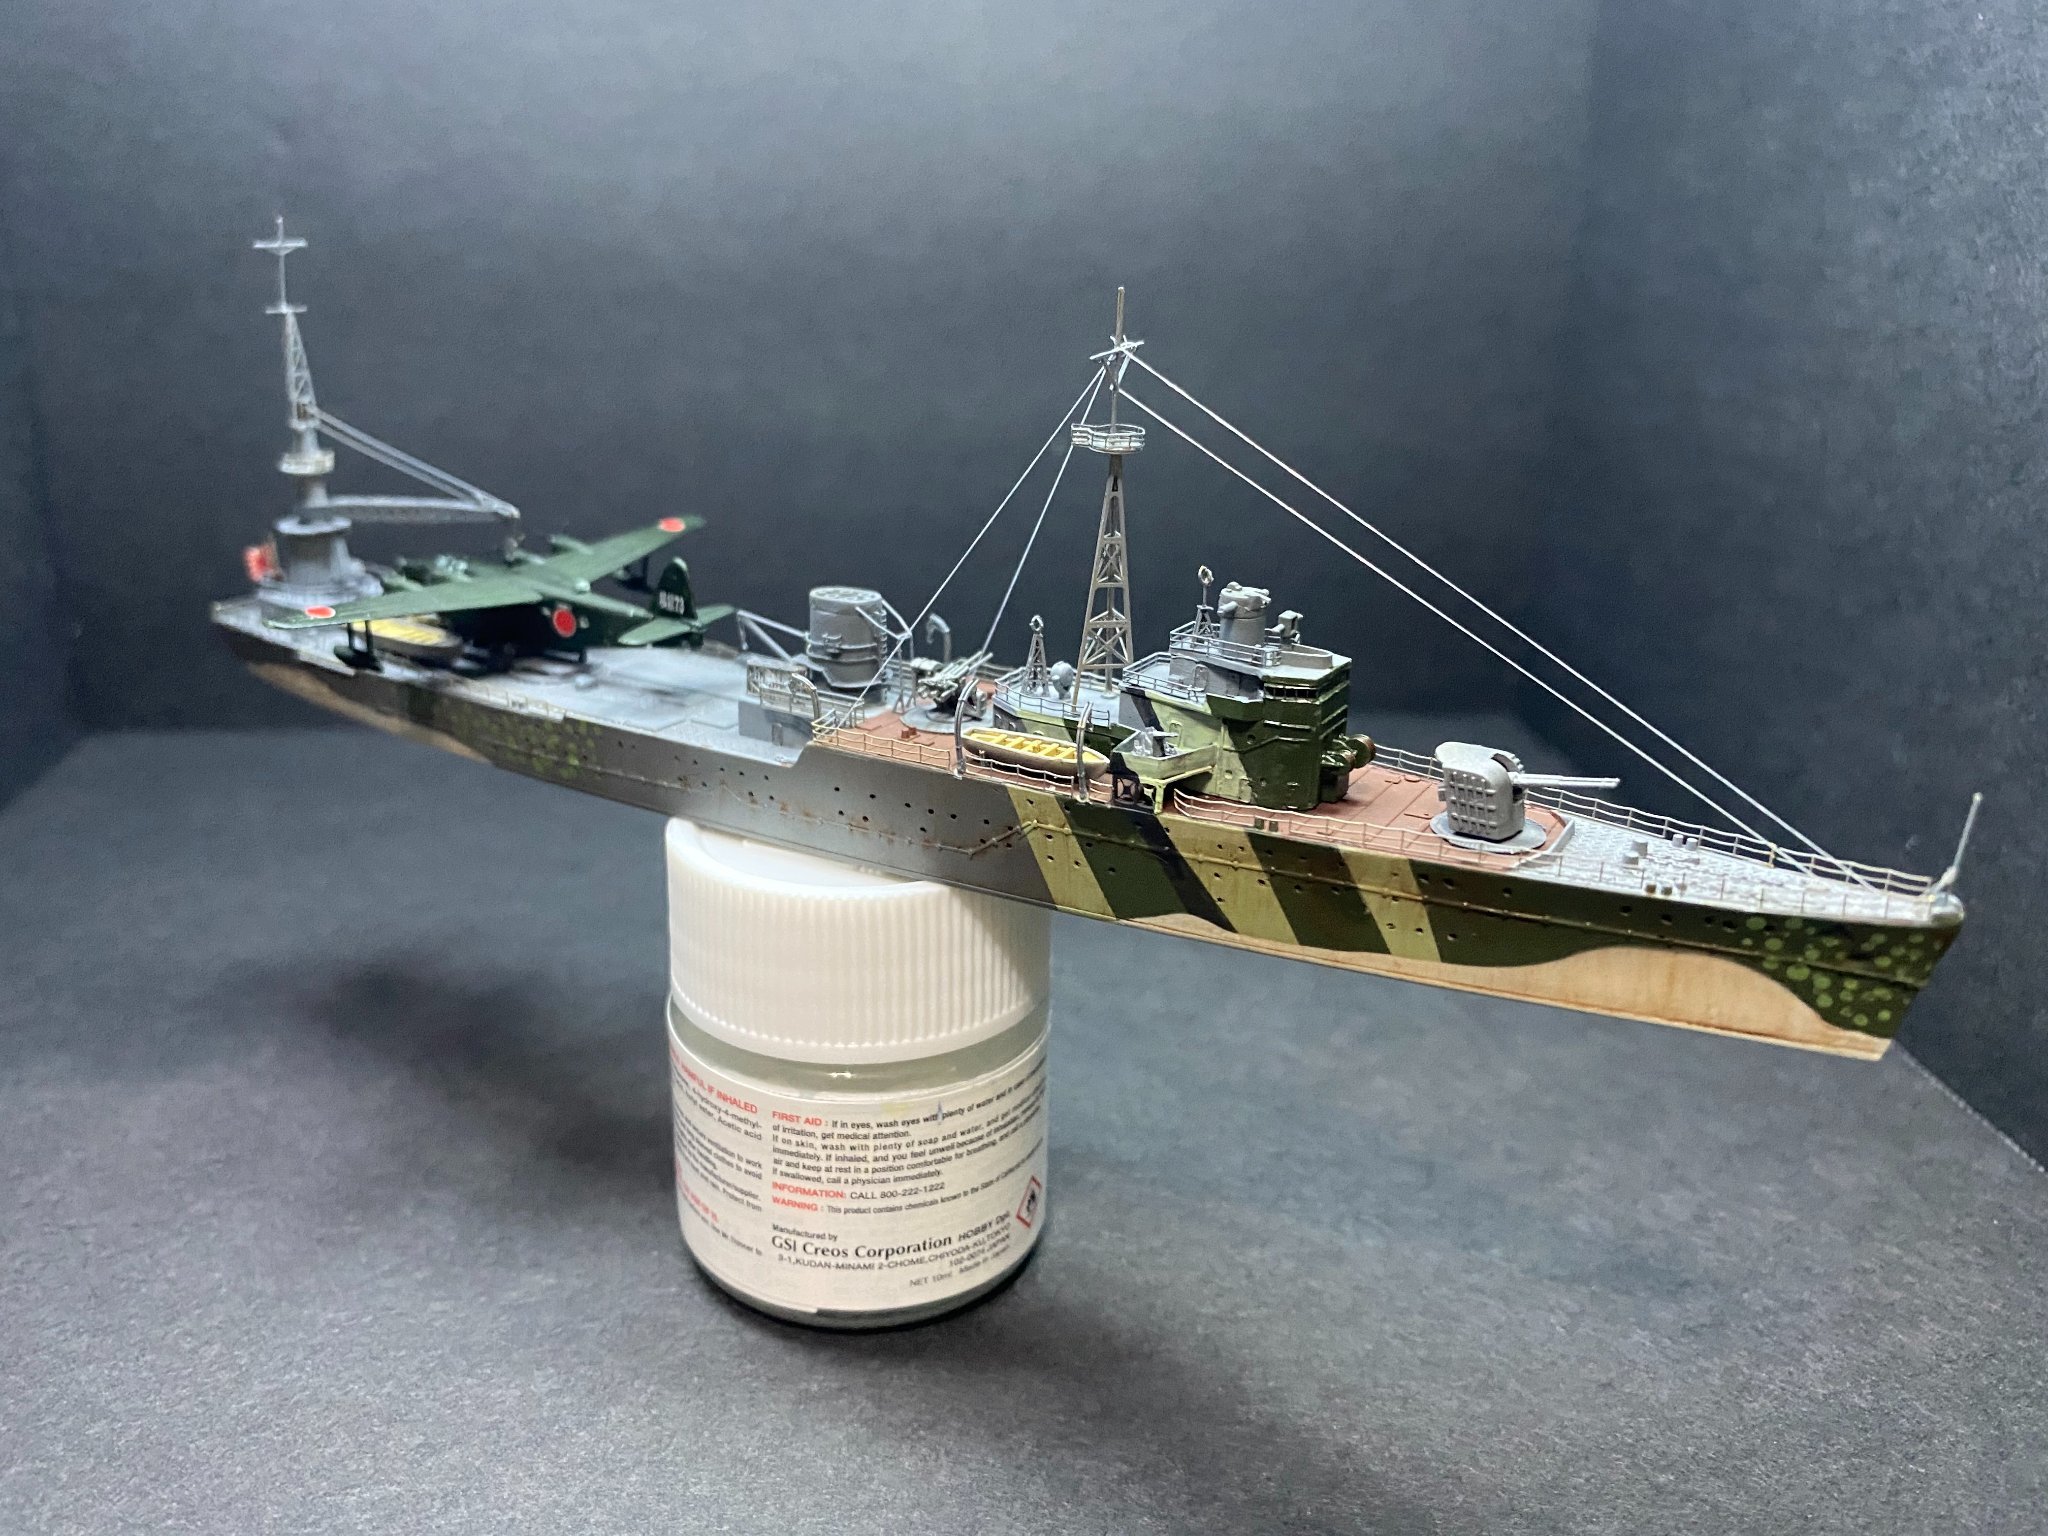
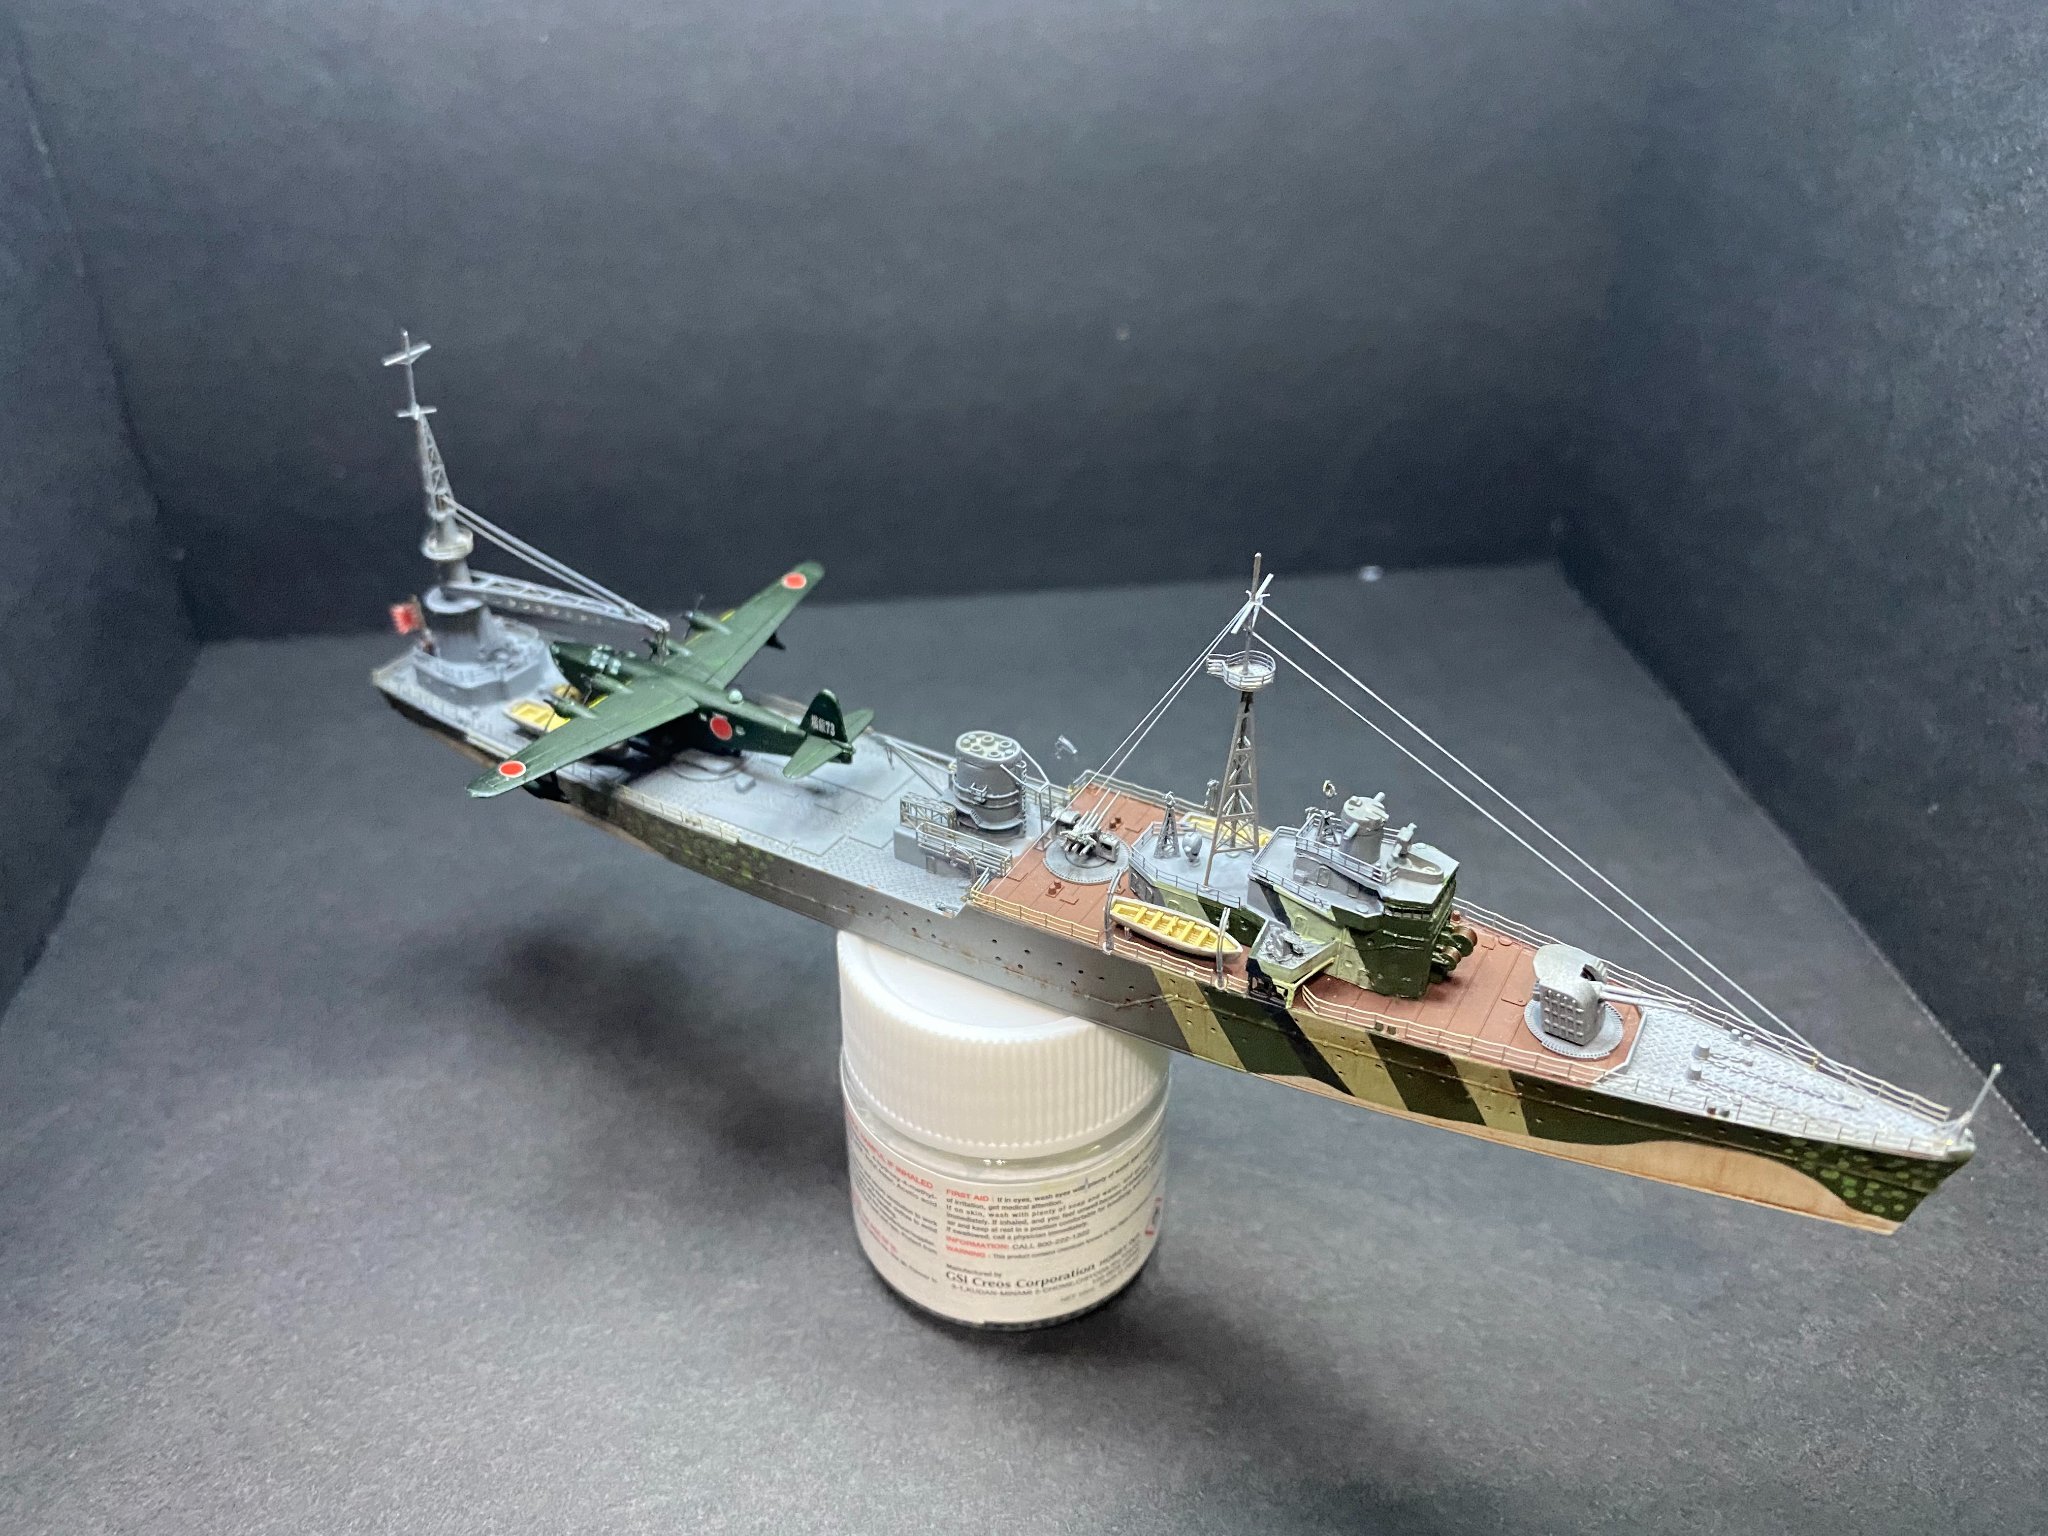
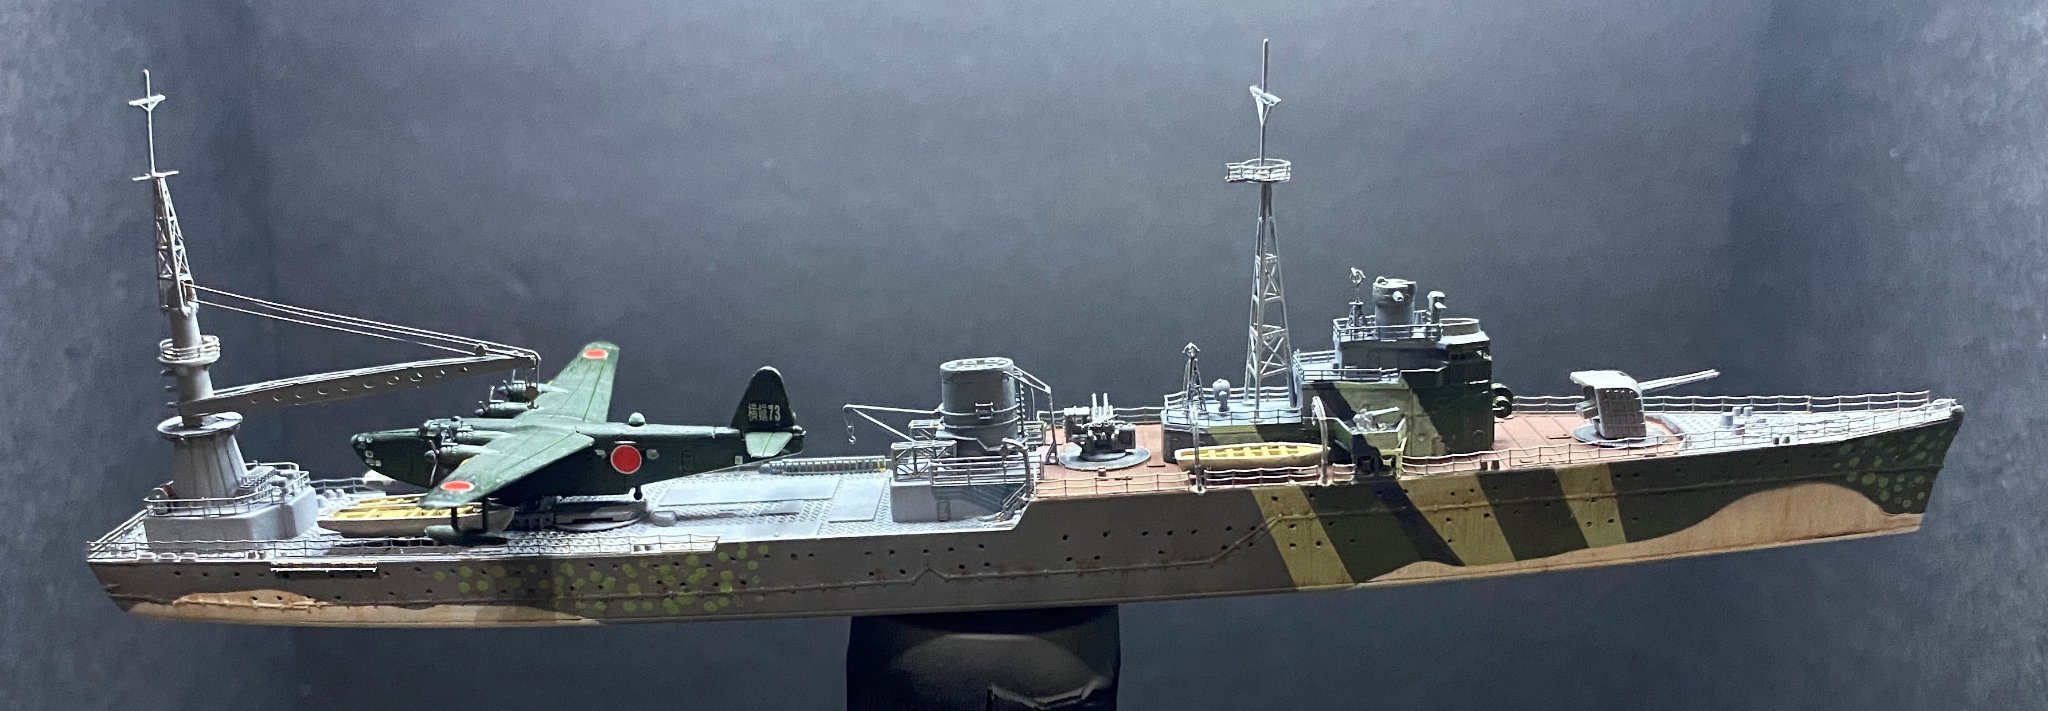
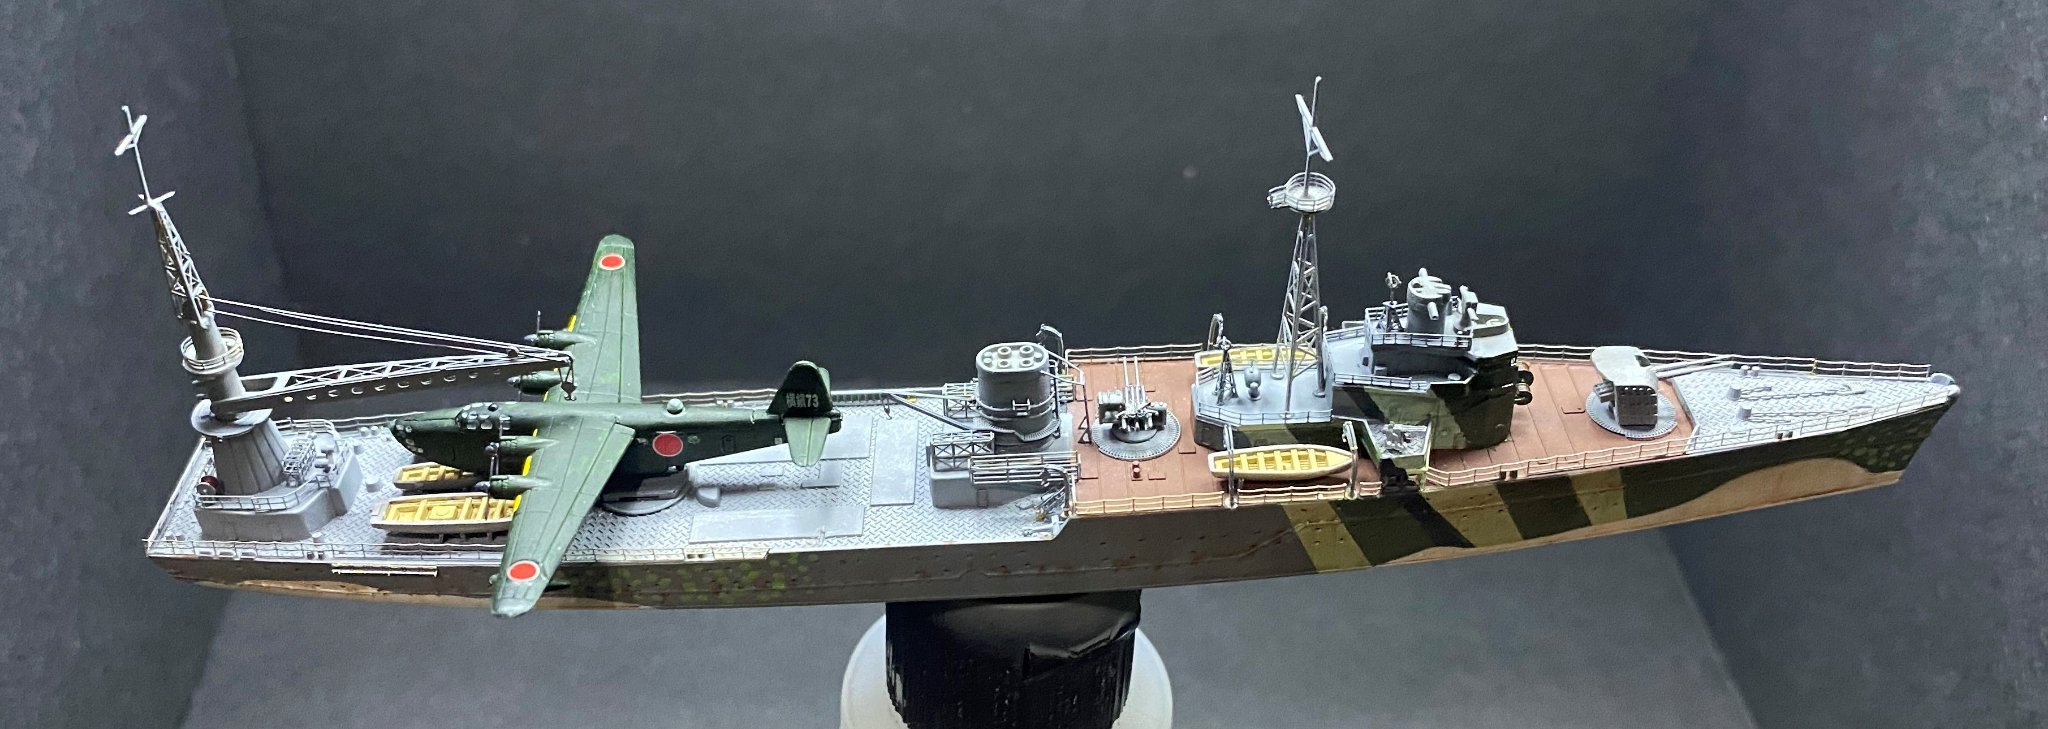
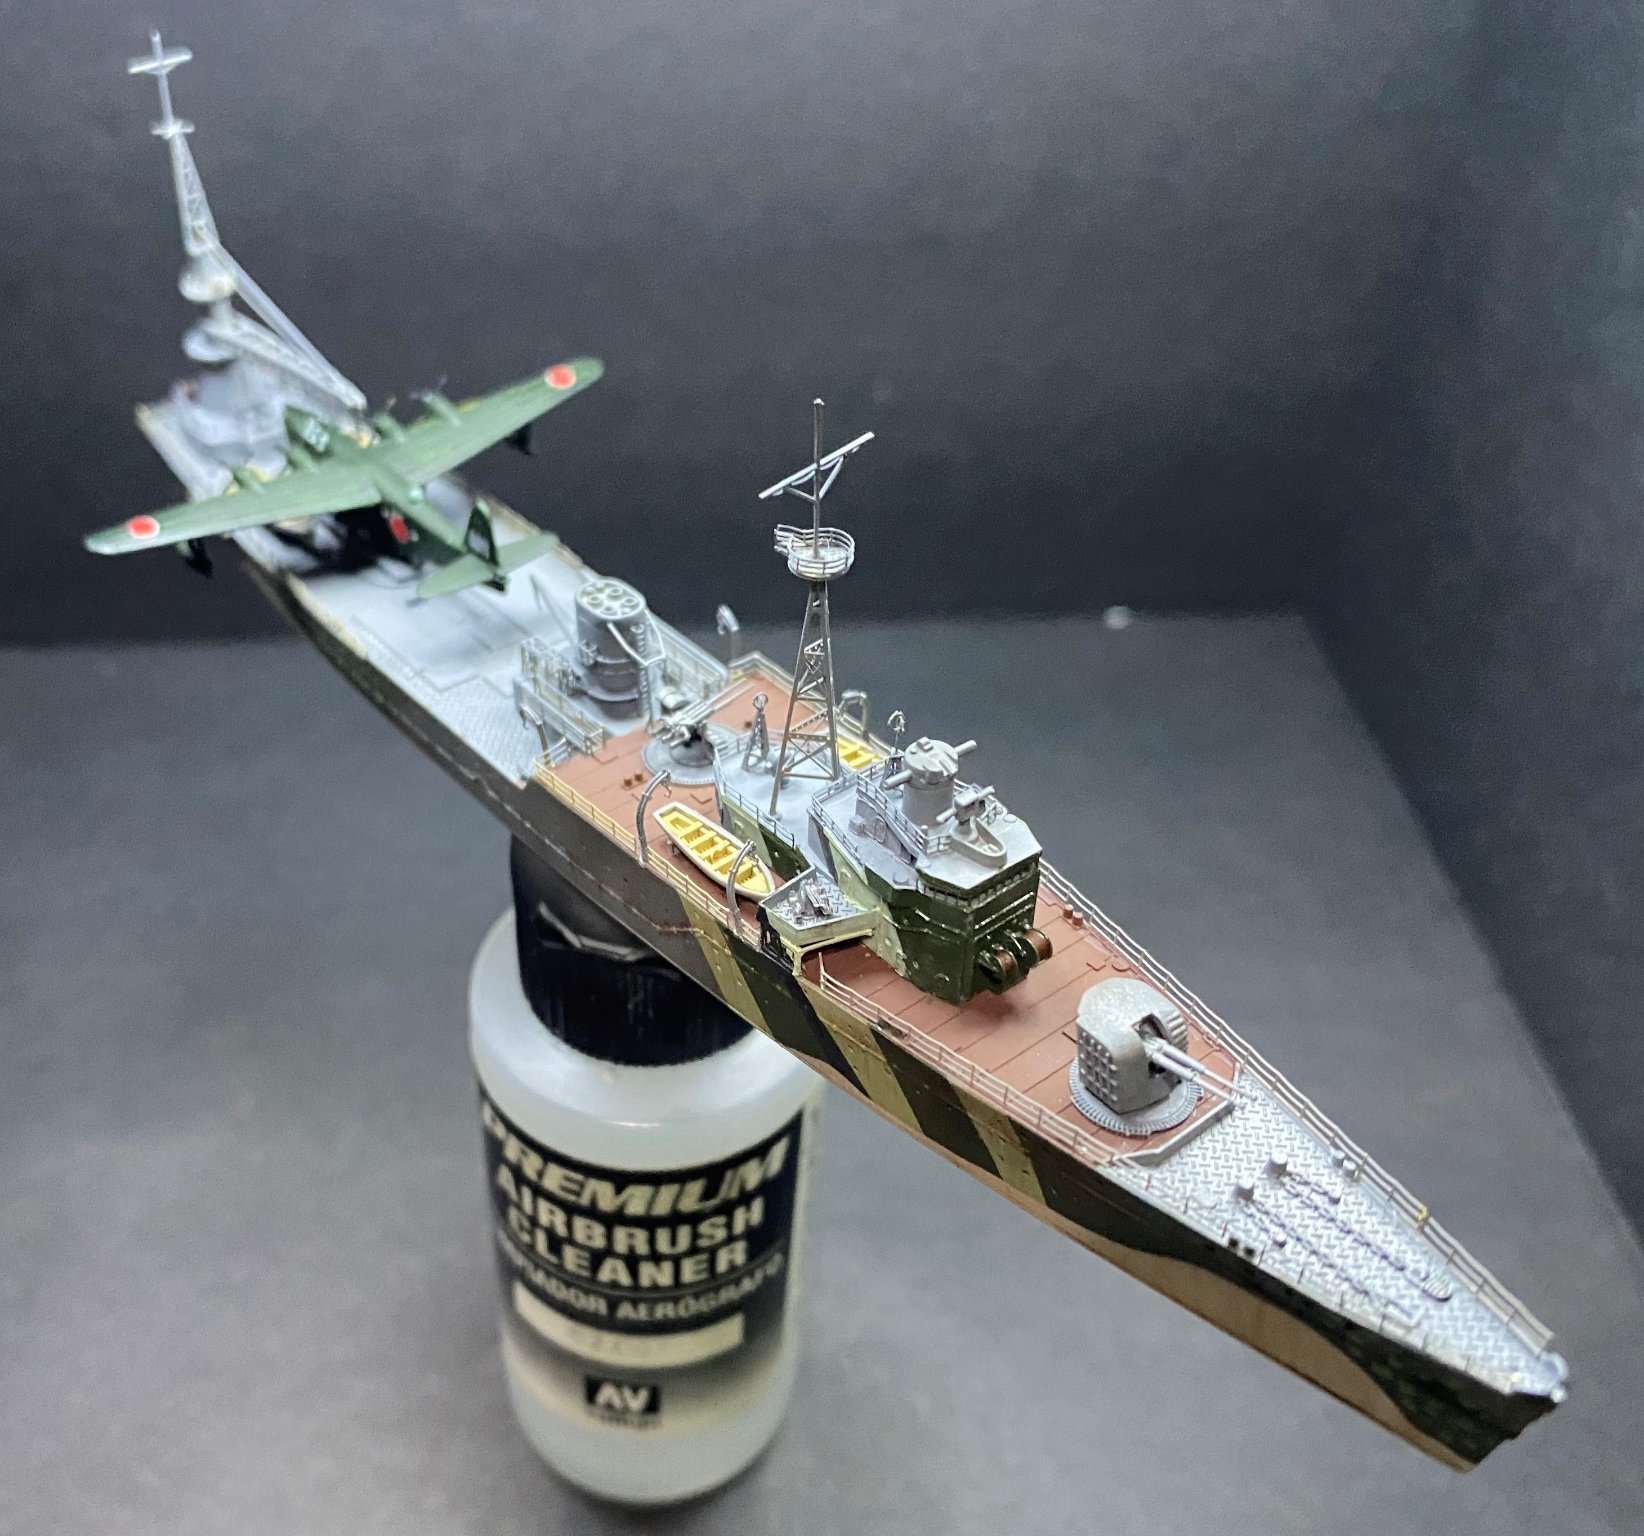
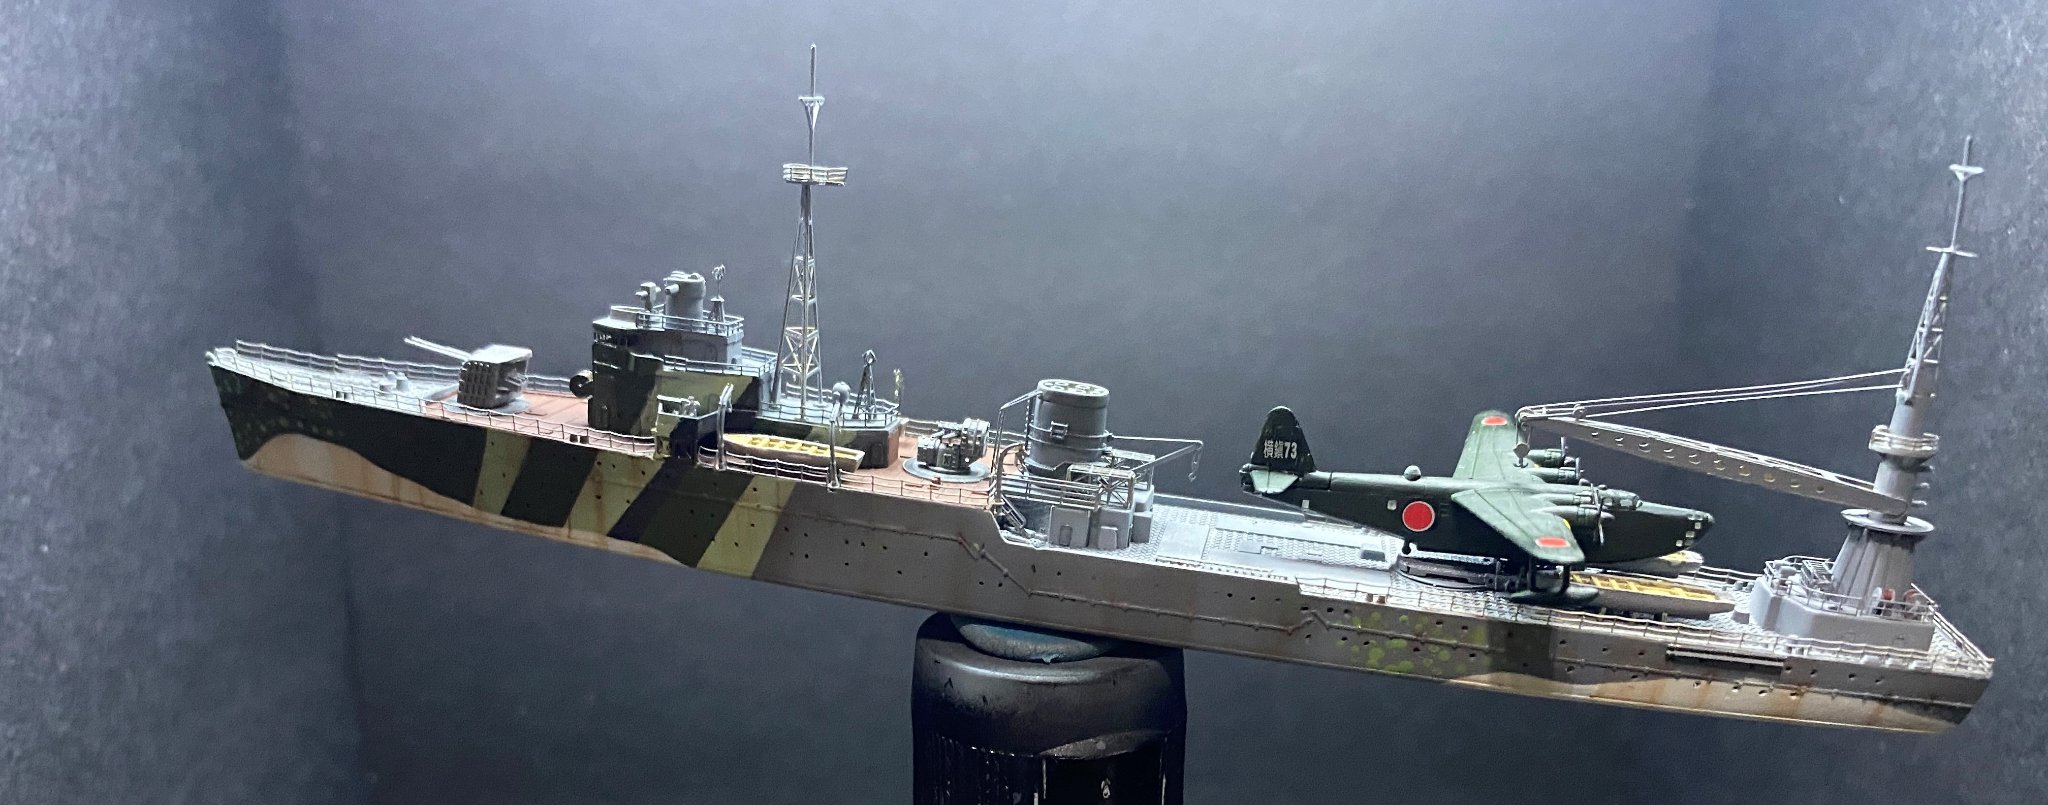
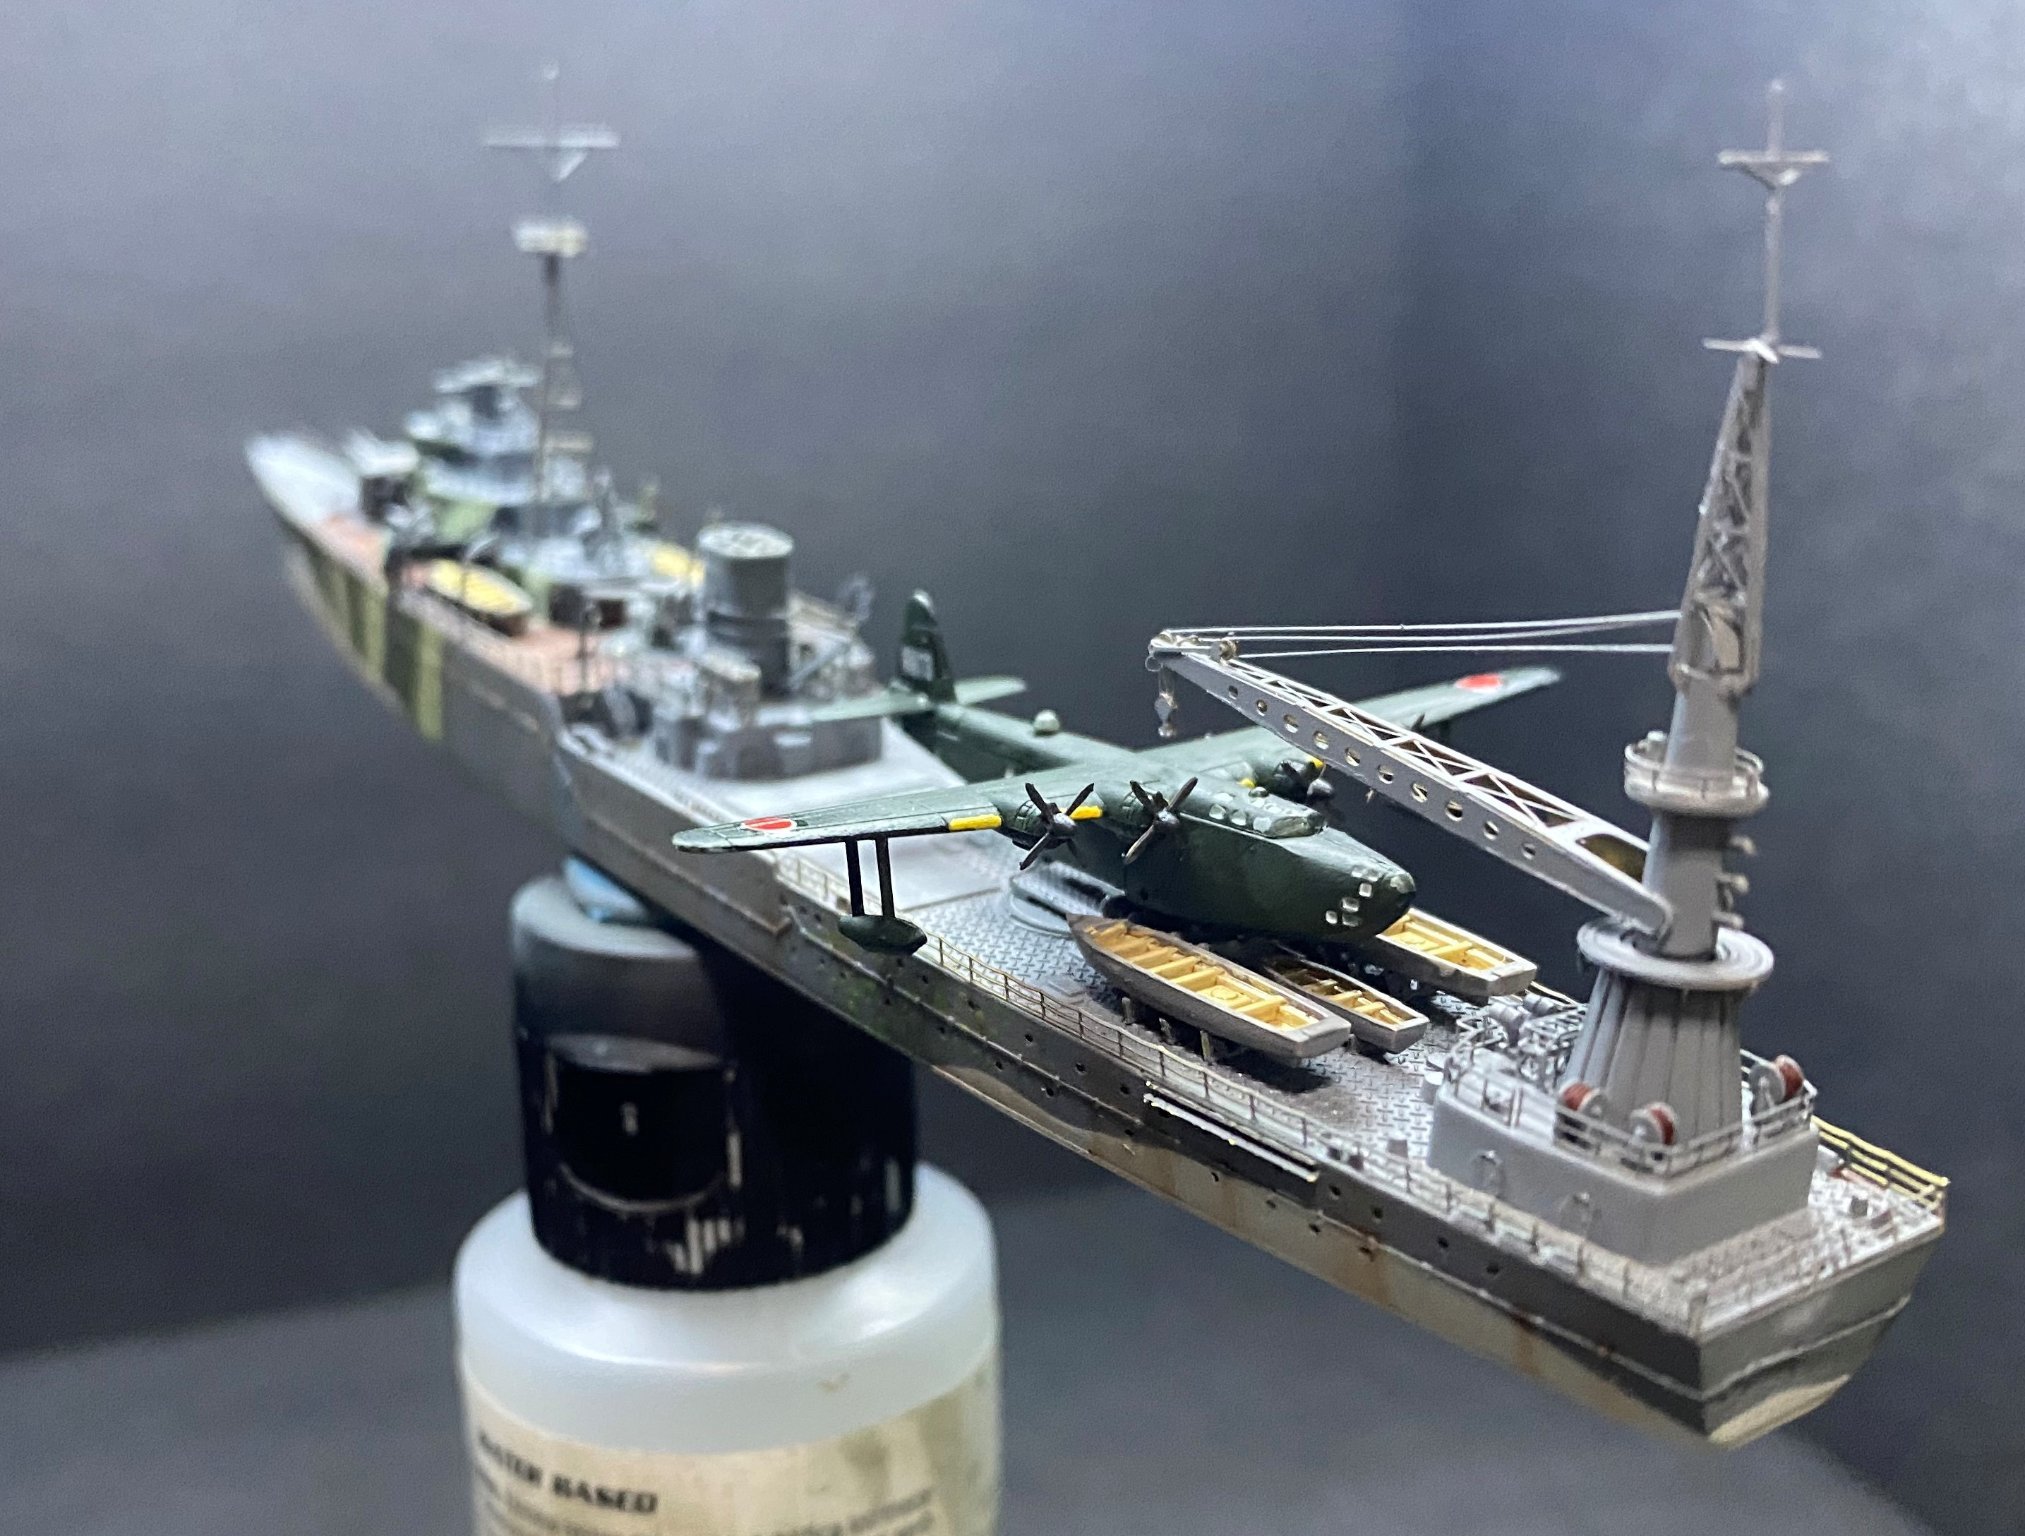
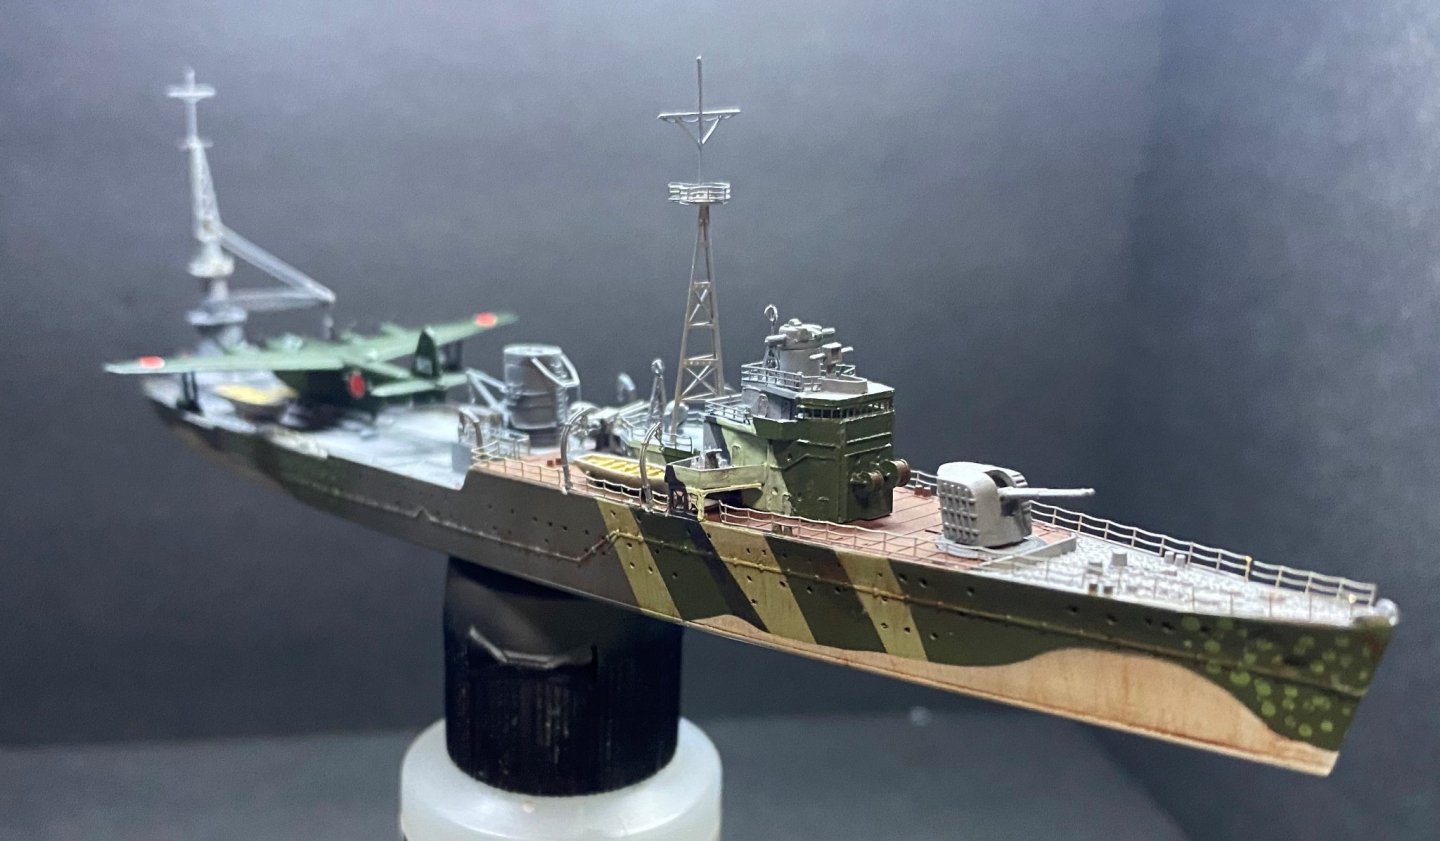
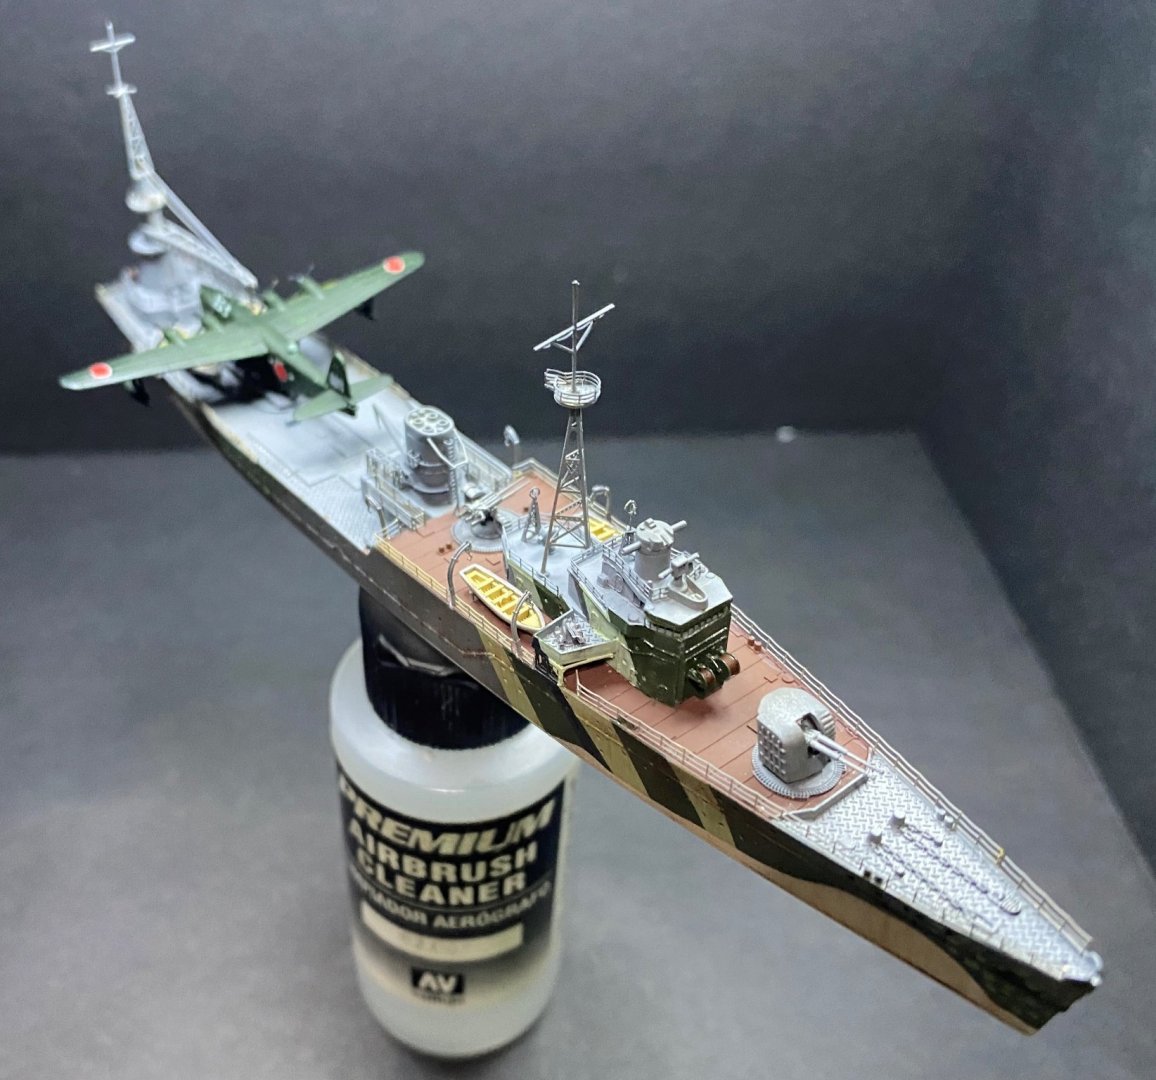
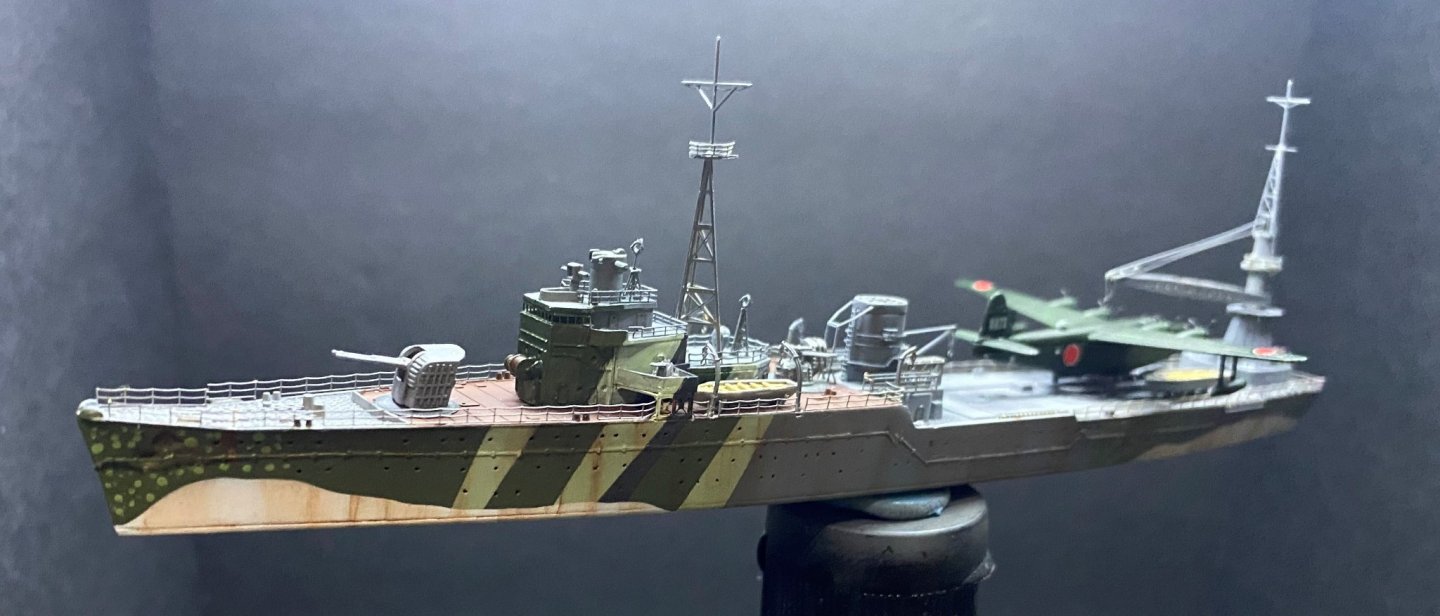
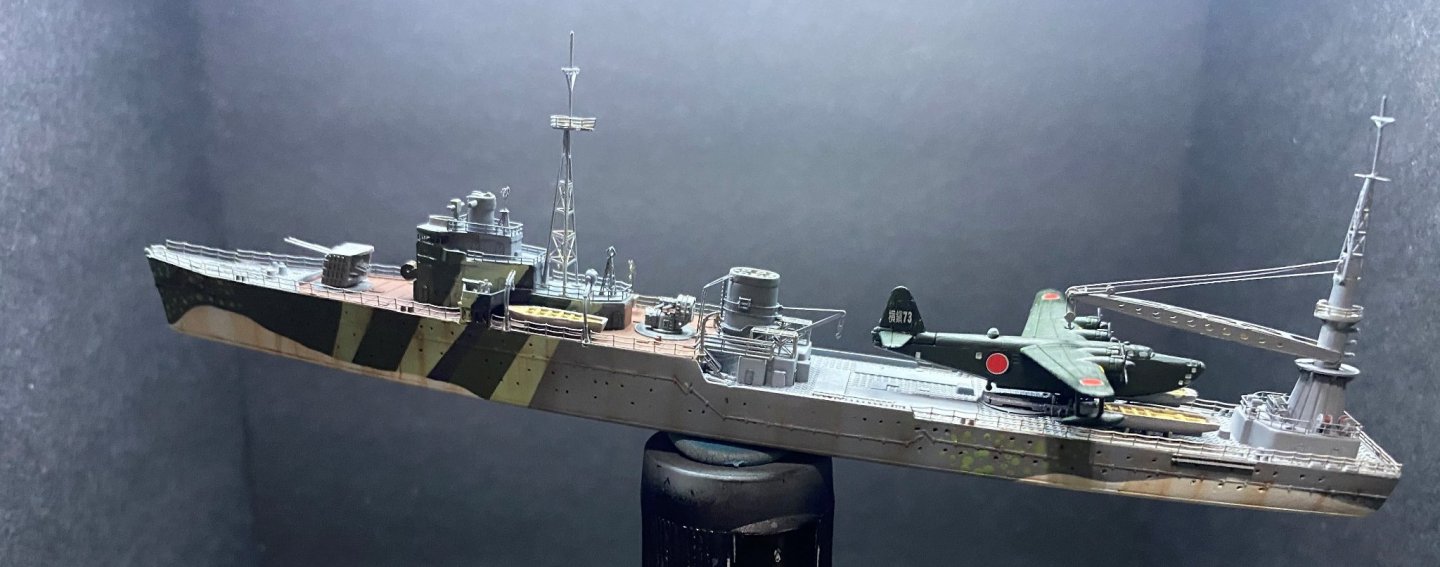
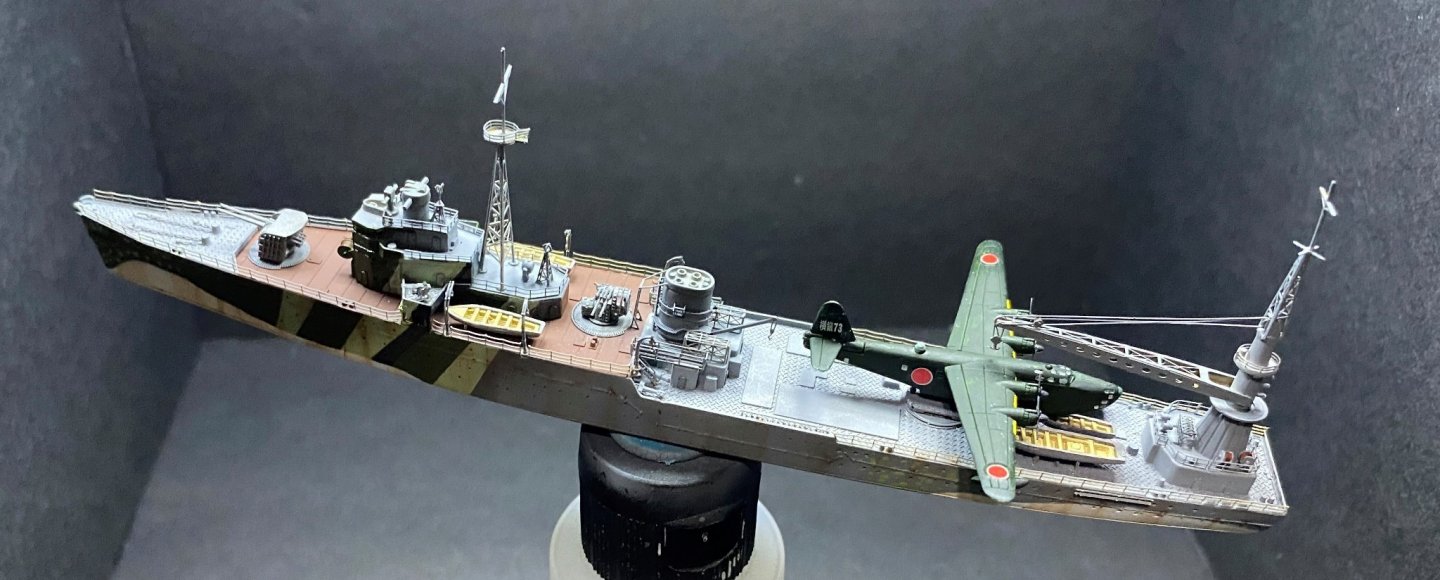
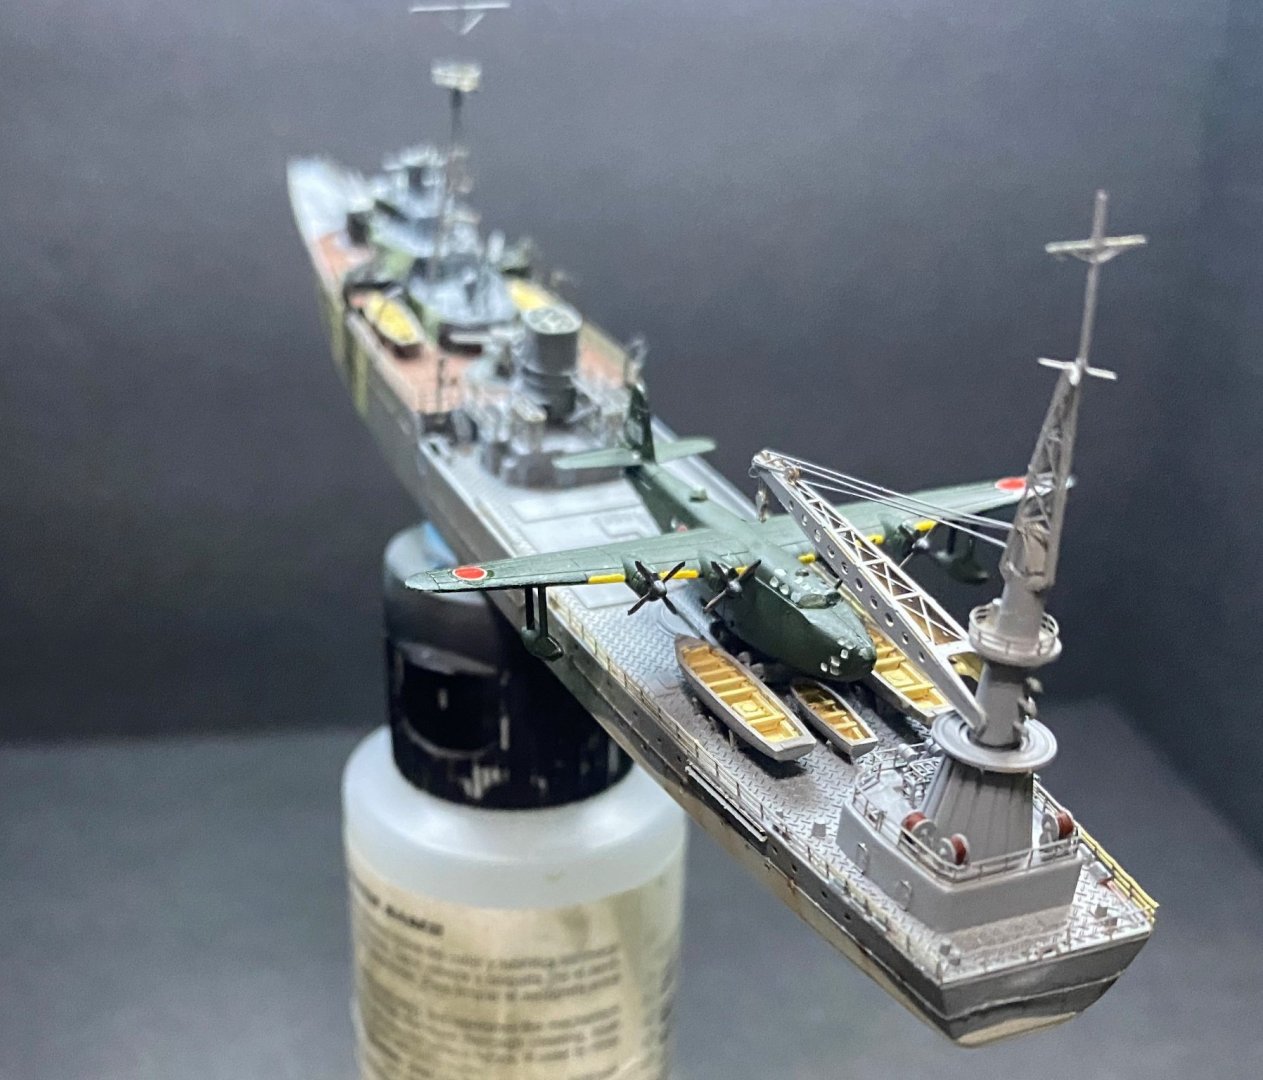
Need to do a few touch-ups, add rigging and flags, then this model will be done.


- 127 replies
-
- 11
-
-

-
- Akitsushima
- Pit Road
- (and 2 more)
-
There is a copyright stamp on their box so I assume it is. Many people unfamiliar with plastic models do not realize how many name brand labels contain plastic made by Trumpeter. There are many. This is just another one. When I was a young man, I worked for a company named Globe Union. We manufactured automobile, truck, and heavy equipment batteries. We made batteries for every private label you could name back then, Shell Oil Company, Sears, Amoco, Caterpillar, John Deer, on and on. Same thing in this regard only we're talking about plastic.
- 225 replies
-
- 5
-
-
- I Love Kit
- Hood
- (and 2 more)
-
Seems as though I Love Kit are also selling a 1:700 Bismarck that is another combination of Trumpeter plastic and Pontos update set. Looks like a very detailed, exceptional model. This time around, I already have the Flyhawk Bismarck with their full updates so I am going to pass on the I Love Kit one, but I remain tempted. 🙂 TRUMPETER 65701 1/700 SCALE GERMAN BATTLESHIP BISMARCK 1941 9580208657011 | eBay
- 225 replies
-
- 5
-
-
- I Love Kit
- Hood
- (and 2 more)
-
It appears that some company in China is using the Trumpeter plastic, combining it with a Pontos detail set, repackaging it all in a much improved box, then selling it all under their name brand of "I Love Kit". Go to Ebay and do a search for "I Love Kit". There are a ton of different models being sold under this brand. Great looking kits by the way.
- 225 replies
-
- 6
-
-
- I Love Kit
- Hood
- (and 2 more)
-
Not sure yet. Time will tell but I am leaning toward full hull now.
- 225 replies
-
- 3
-
-
- I Love Kit
- Hood
- (and 2 more)
-
The plastic is not quite as good as other Flyhawk offerings have been, but it's not bad either. As can be seen, the upgrade package is extensive.
- 225 replies
-
- 5
-
-
- I Love Kit
- Hood
- (and 2 more)
-
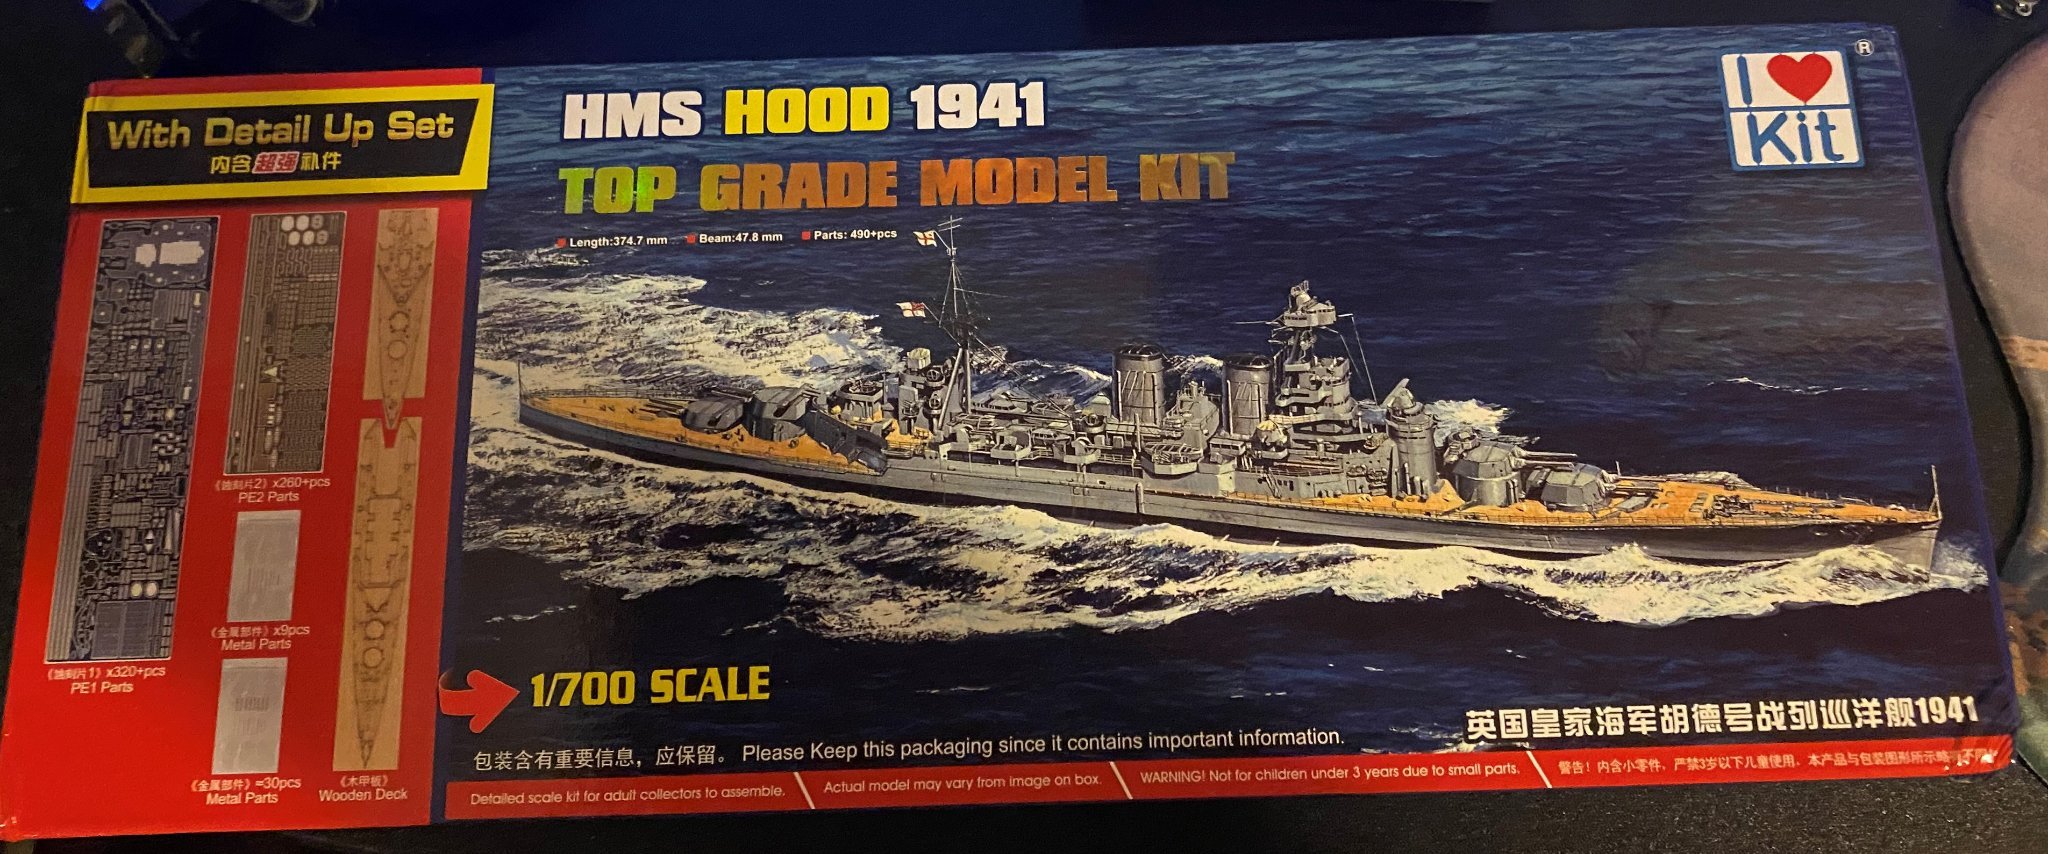
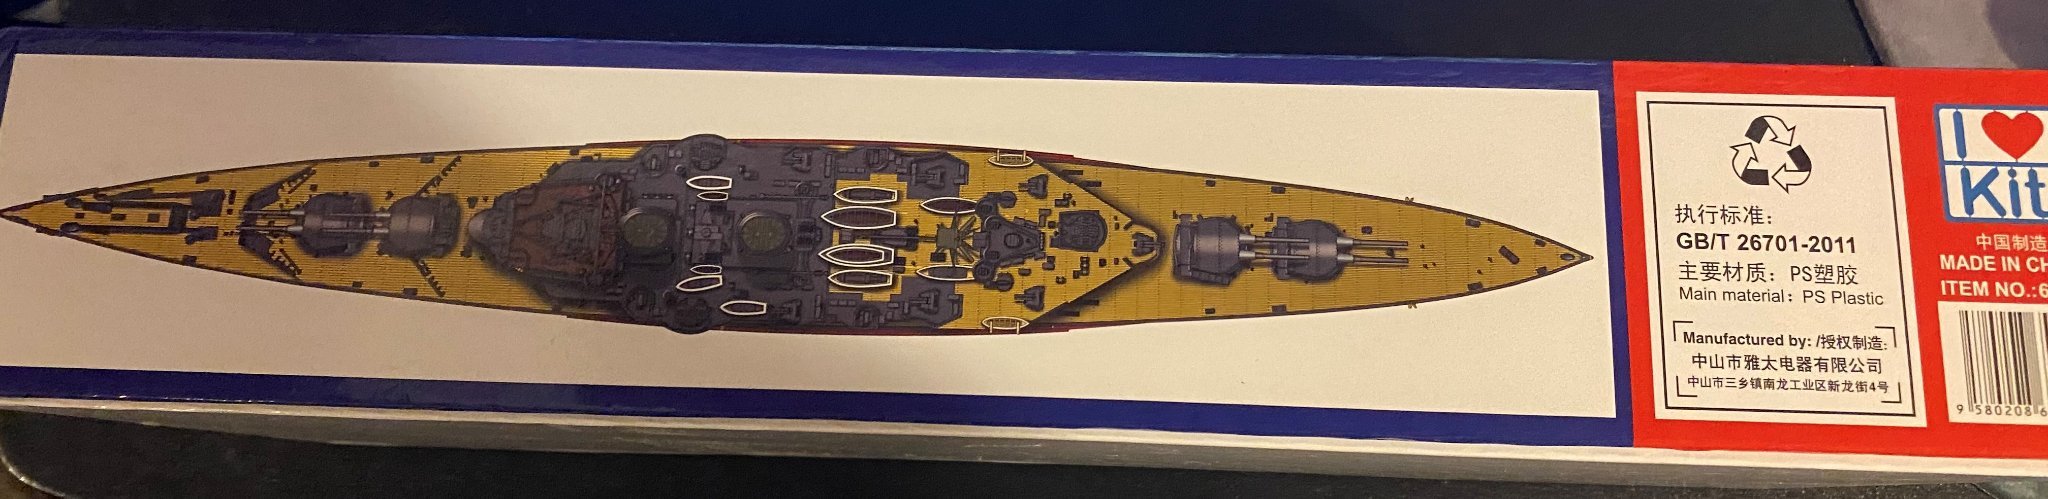
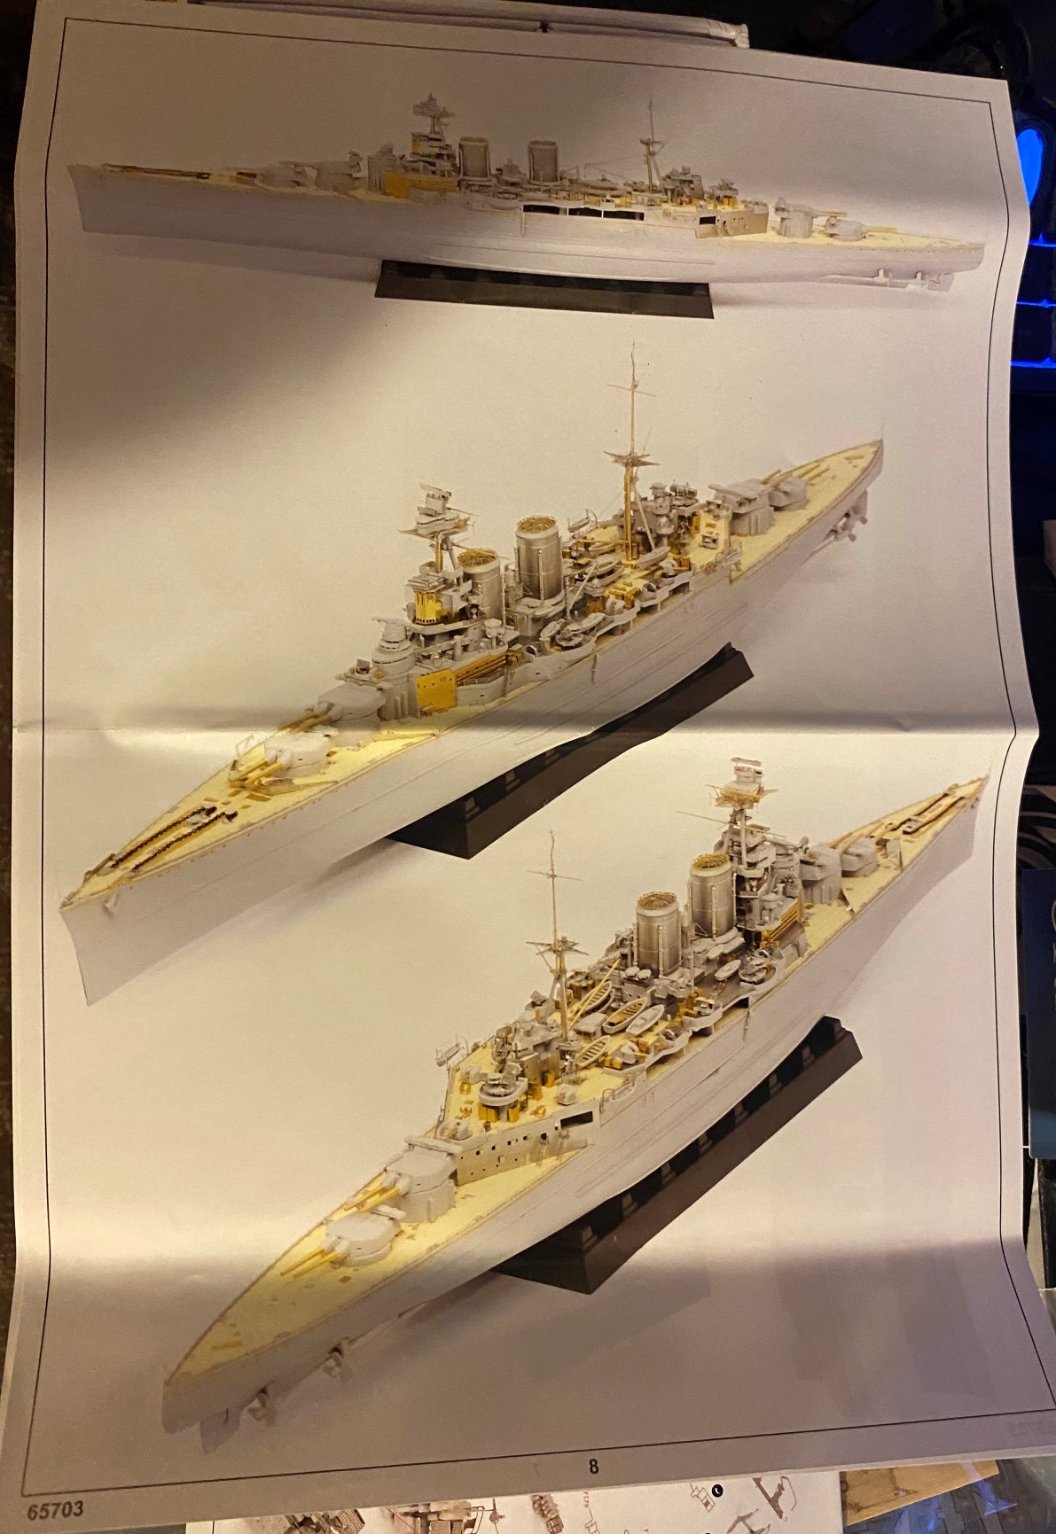
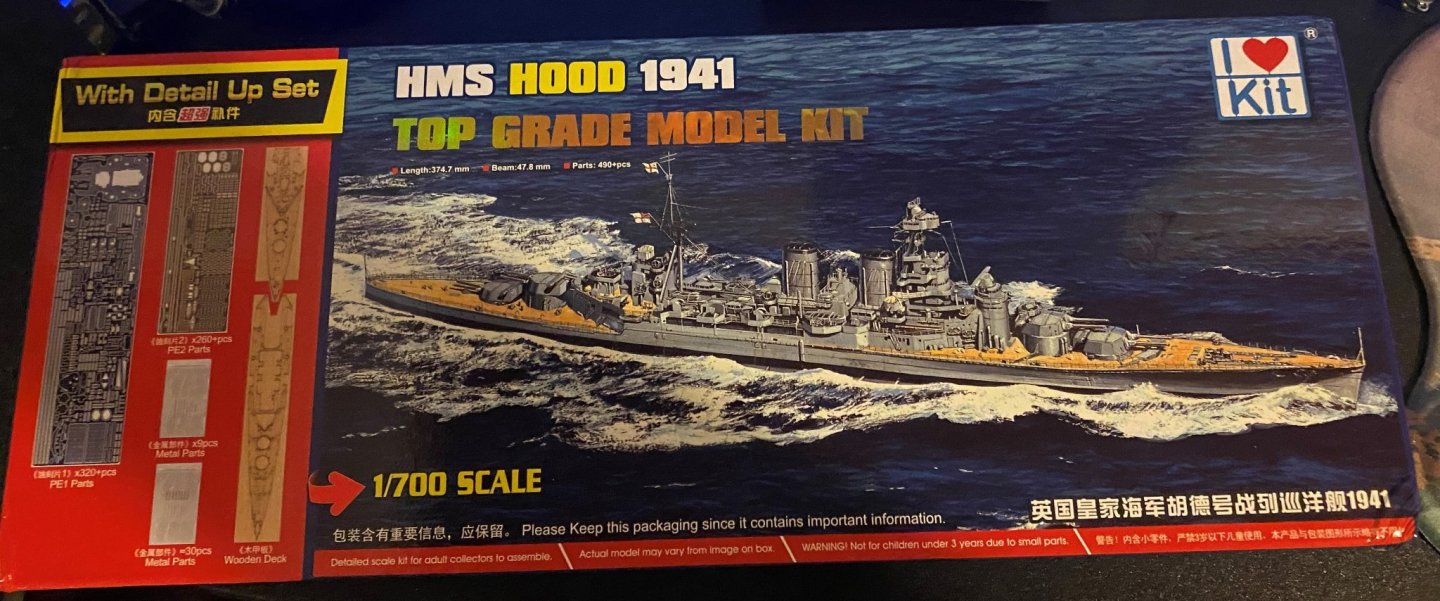
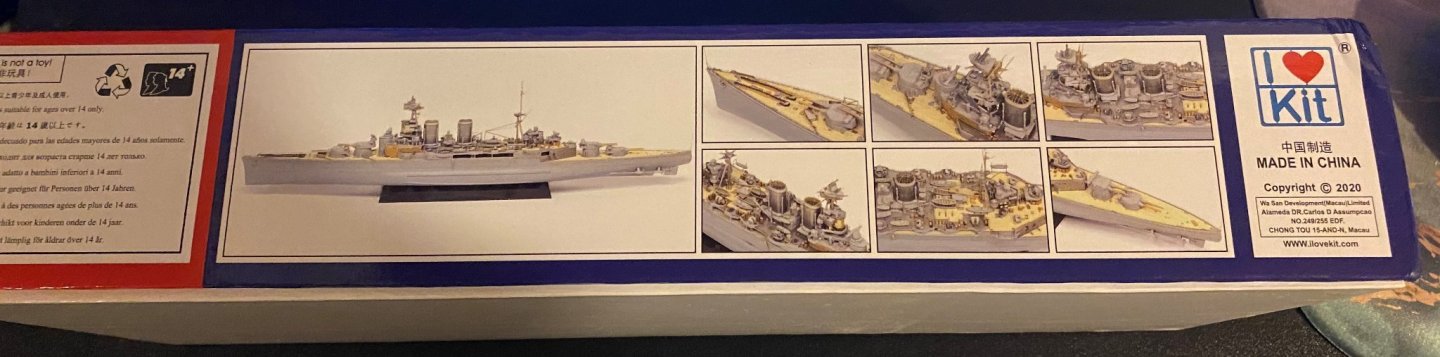
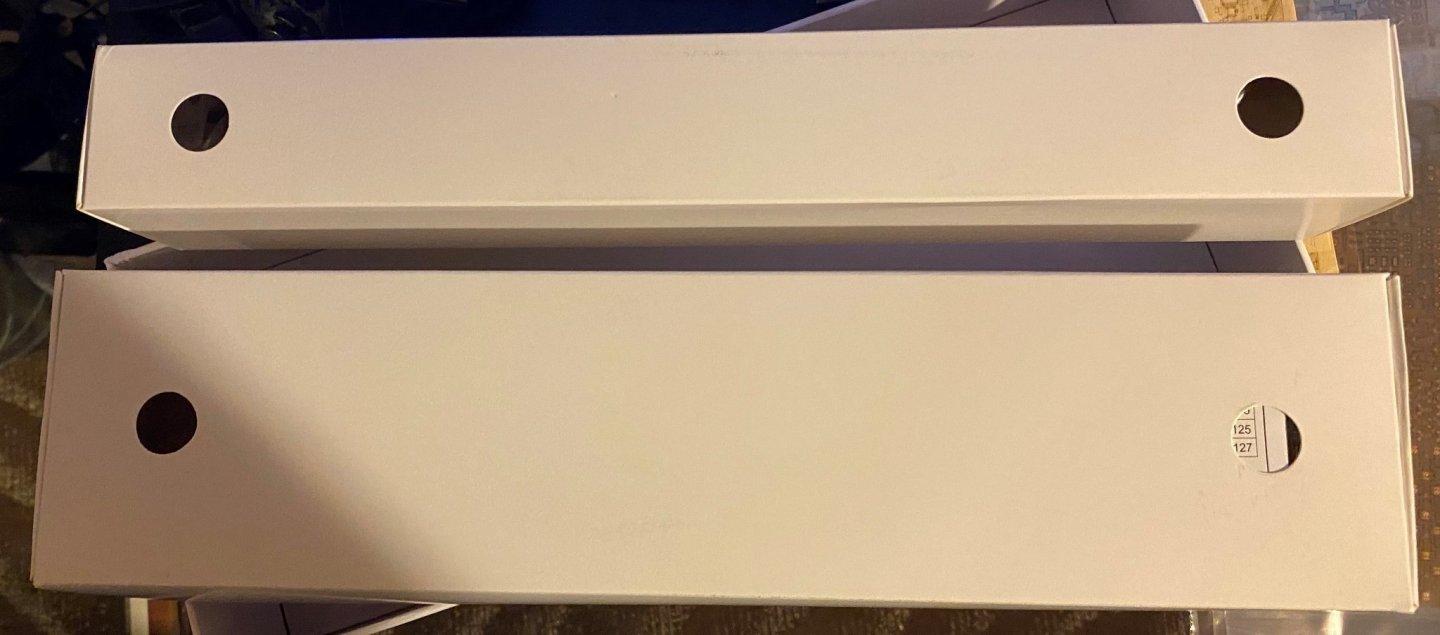
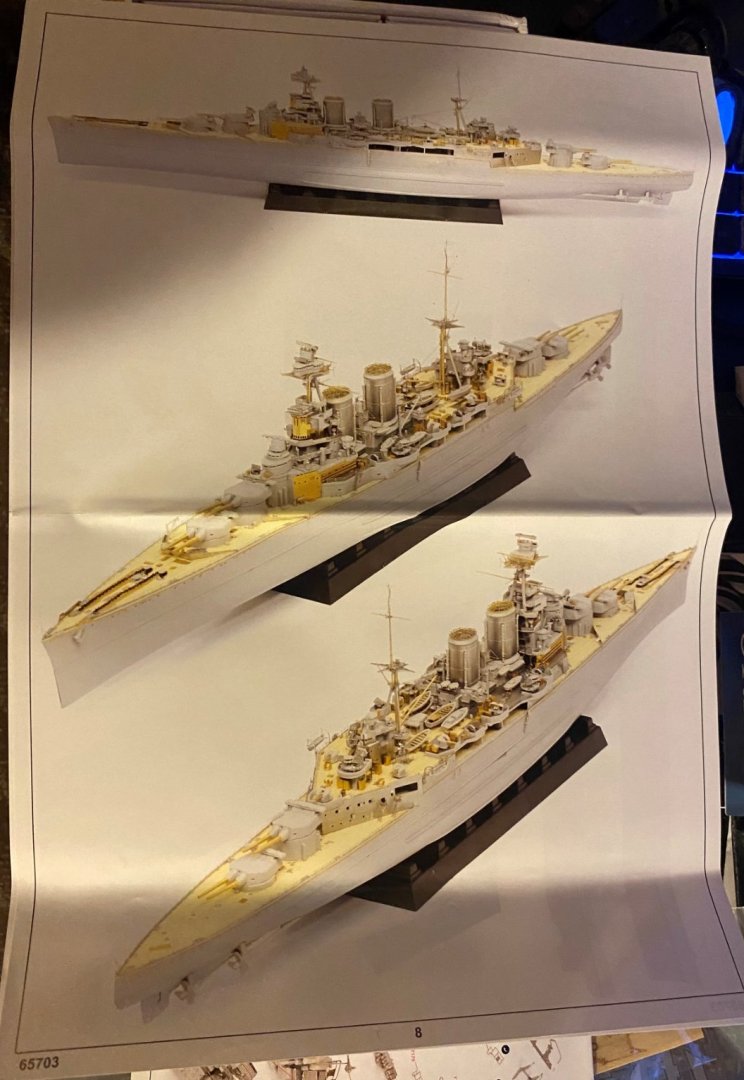
I was searching various sources for 1:700 HMS Hood accessory/upgrade sets when I found the I Love Kit version of the 1:700 scale HMS Hood on Amazon. The kit immediately caught my attention as it contained every upgrade component you would want to fully update the Trumpeter model, plus the kit itself! All of this was a bargain price of around $60 shipped when I bought mine in May. At this time, I can no longer find it for sale on Amazon, however there is a dealer or two on Ebay who are selling it for just a little bit more than I paid for mine. This being said, let's move on to see what you get. When the model arrived, the first thing I noticed was the weight of it. It was unusually heavy for a 1:700 scale ship model weighing in at just under 2 pounds. What I discovered is that much of the weight is in the heavy duty cardboard box it comes in. Very sturdy and substantial box that found it's way from China to Florida without any damage. A plus! First the box art: Where it gets remarkable is when you get inside the box. All the molded plastic components are contained inside two more internal boxes: Then when you open the full color high quality instruction set and realize what you get is a complete Pontos Detail Set inside! Here are all the component parts inside: I am looking forward to starting this model in a few more days.


.jpg.554d518cffc29fbbf432581e6b339a9f.jpg)
.jpg.2b3fa171d5d64e6a01c2ad6c439cf25e.jpg)
.jpg.c31719c0fea3de812e531a33f9b77158.jpg)
.jpg.5b066d129ed8fec8d45b731eaf902ac2.jpg)
- 225 replies
-
- 9
-
-
- I Love Kit
- Hood
- (and 2 more)