MORE HANDBOOKS ARE ON THEIR WAY! We will let you know when they get here.
×

CDW
-
Posts
7,725 -
Joined
-
Last visited
Content Type
Profiles
Forums
Gallery
Events
Everything posted by CDW
-
 Thanks and welcome aboard, Denis! I see a larger scale scratch built Akitsushima in my dreams. It's only a dream at this point mind you. 🙂
- 127 replies
-
- 3
-

-
- Akitsushima
- Pit Road
- (and 2 more)
-
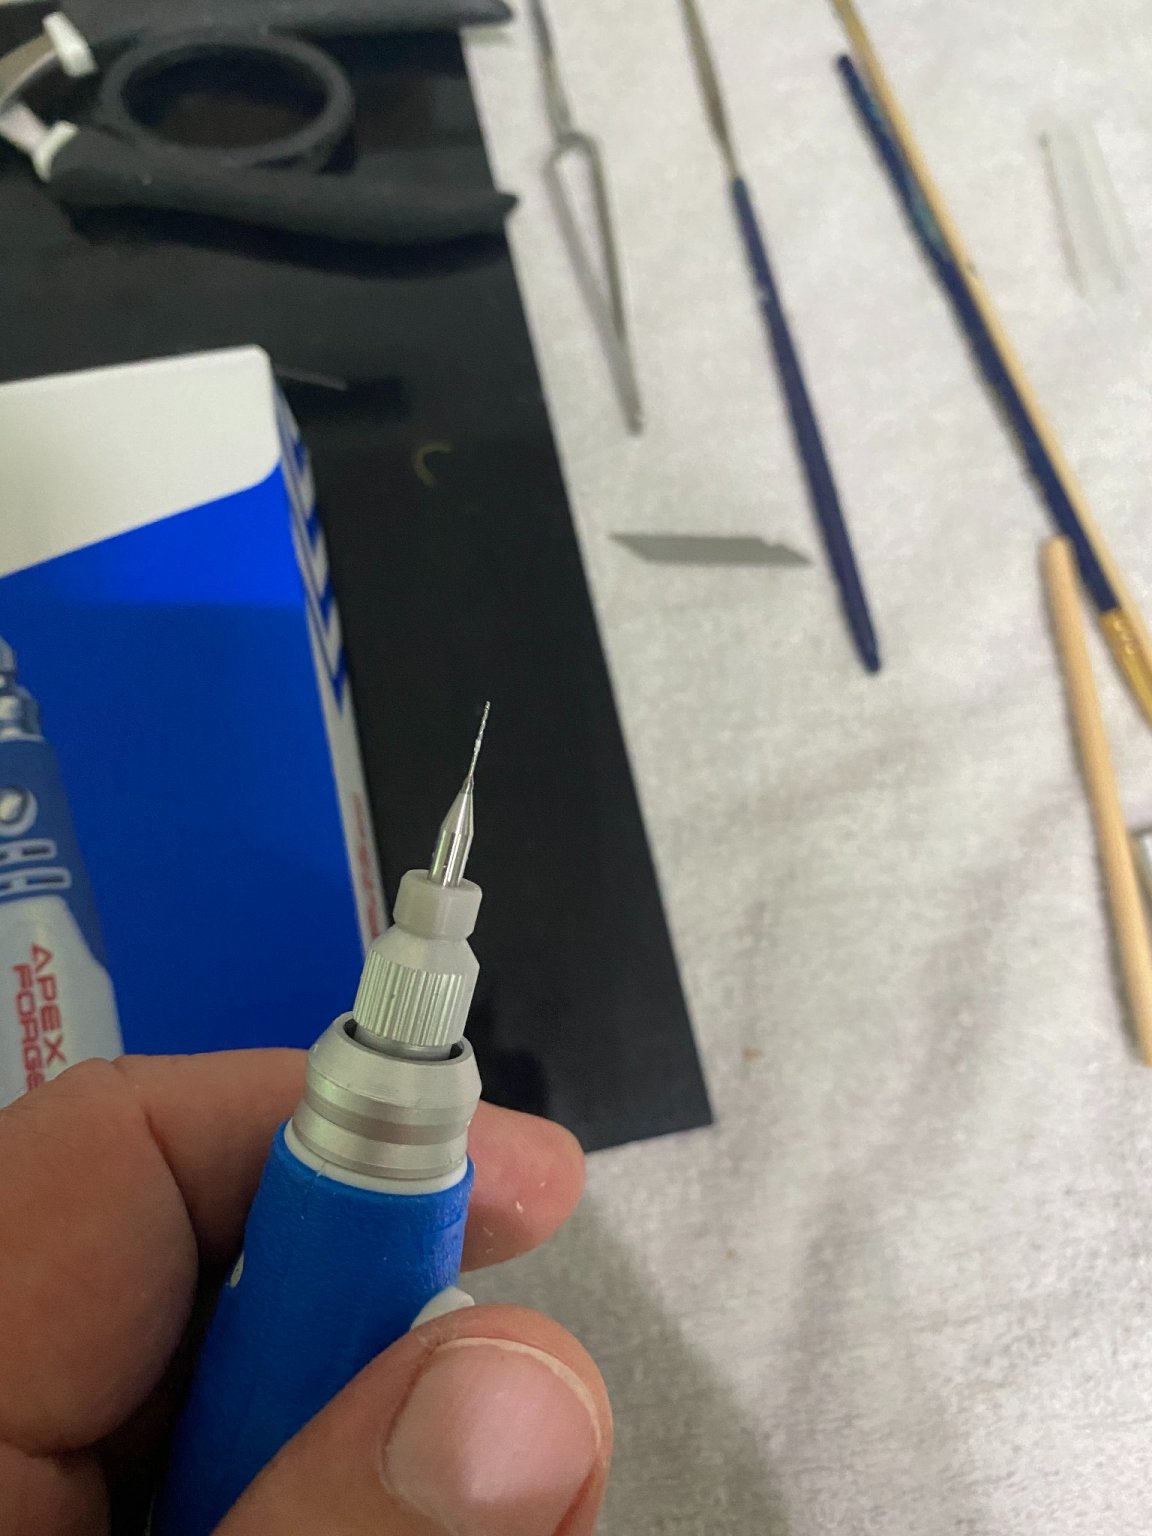
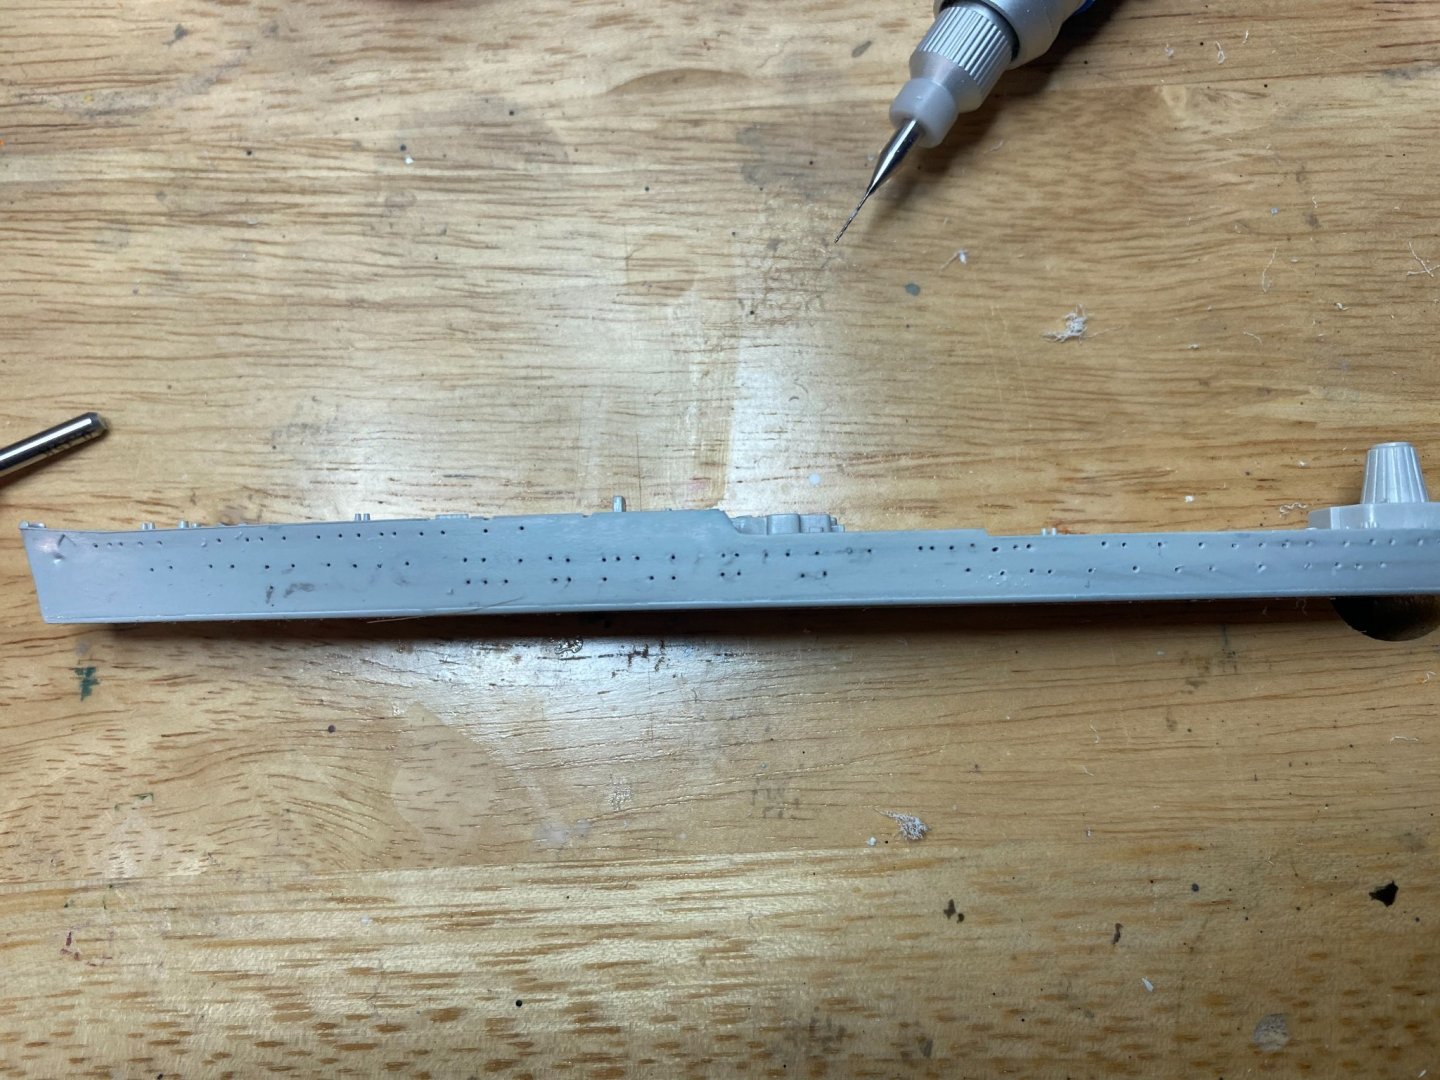
I would say it does a bit of both. However, at this micro gauge (small fraction of a mm), twist drilling using a hand tool is just not a viable option. You will be breaking bits ever time you turn around. Been there and done that, it just doesn't work.
- 127 replies
-
- 3
-
-
- Akitsushima
- Pit Road
- (and 2 more)
-
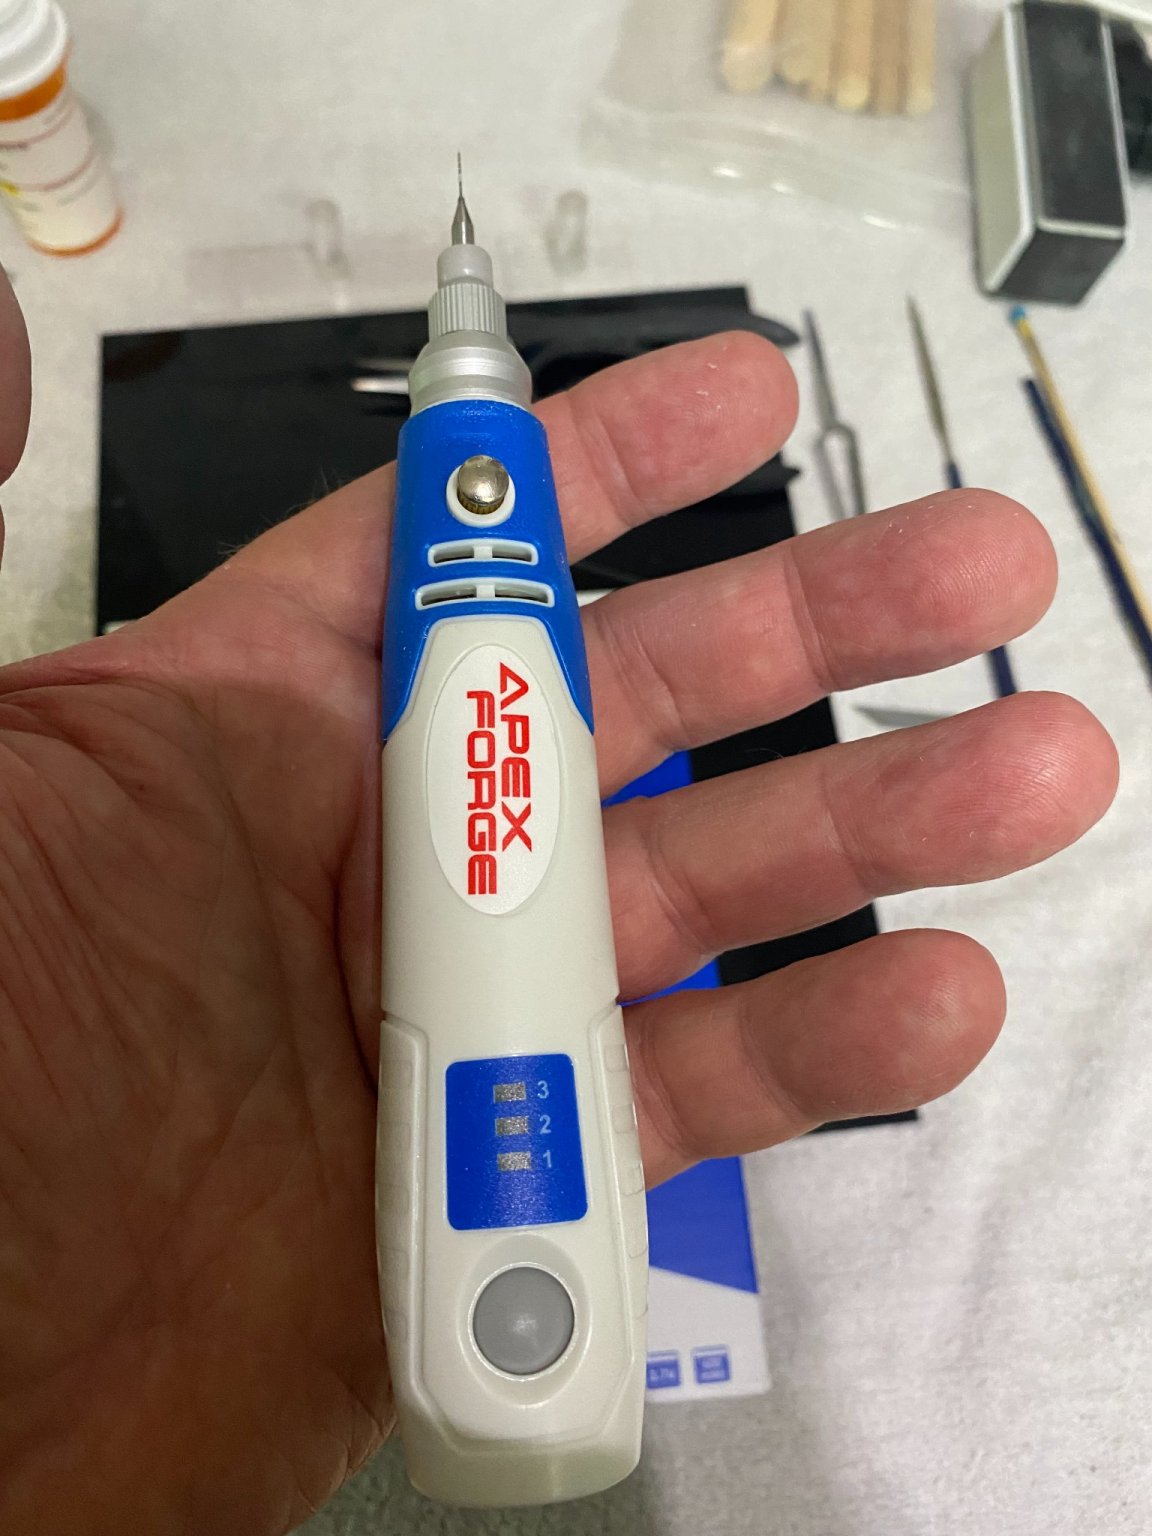
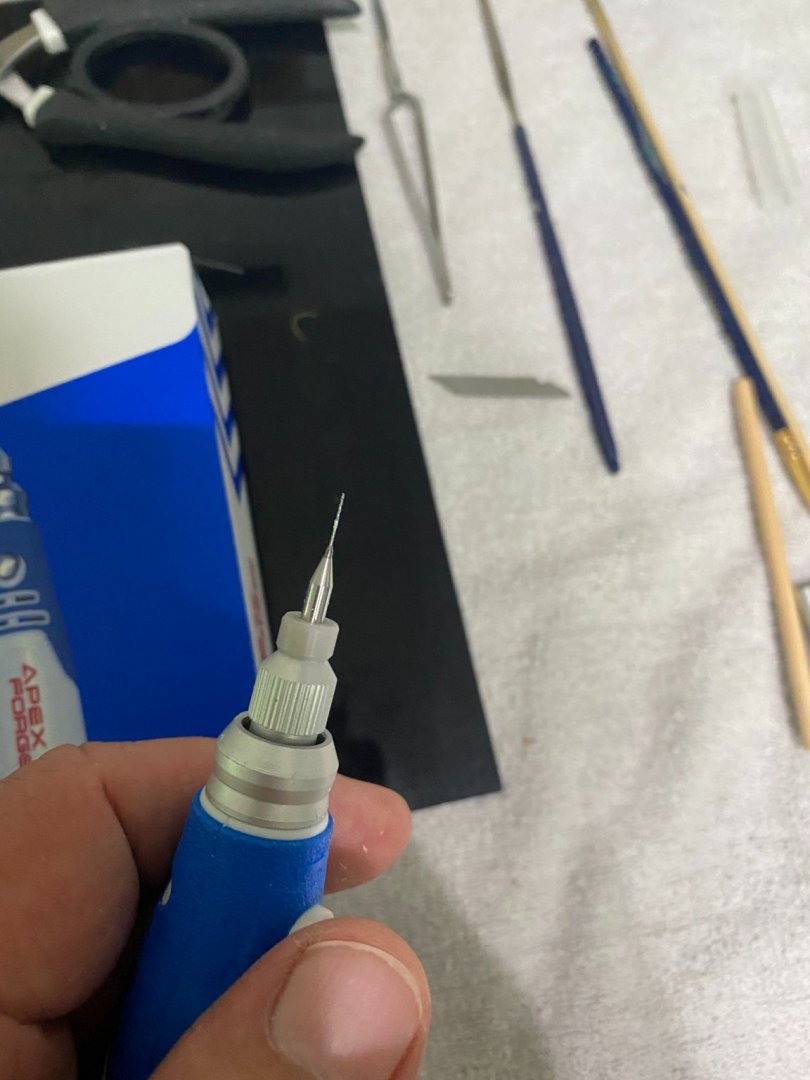
Maybe because the molds are a bit worn out, but my kit hull had sketchy porthole detail. I decided I would drill them out so they can be seen after the painting is completed on the hull. I have a corded Dremel tool, but find it a bit too large and clumsy to comfortably drill holes in small scale work. I found this little cordless three speed rotary tool on Amazon for a small price. After applying a couple of coupons I had, it brought the normal delivered price (with Prime) down from $20 to only $13. It runs on a 3.7 volt lithium ion battery and is charged with a standard cell phone charger. Has a variable three speed switch and comes with an assortment box of various "dremel type" bits. The drill bit I have chucked up in the photos is not included with the bits that came with the tool. Fits very nicely in the palm of my hand and gets the job done nicely. I think this tool will come in handy for a lot of small scale tasks working with plastic models.


- 127 replies
-
- 7
-
-
- Akitsushima
- Pit Road
- (and 2 more)
-
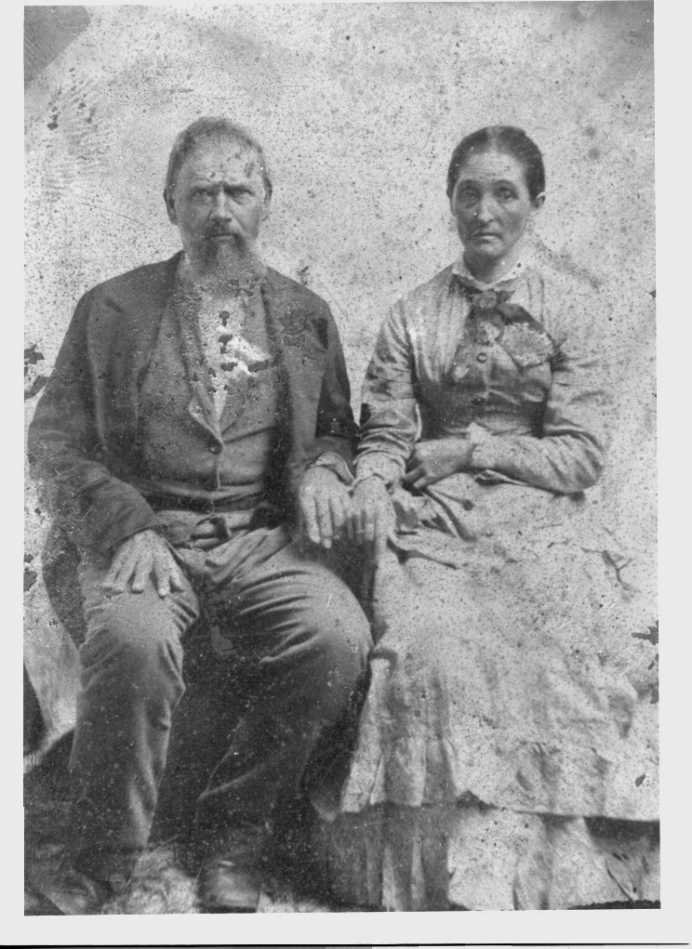
This is my great great grandfather and g-g-grandmother not too many years after the ACW ended. He died in 1892 at the age of 60. He was a cowboy long before the war started and a natural fit in the cavalry.
-
My great-great grandfather was part of Capt JJ Dickison's 2nd Florida Cavalry, H Company. A small confederate group with a storied combat history in the ACW. I heard a lot about it from my elders growing up. "Richard P. Weinert, a historian in the Office of the Chief of Military History, U.S. Army wrote “Dickison was one of the ablest guerrilla commanders produced not only during the Civil War, but probably in all military history of America.”
-
The program is old, from somewhere around 2006 or 7, called "Tile Print". It's no longer available for sale as the company appears to have gone out of business, webpage no longer functions. So by now there are probably a lot of programs and features I am unaware of. This program is one I used a lot when I built and was flying RC aircraft. By the way, when you receive the plans from this Polish site, they come in PDF a format that does not allow any modification whatsoever. Like Lou said in an earlier post, they even come watermarked with your name on them. It's to prevent pirating.
- 127 replies
-
- 5
-
-
- Akitsushima
- Pit Road
- (and 2 more)
-
I bought the Akitsushima drawings because they are in PDF format. Quick delivery via email or a site to download the file. Also, I have a program on my PC that will custom scale a PDF file object/s to any desired scale and then the capability to tile print the scaled drawings in 8.5 x 11.
- 127 replies
-
- 6
-
-
- Akitsushima
- Pit Road
- (and 2 more)
-
Another fine mess you've gotten me into, Ollie. You just had to go and show me that website, didn't you? Oh well, like the old saying goes, "we can't take it with us." You just helped me find something else to spend money on, Lou. 😄
- 127 replies
-
- 6
-

-
-
- Akitsushima
- Pit Road
- (and 2 more)
-
You can buy a 1:200 scale card model of the Akitsushima. I've never done a card model yet. Another option would be scratch buildING a 1:144 model, as there is the 1:144 Arii H8K2 Emily model. In my opinion, would rather start a scratch build project without having to do the aircraft by scratch as well as the ship. I bought my plans here: PM-039 - AKITSUSHIMA '43' air tender polish-made.com
- 127 replies
-
- 8
-

-
-
- Akitsushima
- Pit Road
- (and 2 more)
-
No worries at all Yves....I have been thinking exactly the same idea. Just this morning, I ordered the line drawings of the Akitsushima from Poland. I definitely want to try my hand at scratch building from plans but 1:72 scale is too much. Going to begin searching for a smaller scale sea plane and work from there. 1:200 scale would be good I think.
- 127 replies
-
- 7
-
-

-
- Akitsushima
- Pit Road
- (and 2 more)
-
Beautiful paint work OC. Takes a steady hand to do that. Can you imagine marching out on the battlefield armed with a drum while everyone around you are shooting and being shot with rifles, cleaved with swords and bayonettes??
-
Thanks for the links, Mike! The 1:72 Akatsushima the guy scratch built is amazing. The Airfix box art he created was a spoof on his friends it appears. The ship in 1:72 is huge.
- 127 replies
-
- 6
-
-
- Akitsushima
- Pit Road
- (and 2 more)
-
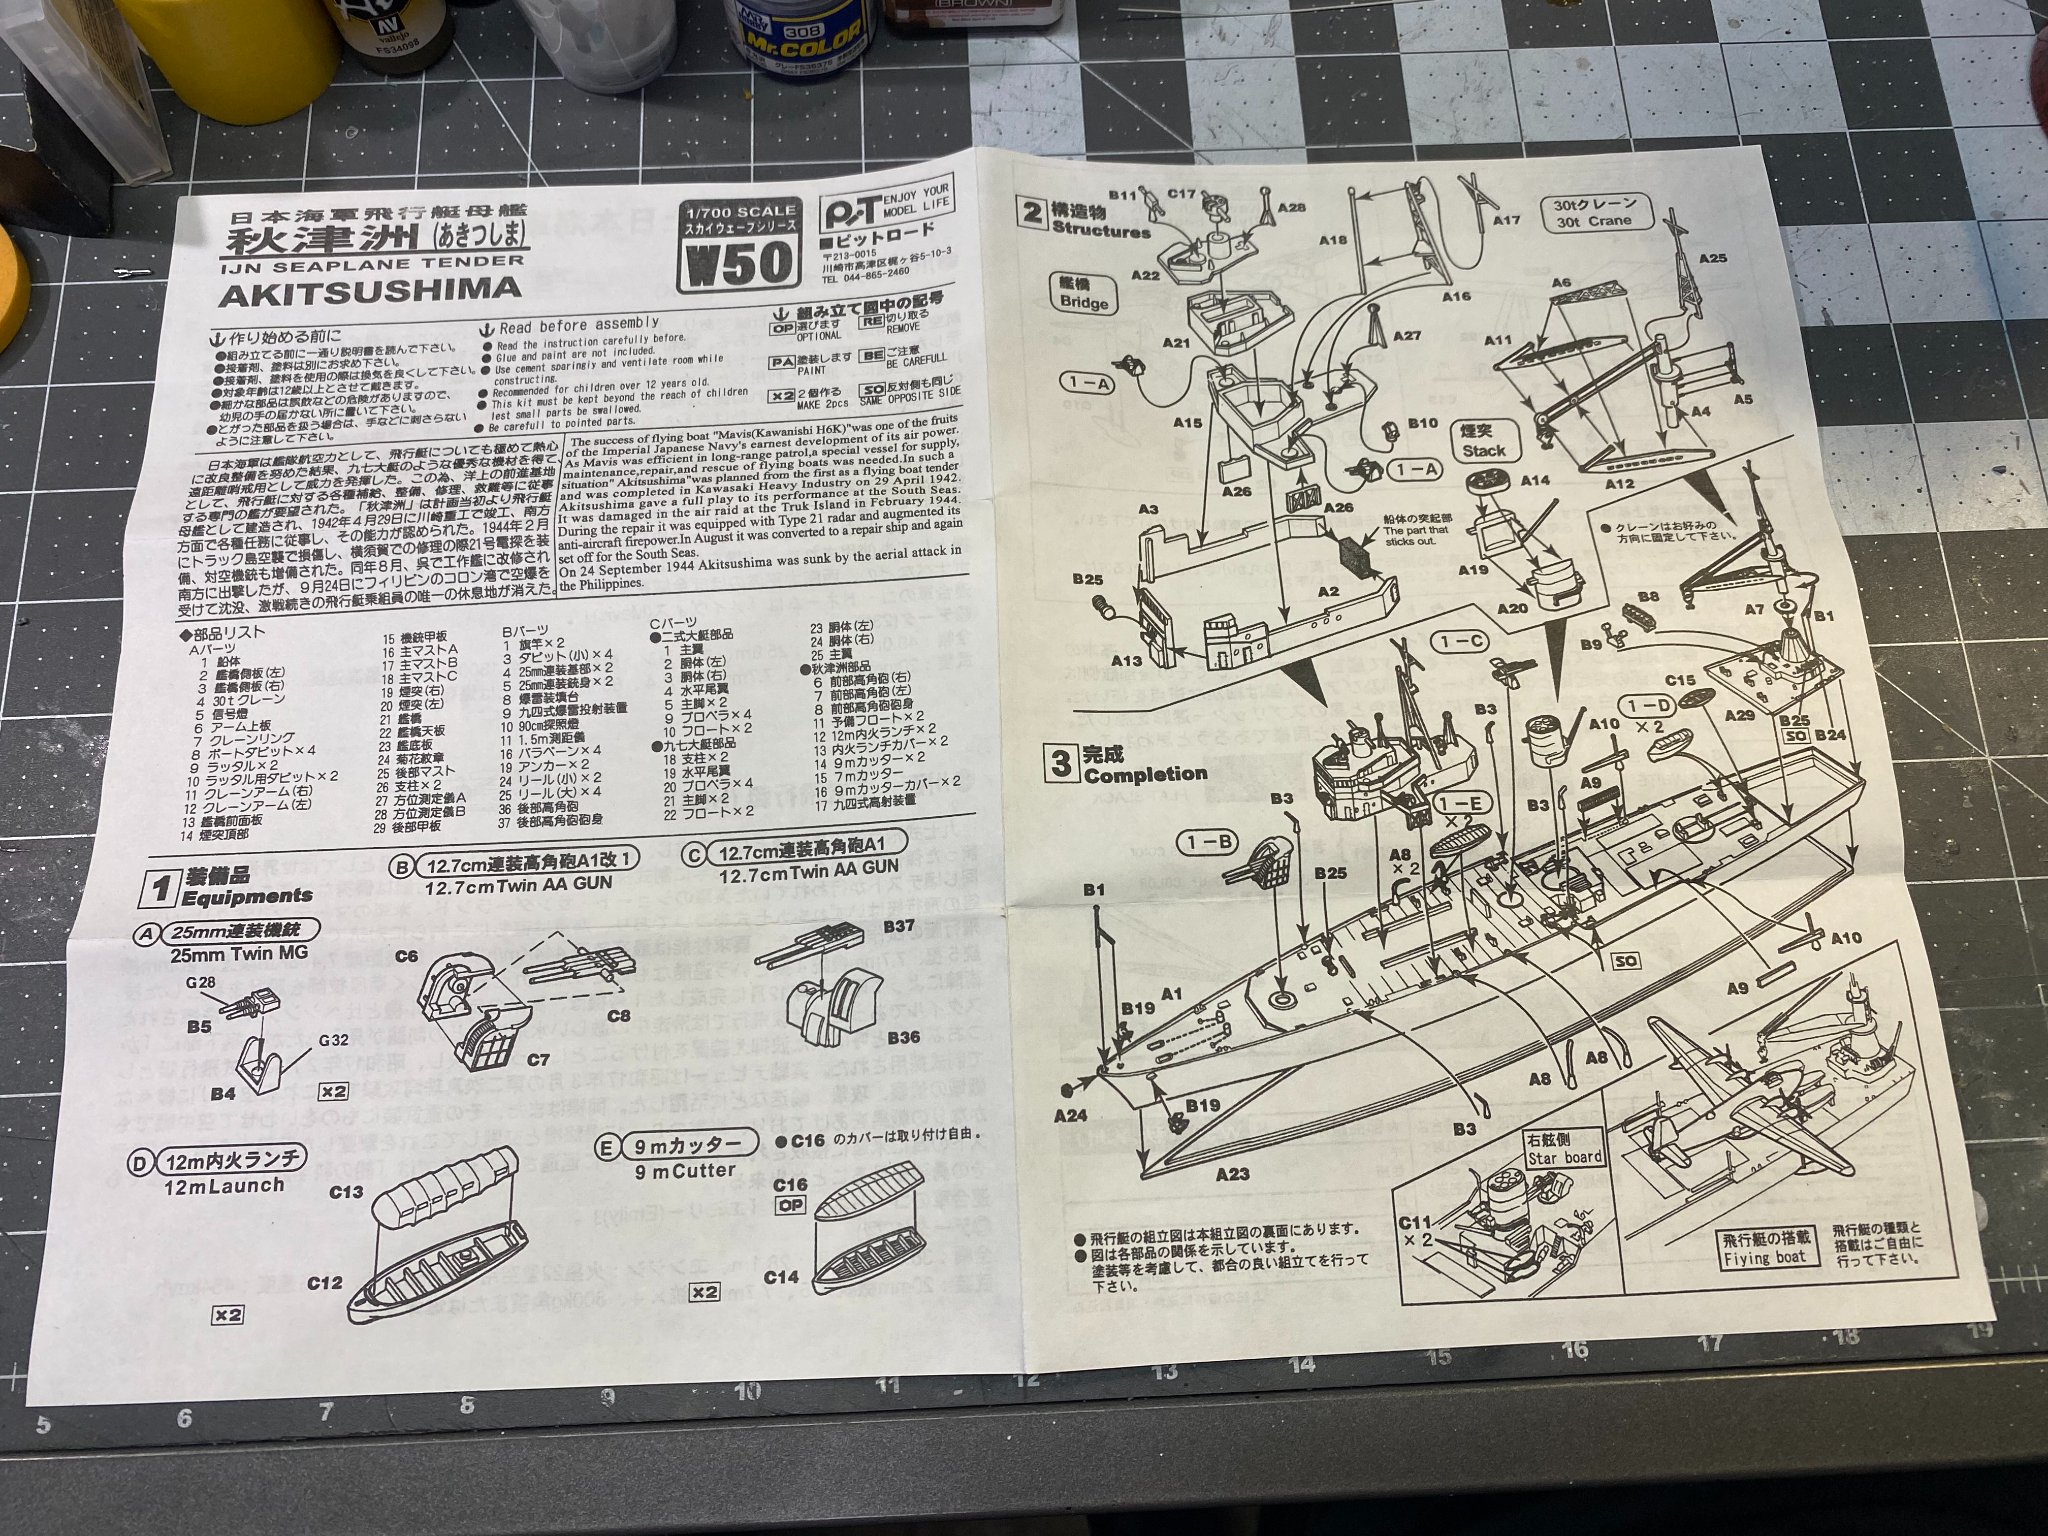
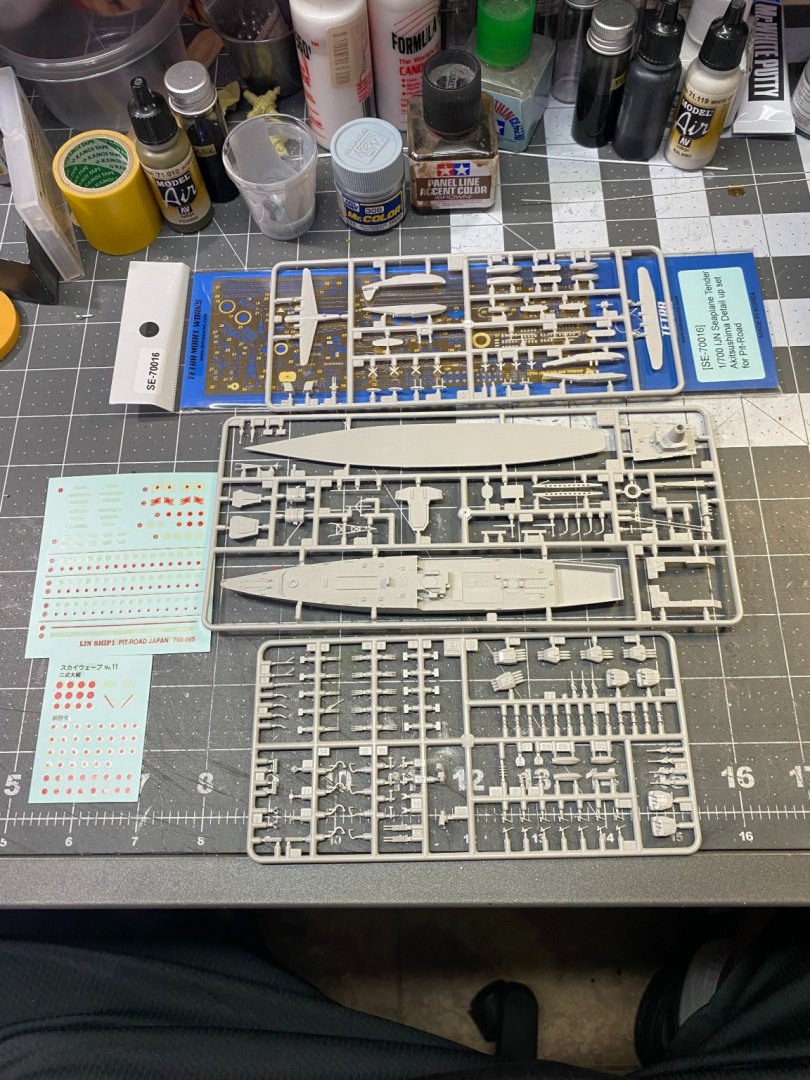
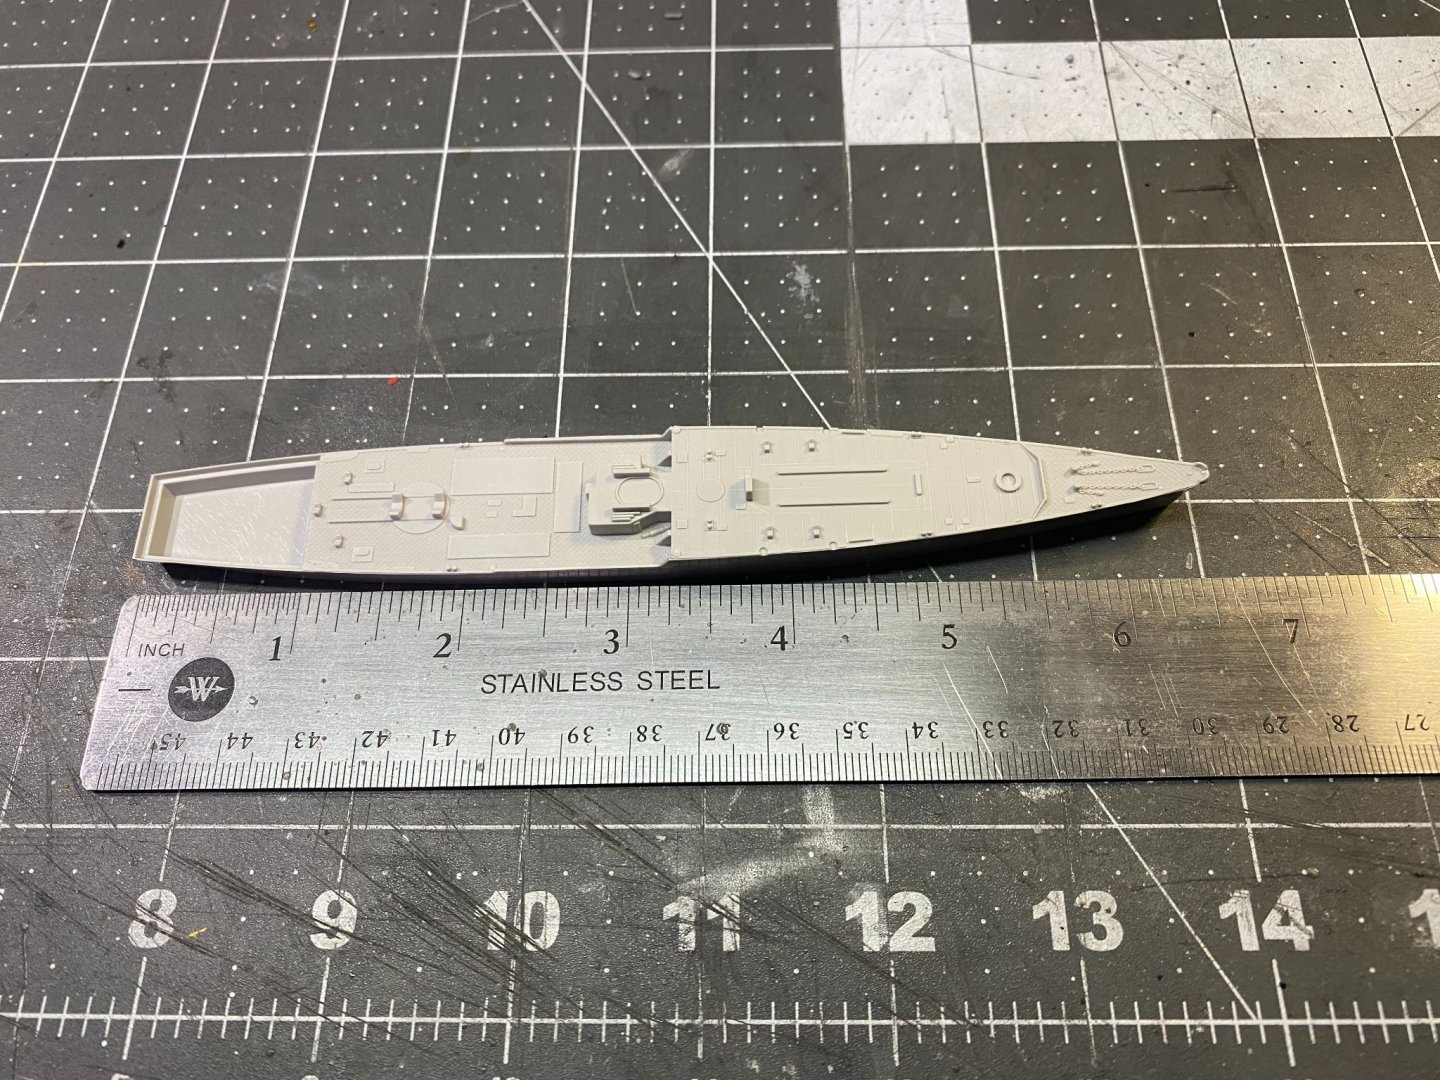
The photos I've seen of the 1:350 kit look amazing. Very limited production, mostly resin and photo etch. This 1:700 kit hull needs a lot of work to do it justice. It looks like the mold in which it was cast is rather long in the tooth. Much of the hull porthole detail is obliterated on my copy. It would be nice if someone like Flyhawk came along and did one in 1:700, but I guess there are many other selections that would be better sellers for them. Global Toy in HK are offering the 1:350 kit for $312 plus shipping. For everything you get, the price is right I think. But a lot of modelers are not going to run out and buy one of these.
- 127 replies
-
- 10
-

-
-
-
- Akitsushima
- Pit Road
- (and 2 more)
-
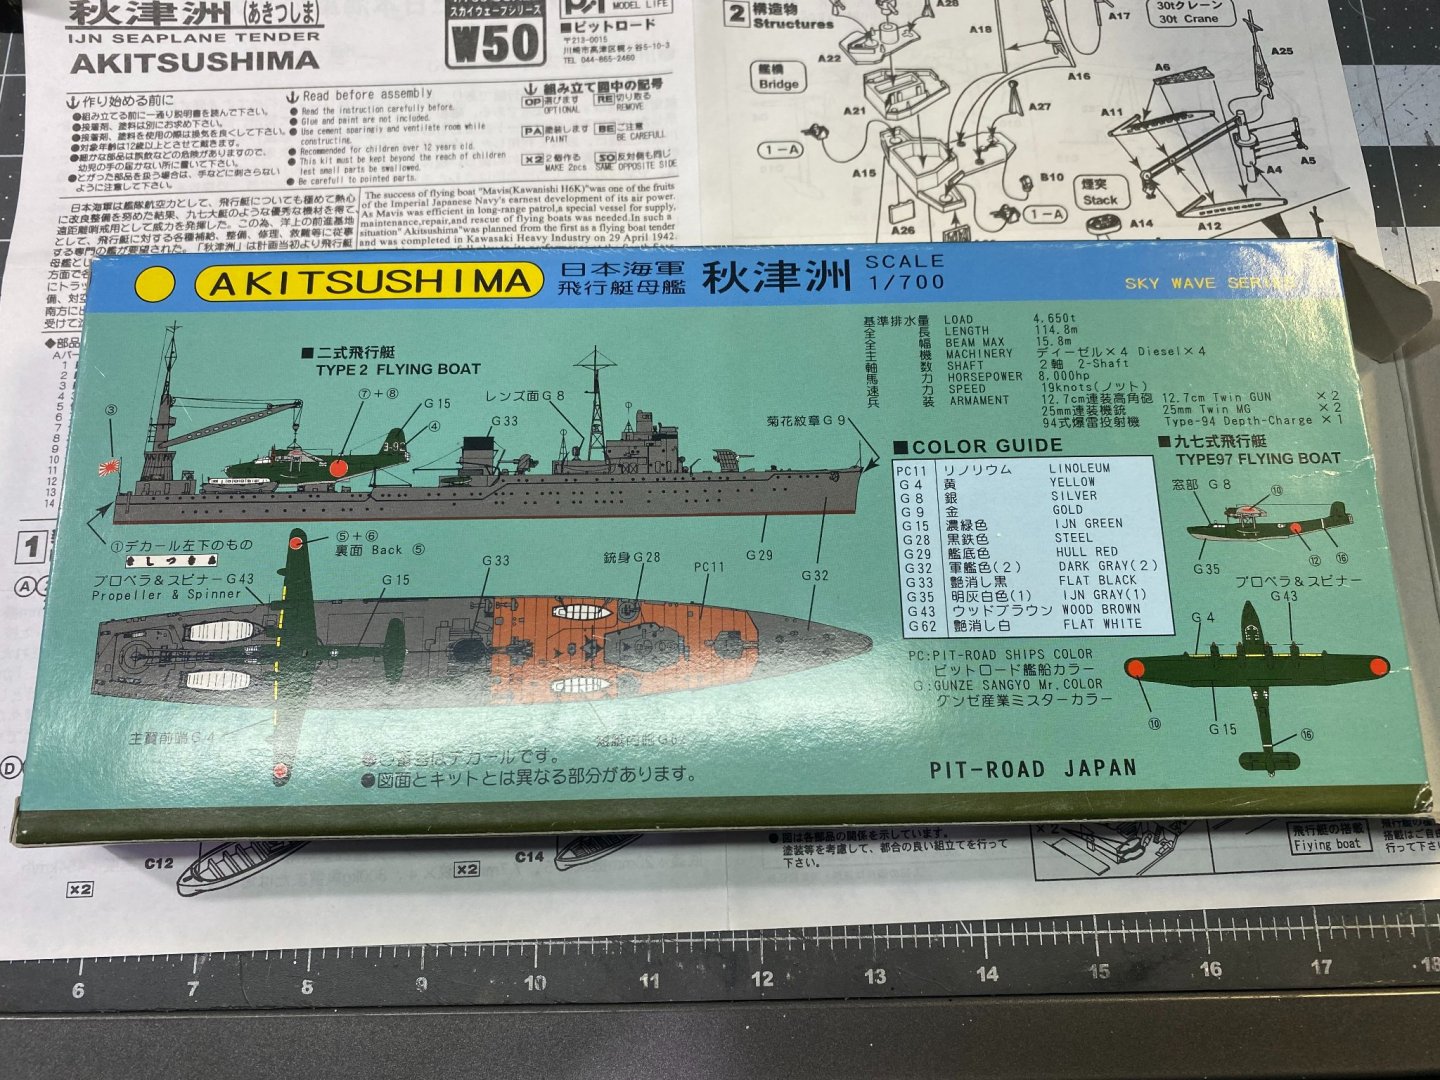
I like the paint scheme and it is an unusual subject. Don't know if it's available, but I wrote a publisher in Japan to try to acquire detailed drawings of the Akitsushima. Not certain whether the item is still in publication. We shall see.
- 127 replies
-
- 7
-
-
- Akitsushima
- Pit Road
- (and 2 more)
-
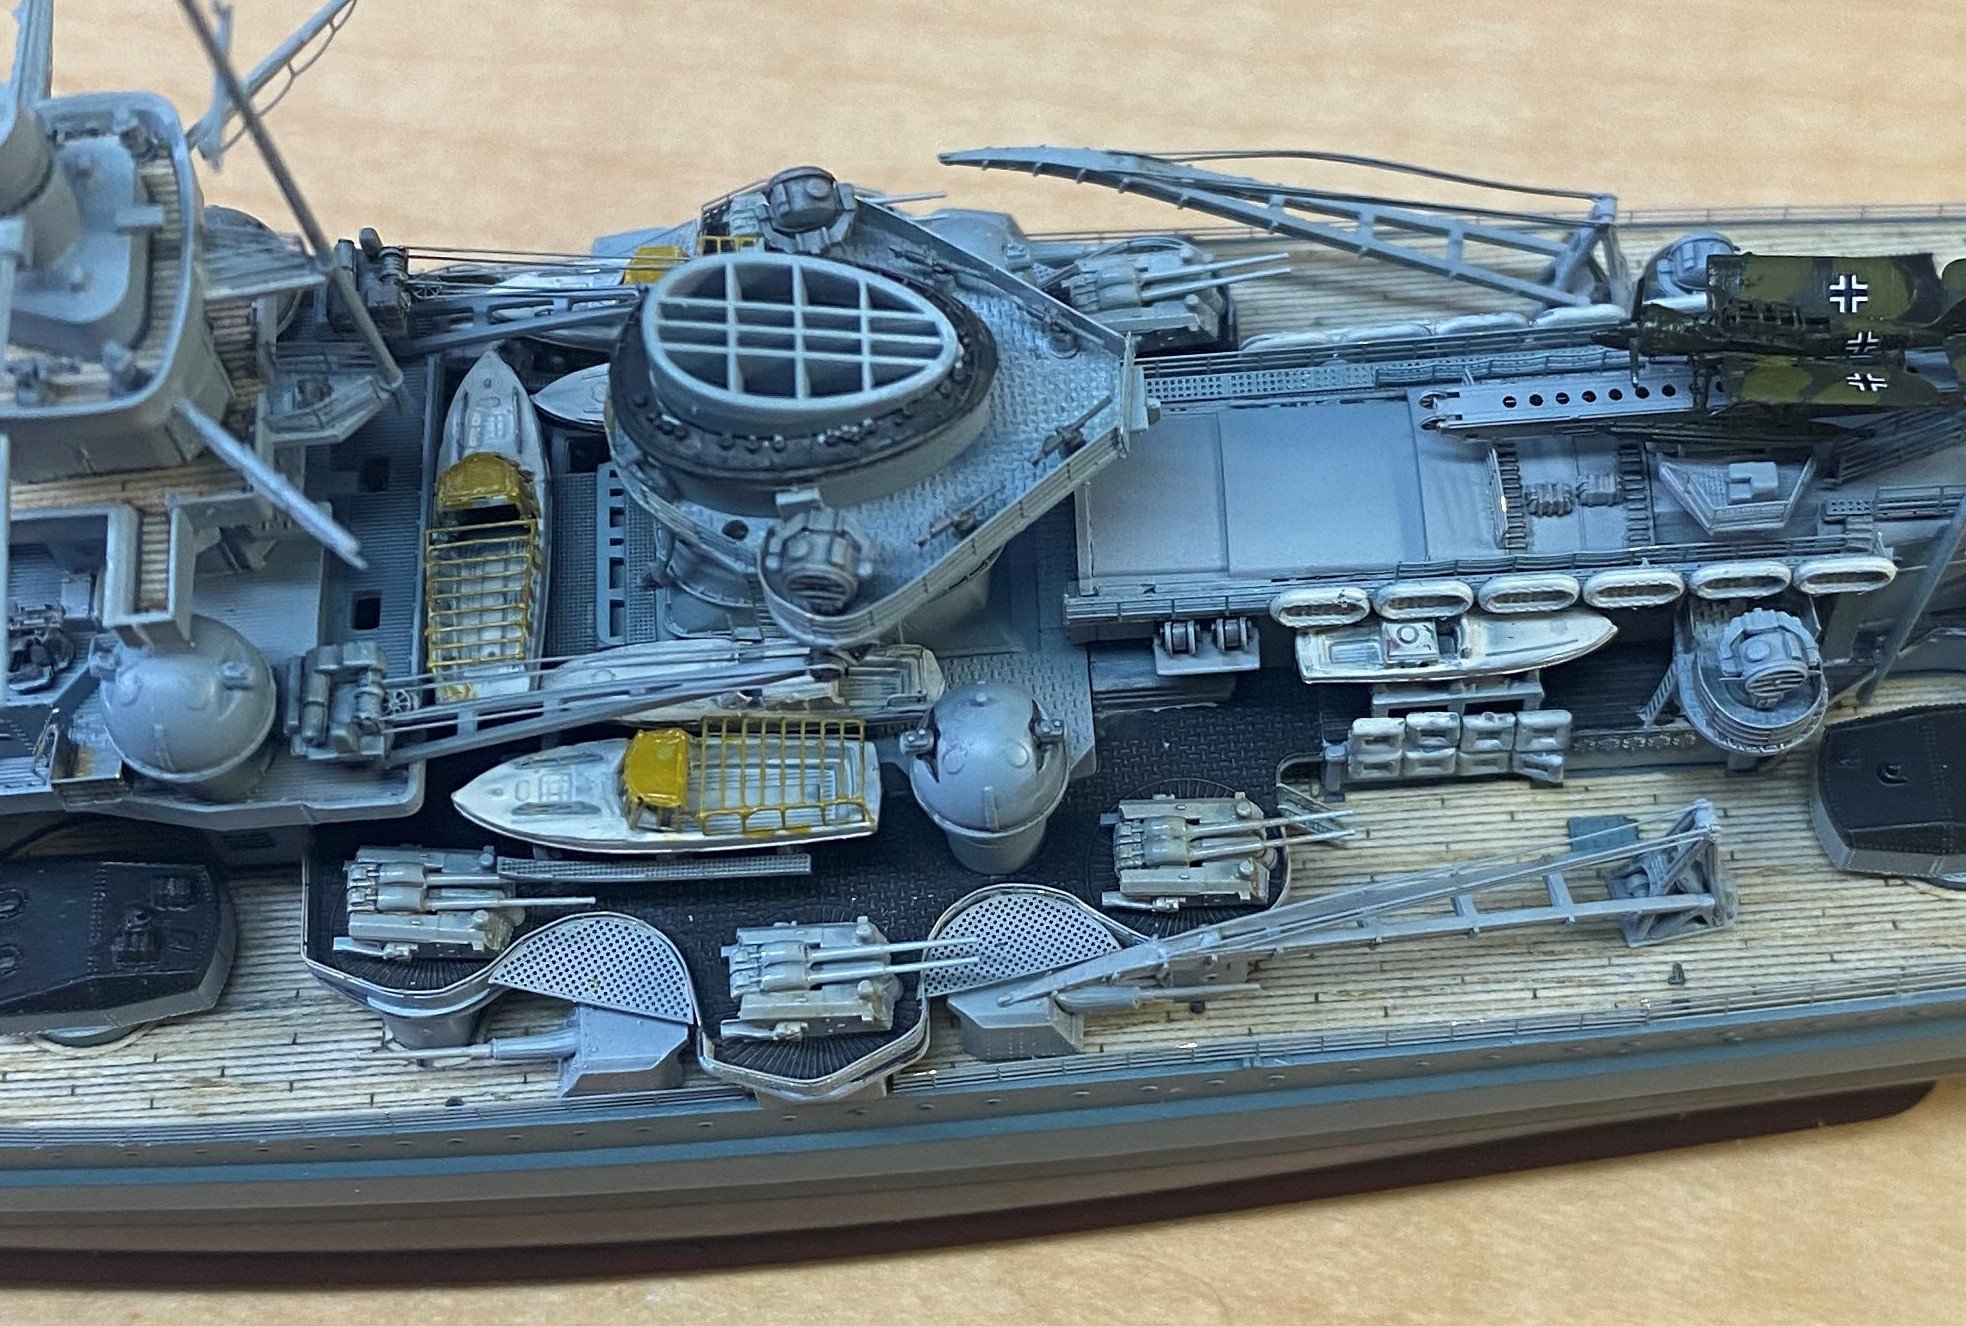
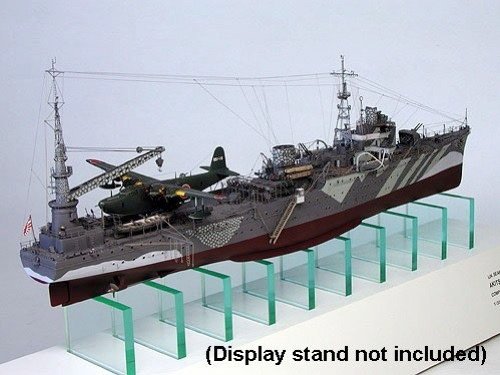
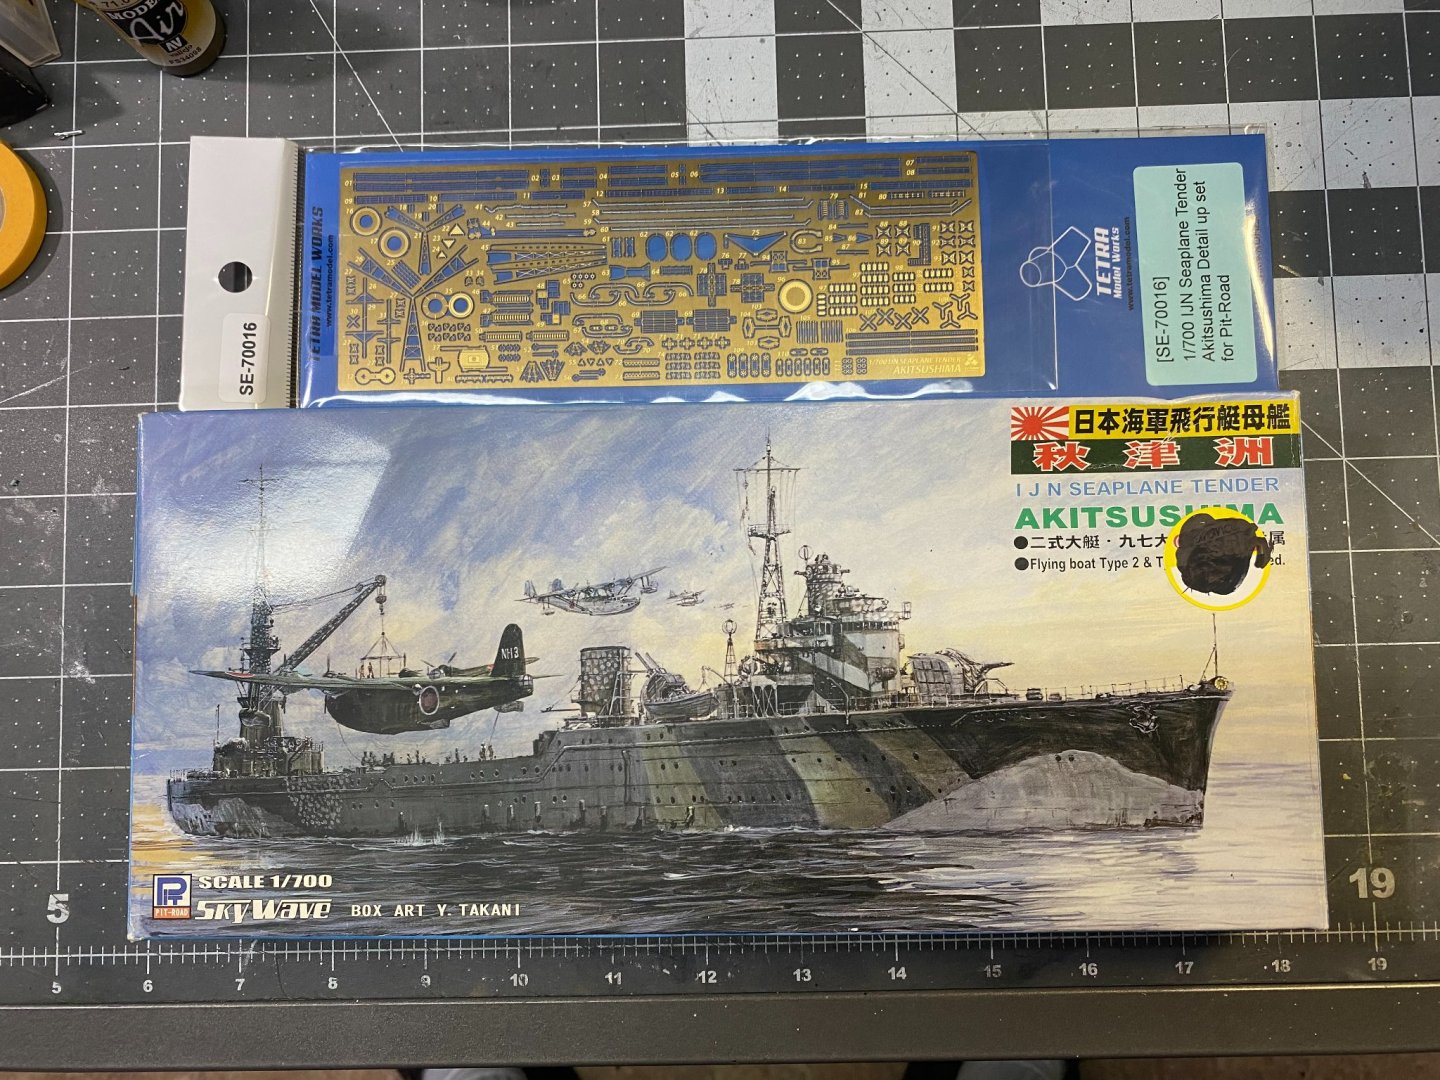
IJN Akitsushima Seaplane Tender with added aftermarket details, 1:700 scale.

- 127 replies
-
- 12
-
-
- Akitsushima
- Pit Road
- (and 2 more)
-
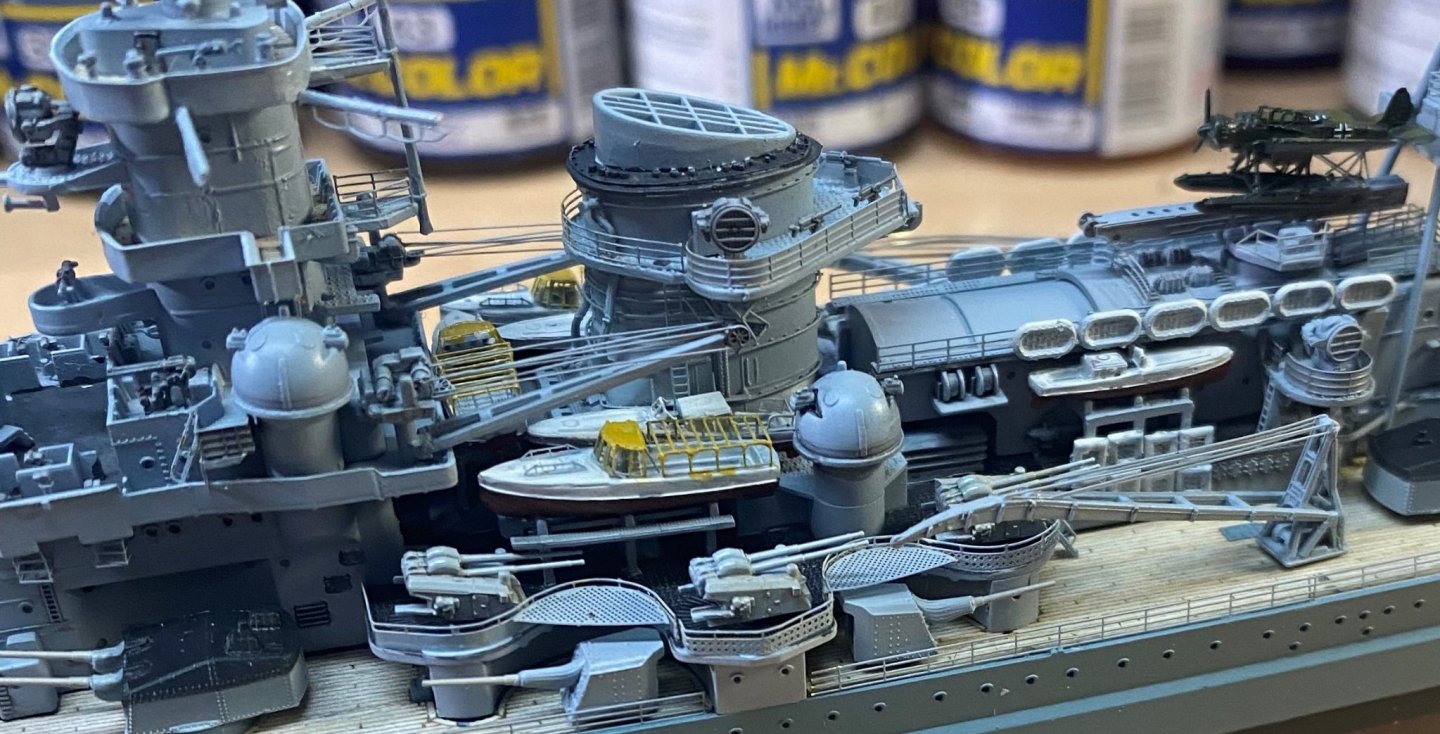
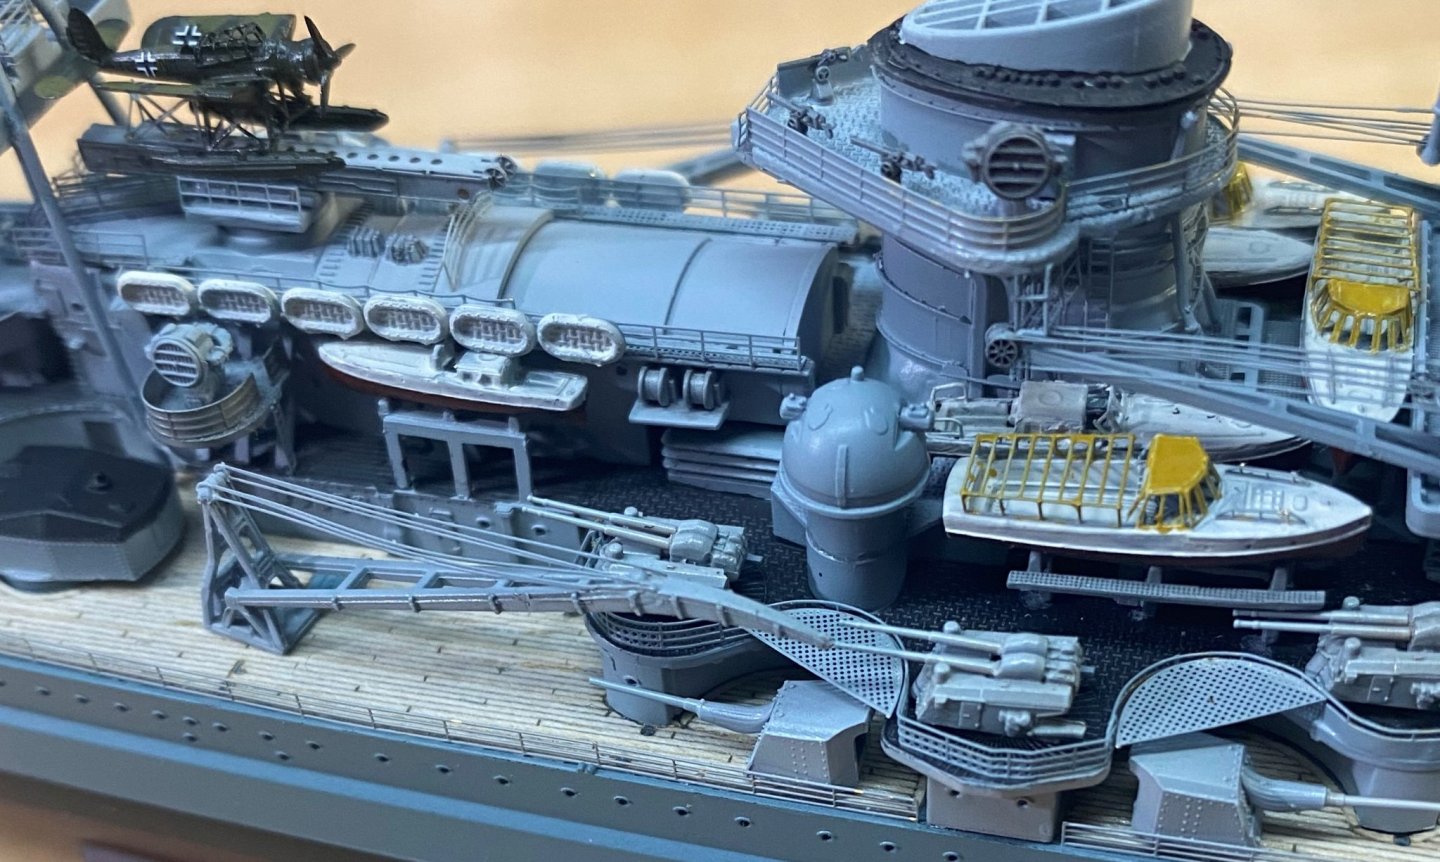
With the ship's boats and life rafts in place, going to give the model a pause until my Scharnhorst reference book arrives. Can't do the rigging without some reference material. Should have had the reference book from the beginning. 🙂 Need to make that a habit with these ship models because I have never been one to collect reference books of any kind.

- 168 replies
-
- 9
-
-
- Scharnhorst
- Flyhawk
- (and 1 more)