Supplies of the Ship Modeler's Handbook are running out. Get your copy NOW before they are gone! Click on photo to order.
×

CDW
-
Posts
7,725 -
Joined
-
Last visited
Content Type
Profiles
Forums
Gallery
Events
Everything posted by CDW
-
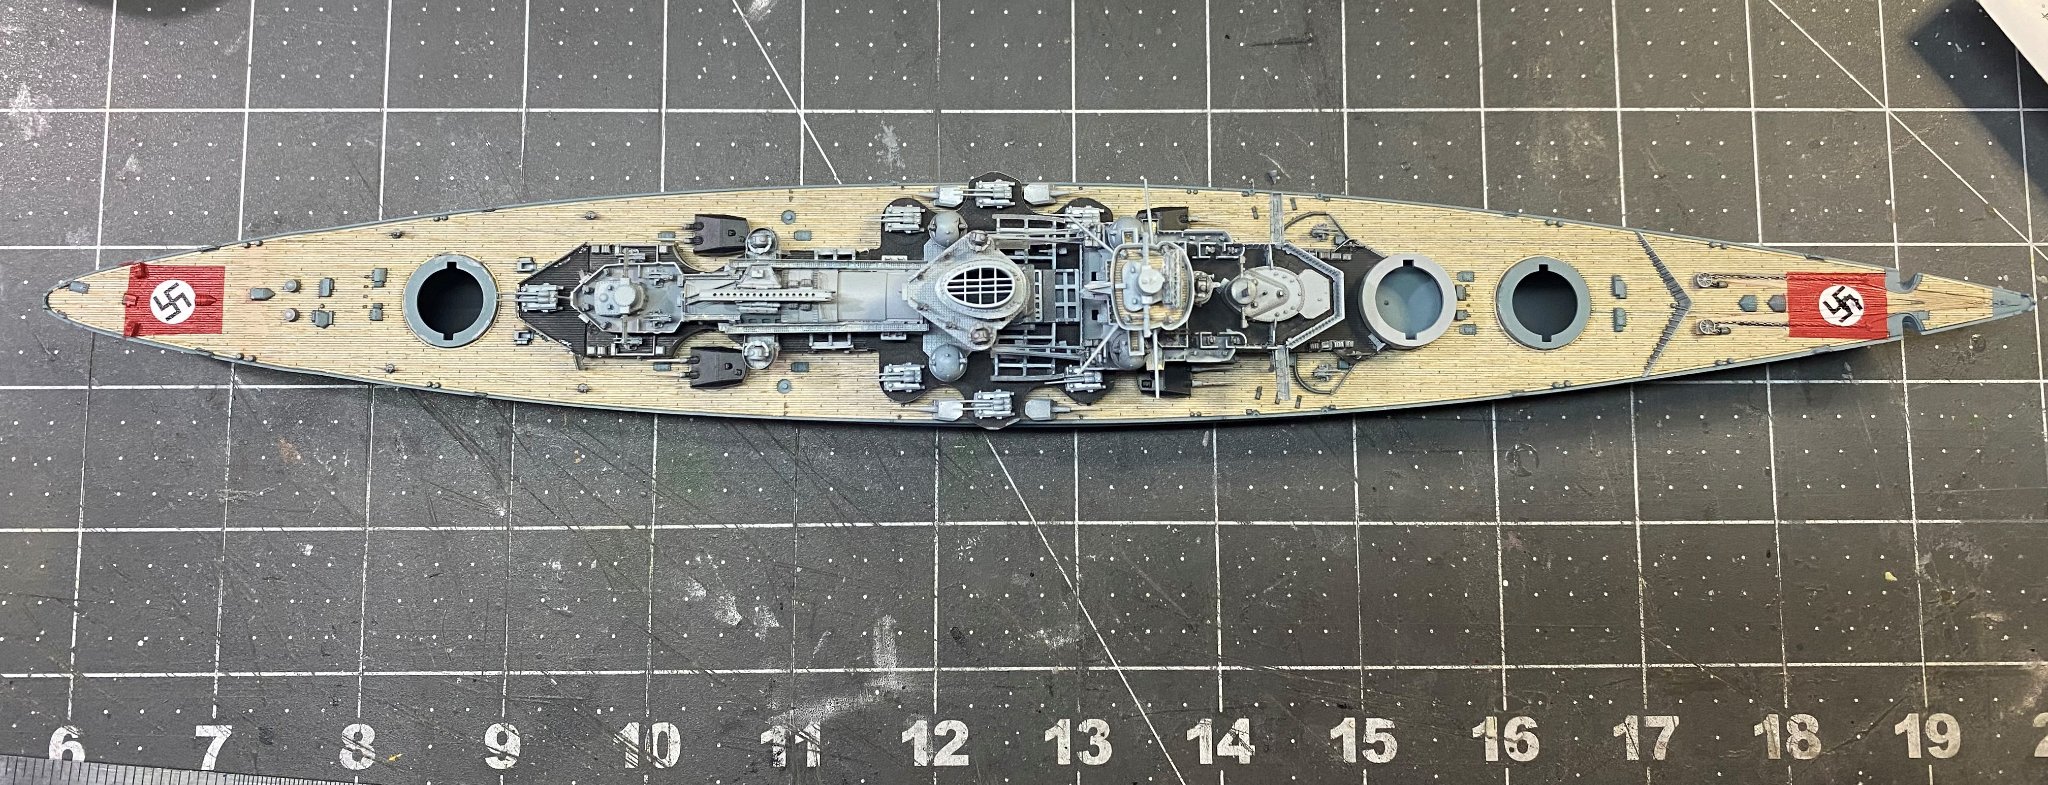
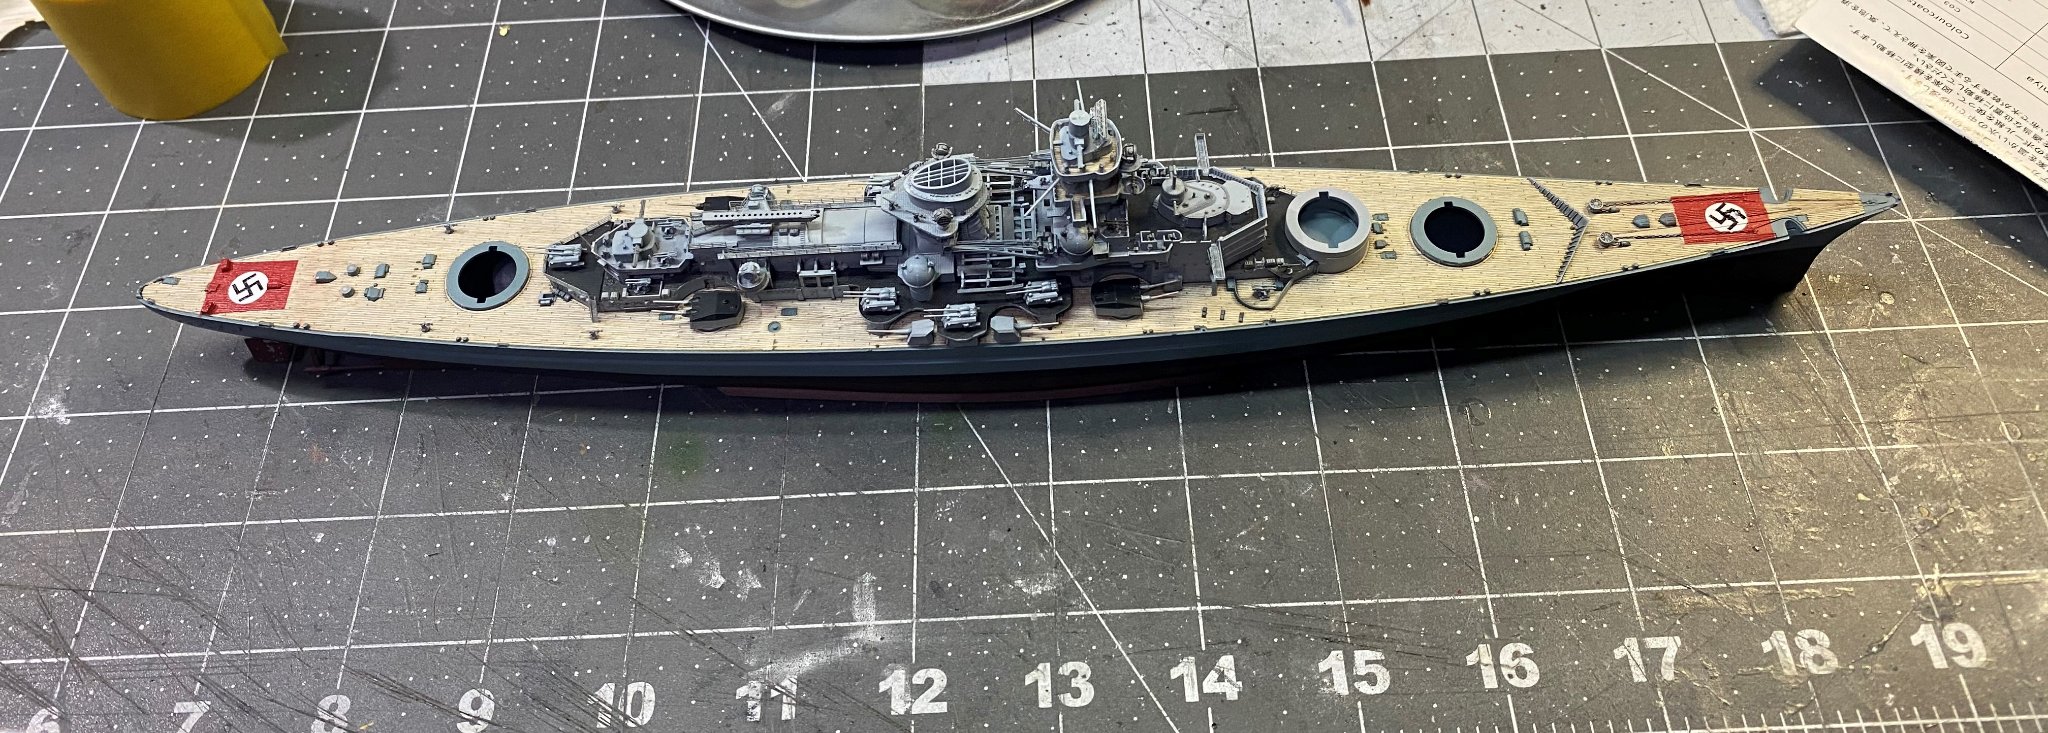
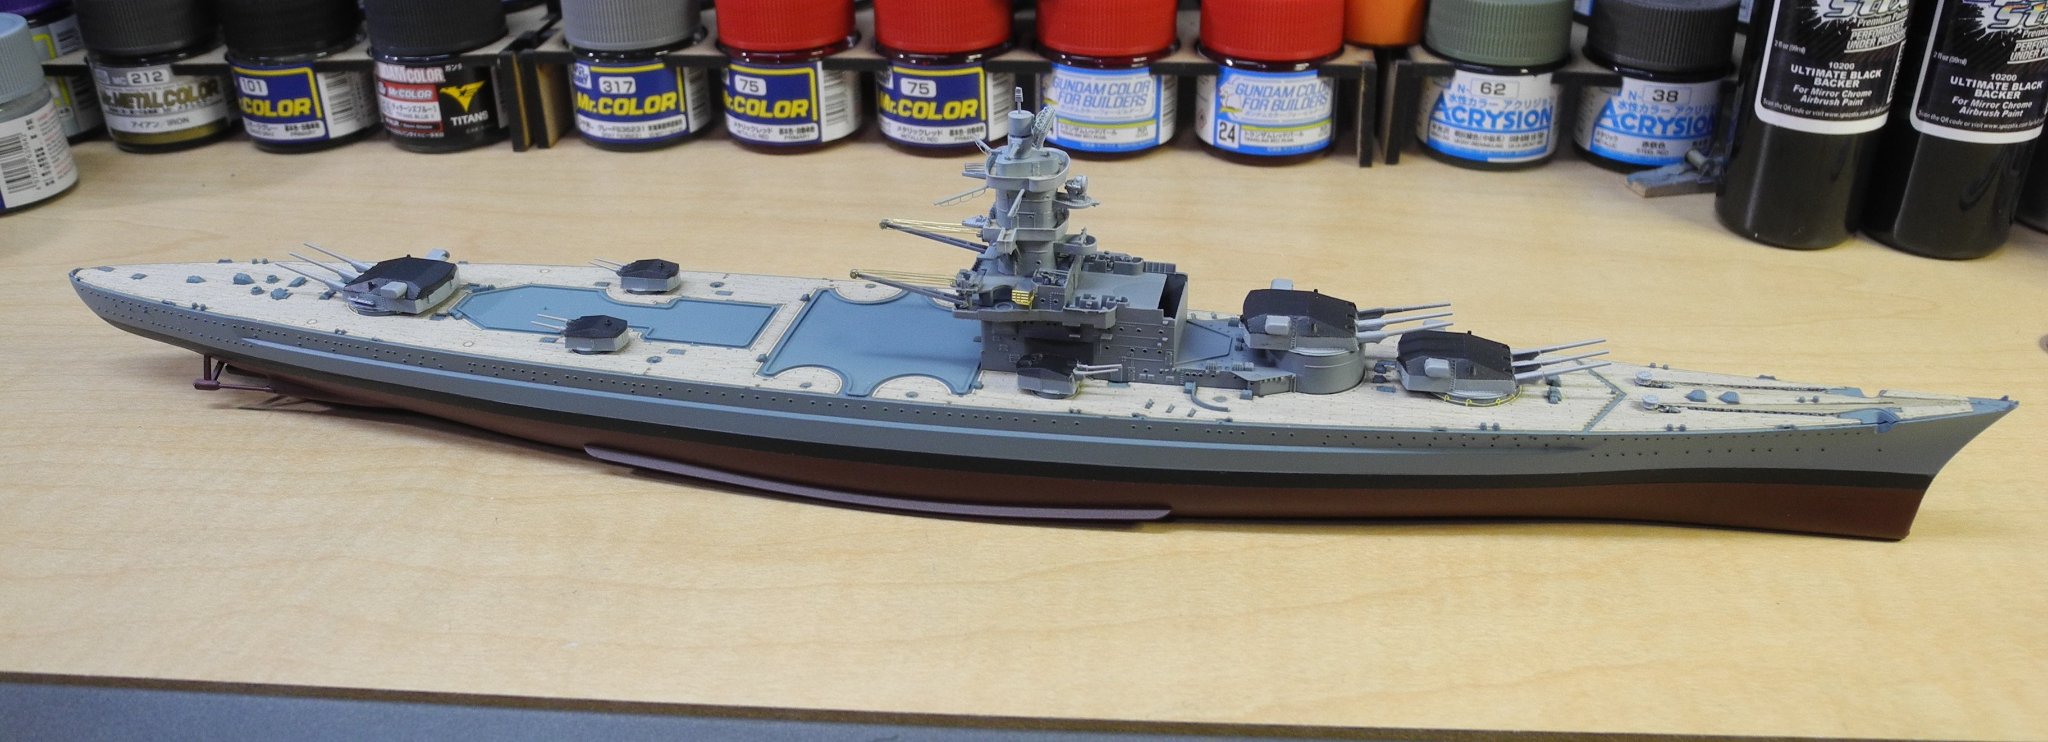
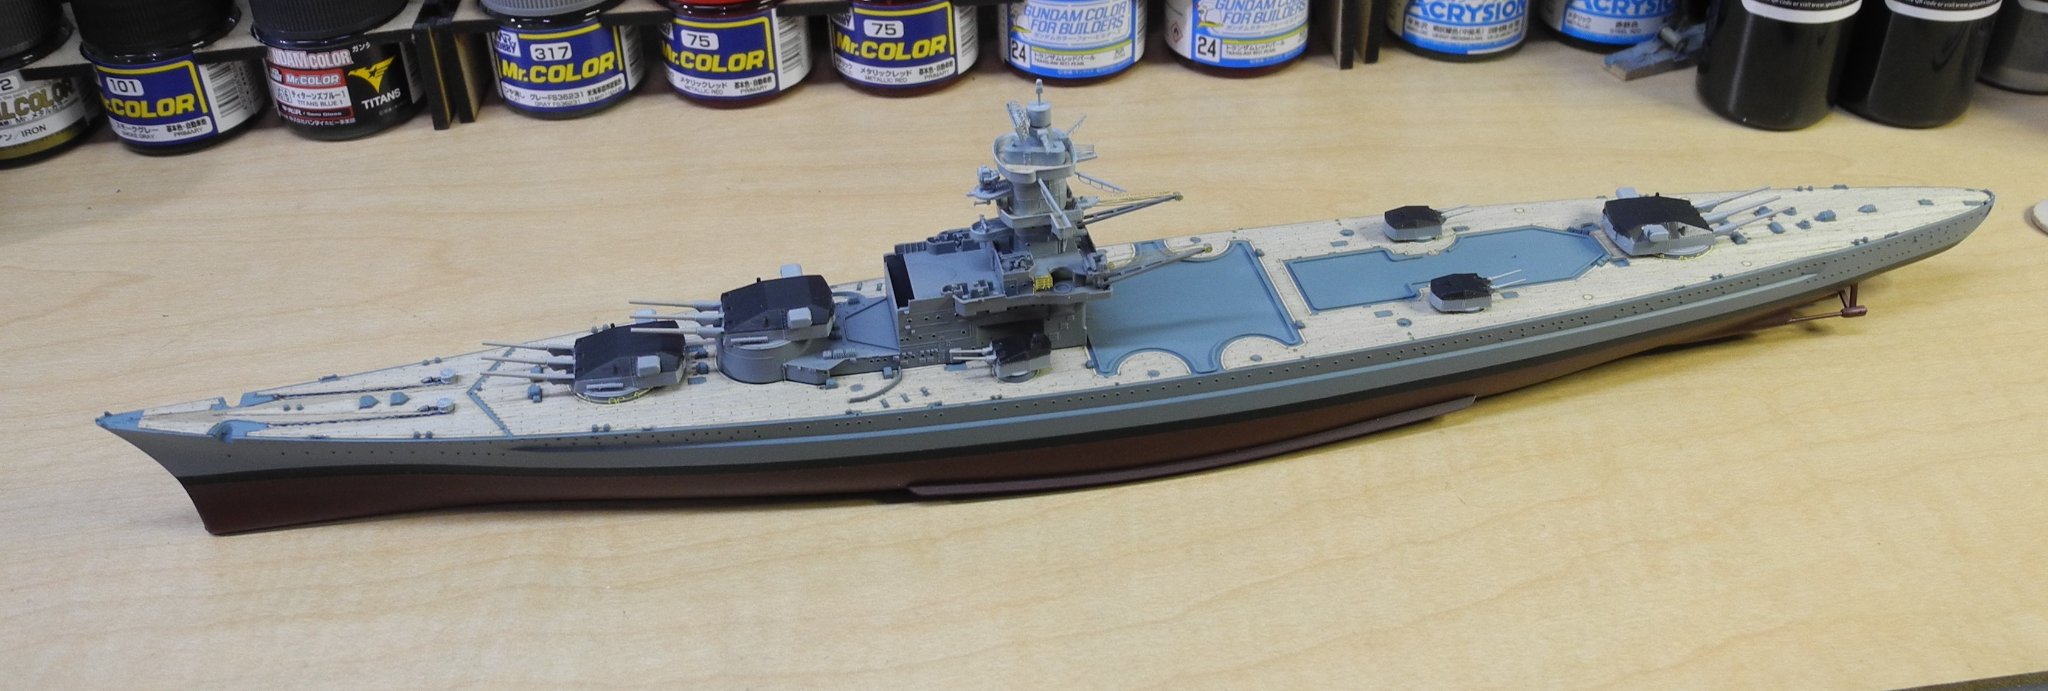
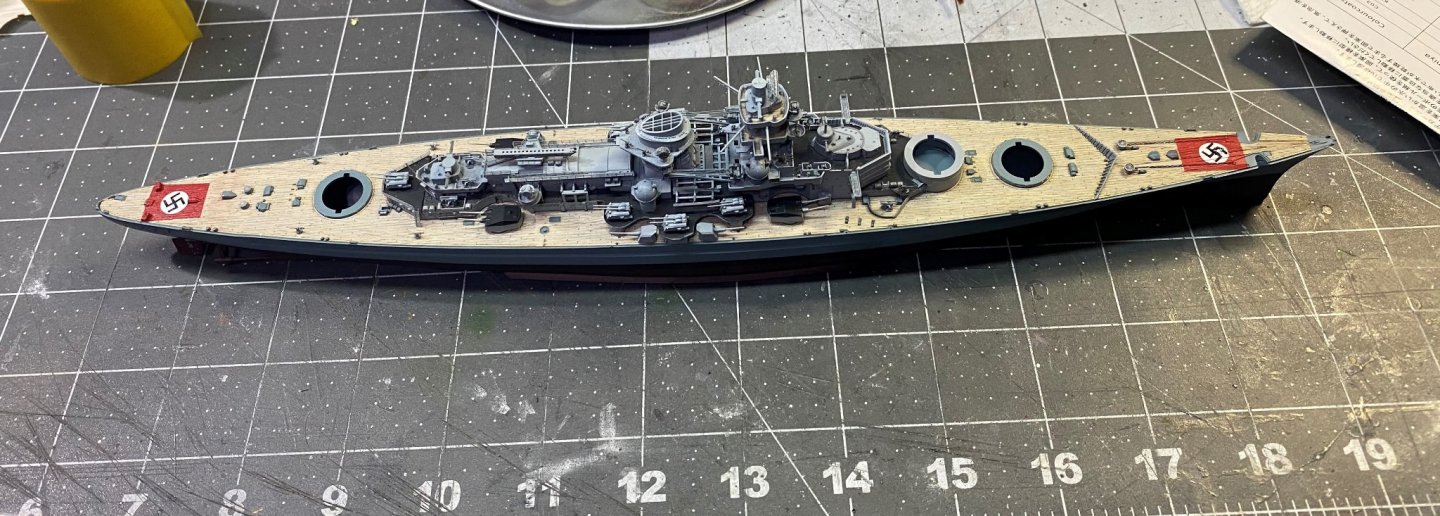
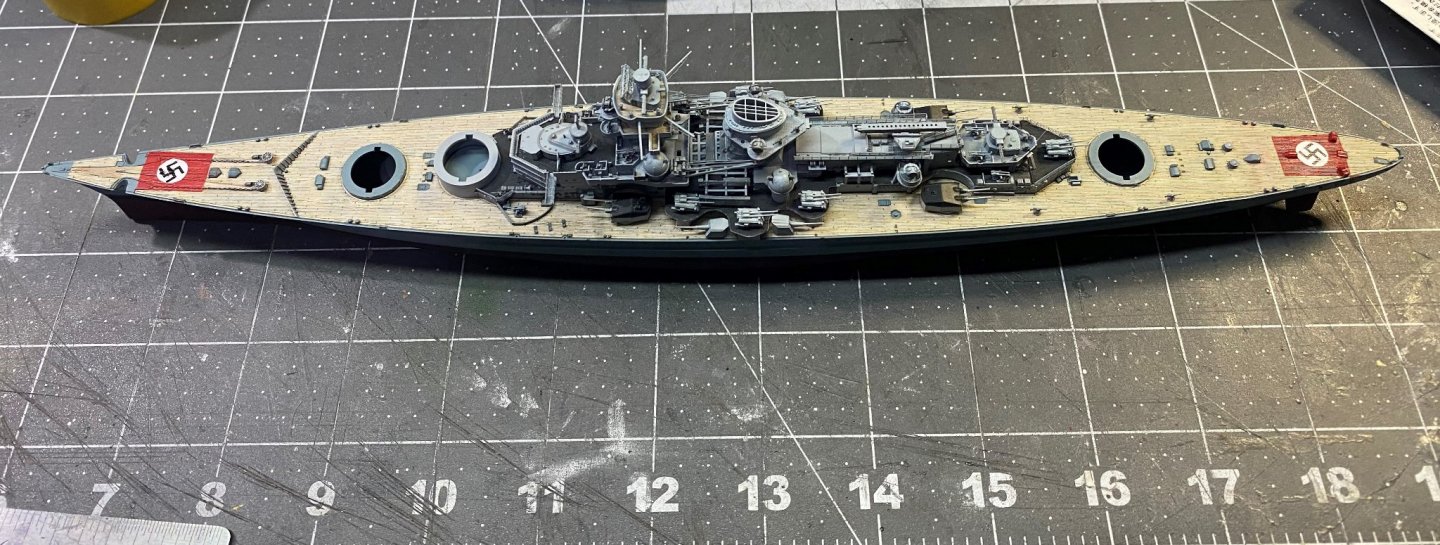
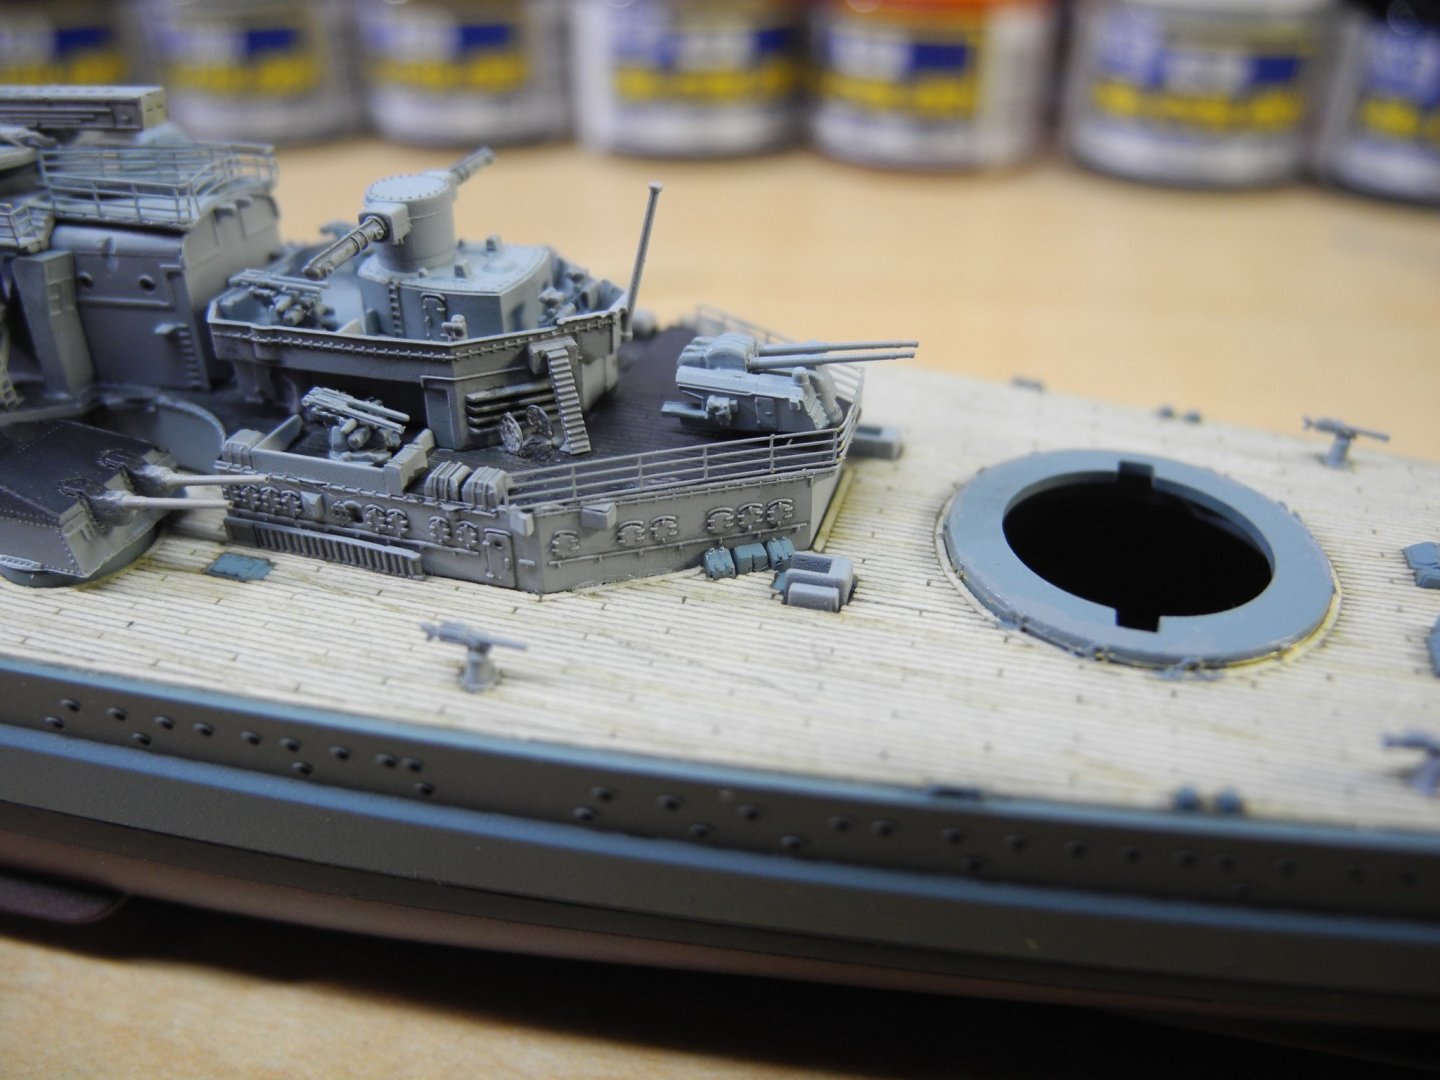
 Painted the red areas on the deck and added the swastikas. Ready for the remainder of the railing now. There are two bollards on the bow directly under the swastika, giving it a peculiar effect.
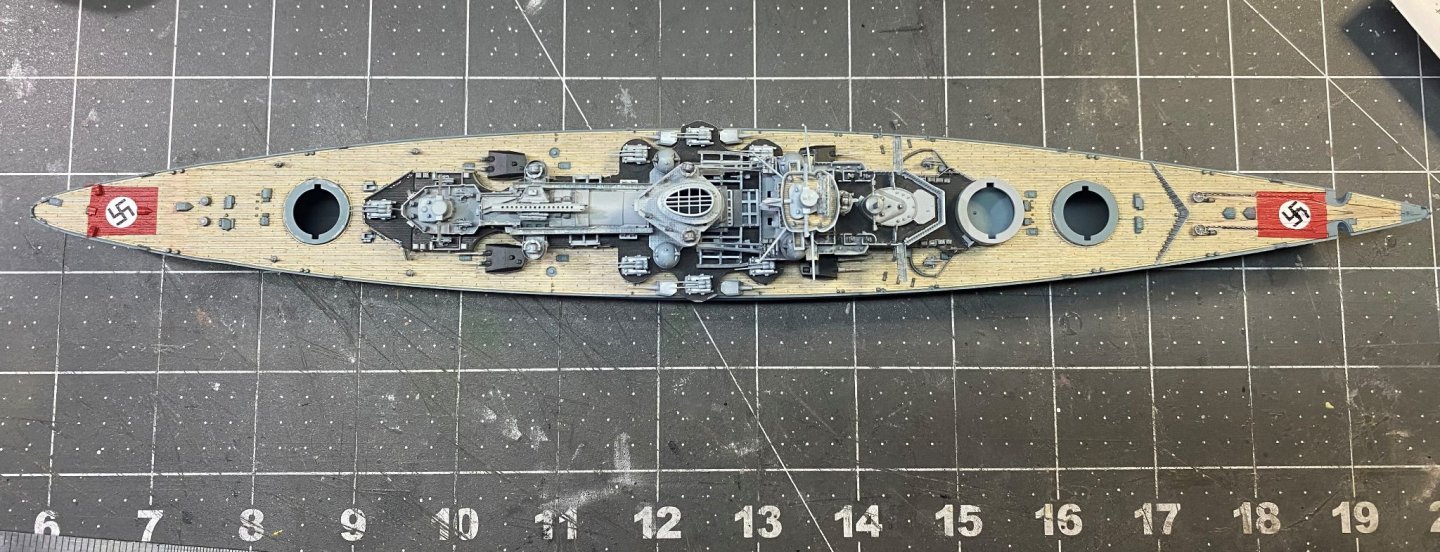
- 168 replies
-
- 15
-

-
- Scharnhorst
- Flyhawk
- (and 1 more)
-
As a kid in elementary school in the early 1960's, I had a classmate from Honduras who told me they had Corsairs in the Honduran air force. I found this very hard to believe at the time and was surprised when I grew older to learn they actually did fly them just as my friend said they did. Growing up, I never saw a Corsair in flight, only read about them and saw photos in magazines and encyclopedias. The Corsair aircraft were used by the Honduran's as late as 1969 in the Soccer Wars.
-
You are doing a great job with that cockpit Edward. Very nice work. Looking forward to following along with your build of the Corsair.
-
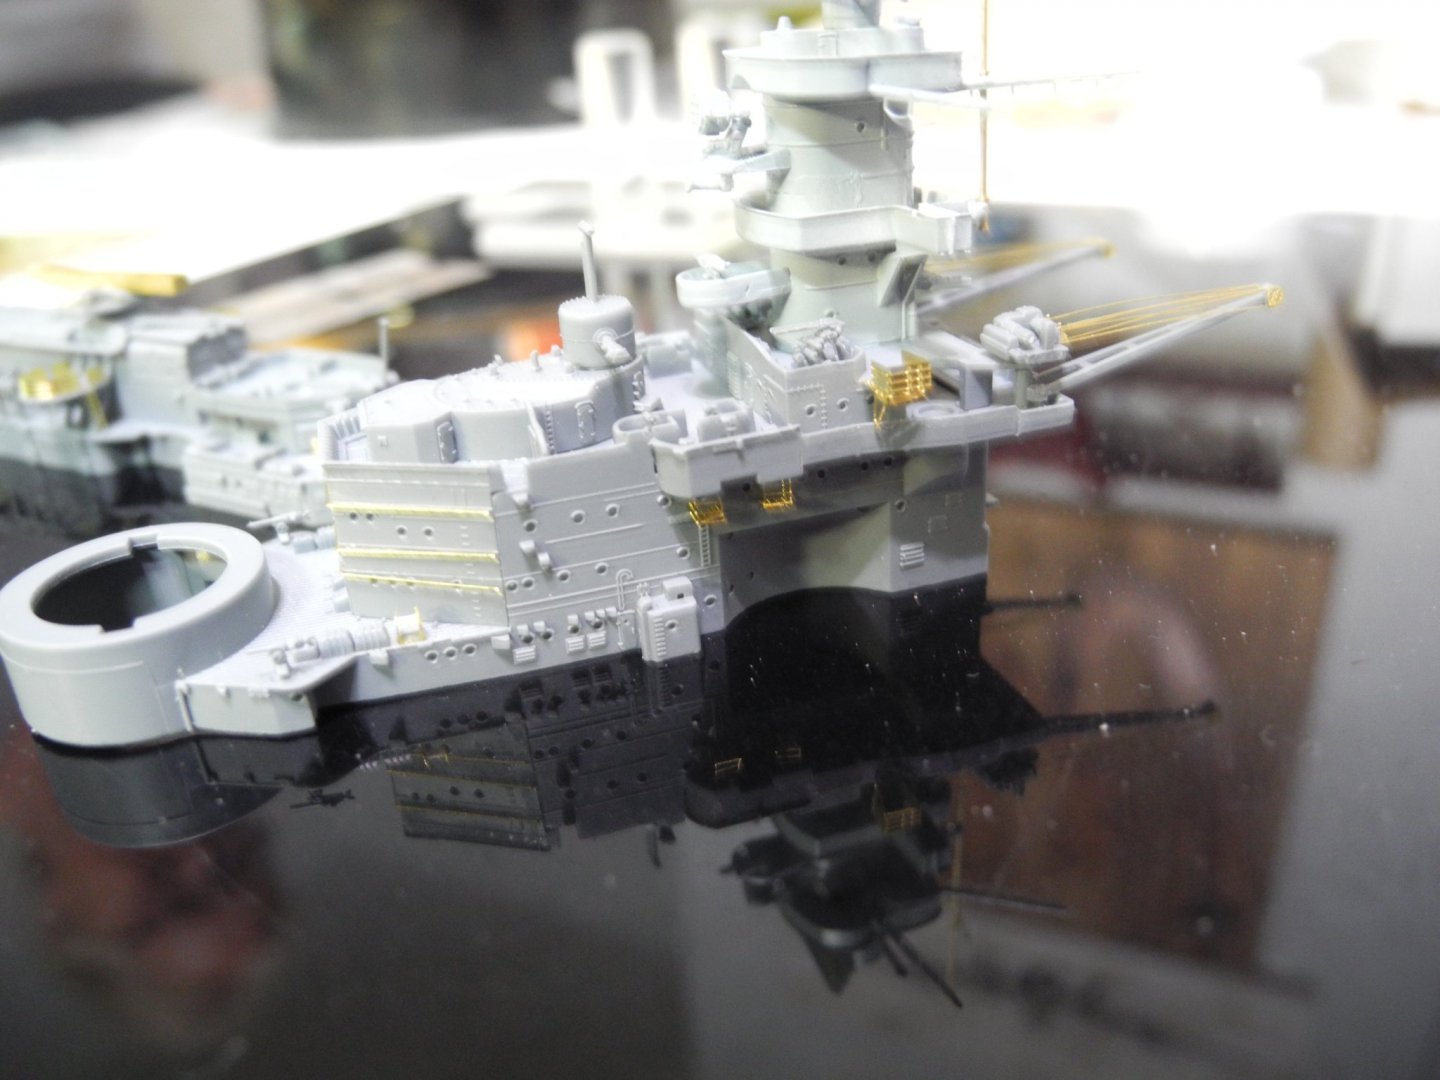
The hand rail and ladder work on the superstructure is both tedious and time consuming but adds a lot to the model. I need to do some red paint work on the fore and aft ends of the main deck, then decals for the swastikas, before adding the hand rails along the main deck sides.


- 168 replies
-
- 13
-
-
- Scharnhorst
- Flyhawk
- (and 1 more)
-
Wow OC. Impressive work being done on your armies! Really coming along beautifully. Quite a lot of work involved in detail painting a set like this. Hats off to you for all the time you're putting in to get it done. It's paying off.
-
I'll use almost any excuse to listen to Pink Floyd...but yes, I do hold my breath for some things along with finding other convenient ways to steady the hand for precise work. Thanks for sharing the pain along with me. 🙂 I am very much enjoying the slower pace as well as the outcome in this scale. Now I regret having sold off some really fine 1:700 scale models in the not too distant past without even attempting to build them.
- 168 replies
-
- 7
-
-
- Scharnhorst
- Flyhawk
- (and 1 more)
-
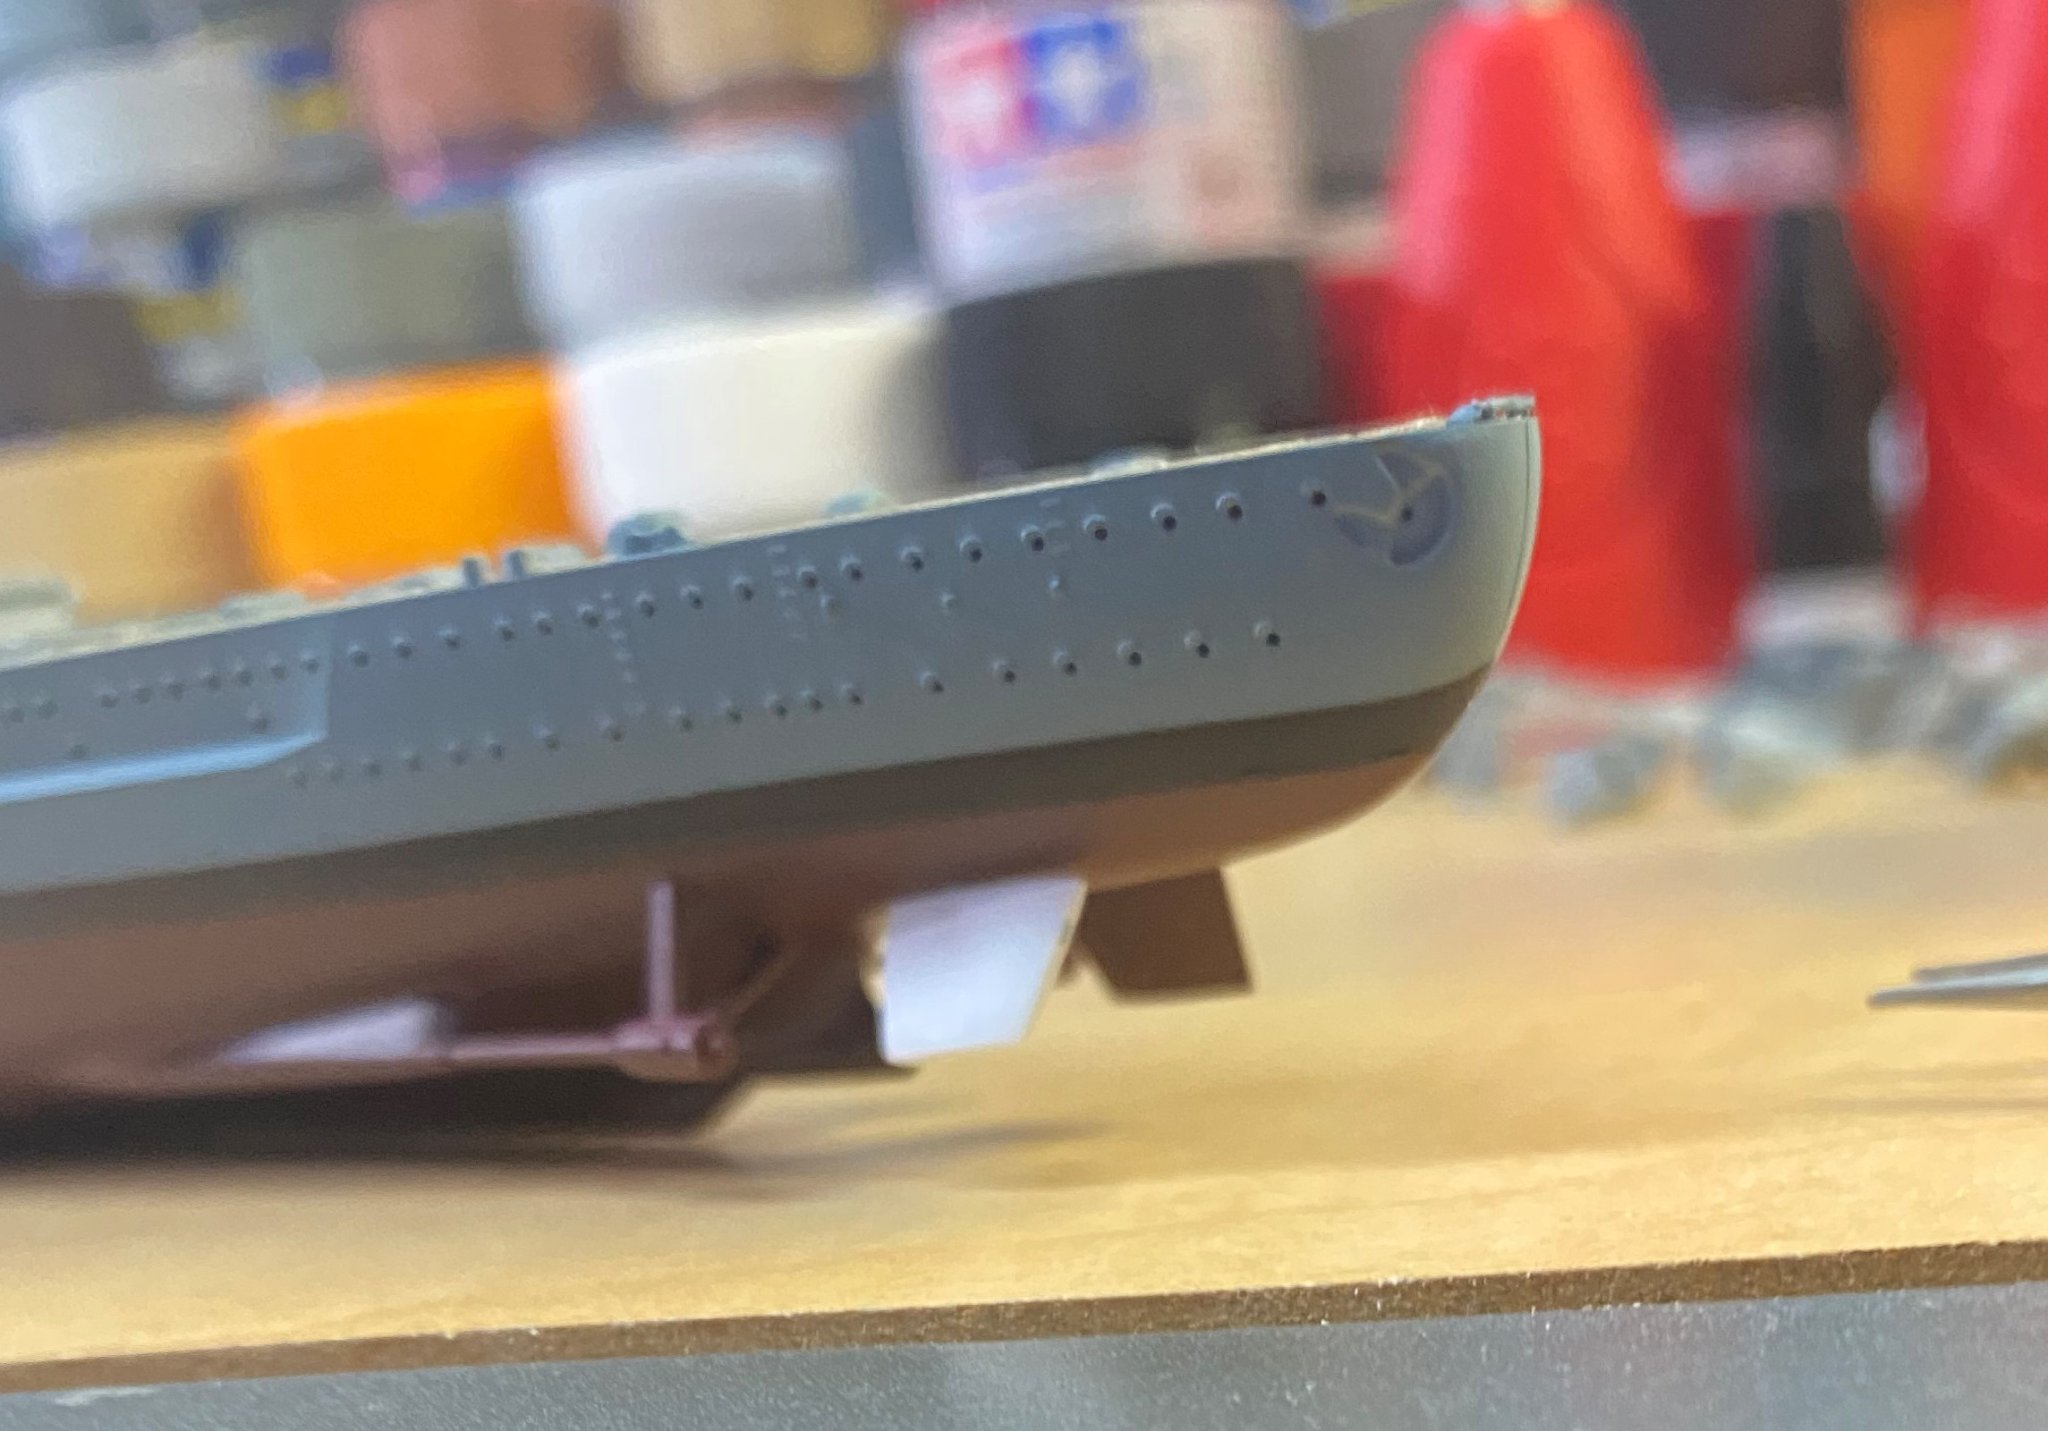
Gave up looking for my lost rudder and made one from sheet styrene using the other as a template. This time I drilled and put wire in place of the plastic pin that broke off and resulted in a lost rudder. Car modelers frequently do this with door handles, side mirrors, etc., that can easily be broken off and lost when handling the model.

- 168 replies
-
- 8
-
-
- Scharnhorst
- Flyhawk
- (and 1 more)
-
Thanks gentlemen. I don't plan to put this one in a water dio. Maybe another one down the road.
- 168 replies
-
- 7
-
-
- Scharnhorst
- Flyhawk
- (and 1 more)
-
It's almost time to start putting on the railings and ladders. Lots of them. Will do some detail painting and touch-ups first before the railings. Somewhere along the way, I managed to fat finger one of my masts and one rudder. Will take a look to see if I can find them. If not, it won't be too much trouble to scratch build replacements. That's one of the pitfalls of small models like these. It's easy to break off and lose teeny tiny parts. Maybe as time goes by, I'll figure out a building sequence that minimizes it. Right now it's trial and error.


- 168 replies
-
- 12
-
-
- Scharnhorst
- Flyhawk
- (and 1 more)
-
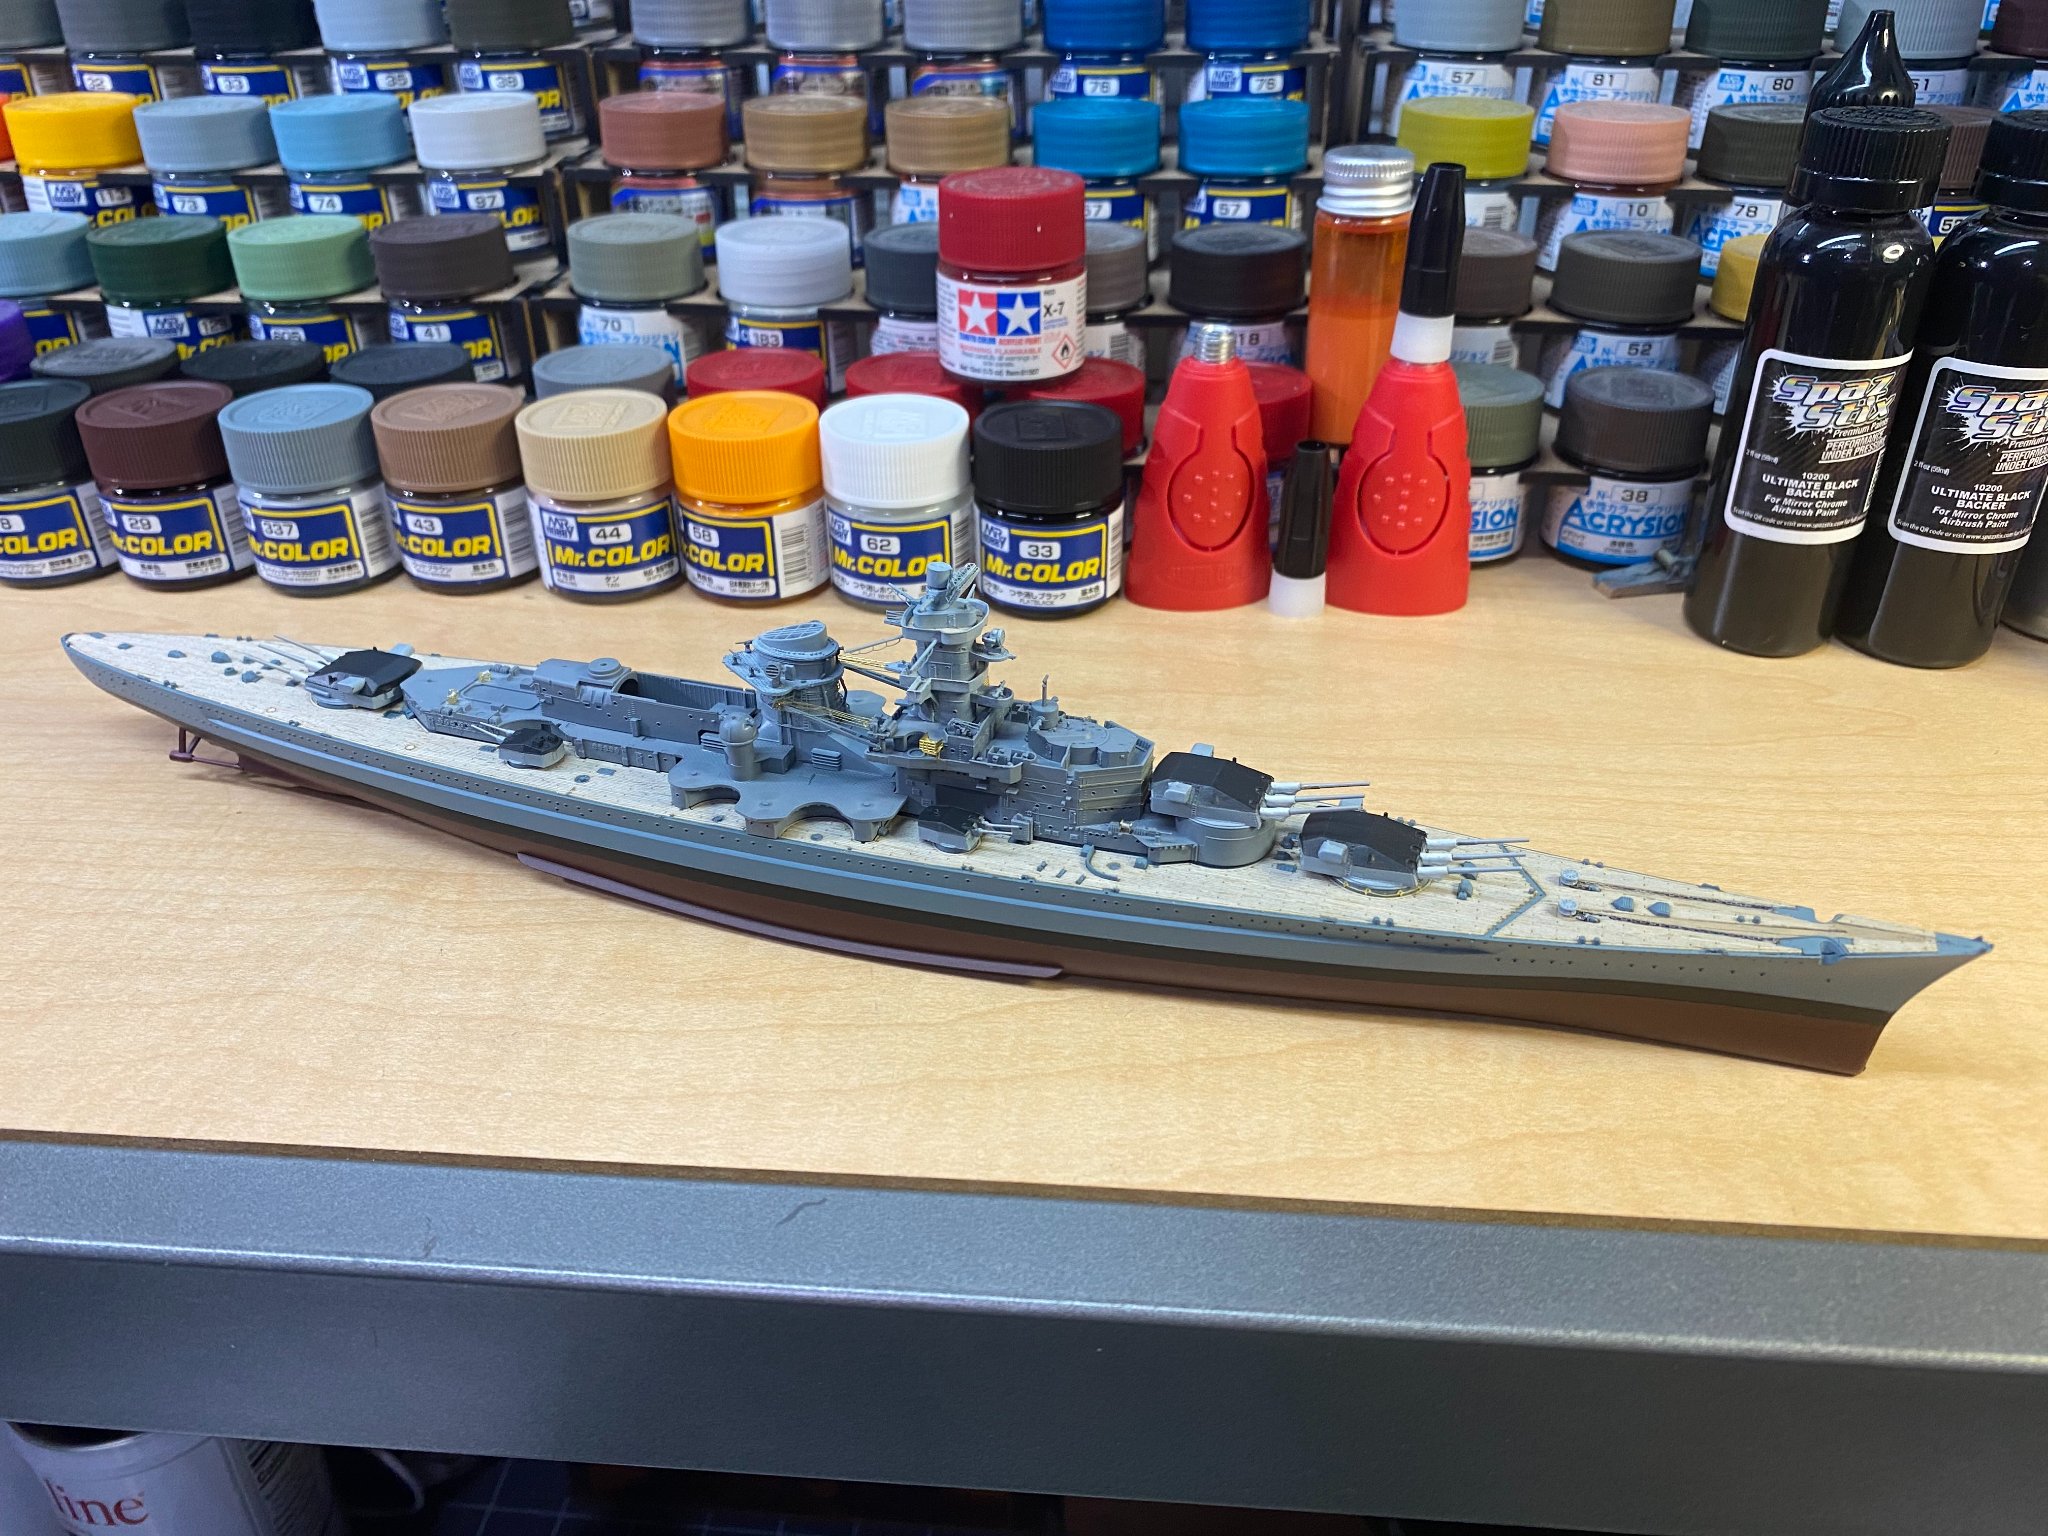
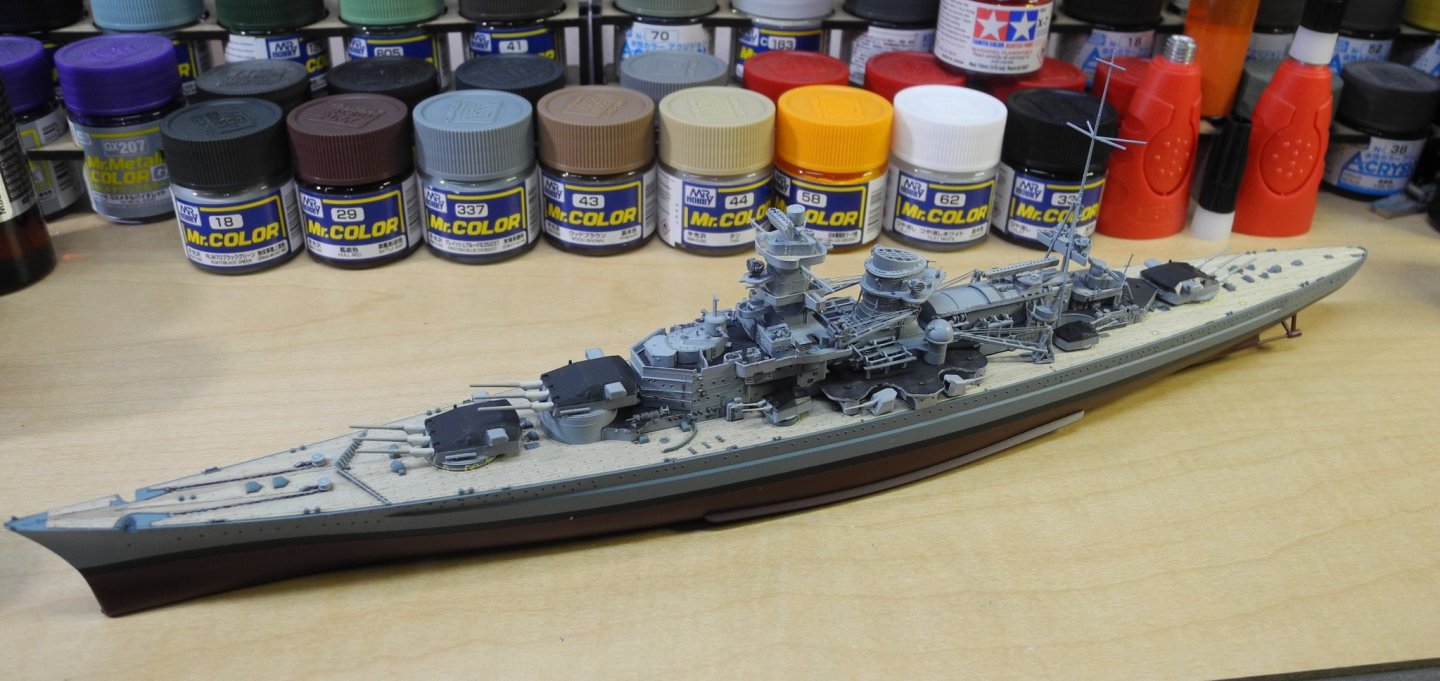
After this model, I believe 1:700 scale will be my go-to scale for steel ships. It's so much more practical to display models in this scale. 1:350 battleships and aircraft carriers take up a lot of space for display, and now that technology allows such fine detail in models of this scale, it just makes sense for me and I am finding this one enjoyable having to slow down and take my time due to the very small size.
- 168 replies
-
- 9
-
-
- Scharnhorst
- Flyhawk
- (and 1 more)
-
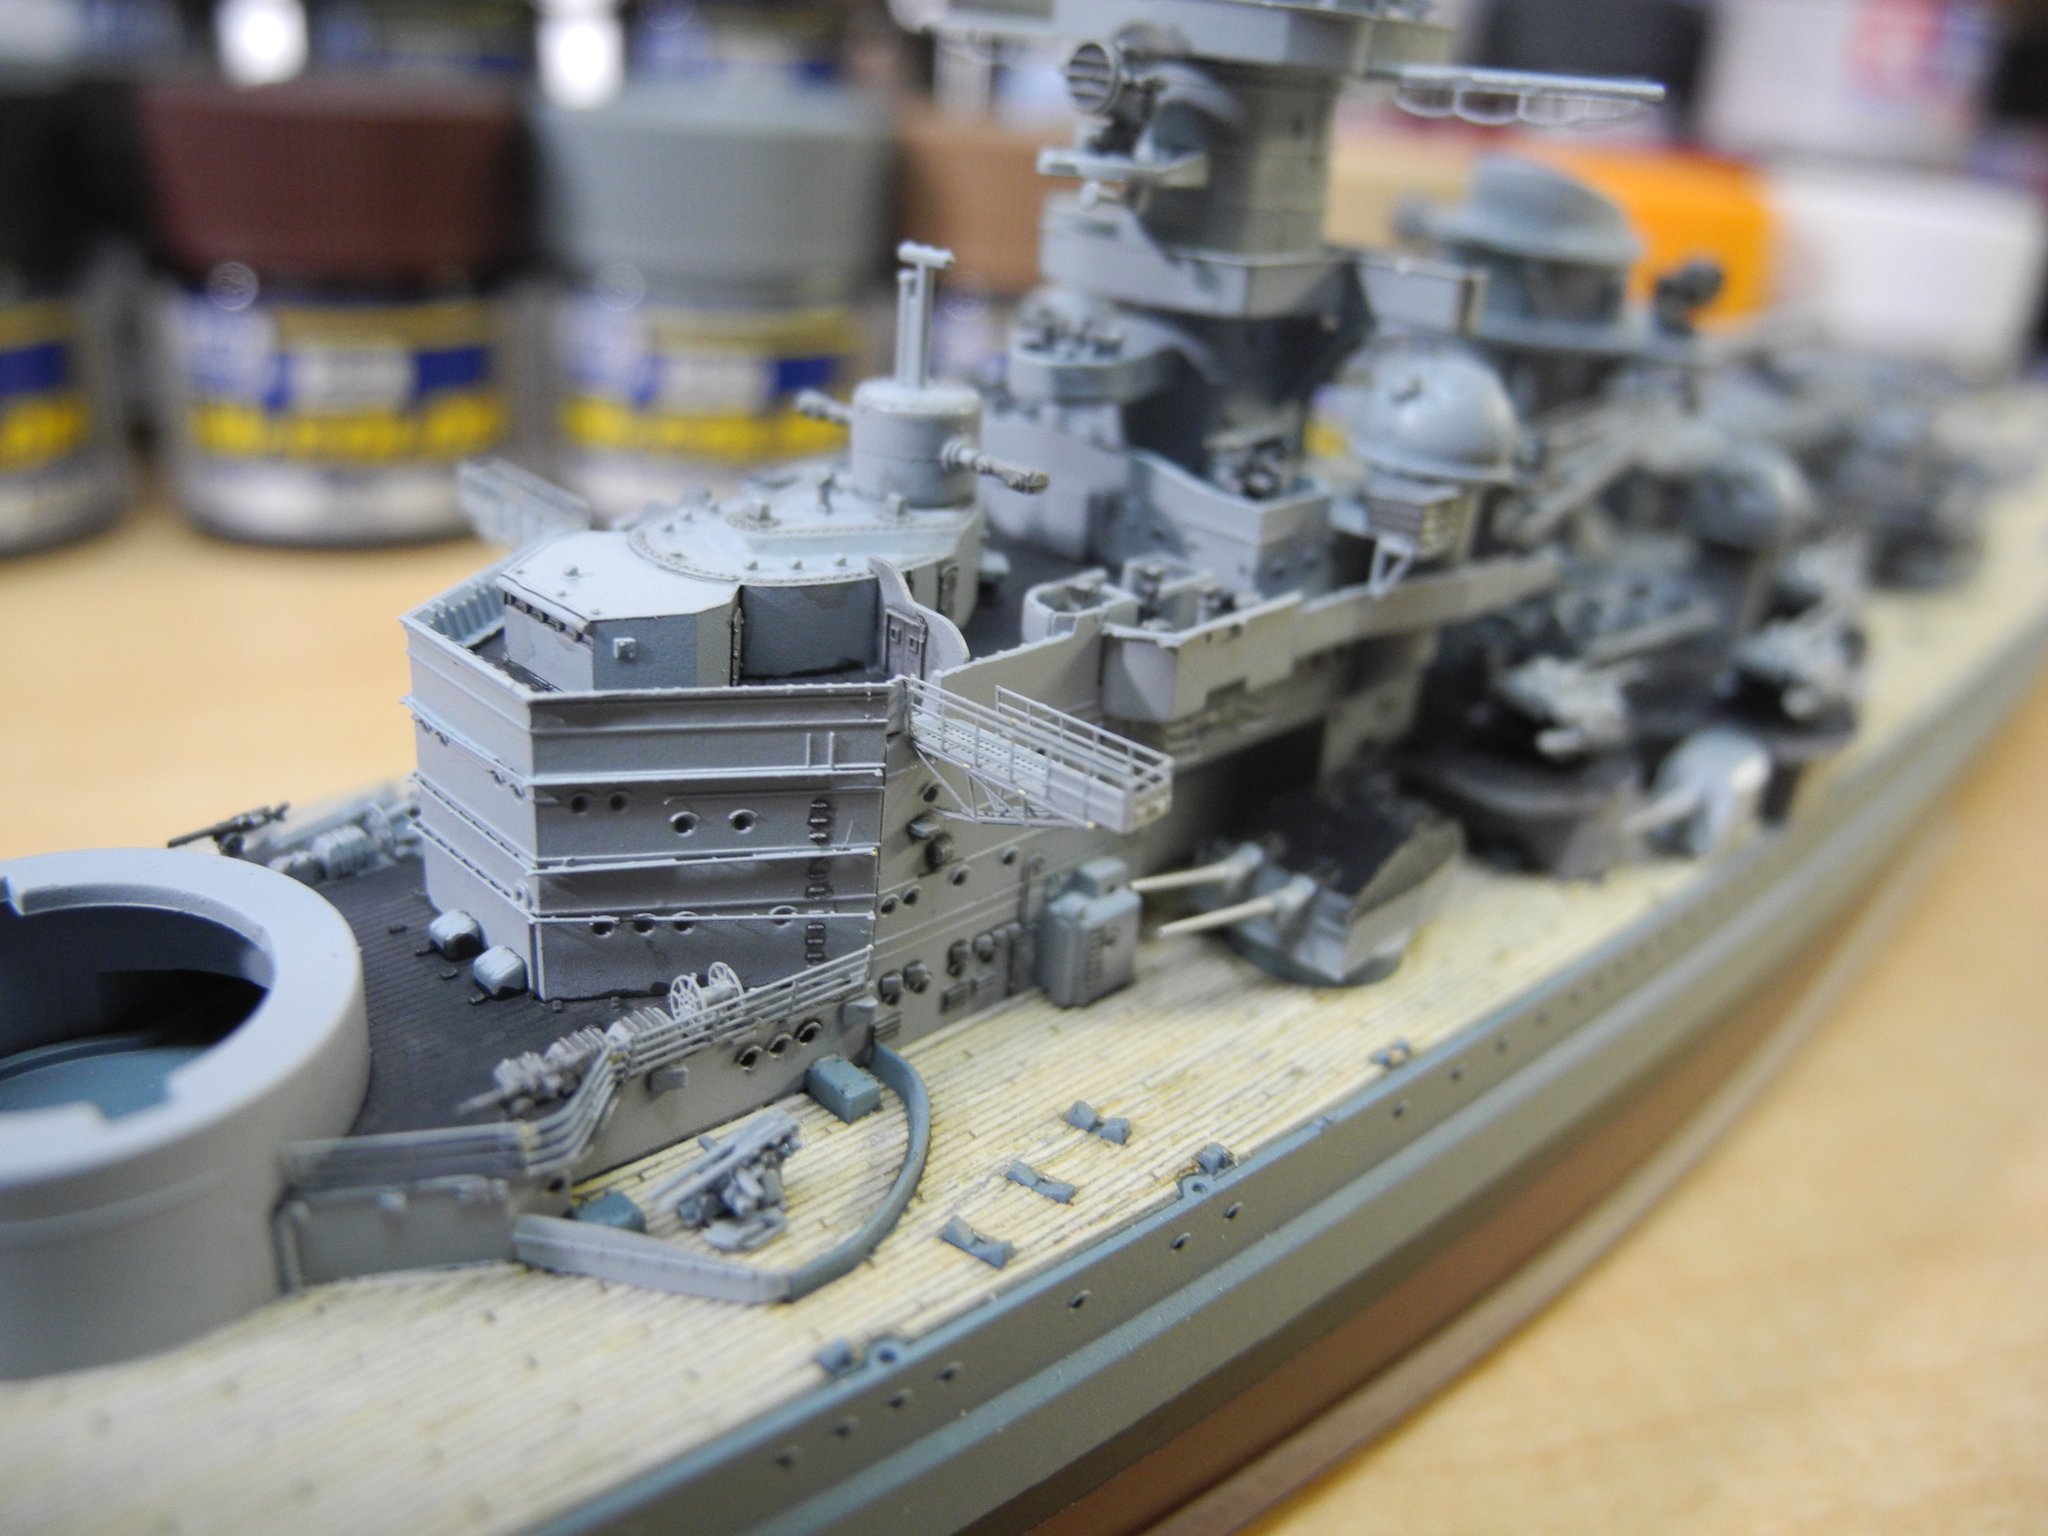
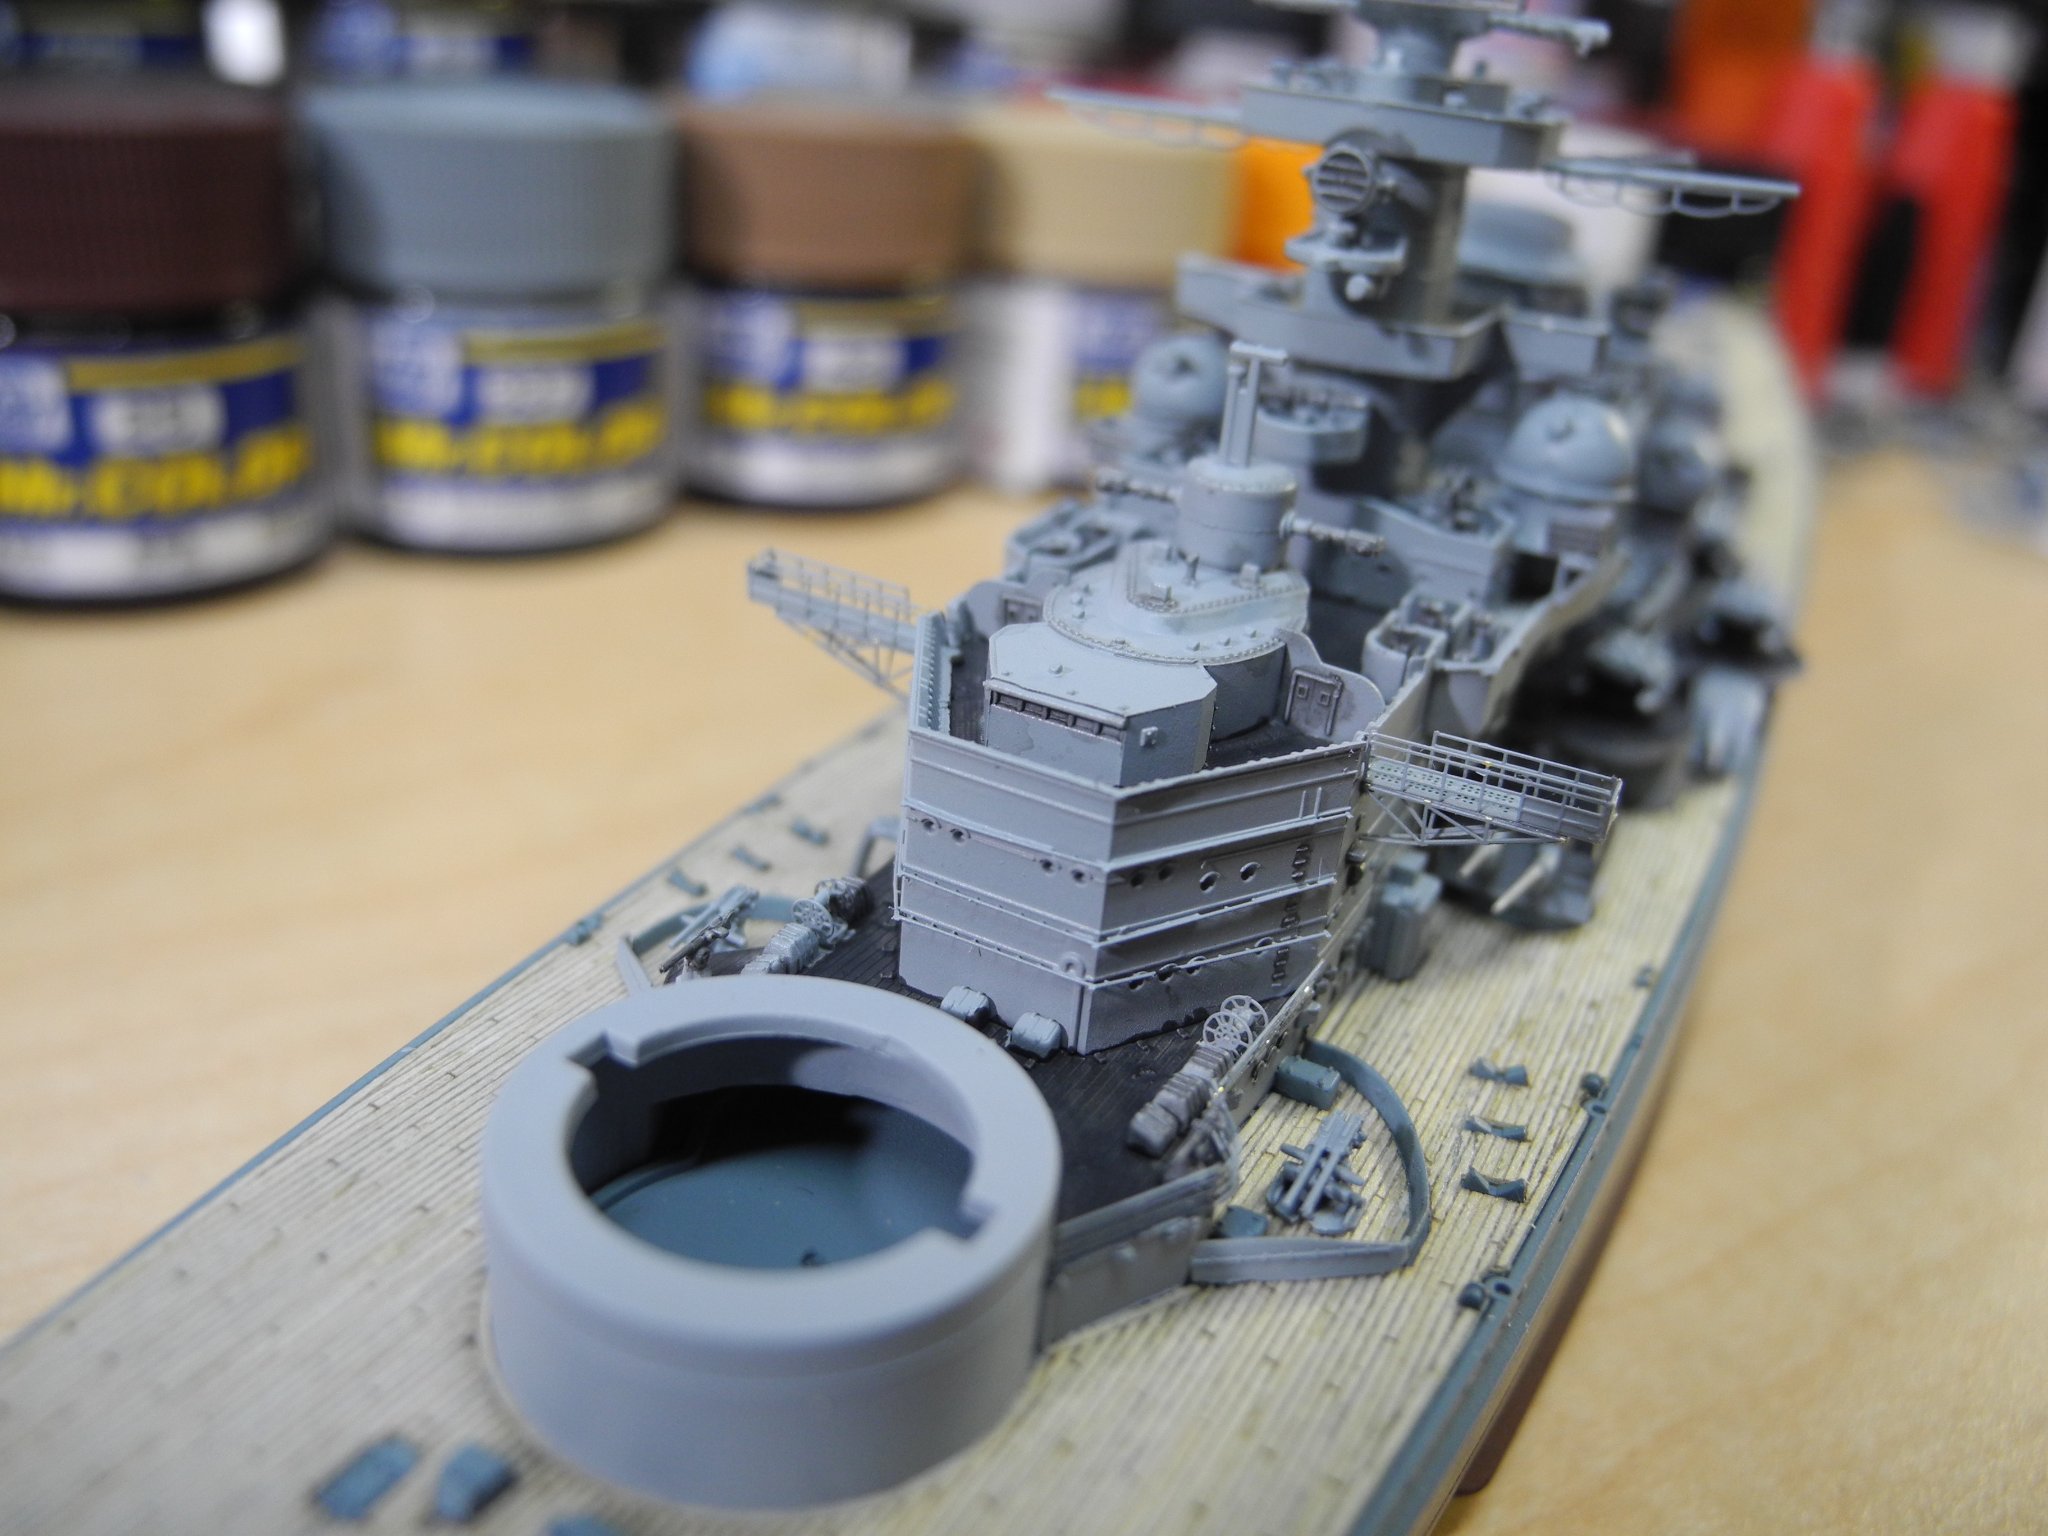
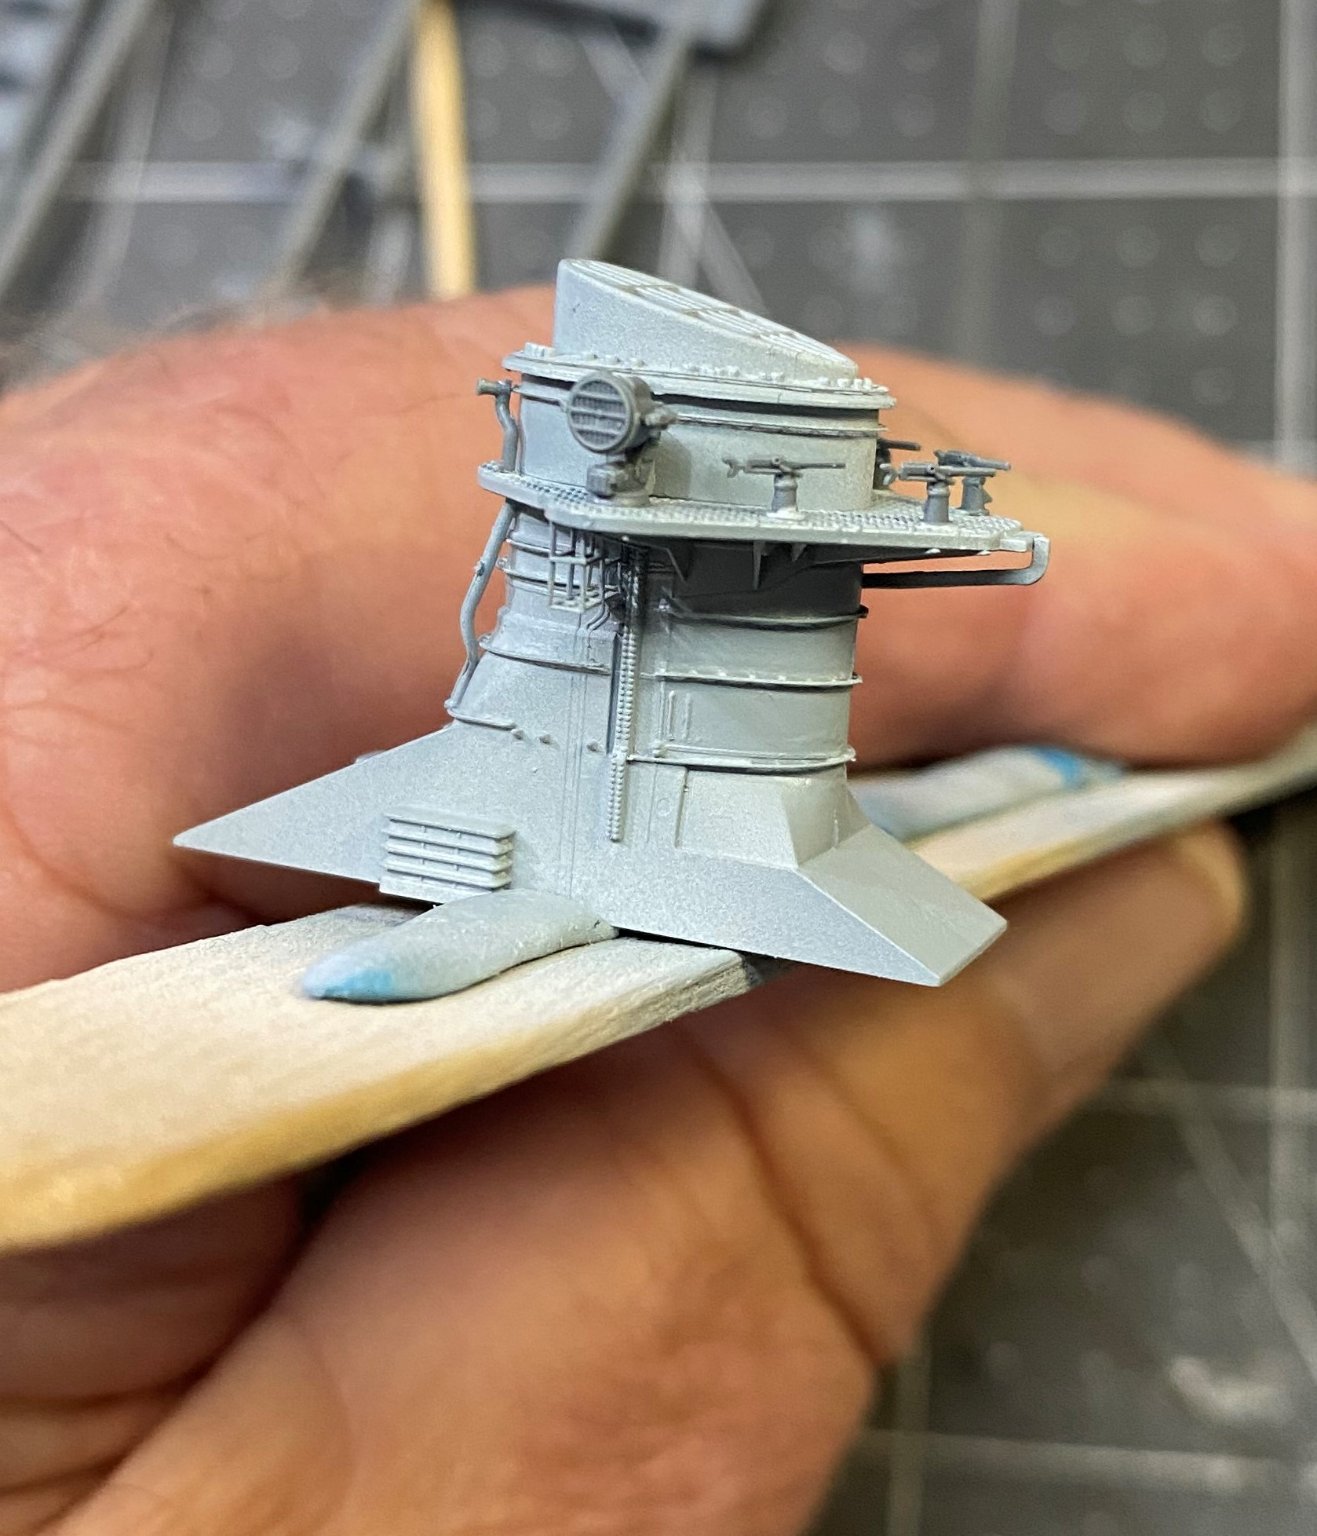
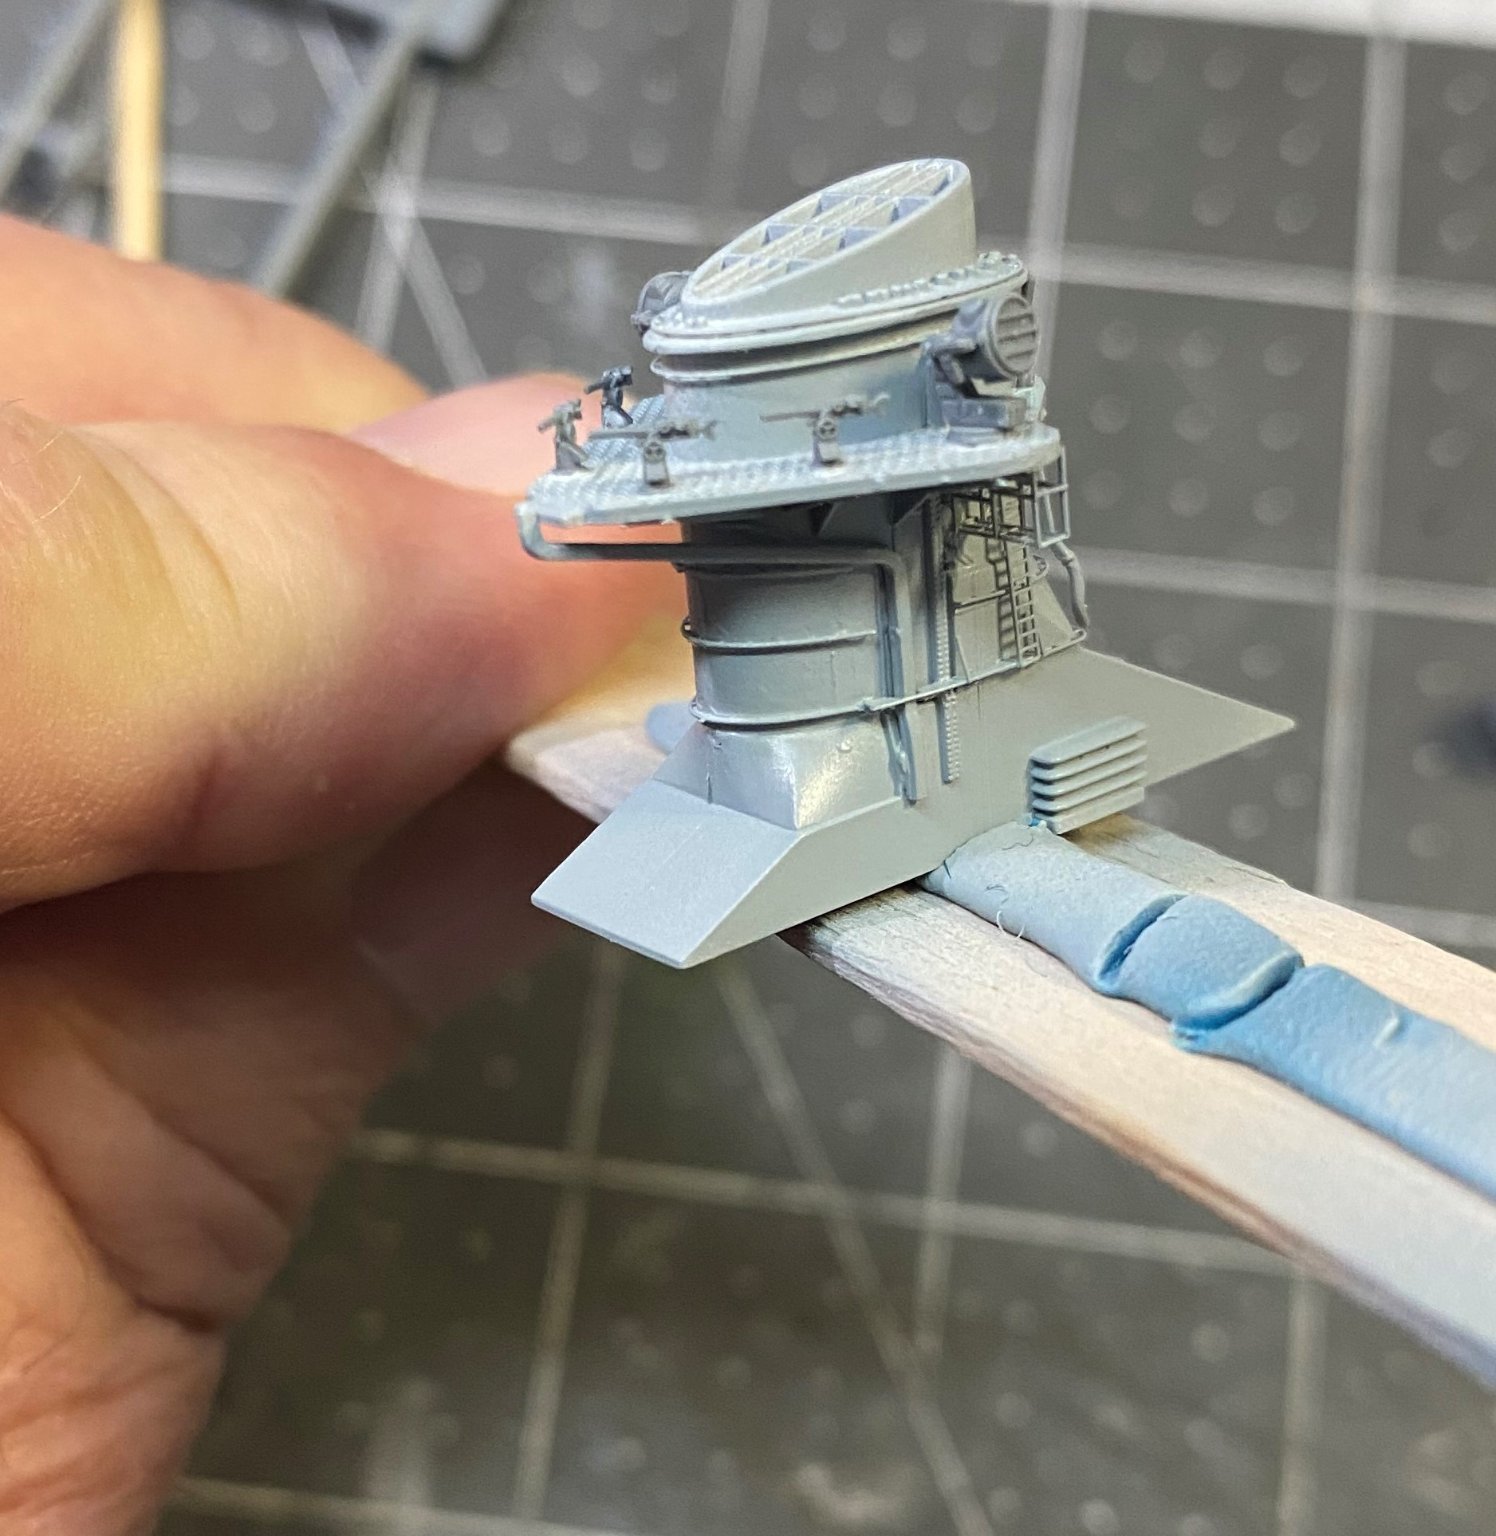
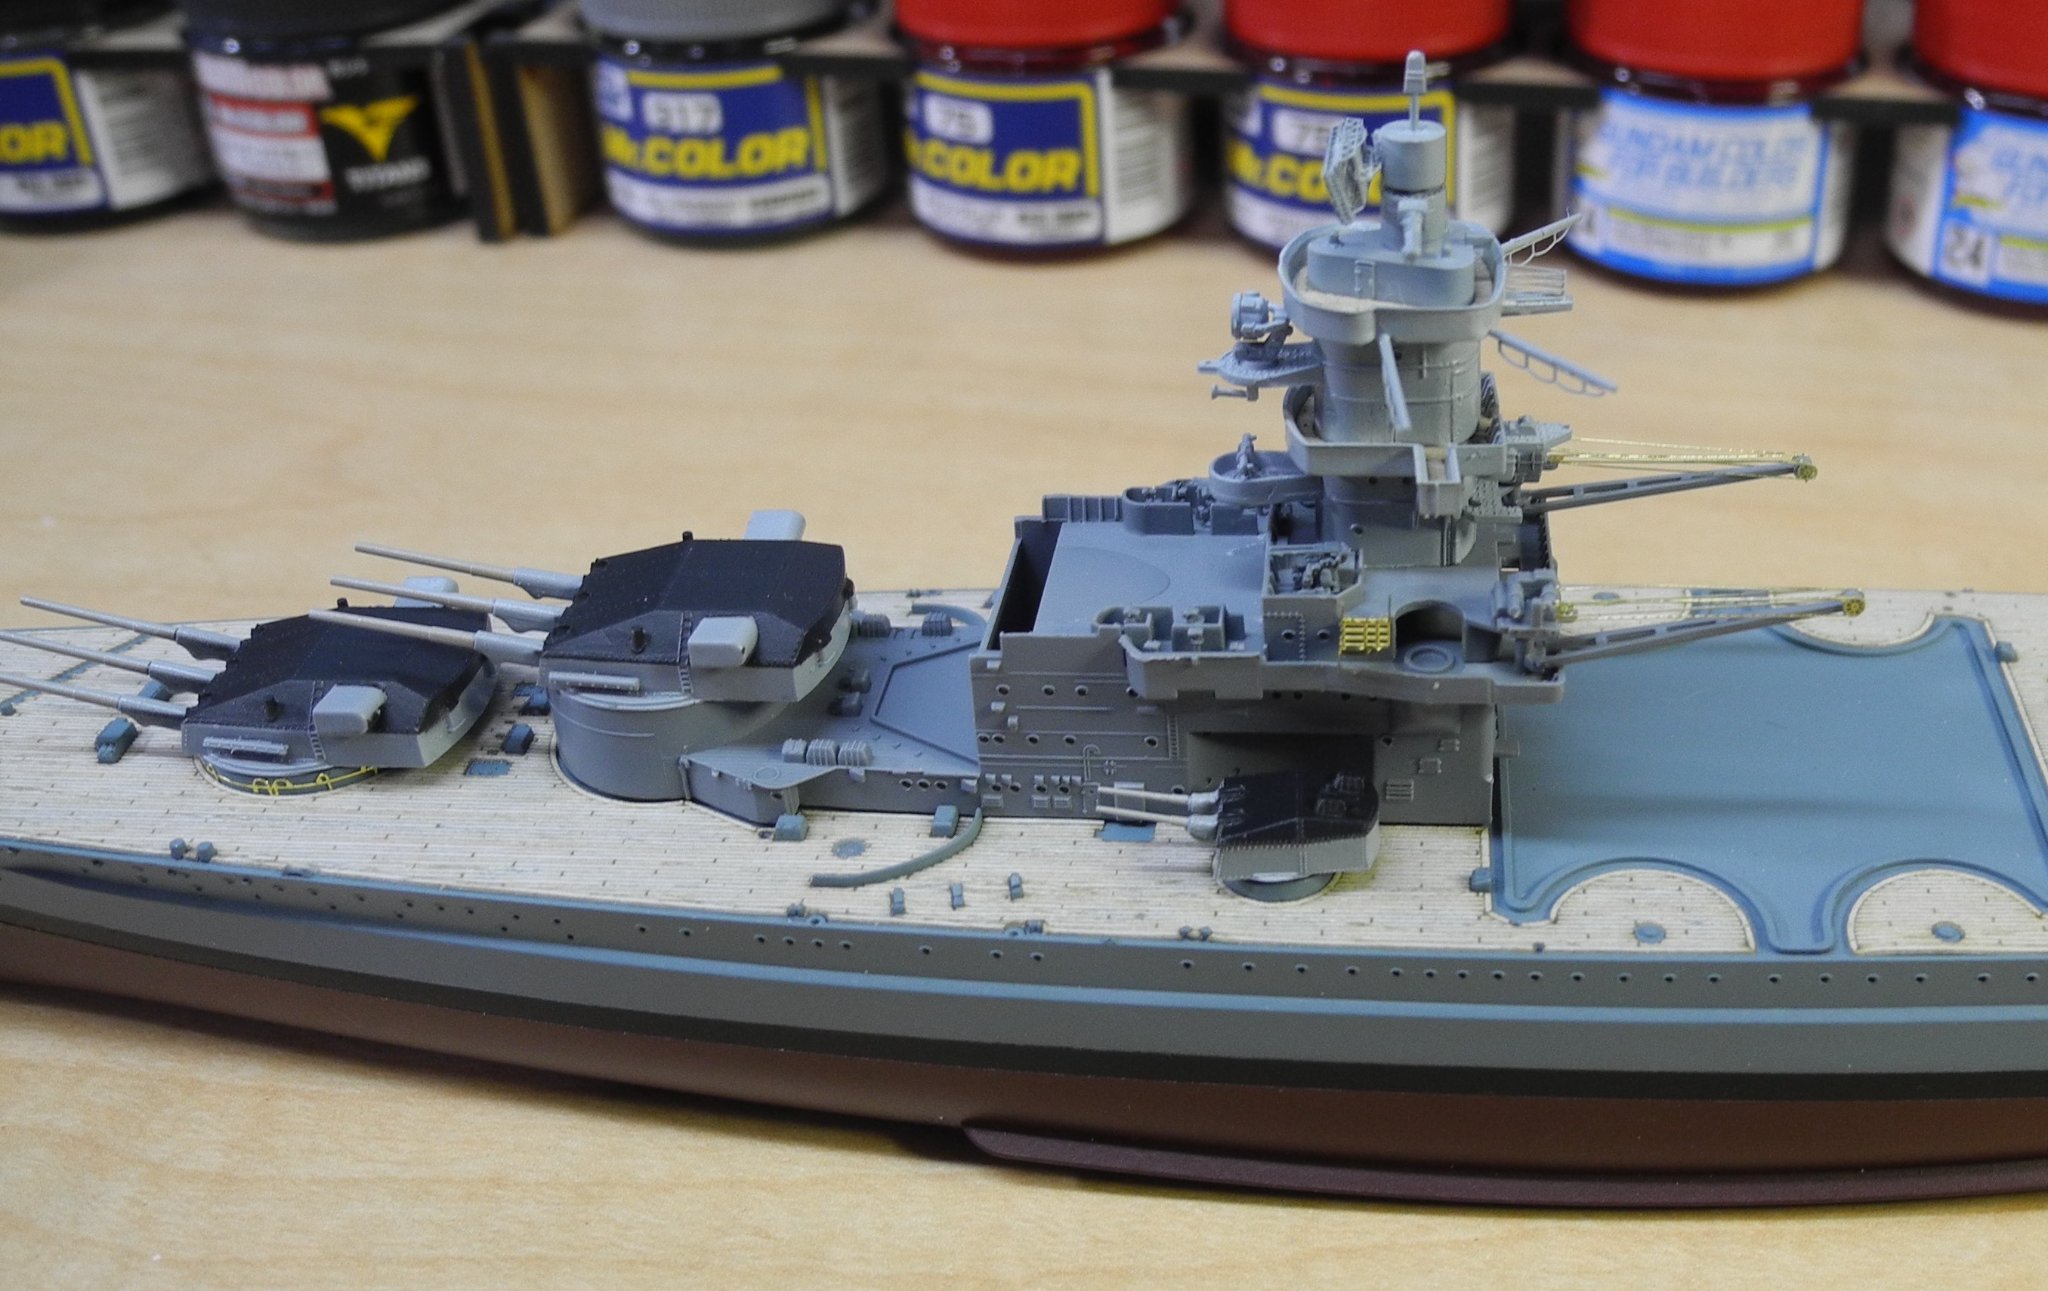
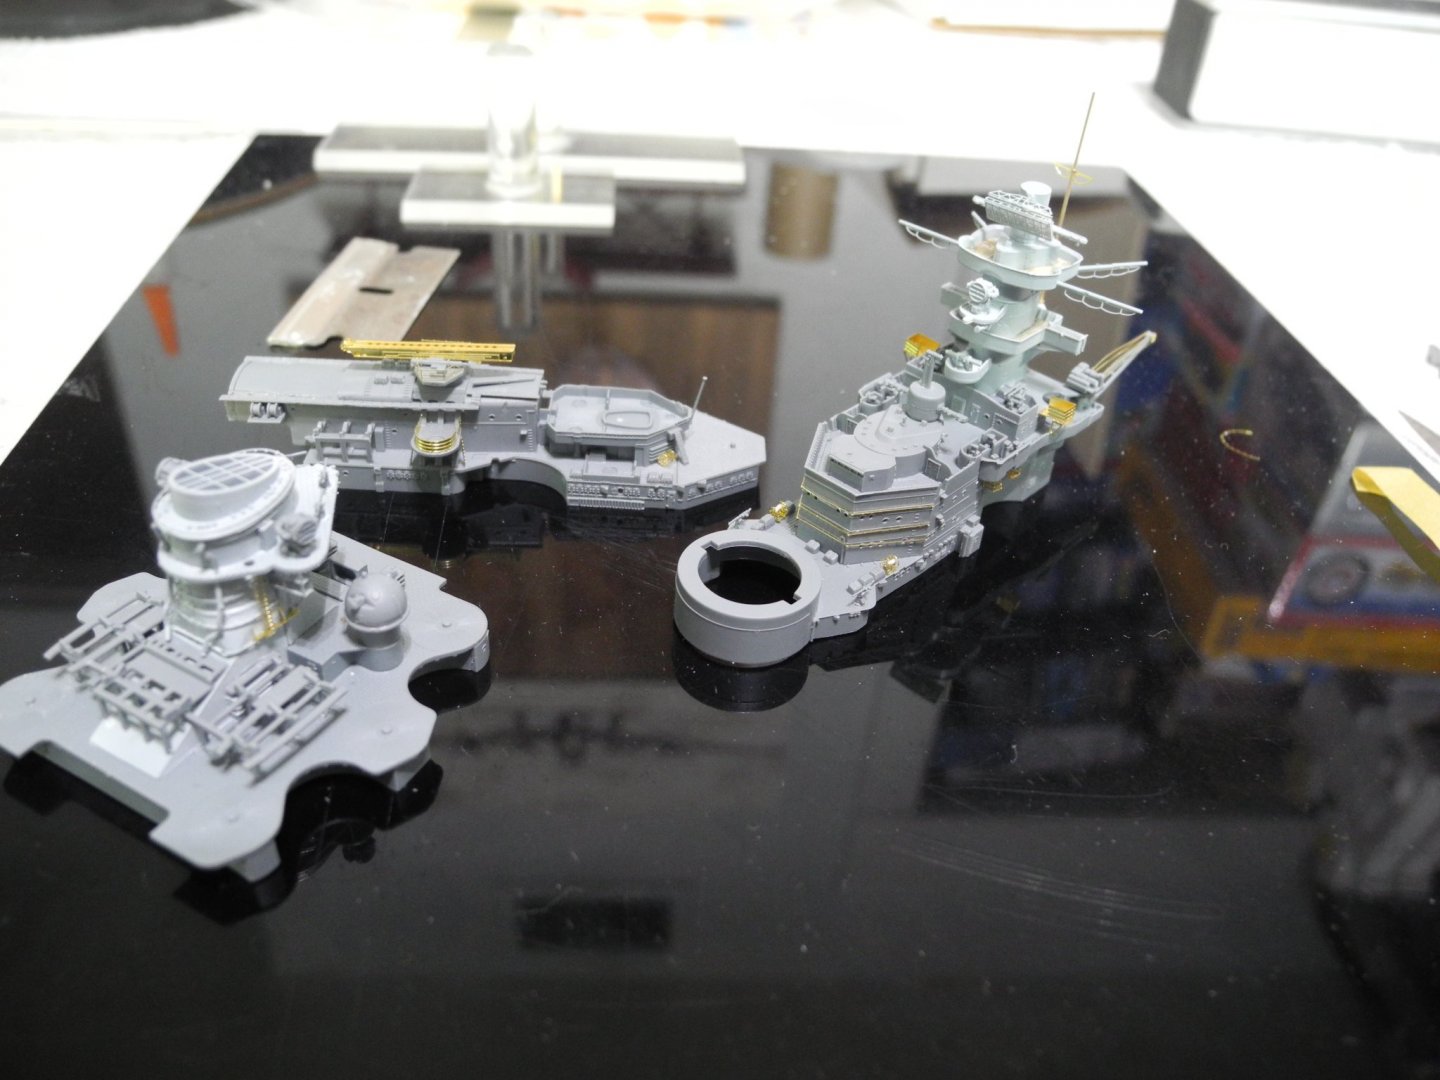
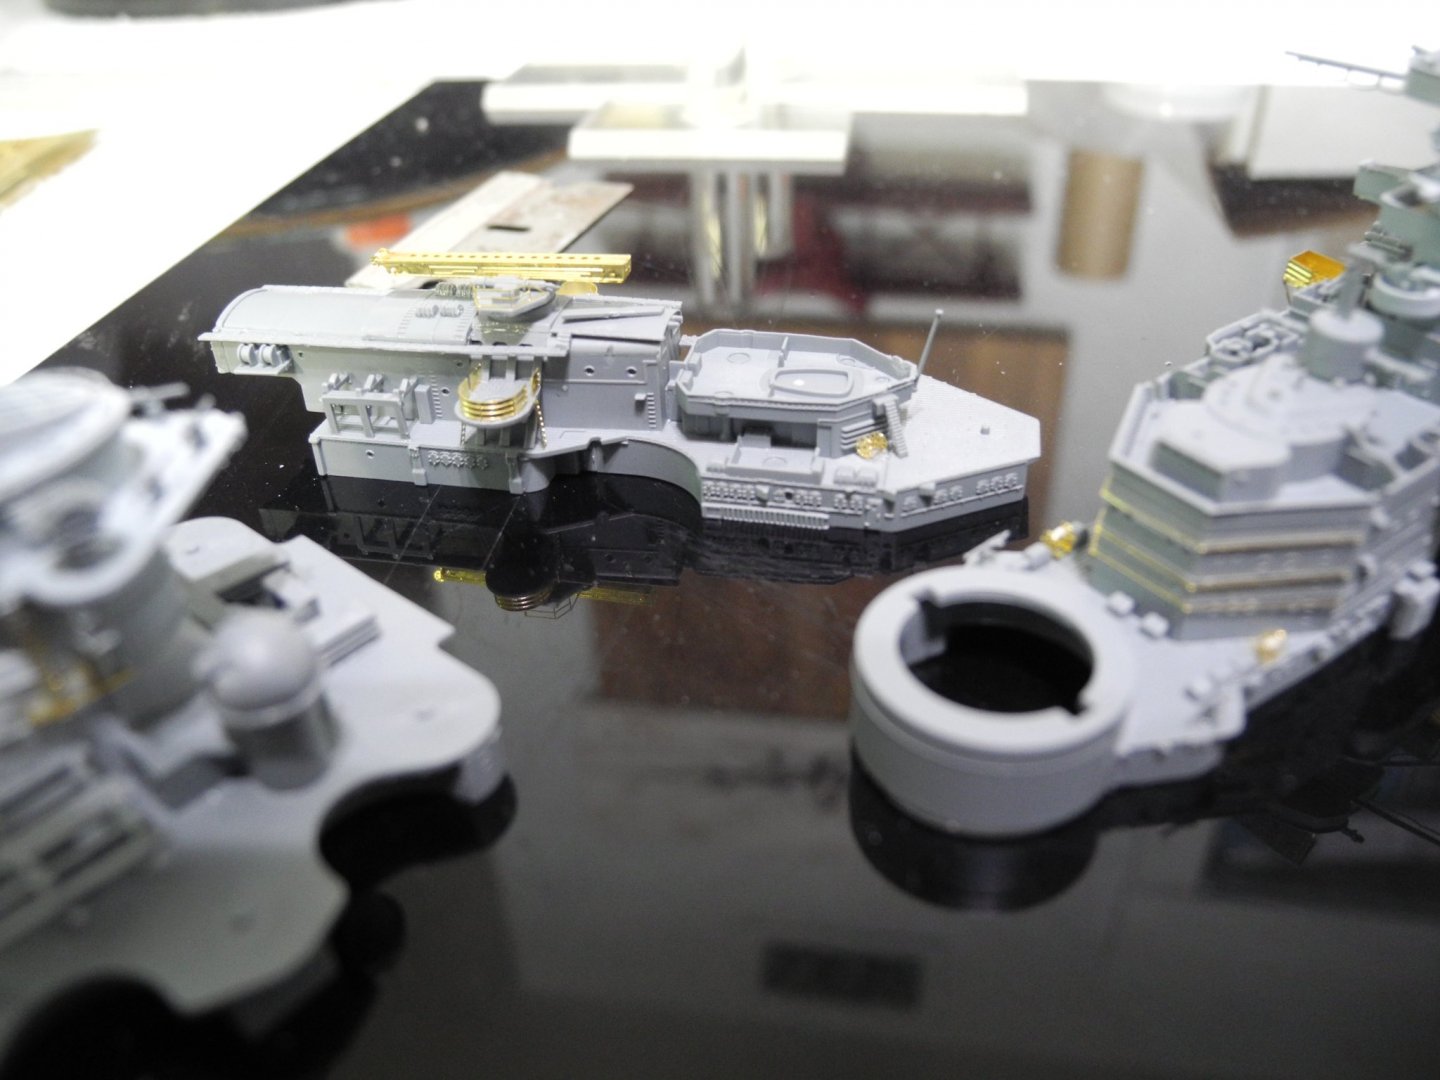
Almost ready to do the painting on the superstructure pieces. Still some more fiddly bits left to add before painting. The decks on the superstructure pieces call for a dark blue-gray, and will have to brush paint those after the German light gray goes down first.

- 168 replies
-
- 12
-
-
- Scharnhorst
- Flyhawk
- (and 1 more)
-
Five of our children/grandchildren have birthdays in May. We had one big party for all of them today. Starting from the right and moving left is my son, daughter, granddaughter, grandson....the grandson is holding a photo of our daughter who is in New Hampshire. Been a long day .Swimming pool got a big workout. Lots of food, laughter, good times.

- 168 replies
-
- 11
-
-
- Scharnhorst
- Flyhawk
- (and 1 more)
-
Somehow he found my family tree on Ancestry. That's the way he contacted me, through the Ancestry personal message system. Apparently his dad had the written my cousin's name on the memorial service photos. As it turned out, the man who contacted me was a commercial fisherman in Massachusetts and is well aware of the perils of storms and going overboard in rough seas. He said that often sailors are lost this way.
- 168 replies
-
- 7
-
-
- Scharnhorst
- Flyhawk
- (and 1 more)
-
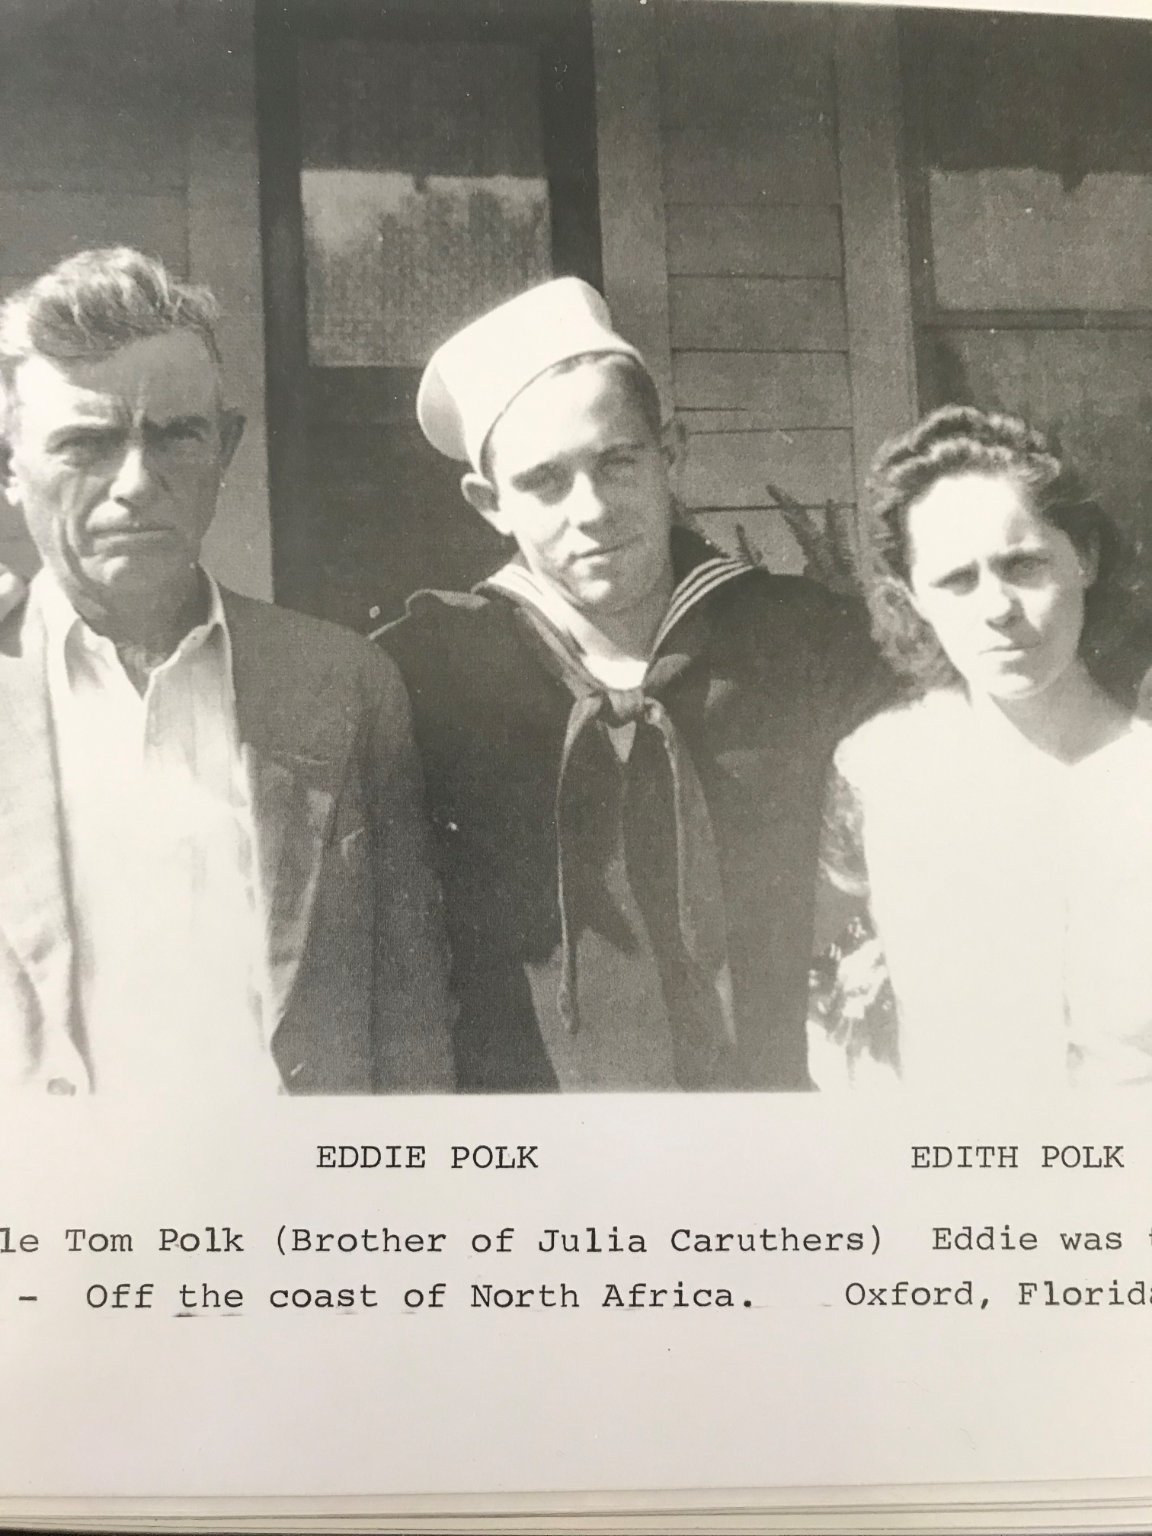
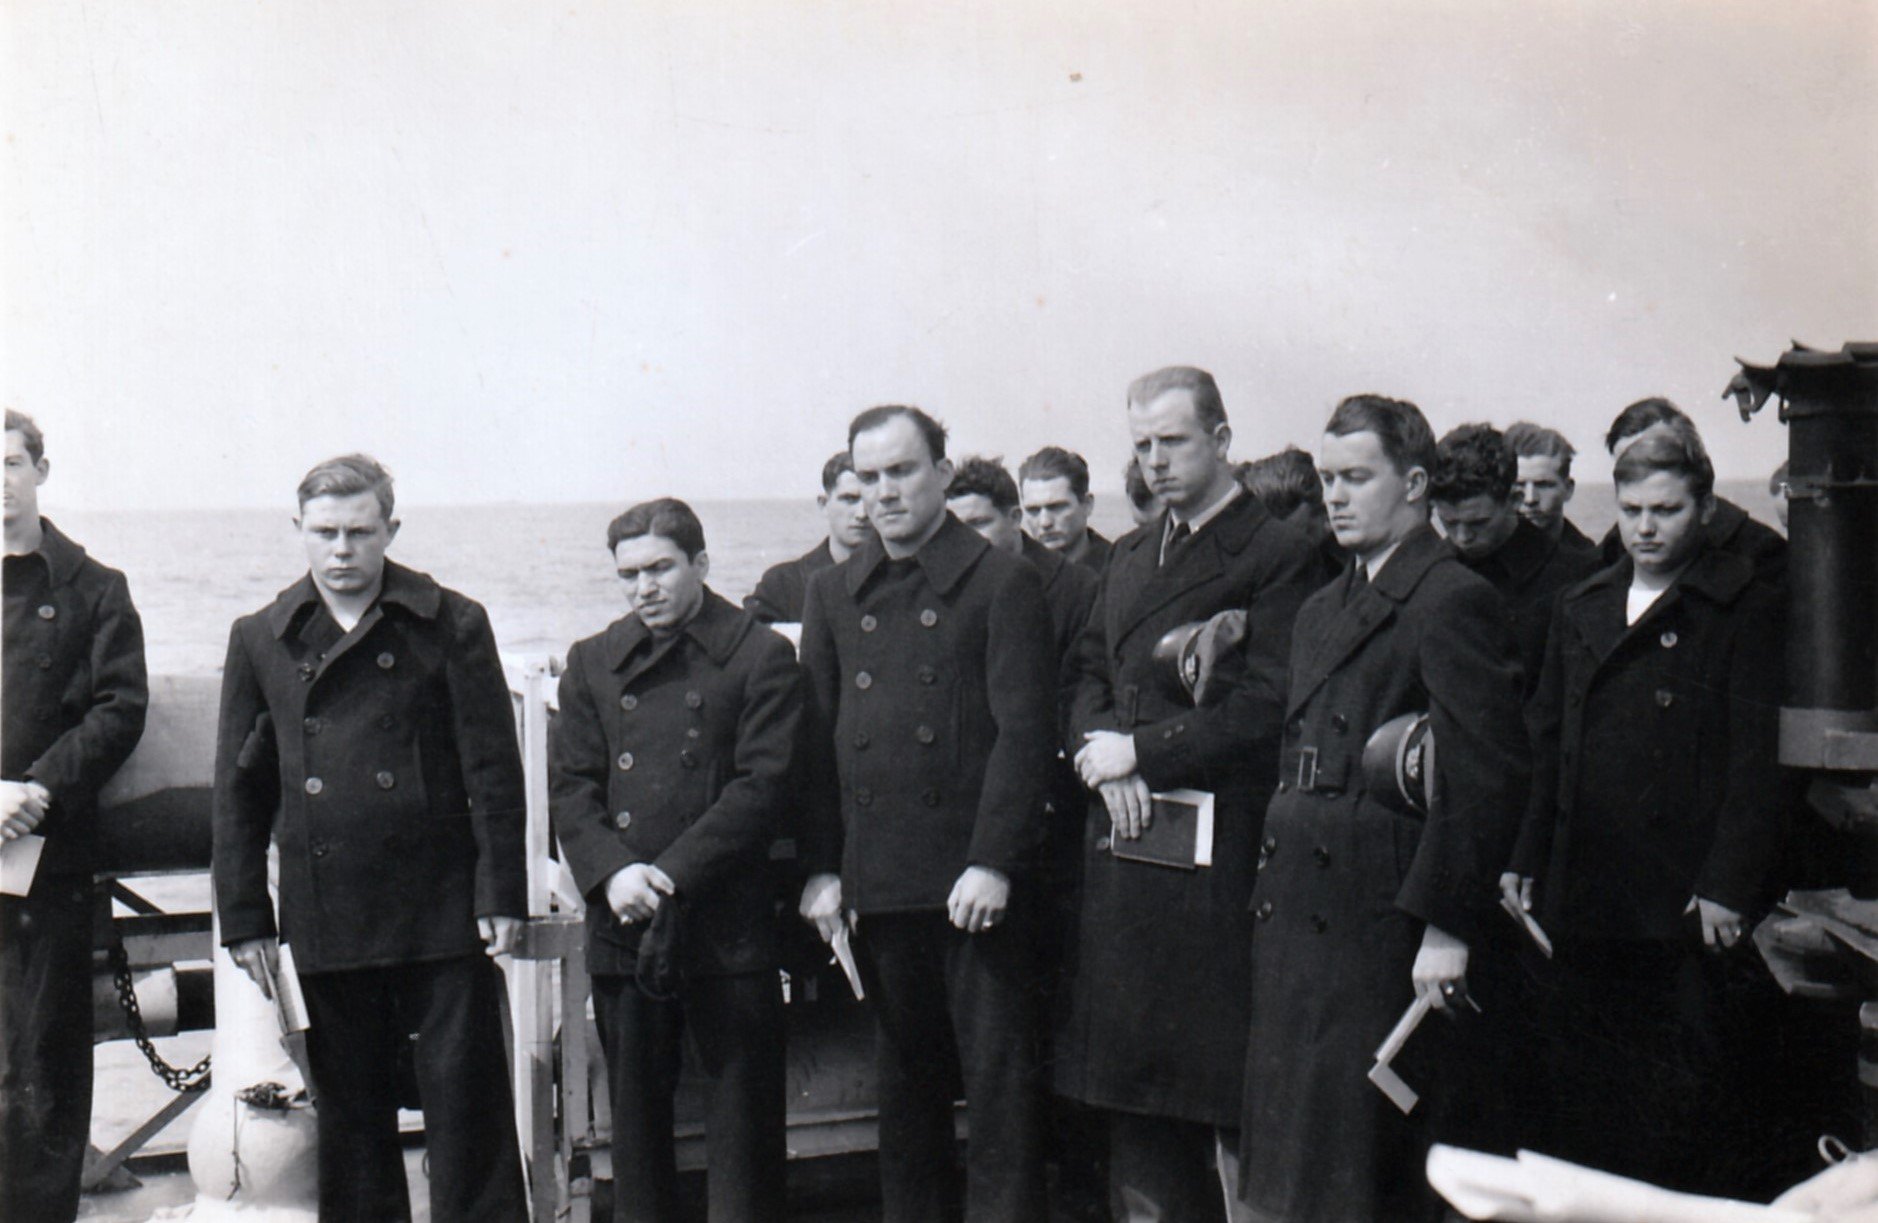
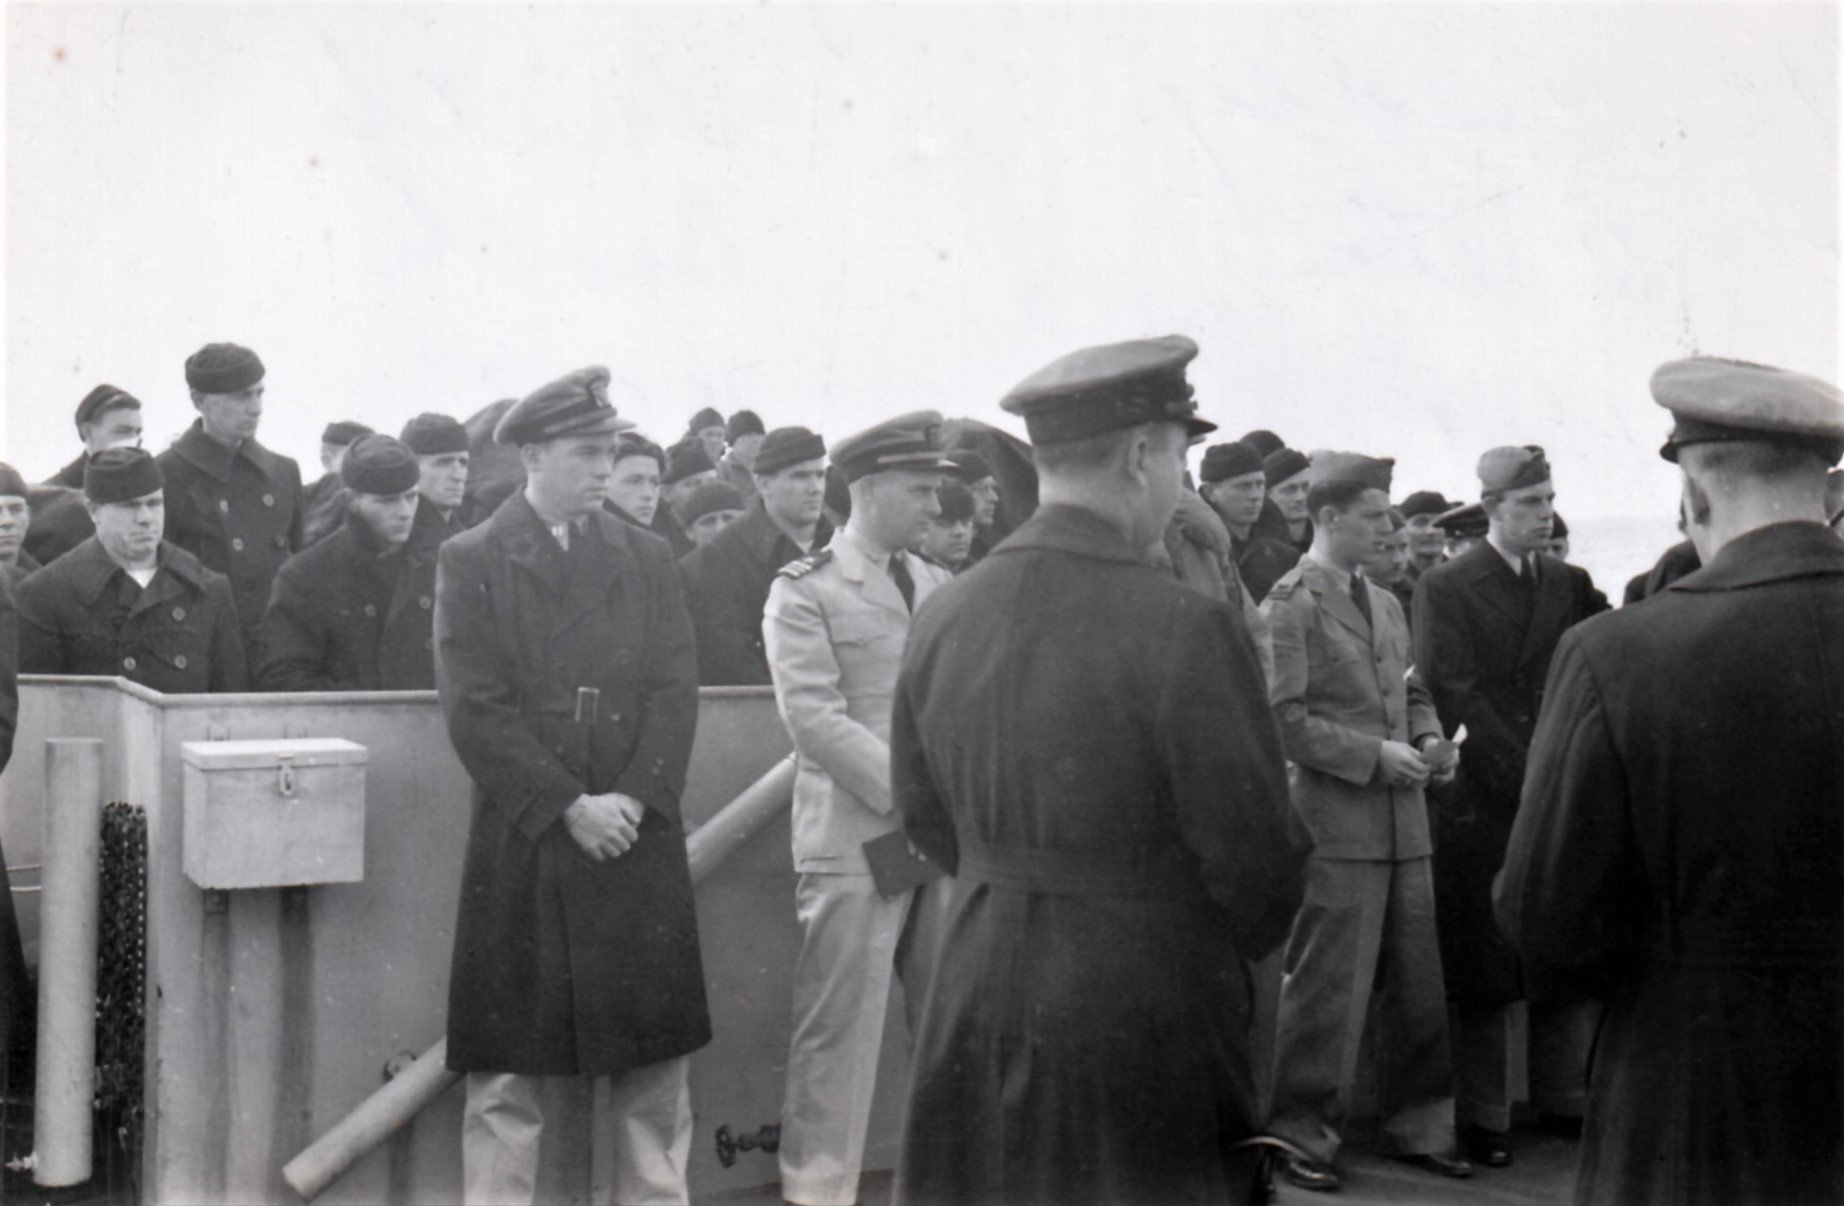
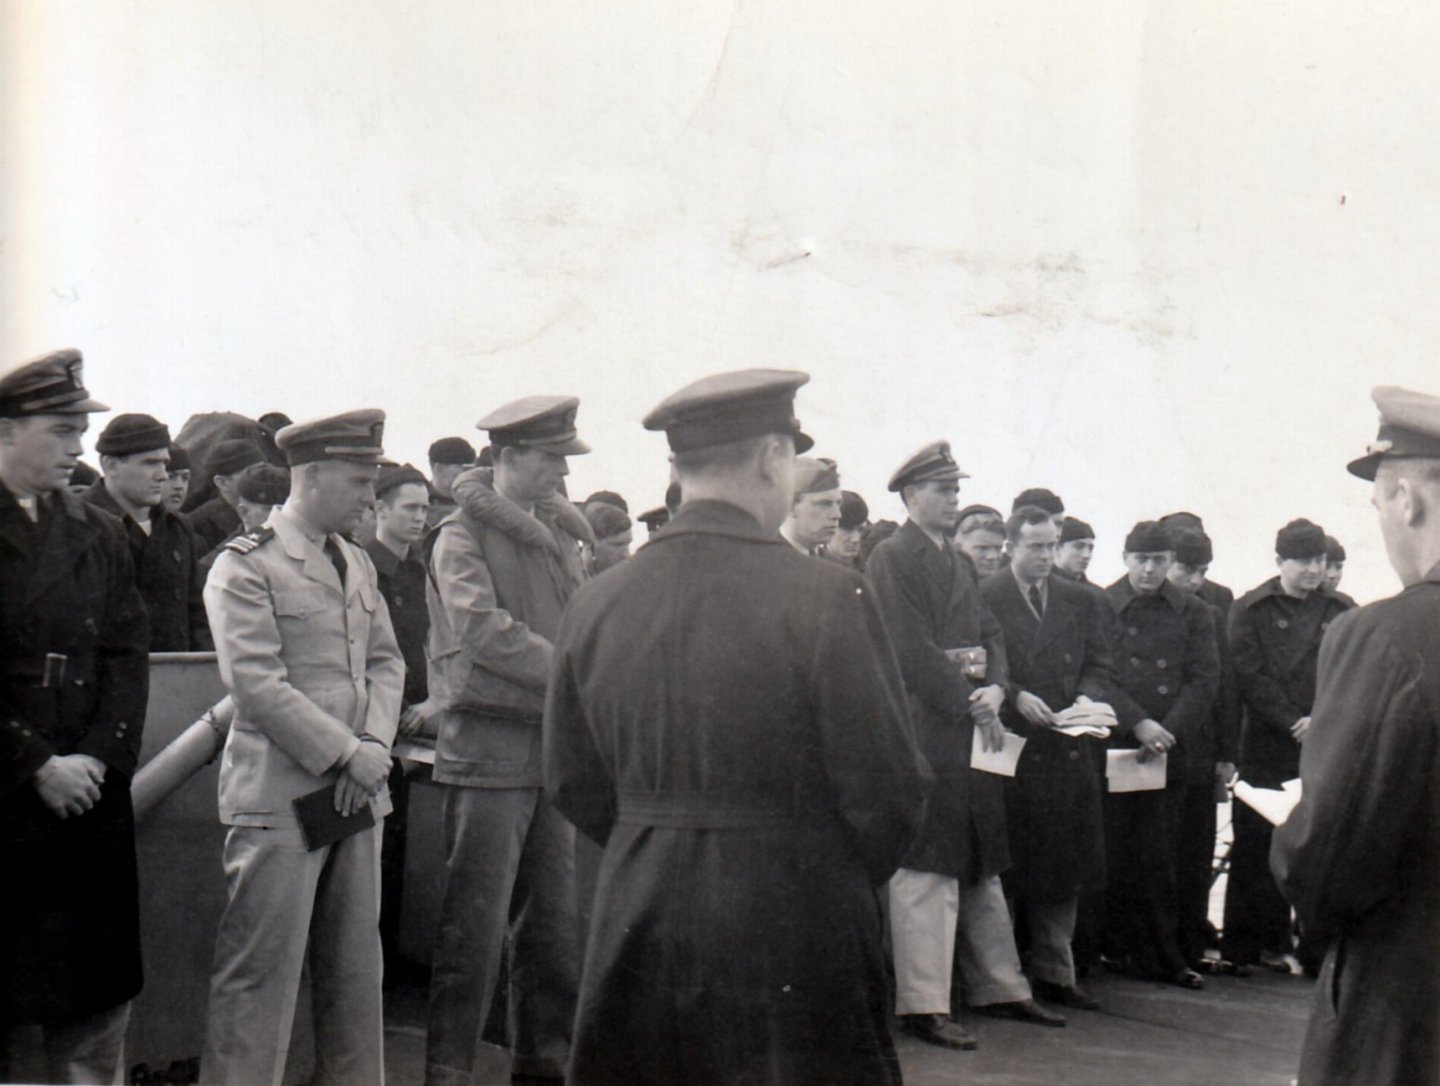
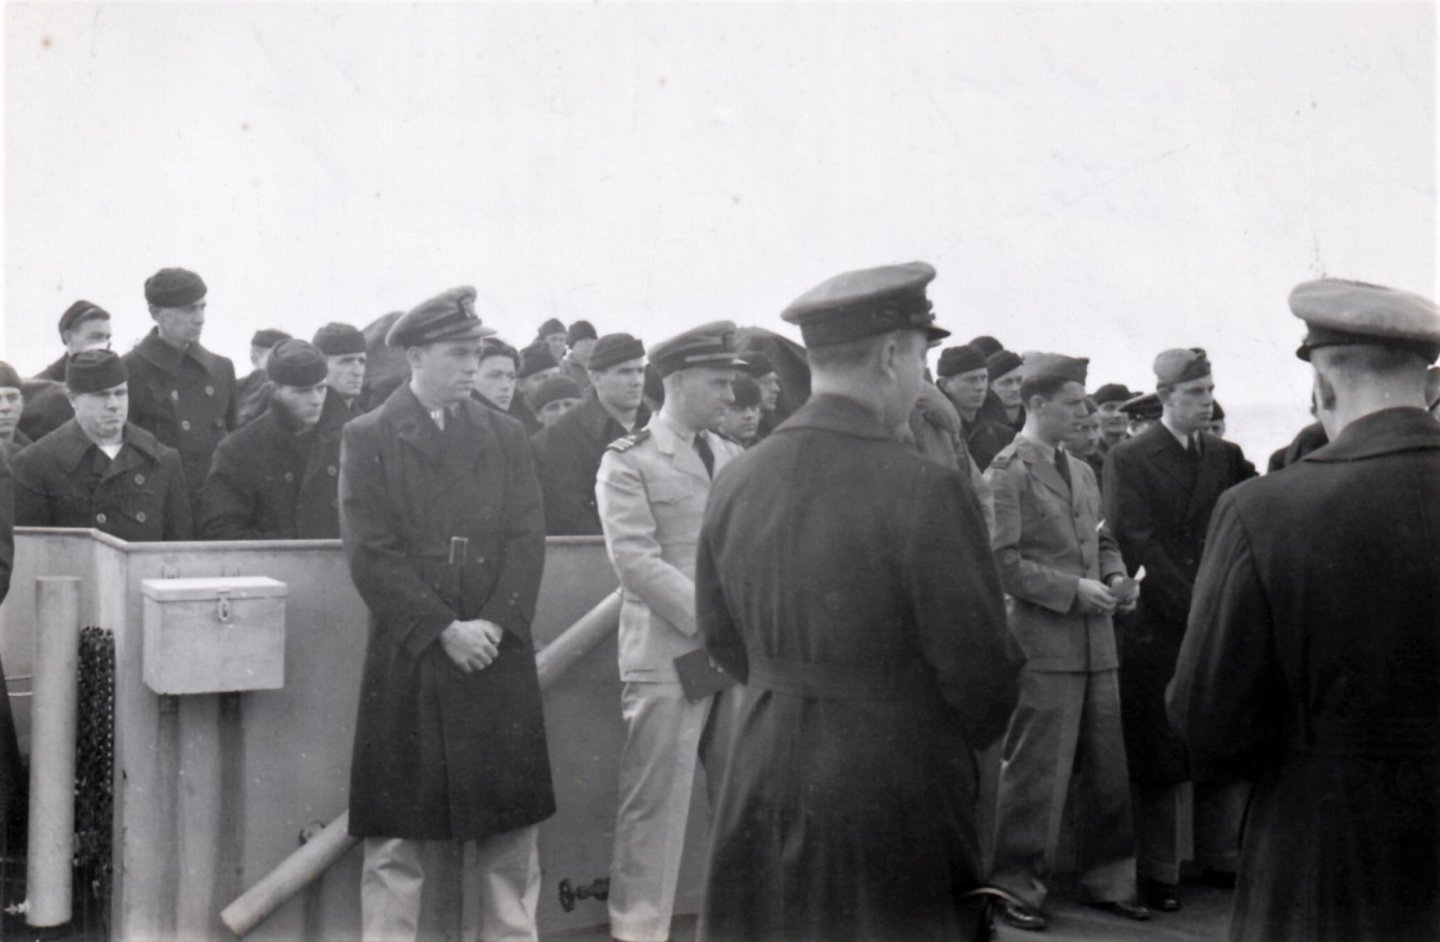
This is a photograph of my cousin, Edward Polk, from the little town of Oxford, Florida. He is standing between his father and mother while the photo was taken just before he set off to sea during World War II. Eddie served aboard the USS Janssen, an Edsall class destroyer, DE396. Eddie never returned home to see his parents again after being lost at sea on15 Mar 1944 in a violent storm off the coast of North Africa. he was only 20 years old. Just this past week, a gentleman from Massachusetts whose father served aboard the same ship with Eddie and was a close friend, reached out to find me and gave me photos and written history of the ship. The photos below are of Eddie's memorial service aboard the Janssen. Eddie was the only living child of my great uncle and great aunt. There is a reason why his generation are called "the greatest generation." Such sacrifice. My uncle and aunt grieved his loss until the day they died. I am so grateful this gentleman reached out with the photos. I am sure my aunt and uncle would have appreciated it. They never knew any detail of Eddie's loss, only that he was lost at sea.


- 168 replies
-
- 13
-
-
- Scharnhorst
- Flyhawk
- (and 1 more)
-
Yes, I will use the rails, ladders and various other photo etch parts that came with the model. Some I will not use because the plastic parts look as good or better than the photo etch.
- 168 replies
-
- 6
-
-
- Scharnhorst
- Flyhawk
- (and 1 more)
-
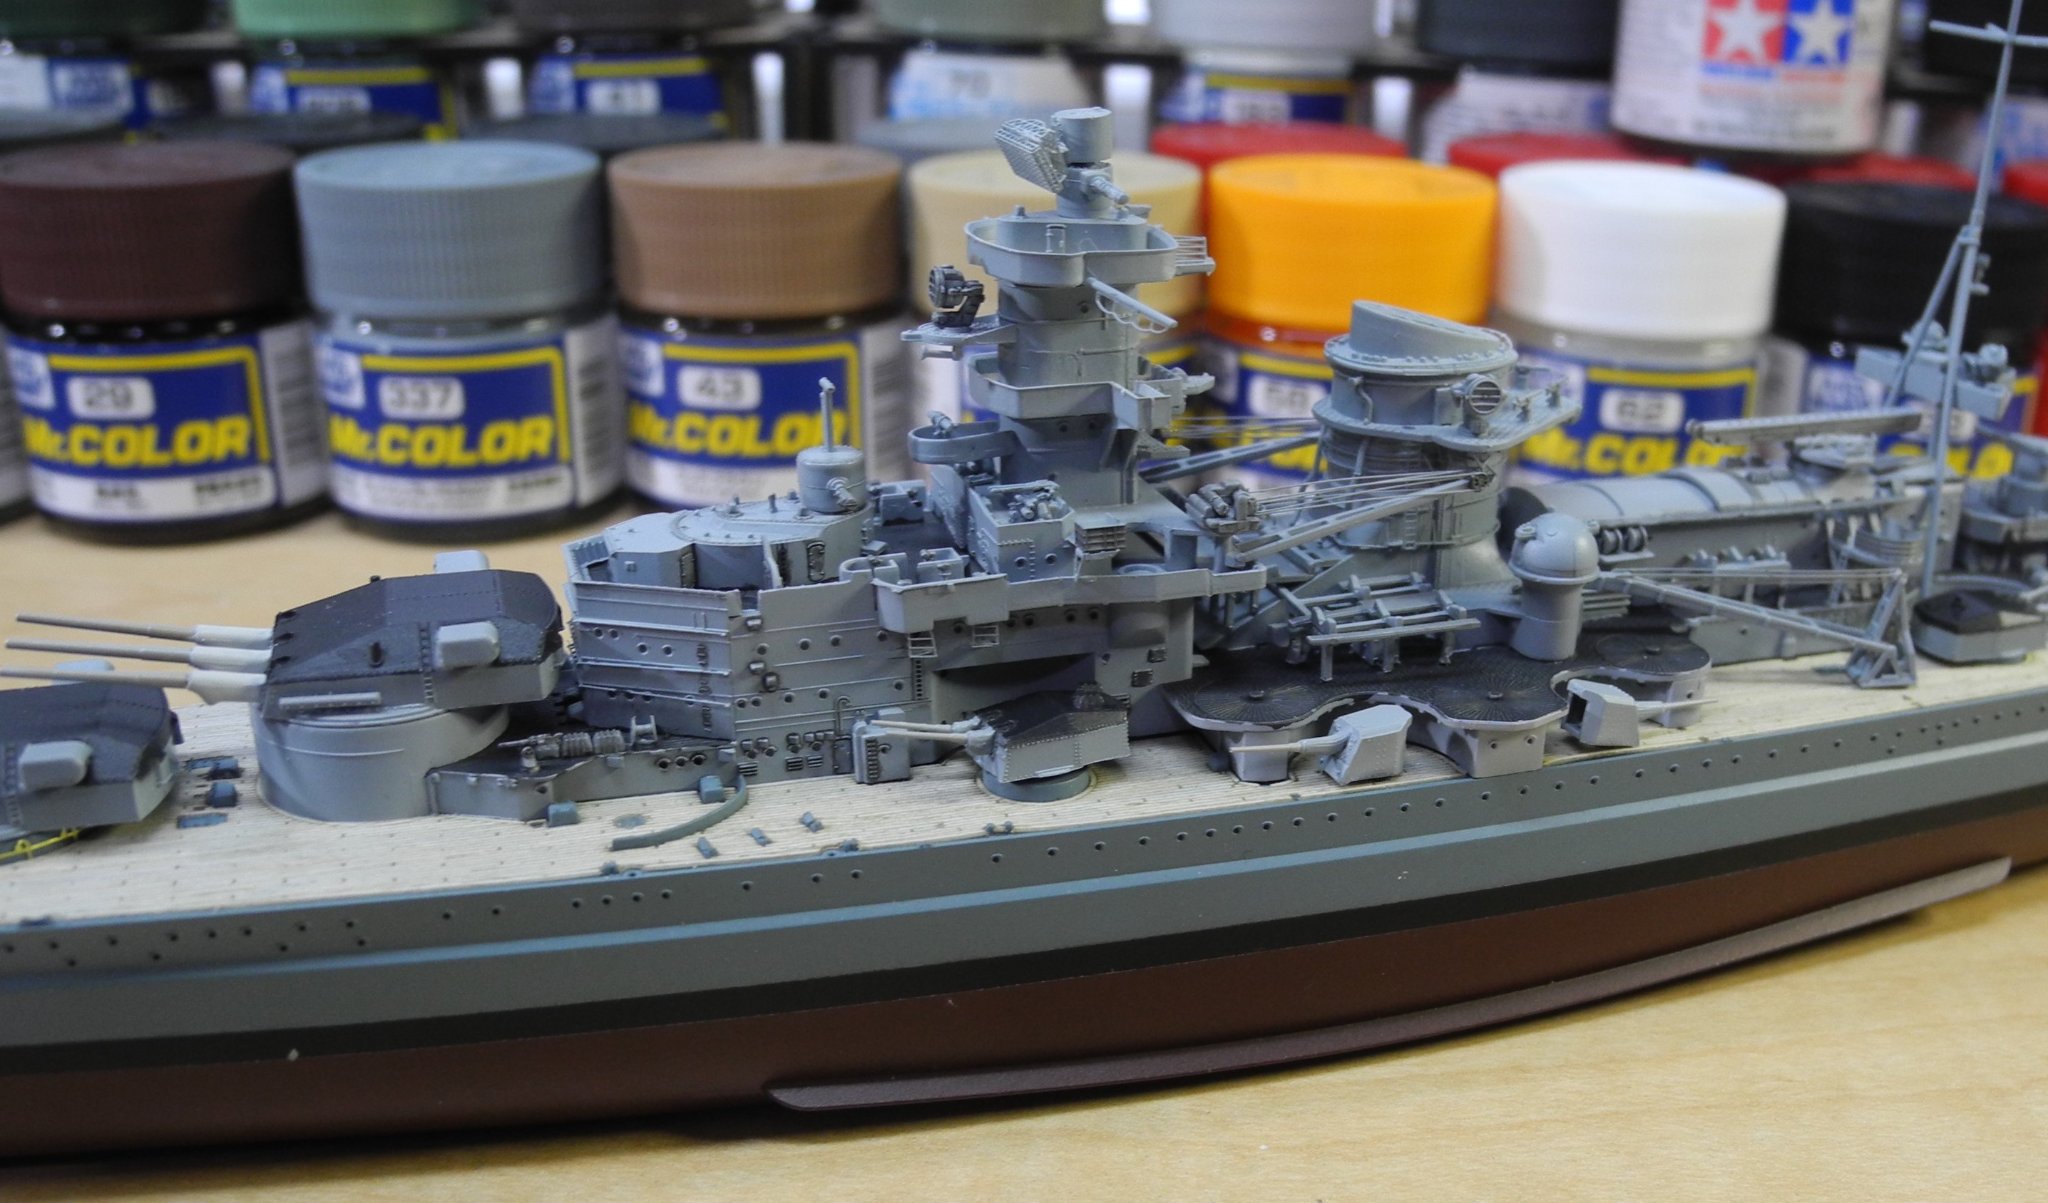
Your display looks super! I agree, the only photo etch needed are the railing pieces and the steps and ladders. Maybe the radar arrays too. Their plastic parts otherwise are superior to photo etch. Even the cable reels look better than the photo etch ones. Upon magnification, the plastic cable reels are very well detailed. I do think the brass gun barrels on the larger caliber guns are an improvement, but the small caliber anti aircraft guns are great just out of the box. The plastic masts too.
- 168 replies
-
- 6
-
-
- Scharnhorst
- Flyhawk
- (and 1 more)
-
Thank you HOF. Being thrilled with the quality and detail of the Scharnhorst from Flyhawk, I have begun to acquire their other models in this scale. I must tell you, they are equally amazing, maybe even better in some respects. Suffice it to say, I will be back in the model ship building business for quite some time to come...British aircraft carriers, battleships, cruisers, and destroyers. German battleships, cruisers, and destroyers. Japanese battleships and destroyers as well as some diorama scenes. Amazing stuff!
- 168 replies
-
- 8
-
-
- Scharnhorst
- Flyhawk
- (and 1 more)
-
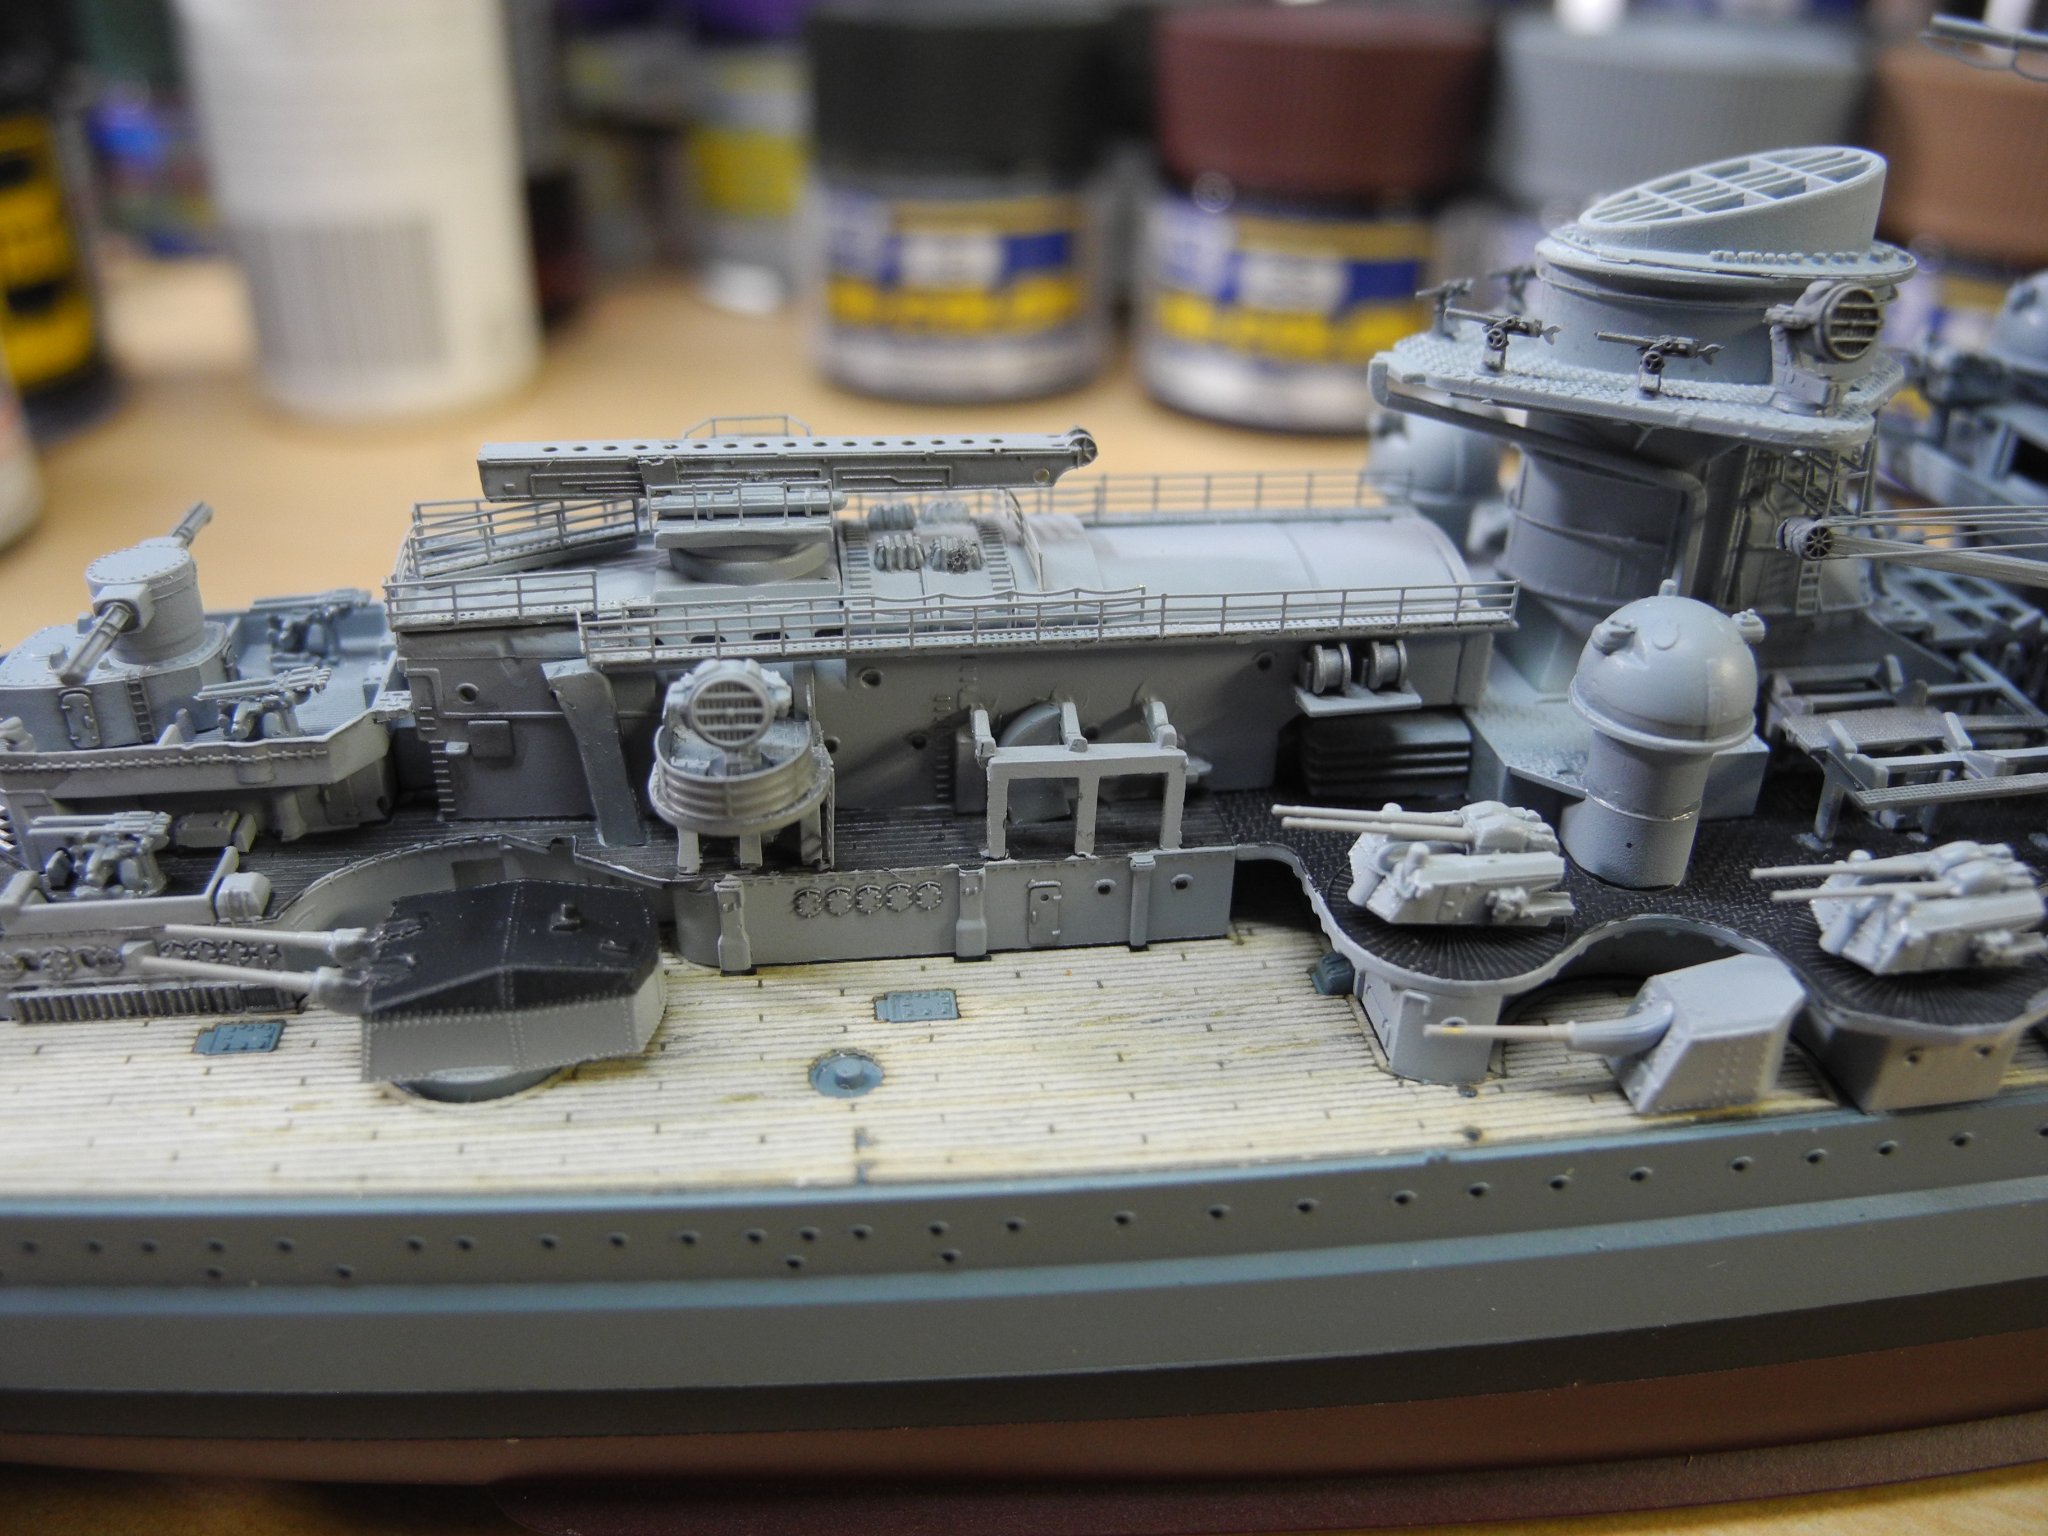
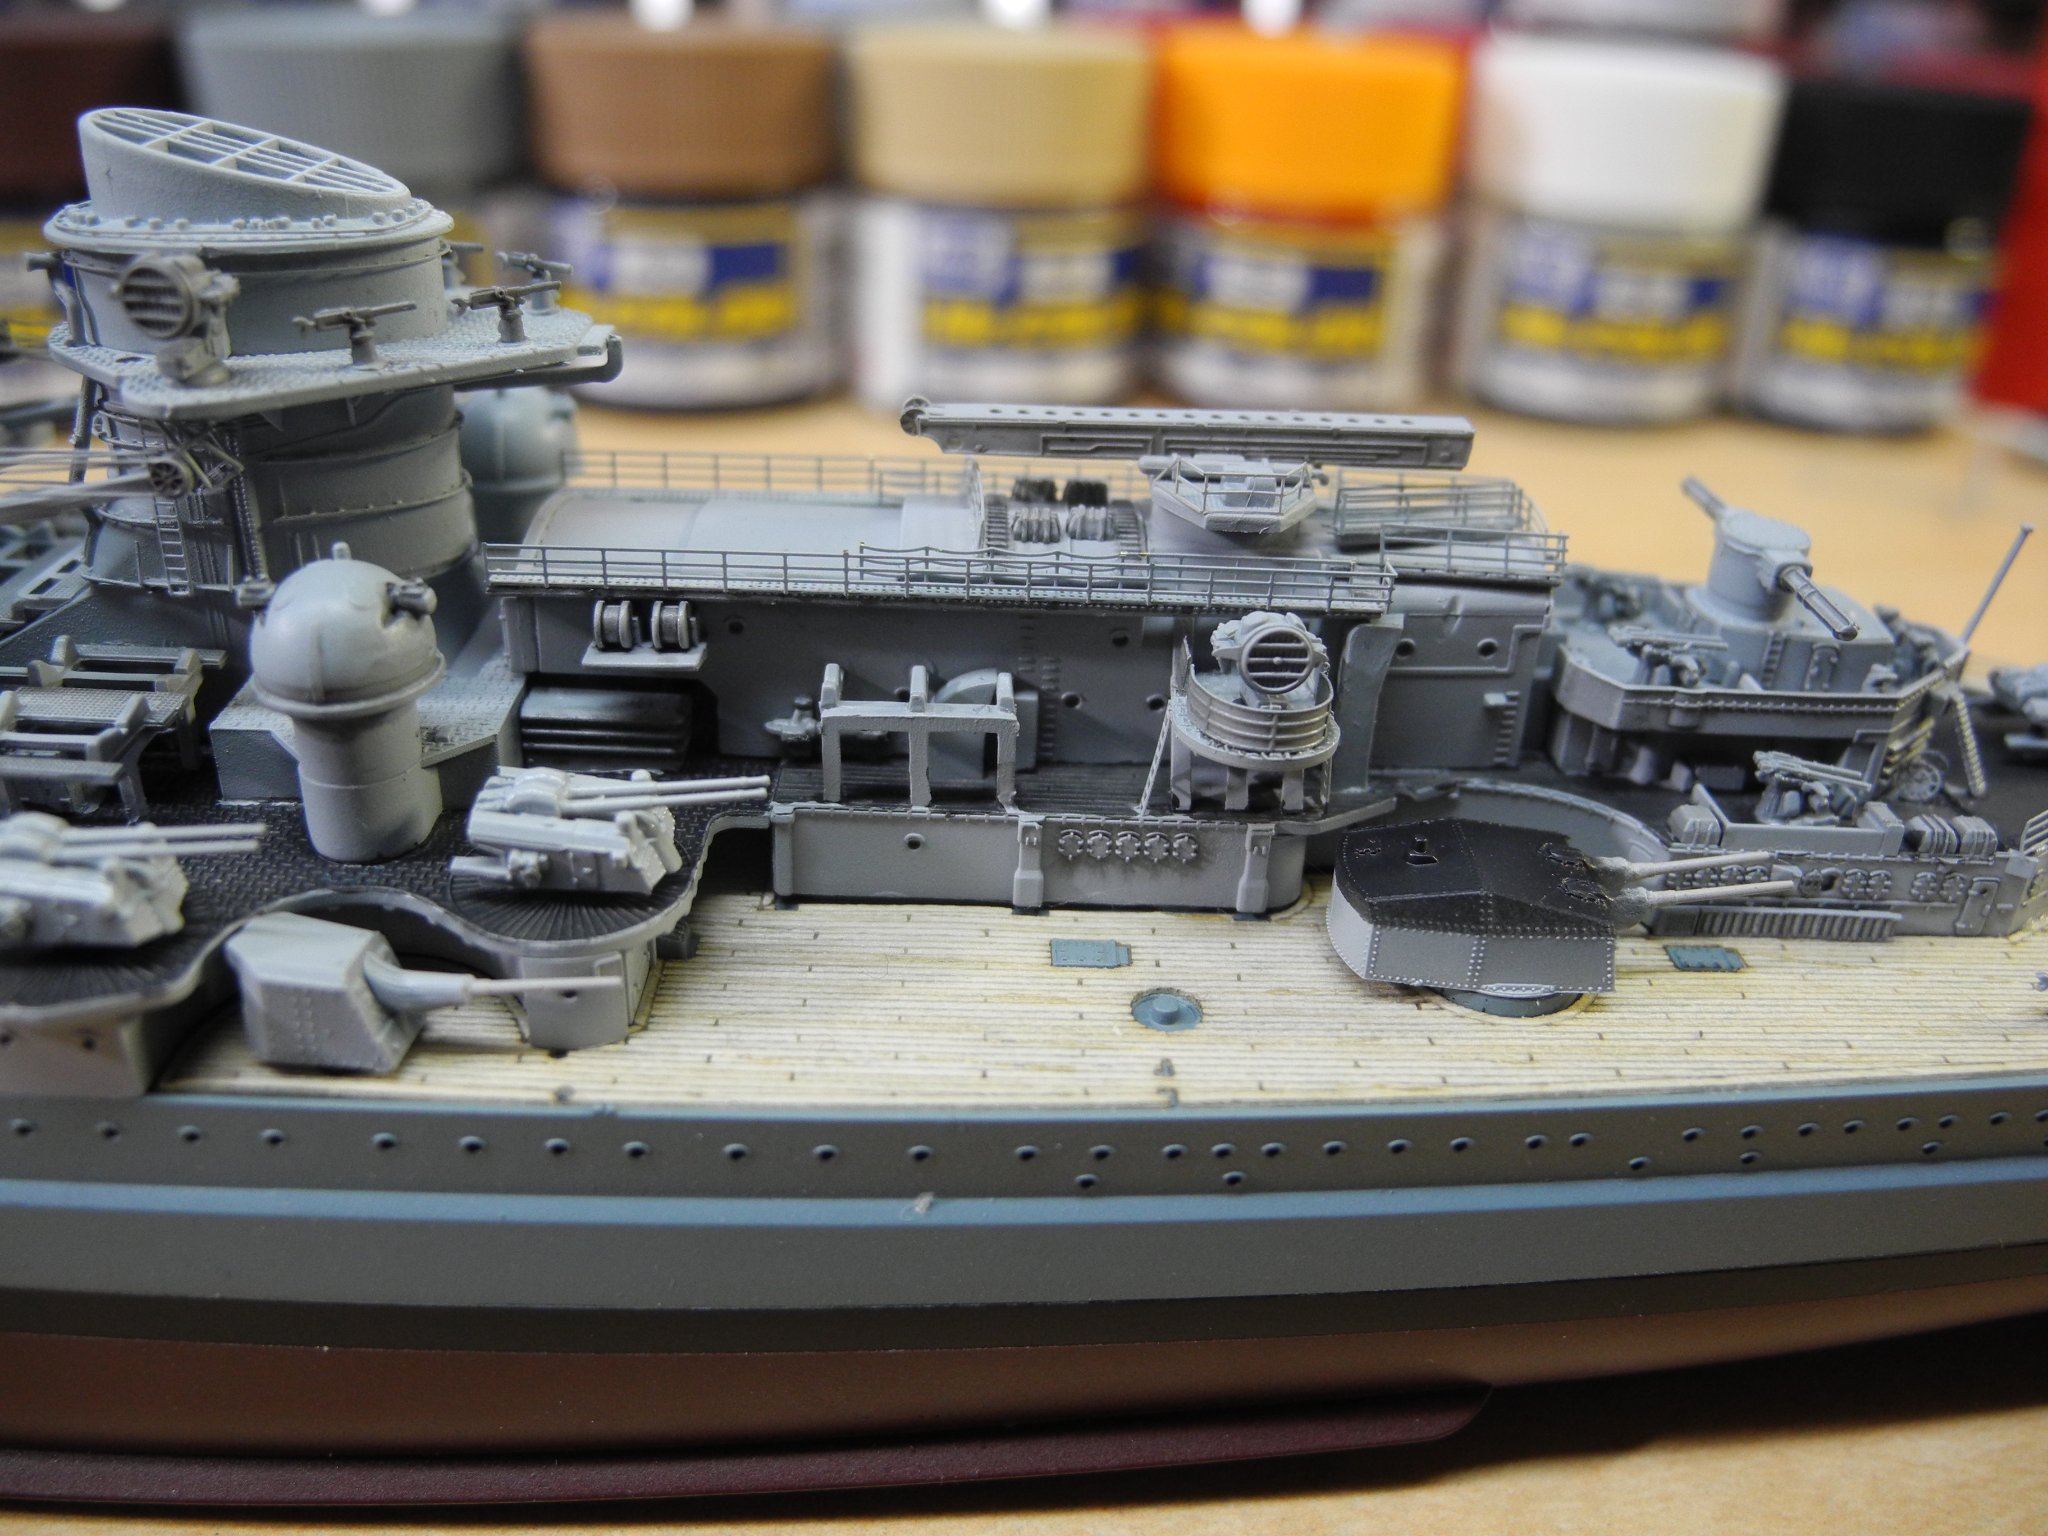
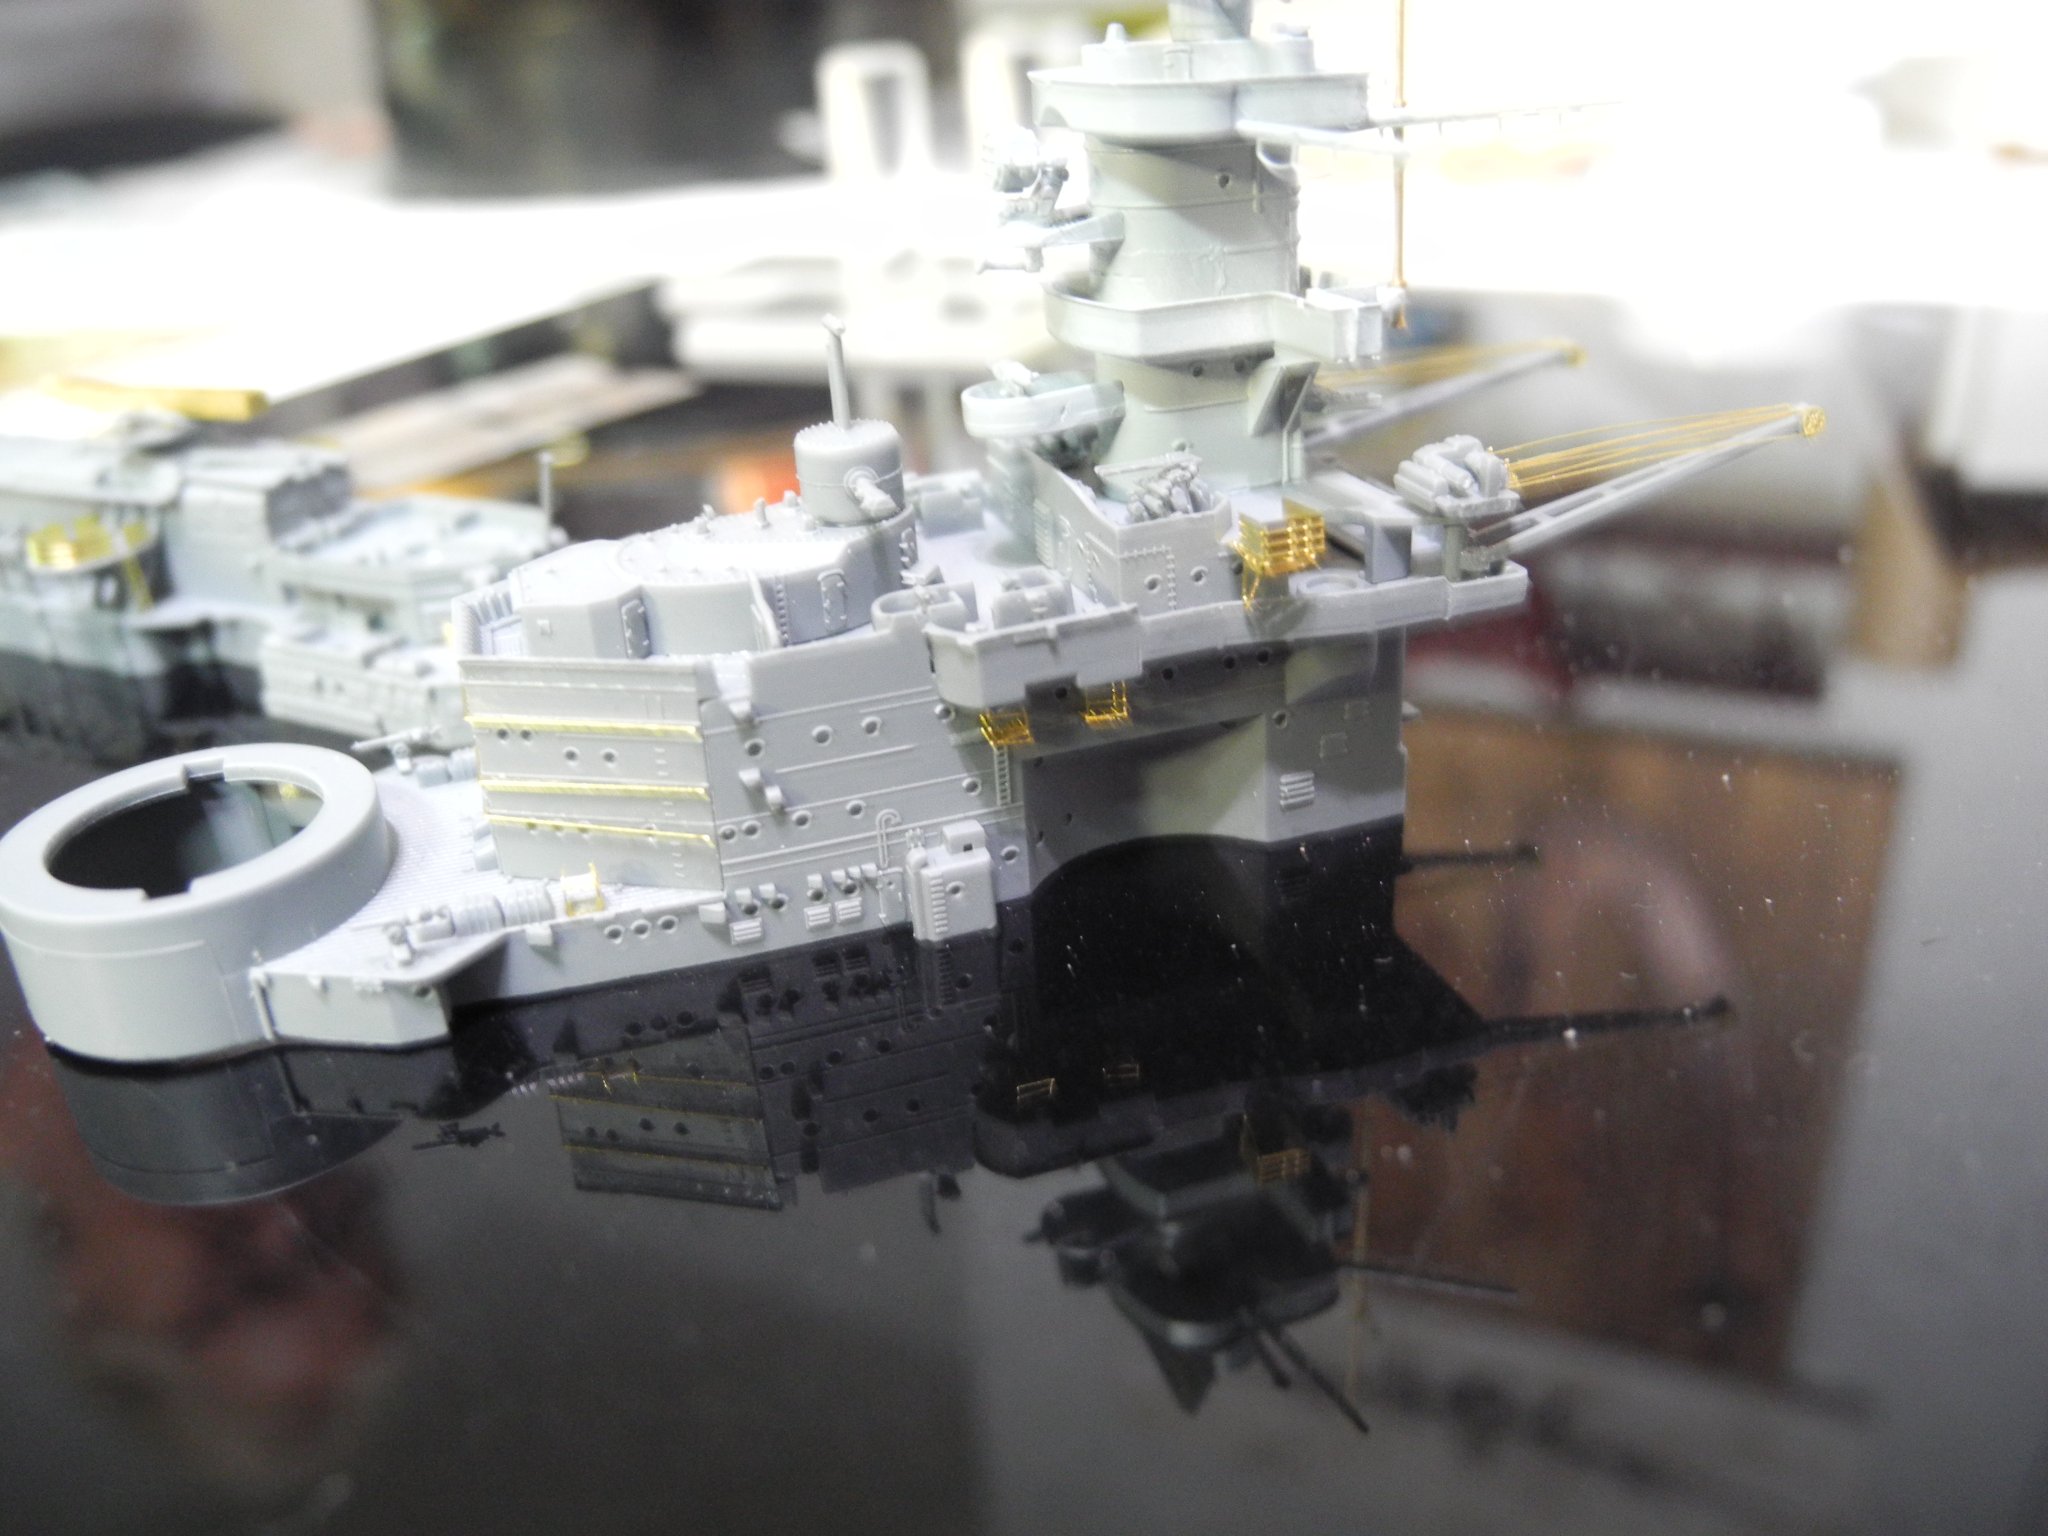
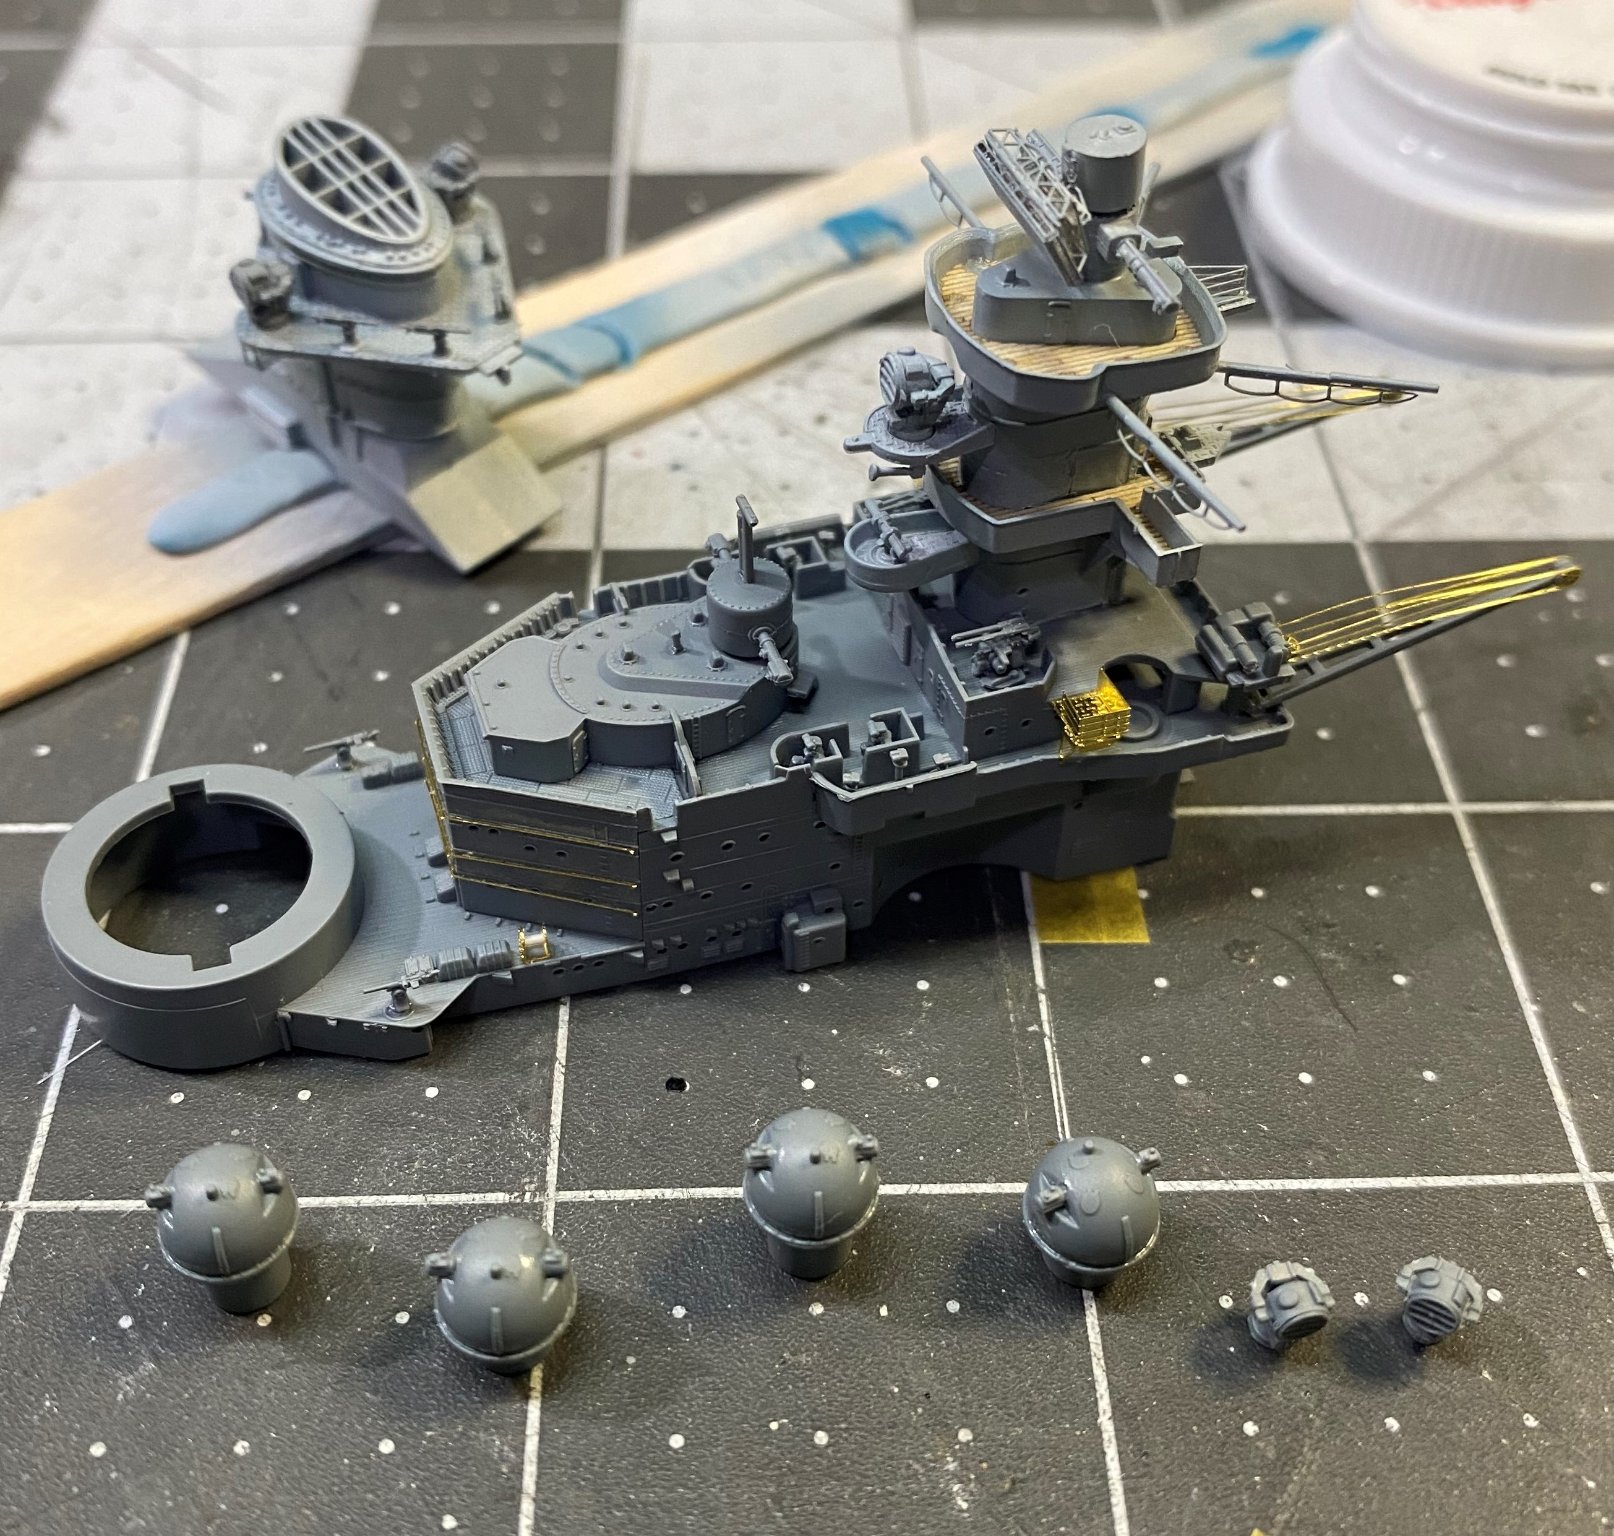
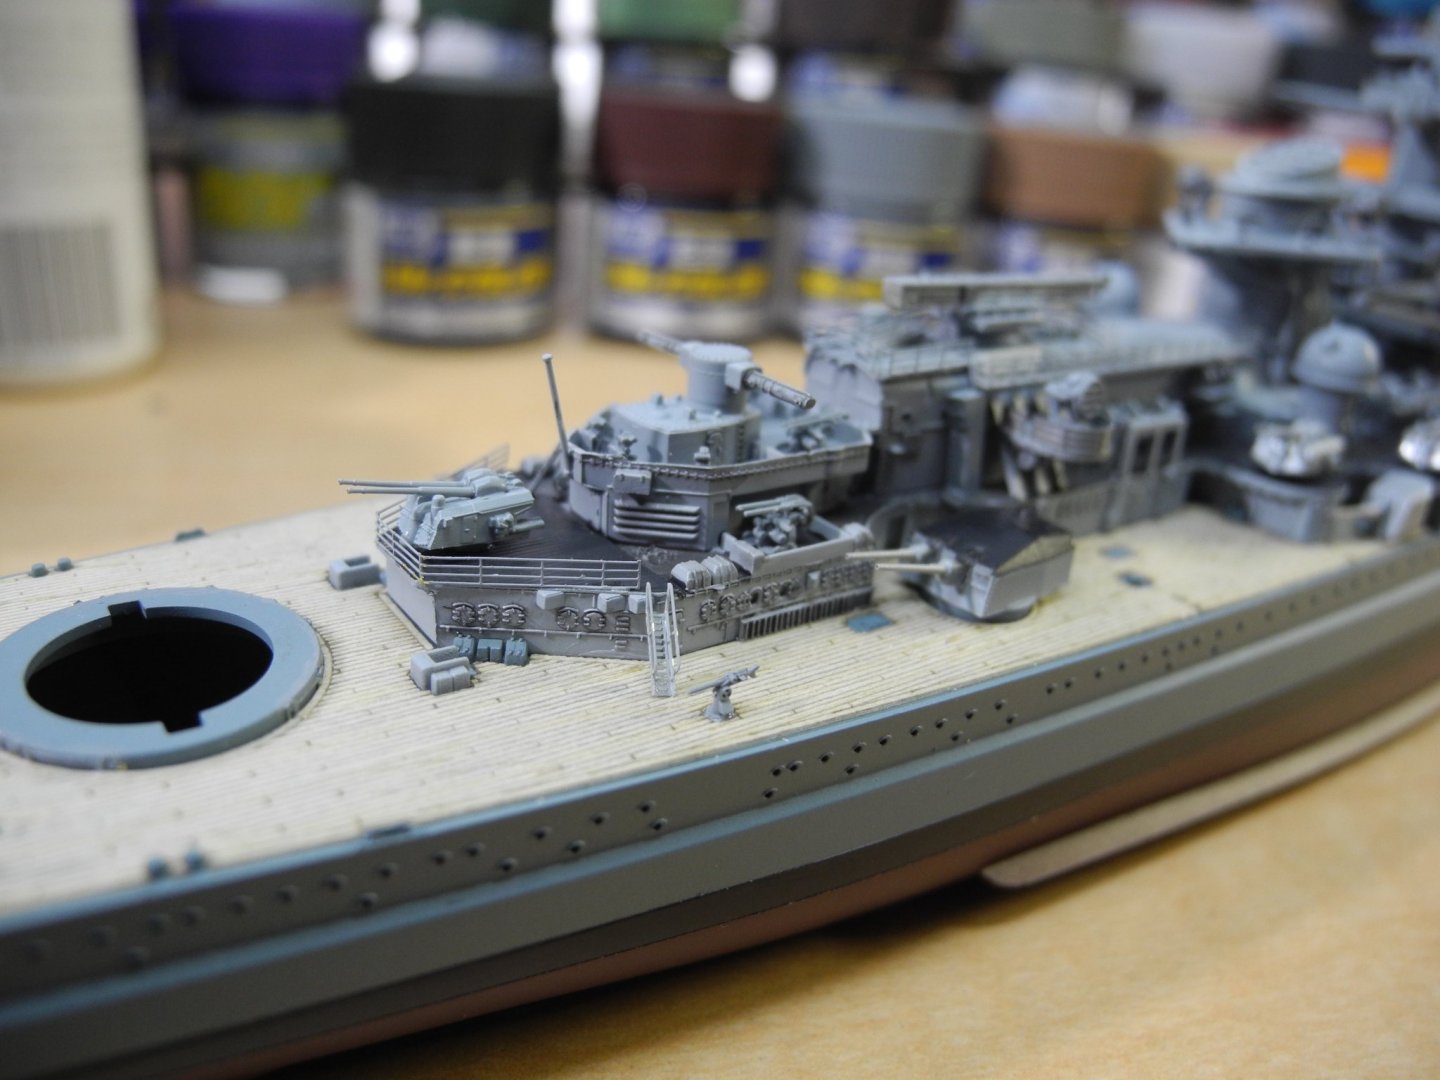
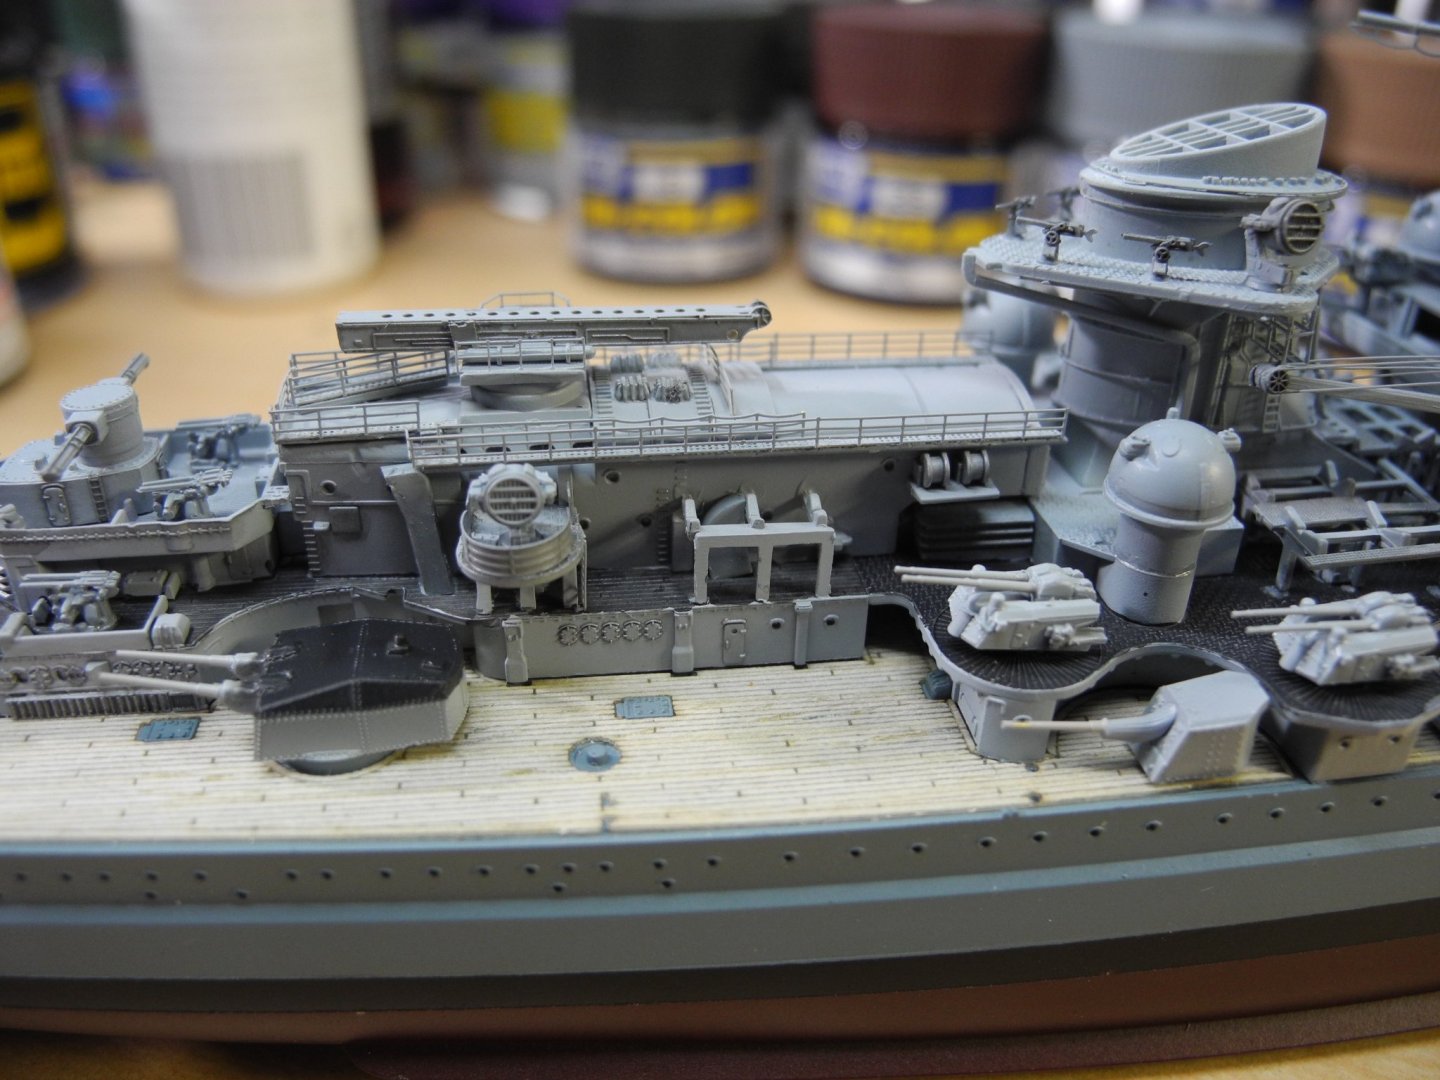
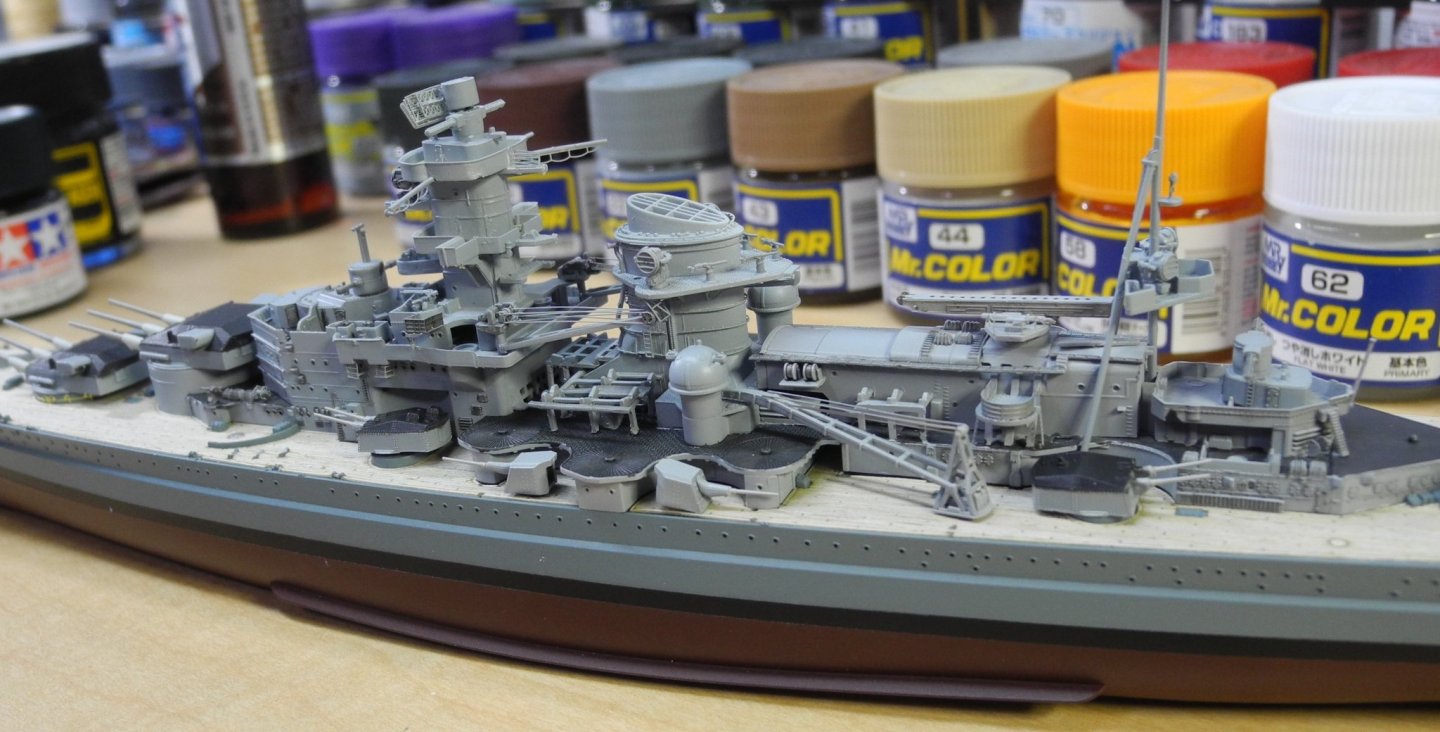
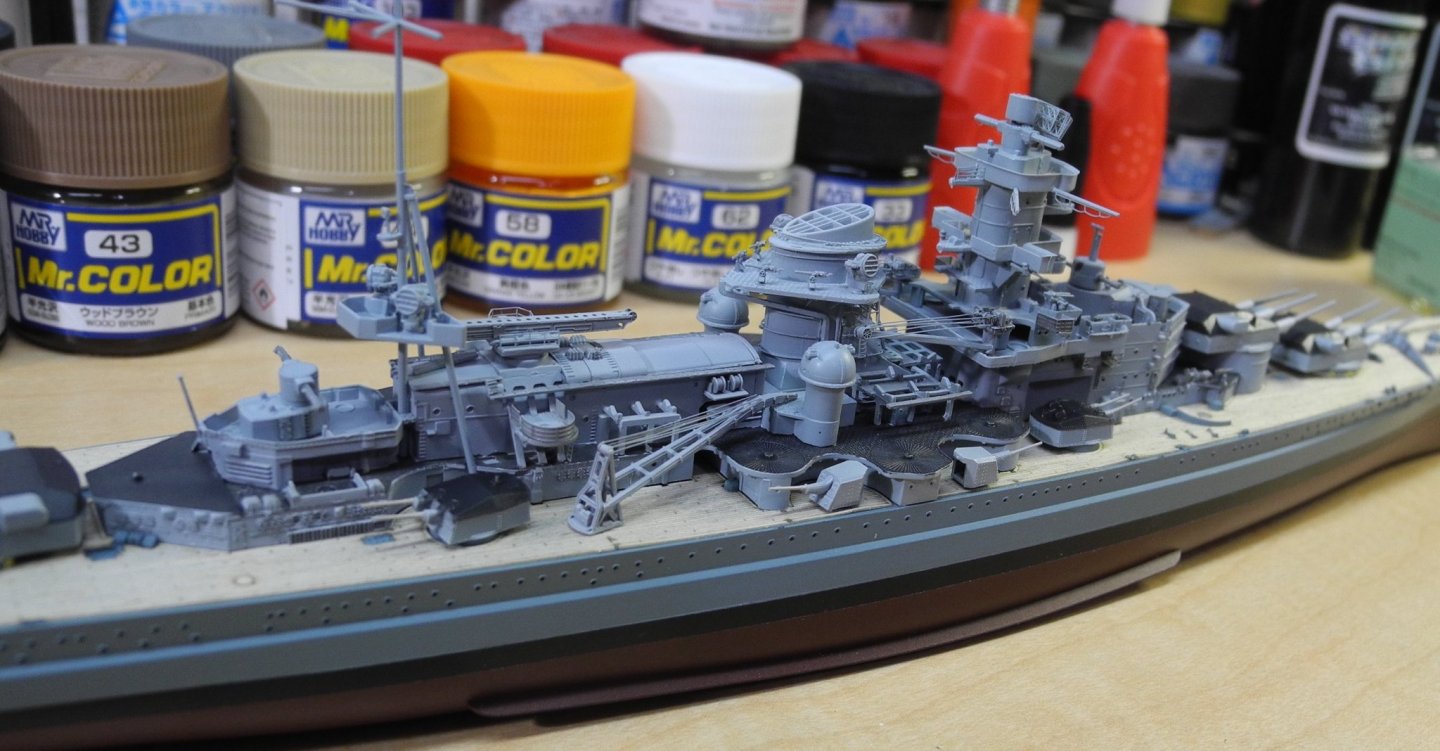
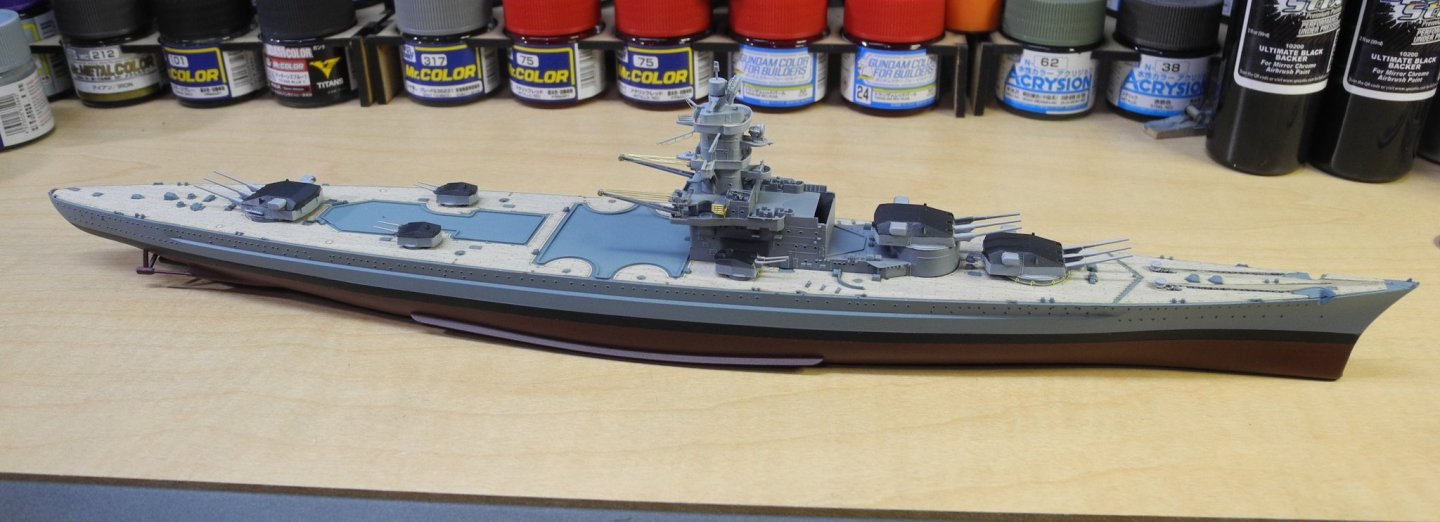
Had to run up a dry fit before I put her to bed tonight. Gives me encouragement for tomorrow. The wood deck tightens up the fit of the superstructure pieces to the deck, maybe a little too much for my liking. Got to be real careful about ham fisting these component parts as it's so easy to accidentally break stuff and even lose it if it falls off.

- 168 replies
-
- 11
-
-
- Scharnhorst
- Flyhawk
- (and 1 more)
-
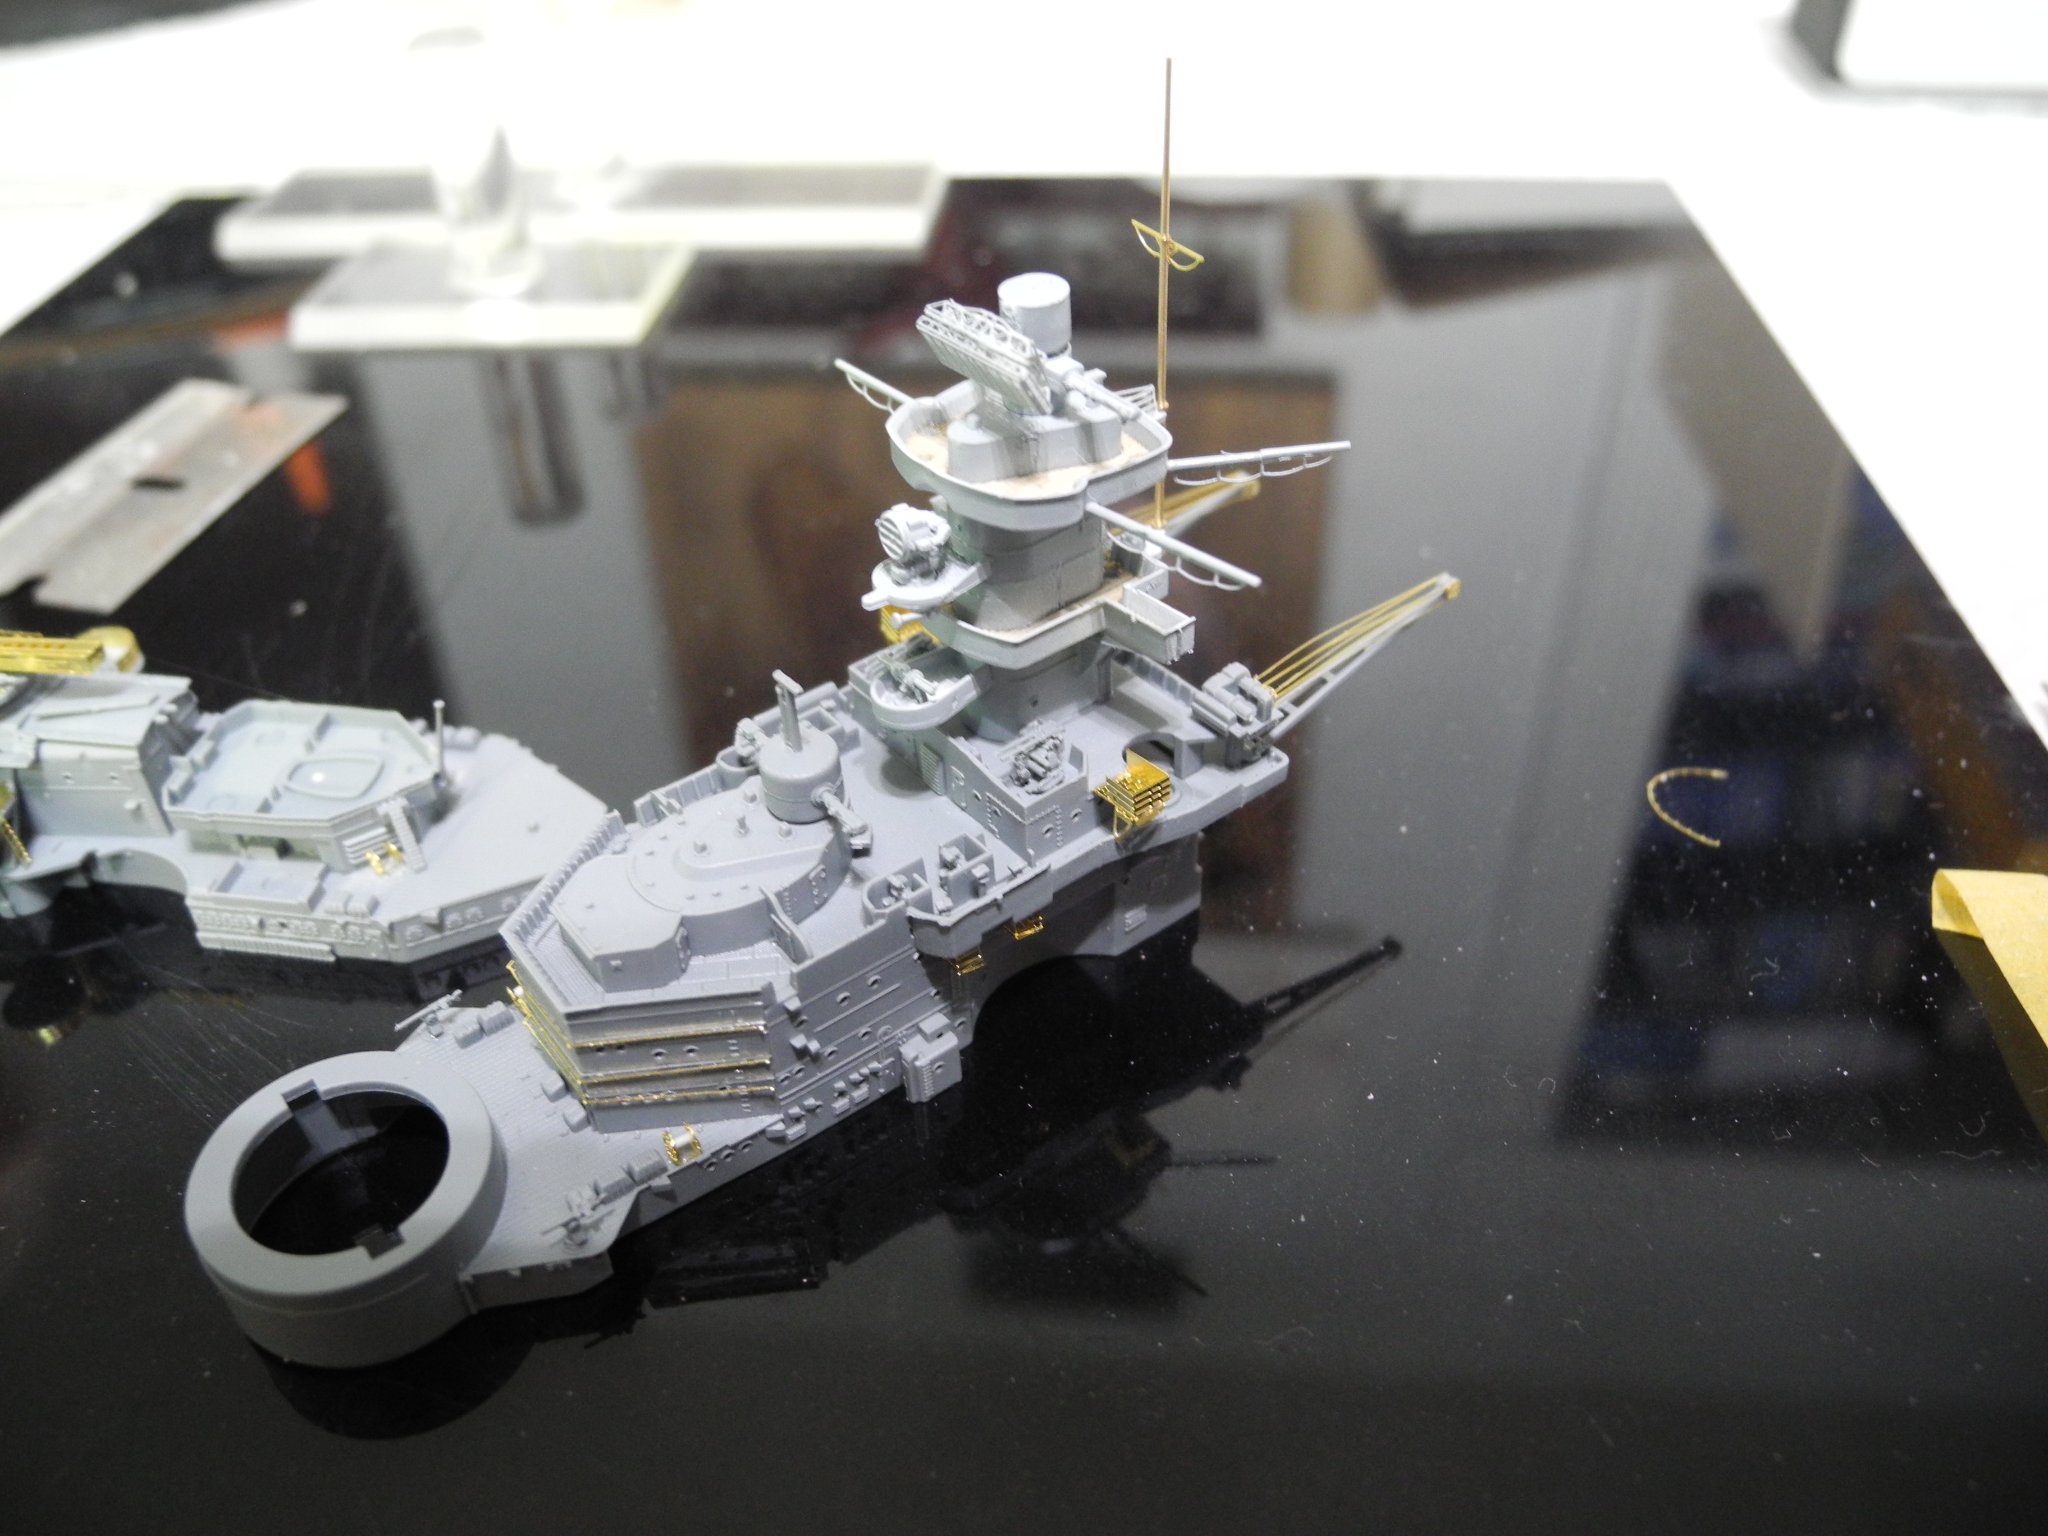
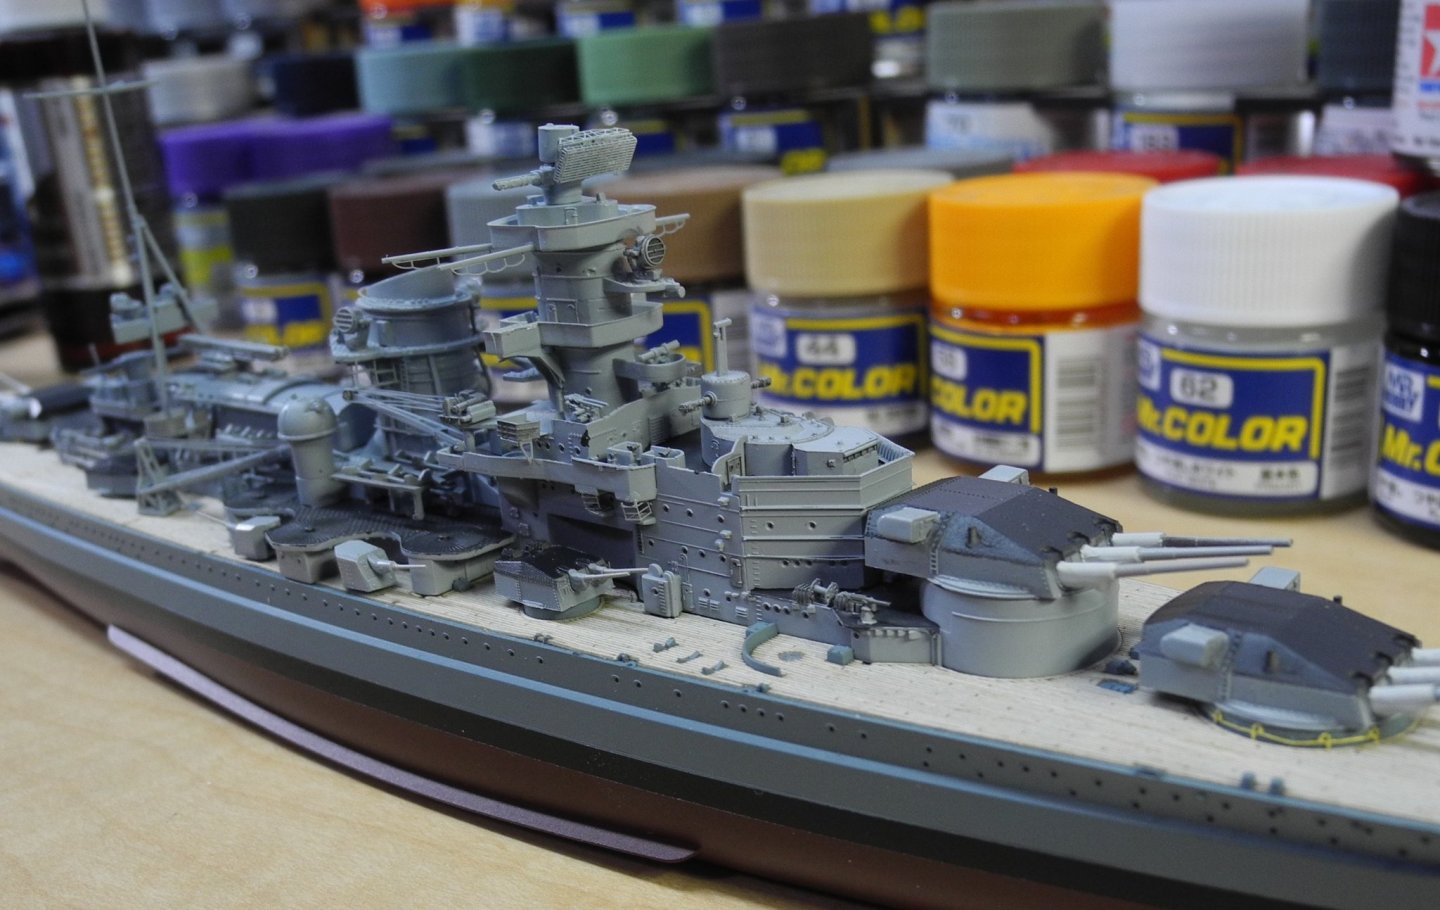
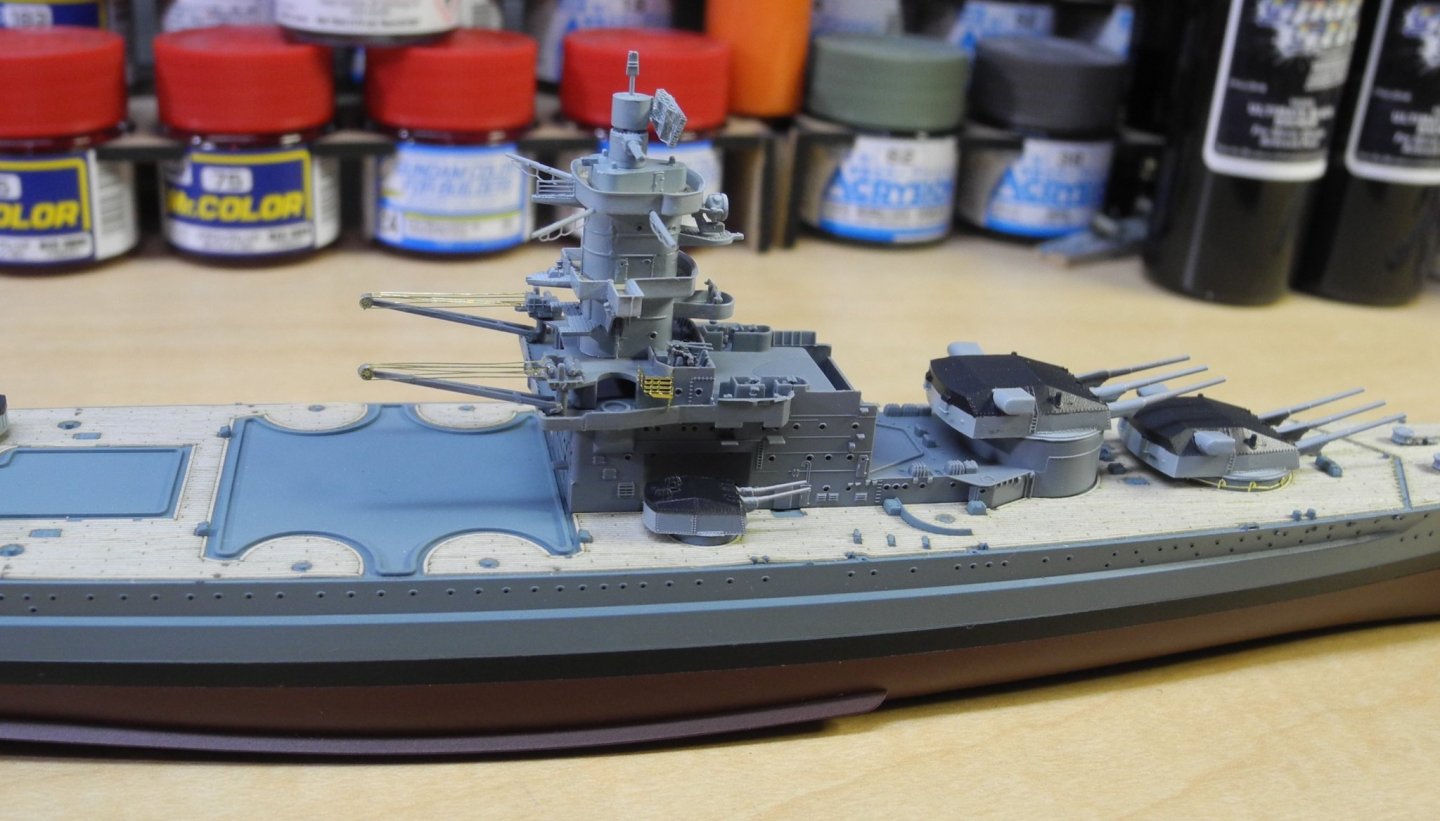
In the last photo, those four dome shaped range finders / targeting units each consist of five individual pieces. What's amazing to me is they have found a way to cast or inject plastic into that precise detail at this scale. Have never seen anything else like it at this scale.
- 168 replies
-
- 7
-
-
- Scharnhorst
- Flyhawk
- (and 1 more)
-
I did not use additional adhesive but I may regret that later. If it does raise later on, use a piece of scrap photo etch runner to slide some thin superglue underneath the raised areas. I've had to do this on a couple of other ship models once they got a couple of years old when the deck raised up in places.
- 168 replies
-
- 7
-
-
- Scharnhorst
- Flyhawk
- (and 1 more)
-
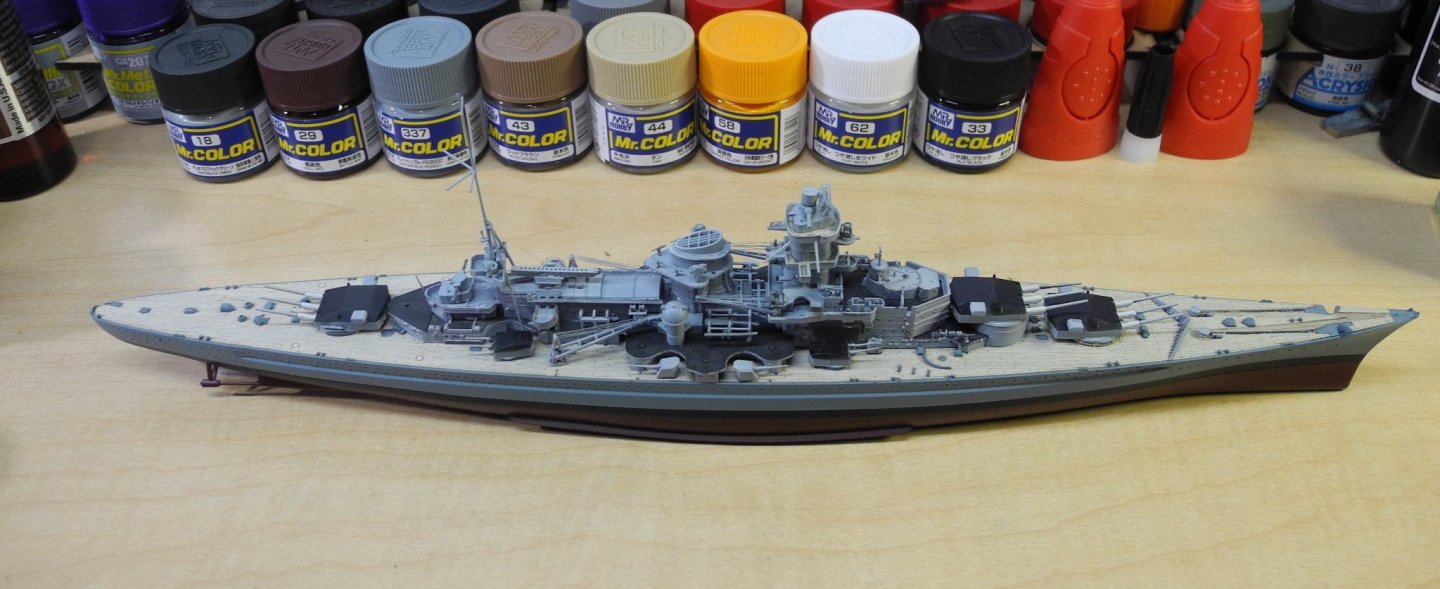
I truly love the sleek lines if the Scharnhorst and it's sister ship the Gneisenau. I also think the Italian battleships were particularly sleek looking.
- 168 replies
-
- 6
-
-
- Scharnhorst
- Flyhawk
- (and 1 more)
-
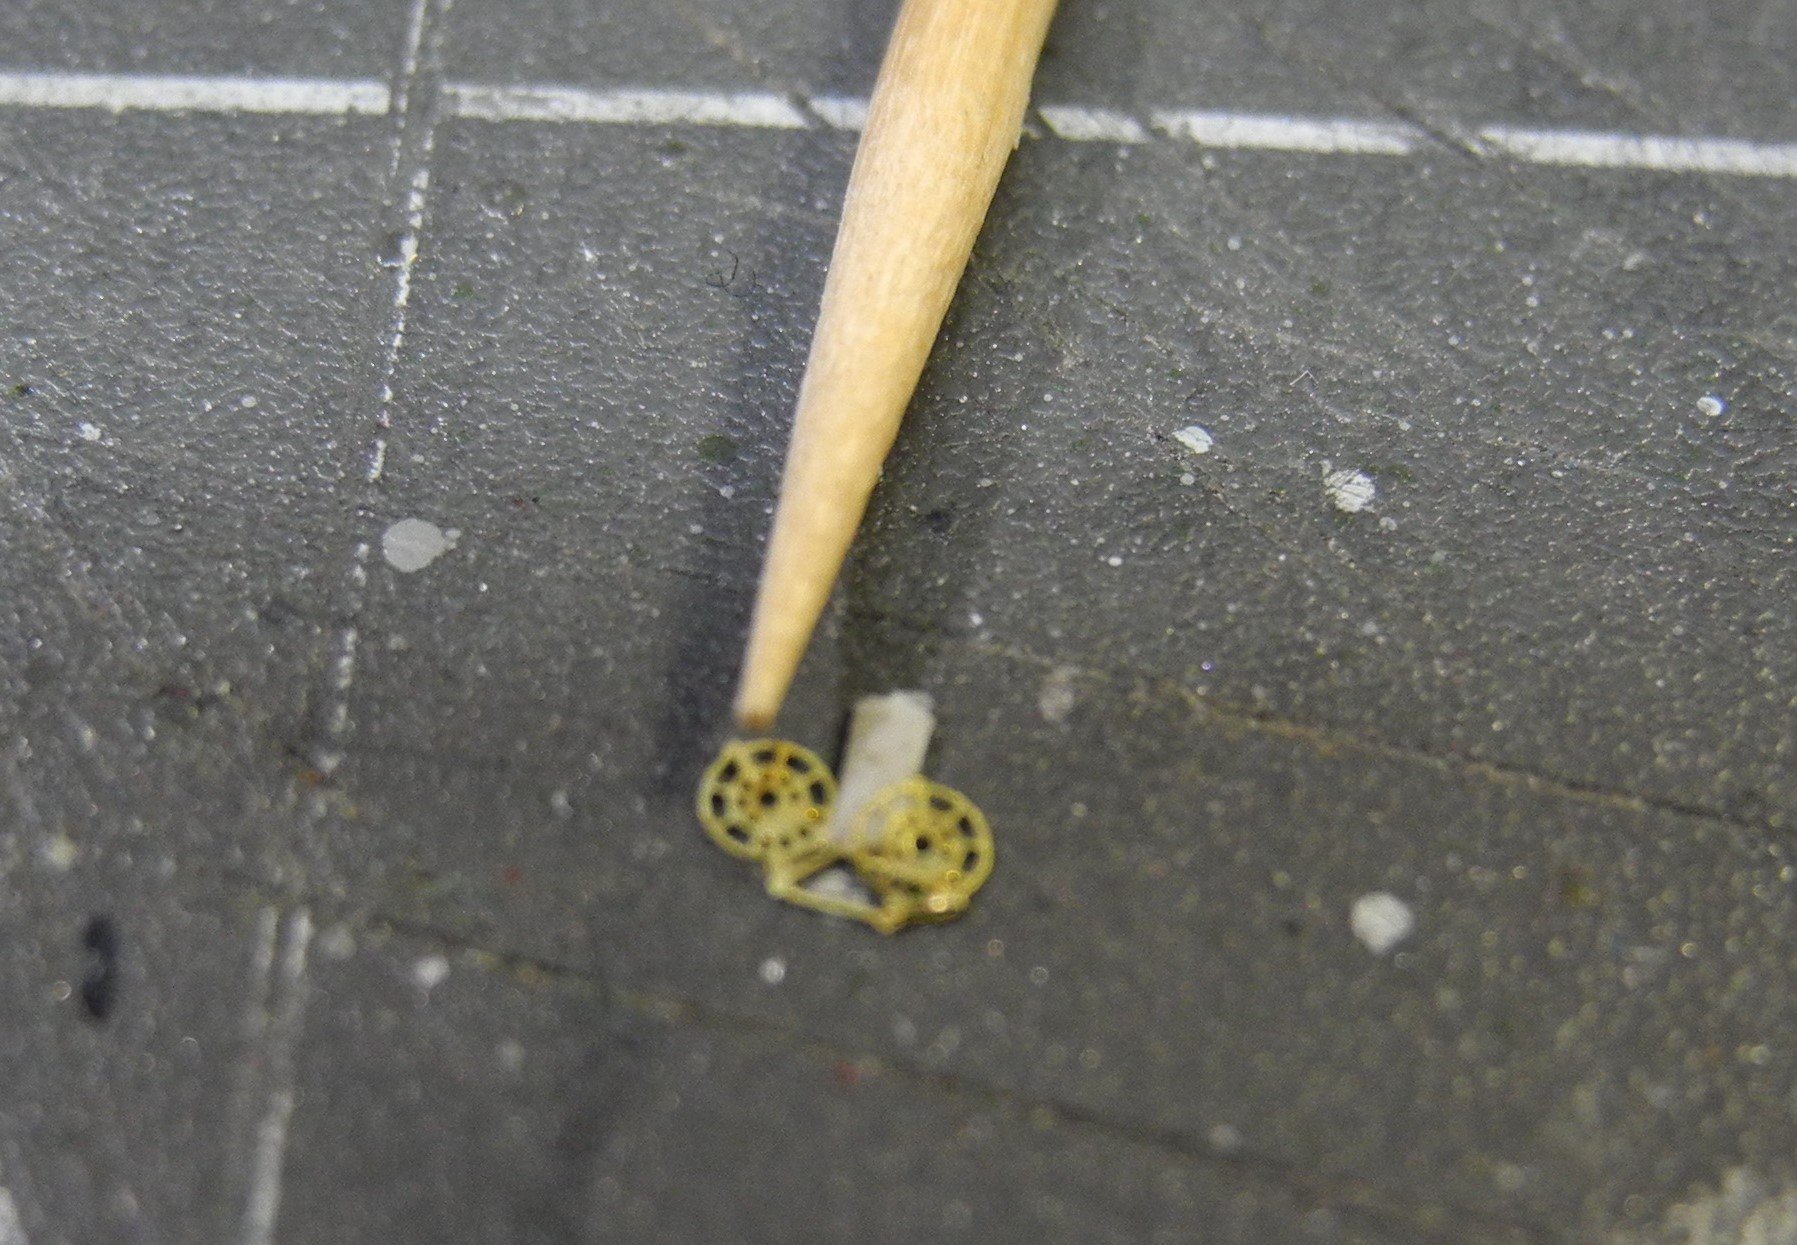
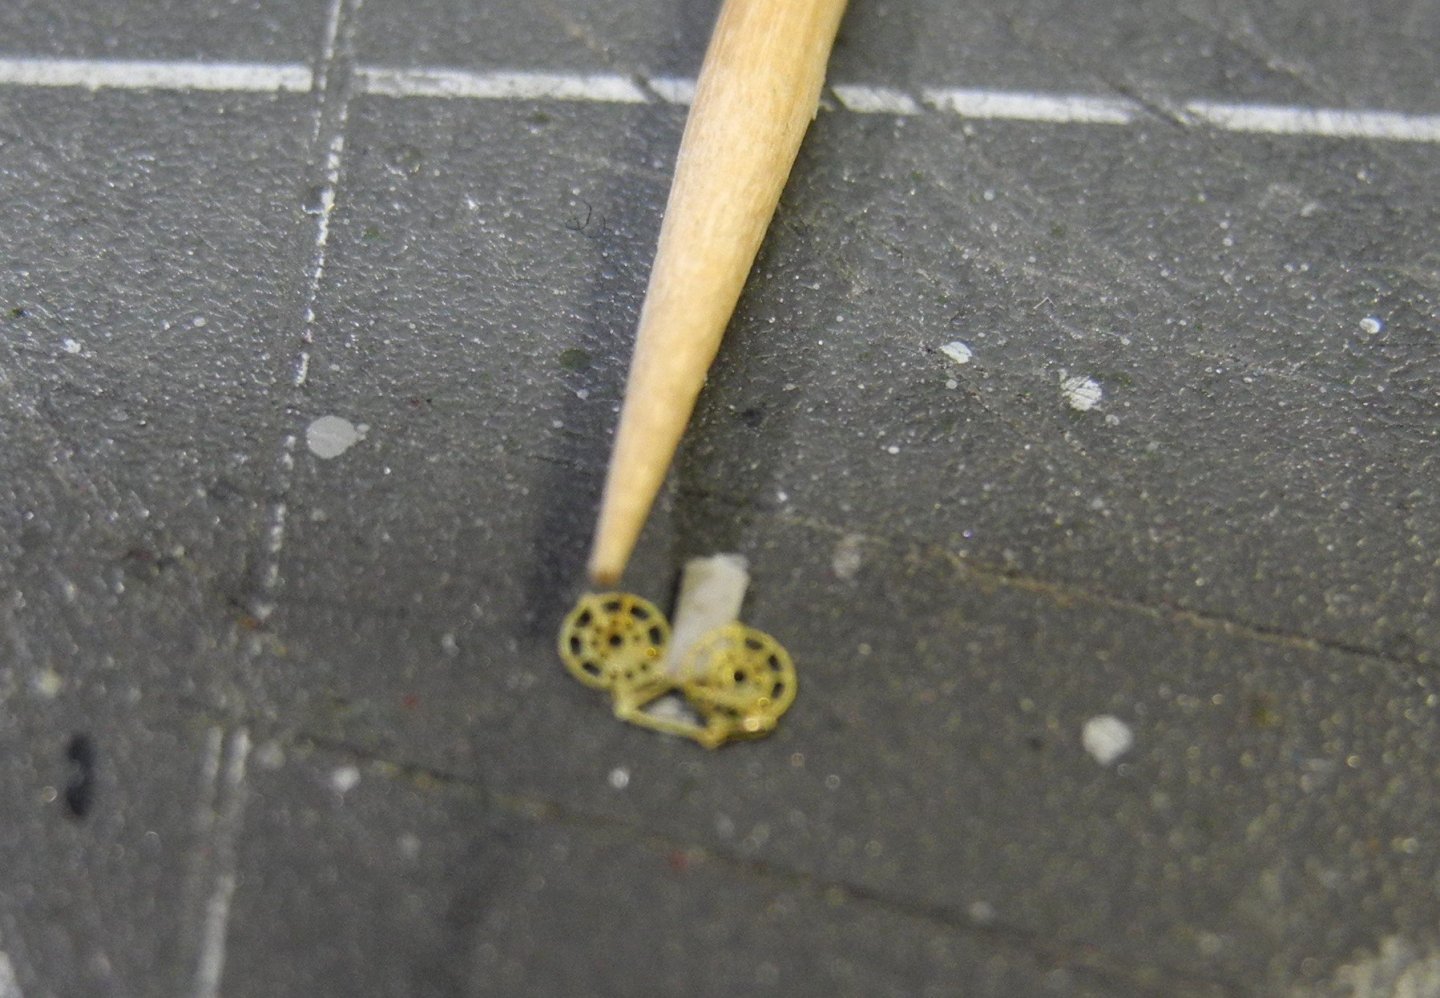
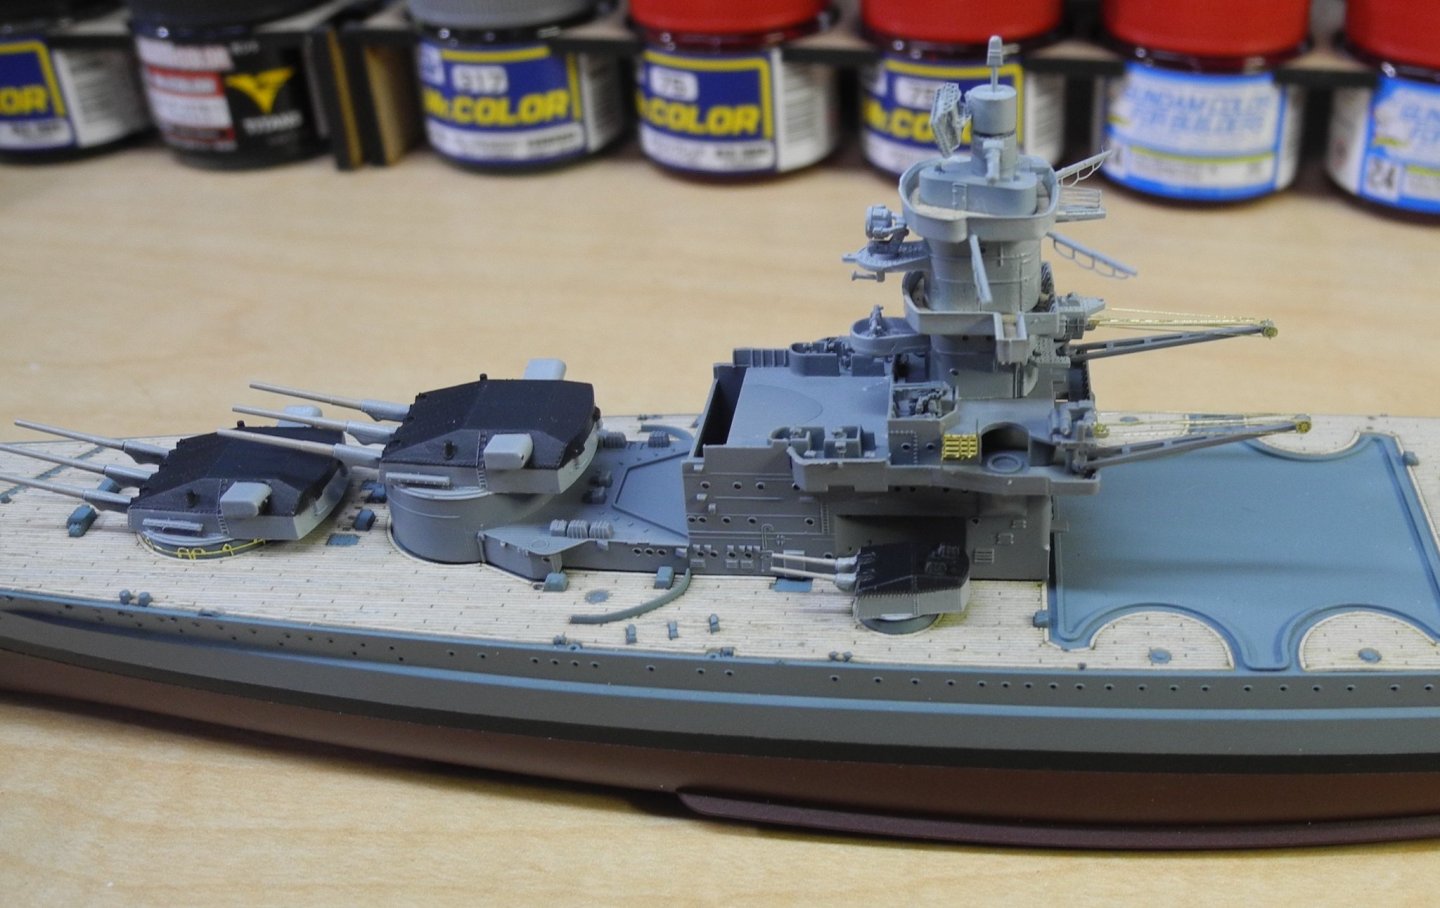
I glanced down at the floor and the light that reflected off a gold colored part caught my attention. When I got down close to examine, sure enough it was one of the hose reels I lost a couple of days ago. Unfortunately, it was smashed flatter than a pancake. That's a tooth pick laying there beside the flattened reel for reference. Meanwhile I am working to add the brass details to the superstructure. Everything being so small, it feels like my feet are stuck in the mud and am moving ever so slowly to get the little things done. Every now and then, it feels good to dry fit it together to remind myself what is at the end of the rainbow.

- 168 replies
-
- 12
-
-

-
- Scharnhorst
- Flyhawk
- (and 1 more)