CDW
-
Posts
7,749 -
Joined
-
Last visited
Content Type
Profiles
Forums
Gallery
Events
Everything posted by CDW
-

McLaren M8B by CDW - Accurate Miniatures - 1:24 Scale
CDW replied to CDW's topic in Non-ship/categorised builds
I would tell you if I could find it, but for the time being, I have misplaced the kit decals and the material they included for the seat belts. The seat belt material came sandwiched between to pieces of sticky backed paper and I never got around to opening it, but it felt like a lump of something rather than being thin like ribbon. I'll locate the MIA decal sheet and seat belt material eventually but for now it's gone. -
McLaren M8B by CDW - Accurate Miniatures - 1:24 Scale
CDW replied to CDW's topic in Non-ship/categorised builds
Looking ahead just a bit, this M8B kit comes with a nice set of molded styrene seat belt buckles. Recently, I searched for and bought some different colors of 1/8 inch ribbon at a fabric store. The ribbon should work perfect with the buckles to make a great set of seat belts for the model. -
McLaren M8B by CDW - Accurate Miniatures - 1:24 Scale
CDW replied to CDW's topic in Non-ship/categorised builds
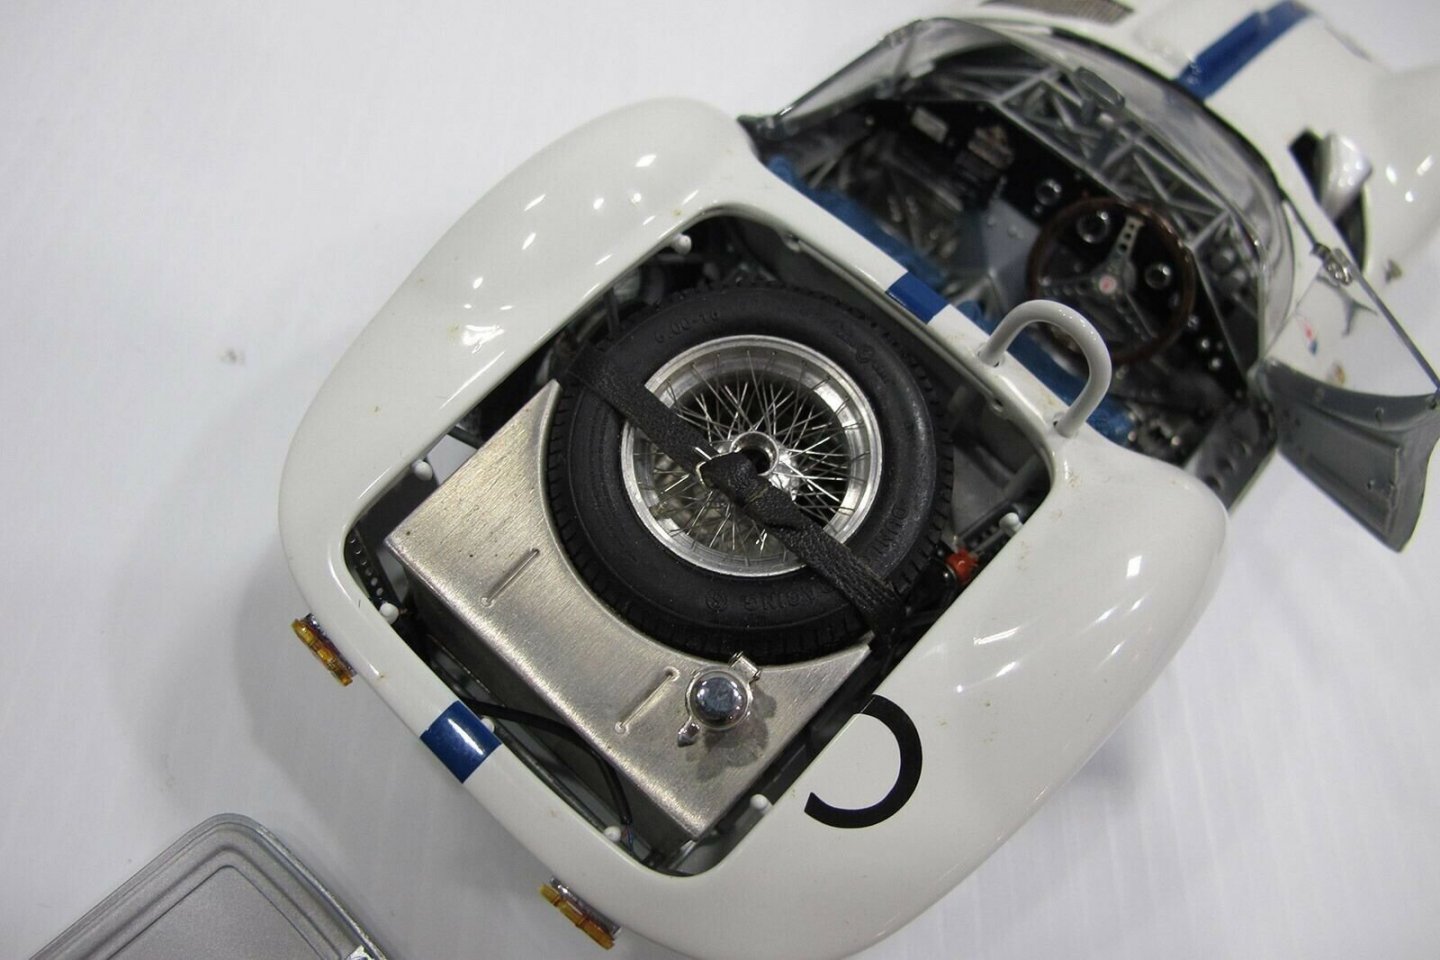
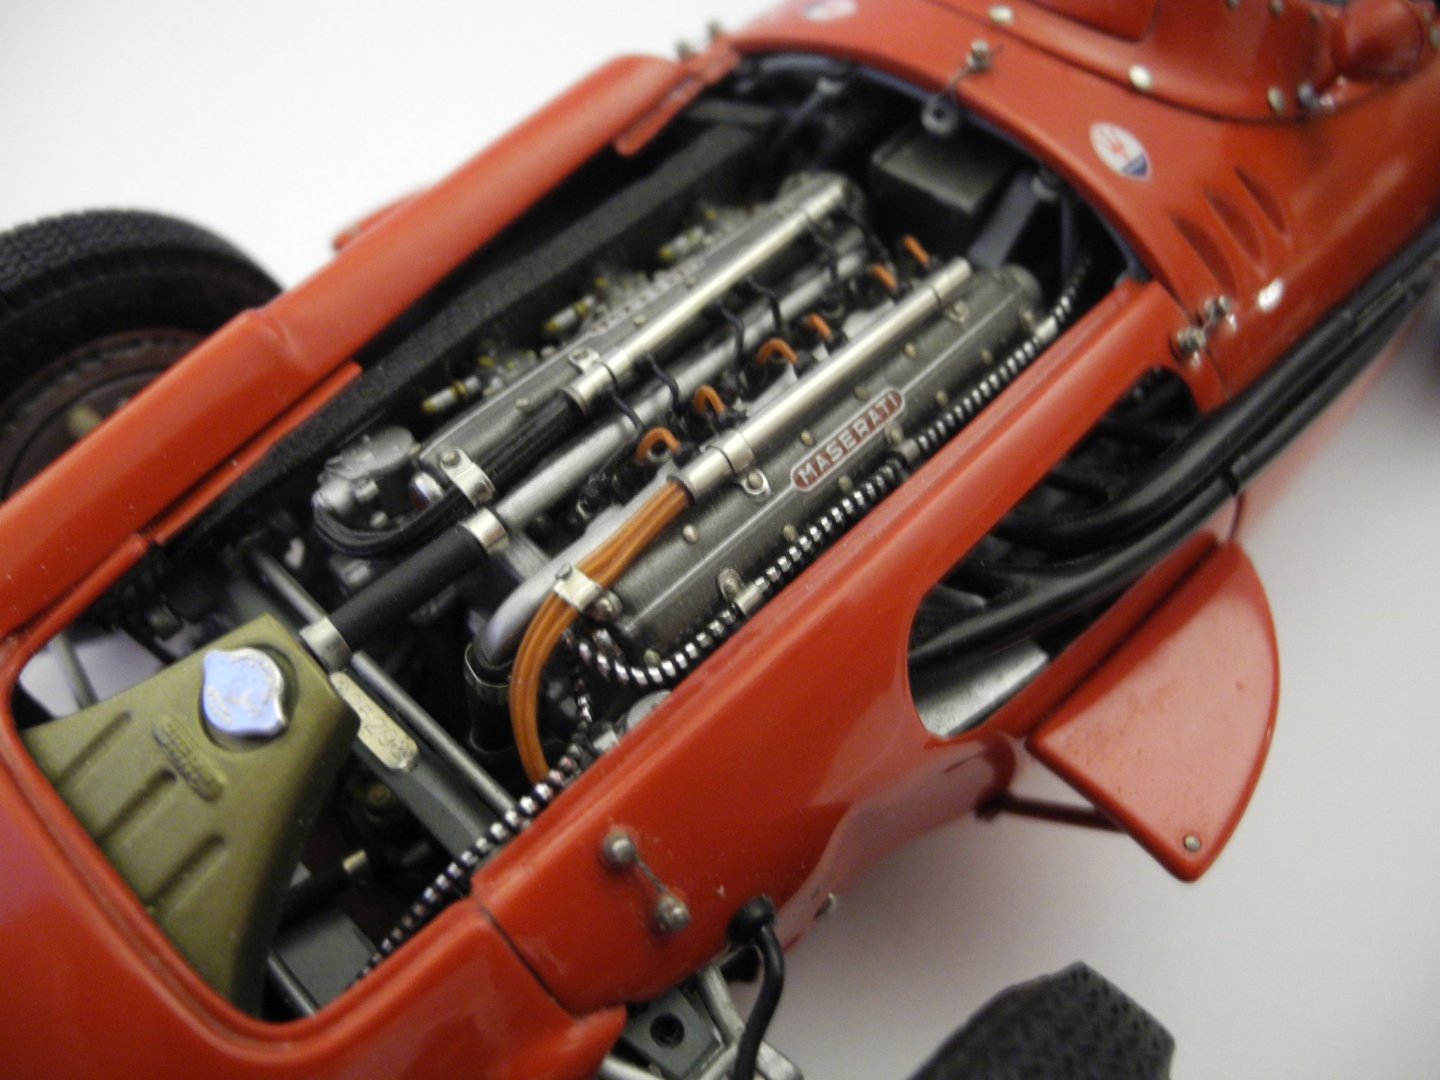
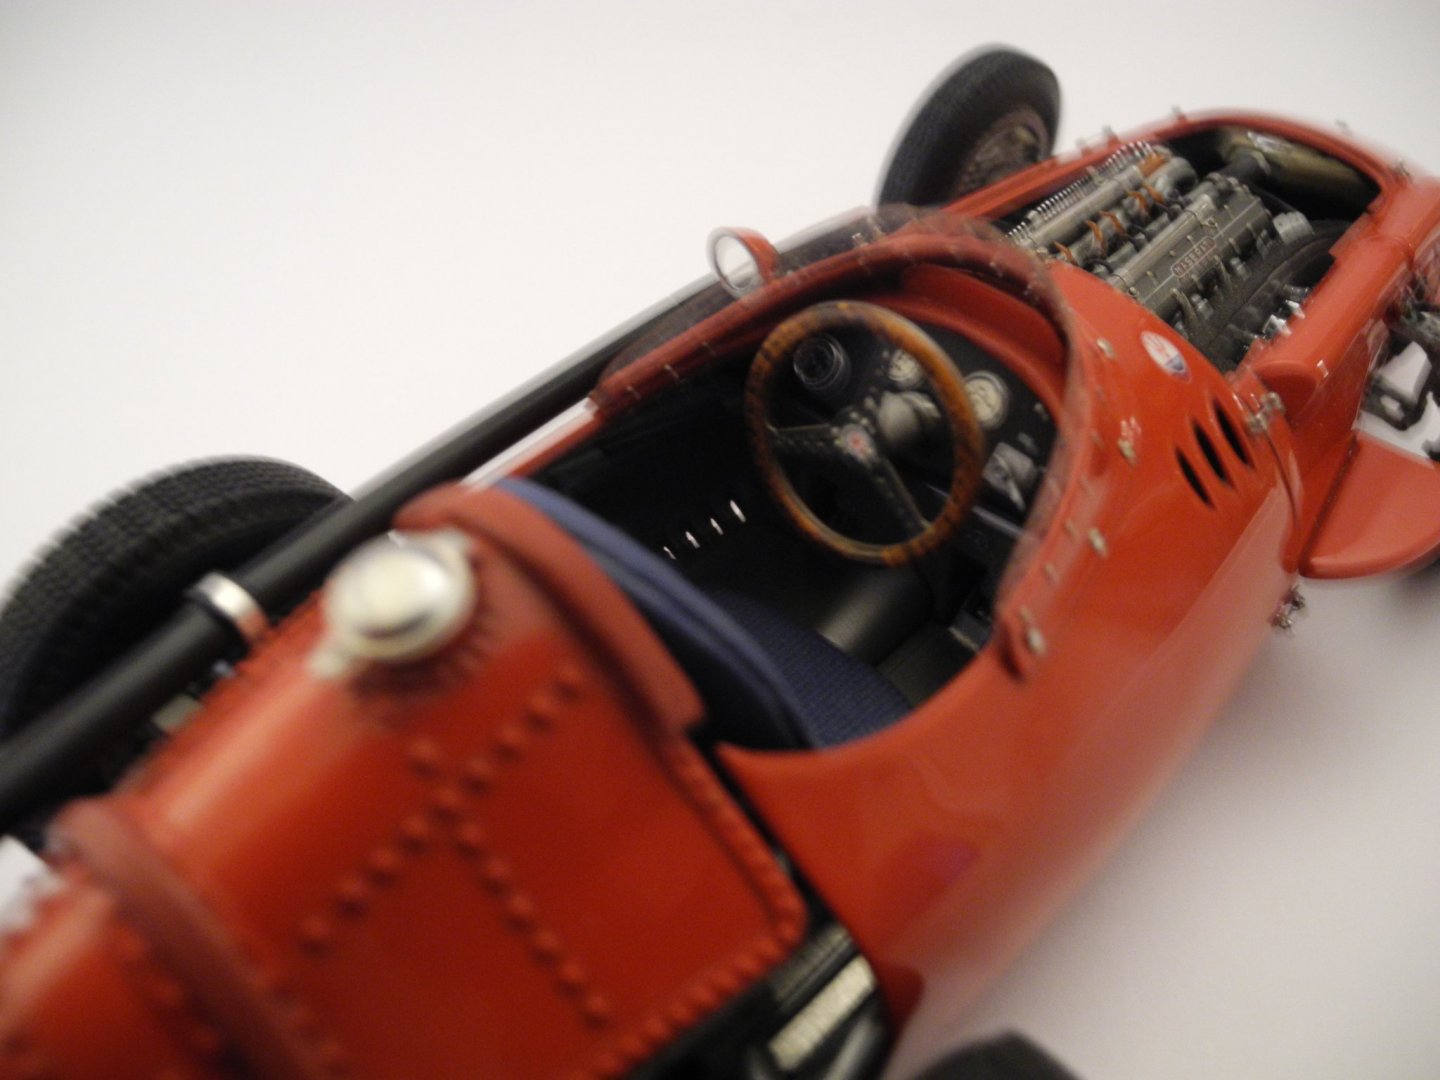
Check out this CMC 1960 Maserati Birdcage. I don't own this one. They command a very high price now. I could have bought one about twenty years ago for a few hundred. Now they are 1,000 and higher.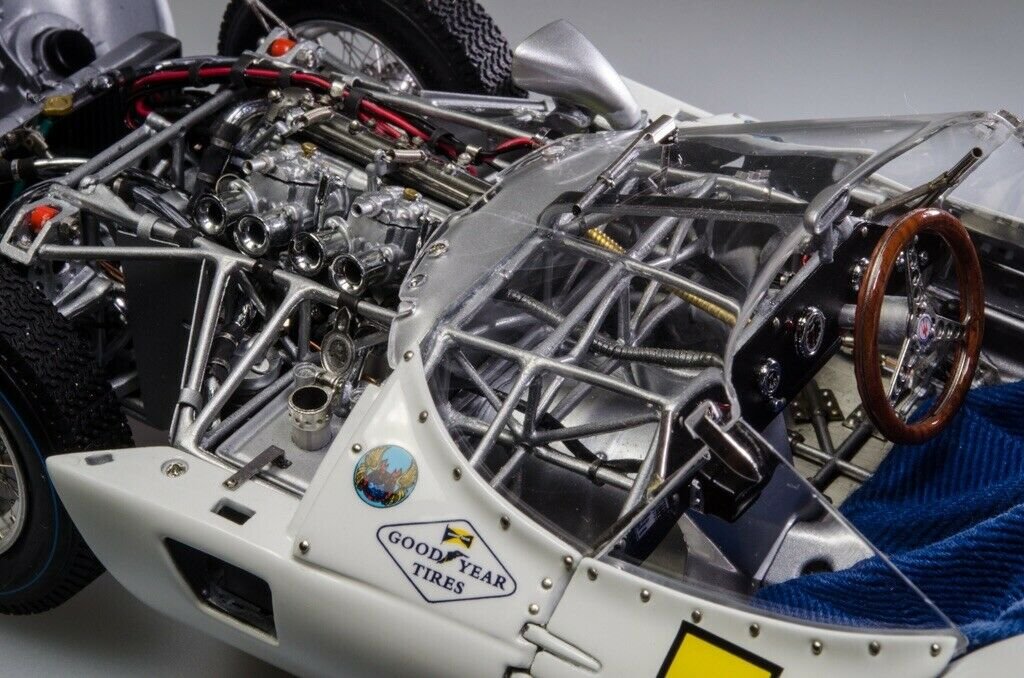
- 137 replies
-
- 13
-

-
McLaren M8B by CDW - Accurate Miniatures - 1:24 Scale
CDW replied to CDW's topic in Non-ship/categorised builds
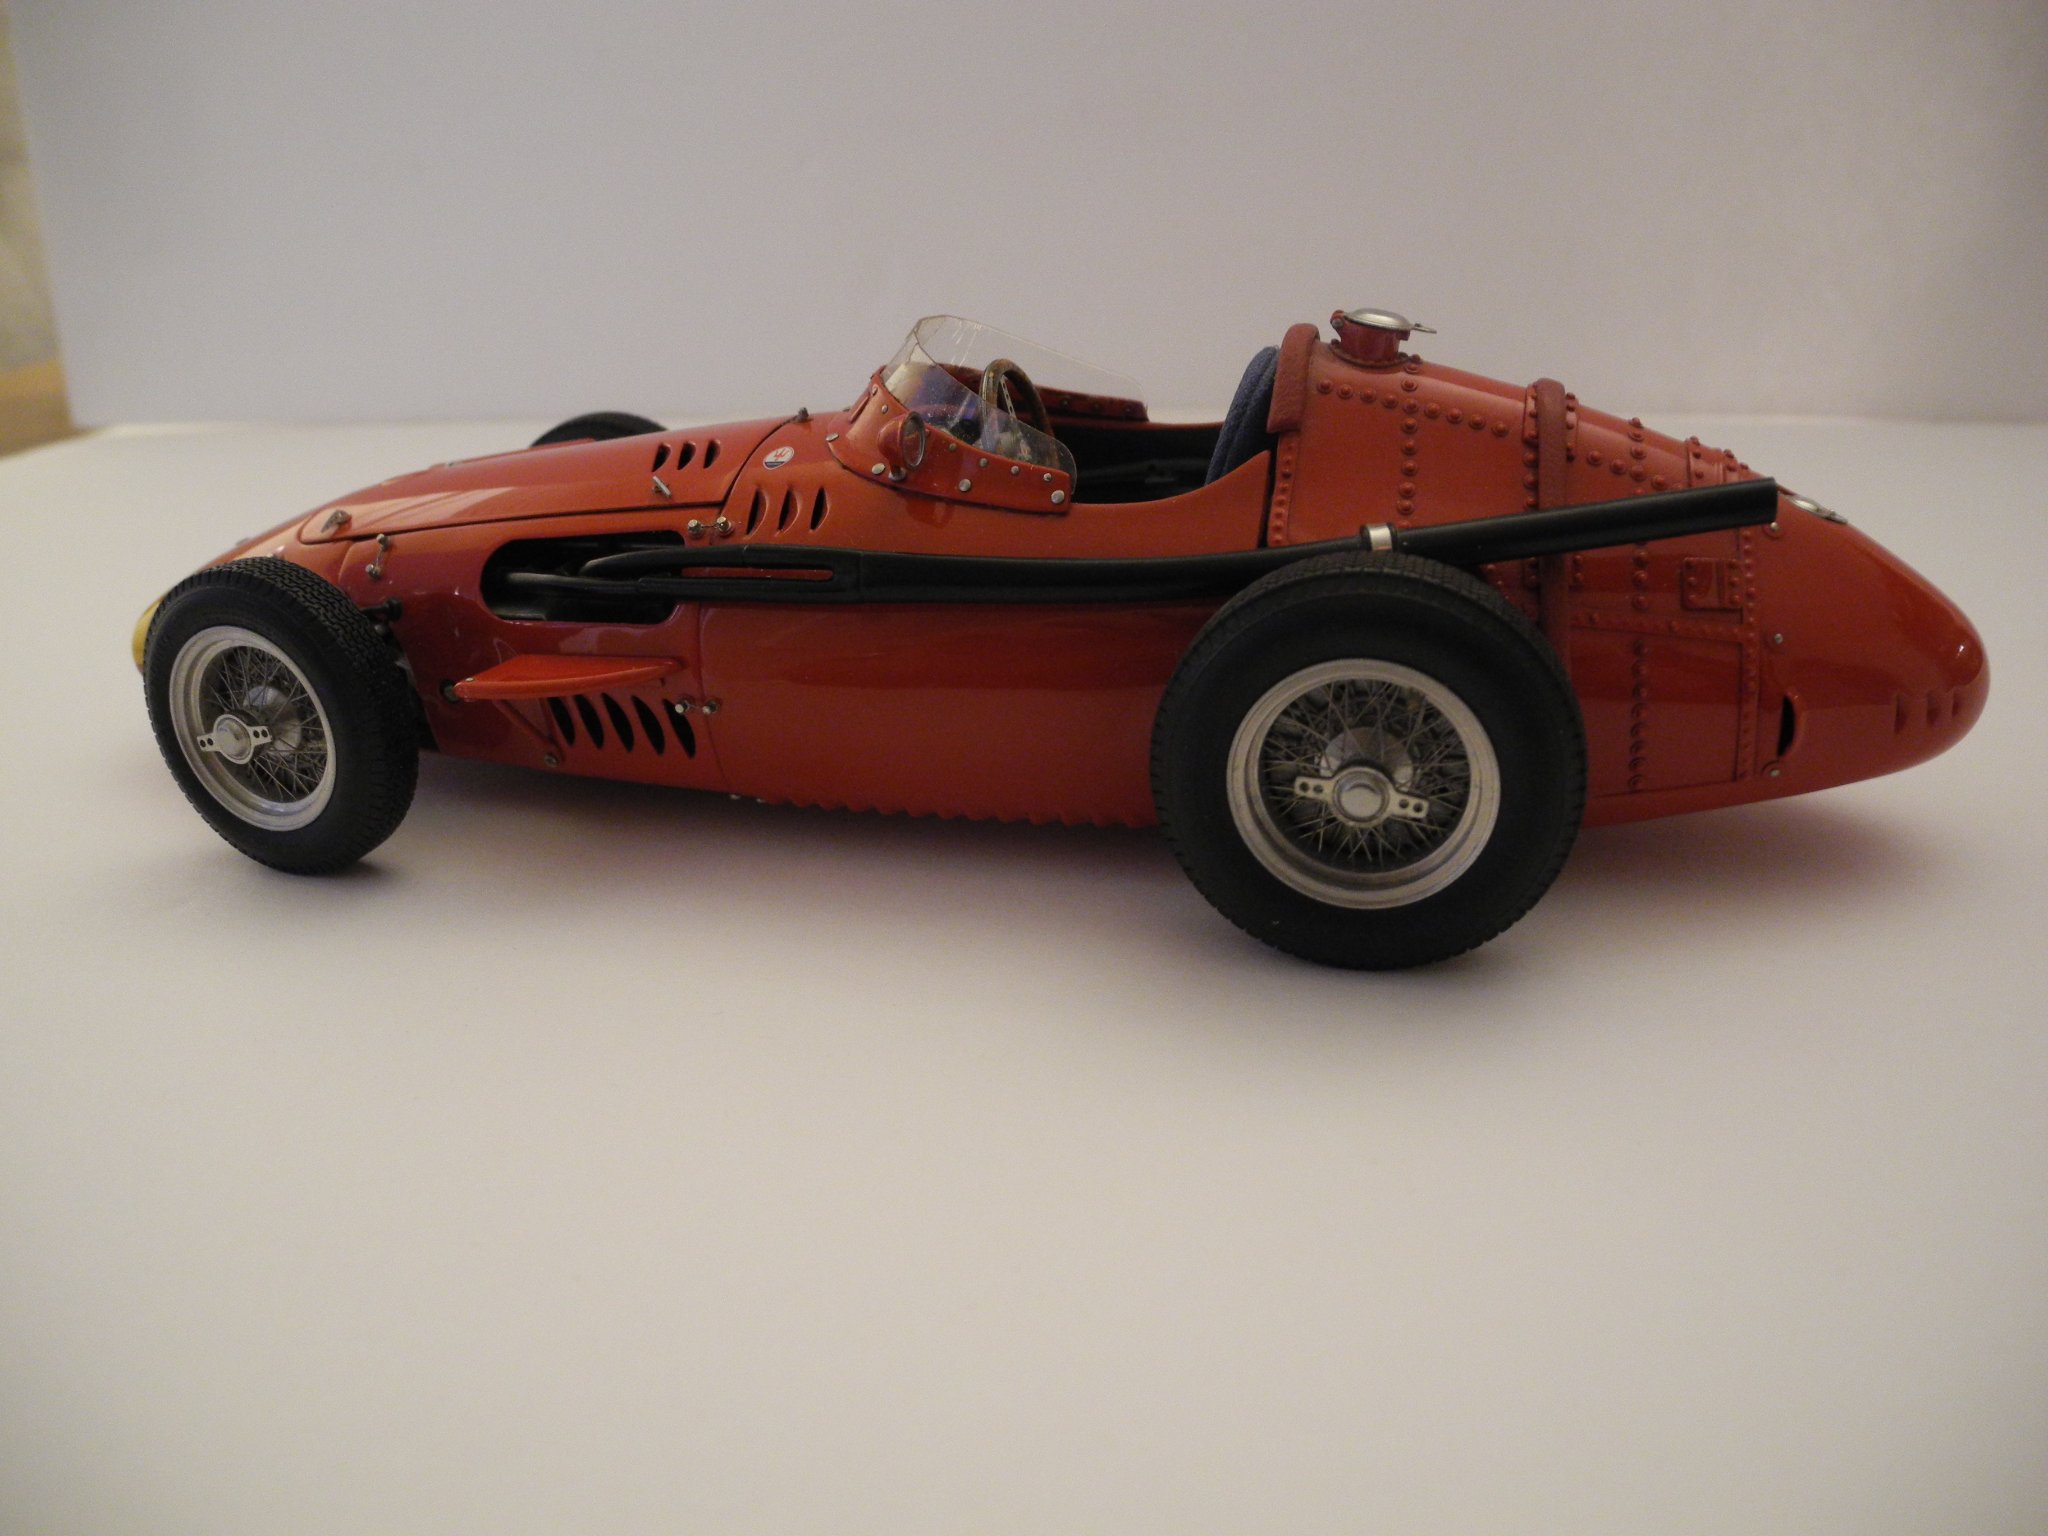
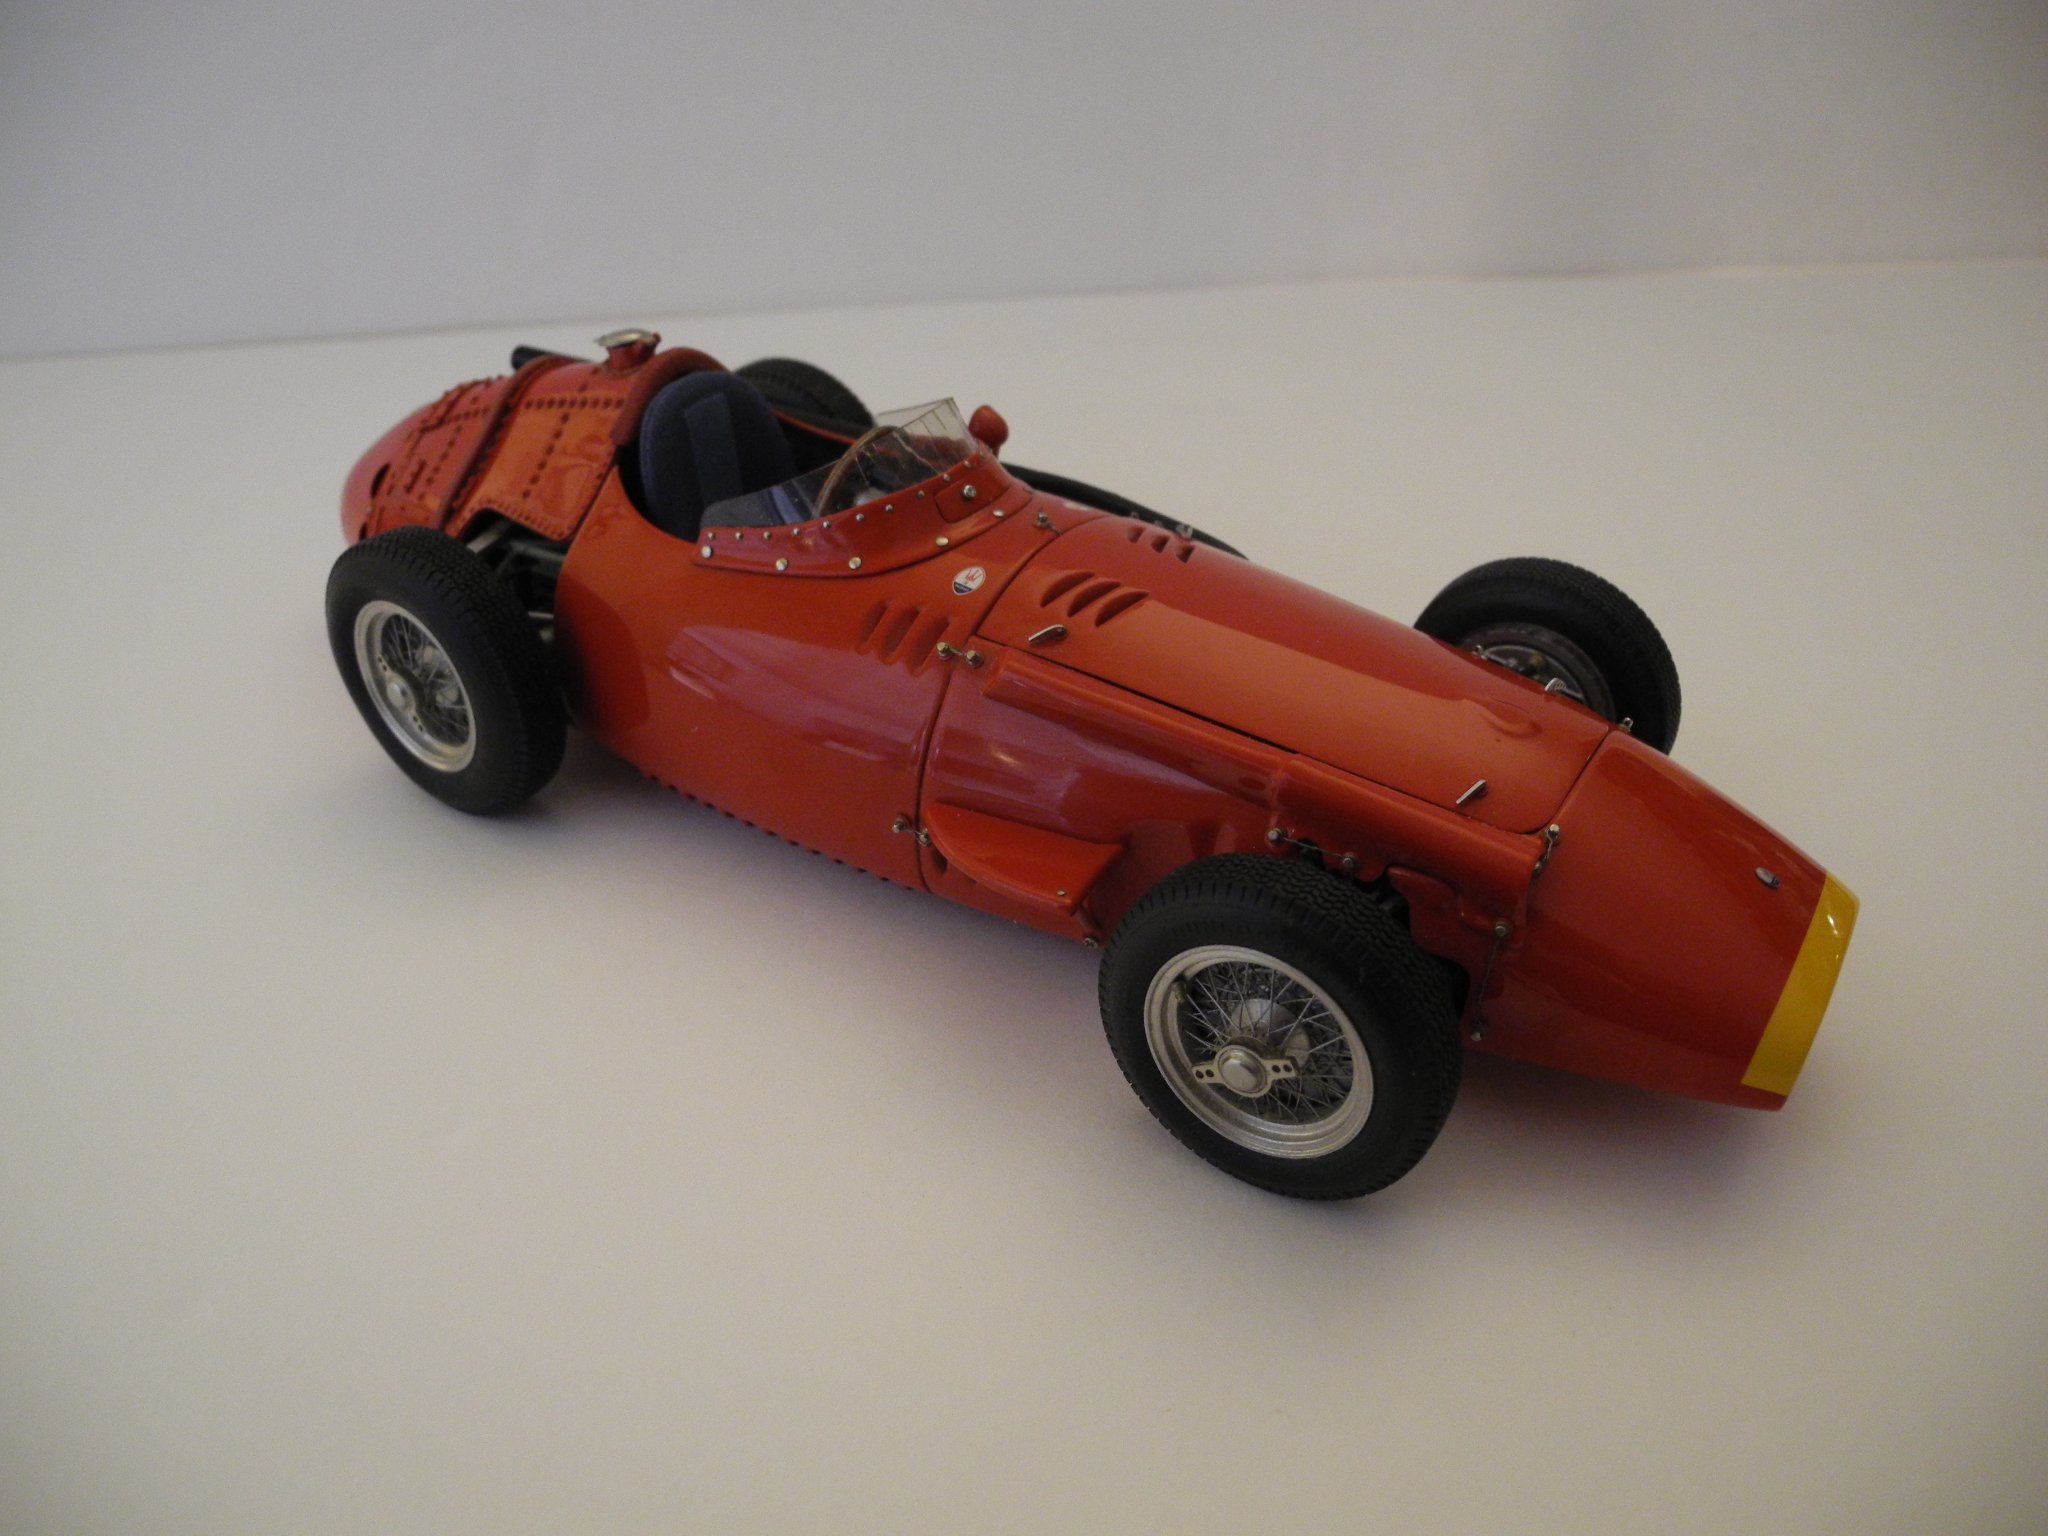
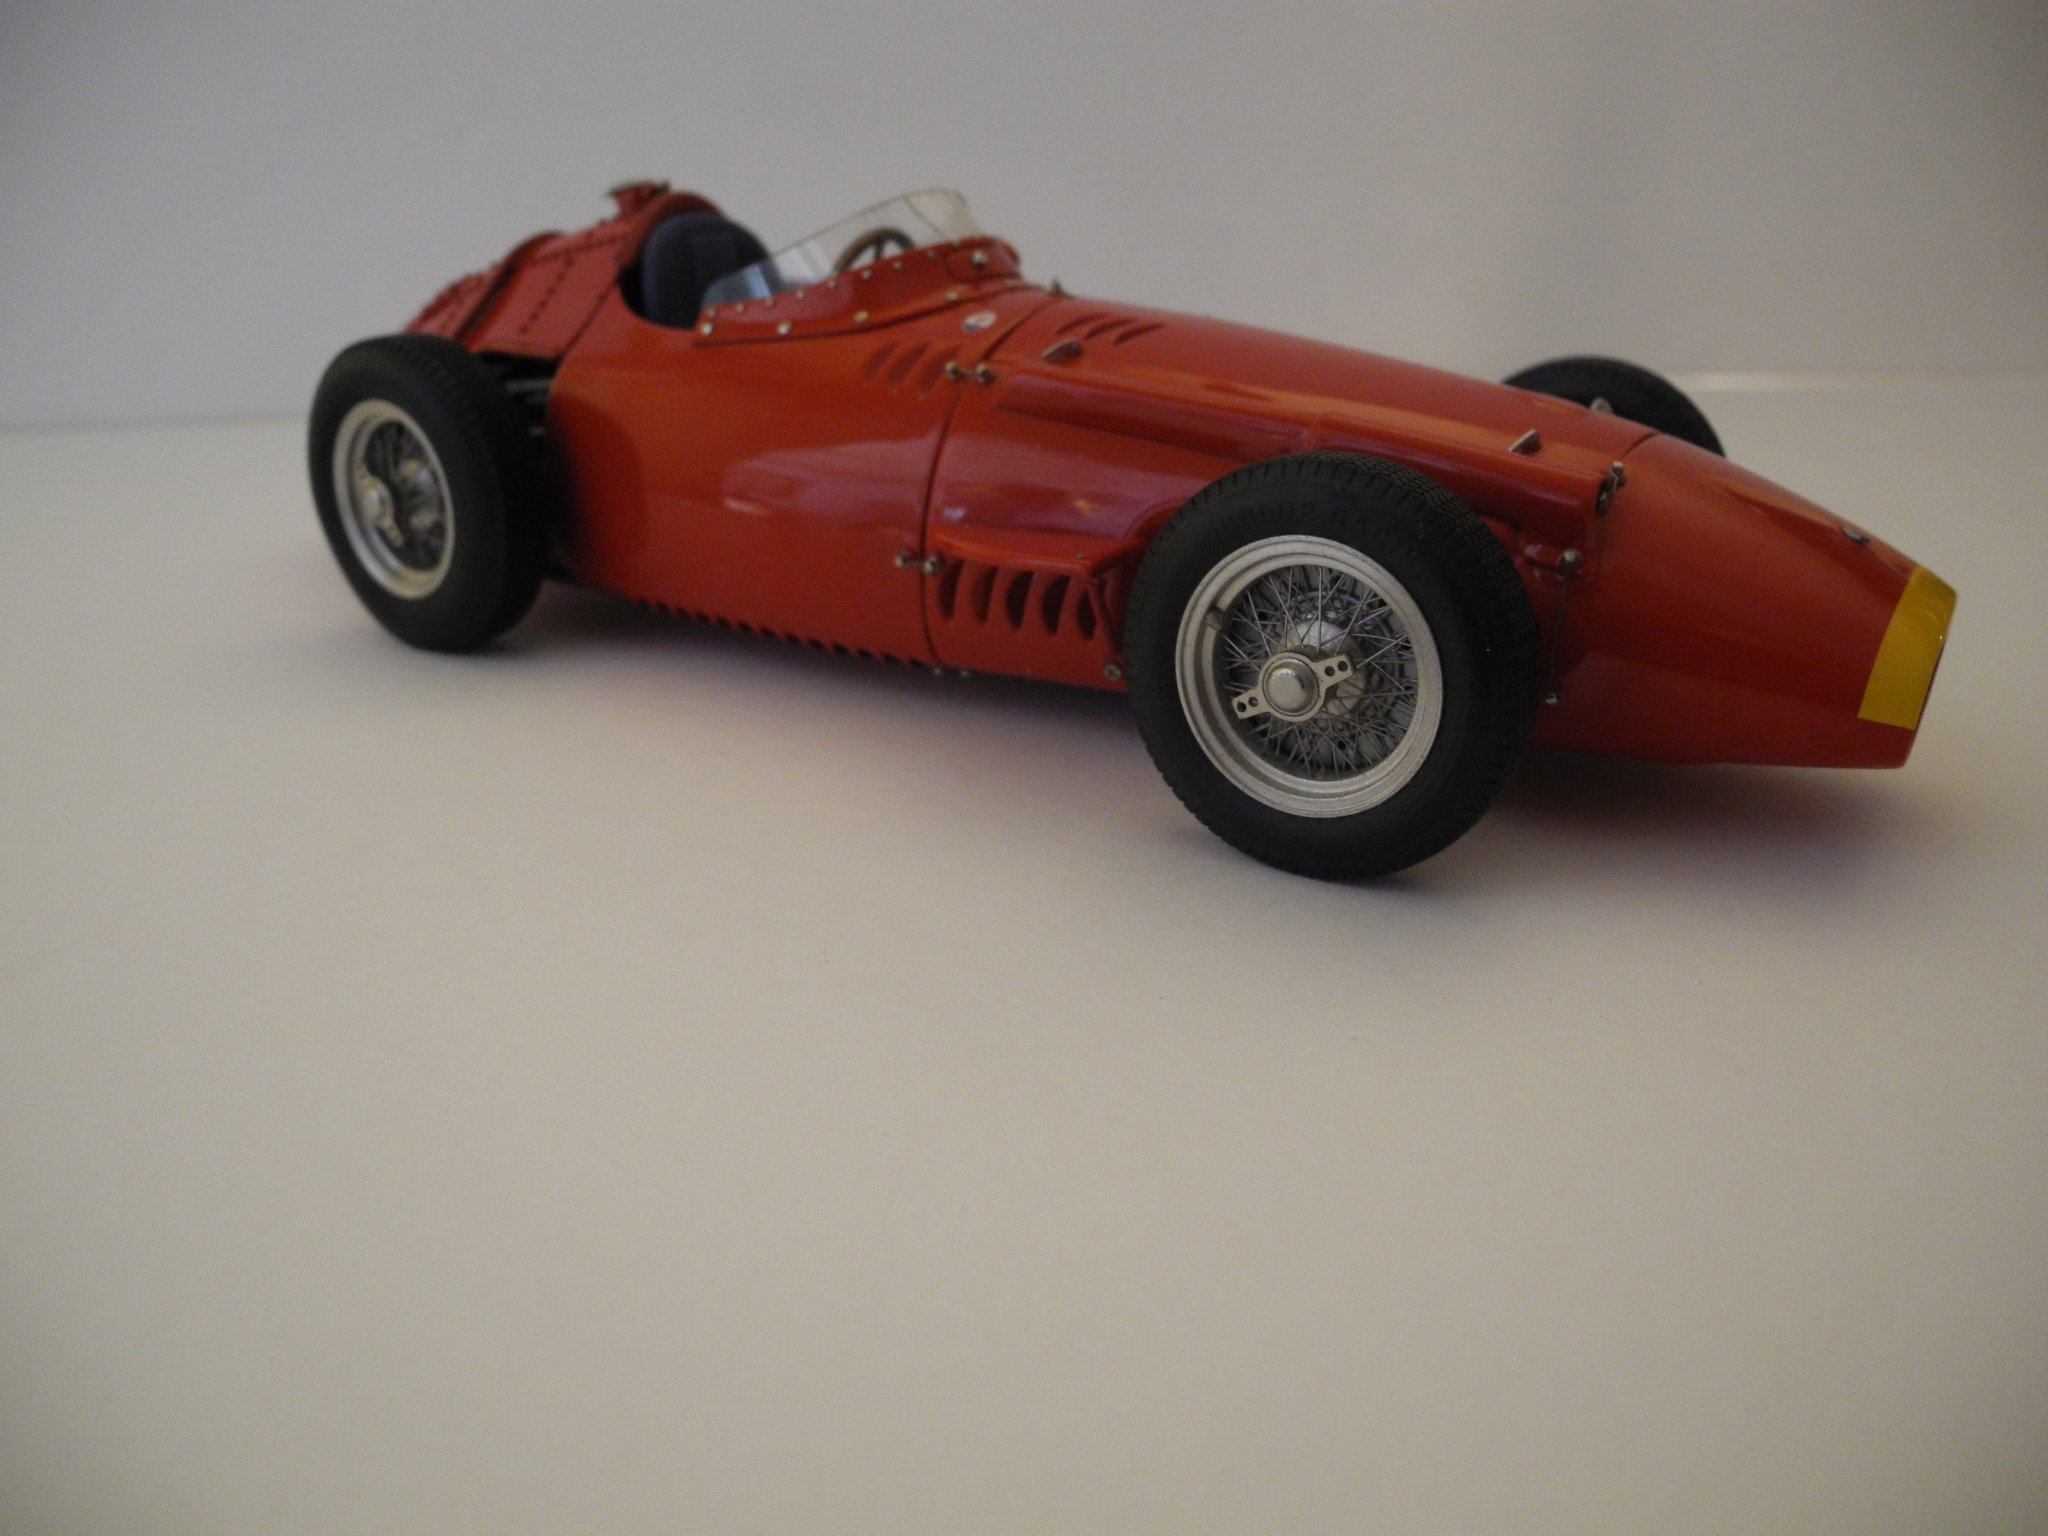
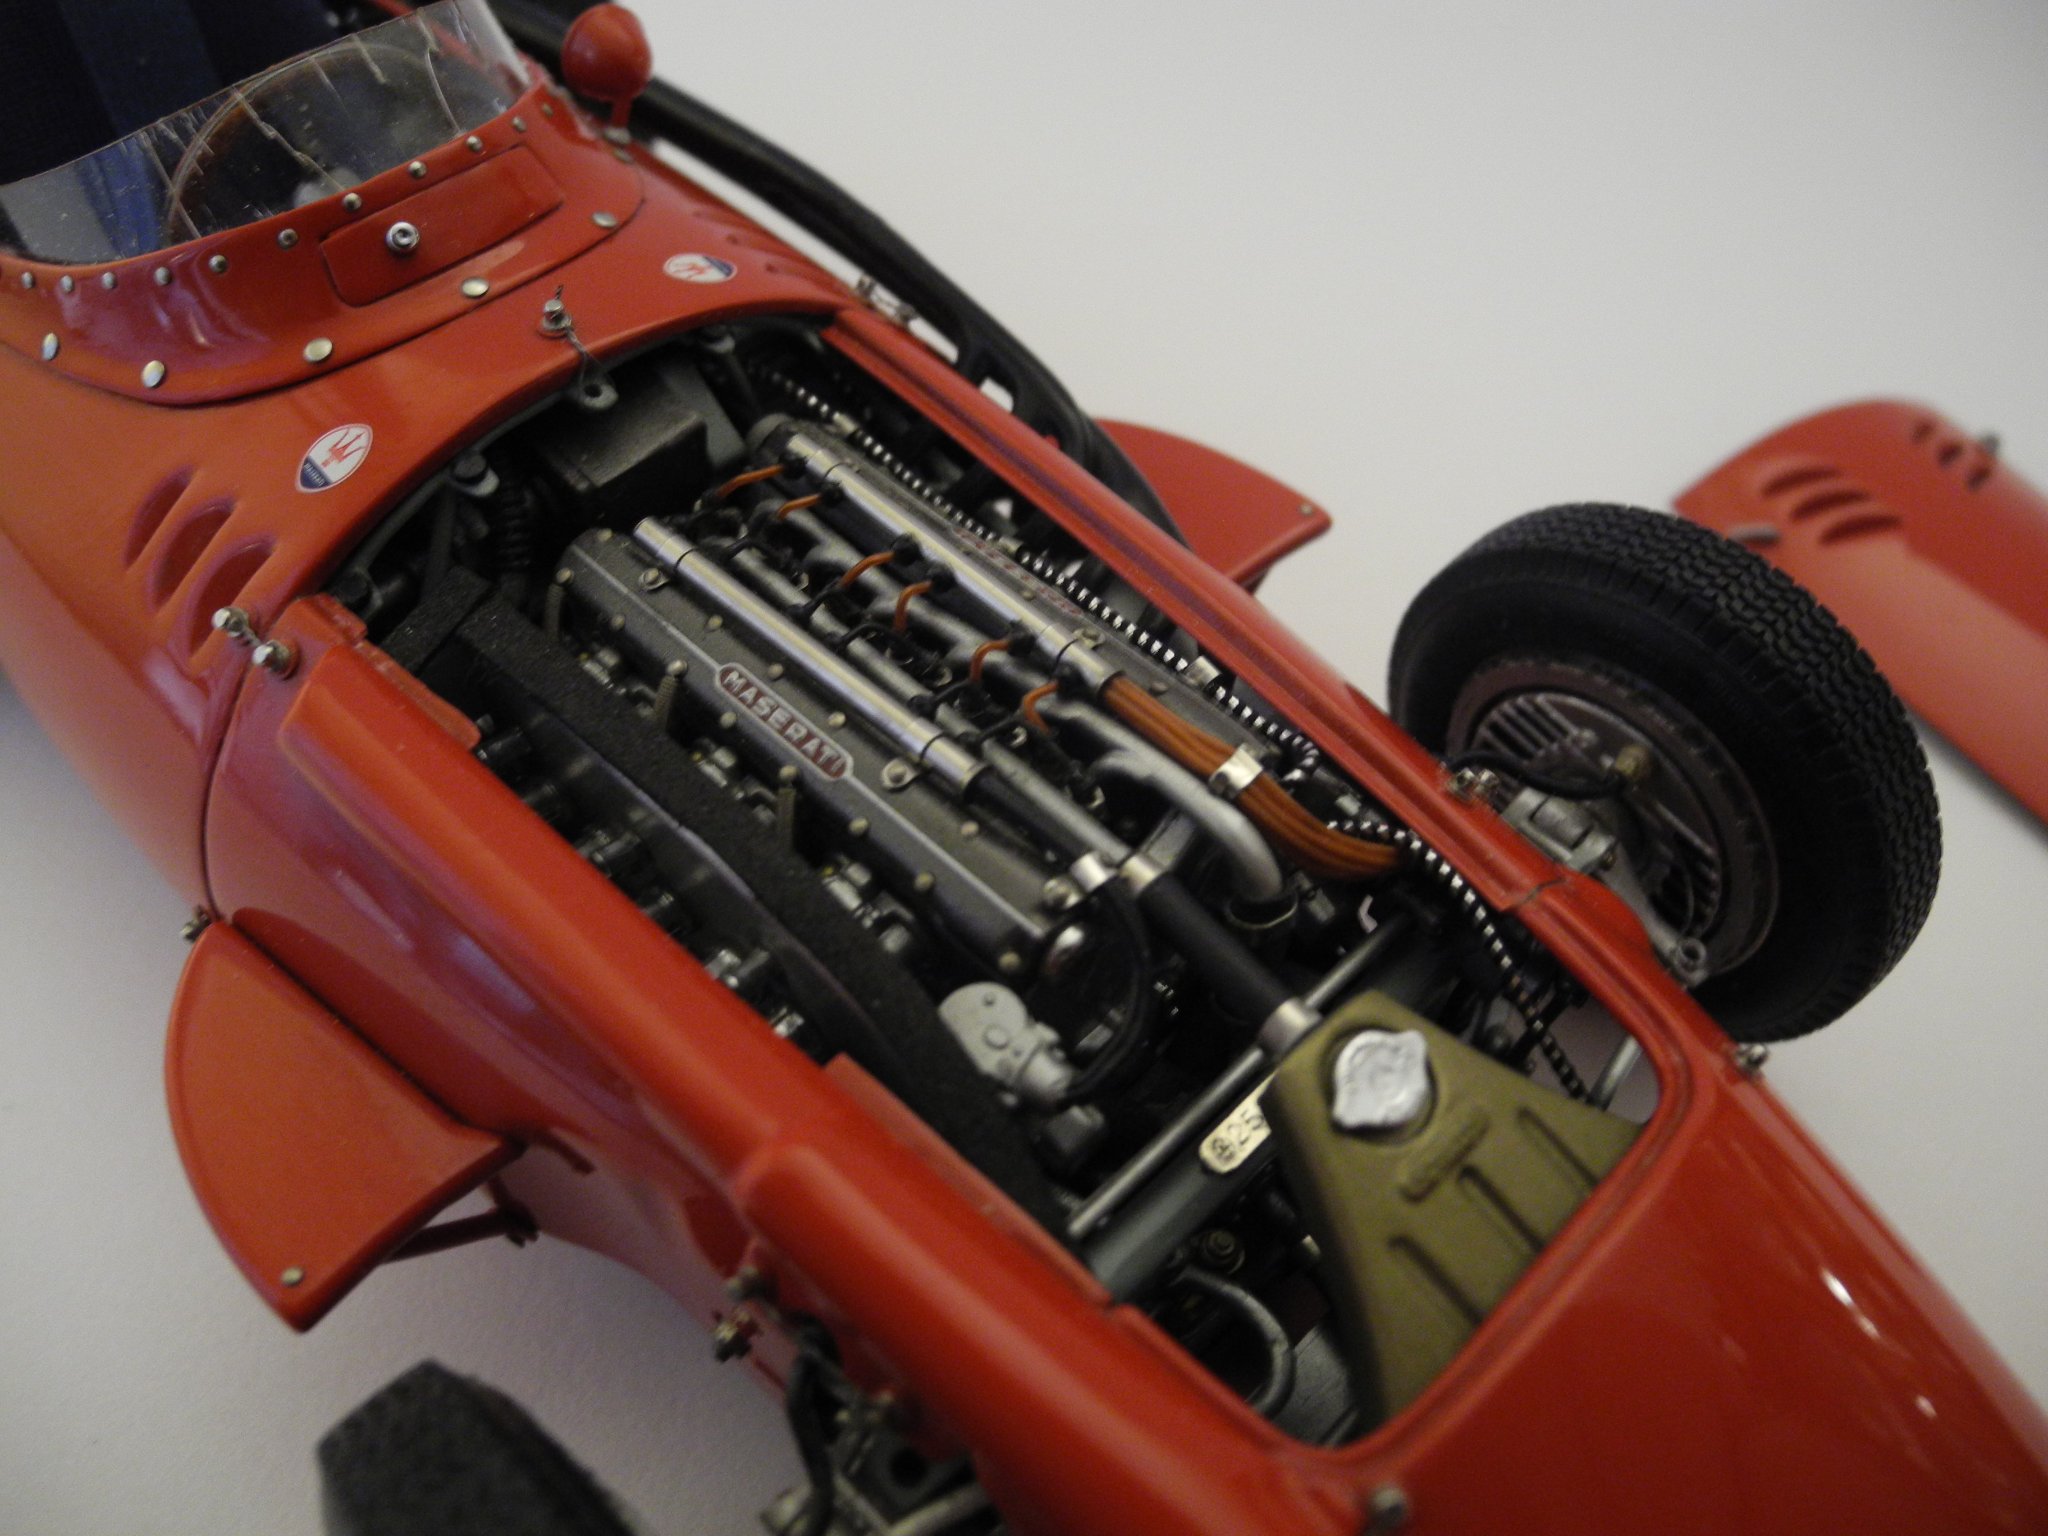
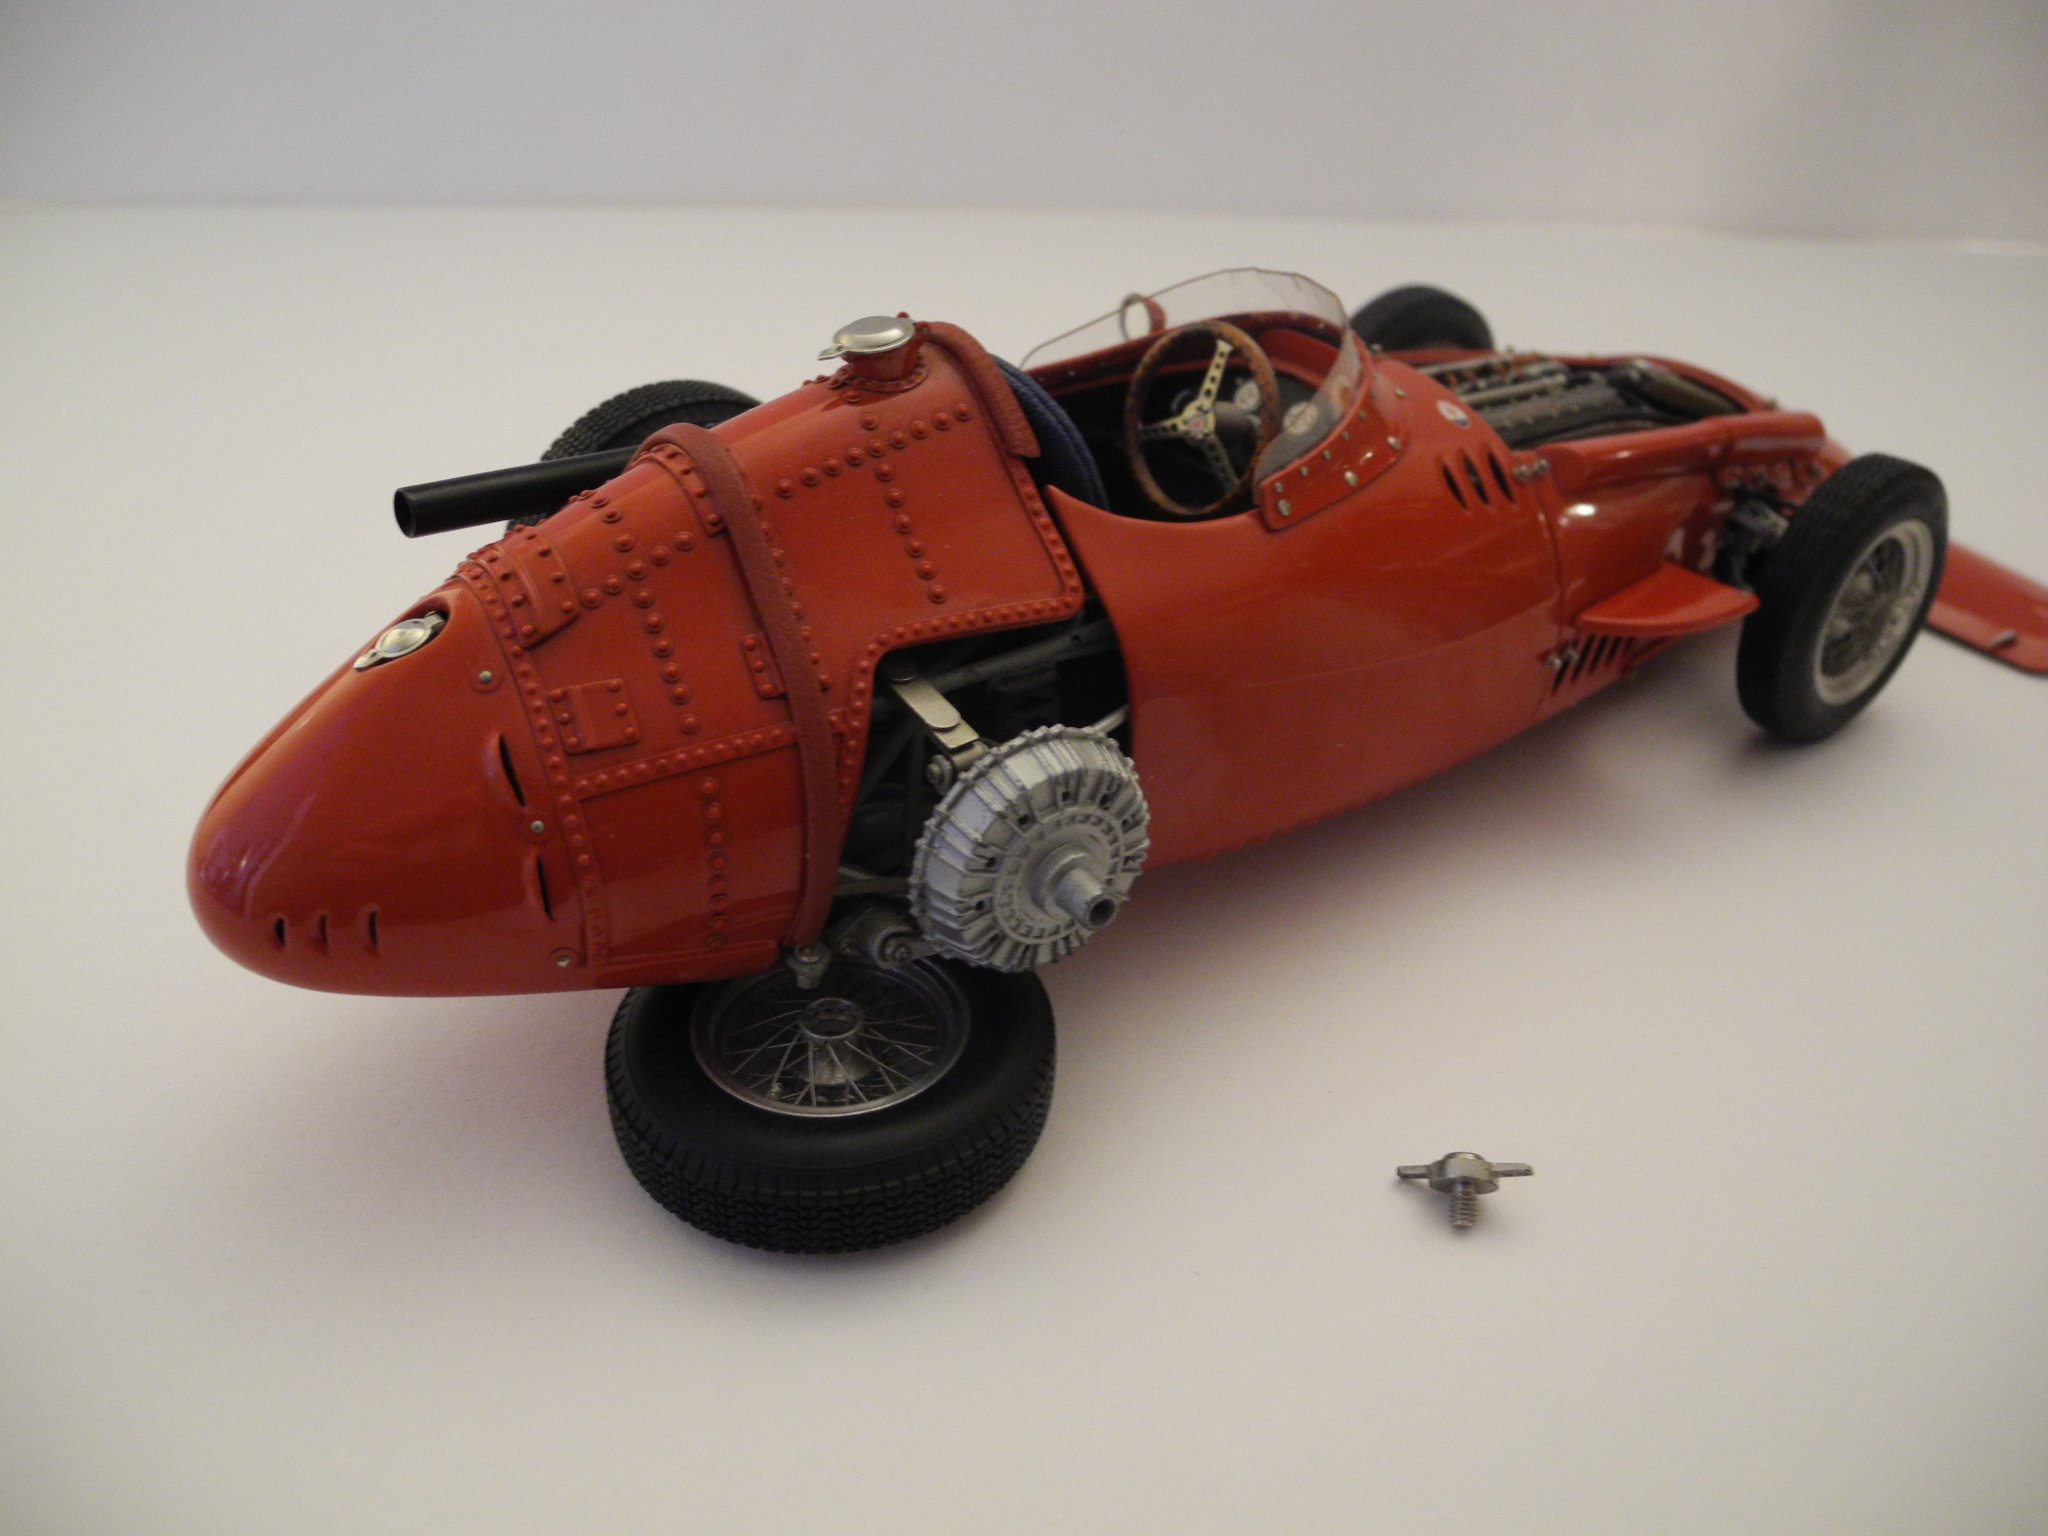
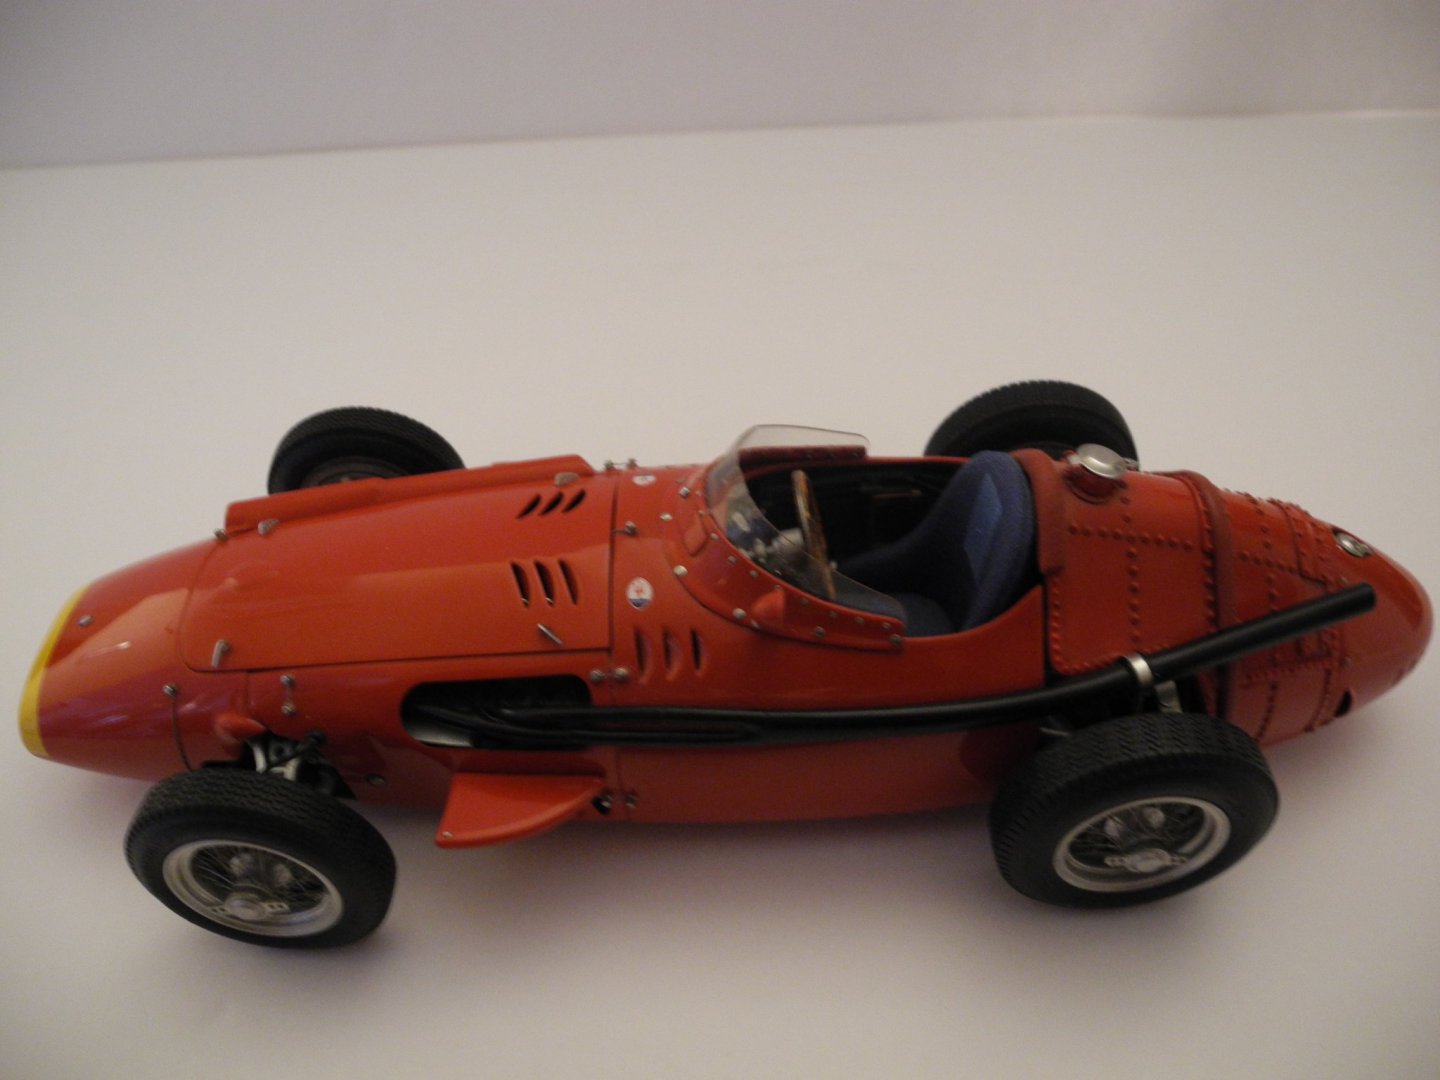
Really nice die casts cost 100's of dollars each. The body work is more like sheet metal rather than die cast. Here's my 1957 Maserati 250F. Notice how thin the body sheet metal is. No doors. 😄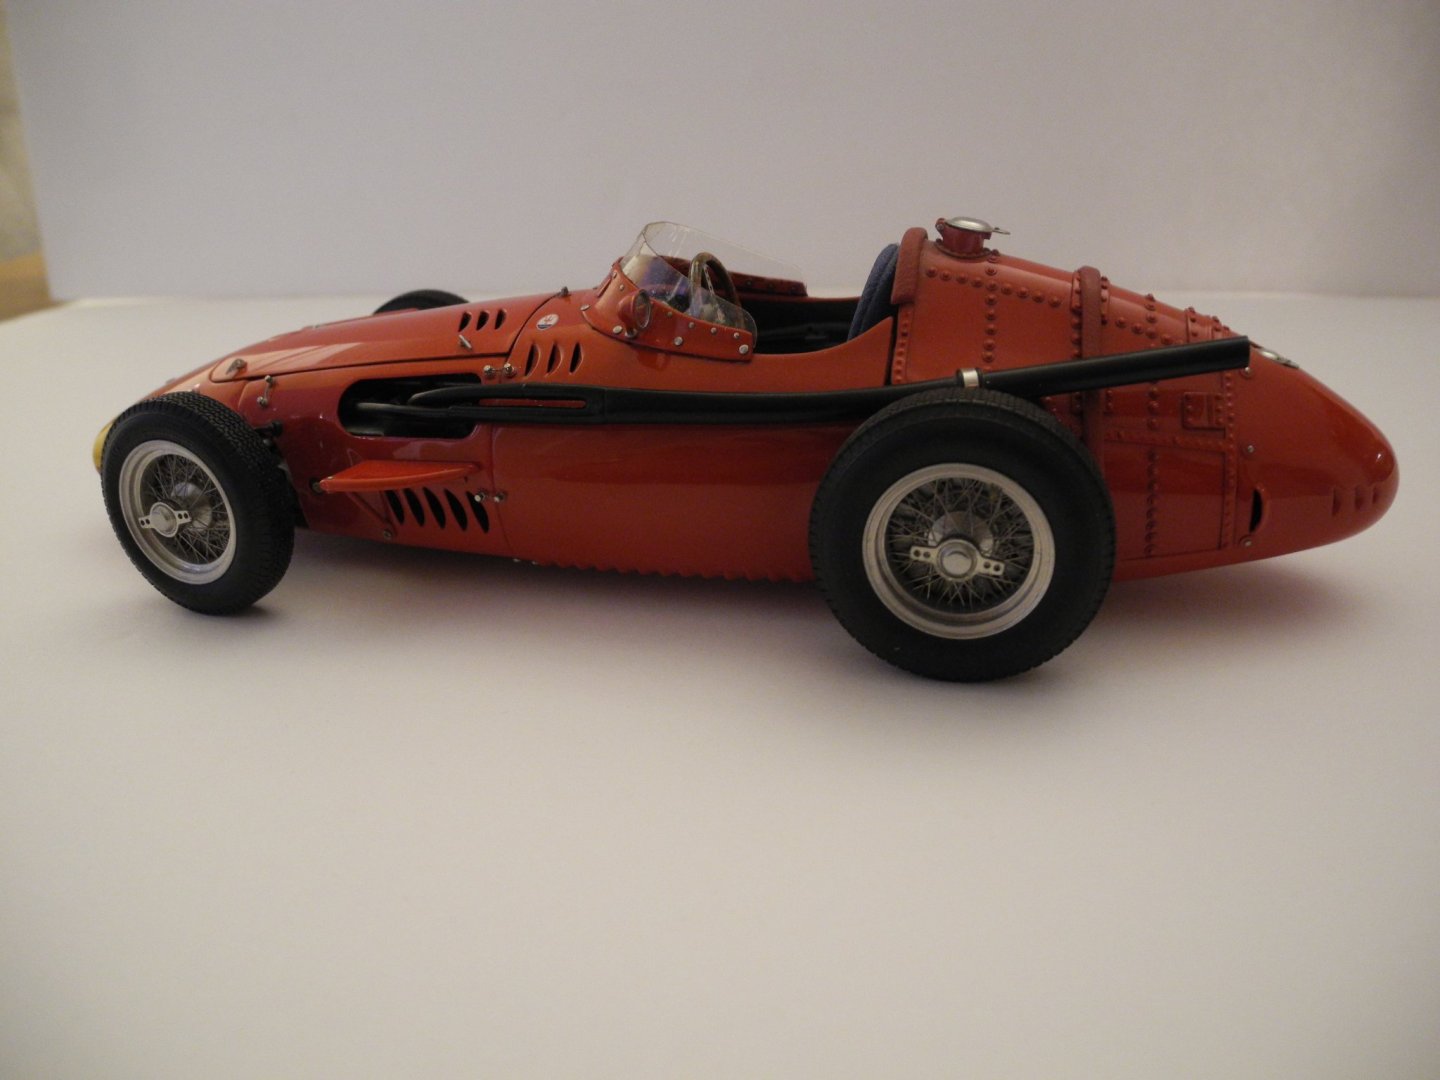


- 137 replies
-
- 13
-
-
1955 Chrysler 300 by CDW - Moebius - 1:25 Scale - PLASTIC
CDW replied to CDW's topic in Non-ship/categorised builds
They were very heavy engines for sure. Like the Caddy's and Lincoln's. Used to be, the route to a real fast, cheap to build drag car, was to drop a used Caddy engine and tranny into a Chevy Vega. There were hot rod Lincoln's, too. But I don't ever recall seeing one of these '55 Chrysler 300's. Don't think there were too many of them sold, probably kinda expensive. I read they didn't come with air conditioning as an option in '55, and that would hurt sales potential in southern states competing with Lincoln's and Caddy's which did offer AC.- 11 replies
-
- 10
-
-
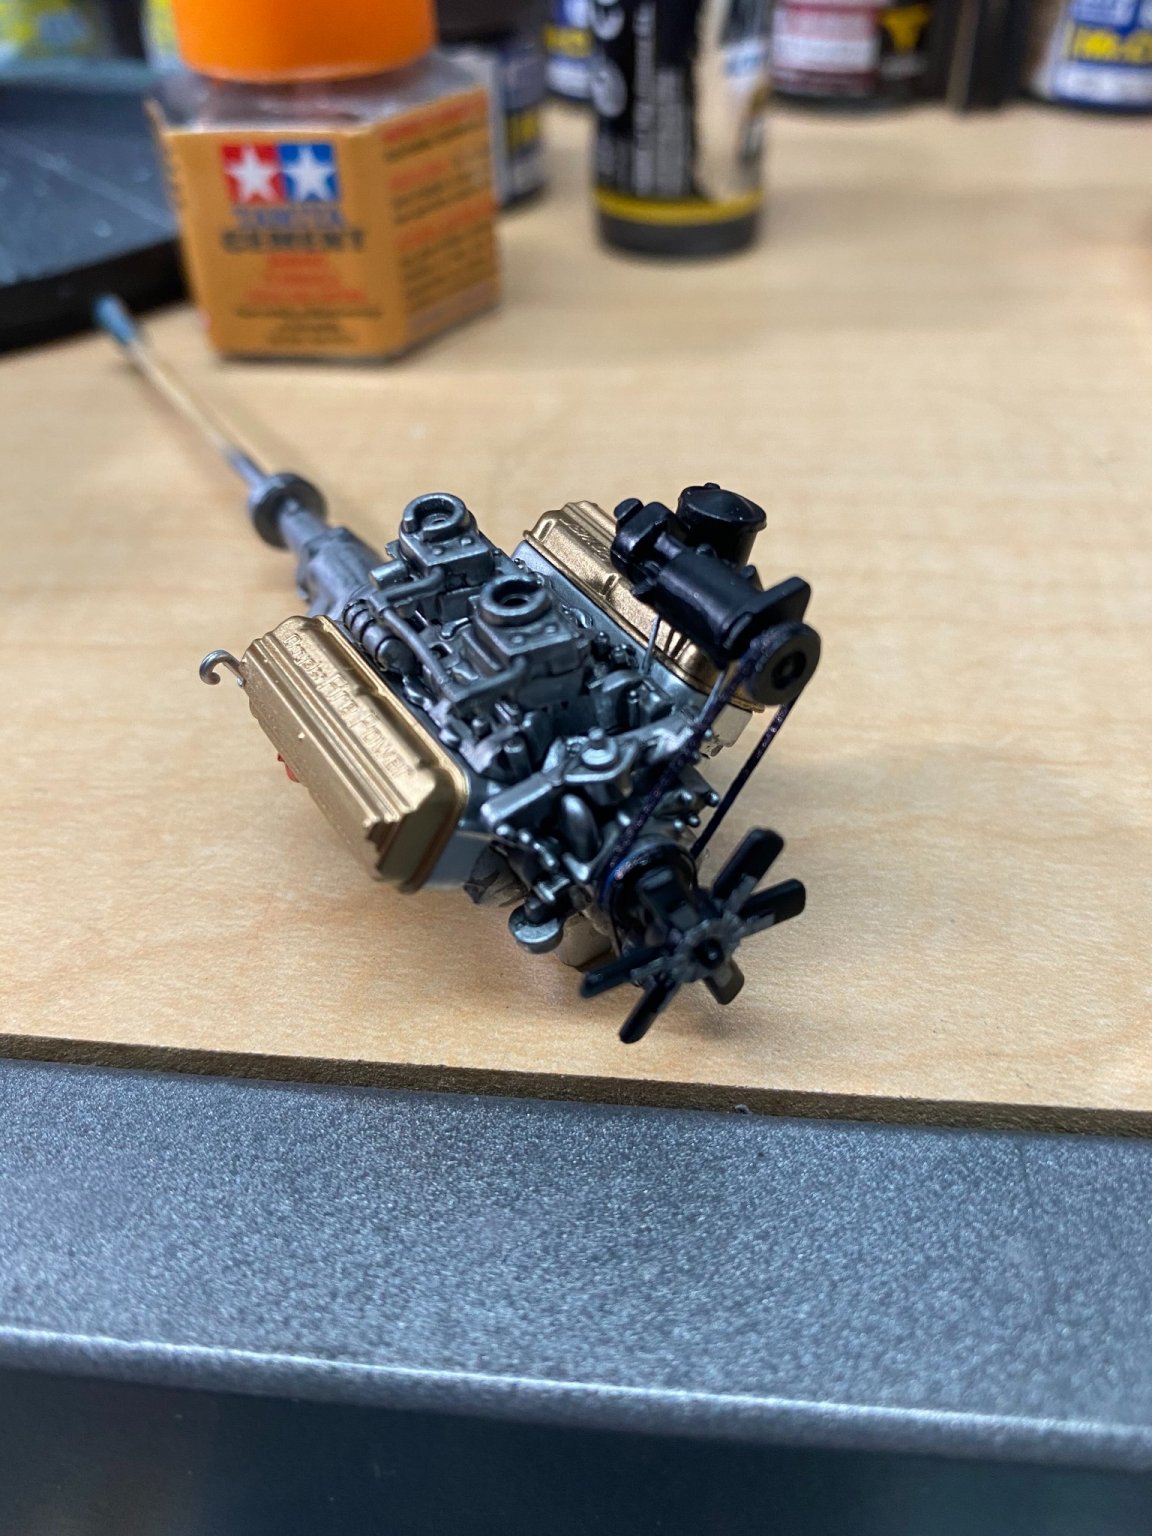
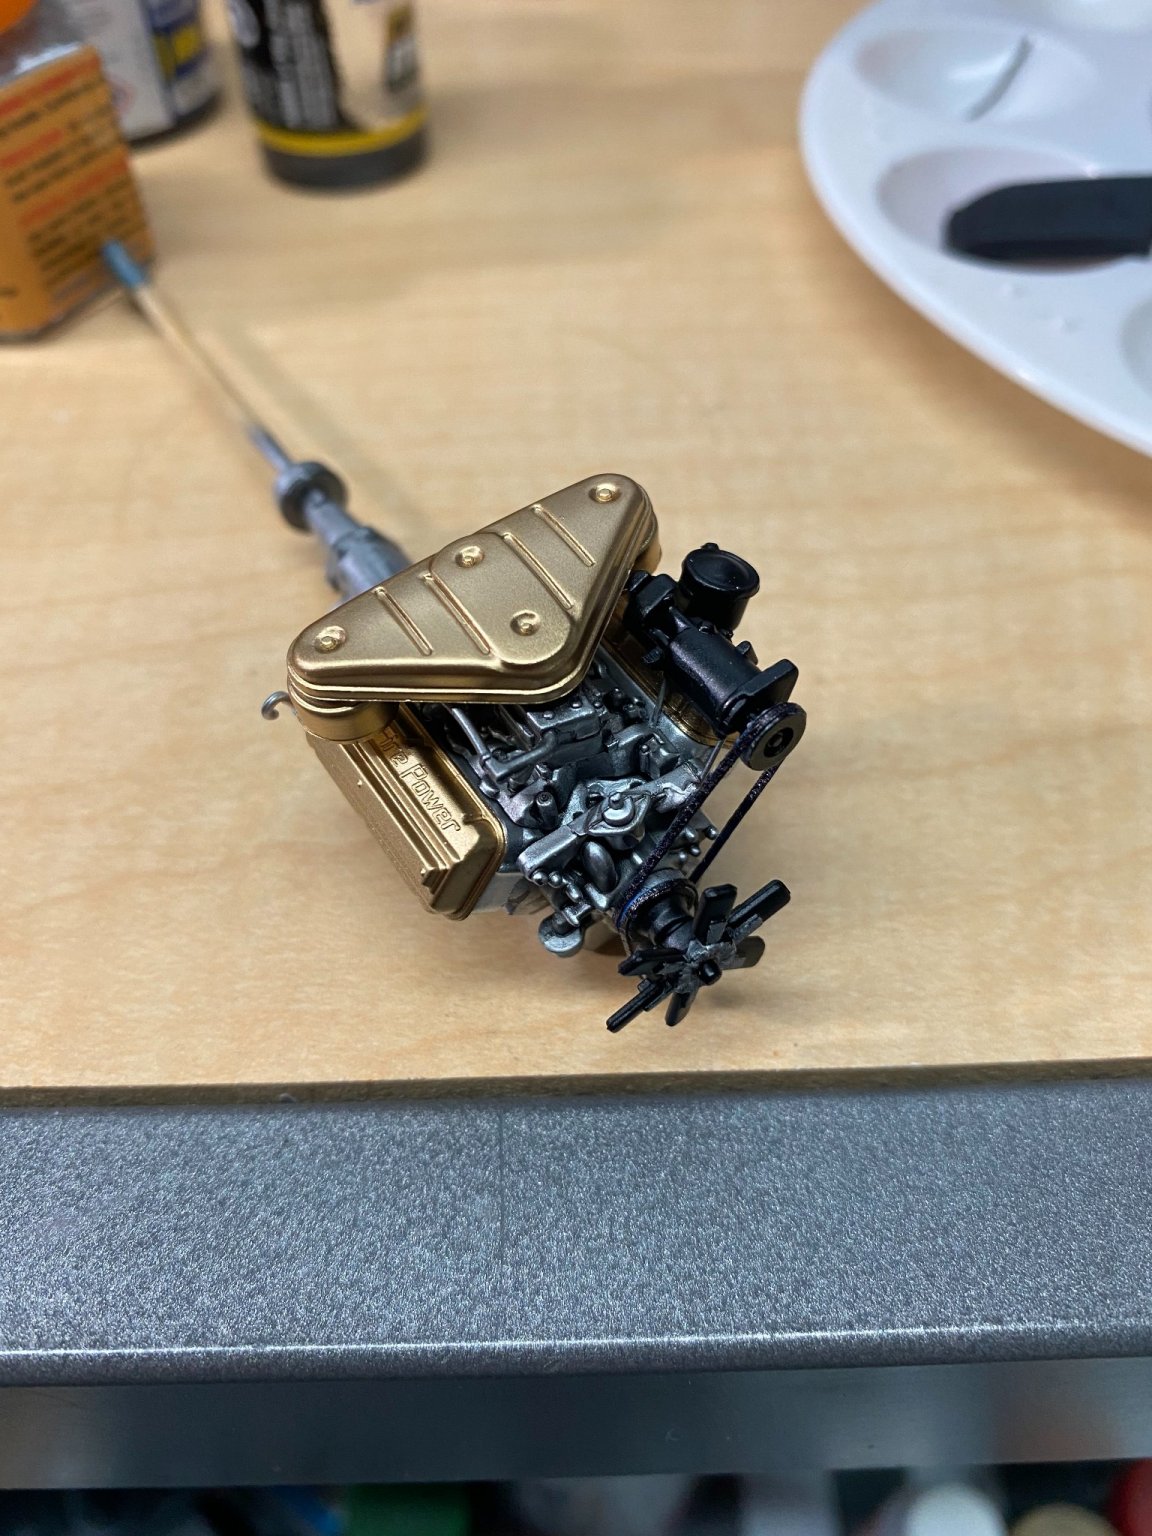
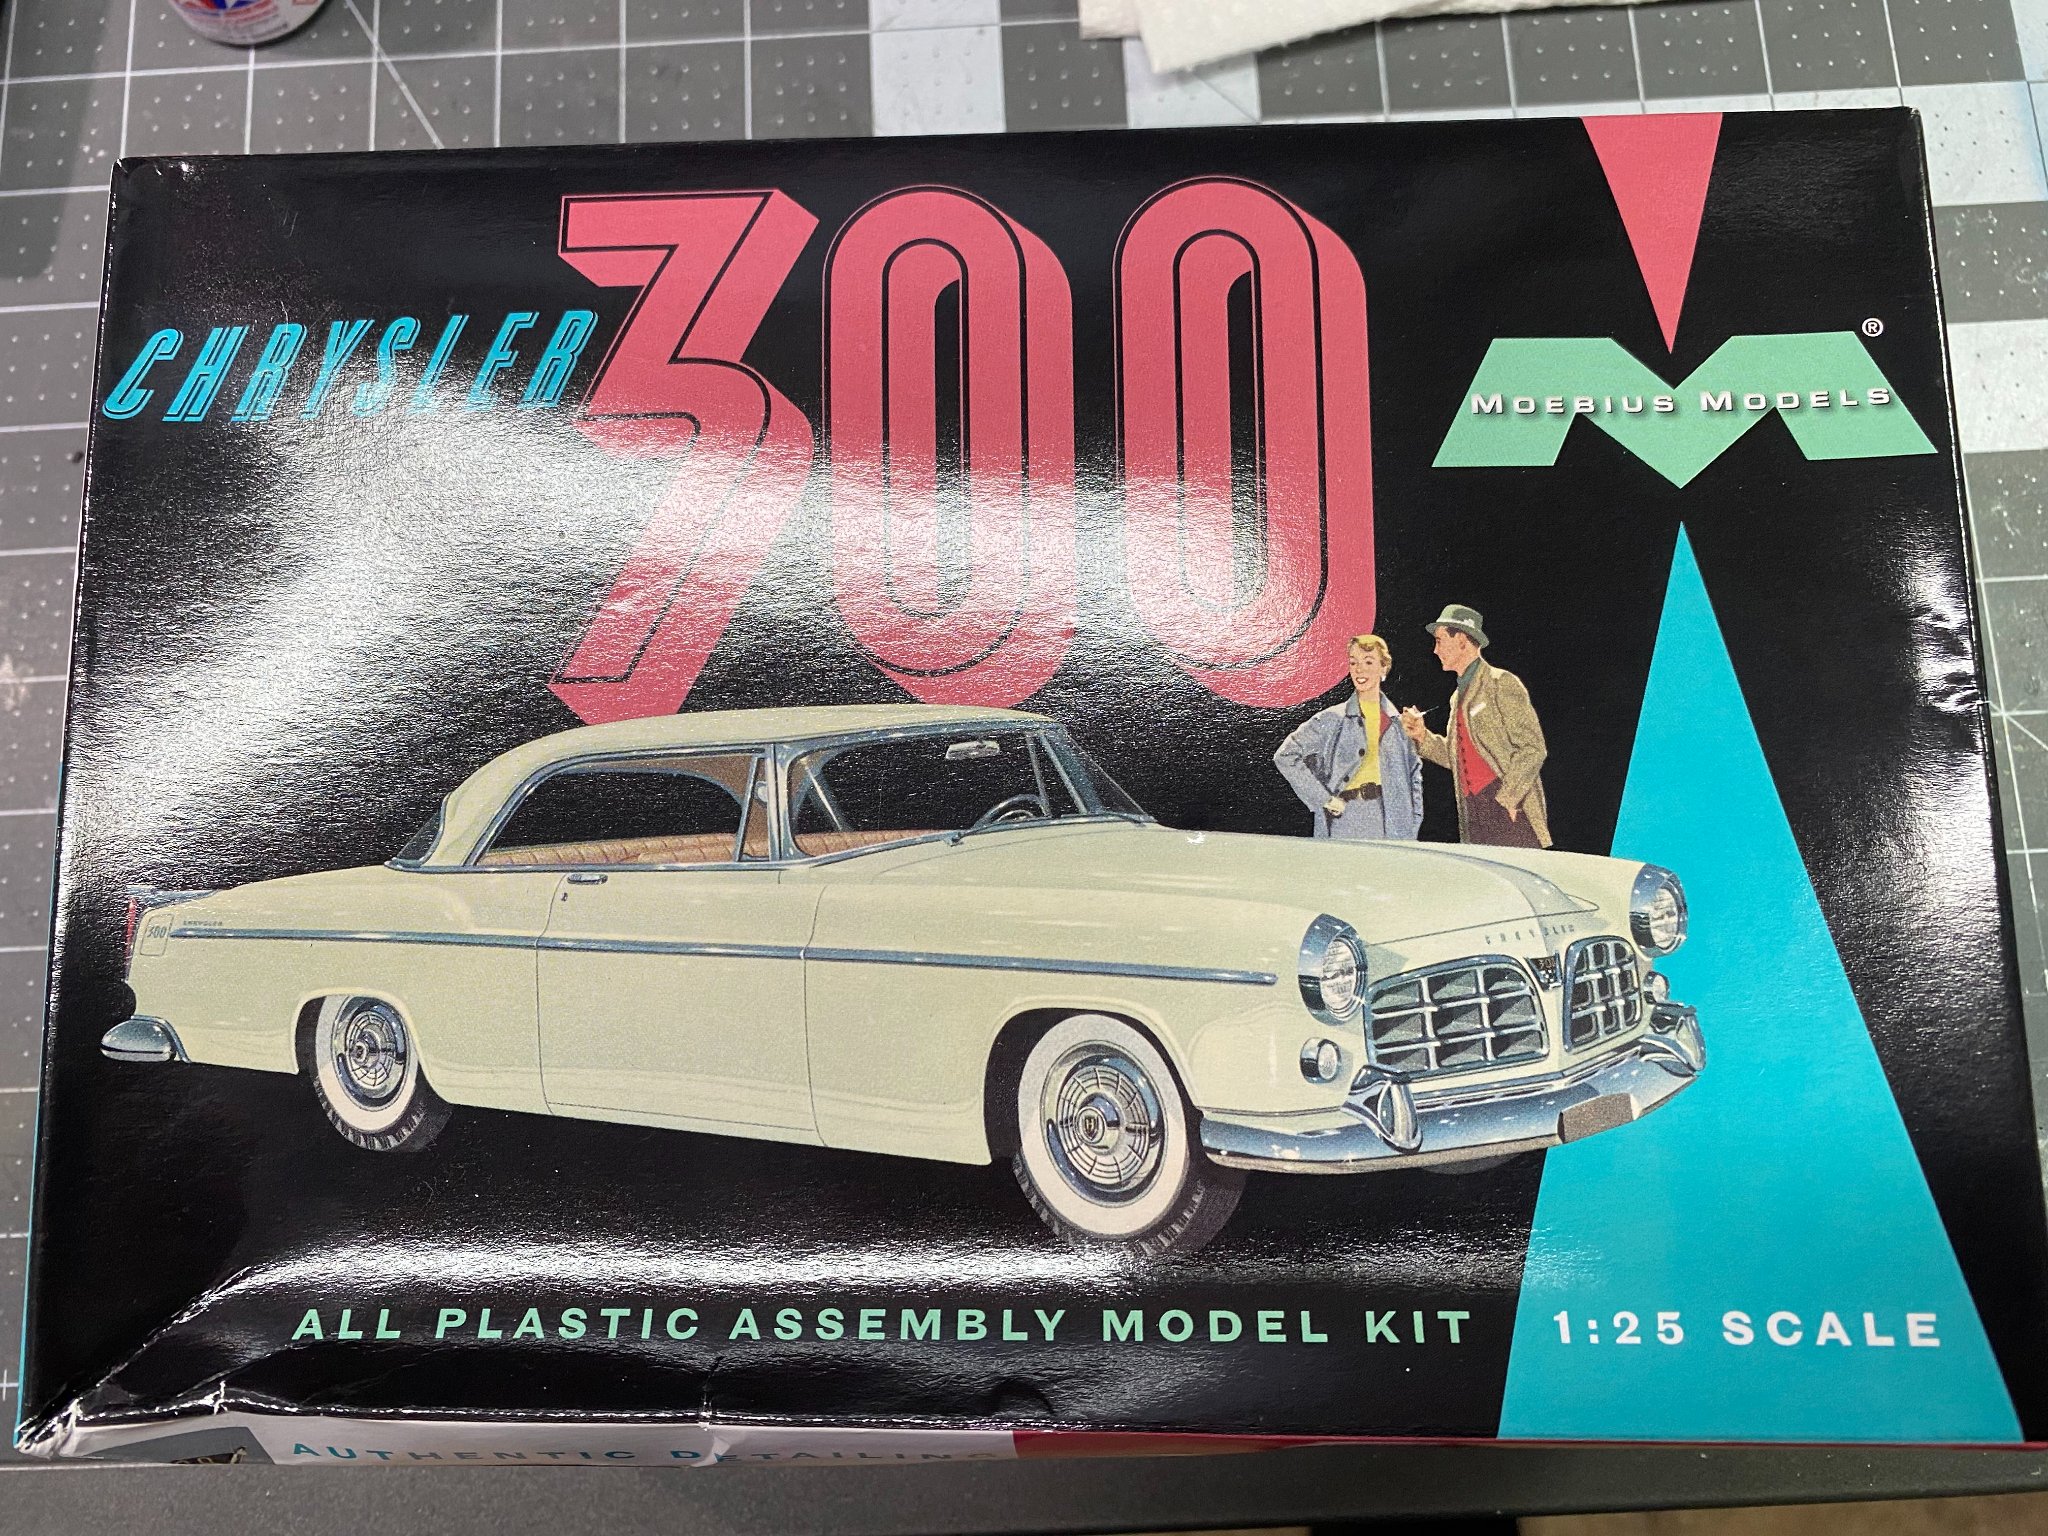
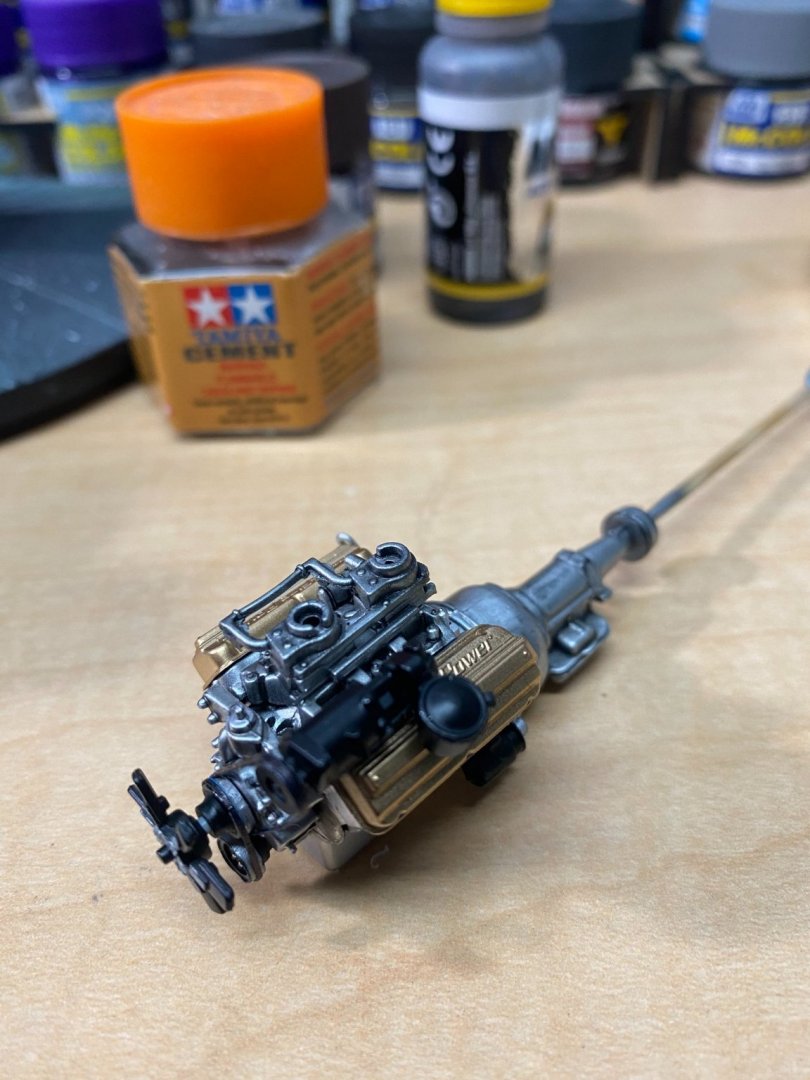
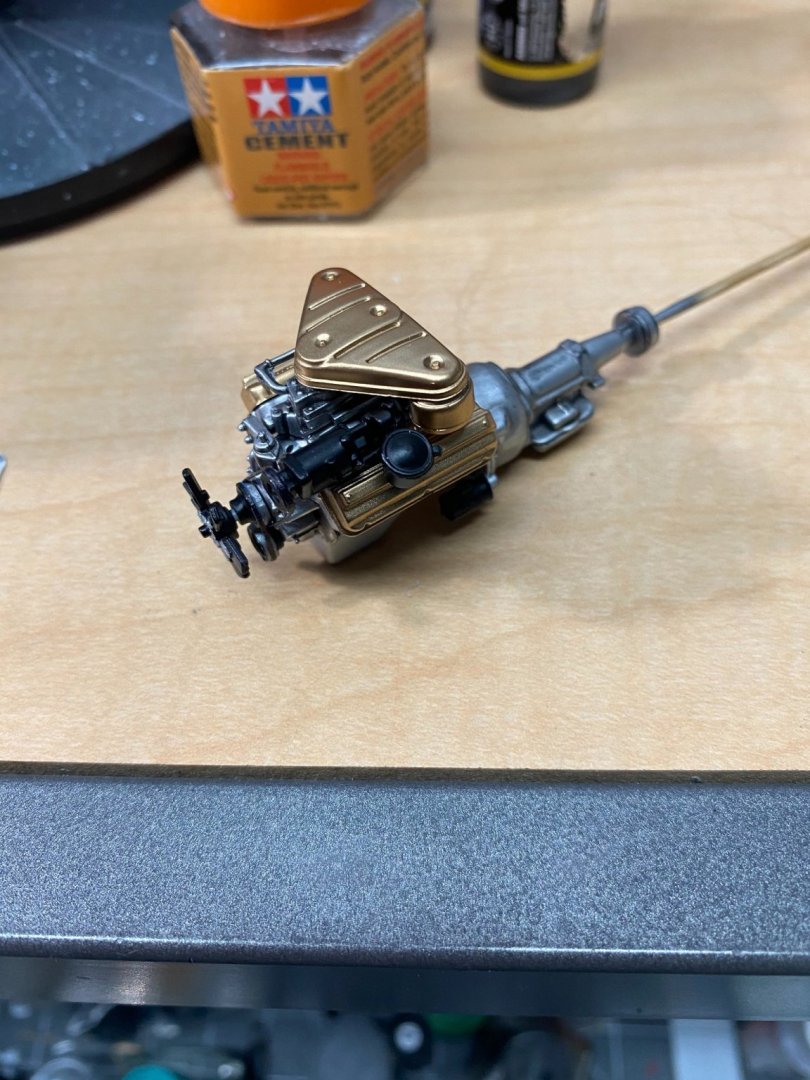
A couple of weekends ago, had the pleasure of attending a scale model swap meet at a local hobby shop. Modelers from all over the state brought dozens of models for sale or trade. I ended up buying quite a few model car and truck kits including this one, the 1:25 Moebius 1955 Chrysler 300. In 1955, this Chrysler was equipped with a 330 cubic inch Hemi V-8 engine with a factory installed dual four barrel carb intake manifold. While it was a heavy car, the powerplant made it quite a good performer and it was sought after by drivers on the big race track circuit. I've decided to add extra scratch built details to this build and have started by doing my own custom made fan belt, power steering, and water pump pulley's. Also, the fan belts are custom made along with a scratch made bracket for the power steering pump. The engine colors are stock. Have not decided yet on the interior/exterior colors I will use. Will be working this one slowly and will not be in a rush to finish it. Moebius packs a lot of detail into their scale model car and truck kits.


- 11 replies
-
- 16
-
-
McLaren M8B by CDW - Accurate Miniatures - 1:24 Scale
CDW replied to CDW's topic in Non-ship/categorised builds
Thanks for the kind words Lou. The only times I've had good luck with opening doors and such is when I have cut the doors open myself and custom built the closure hinges and door jambs. I'll be doing that in a future build thread along with the hood and trunk as well. Will use some micro size magnets to make a realistic catch for the doors and bonnets. -
McLaren M8B by CDW - Accurate Miniatures - 1:24 Scale
CDW replied to CDW's topic in Non-ship/categorised builds
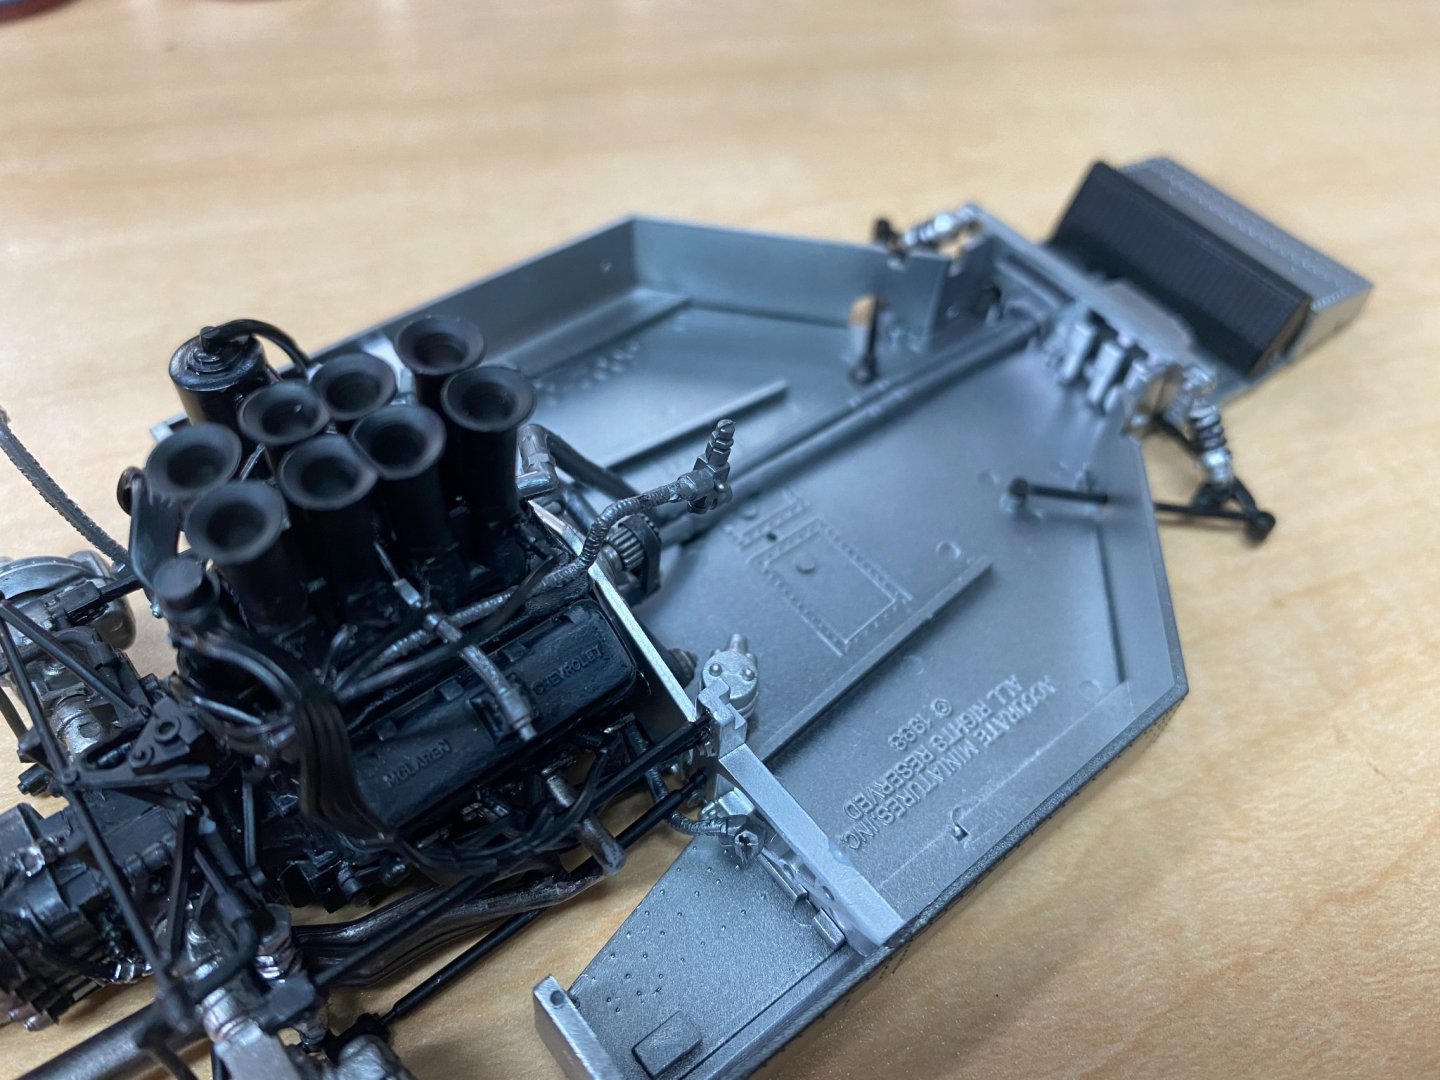
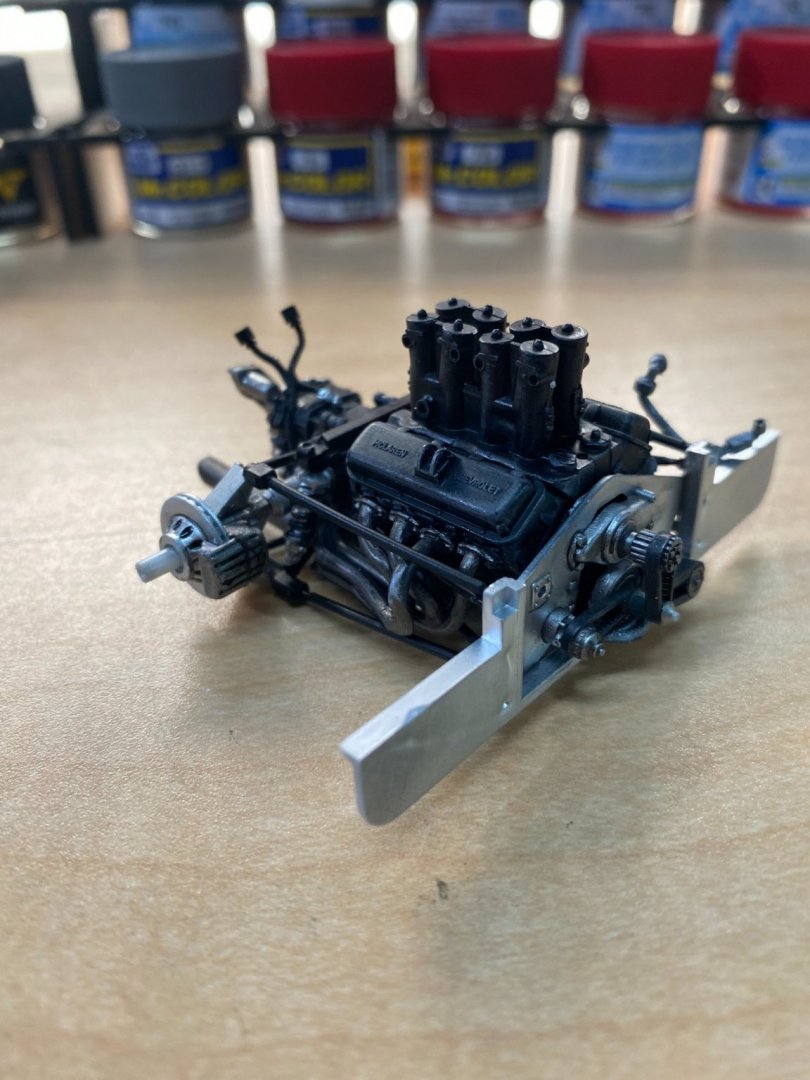
This photo is included for the benefit of the next builder of this kit (Mike). The piping highlighted by the yellow arrow shows the side of the engine I needed to route the piping in order to make the connection in the rear of the cockpit area. The instructions call for the piping to be located on the opposite side of the engine, but I could not get it to fit the connection point in that configuration. Just so you're aware...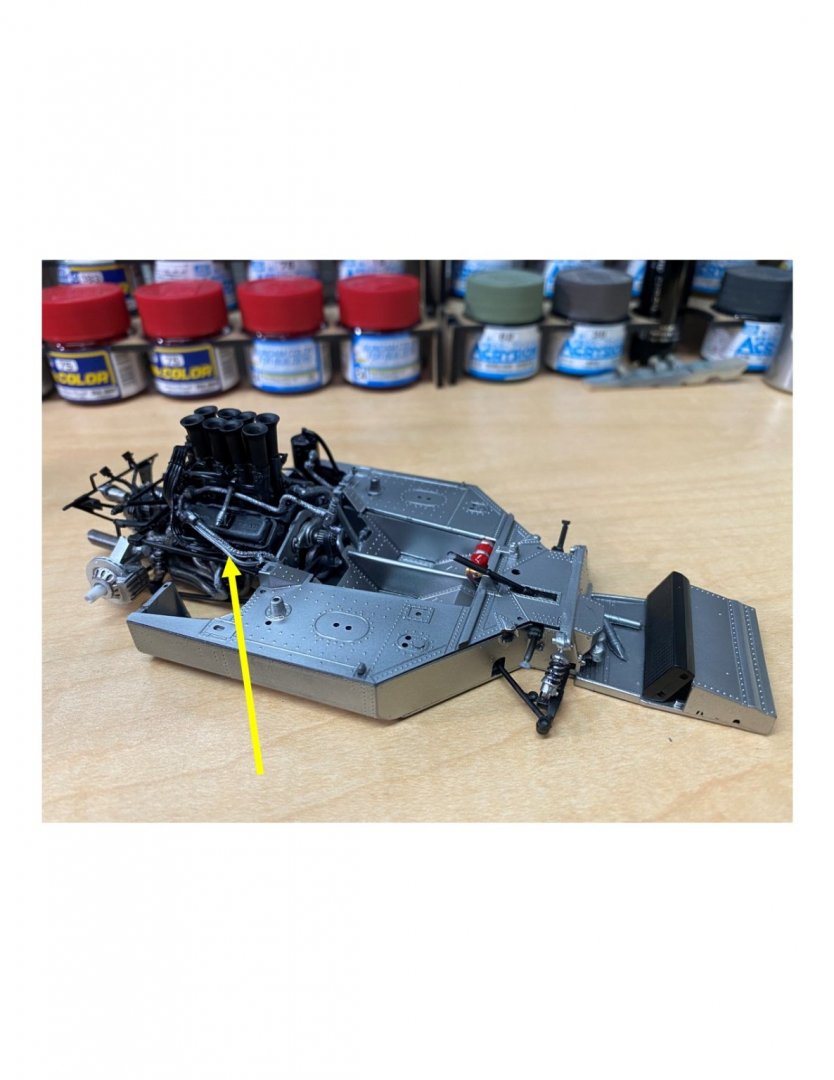
-
McLaren M8B by CDW - Accurate Miniatures - 1:24 Scale
CDW replied to CDW's topic in Non-ship/categorised builds
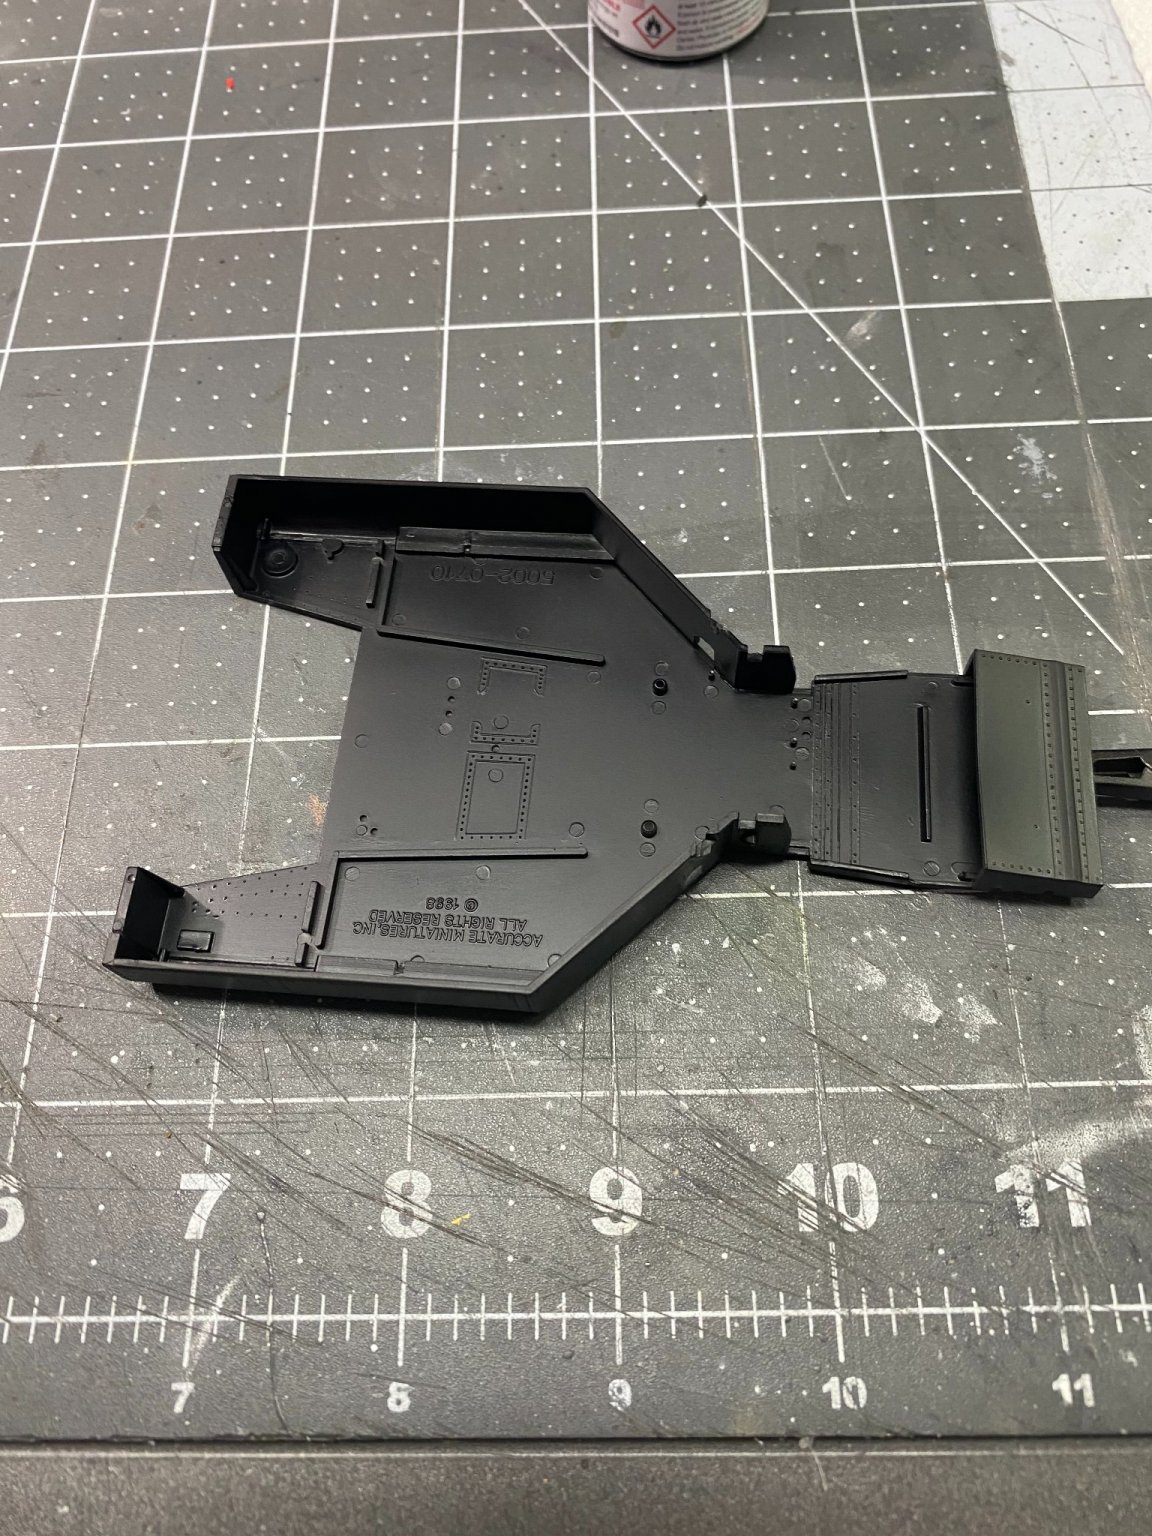
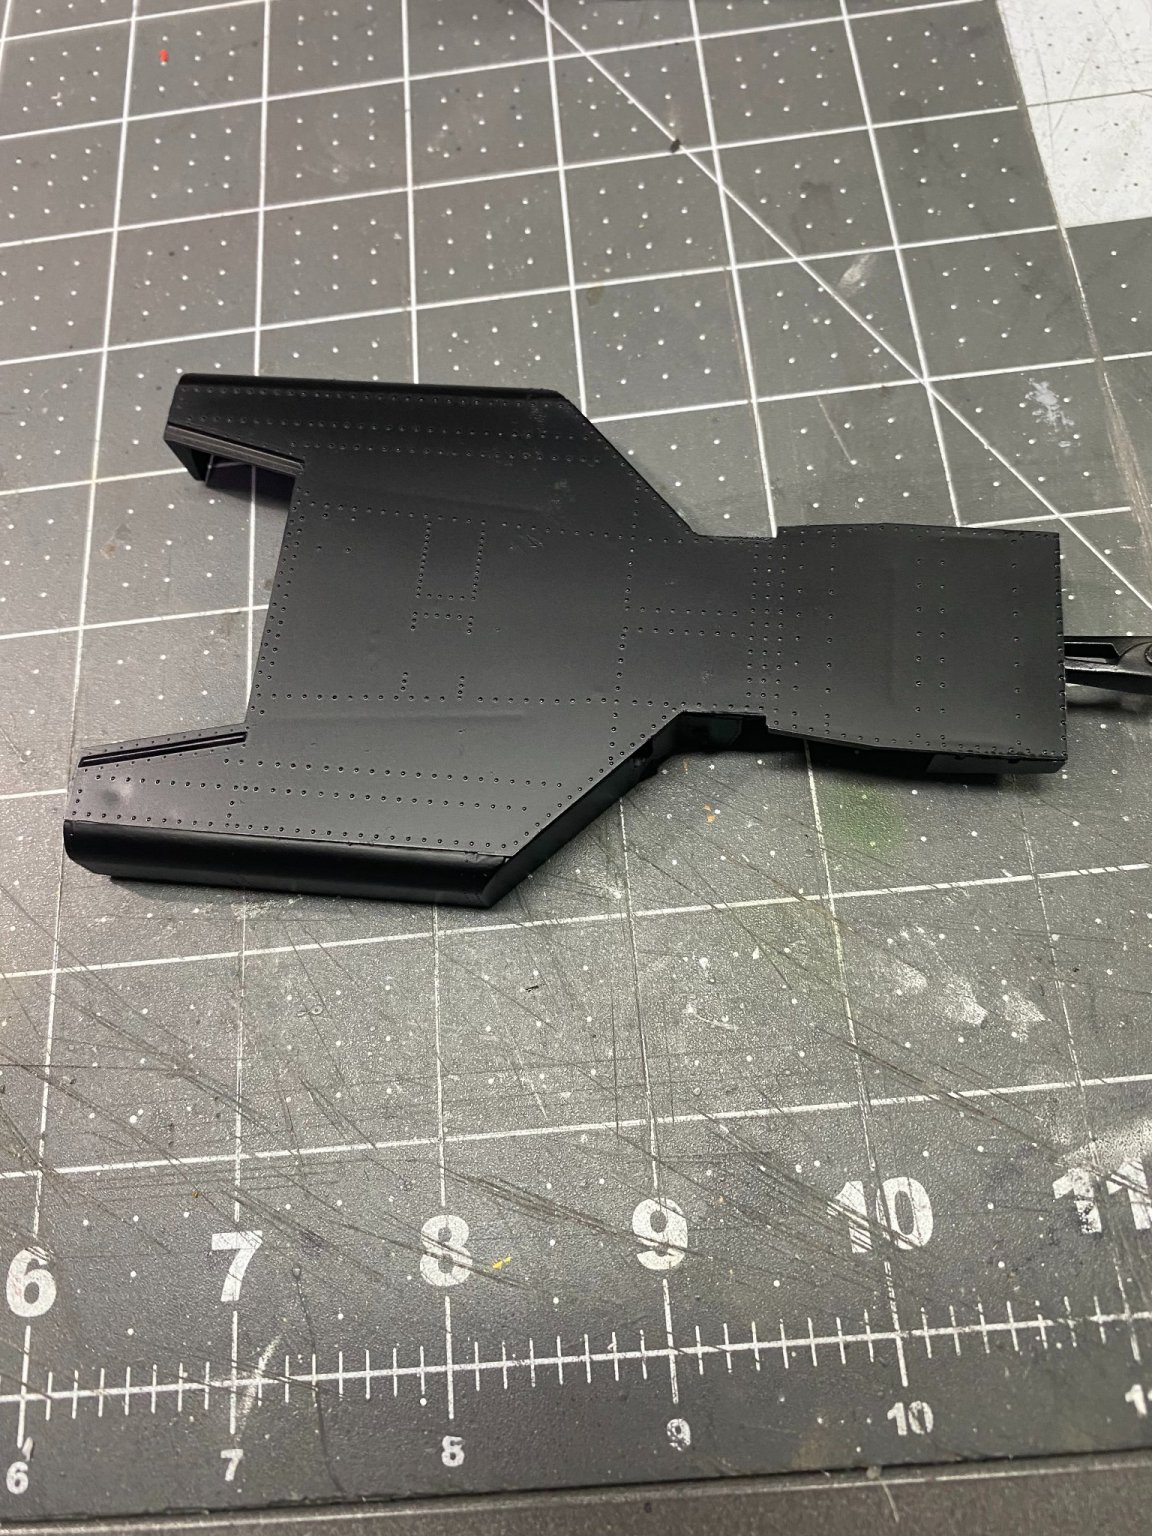
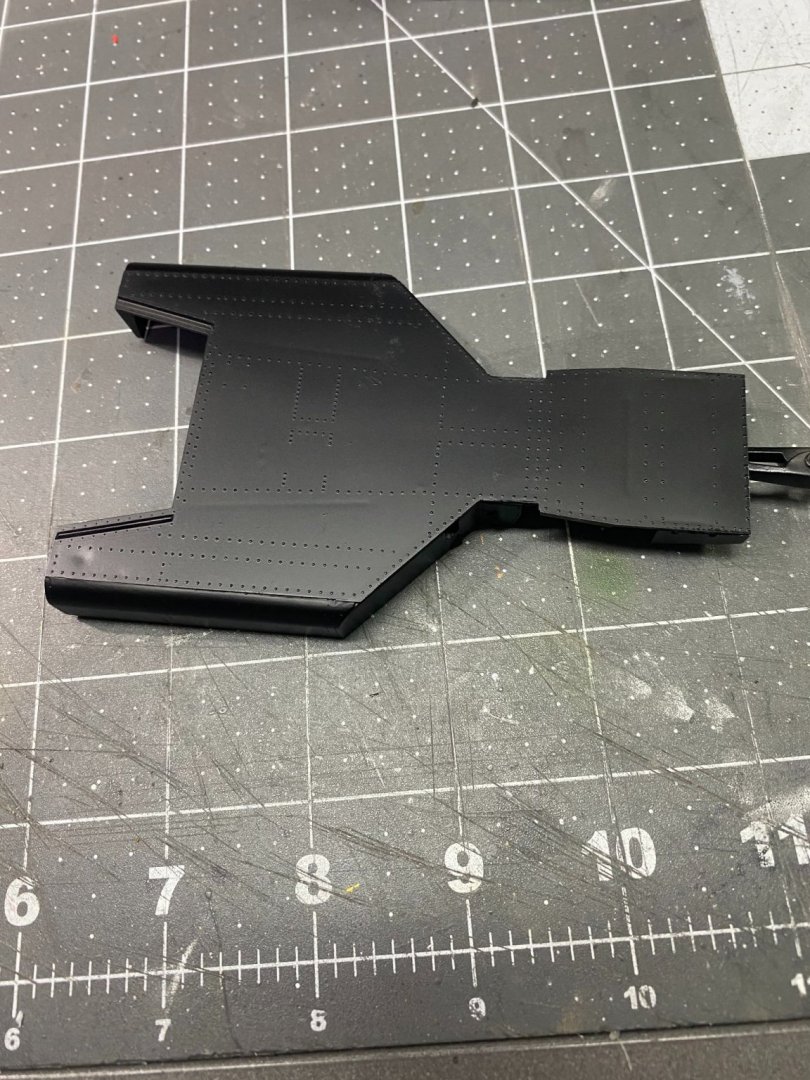
At this juncture in the assembly process, a decision is to be made whether the doors will be operable or static. If operable doors are chosen, the top of the chassis tub must be notched to receive the hinge. In my build, I will not be installing operable doors, but the procedure is simple enough if you choose to do so.
-
McLaren M8B by CDW - Accurate Miniatures - 1:24 Scale
CDW replied to CDW's topic in Non-ship/categorised builds
It's been a pleasant surprise how much detail Accurate Miniatures packed inside these kits. I can understand to a degree why some modelers had trouble assembling the kits. Slow and steady is best. Haste makes waste with something like this, plus it's a kit that would be much better the second time around as the first time gives you lots of ideas of how you would improve it the second time around. Actually, that happens to me every model I build come to think of it. -
McLaren M8B by CDW - Accurate Miniatures - 1:24 Scale
CDW replied to CDW's topic in Non-ship/categorised builds
It's going to be much busier. Soon. Mike's gonna love these vinyl pipes and wiring. They have a consistency similar to artificial fishing worms. The worst part is trimming away the flash. Only a fresh, sharp blade will do the trick. Even that is "iffy". -
McLaren M8B by CDW - Accurate Miniatures - 1:24 Scale
CDW replied to CDW's topic in Non-ship/categorised builds
Added some more painted pieces to the chassis today.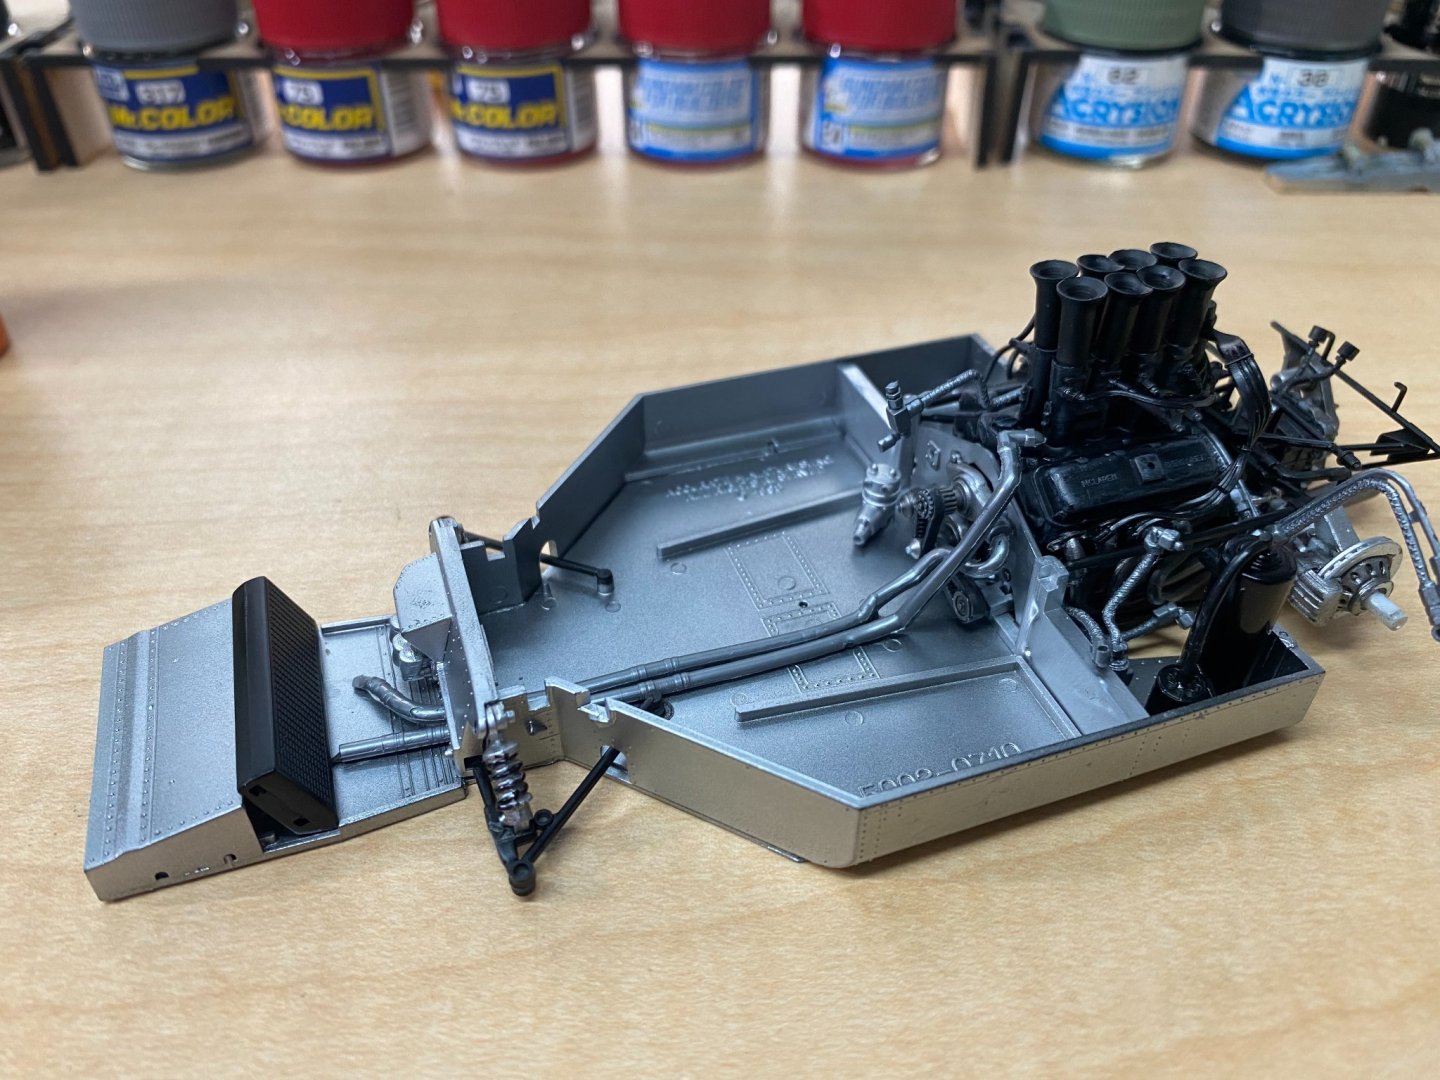
- 137 replies
-
- 11
-
-
McLaren M8B by CDW - Accurate Miniatures - 1:24 Scale
CDW replied to CDW's topic in Non-ship/categorised builds
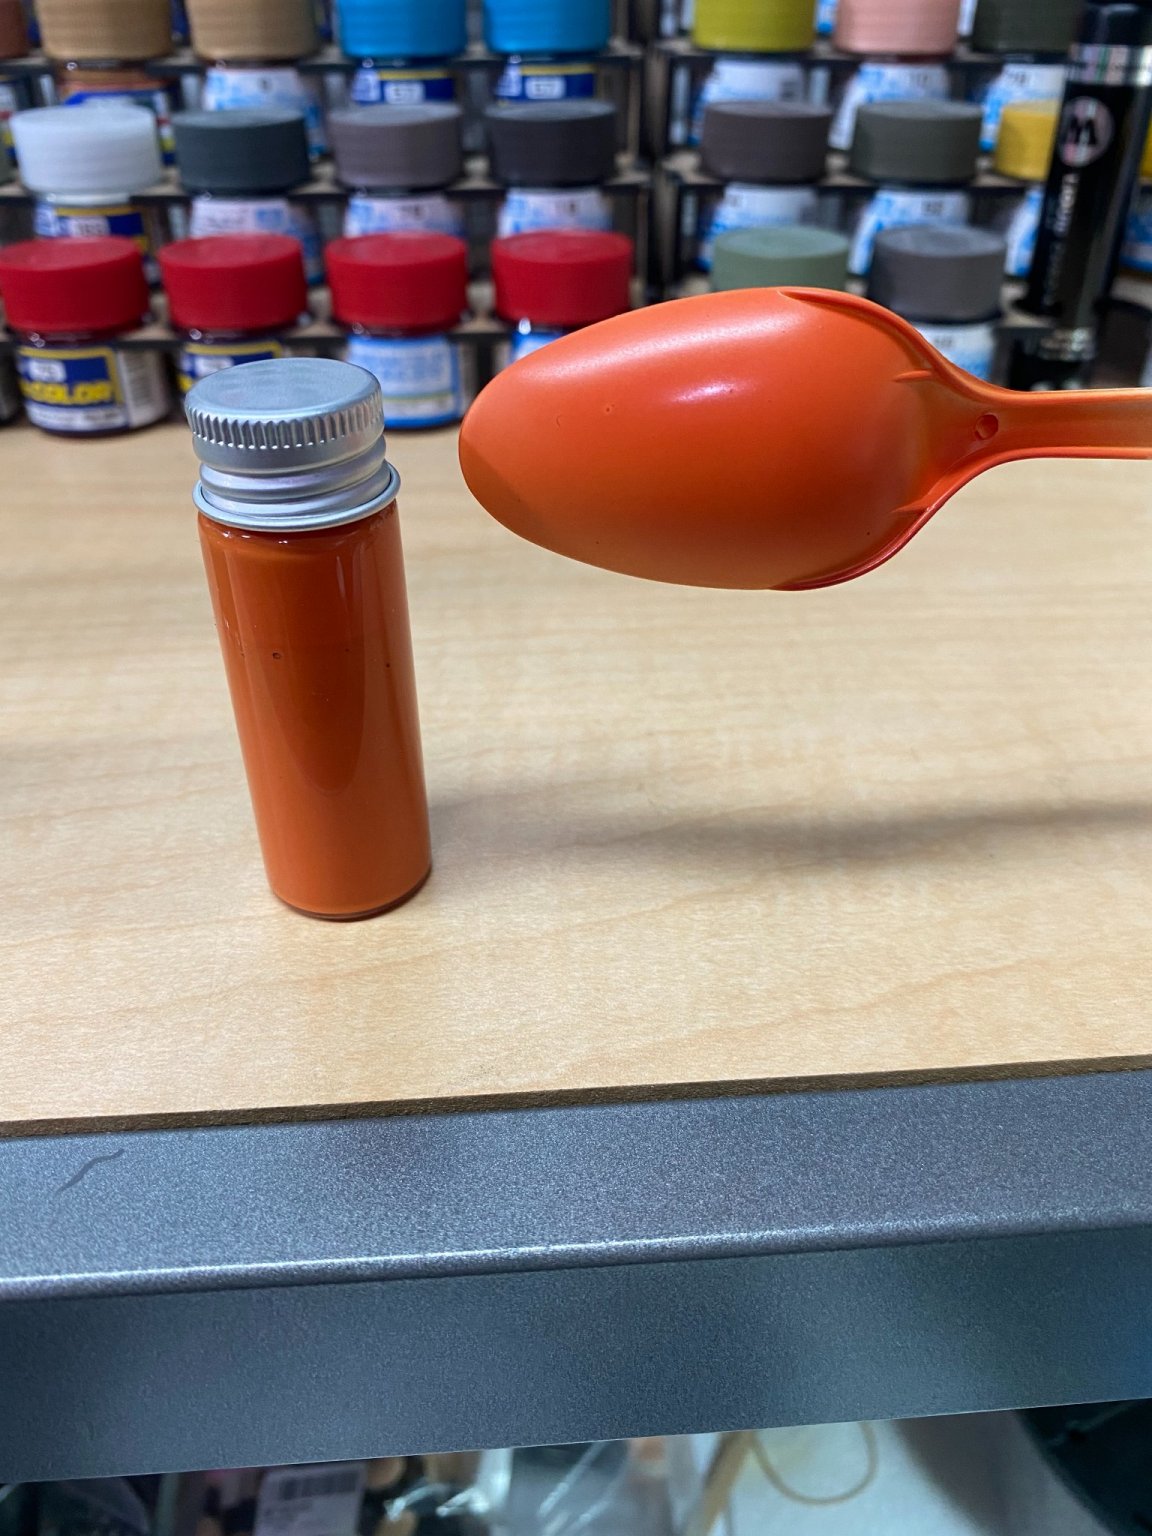
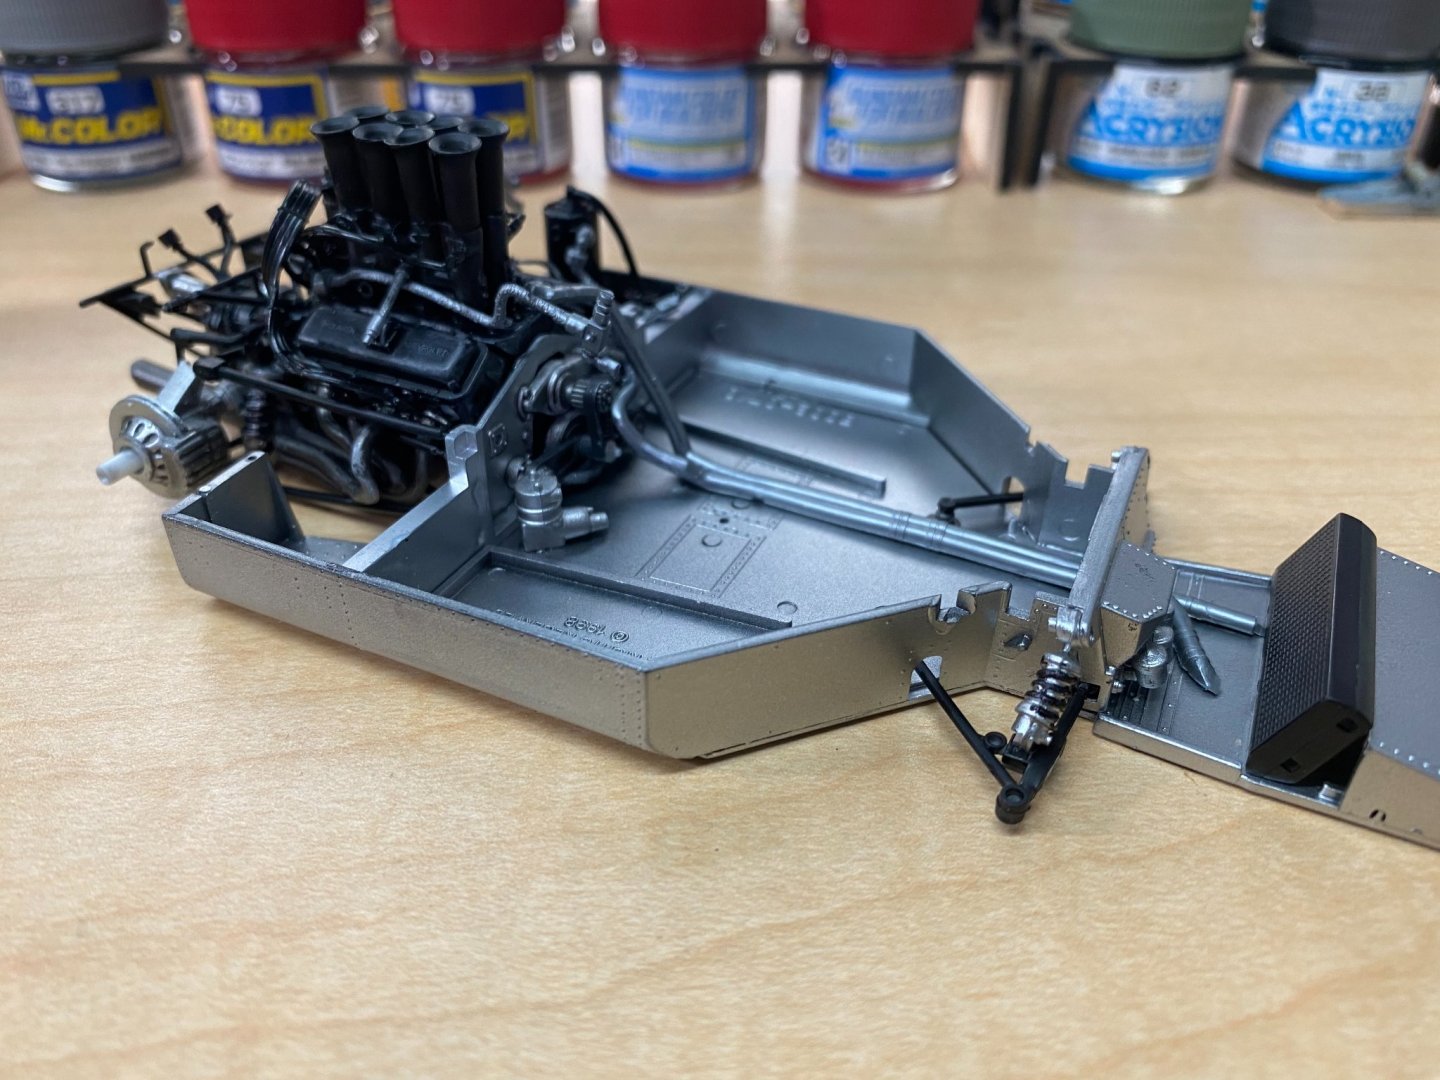
Testing some custom color mix and here is my first shot at creating McLaren M8B orange. This mix is 8 parts Tamiya flat yellow, 6 parts Tamiya flat red, with one drop of Tamiya semi gloss black. Looks pretty close to me.
-
McLaren M8B by CDW - Accurate Miniatures - 1:24 Scale
CDW replied to CDW's topic in Non-ship/categorised builds
Thanks Lou! I just ordered both sets (car and tires). Had no idea there was someone out there making these today. -
McLaren M8B by CDW - Accurate Miniatures - 1:24 Scale
CDW replied to CDW's topic in Non-ship/categorised builds
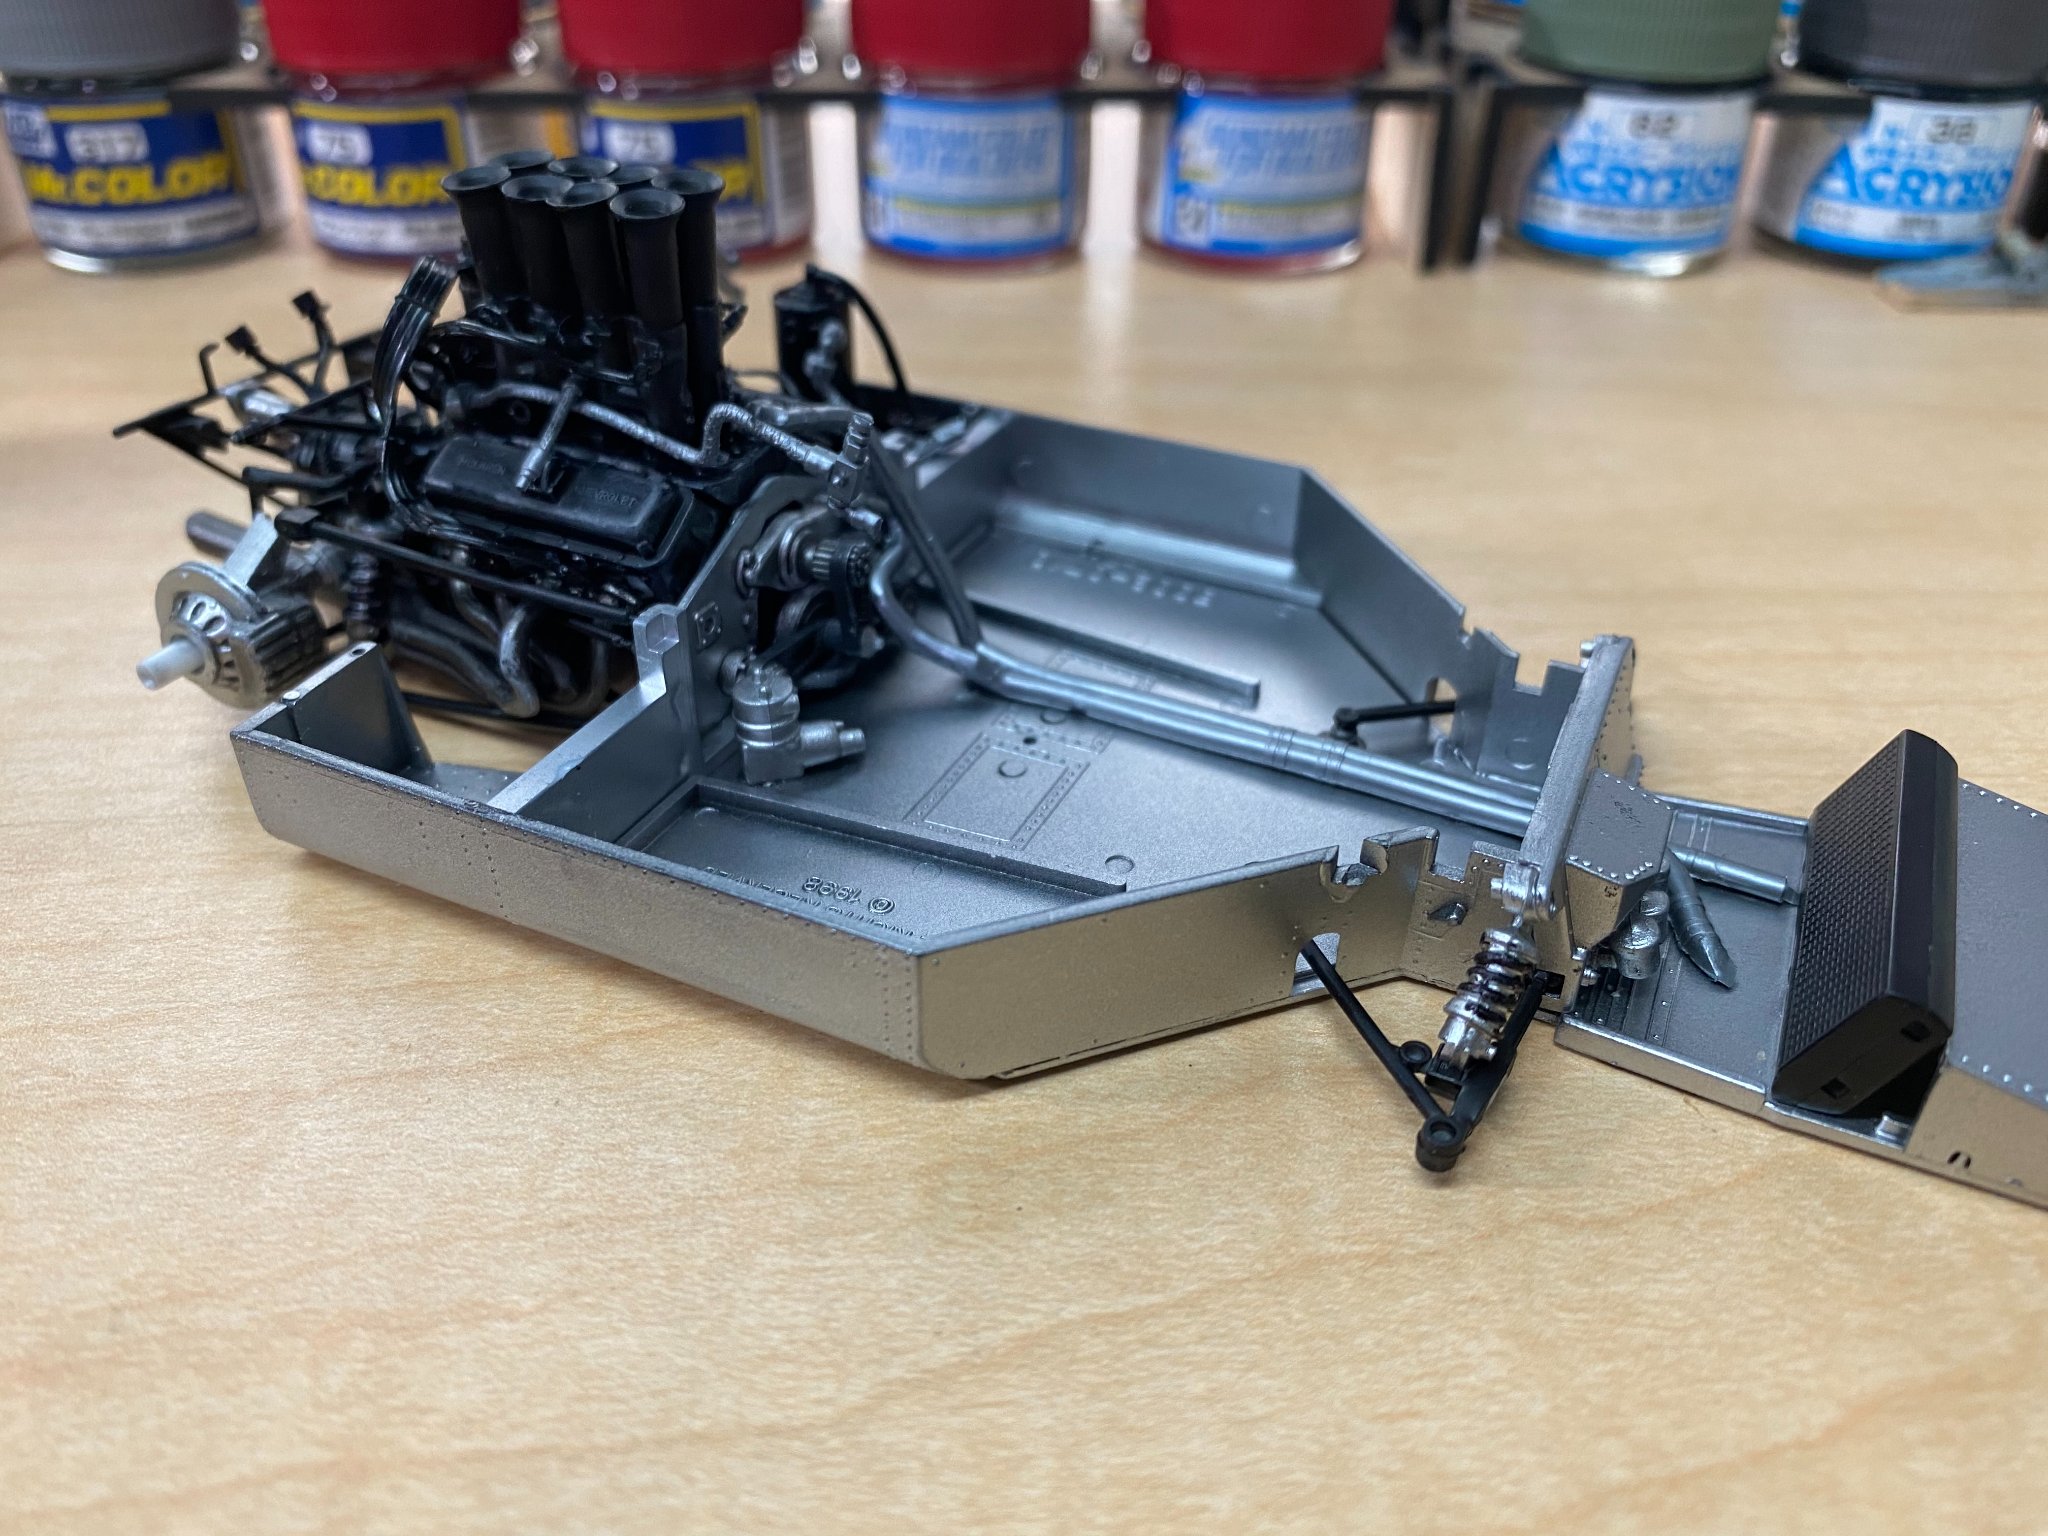
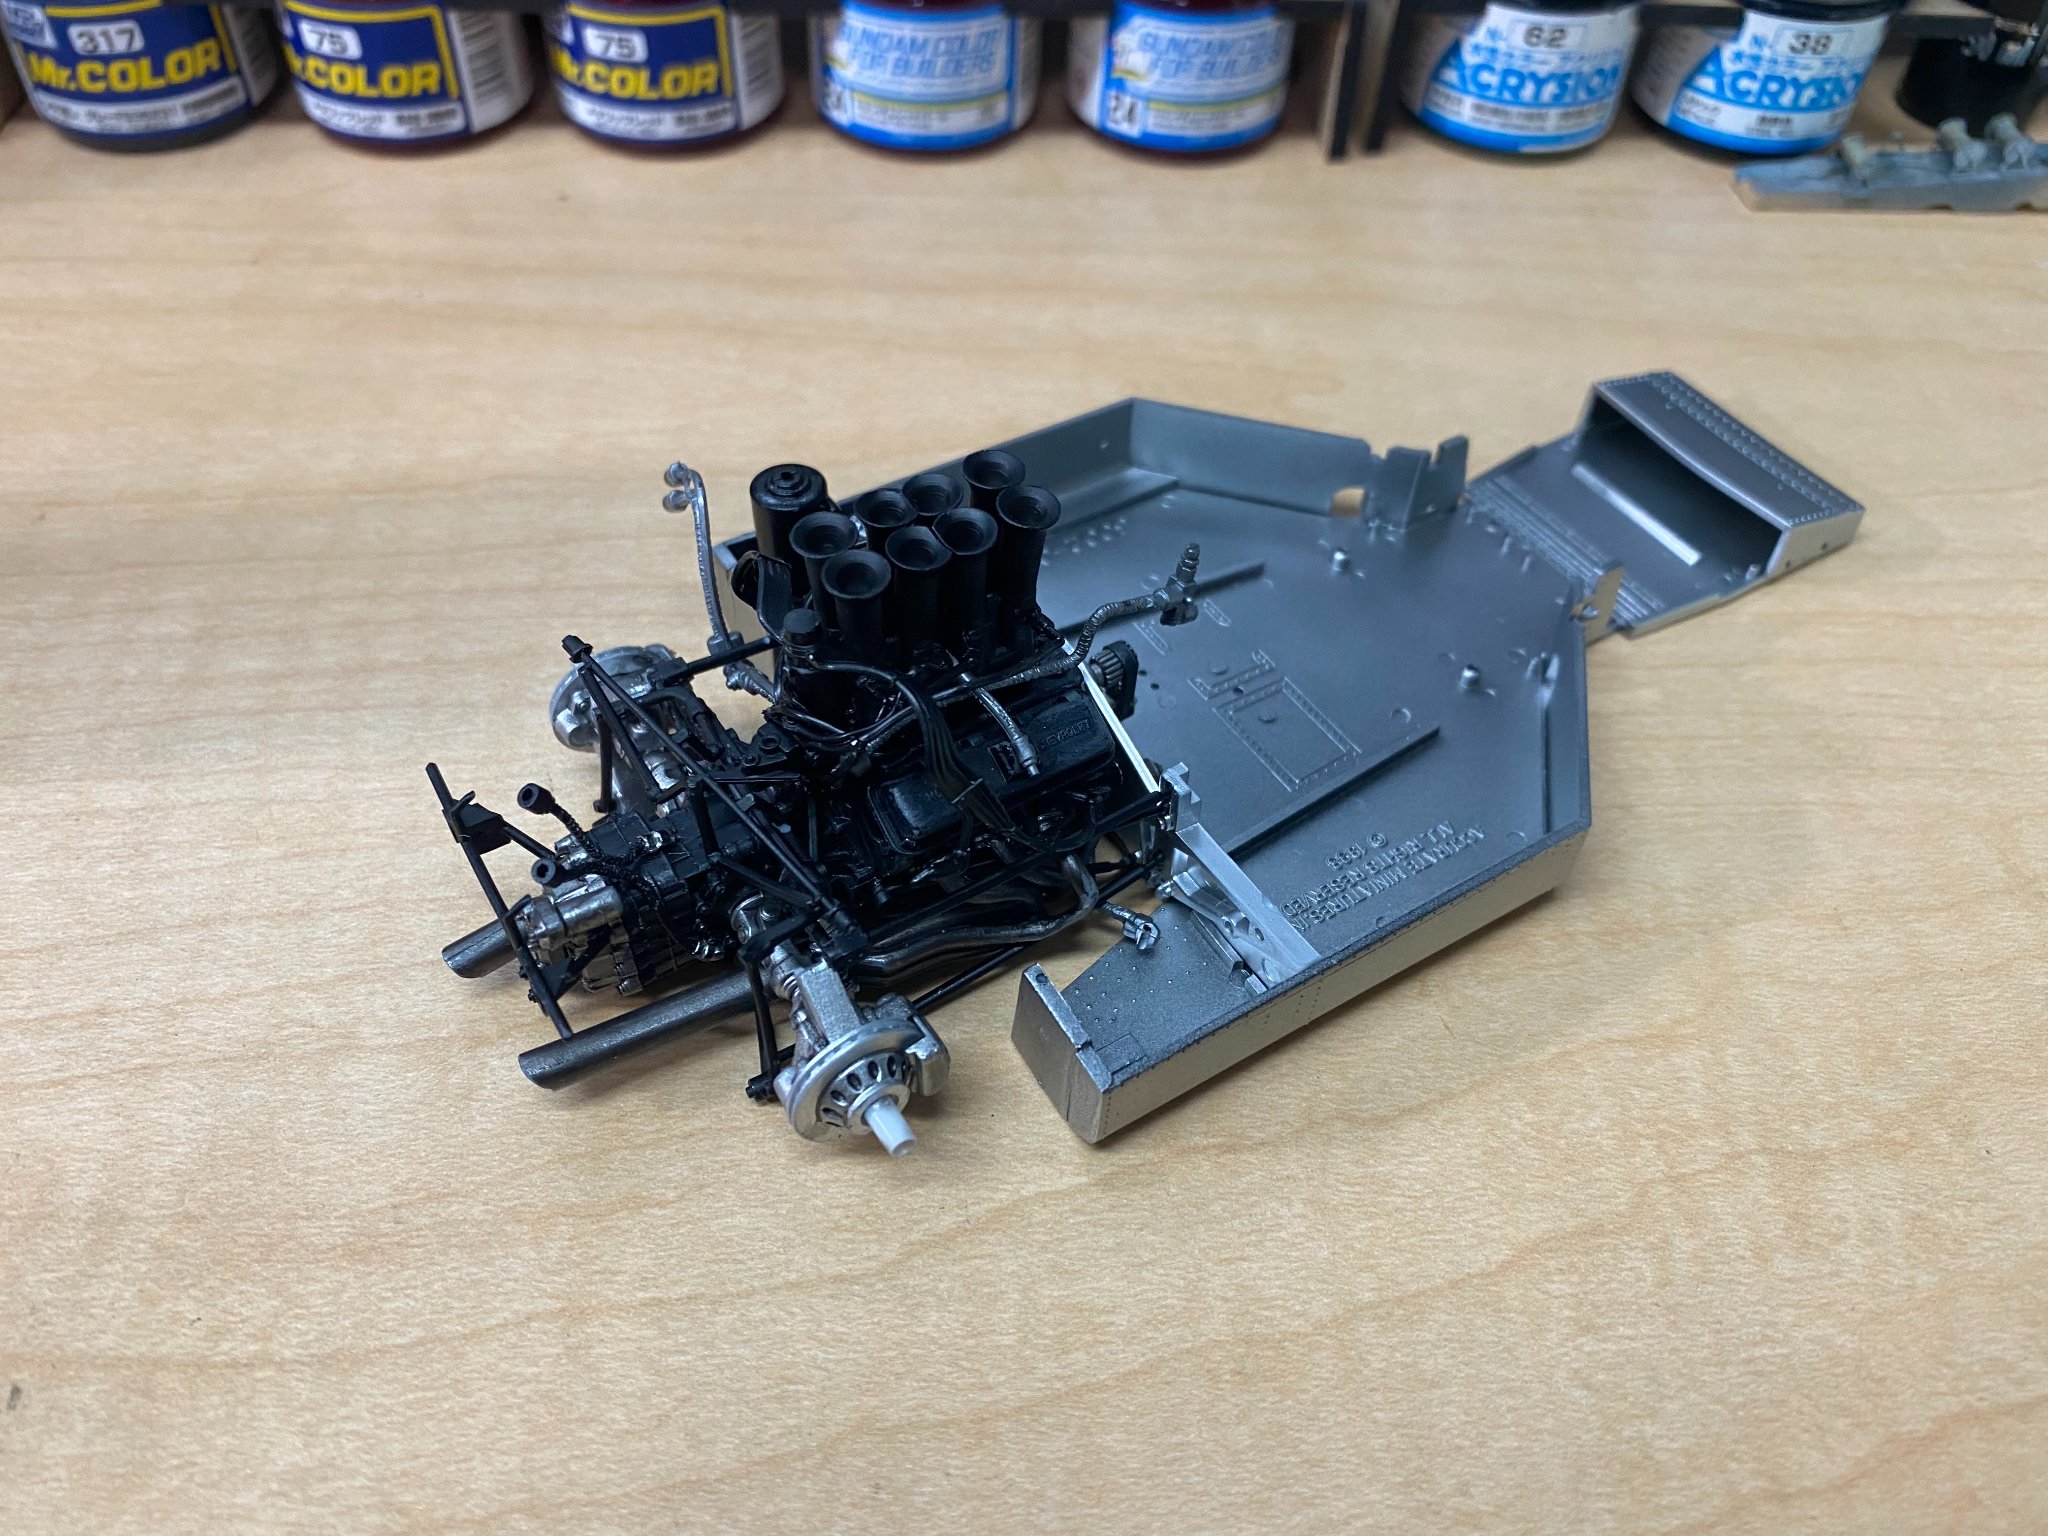
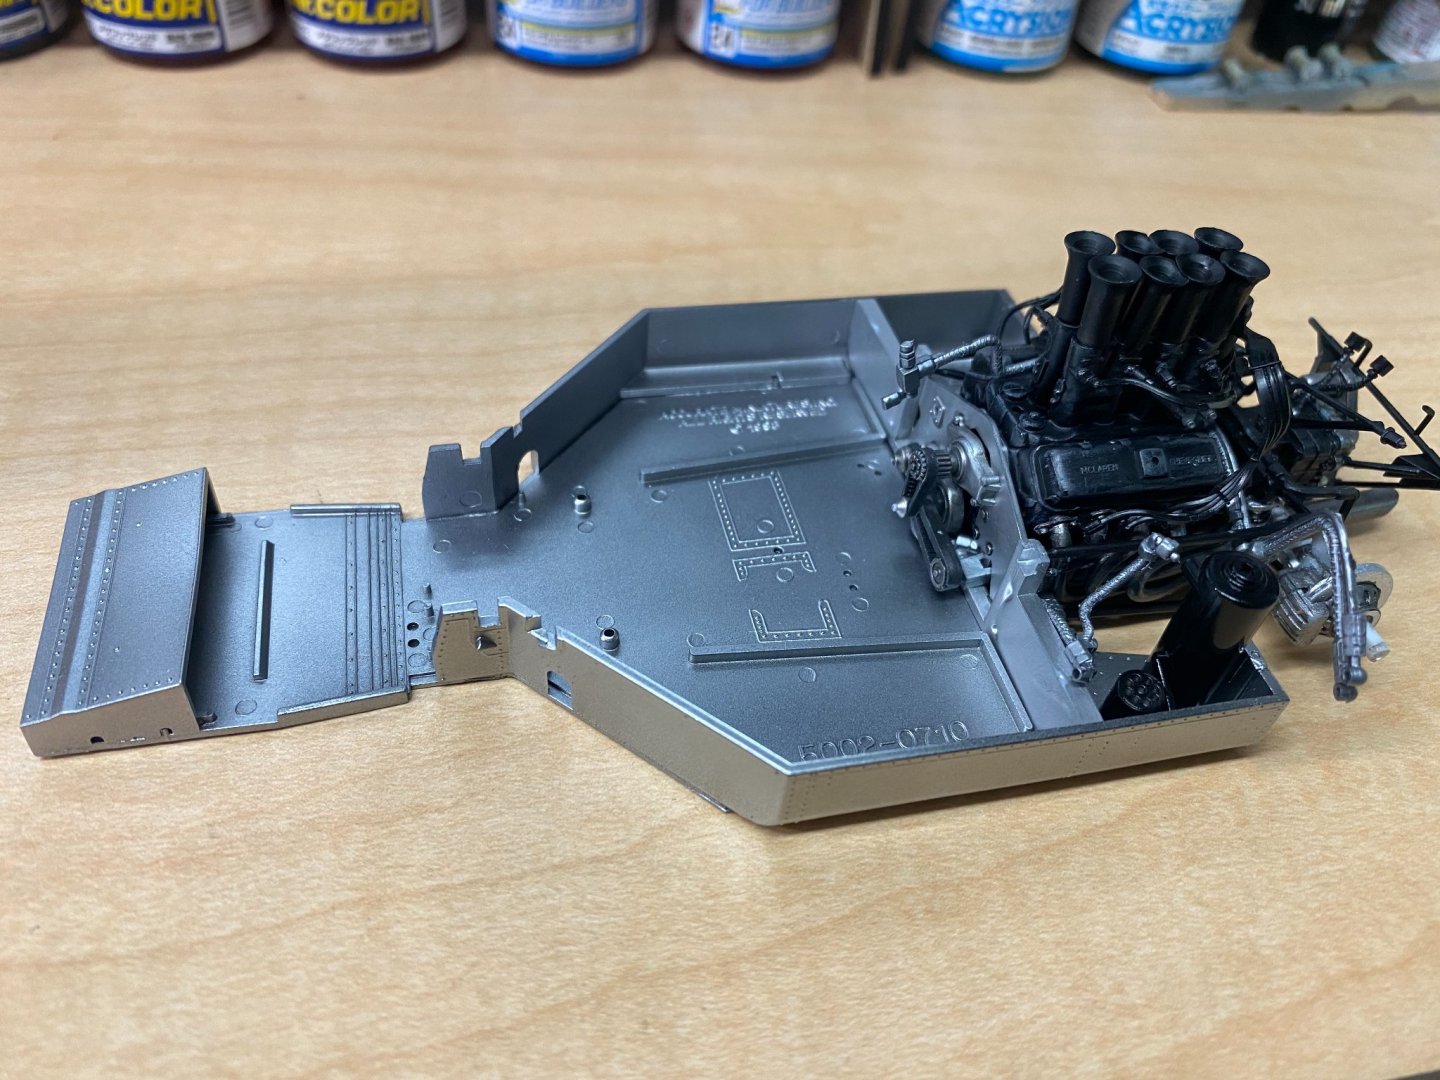
It rained on Saturday and that gave me a little bit of time to spend on the McLaren. Attention turned to finishing the engine/transaxle, then assembling and painting the chassis tub. It was first given a couple of coats of semi gloss black as a primer, then painted with a dull aluminum finish. Will add more detail to the assembly as time allows this week. Looking for scraps of decal to finish this car as the 1969 McLaren M8B of D. Hulme, the #5 car.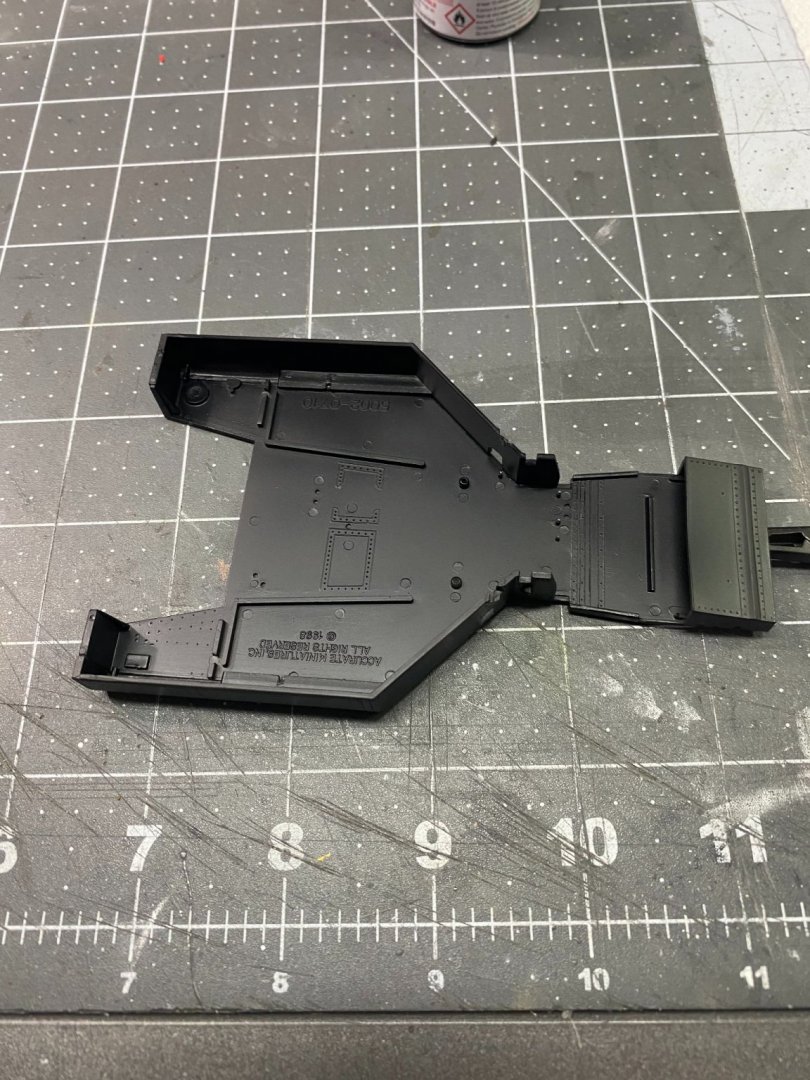

- 137 replies
-
- 12
-
-
McLaren M8B by CDW - Accurate Miniatures - 1:24 Scale
CDW replied to CDW's topic in Non-ship/categorised builds
You know, when you can find one, even the 1:24 scale model of the McLaren F1 street version is $100+. The race cars are less, but the street version is hard to find and expensive, like the 1:1 car. -
McLaren M8B by CDW - Accurate Miniatures - 1:24 Scale
CDW replied to CDW's topic in Non-ship/categorised builds
Sigh...dang Lou, that was a wet blanket. 🤔 I am tired and sore from the past two days of work. Still more to go so I better shape up. 🙂 -
McLaren M8B by CDW - Accurate Miniatures - 1:24 Scale
CDW replied to CDW's topic in Non-ship/categorised builds
Thanks!....great stories. Could not stop watching until they were over. -
McLaren M8B by CDW - Accurate Miniatures - 1:24 Scale
CDW replied to CDW's topic in Non-ship/categorised builds
Oh yeah, forgot to mention. Locked my keys in my car at a shopping mall Saturday. Believe it or not, first time ever I've done that. Called insurance company roadside assistance and 45 minutes later a locksmith arrived. Wondered how they managed getting a new car like mine unlocked. They use a small, approx 8" x 8", airbag to slip between the seal rubber and door window frame. They pump up the airbag to create an opening large enough to slip through a fiberglass specialty rod that flips open the door lock inside the car. Took not more than 5 minutes total. Easy money for a locksmith. Insurance paid it all. 🙂 -
McLaren M8B by CDW - Accurate Miniatures - 1:24 Scale
CDW replied to CDW's topic in Non-ship/categorised builds
Gonna be taking some days off to start and finish chores around the house. It's already spring, here. Lots of leaves and Oak Tree blooms to clean up. Putting up a new swimming pool and disposing of an old one. Getting the patio ready for summer nights to come. Probably just a little painting, too. Went to a great model swap meet yesterday, came home with about 20 kits I didn't have before with a few multiples of some I did have but could not pass up the bargains. All car/truck models, some paints. Passed up several nice steel hull ship models and a couple of live steam farm tractors. Tractors were tempting, the ships not as much. 1:400 scale odd balls. Heller. I'll be back when I get back, Duty calls. 🙂 -
McLaren M8B by CDW - Accurate Miniatures - 1:24 Scale
CDW replied to CDW's topic in Non-ship/categorised builds
I think the problem might be having paint that sticks to the vinyl without peeling away. I'll give it a try once I get finished handling it. Handling it will probably be the biggest threat to peeling paint on the vinyl. Maybe I can use colored markers since that's ink and won't peel. -
McLaren M8B by CDW - Accurate Miniatures - 1:24 Scale
CDW replied to CDW's topic in Non-ship/categorised builds
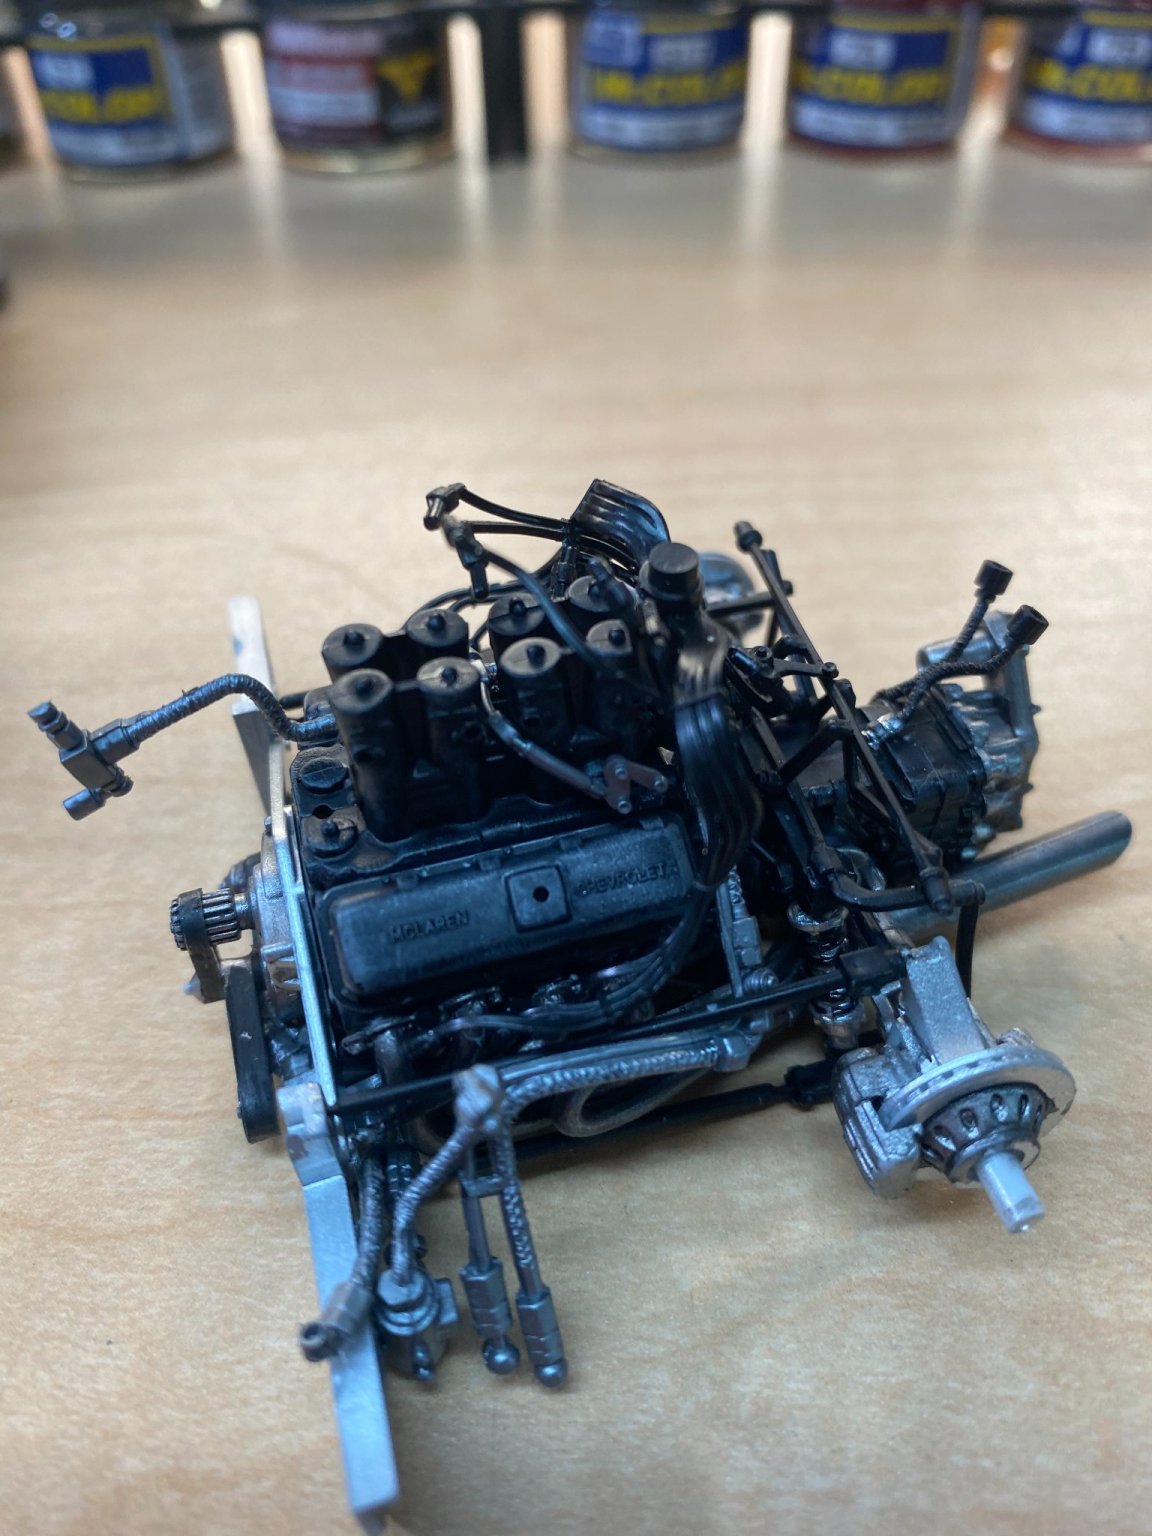
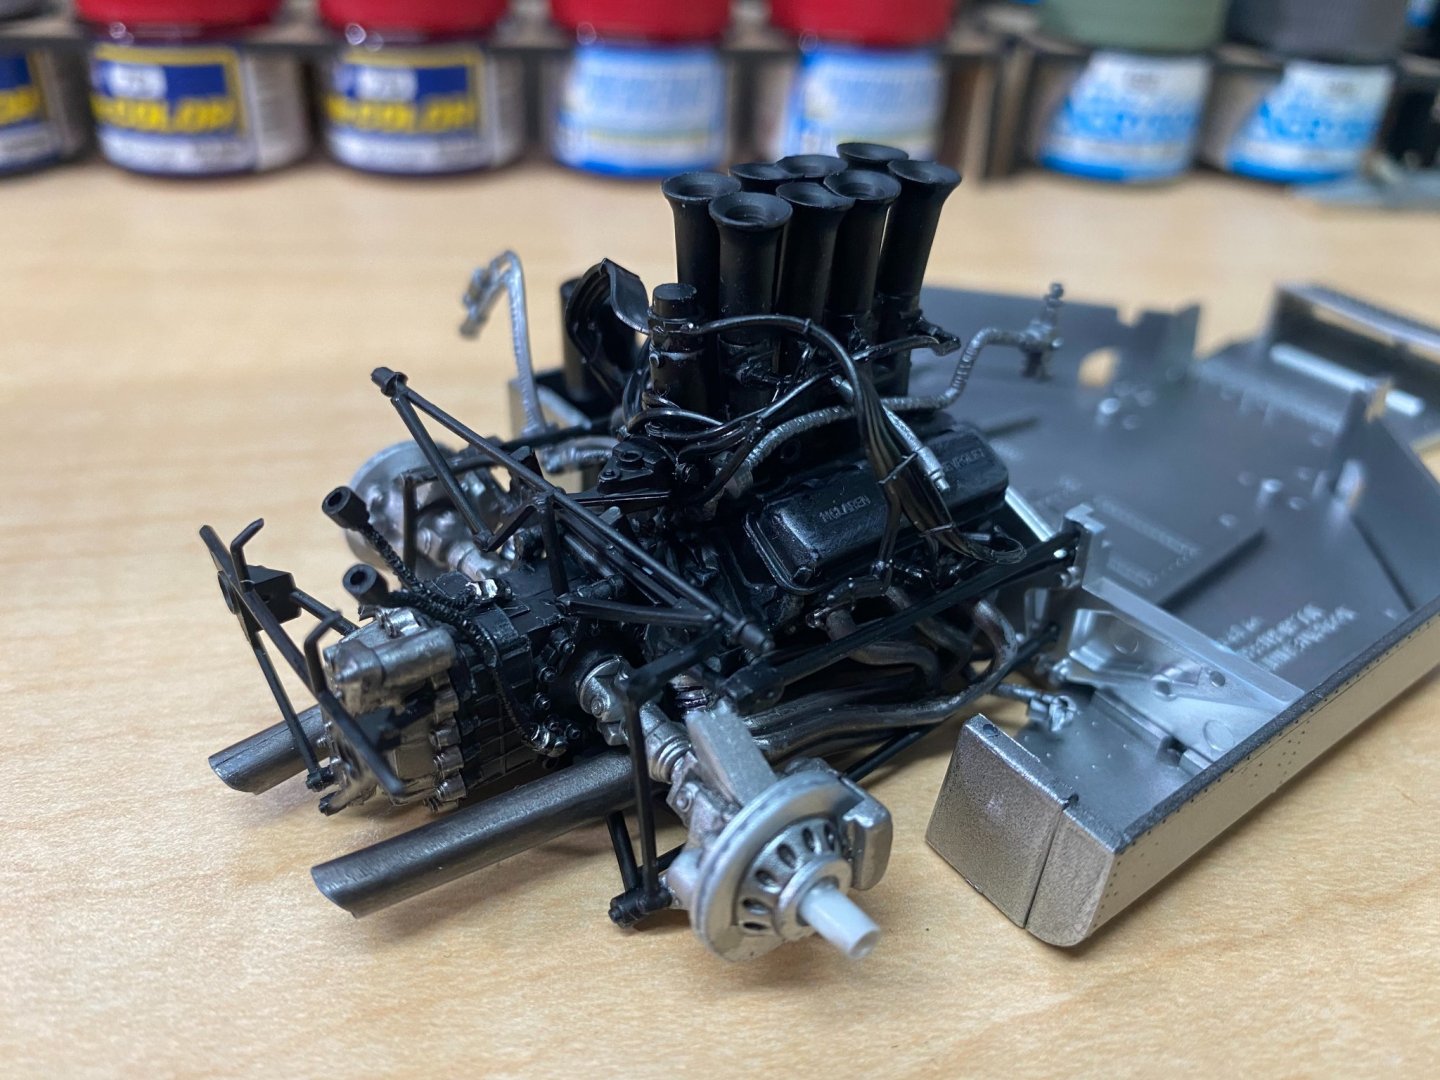
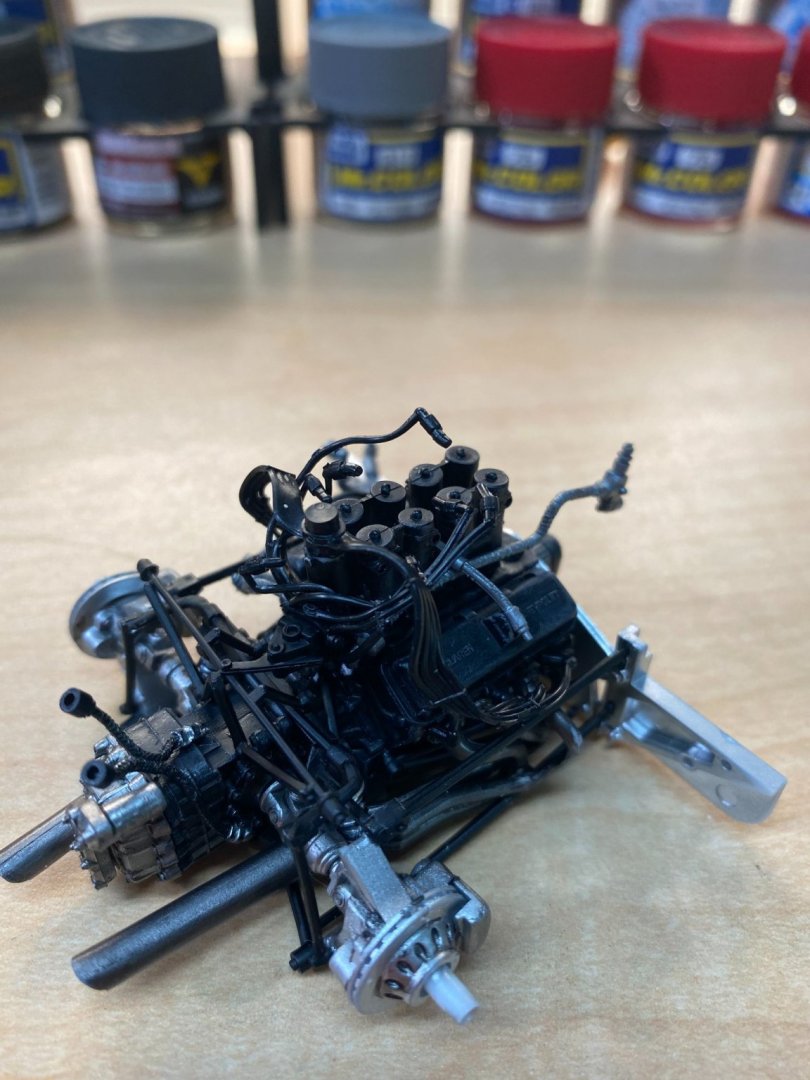
Here is more engine detail added including the ignition system and fuel tubing for the injectors. I left the fuel injection lines disconnected for the photos just so you could get a visual image of the "bird's nest" that's involved. I made up my mind to use everything from the box, no aftermarket or home made parts, before I started this project. In retrospect, this could have looked much better with some aftermarket wiring and fuel tubing. The kit instructions do not recommend painting the soft vinyl wiring/tubing, but I may try anyway before it's all done. I think it needs a little color to break it all up a bit.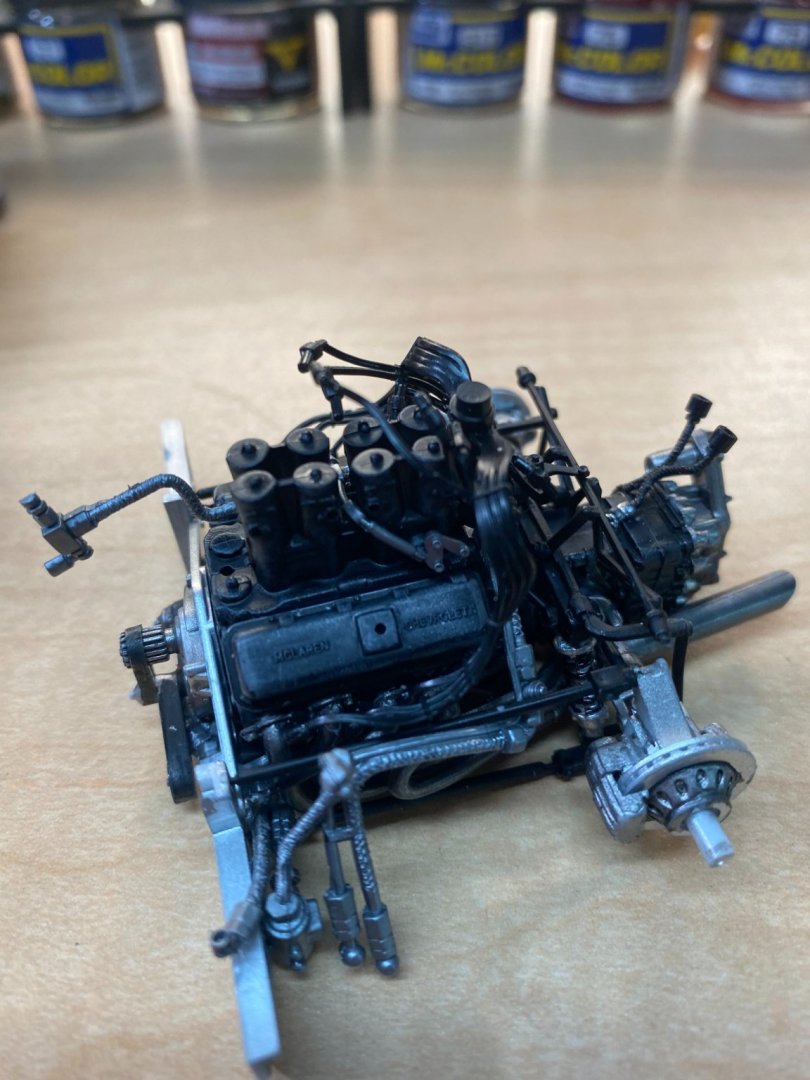

- 137 replies
-
- 10
-
-
McLaren M8B by CDW - Accurate Miniatures - 1:24 Scale
CDW replied to CDW's topic in Non-ship/categorised builds
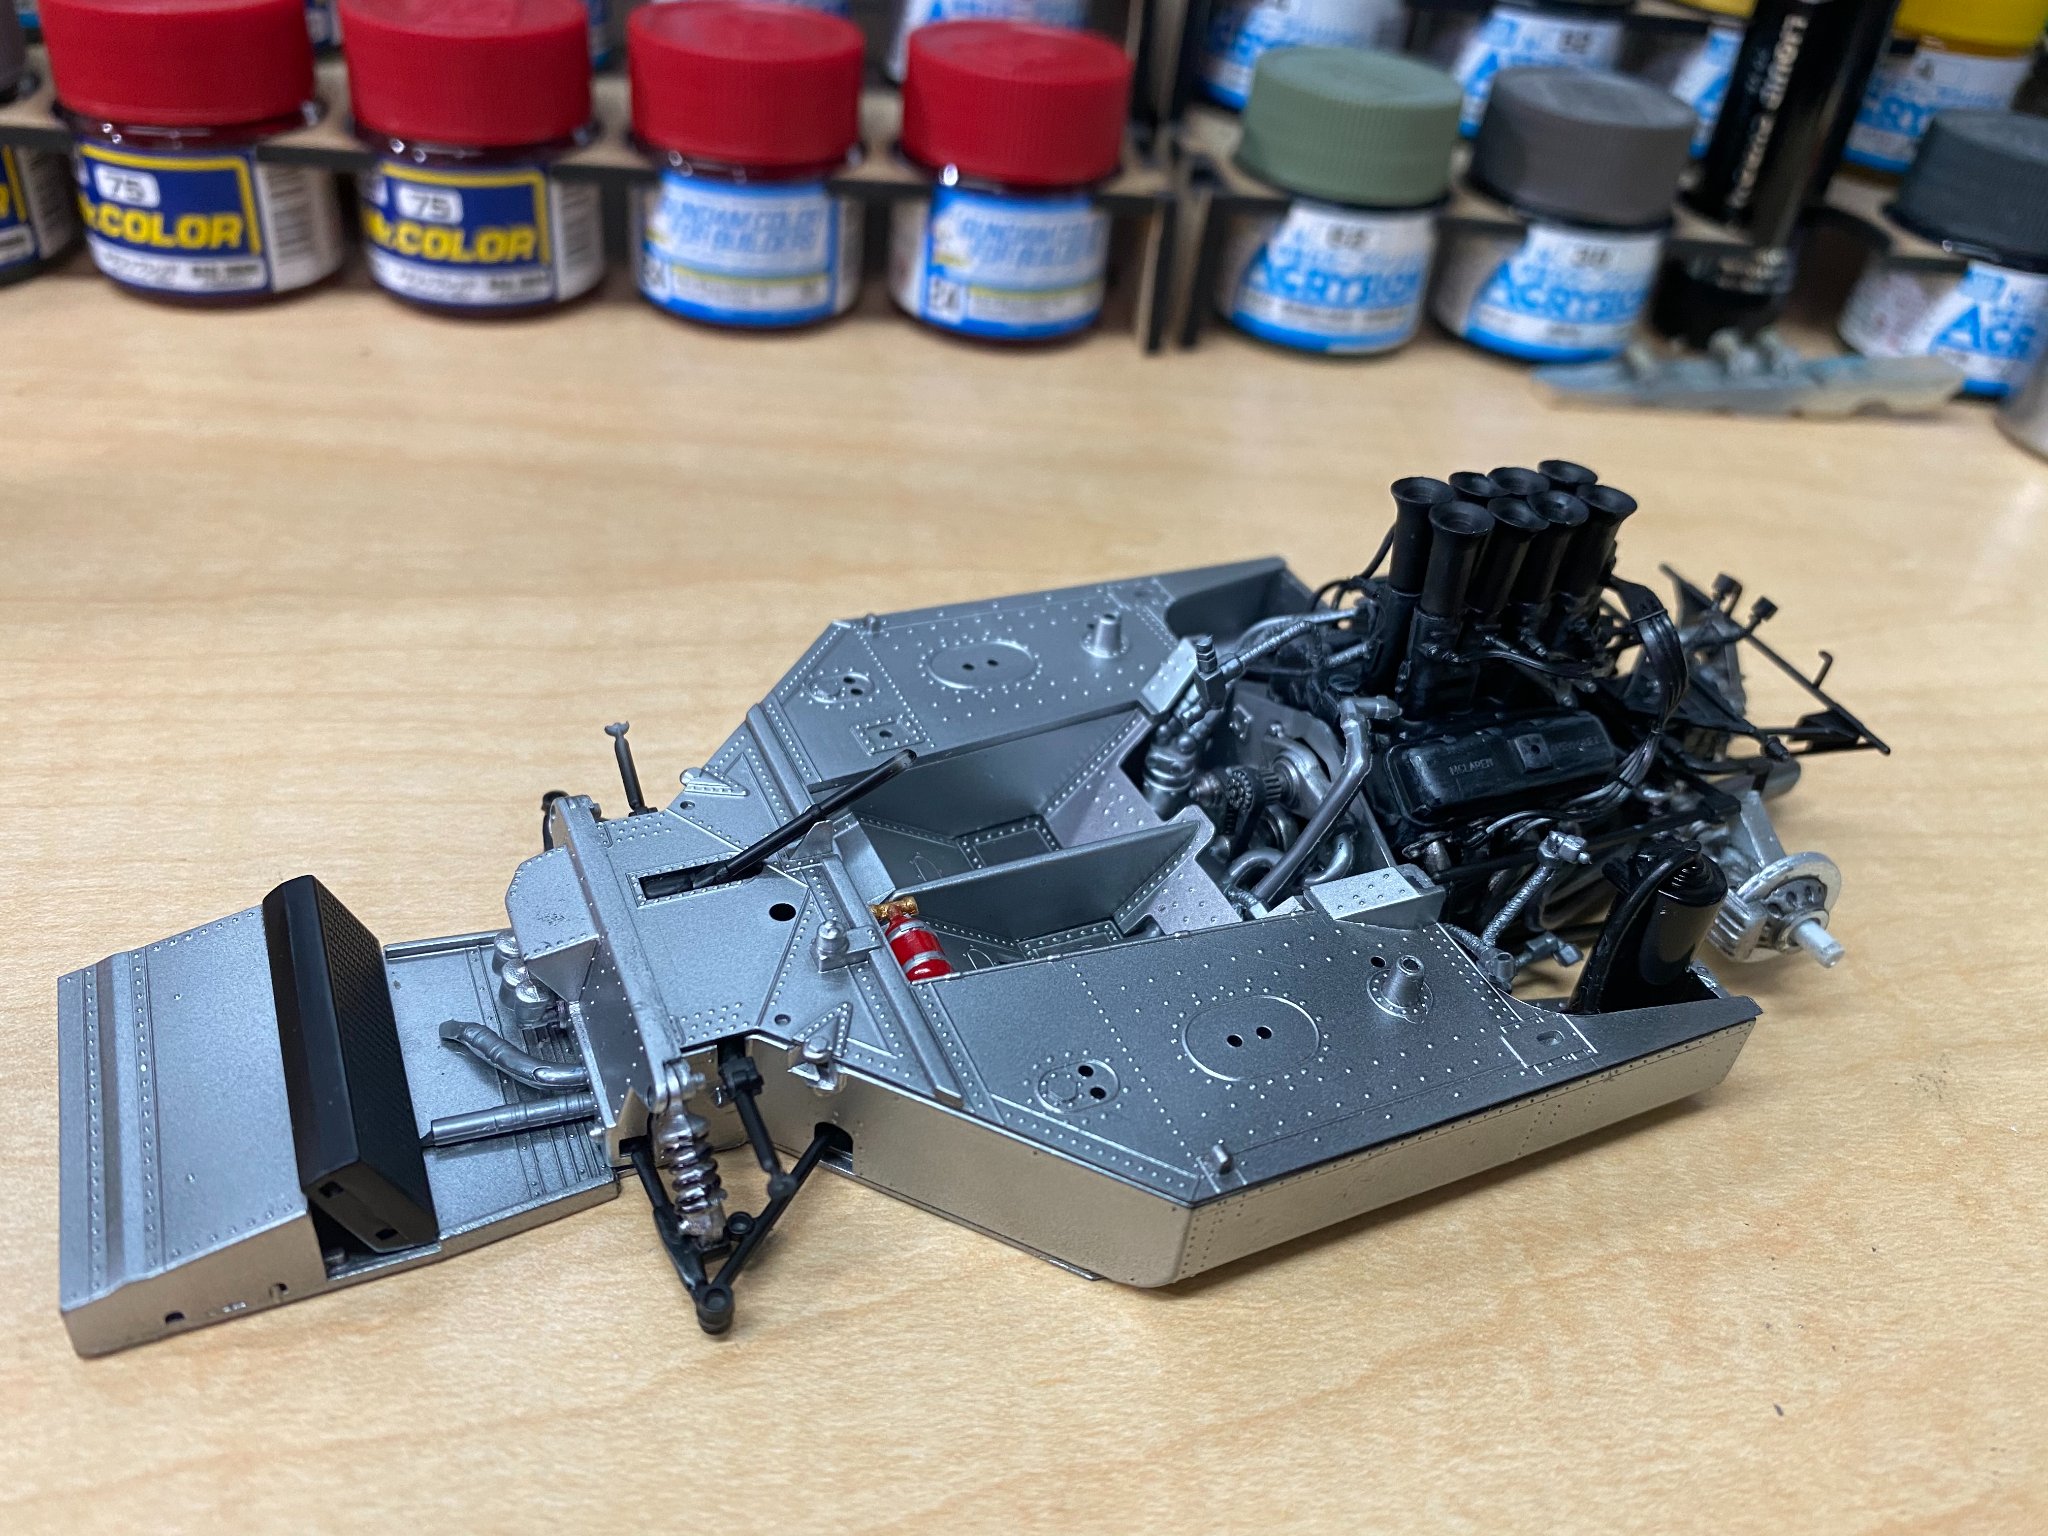
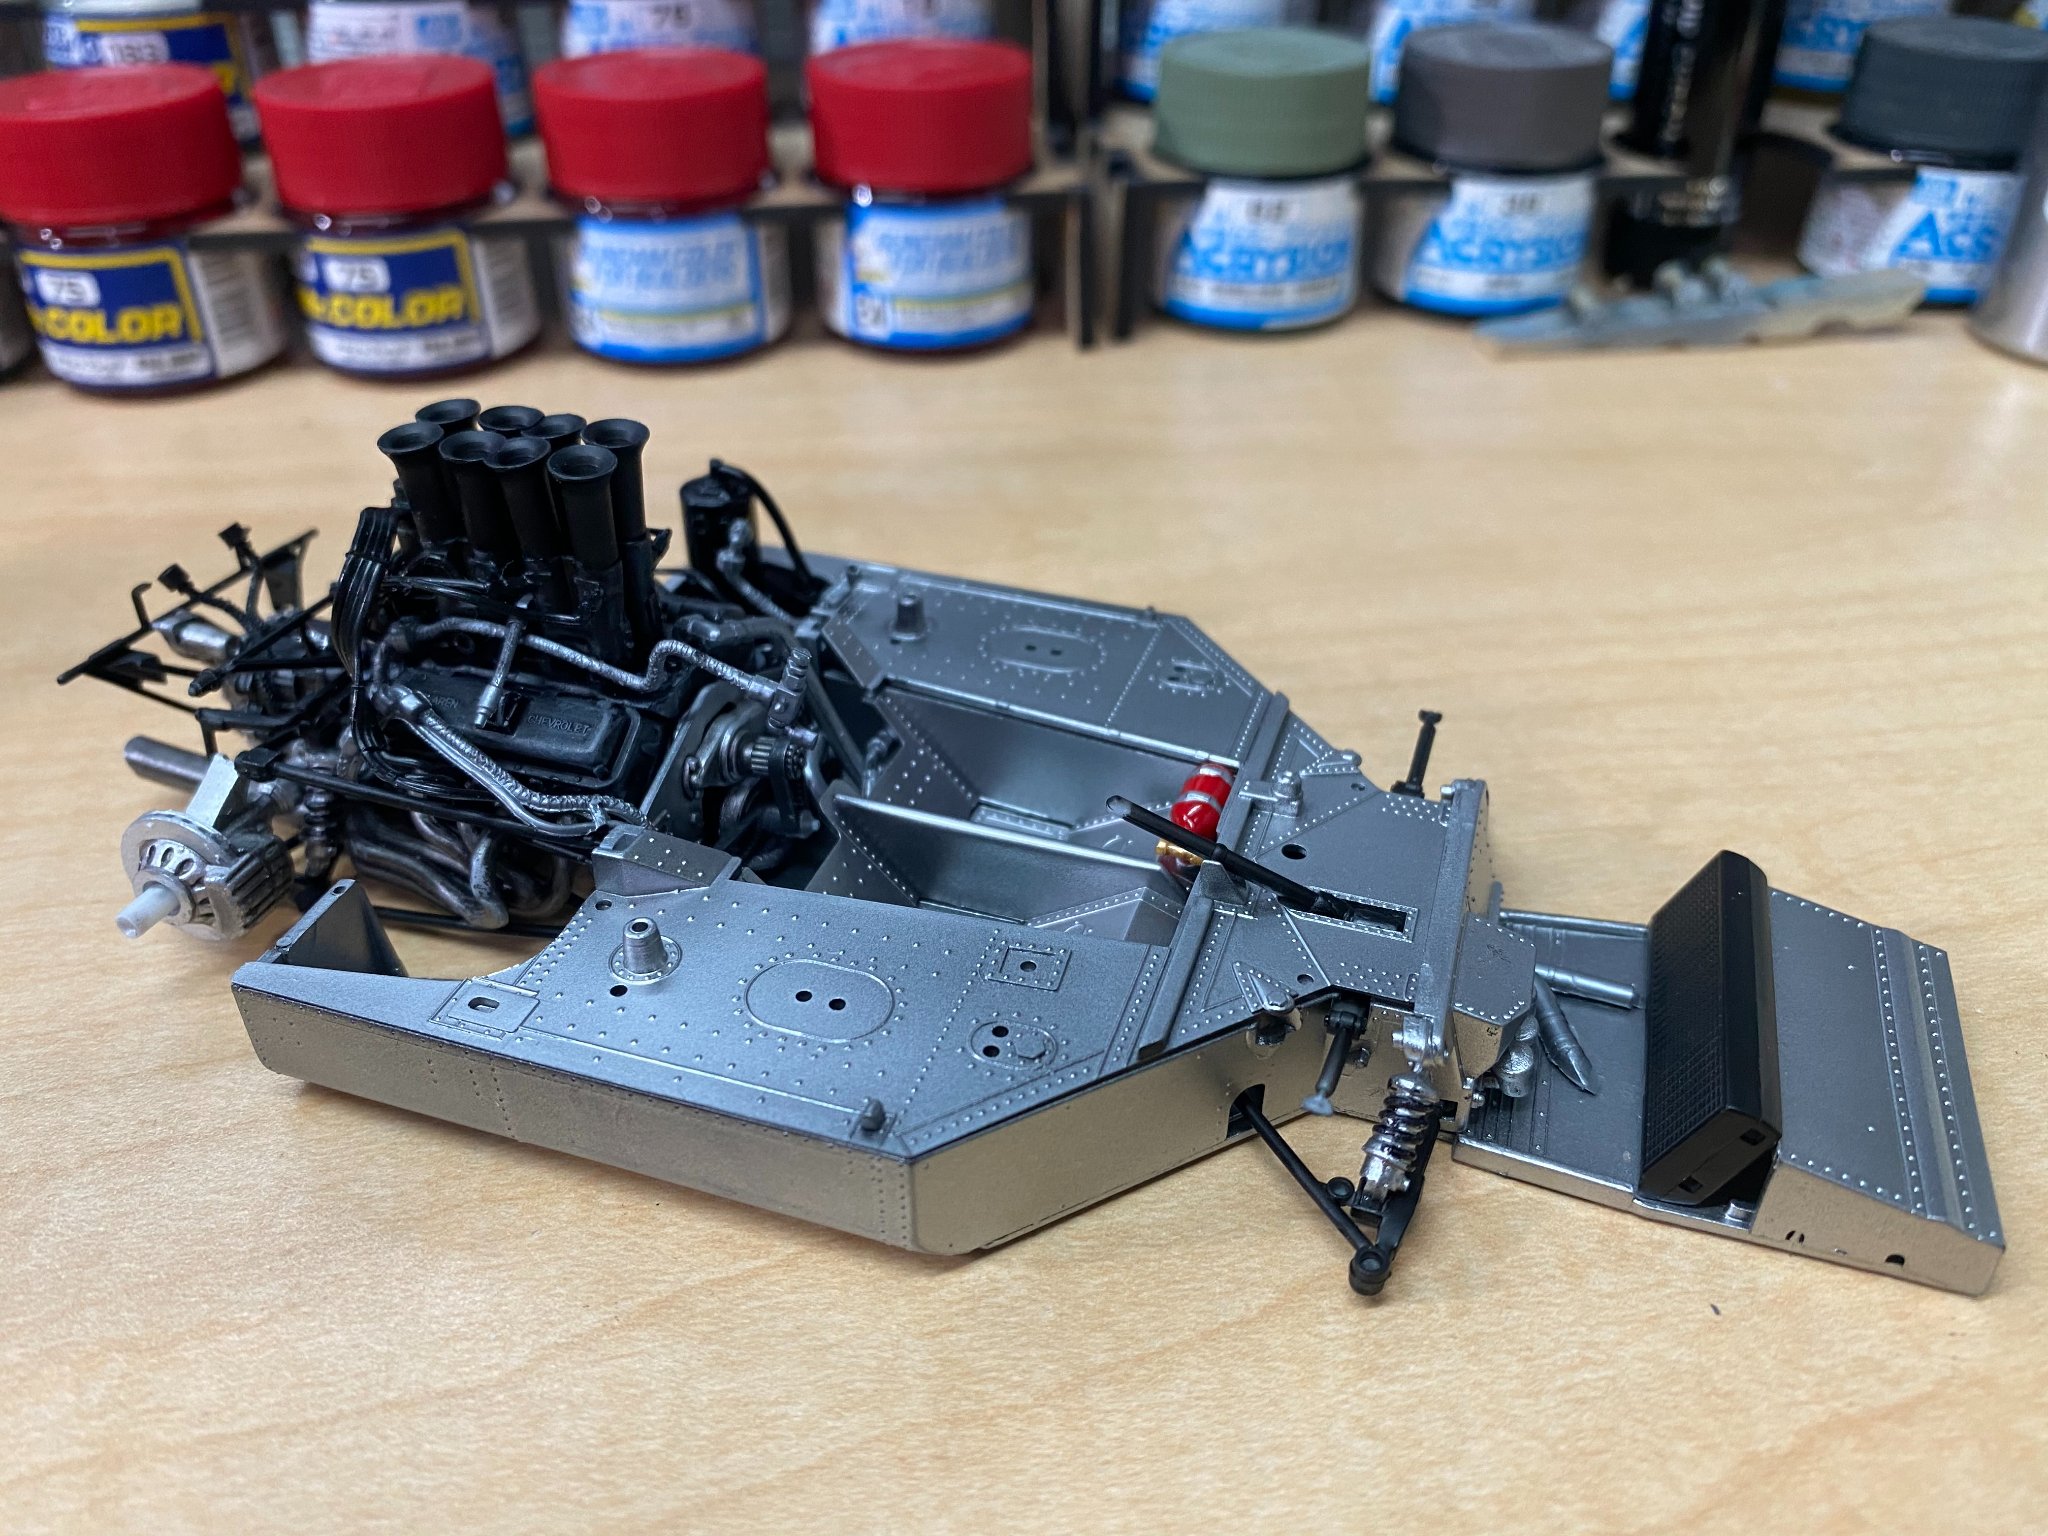
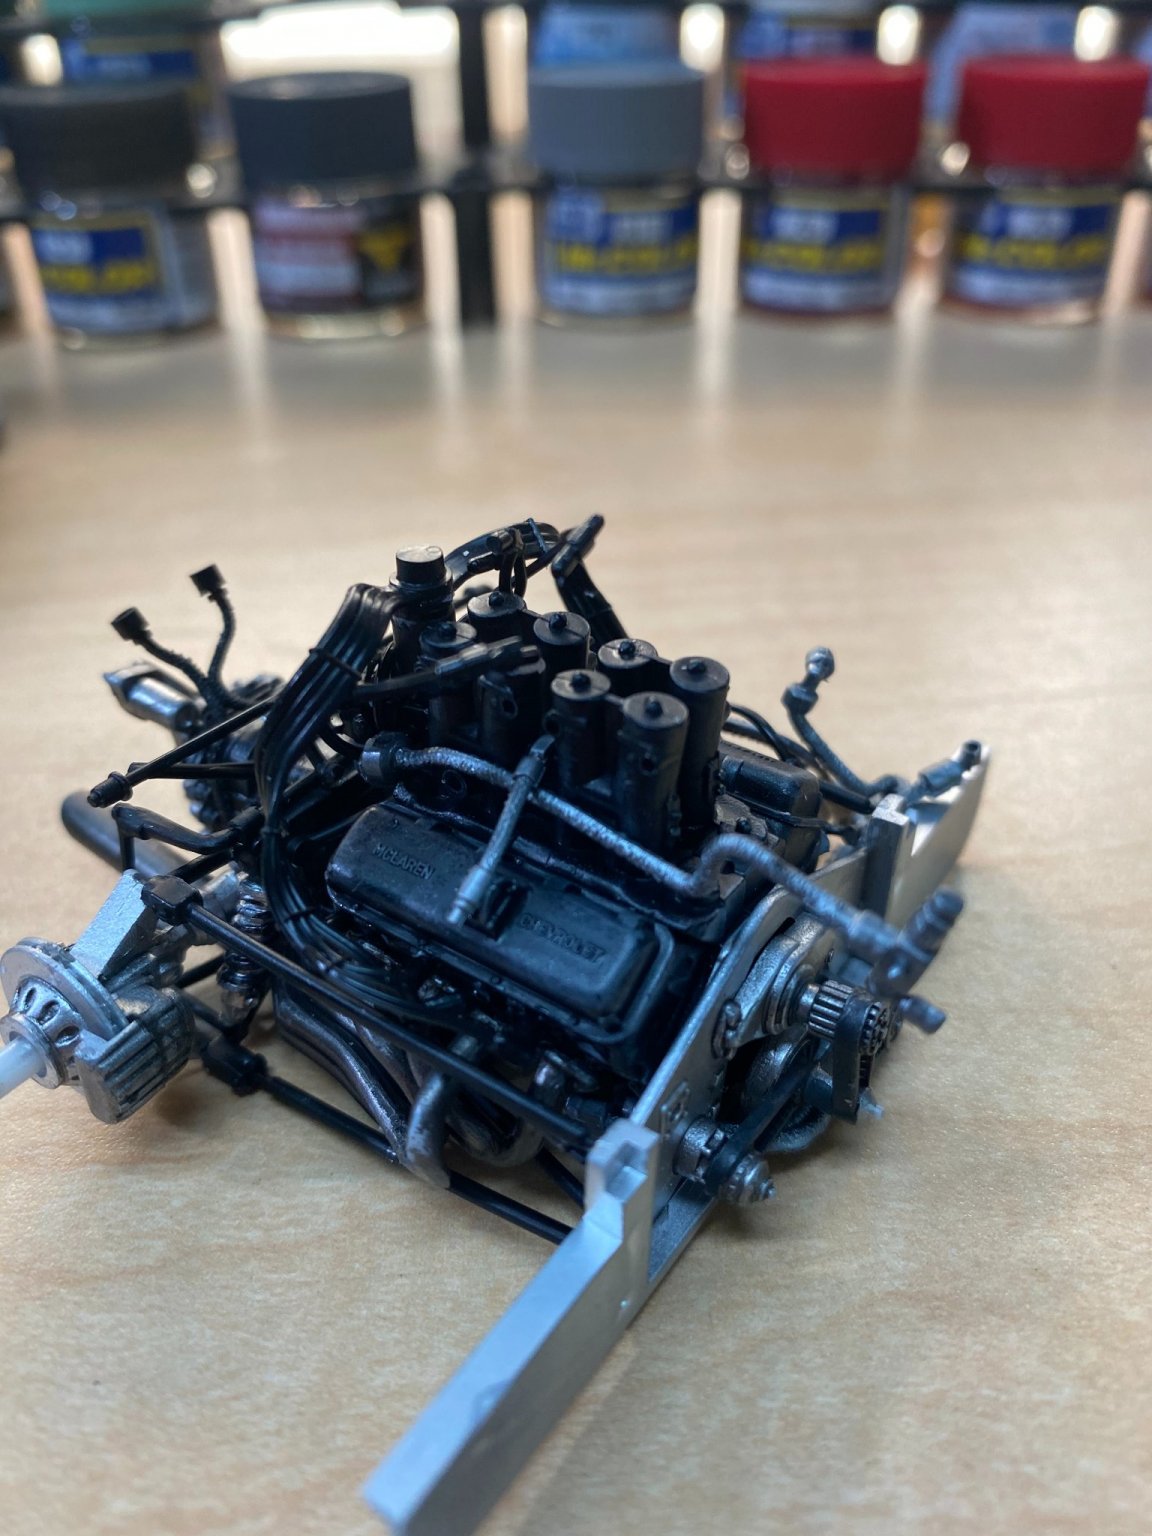
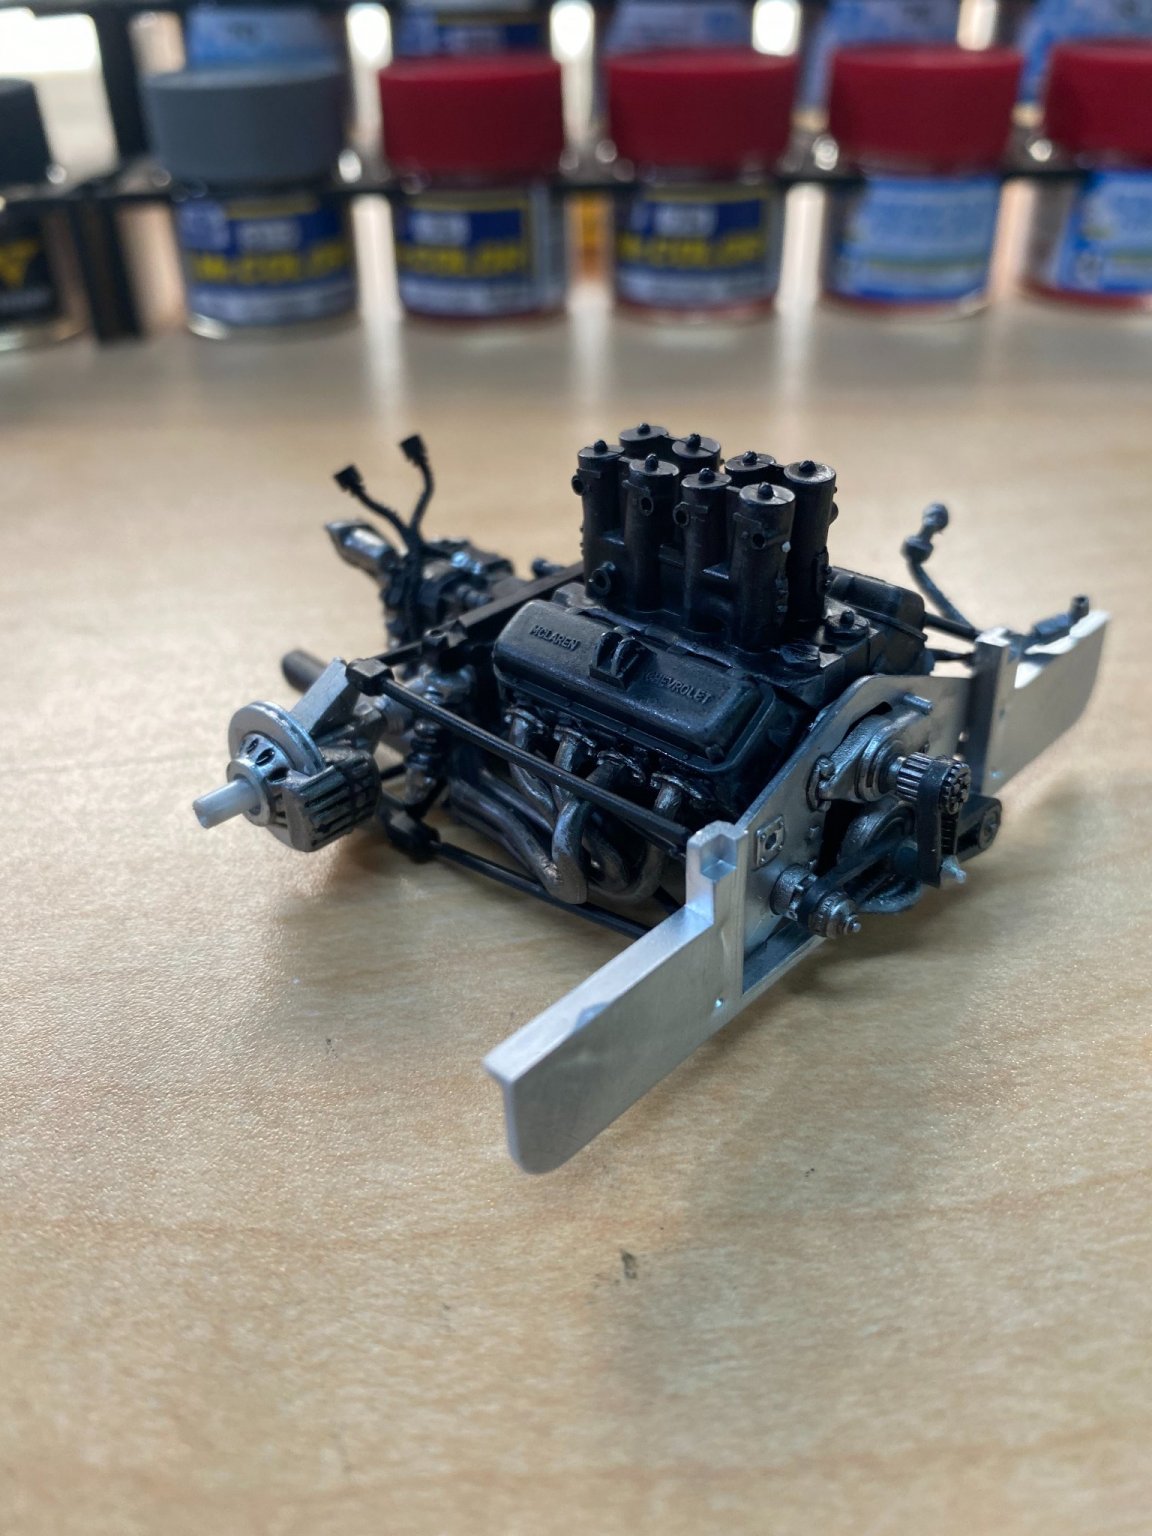
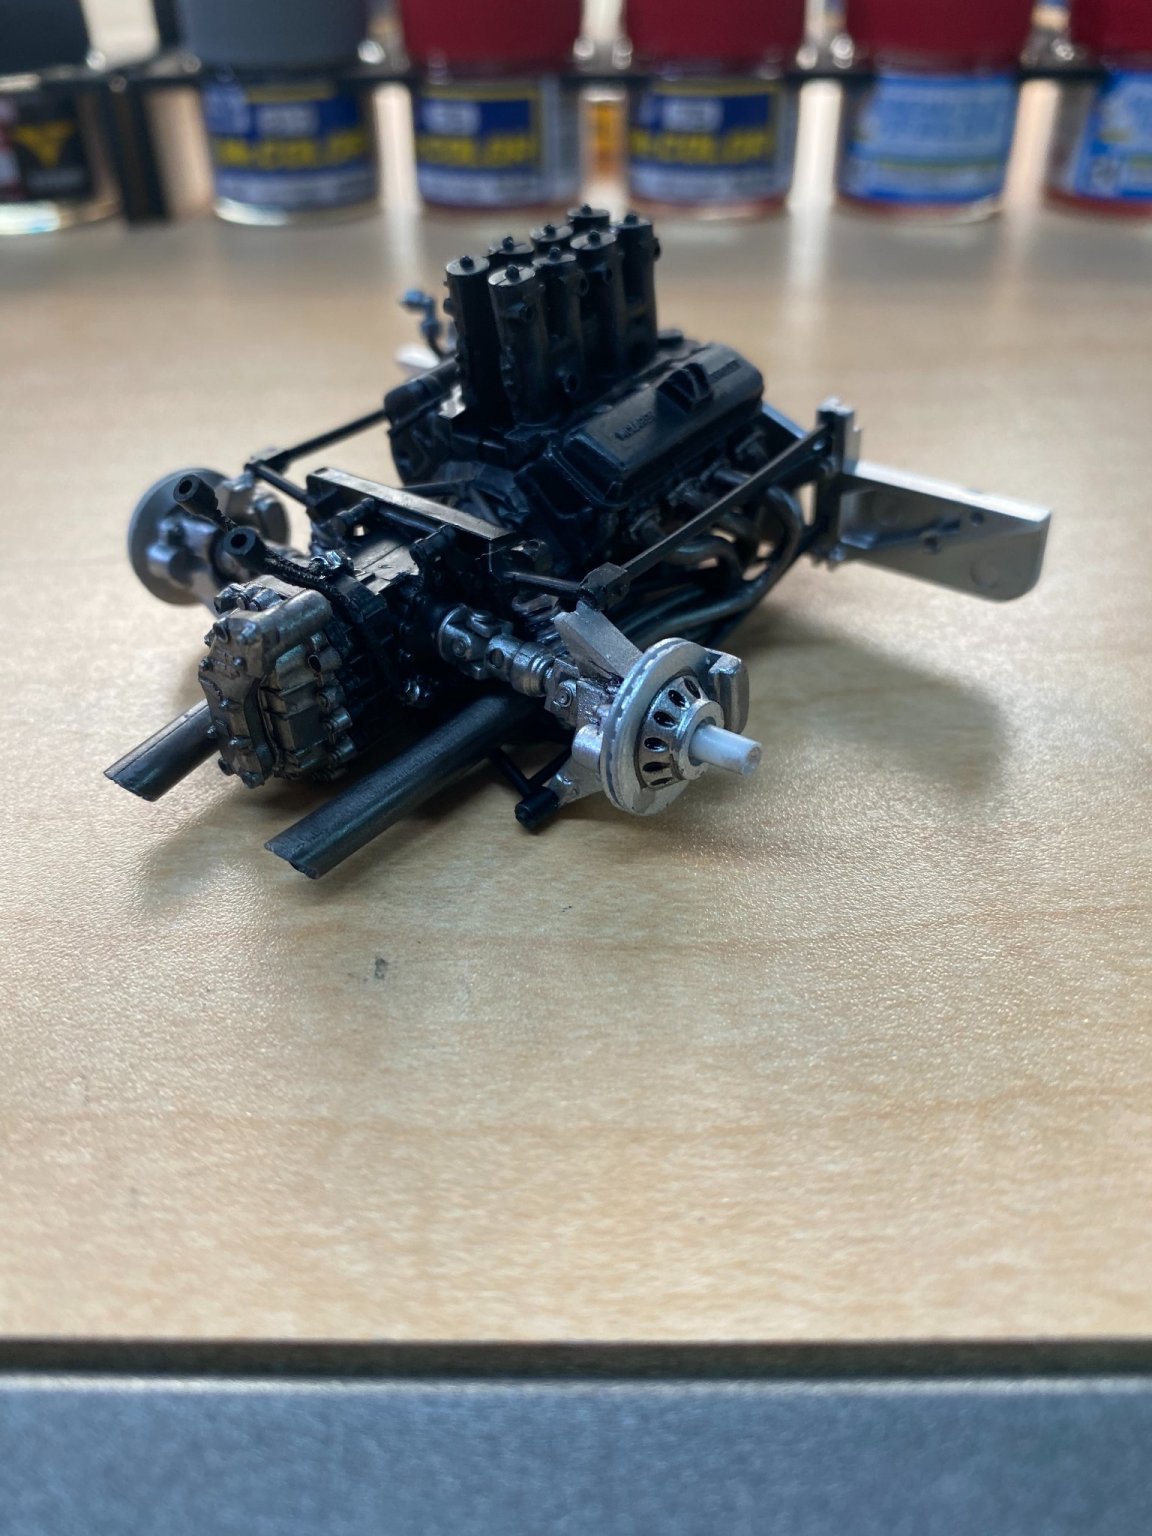
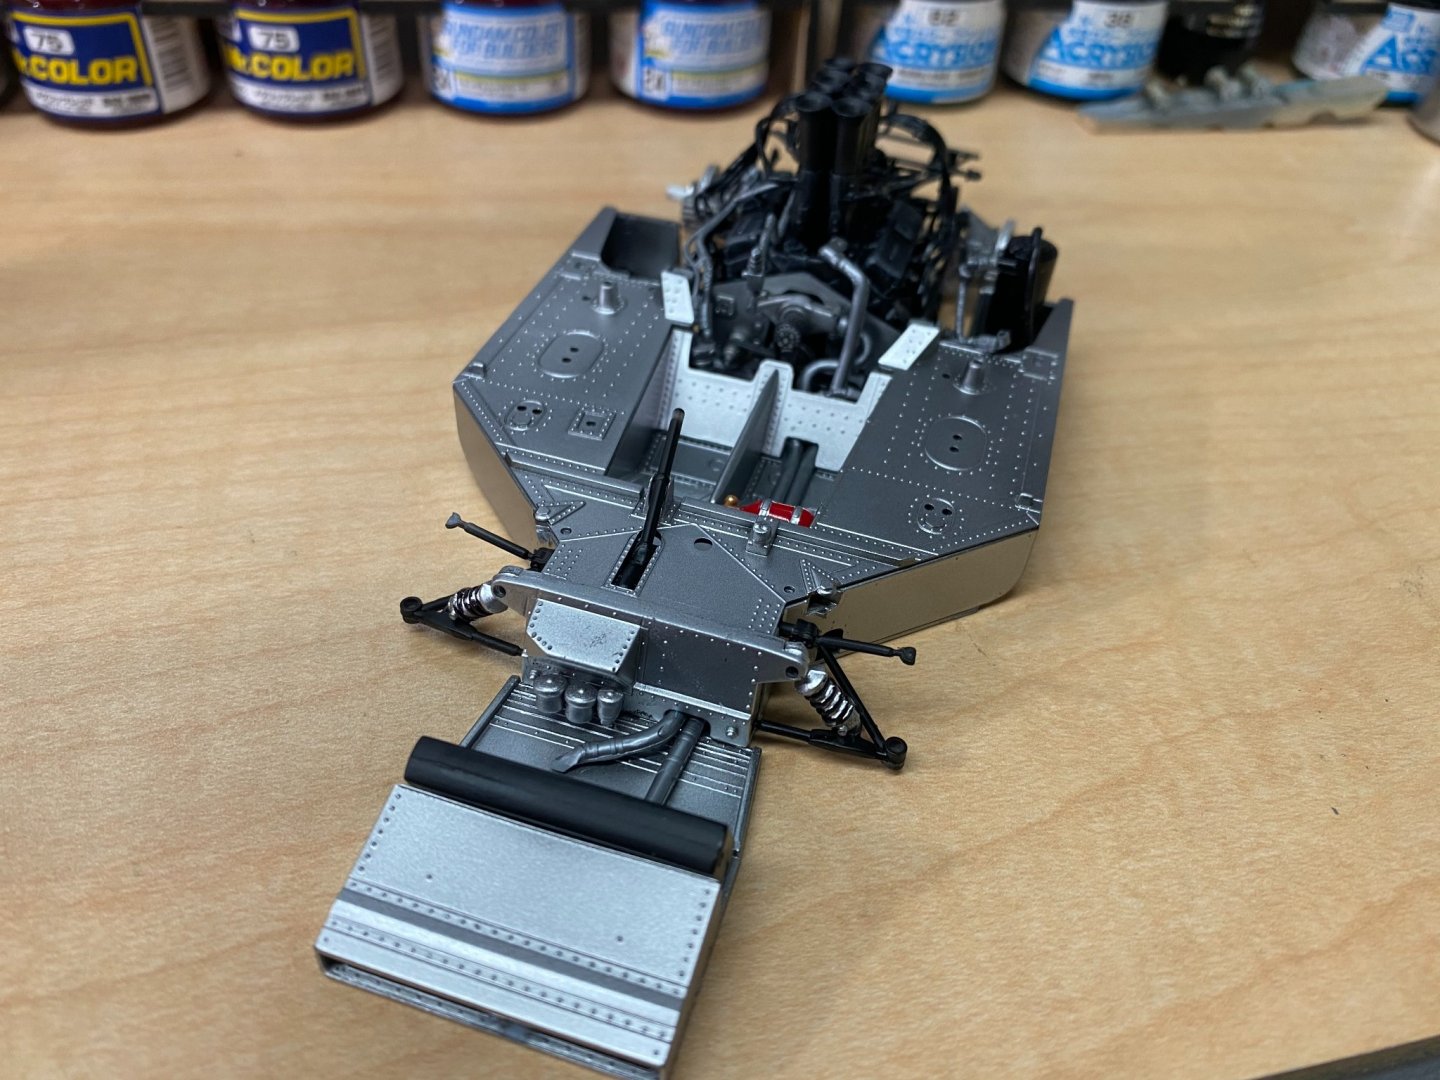
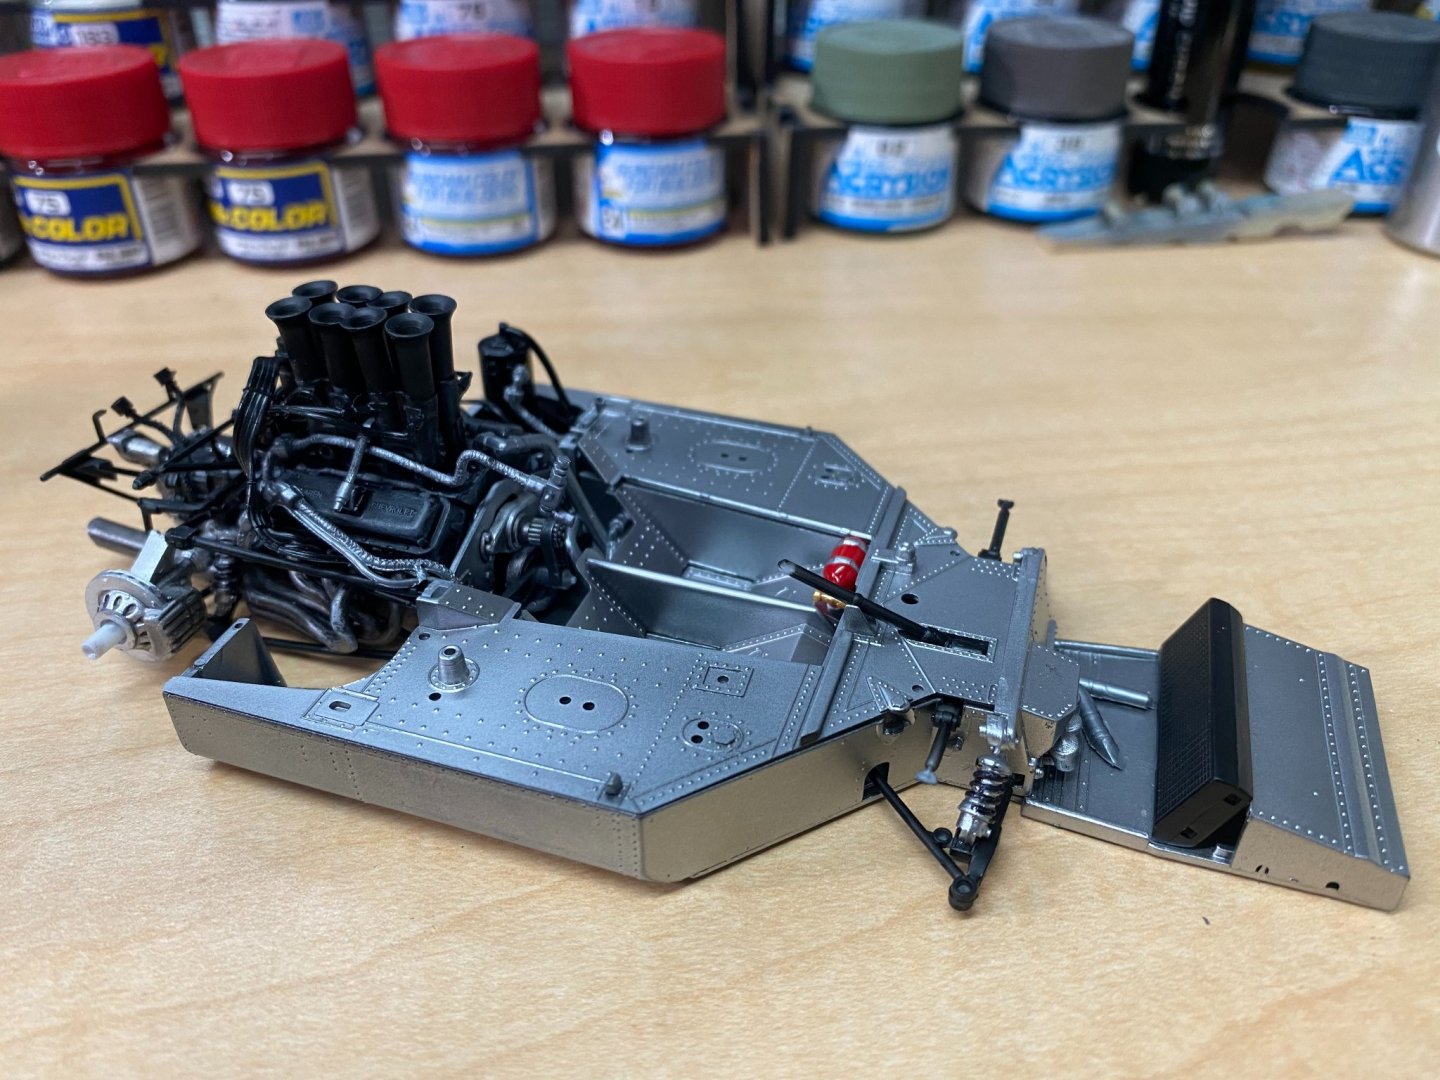
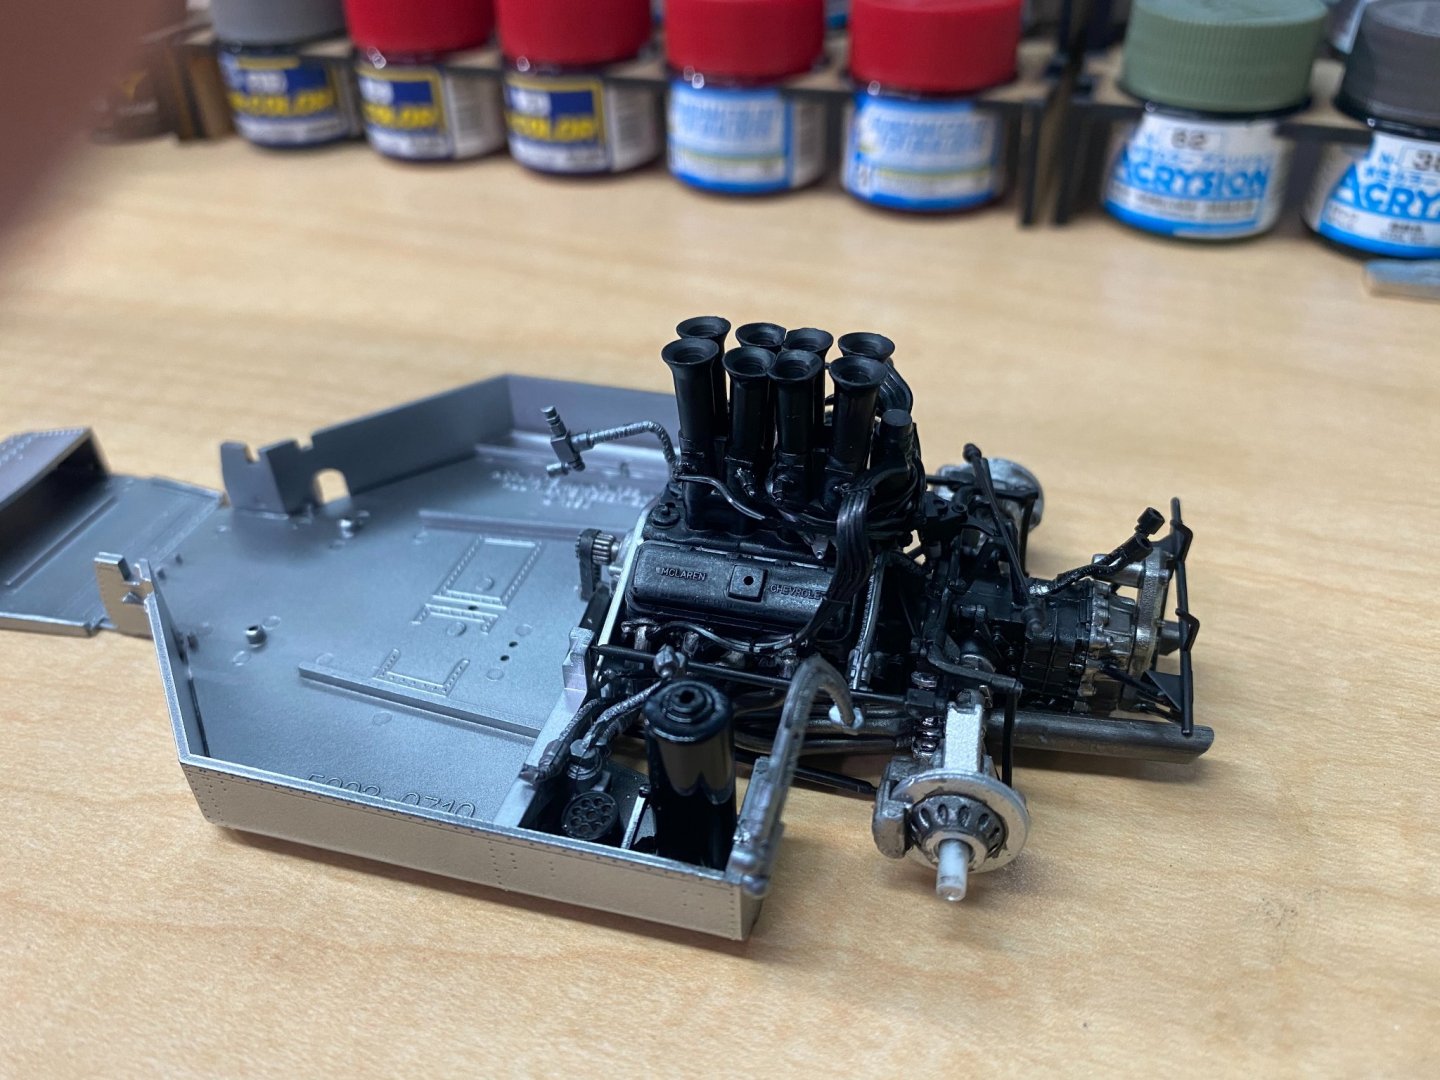
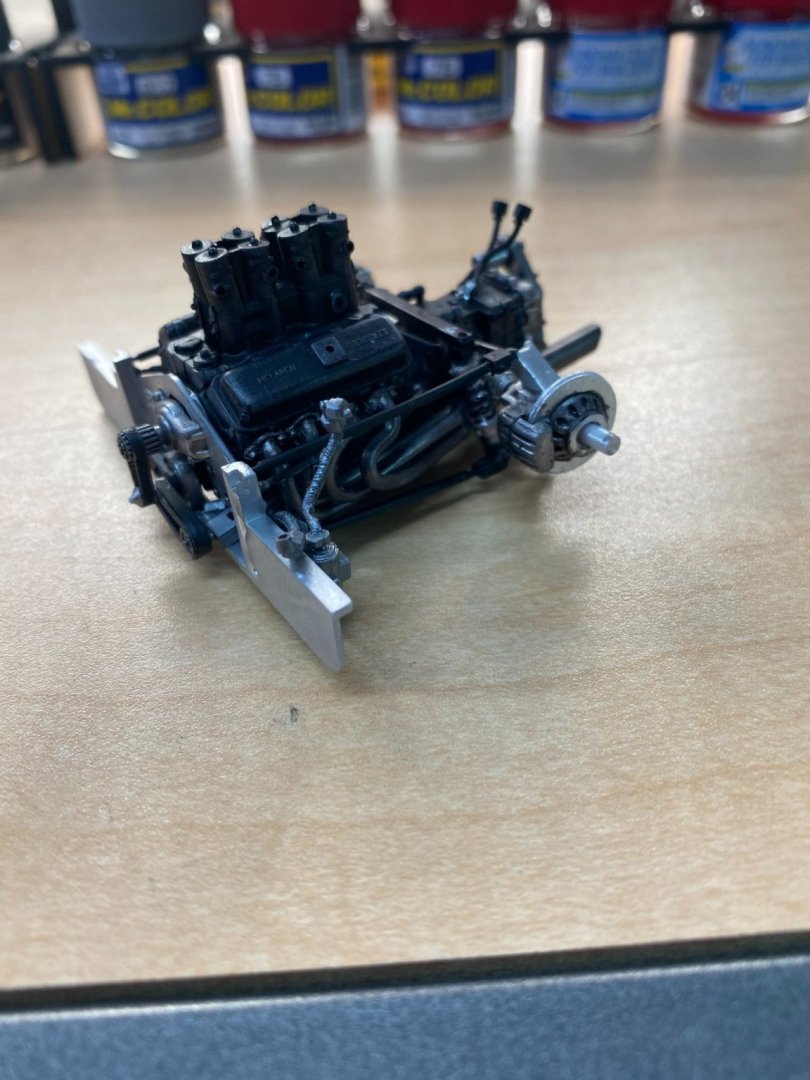
In these photos, the remainder of the engine/transaxle/suspension/brake system components have been painted and assembled. If you ever have the pleasure of building one of these kits, I recommend super glue for most of the construction of this entire assembly shown. While it's a well detailed kit, it's not a shake and bake kit. It does require a little coaxing to get everything into position and stay there. Super glue greatly aids this endeavor.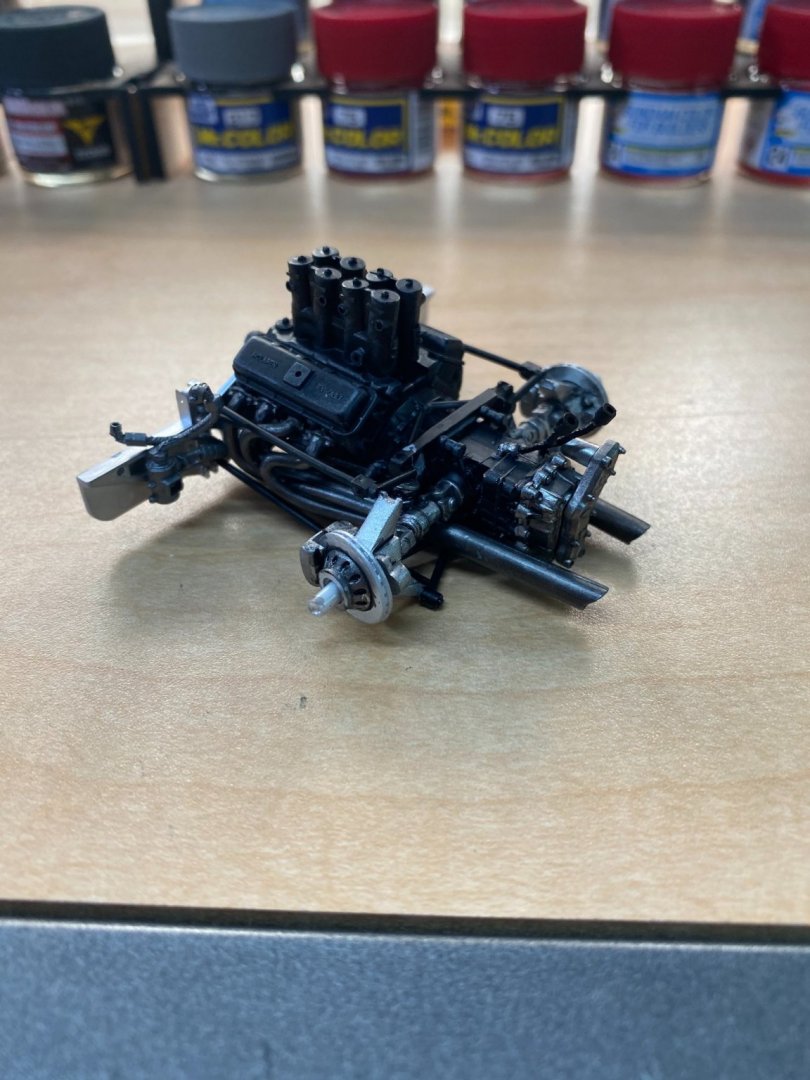

- 137 replies
-
- 12
-