CDW
-
Posts
7,725 -
Joined
-
Last visited
Content Type
Profiles
Forums
Gallery
Events
Everything posted by CDW
-
 I am working to secure a custom mix of DuPont Axalta paint to replicate this "Signal Yellow" 2010 Carrera GT. This particular color was not one of the 5 colors offered by Porsche but was a special order from the factory, so this particular Porsche is a one-of-a-kind factory car because of the color.
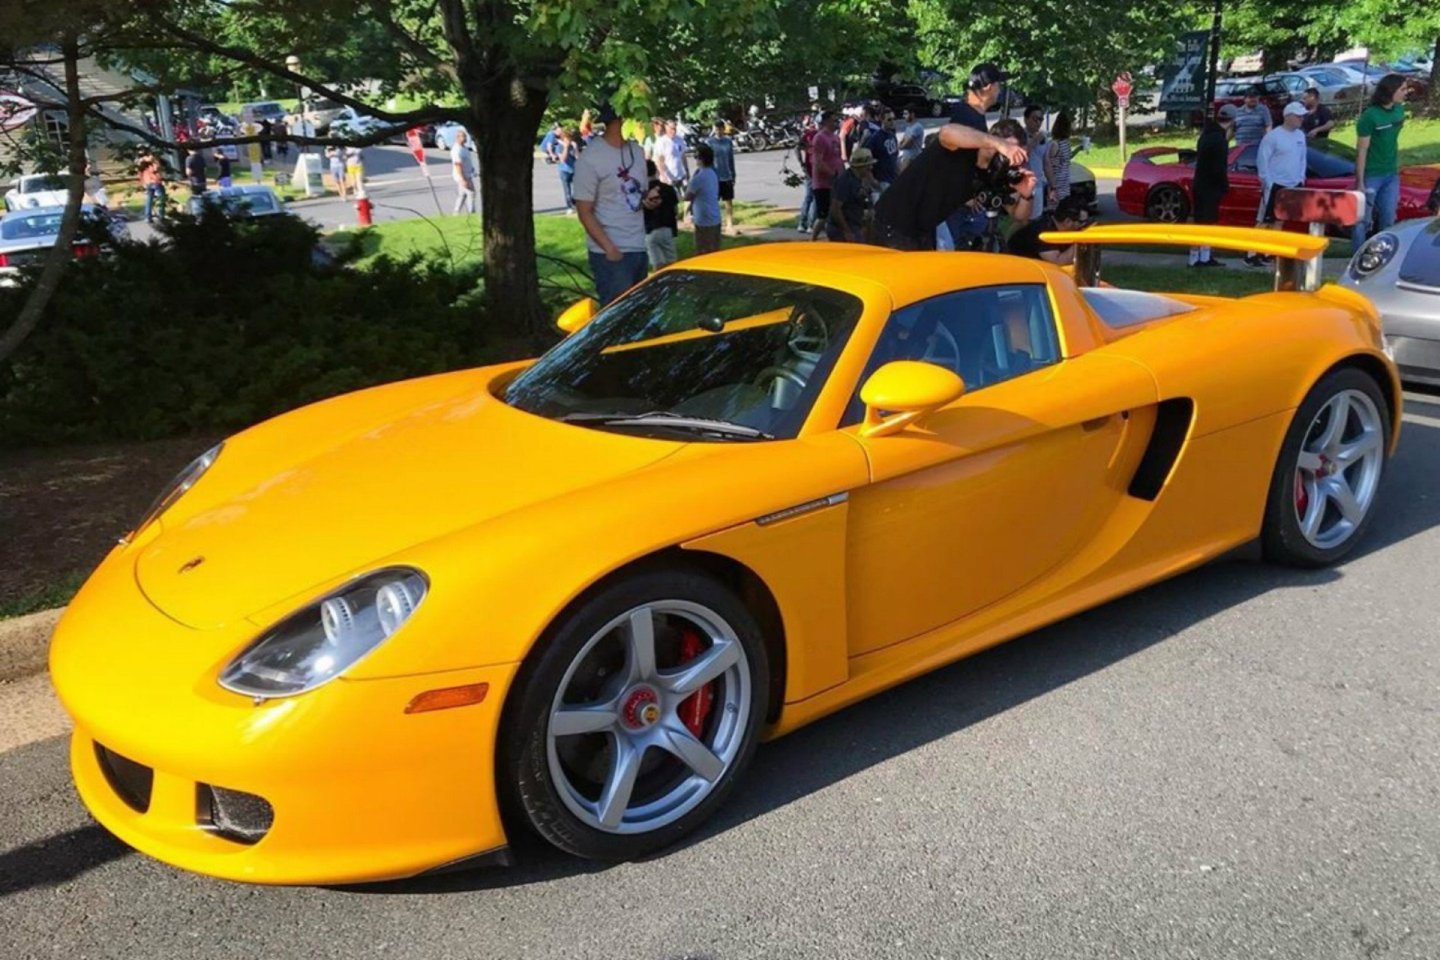
- 264 replies
-
- 10
-

-

-
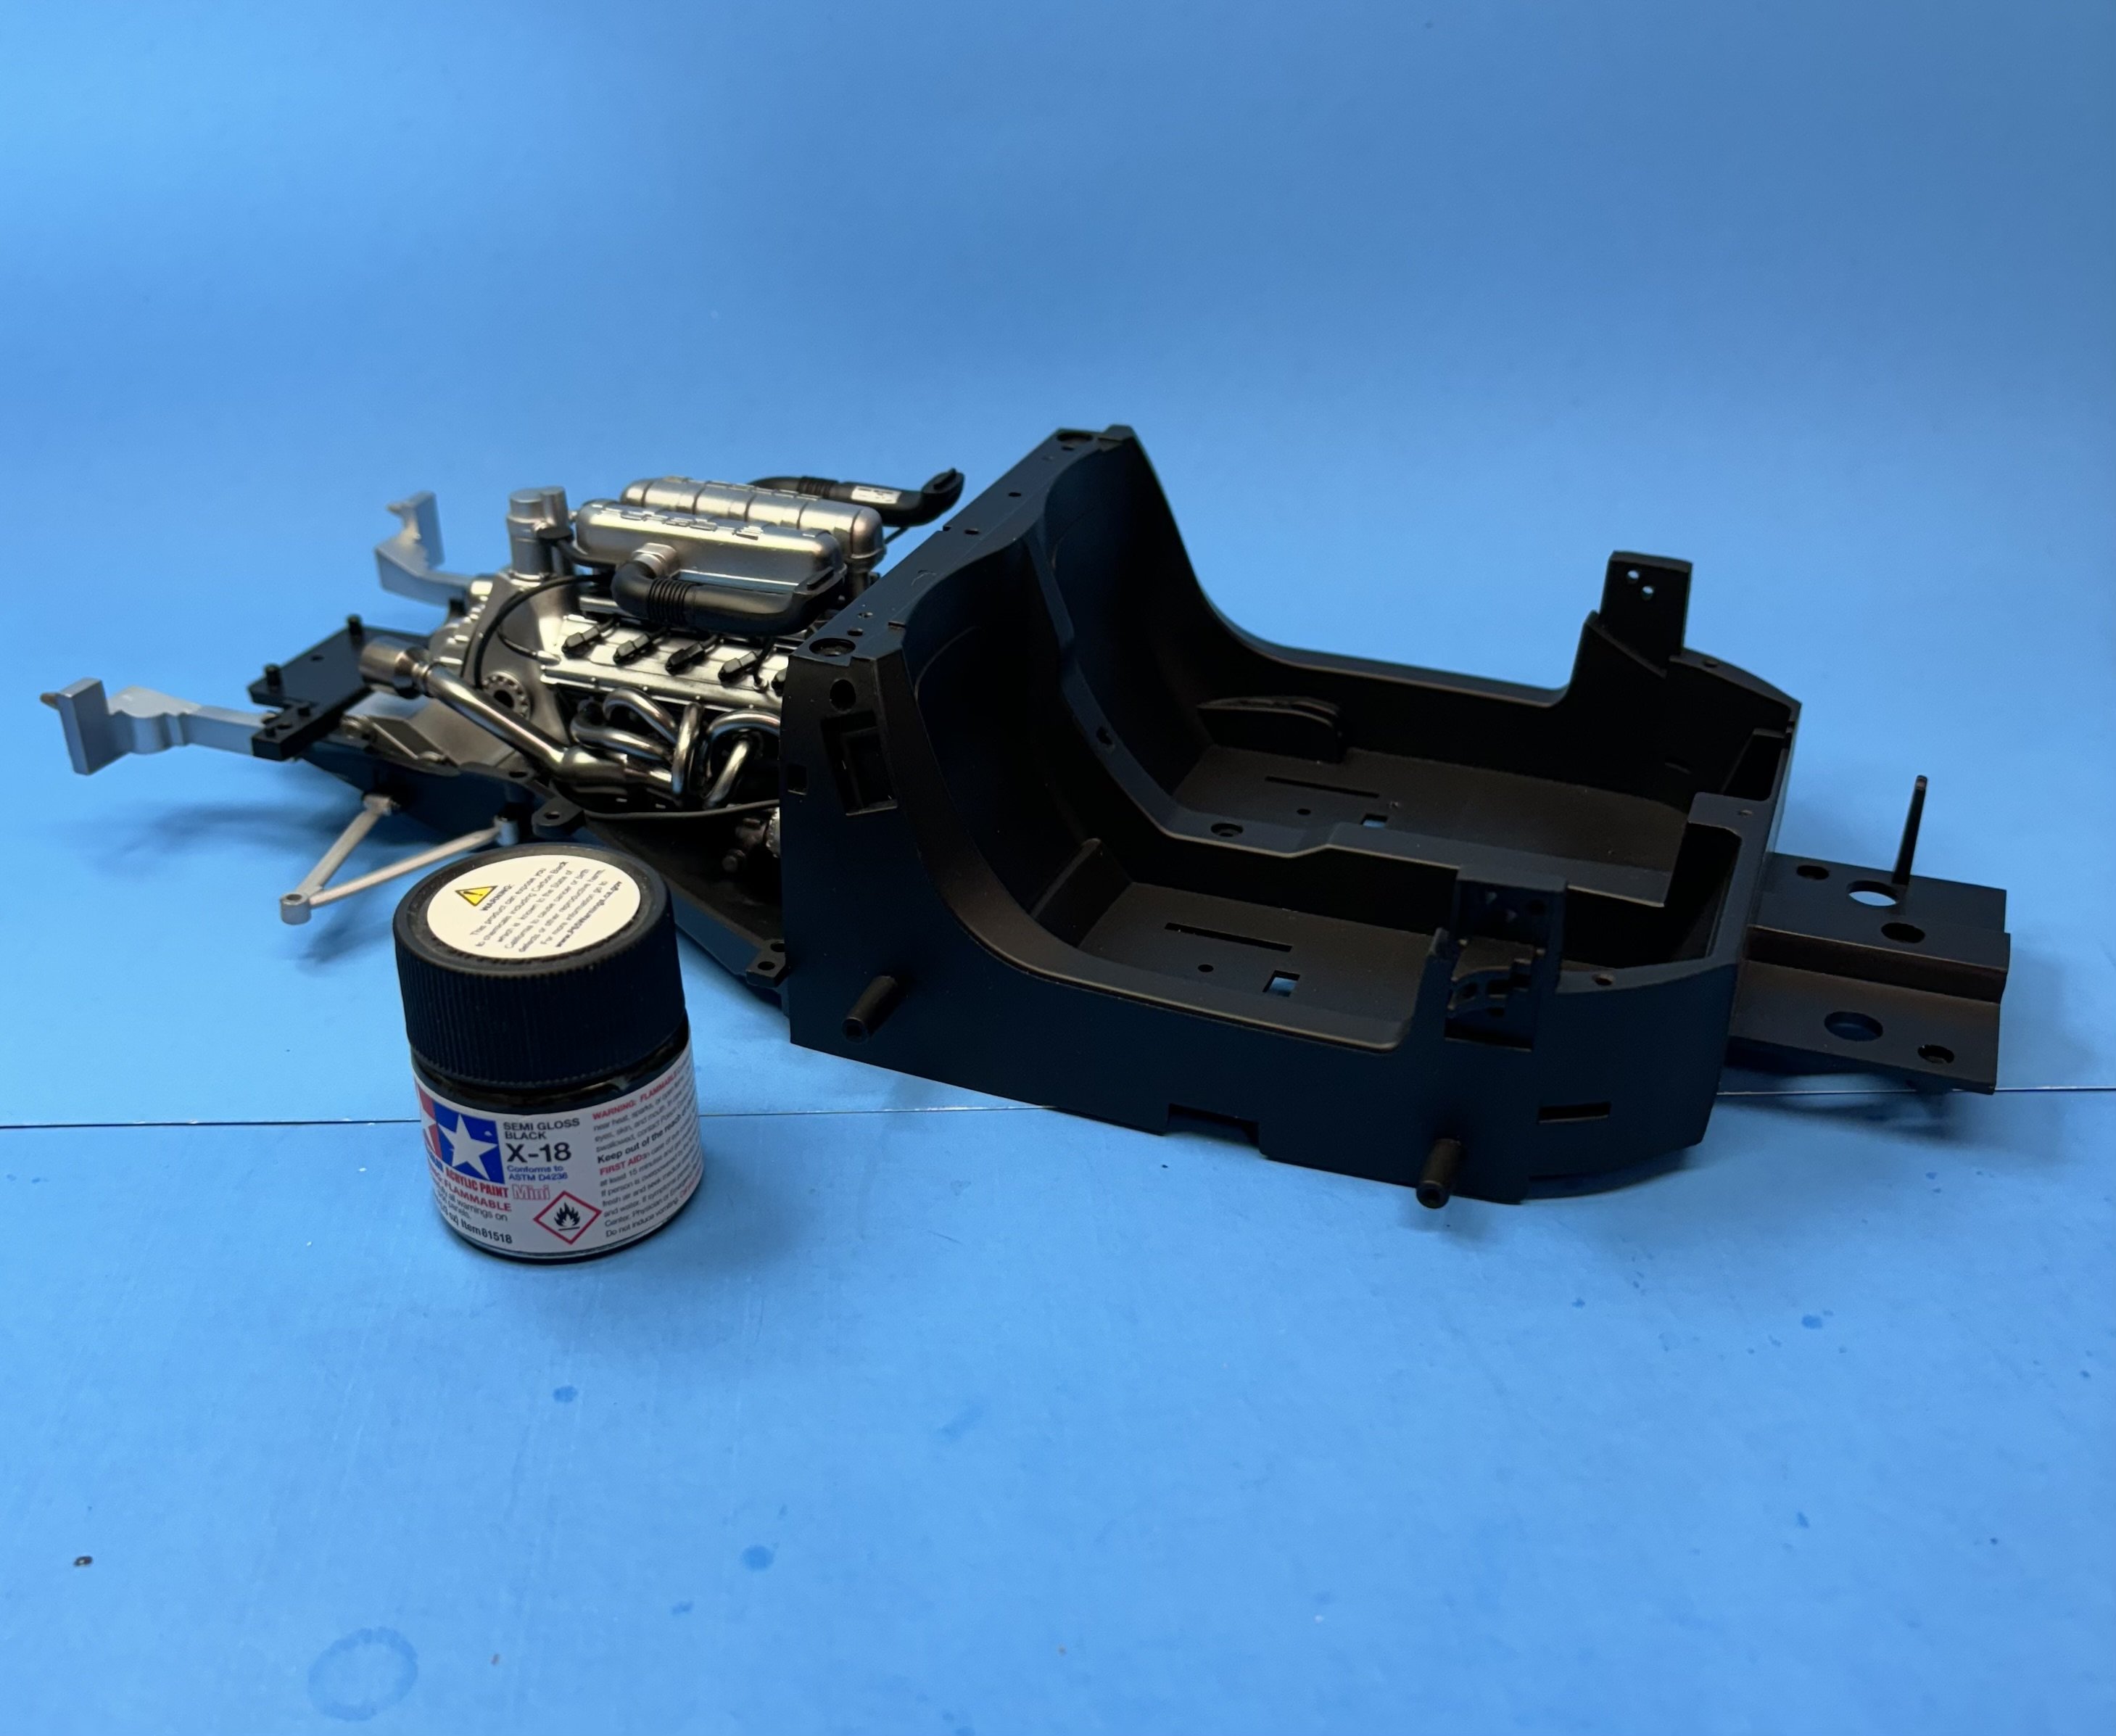
A quick update on where I’m at with construction of the Porsche Carrera GT. A Tamiya paint jar is in the photo to give a sense of scale. Most of the suspension parts now being added to the build are made of cast metal. Minimal amounts of cleanup are needed before priming and painting.


-
It's a reflection from the blue paper as well as a result of no flash being used for the photo.
-
Thanks gentlemen. Looking at the photos, I just realized I forgot to attach the windshield wipers!
-
Finished - Thanks for following along, for your likes and comments. The show is over, the monkey is dead. See you all again soon with updates on the 1:12 Tamiya Porsche Carrera GT build thread.


- 37 replies
-
- 13
-
-
-
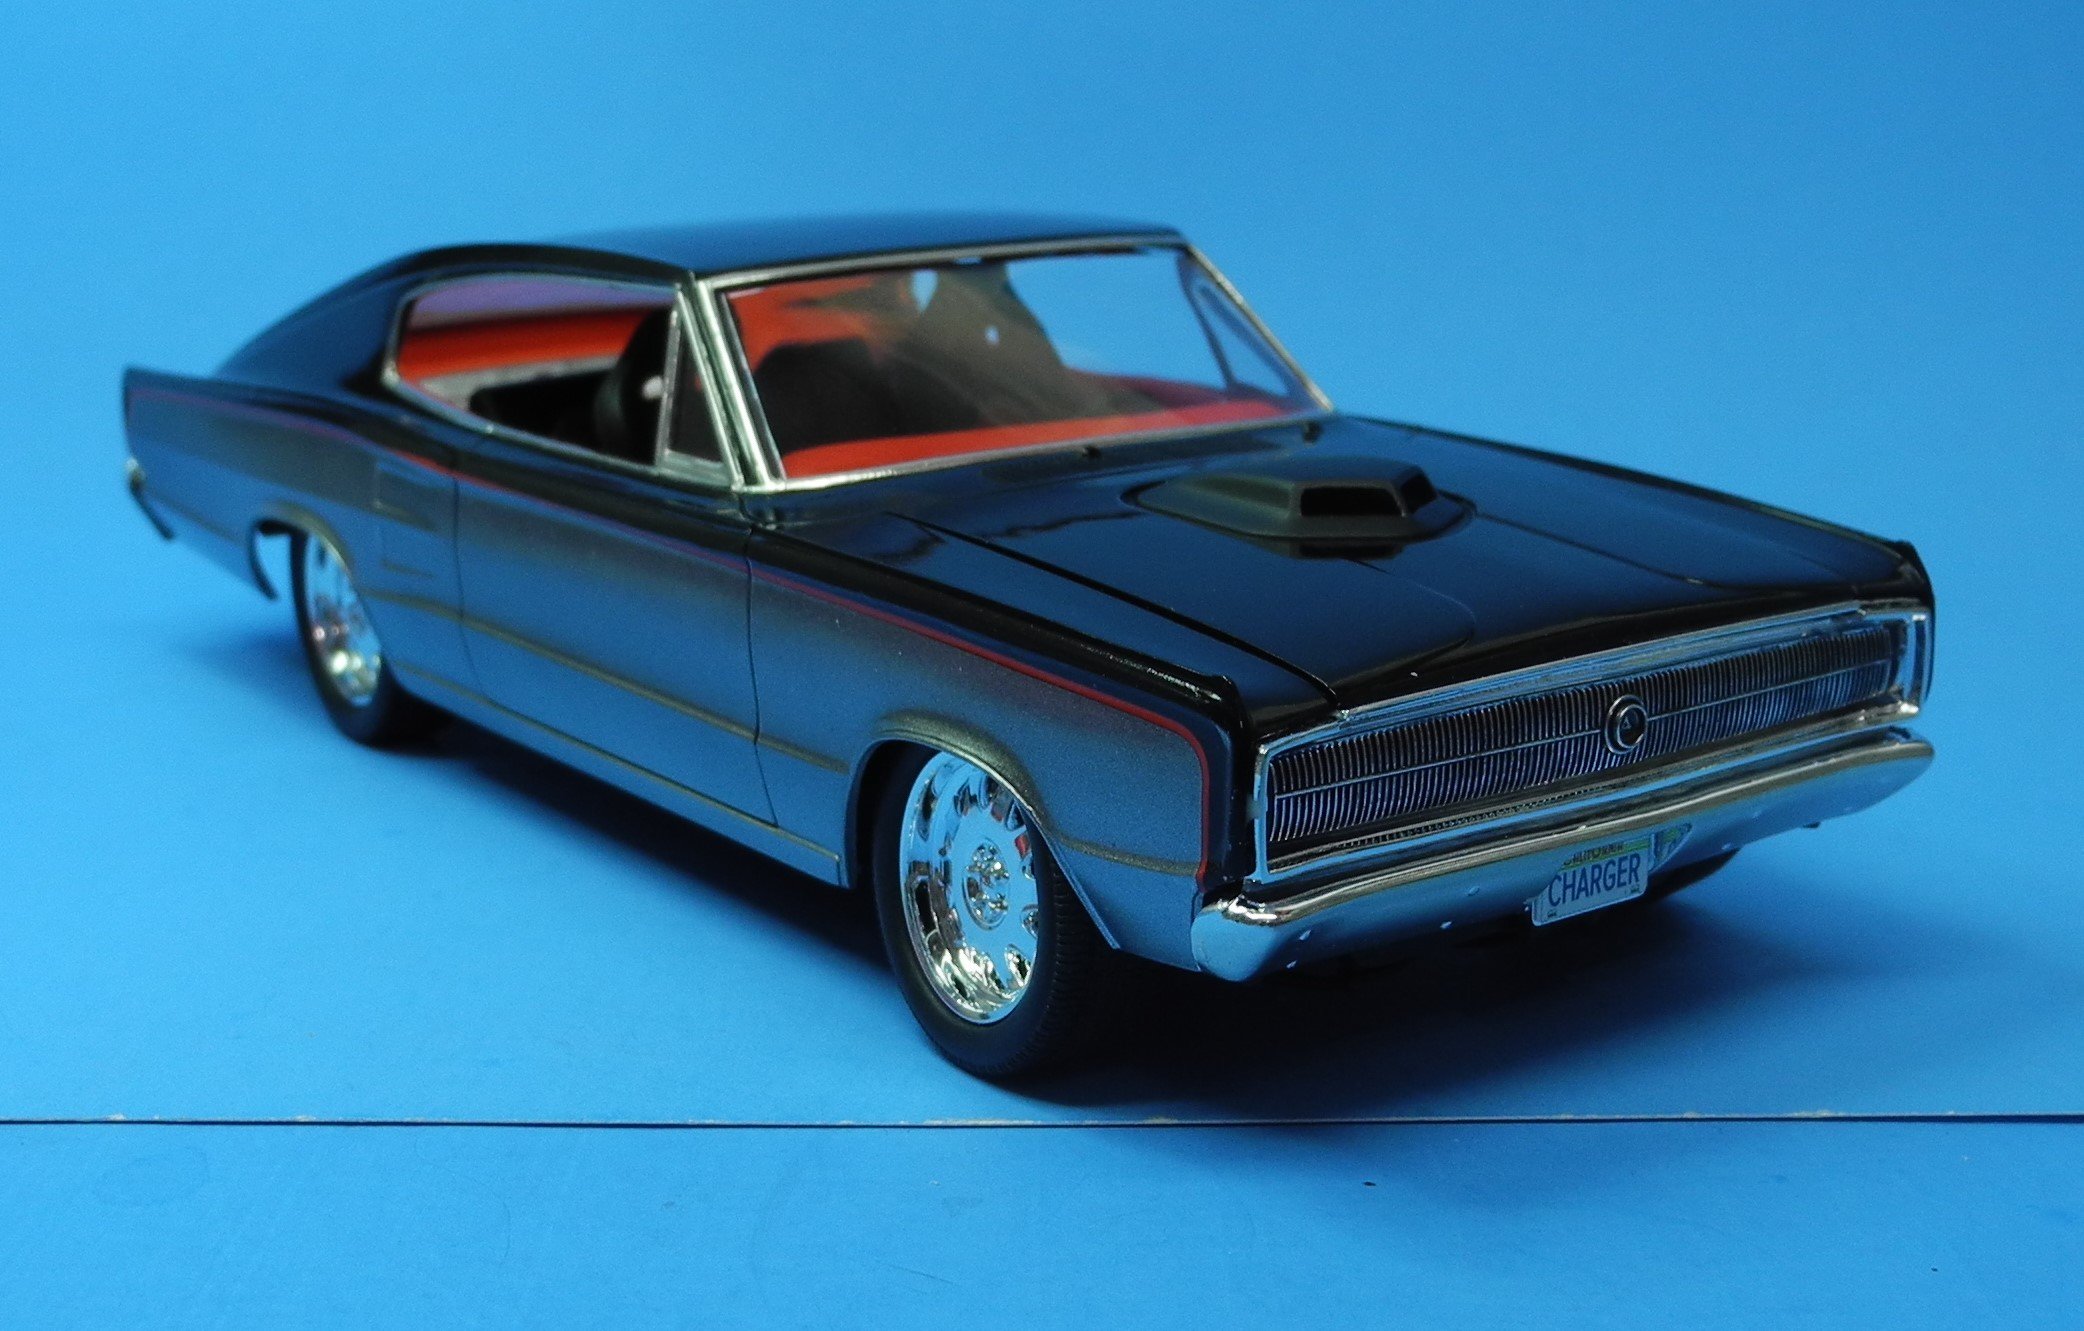
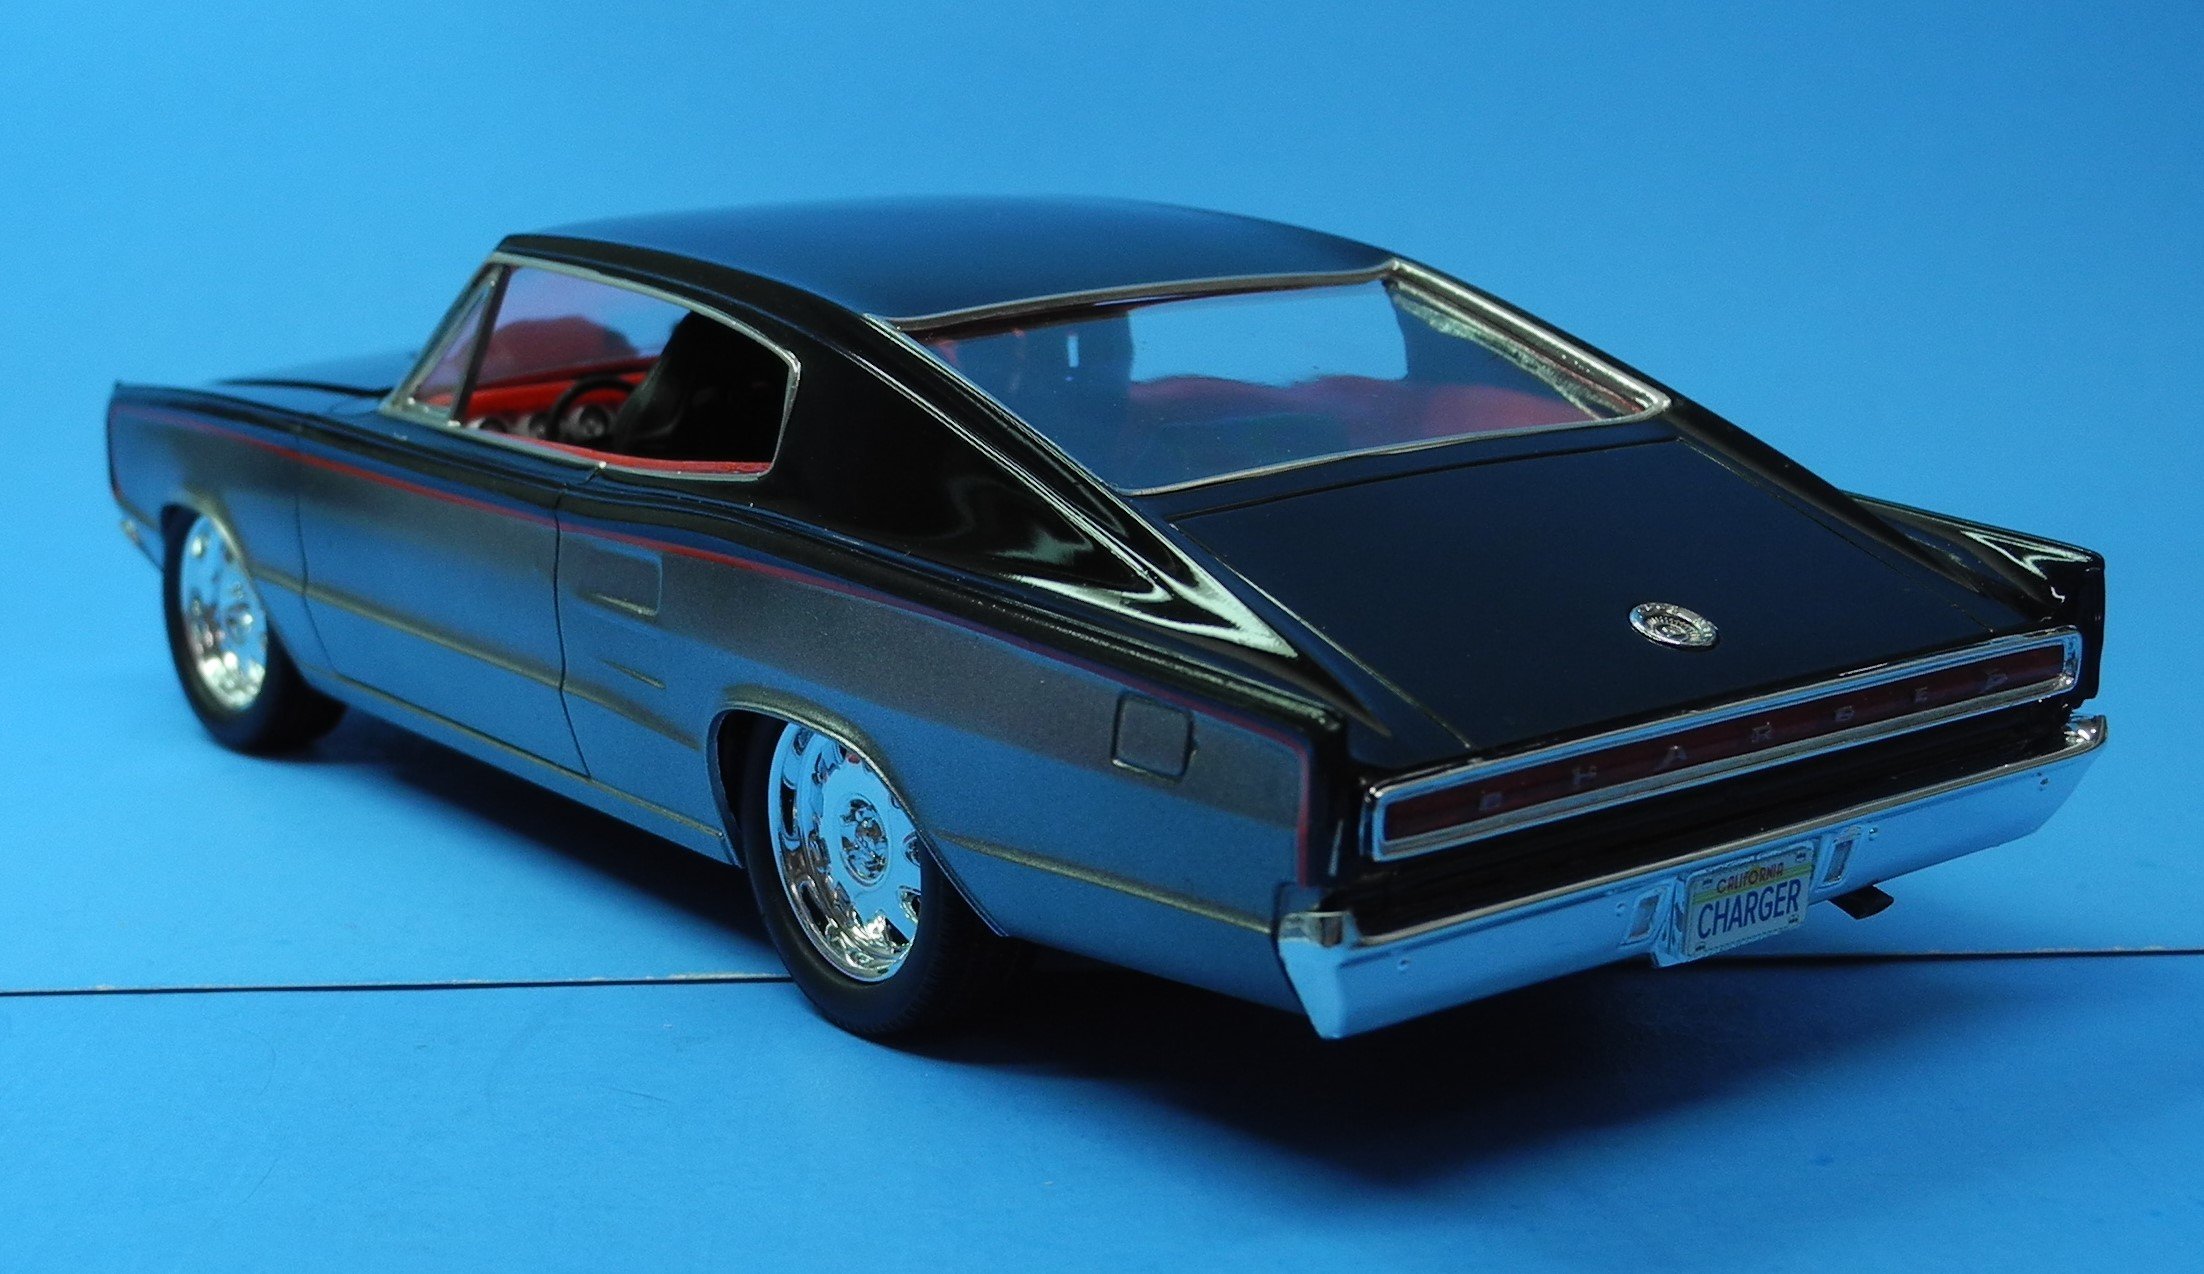
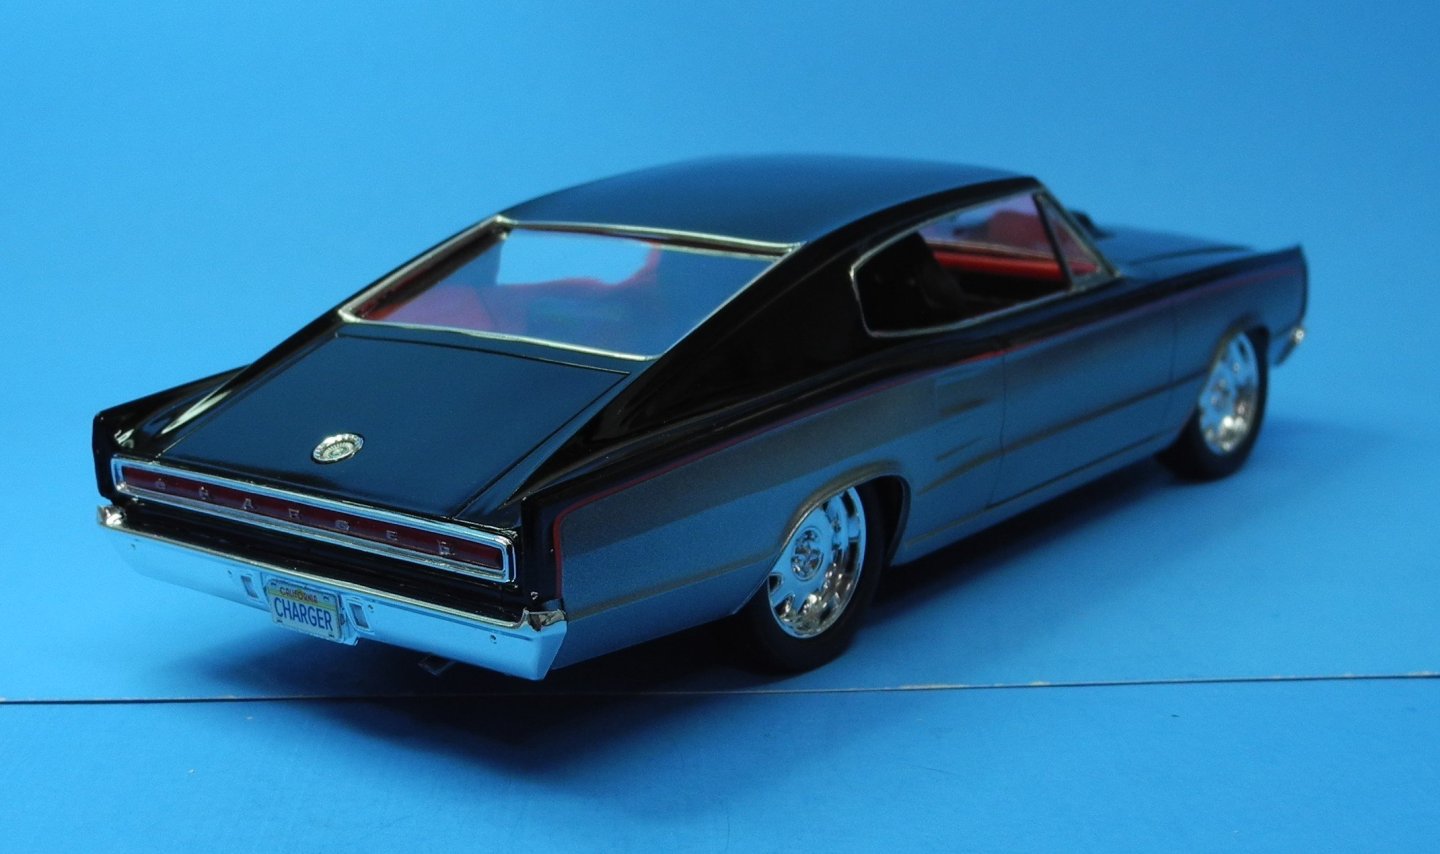
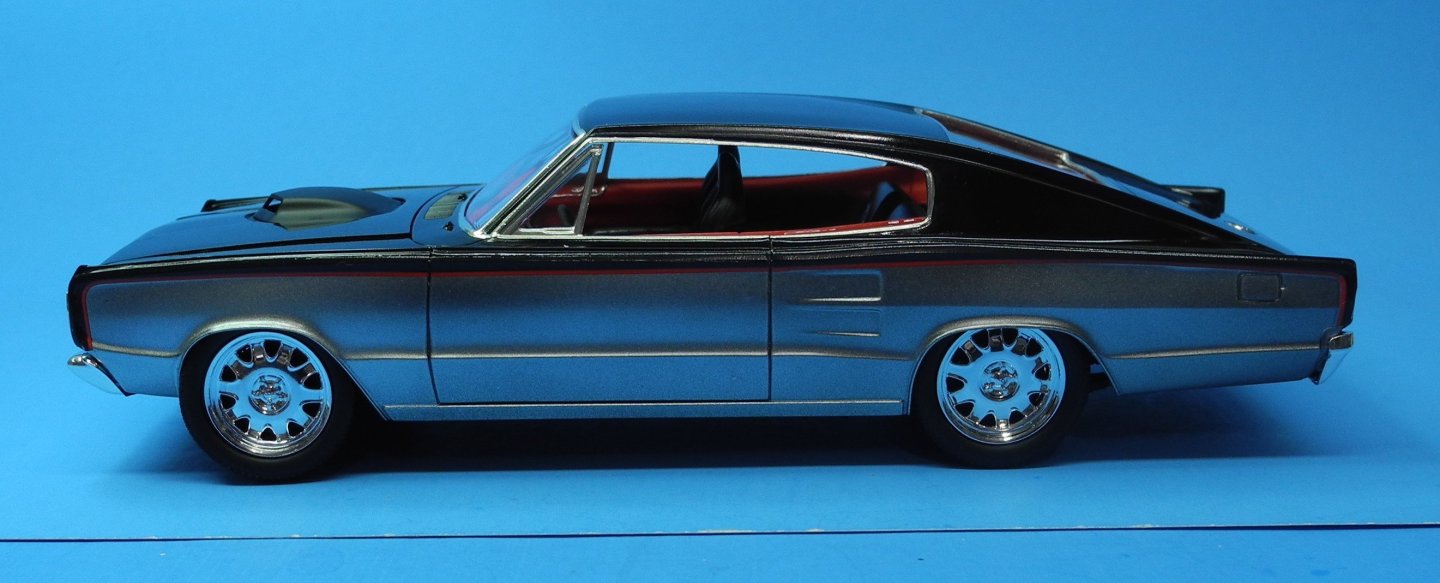
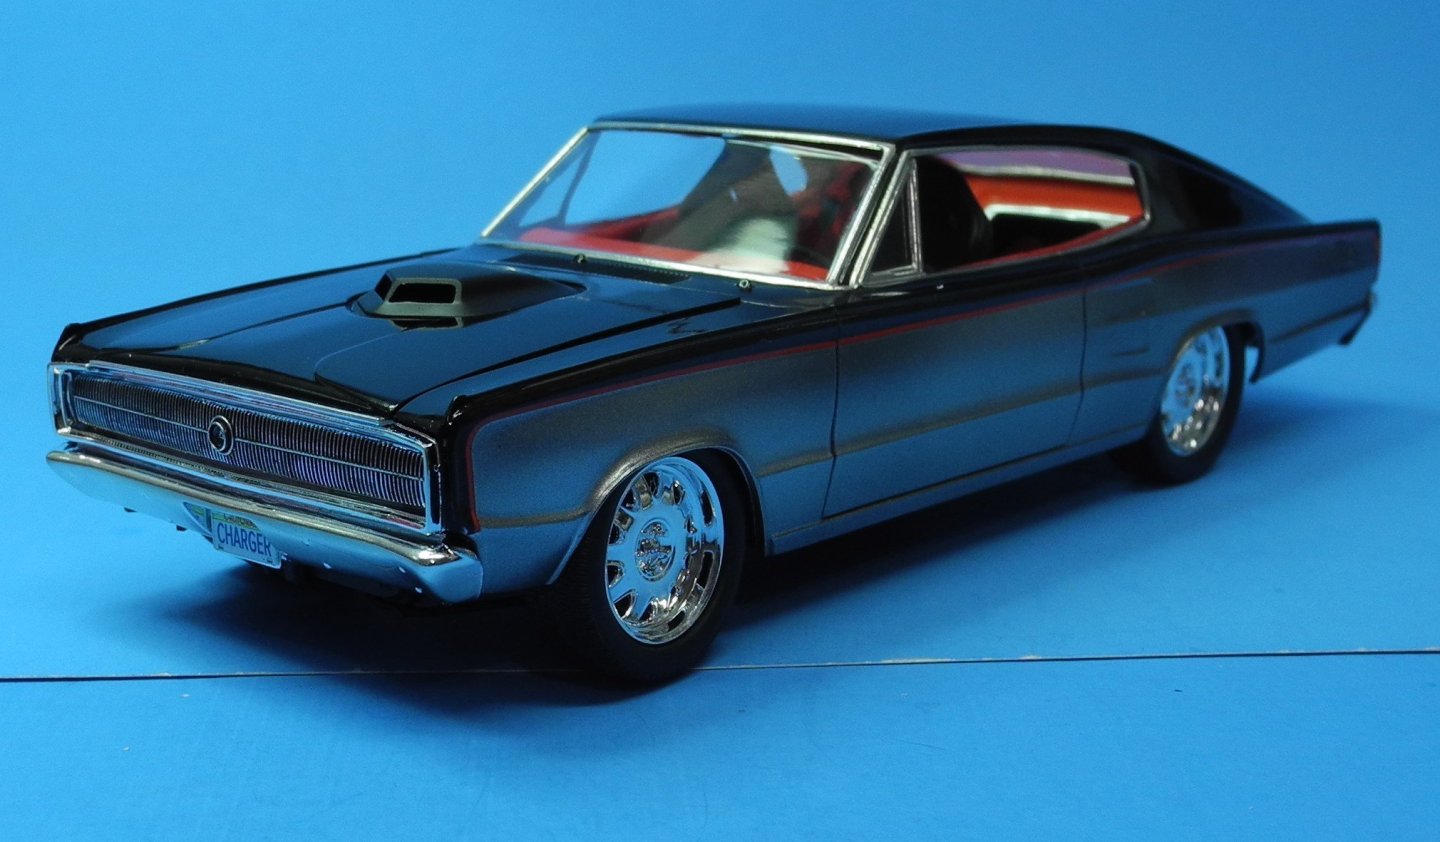
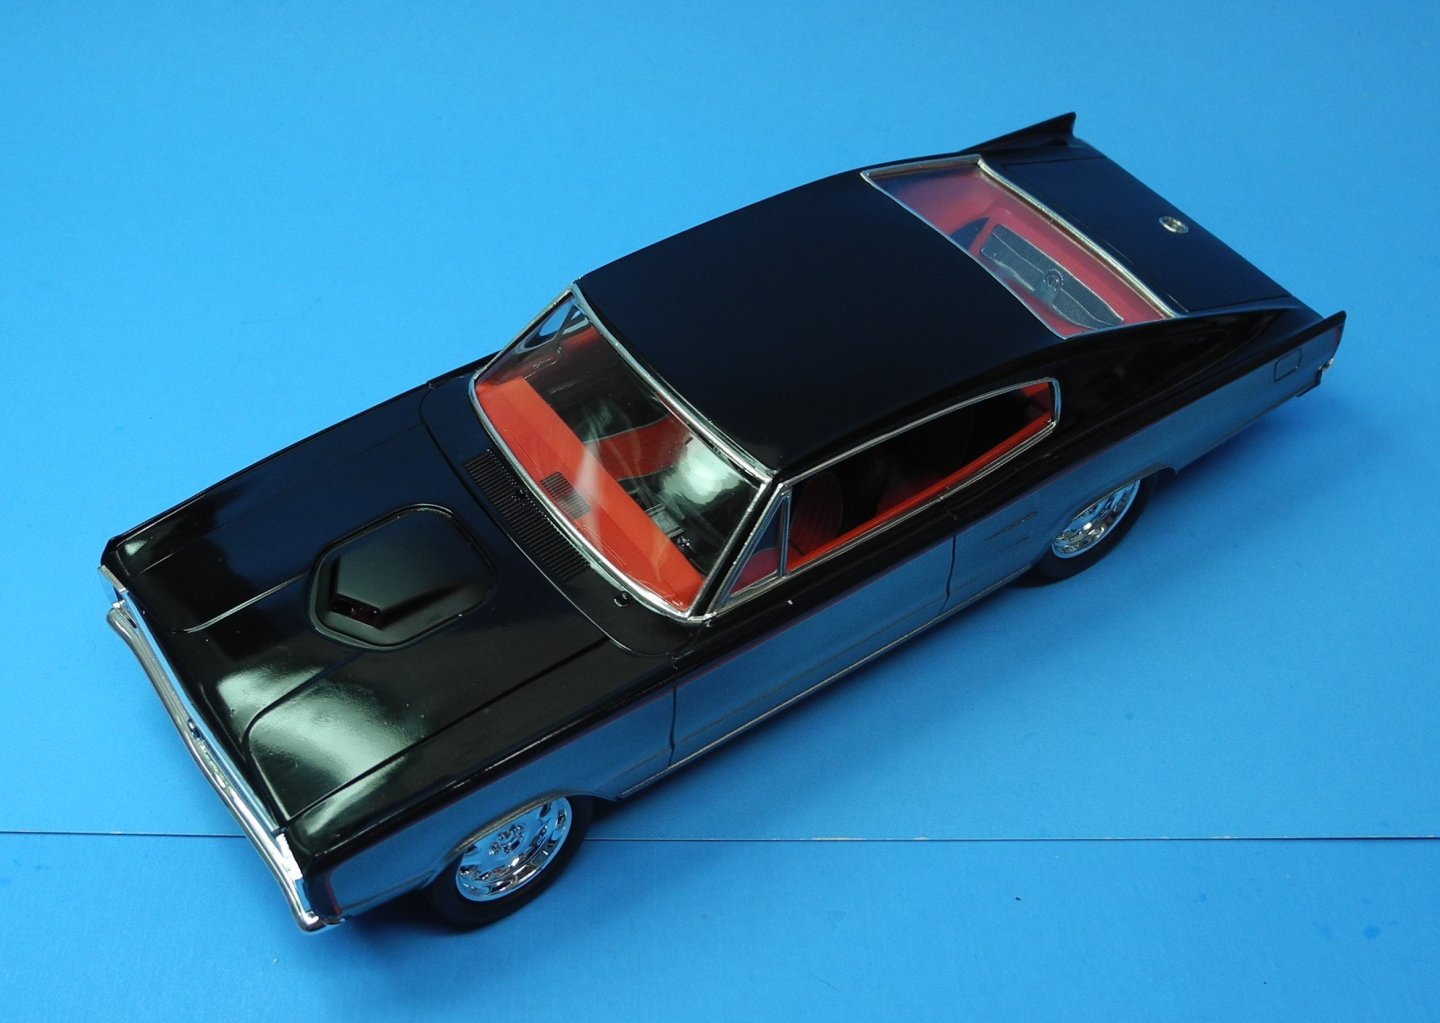
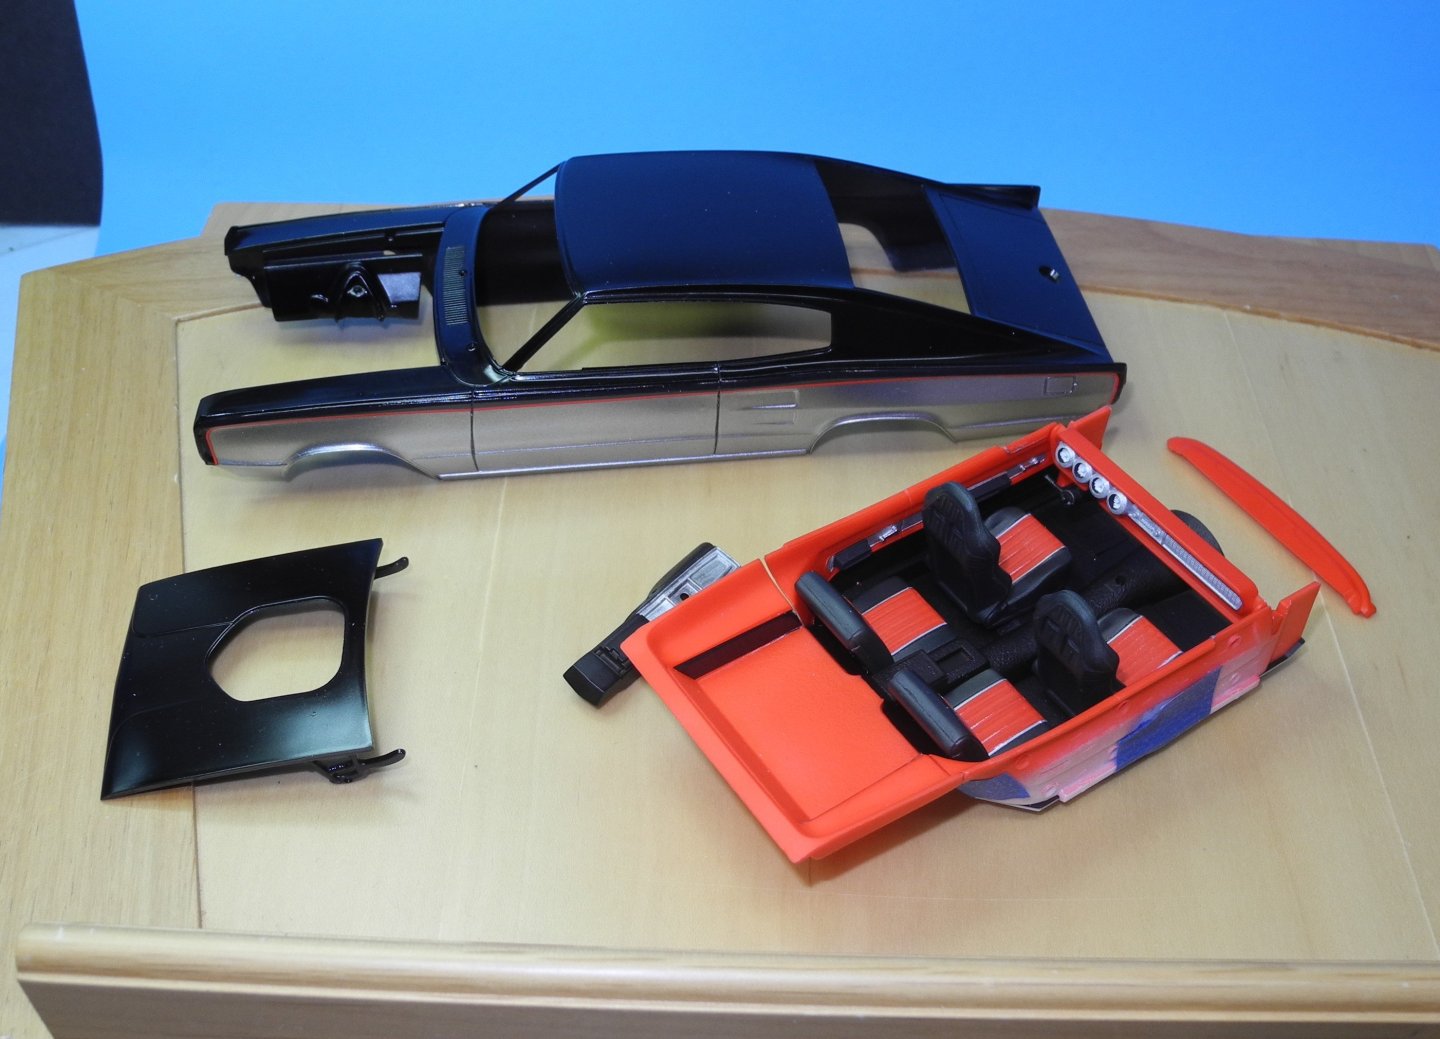
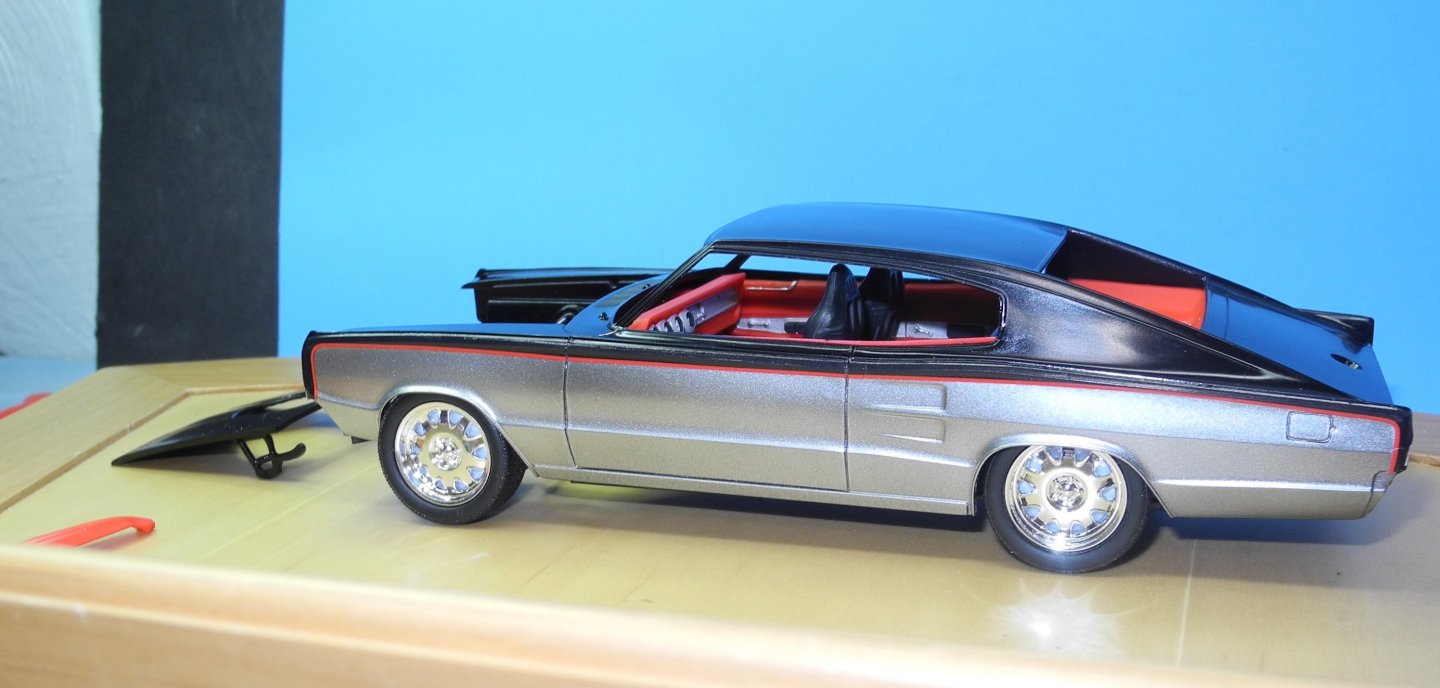
Just a few adjustments...shaker hood intake needs adjustment, a little too low. Bare metal foil chrome trim to be added around window trim. Glass needs to be installed, rear bumper, and license plates, then she'll be done. probably will wrap this one up tomorrow.


- 37 replies
-
- 13
-
-
-
It has been a pleasure watching your progress on this fabulous project. Well done is an understatement.
-
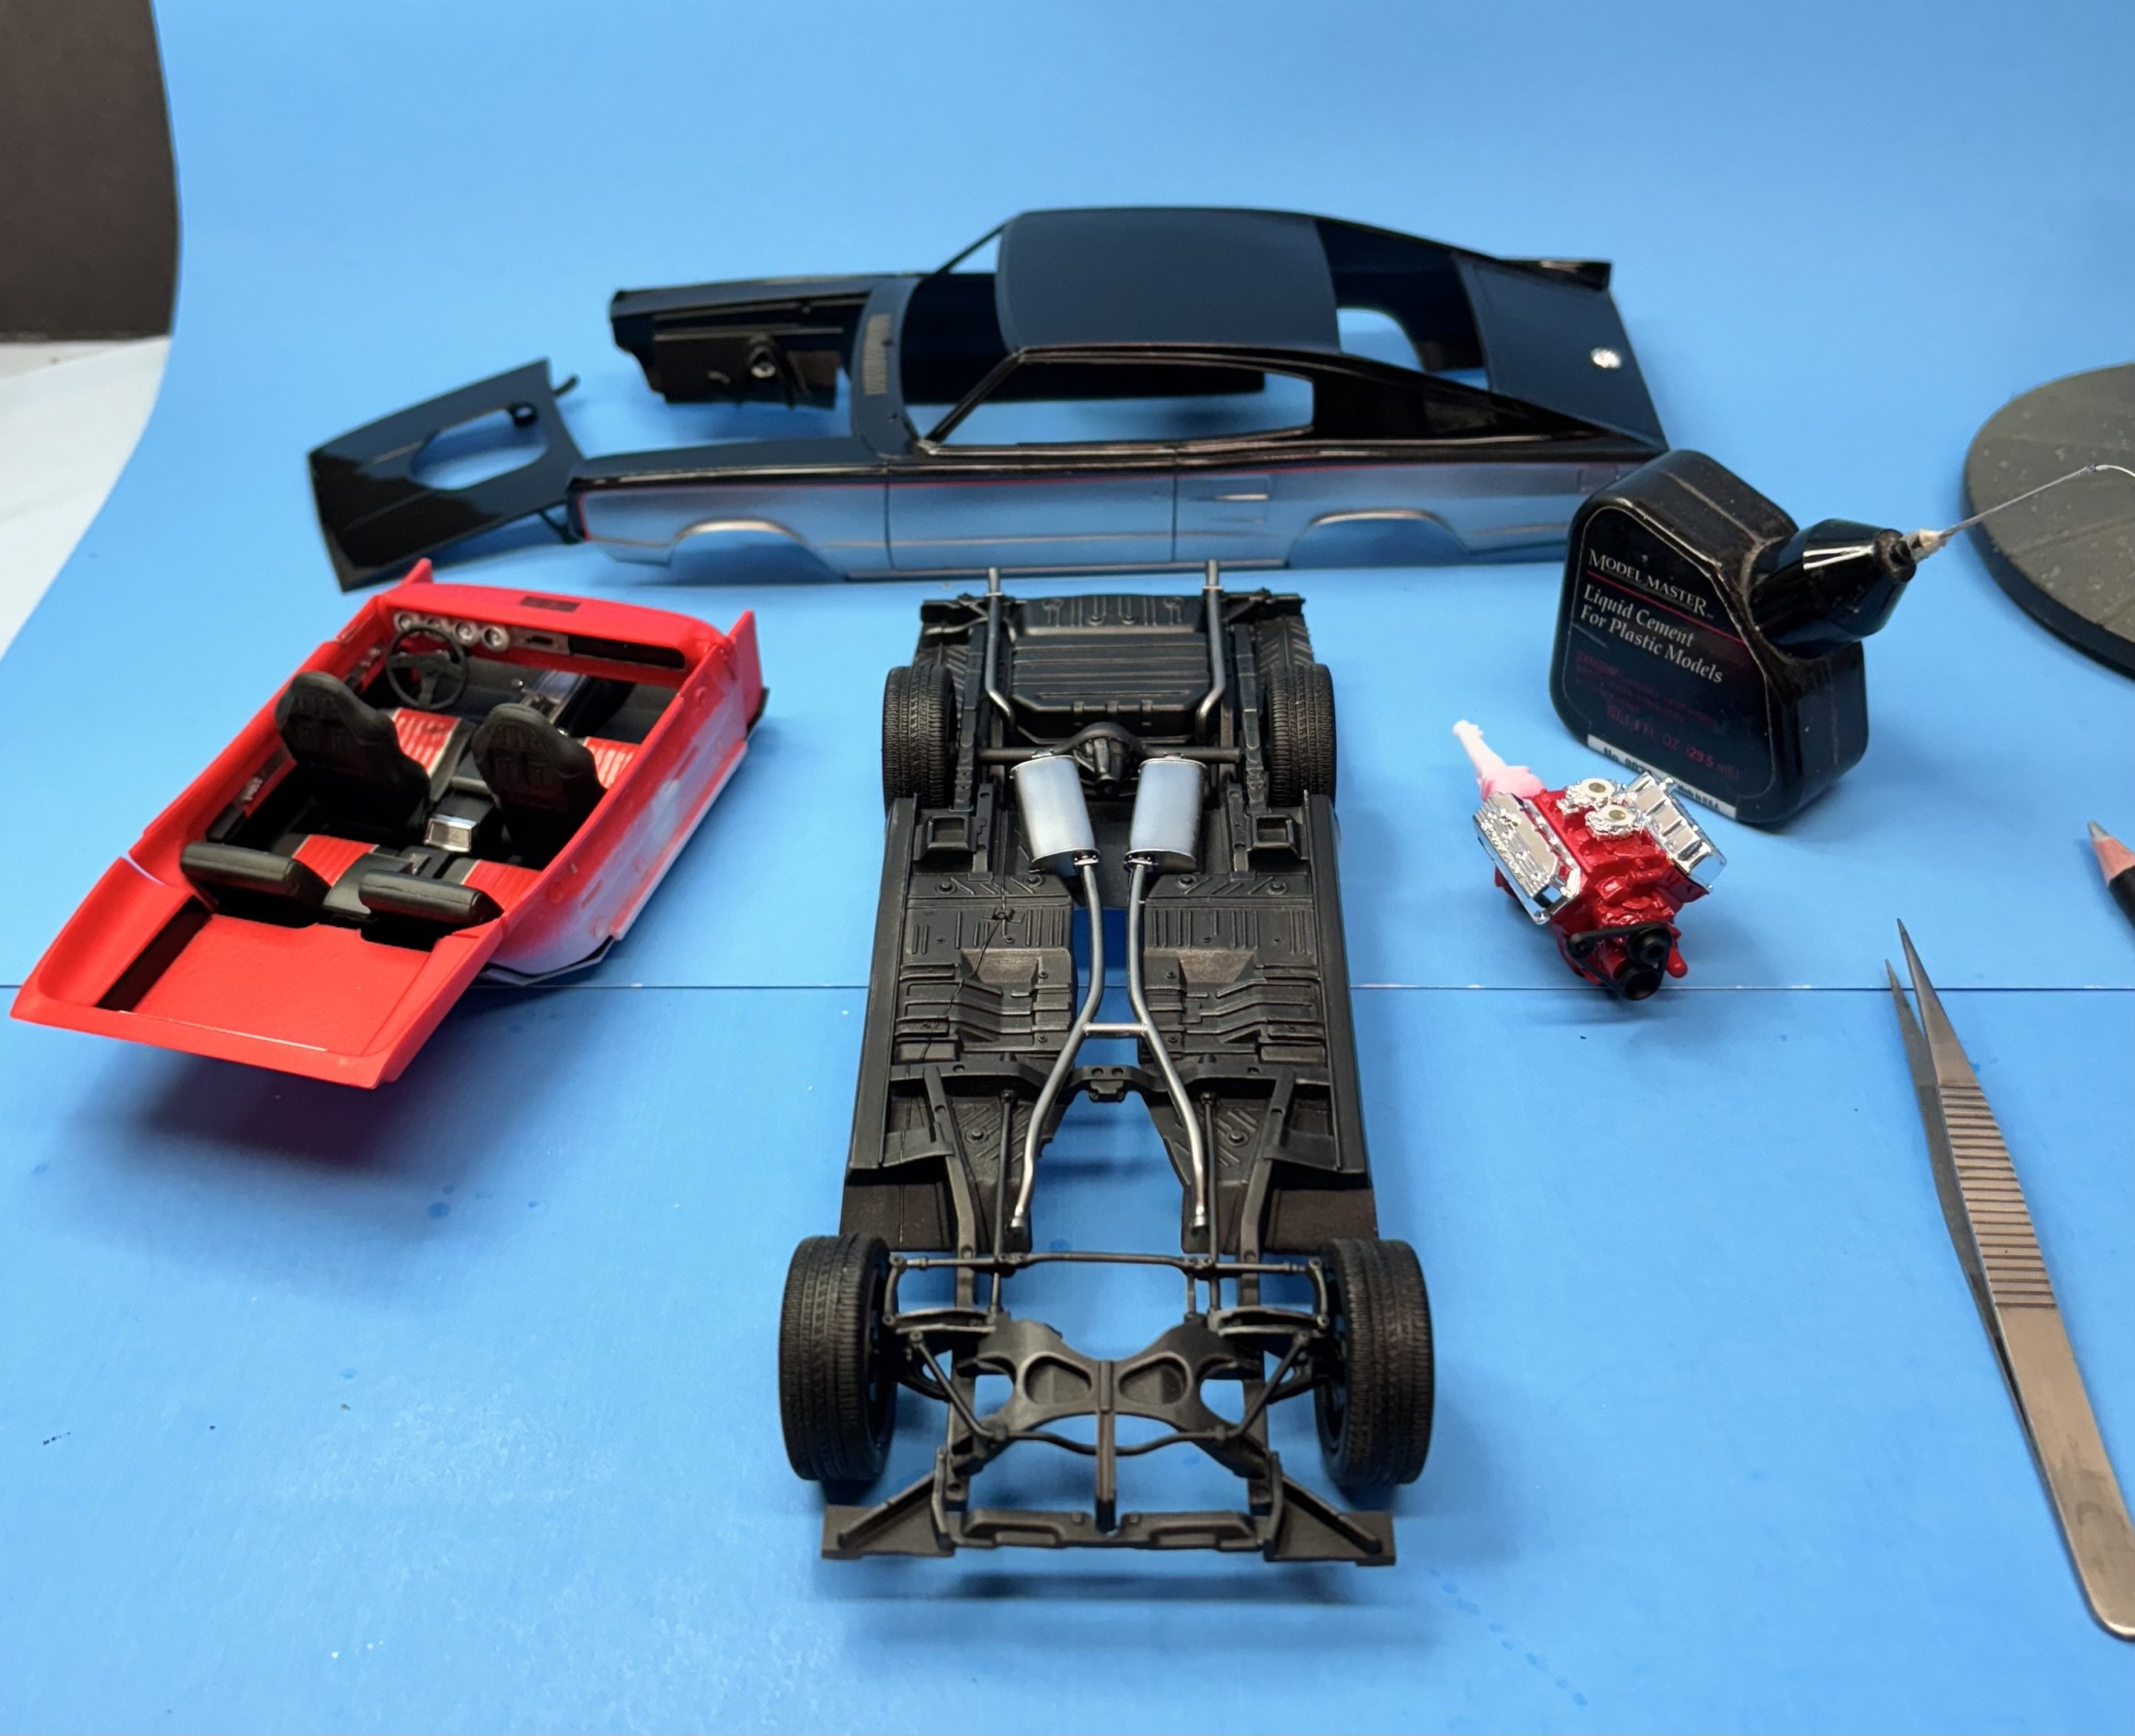
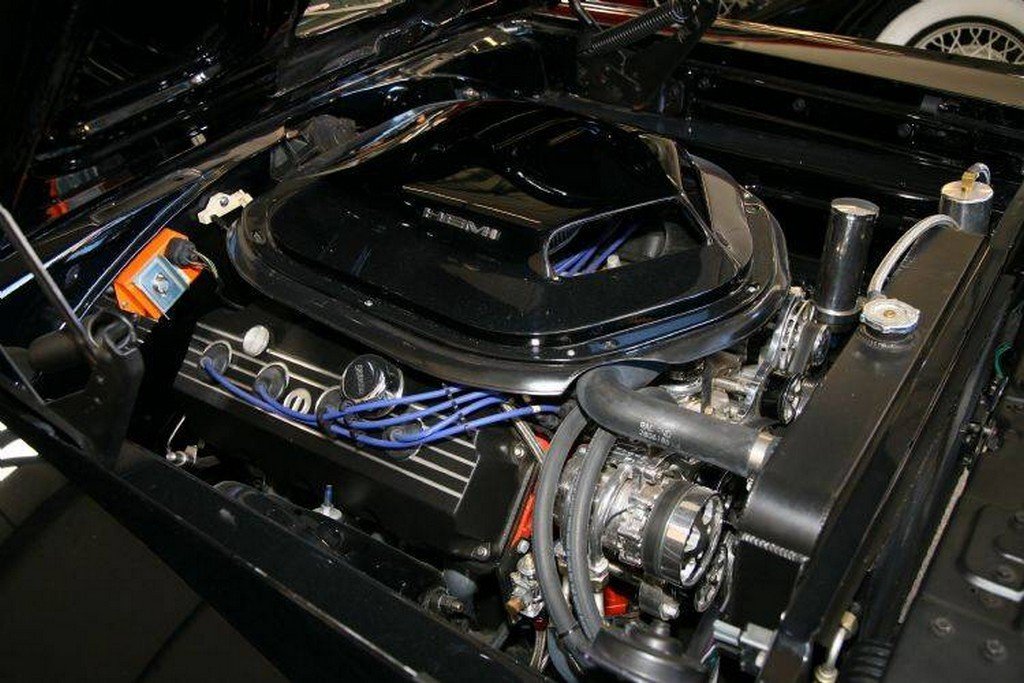
The car body got several coats of clear lacquer last night. I’ll give it time to cure out while working on the engine and then begin final assembly of all the car components.

- 37 replies
-
- 12
-
-
-
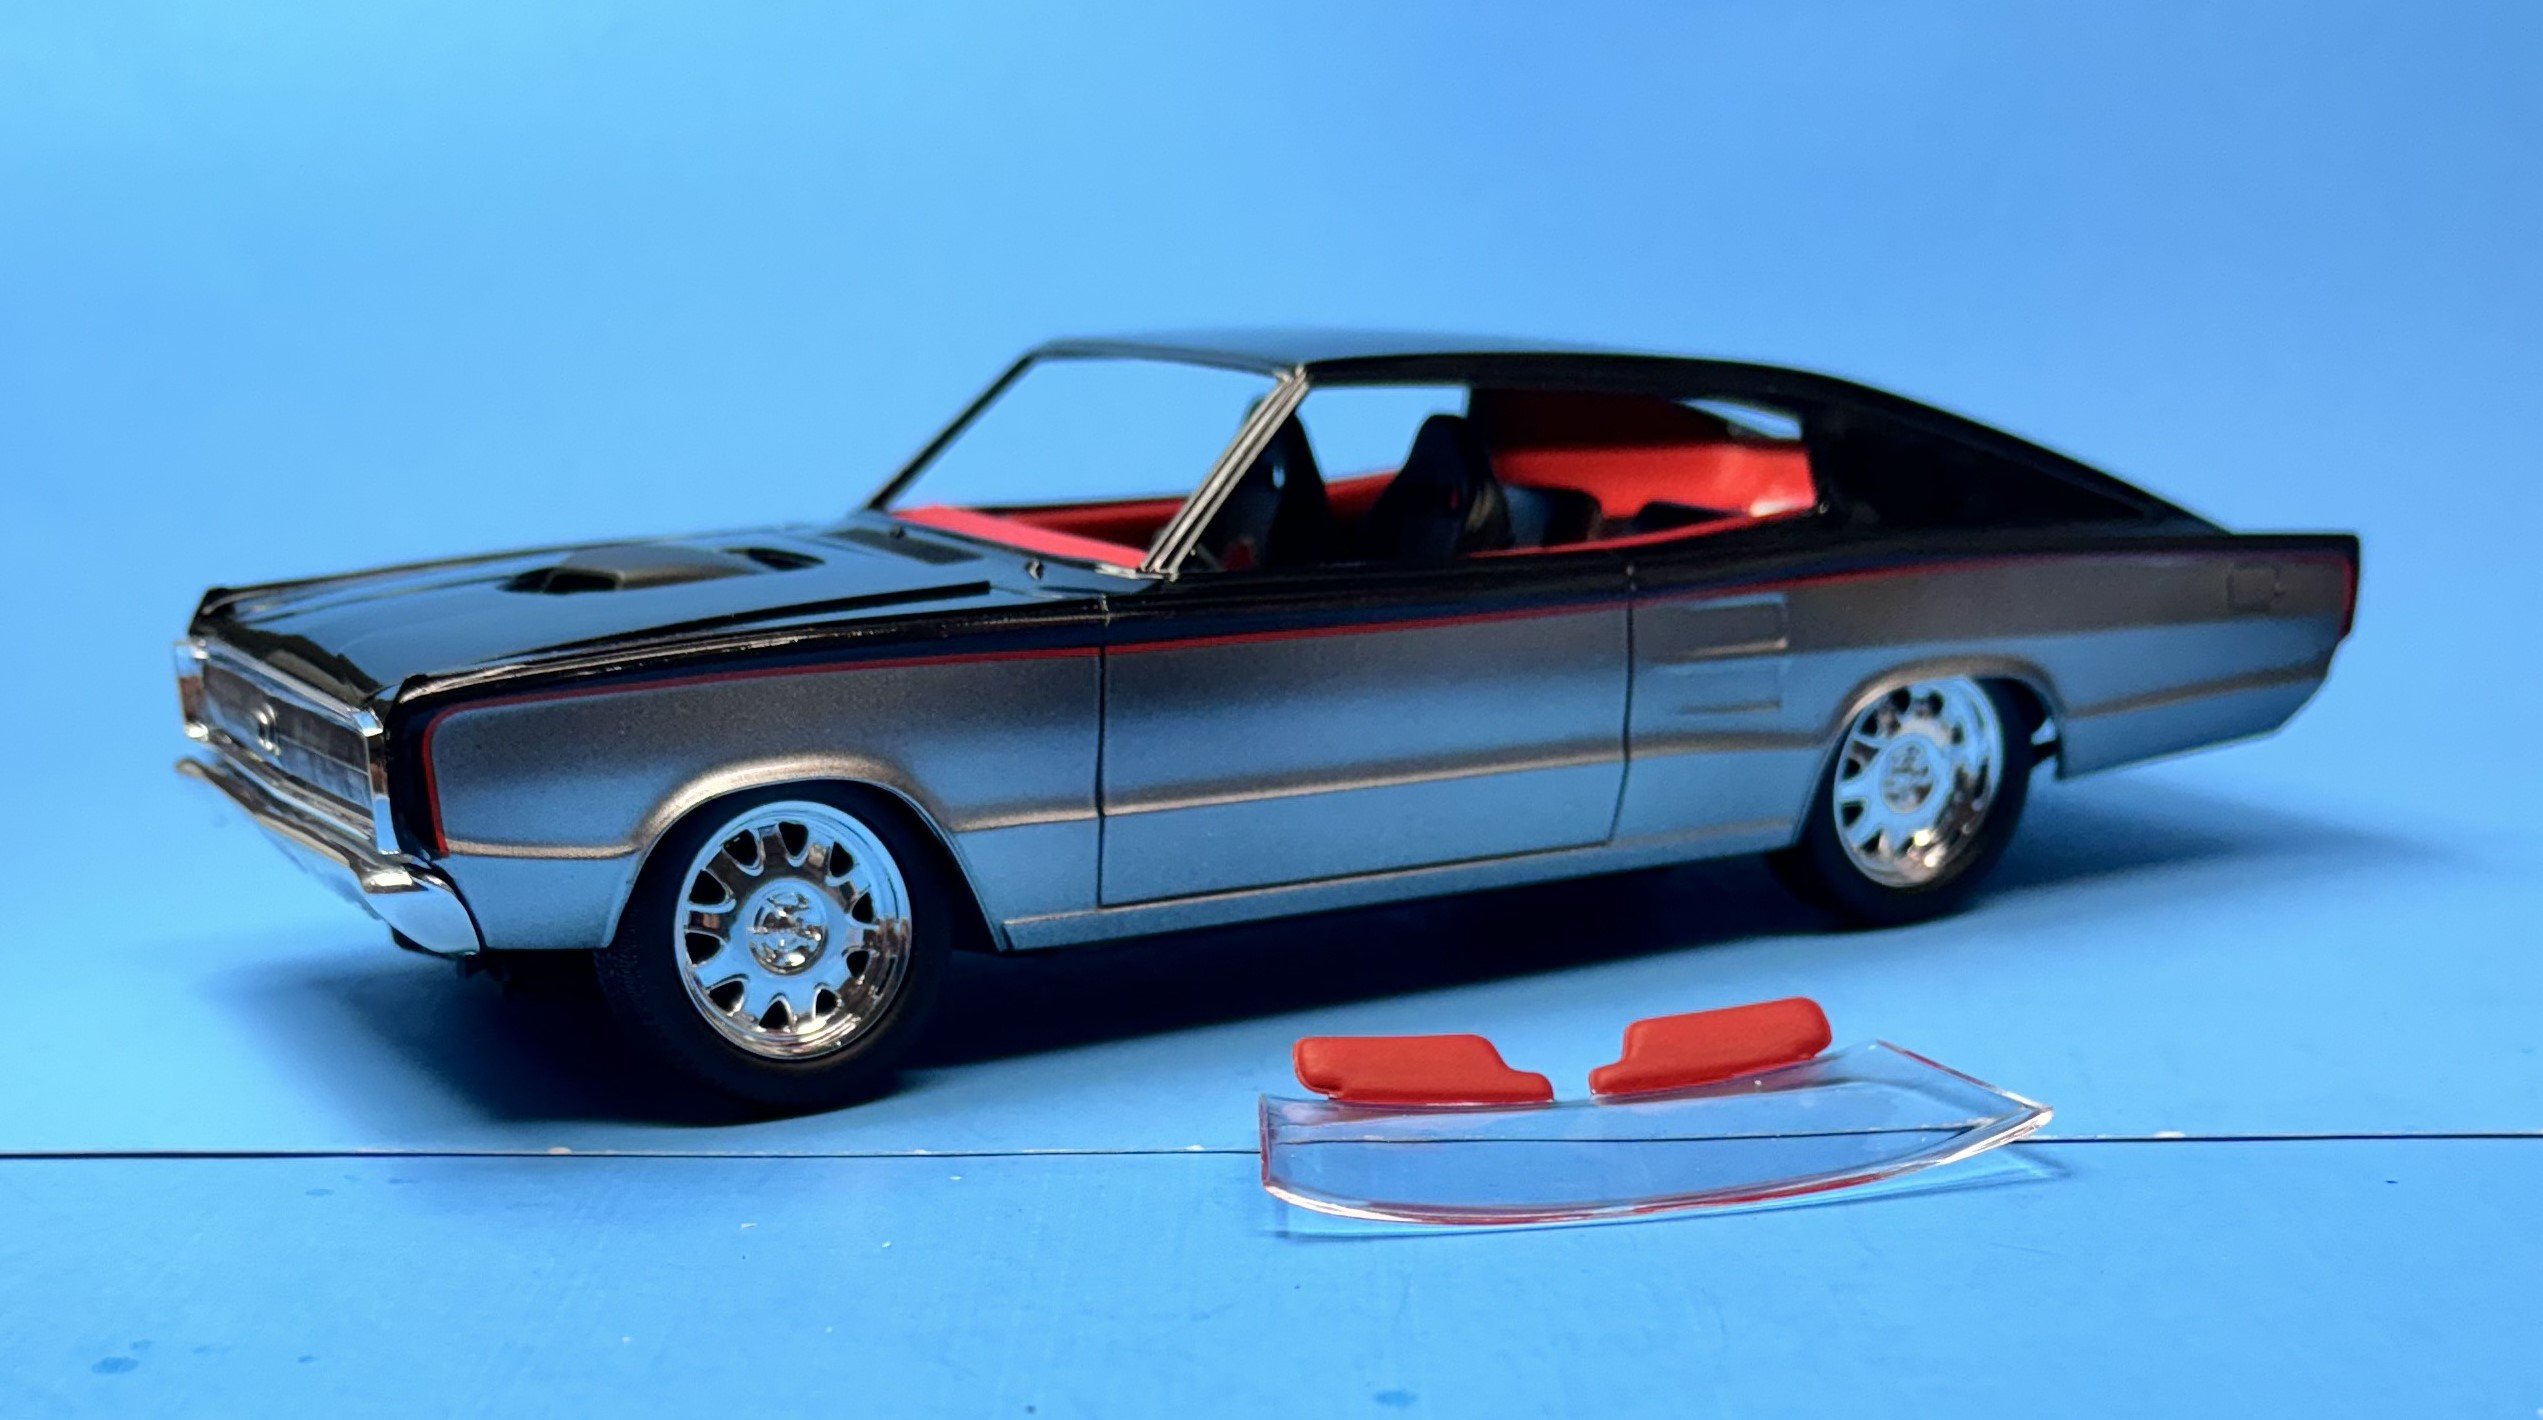
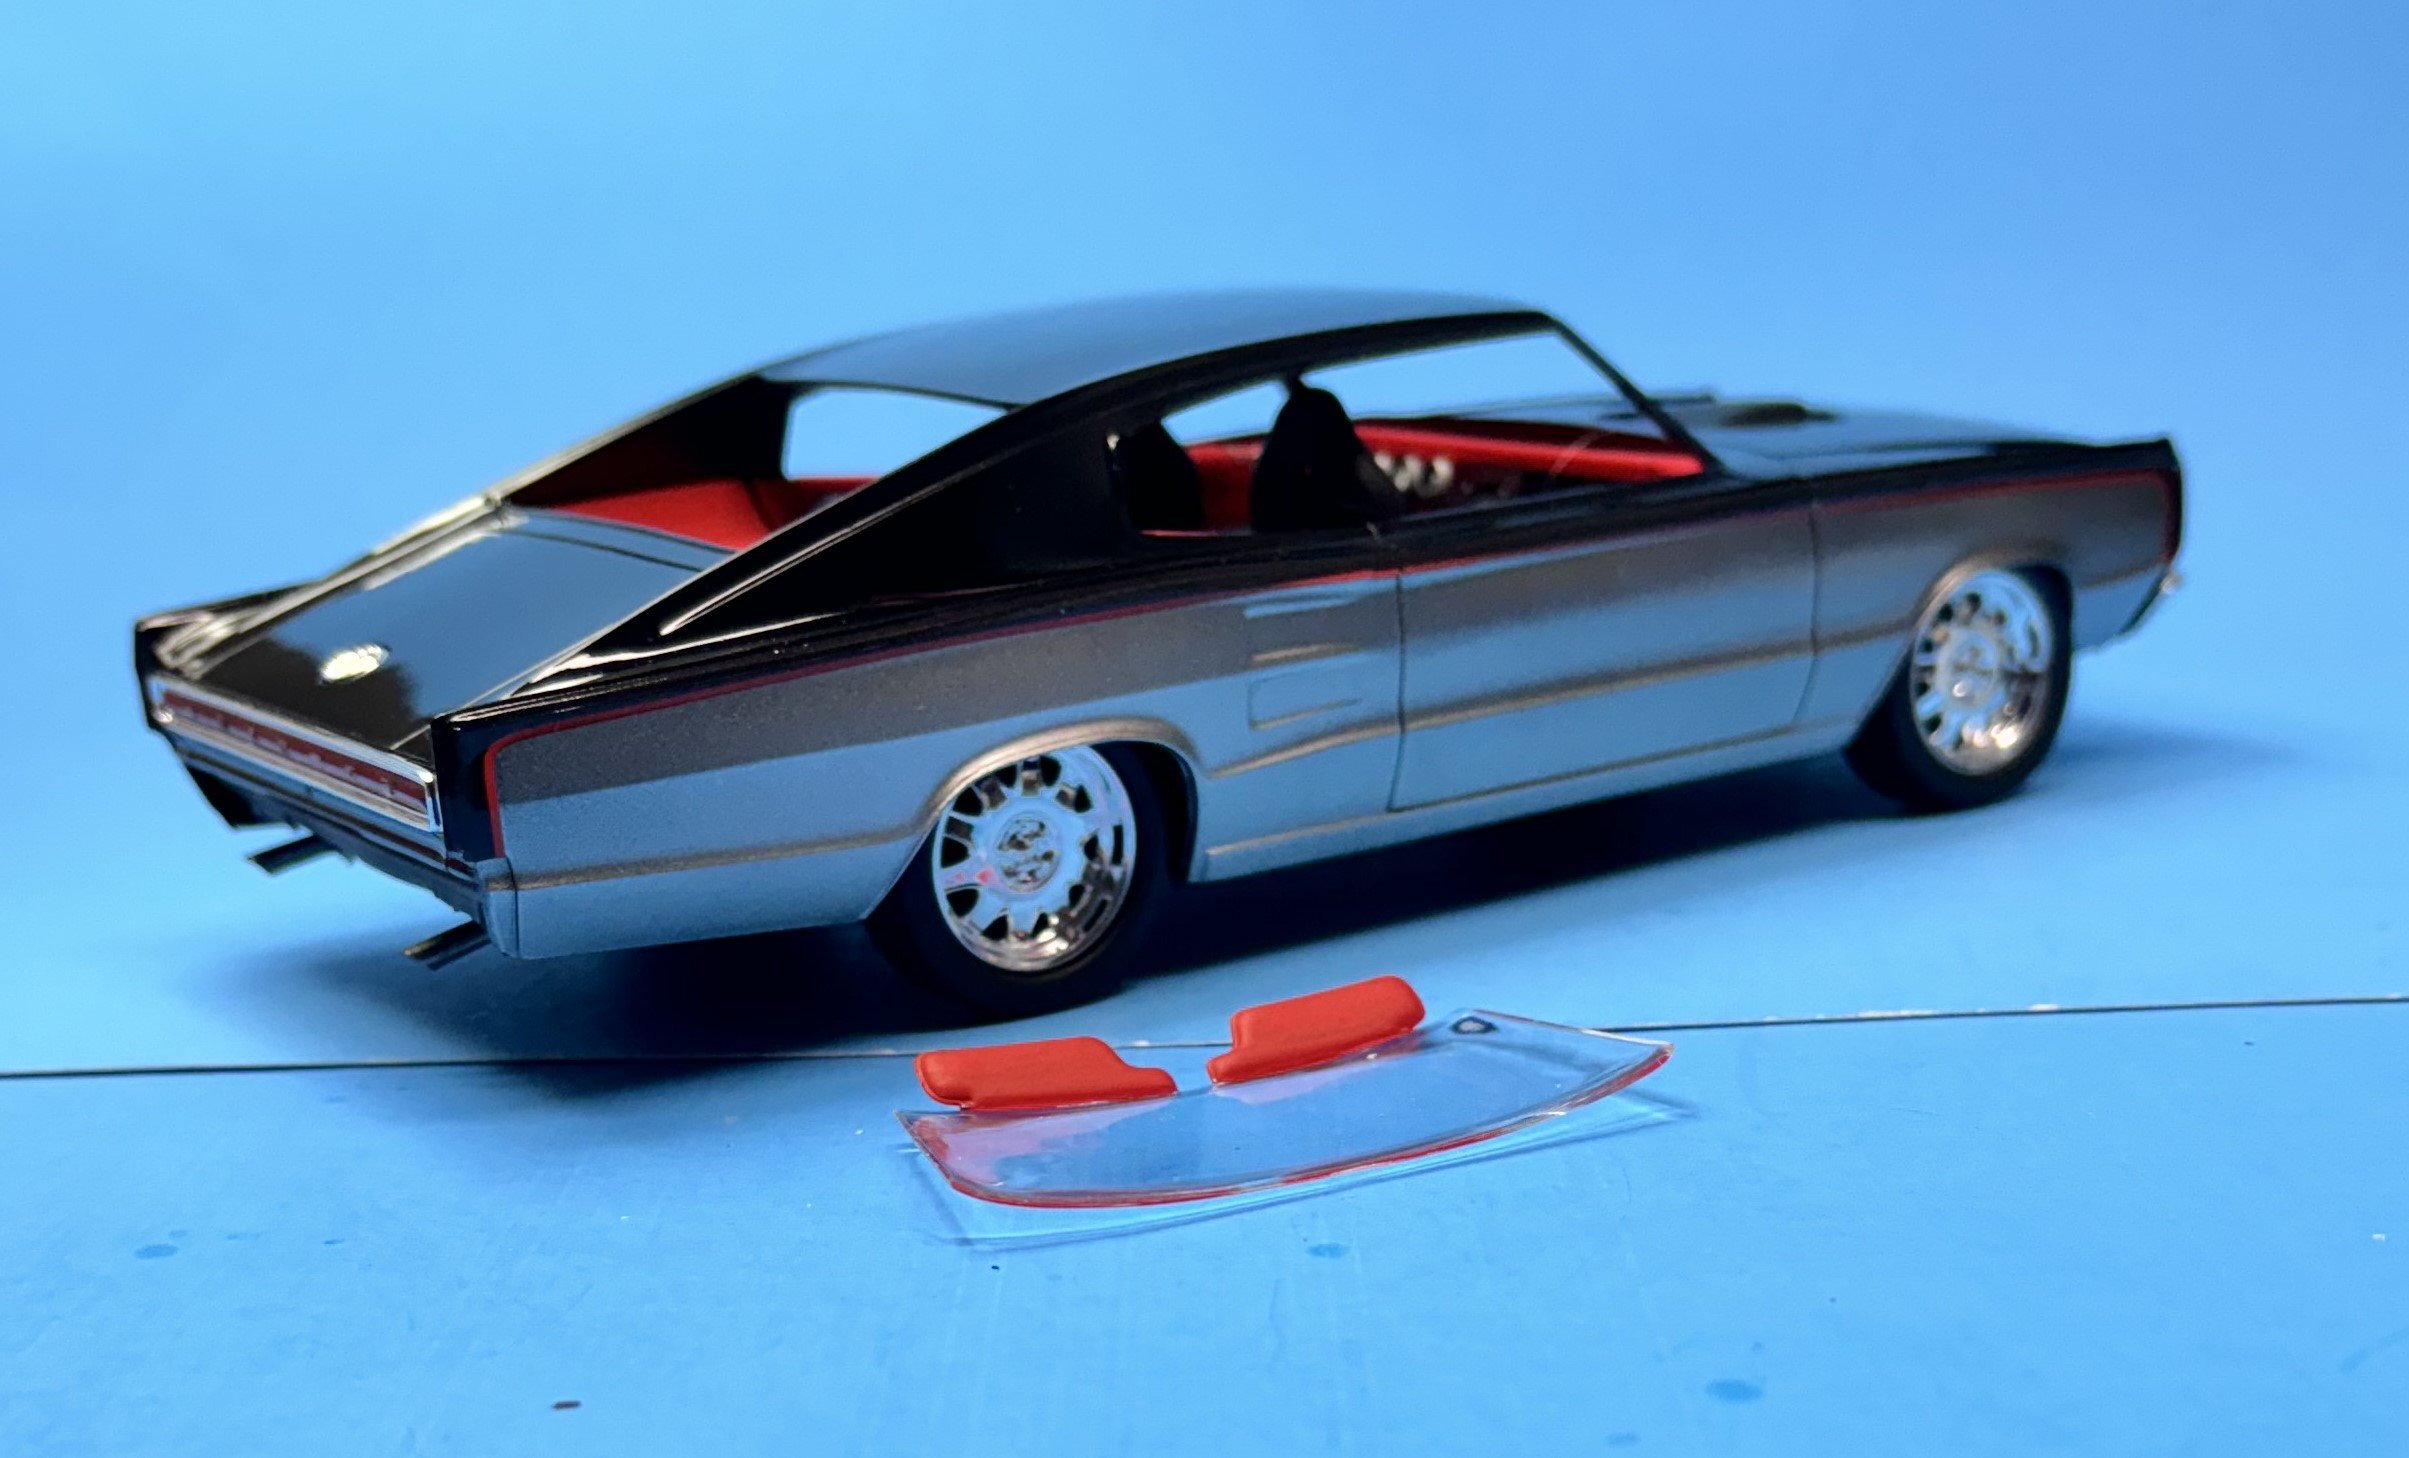
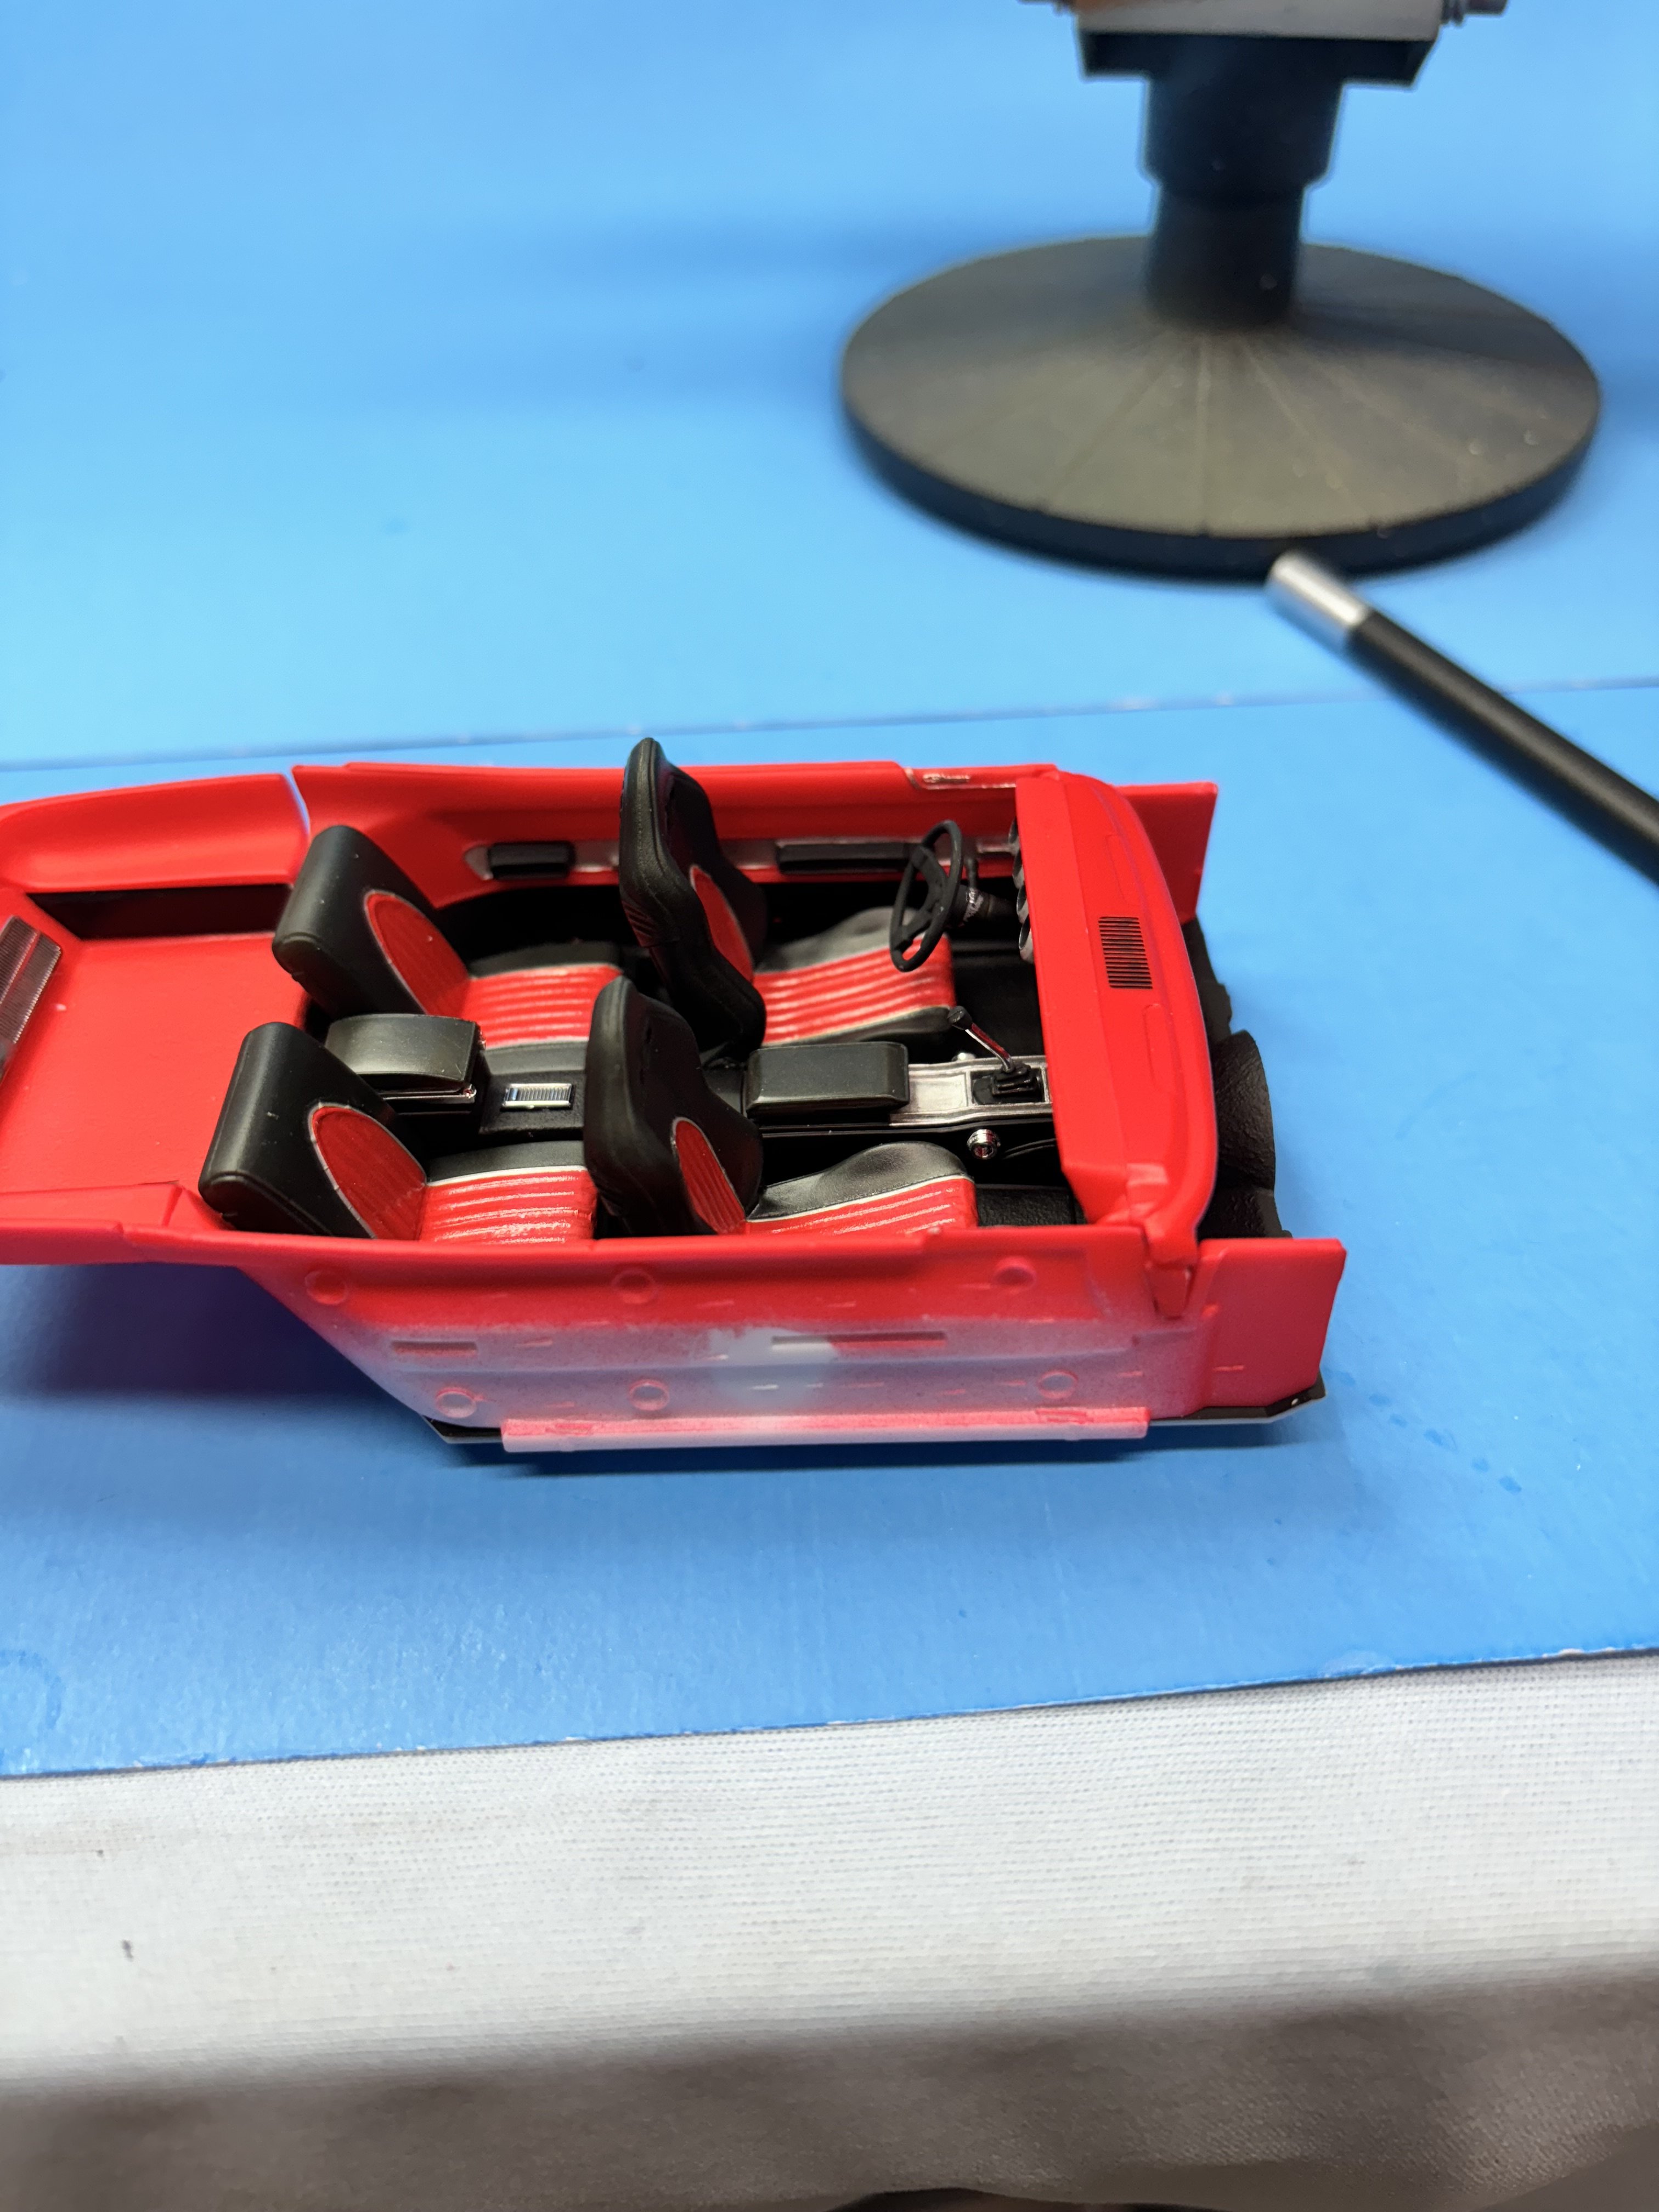
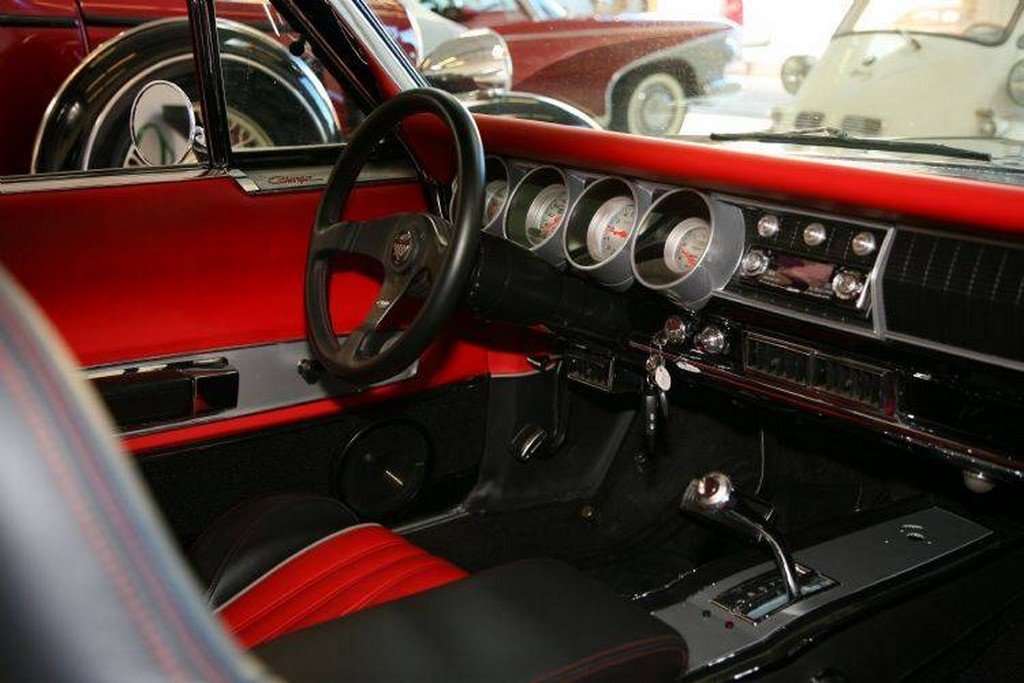
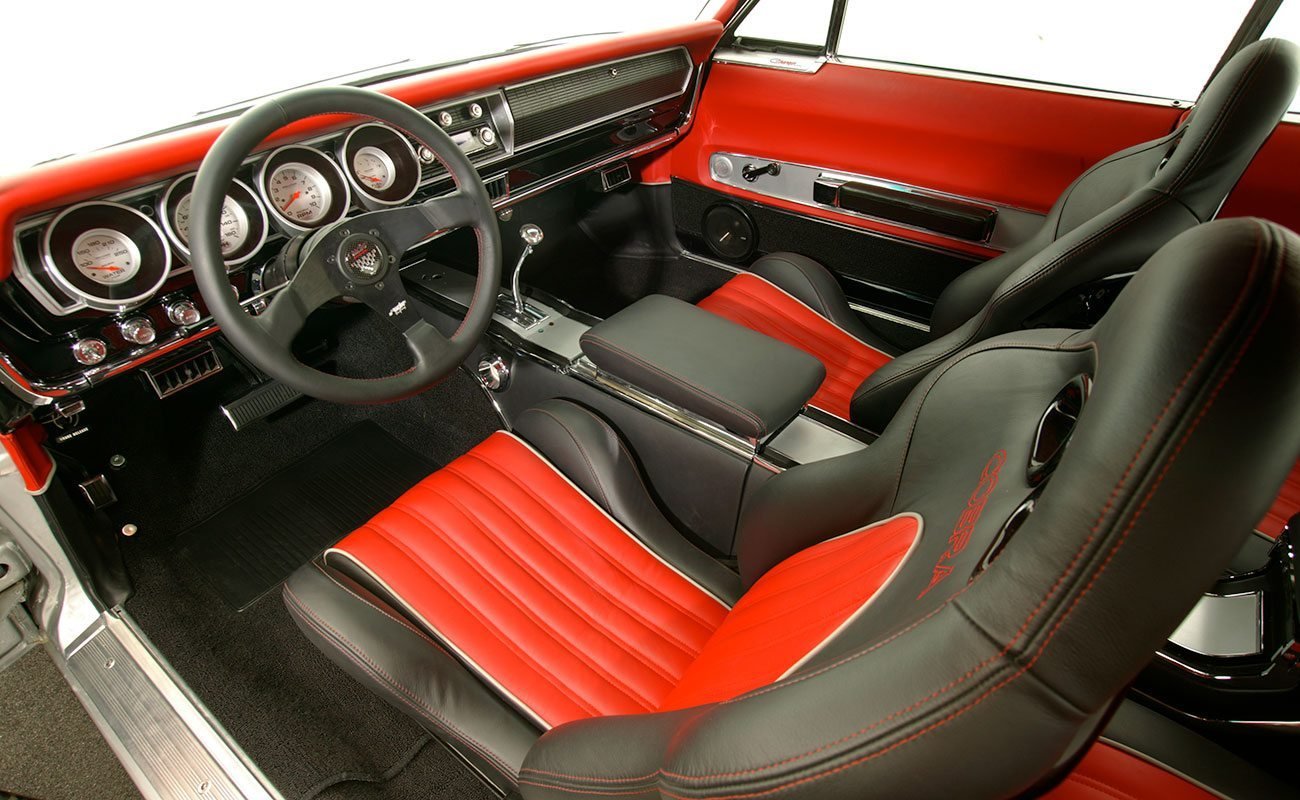
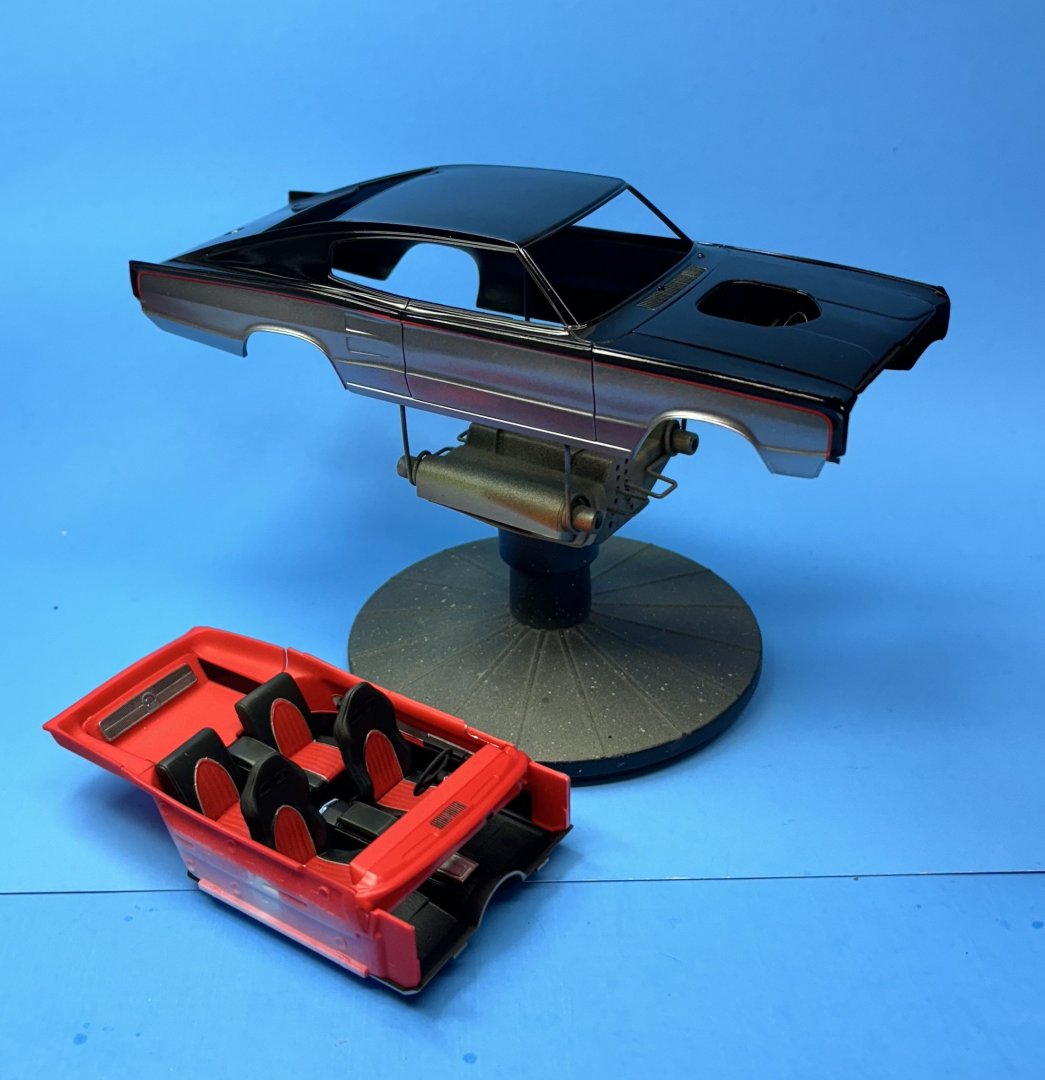
Detailing the interior then test fitting the body to chassis fit with the interior temporarily in place. Also checking the ride height as I cut and modified the suspension to lower the wheels and tires inside the wheel wells. It should all fit better/tighter once it's all permanently glued in place. Can't do that right yet. More details and the entire engine bay assembly to be done first.
- 37 replies
-
- 13
-
-
-
Costa Passenger Coach by yvesvidal - OcCre - 1/32
CDW replied to yvesvidal's topic in Non-ship/categorised builds
Wow, great project, Yves. I love this subject at this scale. I’m in. -
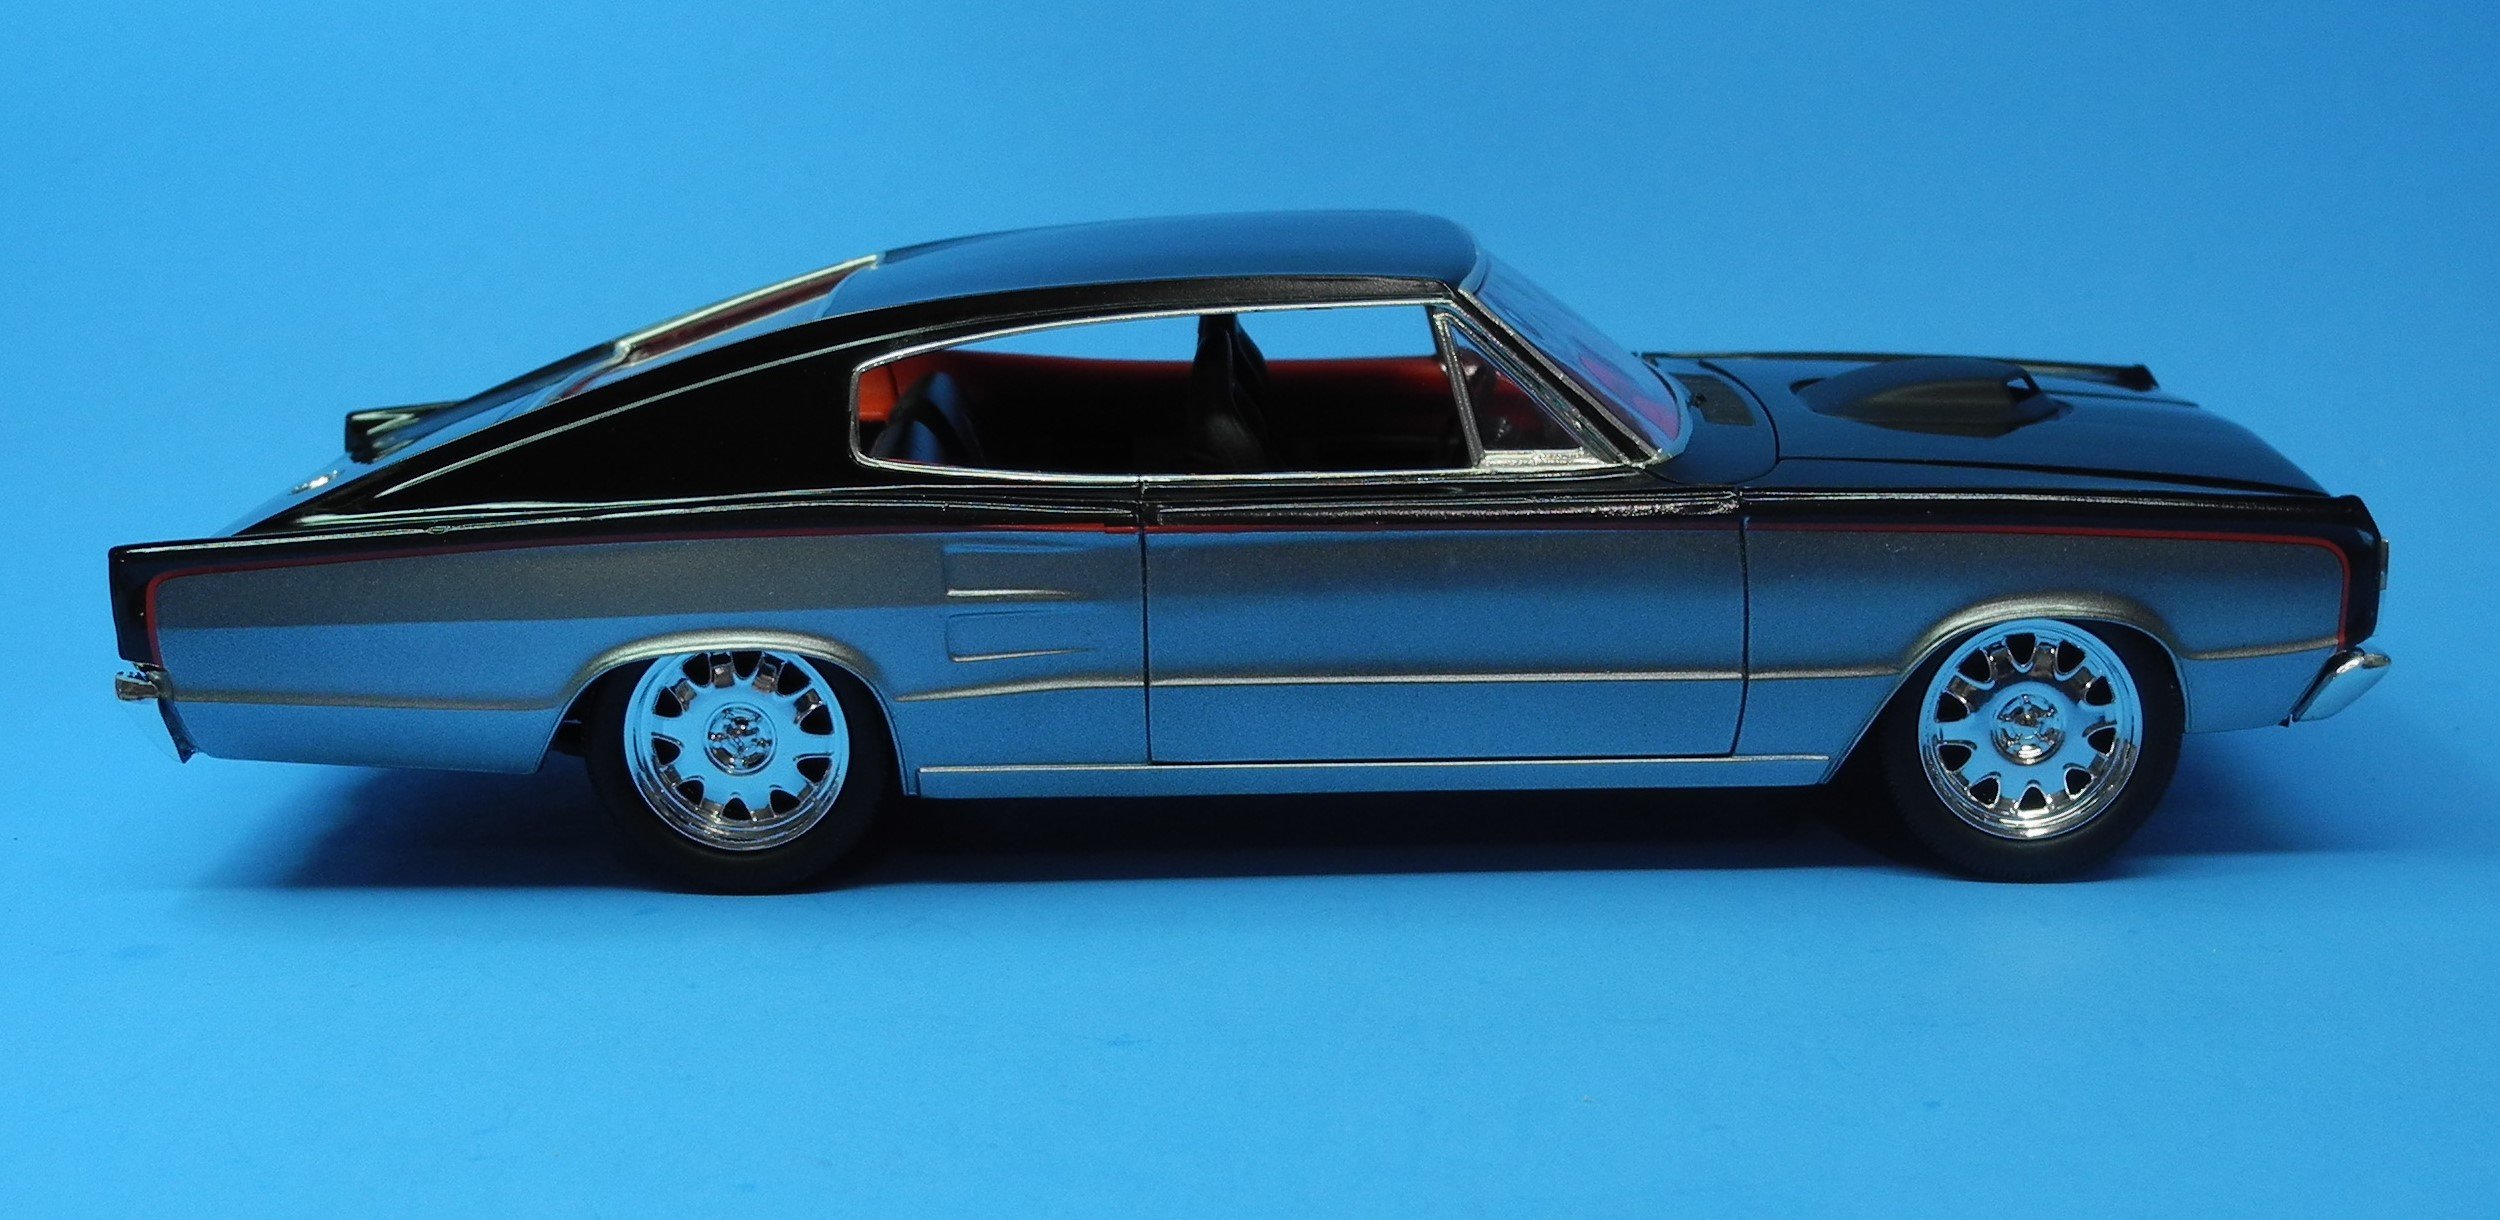
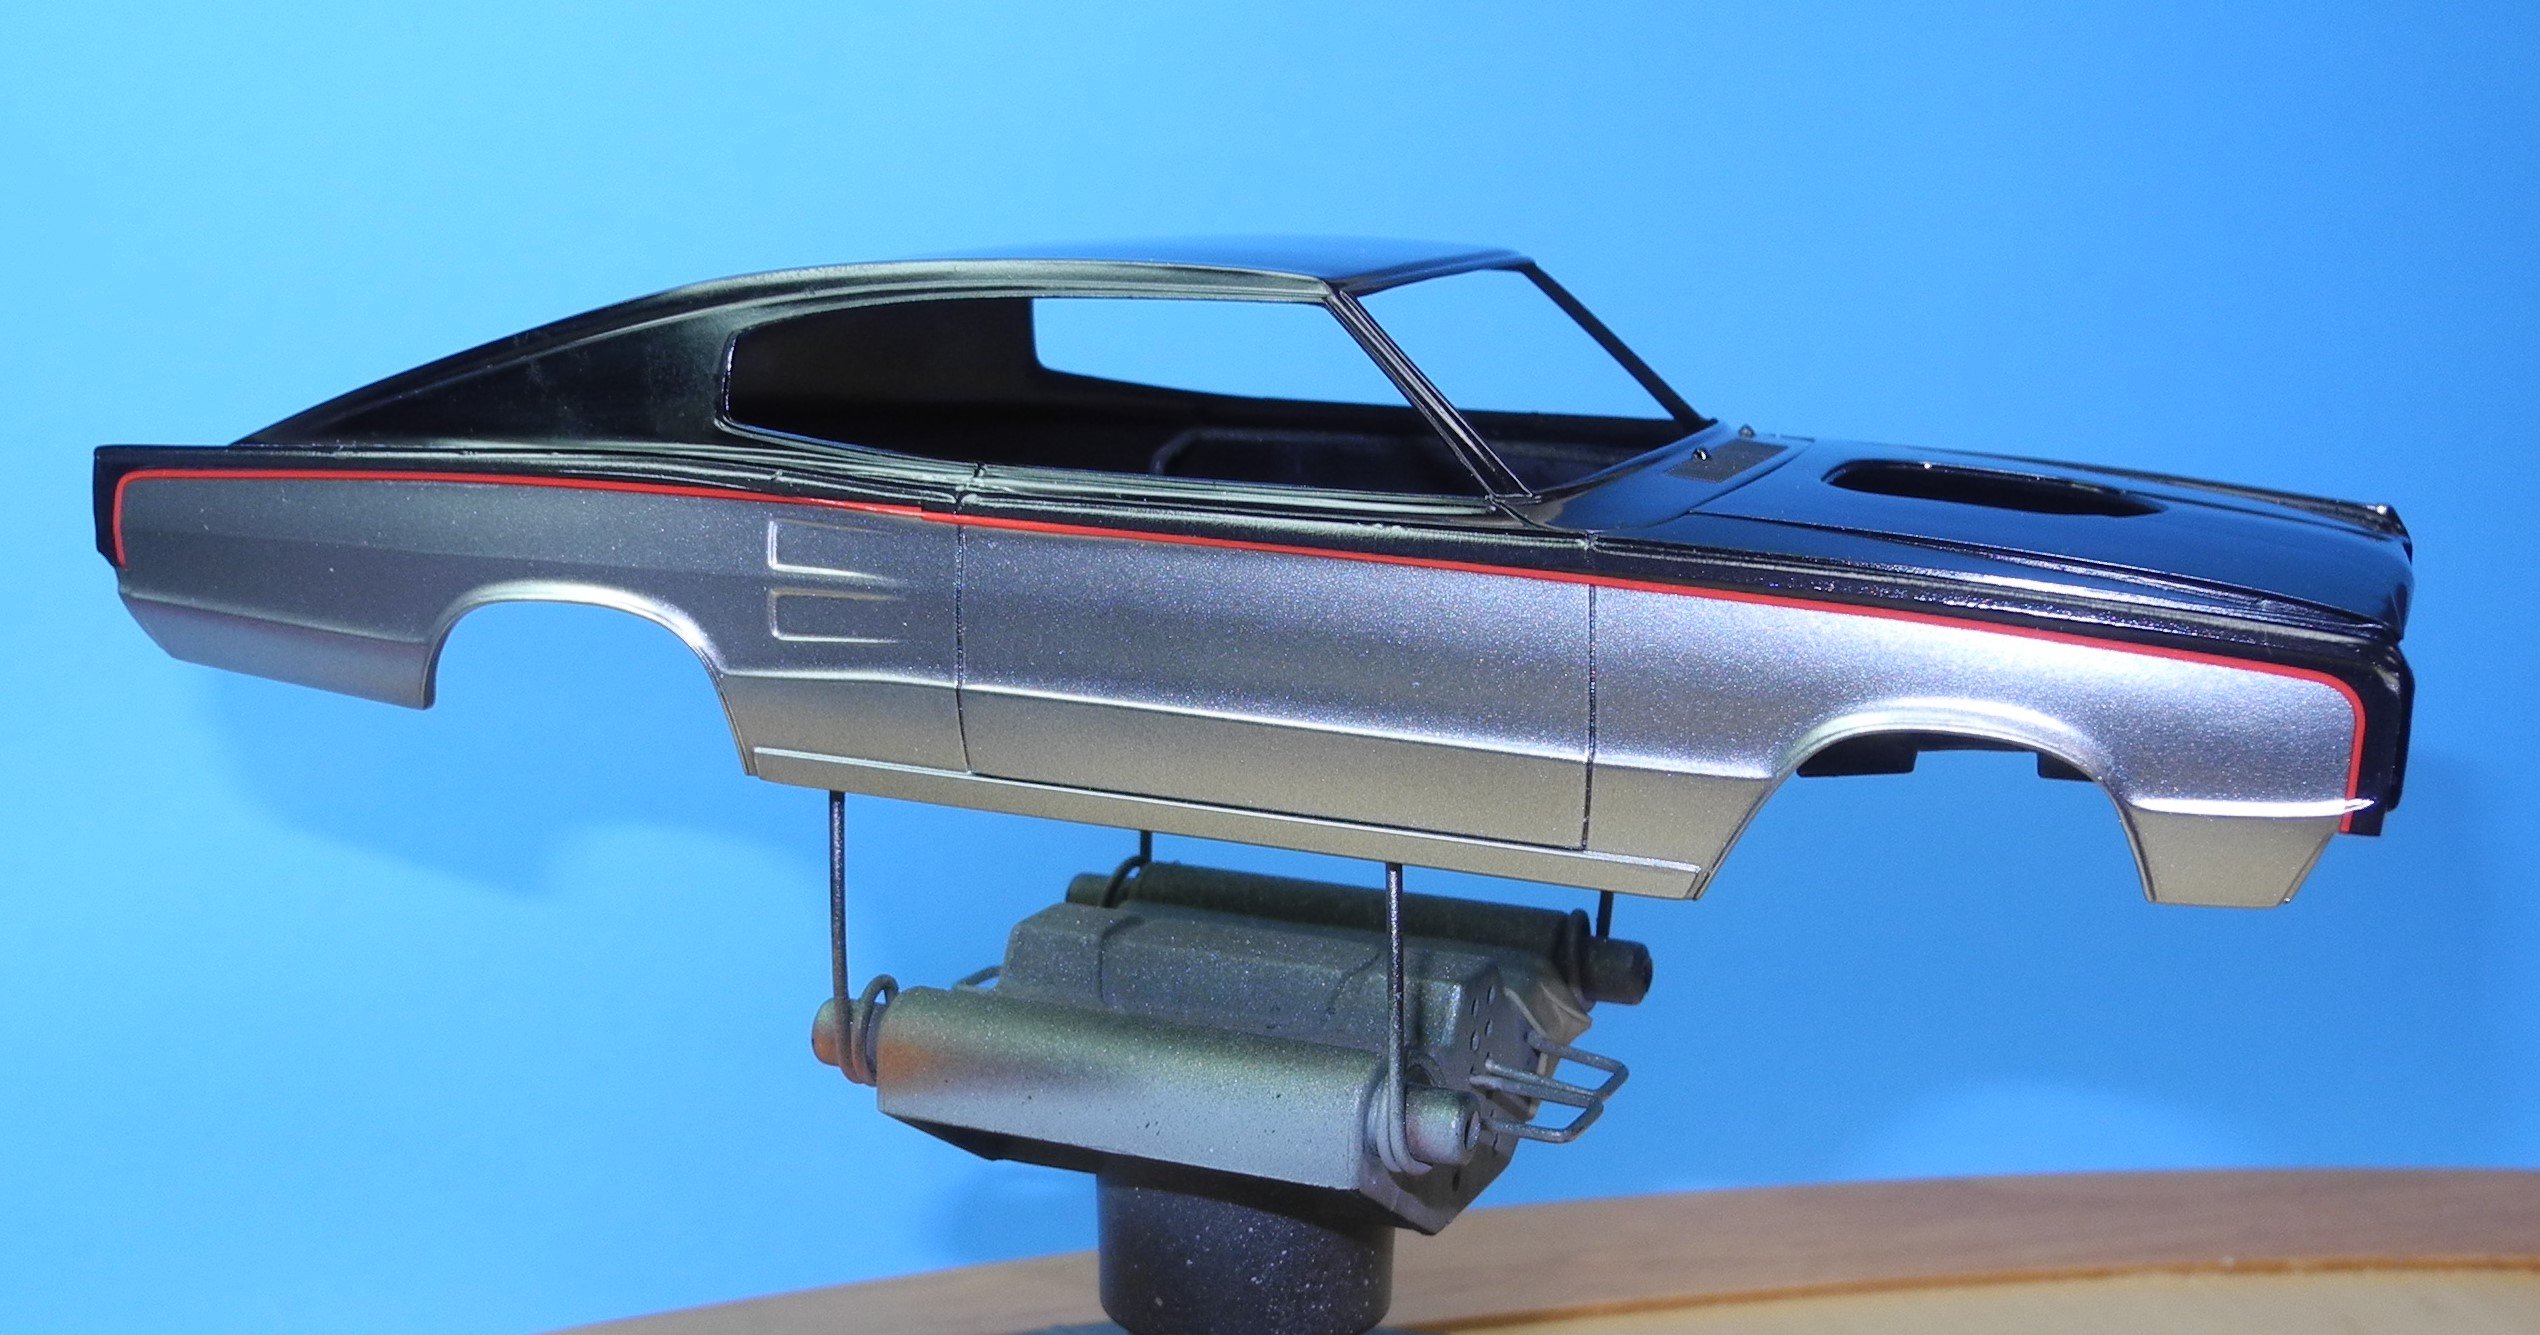
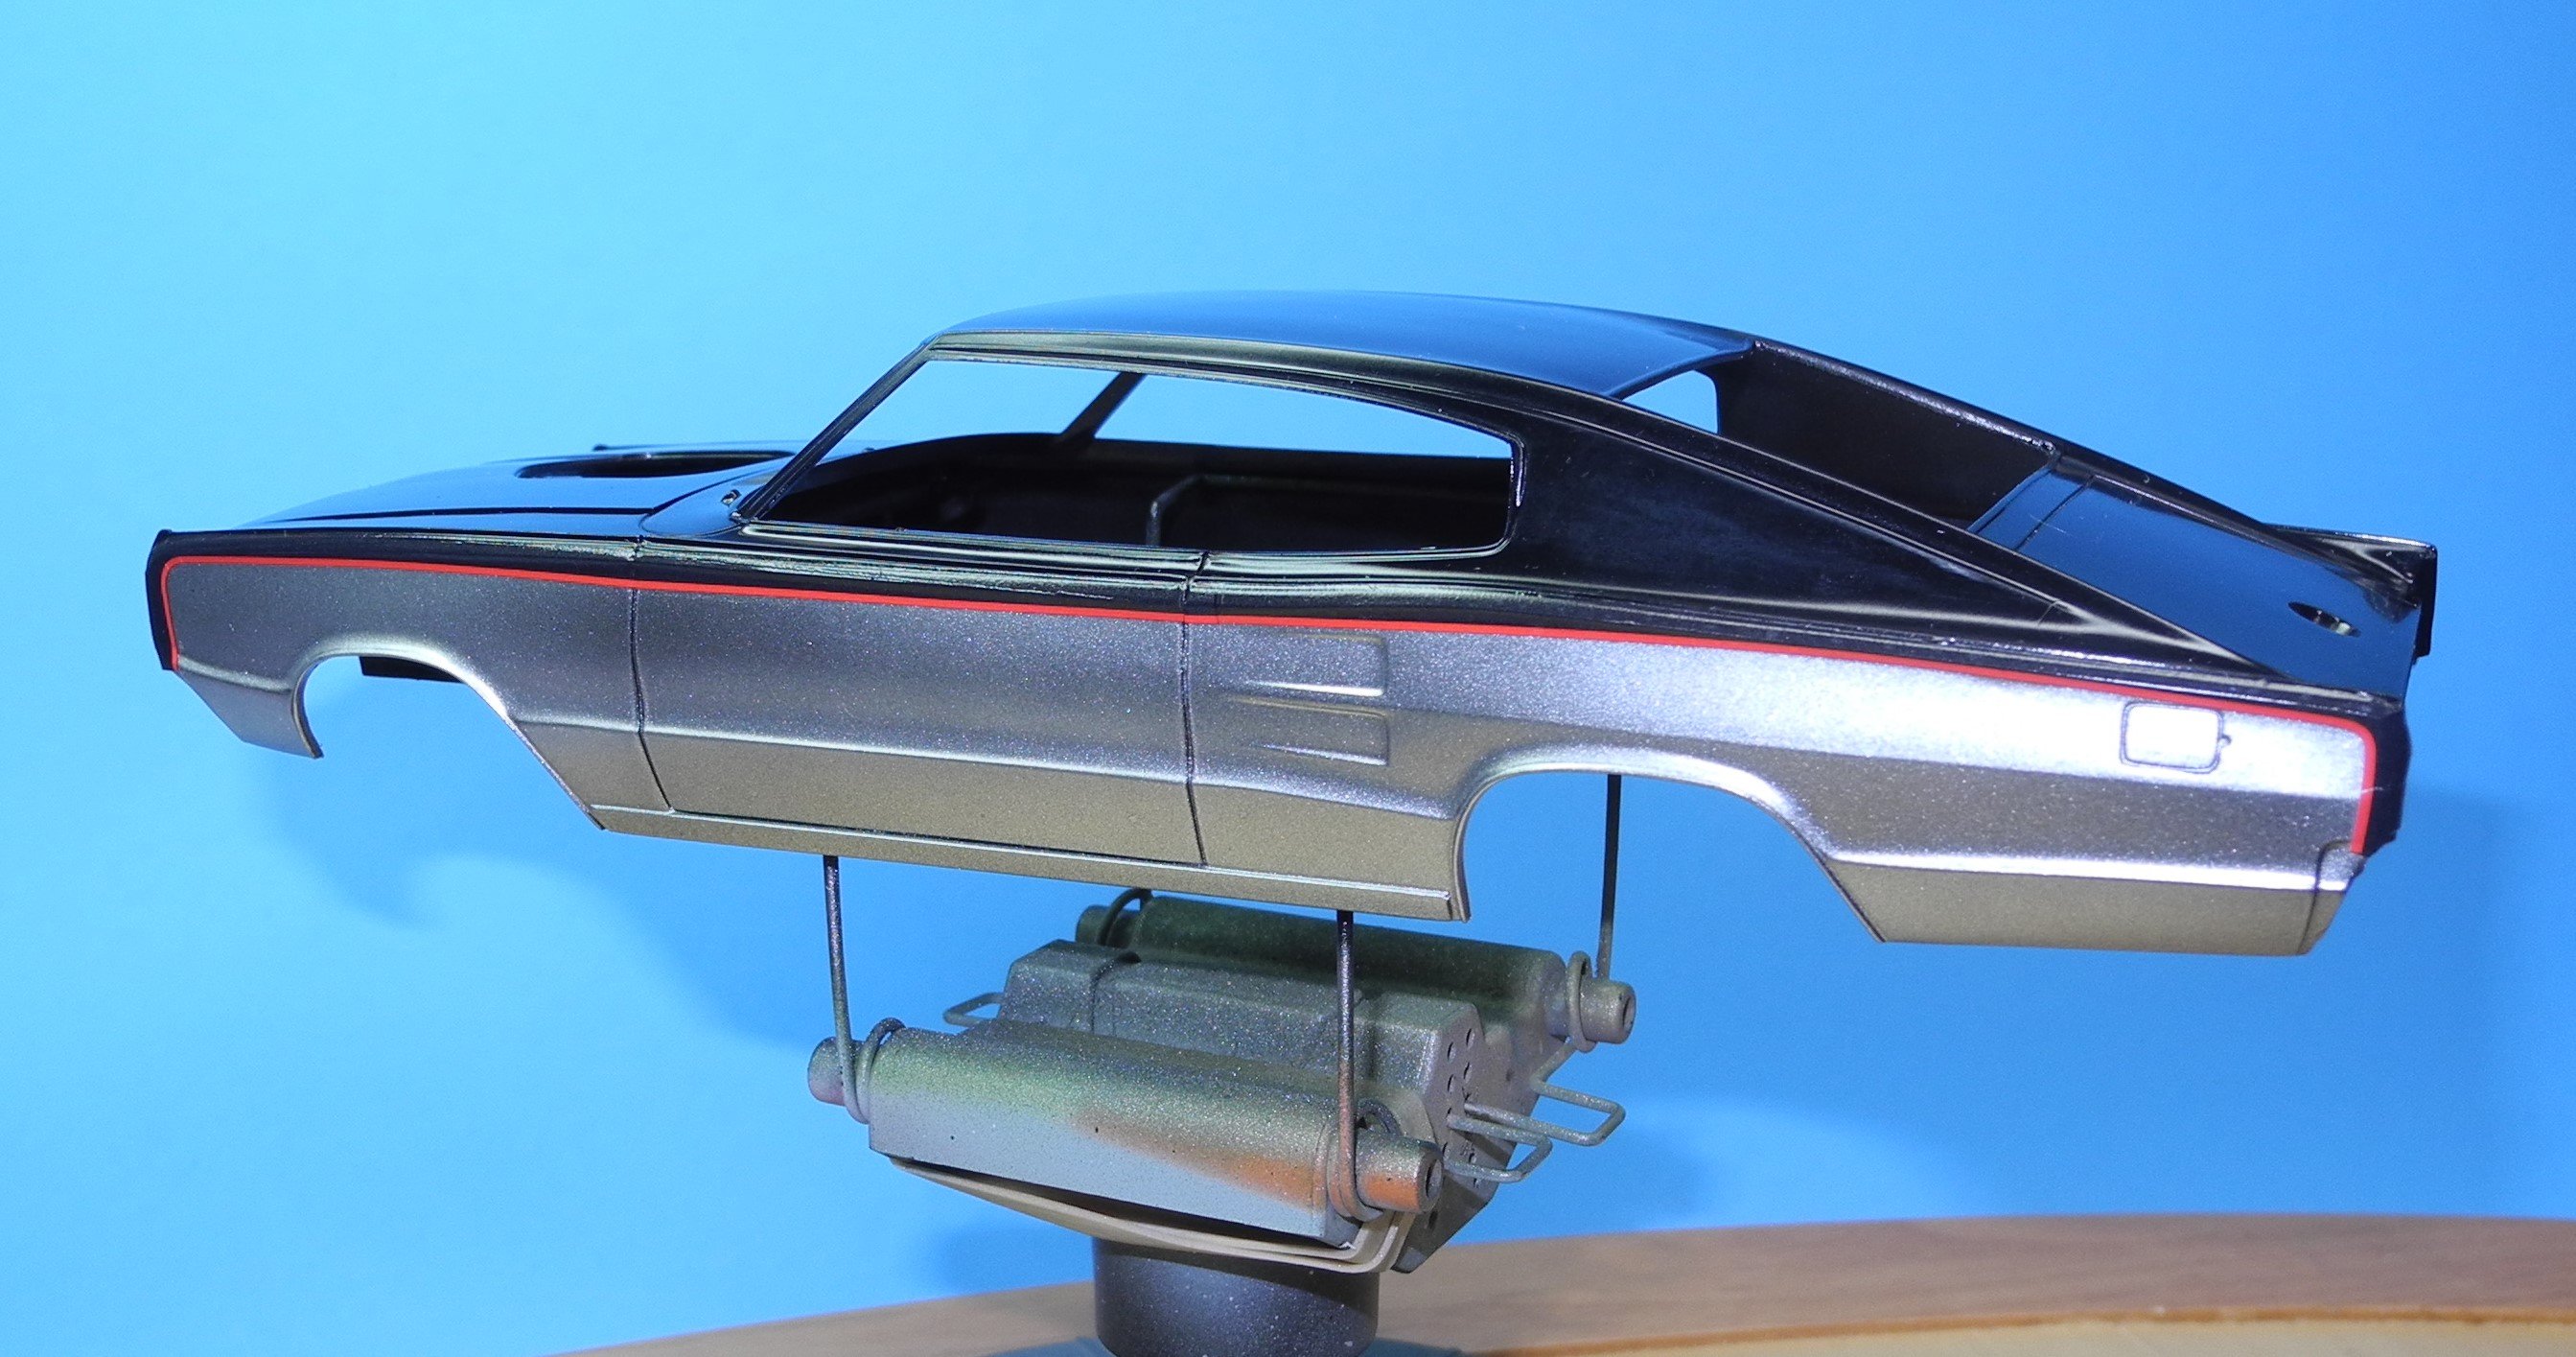
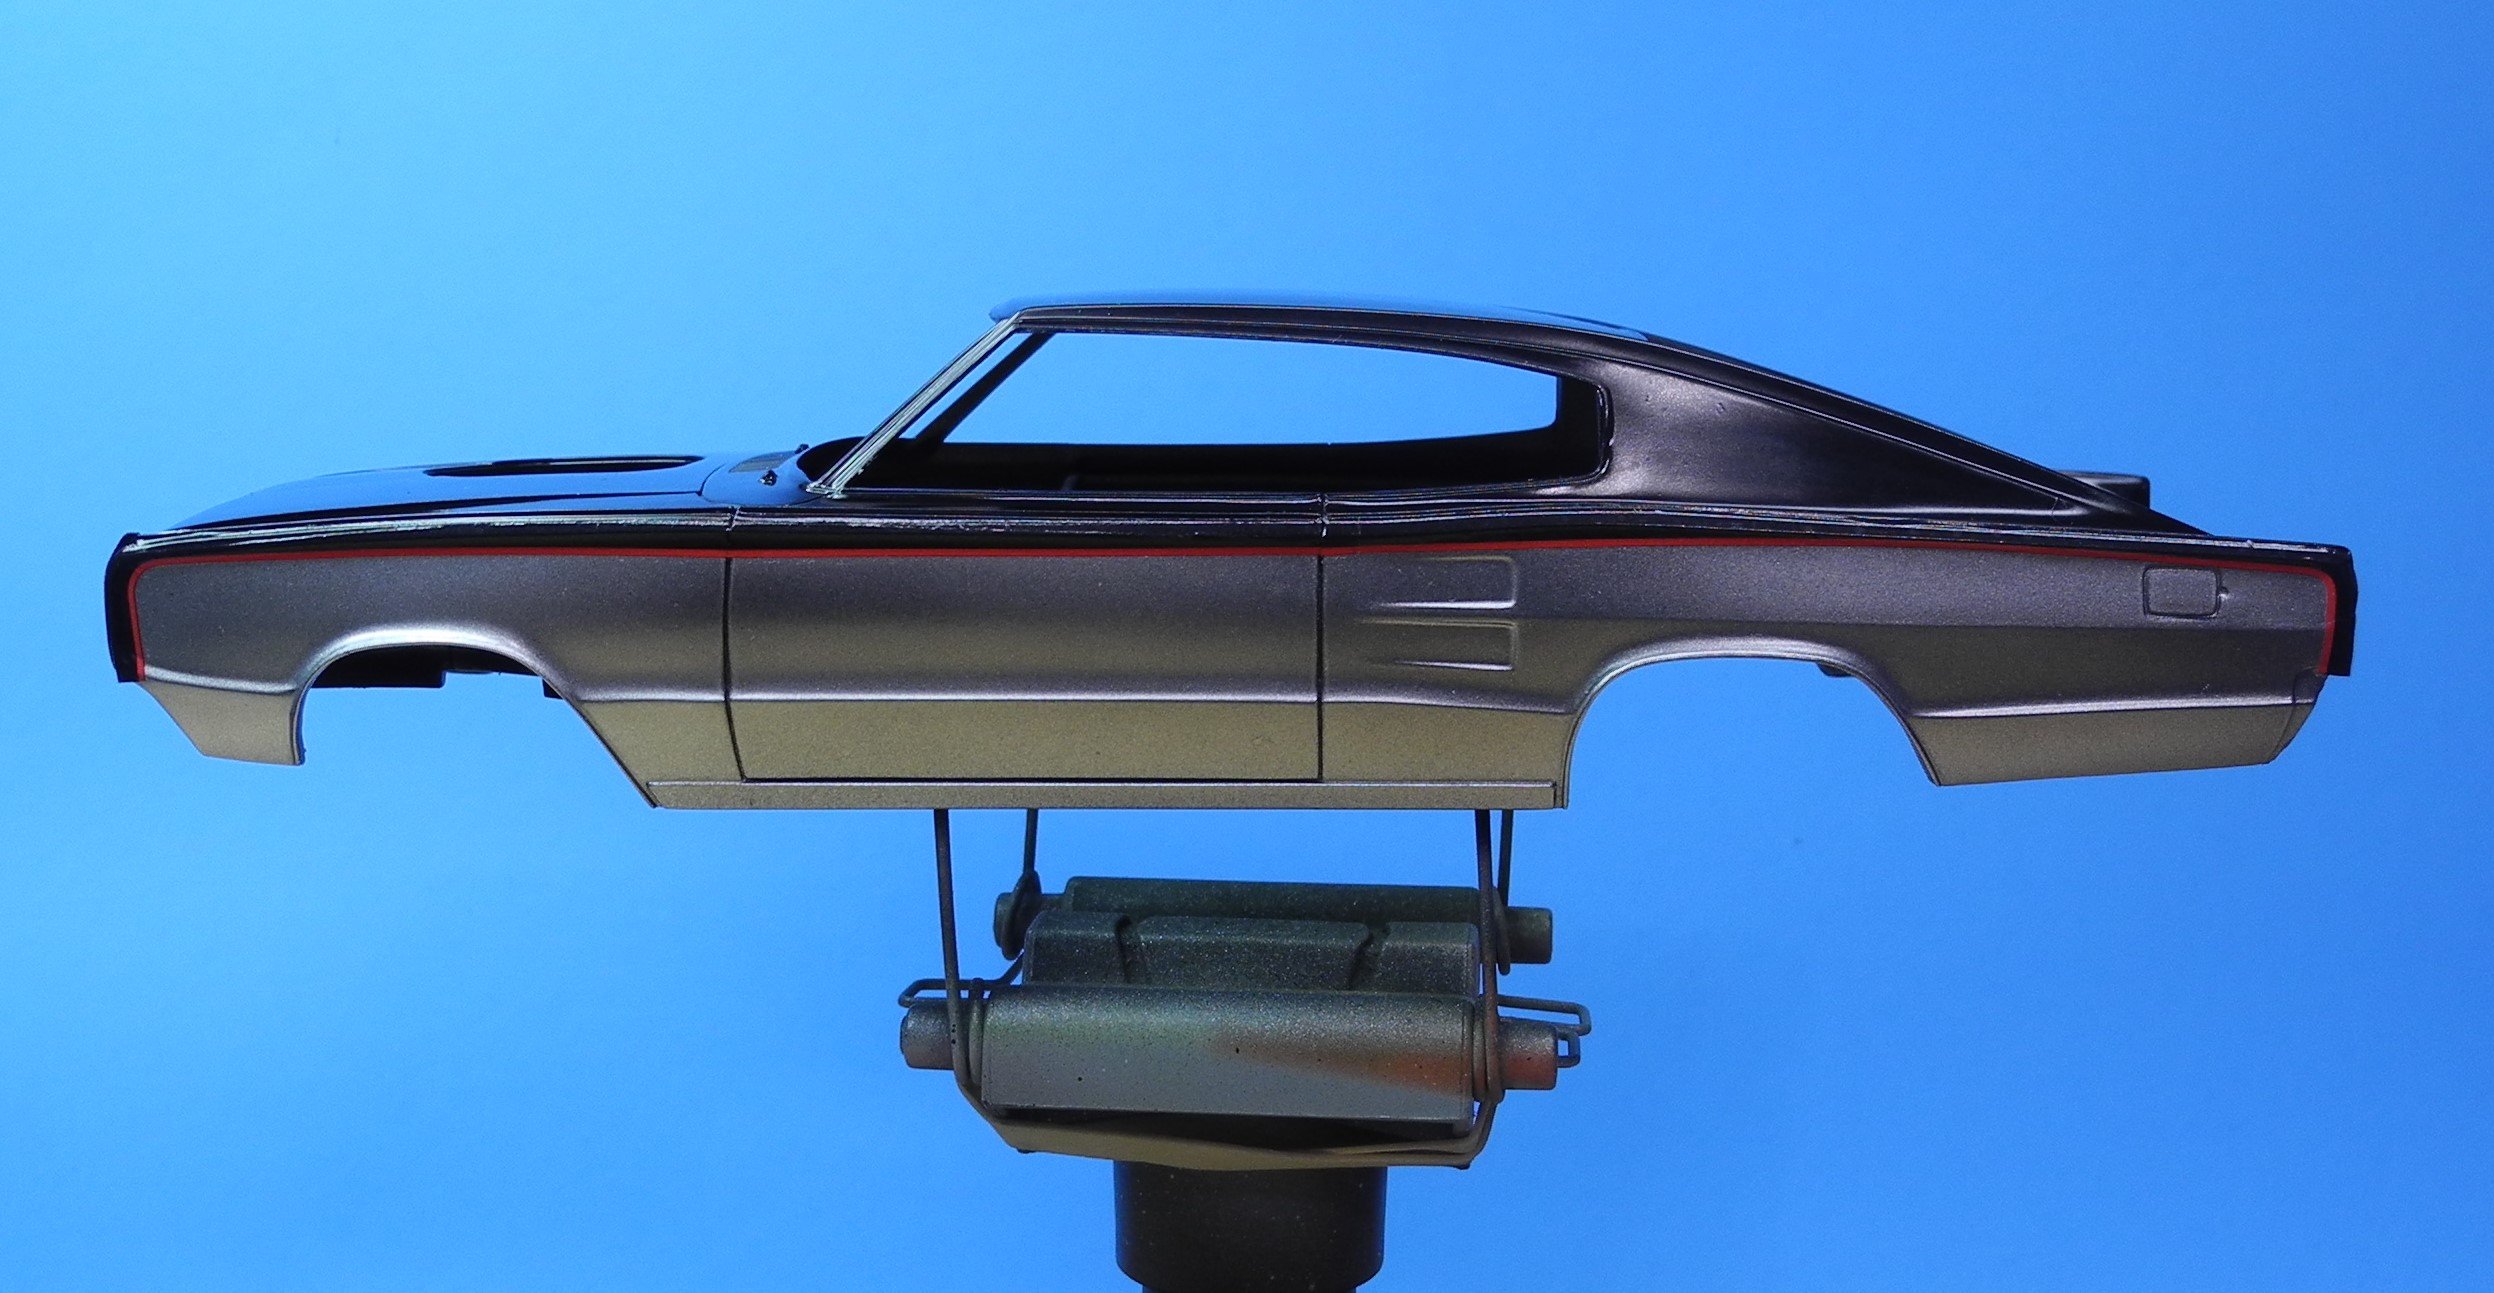
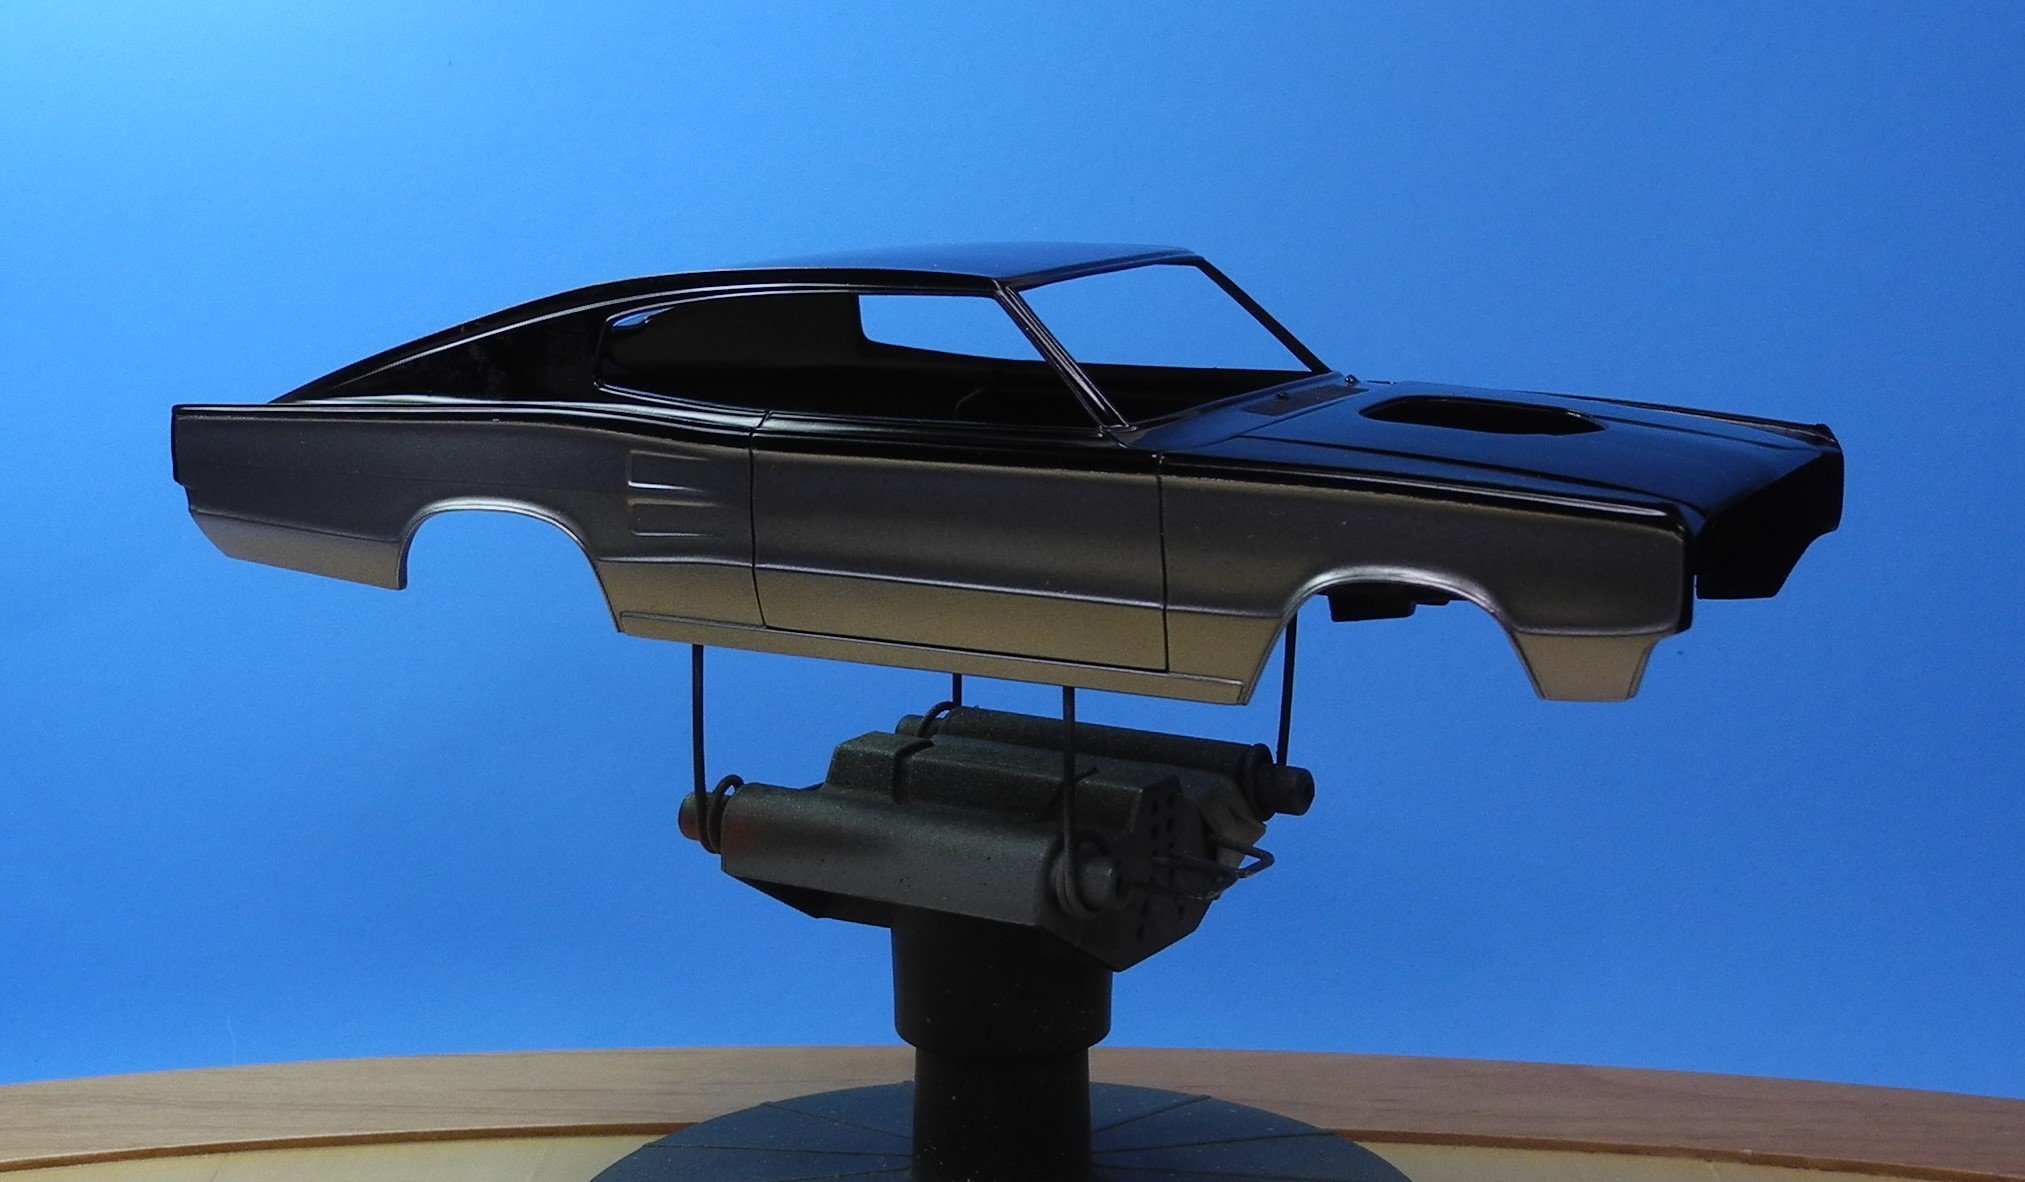
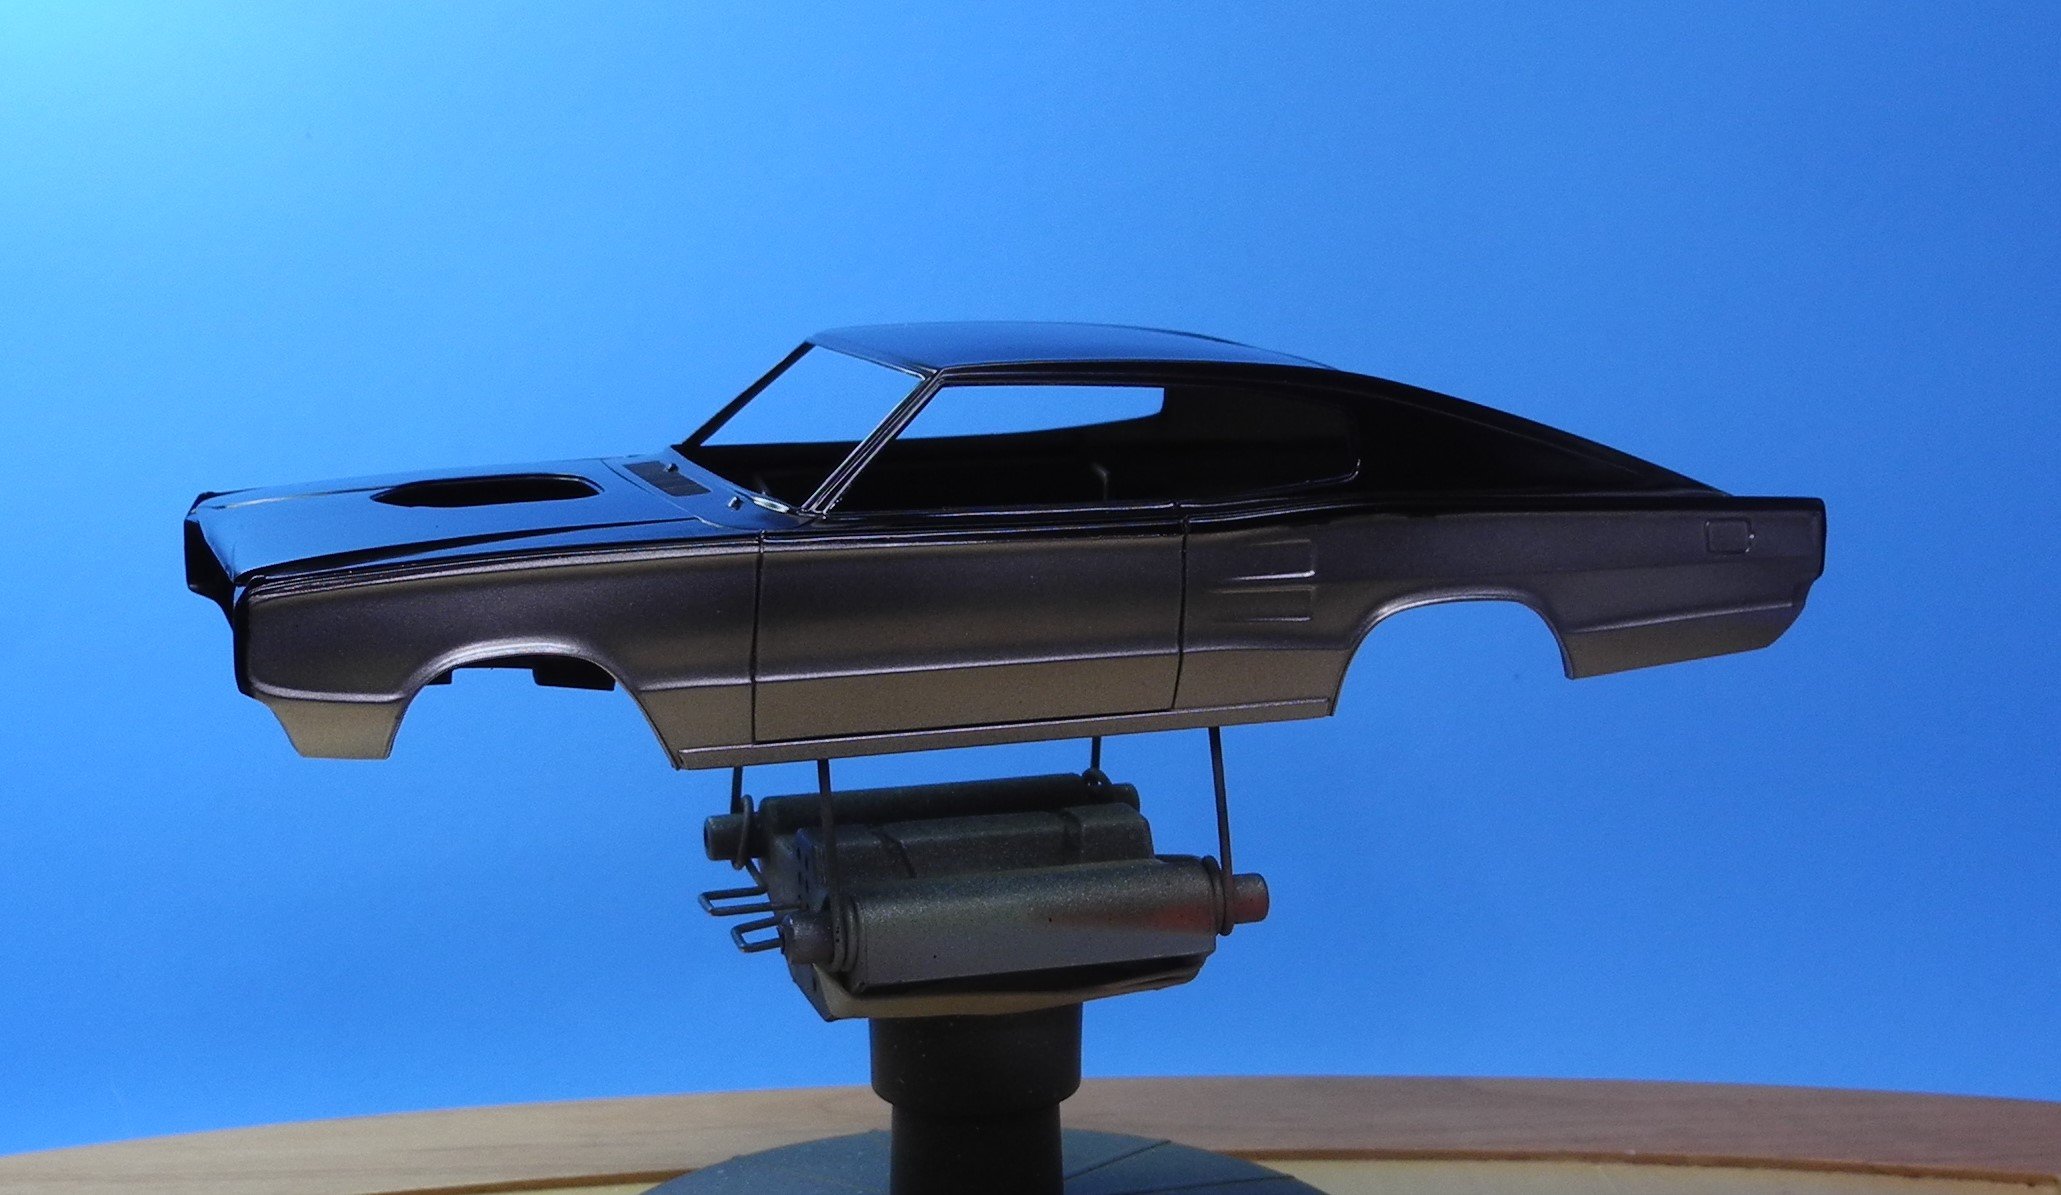
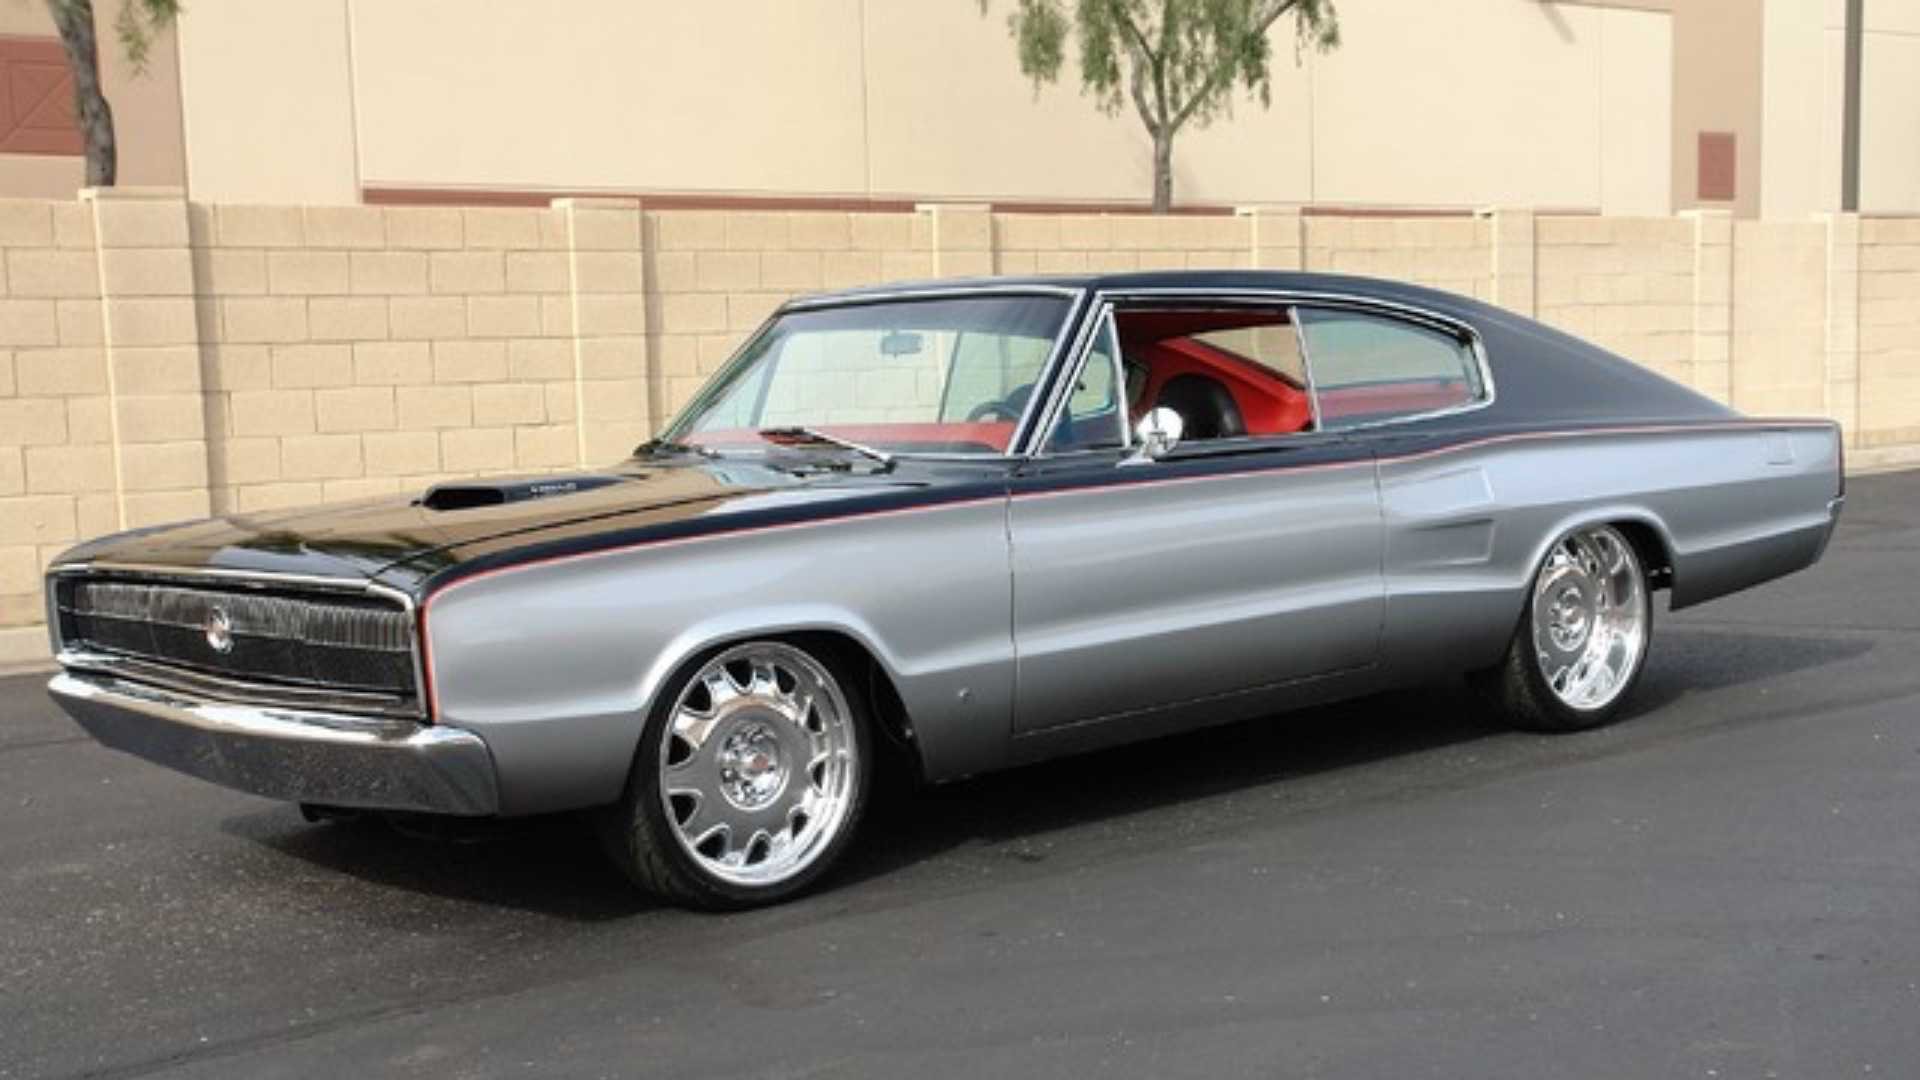
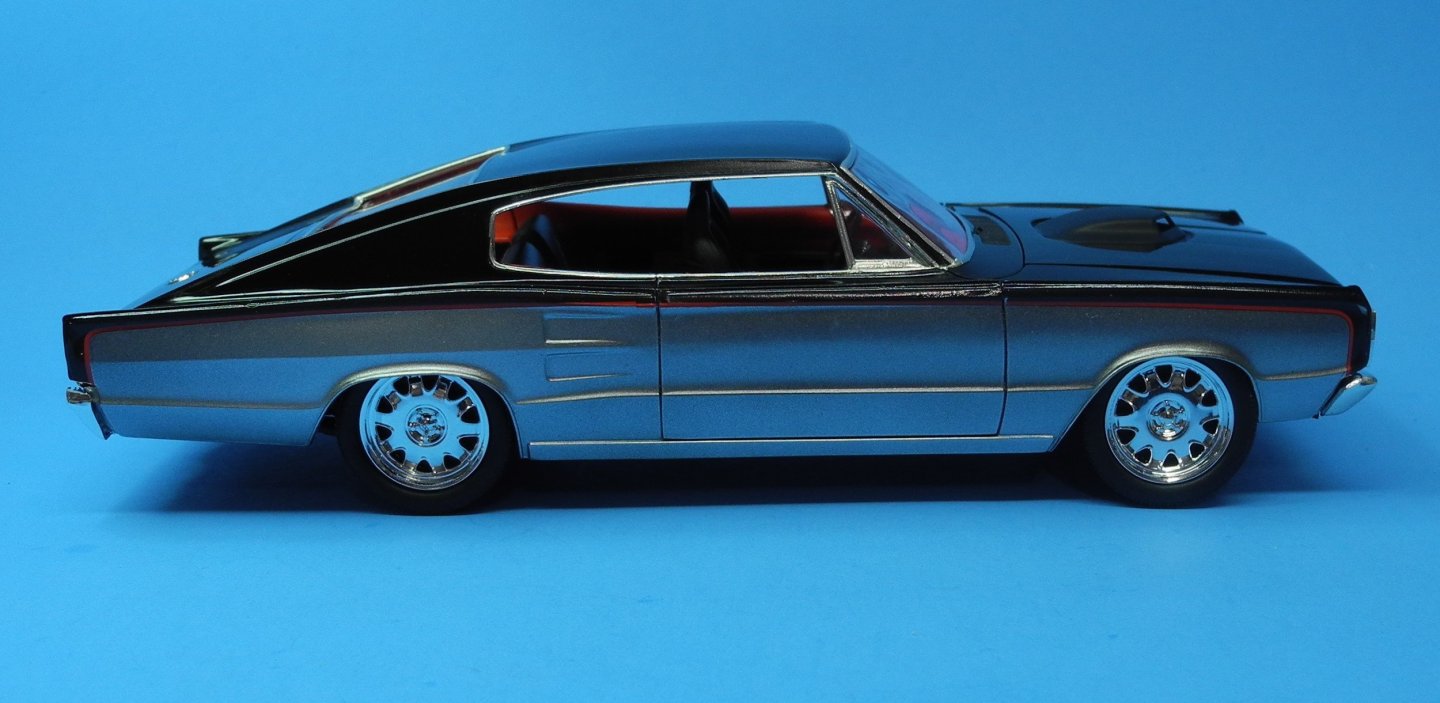
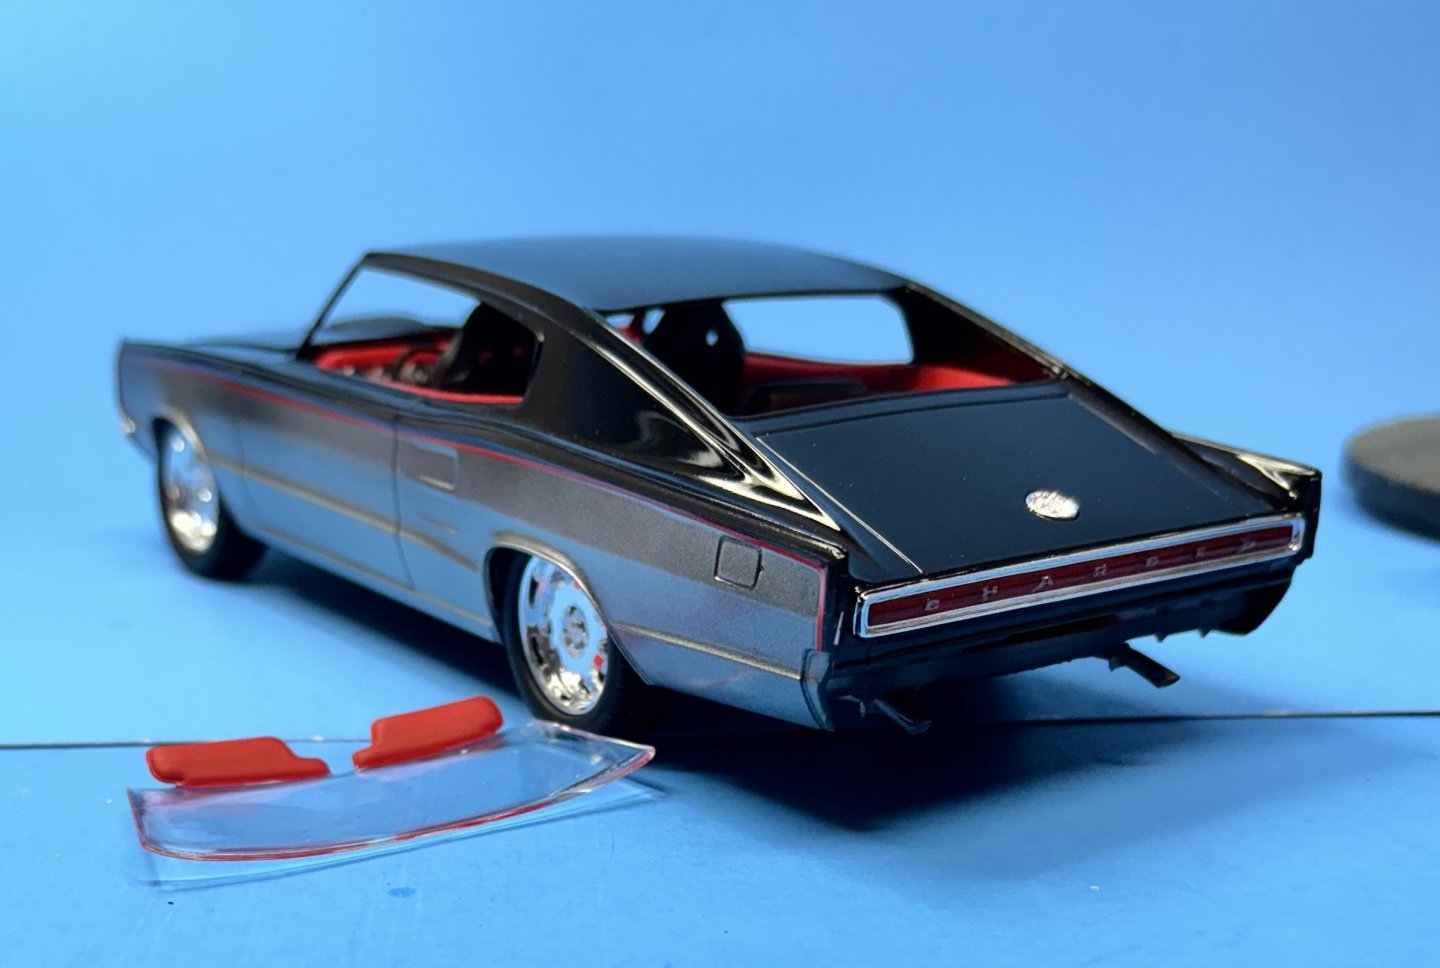
Printing a decal with the black and red clearly and perfectly defined is a lot more effective than trying to mask that effect and painting it. Photos don’t really show the shape of the body side panels very well. I would need a cross section drawing to show that, but it would be very difficult to use masking to get the effect achieved with the decal. The shape is complicated. In post 7, the first of the three photos show the body after the decal had been applied. The two photos following the first photo show the body before the decal. Expand or zoom in on those photos and you will see the rough line where I masked between the black and silver. The decal hides that and makes the red pinstripe look more perfect.
- 37 replies
-
- 11
-
-
Imagine a thick black pinstripe and immediately below it is a thin red pinstripe. That on decal paper is what I applied to the black and silver body, along the line to demarcation. The black part of the decal overlaps the black paint while the red part of the decal covers the silver. I should have taken a photo while applying the decal then it would be crystal clear what I'm trying to put into words.
-
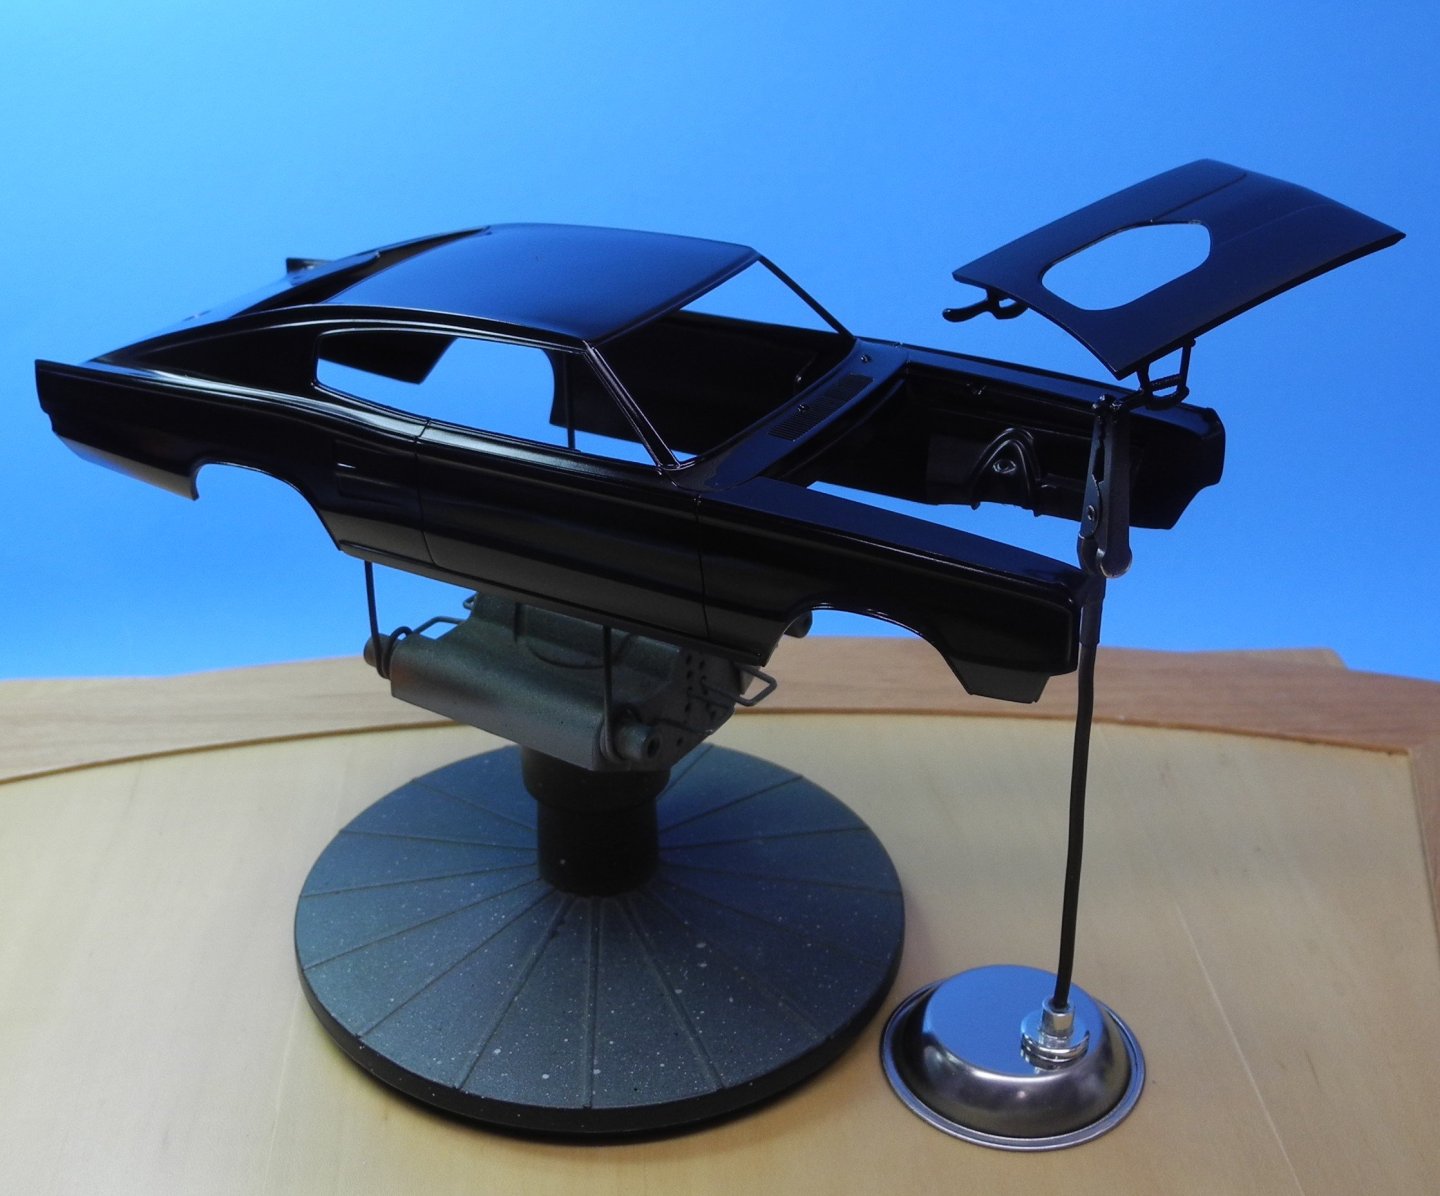
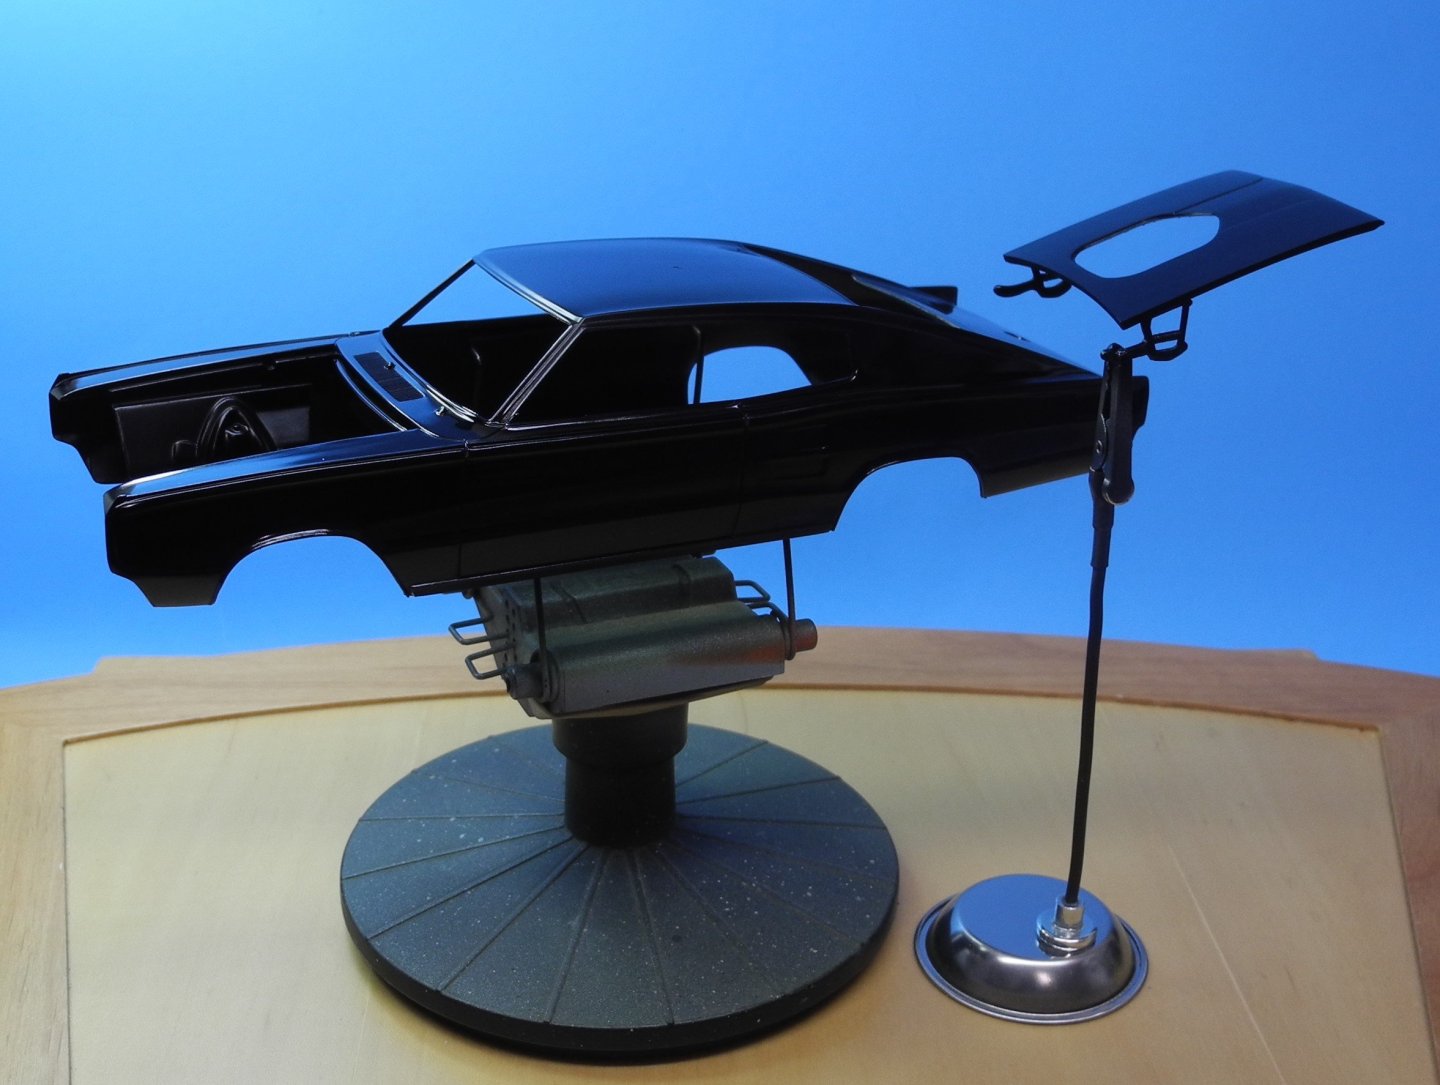
It's not a secret, EG. I just wanted to see if you or others could spot what it is. After I painted the black, then masked and painted the silver, used a decal that is black on top with the red pinstripe underneath. It blends right in with the black and is very hard to see. Once the decals cure, I will give the body several clear coats at which time the decal seams should become practically invisible. I took a couple of photos using the flash to try and put more light on the subject.


- 37 replies
-
- 12
-
-
-
Thanks Jack. I needed better lighting for my photos. Should have taken the time to set them up. Better yet, a permanent/semi permanent Photo Booth would be even better.
-
Oh man, you are going to be surprised, or maybe not. 😅 It's going to be there, I promise. And it will be there sooner rather than later.
-
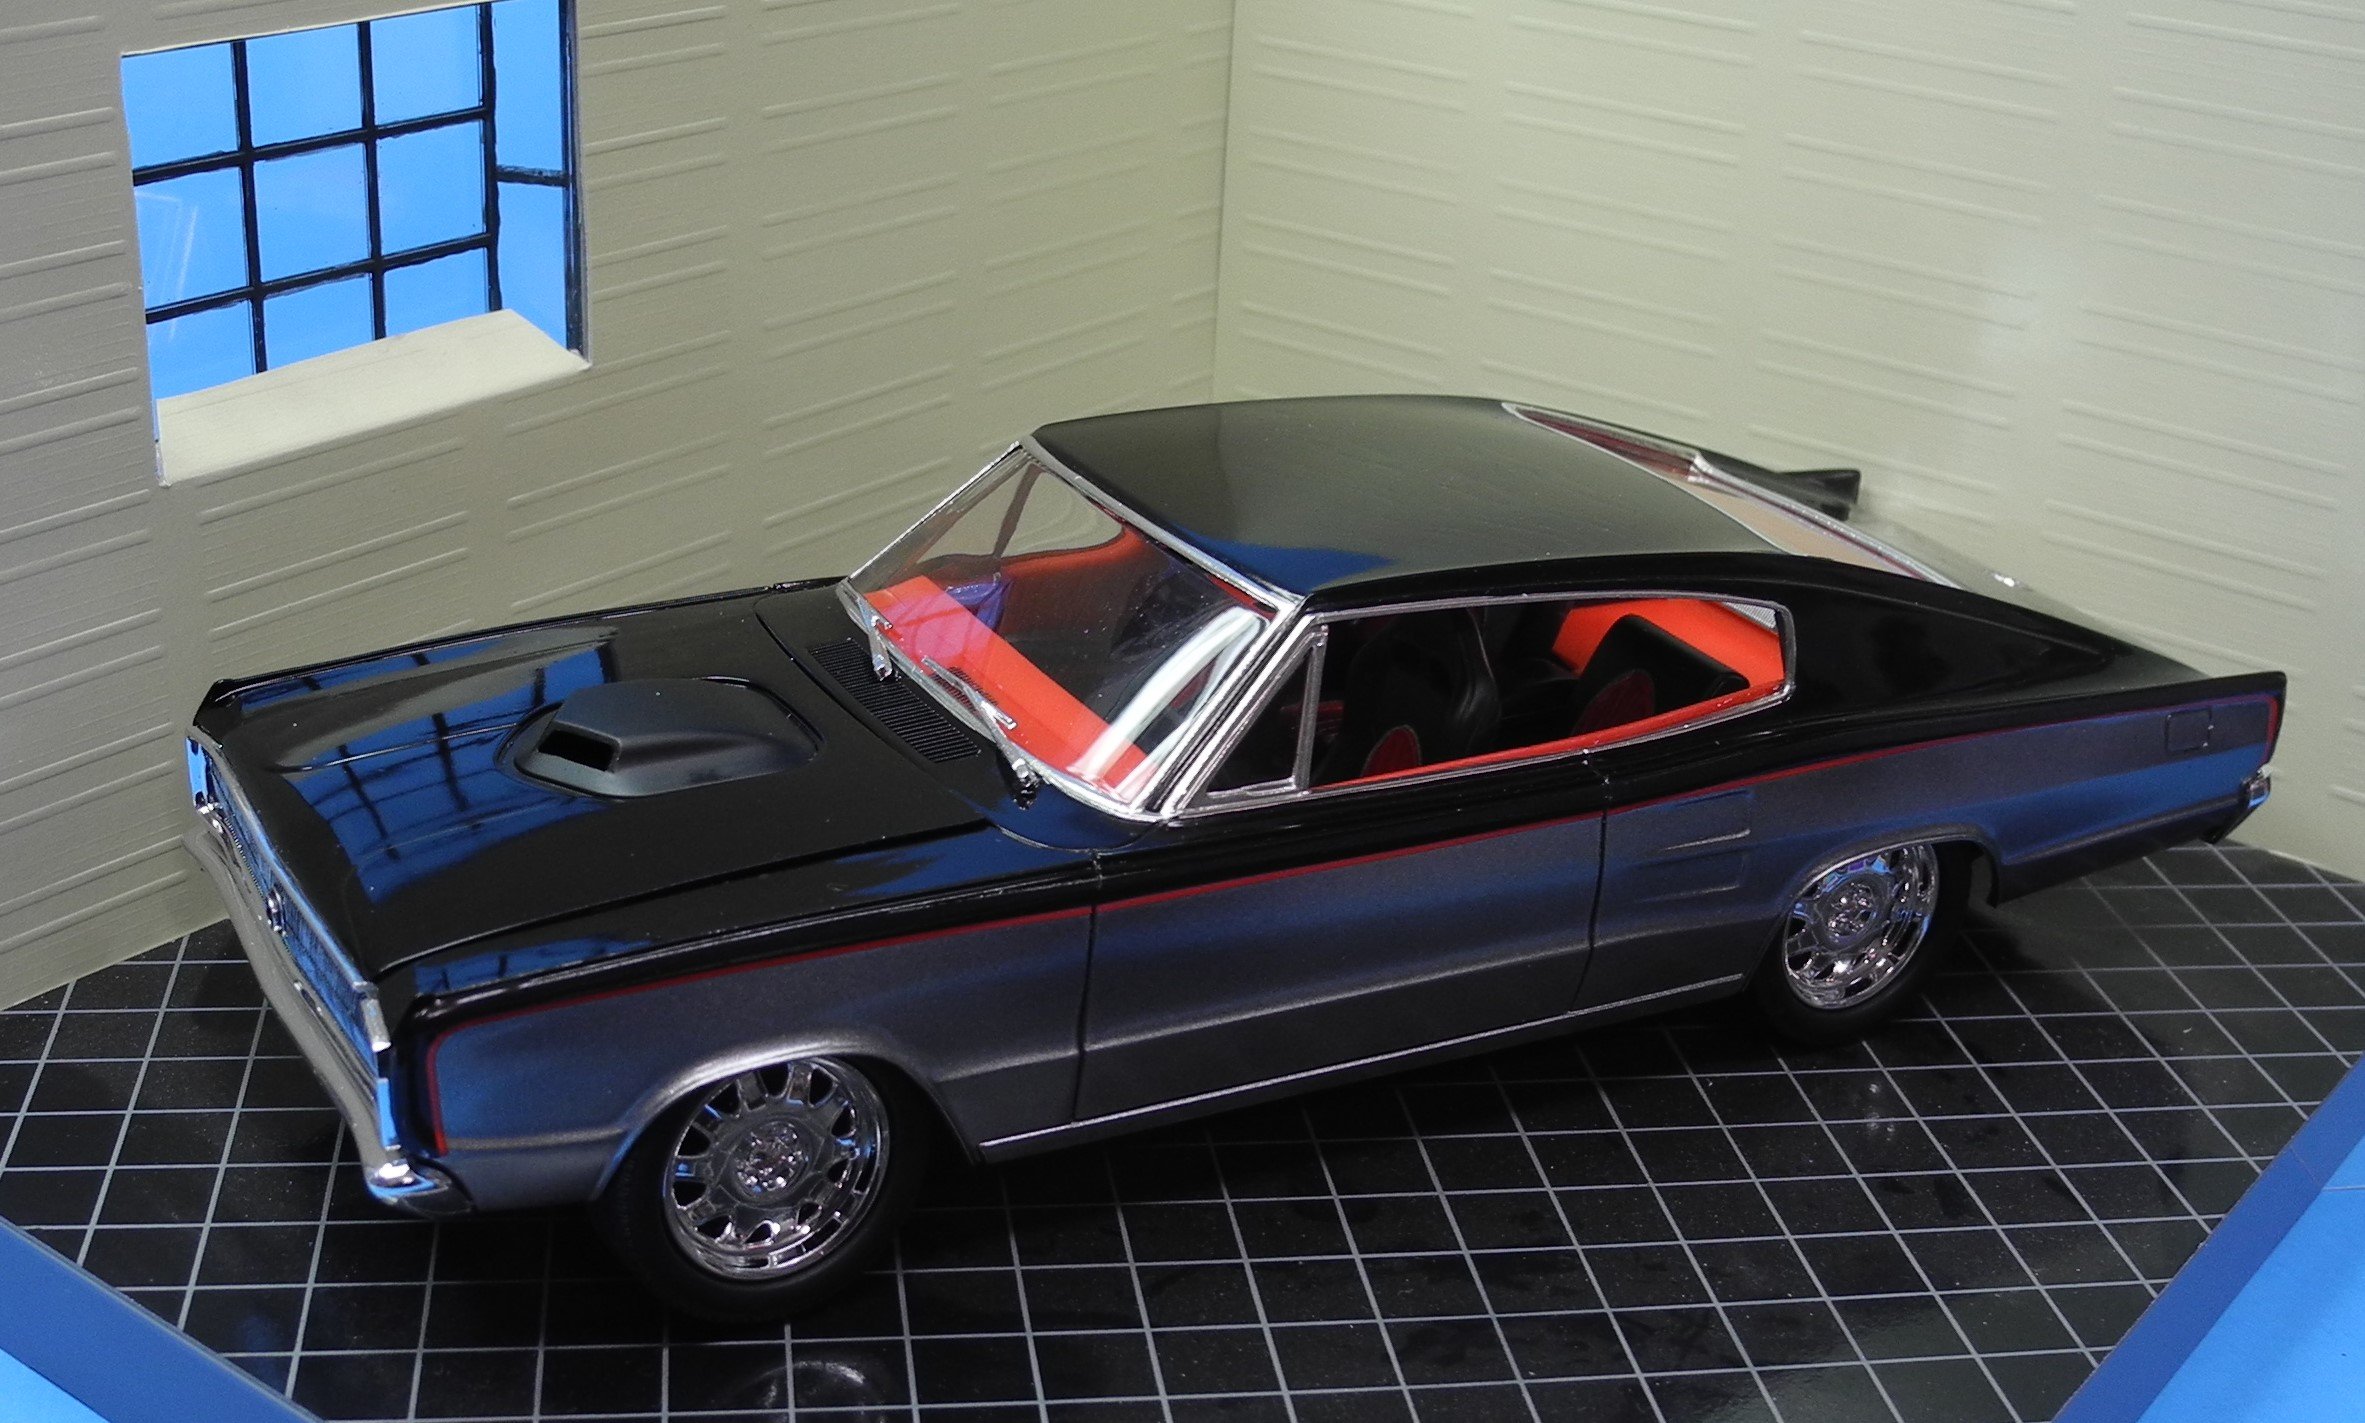
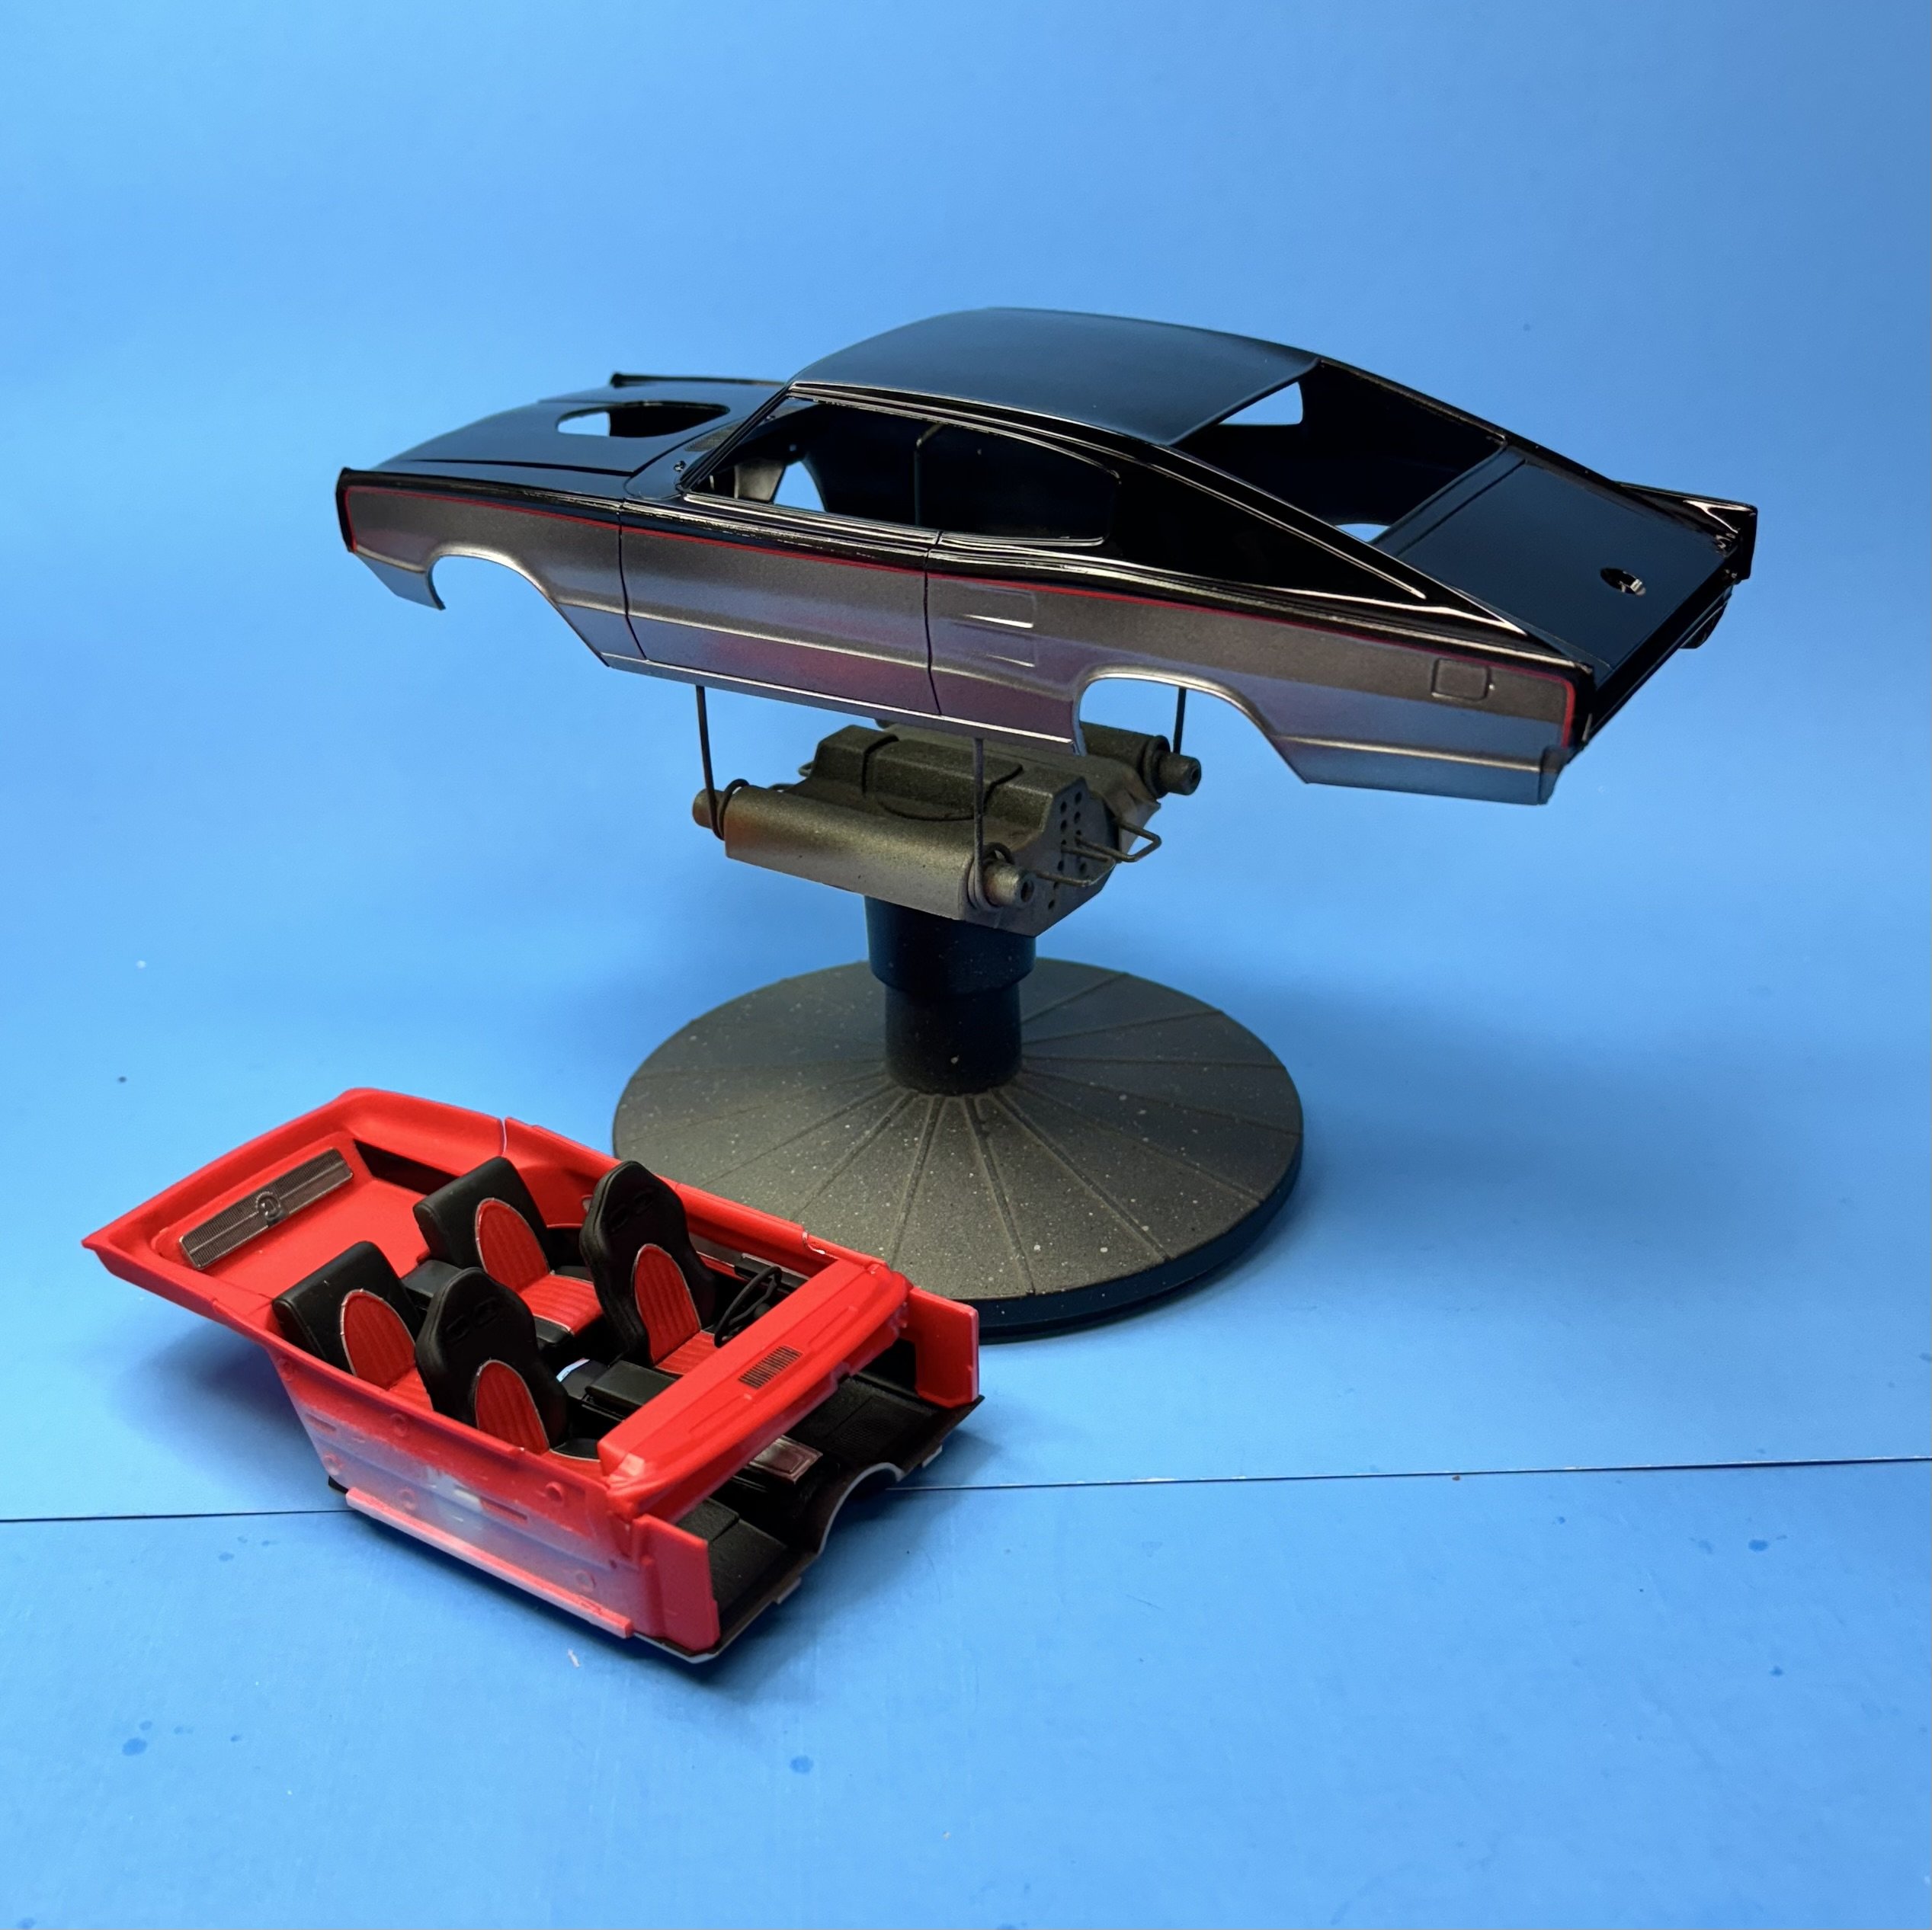
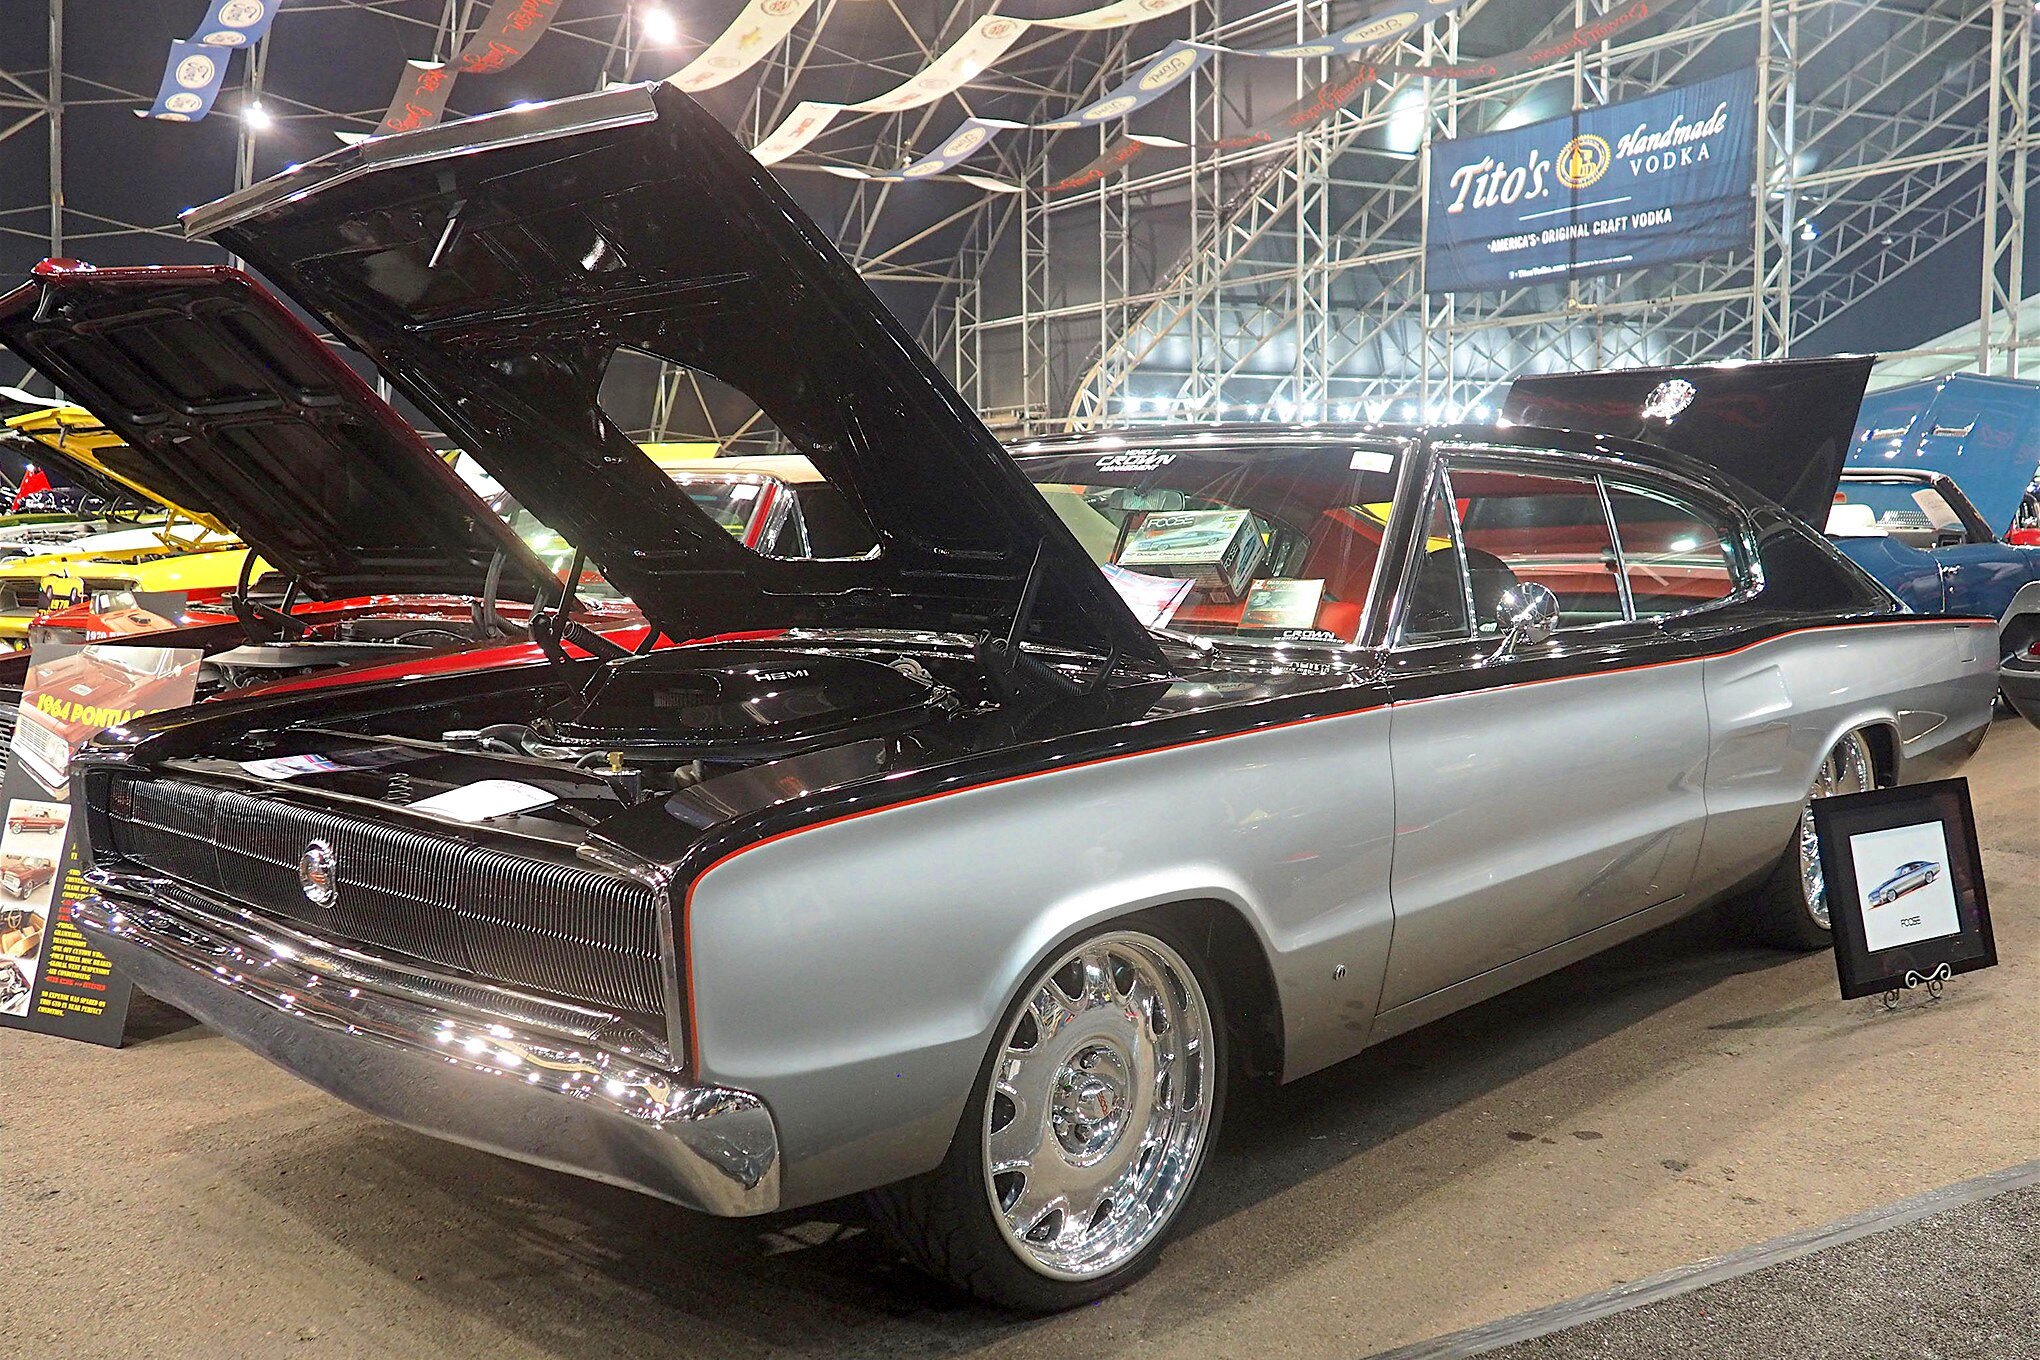
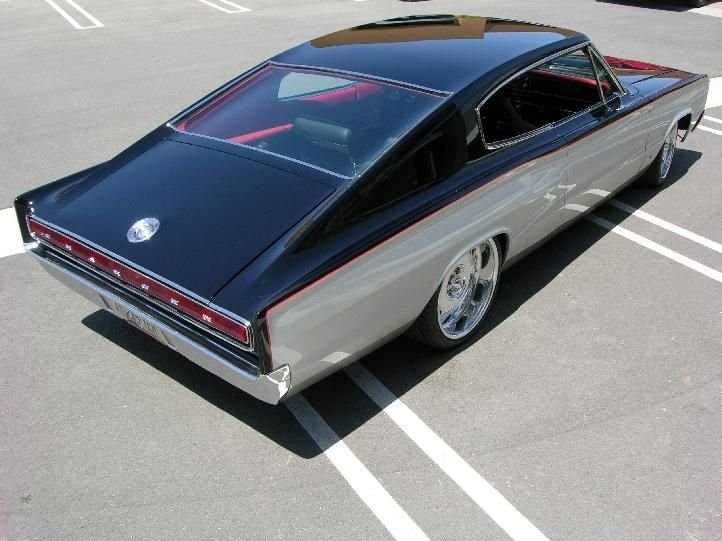
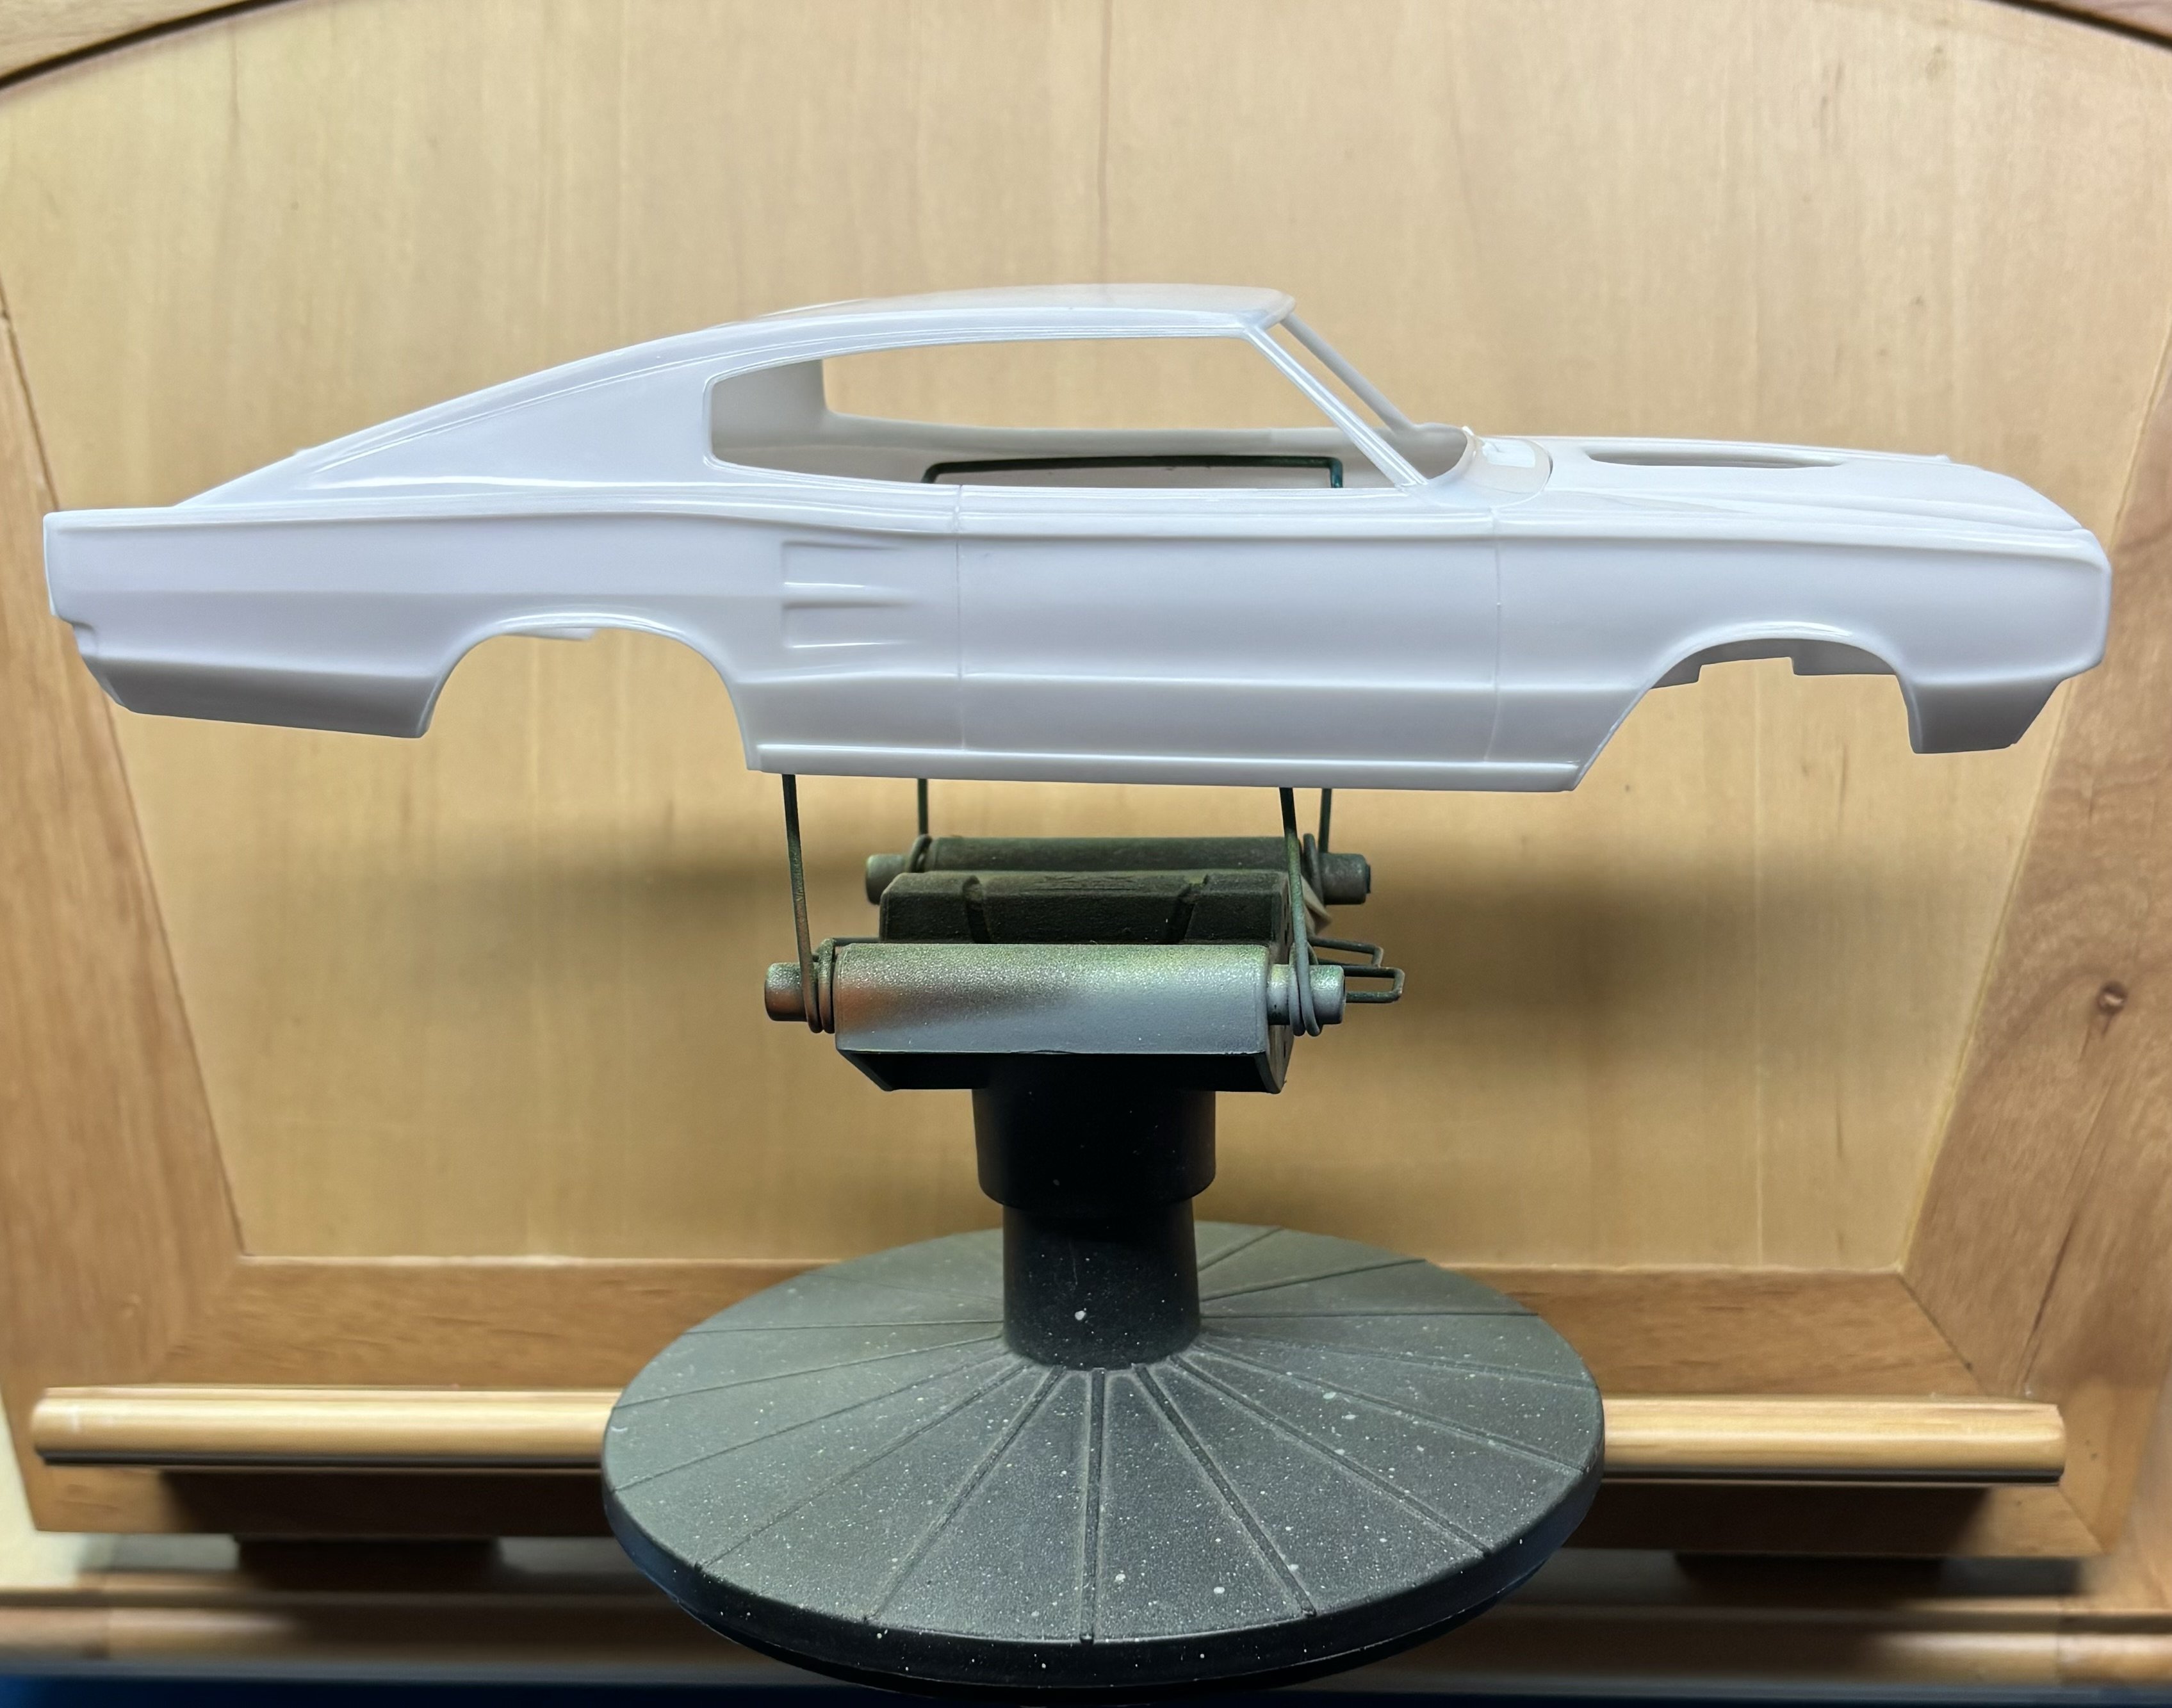
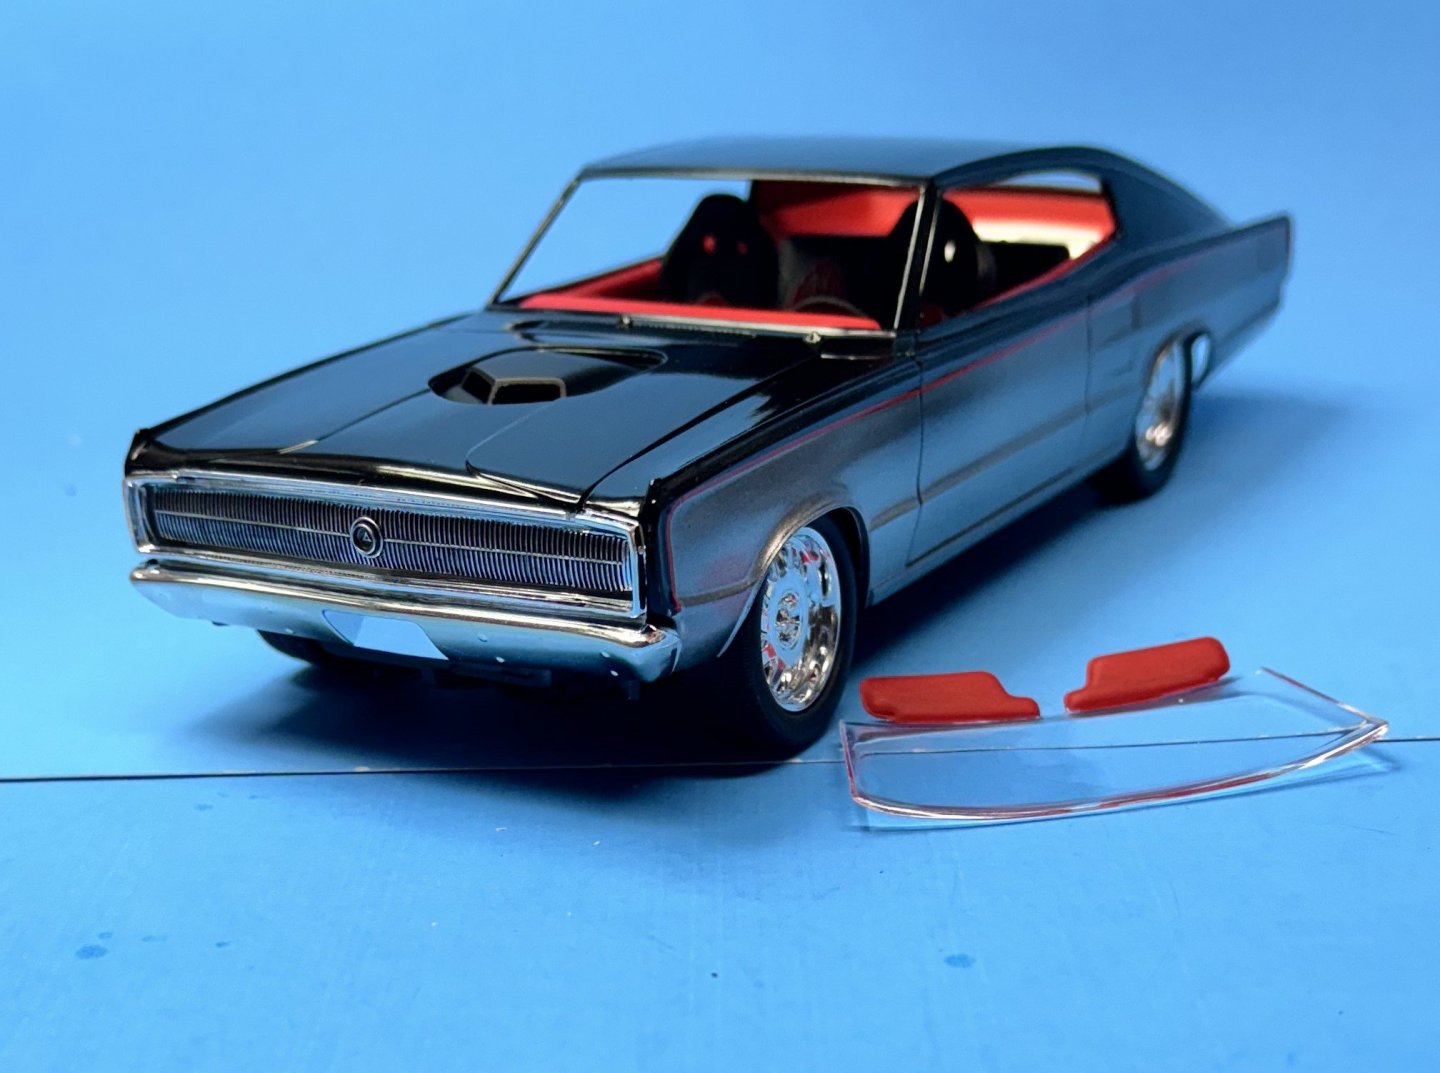
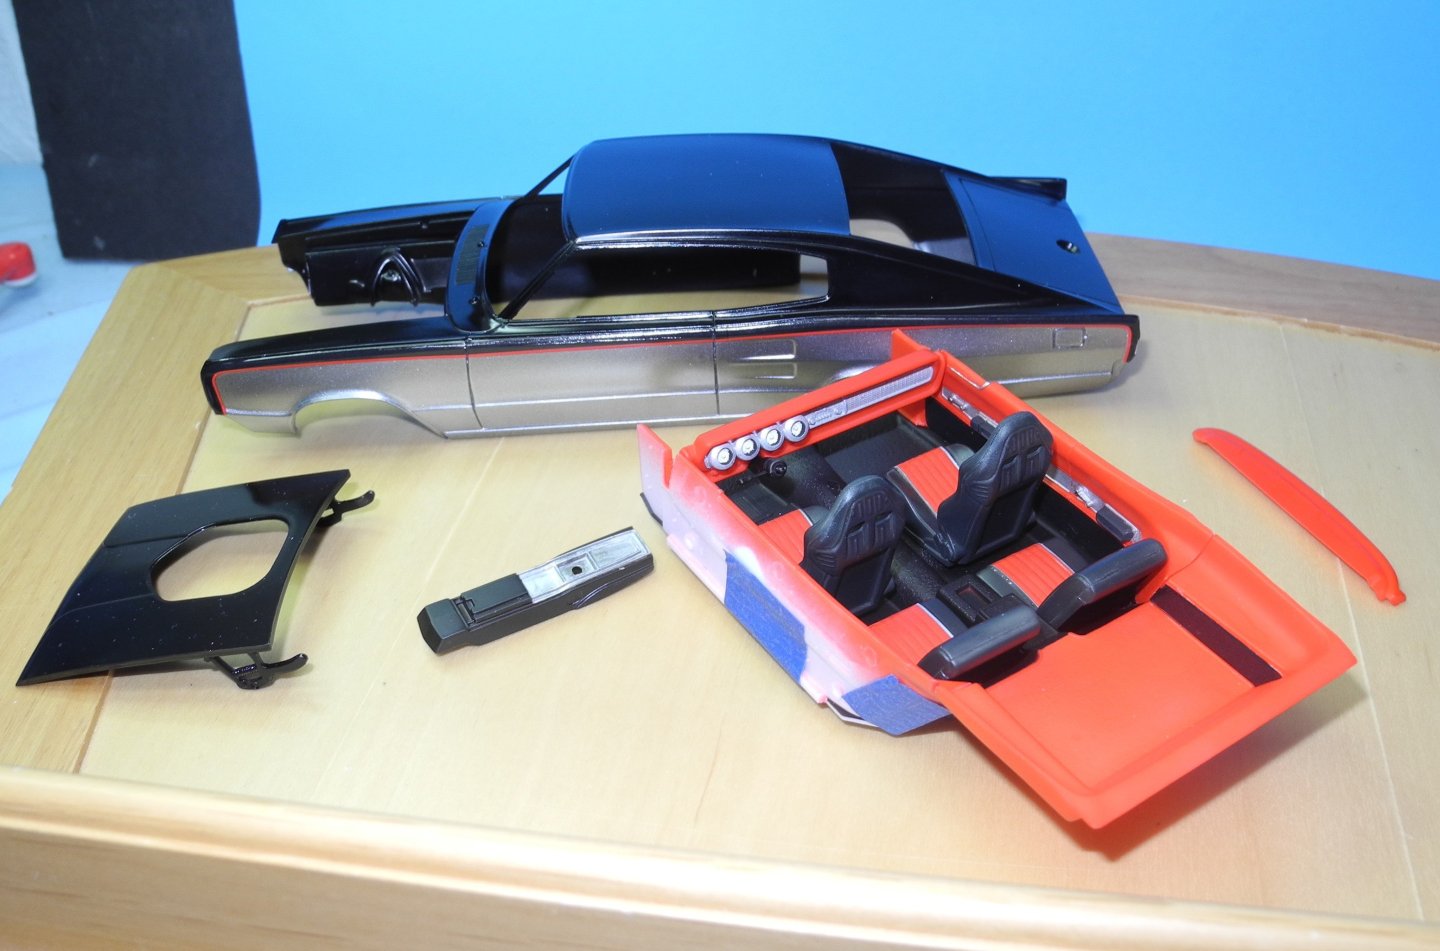
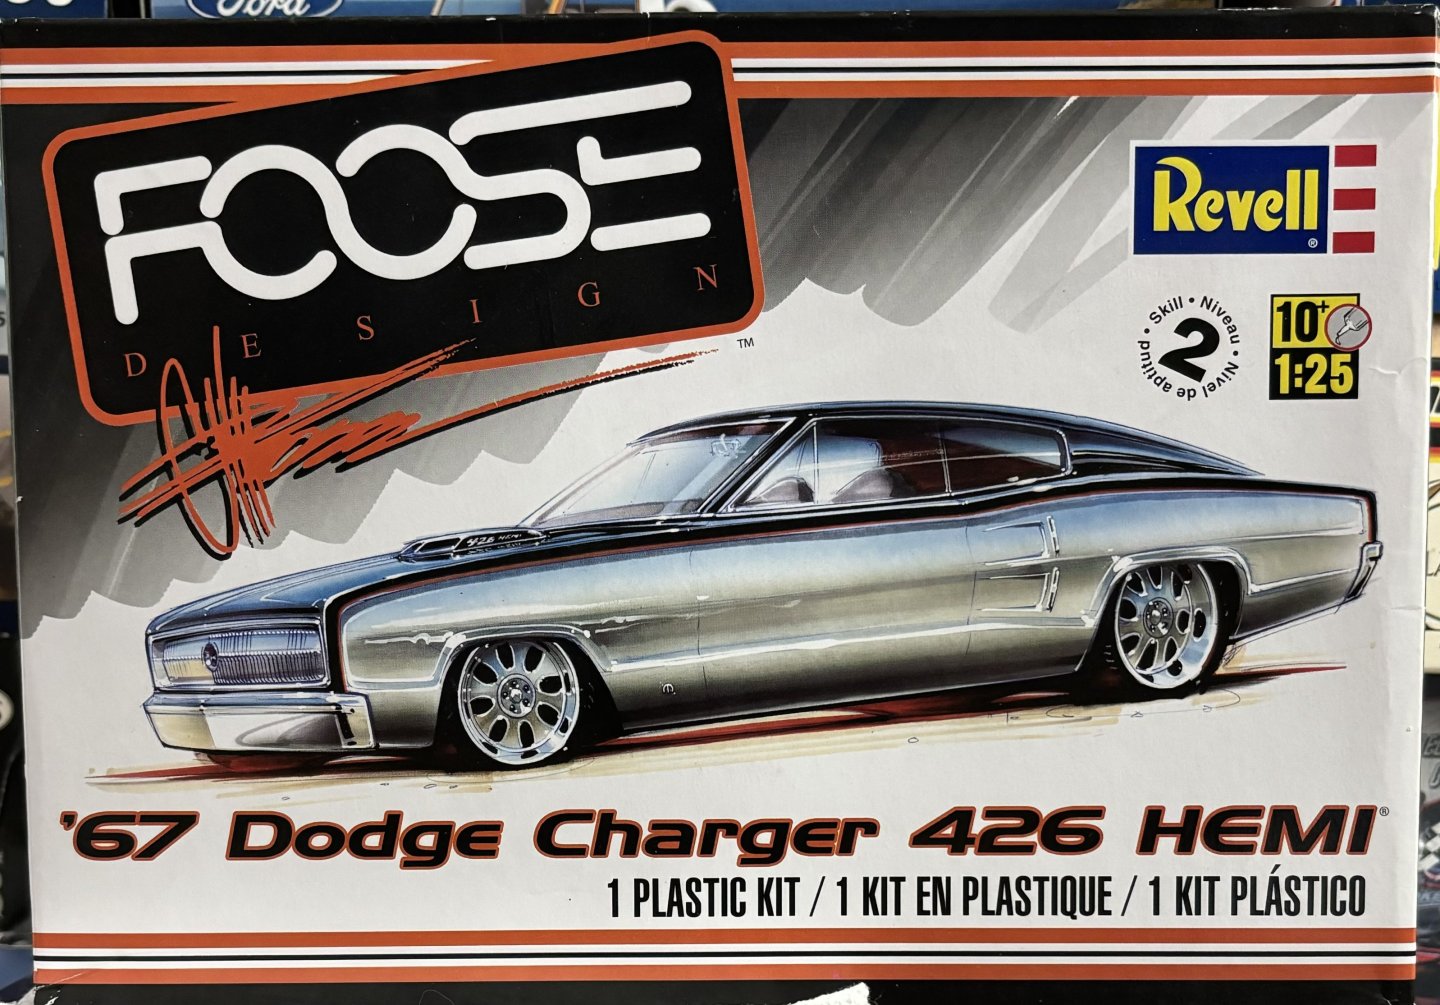
While I am building a much larger, more time consuming 1:12 Porsche Carrera GT kit, I need to squeeze in another build for a model club challenge where we build a given subject each month. This month's challenge is anything Mopar, so my response will be the Foose custom 1967 Dodge Charger. This should be a quick build that won't take more than a week or two to complete. The kit body straight out of the box was very nicely molded. Only a couple of small hints of a mold seam line and those were easily polished out with a 600 grit sanding sponge followed by 4000 and 6000 grit polishing cloth. The body was primed with Mr Surfacer 1500 black and after dry, polished again with the 6000 grit polishing cloth. Next it got a couple of coats of Tamiya gloss black. After allowing it to cure overnight, will mask it off to shoot gloss metallic silver on the sides to match the Foose paint scheme as seen on the box art. My intention is to keep the kit pretty much box stock as I like the custom Foose parts included with the kit. Will add a few under hood details.

- 37 replies
-
- 11
-
-
-
A very realistic model. Unmatched by any other that I know of. MFH certainly produce fine model kits and you are doing an absolute beautiful job, carefully and meticulously building it.
-
B-25J Mitchell by Chadwijm6 - HK Models - 1/32
CDW replied to chadwijm6's topic in Non-ship/categorised builds
Here in sunny Florida, daytime in the summer heat makes for a very uncomfortable ride. Not to mention that almost daily we get thunderstorms in the summer as well. Evenings in the summer can make for nice rides. My favorite times to ride was always in the fall and spring. Winters don't often cause problems either as ours are so mild. What put me off from riding is our ever-growing traffic congestion and very bad drivers.