CDW
-
Posts
7,755 -
Joined
-
Last visited
Content Type
Profiles
Forums
Gallery
Events
Everything posted by CDW
-
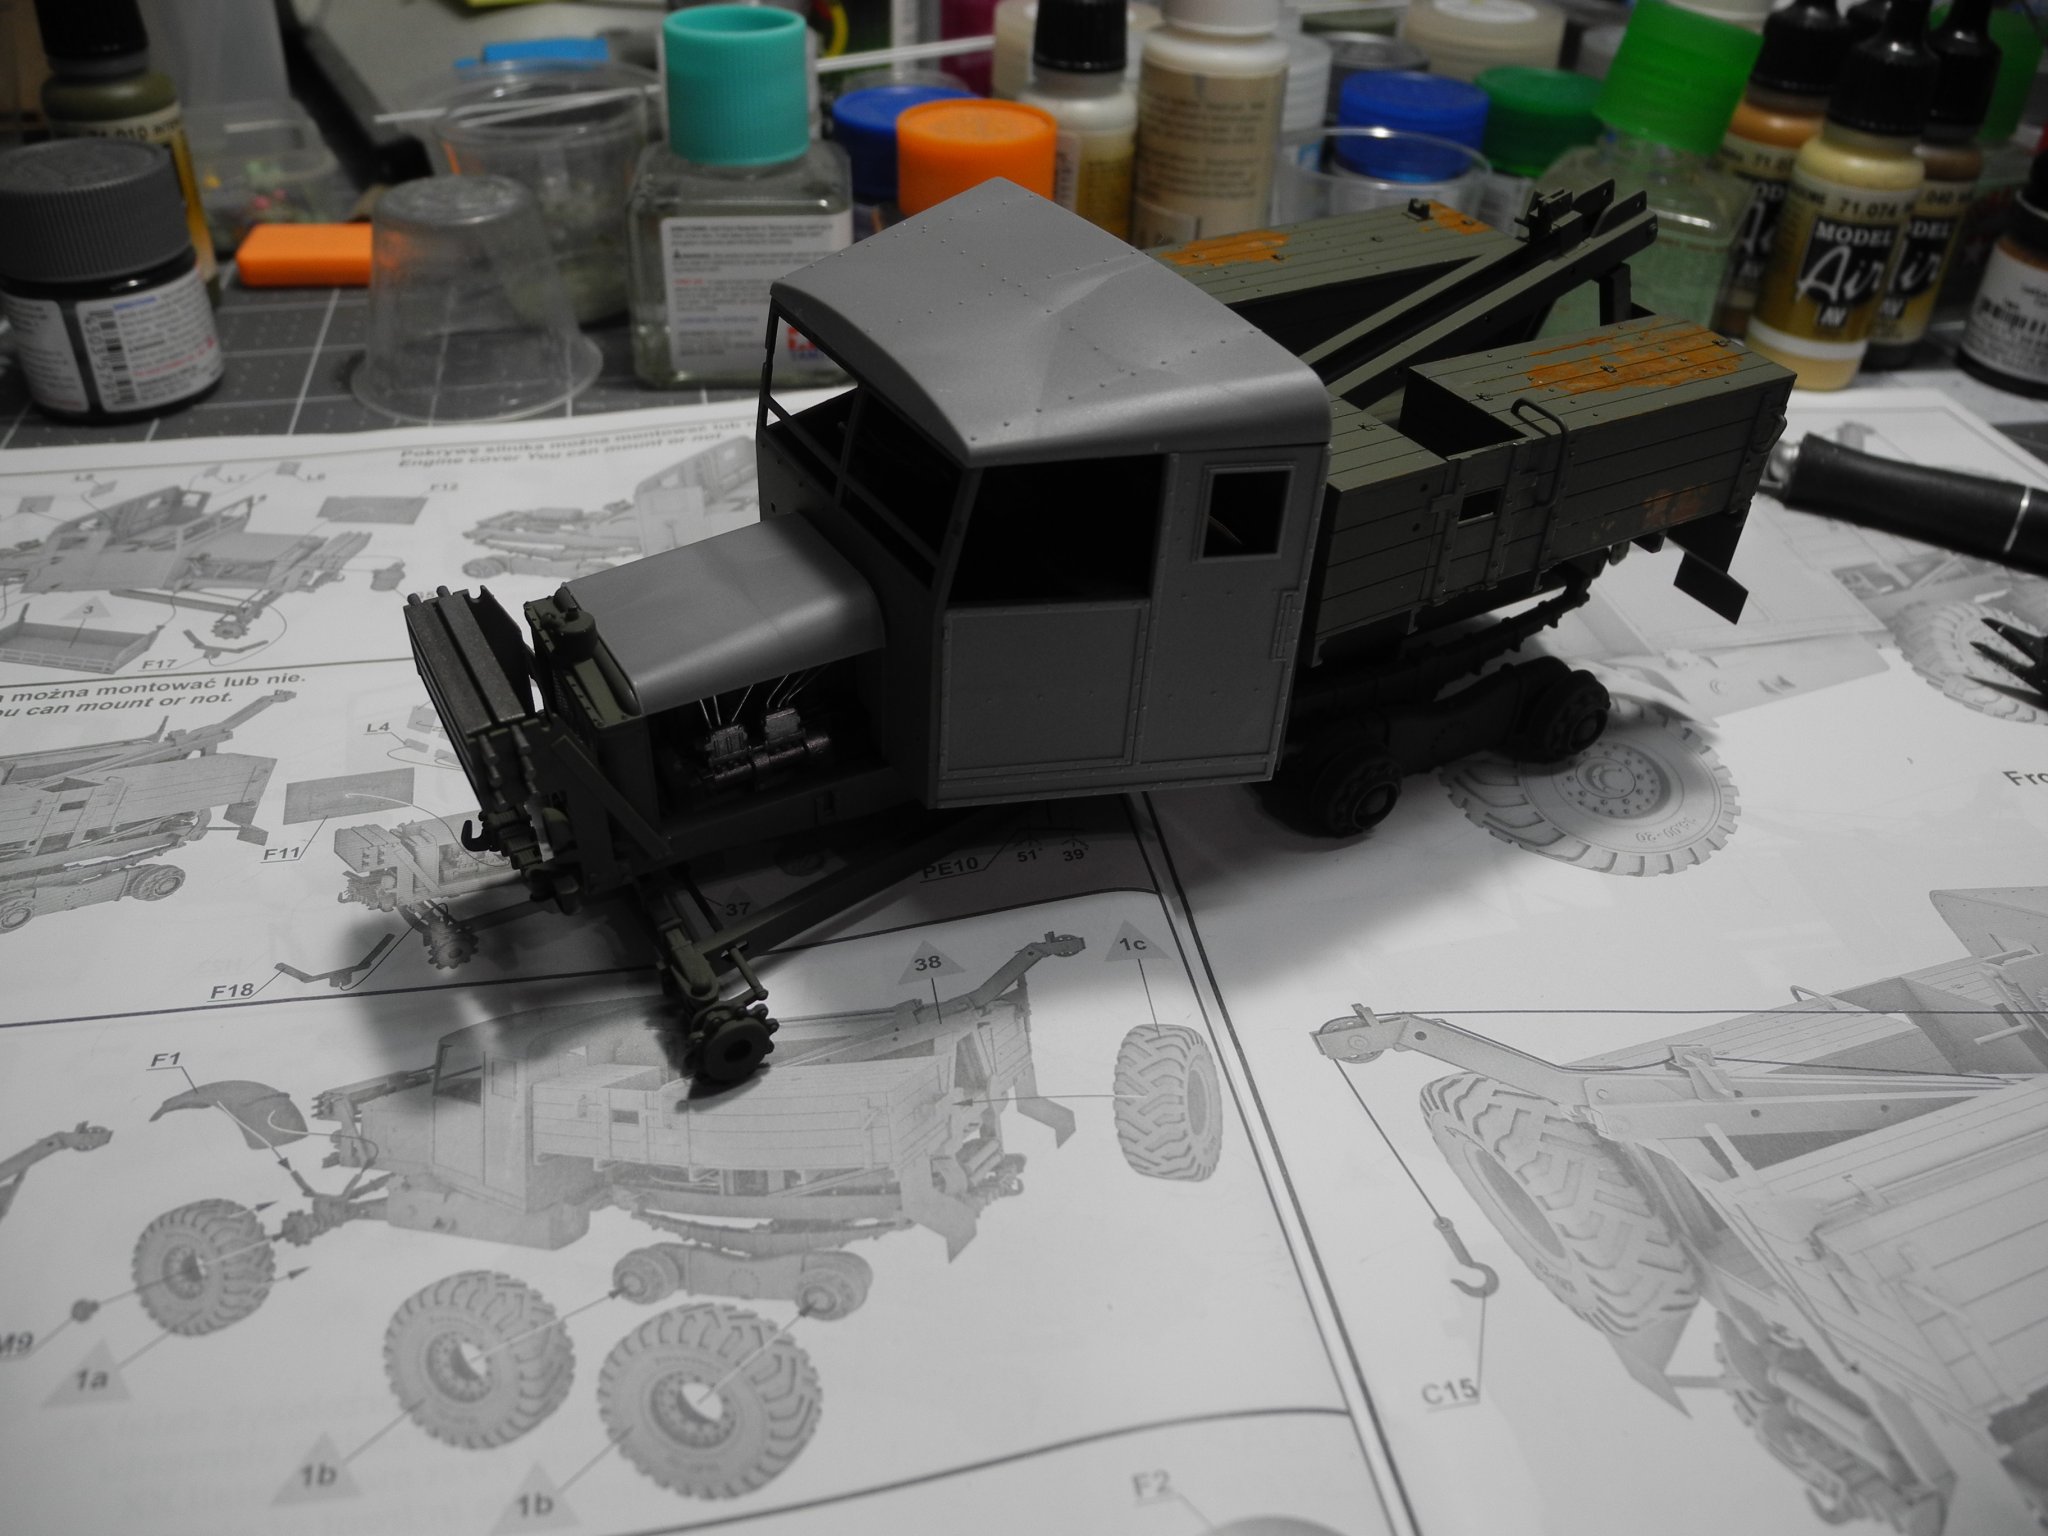
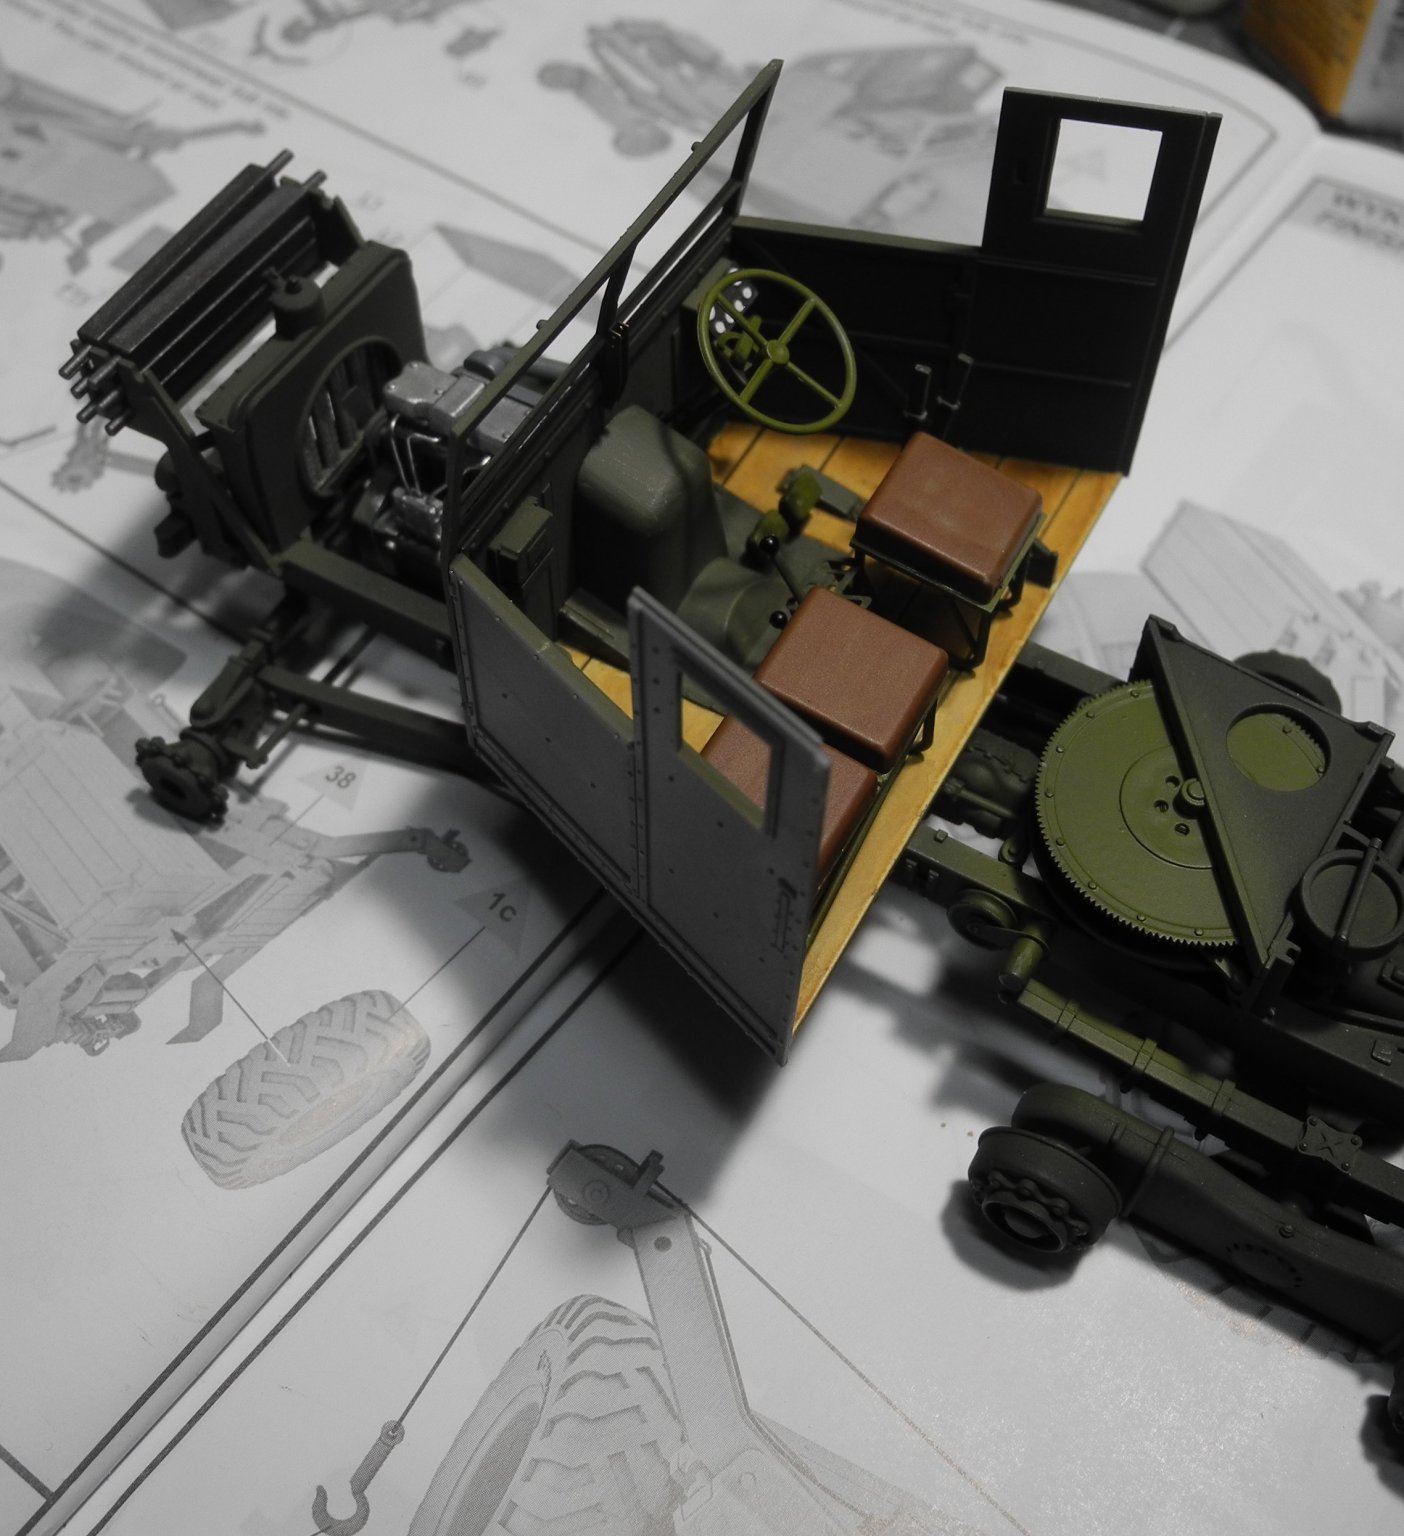
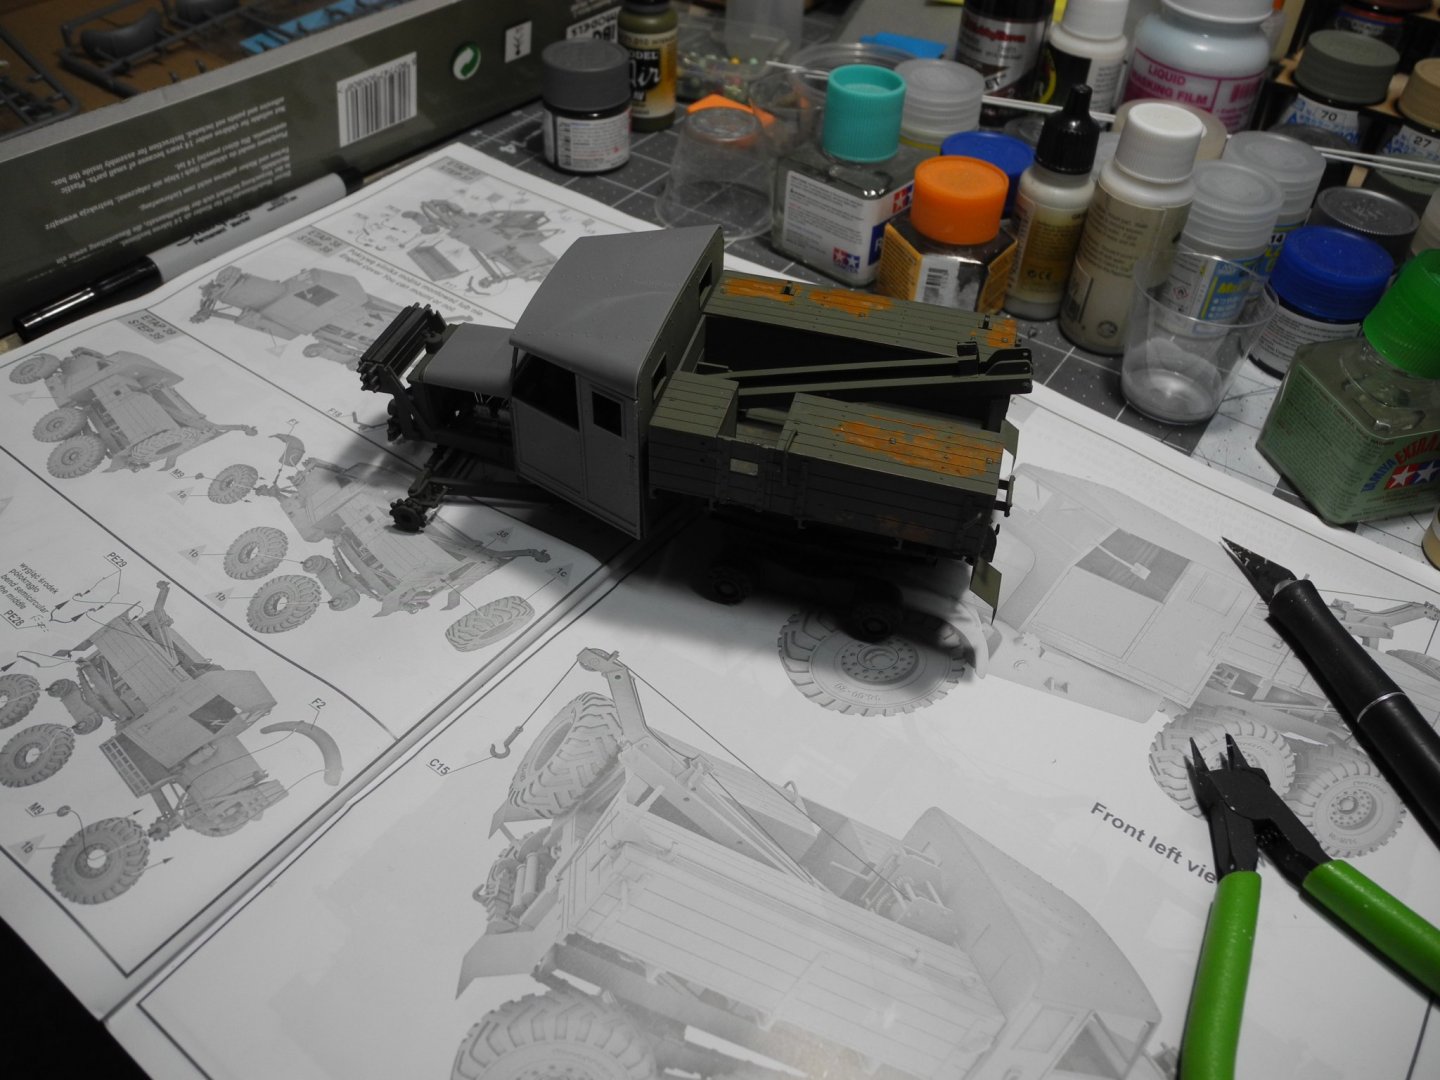
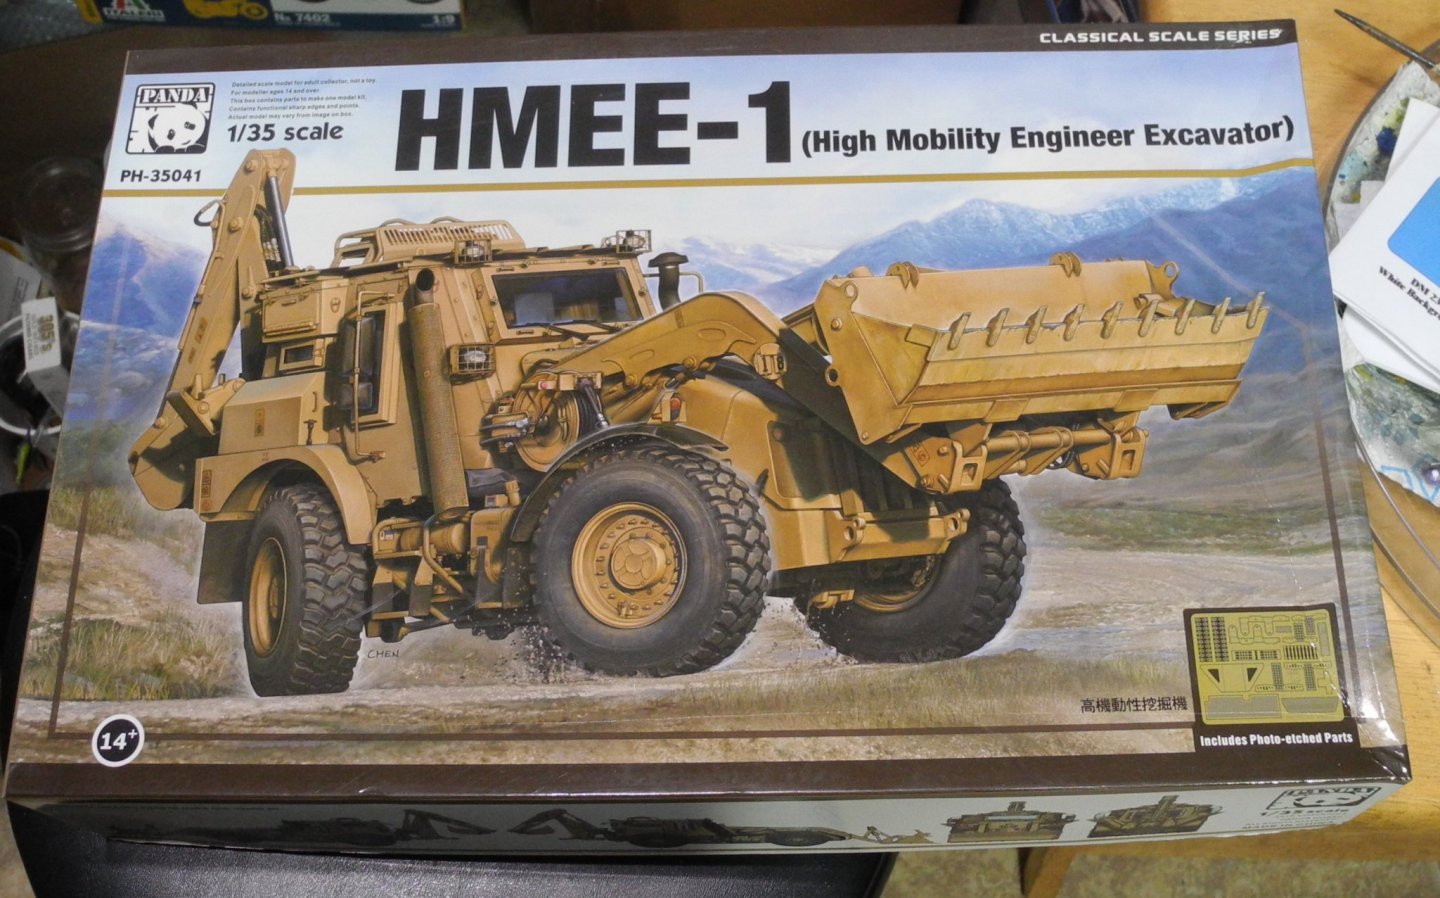
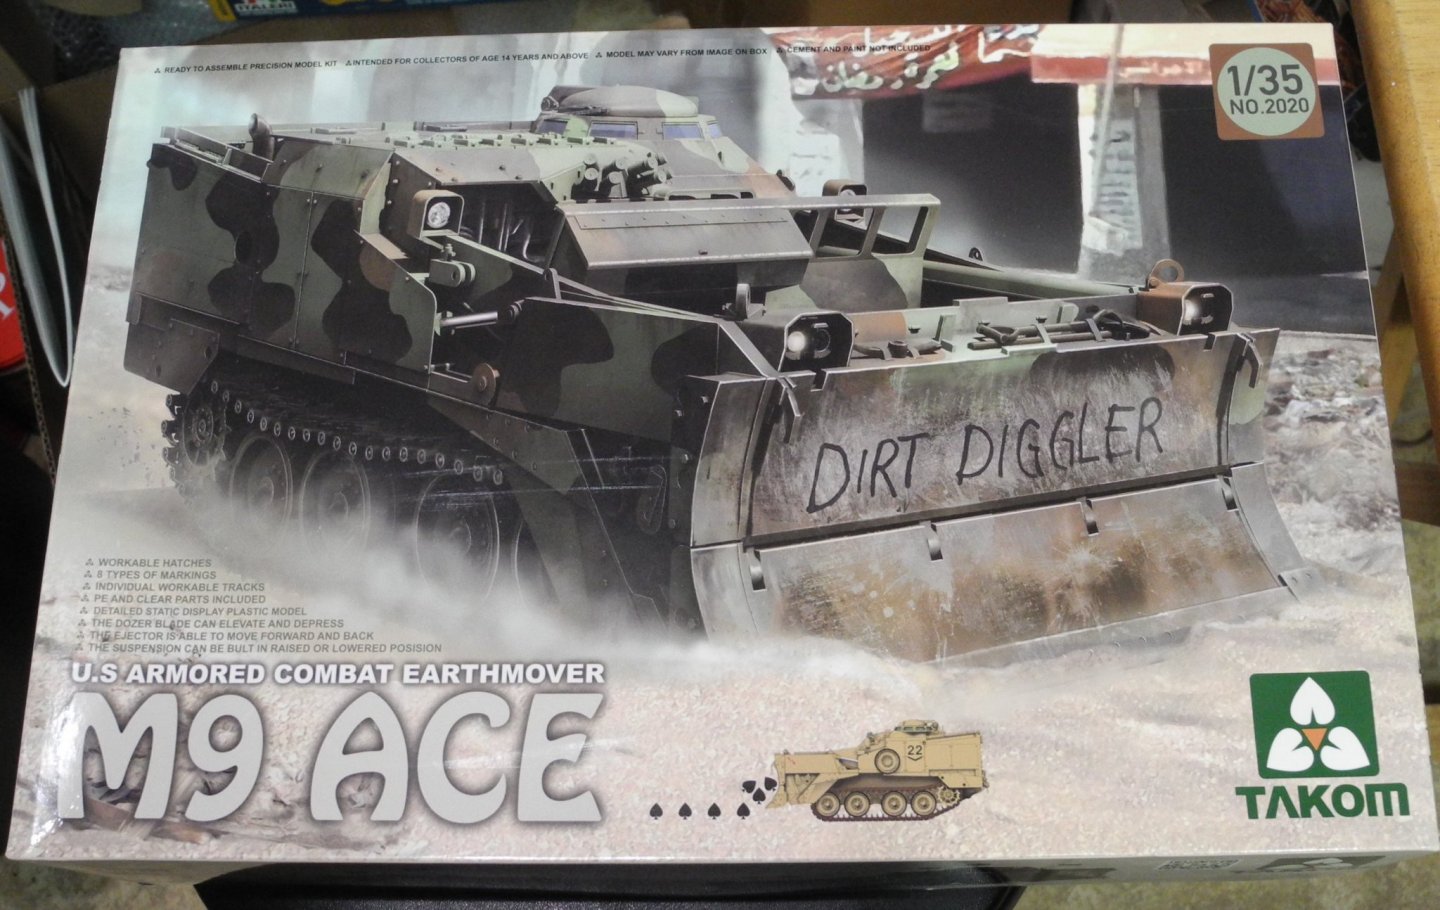
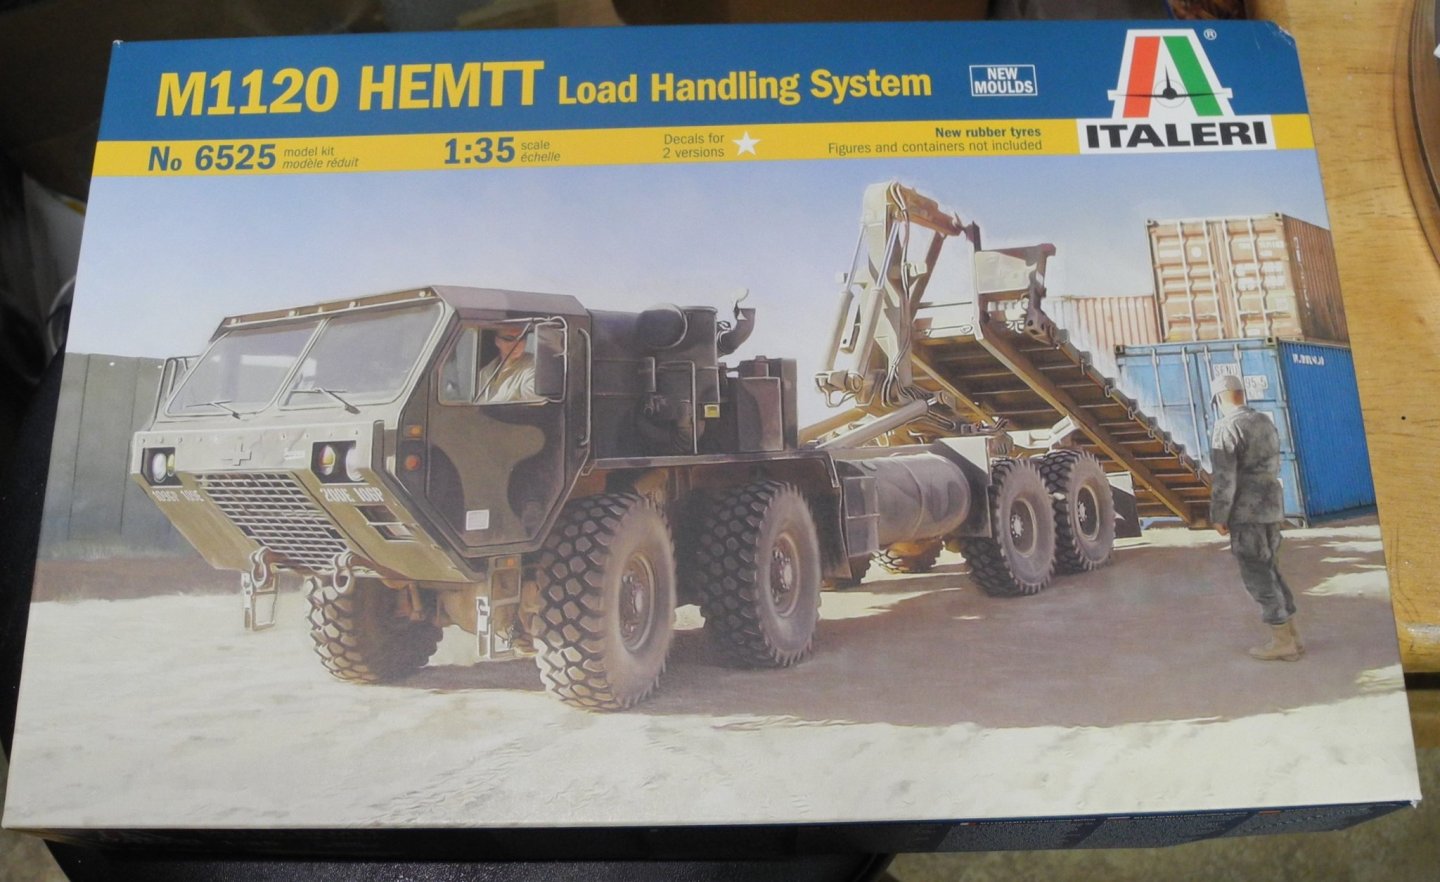
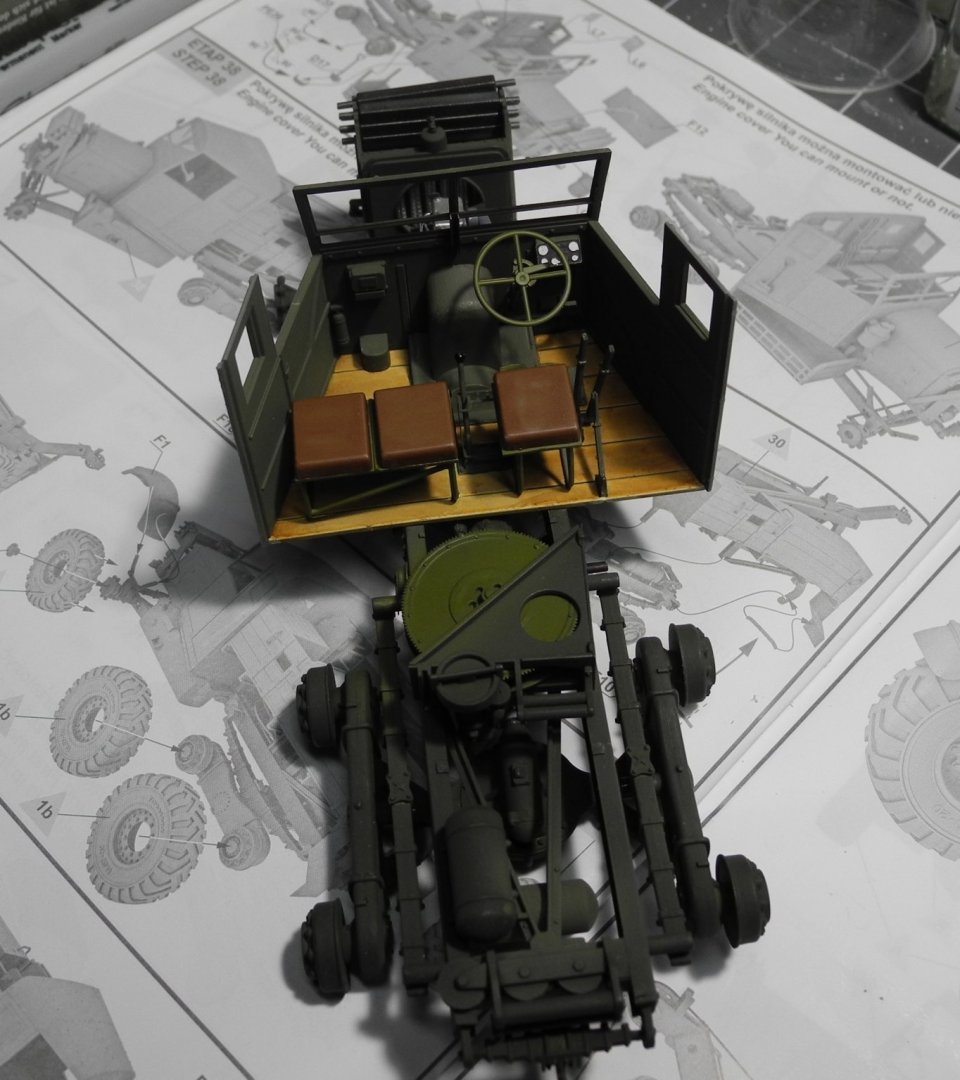
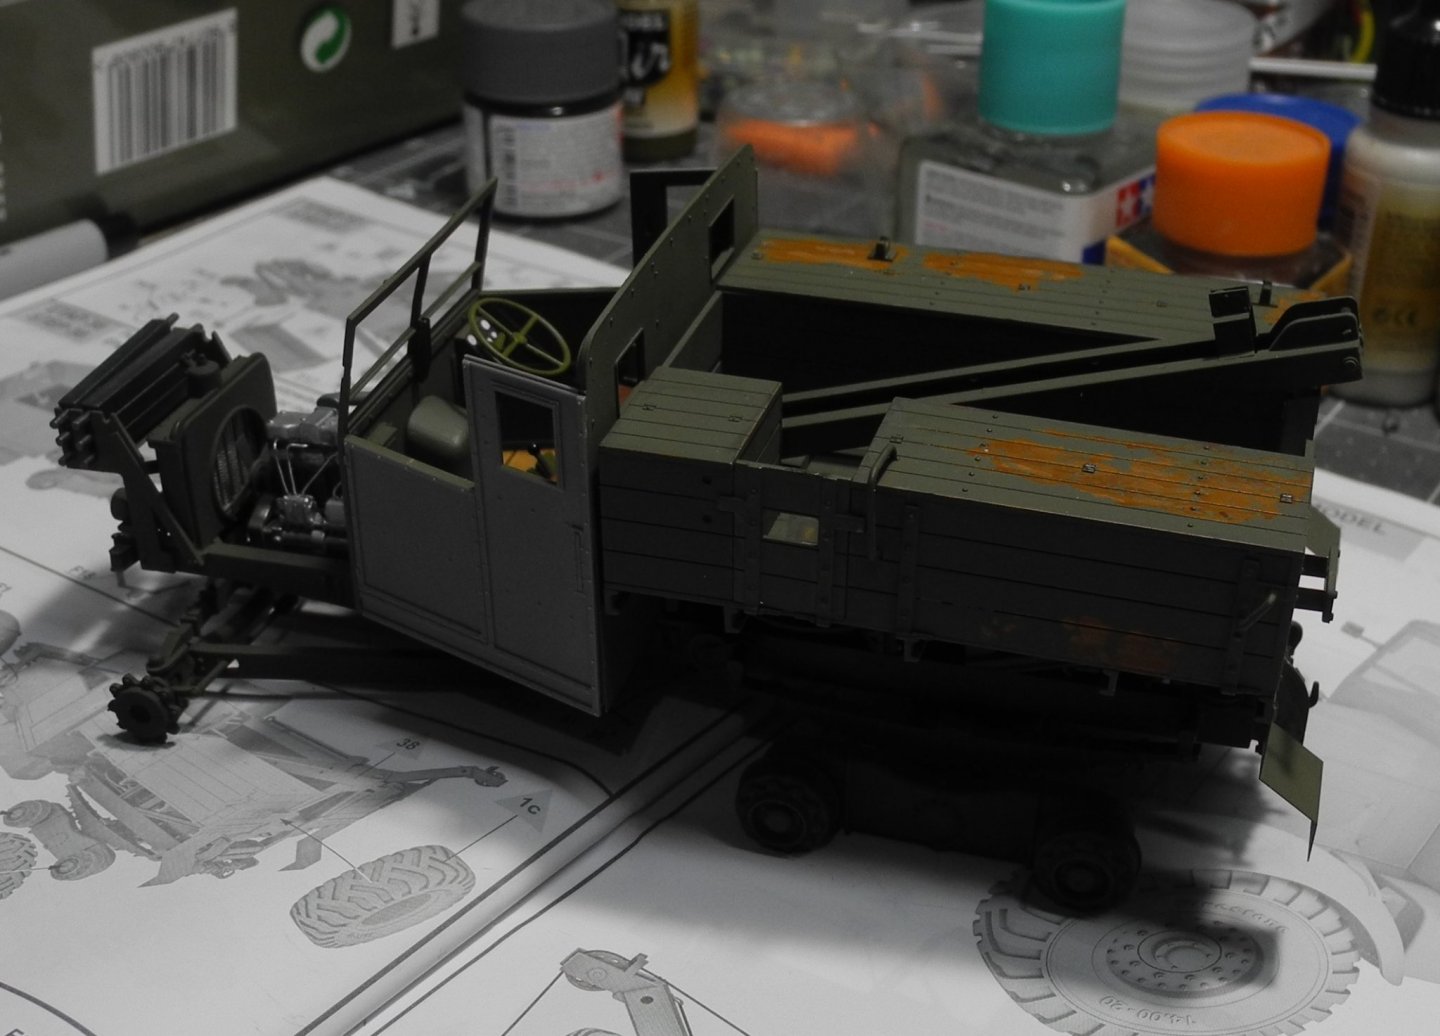
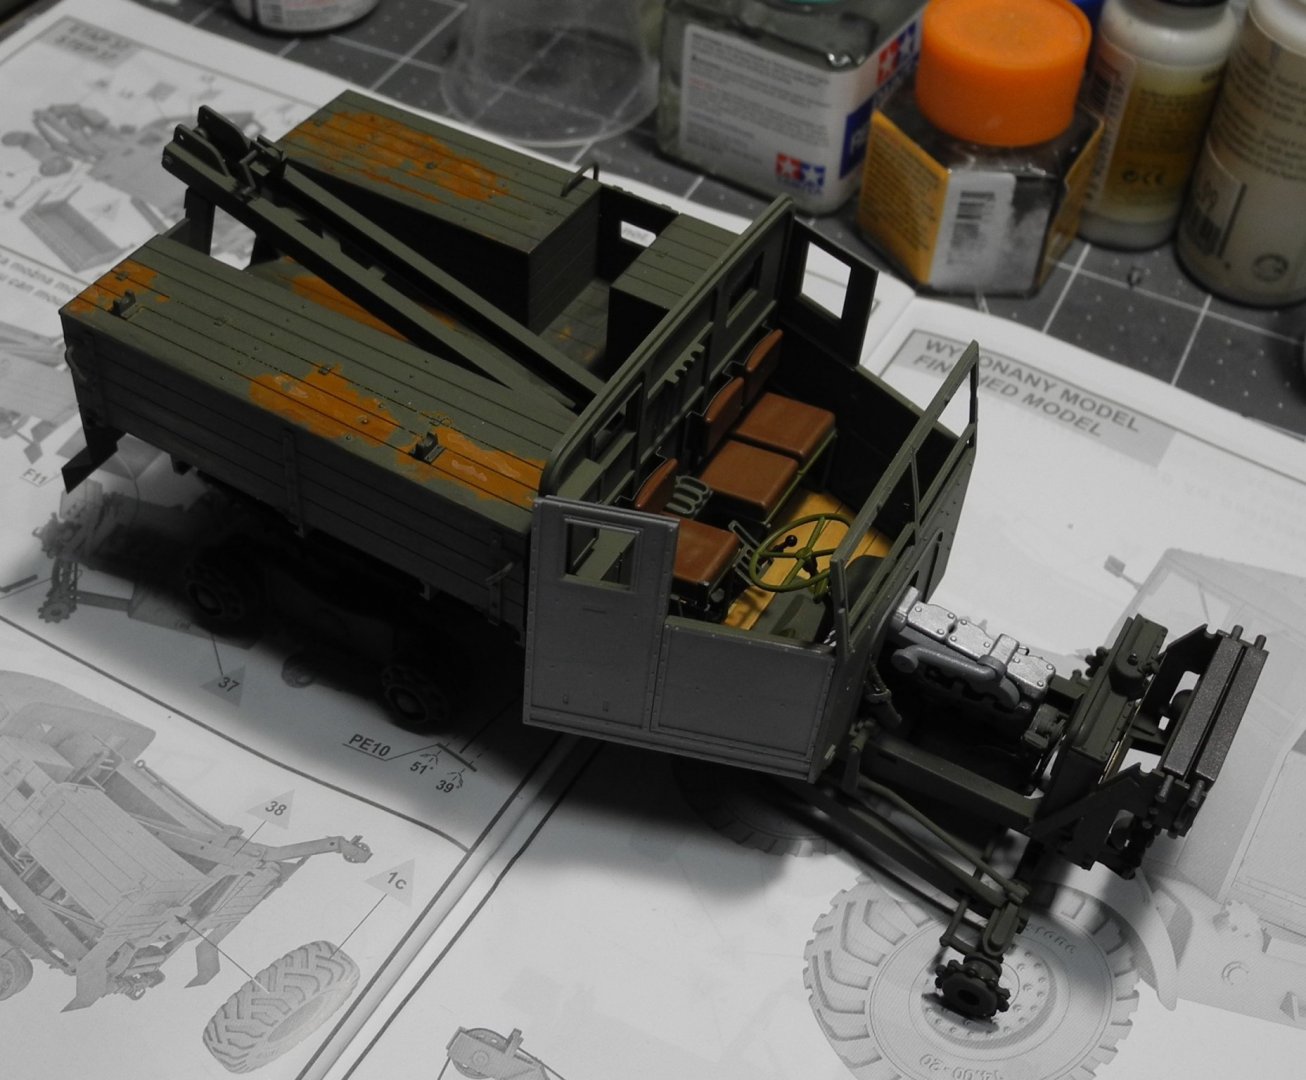
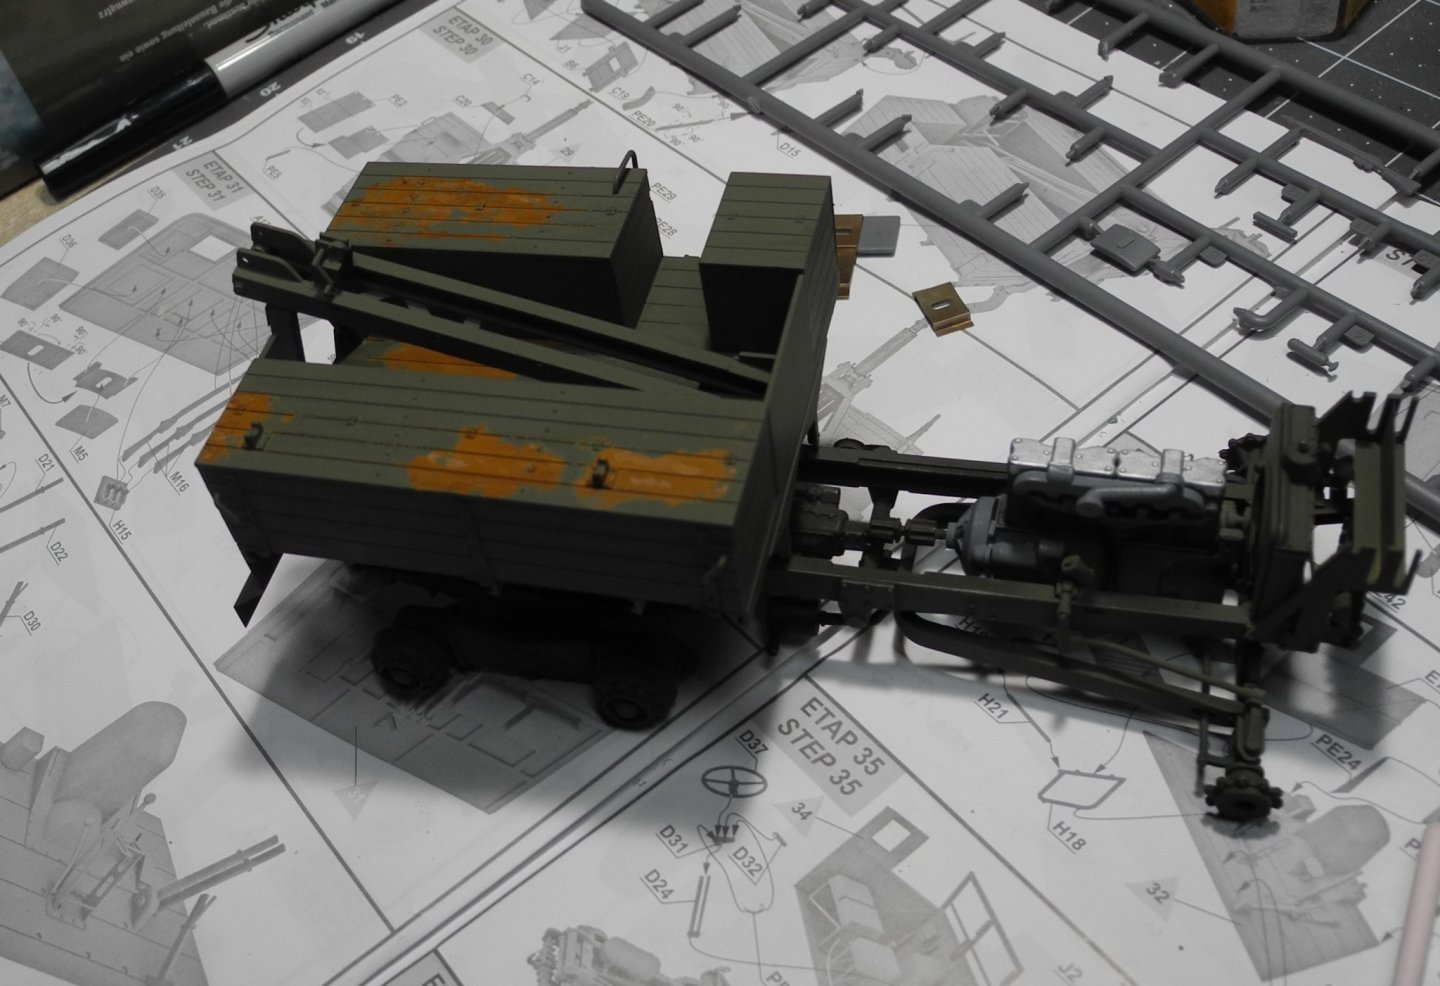
 The roof of the cab covers up the interior details for the most part. Recently, there have been some interesting releases of military construction equipment. I've acquired a few for future projects.

-
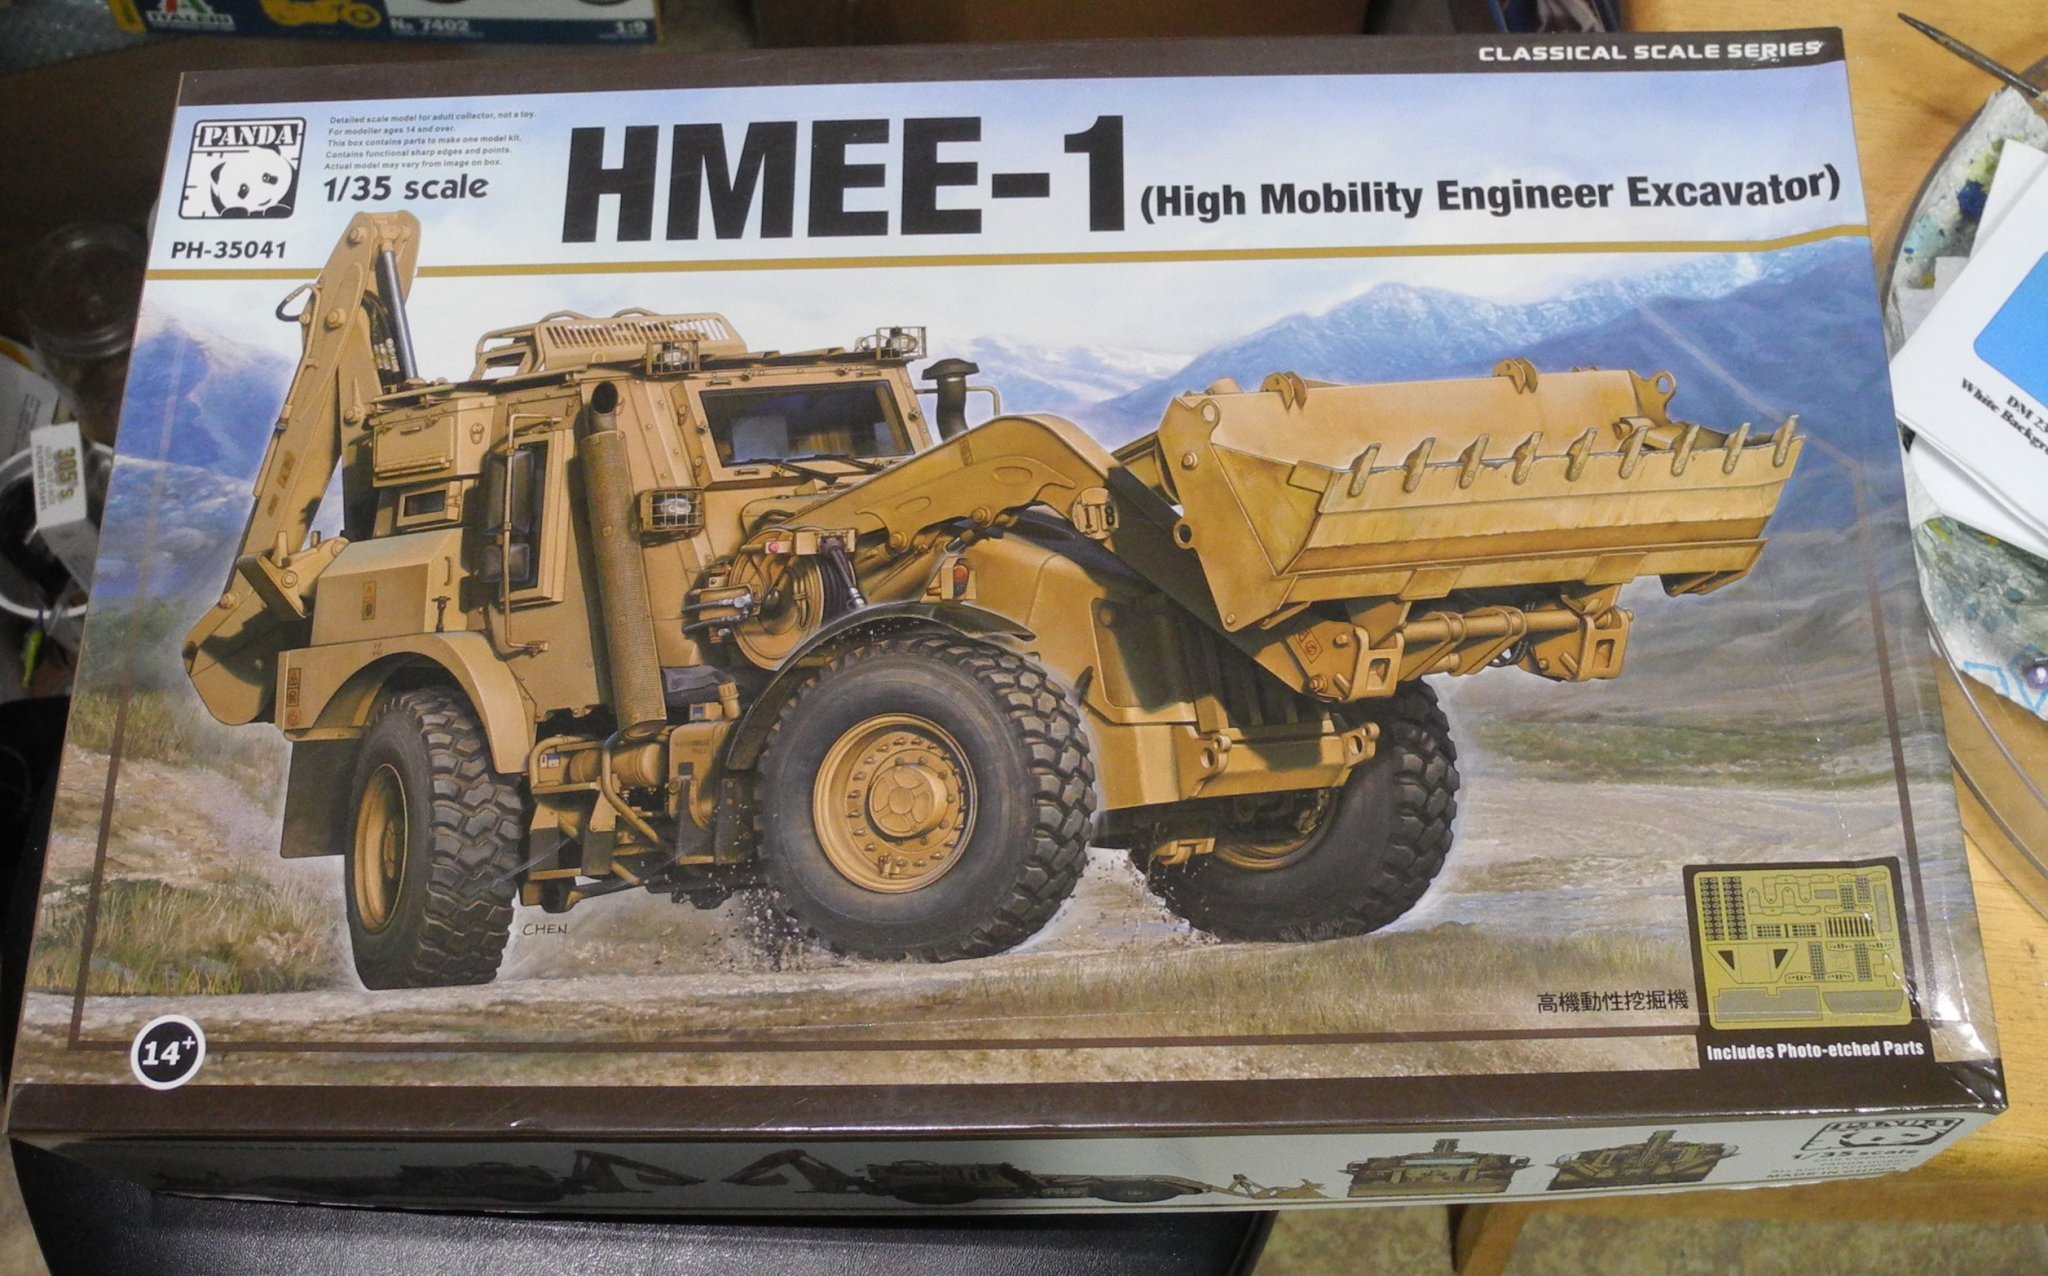
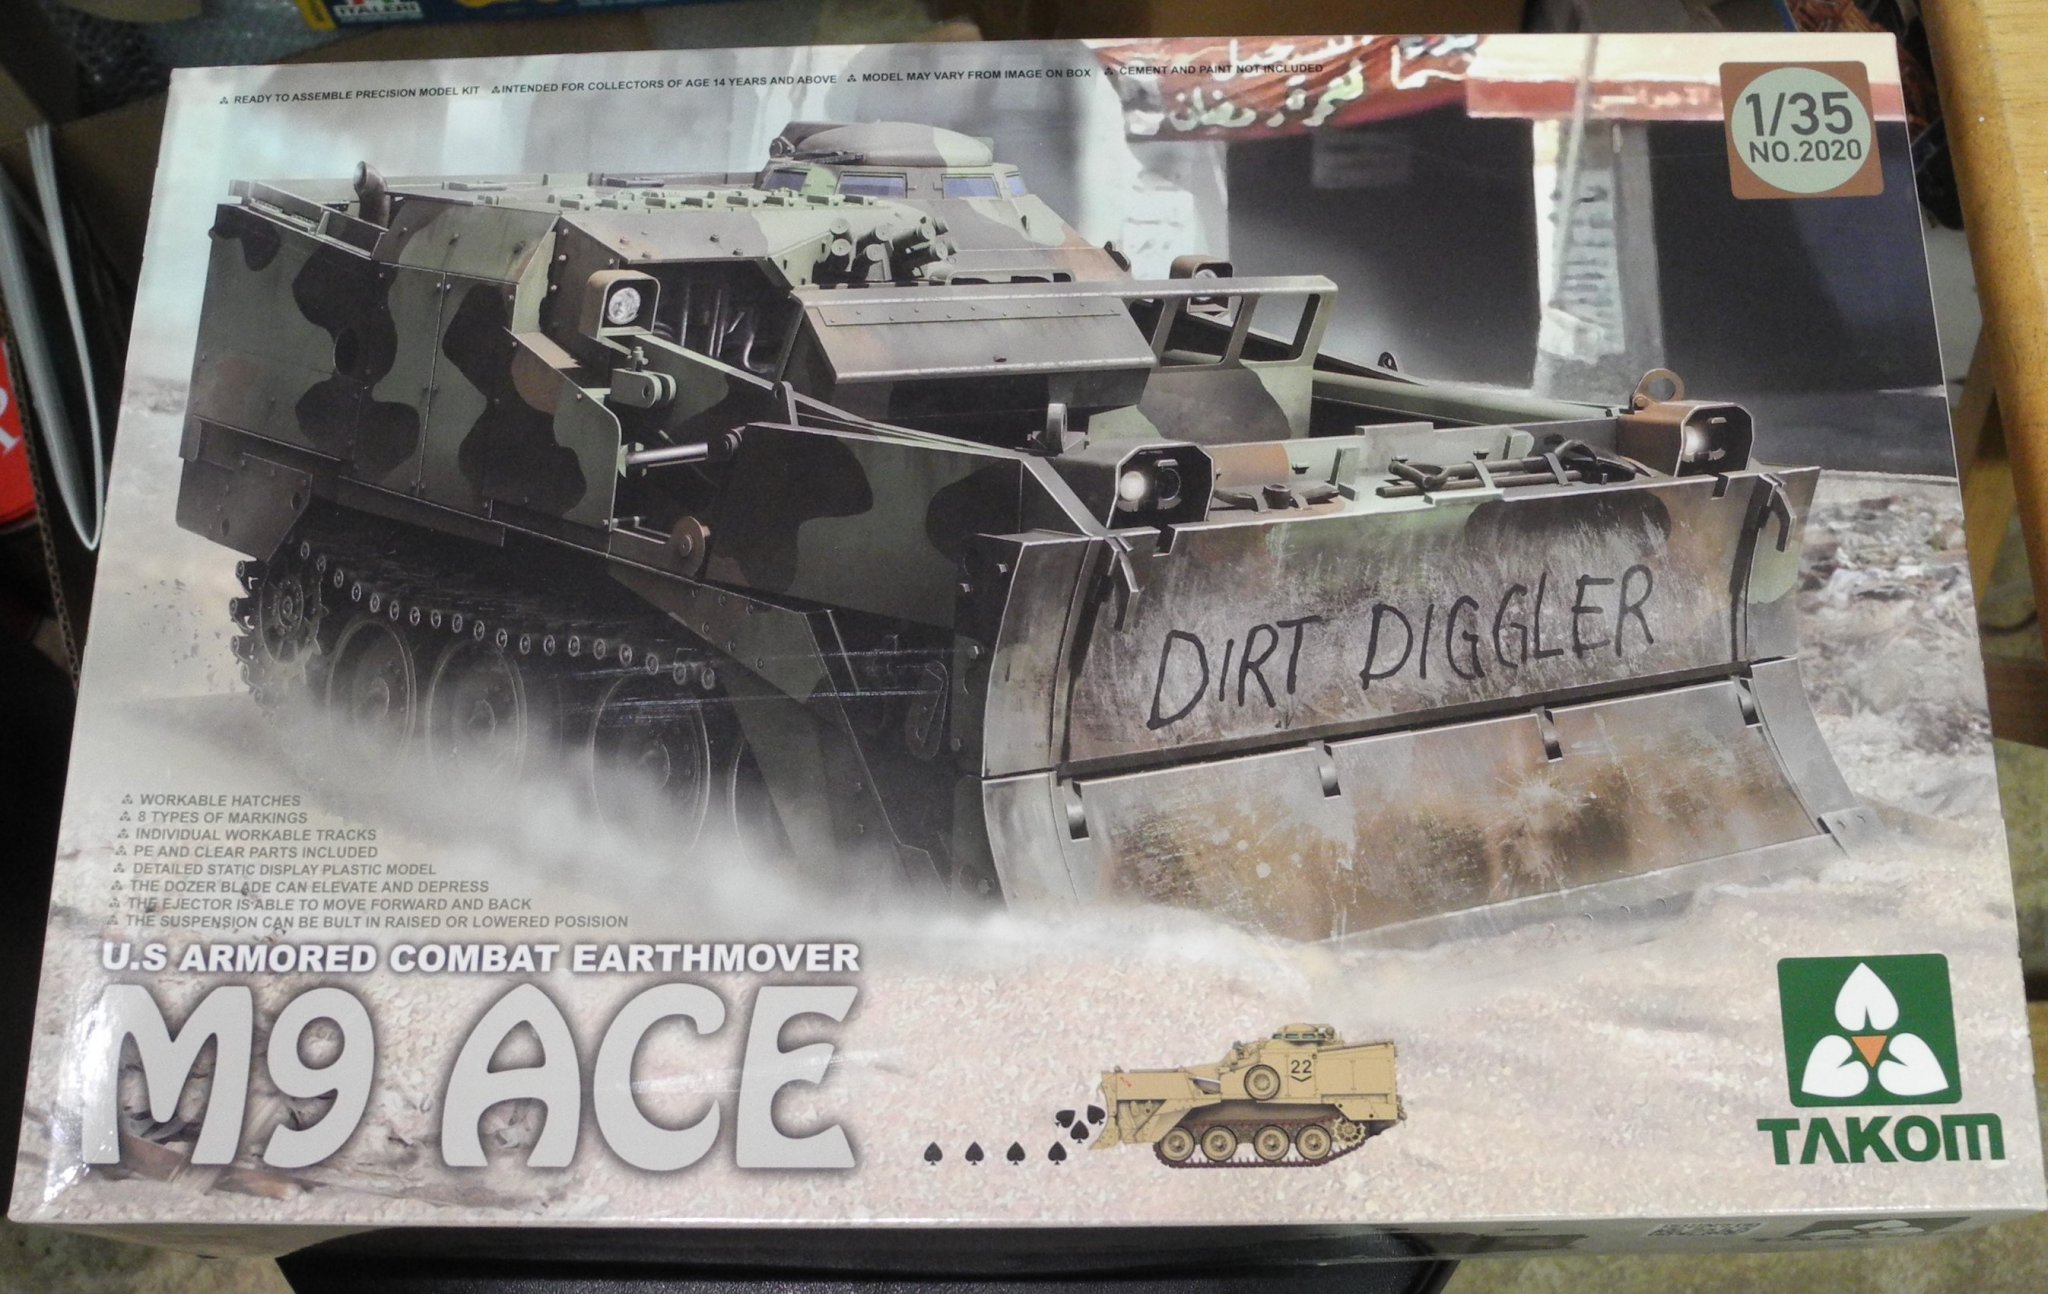
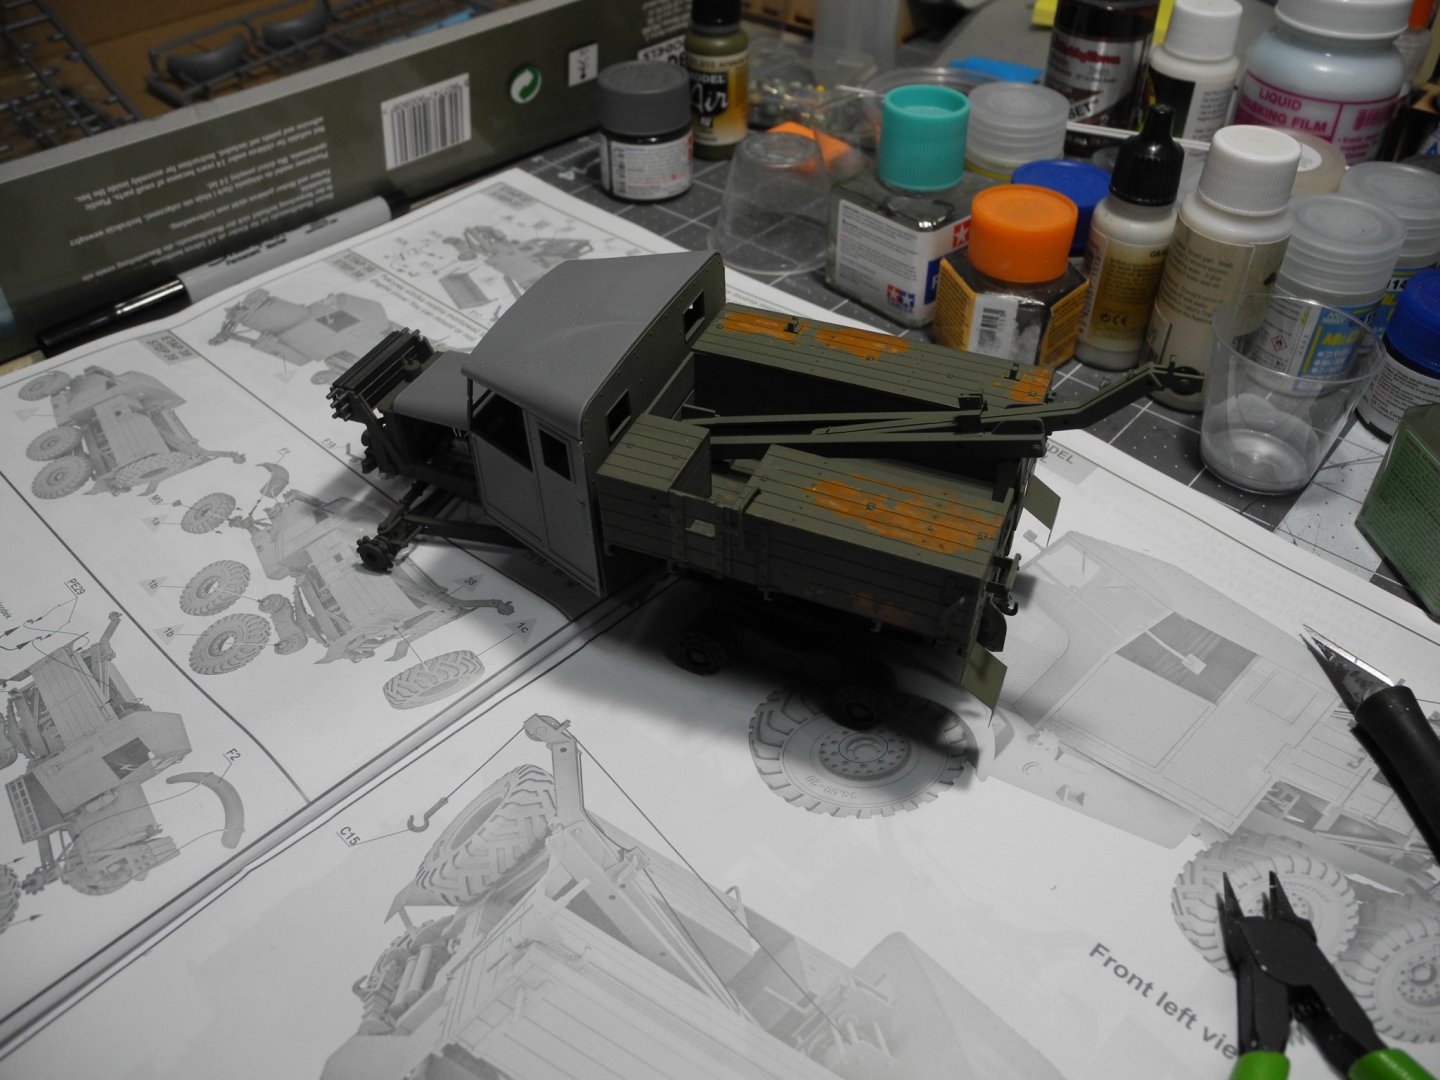
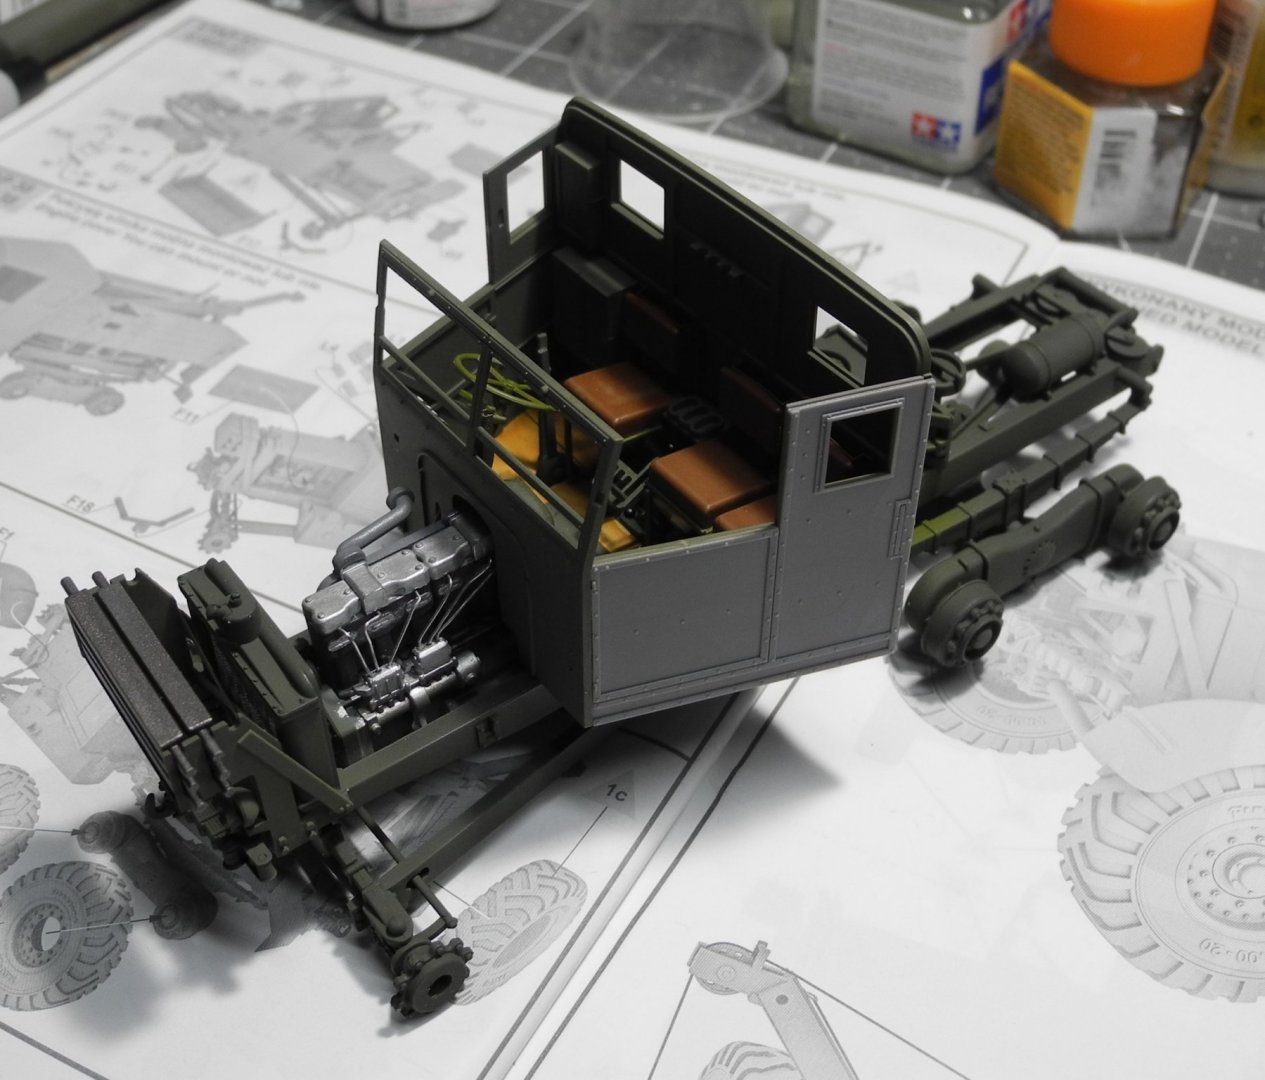
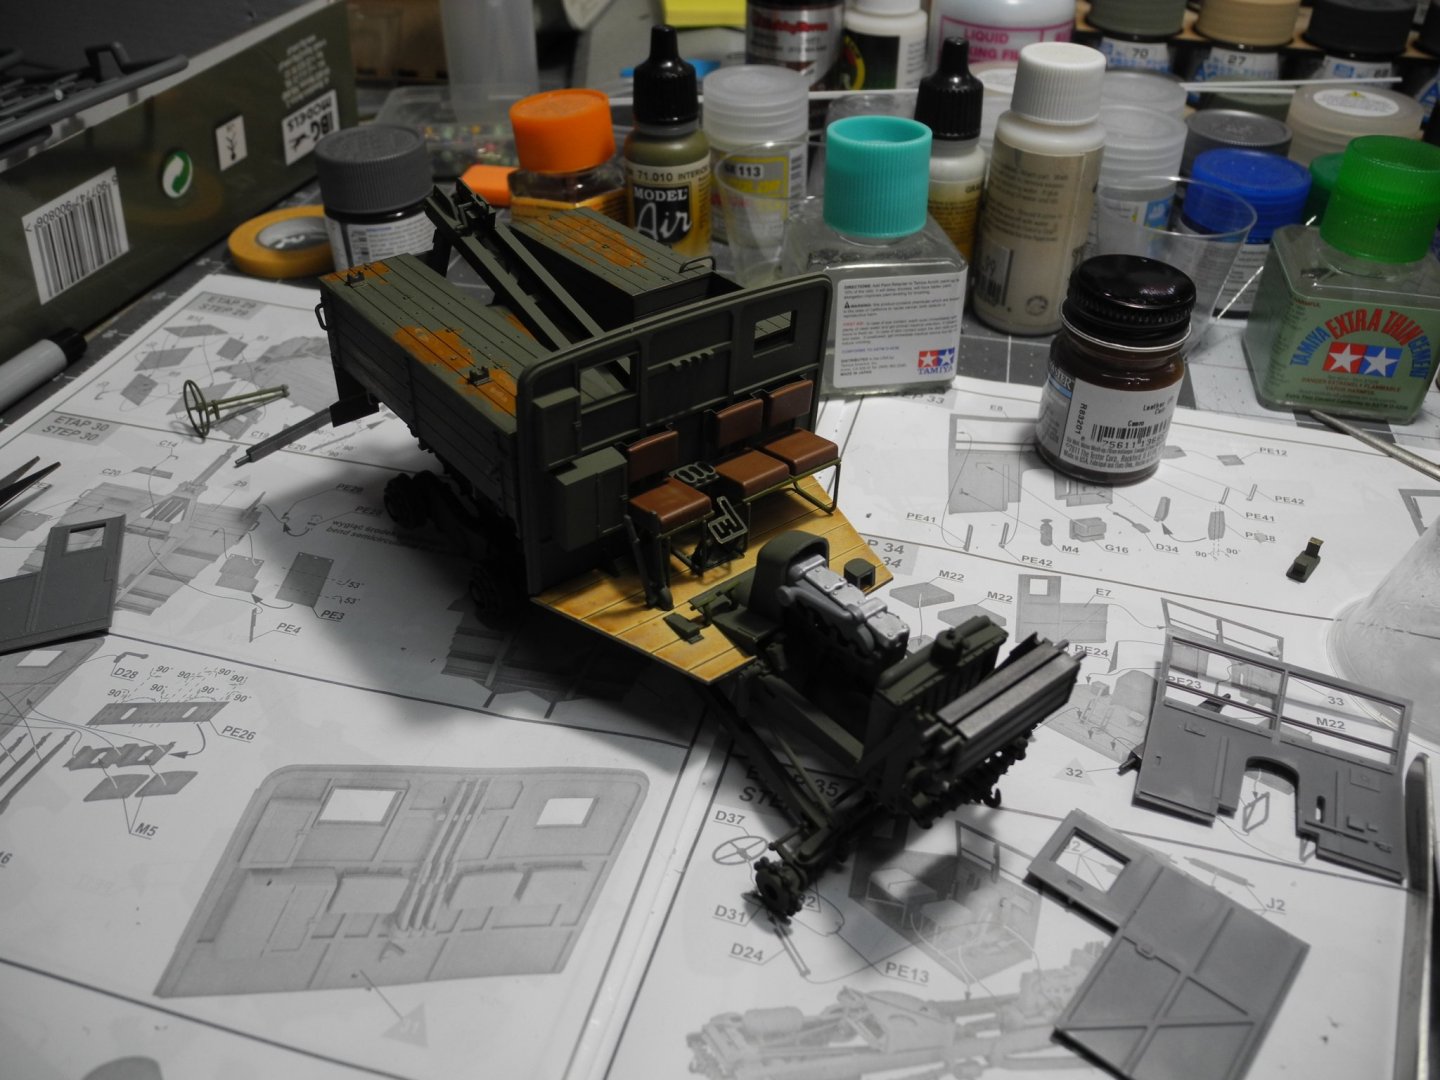
A little more...


-
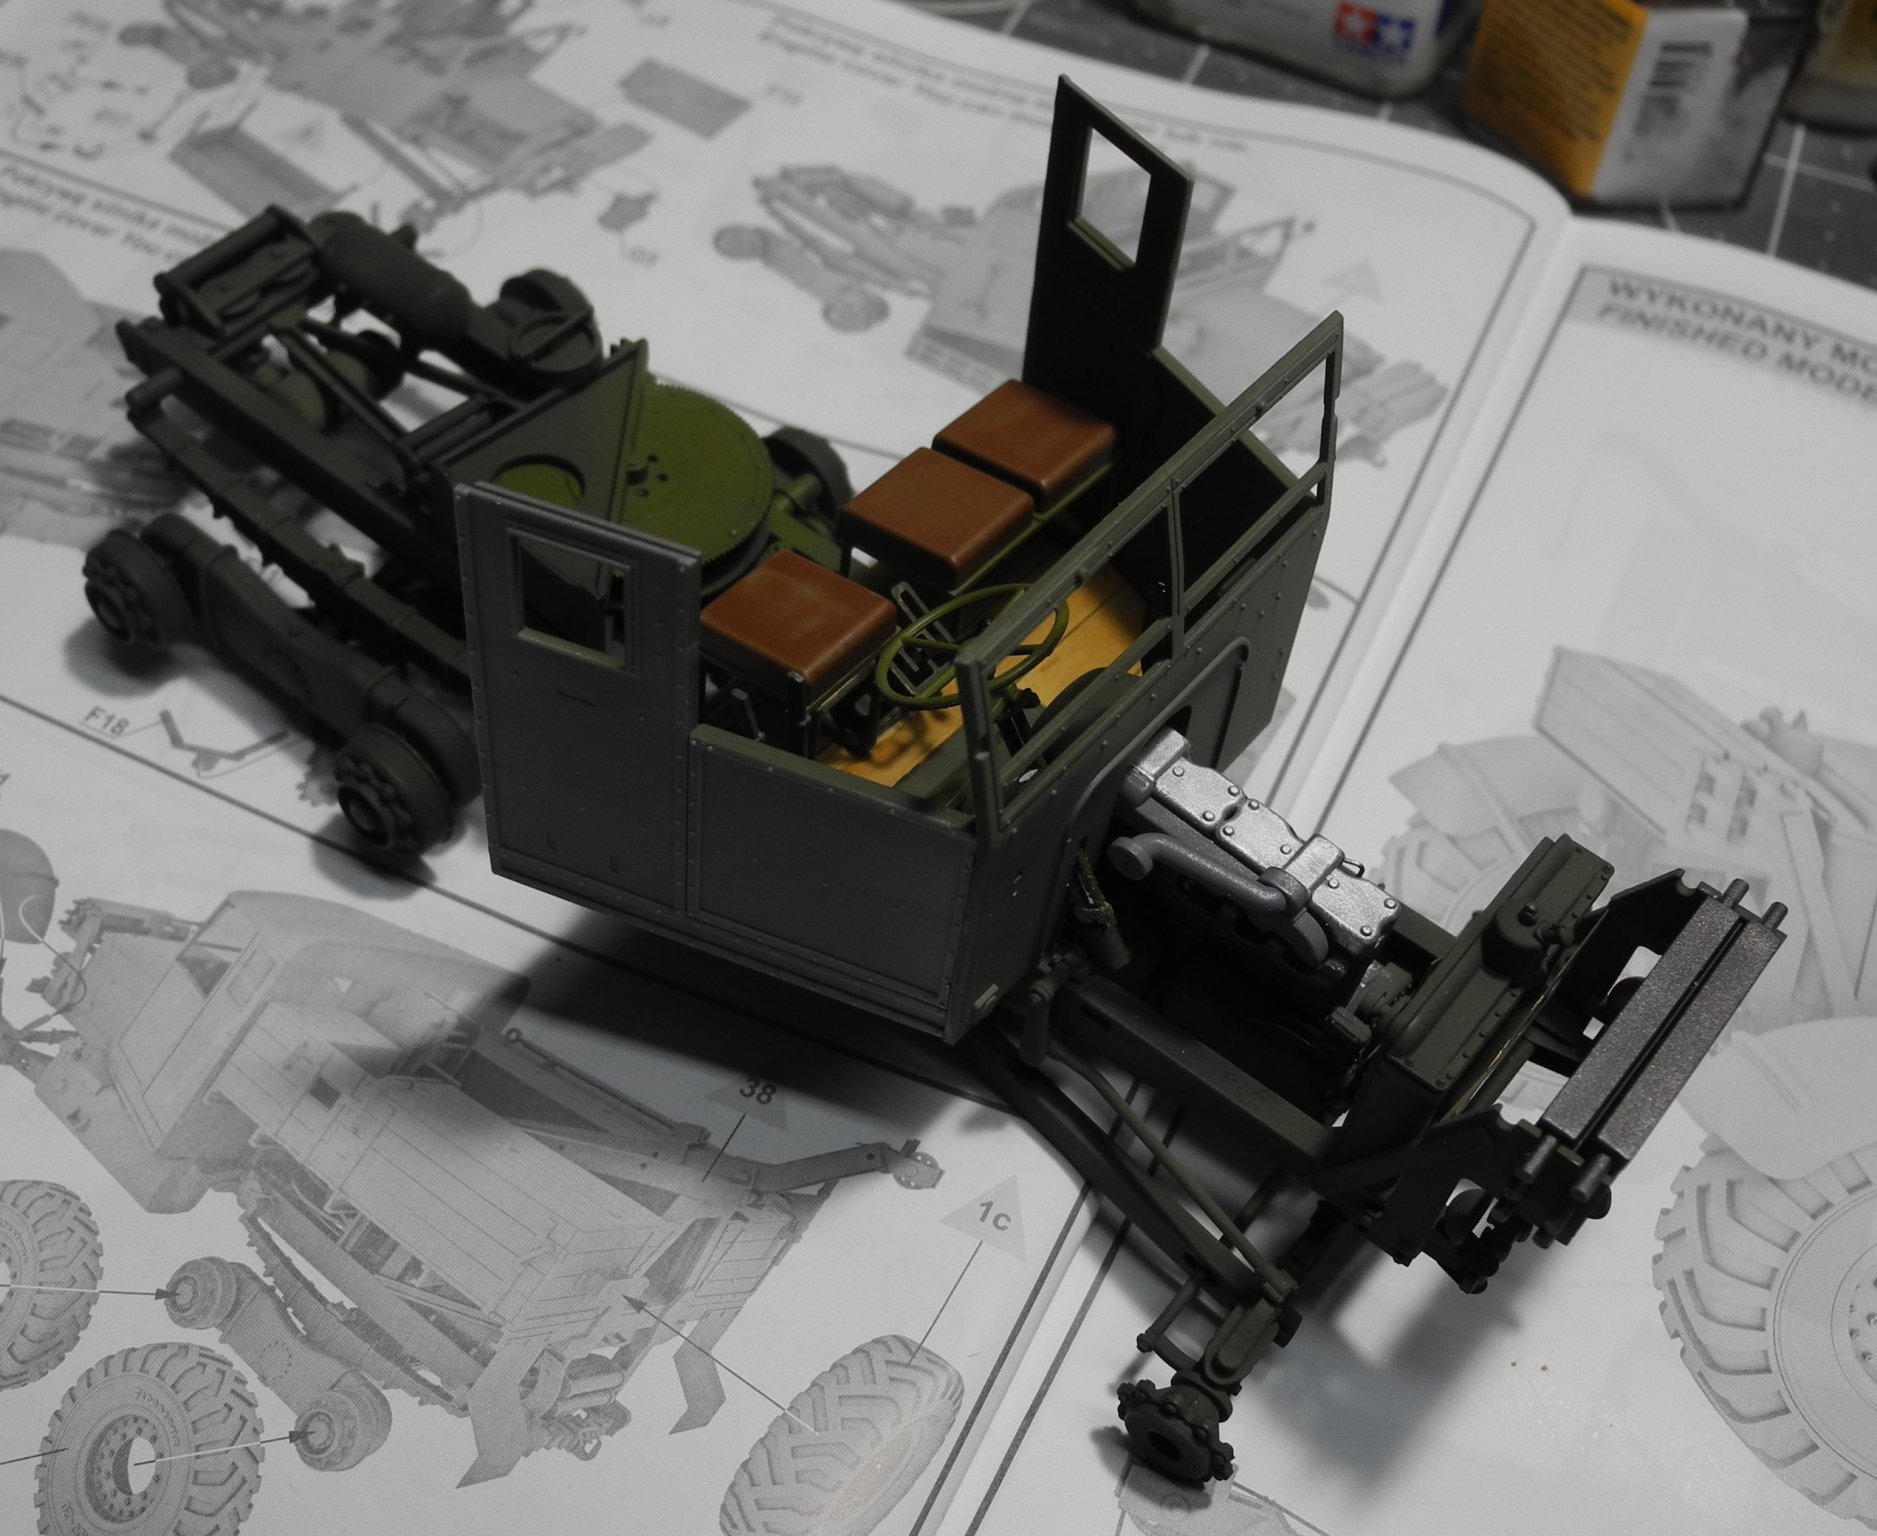
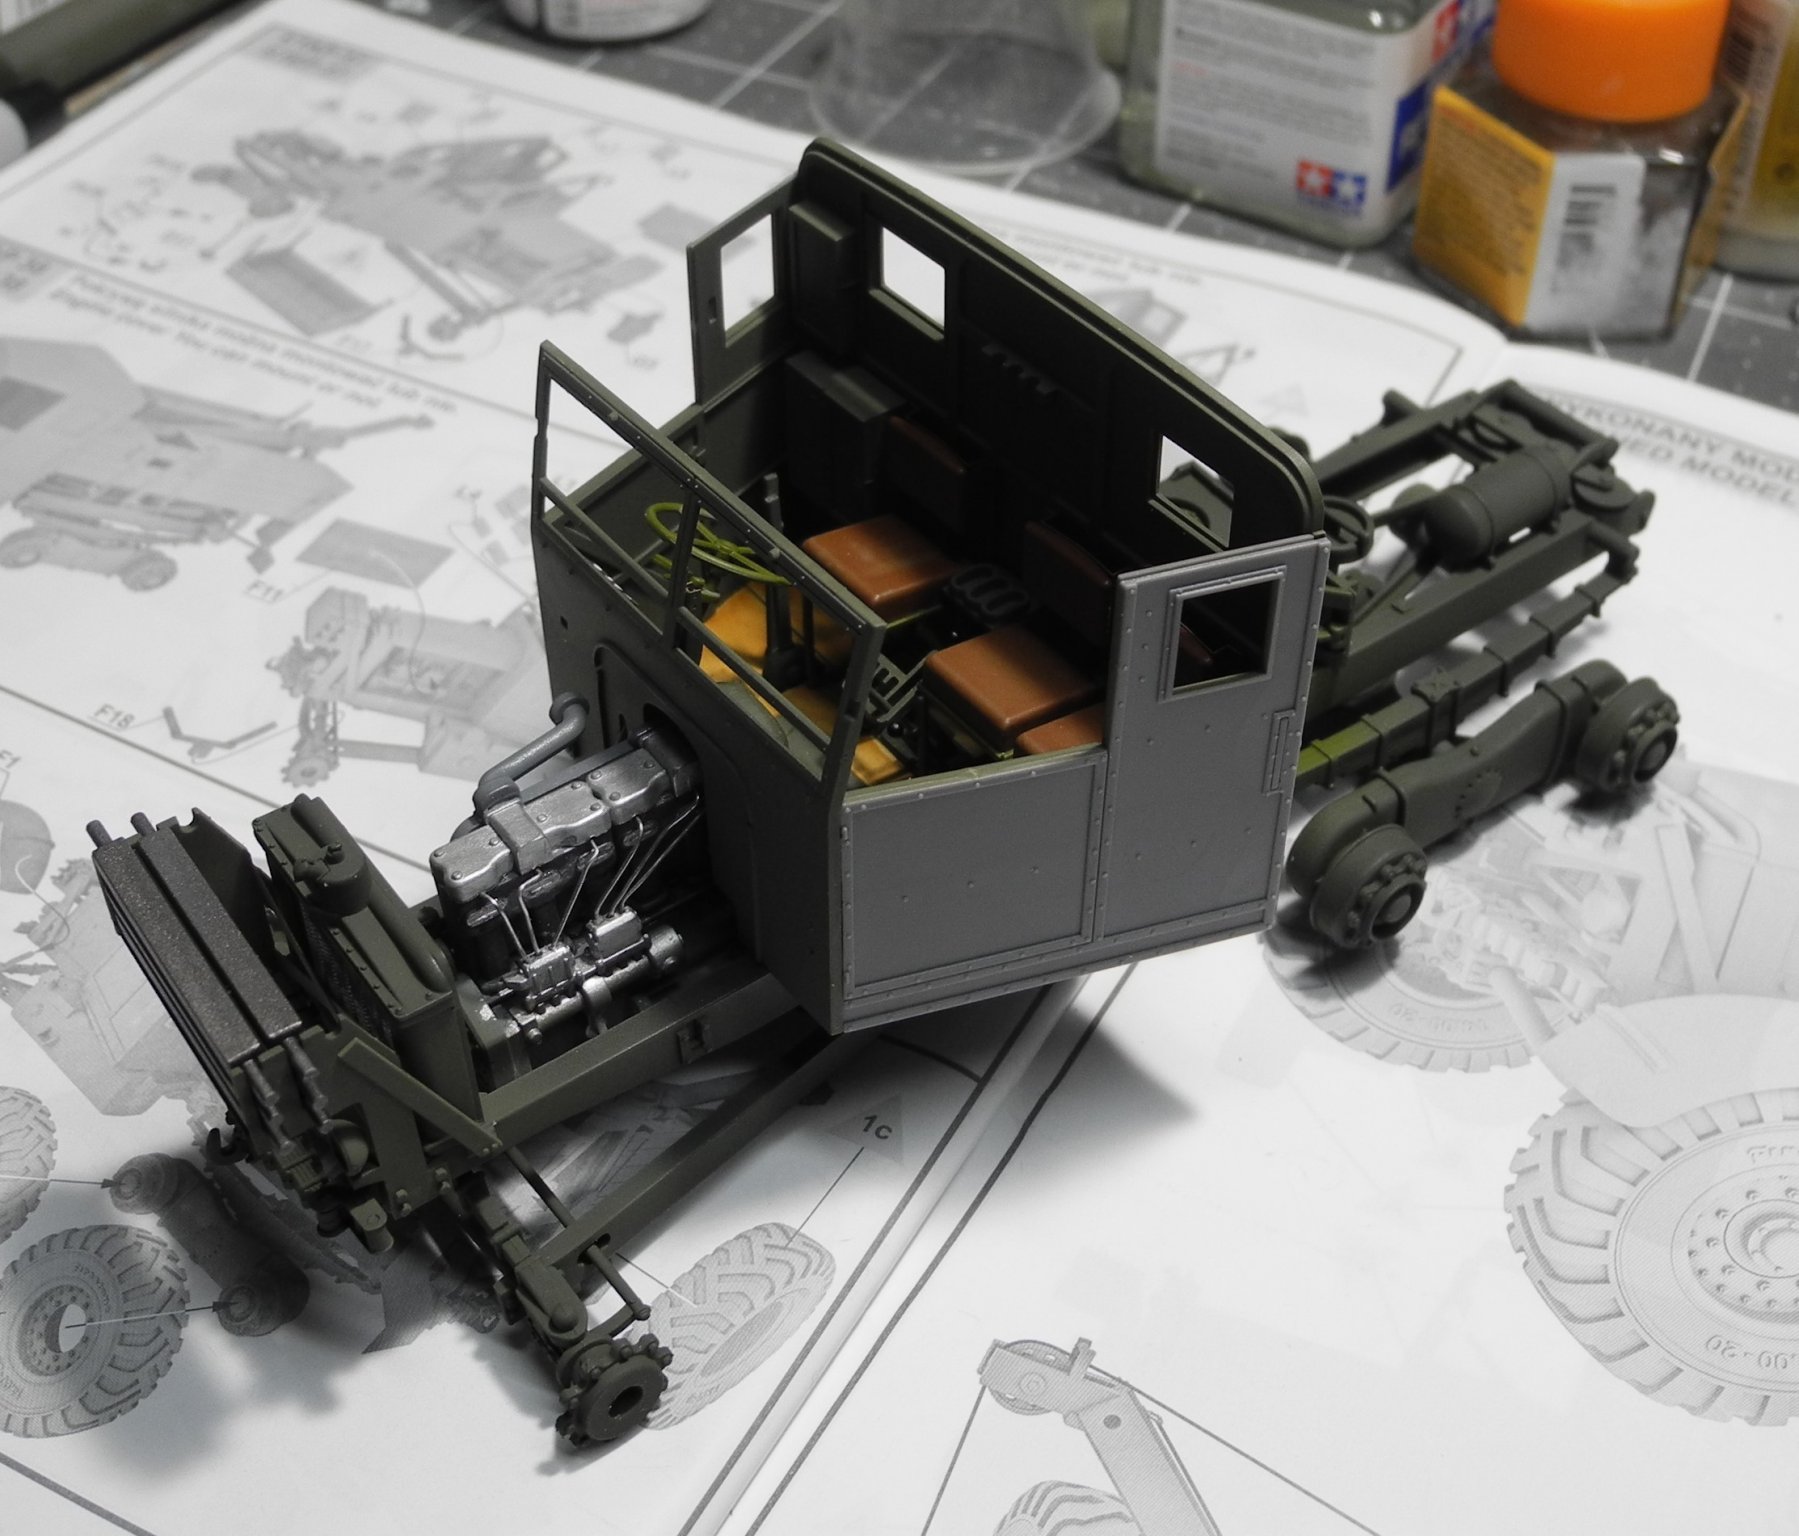
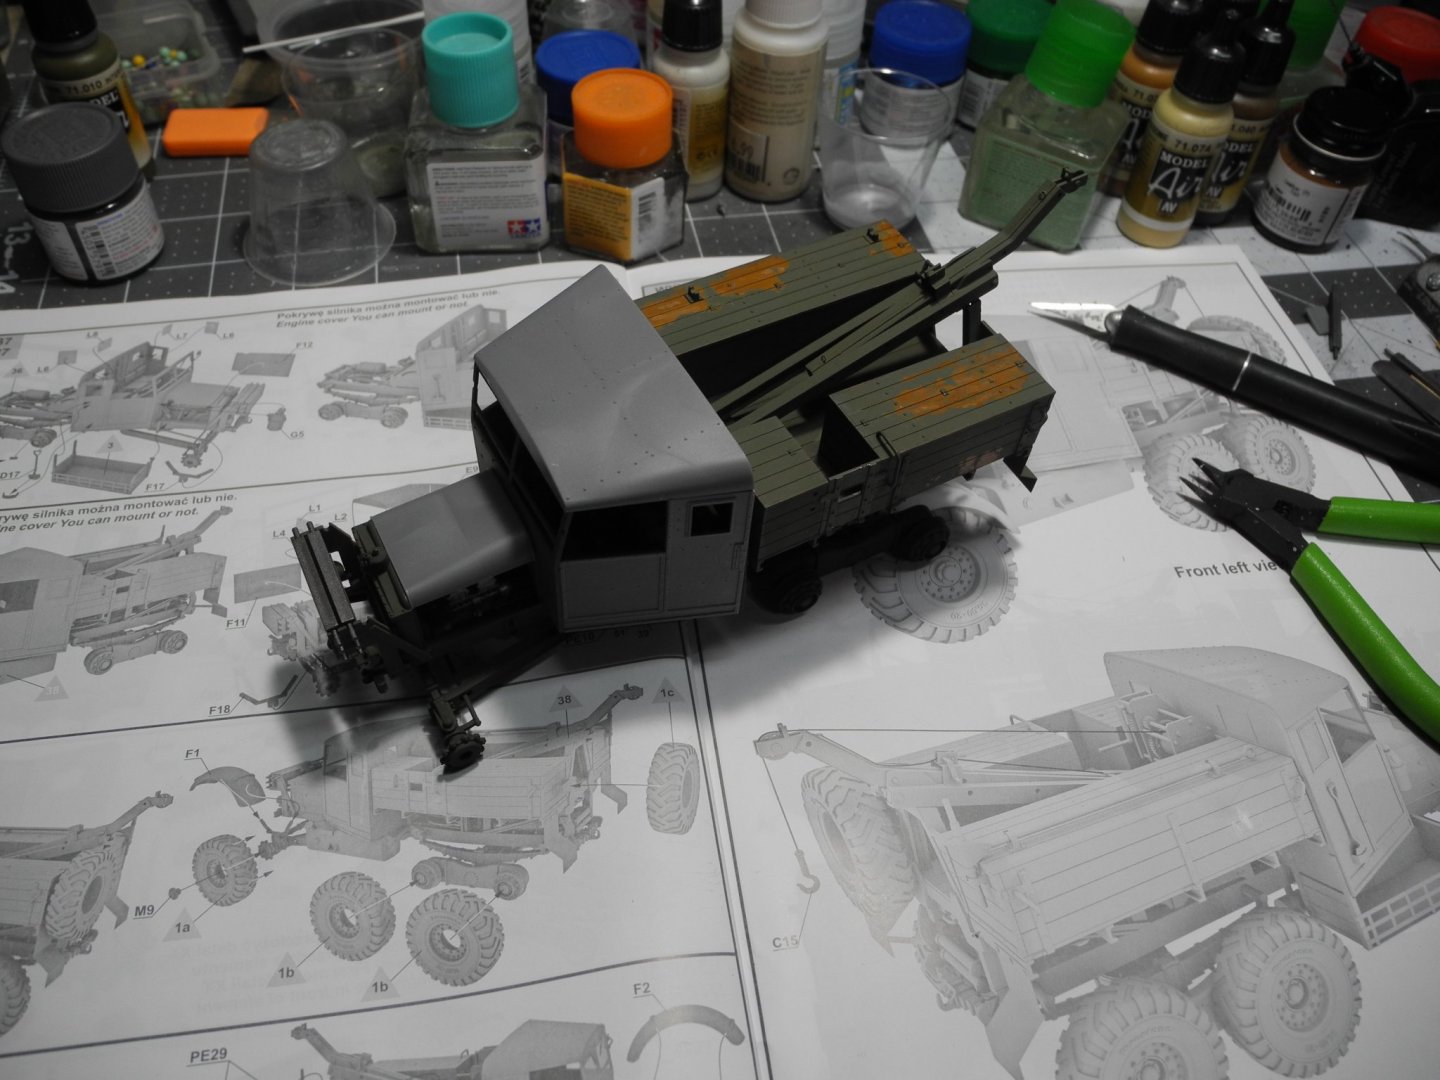
Looks like the real thing sitting there.
-
North American P-51D Mustang by Asat - Airfix - 1/48
CDW replied to ASAT's topic in Non-ship/categorised builds
That's a beauty, Lou. Airfix kits have come a long way in recent years. -
Messerschmitt bf 109G-6 by cog - Eduard - 1/48 - PLASTIC
CDW replied to cog's topic in Non-ship/categorised builds
That's interesting...Stynylrez and AMMO are the same paints in different bottles? I haven't tried Stynylrez paints/primers yet. -
Plodding along...


-
Yes, when you consider the additional cost of the resin parts, the photo etch, the figure, and the decal sheet. There was a point in time when you could buy these kits for about the same price as the basic Roden kit, but they were produced in limited quantities and once they sold out, demand for them drove the prices up. Way up.
-
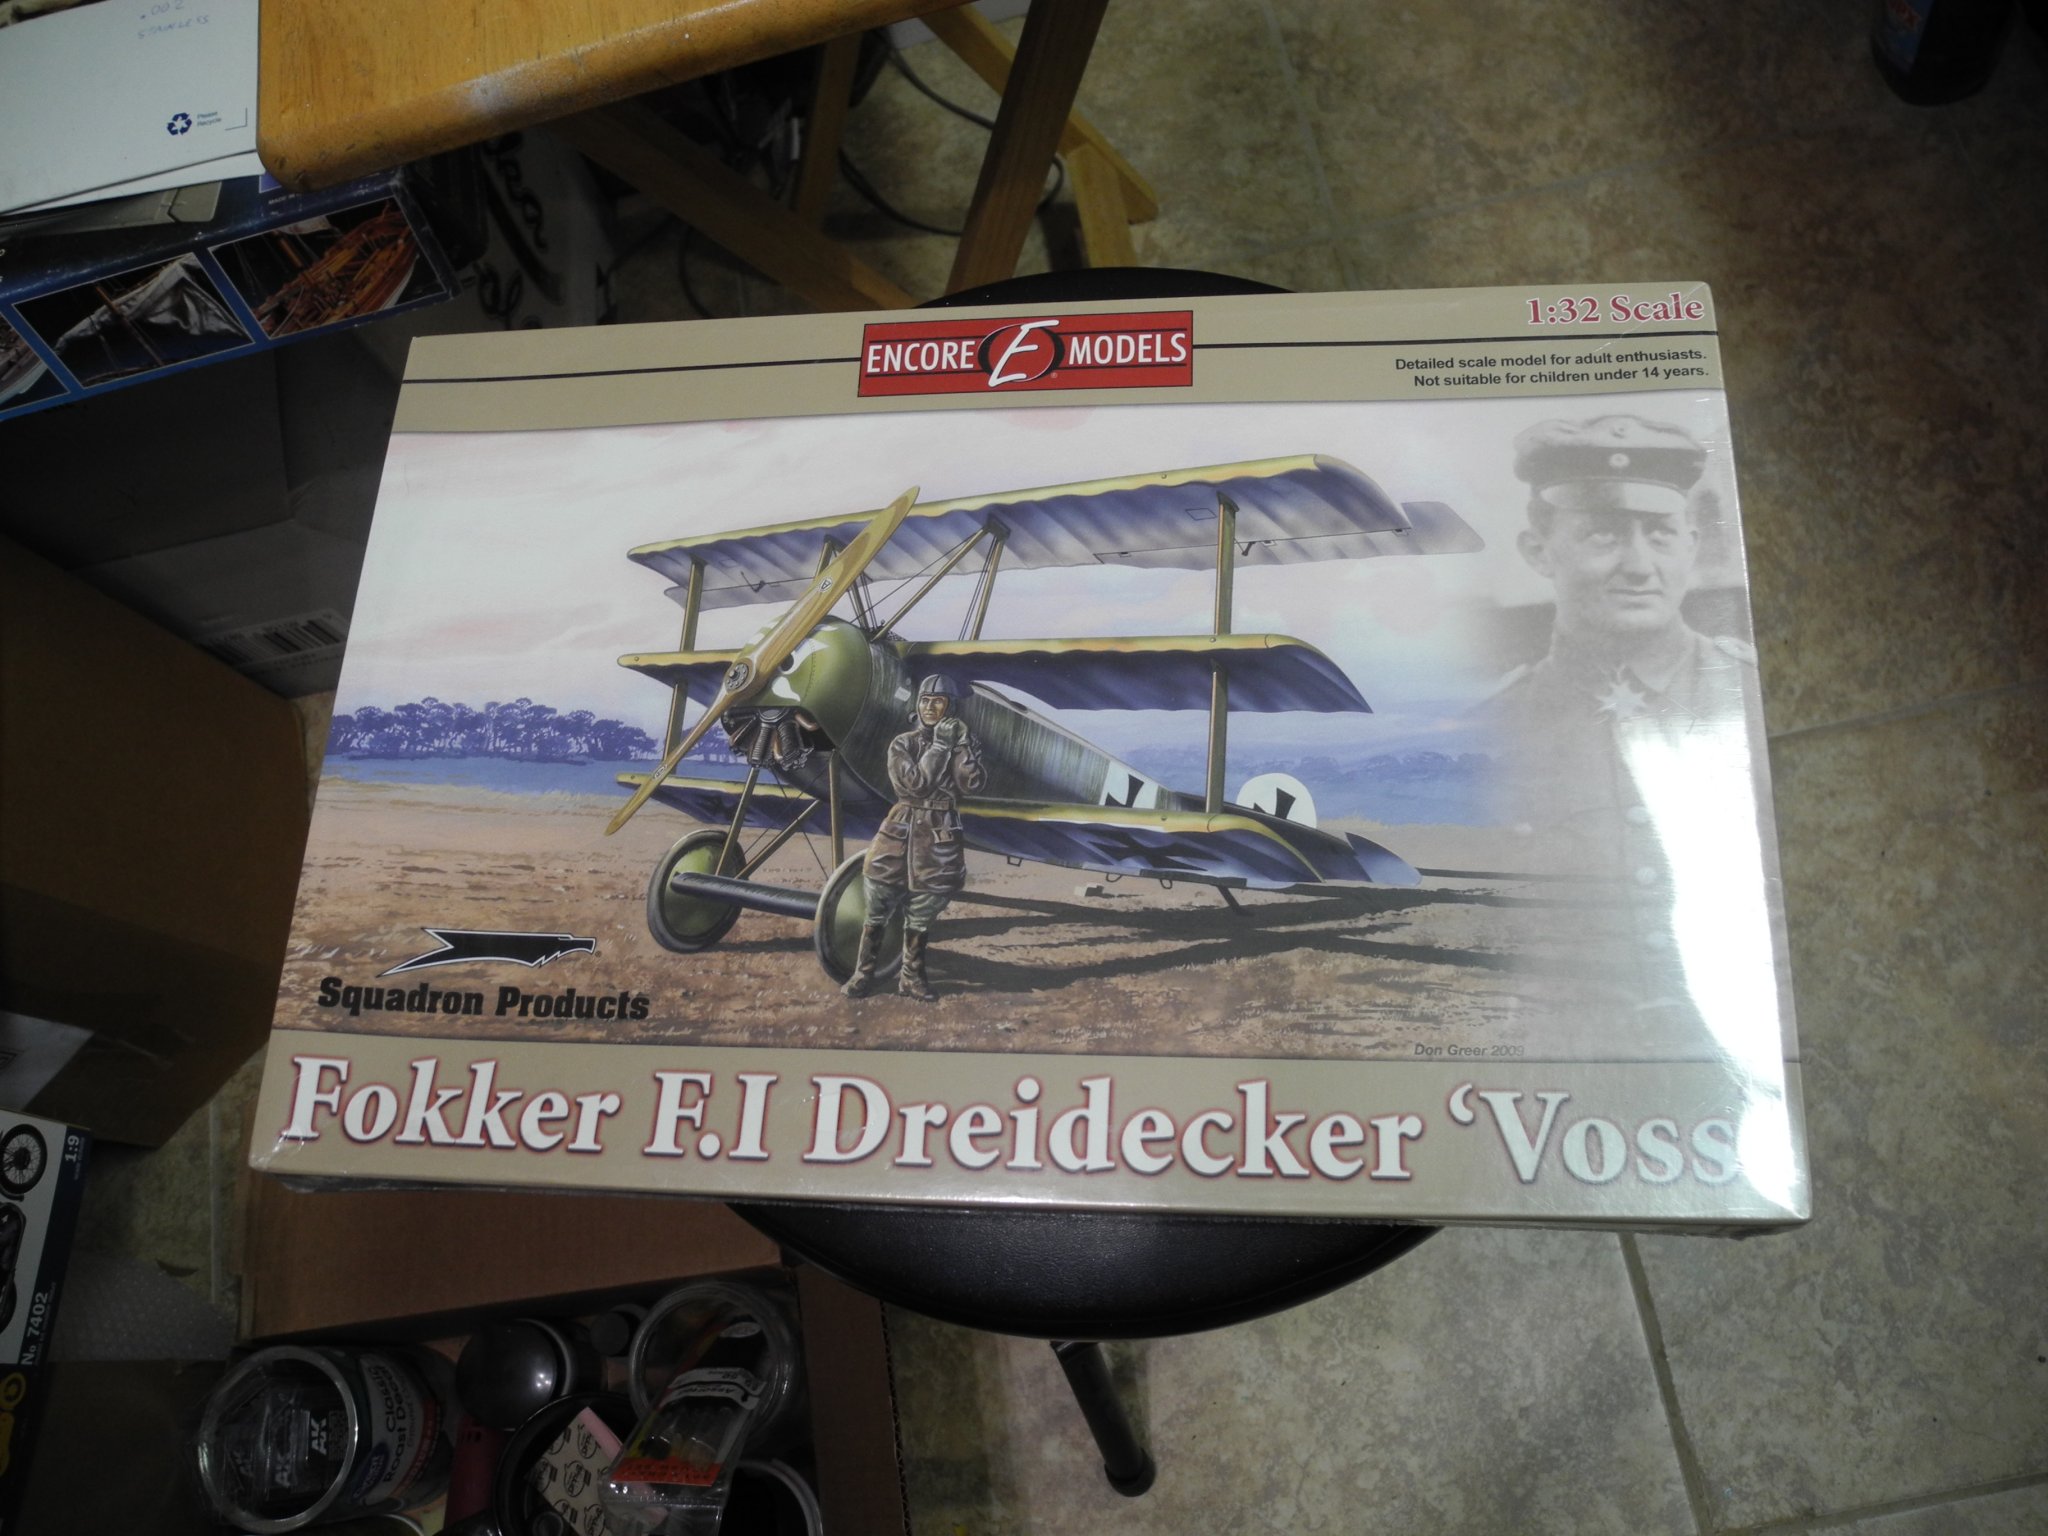
Is this the 1:32 F.1 kit you are talking about? Bought this one quite a while ago, but it's no longer in production.When you can find one, they go for a premium price. The kit comes with resin upgrade parts, photo etch, Voss decals/markings, and a resin figure of Voss. The plastic parts are Roden. Mine is still sealed in plastic, so I cannot say whether the plastic parts are the same as yours, but I suspect they are identical. Only the upgrade parts and decals are different.

-
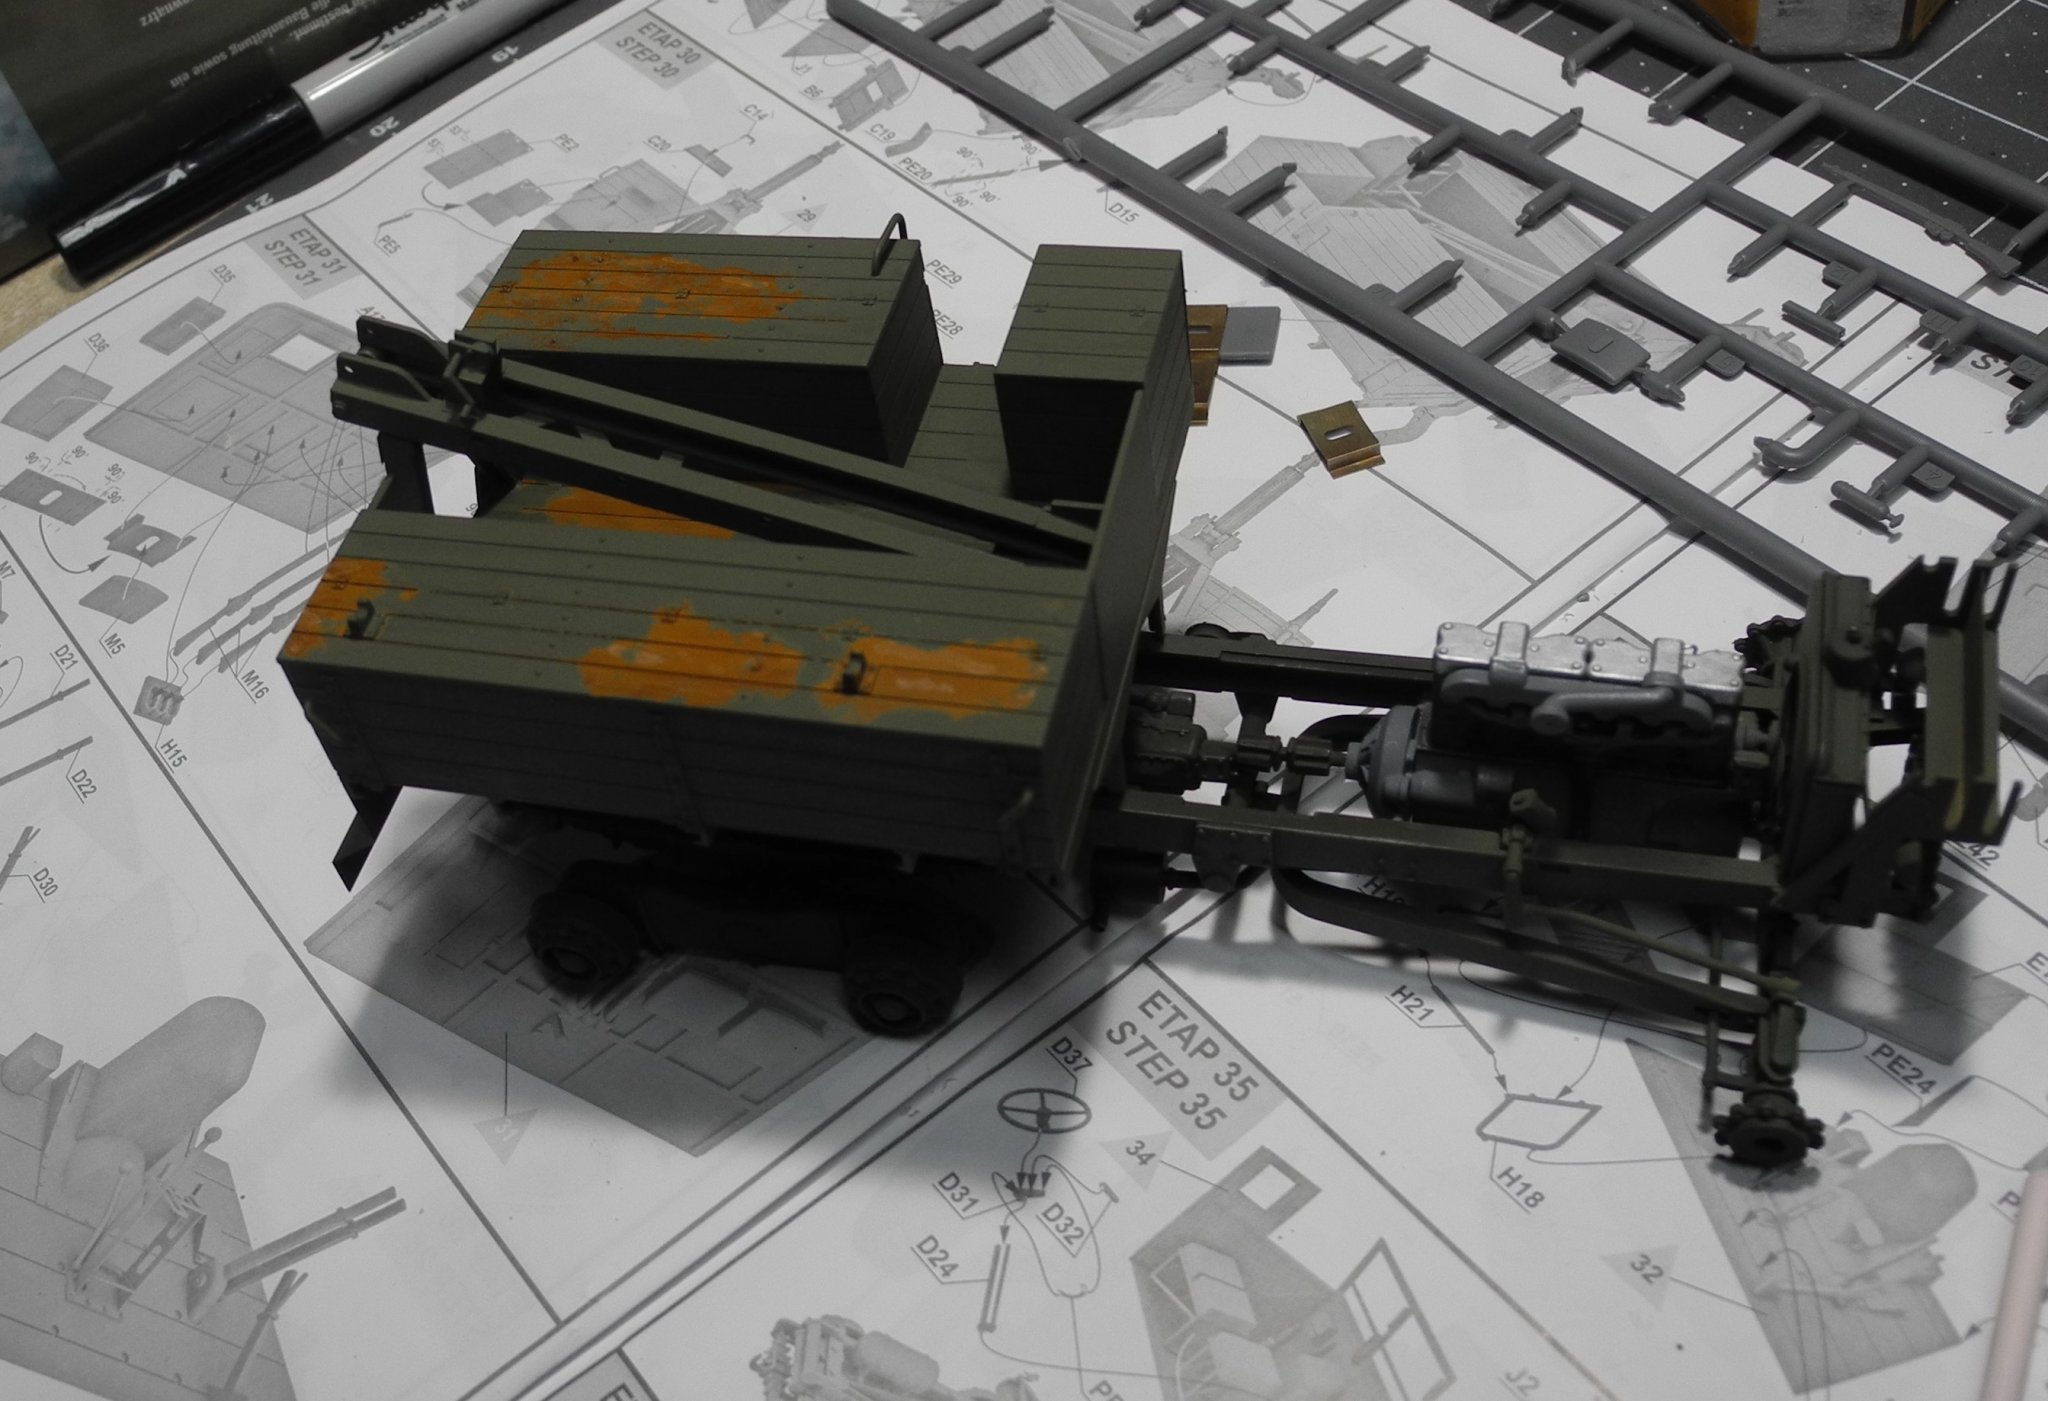
Are you sure that is rust? Only if the photo etch is something other than brass could that be rust, but it sure looks like brass to me.
-
My brother bought a new CB 750 Honda the very first year they came out. What a beast of a motorcycle it was in that day and time. Very fast and reliable, smooth too. Almost all bikes back then vibrated terribly, making them tiresome for riding long distances or long periods of time. In the early 70's, I rode my 1964 Harley Davidson FLH on a 2,000 mile trip. After about 6 hours riding time, my voltage regulator vibrated off the frame and the wiring shorted out against the hot exhaust pipes. After I repaired the wiring and replaced the voltage regulator, my exhaust pipes vibrated free from the exhaust port. Last, before I made it back home, my speedometer needle vibrated off inside the gauge. Needless to say, when you took a trip like that, it was necessary to bring a full set of tools along with you to tighten/retighten bolts and nuts every time you refueled. Learned that lesson the hard way.
-
Hey, I'm always open for suggestions. By no means do I know all the answers. I know some modelers who use AK Xtreme Metal aluminum paint, then paint their acrylic paint over it. They use the alcohol treatment to remove the top layer of acrylic paint to reveal the aluminum underneath. This is their paint chipping technique for model aircraft and other aluminum skinned things. The alcohol won't hurt the Xtreme Metal paint at all.
-
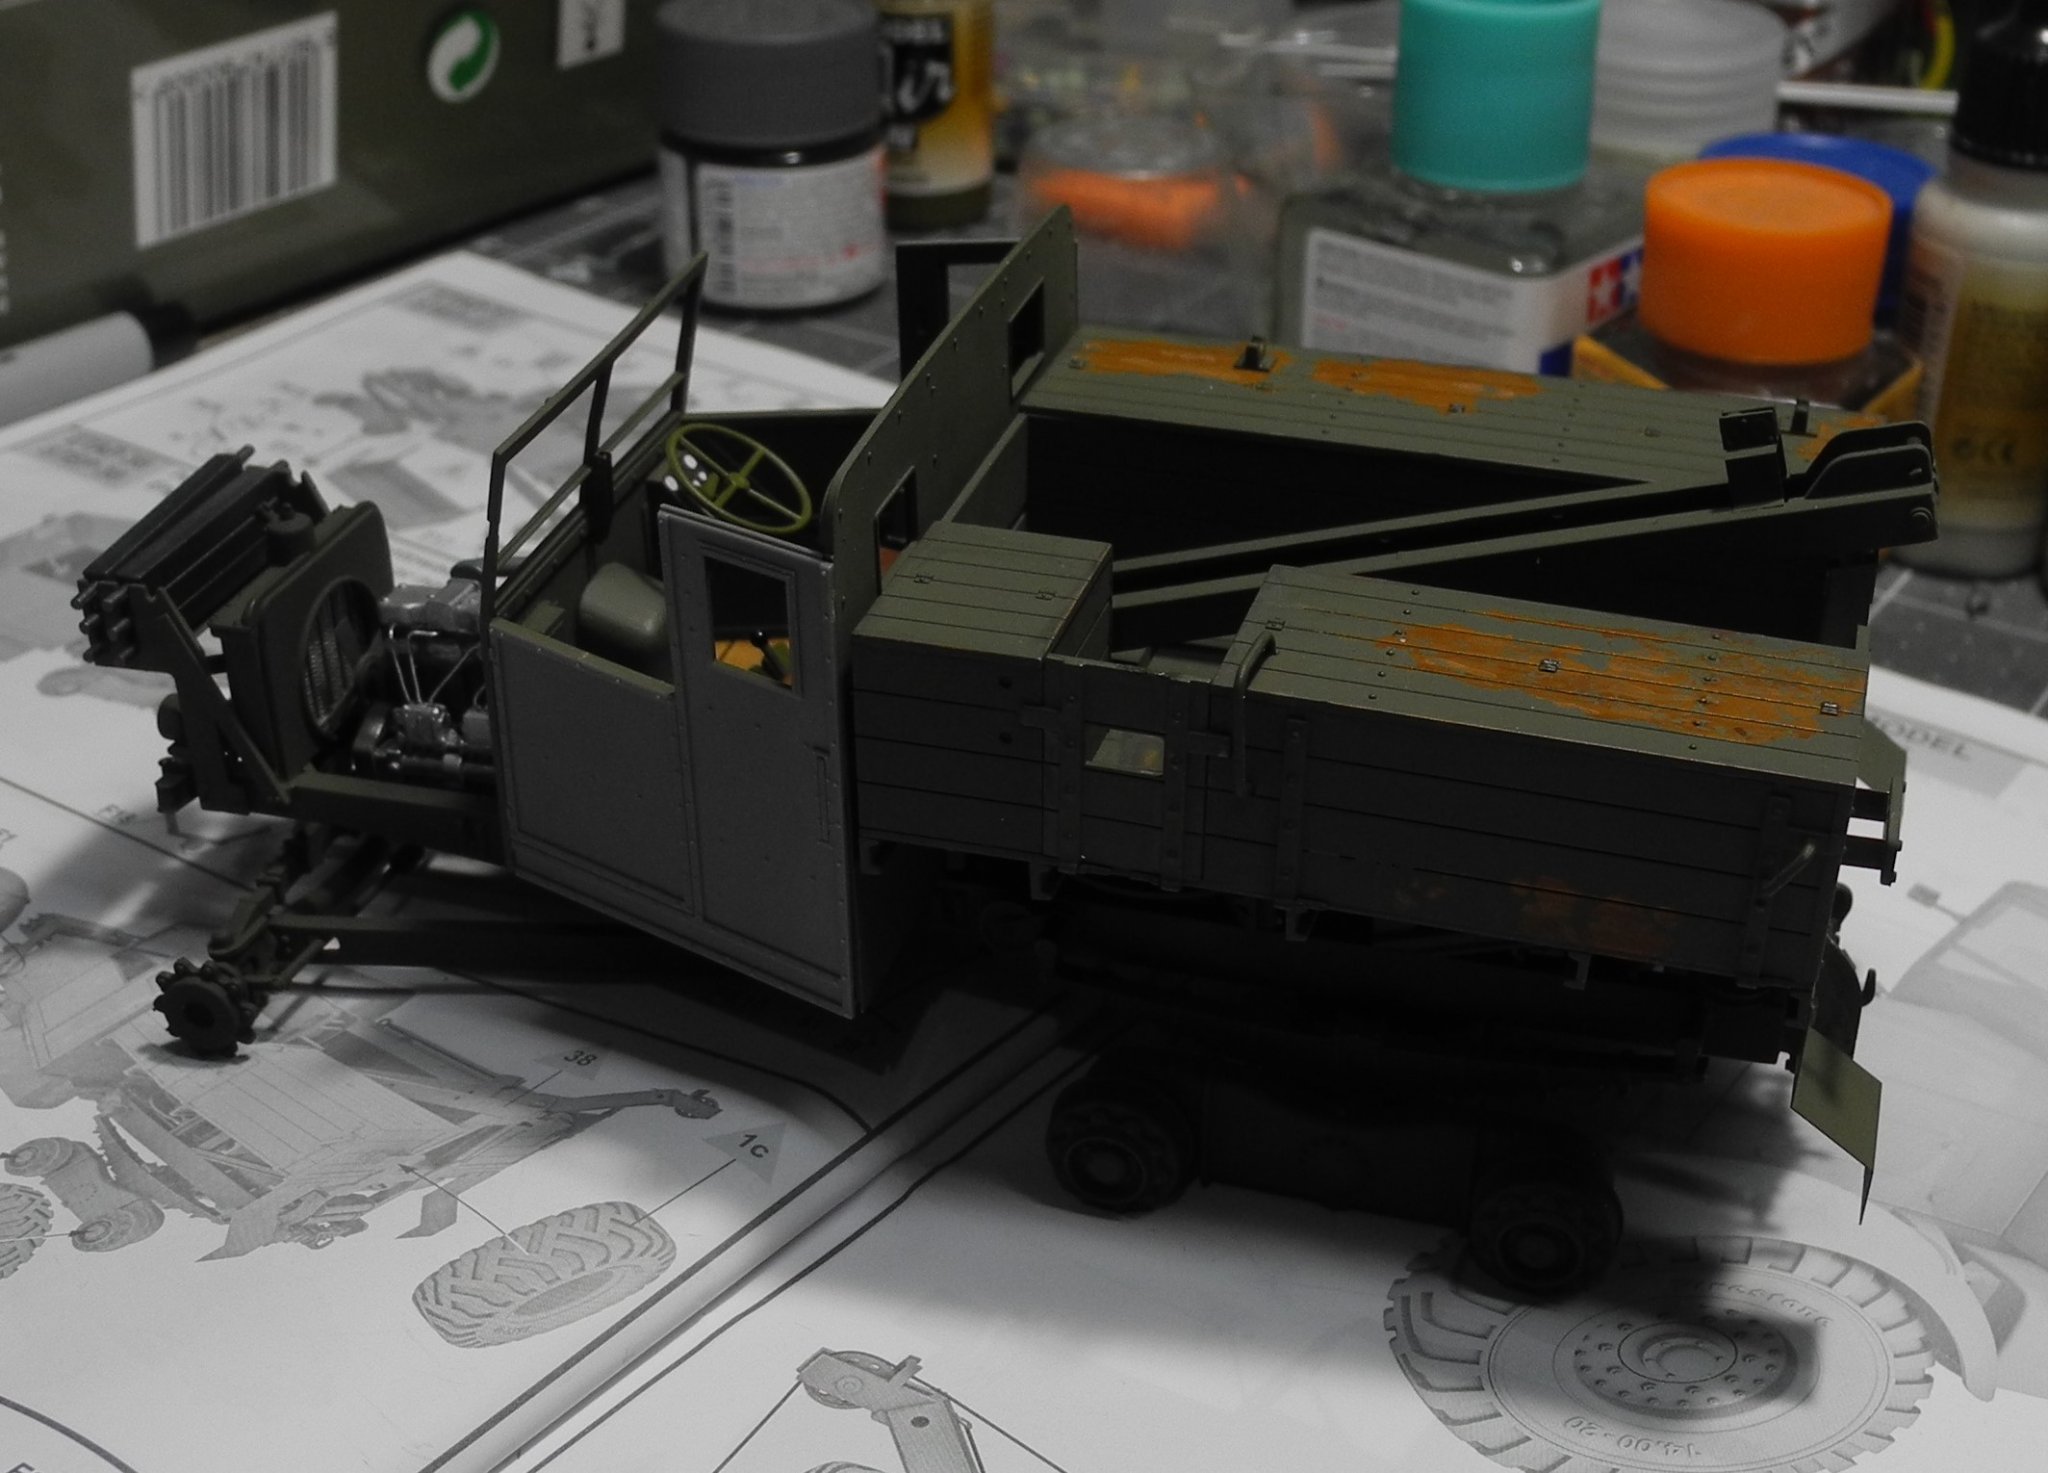
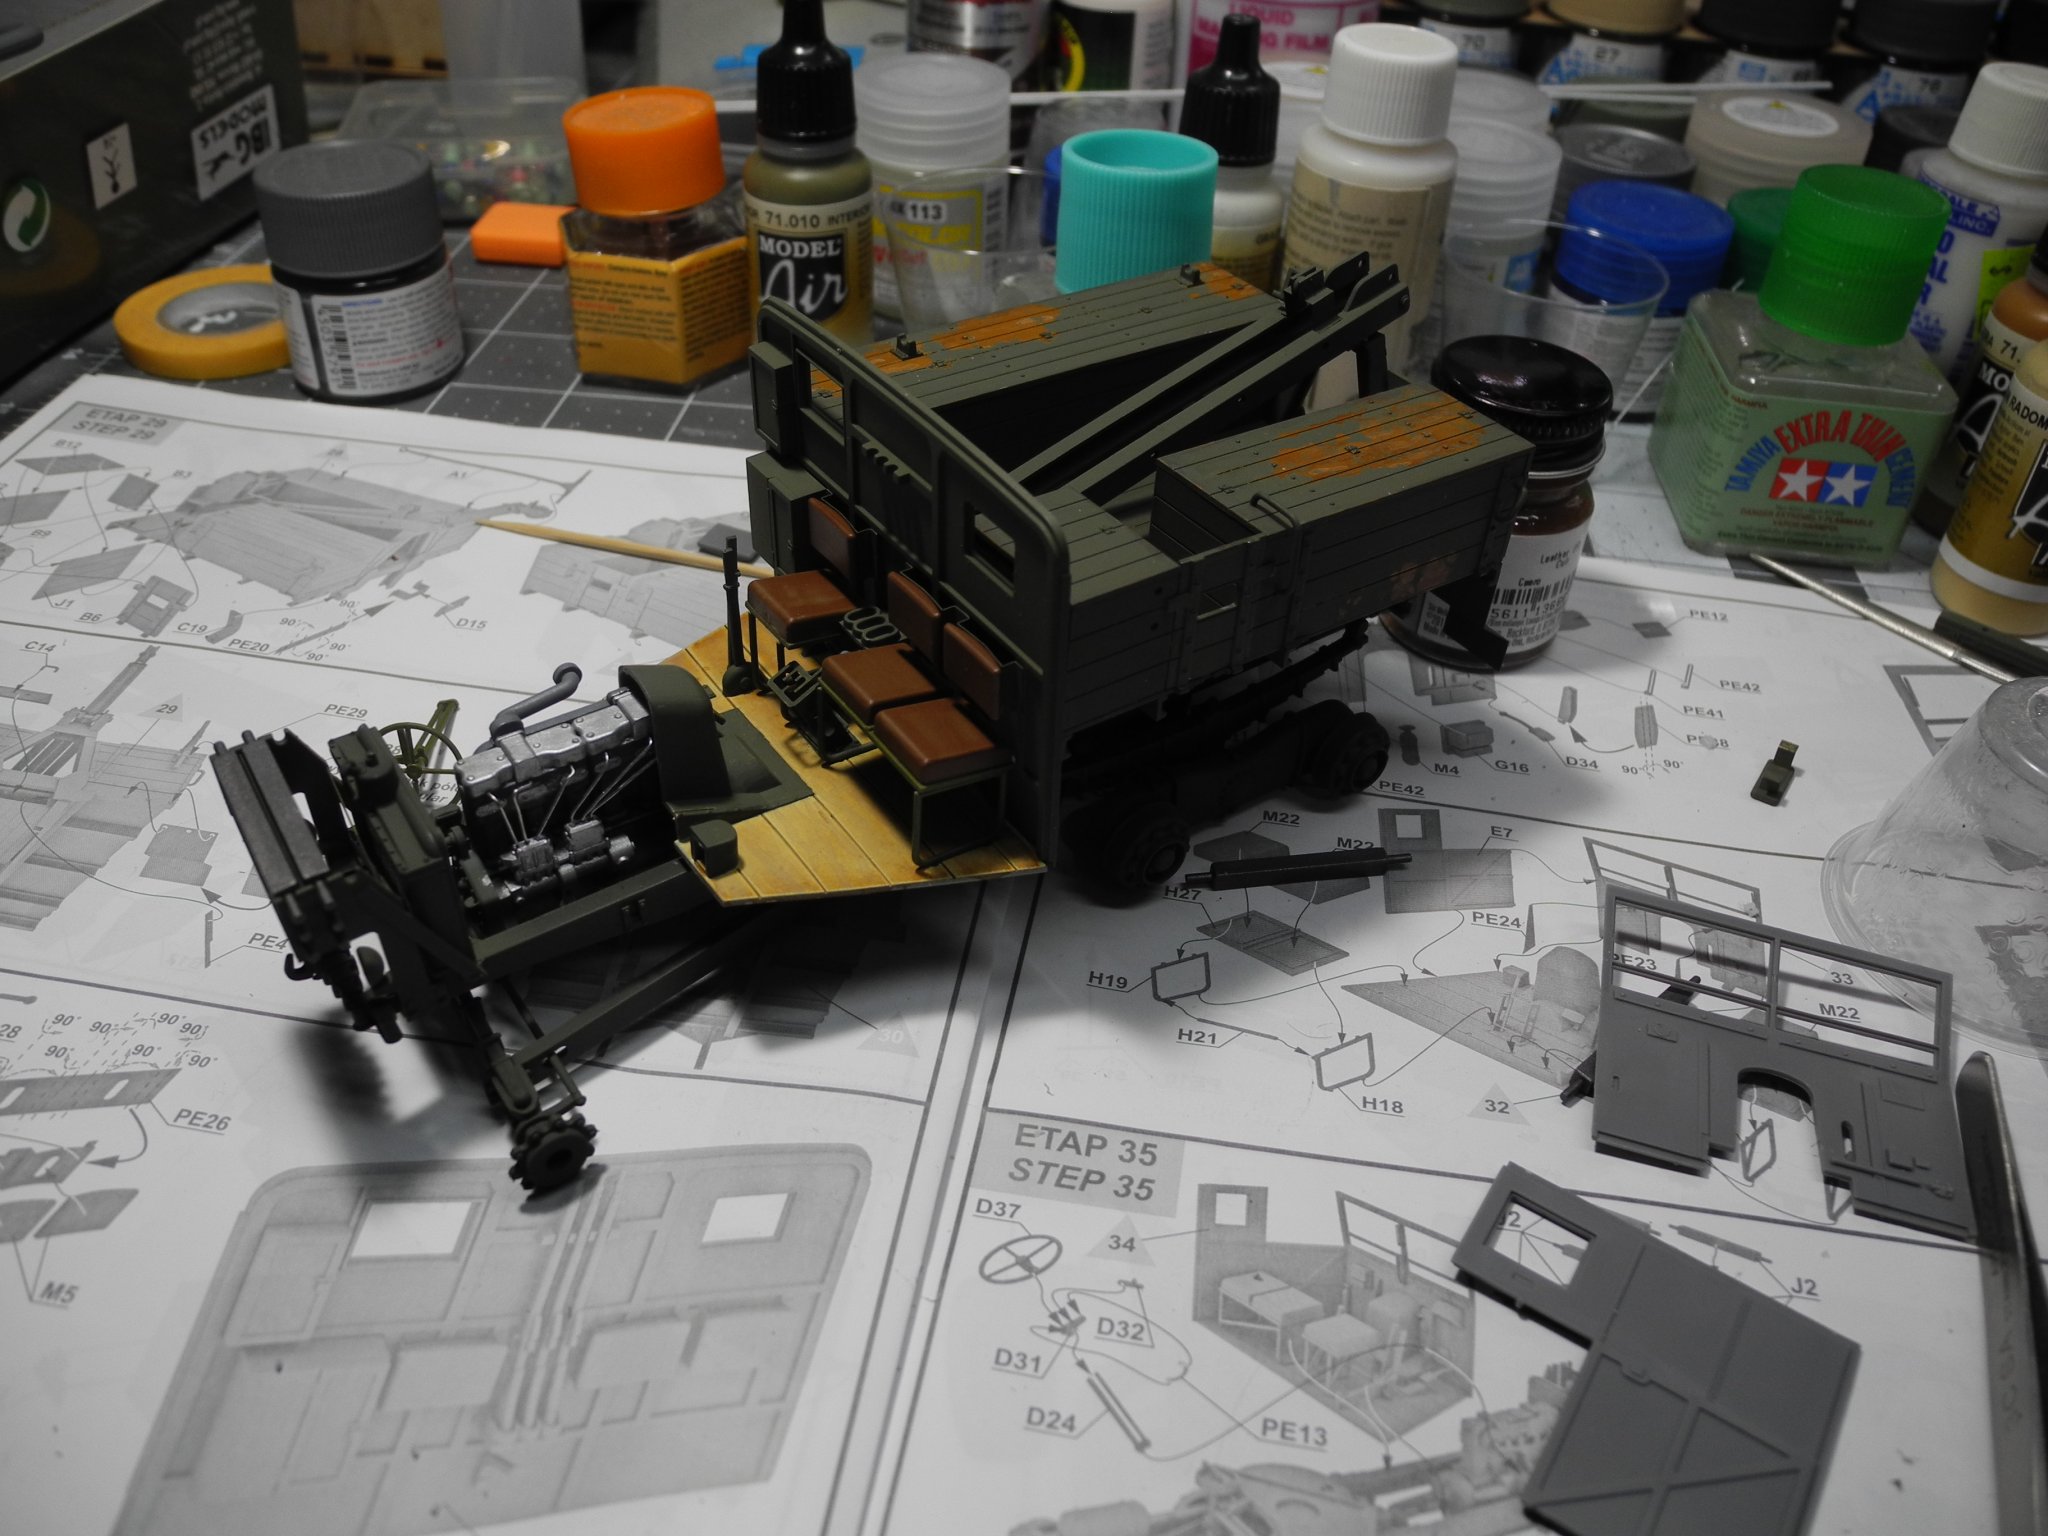
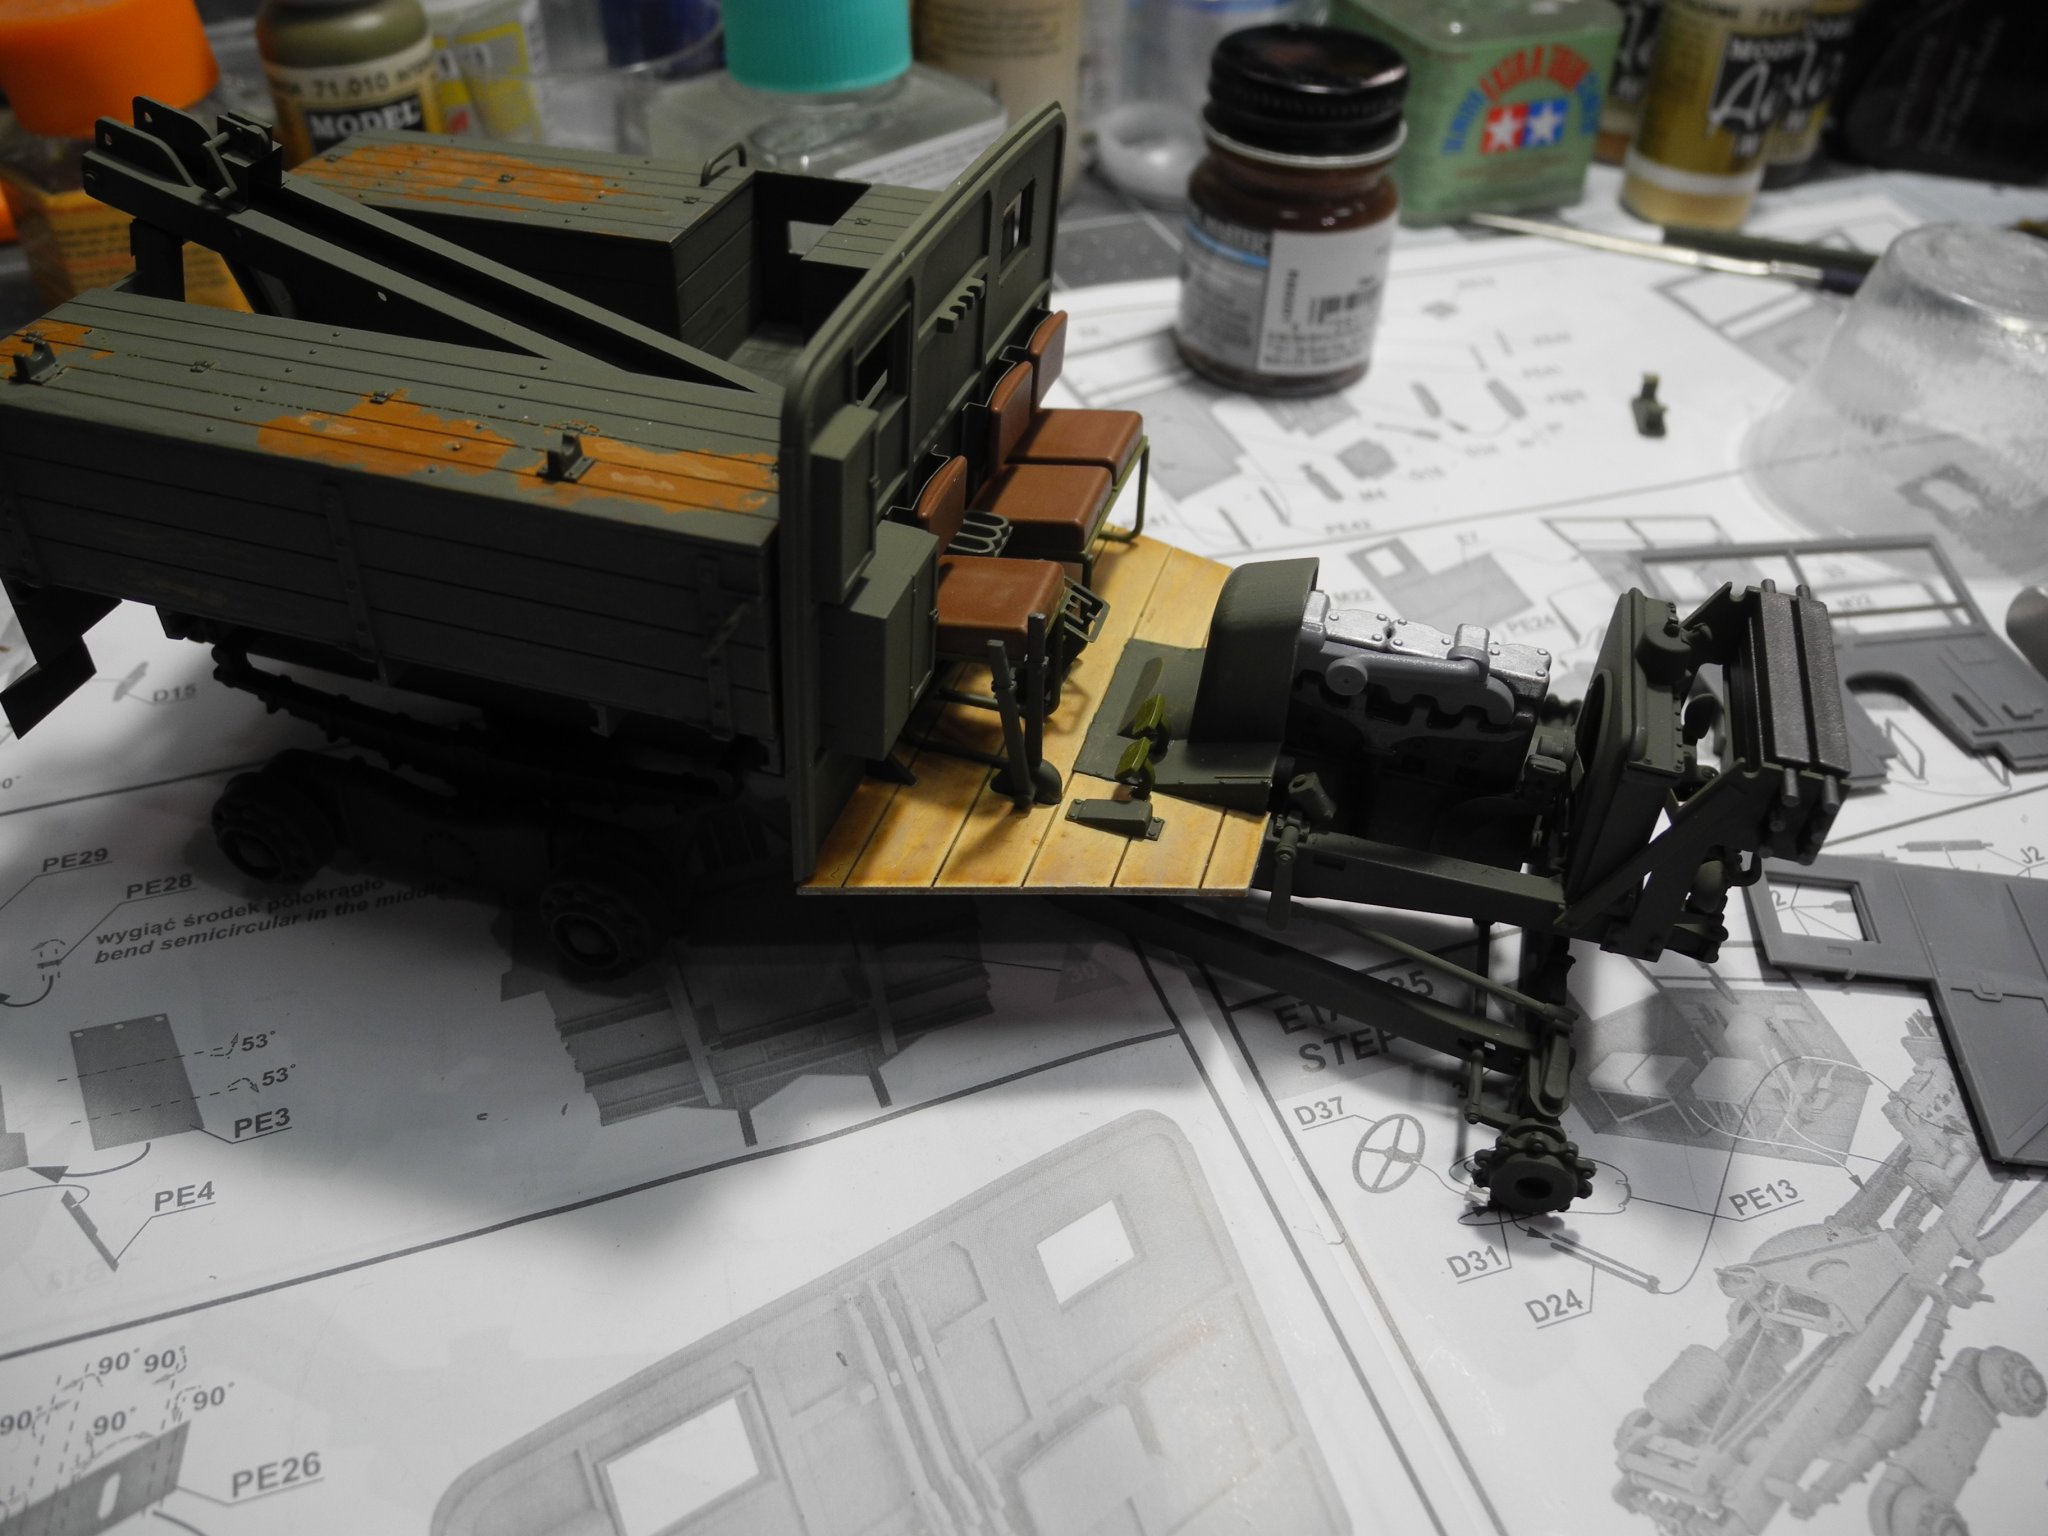
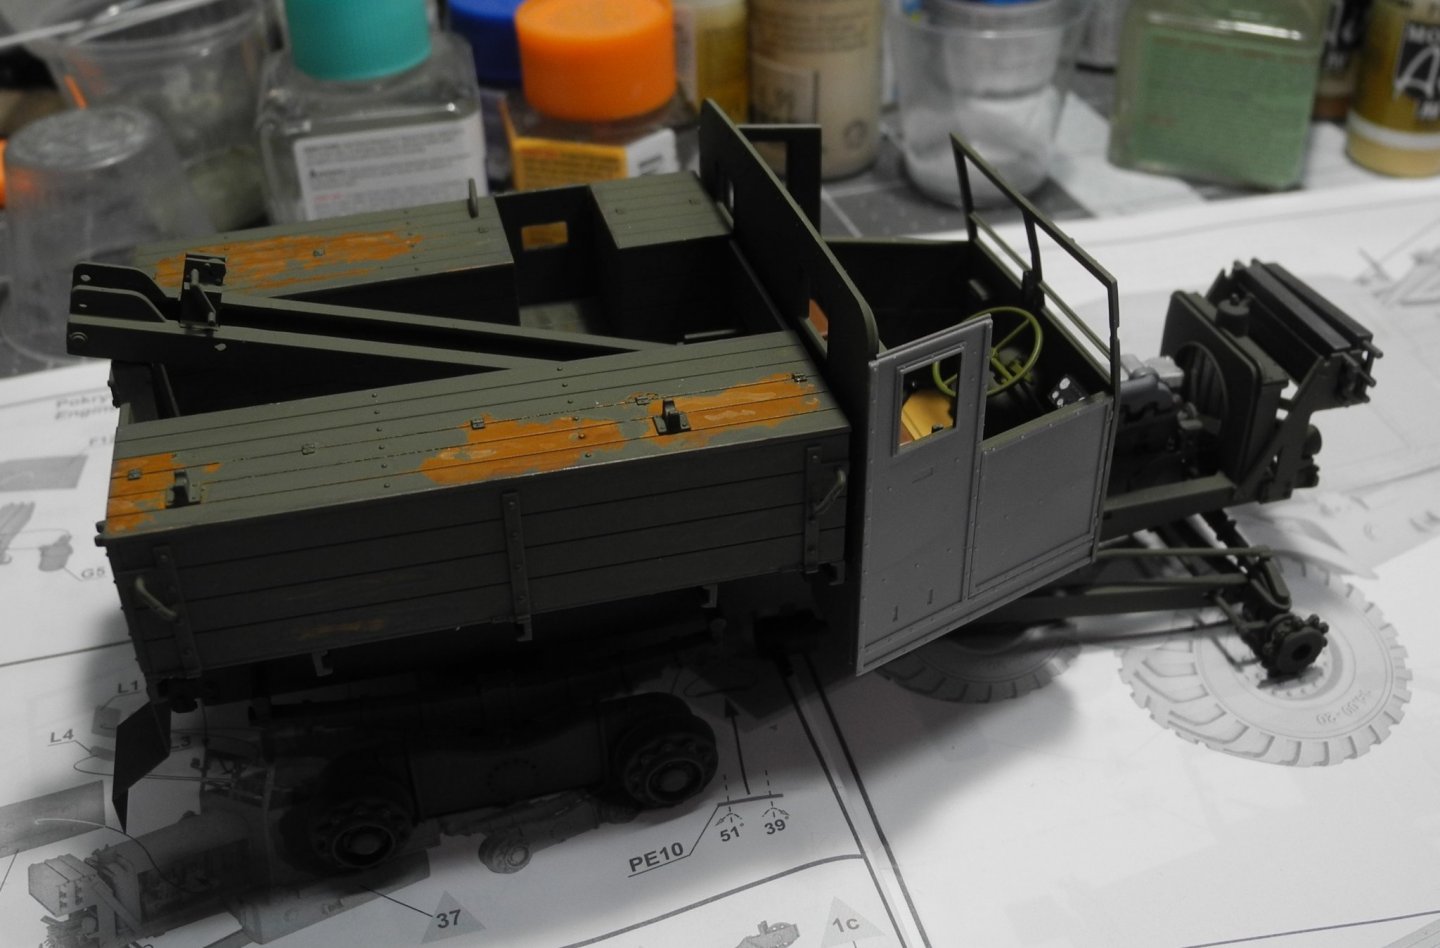
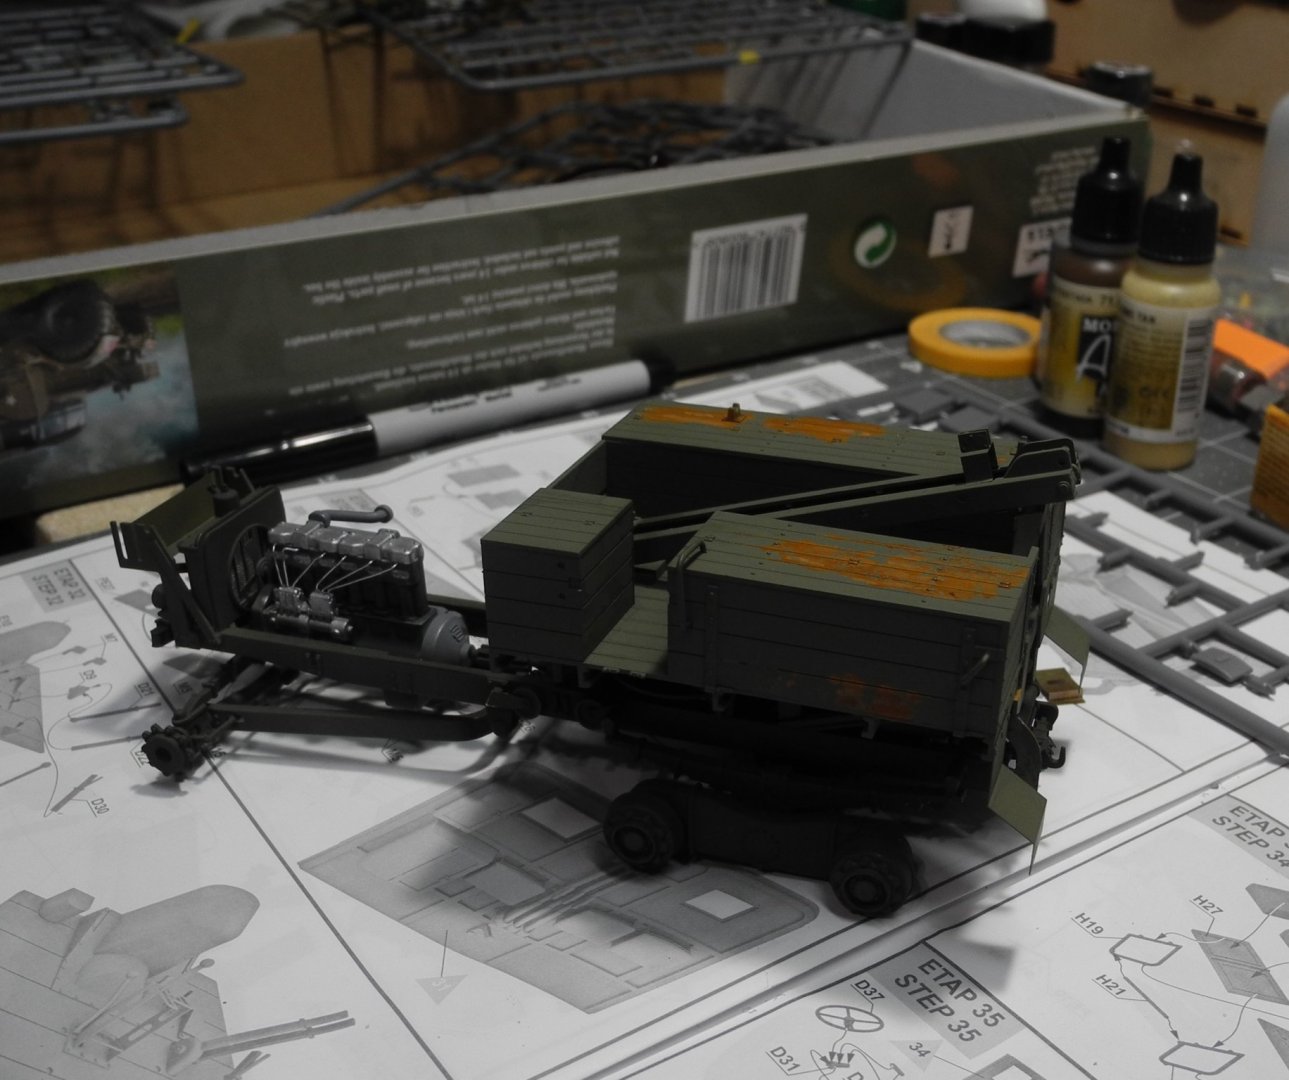
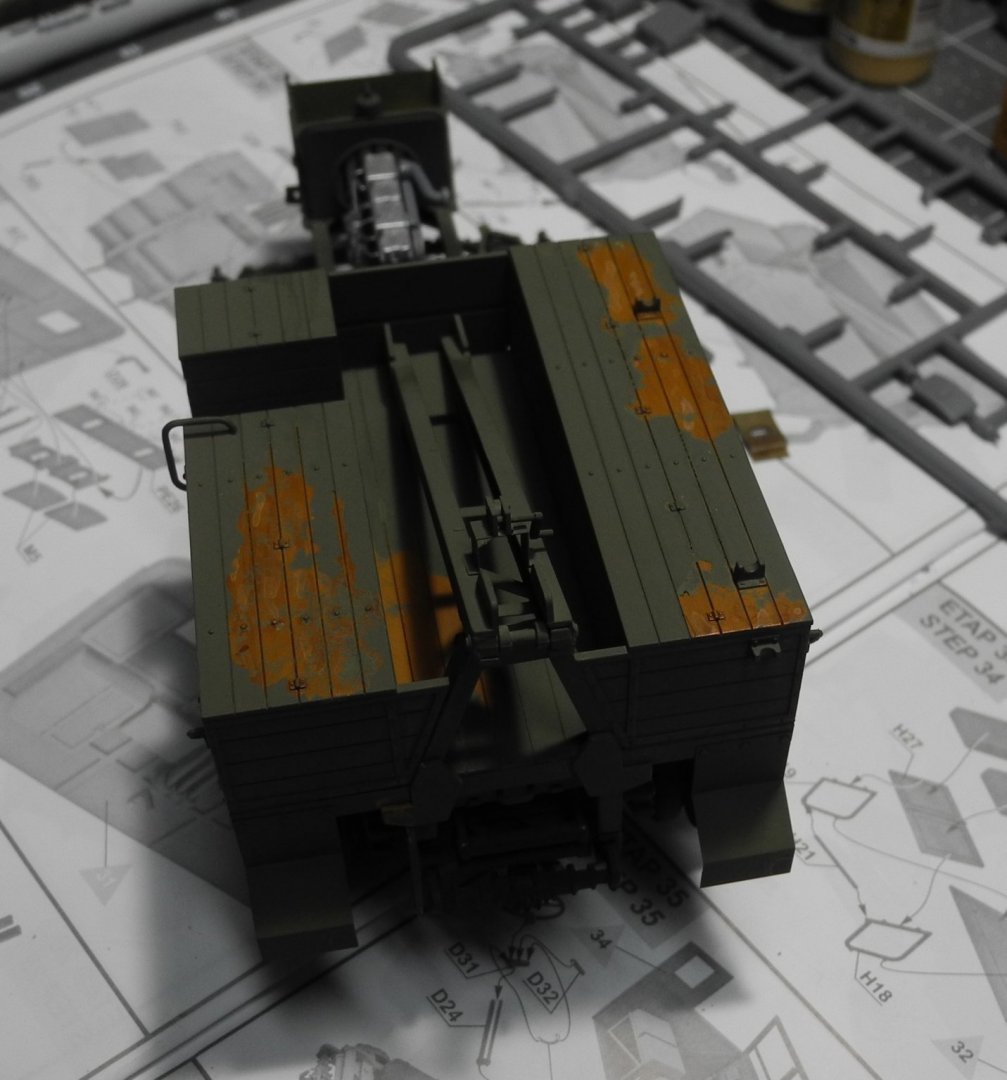
Thanks Denis. Trying to find a balance between too much and not enough. Lots of weathering, nicks and chips to go. The paint I've used is acrylic (Tamiya), and have learned that some gentle use of a brush dampened with alcohol will also remove the top layer of paint to reveal the second layer (wood, metal, or whatever). Just have to be careful (gentle) because the alcohol can remove more than intended.
-
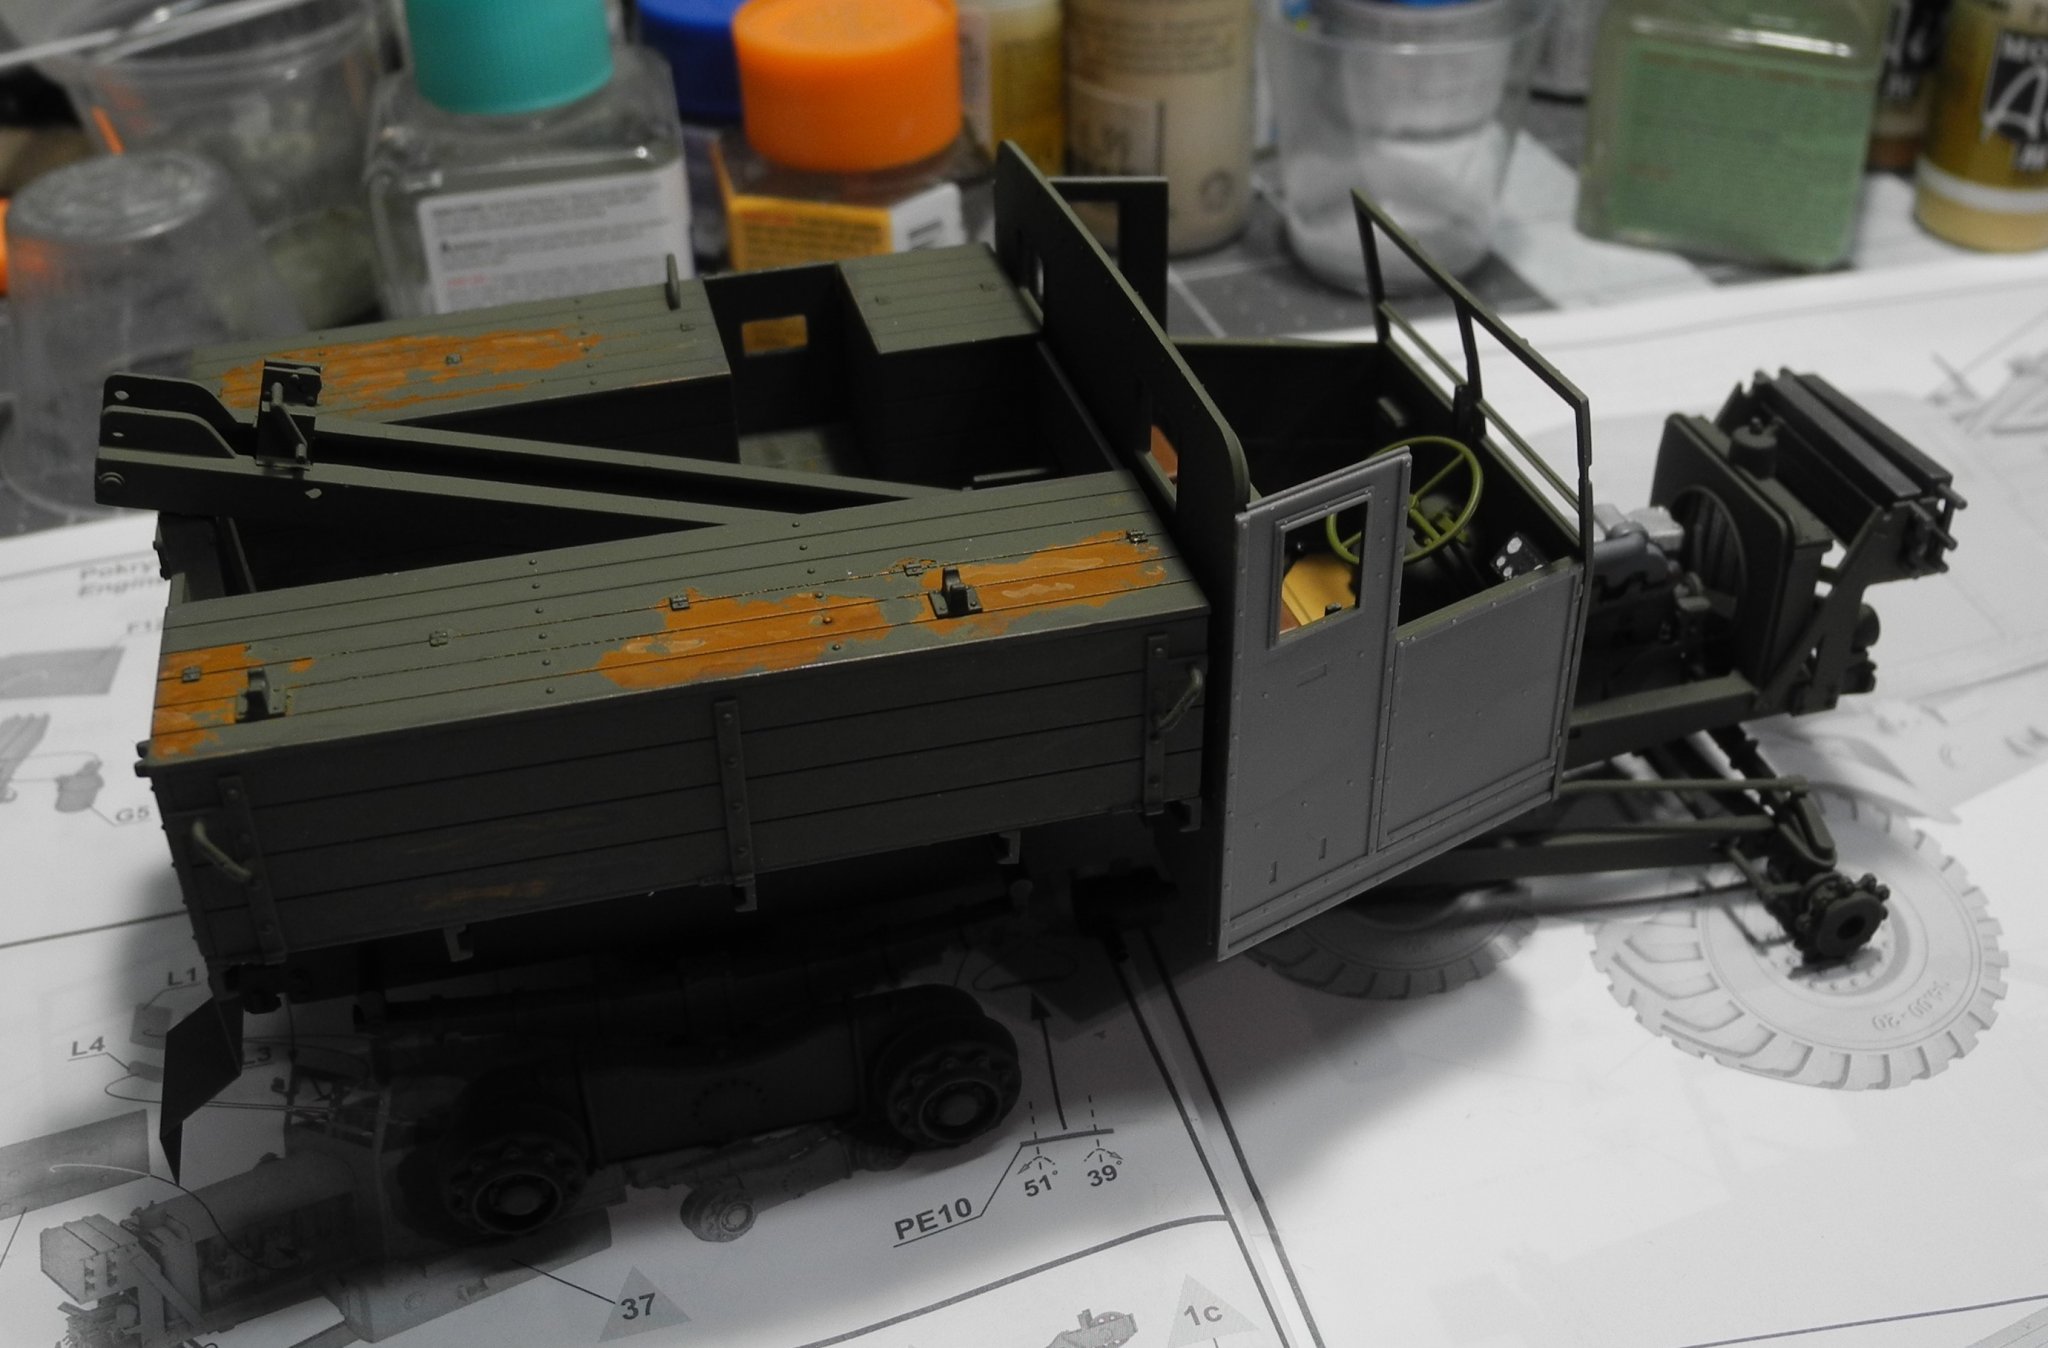
Paint chipping effects on wooden body.
-
North American P-51D Mustang by Asat - Airfix - 1/48
CDW replied to ASAT's topic in Non-ship/categorised builds
Some of the Takom kits have full interior details. That's a big difference in parts count which jack up the cost. Most kits have at least one online review and/or build thread. That's your best bet to learn the differences. -
North American P-51D Mustang by Asat - Airfix - 1/48
CDW replied to ASAT's topic in Non-ship/categorised builds
Lou Of the three tools, the 2 sets of pliers are the most versatile in my opinion. However, there are certain bending jobs that are very hard to do without the "vise" type tool. I have no personal experience with the Takom Tigers yet, but they look very nice. I have a couple other Takom armor kits and they are extremely well detailed. -
North American P-51D Mustang by Asat - Airfix - 1/48
CDW replied to ASAT's topic in Non-ship/categorised builds
The 2 most handy PE tools I have are from Tamiya. They are PE bending pliers, large and a small set. -
North American P-51D Mustang by Asat - Airfix - 1/48
CDW replied to ASAT's topic in Non-ship/categorised builds
That's beautiful cockpit work, Lou. Love your attention to detail. Earlier, you asked about online shops with reasonable shipping being a prerequisite. There are 2 shops that I find have the best inventory, shipping cost, and speedy service: these are Spruebrothers and Scalehobbyist. Just add the ".com" behind their names, and you'll find them. -
Great subject material Denis. Got to watch this build.
-
I just need to grow some courage and dive in. I have several nice card models in my stash, just need to do it. Cutting all the parts is intimidating.
-
There are a lot of choices in paper models...just need to develop that skill myself.
-
Ooooh, now I get it. Yeah, I would love to see the Omaha class cruisers as well. I think the cruisers would hold more of a niche market place, maybe. The Asian sales market is bigger than our own, perhaps they are not as interested in American cruisers.
-
Disappointing that Trumpeter is releasing those kits?
-
In other important news: Has anyone else heard that Trumpeter is planning to release the following 1:200 scale battleship kits: Tirpitz Gneisenaue Scharnhorst Be still my heart! In case you think I'm joking, take a look on Hannants website, and all three have placeholders for their inventory. 😀😃😃😀