CDW
-
Posts
7,755 -
Joined
-
Last visited
Content Type
Profiles
Forums
Gallery
Events
Everything posted by CDW
-

F-14D Super Tomcat by CDW - AMK - 1:48 Scale
CDW replied to CDW's topic in Non-ship/categorised builds
I'm leaning toward finishing her as a VF-2 Bounty Hunter OIF, 2003. All these photos are from that squadron. This gives me the option of incorporating micro-size magnets to my ordnance, that way I could swap it out to any configuration I choose. If I find out I have the wrong combination, no big deal, just swap it out using magnetic action.


- 45 replies
-
- 10
-

-

-
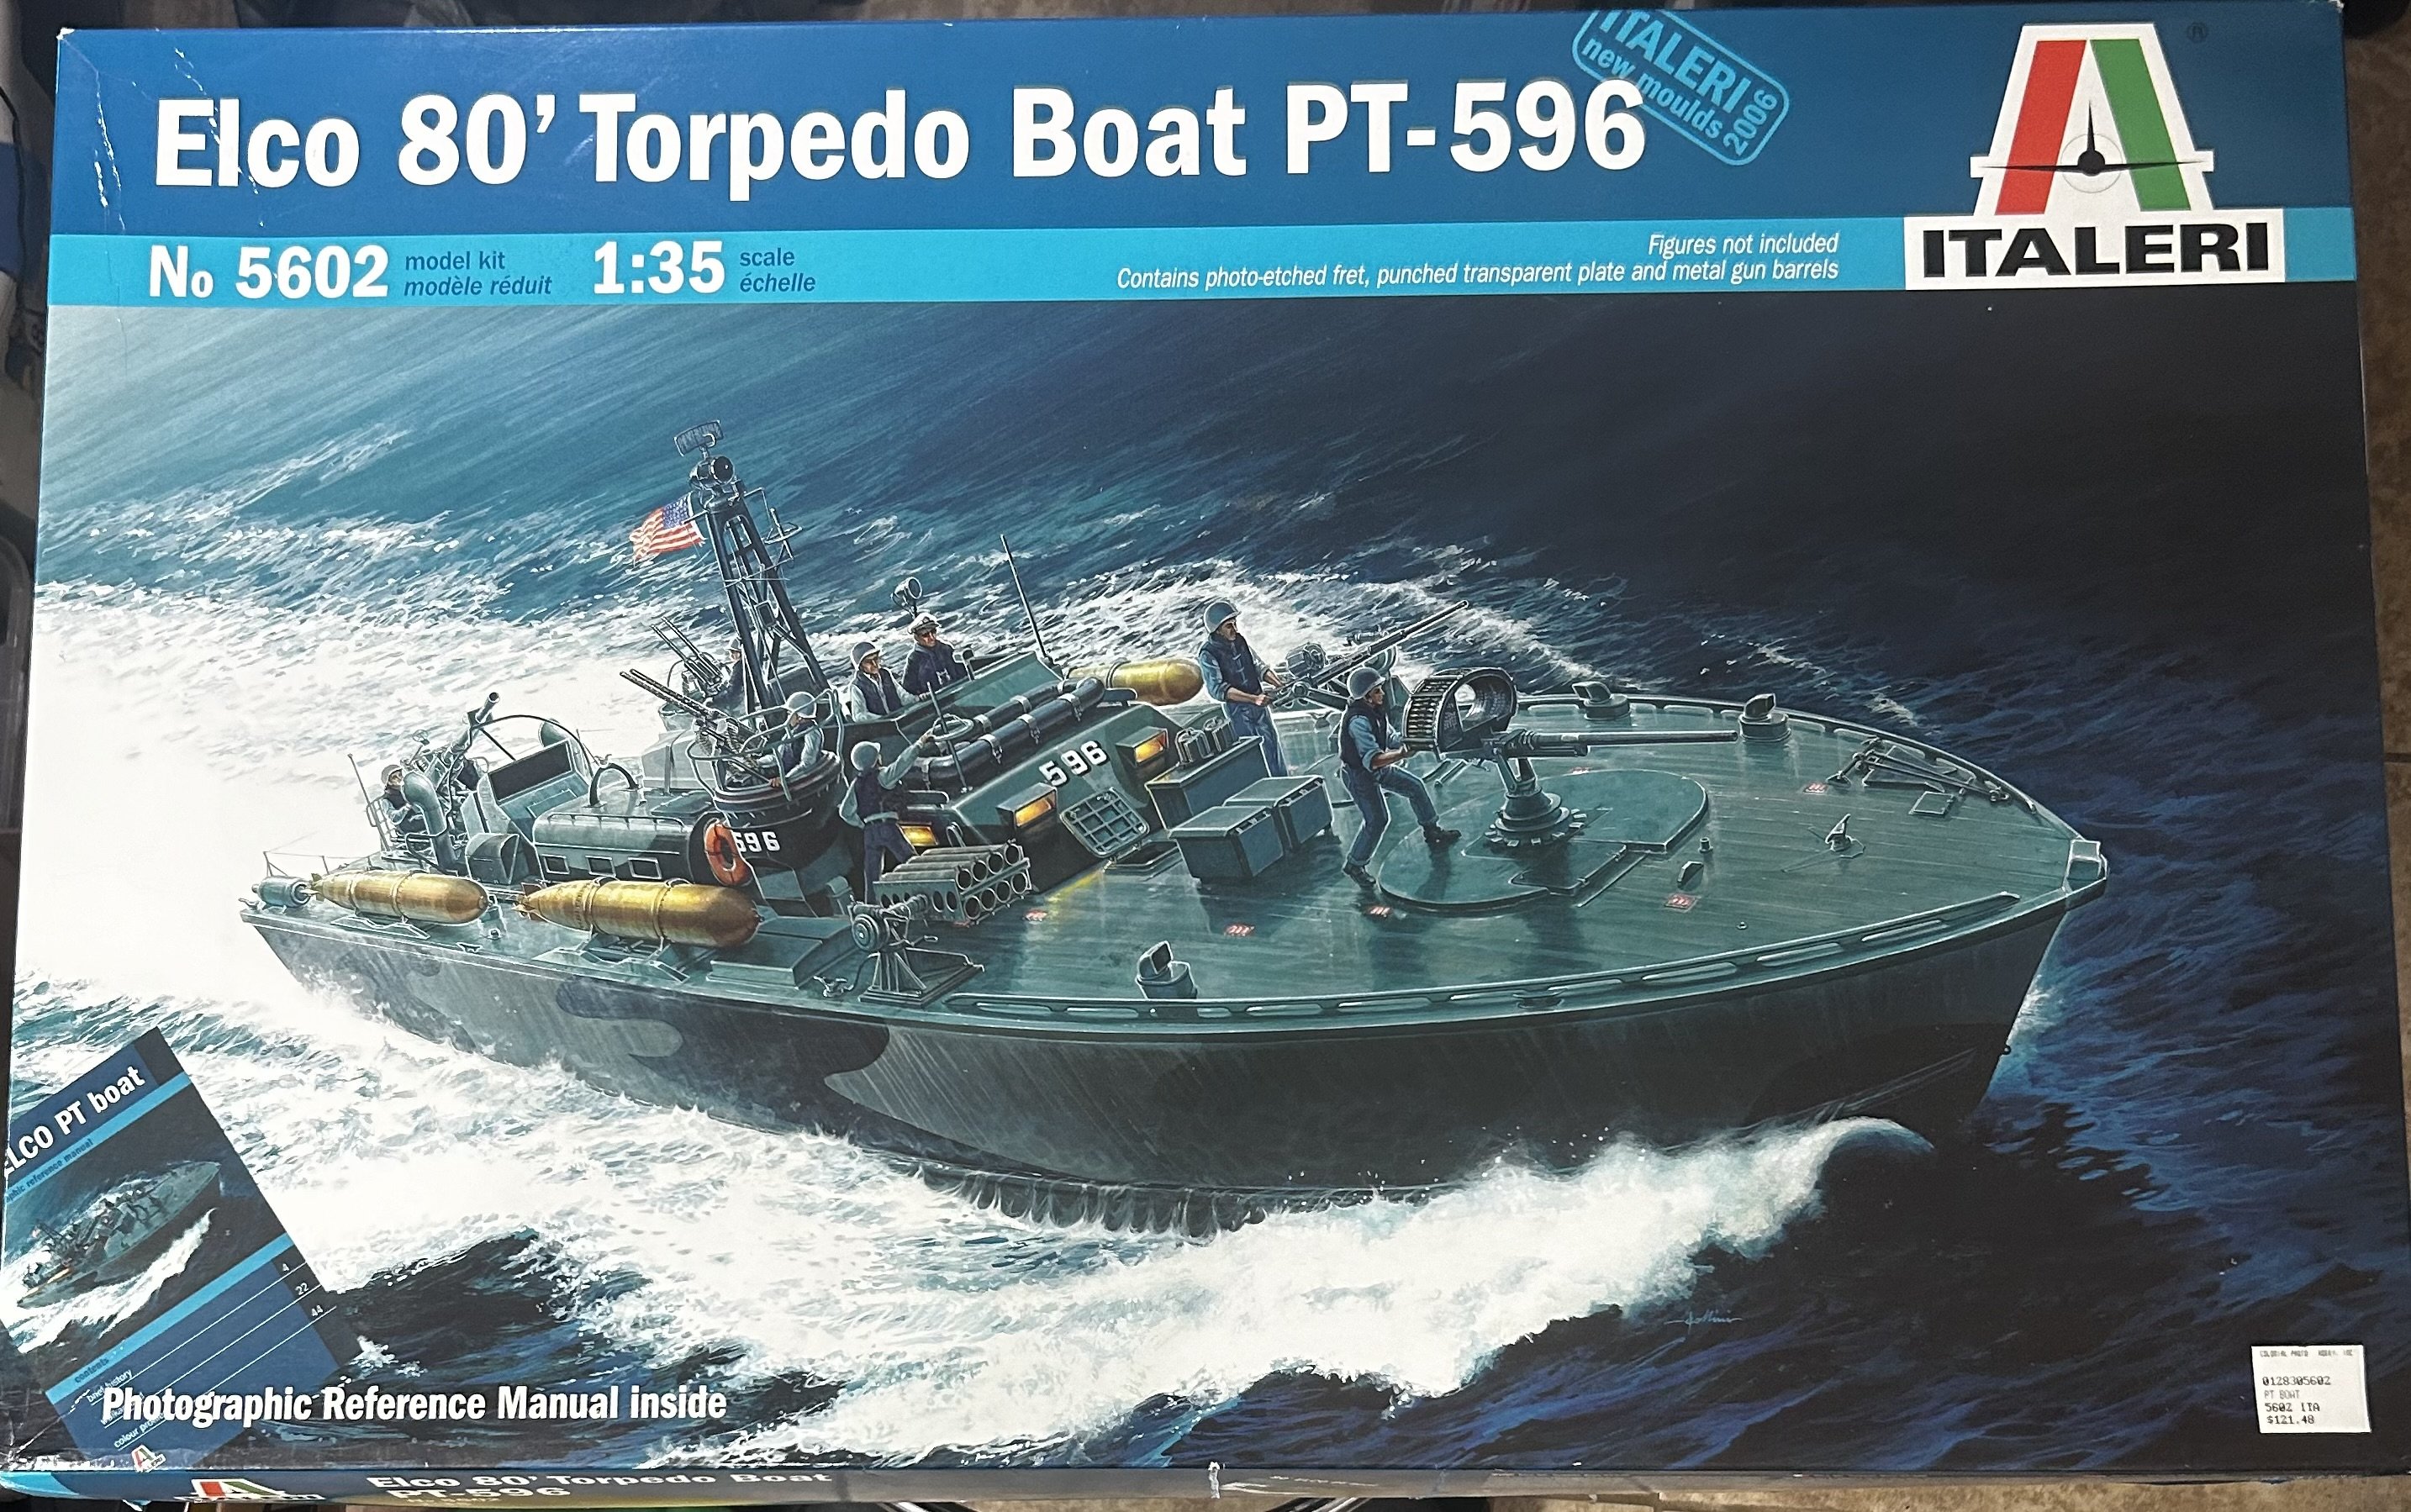
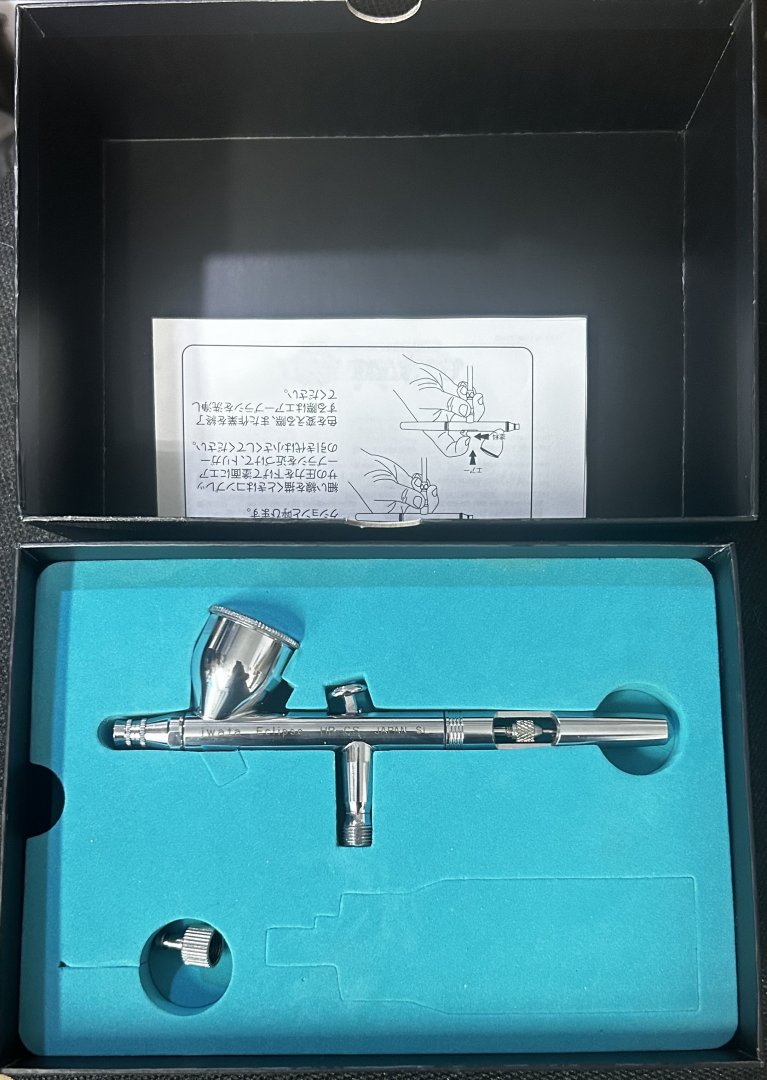
The vendor tables were well stocked at the show as well. Among a few other other things I brought these home. Didn’t have any plans for a 1:35 PT boat, but the price was right so I snagged it. Good trading material if nothing else. The Iwata HP-CS airbrush is smooth as silk. A great all-around airbrush. If you find one for $75 or less at a swap meet, do yourself a favor and grab it. You won’t regret it.

- 127 replies
-
- 11
-
-
Ferrari Dino 246gt by gsdpic - FINISHED - Fujimi - 1/24th scale
CDW replied to gsdpic's topic in Non-ship/categorised builds
Wow, Gary. That came out great, and fast, too! -
F-14D Super Tomcat by CDW - AMK - 1:48 Scale
CDW replied to CDW's topic in Non-ship/categorised builds
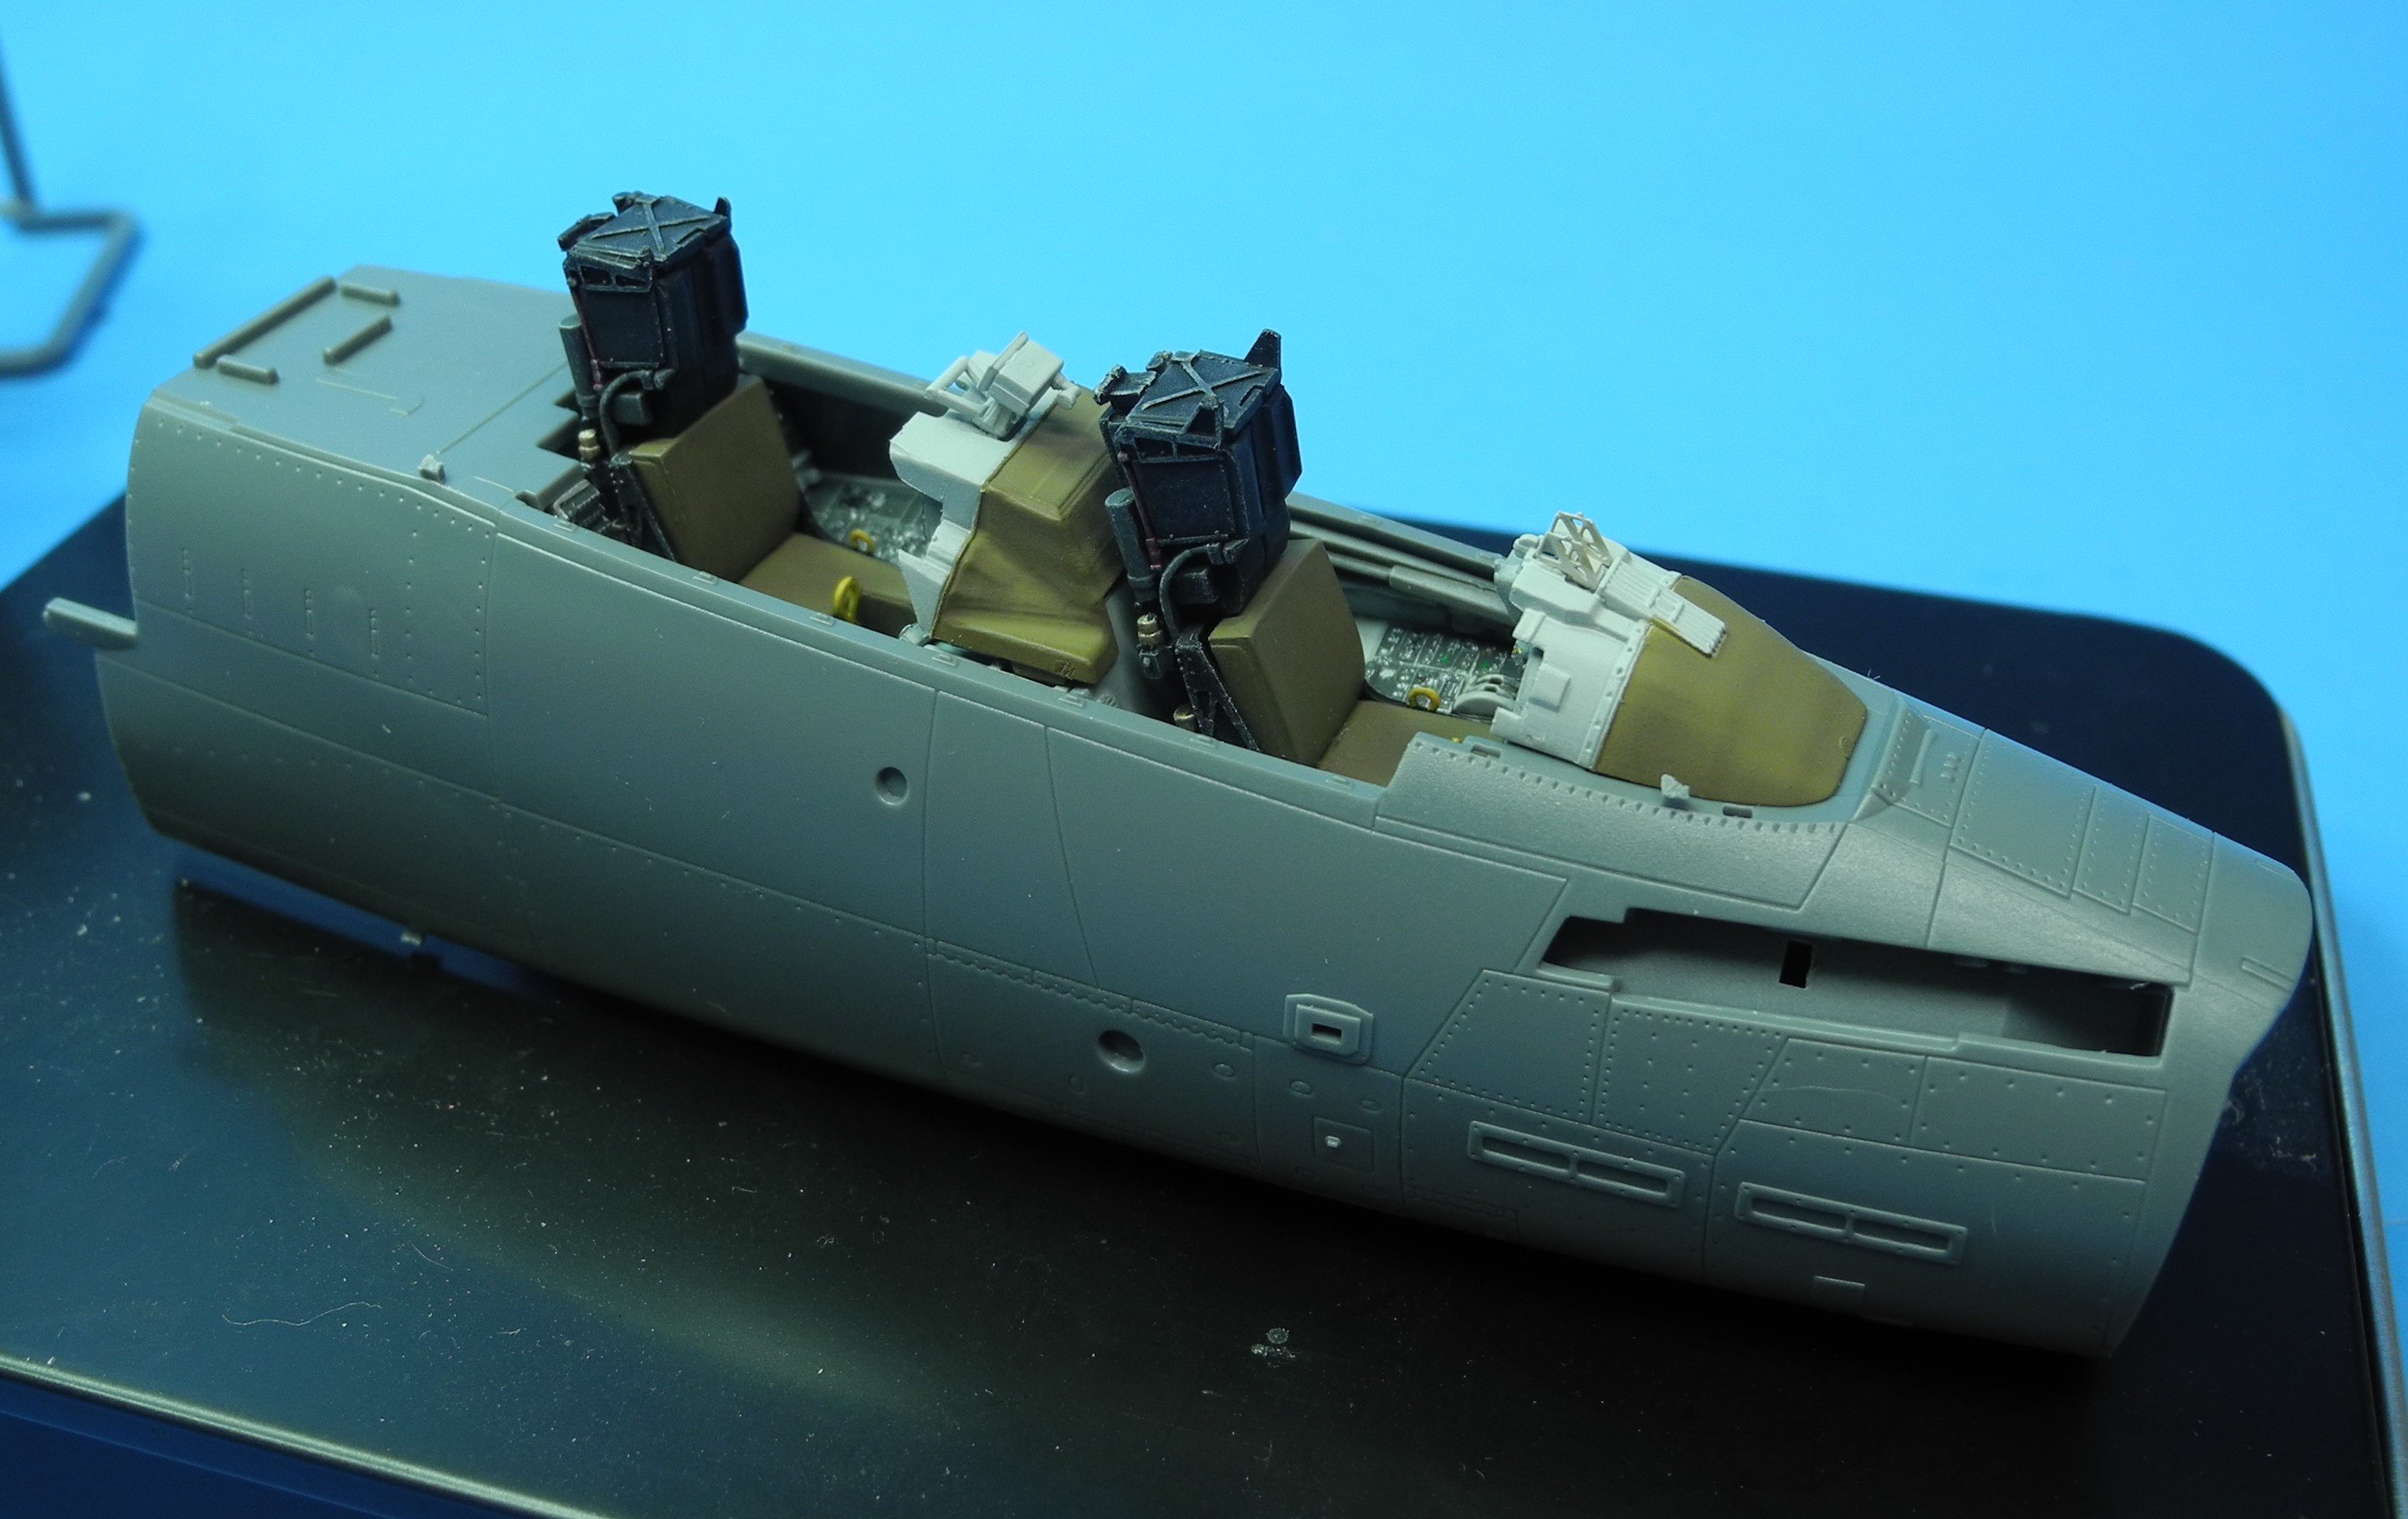
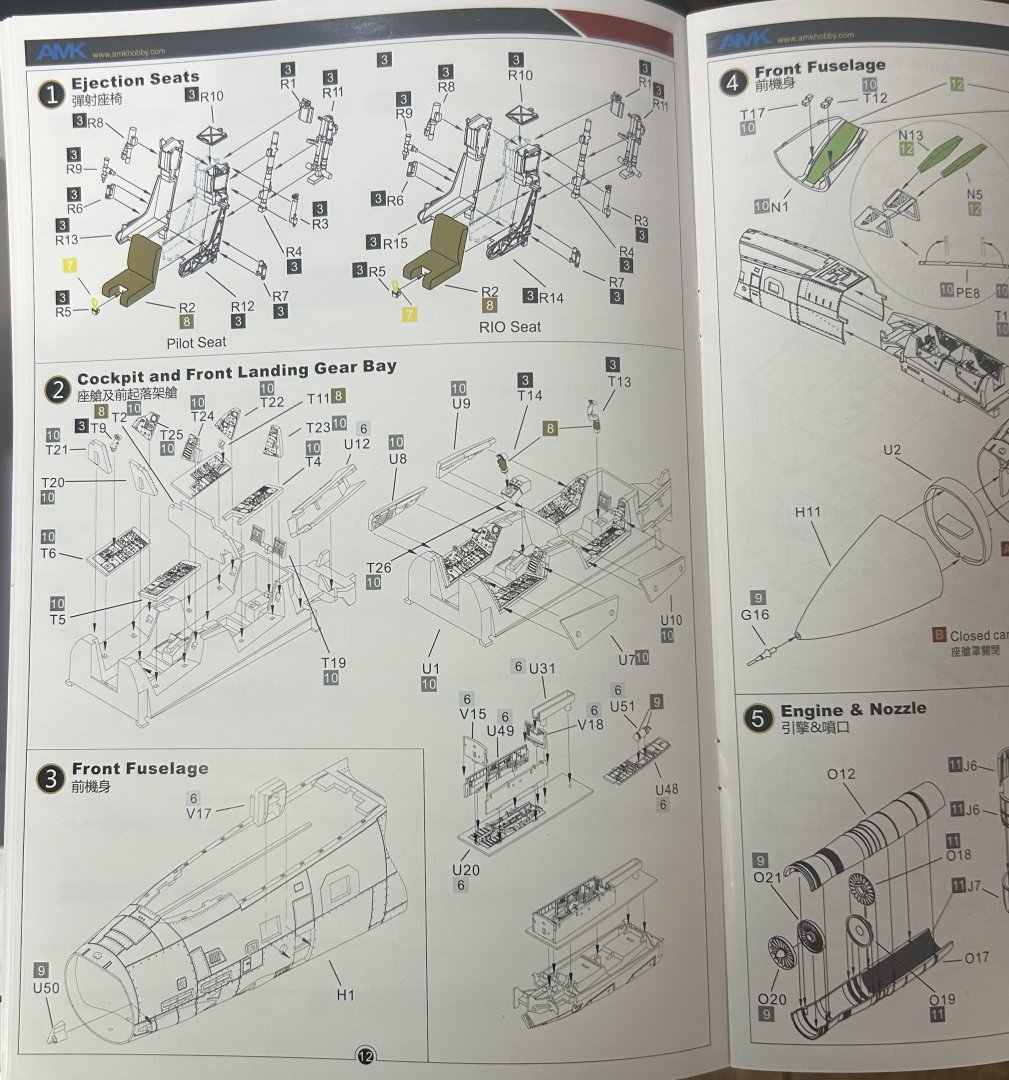
Your earlier question/comment made me realize I had not yet done a test-fit of the cockpit inside the forward fuselage. Here are a few photos of a dry-fit test. I'm still debating whether to finish this kit as a bomber or equipped as in an air-to-air role....hmmmmm...decisions, decisions.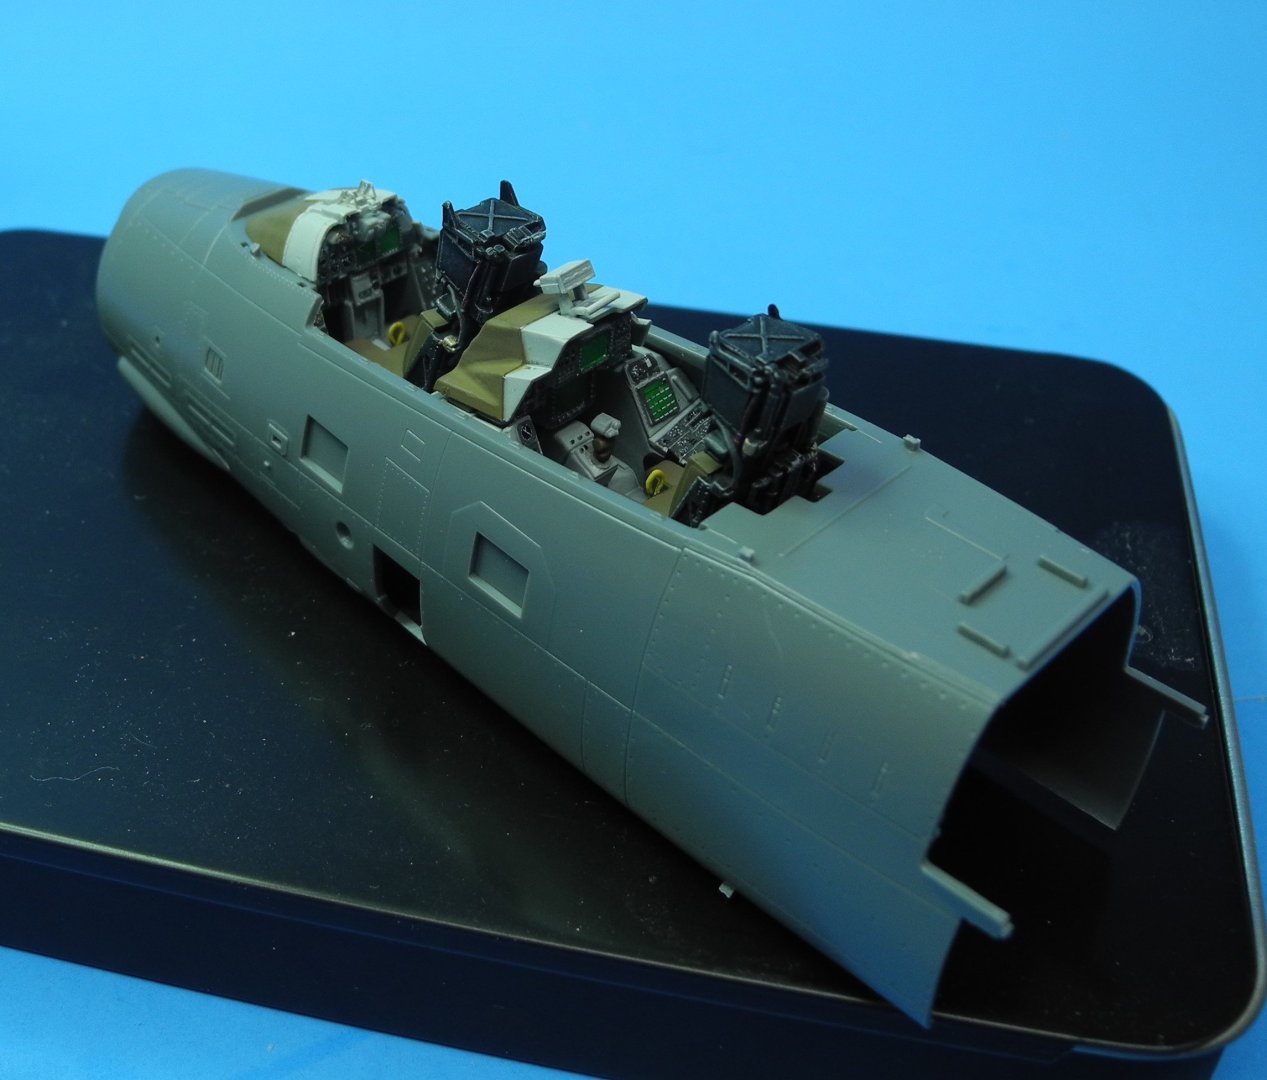


- 45 replies
-
- 14
-
-
-
F-14D Super Tomcat by CDW - AMK - 1:48 Scale
CDW replied to CDW's topic in Non-ship/categorised builds
Yes, the cockpit and wheel well slide in from the back. The are quite a few modern kits that are using slide mold technology already, though this is the first aircraft kit I've built where the entire forward fuselage is molded that way. On other kits, including this one, it's often found used in the ordnance pieces. In armor kits, the gun barrels. Flyhawk 1:700 ship models use slide molds as well. -
F-14D Super Tomcat by CDW - AMK - 1:48 Scale
CDW replied to CDW's topic in Non-ship/categorised builds
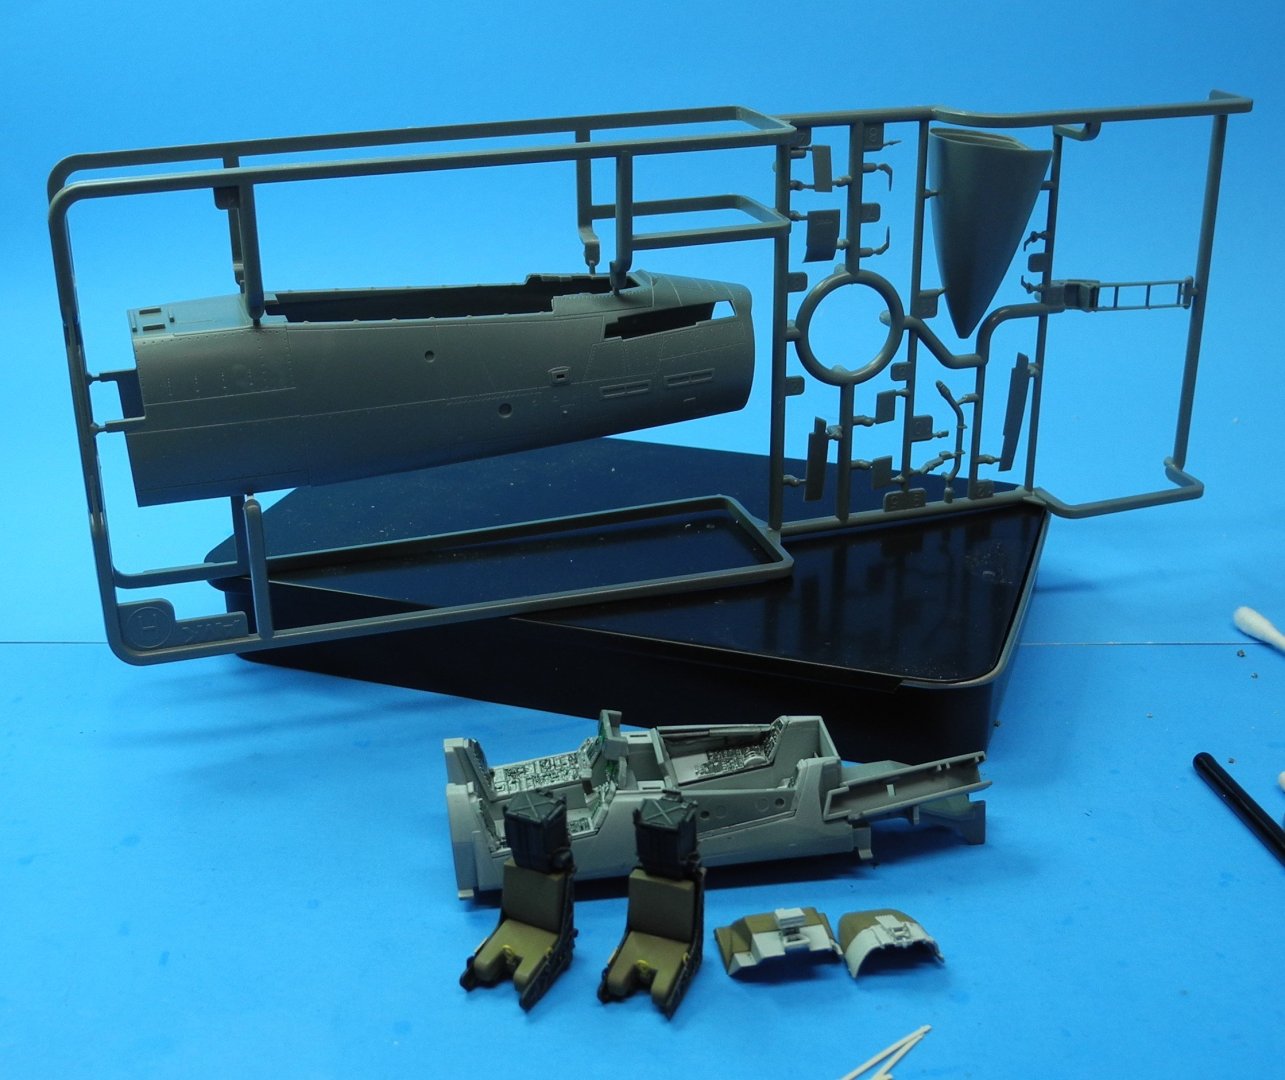
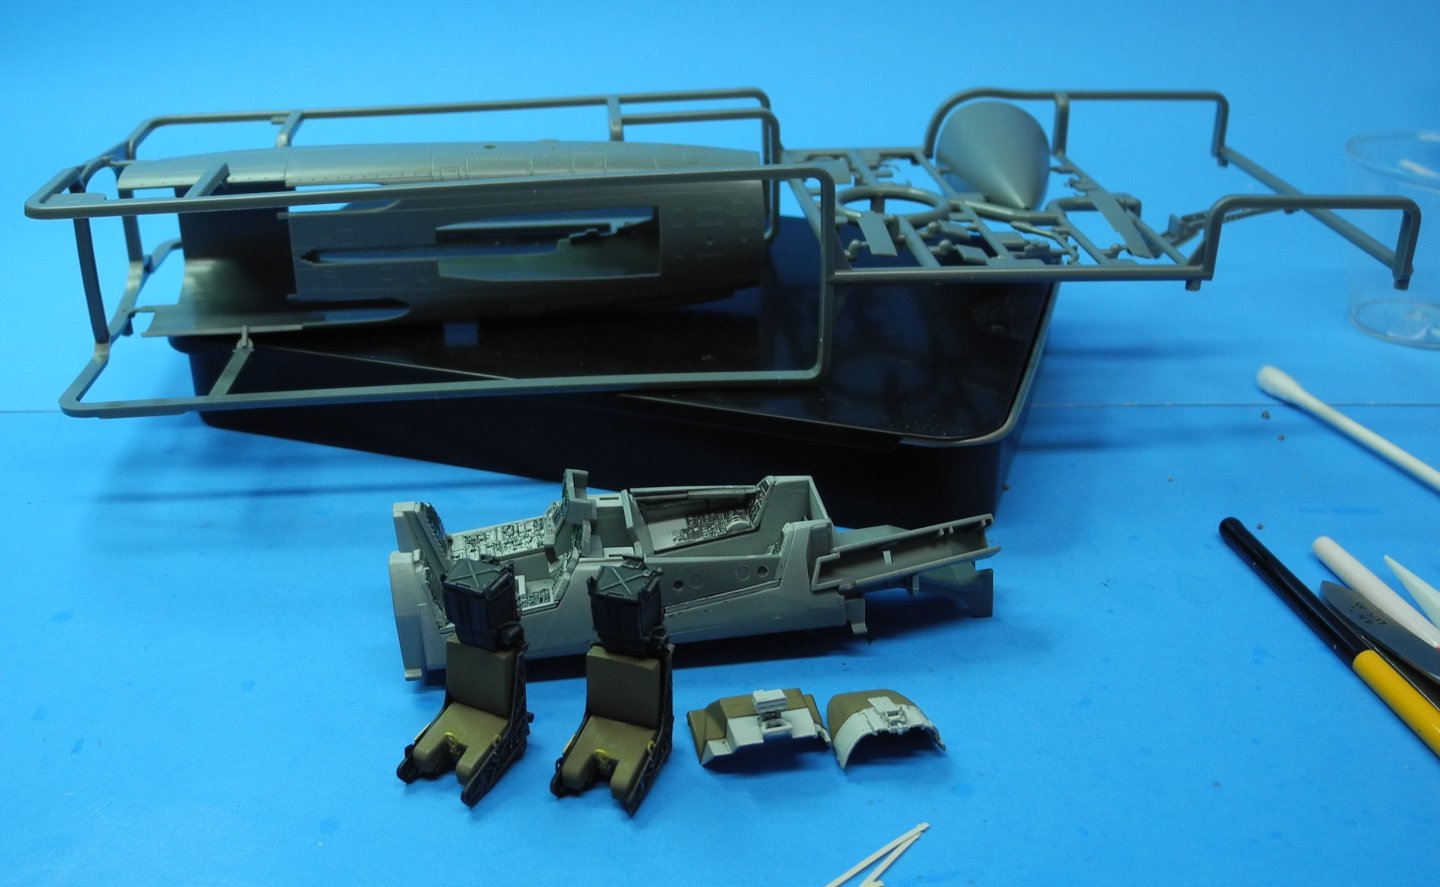
Before I cut the forward fuselage from the sprue, I wanted you to see the slide mold technology used to form the forward fuselage in one piece instead of left and right halves. No seam to deal with.
- 45 replies
-
- 10
-
-
-
Wish you the best on making this right. My own track record with merchandise returns to China is not good at all. Maybe Ebay will intercede somehow. It looks like it was cut with something. Was the packaging damaged as well?
-
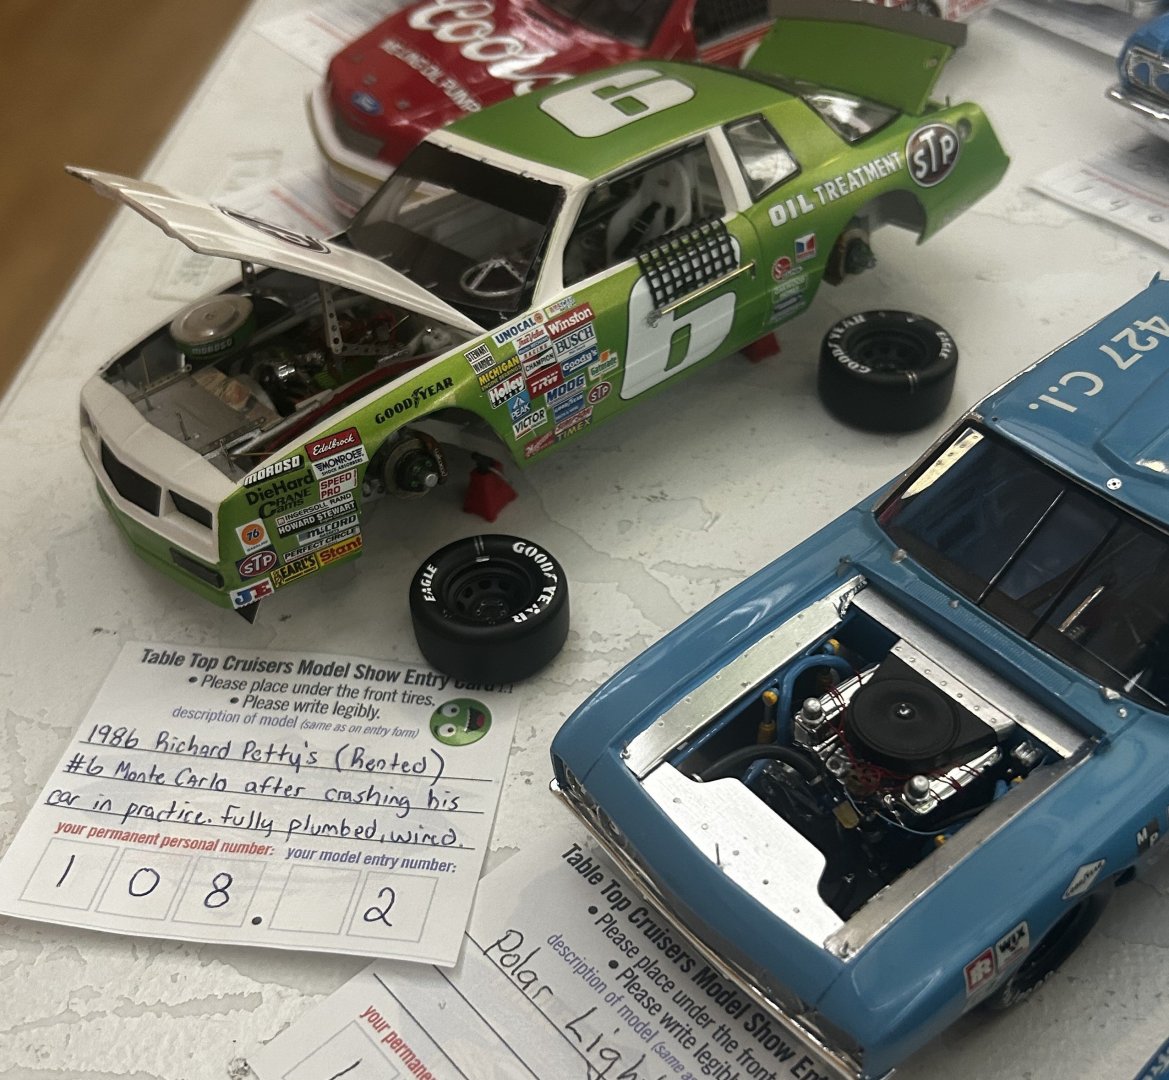
Someone sure was a Petty fan. He even had the car Petty "rented" for one race, the number 6 green Monte Carlo. I saw Petty race at several Firecracker 400's on July 4th at Daytona. I was young when I went to those races way back then. Today, I would not want to sit through that heat for that long. It makes me realize how huge a fan was my dad for taking me to all those kinds of events when I was a kid. My dad loved racing, and he didn't care what kind of racing it was. Horse racing, buggy/trotter racing, motorcycle, sprint cars, clay track, hydroplanes. just everything.
-
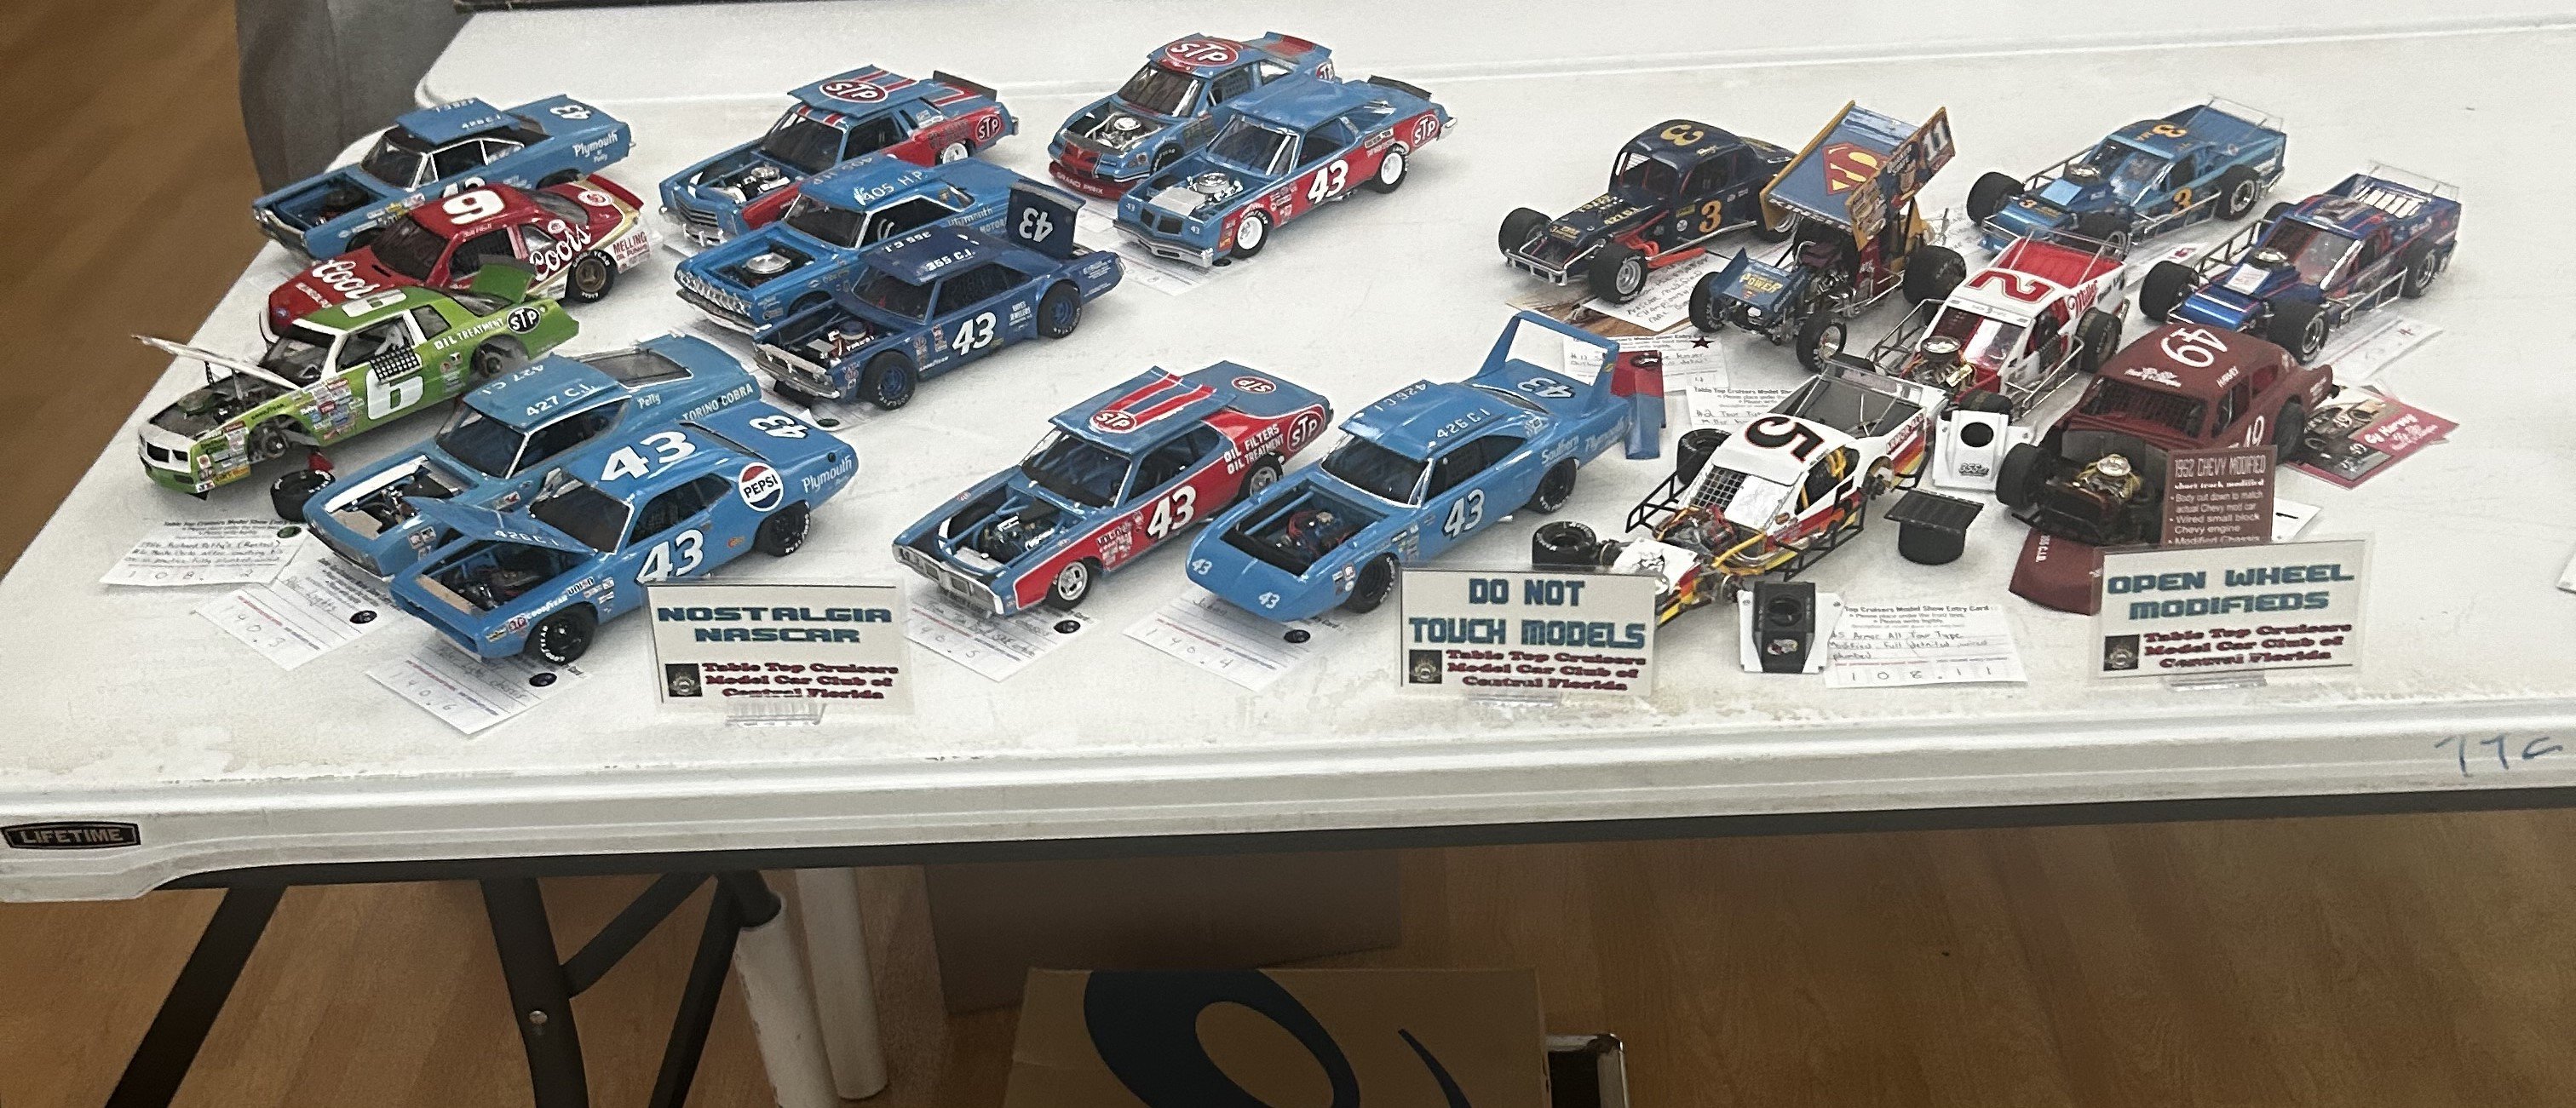
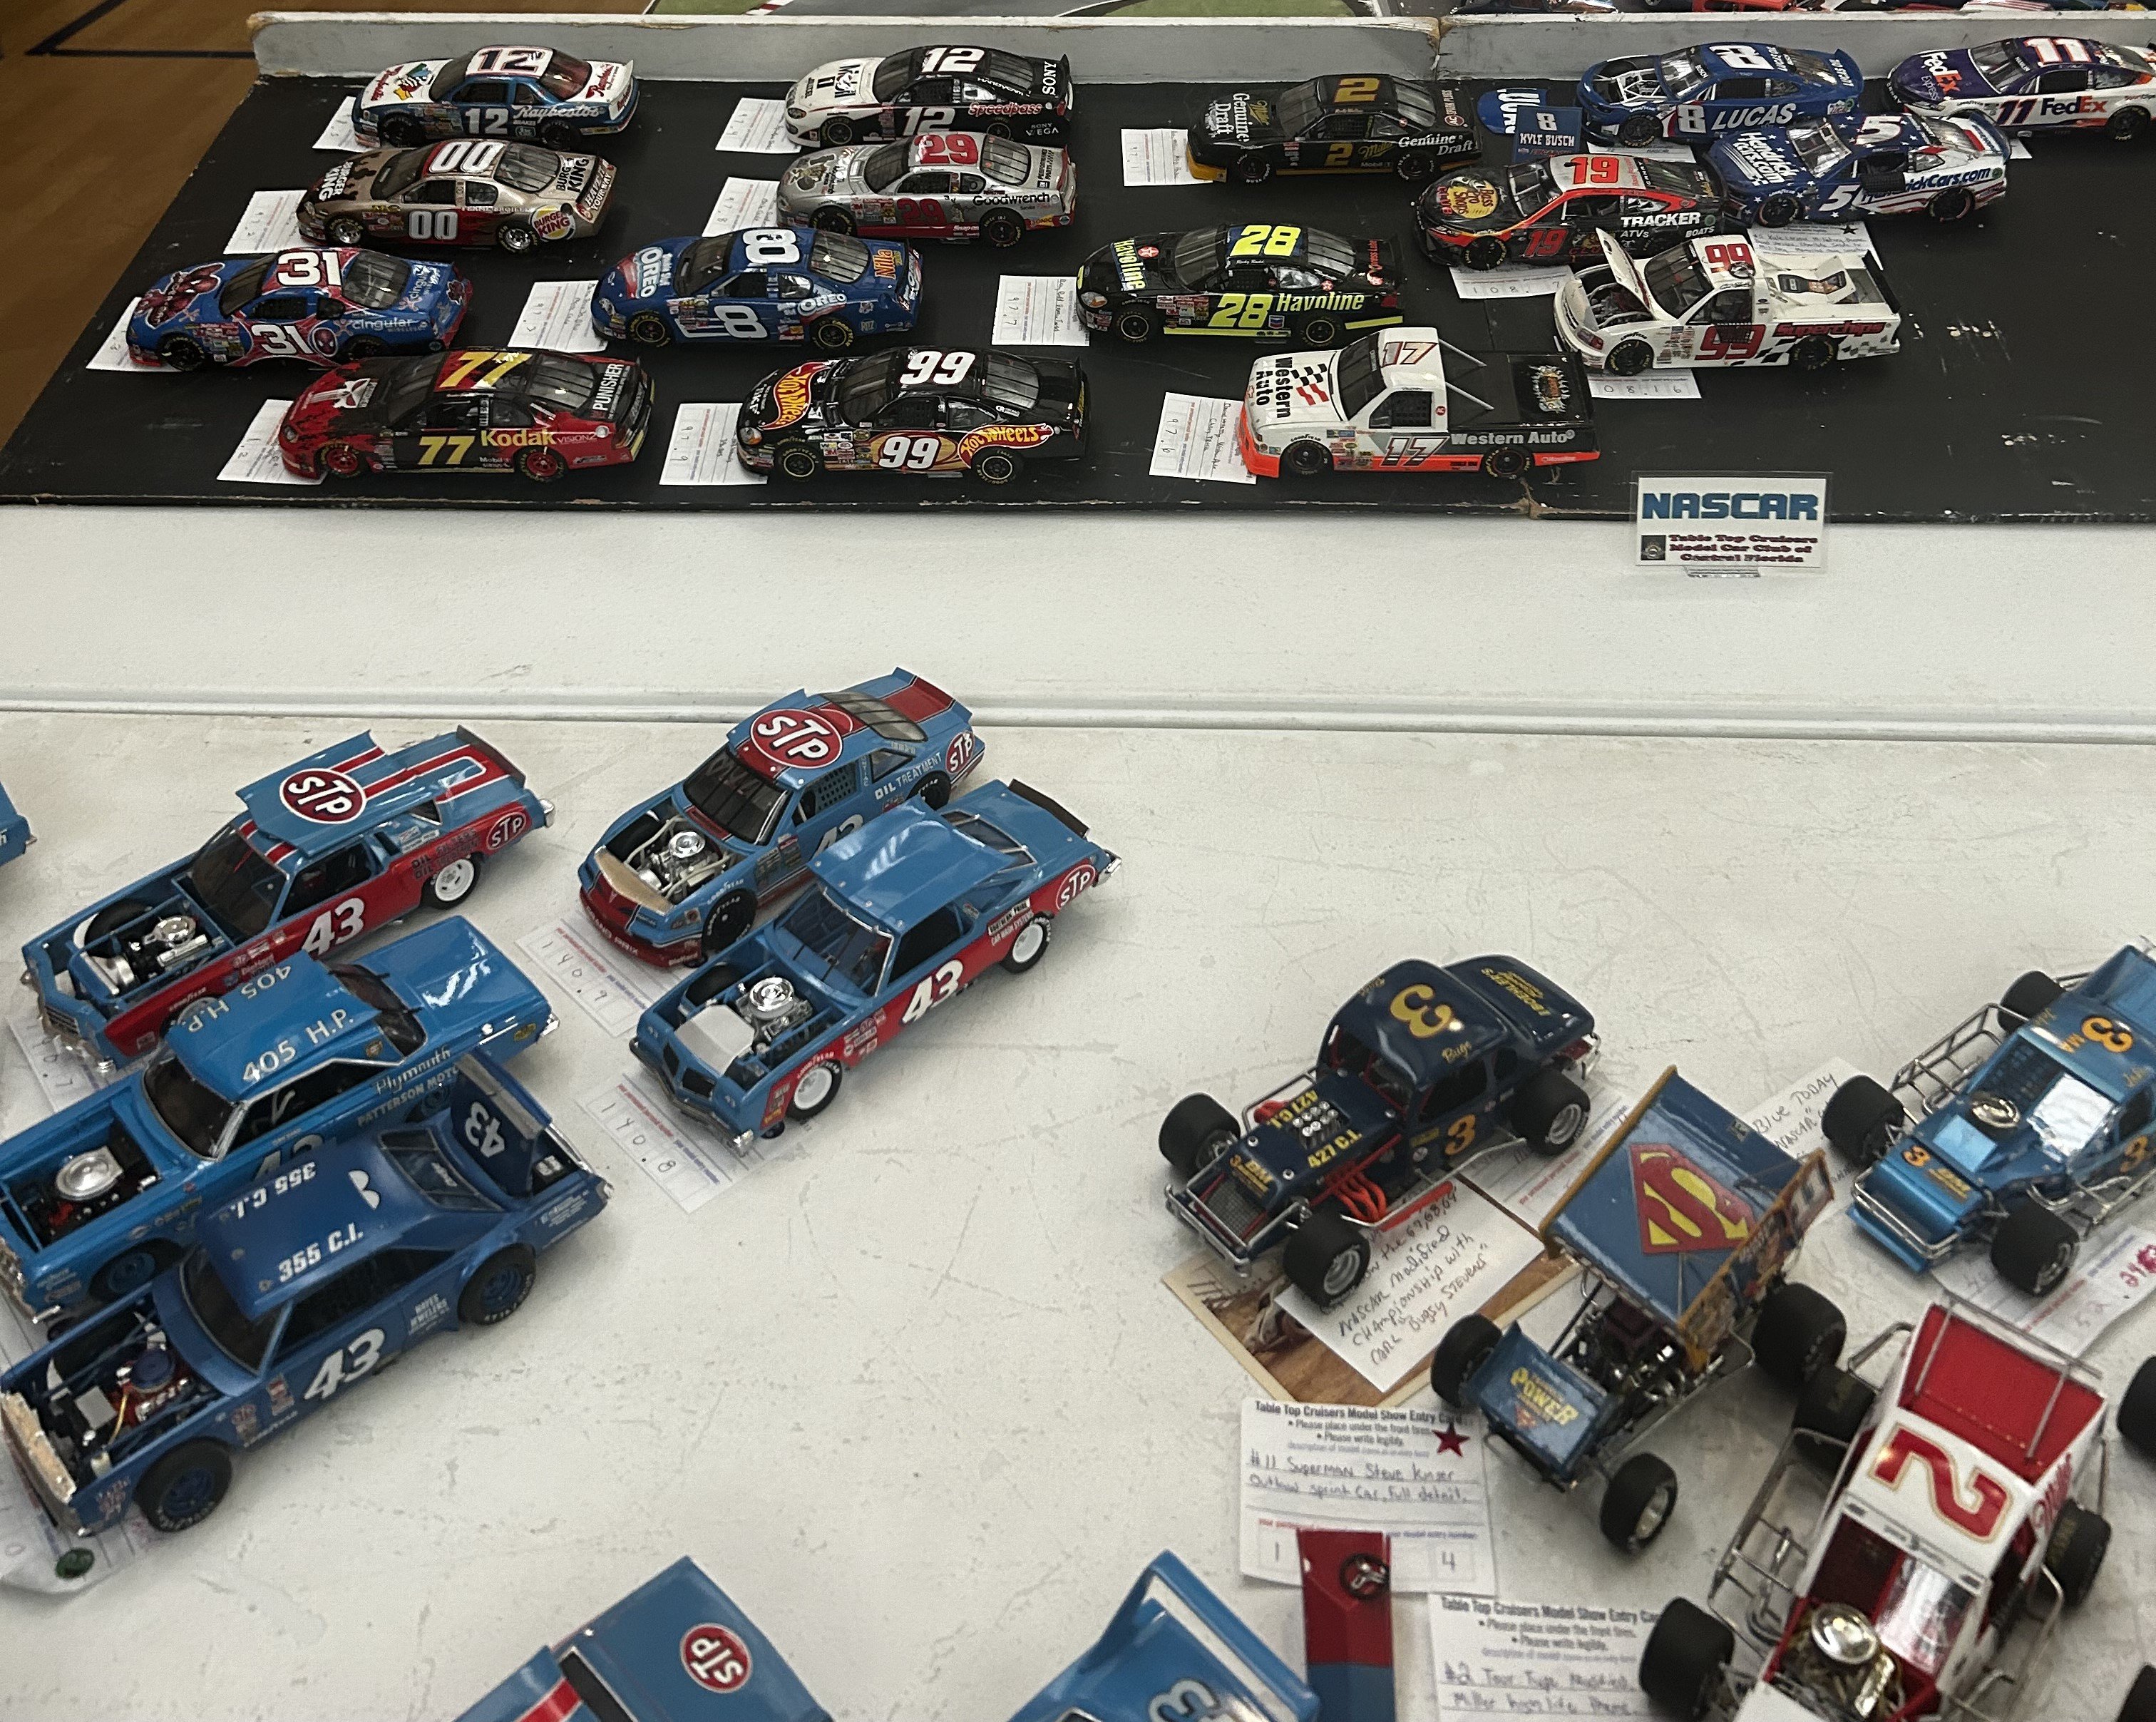
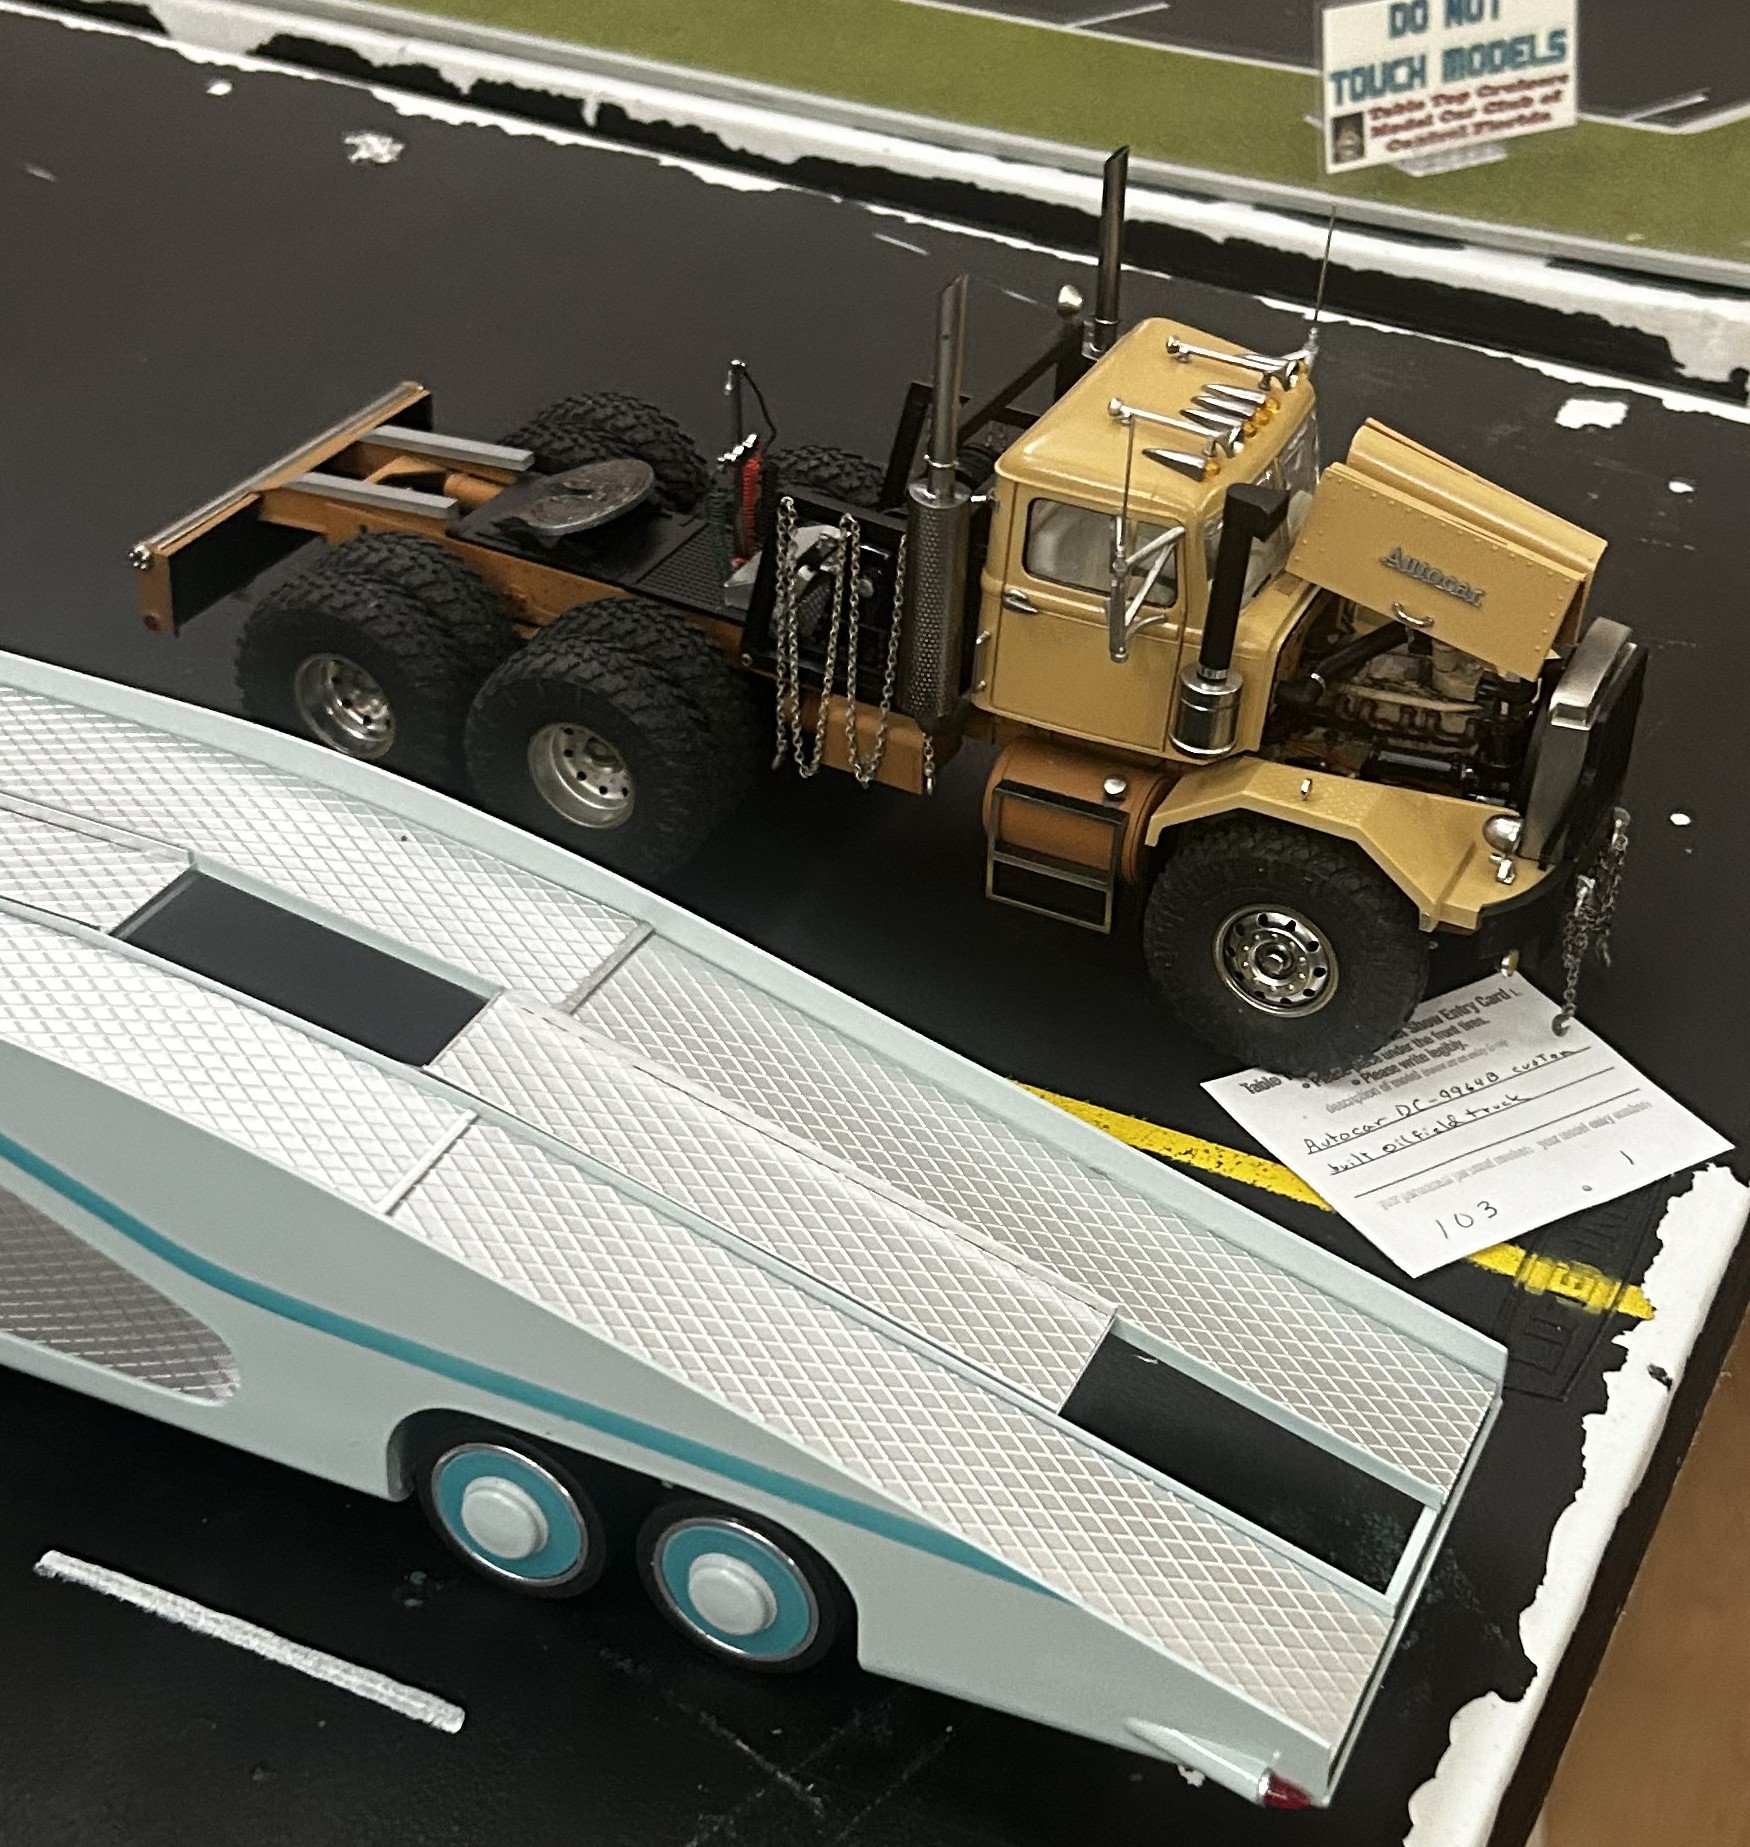
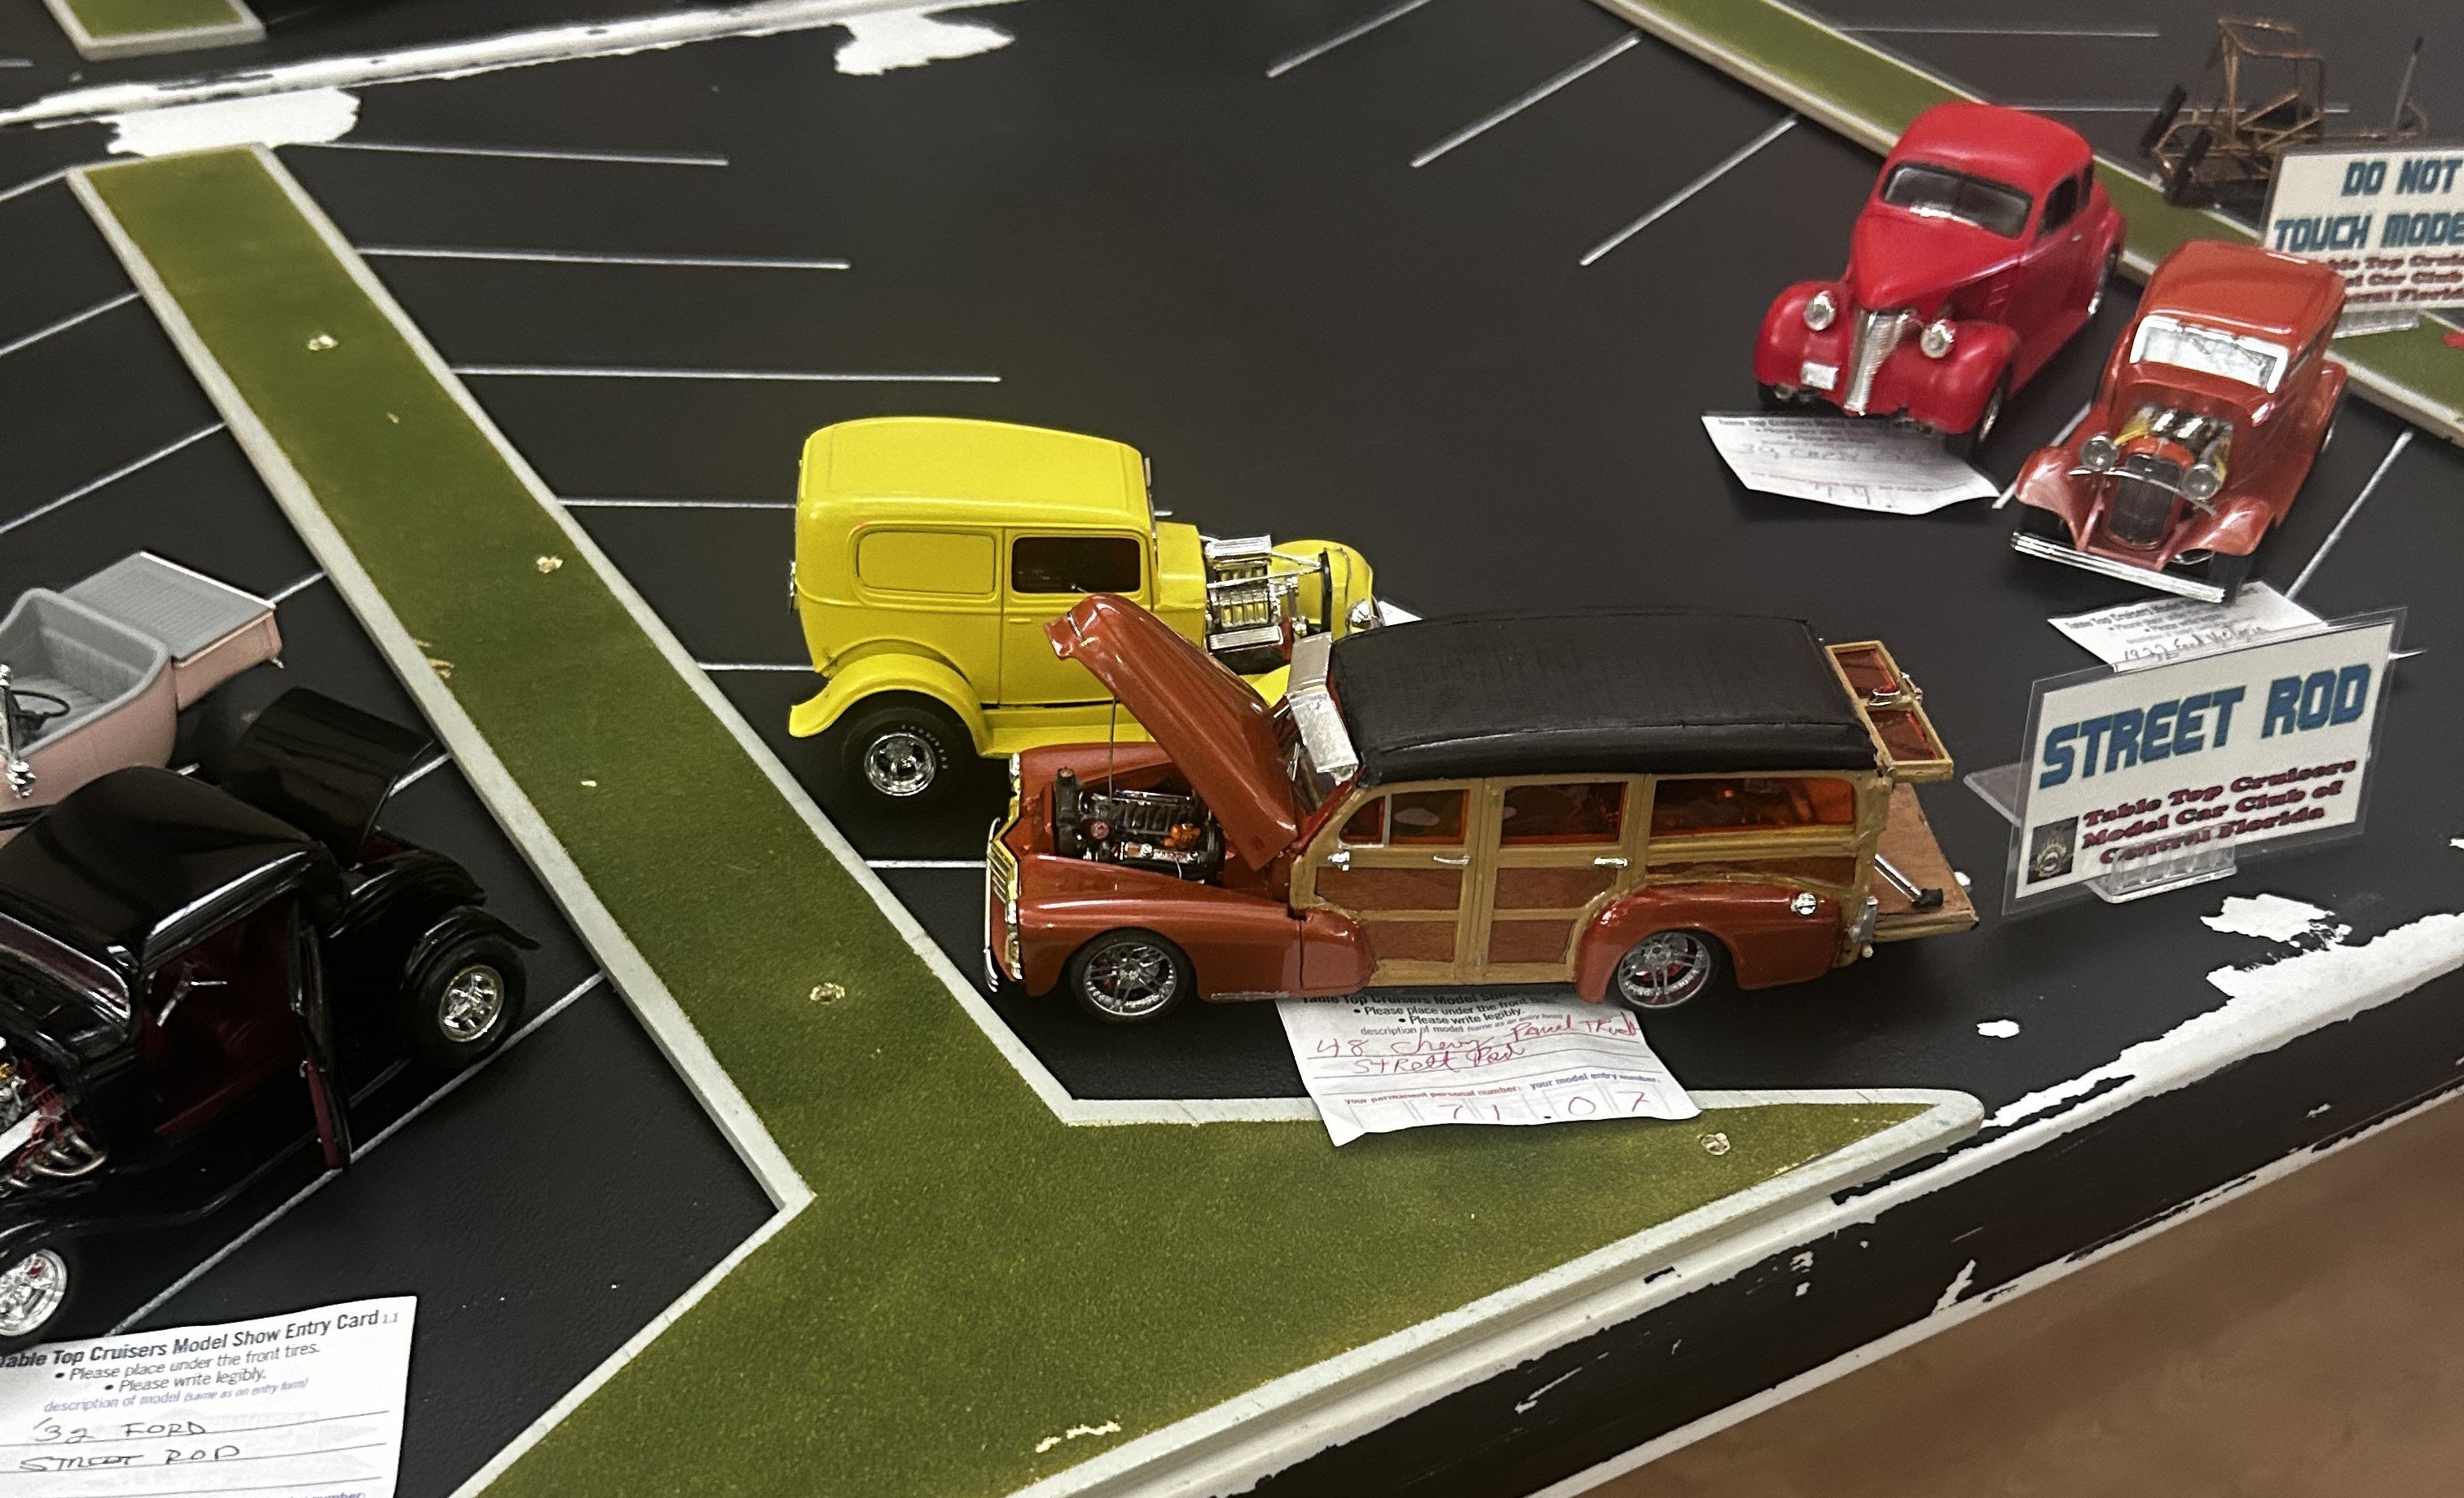
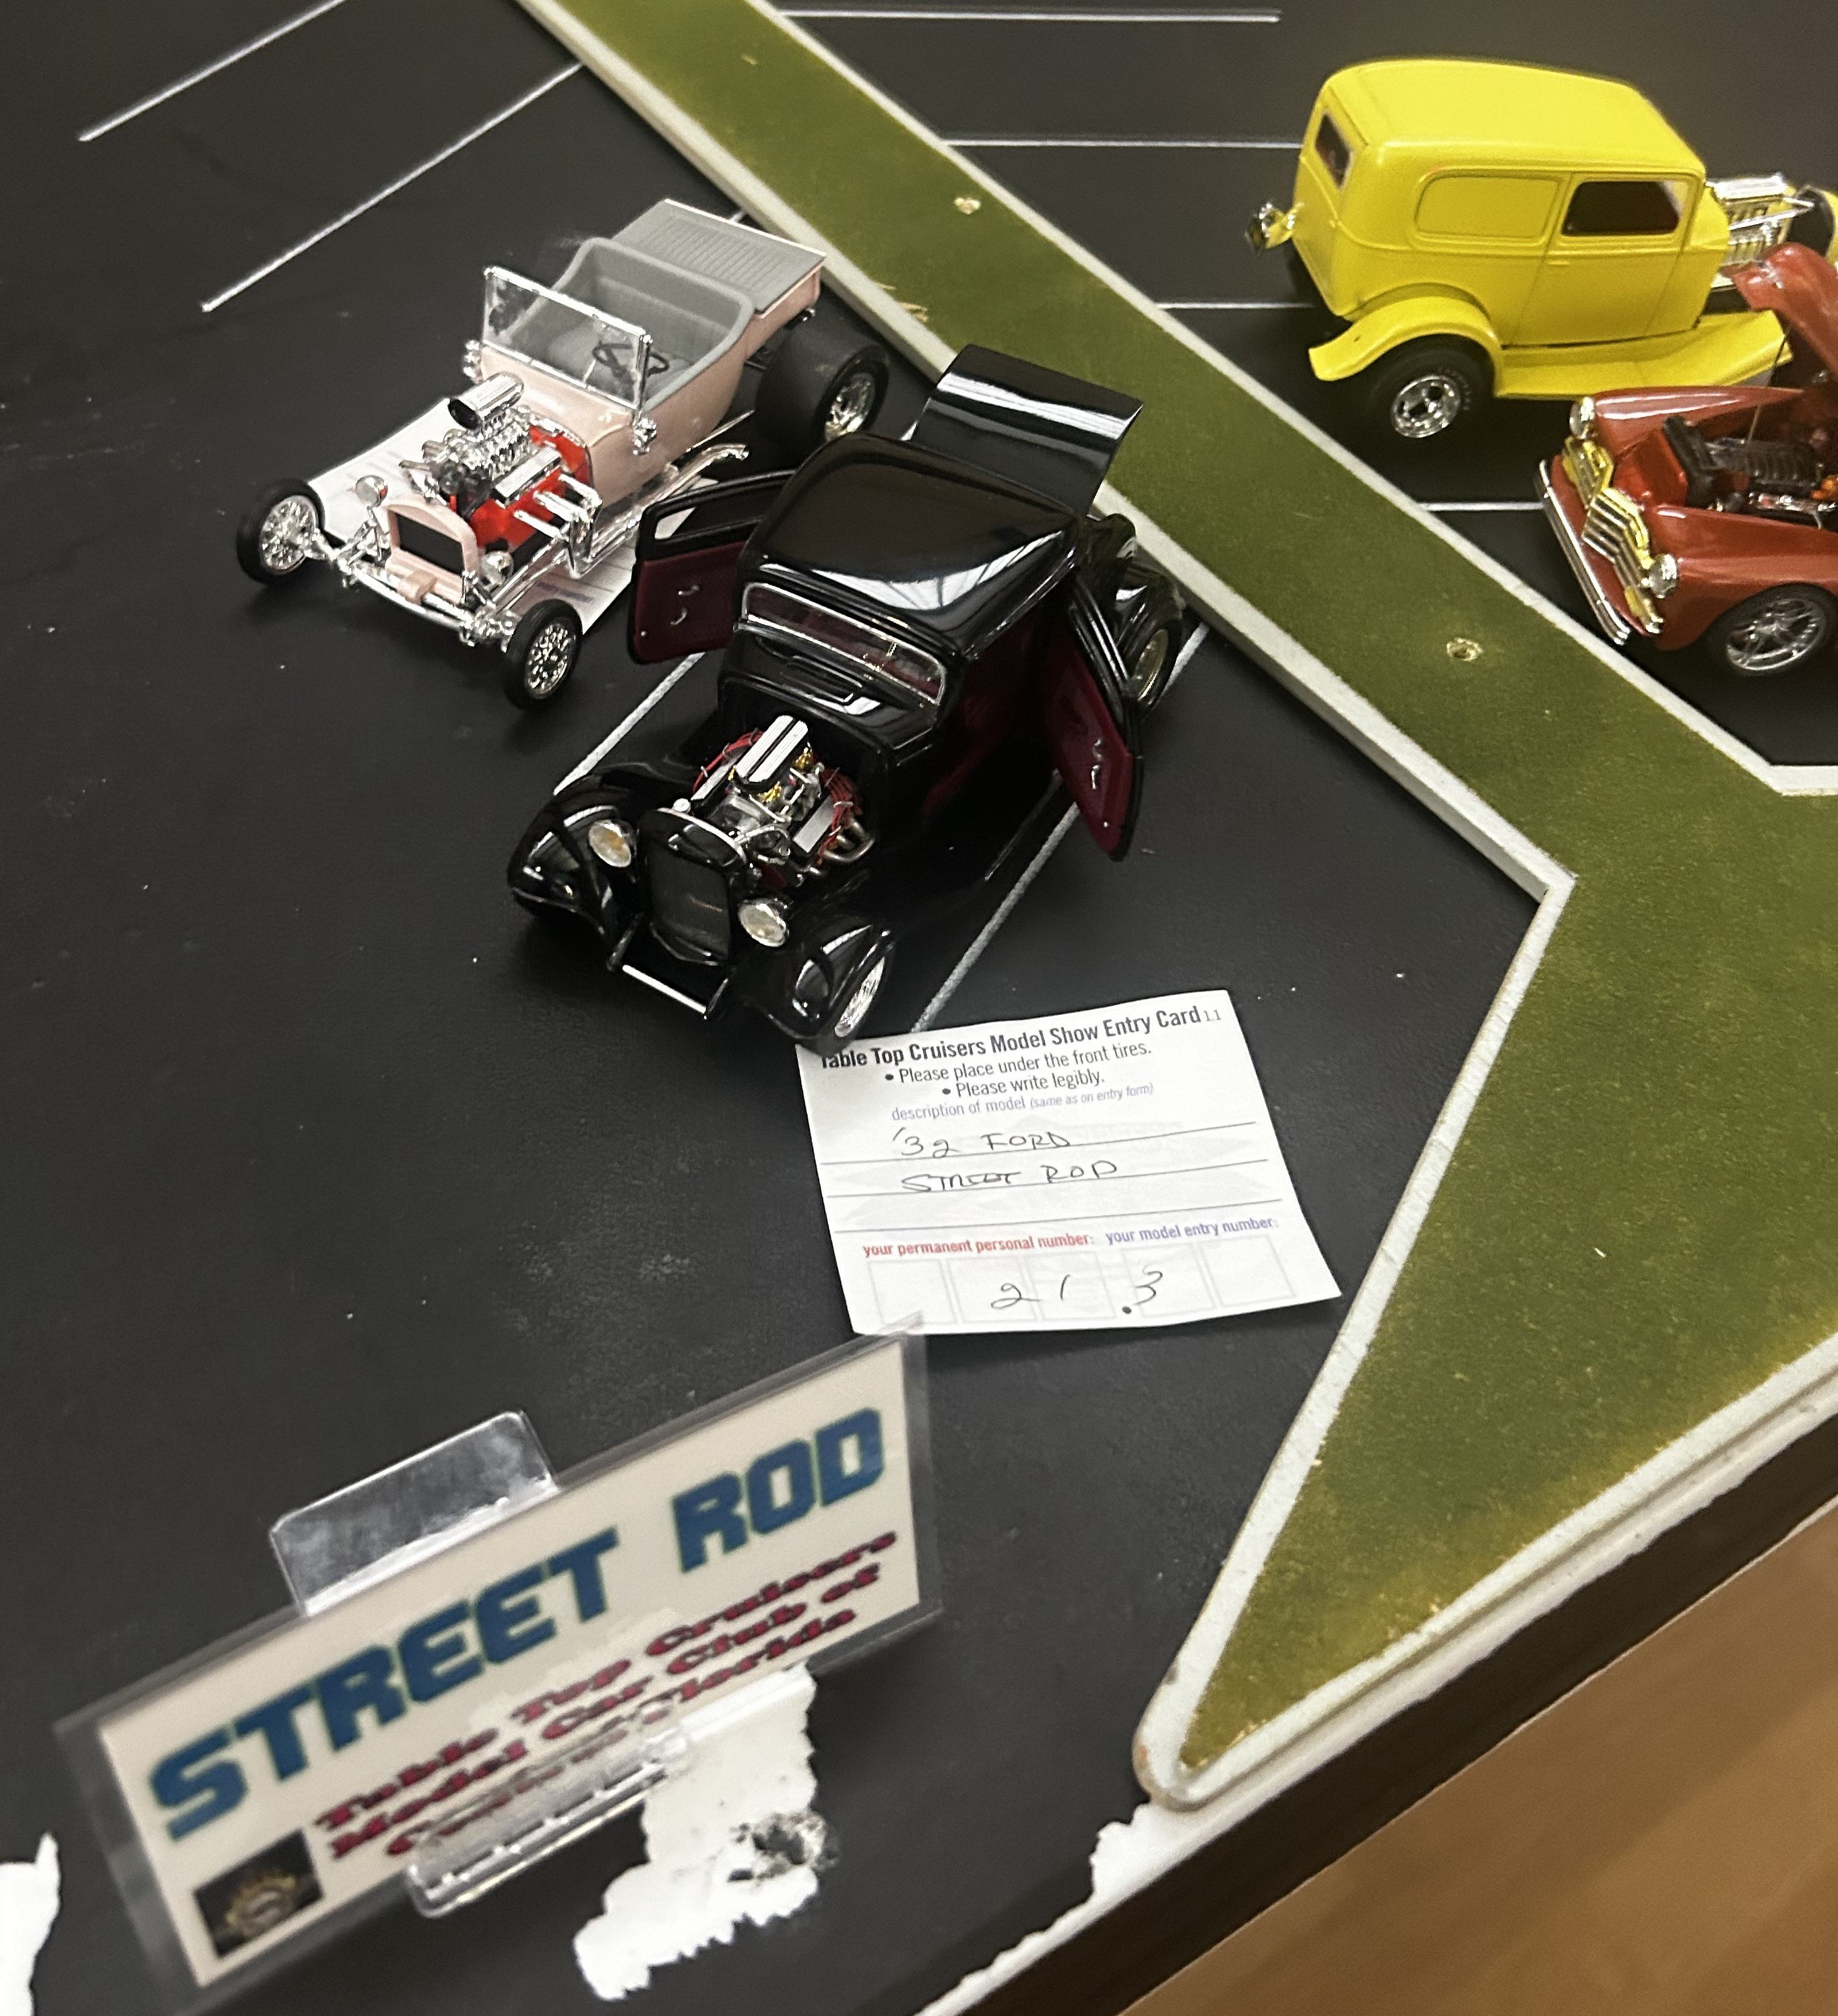
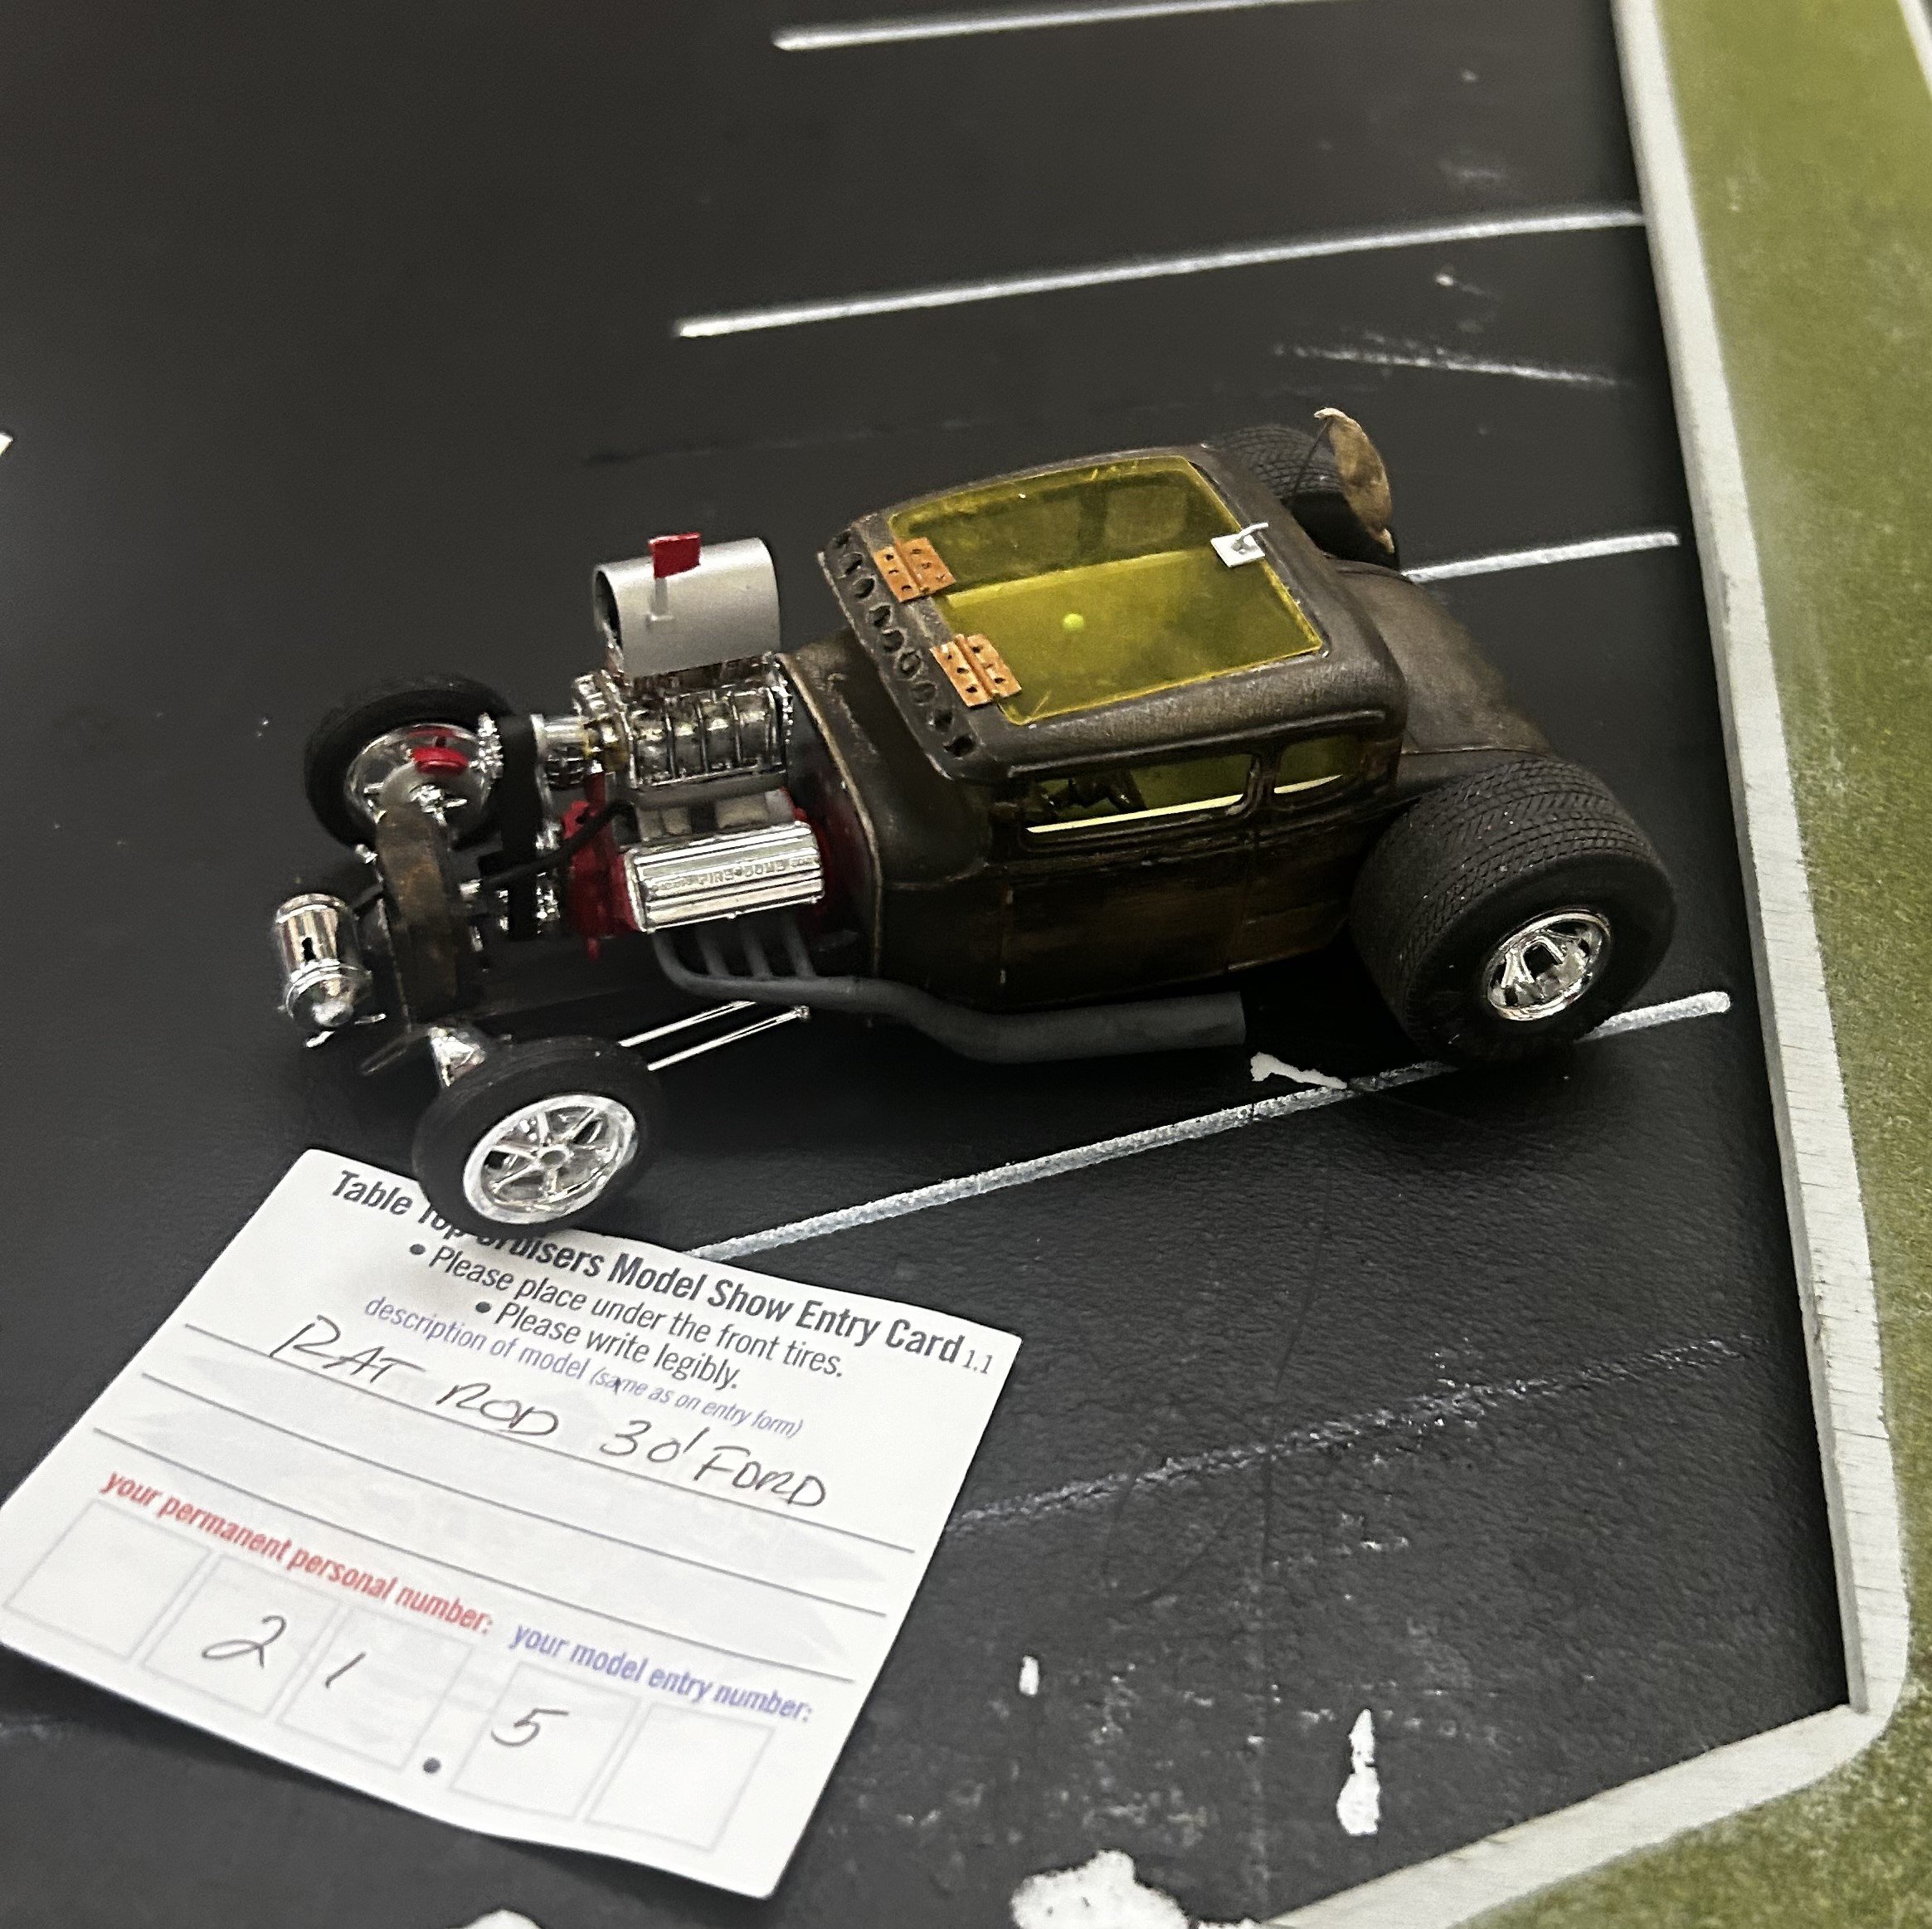
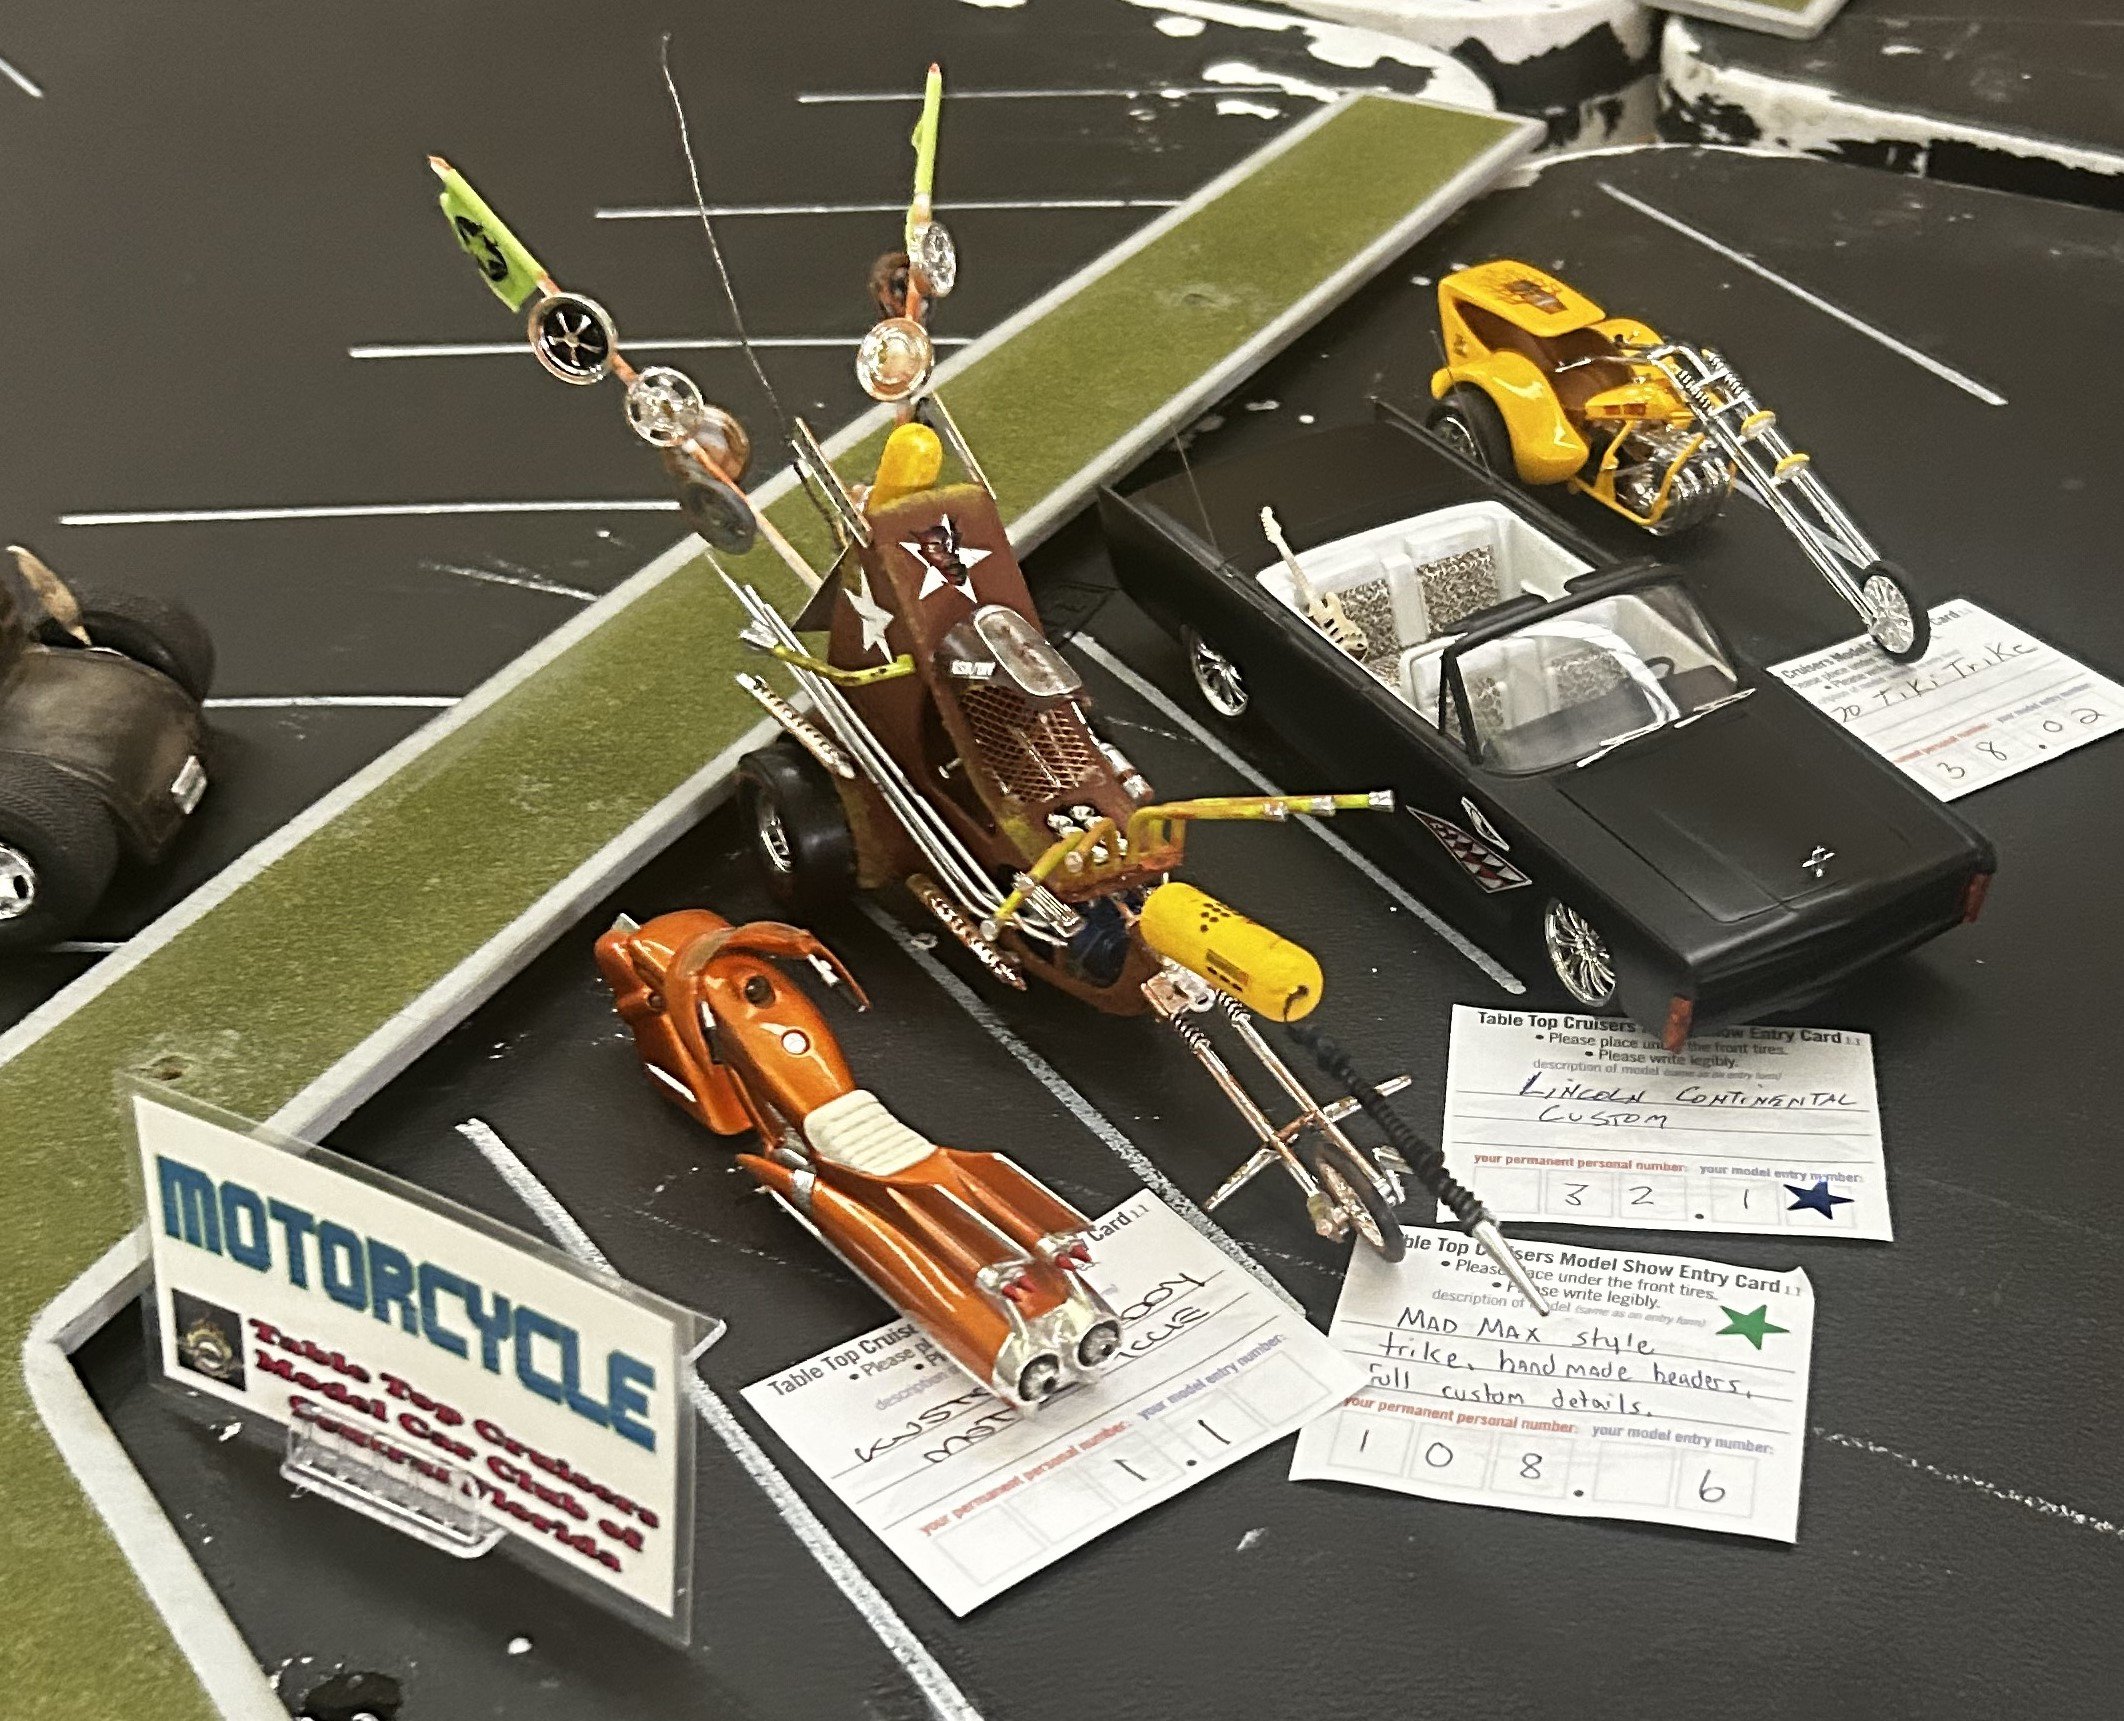
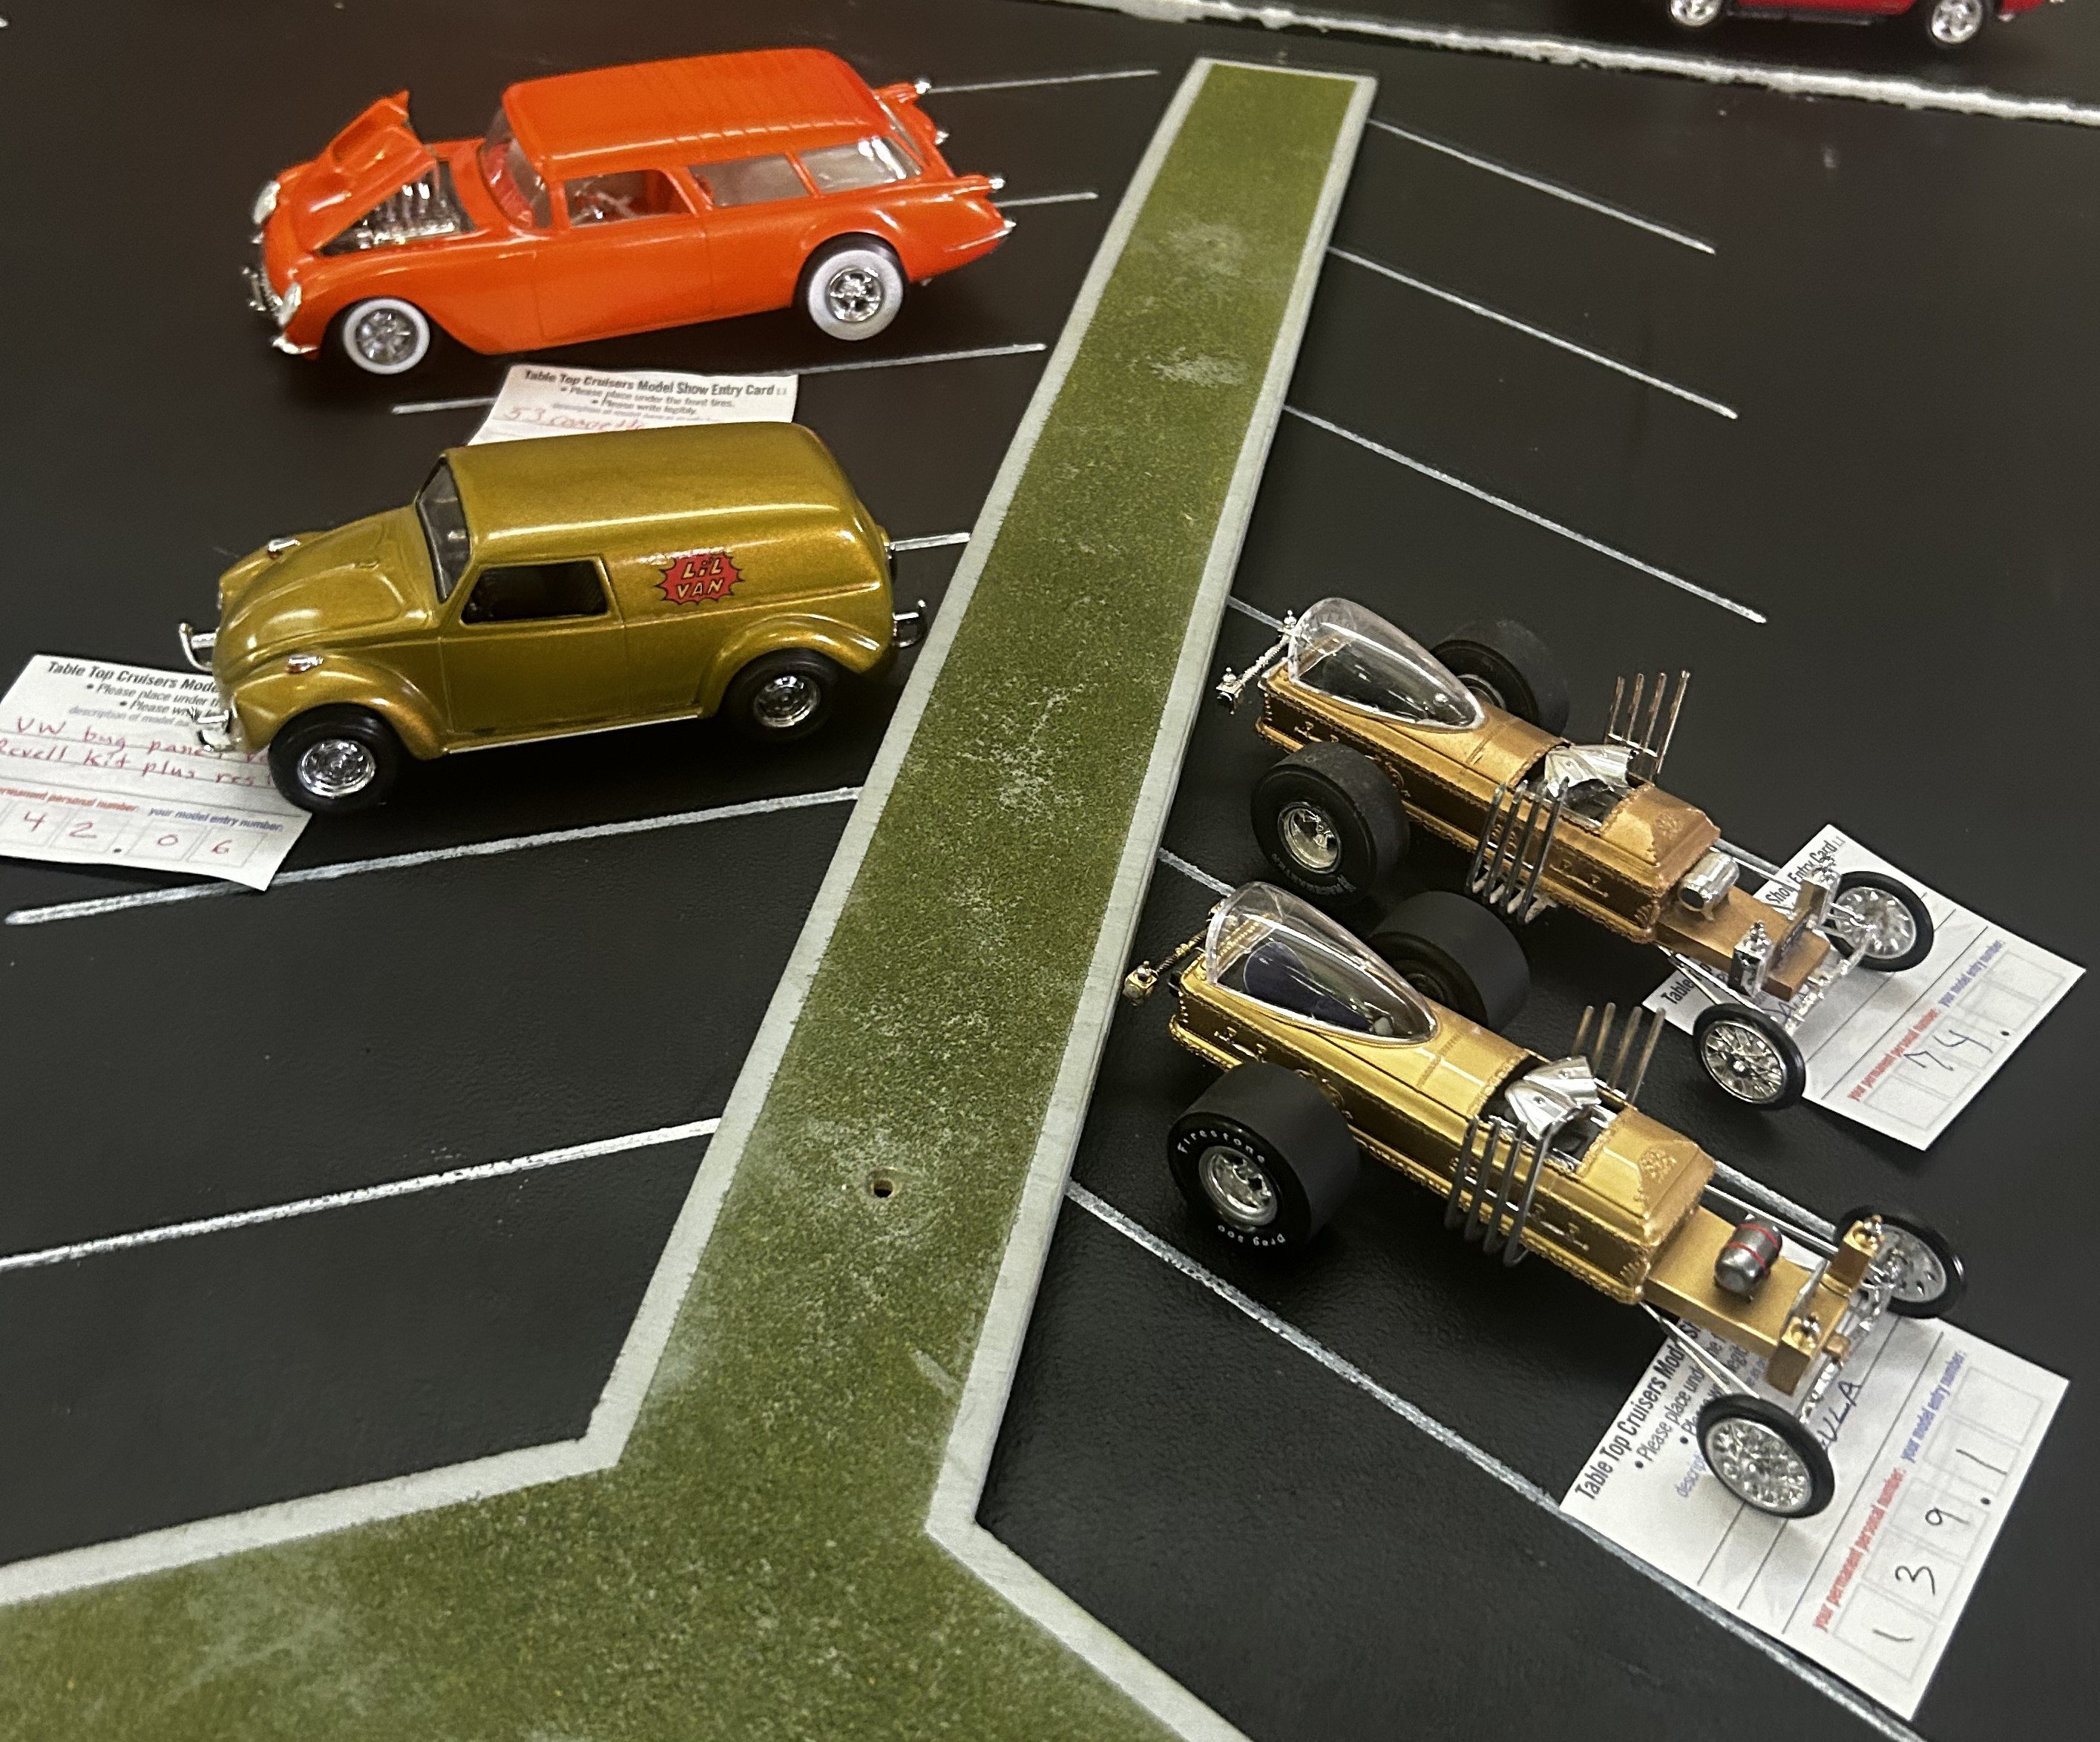
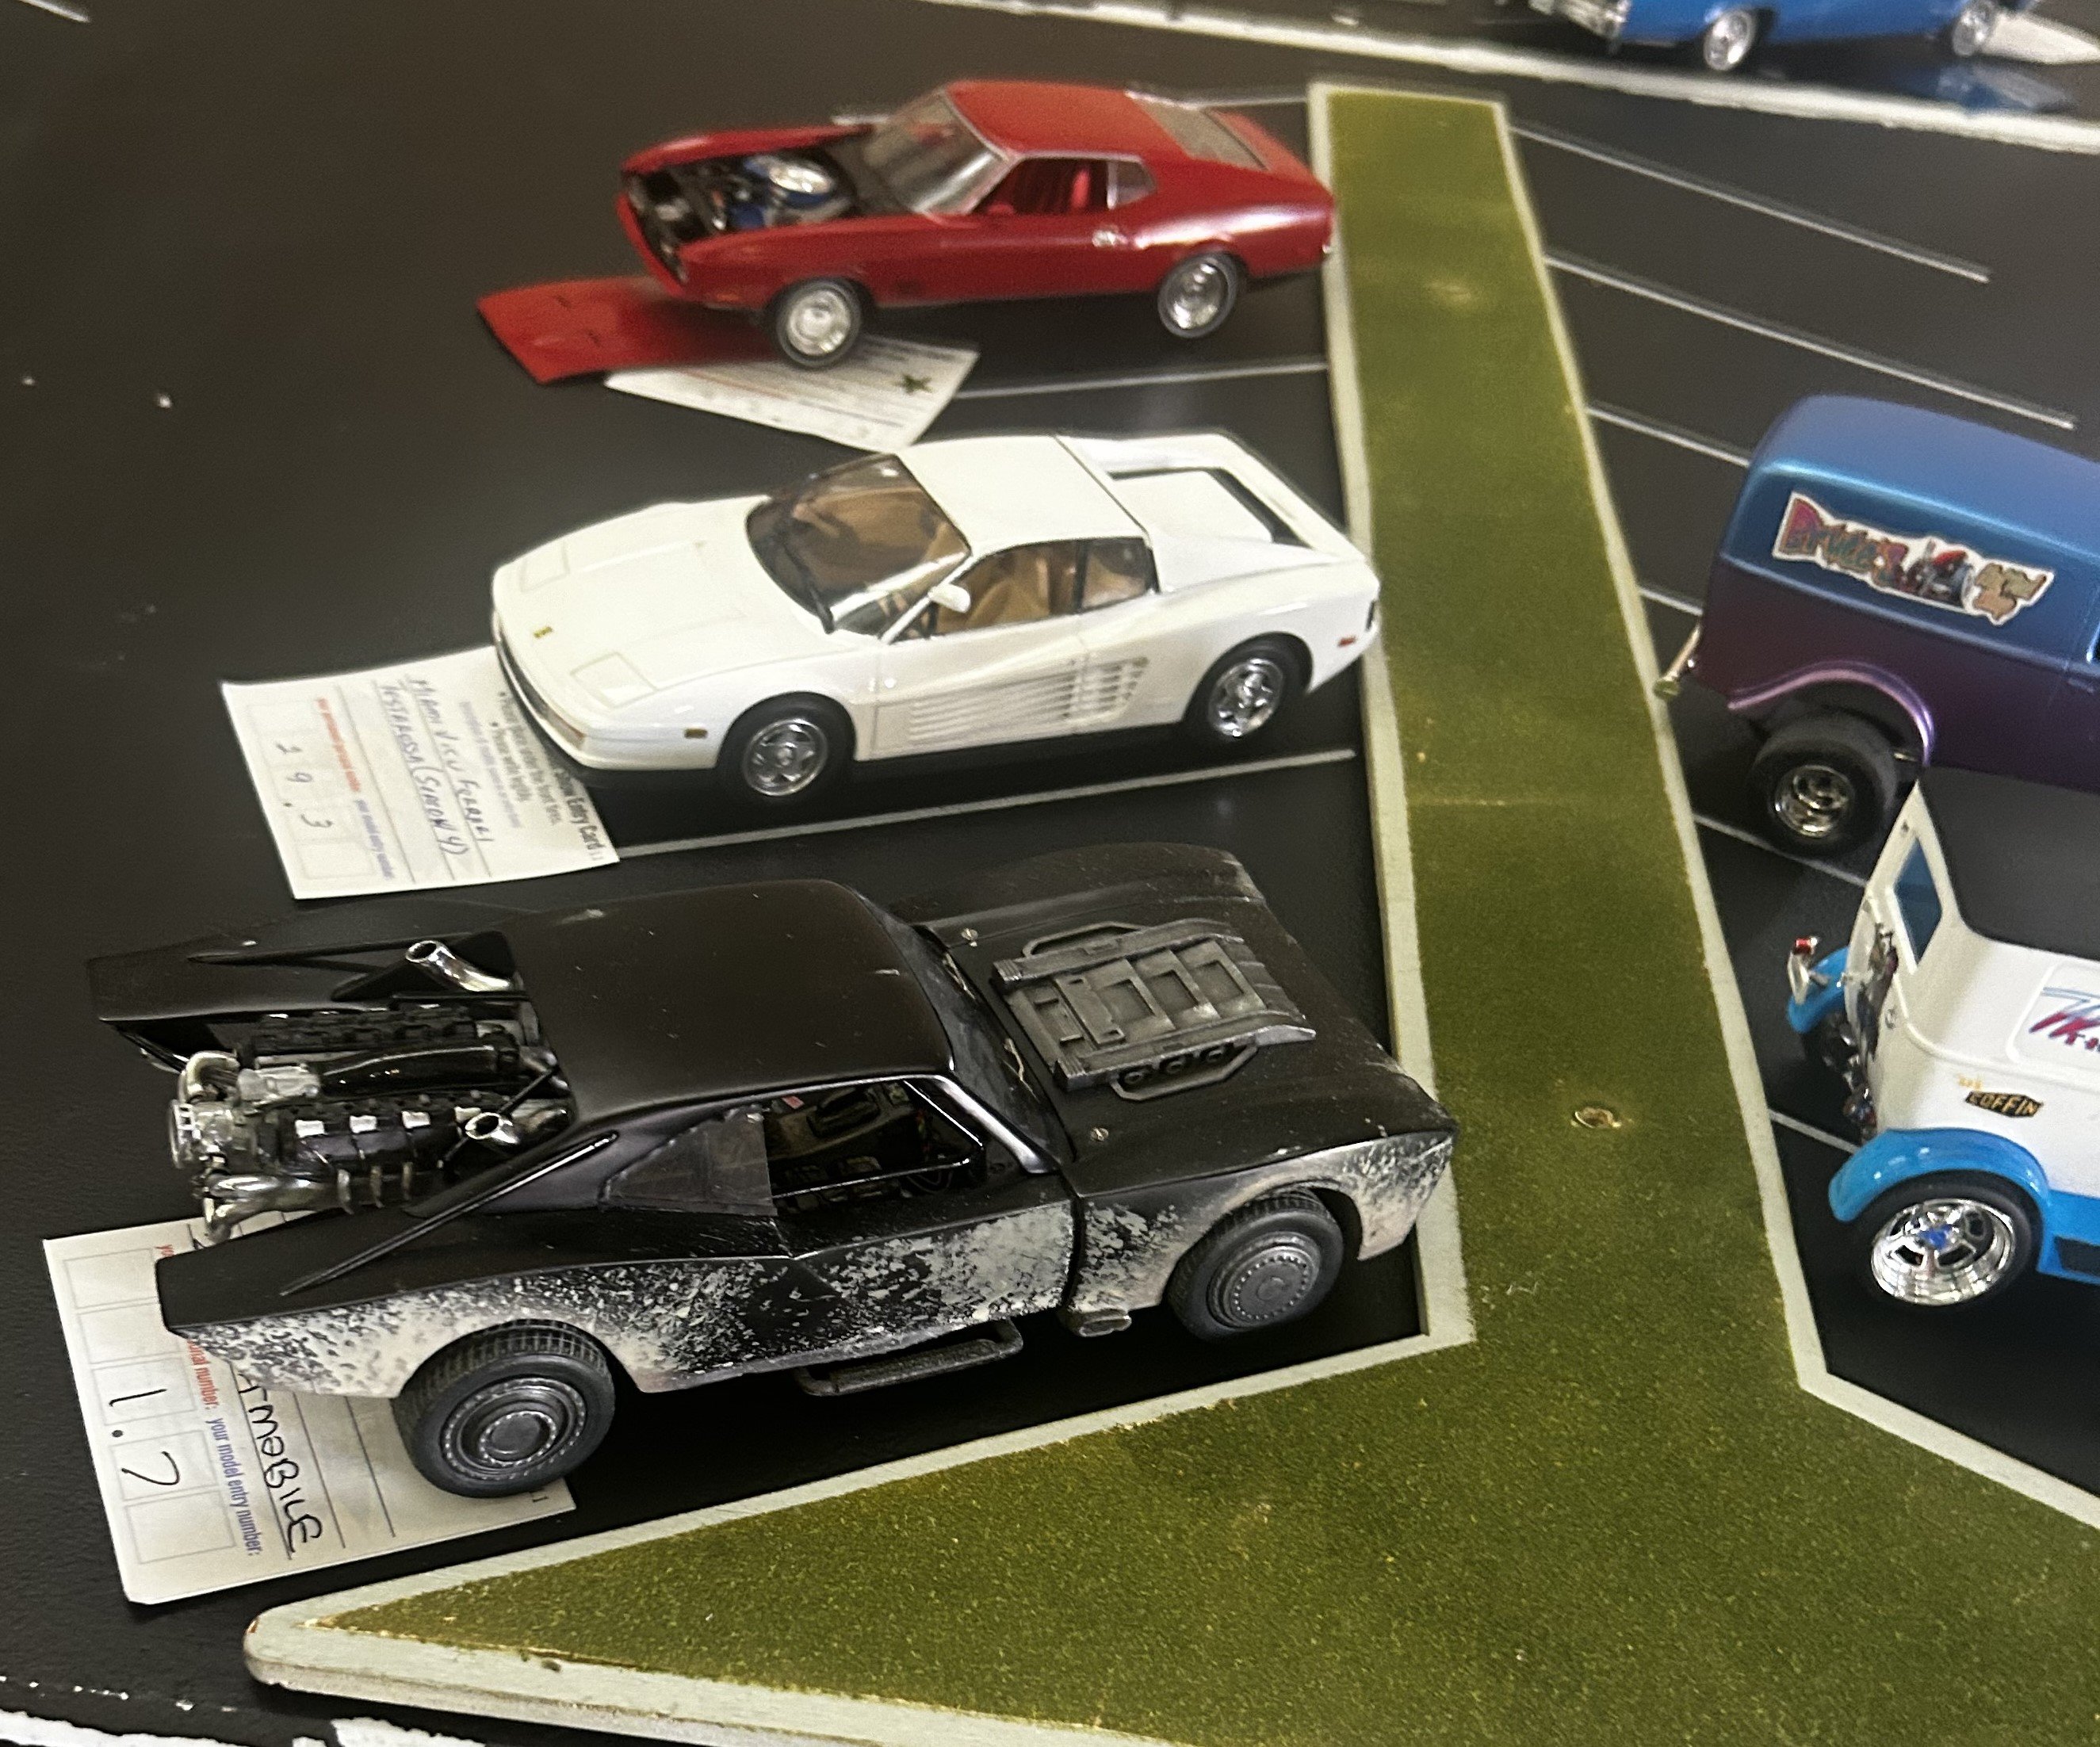
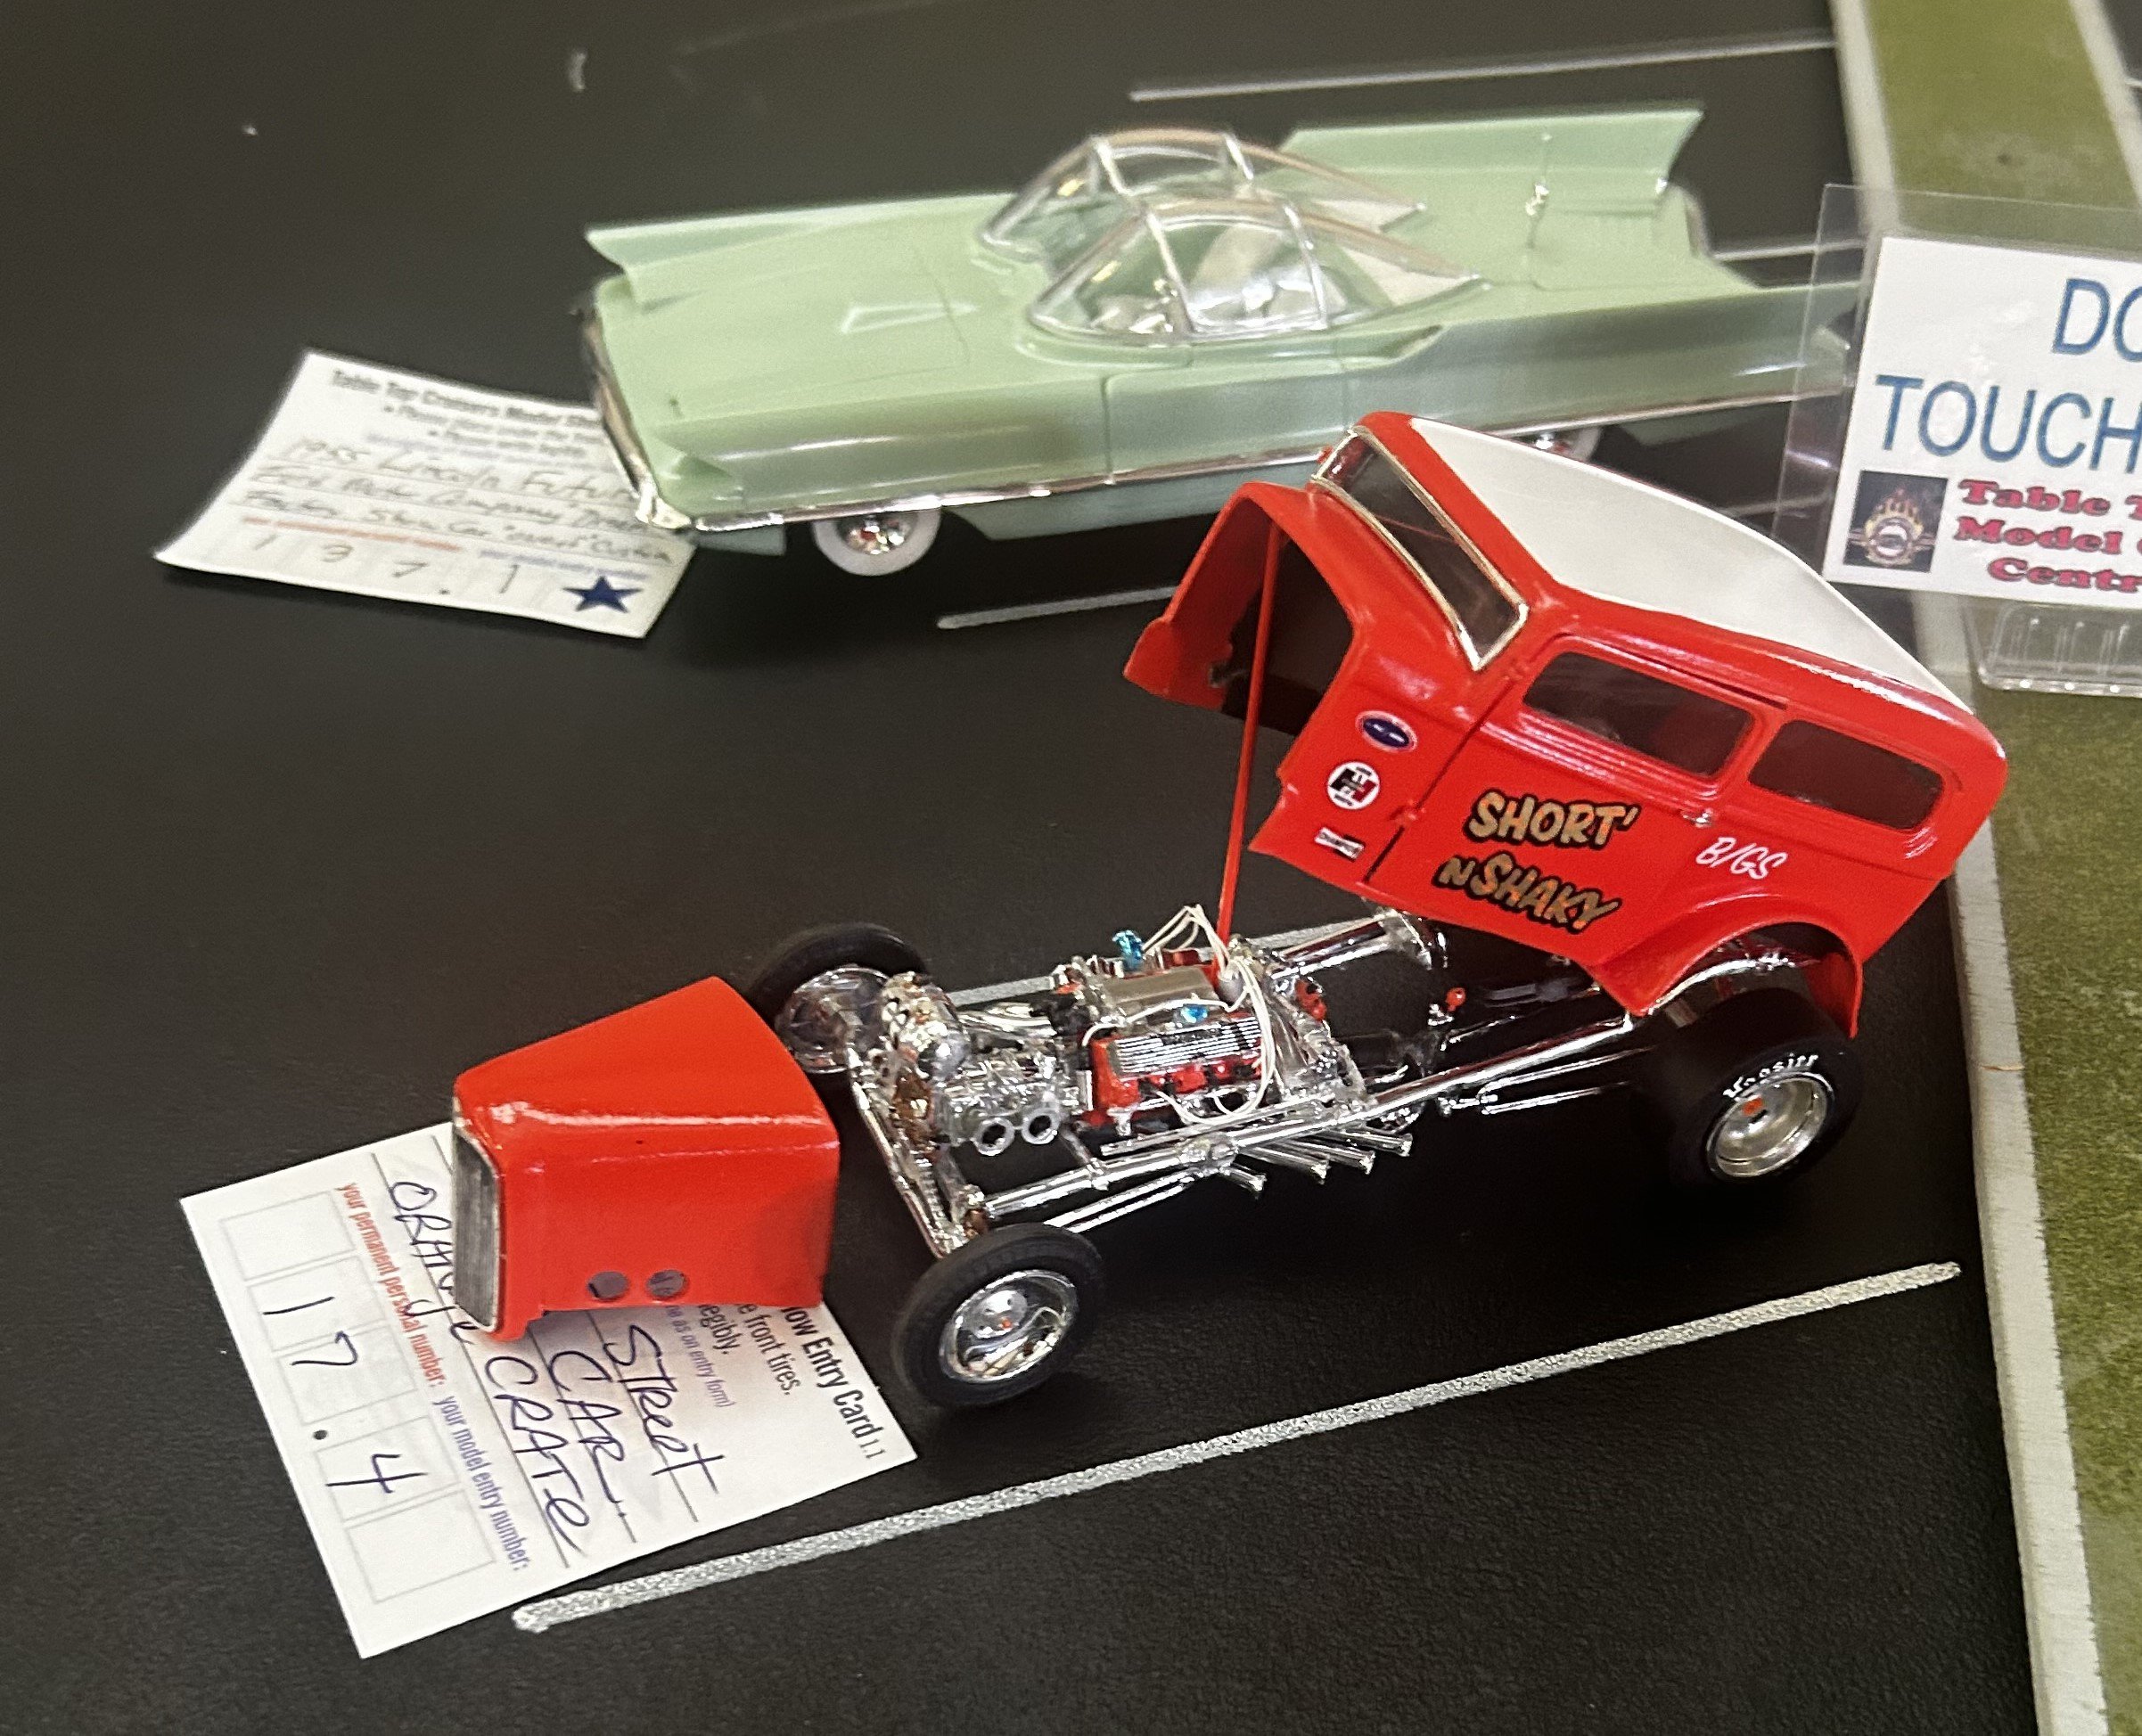
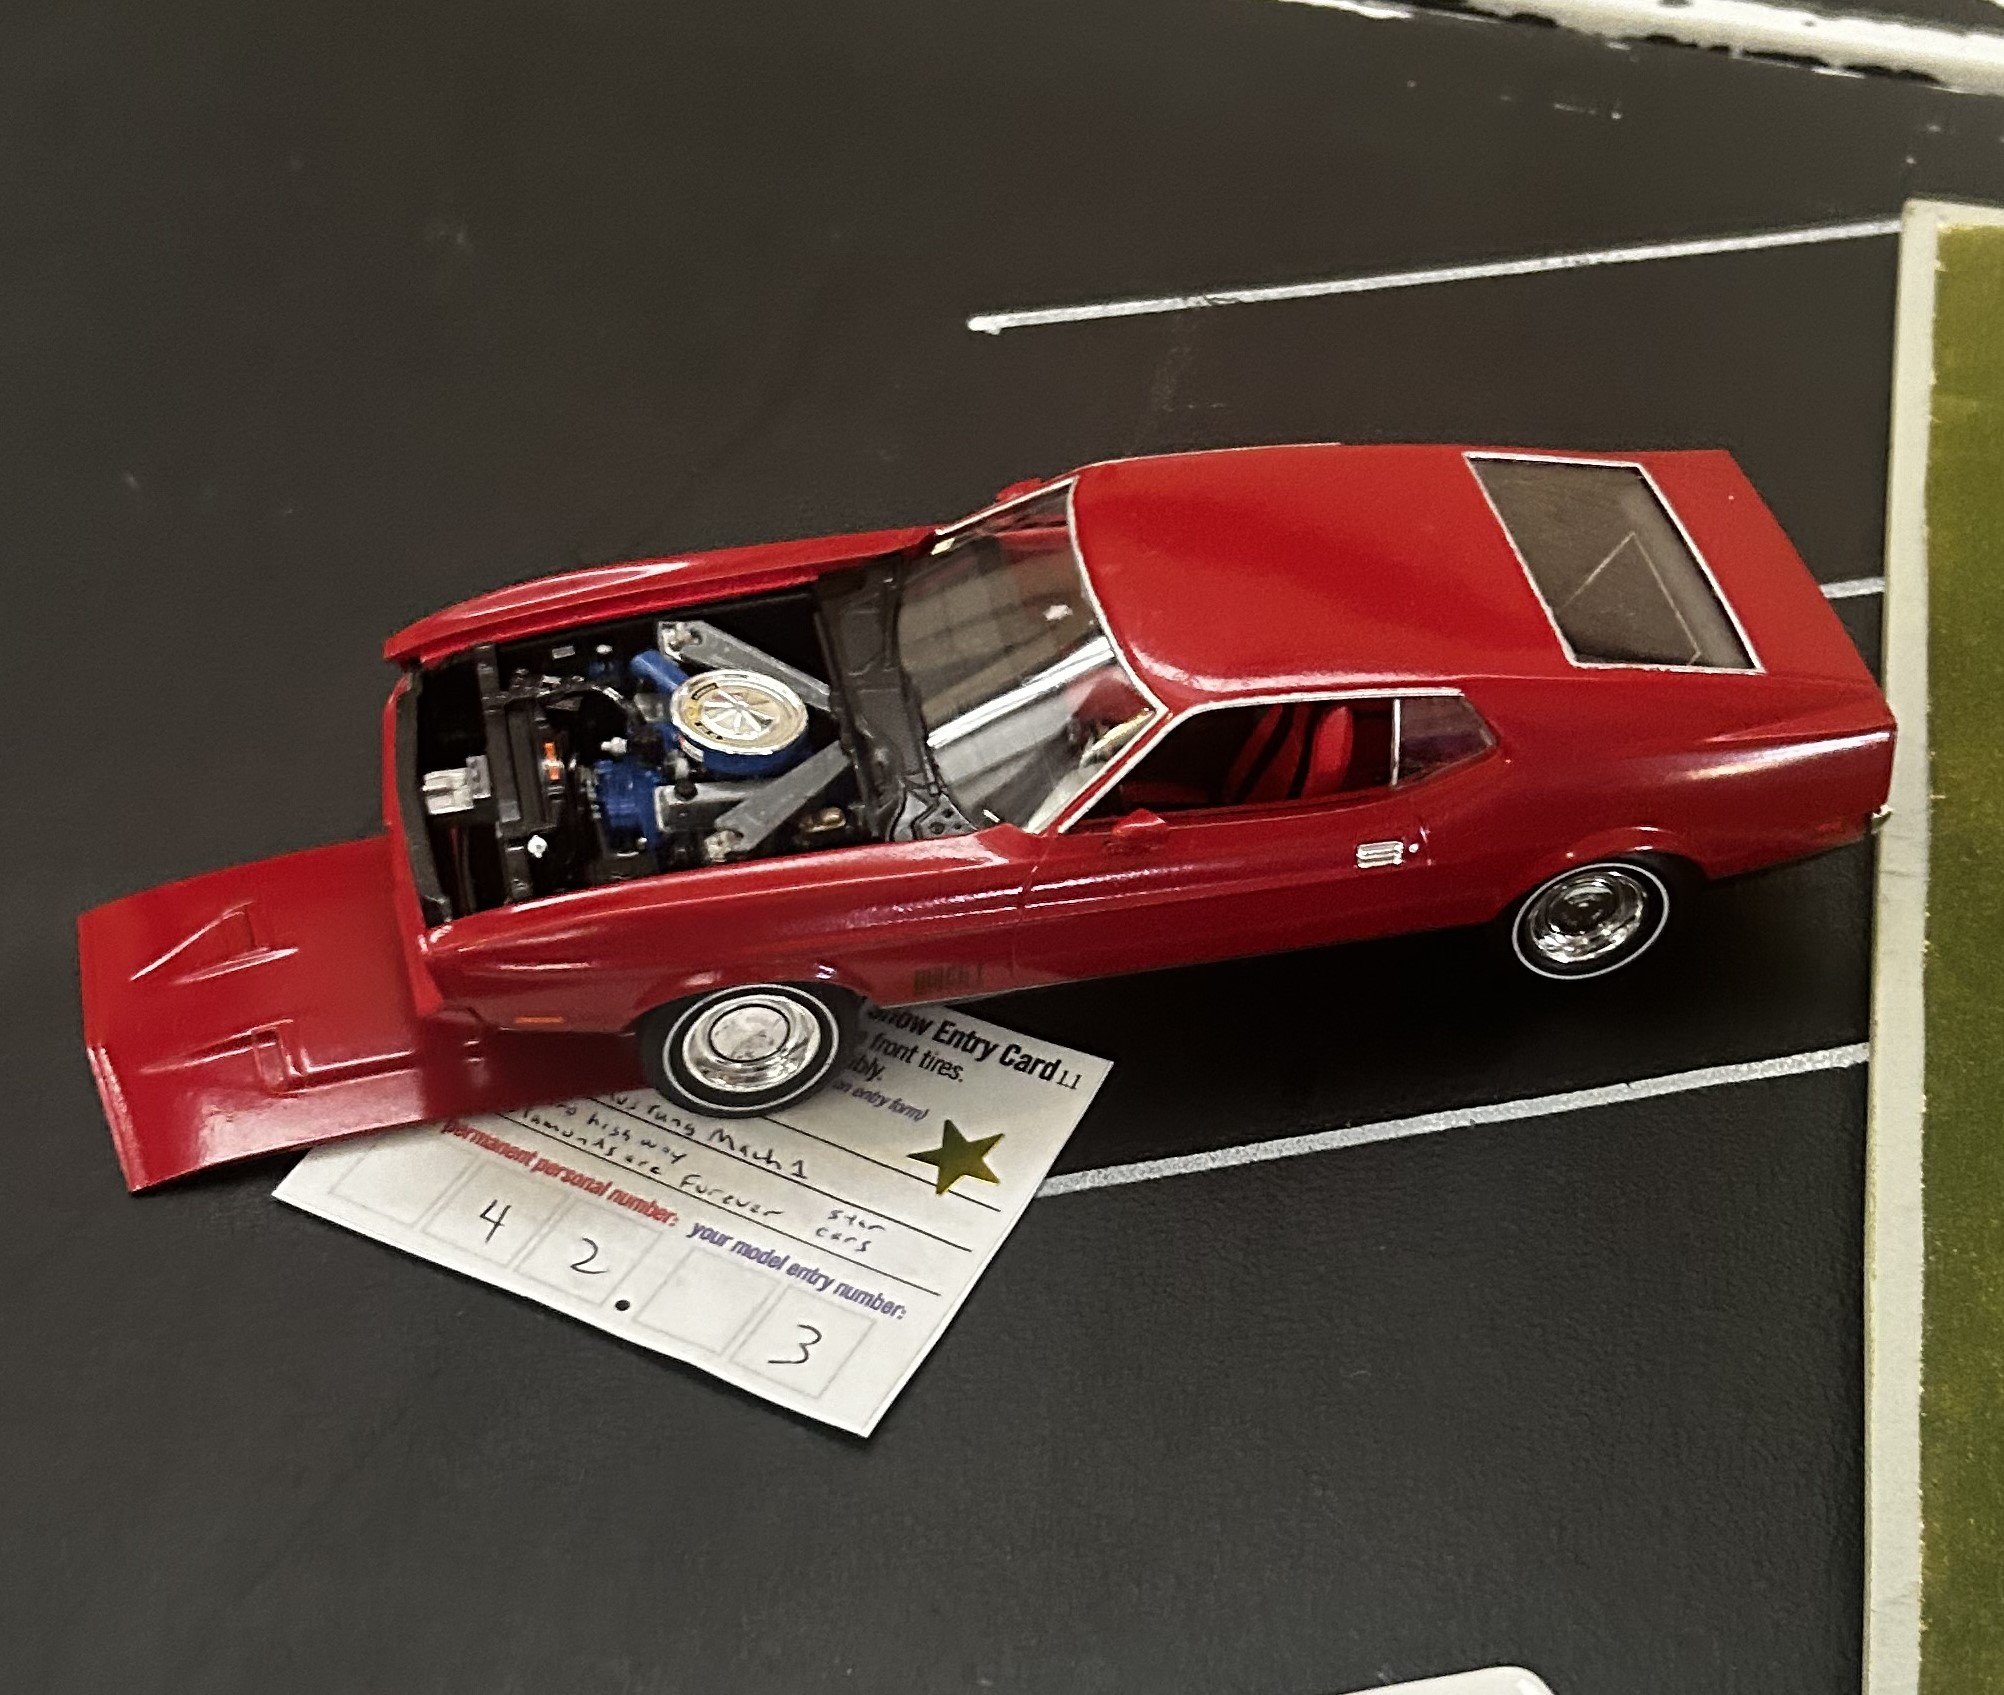
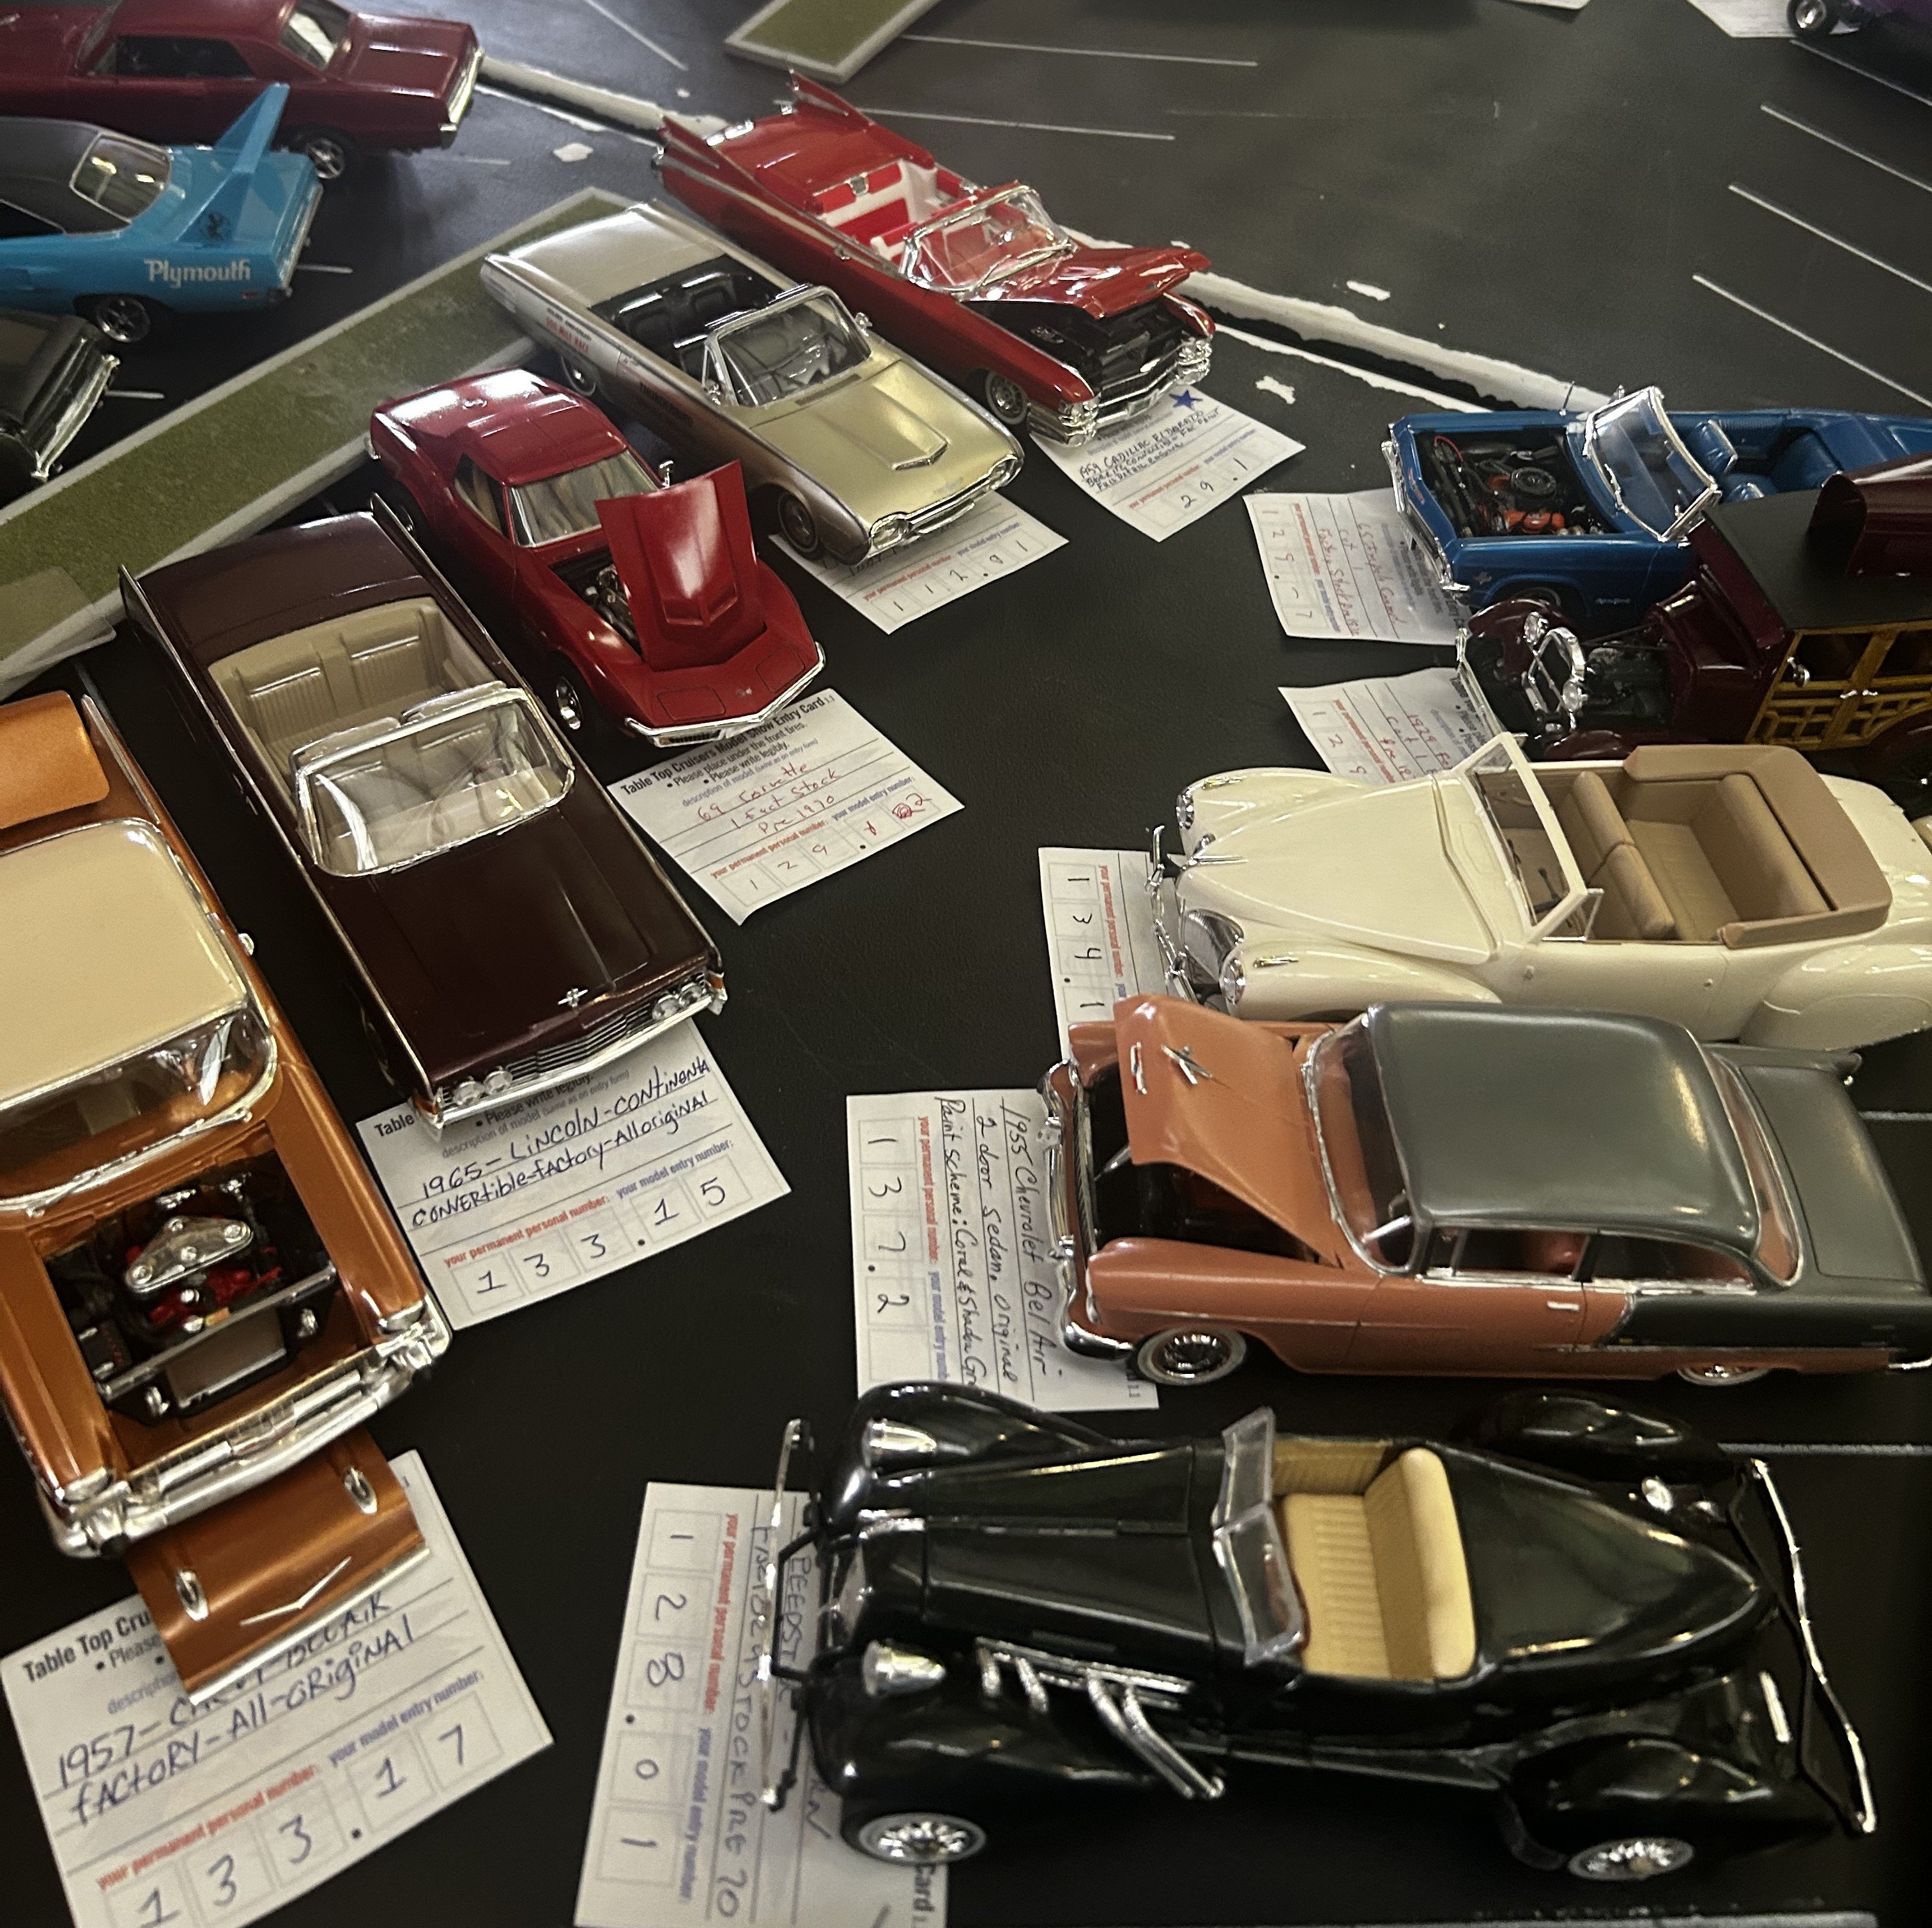
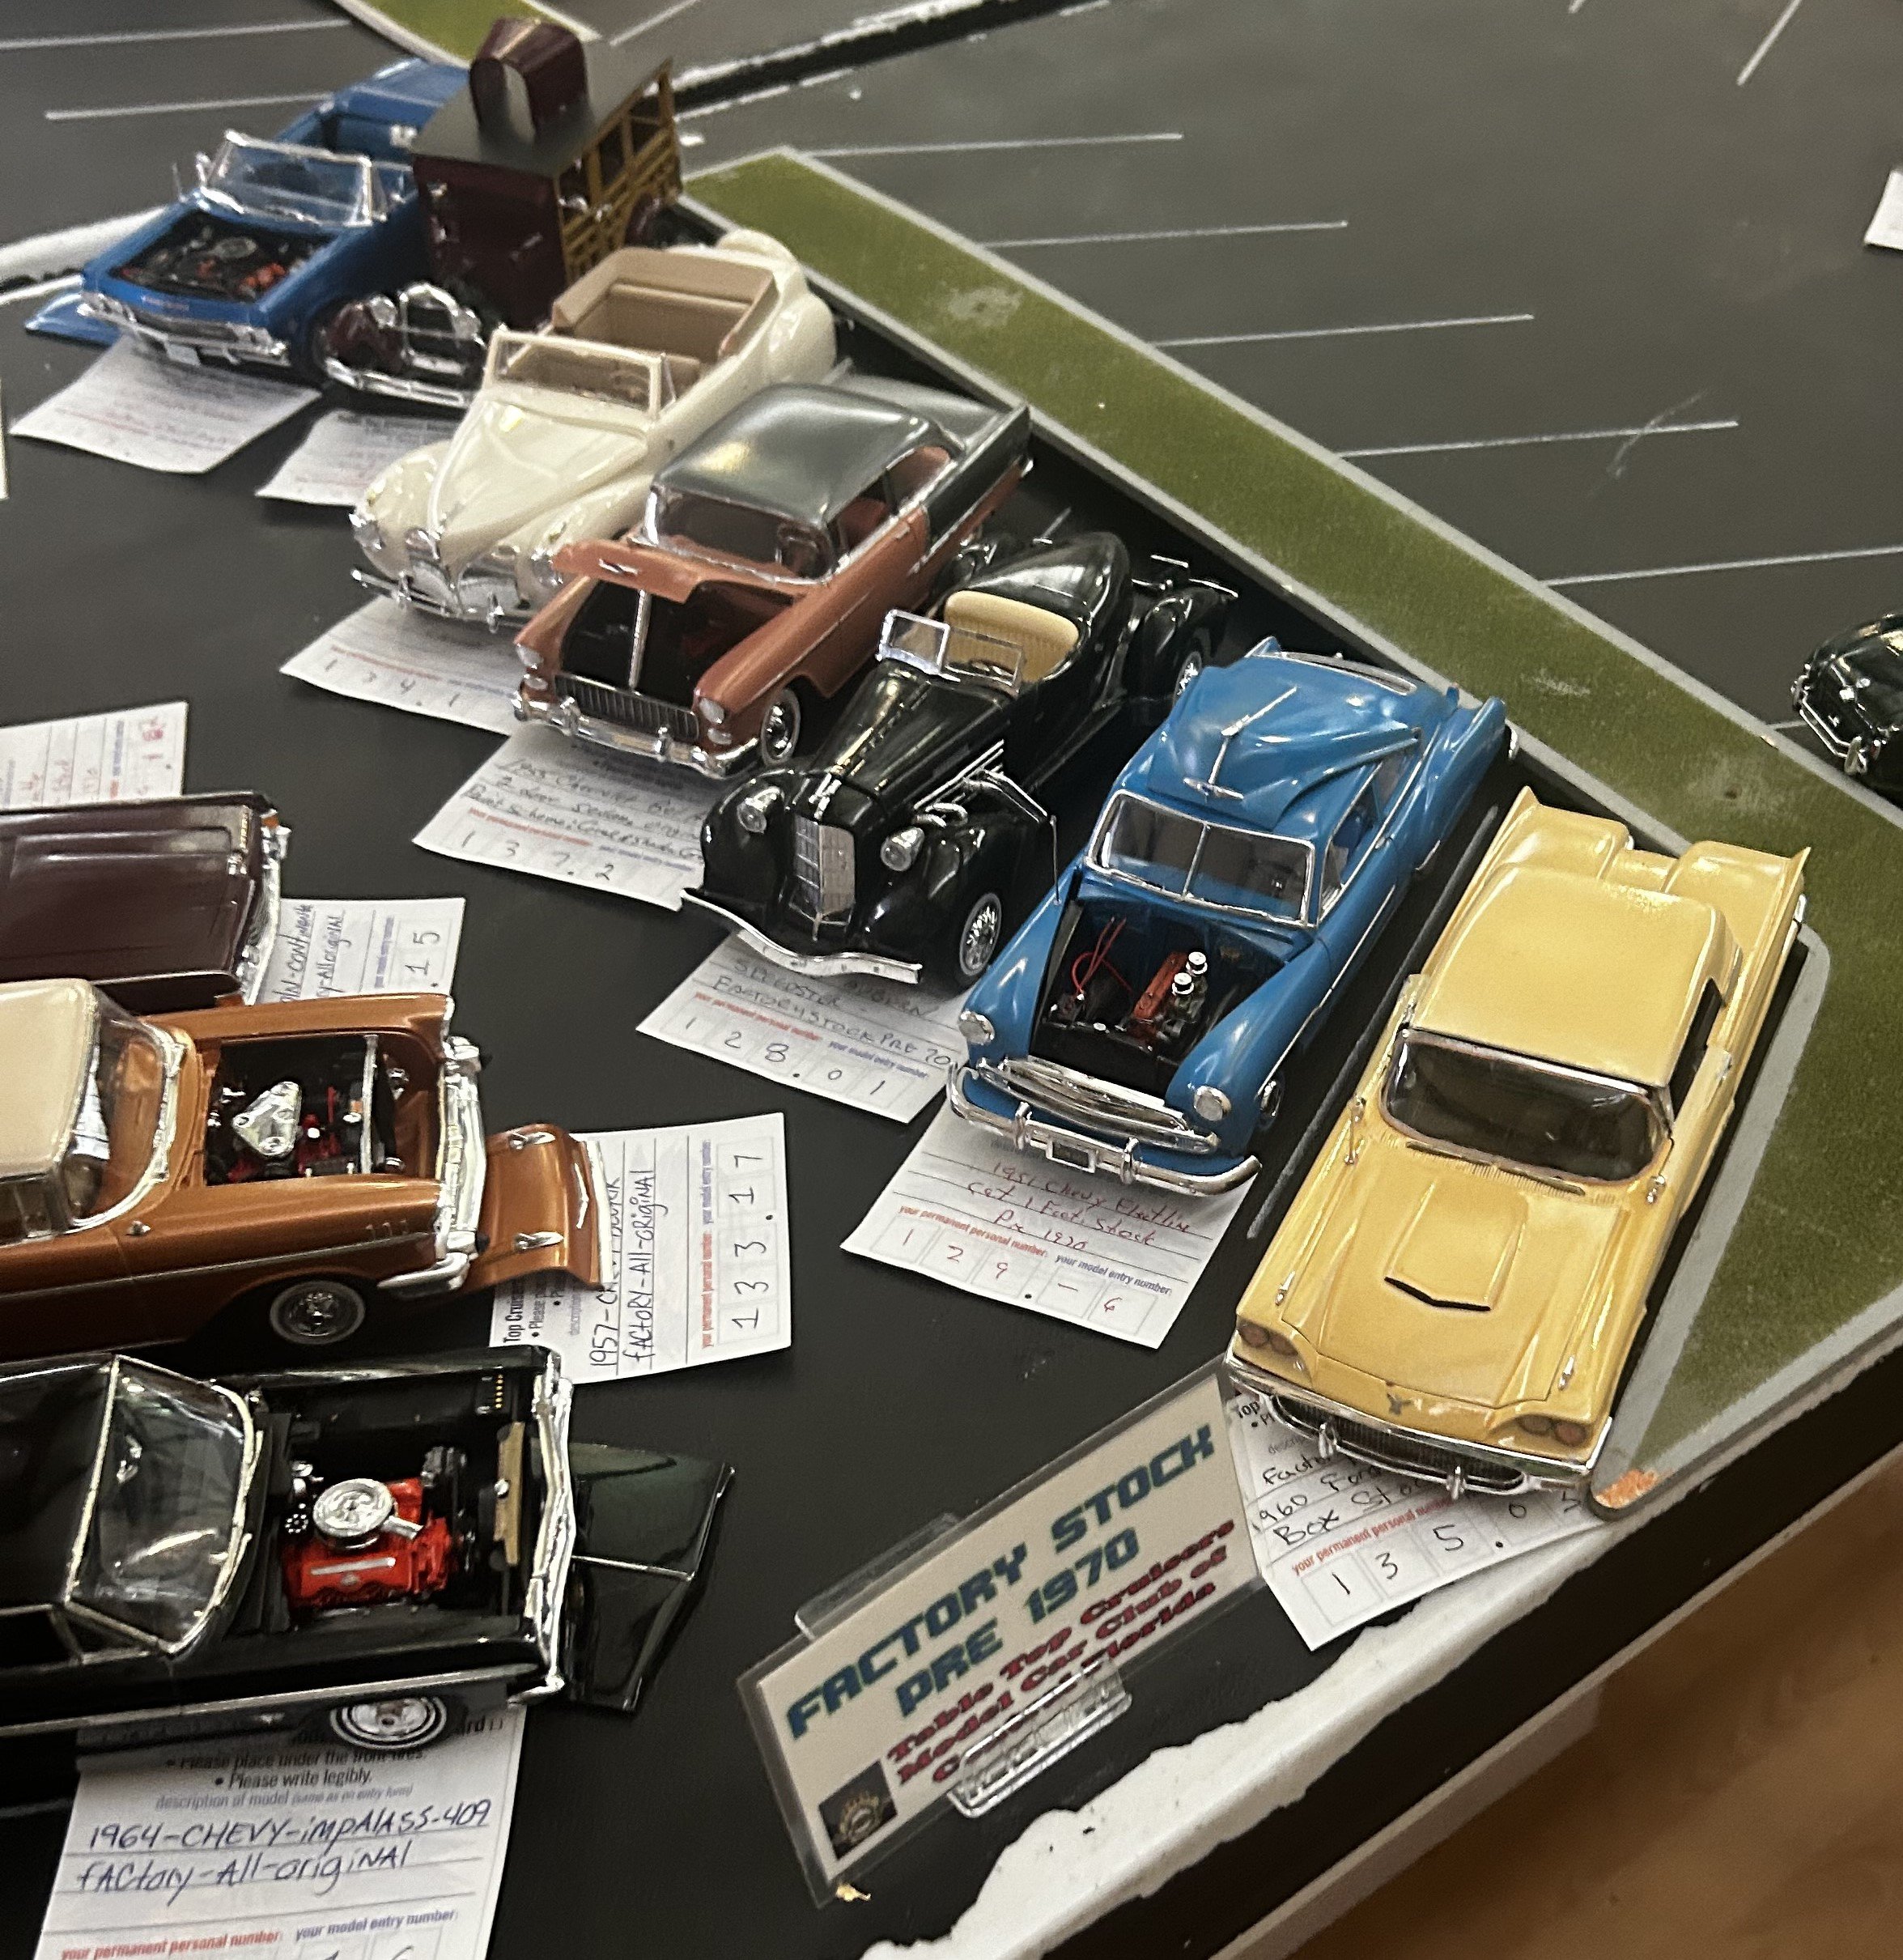
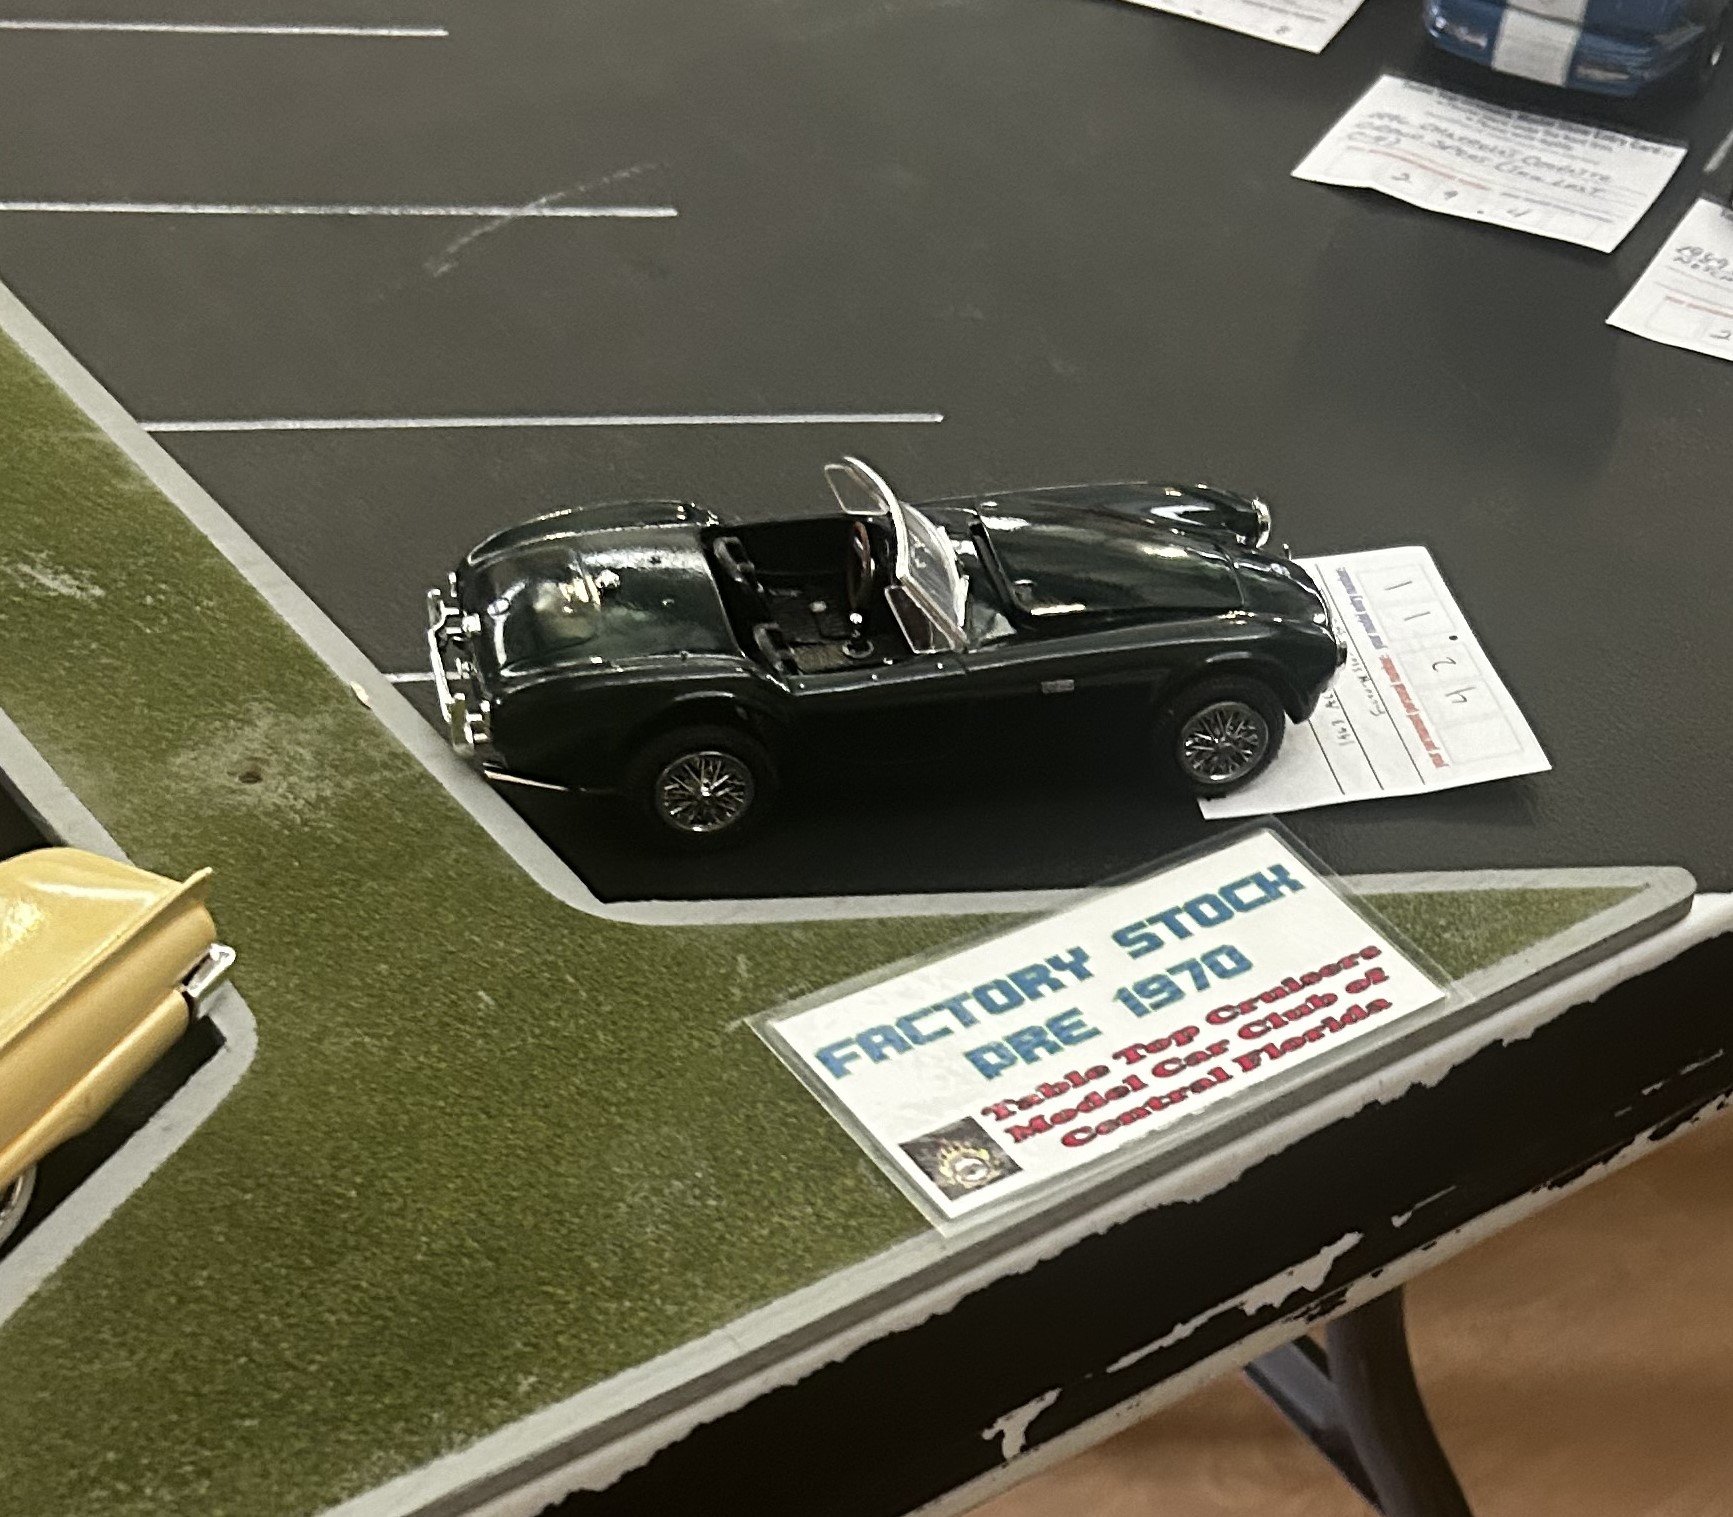
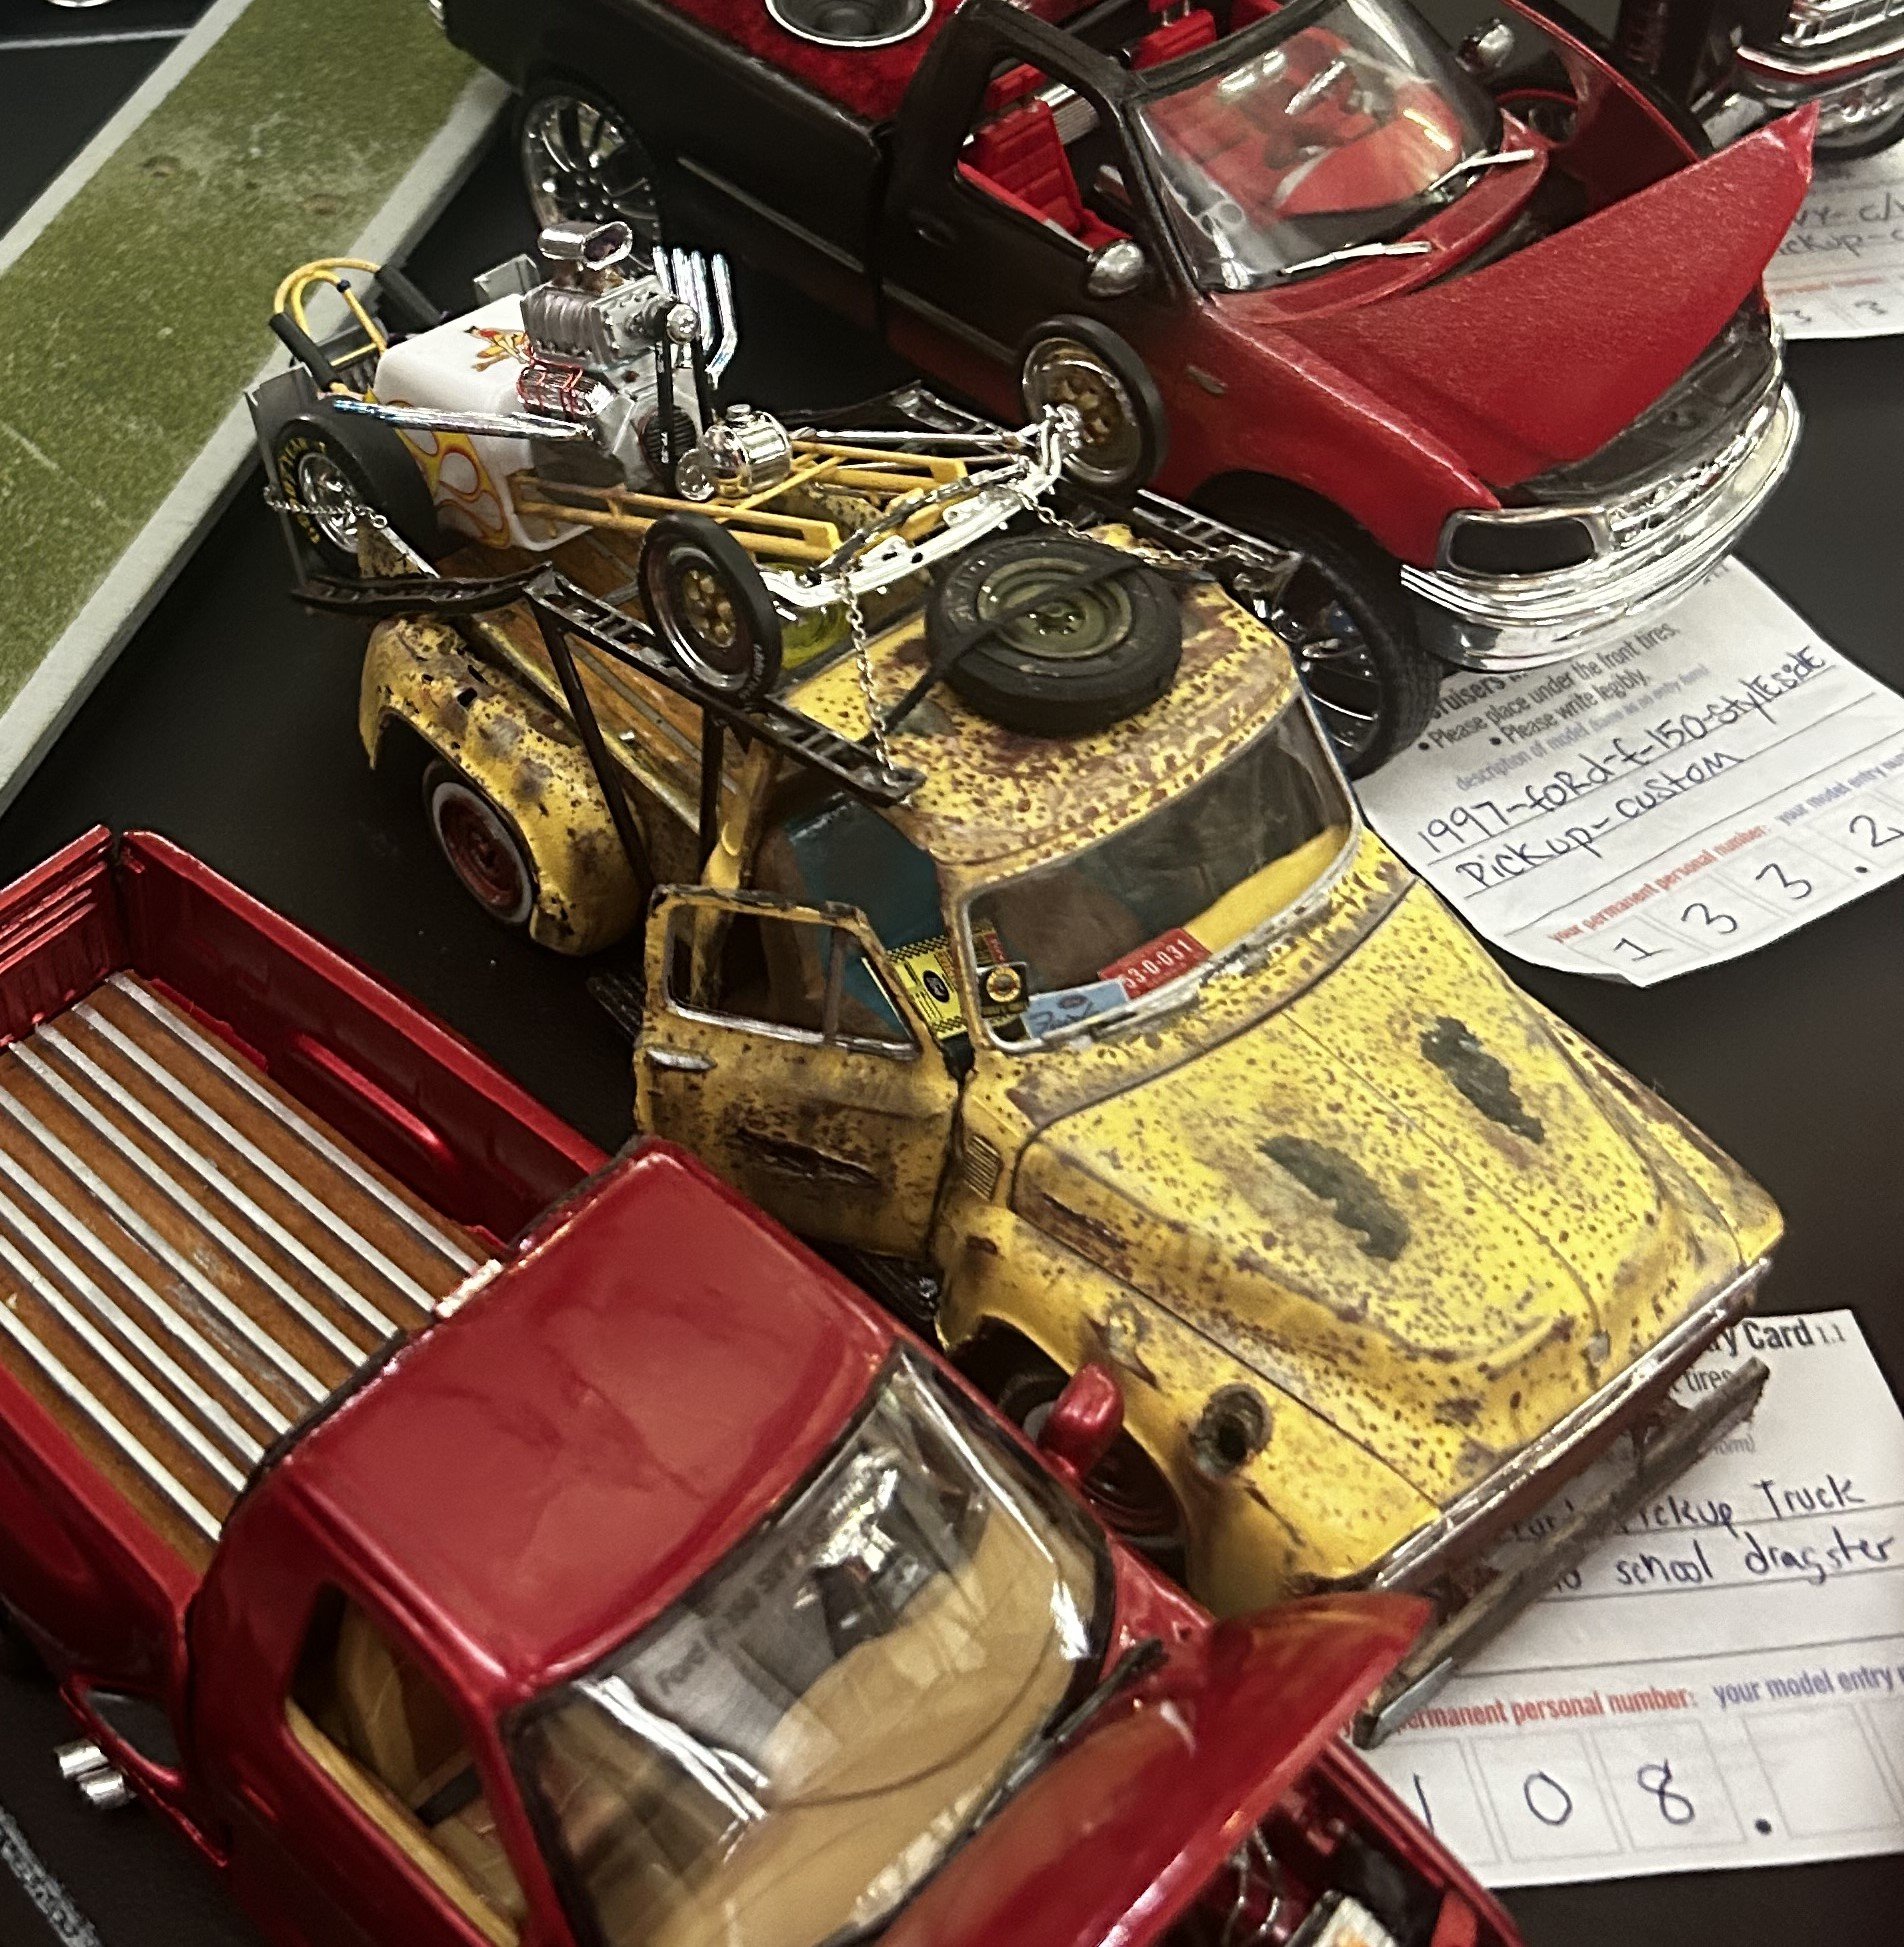
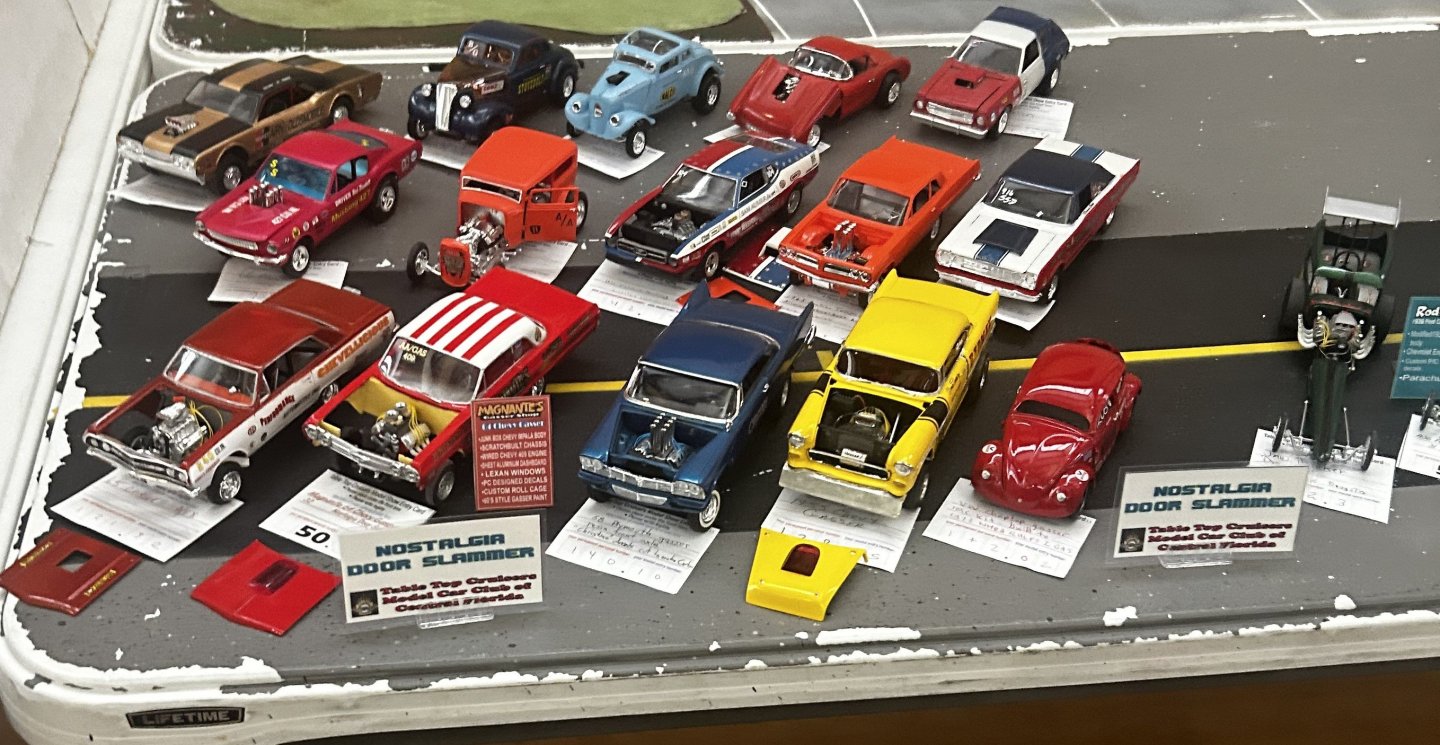
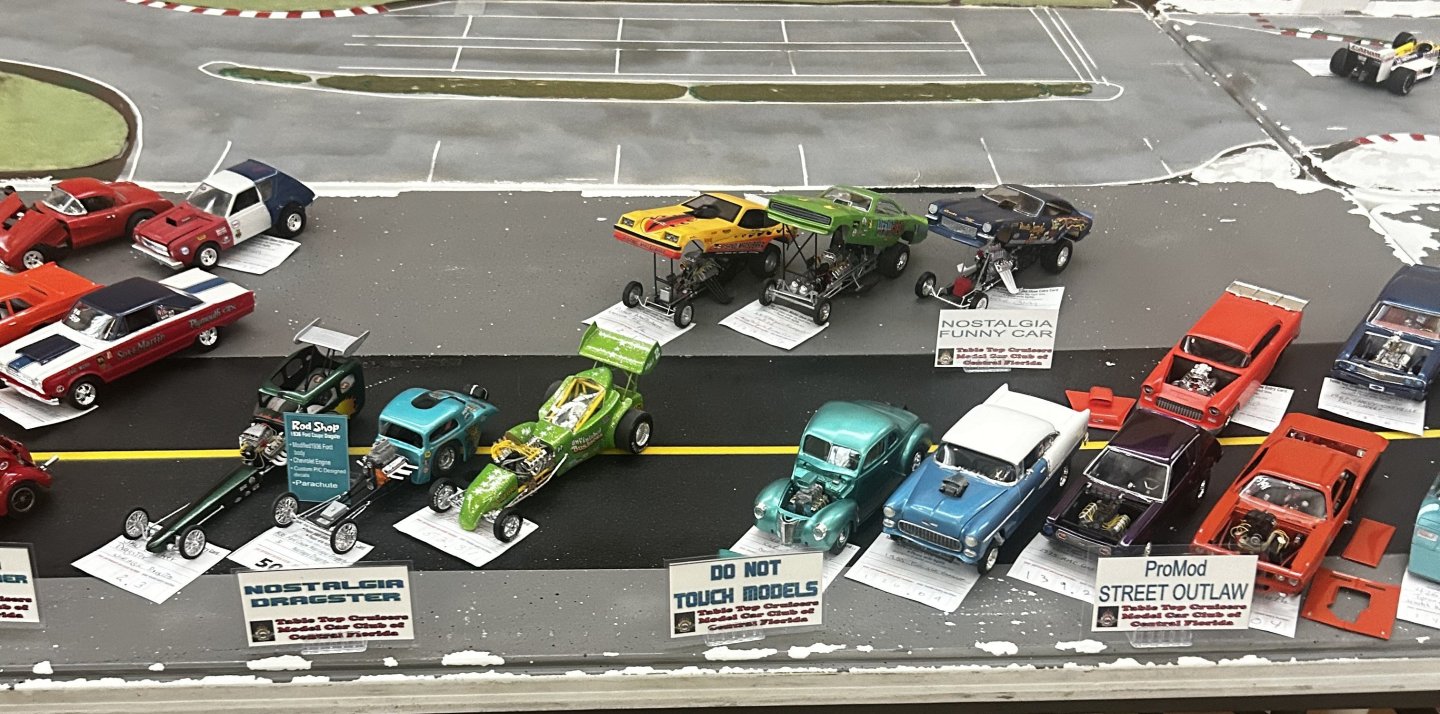
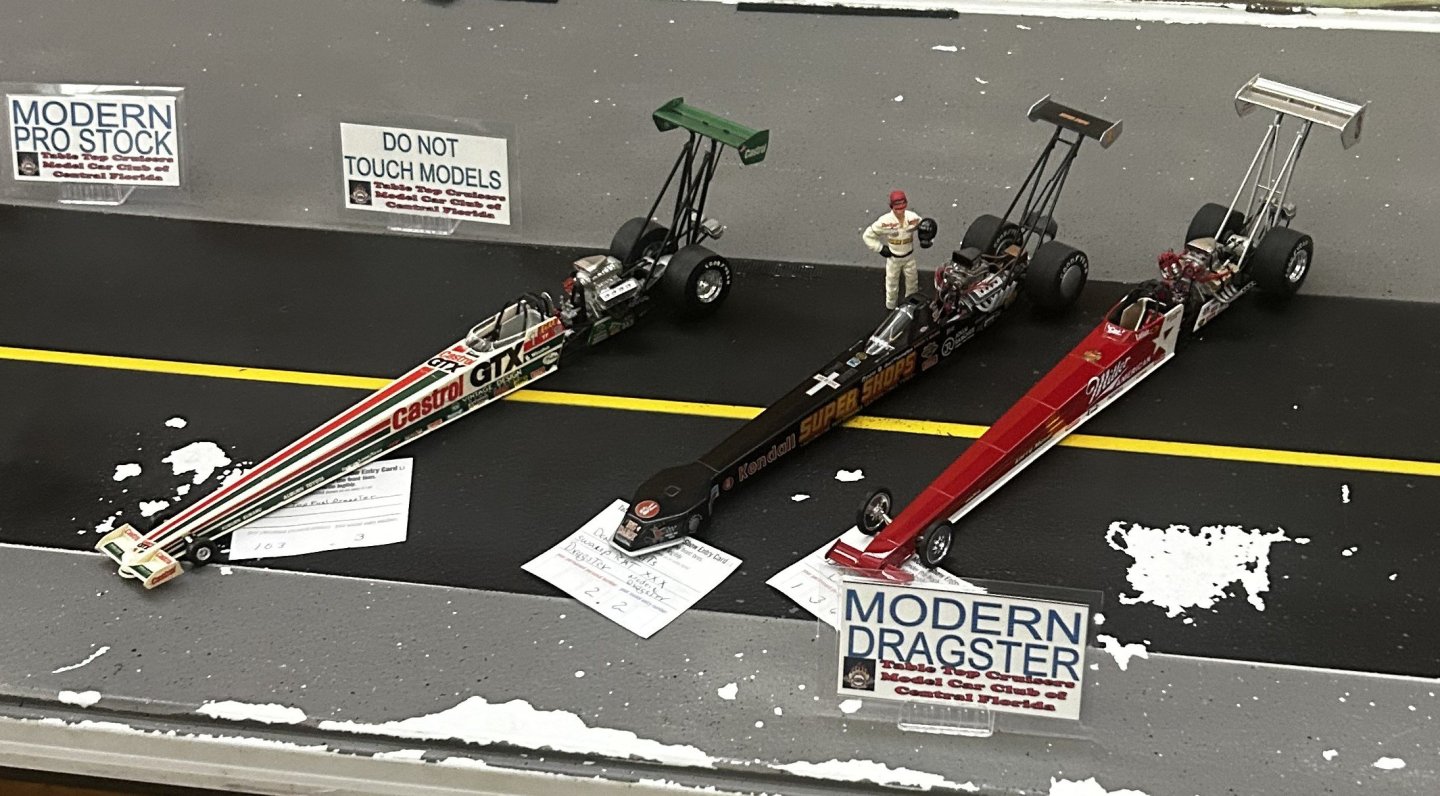
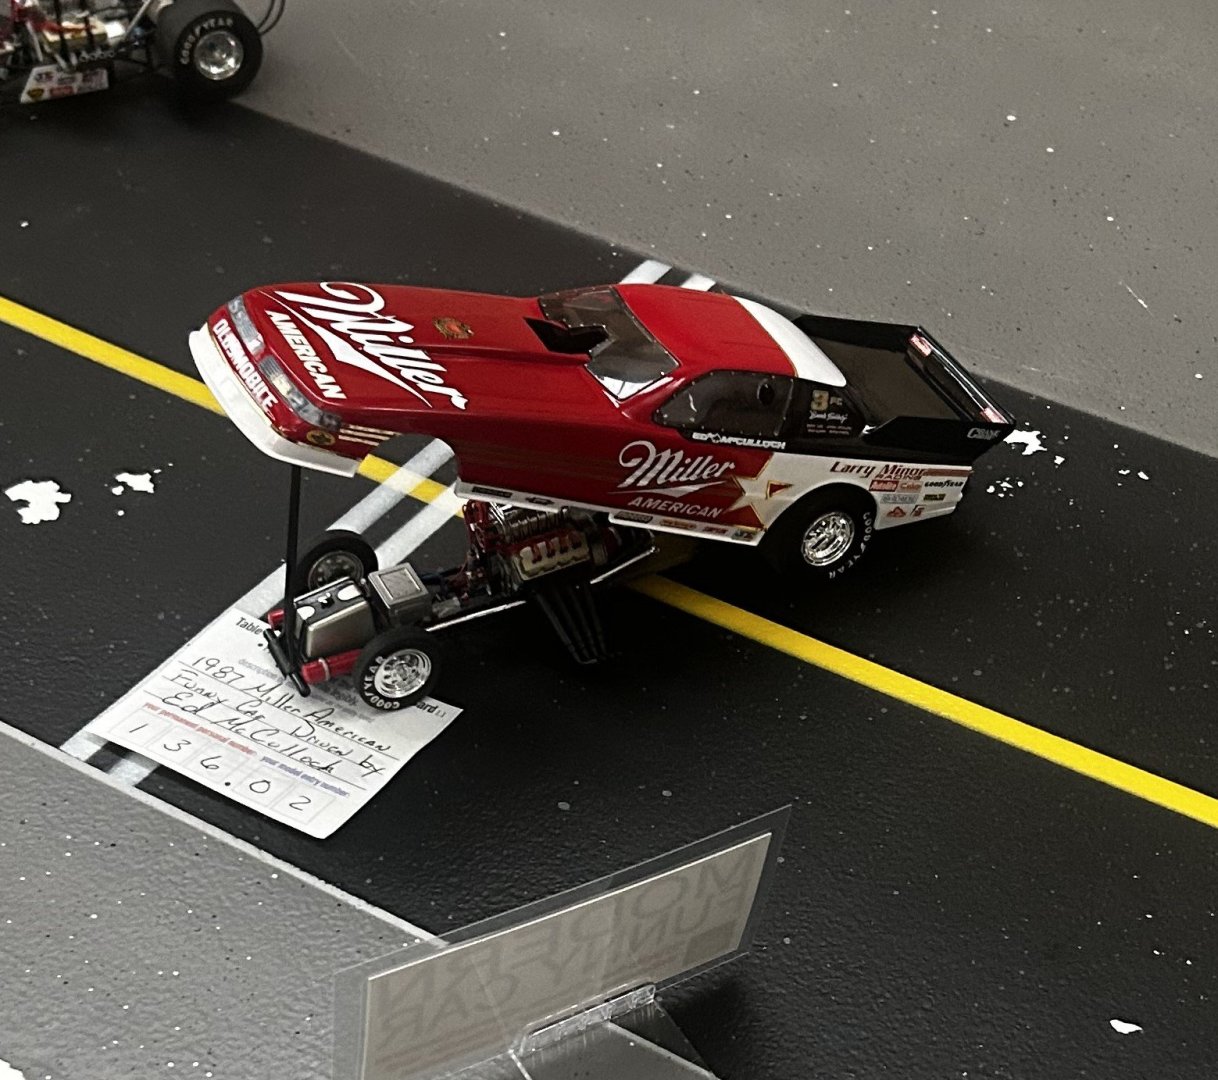
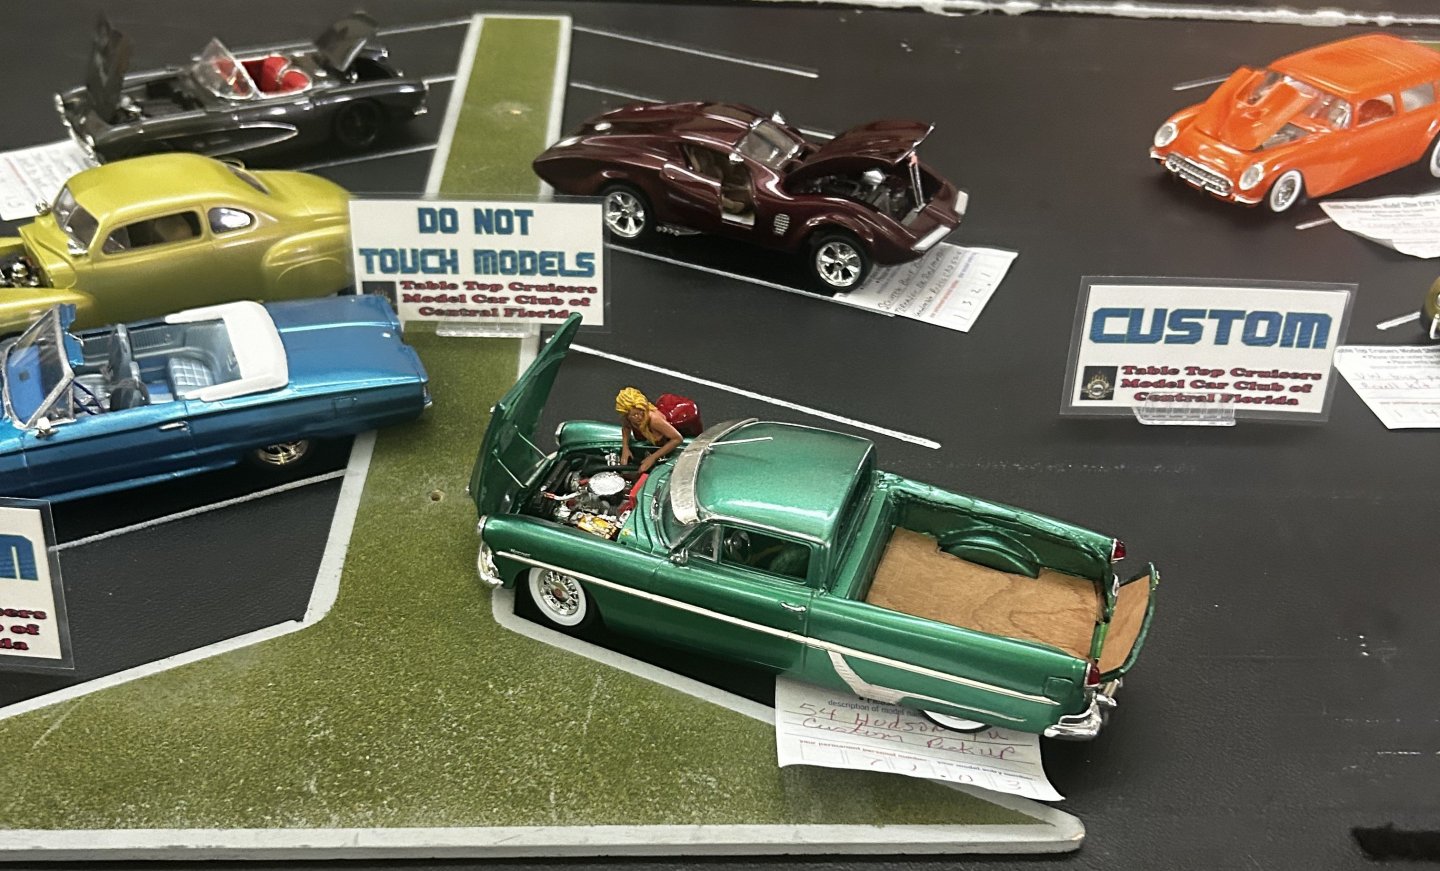
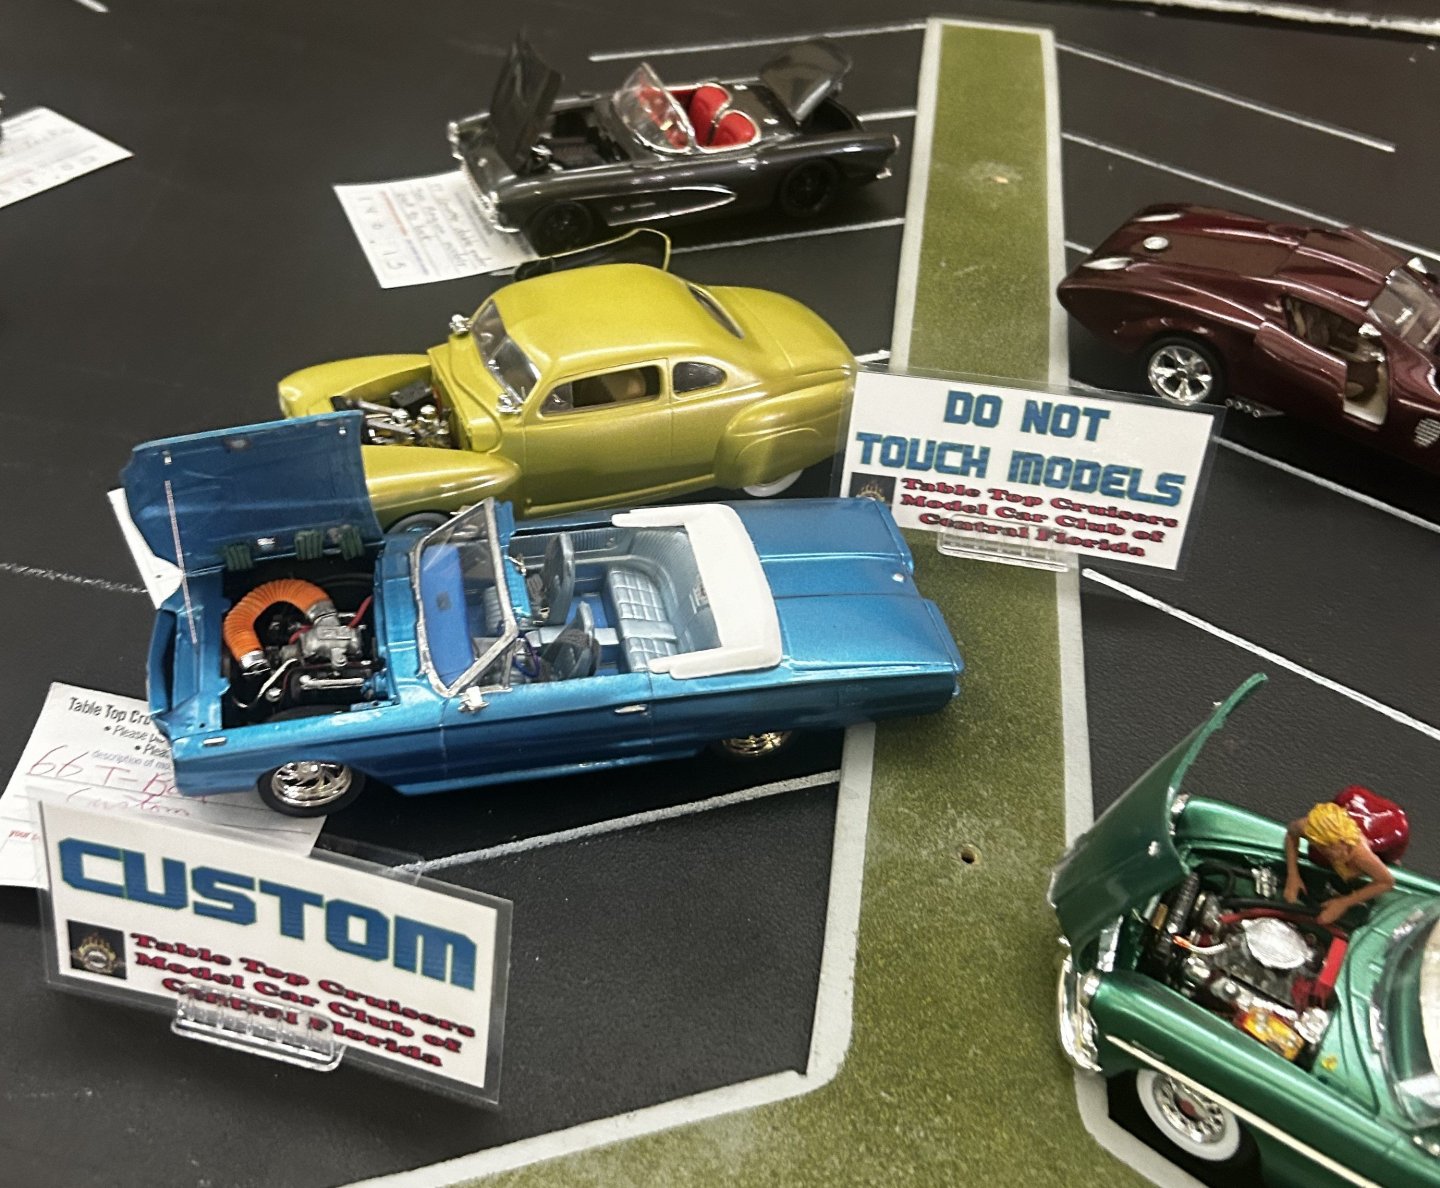
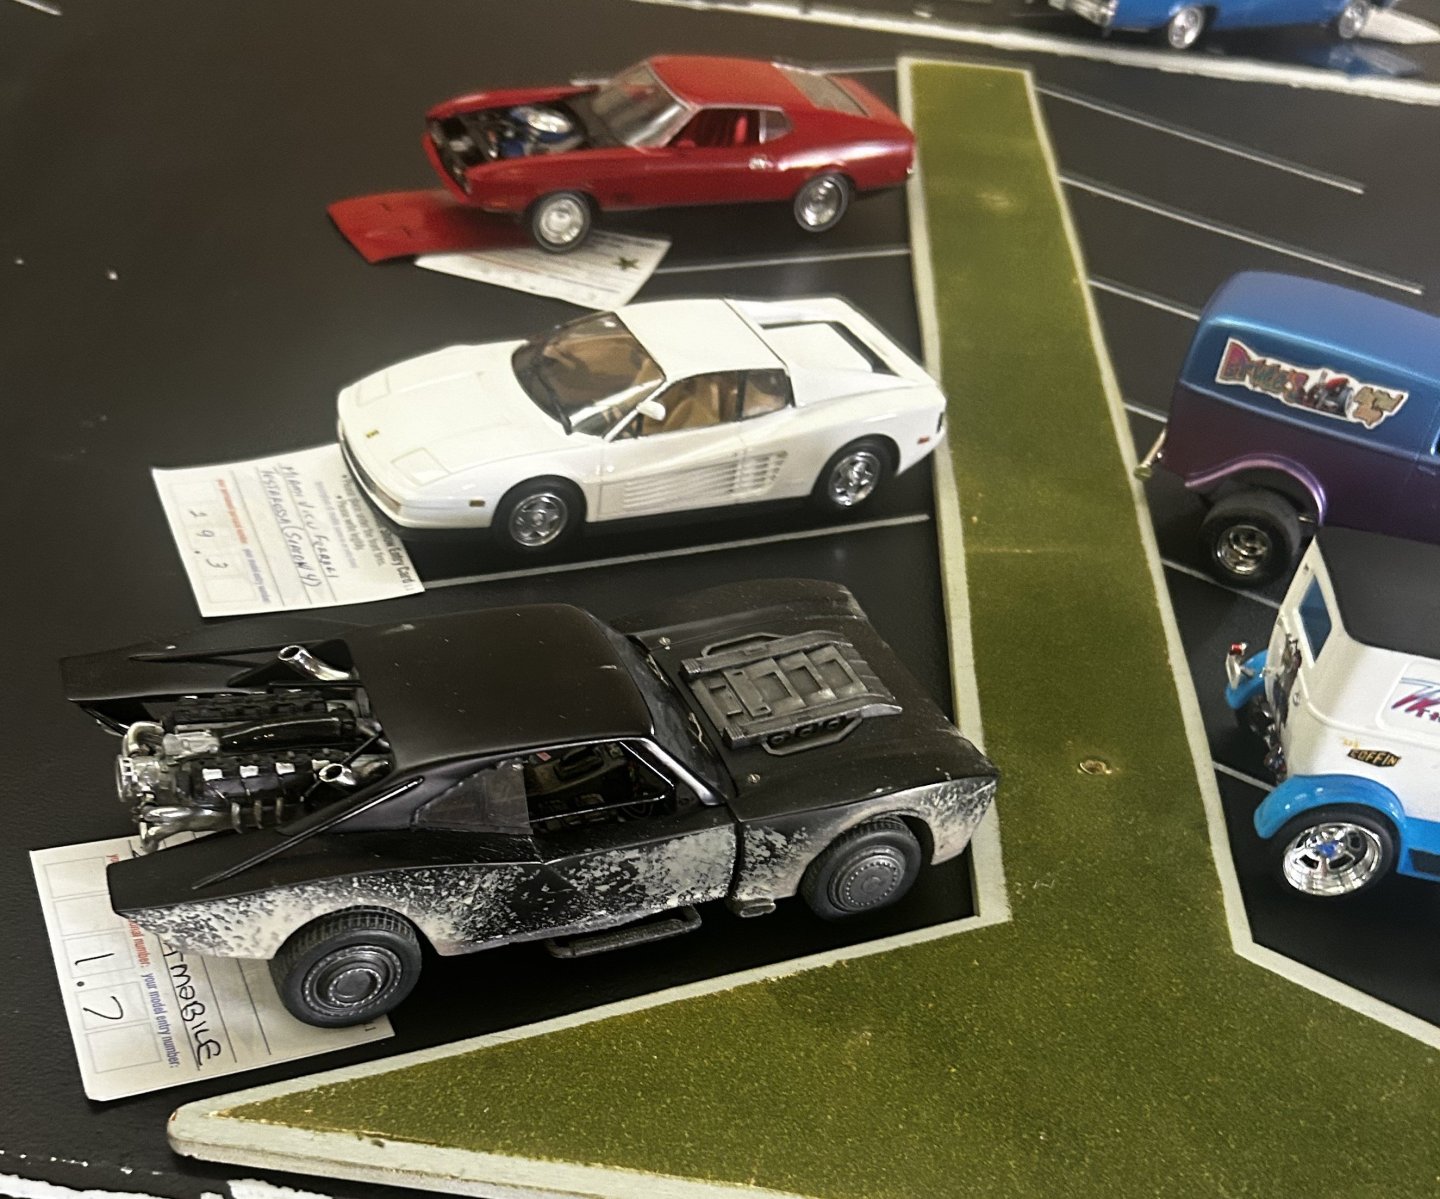
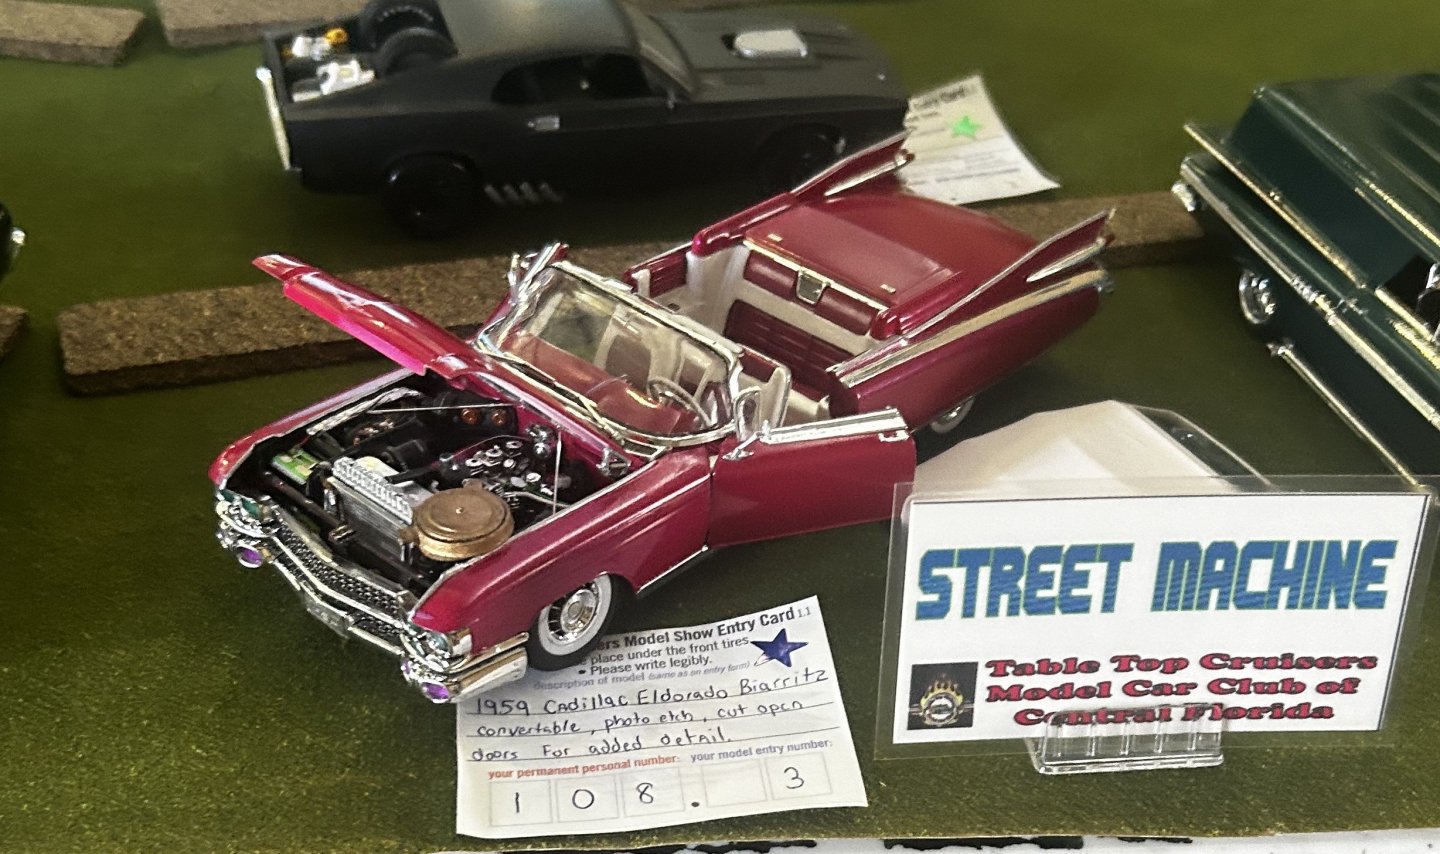
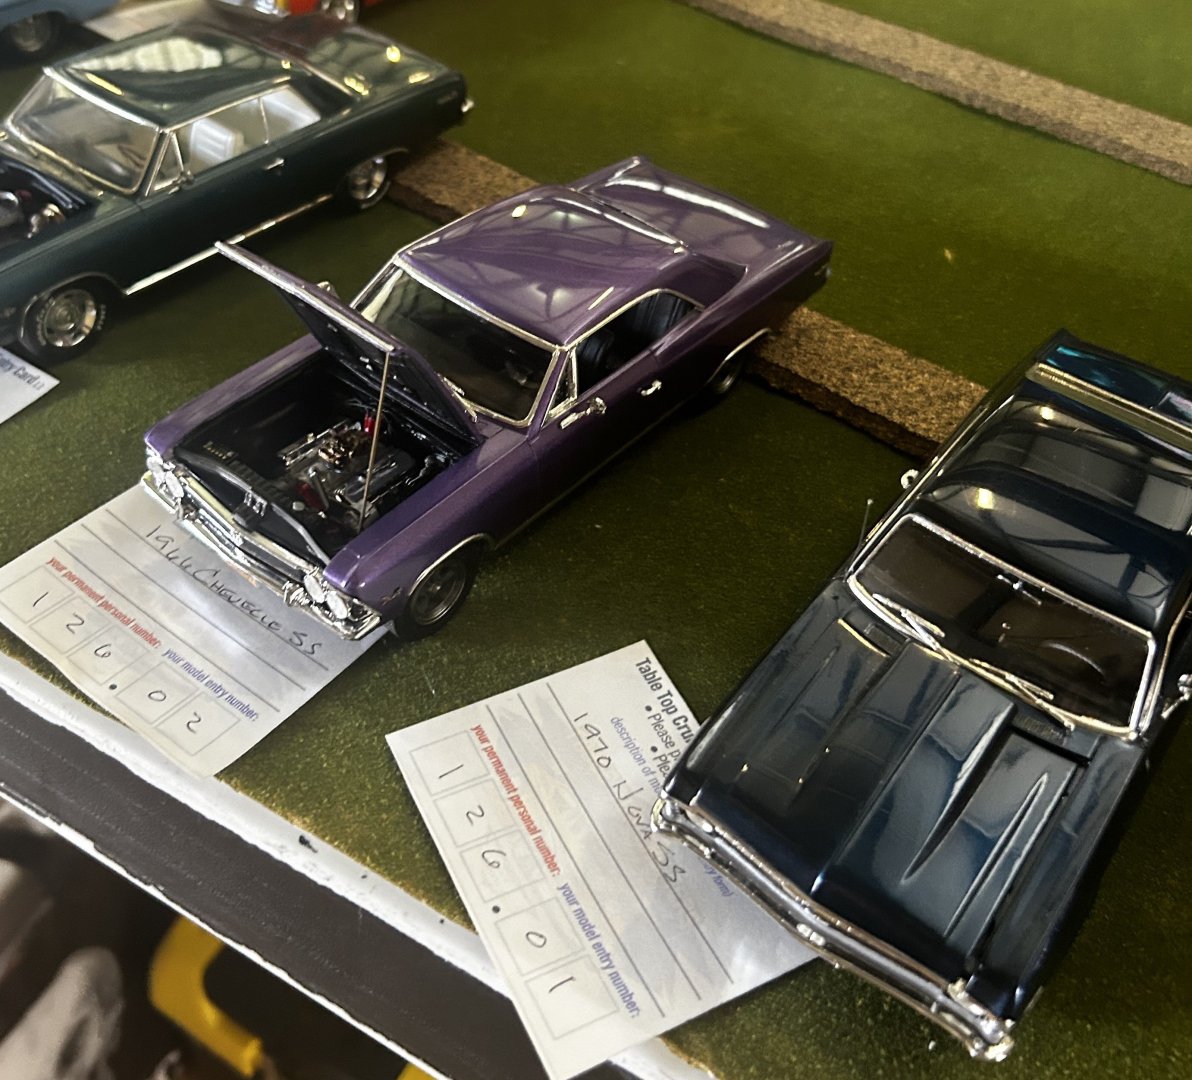
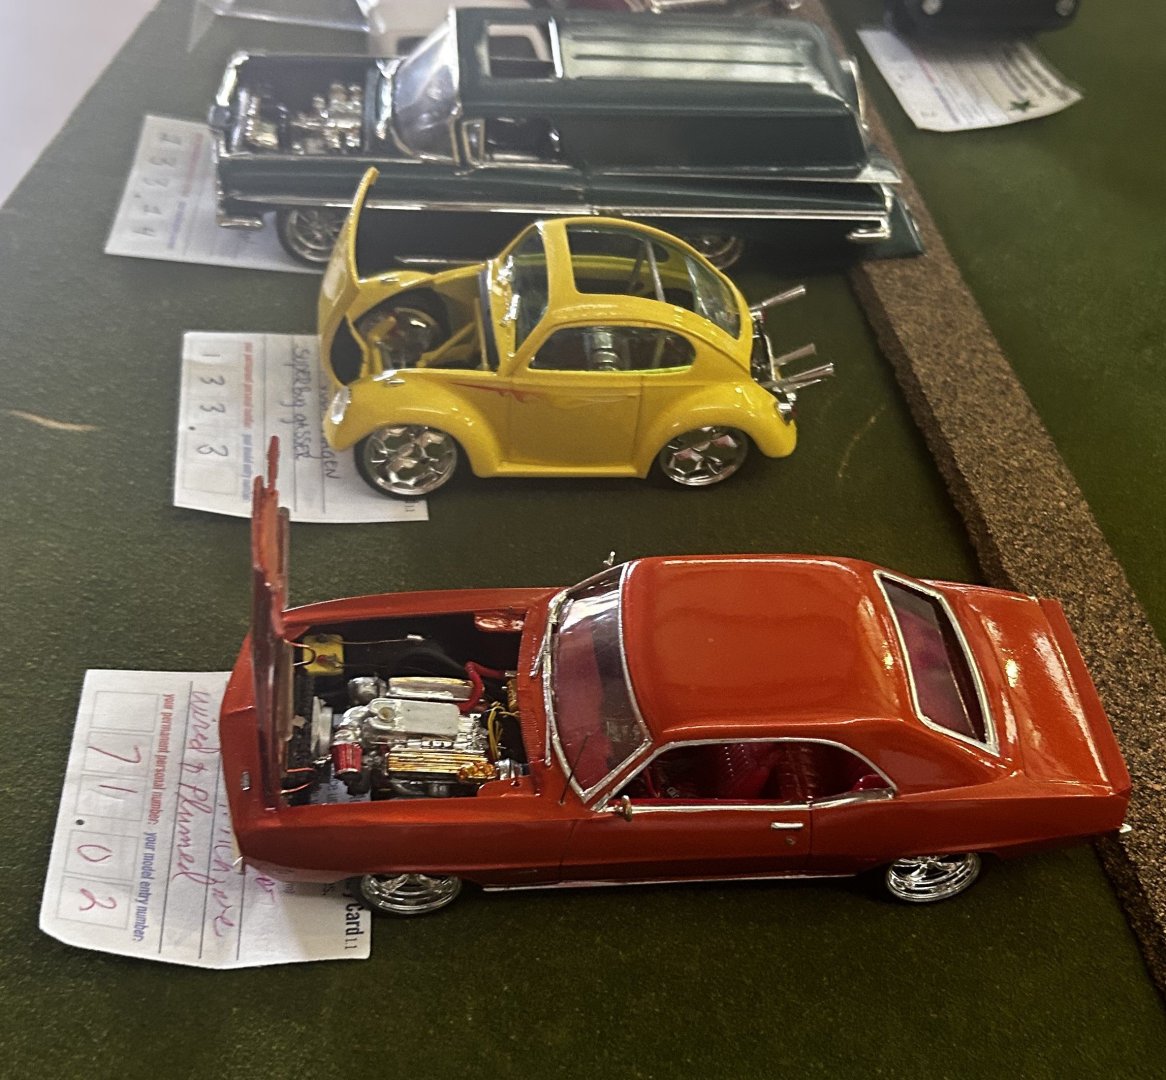
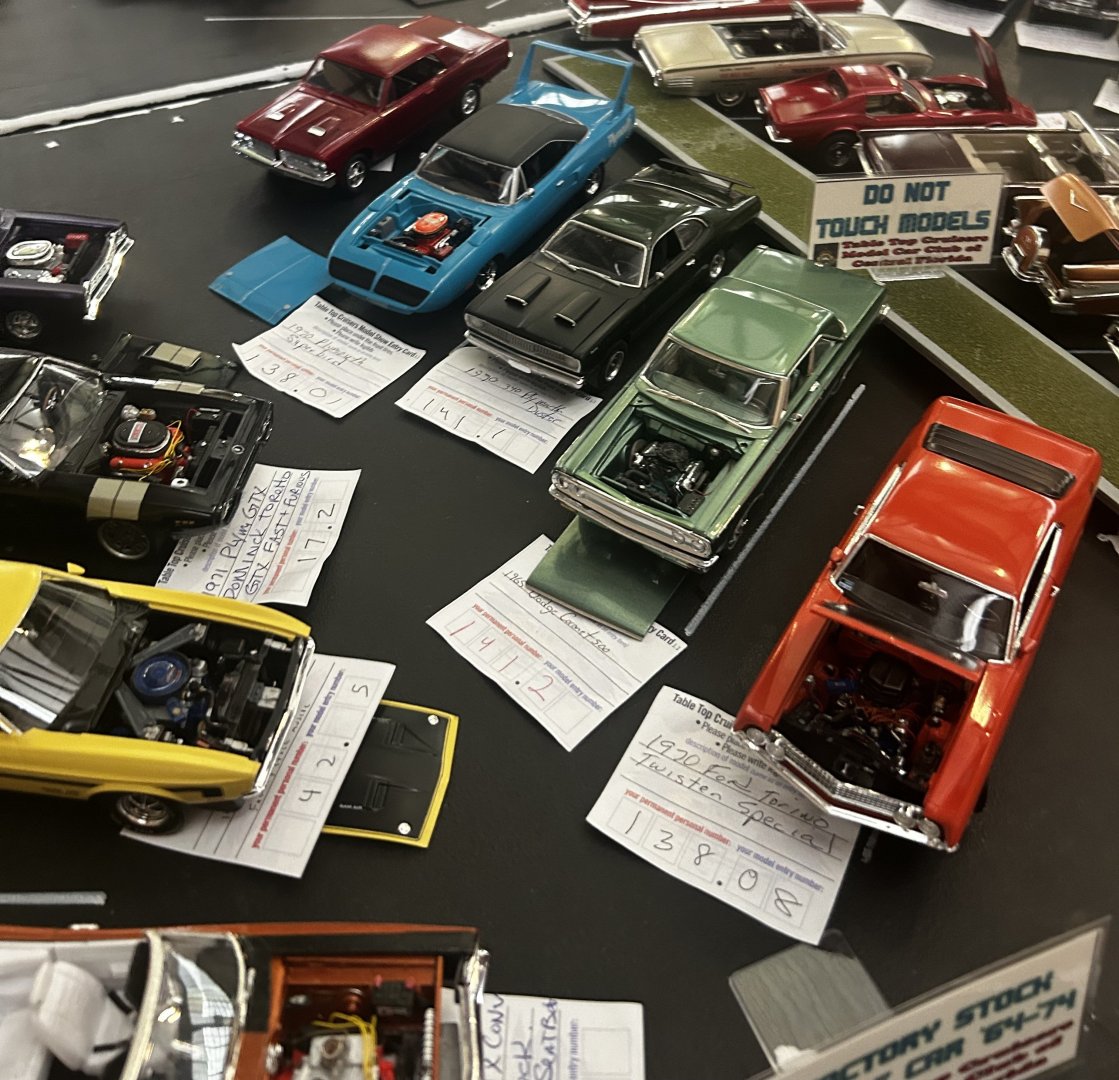
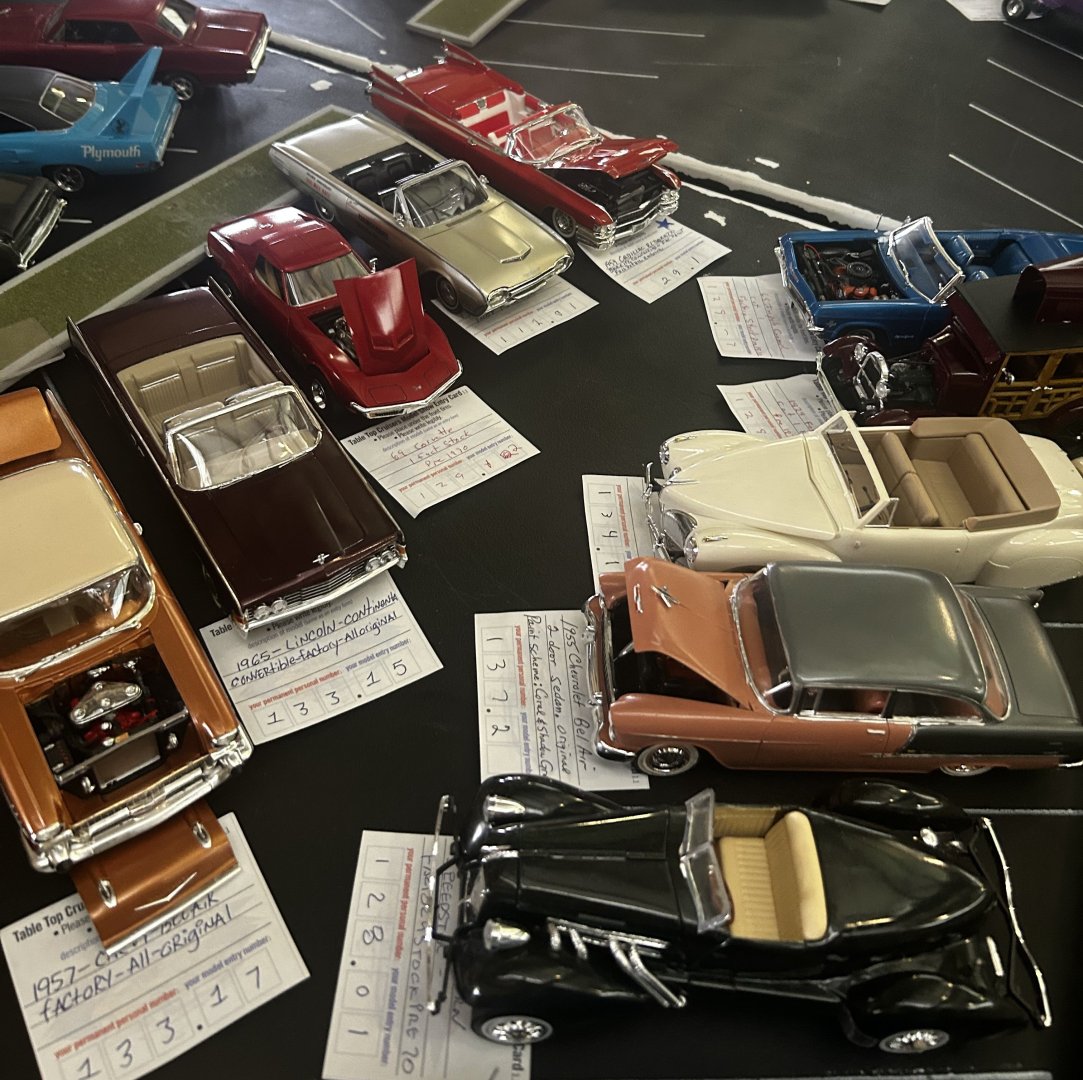
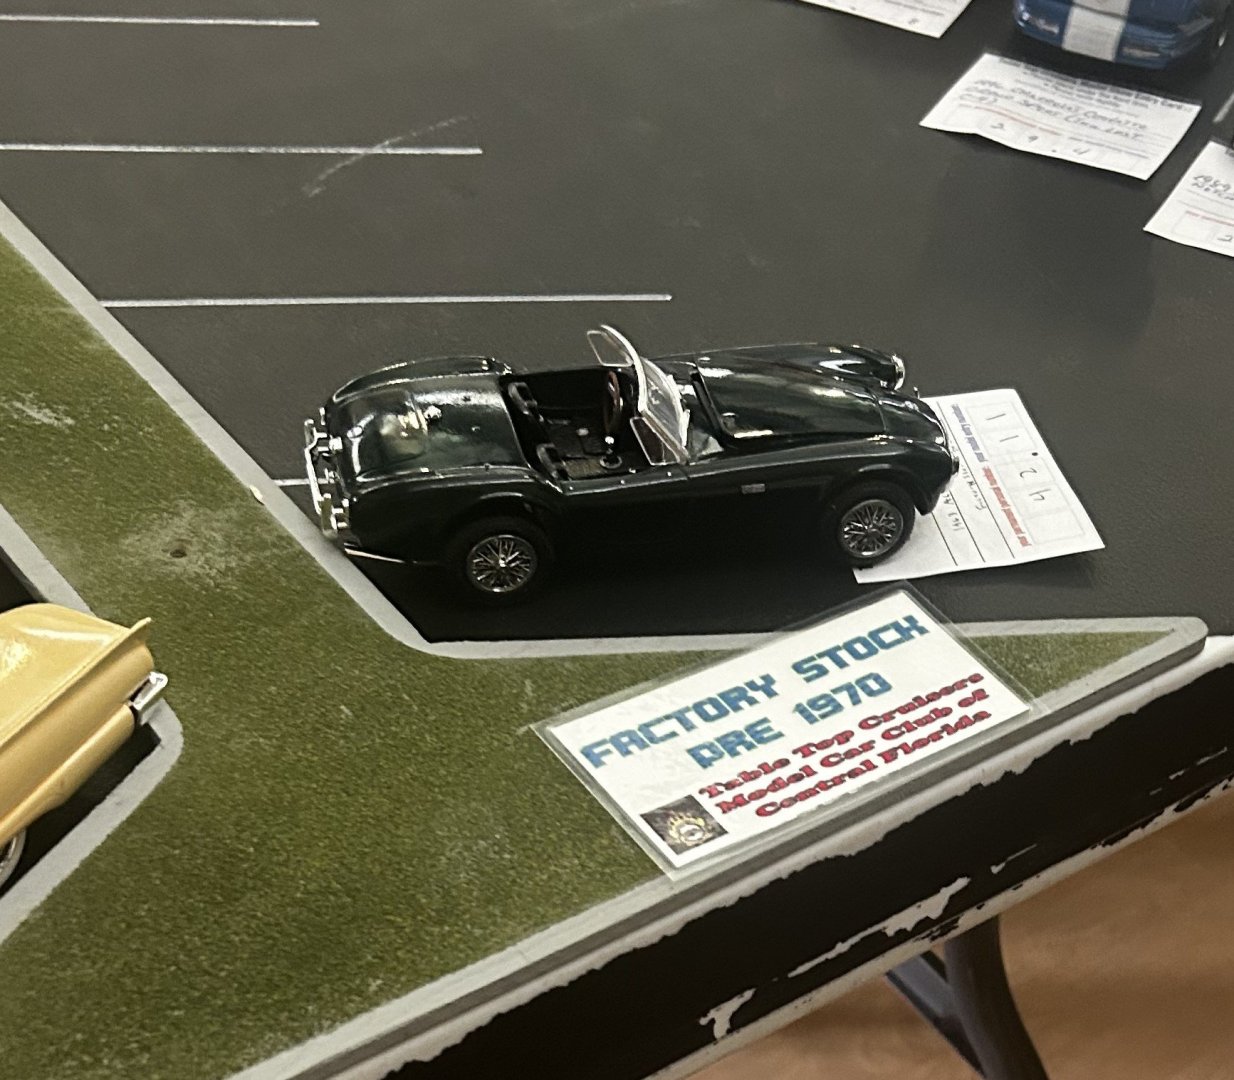
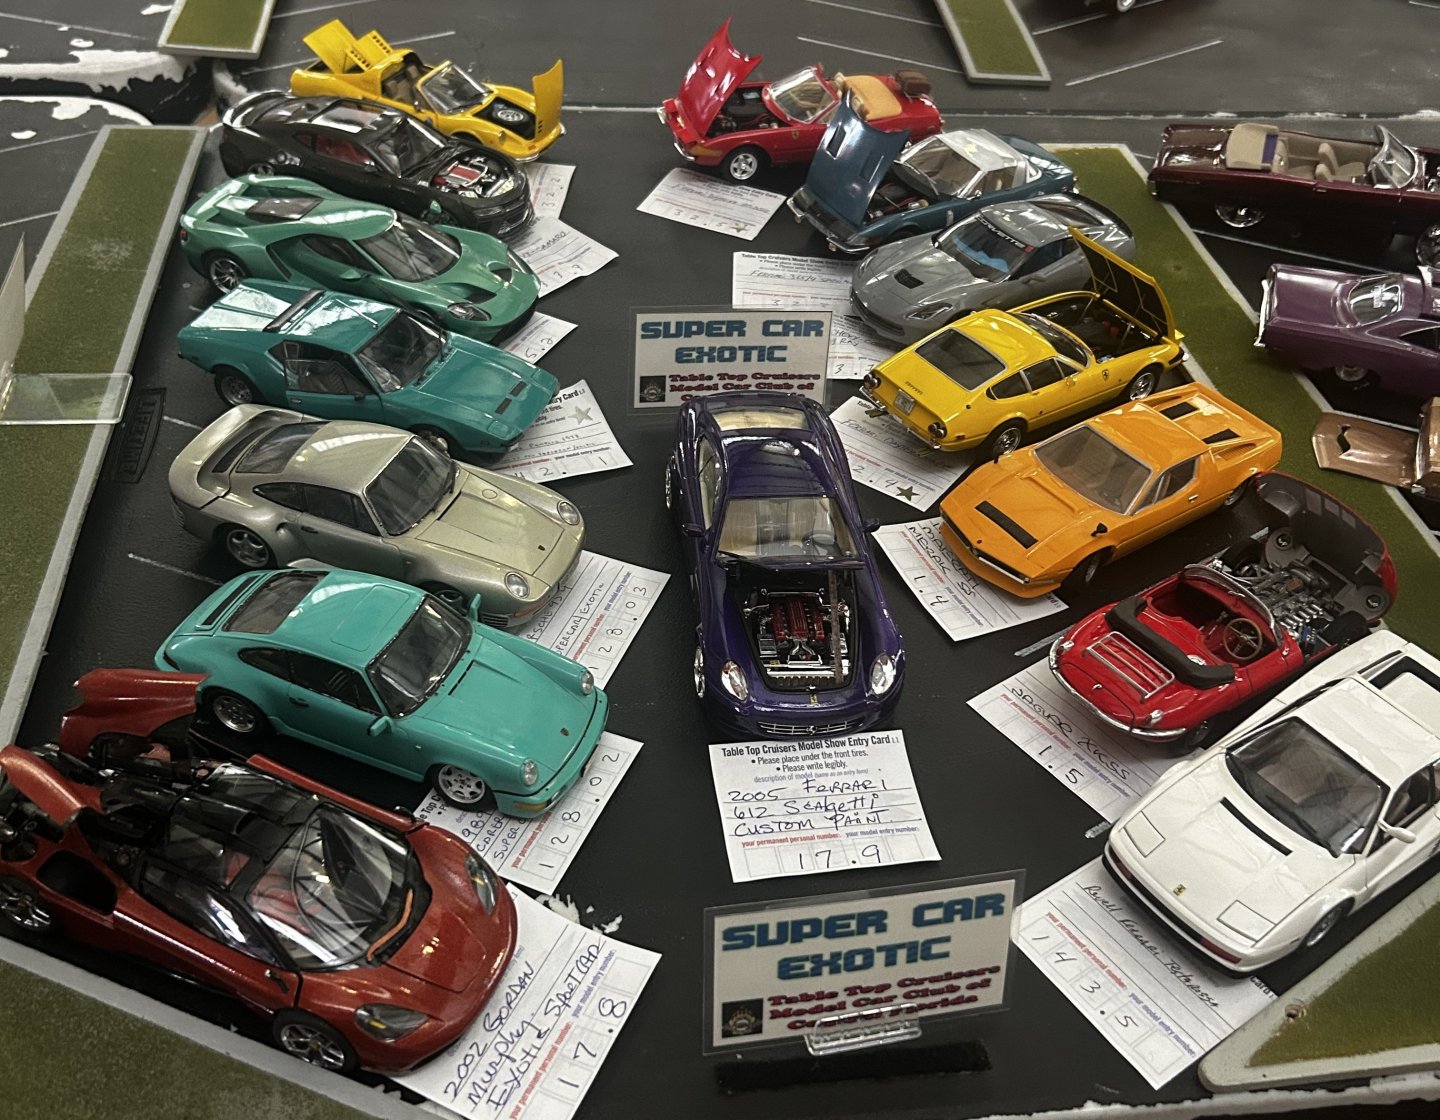
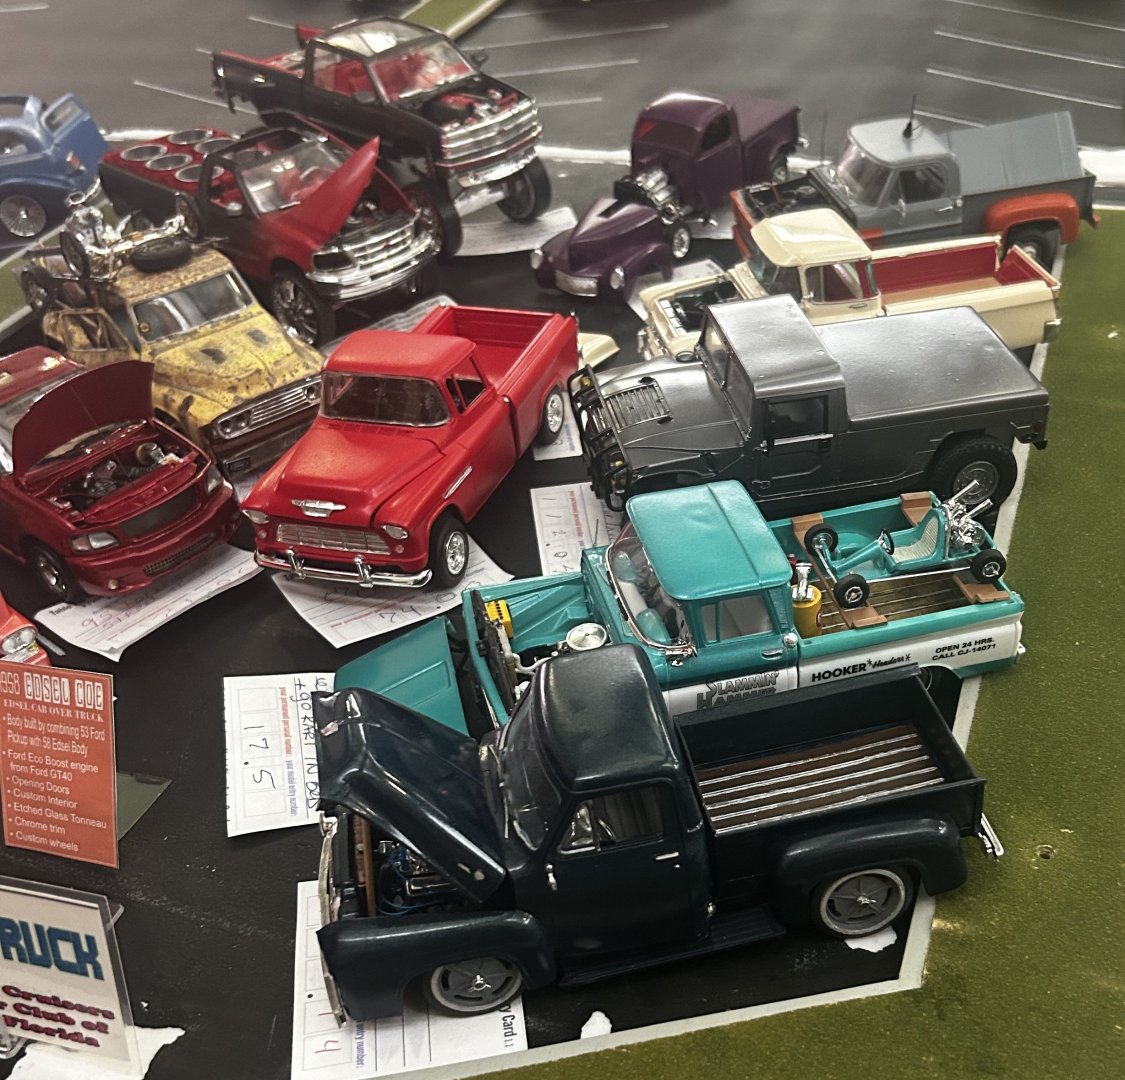
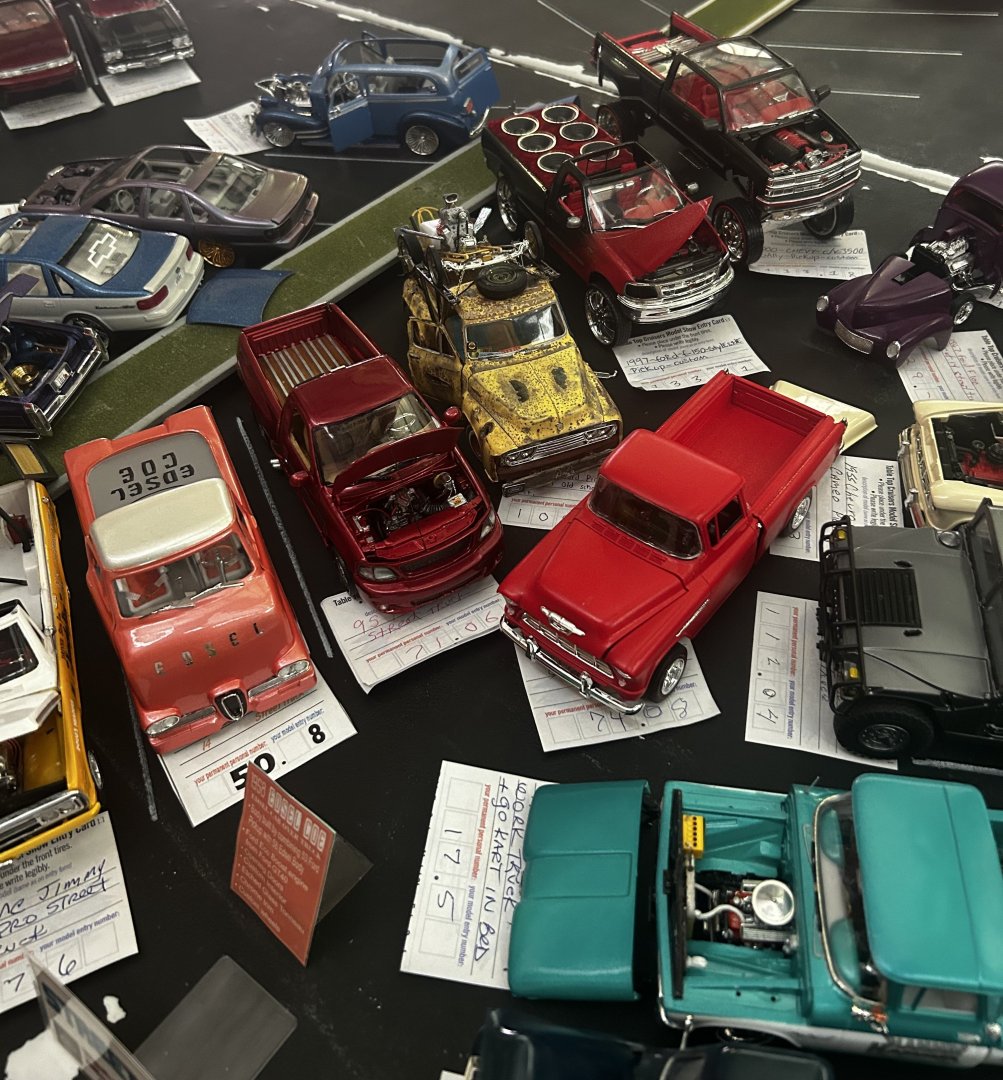
Worked on other projects this week, but one of those projects was about all I want to know about the subject...installed a new door gasket on a front load washing machine. Man, that thing gave me a workout. I count my blessings it was indoor work. The heat/heat index has been ridiculously hot this week. All week I looked forward to today. There was a model car show in a neighboring county, and I showed up bright and early to see the model cars and vendors. Walked off with a few nice kits and took a lot of photos of the model car entries. A nice venue and a large crowd supported the show. I did not enter any models in this show because that requires you stay the entire day. I didn't feel like hanging out there all day long.


- 127 replies
-
- 17
-
-
-

-
You are really getting the hang of the figure painting, Alan. Looks great!
-
B-25J Mitchell by Chadwijm6 - HK Models - 1/32
CDW replied to chadwijm6's topic in Non-ship/categorised builds
Seeing the riders in short sleeves, I take it the weather is warm this time of year in your country, James. Here in the USA, in my home state of Florida, it's outright hot. Work too many hours in this heat, dehydration and a sun stroke could result. A great museum and some beautiful bikes in your photos. -
Your vac canopy looks great, Dan.
-
B-25J Mitchell by Chadwijm6 - HK Models - 1/32
CDW replied to chadwijm6's topic in Non-ship/categorised builds
Thanks for posting that! No, I had not seen that yet. -
B-25J Mitchell by Chadwijm6 - HK Models - 1/32
CDW replied to chadwijm6's topic in Non-ship/categorised builds
Love your engines and the cockpit looks super. I bought that same ZM Fw a month ago. Beautiful kit. -
F-14D Super Tomcat by CDW - AMK - 1:48 Scale
CDW replied to CDW's topic in Non-ship/categorised builds
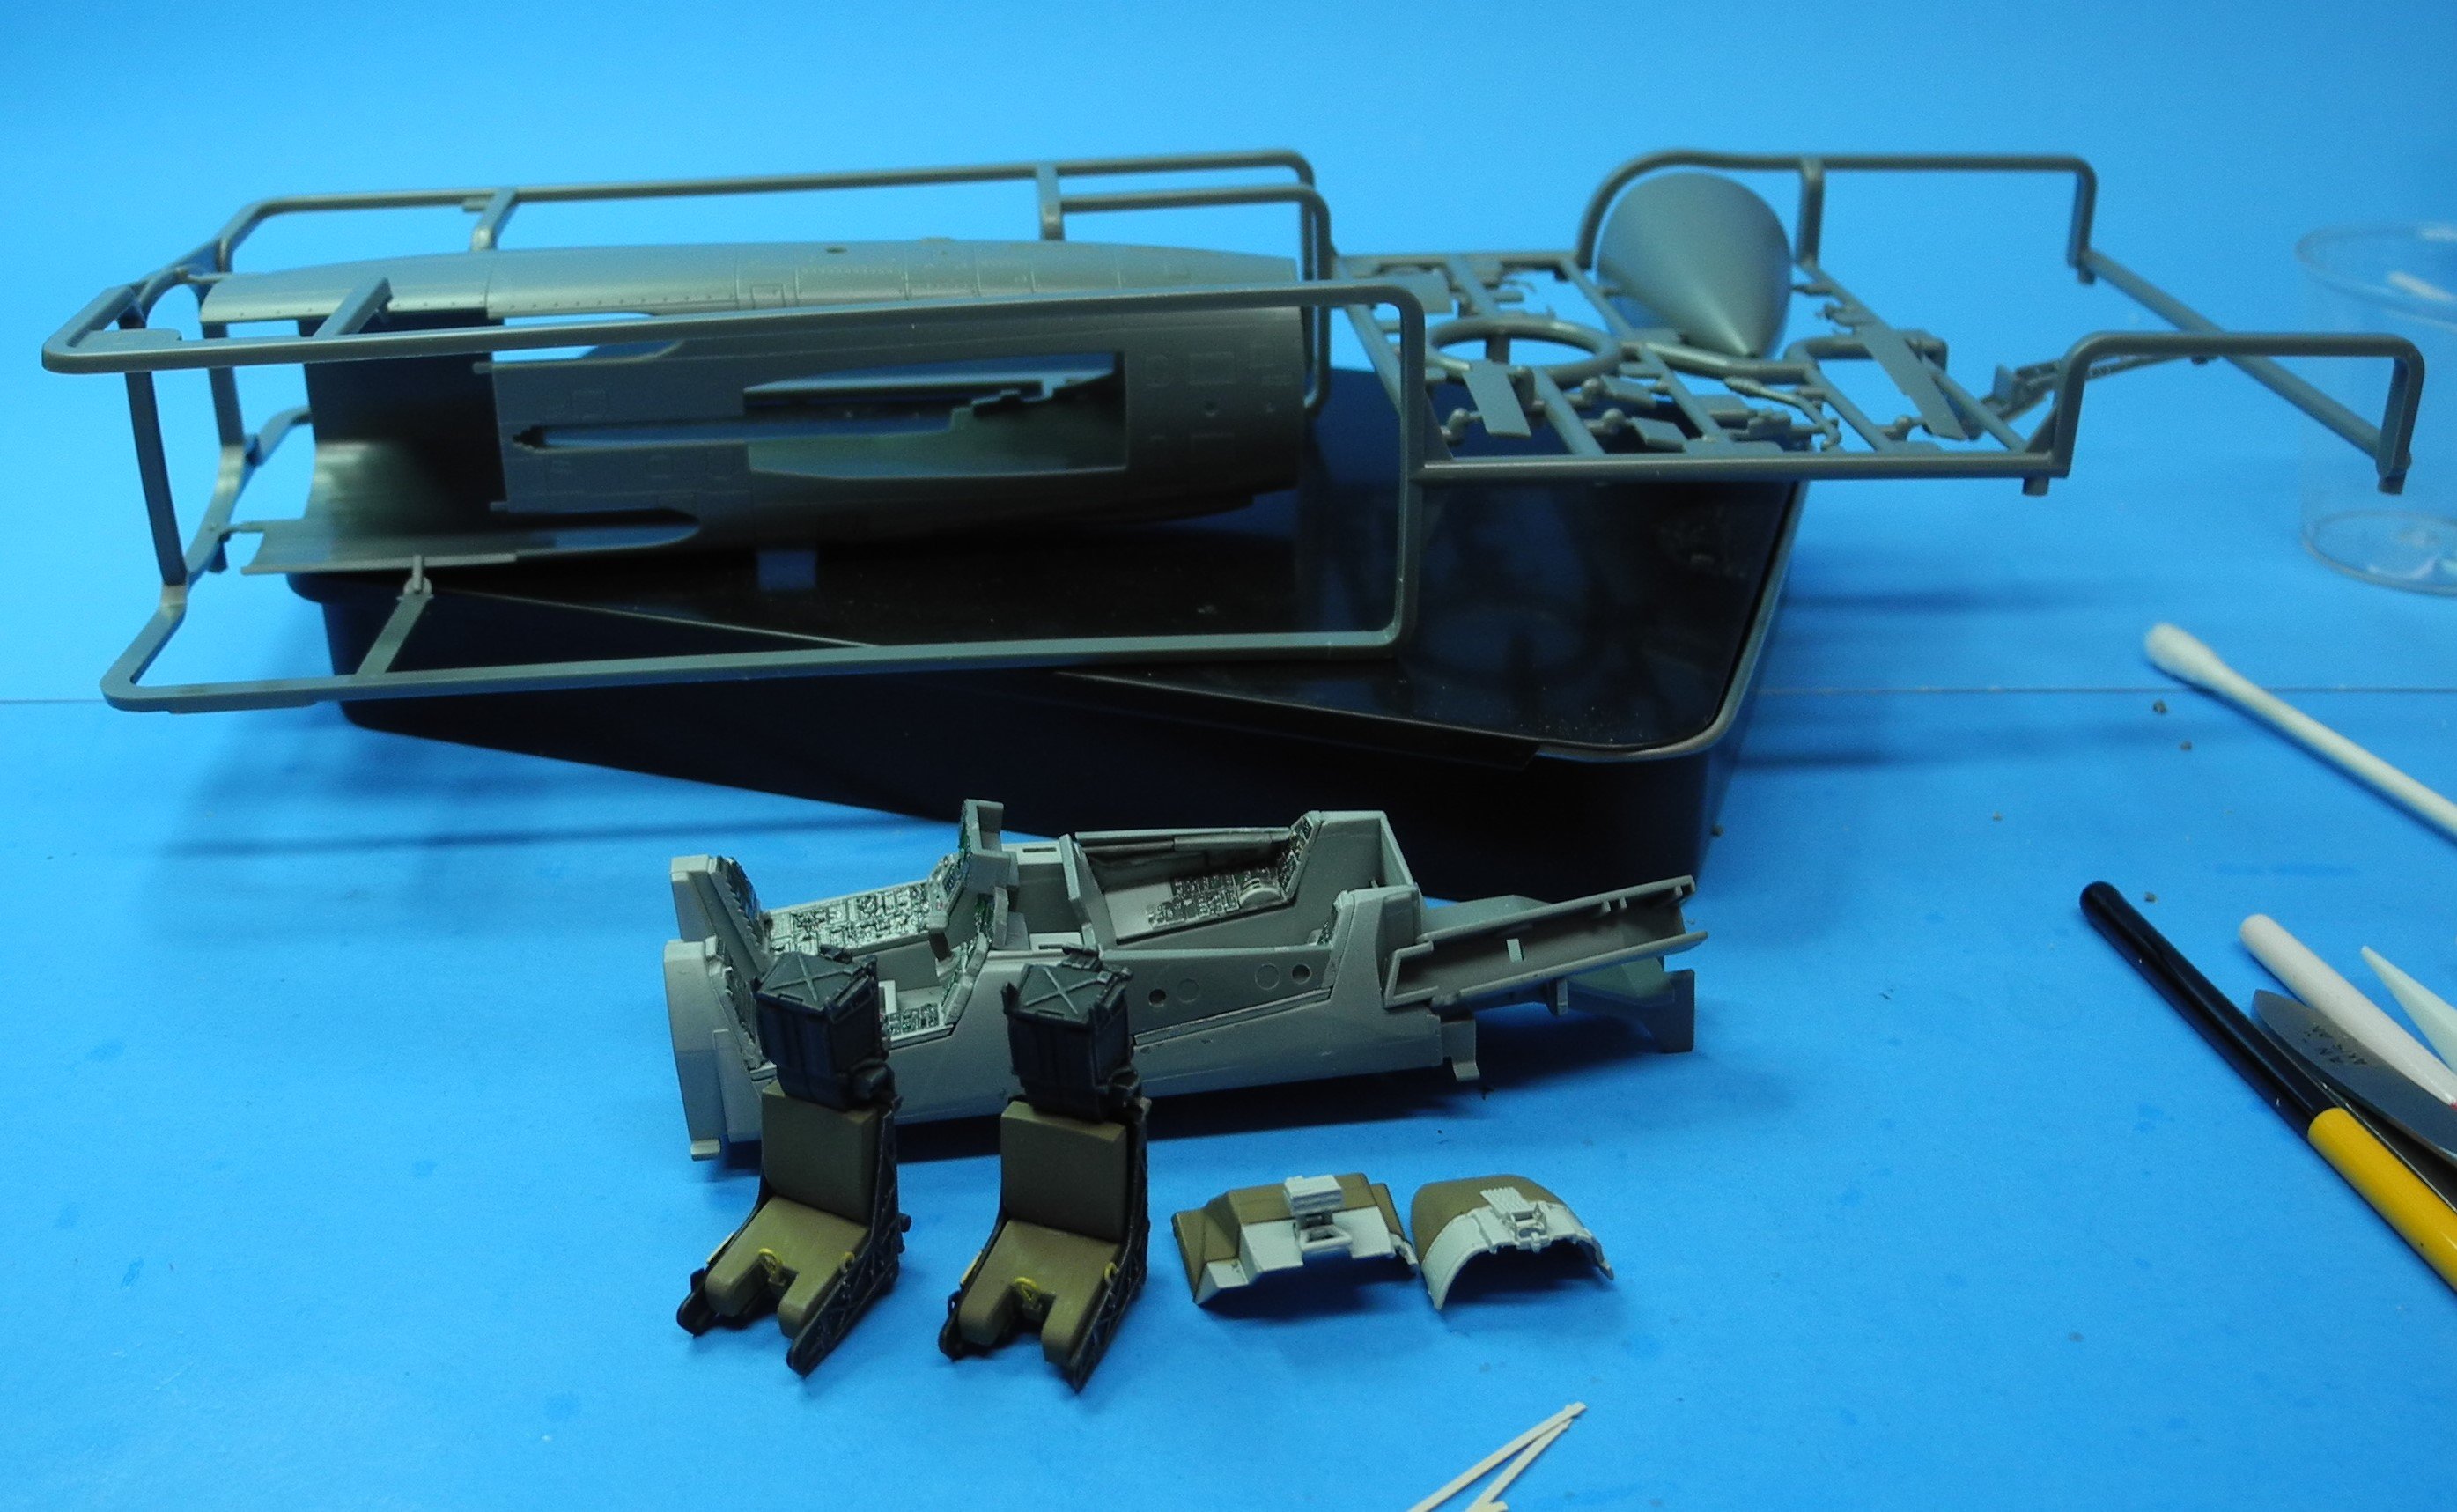
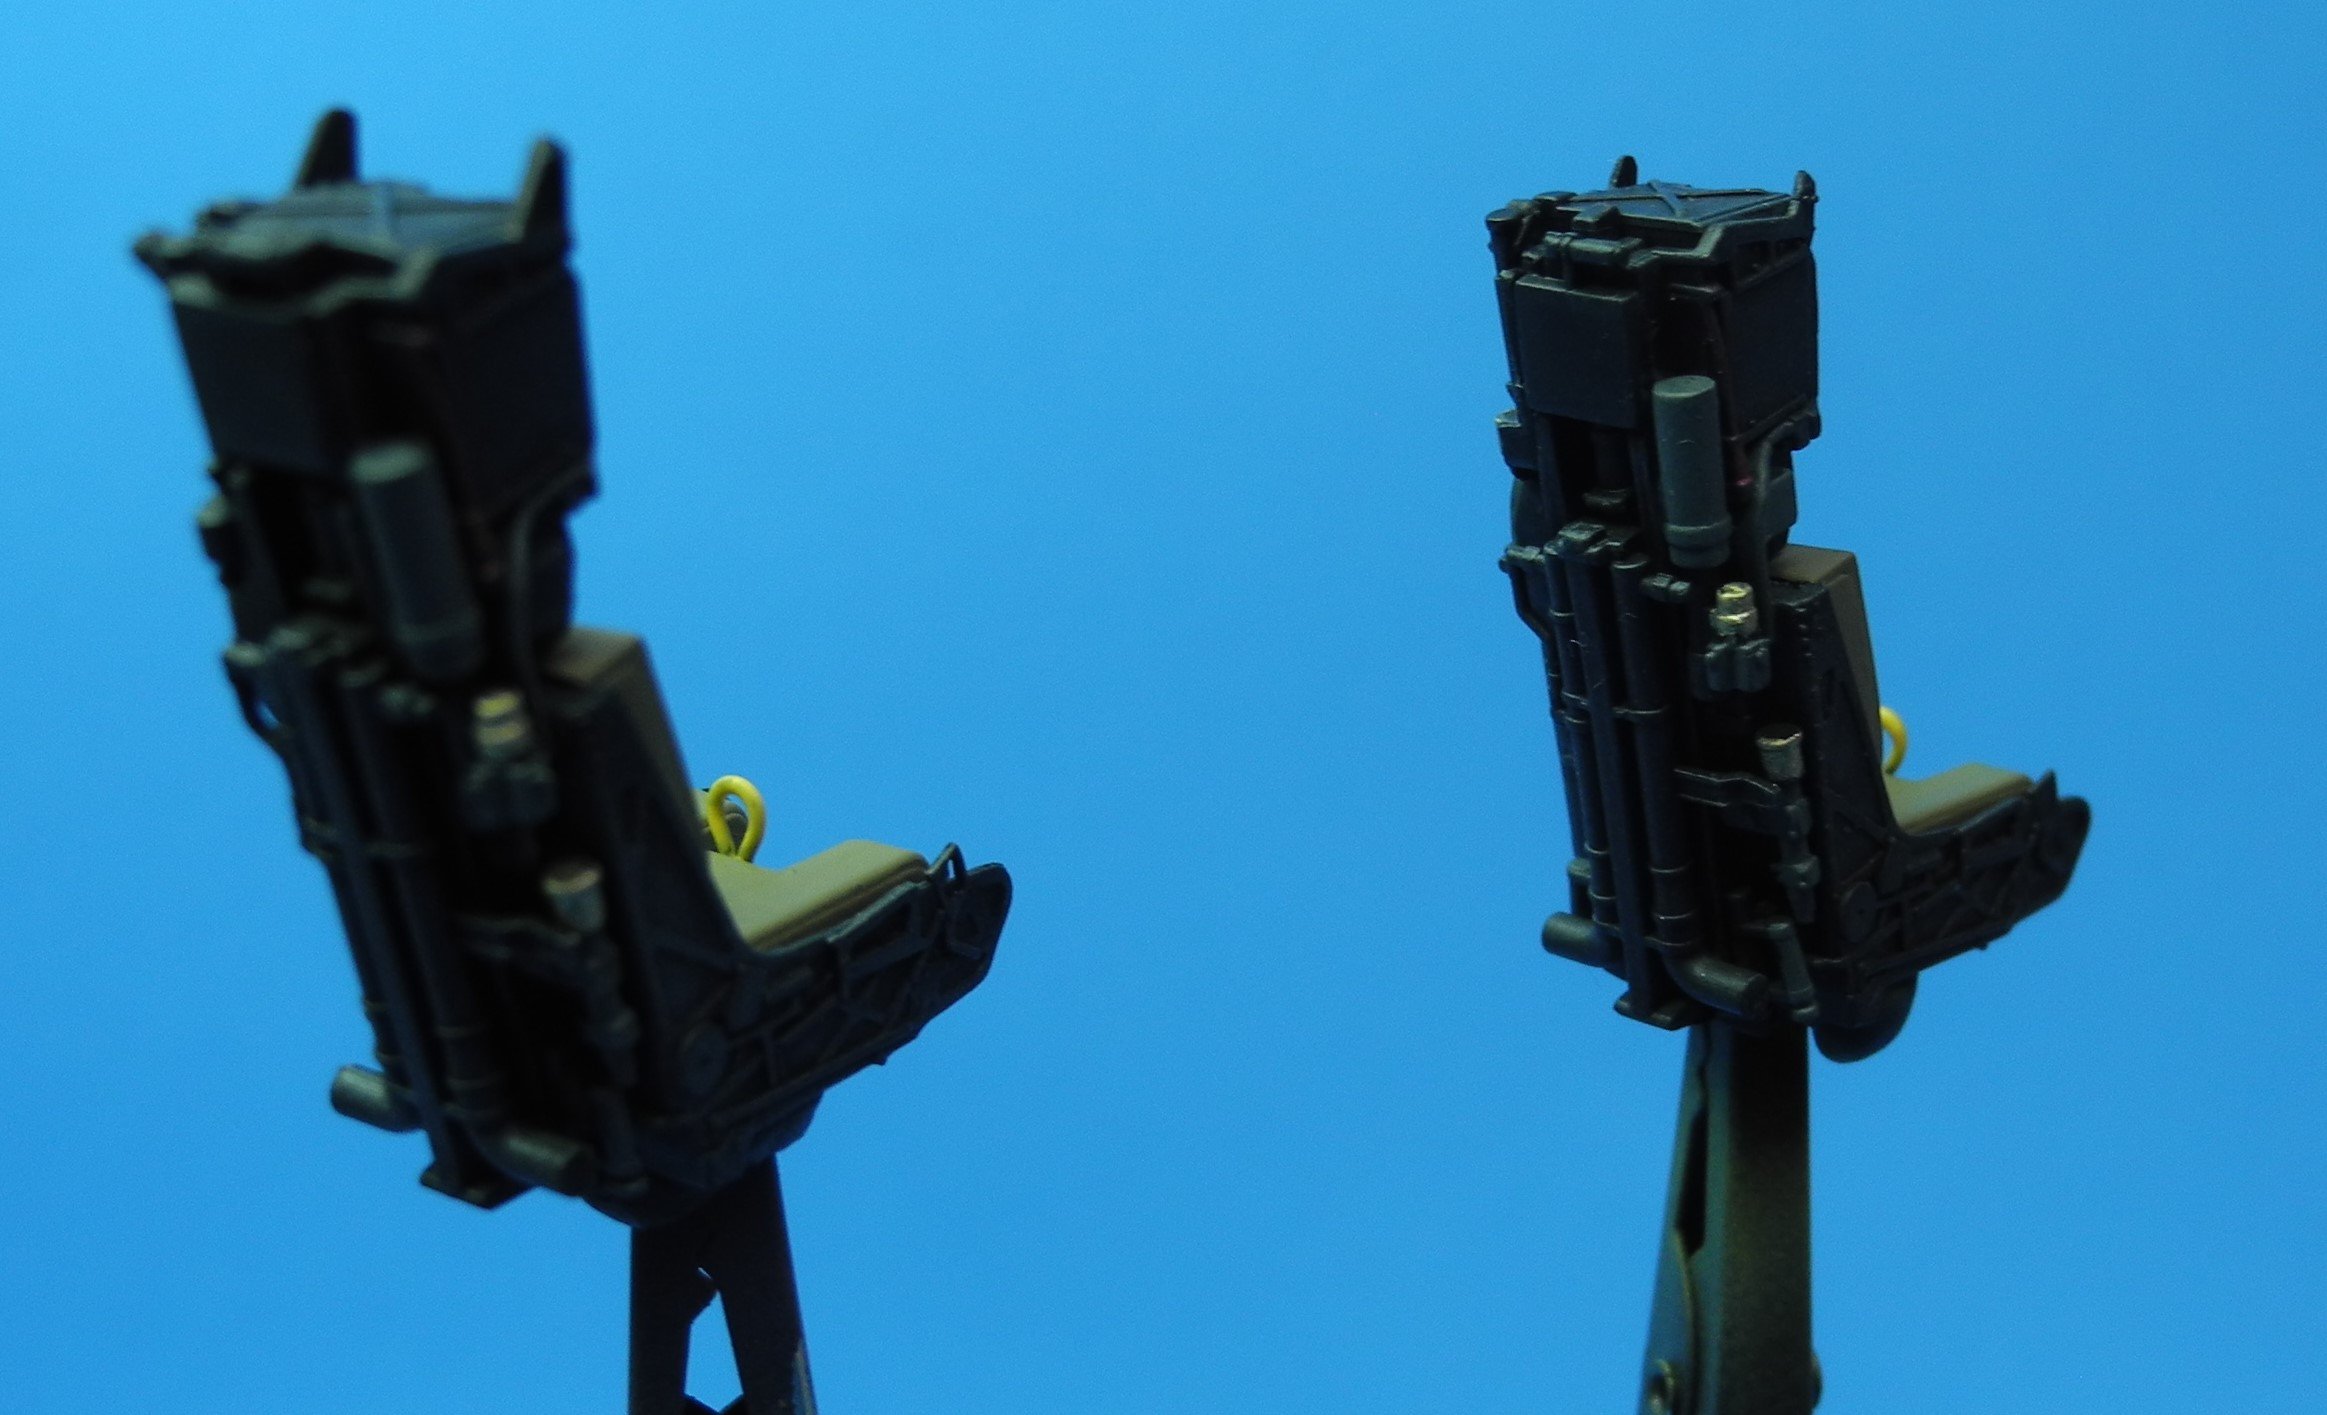
Macro is a little fuzzy. Probably from not holding my camera still enough. Need to add the harnesses.

- 45 replies
-
- 13
-
-
Ferrari Dino 246gt by gsdpic - FINISHED - Fujimi - 1/24th scale
CDW replied to gsdpic's topic in Non-ship/categorised builds
Photo of your clear coat looks very good. -
F-14D Super Tomcat by CDW - AMK - 1:48 Scale
CDW replied to CDW's topic in Non-ship/categorised builds
-
Ferrari Dino 246gt by gsdpic - FINISHED - Fujimi - 1/24th scale
CDW replied to gsdpic's topic in Non-ship/categorised builds
To the best of my knowledge, there hasn't been a Ferrari I didn't like. Ever. I've only known one person who was a Ferrari owner and he owned two. He had a job and a salary very similar to my own, so I was very curious as how the heck he did it. According to him, from time-to-time, you can buy a Ferrari that needs work for a reasonable price. On top of that, he had learned to do all his own work making repairs. I had always assumed (incorrectly I suppose) all Ferraris cost a small fortune. -
F-14D Super Tomcat by CDW - AMK - 1:48 Scale
CDW replied to CDW's topic in Non-ship/categorised builds
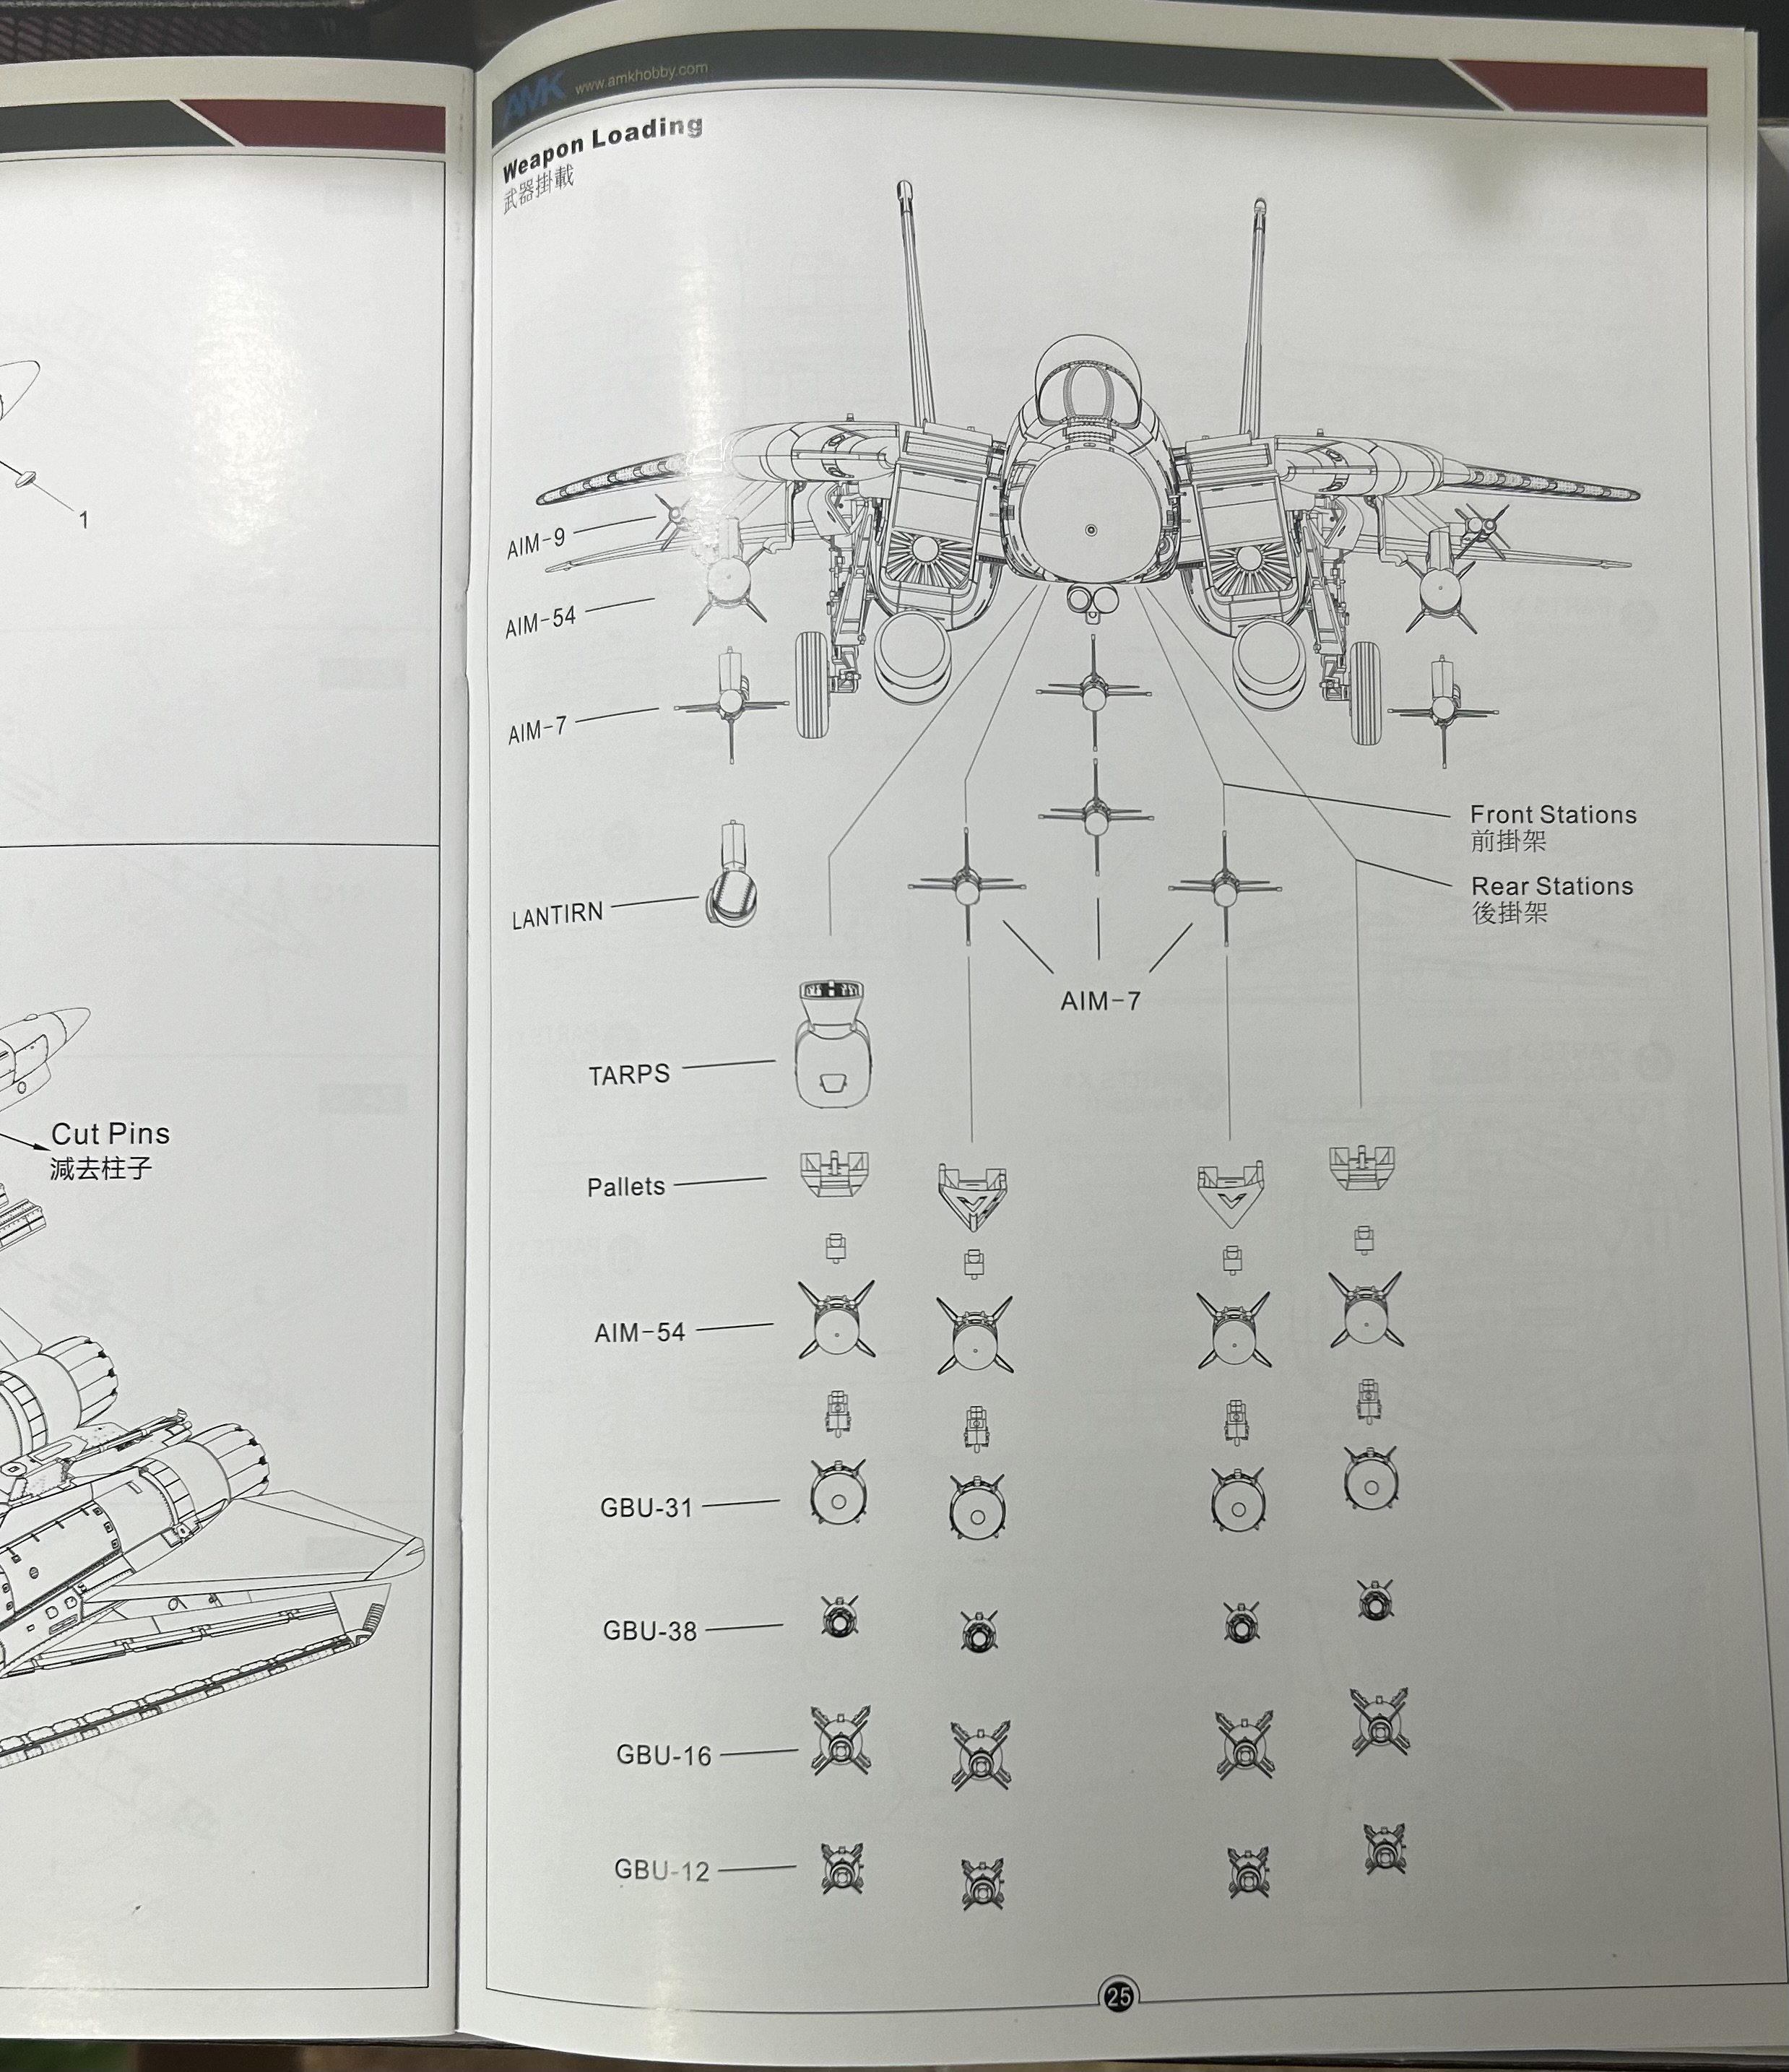
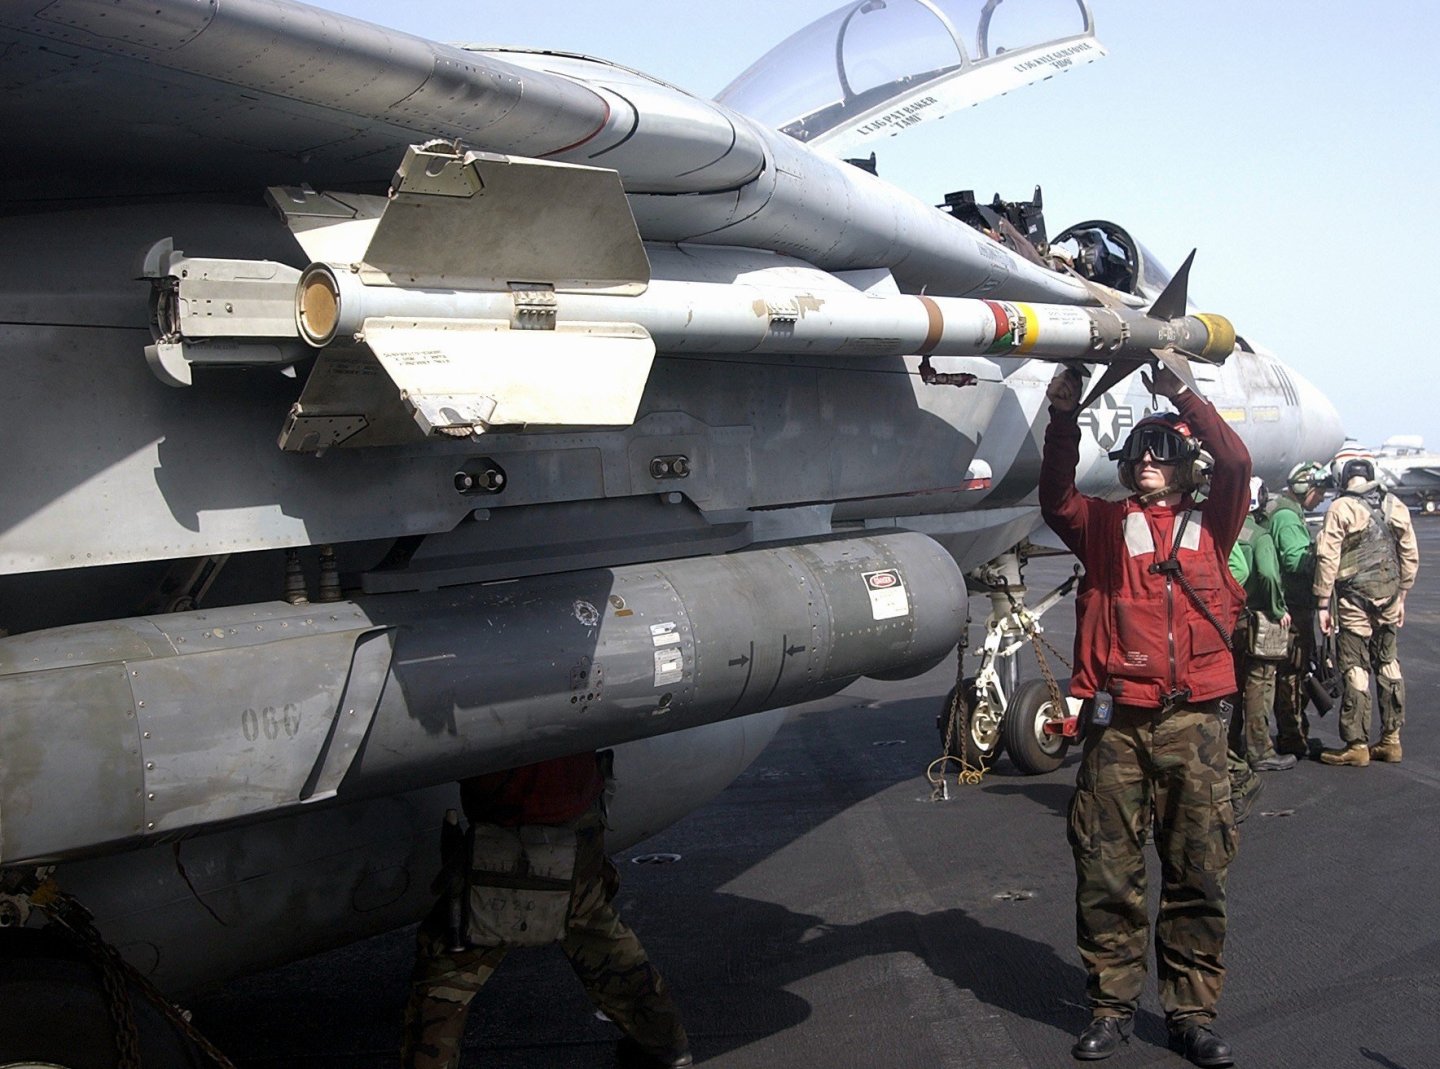
Thanks for the help, guys. After reading all that, I can safely say the kit provides WAY more ordnance than one can possibly use on this one kit. While all are slide molded, they are about as up to date and well detailed as any others I have in other kits. Remember the days when Hasegawa sold you a kit and you had to buy the ordnance separately? Today it's just the opposite with many companies. Half the kit parts count is ordnance. Not complaining, just sayin'... -
F-14D Super Tomcat by CDW - AMK - 1:48 Scale
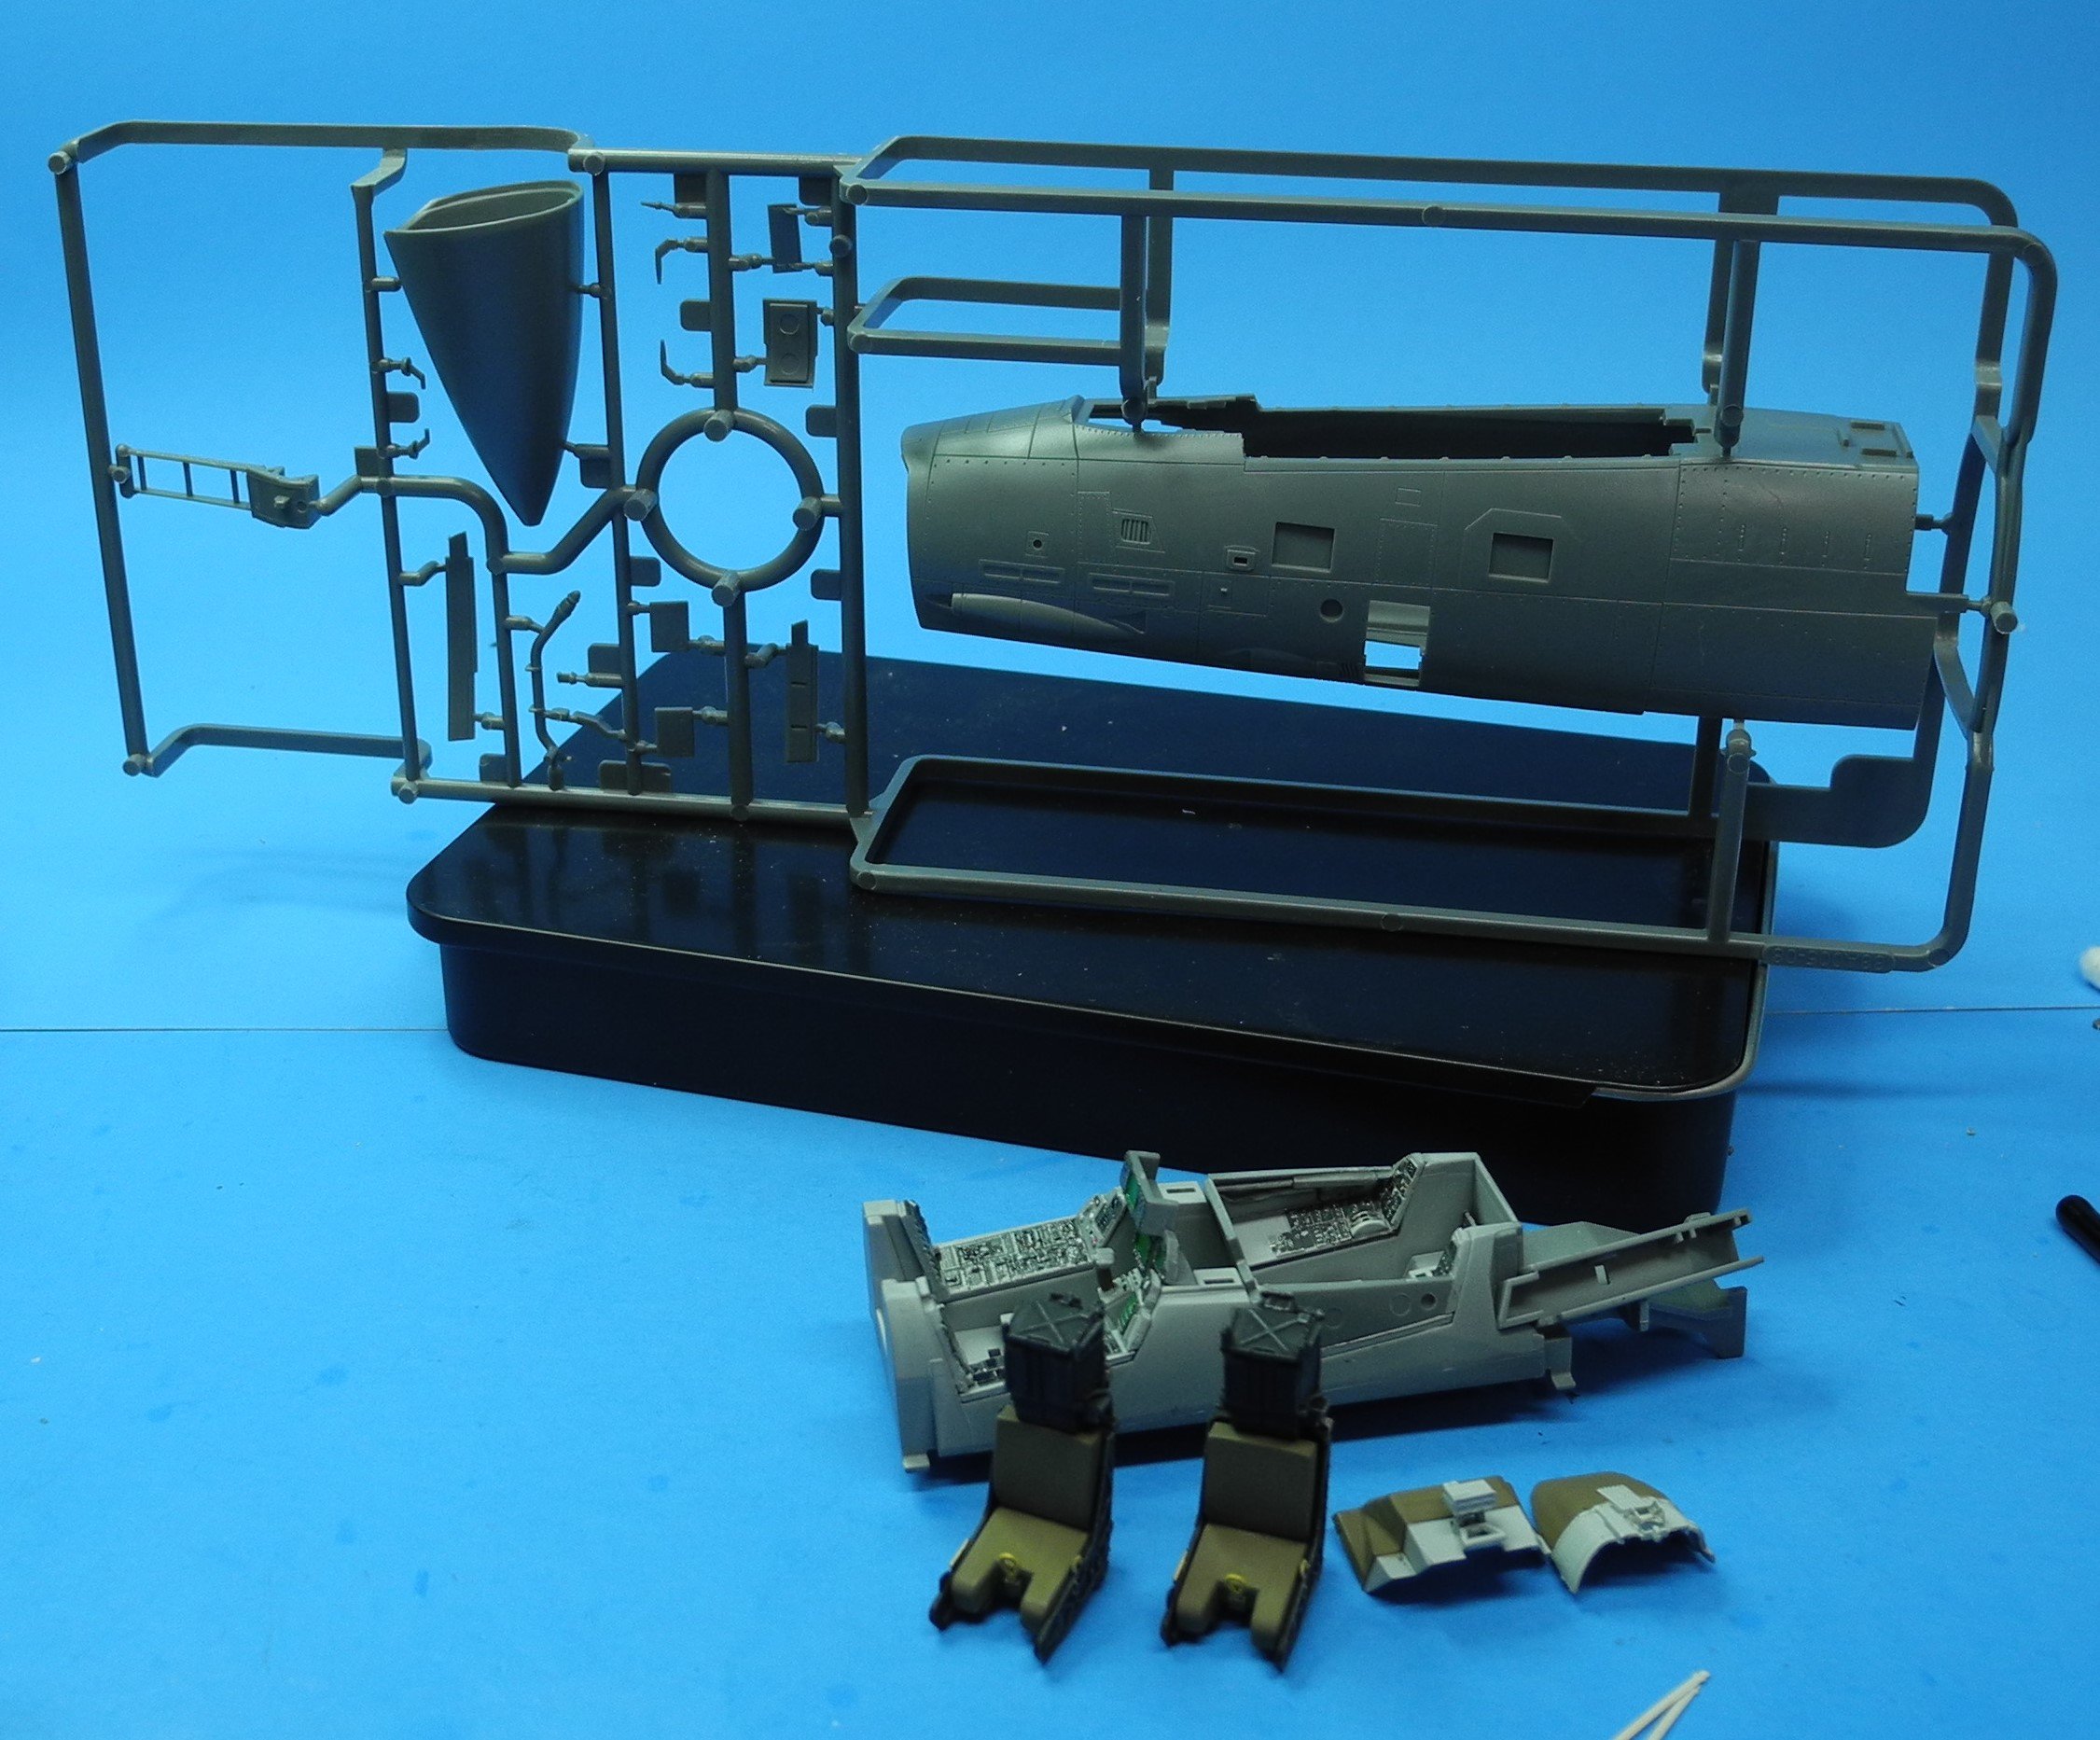
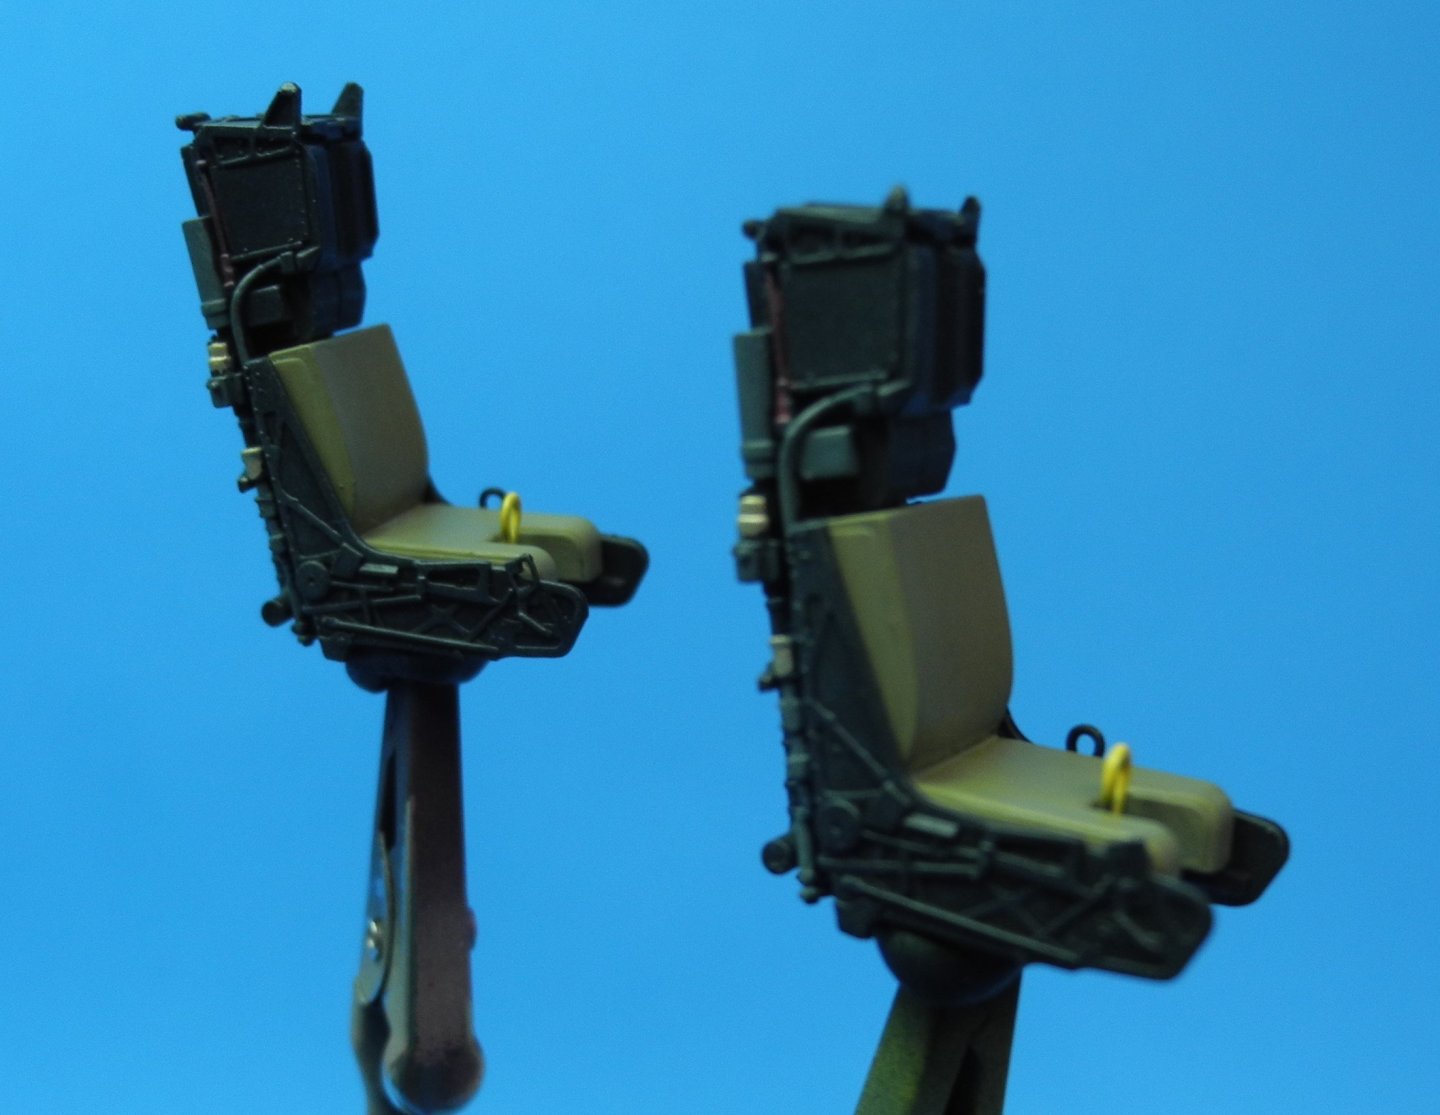
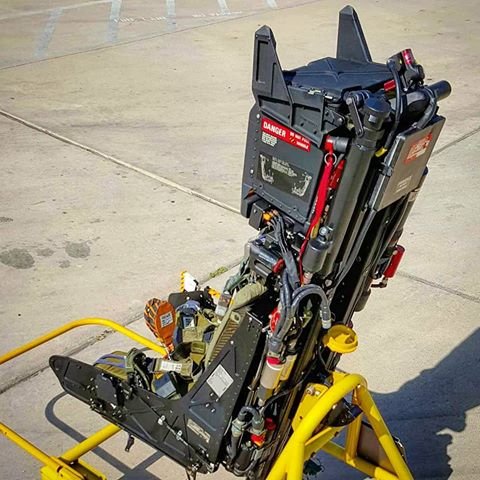
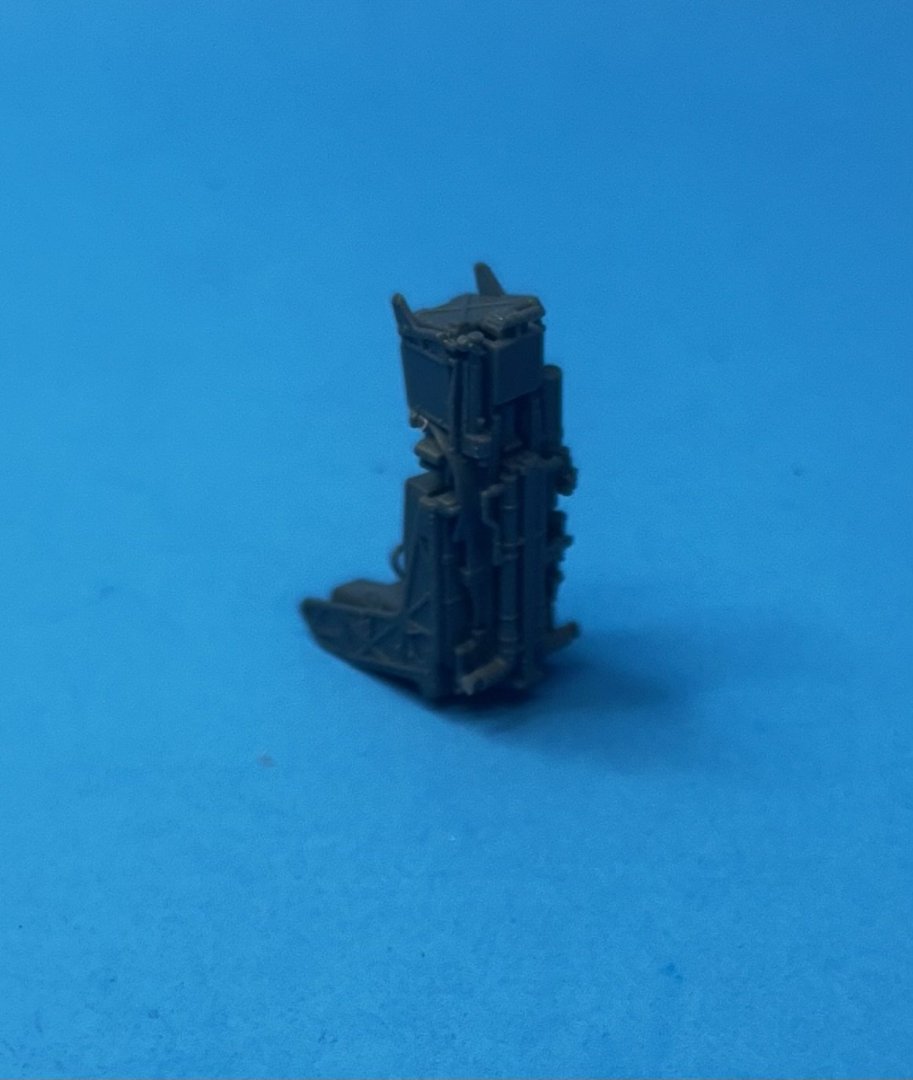
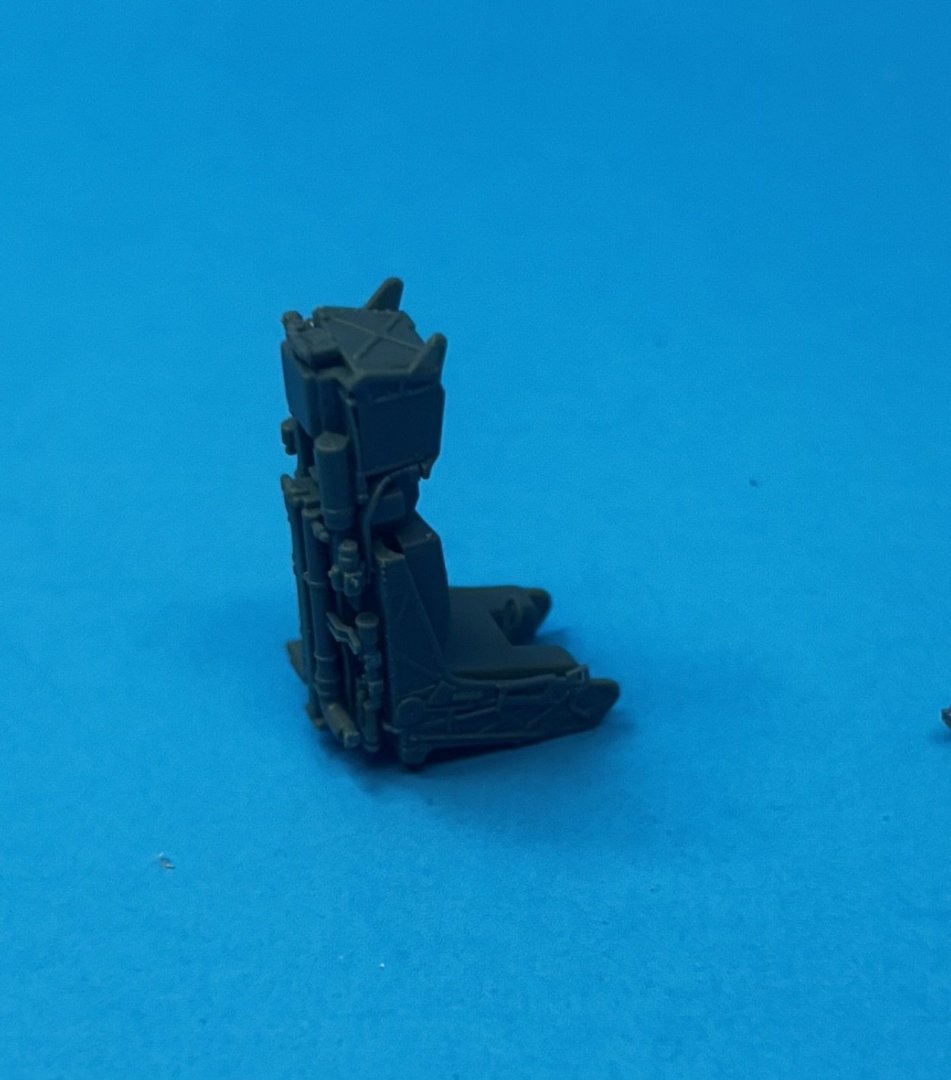
CDW replied to CDW's topic in Non-ship/categorised builds
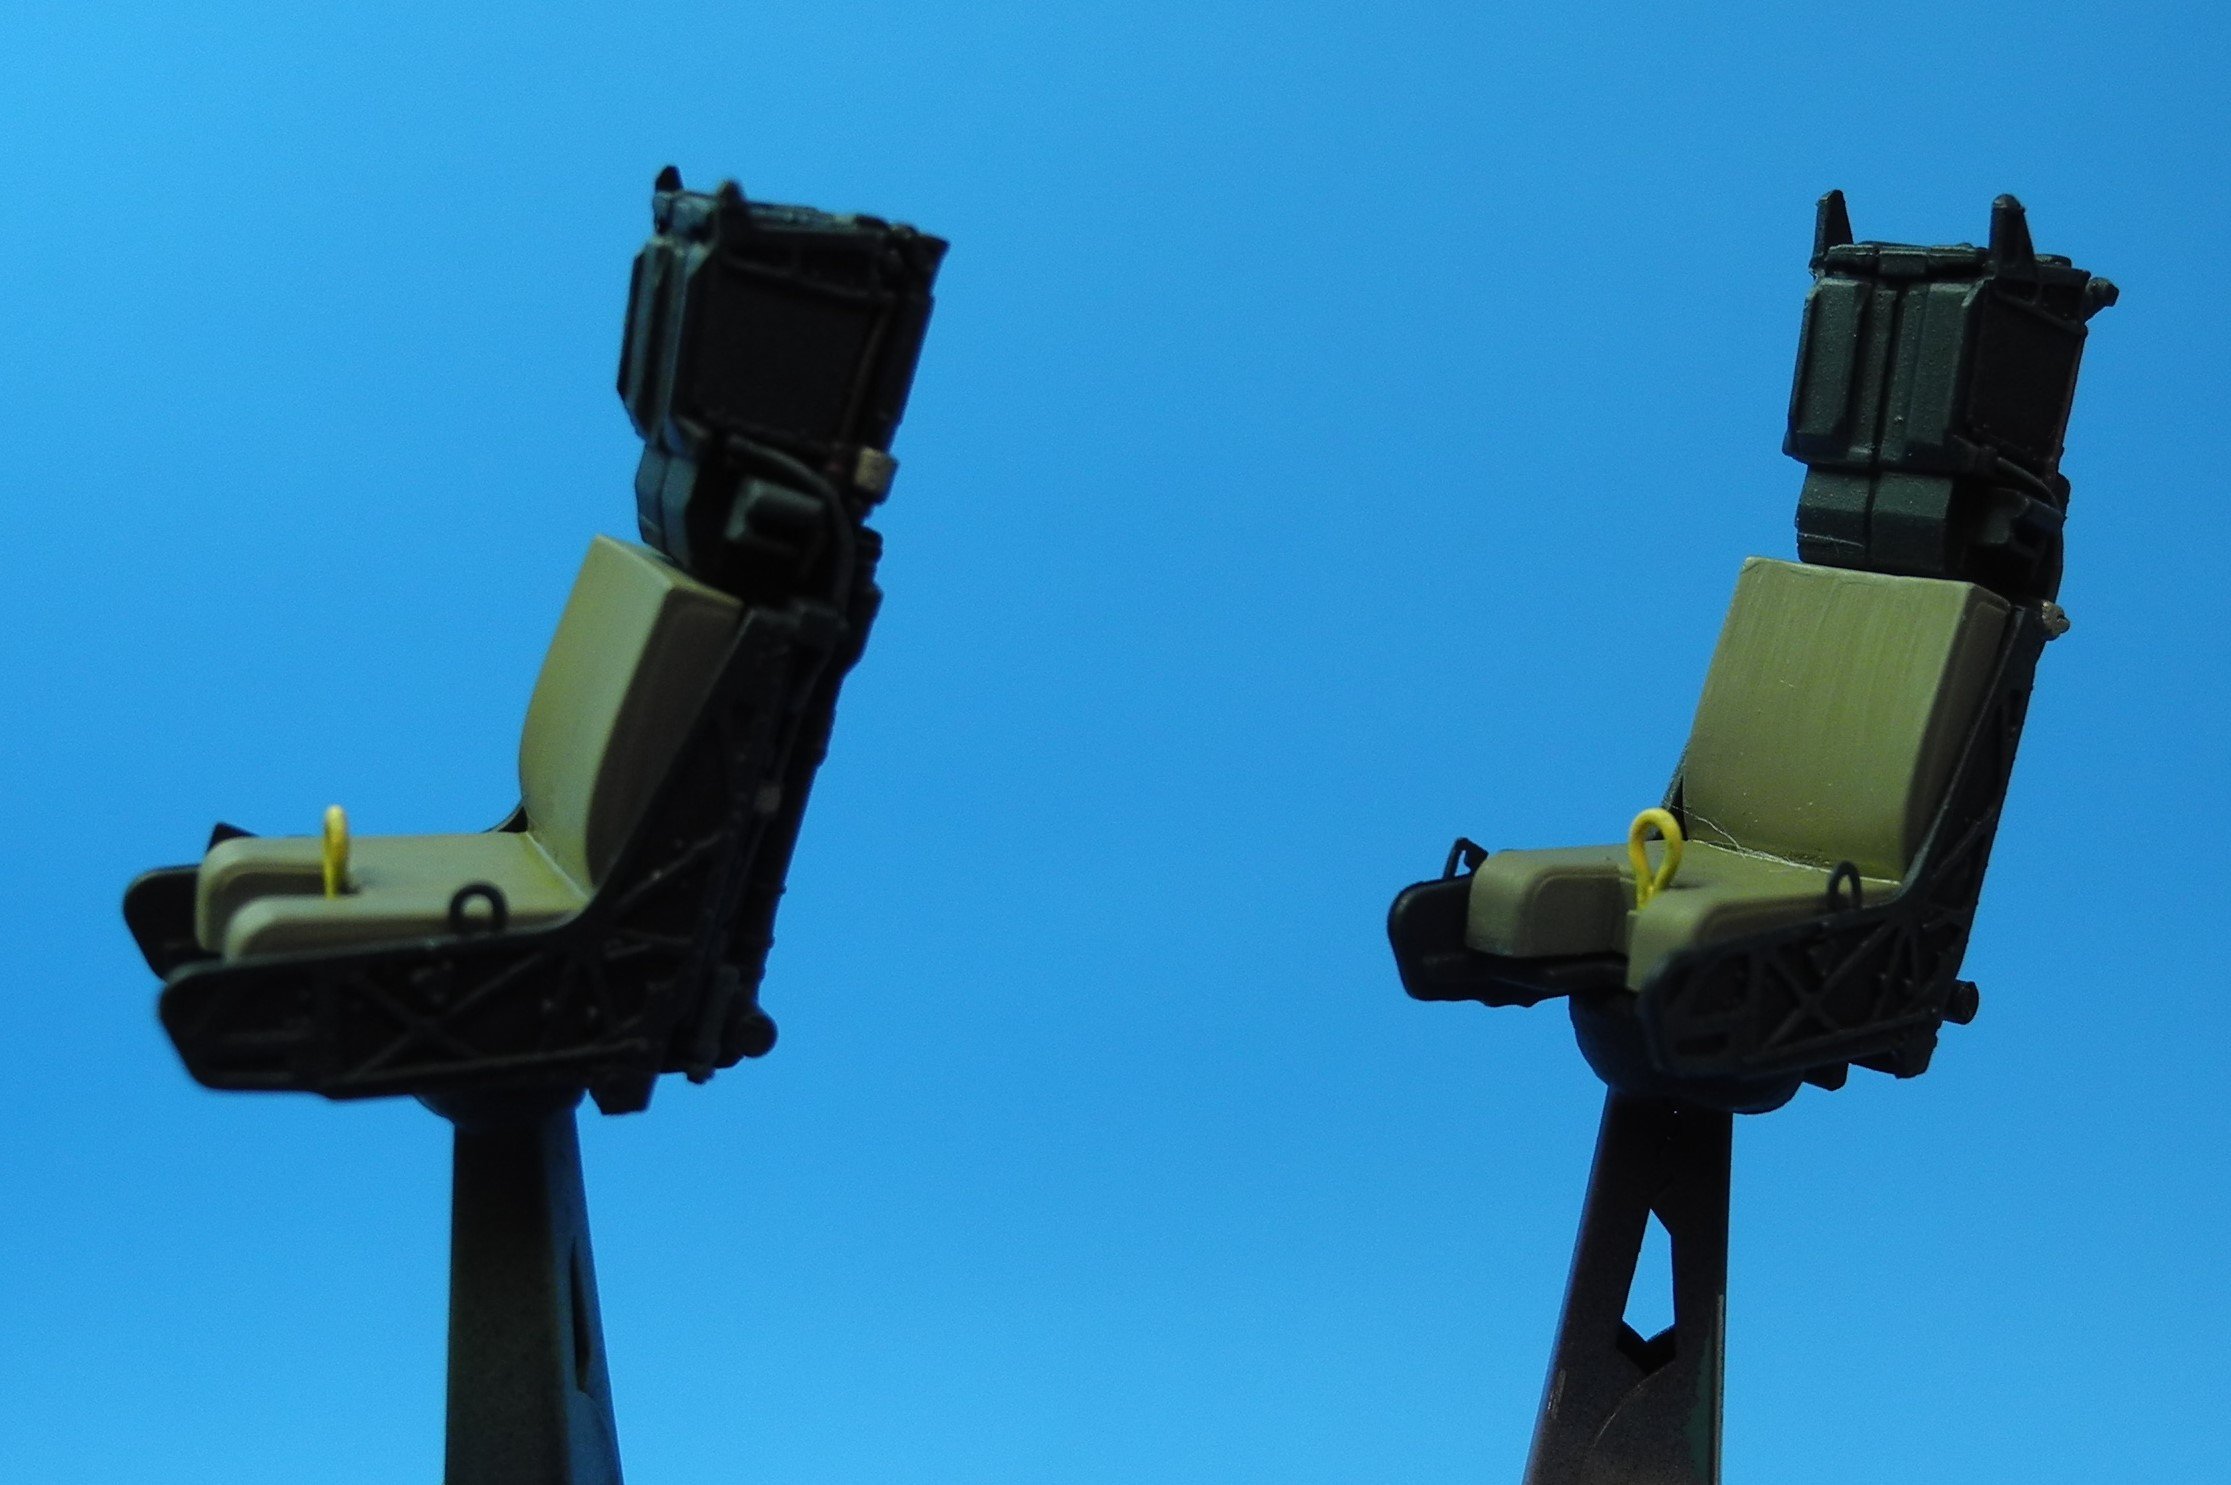
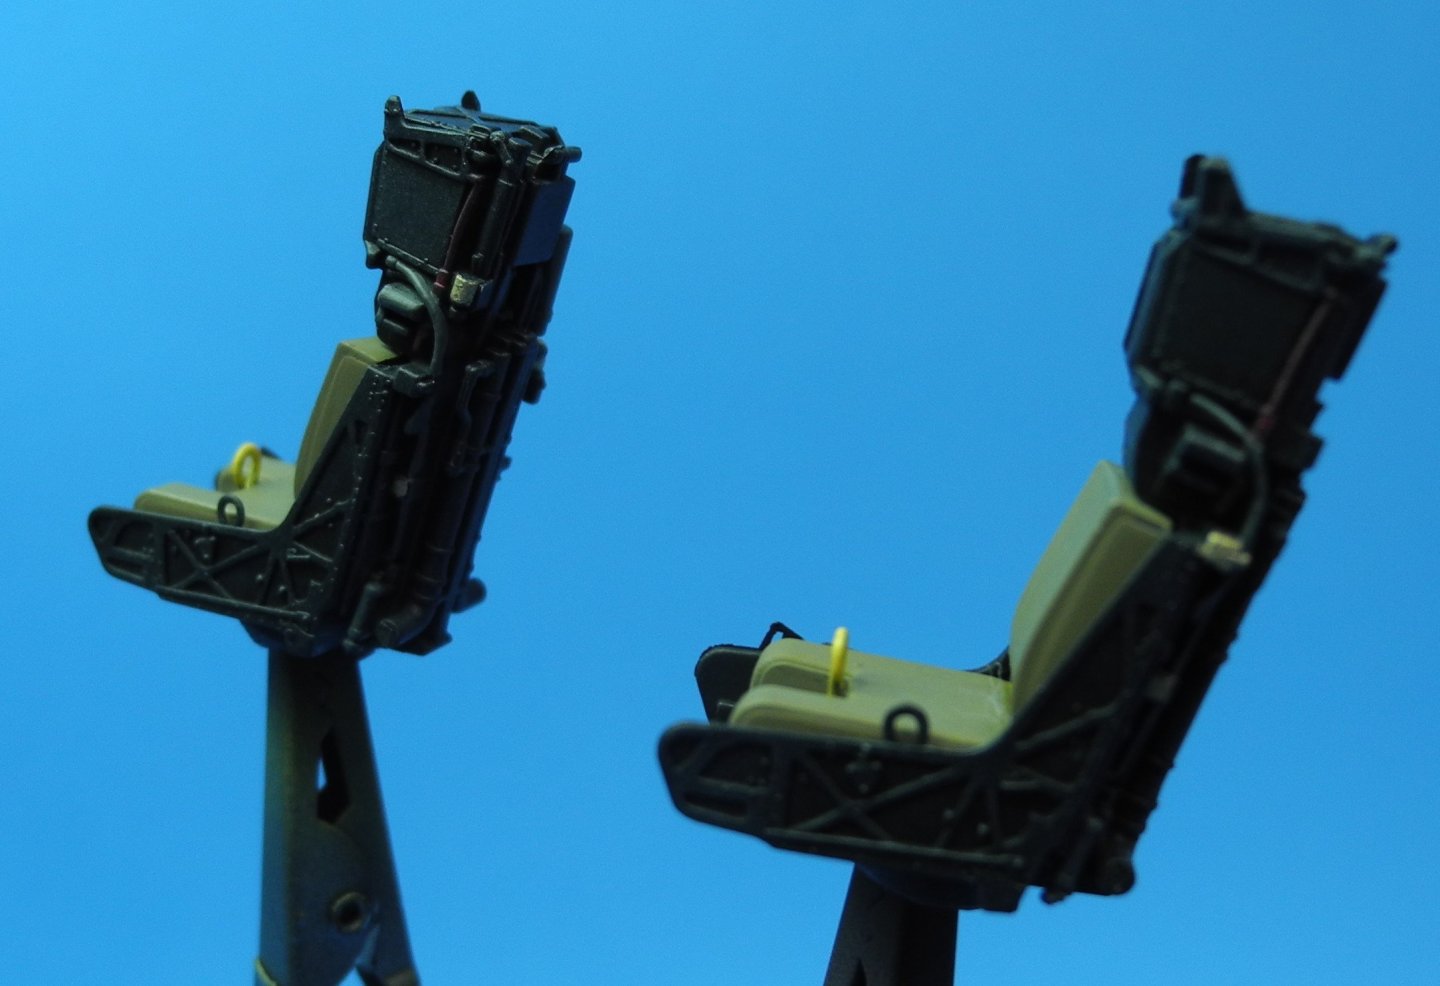
On the left is the assembled pilot seat, on the right, all the parts that make up the RIO seat. These seats build up as well detailed as any aftermarket seats I’ve bought in the past.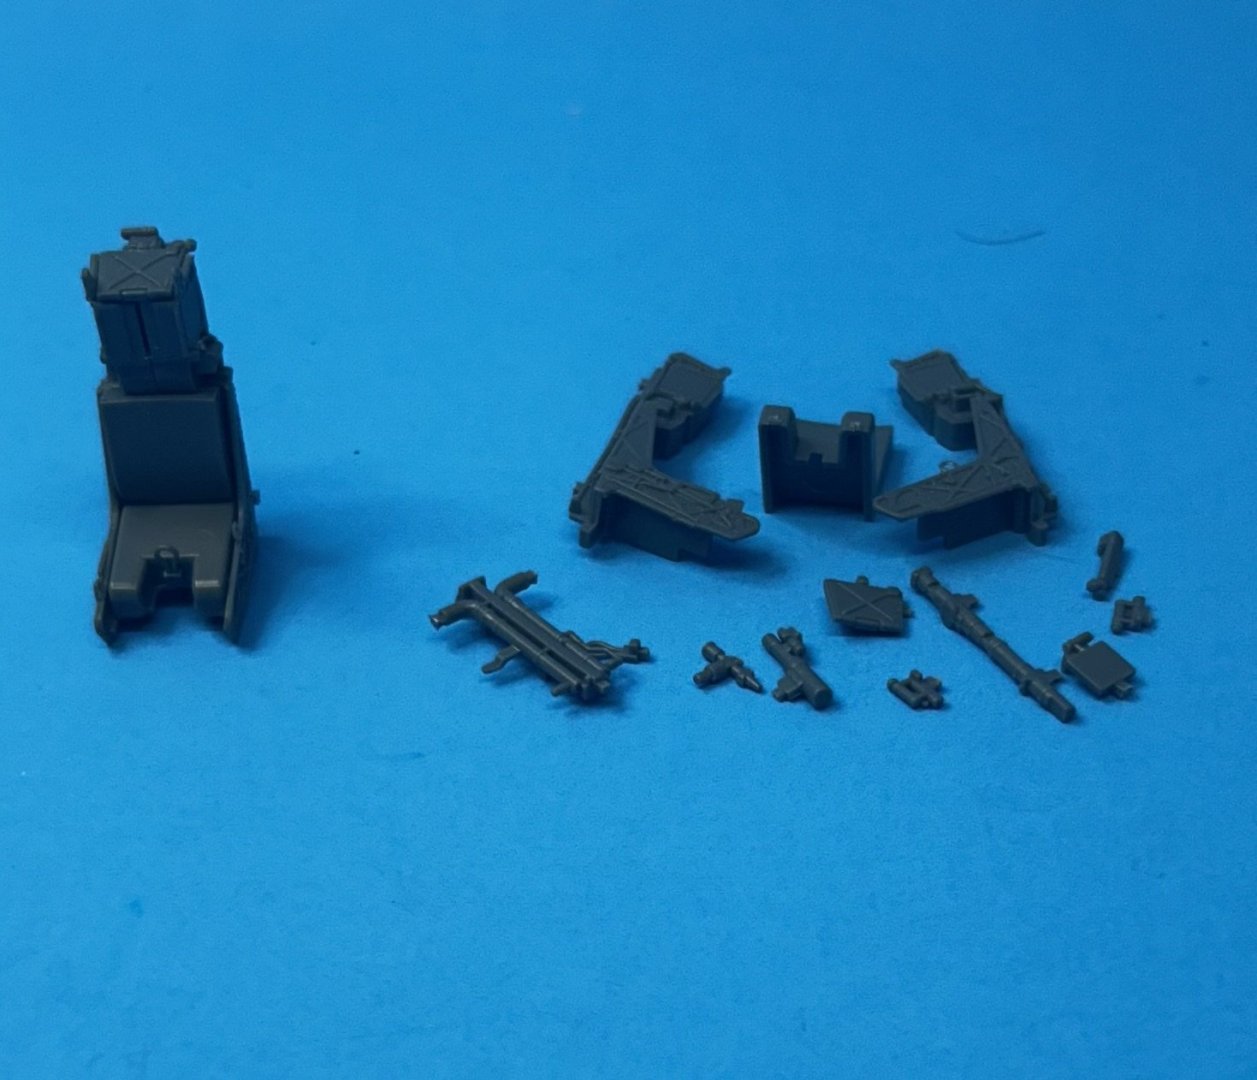
- 45 replies
-
- 12
-
-
F-14D Super Tomcat by CDW - AMK - 1:48 Scale
CDW replied to CDW's topic in Non-ship/categorised builds
I guess I stuck my foot in my mouth. I found this bag of seat harnesses buried inside the box along with everything else.
- 45 replies
-
- 10
-
-
F-14D Super Tomcat by CDW - AMK - 1:48 Scale
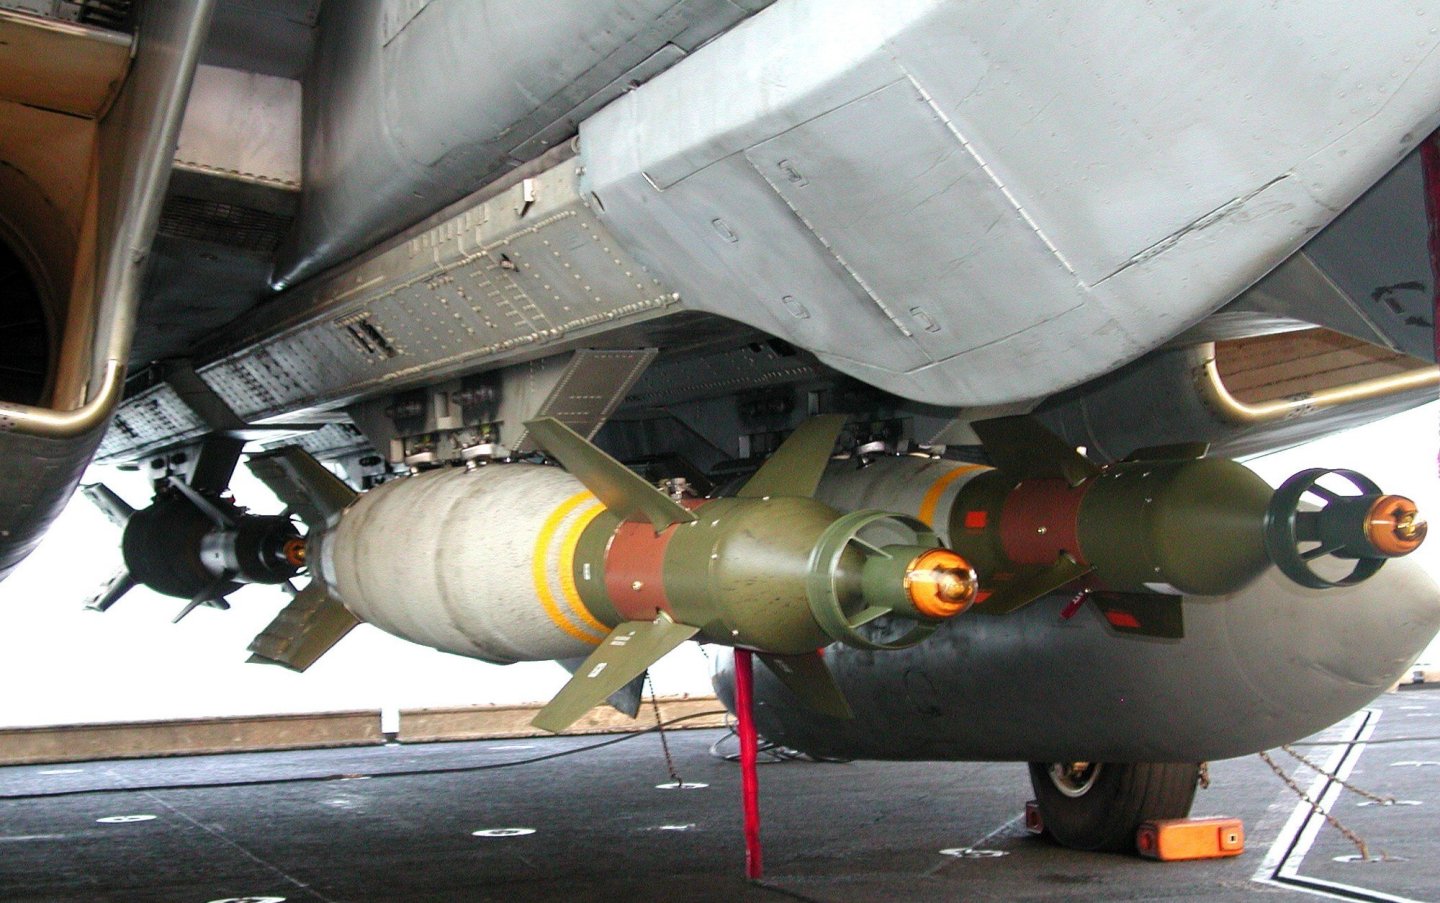
CDW replied to CDW's topic in Non-ship/categorised builds
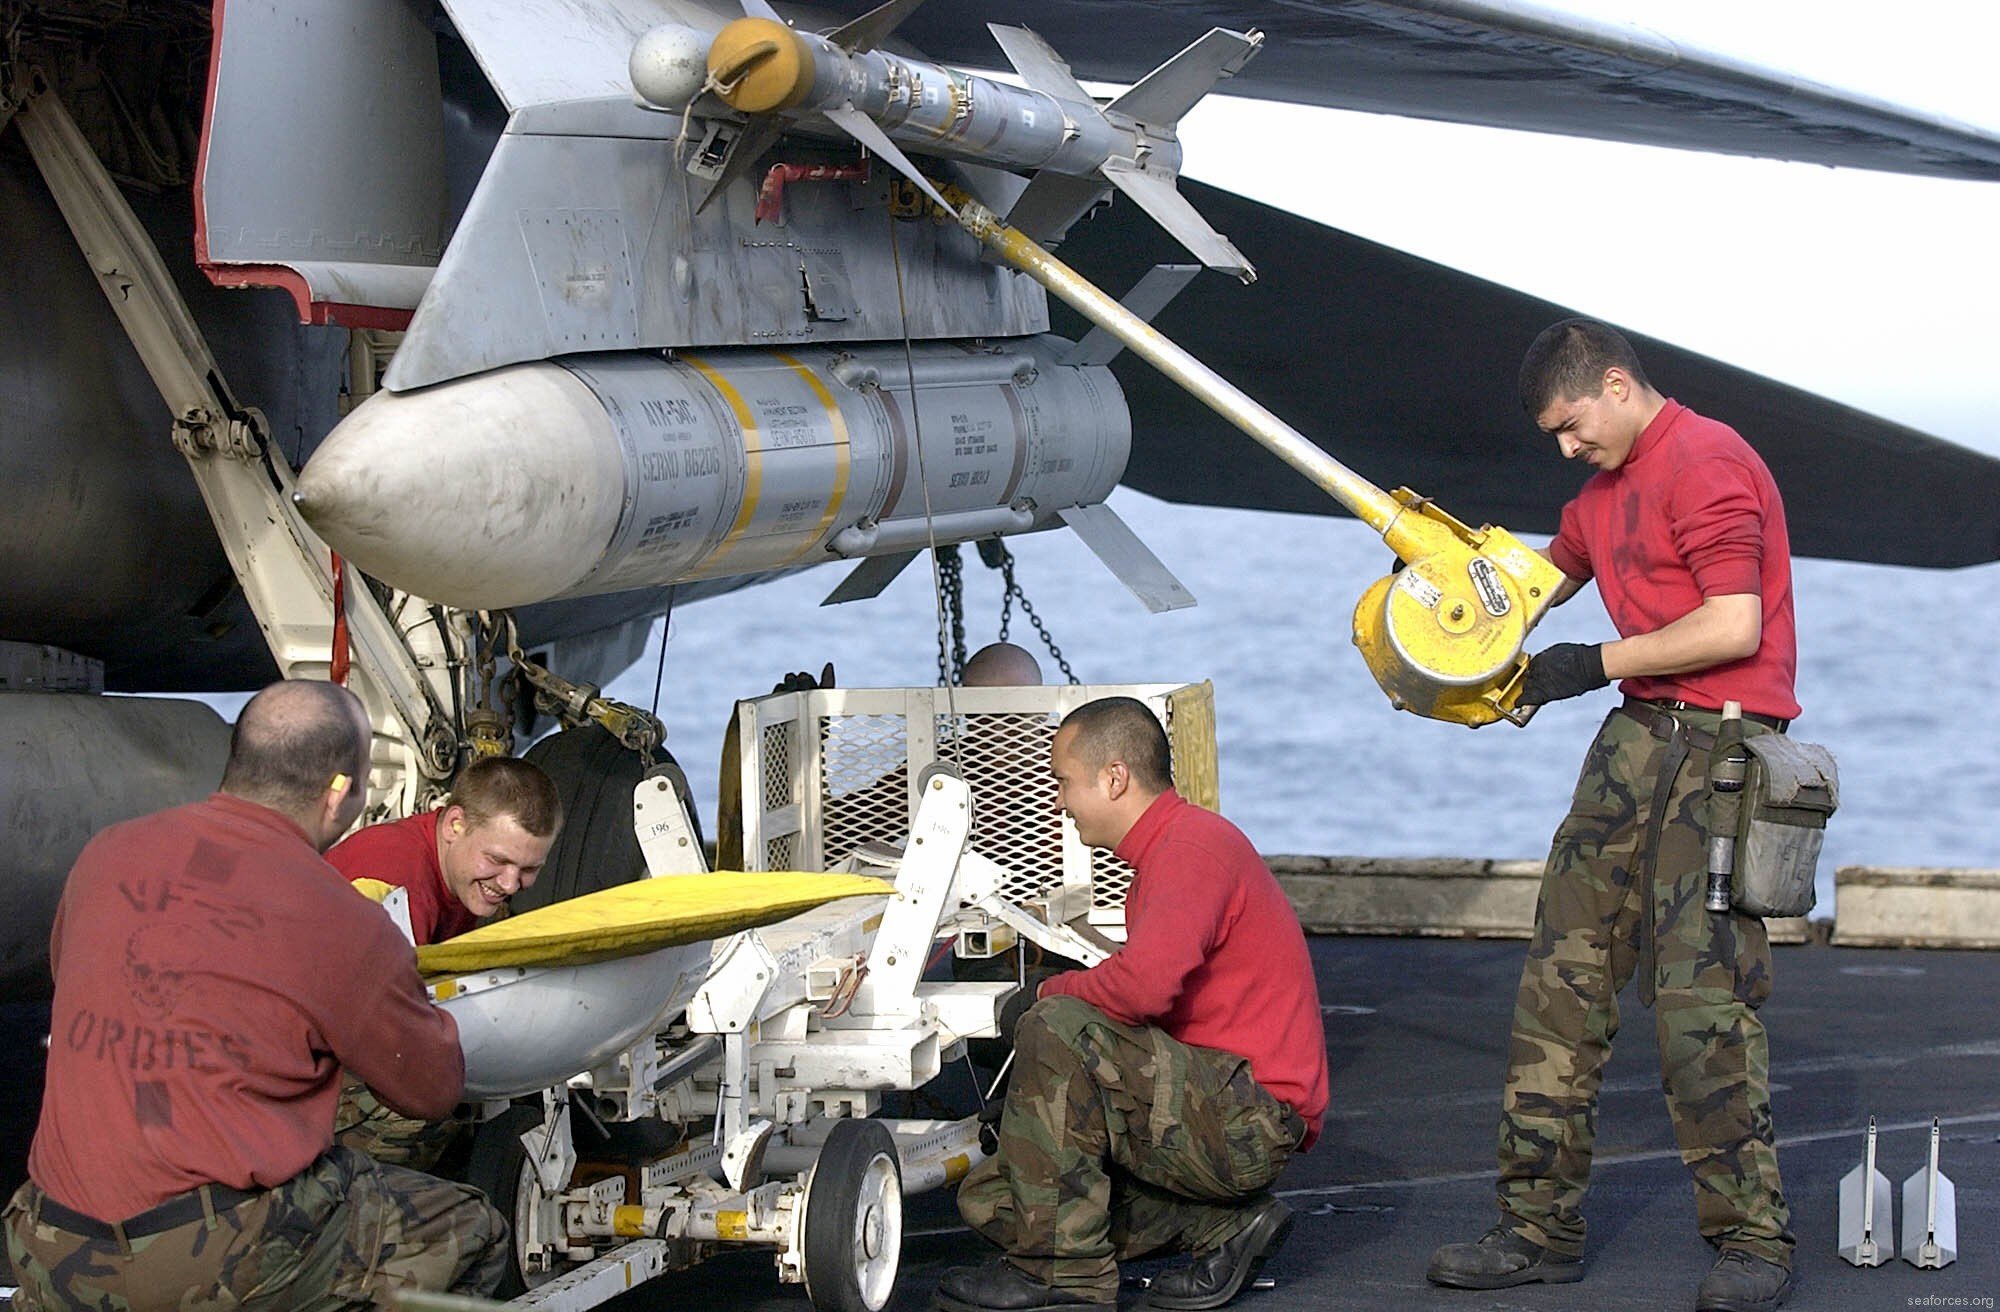
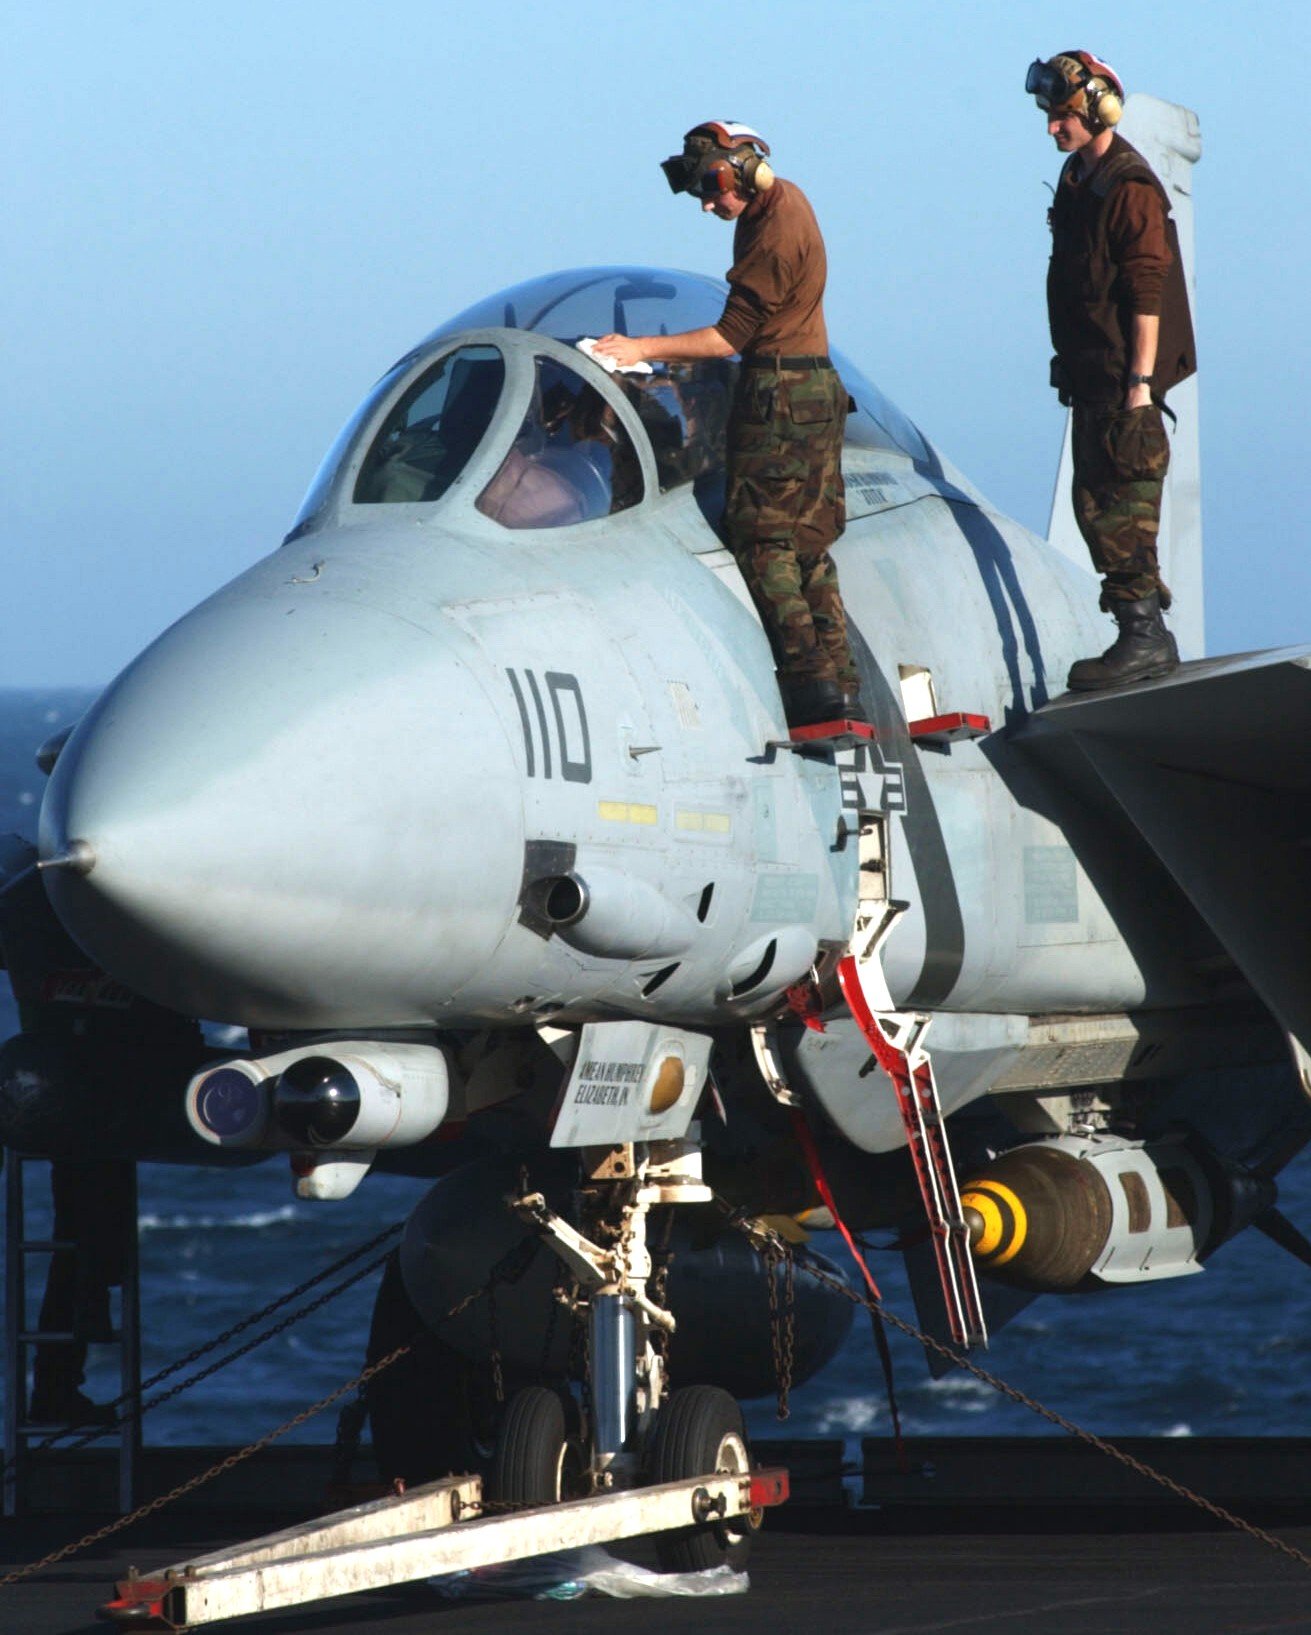
I am going to need to research reference material to determine an appropriate bomb cat load out. If any of you know about it or are aware of reference sources, please chime in. As well detailed as this kit is, I am disappointed that seat harnesses were not included. Maybe I’ll rob the figures from my Tamiya tomcat in lieu of harnesses.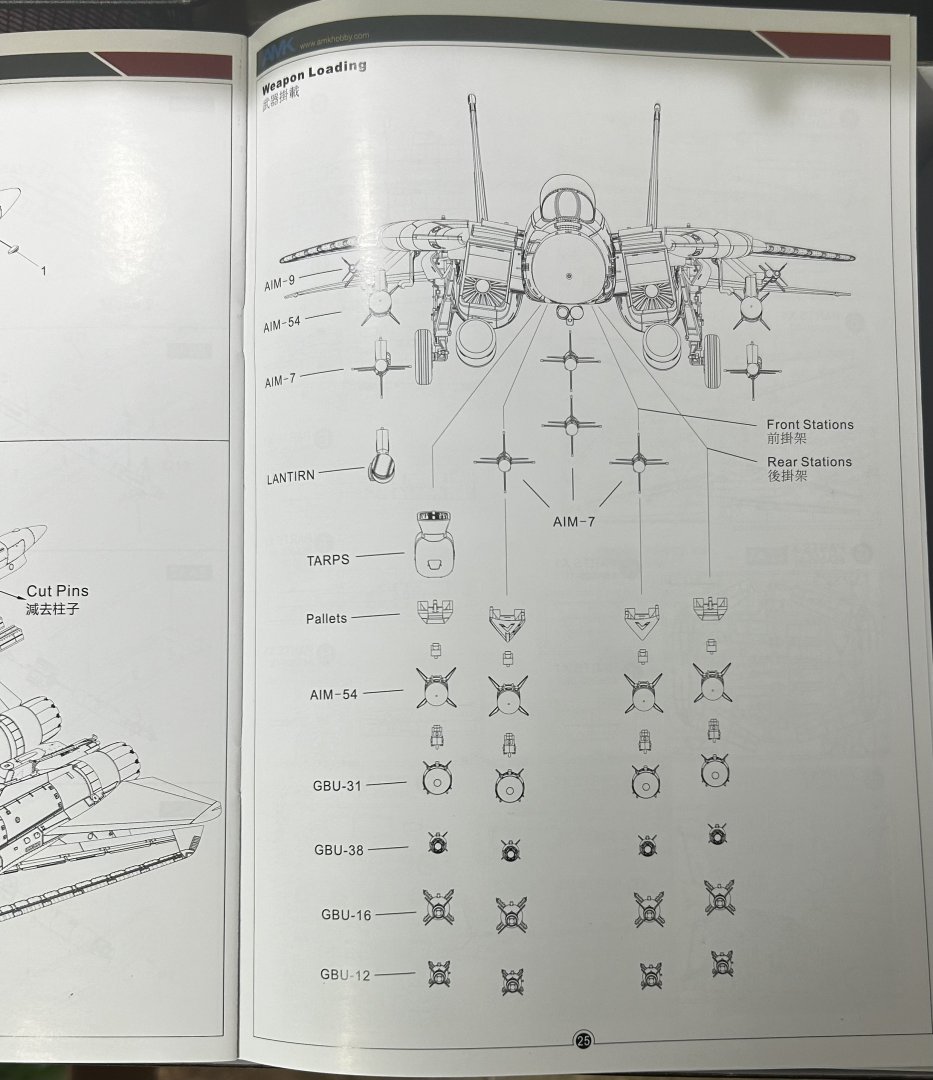
- 45 replies
-
- 10
-
-
F-14D Super Tomcat by CDW - AMK - 1:48 Scale
CDW replied to CDW's topic in Non-ship/categorised builds
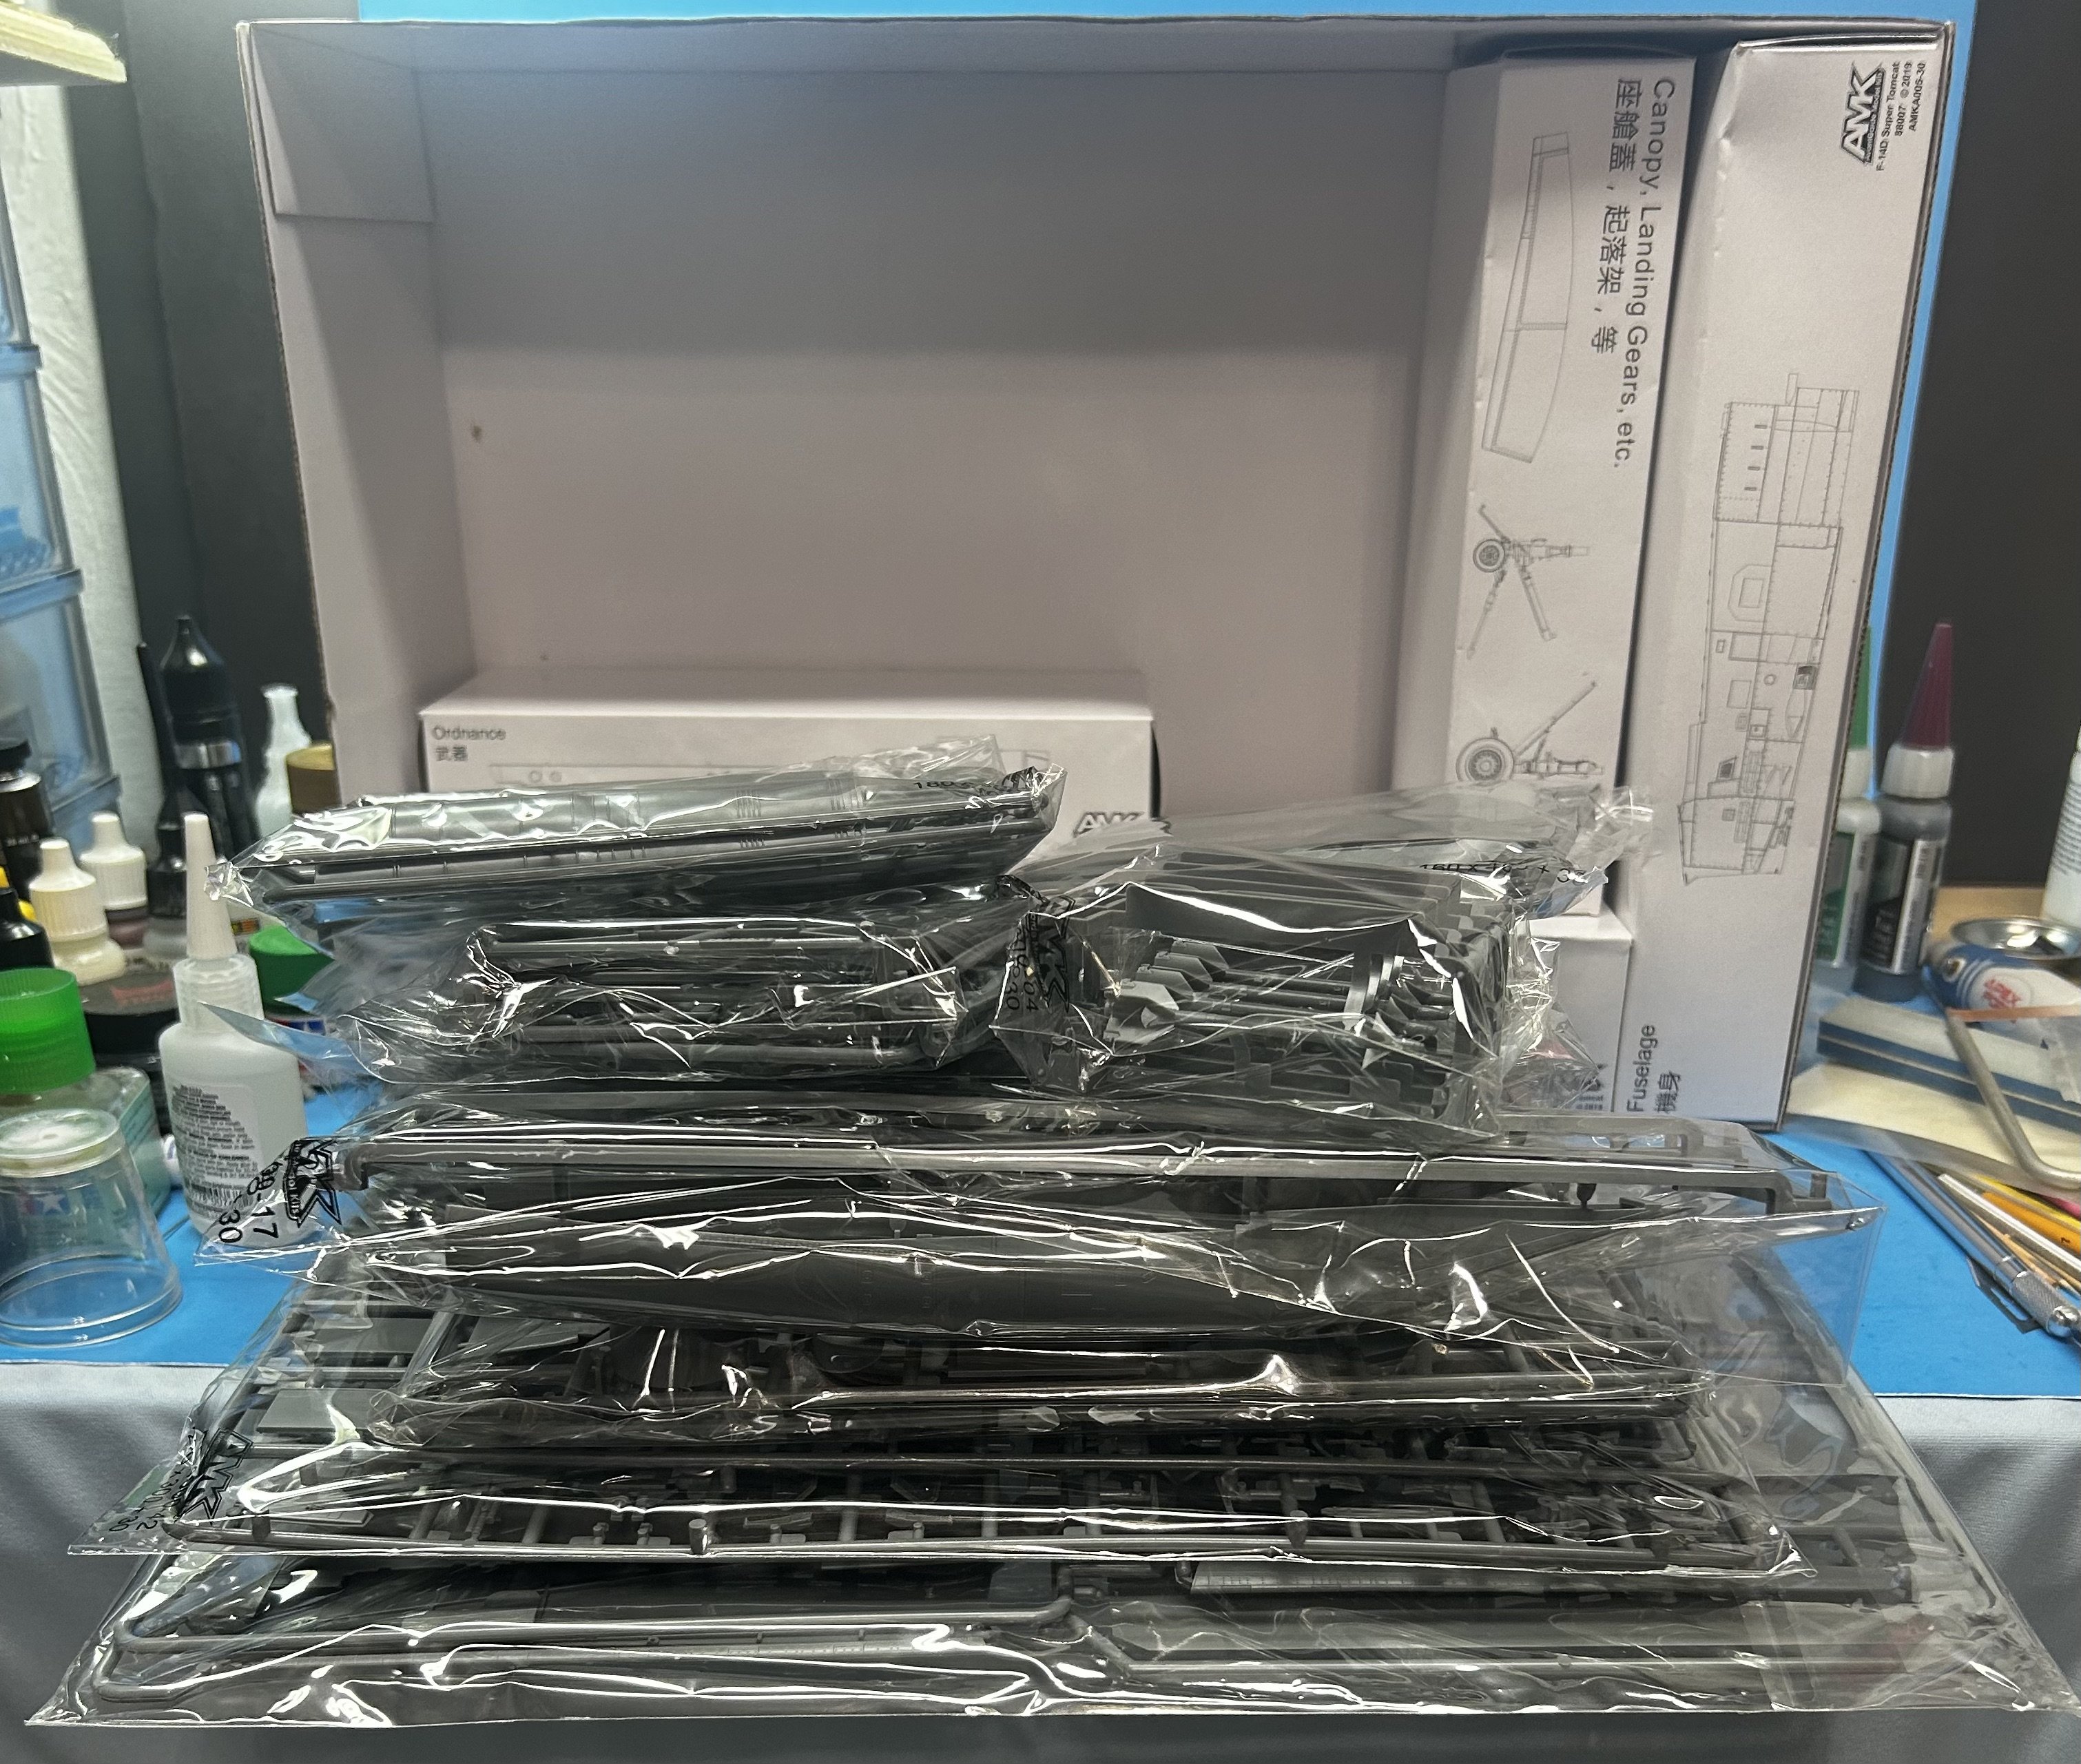
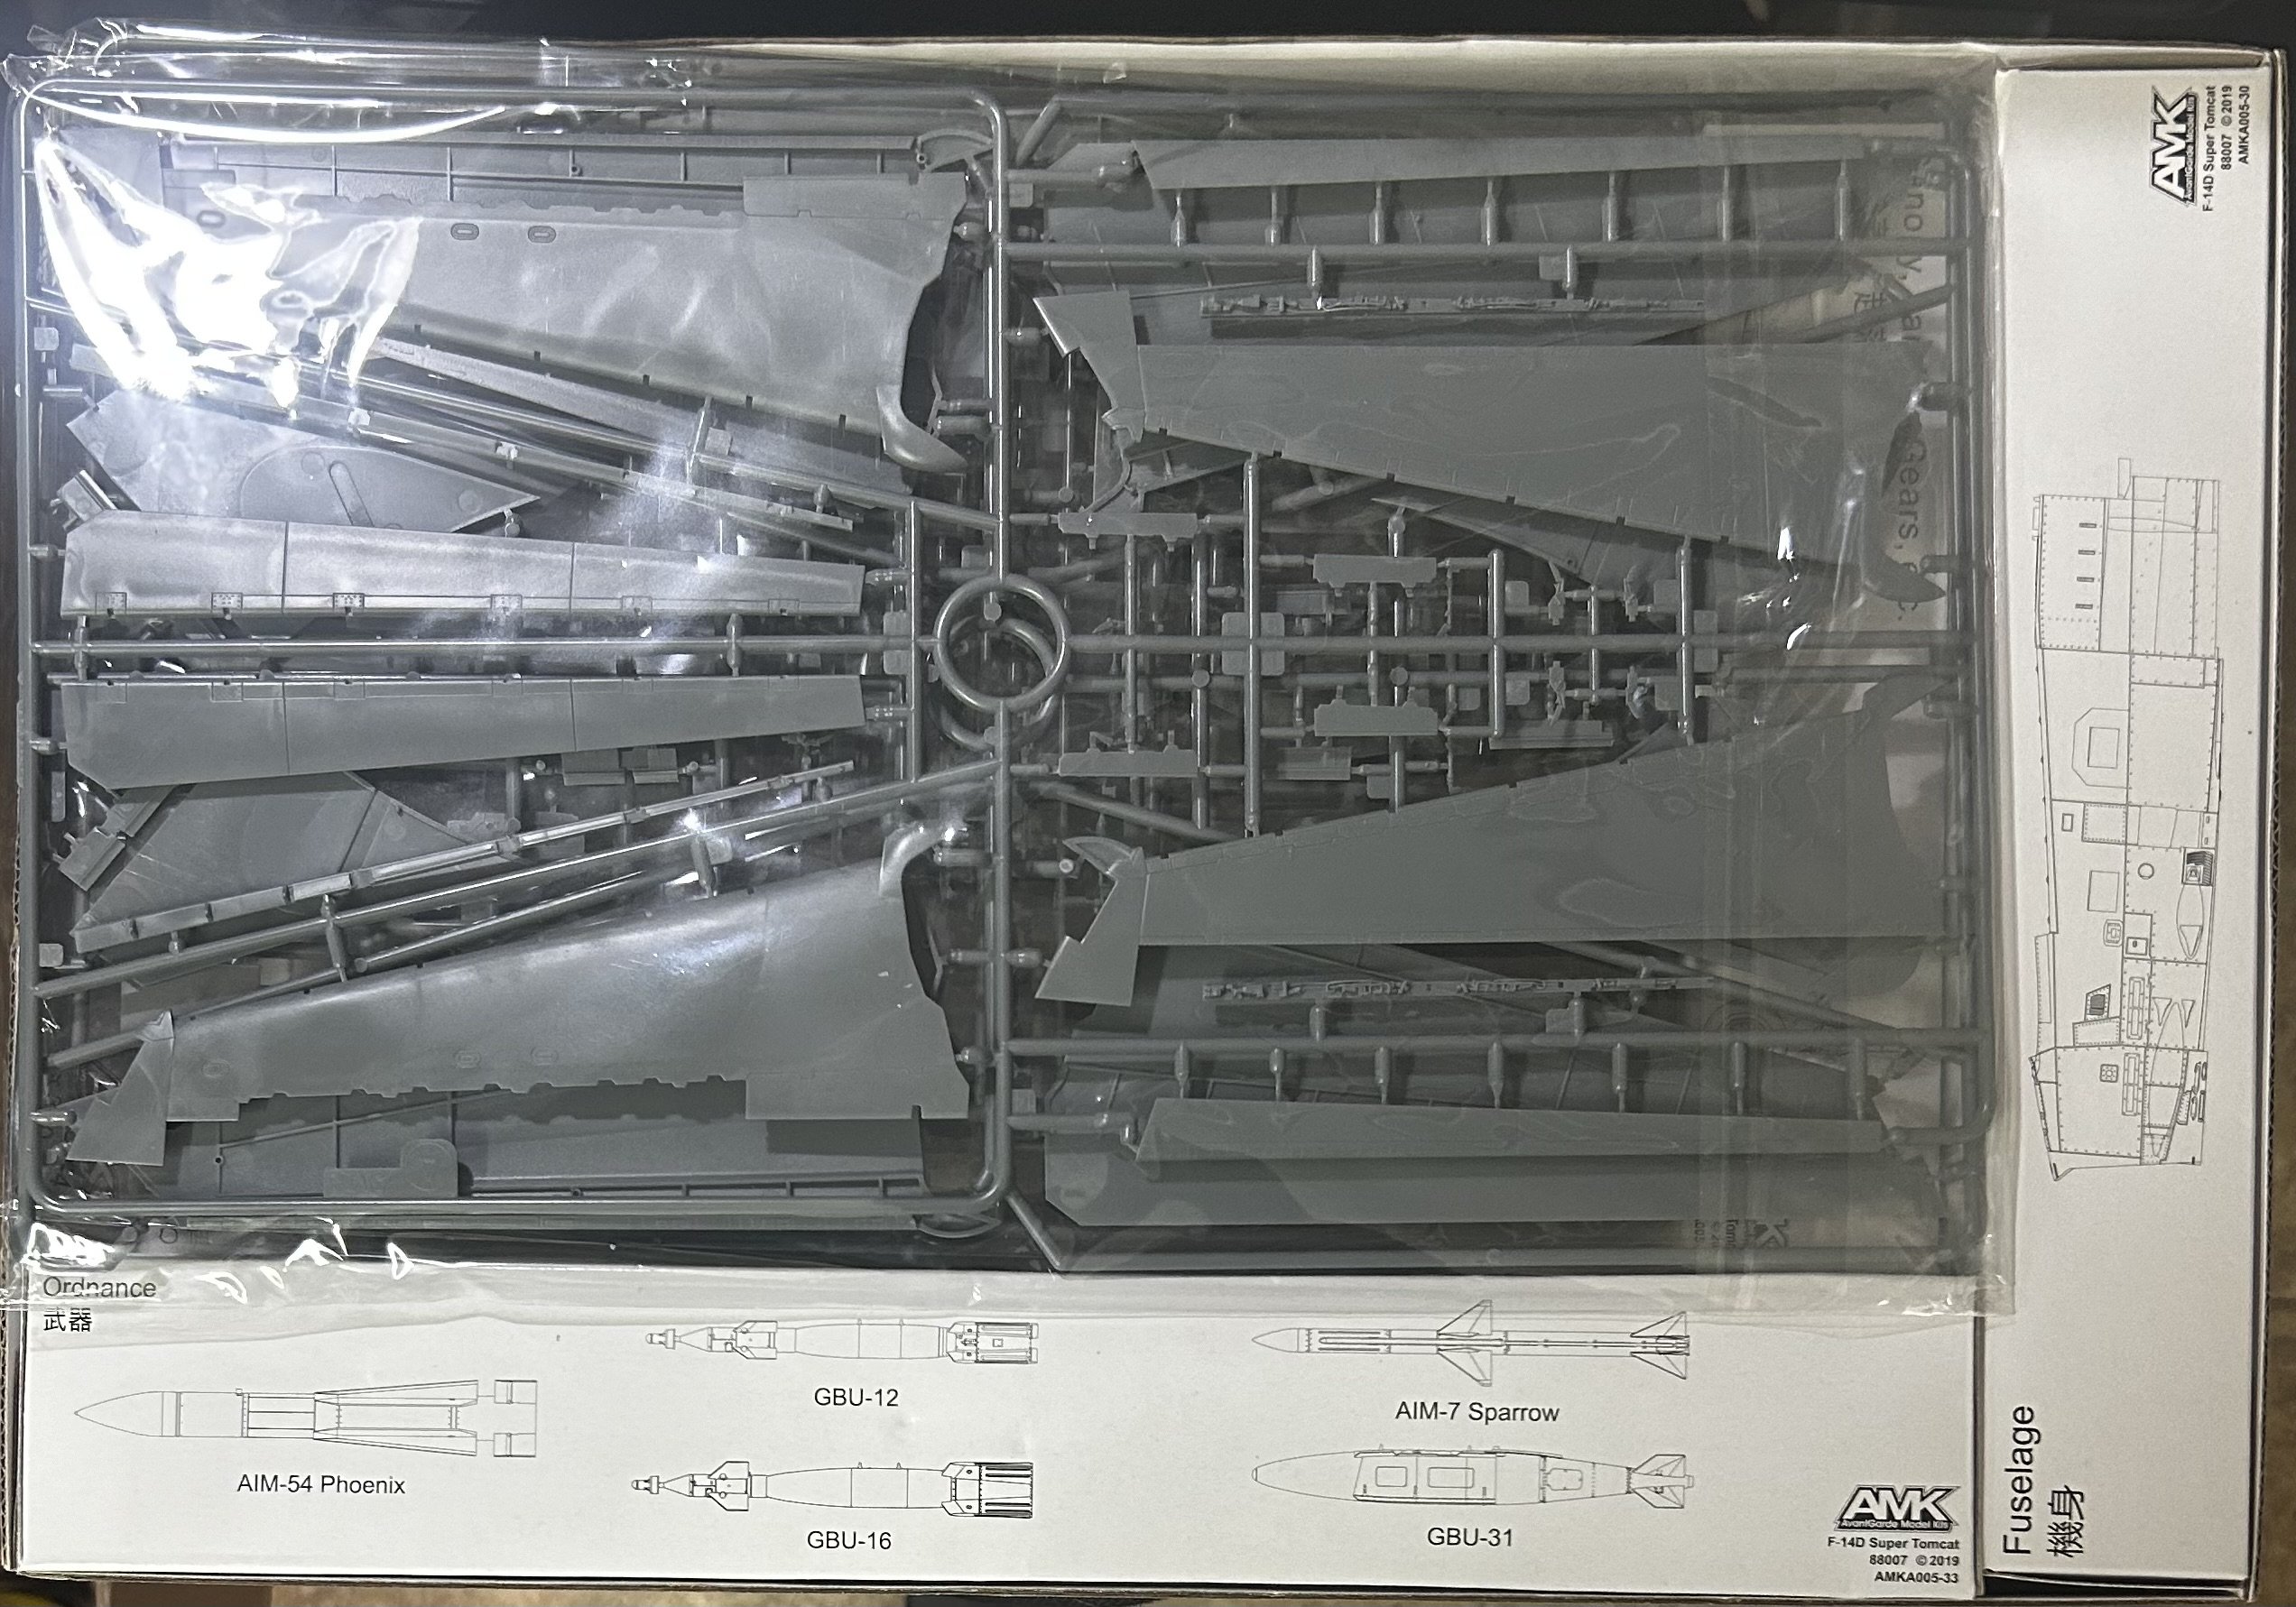
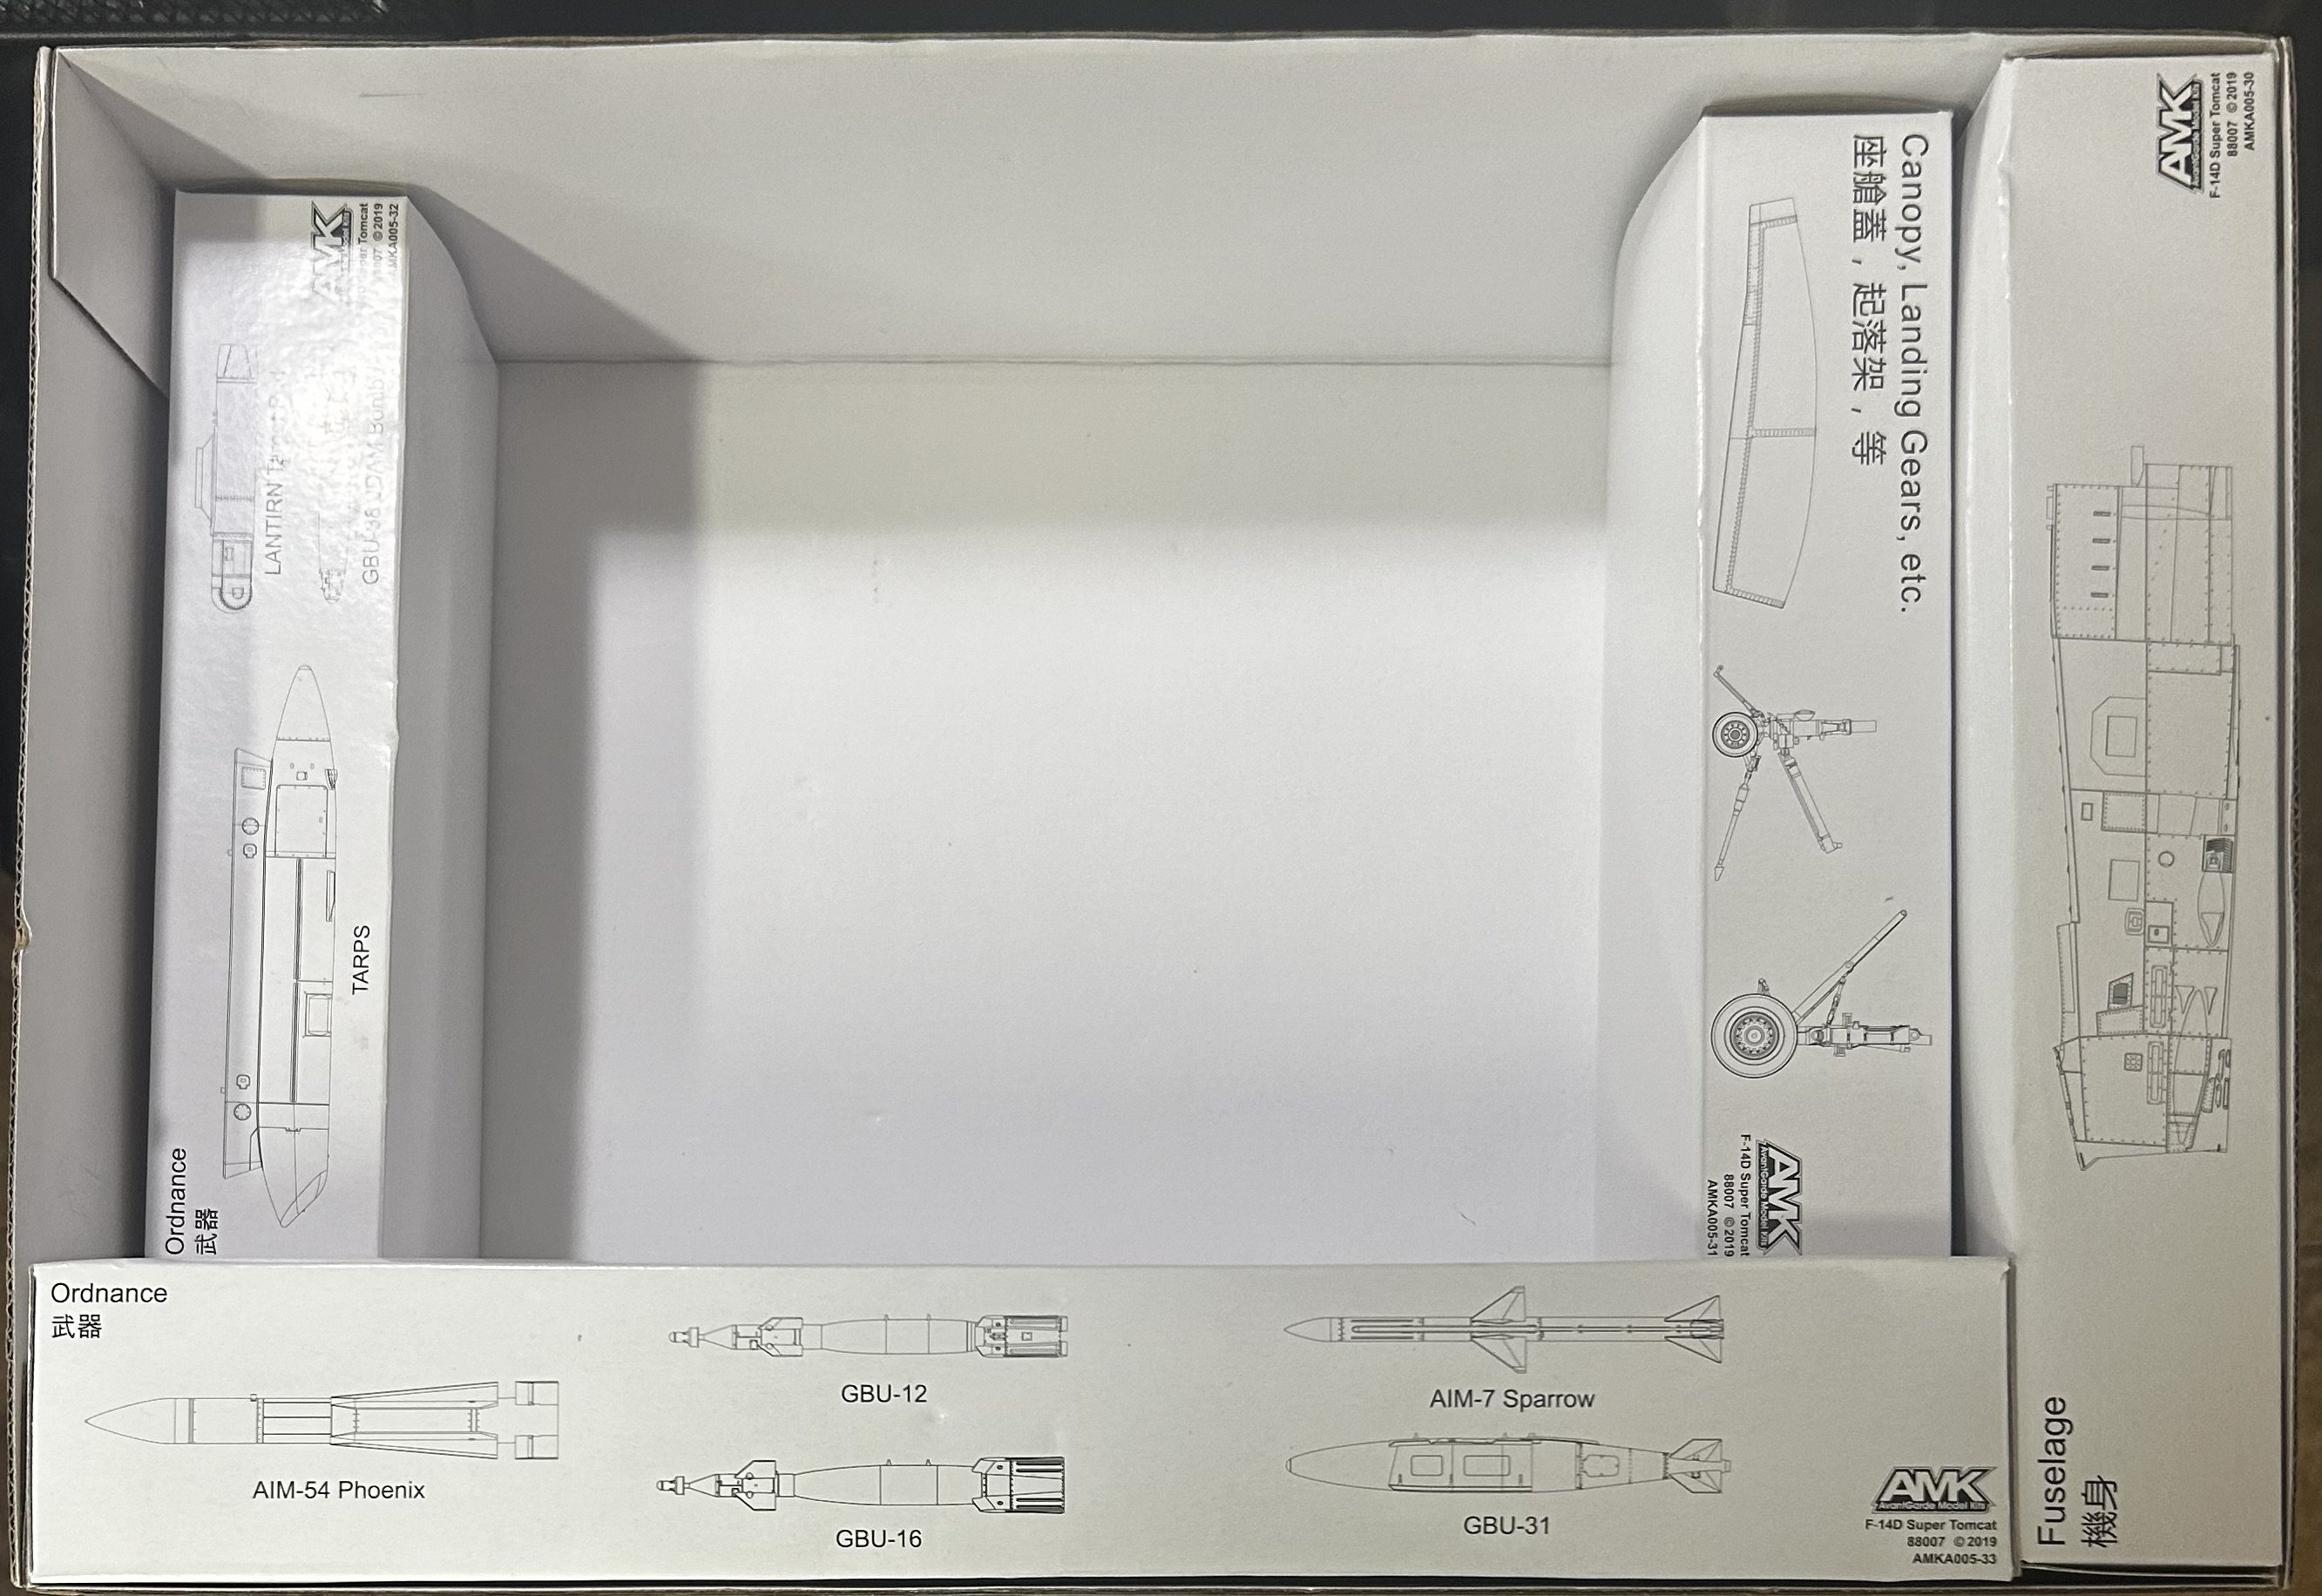
It required some very clever thinking to get all of this plastic organized into one smallish box. Once removed, it won’t be easy to get it all back inside if possible at all. I like the way they separately boxed up certain fragile pieces. There’s a ton of plastic trees in the box with much of it being ordnance.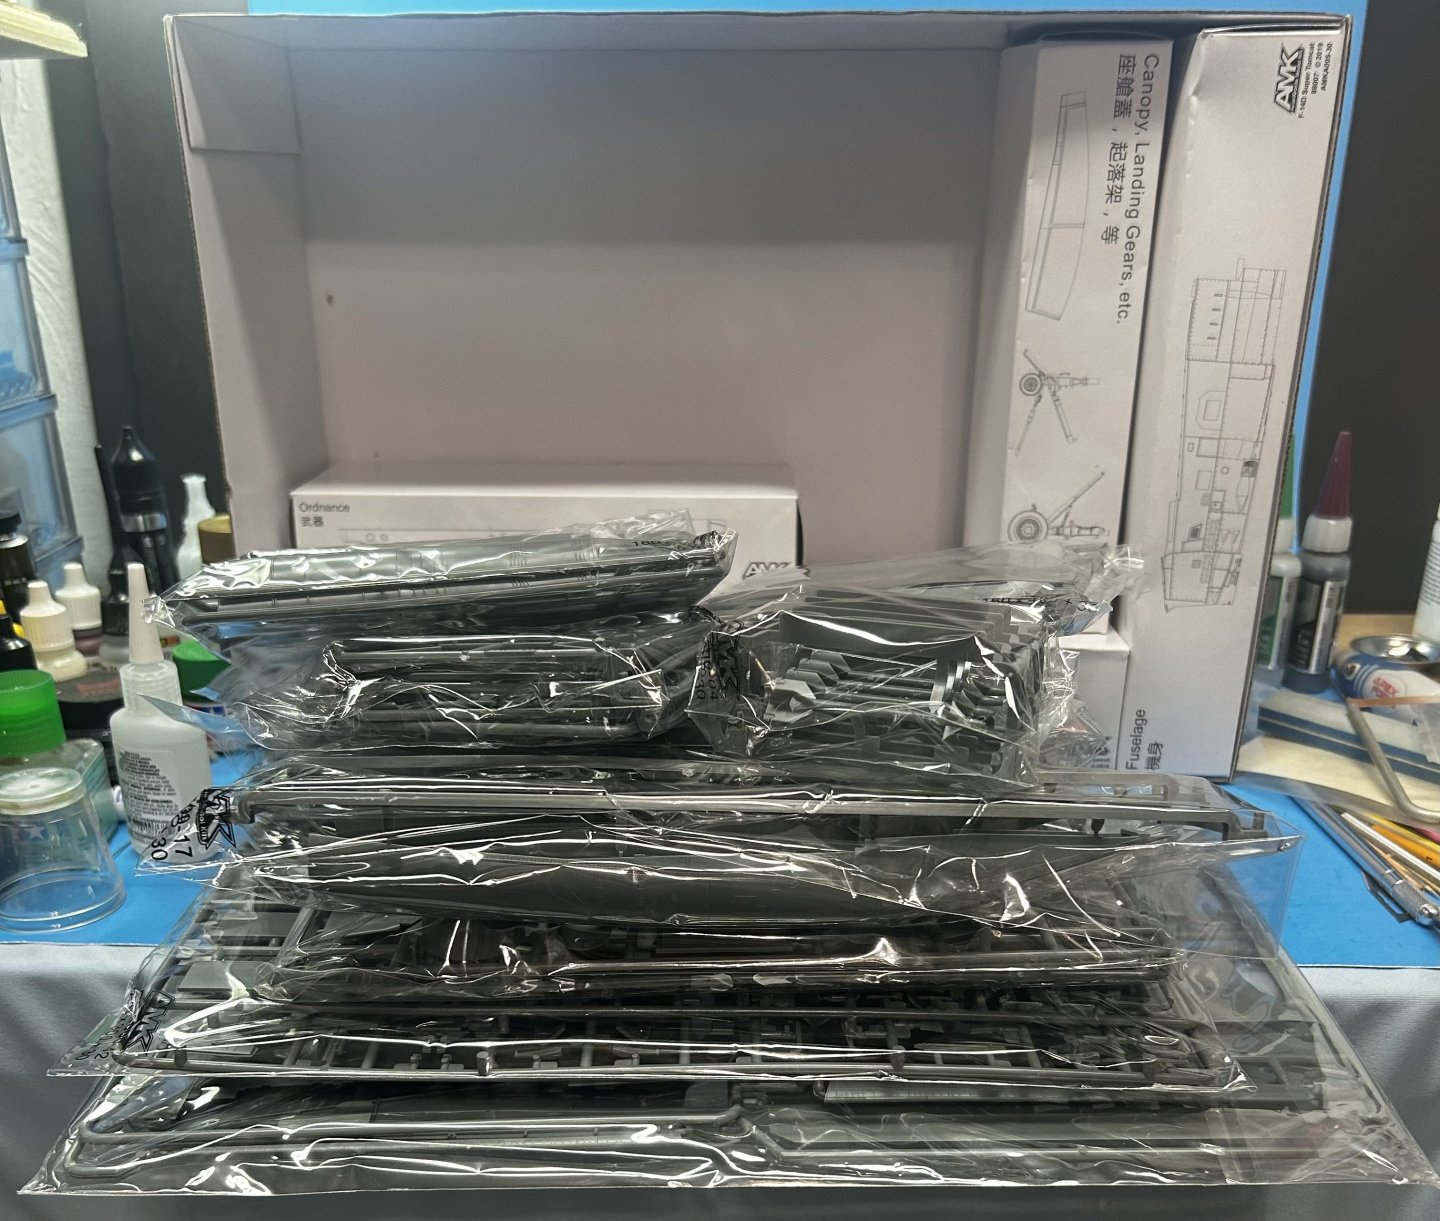


- 45 replies
-
- 13
-
-
Ferrari Dino 246gt by gsdpic - FINISHED - Fujimi - 1/24th scale
CDW replied to gsdpic's topic in Non-ship/categorised builds
Are you talking about the air vents at the top side/rear of the doors? The 288 GTO has some vents almost identical to those. The main thing is, you want those "tubes" that fit on the back side of the body to give the appearance of being an intake tube when viewed from outside the body. You could probably use some short pieces of Plastruct tube to make a pair if you must. You just need something that hides any view of daylight beyond the opening. You won't see them from the bottom when it's all together.
- 35 replies
-
- 11
-
-