-
Posts
7,730 -
Joined
-
Last visited
Content Type
Profiles
Forums
Gallery
Events
Everything posted by CDW
-

1966 Buick Riviera by CDW - FINISHED - AMT - 1:25 Scale
CDW replied to CDW's topic in Non-ship/categorised builds
When Buick came out with the 455, it was a first...first thin wall engine block technology. A major leap forward as it lowered the weight of the engine to around 200 pounds lighter than the Chevy 454, and only 25 pounds more than the small block Chevy 350 engine! Gobs of torque, over 500 ft pounds and over 400 horsepower straight from the showroom floor. As an old street rod enthusiast, you just can't beat torque for a fun, stop light to stop in a light street rod. The 455 had an almost perfect combination of bore to stroke and being so light, The stock cylinder heads were awesome, too. Its demise was the Fed's requirement for low octane fuel, the engine didn't stay in production very long. I bought a complete engine from a junk yard and stuffed it in my 1969 Chevelle. It was an easy fit as the block was no larger than the Chevy 396 which Chevelle ran in the SS models. -

1966 Buick Riviera by CDW - FINISHED - AMT - 1:25 Scale
CDW replied to CDW's topic in Non-ship/categorised builds
1966 was the last year of the Buick "nail head" big block engines. This one was a 425 cubic inch, the largest displacement nail head. The Wildcat 465 engine option was known as such for the 465 ft. pounds of torque it produced, equipped with a set of dual 4-barrel carburetors. -

Loarre Castle (Spain) by King Derelict - Aedes Ars 1/200
CDW replied to king derelict's topic in Non-ship/categorised builds
Very convincing scenery, I admire your work. Shaping up real nice. Did you get some bad weather today? Ours didn't become angry until late afternoon. This storm is massive! -
You know what's really weird? I owned a few cars of this vintage many years ago, and now when I build a model of one and look at it, that certain smell you got from the interior of these old cars becomes such a strong memory. It's like you're right there inside of it. I guess it was the fabrics they used for the upholstery that gave that memorable odor. I remember that smell all the way up through cars from the fifties, but the sixties and later cars didn't have it. As best I can recall, that certain "new car smell" didn't come along until the seventies. Plastics? I imagine so.
-
Well, this is another one for the books. Finished. It was a pleasure to build for the most part. I just wish the makers of it, Galaxie Limited, had stuck around a little longer and produced some other subjects in addition to this line of '46-'47-'48 Chevies. They did manufacture some very nice utility trailer kits. I have a tri-axle fifth wheel covered trailer in the 'to-do' pile. It's a one of a kind in plastic models as far as I know. You can still run across one for sale on Ebay every now and then. Thanks for following along, your likes, comments, and companionship. See you again soon with something else. A huge pile of kits await.
-
The 'peel and stick' chrome trim turned out to be the least desirable parts of this model, although the finished results came out very well, I think. The main problem with it is the metal it's made of. It's a type of metal that doesn't hold a curve/bend that might be needed, sort of like spring steel. The pieces are intended to stick on, but I needed to super glue all pieces to get them to hold.
-

Porsche 917K (x2) by gsdpic - FINISHED - Fujimi - 1/24th scale
CDW replied to gsdpic's topic in Non-ship/categorised builds
Beautiful paint work on those models, Gary. -
I decided on a Gray-Green two-tone paint scheme for my '48 Chevy, which was one of the color combinations offered on the 1:1 car when it was new from the factory. My paints are semi-gloss and I may or may not use a gloss clear coat. Something about the semi-gloss is appealing to me for a car of this vintage. In case you're interested, I included a photo of the paint color jars I used.
-

Porsche 917K (x2) by gsdpic - FINISHED - Fujimi - 1/24th scale
CDW replied to gsdpic's topic in Non-ship/categorised builds
I learned a lesson the hard way with Splash paints. It's imperative to mist on those first coats and not flood them on in any way because as you said, they are much too hot and will cause all kinds of problems, even on bare plastic. If first coat goes down lightly it will dry quickly and cause no issues. -

Porsche 917K (x2) by gsdpic - FINISHED - Fujimi - 1/24th scale
CDW replied to gsdpic's topic in Non-ship/categorised builds
Have you used Splash primer and activator? I wonder if the activator is required, as I don't see it offered any longer. My bottle of activator completely set up before I ever used it. -

Porsche 917K (x2) by gsdpic - FINISHED - Fujimi - 1/24th scale
CDW replied to gsdpic's topic in Non-ship/categorised builds
Happily following along. Love the subject! -
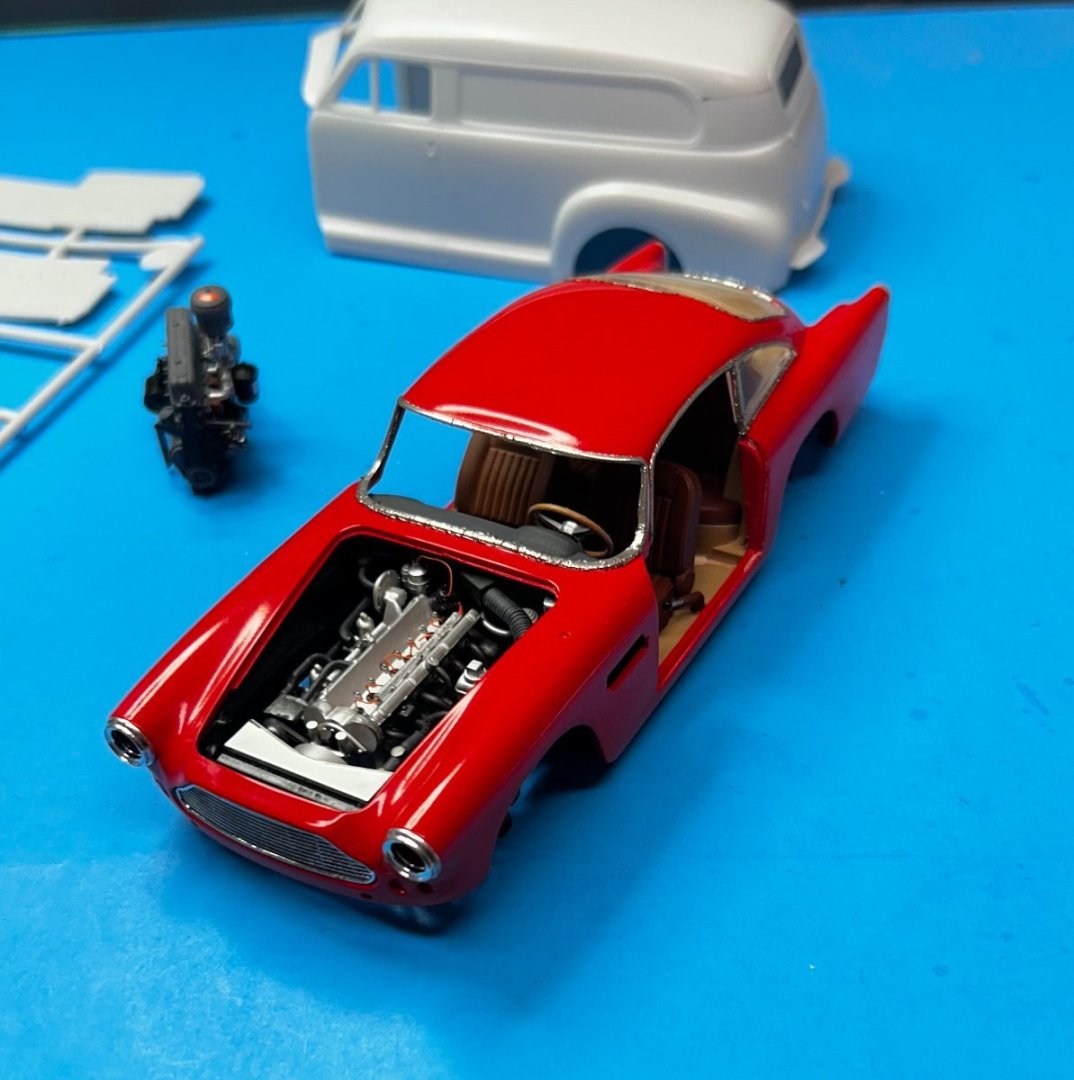
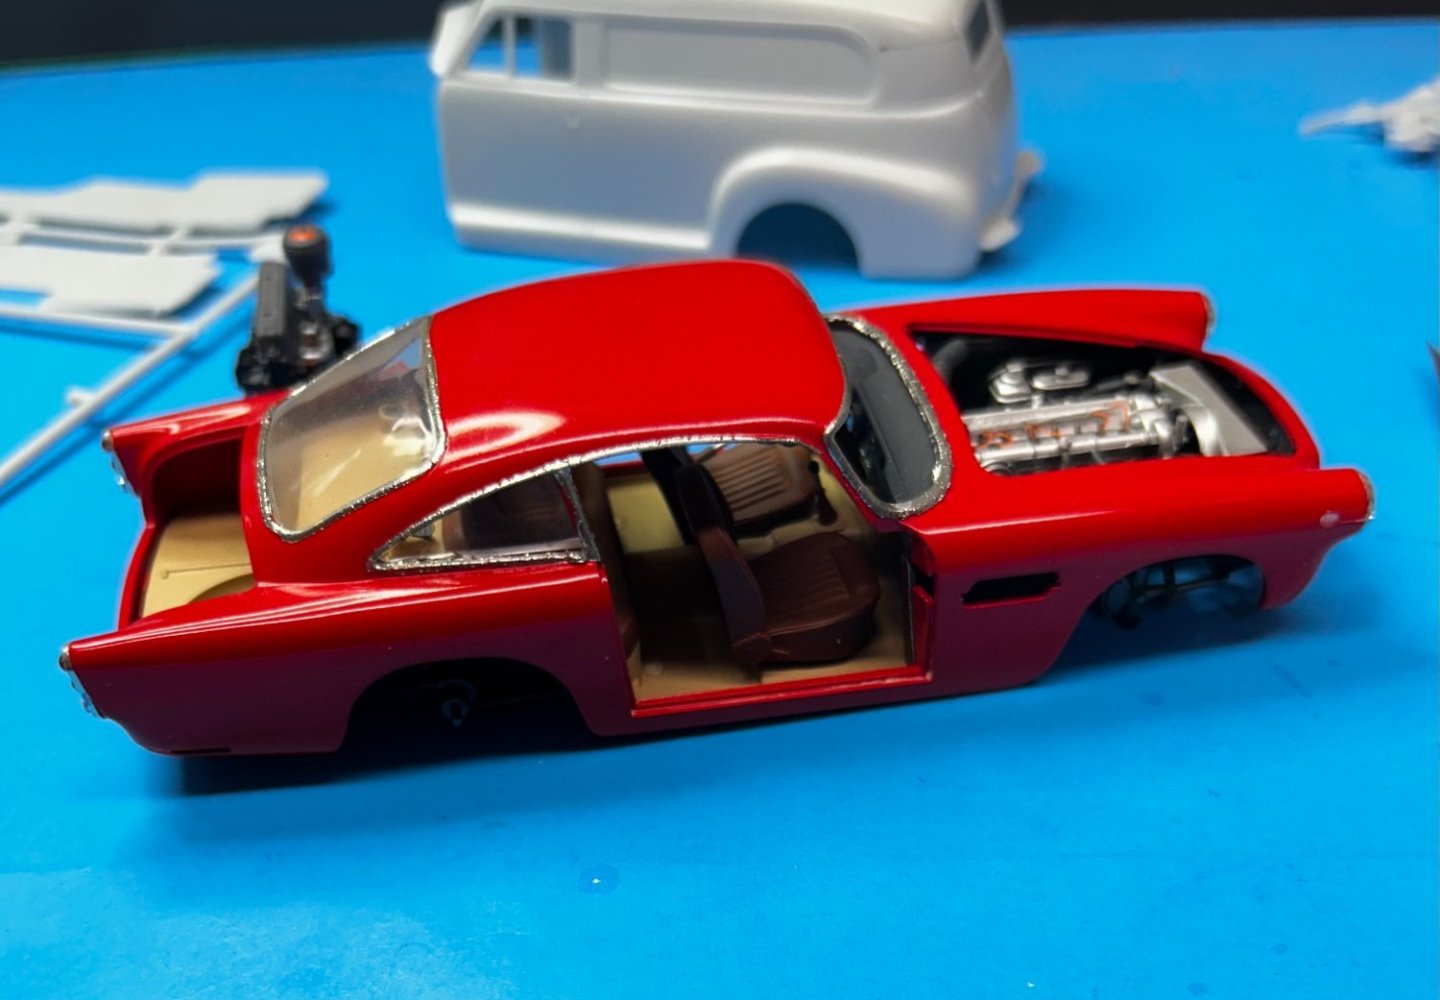
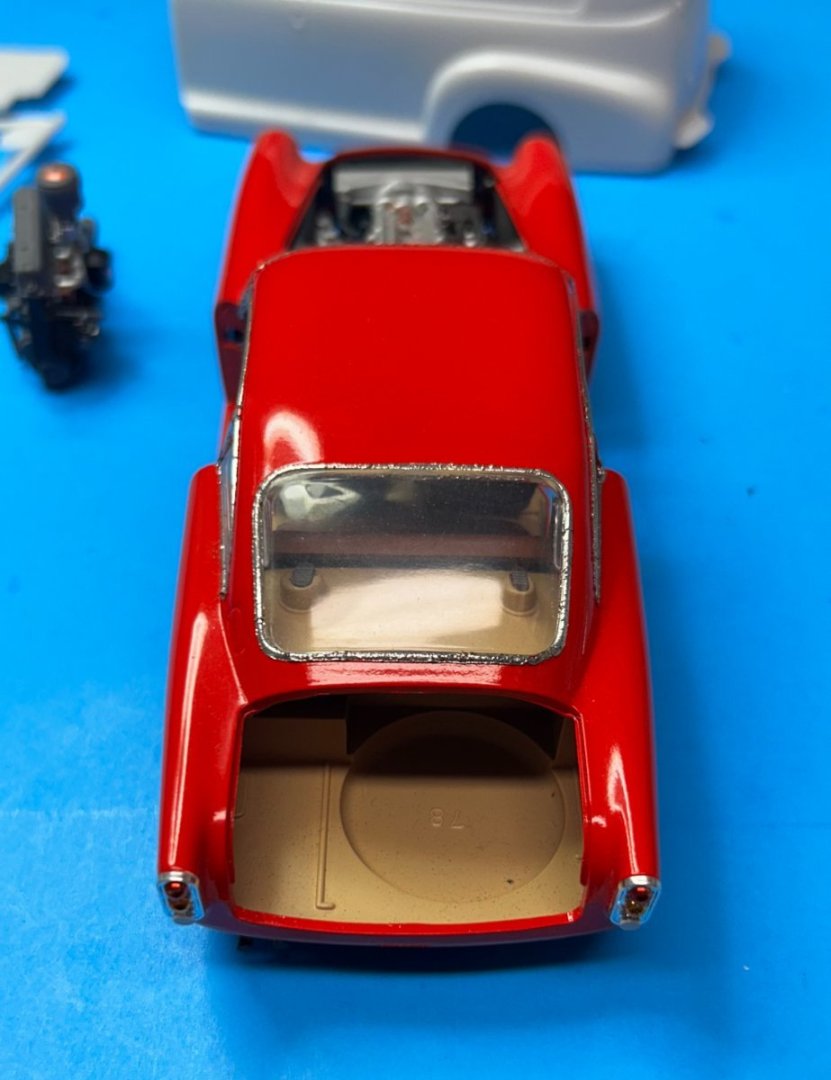
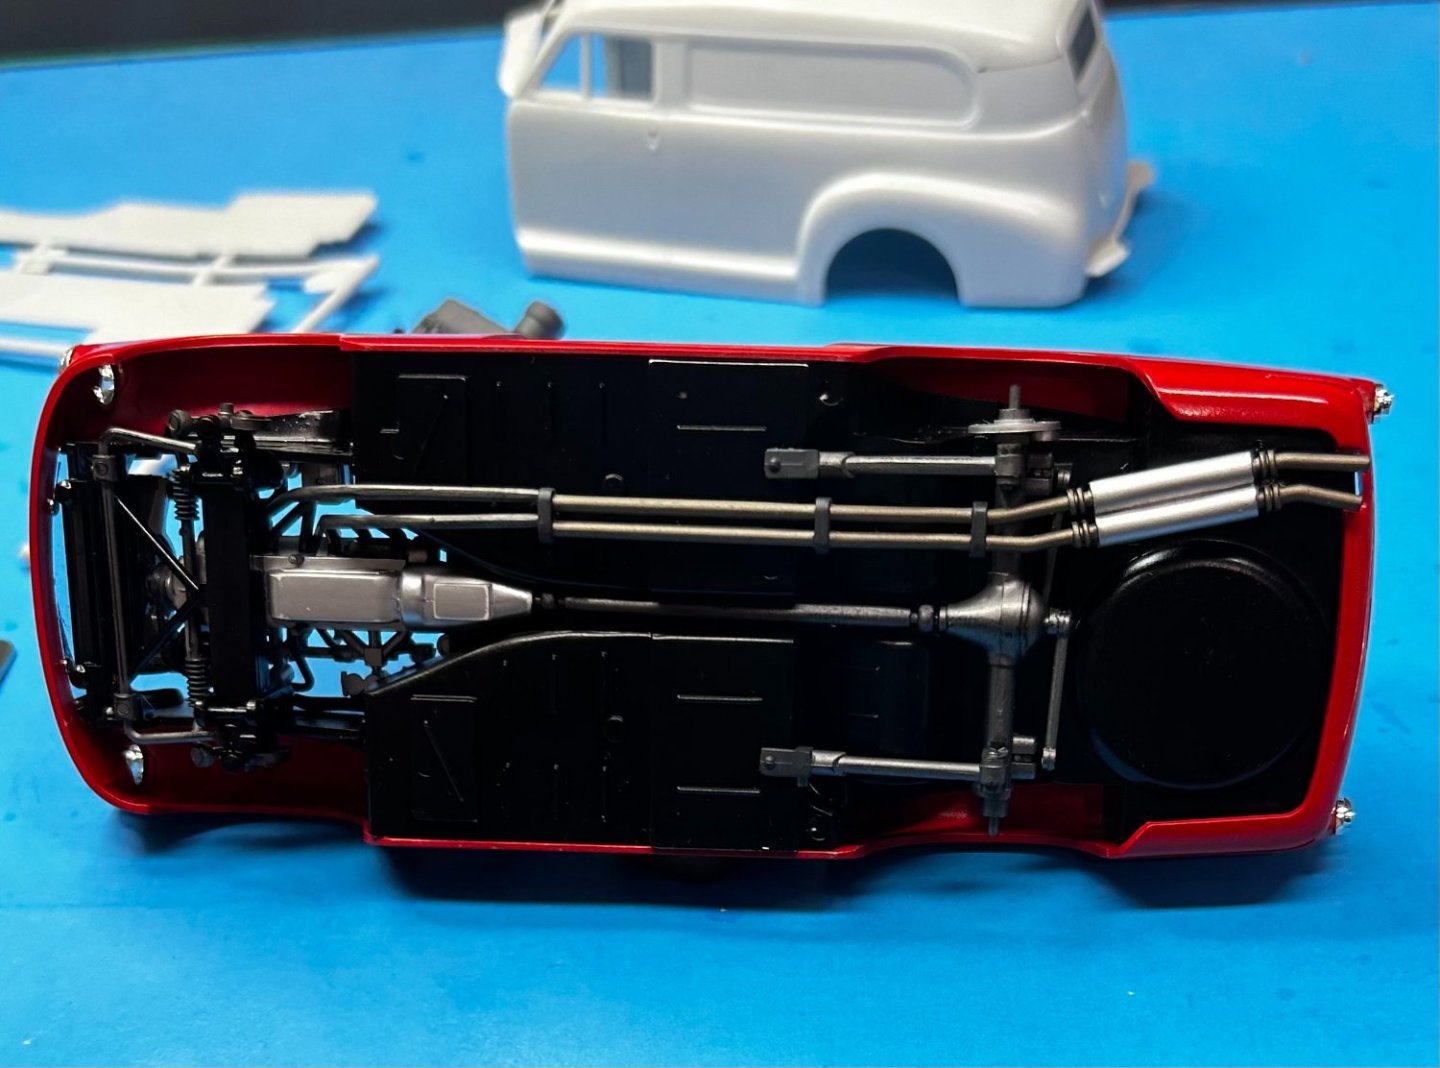
Was going through some storage boxes and came across this Aston Martin DB5 I started building back in the early '90's. It was painted in enamel with some metallizer paints on select components. It was surprising to see how well the red enamel body paint held up over time, but the Bare Metal Foil used for the chrome trim shriveled up like a prune. I don't own another surviving model of this vintage that had the chrome foil treatment and wondered if any of you have had a similar experience with it over a long period of time?
-

1967 Olds 442 by SigEp Ziggy - Lindberg - 1/25
CDW replied to SigEp Ziggy's topic in Non-ship/categorised builds
My '51 Chevy with the six cylinder and power glide transmission got around 10 miles per gallon in town driving. It could do better on the highway, but cars back then just weren't built for fuel economy. By the time I graduated to a '64 Nova with the six and power glide, my fuel economy was much better. About 25 miles per gallon on the highway. But heck, we were paying pennies per gallon back then. -

1967 Olds 442 by SigEp Ziggy - Lindberg - 1/25
CDW replied to SigEp Ziggy's topic in Non-ship/categorised builds
Beautiful model. With that big V-8 engine, the car could pass everything except the gas station. Remember when that was the saying at the time? -
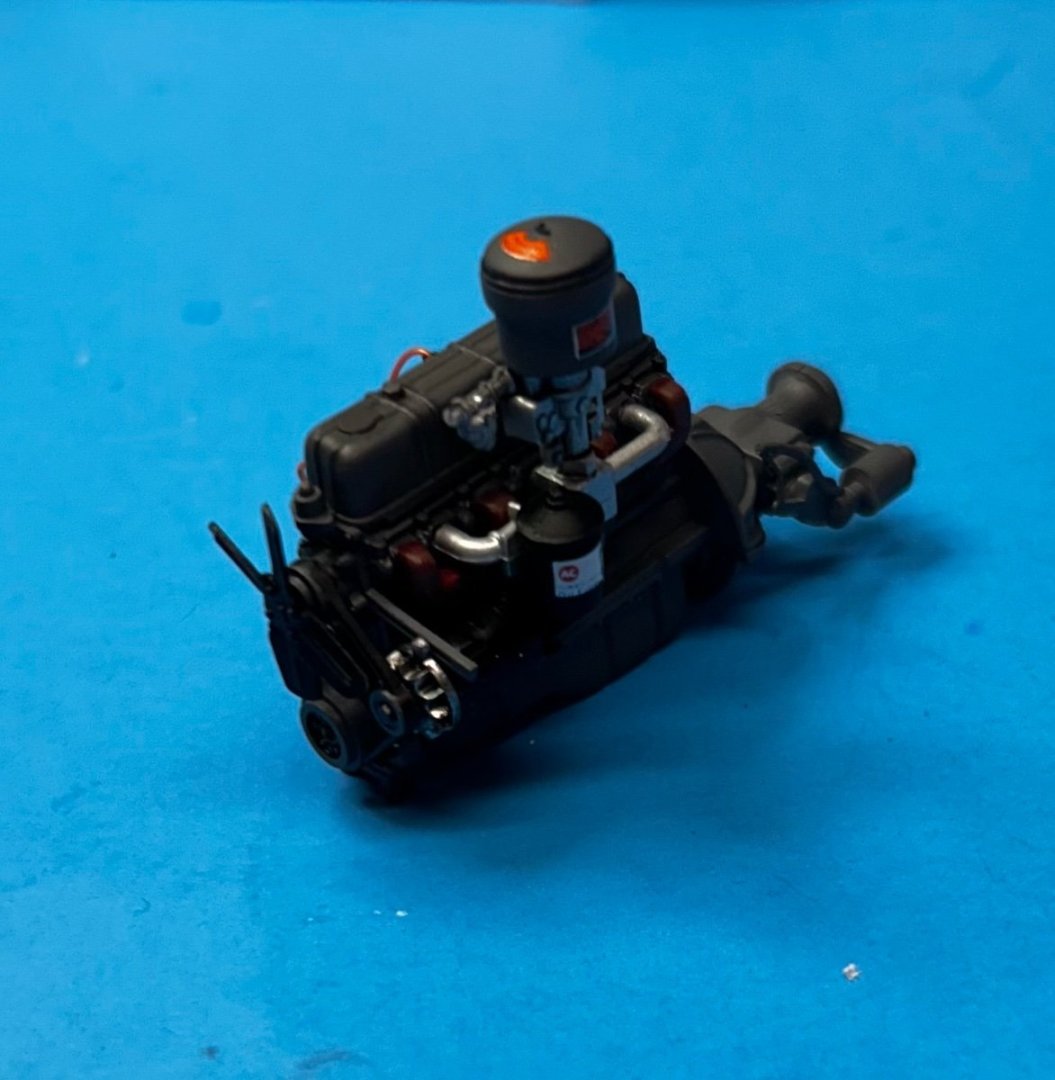
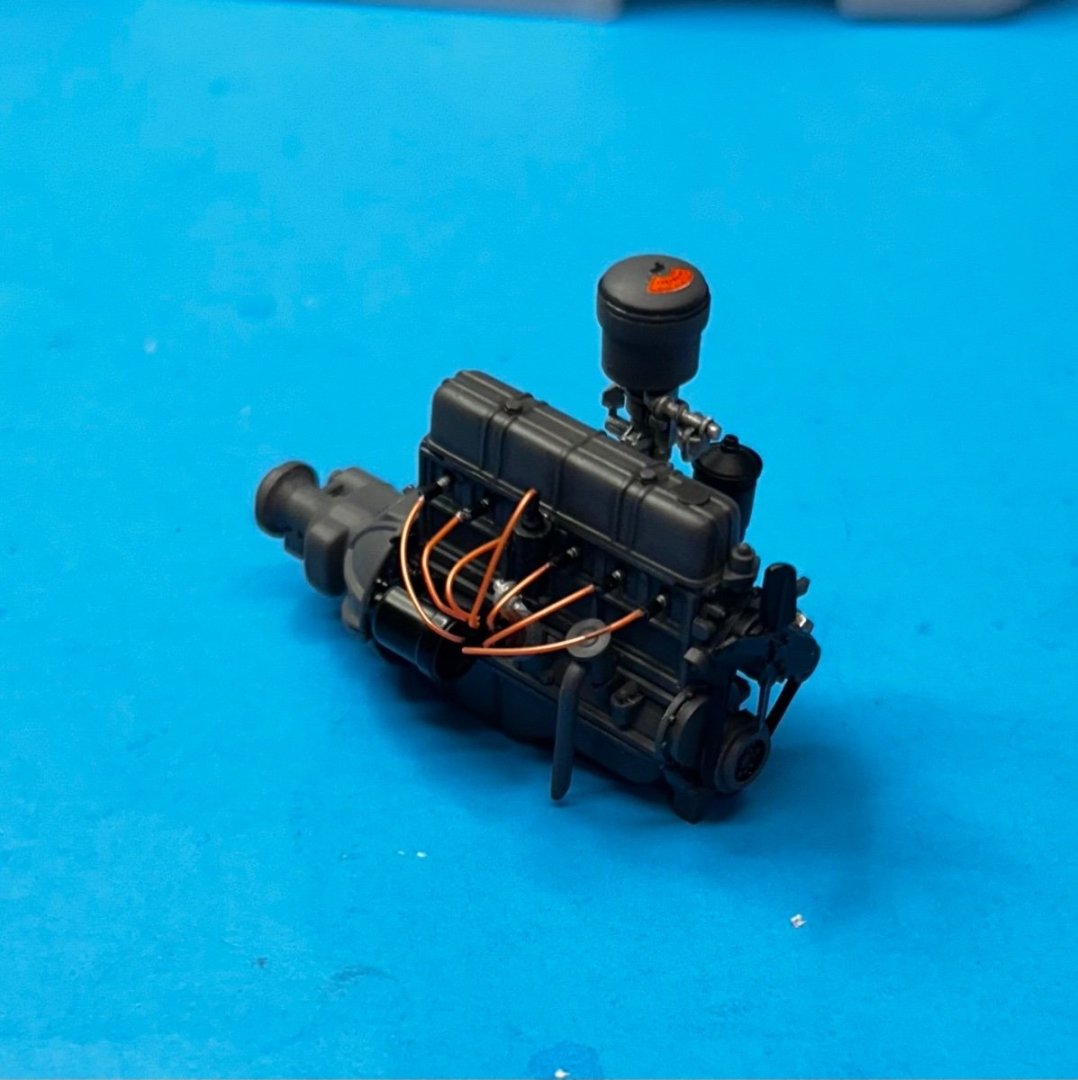
After the Christmas festivities ended, I was able to spend a little time today with a start on the stock engine. After taking a close look at the stock and custom pieces, decided to build the engine stock. I have other variations of the '48 Chevy, the Fleetline and Coupe versions, so will save the custom features for one of those at a future date. Still more work to do detailing the engine, will continue the process tomorrow.
About us
Modelshipworld - Advancing Ship Modeling through Research
SSL Secured
Your security is important for us so this Website is SSL-Secured
NRG Mailing Address
Nautical Research Guild
237 South Lincoln Street
Westmont IL, 60559-1917
Model Ship World ® and the MSW logo are Registered Trademarks, and belong to the Nautical Research Guild (United States Patent and Trademark Office: No. 6,929,264 & No. 6,929,274, registered Dec. 20, 2022)
Helpful Links
About the NRG
If you enjoy building ship models that are historically accurate as well as beautiful, then The Nautical Research Guild (NRG) is just right for you.
The Guild is a non-profit educational organization whose mission is to “Advance Ship Modeling Through Research”. We provide support to our members in their efforts to raise the quality of their model ships.
The Nautical Research Guild has published our world-renowned quarterly magazine, The Nautical Research Journal, since 1955. The pages of the Journal are full of articles by accomplished ship modelers who show you how they create those exquisite details on their models, and by maritime historians who show you the correct details to build. The Journal is available in both print and digital editions. Go to the NRG web site (www.thenrg.org) to download a complimentary digital copy of the Journal. The NRG also publishes plan sets, books and compilations of back issues of the Journal and the former Ships in Scale and Model Ship Builder magazines.

.jpg.7e80607770d9078b2f0b470e8c9c33ac.jpg)


