CDW
-
Posts
7,719 -
Joined
-
Last visited
Content Type
Profiles
Forums
Gallery
Events
Everything posted by CDW
-

F-86F-30 Sabre by Egilman - Kinetic - 1/32nd scale
CDW replied to Egilman's topic in Non-ship/categorised builds
What primer did you go with? -
Next will move on to the 3rd modulation coat, then decals and some weathering.
-
F-86F-30 Sabre by Egilman - Kinetic - 1/32nd scale
CDW replied to Egilman's topic in Non-ship/categorised builds
That baby looks ready! She's gonna be a beauty in silver. -
I thought Lou was talking about the bump at the tip of the barrel.
-
With the 2nd modulation coat on the hull, will add the tracks and fender skirts so I can blend the skirts into the paint job.
-
With the 2nd modulation coat on the turret, the contrast is evident.
-
No idea about the bump. No info given in plans. First modulation coat is down.

-
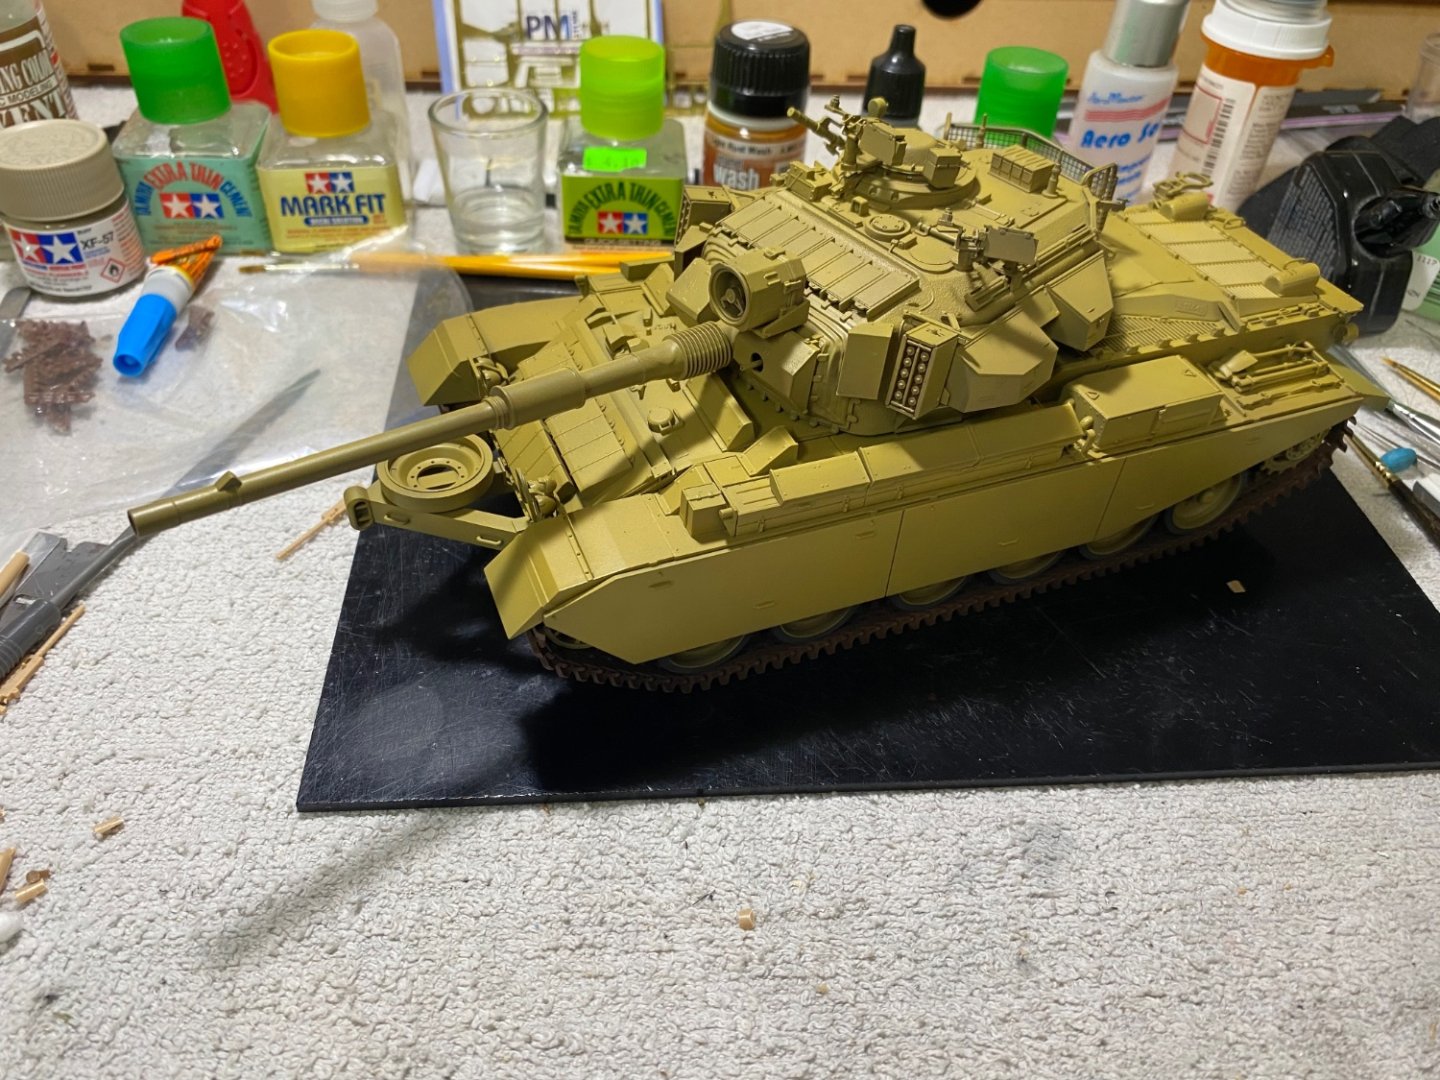
The first of a four color modulation went on the turret. Paints are Mr. Color. Highly reduced at around 6 parts thinner to 2 parts paint, each color is laid down in multiple thin coats to preserve the details underneath. Less is more in terms of paint per coat. Each successive coat will be lighter and certain areas will be picked out to add depth. Working with lacquer has the benefit of fast drying time between coats laid down thin.

-
Going to go straight the way through with lacquer on this paint job. Only exception will be specific details which will be brush painted with acrylics.
-
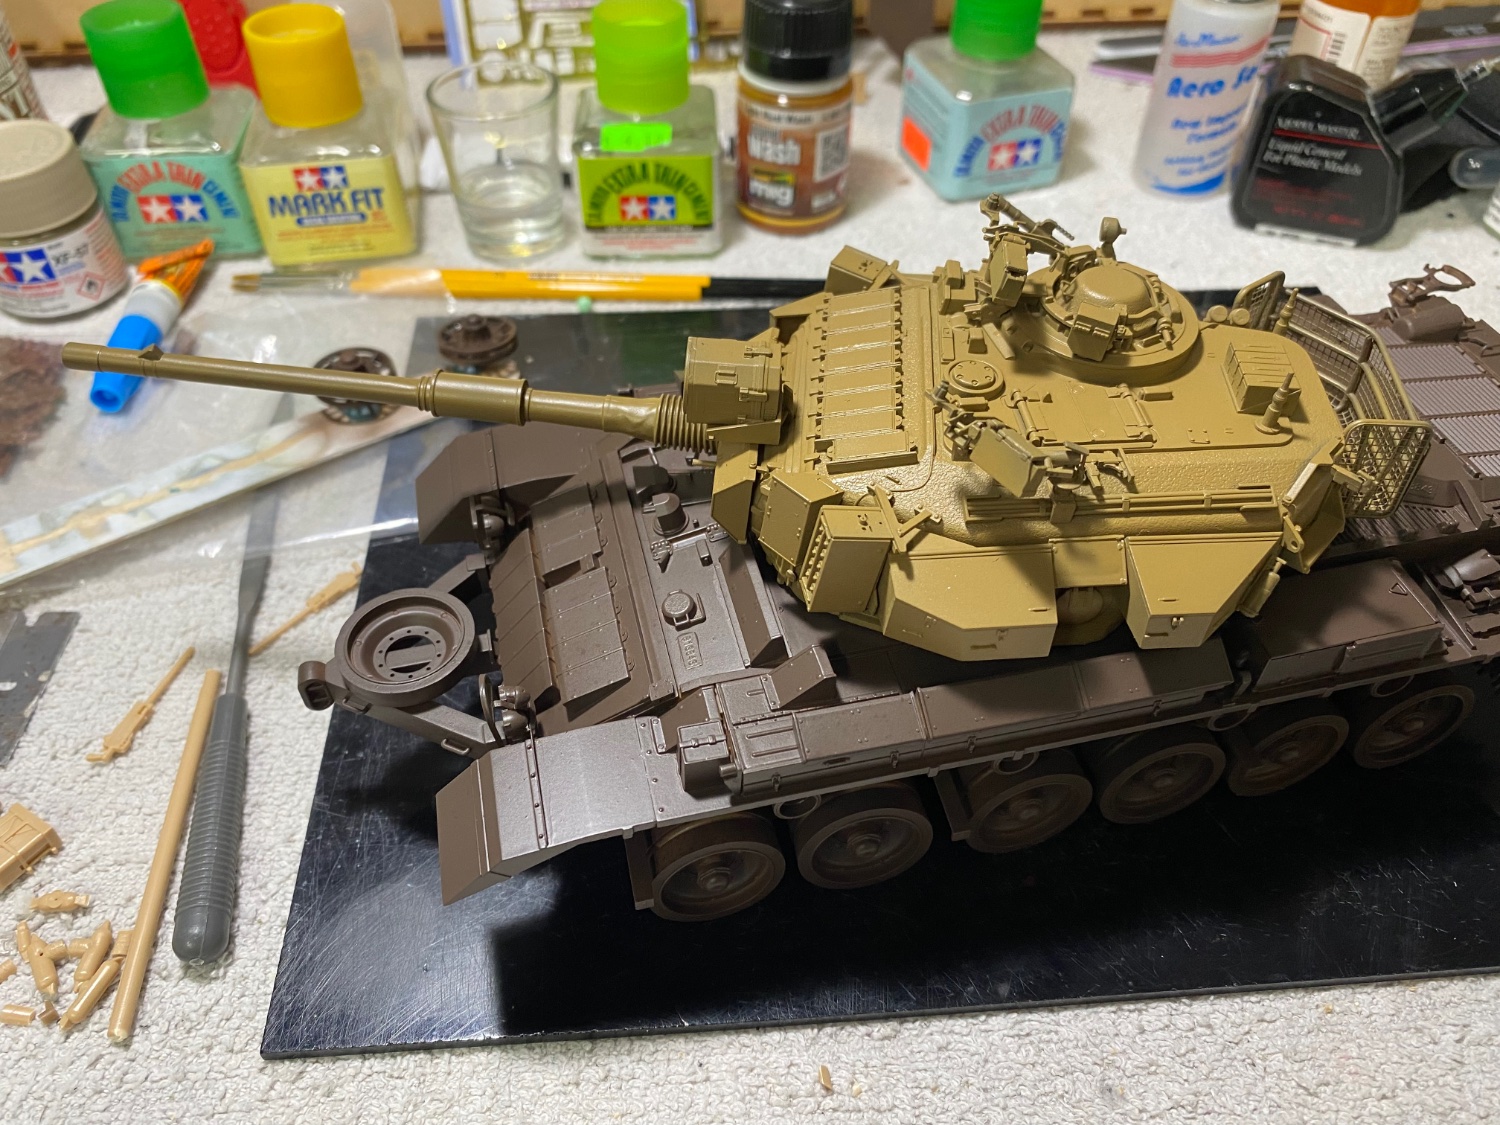
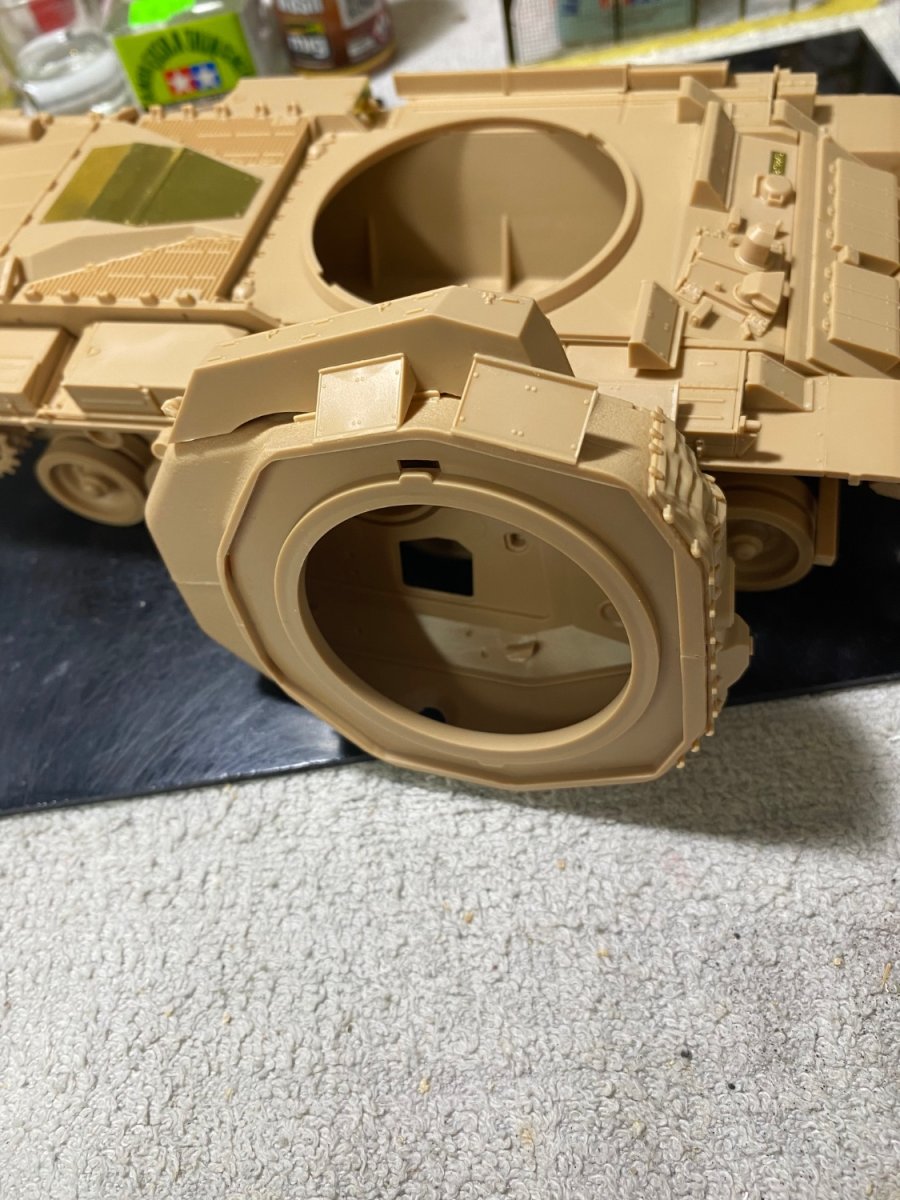
Once I put the fender skirts on, not much of the road wheels will be seen and really, almost none of the suspension unless one peers inside with a flashlight. This dark undercoat will give good shadow to the pending desert sand colors.
-
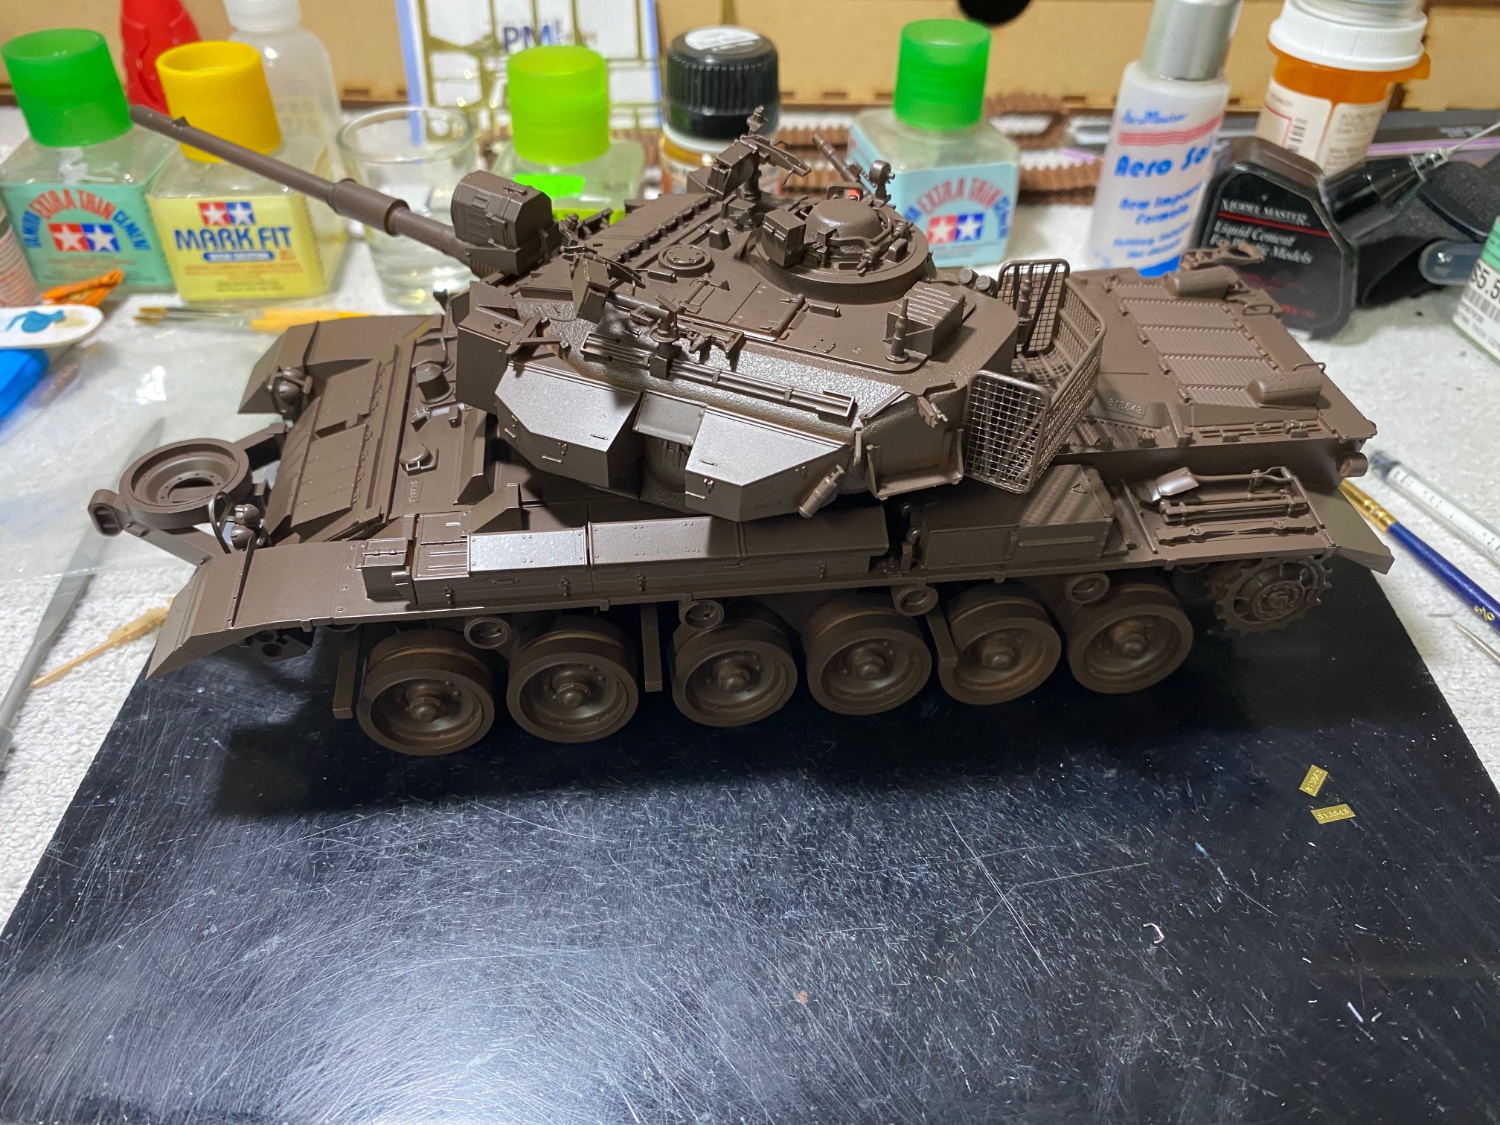
Mr Mahogany 1000 Surfacer, ie: hen turd brown


-
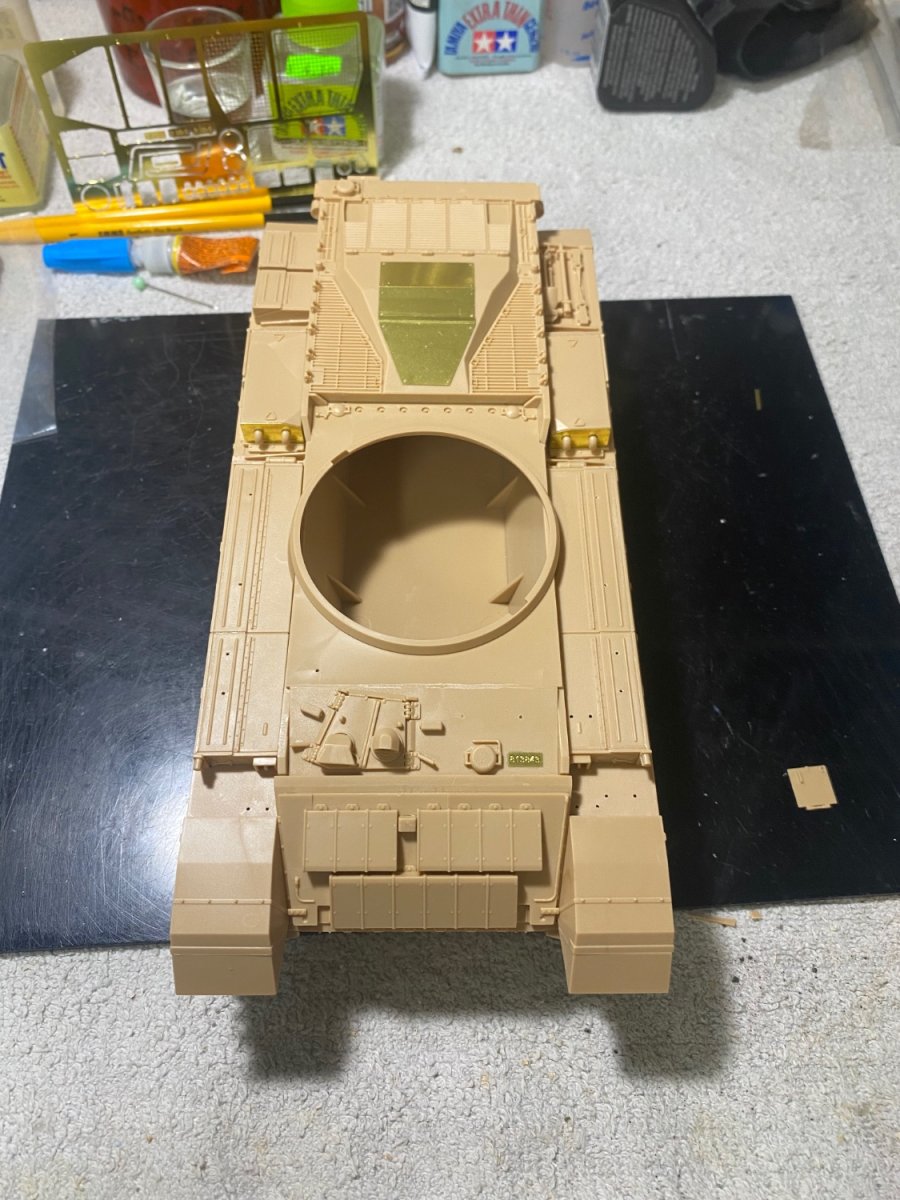
Thanks Mark. Its ready for the paint shop now.


-
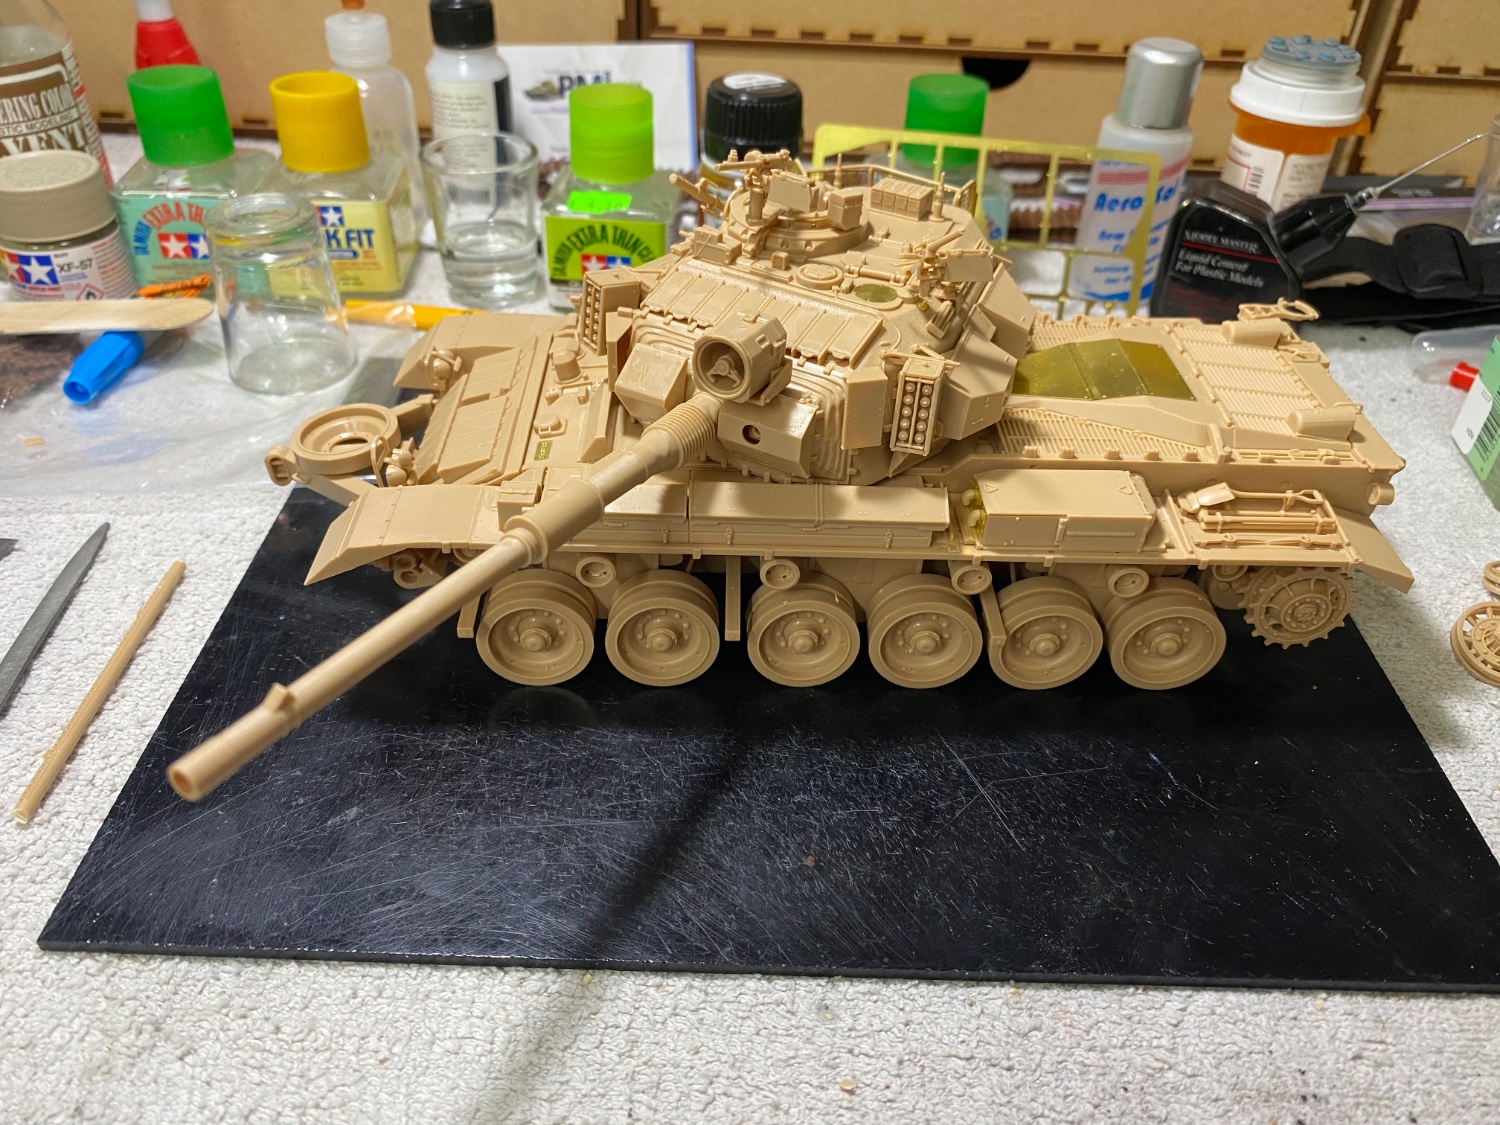
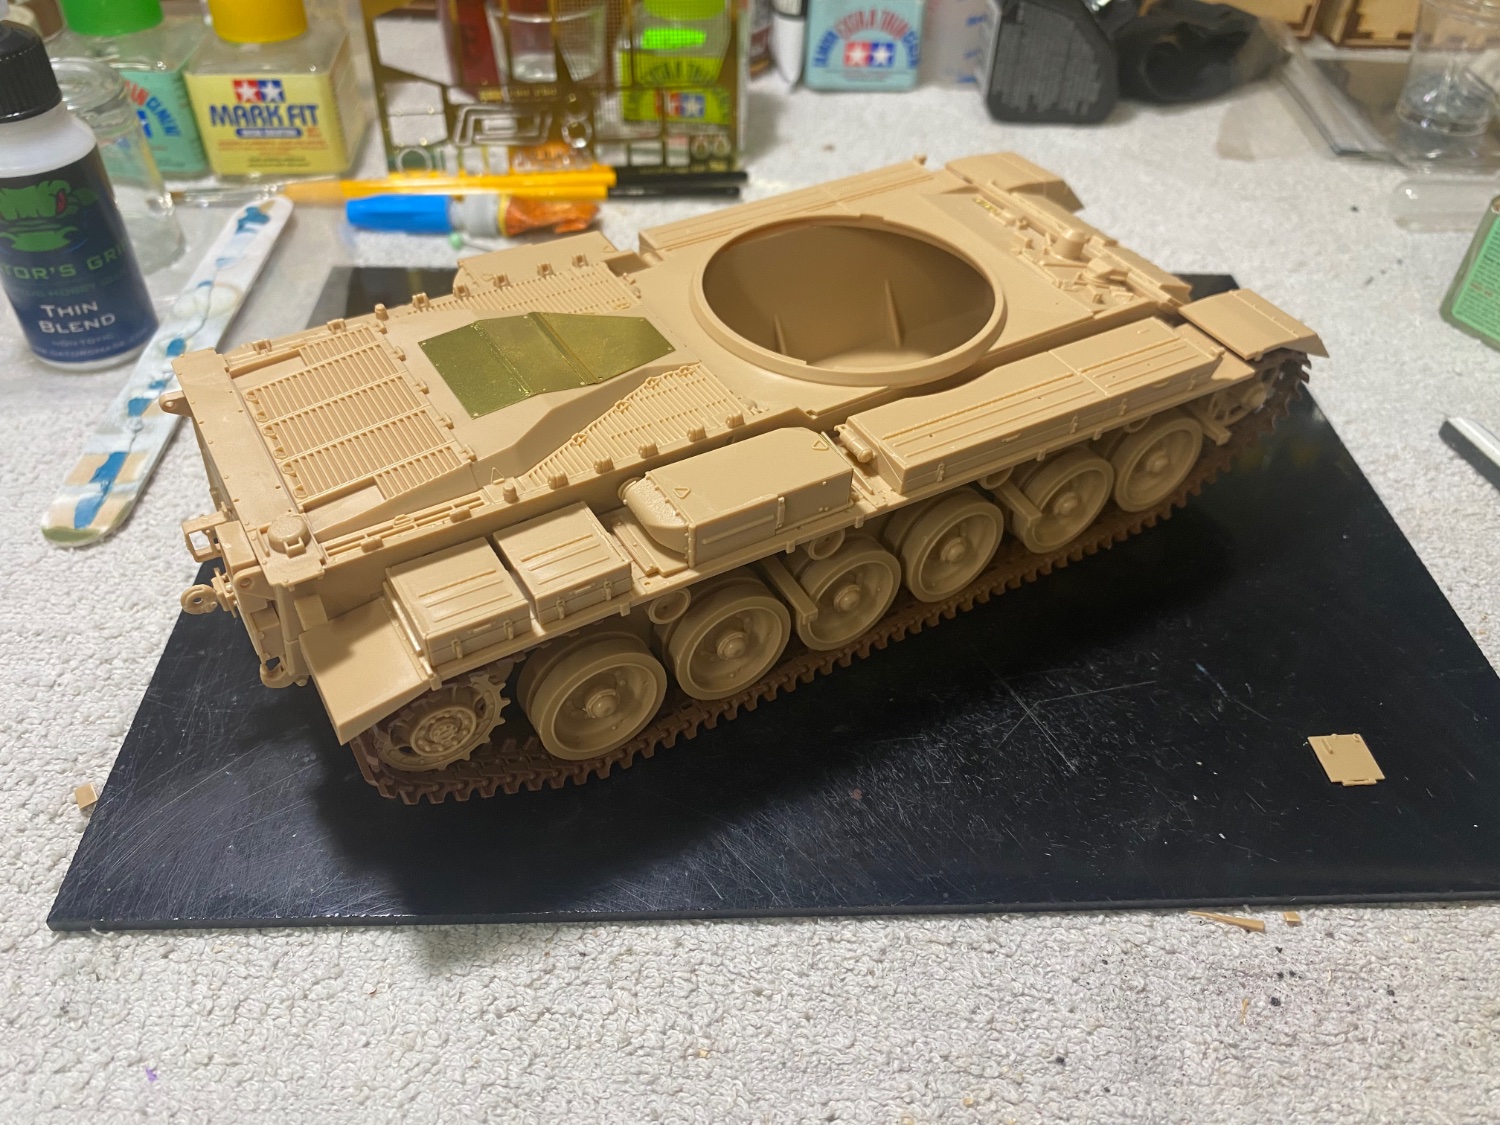
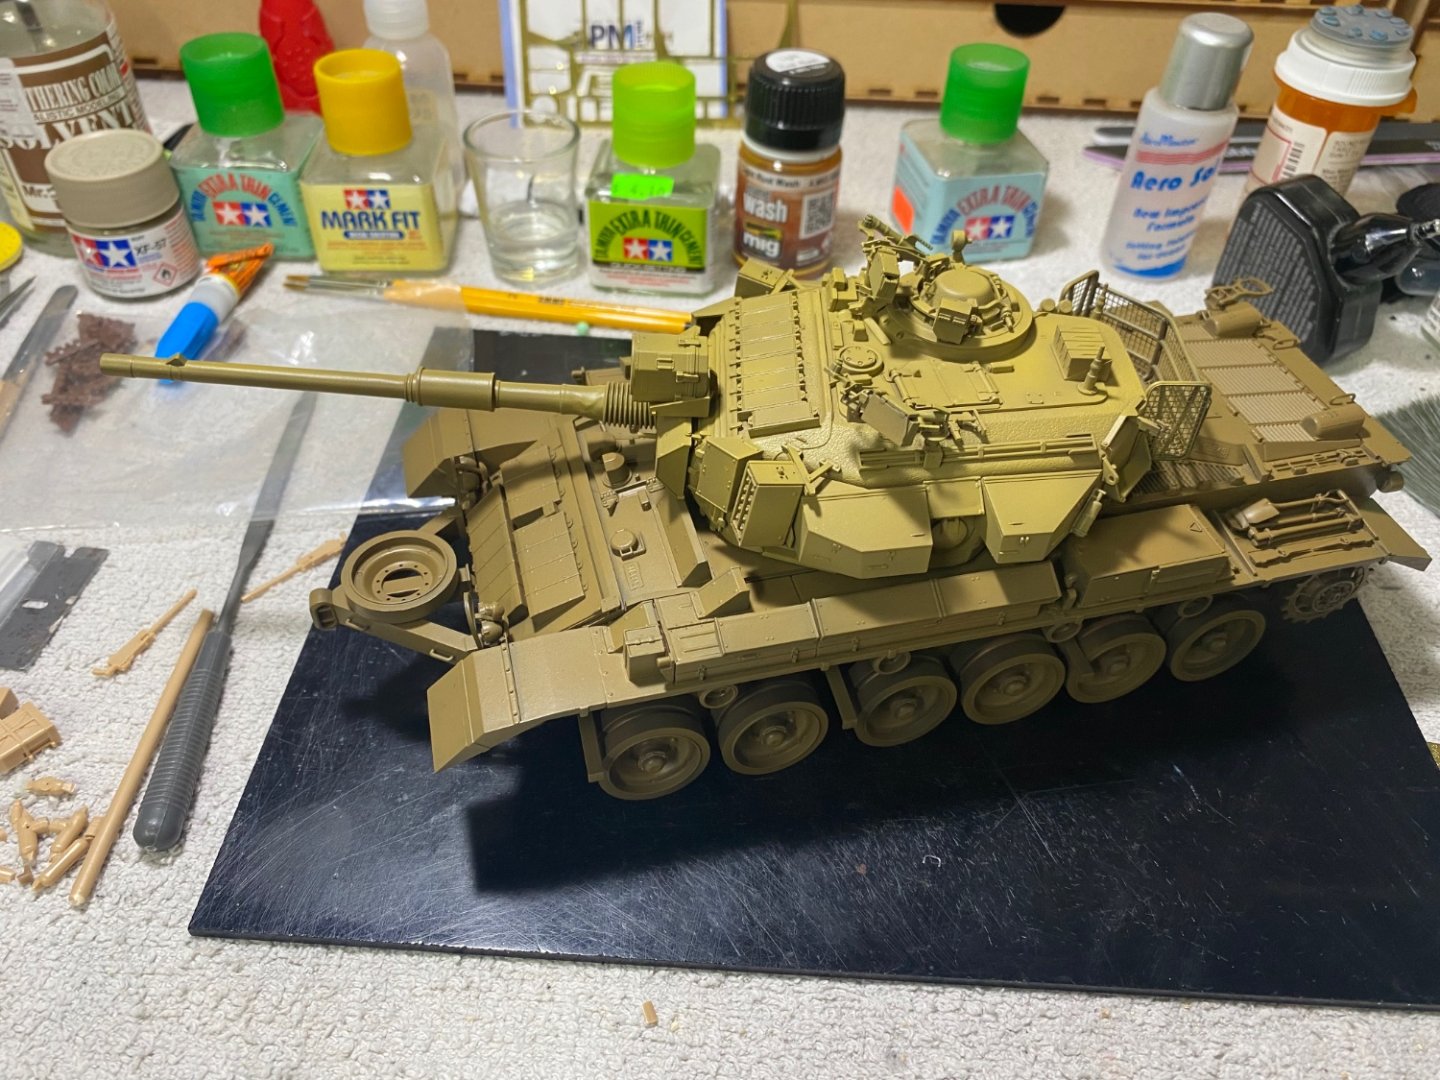
Some jerry cans, various brackets odd and sod bits then it will be ready for painting and detailing.


- 95 replies
-
- 10
-

-

-
I have buddies whose go bags are still embedded with desert sand/dust from the early 90’s engagement. The stuff is super fine and gets all over everything.
-
I believe you are exactly correct on this…urban combat
-
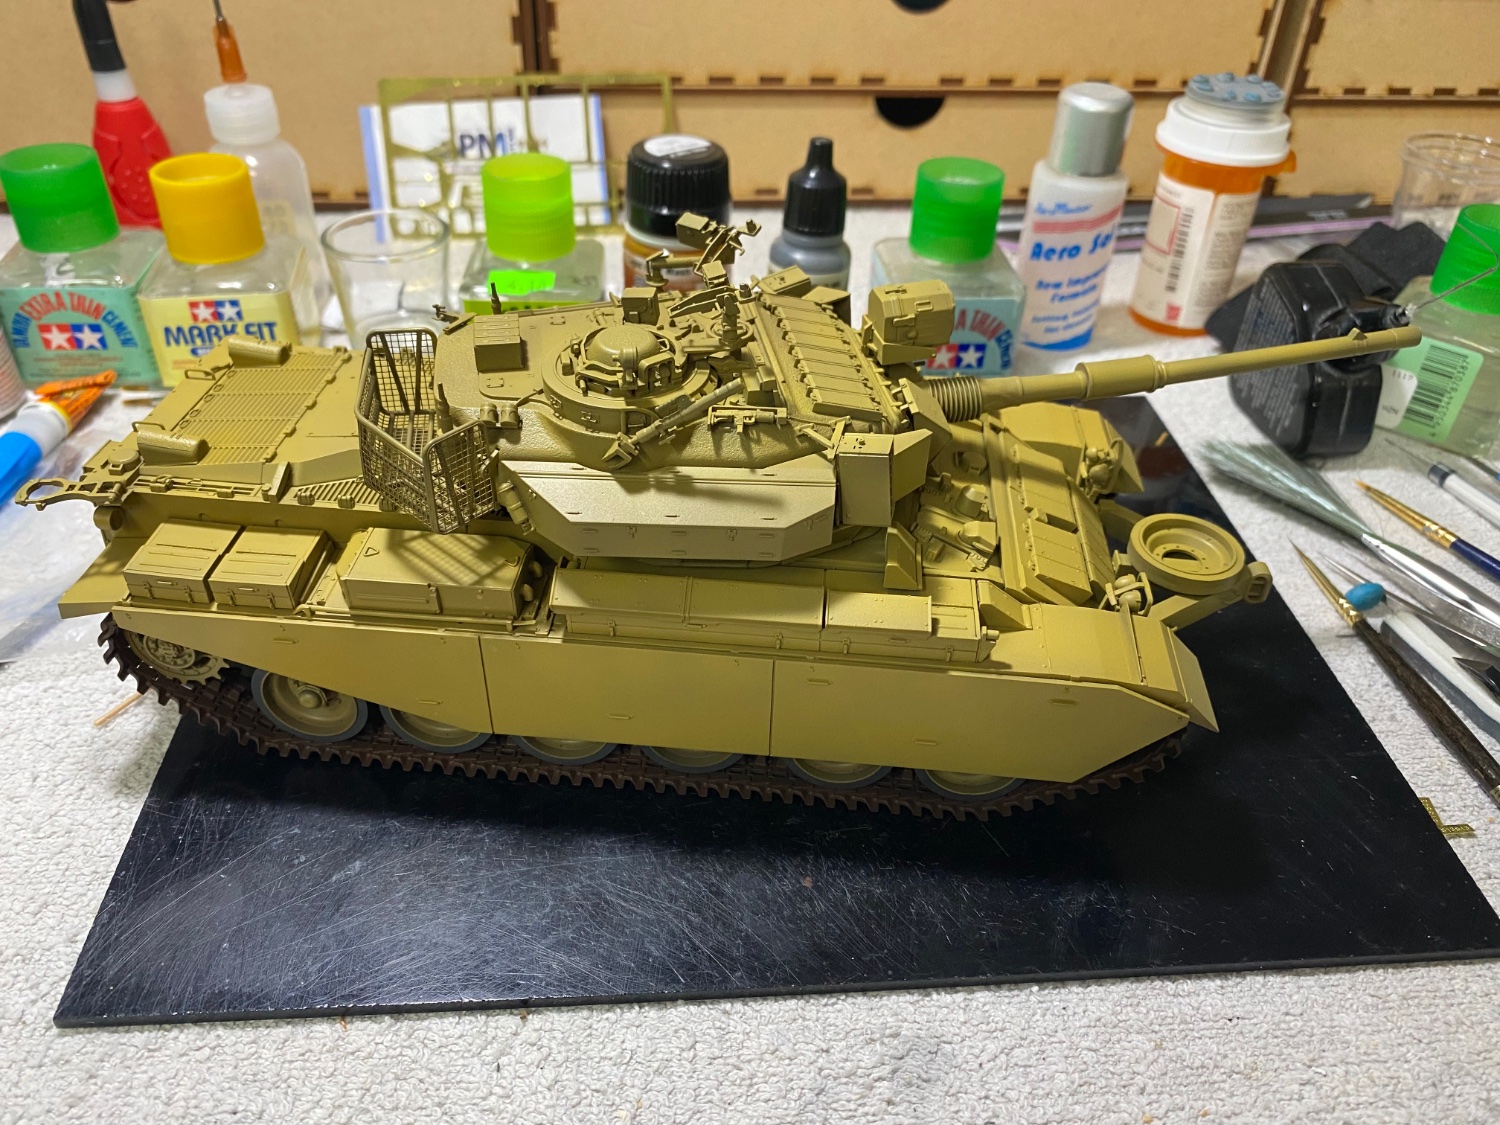
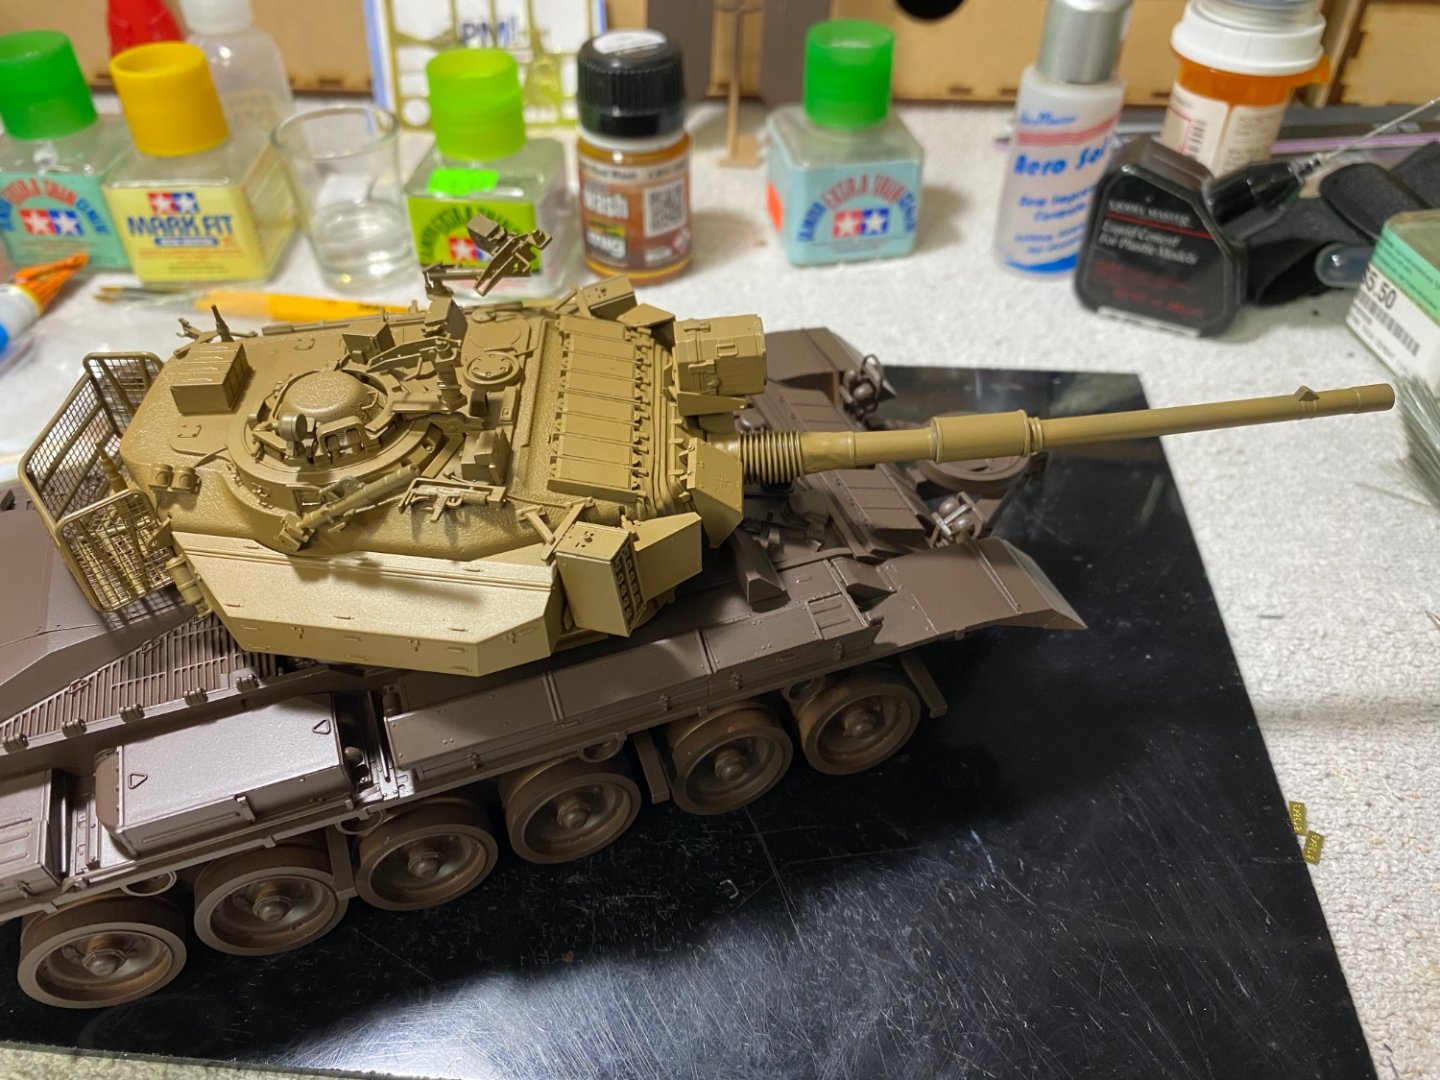
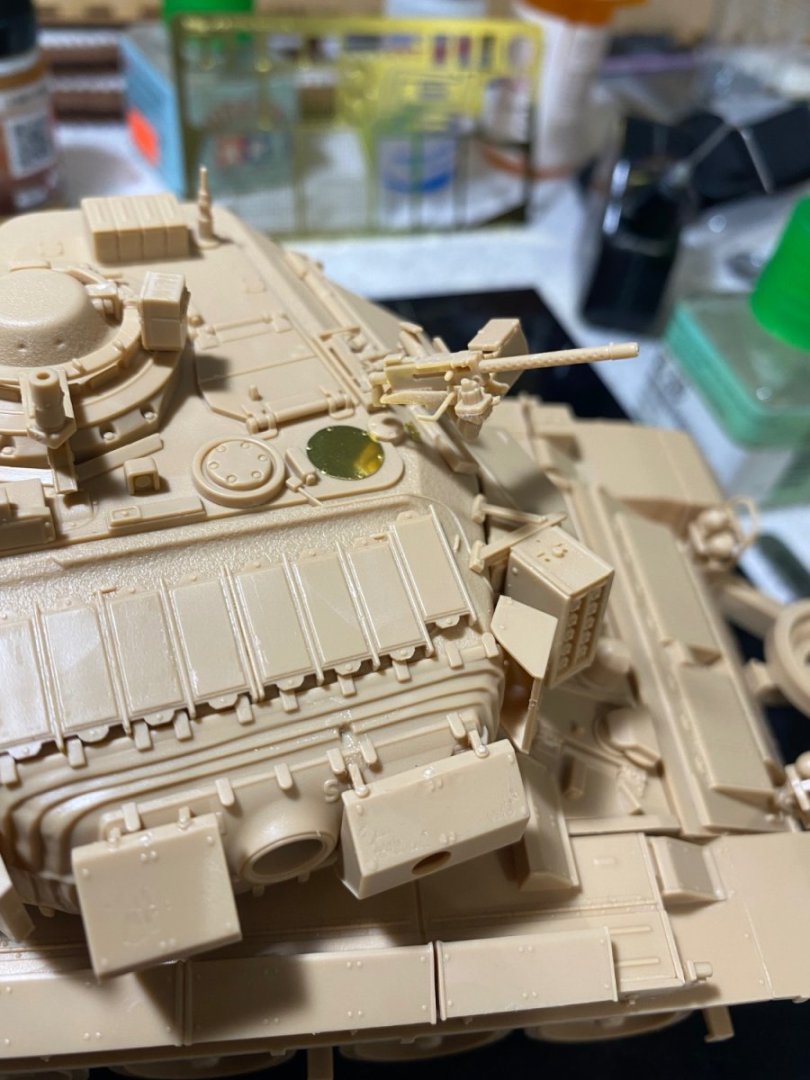
One of the 30 cal machine gun mounts. Fiddly parts look great if you take the time to do them.
-
Marines could not tolerate that condition for their rifle. Ooo-rahh
-
An interesting question to be sure. Seems they would be a dust magnet.
-
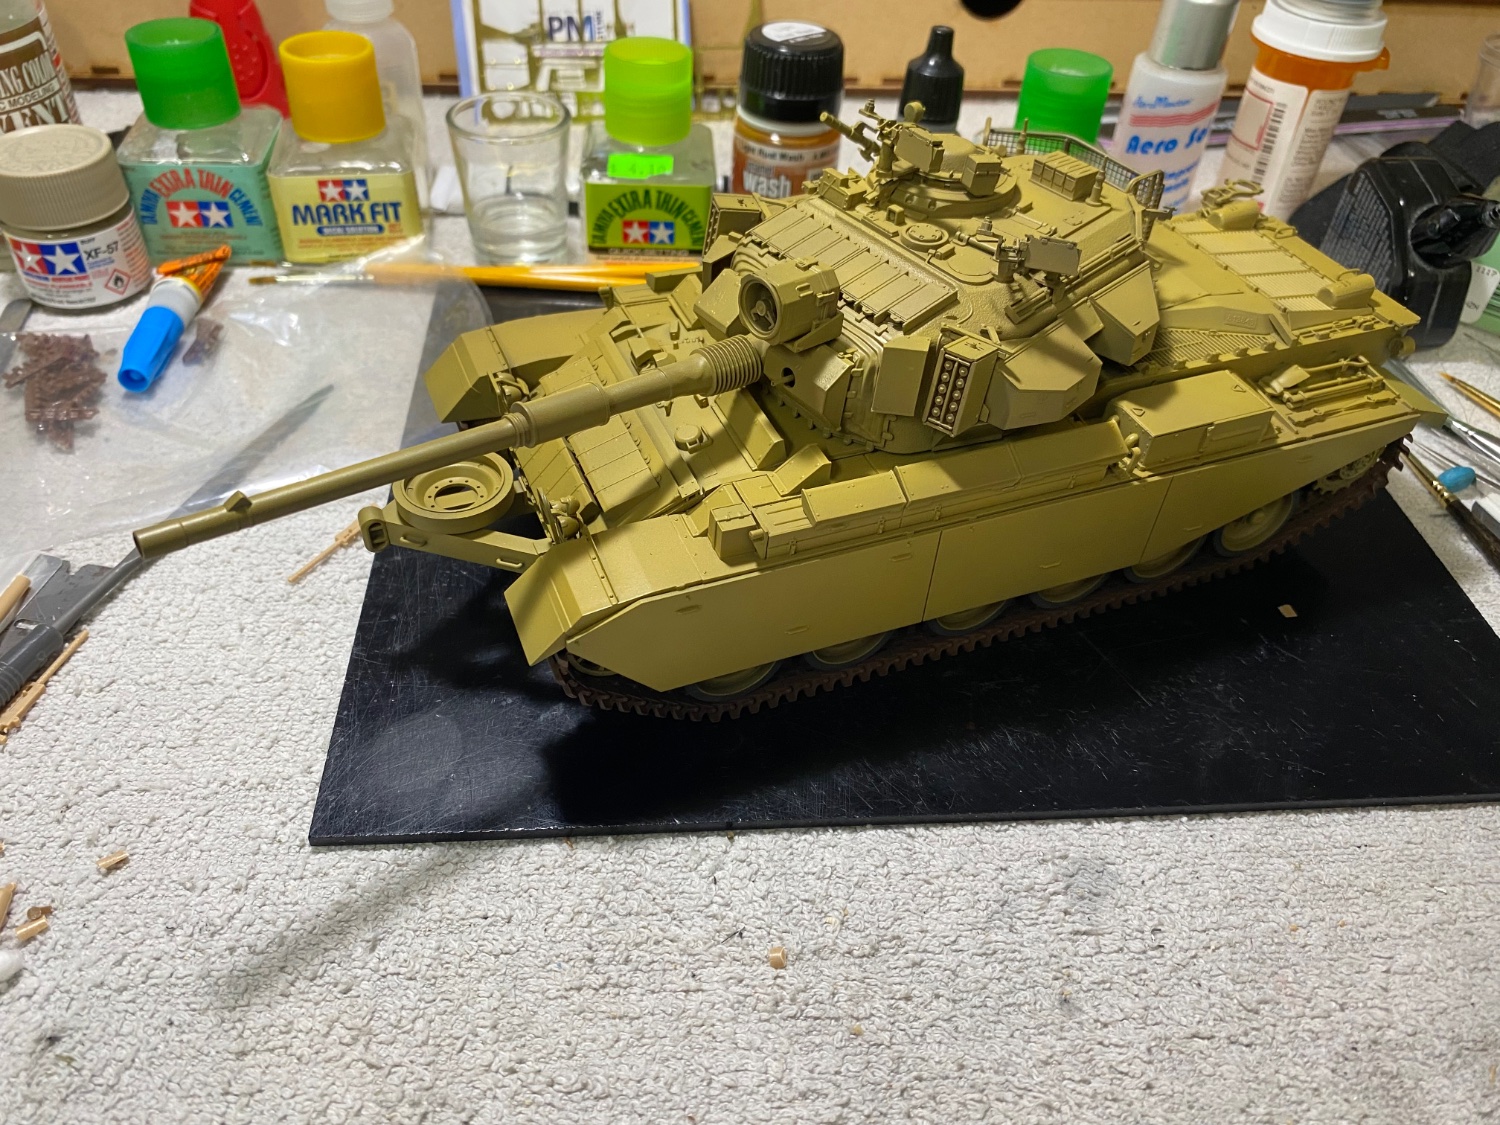
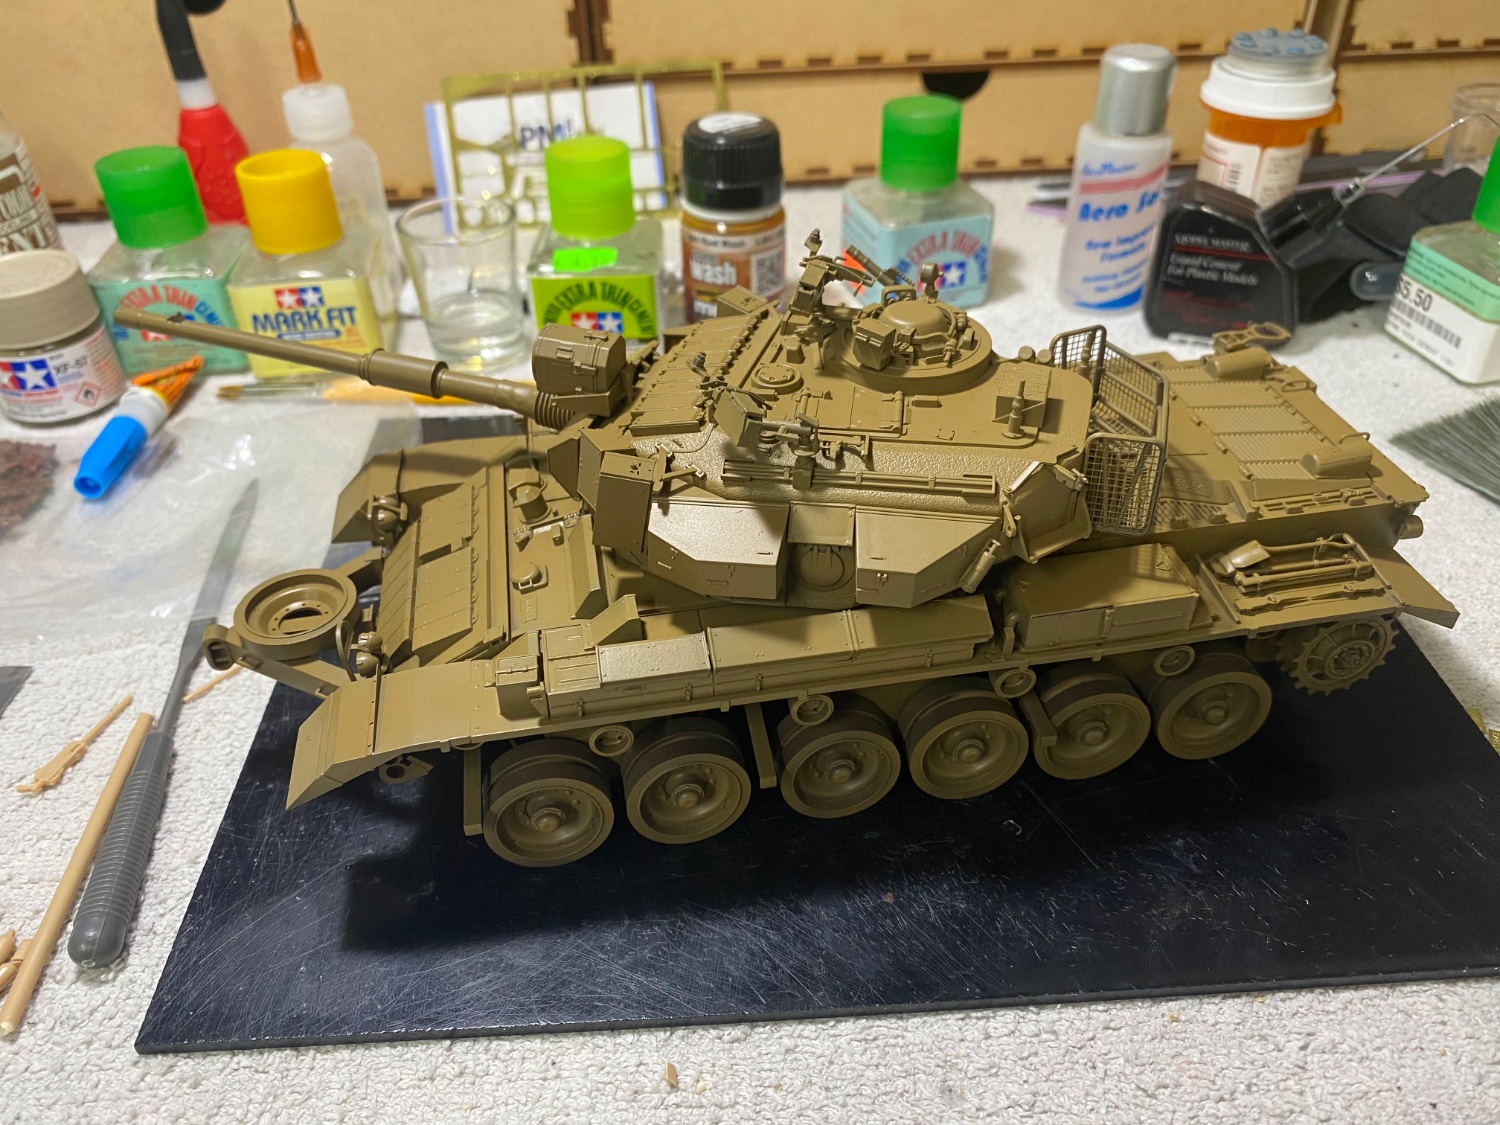
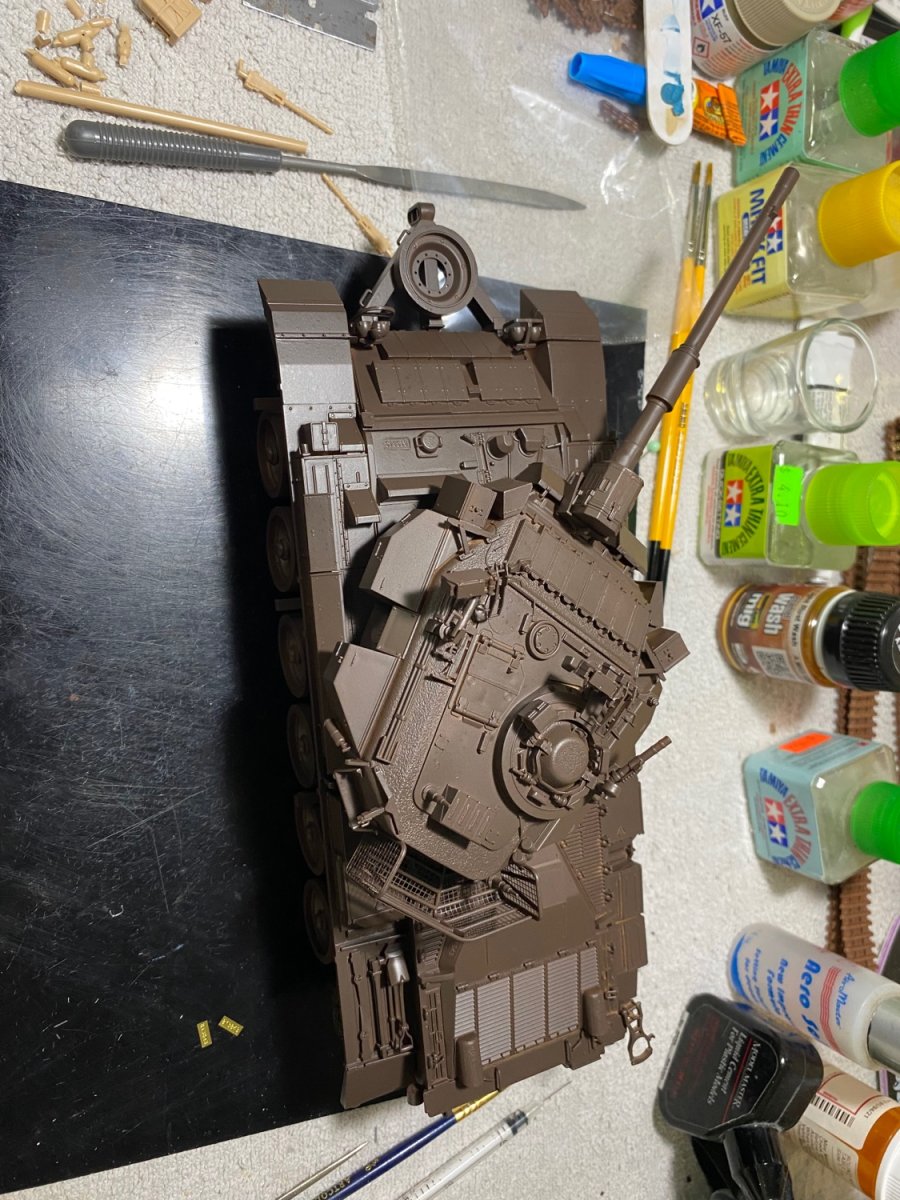
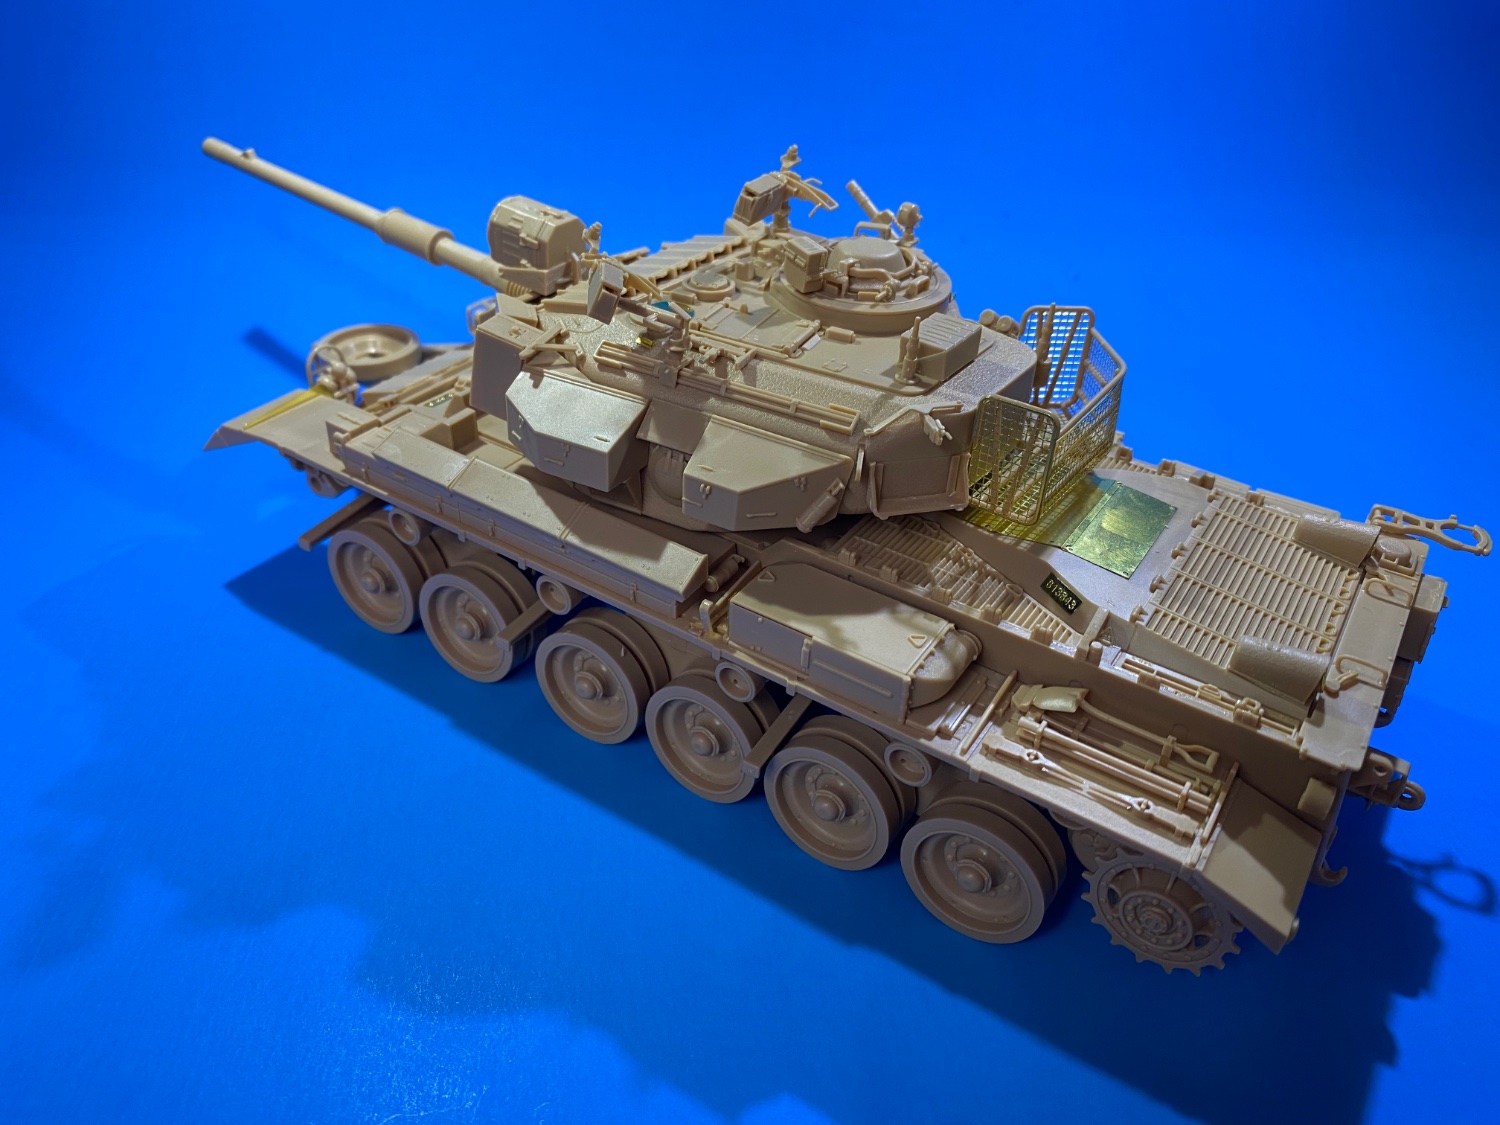
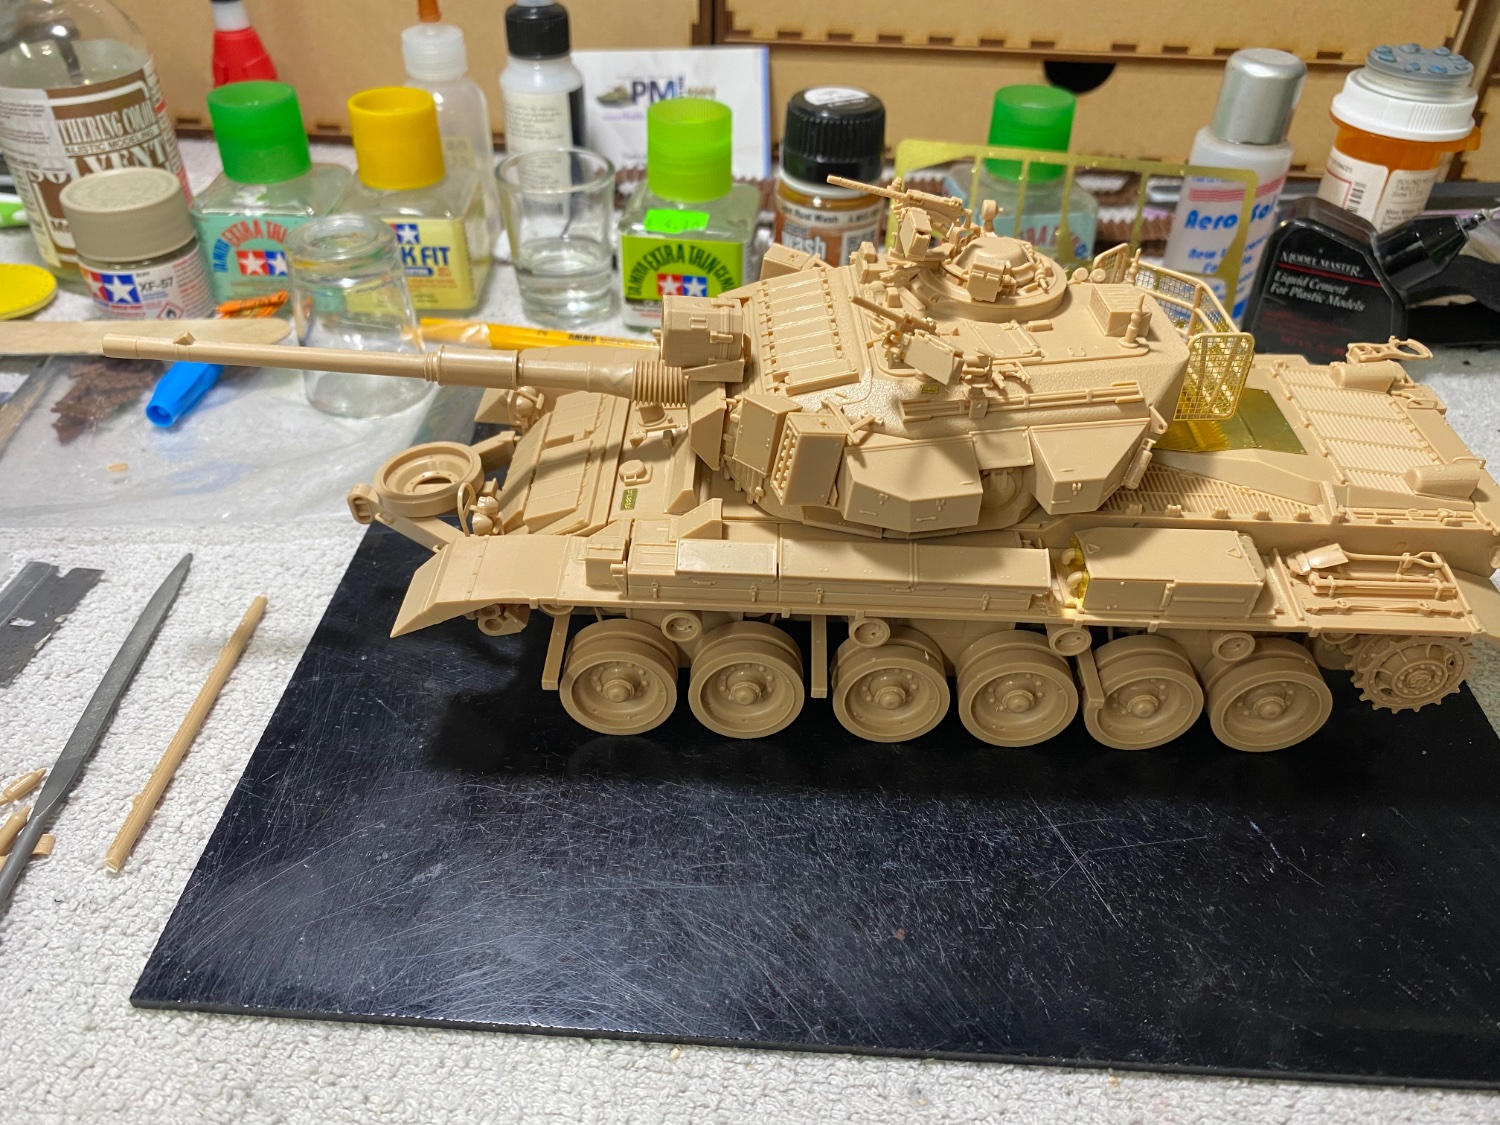
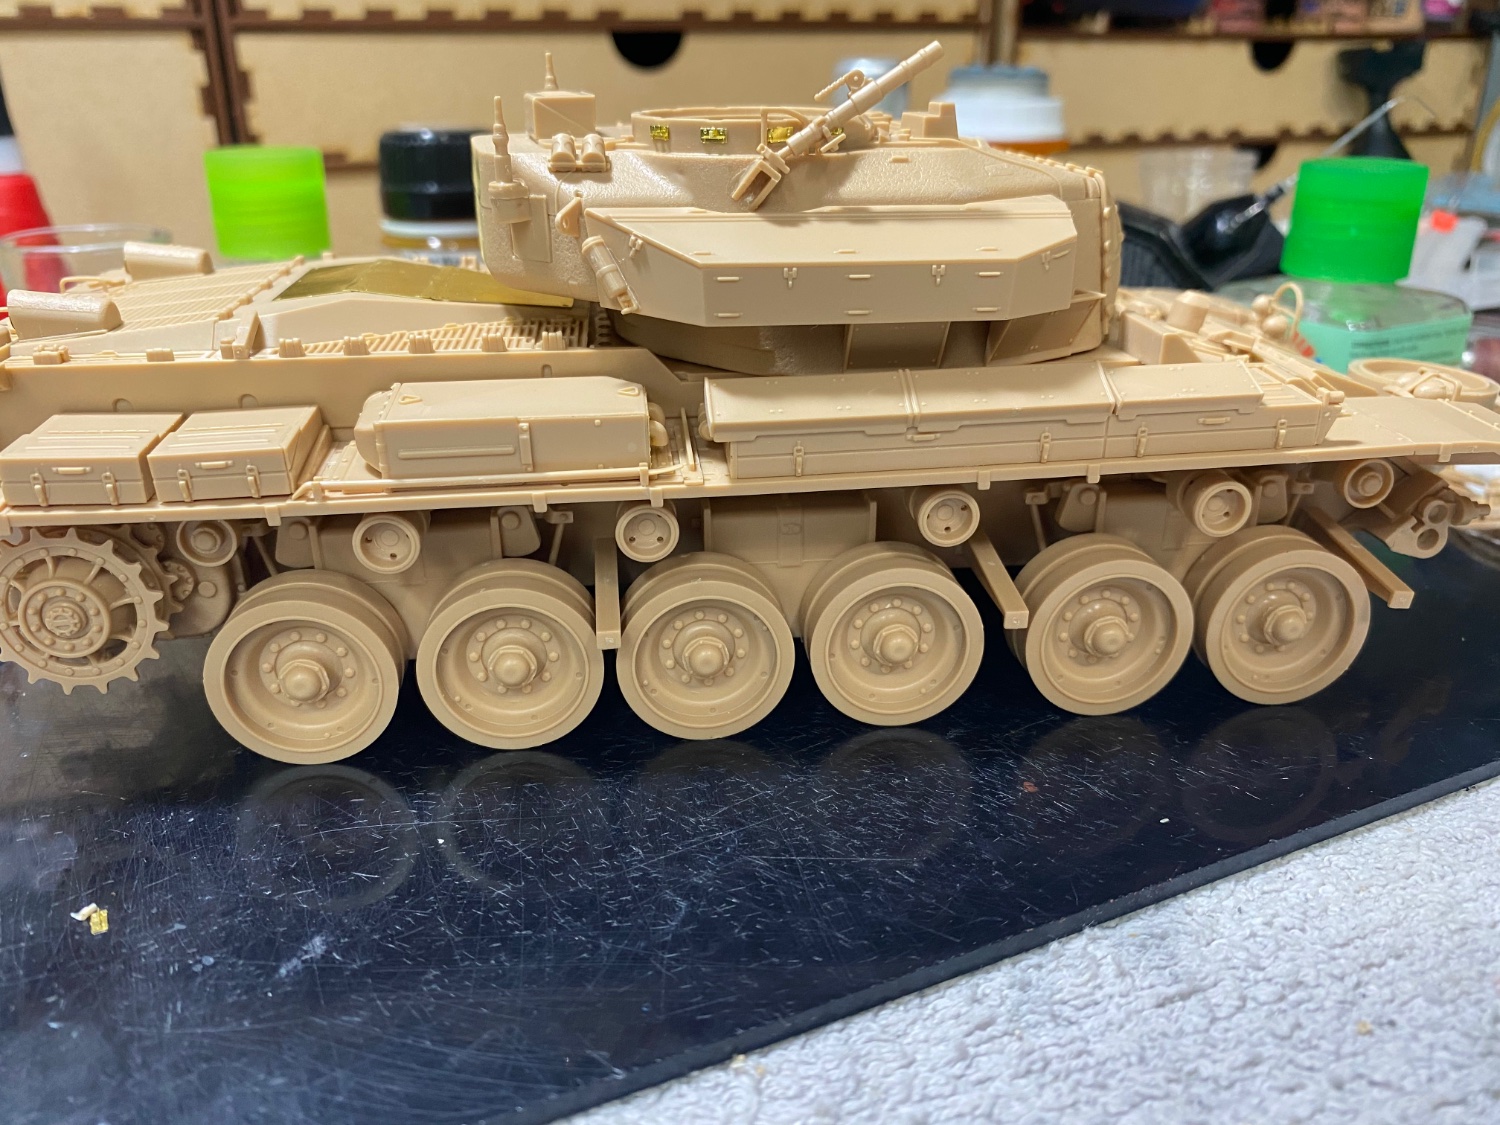
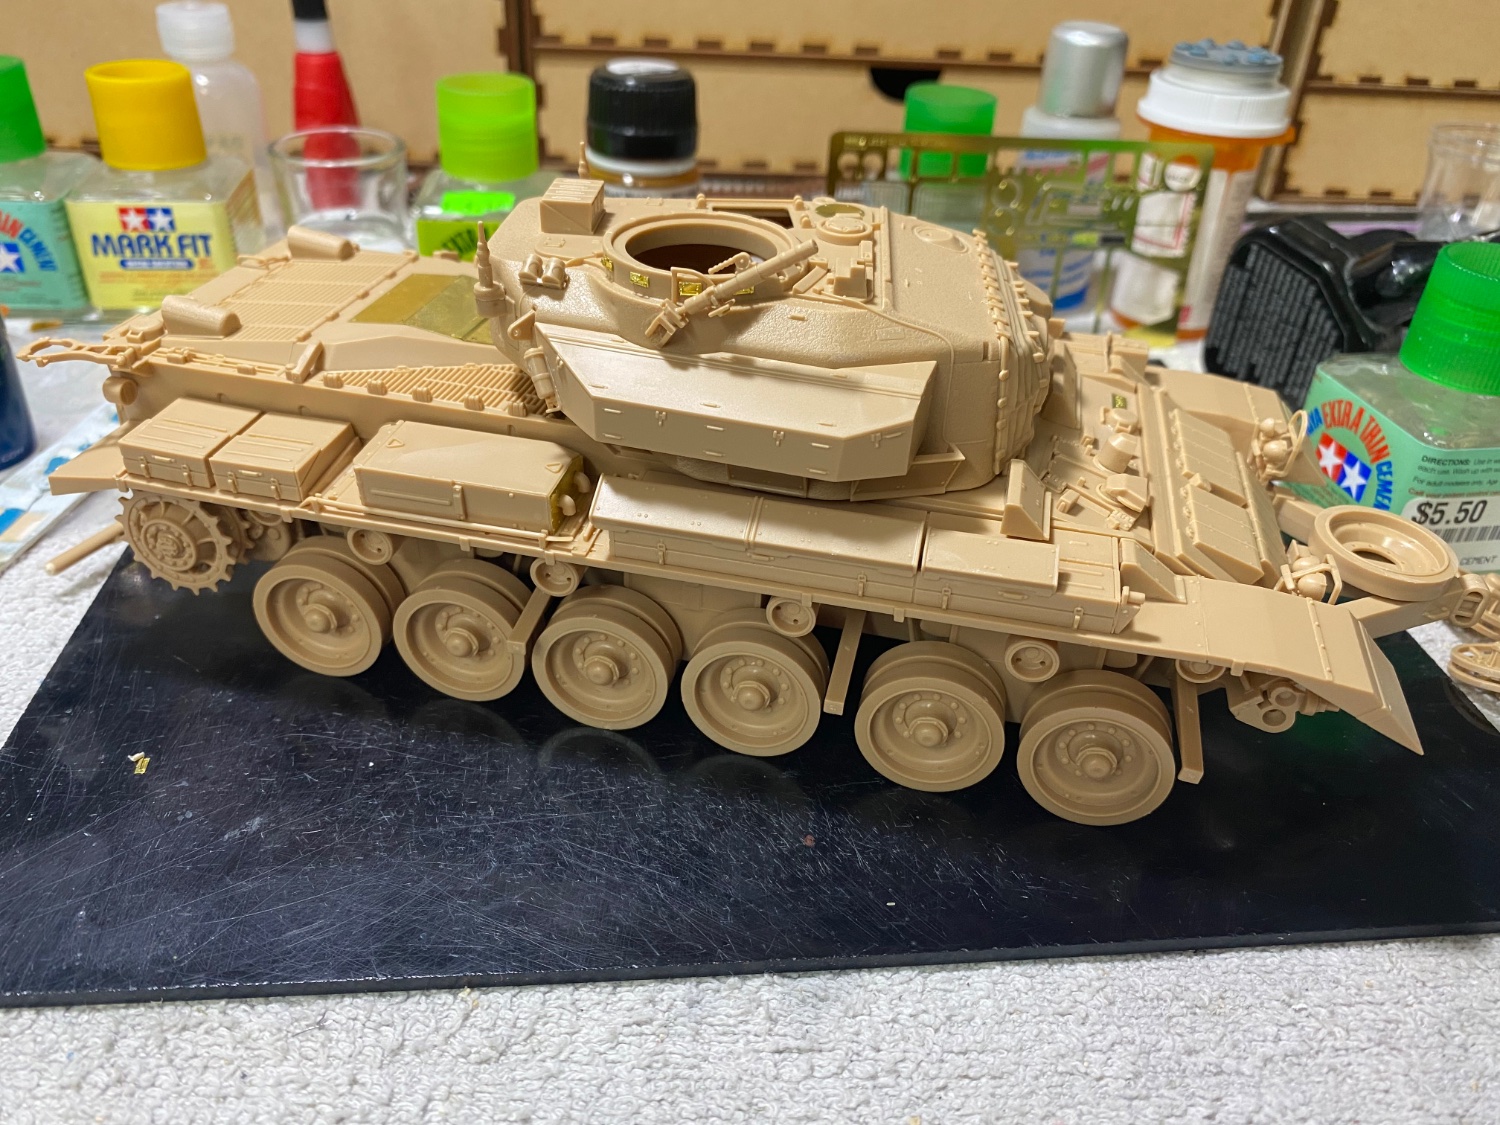
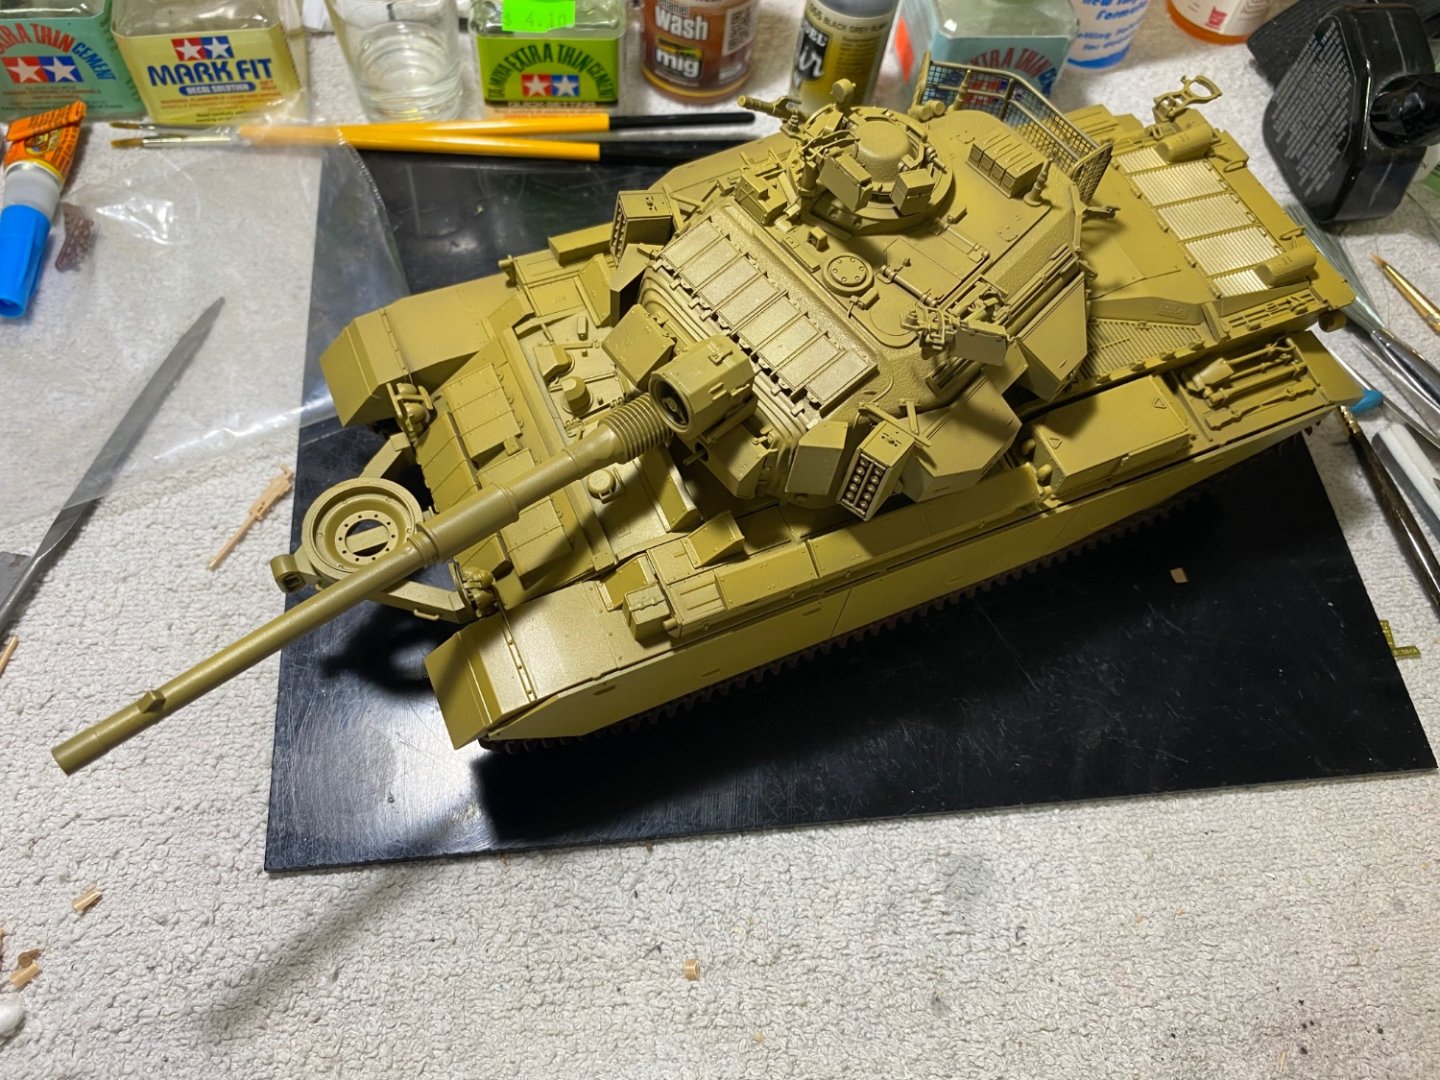
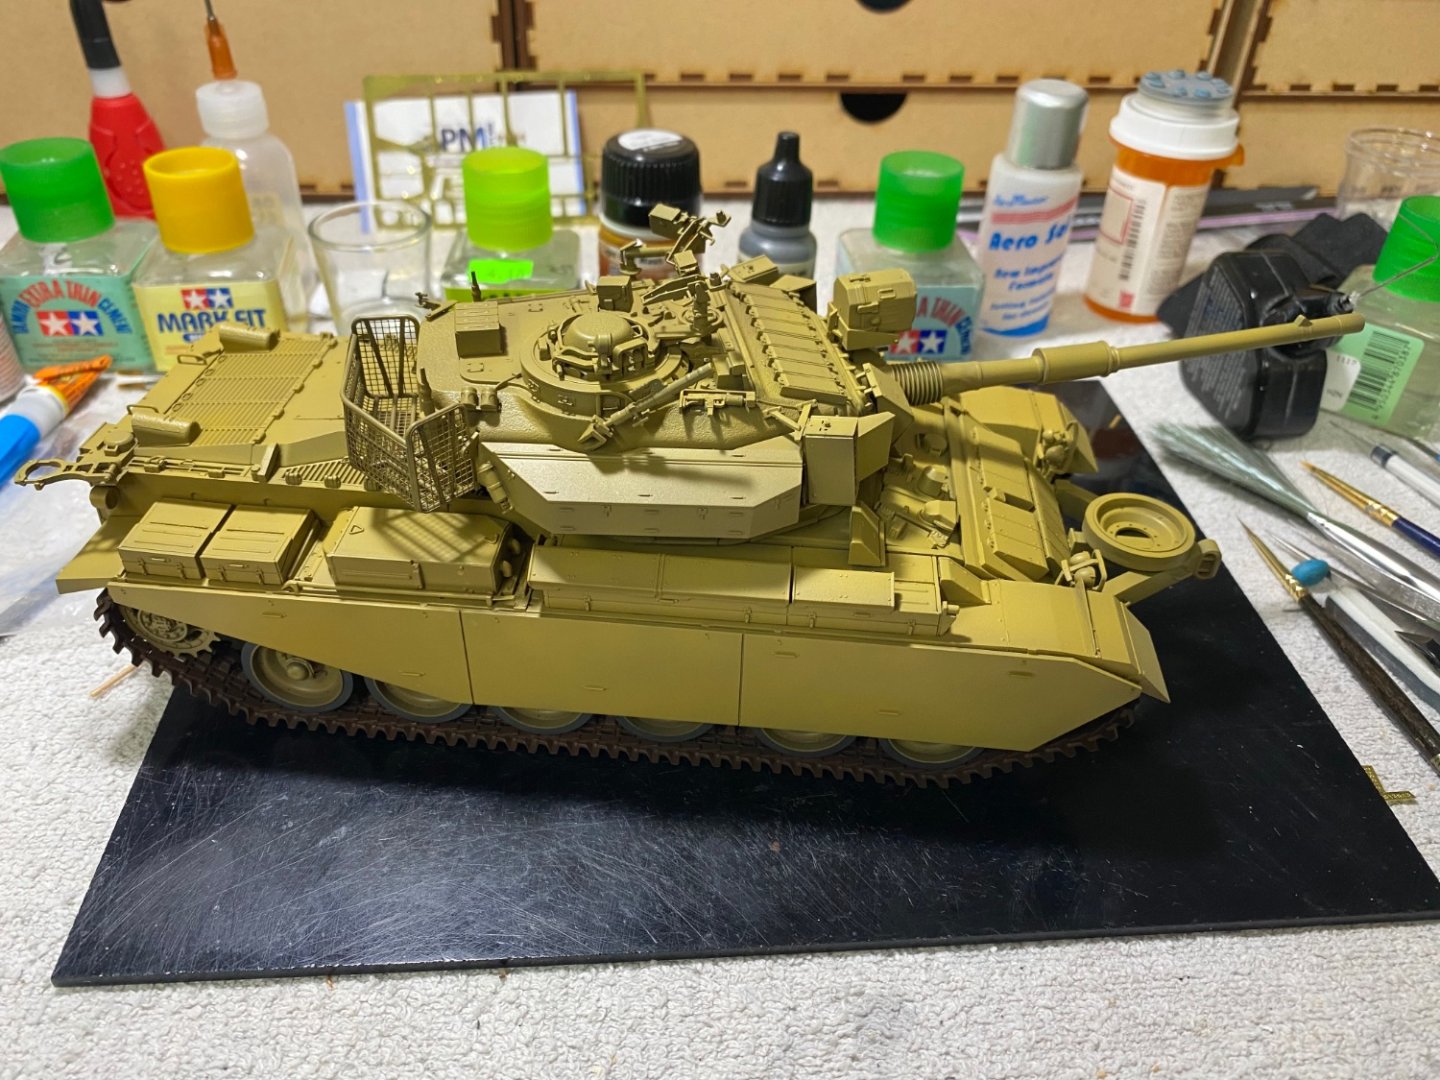
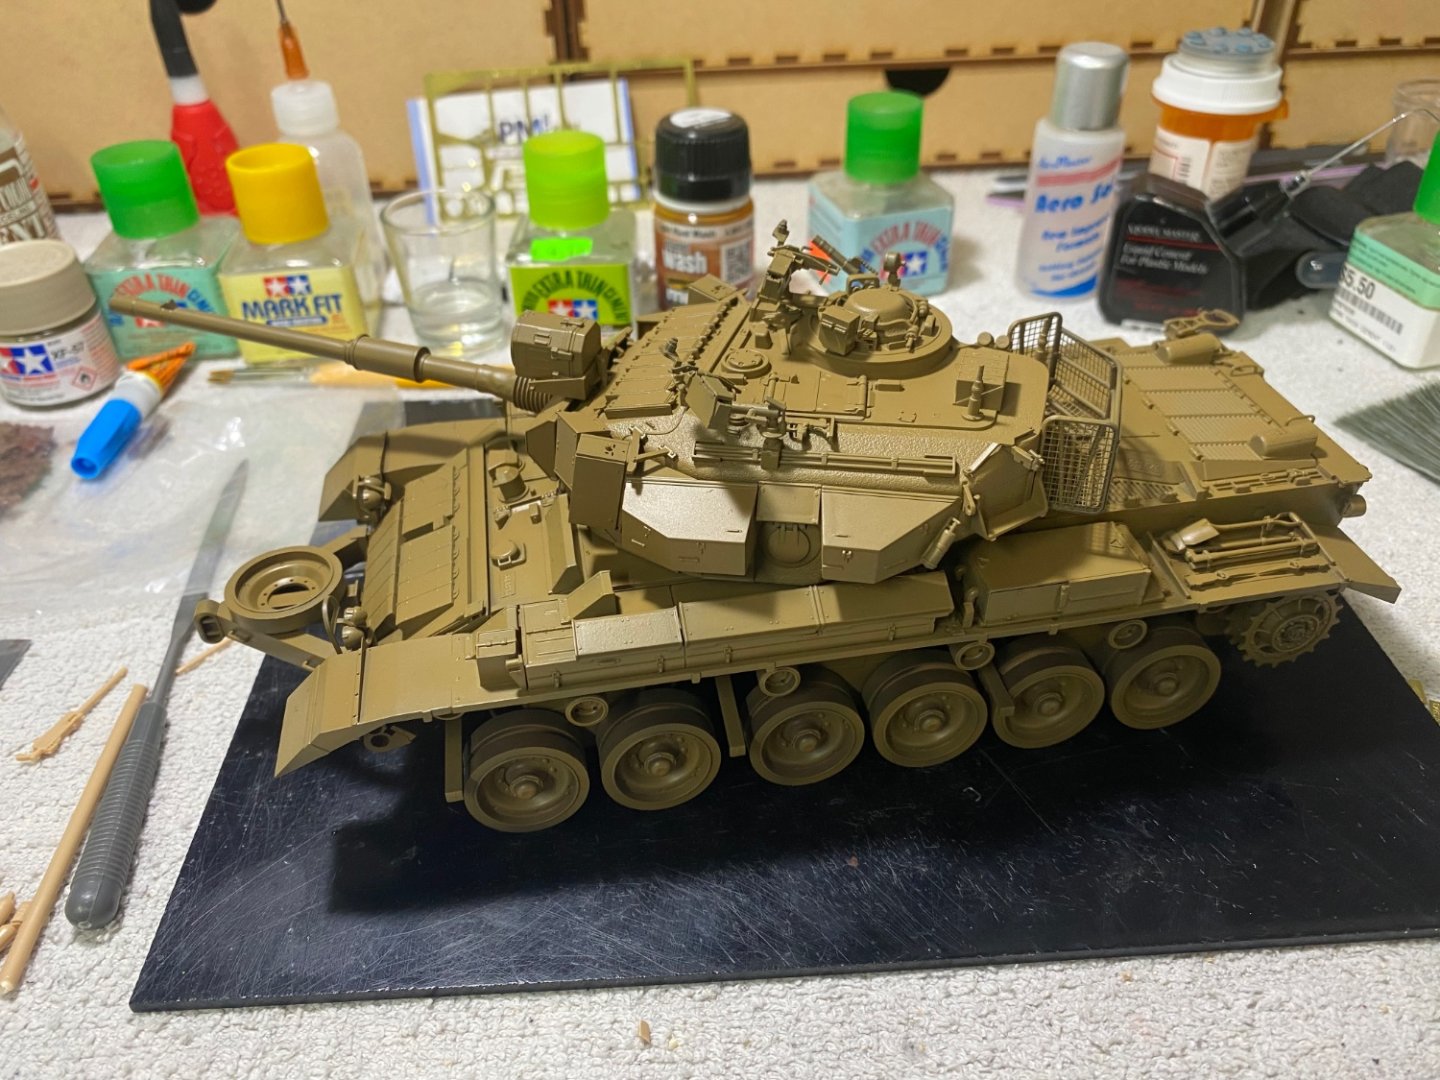
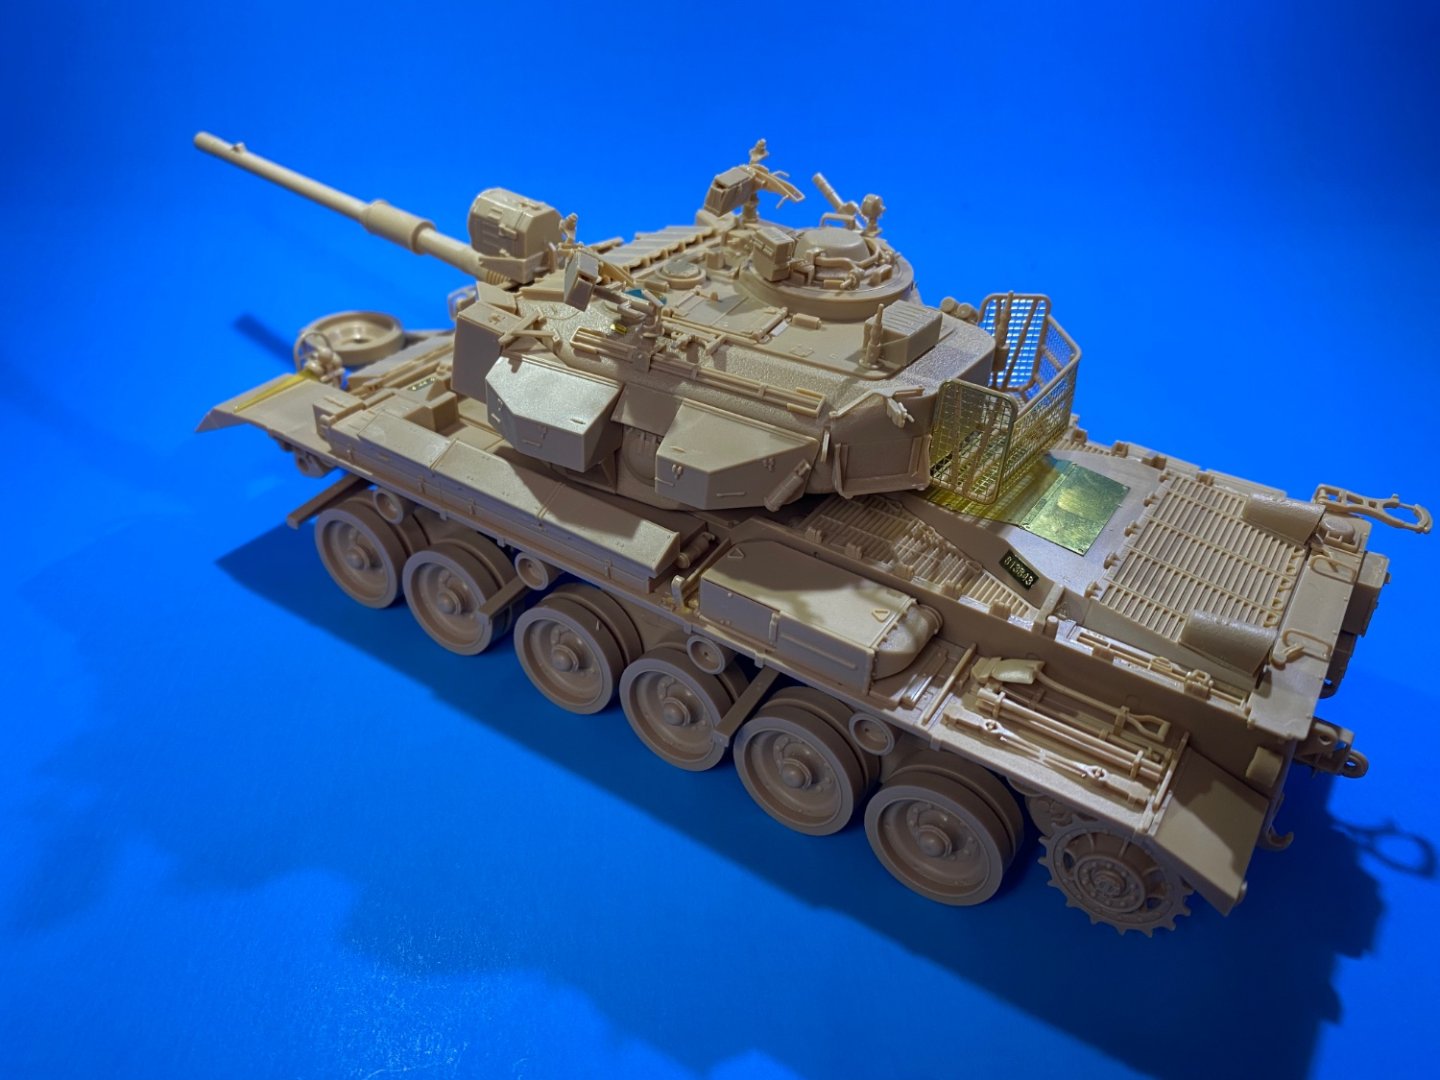
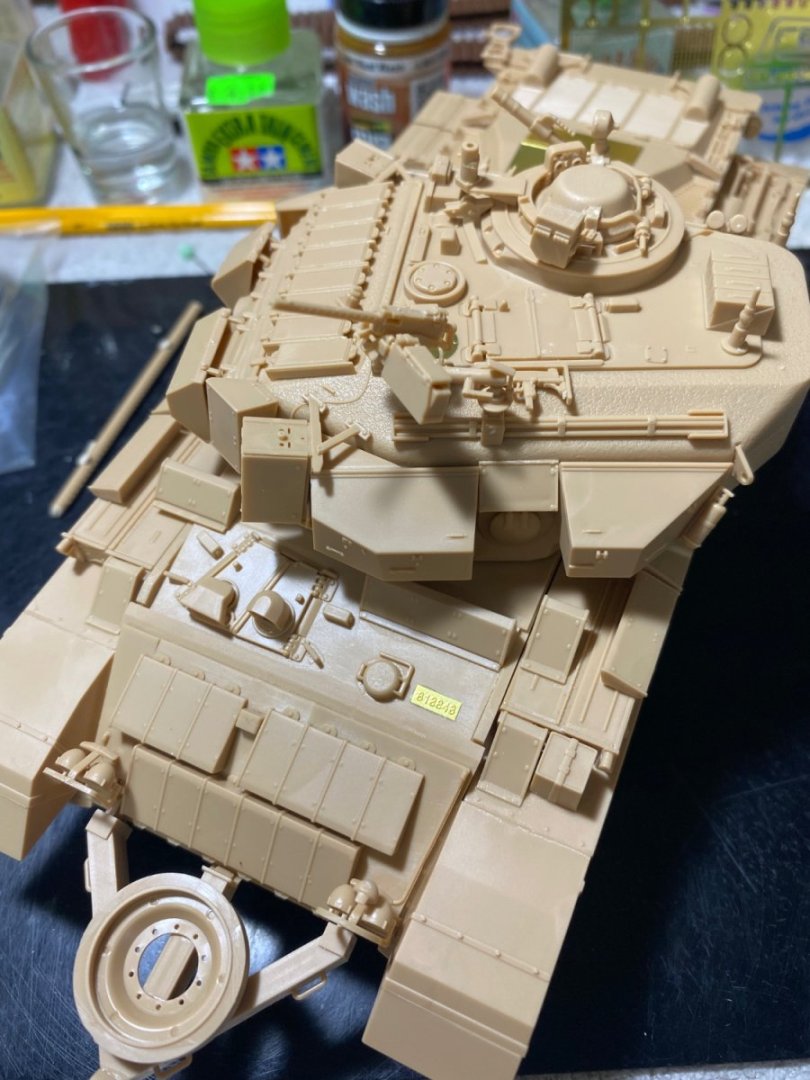
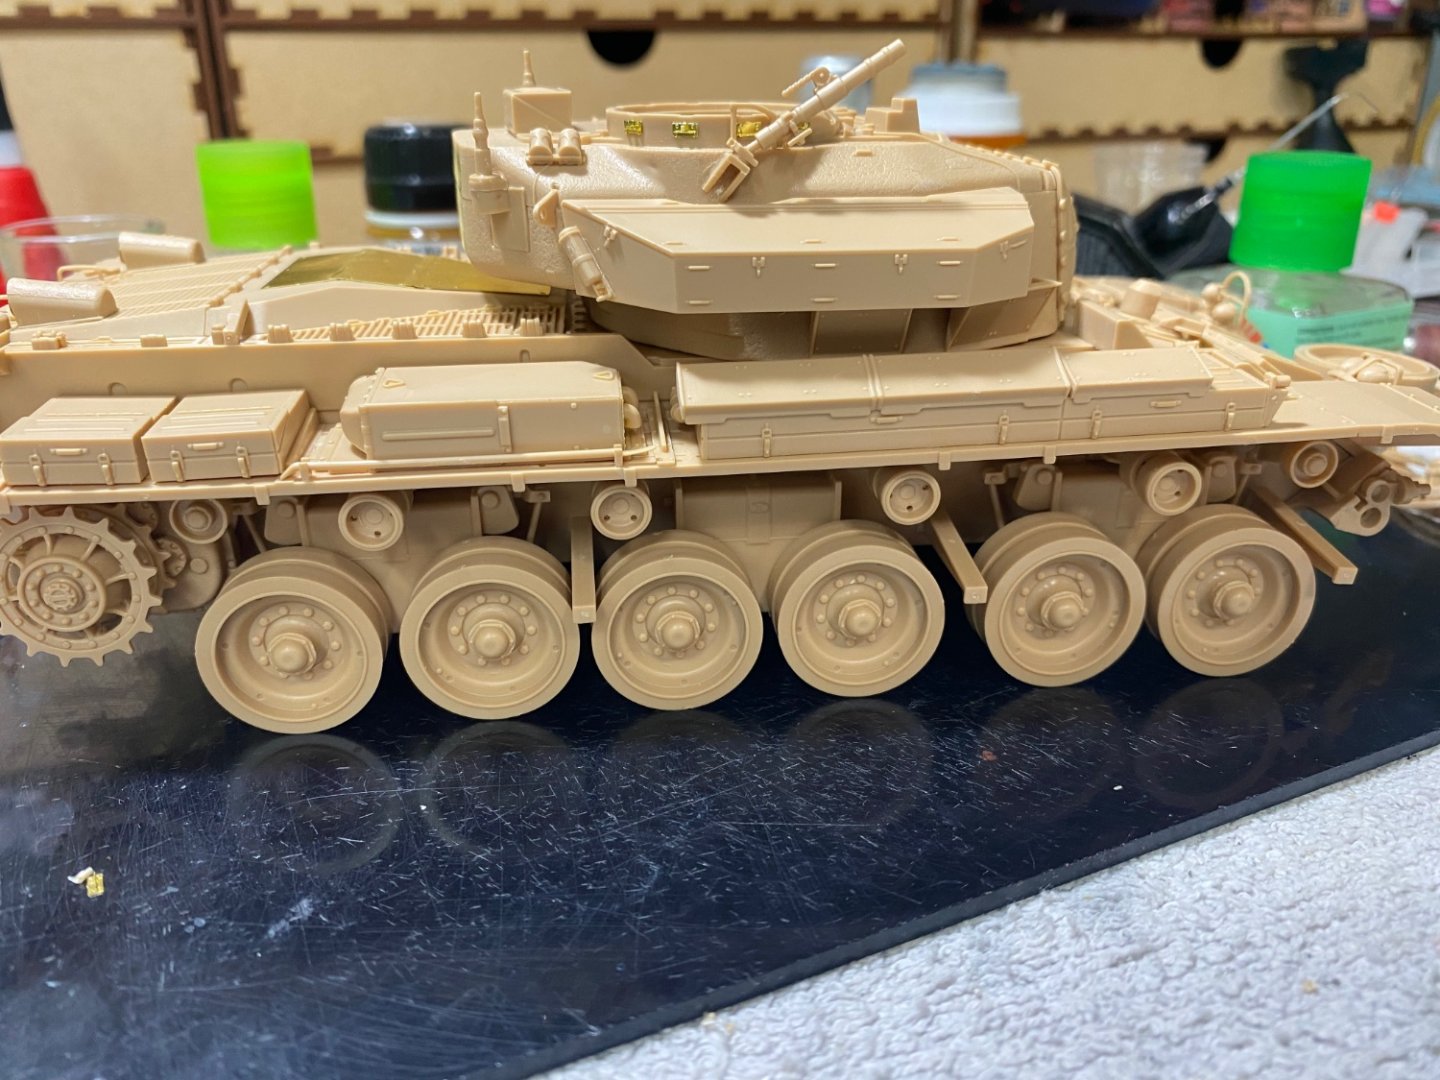
Been putting a lot of time in on the turret but there remains more to do. Obviously the main gun, but also a stowage basket that looks a little tedious. Can’t complain as all the parts have fit very well so far. First Amusing Hobby kit has been a great experience so far. Zoom in close to see a pair of Uzi’s mounted on the turret near each hatch. There are two 30 cal Machine guns and a big IR lamp yet to be mounted. All ERA armor now in place.


-
Lots of parts go onto the turret


-
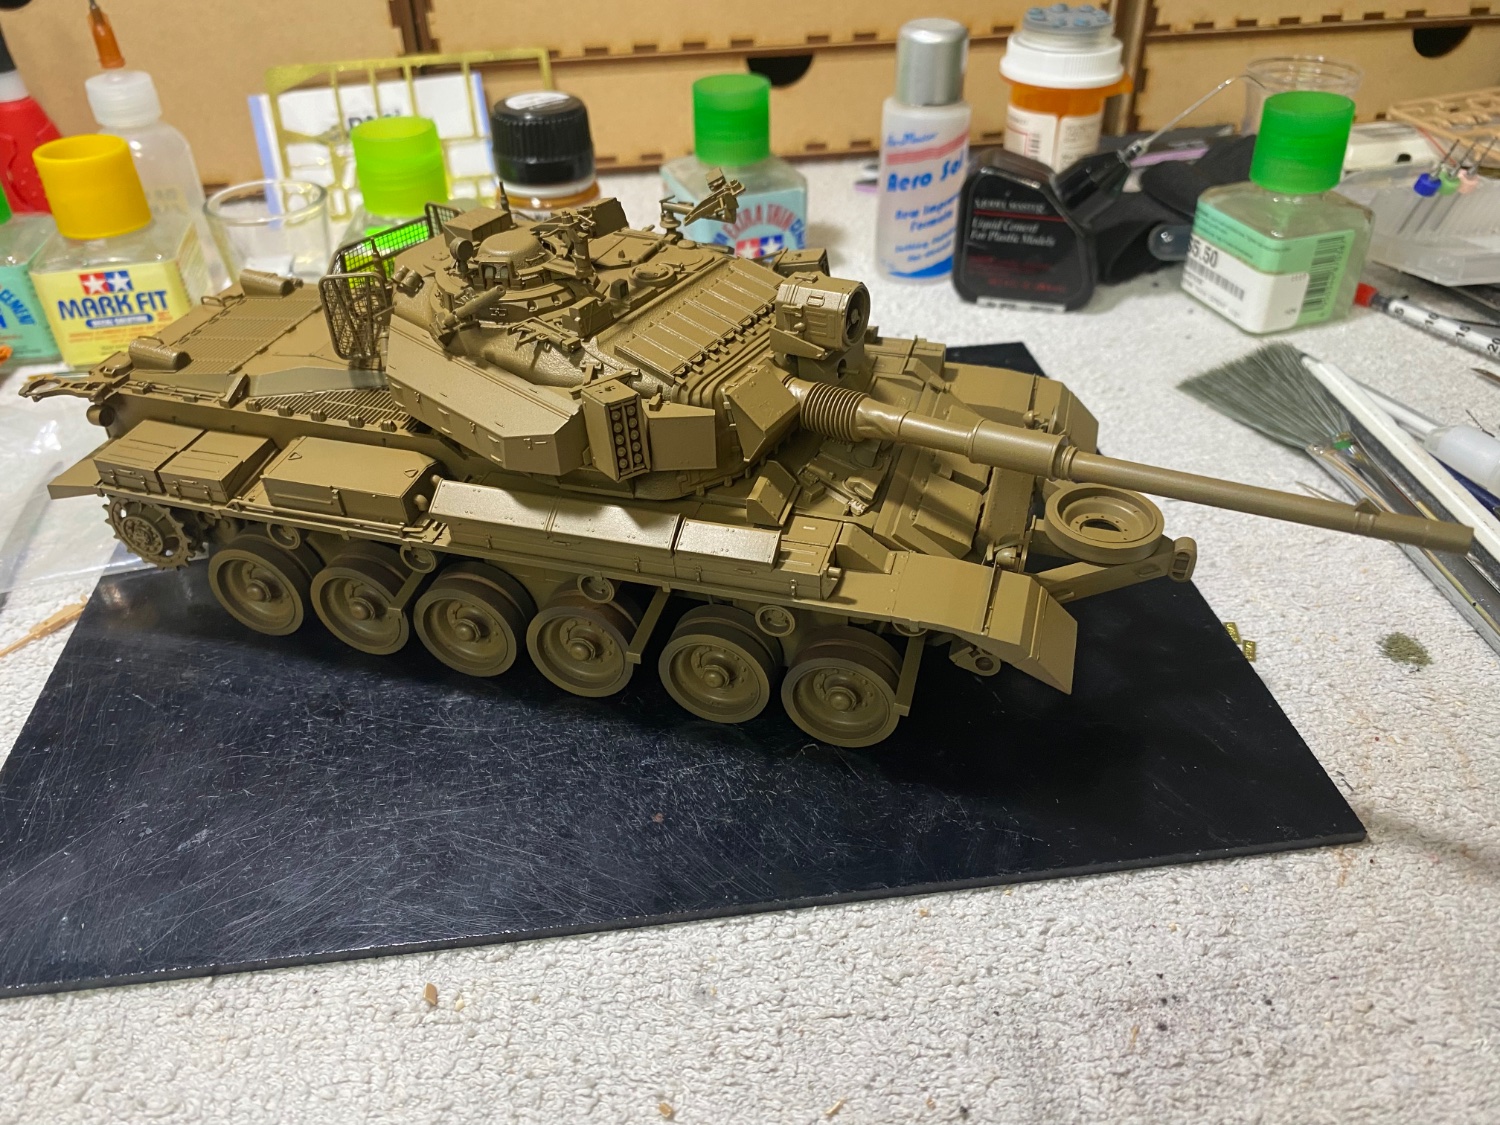
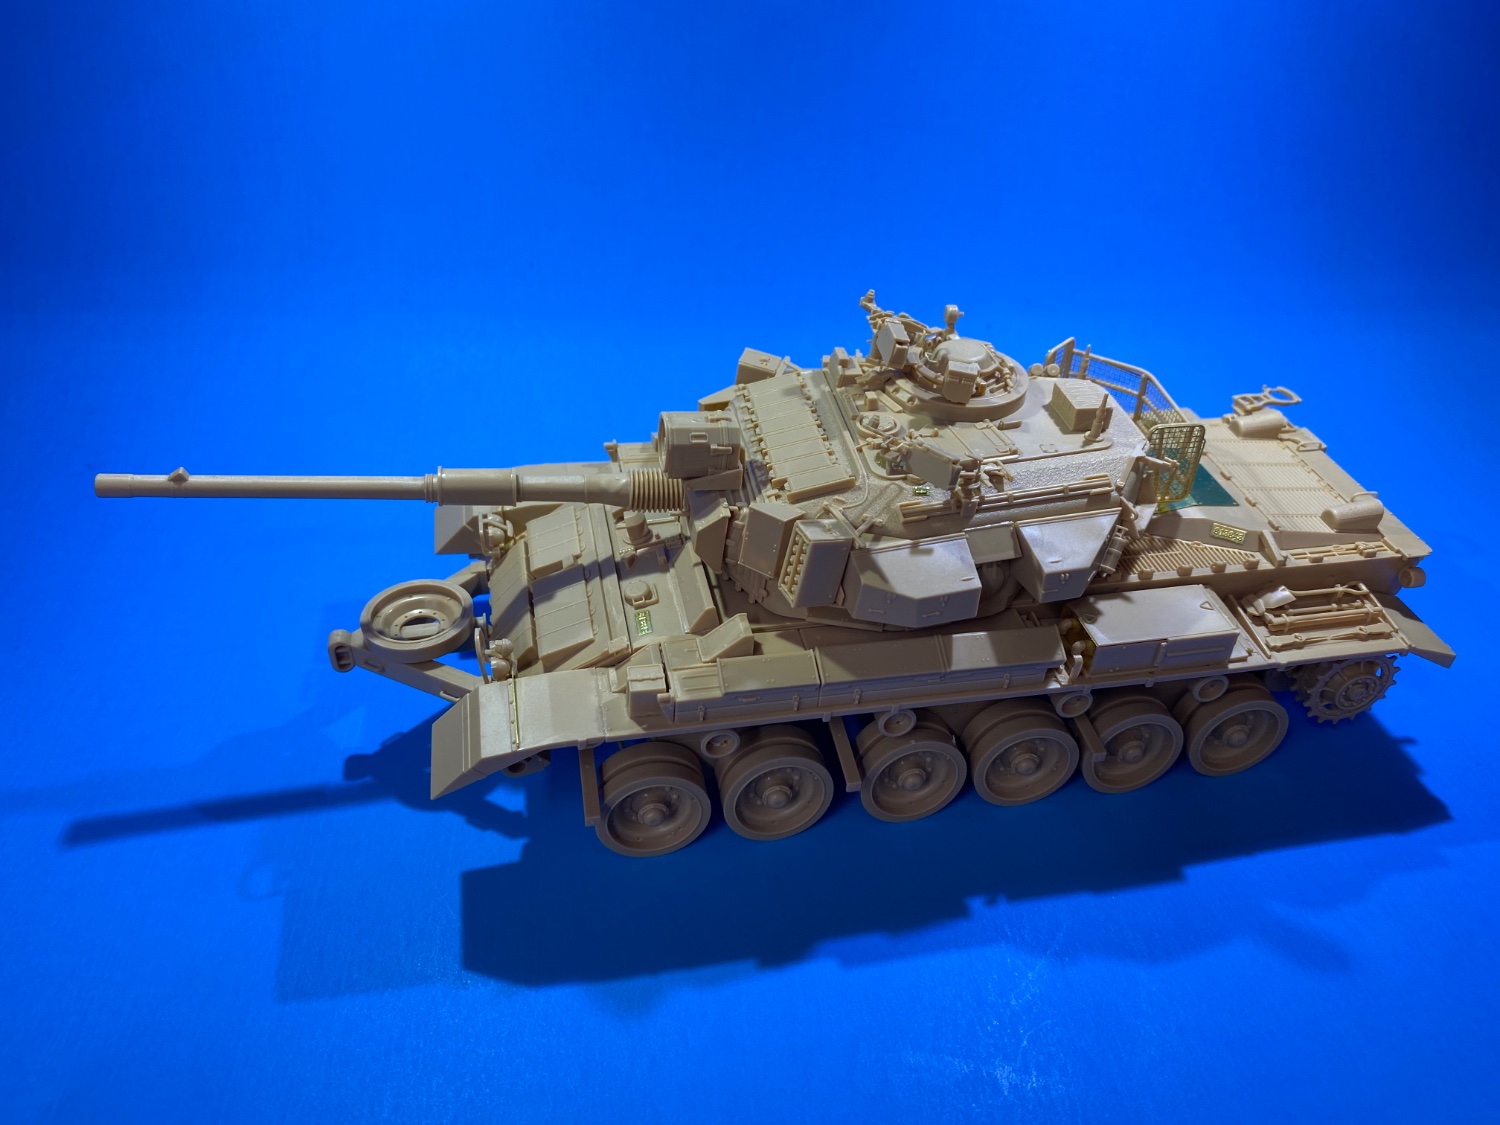
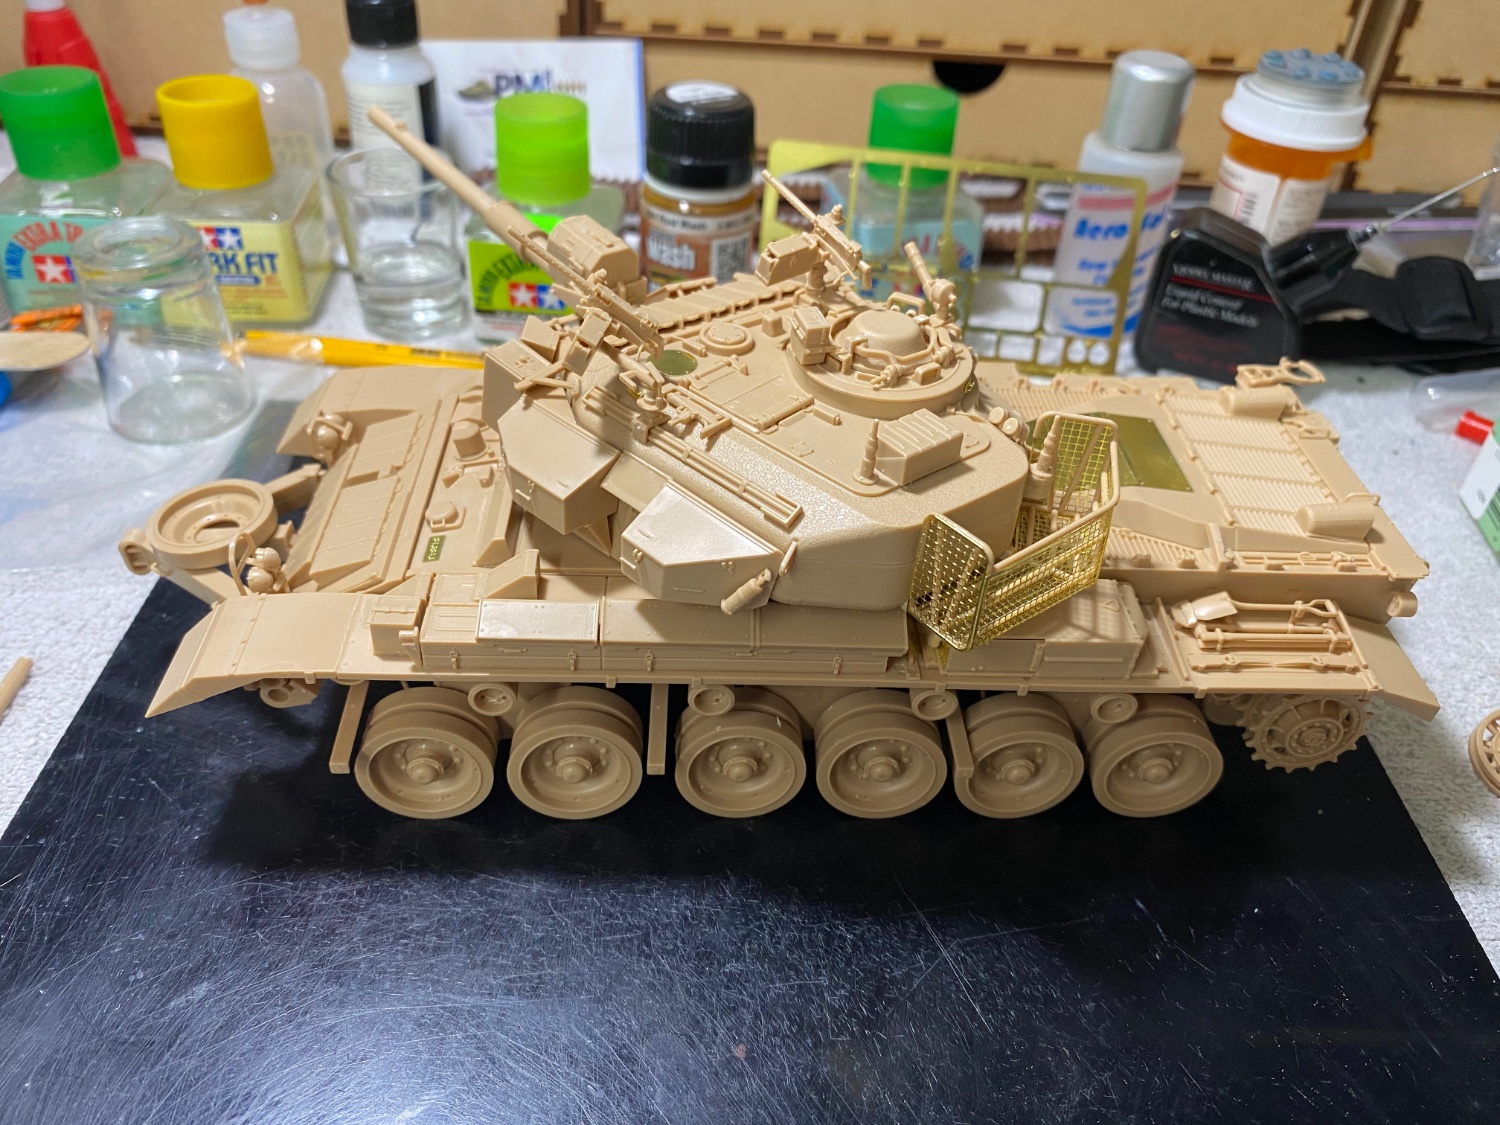
AFV's and anti-tank weapons are ever evolving. This machine represents a specific evolutionary moment in time for the IDF, in or around 1982. Thanks for the comment's gentlemen.
-
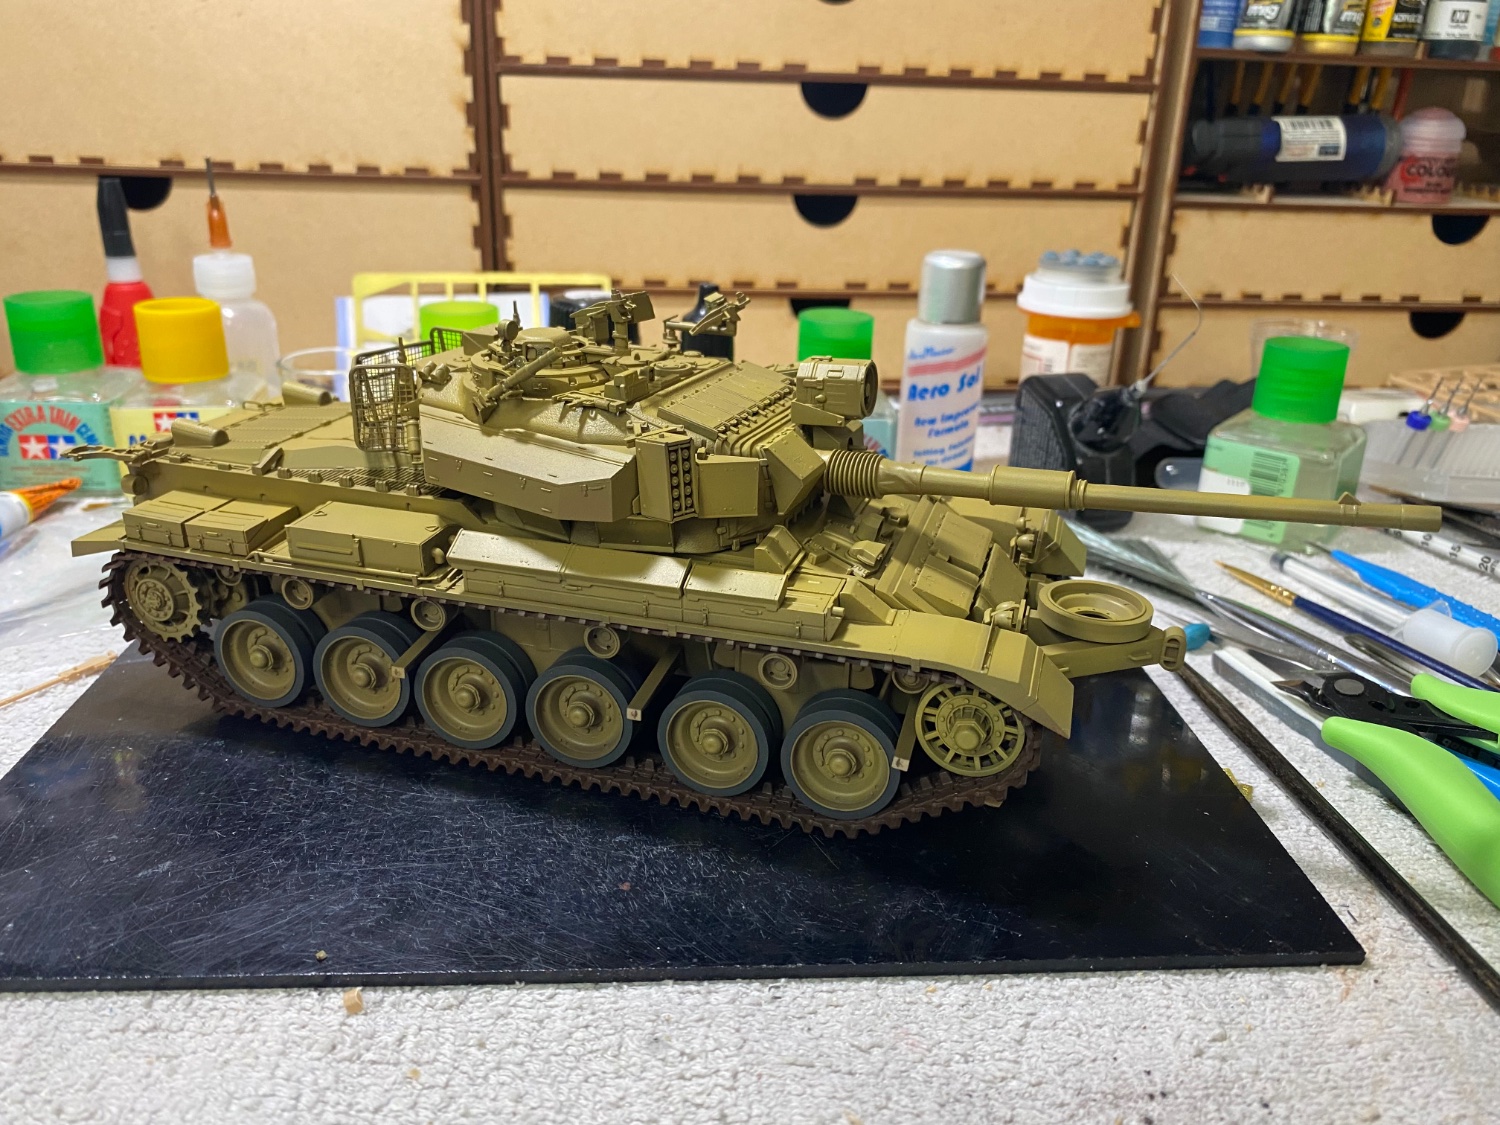
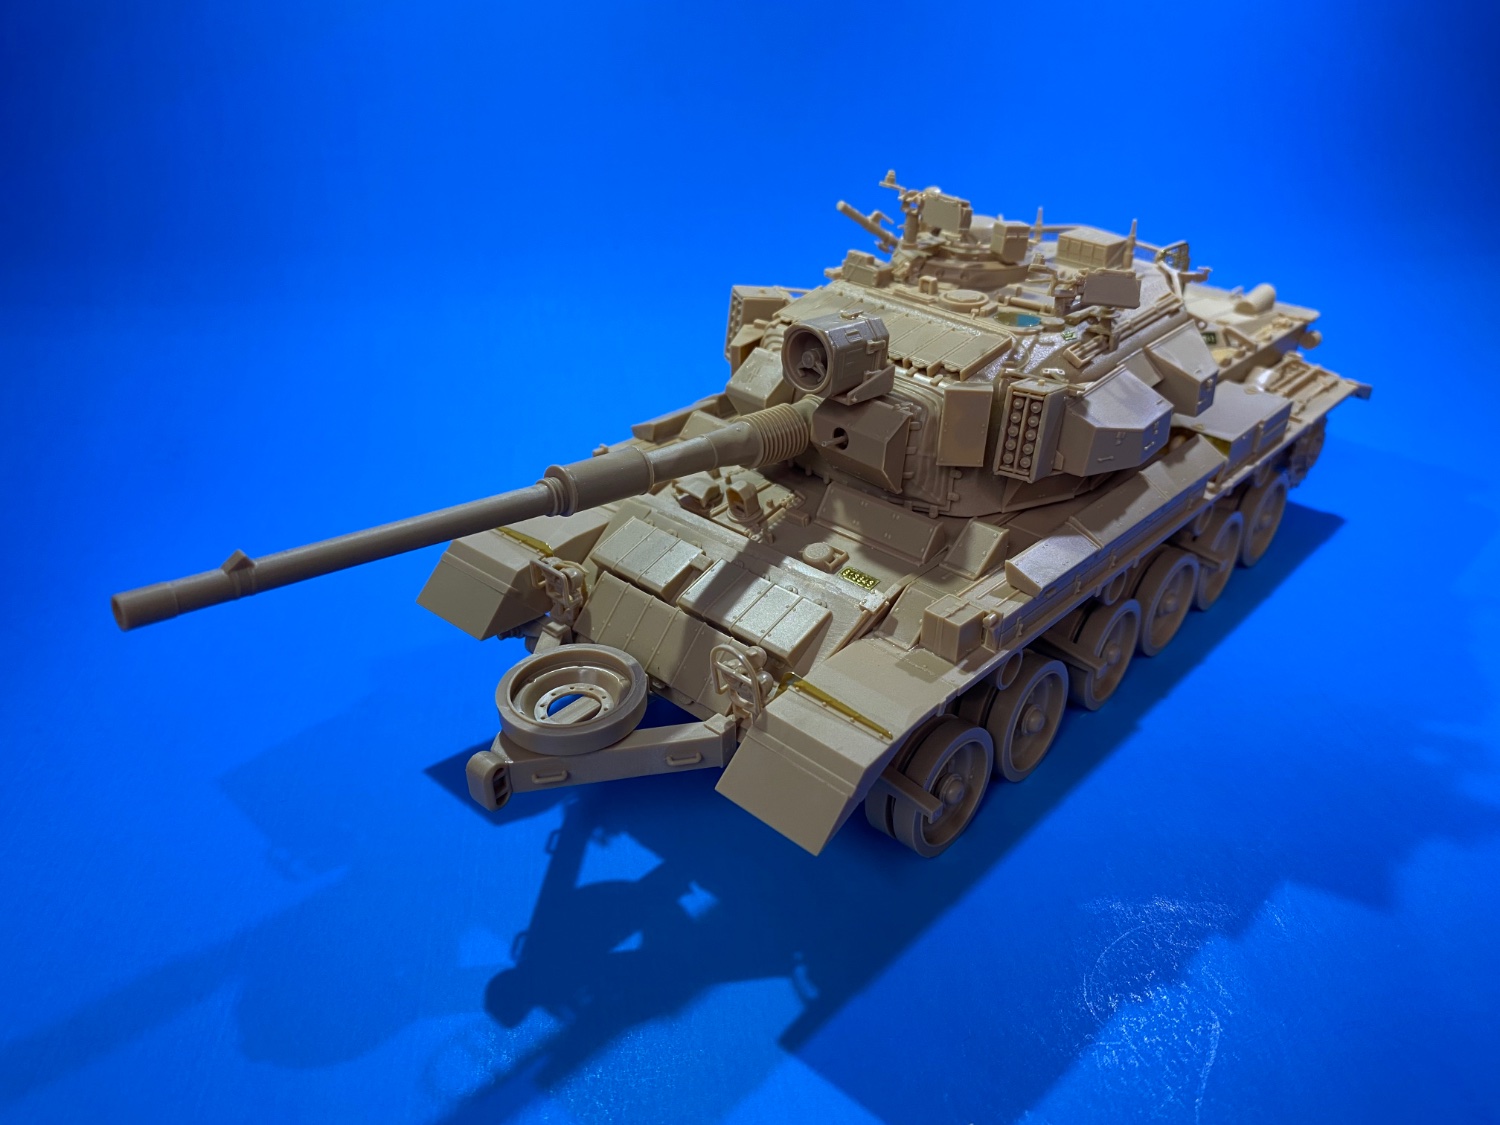
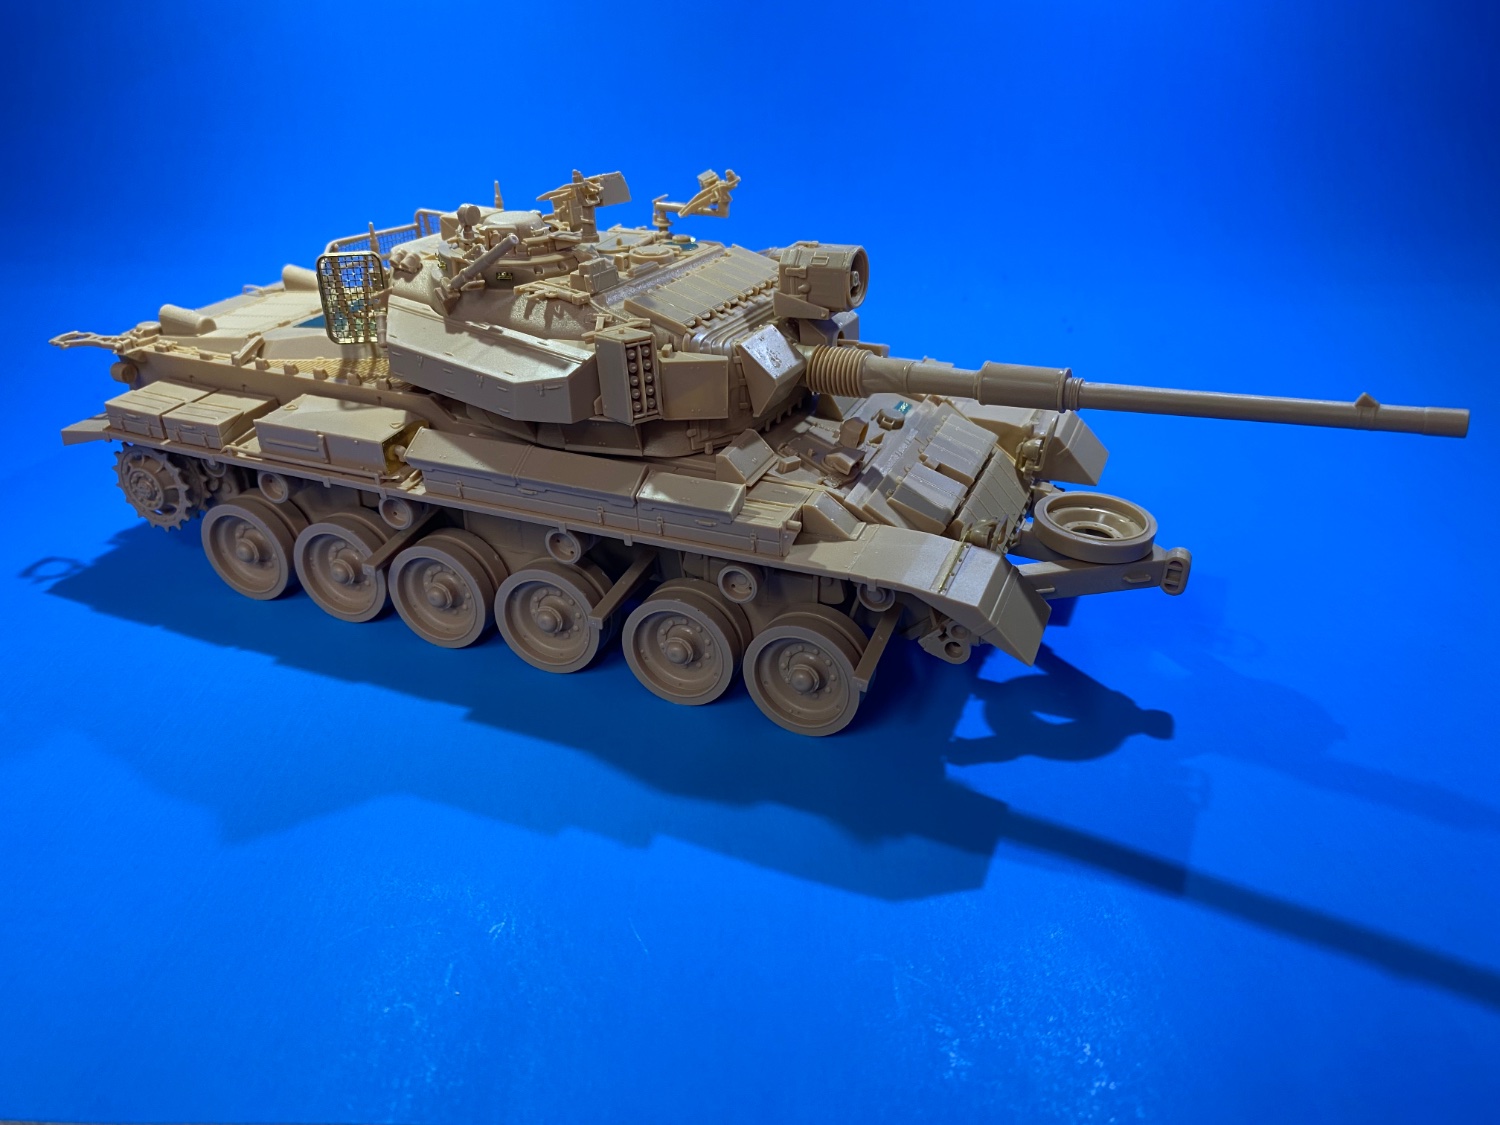
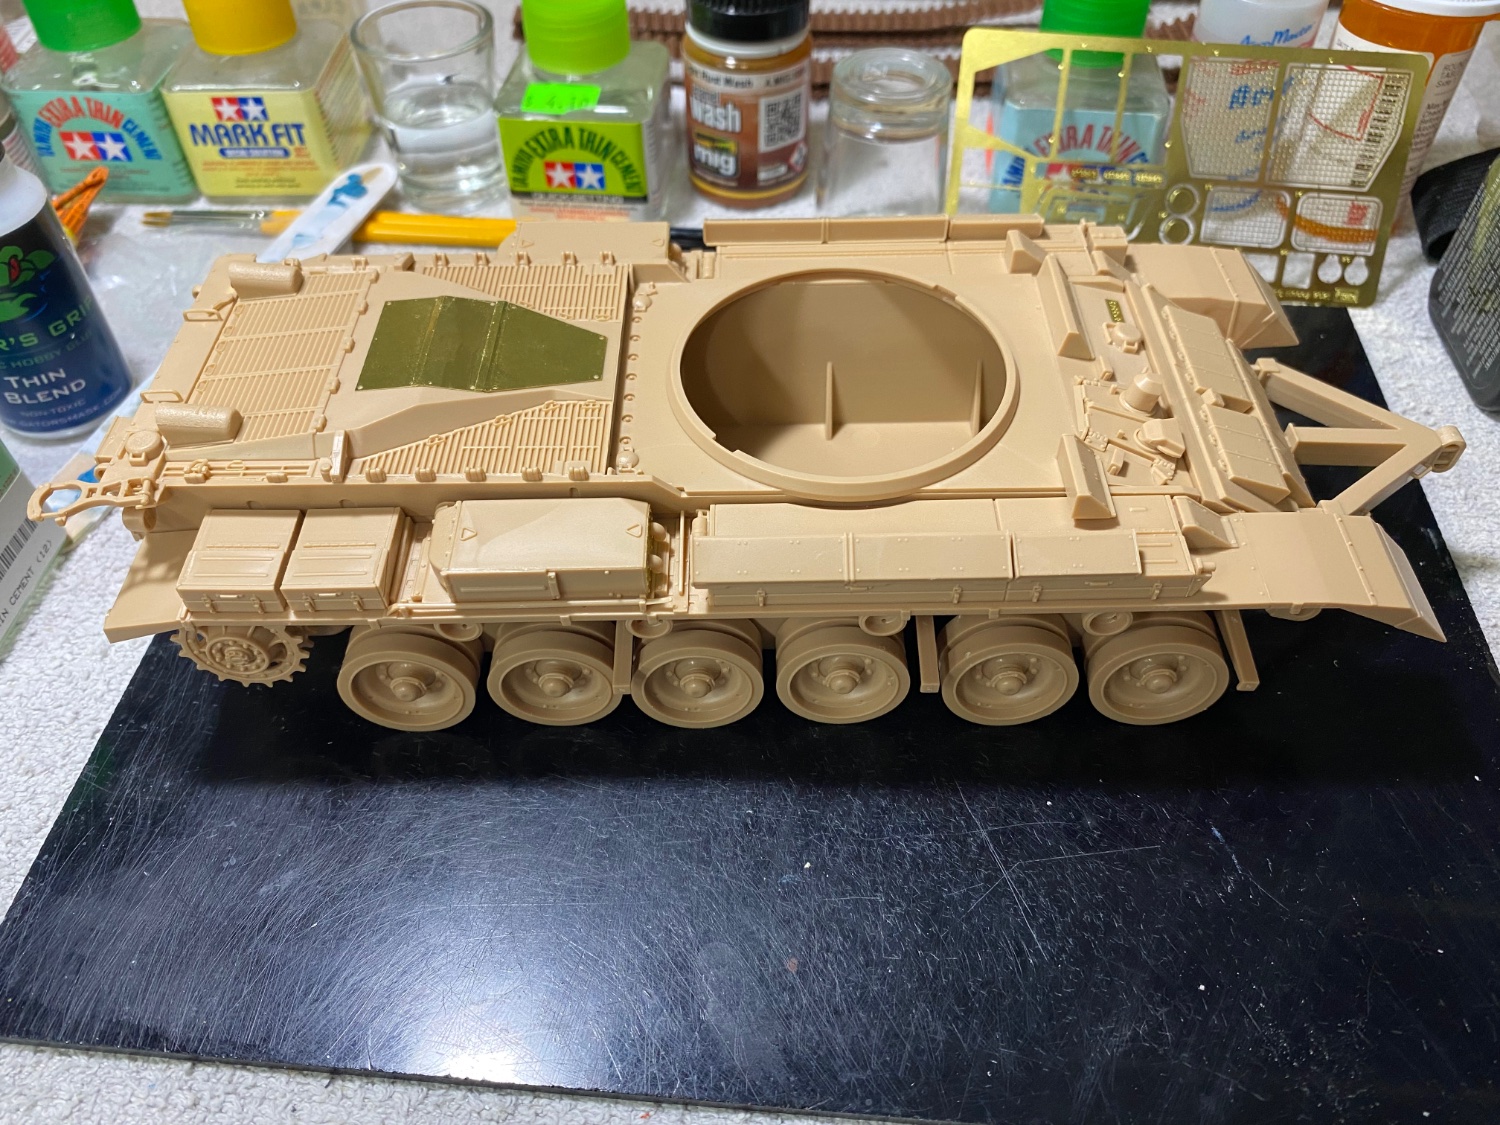
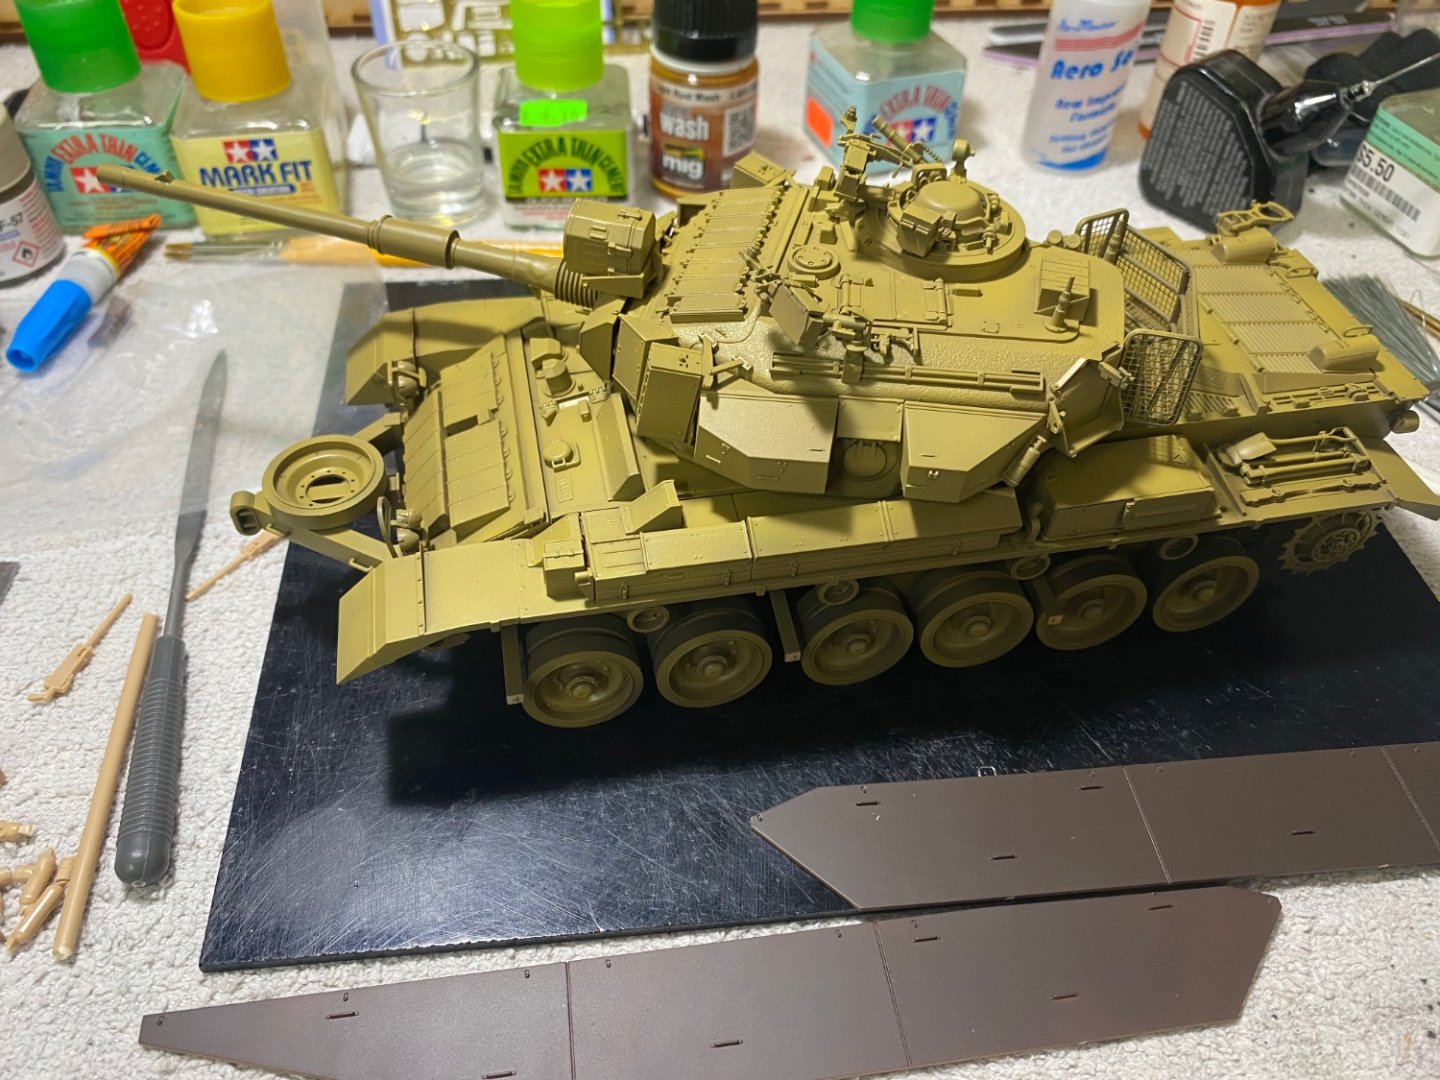
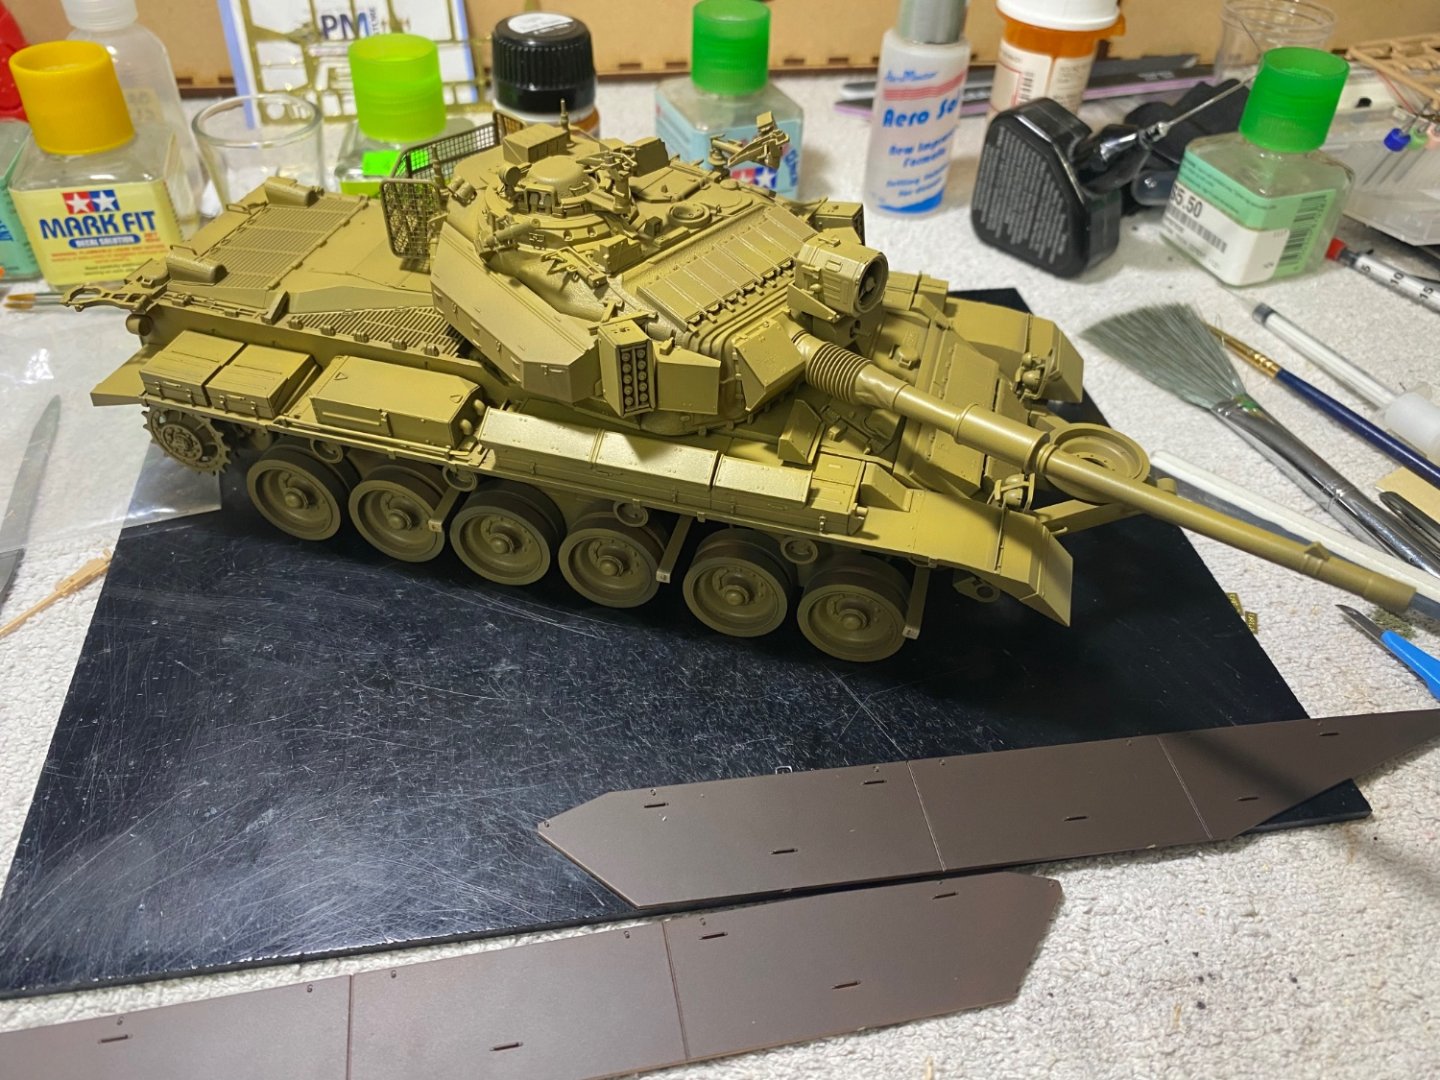
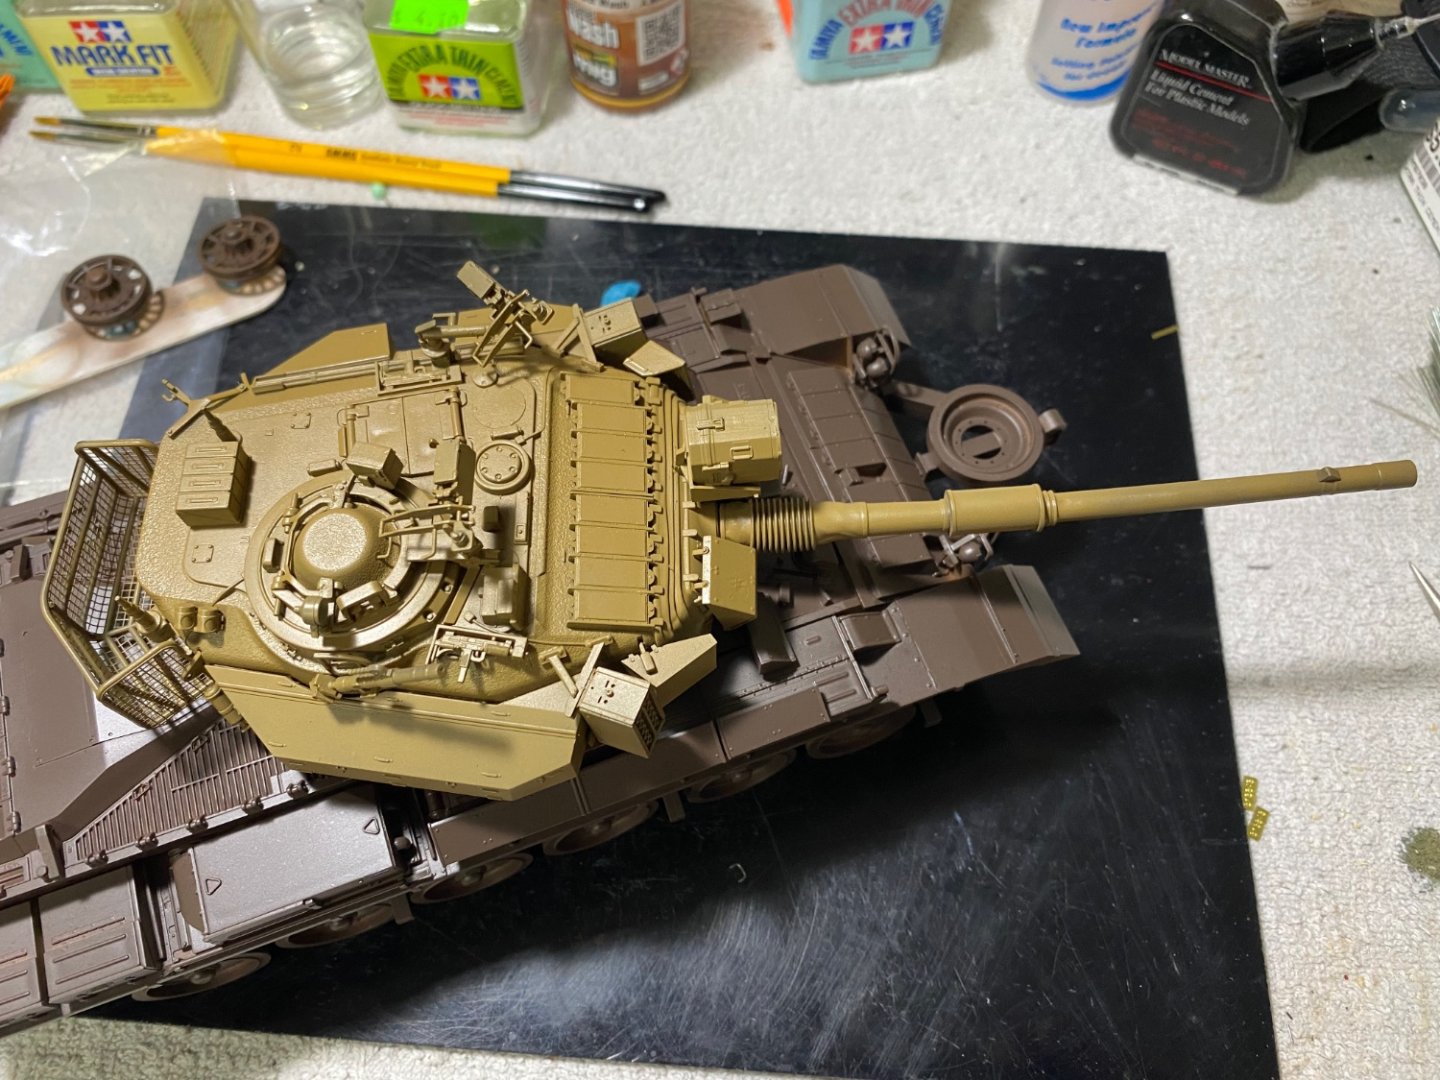
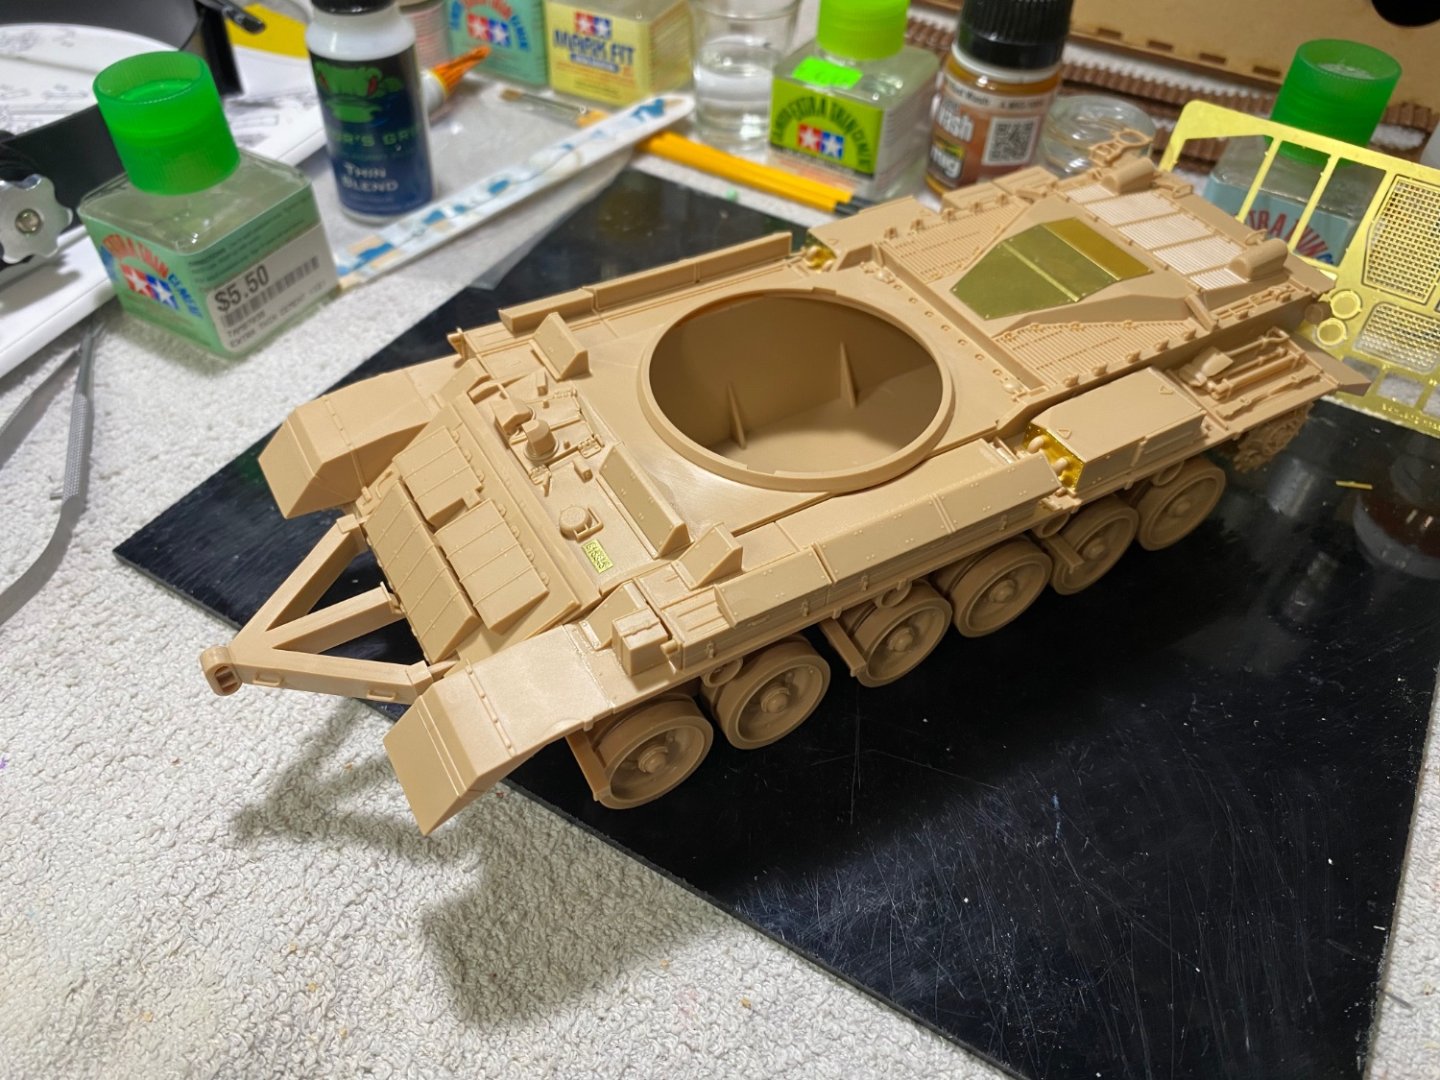
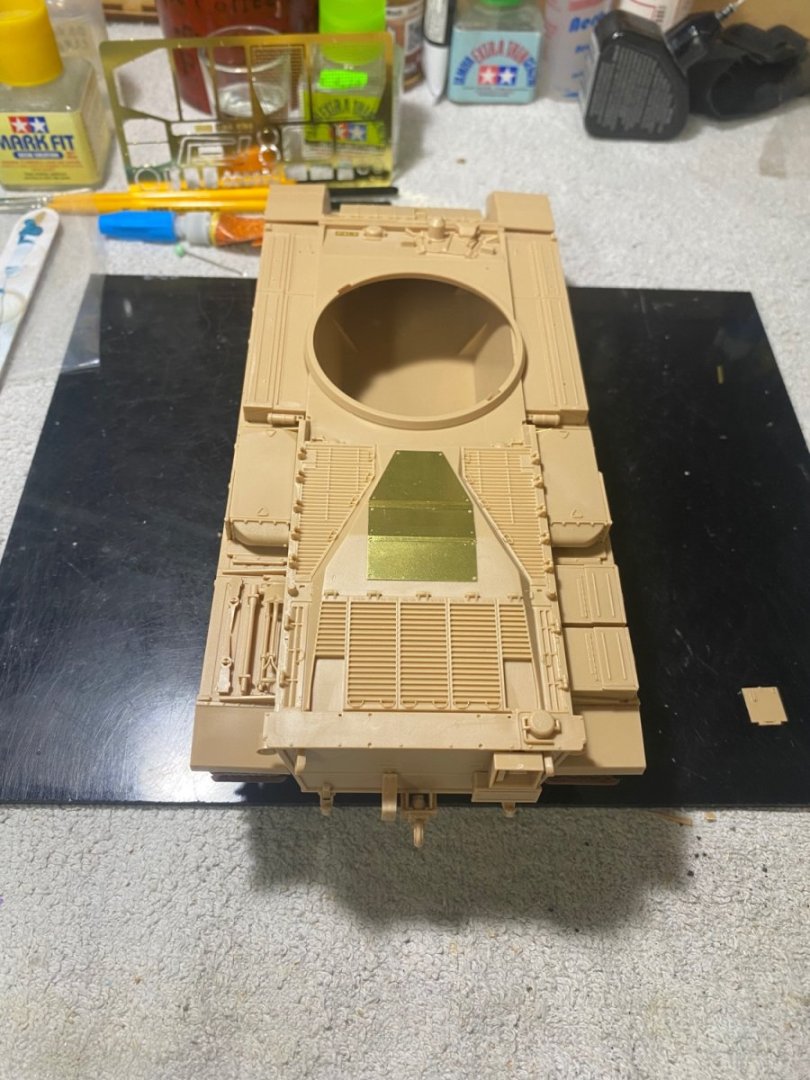
The idea of counterexplosion (kontrvzryv in Russian) in armor was first proposed by the Scientific Research Institute of Steel (NII Stali) in 1949 in the USSR by academician Bogdan Vjacheslavovich Voitsekhovsky (1922–1999). The first pre-production models were produced during the 1960s. However, insufficient theoretical analysis during one of the tests resulted in all of the prototype elements being blown up. For a number of reasons, including the accident, as well as a belief that Soviet tanks had sufficient armor, the research was ended. No more research was conducted until 1974 when the Ministry of the Defensive Industry announced a contest to find the best tank protection project. A West German researcher, Manfred Held carried out similar work with the IDF in 1967–1969.[2] Reactive armor created on the basis of the joint research was first installed on Israeli tanks during the 1982 Lebanon war and was judged very effective. The Sho't Kal Gimel has the distinction of carrying the first instances of reactive armor. In these photos, I have just installed the ERA on the upper hull. Also the battering ram has been shown here in its position.

- 95 replies
-
- 12
-
-
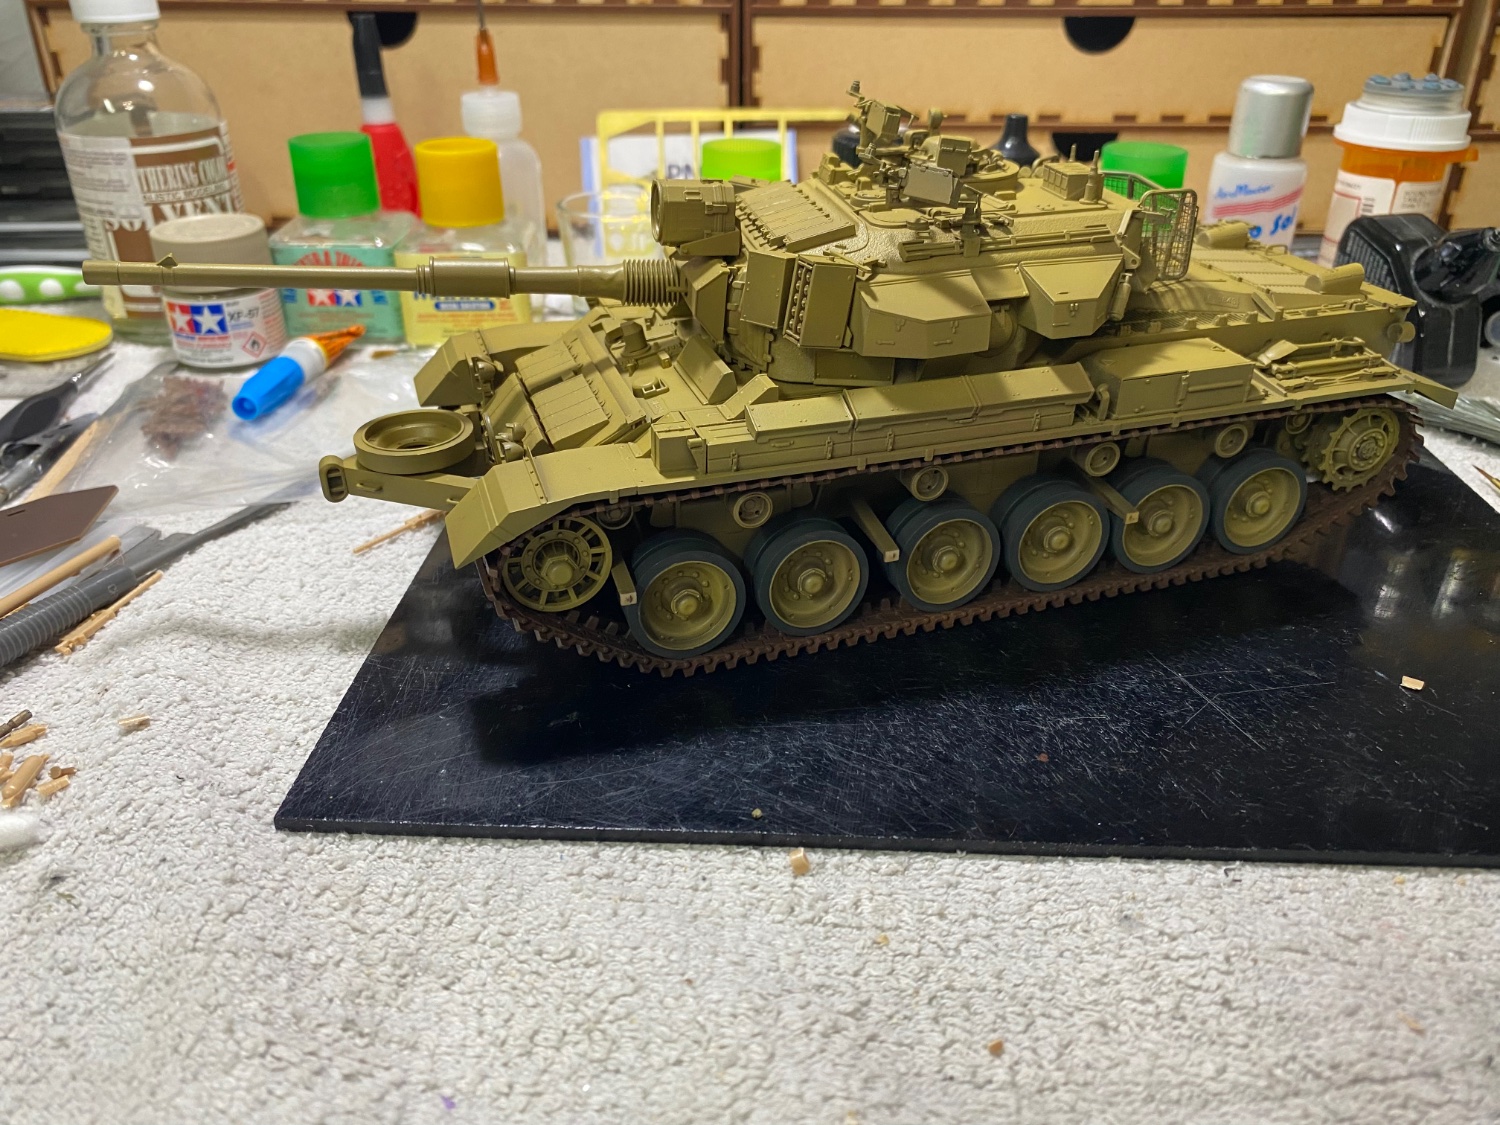
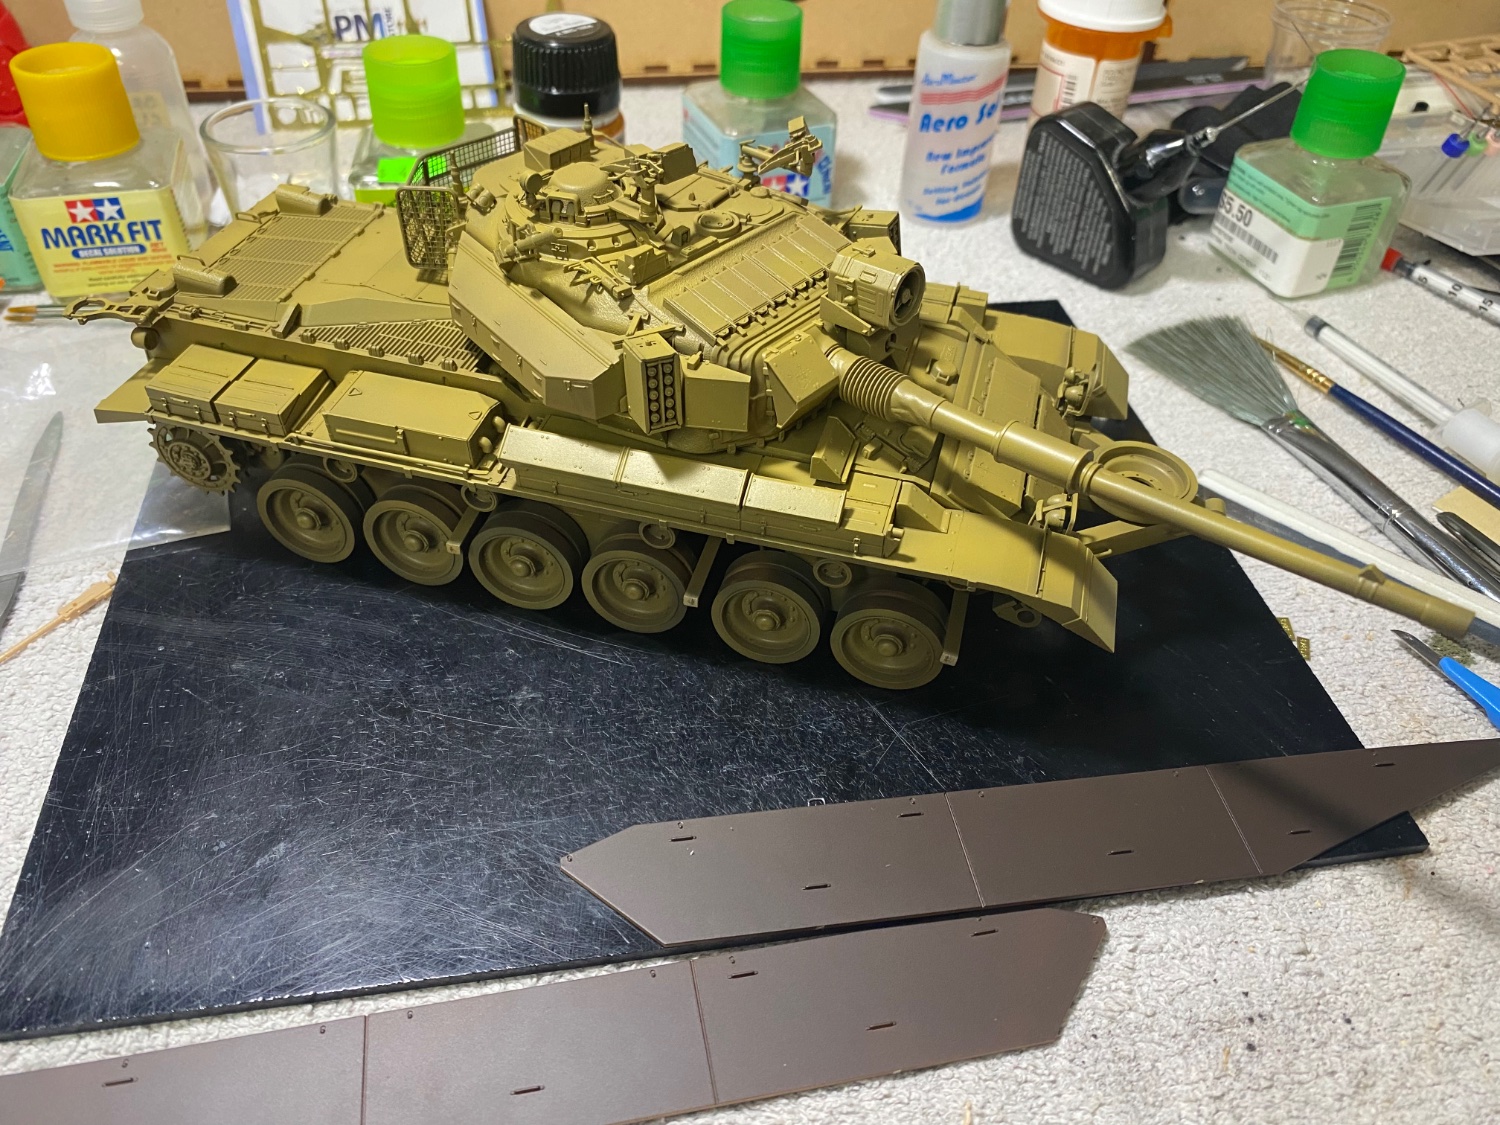
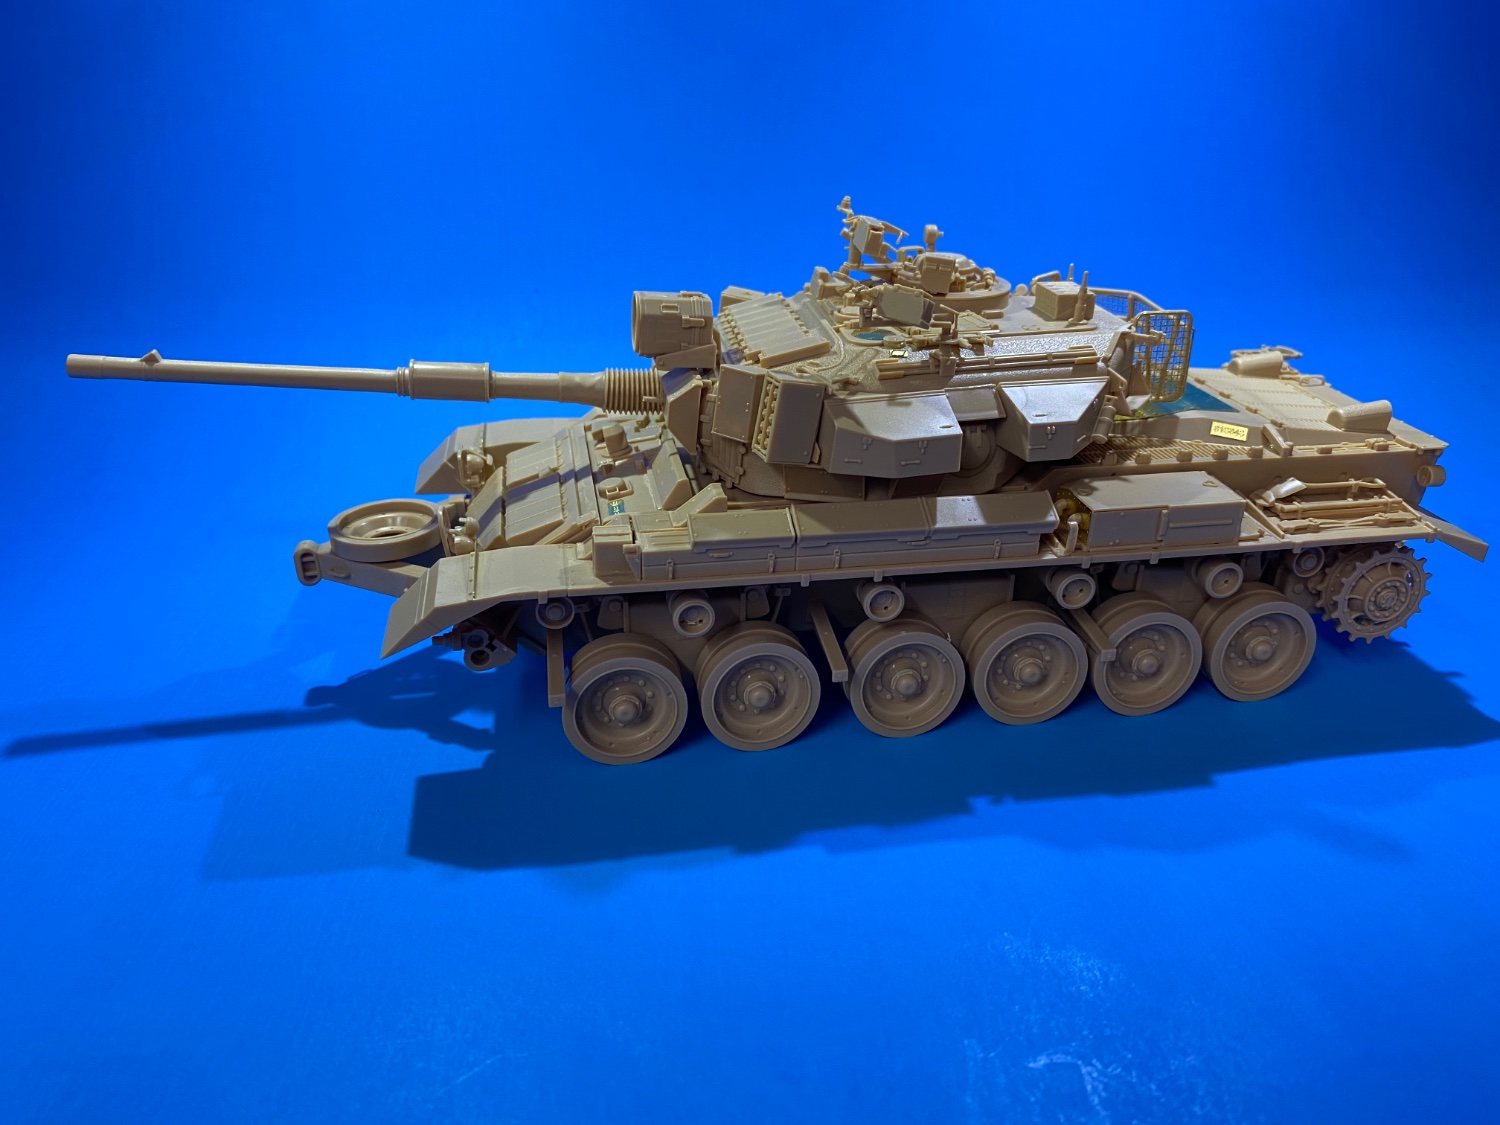
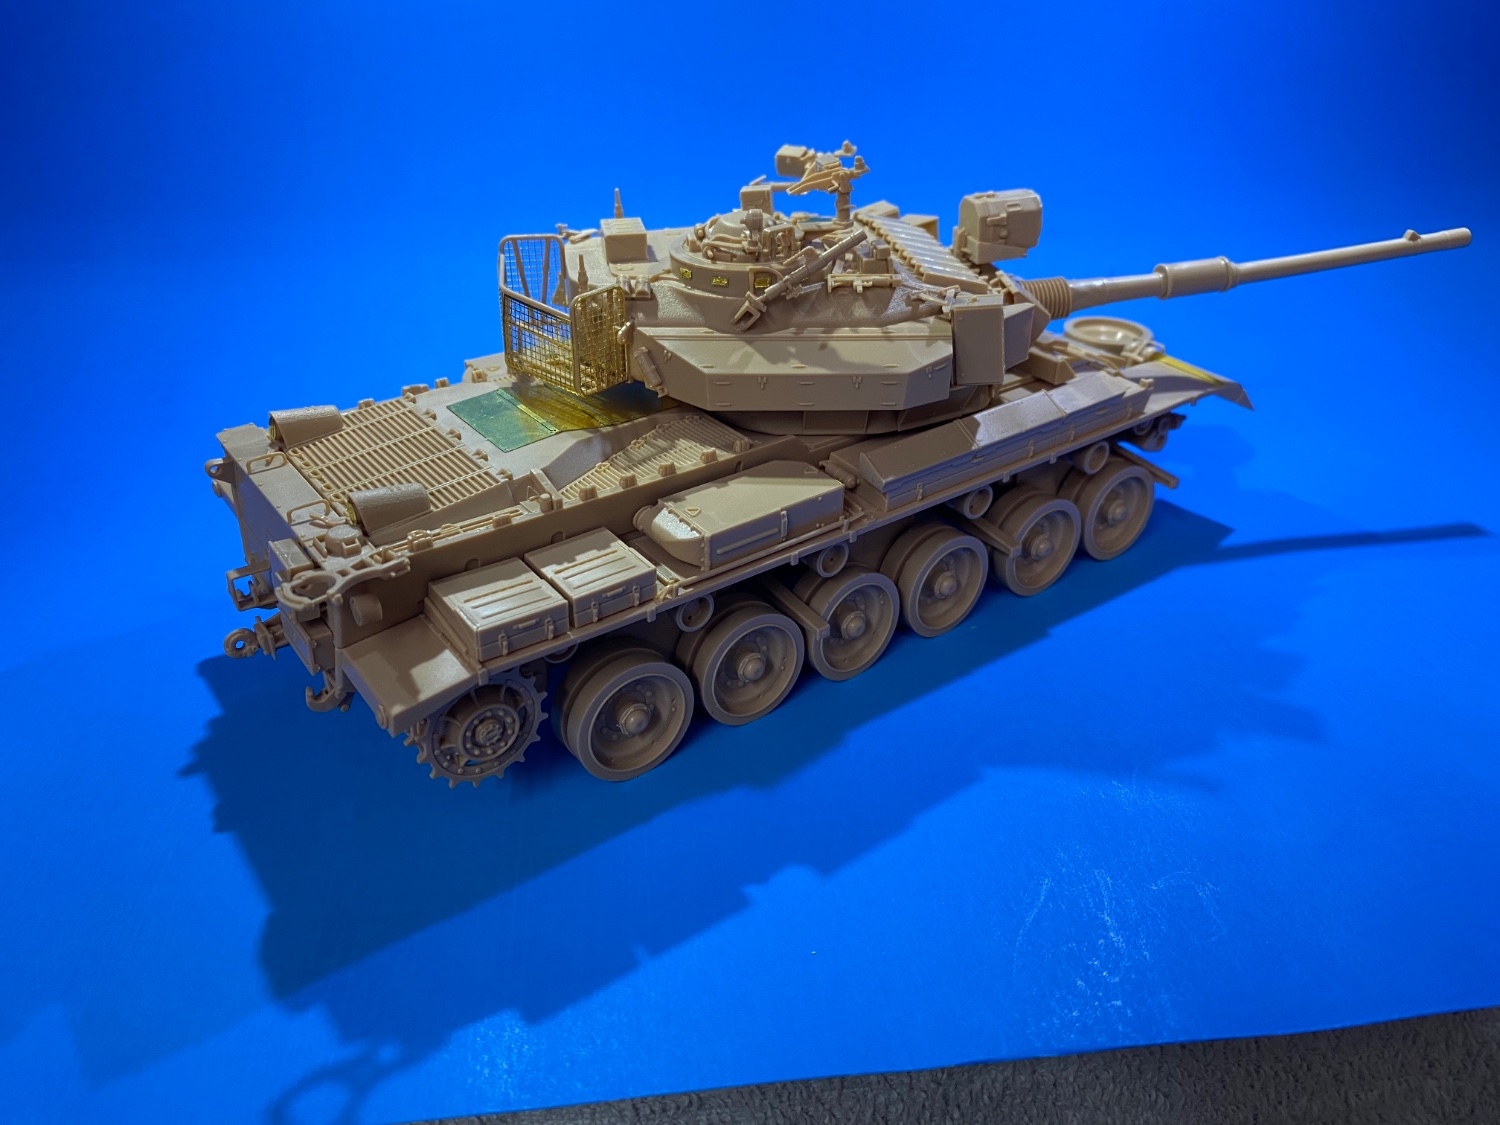
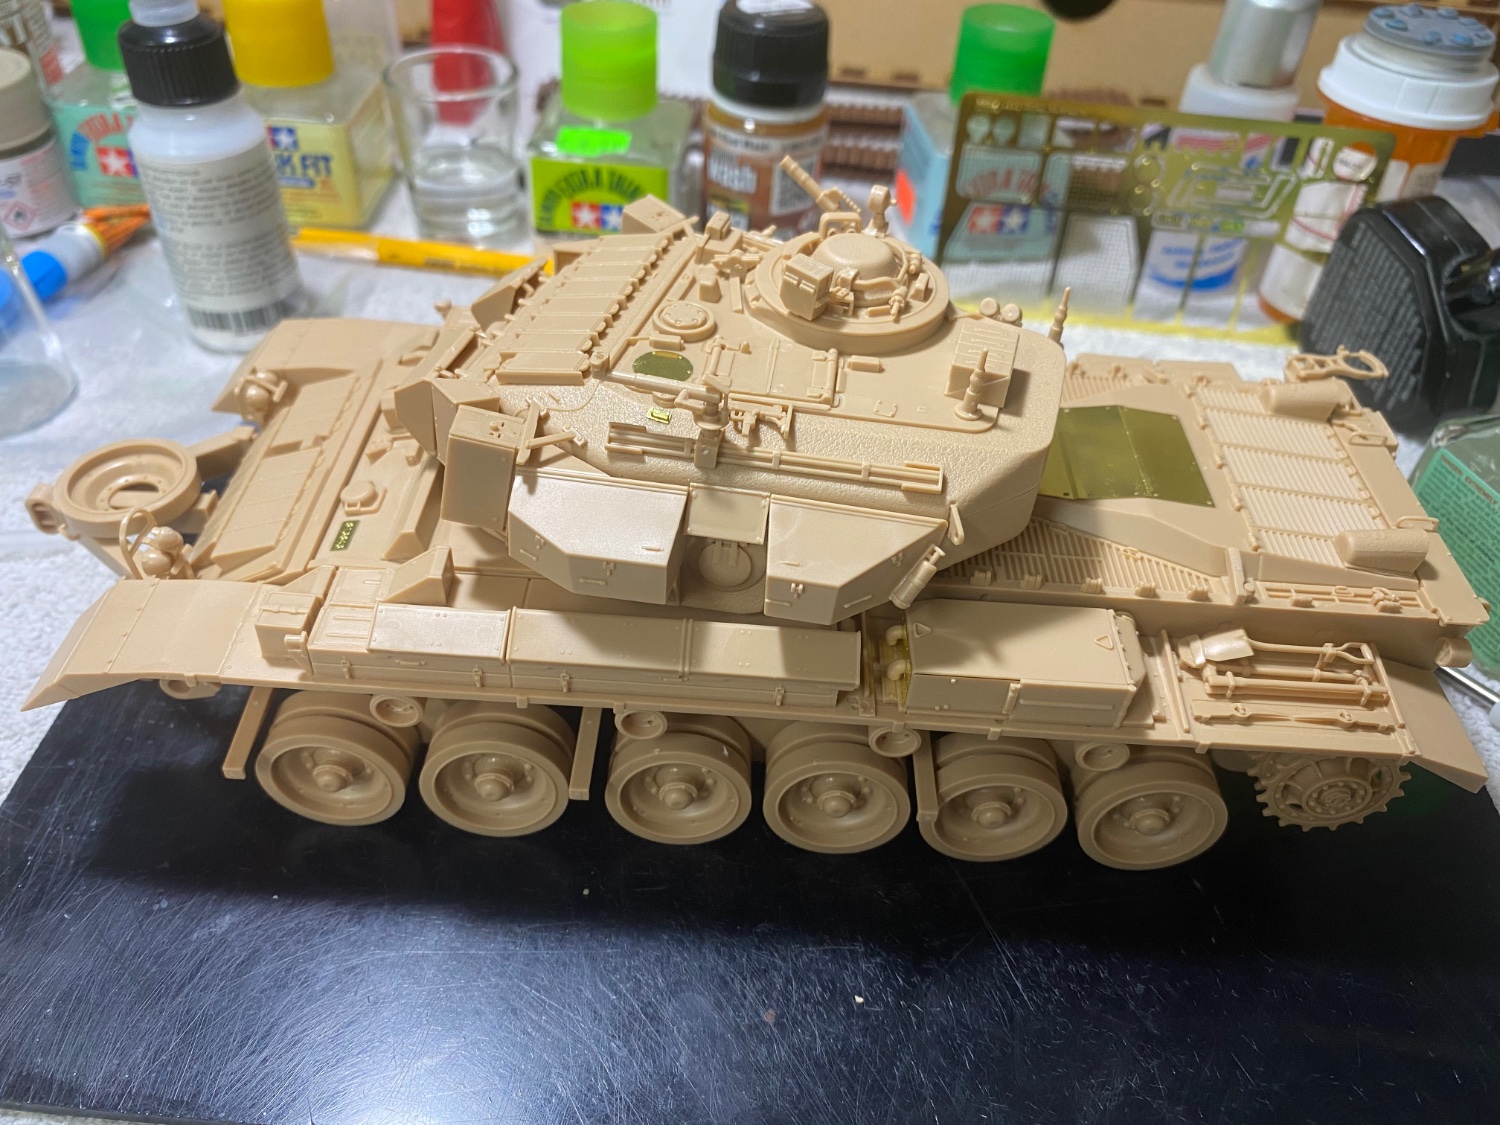
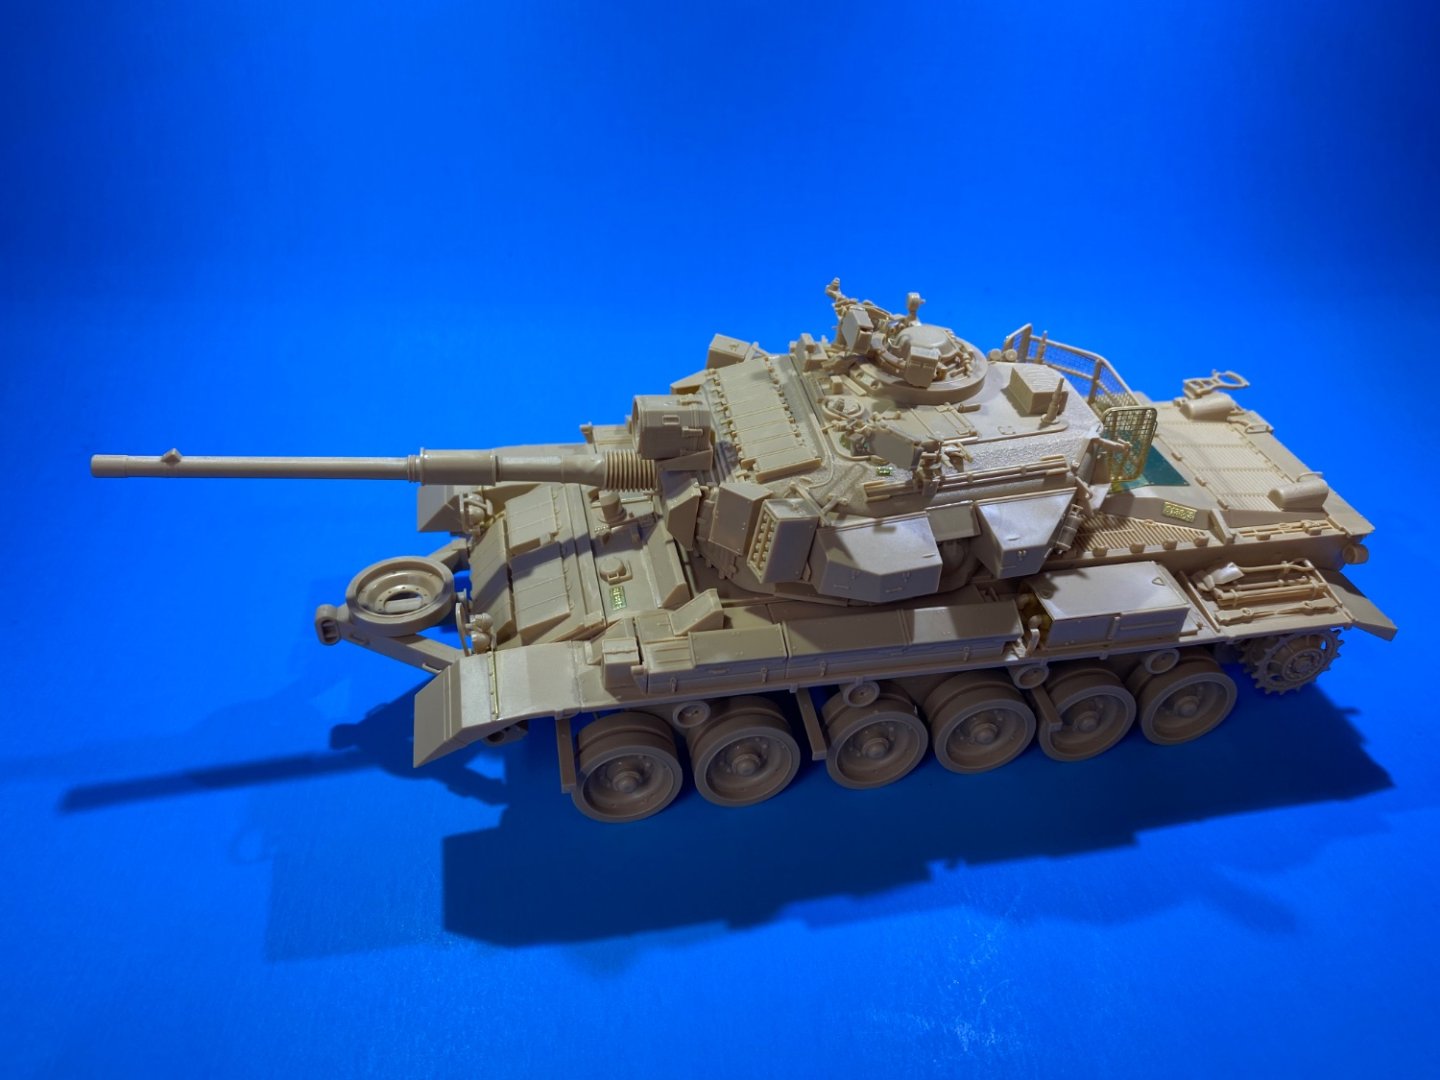
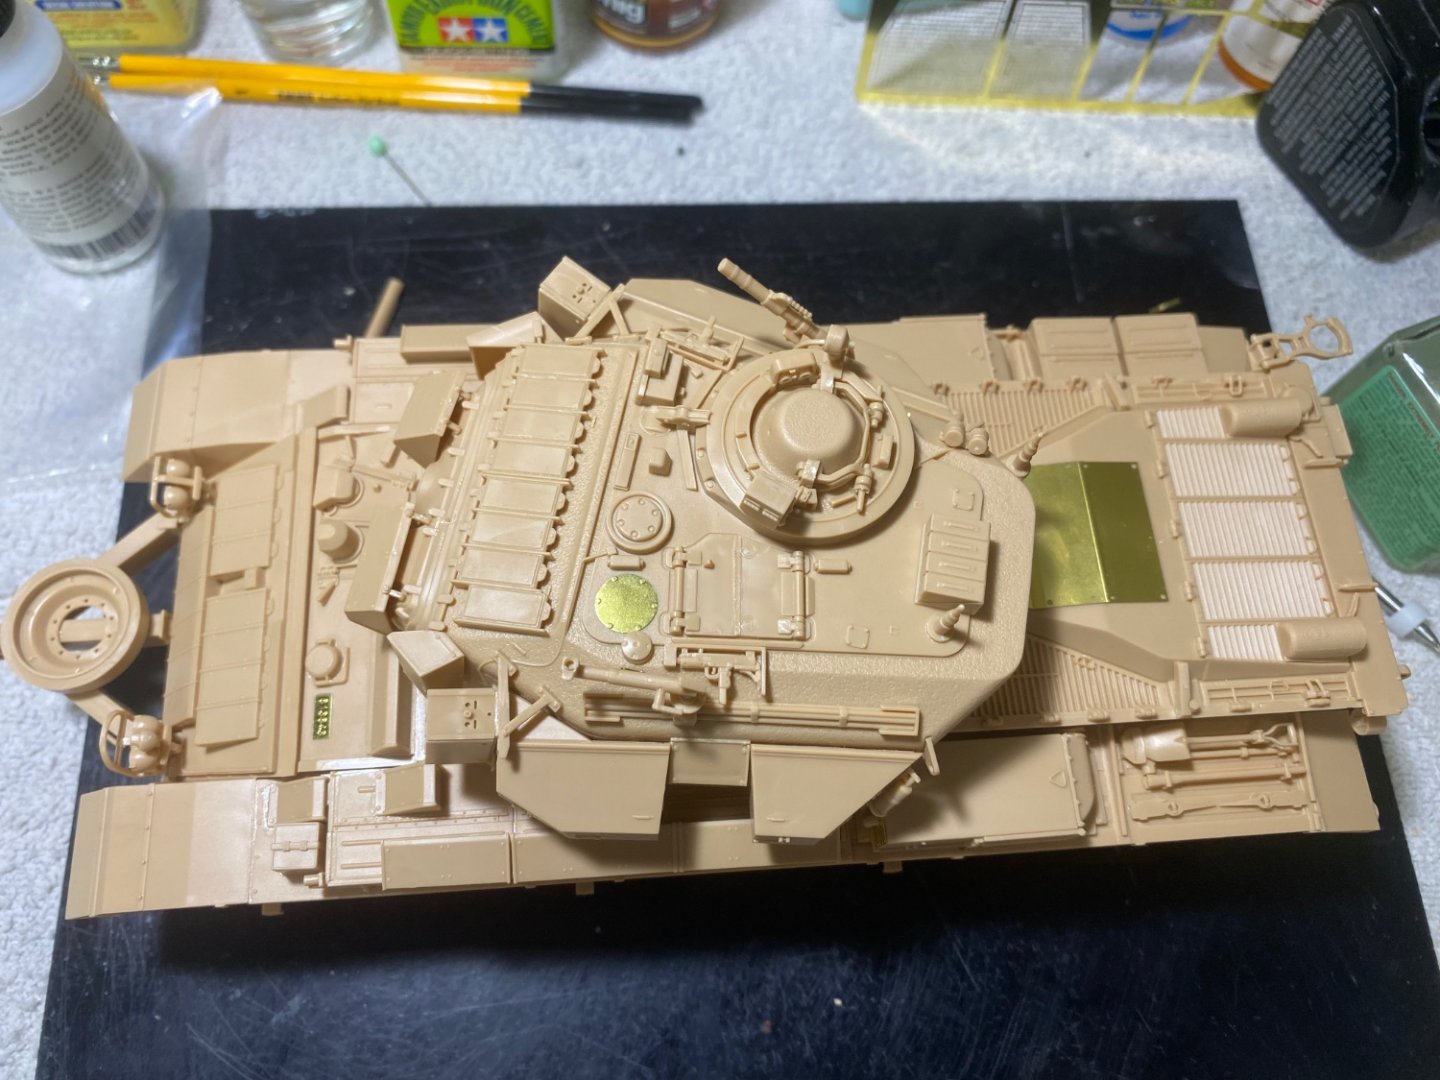
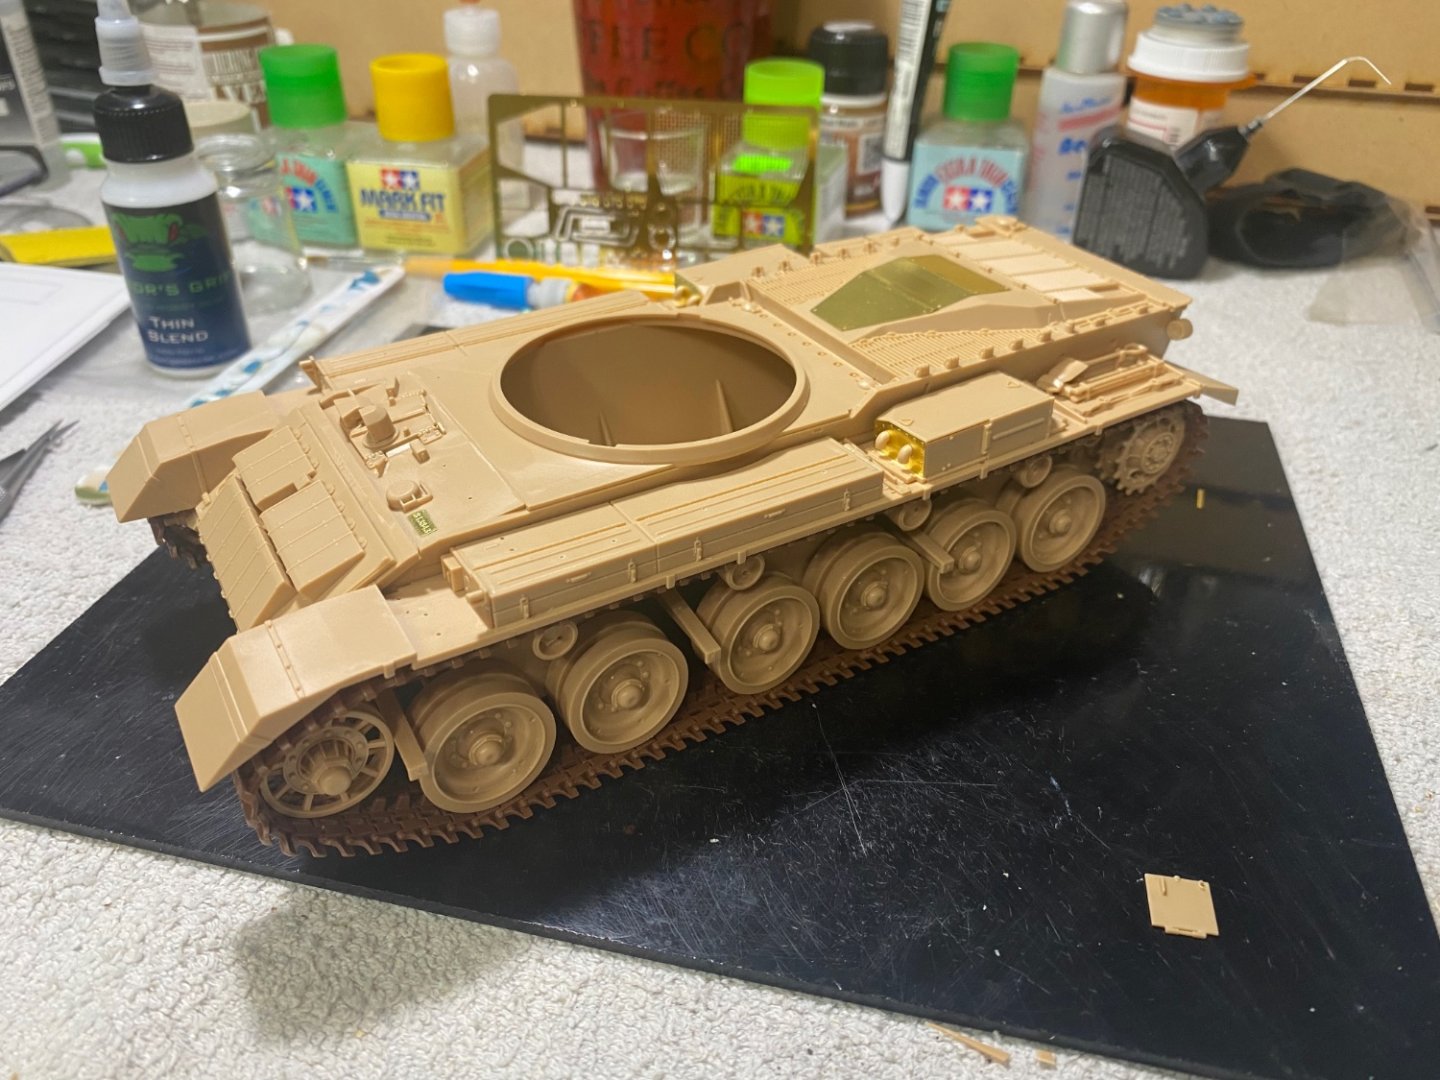
Fenders dry fitted. Will be attached permanently after painting lower hull, road wheels, and tracks.


- 95 replies
-
- 13
-
-