CDW
-
Posts
7,756 -
Joined
-
Last visited
Content Type
Profiles
Forums
Gallery
Events
Everything posted by CDW
-

U.S. Tractor D7 “Tow Cat” by CDW - FINISHED - MiniArt - 1:35 Scale
CDW replied to CDW's topic in Non-ship/categorised builds
Thanks for the comments. As for a flat surface and a sharp blade I agree. Trouble is finding a small enough flat surface. It’s like dancing on the head of a pin. As for whittling, plastic too brittle for that. -
U.S. Tractor D7 “Tow Cat” by CDW - FINISHED - MiniArt - 1:35 Scale
CDW replied to CDW's topic in Non-ship/categorised builds
Larger parts are fine, but some are cast so small they easily break apart so yes they are brittle. -
U.S. Tractor D7 “Tow Cat” by CDW - FINISHED - MiniArt - 1:35 Scale
CDW replied to CDW's topic in Non-ship/categorised builds
- 110 replies
-
- 13
-

-
U.S. Tractor D7 “Tow Cat” by CDW - FINISHED - MiniArt - 1:35 Scale
CDW replied to CDW's topic in Non-ship/categorised builds
I kid you not, at least a half dozen of those delicate parts broke in 4 or more pieces and had to be reassembled/glued back together. What a pain in the butt. I guess you can say, I'm getting my money's worth with plenty of things to do. Guarantee you this is not a kit for the lighthearted. -
U.S. Tractor D7 “Tow Cat” by CDW - FINISHED - MiniArt - 1:35 Scale
CDW replied to CDW's topic in Non-ship/categorised builds

-
U.S. Tractor D7 “Tow Cat” by CDW - FINISHED - MiniArt - 1:35 Scale
CDW replied to CDW's topic in Non-ship/categorised builds
We were never allowed to cuss when I was growing up, but I learned the technique at Parris Island. Since then, I have had many years learning to perfect this skill but remain a novice compared to THE mentor, Senior Drill Instructor Lee Ermey. -
U.S. Tractor D7 “Tow Cat” by CDW - FINISHED - MiniArt - 1:35 Scale
CDW replied to CDW's topic in Non-ship/categorised builds
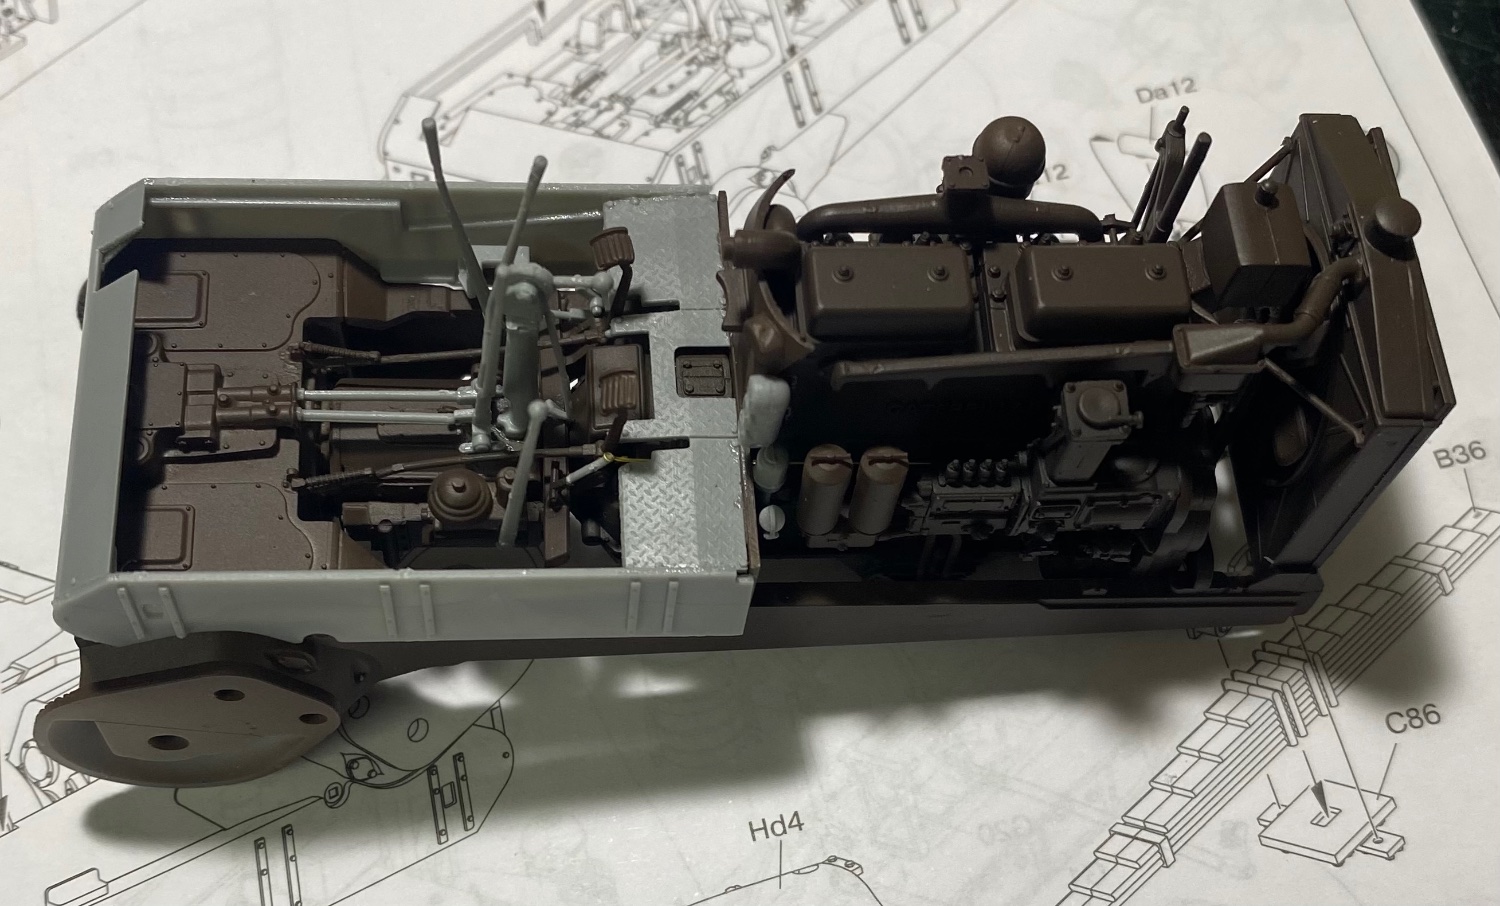
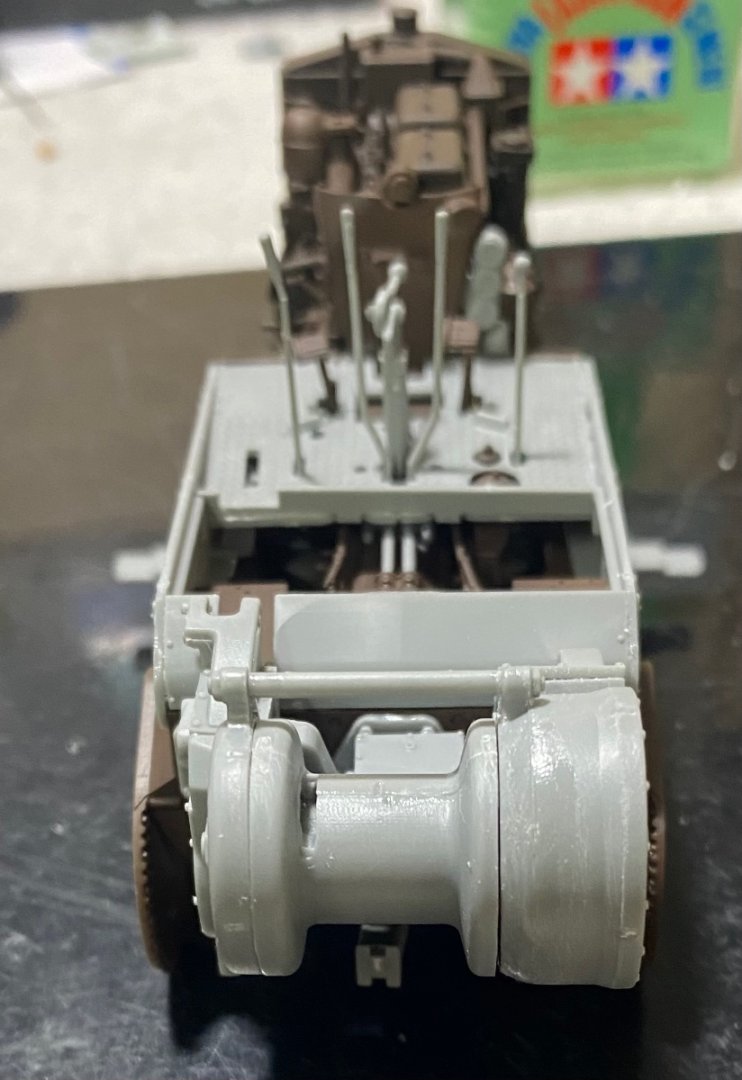
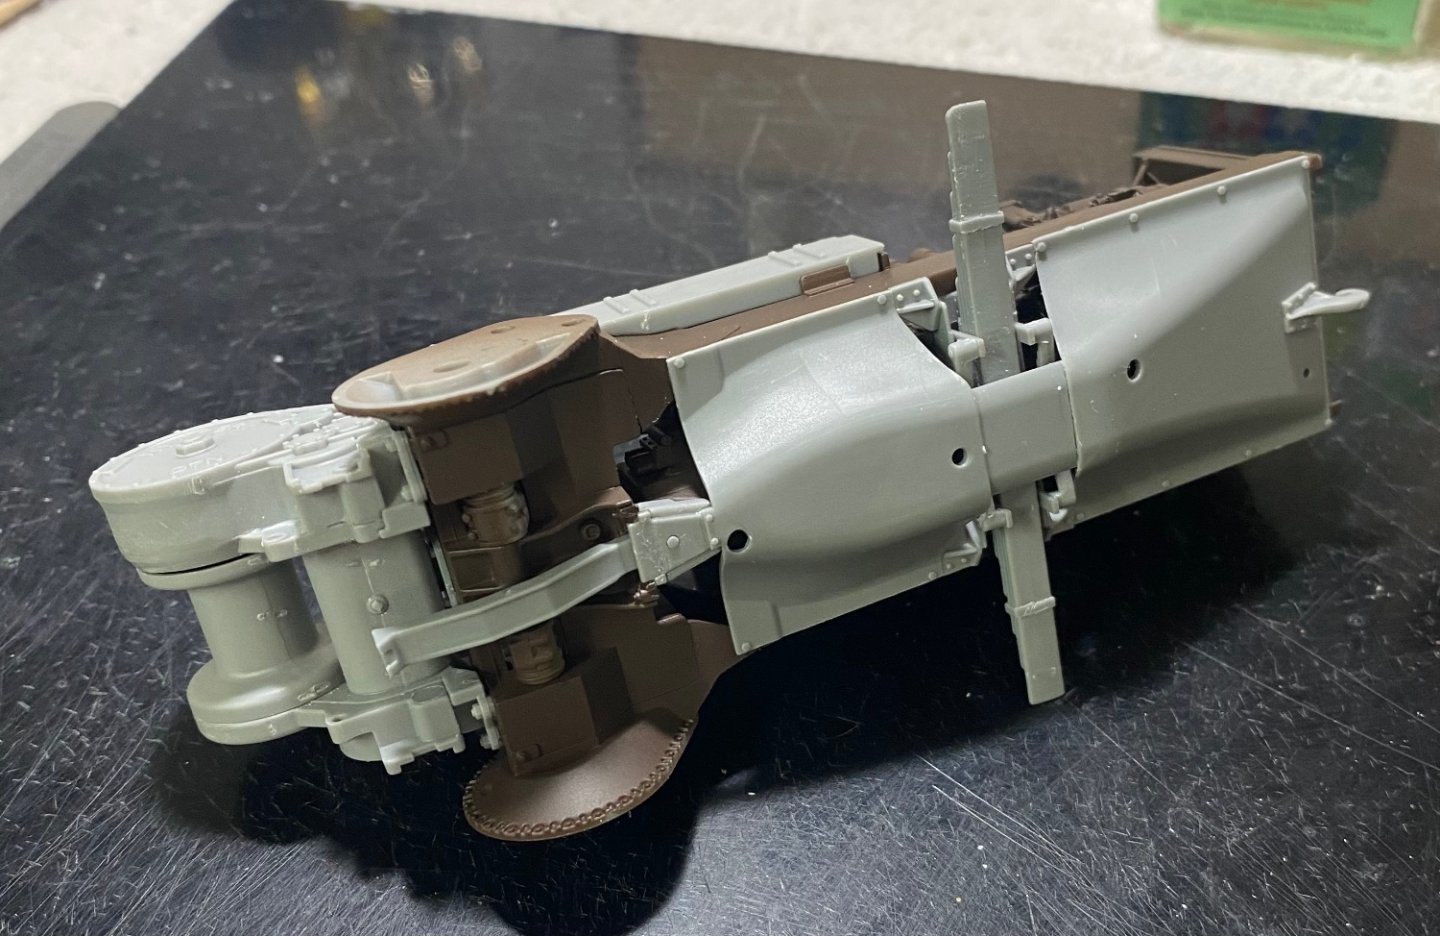
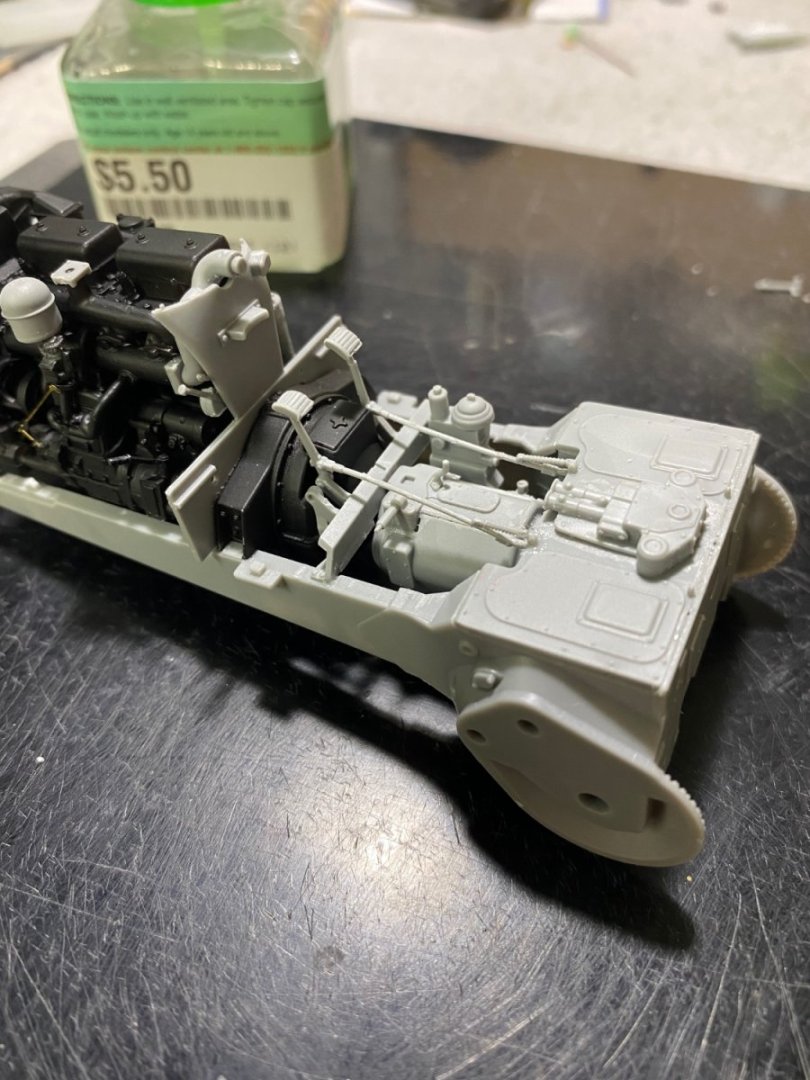
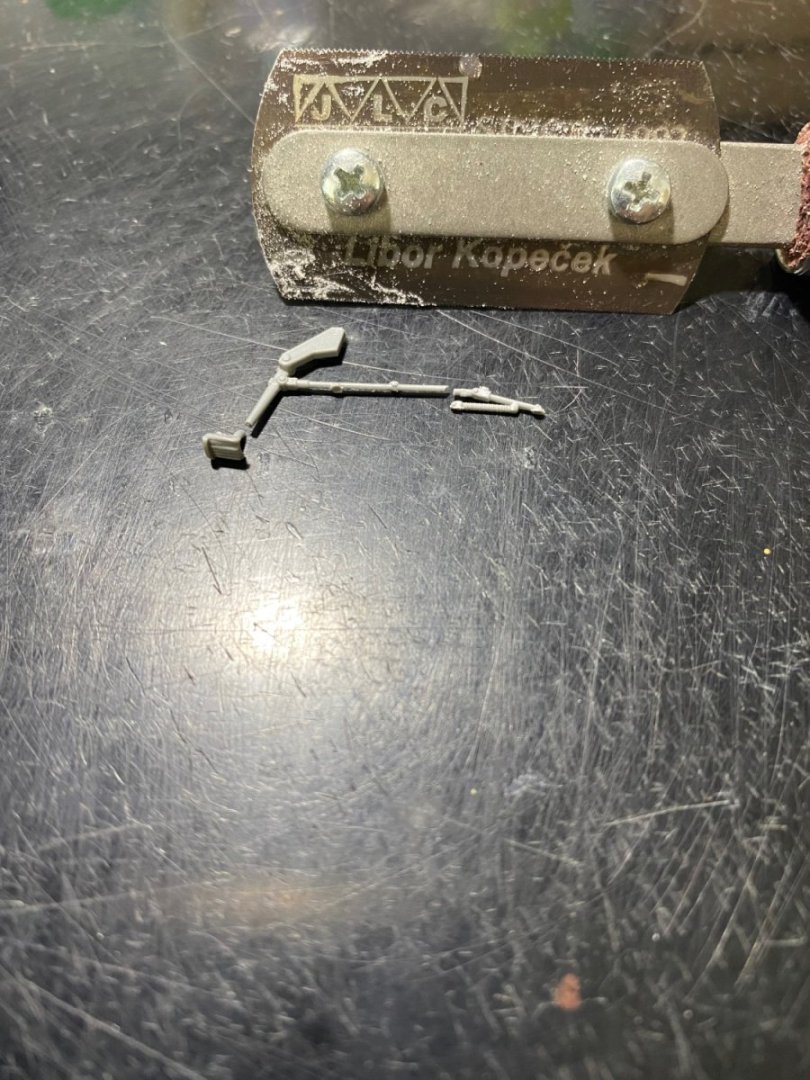
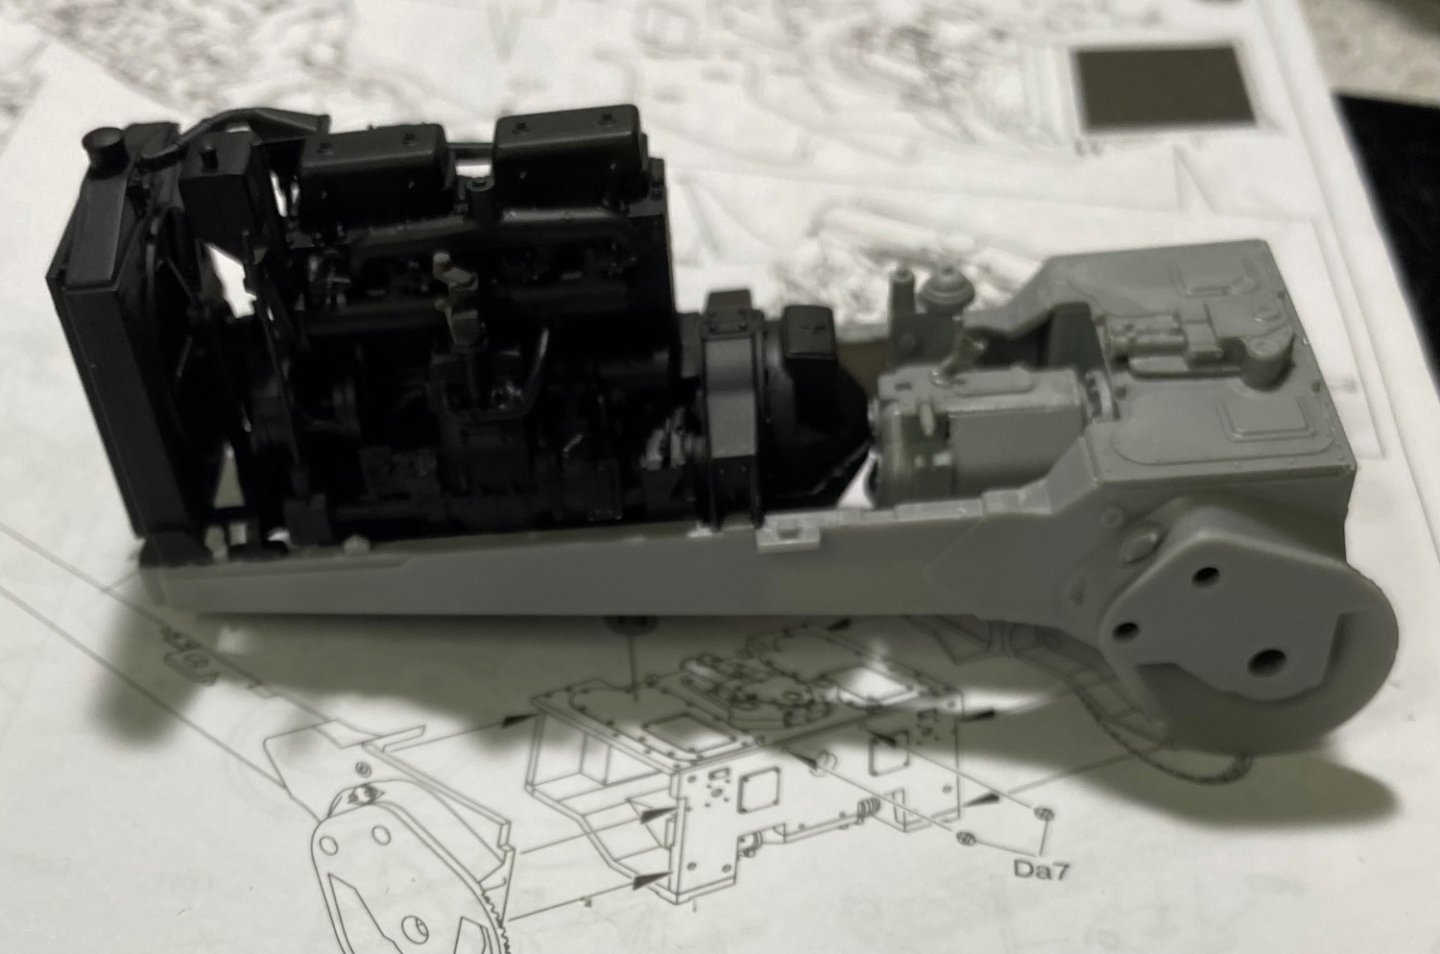
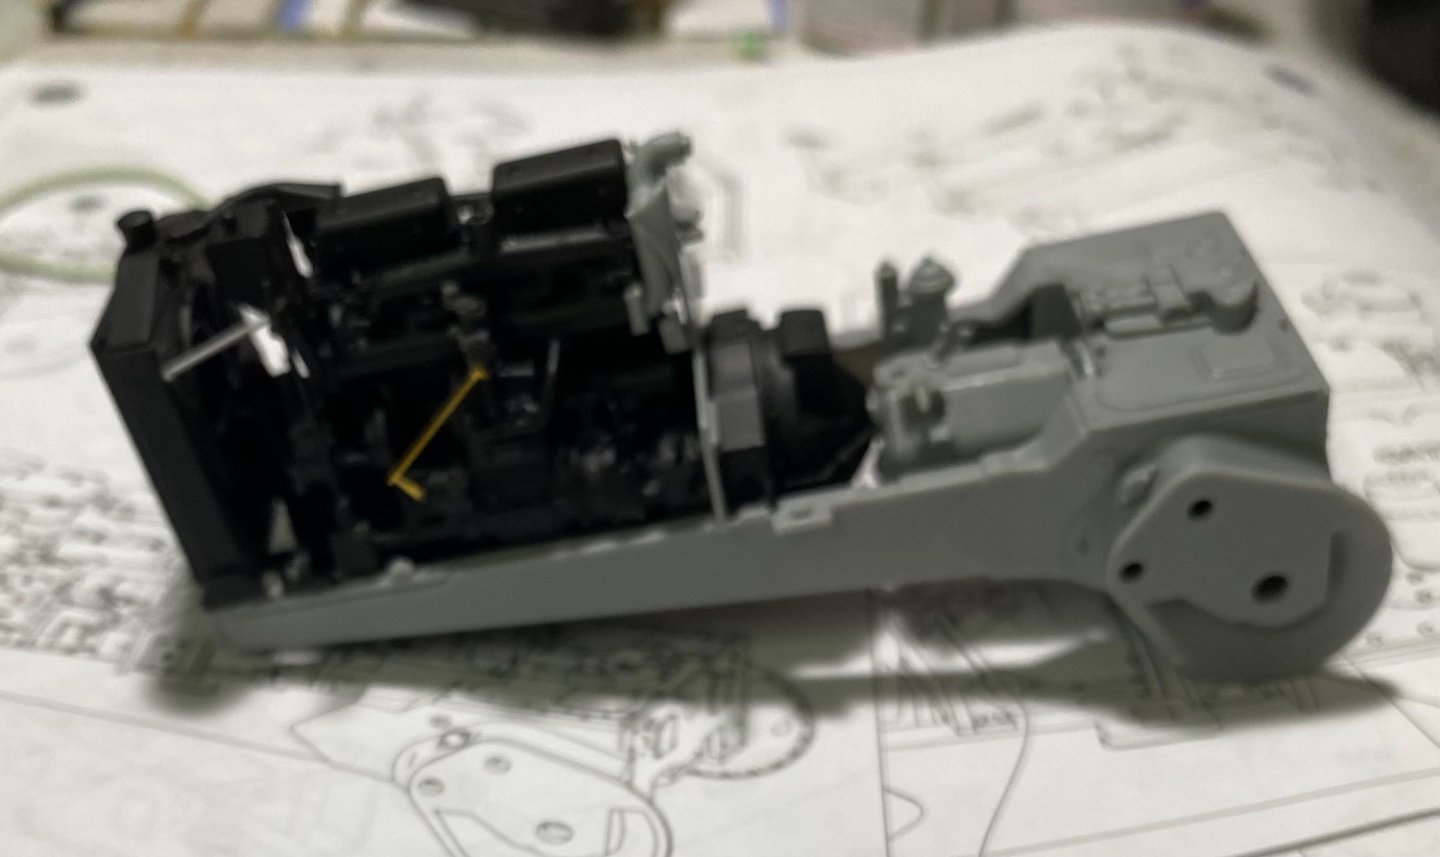
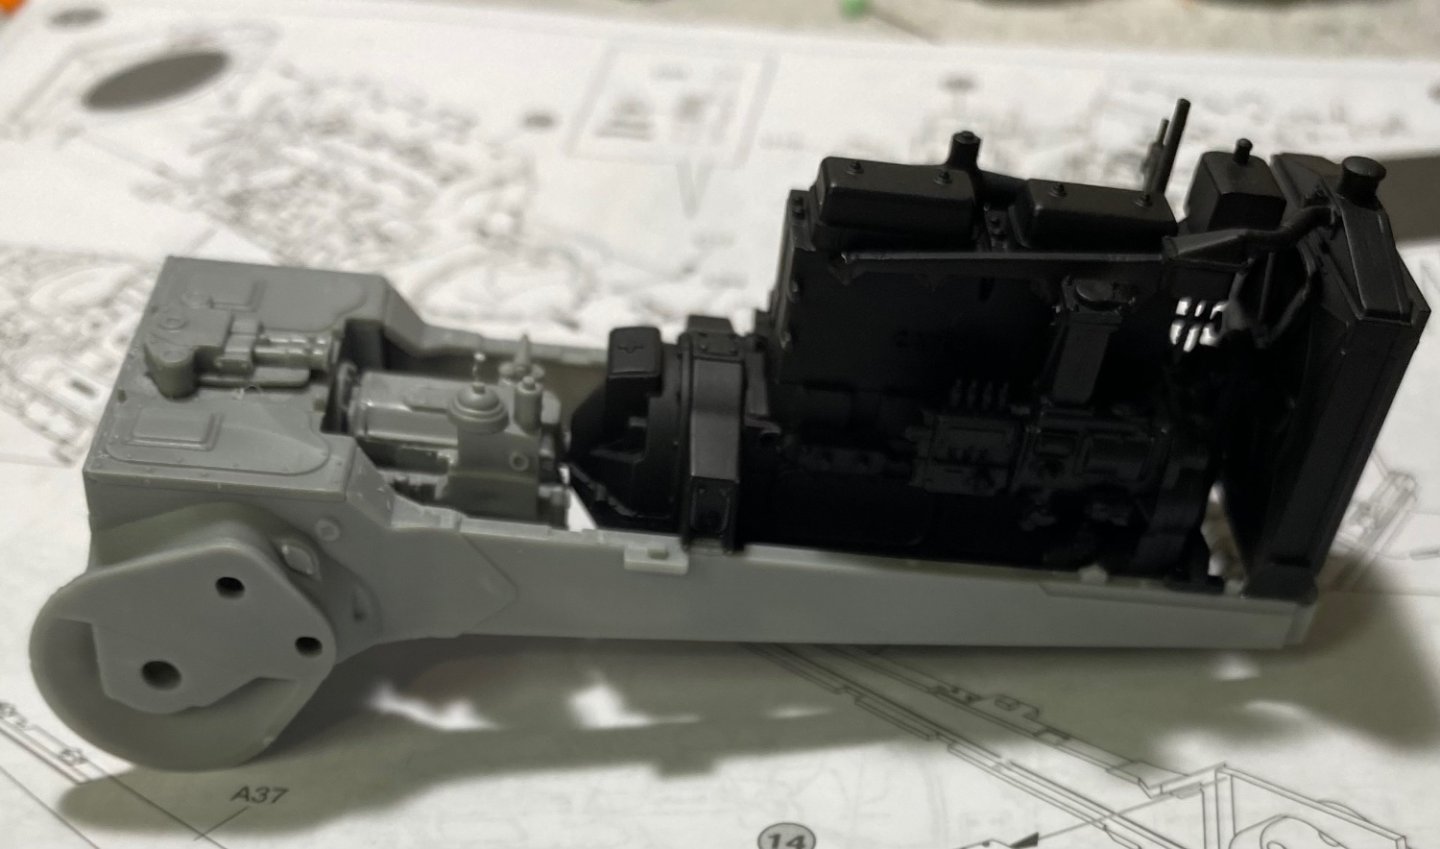
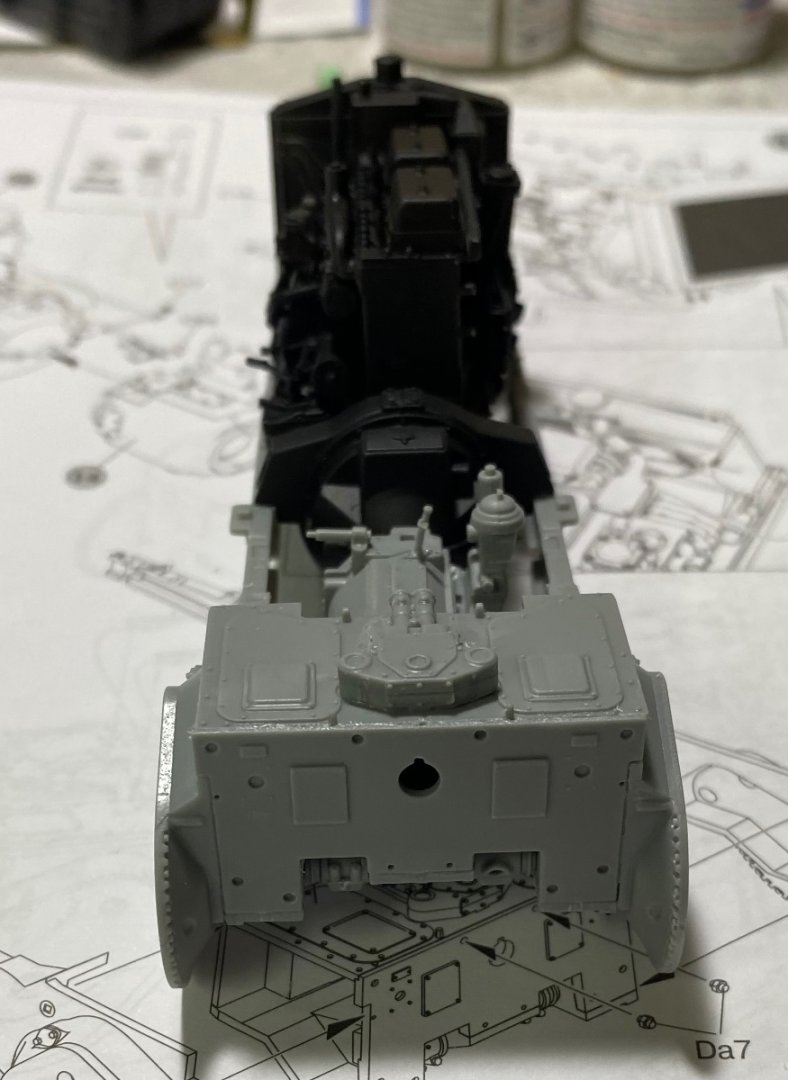
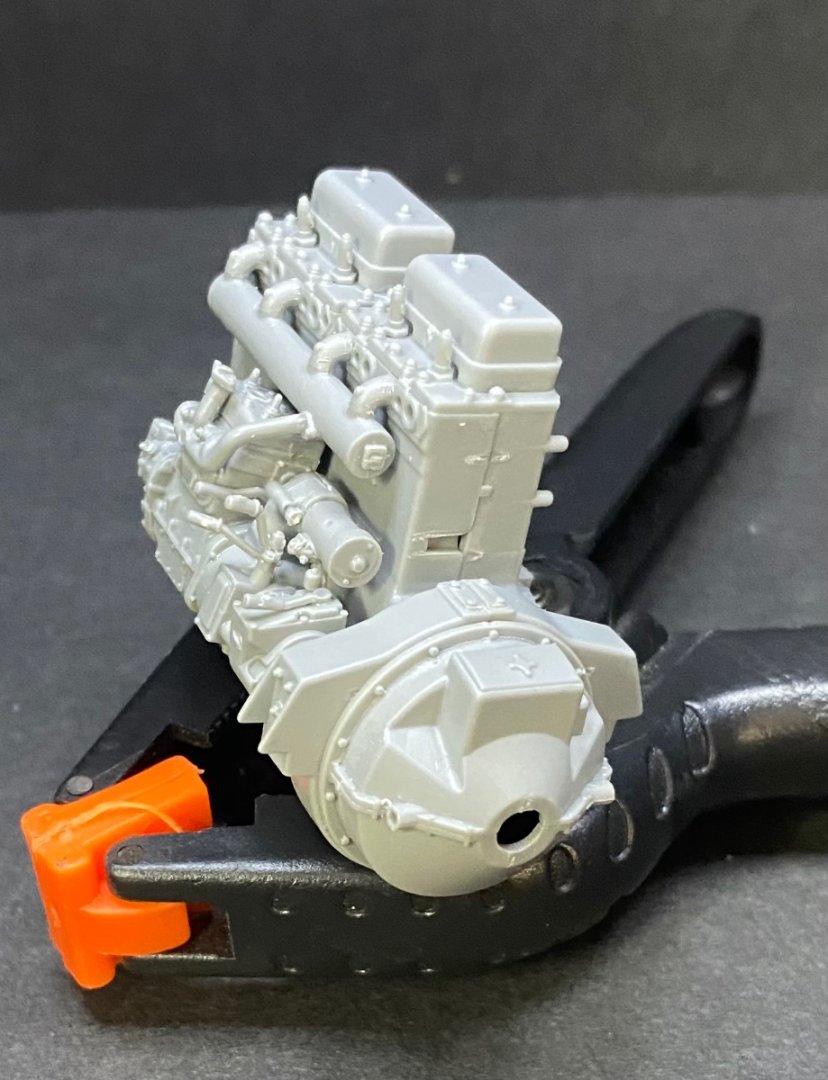
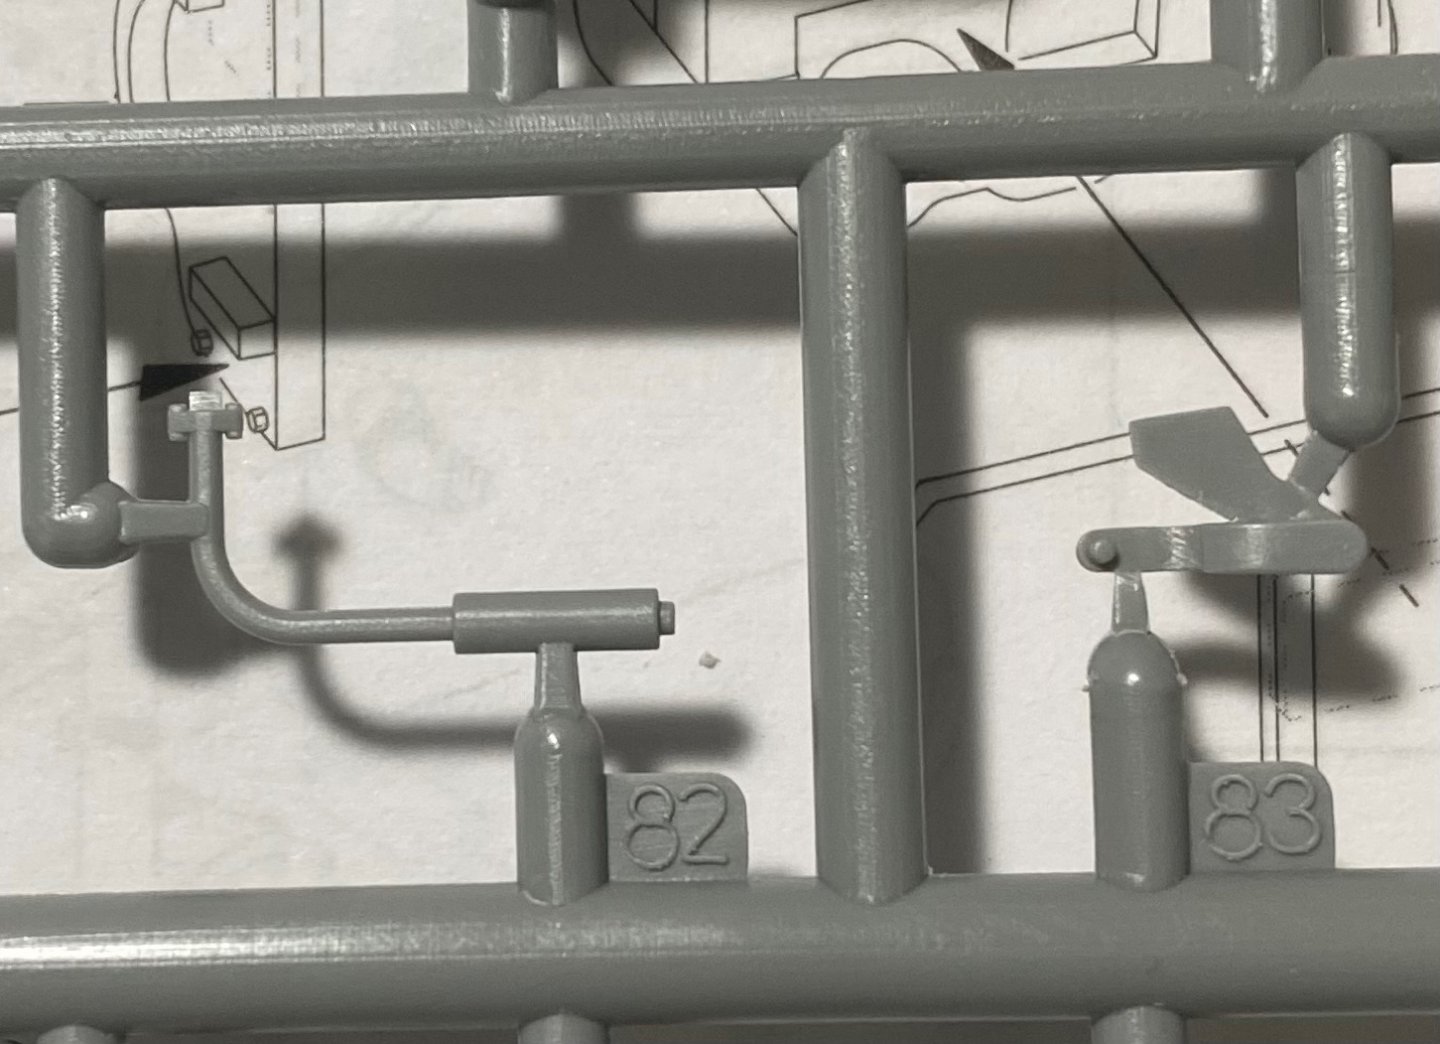
The pedals and linkages shown in the previous photos go here. It took some extra cussin’ to get it to fit.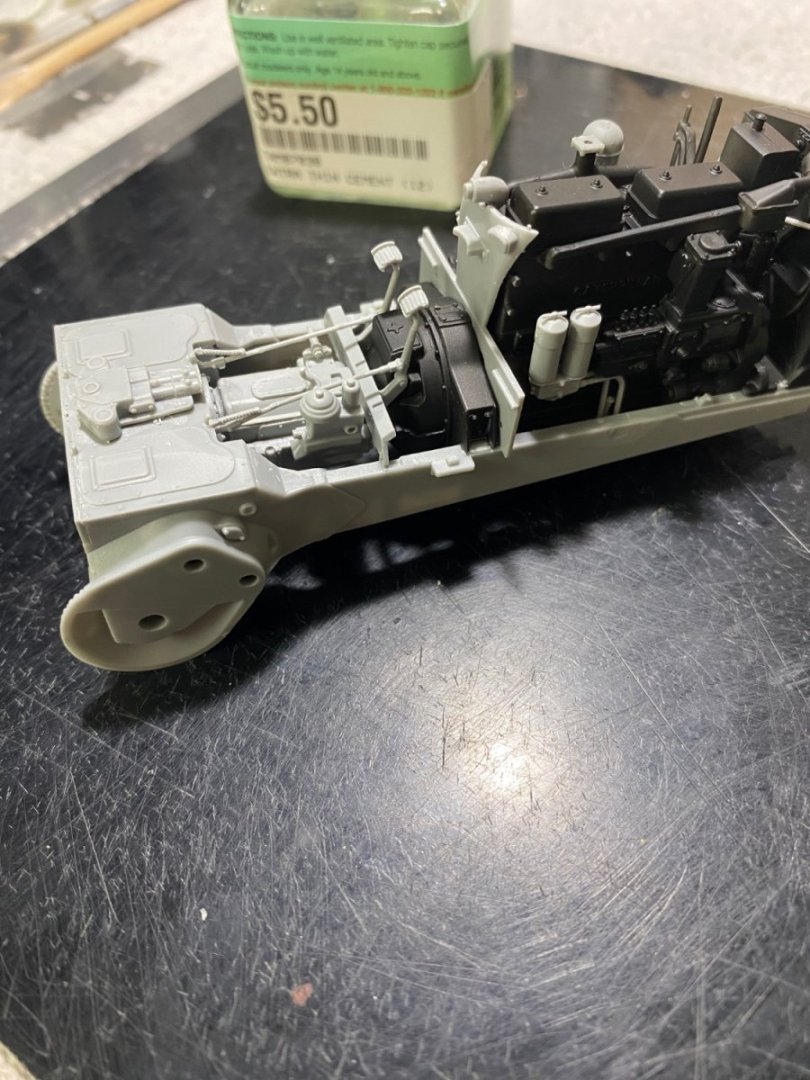
- 110 replies
-
- 12
-
-

-
U.S. Tractor D7 “Tow Cat” by CDW - FINISHED - MiniArt - 1:35 Scale
CDW replied to CDW's topic in Non-ship/categorised builds
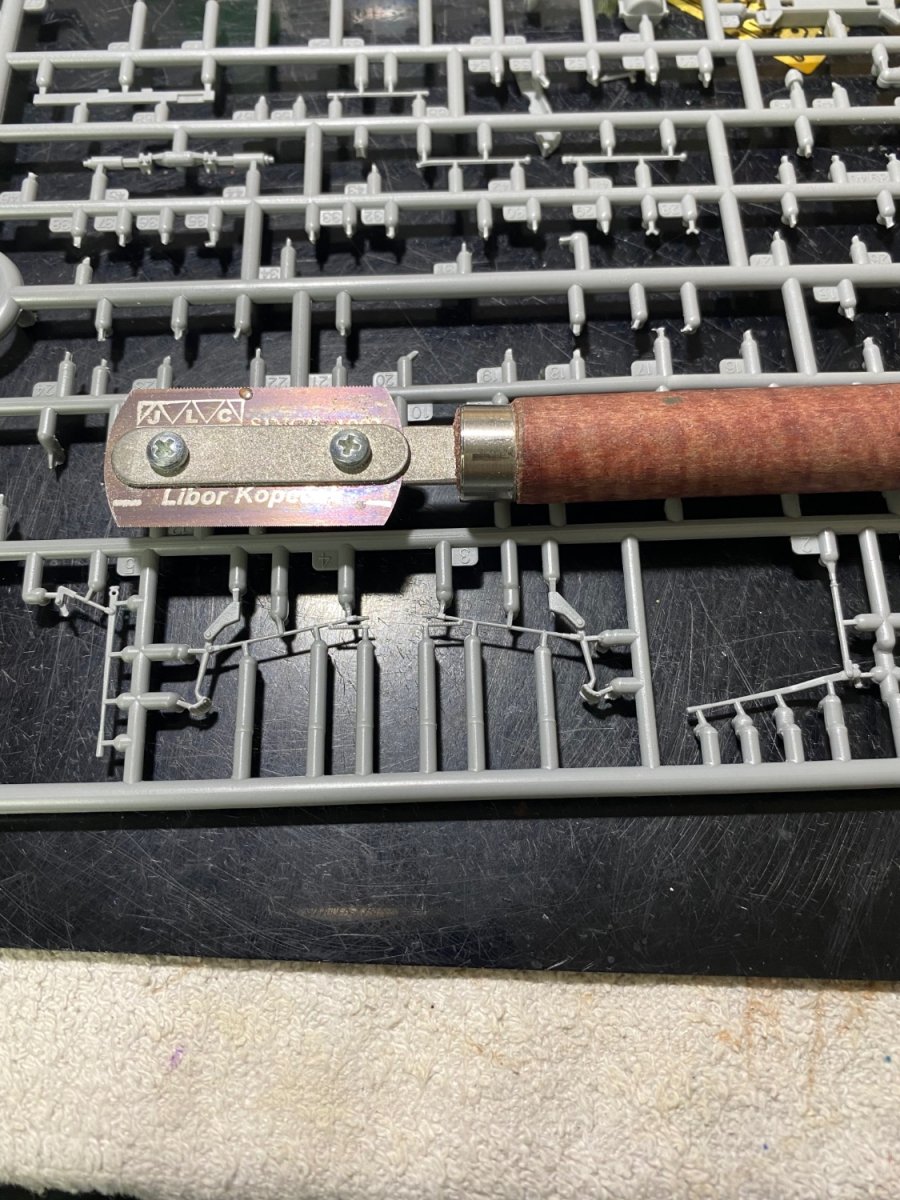
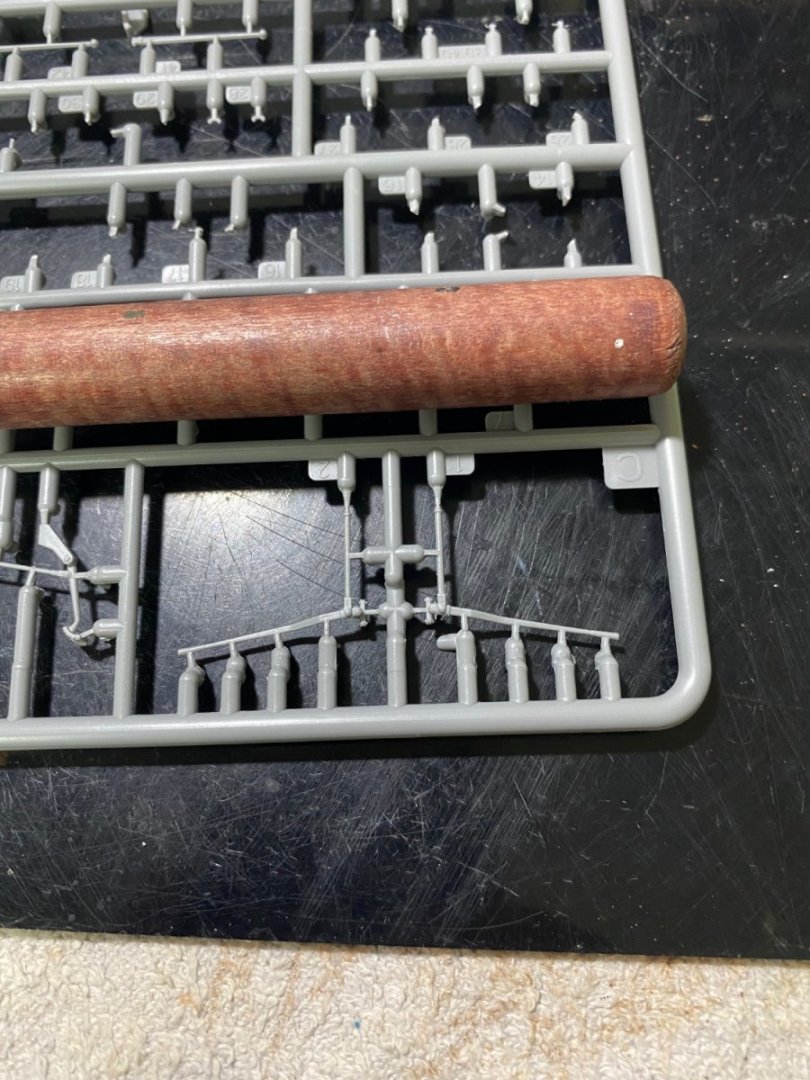
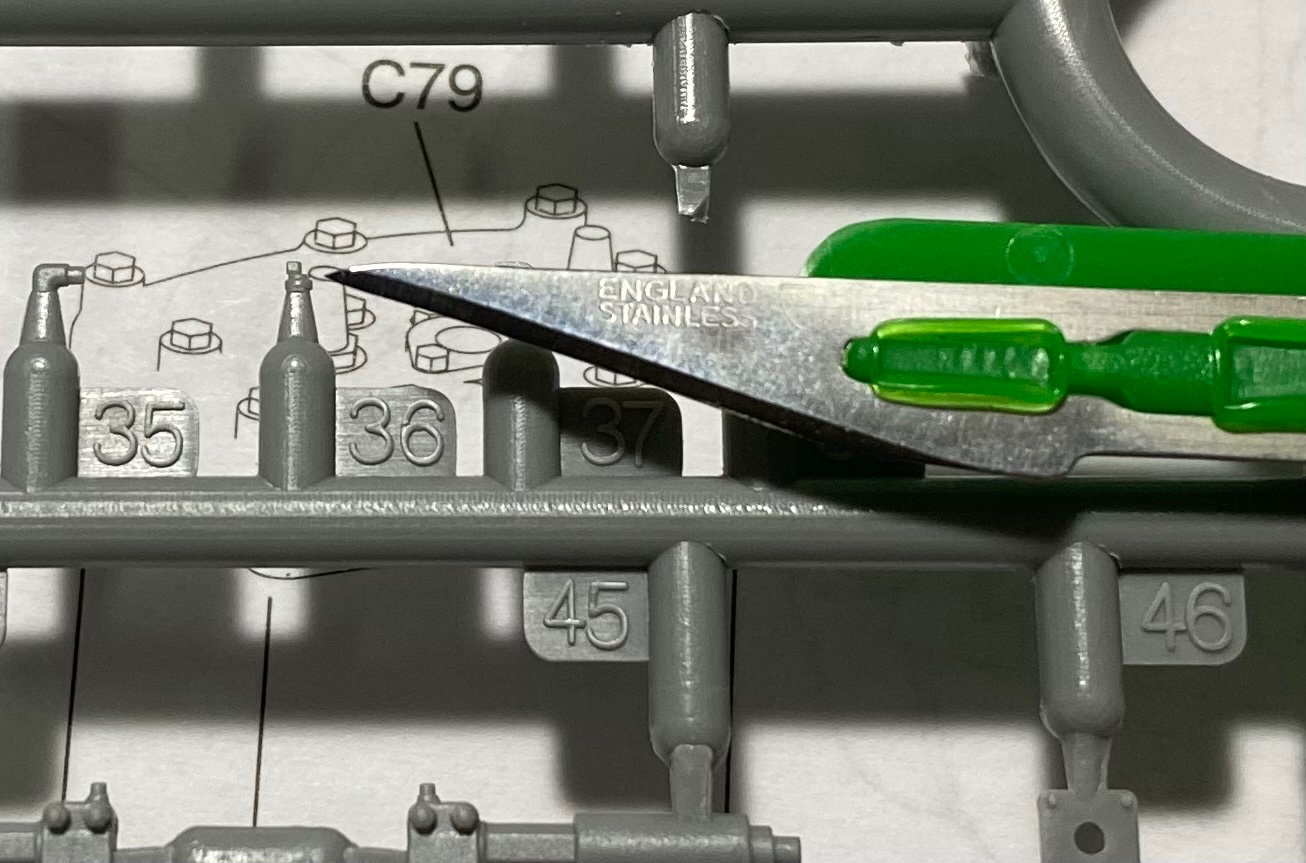
To remove the small fragile parts from the sprue trees a razor saw as shown is an invaluable tool. Even then some breakage may occur.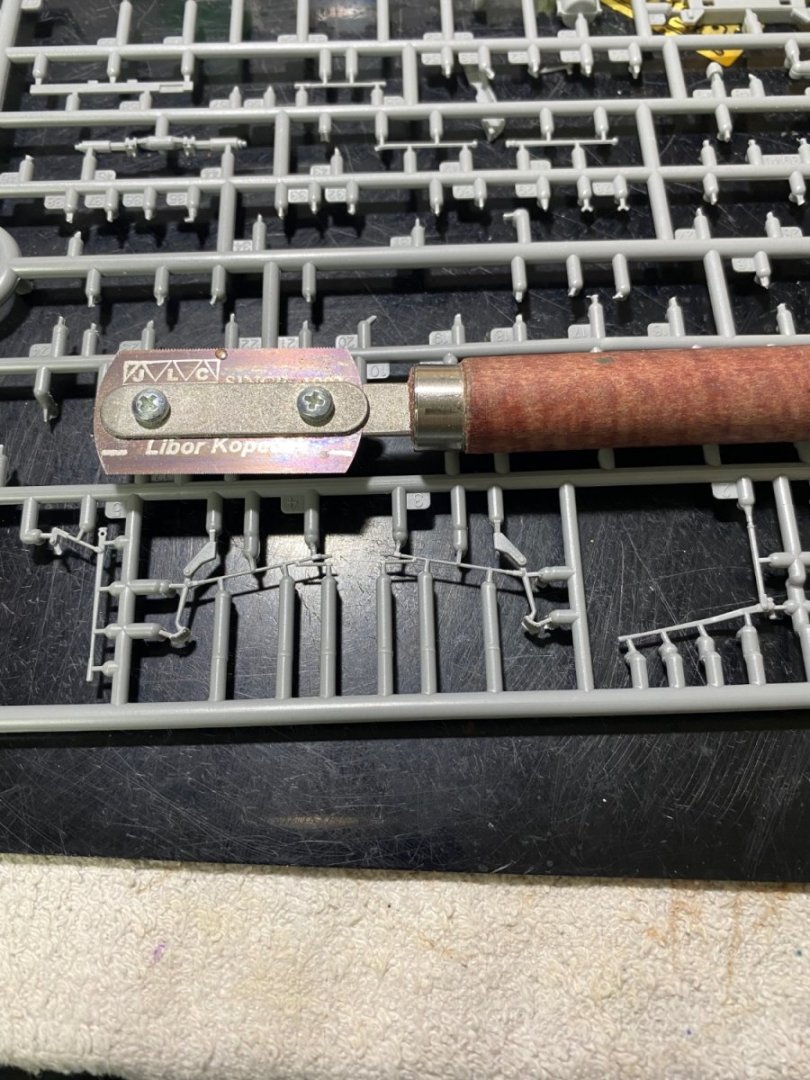
- 110 replies
-
- 11
-

-
-
U.S. Tractor D7 “Tow Cat” by CDW - FINISHED - MiniArt - 1:35 Scale
CDW replied to CDW's topic in Non-ship/categorised builds
I reduce Mr Surfacer at a ratio of approximately 3 parts levelling thinner to 1 part paint. -
U.S. Tractor D7 “Tow Cat” by CDW - FINISHED - MiniArt - 1:35 Scale
CDW replied to CDW's topic in Non-ship/categorised builds
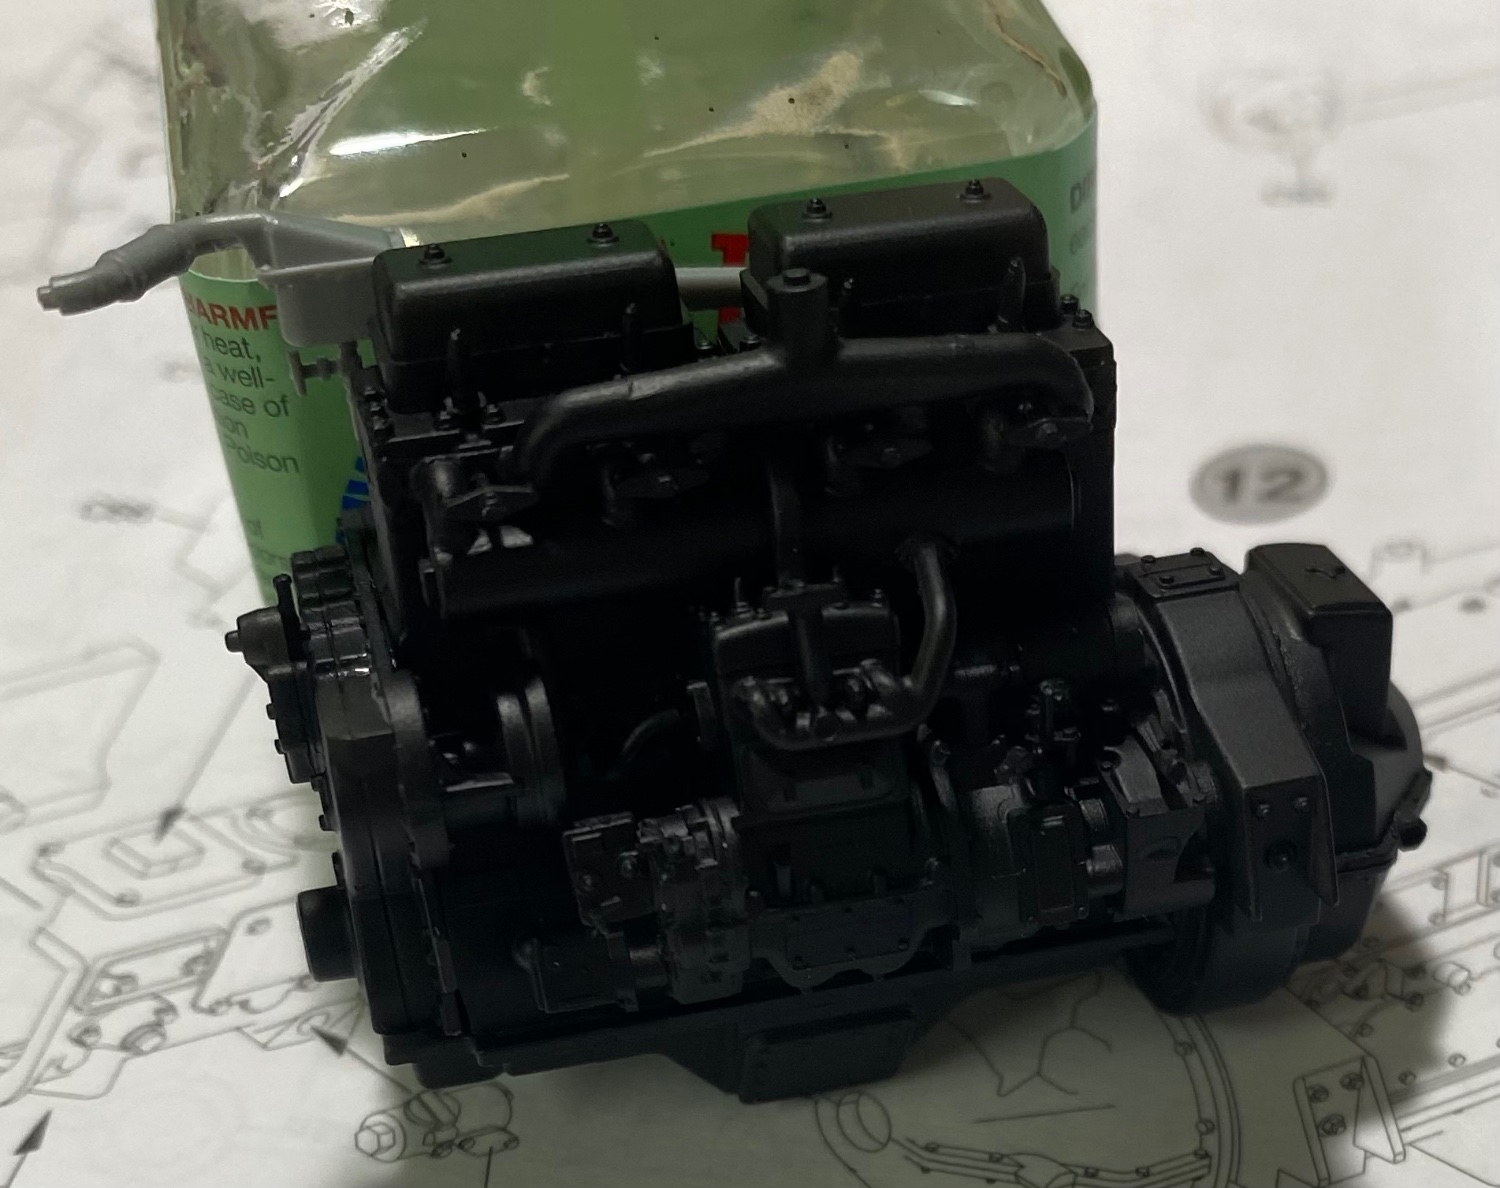
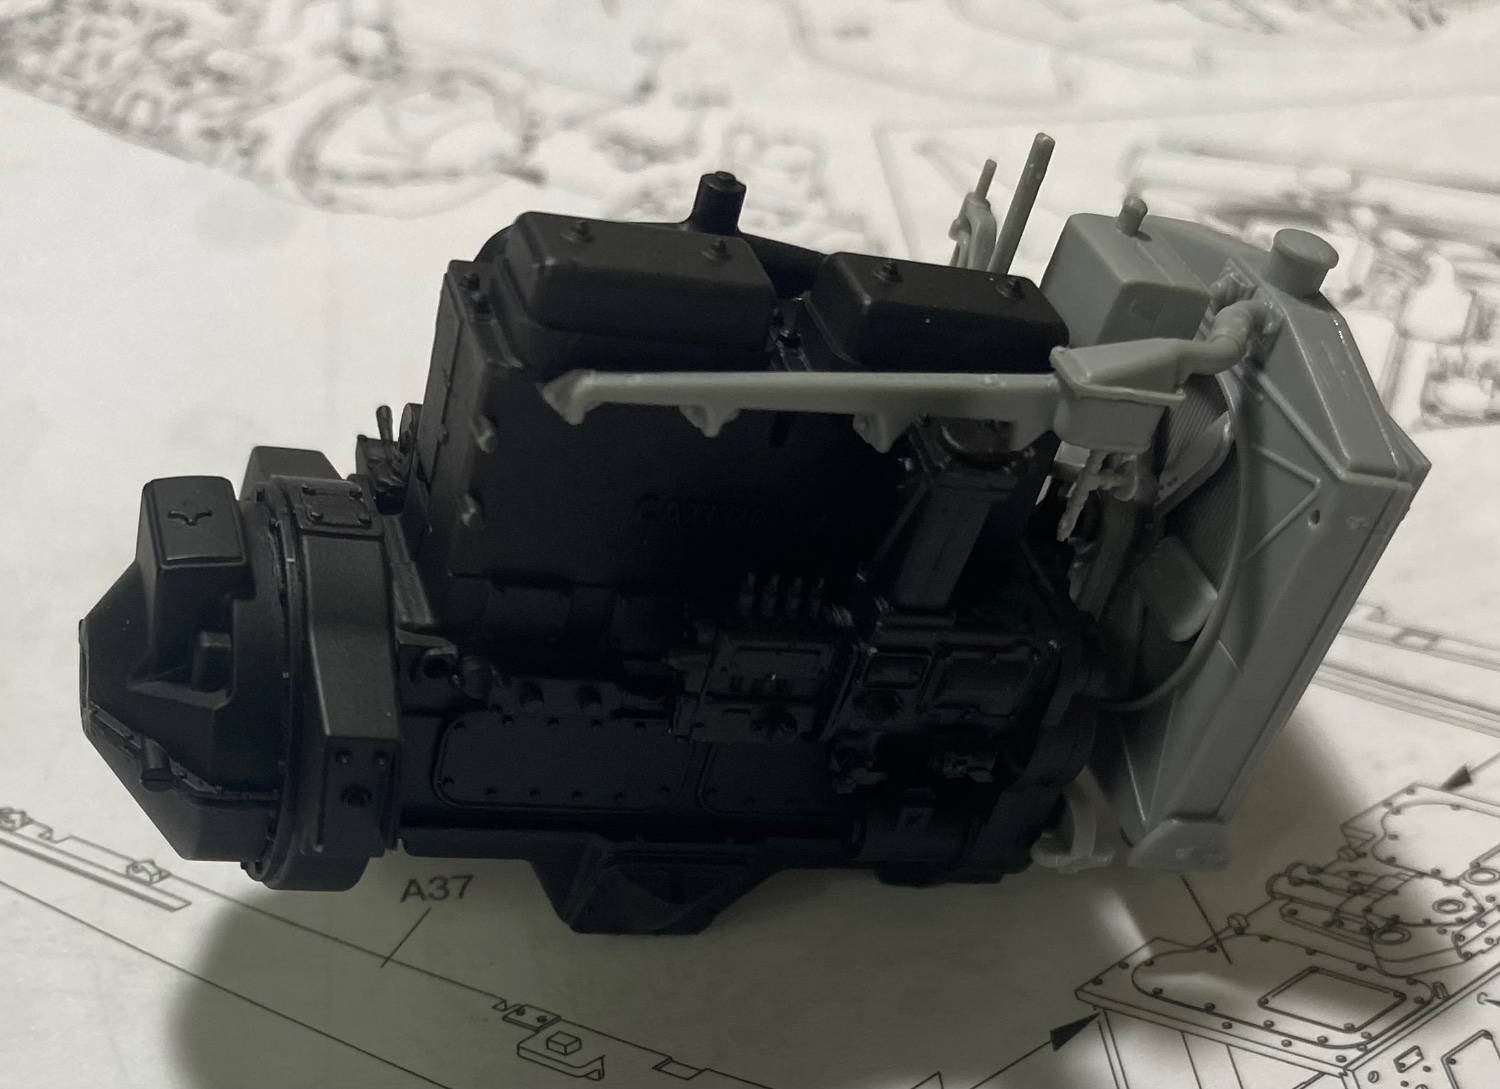
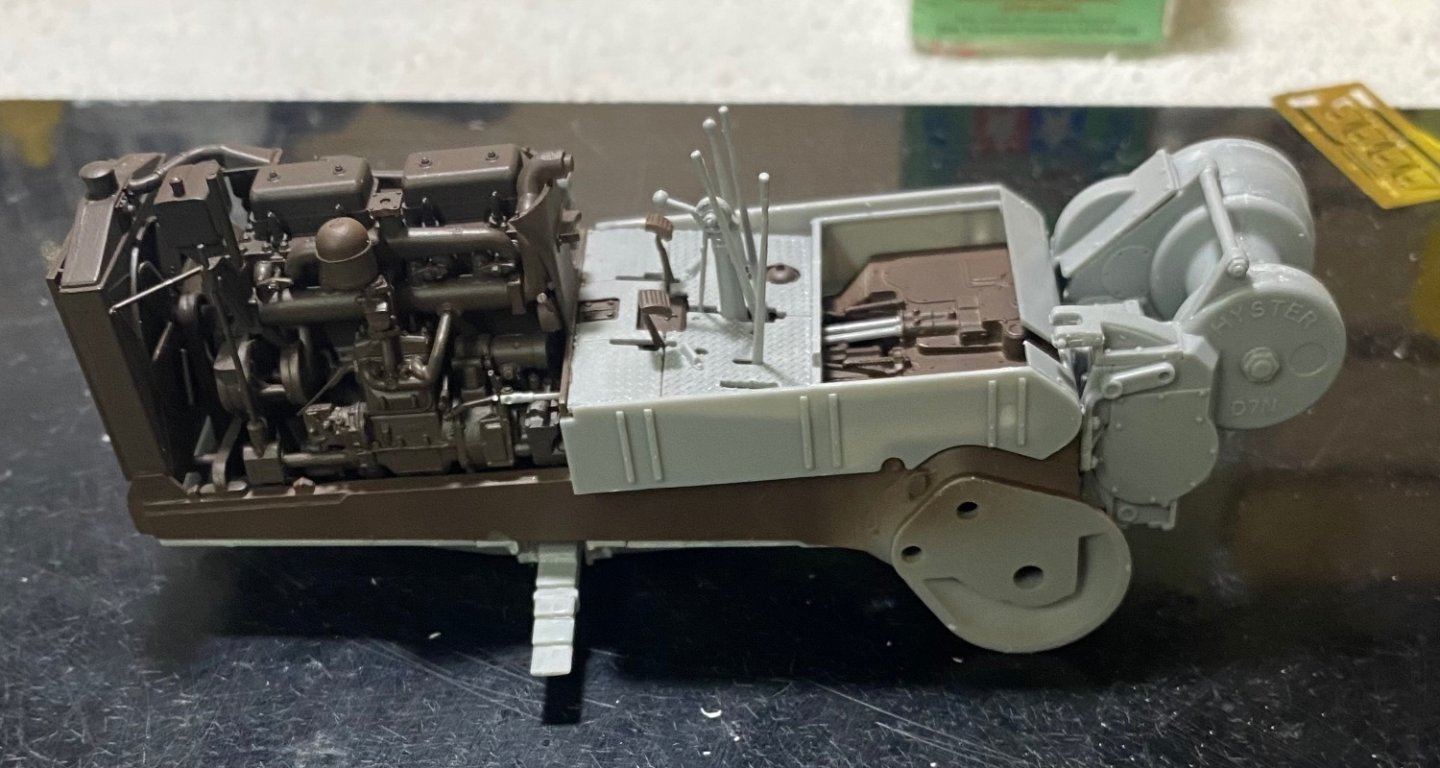
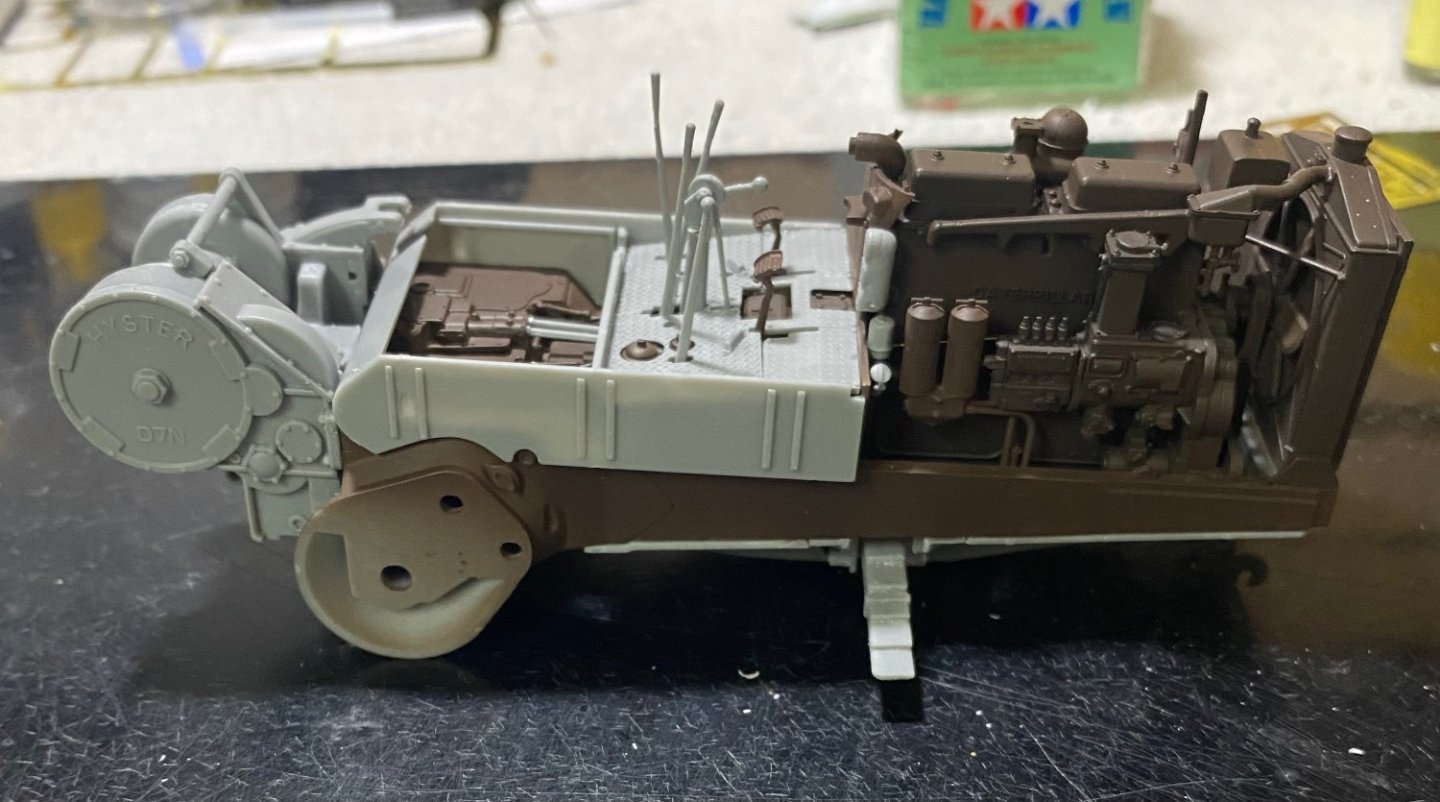
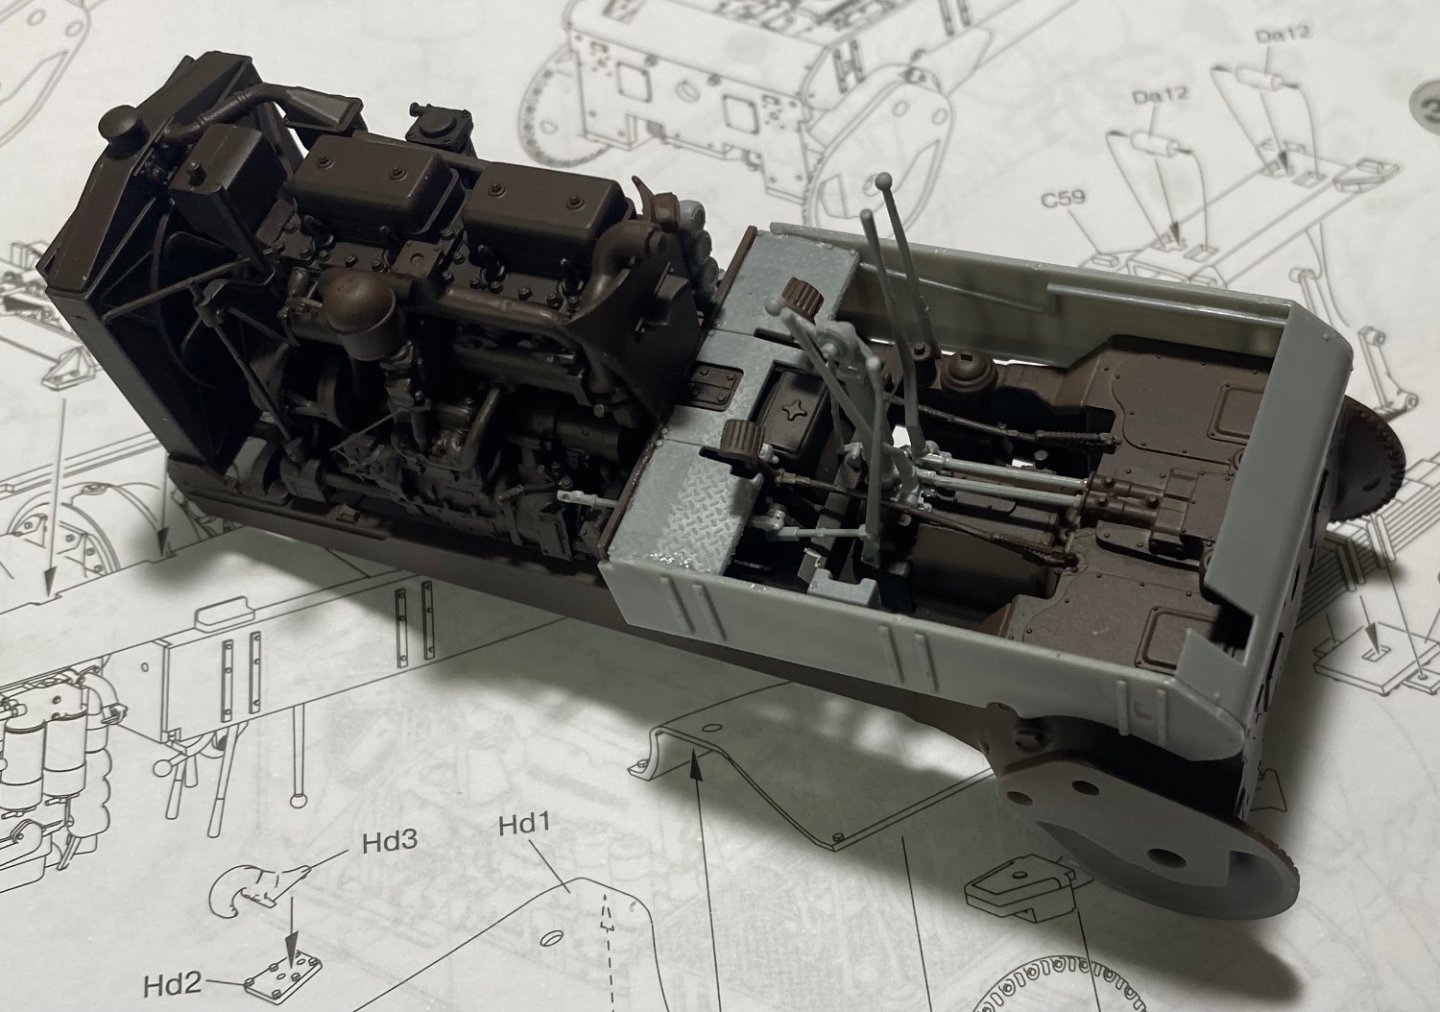
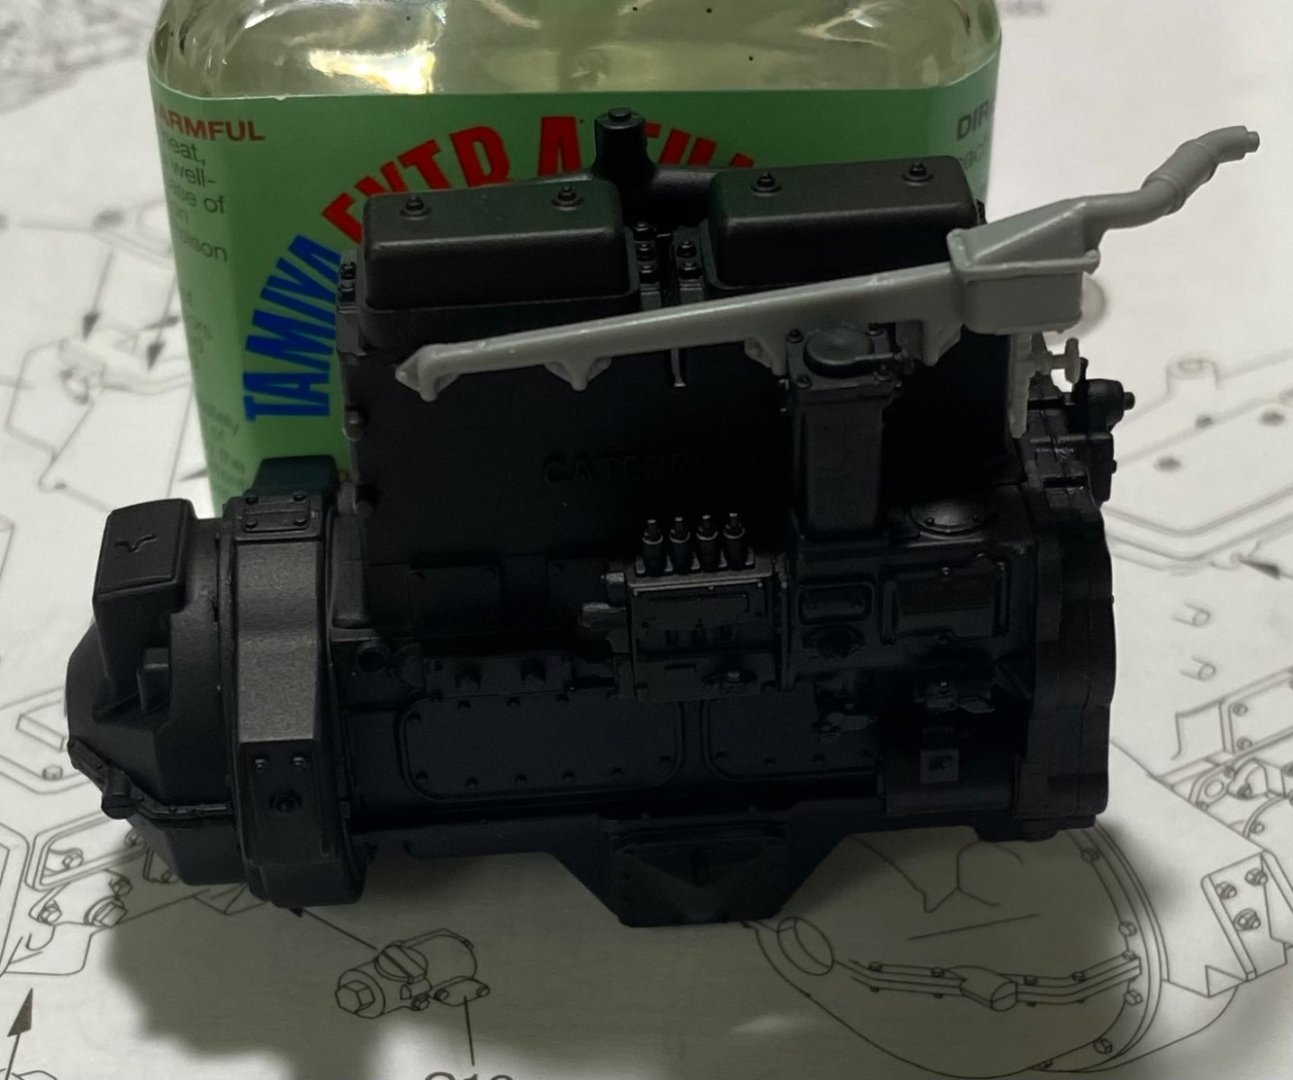
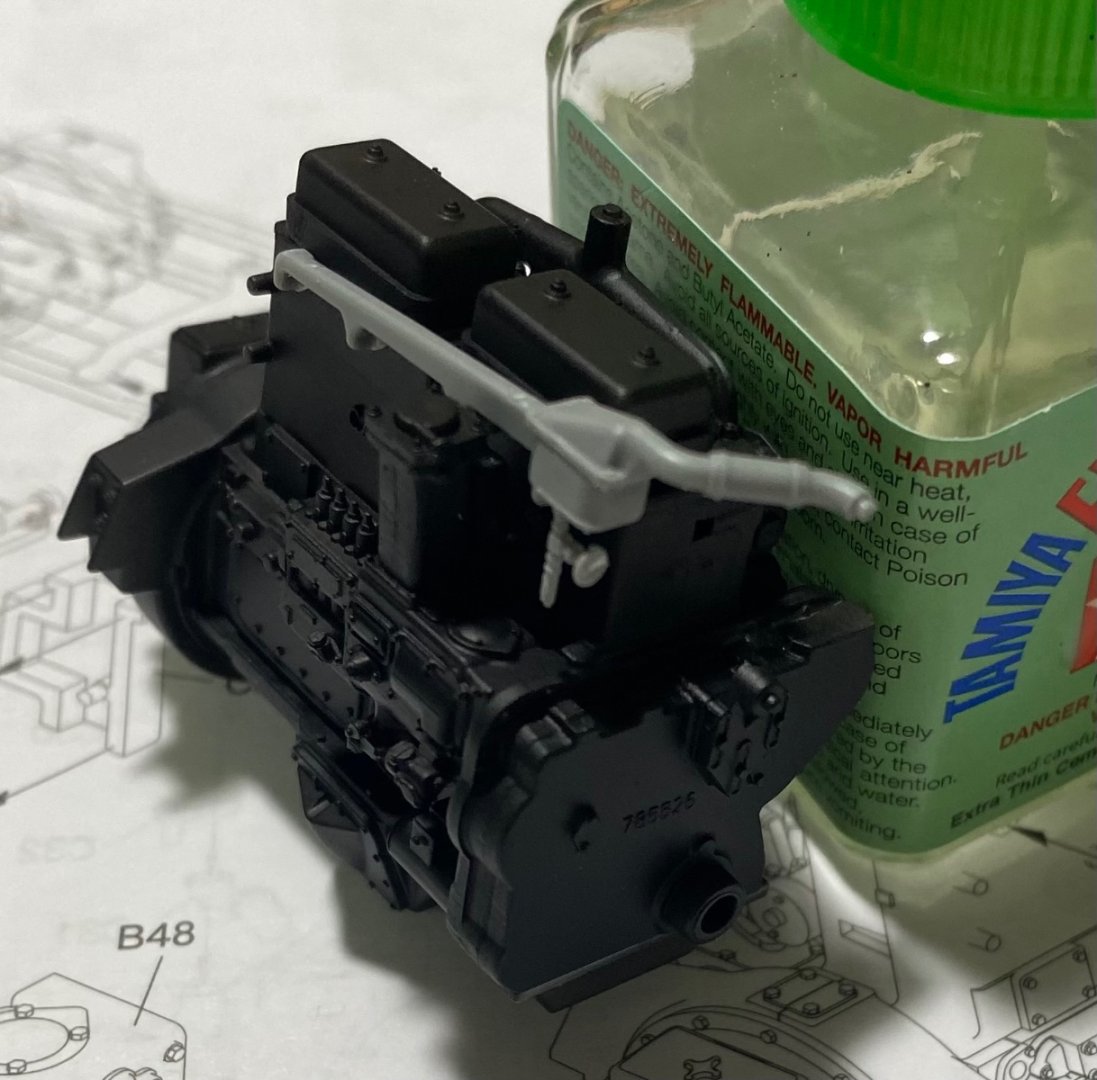
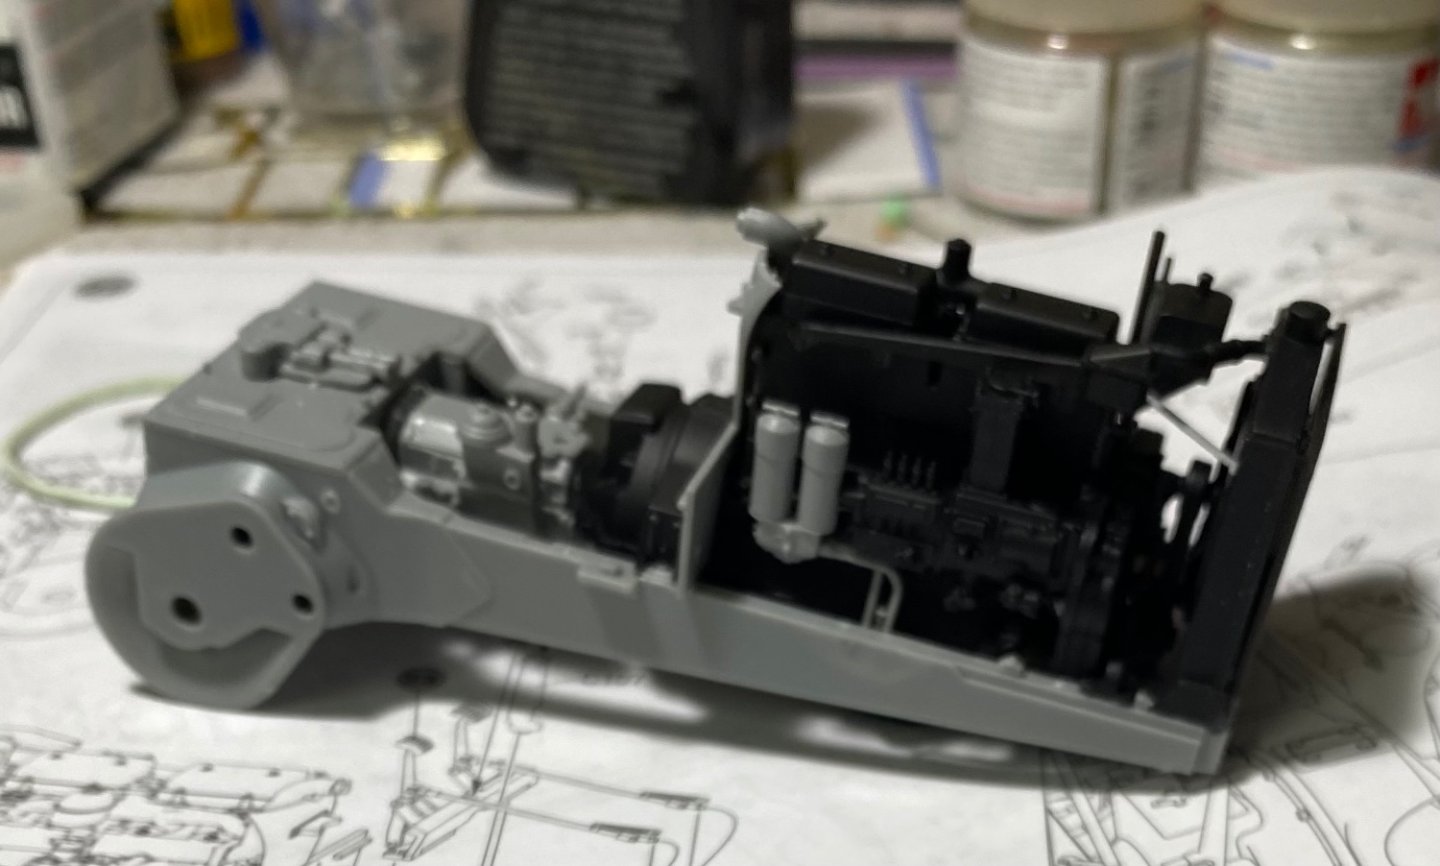
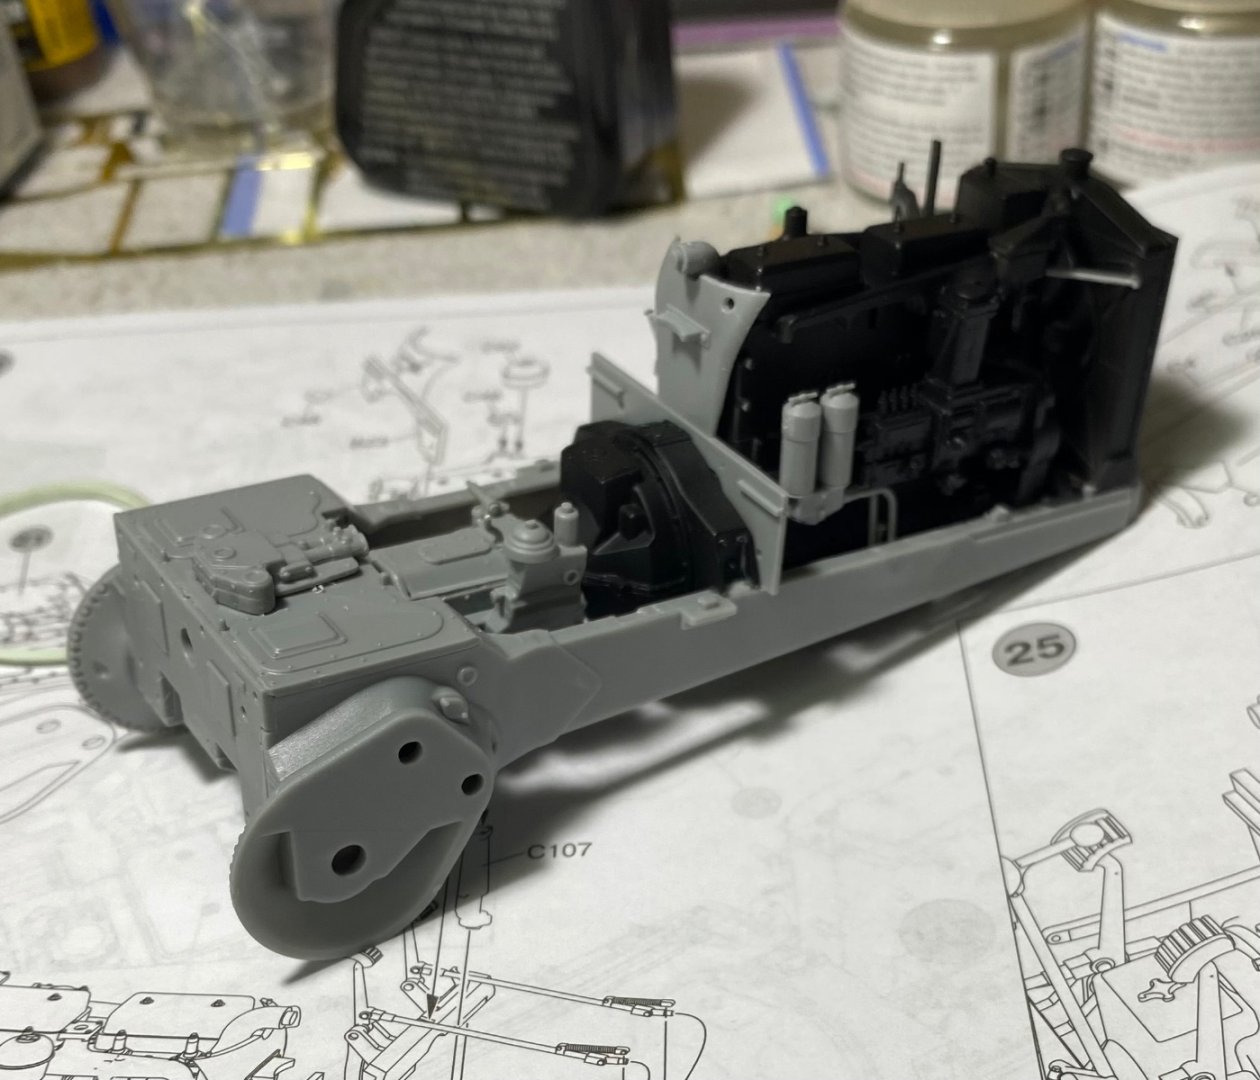
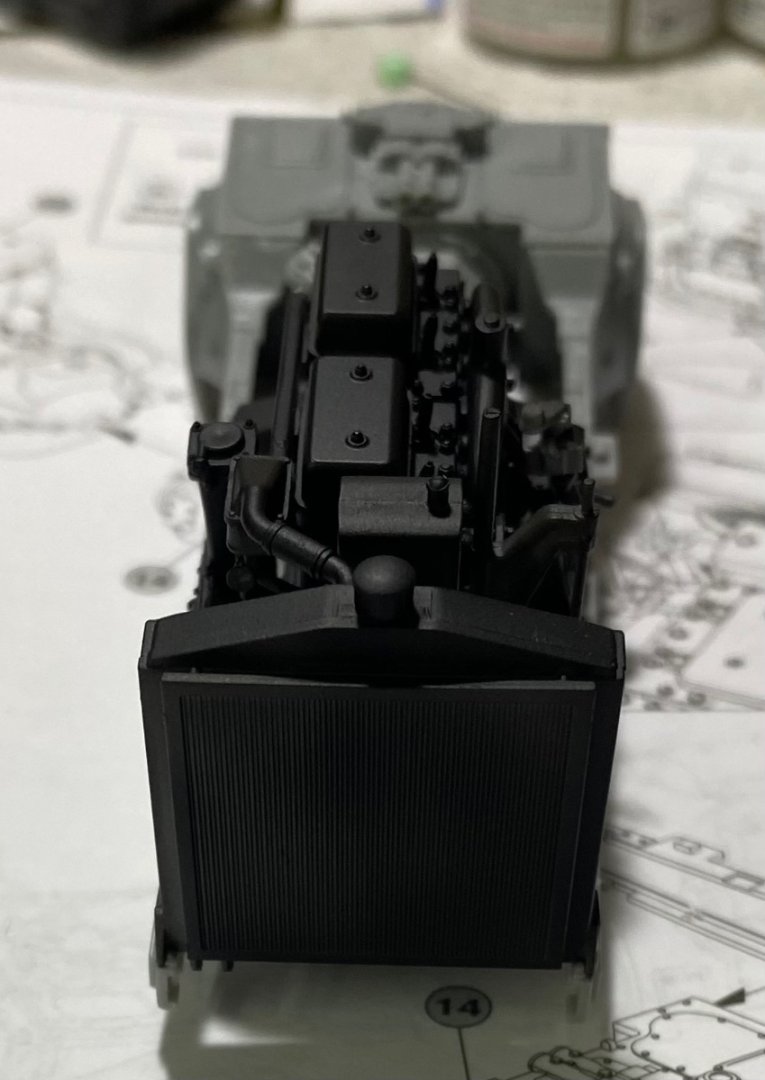
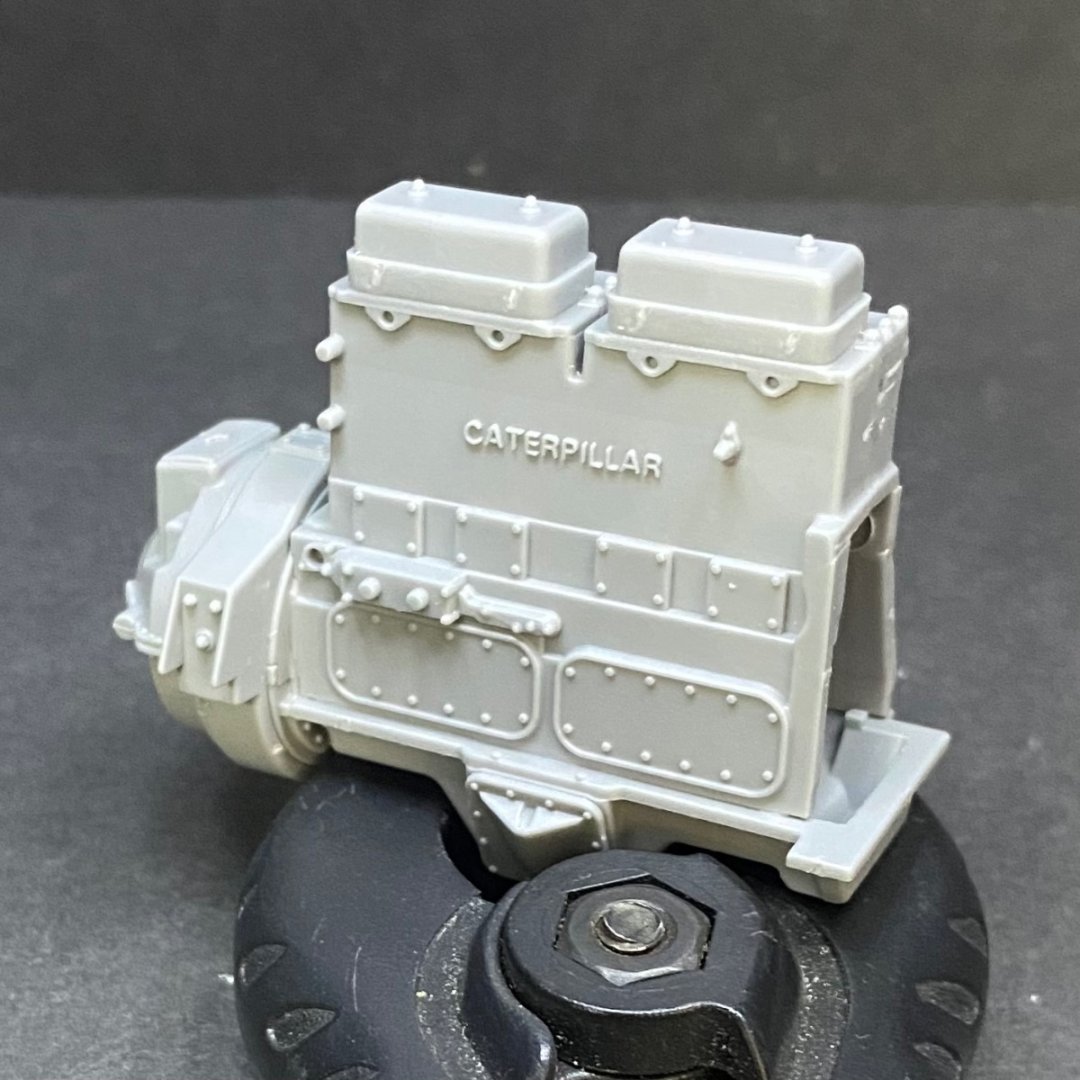
A model like this one has so much detail, assembling and painting it in subassemblies is a necessity. Otherwise I could not get paint on the subject. In this case I am using a very well reduced Mr Surfacer dark primer that will be covered in a Caterpillar yellow in the end. The primer is highly reduced to prevent the paint pigment from obliterating detail.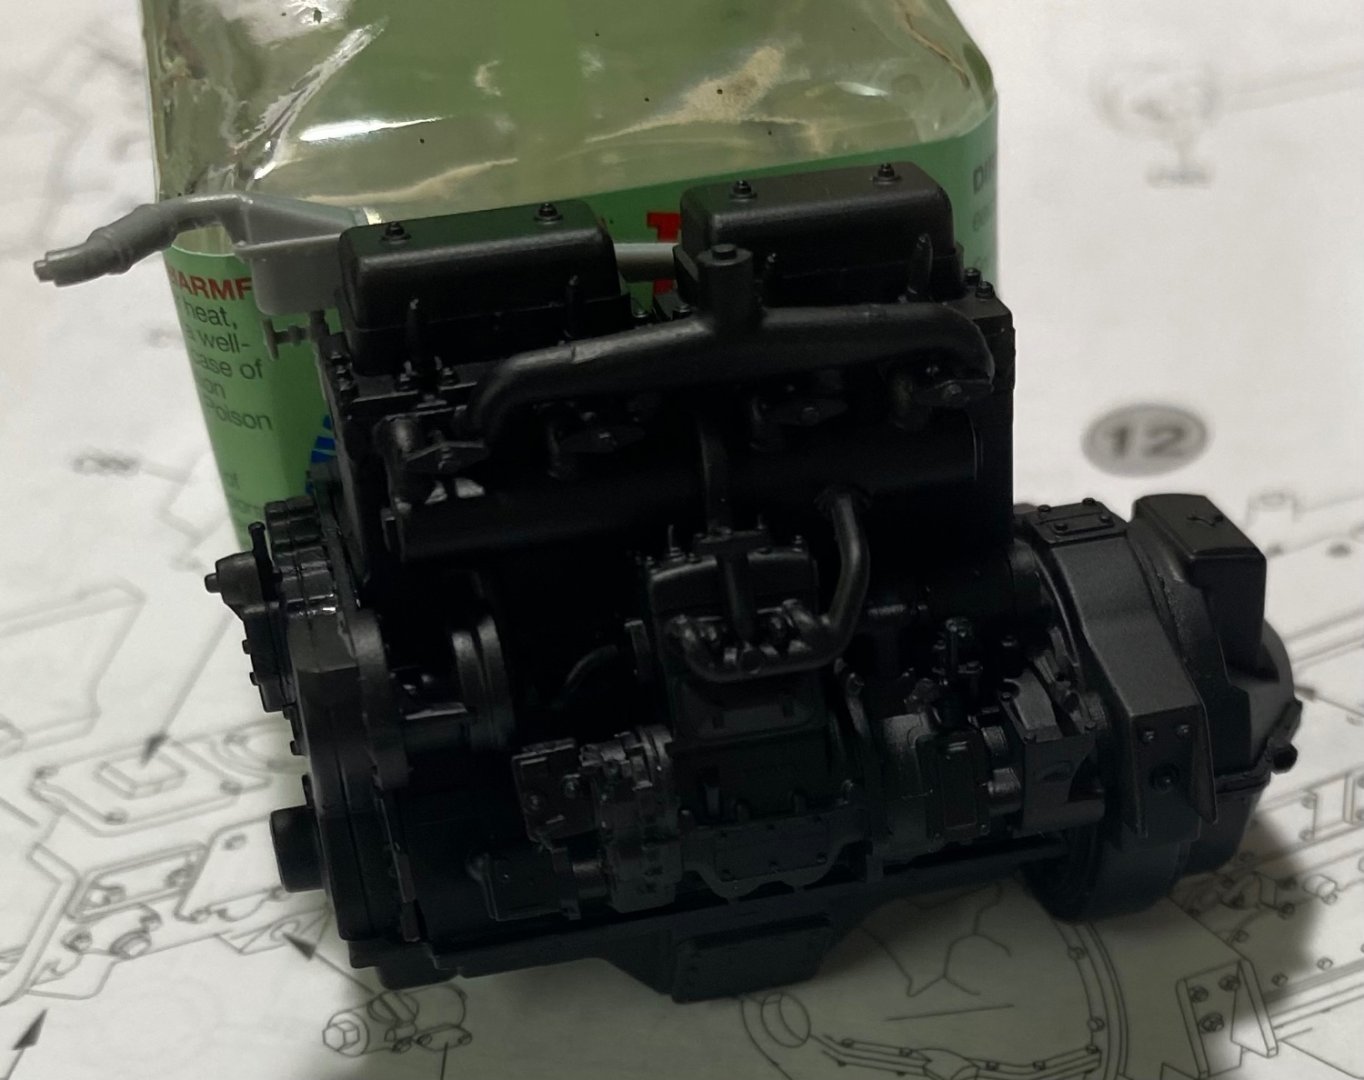
- 110 replies
-
- 11
-
-
U.S. Tractor D7 “Tow Cat” by CDW - FINISHED - MiniArt - 1:35 Scale
CDW replied to CDW's topic in Non-ship/categorised builds
Did they have a side boom? This D7N would be the basis for a side boom scratch build if I had a good set of drawings to reference. -
U.S. Tractor D7 “Tow Cat” by CDW - FINISHED - MiniArt - 1:35 Scale
CDW replied to CDW's topic in Non-ship/categorised builds
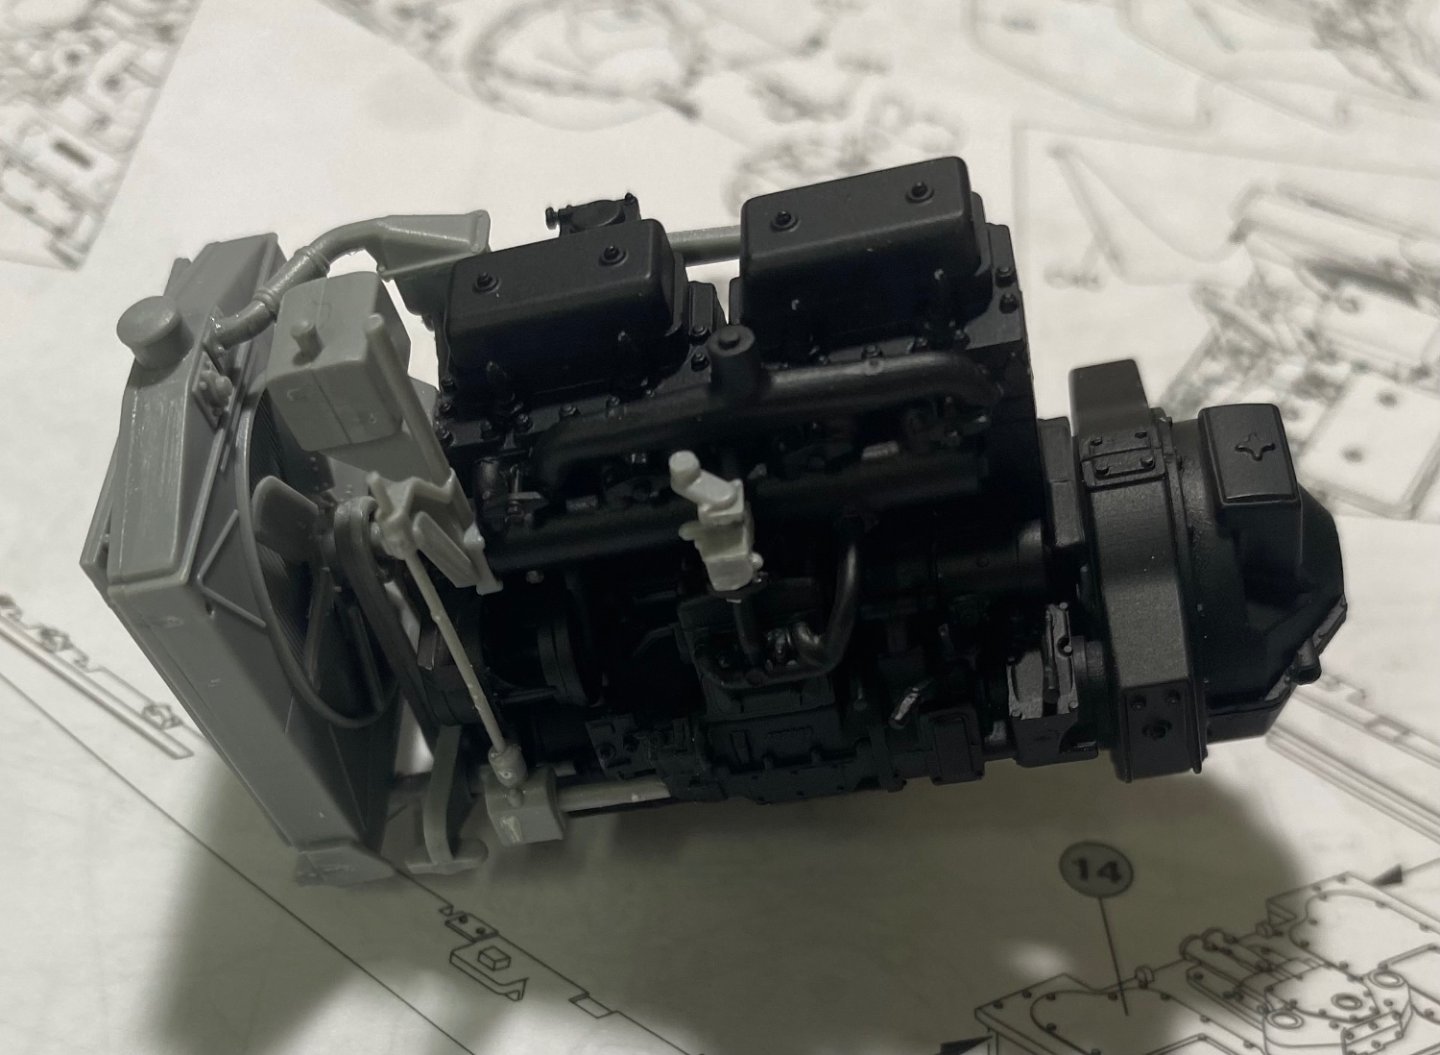
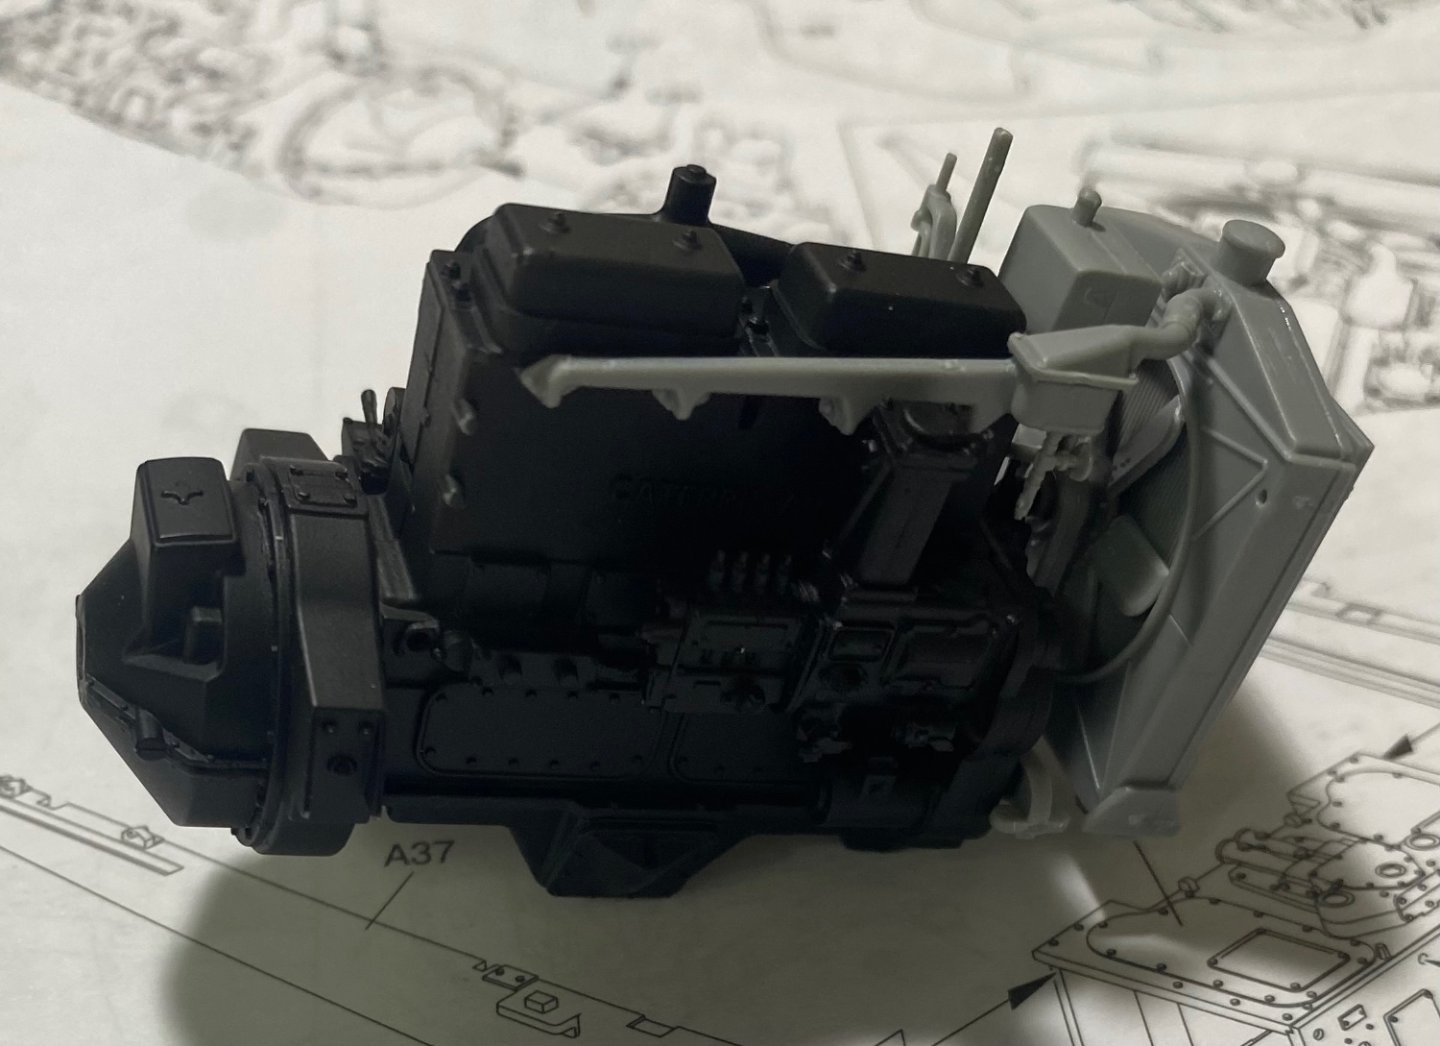
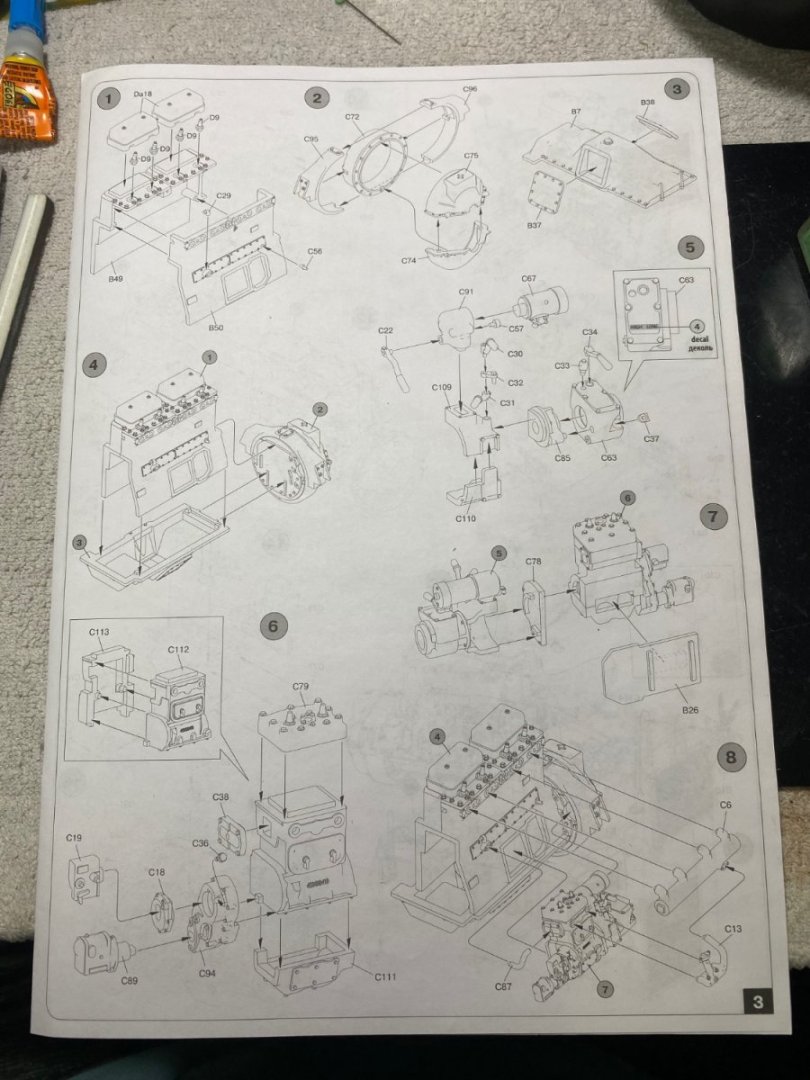
First page of instruction manual completed. Look closely and you might see some of those small parts. All were used in the assembly shown.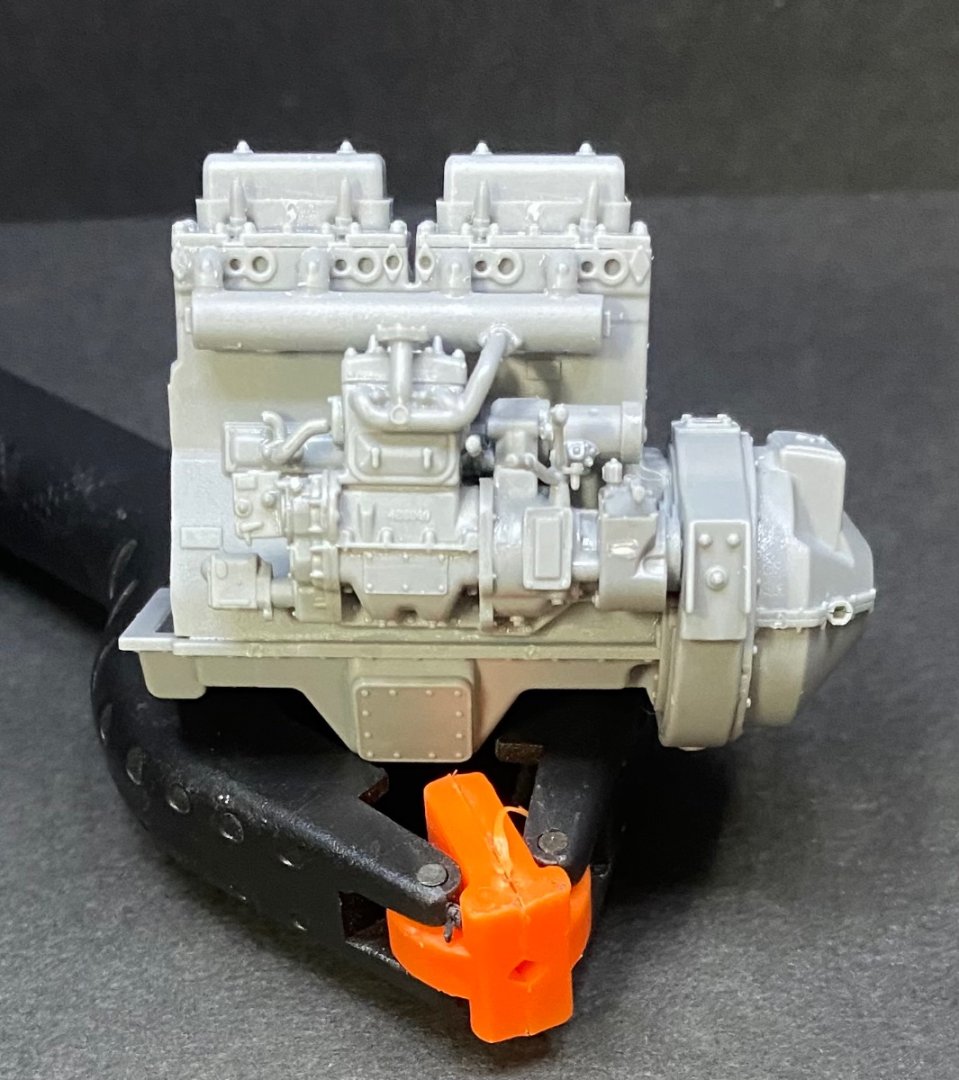
- 110 replies
-
- 12
-
-

-
U.S. Tractor D7 “Tow Cat” by CDW - FINISHED - MiniArt - 1:35 Scale
CDW replied to CDW's topic in Non-ship/categorised builds
What at first looks like a fly speck is part c36 after it’s cut off the sprue.
-
U.S. Tractor D7 “Tow Cat” by CDW - FINISHED - MiniArt - 1:35 Scale
CDW replied to CDW's topic in Non-ship/categorised builds
Talk about some small parts… See part number c36 in instructions Here’s that part on the sprue with a #11 scalpel blade for reference. Where the part ends and the sprue gate begins is up to interpretation.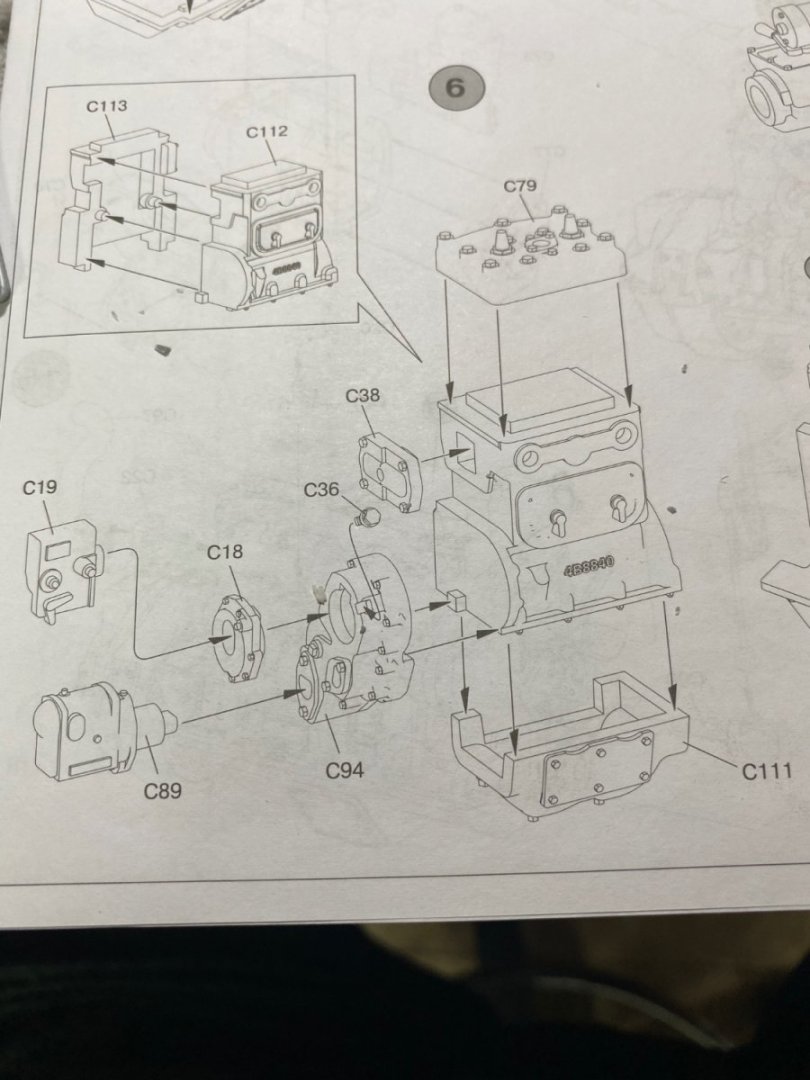
- 110 replies
-
- 10
-
-
-
U.S. Tractor D7 “Tow Cat” by CDW - FINISHED - MiniArt - 1:35 Scale
CDW replied to CDW's topic in Non-ship/categorised builds
Before there were Caterpillar dozers, there were Belgian work horses. As a tribute to the men who mentored me and influenced my life, I intend to write a couple of short stories to go along with this build as for one, I need to write these things down while I can still recall them, and secondly as the building of this model has brought a flood of memories to my mind. -
U.S. Tractor D7 “Tow Cat” by CDW - FINISHED - MiniArt - 1:35 Scale
CDW replied to CDW's topic in Non-ship/categorised builds
Dad gum spell checker doesn’t like “sprues” and changes it to spruce by default. Apple employs technocrats. 😊 -
U.S. Tractor D7 “Tow Cat” by CDW - FINISHED - MiniArt - 1:35 Scale
CDW replied to CDW's topic in Non-ship/categorised builds
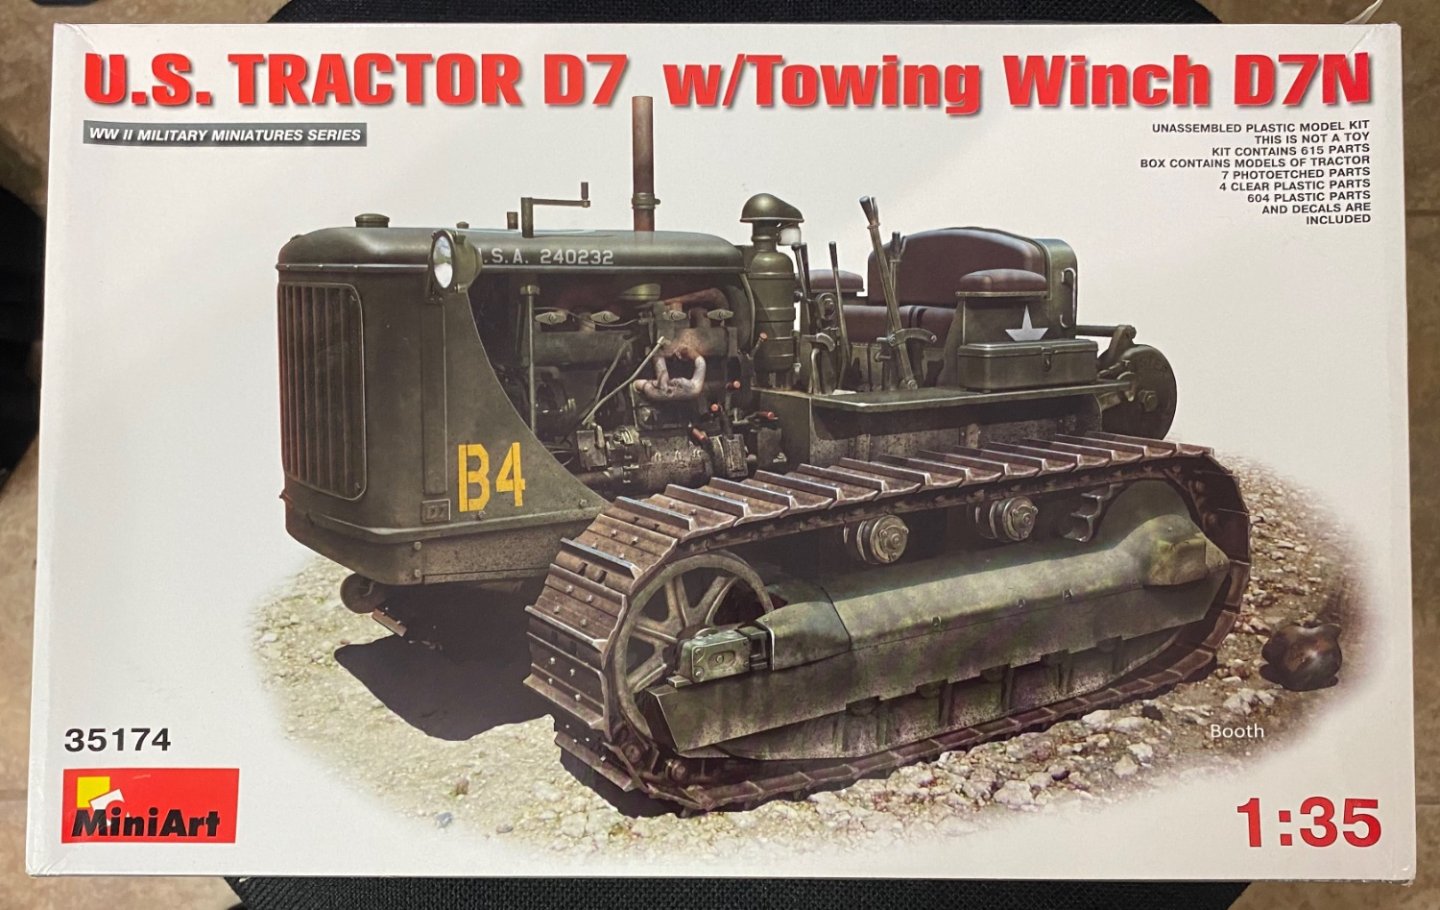
MiniArt does a spectacular job on tooling the parts. Detail is astounding. It’s a shame that equal attention was not given to the sprue gates. The large size of the gates leaves a lot of difficult cleanup to do after the parts are removed from the spruces. The cleanup time required is considerable for most every part. Some parts so small, only the most precise tools should be used for removal and otherwise, broken and damaged parts can be guaranteed. It’s all good and a trade off for a finely tooled, seldom modeled subject.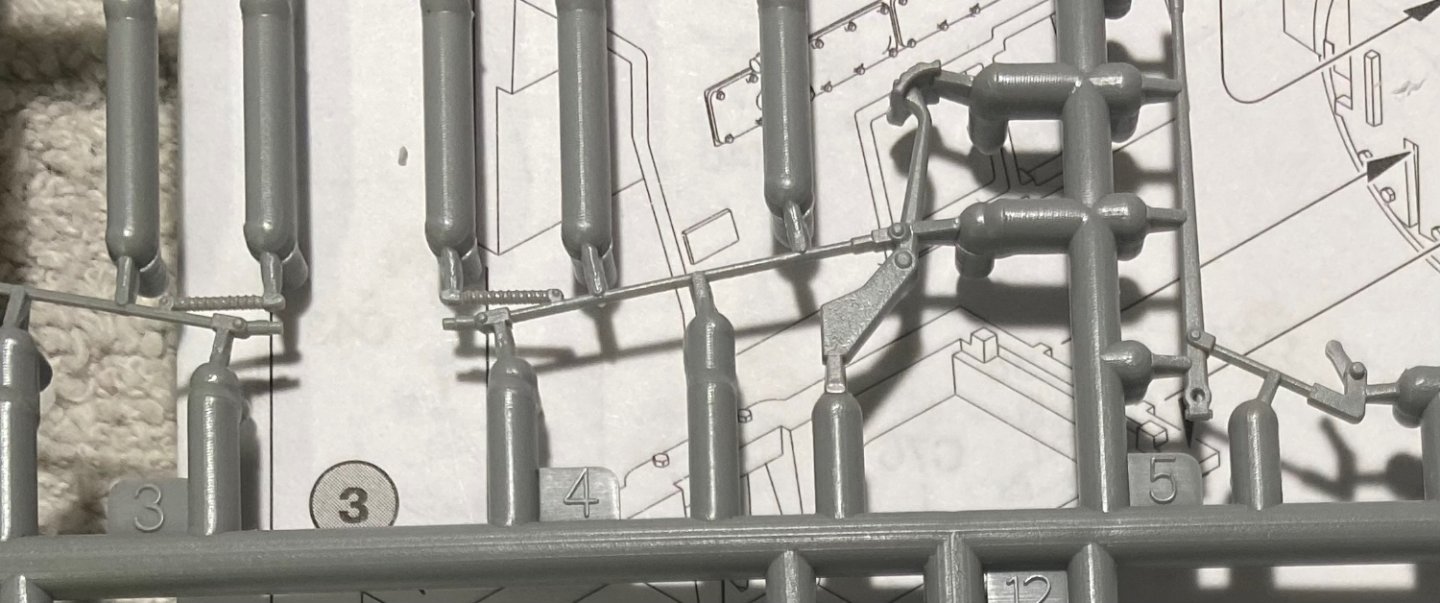

- 110 replies
-
- 10
-
-
-
F-86F-30 Sabre by Egilman - Kinetic - 1/32nd scale
CDW replied to Egilman's topic in Non-ship/categorised builds
I saw that too -
The biggest problem facing Ukraine is a decimated army with no replacements. Have you seen the video and photos of the older, middle-aged civilians they are putting out there to face the advancing Russian army? It's very sad to see. They have suffered heavy losses of their young men in this conflict.
-
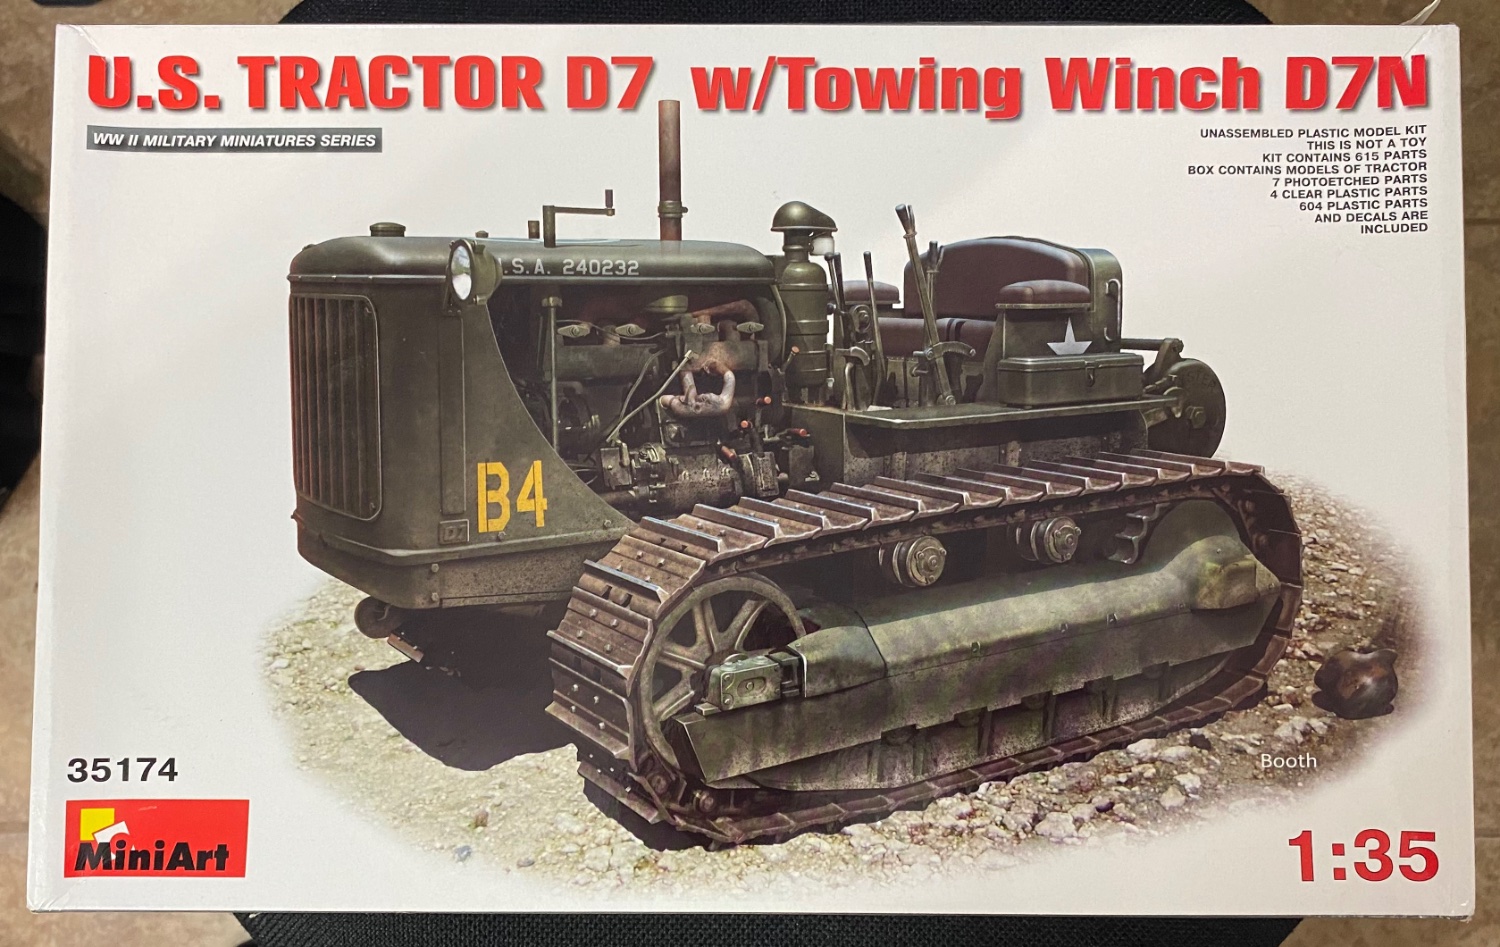
Next up is a Caterpillar D7N Tow Cat in glorious 1:35 scale. Reminds me of my younger days as a steel worker in West Virginia working gas and oil pipeline construction. We had more than a few of these machines around, used to sit as an anchor on top of a mountain while the “train” of equipment tethered to it hung tenuously on the side slopes of mountains while clearing rights-of-ways, digging ditches, and laying steel pipelines.
- 110 replies
-
- 11
-
-
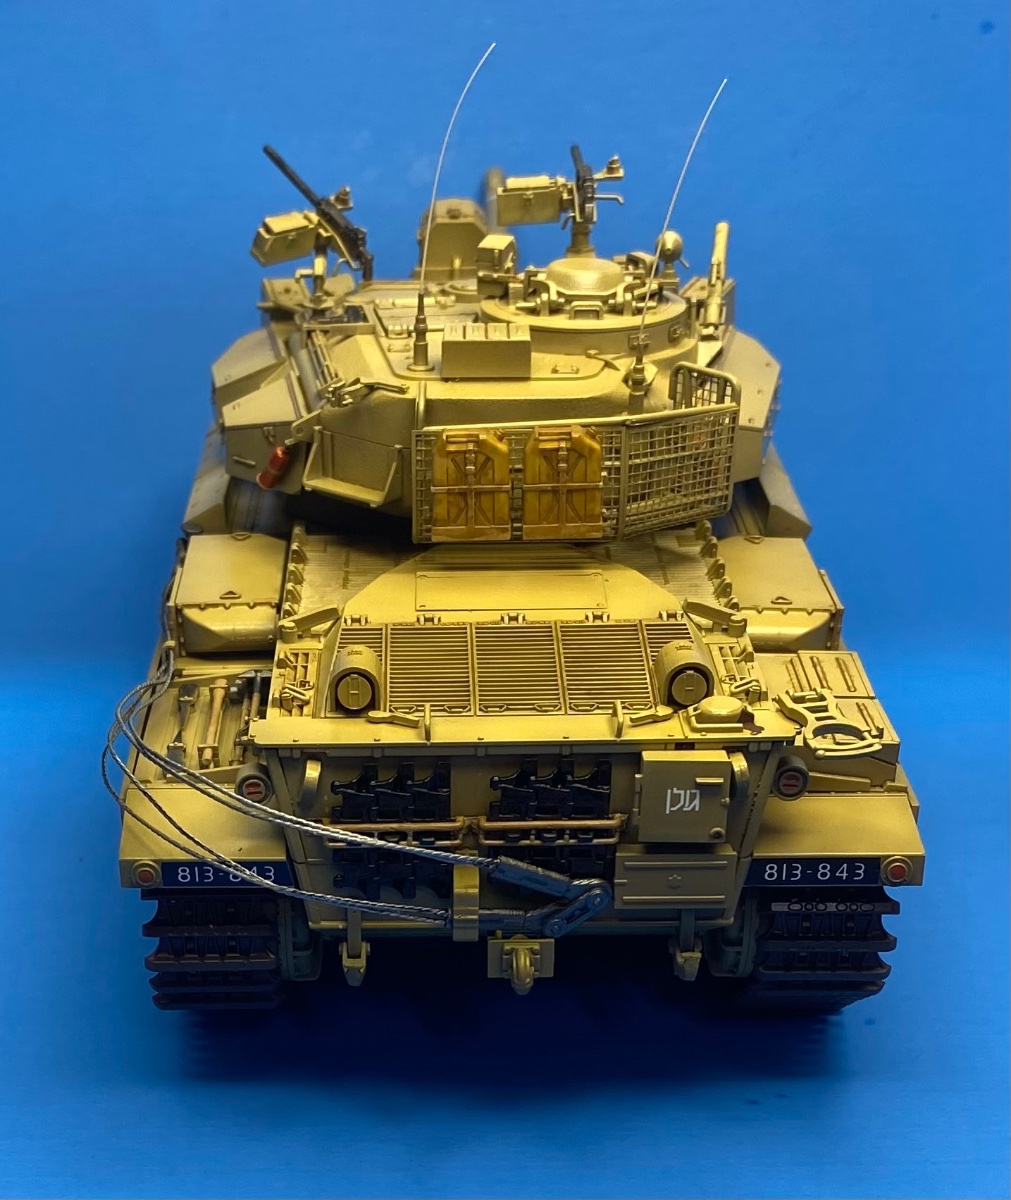
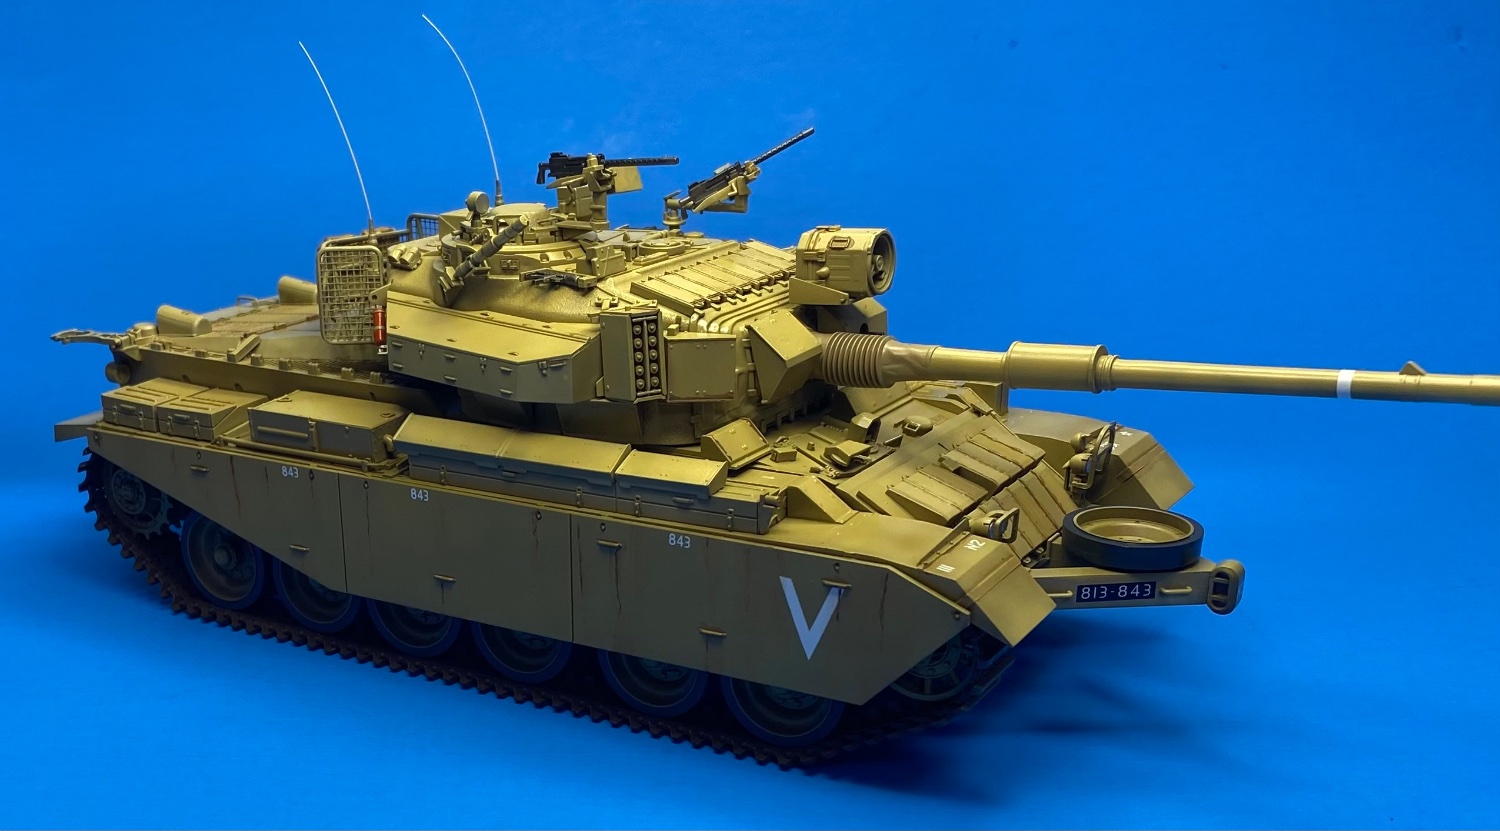
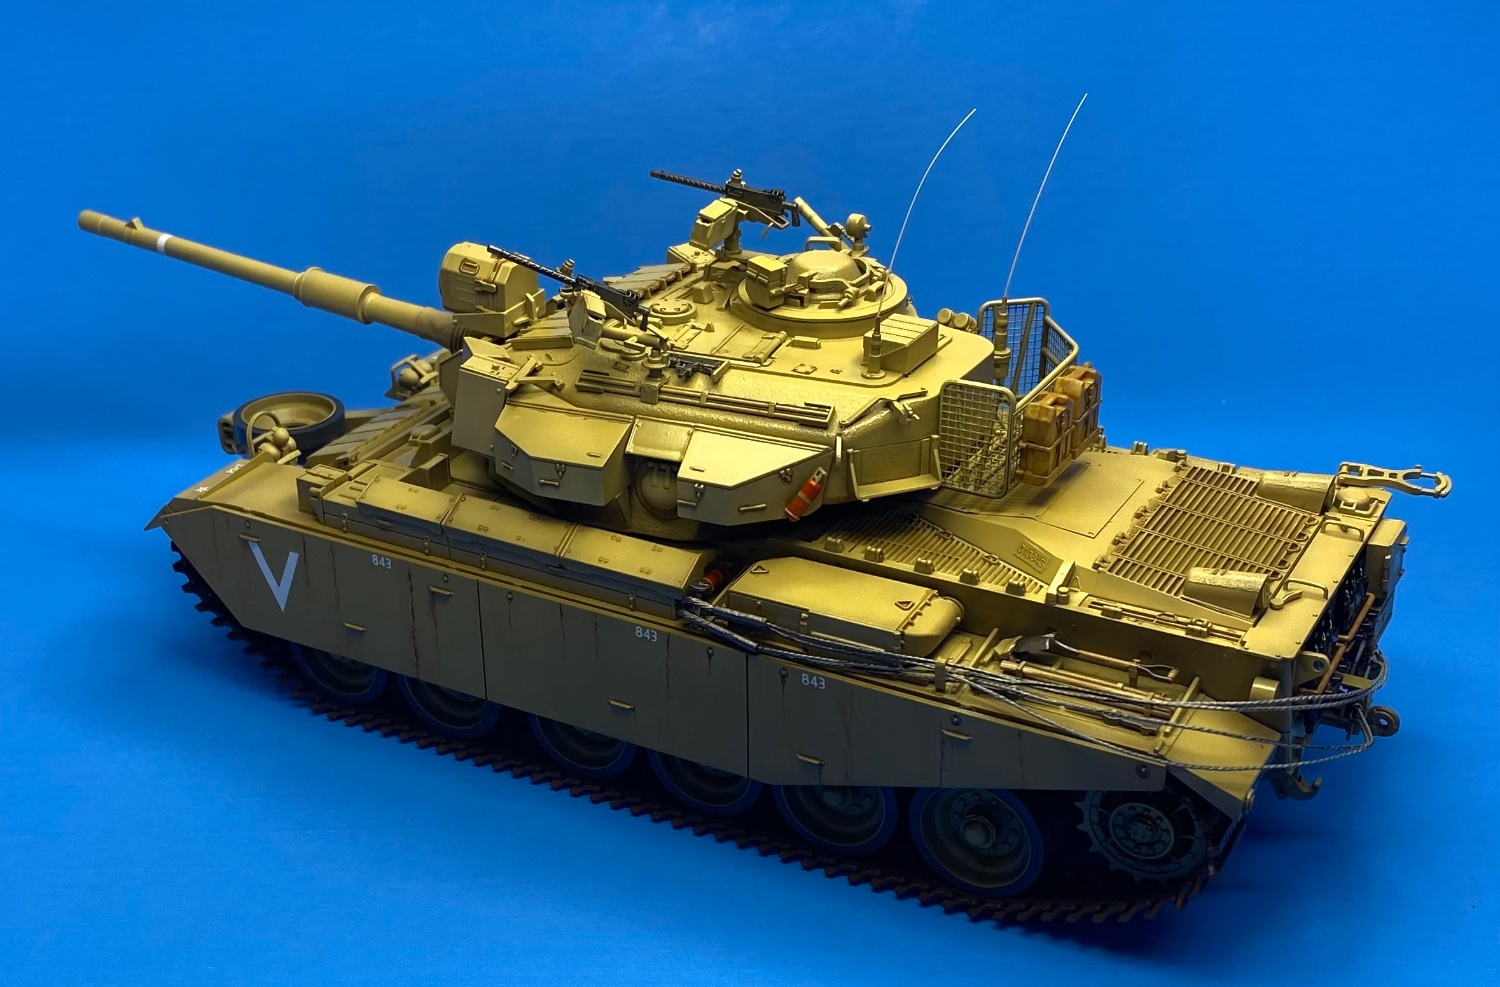
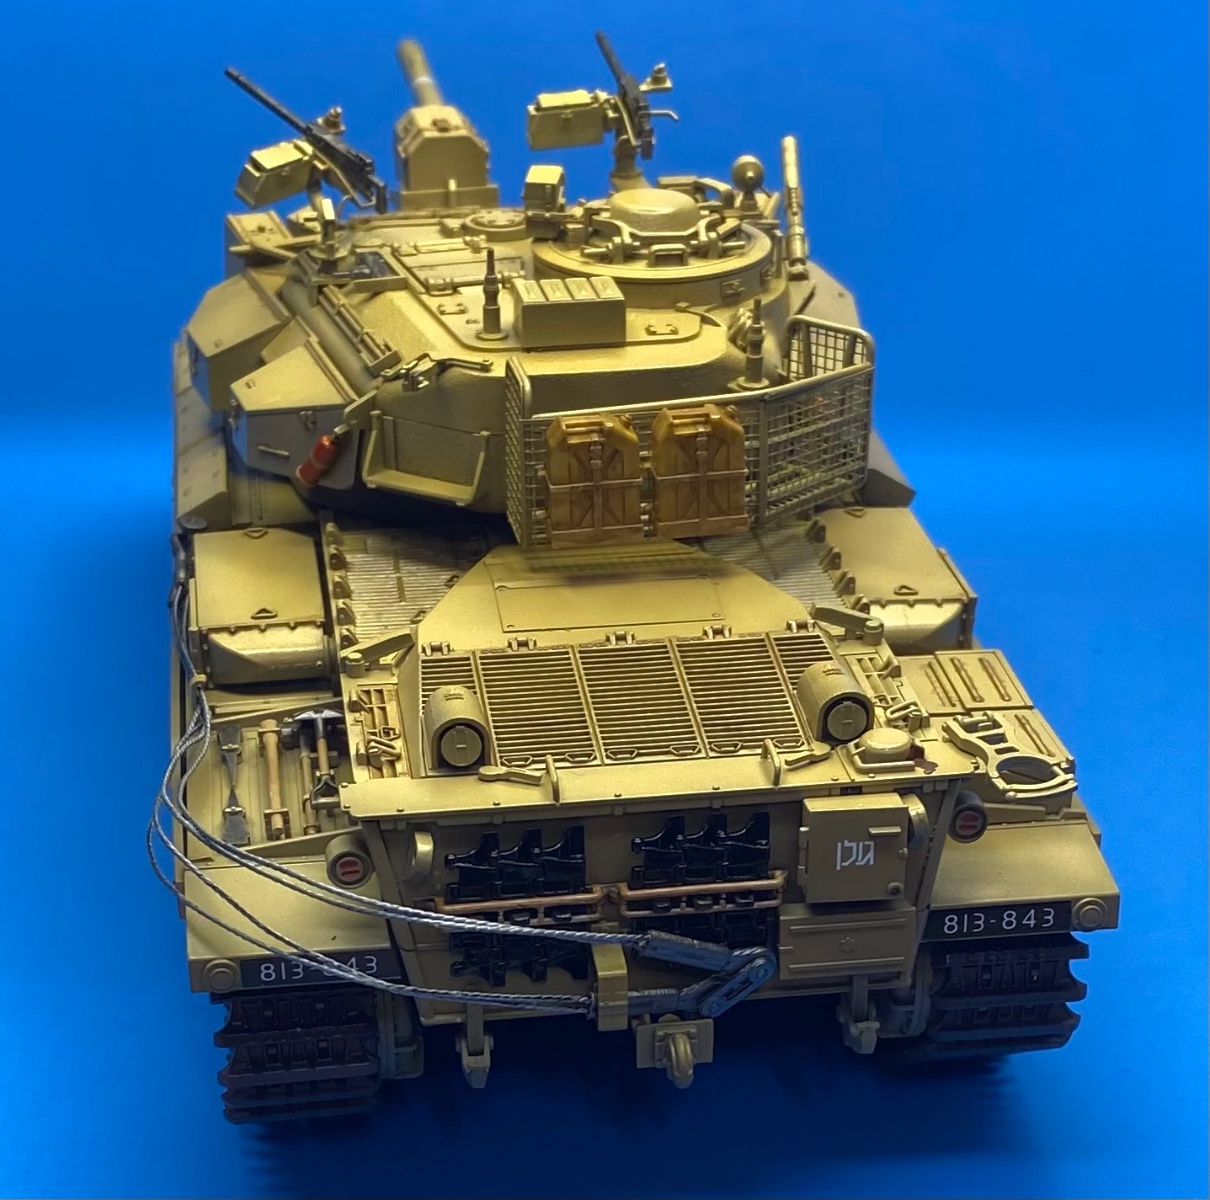
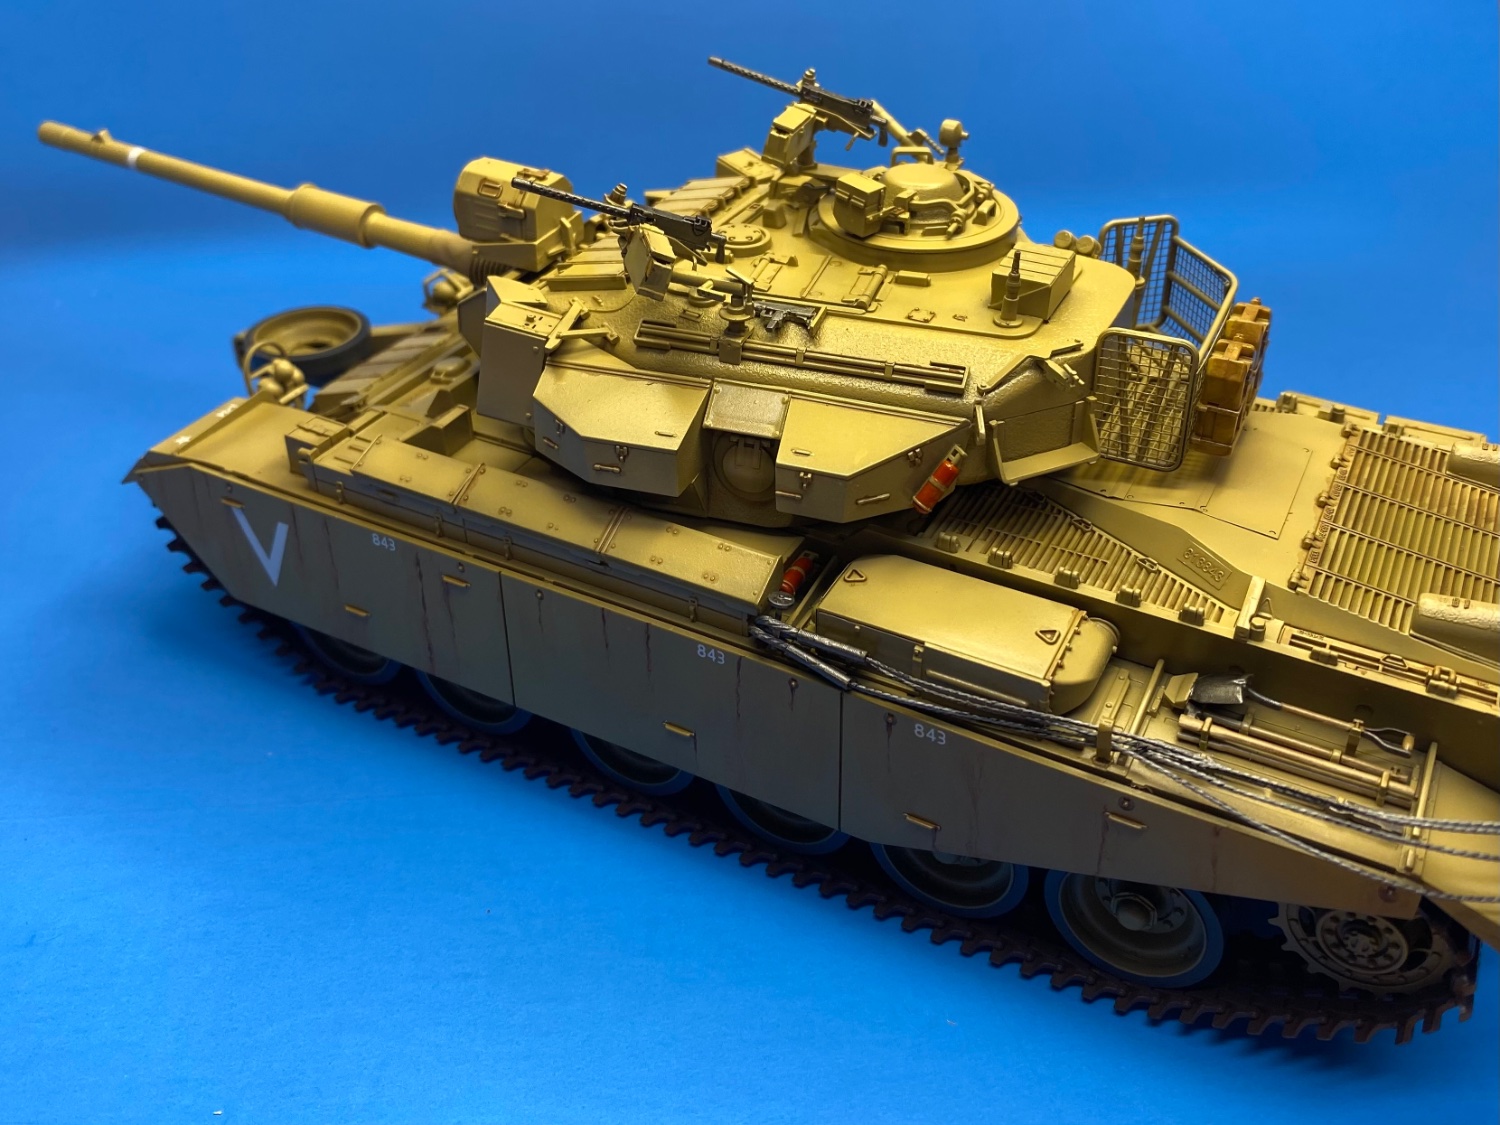
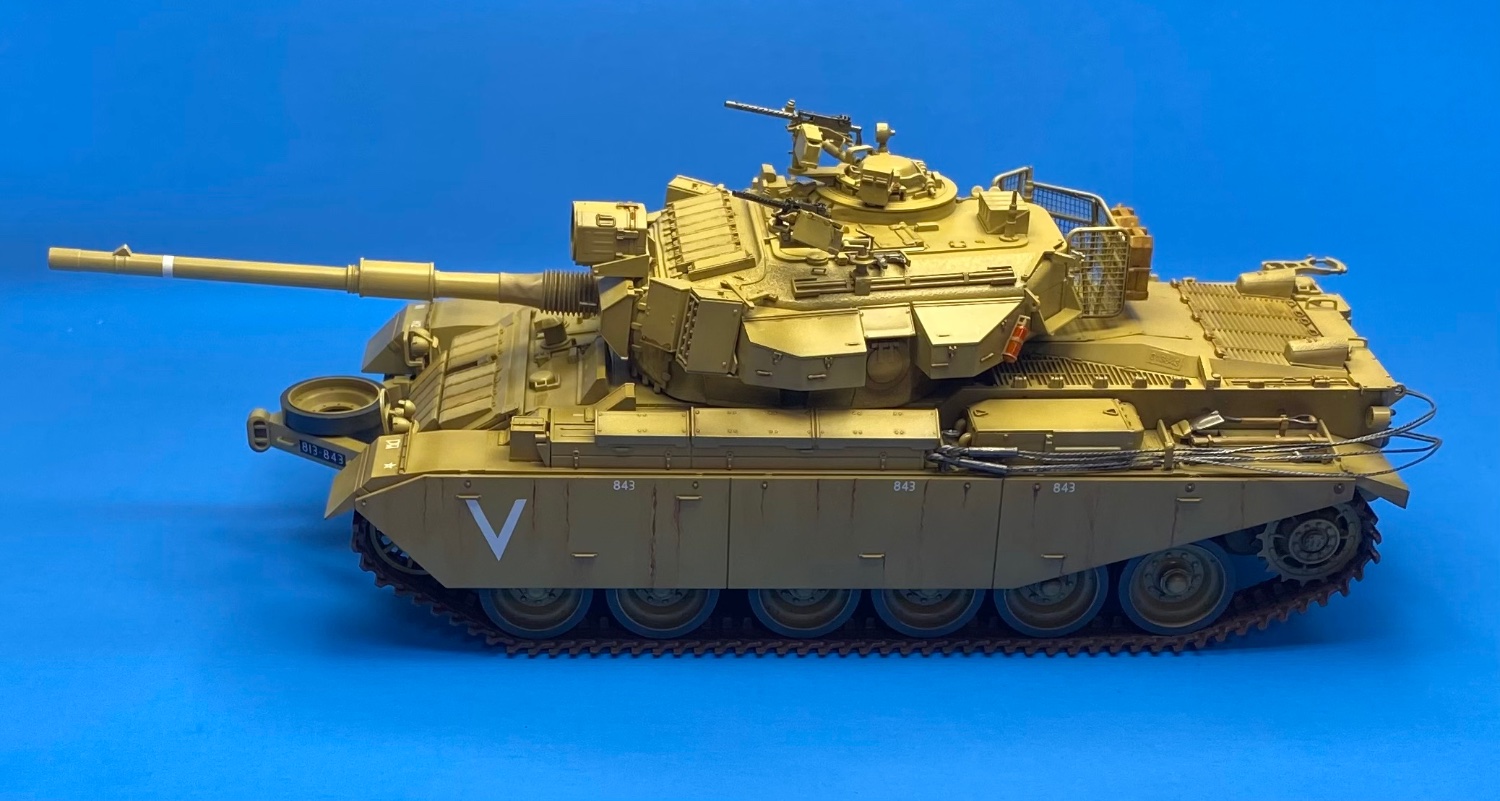
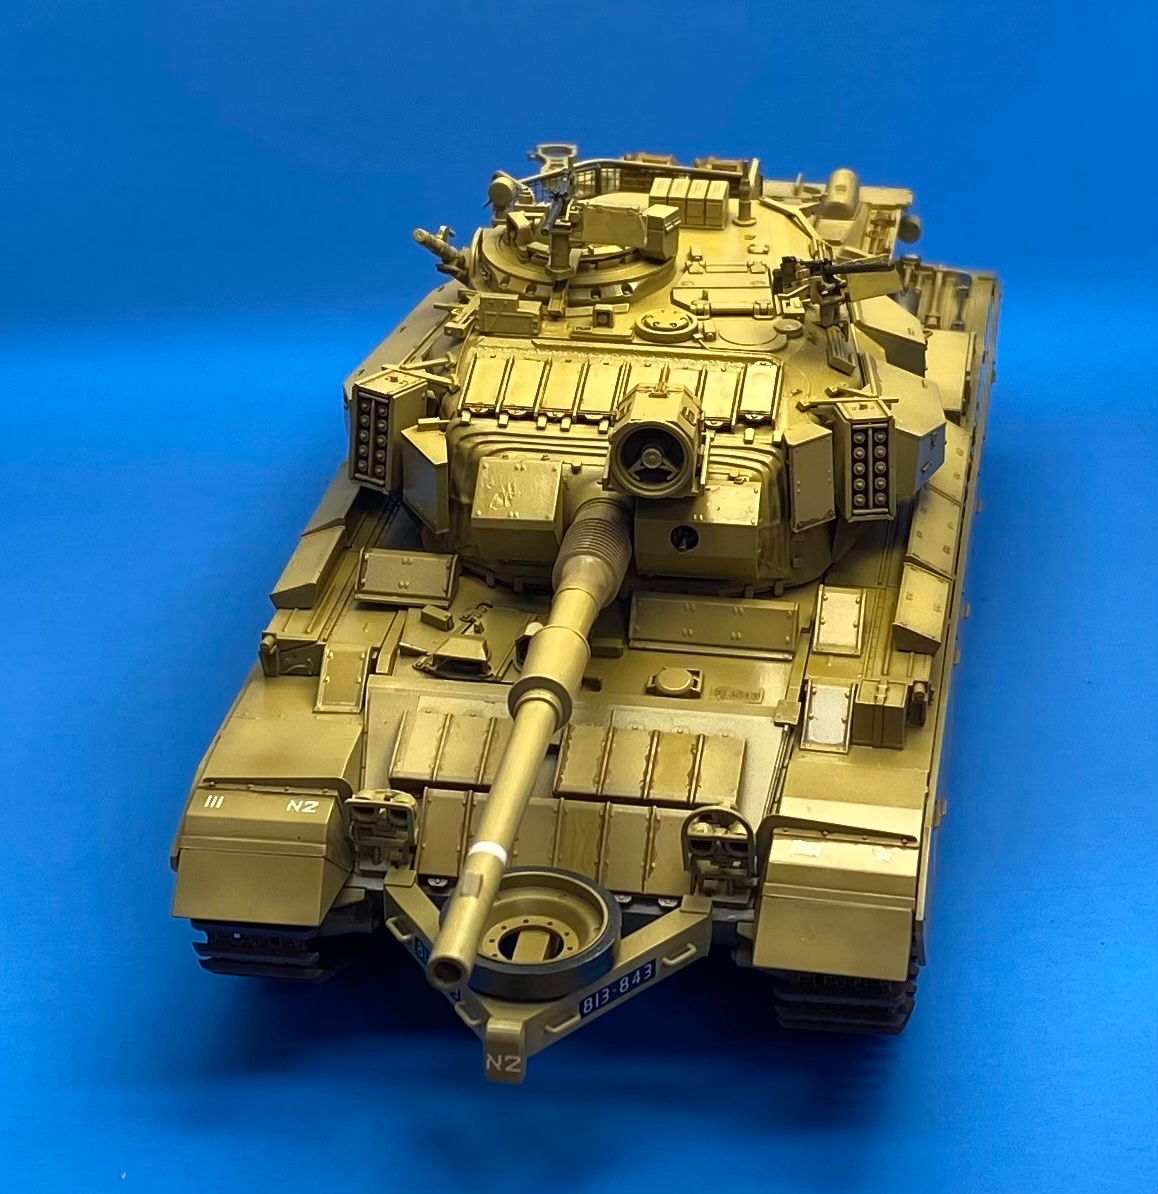
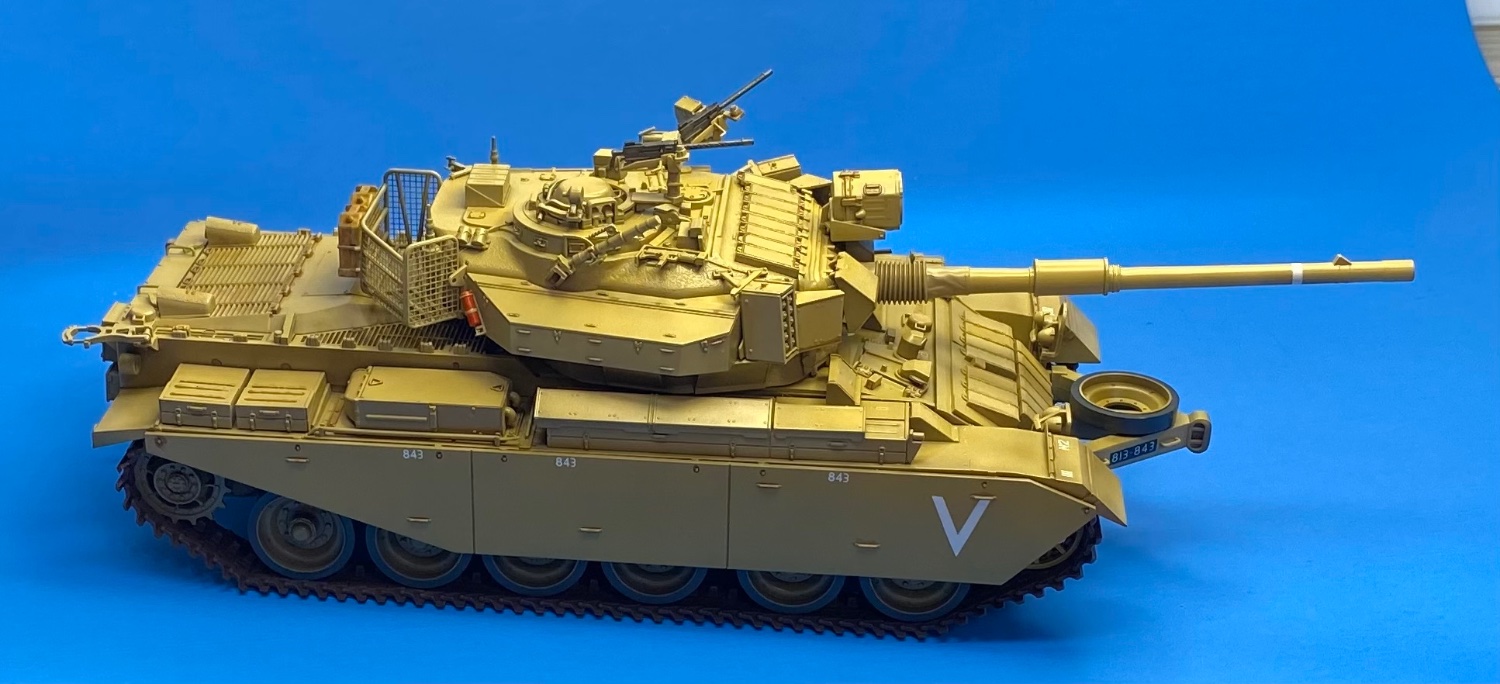
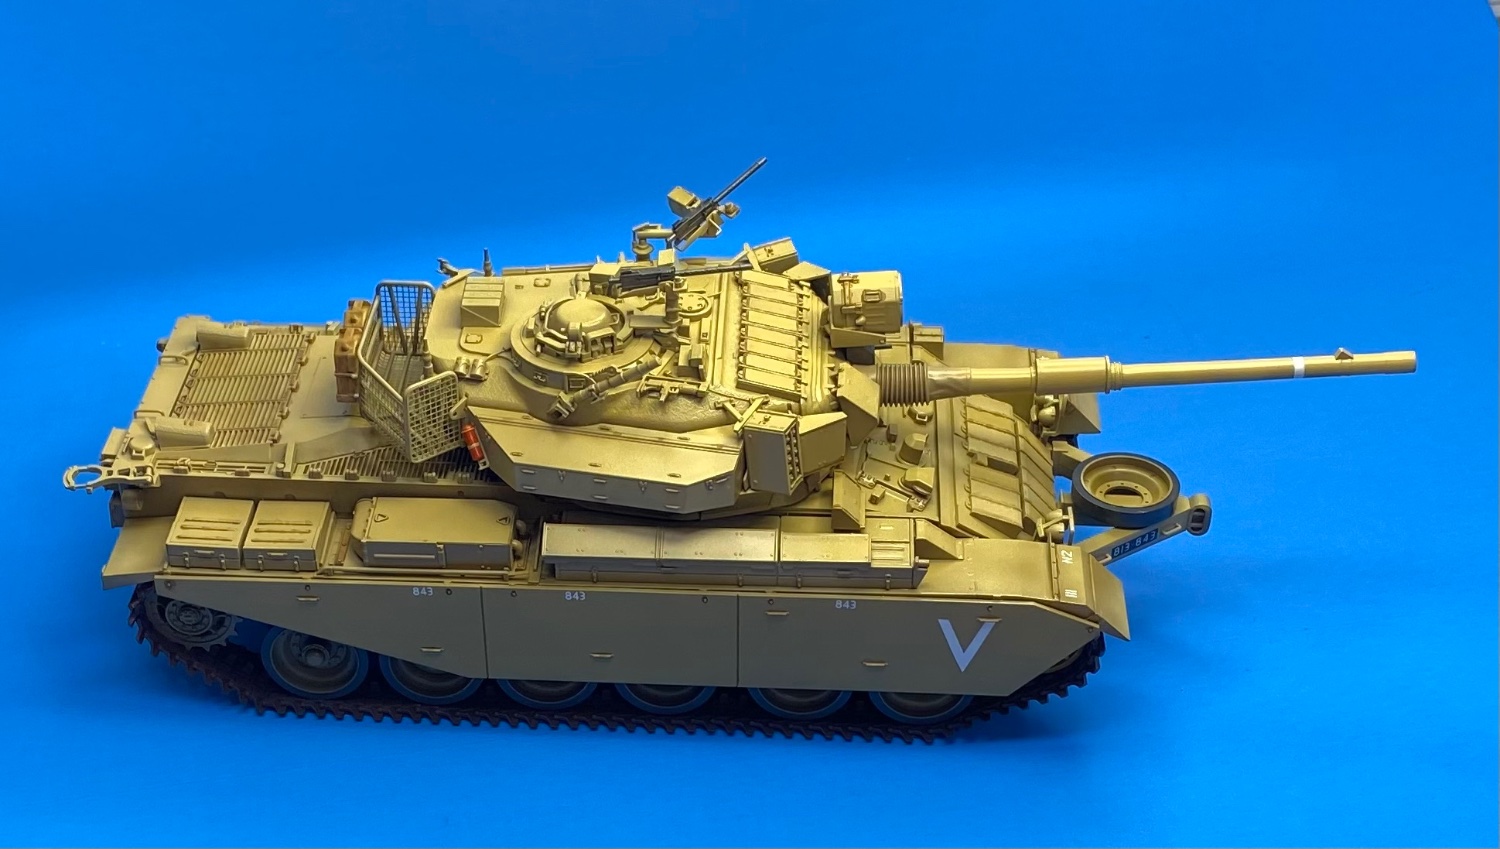
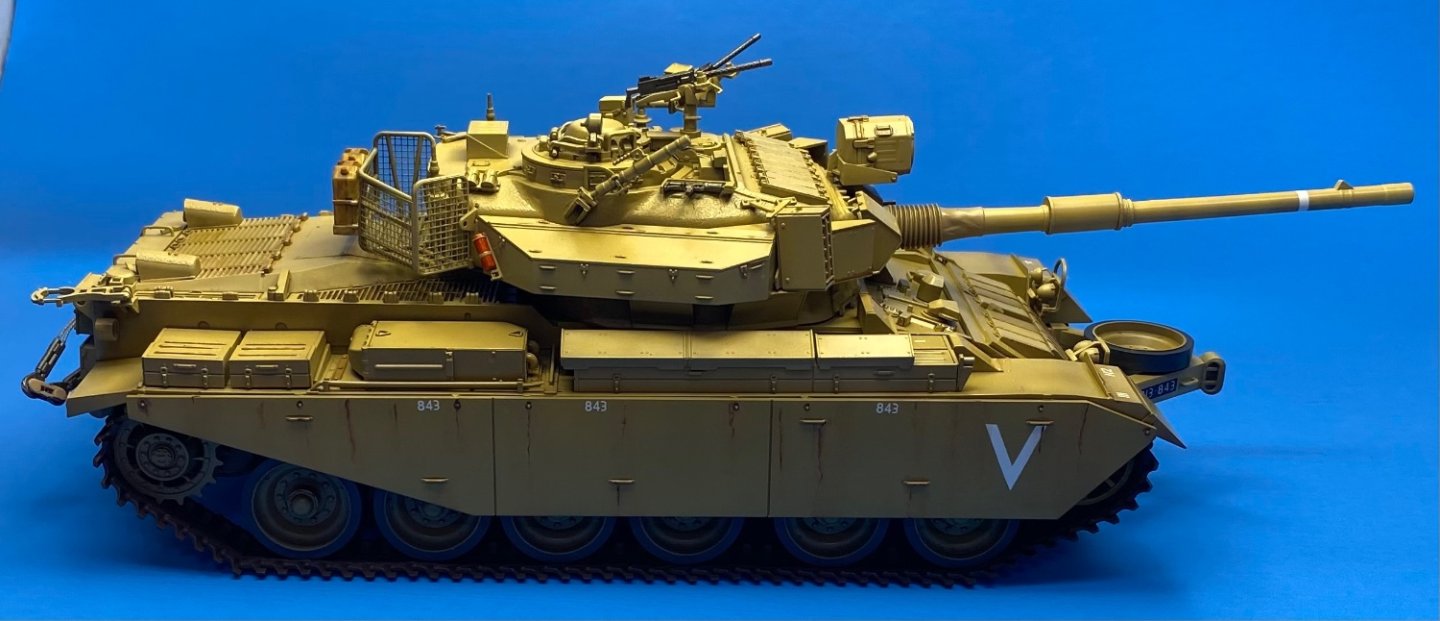
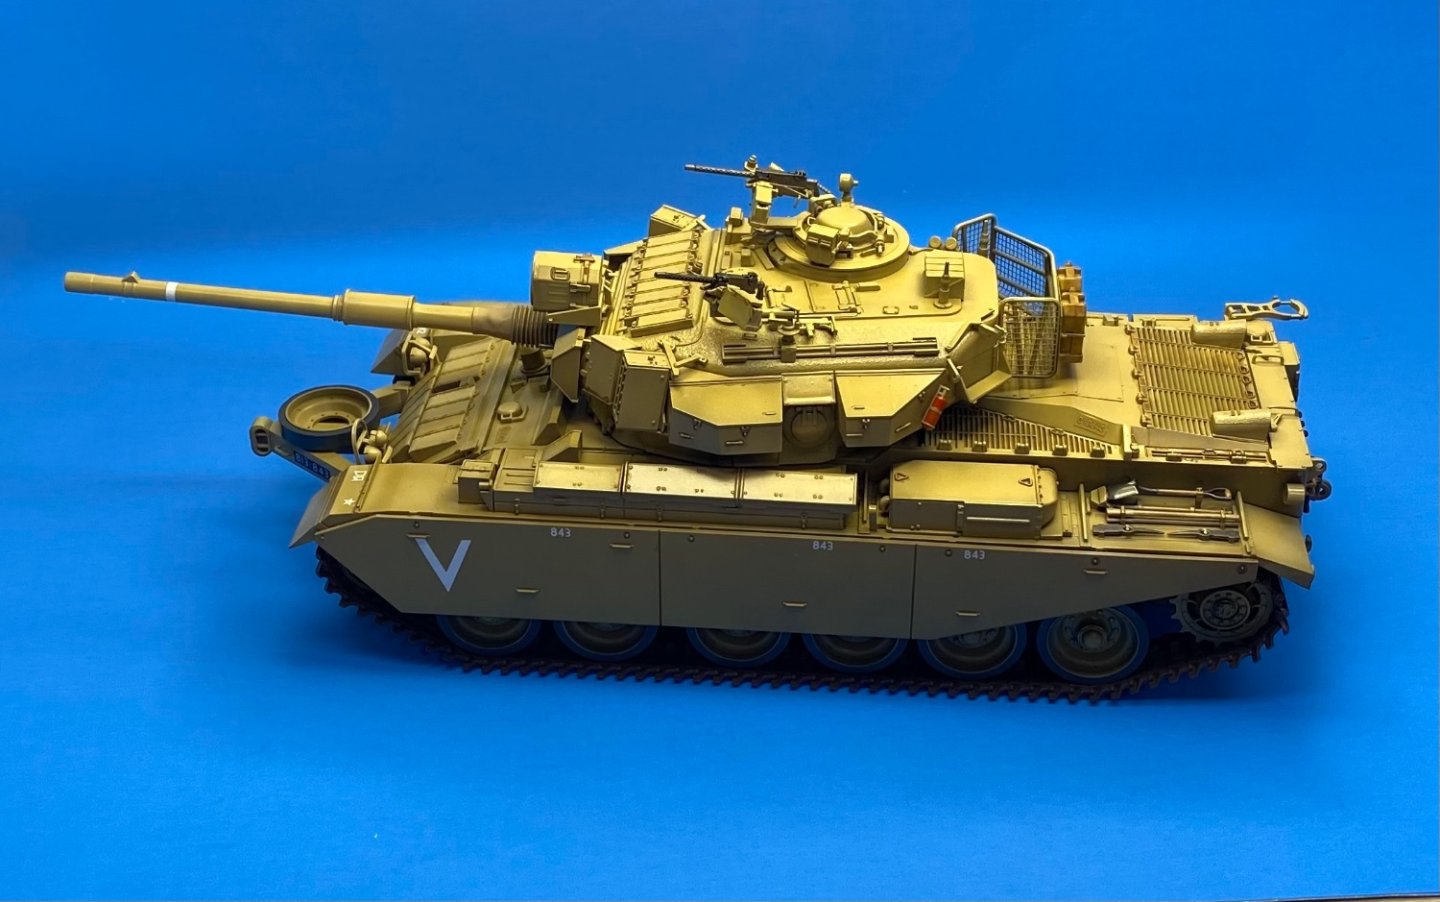
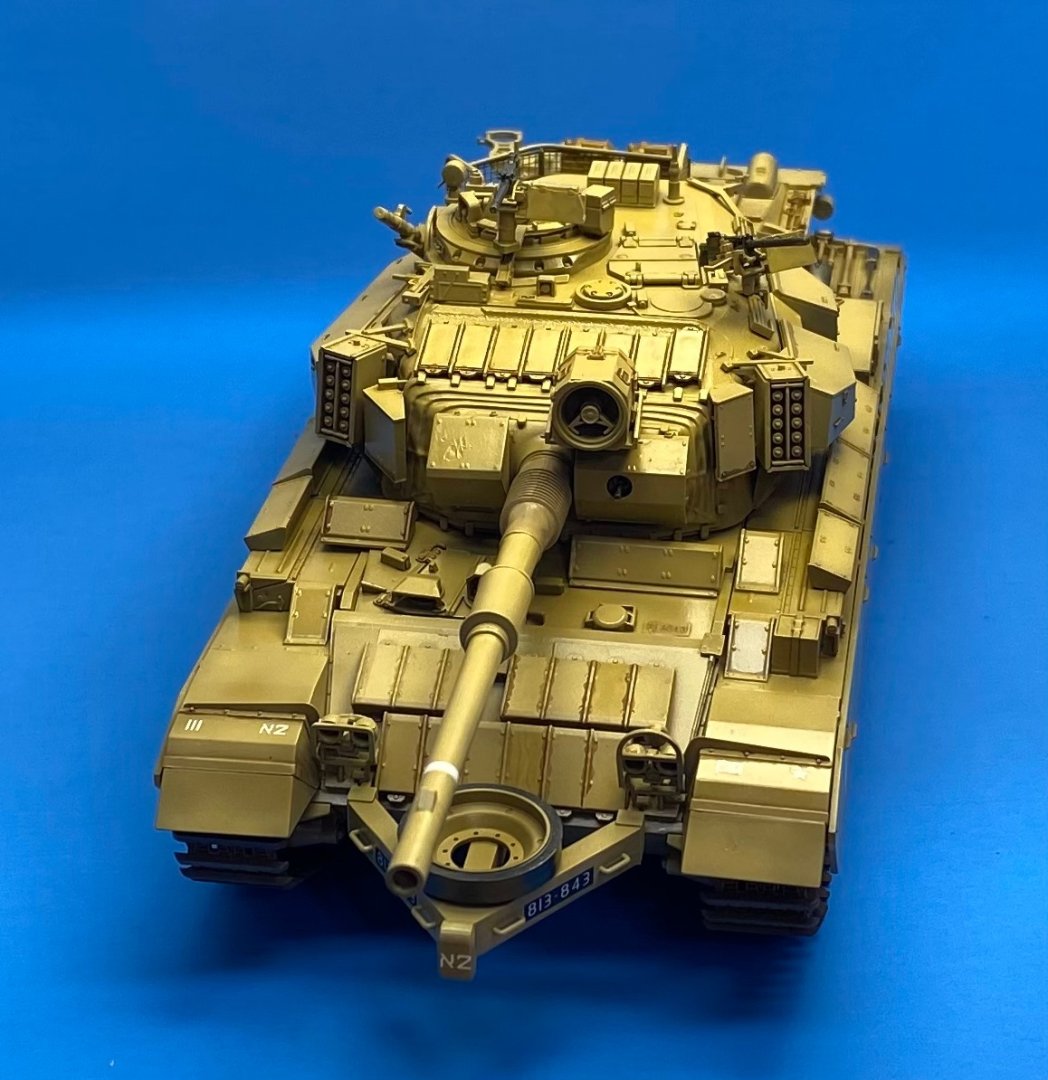
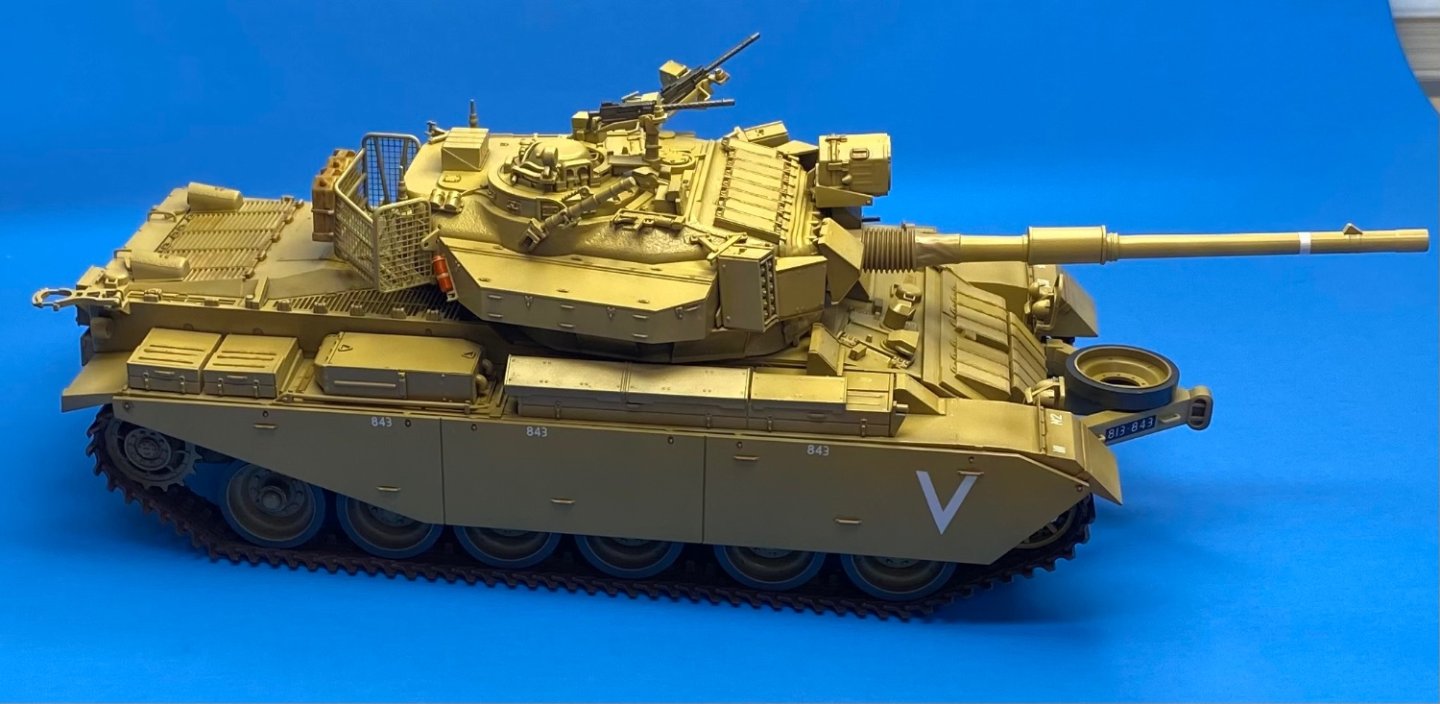
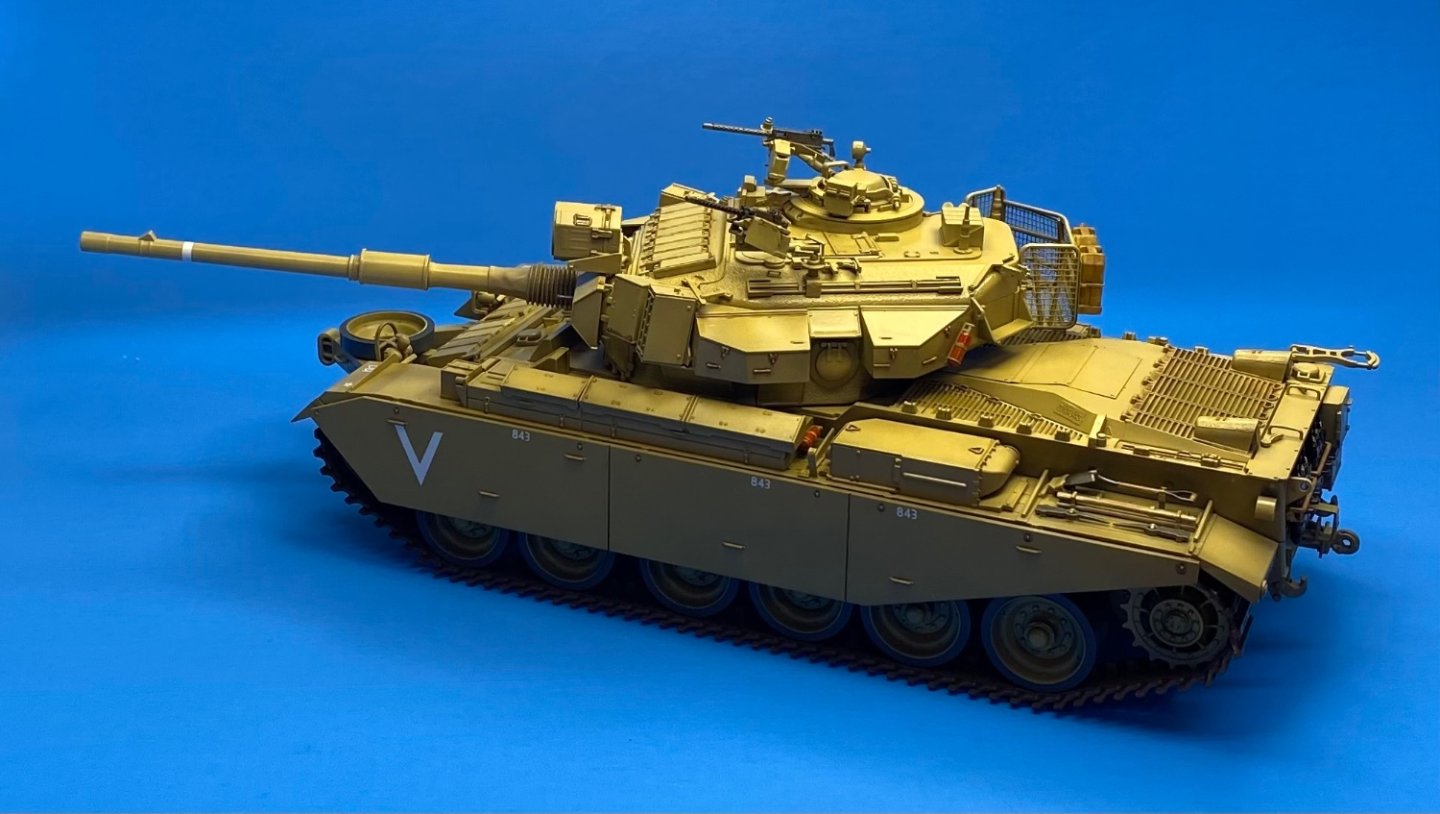
A little streaking


-
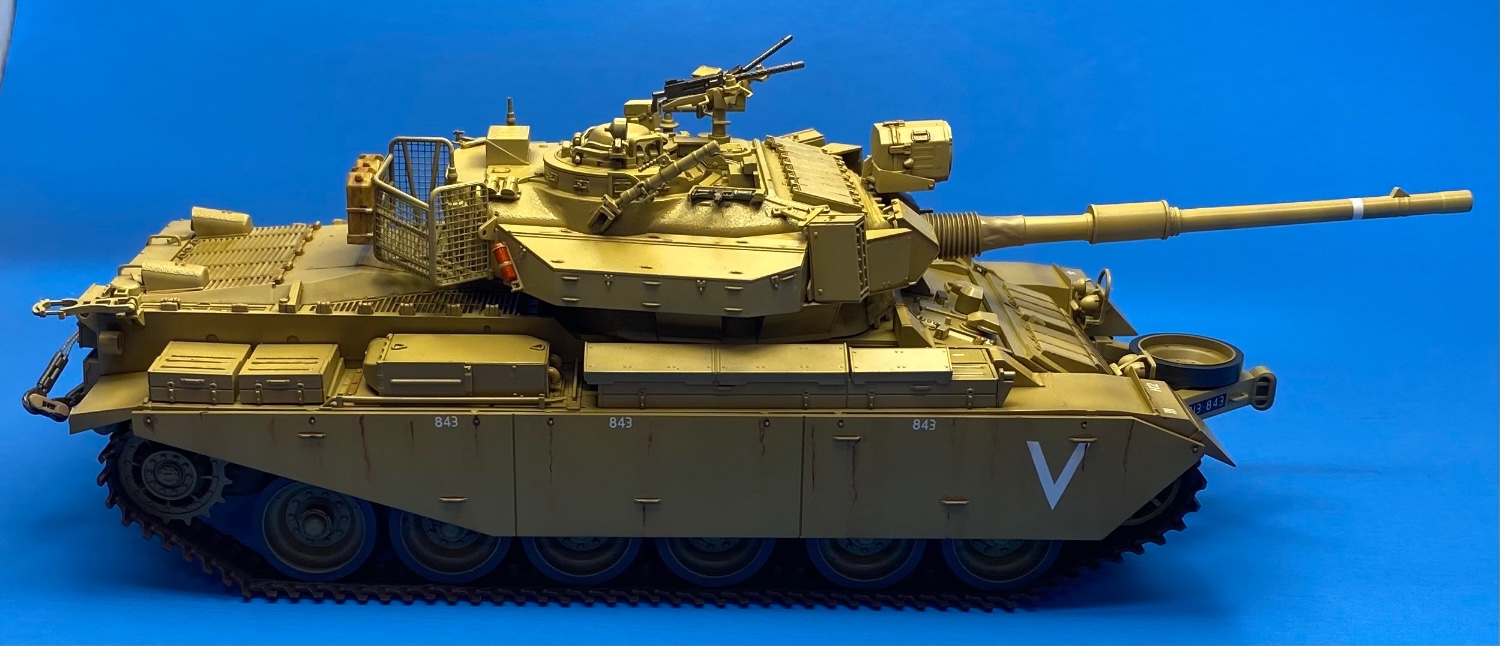
I may add some streaking/staining on the side skirts, some small amounts of paint chipping overall, a few more detail painting areas such as the Uzi's, head and tail lamps, then give the overall model a flat clear coat and call this one done. Being as it is, I am about ready to move on to the next little project. Considering either something with wings or perhaps a "barn-find" for the next project. The barn find theme would allow for some interesting weathering experiments.
-
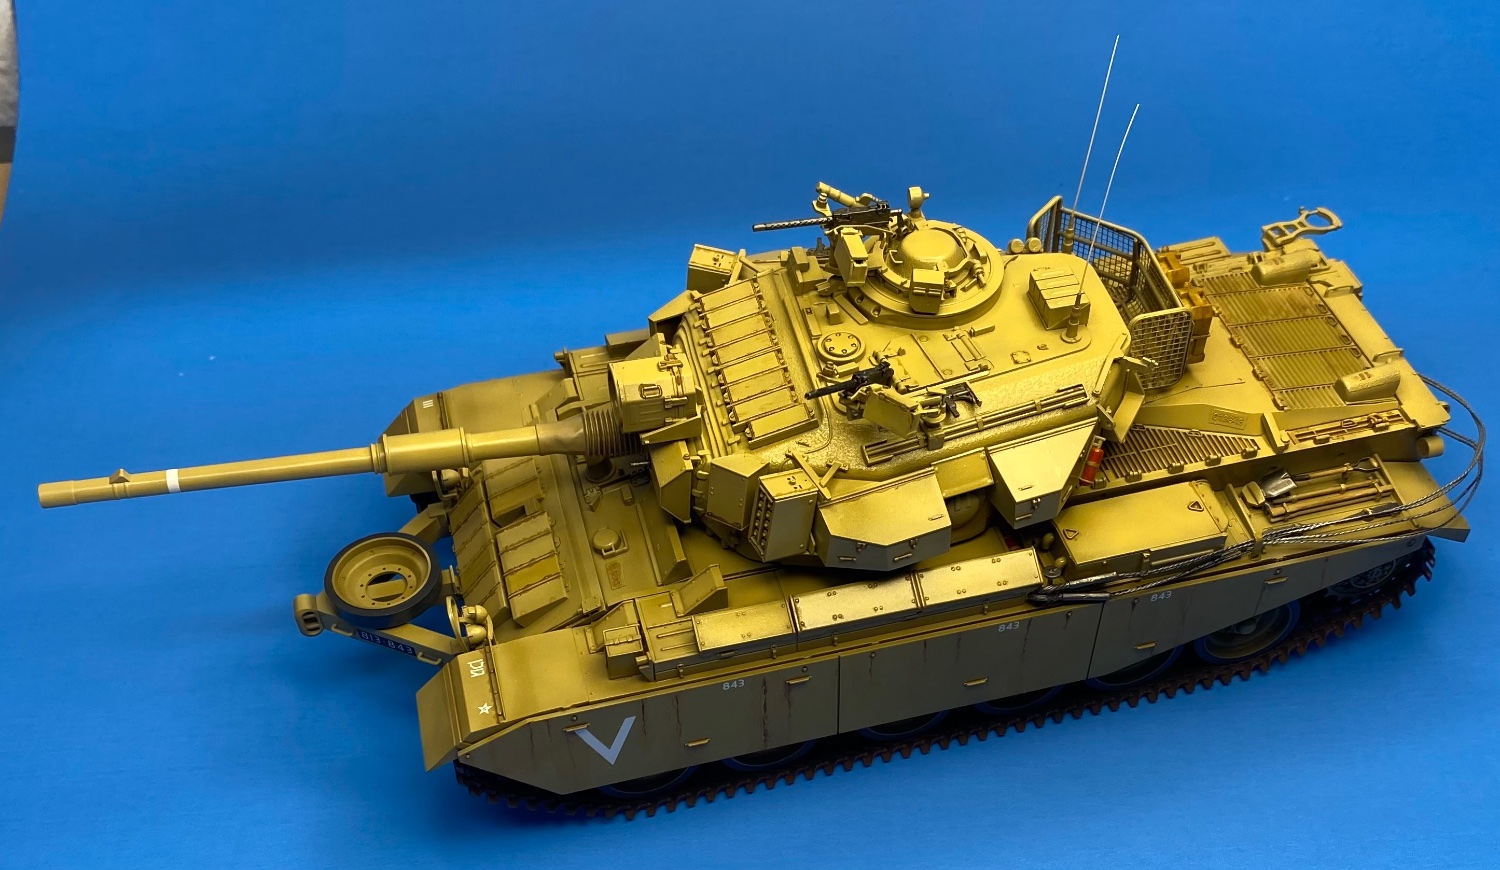
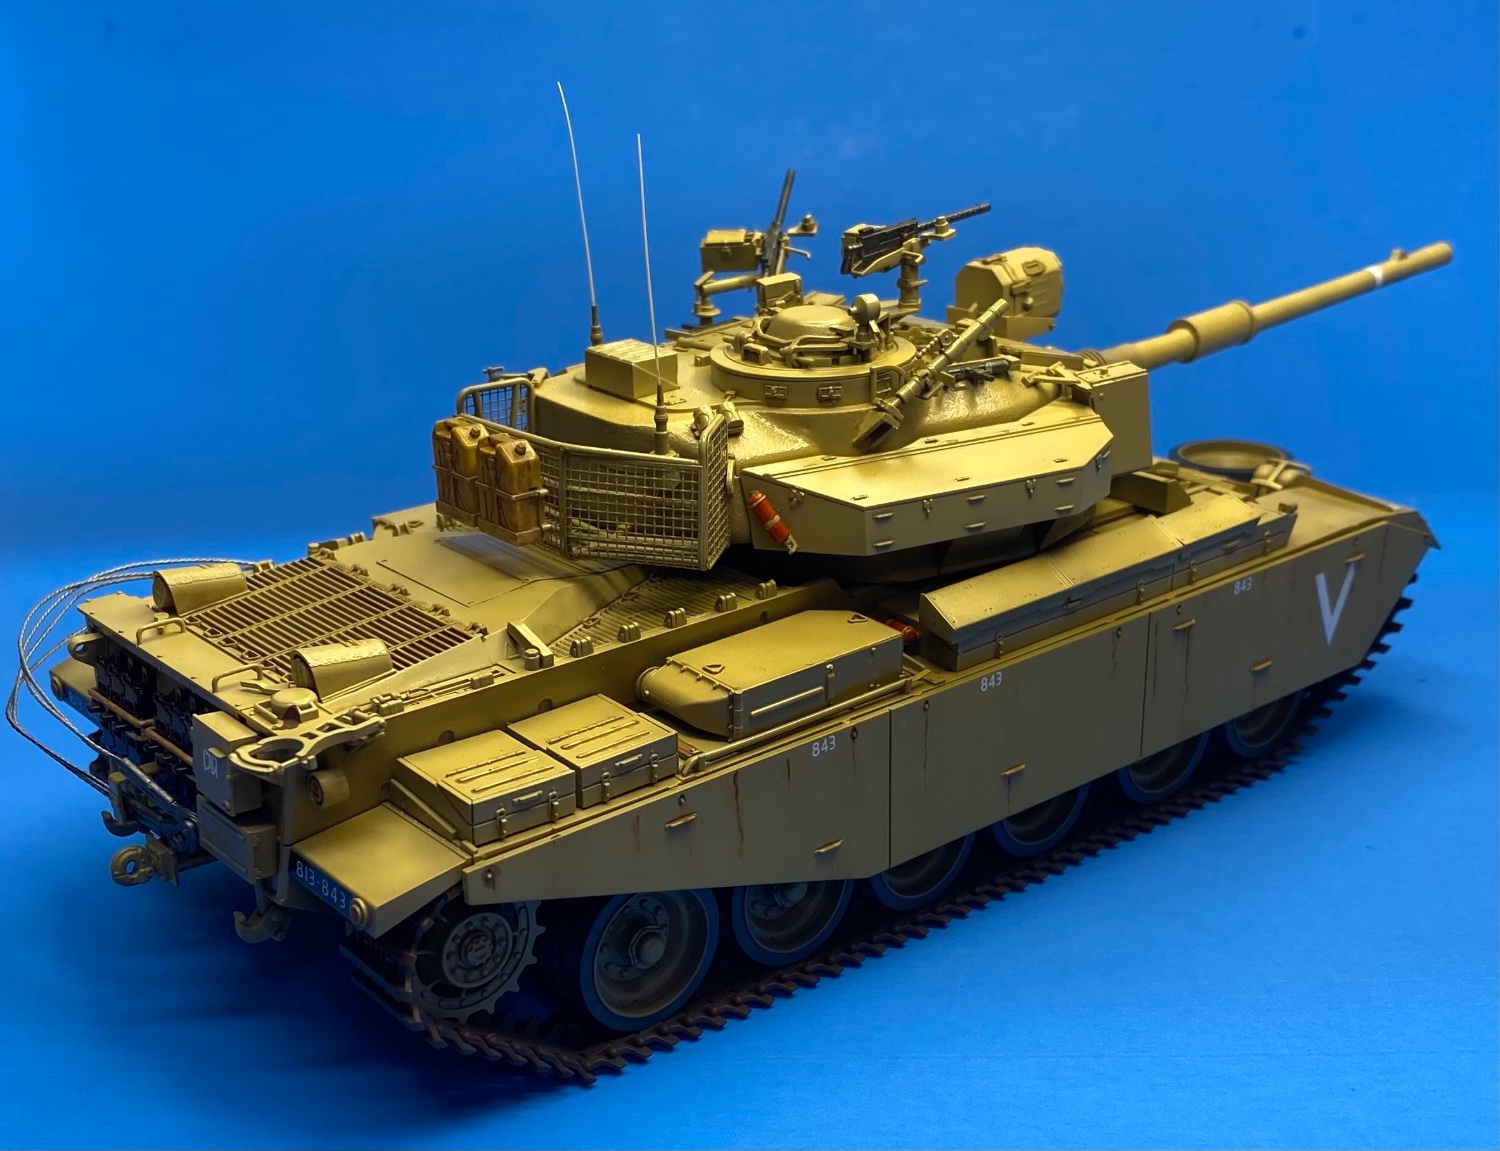
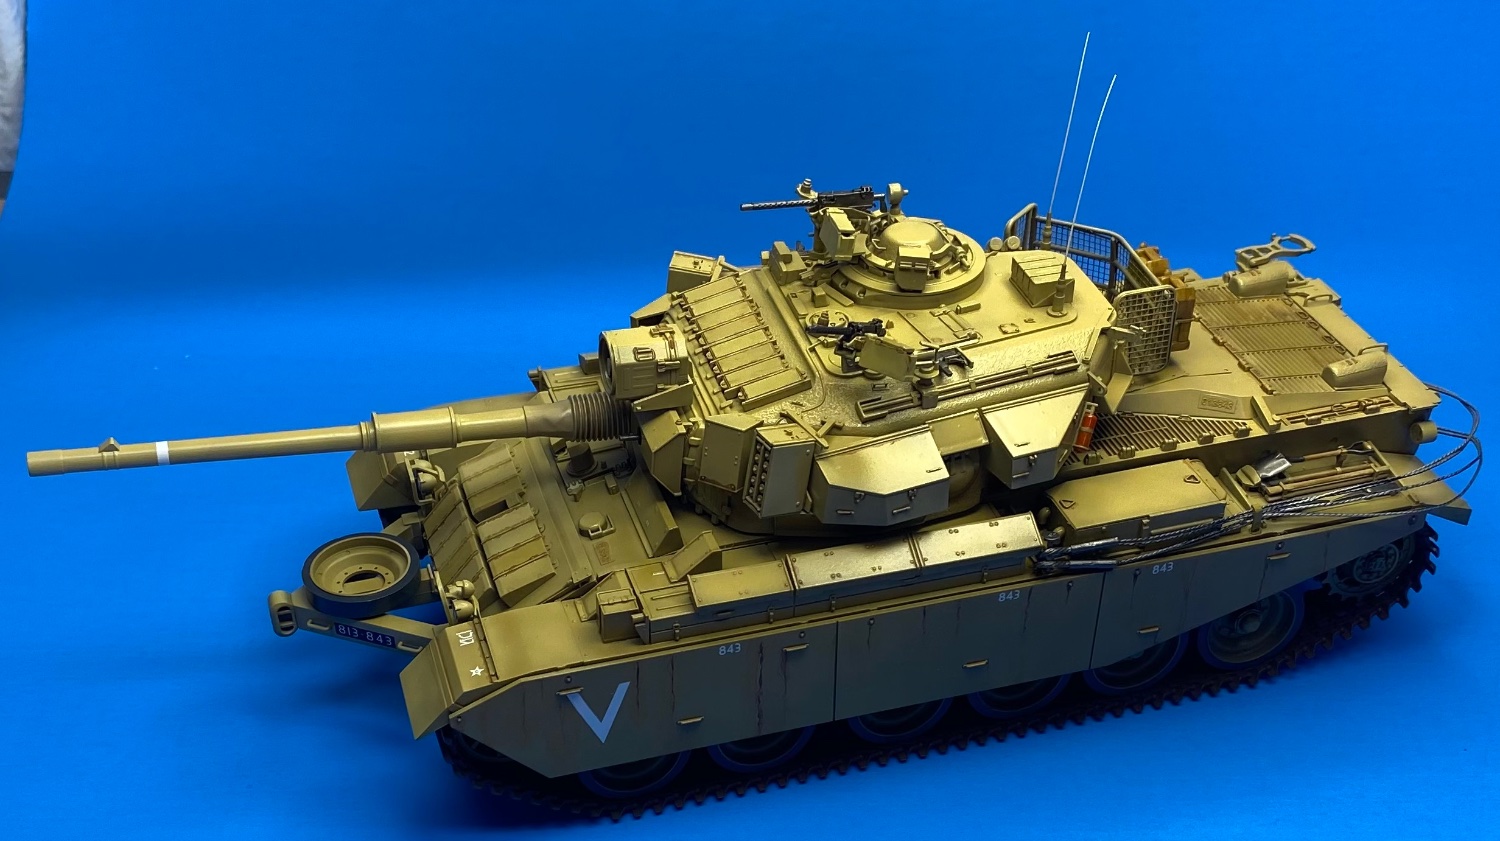
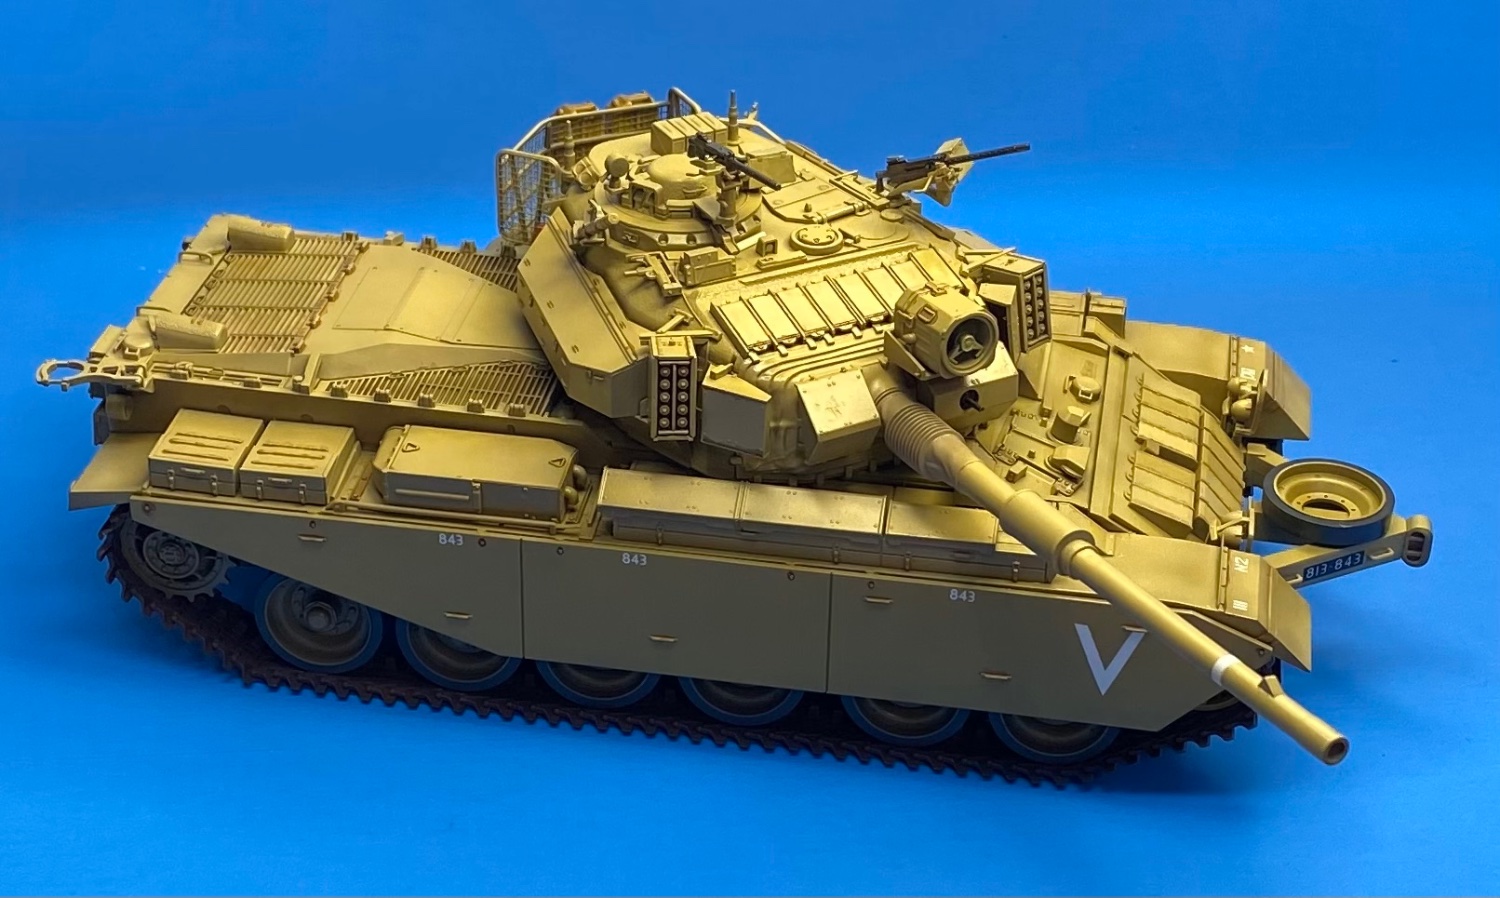
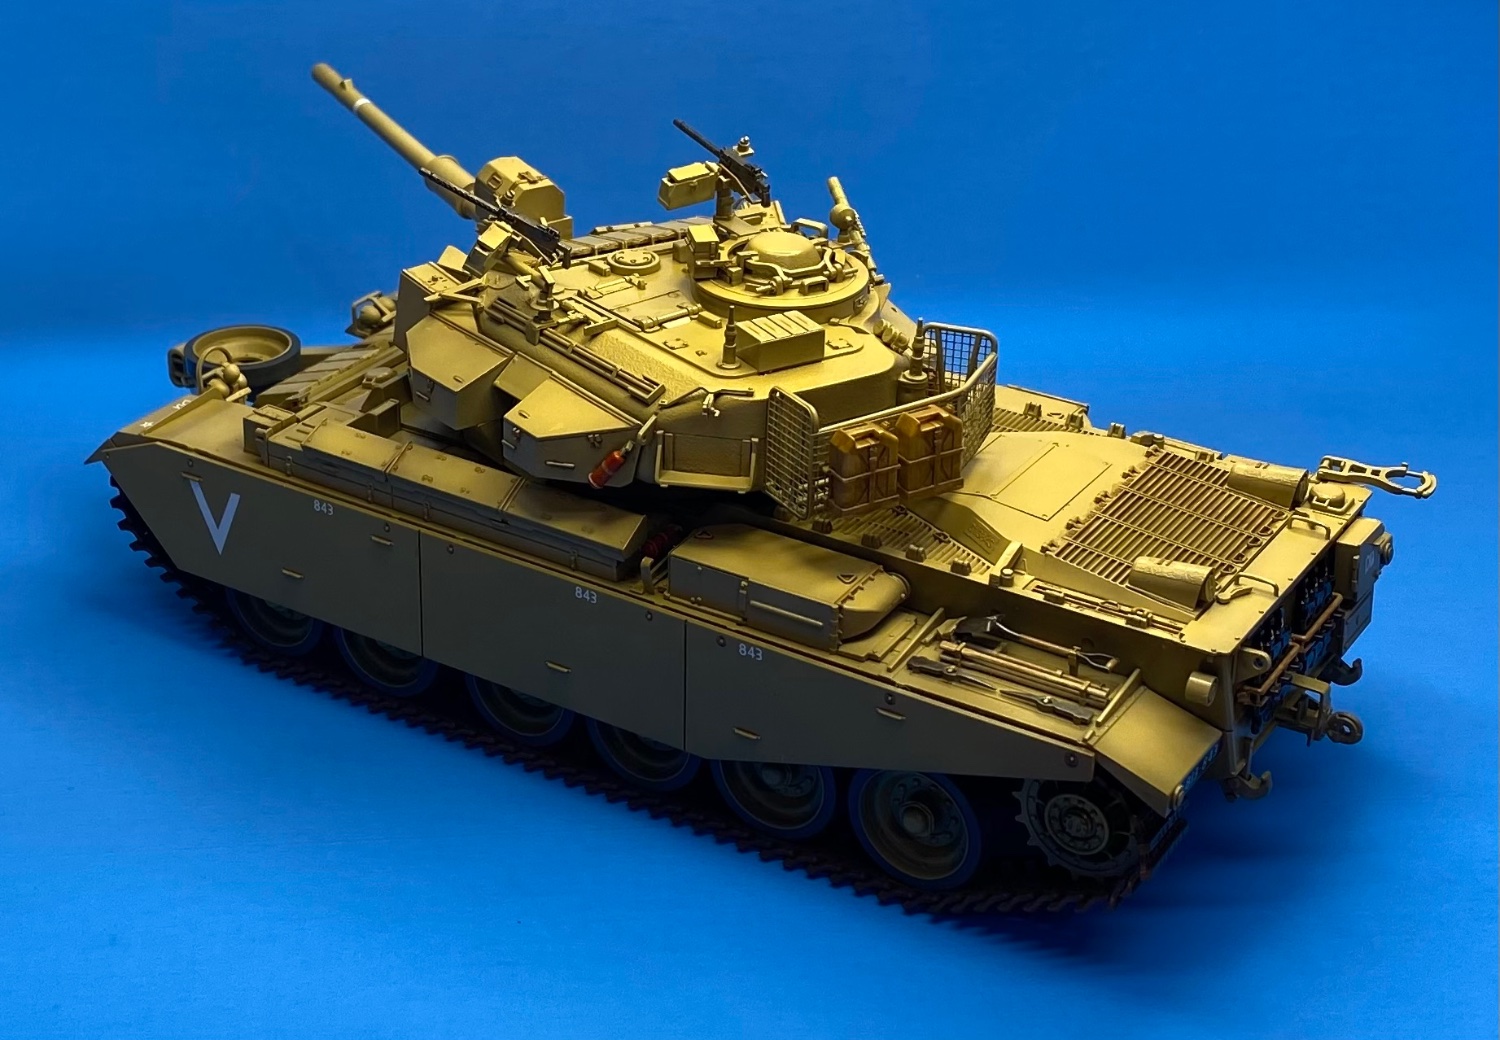
I added a gloss clear coat over the entire model, then gave it a pin wash with some heavier staining in the area of the engine cooling vents. I want to see how it looks before proceeding further.


- 95 replies
-
- 11
-
-