CDW
-
Posts
7,756 -
Joined
-
Last visited
Content Type
Profiles
Forums
Gallery
Events
Everything posted by CDW
-
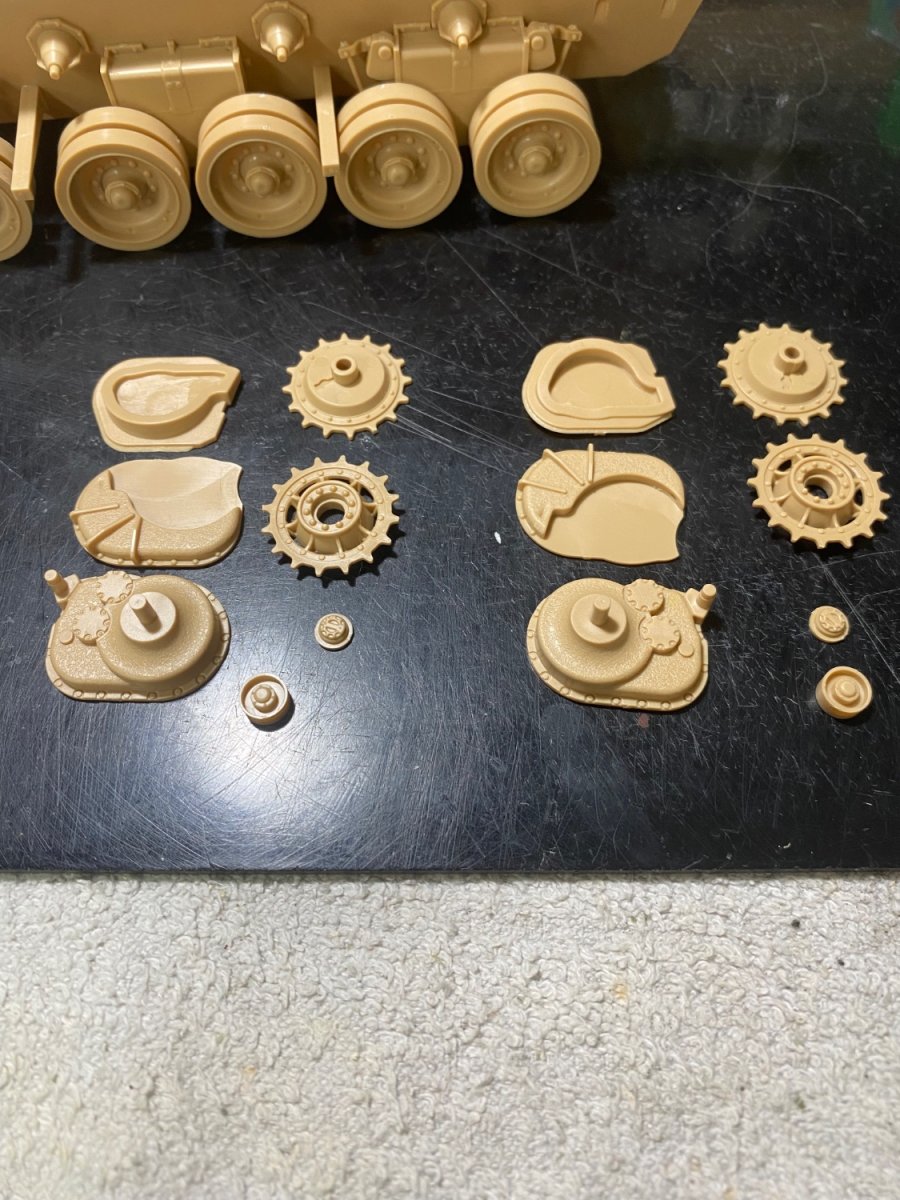
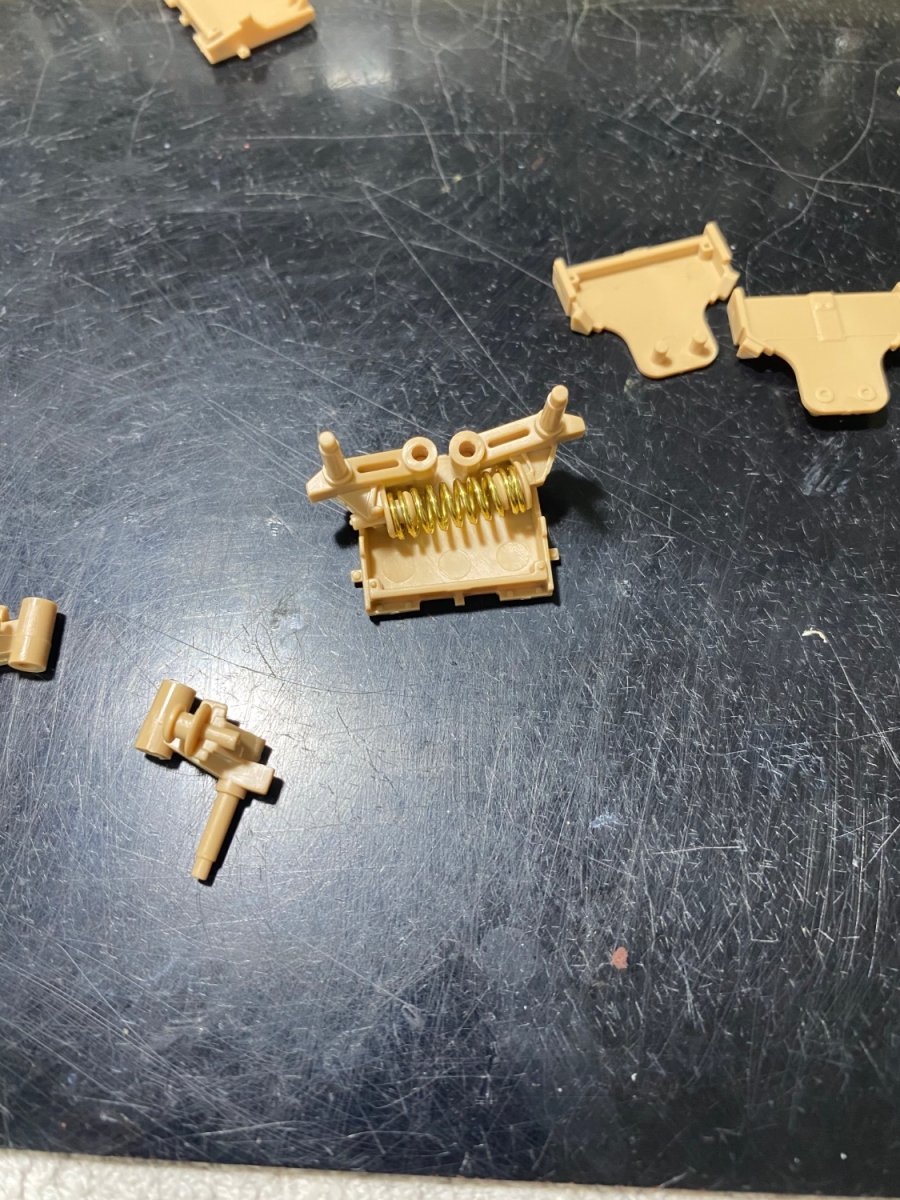
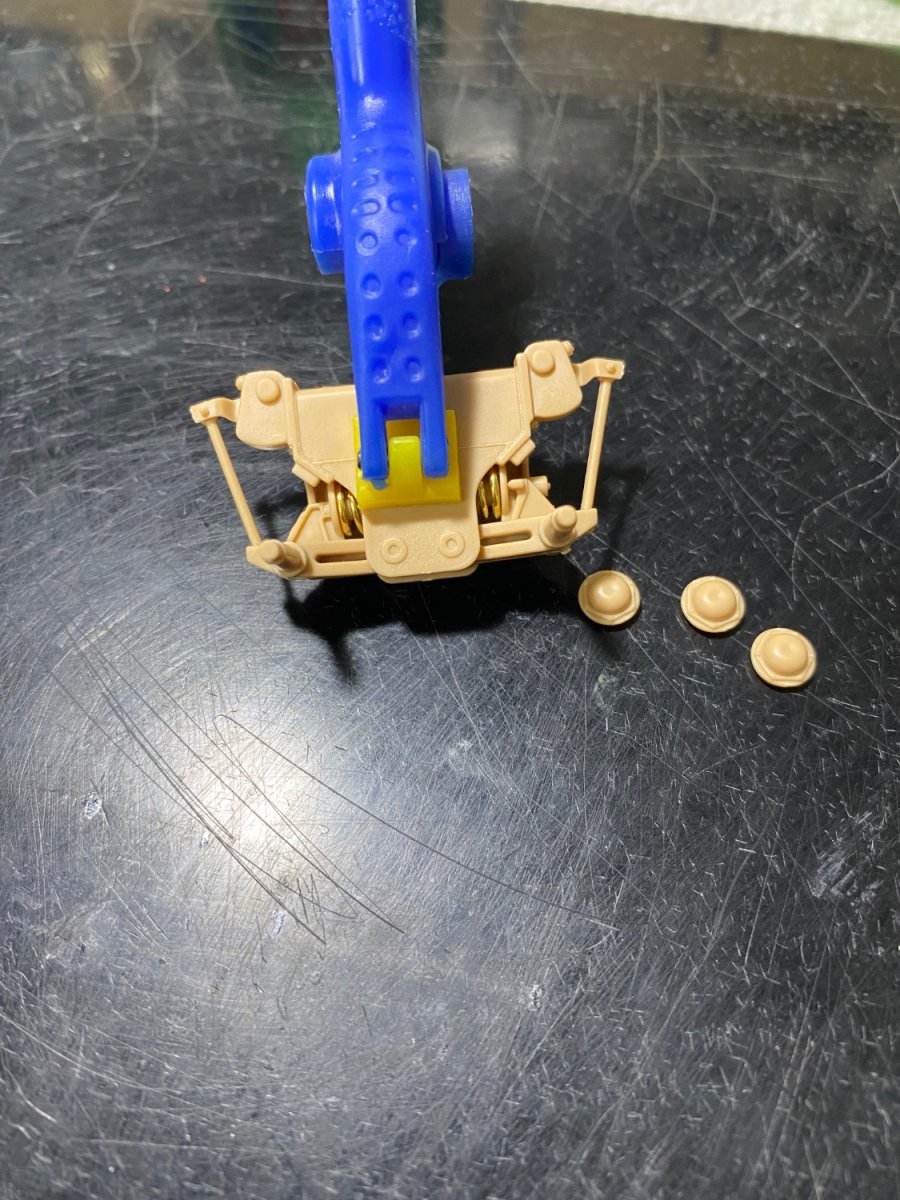
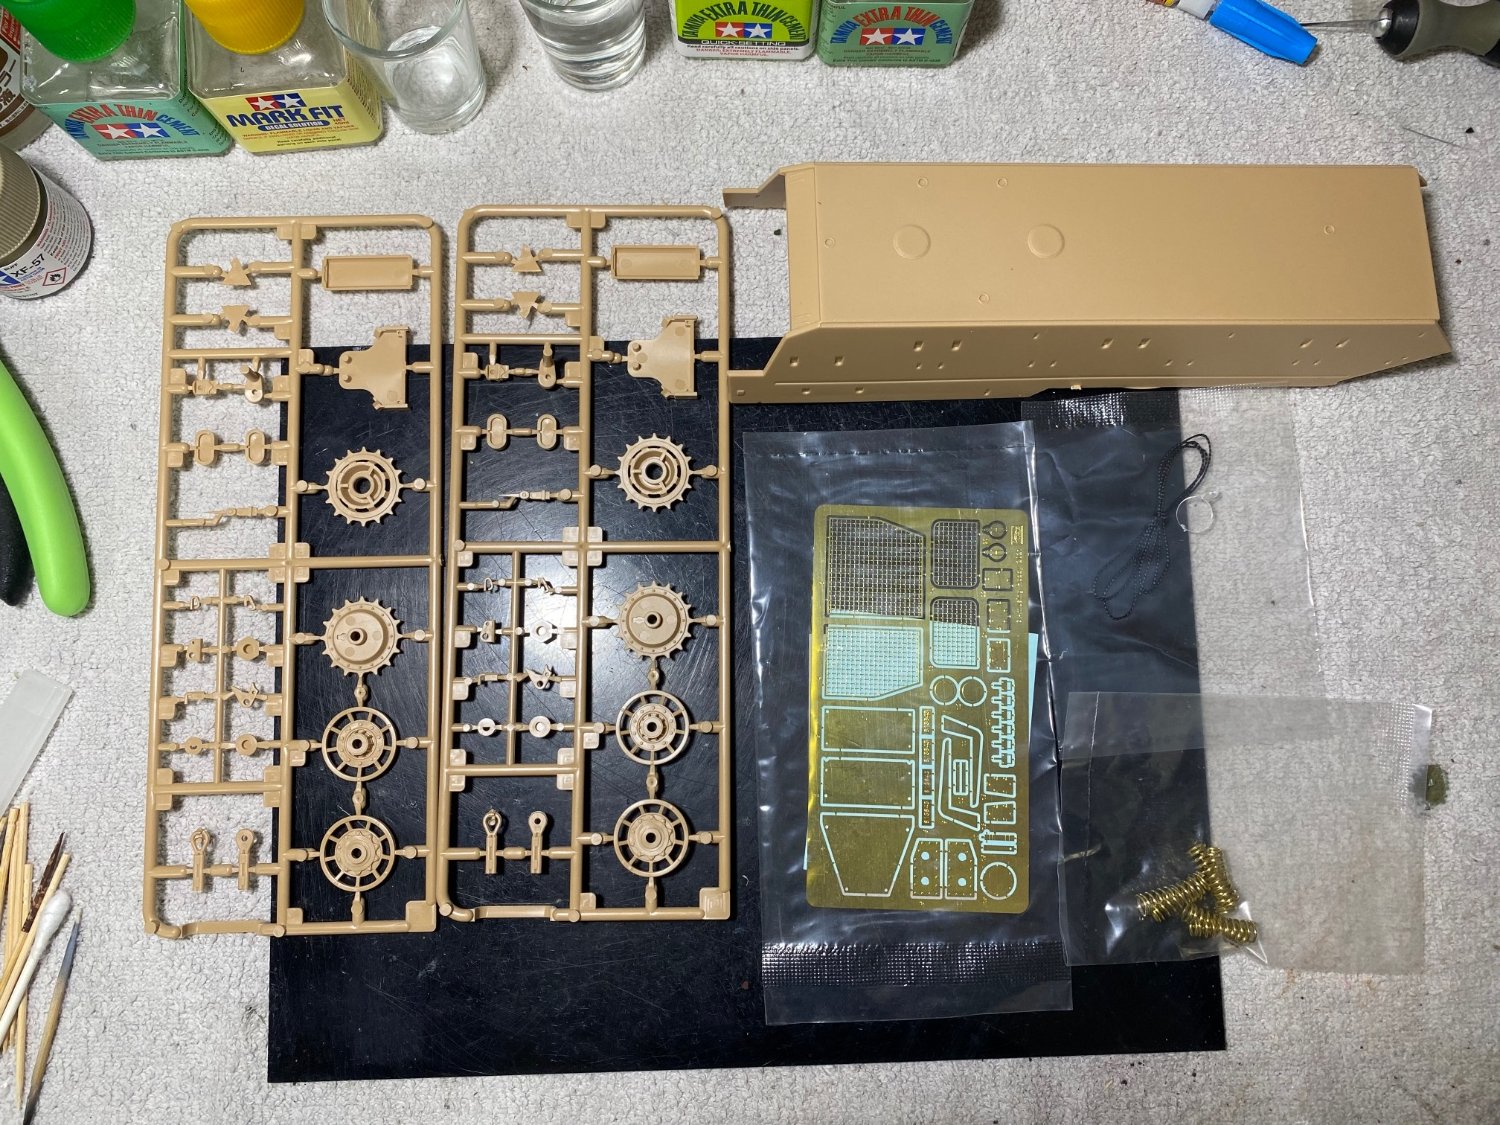
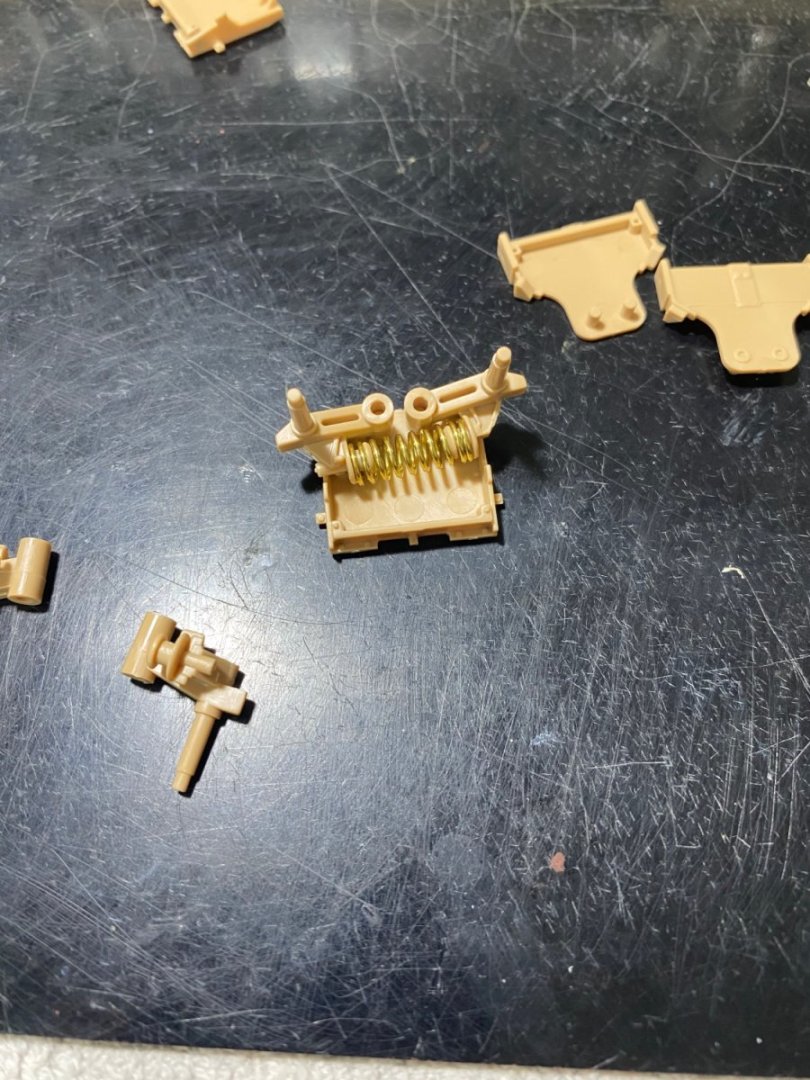
 Drive gear housing and sprockets assemblies
-
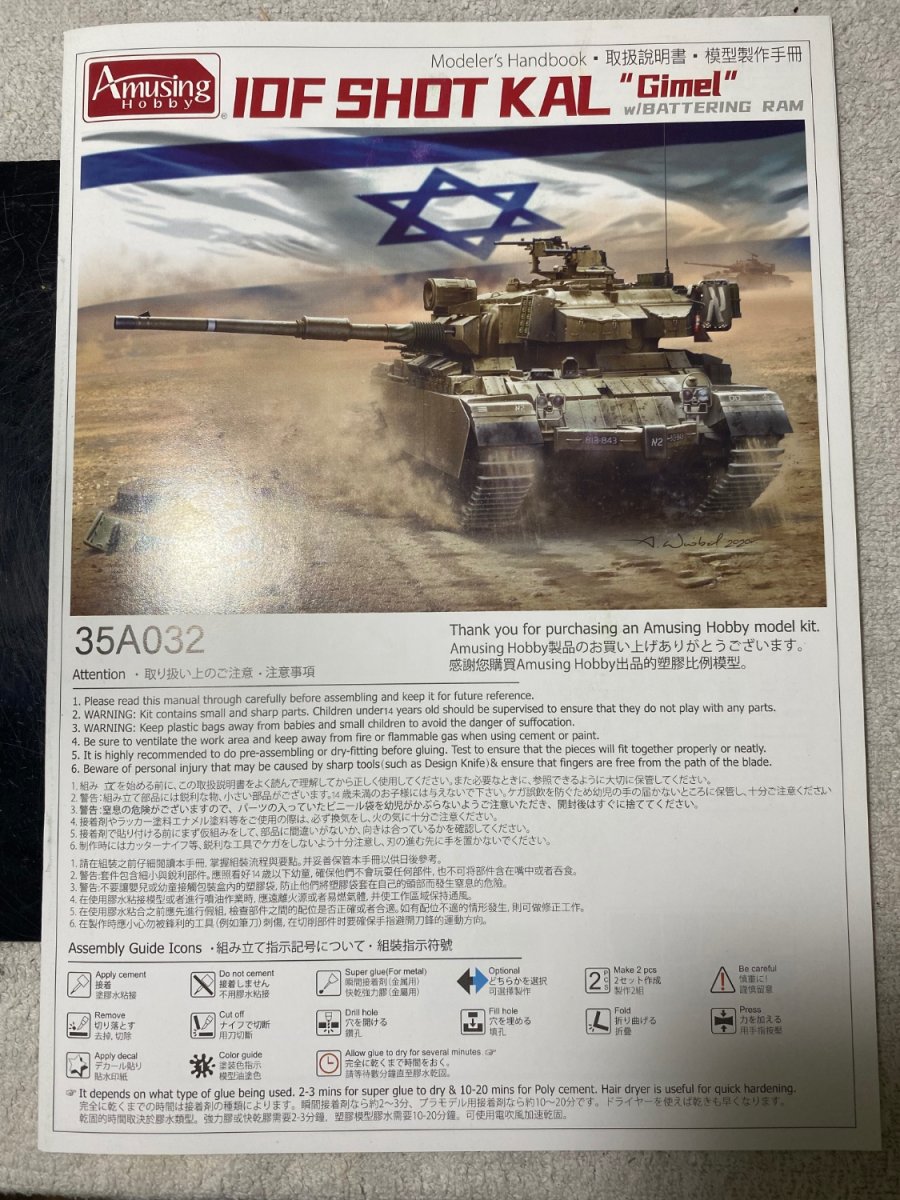
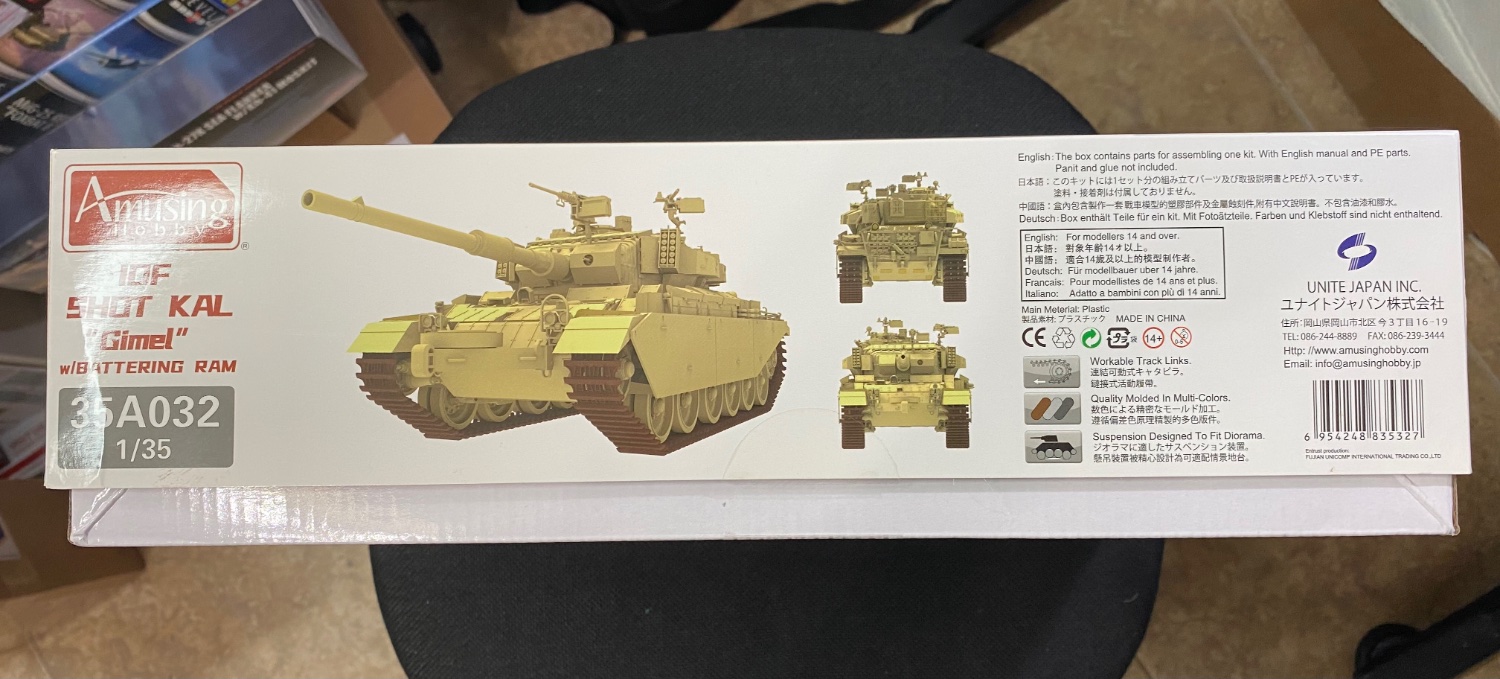
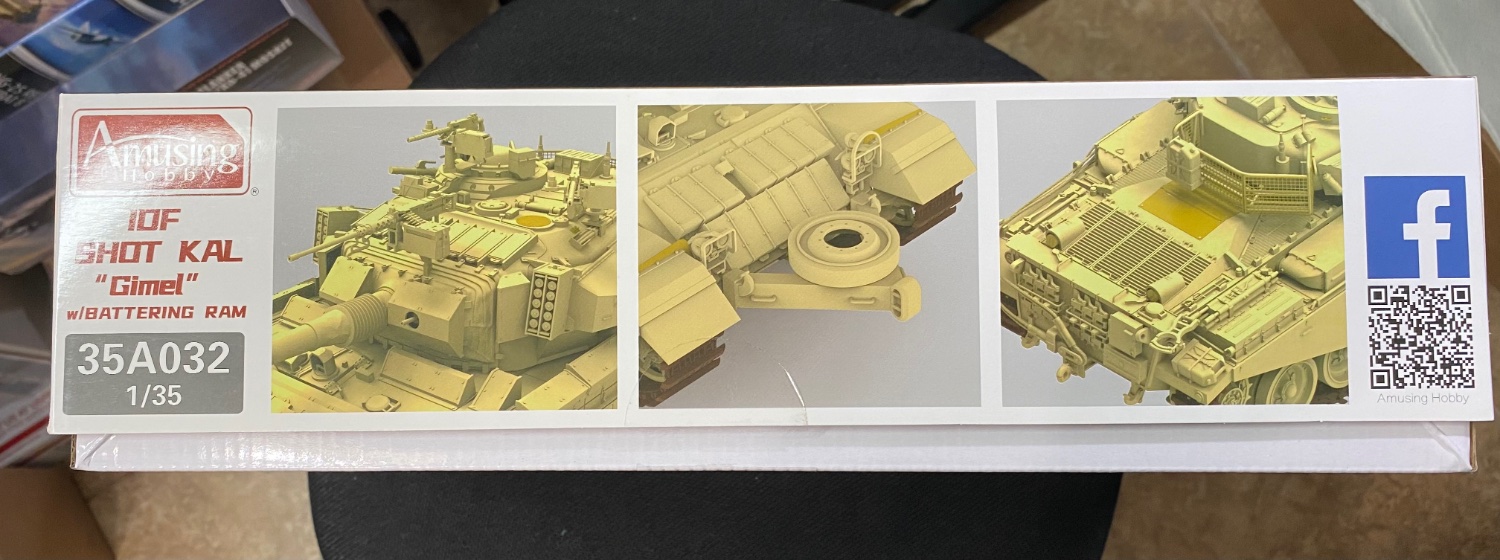
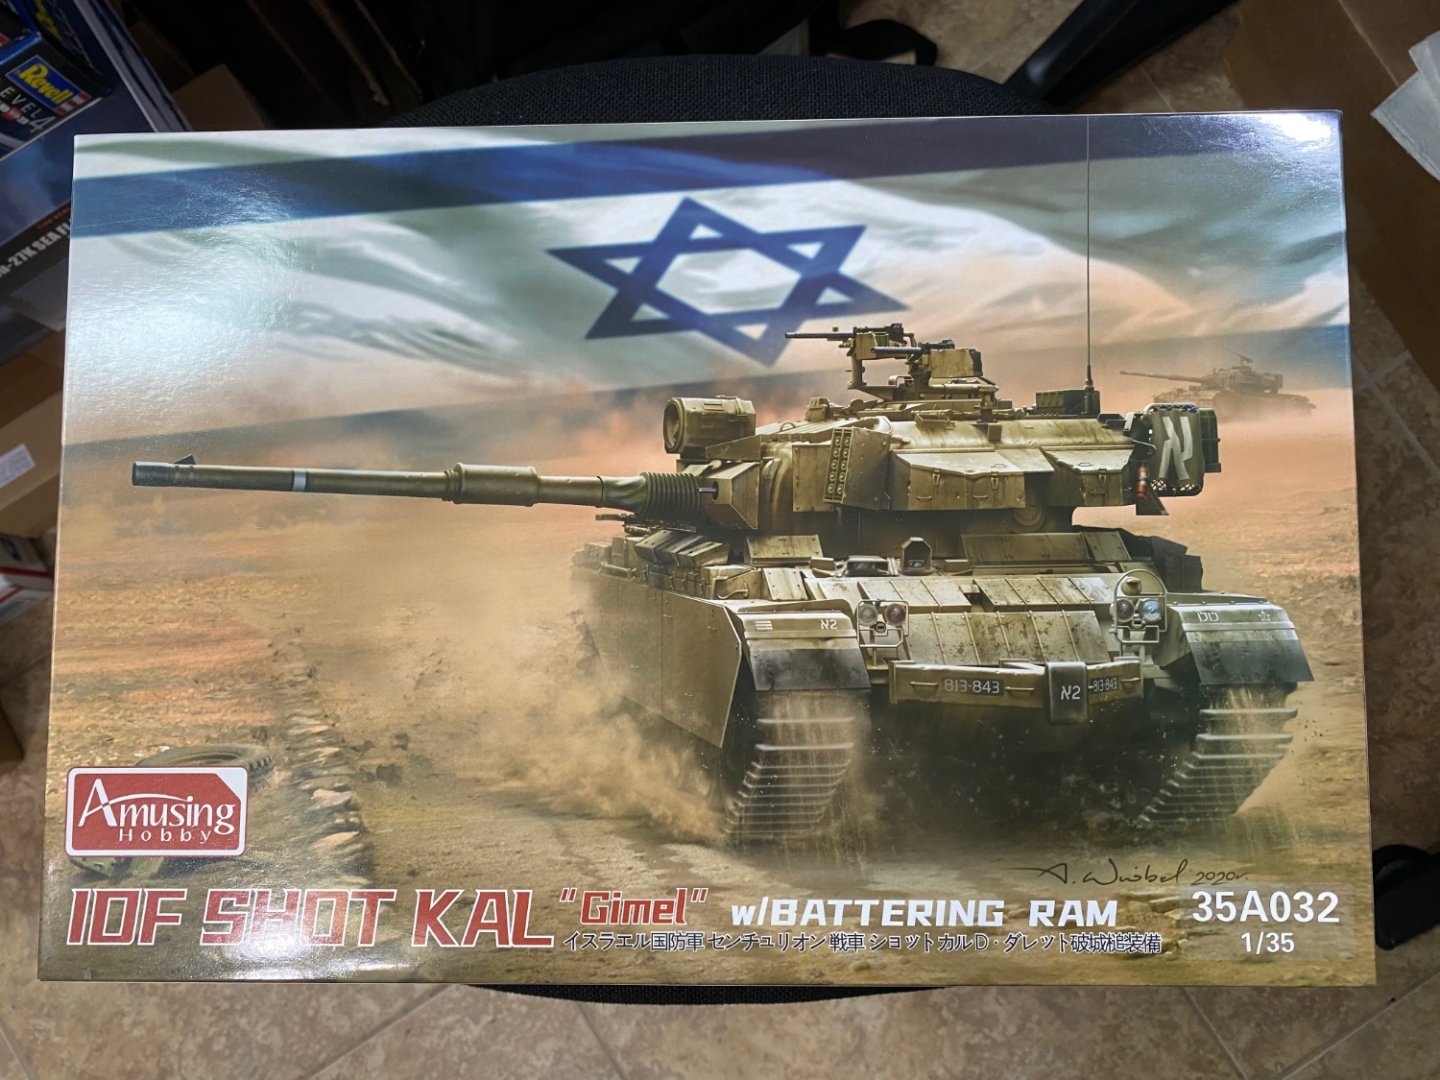
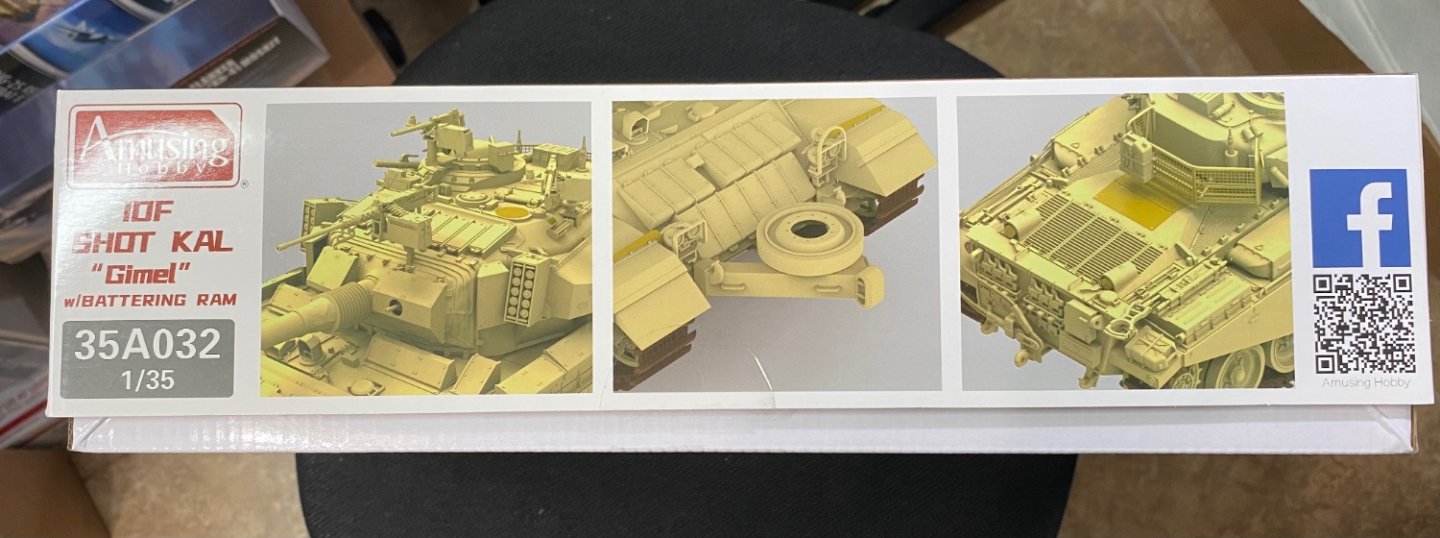
From Tank-Encyclopedia dot com: The Israeli Sho’t The Israeli Army took the best the Centurion had to offer. The first purchase of Centurions Mk. 5, in the early sixties, arrived right in time to help improve an army which was until then equipped mostly with Sherman tanks and light French AMX-13s among other types. The Centurion was the IDF’s first and main battle tank for years, as it became legendary in 1967 and saw extensive modernization campaigns. The biggest change for the local Sho’t (Hebrew for “scourge” or “whip”), was the Continental AVDS-1790-2A diesel engine coupled with the Allison CD850-6 transmission (1970). The Sho’t Kal upgrade (1974) saw the introduction of Mk. 13 armor and pintle mount 0.50 cal (12.7 mm) HMG. The Kal Alef, Bet, Gimel and Dalet were upgrades for the turret rotating mechanism, gun stabilizer, fire-control system and ultimately a new ERA composite armor (Dalet). Now retired or sold, their chassis are still in use through conversions.
-
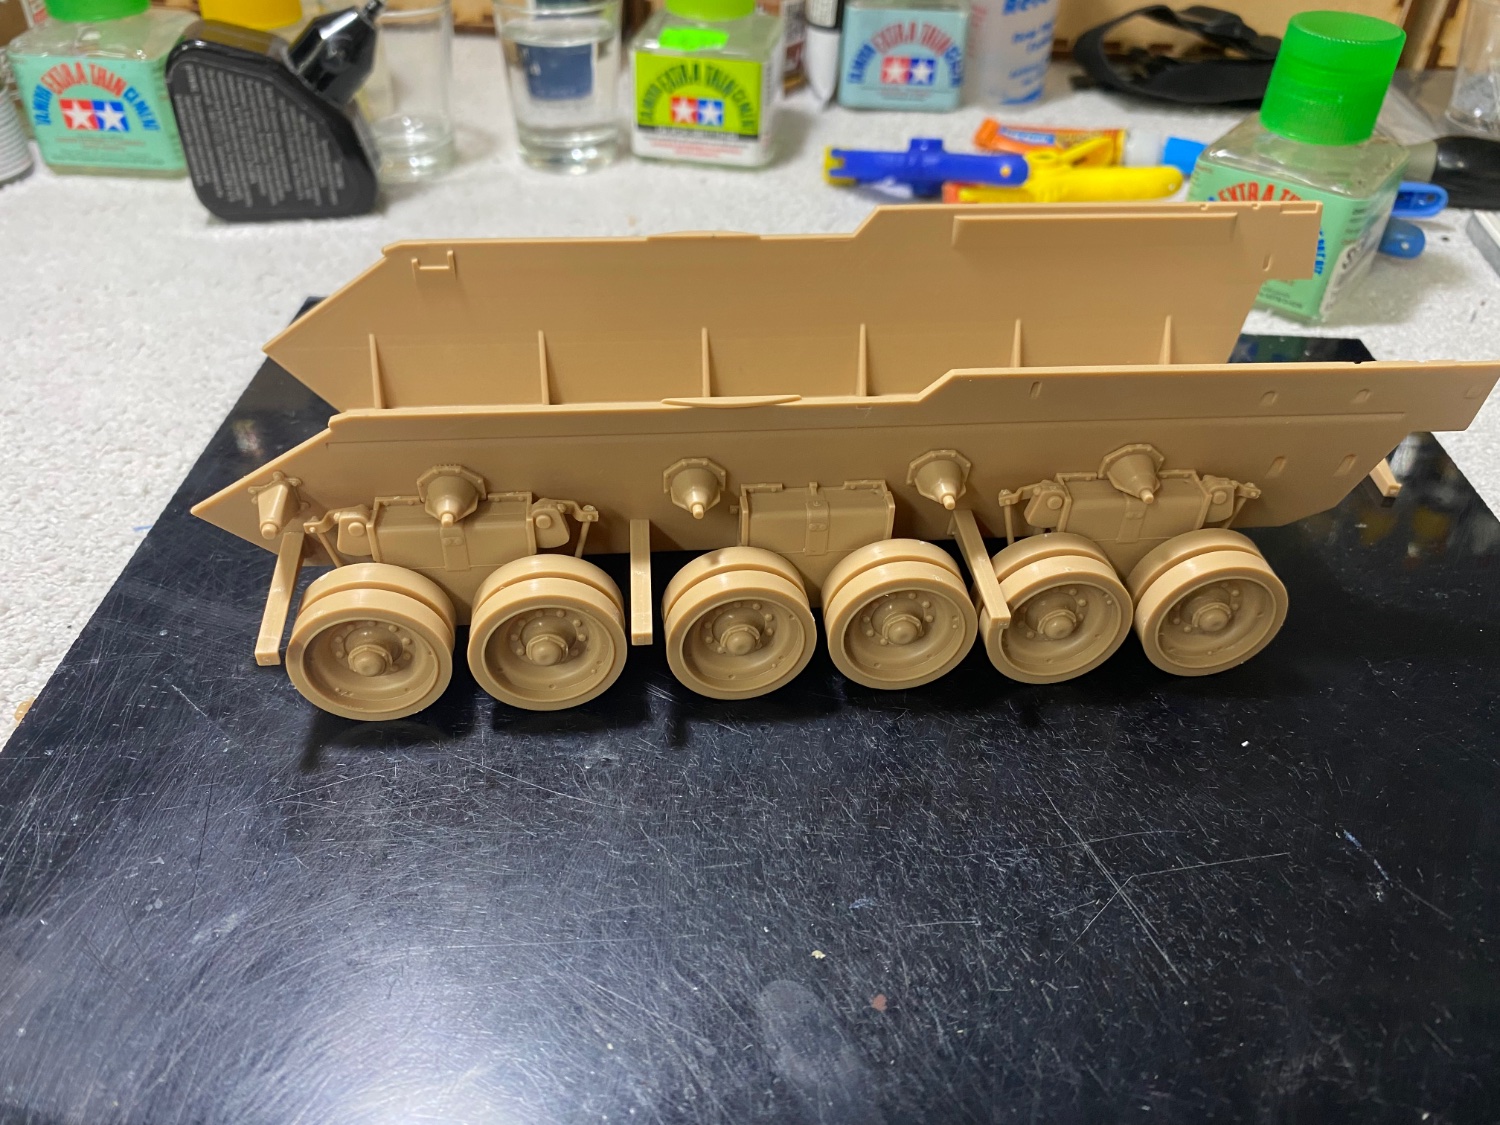
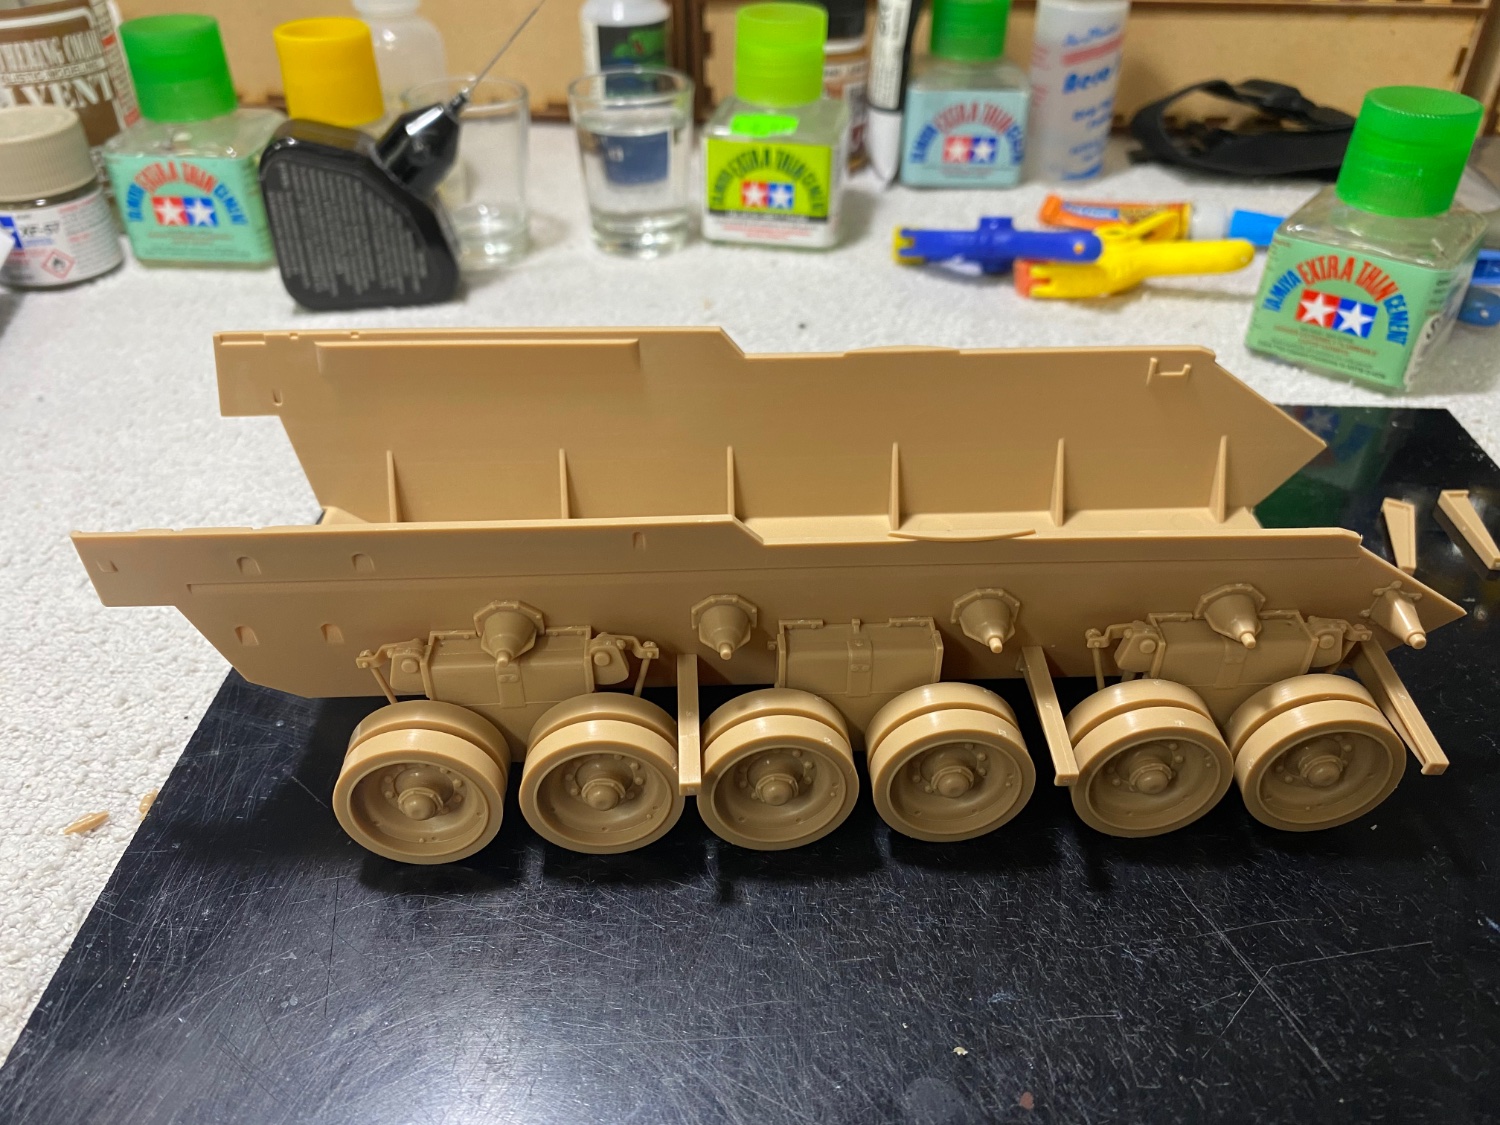
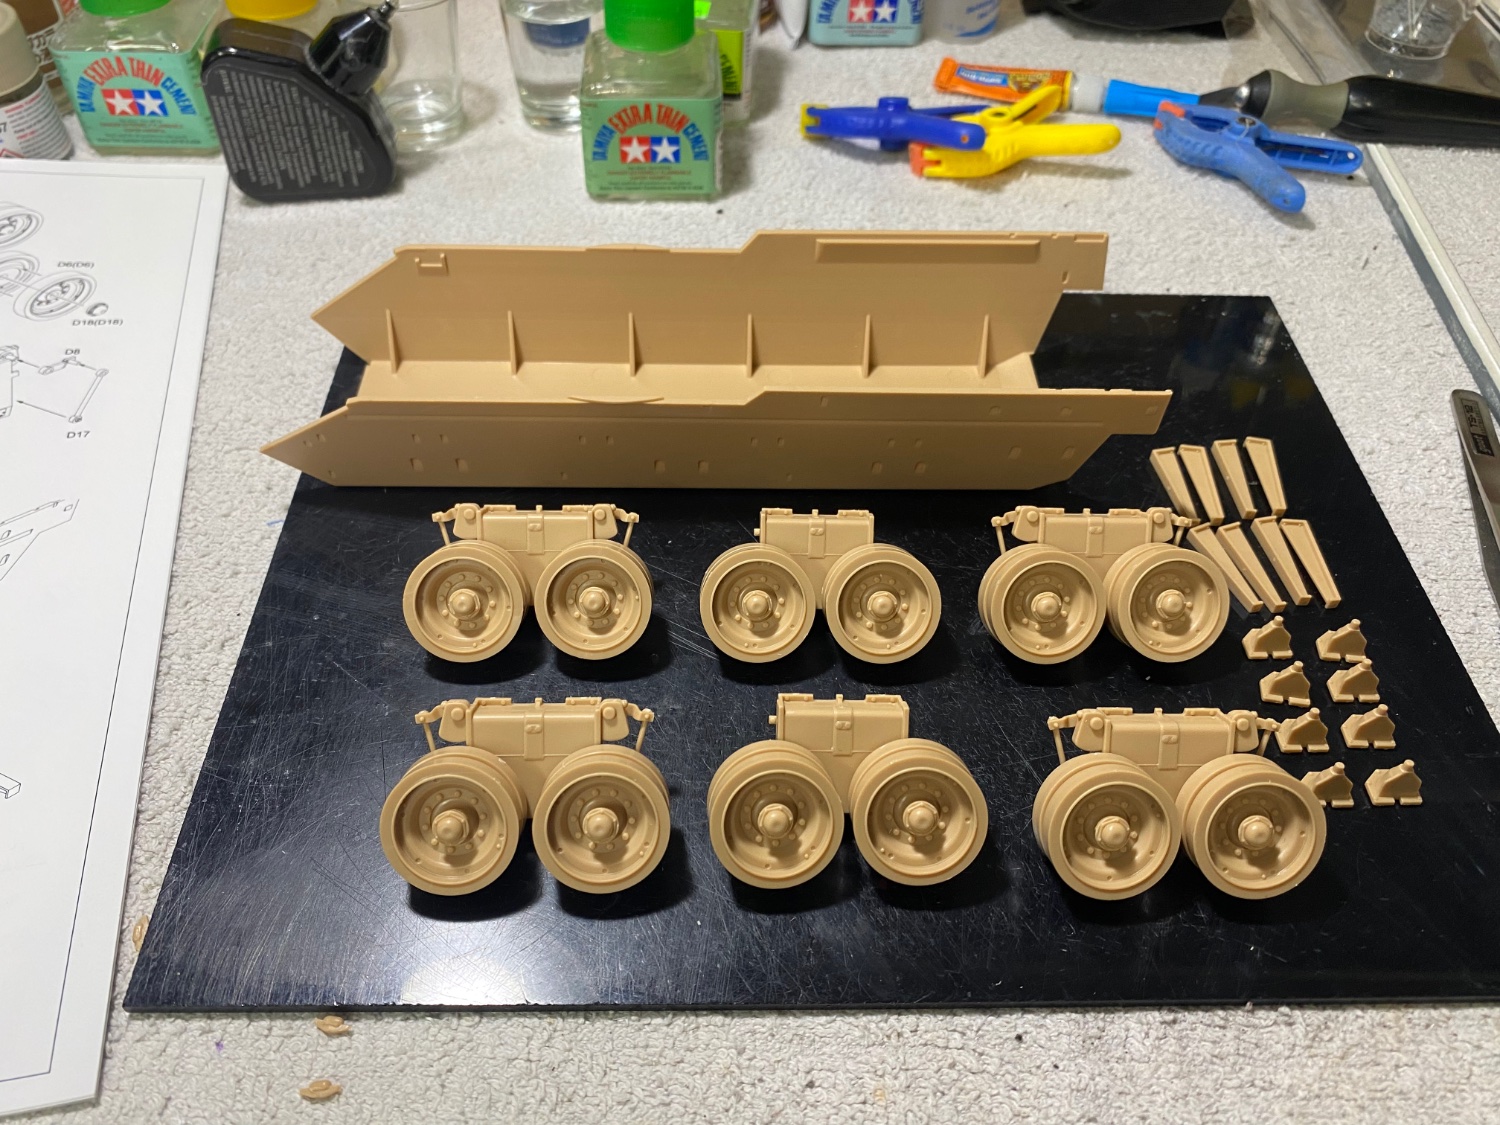
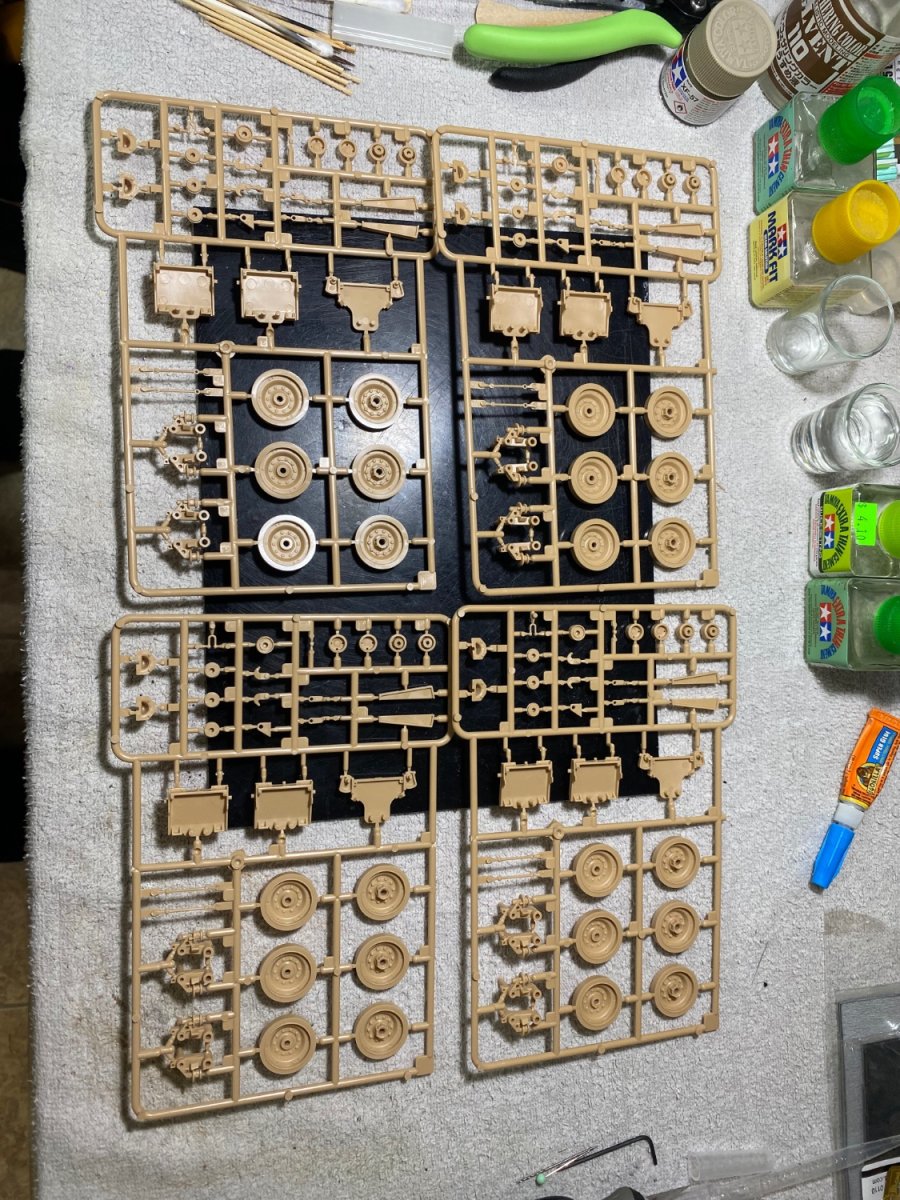
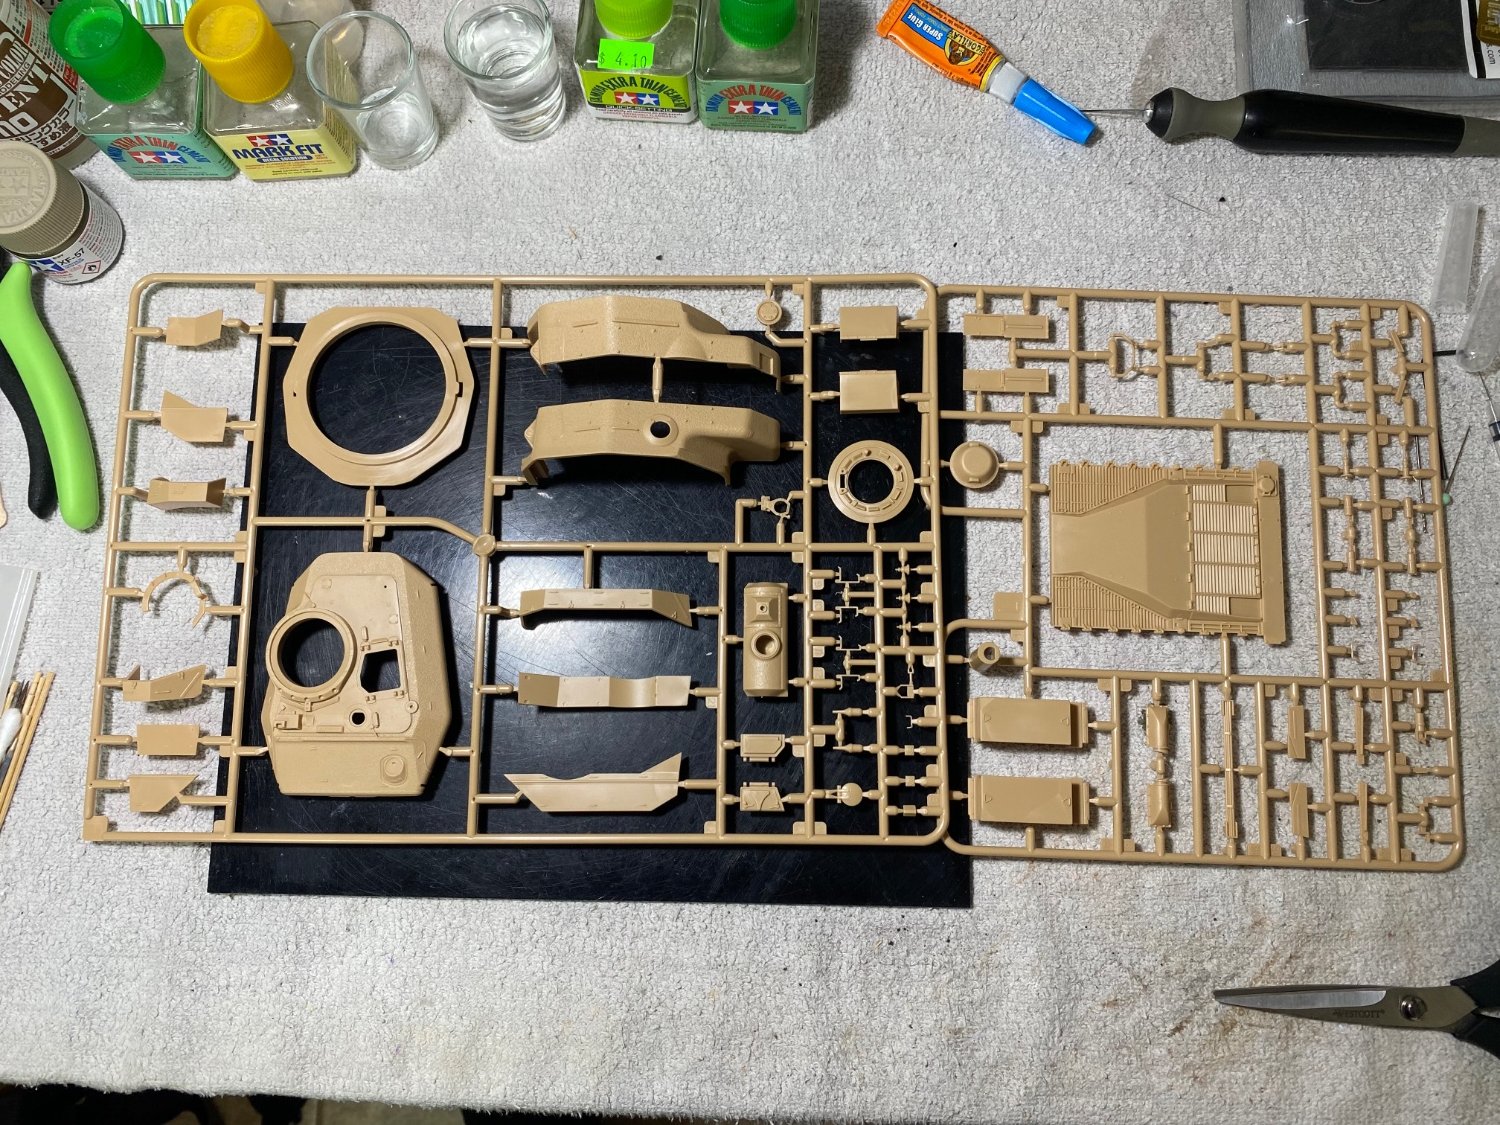
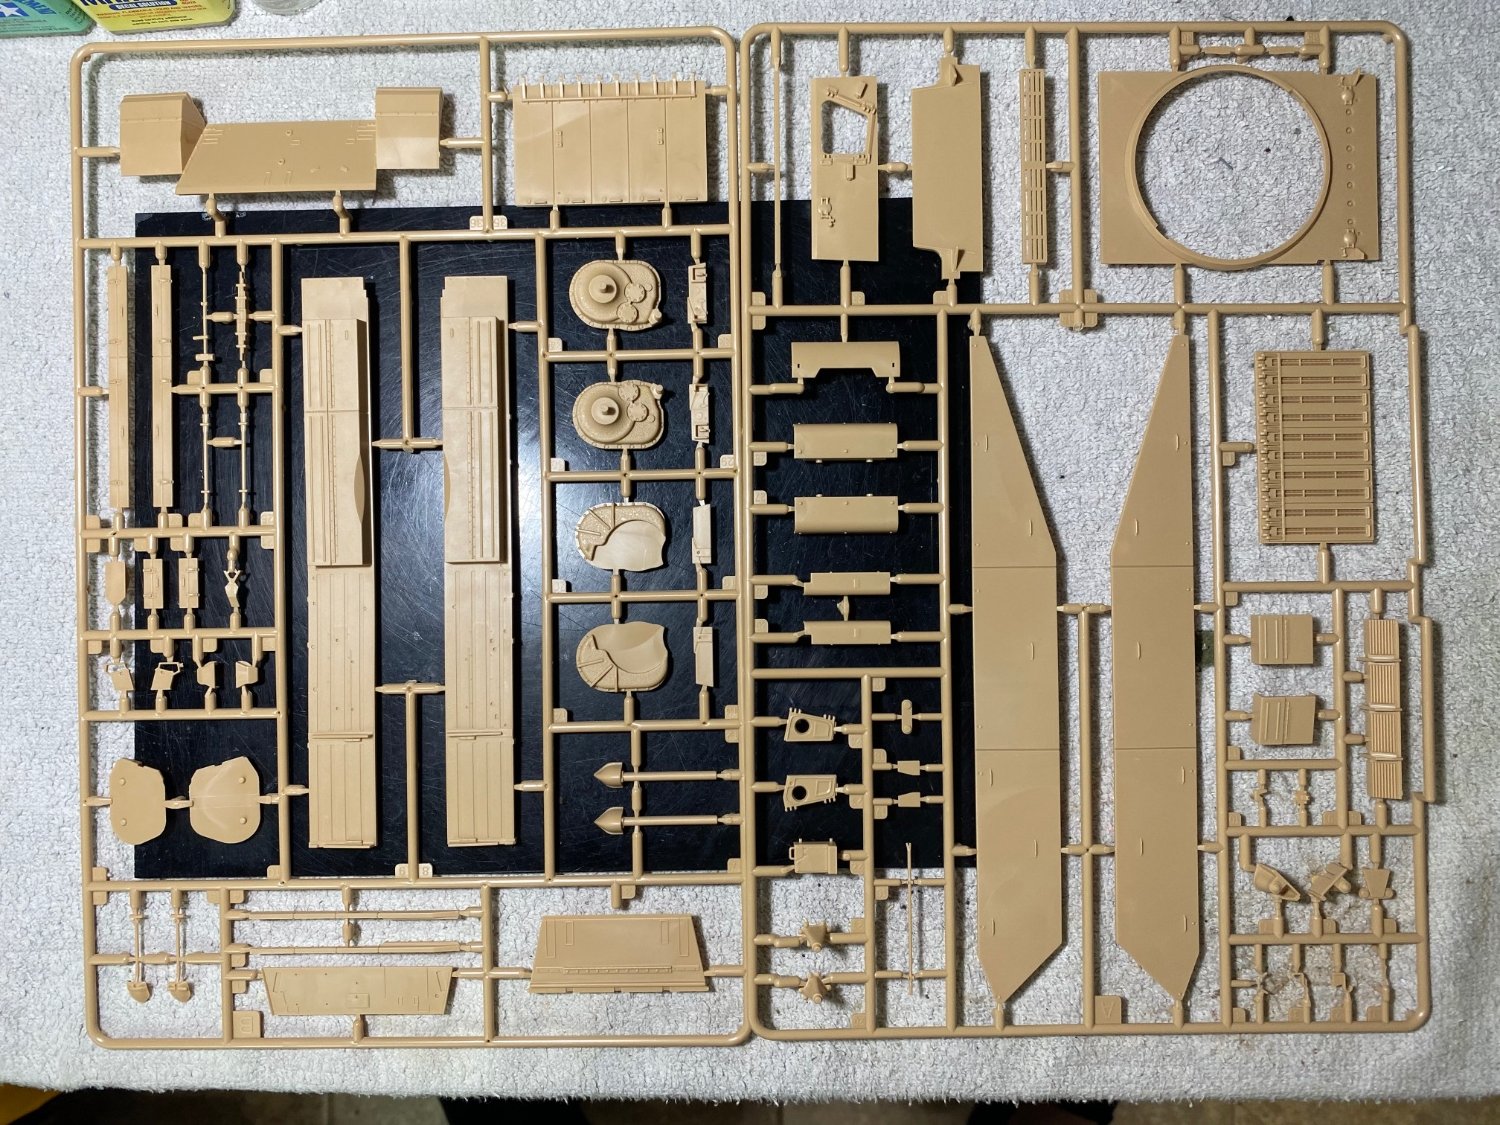
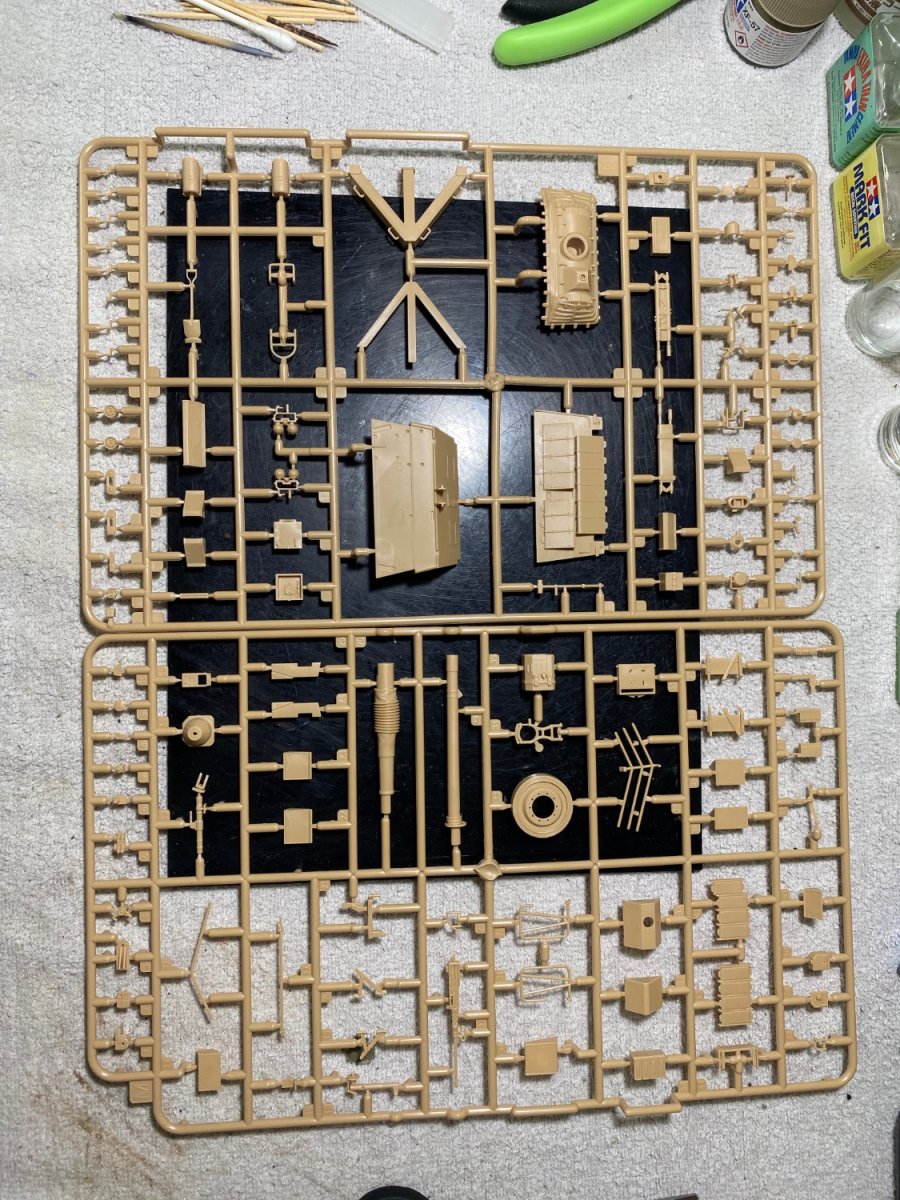
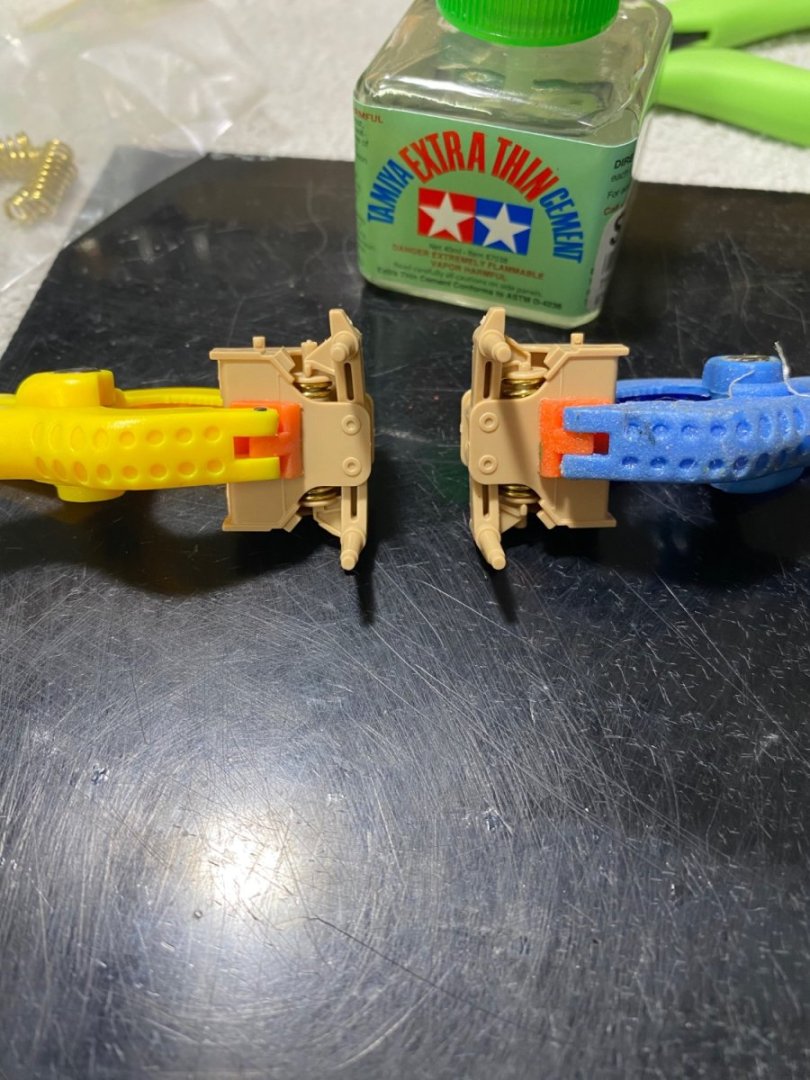
With suspension trucks completed and relevant parts prepared, it’s time to assemble the lower hull.

-
Construction begins with the suspension components. There are two of these and four of these

- 95 replies
-
- 10
-

-
P-51 "American Beauty" by Javlin - FINISHED - Trumpeter - 1/32
CDW replied to Javlin's topic in Non-ship/categorised builds
Buy your Tamiya kits from scalehobbyist dot com. He sells the same P-51 kit for $132.99. Fast, friendly service. No sales tax. -
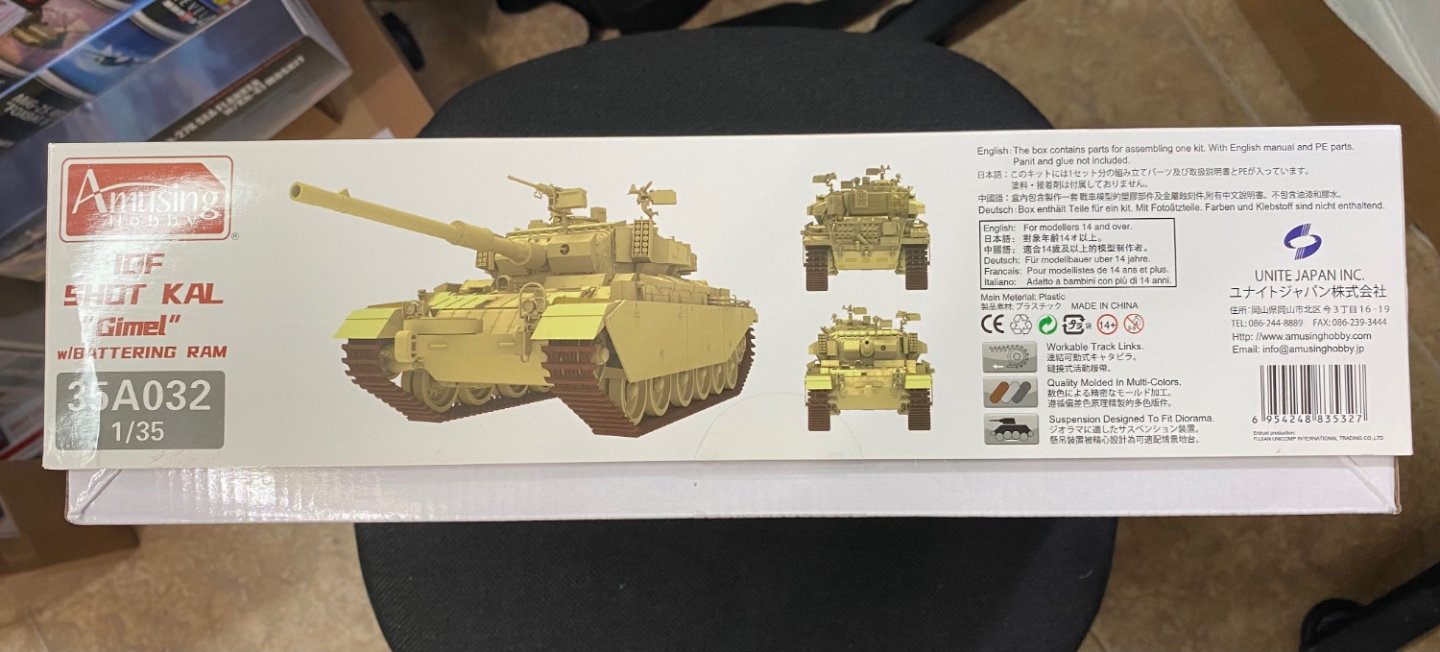
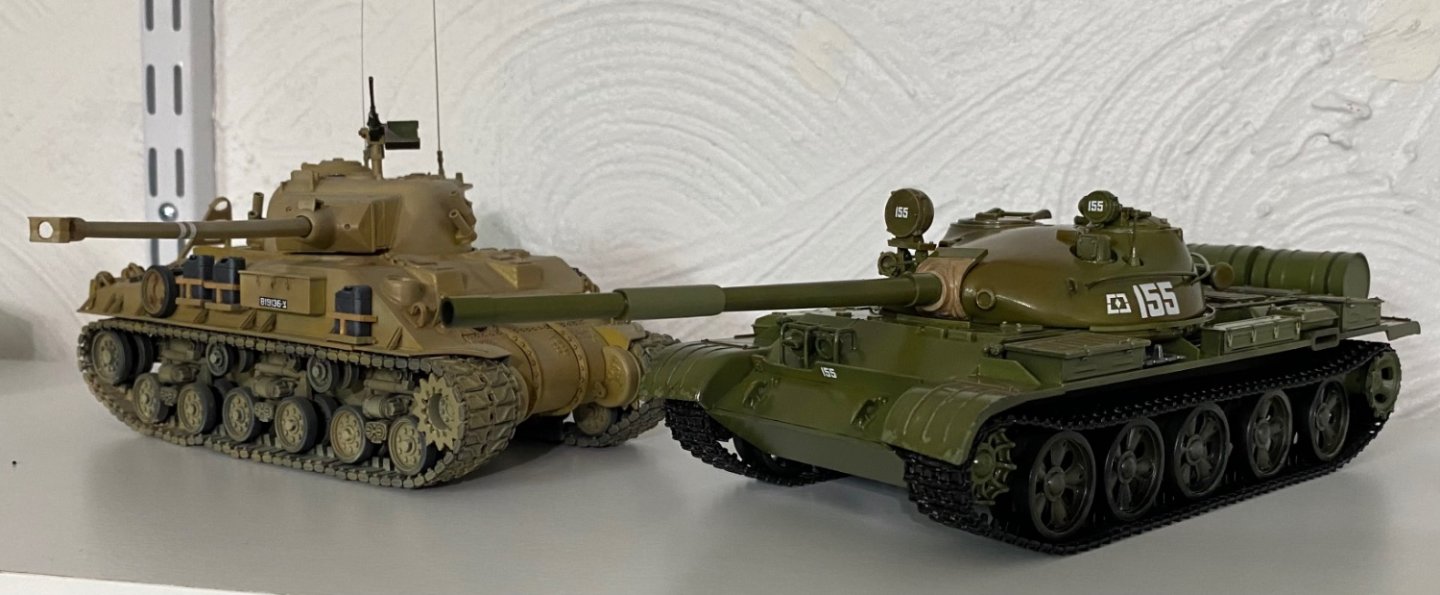
Another armored subject, an Israel Defense Force tank purchased from the British and modified to IDF specifications. These tanks began life as a Centurian before conversion to Sho't Kal Gimel standards.
- 95 replies
-
- 12
-
-
Grumman F6F-3 Hellcat by ccoyle - FINISHED - GPM - 1/33 - CARD
CDW replied to ccoyle's topic in Non-ship/categorised builds
Turned out a beauty! Very nice work Chris.- 150 replies
-
- 12
-
-
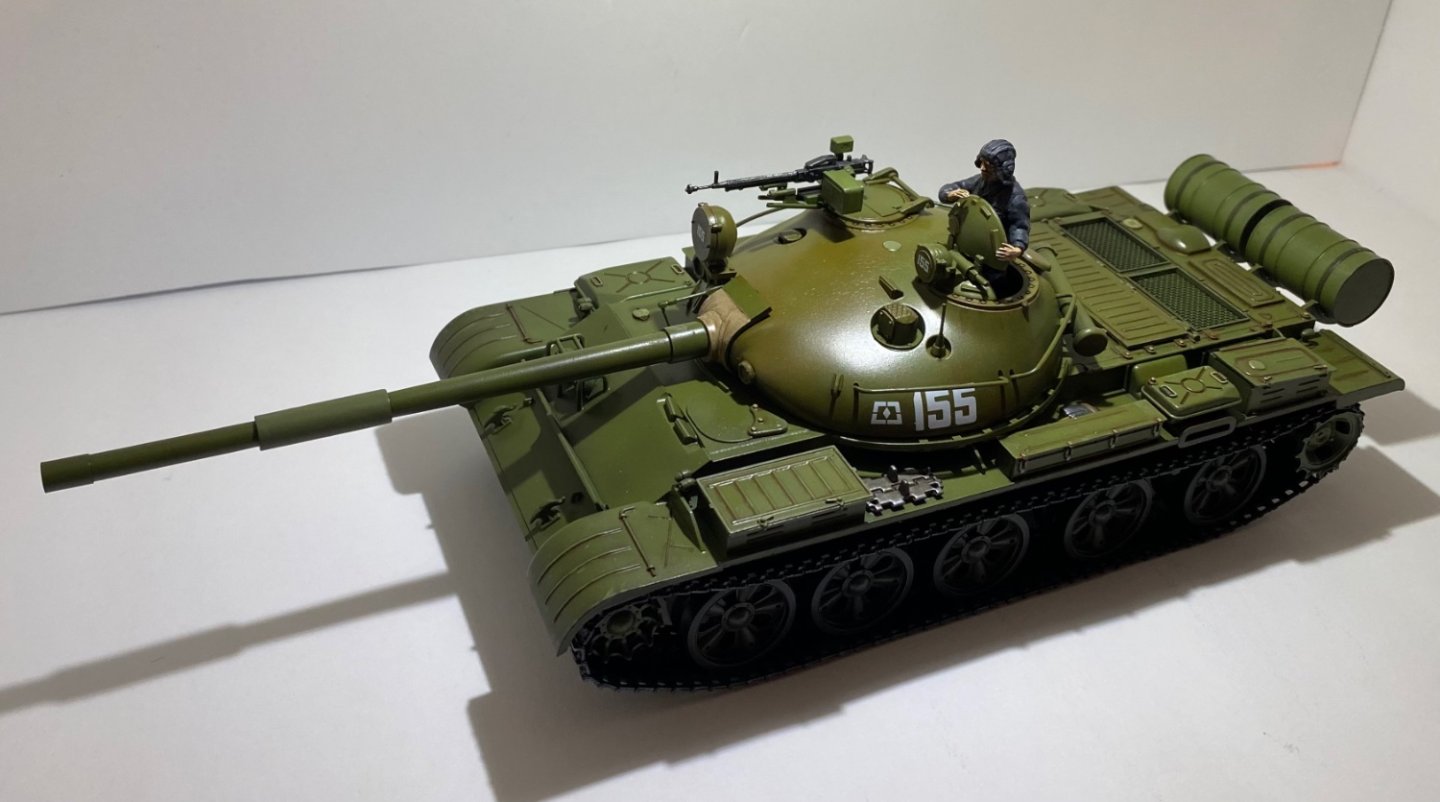
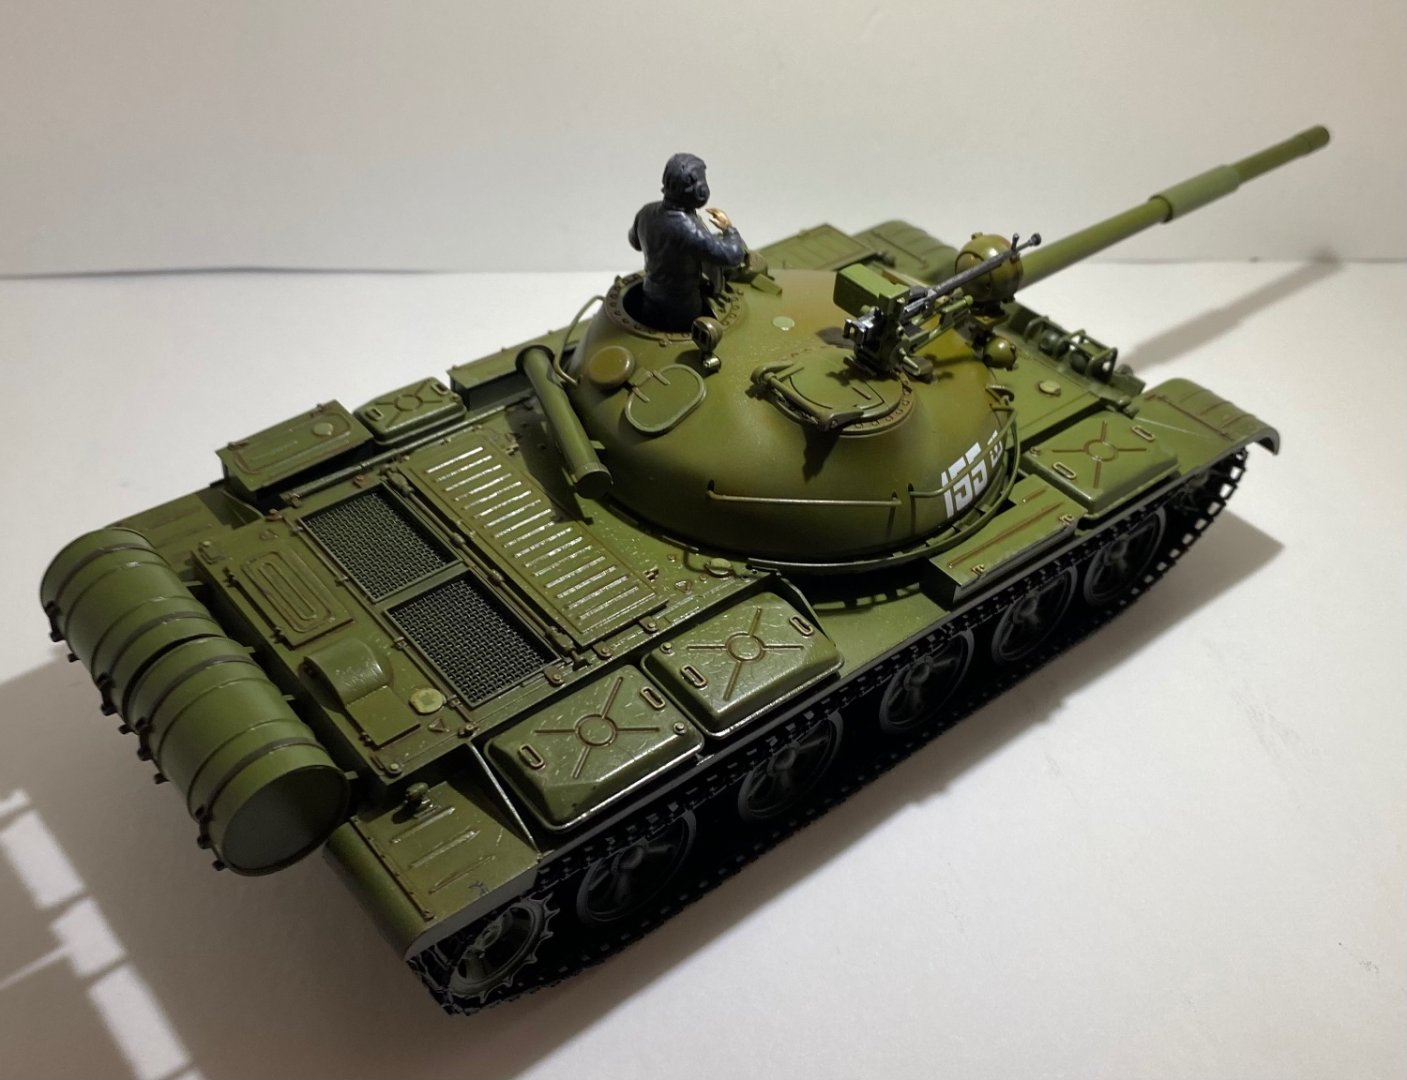
Russian T-62A Tank by CDW - Tamiya - 1/35 Scale FINISHED
CDW replied to CDW's topic in Non-ship/categorised builds
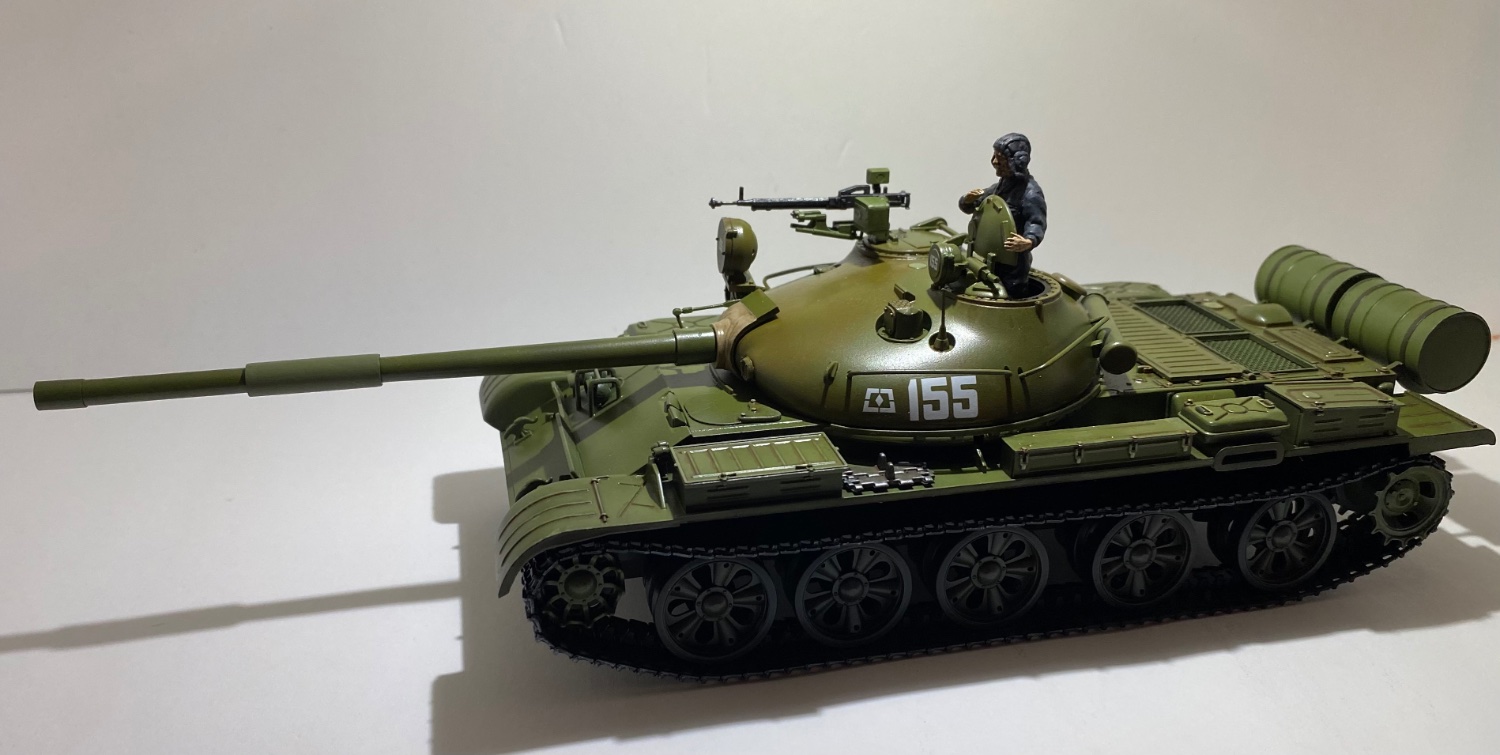
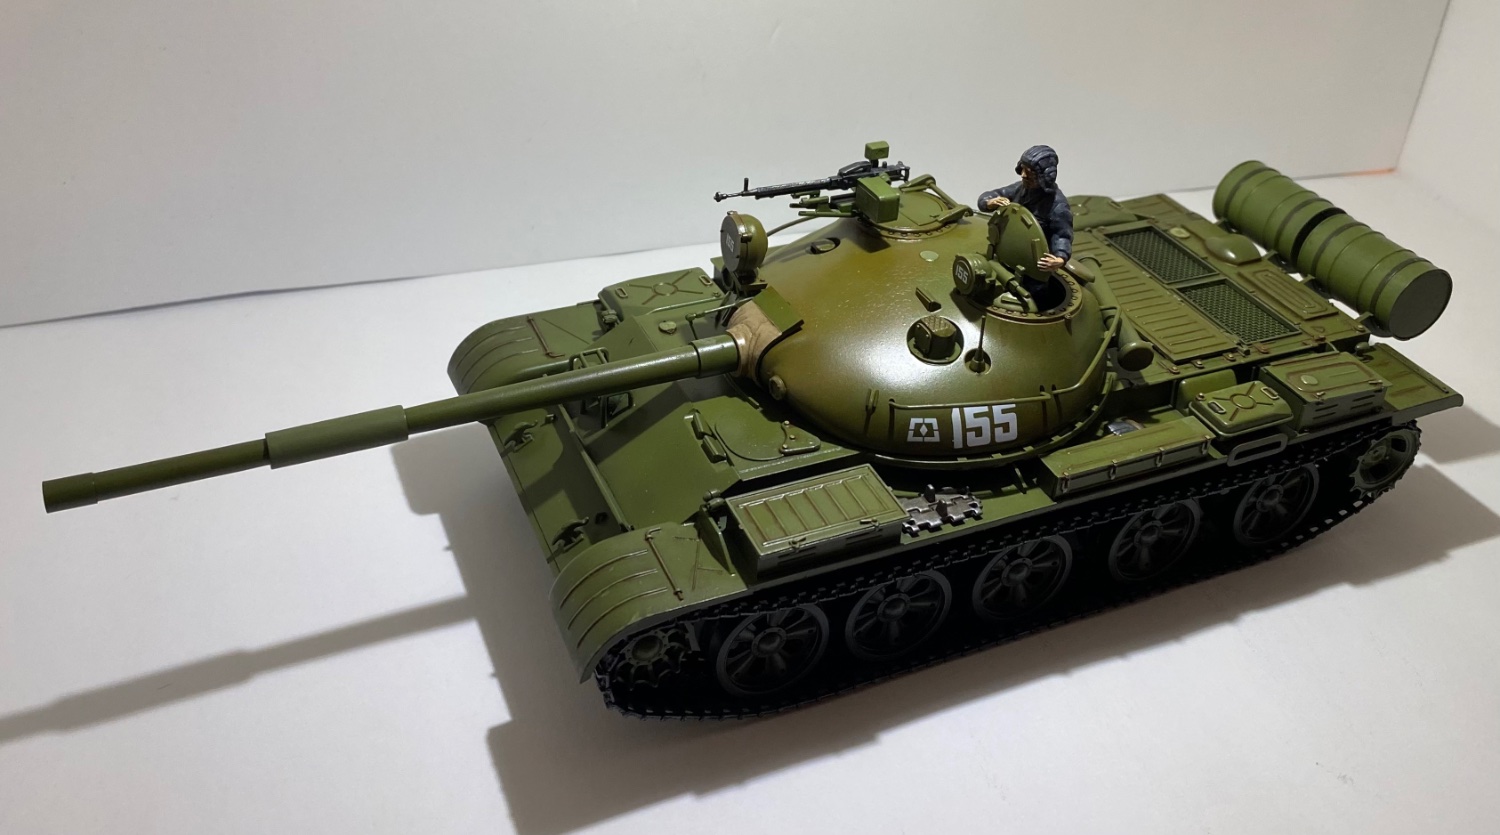
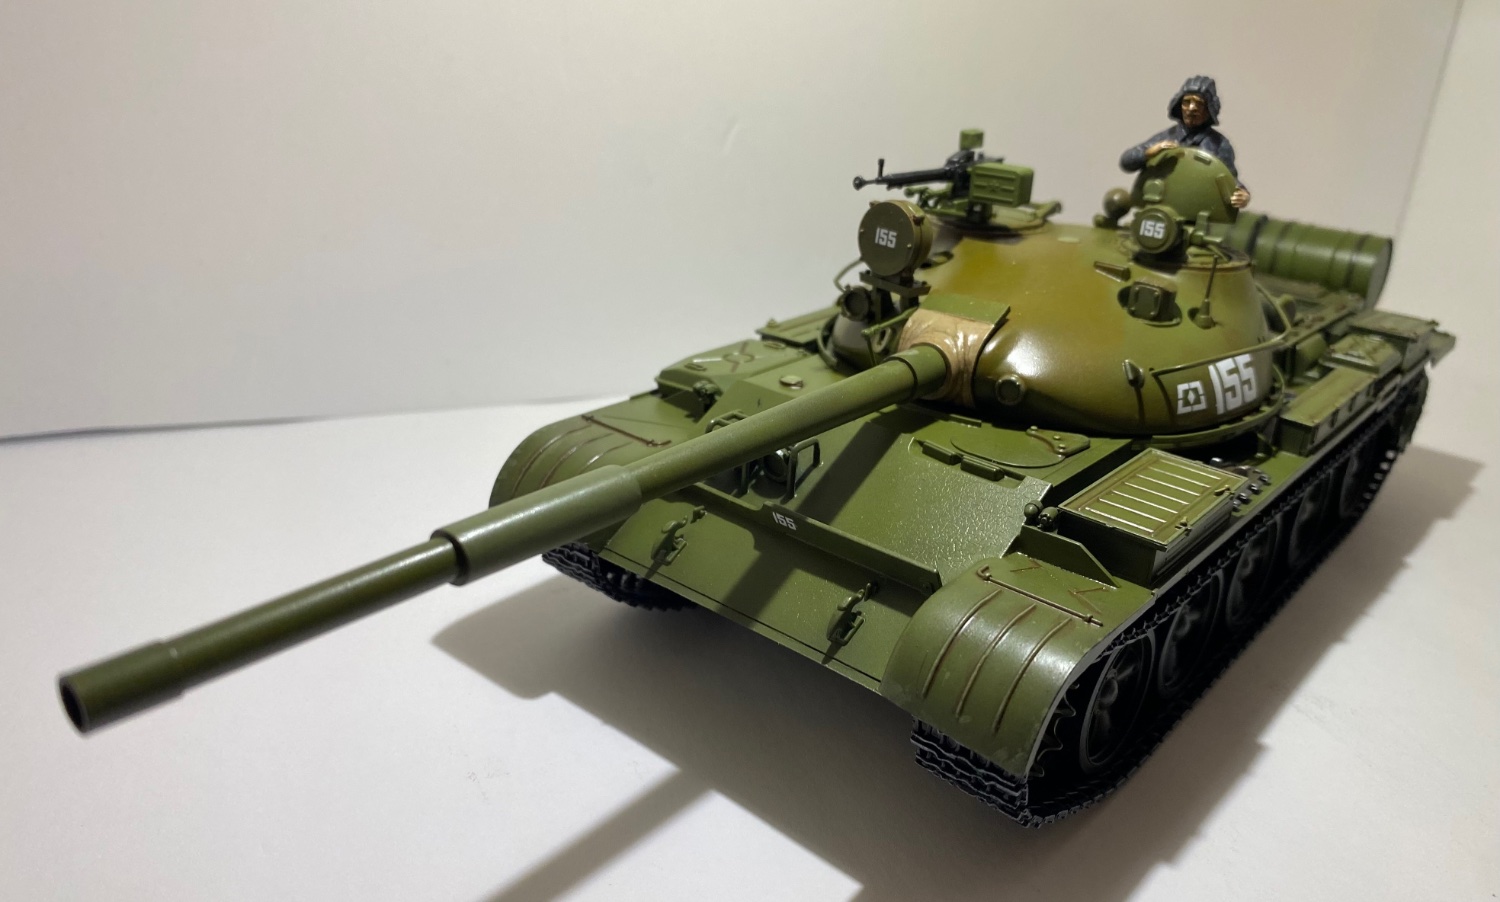
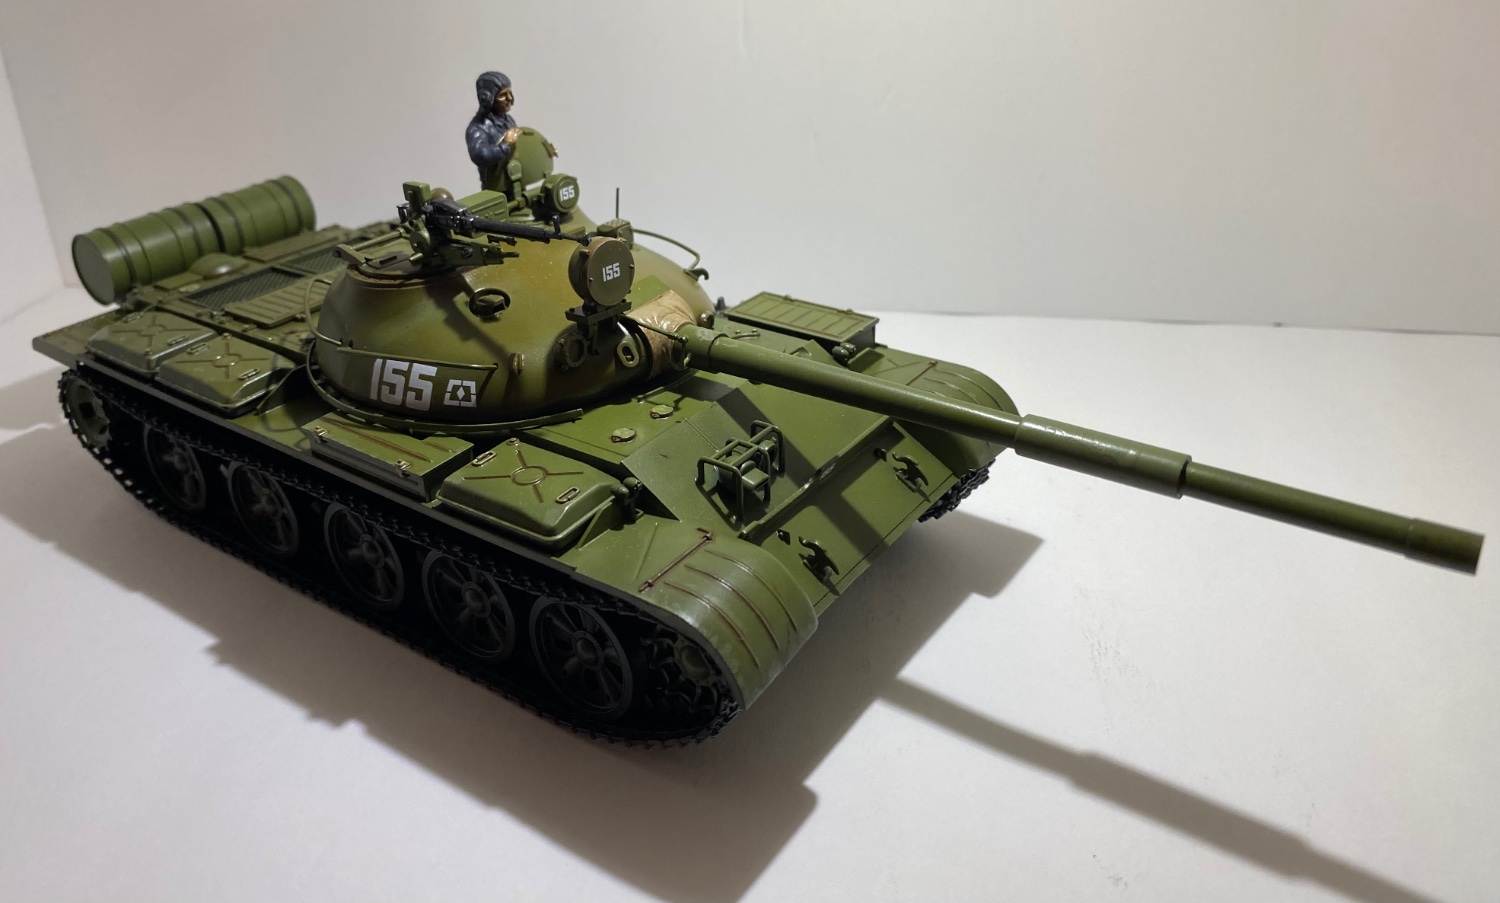
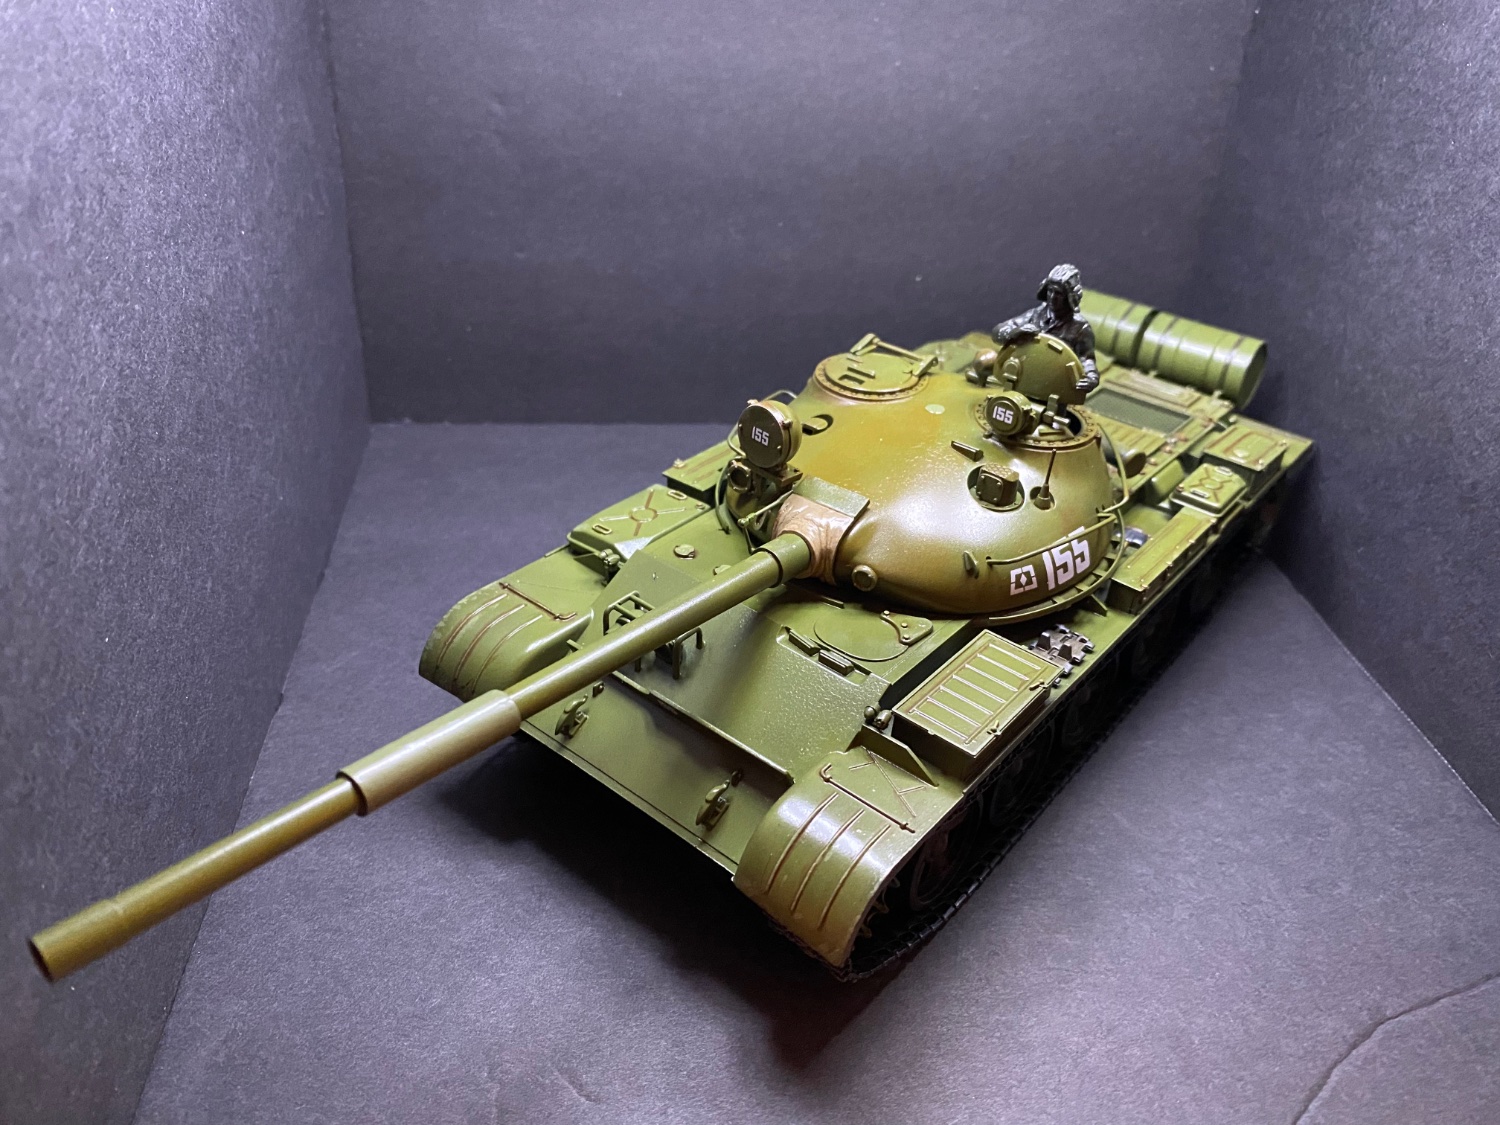
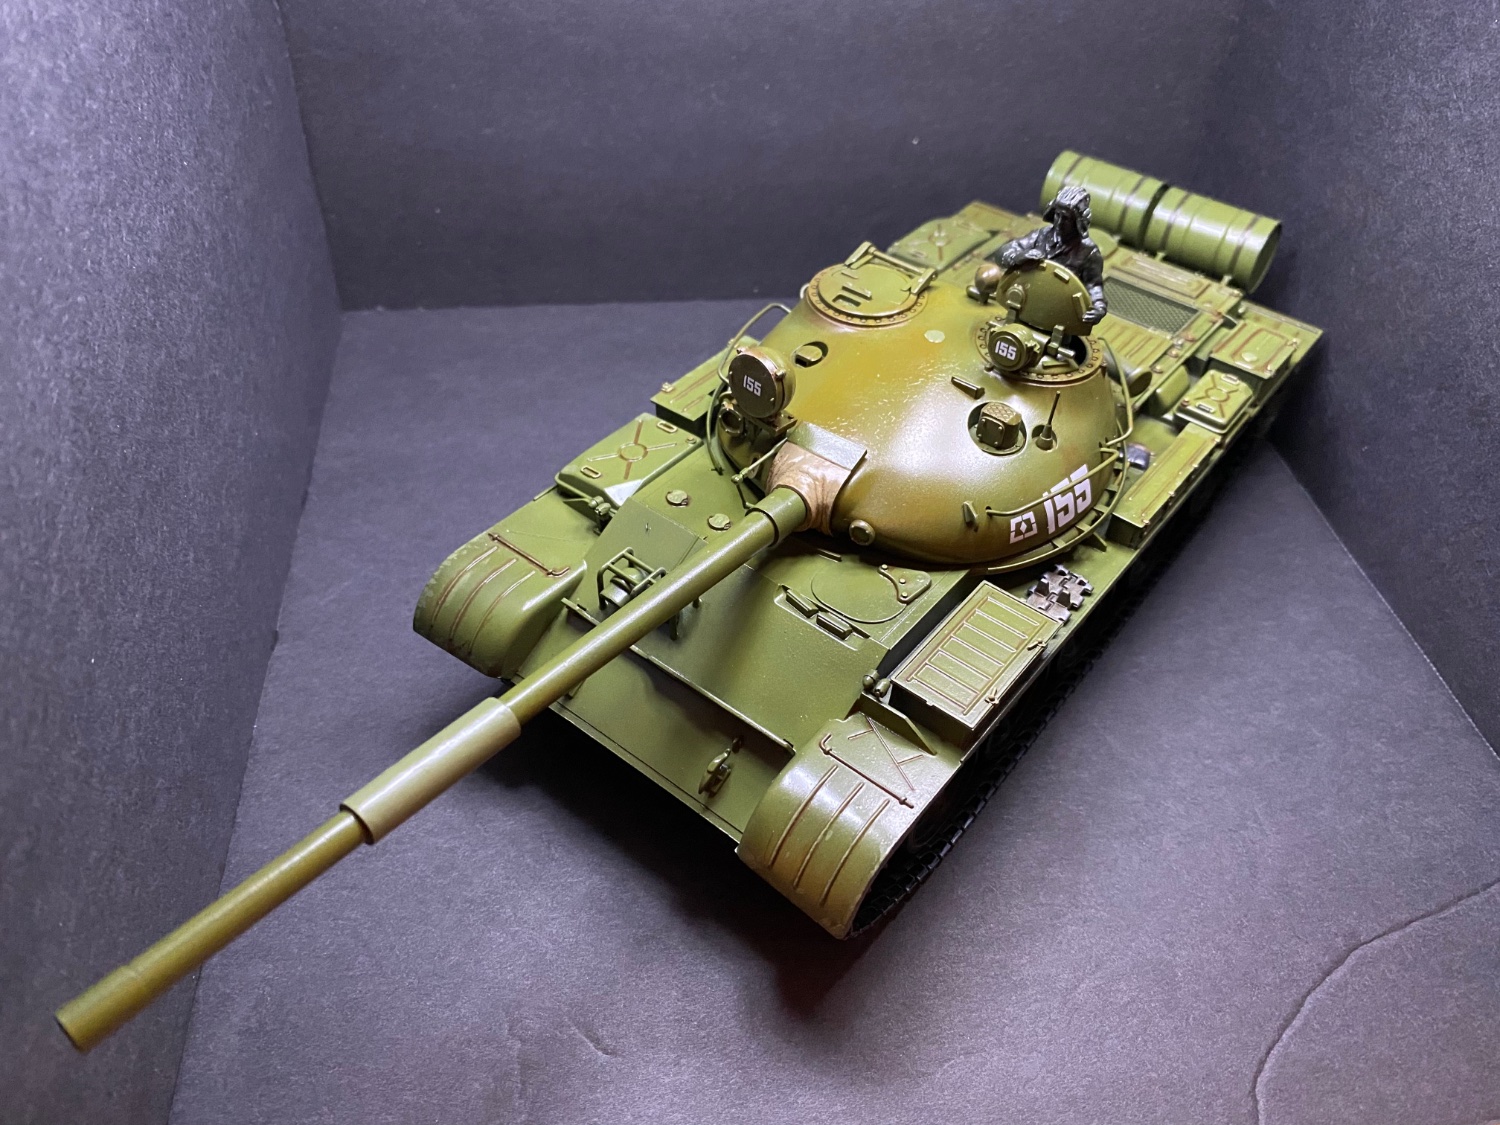
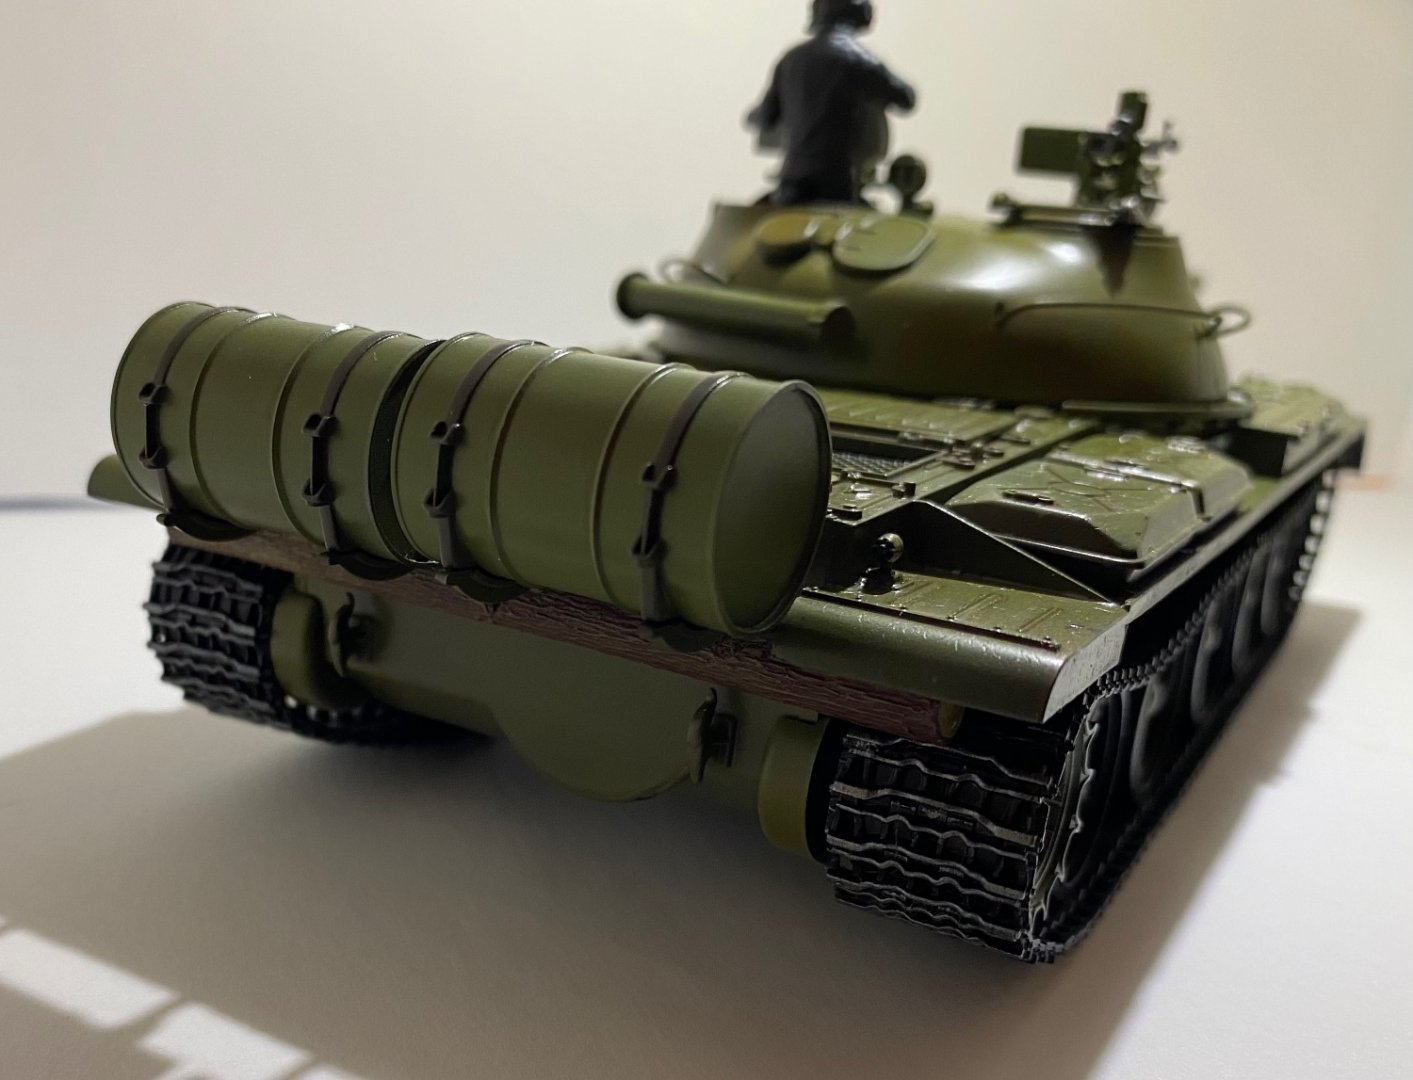
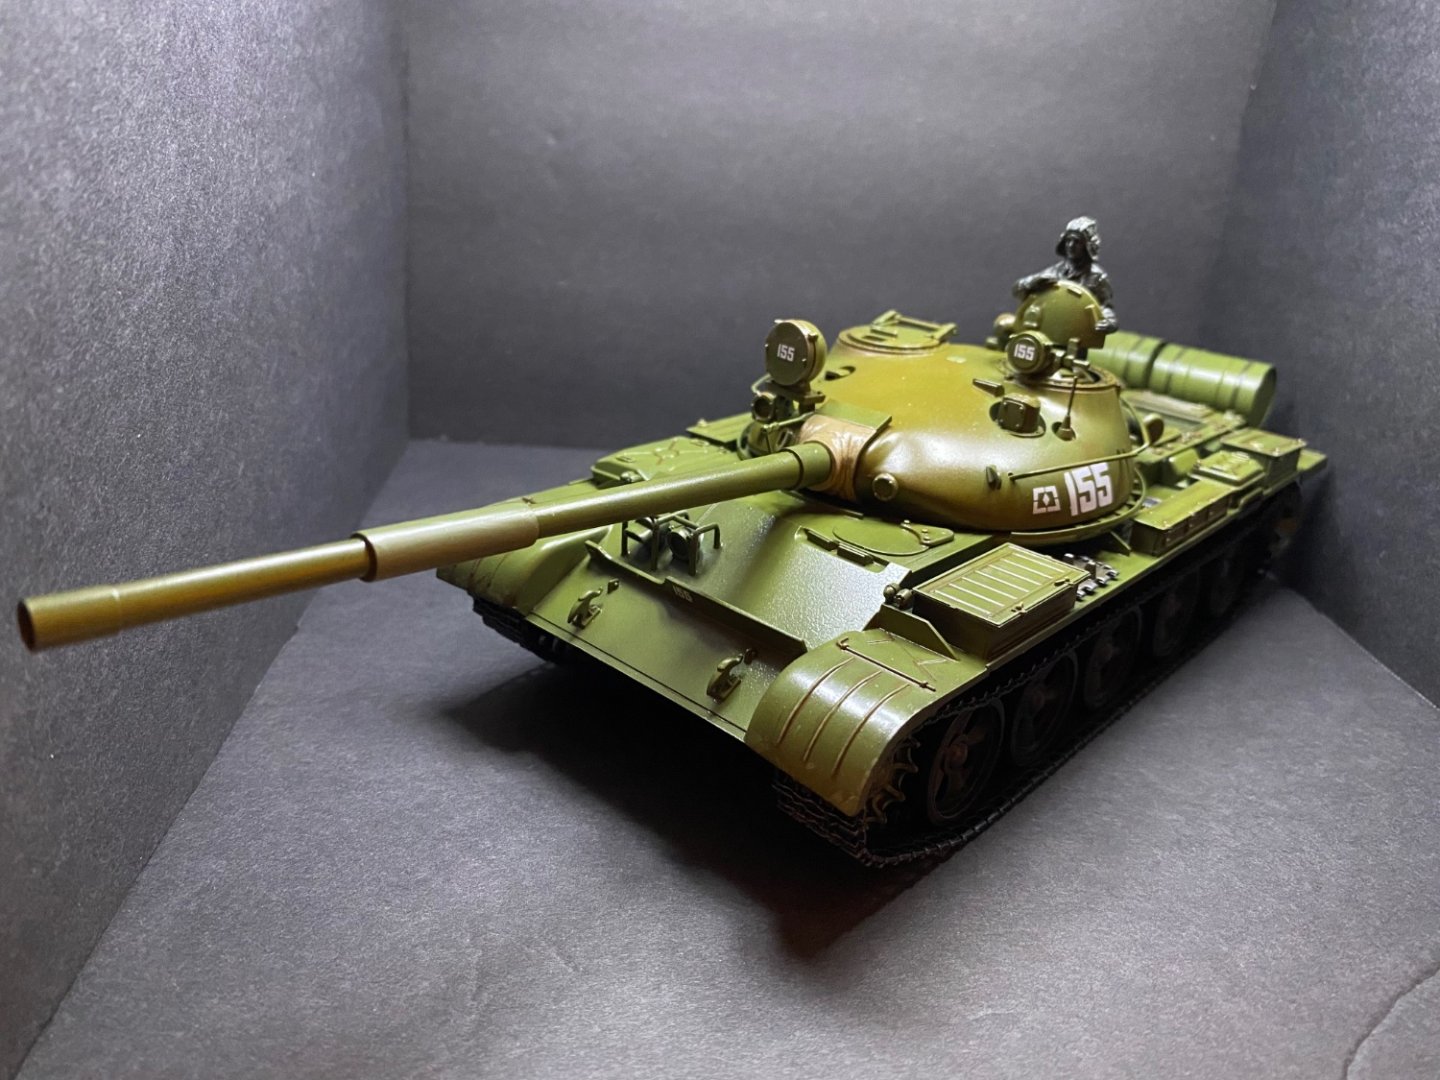
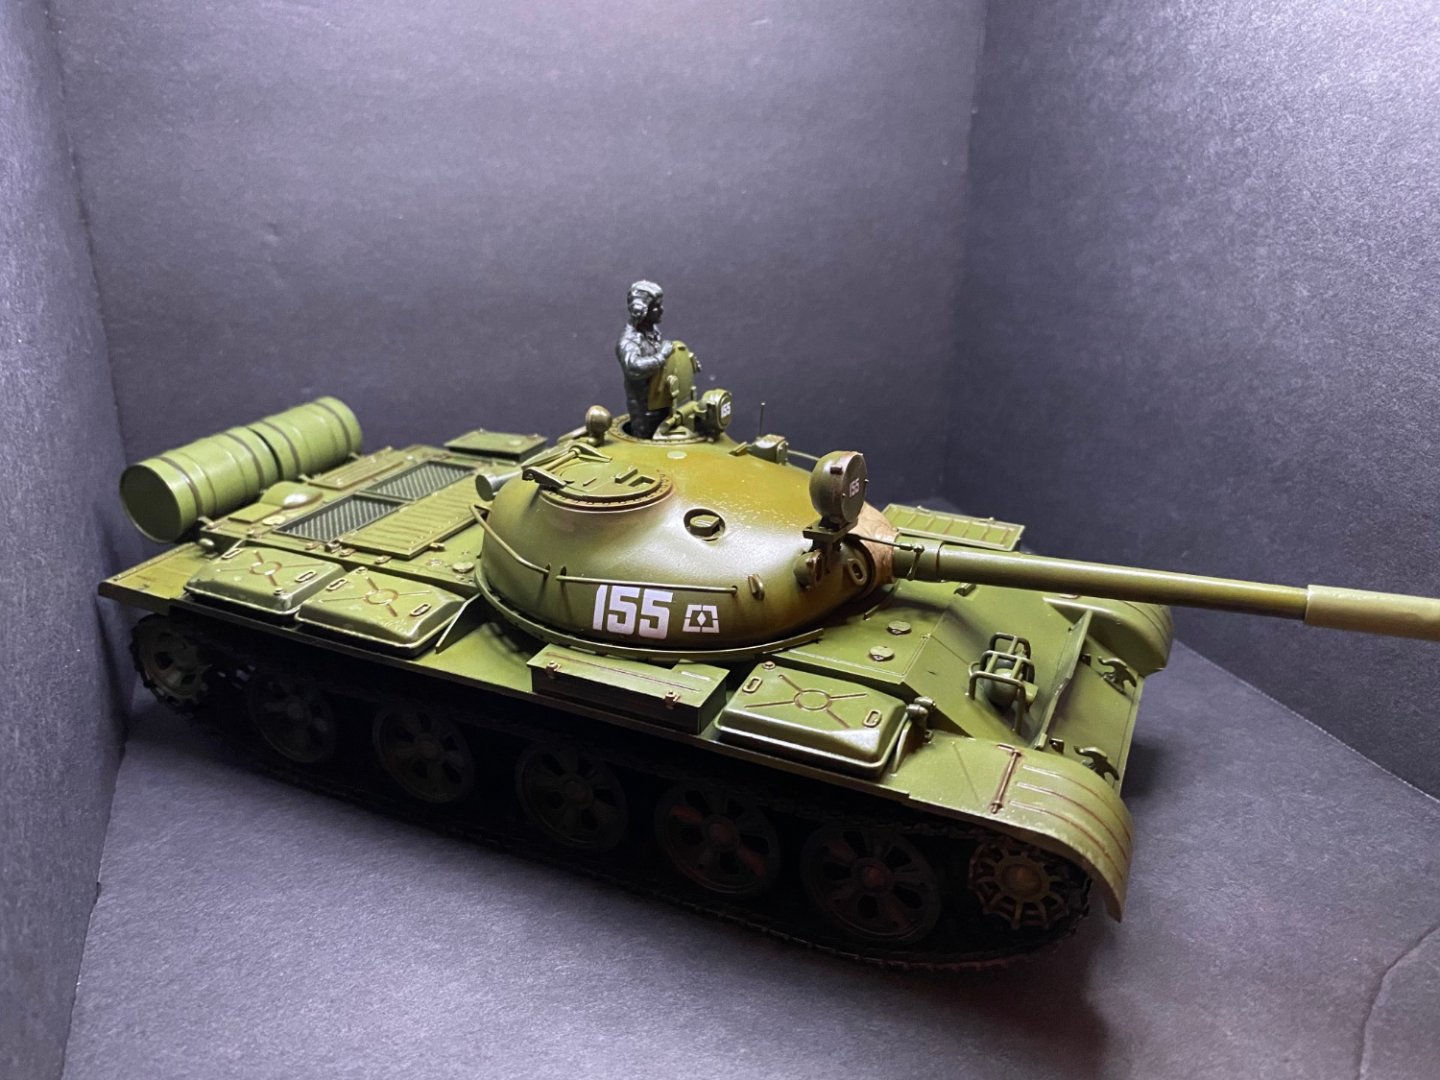
I’m calling a close to this little project. Thanks to everyone for your comments, encouragement, and for following along. Will see you soon with another adventure-filled modeling experience.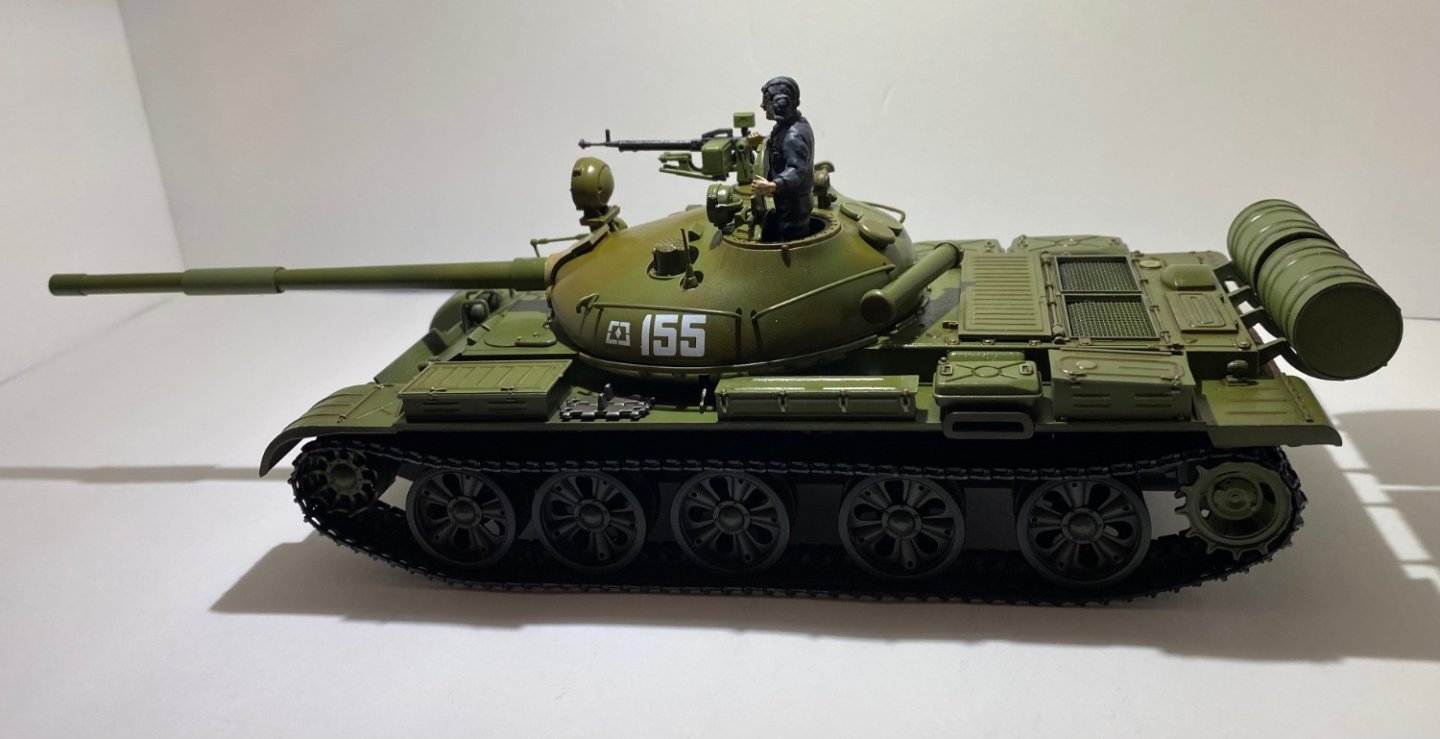


- 67 replies
-
- 13
-

-
-
F-86F-30 Sabre by Egilman - Kinetic - 1/32nd scale
CDW replied to Egilman's topic in Non-ship/categorised builds
You keep this up EG, and we will have to start calling you, The Plastic Surgeon General. Nice work, tedious too! -
Russian T-62A Tank by CDW - Tamiya - 1/35 Scale FINISHED
CDW replied to CDW's topic in Non-ship/categorised builds
Nope. just got back from the hobby shop, too. Didn't see this in time or I would have bought it. Thanks for the heads-up. -
Russian T-62A Tank by CDW - Tamiya - 1/35 Scale FINISHED
CDW replied to CDW's topic in Non-ship/categorised builds
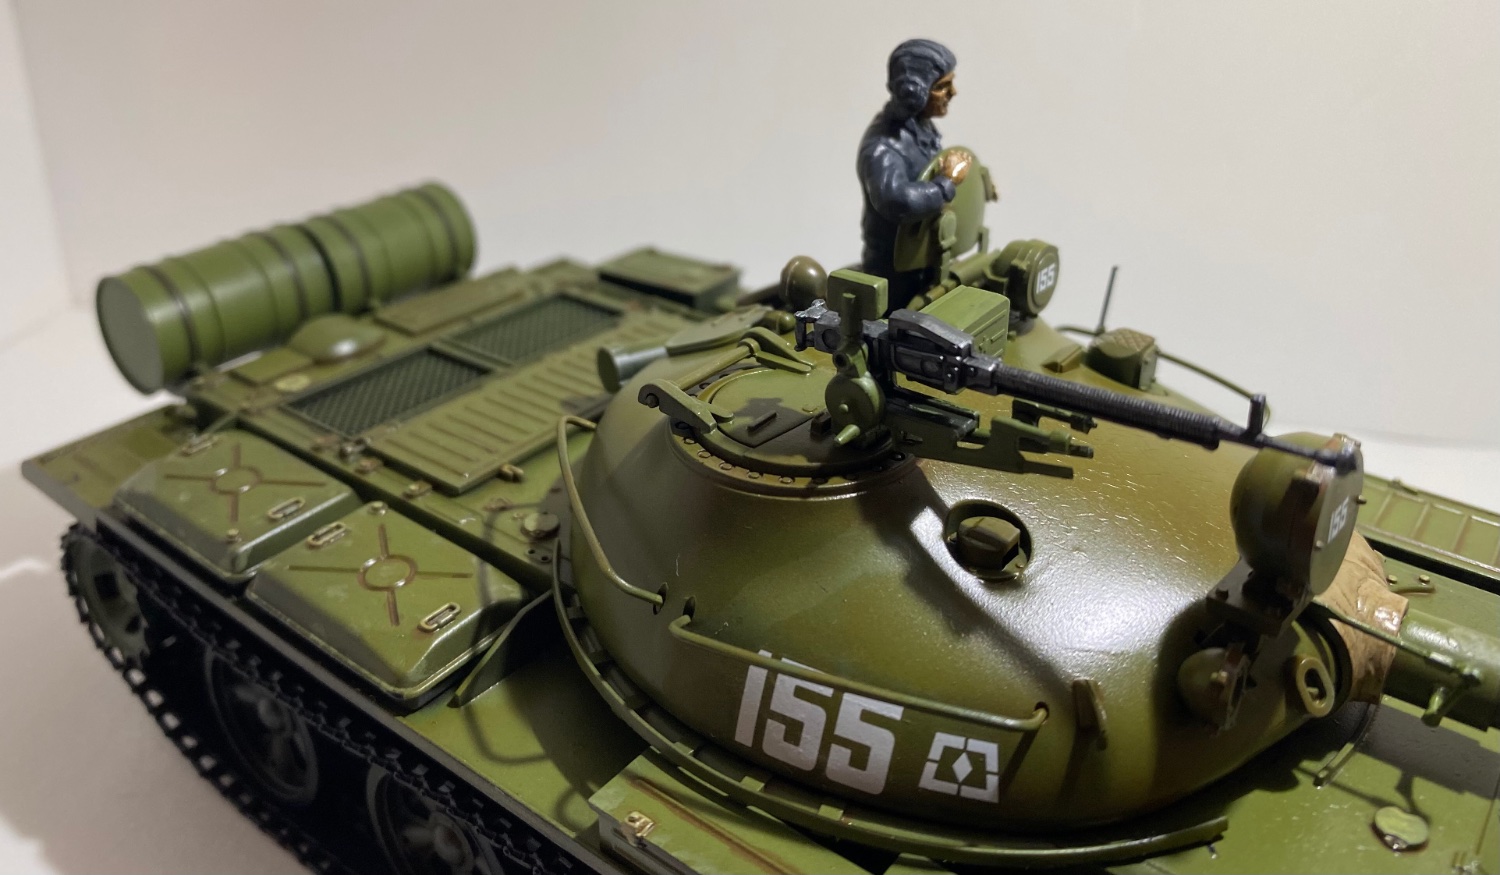
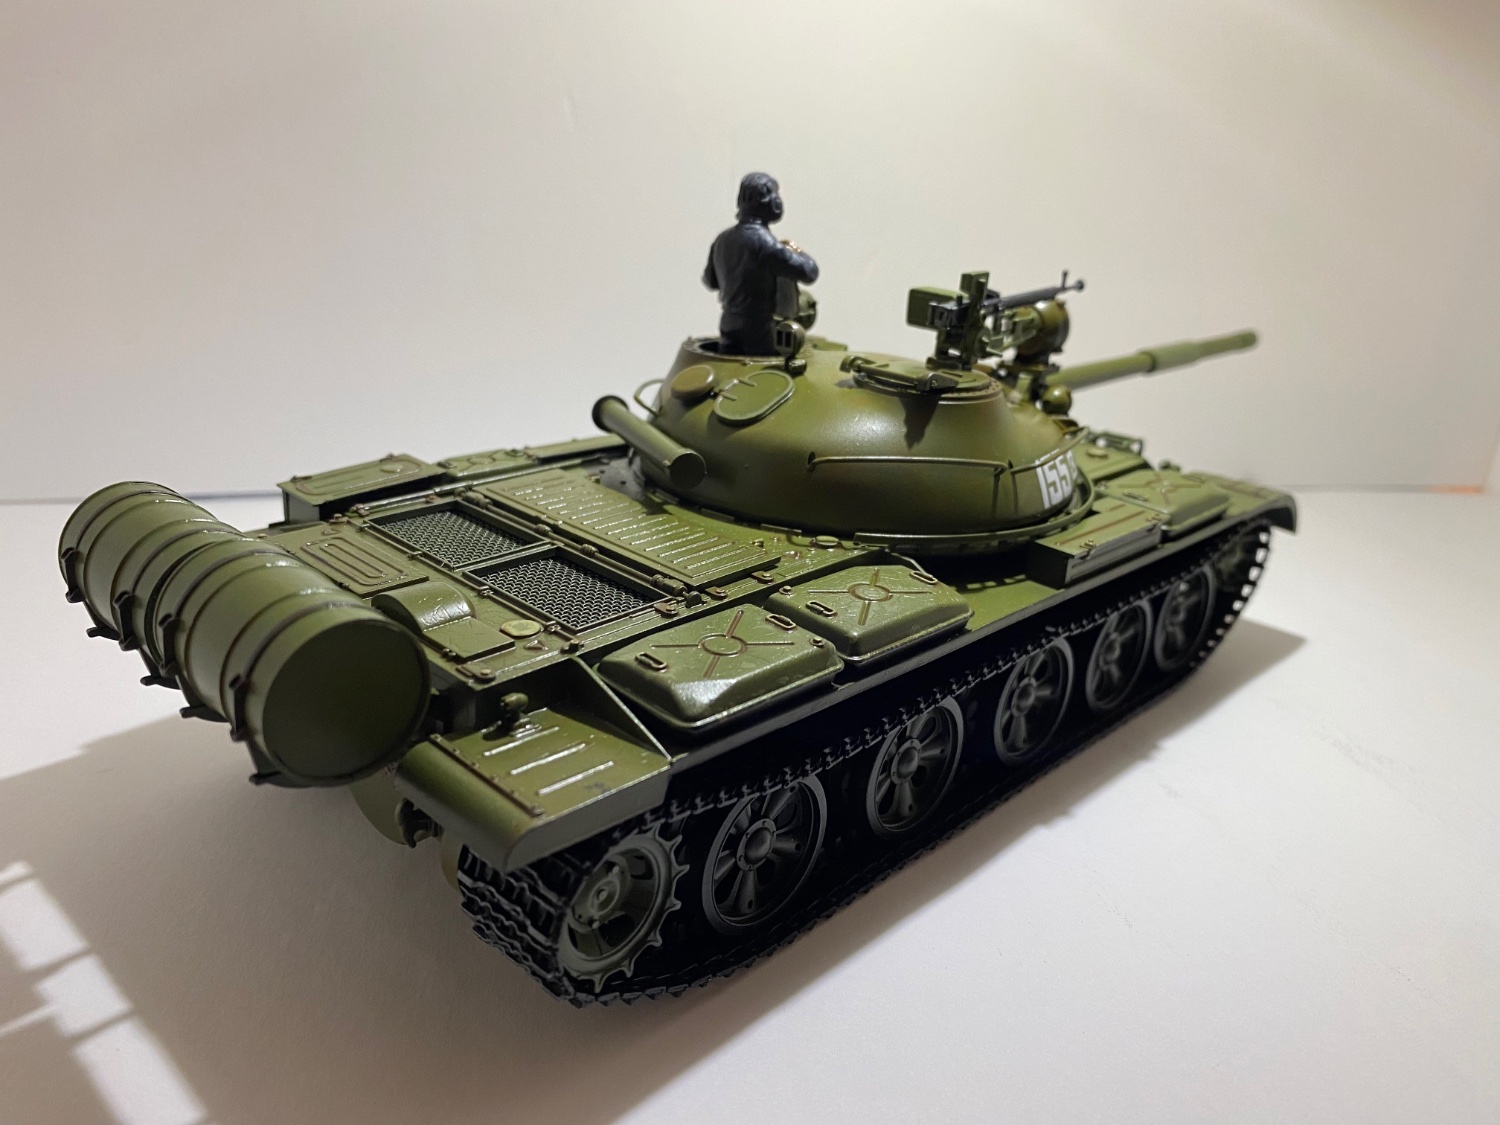
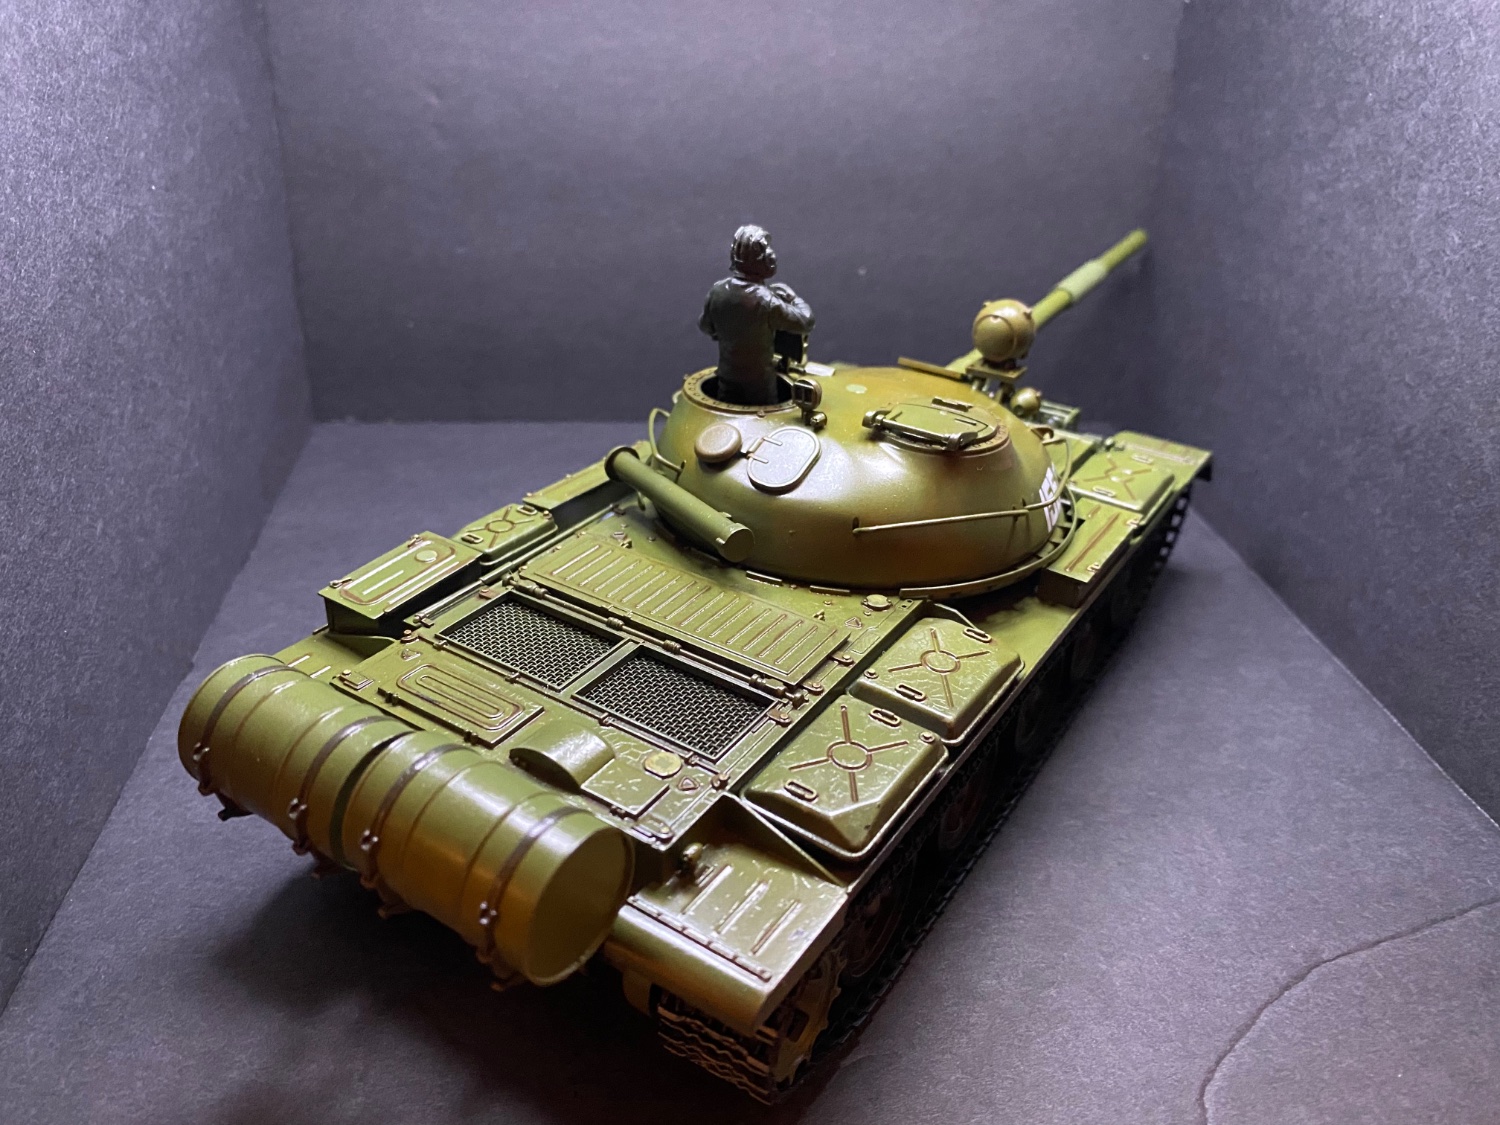
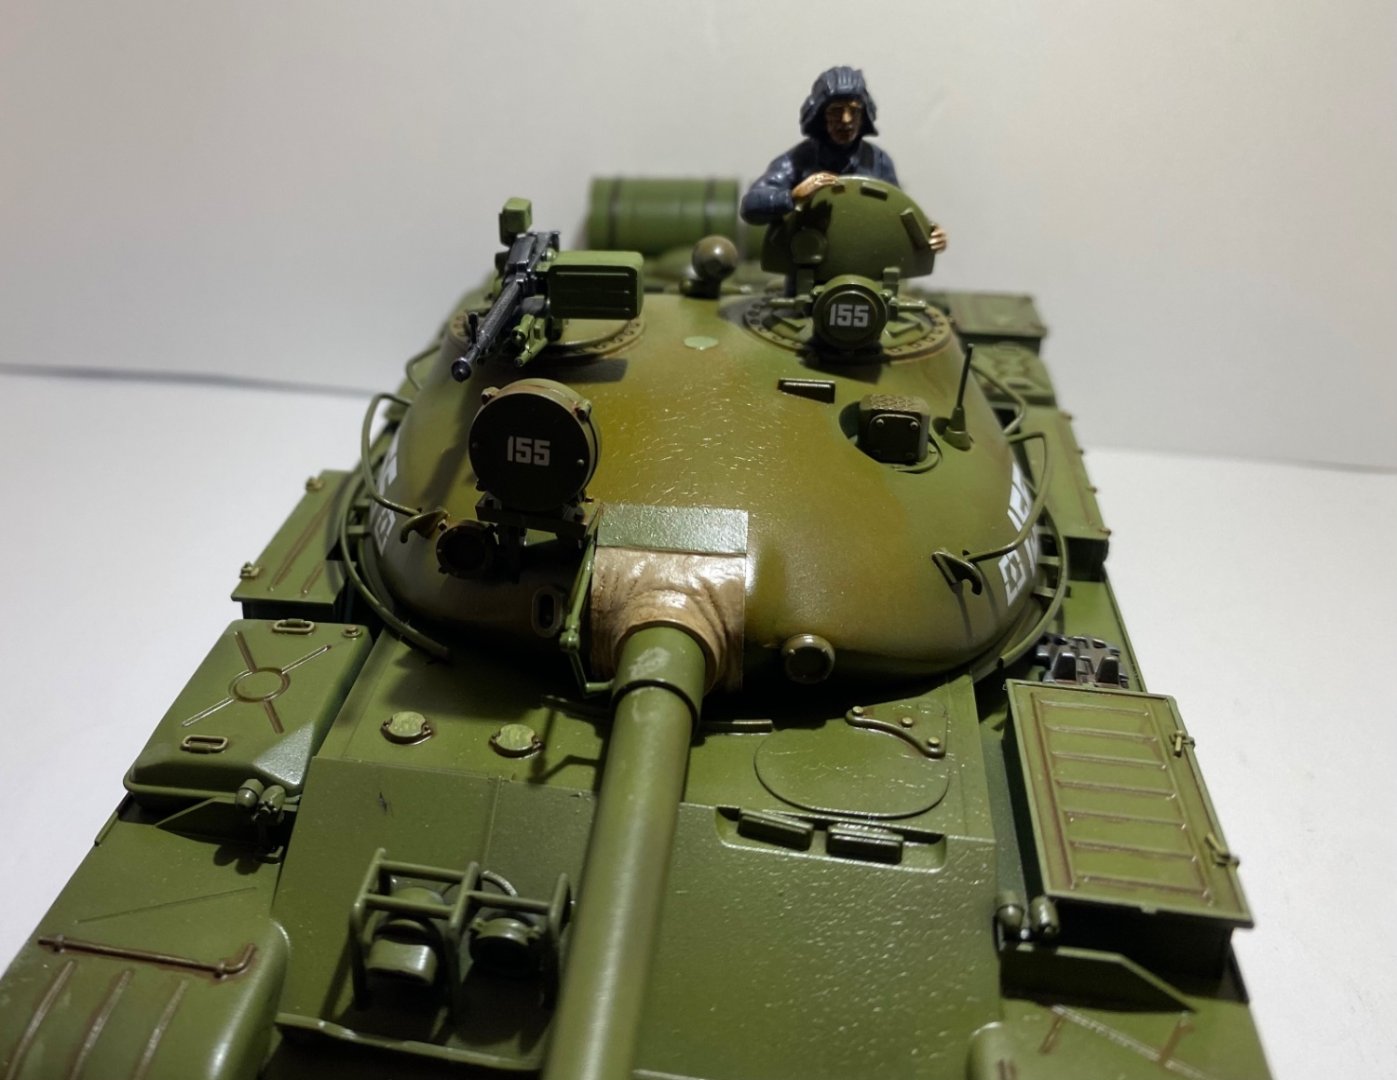
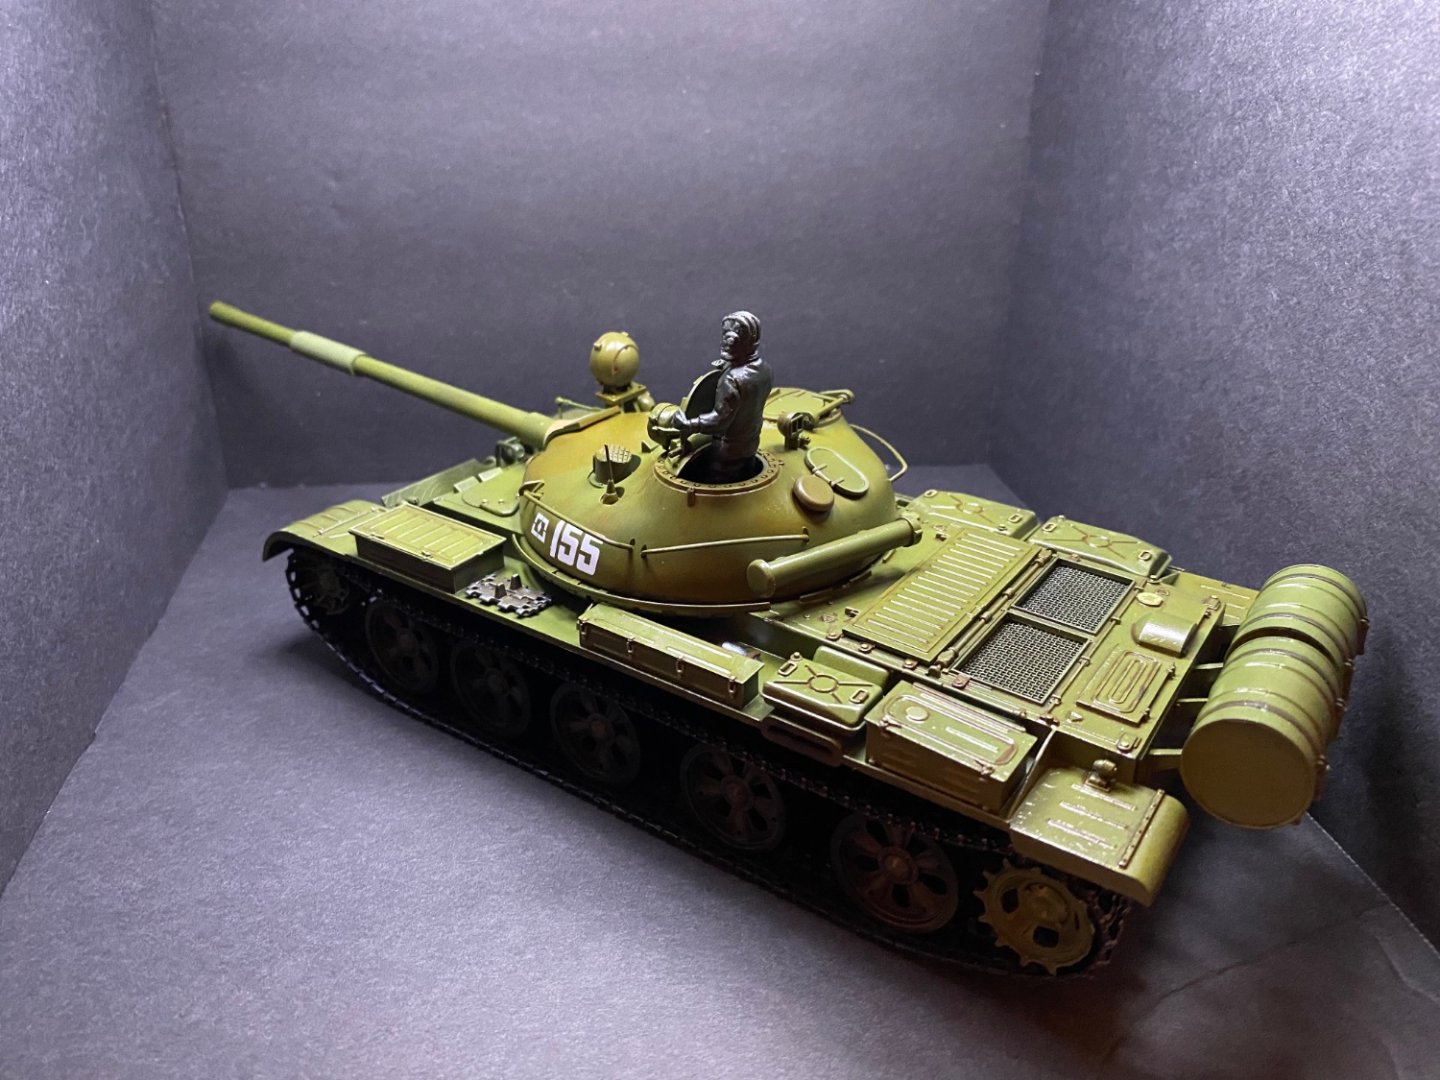
Agreed. That satin was glossier than I thought it would be. More flat hides a lot of sins, too. Don’t notice the finish as much. Got started painting my commander figure today. Just the black primer so far and waiting for it to fully dry before laying down some flesh tones later on. -
Russian T-62A Tank by CDW - Tamiya - 1/35 Scale FINISHED
CDW replied to CDW's topic in Non-ship/categorised builds
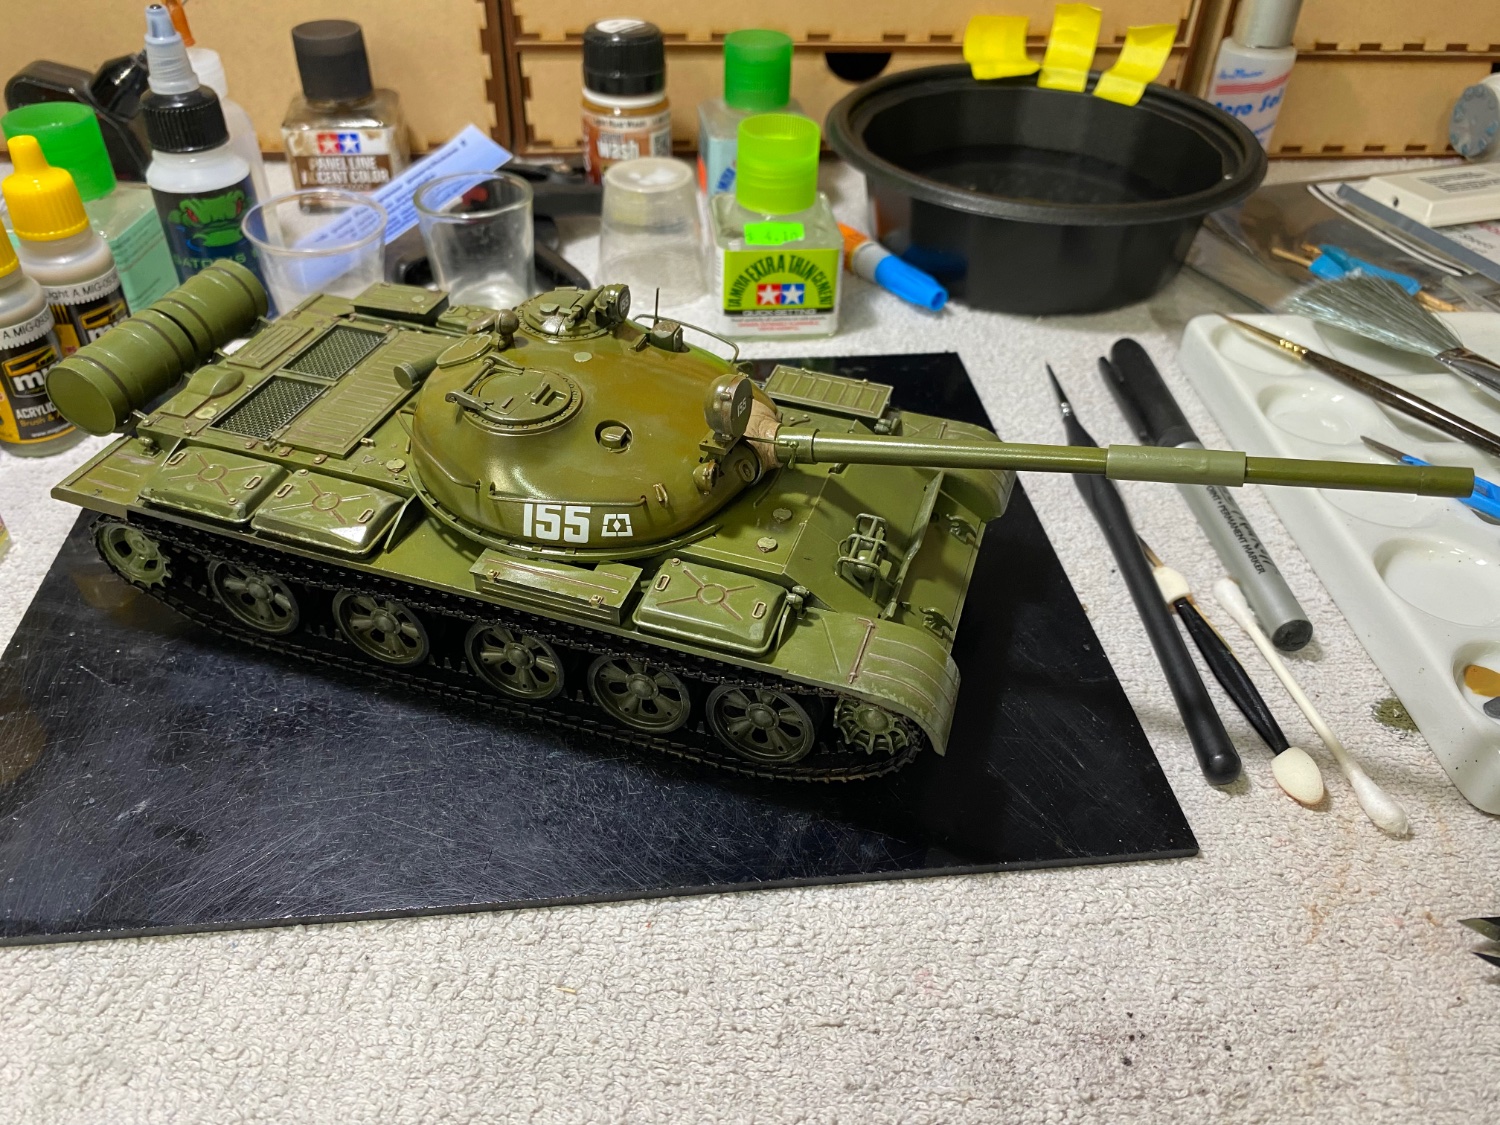
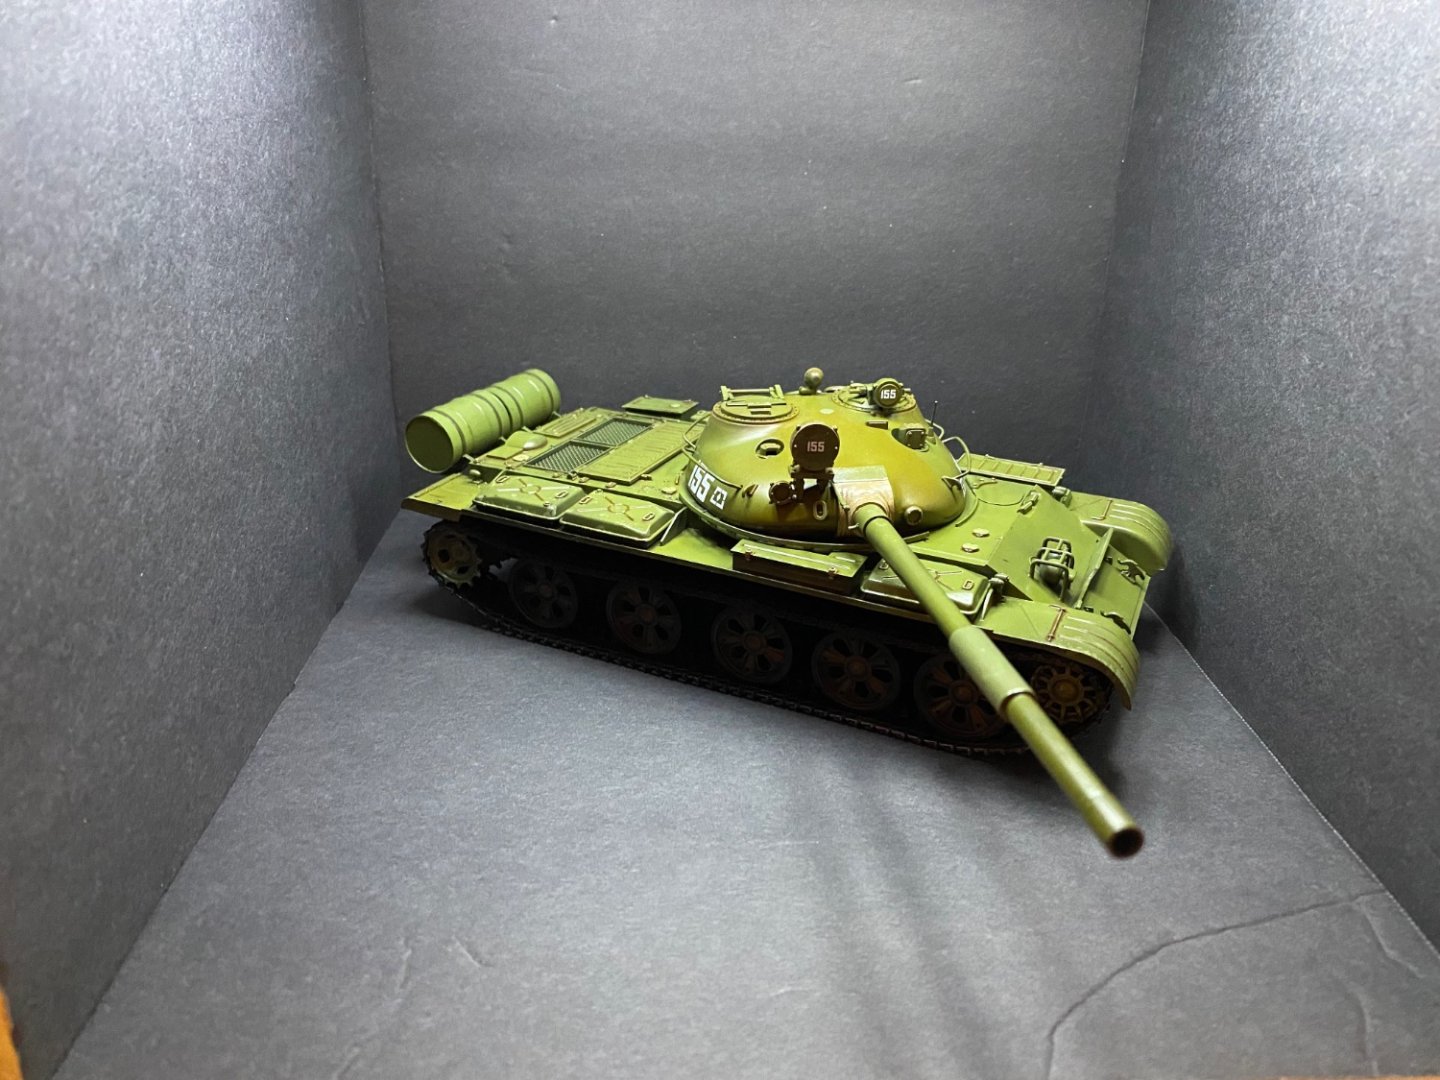
In the end, managed to totally screw up my paint job😵 I used Microscale Satin Clear for the first time and it cracked while drying, as if it had a reaction with the paint under it. Oh well, it was a cheap model anyway. If anyone notices it while on display at my house, I’ll just claim it was the cheap, crappy paint the Russians used on their tanks. 🤥 l’ll take one more set of photos when I get my commander figure painted and machine gun mounted, then call it finished.


-
Russian T-62A Tank by CDW - Tamiya - 1/35 Scale FINISHED
CDW replied to CDW's topic in Non-ship/categorised builds
May need to take some pointers from you on finishing these figures, OC. There is only one for the T-62, a commander. -
Excellent!
-
Russian T-62A Tank by CDW - Tamiya - 1/35 Scale FINISHED
CDW replied to CDW's topic in Non-ship/categorised builds
I believe it still holds true that he who has air superiority has the upper hand. Having said that, the only way to occupy (and hold) a given area are boots on the ground. Tanks are a means of providing the fire support needed by ground pounders but airpower can pop tanks open like shooting fish in a barrel. -
Russian T-62A Tank by CDW - Tamiya - 1/35 Scale FINISHED
CDW replied to CDW's topic in Non-ship/categorised builds
From my stash of models, I intend to build most of the Soviet and Russians tanks starting from the T-34 all the way through to today's modern T-14 Armata main battle tank, and the Terminator 2 fire support combat vehicle. After that, want to do the same with the USA tanks from the Sherman up and through the M1A2 tanks. It's interesting to see the evolution of these machines. -
Russian T-62A Tank by CDW - Tamiya - 1/35 Scale FINISHED
CDW replied to CDW's topic in Non-ship/categorised builds
-
Russian T-62A Tank by CDW - Tamiya - 1/35 Scale FINISHED
CDW replied to CDW's topic in Non-ship/categorised builds
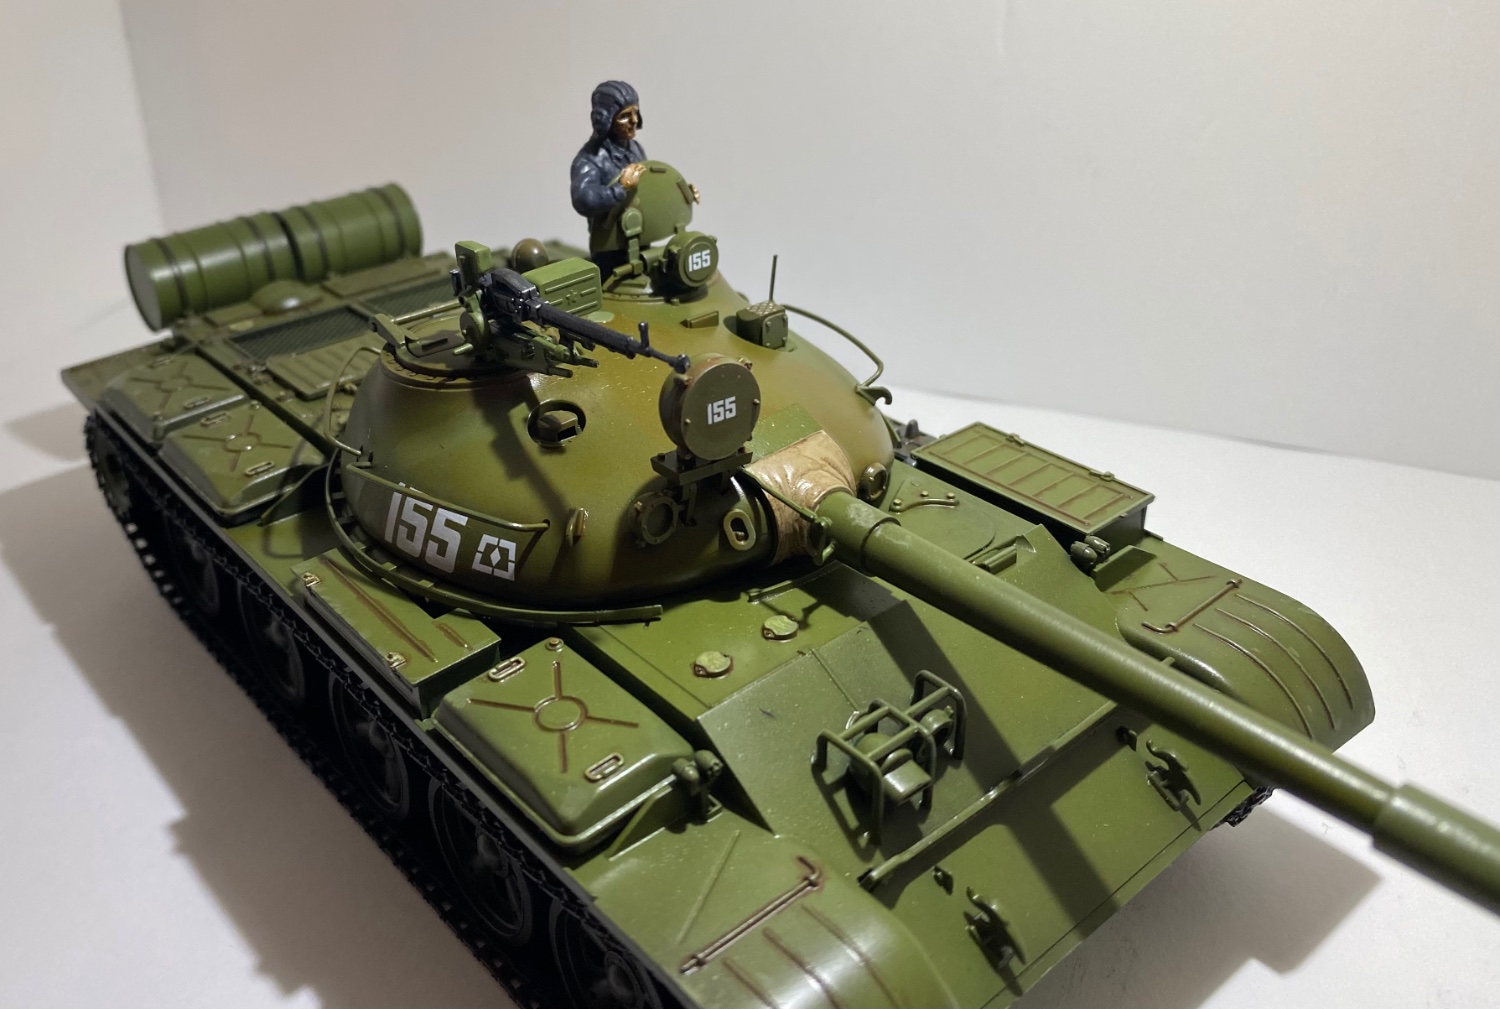
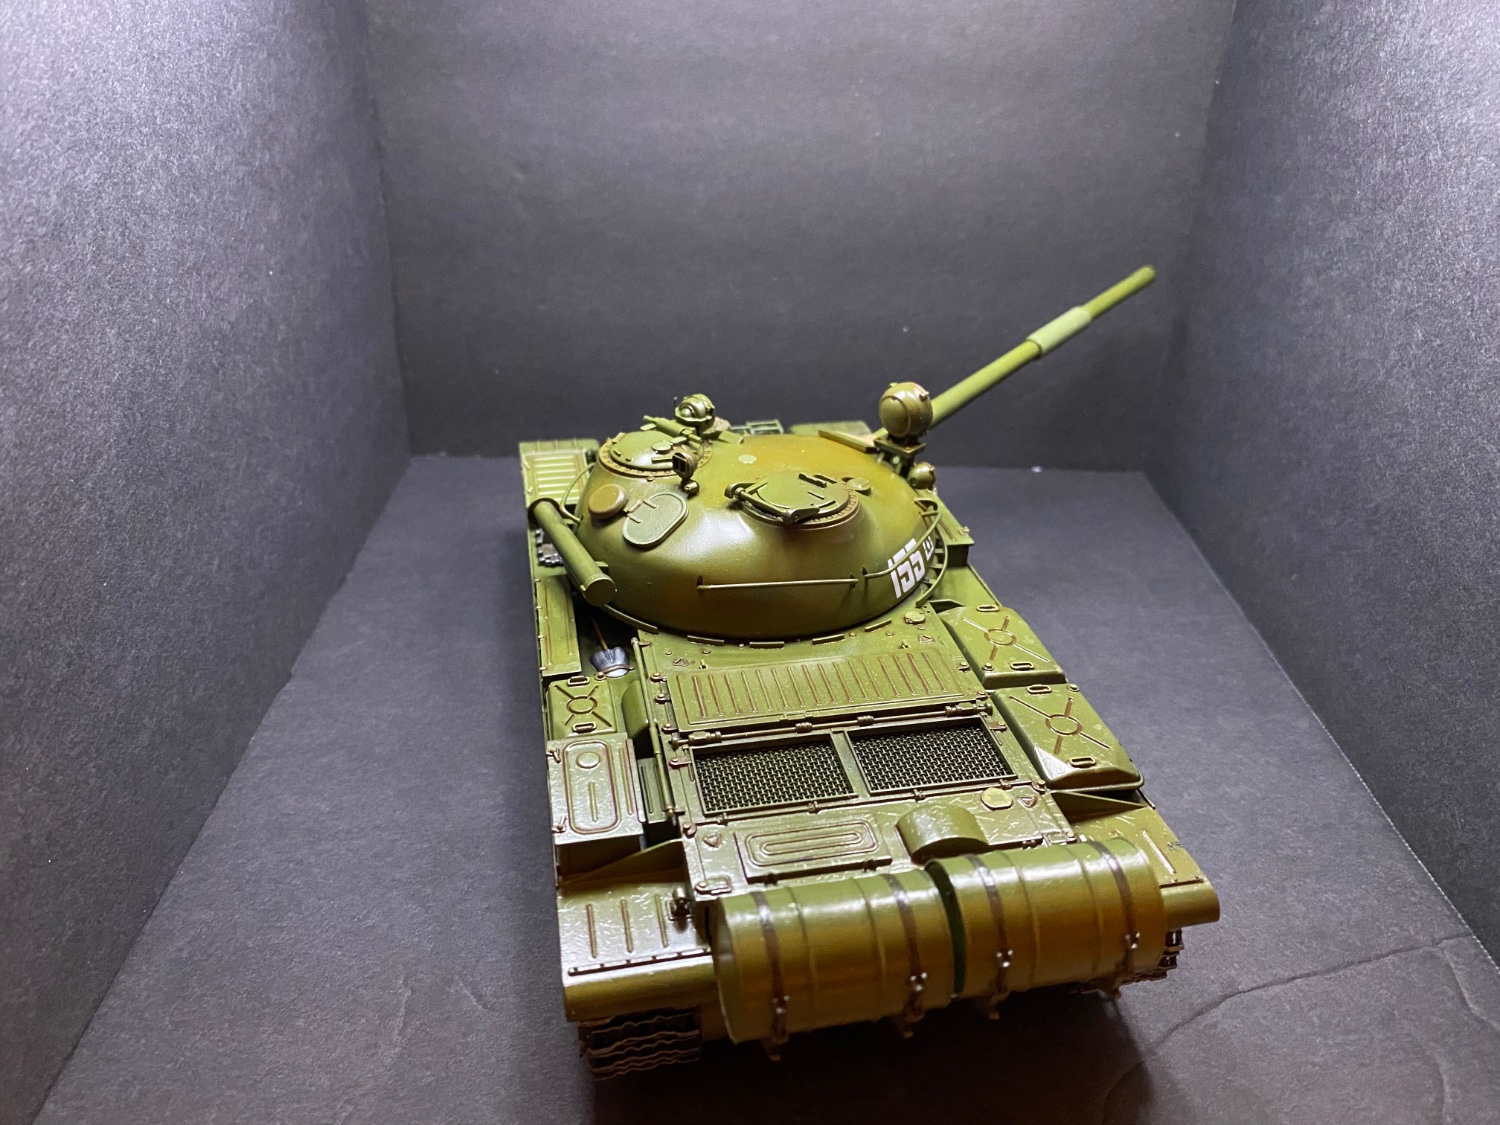
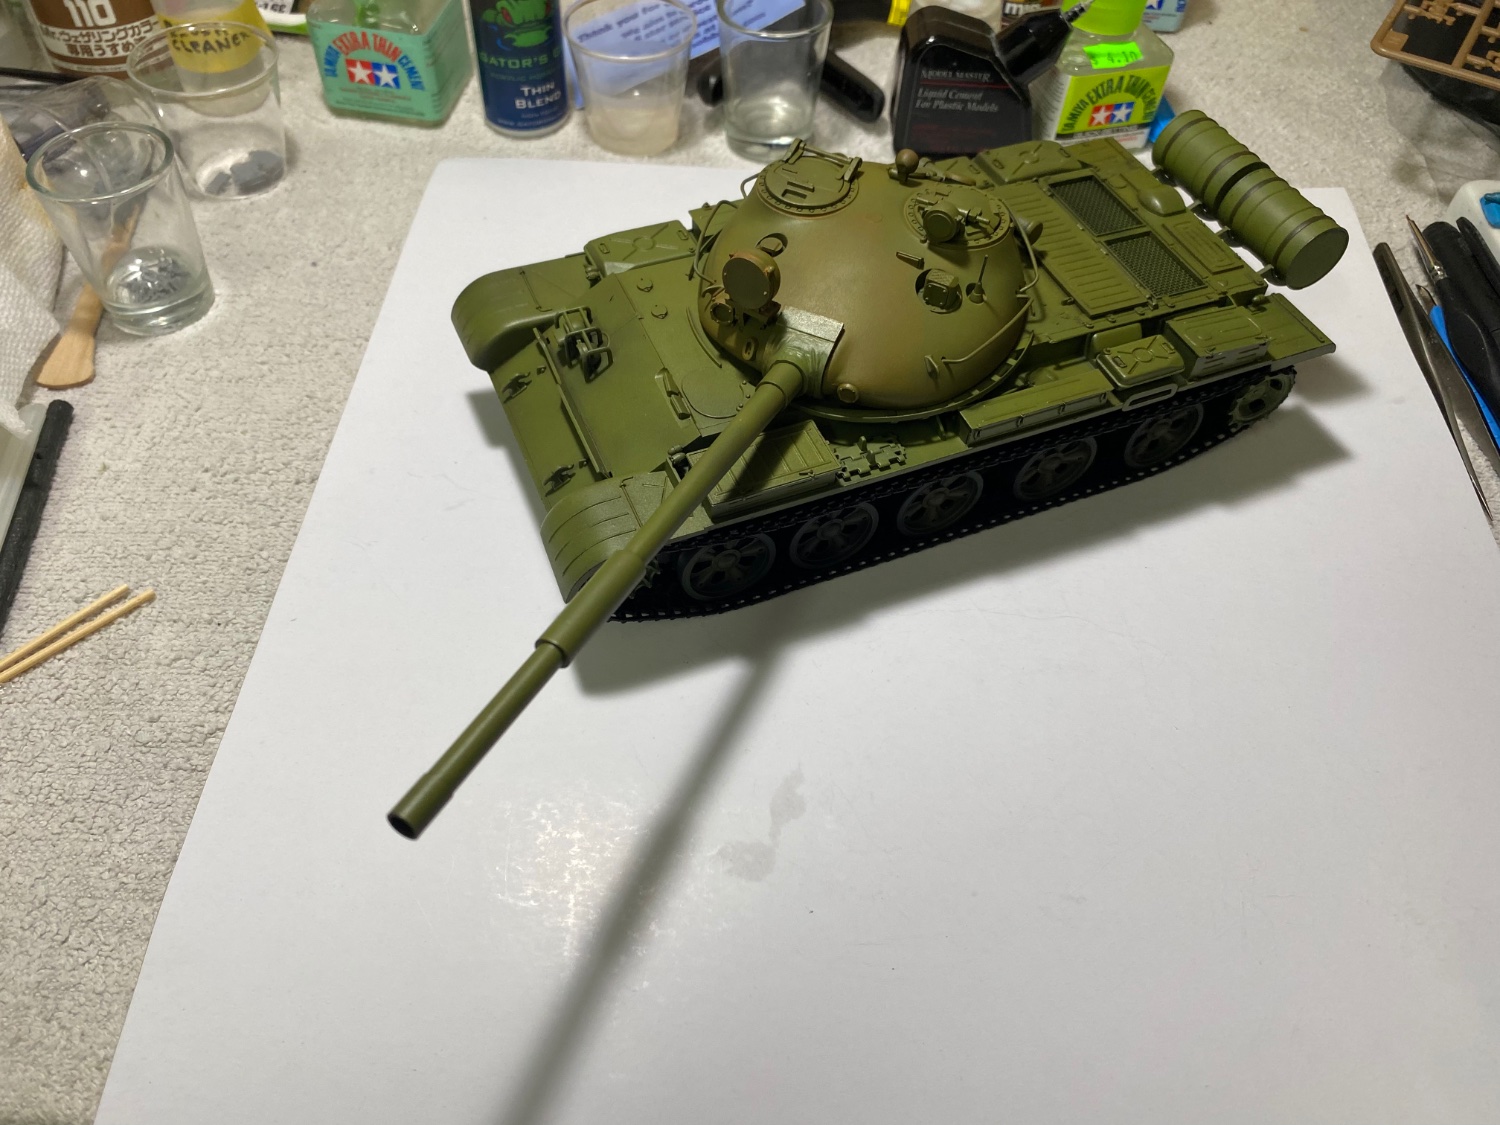
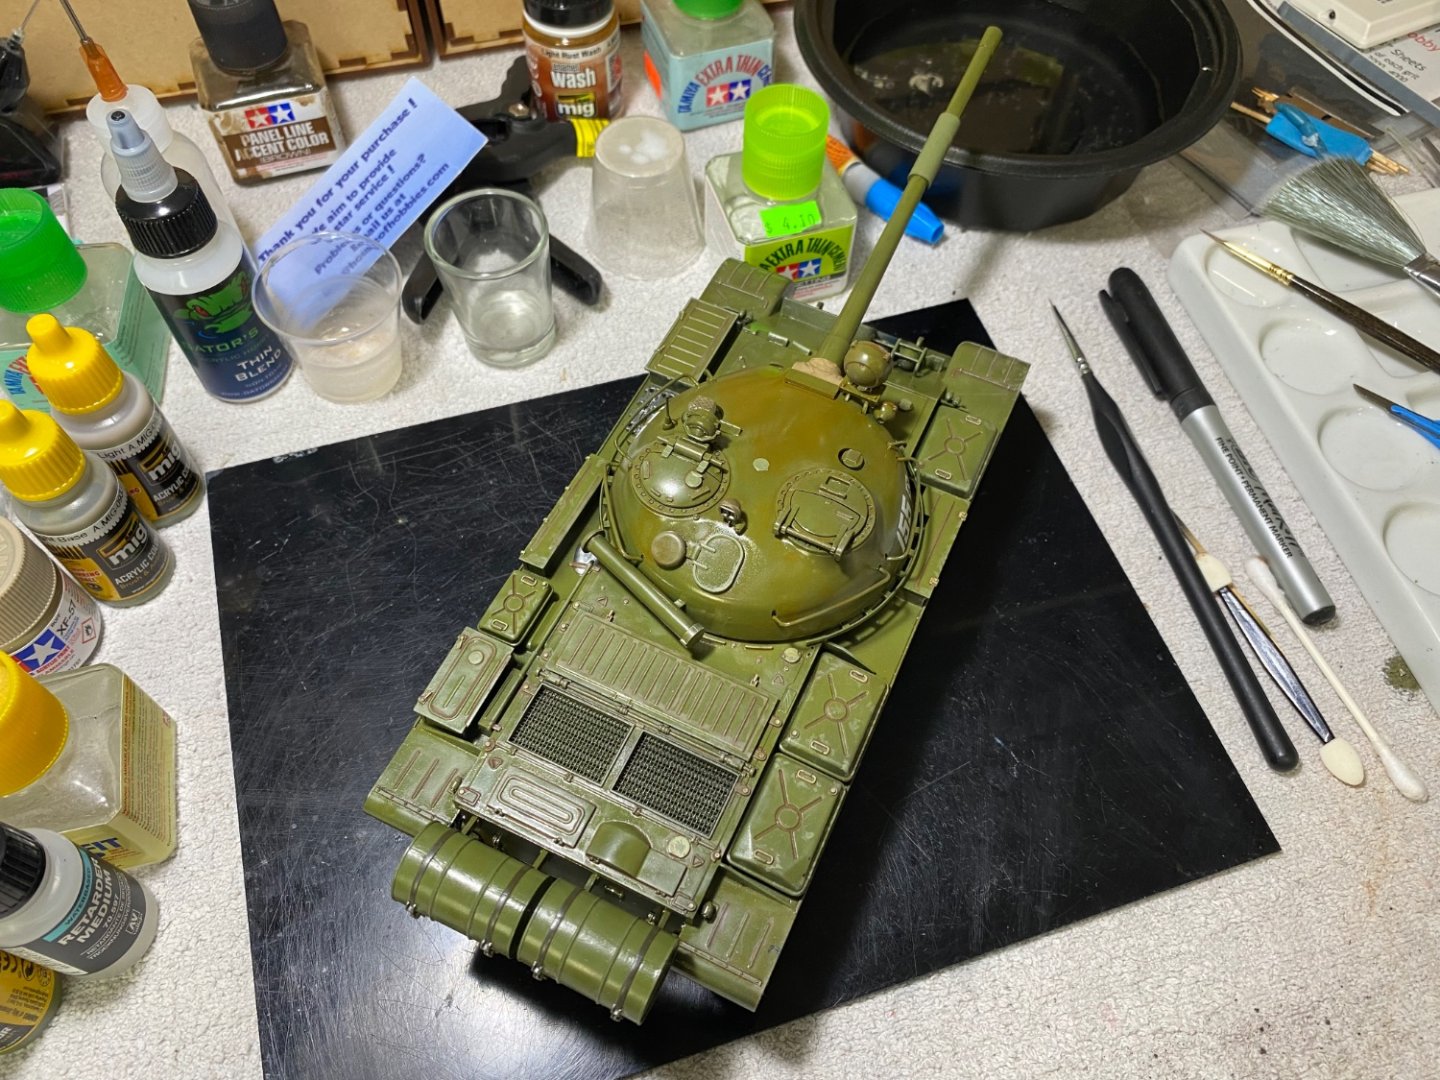
With the decals added and the bulk of the detail and weathering I wanted to add, am about ready to lay down a coat of Matt clear to seal and unify the finish. after that, I may add a few more weathering details and maybe add the commander as well.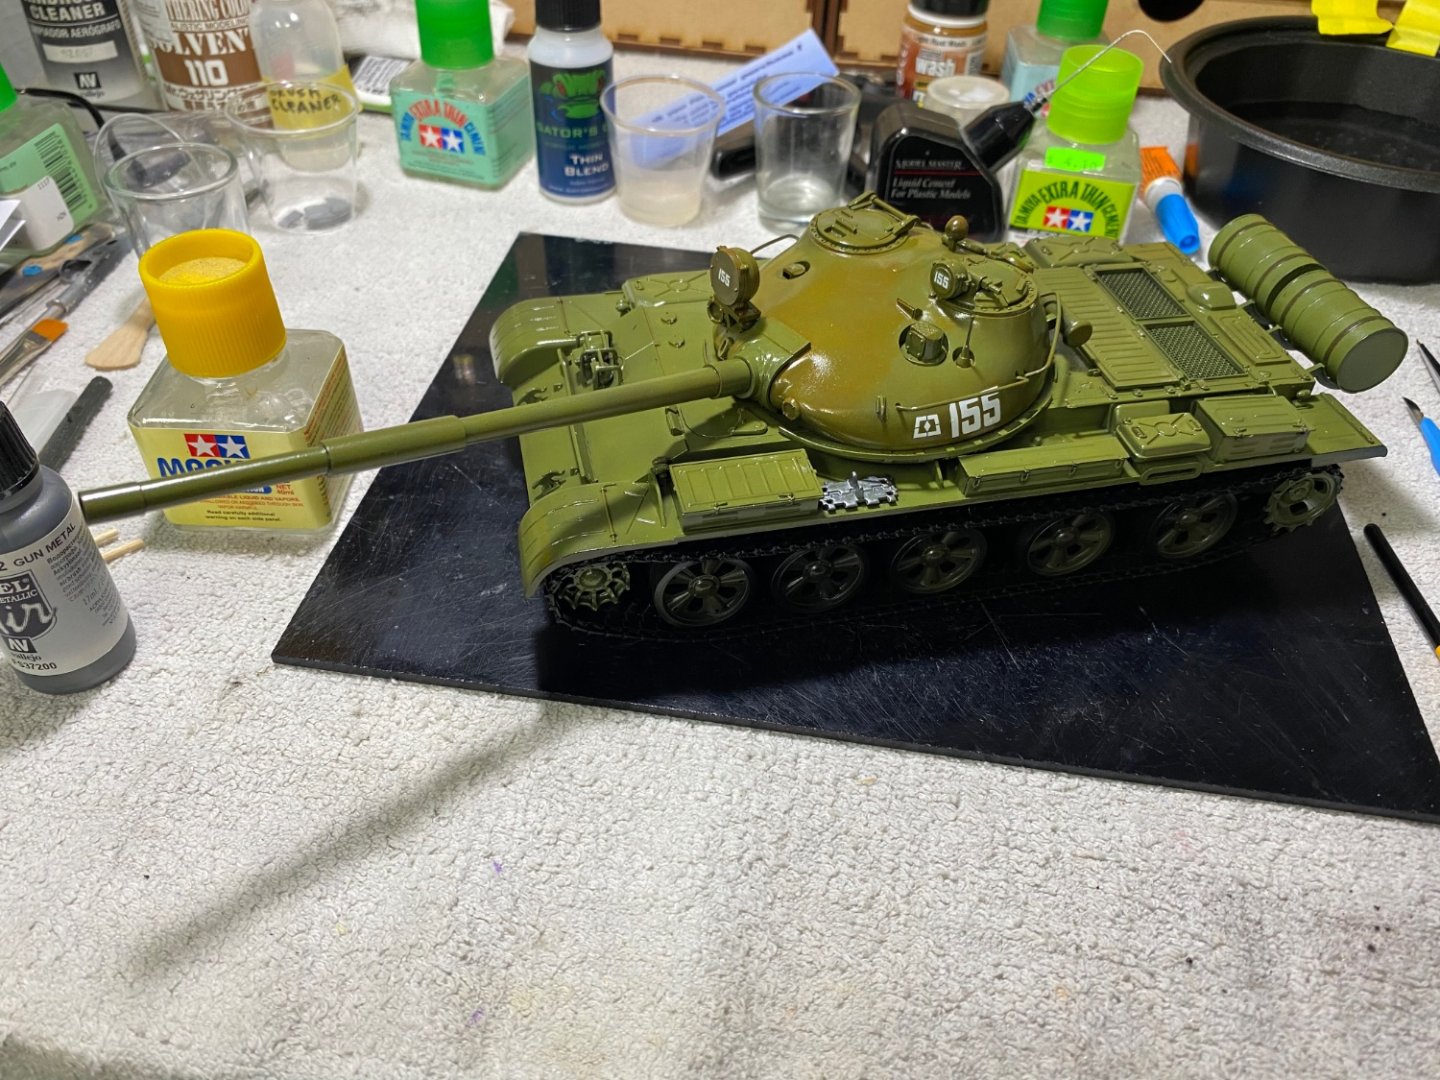


-
Russian T-62A Tank by CDW - Tamiya - 1/35 Scale FINISHED
CDW replied to CDW's topic in Non-ship/categorised builds
Perhaps the chart I referenced pertains only to Soviet operated T-62's, but it clearly states their losses occurred first in the Afghan conflict. Since looking further, I found where Israel indeed captured hundreds of Syrian tanks in '73 as you said. Further, that Israel put unmodified T-62's into their own service renaming them the Tiran 6. I have not found a combat record for the M-51 vs: T-62. Soviet Union[edit] The T-62 entered service with the Soviet Army in July 1961. Because of the firepower of the new 115 mm gun, it was considered to be a formidable tank for the time, despite its drawbacks.[2][3] Along with the T-55, the T-62 was one of the most common tanks in the Soviet inventory. The two tanks together once comprised approximately 85% of the Soviet army's tanks. Later in the 1970s, the T-62 was rendered obsolete and was put into reserve service. The T-72 and T-80 later succeeded it. Sino-Soviet border conflict[edit] A T-62 tank captured by the PLA during the 1969 Sino-Soviet border conflict. The T-62 saw combat for the first time during the 1969 Sino–Soviet border conflict during which one was disabled and captured by the People's Liberation Army. The T-62 (No. 545) was hit by a rocket-propelled grenade fired from the Type-56 (Chinese copy of RPG-2) RPG launcher on the morning of 15 March 1969 during a PLA counterattack. The RPG penetrated the left side of the hull, killing the driver.[citation needed] This tank was later studied and the information gathered from those studies was used for the development of the Type 69 main battle tank.[24] Soviet–Afghan War[edit] A Soviet T-62M of the "Berlin" tank regiment which was a part of the 5th Guards Motor Rifle Division, leaving Afghanistan, 1 January 1987 During the Soviet–Afghan War, the T-62 was a primary tank used by the Soviet army. The Soviets used tanks in several ways, with the use of many in fire support bases, while other were employed for convoy protection or as infantry support. Towards the end of the war T-62Ms, using the BDD appliqué armour, appeared in large numbers. According to US sources, nearly 325 T-62s fell victim to Mujahideen attacks, especially from anti-tank land mines and RPGs.[25] Others fell into the hands of the Afghan Mujahideen after they were left behind by withdrawing Soviet forces.[26] The USSR officially confirmed the loss of 147 T-62 and T-55 tanks during the war. Losses of Soviet tanks by year[27] Year Number of tanks lost 1979 1 1980 18 1981 28 1982 17 1983 13 1984 7 1985 18 1986 14 1987 7 1988 22 1989 2 It's interesting to note that in the Iraq - Iran war, Iraqi T-62's destroyed Iranian Chieftans and M-60's at a rate of more than 4:1 I was unable to locate an internet source for the combat record of I-51's vs: T-62's. However, I am inclined to believe Israeli success is more a matter of a higher trained, better qualified fighting force (and tactics) vs: their counterparts; rather than superior equipment. -
Russian T-62A Tank by CDW - Tamiya - 1/35 Scale FINISHED
CDW replied to CDW's topic in Non-ship/categorised builds
Negative. You're maybe thinking of T-54's and T-55 losses. The T-62 didn't suffer combat losses until the Soviet - Afghan war in the 80's -
Russian T-62A Tank by CDW - Tamiya - 1/35 Scale FINISHED
CDW replied to CDW's topic in Non-ship/categorised builds
A few interesting facts about the T-62: When this tank was introduced in 1961, Western countries (NATO) were at the height of the cold war with the former Soviet Union. Several unique design features were incorporated into the tank. *** The tank was designed to operate fully submerged during river crossings up to 14' in depth. *** All hatches were designed to be water and airtight. *** An air filtration system was employed to make the tank operational (supposedly) on battle fields that were contaminated with radioactive fallout from tactical nuclear weapons. *** Because of the low-profile design of the turret, a hatch was designed to eject an empty shell casing each time a round was fired, in order to save space inside the fighting compartment of the tank. *** The 115 mm main gun was the first smooth bore gun employed on a Soviet tank. The gun was designed to penetrate and destroy the armor of the US M-60 and British Centurian battle tanks. The gun fired a projectile with folding stabilizers that deployed after firing.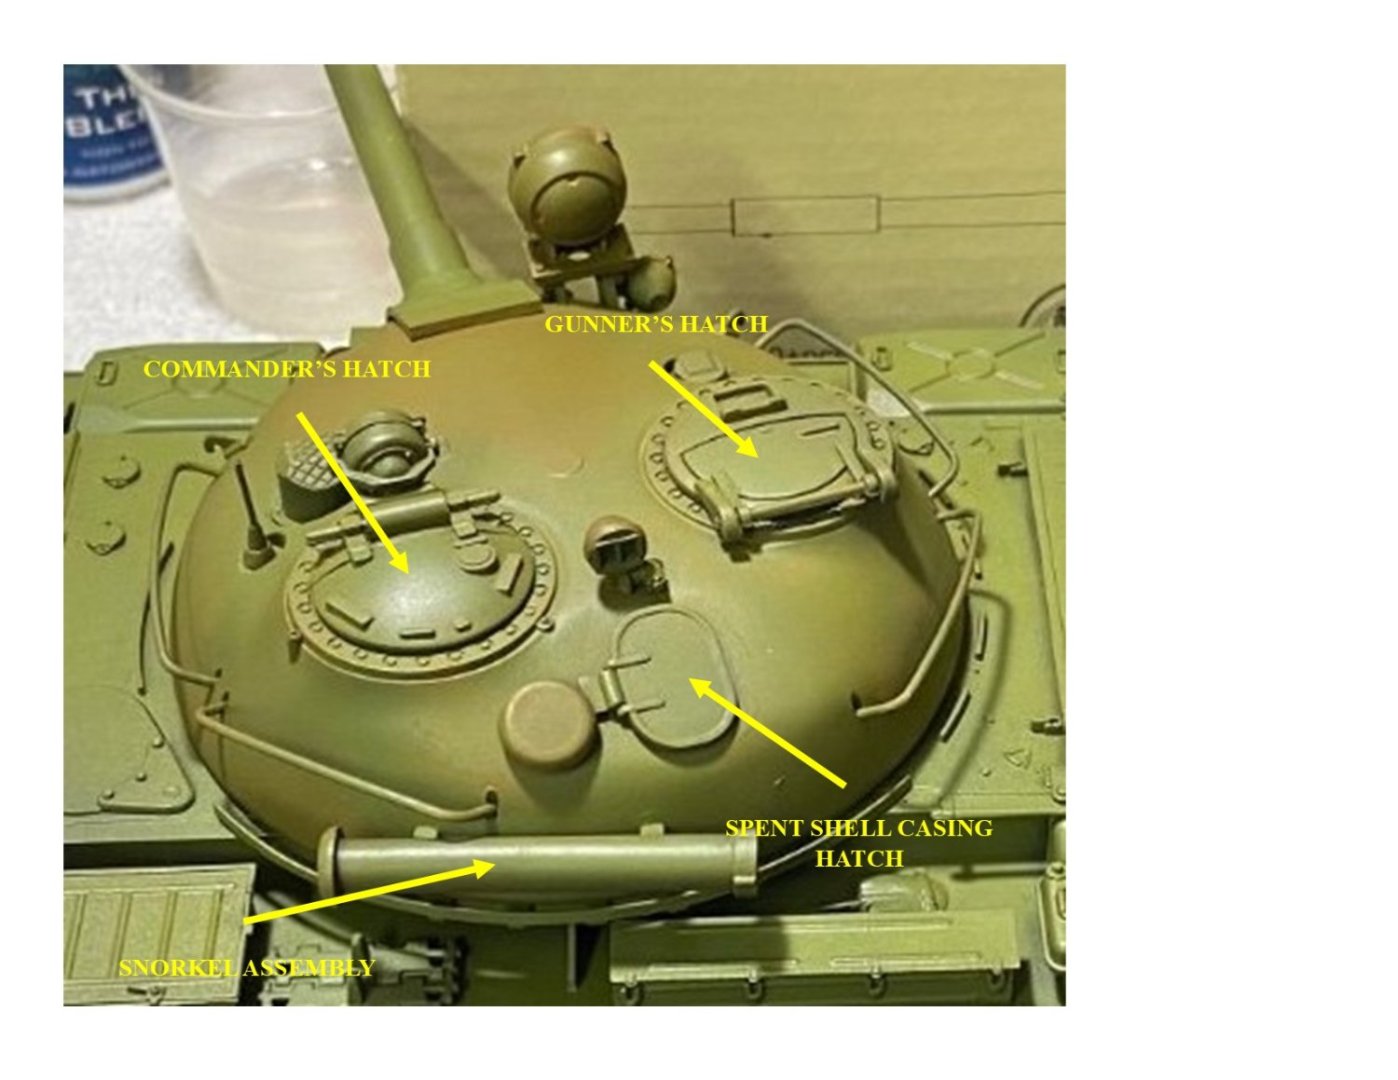
-
Russian T-62A Tank by CDW - Tamiya - 1/35 Scale FINISHED
CDW replied to CDW's topic in Non-ship/categorised builds
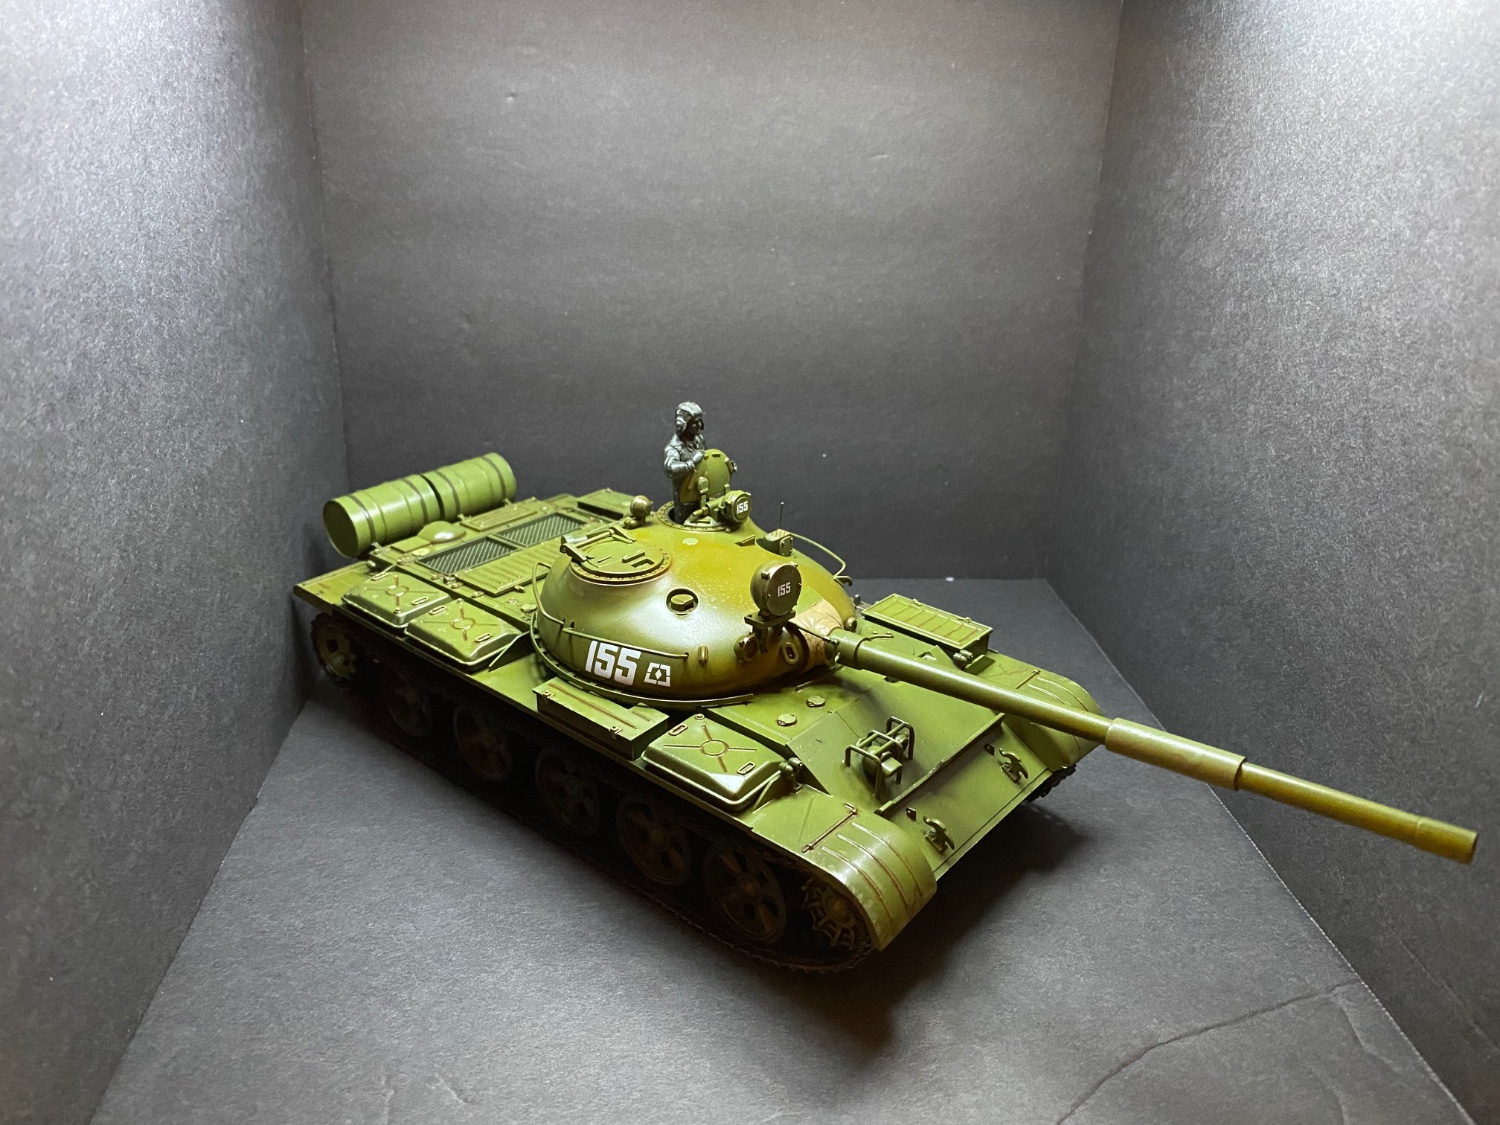
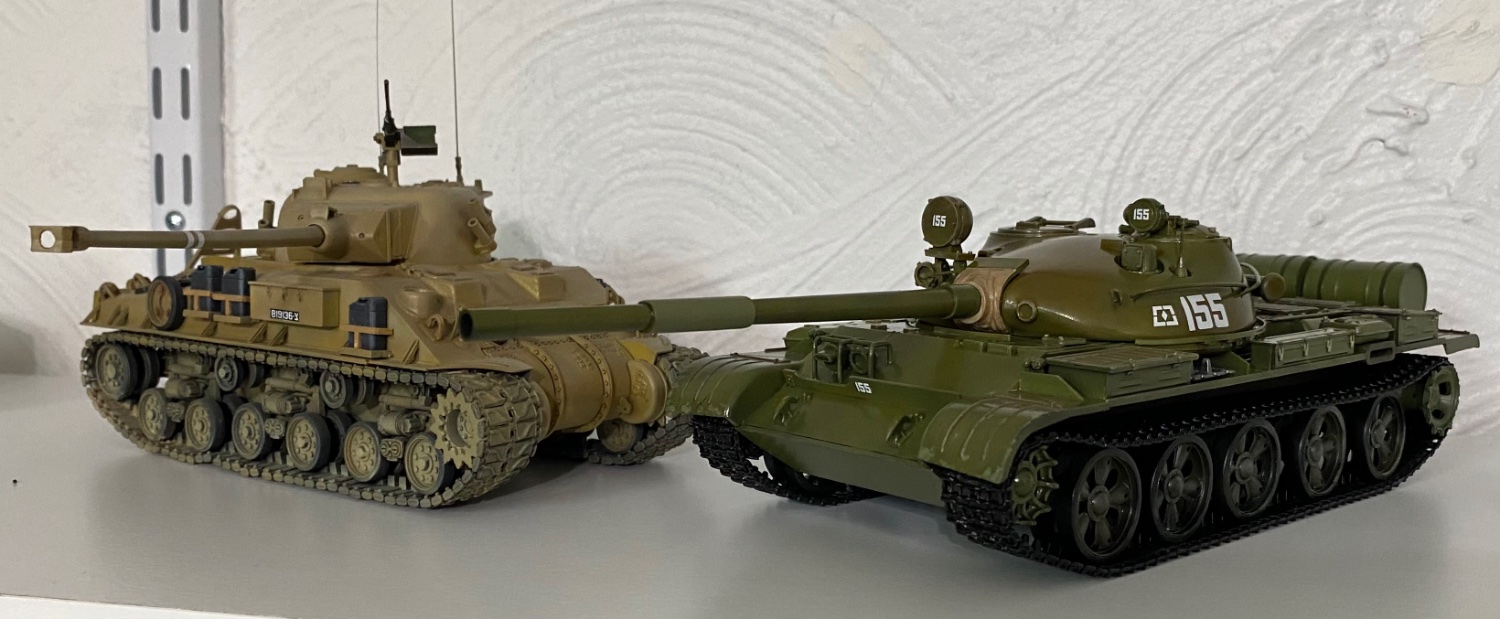
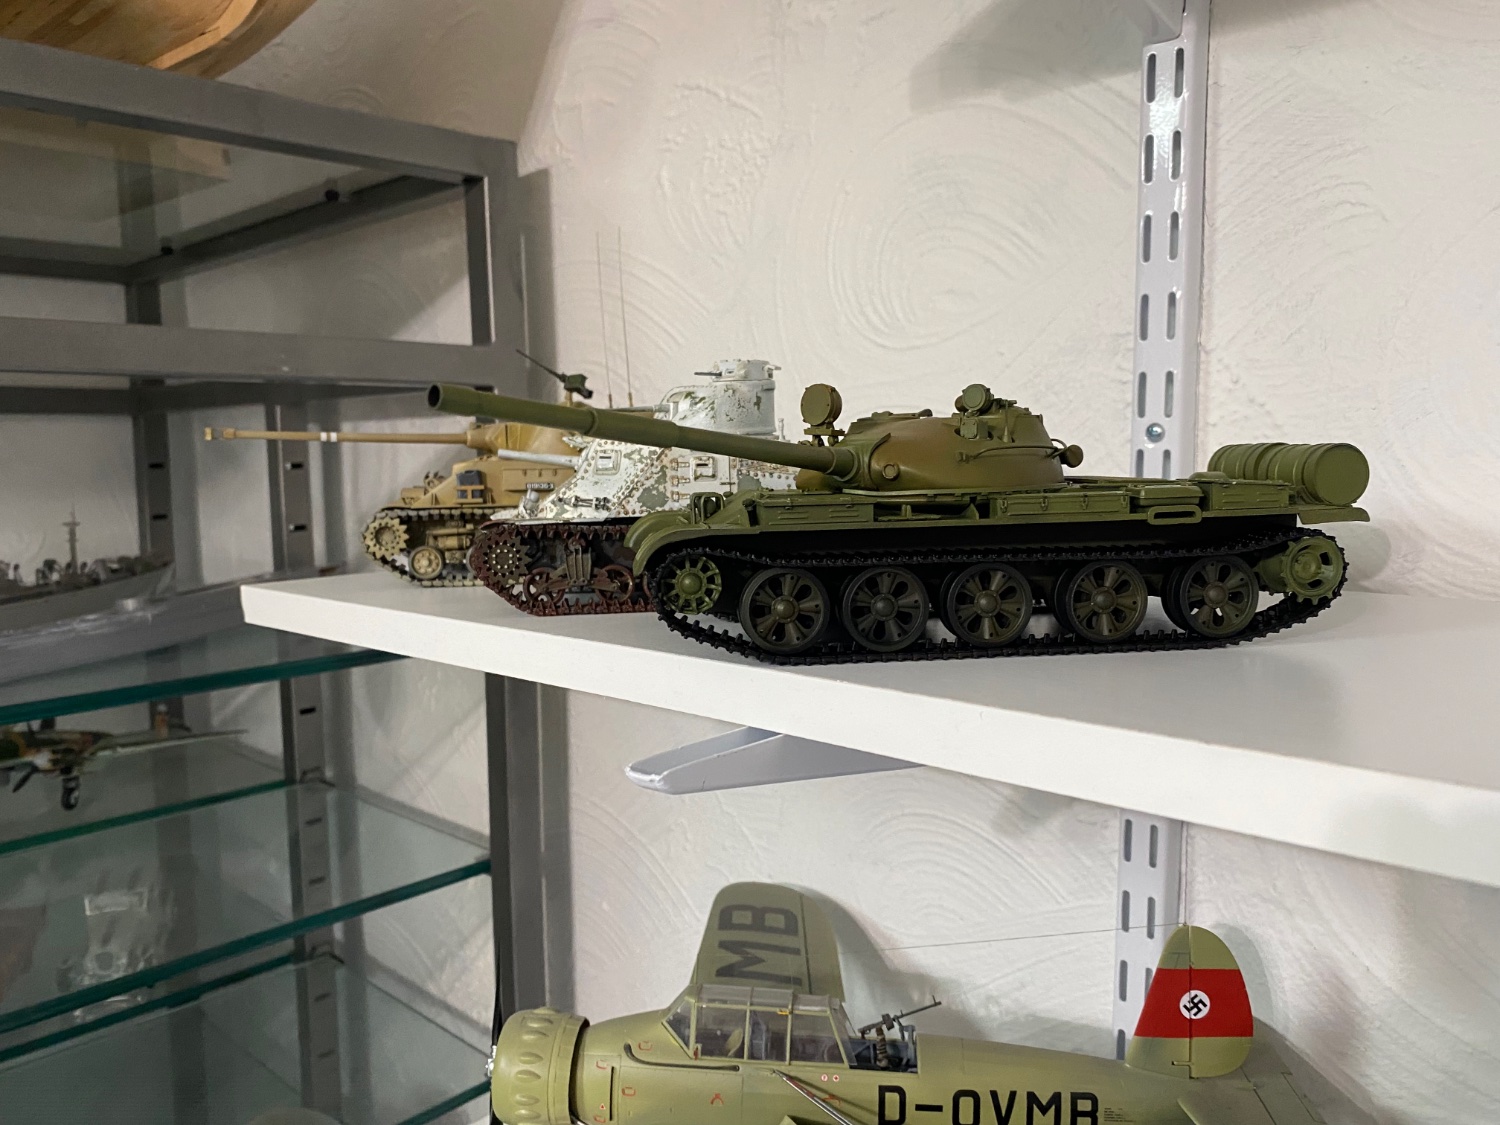
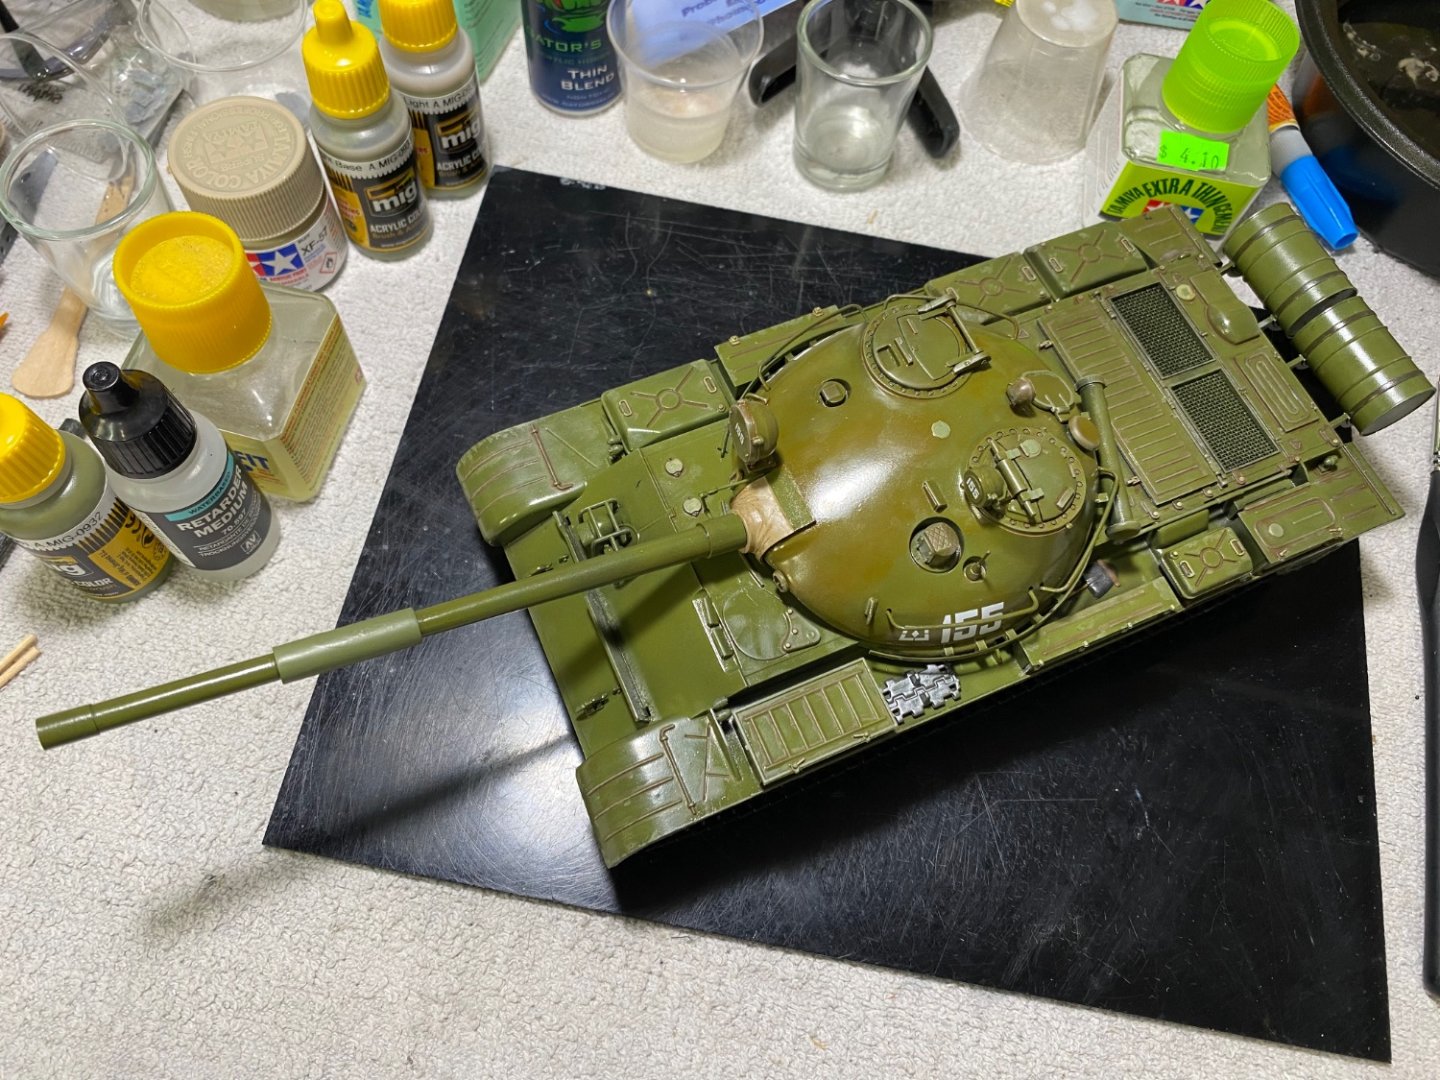
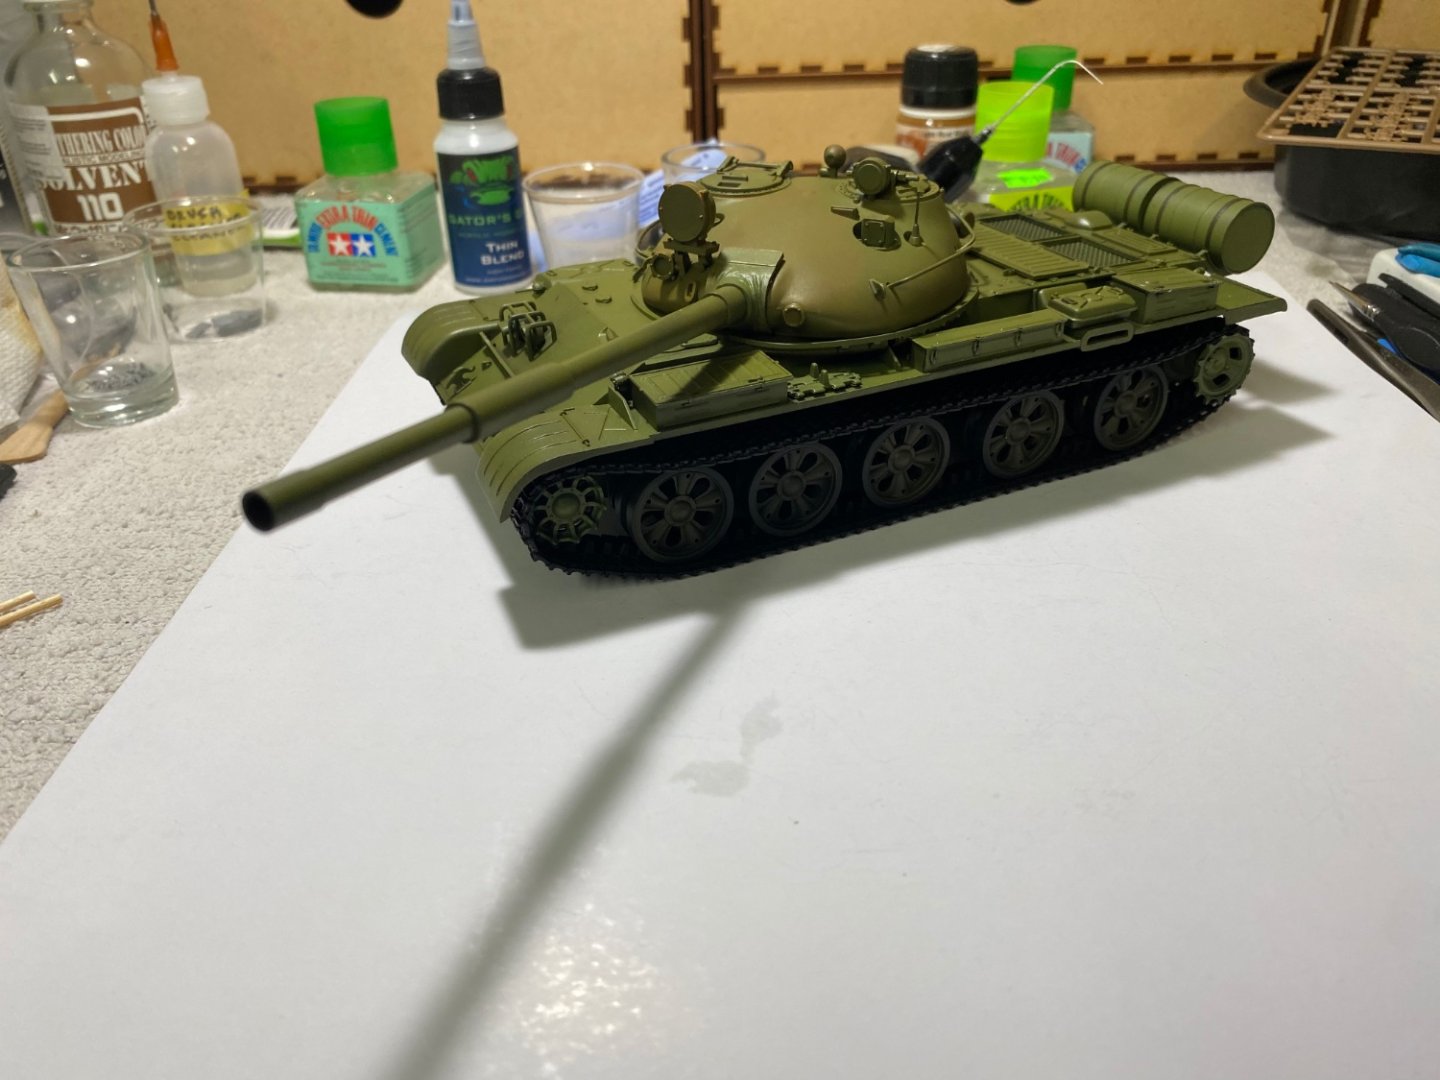
The low profile of the T-62 made it a more difficult target to acquire and hit. Sitting next to the M3 and M4 makes the low profile show out.
- 67 replies
-
- 11
-
-
Russian T-62A Tank by CDW - Tamiya - 1/35 Scale FINISHED
CDW replied to CDW's topic in Non-ship/categorised builds
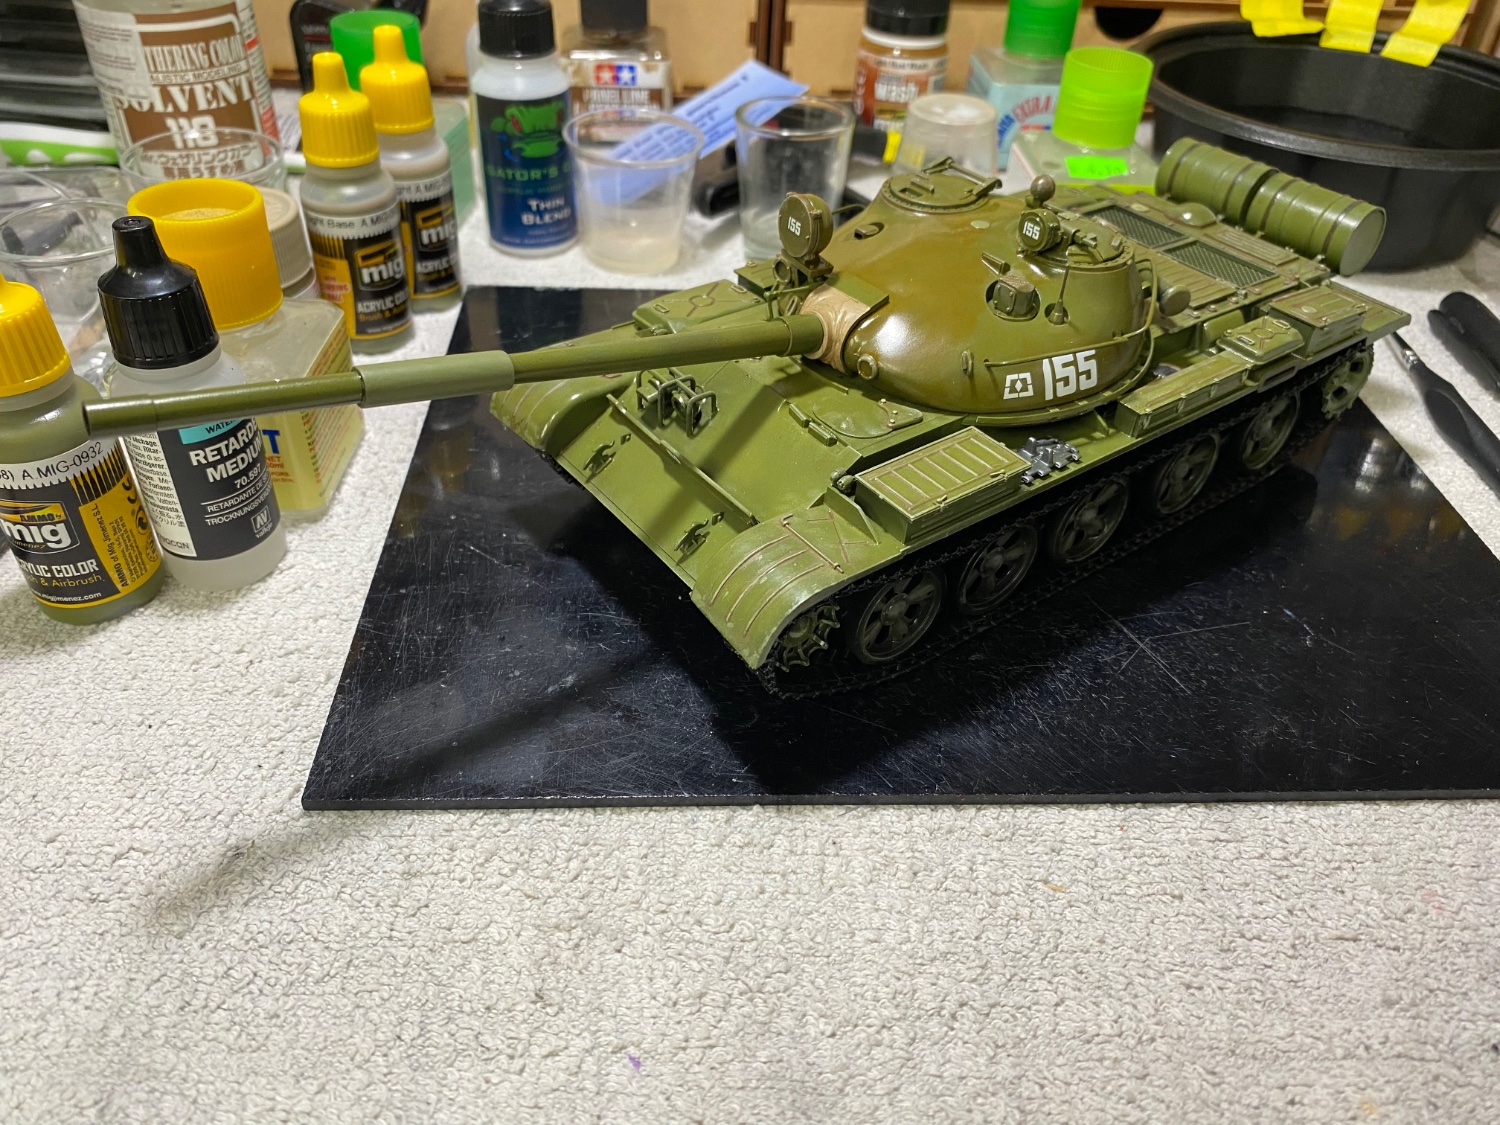
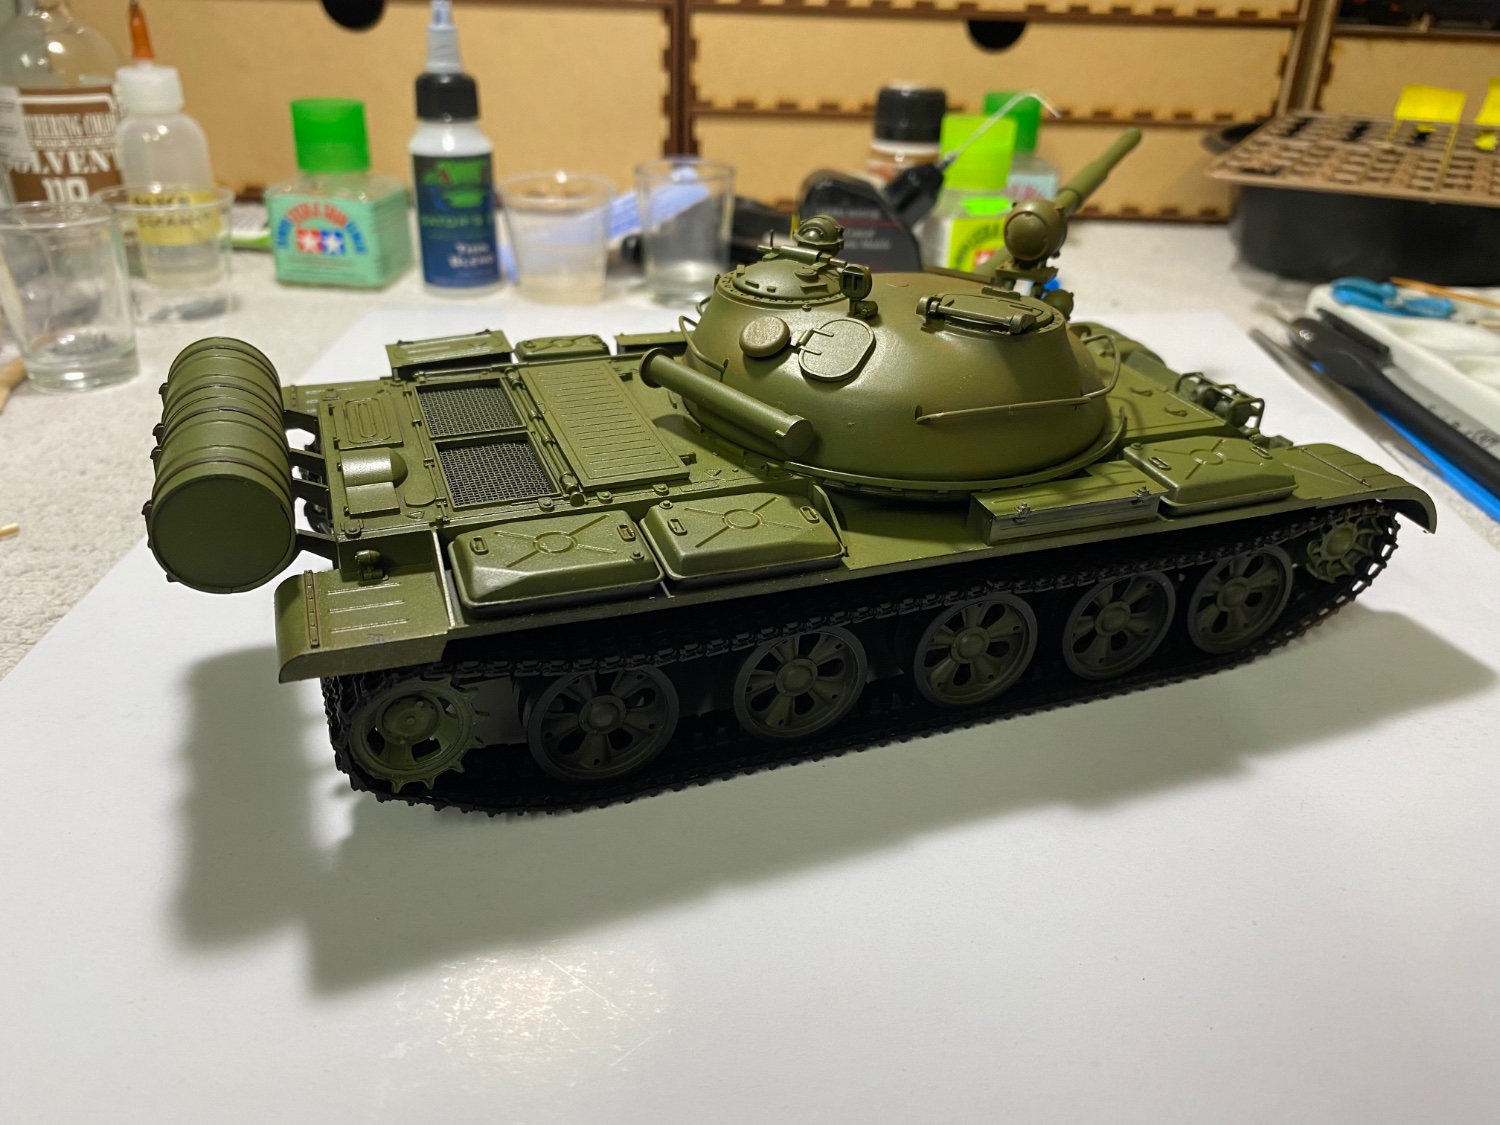
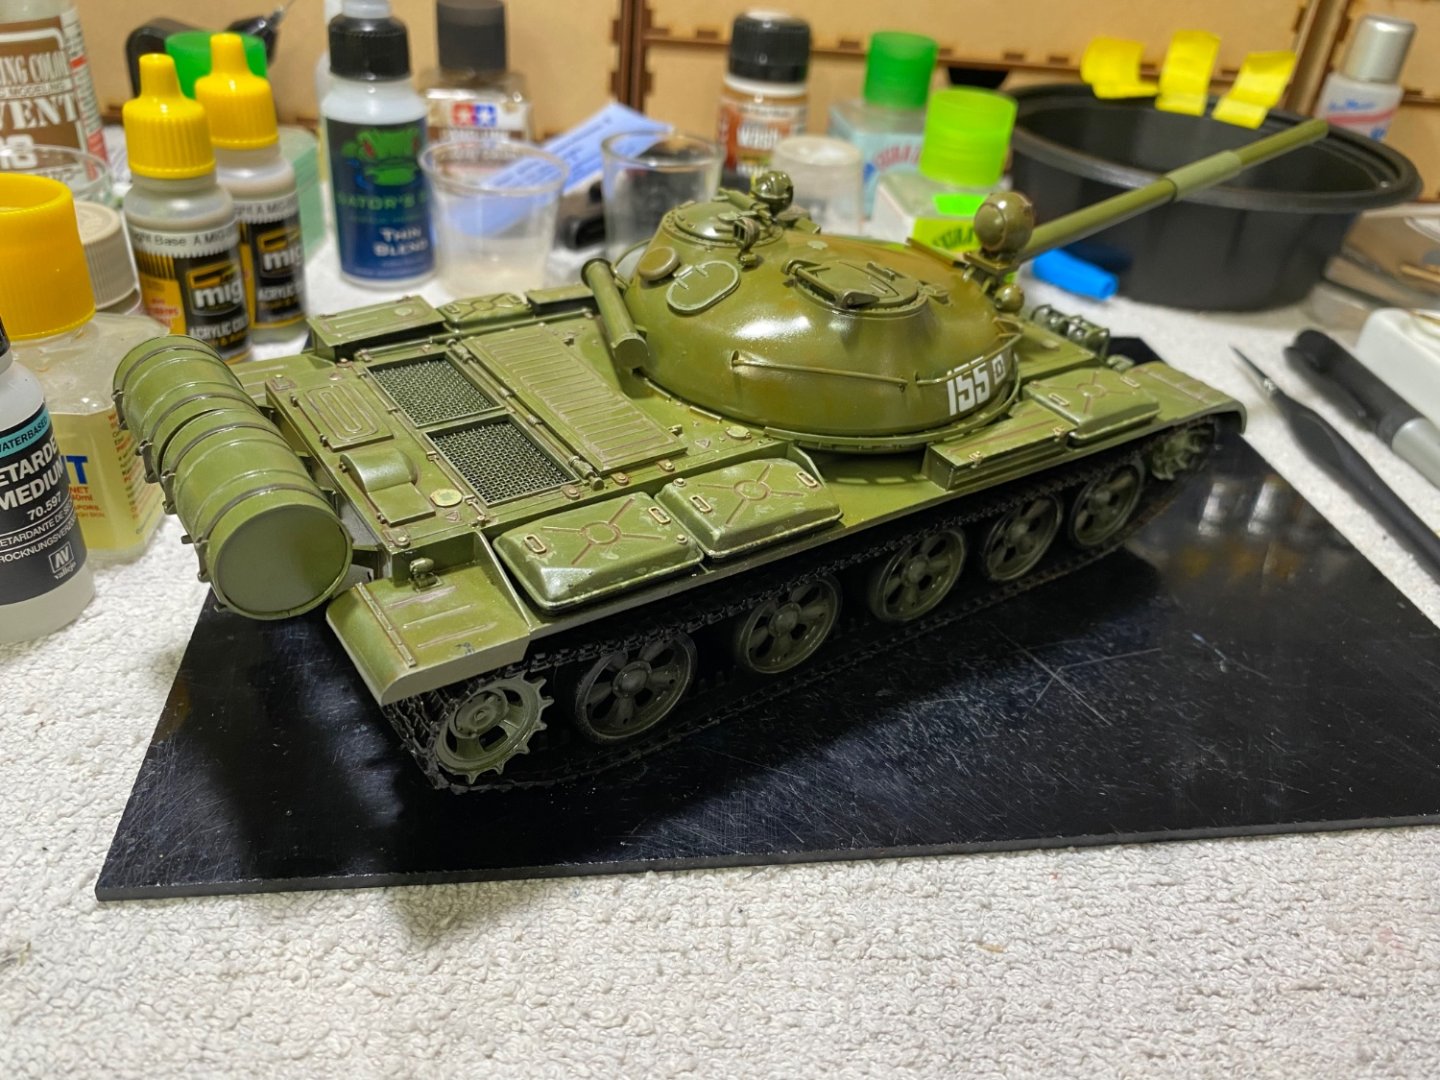
With the tracks in place, I am ready to move onto the decals, detailing and weathering phase of the build. Nice thing about individual track links is that it allows the tracks to sag where the real ones sagged. It’s possible to achieve that with the rubber band tracks as well but individual links makes it a little easier.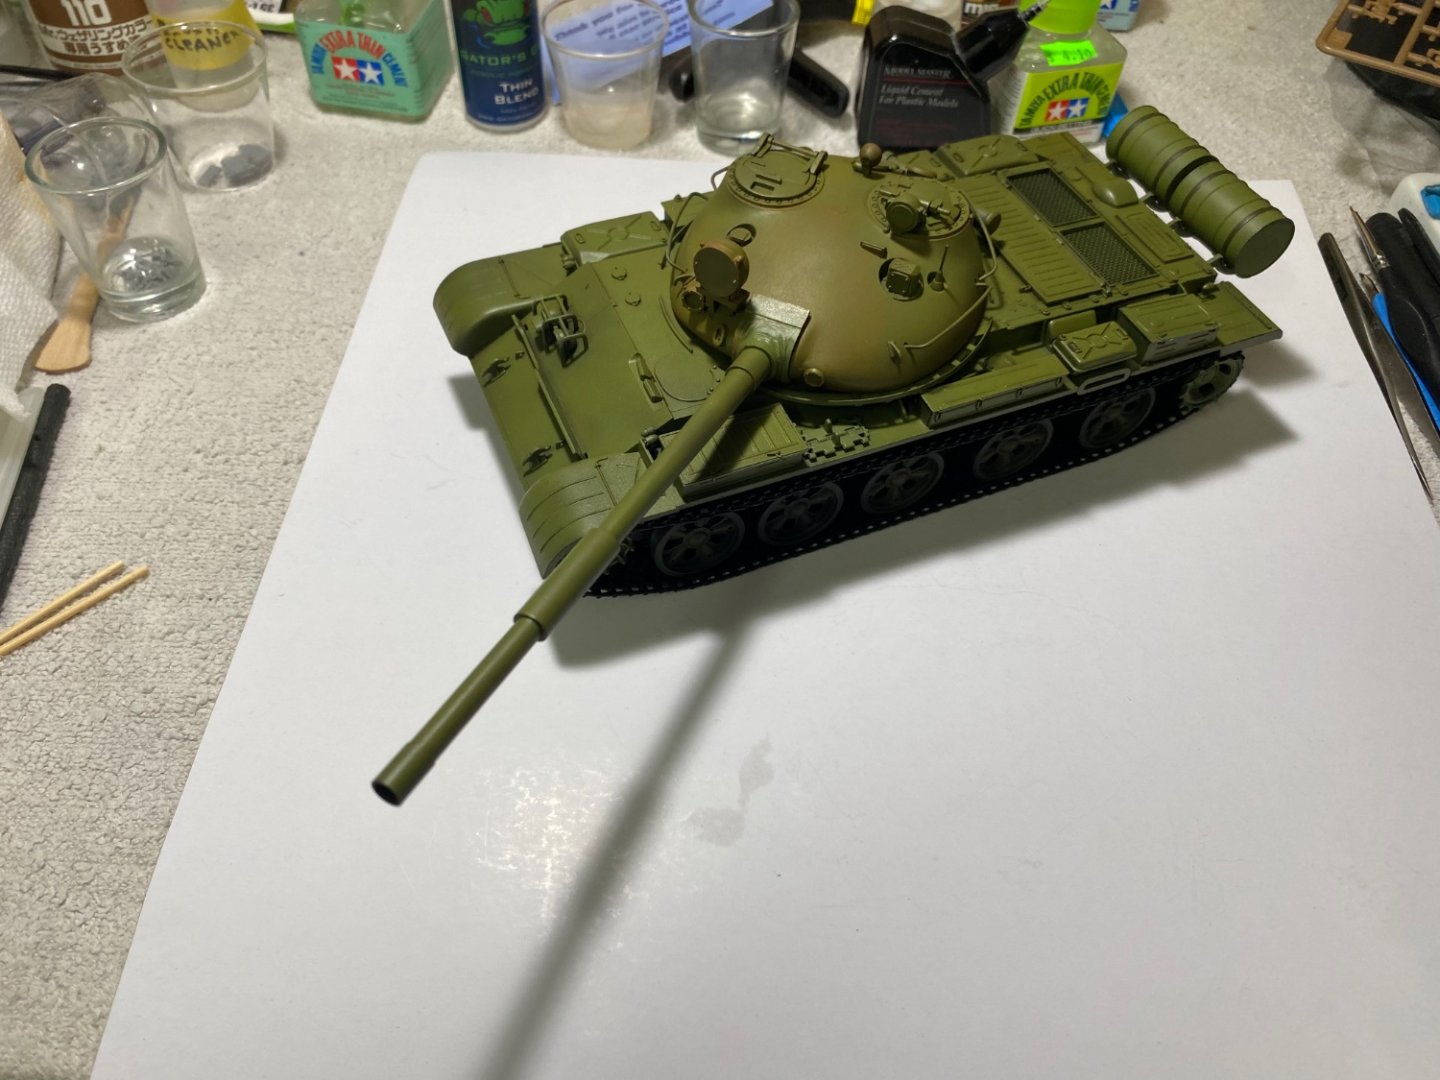


- 67 replies
-
- 10
-