HOLIDAY DONATION DRIVE - SUPPORT MSW - DO YOUR PART TO KEEP THIS GREAT FORUM GOING! (Only 75 donations so far out of 49,000 members - C'mon guys!)
×

figuerres
-
Posts
236 -
Joined
-
Last visited
Content Type
Profiles
Forums
Gallery
Events
Everything posted by figuerres
-
Announcing the Model Ship World Ship Kit Database Project
figuerres replied to SkerryAmp's topic in Wood ship model kits
A disclaimer in a footer on each page should free the website and developer from legal issues. -
when I finish the bluenose around x-mas I have the upgraded rope and blocks ready along with the stern lantern for this build. the first time I did the hull I did not get some of the planking right and when I tried to make up the gun ports it was a real mess. this time I will be more careful to layout the main strake and whales and the gun port framing. that should give me a better looking hull and better model.
-
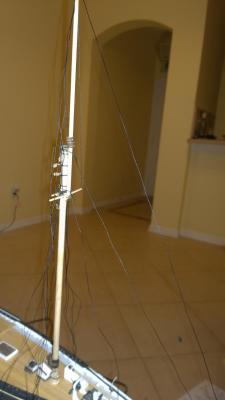
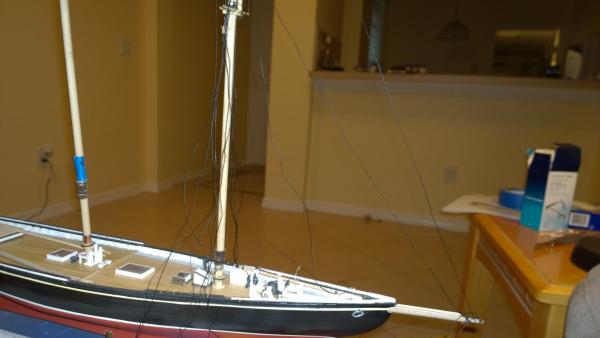
Main mast standing rigging done, getting ready to start attaching the masts to the hull and tie down the shrouds
-
with blacken-it I have generally had good results. some metals are made of compounds that do not blacken and will not work. common brass will blacken but make sure it's clean, some times I have run it thru and then cleaned with a tooth brush and run it a second time, that can help find and clean any spots that still had oil or other residue.
-
3 or 4 inch pvc pipe at a 24" length can be used really well, make a stand and use a clean out plug to make a top you can close. the top can push the strips down into the water and a good hot water soak for 10 minutes will work great. I will try and run a small batch just enough strips to do a bit and then I take a break while I start the next batch. for less than 24" strips a large drink pitcher like you put tea or cool aide in can also work great. with that I have taken butter knives and rubber bands as a way to pull the strips down into the water to soak them.
-
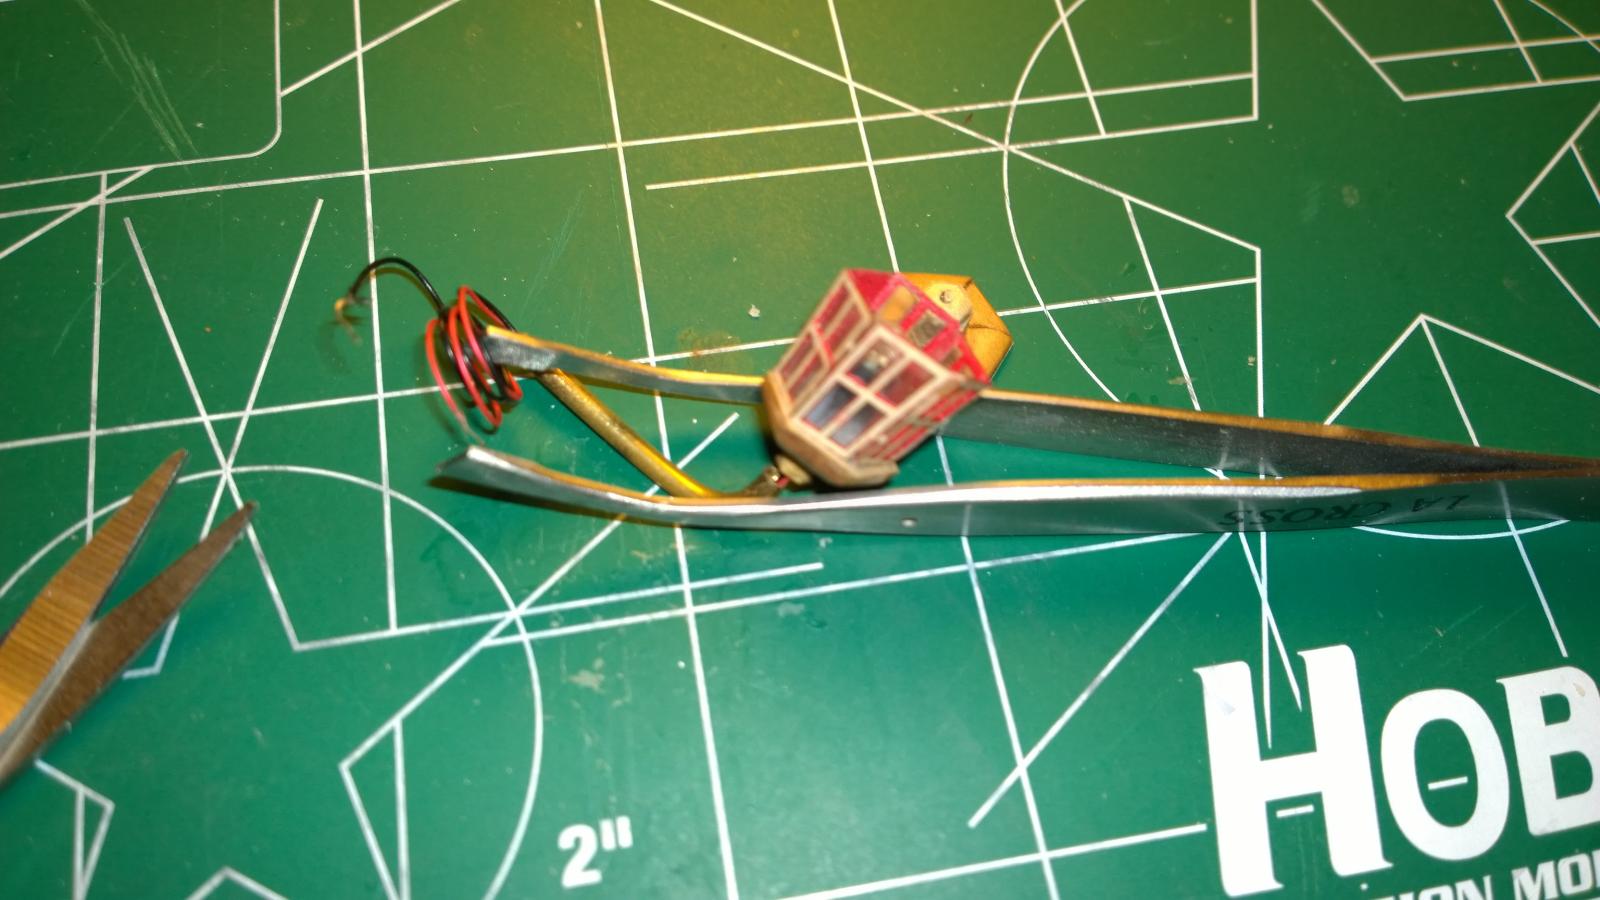
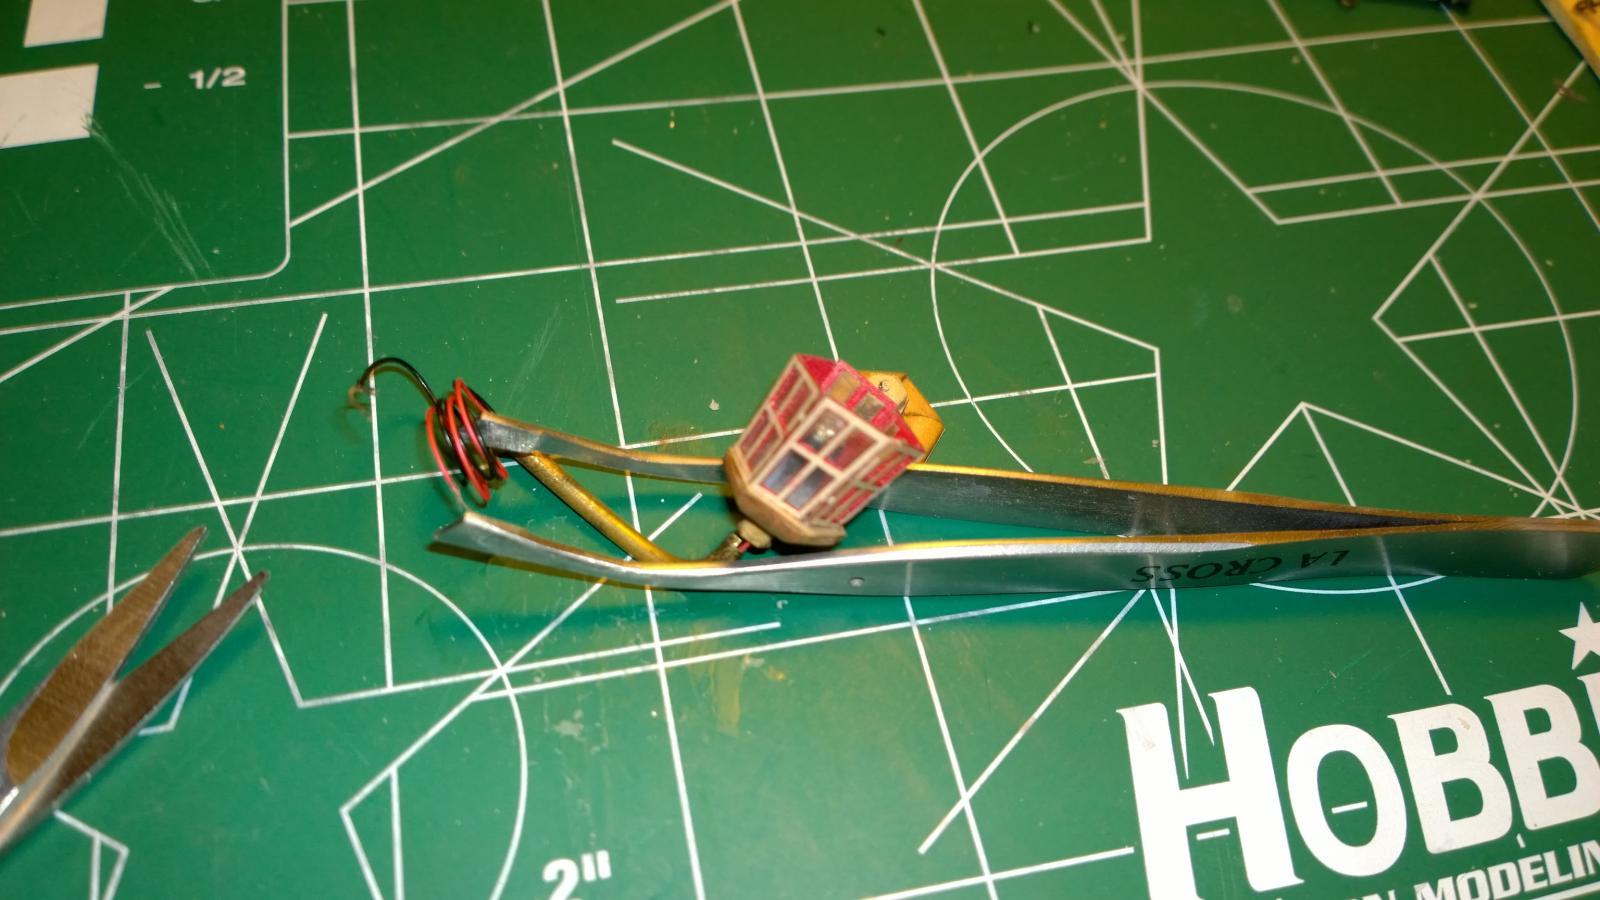
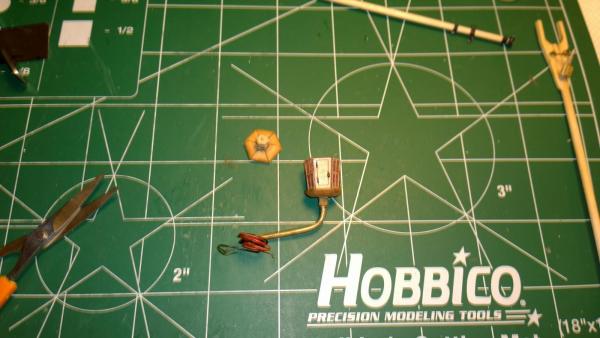
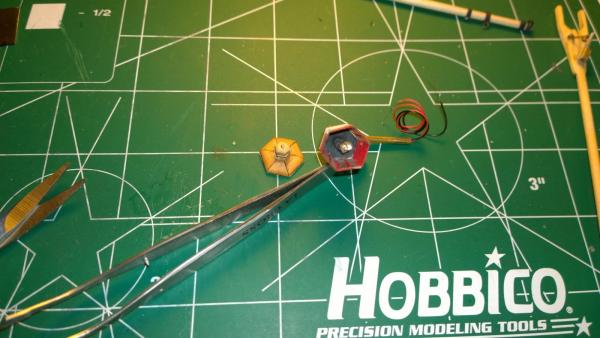
Just a follow up, the small top parts did not stay lined up right, I thought I had them but later when I looked at a close up they are not all to each side! not a flaw of the kit, just hard with the small six sided bits to keep them in line. the only other thing was keeping the six side panels in the right order was something at first I did not realize was key to building it. had to check them a few times as I went from card stock to paint and getting the windows on and then building the base. I do think this looks 1000% better than the lump of metal that the kit has!
-
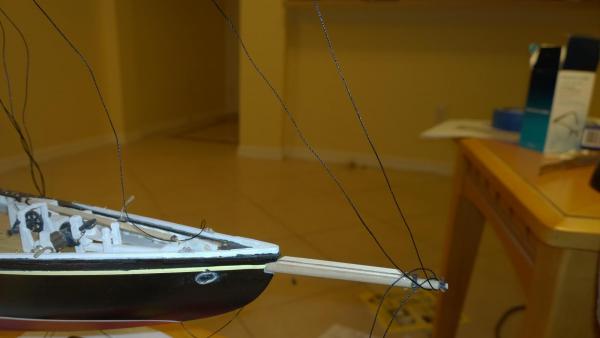
Rigging is making some progress...

-
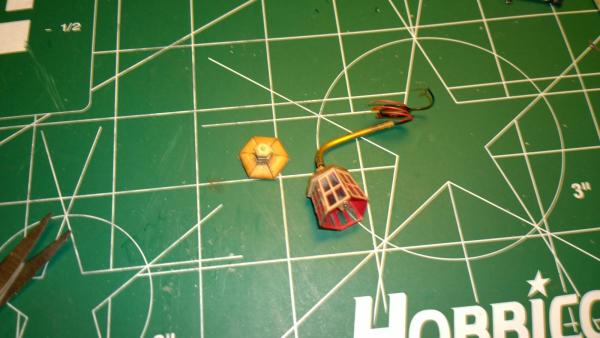
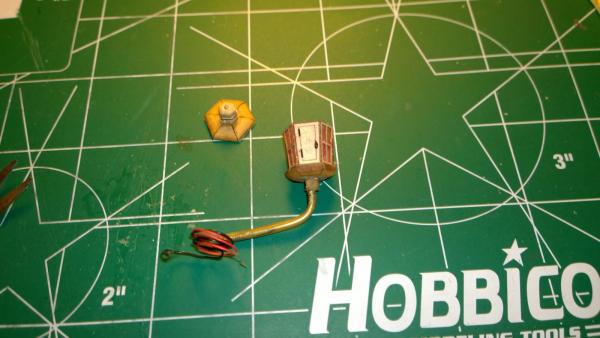
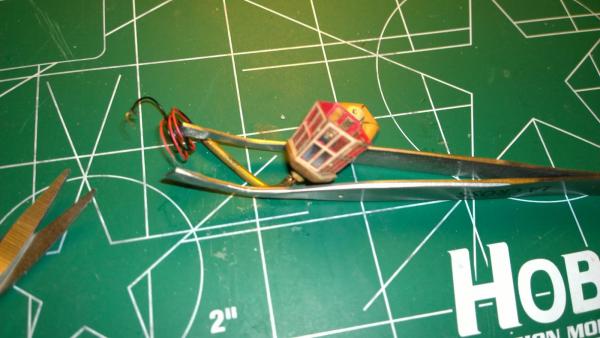
Siren 1:48 scale lantern kit with added LED light first try, I like how most of it came out.

-
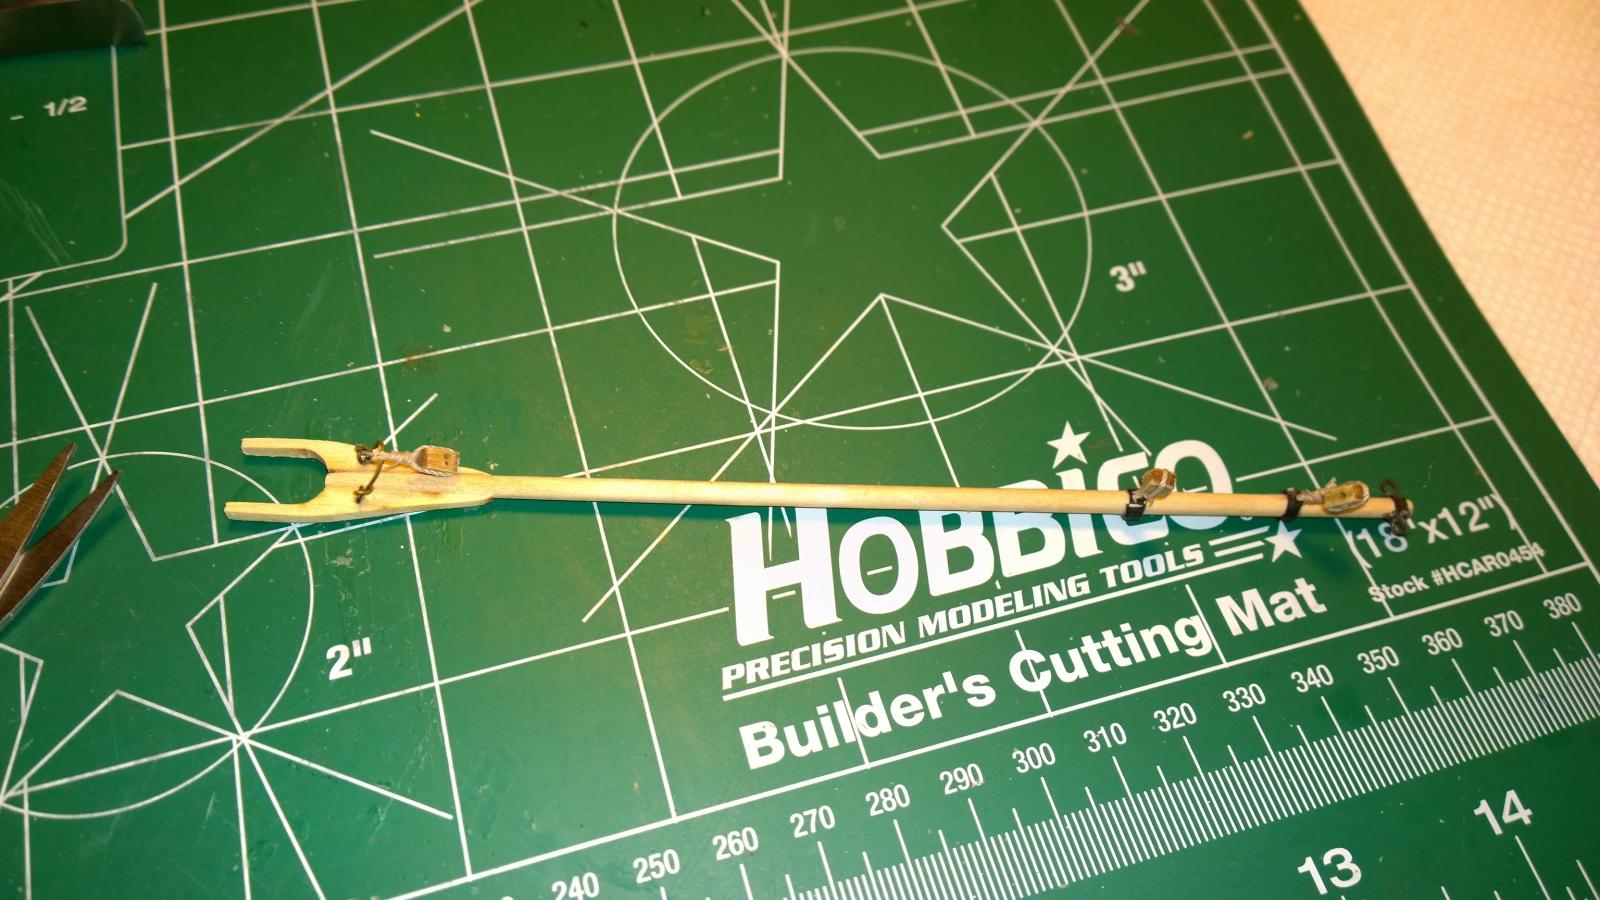
I recently got the Stern Lantern kit from Chuck's store and will post some photos in the next few days, this will I think make the new Fair American build look much better when I am done. I got the 1/4" kit as that is the same scale as the ship kit. Chucks lantern it much larger than the cast metal glob that comes with the model shipways kit but I think it will look just fine as it is a real lantern with windows and not just a chunk of metal. I am using a bit of small brass tubing for the mounting base and that will hide my LED wires that go in the lamp. the small LED ( 1.8MM) fit's inside and will look good when hooked up and on, they are yellow and change from almost off to a low level light so it's like an old candle or oil lamp in how it looks. the kit is small and you have to be careful but it's not to hard to make, just take time. for me it's about a week on the calendar but mostly an hour at night so possibly 10 or 12 hours max build time.
-
Yeah it's a mish mash of different ways folks build, when folks use slower glue the small nails can help hold a plank till the glue has set. CA can set fast but you can't really un-do it later. I generally use a CA Gel as it sets fast and does not run. but for some things I will use white glue when I need to be able to work on the placement of a part.
-
minor update: I have the new FA Kit in Box and I also got the stern lantern kit from Syren to replace the cast metal from MS. I also did some bashing the old hull I had to get my led light s and wires out of the hull for the new model. will have to order a new jack for the power adapter unless I get creative with a way to rig the wires .... when I get the stern lantern made it will be interesting with the 1.8 MM LED that I have.
-
Help with Hull on Artesania latina hms bounty's jolly boat
figuerres replied to bostonerin's topic in Wood ship model kits
one more try...
-
Help with Hull on Artesania latina hms bounty's jolly boat
figuerres replied to bostonerin's topic in Wood ship model kits
here is a photo from my model. well it will be if the darn system will work.... -
well I will be re-starting next month, after much evaluation and searching I think my hull was not what I wanted in terms of quality. I have a fresh kit coming to re-start the hull and get it right.
-
as I am finishing my bluenose this and other things are having me re-start my FA build around x-mas time. as I built the hull from my FA kit I am just not happy with how some of it came out and I will be using this log as an example of what I need to do differently when I re-start.
-
Help with Hull on Artesania latina hms bounty's jolly boat
figuerres replied to bostonerin's topic in Wood ship model kits
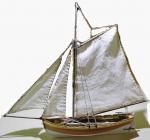
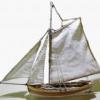
I have done that kit, my profile pick is a photo of that. I will upload some photos later but it does look as if something went wrong. the curve of the bow should "fit" the bow keel. with the upside down pictures I can't say for sure but it looks as if the top of your planking is not right. most ships and boats should have a shape almost like a saddle, a bit of pulling up at the bow and at the stern. one of the terms that describe an old hull is "Hogging" which I read as starting to get a shape like the back of a hog - higher in the middle than the ends. also the "Notch" on the top end of the bow should be at the same level as the top board of the hull where the oar notches are. also be a care full with sanding as this is a thin hull. if you can even get a bunch of strip wood and copy the hull ribs and practice planking before you re-plank the actual model. I am still learning how to get this right, it's a bit tricky, the more times you try it the better you will get. -
A quick note: I was in an apartment when I started building the ships, that did not give me much room for tools and parts and such. then last year I started a new job across town so I was also driving for over an hour and a half every day plus 8 hours work. now I have a town house with a garage and I am getting my tools and such setup where I will have a lot more room to work and I now live 5 minutes form work. so now I am getting all the tools back to where I can find them and found my sheets of plans and bins of the blocks and rigging. I hope that by the end of January bluenose will be finished and I can get to my other kits! well really I hope faster than that but we shall see how it goes.
-
One thing I look back on at this point is that *IF* a kit was made that was just a little larger scale then there is a lot of detail that could be done on this ship. I did some soldering of some of the metal rings that mount the upper mast and the eyes and I made the rings and hinge for the one spar/boom that the plans show but at the size of the MS kit they are darn hard to do. after I get some other stuff done possibly in say another 2 years at the speed things have been going (I hope not as slow this next year) I could be tempted to get a fresh kit and work out a re-sizing of it to a new scale.... kind of a scratch build based on the plans from MS I guess. AT 1:64 it's a fair size I wonder how big it would be at 1:48 ?? like not double -- 33% larger ?
-
Hello All, well I had a job change and a move and some other stuff happen and now I am getting back to my ships.... will be back soon.
-
Hello all, well a job change and a move and other stuff kept me away for a long time.... I am on my way back to finishing this stuff.
-
thanks for the messages, the last few months work has been crazy so I have set the models aside till I have more time for them.
-
long time way to handle rust is with some naval jelly. use gloves and an open area and wash. after that use some steel wool and then at the end use the wd40 or light oil. the jelly removes the rust and "stops" it use the wool to make sure you get clean surfaces of bare rust free metal. then the wd40 or light machine oil will help to keep oxygen from getting to the metal.
-
Heh, no problem I hade to make my set soon anyway, I am working on a set of cannons and carriages I got from chuck's new company and getting the gun ports and the cannons setup so that I am sure of the final layout to finish the gun ports and railing. http://www.syrenshipmodelcompany.com/turned-brass-cannon.php#!/~/product/category=5764759&id=24621019 http://www.syrenshipmodelcompany.com/laser-cut-ship-model-fittings.php#!/~/product/category=5764789&id=24646185 this set of parts is slightly smaller than what the model kit came with but I think they will be a better match with the model and the size also the wood parts in this set are more detailed and more like the actual carriages , the model kit parts are much simplified and missing some details.
-
here are some photos of the parts for the hatches as I made them.


-
I have been looking at the plans and at my model and deciding on how I will make the hatch's. in my build I put in support for the deck and the hatch before I ran the deck planking but I did not try to build in the hatch frames. so what I am doing is just making the "upper coamings" so that they sit on the top of the deck , this will look right when the ship is finished but does not exactly follow the plans. now here is a bit of basic carpentry that is true for a house or a ship or a model of a house or a ship. any door or window needs a framework that holds it in place, the names for the boards will change slightly between a door / window or ship but the parts are really the same. for the hatches think of a window, look at an old wooden window frame if there are any around you can see. you need to make a rectangle shaped box from 4 or more sticks of wood, for example if you look at most door frames when you open the door and look at the way the frame is made there are different sticks that make up the outer surround that makes it look nice - the trim / mill work / fancy part. there is the inside frame boards and there is generally a smaller stick near the middle that the door shuts against to make a seal to keep out the wind and cold drafts of air. so the frame is built of different sticks arranged to make it work and to make it look good. for our hatch there are two long sides and two short sides. to just attach the hatch on the top of the deck boards all I have to do is cut the four sticks to the right length from wood that will have the right finished size to look right. I will glue them to the hatches and then to the deck. to help me find the right sizes I made copies of the parts of the plan that show the hatches from above and from the side and cut out the hatches and the openings from the copied paper to give me templates to work with and to help check that the actual model and the copied plans match up as sometimes they do not and you need to make some small adjustments. later today I should have some pictures and see if I can explain any more of the details. by the way keep in mind that this is a model that has been re-done many times, the large plan sheets are copied from a model of a model. and they were then updated later by another person.... so the plans and the wood are just a guide to get us close to a good model, after that you can adjust / improvise and make this your idea of what it should look like.