HOLIDAY DONATION DRIVE - SUPPORT MSW - DO YOUR PART TO KEEP THIS GREAT FORUM GOING! (Only 24 donations so far out of 49,000 members - C'mon guys!)
×

figuerres
-
Posts
236 -
Joined
-
Last visited
Content Type
Profiles
Forums
Gallery
Events
Everything posted by figuerres
-
 I hope the title was about right. I am interested in other that the first set (Nina, Pinta and Santa Maria) what the early ship types and some of the historic ships were in and around Tampa Florida I have just started to look into this and read a tiny bit about an expedition that went almost 100% wrong some guy took a number of ships to florida and then to texas but it was like out of 600 men only 4 made it back to spain. I am picturing that many of the first ships would have been minor changes from what a model of the Columbus 3 were but what else ? what references and records should I be looking for ? I am kind of thinking of making a few models for the local museums if I get a good story and the right ships.
 -
Mtalor: thanks for that comment on paying for software, I write software and it's not simple. Much like our ship models software is very detailed and takes a lot of time and study to make it good.
-
Lakers, I used the kit block. If I was going to do this today I would use the siren blocks, but I had started this a while back and wanted to just finish what I had. I have learned a lot in this build and made several small errors in it that are part of the process of learning.
-
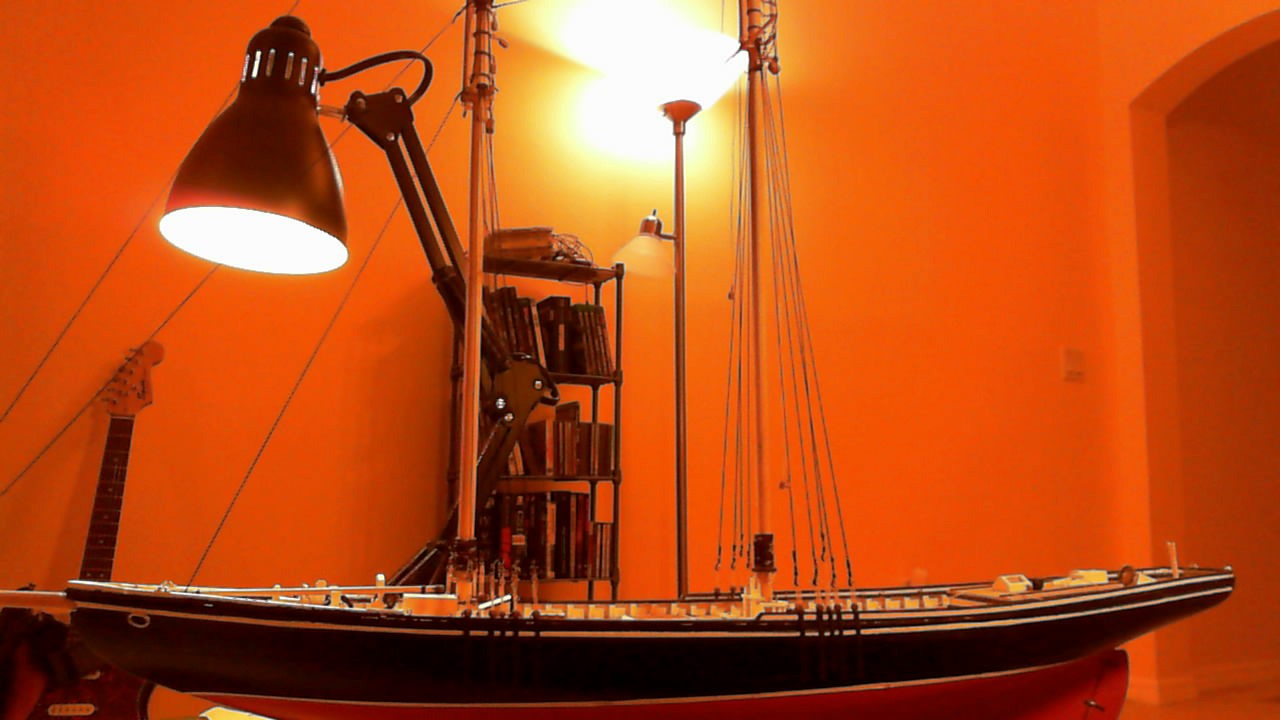
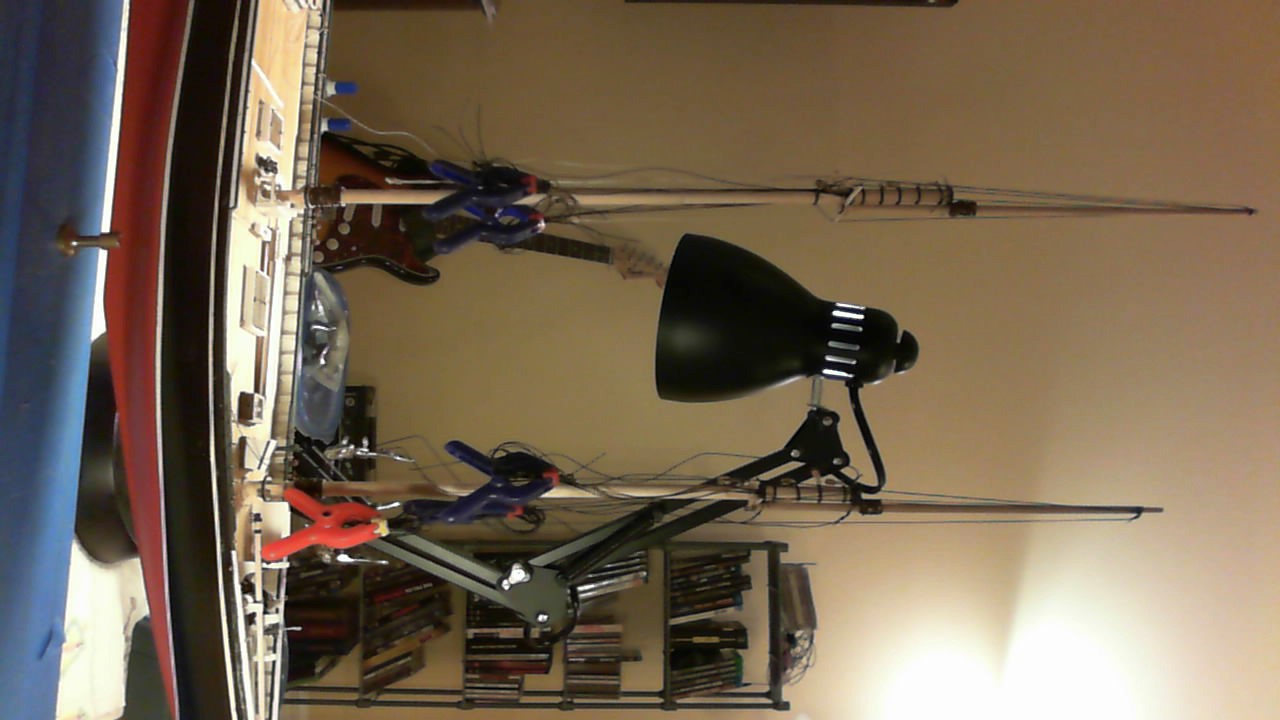
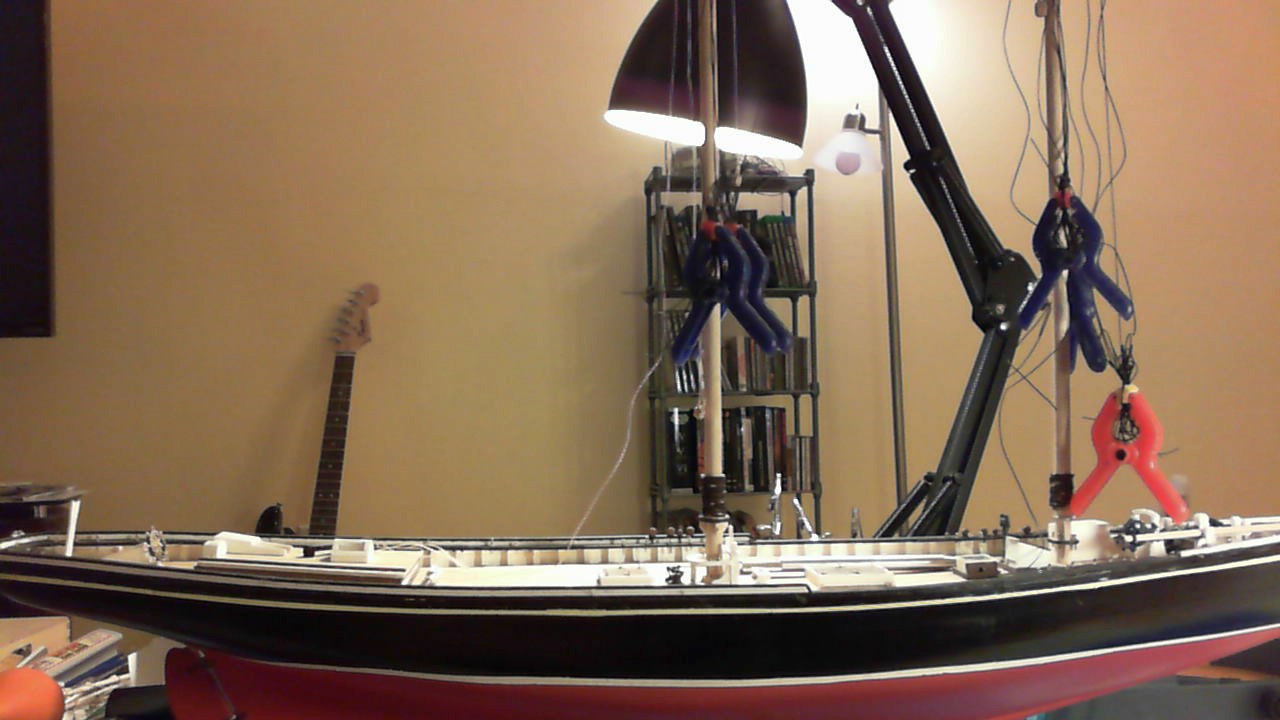
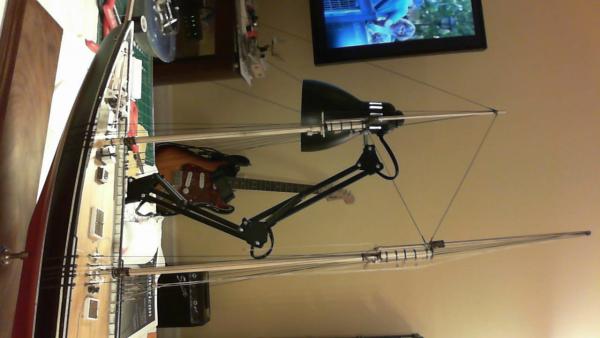
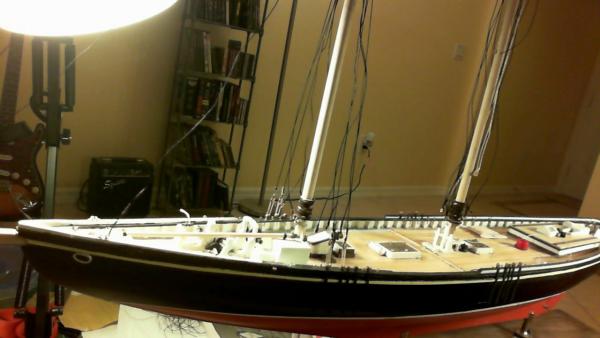
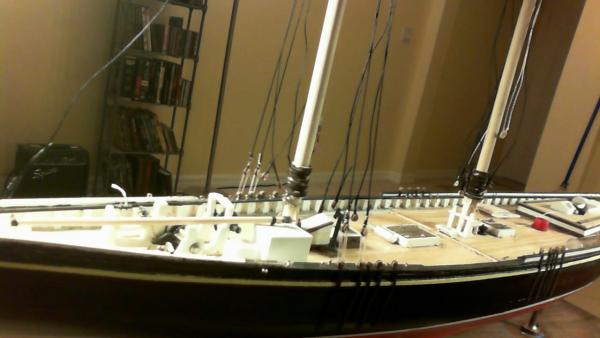
Short break today I took the model off the base so that I could sand and finish the base, it had been covered with blue masking tape. Took that off last week but did not take it apart till today.
-
One item I will recommend based on my build and my next build plan is to get blocks and rope from syrenshipmodelcompany.com to replace the stuff that comes with the kit. the standard blocks and rope are junk next to the stuff you can get. also the thin railing that is in one of the pre cut sheets is a total Bi&$%@ to get out of the sheet and get on the model w/o breaking, be very very very carefull with that part!! last is some of the details in the plans are hard to do at the scale given, I took a few shortcuts in my build that I am ok with. some folks have got more of the small bits made but it's a question of how detailed you want to get and do you have the skill at some of the small metal working needed to make turn buckles and such from tiny bits of wire and strips of brass.
-
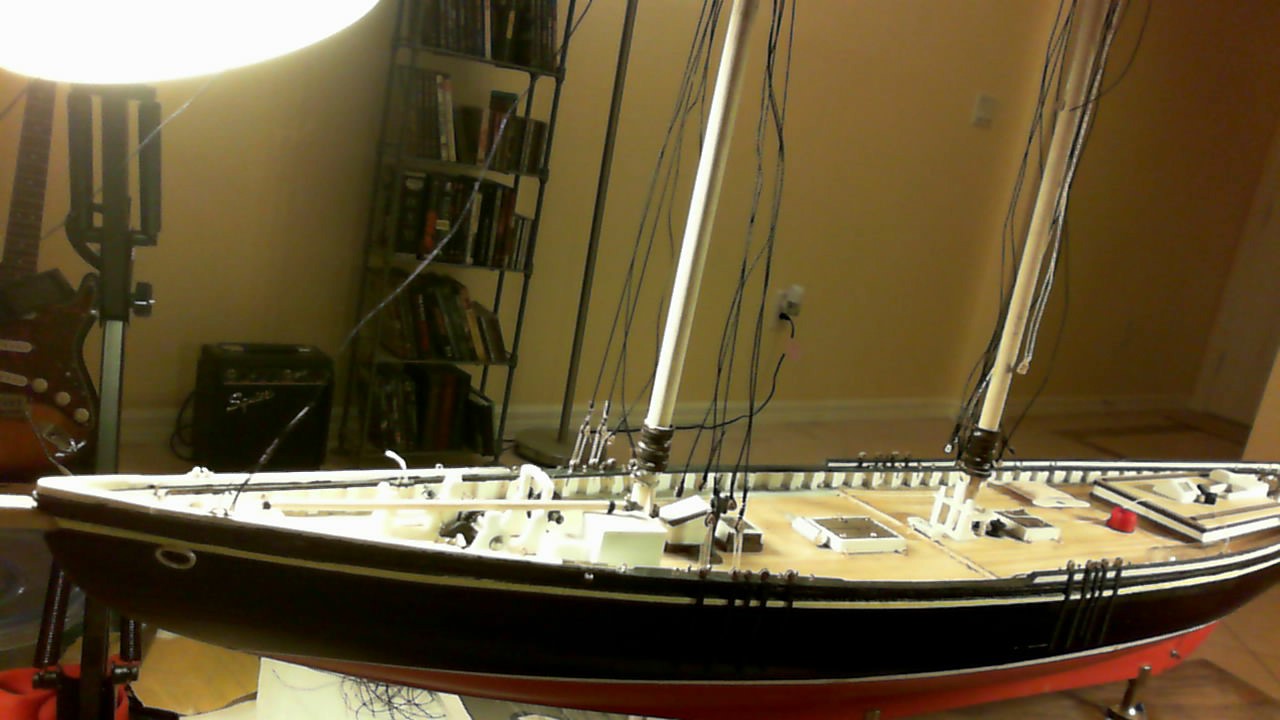
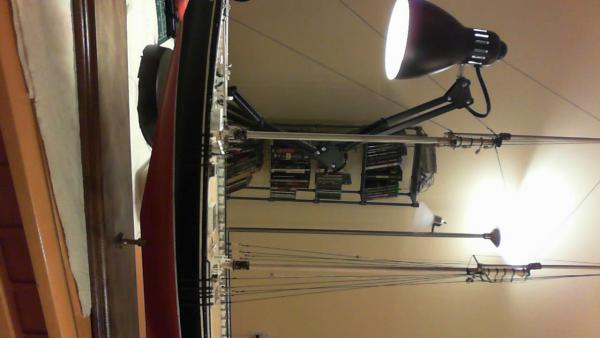
Shrouds and standing rigging done, now for ratlines and running rigging.

-
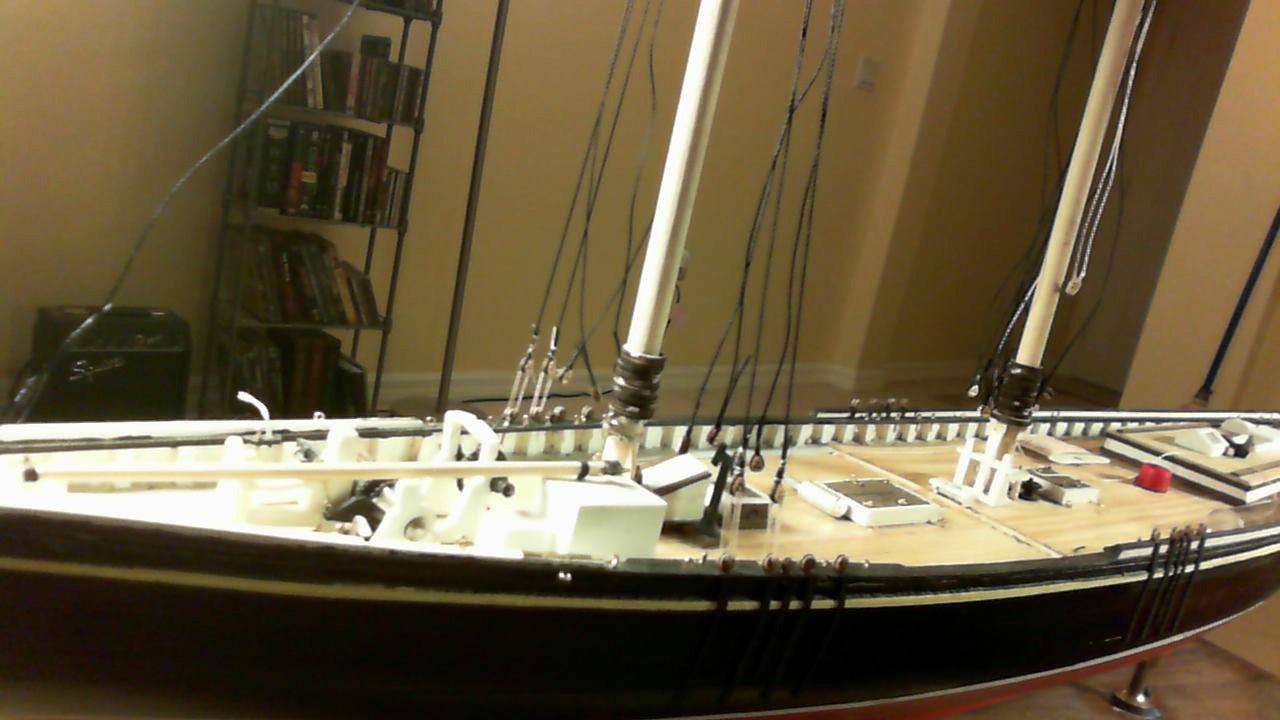
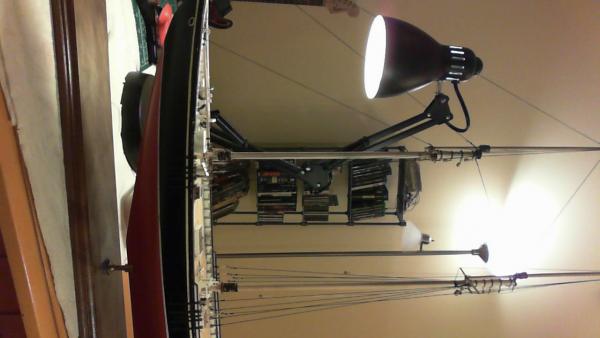
Tying shrouds , deadeyes.... dreading the ratlines... will be soo glad to get them done!
-
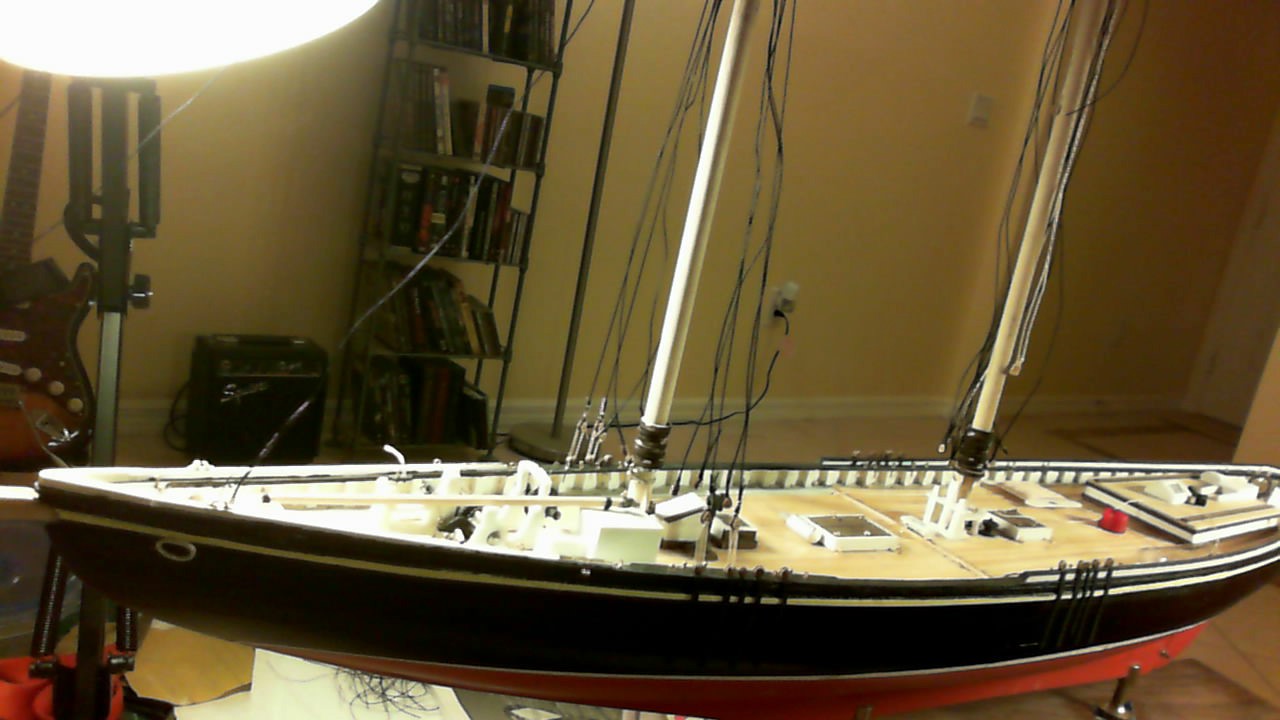
Finally have all the deadeyes ready and now attaching the shroud eyes to the ones on the hull

-
POB and adding blocks
figuerres replied to figuerres's topic in Building, Framing, Planking and plating a ships hull and deck
thanks for the reply, i have been looking at your build and like how it looks. in looking back at how i started the first version of the FA build and at what i have learned in my own builds and all I am working out what things I see that i like and am looking to make my upcoming re-start of the FA better as a result of what i have seen and read and learned by my own work. I do think that you comment about the spacing of bulkheads is important, to me it does seem as if the FA kit has a few odd chnages to where they put the bulkheads. I am also seeing that the fairing of the hull could be one reason for adding some of the filler blocks as you say. -
POB and adding blocks
figuerres replied to figuerres's topic in Building, Framing, Planking and plating a ships hull and deck
some do it just in places, some seem to try to get the deck filled to help that planking, if you look at the build logs you will see a number of variations. I get the idea of some blocks to help make sure the squaring of the bulkheads is "true" and the bow and stern "ends" are a place where all the kits tend to put blocks and that sure helps with the shaping and getting a solid mount for the planks there. but in some they just seem to really go overboard IMHO -
Just wondered about the thoughts on how folks add blocks of balsa to a POB kit. almost seems like folks might be better off with a solid hull as a base sometimes. all the work to build the POB frame and then the work to also make and install all that blocking. any thoughts on this ? for ? against ? why do it ?
-
I would also say stick with known sources. I used to deal with a company that makes specialized pumps and they had to deal with counterfeit / copy stuff and what I learned from them and from other sources (I know some folks from China) there are a lot of places where you tell them what you want and they will make it. and it will often be hard to tell from the real thing in some cases and be horribly bad in other cases. there are plenty of folks there looking to "make a buck" as the saying goes.
-
yes a system to pull the dust out as it's made is the best long term idea. I recall when I was an aircraft mech. that I had a buddy who worked in the Civil Eng. wood shop that they had a system of fans and ductwork that took most of the saw dust away from the machines and dumped it outside the shop. for a home system the shop vac running is about the best I can think of for a low cost. if one wanted to kill off the sound you might check with the companies that make the in-home vacuum systems, they make them where you have outlets for the hose and a central vacuum down in the basement, the hose socket turns on the motor that is in the basement and you never hear it. something like that might be adapted to a high end work shop.
-
Dremel : they are great for a lot of things but one item to know is that they need to run at a higher speed than you may want for small detail work. for some detail carving the rotary tools that use a larger motor on a long flex shaft will be able to work at a low rpm and still have the torque to cut well. you can get them for a bit more than the cost of a dremel. I have both and use them both.
-
One other thought: who would ever look at the ship and say "Oh My it's 1/8th of an inch too wide; horrible!" you may know and a few of us may know but as long as the final result looks sharp and clean 99.9% of the world will just admire the work.
-
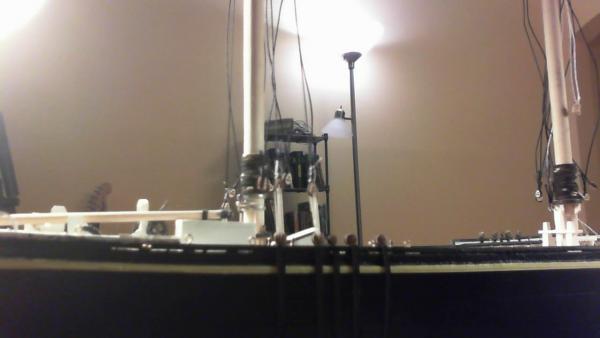
Well the masts are now mounted half the deadeyes and chainplates are mounted, soon this will be done and I can start my fair American build.

-
if you are getting started and such I would say to get some stripwood and some thin plywood to make a practice hull for learning to plank the hull. I think each time I start to do a new hull I get better at it; if I had known I would have made a practice hull and used it several times over... it's not super hard to do "OK" but I see other hulls and drool. also tying the ropes, even spend some time with some house hold cordage and see how the different knots are done at full size. then work down to the thread sizes used on models.
-
interesting looking kit, I wish they would sell it to the US market.
-
Junk, just get some good square wood blocks and a mini carpenter / engineers metal square and some small clamps and you can do anything that does. even a good metal ruler can be used to check the part, then wood blocks to hold the part till it sets.
-
mini drill chuck for those small drill bits
figuerres replied to AON's topic in Modeling tools and Workshop Equipment
dremel drill press and the older dremel's I have an older one that works fine with the workstation, also the router kit works fine. they attach to the threaded collar on the dremel not to the body so unless they change that then it works. -
Wow, 500 all with wrong plans.... that's a HUGE error, it's one thing if here and there one set is wrong but a whole run...
-
printing: you have to check, there are a lot of places that print blueprints who will have the right printers. a lot of the office stores just have 11x17 and high speed "commercial" copy / print and that is not what is needed for this. I agree that they should have sent him the right plans but if they can't / wont and he wants the plans for that build then it's what he will have to do.
-
Just wanted to see if anyone else has any thoughts on this. I have the kit and made some errors and got a second kit, now I will build it but I now see that the thing is really not right. in some reading it seems that MS has had 2 versions of it and the plans were re-done along with a change in the scale. but ither the original model that all of them are based on has errors in scale or something got strange in the re-work. basically the great cabin doors work out to be about 3 or 4 foot tall depending on how much error they did in the current plans. Now do not get me wrong the kit will make a really nice looking model if you just admire the look. but I wonder if someone were to try and make a more "Accurate to scale" version what that would wind up looking like ?
-
there are shops that will print files for you on the correct size of paper, it will cost a bit but not too much. if they sent him to get a pdf file just put that file on a flash drive or a CD-ROM disk and take it to a FedEx store if he is in the US. he can tell them that he has blueprint type files that need to be printed on a large format printer, they should help him get them all printed. depending on the page size it may cost like 5 a sheet to print them.
-
As I finish my bluenose I have also been reviewing the plans for the fair American to make this build better. I had long known the plans had some kind of issue with the scale with it being a model of a model. but today I saw two things that really got me. the cabin doors and the scale bar on the printed plans. first the scale bar is off by about 1/8th of an inch at 2 inches on a metal ruler! the printed plans I have are "SHort" but the cabin door would be only about 3 foot tall at the MOST it would be shy of 4 foot. so the "Great Cabin" needs to be taller by at least a foot before it would work, even allowing a step down inside to get a decent height. unless the ship was manned by hobbits or dwarves !!! I am not going to try and re-build her into a real working scale and I will just ignore the detail here and use a few of the adjustments I have seen to make it closer to a working model. but really I think someone at model shipways should re-check the plans they have and see if they want to make a new kit that is better in scale.